Heronguy
-
Posts
863 -
Joined
-
Last visited
Content Type
Profiles
Forums
Gallery
Events
Everything posted by Heronguy
-
 Hi Derek, Its Vallejo "Model Color" acrylic for the yellow and Tamiya XF (flat) for the red and black. Thinned with tap water as per Don's suggestion.
 -
Hello ragove and Steve. I do think the cross section idea is pretty useful. When I 1st thought about ship modelling I didn't think very highly of them - after all they wouldn't float would they! As I got a little more information and a tiny amount of experience I have come to a different opinion. If I'm ever ready to tackle a scratch build (not a given) then I think a cross section would be must sensible.
- 99 replies
-
- 1
-

-
- essex
- cross-section
- (and 1 more)
-
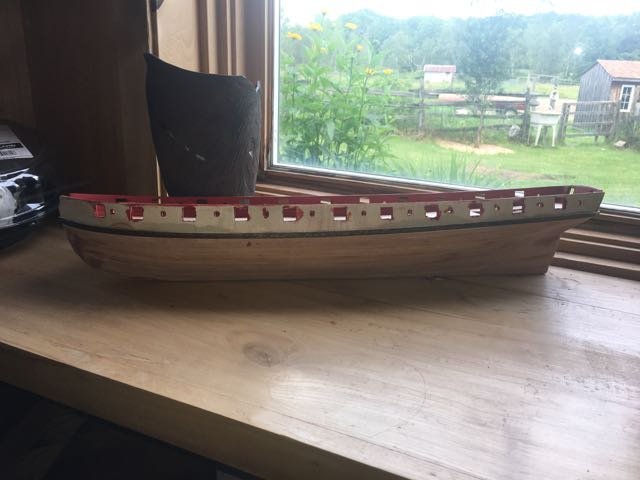
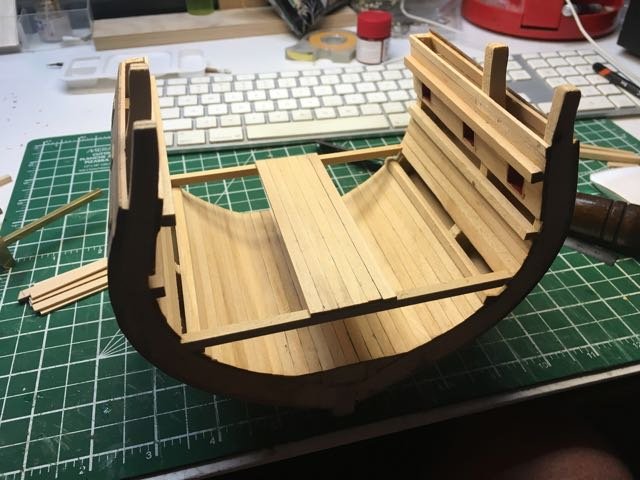
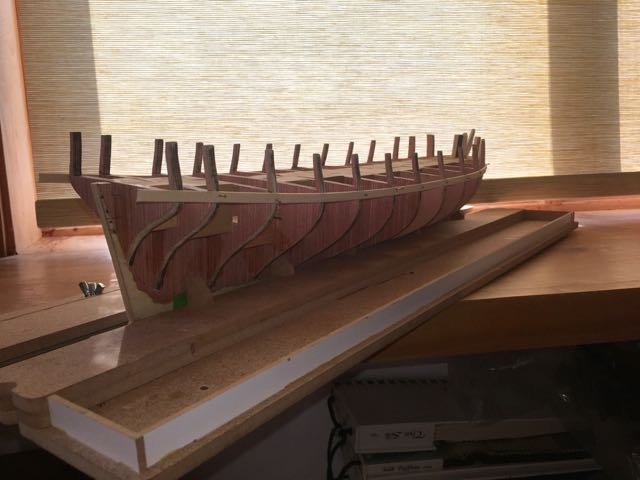
Starting to construct the decks and also apply some of the finishes to the hull. I still have to decide on the treatment for the ribs (previous post). Leaning toward simply painting them.
- 99 replies
-
- 6
-
-
- essex
- cross-section
- (and 1 more)
-
Hey Don, up to 4 coats of diluted yellow. It is certainly easier to apply with the paint thinned and it is providing the coverage. I'll add more coats until I can't see any of the sub colour bleed through. Thanks for the suggestion!
-
Hi Bill. I left that photo out. I set the batten and marked the bulkheads in order to establish the bottom of the sills. I did use the laser marks to help establish the sheer line. I mistakenly used the bottom scribe lines when I 1st started but then derealized I was supposed to use the middle laser marks. (I would have had to make really odd carronade sleds if my gunport were open at deck level!). I made minor tweaks to get a smooth run of the batten on both port and starboard. That process
-
Thanks Alan. Yes I think adjustments to the interior bulwark structure (gunport framing) can be made fairly easily and unobtrusively if required - as long as they're identified early enough!
-
So it is a double check on the template?
-
I recall having seen that too but I don't recall anyone in any of the build logs getting anything changed because of it. I wondered it it is just a rite-of-passage for the Syren?
-
Looks really fine David. Another milestone met.
-
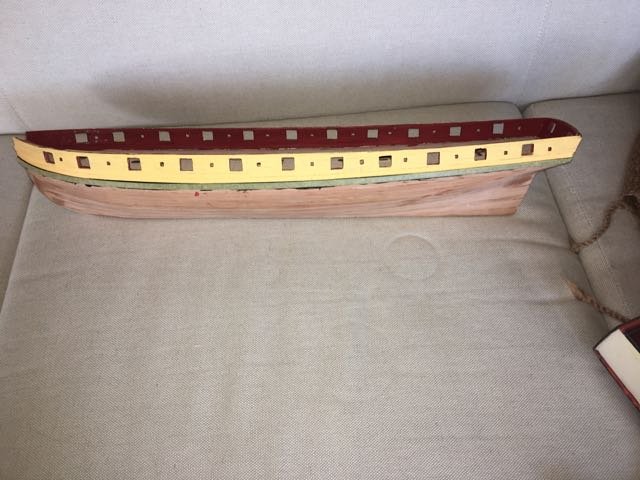
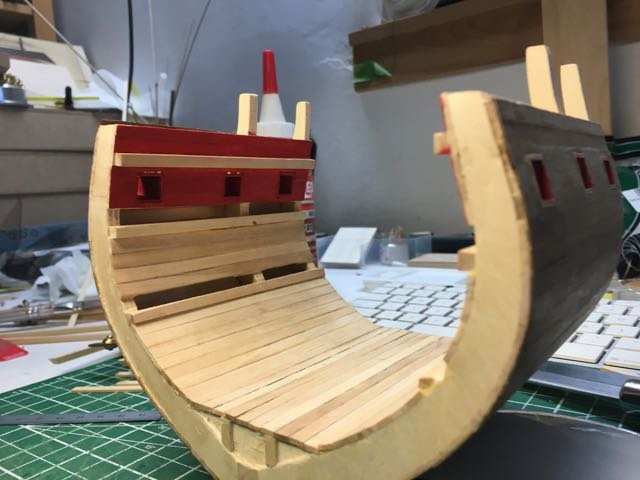
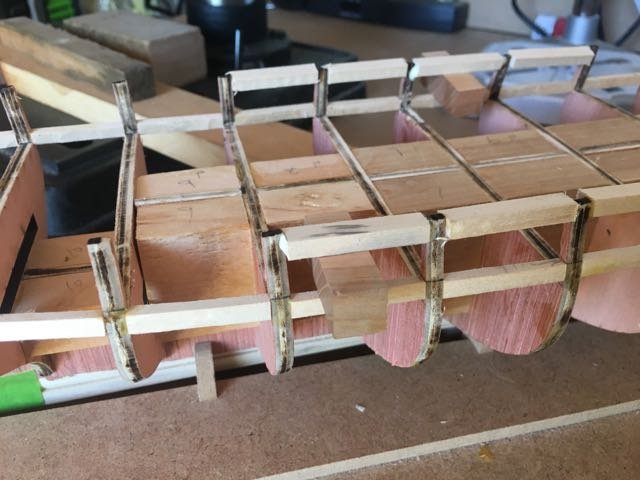
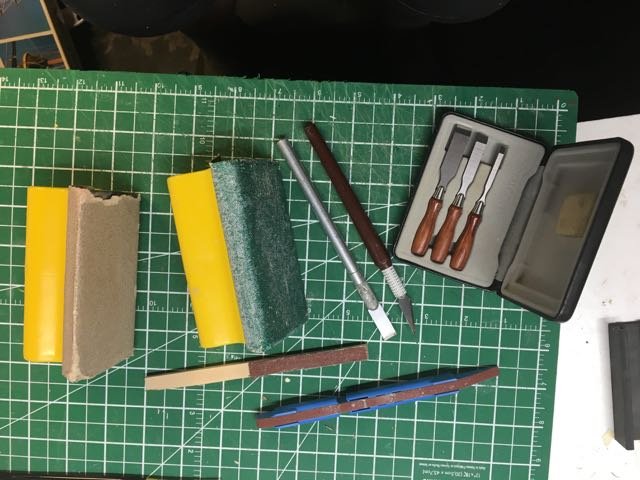
I have completed work on the gun port sills and lintels. I took a very direct approach to cutting and glueing the individual strips between the bulkhead extensions. ( I keep in the back of my mind that I can have one fresh start if my slapdash approach lets me down). To space the lintels above the sills at the correct height I cut a pair of 15/32" rectangular blocks as spacers. They'll be useful for the gunport verticals as well. The main challenge on this phase was simply dealing with that weak bulkhead extension I mentioned earlier. As the instructions claim, once the sills and lintels are attached the ship is much sturdier above decks. My tools of choice for thinning down the sills and lintels were an x-acto #11, mini-chisels, sanding sticks and sanding blocks. I found the whole process of thinning them down quite straightforward and kinda enjoyable - i created a lot more chips than sawdust.
-
Julie, My sister-in-law (also a Julie) was visiting and showed some interest in the model ships and in the tools for modelling (Byrnes tools). She is very artistically inclined and quite keen on woodworking etc. To motivate her I showed her a couple of MSW pages. She was really taken with your Endeavour hull. Maybe we'll have a new member one of these days. If you see a new Julie on the site give her welcome - it was your work that inspired her.
-
I know how you feel about it. I feel really lucky that they replacement they sent me wasn't more of the same. You've done a great job of dealing with it though!
-
It is looking ready Bill. Have you done coppering before - it looks tricky to me!!
-
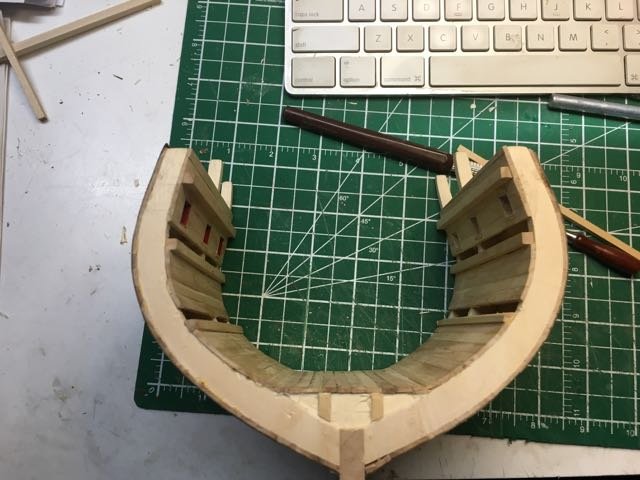
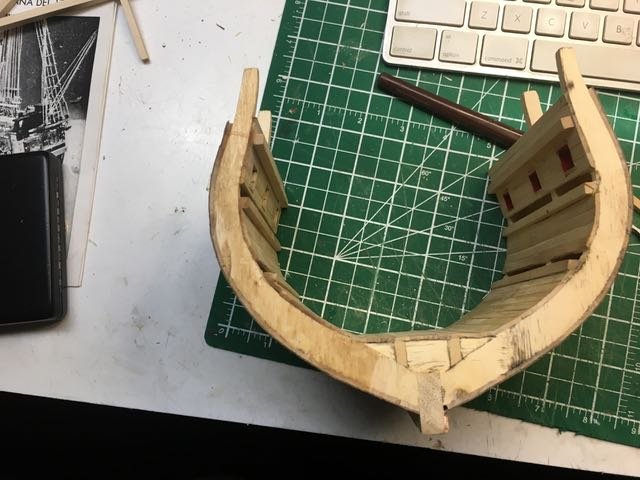
I need some advice. I don't have a very well developed aesthetic for colour. This cross section obviously has ends of the ribs showing. Before I can go on with installing decks and furniture I need to apply some finishes to the hull and to these ribs. I have a plan for the outer and inner hull but I'm not so sure about the ribs. The box shows them stained in natural wood finish. Seemed reasonable so I tried one part with Ipswich Pine. Seemed way to light. So I stepped it up to Golden Oak - slightly better but the basswood frame doesn't really look that good. Pushed it up to Jacobean (dark brown) and thought it looked hideous (so I do have some sense of what I like). Sanded that off so I didn't have to look at it. So here's where I am at the moment. Either - Live with the Golden Oak stain (and look at other parts of the completed model) - Paint the ribs (black maybe?) - Use some nice veneer cut to the profile of the ribs Any advice? Untouched end End with Golden Oak on left hand arm
- 99 replies
-
- 4
-
-
- essex
- cross-section
- (and 1 more)
-
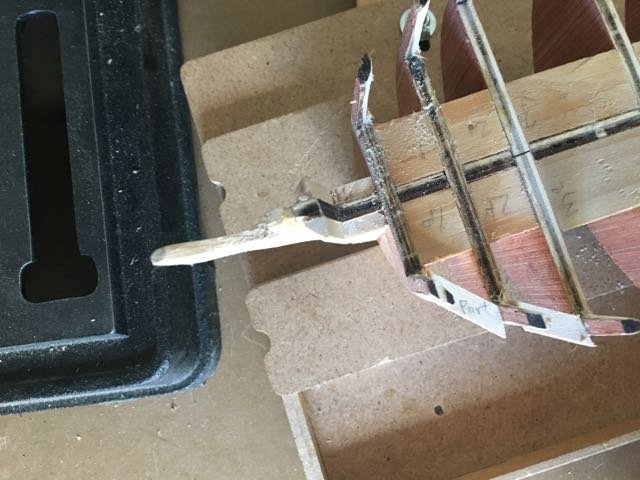
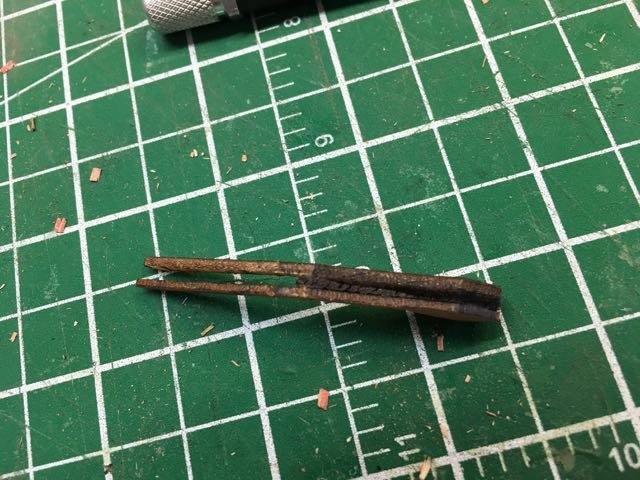
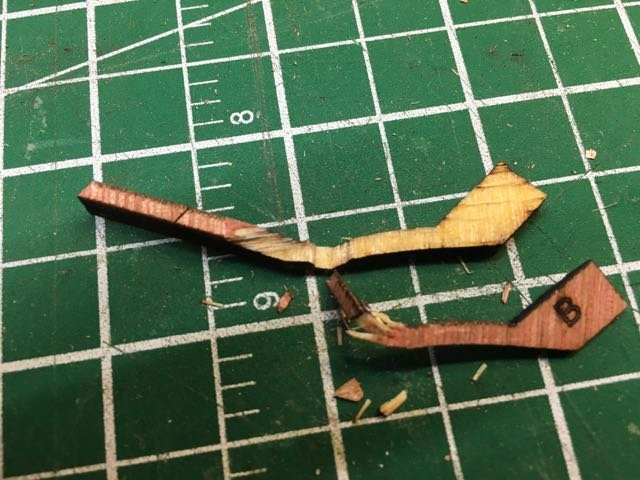
I made a minor diversion on this build to check out a possibility for coping with the fragile stern frames. The wood received was crumbly. I printed the patterns for the stern frames and glued them to some 3/16" hardwood strips (some was cherry, some was jatoba - just to see if there was a difference in working these 2 woods. Cut them out a a dremel moot-saw. Here's the result with the basswood replacements for comparison. With these in hand I can still decide to go ahead with 2 hulls past the planking stage if I choose to. (TBD - to be determined)
.jpg.bd926e3ee79c64d90fb8bd689b662f7c.jpg)
.jpg.38c336a2fd52596d800207a33130c4b2.jpg)
-
Thanks Julie. I've been encouraged to start by watching the several other early stage Syren builds. Shared pain??? Seeing how the finished and the further along Syrens are is a great pull. I hope I don't end up on the rocks to discover the Syrens were sirens.
-
Don't tempt me with a suggestion like that!!!!! As I may have said before, I have very little won't power. But right now I'm gritting my teeth and telling myself I won't do it!
-
No worry - I will continue!
-
Possibly you could ask Zoran directly for clarification. I gather he is very supportive and responsive.
- 204 replies
-
- 1
-
-
- trajta
- marisstella
- (and 1 more)
-
Hello Mike. I'm very interested in the Maristella kits and will watch your build with great interest. I agree with you about occasionally putting one build aside. In my limited experience leaving a problem for a while often makes the solution more obvious. I suppose sometimes one also gets into more repetitive or tedious parts of a build and it is nice to get a way from it for a break - not my experience yet but I can imagine it. In any event, I've got my front row seat.
- 204 replies
-
- 3
-
-
- trajta
- marisstella
- (and 1 more)
-
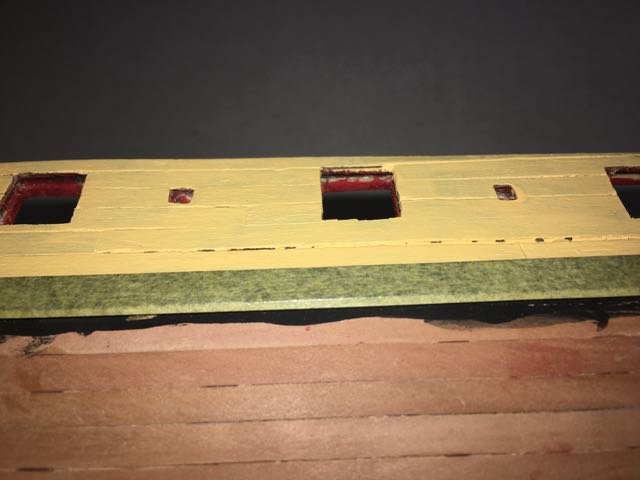
Thanks Don. I've not tried the diluted paint. I will give it a go until the paint job meets the rigorous QA standards (which I will raise from previous efforts!) The gun port framing on the Essex used 1mm ply. I can't afford to lose 2mm on the PdN so I thought I'd use some 1/2 mm decking material left over from another build. I'll paint it before I install it so that I won't mess up the exterior yellow by painting after. I'm not sure if the outer edge of the frame can be red or whether it should be yellow. I note on the Syren that there is red showing around the gun ports. Presumably that wouldn't be visible when the gun port lid is closed. I'll try the red edge because I can't imagine how to get a yellow edge anyways!
-
I I'm a big fan of ambience! Rock on David.
-
Explain to me how the cannon picture can be used at this stage. Would you change the way you frame the gun ports based on where it point? Would cutting out below the barrel give a better indication of height at the port?
-
Hi Steve, Glad to to have you join in. Help is always appreciated.
-
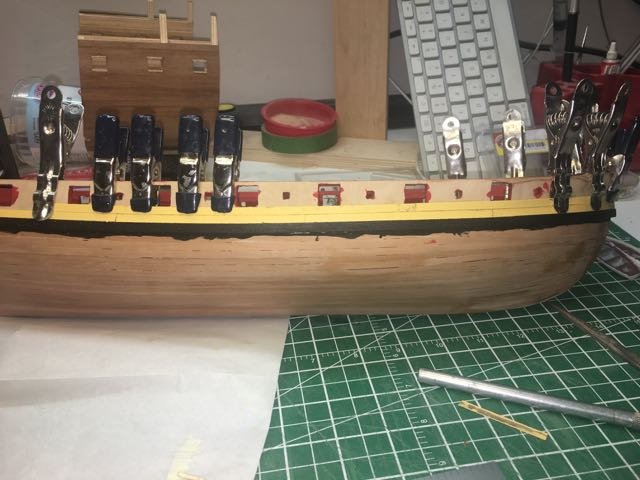
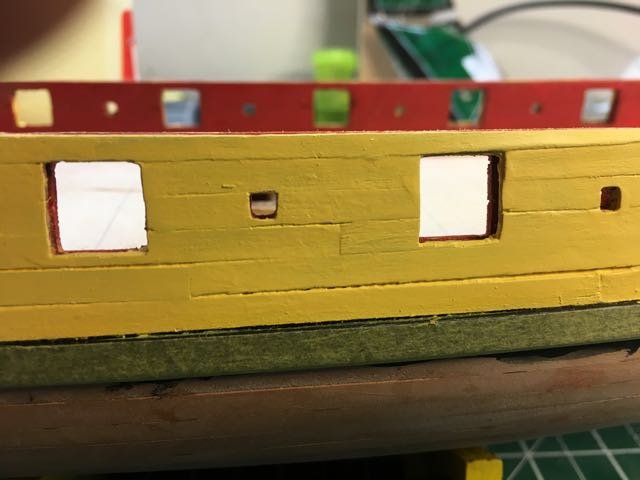
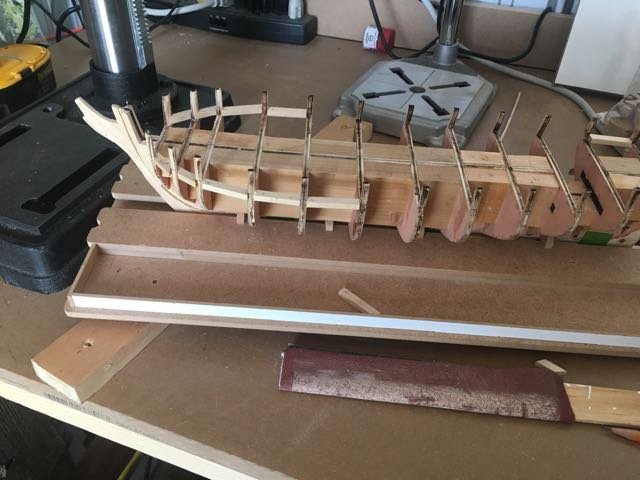
I've managed to install the wales. The outer bulwarks need planking. Although I had stained the strips with walnut I decided that I'd prefer to go with a painted surface. This is 3 coats of yellow - a couple more to go at least. It turns out that I'm not a good painter but I'll live with it. Joshua go me focussed on the gunport frames. I'm going to have to frame them in - I can't live with them the way they are despite my best intention to do just that!