


Heronguy
-
Posts
863 -
Joined
-
Last visited
Content Type
Profiles
Forums
Gallery
Events
Everything posted by Heronguy
-
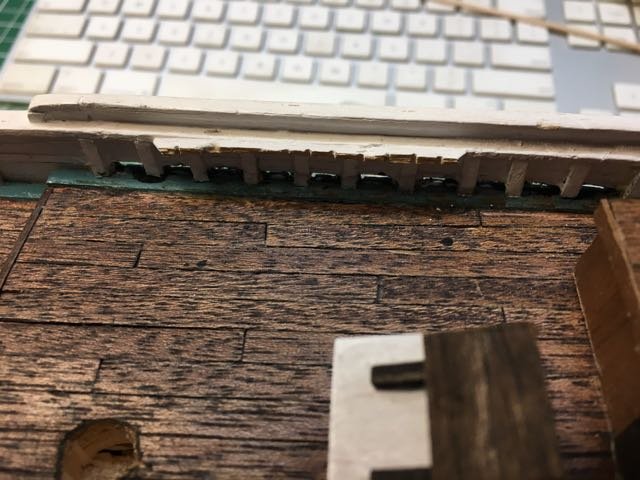
 Smart idea on the scuppers! Deck looks good!
 -
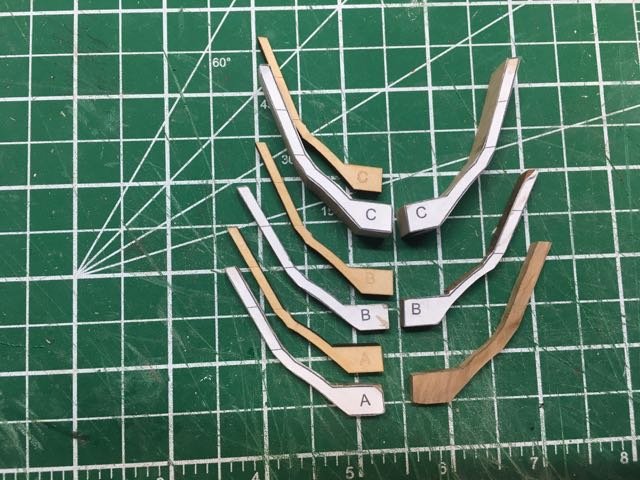
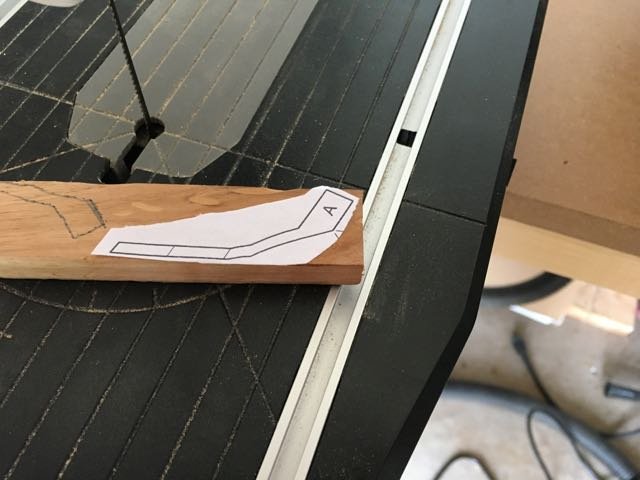
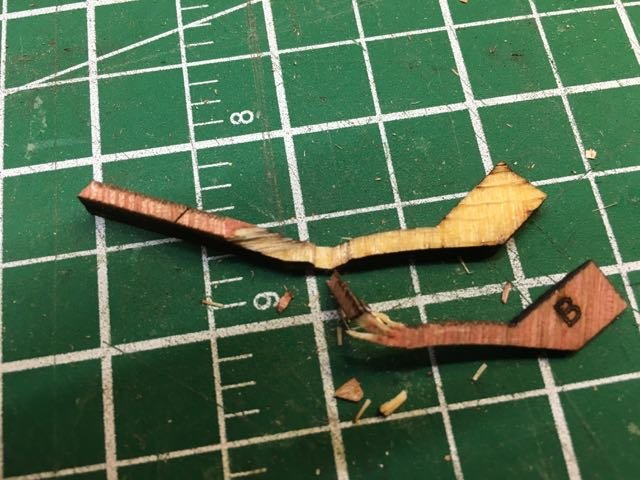
I have planned a slightly different approach. Hearing how fragile the stern shapers seem to be, and how ham-handed I can be, and since I have a pair of bulkhead formers and bulkheads (replacement for the plywood that originally was crumbling, I decided to make some replacement stern shapers from hardwood. It was also a good exercise making odd-shaped bits. I printed the section of the templates for the stern shapers and glued them onto hardwood. Some cherry and some Jatoba. I think they turned out pretty well! And they are really strong. (I wouldn't have done this if it were something that was going to need al lot of sanding!) I made the C shaper 2twcie as hick to avoid having to glue 2 together. I haven't used them yet so I don't really know if this is a "solution" or a new set of problems!
-
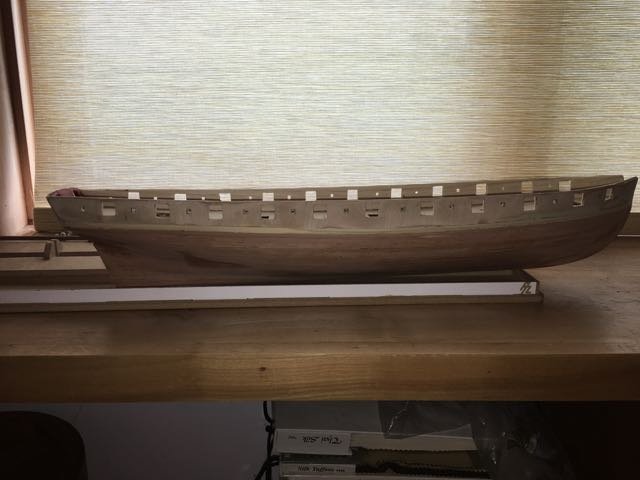
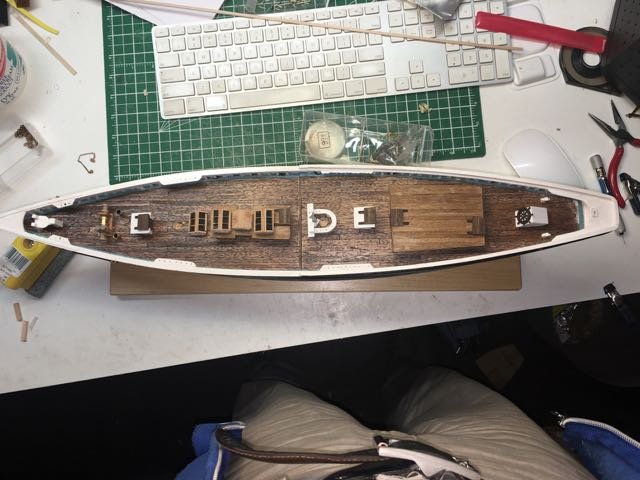
I've finished the planking of the inner bulwarks and cleaned out the gun and oar ports prior to painting the inner bulwarks.
-
Thanks Per, I had already downloaded the practicum a few months back and a quick scan was enough to convince me that I was in no way prepared to tackle such a project! If I ever build a Bluenose I will get the plans. At this stage of the (steep) learning curve I can't deal with too much information! I'll take a closer look through the practicum though to try to glean some techniques I am ready to incorporate into my repertoire. I have a copy of Underhill's books Plank-on-Frame Models and I read the to put me to sleep at night - my limited understanding not the author's prose. One of the many things I value about MSW is the range of advice that is available and techniques we can adopt when we're ready enough.
-
Thanks John. I'll give it a try too!
-
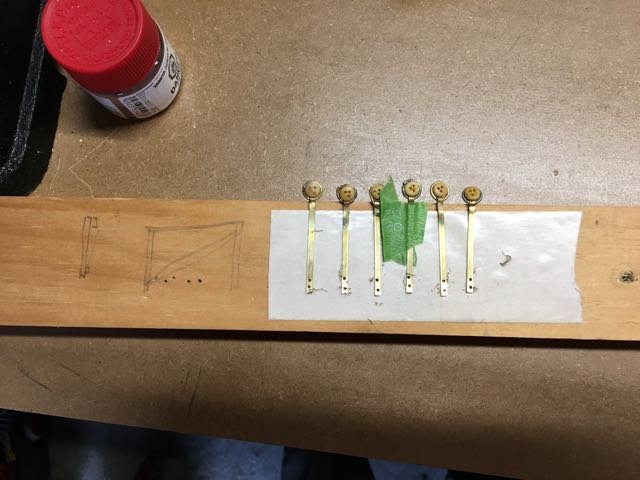
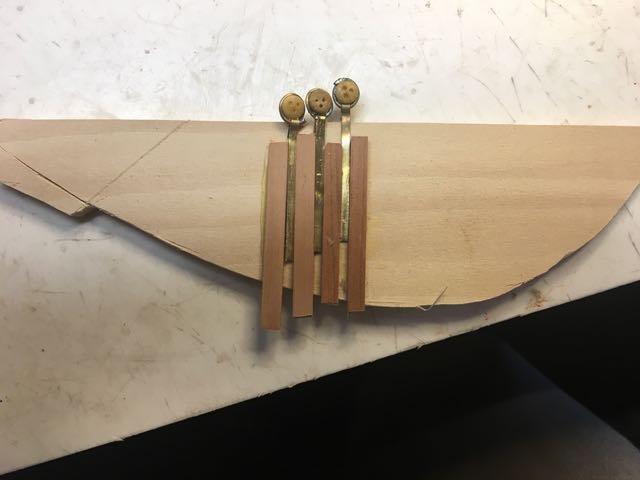
My throw-away jig didn't work. Don's 2-sided tape solved the problem. Look for the simple solutions 1st. Thanks Don!
-
Thanks for the suggestions Don. I'm just trying various ways to make the holes in the chainplates. Easily broke the 1/32" bit on a pin vice, Tried tapping a brass nail held in needle nose pliers - no precision. Dremel drill press bit wandered. Bench drill press - not too bad. What I really need now is a convenient way to clamp the chainplate to a piece of wood to hold it still while using the drill press. Are you suggesting using the end mill bit (broken) as a centre punch? Same problem though - some easy way to clamp it to inflict the hammer blow. Advice welcomed! Meanwhile I'll order some end-mill bits
-
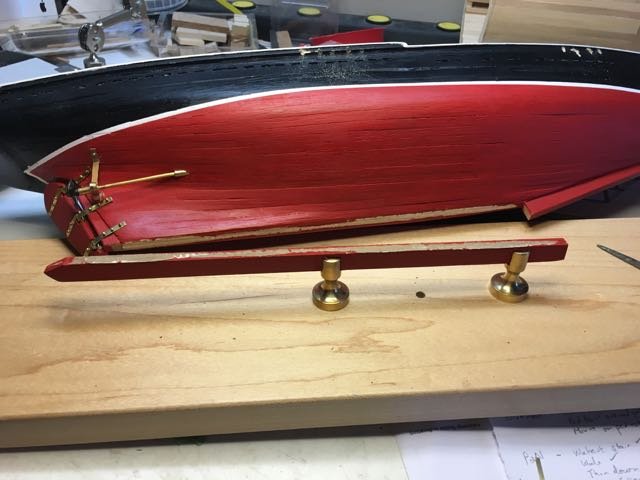
Steve, this time I have added the pins to offer more support than the glue alone offered. David, a very easy fix as it was just the glue bond that separated. The wood on both sides of the joint stayed where it belonged. Sanded the dried glue off, reglued and the pinned thenkeel in 3 spots. That should improve the lateral stability and any twisting as I continue work. popeye, I tried the pedestal as I'm not at all skilled with cutting out cradles. The little cradles that came with the Krabbenkutter and the Essex crosssection didn't inspire any enthusiasm in me to try. The support that comes with the Prince de Neufchâtel is quite different - a ship launch platform. So I don't have to think about cradles again until the Syren build (someday)
-
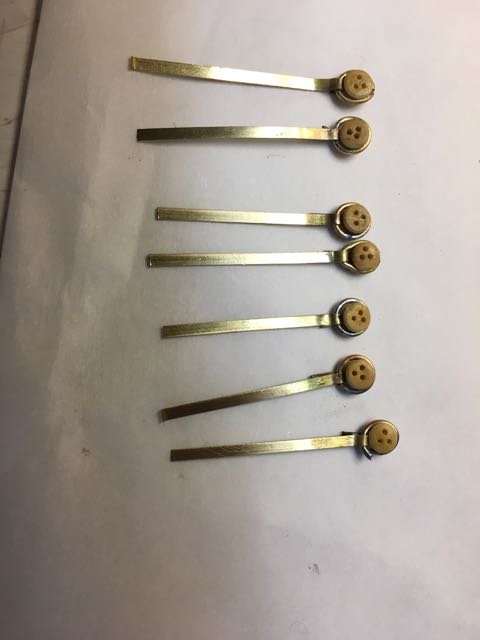
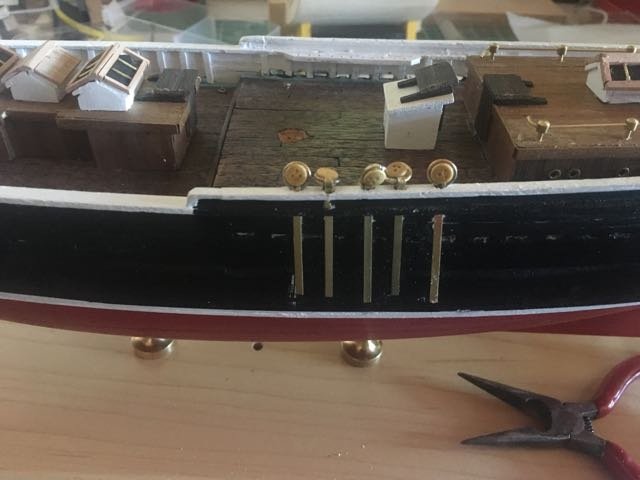
Working on the deadeyes and chain plates. (It turns out it is a bad idea to silver solder the stropping ring after the deadeye is in place - I wonder if anyone sells flame-resistant deadeyes) Dryfitting the chain plates required drilling through the railings - finally found a method that worked for me: drill, jeweller's saw blade to create a slot, and a needle blade on the carving knife to finish it. After which of course I needed to touch up the paint! Only 14 more chainplate to manufacture for this ship. Although I didn't break a mast yet I did have a minor "accident" (this one's for you Derek )
-
Go for Steve! It'll be fun to see where you take this project. Bonne chance mon ami!
-
David, The book "Ship Modelling Simplified" by Frank Mastini contains a extensive (30 pages) dictionary of Italian to English ship terms. Maybe to late for your translations but I find paper provides an excellent off-line memory for me! I have a 2nd copy of the book that I got as part of a small library of ship modelling book I bought from an estate. Your welcome to that copy if you'd find it useful. If you do PM me with a mailing address.
-
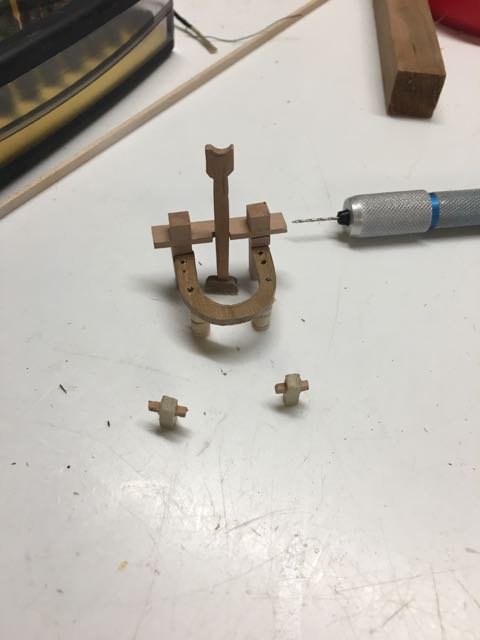
Then there were 2 Now to get the needle and thread to sew together the nets for the booms. So many new skills to develop!
-
I'll look forward to breaking my 1st rigged mast - I know it will happen!
-
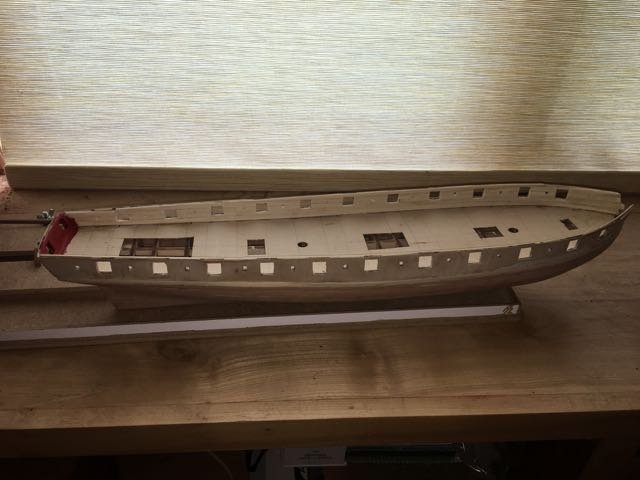
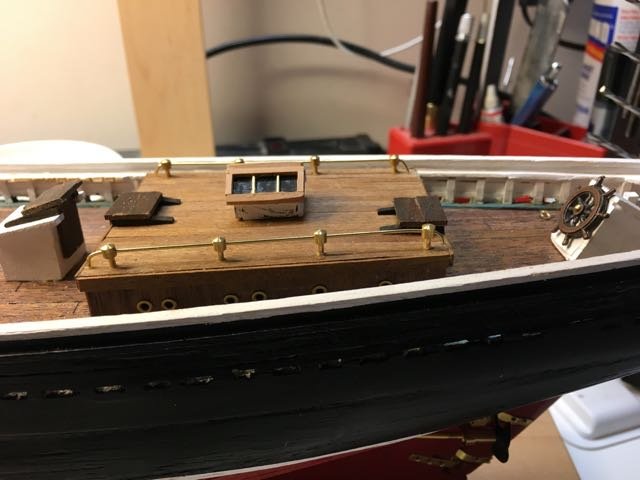
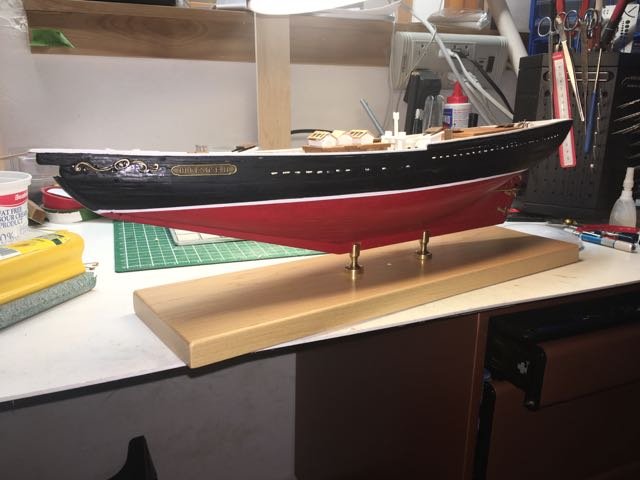
Managed to get the hull mounted more permanently. And then mounted the deck furniture and added the railings Of course somewhere in the process I managed to break the pin rail on the quarter deck. Its a good thing wood is repairable
-
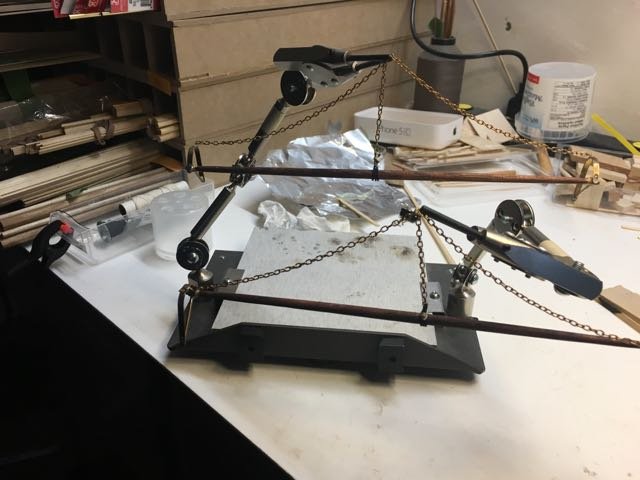
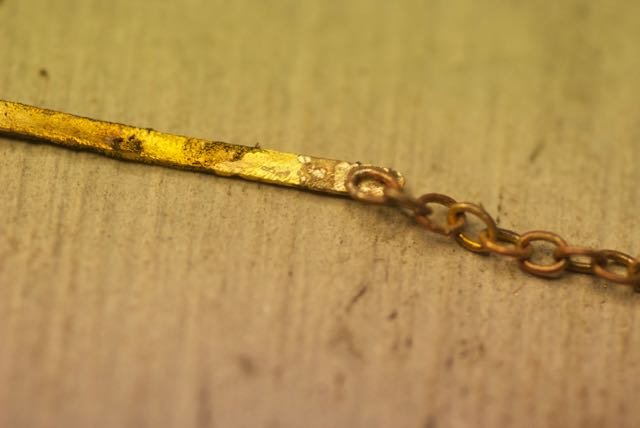
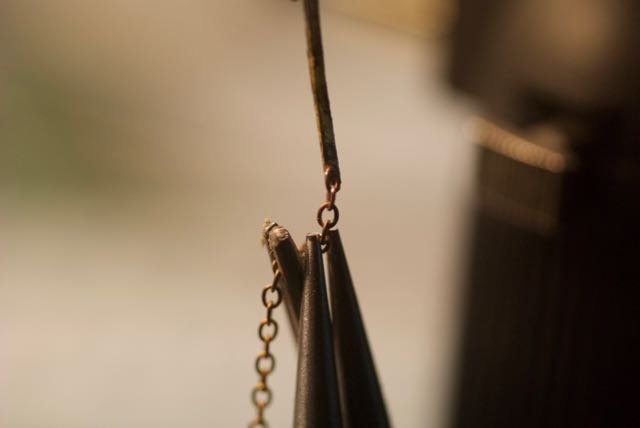
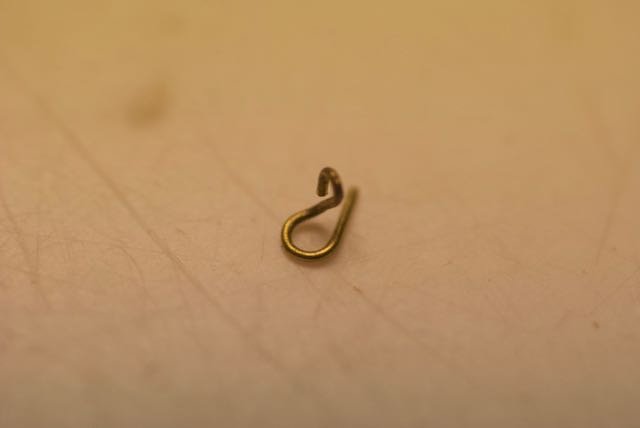
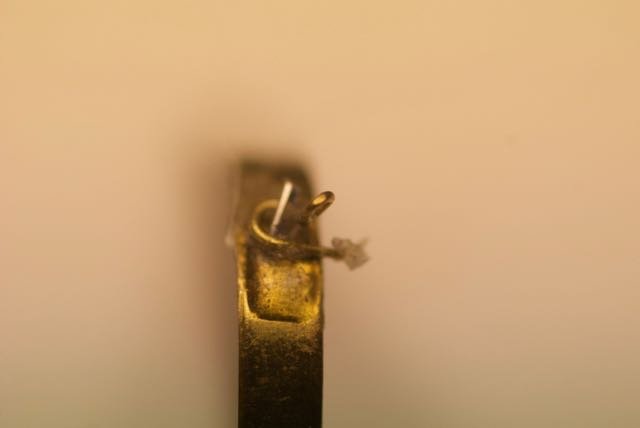
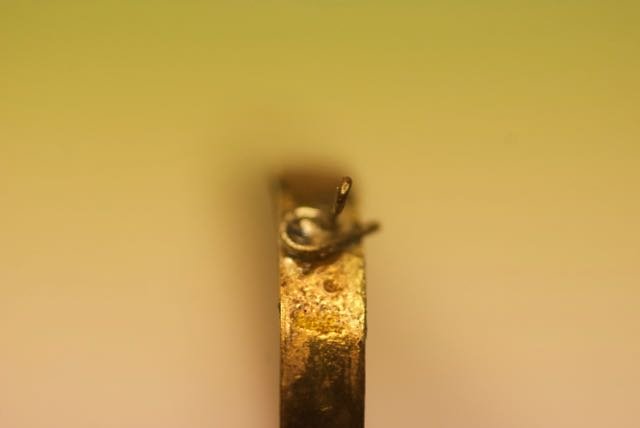
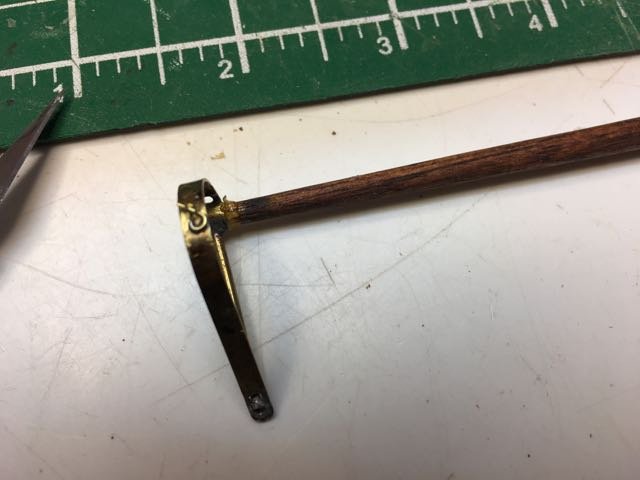
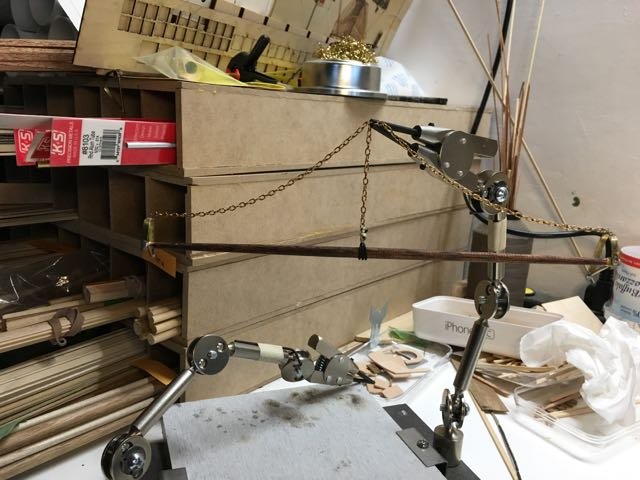
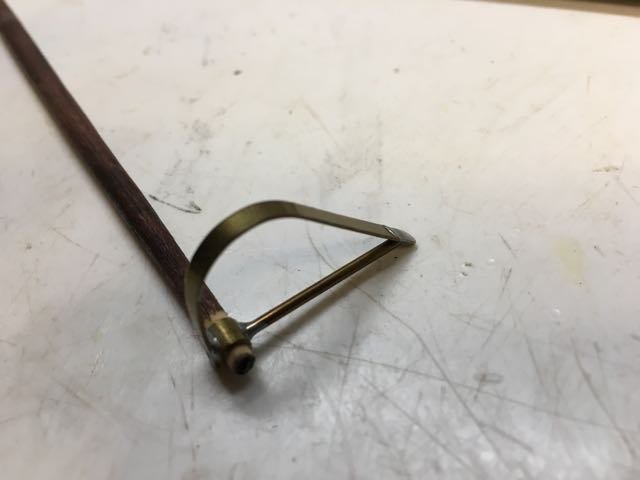
I had some more fun today. The Butane micro torch finally arrived and so I go to try silver soldering for the 1st time. As a test I soldered a bit of spare chain to a brass strip. An then to test out the strength of the joint I suspended a couple of hemostats from the chain - 1st try a success! Of course pride before a fall. When I tried to solder the chain on the net booms two things happened: the metal in the supplied chain preferred to melt with the same heat as silver solder and the joints in the support hoops also melted. I solved the 2nd problem by resoldering them with "medium" solder instead of "easy" solder. To deal with the melting chain issue I decided to solder an eyebolt to the supports and then attache the chain to the eyebolt. I reshaped the eyebolt to provide more surface for solder ( the support piece joints didn't melt this time!) here's the joint before soldering - you can see the silver sliver. After soldering An happily here is the finished boom
-
That's a cool site popeye. Thanks for the link.
-
Steve, I did two things differently - i used Welding white adhesive, and I got finer dust from my sawdust machine (aka thicknesser). The filler had the consistency of toothpaste. The results were a smoother finish but no improvement in the colour matching. The unexpected and less desirable side-effect was the very high gloss appearance of the new adhesive. Took quite a bit of sanding to get rid of the adhesive layer. Ended up using 180 grit paper to give the smooth finish on the filled portions. All in a a bette result. No more experiments just now - moving on.
-
I'll bet you can't wait for winter to come so there is more shipyard time I'm glad to hear you're getting some time at your build.
-
Derek, I got 4 on Kijiji from 3 different sellers. One was a "vendor" who had an estate from a modeller - thats where I for the Prince de Neufchatel and the Essex cross section. The other 2 (Buenose II and Krabbenkutter) came from closets in Toronto. I haven't seen much on there lately that I would have thought was a good find but I haven't been looking regularly (and I really don't need another one!)
-
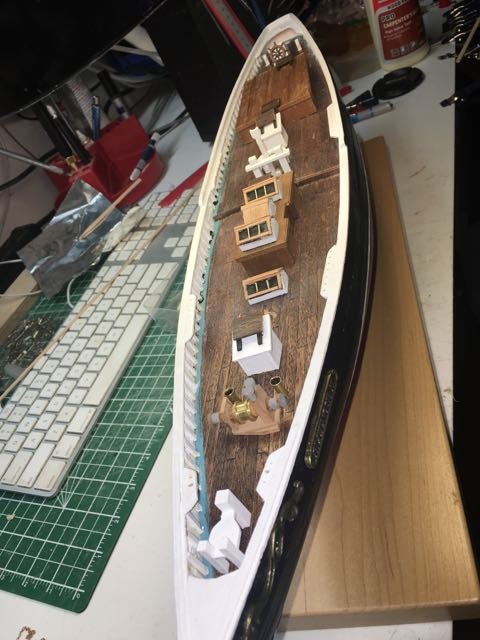
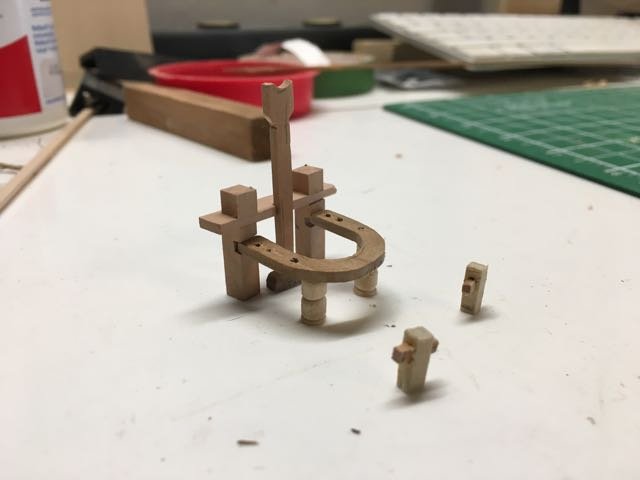
The fife rail and quarter bitts are be the final pieces of deck furniture I had to build. Now I finish up painting them and then installing it all.
-
Hi David, I started out just picking up 2nd hand (ie resold unbuilt) kits so the kit manufacturer was random. Turned out that the kits are Billings, AL, Model Shipways, Aeropicola. I've subsequently added MariSStella to the list. I'm contemplating making it a goal to do one from each manufacturer (not seriously, but it would be a theme!)
-
Yeah, I'll give it a try tomorrow. Thanks.
-
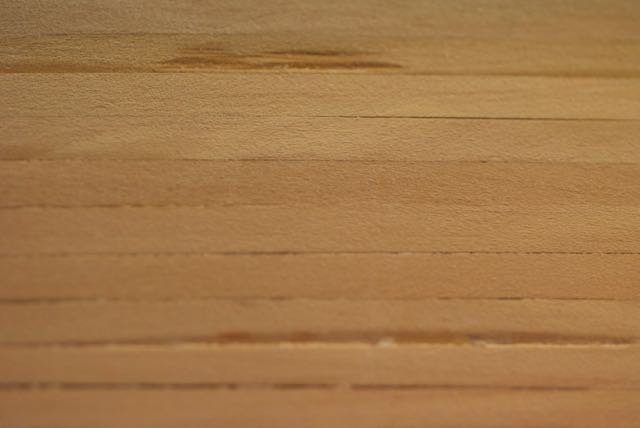
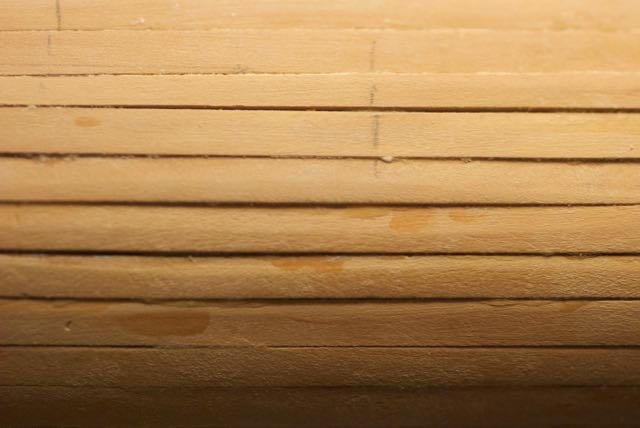
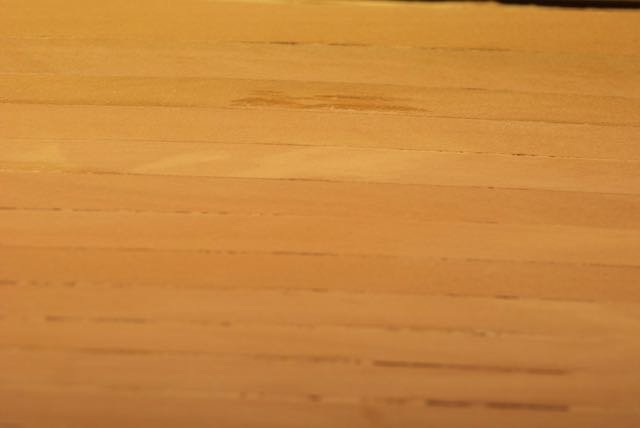
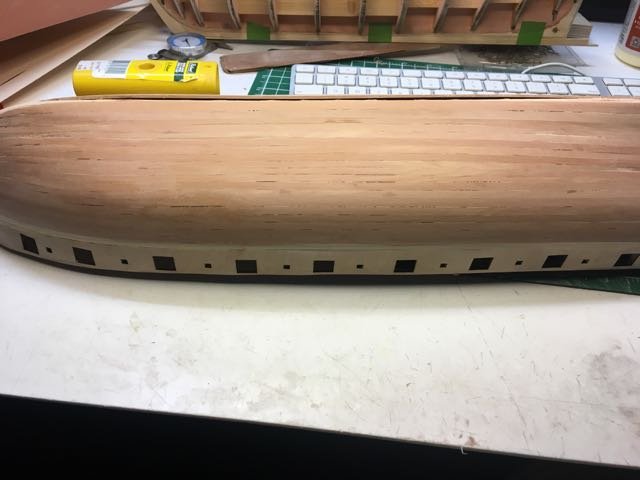
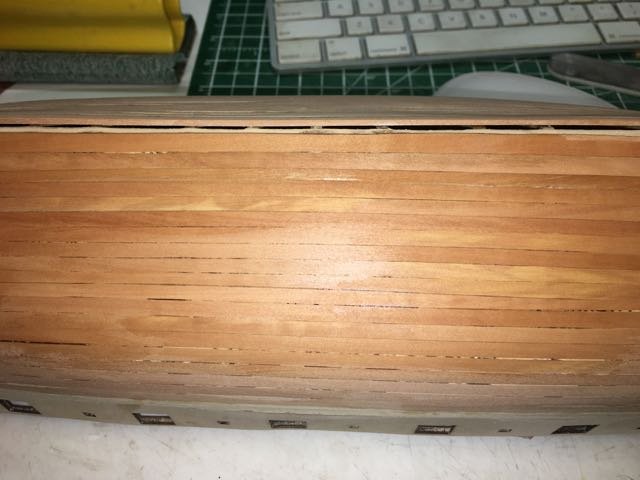
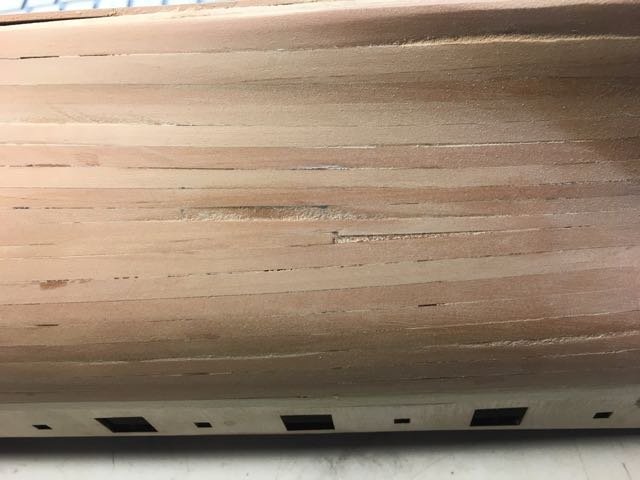
Steve it sanded up pretty well. Although I won't leave the hull as is I thought I'd experiment a bit to see what it might have been like. This is the state of the hull before serious sanding here's a closeup after a bit of sanding with 120 grit Then I tried mixing up some sawdust from the Swiss pear with wood glue and a bit of water to try it as filler and then sanded some more (still 120 grit) Closeups always look pretty bad to my eye so: The filler doesn't really colour match as well as I'd hoped, and it is still pretty rough. Probably it could be improved with more layers and more sanding - perhaps finer grit?? Just to take the experiment a bit further I put on a coat of Minwax poly on part of the hull.
-
Thanks guys! I'll keep on stumbling along. I hope to make this build my main focus for the next while. Gotta get some sticks poking up in the air.
