HOLIDAY DONATION DRIVE - SUPPORT MSW - DO YOUR PART TO KEEP THIS GREAT FORUM GOING!
×


Heronguy
-
Posts
863 -
Joined
-
Last visited
Content Type
Profiles
Forums
Gallery
Events
Everything posted by Heronguy
-
 Hi Robert, Thank you for the comment. I looked at your build several times. The use of natural finishes and the colour scheme is very lovely. I did notice that there were a number of differences between my AL version and yours. My kit was the older one and has a different AL kit number so I guess they did a major revision at some point. I too feel like this has a lot to offer in the "learning department" although I suppose that comes with gaining experience on any build!
 -
Thanks Steve. I keep circulating between various builds. Makes each of them proceed at snail's pace. I'm following along on your Pinnace.
-
John, Very useful advice as always! Thank you. I'll do another dry run using your suggestions and then hopefully can make actual shrouds. It will be nice to make forward progress not just sideways "progress".
-
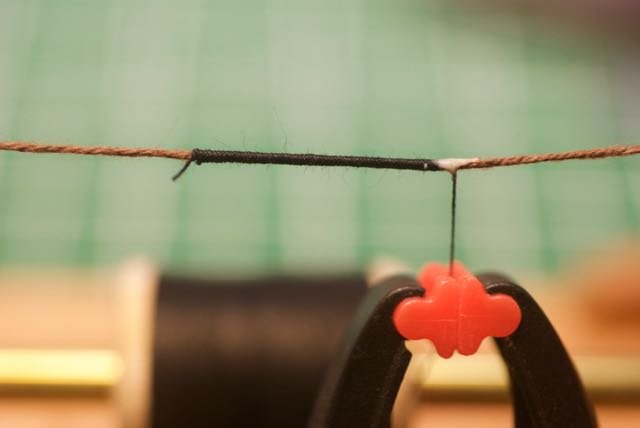
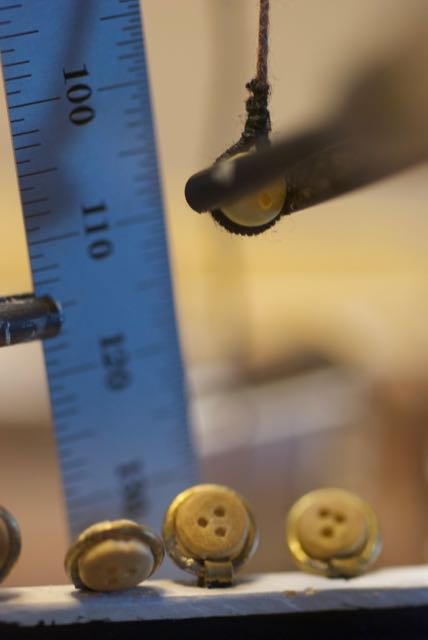
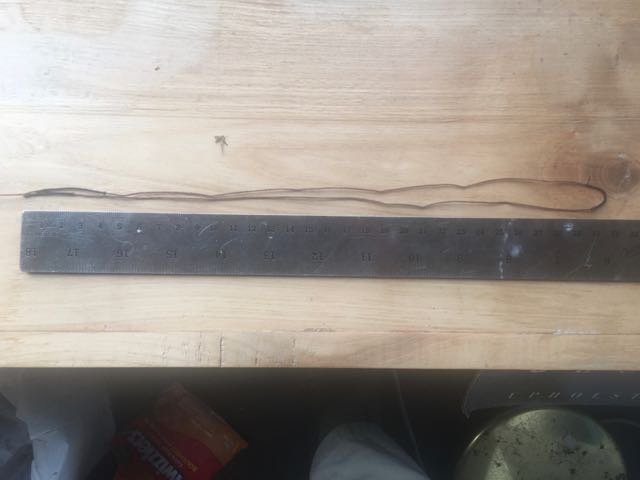
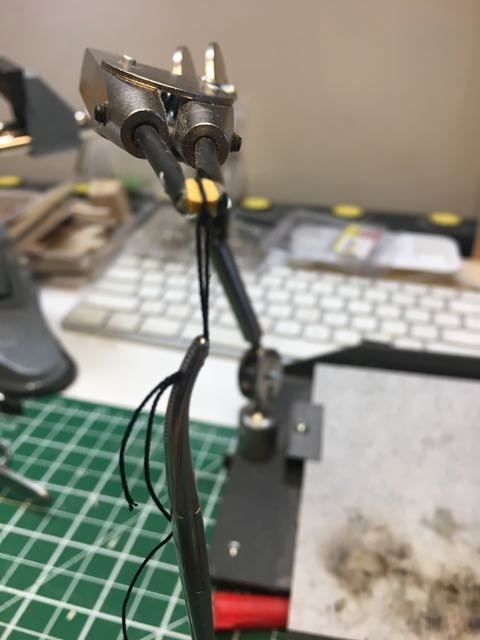
I am experimenting with a method for preparing the lower shrouds. I like the appearance of the shouts being served both at the mast top and at the deadeye. Using Syren Ship Company's Servo-o-matic it is easy to do the serving. The experimental part, and the part I'm most concerned about if getting lengths correctly. The experiment used some brown rigging line for the shroud and some black sewing thread for serving. I measure the length I wanted for the shroud (actually 3 measurements - the length of the serving at the mast, the length of the serving at the deadeye, and the distance between the edges of those two servings - I call this the brown length). My 1st attempt was not spectacularly consistent as you can see. For the 2nd try I refined my measurement methods and achieved better results. I'm supposed to have 15 mm between upper and lower deadeyes - looks pretty good. So what's the problem? Each pair of shrouds is going to rest on the previous ones at the mast. That will change the length of the brown length. Furthermore each deadeye is at a slightly different distance from the mast top. So is this method too cumbersome and error prone - each shroud pair has to be individually measured. I can't see any easy (i.e. Serv-o-matic friendly) way of doing the serving at the deadeye ends after the shroud pair is on the mast. If I could for the serving once mounted the deadeye spacing could be adjusted more easily. Any pointers to other ways of accomplishing this? On my previous build I tried using the deadeye spacing jig and seizing the shroud at the correct spacing - but in that build I didn't serve the lines at all.
-
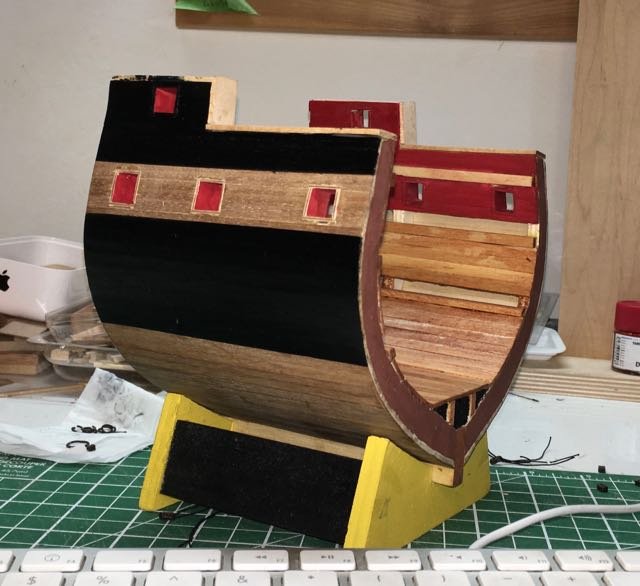
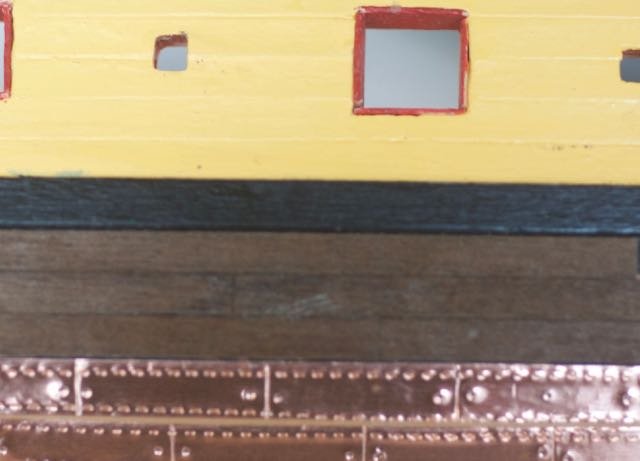
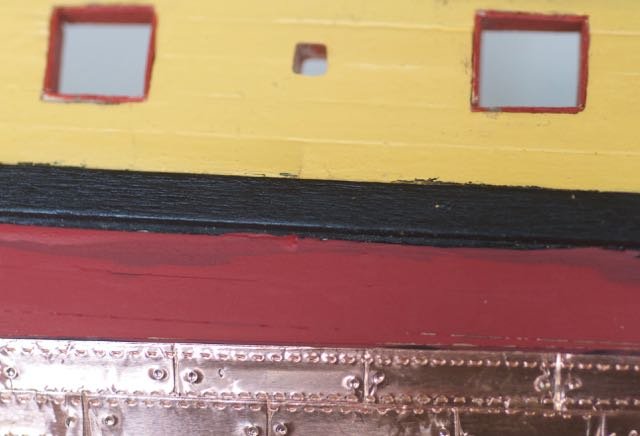
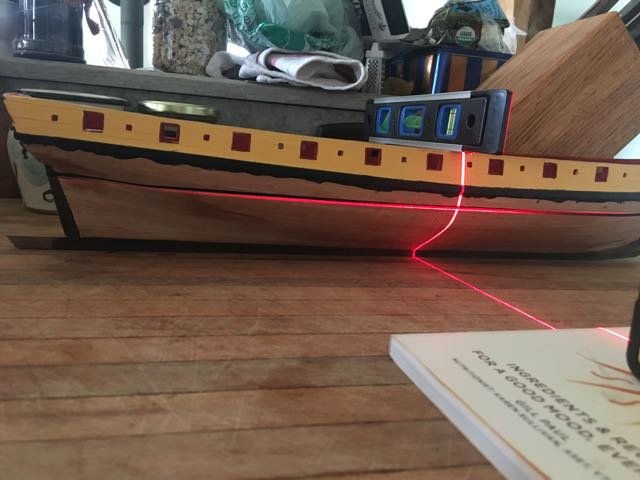
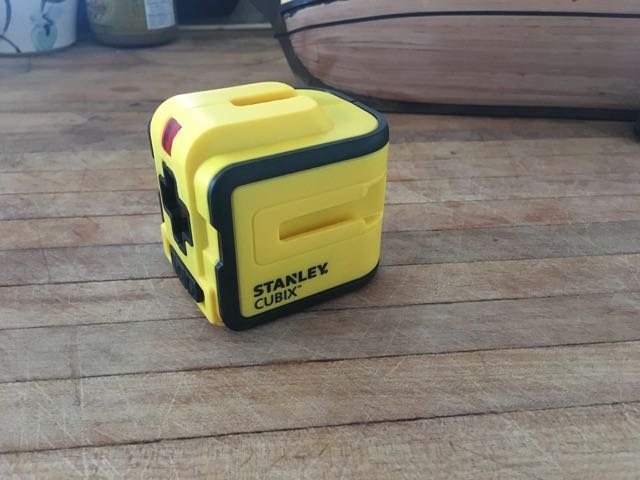
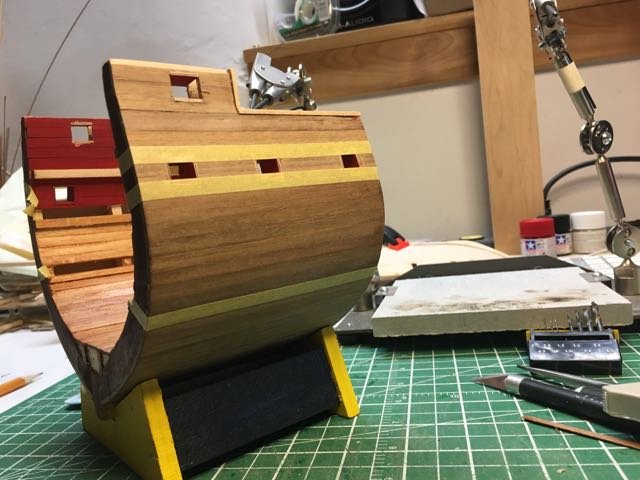
I have decided to copper the hull below the waterline. So I have to mark the waterline. As before I have been frustrated by the pencil method. Since I had a small construction project underway I thought perhaps a self levelling laser level might be a useful addition. I bought an inexpensive one with the Stanley label on it. It should be useful for waterlines too. I hadn't decided on finish for the hull between the waterline and the wale. I didn't think black would be my choice so I wanted to compare a dull red vs walnut 2nd planking. I'm settled on the dull red based on the test.
-
David, that fix puts you you right bak on track! Well done!
-
Thanks Mike. I'm having fun with the kit. I've been lurking on your niagara build as I'm coming up to rigging on another build and I like what you're doing and showing on your log. I also have a marisstella kit on the shelf waiting for some space on the bench. Are you going to keep the Trajta build going now or wait a while?
-
Hi Derek. Nope, about an hour or 2 including a small amount of pondering time. Much easier than I expected. Build a jig for mor realistic bolt pattern will likely take longer!
-
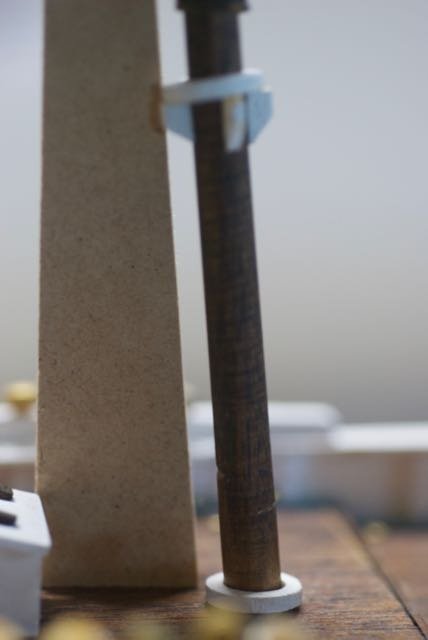
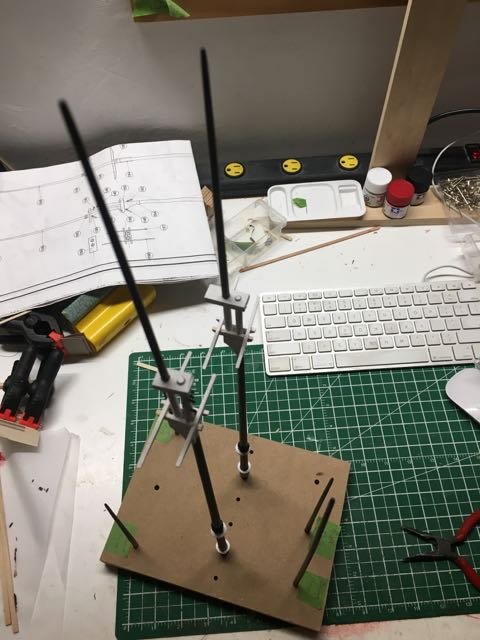
I decided that I would step the masts before rigging. I gather that I may want to do rigging before the masts are stepped in more complex builds but I need the experience of rigging this way to convince me of the challenges before I abandon the "obvious" order. My jig for getting the mast raked at the correct angle was very simple.
-
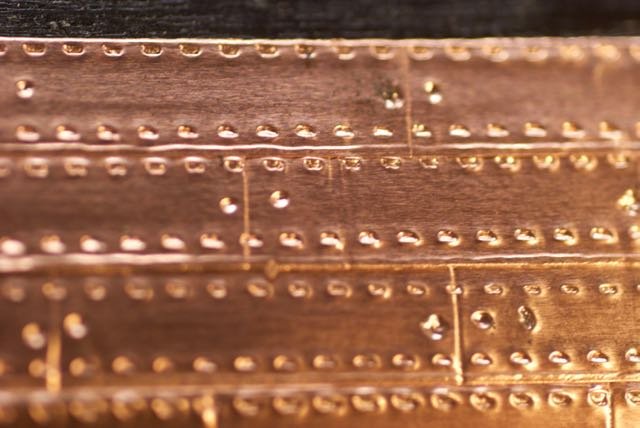
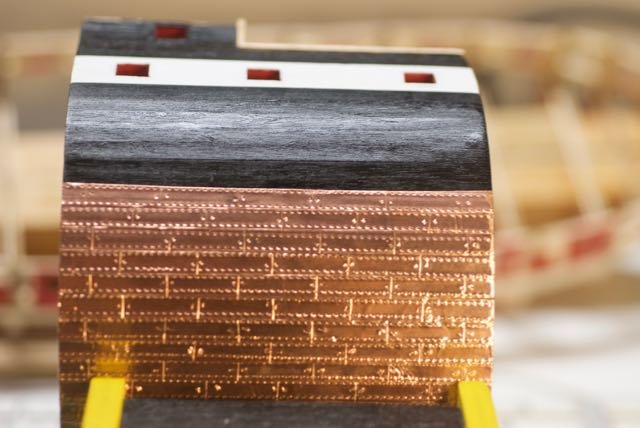
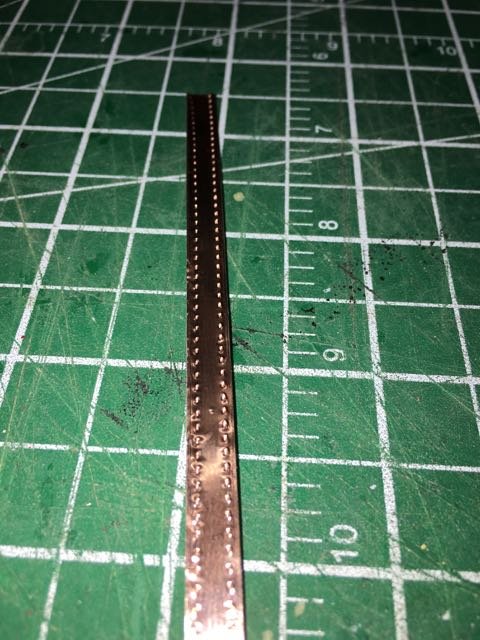
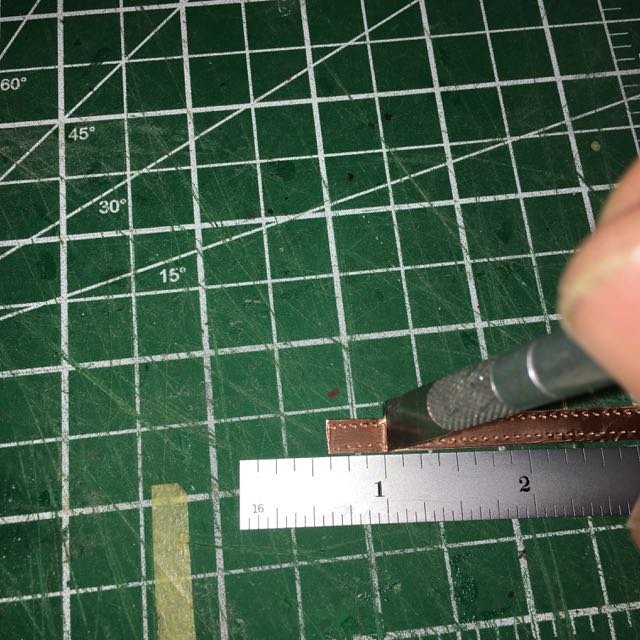
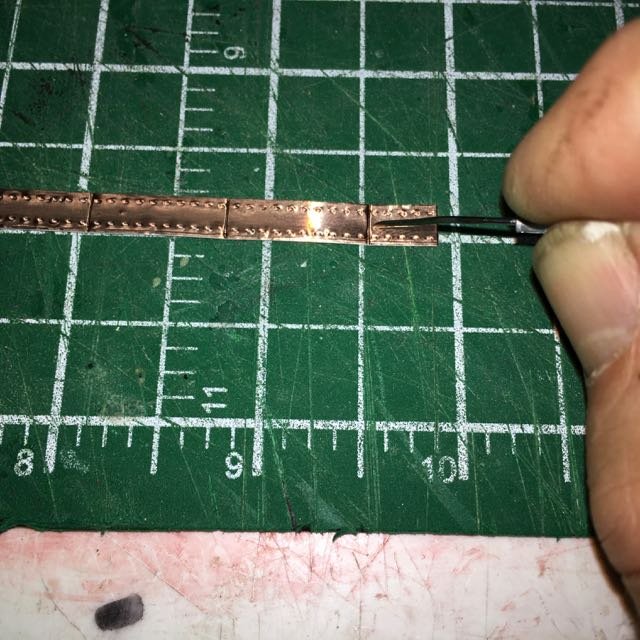
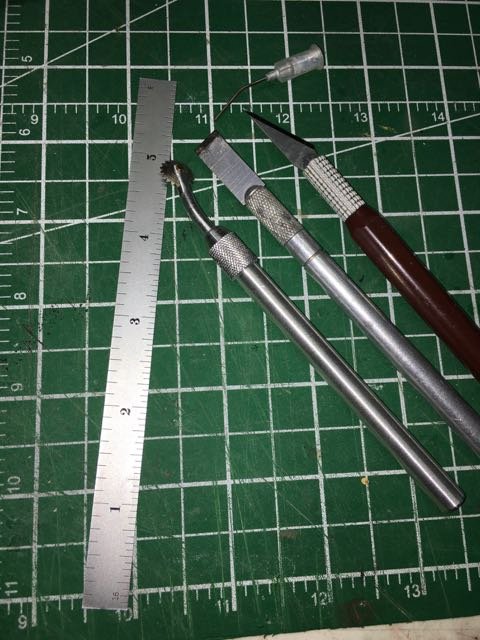
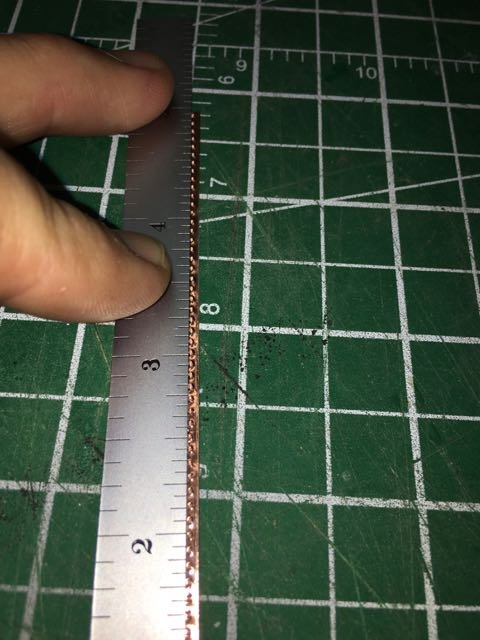
It was time to tackle the coppering. Following the method in Gene Bonders tutorial in the Articles Database ("COPPER SHEATHING A HULL USING SELF-ADHESIVE COPPER TAPE" Gene Bodnar) I assembled the following tools I cut 4-1/2" strips as that is the length of the section. Lay the ruler over the strip and run the pounce wheel along the length Flip it over to the 2nd edge and repeat May plates are 3/4" long so I score the strip (without cutting the foil) to represent the plate boundaries. Since I don't want all the plates to align from one row to the next I offset the scoring on half of the strips. An additional "bolt" is added at the boundary of each plate. Gene suggests running the pounce wheel across the narrow direction but I preferred a single divot using a broke off needle (subsequently decided a pencil point was better - not a sharp pencil point though). One half the hull done in about a hour Cross sections are an awesome platform for trying out techniques for the 1st time! It is a straight short run. Next coppering job will be on the hull of the Prince de Neufchatel - new complications of course since the rows of plates will not be short and straight. When I get as far as coppering the hull of the Syren I'll try out Chuck's jig for marking the foil tape rather than using the pounce wheel.

- 99 replies
-
- 8
-

-
- essex
- cross-section
- (and 1 more)
-
Makes sense. I've used tamiya masking tape between colour and most times it has given a very sharp edge. The one time (so far) that it didn't work quite as well was where the wale was at a different level than the planking I was painting. The sealer trick might have helped there.
-
Thanks Bill, does the sealer affect the appearance of the paint over it - for example if it is on the the end grain planks but some is on the ribs that are going to be painted will the paint be splotchy? I've never used sanding sealer. Just trying to figure out how carefully it has to be applied or whether I would apply it to the whole end of the section.
-
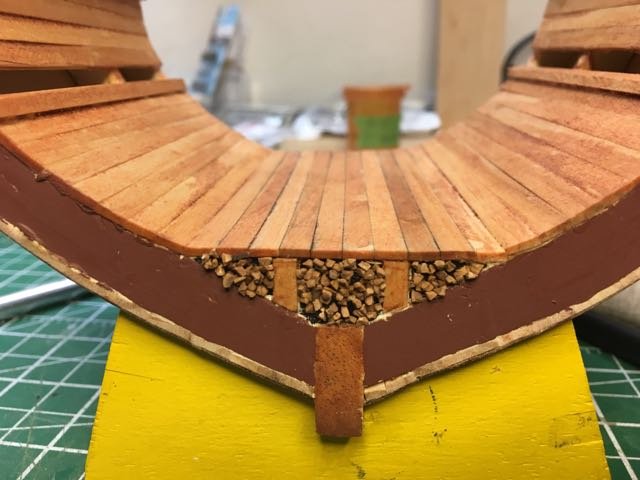
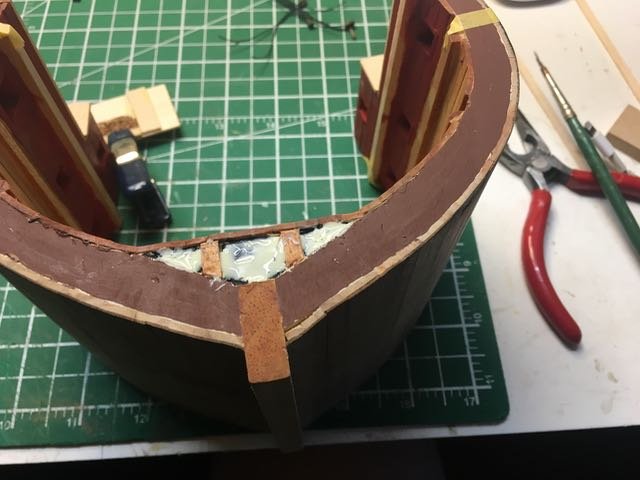
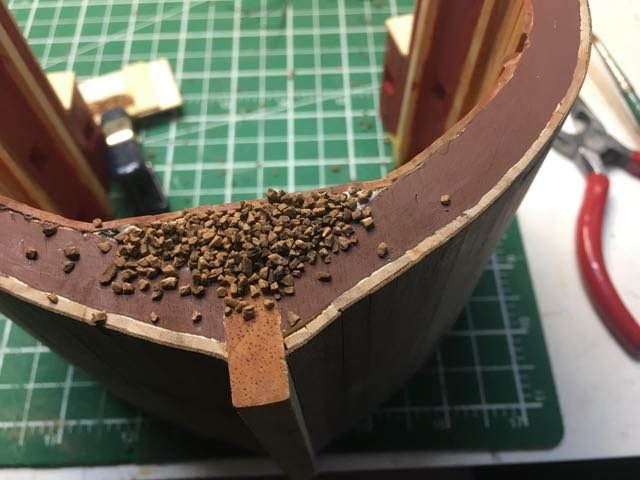
There was a suggestion in the plans to add some ballast below the hold. A shallow cavity was hollowed out, a couple of beams added and the background painted blank. The cavity was filled with a layer of glue. and the ballast sprinkled liberally over it. (the ballast was from the model railroad section of the hobby store). and when it was dry it was cleaned up a bit.

- 99 replies
-
- 6
-
-
- essex
- cross-section
- (and 1 more)
-
Slowly moving forward. First strake!
-
Paul, there are a couple of Amati Santa Maria build logs. Perhaps you can glean something helpful from them as you get underway. shipcarpenter mkmossop
-
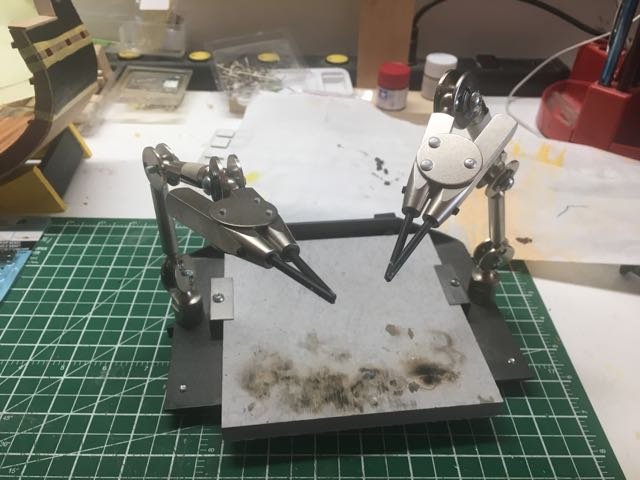
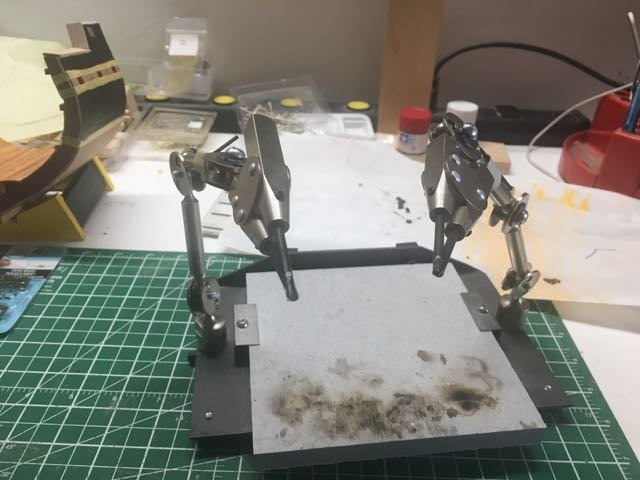
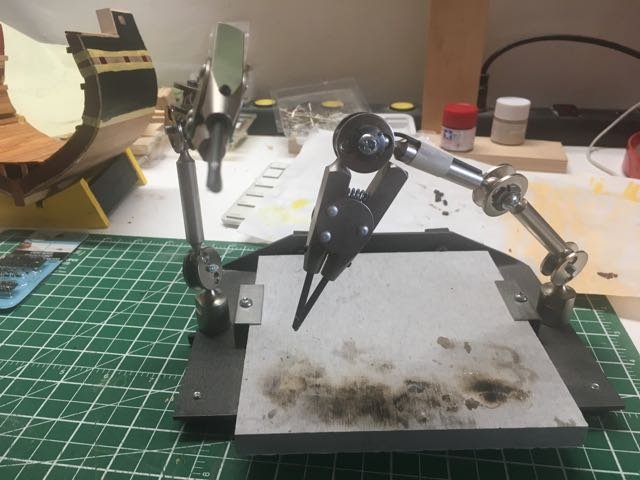
Thanks Jay. The 3rd hand was recommended to me by John Earl.. It is a GRS soldering station. I got mine through Gesswein Canada but I've seen it on lots of sites. There are 3 or 4 variants - (single arm, long arms, short arms. I like it much better than the usual alligator clip third hands. The jaws are solid - more like pliers - and they are replaceable. Moderately expensive but I'm don't think I'd manage as well without it.
-
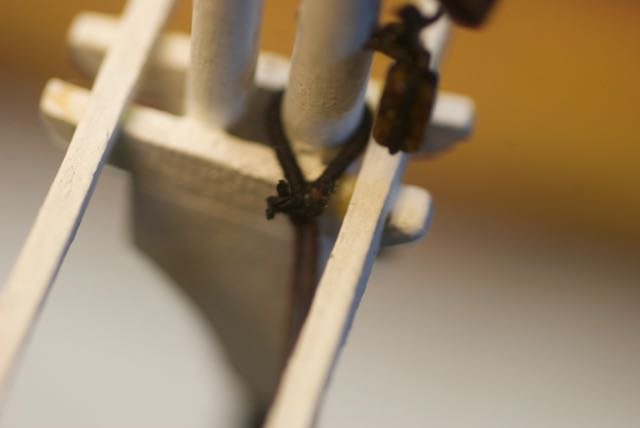
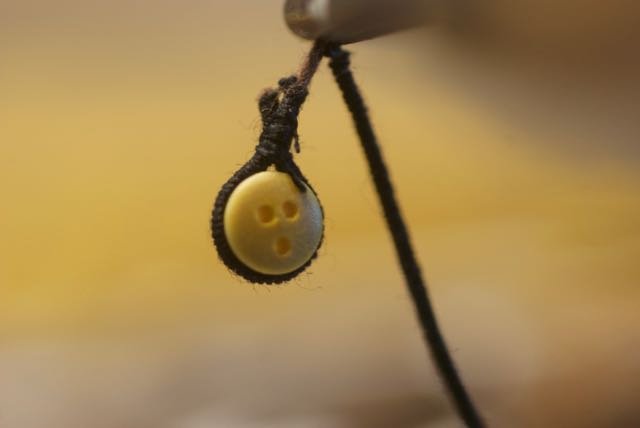
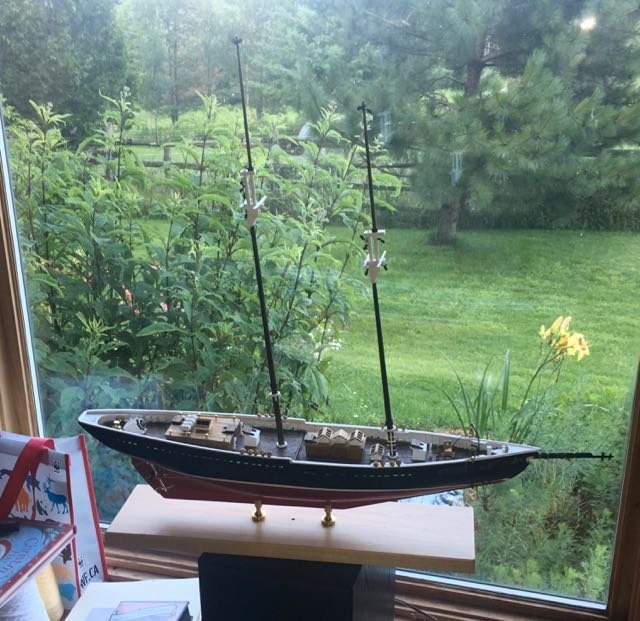
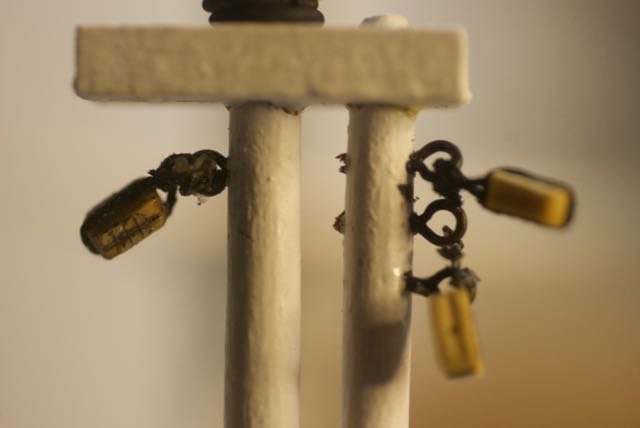
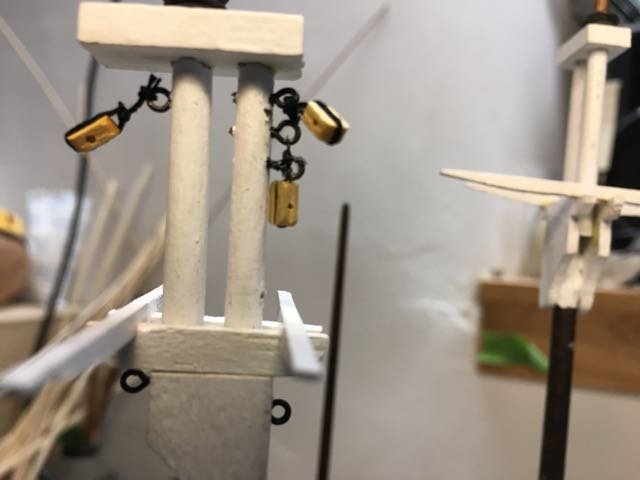
Assembled the masts and then started experimenting with various methods for attaching blocks. AL suggests light galvanized wire they provide in the kit. I also tried out the 3mm hooks from Syren Ship Model (they're not really meant for this rigging use I gather). And what I finally decided to go with was black rigging line (also from Syren)
-
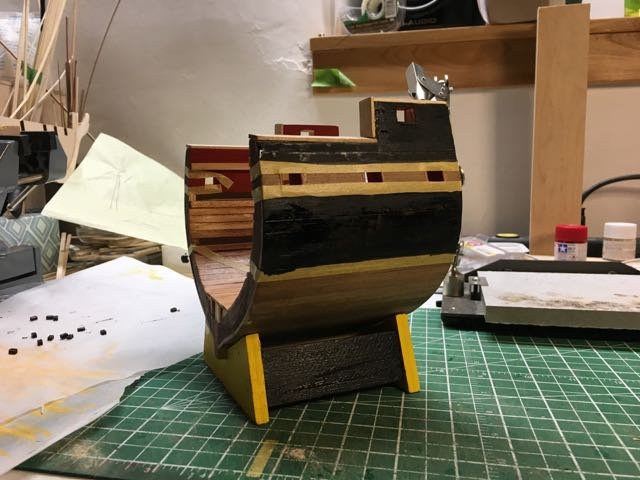
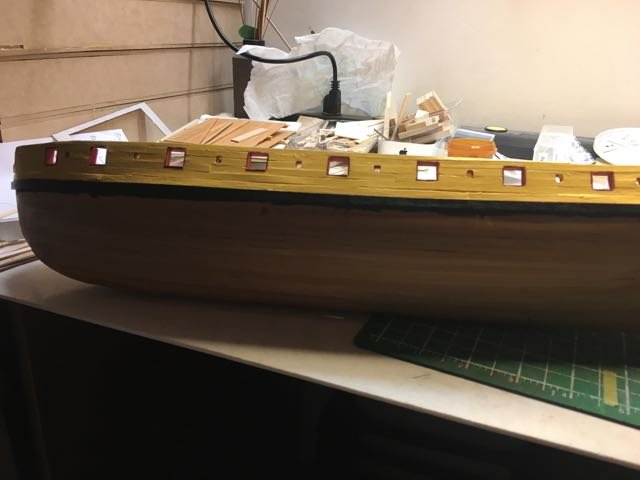
Small steps forward. Applied some stain and poly to the lower interior hull. Now preparing for the outer hull. The recommended scheme is Black above and below the gun ports, white on the gun deck, and copper below the waterline. I'll try out copper adhesive foil in preparation for copper bottoms on the Syren and Prince de Neufchatel. This kit is a great testing ground for me. 1st coat of black
- 99 replies
-
- 7
-
-
- essex
- cross-section
- (and 1 more)
-
Danny, you shouldn't put ideas into my poor little head! I just saw and ad for a OcCre Trinidad and cross section kits. I purchased them. Now they're going to sit on the shelf taunting me for the next few years 'til I'm confident enough to start in on them. Thanks loads!!!!
- 99 replies
-
- 5
-
-
- essex
- cross-section
- (and 1 more)
-
Welcome Tom. I'm think you've landed in the right spot. You'll find lots of helpful hands offering advice and encouragement. I will assure you though that some of us are complete novices at model ship building and in some cases at modelling in any form. Yet the masters here are willing to help us out when we ask. A great place to learn and to share. Beautiful little boat! Did you do all the decoration by hand?
-
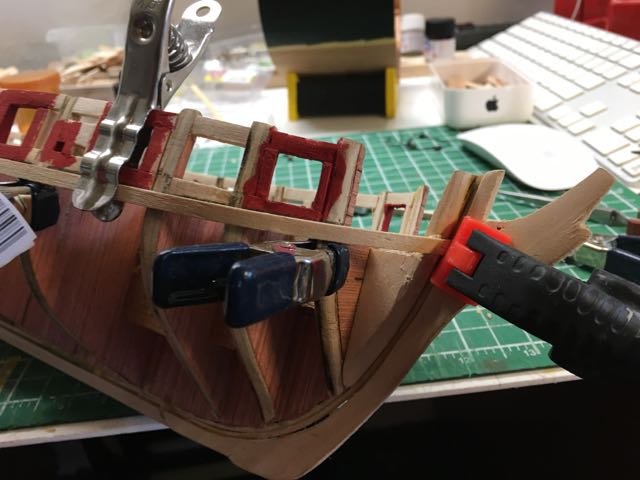
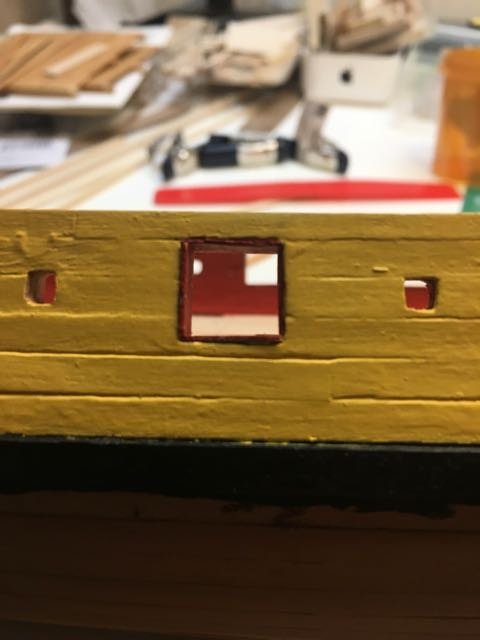
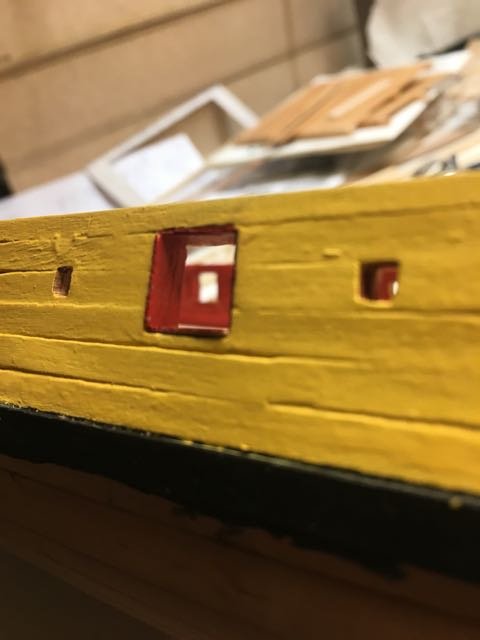
The gunport frame have now all been installed. A better look than before.
-
Nice work David. I've been working on the same issue on the PdN. Normally the Tamiya tape I use for masking has worked well. But this time I had the black seep under the edge onto the yellow. With the contrast between the 2 colours if seems to get you whichever way you go (black 1st or yellow 1st). I finally ended up with a very small brush in a steady hand (sort of steady - at least not a 3 espresso hand). I think its acceptable. We need to remember that we're likely the only ones looking at that level of detail. Enjoy your reunion.
-
Hi Cliff, just at looked at the Echo xsection. That looks great! I'll watch for your log when you get your materials. I am enjoying this build although since I'm timesharing on other build it won't go very quickly - I'm in no real hurry!
- 99 replies
-
- 1
-
-
- essex
- cross-section
- (and 1 more)