


Heronguy
-
Posts
863 -
Joined
-
Last visited
Content Type
Profiles
Forums
Gallery
Events
Everything posted by Heronguy
-
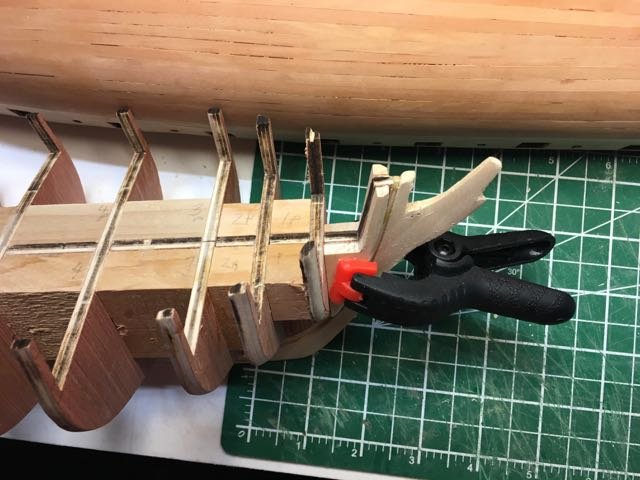
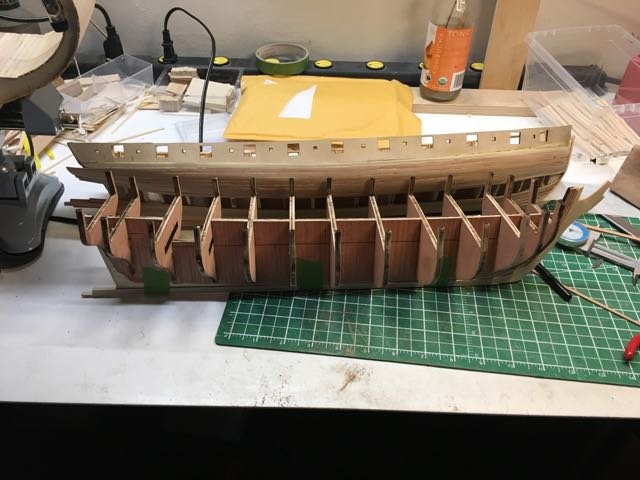
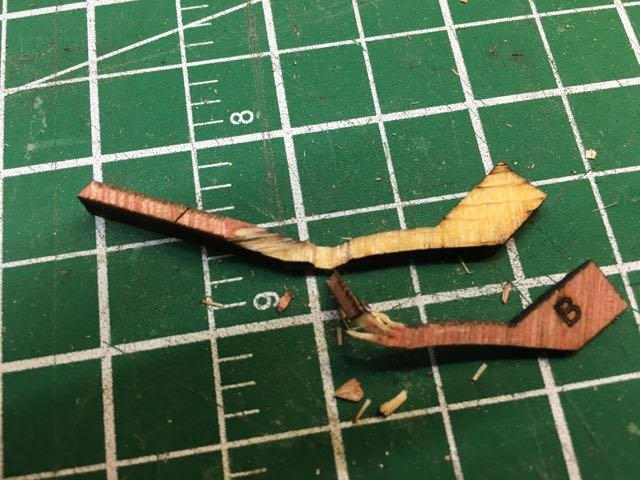
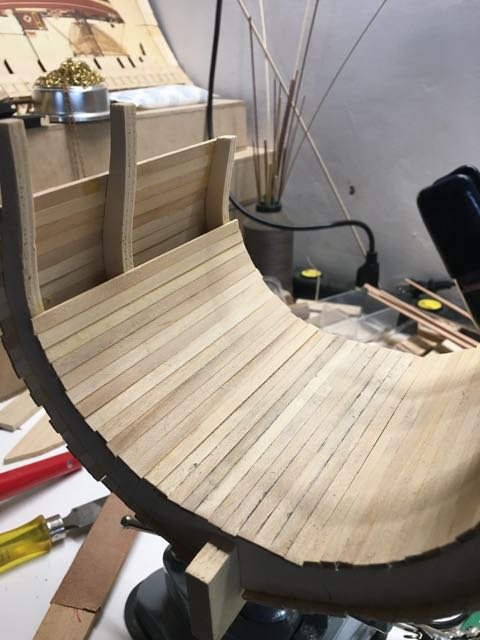
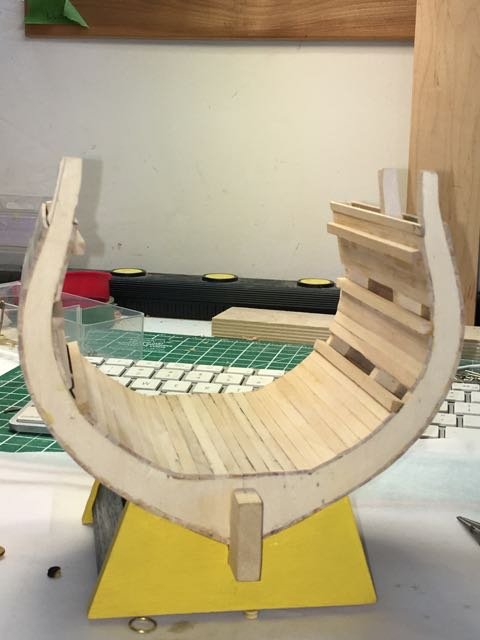
 Once again the guidance provided by the fairing marks etched on the bulkheads made the fairing process pretty straightforward. I used an x-acto blade to pare down the bow bulkhead close to the fairing guides then sanded to create the smooth transition between bulkheads. Top I forgot to install the kit supplied bow filler. Not too late though. A batten bent with a curve at the end was used to check the fairing. Although I was being careful (you see I do learn from one build to the next) I did manage to break one bulkhead extension when my sleeve caught it. It gave me trouble several times after that as I tried to fix it more permanently. Each fix was a little less satisfactory as more of the joint was damaged. Solution of course was to pin it as well as glueing.
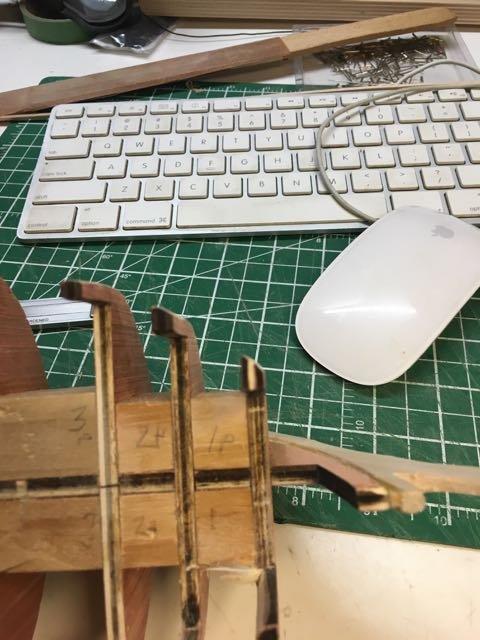
-
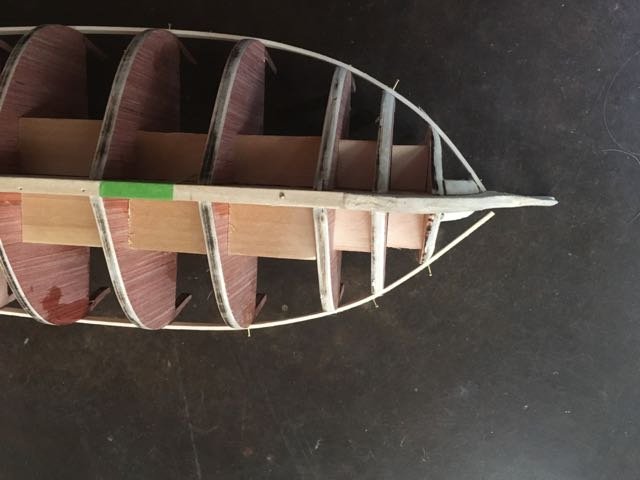
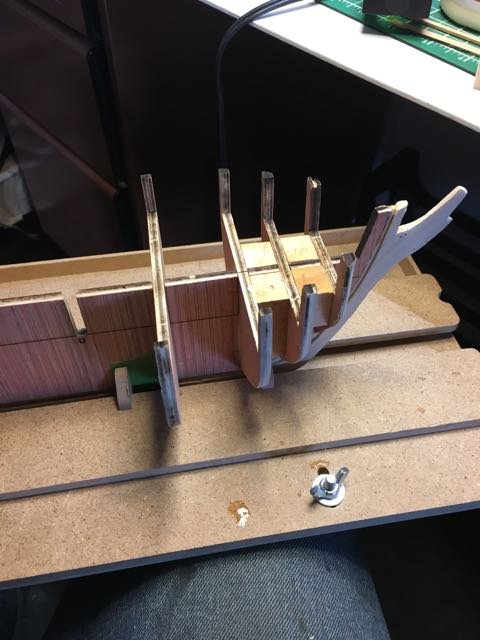
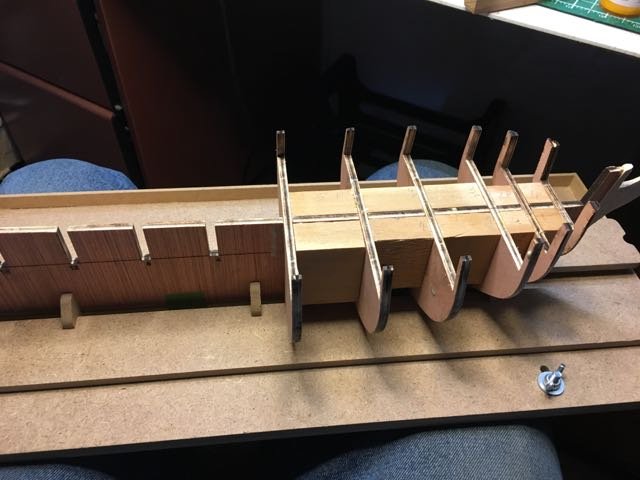
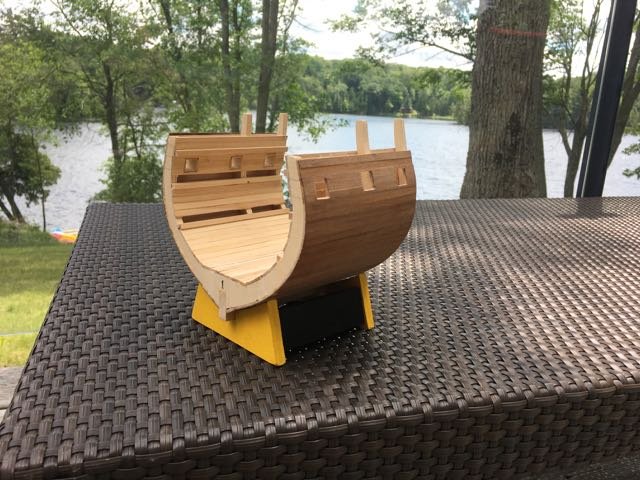
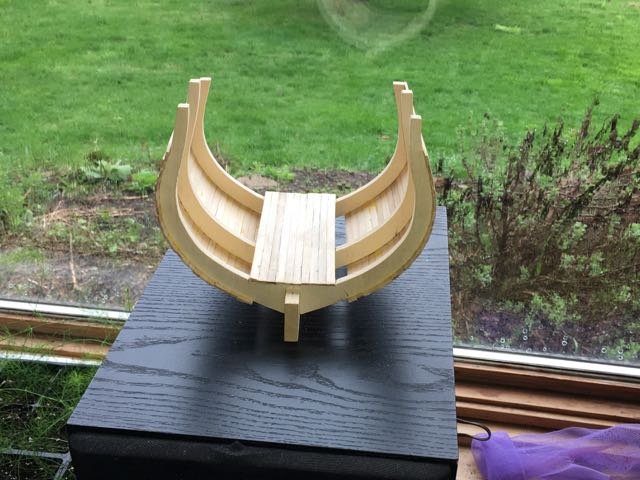
I cut the filler blocks out of some scrap 1”x2” pine. Then I drift all the bulkheads and filler block (the masking tape helped hold the filler blocks in place. Once I was satisfied I started gluing the bulkheads and filler blocks onto the BF Once all the fillers were in the hull was quite a bit heavier but very sturdy

-
Thanks John. Happy flight with your Sopwith Camel build. I'll watch for you Syren build this fall.
-
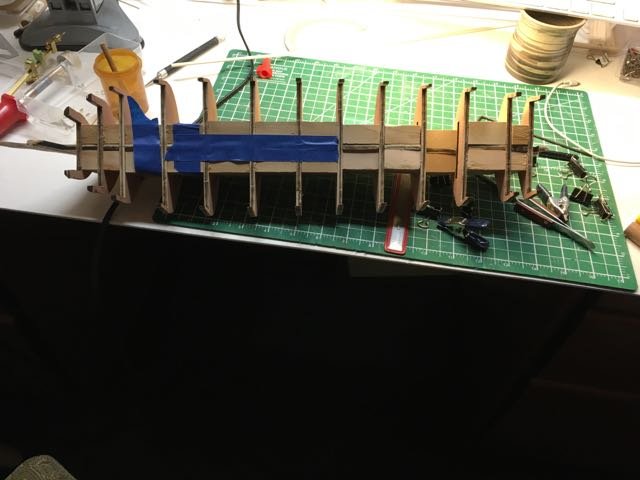
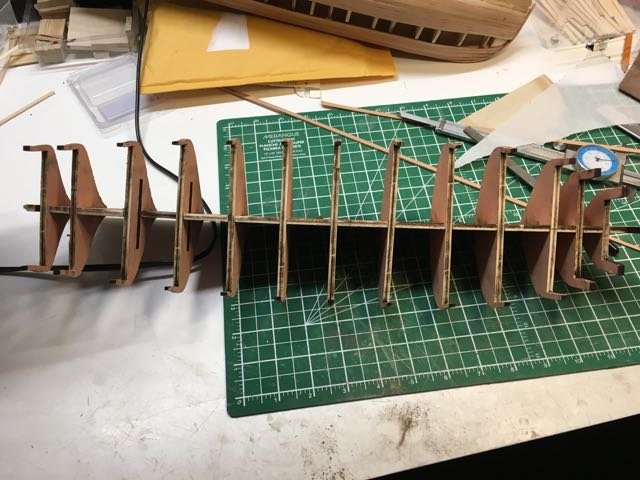
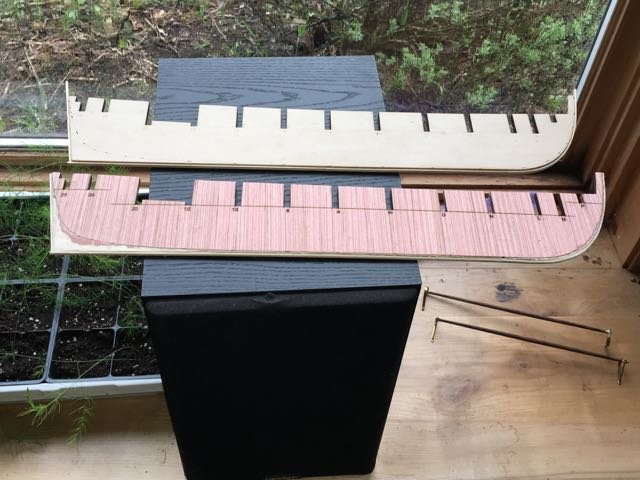
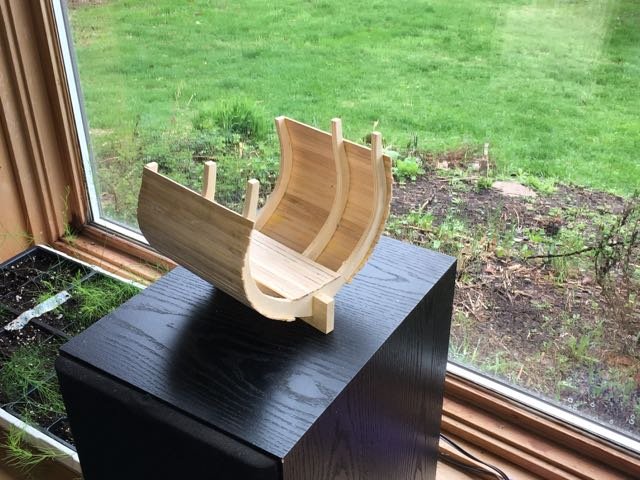
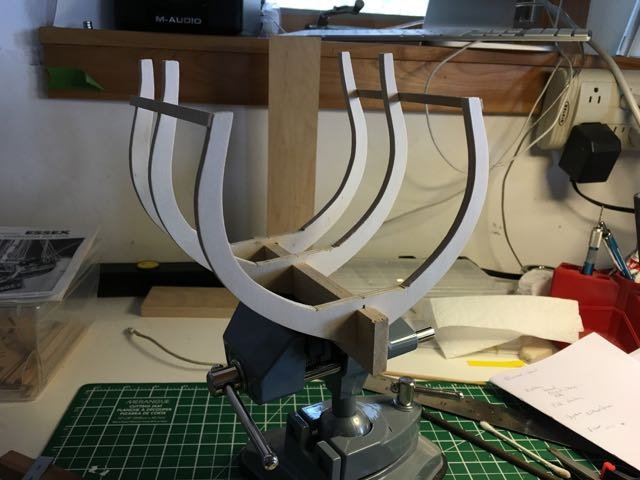
"In for a penny, in for a pound" I might as well continue with the plywood as long as I could - it was a good dry run, right? I found the bulkheads needed very little adjustment to slide into place and seat at the correct depth. No need for shims. There were some minor plywood issues with the bulkheads but no showstoppers
-
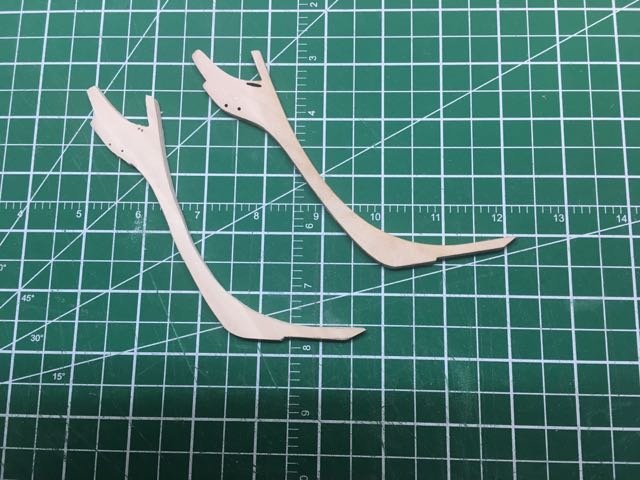
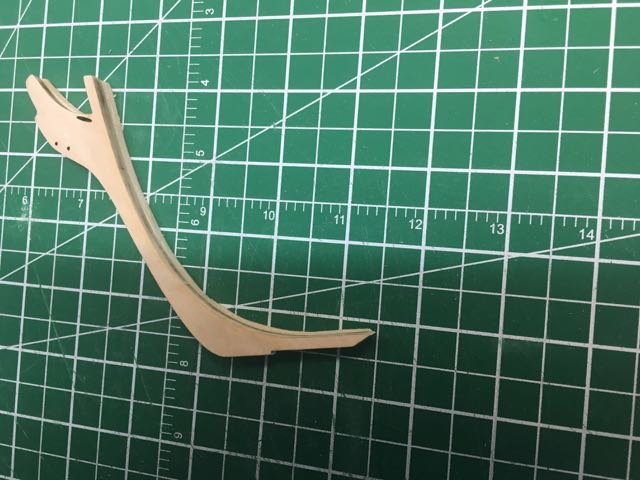
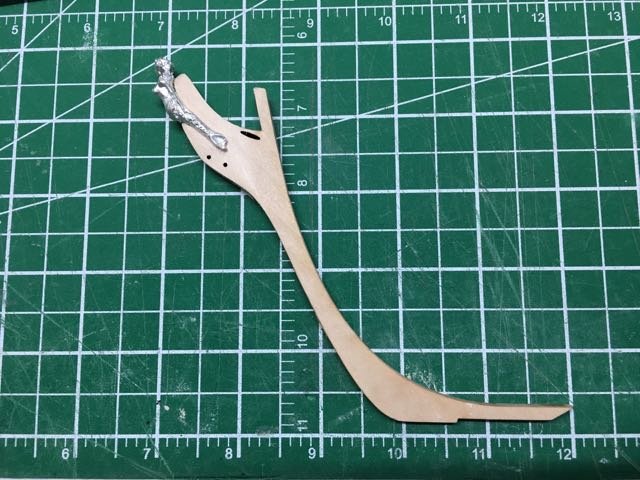
The stem gets some minor tapering for the figurehead. If I was going to continue with the plywood version 1st I would need to duplicate the stem. Simple enough to trace the outline on a basswood sheet and cut it out It won't be as easy to duplicate the figurehead!
-
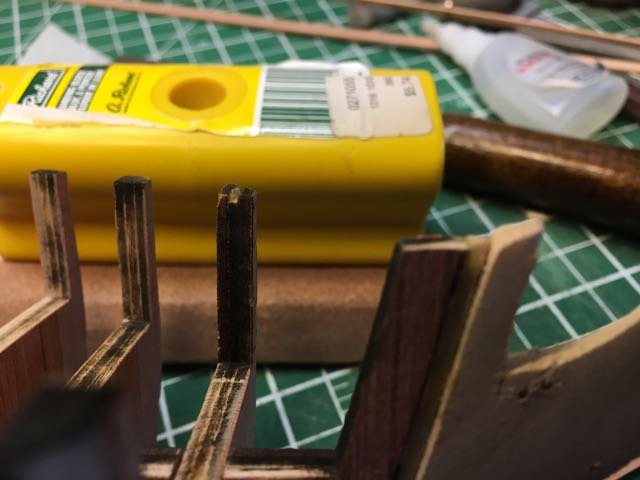
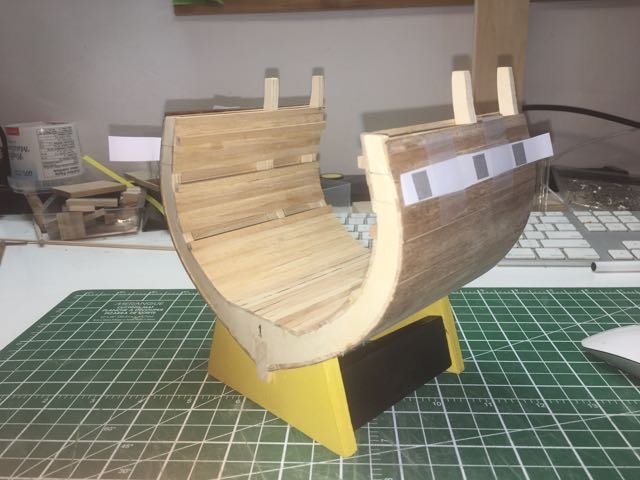
I really liked the way rabbet is formed on this build. I thought it quite straightforward to thin the bulkhead former. The bearding guide lines on the BF make it very clear where to begin the tapering. I had a preconceived notion that the rabbet strip would be wider than the BF but eventually understood the method. Seems quite sensible to me now! Since I received replacement wood for the BF, bulkheads and other plywood bits, and yet the BF and bulkheads went too bad (compared with the stern shapers for instance) I decided to mess around with the plywood version and hold the basswood sheets in reserve. I was expecting trouble! With my favourite tools I worked on the rabbet.
-
Delighted John! Welcome aboard. I'm certainly enjoying the start of the build! I think there are good reasons that this is a popular build. When do expect to you might get to your build?
-
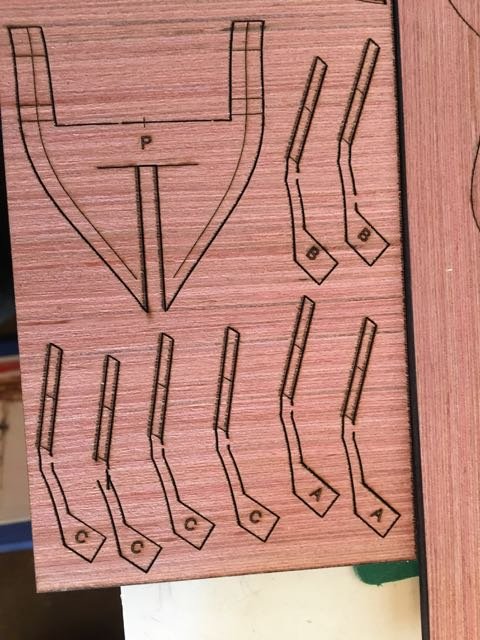
Like several other who have recently started on their Syren builds, I found the plywood in the kit was not satisfactory. Like many others I contacted Model Expo and the issue was dealt with promptly and to my satisfaction. I was not going to start on this build until I had an earlier one completed but when the issues with the plywood arose for 3 or 4 other build this spring I decided I should at least look at the bulkhead former and bulkheads to see if the kit I received had problem wood as well. Once It was open and on my desk I just sort of kinda you know STARTED. There I’ve clearly placed myself in the “Can’t help myself once the box is open” members of MSW. I will never have a large stash of future builds but I may have a lot of models on the go. Here's the original and the replacement which is solid basswood - not plywood. As I have solid basswood for the bulkheads and BF of the Prince de Neufchatel I was quite pleased with the replacement sheets

-
Hope that solves the wood issue!
-
The Syren is the 1st kit that I chose rather than kits that chose me (by being for sale relatively inexpensively when I decided to try model ship building). This is almost true - I did select my starter kit but it was intended as a get my feet wet sort of project. There were a few reasons that the Syren was my choice. First and foremost were the recommendations here on MSW. Mr. Passaro’s elegant design and extensive documentation were a very strong draw. I like the idea of having clear detailed instructions as I learn the craft of model building. Secondly there are lots of terrific build logs for this ship. They serve well as an additional resource to help with interpretations, alternatives, and the inevitable problems that will arise. The craftsmanship shown in many of these logs is both daunting and motivating for a rookie builder like me. The community here on MSW is so supportive that the motivation aspect outweighs the trepidation at not being up to standard. Finally, I like appearance of the ship and will look forward to enjoying it both during the build and once it is completed.
-
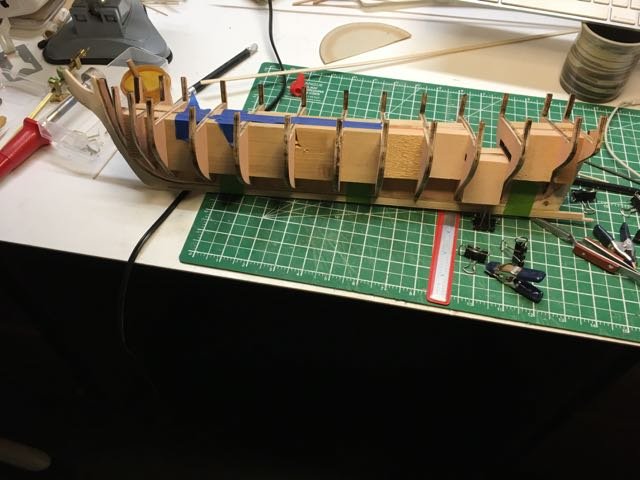
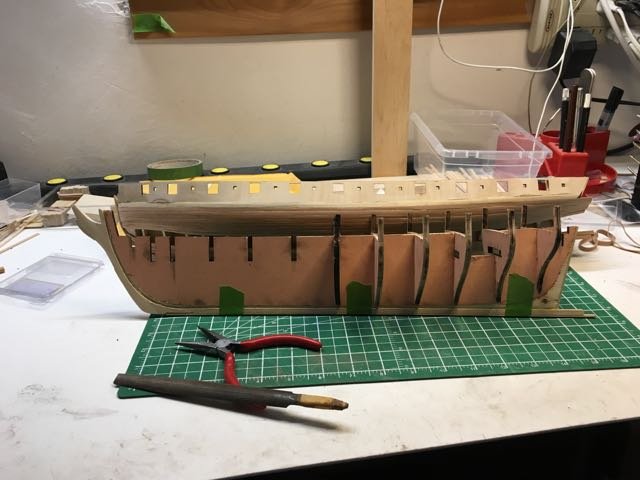
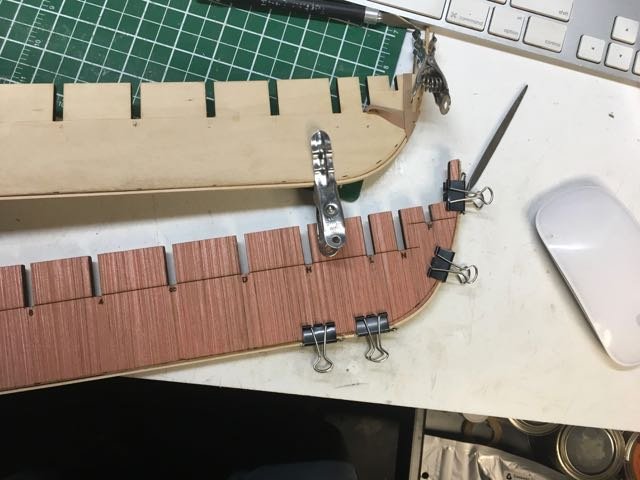
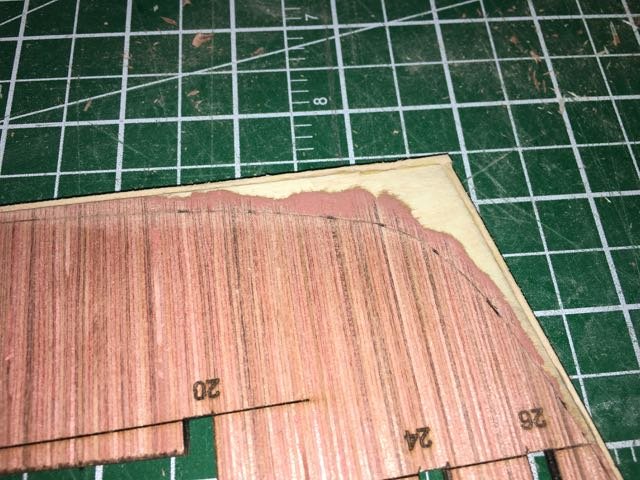
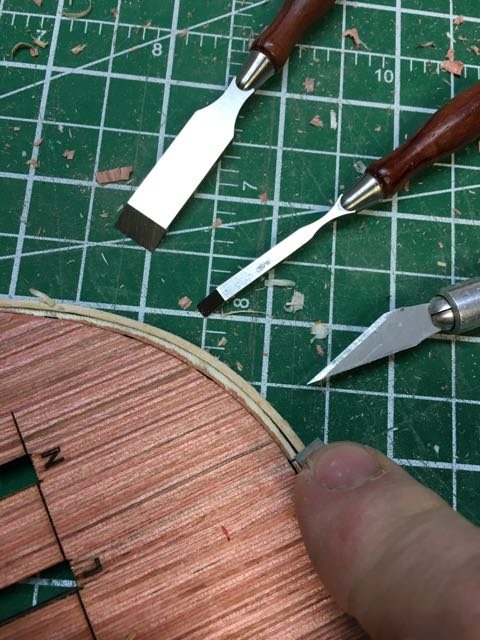
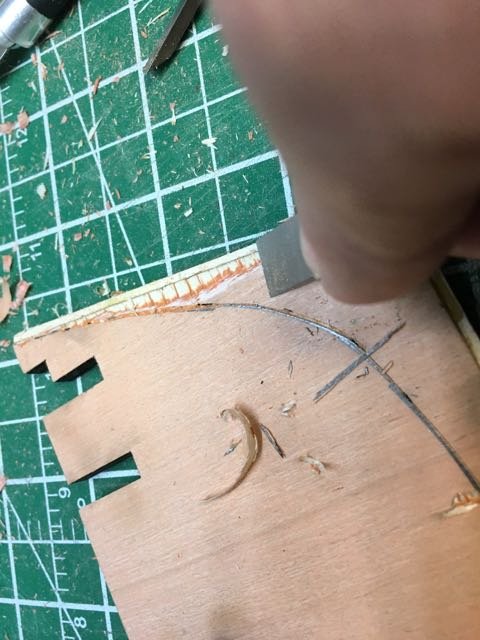
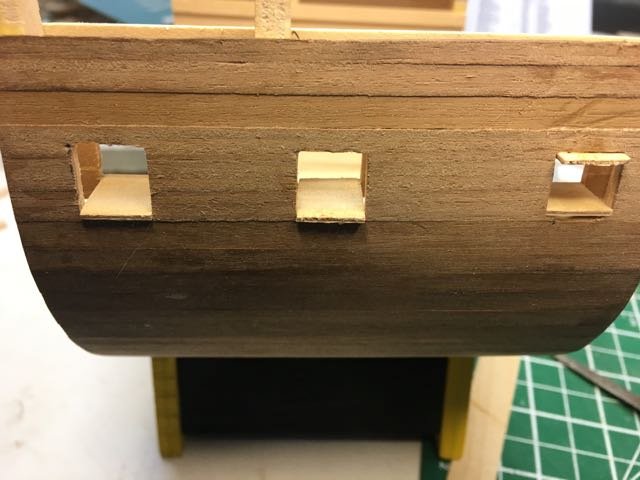
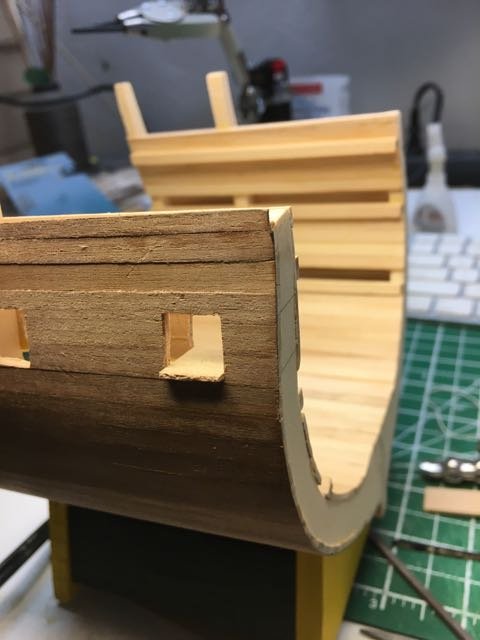
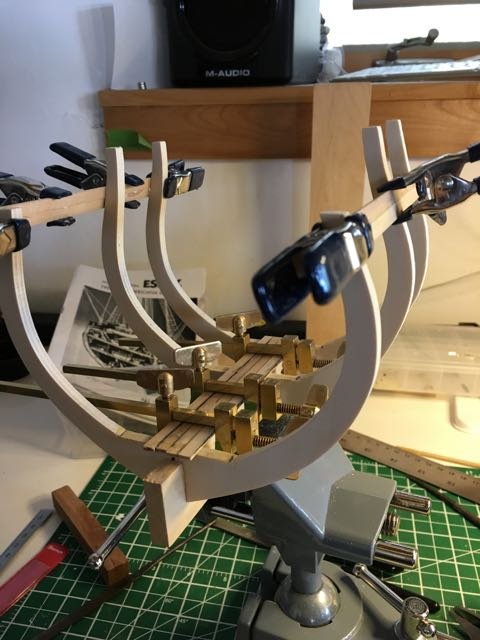
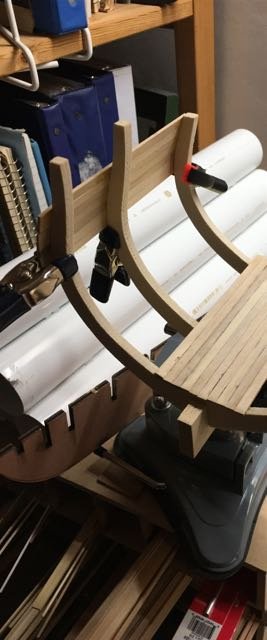
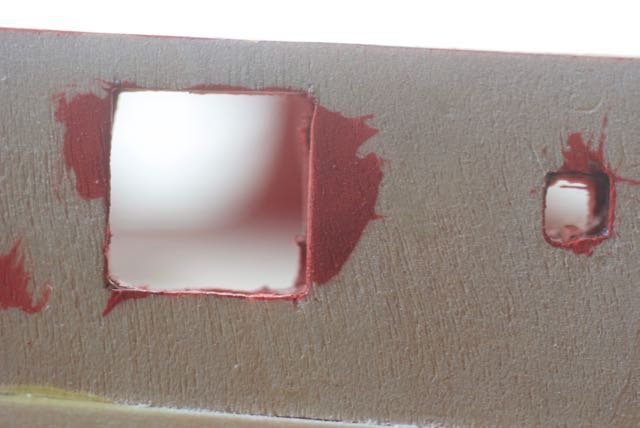
The next step was to smooth off the ends of the planks. Once again the shape of the section makes this a very easy process. I 2nd planked the outer hull for the experience. I am planning to copper plate below the waterline and paint above so it wasn't necessary but I wanted this to be my testbed for various procedures I haven't done before (like getting in the shallow end rather than diving into the deep end!) Next was to cut out the gun ports. A bit nerve wracking but I thought I could turn the 1st one toward the wall if I botched it too badly. It worked out ok. You might notice in the last photo that the 3 gun ports further from the camera have been framed in while the 3 closest have not. They are all done now. This is where it stands at the moment.
- 99 replies
-
- 12
-

-
- essex
- cross-section
- (and 1 more)
-
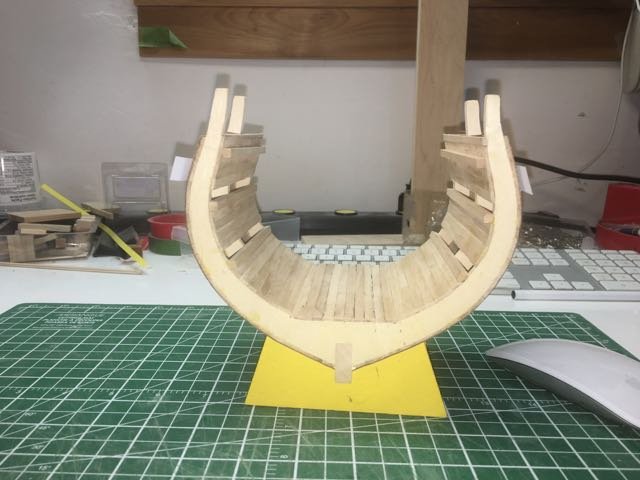
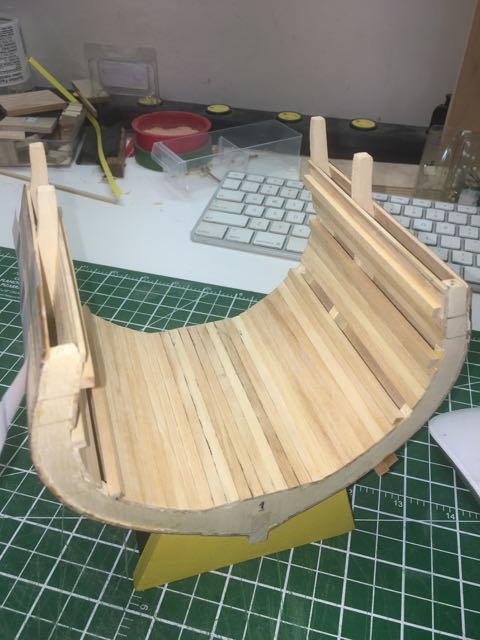
I have do a bit of work on this project before I started this build log - so I'll catch it up with the current state with a couple of posts. The 1st planking of the outer and inner hull is such a breeze - not a taper or a bend in any of the strakes. It was going so easily I forgot to stop on the inner planking to leave a gap for the deck to sit on. I only had to remove a couple of planks to fix that since the width of deck gap was an integer multiple of the plank width. Very considerate if the designer - thank you whoever you are!
- 99 replies
-
- 12
-
-
- essex
- cross-section
- (and 1 more)
-
Welcome and thank you Antony. I wonder how many and what ships Aeropiccola produced and how many may be languishing in closets still?
- 99 replies
-
- 2
-
-
- essex
- cross-section
- (and 1 more)
-
Hi Don and Steve. Don, the kit as provided suggests painting the lower hull copper coloured. I've ordered some copper foil tape so that I can try out coppering. I'm considering copper for the Prince de Neufchatel and for the Syren so a warm up is in order. I think this is a fun looking build and it has several positives associated with it: - it is easy to plank so I can get to other aspects of the build - it is going to take up a lot less display space when complete - it has significant but not overwhelming standing rigging - the cross-section lets me see what goes on below decks since most POB kits don't bother. - it will be a a great test bed for steps I have to learn - rigging the cannons, 2nd planking, copper plating, and square rigged mast configuration.
- 99 replies
-
- 6
-
-
- essex
- cross-section
- (and 1 more)
-
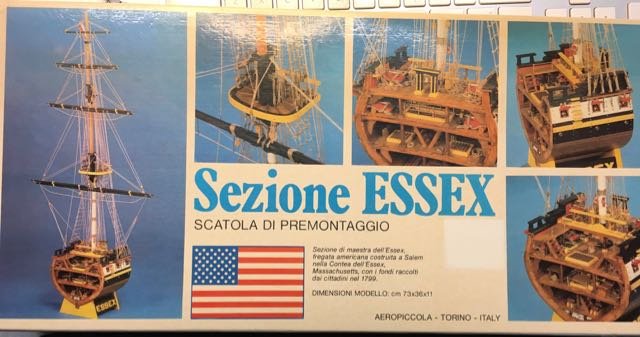
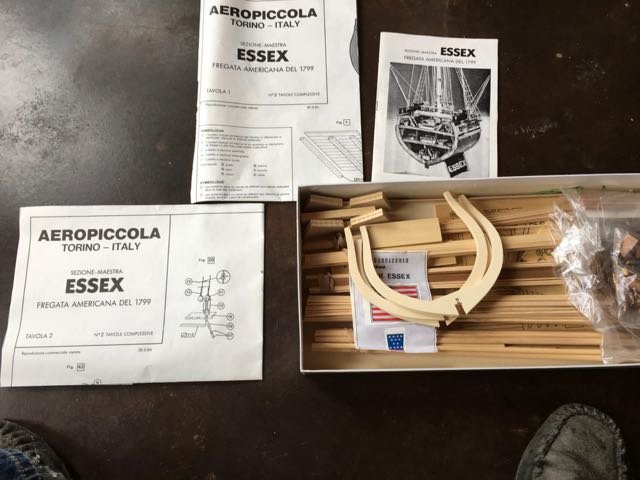
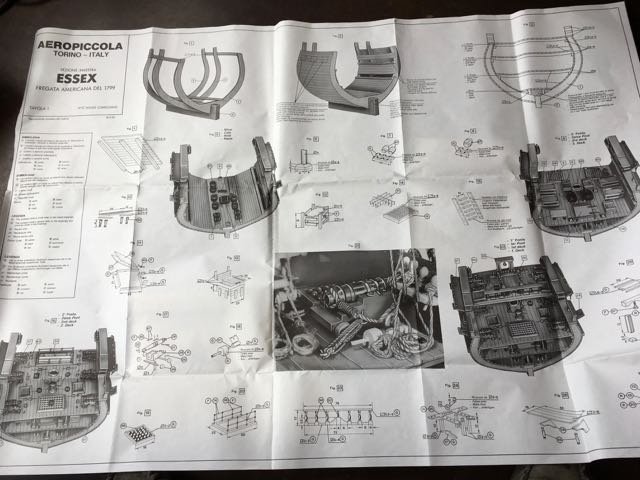
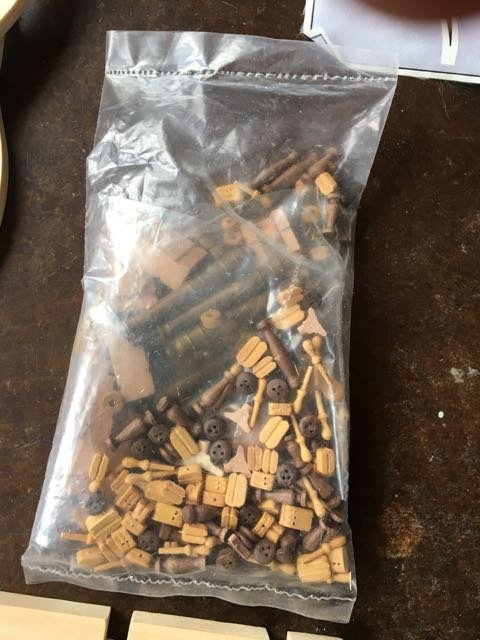
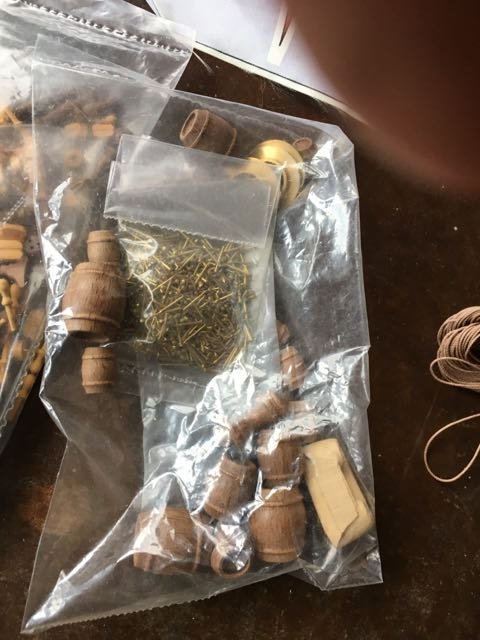
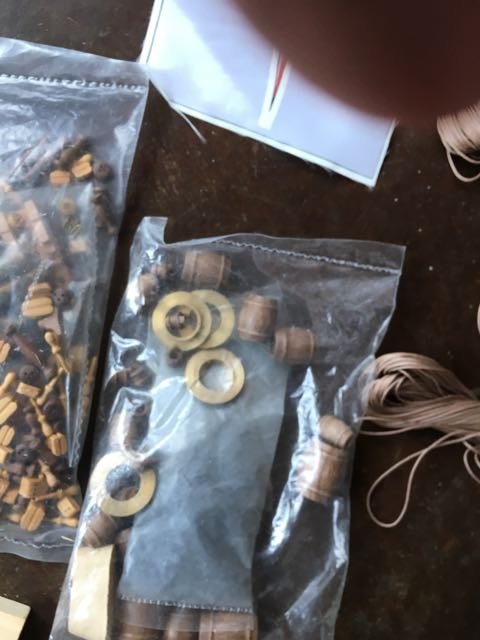
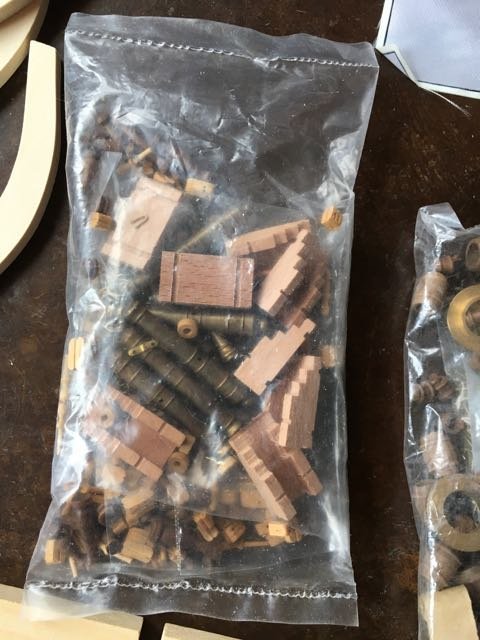
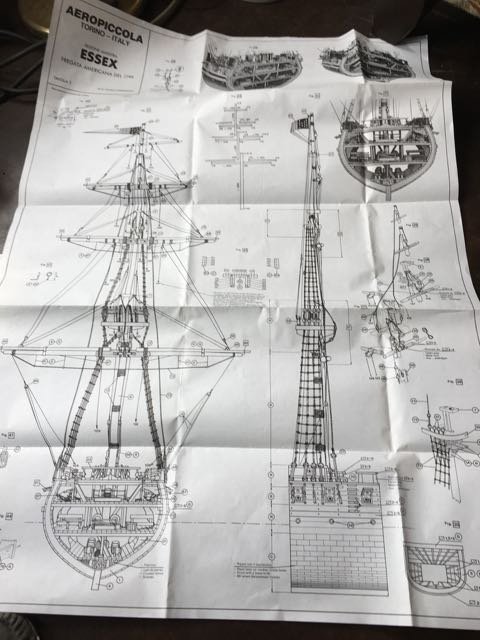
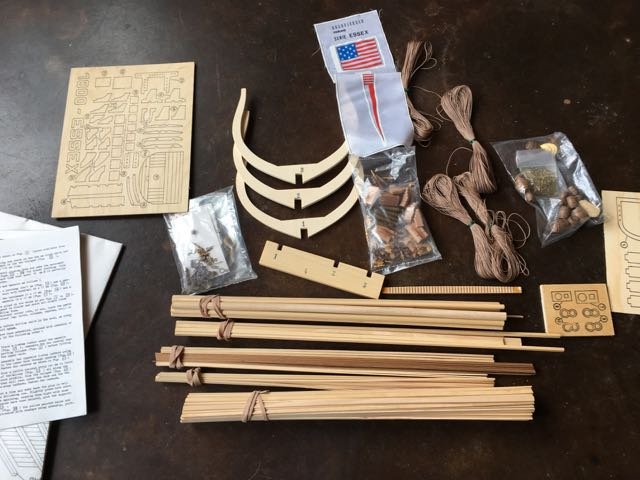
This is a older kit picked up from a estate - someone with a large stash of model ship kits. I bought 2 of the last 3 available - I didn’t need the wood for a scratch build Essex so I only purchased the 2 kits. I gather Aeropiccola has been out of the model ship kit business for many years but I can't be sure of the date of the kit. The plans indicate they were published in 1984. Since this an old kit I'll show the contents. I am quite satisfied with the quality of the parts. The plans consist of 2 sheets of detail images and construction expansions. The instructions are very brief but I think the plans are going to guide the build quite well.
- 99 replies
-
- 12
-
-
- essex
- cross-section
- (and 1 more)
-
As always I got to learn something!
-
Thank you John. Great description. I can imagine that it will take some more practice with my soldering -especially the positioning of pieces while soldering- before I'm even halfway competent. I'll get there. just for the record you also refer to wyes on part 6 page 7 in the 2nd and 4th paragraphs. If you look at the drawing on page 117 of Jenson, you’ll see two iron wyes on at the tip of the bowsprit. and In addition to the wyes, there are two bands farther down the bowsprit
-
Don, quite exquisite! The small details have me dazzled. But splitting wood in July! I - hope its not cold in Prince Albert! The setting for you photos looks very pastoral.
- 653 replies
-
- 4
-
-
- trabakul
- marisstella
- (and 1 more)
-
A very interesting looking ship. I'll enjoy following. It is nice to have more than one build on the go imho
-
Very beautiful! It must be hard to focus on modelling when you are in such a place! Welcome to MSW.
-
I was considering it. I'm also doing a cross-section model that requires the inside framing and it made me think about doing it for PdN. However I think at the scale it won't be noticeable - carronades sticking out and port cover on top. let me see how it turns out for you. I have lots of time to change my mind!
-
Joshua, I'm not sure if this is what you're looking for but happy to oblige. If a different view is what you're after let me know,

-
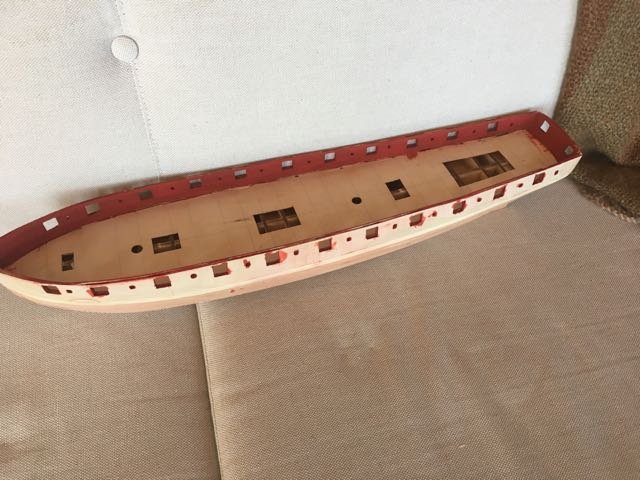
Inner bulwarks painted. Now back to the exterior.
-
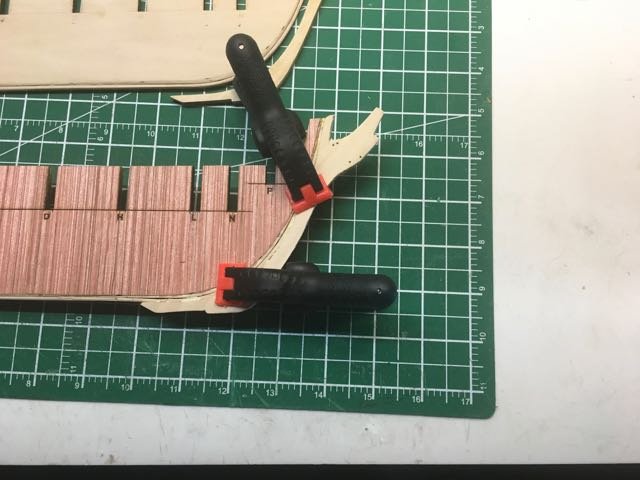
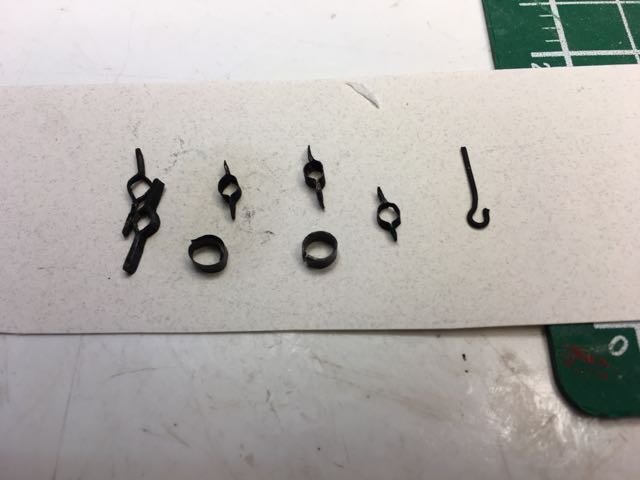
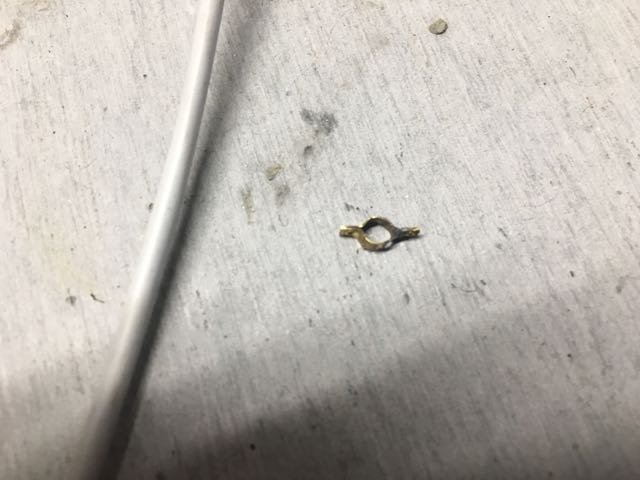
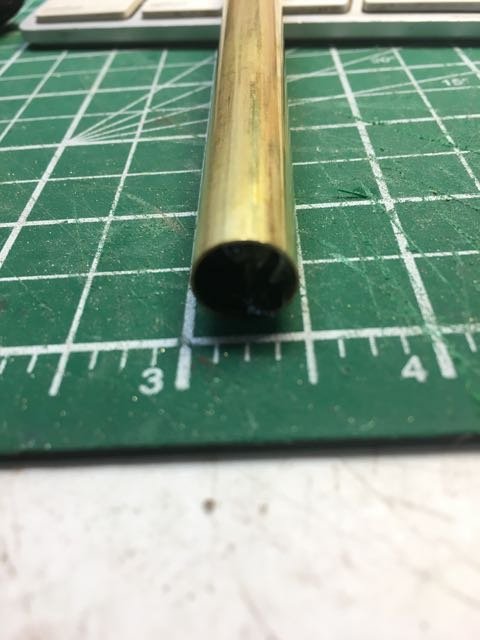
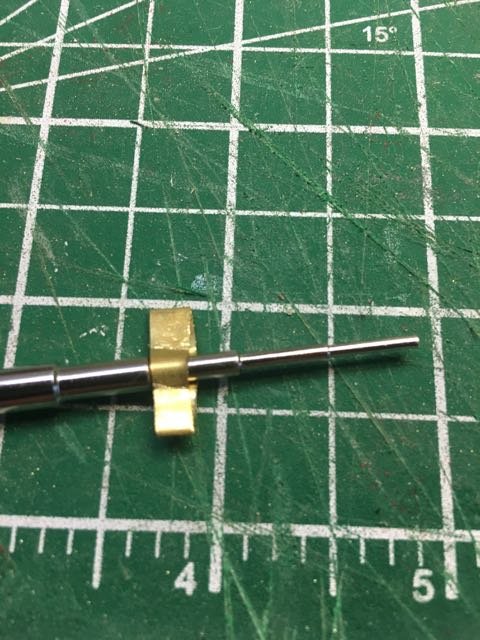
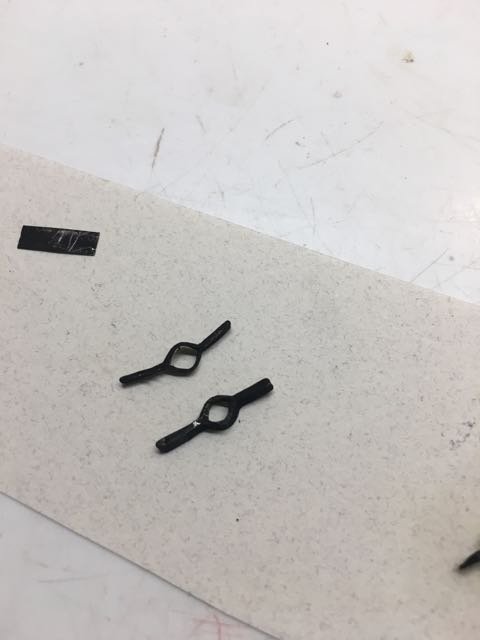
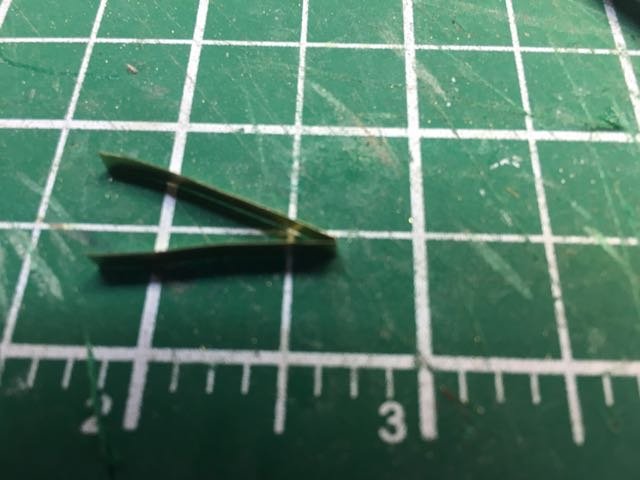
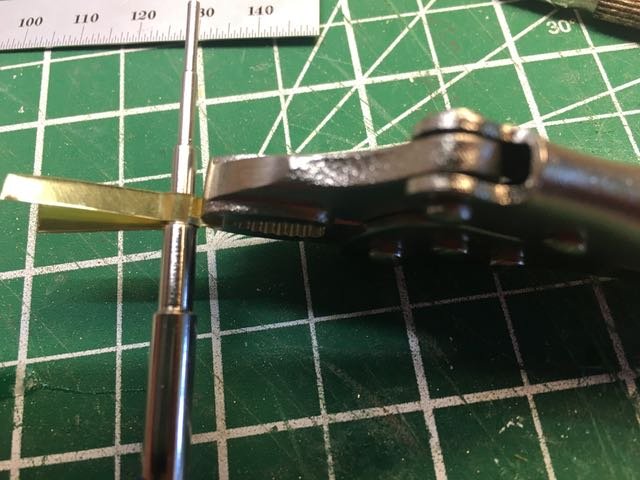
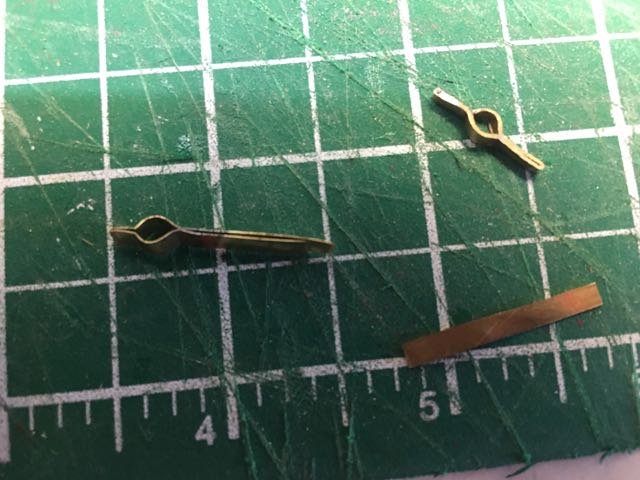
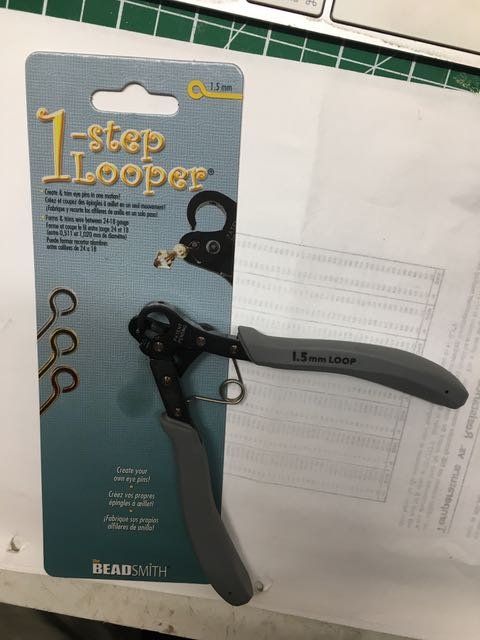
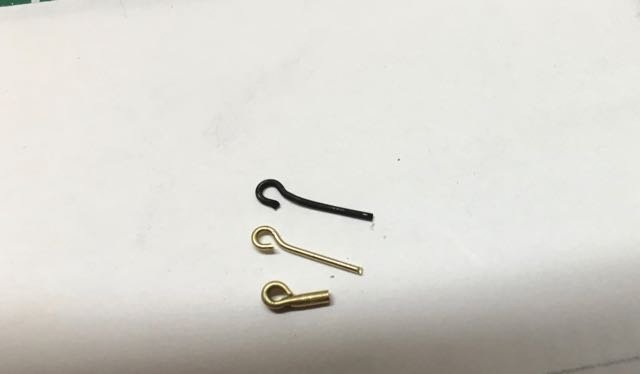
Perhaps I am stubborn enough to build models! This represents the result of 6 or 7 hours of work over the past 2 days. Not much! And that doesn't include the past hour trying to verify the name of one of the fittings - no luck there! I needed to create fittings for the bowsprit. There are a couple of simple bands - no problem there - and a couple of bands with eyes for attaching the bowsprit shrouds. (John Earl's practicum calls these fittings wyes. I've spent an hour with Google and with my 1/2 dozen or so books to try to confirm this name. Help!) I tried three approaches to fabricating the wyes. 1st try was to take a short section of brass tube (I had 5mm diameter on hand), put it on the 3mm step of the mandrel and squeeze it around the mandrel to create the eye projection. Then I took a short piece of brass strip, folded it over and soldered onto the opposite side to form the other eye projection. Centre punched the eye positions and drilled a hole in each. This worked pretty well except in filing it down a bit I did break the solder joint once. To improve the process ( remember I need 2 of these things) I picked up some 11mm tubing with the idea of forming both ears without soldering. Since I wanted 2 the same I used a longer section of tube with the intention of fabricating the wye then cutting it in half to make 2 of them. This being a somewhat spur of the moment experiment I had not calculated the optimal diameter of tube to use. The approach was not bad except the ears were too long for my taste. realizing that I would have to trim them off - destroying the integrity of the continuous surface - I soldered the ears - no saving of effort there. Still the basic results were ok. To cut the wide wye into 2 narrower wyes I ended up using a cutting wheel on the dremel. Only thing was that the kerf was wide enough that the two resulting wyes were too narrow to drill. All this could have been improved by calculating 1st. Third try, and probably most obvious, was to start with a strip of brass - calculated the width this time! - folded it over to create the 1st ear, formed it around the mandrel, trimmed the excess on the opposing ear, soldered the new ear, cut the wide wye into 2, tidied them up and drilled the eyes. Once that all was done I threw the various pieces into the photoetch burnishing solution to blacken them. I like the third try. While in town getting the supplies for this little adventure I also picked up one of these: so I can make little eyes and hooks most easily - only one scale of course.
.jpg.f821f95c5d39f7937fcbd2ead7267a37.jpg)
-
Good things to know before I commit. He replacement parts in from model expo are basswood. I imagine the plywood ones in the 1st set I received would also be difficult to shape - though not as difficult as the hardwood. In any event, Bill, I will continue watching how the stern develops on your build. Best of luck!