HOLIDAY DONATION DRIVE - SUPPORT MSW - DO YOUR PART TO KEEP THIS GREAT FORUM GOING! (Only 13 donations so far - C'mon guys!)
×


rwiederrich
-
Posts
5,516 -
Joined
-
Last visited
Content Type
Profiles
Forums
Gallery
Events
Everything posted by rwiederrich
-
RICH...I'M SO GLAD YOU ARE BACK IN (AT LEAST A LIMITED CAPACITY). Thanks for the fine comments..... Fathers day celebrations slowed me down a bit...but I hope to get back at her very soon. This week I am going on holiday to the ocean, for a weeks long bike ride...so it might be next week I can get back full swing. Rob
-
Well...it is always a solemn moment when someone finishes a build....the anticipation and excitement of visiting and viewing will be greatly missed.....however. Congrats on one of the best examples of model shipwright construction around. You picked a well documented example to model....and from what we have seen you have executed it completely and most accurately. Thanks for the wonderful adventure....and may we be blessed with your new build in the near future. Again....congratulations on her completion as an exploded construction example of a wonderful Webb clipper. Rob
- 257 replies
-
- 3
-

-

-
- young america
- Finished
- (and 1 more)
-
Thanks Pat....she's still a mess and one has to look deeply into her to see the true her coming out. Yes like yourself...research is a big player in the final outcome..... Thanks. Rob
- 3,560 replies
-
- 2
-
-
- clipper
- hull model
- (and 2 more)
-
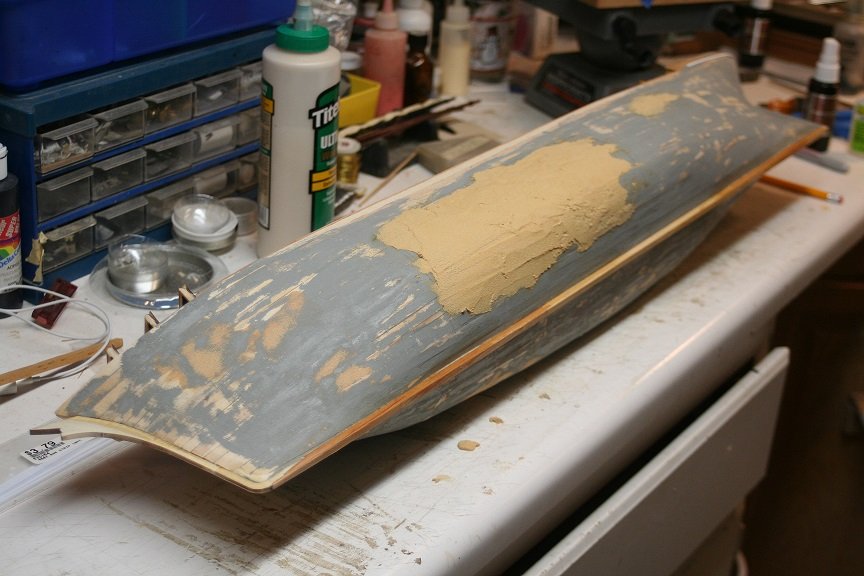
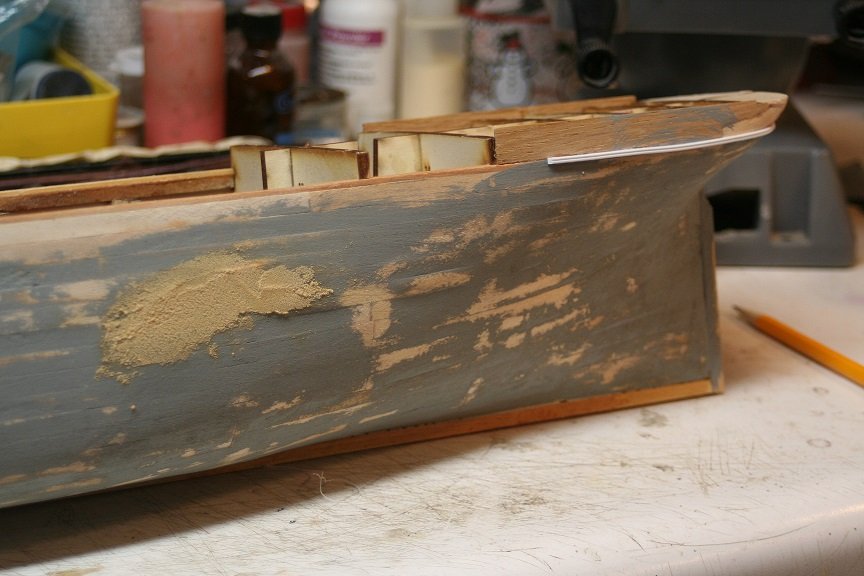
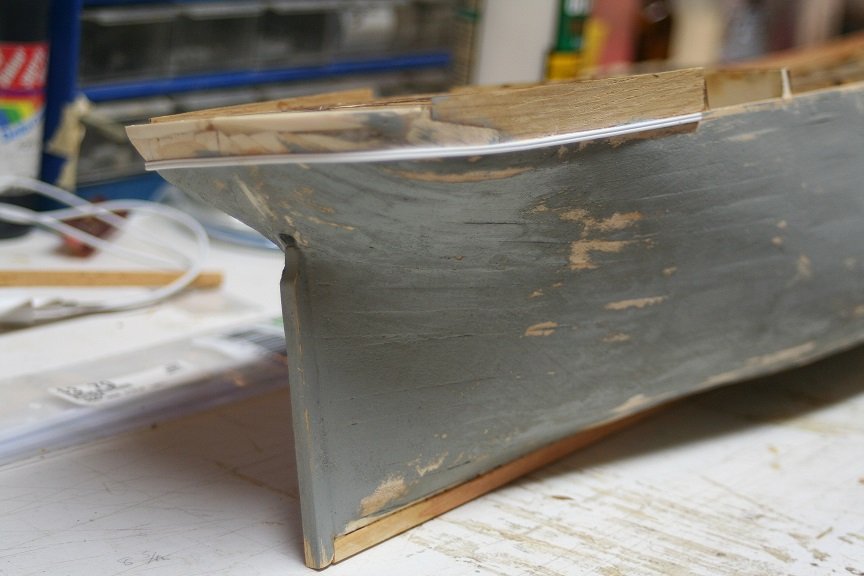
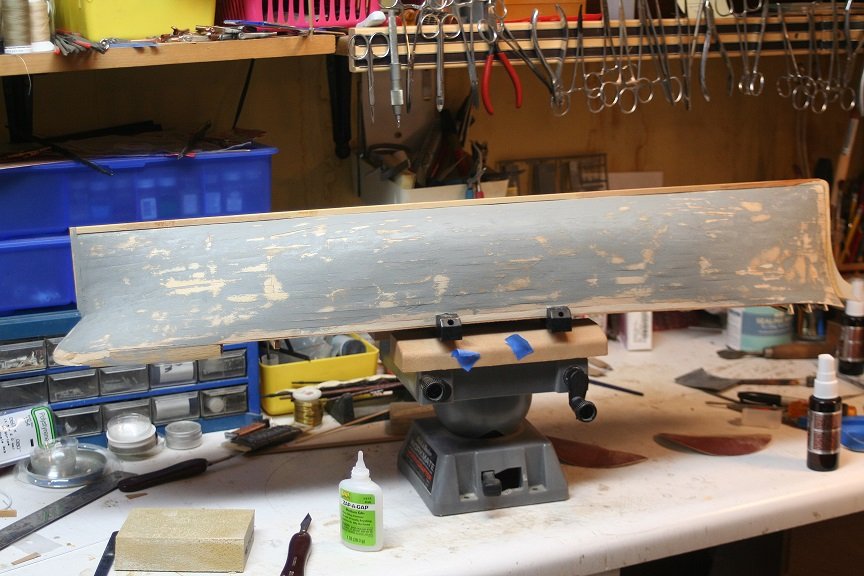
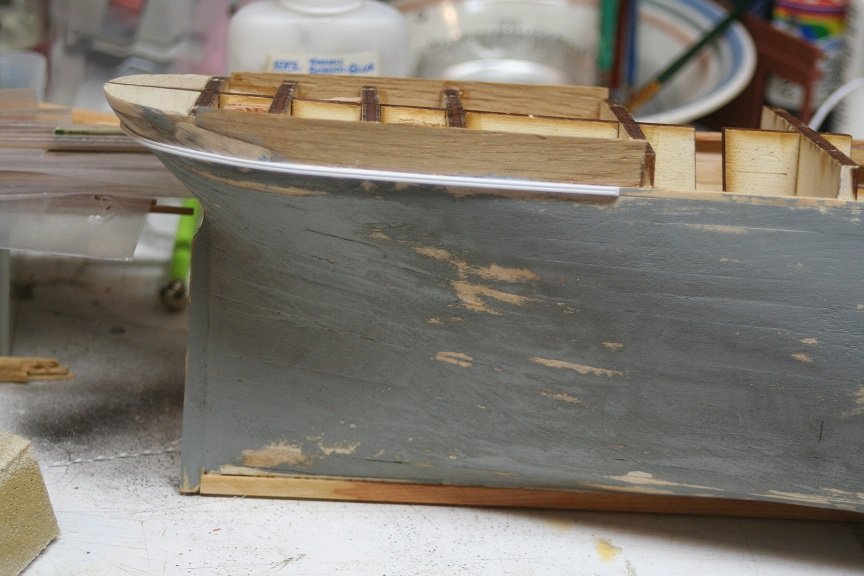
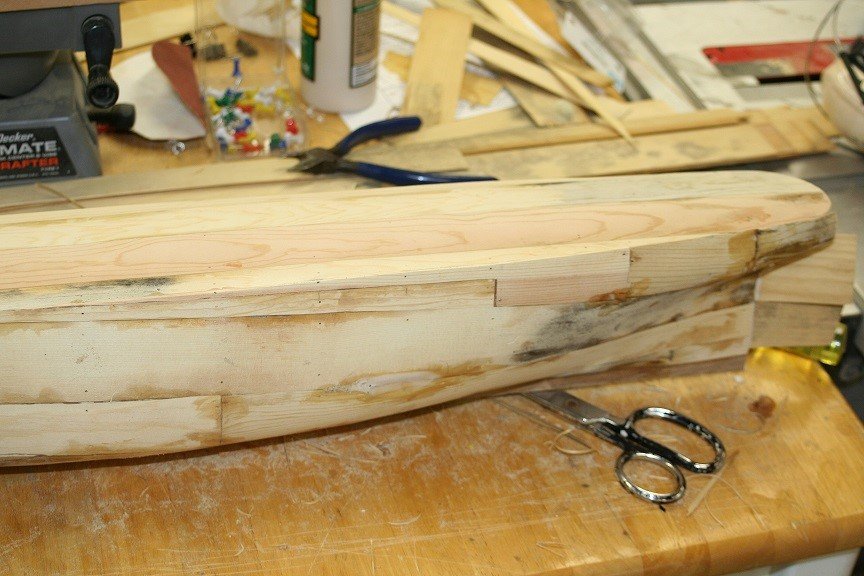
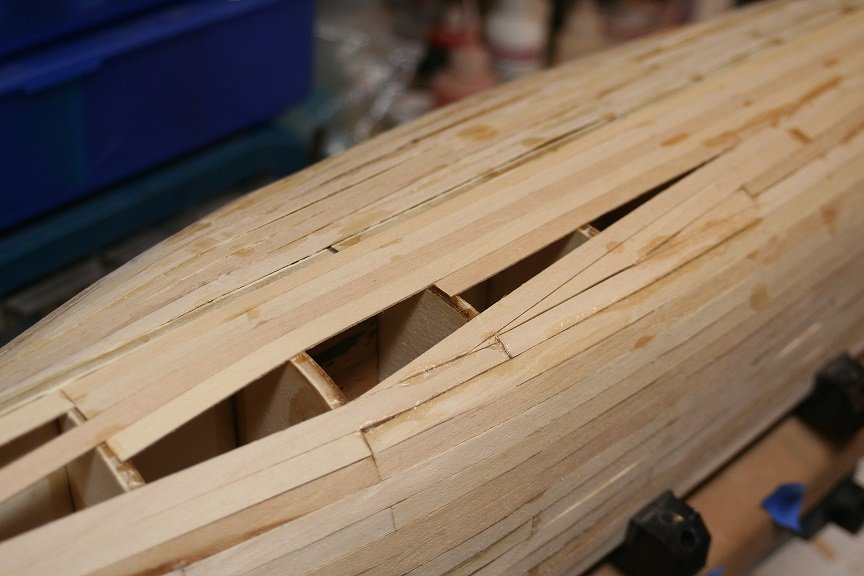
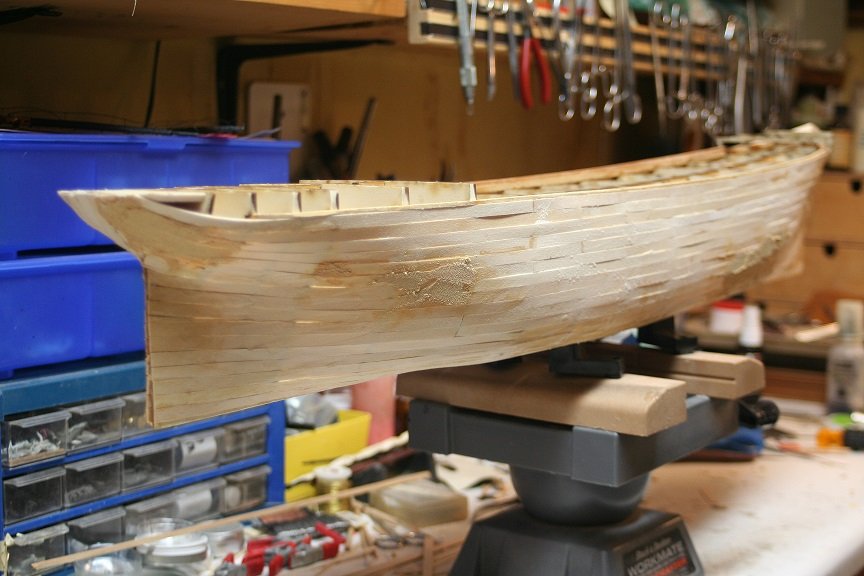
Adding some more filler to fix that bulkhead defect and some more blemishes. Once dry....next couple of days....I will sand again and then add the deck prior to the gunwale and forecastle rail. The hull looks a little short, because of the lack of gunwale. Rob
- 3,560 replies
-
- 7
-
-
- clipper
- hull model
- (and 2 more)
-
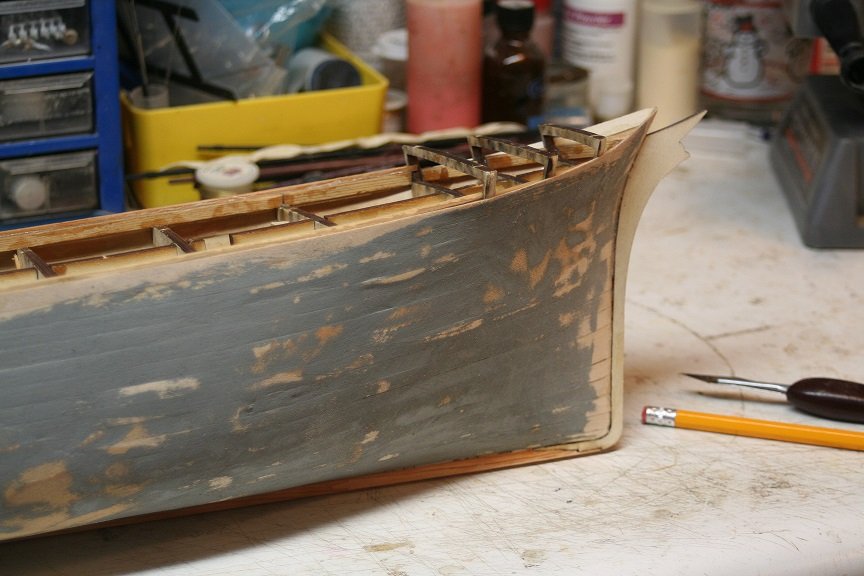
NOw to some serious hull working....I added the stem...stern post and the keel. I also reduced the stem width to a scale 9" and added the planksheer around the stern. I still need to contour the section between the planksheer and the rail moulding. I also added some more filler to complete the hull correction and to fix a few dimples. Rob
- 3,560 replies
-
- 4
-
-
- clipper
- hull model
- (and 2 more)
-
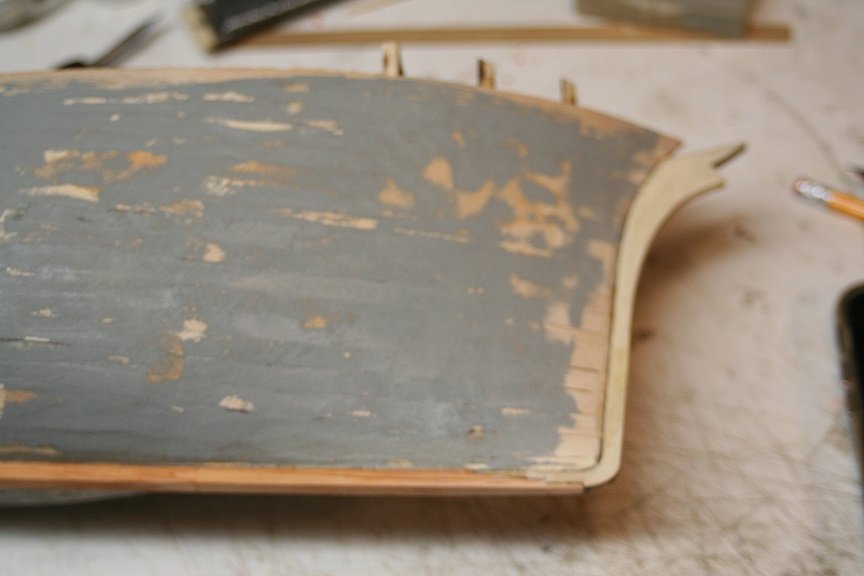
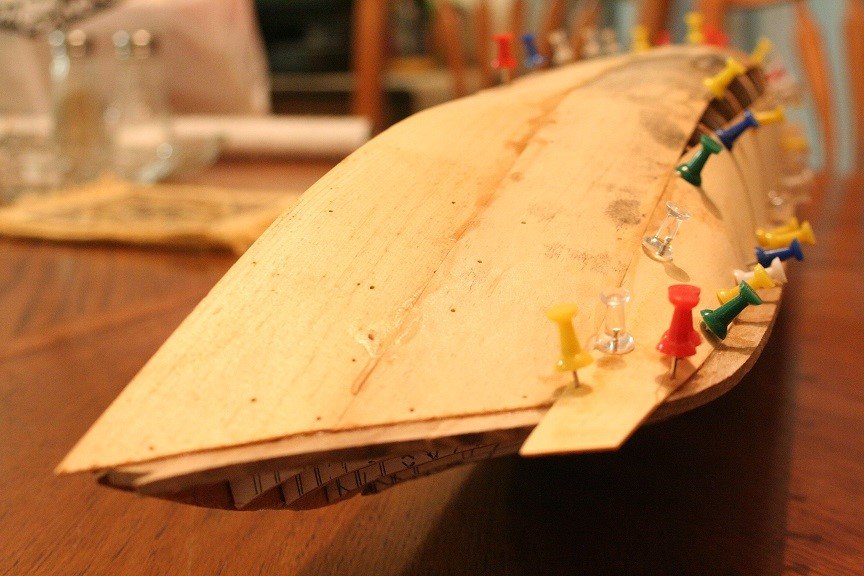
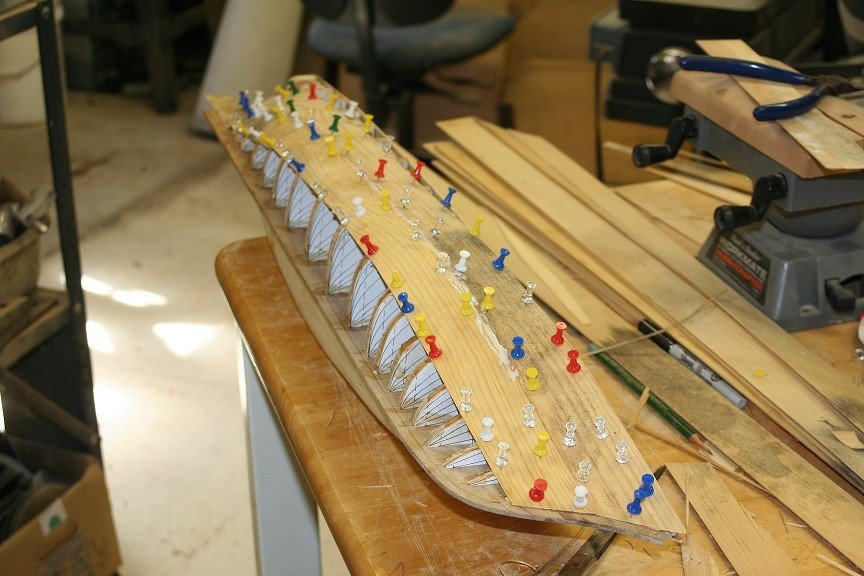
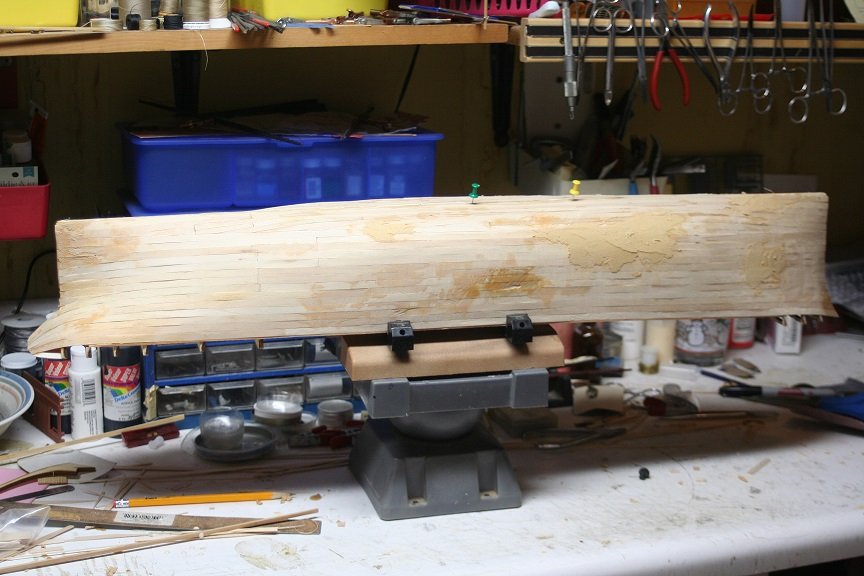
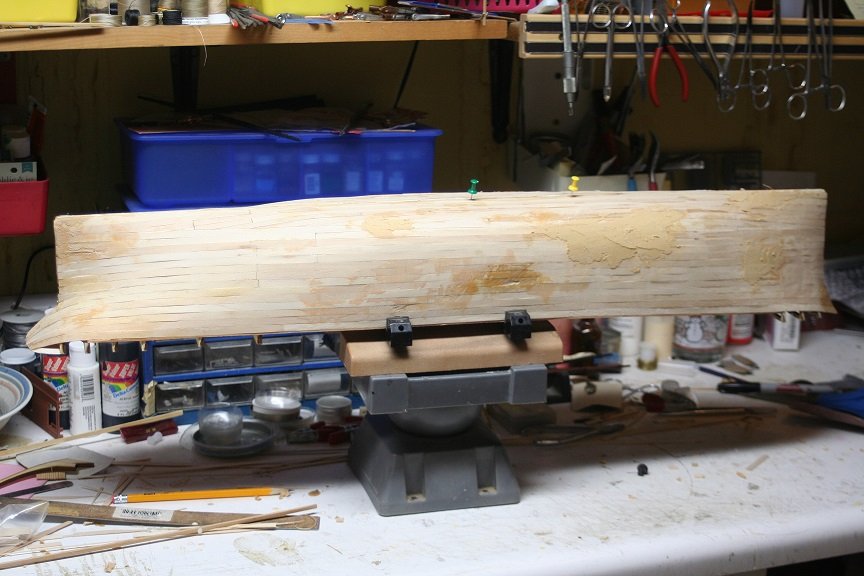
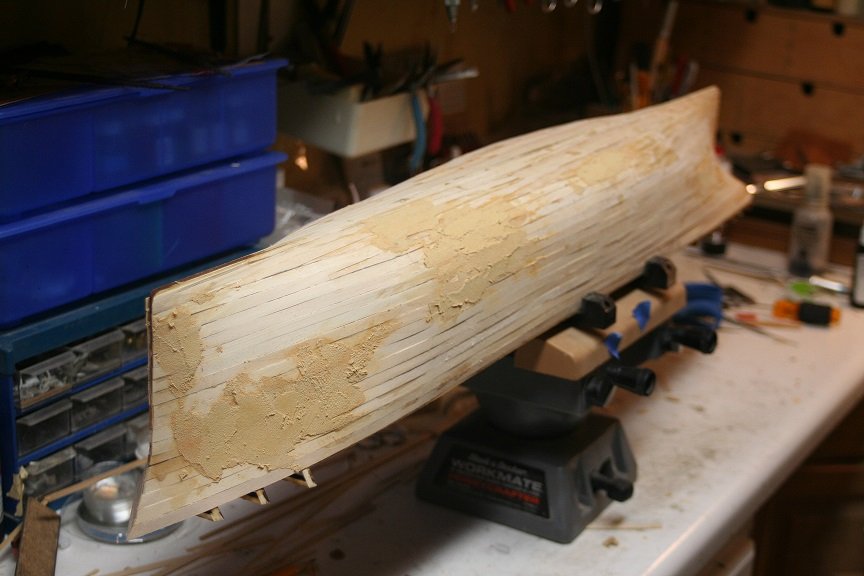
Well here are some images....after some serious sanding/filling. Don't worry...things are not as they seam.....do not follow the strake lines...they are off....but no matter.....Speed Racer is here to save the day..... The stem will be cut back to accommodate the cutwater and more planks are still need to finish off the forecastle... Rob
- 3,560 replies
-
- 4
-
-
- clipper
- hull model
- (and 2 more)
-
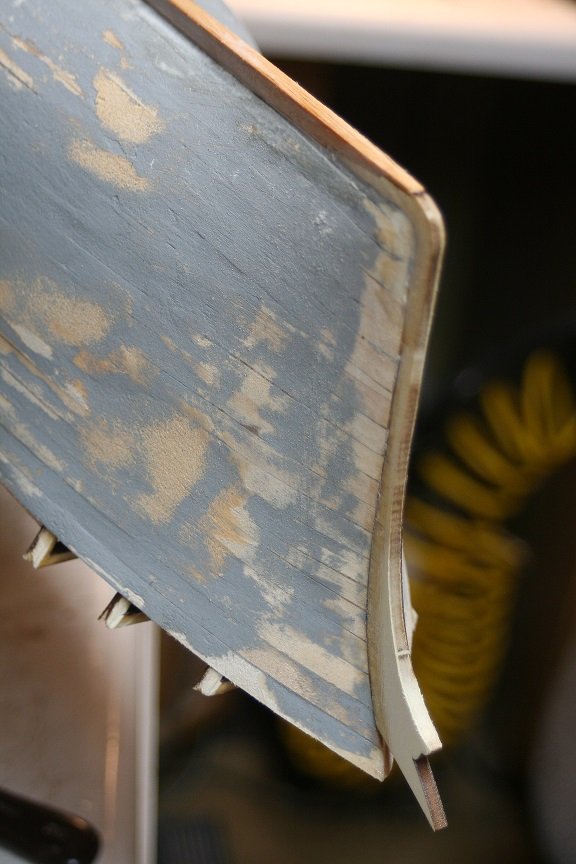
I worked a bit on the hull last night (forgot to take and post pics). (What a loser) Anyway....I worked on the planksheer as it terminates to the stern and I spent some time contouring the portion of the stern that is between the deck and the main rail. It has a different angle(Curve) then the section below and above. The closeup of her stern from when she was heading to Alaska will clue you in. Once I finished that task, I did some more filling of the hull and I ended by applying a thick coat of grey latex paint to the entire hull.....to seal it and permit me a contrast sand better. I'm also coming to a point where I will need to decide if I want to add the deck or hold off and finish up the gunwale , ribs and main rail first. I want to sand and even out the deck prior to install......if at all possible. Again....I hope to post images tonight of my progress (If I remember) Thanks for lookin in. Rob
- 3,560 replies
-
- 1
-
-
- clipper
- hull model
- (and 2 more)
-
Right...I used veneer thin pine strips there are 2' wide to cover my Great Republic hull. It didn't matter what the planks looked like...paint, paint, paint....... Rob
- 3,560 replies
-
- 4
-
-
- clipper
- hull model
- (and 2 more)
-
That's right.....Just remember to make sure you let the plank follow its natural path around the shape of the hull...... Then cut in the next plank. You'll see I did that on mine. Fast make for more fun IMO.....since I am not trying to showcase my planking prowess. Rob
- 3,560 replies
-
- 1
-
-
- clipper
- hull model
- (and 2 more)
-
Vlad.....One thing I adhere to.....is.......if you're going to paint it....who cares what it is made of? I also plan on using styrene strips because they bend oh so sweetly and once painted.....they look just like wood strakes. so my thought is.....use whatever you can to get the job done. Steaming planks......? I don't need to steam no stinking planks........ Heeheehee LOL.... Sorry....I got emotional. Rob
- 3,560 replies
-
- 1
-
-
- clipper
- hull model
- (and 2 more)
-
Indeed...glad you overcame the issues. Once I finish sanding the hull...I will begin carving the mid deck stern portion just beneath the poop deck. I think I will carve it instead of trying to bend planks around to get the right curve and camphor. I'll keep an eye out at your log as well for any updates I can glean from. fingers crossed.... Rob
- 3,560 replies
-
- 1
-
-
- clipper
- hull model
- (and 2 more)
-
Great start Vlad. I see you are running into the same issues I did with the bulkheads. some are slightly indented to the curve of the hull....and others are slightly over extended to the curve. I see you are using plank to bulkhead dead reckoning....good move. It helps keep the hull fluid and smooth. I noticed yo had to remove quite a bit of material on the forecastle bulkheads...by way of your internal reinforcing. I was going to lay a sub deck as you are working up to, but I didn't want the extra added material to impede the height of the deck to bulwark ratio. So I am going to add the decking directly to the bulkhead headers....much like the Flying Fish model. The smaller scale will not directly effect the stability of the deck. Great progress...love it. I'm so glad you decided to begin. Rob
-
Take extra time to verify that all your bulkheads are fared and are transitional. I noted that bulkhead #3,, #5 and I think #9 or 10 have some issures with their widths. Run some string along the bulkheads to validate their true flow from one to another. I had to make some drastic mods to correct these issues. I hope they did not translate to your scale. And yes..the waterway is the most difficult to bend at the bow..... Cut sections are probably your best bet. Good luck and let the fun begin..... Rob
-
I've been watchin. It's kinda fun to be building the same vessel from the same bulkhead design...but being a fully scratch built model as well at the same time. We can glean from one another. Rob
- 3,560 replies
-
- 3
-
-
- clipper
- hull model
- (and 2 more)
-
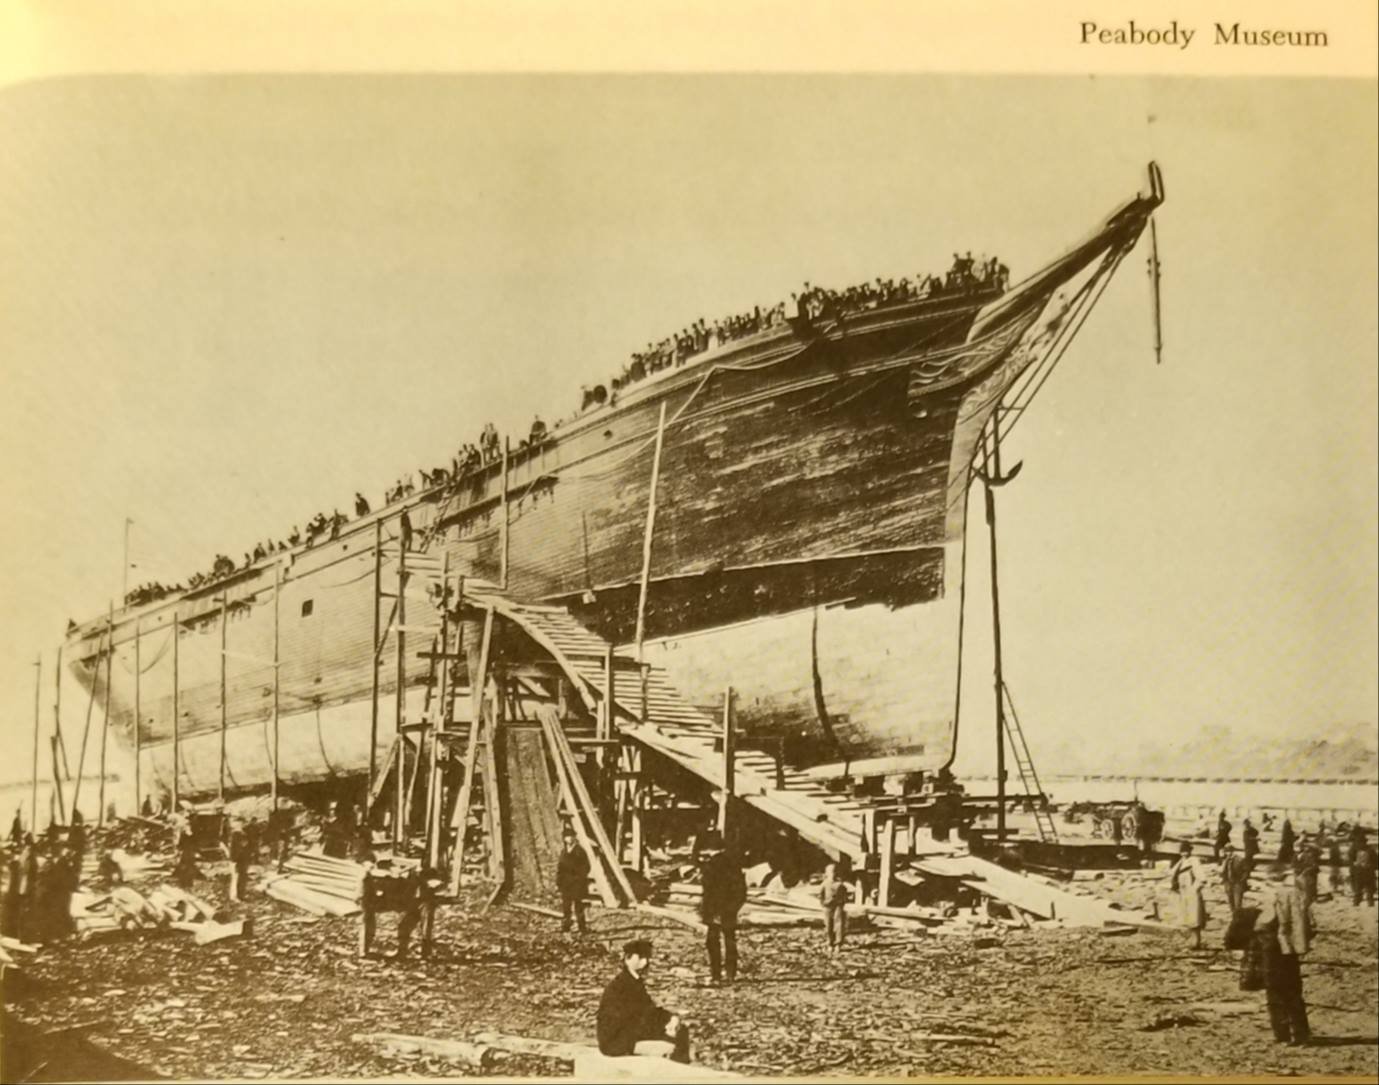
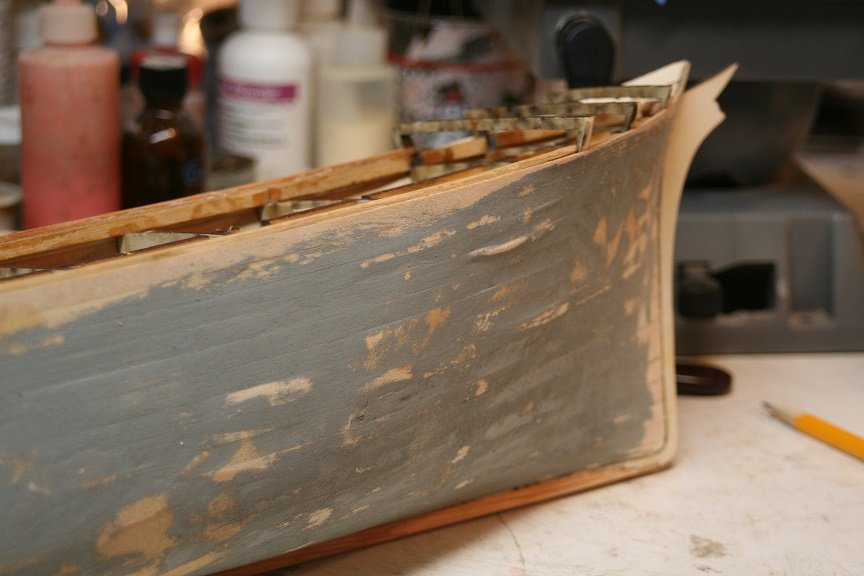
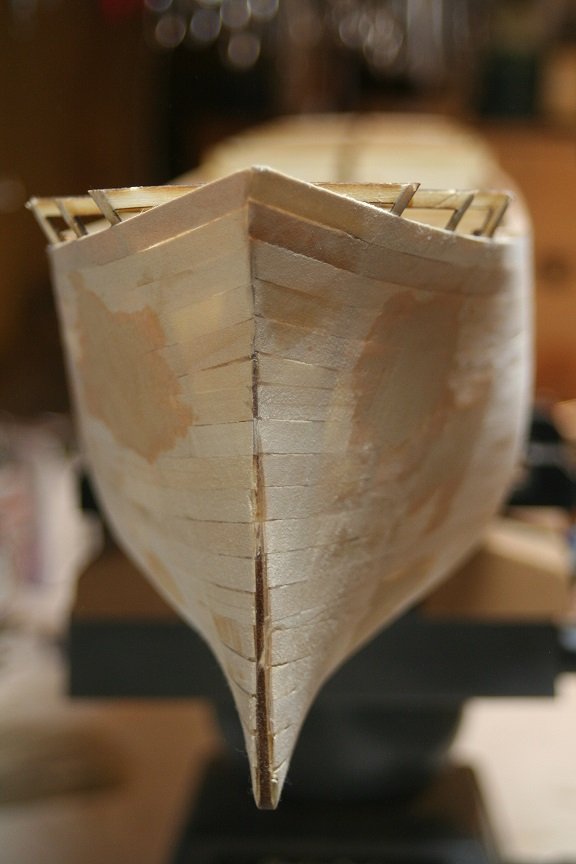
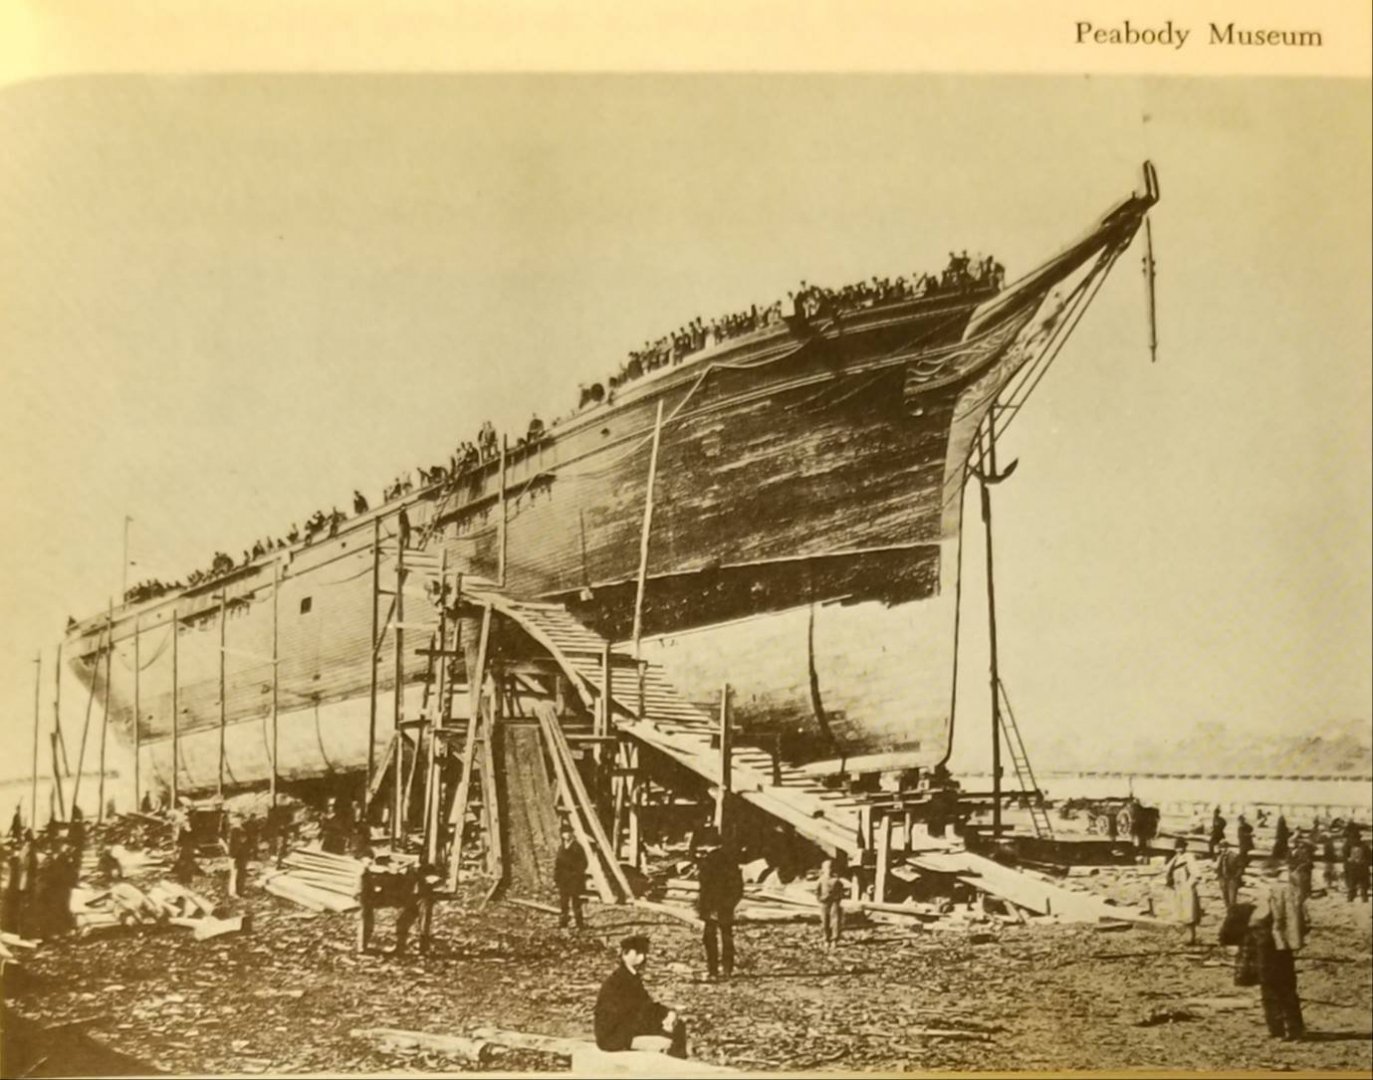
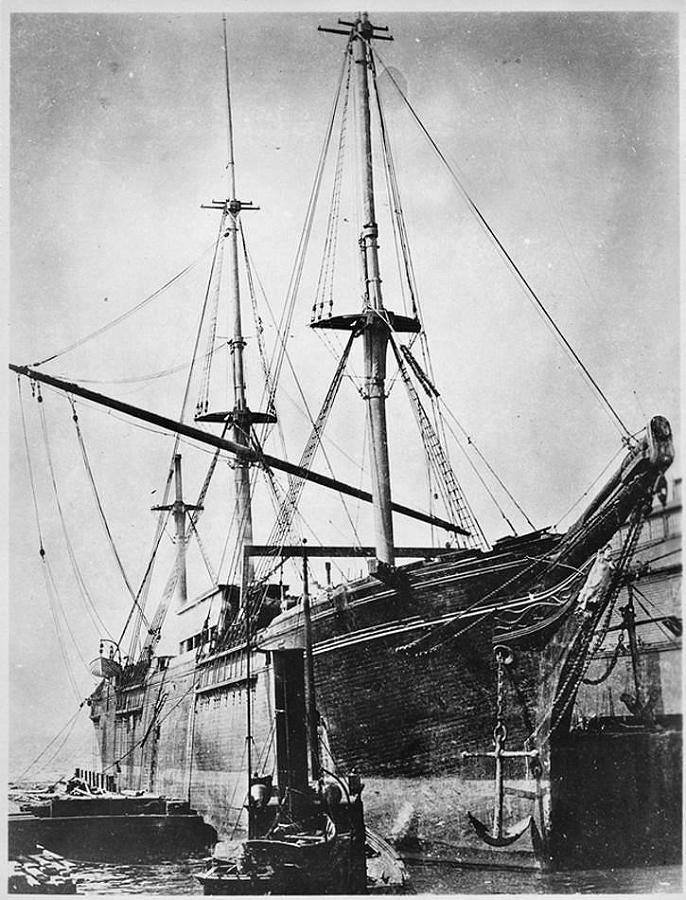
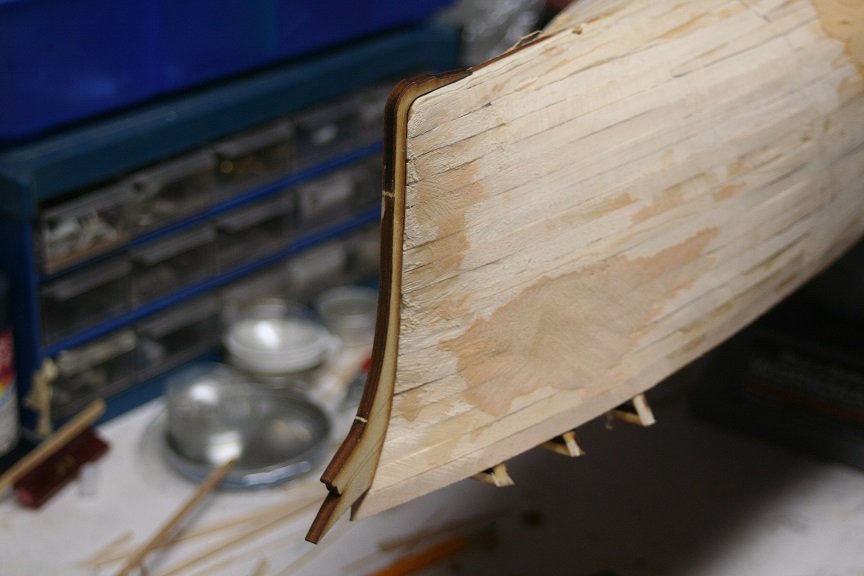
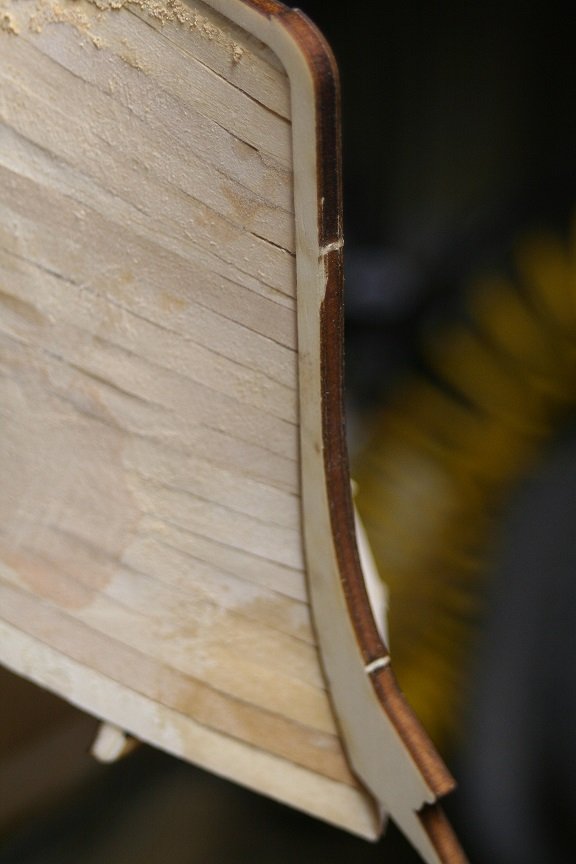
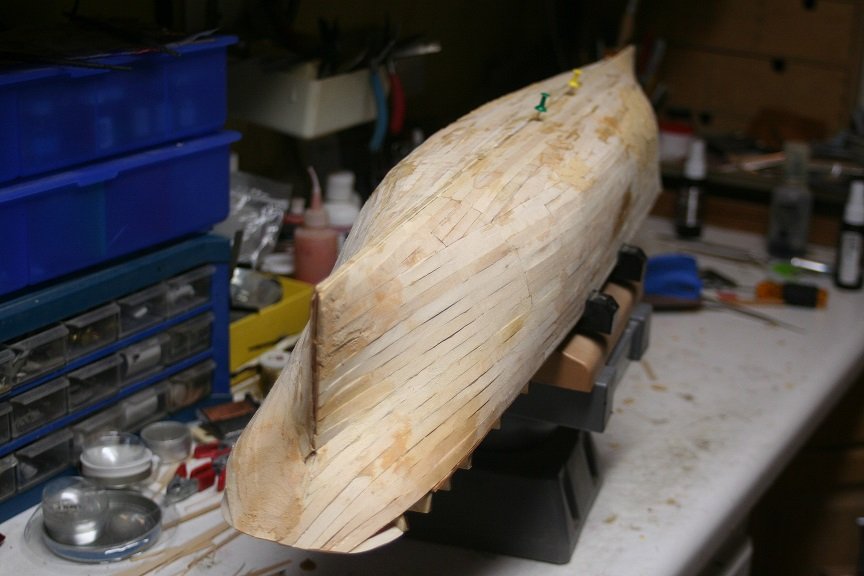
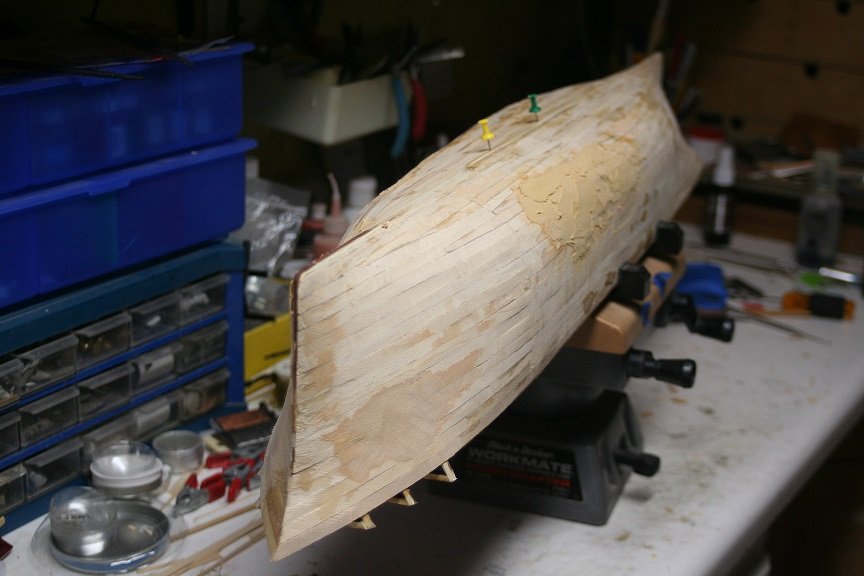
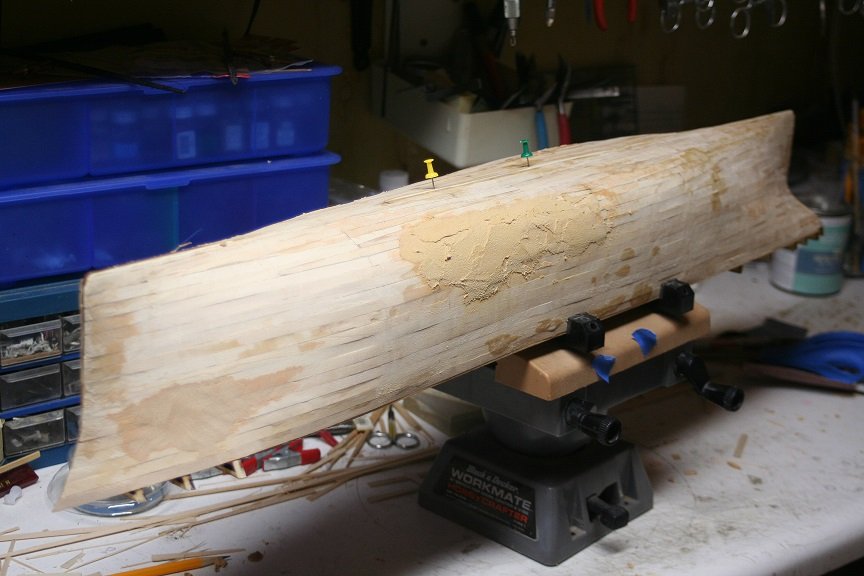
I had many family planned events this weekend so I spent no time working on Glory. While I was in hiatus....I did a bit more research on the structures of her stem , keel and stern post. Her keel was 16" but as it transitions to her stem it begins to quickly taper and from what I can gather her stem is roughly 9" wide along its length, up and to include its foot of the her figurehead. Many reproductions of models fail to correct the dimensional errors found in the models pre cut bulkheads....to truly mimic the actual scale dimensions of the keel and stem. If one looks closely at Glory's launching photo..you can make out the transition from her narrow stem to her more robust keel. I will be plaining down her stem frame to a more accurate scale proportion...before I affix it to her hull. I hope to return to her this evening and again....sand and fill her hull. You can from these images her transition(look close) and her stem up close to see its thinness. Rob
- 3,560 replies
-
- 2
-
-
- clipper
- hull model
- (and 2 more)
-
Druxey...just wonderful. She is so very clean and ship shape. Very fine job indeed. Rob
- 433 replies
-
- 5
-
-
- open boat
- small boat
- (and 1 more)
-
Just clipping along.....fantastic construction...on all levels. Rob
- 257 replies
-
- 3
-
-
-
- young america
- Finished
- (and 1 more)
-
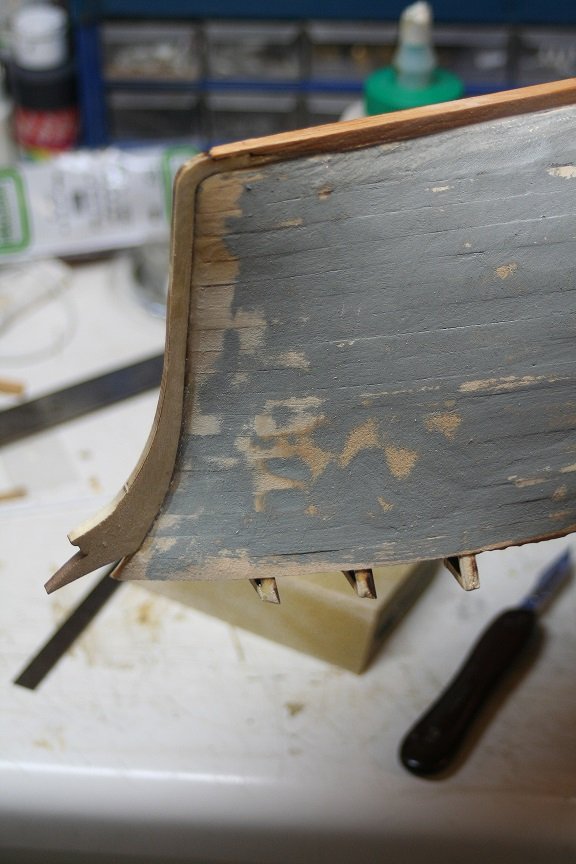
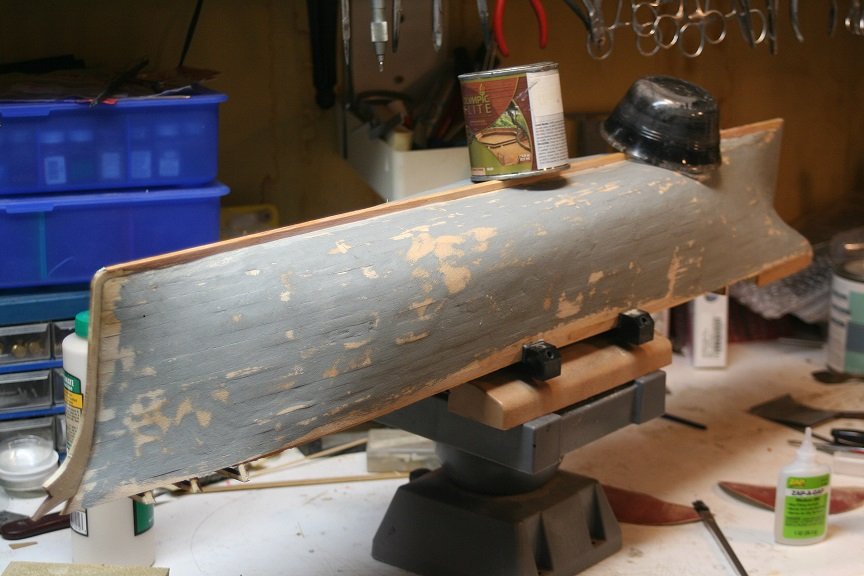
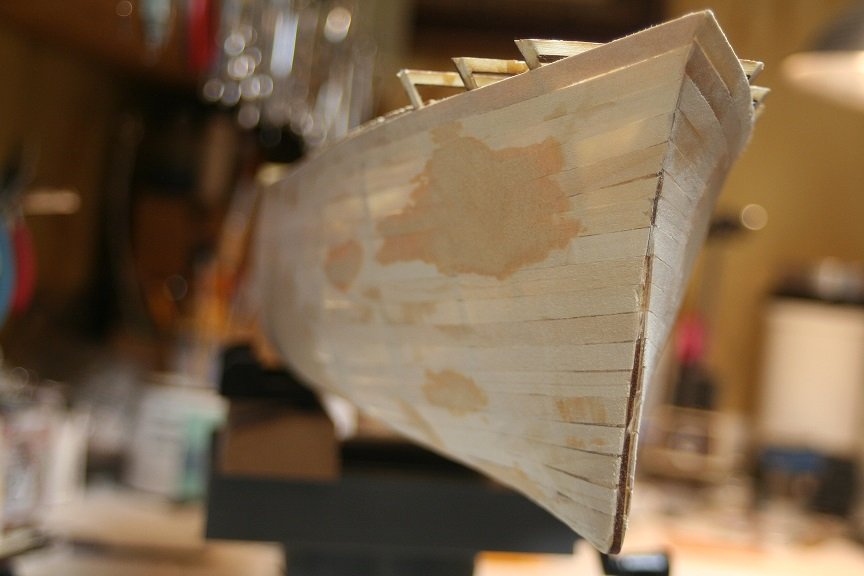
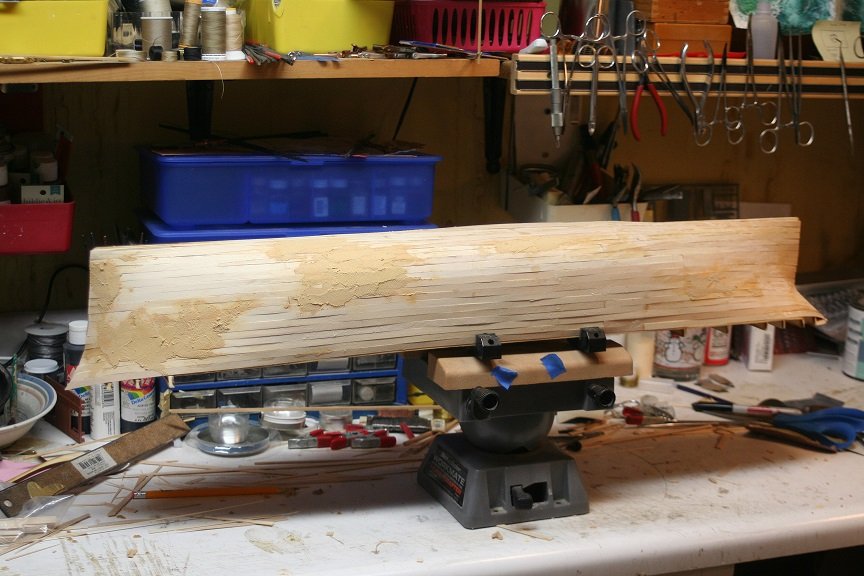
After these images I added some more filler. Now it's time to dry. Here is an idea of the bow...I will thin out the stem to make it more to scale. this is the process I am following...to lay the strakes THEN add the stem and keel. Rob
- 3,560 replies
-
- 5
-
-
- clipper
- hull model
- (and 2 more)
-
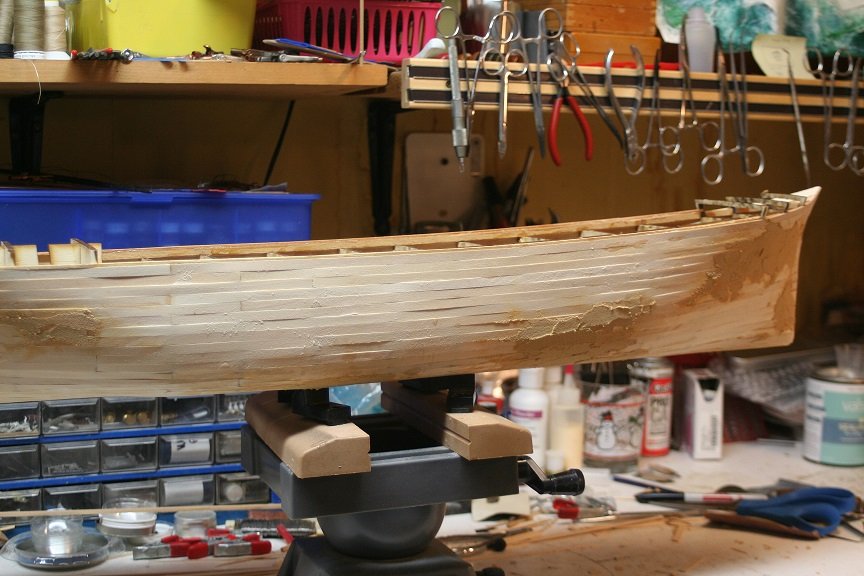
Spent a bit of time sanding and filling defects. Its a process...that has to be done to get a smooth hull and finish. We still have some time ahead on this process. Rob
- 3,560 replies
-
- 3
-
-
- clipper
- hull model
- (and 2 more)
-
HMCSS Victoria 1855 by BANYAN - 1:72
rwiederrich replied to BANYAN's topic in - Build logs for subjects built 1851 - 1900
Pat....after agonizing (sic) over the selection of the plan....and now to enjoy your execution....is a thrill. This is in keeping with your acute attention to detail. Fantastic job! Victoria is looking awesome. Rigging her will be equally so. Rob- 1,002 replies
-
- 5
-
-
- gun dispatch vessel
- victoria
- (and 2 more)
-
Hang in there Keith. Along with experience comes confidence. You'll piece it together. The principles of standing and running rigging are generally universal.....so if you can grasp the simplistics of each group...you should be able to do well. We'll be here....if you need a hug. Rob
-
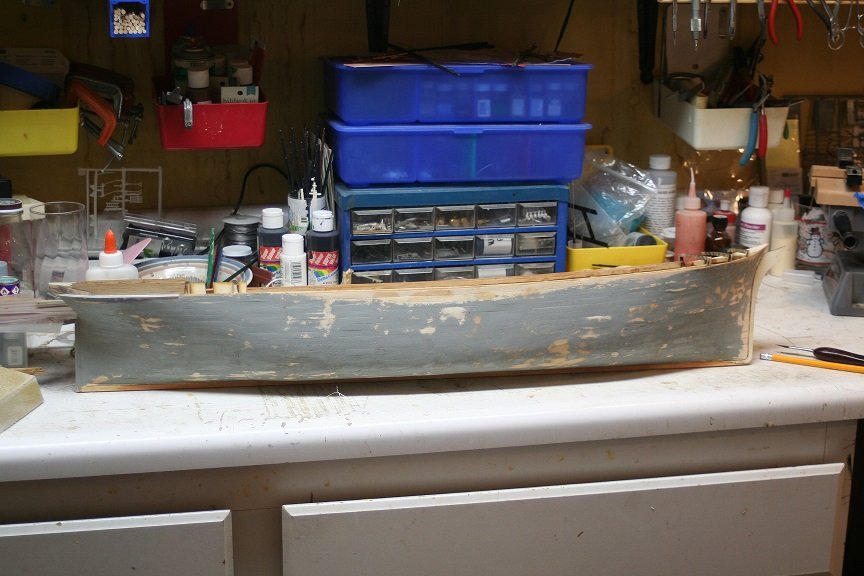
I finished up the initial planking and began adding wood filler. I know it looks rough....but a goodly amount of sanding and several coats of filler aught to do the trick nicely. Rob

- 3,560 replies
-
- 2
-
-
- clipper
- hull model
- (and 2 more)