
HOLIDAY DONATION DRIVE - SUPPORT MSW - DO YOUR PART TO KEEP THIS GREAT FORUM GOING! (Only 24 donations so far out of 49,000 members - C'mon guys!)
×


rwiederrich
-
Posts
5,518 -
Joined
-
Last visited
Content Type
Profiles
Forums
Gallery
Events
Everything posted by rwiederrich
-
I would tend to agree. However, we have to look at the main deck from several perspectives. Look at the image you just posted for Vladimir....Now I told you that the distance from the top molding of the naval hood to the top of the forecastle rail is 6ft...but do not be confused...for the top moldings(Of the naval hood) are the planksheer. This sits on top of the waterways...the waterways sits on top of the main deck beams. Now...follow the planksheer down the hull to just before the foremast channels. Now... the lower channel sits just beneath the planksheer...but that is NOT the deck level. The channel bolts firmly into the massive waterways and the hull frames. Now if you recall the position of the waterways internally...and know that the deck is bolted to the deck timbers...and also knowing that the massive waterways 12"~16" was roughly 9"~13" above them(accounting for a 3" deck plank). You can then see that at this point and back to(amidships)..the bulwarks was 6.5 ft high. Compensating for diminishing perspective...I calculated the 6ft distance at the aft end of the forecastle rail to the top molding of the planksheer....then immediately took that measurement and laid it against the top of the monkey rail at the channel point and projected down and sure enough, I came up with roughly 6.5ft to the deck. The image of the fishermen on Glory's deck is a good source of info. One man is standing next to the main pump and you can see his head is way below the flywheel top edge....and we know the flywheel was below the monkey rail. So if you deduce that his head is far below the wheel and that the wheel is below the rail.....what conclusion can one make that the rail is at least 6.5 ft. Based upon all the other info we have. Hope this helps. Rob
-
No actually..the 6ft measurement came from the distance from the top molding of the naval hood to the top of the forecastle rail. THAT is 6ft. However, as the forecastle deck moves aft and terminates the main deck is 6.5 ft below the main monkey rail. I think I explained that in a later post. Rob
-
Rich...your *eyeball* guesses where pretty close. A 6ft bulwark can't be looked over easily by a standing 6ft person. Eyeballs are at least 4" lower on your face then the top of your head which is where we measure our height. However, the planksheer is above the level of the main deck and if you look at that image I posted of her at pier side with the large cutaway in her bulwark to access the main deck...you can see men standing there who are easily not available to look over the rail....since the average height would be roughly 5/8 ~ 5/10. Now is that 6ft measured from deck or from atop the waterways, which could be 12" higher? You also caused me to think a bit harder about the bulwarks and my 6ft measurement is only taken for the forecastle rail...after the rail drops off just prior to the foremast it could be lower. The planksheer or covering board sits on top of the 12~16 waterway. The deck is below that..so a standing man could still not peer over the rail...even if the bulwark was only 5ft atop the planksheer and waterways. Add the 18" to the monkey rail and you have your 6.5ft bulwark...not counting the planksheer and waterway. The 6ft monkey rail at the forecastle is irrelevant to the main bulwark, because the main deck is fashioned lower within the hull. The forecastle decking raises to the level of the main monkey rail...that is why there is that step-up rail fore the foremast . Understand? Rob
-
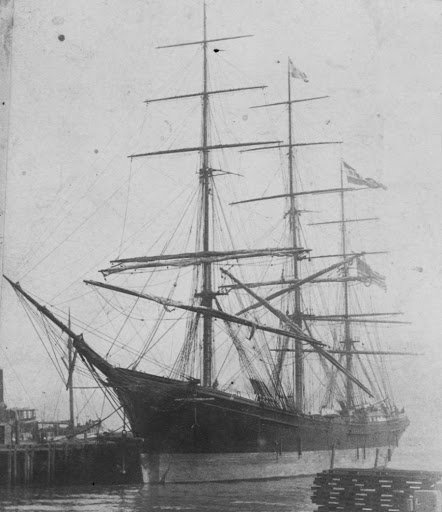
If you removed the naval hood and the scroll work/figurehead...it's pretty close comparison even though the Hyde has a bit more sheere aft the main mast. That girl sat low in the water when she was loaded and trim. Rob
-
Thanks for removing the #9.5's Hey from this image she is looking a lot more like the Henry B. Hyde(A downEaster)...when you follow her copper line as she was designed just below her outer bobstay
- 3,560 replies
-
- 1
-

-
- clipper
- hull model
- (and 2 more)
-
Several things: As we know the rail is 6ft from the top of the naval hood... The first fairlead fitting(notch) in the rail is 9ft from the rail beak or at its origination at the jibboom. There is 6ft between centers of the forward and aft fairlead fittings and from my calculations...4 ft to the center of the cathead timber from the center of the aft fairlead fitting. We are very close Rich. However I validated my measurements against the known 7.5ft of the figurehead...just to make sure. I verified the forward fairlead fitting distance from the jibboom by using the San Francisco image. Rob
-
Snug harbor...glad you are going to attempt the same for the Thermopylae. The stem and curve of the keel root will be your biggest adventure. Good luck...I'd like to see your work on it. Rob
-
I noted that the center of the forward bit is 9ft from the beak of the monkey rail. This can only be derived from this port image...since the clear, up close image of her refitting shows damage to this portion and is unreliable for measuring. This should help Vladimir with his location of the bits and name board. Rob
-
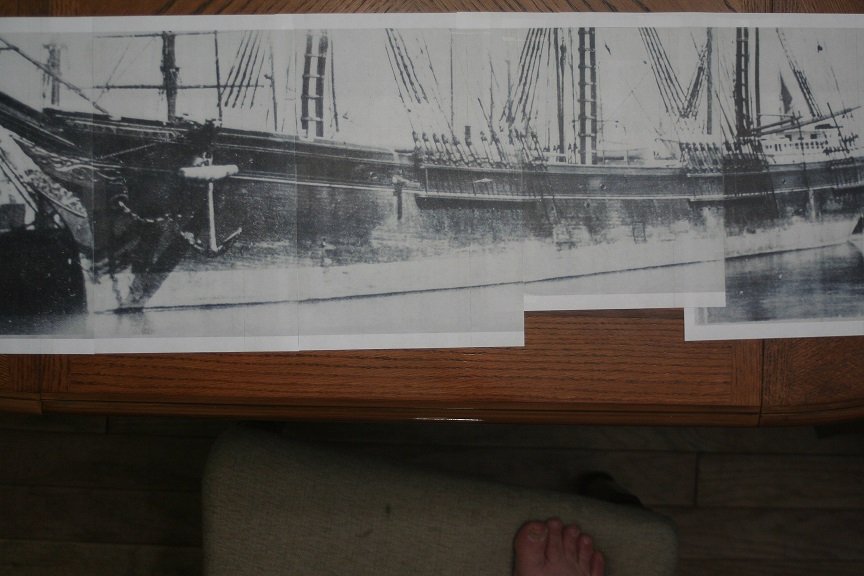
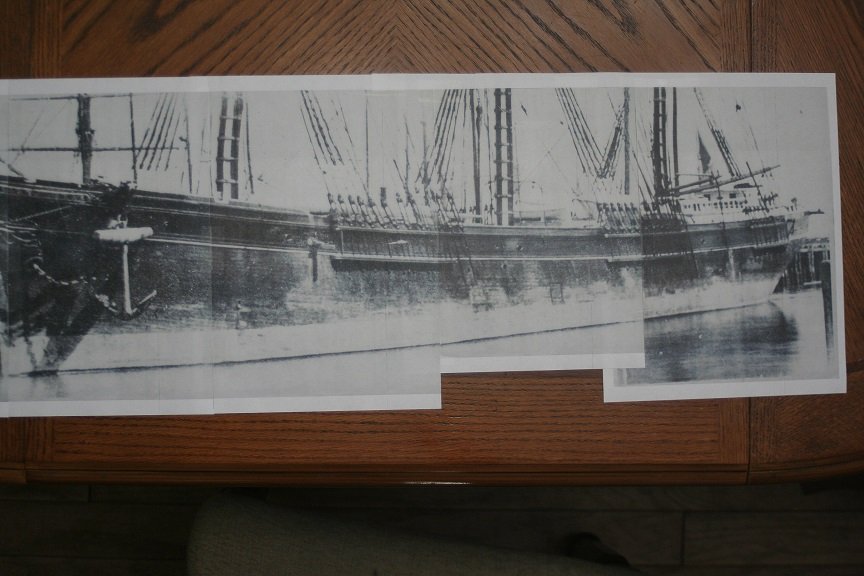
The image is so large I can't fit it all exactly in the frame..but here are several images. It is clear she had an extensive sheere. Remembering that the distance from the monkey rail from the top of the hood is 6ft and the top of the hood is the planksheer or deck level. Projecting that back and along the the planksheer to the mid main shrouds lets you figure the elevation of the sheer based on a projected horizontal. Rob

- 3,560 replies
-
- 1
-
-
- clipper
- hull model
- (and 2 more)
-
I inverted these...put them together and now have a very large image of the Gory when she was just several years old. I just can't get over how her sheere is so pronounced in this image. Did you say it was 7ft from mid sheer(around her main shrouds)? Impressive. I will surely use this new compilation of images when I build my version...so much data. Rob
-
Indeed. she had several water recirculation and drain lines put it to service her internal canning machinery. I concluded that the run-off simply followed the path of least resistance down and along her coppering. Wind may have been a factor...hard to tell. Rob
-
I thought the same thing. First her copper line is much too high compared to her launching image. This is probably indicative of her newly being surveyed and painted for canary service. Secondly, as you mention she appears to have a much sharper entry then other images depict. Perspective is everything I have to conclude. Rob
-
This last picture is new....and for some strange reason her deck timbers appear to be laid horizontal or port to starboard instead of stem to stern. I wonder if she received a second layer of deck planking in her fabrication to a canary? Odd thing? You can easily see that her poop rail is definitely canting inward and then straightens as it proceeds around the stern. Notice all the hatch covers stacked on her deck...probably from her main hatchway...since it appears her aft hatchway is completely covered up by that new decking laid...and her aft capstan is also removed. It is evident she suffered some damage to her prow in the area of her forward bit and just over her starboard name board. Her moldings show damage as well. This might have happened when she collided with that steamer/tug . Rob
- 3,560 replies
-
- 2
-
-
- clipper
- hull model
- (and 2 more)
-
Her arm is much better....more demonstrating of where it would be in that position. Great job Rob
- 3,560 replies
-
- 2
-
-
- clipper
- hull model
- (and 2 more)
-
Mike sends me stuff too...but not those images yet..... Thanks for sharing them. Rob
- 3,560 replies
-
- 1
-
-
- clipper
- hull model
- (and 2 more)
-
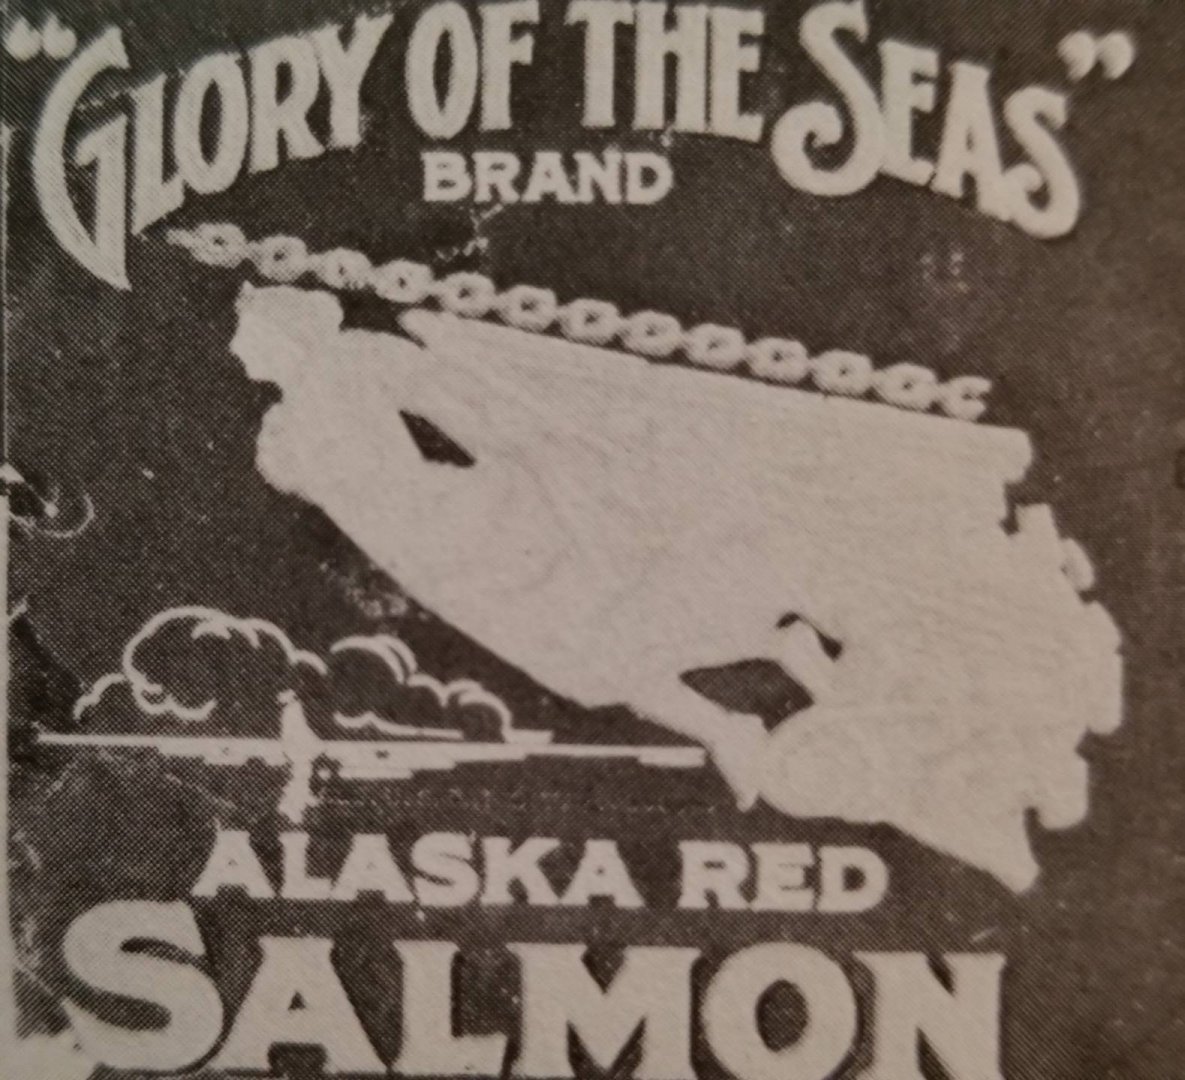
This salmon can label must have come from that photograph.... Sweet image...so much info lies therein. Rob
- 3,560 replies
-
- 3
-
-
- clipper
- hull model
- (and 2 more)
-
Looking so much better...but you need to push her nameplate forward. The *S* in Sea is directly beneath the center of the forward bit and the bit is 8ft from the forward portion of the monkey rail tip. So your bits need to be relocated as well(Pushed back). Look at the close up of her.... Rob
- 3,560 replies
-
- 1
-
-
- clipper
- hull model
- (and 2 more)
-
Actually they are all the same image . Follow the edge of the stem and you will see it shifts from vertical to less and even less. This shift forces you eyes to assume it is vertical and forces the martingale off vertical. Creating the distortions you are seeing. Sorry. Rob
- 3,560 replies
-
- 3
-
-

-
- clipper
- hull model
- (and 2 more)
-
Great job...I must have been premature in my observation. I don;t wish to be a taskmaster........ Rob
- 3,560 replies
-
- 1
-
-
- clipper
- hull model
- (and 2 more)
-
Vladimir...you are doing a great job...but I think the middle roll of the planksheer is level with the rolled edge of the naval hood. they mark out the level of the weather deck or the main deck. your latest drawing shows it lined out above the trim of the hood and not going all the way to the stem...when the trim should flow directly into and then become the planksheer. You have it depicted on several of your other drawings.....not sure if that is how you interpreted it or if that is just an oversight. Or maybe I've got it wrong.... The planksheer is depicted by a band of 3 raised portions of a single or possibly double piece trim. It begins at the tip of the hood(as a double ridged molding) and when it arrives at the origin of the bowsprit it becomes a three ridged molding with the center ridge being that of the top ridge of the hood molding. The lower ridge of the hood's top trim molding, becomes the lower ridge of the 3 ridge trim of the planksheer. And of course the top ridge finds its origin at the root of the bowsprit. This 3 banded or ridged molding extends completely along the hull to the apex of the stern. This molding marks the level and curvature of the main deck(you know this because of your previous drawings depicting it as such) Your scroll work is wonderful..... Sorry for the nitpicking. Rob
- 3,560 replies
-
- 1
-
-
- clipper
- hull model
- (and 2 more)
-
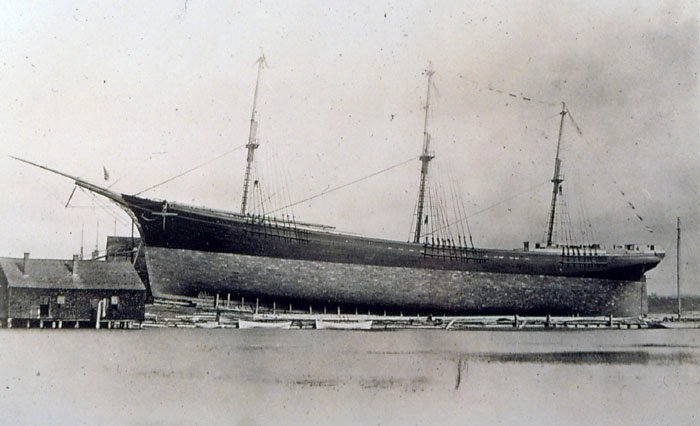
Great work Vladimir. From this image you can see that her bulwarks is over 6 ft. the portion cut out to make way for canary work and men standing on the main deck gives a great perspective of measurement. By following the plankshear to can see the effects of the hogging issue she had. Many details can be arrived at from this image. Rob
.jpg.a3d3e437466e812d4a38d8fa6aa66746.jpg)
- 3,560 replies
-
- 1
-
-
- clipper
- hull model
- (and 2 more)
-
The key to your technique is the wire in the sails and the free flowing flour in its bag. It adds even controlled pressure to simulate even constant wind..... Great job! Rob
- 399 replies
-
- 6
-
-
- cutty sark
- revell
- (and 2 more)
-
The trick you Was it difficult painting your Modelspan/Silkspan? I've seen sails done very well with this material but they were always left unpainted and extremely transparent. The reason I opted not to use it for the Great Republic. But your technique is wonderful and the wire is so thin it hardly is given away if at all. The trick, it appears is to wet the span after its painted and simply let the water do the work creating the shape and the creases. I made my hanks just like you did...but mine where quite a bit smaller since my model is 1/128 not 1/96. Still you accomplished what most folks would dare NOT to even try. Great job for sure...can't wait to see how your square sails come out. I'm convinced enough that when I add sails to my Glory of the Seas....(that I'm going to begin again because my current model was built upon faulty and inaccurate data). It will be using your technique. Congrats and thanks. Rob
- 399 replies
-
- 5
-
-
- cutty sark
- revell
- (and 2 more)