


Richardjjs
-
Posts
68 -
Joined
-
Last visited
Content Type
Profiles
Forums
Gallery
Events
Posts posted by Richardjjs
-
-
On 1/26/2022 at 7:17 AM, mikegr said:
the complexity of the turret frames reminds me of card models where more strength is required. It seems battleships should be strongly made even if these are just models.
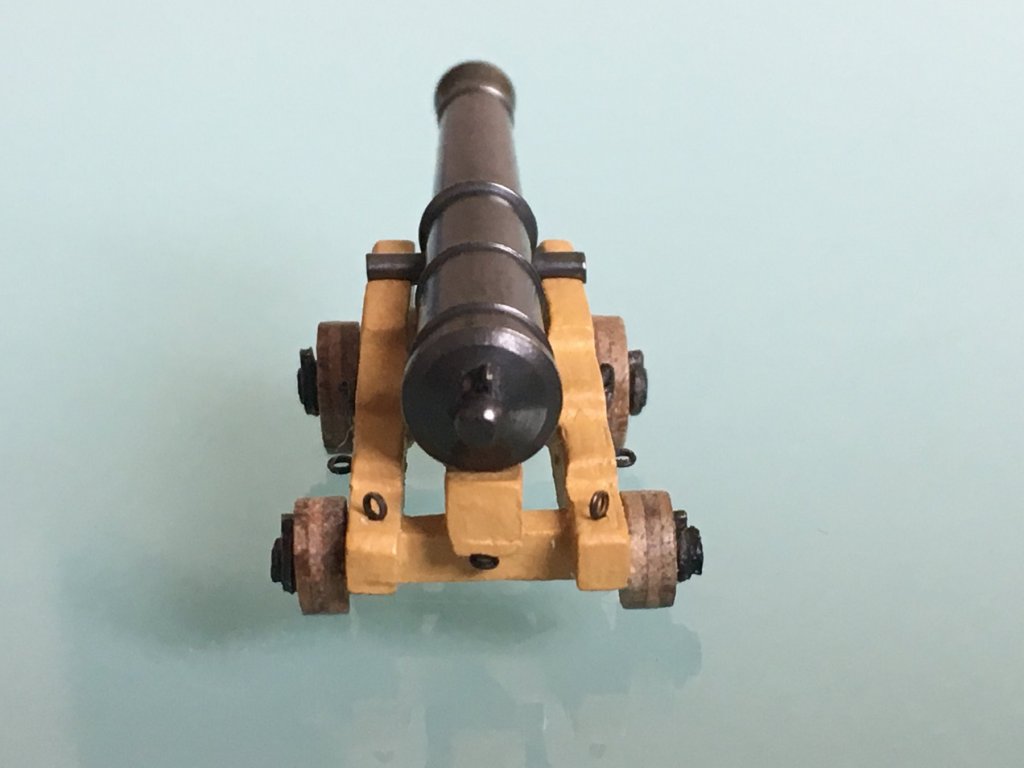
incredible stron wood base no way can this be compared to card its heavt duty ply with a etched metal top layer
- king derelict and Canute
-
 2
2
-
On 12/9/2021 at 6:39 PM, hof00 said:
Hi Rod,
Just thought that I'd mention the pre-drilled holes for Grab Rails on the Stern Port hole etch pieces, I thought that this was a great addition to the kit. (Mine is pretty old.... 🙂) I got paper templates and a bunch of measurements of where \to place them.
A question for you, do your Deck veneers come in sections and is there a 1.0 - 2.0mm space between the edge of the false Deck and the Veneers or are the veneers flush with the edge of the False Deck?
Cheers....HOF. (Harry)
there is about 1mm between the edgw of the decking and the hull - looks as though its about right for railings
-
Bill
You can down load the Instructions from Caldercraft web site
And also the instructions from DeAgasoniiIf this doent ci=convince you to buy a Caldercraft Victory in the future I would be surprised
Both are asimilar price although you can spread the payments on DeAgastoi the wood quality has a lot to be desired -
Incredible work Such detail
Are you going to mark the deck treenails across the deck
At least mark treenails equivalent to butt end tree nails as each plank would have a number of securings.
Can post a picture if needed
GREAT WORK- md1400cs and mort stoll
-
2
-
25 minutes ago, Bertu said:
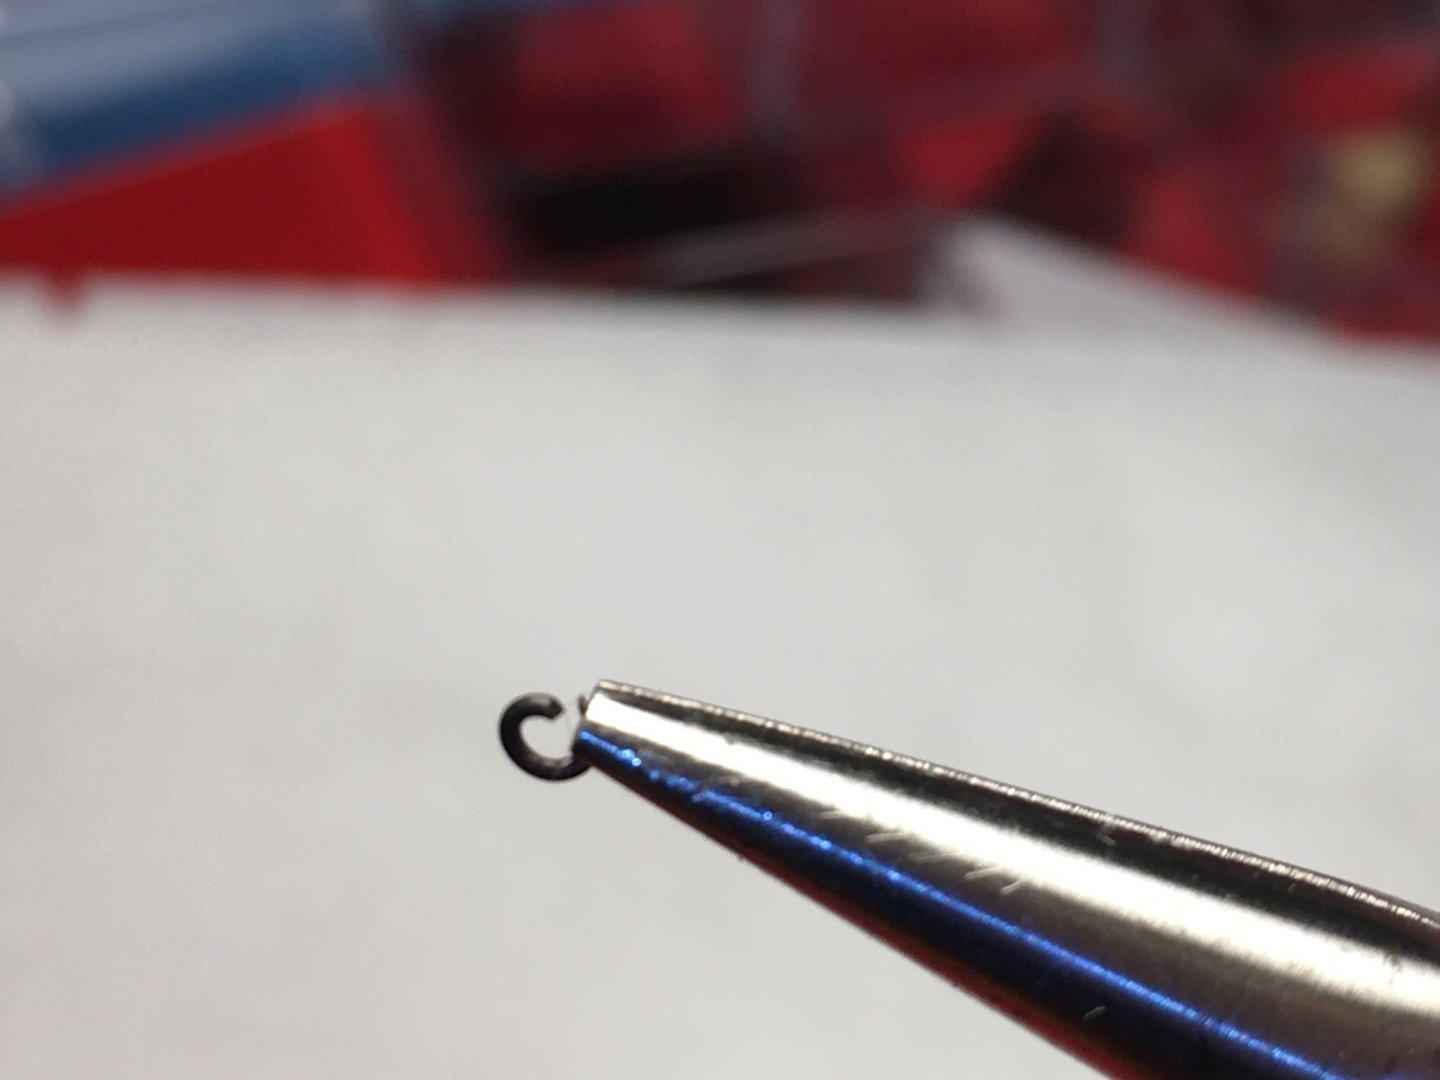
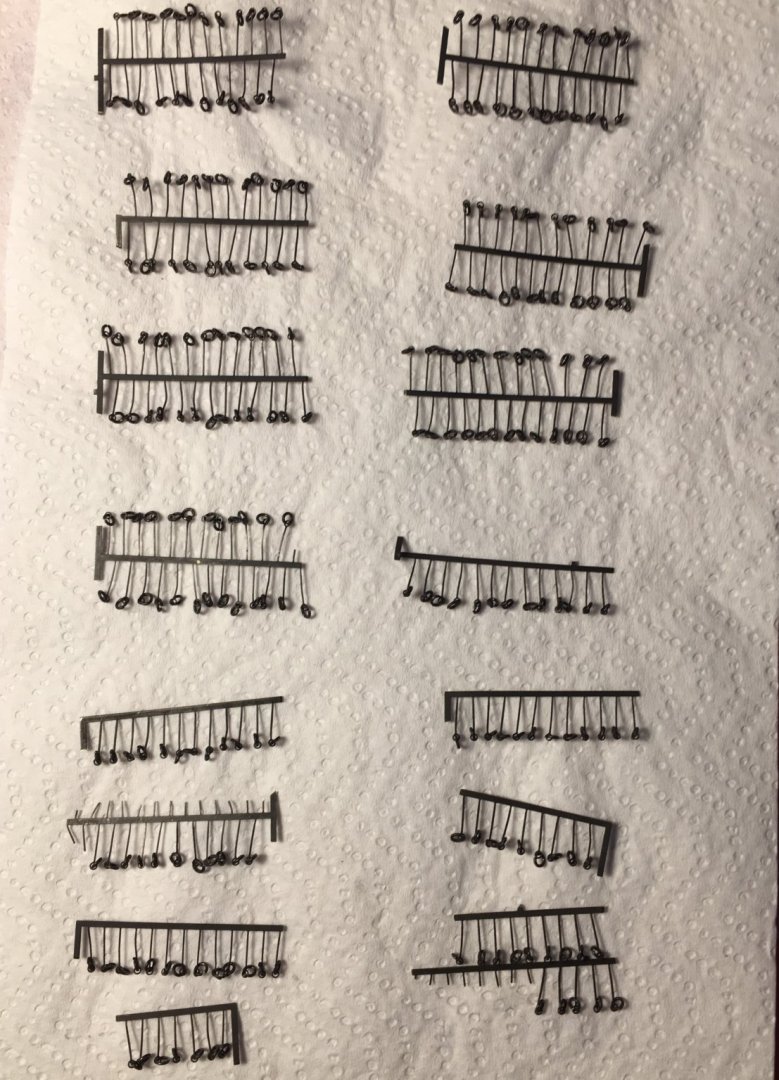
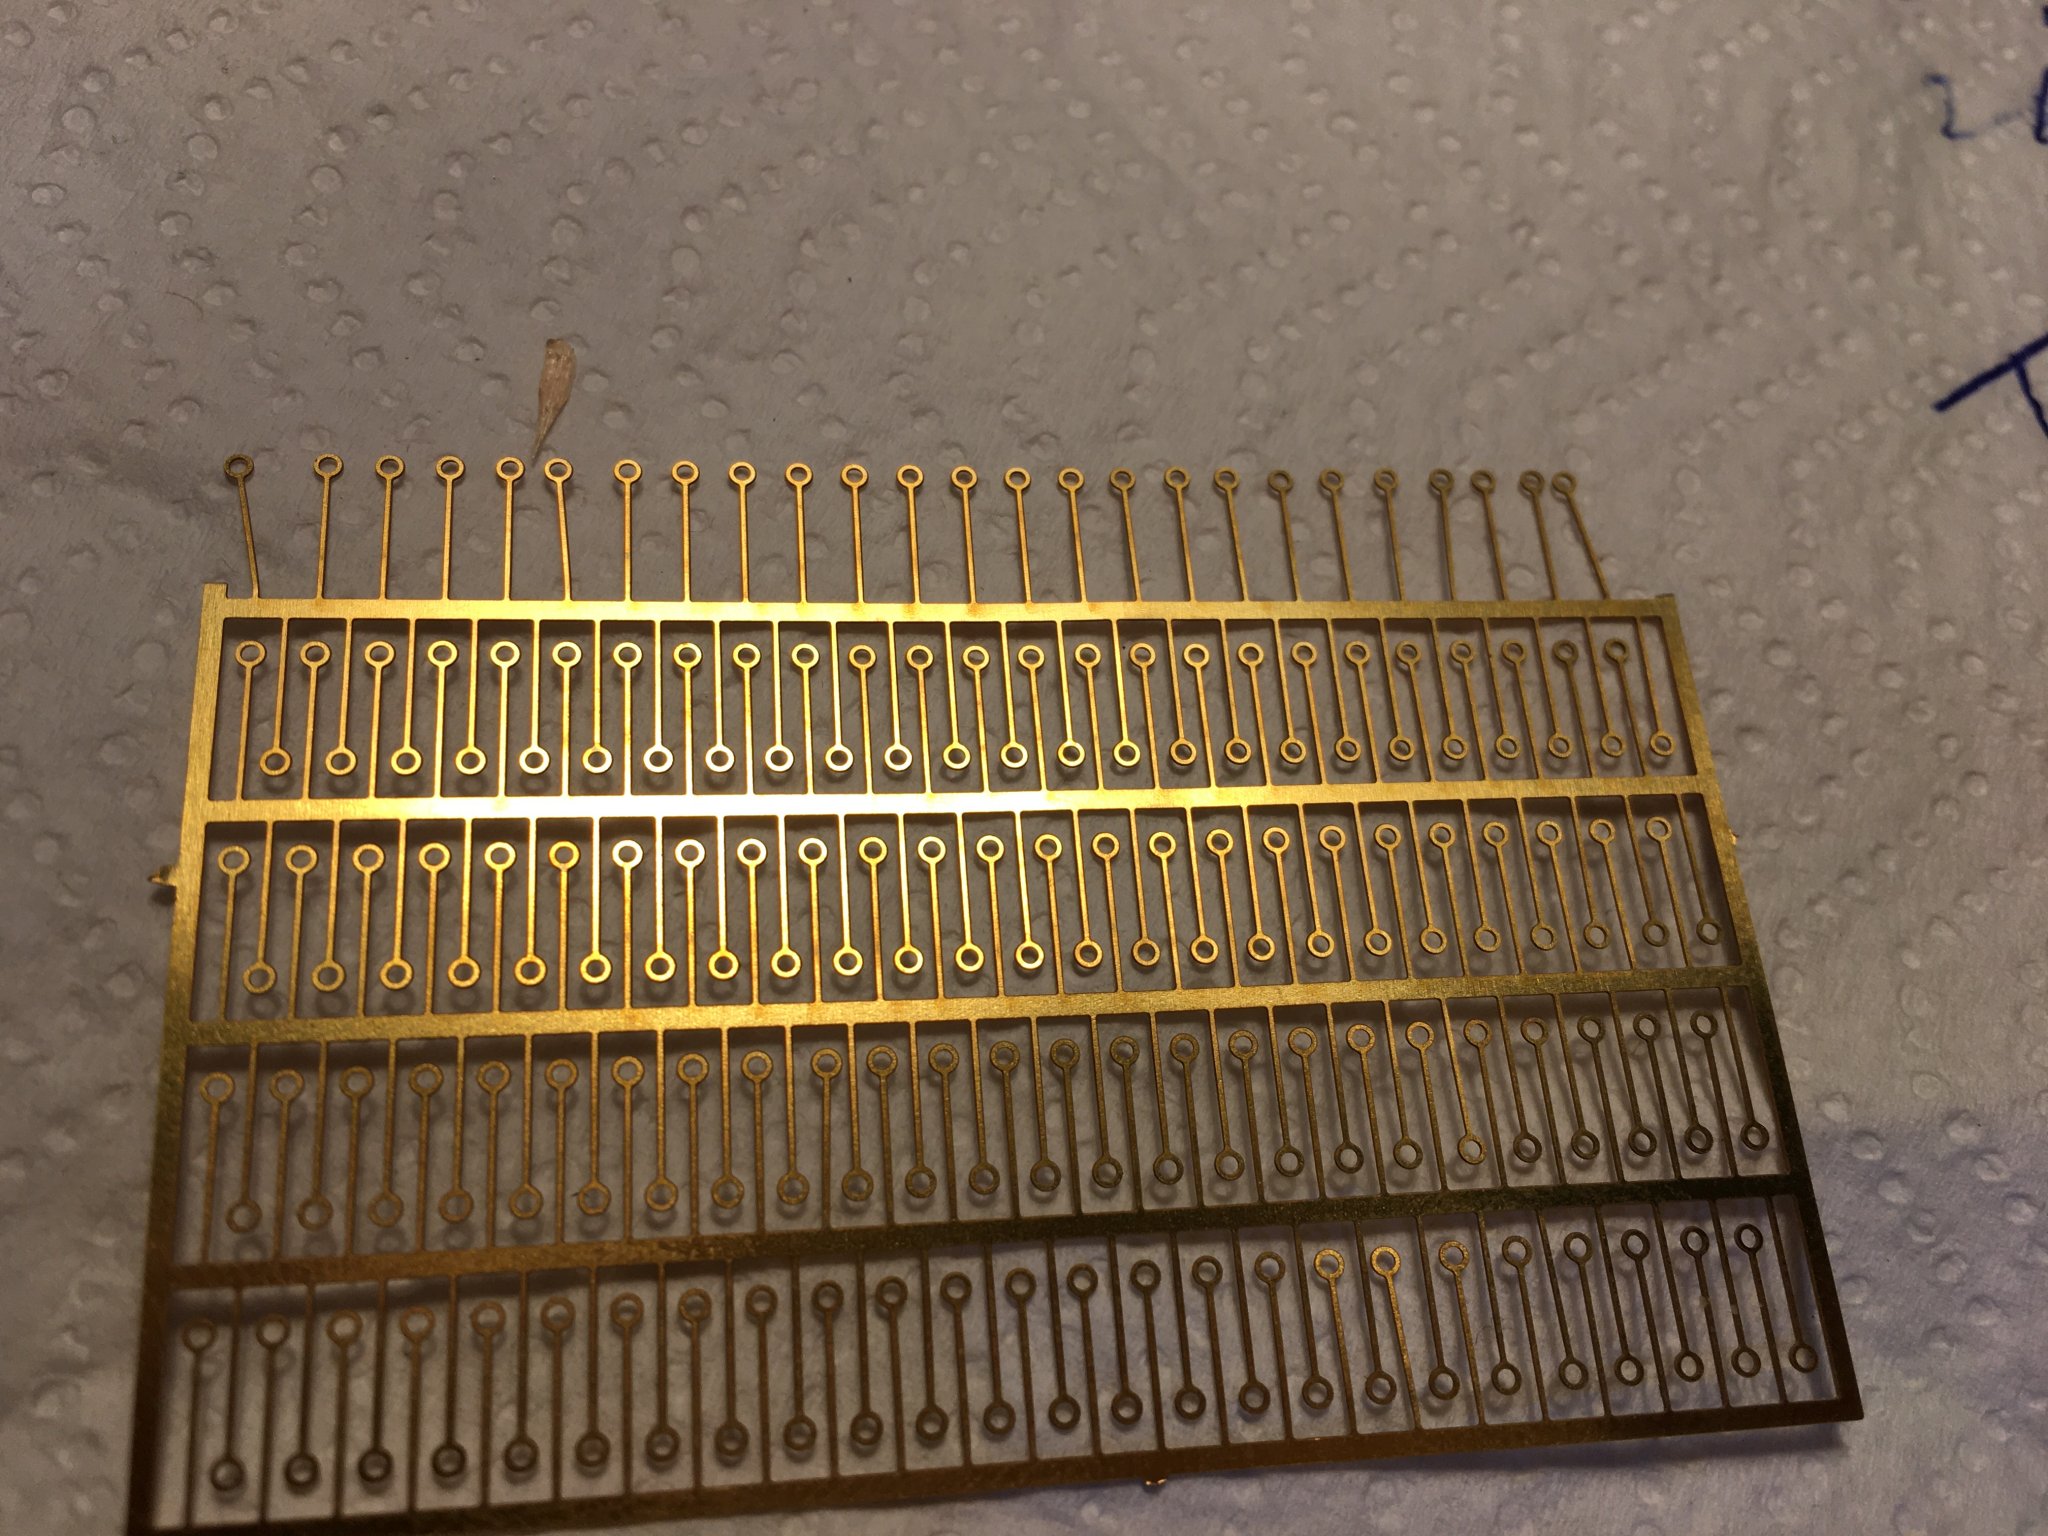
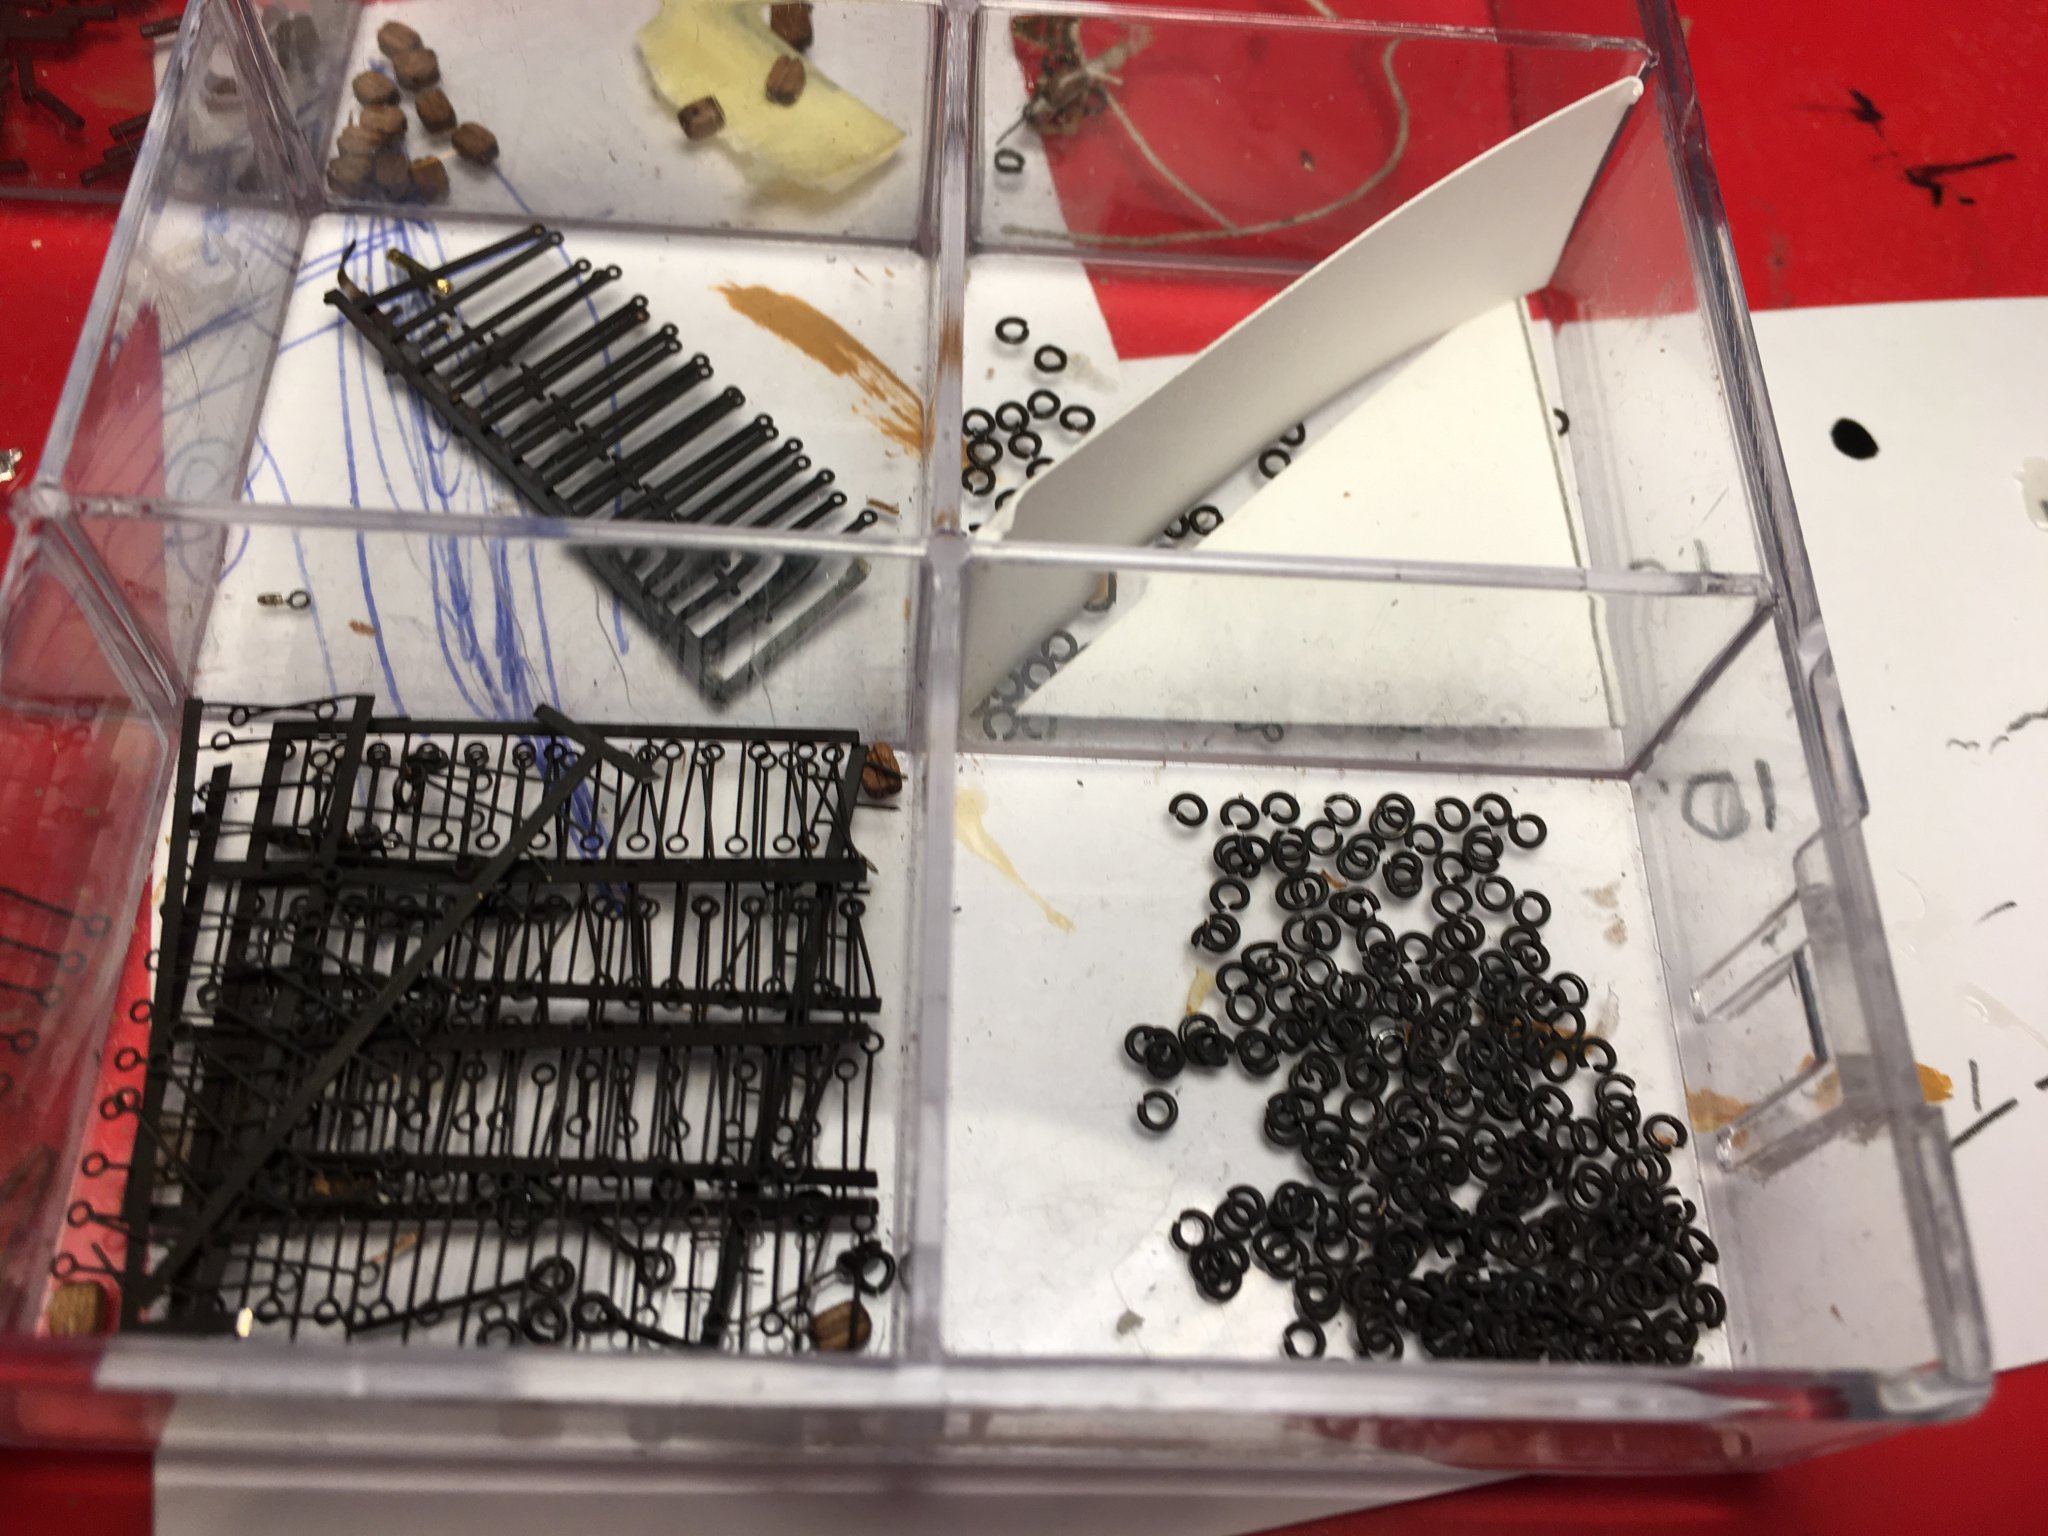
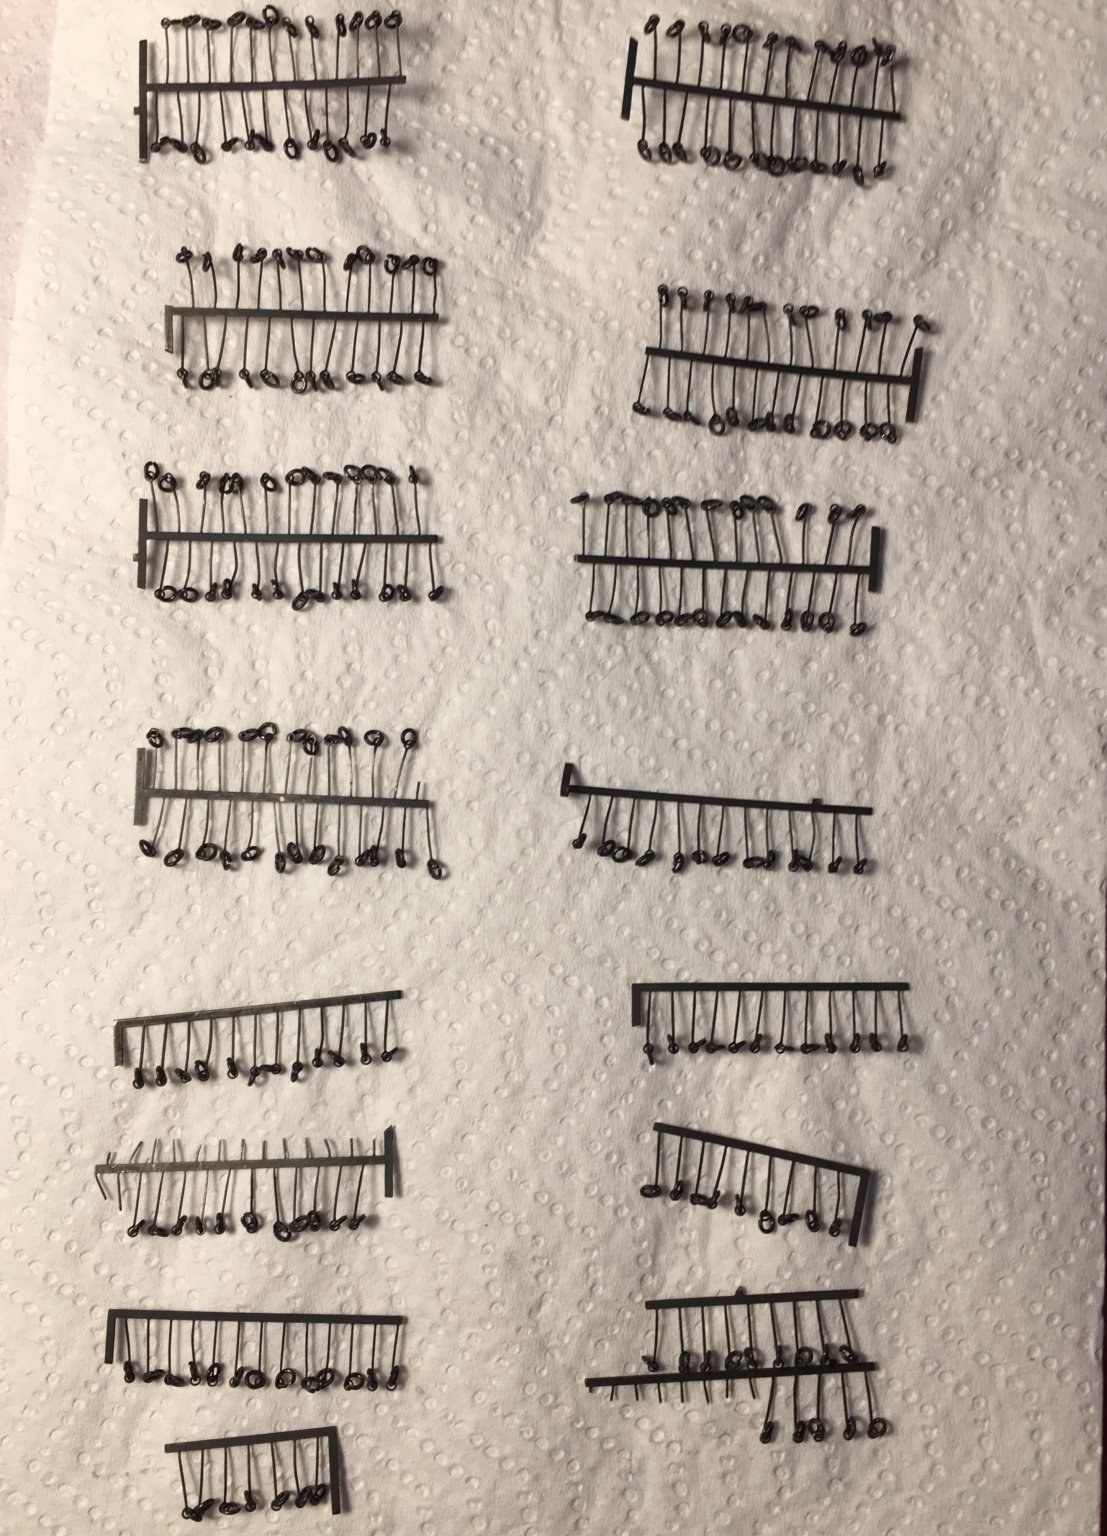
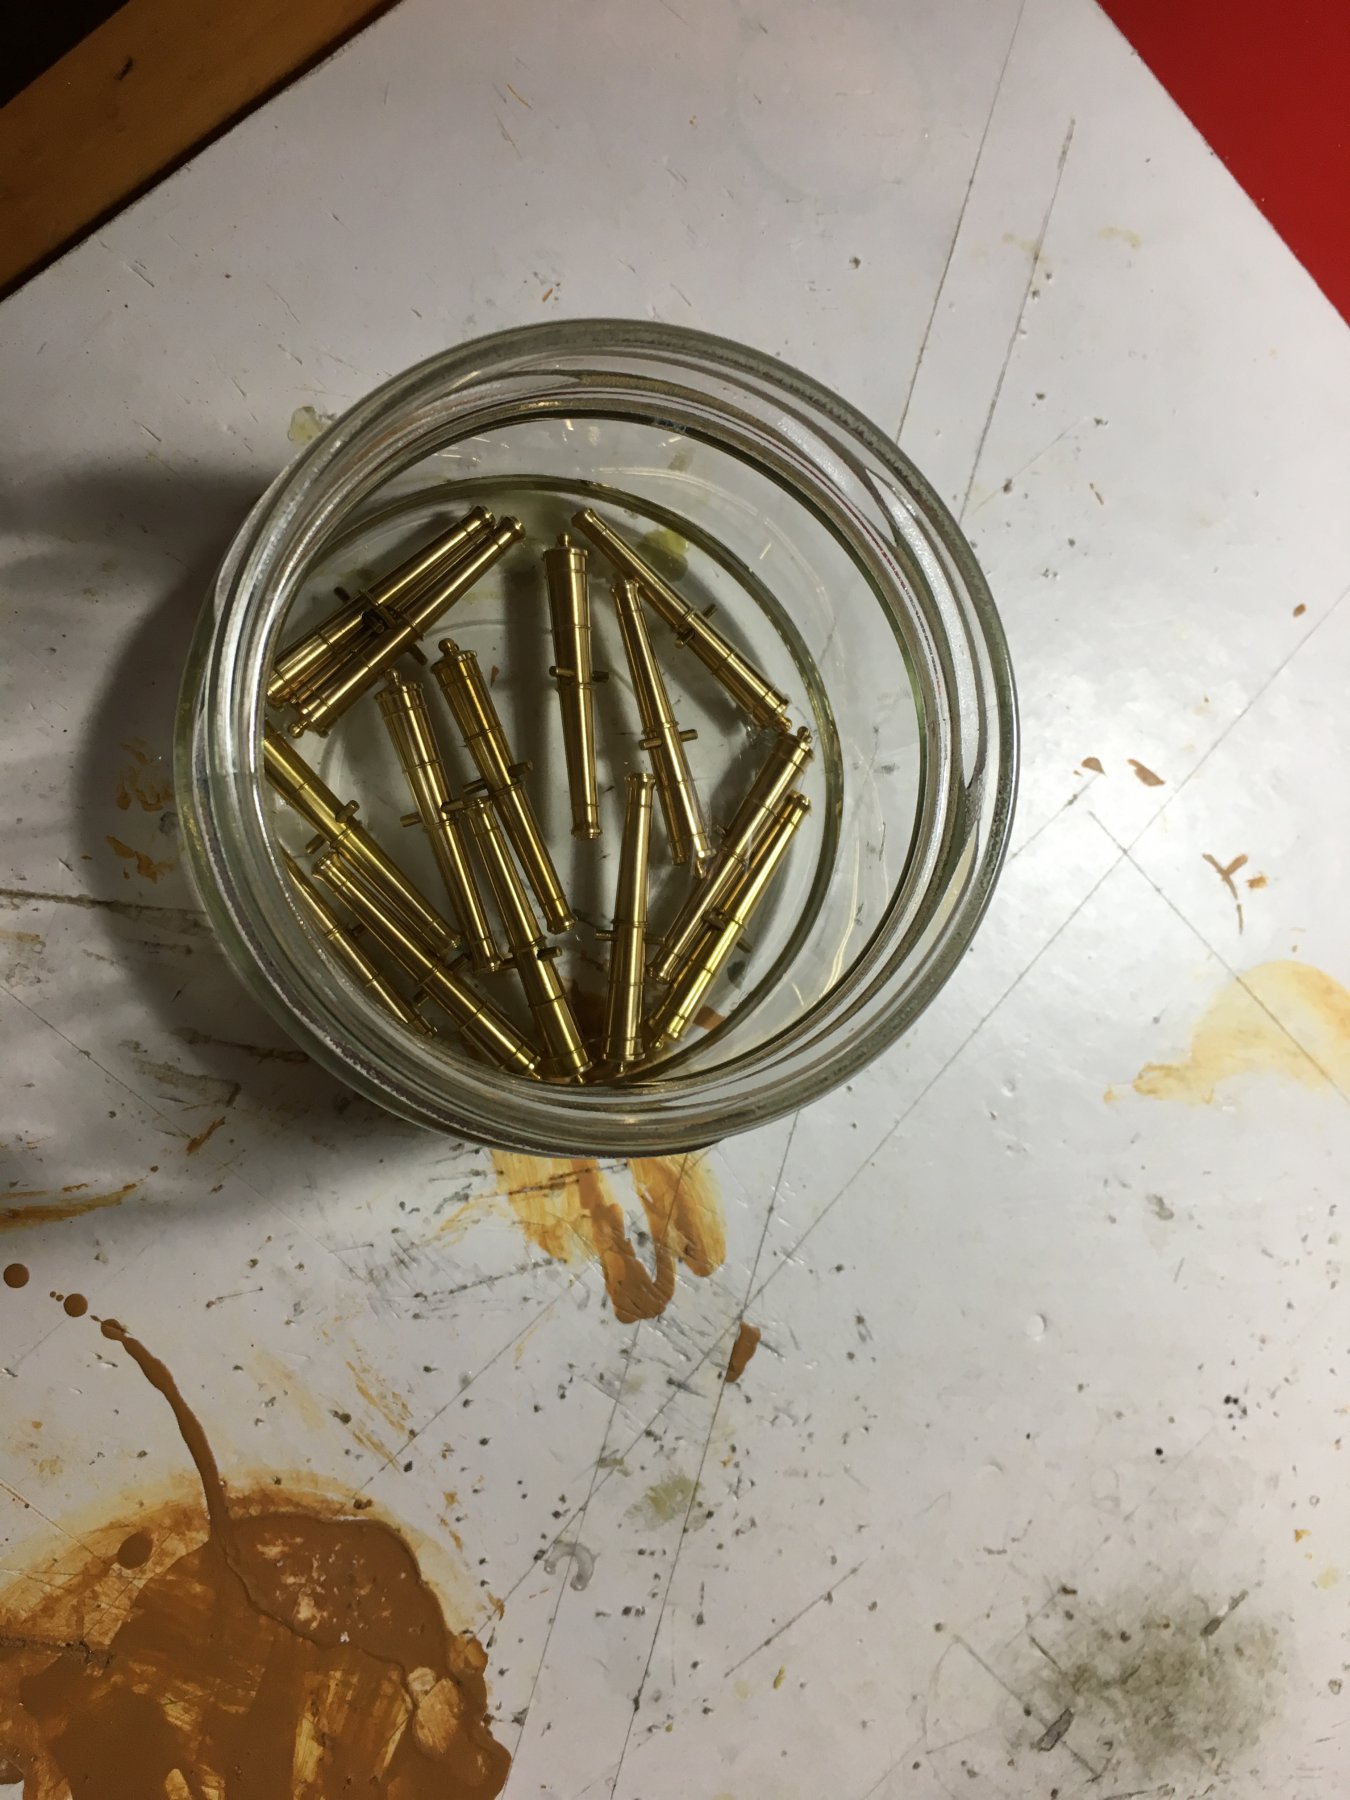
Although I don't intend to fit the gunport lids for moment I thought I better start preparing some of their accessories as they involve a lot of repetitive work and will get a bit boring. This way I can do work on them every so and then. I have the lids for the quarterdeck gunports ready. I had prepared them as I needed to fit a few of them before the Channels. I started with preparing the eyelets and the rings for the lids, four sets for each lid. In the manual it only mentions the eyebolts for the gunport lids but in my opinion they look much better with the rings as well. I ordered some more small eyelets like the once supplied with the kit but the problem was with the rings. I couldn't find ready made rings small enough for the job. I ordered a roll of 0.5mm diameter copper wire, cut a piece of it, wind it round a 1.2mm drill bit, pull the drill bit out and wit a small pointed side cutter cut the rings from the winded wire.
The small eyelets come in a photo etched sheet. I cut them in smaller pieces to be able to blacken them but left them mounted as it will be much better to handle them to fit the rings on them.
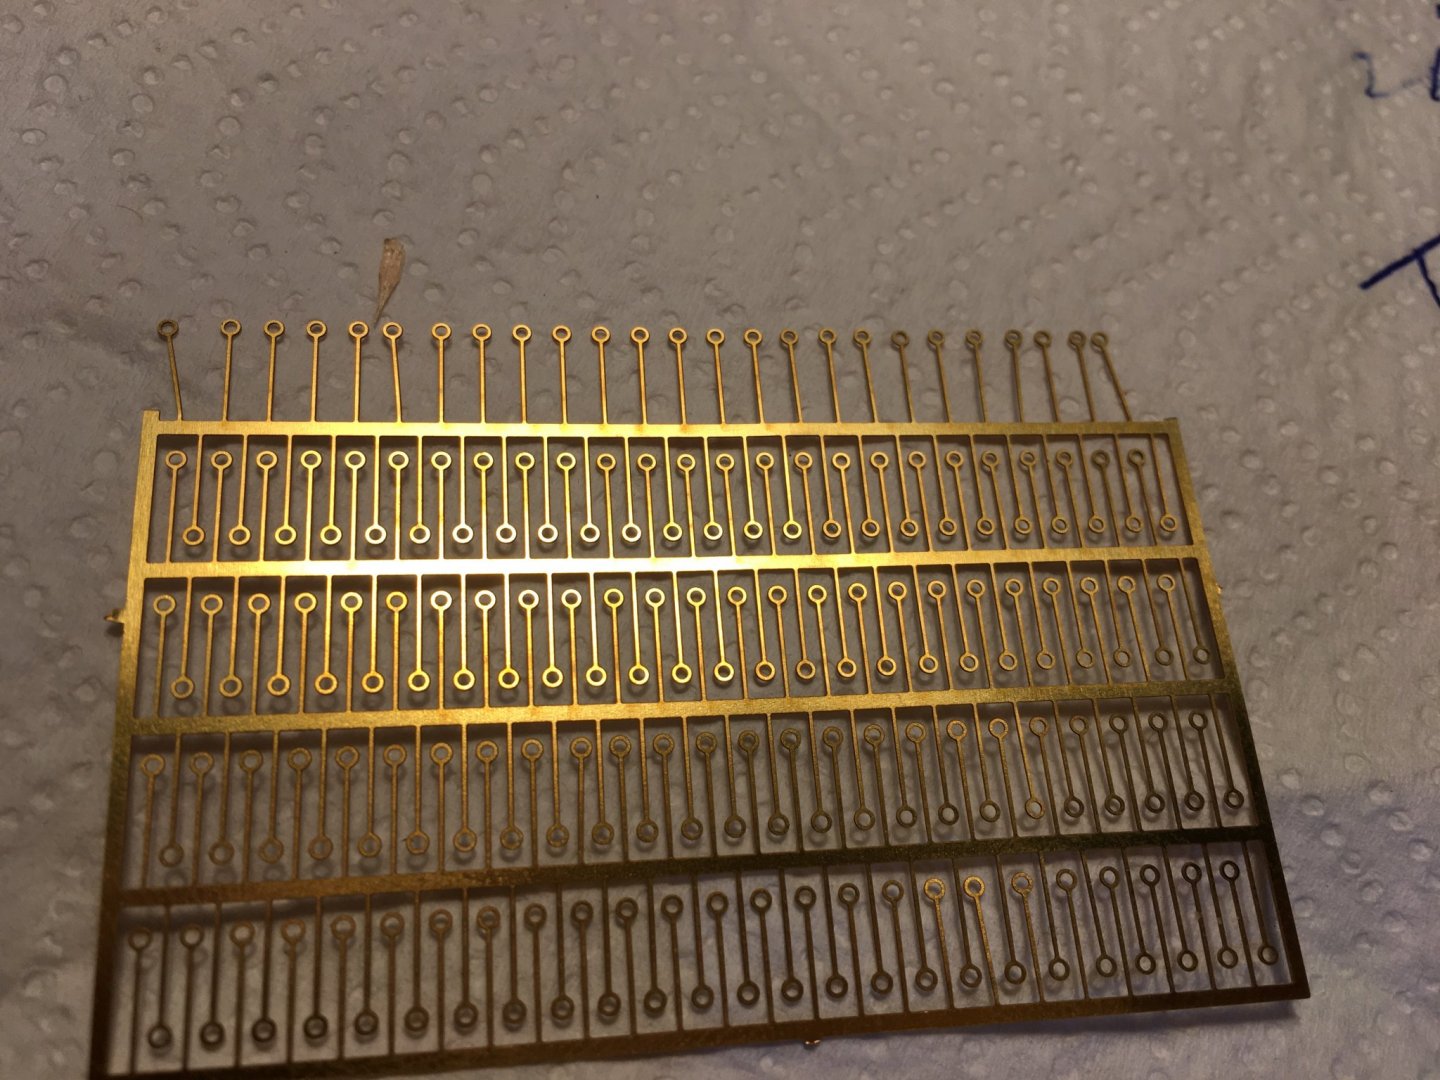
Eyelets and rings blackened.

Rings fitted to eyelets.
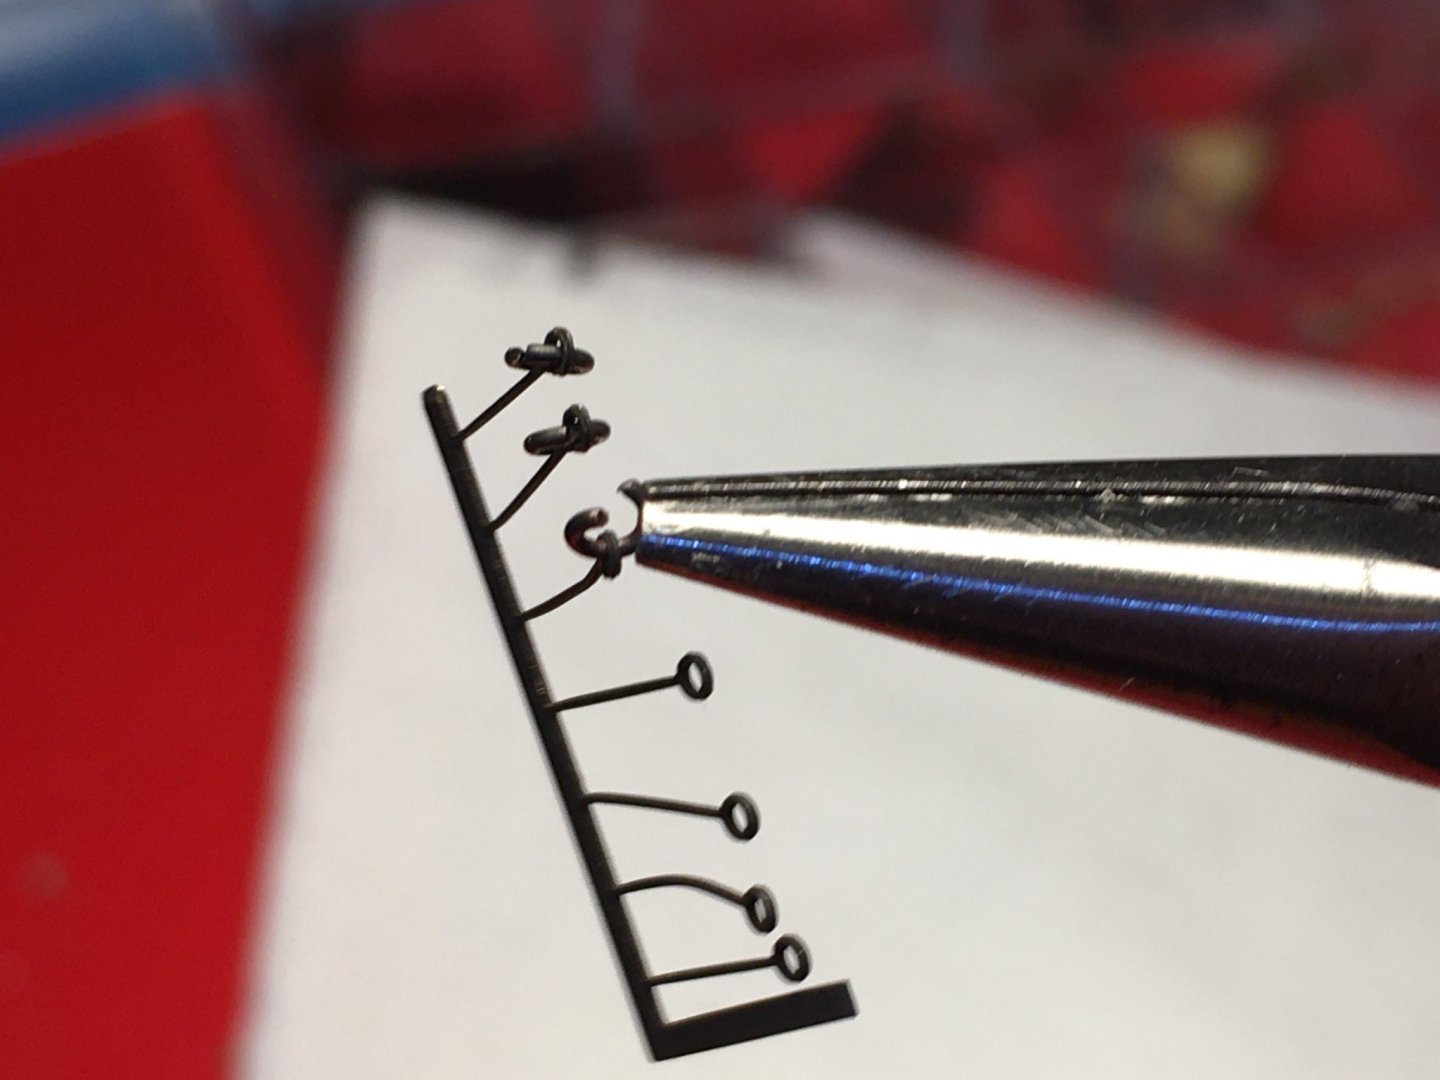
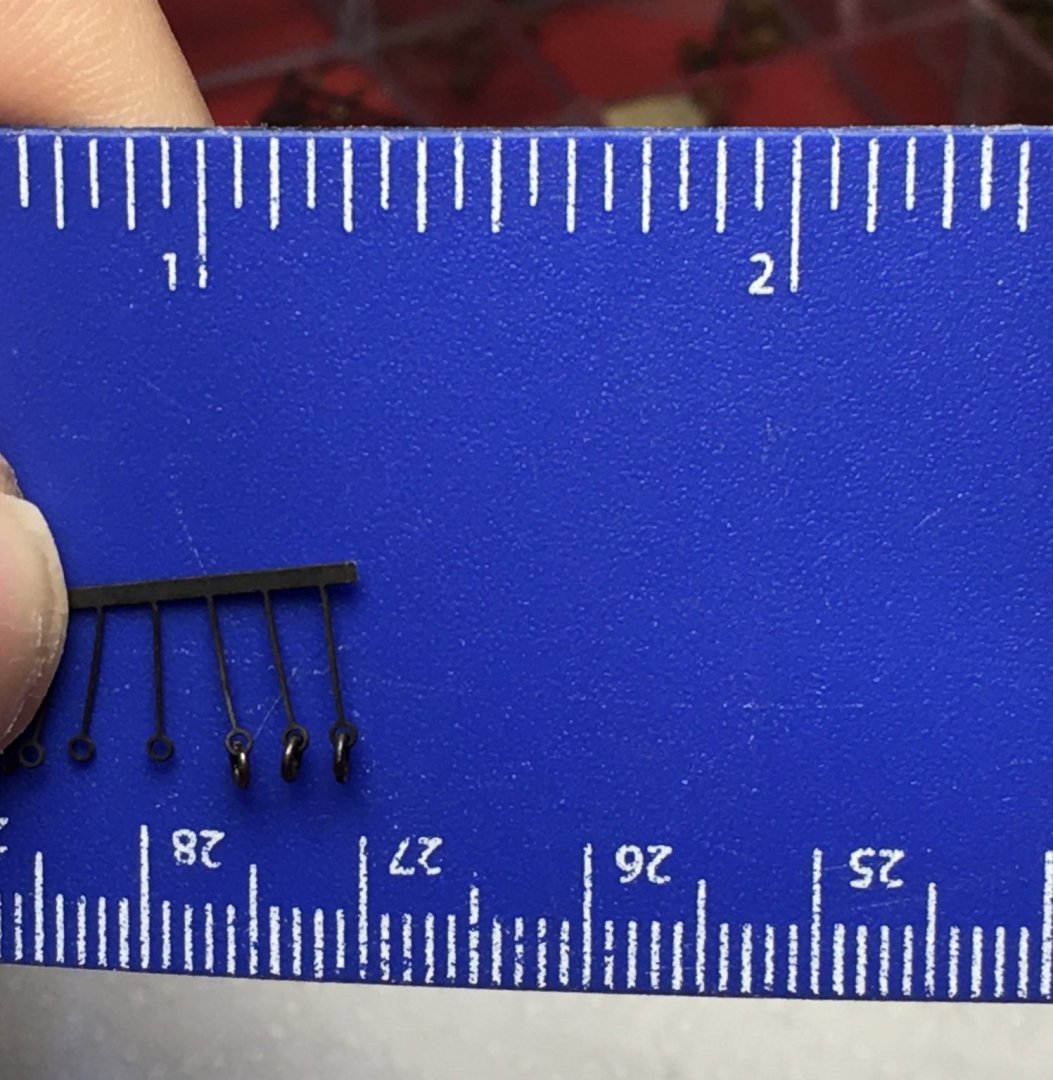
All 244 sets I need plus a few extra to compensate for any I damage while mounting them on the lids are ready. The legs of the eyelets are very thin and easily damaged while fitting them.
Robert
This is superb work
I would suggest that you don't fit the Gunport lids until after the RIGGING!!! How ever carefull you are the thread gets caught in the open ports lids!!
I have also suggested that the Mast should be fitted and rigged seperatly Now I am working on the Spars I THINK its better to fit the LOwer Masts and the lower spars BEFORE the upper masts.
The Fore and Main mast wave very complicated ways of securing them to the masts and it would be easier to do this if all the Upper rigging is fixed- KARAVOKIRIS and mort stoll
-
2
-
Syren are great but UK P&P is stupid
Also the Are GUNS. Cannon are land based Guns ship based
But thanks for the tip -
I find the "worse" bit getting the hull built.
Planking so its smooth and even. If you don't get that right the whole project is a waste of time
DeLongli have got it right. Built a few Guns at a time. Copper pltes a few rows at a time (Stratig at the stern if you are overlaying the plates) Amati plates come in sheet Ports and Starboard ready overlapped
If you get "fed up" Build a mast top -very satisfying
But yes its got to be something enjoyable
Most important ENJOY
I am rigging at present - now that is the best bit -
Corel in my opinion ar very clinical. Seem to be more interested in the look of the parts and packagine rather than the finished model
Wood is excellent But things like the Gun carriages are golden coloured.
Again in my opinion not really a modellers model -
They are supposed to be introducing A Trafagar Ocre not sure when
You can buy a complete set for a Victory of al paints required for about £35.00 -
2 hours ago, MESSIS said:
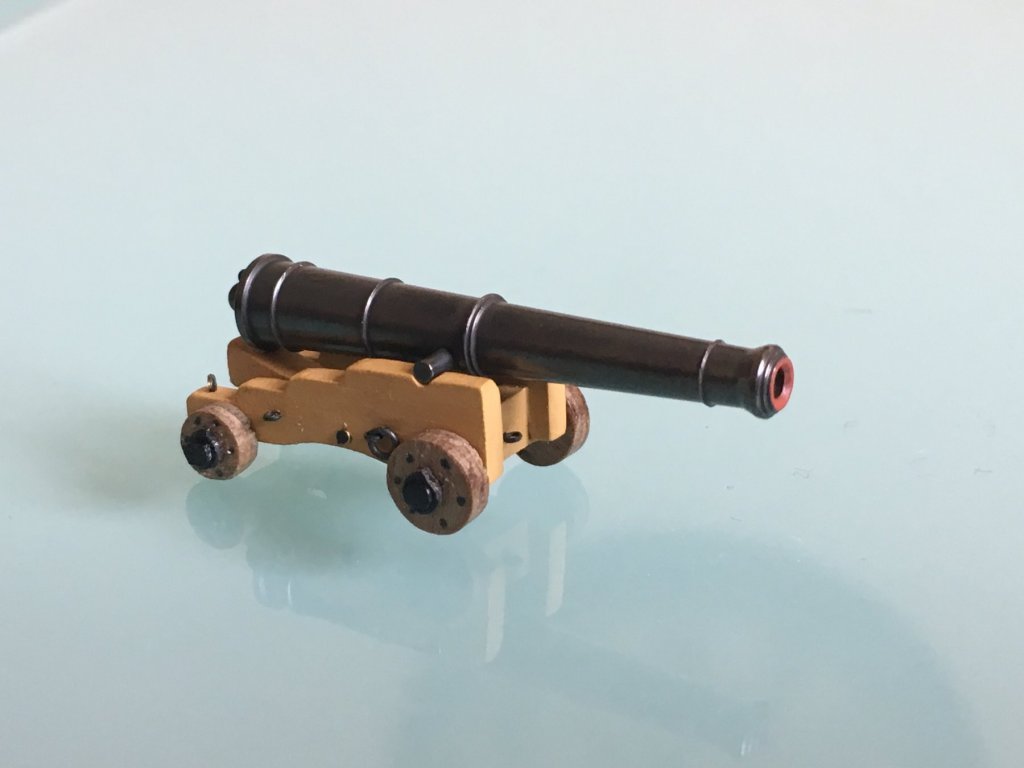
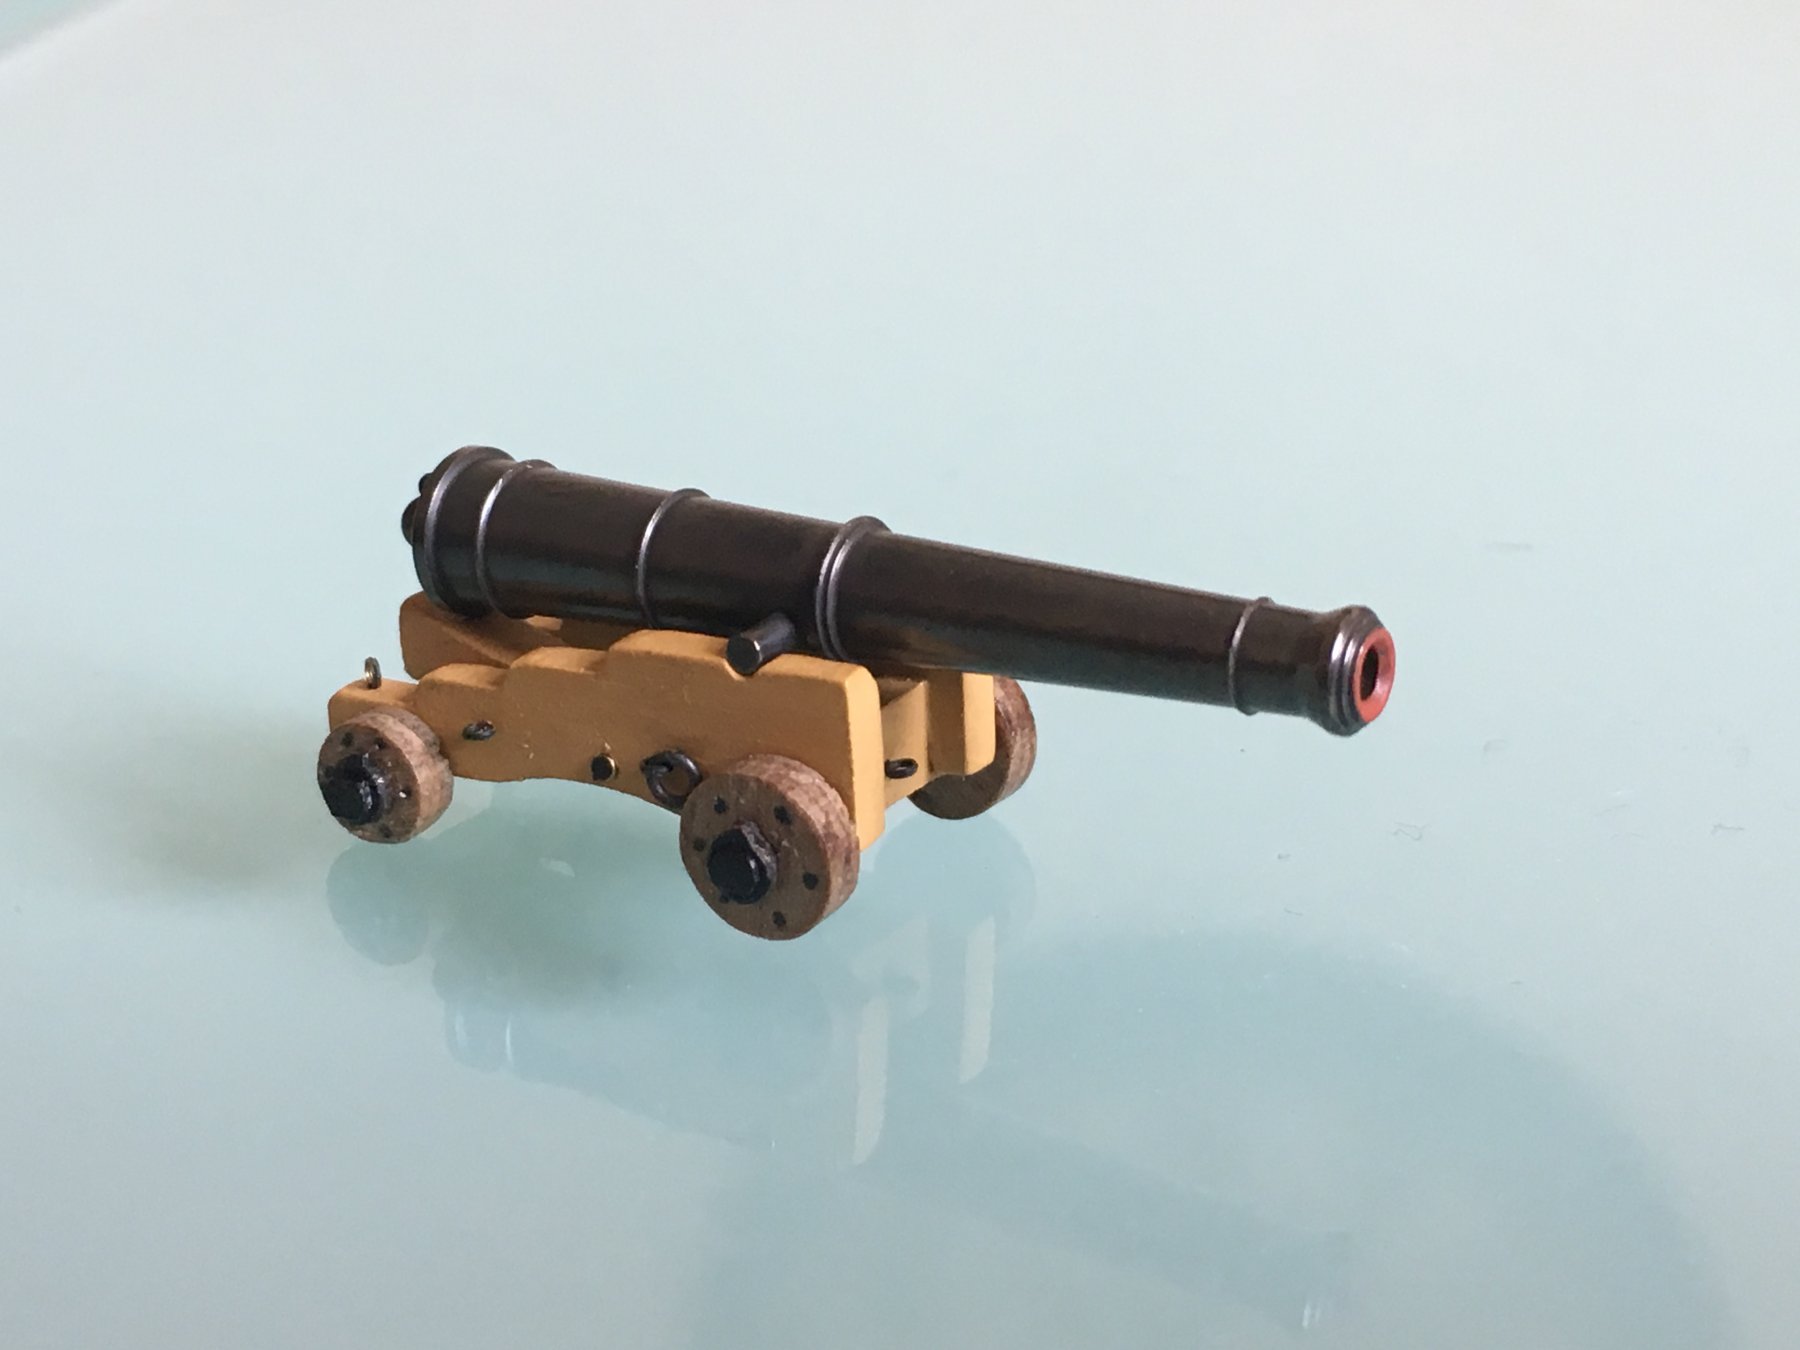
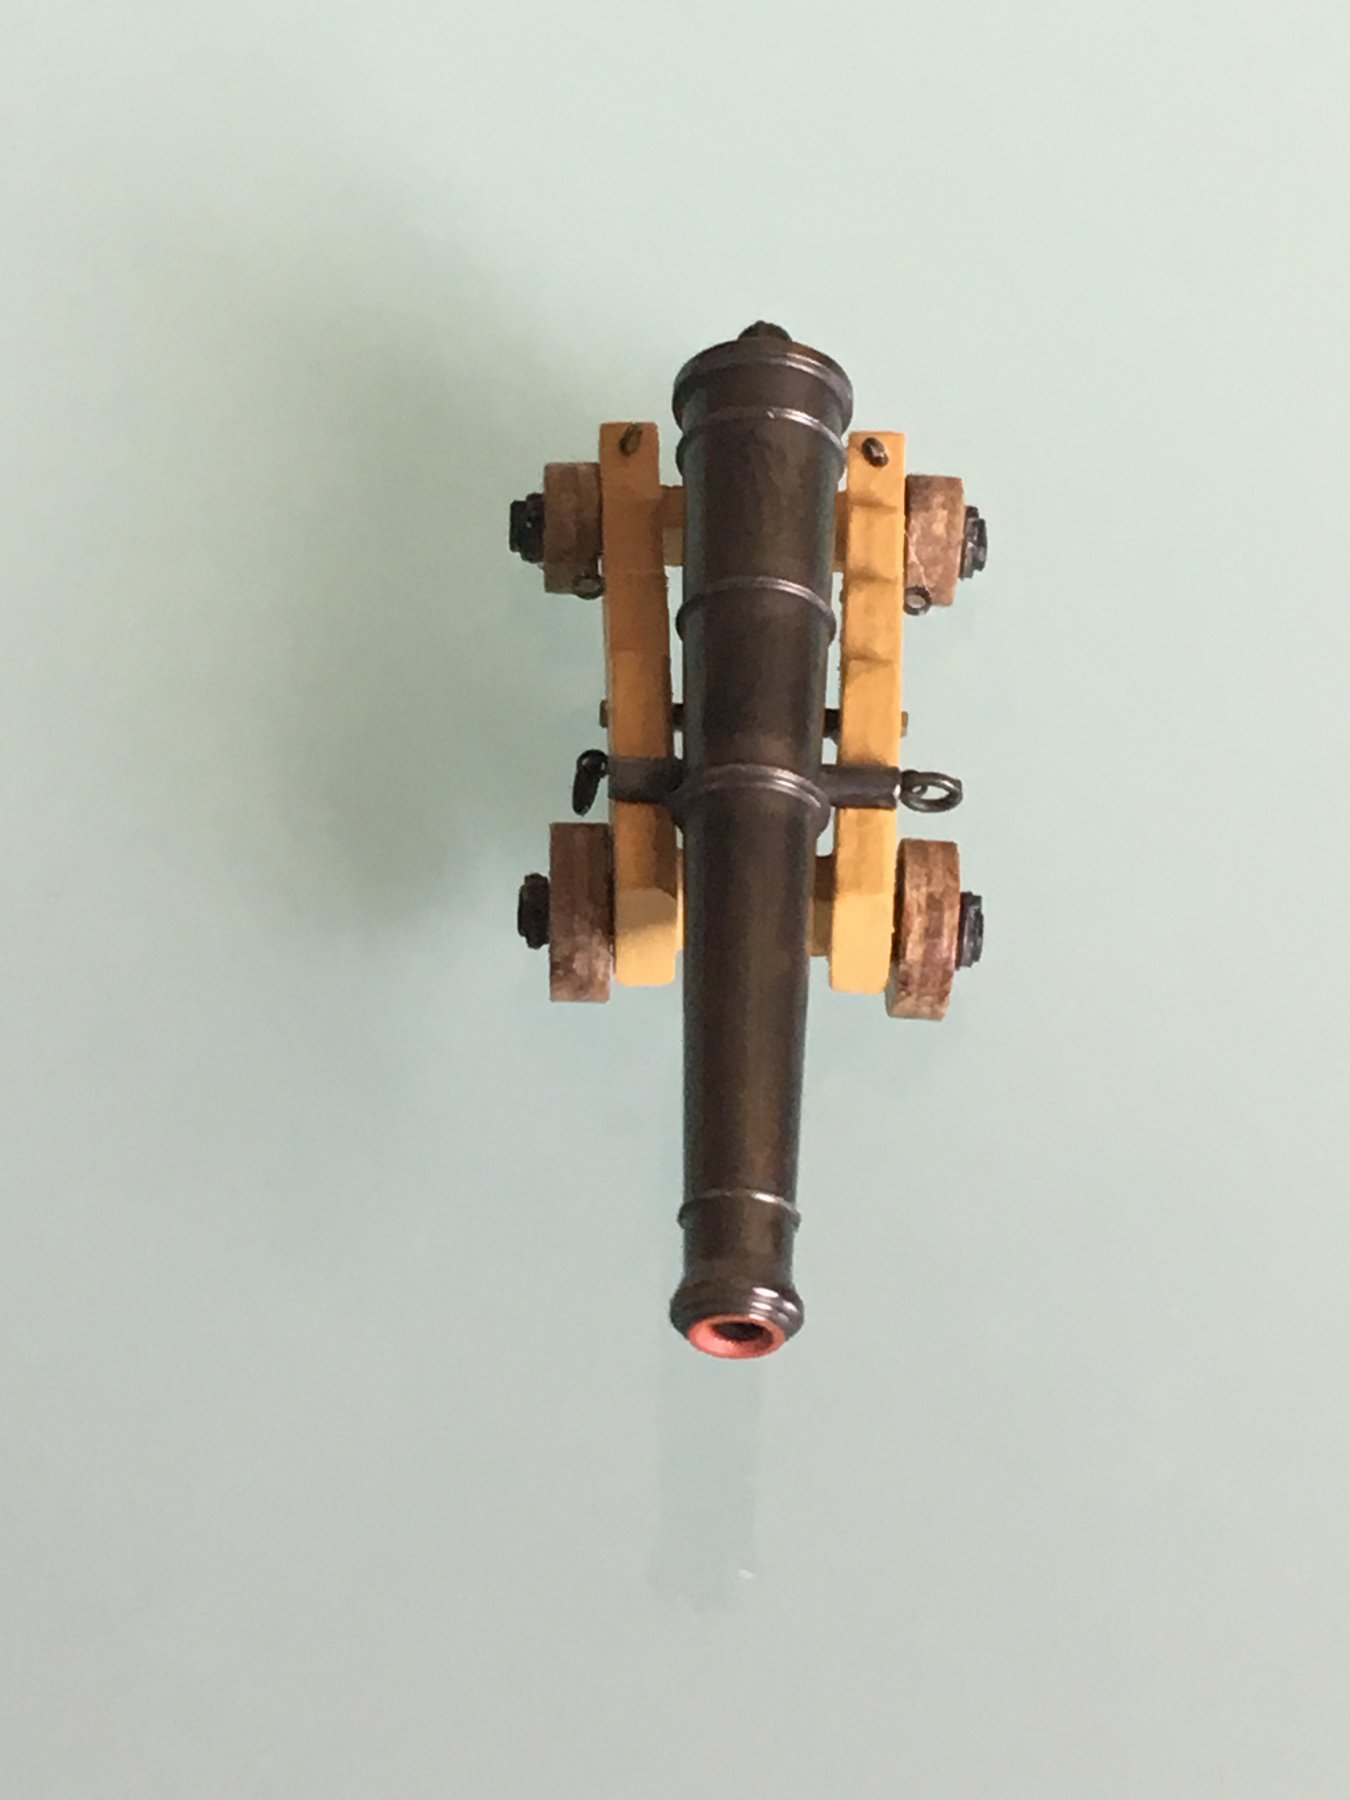
Robert the finished cannon looks amazing realistic! Well done.
Were the cannons brass or were they just some cast metal? Because I failed the other time I used the Birchwood Brass Black... the cannons were not brass.
Hi Guys
Painted all mine with Caldercraft paintI always rig the ship with one side Closed up for action and the otherside posts closed
That way you can see the beautuful line of the ship -
32 minutes ago, Bertu said:
Wallace , thank you, I myself have taken a lot of ideas from other builders from this forum, it's a great forum and you learn a lot from it.
Richard, when I had started the deck beneath, that was something I was asking myself. Do I show the tree nails or not? As you rightly so said, in reality they hardly show and you might as well not show them at all on the model, but I thought the tree nails added a bit more of a pleasant detail. But when I tried a sample with all the tree nails all across the planks, not just at the ends I thought it was an overkill, it was too much. So I decided to do just the ends. I know in reality they should be all across but in my opinion, on my model it was either just at the ends or nothing at all. I decided to do just the ends to have ecstatically a better looking deck.
Robert
A model is never "Right" and it is up to the builder to build it as he/she wants
You are doing a great job
Ive not put tree nails on my deck at all. I am wondering if they could be marked with a punch.
On my San Felipe I did the deck and the Hull because she was not copper plated
Incidentally have you seen my blog on the Caldercraft and amati Facebook page.
The Copper plates should start at the stgern and work forward over lapping the one behind it
I also started from the hull up as is THOUGHT to be correct practice BUT the overlaps show up to much so I started at the Water line and worked down
Looks much better -
Wonderful work
JUst wondered why you are not showing the treenails on the deck. adjacent to the treenails on the end of the planks.
I think they need tobe carried right acrossthe deck
I actually don't show the tree nails as on Victory the colour of the tree nails are ve ry similar to the deck itself
-
1 hour ago, Bertu said:
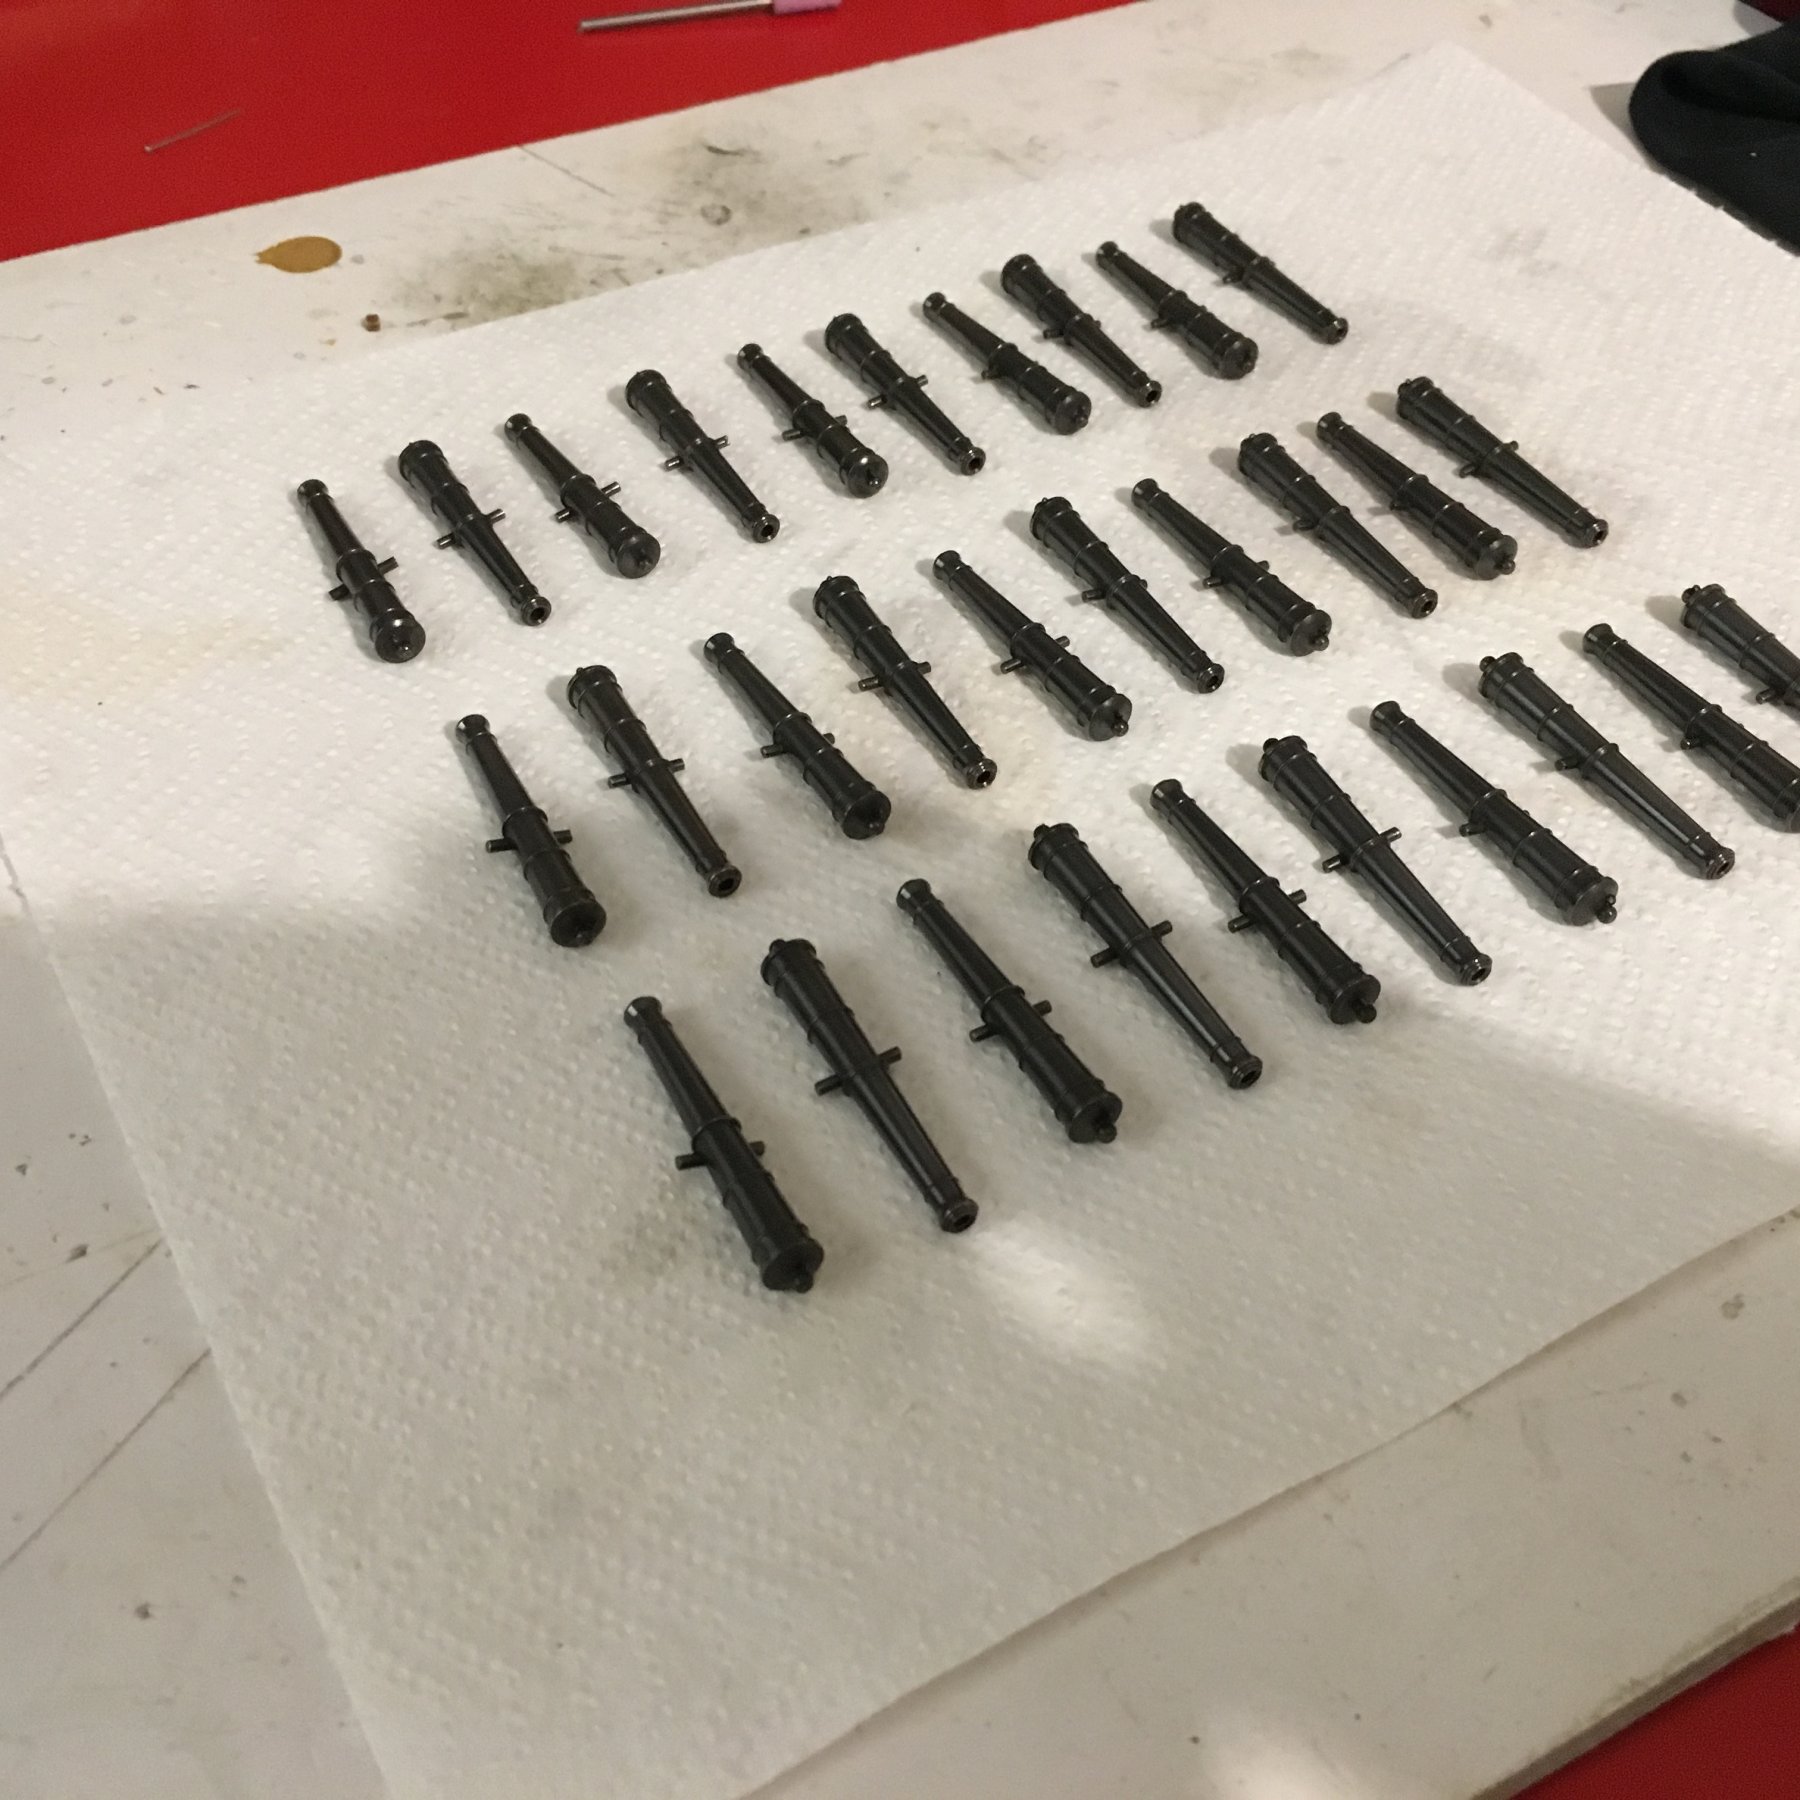
Blackened the upper gun deck 30 cannons with Birchwood Casey Black Brass. Found very good blackening hints on Graham's (Charter33) build log.
Cannons cleaned in acetone

Drying after blackened in Birchwood Casey Brass Black and rinsed in water. The three cannons on the left are already wiped with a cloth to remove the black dusty residue left on the cannons after drying.

All 30 cannons wiped clean and polished with Carnauba Car Wax.

For the carriages that are going to be under the skid beam assembly I added some more detail to carriage wheel shafts. I didn't like the squarish shaft protruding from the wheels. Bought some eyelets (C83506) from CMB, widened the hole to fit the shaft and cut off the eyelet leg leaving just a short piece. Blackened them, glued over the shaft and painted end of shaft black.
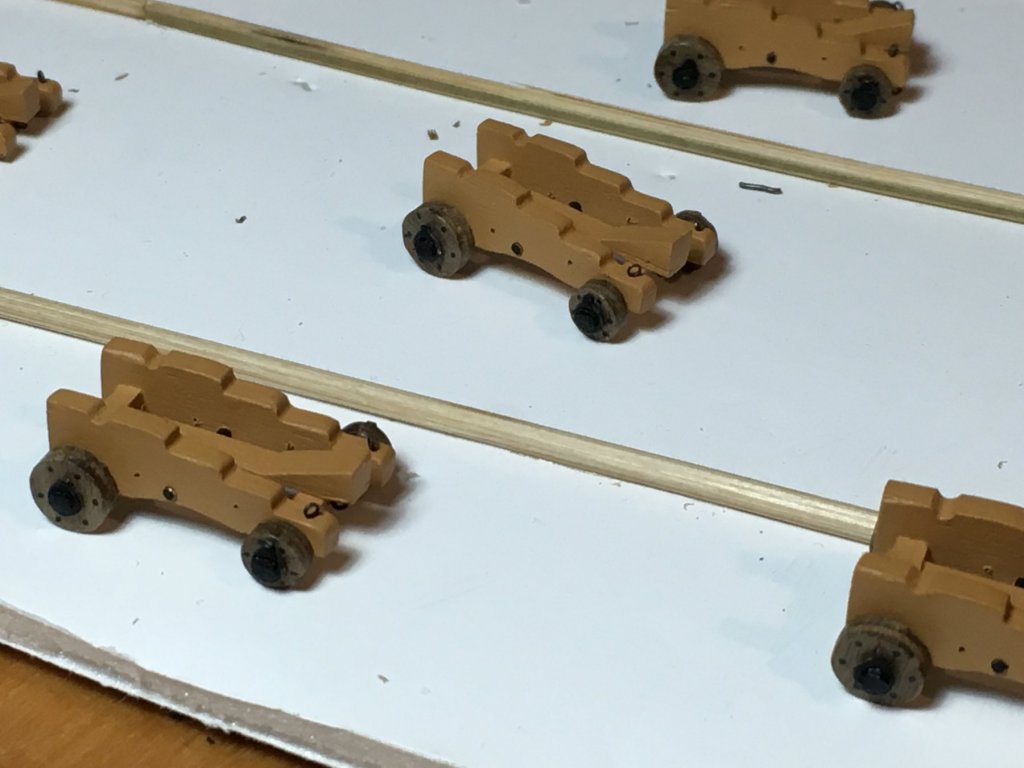
Fitted eyelets to carriages, except for the once with the ring to take the breaching rope on the side of the carriages. In the image they are only dry fitted. These will be fitted later on when fitting the cannons to the carriages.


Cannons will be fitted to carriage with the brackets, with the breaching rope already fitted with the eyelets and passed through the breaching ring at the back of the cannon.
Robert
Superb detail Gun Carriage sides have to painted because they are not solid wood!
Don't forget the main tackle passes through the Eyelets on the Carriage side
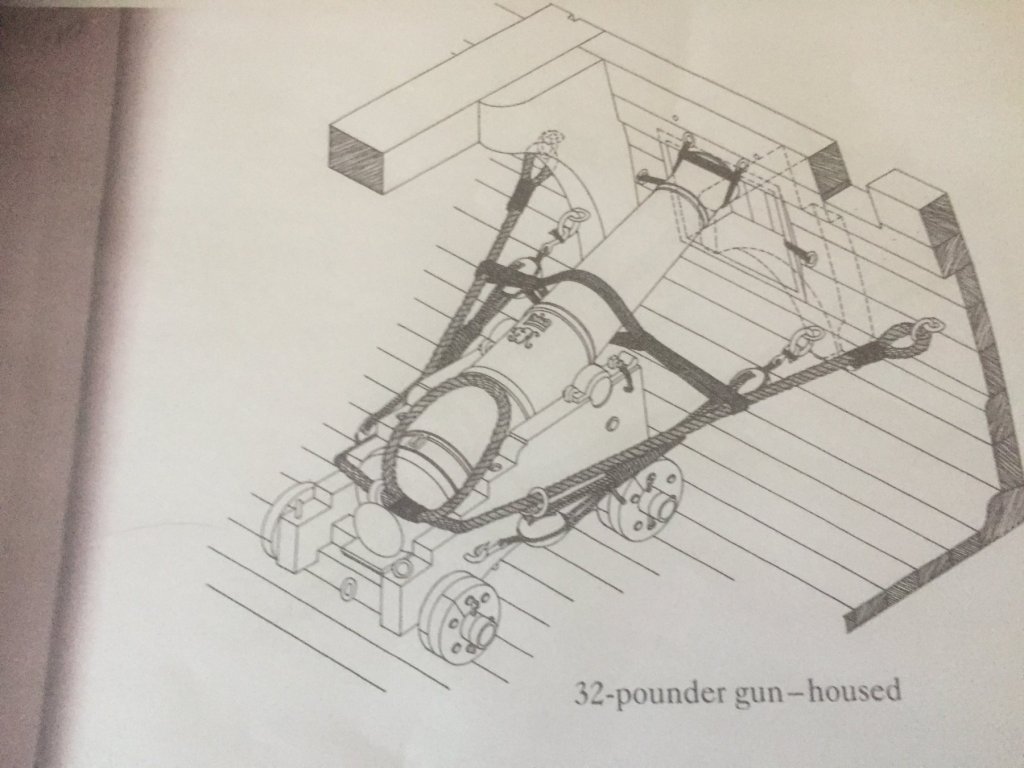
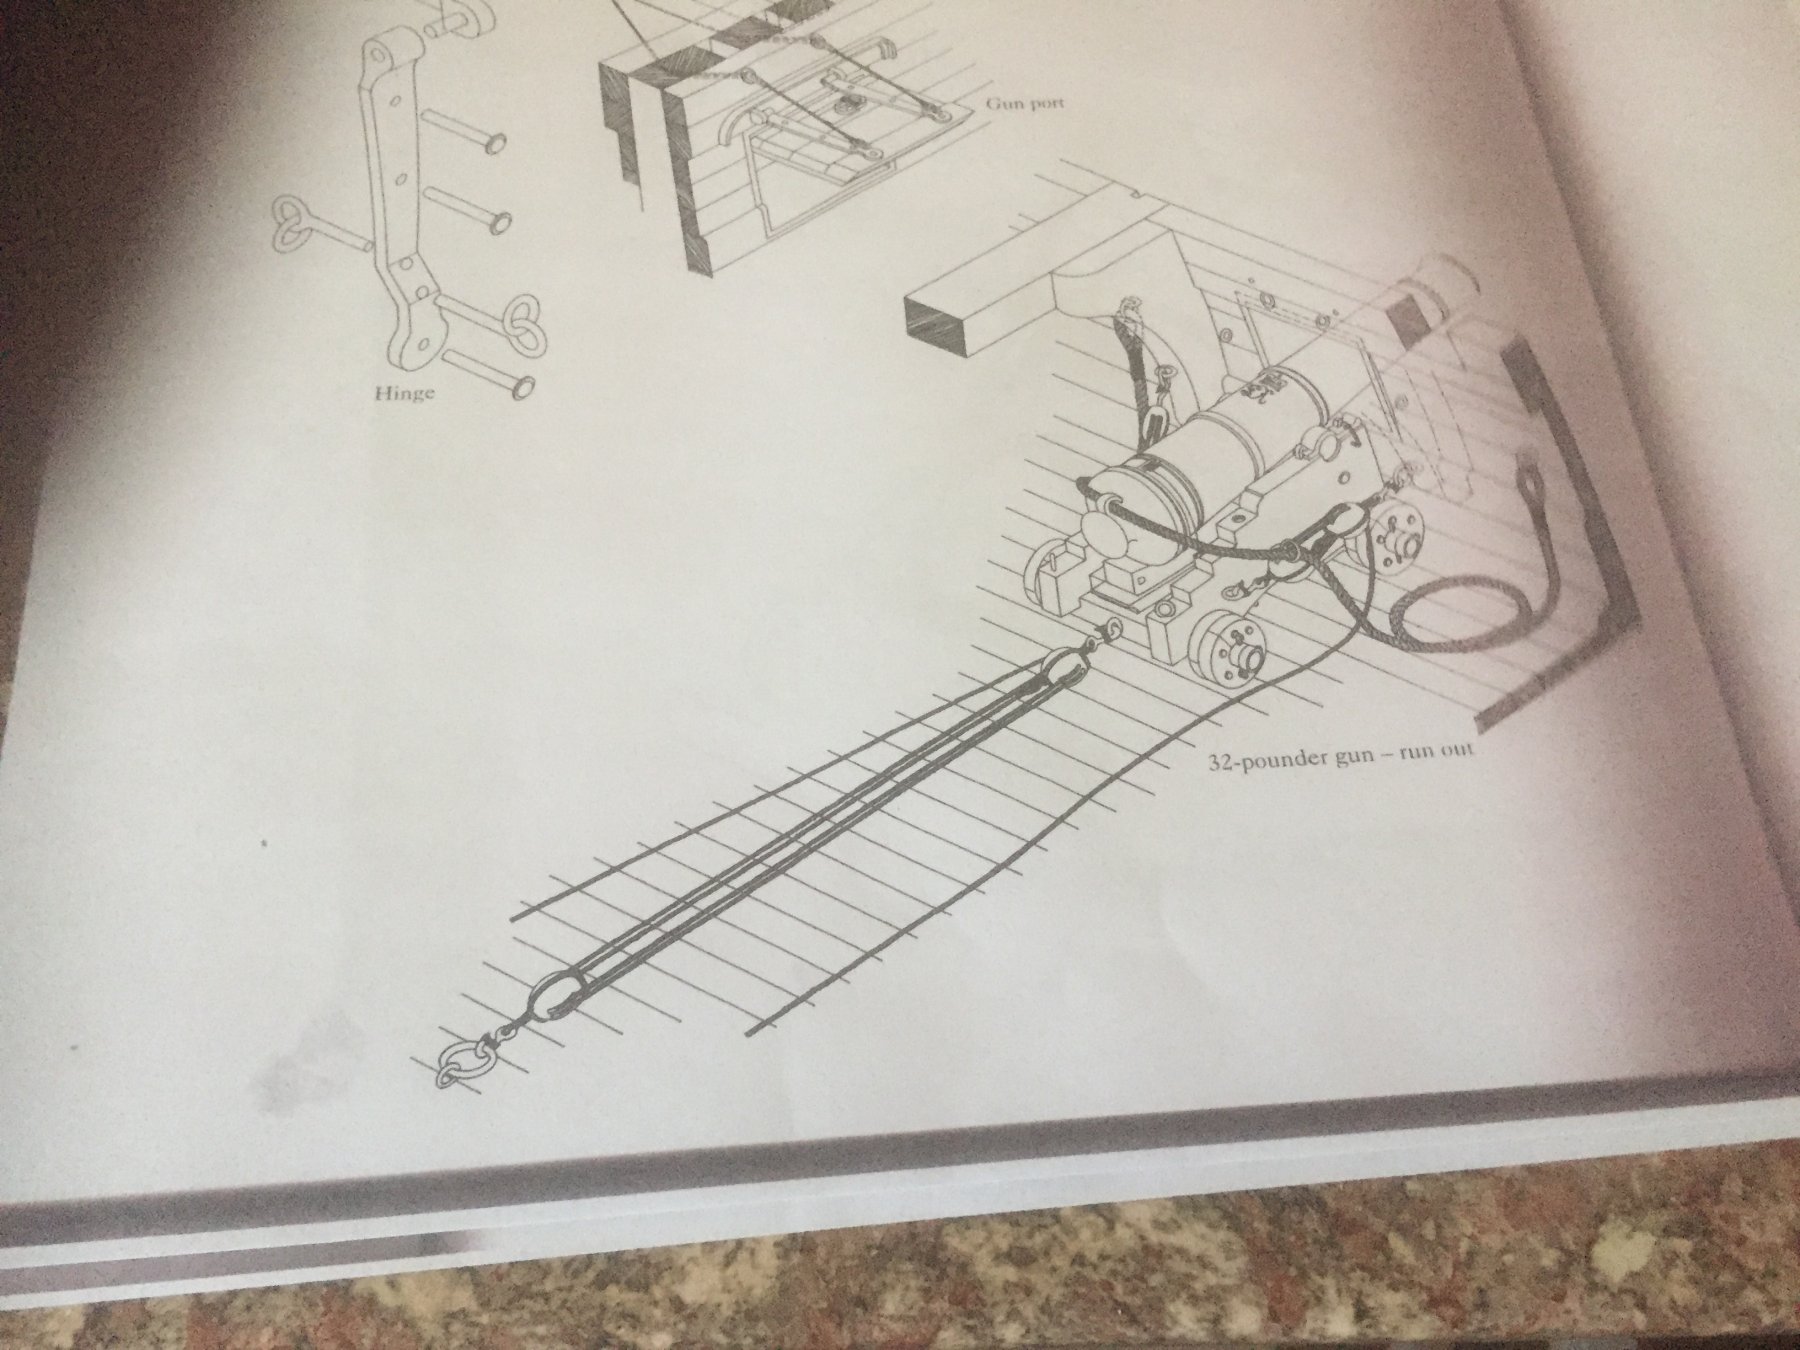
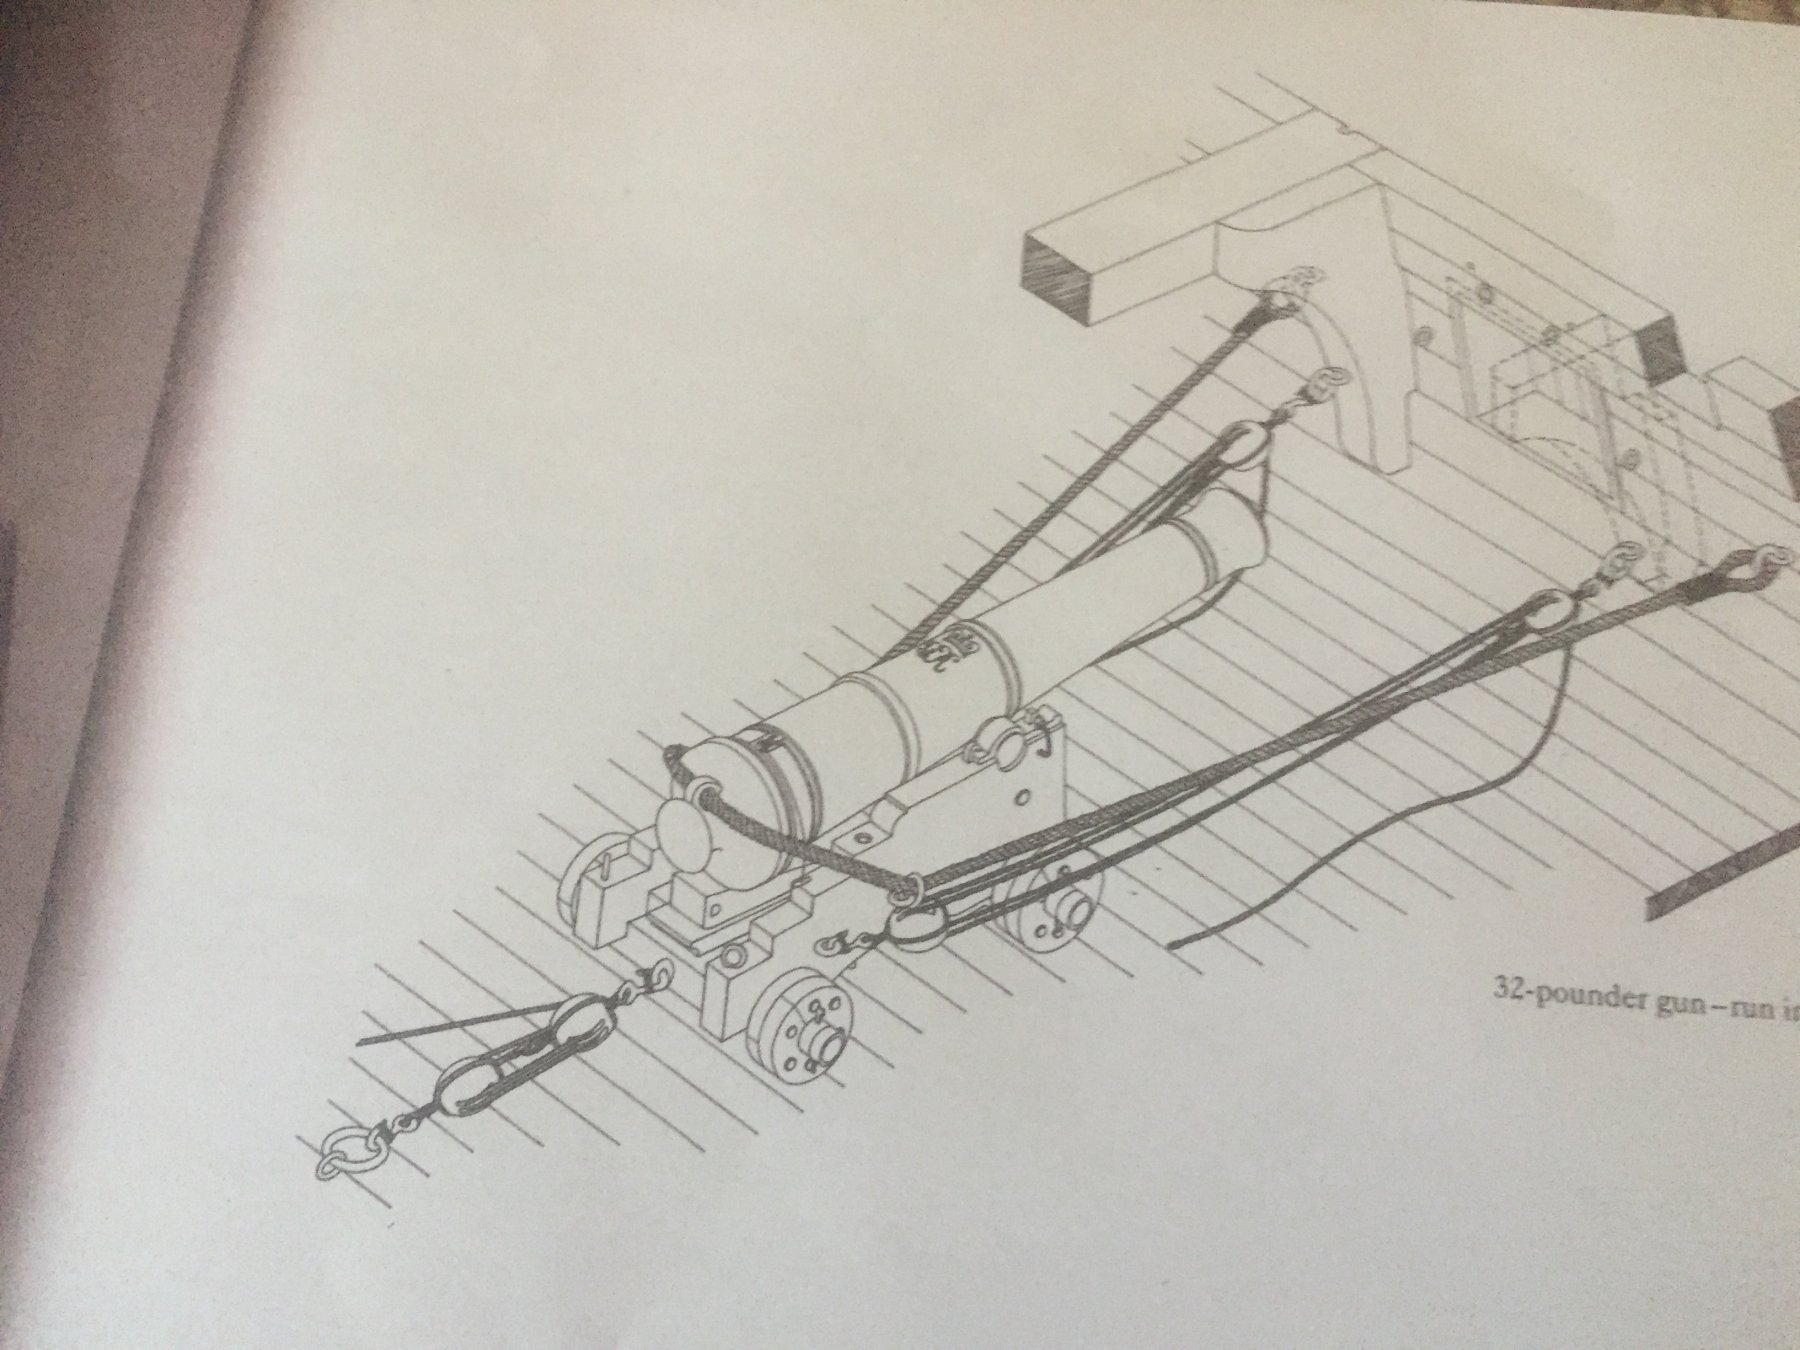
Also Caldercraft rigging of the guns is not 100% accurateThe lashed tackle may be correct while the ship was in harbour but at Sea the Barrel is unseated and lashed to the ship's side (Double lashed in a heavy storm) Note the rear tackle is removed as it is a trip hazard (Both in harbour and at sea)
THe rear tackle is only used to pall the gun out in case of a miss fire or to change to load of the gunTHe lashing would be coiled at action stations


- robdurant, John Allen and mort stoll
-
3
-
Just in case you are interested ive created a page for the HMS Victory Amati and Caldercraft
All HMS Victory wood models are welcome -
On 28/09/2017 at 1:48 PM, Peter Bloemendaal said:
Maybe you should include the question on how many different brands each voter has had experience with.
In the Australian hobby shops the majority of models available are from Artesania Latina. I have only used one other brand. So I can only compare and vote for the 2, which doesn't do justice to the better quality kits I don't know about.
My thoughts exactly
Don't think this poll is fair as it only takes into account votes polled
So if 1 person has voted for, say, Euromodels (ie Victory Models) and no body else has built a Victory MOdels kit then it is TOTALLY misleading -
On 28/09/2017 at 12:58 AM, Cathead said:
Where can I downvote Corel on all counts?
Are you not happy with Corel. THought they where pretty good. Must admit they are more for beginners as the castings are not as good as Mantua and Panart.
-
Yes looks really good
Waiting for my Amati Victory as a completely new project Hopefully it will be released before 2020 Will use this for that -
Here are the Amati Copper Plates.
Scale 1:64 (Elephant and ne Victory when it become available
They are etched so can e attached in "blocks"
!:64 comes in 2 sheets of 182 (Half starboard half port) ie 364 in pack
PART NO 4392-05
around 15.00 per pack http://www.snmodels.com/en/snshop/fittings-and-accessories/photoetched-copper-plates
The 1:72 have far more plate 20.00 ie 500
DONT get you grubby mits on like I have!!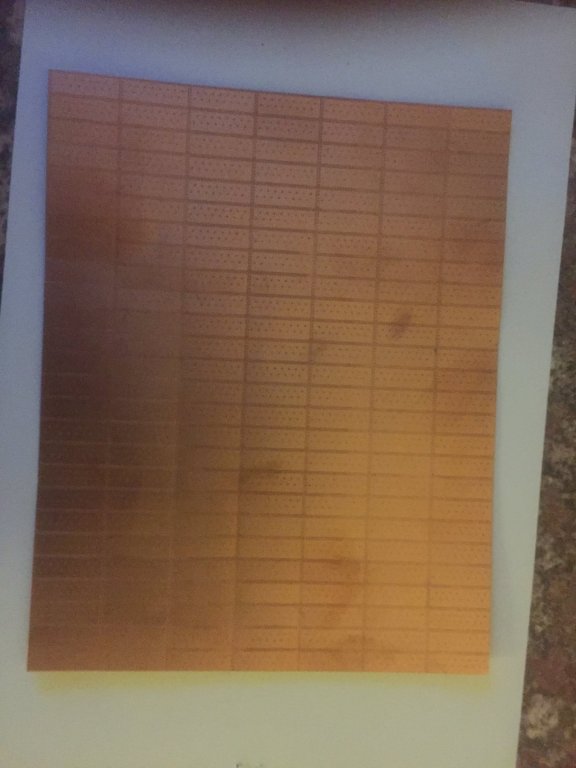
-
Hi Paul
I am sure you know all this
Have sent a number of post here an elsewhere about Coppering
The main reason for fixing coppering was to prevent the wooden bottom from rotting away. A ship with a copper bottom was abetter Investment than one that did no haver it (Hence a "copper Bottom Investment")
According to many ship specialists Copper was laid from the stern forward over lapping the previous plate (AS you say)This helped prevent to forward movement of the ship tearing of the plates
Initially metal nails where used but that reacted with the copper and salt in the sea and all the plates fell off. Copper nails prevented this
British navy ship are supposed to start at the keel and work up.
British Maritime ships start at the keel and work down
HOWEVER because the plates supplied by Caldercraft are not scale thickness Fitting them from the keel UP means that the overlap shows quite badly when looking down from above (One side of my Victory is plated this way)
As this would be the case most of the time I applied the other side from the keel down as it "looks" much better
As we know compromises have to be made when modelling to make the model look better.
C Napean Longridge talks about lifting the waterline and coppering up slightly towards the bow as it looks better
Interestingly Amati are now producing plates (Left and right laid) in a number of scales that only have the main rivitting one side so these can be laid side by side so they LOOK right (ie as though they overlaid) and are also etched so a few can be laid together where there is no narrowing or widening of the planking
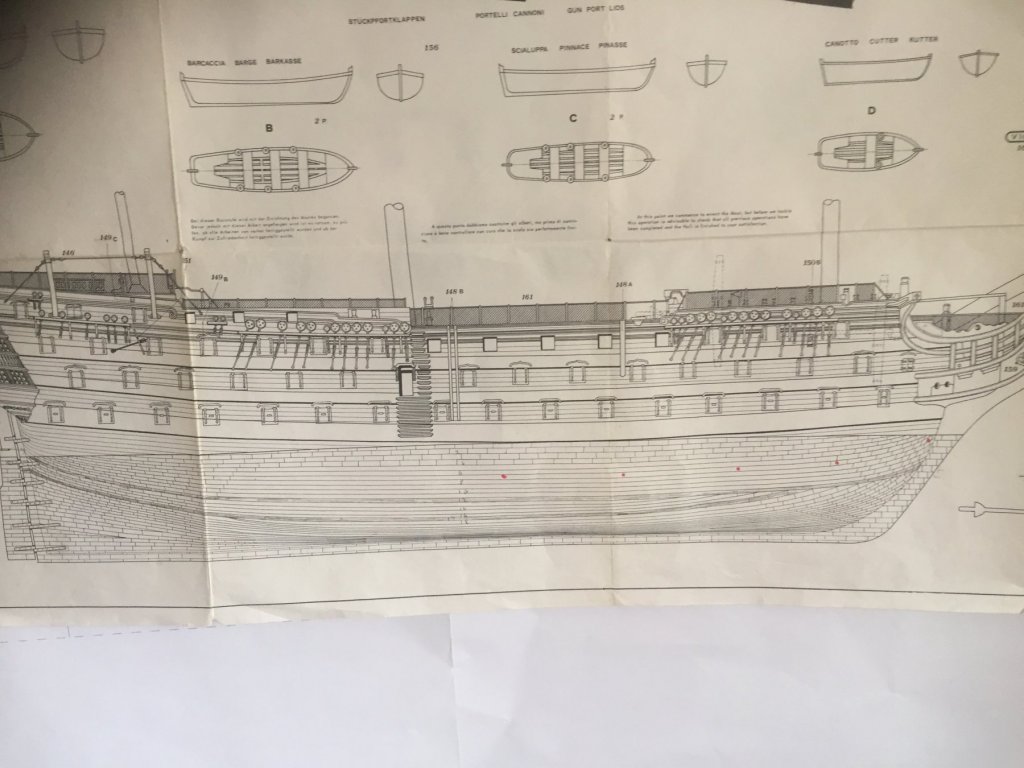
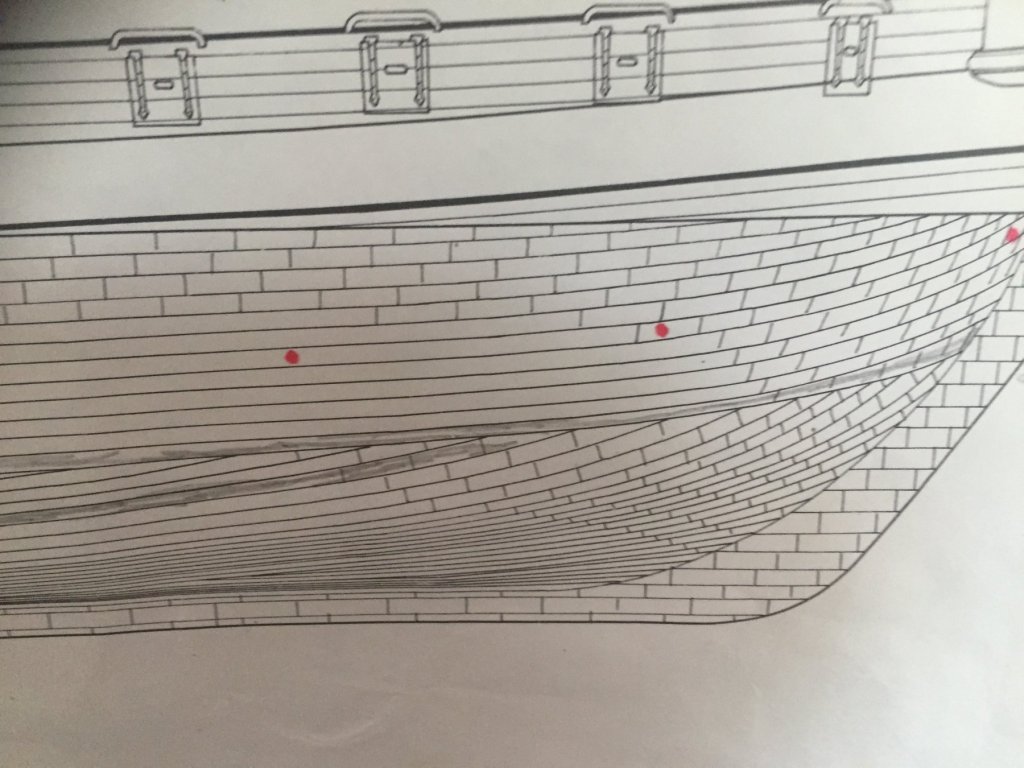
They are expensive 22.00 for 350 as against 3.20 per thousand from Caldercraft. BUT !!DRAWING ONE is the original plans from the 1:98 scale Victory from Mantua (13 incredible plans) Everything had to be cut out
Drawing Two shows the copper starting from the keel
Drawing three is my Copper plating starting from the hull Looks great BUT the overlap is very prominent from abovePicture Four shows Amati's Plates (1;64 for Elephant and new Victory)
NOTE These Mantua plans where the only place I could actually work out where the Wales came on the bow

- mort stoll and leginseel
-
2
-
It would be a shame to hide up that incredible planking. I use wood oil to cover my planking on the S Felipe. Was not happy with the Caldercraft Victory, not sure why, may be the wood.
If you do use copper plates try and over lap them they just don't look right next to each other. Start at the Stern (As per full size) and work forward. It should start at the hull BUT this is not proven and the plates tend to show from above
GREAT WORK -
It would be a shame to hide up that incredible planking. I use wood oil to cover my planking on the S Felipe. Was not happy with the Caldercraft Victory, not sure why, may be the wood.
If you do use copper plates try and over lap them they just don't look right next to each other. Start at the Stern (As per full size) and work forward. It should start at the hull BUT this is not proven and the plates tend to show from above
GREAT WORK- Old Collingwood, leginseel and zappto
-
3
-
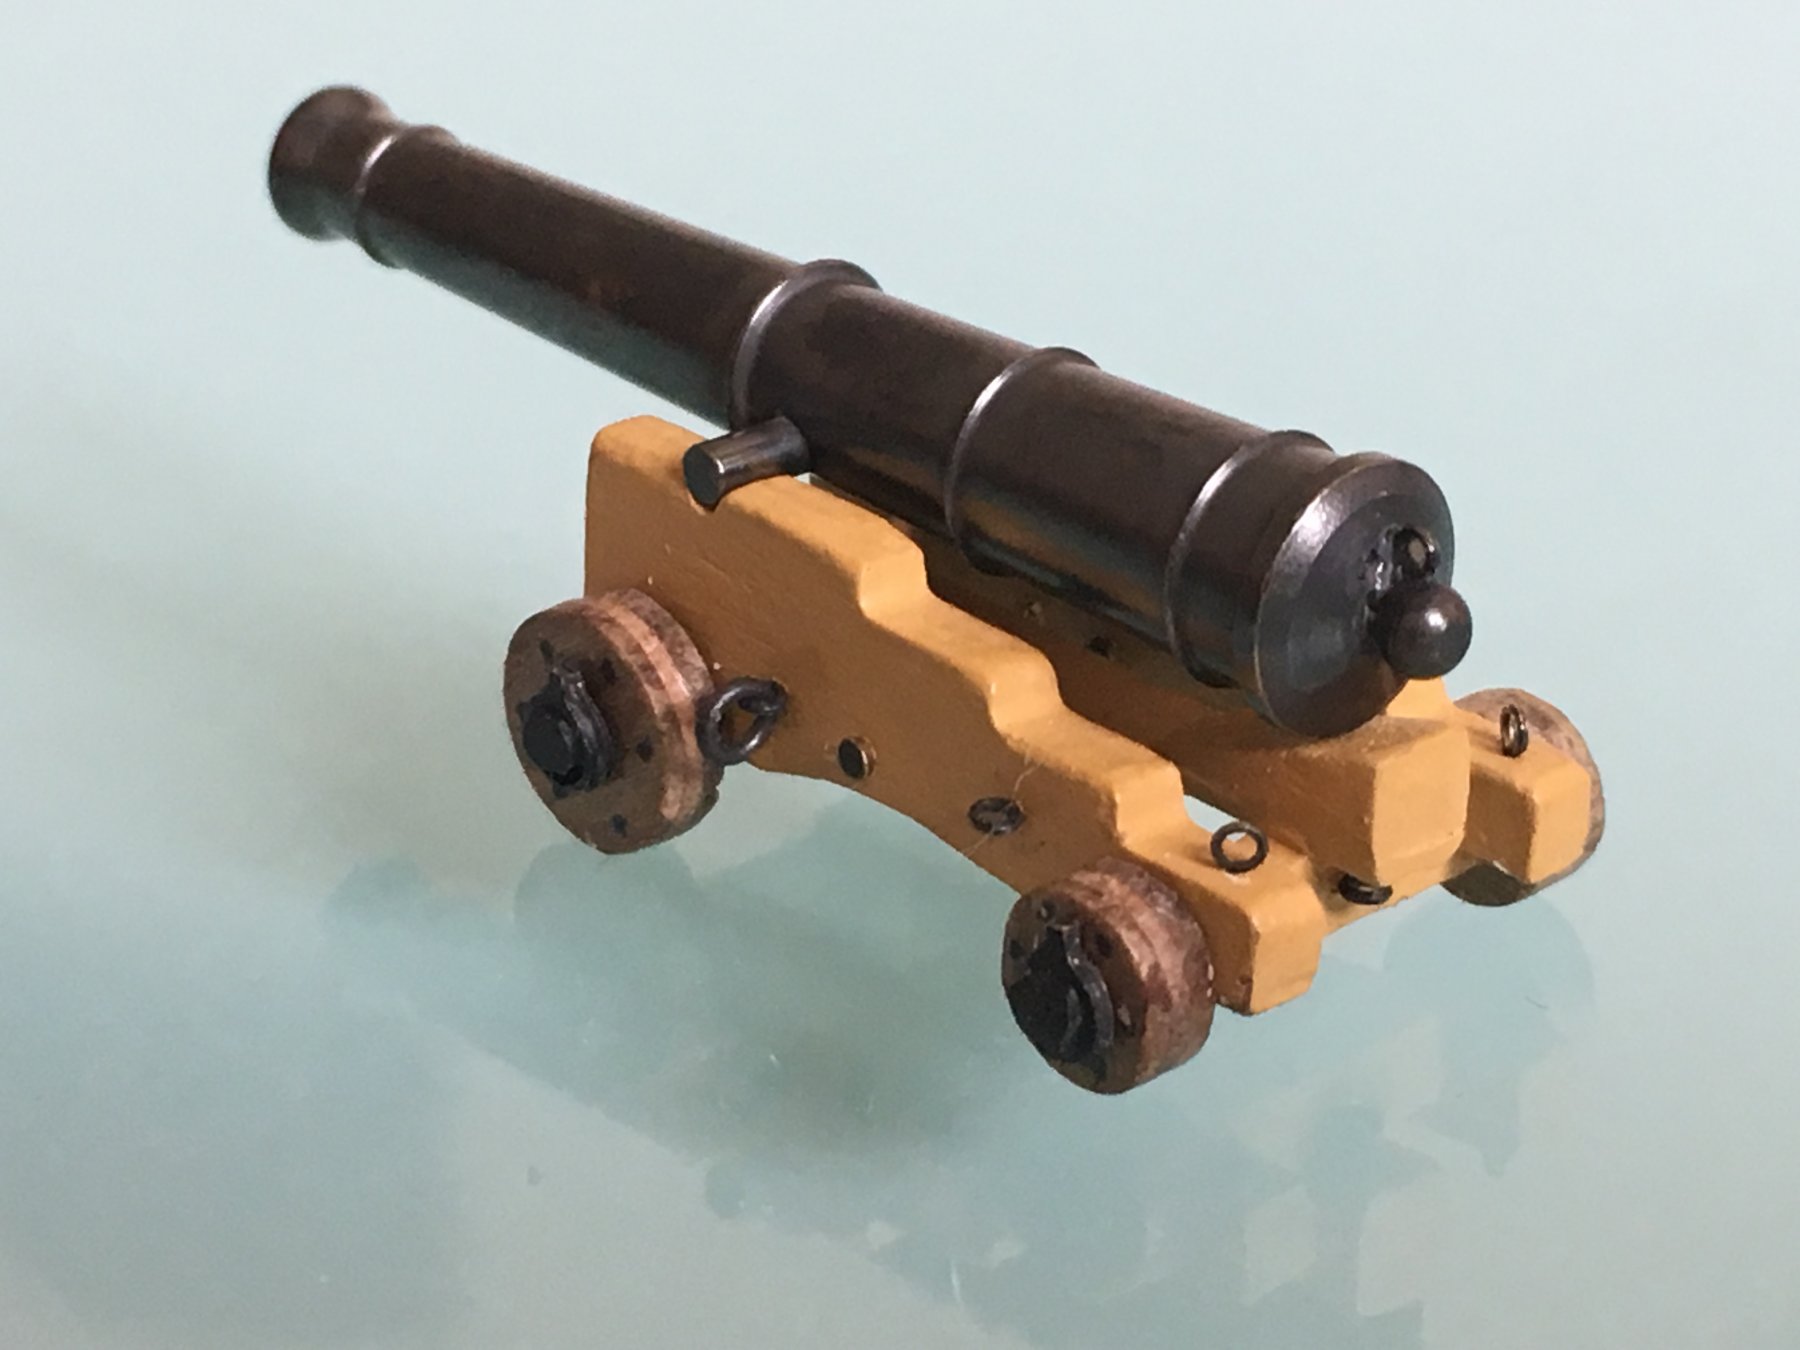
JUst look at the quality of the Gun Port linings. Mine are terrible by comparison
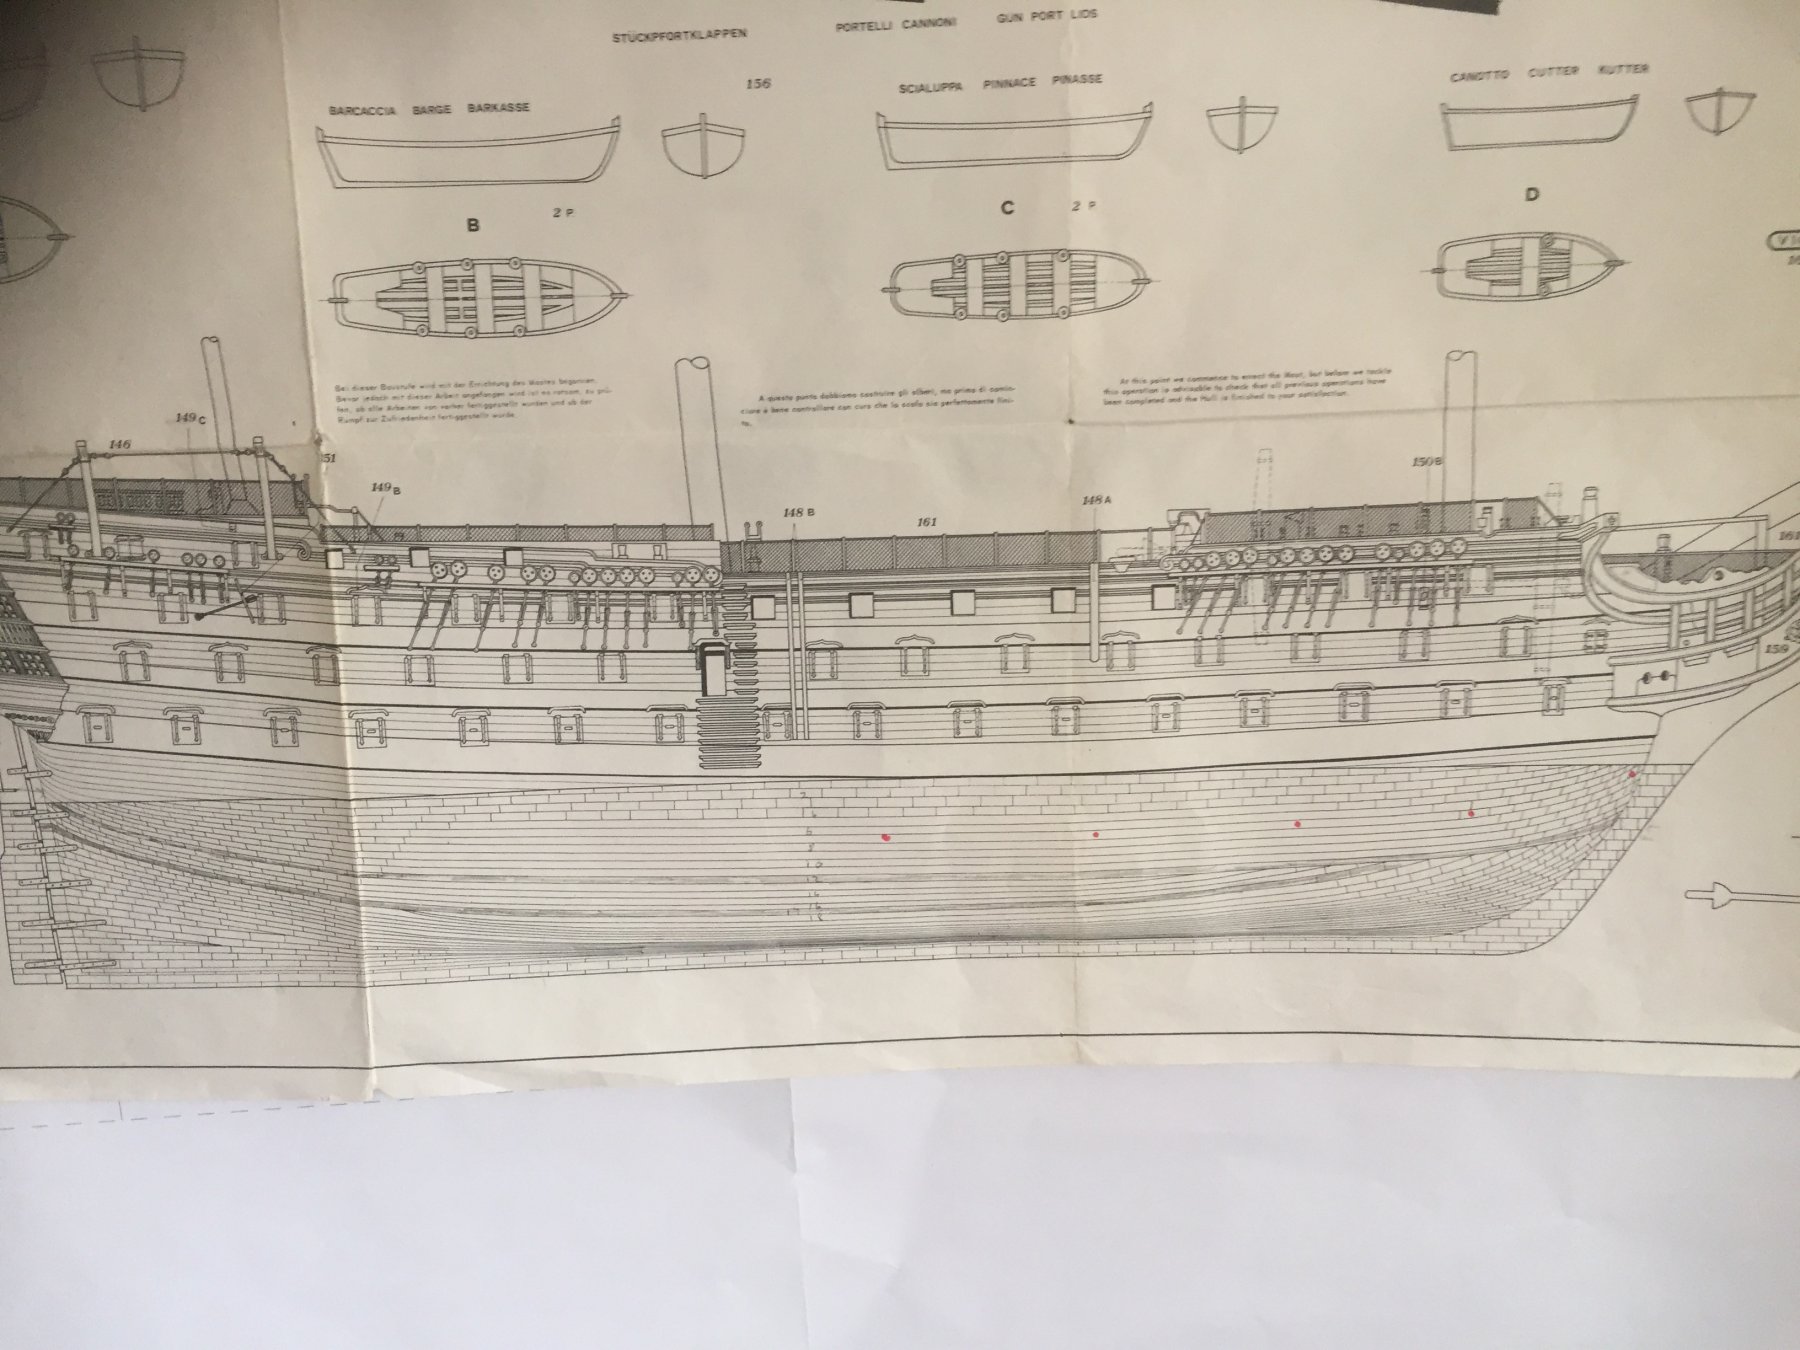
Would agree with the comments about copper plating the planking. Possibly do one side. I actually have the guns run out one One side and the other with the ship close up.
Copper plating is again a bone of contention. It was laid like tiles on a roof. Starting from the stern working forward and , I think, on a Royal Navy ship from the keel they where laid over each other. The problem her is that they are too thick and the edges show. Particularly if you start at the keel. Looking down the plates the edges show. Starting at the Waterline and working down it is smoother.
Amati do plates that allow them to be laid side by side. They have left and right so they can be laid properly but they are expensive - about 22.00 for 350 ish. They also have an advantage that they are etched so quit large "blocks" could be laid at a time.
Allows for the beauty of the hull to be seen
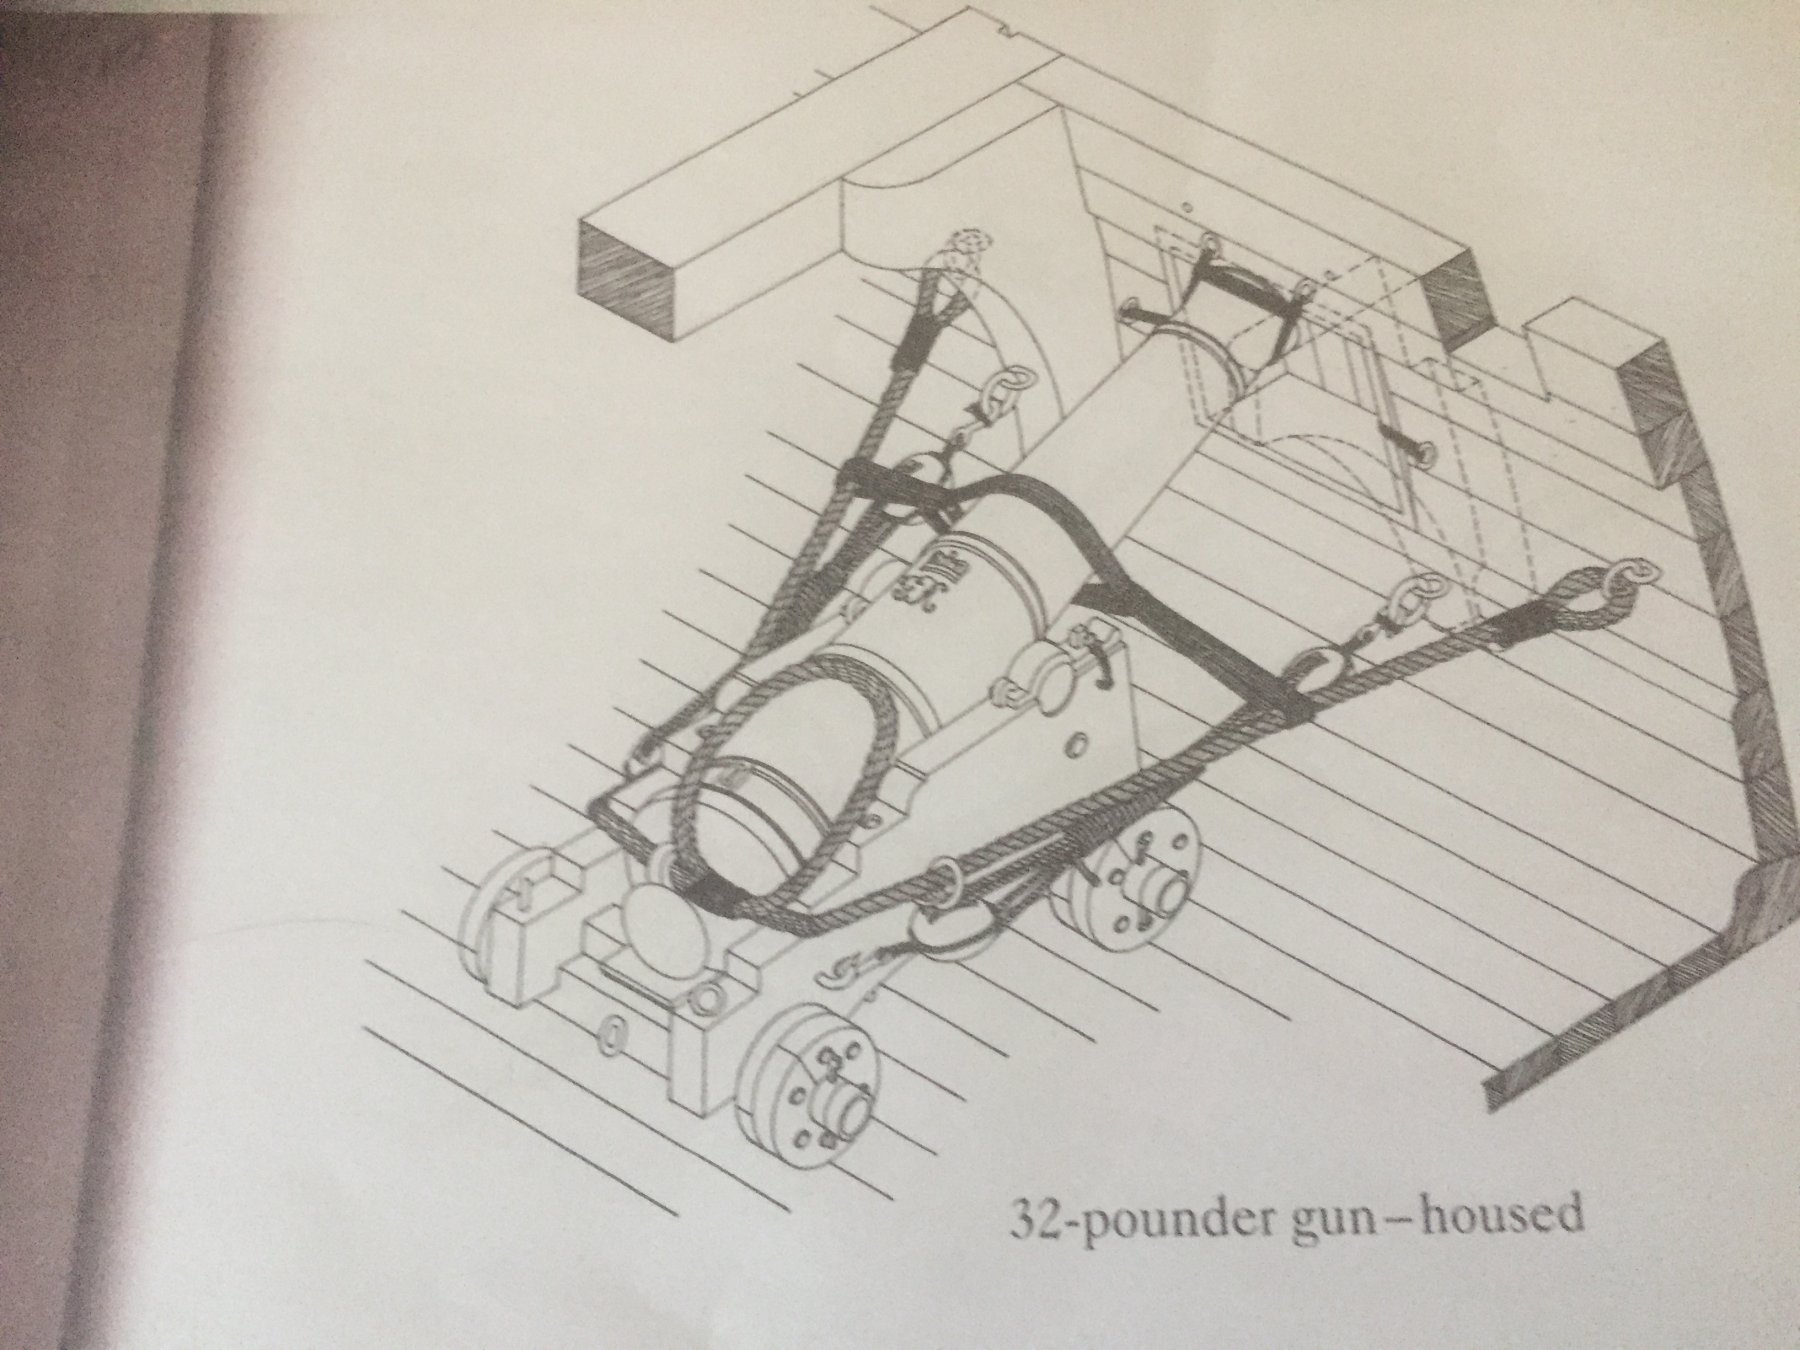
Victory has the Lower POrts closed. Probabvly because of the weight of the GunsThe rigging of the Guns in the instructions for the model are NOT complete
There are three ways to rig the guns.
1. As shown Close for the sea. Note the tackle is rove round the ropes to tidy it all up. Unusable. Actually the barrel should be rove up against the side of the ship
2. Cleared for action. Extra rope coiled by end of tackle (Picture 1)3. Fired. Gun run out for reloading (Picture 3)
NOTE also the tackle to the sides of the ship is Single and double. The rear tackle is two doubles.
Have added 3 shots from


- Mirabell61, kier, leginseel and 2 others
-
5
-
Have always found that using a bees wax block does a number of things. Makes the rope lie properly with no fluffing. Make the rope easier to handle and gives it protection against aging
But yes Caldercraft parts do not seem as good as I would have expected. The one thing that I am really annoyed about is the finish of the Quarter Galleries and Stern decoration. Apparently you have to Paint the black rectangles between the windows. Not impressed with a model that costs nearly 1000.00 -
This photo makes me want to strip the planking of and restarting.
Bertus work is so cleanTHis is why I decided to paint it (My Victory from 35-40 years ago was not painted


Bismarck by rvchima - FINISHED - Amati - Scale 1:200 - WWII German Battleship
in - Kit build logs for subjects built from 1901 - Present Day
Posted
the photo is showing far too blue - Amati suggest RAL7000 which is a light grey with superstructure slightly darker RAL 7001 - looking good otherwise