
Supplies of the Ship Modeler's Handbook are running out. Get your copy NOW before they are gone! Click on photo to order.
×

Jim Rogers
-
Posts
1,381 -
Joined
-
Last visited
Reputation Activity
-
 Jim Rogers reacted to mtaylor in Deck planking approaching stem - Decrease in width?
If I remember correctly, it was 1/2 the width of the plank. The planks would be nibbed into the waterway.
-
Jim Rogers reacted to cdrusn89 in US Brig Niagara by cdrusn89 - FINISHED - Model Shipways - 1/64 scale
Got the rudder ready for mounting and making progress on the "bell tower".
Also did the galley smoke stack. Getting the top part to actually show light through was a challenge on the first one. I soldered two successive sizes of brass tube together and then used the Dremel saw to notch the top piece of tubing to form the supports for the top. Slots are so narrow that I had to make four instead of the three in the plans. Made the top from a 3/16" disk I punched out a a 1/64" thick brass sheet. I used a center punch to try and form the "Coolie hat" shape. Came out more curvy than I had hoped. I used epoxy to attach the top to the rest and painted it all flat black. Not bad for a first effort but I have a few ideas of how to get closer to the plans. Awaiting a new punch set (3/16" is the biggest I can do with what I have) so I can have a little bit more material to work with for the top.
I used the Syren Pintles and Gudgeons for the rudder hangers. I used them on my last build and they are the correct scale for this one too. I had to slightly enlarge the notches on the rudder to make sure the two pieces would not stick too far beyond the rudder face but other than everything has worked out (so far). I opted to follow the advise on the Syren web site and used annealed wire cut flush and then touched up with flat black paint to simulate the bolt heads. I though about using the plastic hex heads but I had so much problems with the eight on the capstan (kept losing them when cutting them off the spline or having them snap out of the tweezers) that the thought of doing 20 for the rudder was more than I could bear - plus I would have been dangerously close to running out of the hex bolts and the train people I got them from were not very fast in shipping.
-
Jim Rogers reacted to cdrusn89 in US Brig Niagara by cdrusn89 - FINISHED - Model Shipways - 1/64 scale
Got the rudder hung. Not much drama, just slipped the rudder post in the hole and slide it in place, drilled the holes for the wire, put a dab of CA on the end of each wire and "slide it home". Touch up with flat black paint and there you are. Also completed the "bell tower". Still working the pin rails. Made the mistake of using phosphor bronze wire for the support "iron". After I get the size correct for the rail location have to stop and paint them black, sometimes twice as the paint doesn't stick well to these. It is much easier to cut than music wire, which isn't really black either but I could probably have used it without paint. Anyway, hope to get all ten rails installed in the next day or so. Then on to stropping more blocks for the guns. Have about half of the doubles done. Only 150 more blocks to go (50 doubles and 100 singles with beckets).
Speaking of gun tackle, the plans call for .016" line for the gun tackle but the Syren line comes in .012 or .018. What have others used. My choice would be to go smaller but not if it doesn't "look right". Any thoughts?
-
Jim Rogers reacted to mtaylor in Licorne 1755 by mtaylor - 3/16" scale - French Frigate - from Hahn plans - Version 2.0 - TERMINATED
Thanks for the patience on this build, the advice, and the likes.
It's been slow going what with personal issues, re-cutting some pieces, etc. Here's where I am on the this first ship's boat. The build jig has been built and the keel and the two risers on each side are installed. The risers still need a bit of tweaking as to some bits and pieces where the planking will run and then glue them into position. I'm pretty pleased with how it's going just need more time and focus. After the tweaks, the next step is to cut out the ribs and install them. I see from the photos, I need to do some more clean up of the char on the keel and the risers.
-
 Jim Rogers got a reaction from Canute in MASTER-KORABEL NEWS
Just type in Master Korabel and they come up.
-
Jim Rogers reacted to mtaylor in Cannon Jolle 1801 by Jim Rogers - FINISHED - Master Korabel - 1/72 scale
Beautifully done, Jim. I two am a fan of the "different than normal" models. The case and water base look great and add a lot to the model.
-
 Jim Rogers got a reaction from Nirvana in Cannon Jolle 1801 by Jim Rogers - FINISHED - Master Korabel - 1/72 scale
Sent it through the planer, polished it, mounted on blackened Maple, made acrylic case, added water action. Done
-
Jim Rogers got a reaction from Nirvana in Cannon Jolle 1801 by Jim Rogers - FINISHED - Master Korabel - 1/72 scale
Next I laid it all out, checked clamping plan, and coated layout board with sheathing tape. The resin was mixed with Black Diamond Blue Cobalt powder and then poured. The sheet of wood in the middle is where the keel will rest. It is also wrapped with sheathing tape.
-
-

-
 Jim Rogers got a reaction from GrandpaPhil in Cannon Jolle 1801 by Jim Rogers - FINISHED - Master Korabel - 1/72 scale
Sent it through the planer, polished it, mounted on blackened Maple, made acrylic case, added water action. Done
-
 Jim Rogers got a reaction from mtaylor in planning next build
The translation leaves some to be desired. Truth be told I wrote technical documentation for Lightweight Torpedoes for the Navy and bad documentation drives me nuts. BUT the saving grace is the written word is accompanied by a good pictorial. Read, look at pictures, re-read. I found it strange that there were no fighting tops, just crosstrees so I added them.
-
Jim Rogers got a reaction from mtaylor in planning next build
I forgot I added fighting tops to the main and fore masts as the model only had crosstrees. Just did not look right to me.
-
Jim Rogers got a reaction from mtaylor in planning next build
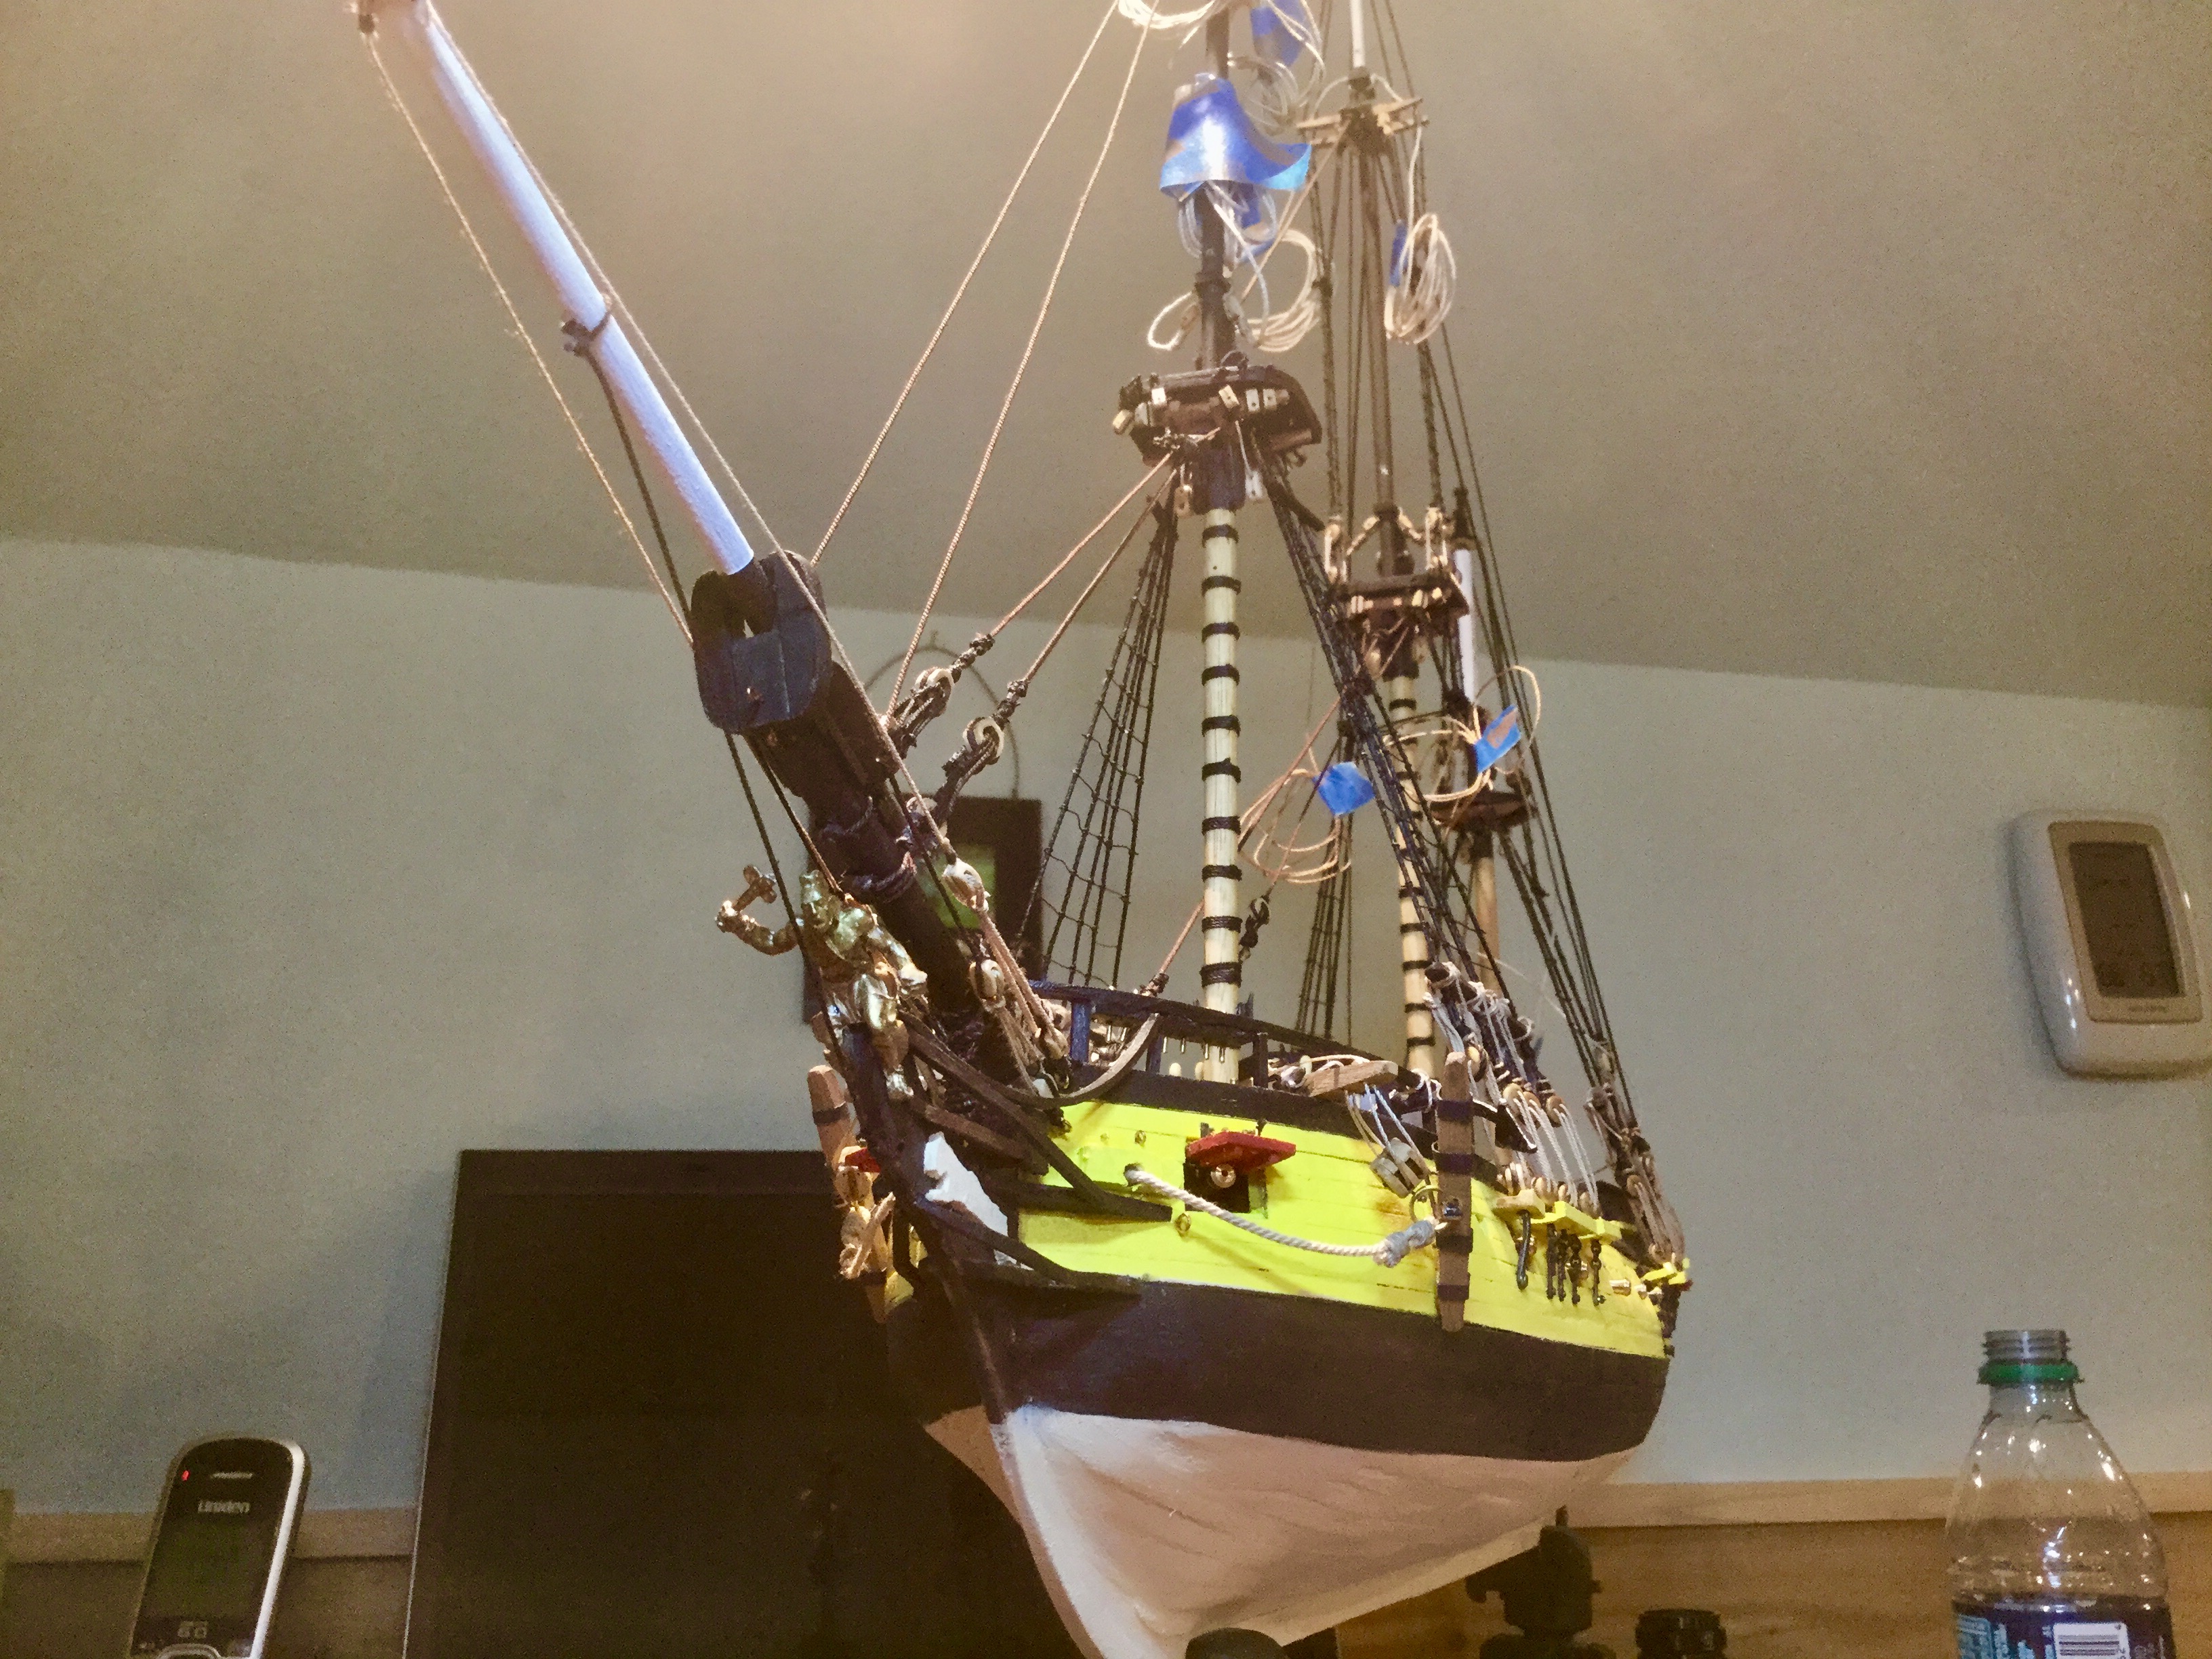
I am currently building the Phoenix. It is a great little build and makes a very nice little ship. In my experience with this ship the laser cut parts are very precise with the garboard plank being the only one you really have to shape. One issue you should be aware of is that these laser cut parts are basically veneers. I tried using PVA glue and all the parts got a severe curl and made them impossible to get glued in place. I had to use CA and it worked fine. Attached phot shows progress to date.
-
Jim Rogers got a reaction from Canute in MASTER-KORABEL NEWS
These small boat kits are top of the line nice. I have built three of them.
-
Jim Rogers got a reaction from mtaylor in MASTER-KORABEL NEWS
These small boat kits are top of the line nice. I have built three of them.
-
 Jim Rogers got a reaction from Chuck Seiler in MASTER-KORABEL NEWS
These small boat kits are top of the line nice. I have built three of them.
-
Jim Rogers reacted to Dowmer in Where is the best place to get good quality ships flags?
The best flags are those you make on your own. Chuck had a great demo how to make your own flags on his Cheerful build. LINKY
The problem with most made flags is the material is too thick or they just dont look realistic. Making them out of Tissue paper makes them llok much more realistic and they drape nice.
Here's an except from his explanation,
I basically use a jpg. image of the flag which has been sized in Microsoft word. You could skew your flag ahead of time in the program to make it easier to shape but I didnt do that. I just printed out the standard rectangle.
First you print out the flag on normal paper so you can see where on the paper the flag will print. Then you carefully tape the tissue paper over that image on all four sides...the tissue paper being slightly larger than the flag. Then print the flag again after placing the paper in your printer again.
Cut the flag free from the tissue paper after it dries. Cut it right along the edges with no white space showing. This next step is important. The tissue paper is so thin that the ink will soak through to the other side but NOT entirely. So the first thing you need to do is flip the flag over and spray the REVERSE side with some Krylon Matt fixative. Dont be afraid to spray too much. This will facilitate the ink soaking through to the back side further and it will look like it is literally printed on both sides. Then after it dries flip it over and spray the front side.
Shape it to suit with various size dowels. You can also spray the fixative more to really soak it because this makes it easier to shape...you can do this several times if need be. Once dry it holds its shape.
Then I poke a hole with a sharp awl in the two corners so I can lash it to the flag halliard. Done!!!
Here's a pic of the flag I just made for my boat. 1/48 scale.
Give it a try
-
 Jim Rogers got a reaction from popeye the sailor in PT-117 by gberger - FINISHED - 1/16 scale
What great detail. Wonderful build.
-
Jim Rogers reacted to James H in 1:24 Istanbul diorama - OcCre
1:24 Istanbul Diorama
OcCre
Catalogue # 53010D
Available from OcCre for €60,95
If you’ve recently taken a look at our Istanbul tram review, you might like this particular review article. Yes, of course you can display your tram on a shelf, or in a cabinet, but what about outside Istanbul’s Grand Bazaar? That’s exactly what this new product from OcCre allows us to do, and with relative ease of construction. This is what OcCre have as their website product description:
“The diorama is a representation of the entrance to the Grand Bazaar of Istanbul, one of the largest in the world.
Located inside the old “walled city", on the European side of Istanbul, between Nuruosmaniye, Mercan and Beyazıt, with more than 58 covered streets and 4,000 shops or stalls, every day the bazaar attracts between 250,000 and 400,000 visitors.
The bazaar offers a wide range of products, in particular jewellers, precious metal workers, spice shops and carpet shops. The stalls tend to be grouped together by type, following the tradition of the ancient guilds. The bazaar includes two Bedestens, or domed stone-built structures, which are used for the storage of merchandise. The first of these was built in 1464, by order of Mehmet II, although it then had to be mostly rebuilt in 1864, following the earthquake.
This fabulous diorama combines perfectly with the tram of Istanbul, joining the nostalgic line of Taksim-Tunnel with the Grand Bazaar, in an effort to group two large emblems of the city of Istanbul.”
The kit
The Istanbul diorama is packaged into quite a plain, shallow corrugated cardboard box, with a colour product label attached. There is also a reasonable amount of weight here too, so you know there’s plenty of building material afoot. Upon opening the box, it ca be seen that the multitude of sheet material is wrapped in a heat-sealed sleeve that needs to be cut away. As the sheets in here are various sizes, and the internal box has no compartmentalisation, this is a good way of ensuring that damage risk is minimised. There are also a number of printed sheets which are rolled up, some strip timber and brass wire. A catalogue and sheet pointing to the instructions, are also included. More on the latter in a moment.
The numerous sheets are made from MDF and are very neatly laser-cut. You will note how some of the parts have dovetail connections too. In essence, the entire diorama is built up from a series of wall panels that have the Islamic arch shapes that attach to them to create a 3D relief, and this is sat upon a base which is built from sections, to incorporate the ruts along which the tram lines would run. Oddly enough, there is no actual brass section strip to recreate the tram line itself, but instead, timber strip, painted silver, it what’s prescribed. Using some metal strip could be a nice enhancement, but you would need to purchase that yourself, measured against the OcCre tram wheels for best fit.
The idea behind this diorama is that anyone can typically build it, simply out of the box contents. To decorate the walls and floors etc. a series of colour-printed textures are provided, on A4 sheets. These include stone, marble and parquet styles, and these need to be cut out to suit the various structures, and then glued into position with a glue stick, for example. Using wet glues may cause the sheets to ripple and not adhere as flat as they should, although the instructions do actually show brushed PVA as being the glue of choice. Sheets of paper are also supplied to simulate the Bazaar interior, with crowds of people and stalls etc.
When it comes to depicting the exterior details, more printed sheets are supplied, with such things as Turkish rugs, flags etc, and these can be draped over the display stands that sit outside the various stalls on the exterior of the Bazaar. These stalls also have printed awnings to shelter them from the Turkish sun.
To recreate the road itself, then a series of strip card is supplied. This needs to be cut into brick-sized sections, and then plastered over the road in a staggered manner. You can of course then paint and infill between them and add some airbrushed staining to weather things realistically.
Brass wire is supplied for all manner of things, such as the random-looking electrical cables that run along the outside walls.
OcCre supply no instructions for this kit. Instead, they provide an online build guide which is very comprehensive, showing everything right down to measuring out specific dimensions for everything. This multi-part guide is excellent, with the facility to be able to download each part as a PDF. To check out the guide, head to this link: http://www.occremania.com/diorama-de-istanbul-parte-8-2/
Conclusion
Dioramas aren’t usually my thing, but this looks very tempting, just to see if I can make a reasonable attempt at it and add some airbrush work to make it look a little more lived in. There’s certainly a nice quantity of building material here, and all nicely produced. Recreating the street surface will also be quite absorbing, as well as those kerb stones that are cut from the thick strip timber.
My sincere thanks to OcCre for providing the review sample seen here. To purchase directly, click the link at the top of the article.
-
 Jim Rogers got a reaction from greenstone in planning next build
I am currently building the Phoenix. It is a great little build and makes a very nice little ship. In my experience with this ship the laser cut parts are very precise with the garboard plank being the only one you really have to shape. One issue you should be aware of is that these laser cut parts are basically veneers. I tried using PVA glue and all the parts got a severe curl and made them impossible to get glued in place. I had to use CA and it worked fine. Attached phot shows progress to date.
-
Jim Rogers got a reaction from greenstone in planning next build
I forgot I added fighting tops to the main and fore masts as the model only had crosstrees. Just did not look right to me.
-
Jim Rogers got a reaction from lmagna in 18th Century Longboat by Dowmer - FINISHED - Model Shipways - 1:48 - As used in the PNW fur trade circa 1790
Nice. I have been looking for figures going to give Amati a look.
-
 Jim Rogers got a reaction from Dowmer in 18th Century Longboat by Dowmer - FINISHED - Model Shipways - 1:48 - As used in the PNW fur trade circa 1790
Nice. I have been looking for figures going to give Amati a look.
-
 Jim Rogers got a reaction from EJ_L in Barque Stefano by donrobinson - MarisStella - 1:63
Fa la la laaaaa