HOLIDAY DONATION DRIVE - SUPPORT MSW - DO YOUR PART TO KEEP THIS GREAT FORUM GOING! (89 donations so far out of 49,000 members - C'mon guys!)
×


king derelict
-
Posts
3,286 -
Joined
-
Last visited
Content Type
Profiles
Forums
Gallery
Events
Everything posted by king derelict
-
The Derek Robinson books are great, possibly unsettlingly realistic. A Good Clean Fight set in the Western Desert is probably my favorite alan
-
I admire your determination to create an exceptionally authentic model in spite of the problems that presents. Excellent work on the hull and the PE is a great start. Looks very good alan
-
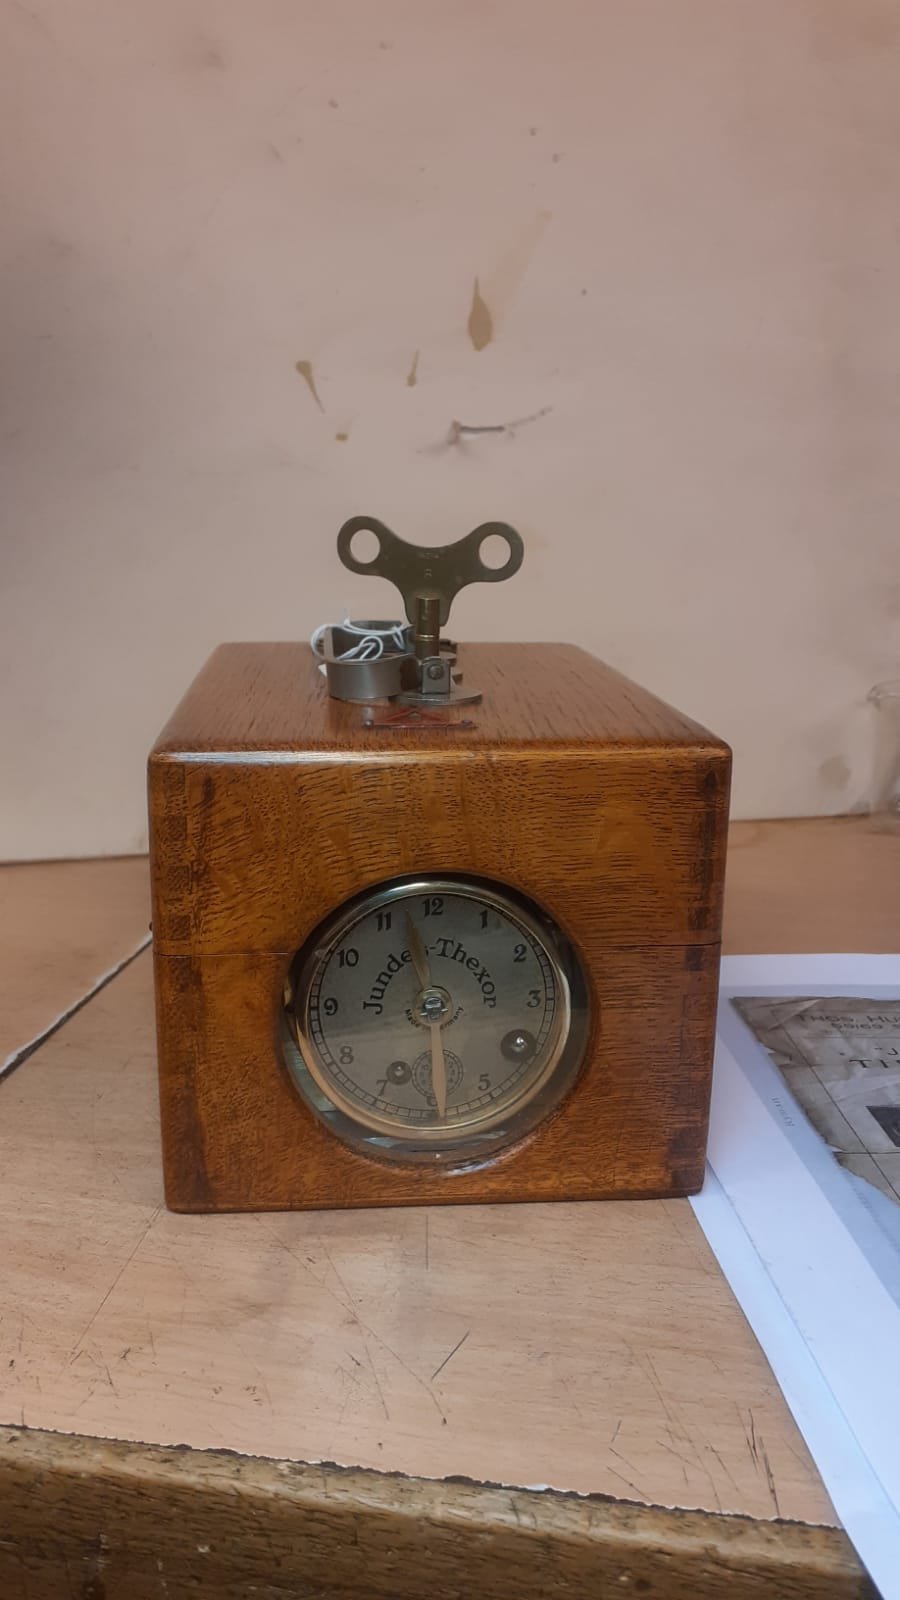
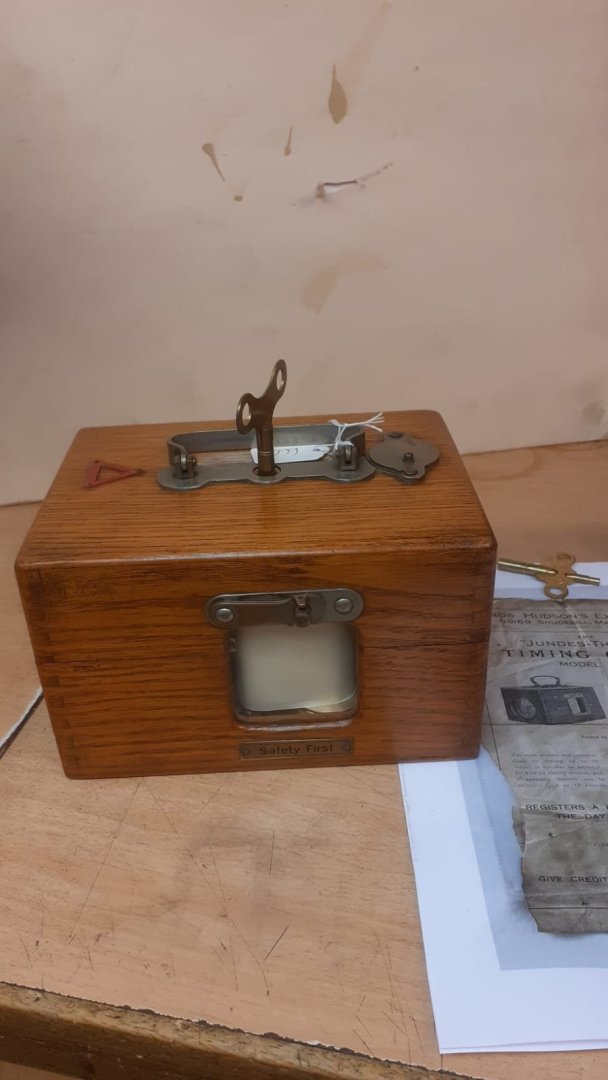
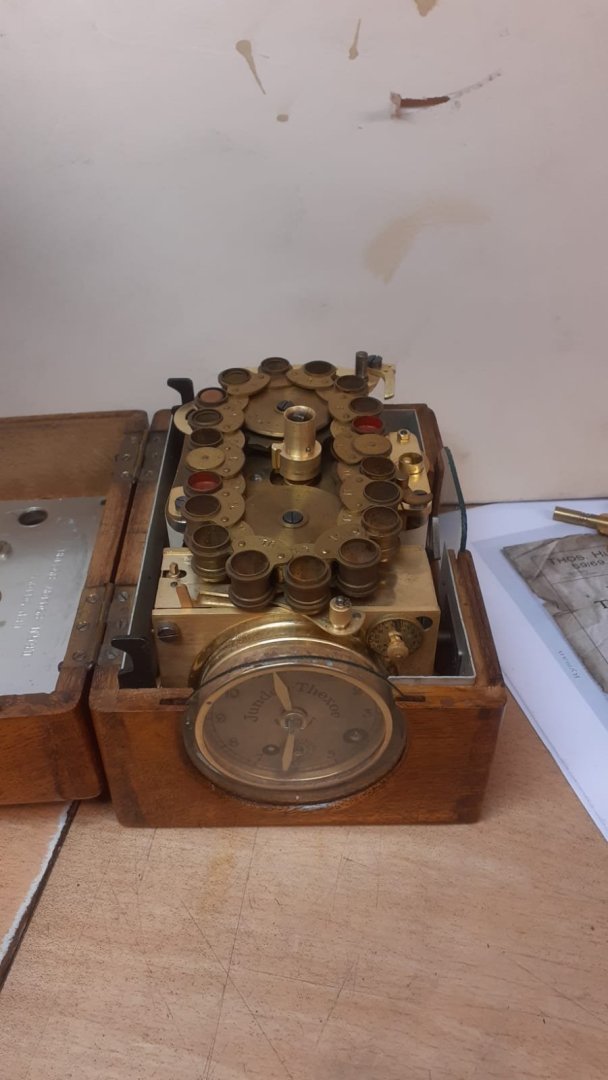
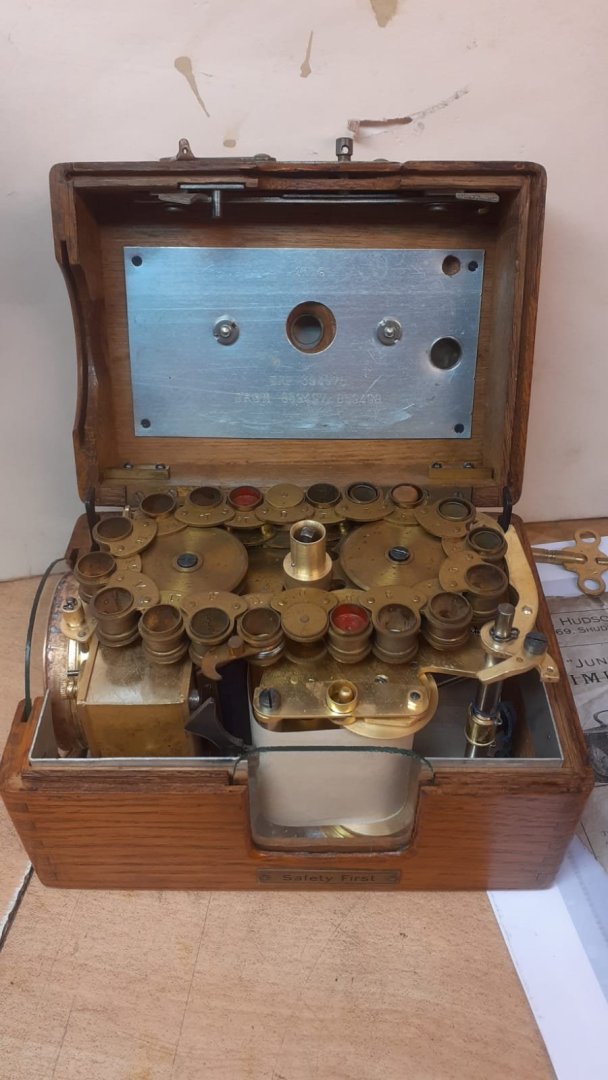
I was thrilled to have it restored and the restorer was quite excited to work on it. I see a few on EBay but only non-working as parts. The clock bit is pretty standard but the pigeon racing part is interesting and I honestly don’t understand all mechanisms there. There are interlocks that prevent the clock from being opened once the race has started, but there are two subsidiary dials that I don’t understand and there seems to be a way to start the clock which is triggered by the ring of holders for the birds rings. Maybe to synchronize the clocks? Thank you very much for your kind comments about the deck too Alan
- 78 replies
-
- 3
-

-
- Derfflinger
- Flyhawk
- (and 2 more)
-
It’s an old pigeon racing clock. The pigeon’s ring is dropped in through the top of the case and the key turned. The time is then stamped on the paper roller. Per family history my mother was clocked in on this clock when she was born Alan
- 78 replies
-
- 3
-
-
- Derfflinger
- Flyhawk
- (and 2 more)
-
Thank you very much. I’m quite pleased with the painted deck and if I can repeat it I will be less inclined to pursue wooden decks. They have their own problems with adhesion sometimes and the fit around the superstructure alan
- 78 replies
-
- 3
-
-
- Derfflinger
- Flyhawk
- (and 2 more)
-
Thank you OC. Yep dinging the railings really annoyed me because they fitted really well. I used up several days allowance of bad language but it came out okay in the end. Alan
- 78 replies
-
- 3
-
-
- Derfflinger
- Flyhawk
- (and 2 more)
-
Thank you very much Mike. It’s a very enjoyable kit to build, even the PE is workable. Alan
- 78 replies
-
- 2
-
-
- Derfflinger
- Flyhawk
- (and 2 more)
-
The details on the miniatures look very nice especially for 28mm. They are going to look great. alan
-
Shame about the gaps but you are doing a terrific job of the cockpit Alan
-
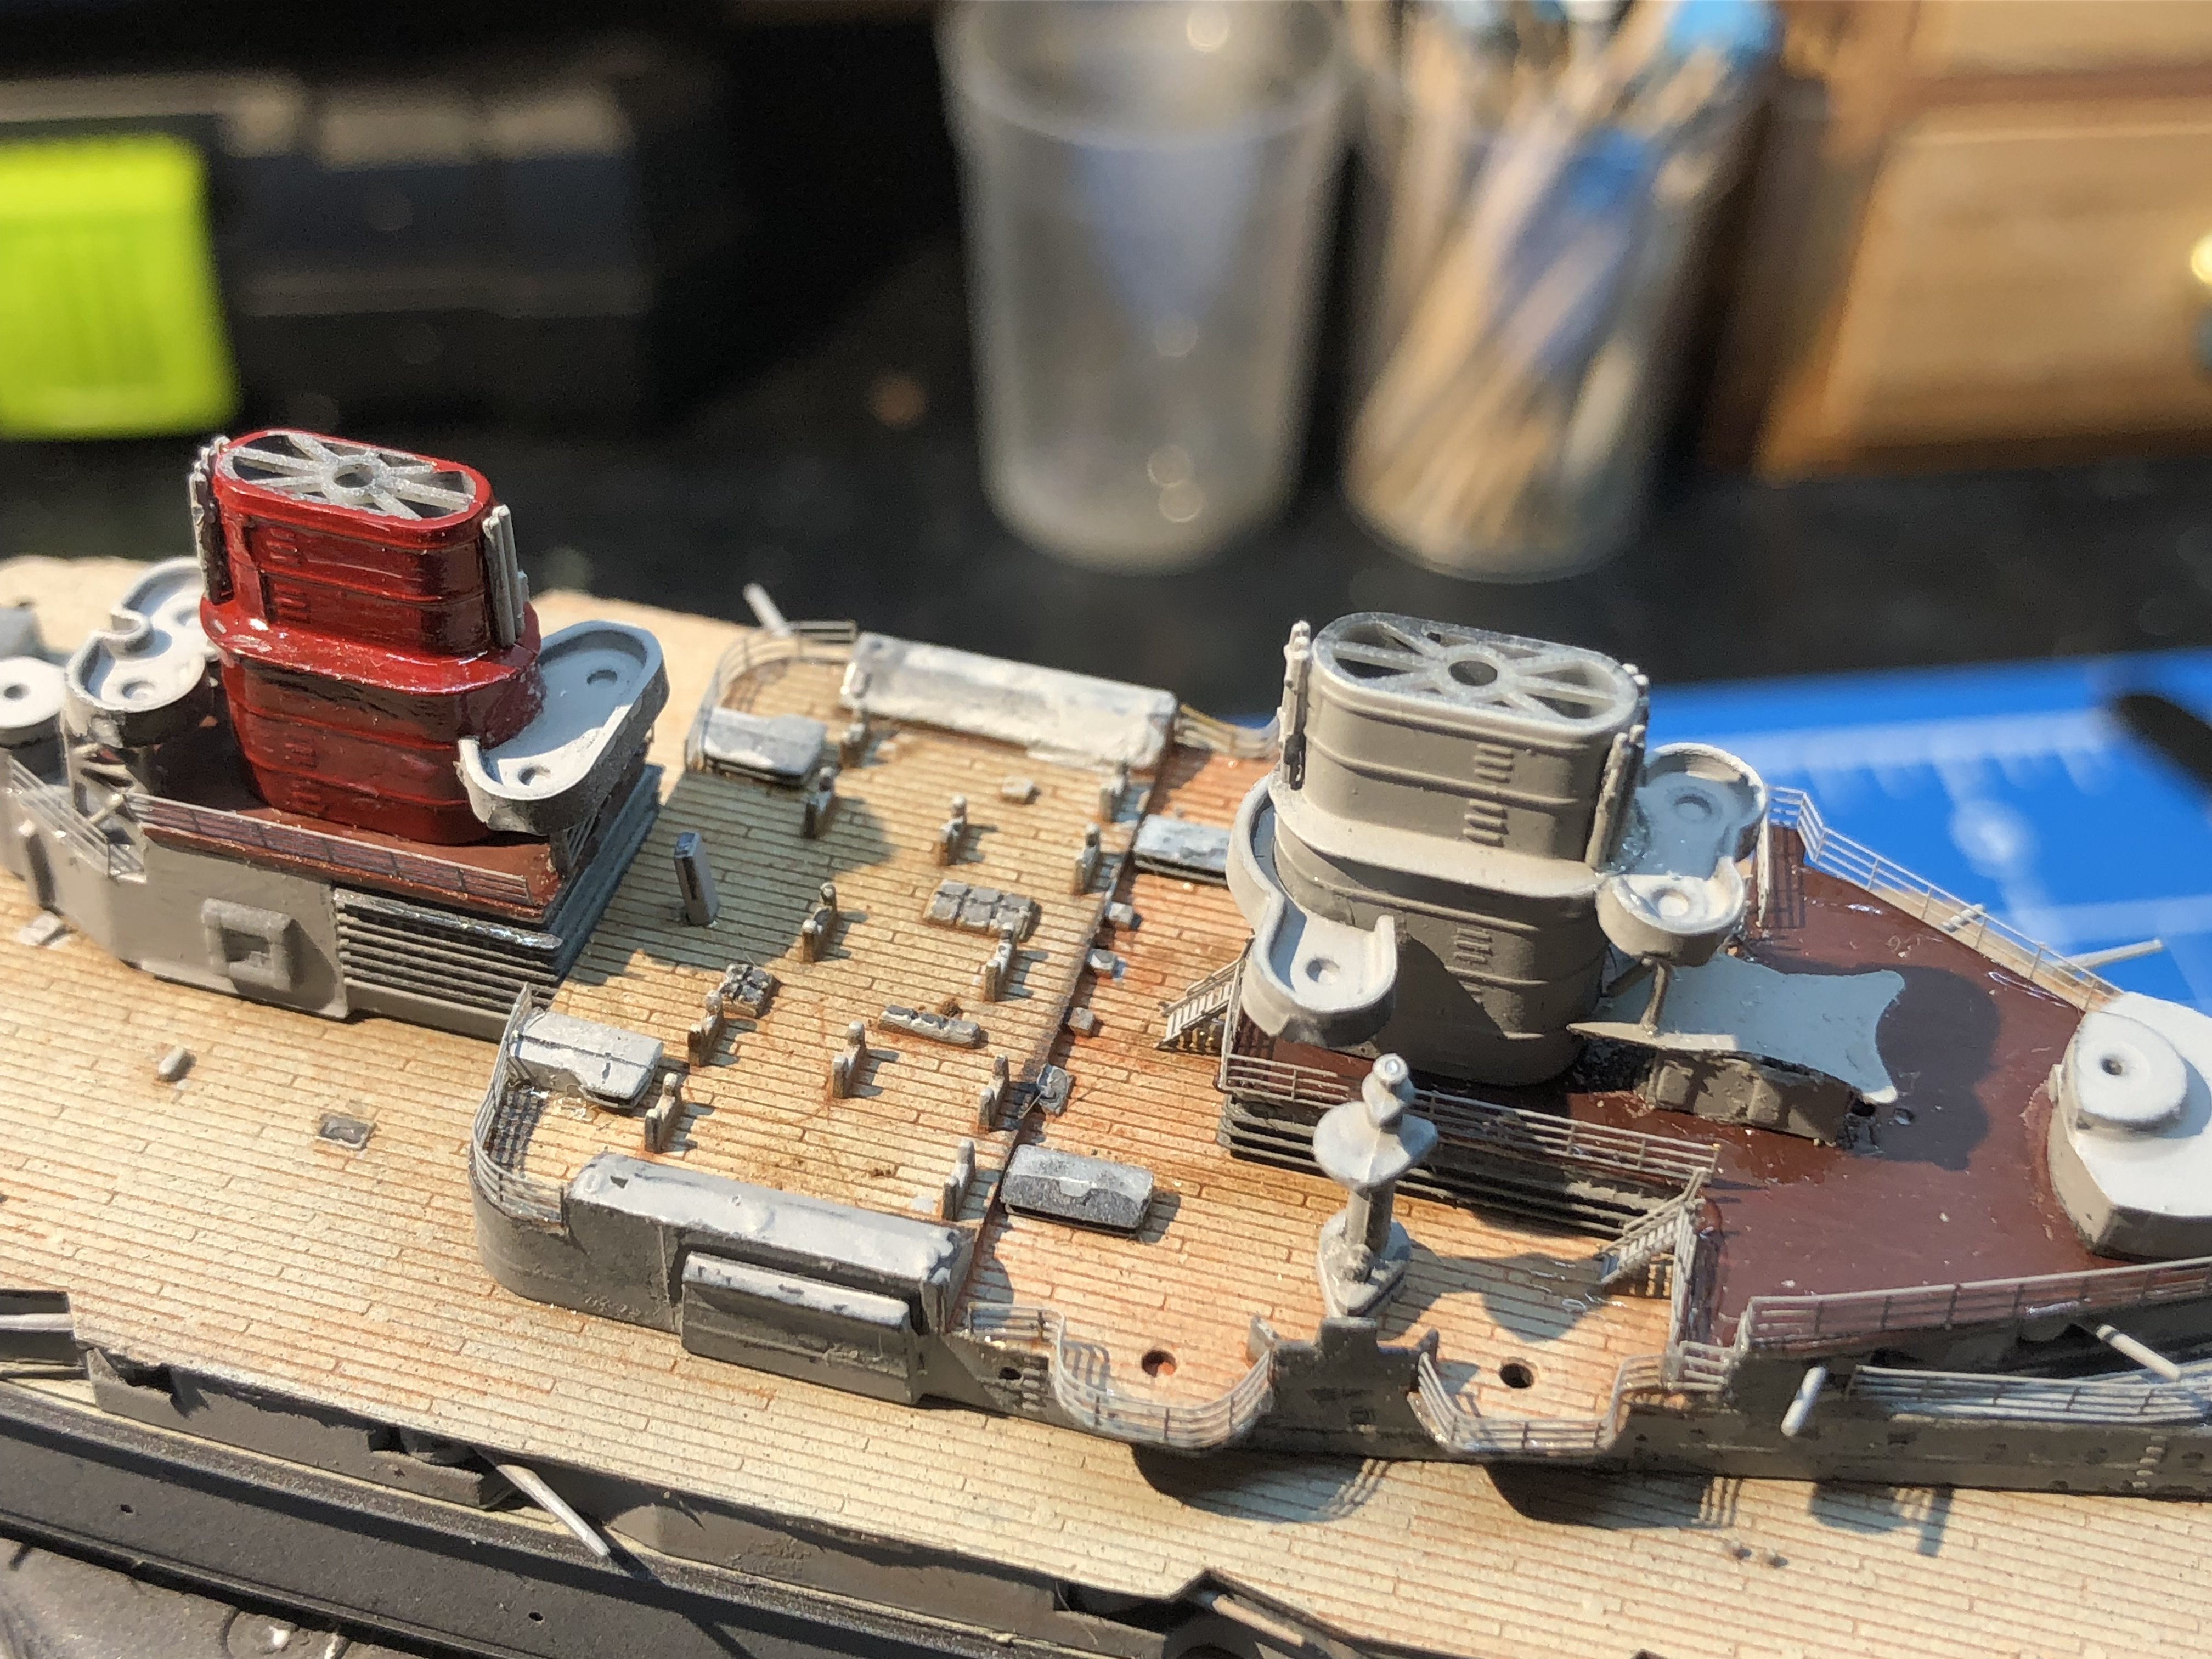
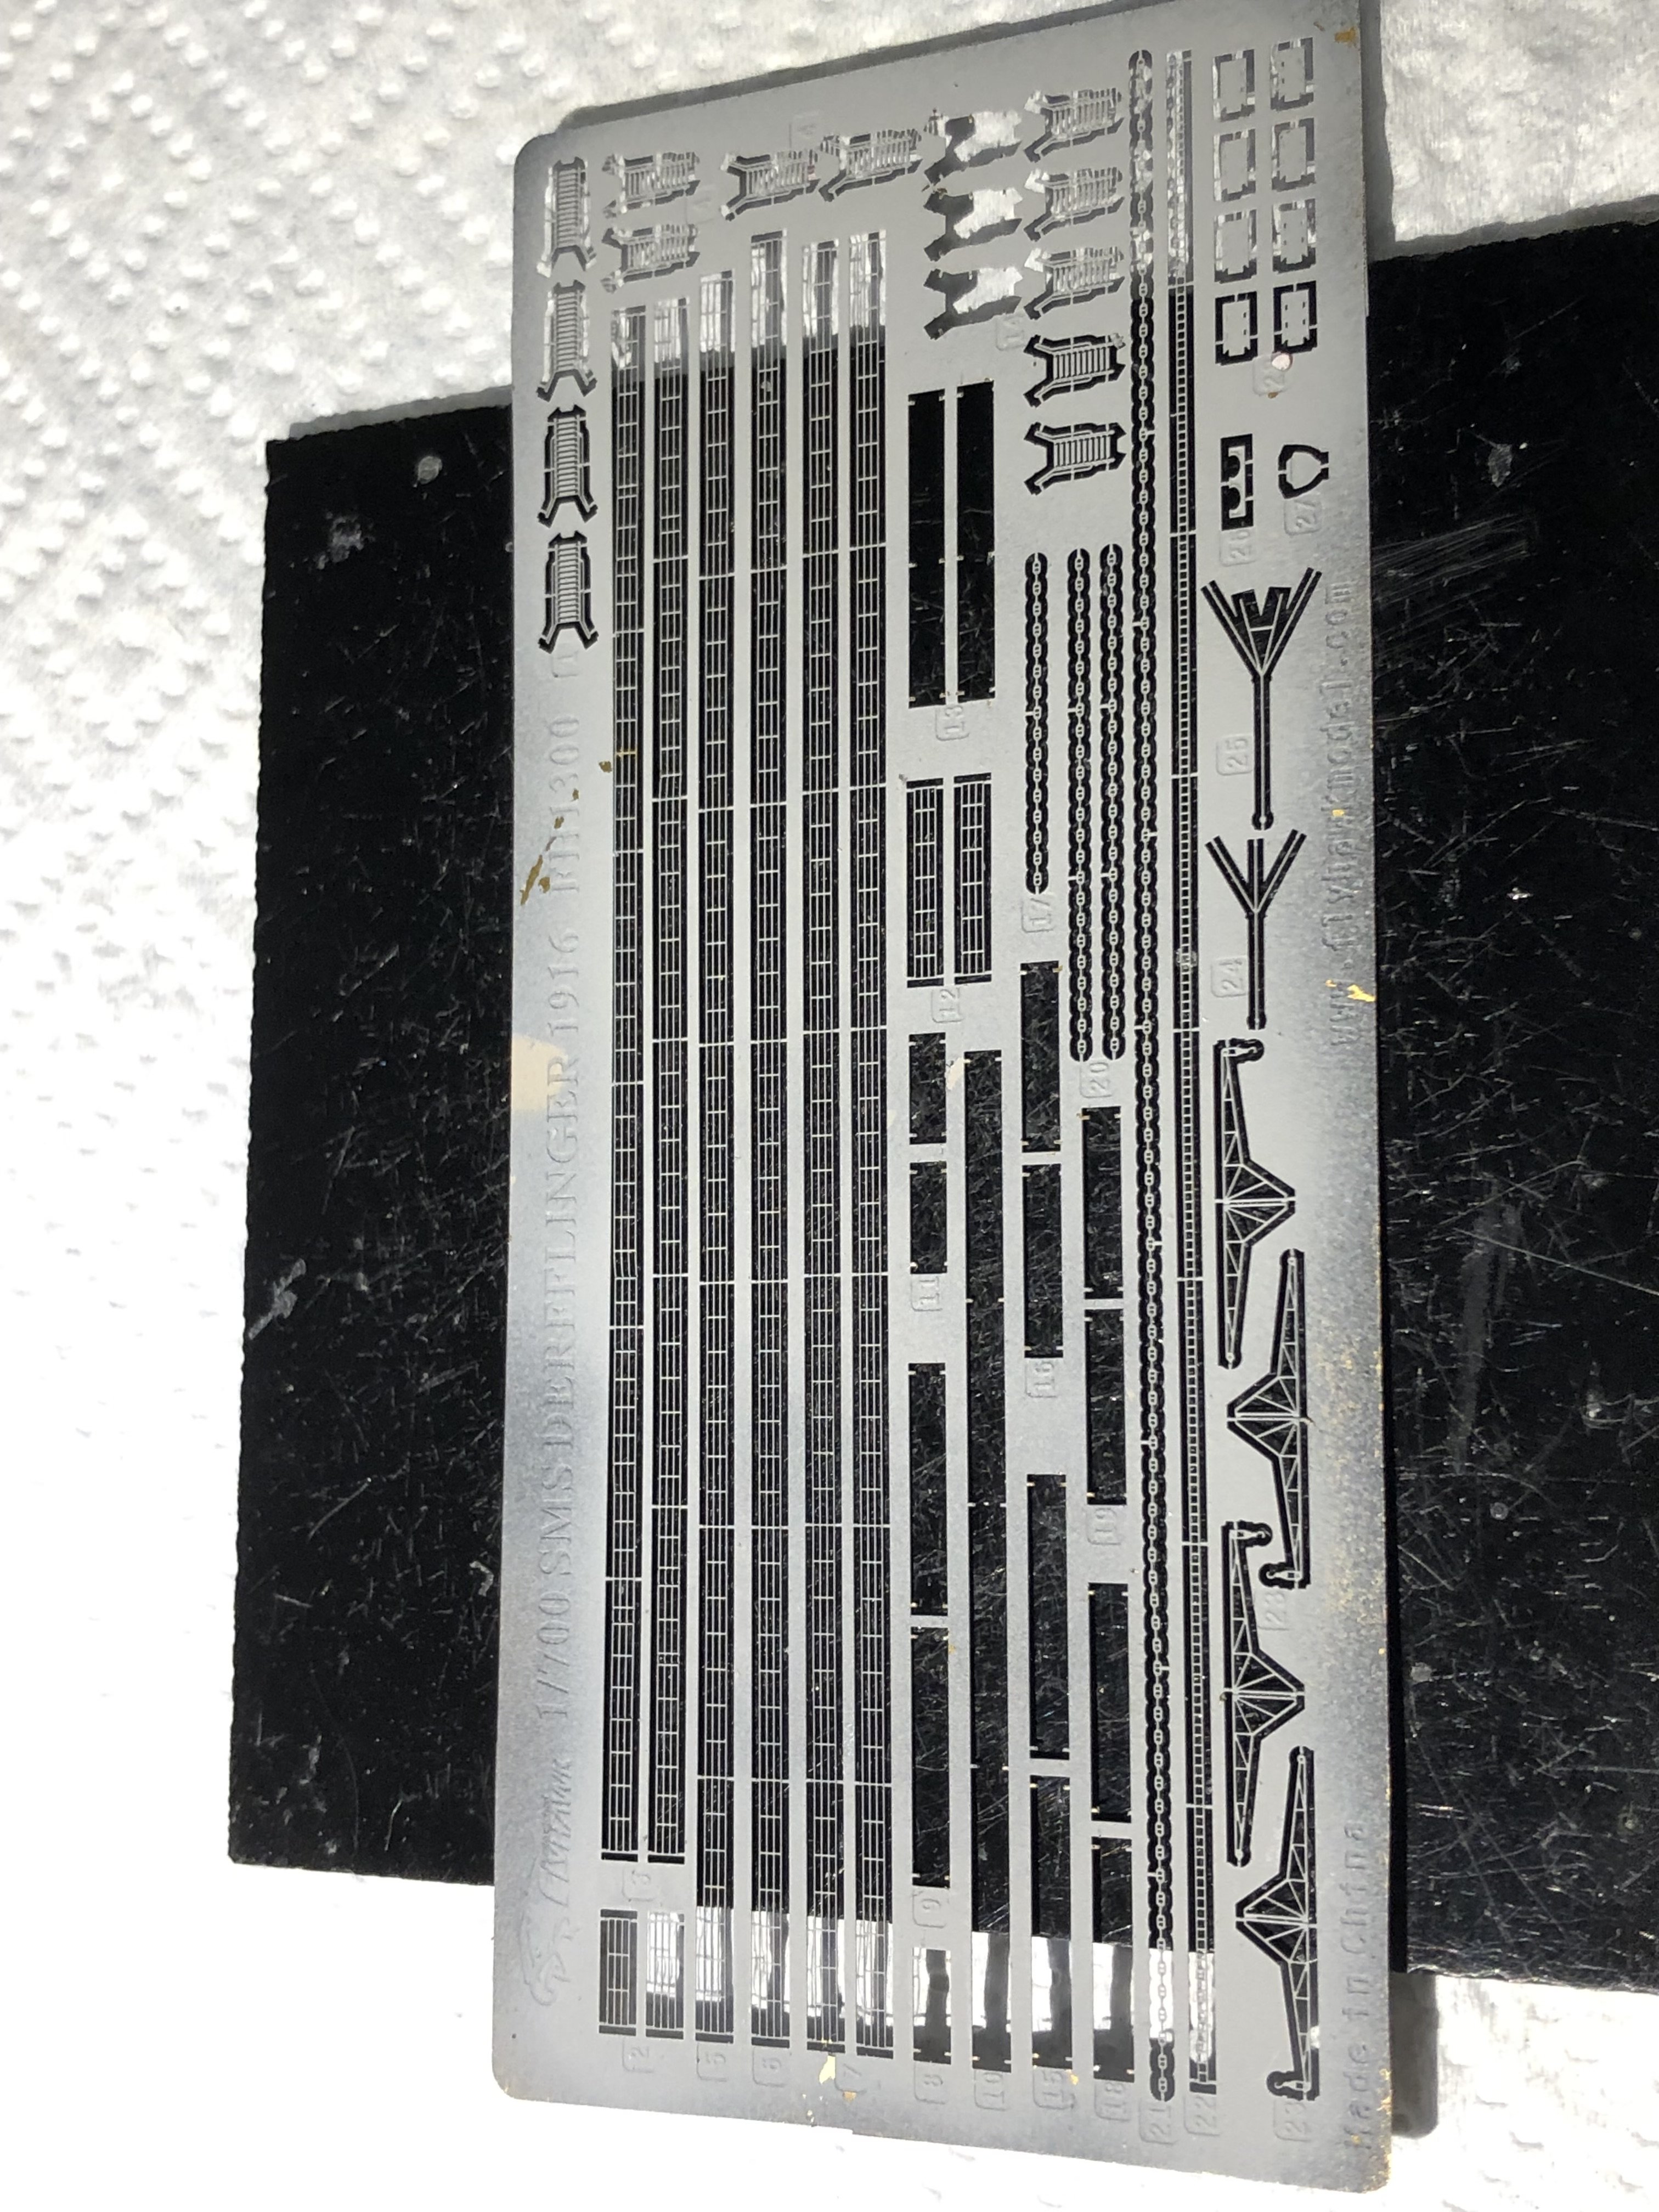
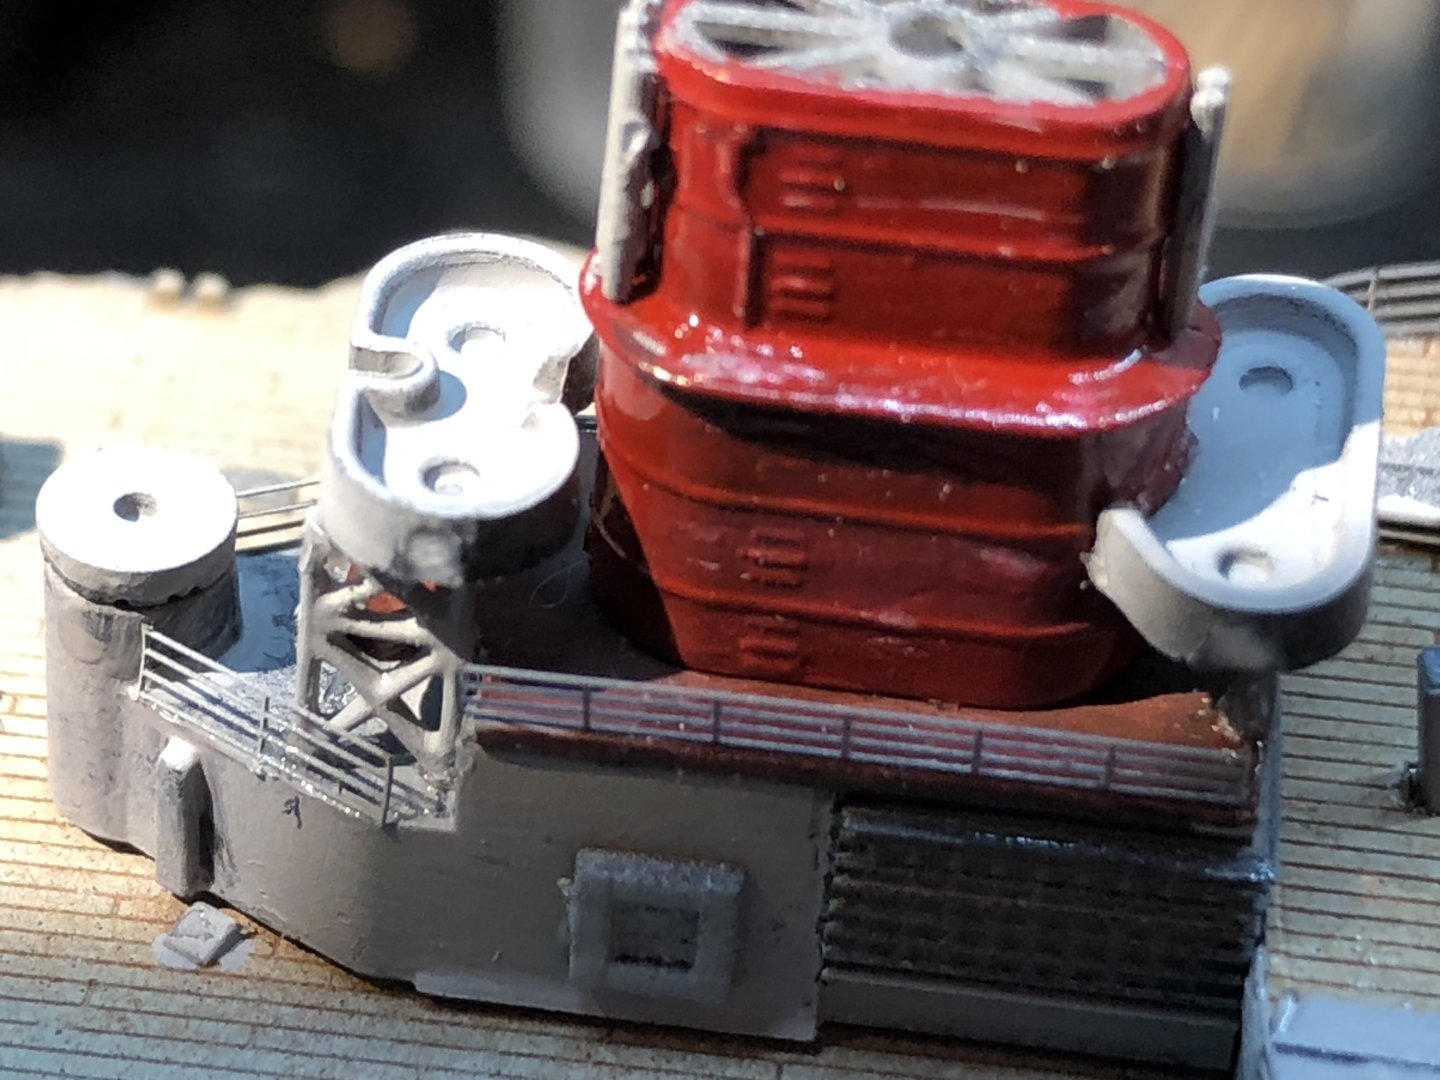
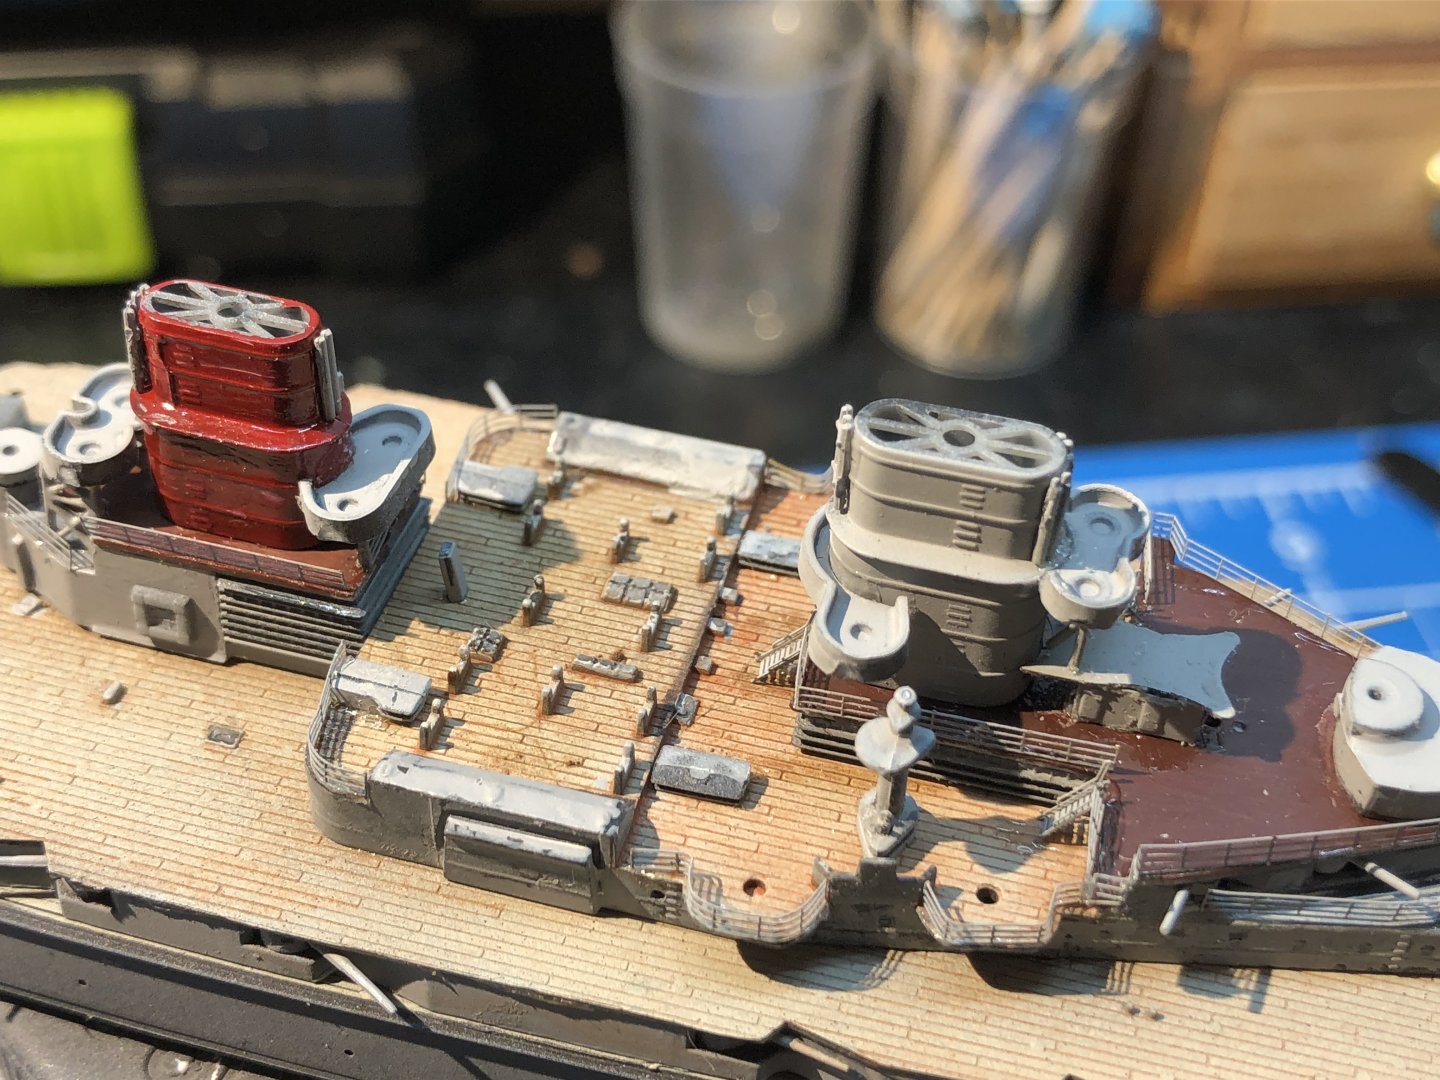
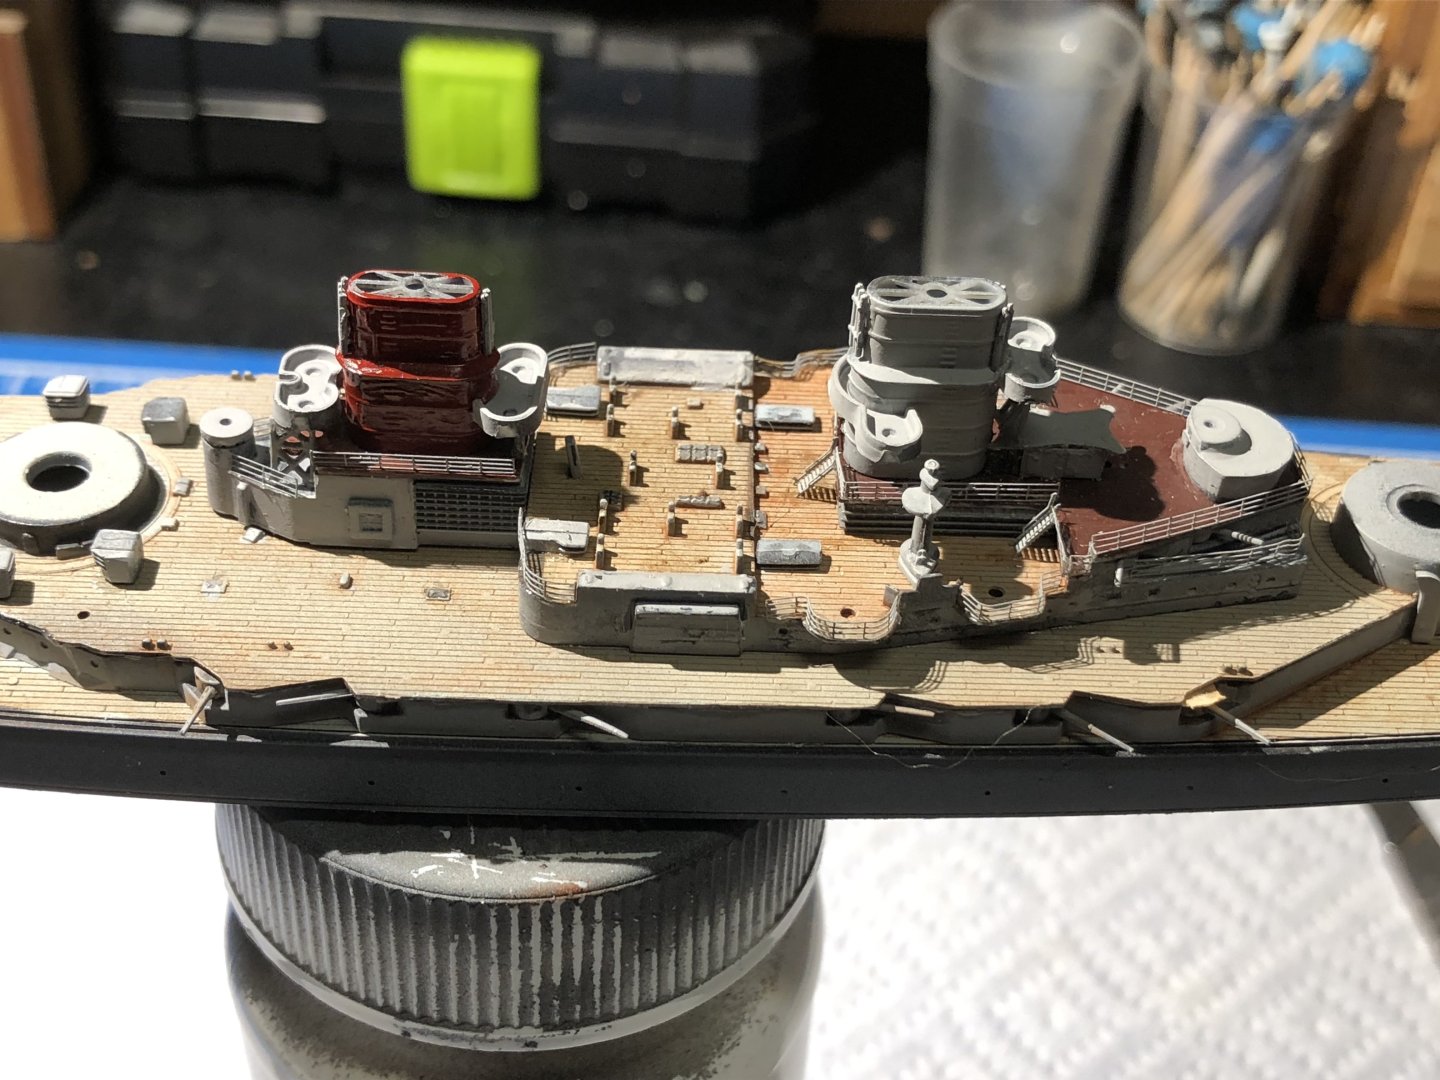
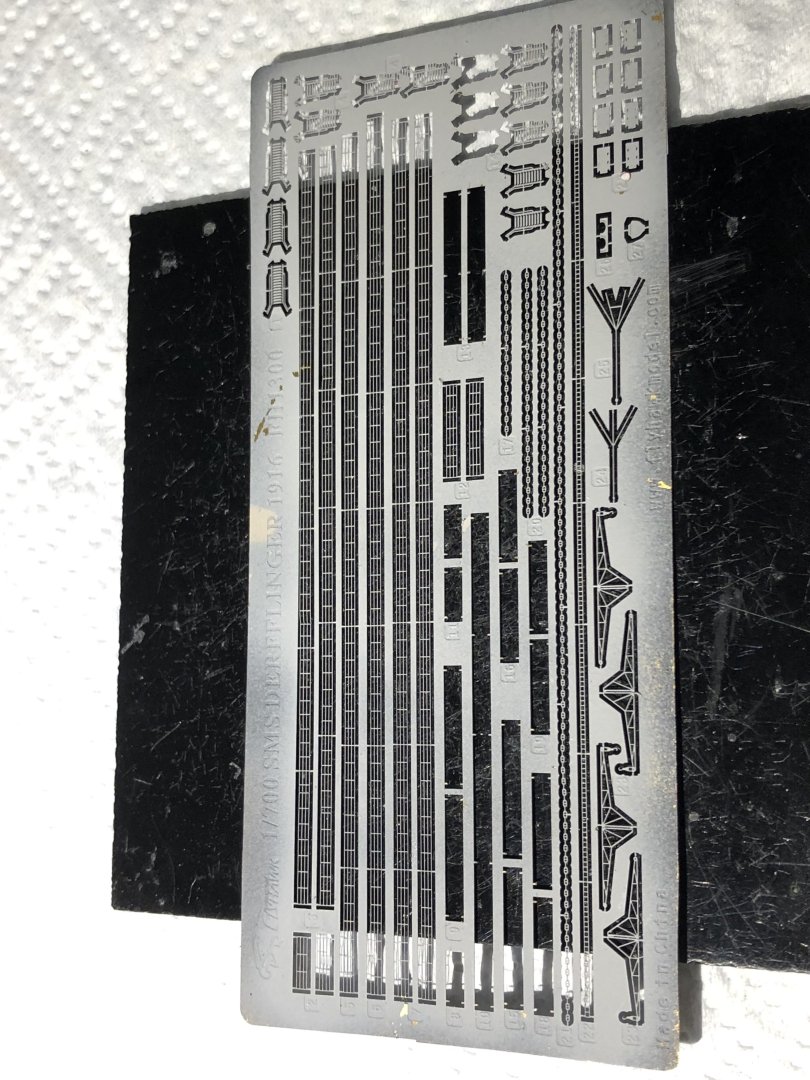
Slowly working through the fog of jet lag and tidying up after three weeks absence. If anyone needs cat hair please let me know. i completed the railings on the forward structure and then managed to drop a pair of tweezers which landed on the newly installed railings . Luckily I found my long missing box of spare PE which had some appropriate bits. It also had a wooden deck for SMS Derfflinger. I have no idea when I bought that but I still rather like the painted wooden deck. With the railings added the forward structure is now delicate so I added it to the hull. The railing work continued on the aft structure and was nice and straightforward after some of the curves and bends up front There is still quite a bit left to do but the PE sheet is beginning to show gaps. More railings, ladders and painting the boats up next. Thanks for looking in, the likes and kind comments. Alan

- 78 replies
-
- 9
-
-
- Derfflinger
- Flyhawk
- (and 2 more)
-
Beautiful work. The paint scheme is excellent alan
-
Horribly annoying and sorry to hear it. After spending the morning adding PErailings to the Derfflinger I managed to drop a pair of tweezers which landed…..right on the new railings. There’s something going around today. alan
-
You have made terrific progress while I have been away. I’m amazed at the delicate railings but they really improve the model. The ship is looking really good as the build progresses. Congratulations alan
- 288 replies
-
- 4
-
-

-
- Card
- Pre-Dreadnought
- (and 3 more)
-
Late to the party but you have done a beautiful job Phil. Congratulations alan
-
Than you very much Mike. The kit fought back quite a lot but it’s helped me improve my seam filling skills. I have an Amodel Mallow that’s gradually working its way to the back of the pile. The Flyhawk kits are spoiling me. alan
-
Beautiful work Gary. Car models are a huge test of painting skills. No way to hide the flaws with a gloss finish. Yours looks excellent. I hate to think how mine would look. Enamel paint and two long haired cats are not a good mix congratulations alan
-
Thank you very much Mike. The link is really helpful. I think this is going to be a bit of a challenge but it’s a great figure for the effect if I can make it work alan
-
Selfishly I will be very sorry to lose the LHS updates which were always hugely enjoyable and a great demonstration of painting skills. It’s a tough decision to pass the models on but if they provide joy and enjoyment to someone else and you are able to realize some money from them at a tight time then you are making a sensible decision. I hope you find some good buyers. You will always have the skills and new kits will always be available. Good luck with it Alan
-
Great progress Rob on a spectacular but highly complex model. Your techniques to overcome the challenges make this a great build log to read and enjoy. Especially by someone who knows his limitations will stay with vicarious involvement in kits like this. Great work alan
-
The project is really coming together nicely. The camouflage patterns are superb and very well worth the effort. Congratulations alan
-
I just got back from a trip well packed with weather. Snow, fog and gales but apart from a seven hour delay from Atlanta to Manchester travel was mostly on time apart from the DB train from Berlin to Amsterdam sitting for an hour near Deventer because of signaling problems. I think that’s traditional because the same thing happened last year for the same reason. may take a few days to get back to the Derfflinger but in the meantime, for those who like mechanical stuff, I brought this home with me. It’s my grandfather’s pigeon clock, made around 1924. It’s been away getting restored. Not by a clock repair man but by a conservator- which gives you some insight into how much the bill was. im very happy to hear it ticking again Thanks for looking in and hopefully the model work will resume shortly alan

- 78 replies
-
- 8
-

-
-
- Derfflinger
- Flyhawk
- (and 2 more)
-
I’m not sure mine would be classed as an upgrade 😀 I'm using a Master Airbrush I bought from Amazon when I started out with building models not knowing very much of anything about how to use them. I struggled with it at the start but I think that was me more than the air brush. There is a lot of contradictory advice on paint dilution, thinning agents and techniques. I fell for most of them but I now seem to achieve pretty consistent results with acrylics using the airbrush and I find it a very easy brush to strip and clean. I suspect that the combination of paints, airbrushes, techniques and environment means there are many different ways of achieving the desired results. I keep considering upgrading to something better but so far this one doesn’t feel like the limiting factor. I think that’s still me. alan
- 78 replies
-
- 5
-
-
- Derfflinger
- Flyhawk
- (and 2 more)