Zarkon
Members-
Posts
295 -
Joined
-
Last visited
-
 Zarkon reacted to a post in a topic:
HMS Portland 1770 by Trussben - Portland Scale Ship Co. - 1:48 - 50 gun 4th rate
-
 Peter S reacted to a post in a topic:
HMS Bounty Jolly Boat by Peter S - FINISHED - Artesania Latina - 1:25 - First Build
-
 Zarkon reacted to a post in a topic:
USF Confederacy by Zarkon - Model Shipways - 1:64 Scale
-
 Maxthebuilder reacted to a post in a topic:
USF Confederacy by Zarkon - Model Shipways - 1:64 Scale
-
 Javelin reacted to a post in a topic:
USF Confederacy by Zarkon - Model Shipways - 1:64 Scale
-
 Tigersteve reacted to a post in a topic:
USF Confederacy by Zarkon - Model Shipways - 1:64 Scale
-
You have done a fantastic job!! Looks great!! Jeff
- 51 replies
-
- bounty jolly boat
- Artesania Latina
-
(and 2 more)
Tagged with:
-
 Zarkon reacted to a post in a topic:
HMS Bounty Jolly Boat by Peter S - FINISHED - Artesania Latina - 1:25 - First Build
-
 Zarkon reacted to a post in a topic:
HMS Harpy 1796 by dunnock - Vanguard Models - 1:64
-
 Zarkon reacted to a post in a topic:
HMS Bounty Jolly Boat by Peter S - FINISHED - Artesania Latina - 1:25 - First Build
-
 Zarkon reacted to a post in a topic:
HMS Portland 1770 by Trussben - Portland Scale Ship Co. - 1:48 - 50 gun 4th rate
-
 RossR reacted to a post in a topic:
USF Confederacy by Zarkon - Model Shipways - 1:64 Scale
-
 Freebird reacted to a post in a topic:
USF Confederacy by Zarkon - Model Shipways - 1:64 Scale
-
 Zarkon reacted to a post in a topic:
HMS Bounty Jolly Boat by Peter S - FINISHED - Artesania Latina - 1:25 - First Build
-
 Zarkon reacted to a post in a topic:
USF Confederacy by Zarkon - Model Shipways - 1:64 Scale
-
 Nearshore reacted to a post in a topic:
USF Confederacy by Zarkon - Model Shipways - 1:64 Scale
-
 Ishmael reacted to a post in a topic:
USF Confederacy by Zarkon - Model Shipways - 1:64 Scale
-
 Ronald-V reacted to a post in a topic:
USF Confederacy by Zarkon - Model Shipways - 1:64 Scale
-
 Nirvana reacted to a post in a topic:
USF Confederacy by Zarkon - Model Shipways - 1:64 Scale
-
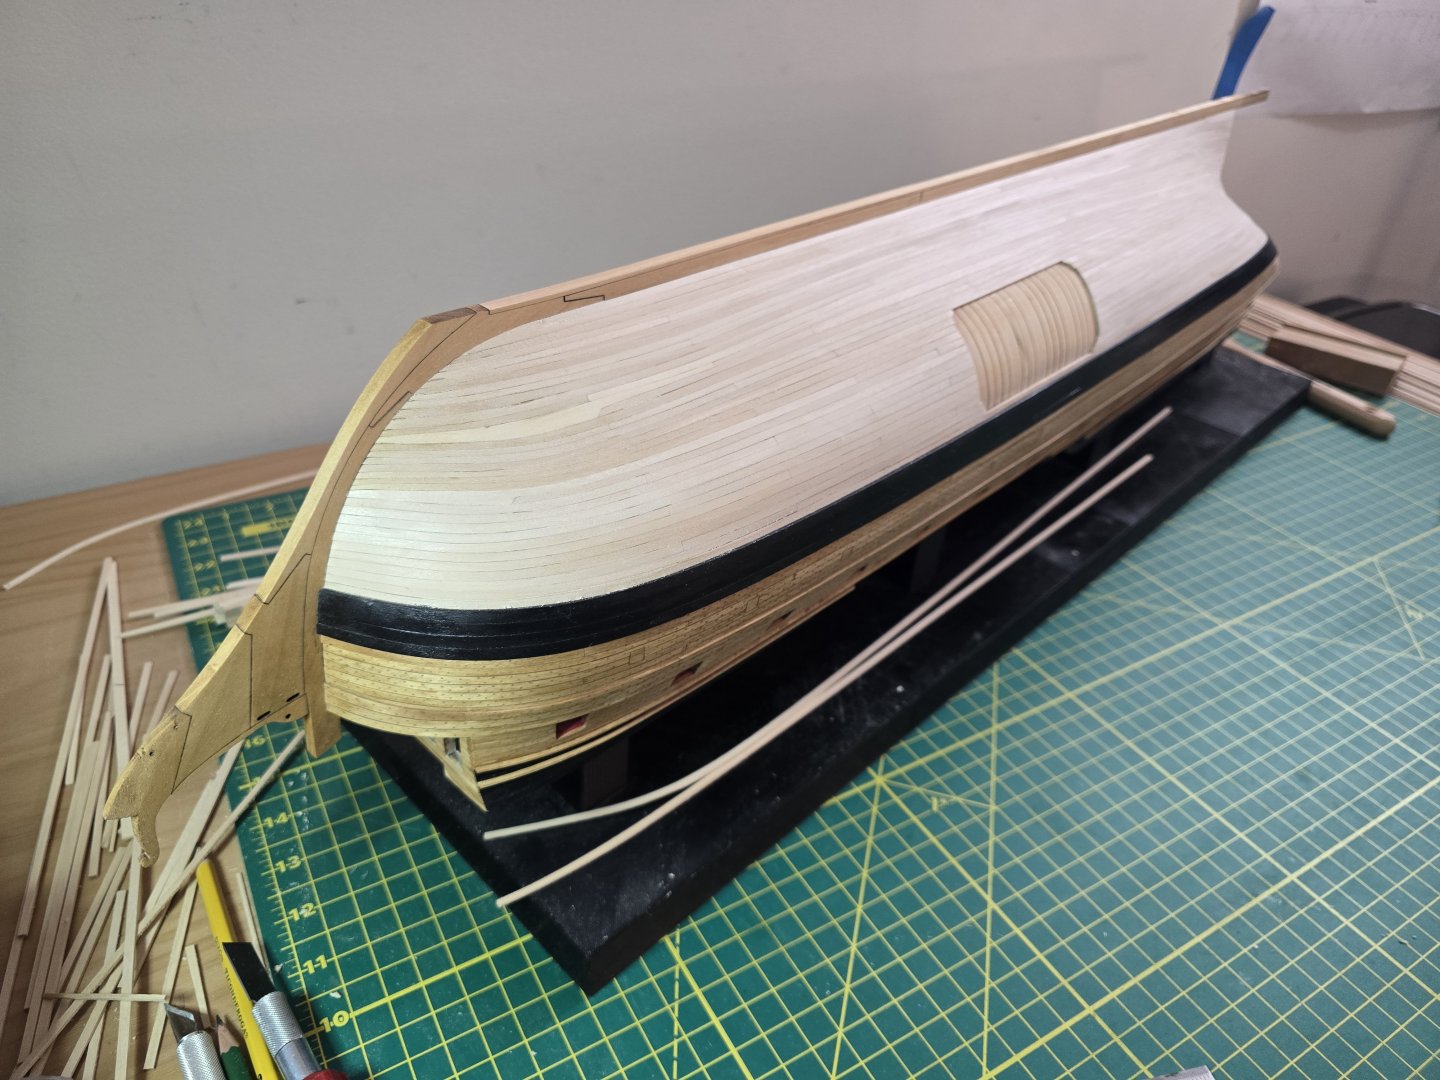
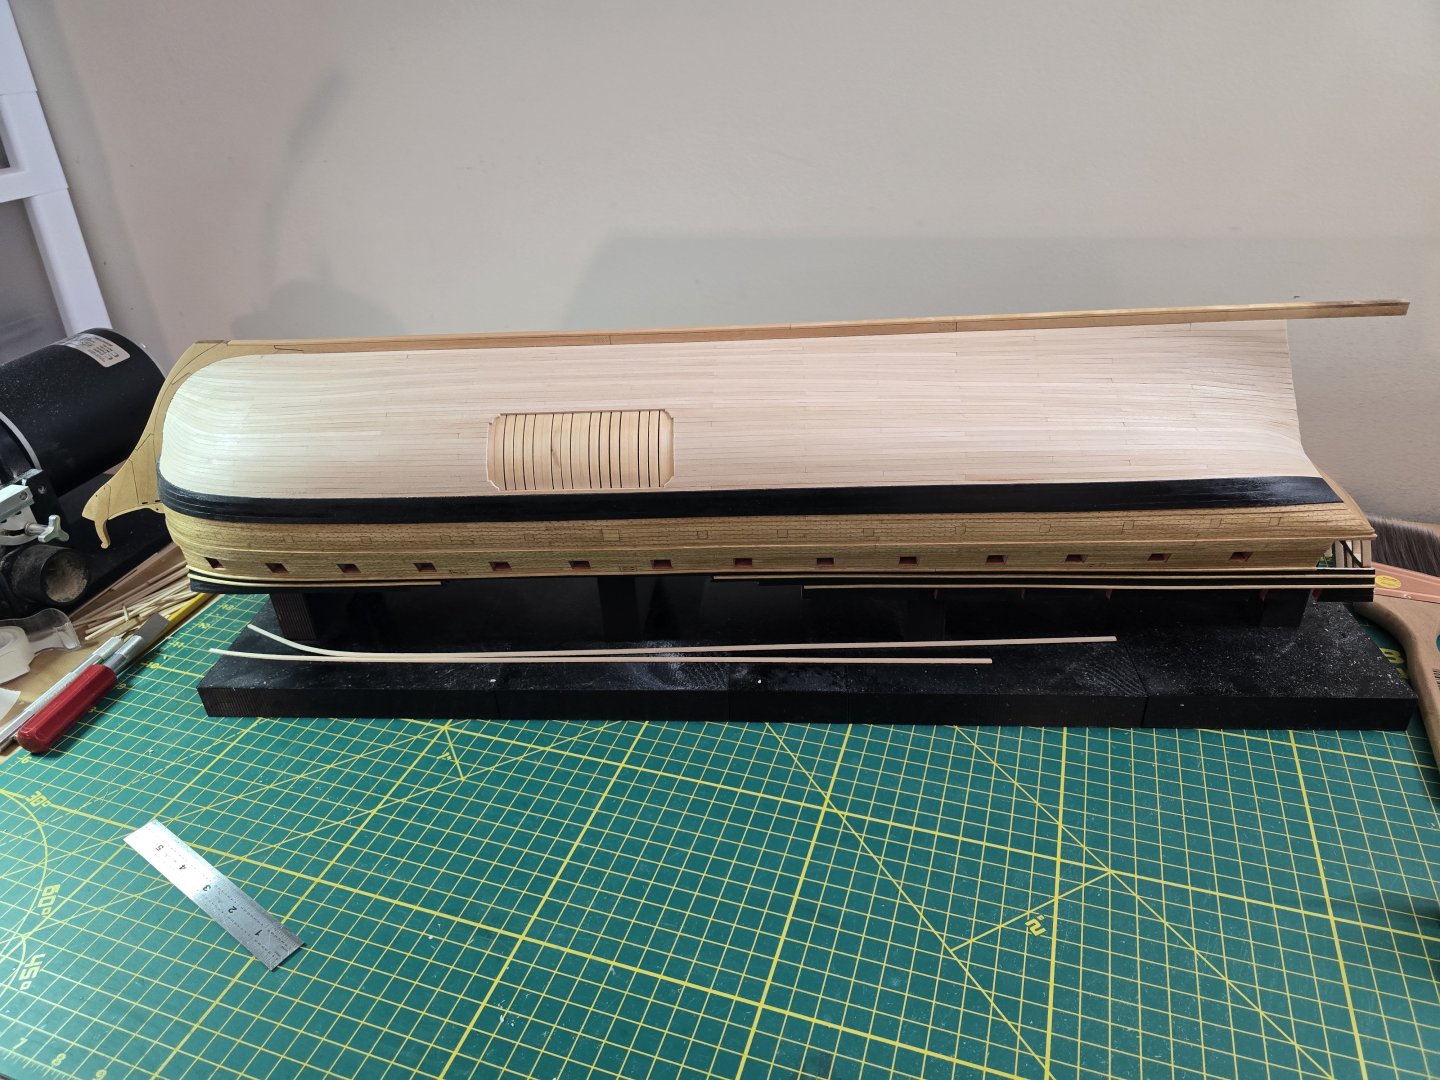
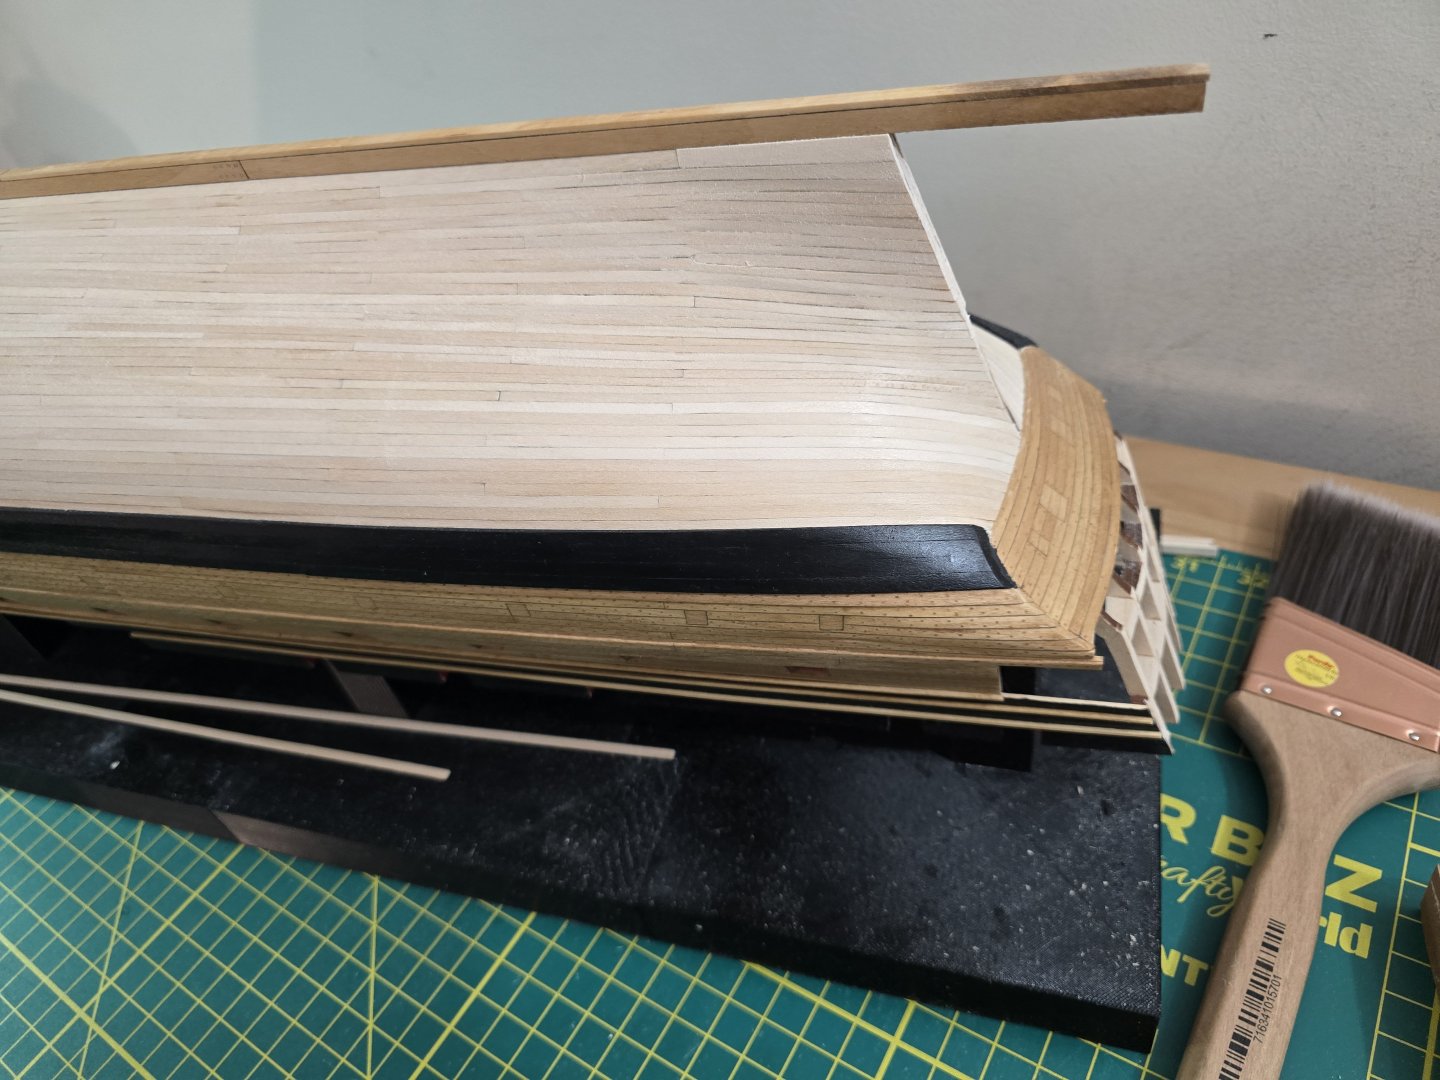
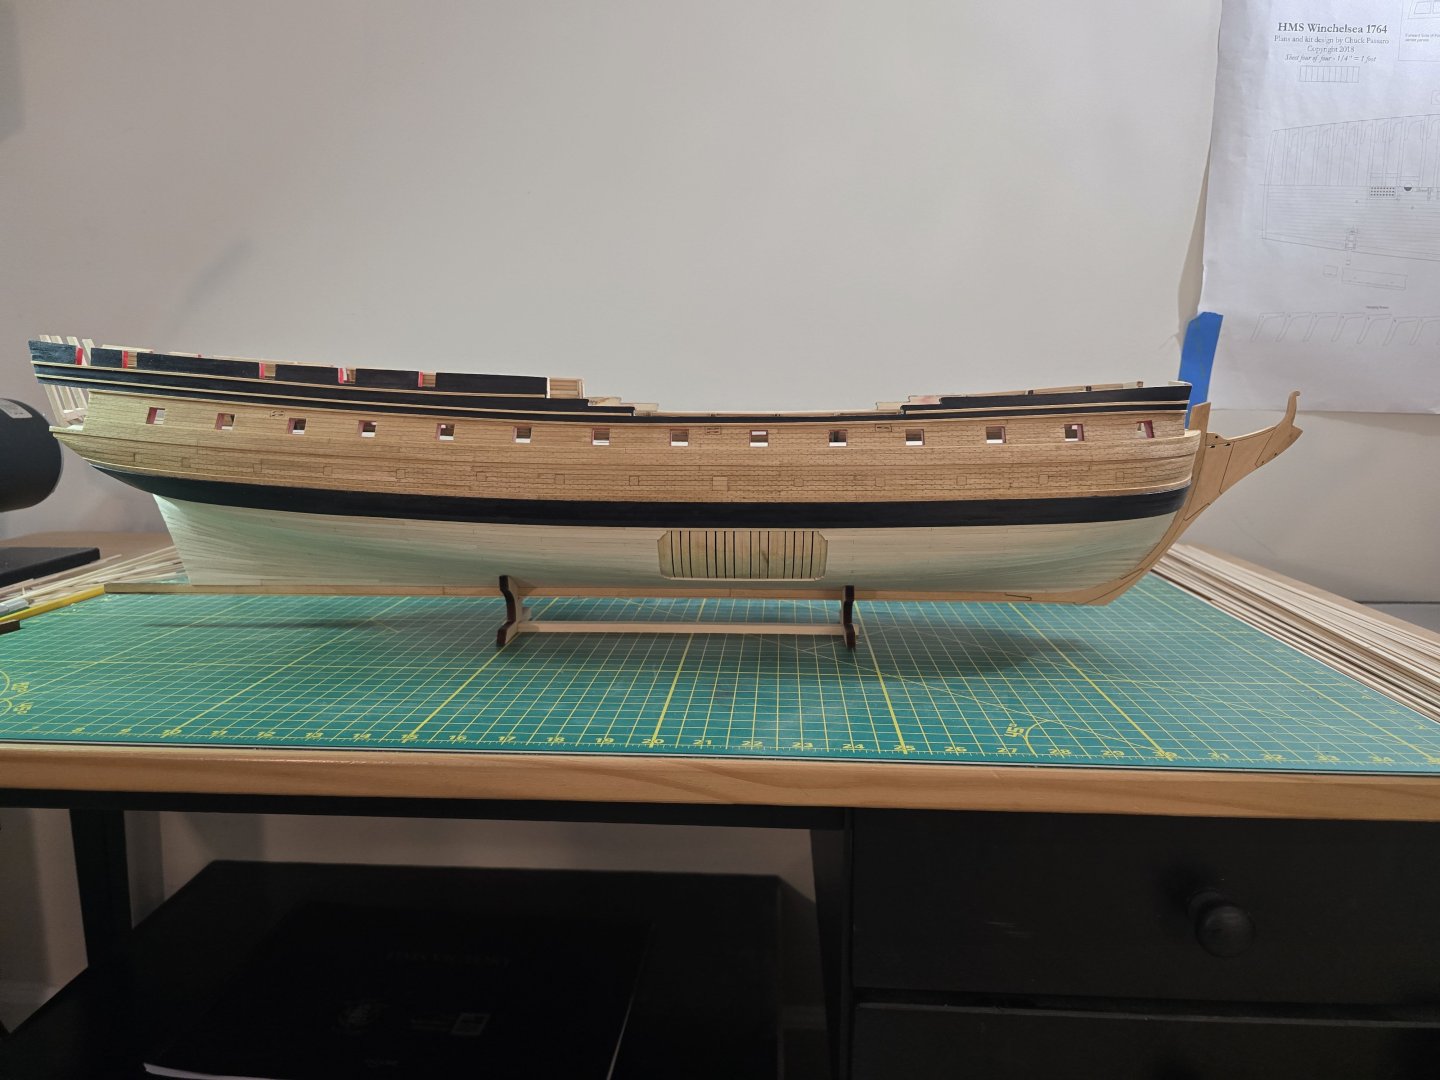
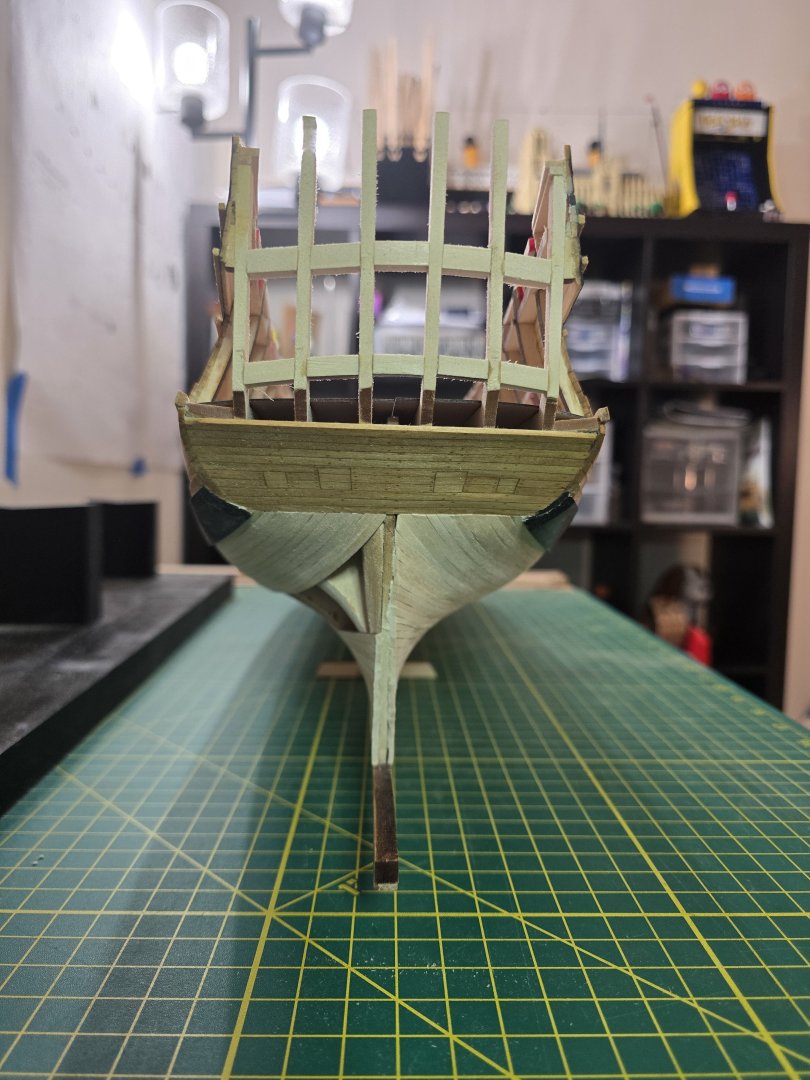
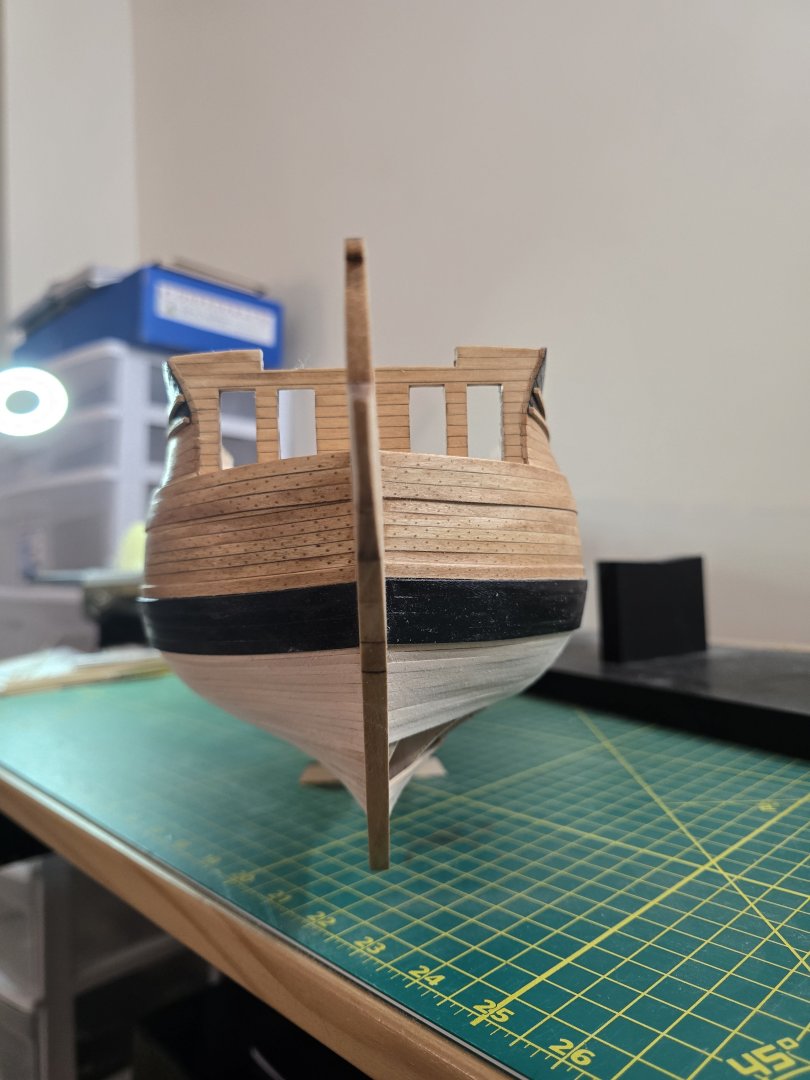
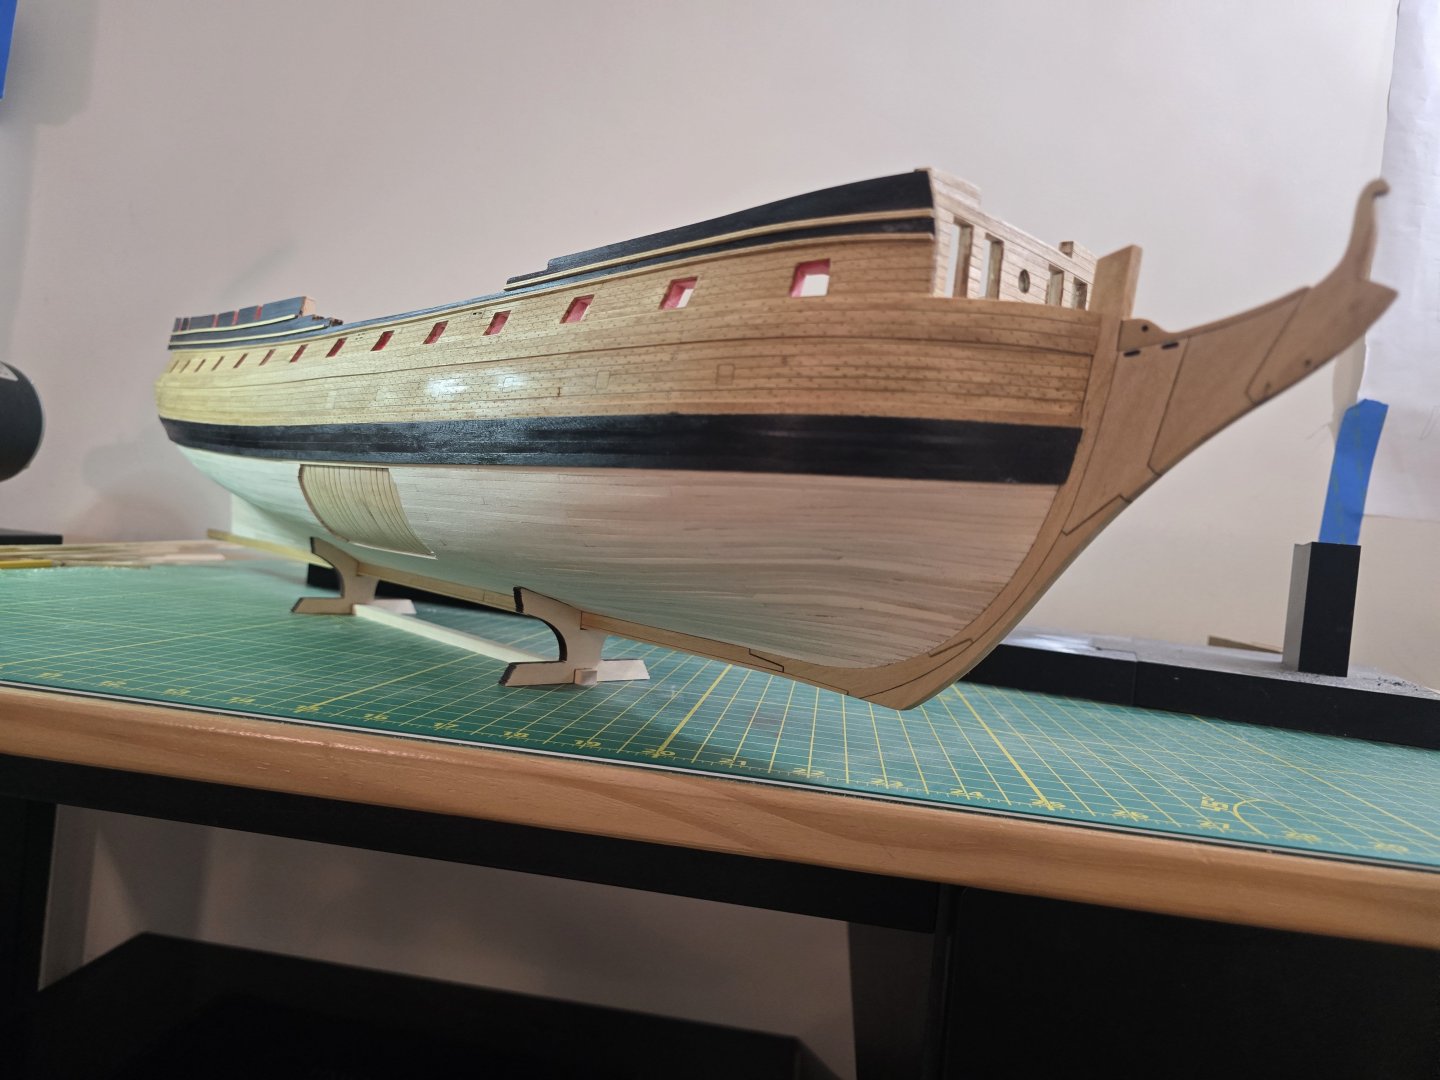
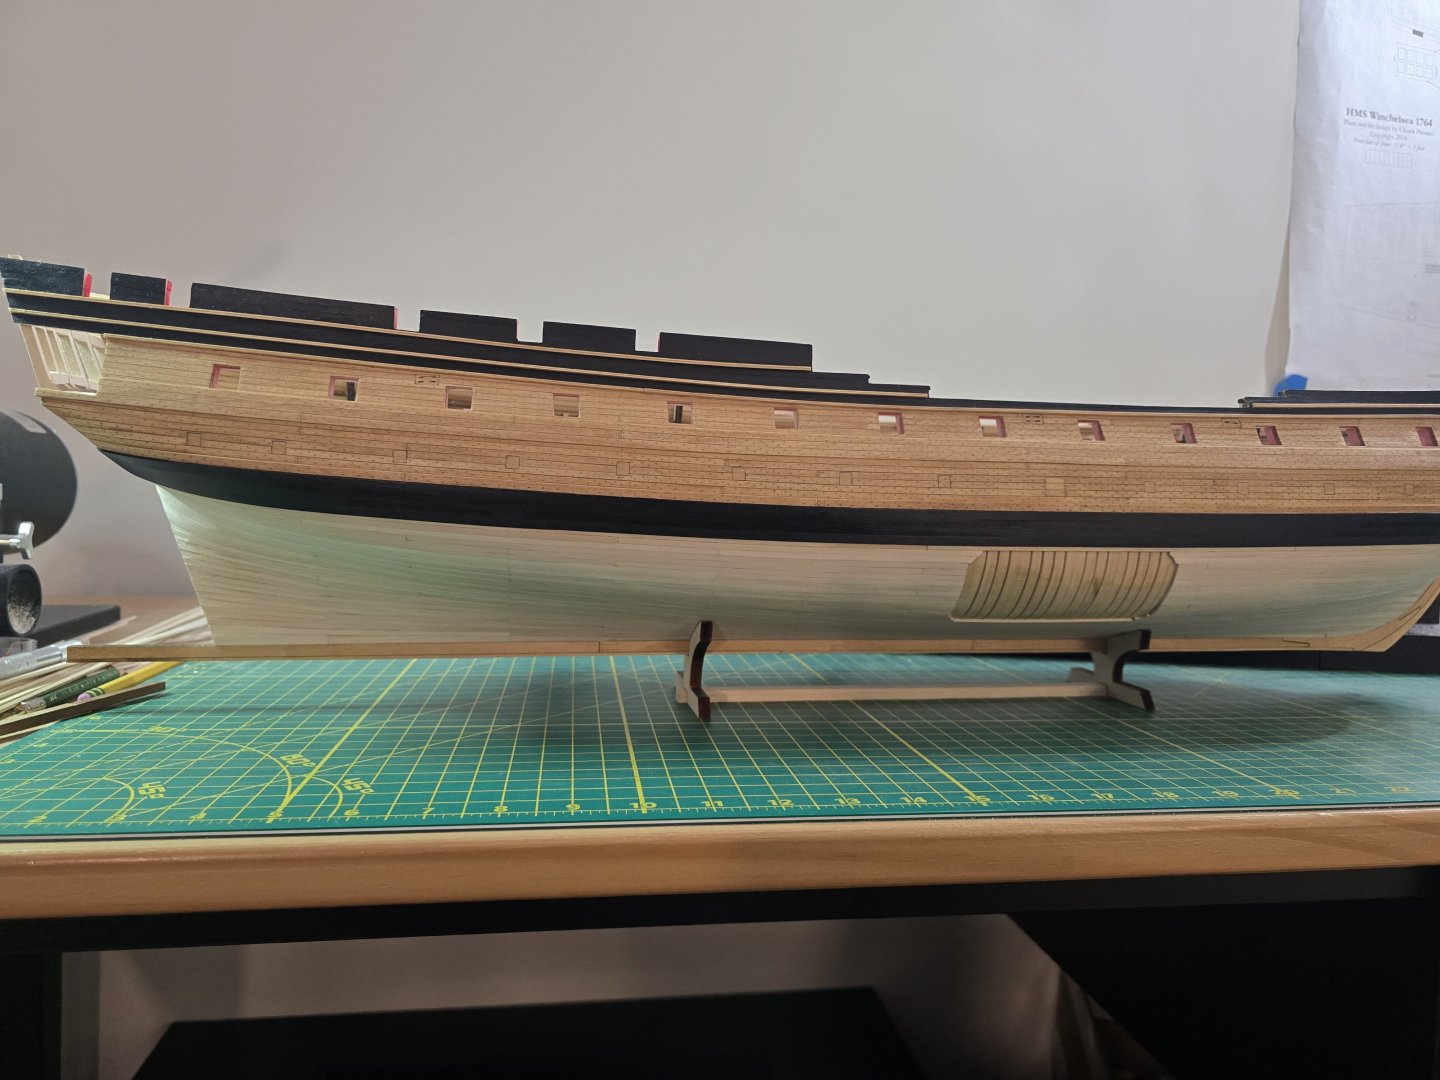
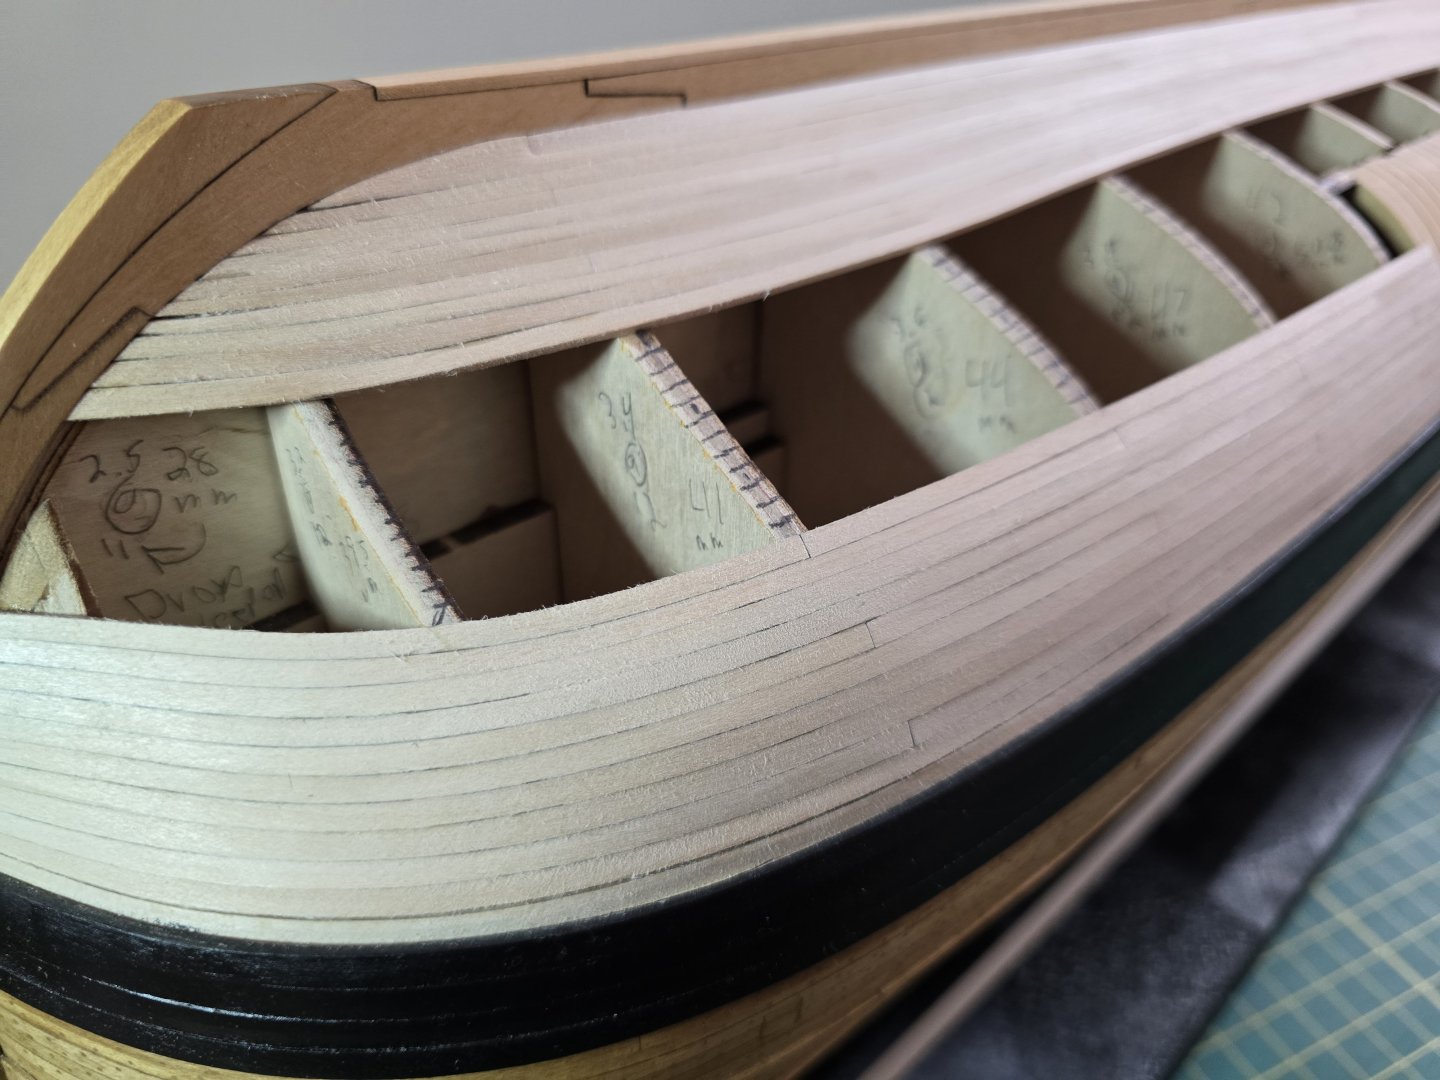
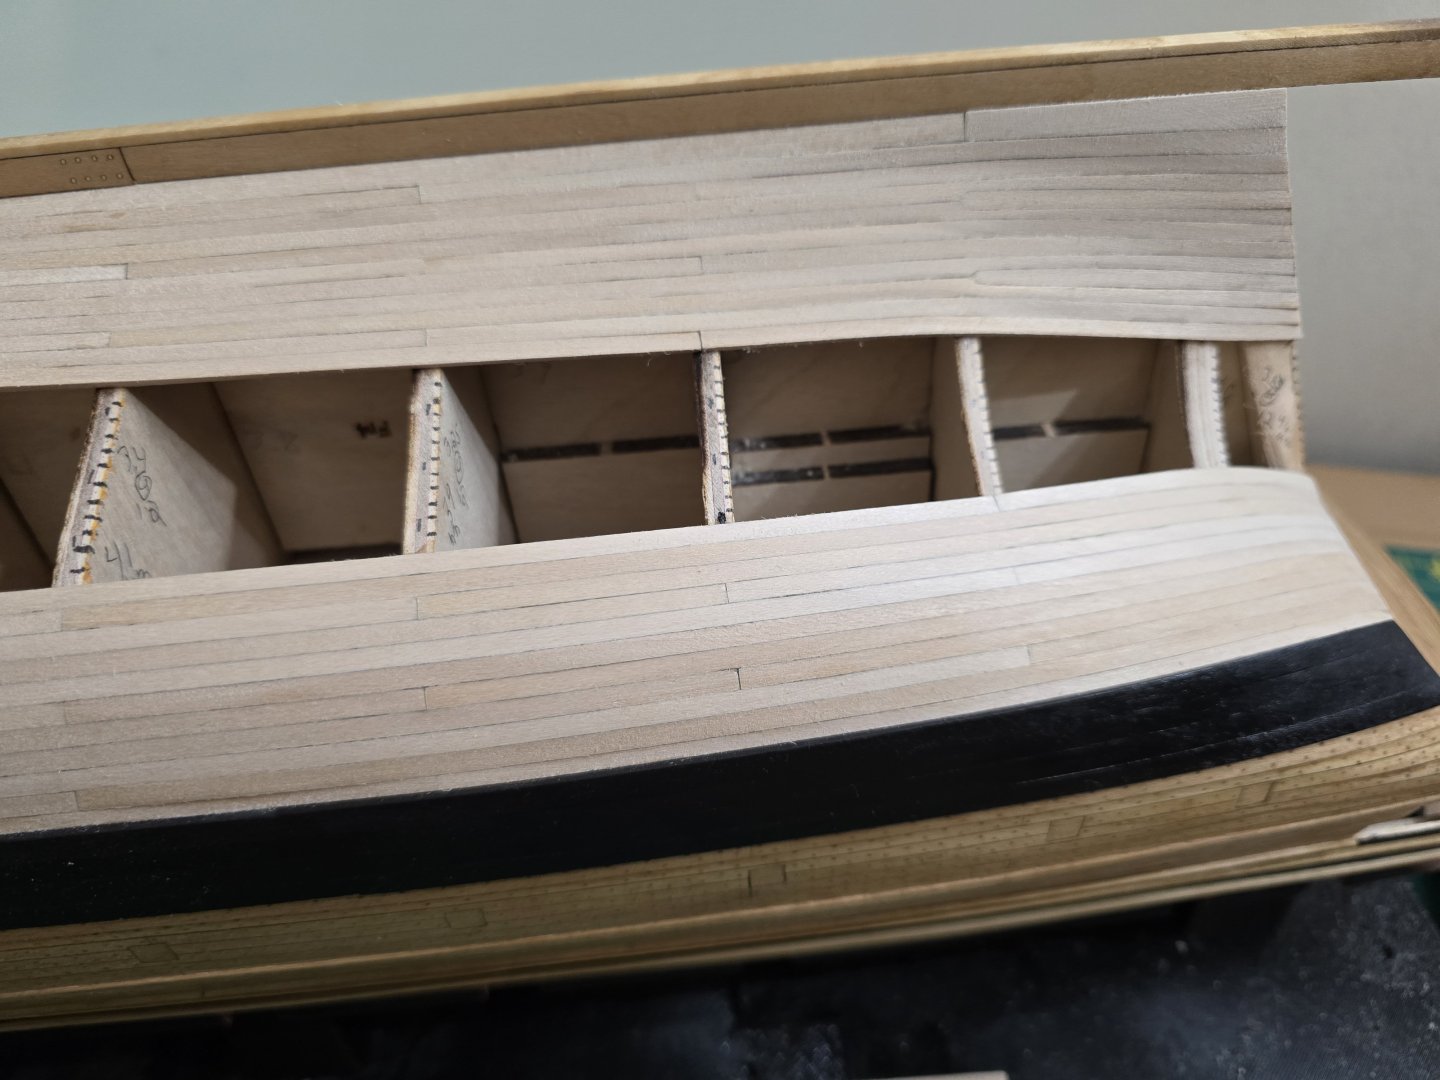
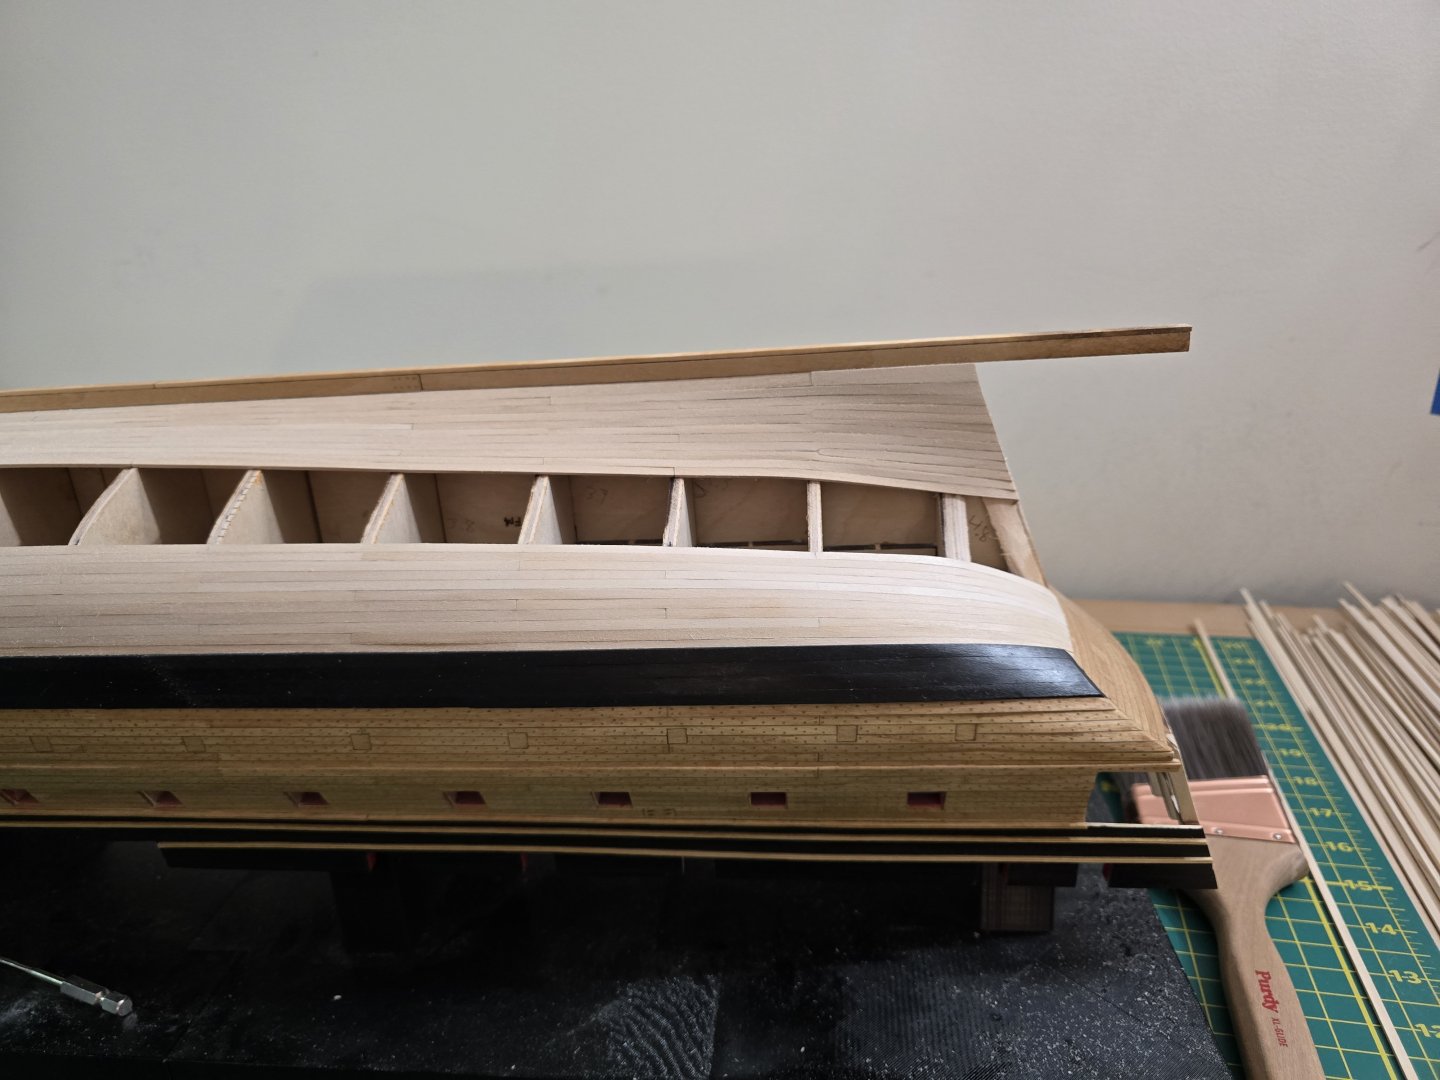
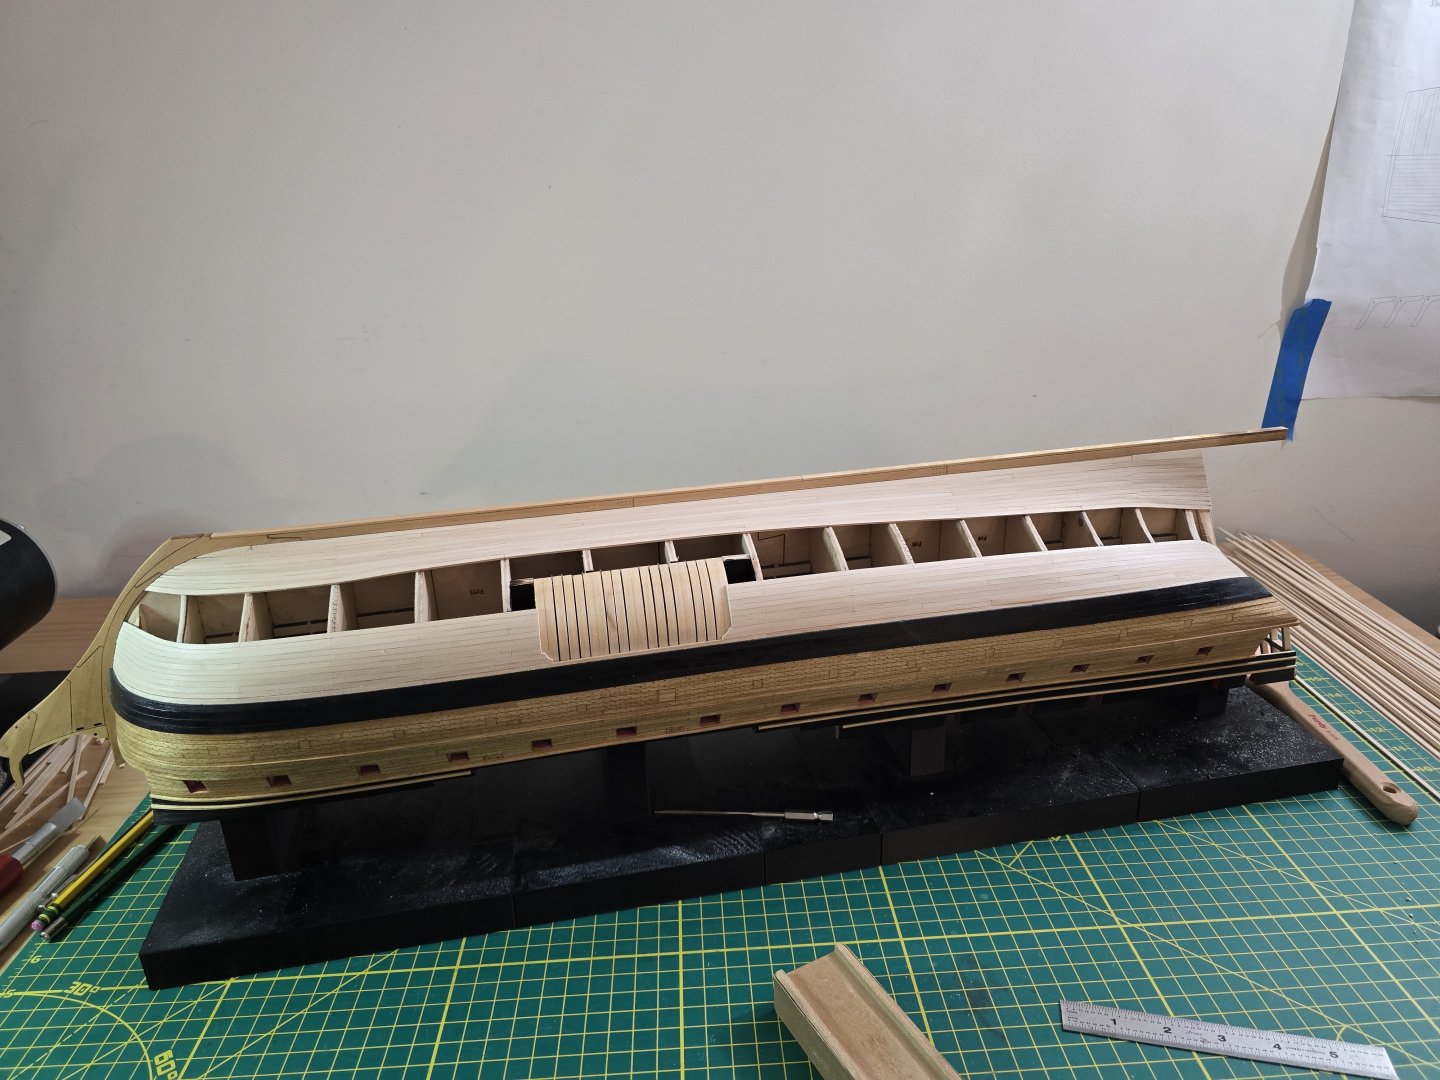
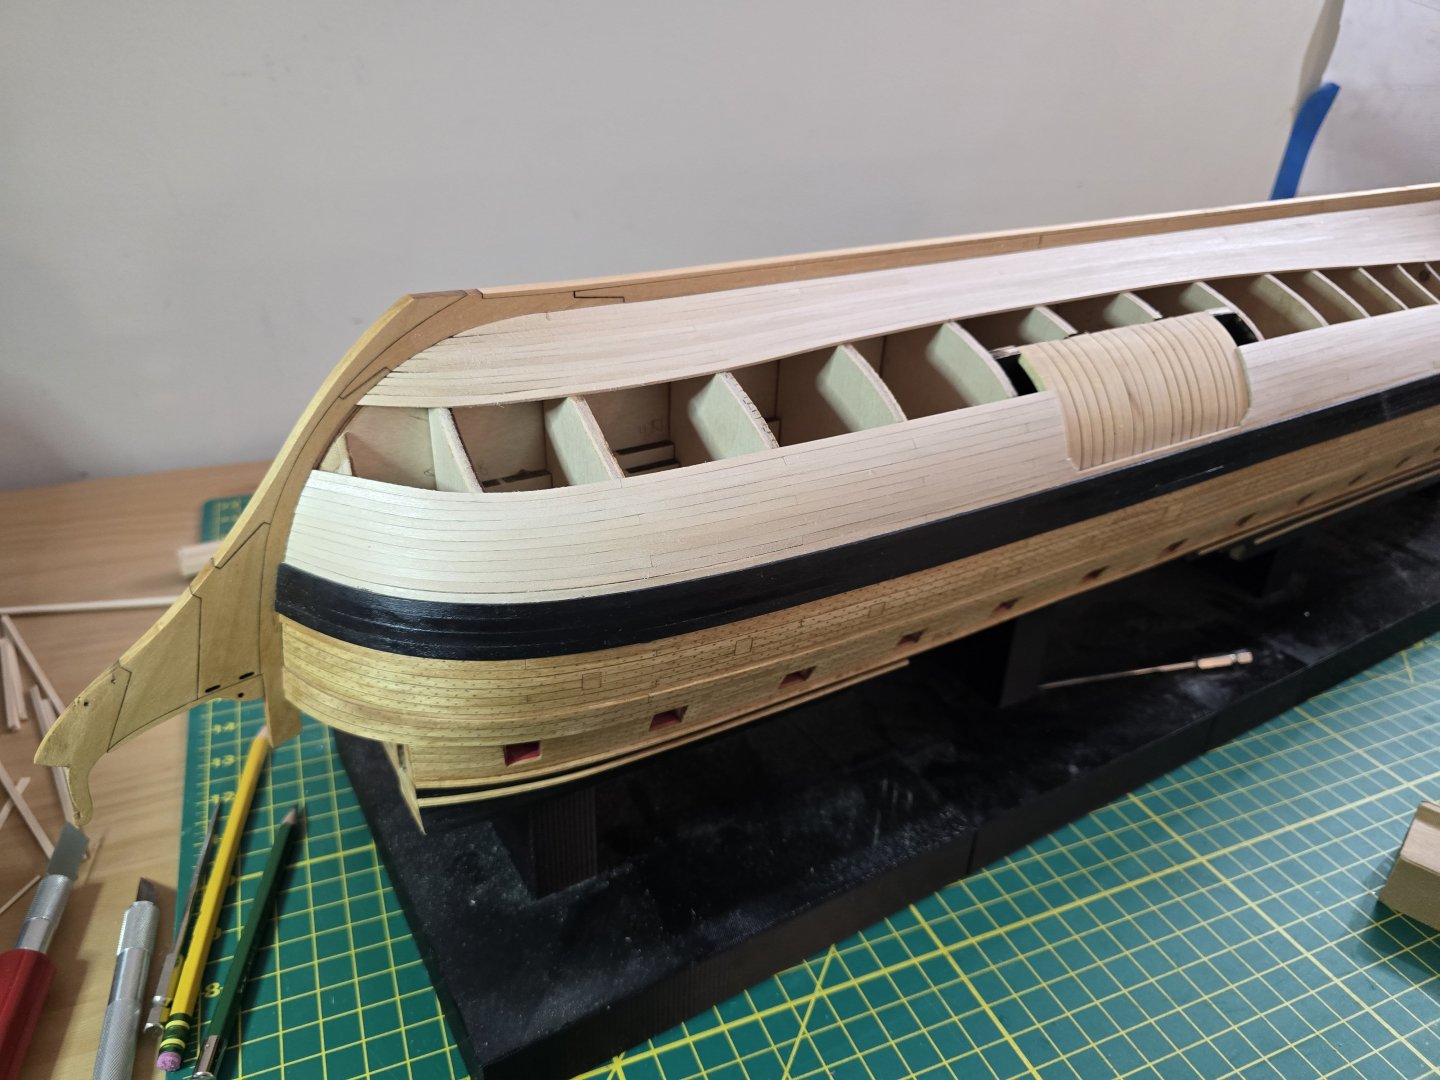
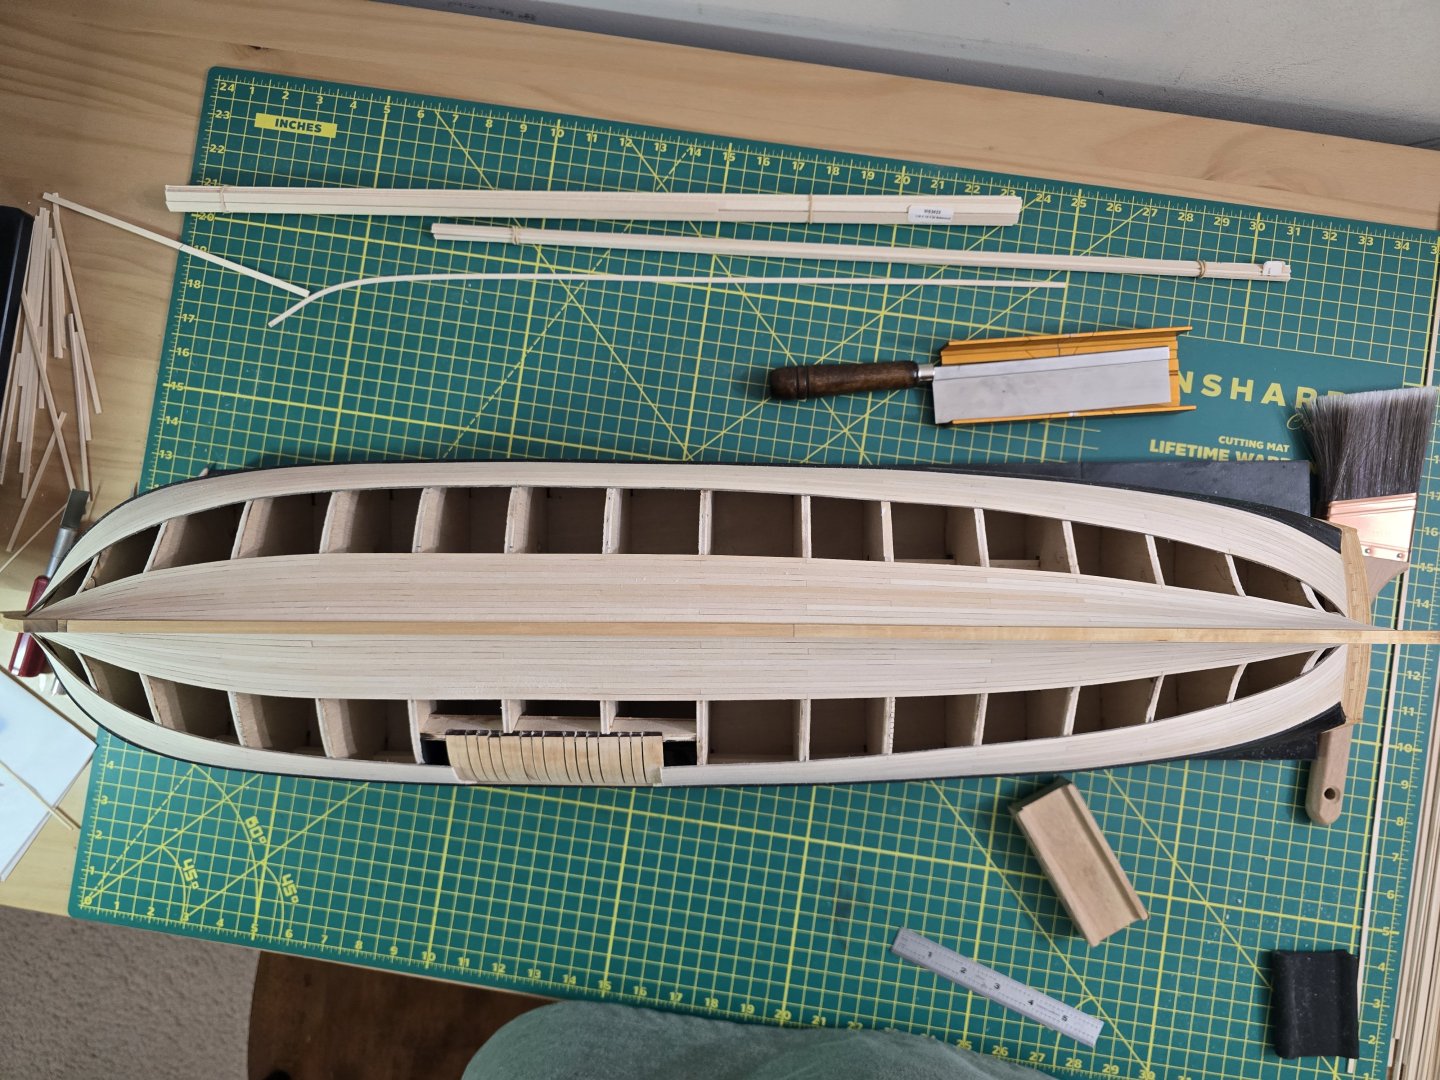
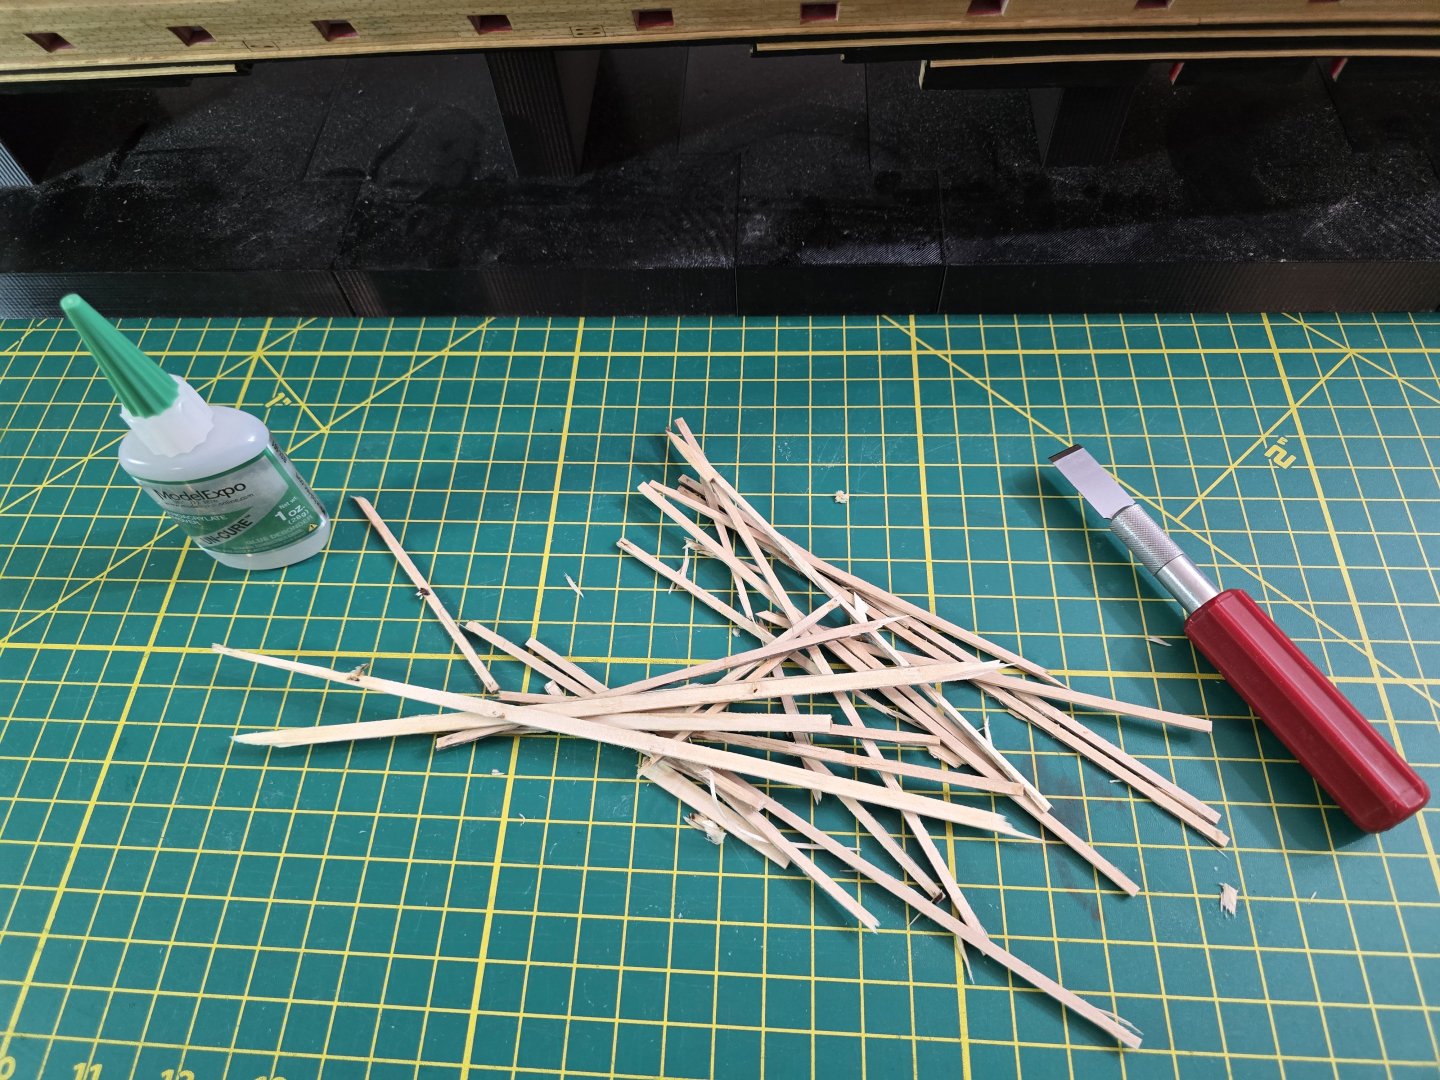
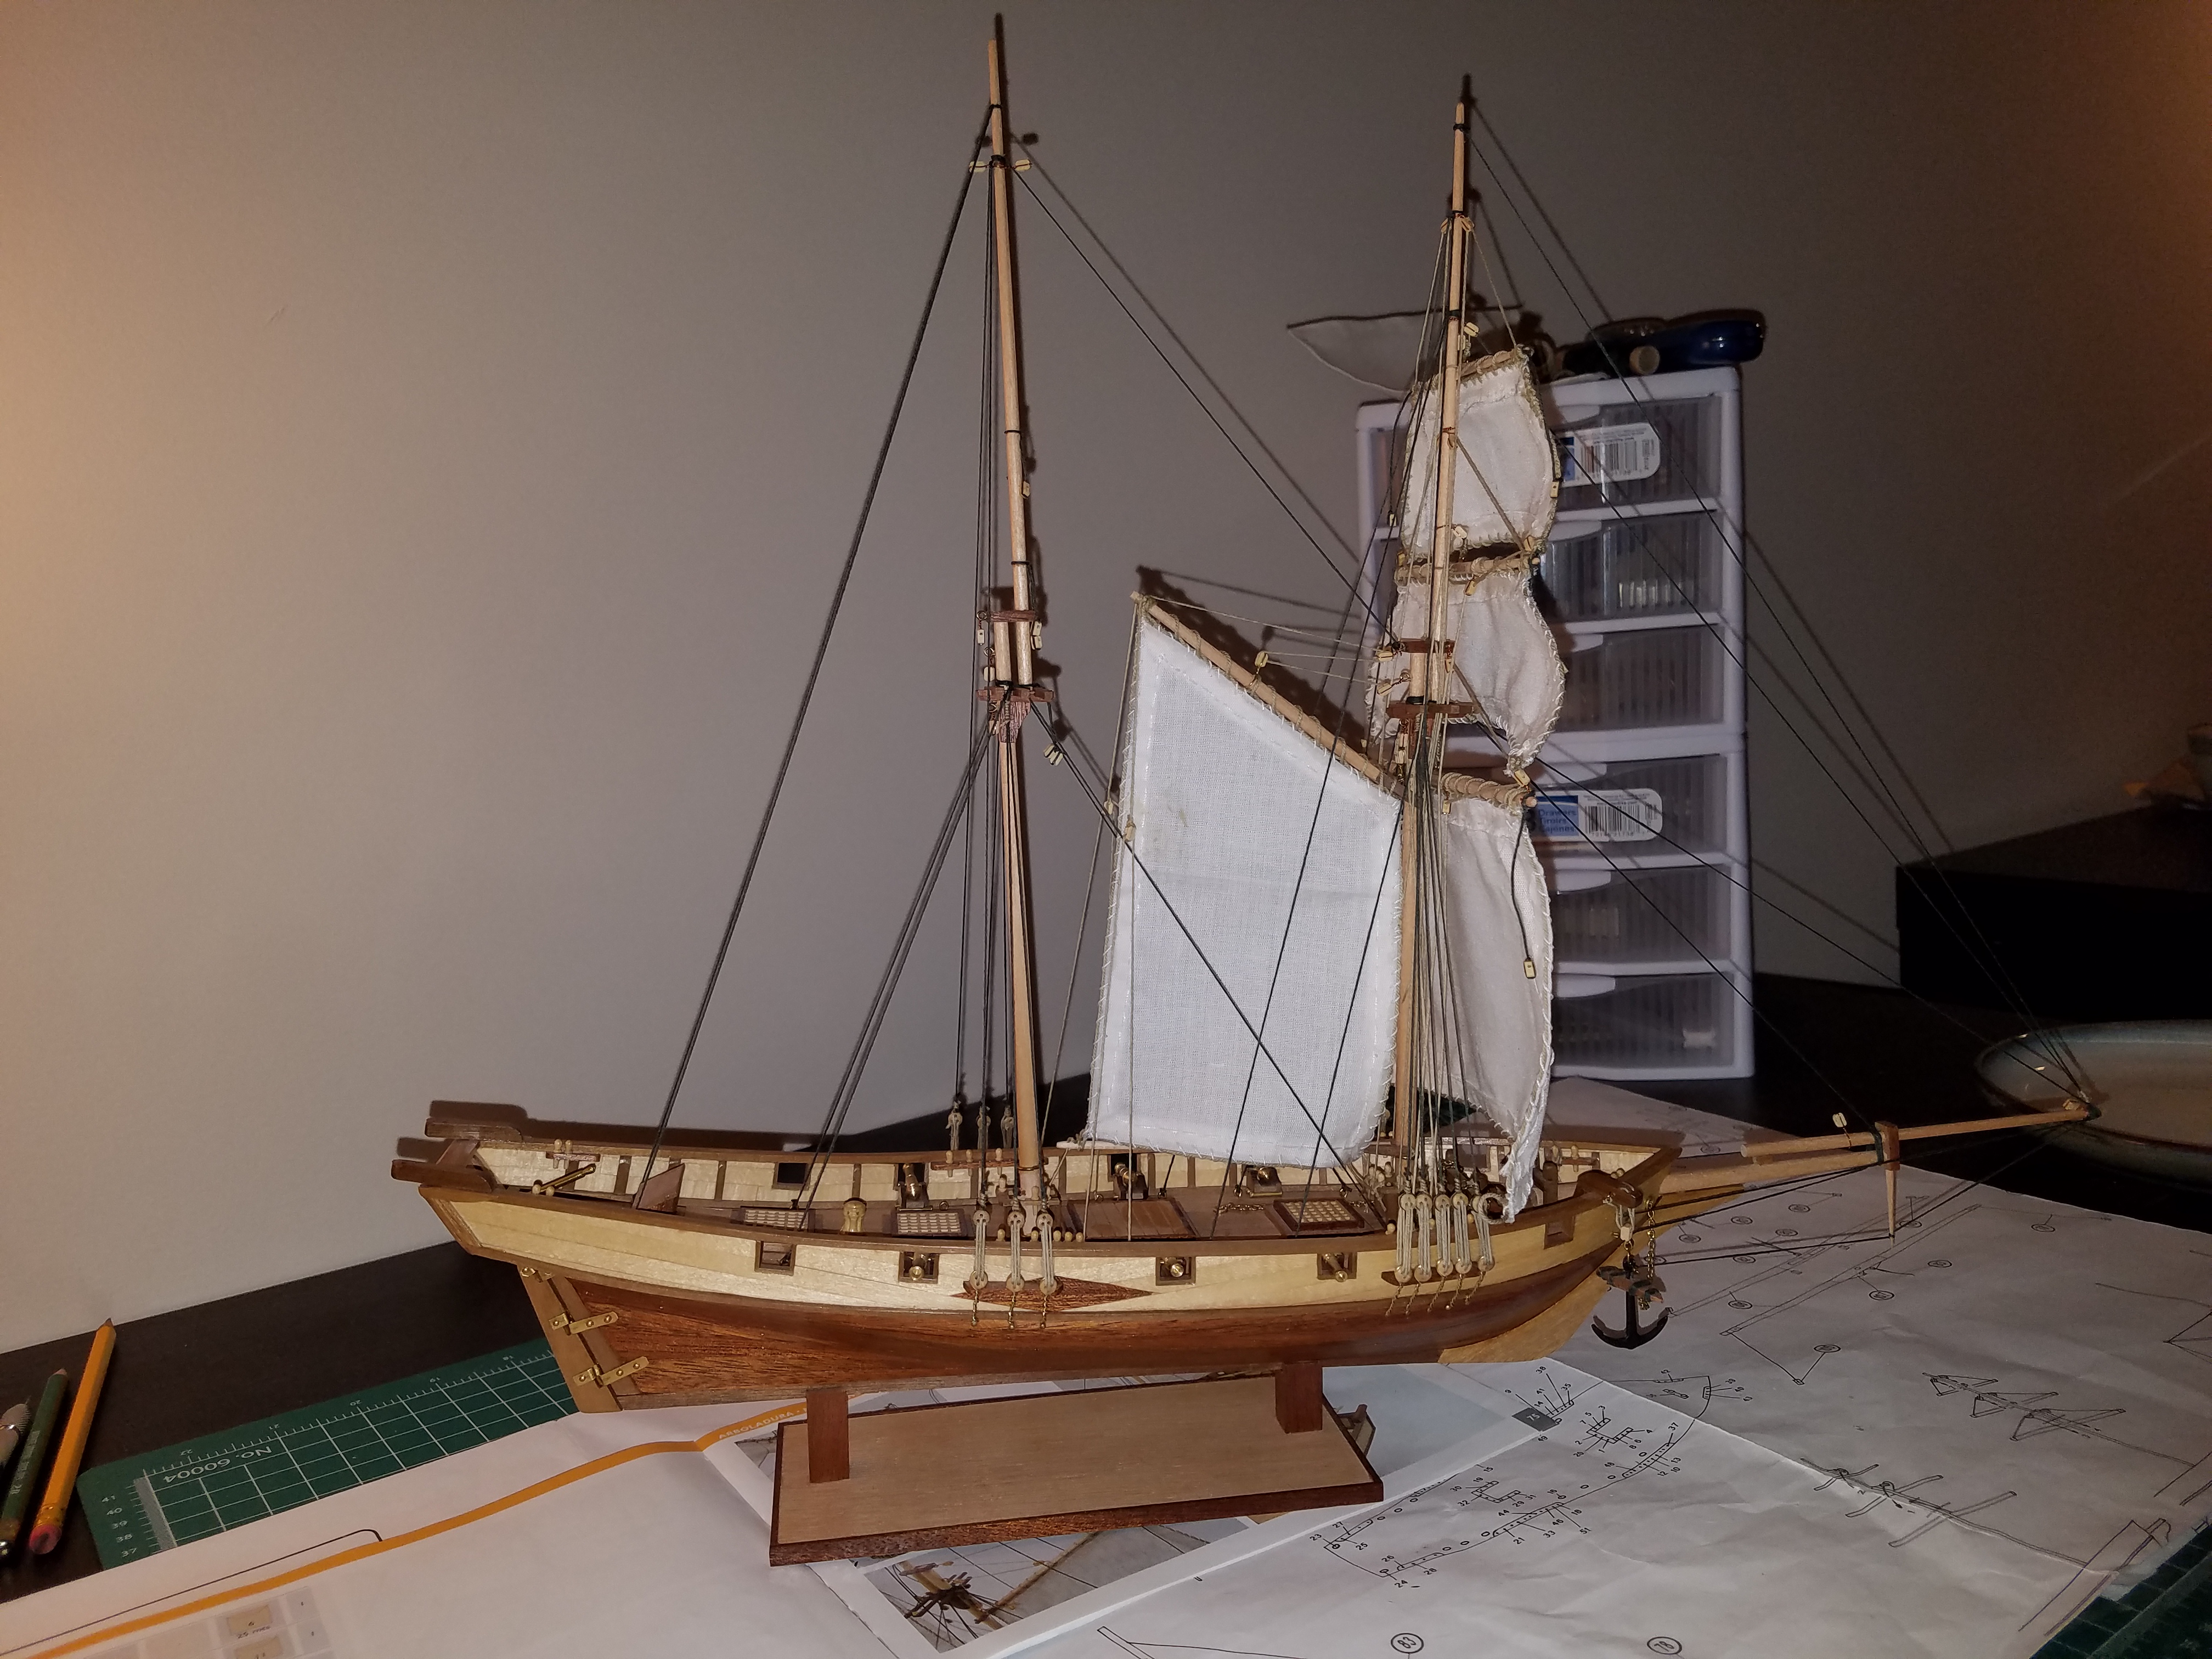
Hey all! Sorry for the long delay. Time has been short for me in the evenings with visiting family, summer, and other things. But today, I finally finished planking one of her sides! I also constructed the display stand for her and finally placed her right side up for the first time with one side planked. I have some sanding I need to do to even out some parts of the planking though. This side is definitely not perfect. No where close. This was the first time I tried this method of planking the hull and now realized how to do it better for the next model I have to plank (Hint: The Cheerful!) What a long planking process! I do have 1 belt left on the other side. Then finally some sanding and varnish. Wish me luck it takes me less time to do the other side! Haha! To be honest, I'm getting planked out! This process, especially on the USF Confederacy, is a lot to plank. This isnt a complaint about the model at all. I think the width of these planks fit perfectly with the model and really do the ship justice. Other kits use wider strips so less rows to plank. But I think these thinner strips give it a more authentic look. Thanks everyone for checking in! Onto the last belt section! Jeff
-
 Zarkon reacted to a post in a topic:
HMS Portland 1770 by Trussben - Portland Scale Ship Co. - 1:48 - 50 gun 4th rate
-
 Zarkon reacted to a post in a topic:
HMS Bounty Jolly Boat by Peter S - FINISHED - Artesania Latina - 1:25 - First Build
-
Forgot to mention, you could Place some weak sticky painters tape around the top and bottom where the wales will be placed. This can help you figure out where to sand and helps give a run of the wales. Jeff
- 51 replies
-
- bounty jolly boat
- Artesania Latina
-
(and 2 more)
Tagged with:
-
Hey Peter! What i would try, would be to sand off the varnish where you want you want to glue the wale strips on. Try not to sand too much, just enough to get the varnish off. You can always restain/revarnish after placing the wales on, or also over and parts where you might sand thats not where the wales are. I hope this helps! Jeff
- 51 replies
-
- bounty jolly boat
- Artesania Latina
-
(and 2 more)
Tagged with:
-
Congratulations! Beautiful work! You did an amazing job on this build at it looks fantastic! Jeff
- 310 replies
-
- Diana
- Caldercraft
-
(and 1 more)
Tagged with:
-
I am always amazed by your work! Fantastic! Jeff
-
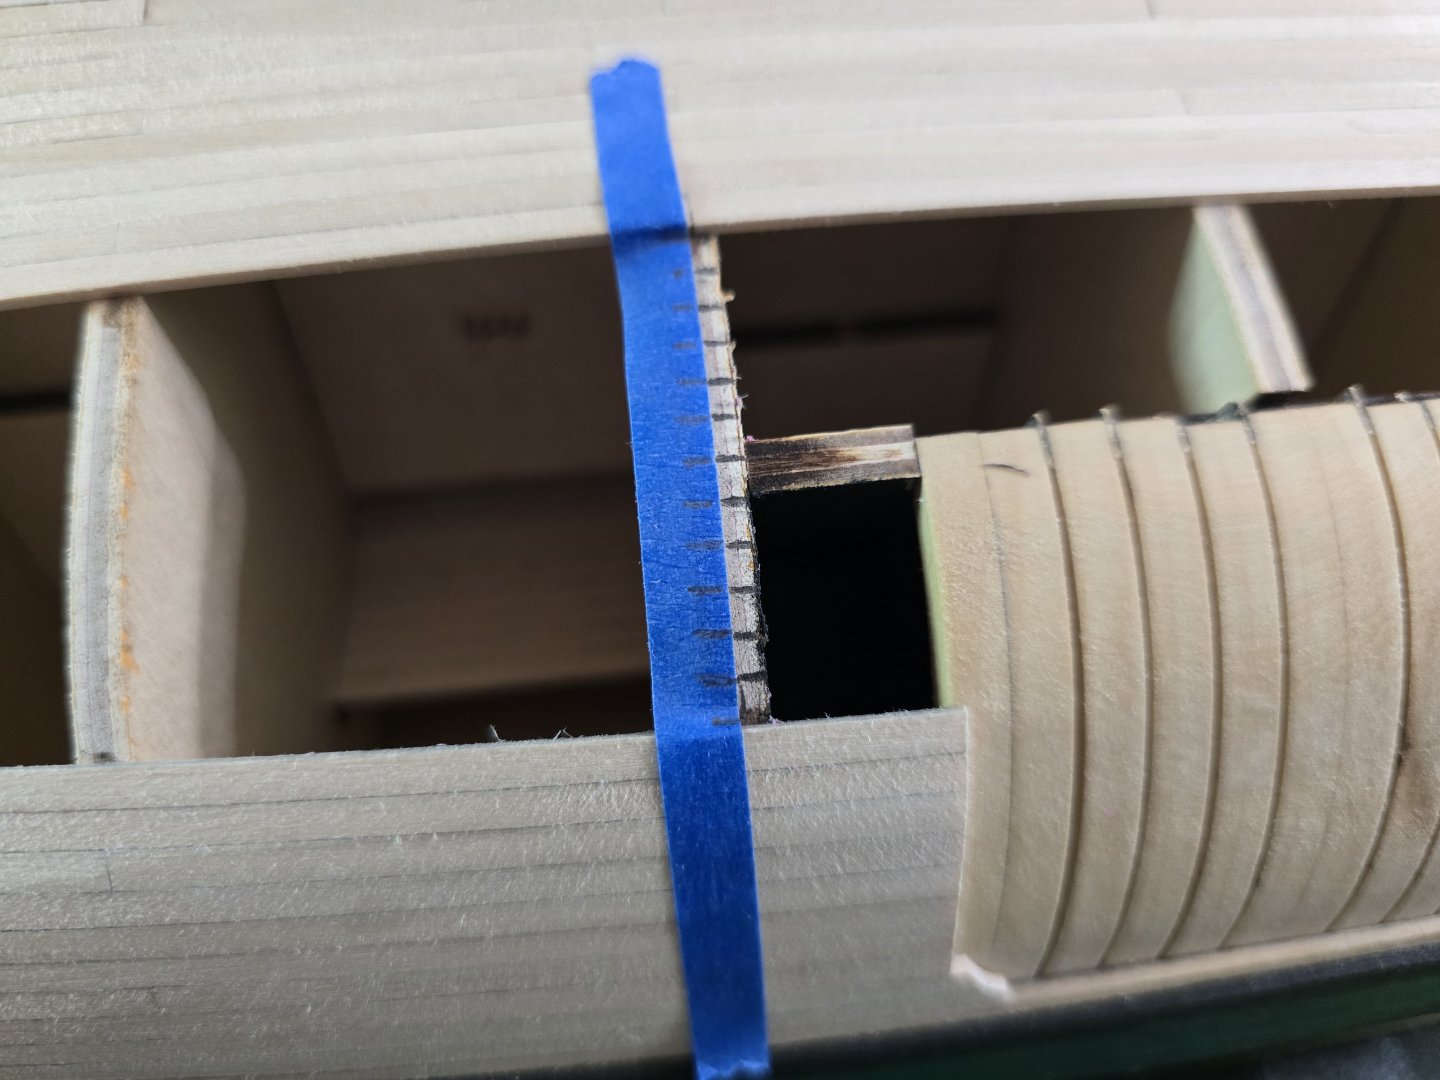
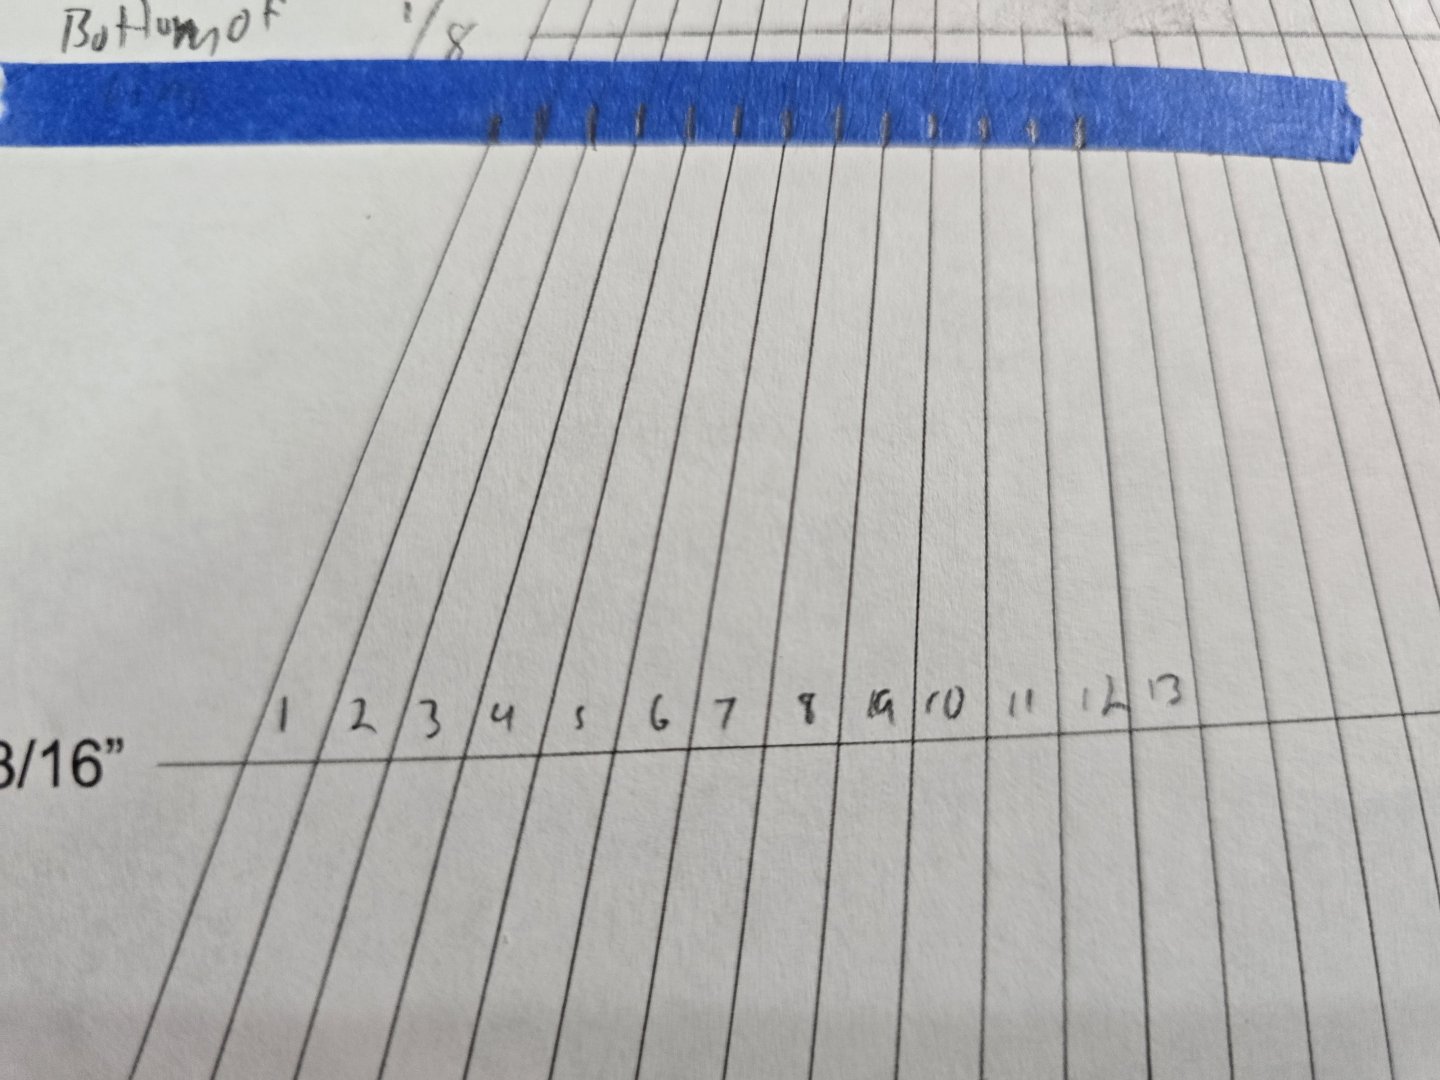
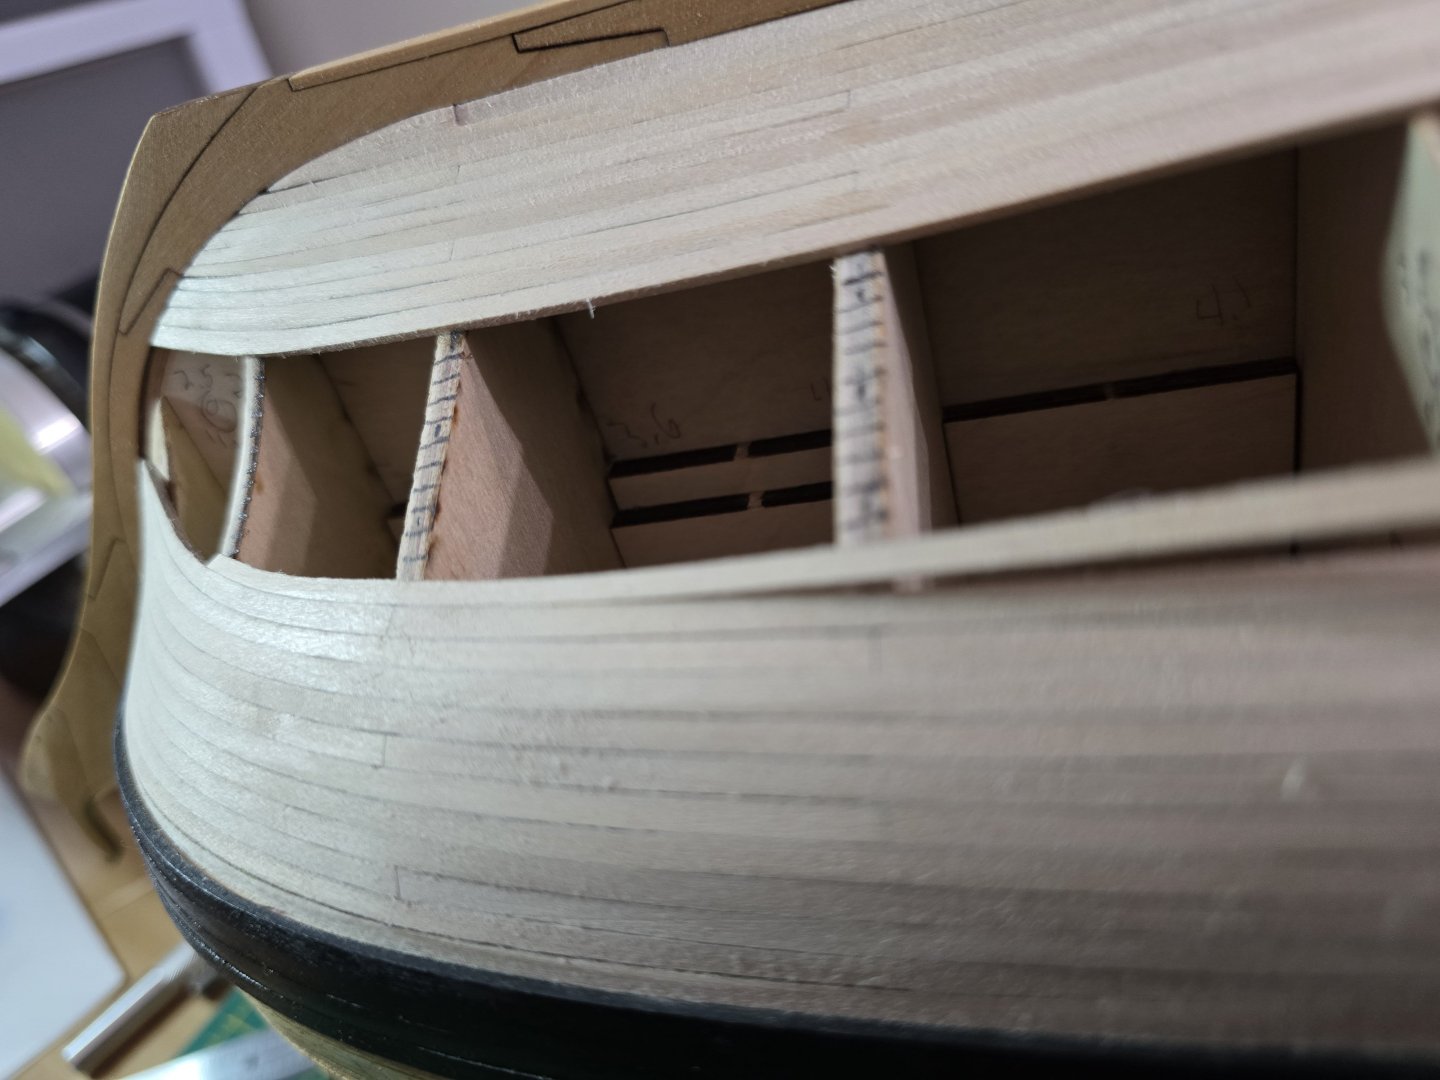
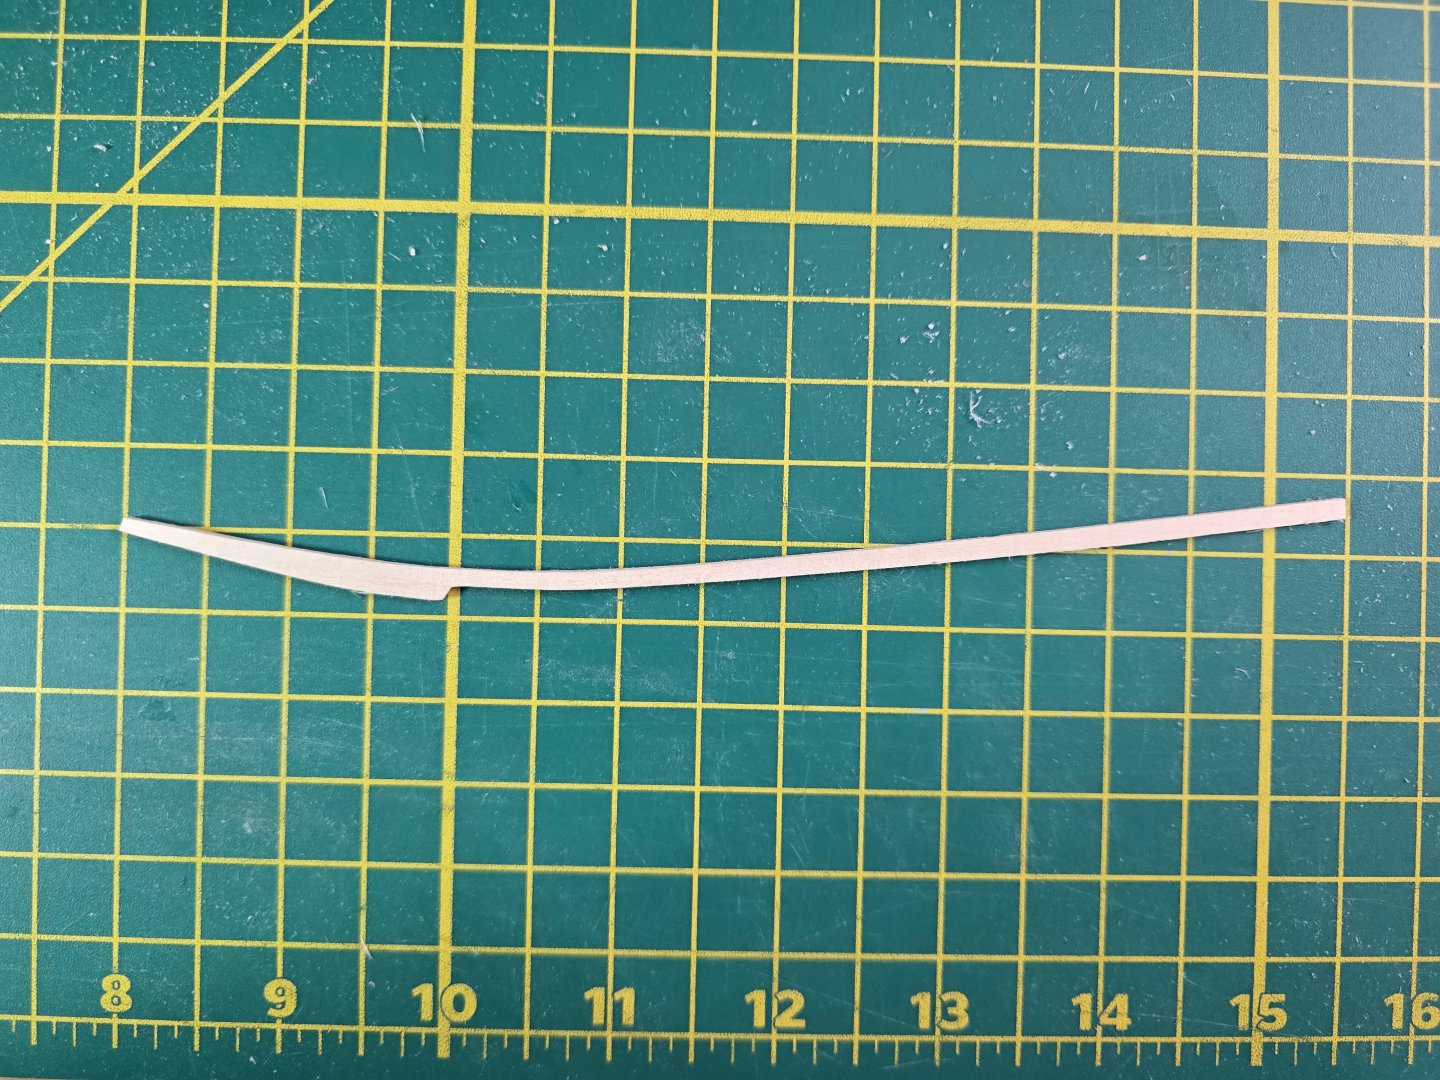
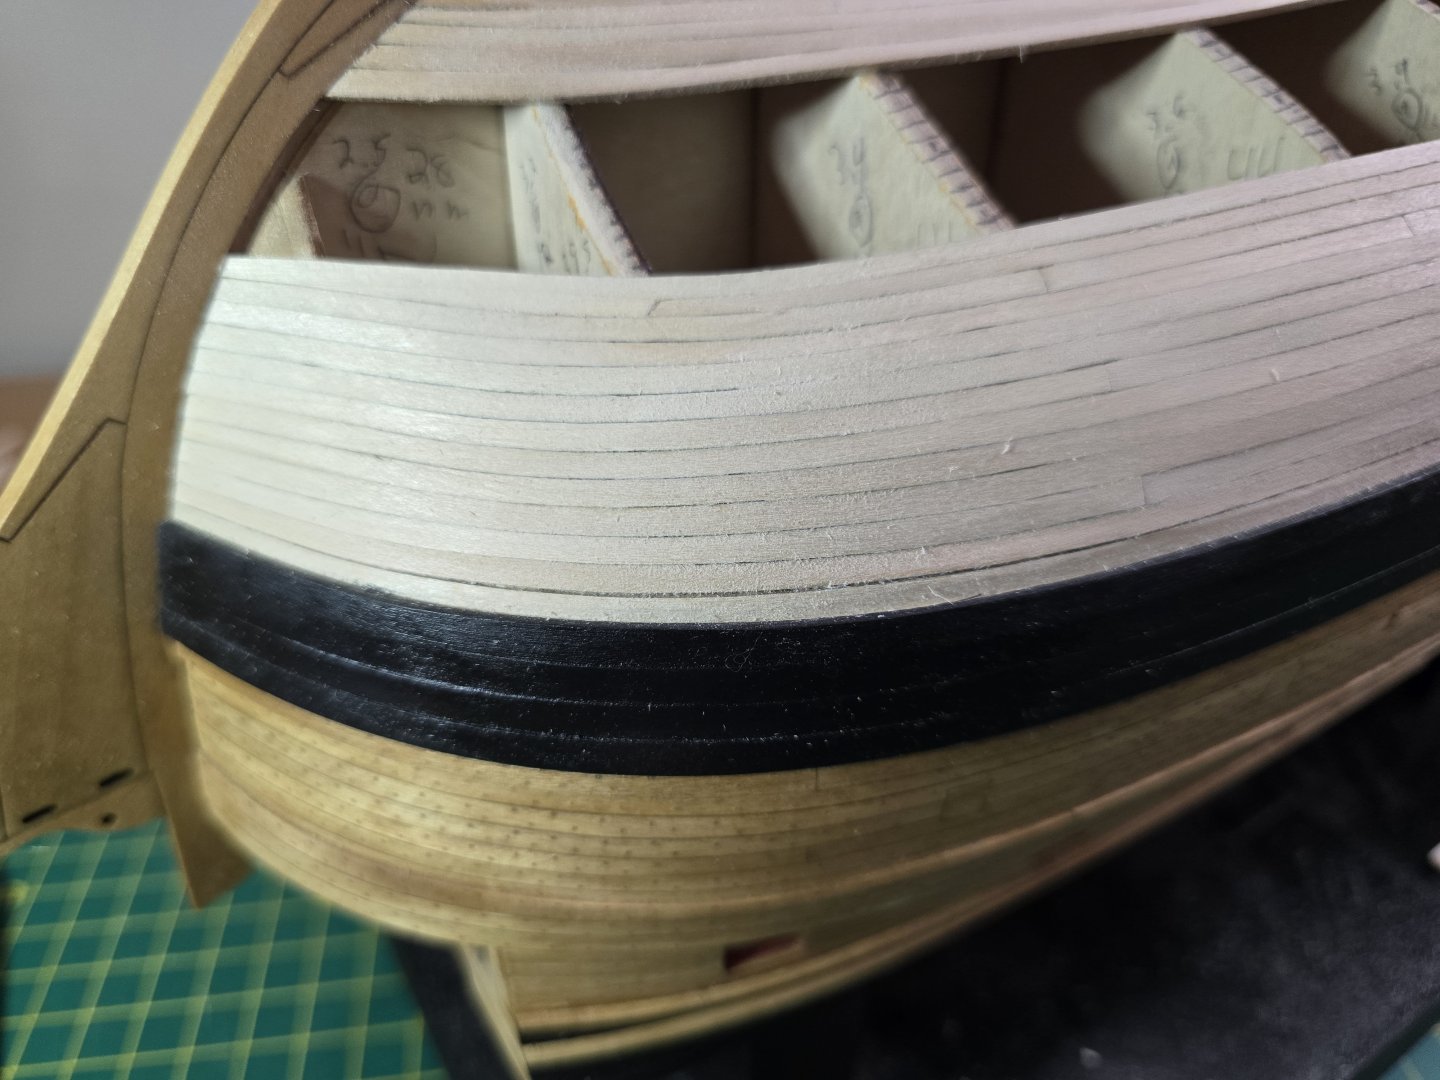
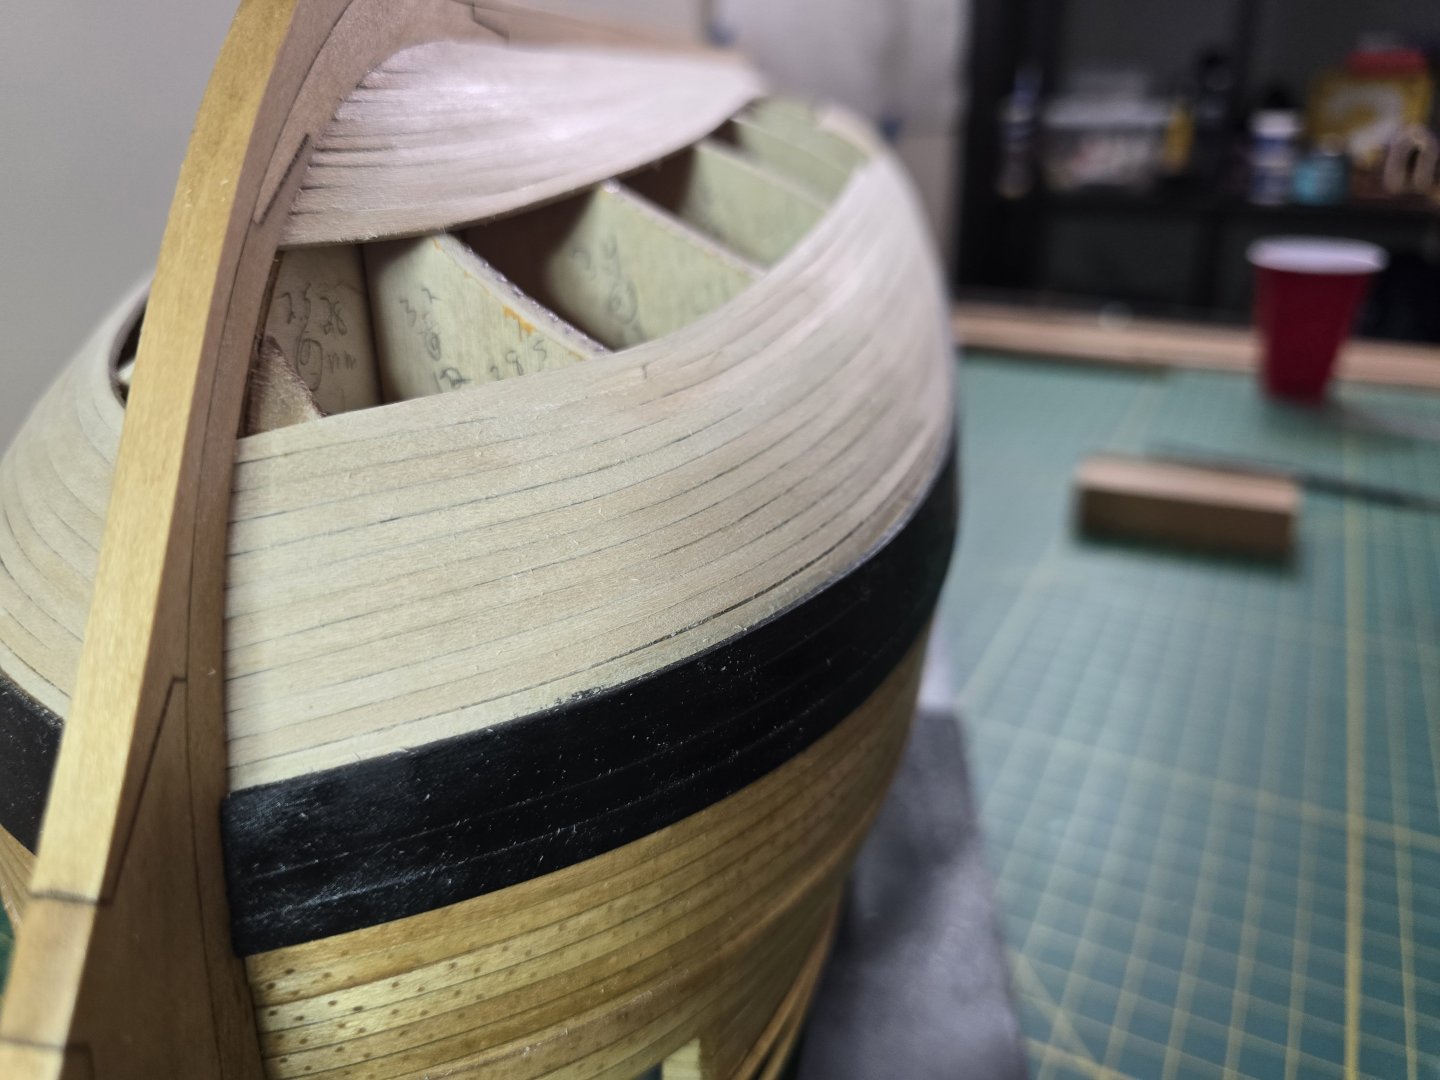
Hey all! I started on the 3rd belt finally. I'm starting this belt differently than the last two. First off, I measured the area of planking at each bulkhead. I then took the biggest and smallest bulkead areas and figured out how many planks I would need to fill both. I figured out that I can use 12 rows of planks at the center, but at the bow, I would need 11 instead to not make the planks too thin. I then made tack strips with painters tape for each bulkhead area and marked the hight of each plank. As you can see, I wrote down the dimensions on each bulkhead. This took a while for me as there are quite a lot of bulkheads which is good. I then, at the bow, had to transition from 12 rows to 11. So I followed the instructions on how to do that. I first placed the first batten down as such. Notice how it stops at the first real bulkhead. I then had to make this piece. This piece took quite a number of tries to make over quite a number of days. Here is how it sits on the ship. This was sure tough for me. The hardest batten to shape yet! I might be doing some sanding on the top of this batten when I start the next row. I'll update as more of this belt gets planked! Thanks! Jeff
-
Hi Peter! I think you are doing a fantastic job! Especially for your first model. Your picturs look great and I believe you have done a grear job planking your first hull. I think you have gotten some excellent advice from othet members here. For me, the real trick about planking a hull is making sure the bulkheads are faired properly. This took me a while to figure out. The only thing I wish some of these kits had, were more bulkheads to help with understanding the curve of the hull. Anyway, keep up the great work and I'm going to follow along! Jeff
- 51 replies
-
- bounty jolly boat
- Artesania Latina
-
(and 2 more)
Tagged with:
-
Hey all! Finally finished the second belt! That sure took a while. I'll share some pics. I realized after working on the keel, that getting the correct angle is difficult. I haven't measured for the 3rd belt yet to figure out the widths of the planks, but I hope I did a good enough job on the first 2 belts so the 3rd goes on alright. I haven't finished sanding and filling some small areas yet, but I will do that after the third belt is complete. Thanks all! Jeff
-
Thanks all for the positive comments! I really do appreciate it. I wanted to take a small break from it before starting this belt over again since I've been at it almost daily for a year now! I did take about a week off, instead building some Lego sets and playing Satisfactory on the PC. I have put the garboard strake on and placed the next 2 rows. I did take my time and it does look better. I'll show some pics after I get a few more rows on. Thanks all! Jeff
-
Thanks everyone for your comments! You guys are right that varying color does give it a more distinctive look! So I have some bad news. I was half way done with the second belt on the starboard side and I wasn't satisfied with it at all. At the bow, my second plank after the garboard was way too thin. This caused a bigger curve than what it needed for subsequent planks. After 4-5 plank rows, it curved up way too high at the bow. Im sorry I forgot to take pics of what I mean. So I tried to remove some of the strakes at the bow. Because they were all connected together, this was the outcome. I ended up having to remove all the planks on the second belt for the starboard side. This also includes the garboard as well. Thats a lot of work lost that I have to redo. It's very upsetting to have to do this, but I really didn't have much of a choice. Because of this, I might have to order more wood strips from Model Expo. Im waiting for the de-glue to dry before sanding off all the excess wood still attached to the bulkead formers. I'll give an update once I start the stsrboard side again. Jeff
About us
Modelshipworld - Advancing Ship Modeling through Research
SSL Secured
Your security is important for us so this Website is SSL-Secured
NRG Mailing Address
Nautical Research Guild
237 South Lincoln Street
Westmont IL, 60559-1917
Model Ship World ® and the MSW logo are Registered Trademarks, and belong to the Nautical Research Guild (United States Patent and Trademark Office: No. 6,929,264 & No. 6,929,274, registered Dec. 20, 2022)
Helpful Links
About the NRG
If you enjoy building ship models that are historically accurate as well as beautiful, then The Nautical Research Guild (NRG) is just right for you.
The Guild is a non-profit educational organization whose mission is to “Advance Ship Modeling Through Research”. We provide support to our members in their efforts to raise the quality of their model ships.
The Nautical Research Guild has published our world-renowned quarterly magazine, The Nautical Research Journal, since 1955. The pages of the Journal are full of articles by accomplished ship modelers who show you how they create those exquisite details on their models, and by maritime historians who show you the correct details to build. The Journal is available in both print and digital editions. Go to the NRG web site (www.thenrg.org) to download a complimentary digital copy of the Journal. The NRG also publishes plan sets, books and compilations of back issues of the Journal and the former Ships in Scale and Model Ship Builder magazines.


