


mahjong25
-
Posts
29 -
Joined
-
Last visited
Content Type
Profiles
Forums
Gallery
Events
Posts posted by mahjong25
-
-
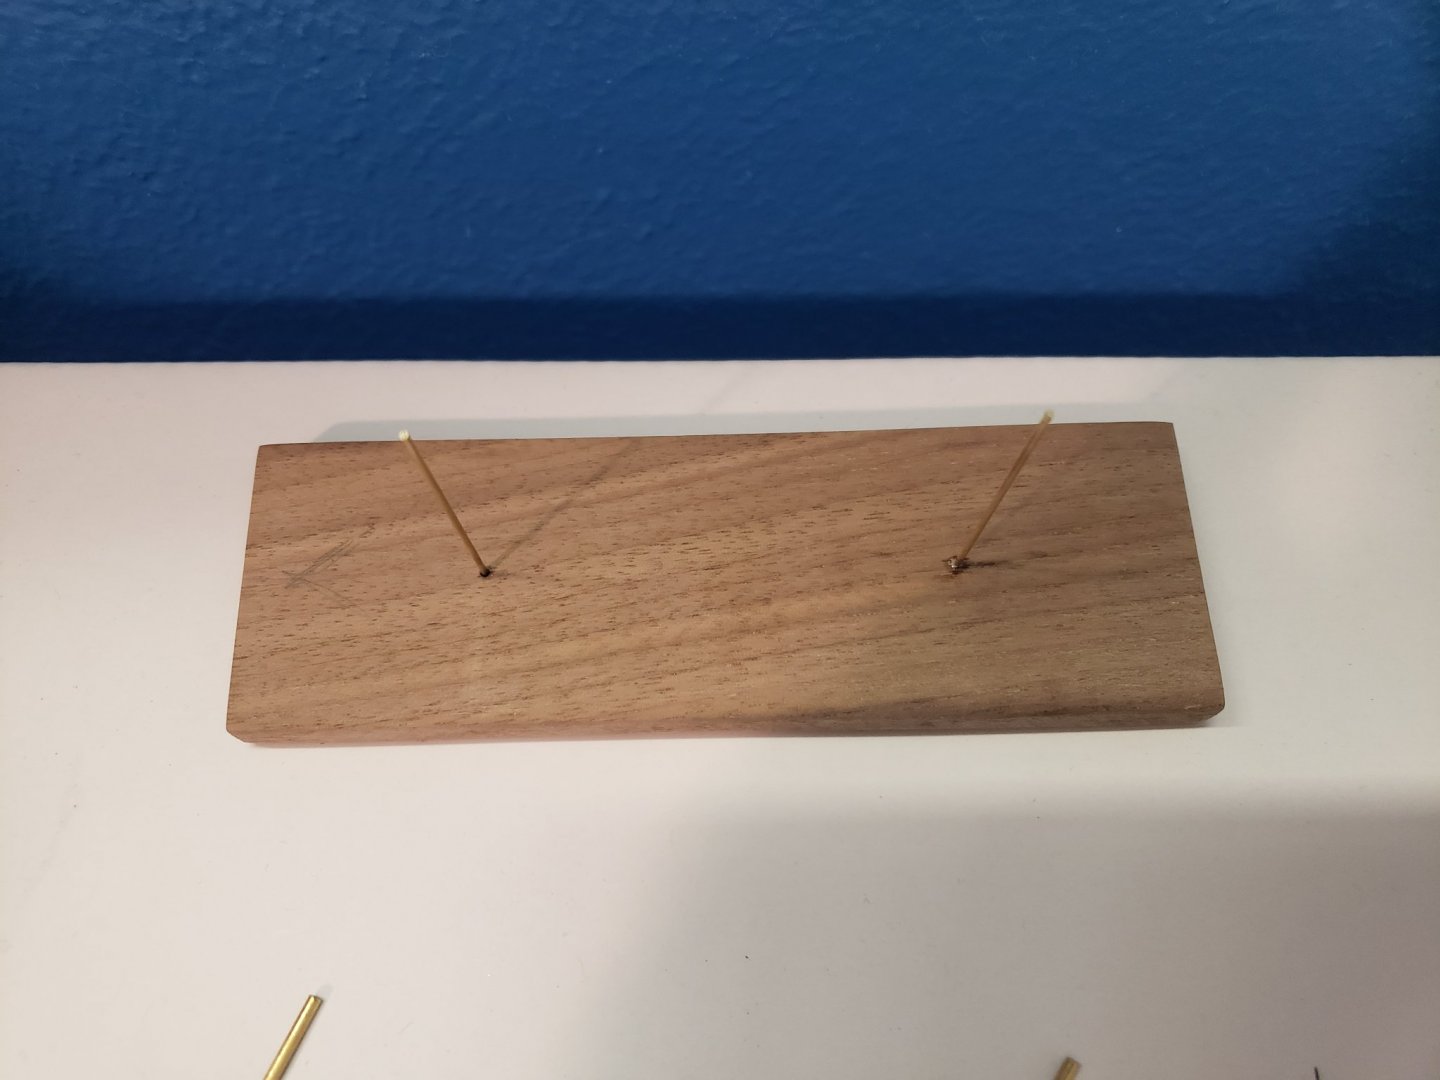
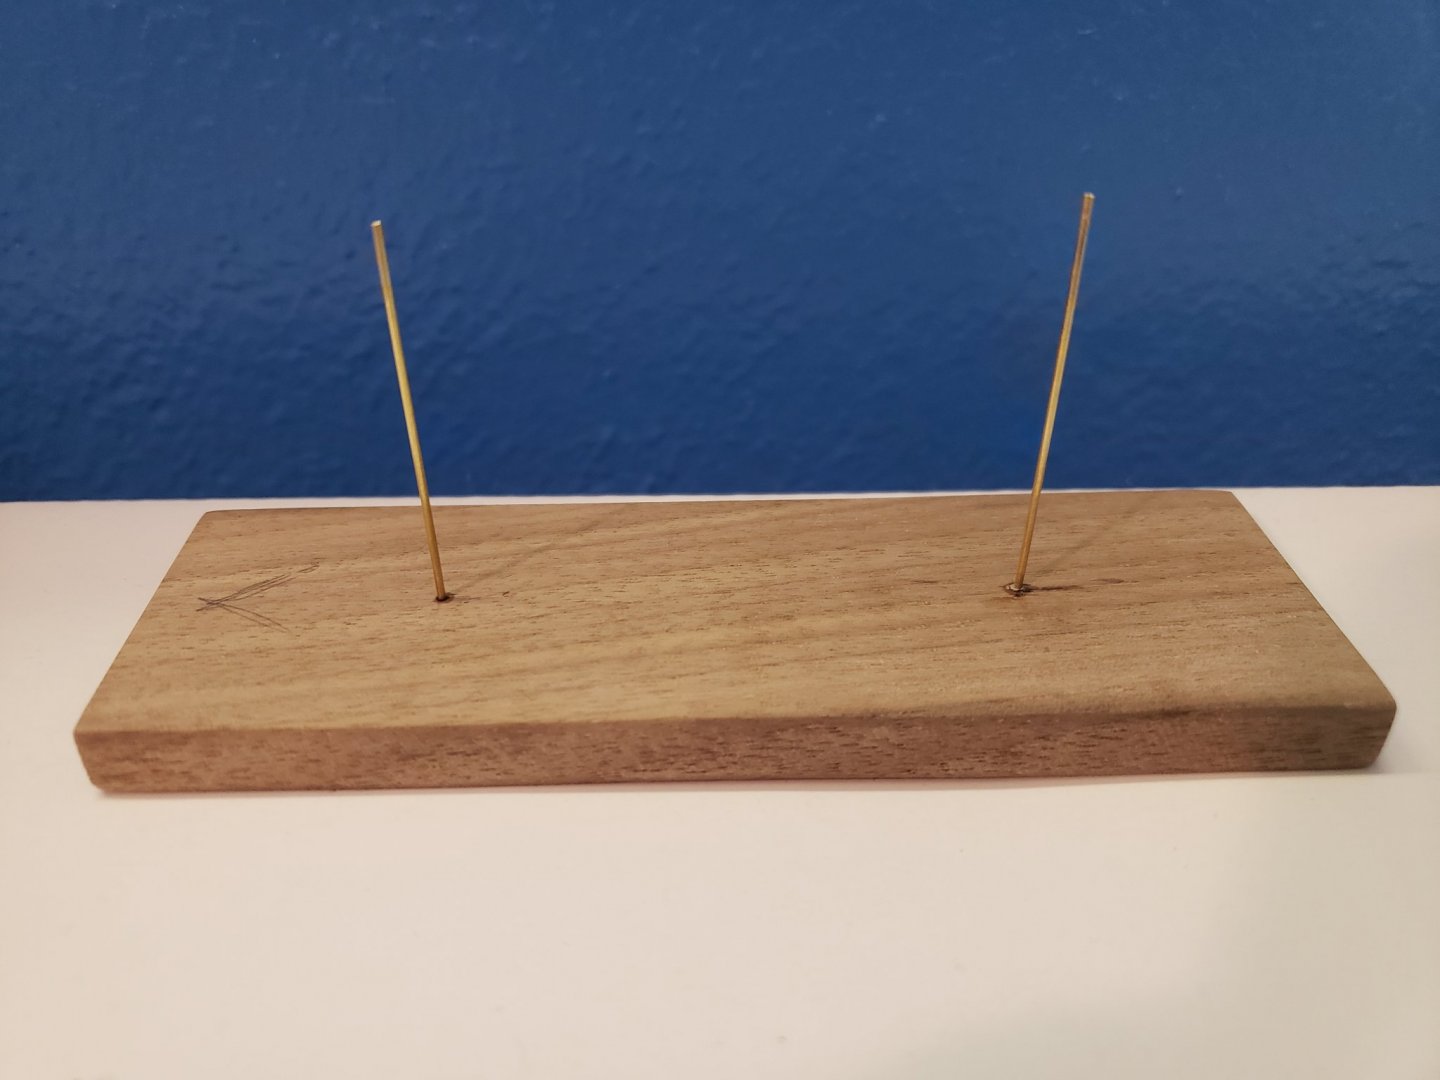
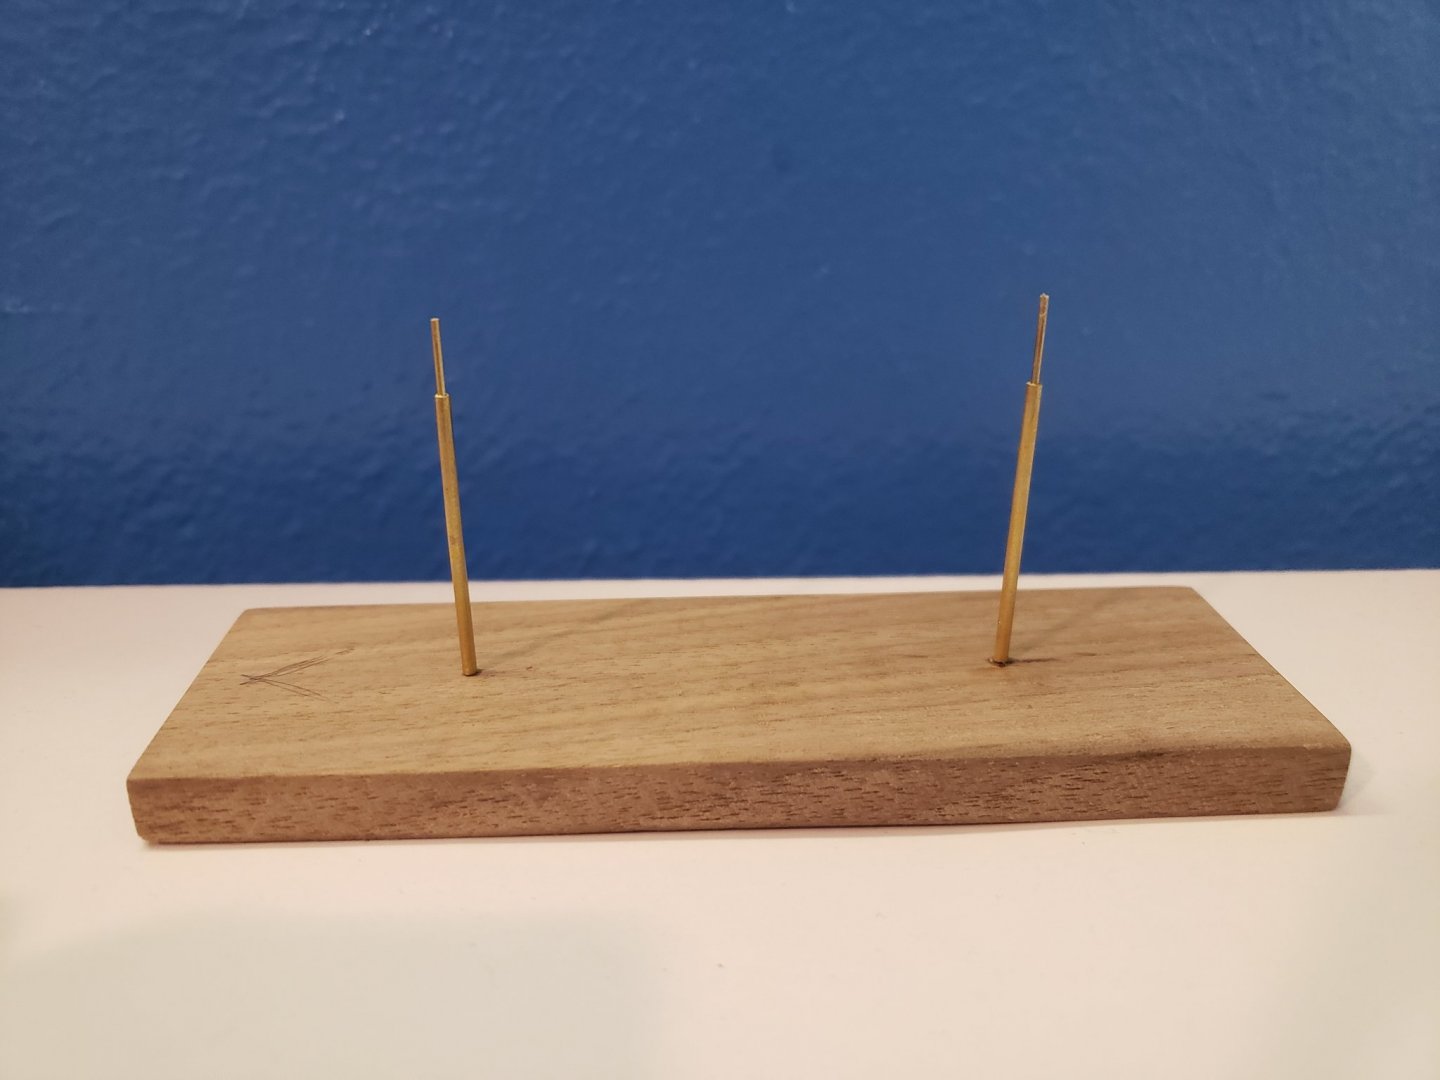
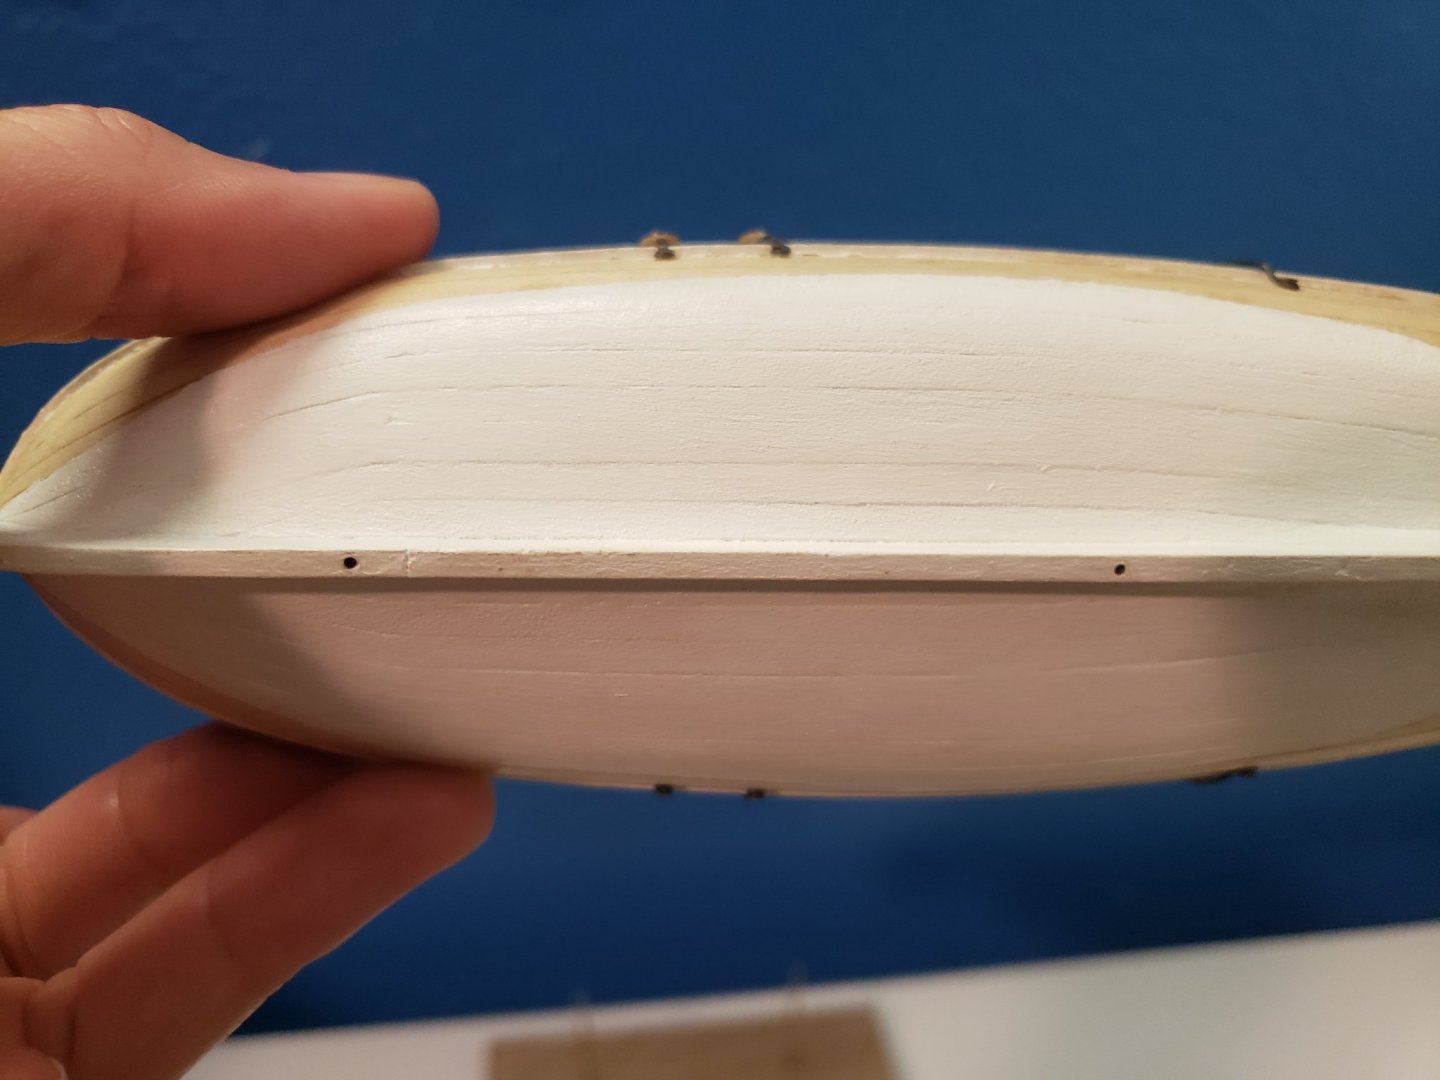
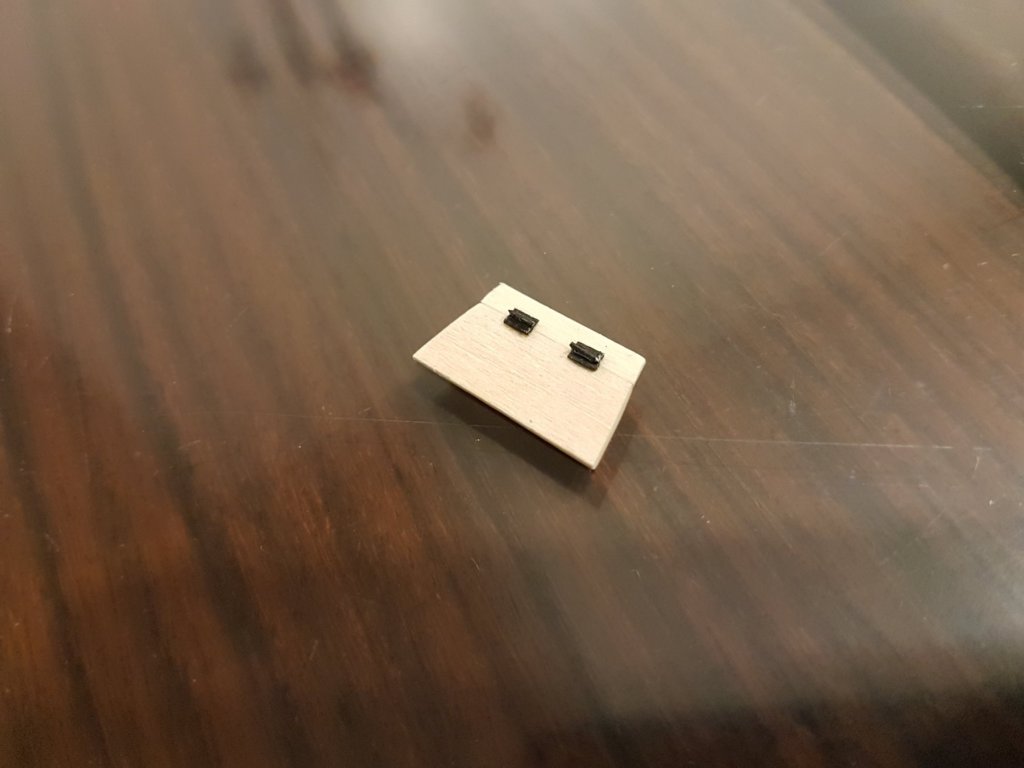
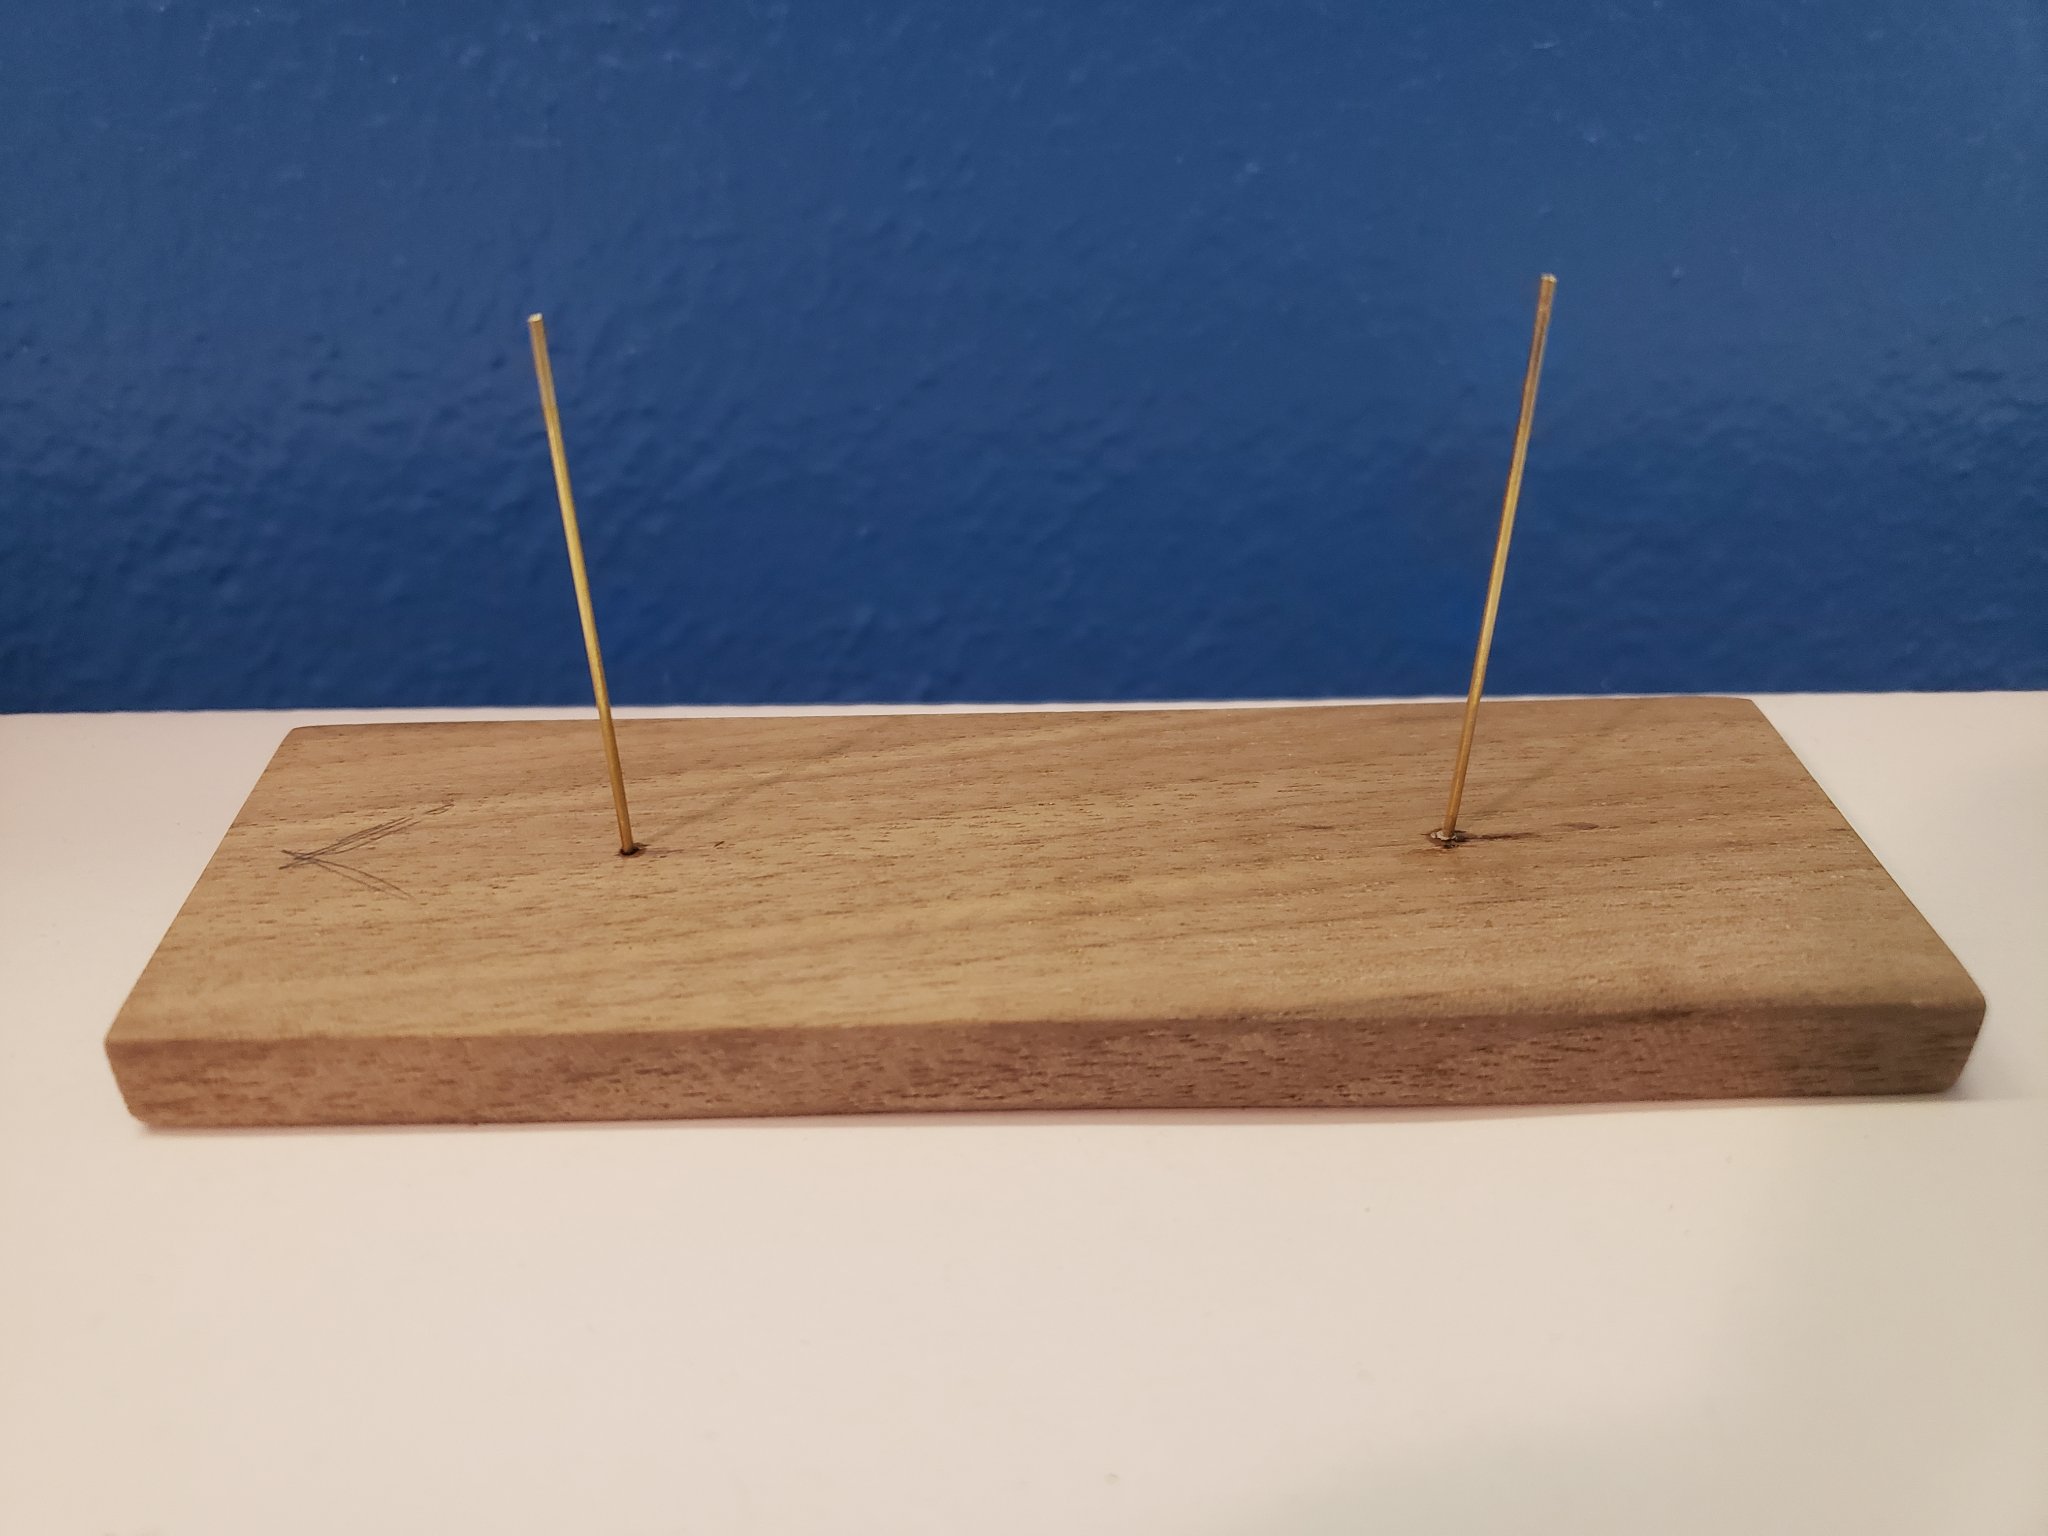
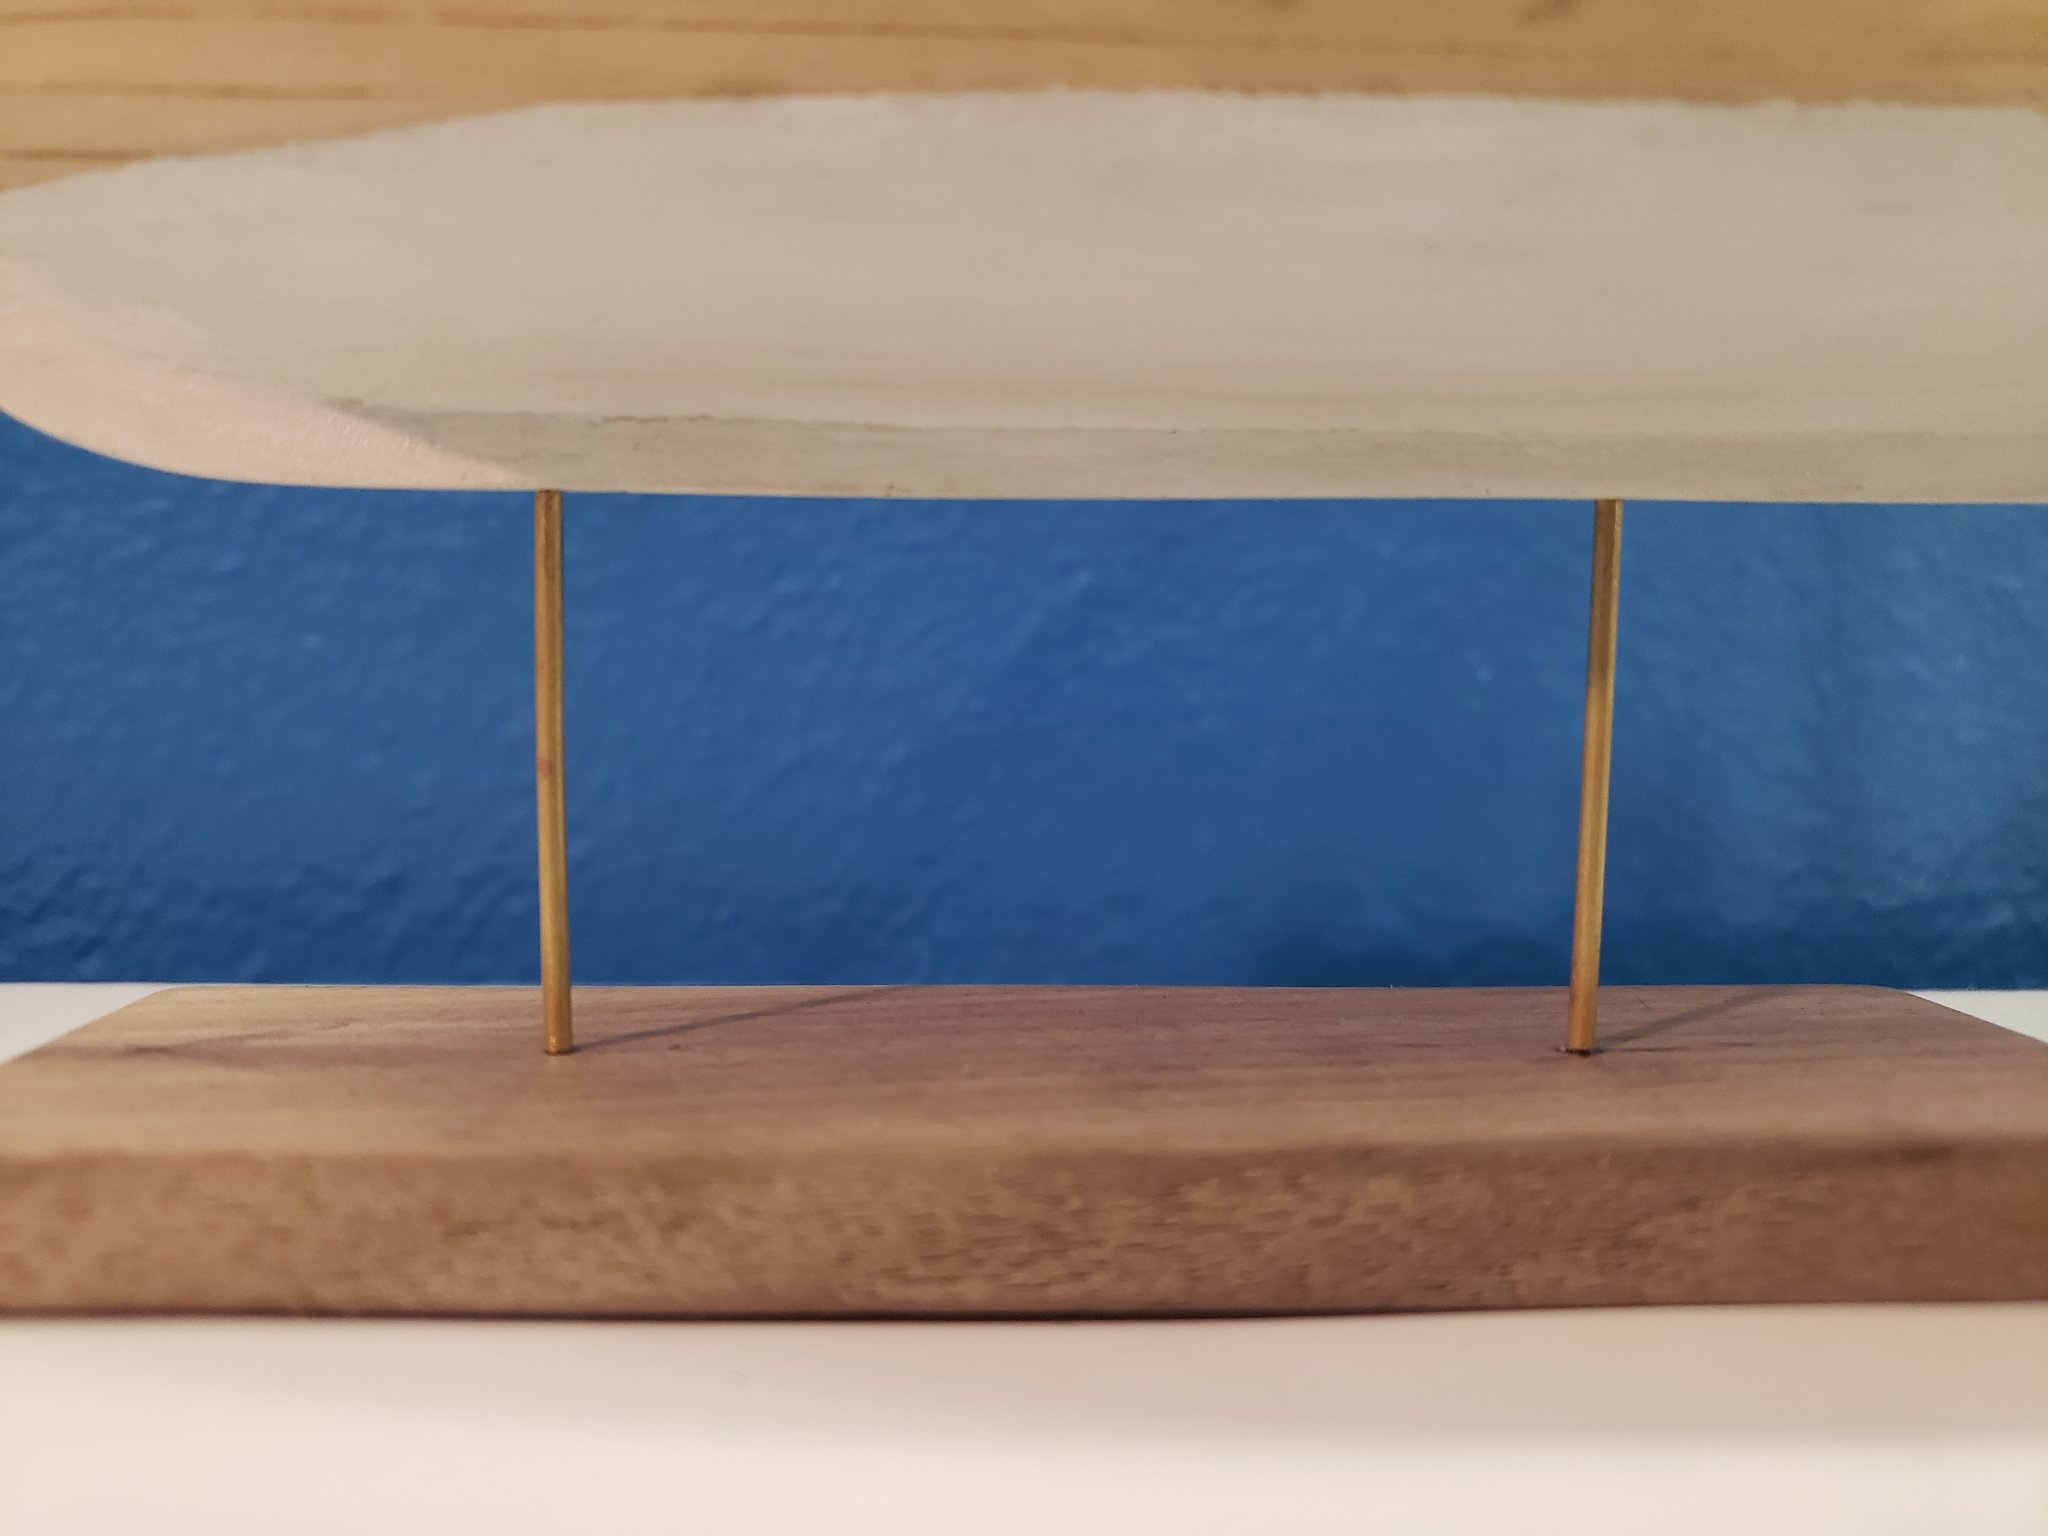
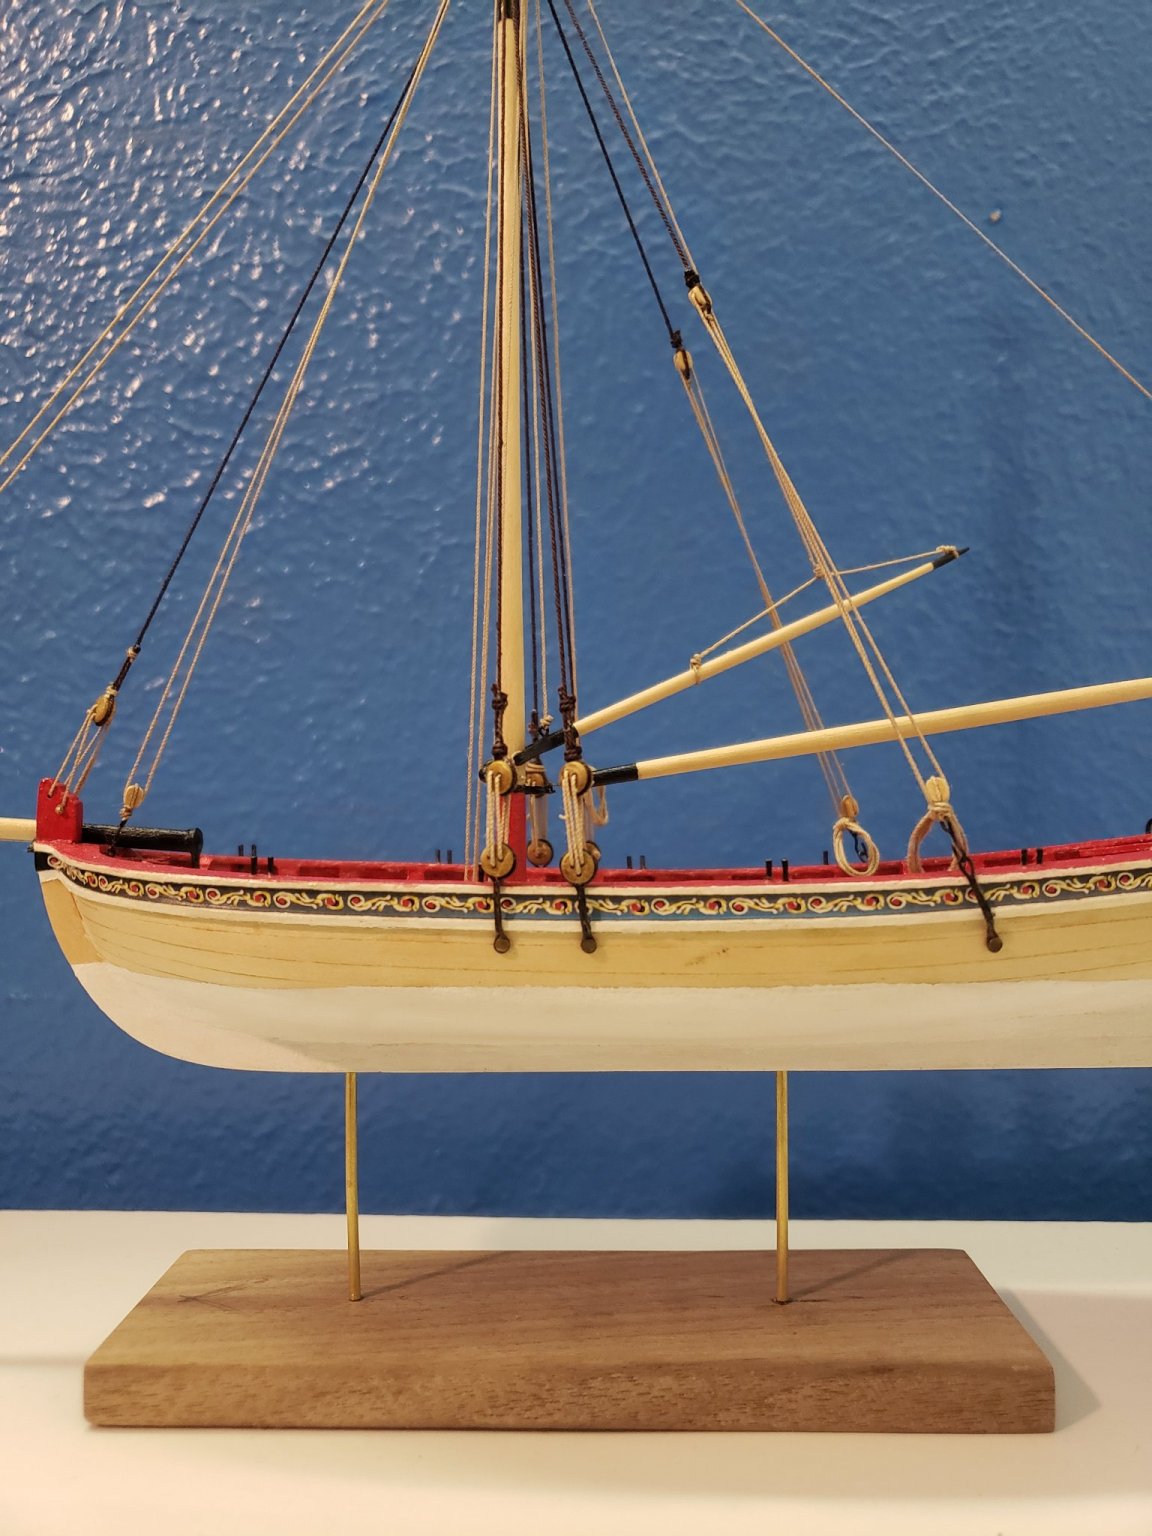
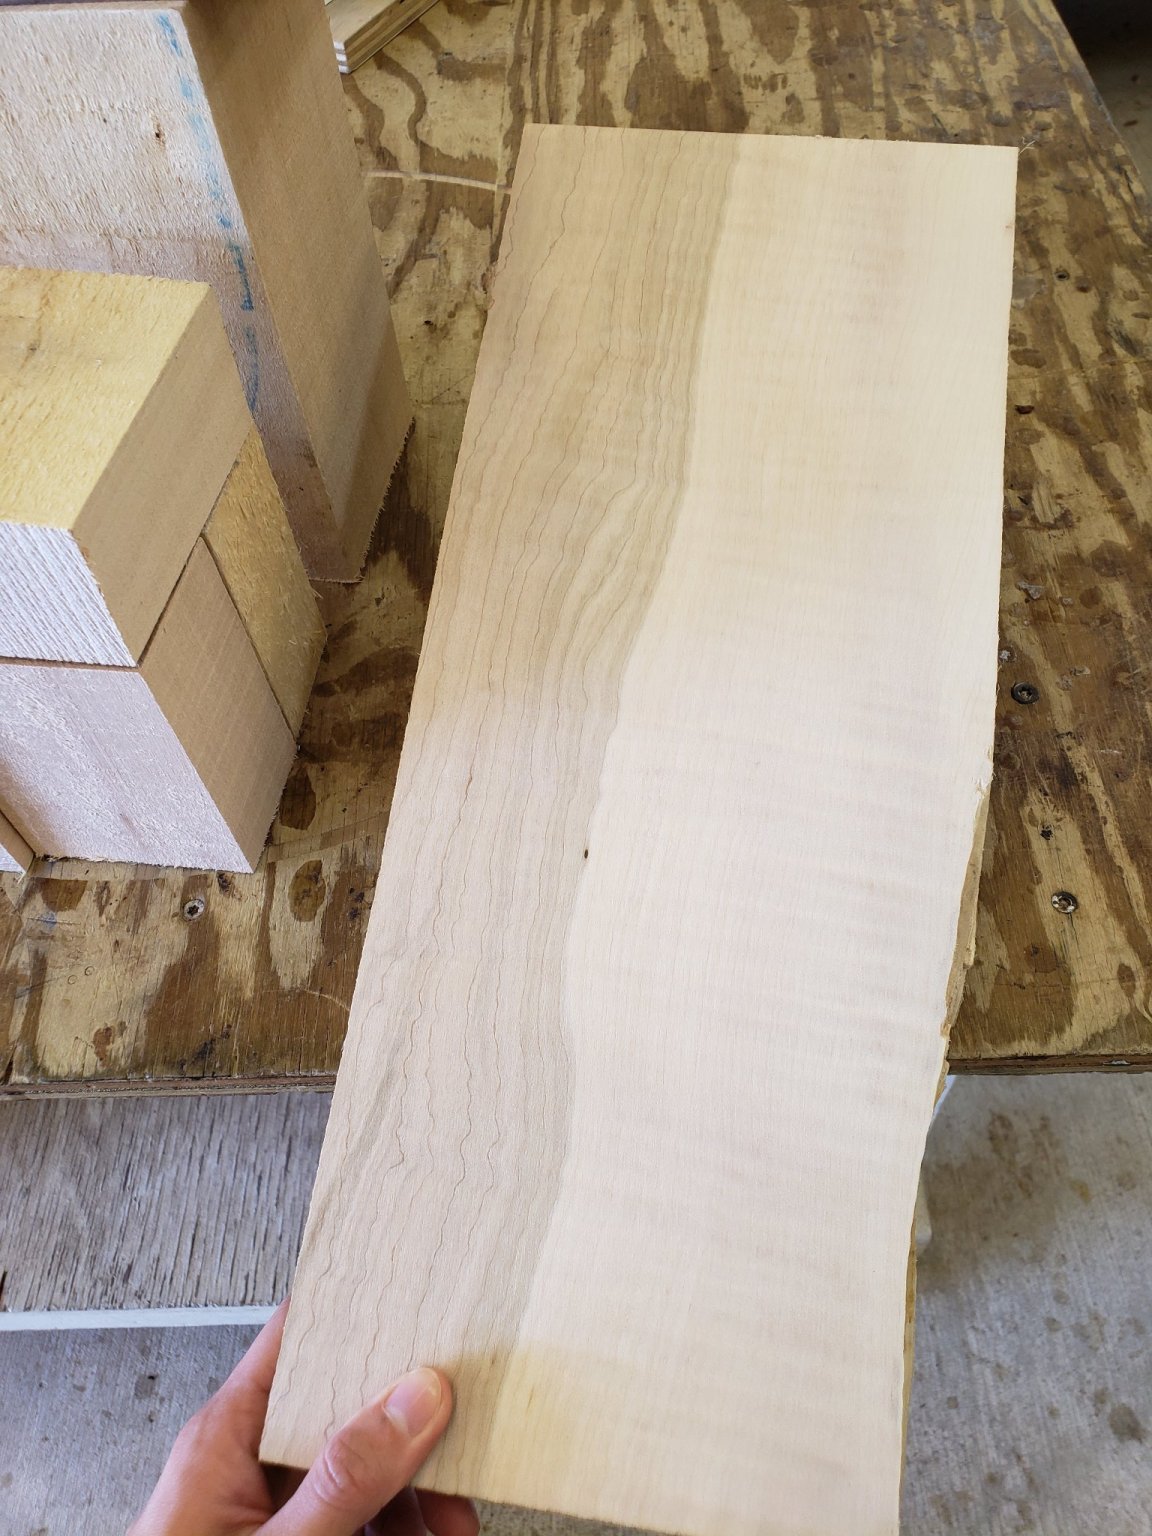
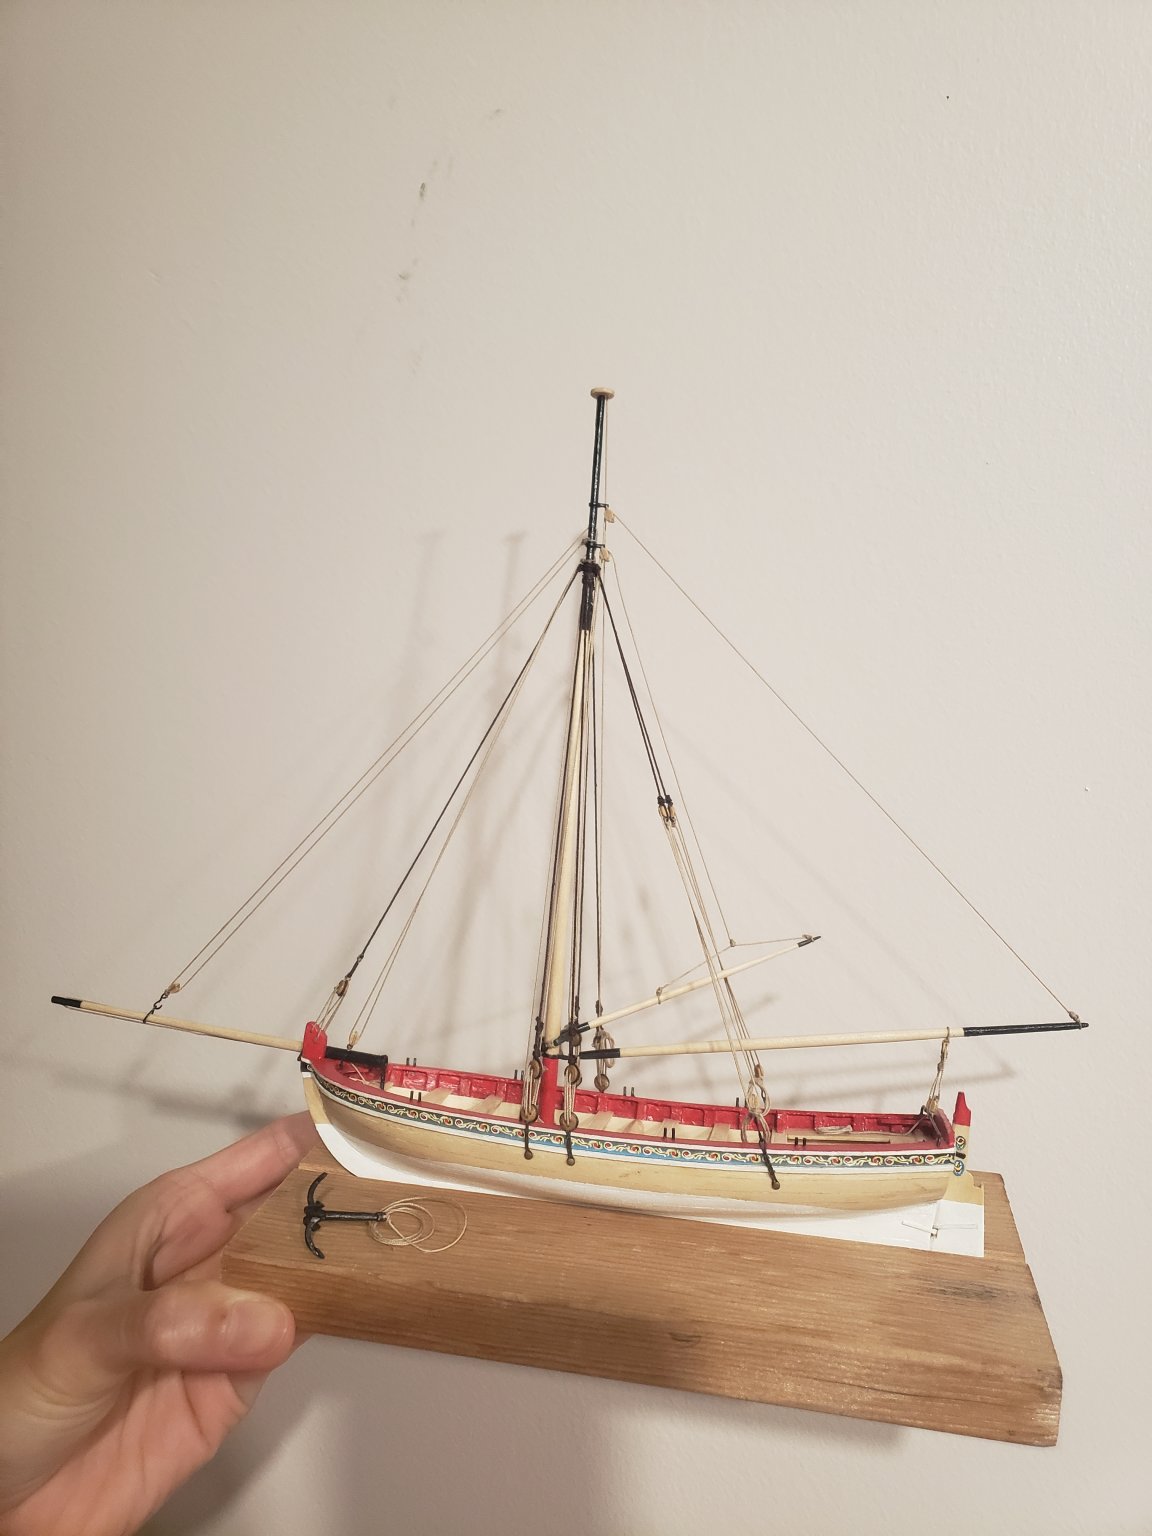
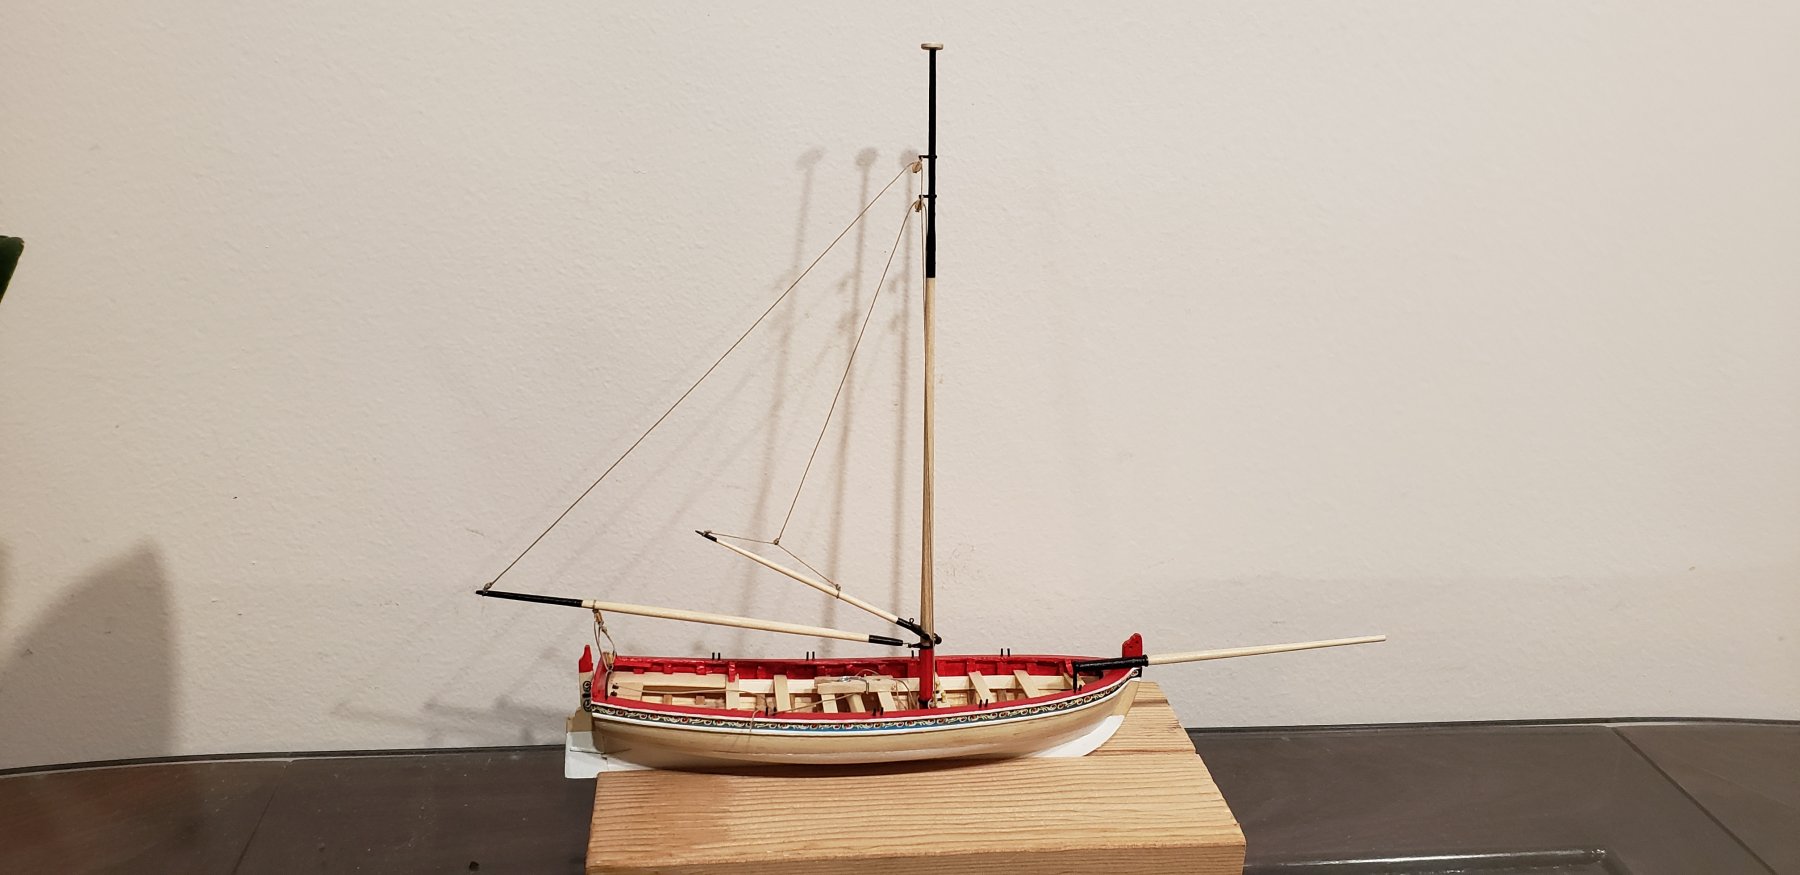
I finally got around to working on displaying my Longboat. I had prepared for the base and drilled 2 holes in the keel during assembly. I cut a piece of walnut and drilled matching holes in them. I used a brass rod to connect the two objects, then slid a hollow brass tube for support. Turned out pretty nice. Also got a piece of curly maple for the acrylic display base. Still need to route some channels for the case. The end is near!


- GrandpaPhil, bruce d, Ryland Craze and 1 other
-
 4
4
-
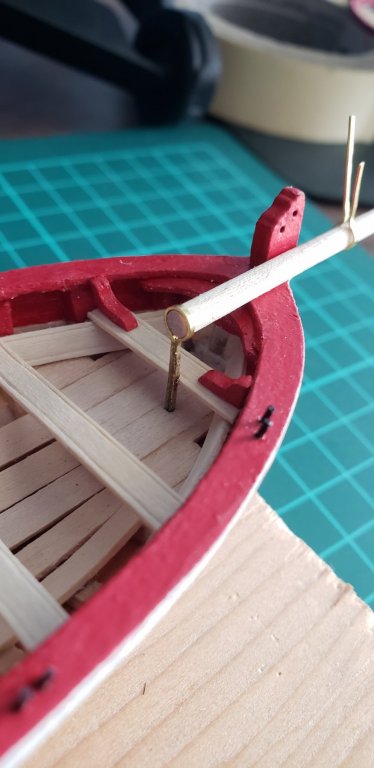
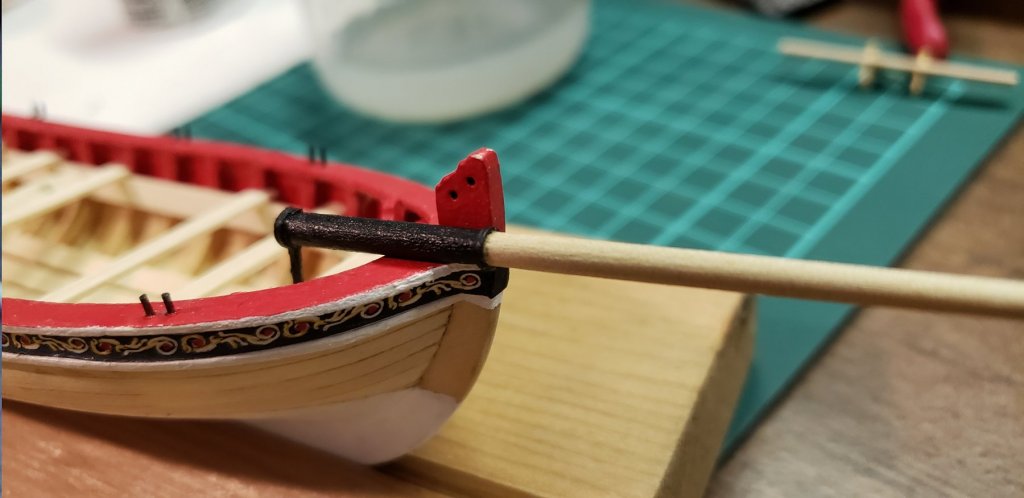
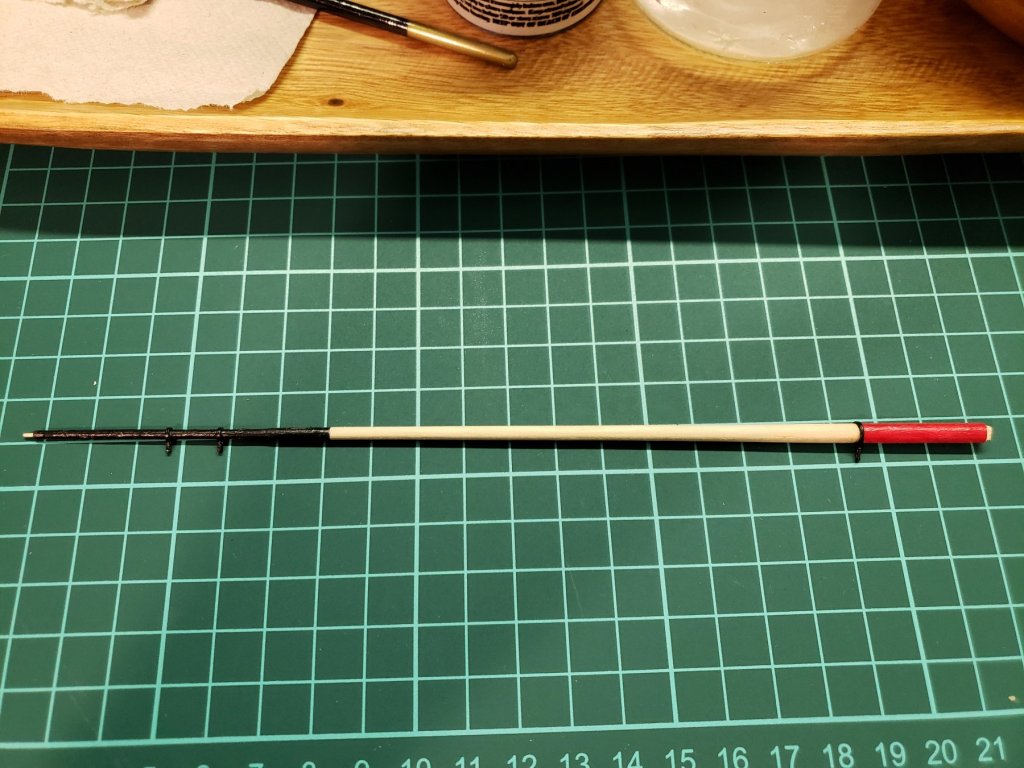
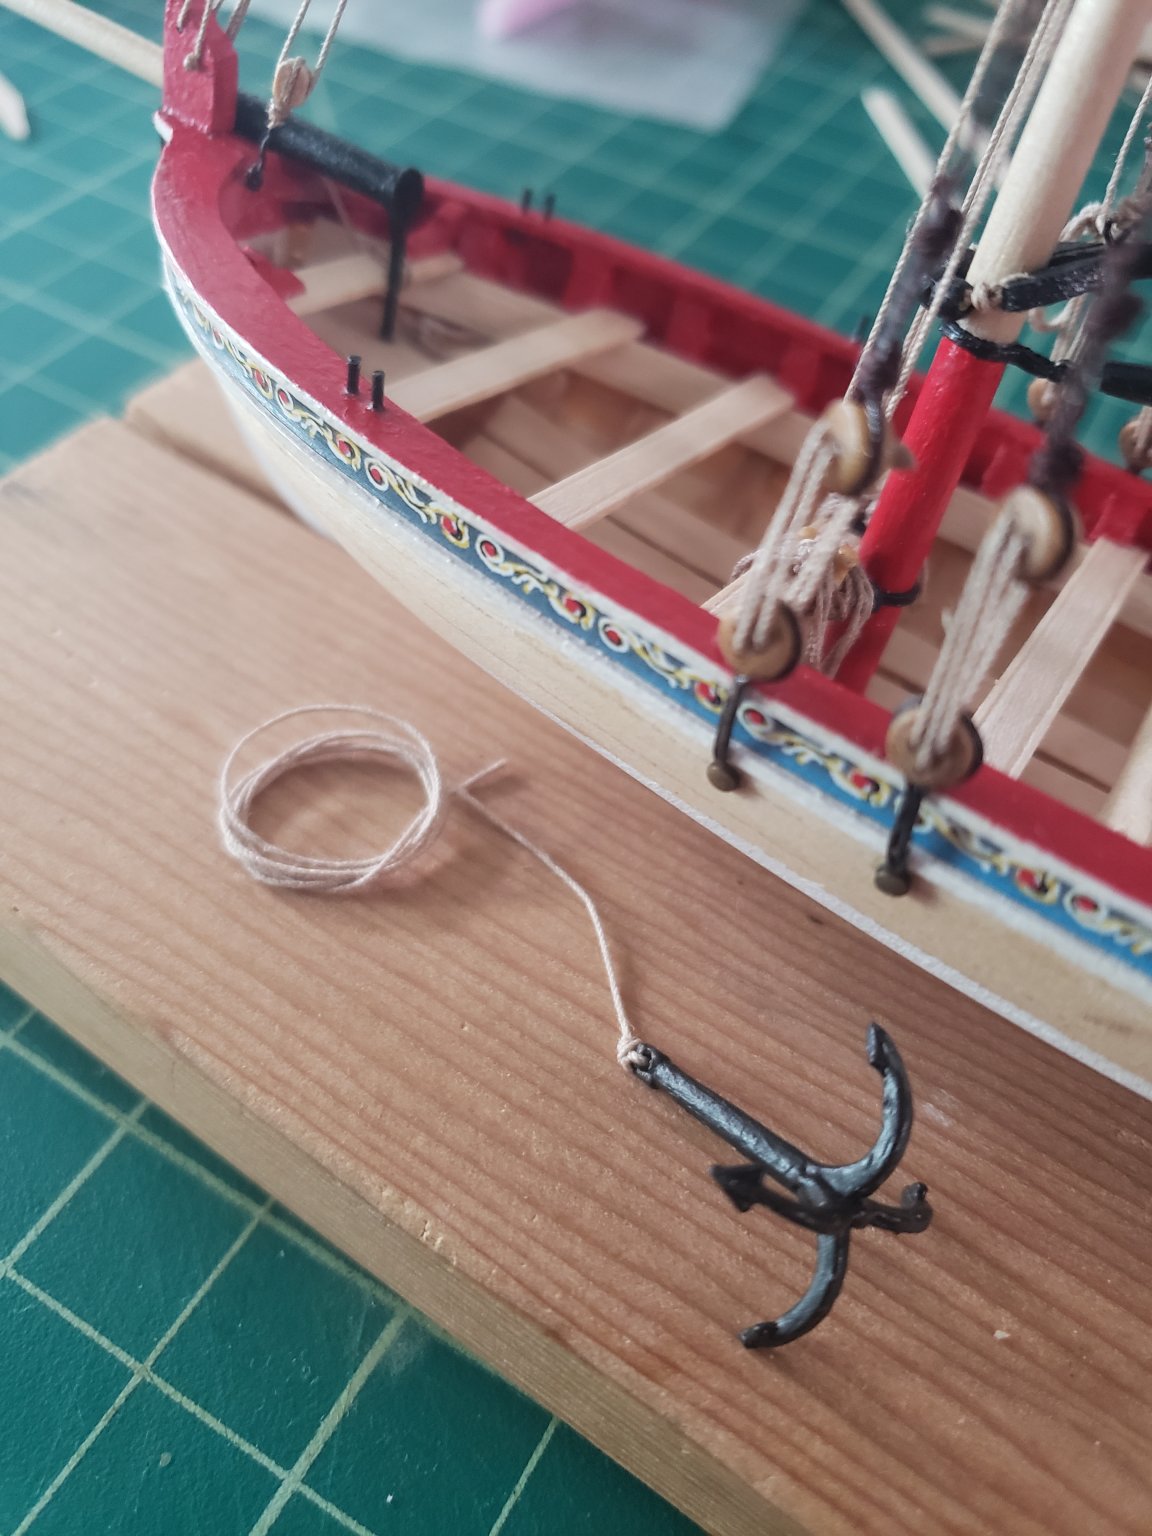
I was finally able to finish up the rope coils on my model and got all those glued on. I didn't like the fuzziness of some of my rope so I used some wax to clean that up and it looks a lot better. The anchor is also ready to go. I just have to finish a couple oars then i'll be completely done! It has been quite a journey. Still need to figure out the display case situation though. :[


- Cathead, KARAVOKIRIS, Tigersteve and 4 others
-
7
-
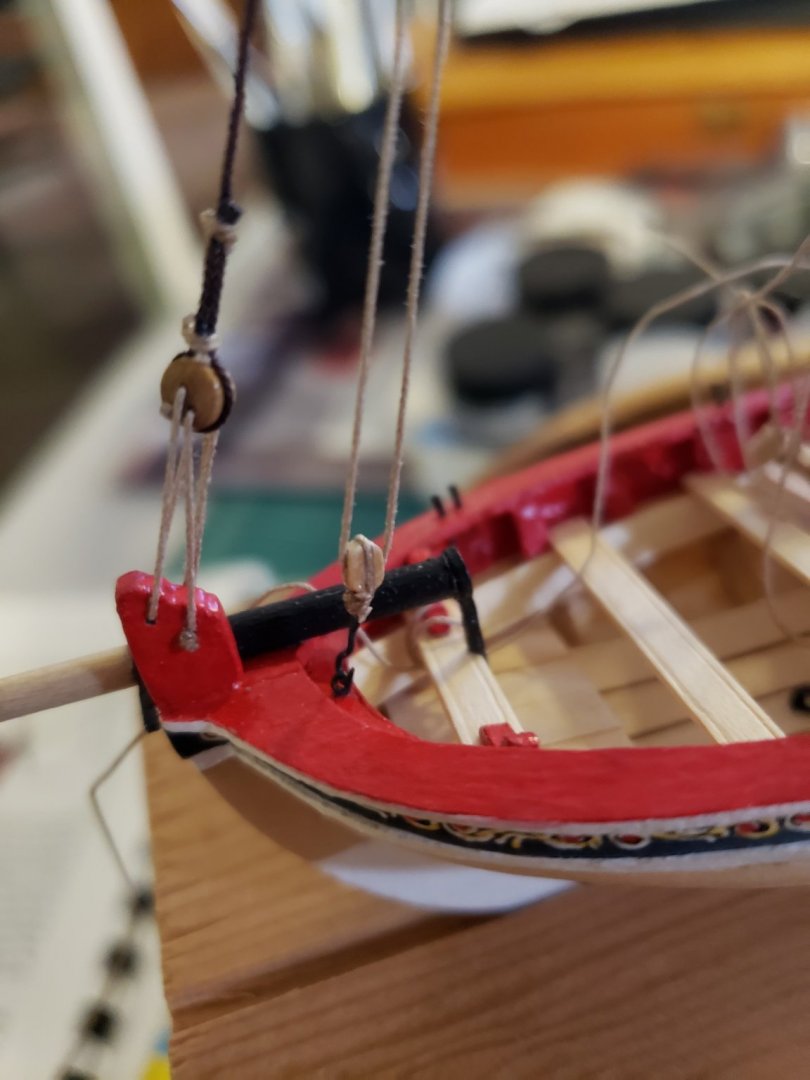
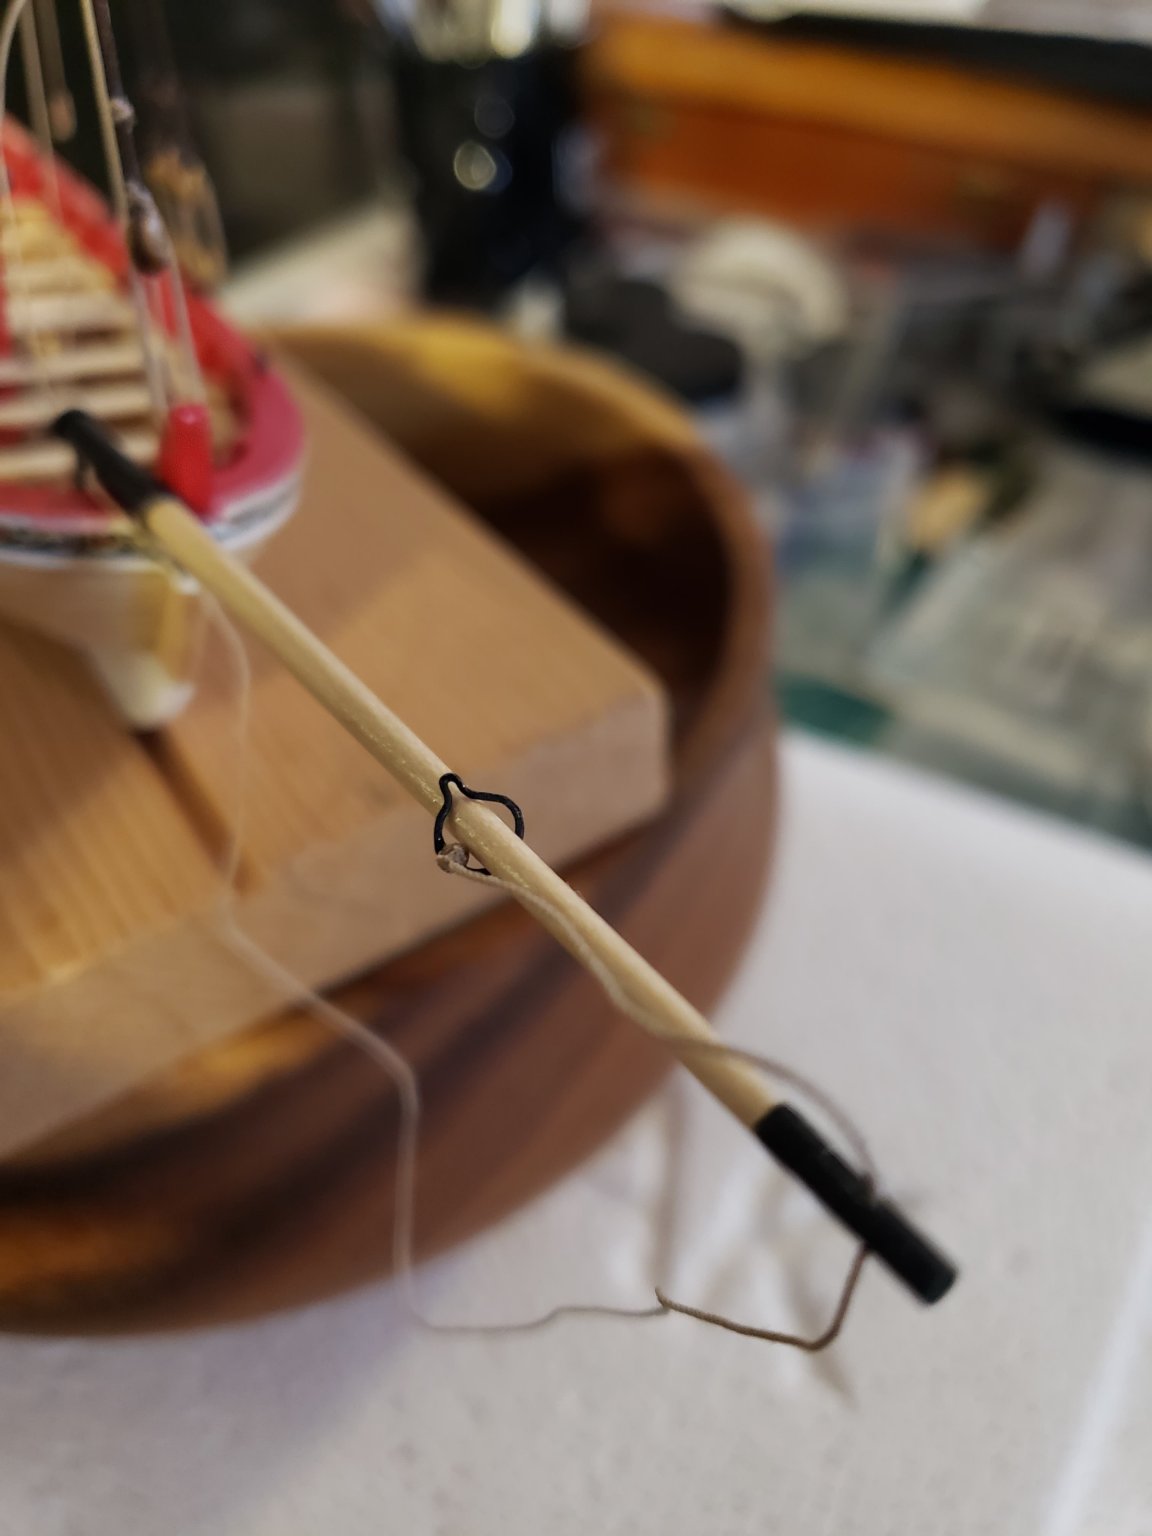
Continued to rig my ship with some addition. I am really excited being on the last page of the instructions. But I ran out of rope so I'm waiting for the new order to come in to finish up. Now just need to look for a good display case!
-
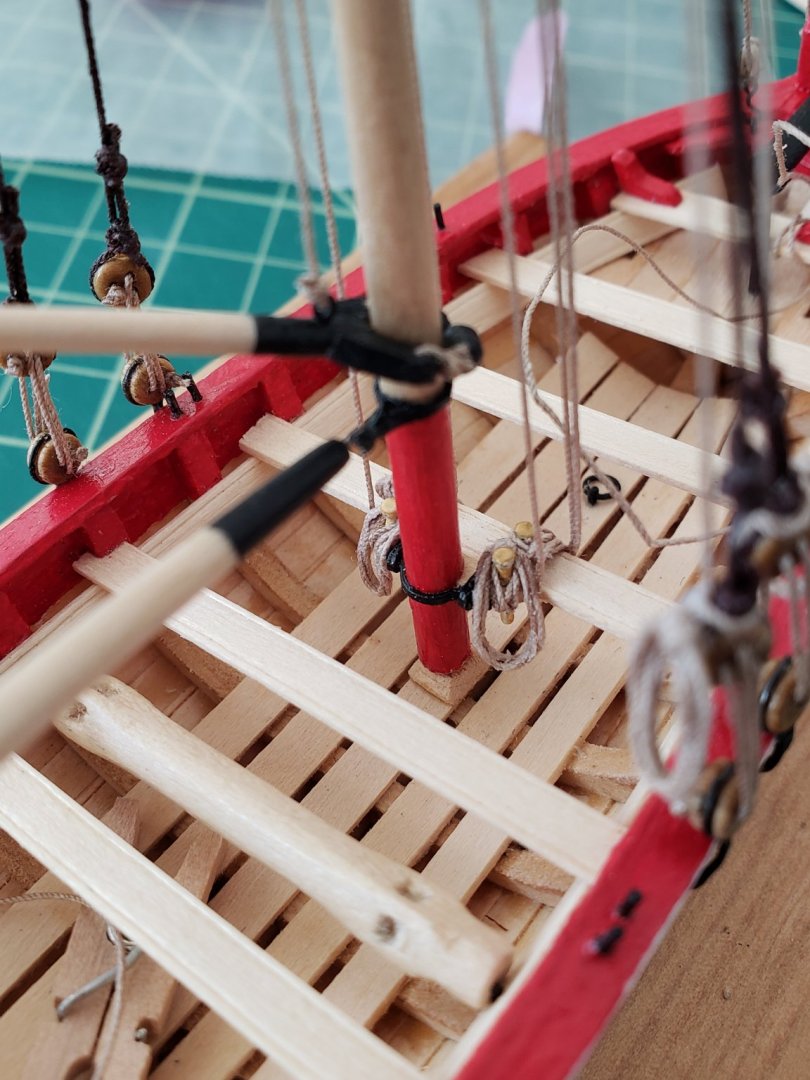
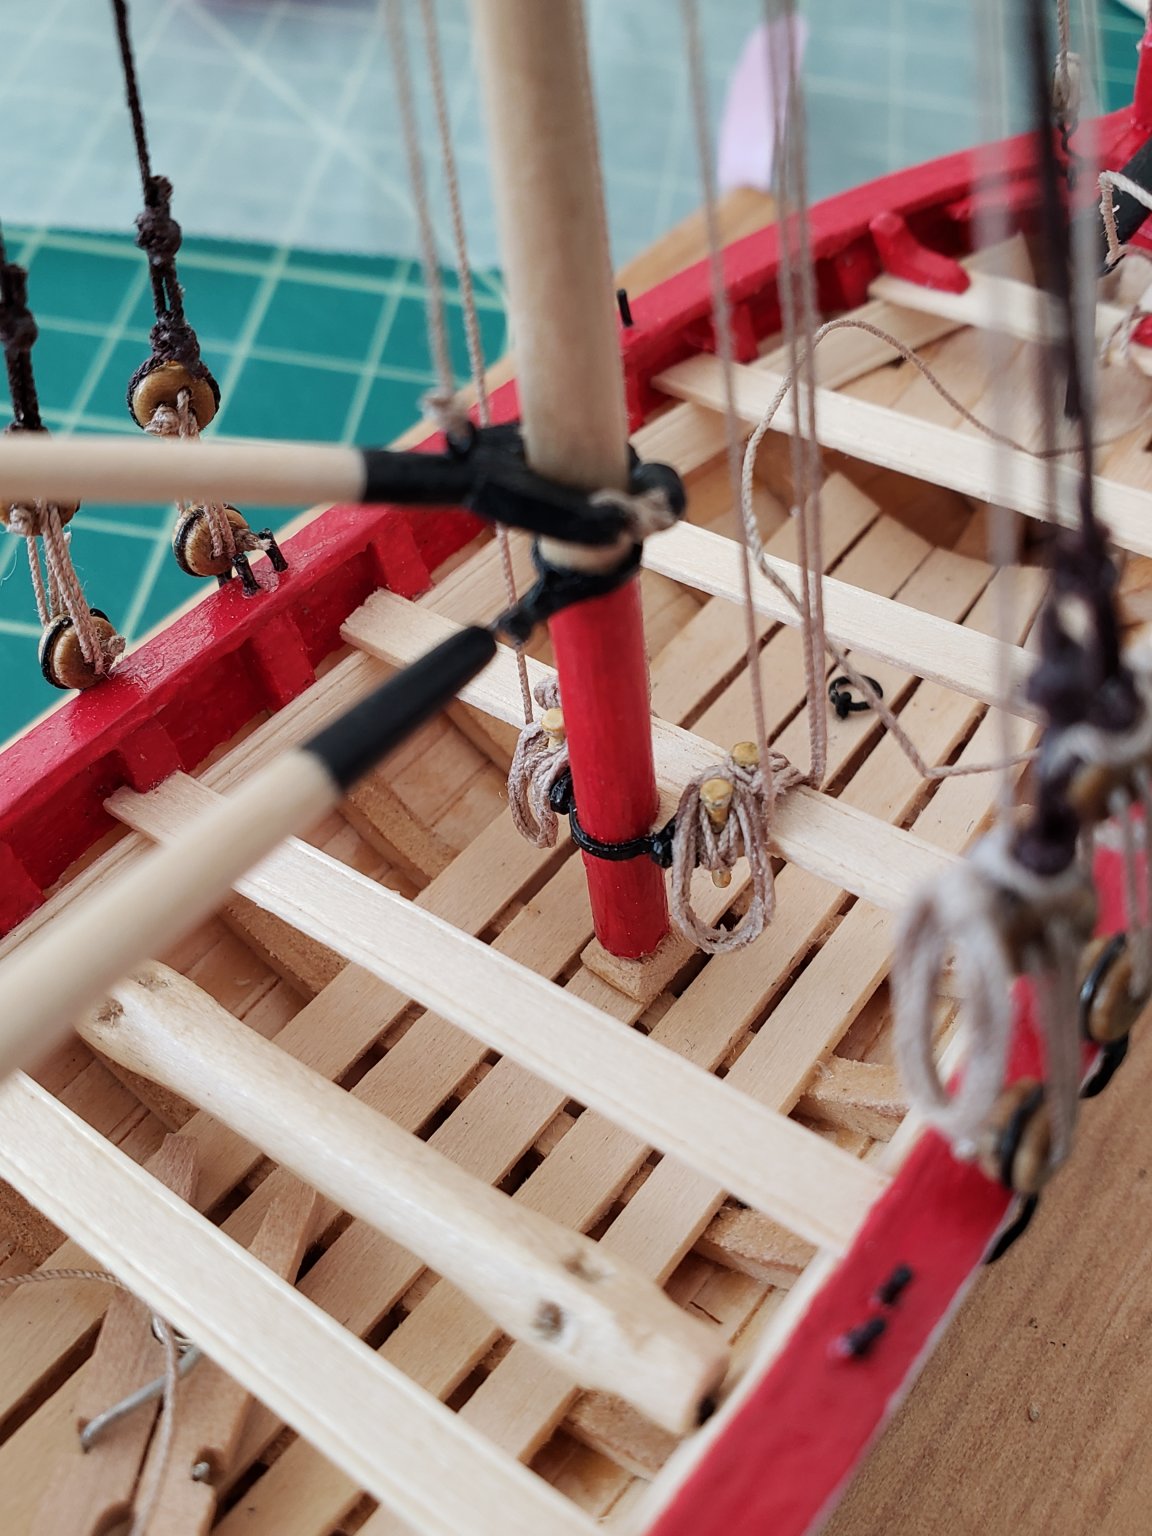
I was able to do some more rigging today, this is definitely my favorite part. I really love working with the Syren ropes and blocks, they make everything so much easier and much more ascetically pleasing.


- Ryland Craze, Cathead and GrandpaPhil
-
3
-
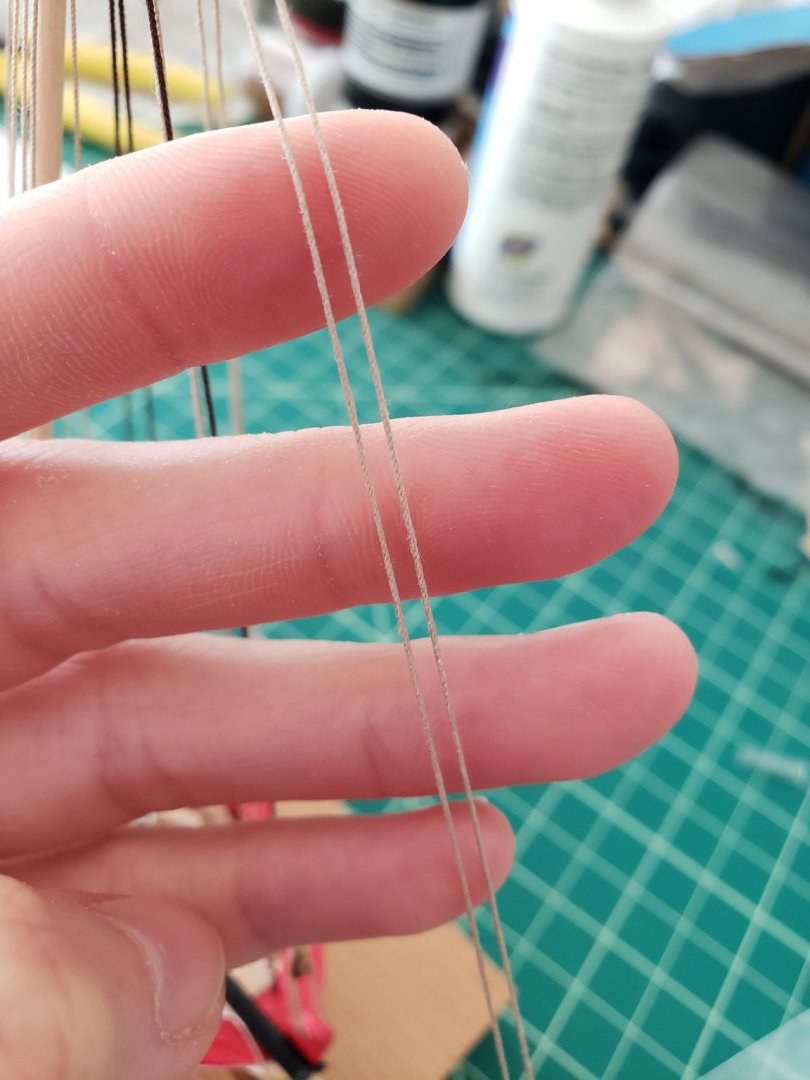
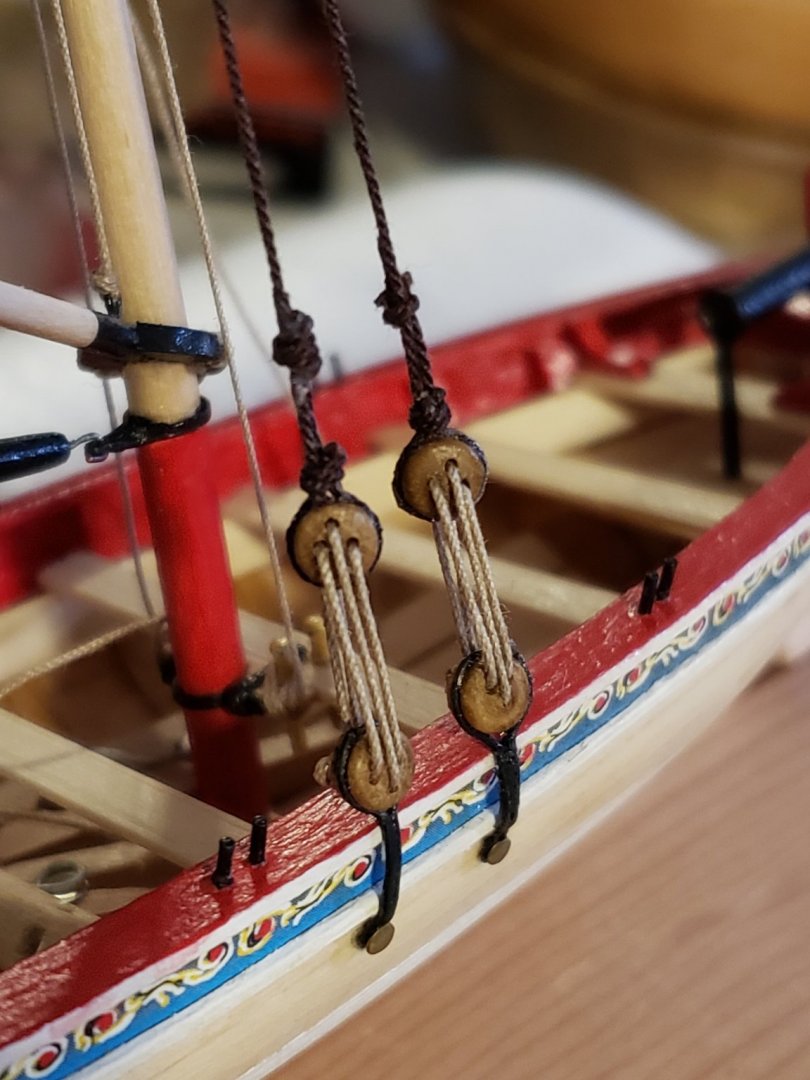
The Syren rope came in and I re-rigged the shrouds. I am a lot happier with their appearance.
- Tigersteve, KARAVOKIRIS, Cathead and 2 others
-
5
-
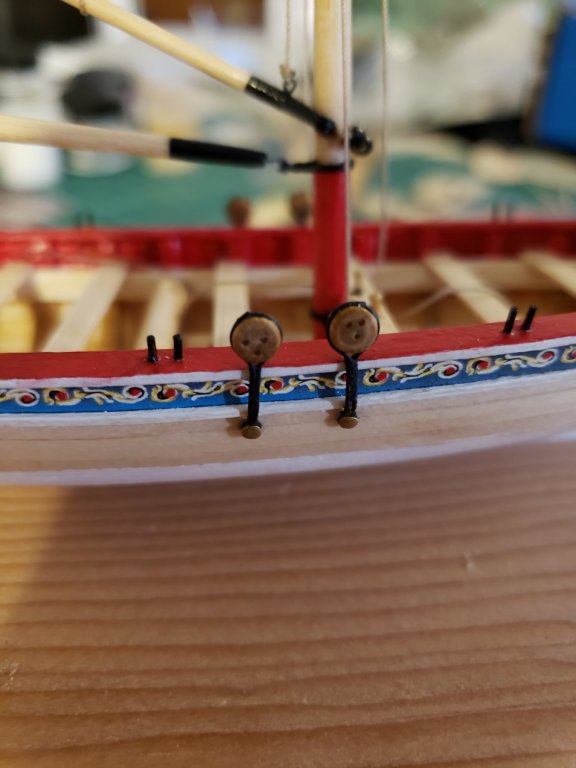
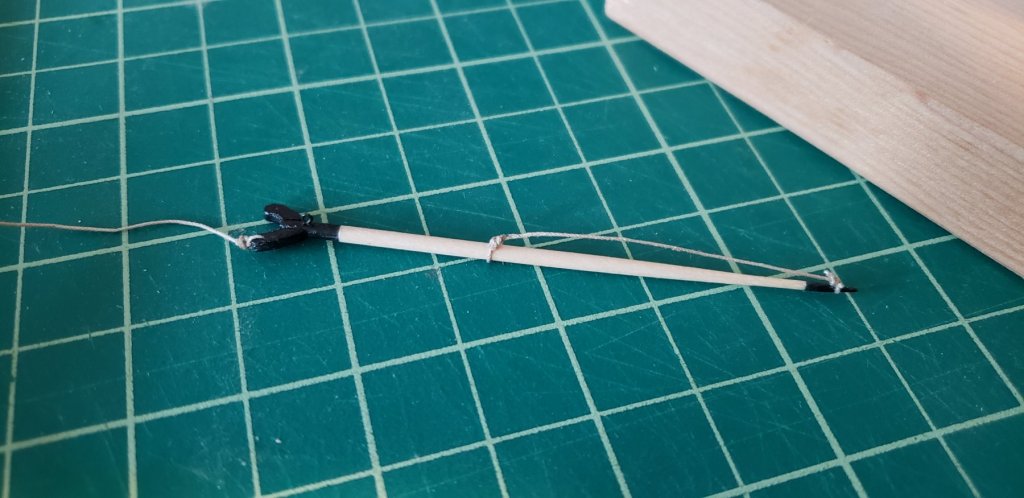
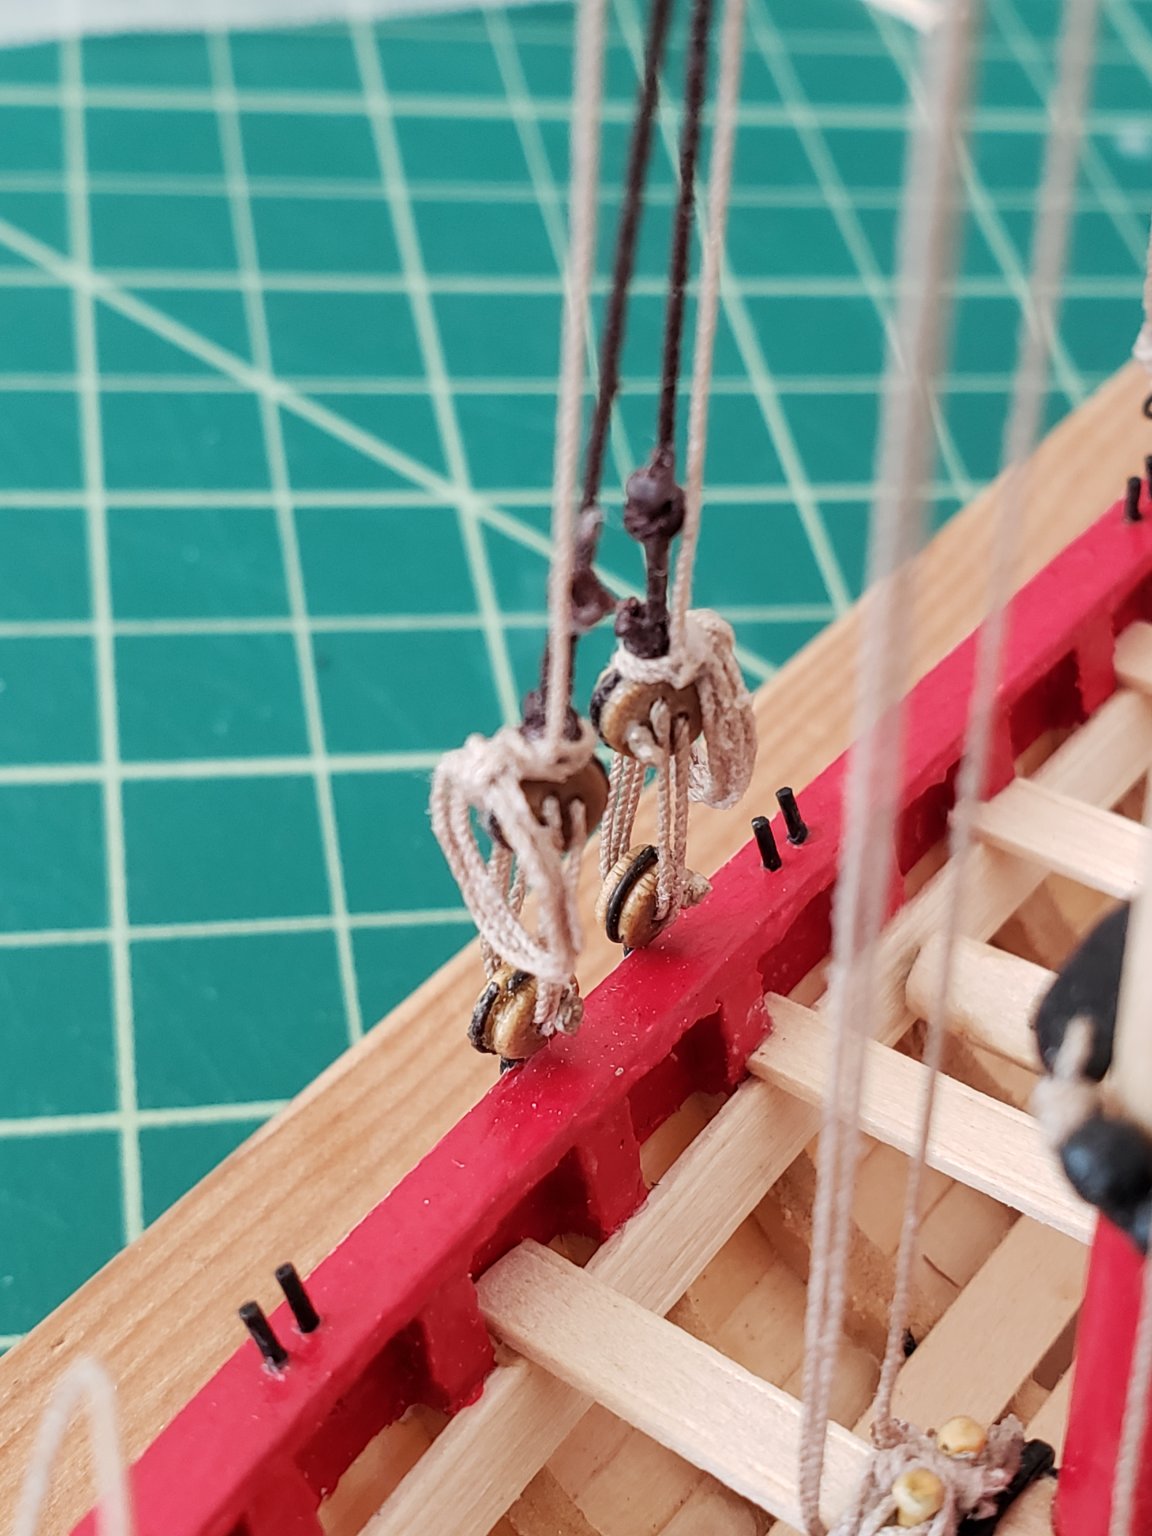
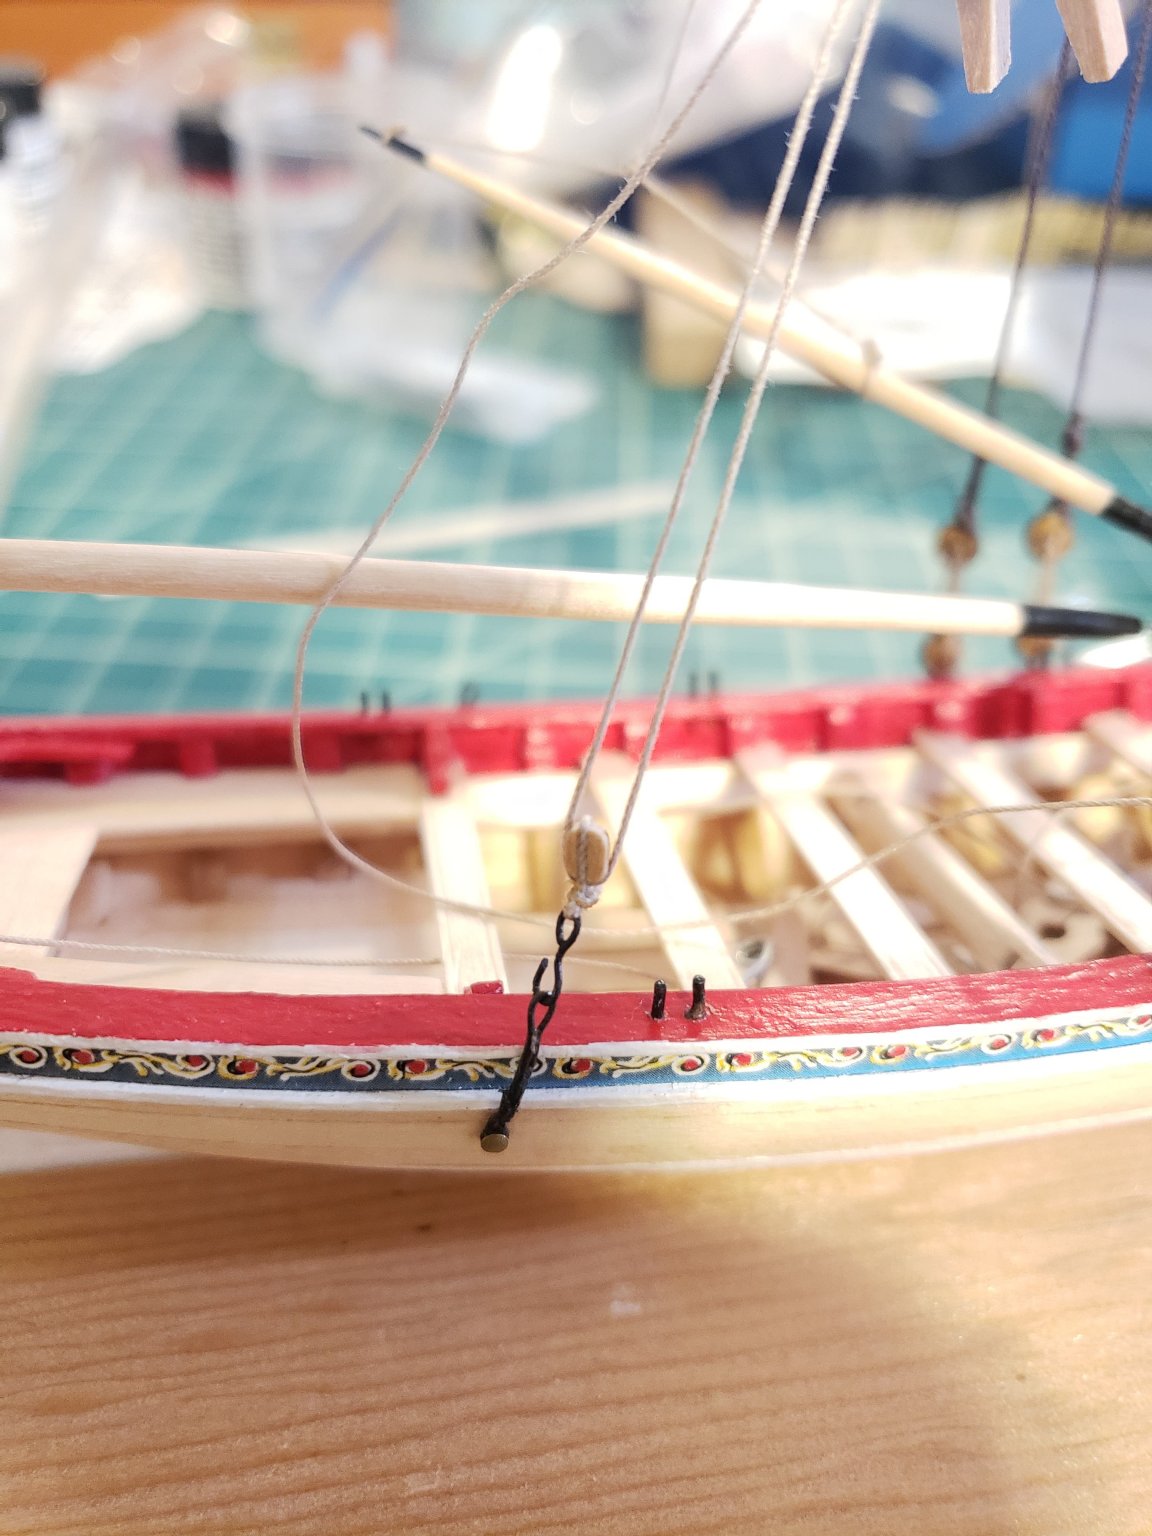
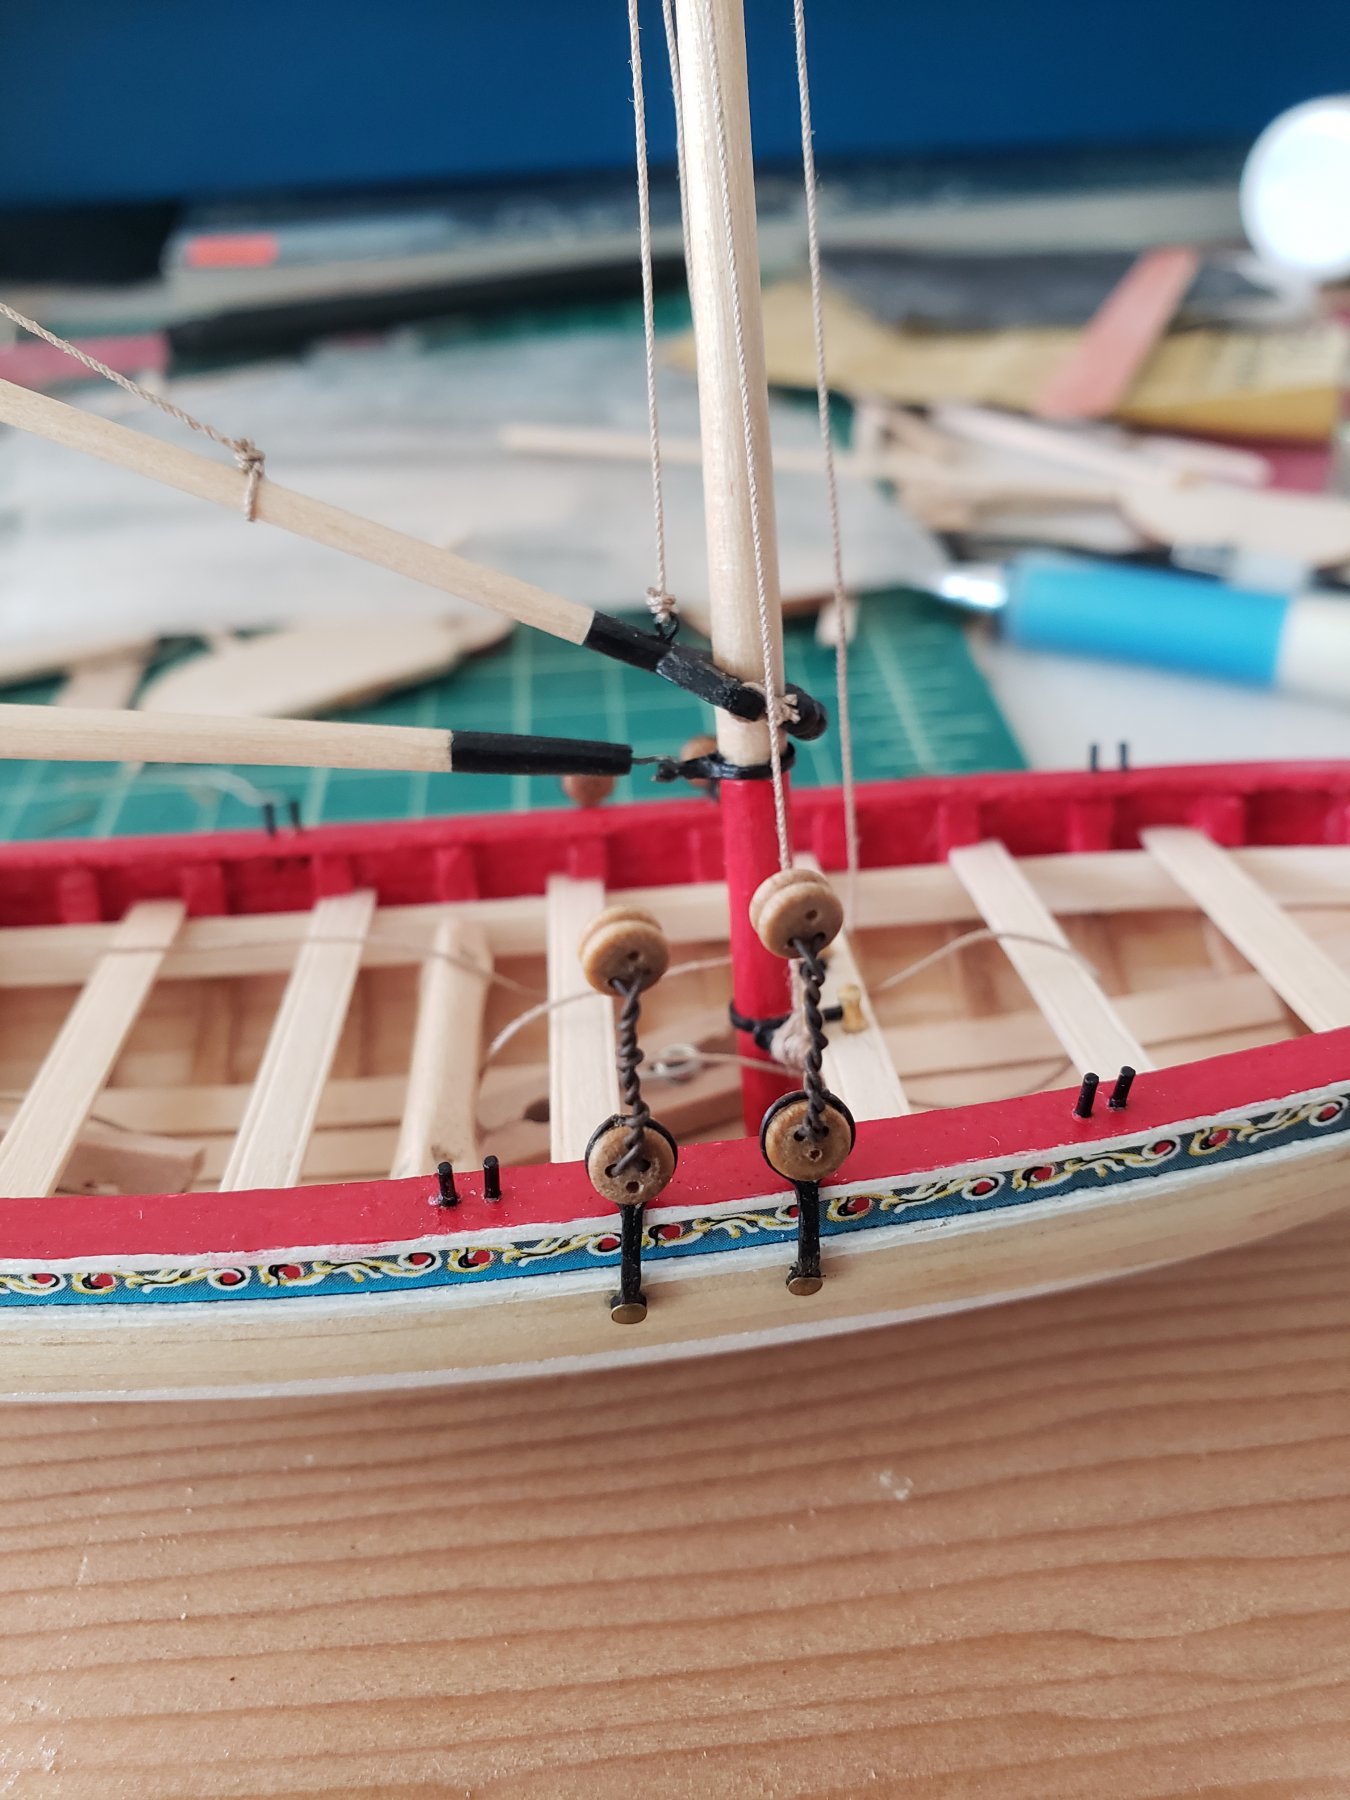
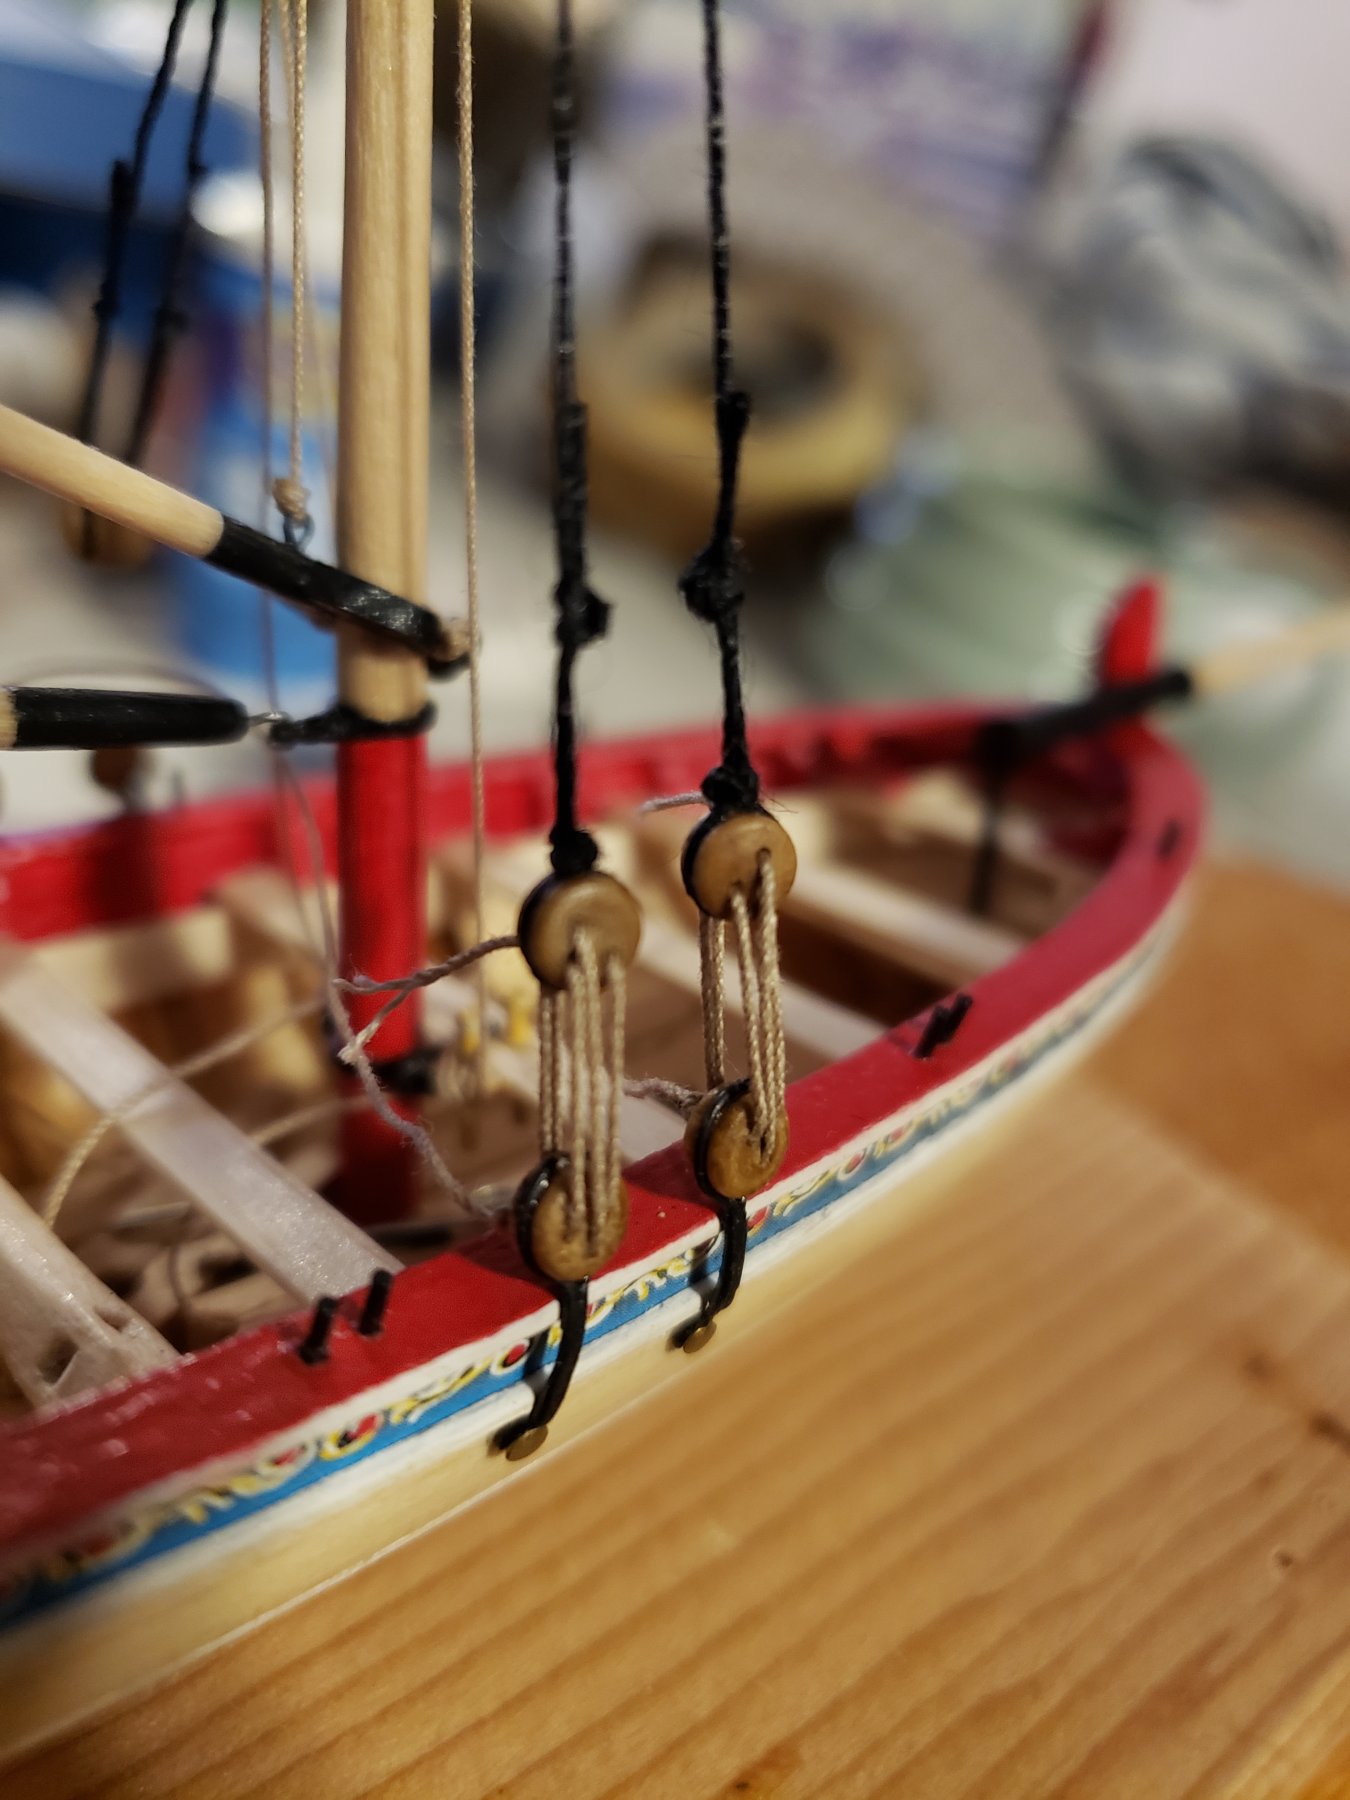
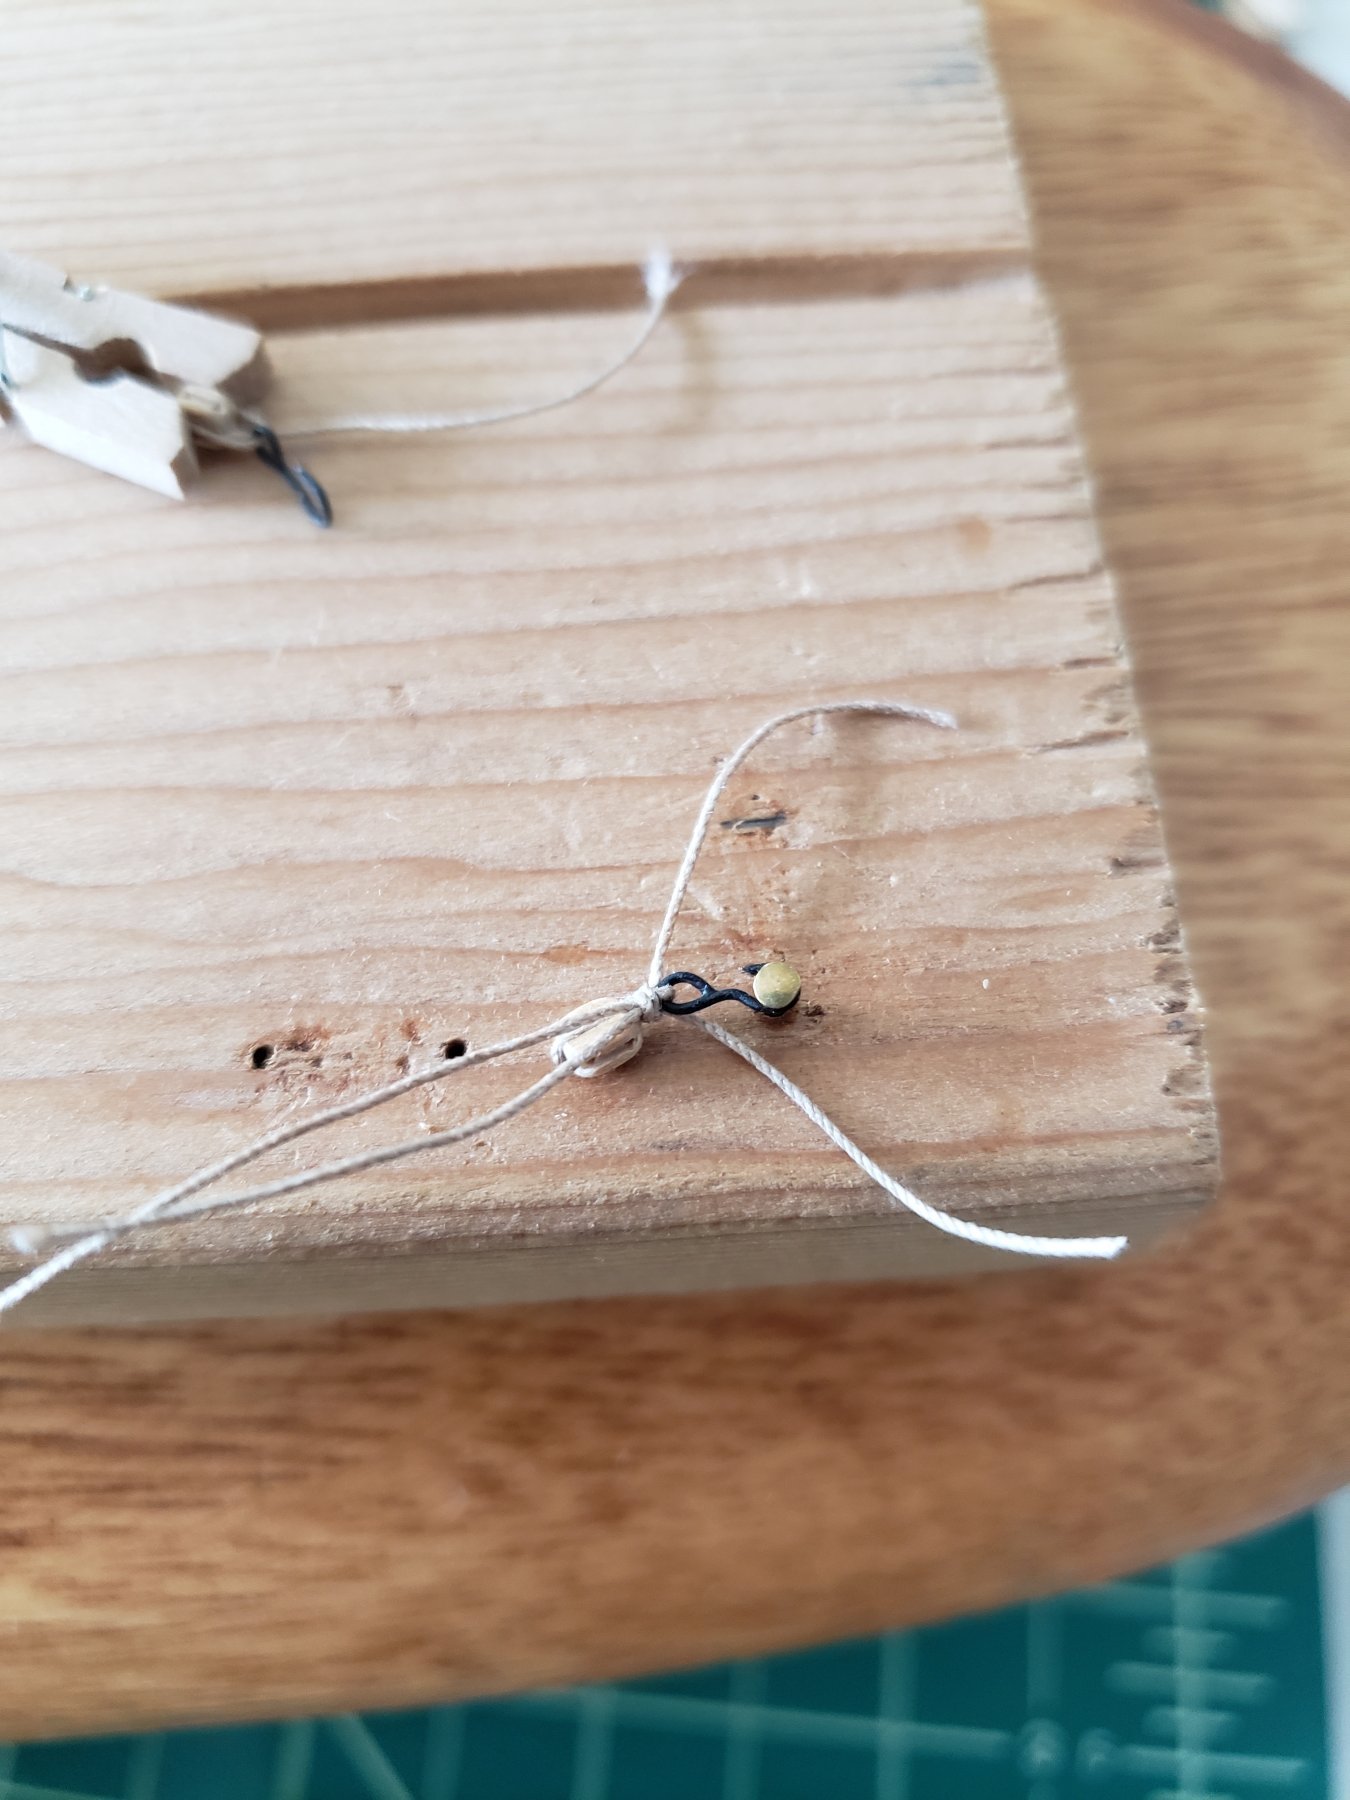
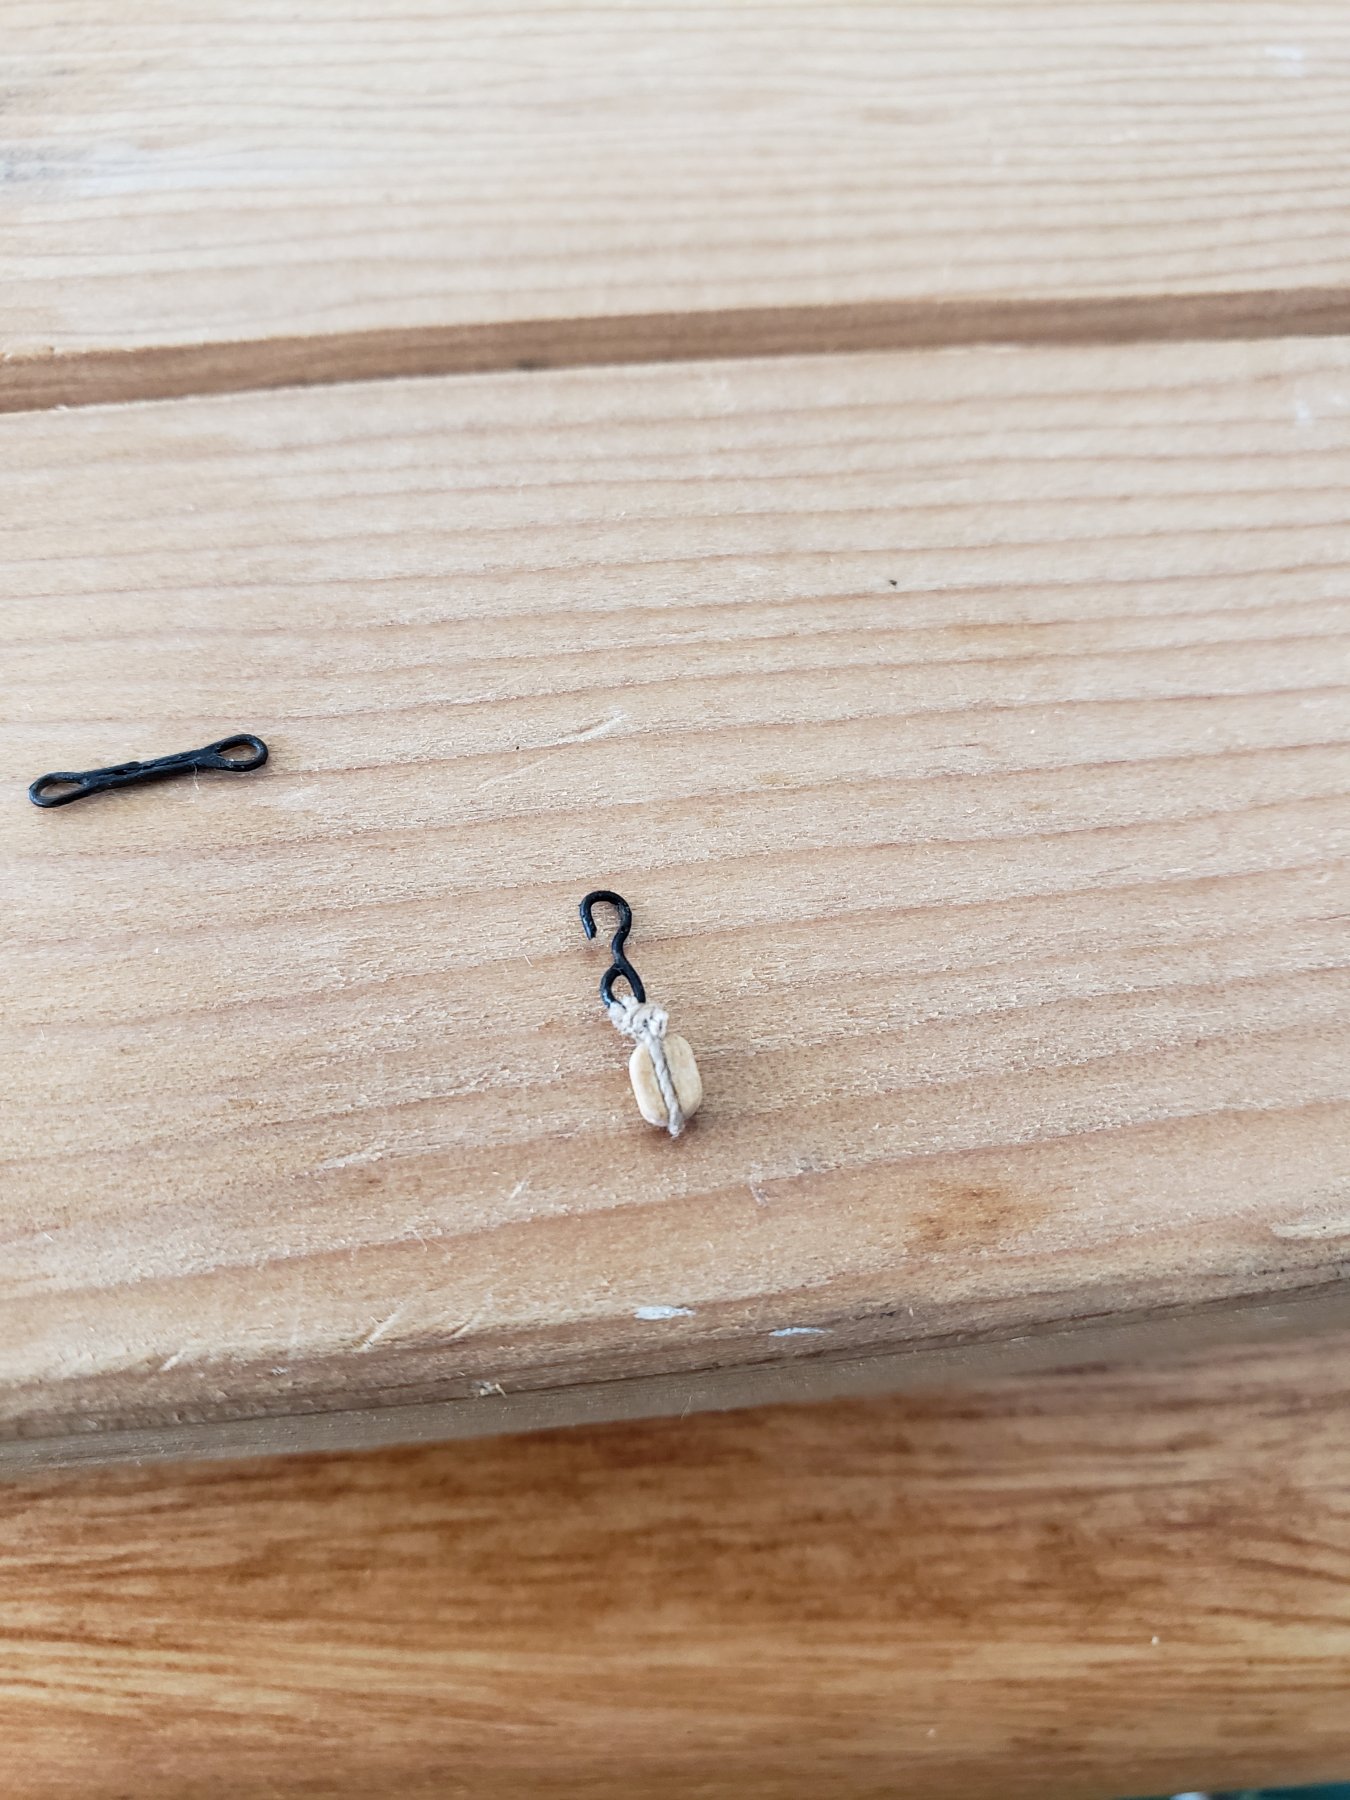
Went with the claw method and started rigging the deadeyes. But there wasn't enough black rope provided in the kit so I raided my Charles Morgan kit. But now looking back, even though both kits are from Model Shipway and say they are the same diameter, they look completely different so I will be purchasing more Syren rope and re-rig this section. I also started on the backstay and made a jig to seize the blocks for it.
Does anyone have suggestions regarding display cases? I am nearing the end and should probably start thinking about where to get one.
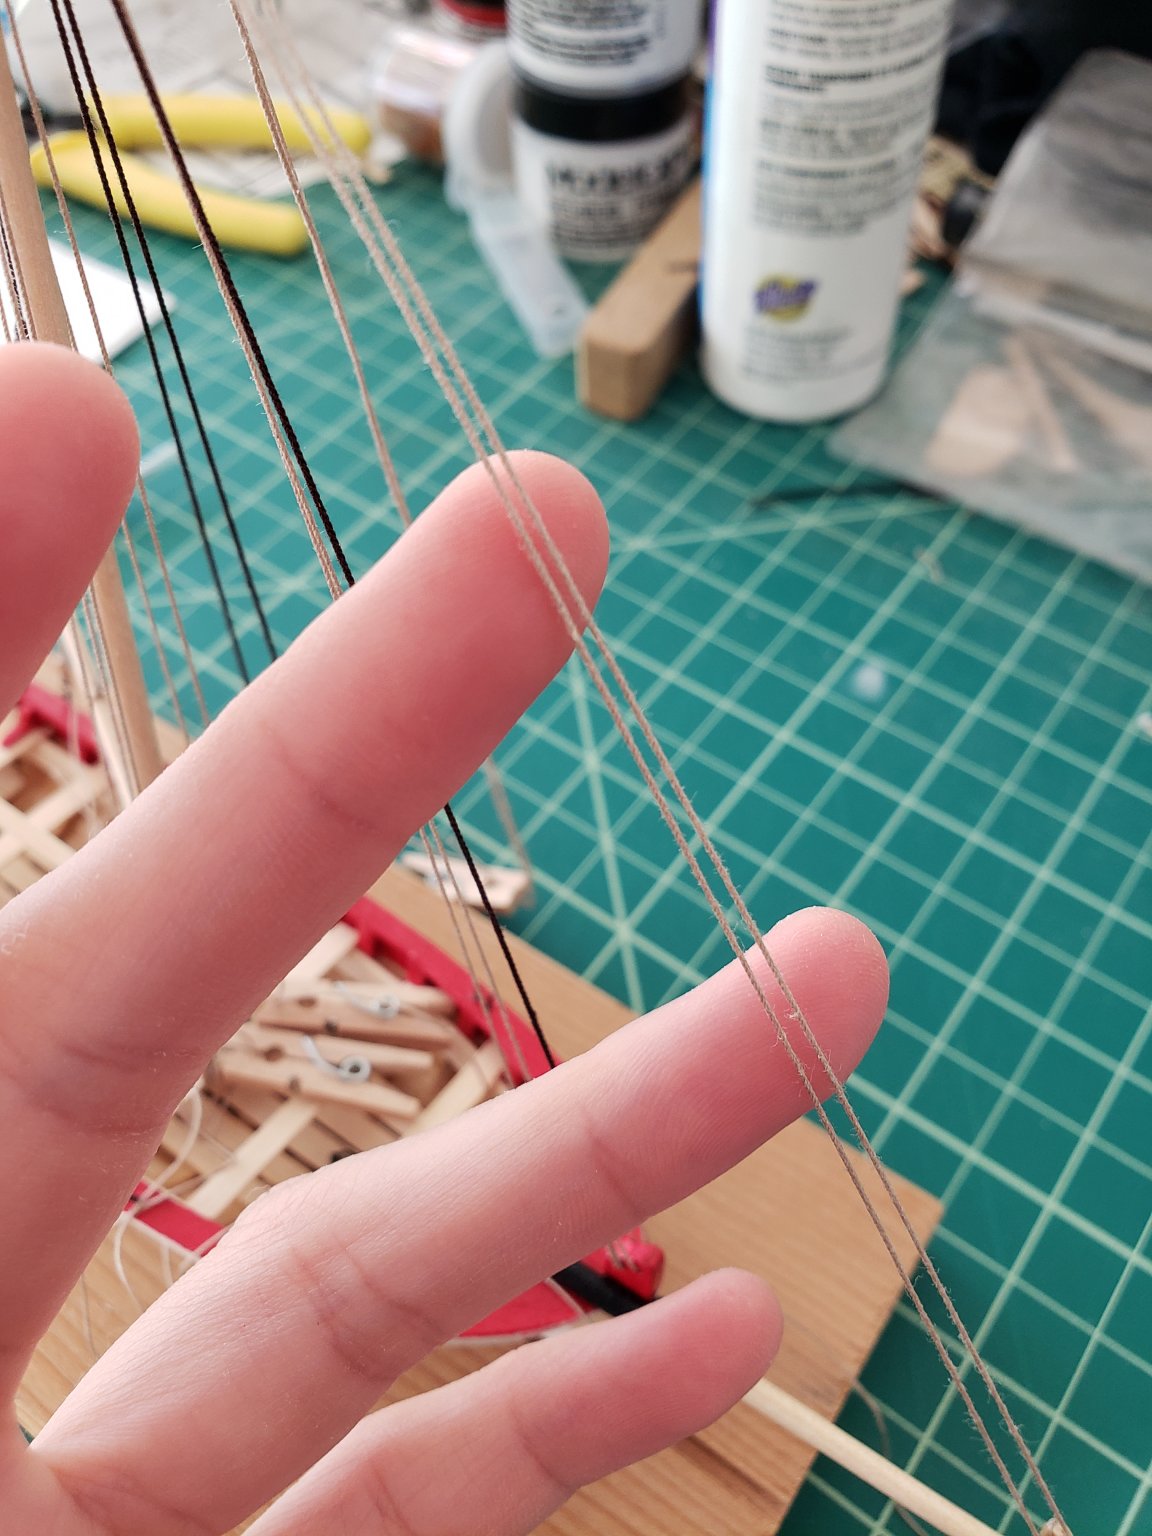
Also any thoughts on how to get closer cuts on the ropes? My seizing looks like a hot mess since I don't own any cutting equipment that can get a close cut on the knots. I am just using an Xacto knife right now.


- GrandpaPhil, KARAVOKIRIS, Cathead and 3 others
-
6
-
@Tector Wow thank you so much! That is such high praise! I really love the details required in model ship building.
-
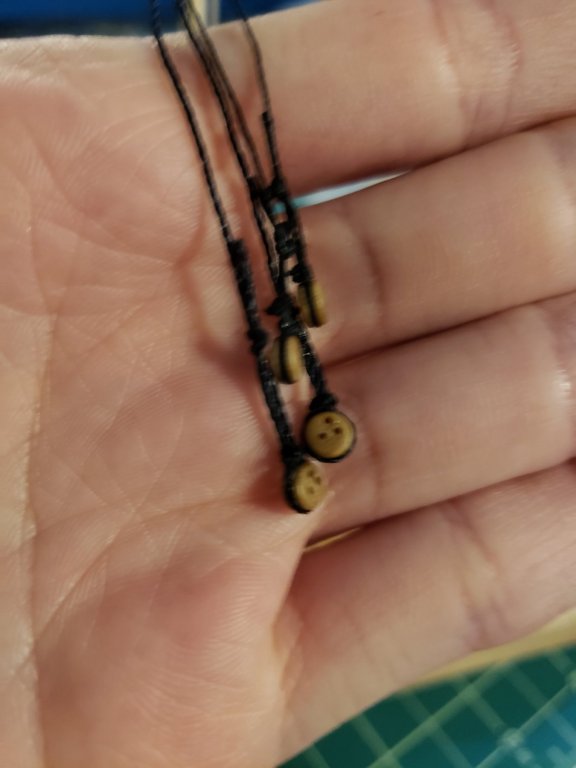
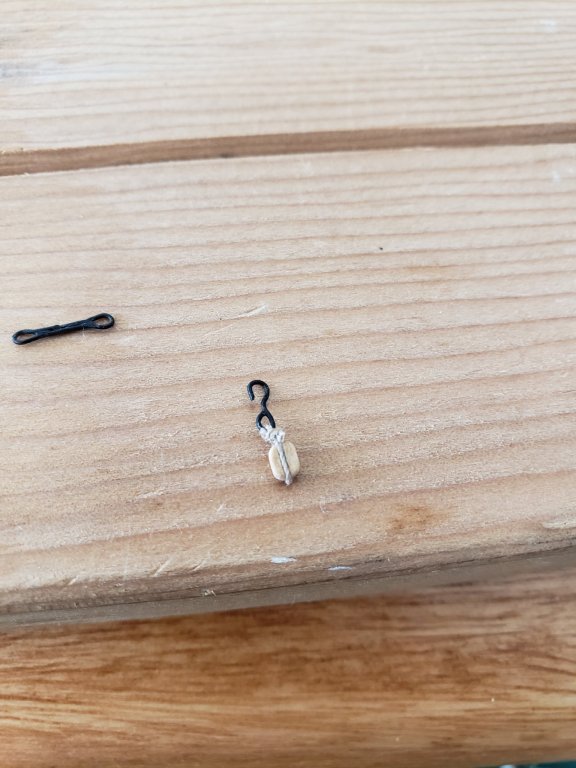
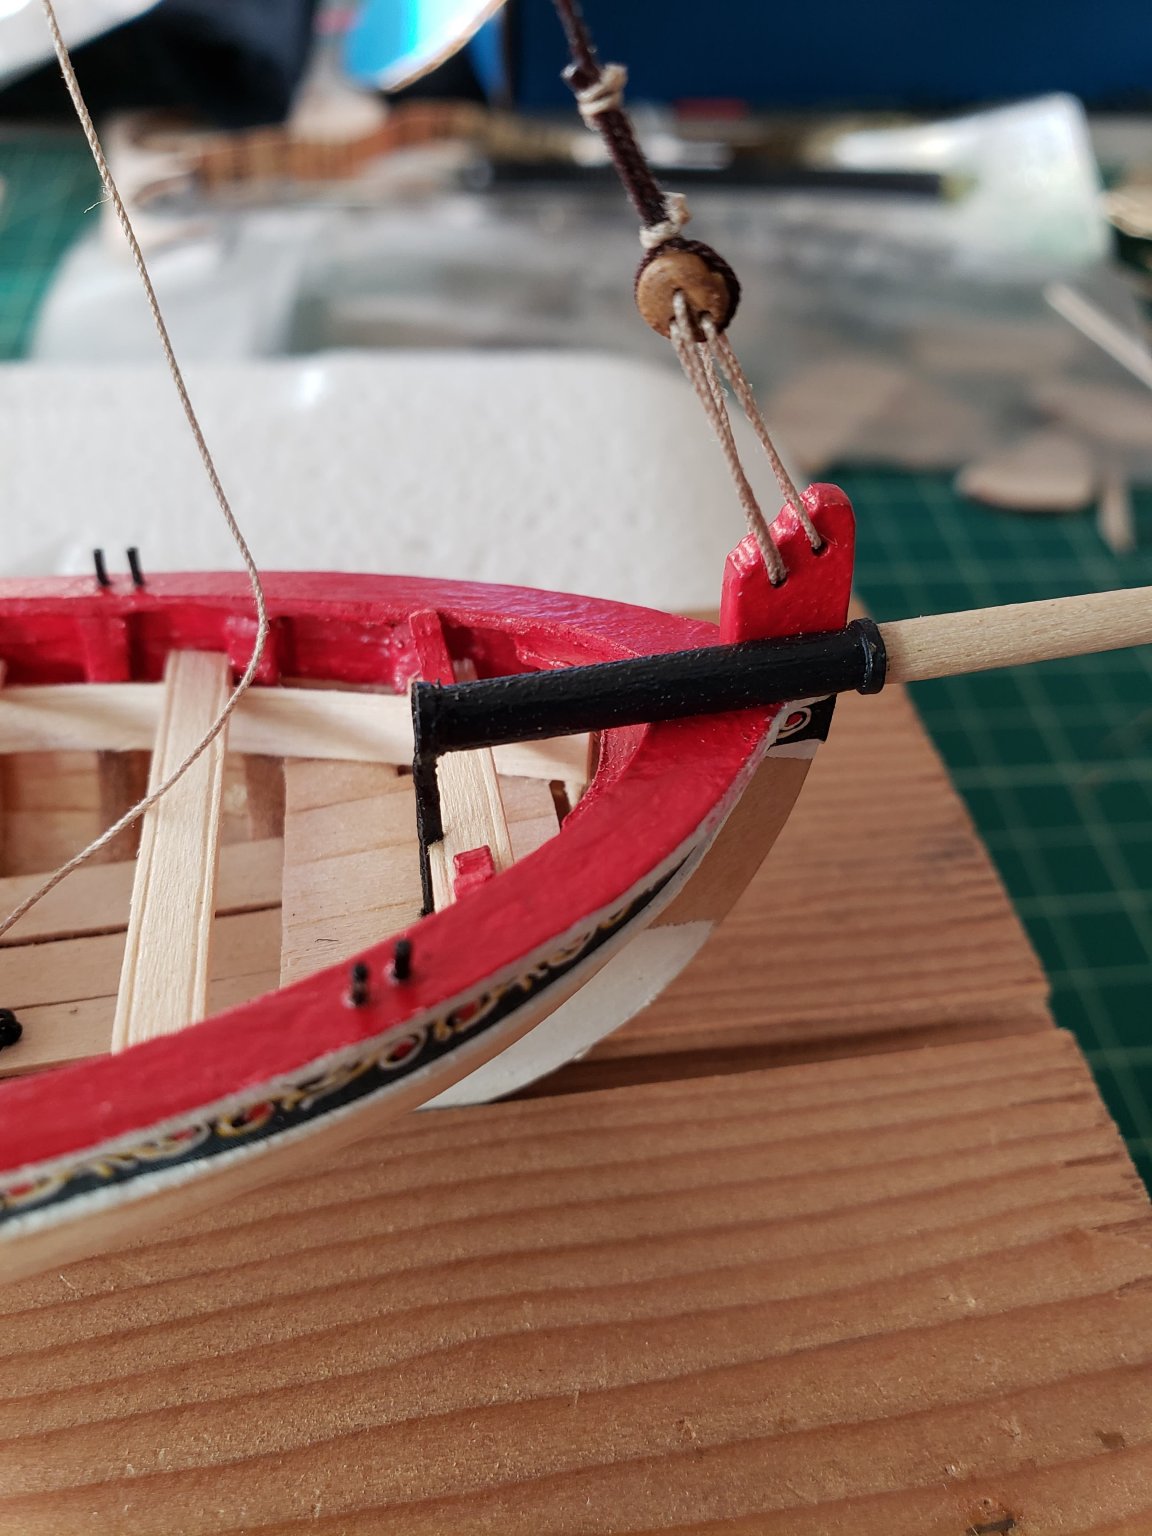
Took a long break from ship building and started doing a lot of ceramics. But I really want to finish my ship since the end is near! I attached the chainplates and will be rigging them soon.

- Cathead, Tigersteve, GrandpaPhil and 4 others
-
7
-
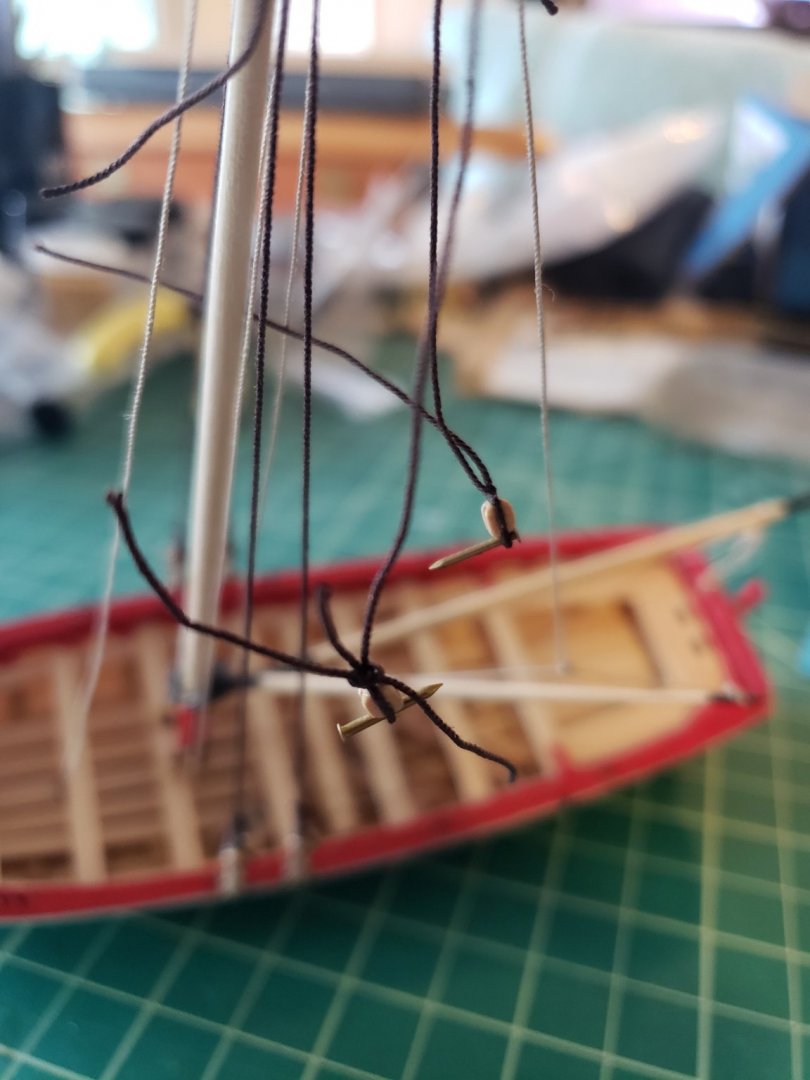
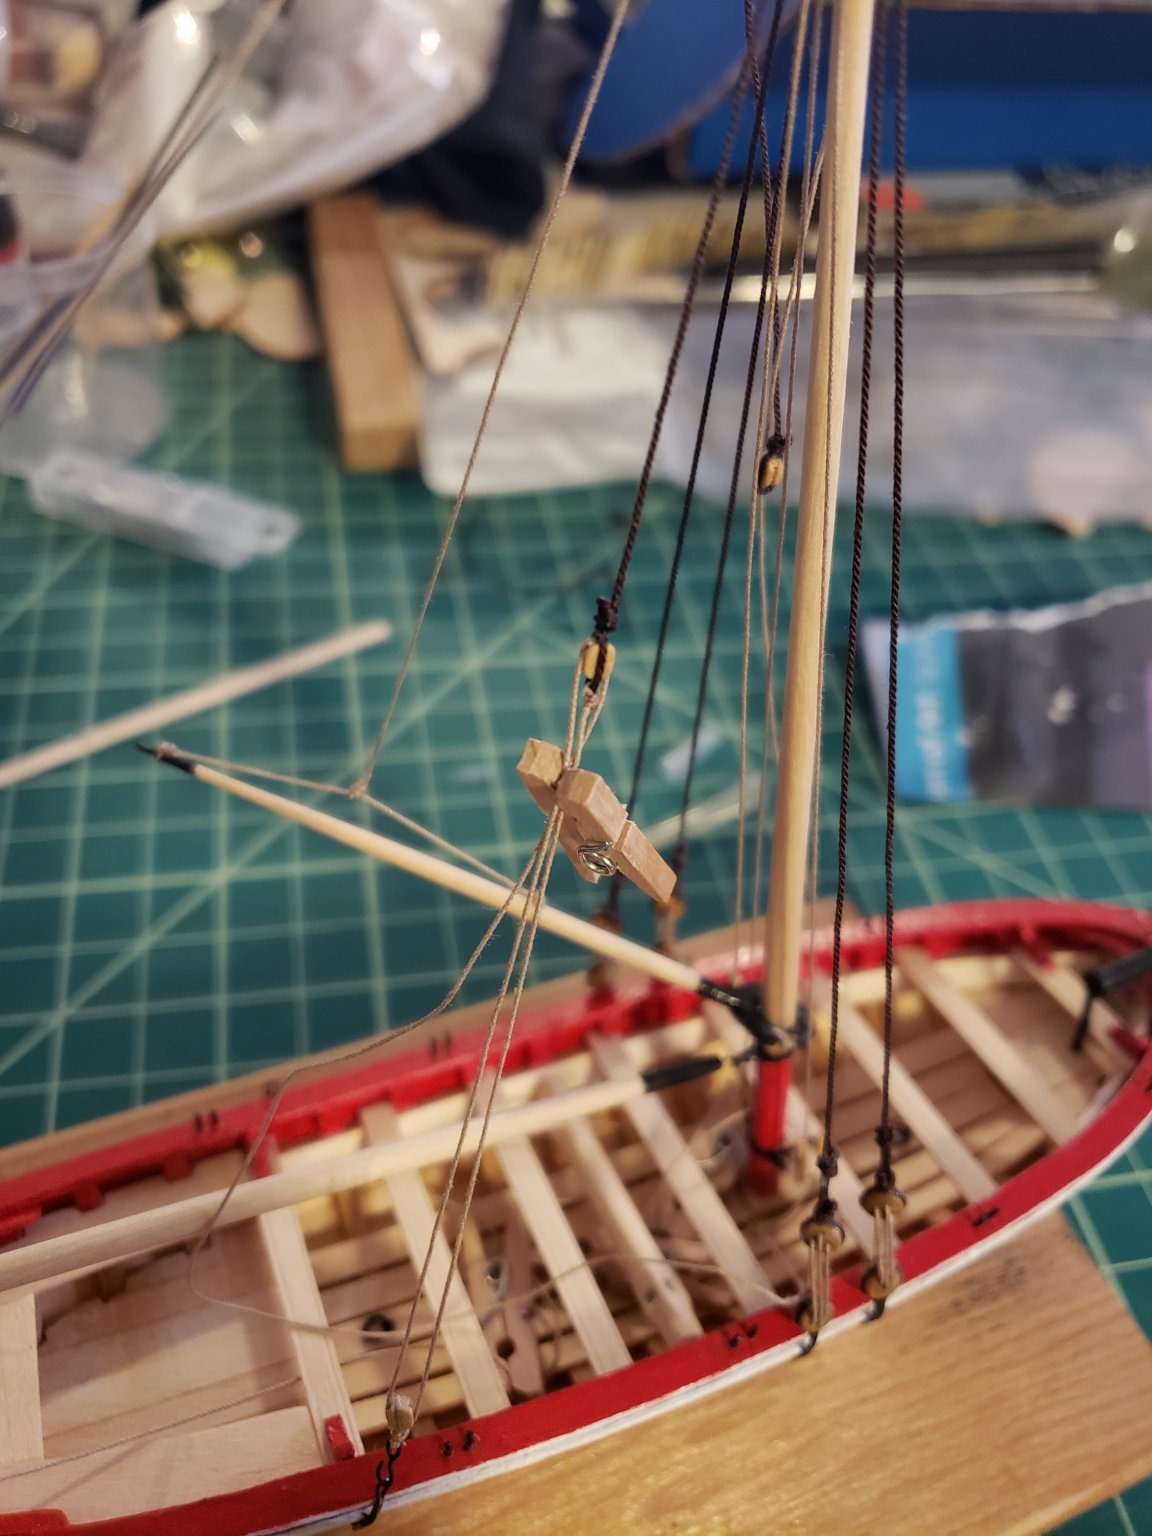
The seizing took a little to get used to, especially since the rope is so tiny. But it got easier over time so the rigging is coming along. I haven't glued anything down yet and I will do that once all the running rigging is completed.


- Cathead, GrandpaPhil, Jim Rogers and 3 others
-
6
-
So I'm nearing the end, and I still haven't used any nails. Am I missing something?
-
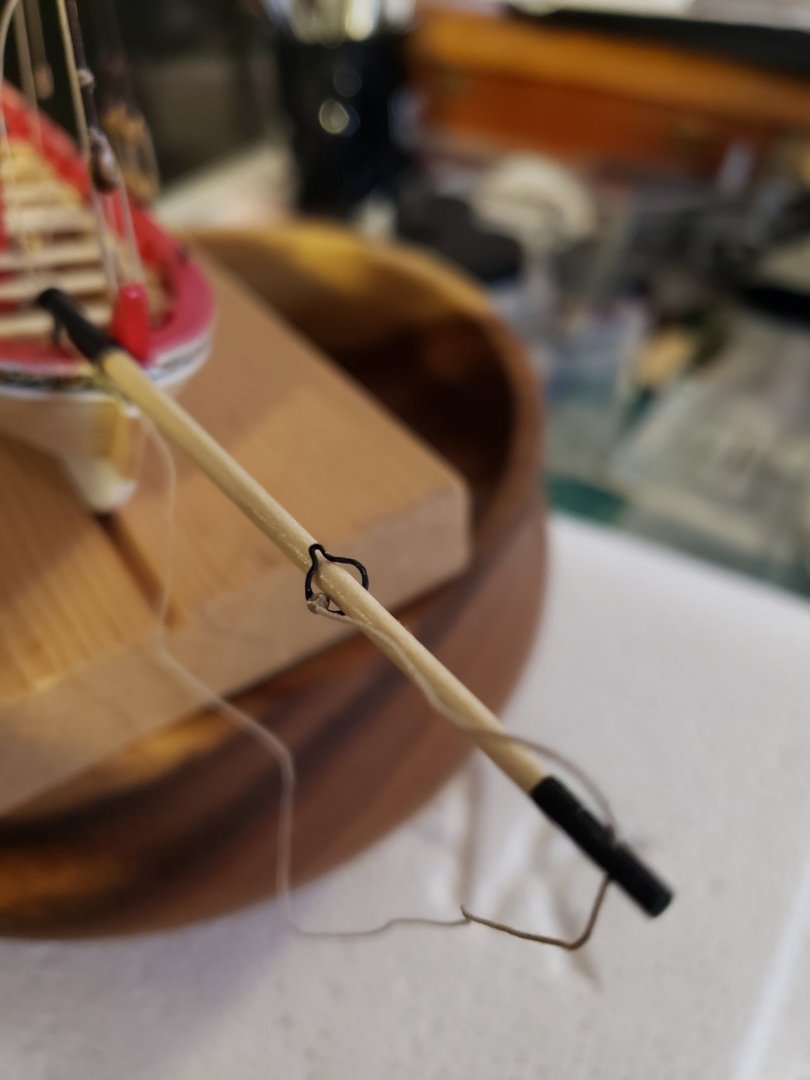
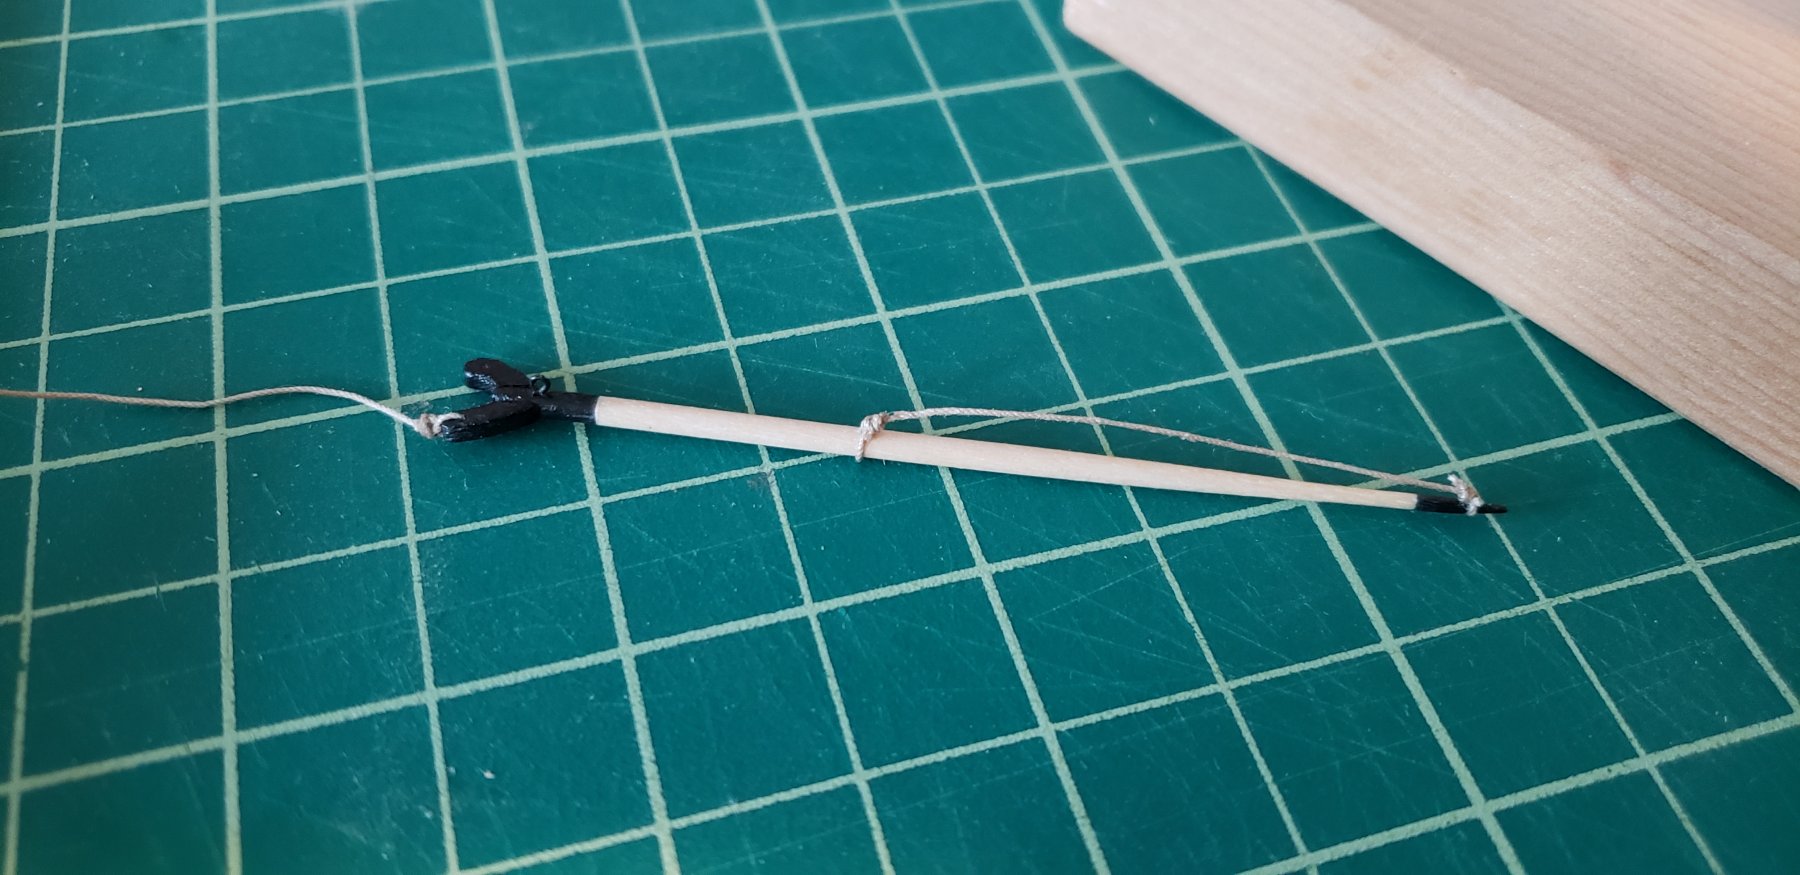
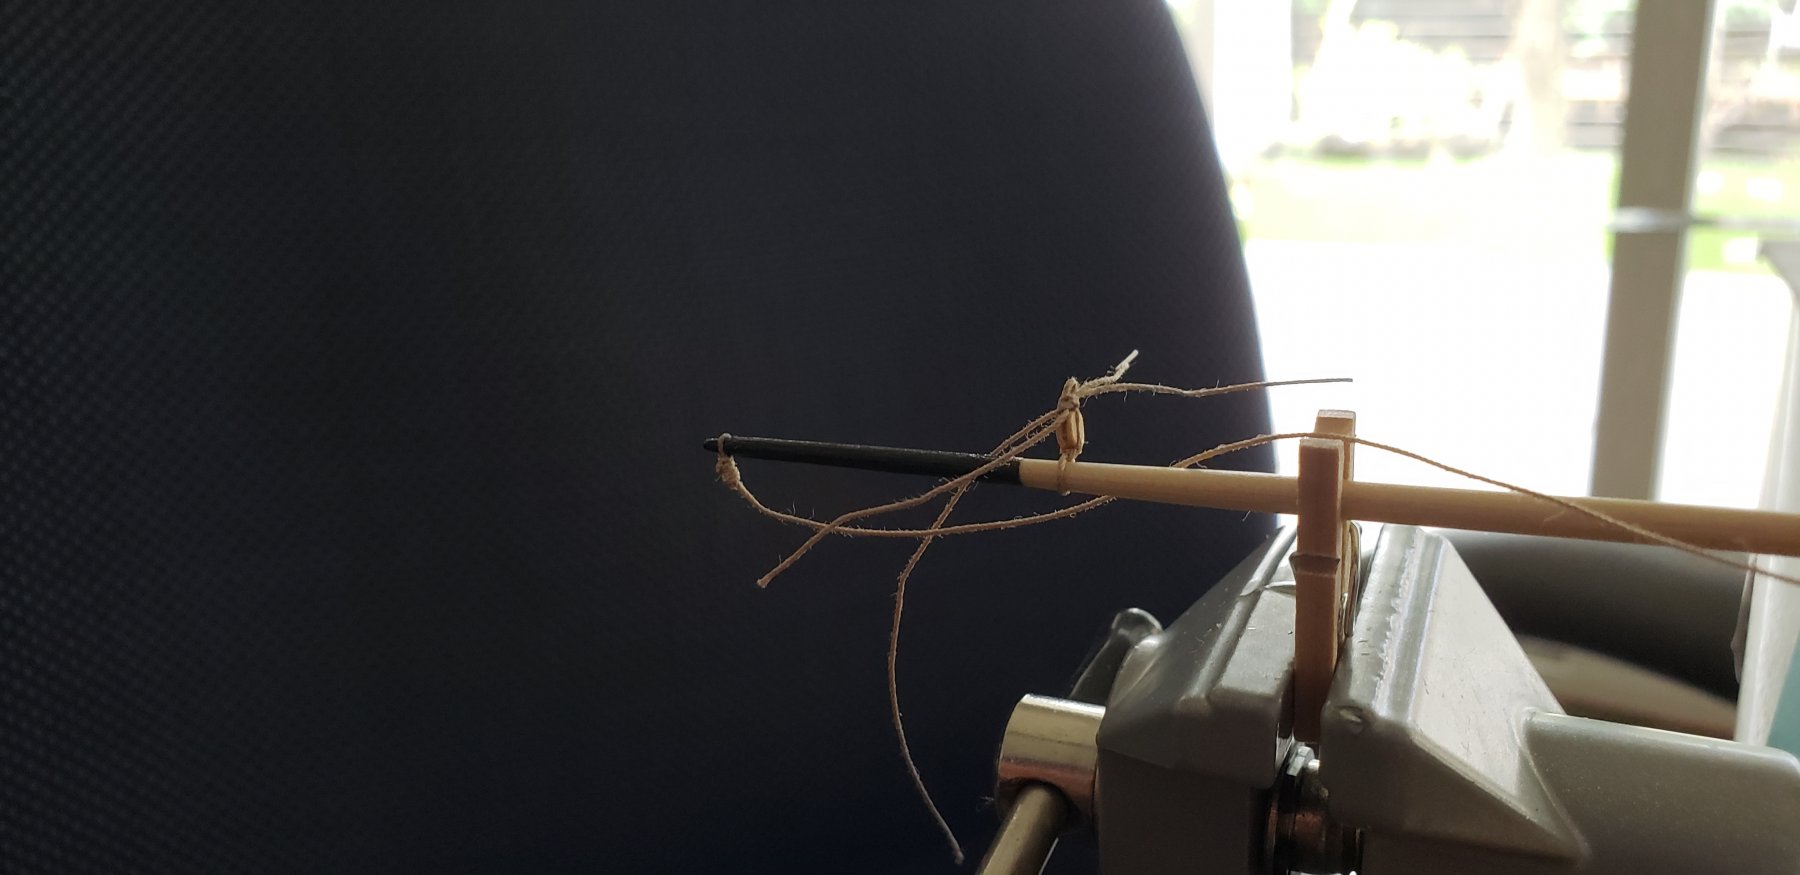
Completed the boom and the gaff. Excited to be nearing the end of construction and moving into rigging!
- zappto, Ryland Craze and Tigersteve
-
3
-
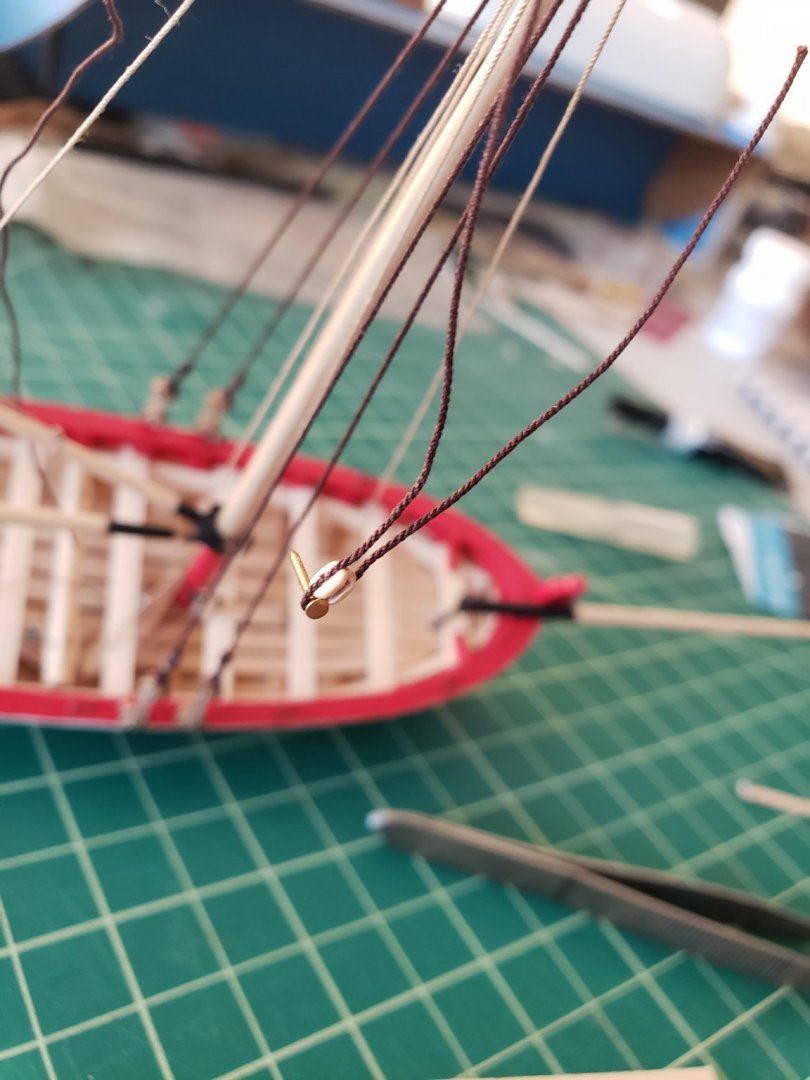
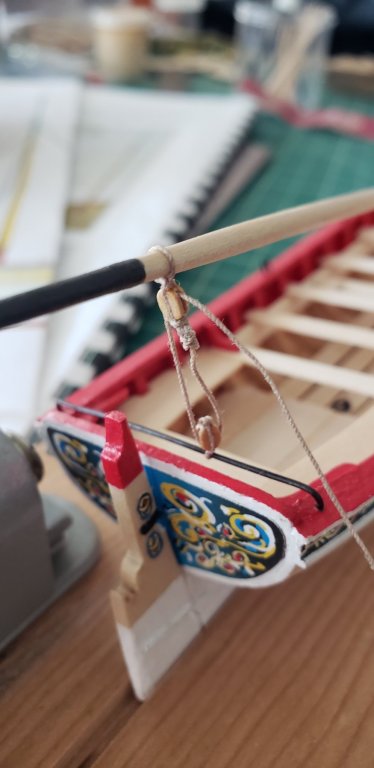
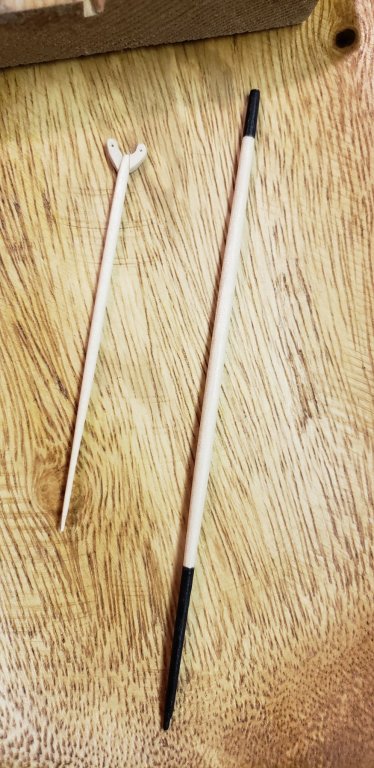
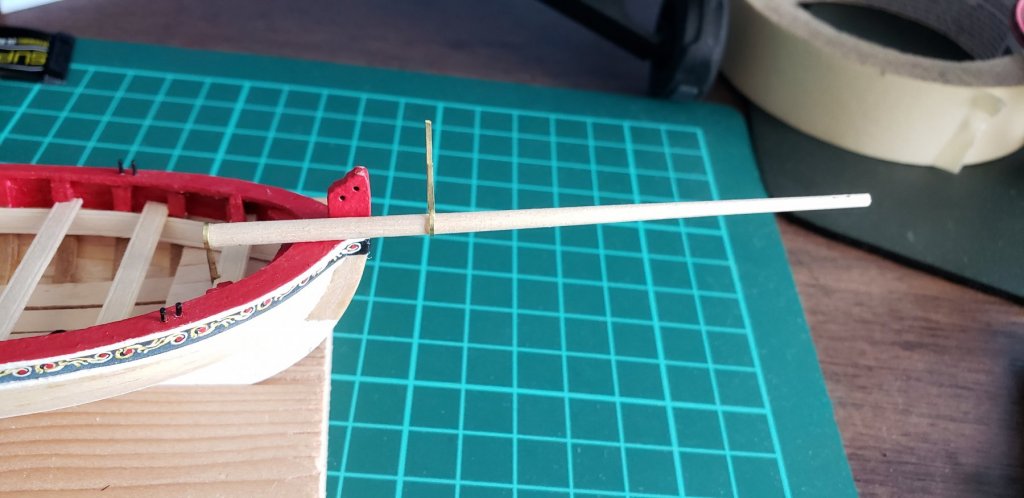
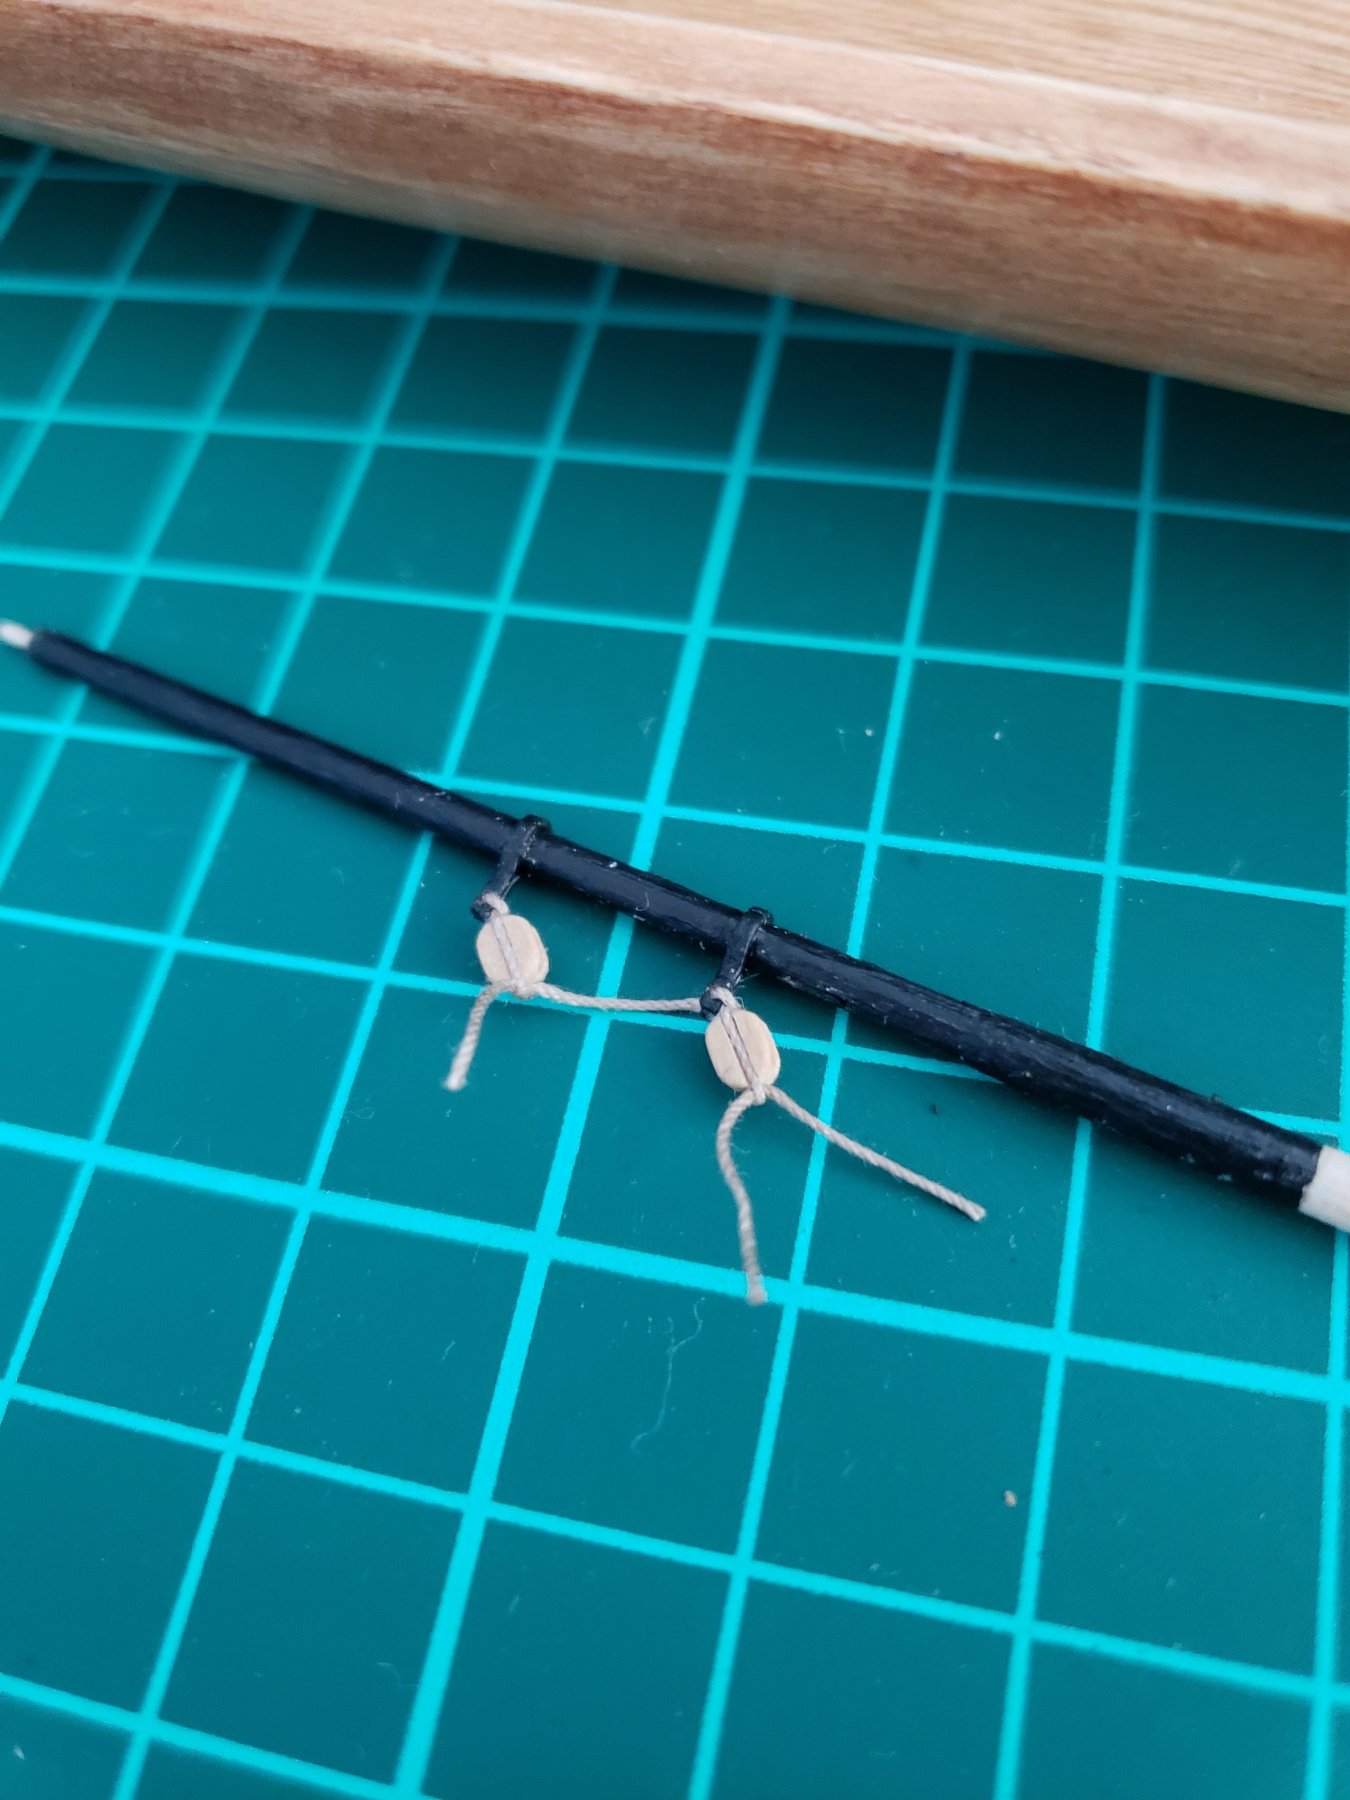
I continued by seizing the blocks. I purchased some new rigging line and blocks for this sections because the ones that came with the kit were not great quality. I am really happy with the way it looks on the mast. Then I shaped, glued and painted the bowsprit on. I am really happy with the way it looks and I will finalize and glue the mast one so I can continue.

- Cathead, zappto, Tigersteve and 4 others
-
7
-
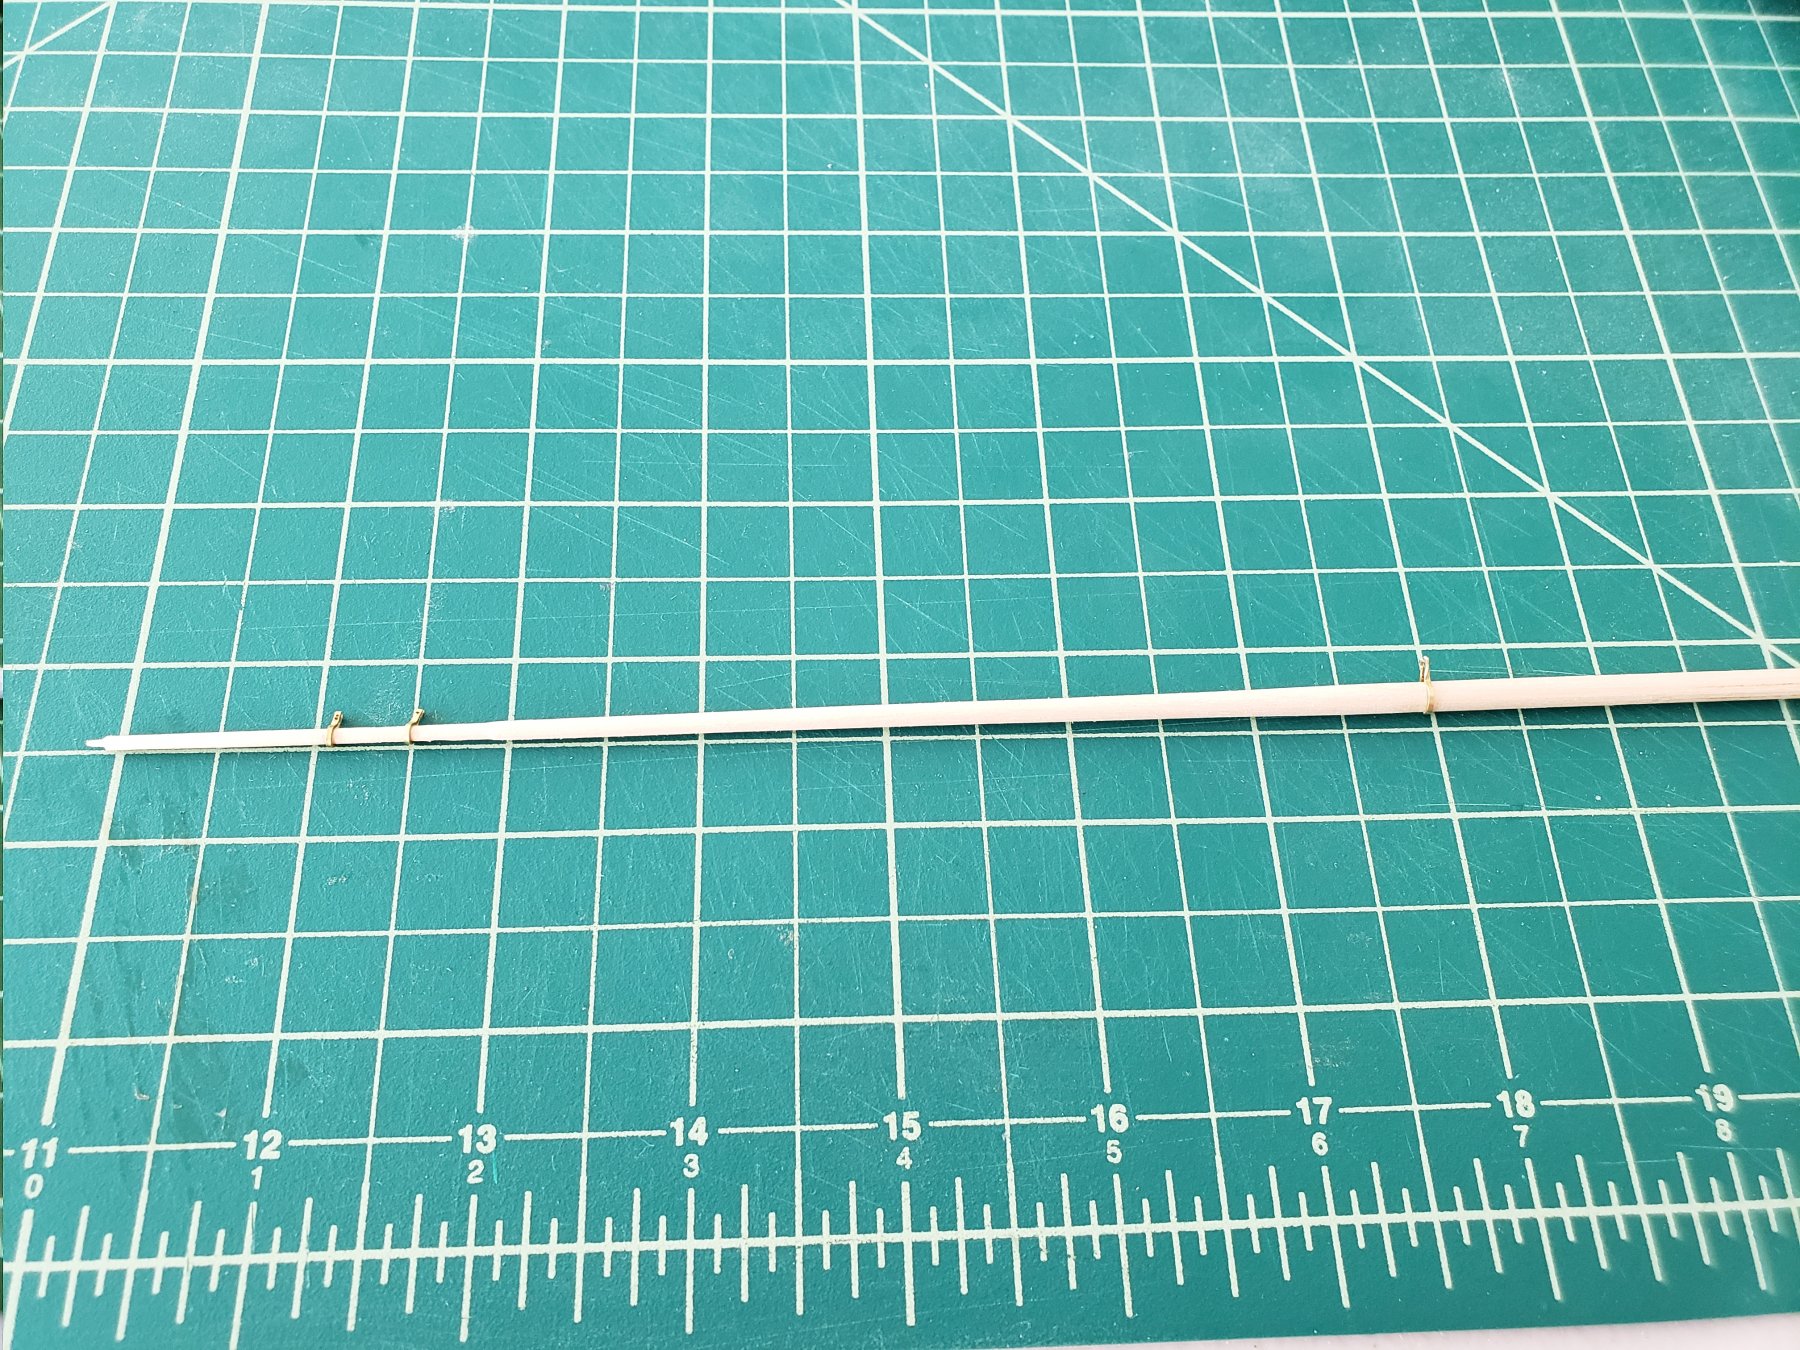
I took a hiatus after being frustrated with my power drill/lathe set up to taper the mast. I just avoided the project and came back to it recently. I ended up tapering the mast by hand which was a lot easier. Making the bands and drilling them broke 2 of my smallest bits but I was able to complete it. I , glued it onto the mast, made the ball truck and mast step, and then painted it. Now I will read up on how to seize blocks and continue on.


-
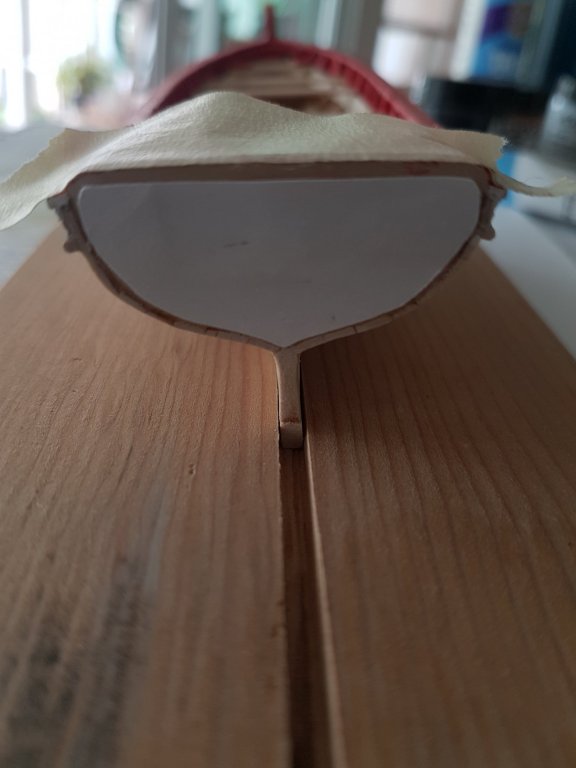
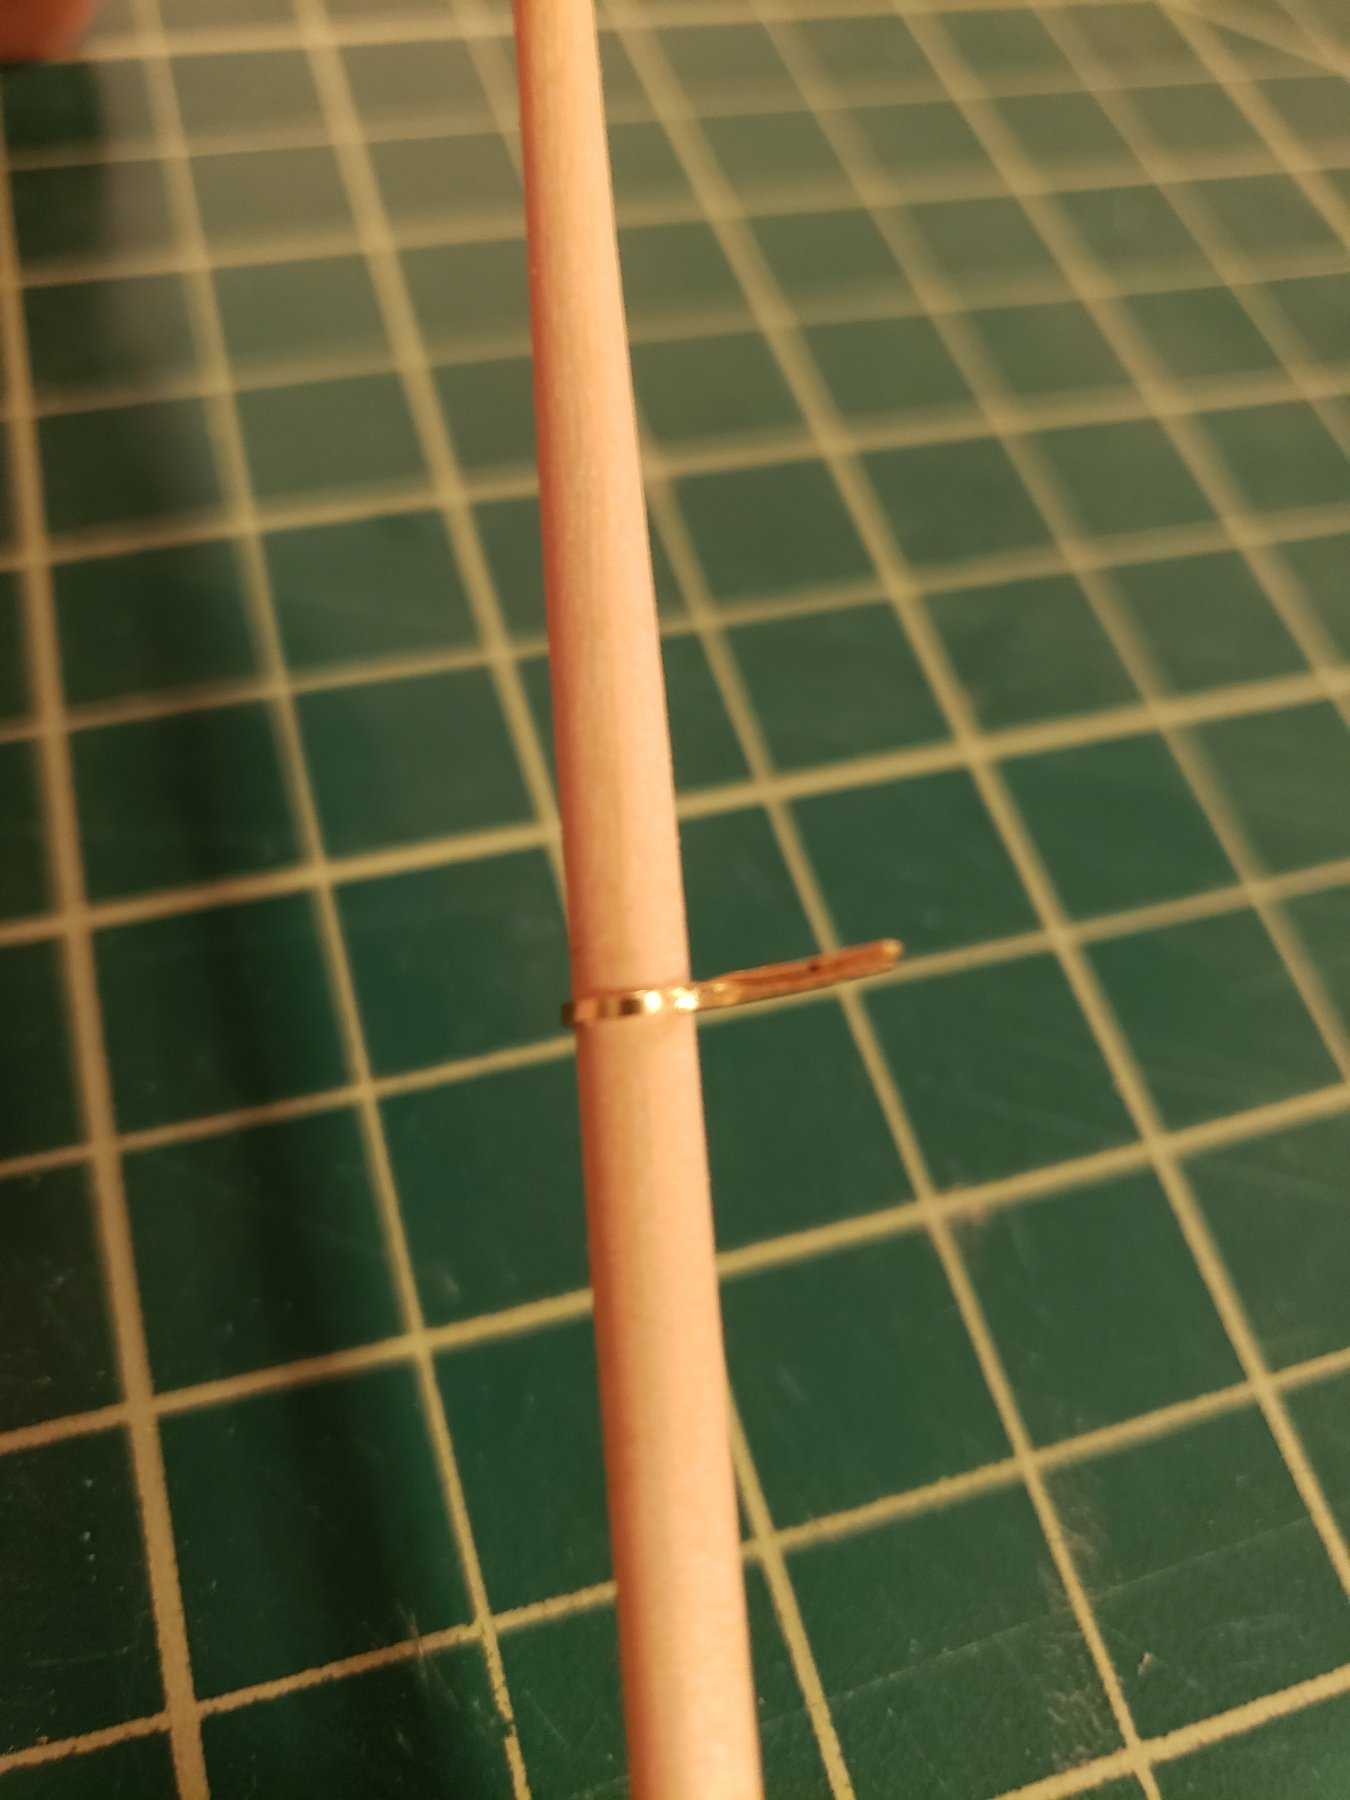
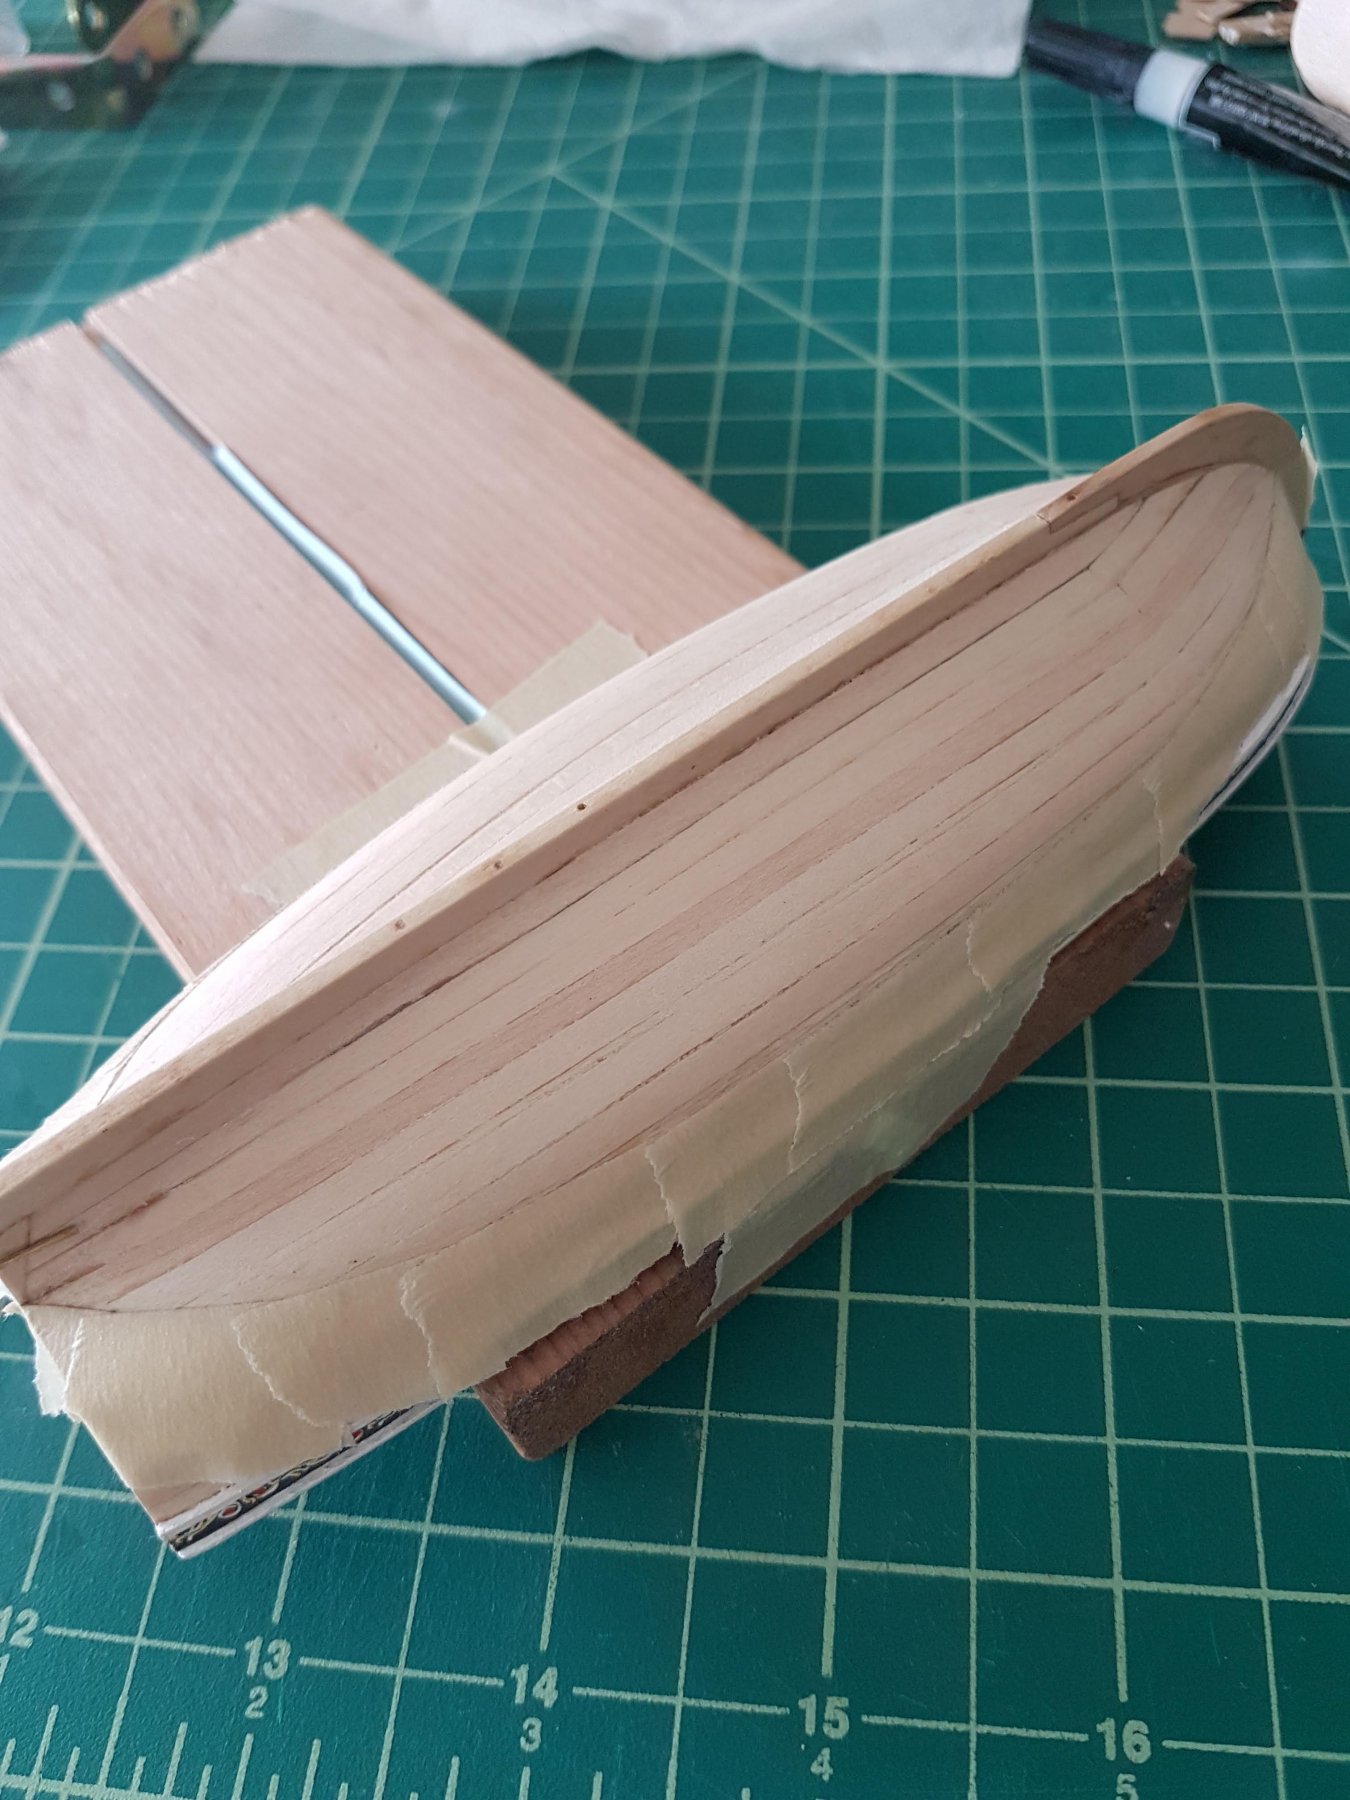
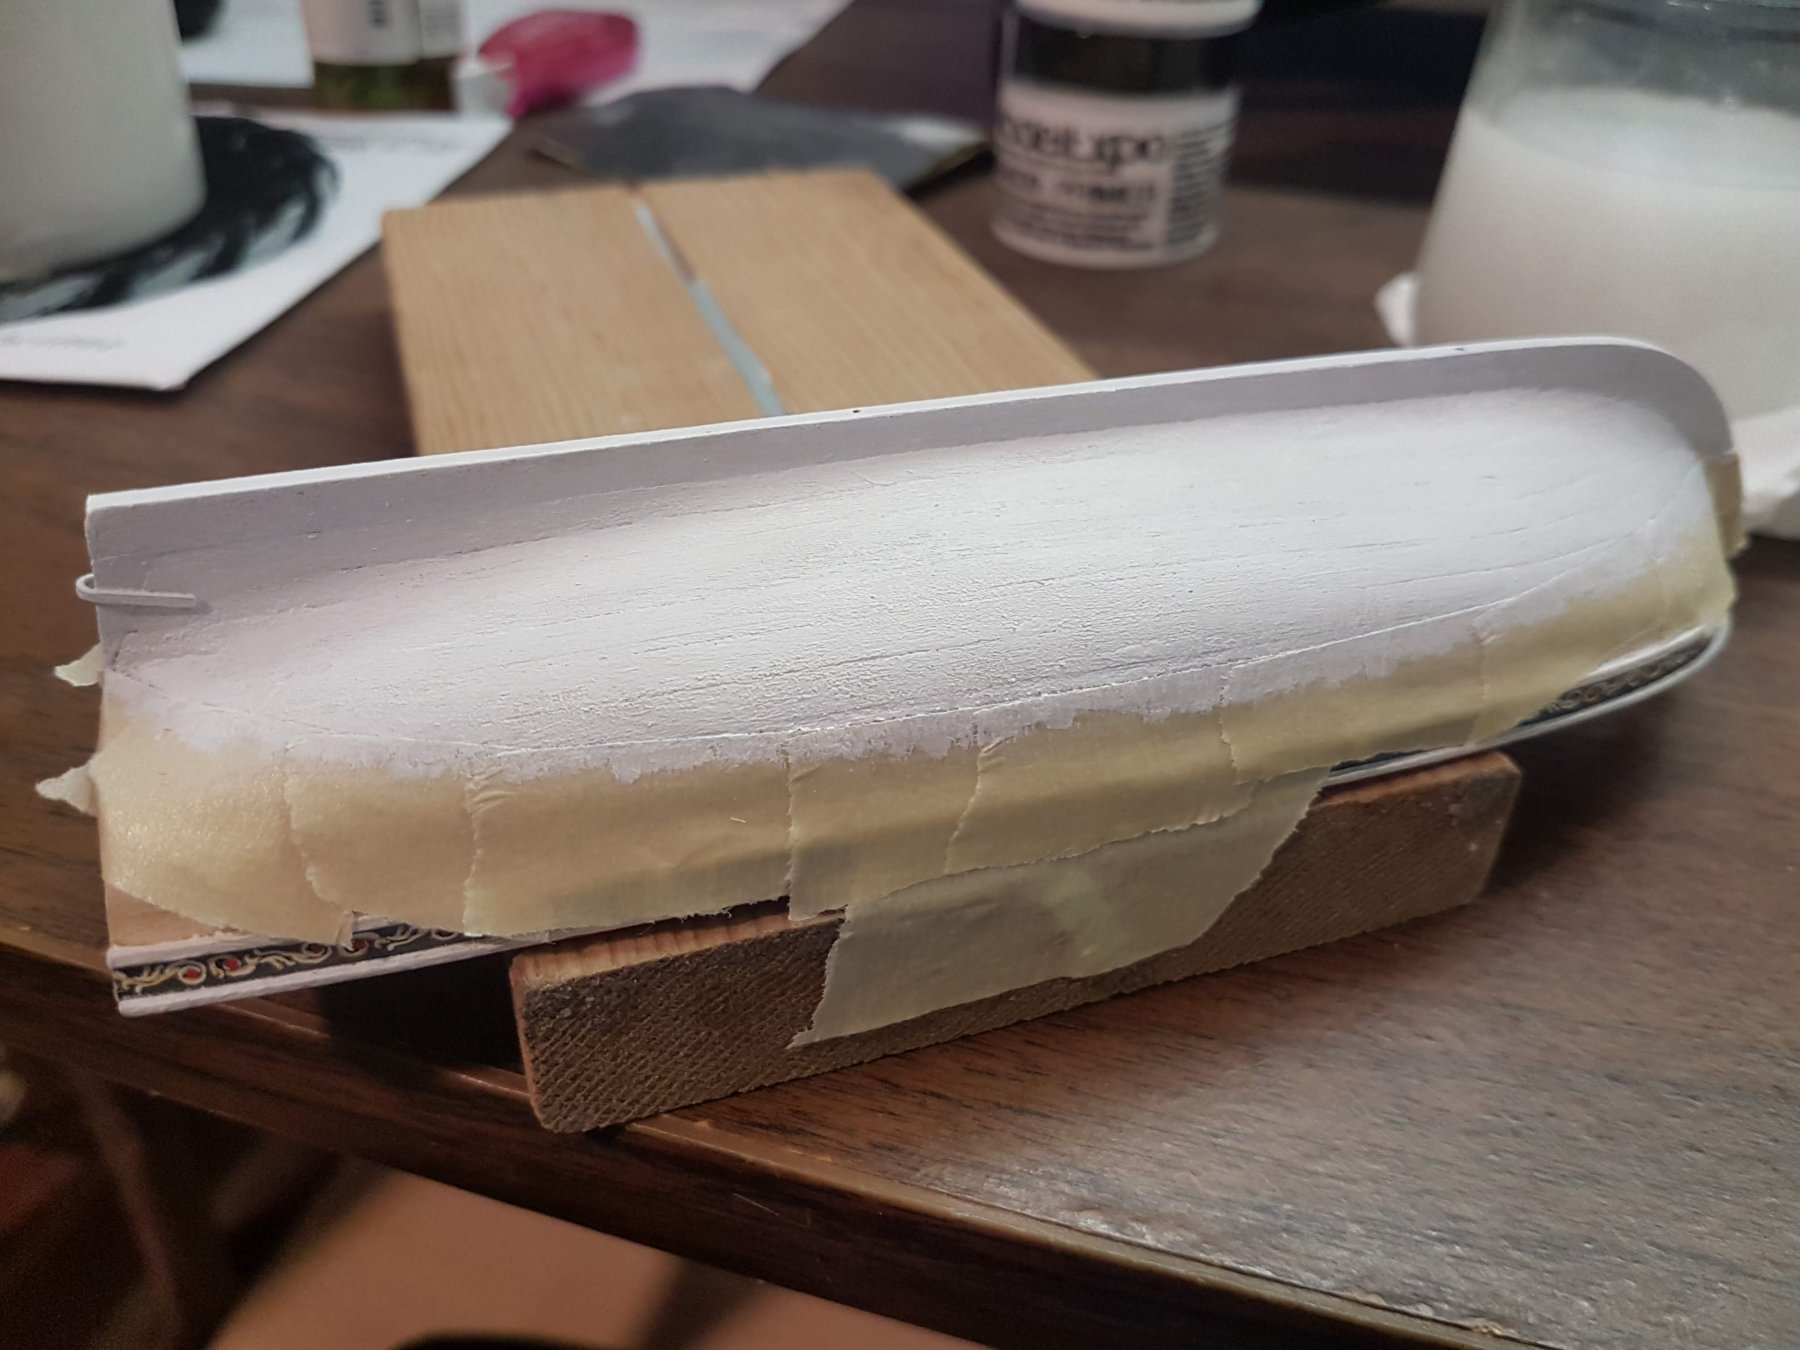
I attempted a waterline jig then taped it up to paint. I still need to figure out how to taper the mast with the make shift lathe/drill since I don't really own power tools. It might be a while before I make more progress.


- Fernando E, Ryland Craze, JpR62 and 1 other
-
4
-
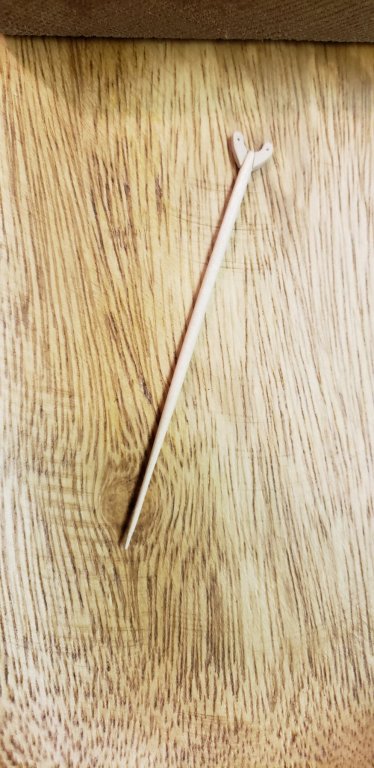
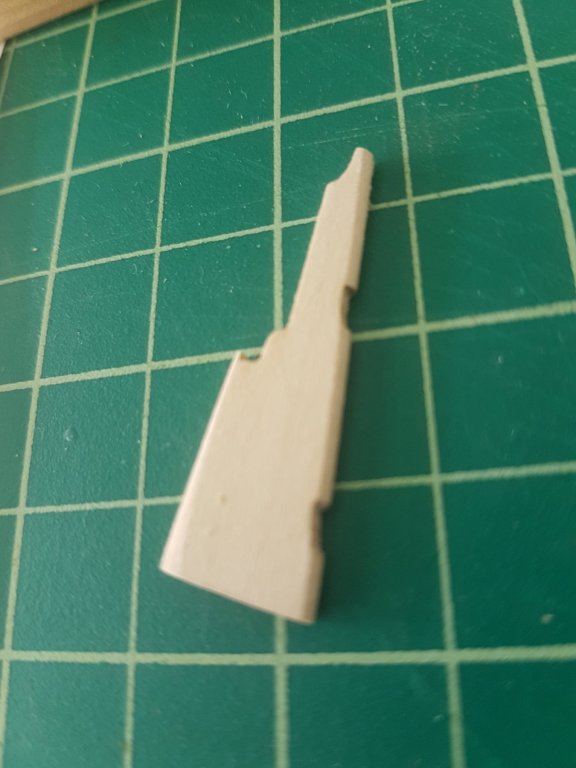
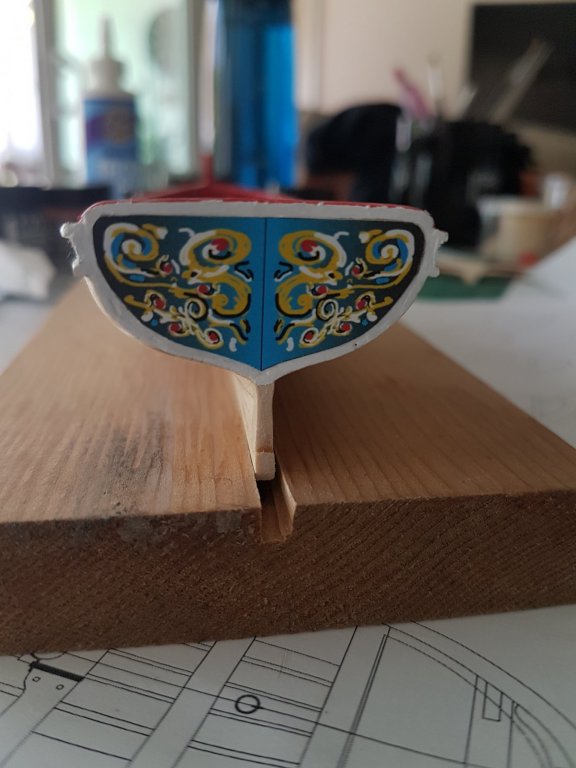
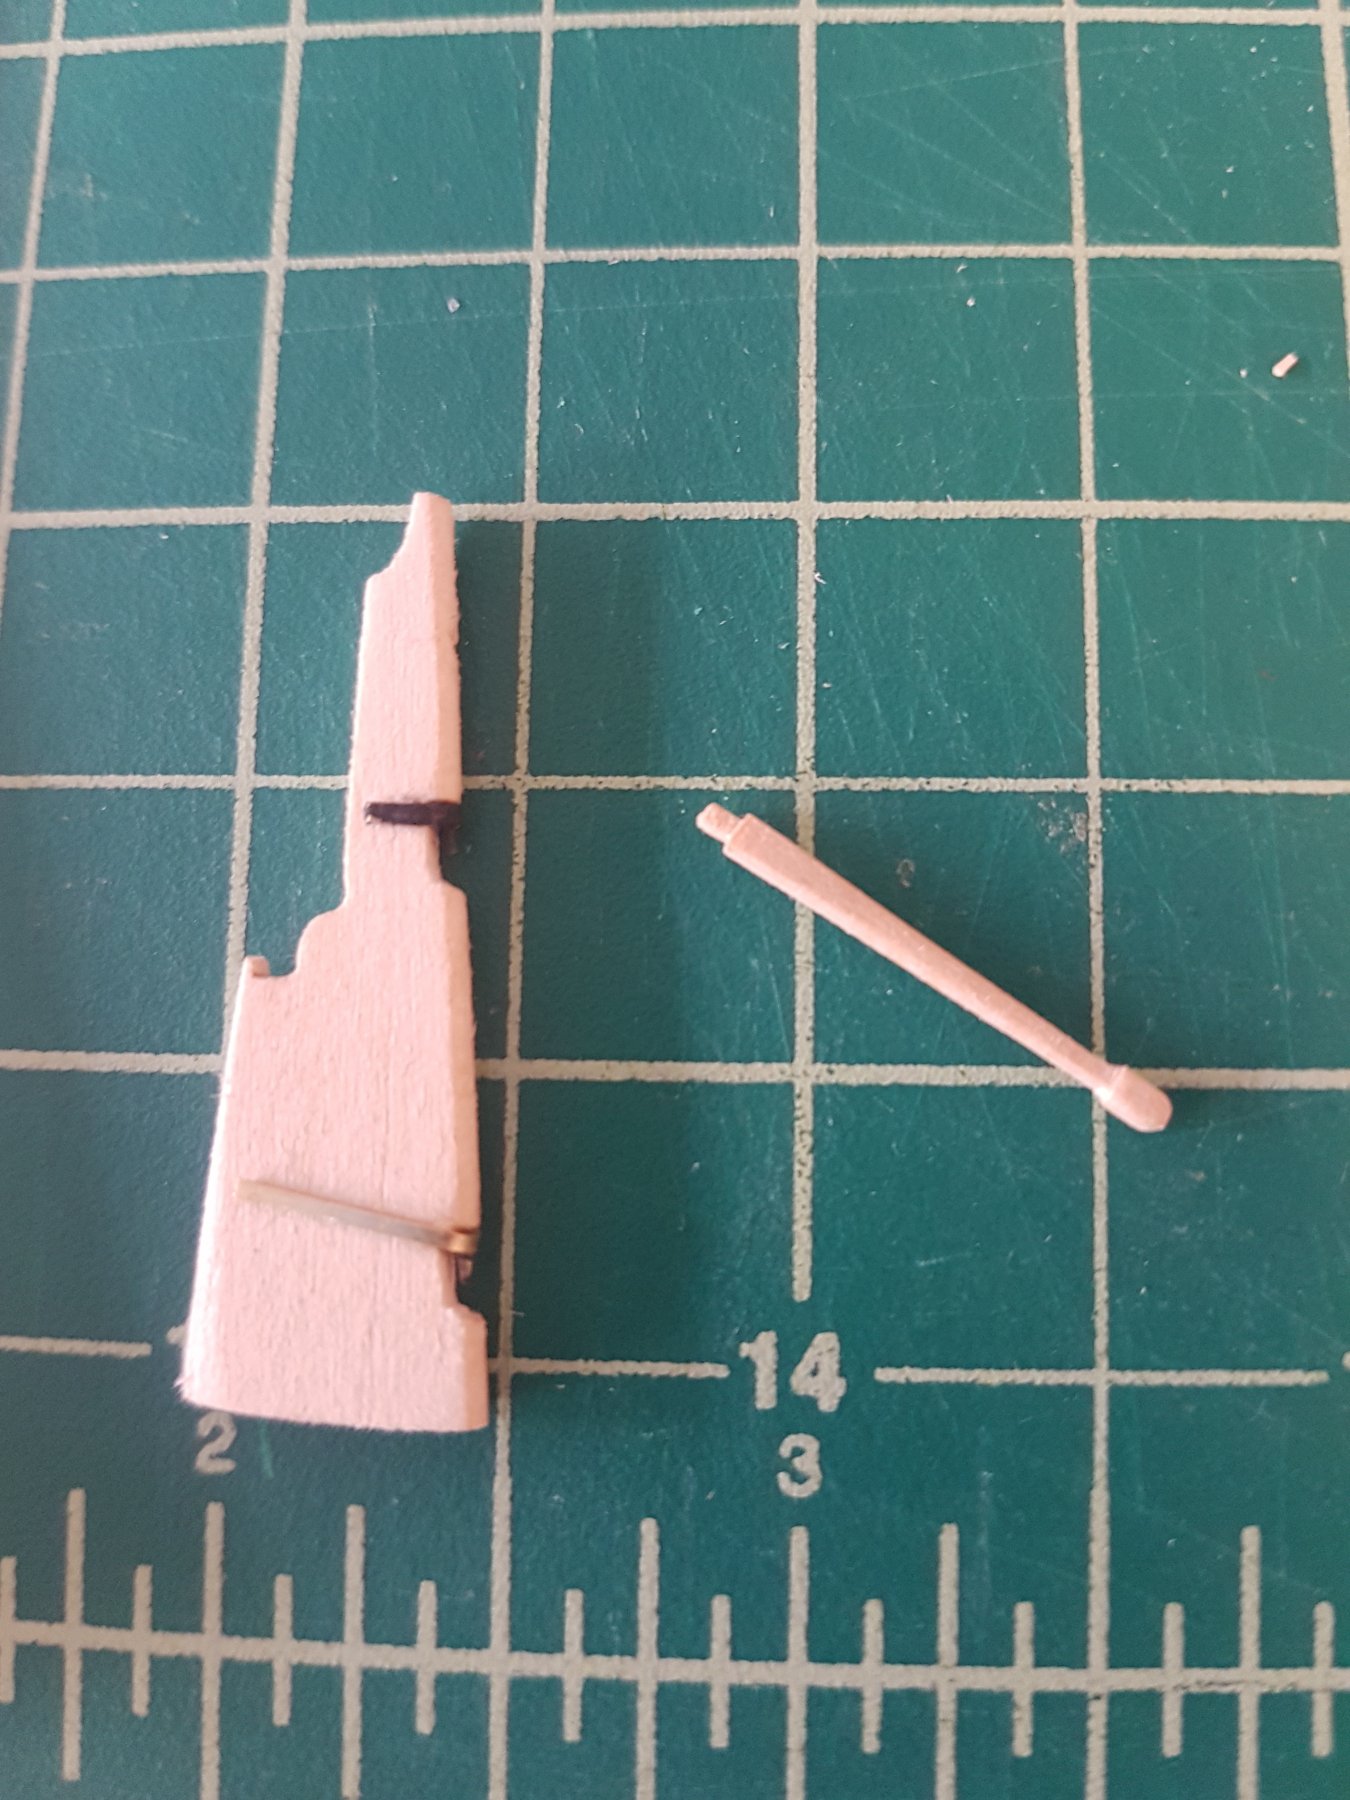
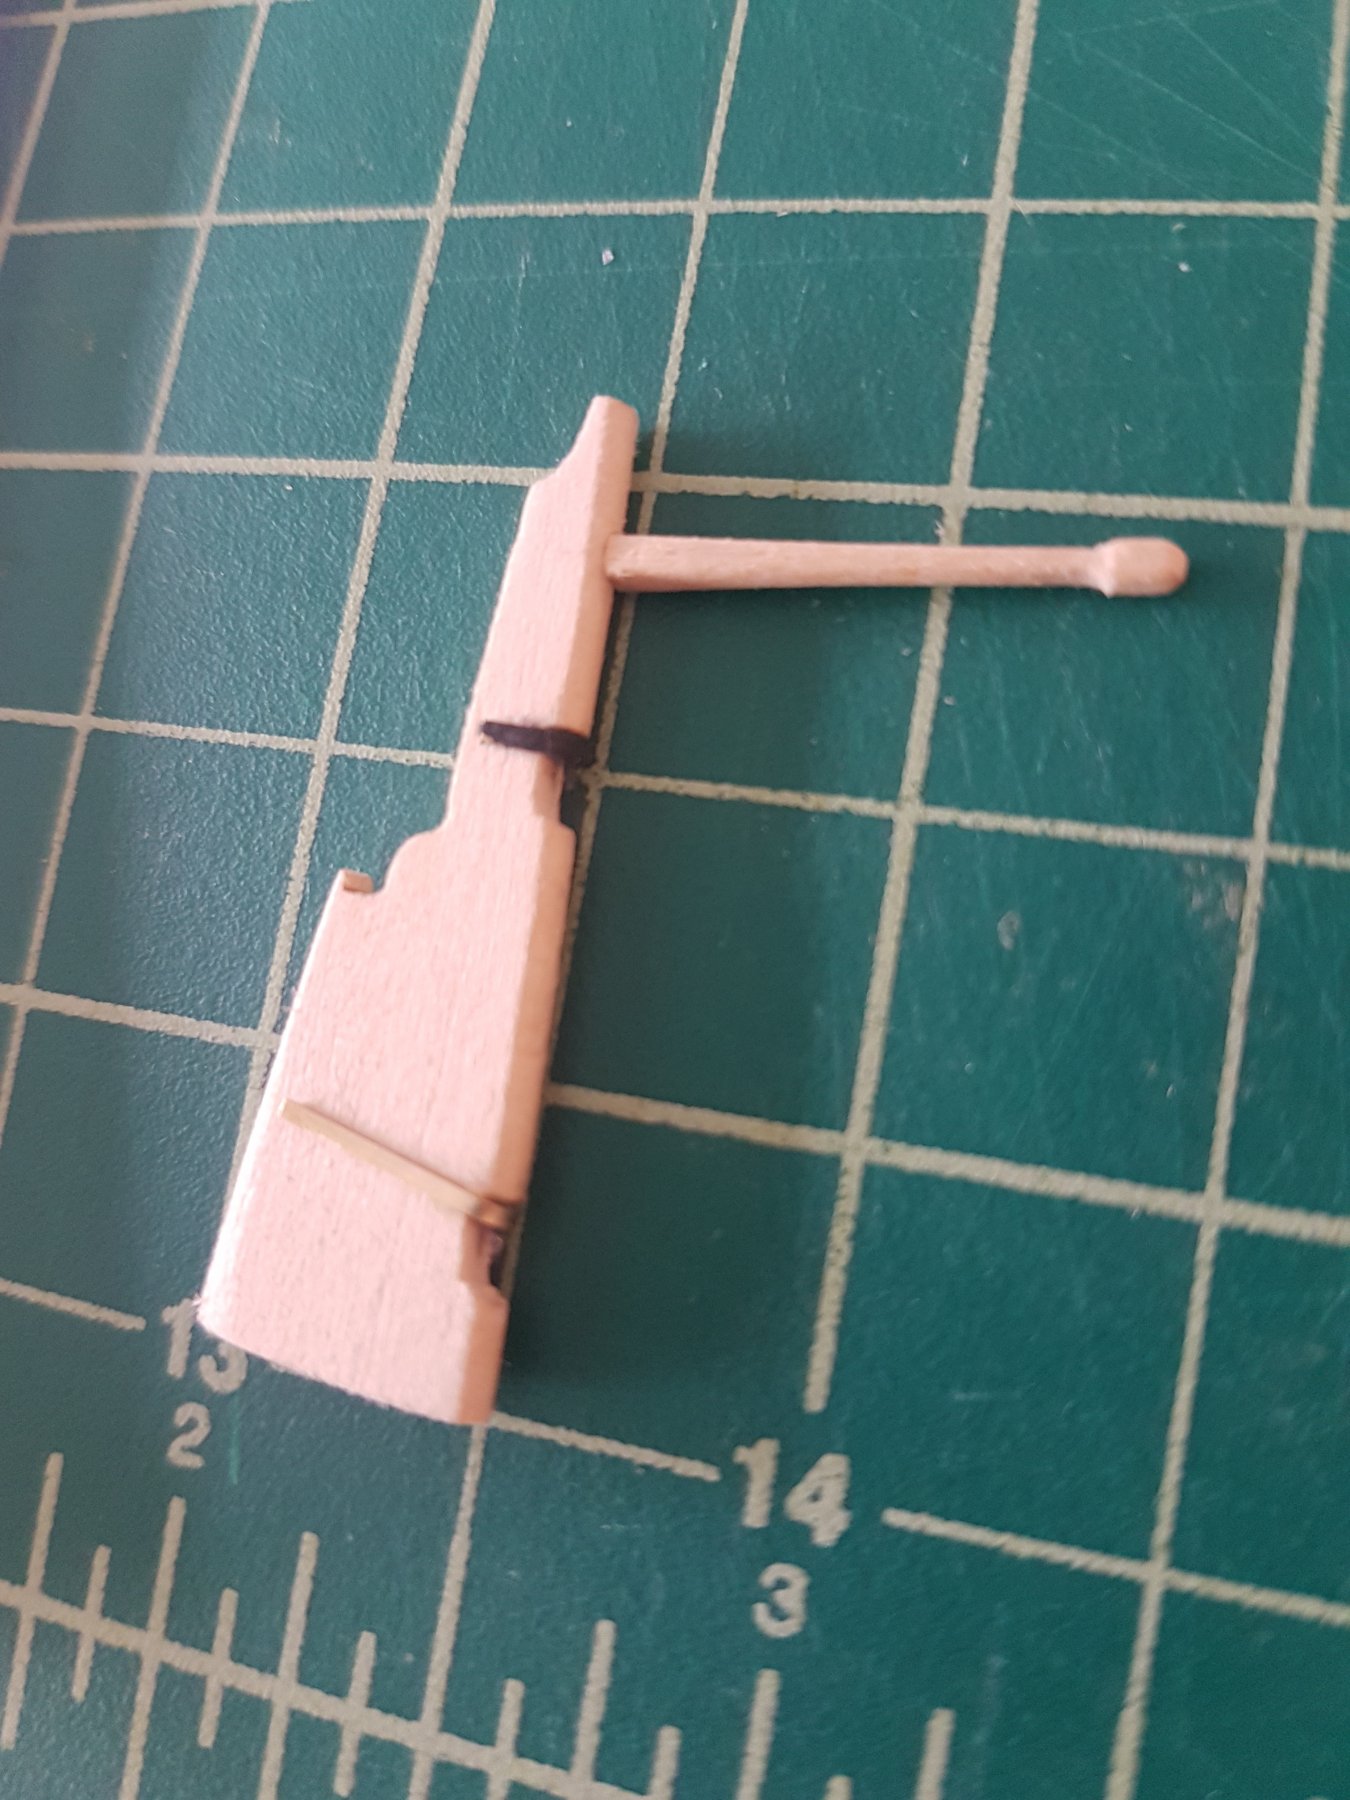
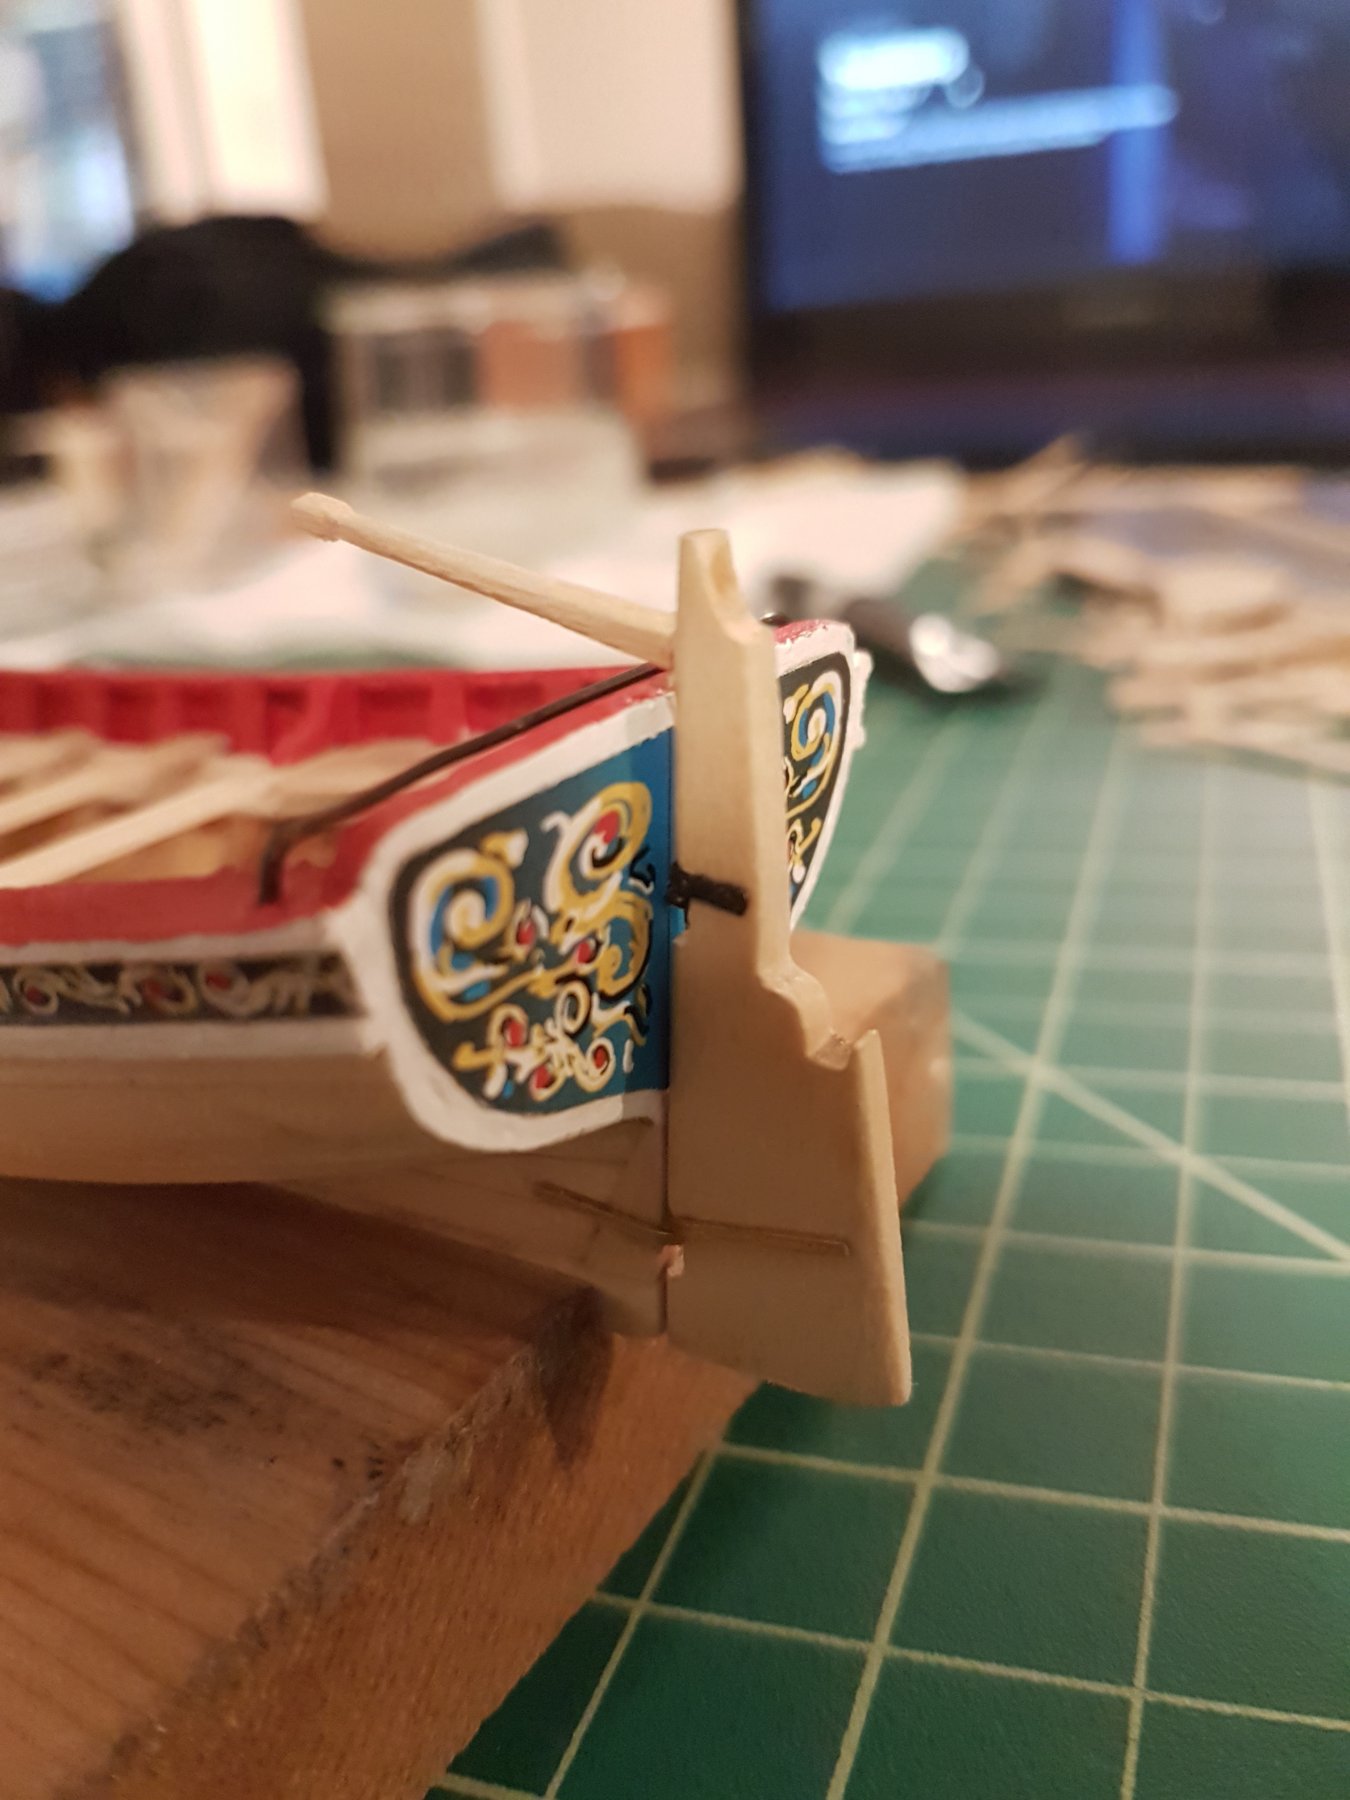
I painted and glued on the knees and it is time to work on the rudder. I cleaned it up then realized I finally have to place the frieze, especially on the transom. I printed out the PDF from Chuck's revision and gave it a couple thin coats of hair spray for protection. Then I cut it out and use some adhesive spray to place it on the boat. I taped a cutout of the transom frieze on so I could paint around it. Then I completed the metalwork on the rudder with gudgeon and pintle. I also shaped the handle. Before I can continue, I have to figure out the best way to draw the waterline on the boat.


- Fernando E, Estoy_Listo, Cathead and 2 others
-
5
-
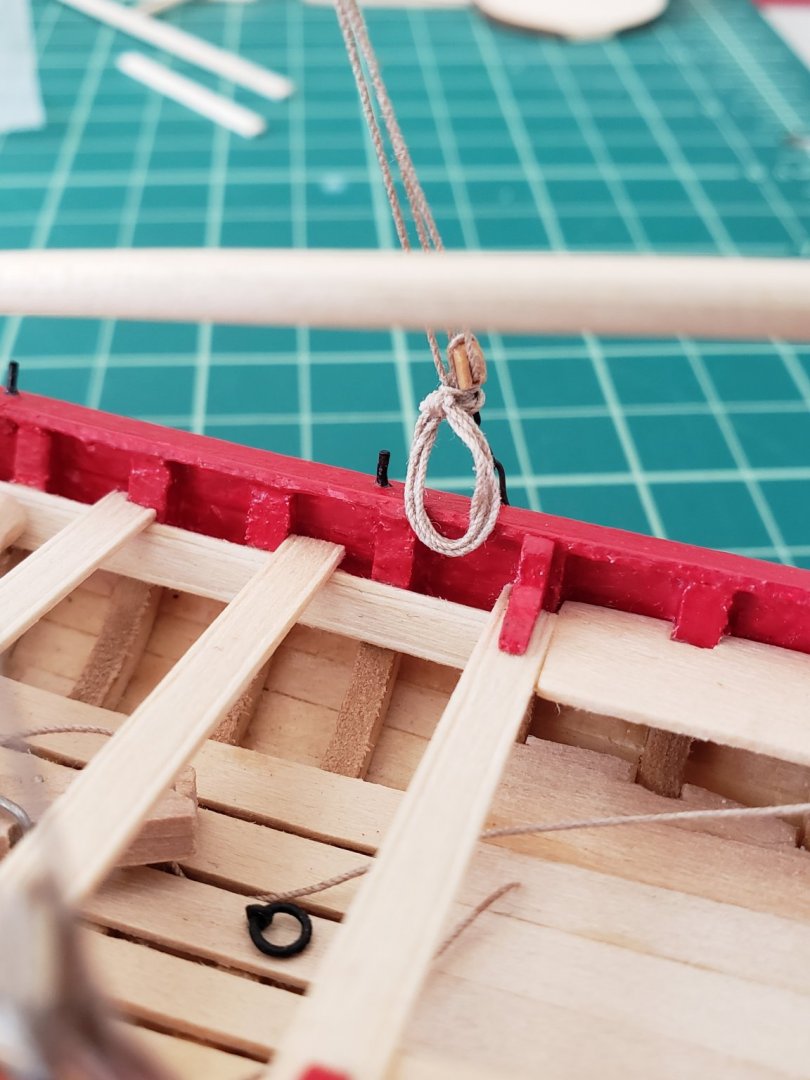
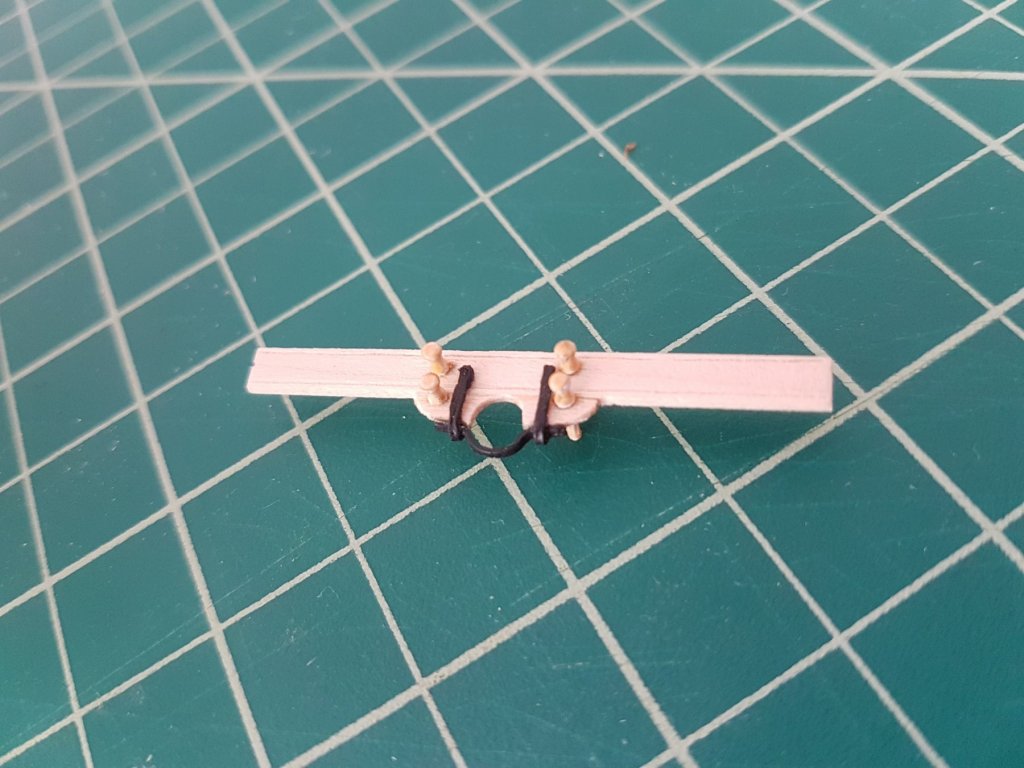
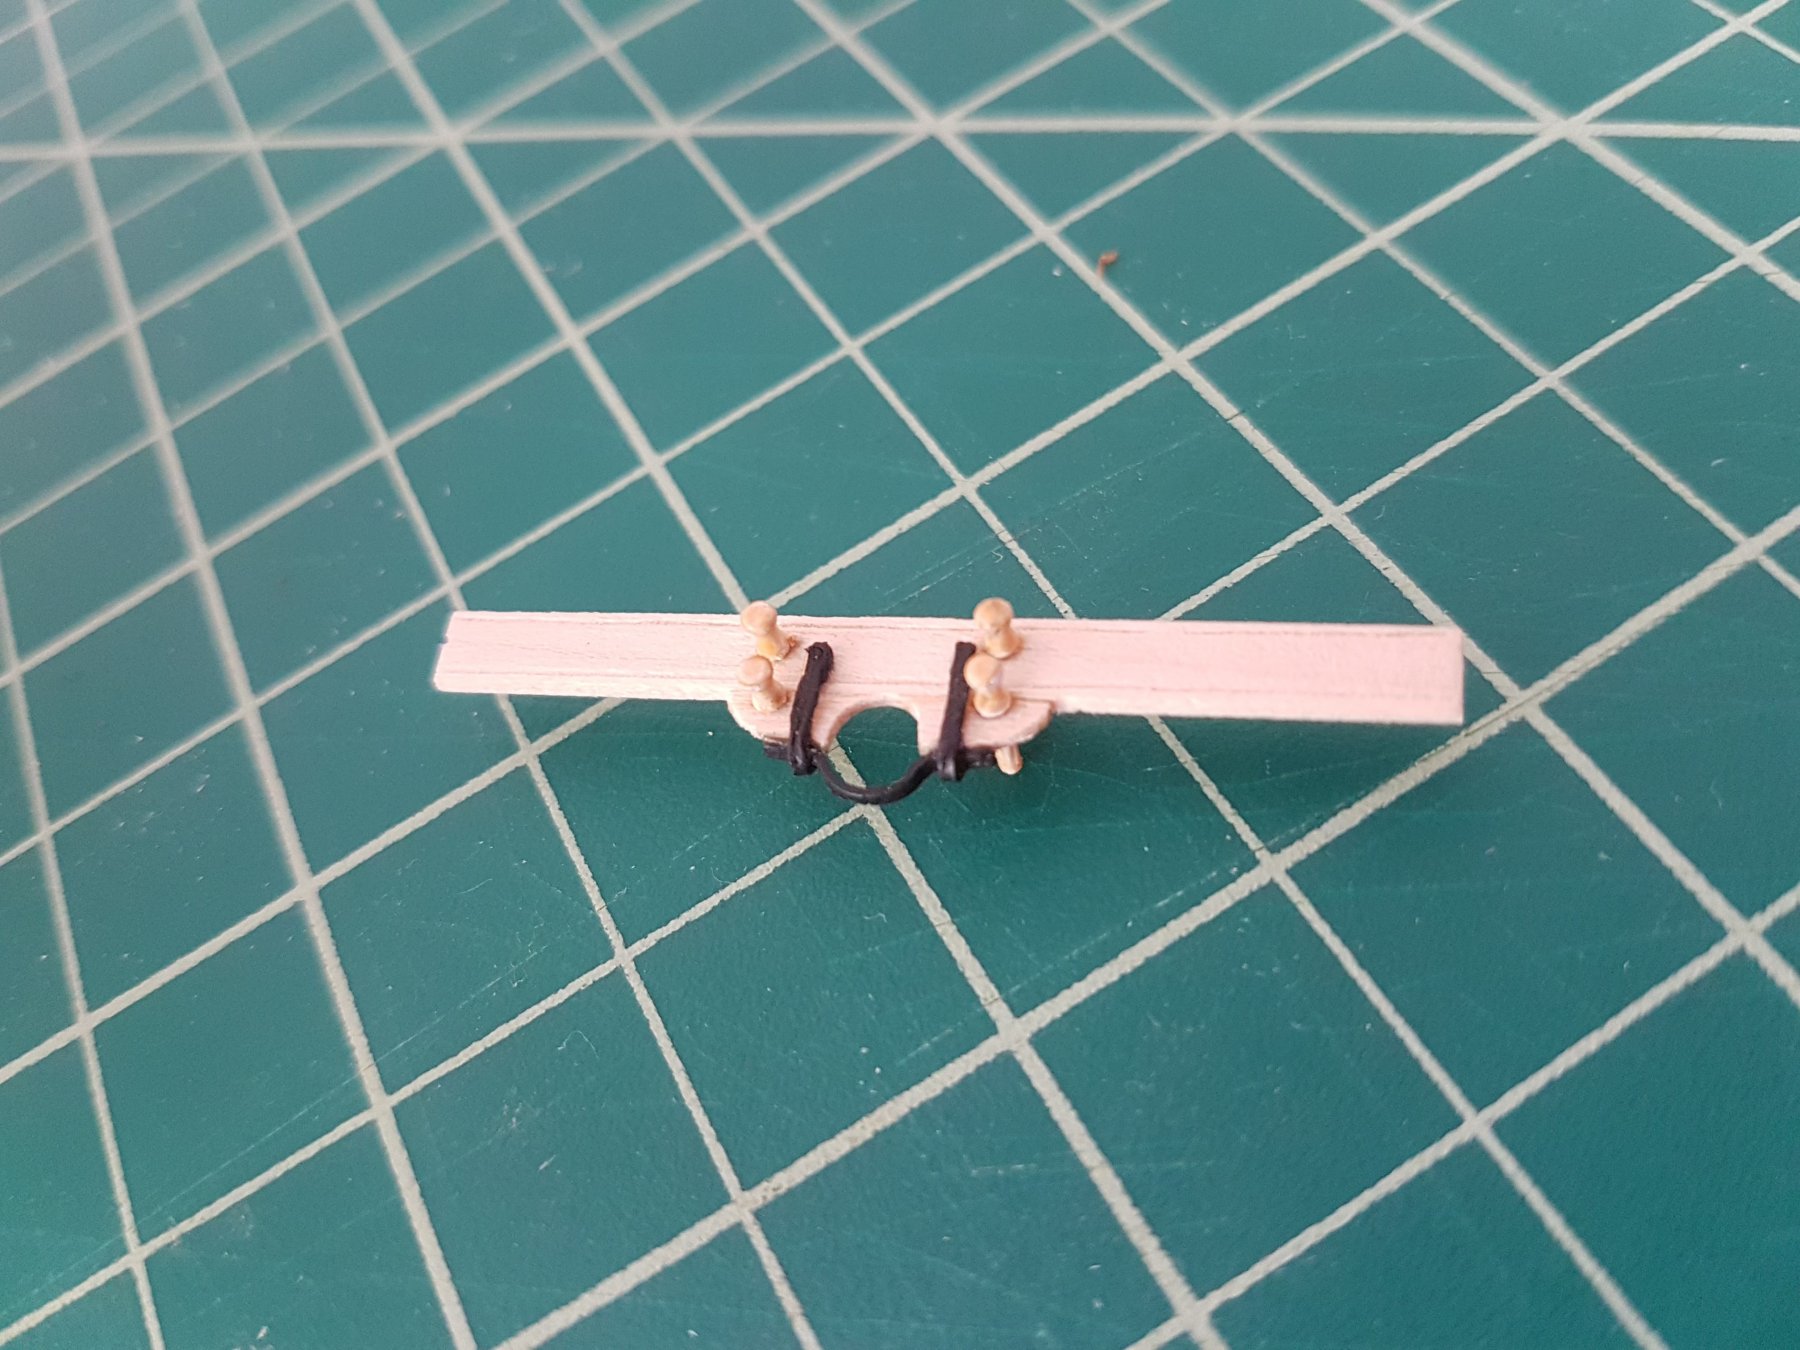
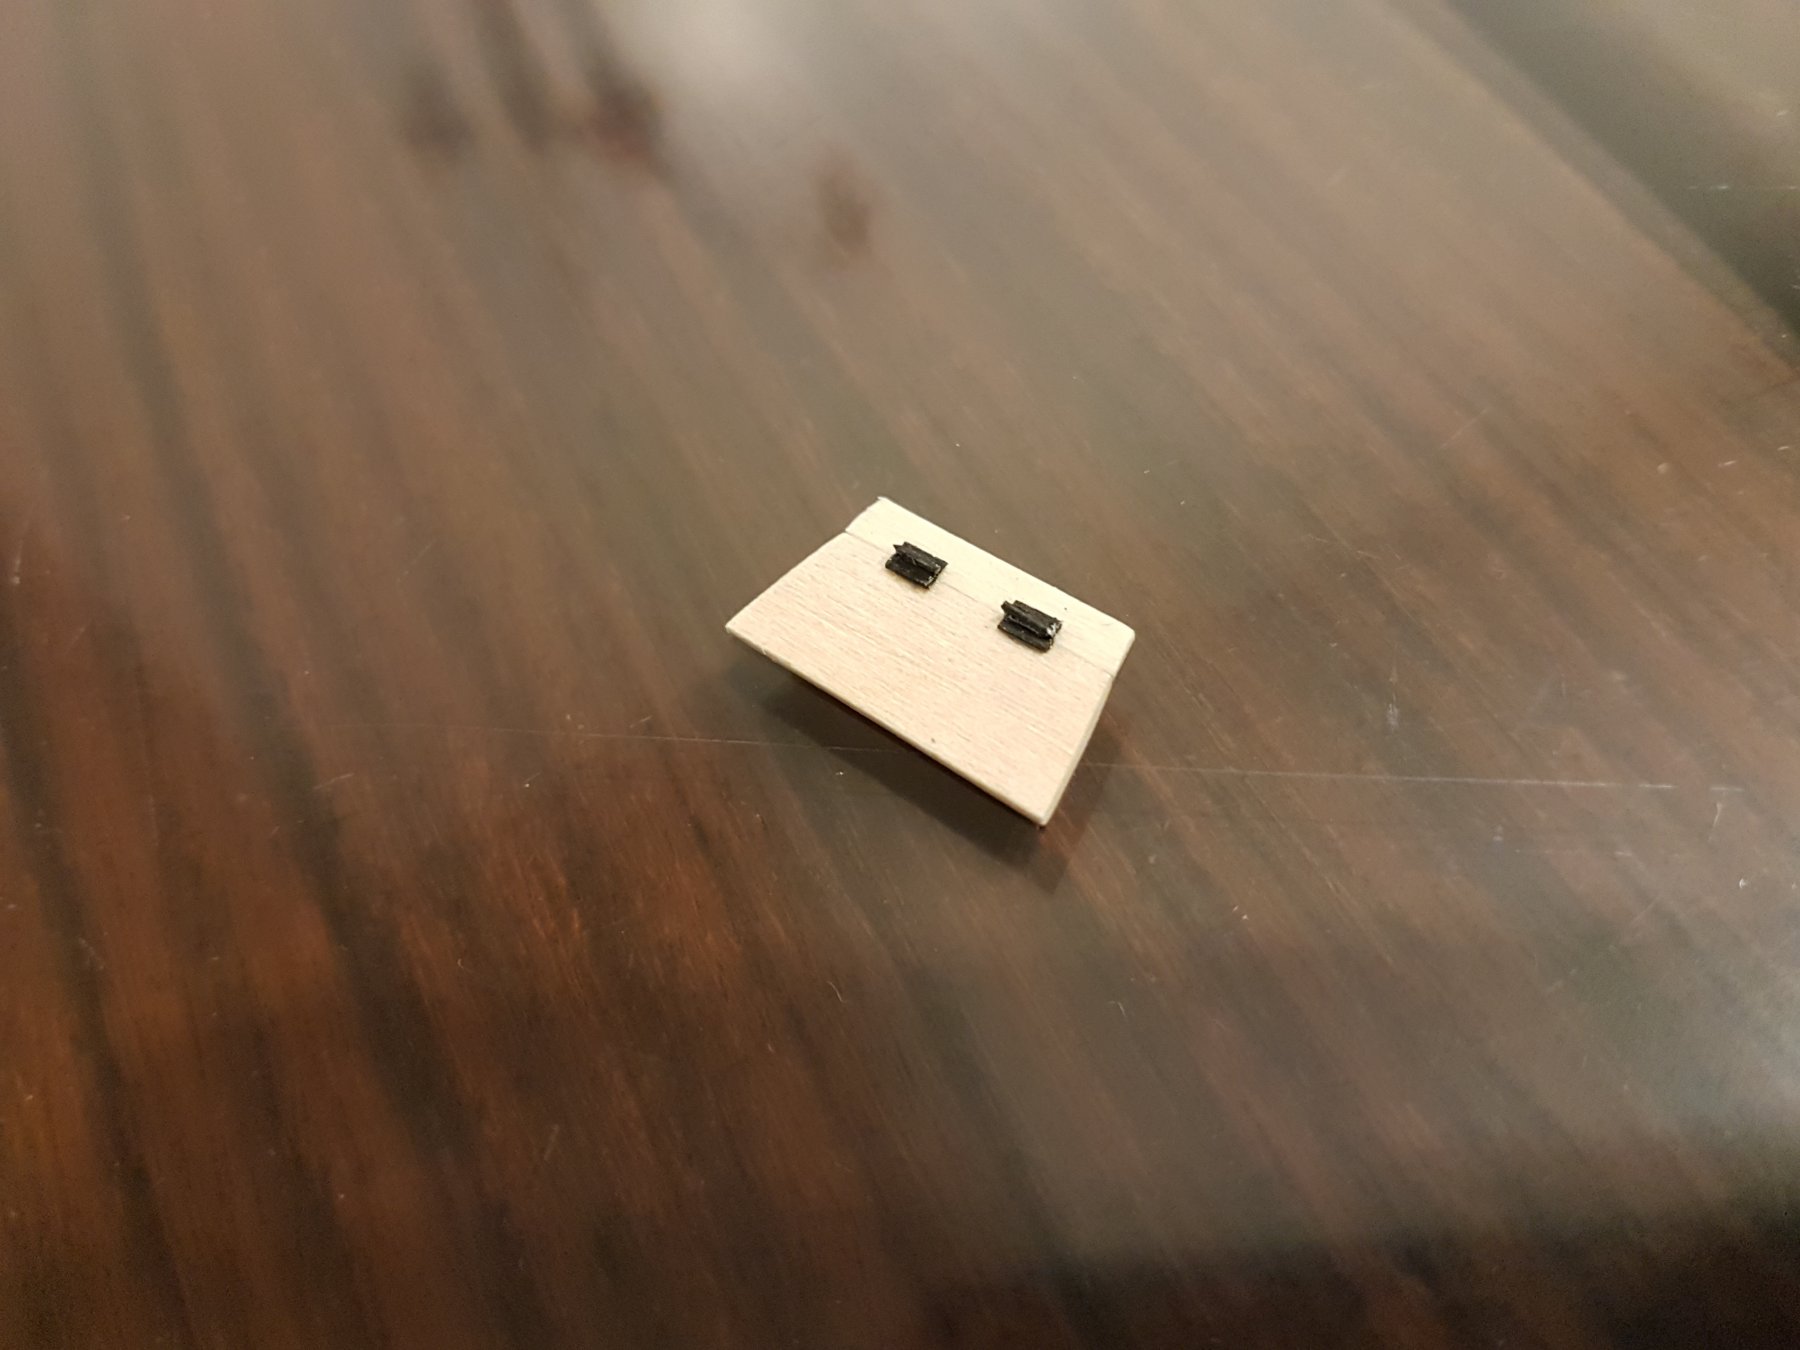
I fixed the caprail and glued on the knee. I also put in the mast bracket and installed the belay pins. Next I had to problem solve the dilemma of the windlass. I couldn't figure out a way to make perfect square holes, so I just drilled the the approximate size and cut the corners out with an Xacto knife. Had some trouble installing it but was finally able to do it.

-
I completed the locker hinges and moved onto the knees. That is when I realized that my cap rail is not the correct shape for the knee so I had to do some surgery to repair it.

- JpR62, Fernando E, Cathead and 2 others
-
5
-
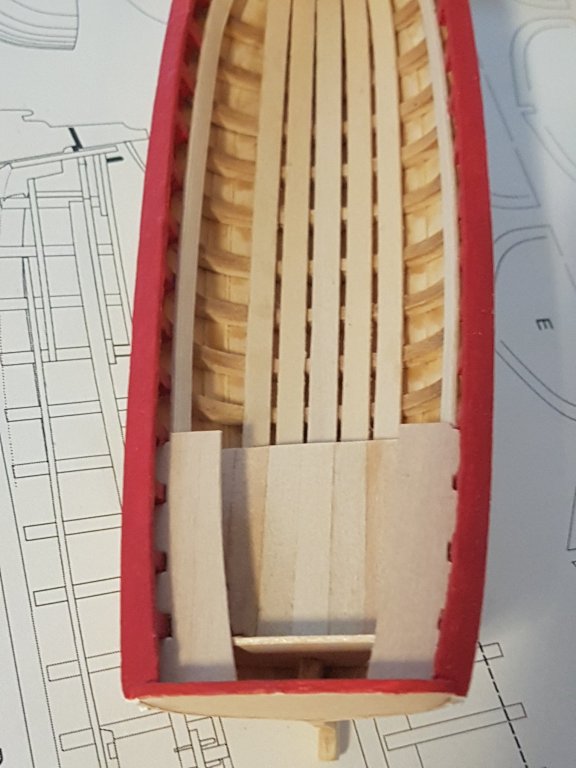
Redoing the thwarts didn't take too long and I moved onto working on the seats and the locker. It took some extra time to make sure it fit the boat appropriately with no extra gaps and it was worth it.
Eden
- Tigersteve, Fernando E, JpR62 and 2 others
-
5
-
Thanks for such a quick response Steve! I felt it was too thin as well. It is good that I did not glue it on yet. I will work on redoing them. Thanks again!
Eden
- Ryland Craze and Tigersteve
-
2
-
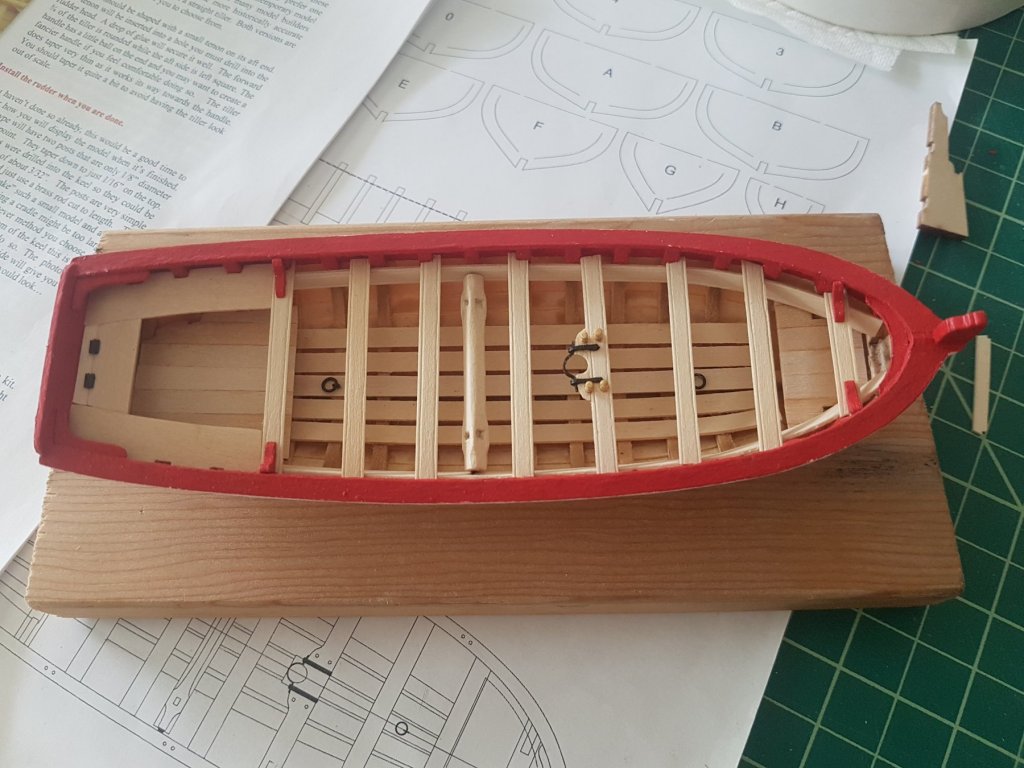
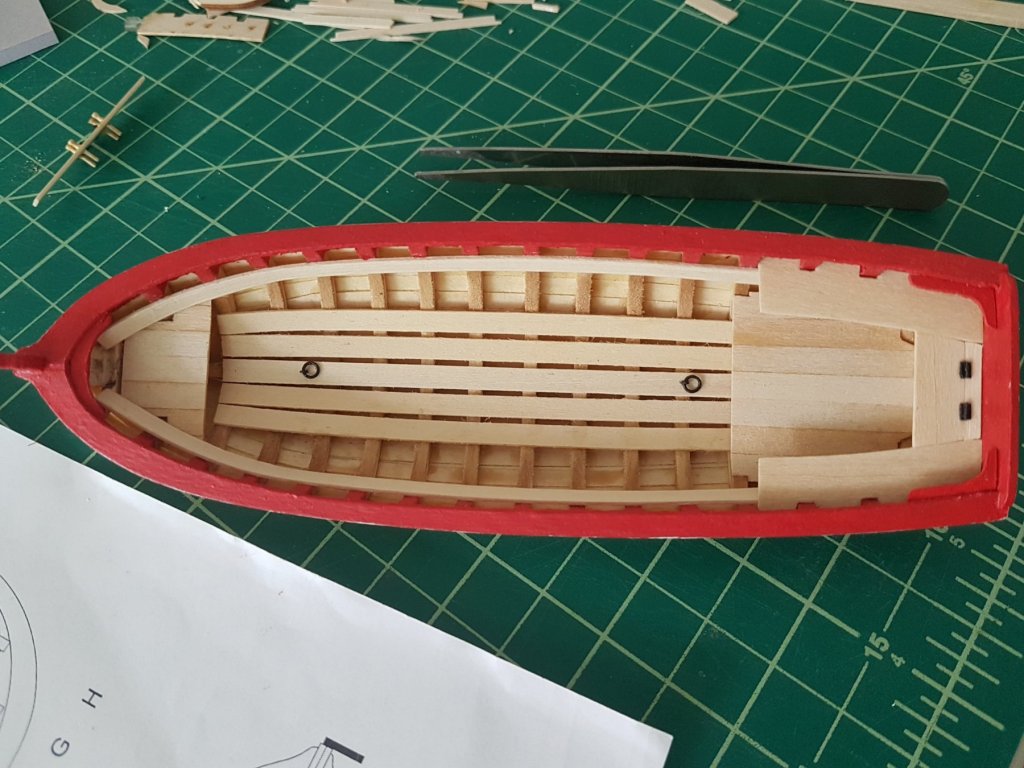
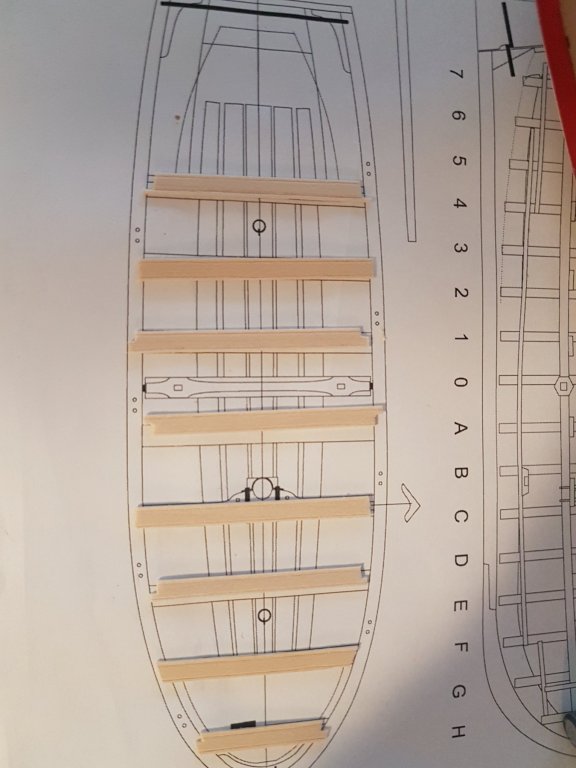
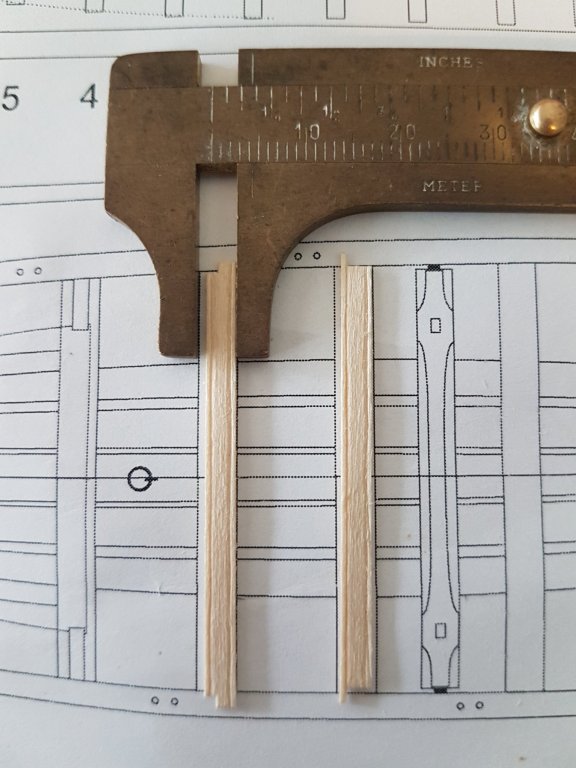
I've glued on the risers and finished working on the thwarts.
Did anyone else have an issue with the plans not scaled appropriately? I am trying to work on my thwart with mast, but the plans are scaled just a bit too big so looks like i'll have to eyeball a lot of measurements.
- tasmanian, KARAVOKIRIS, JpR62 and 1 other
-
4
-
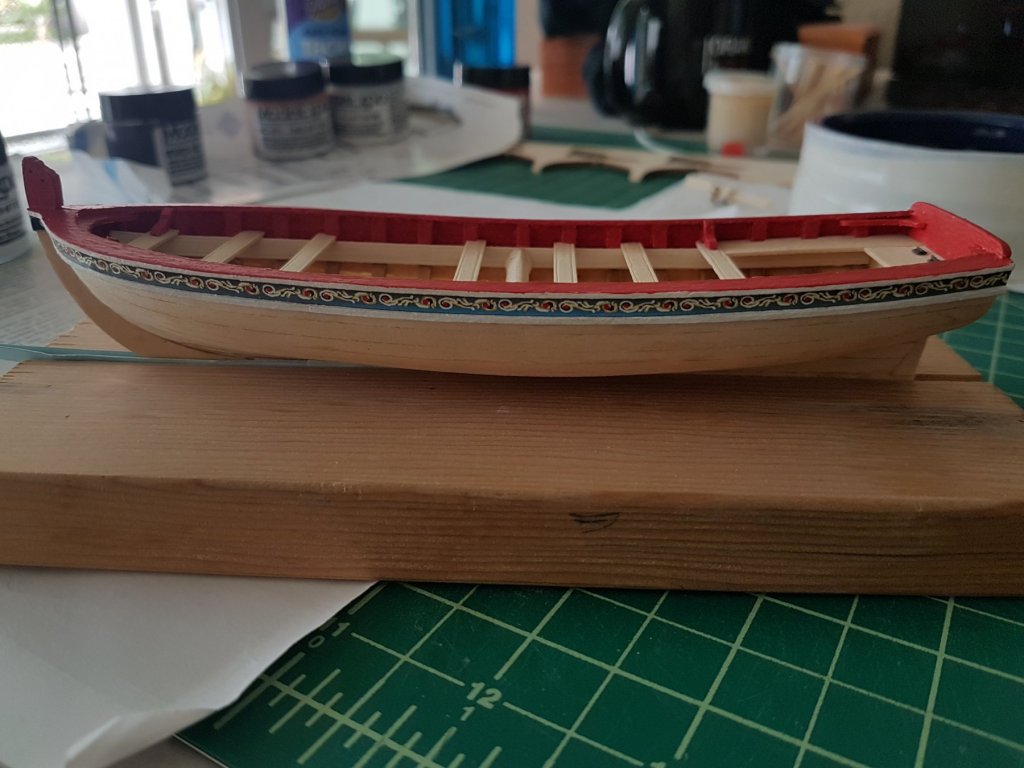
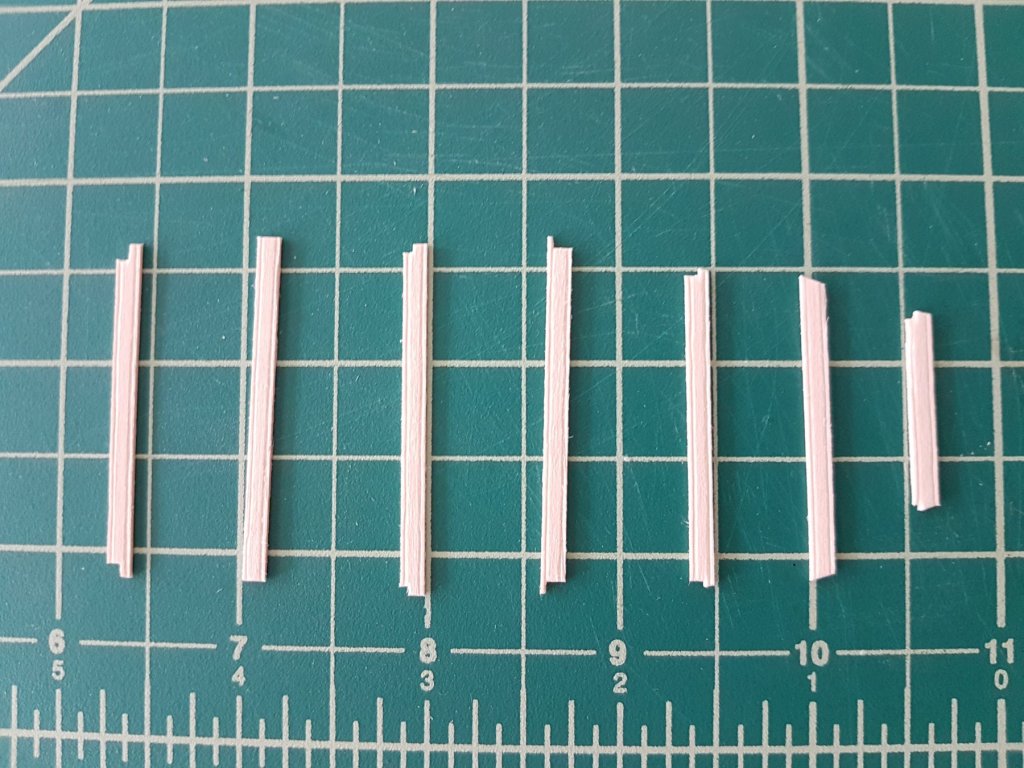
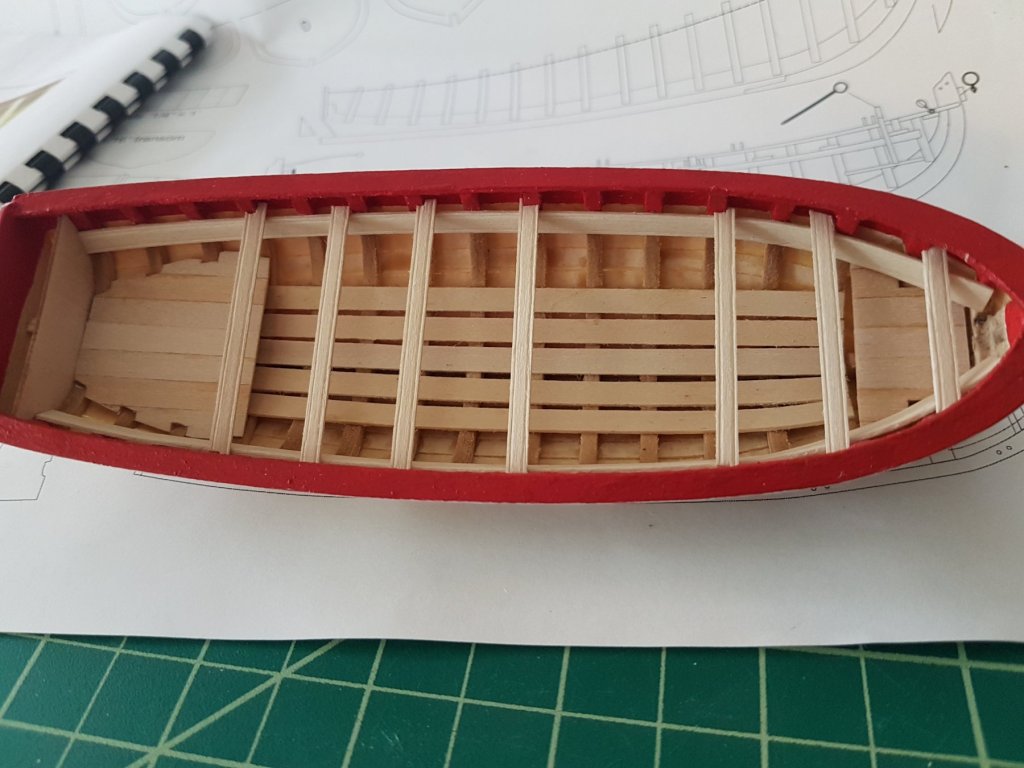
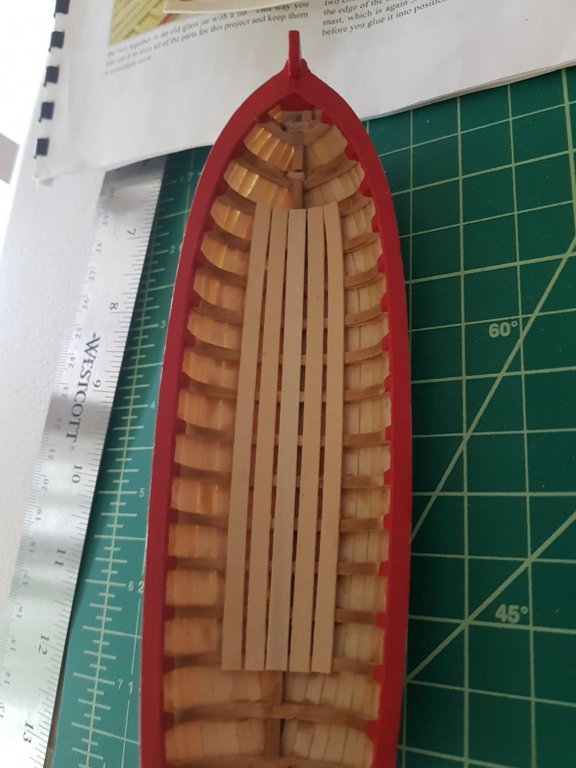
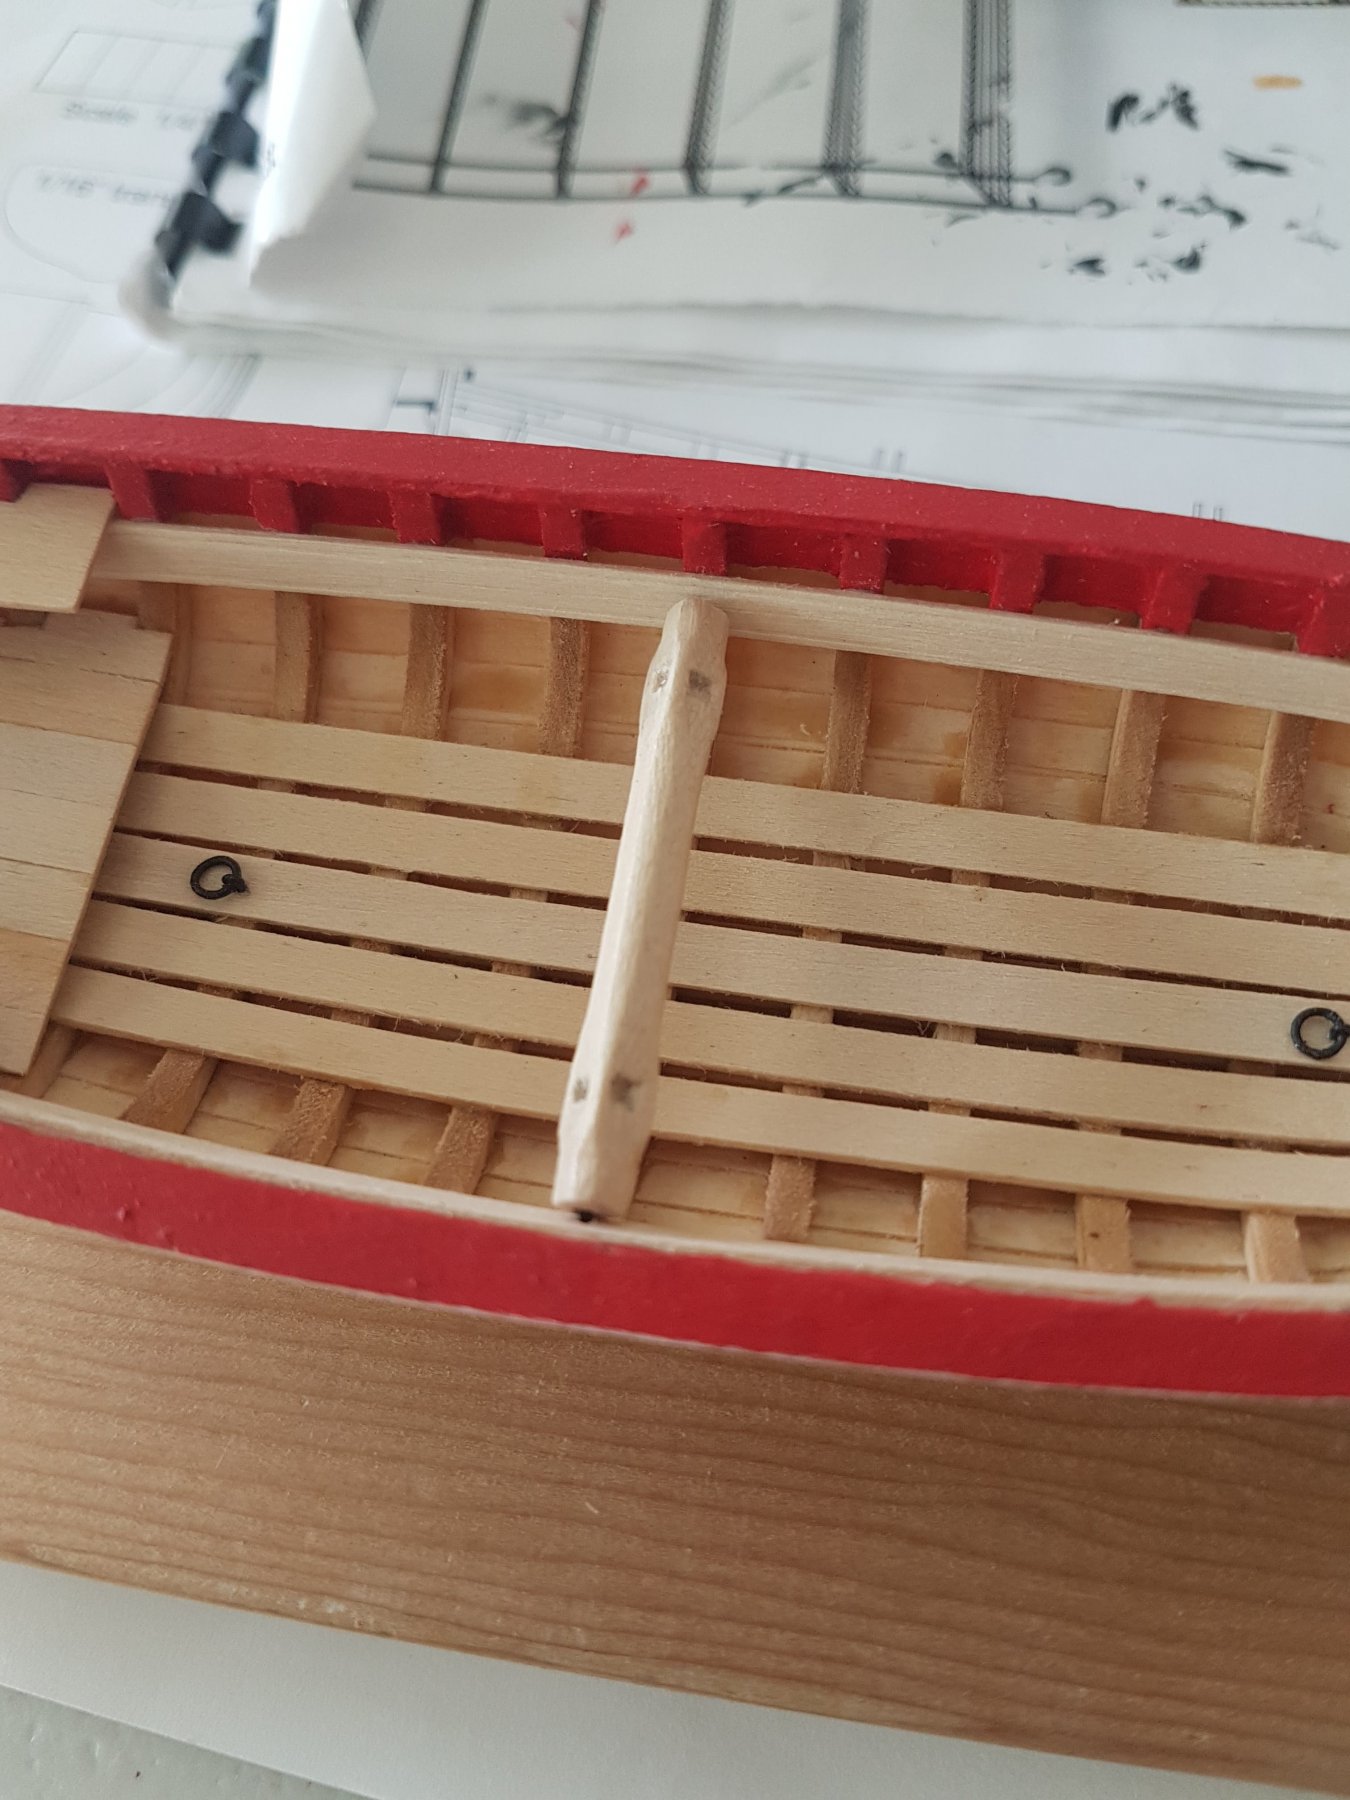
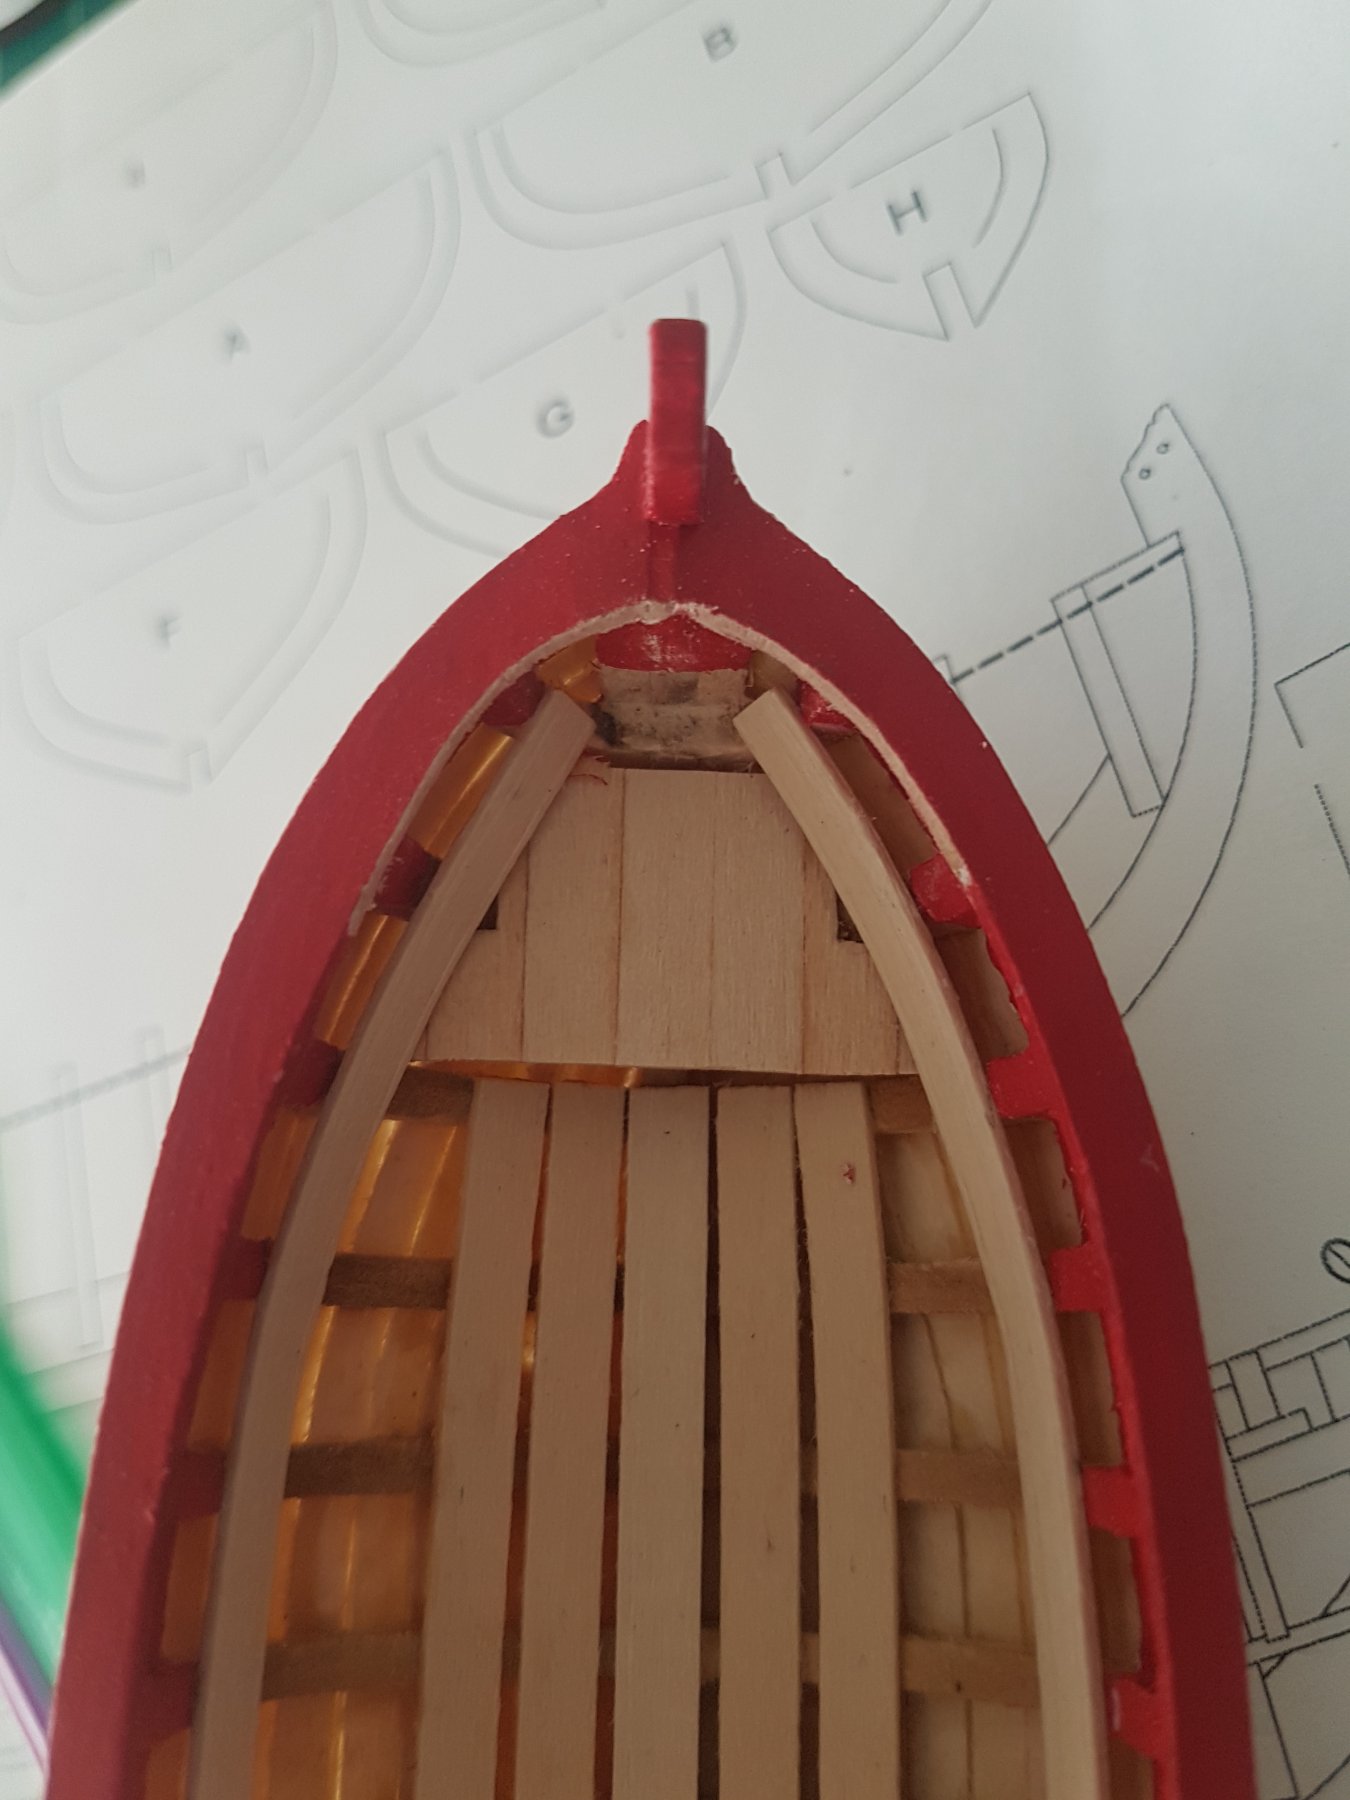
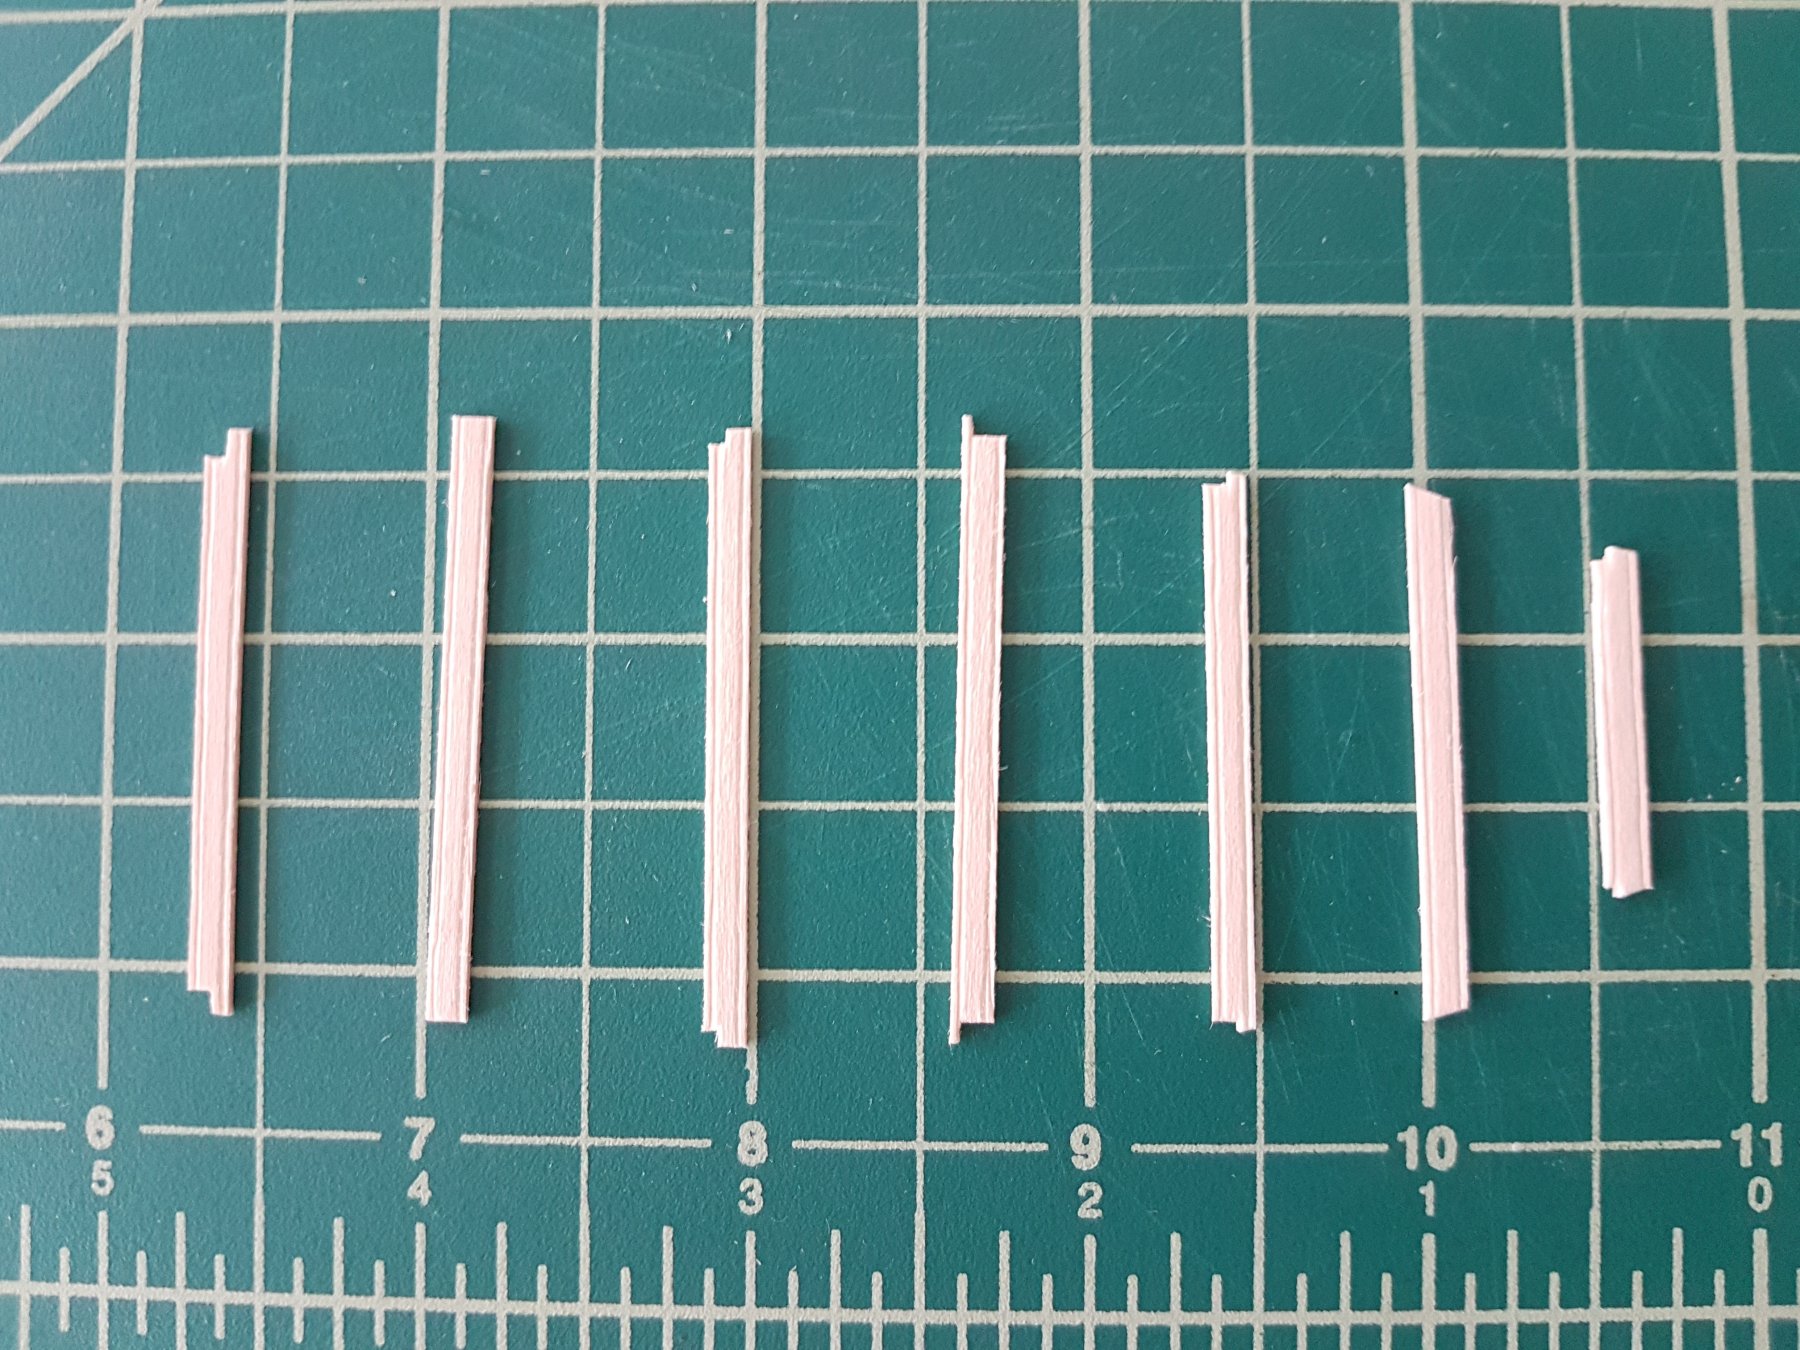
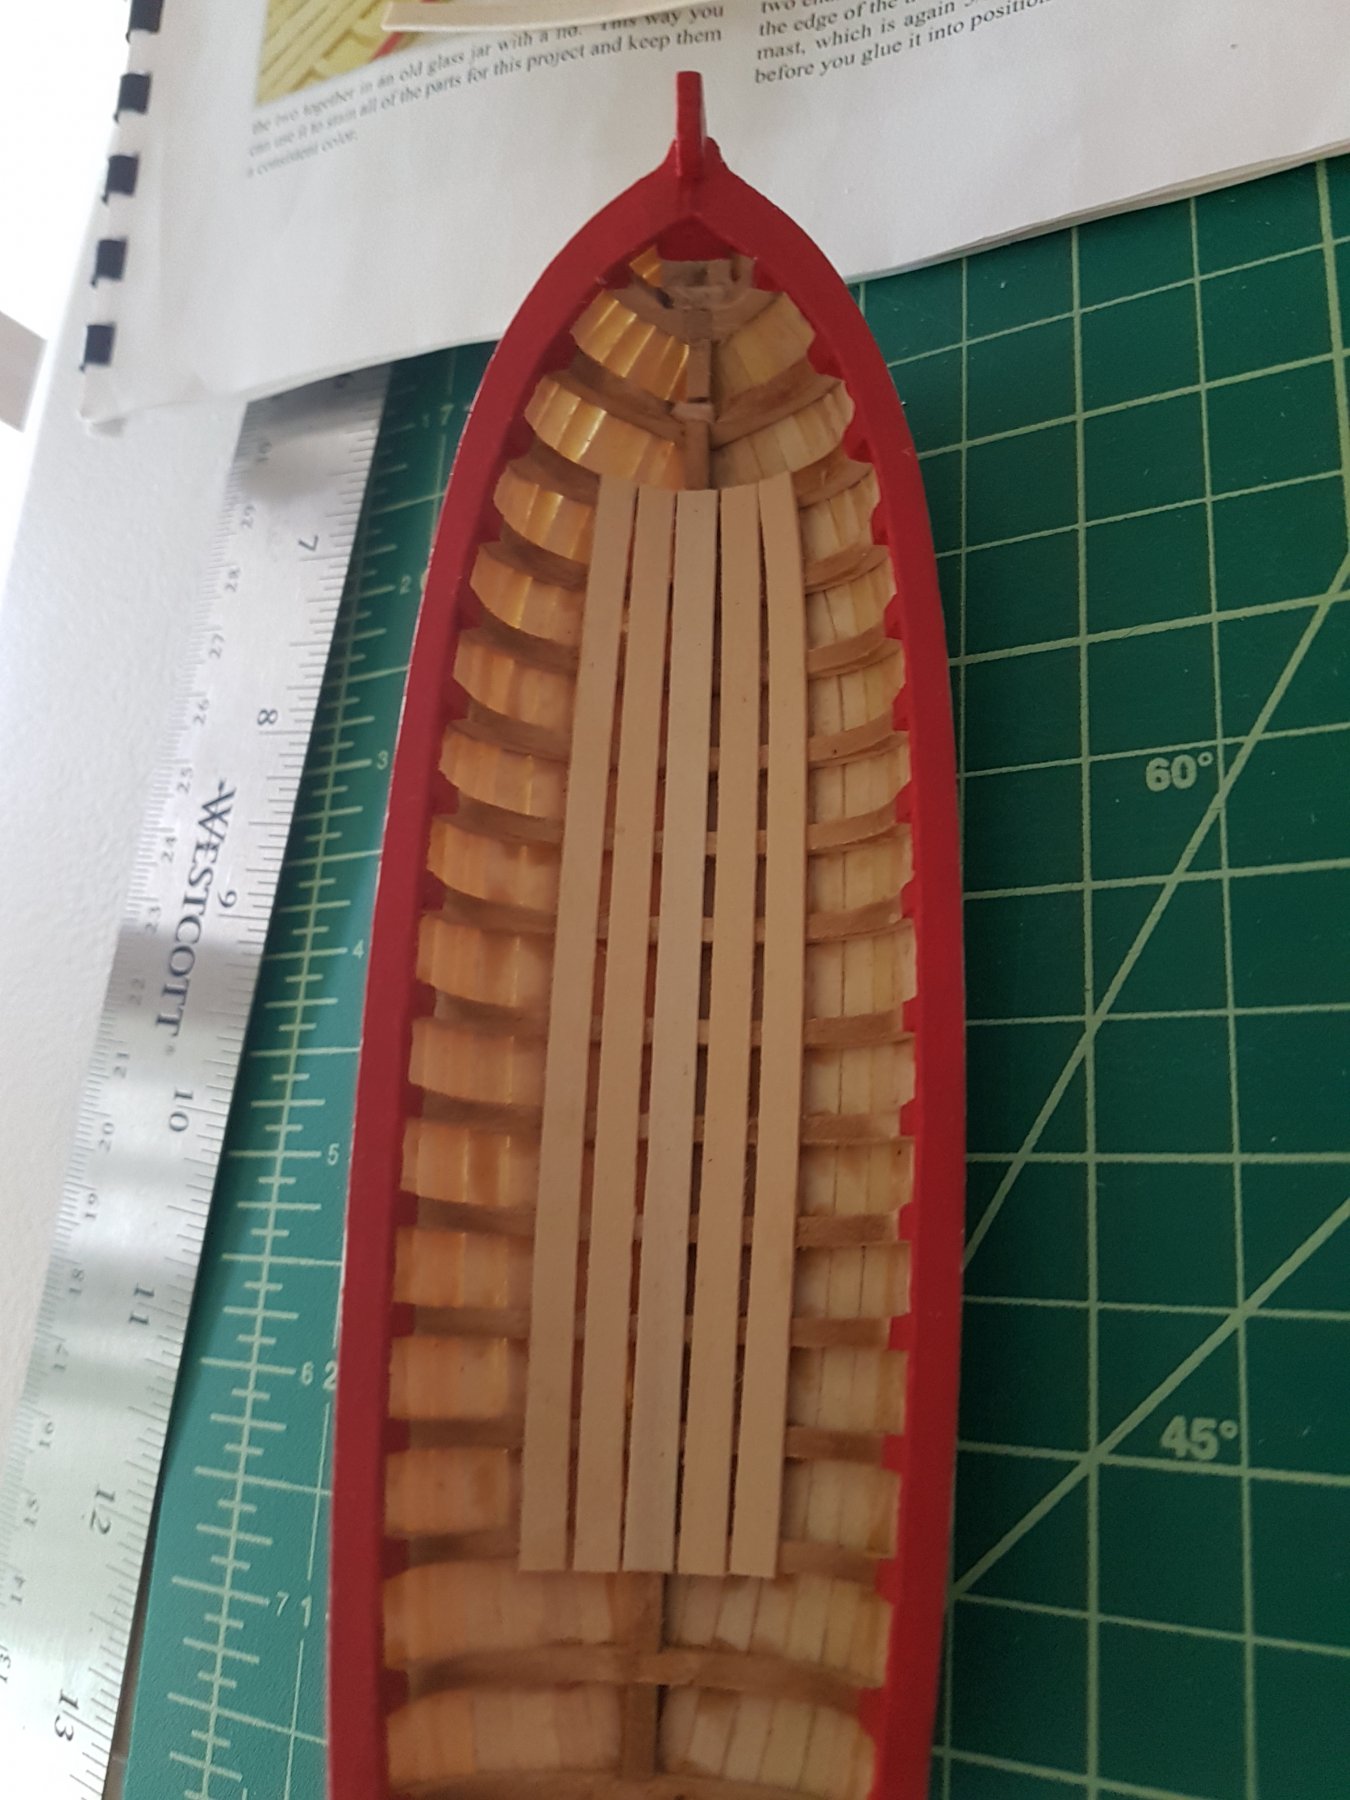
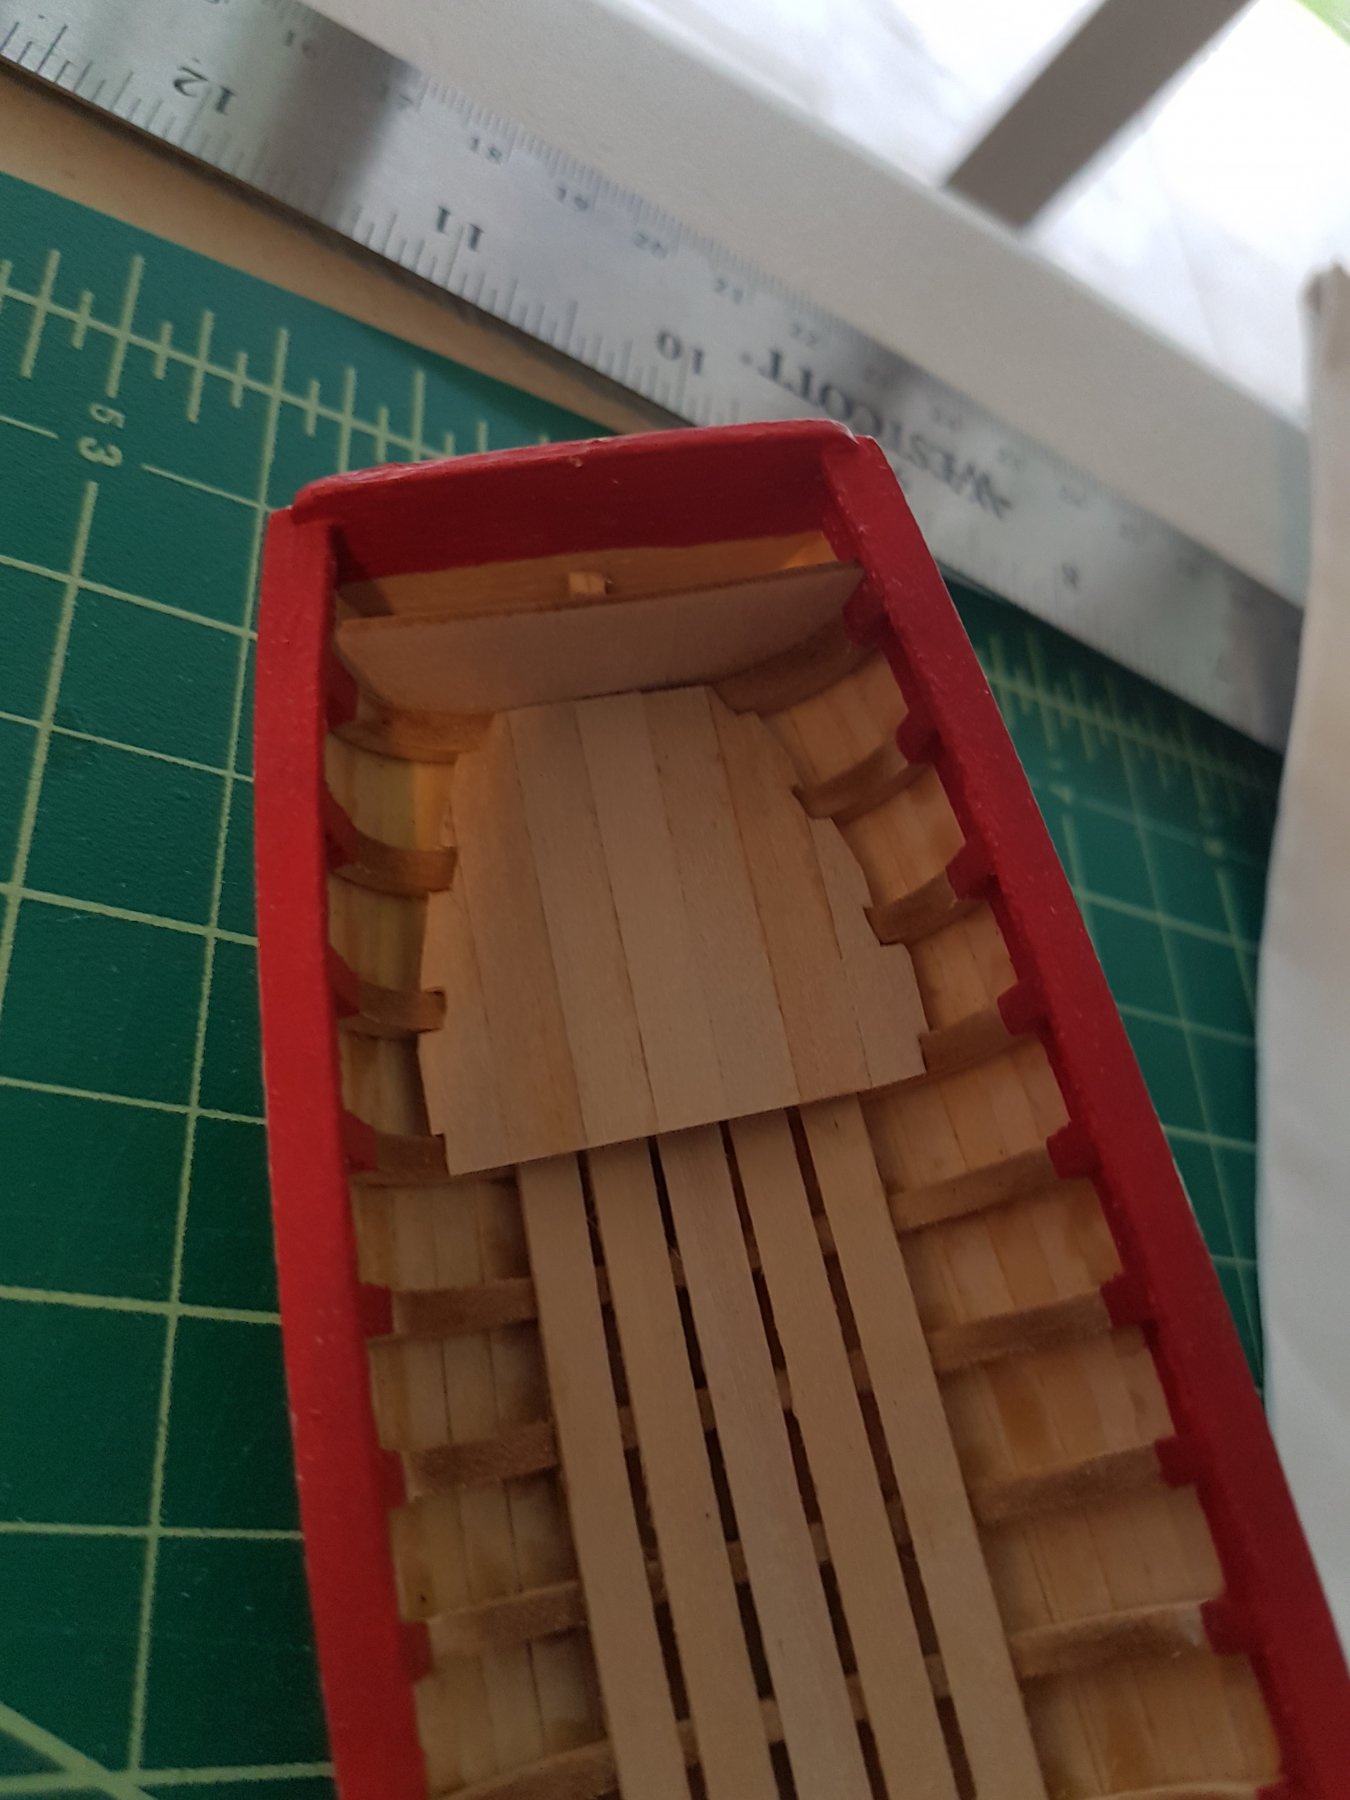
I have been away on several trips, but I am back with an update on my progress. I have put on my caprails and the molding as well. I've prepared the friezes and will wait to install them later to avoid damaging them. I've also put Polyurethane on my boat then painted. Then I continued onto the floorboards, and the 2 platforms. I also bend the risers but have yet to install them.


- JpR62, CiscoH, Fernando E and 7 others
-
10
-
Thank you Derek. I will try and fill in the gaps between the planks. I am not satisfied with the smoothness of the hull and will work on that next. 👍
-
6 hours ago, Tigersteve said:
Thank you!
-
I need some help. I've been reading up on multiple ship building logs to make sure I avoid mistakes. I see that the friezes provided in the kit is not the right size and there is a PDF somewhere of the corrected one? Could someone provide me with the link to it?


18th Century Longboat by mahjong25 - FINISHED - Model Shipways - 1:48
in - Kit build logs for subjects built from 1751 - 1800
Posted
I think I am finally done! Finished up the base and ordered the acrylic case. Everything sanded and covered with Danish Oil. What a fun project!