Jeff T
-
Posts
247 -
Joined
-
Last visited
Content Type
Profiles
Forums
Gallery
Events
Everything posted by Jeff T
-
There may be some difficulty with the link to the picture of the captain’s cabin of El Galeon Andalucia in my post from yesterday, so I am including it again: https://www.33-bordeaux.com/voiliers-vieux-greements/el-galeon-espagne/el-galeon-bordeaux-04.htm
-
Thanks, Michael! I also took the 4 hour tour a few years ago. We actually did go out onto open water after we left the bay and they turned off the motor and used only the sails at that point, but the ship did roll a bit on the waves. I can see where it may have been difficult — I don’t get seasick easily, but I remember that my wife had a hard time with it. But the experience was marvelous — as we came toward Point Loma on the way back under full sail, I imagined how it must have looked to Cabrillo almost 500 years ago as he sailed into what was later renamed San Diego for the first time in the original ship.
-
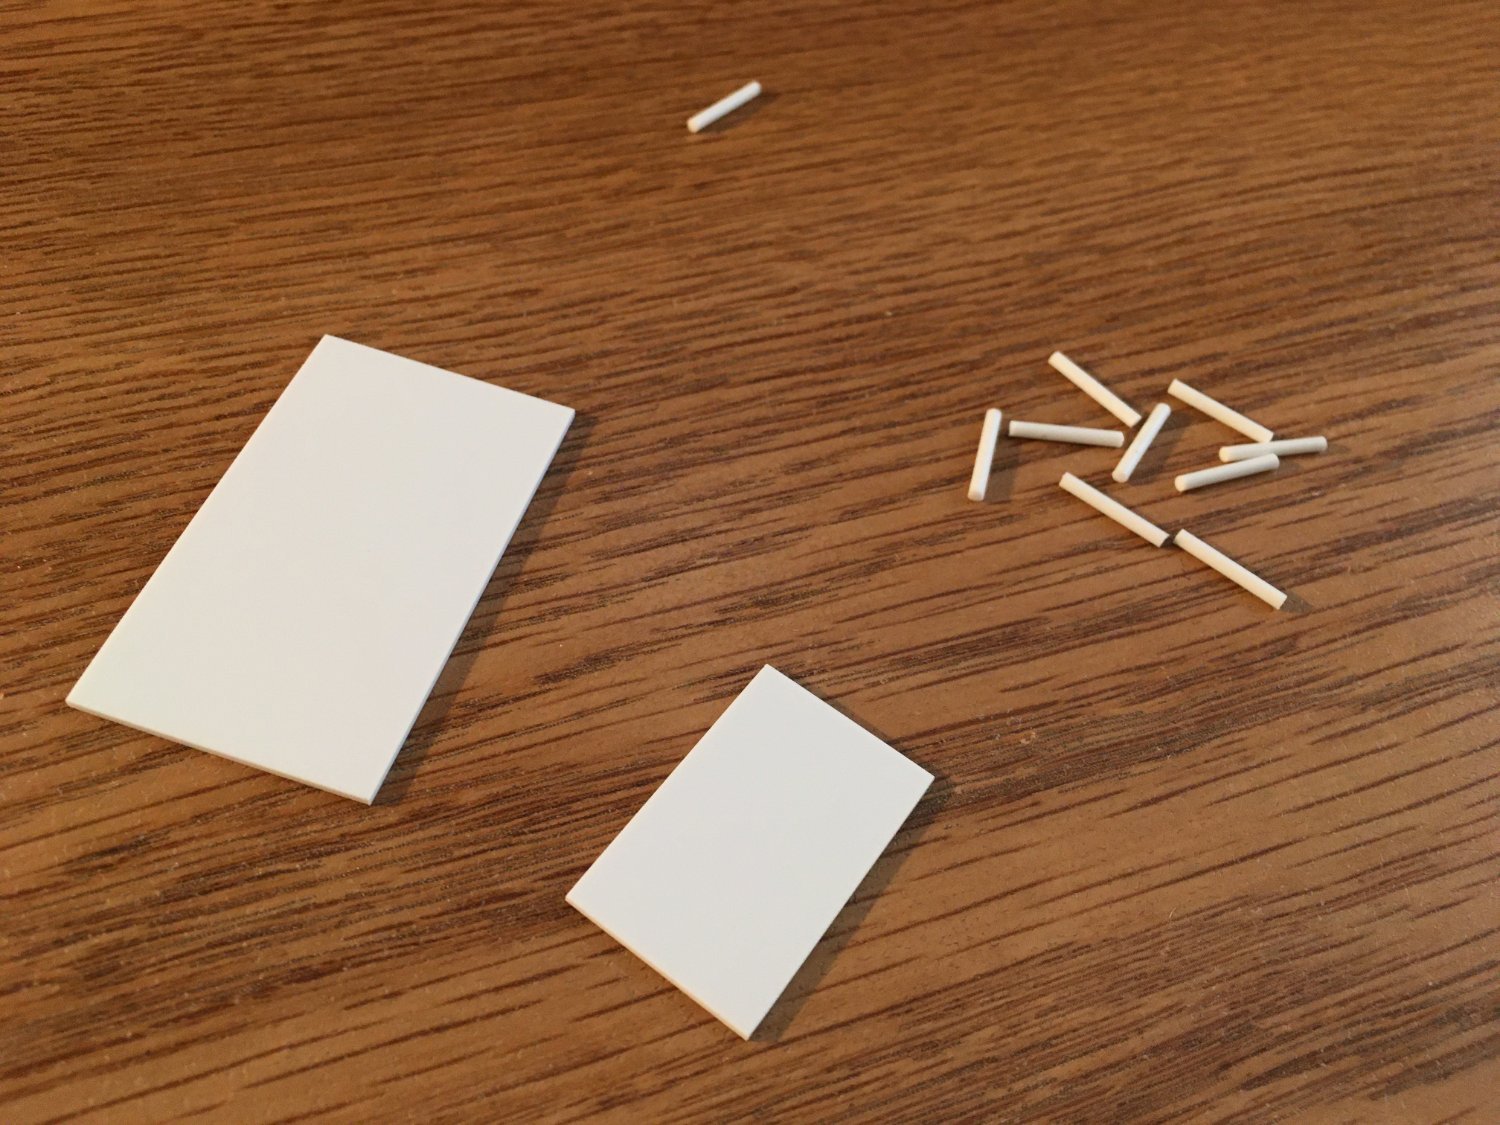
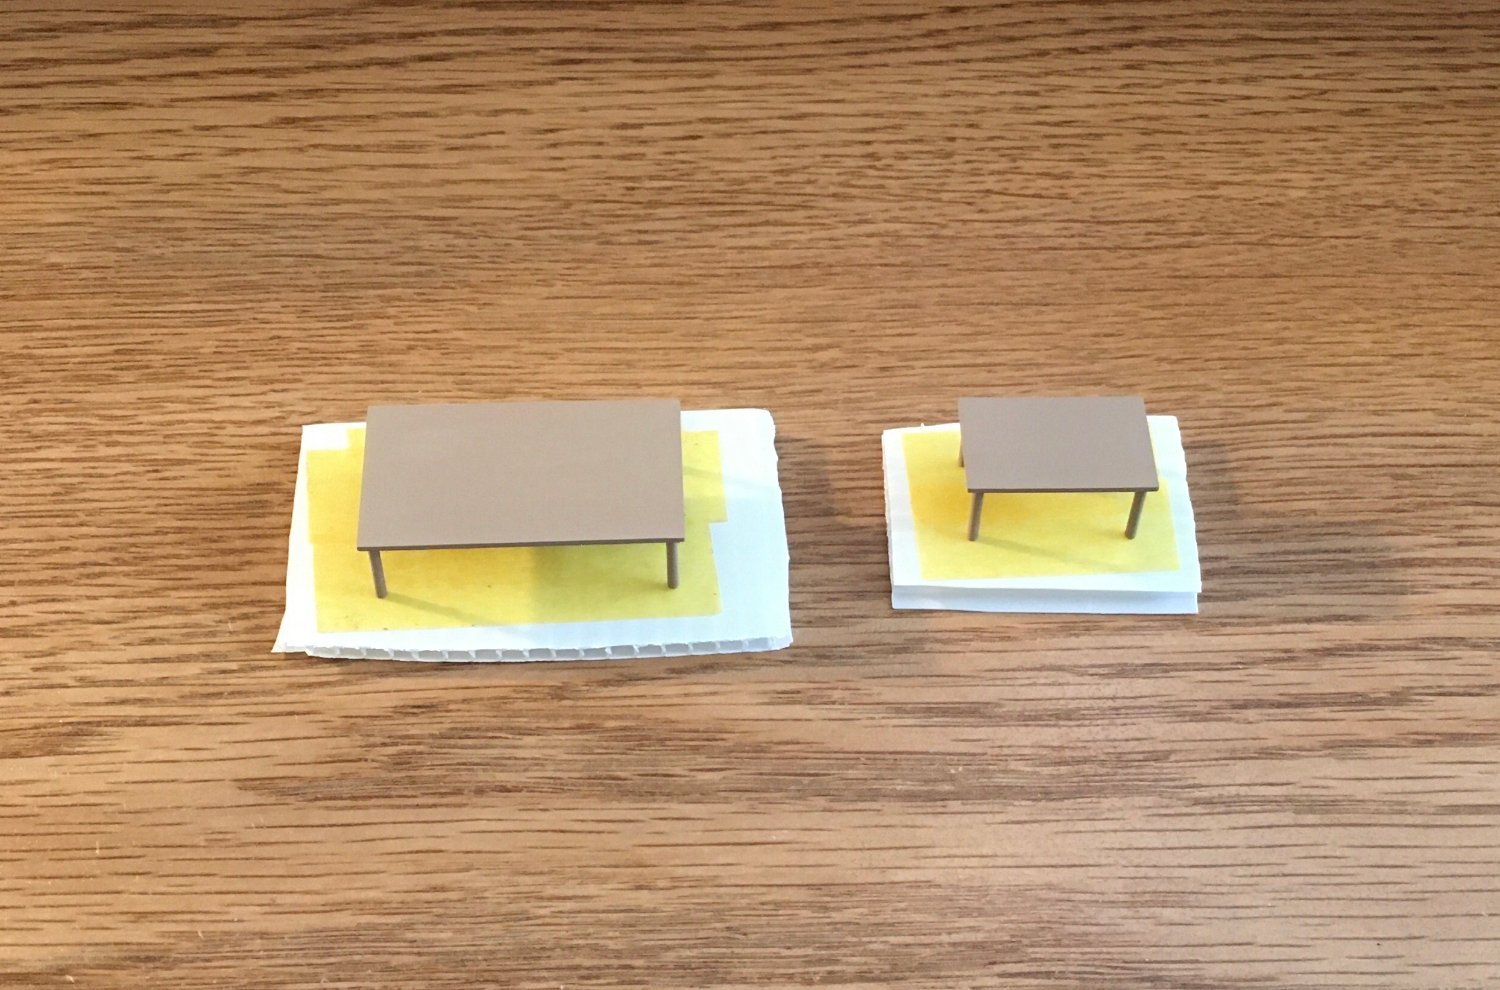
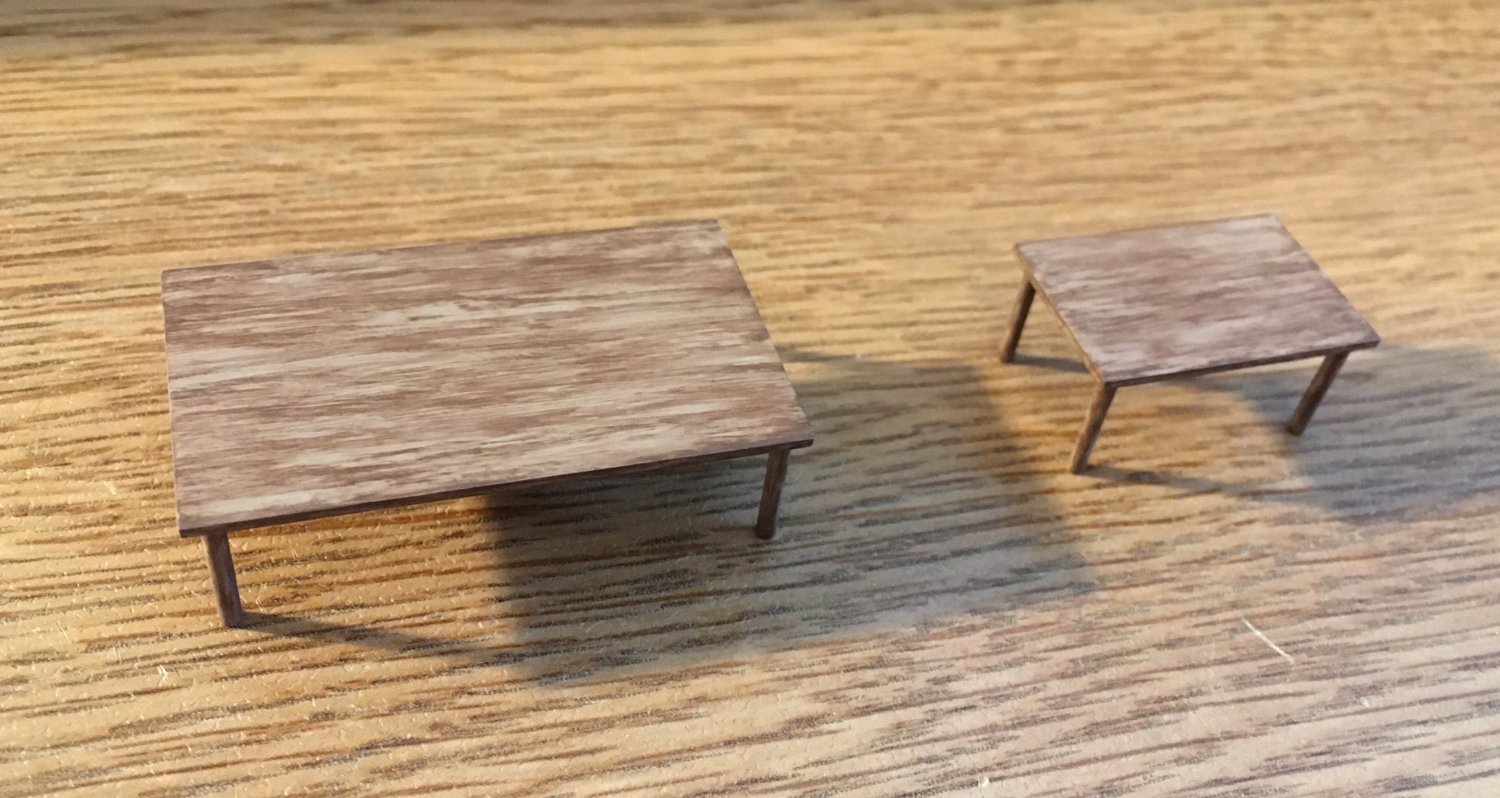
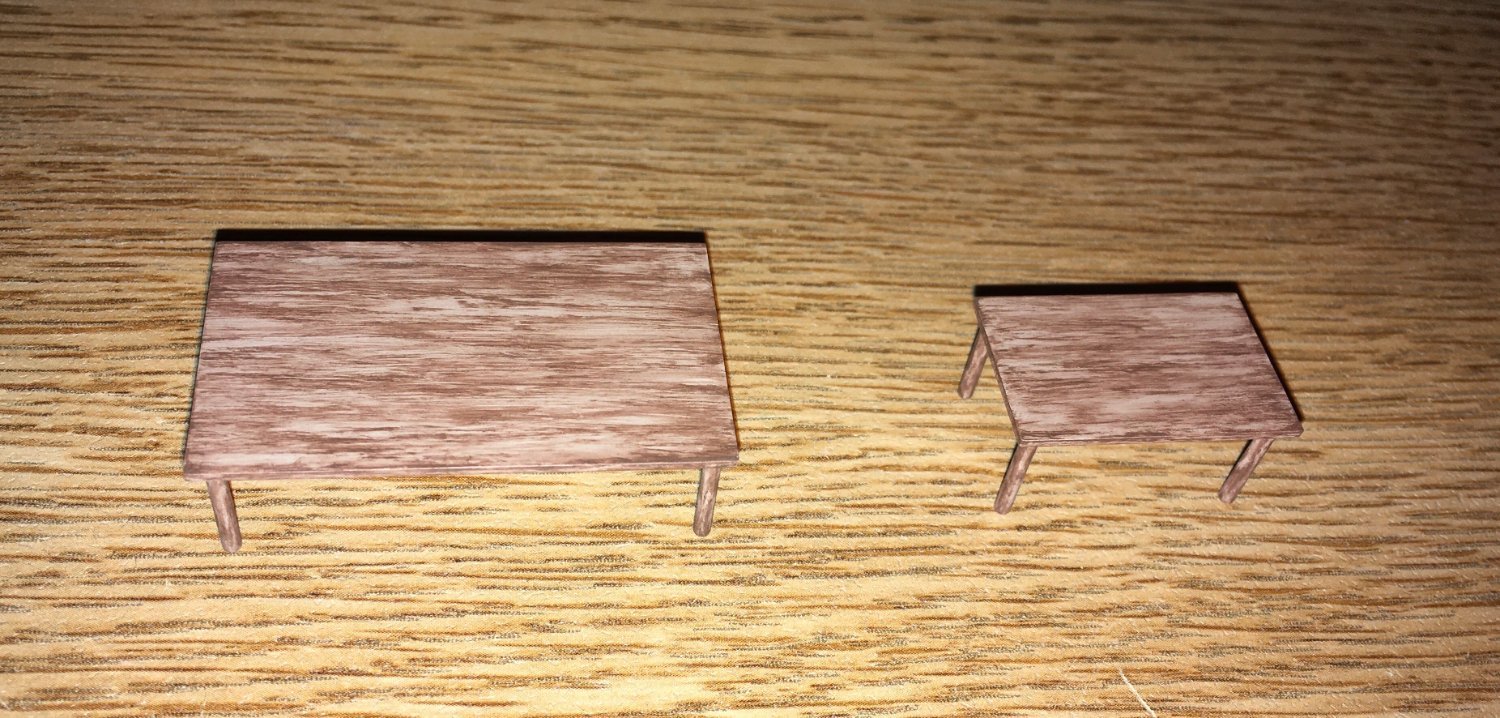
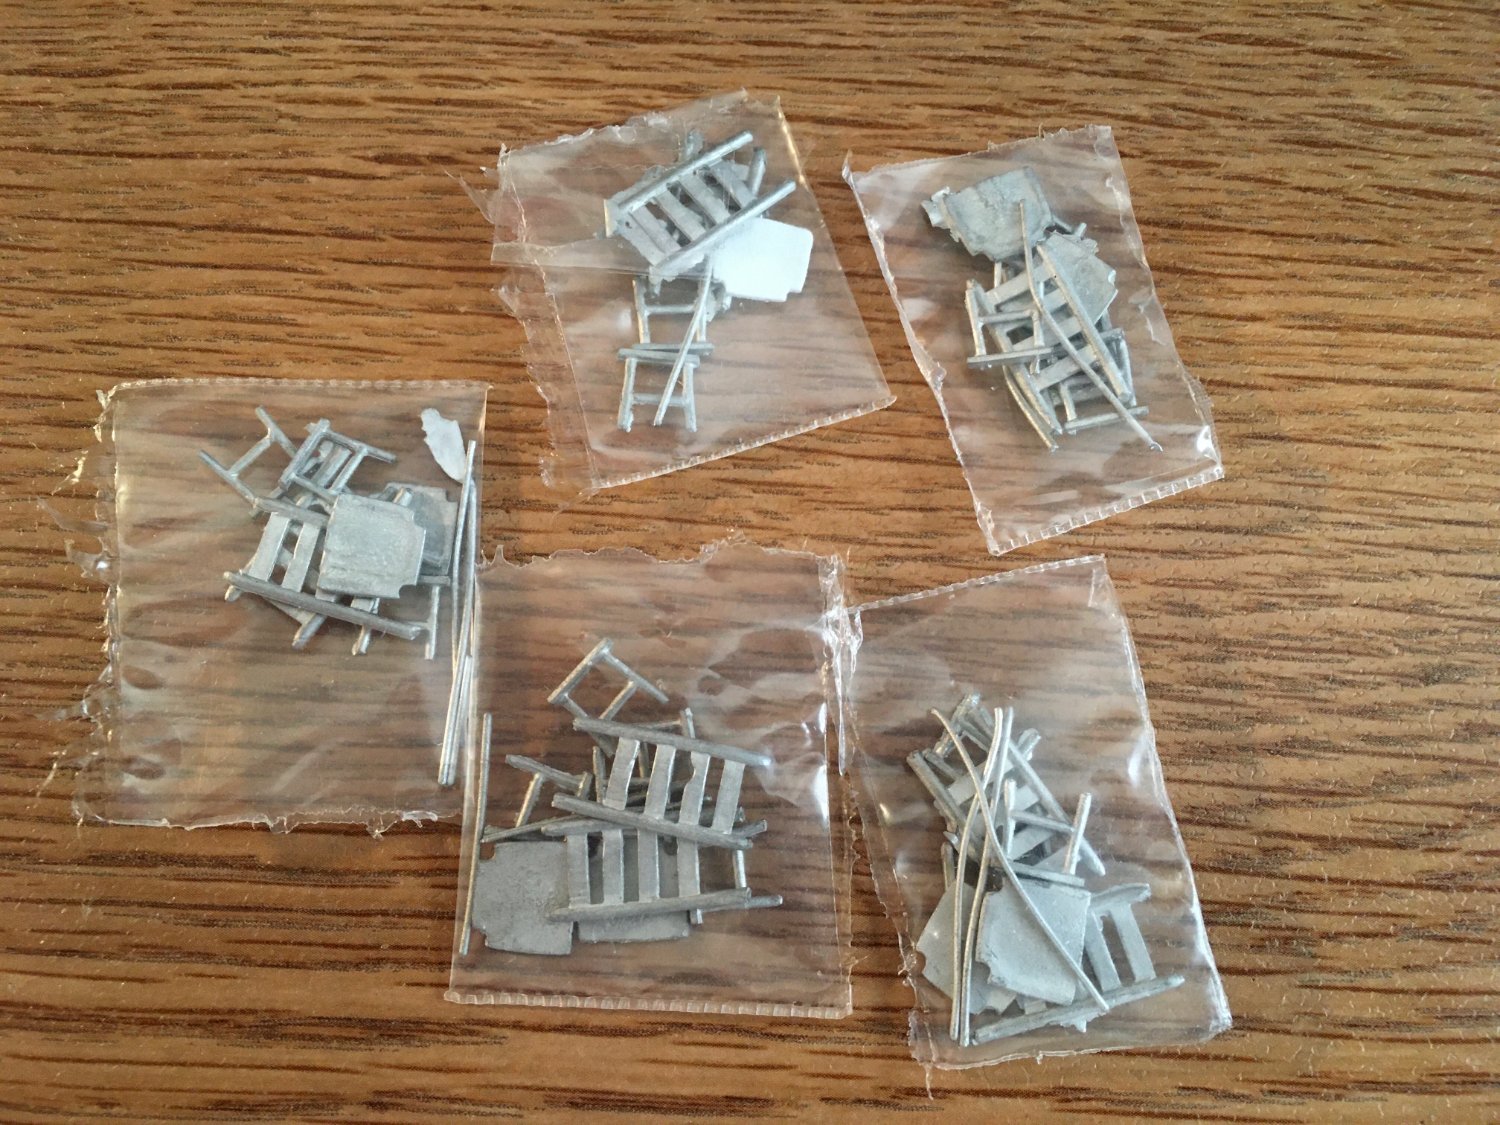
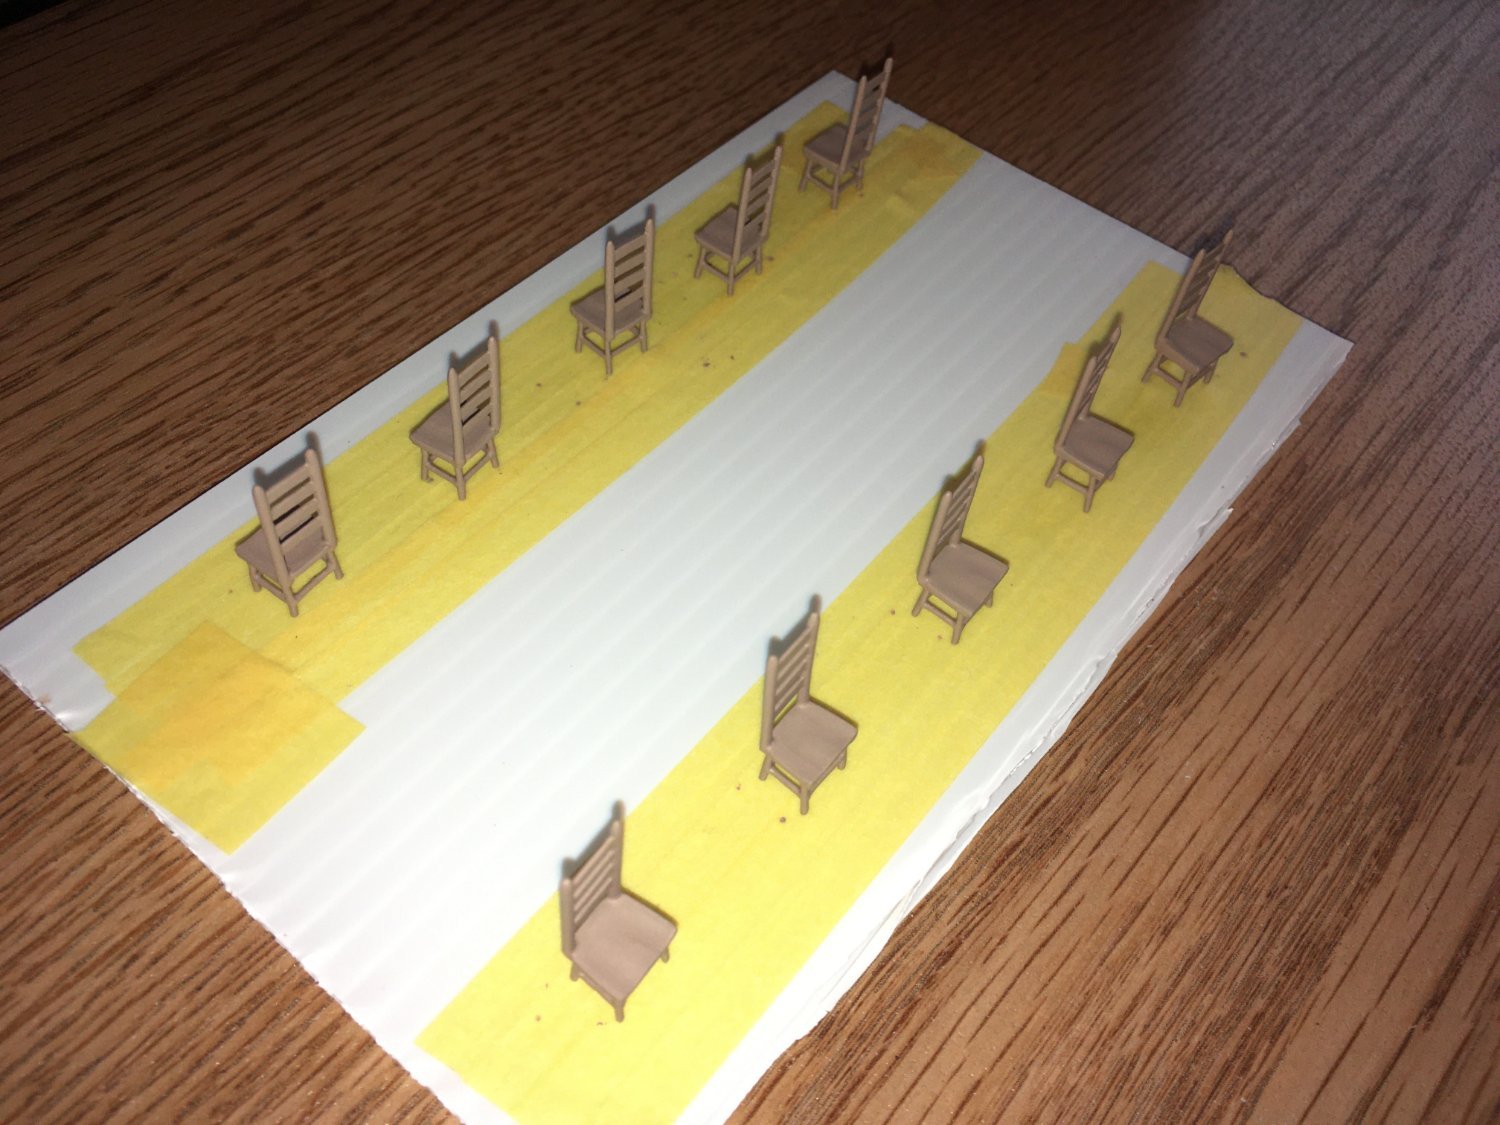
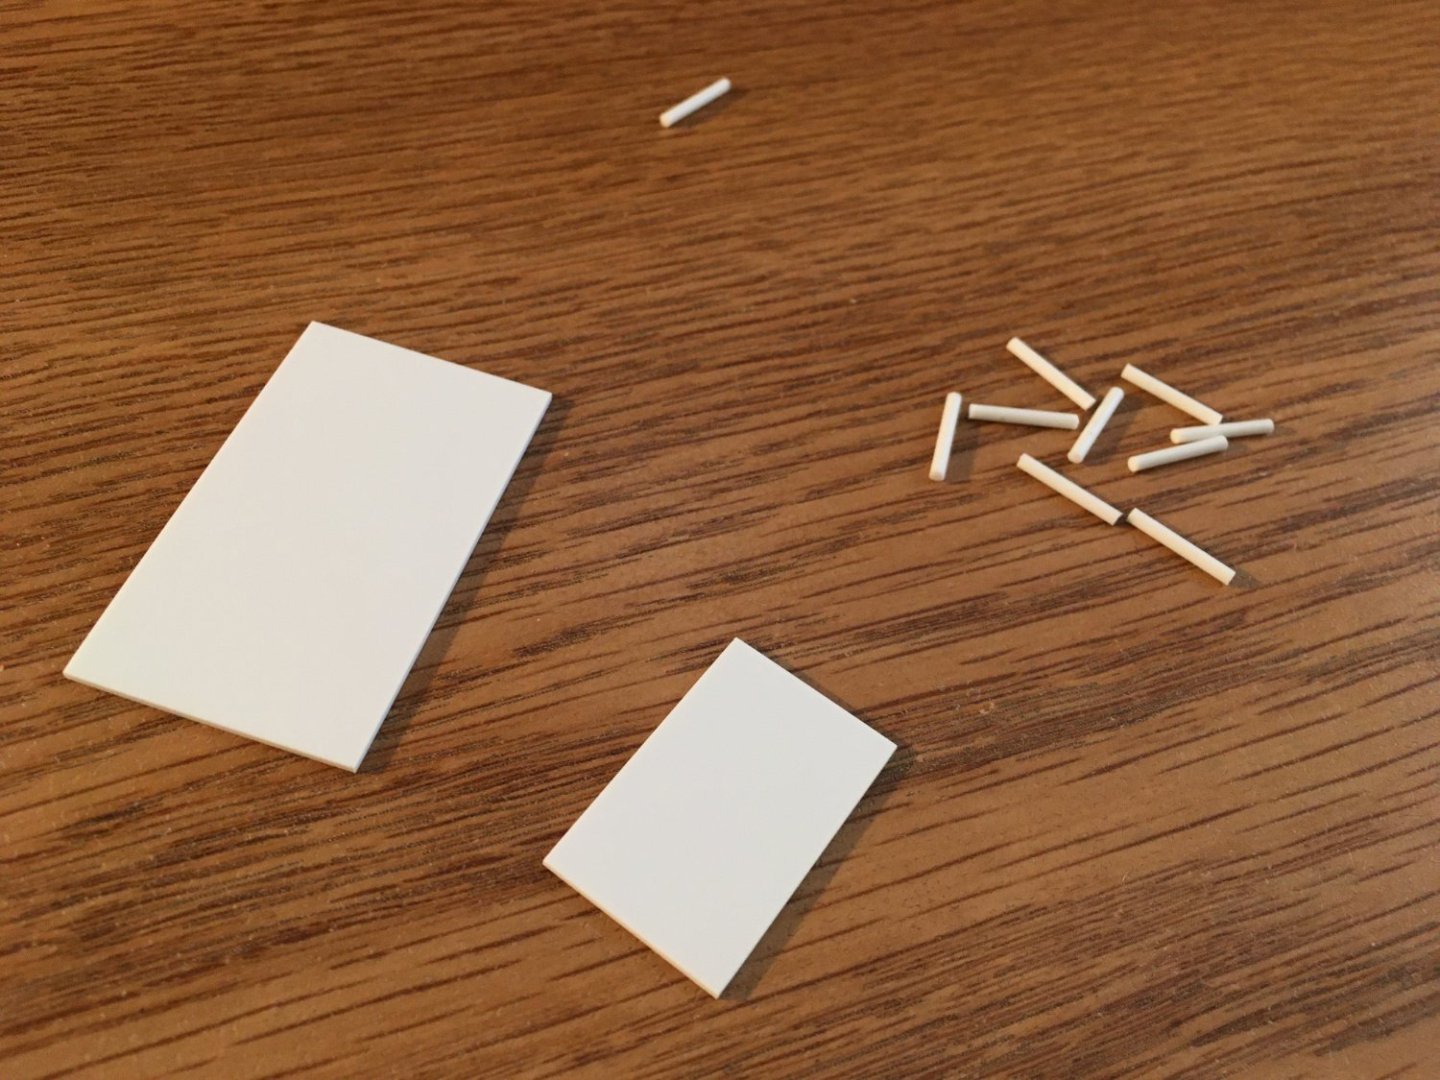
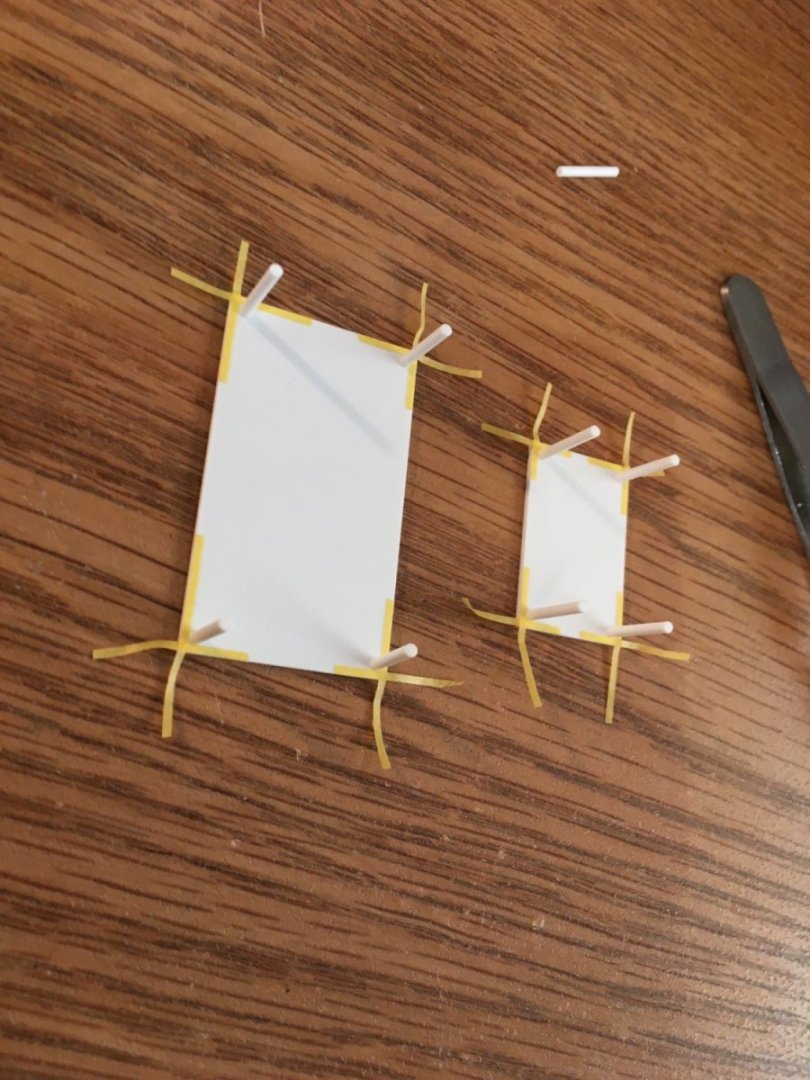
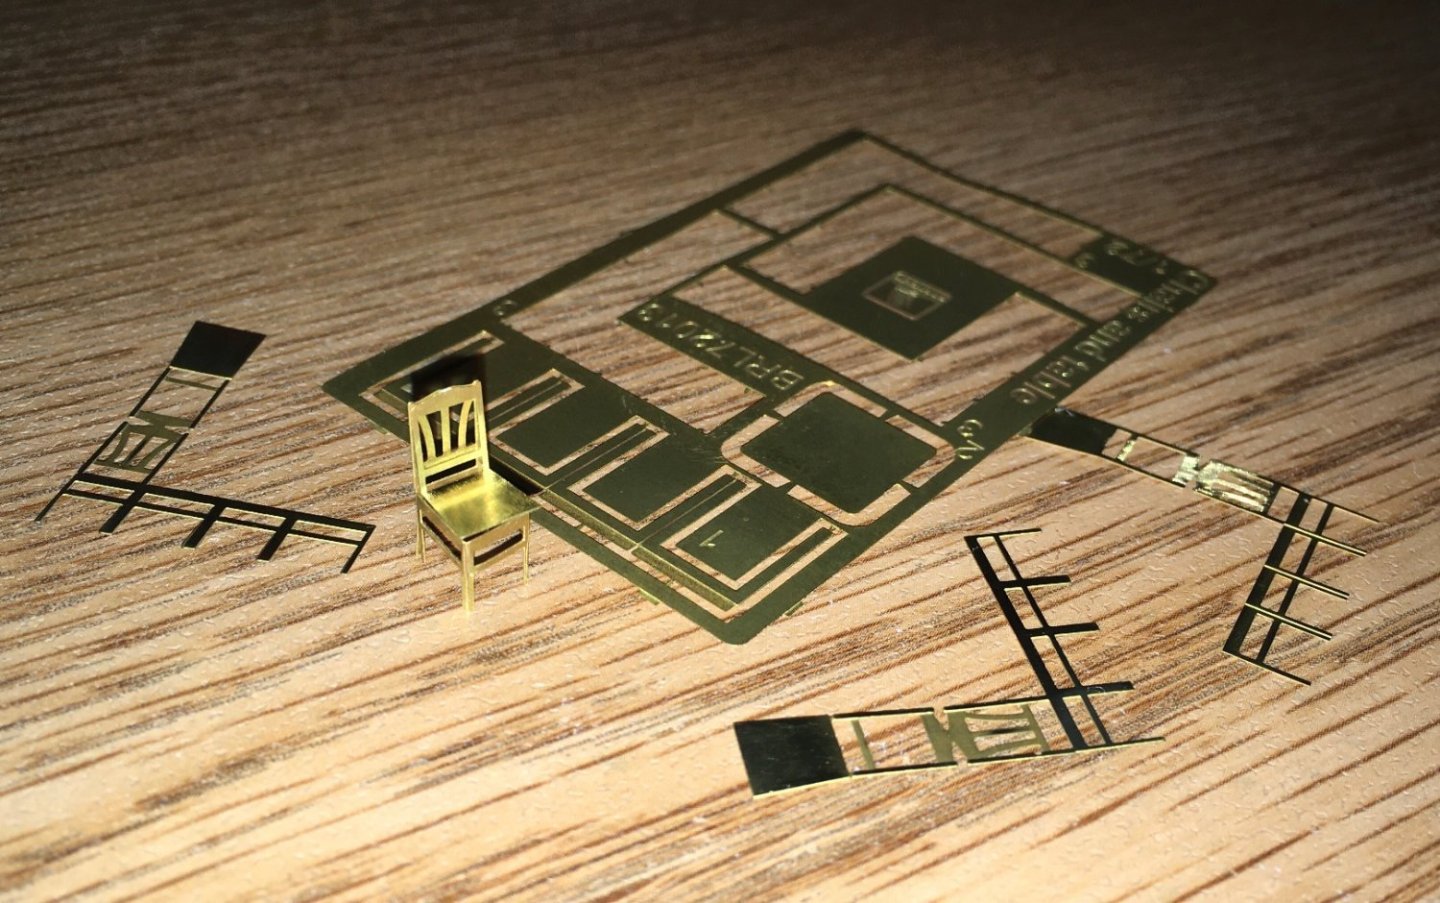
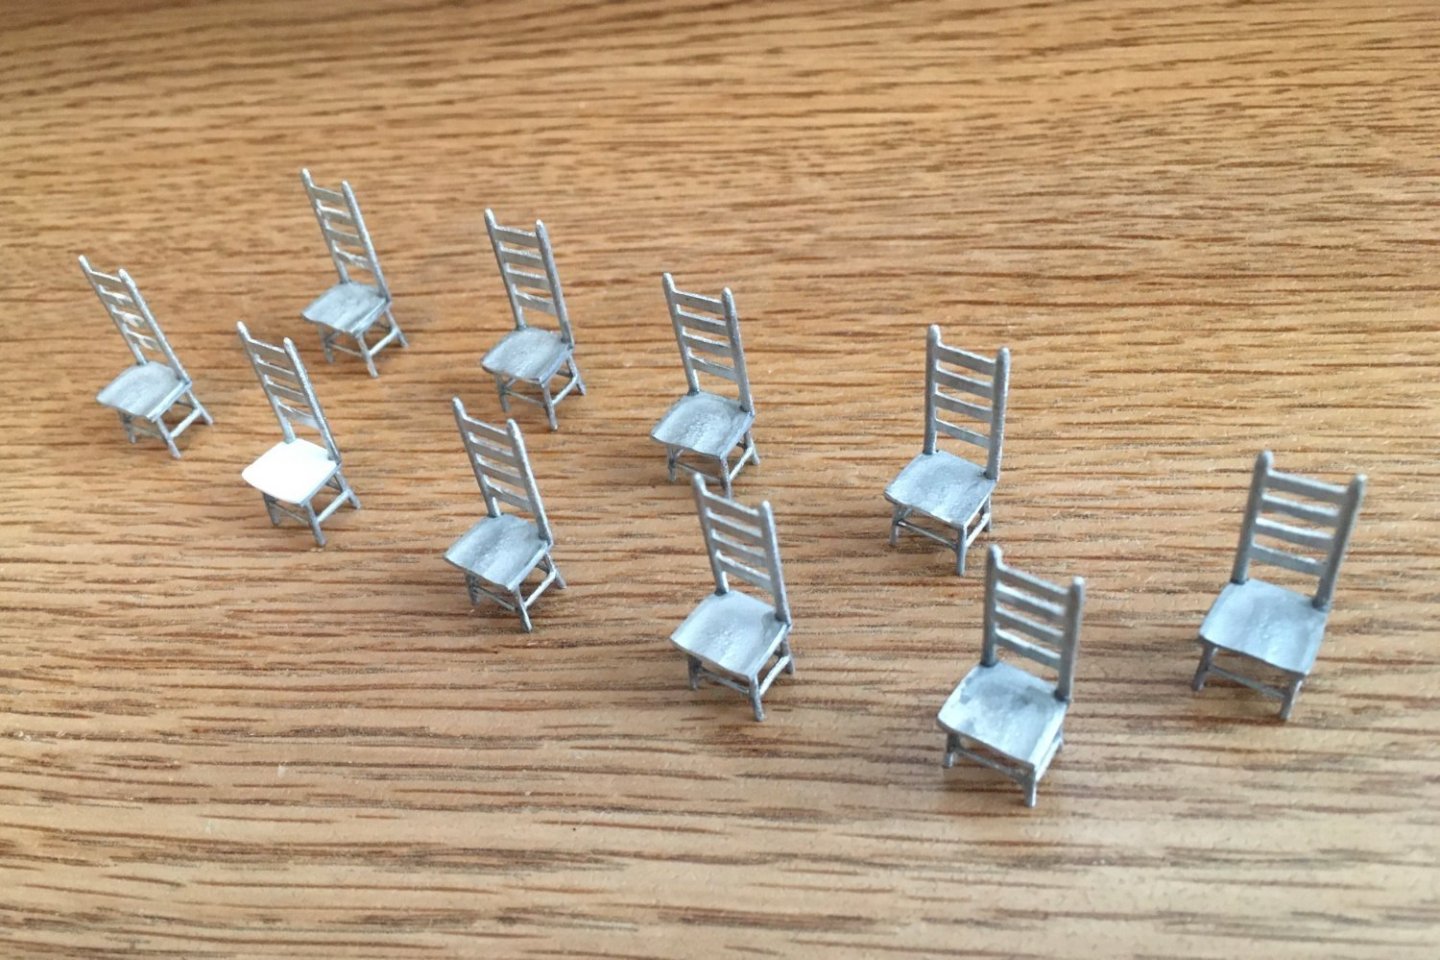
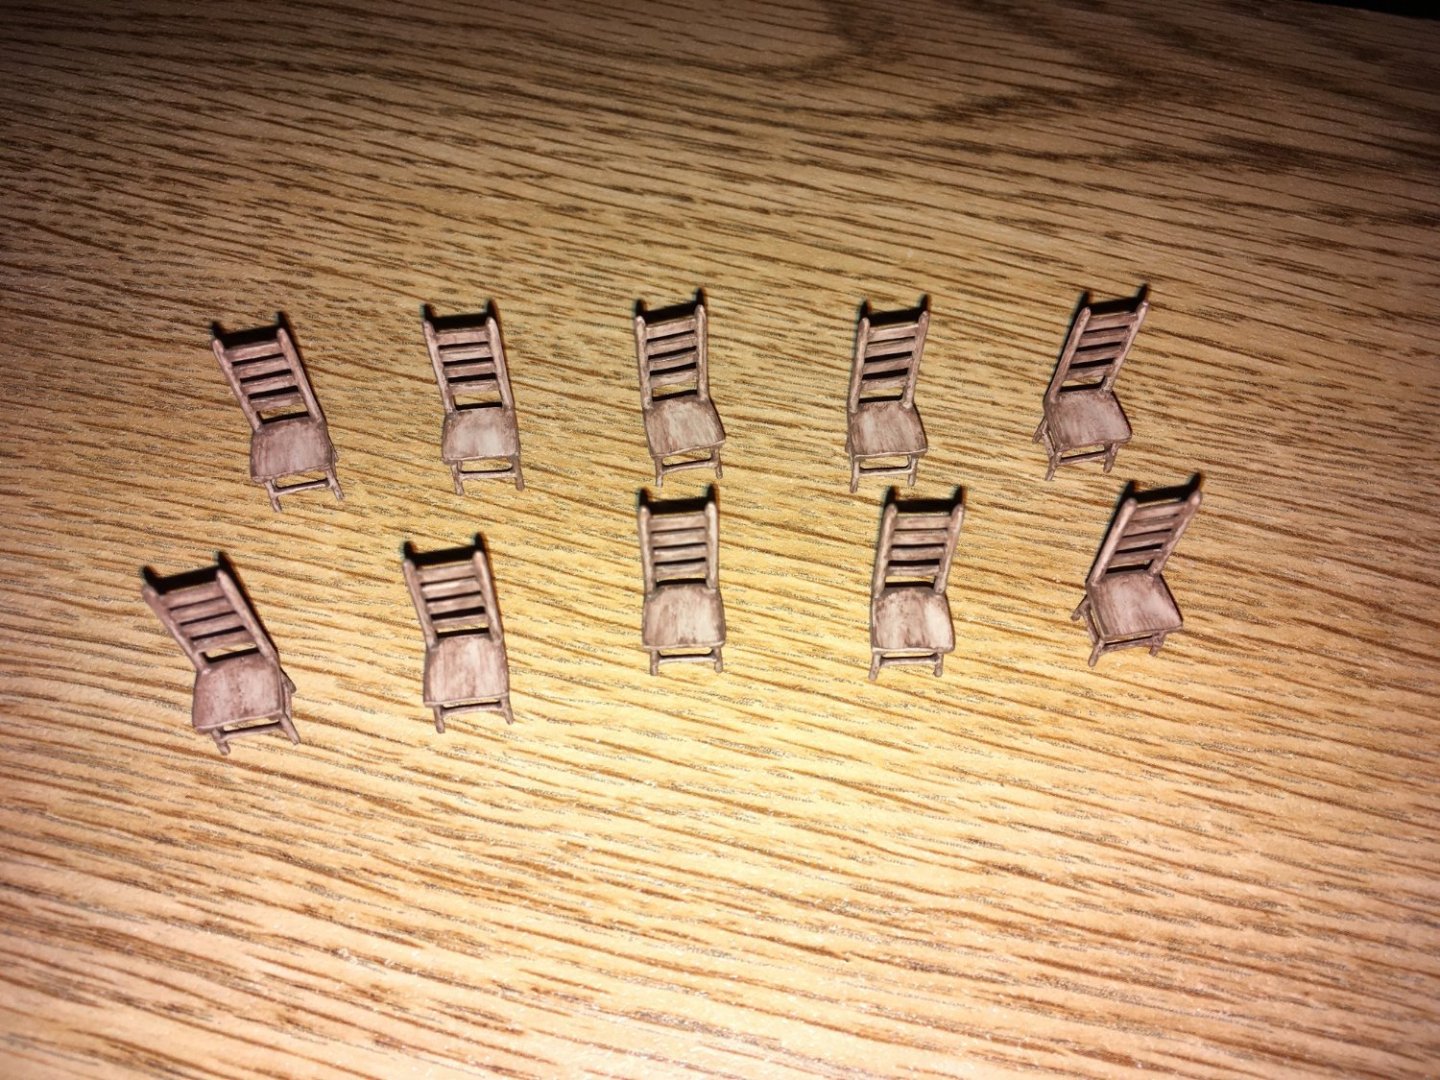
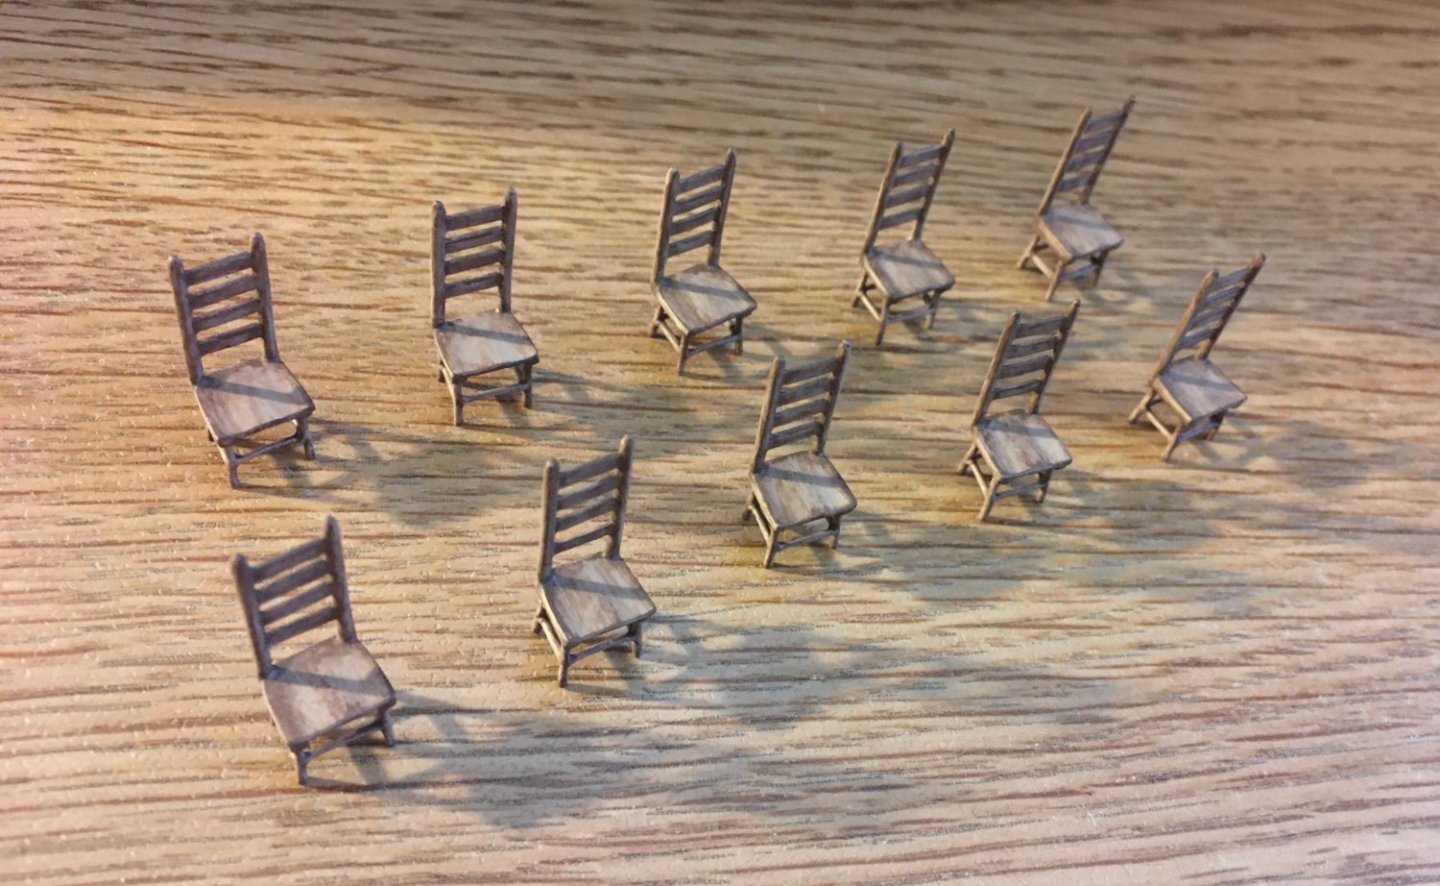
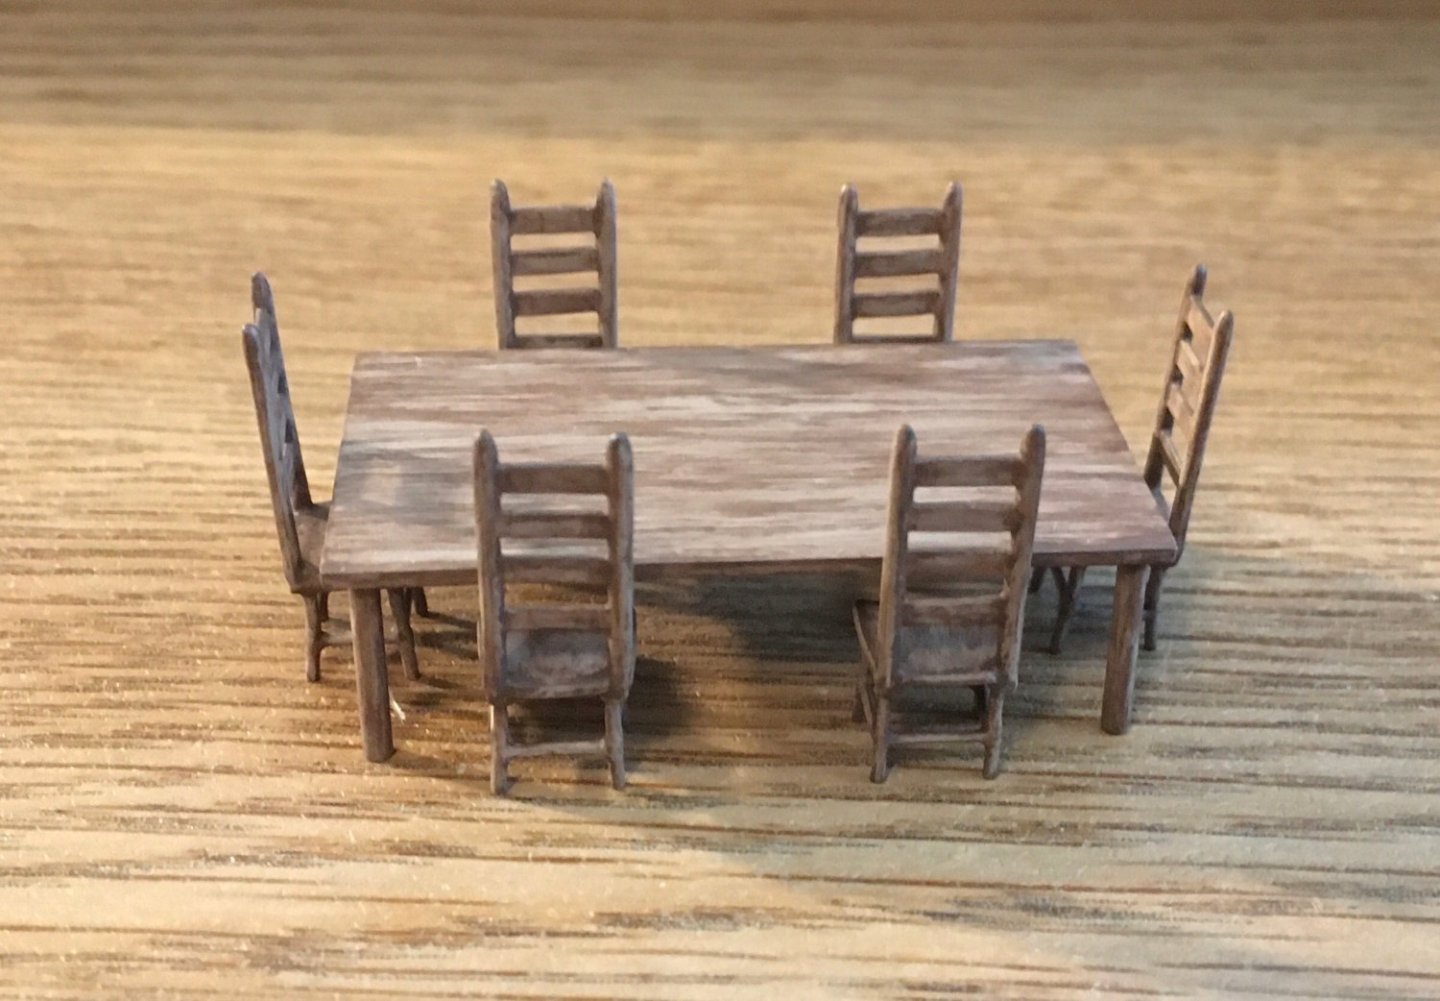
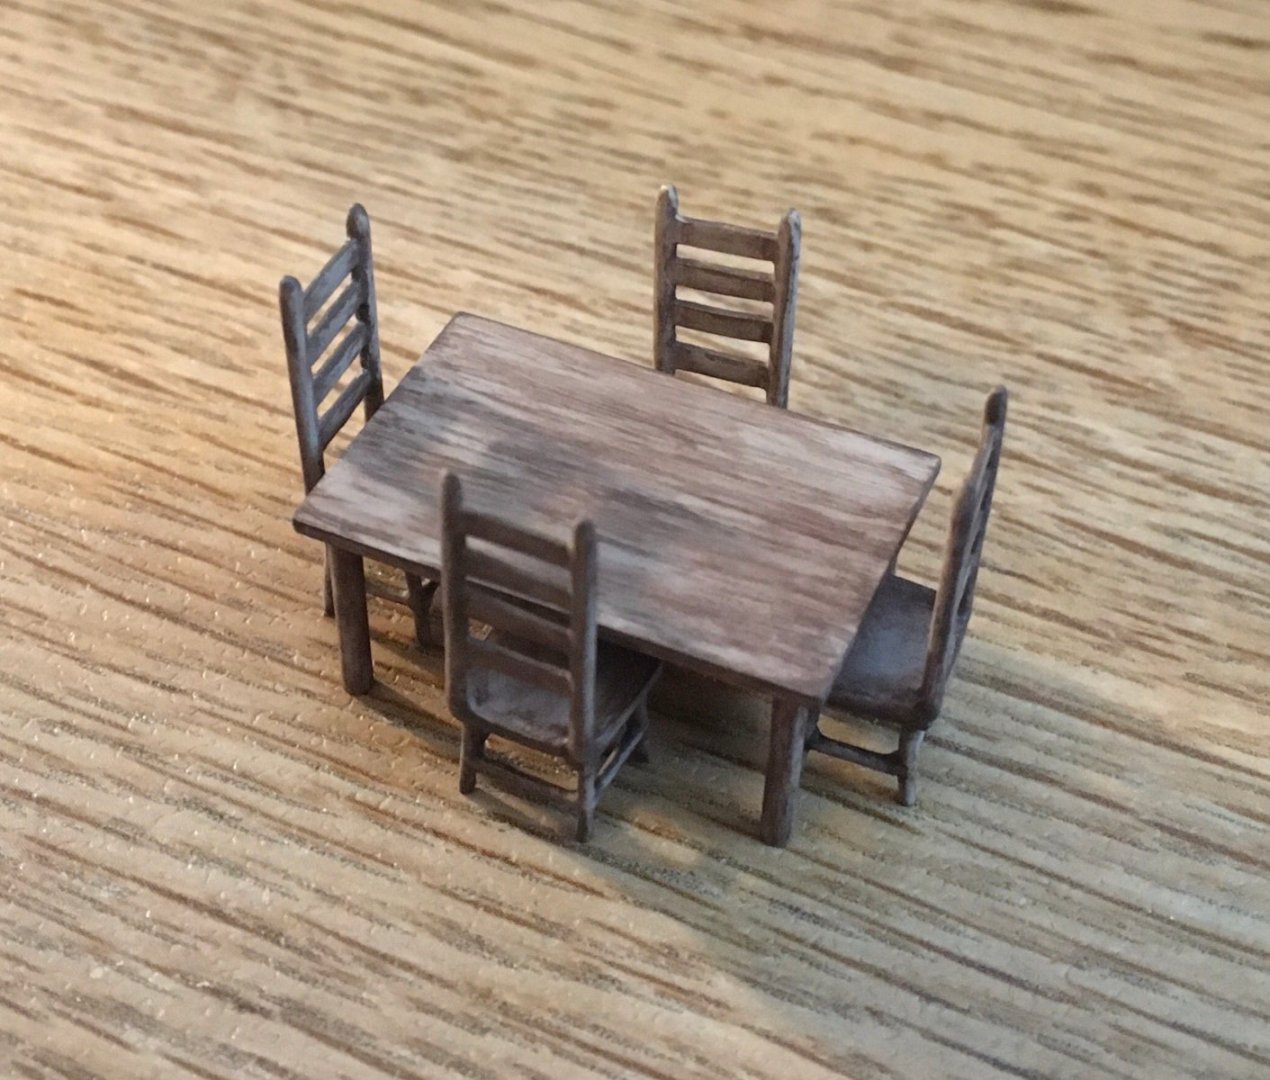
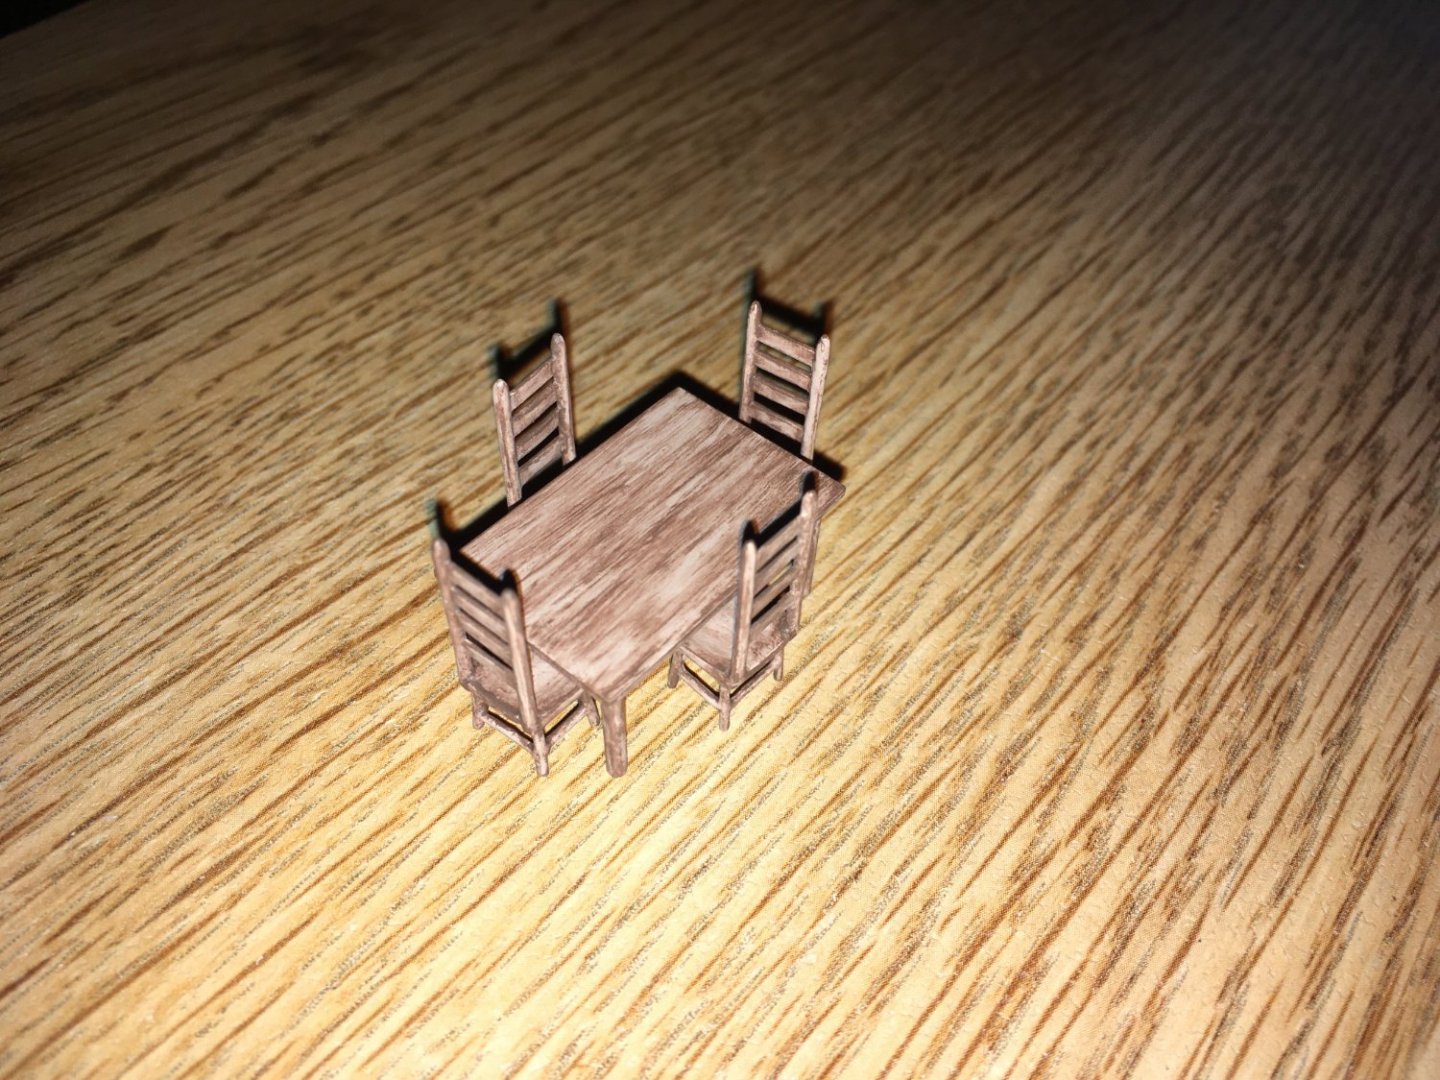
The work on cabin furnishings continues... Tables and chairs for both the captain's cabin and the pilot's house: The captain's cabin, on the main deck in the sterncastle, is the larger of the two rooms. I decided that it would also have the larger of the two tables. The table tops were cut down from 1 mm thick sheet styrene using a paper cutter and edges were sanded smooth, giving right angle corners. The legs, 11 mm long, were cut and sanded from a 1.6 mm round styrene rod: 1 mm masking tape was used to space the legs at the corners and they were glued in place: Testors light tan enamel paint was used as the base color: As I had done with the beds, I painted a brown acrylic mixture over the base color, and then brushed over it strategically with 91% isopropyl alcohol (and added a little near-dry brushing) to arrive at a weathered wood grain look: The legs can bee seen better in this photo with the flash: As I mentioned in an earlier post, I had obtained photo etch 1/72 scale chair kits that I intended to use in the cabins, hoping that there would not be a noticeably big size difference with the 1/64 scale of the kit. When I went to assemble them, I realized that I could not bend the angles of the chairs' legs with equipment that I had. Also, they seemed rather flimsy, and a little small. If I had tried to scratch build the ten chairs that I planned to have, it would have been rather time consuming, and possibly difficult to make them detailed and consistent, so I decided to buy new chairs. I searched several sites for 1/64 scale chairs and found a few, but some were just too rough (laser cut wood), too expensive per chair (resin), or too modern-looking. I settled on cast white metal chair kits in S scale (a 1/64 model railroading scale) from Wiseman Model Services in Kentucky. These chairs are high back chairs with a ladder back style in the backrest. My research indicates that there were high back chairs in the 17th century. Ladder back style, which apparently started in the Middle Ages, was also in use during that century. I ordered five kits, each containing two chairs: One of the pouches was partially open and a seat was missing, so I made one out of styrene. There was a lot of flash to remove, and the horizontal brace supports between the legs, in the front and the back, had to be cut to size from narrow metal rods. Also, there were a few filling defects in the slats on the backrests that needed to be filled. I used Milliput Superfine White epoxy putty for that. After a lot of trimming and sanding, the parts were assembled in stages using cyanoacrylate glue (thick, for the most part) and 30 minute epoxy: The metal alloy is mostly tin, with lead and small percentages of a couple of other metals. It is fairly soft, but fortunately, not too soft that it doesn't hold its shape as long as nothing is applying force to it. However, it was sometimes hard not to bend it while handling it. Unlike styrene, which can sometimes "bounce back" into shape, this metal stays bent. So I had to keep checking it and bending it back if it needed it. The chairs were also painted first with Testors tan enamel paint: Here is how they ended up with the brown acrylic paint, followed by brushed isopropyl alcohol and near-dry brushing treatment for weathering: In San Diego, the captain's cabin of the San Salvador (16th century Spanish galleon replica) is rather small. The ship itself is less than 100 feet in length. So personally, that is all that I have seen -- a tiny room with a tiny table, a tiny bench behind it, and a berth crammed to the side: My model has a spacious captain's cabin, like the one seen in a replica of a 17th century Spanish galleon made in Spain called El Galeon Andalucia. These links have information about the galleon (first link) and a photo of the cabin (second link): https://www.fundacionnaovictoria.org/el-galeon/ https://www.33-bordeaux.com/voillers-vieux-greements/el-galeon-espagne/el-galeon-bordeaux-04.htm I like the idea of a large table with a few surrounding chairs, so the captain may pore over maps, meet with officers and perhaps share a meal with them. I have arranged the table and chairs in a configuration for the captain's cabin in this photo: The remaining chairs will be used with the table in the pilot's house on the half deck: Next, I will finish painting some figures for the cabins and the helm.


-
I plan on using wood for the small masts and spars to try to avoid bending while rigging (but also so I can change their lengths). By the way, very nice job on those motorcycles — you really make them look real.
-
I think it depends upon how big I want my boat to be. Actually, I want a small boat. More of a small launch than a longboat.
- 279 replies
-
- 1
-

-
- Spanish Galleon
- Imai
- (and 1 more)
-
I like what you did with your boat. I agree that it looked a bit big to be stowed on the ship. Sometimes it can be very difficult to get everything exactly correct in terms of scale, especially when you are doing a lot of modifications and additions, using parts from other kits and even scratchbuilding. I have decided that for my own build, it's ok with me to have a few things out of scale, as long as they are not too radically different in size and they fit with the overall theme. In those cases, I think that it is better to have them rather than eliminate them because they are not quite technically in scale.
- 279 replies
-
- 1
-

-
- Spanish Galleon
- Imai
- (and 1 more)
-
That’s a nice way to do the irregular shape of the wales without compromising by using an easier method (i.e. simple strip of wood).
-
Sounds good — if the kit has a boat, then that would be easiest, but it could also be scratch-built if needed.
- 279 replies
-
- 1
-
-
- Spanish Galleon
- Imai
- (and 1 more)
-
Does the kit include a boat? It has been a while since I researched it, but I think Spanish galleons sometimes may have had their boat on deck and sometimes may have towed it behind. This is a link to a short article by a historian of the Florida Keys that mentions that a small boat or lancha could have either been stored on the deck of a larger ship or towed: http://www.keyshistory.org/SS-Sp-Sail-ships.html I think it would look nice on the deck if you think you have room to include it. My Revell 1/96 Spanish Galleon kit comes with a boat that is mounted on deck and I plan to use it. Including the spare spars may demonstrate practicality (in case they would need to be replaced en route) but you would need to find room for them, too.
- 279 replies
-
- 1
-
-
- Spanish Galleon
- Imai
- (and 1 more)
-
Nice job on the weathering! Did you use an acrylic wash, or is it dry brushing? It looks lighter than the Antiquing Medium paint that you used in the hull.
- 279 replies
-
- 1
-
-
- Spanish Galleon
- Imai
- (and 1 more)
-
Your lathe makes quick work of those plastic wooldings so that you can replace them with rope — it will look much nicer. On the kit that I am building, each of the wooldings consisted of two separate “rings” spaced a few millimeters apart, so I eliminated them by scraping them down with a blade, because I also plan to redo them with rope. I imagine that it would have been much more taxing to scrape them down by hand if they were 5 deep like on the Black Pearl kit.
-
It is good to know that there are readily available polyester ropes — I didn’t know about Ropes of Scale. I was looking for something like that because it is my understanding that nylon may stretch more, and also, I want to be able to use cyanoacrylate on them (without potentially smoldering the cotton in the cotton/poly blend of Syren ropes due to the thermal reaction).
-
The sanding job looks very smooth and precise. How did you preserve the exact curves of the bulkheads when sanding down the filler blocks on each side of them (i.e. how did you avoid also sanding the bulkheads down at the same time)?
-
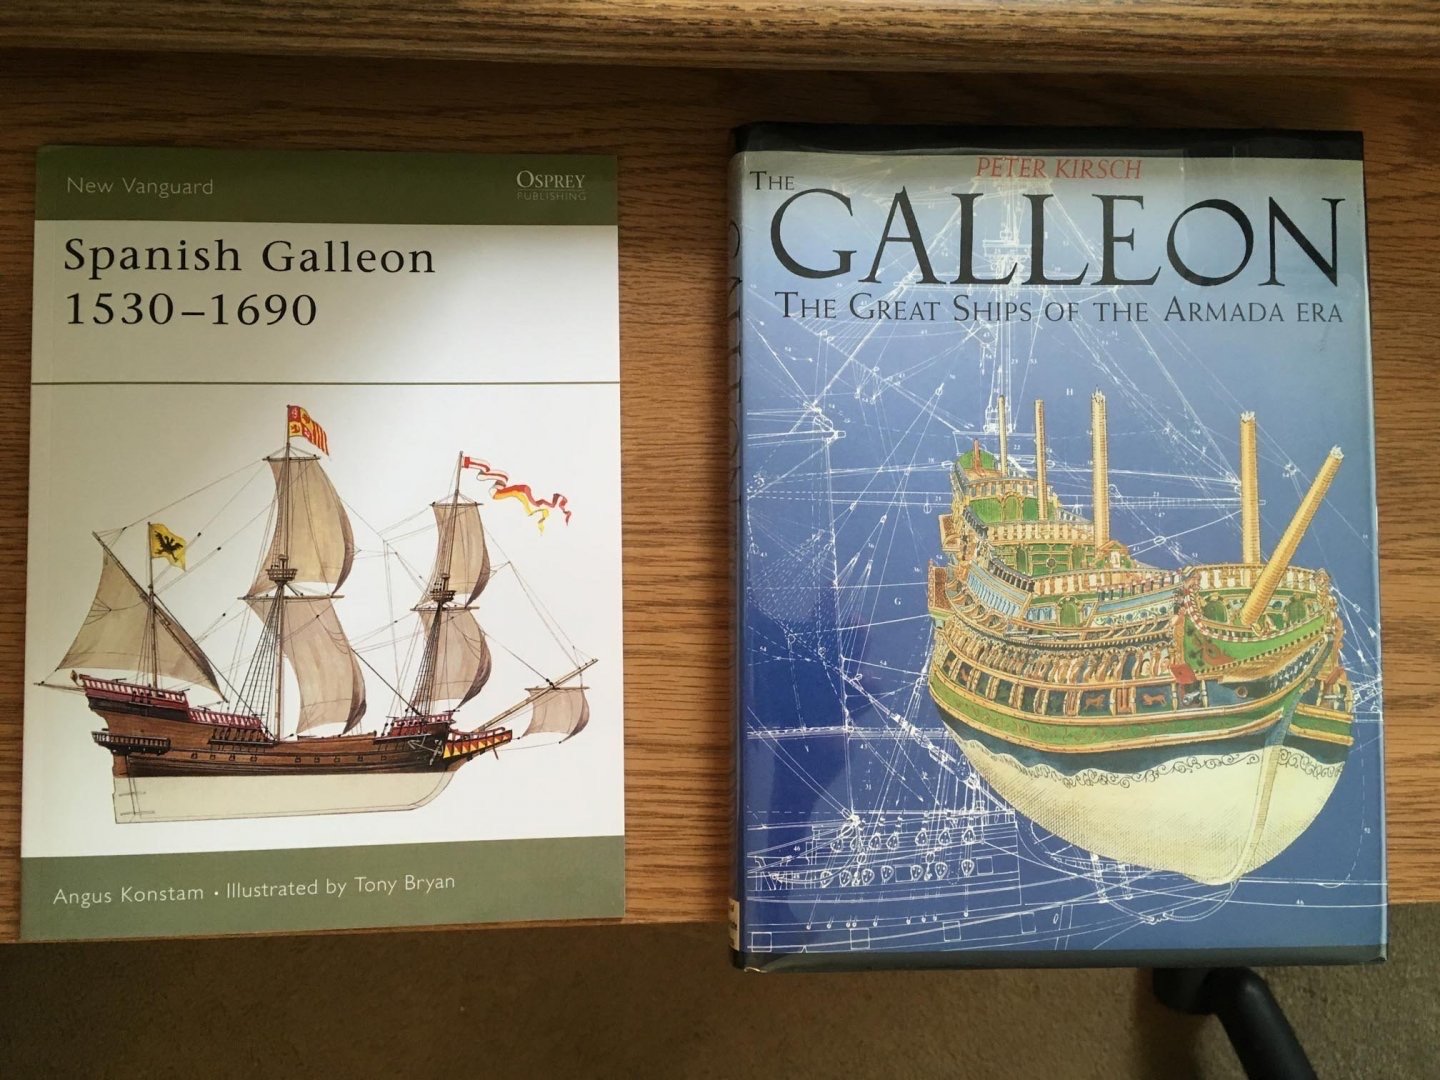
These are two of the books that I purchased during the first 4 years of the build and I read them through. Both have been very helpful. The book by Peter Kirsch is out of print, but it likely can be found on ebay or Abe books (where I found mine). Angus Konstam’s book gives a lot of background about Spanish Galleons in particular and has reproductions of some contemporary paintings, but most of them are unfortunately in black-and-white. There is a nice cross-sectional illustration of what they think Nuestra Senora de Atocha looked like. Kirsch’s book focuses on a 17th century galleon (not Spanish) that was recreated in drawings and models based on a contemporary votive model from 1610. It has a nice rigging plan for a galleon of that time frame. I am now building my galleon as if it were an early-mid 17th century galleon from around 1630 or so, rather than a galleon from the time of the Spanish Armada of 1588, which is referenced in the historical summary at the beginning of the instructions. In my first post in this log, I mentioned that Armada time period, but I have since learned in my research that topgallant masts/sails and belaying pins may be more appropriate for the 17th century.
-
Scott, that is great detail for such a small scale! What color do you use for priming, and then, do you use a wash for “weathering” the clothing? Or for bringing out facial detail? I will be painting some figures soon, and am trying to figure out a good way to approach it, since I don’t have much experience with it. Your technique looks excellent — both for your large scale Captain Sparrow as well as for the small scale figures.
-
Thank you very much! And welcome aboard the Spanish Galleon! When I first set out to build the kit, I imagined that I would build it “out of the box”, but the more I ventured forward with it, the more modifications I decided to make, and now it has become a multi-year project that will undoubtedly continue over the next few years. My progress is slow, as I have time limitations due to work and family commitments. Also, you can see that I don’t necessarily follow the order of the instructions. I have ideas in mind and my completed phases will eventually all fall together into the finished whole. I am still working on it, and will post again when I have completed the next little bit. If you have any questions or need insight, please let me know.
-
I think that orange conveys a “dimmer” effect than bright yellow, just on the basis of color, even though it may be the same intensity LED. This can let one imagine that a single small candle is burning within the lantern rather than a magnificent bright candelabra. And some candles may actually burn with an orange hue. On my own Spanish Galleon build, I chose an orange glow-in-the dark paint for my lanterns, which I think may give a more realistic, less “neon” look than bright yellow.
-
Very nice! I like the orange glow of the lanterns as well as the spooky feeling conjured by the reddish glow from below deck, as if there were supernaturally reanimated skeleton pirates waiting down there to ambush the crew.
-
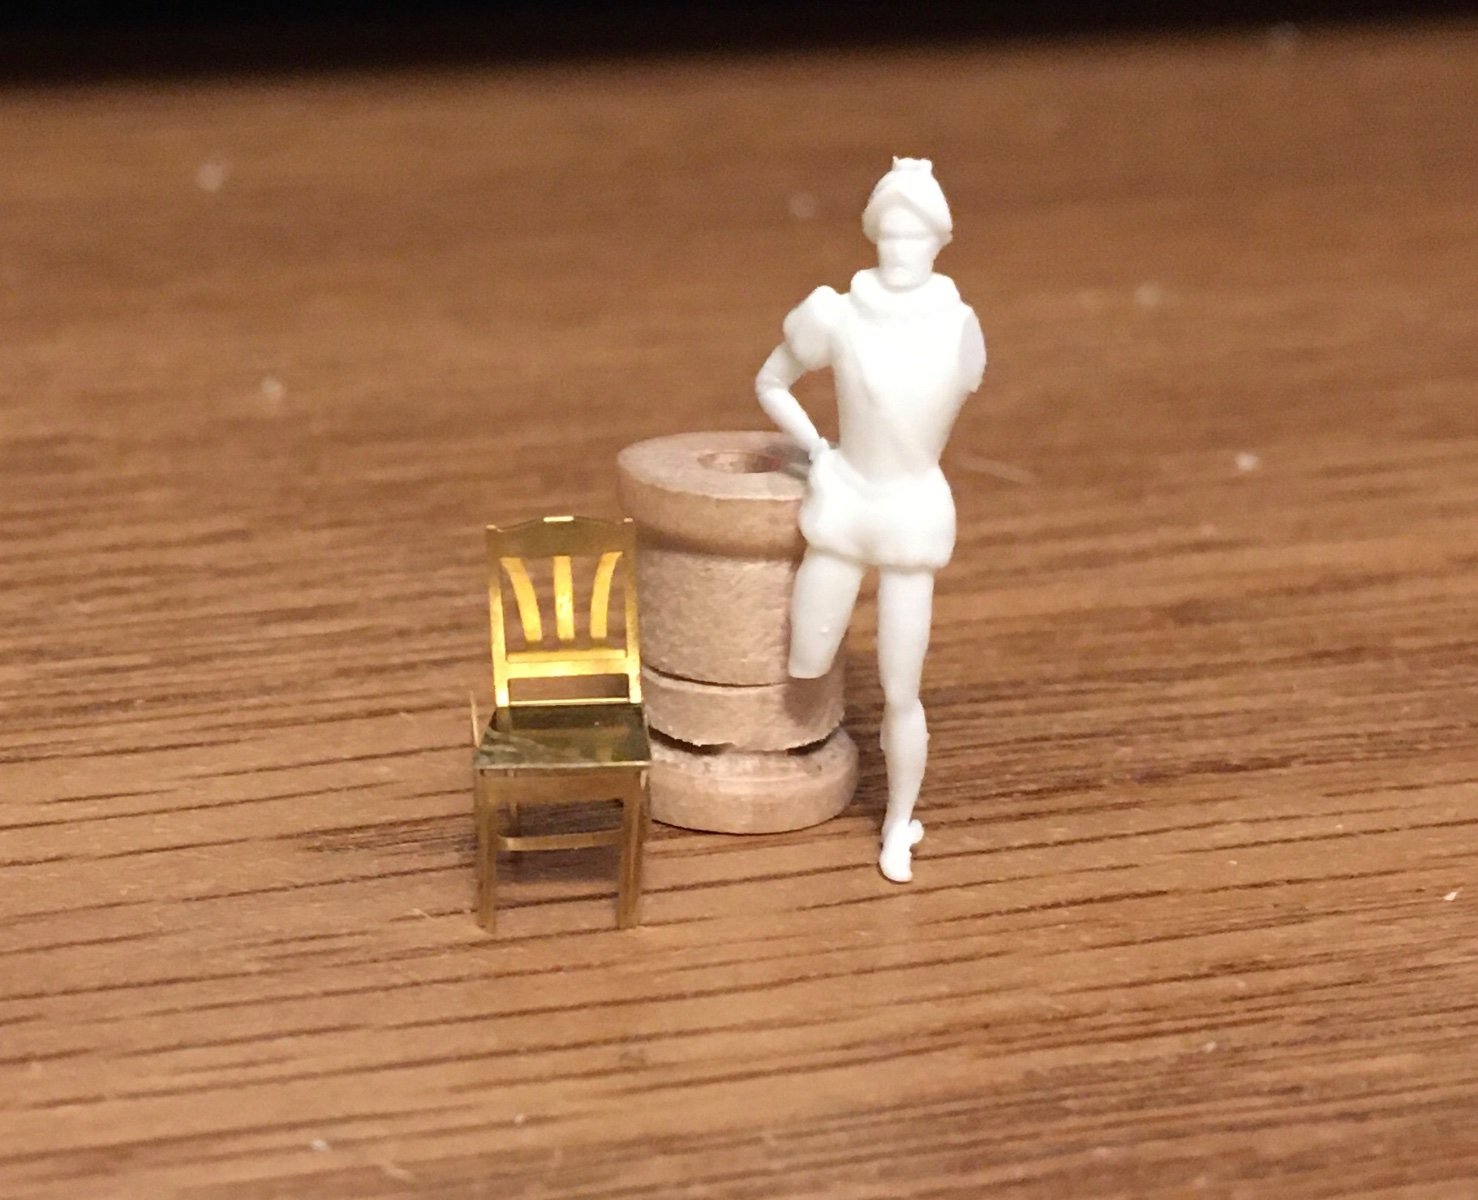
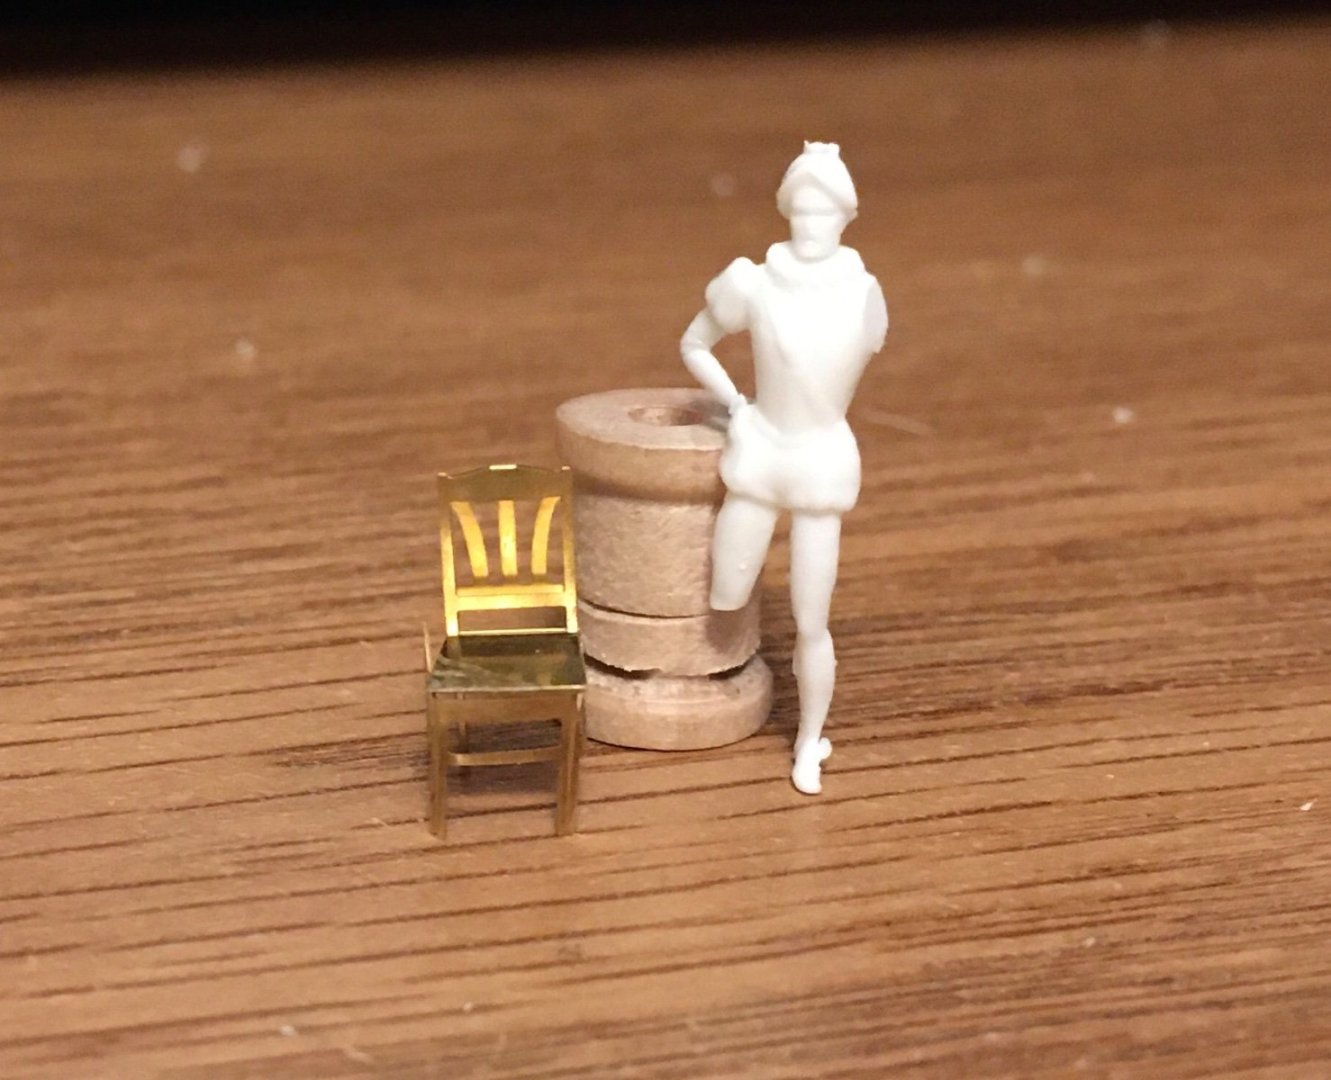
I have been doing some thinking about the scale. I remembered that I had originally ordered some 1/72 scale photo etch chair kits to use with the model because I thought that 1/72 would be “close enough” to 1/64 when it came to chairs, but it turns out that they ended up being a bit small (one chair is seen here next to a figure who is missing an arm and a leg because I needed them for another figure): So 1/72 may be a little small. It is possible that the actual scale may not be exactly 1/64, but is probably closer to that than to 1/72. The figure is almost 1” tall, but I do not think it likely that the average height of a person in the 17th century was 6 feet (72”). 5’3”-5’4” (63-64”) could fit into the realm of possibility.
-
Thank you, Archi! Actually, the scale really is 1/64 or 1/65. I know this because of the size of the included figures, which I think may be the only true way to know because this ship is not based on an actual ship that can be measured, such as HMS Victory or U.S.S. Constitution. The size of the figures seems right for the scale of the cabins, etc., which have doors that one can imagine the crewmen entering. Also, I am currently working with chairs for the tables in the cabins (more on this later), and these chairs that I ordered, which match nearly perfectly with the figure size, are 1/64 scale. The beds that I made are not spacious, but I imagine that they wouldn’t have needed to be. On the galleon replica in San Diego, for example, the captain’s bed is small and is crammed behind an inner side wall of the cabin.
-
Excellent job!
-
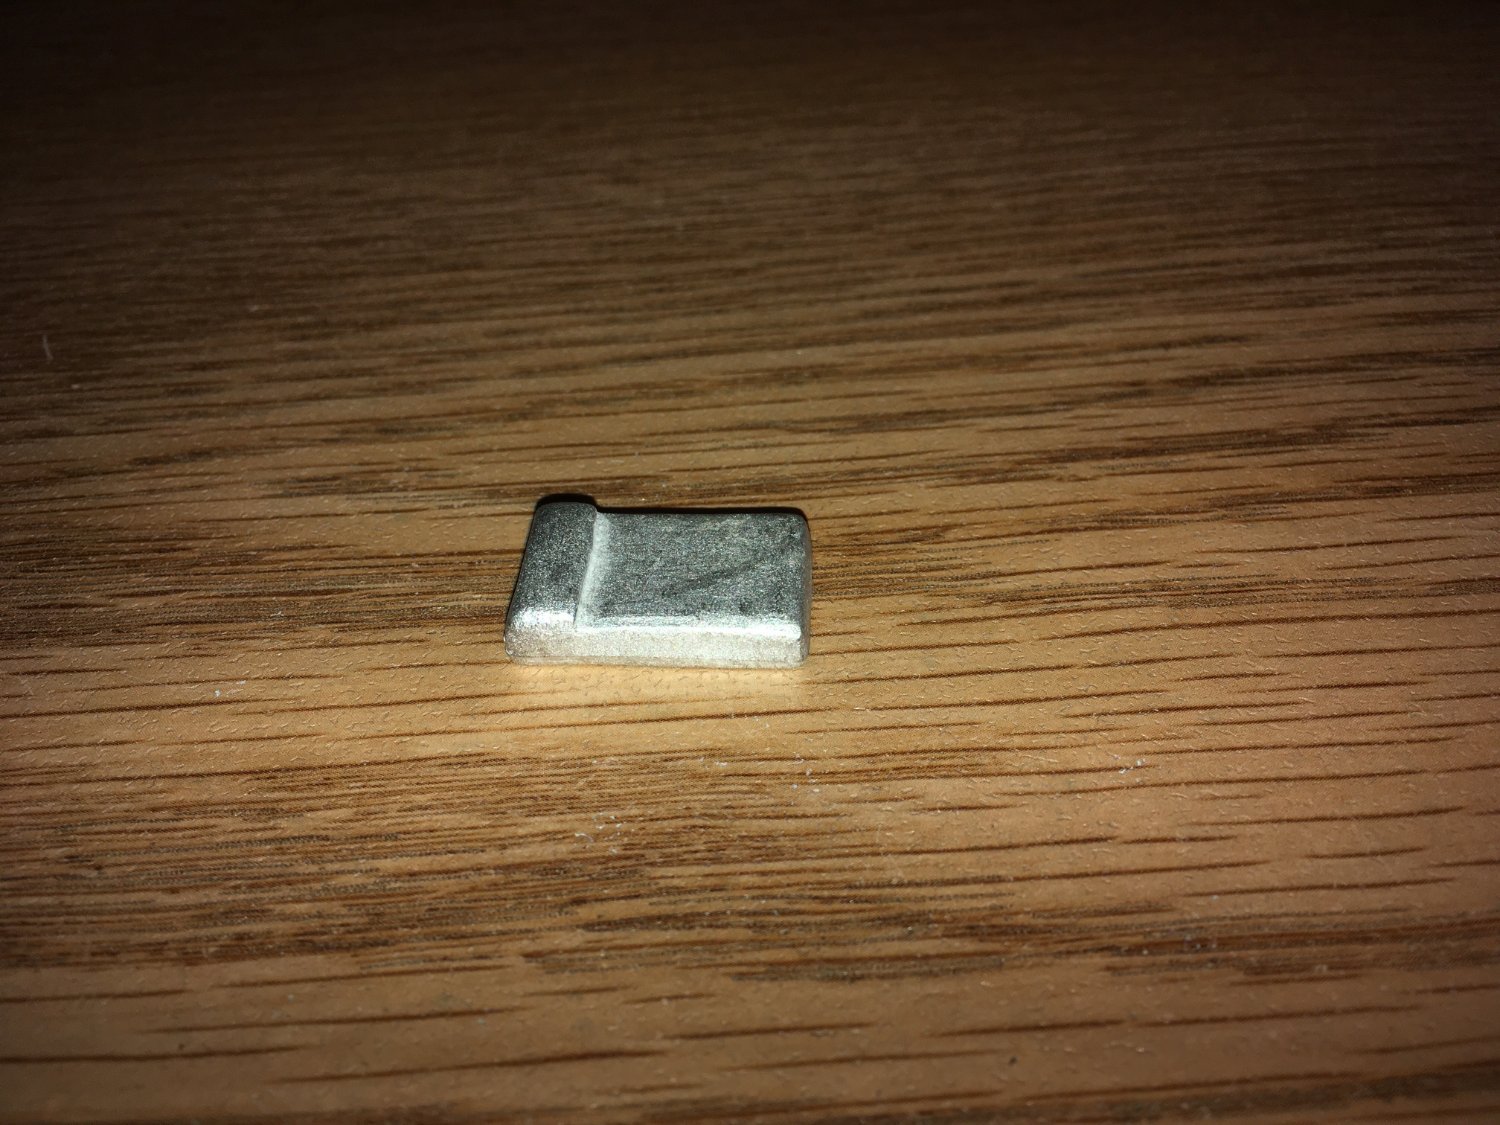
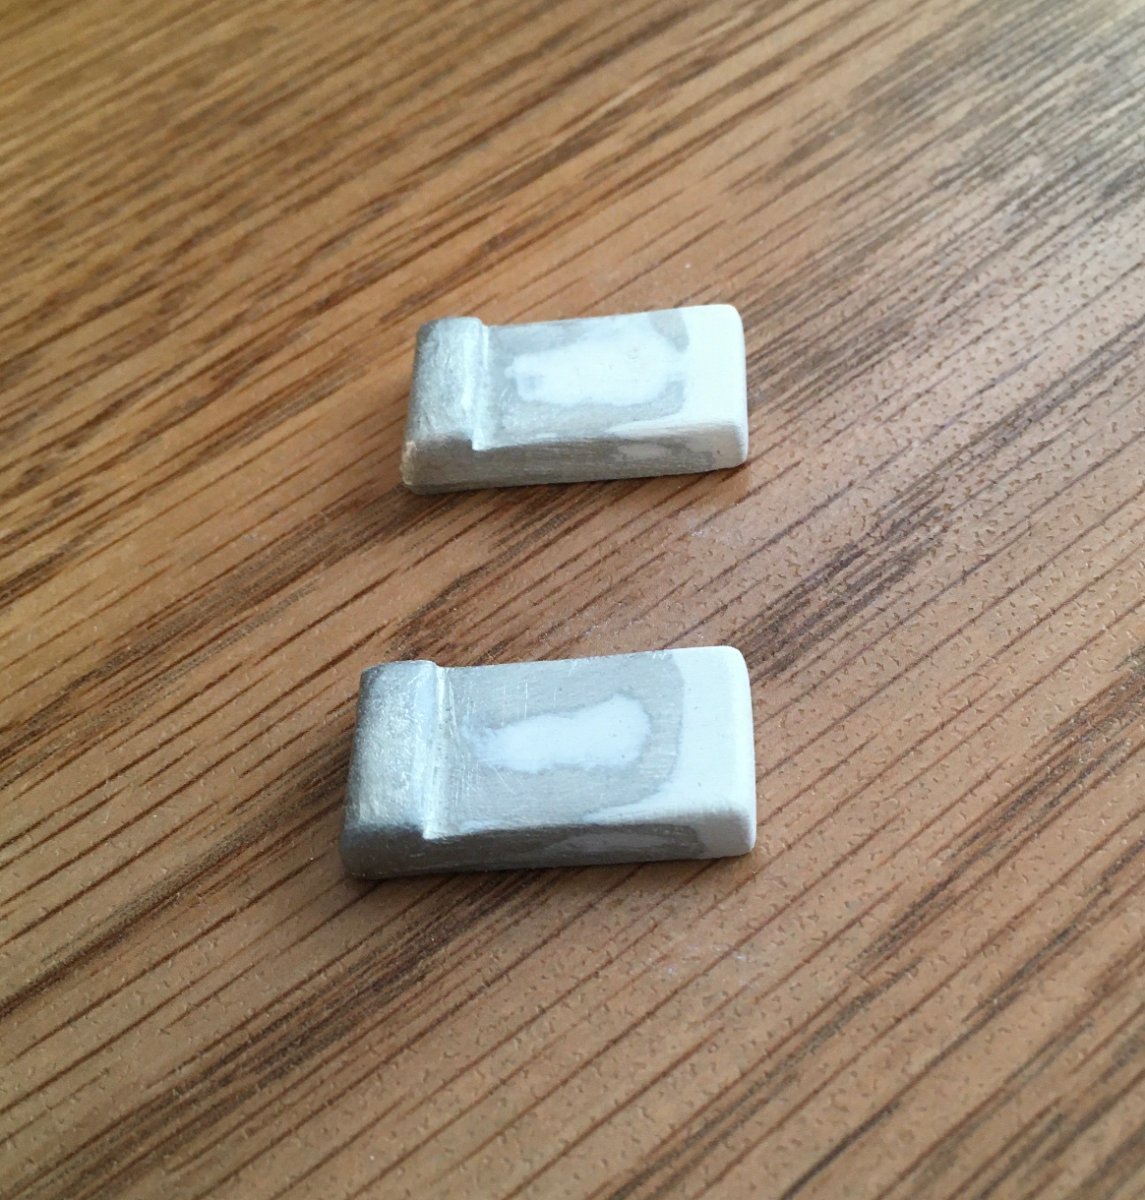
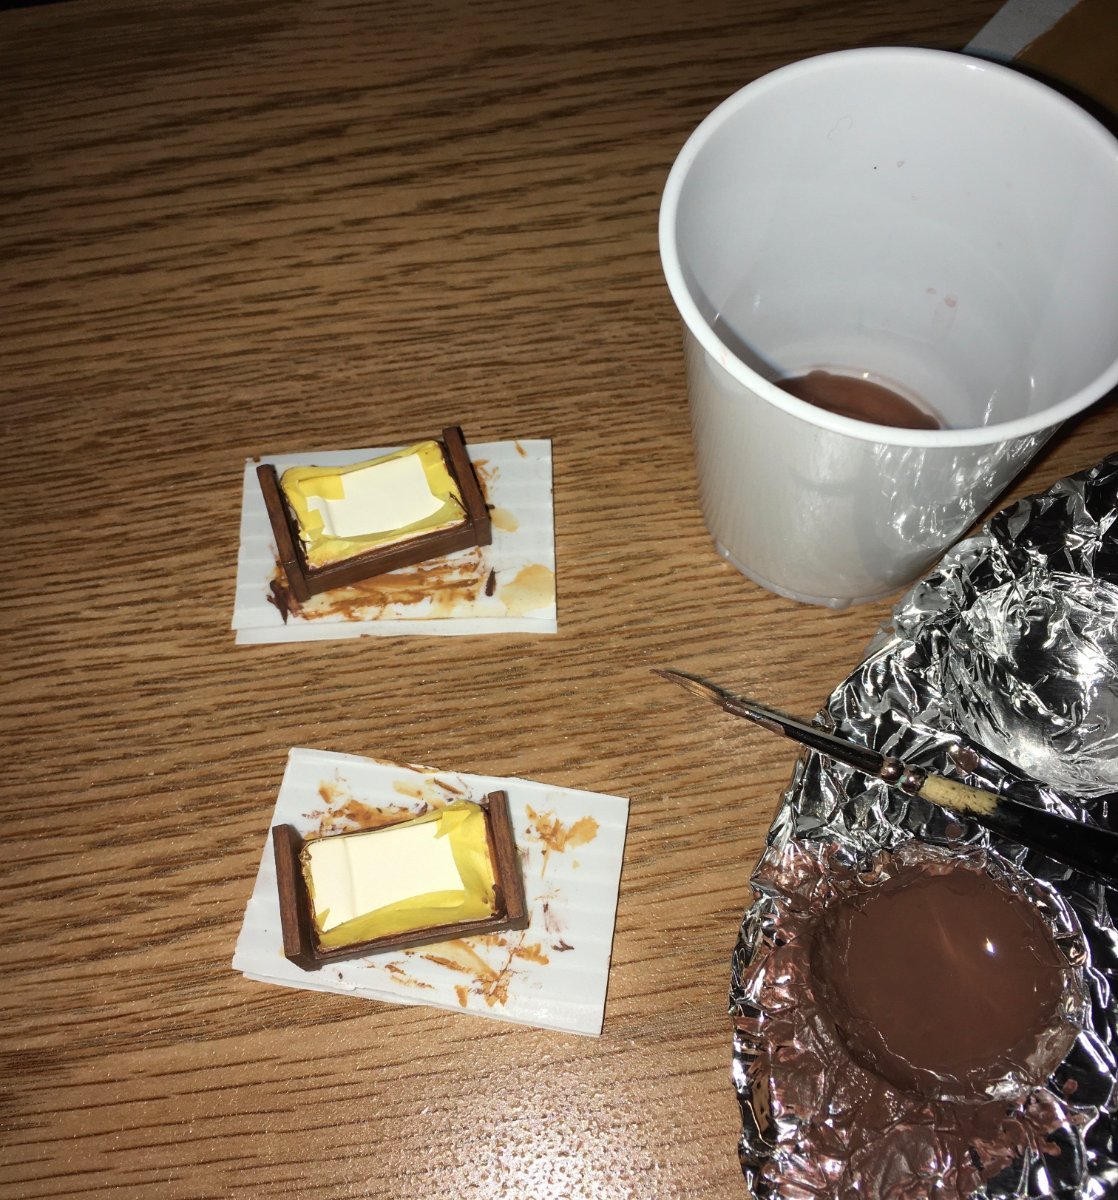
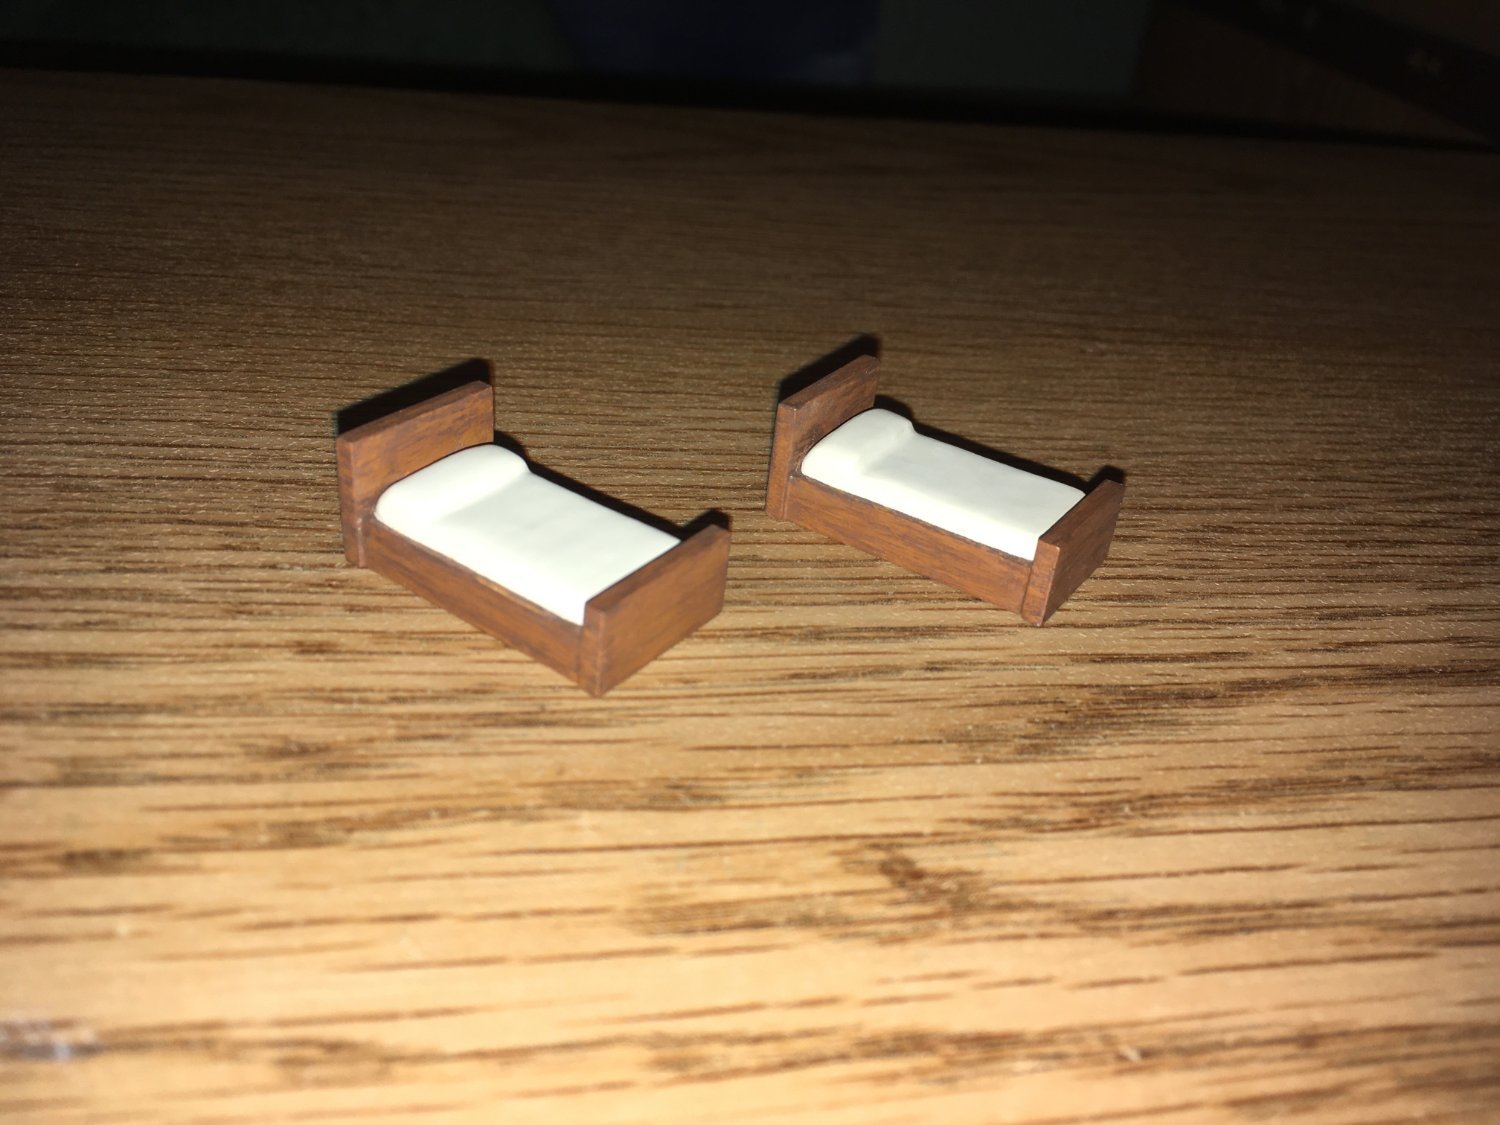
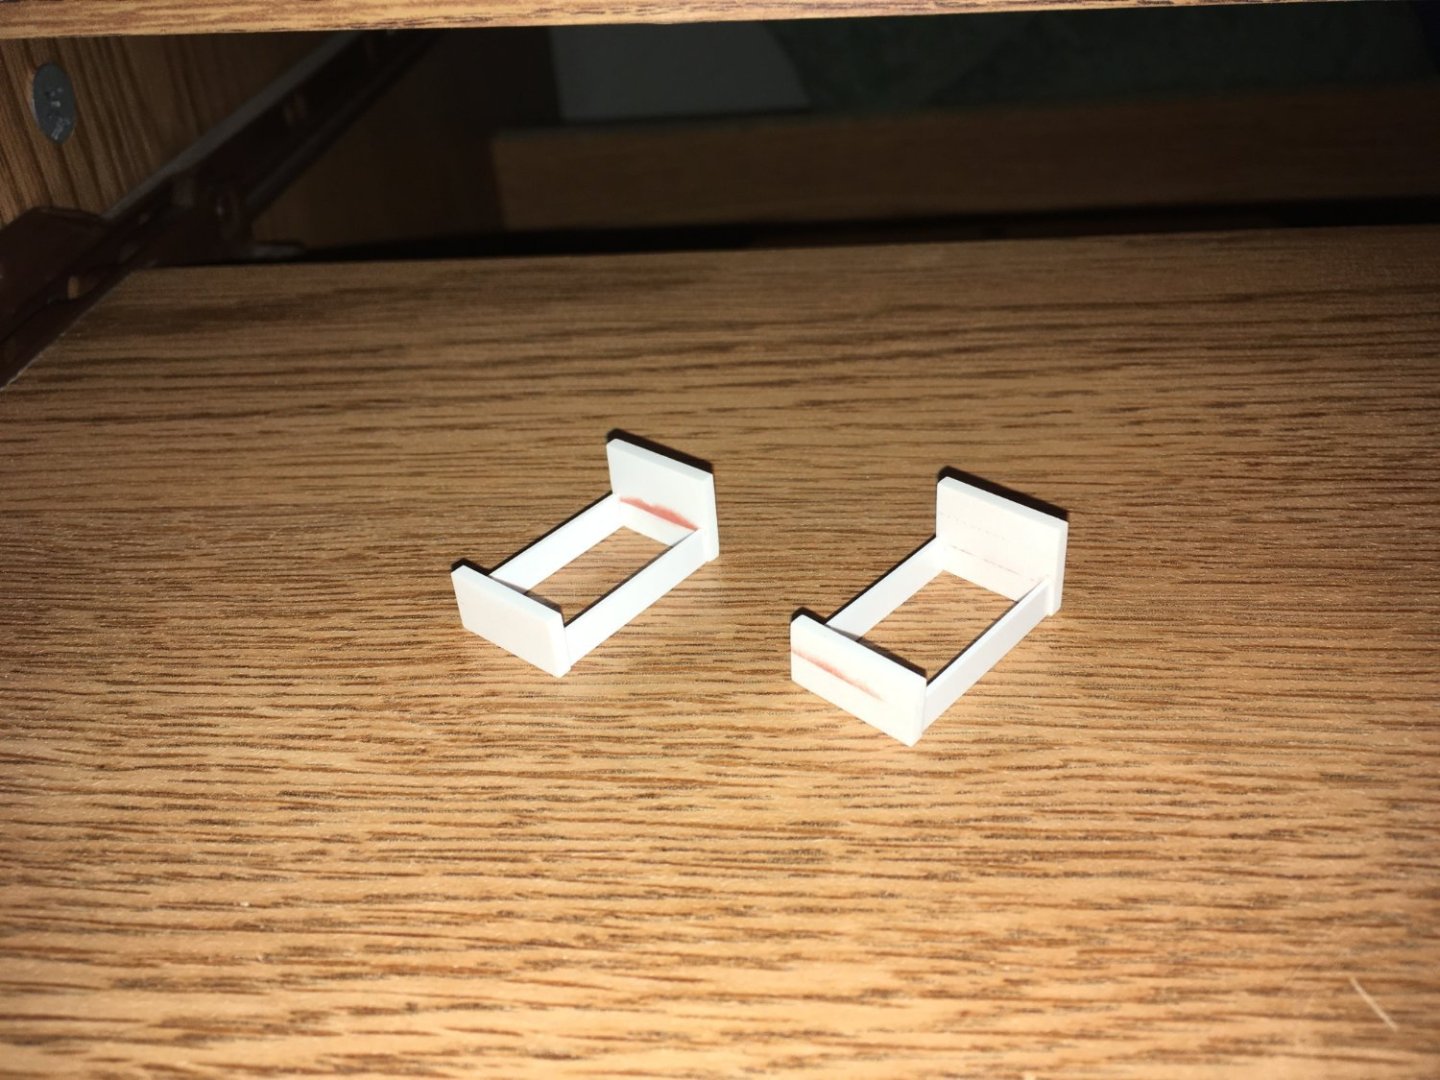
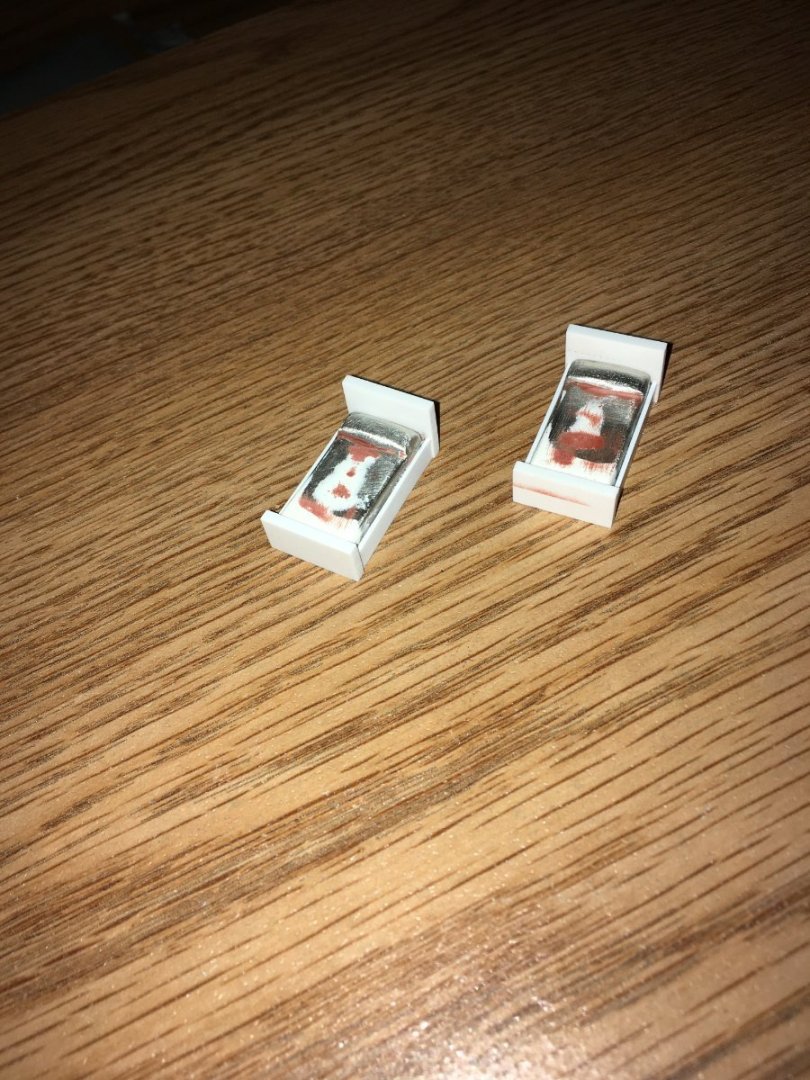
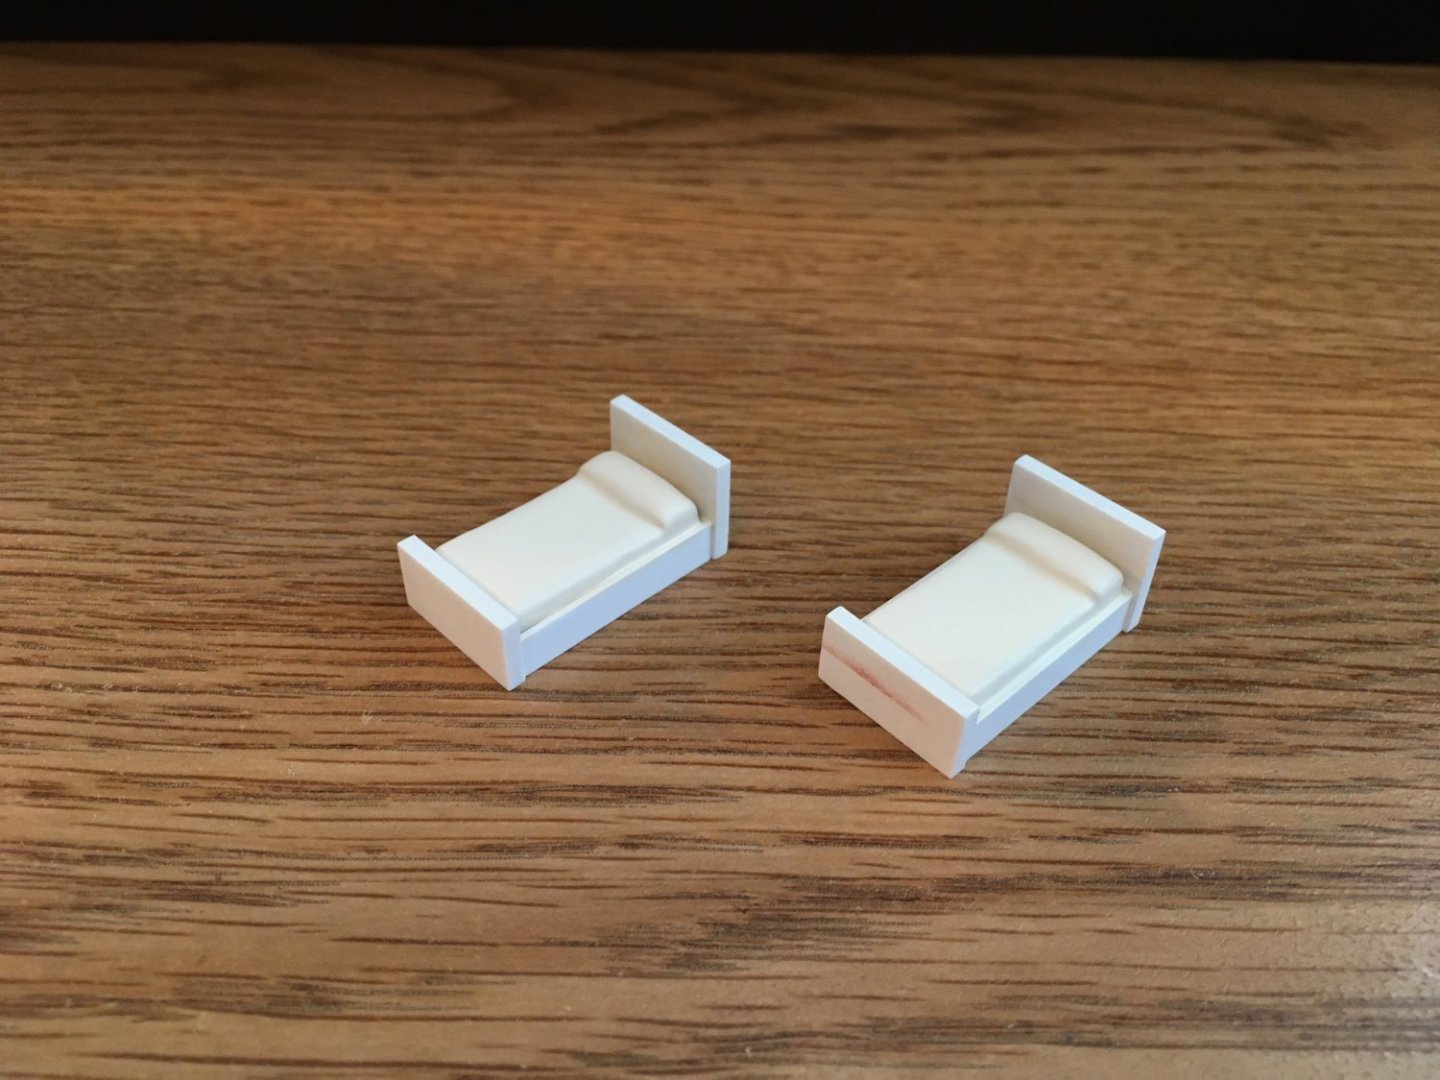
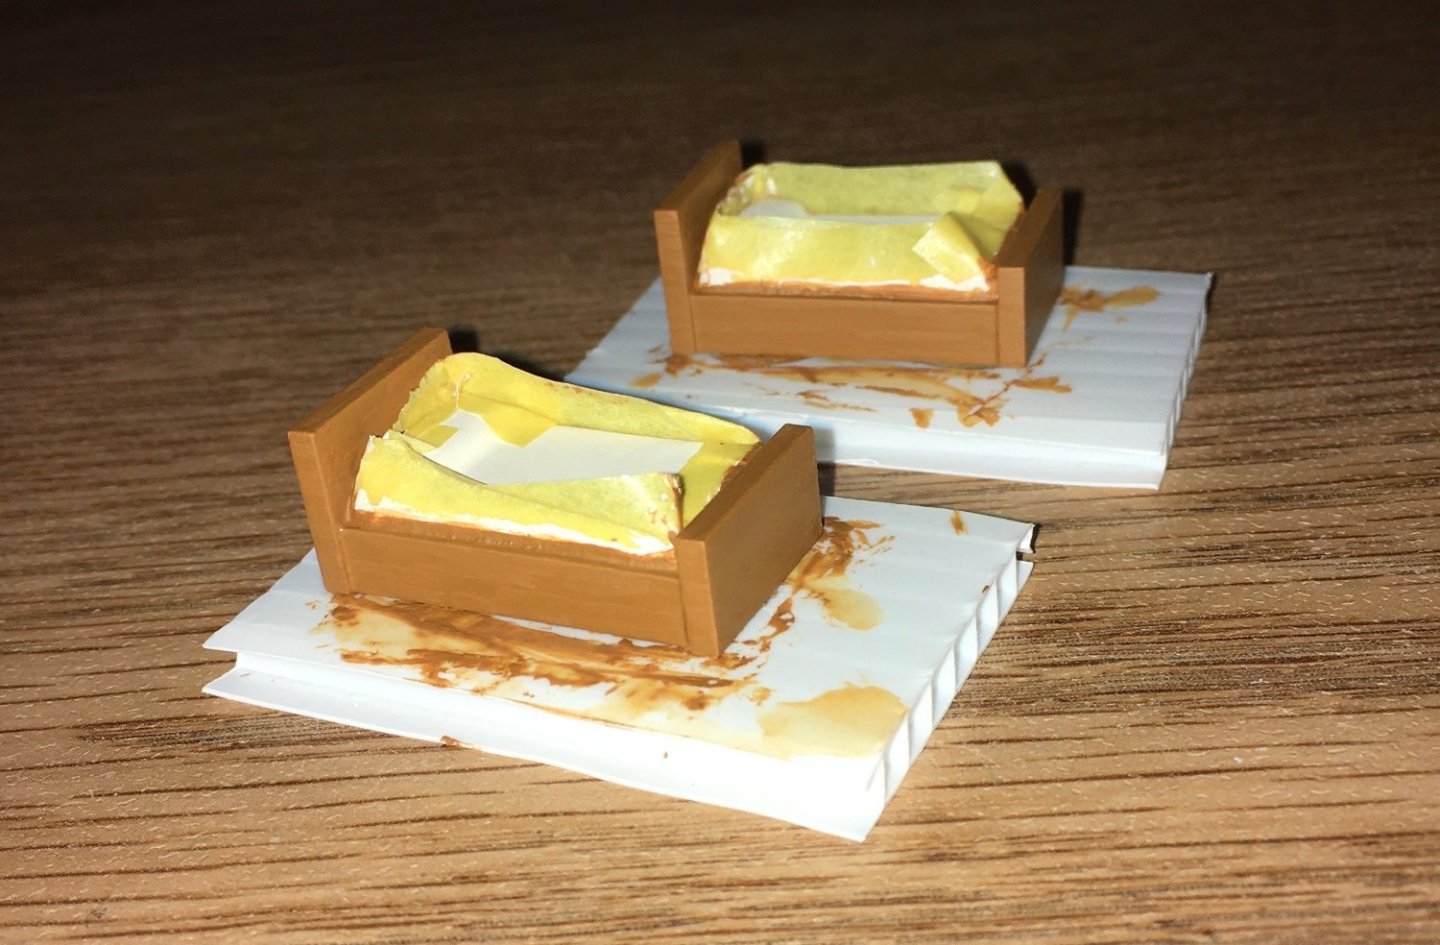
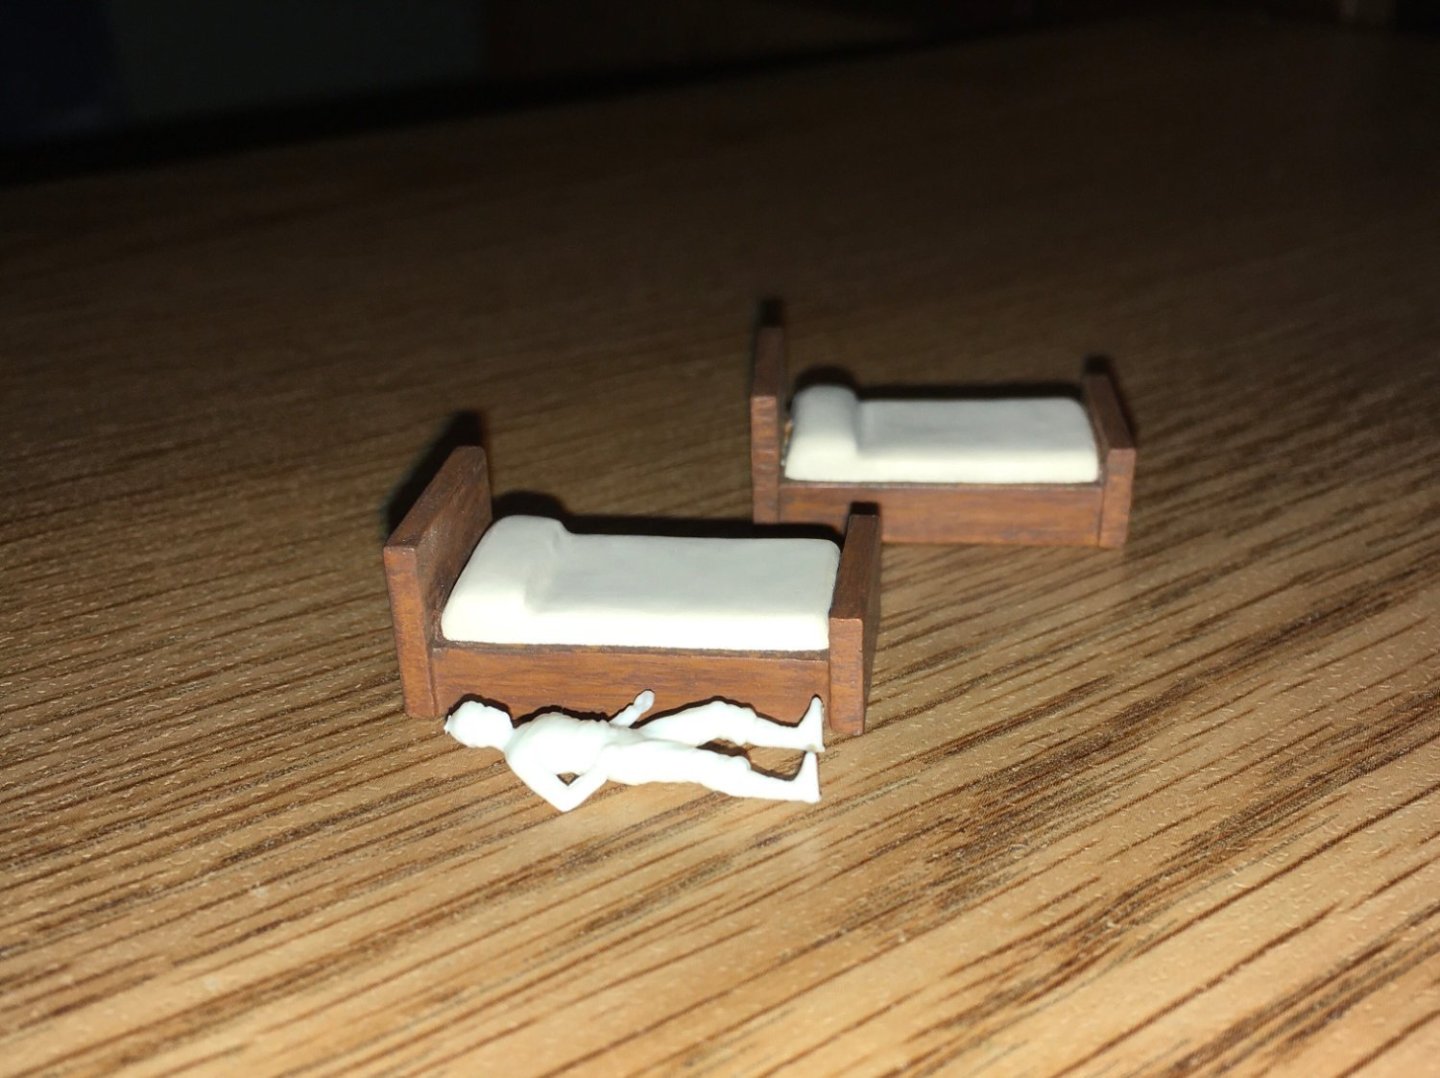
I am continuing to work on furnishings for the two cabins. Soon after I started the build a few years ago, I ordered some some generic pieces for the cabin interiors, including beds, from a company in Massachusetts. I was thinking of beds because the captain's cabin and pilot's house, aside from places to meet and plan and navigate, were also living quarters. At the time, I thought the scale of the ship was 1/96 as indicated on the box. I only later learned that it is closer to 1/64, so unfortunately, I cannot use most of the pieces. The primarily tin alloy white metal beds, however, could be modified. This is an example of what I started with: I used Milliput to lengthen two beds so that they could fit more with the scale: Styrene strips were cut, glued, puttied and sanded to make pieces for the frames: Assembled bedframes: The beds were mounted in the frames using thin cyanoacrylate to set them, then 30 minute epoxy to secure them: Testor's Model Master Wood enamel paint (small amount) was mixed with Testor's Flat White enamel to achieve an off-white color simulating natural linen, which was used for the linen bedsheets: A base color of Flat Brown enamel was used for the frames: A brown acrylic paint mixture was streaked over the dried flat brown enamel to simulate wood grain, and it was "fine tuned" by brushing over it with 91% isopropyl alcohol, which caused the streaks to "bunch" and "clump" and look less like brush strokes and more like weathered grain: After touching them up, this is how they looked: Here is a crewmember next to them showing that the scale is okay:


-
I think the gun carriages you have look nice and may be appropriate for the Golden Hinde.
- 137 replies
-
- 1
-
-
- Golden Hinde
- Revell
- (and 2 more)