HOLIDAY DONATION DRIVE - SUPPORT MSW - DO YOUR PART TO KEEP THIS GREAT FORUM GOING! (Only 53 donations so far out of 49,000 members - C'mon guys!)
×


Jeff T
-
Posts
247 -
Joined
-
Last visited
Content Type
Profiles
Forums
Gallery
Events
Everything posted by Jeff T
-
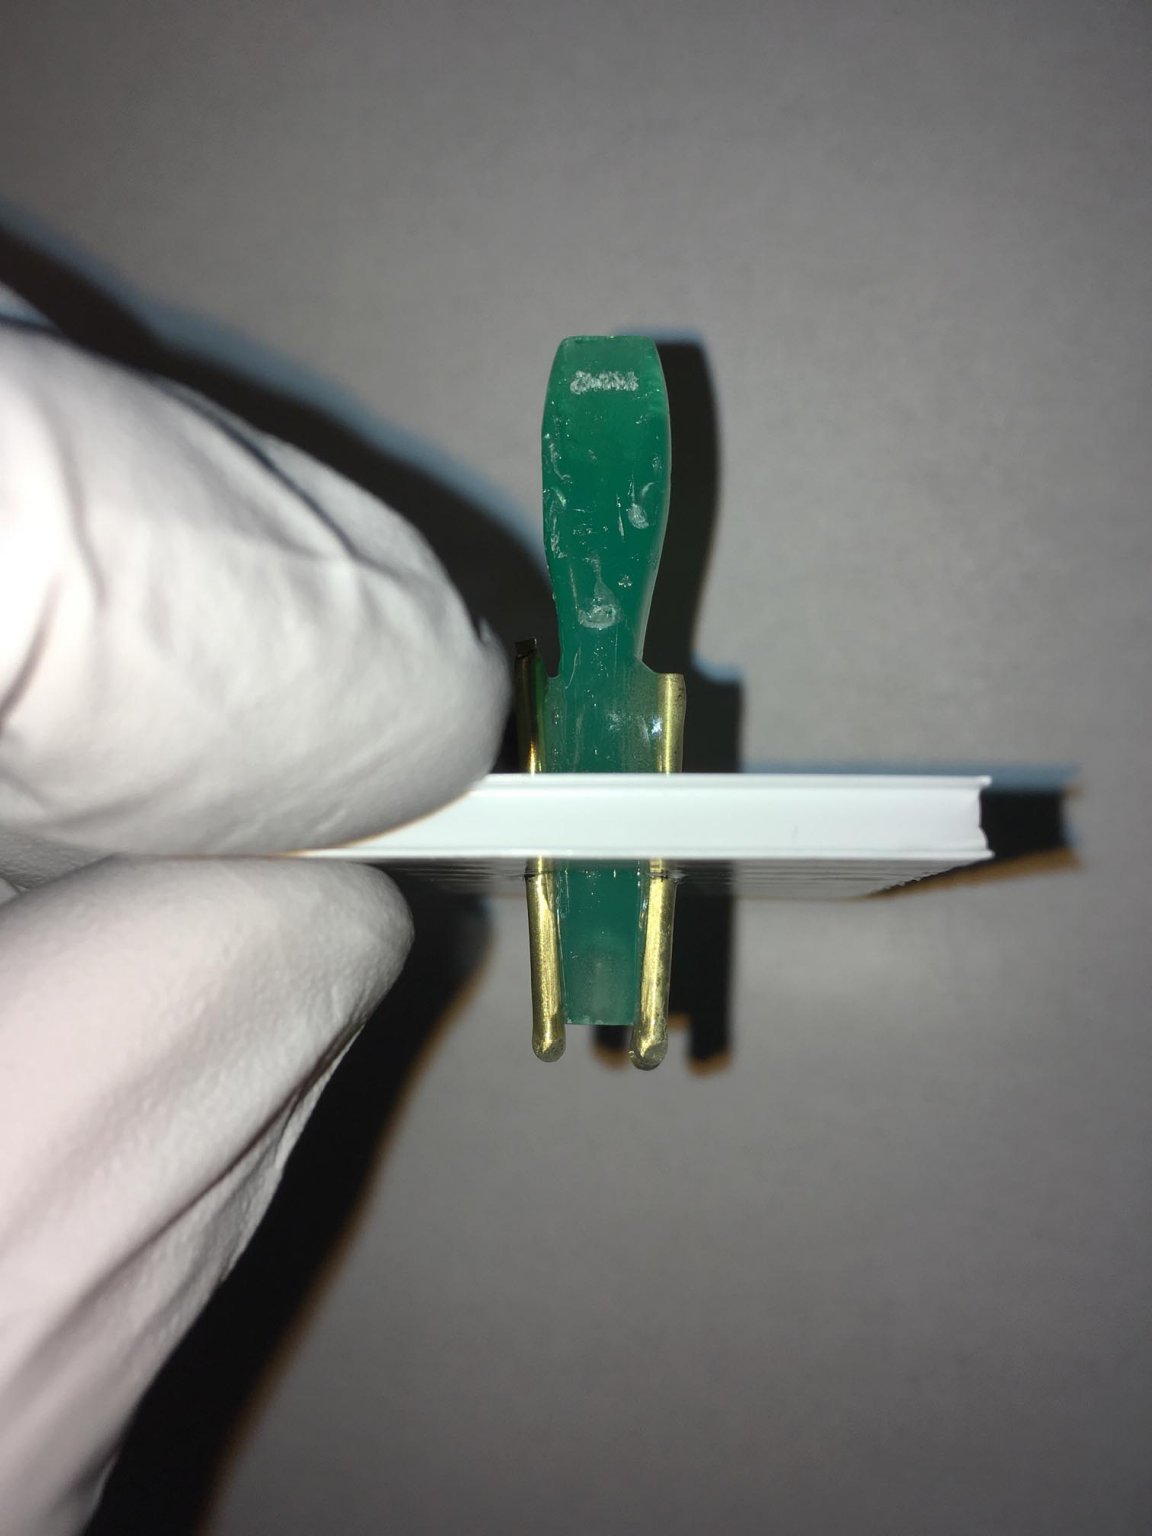
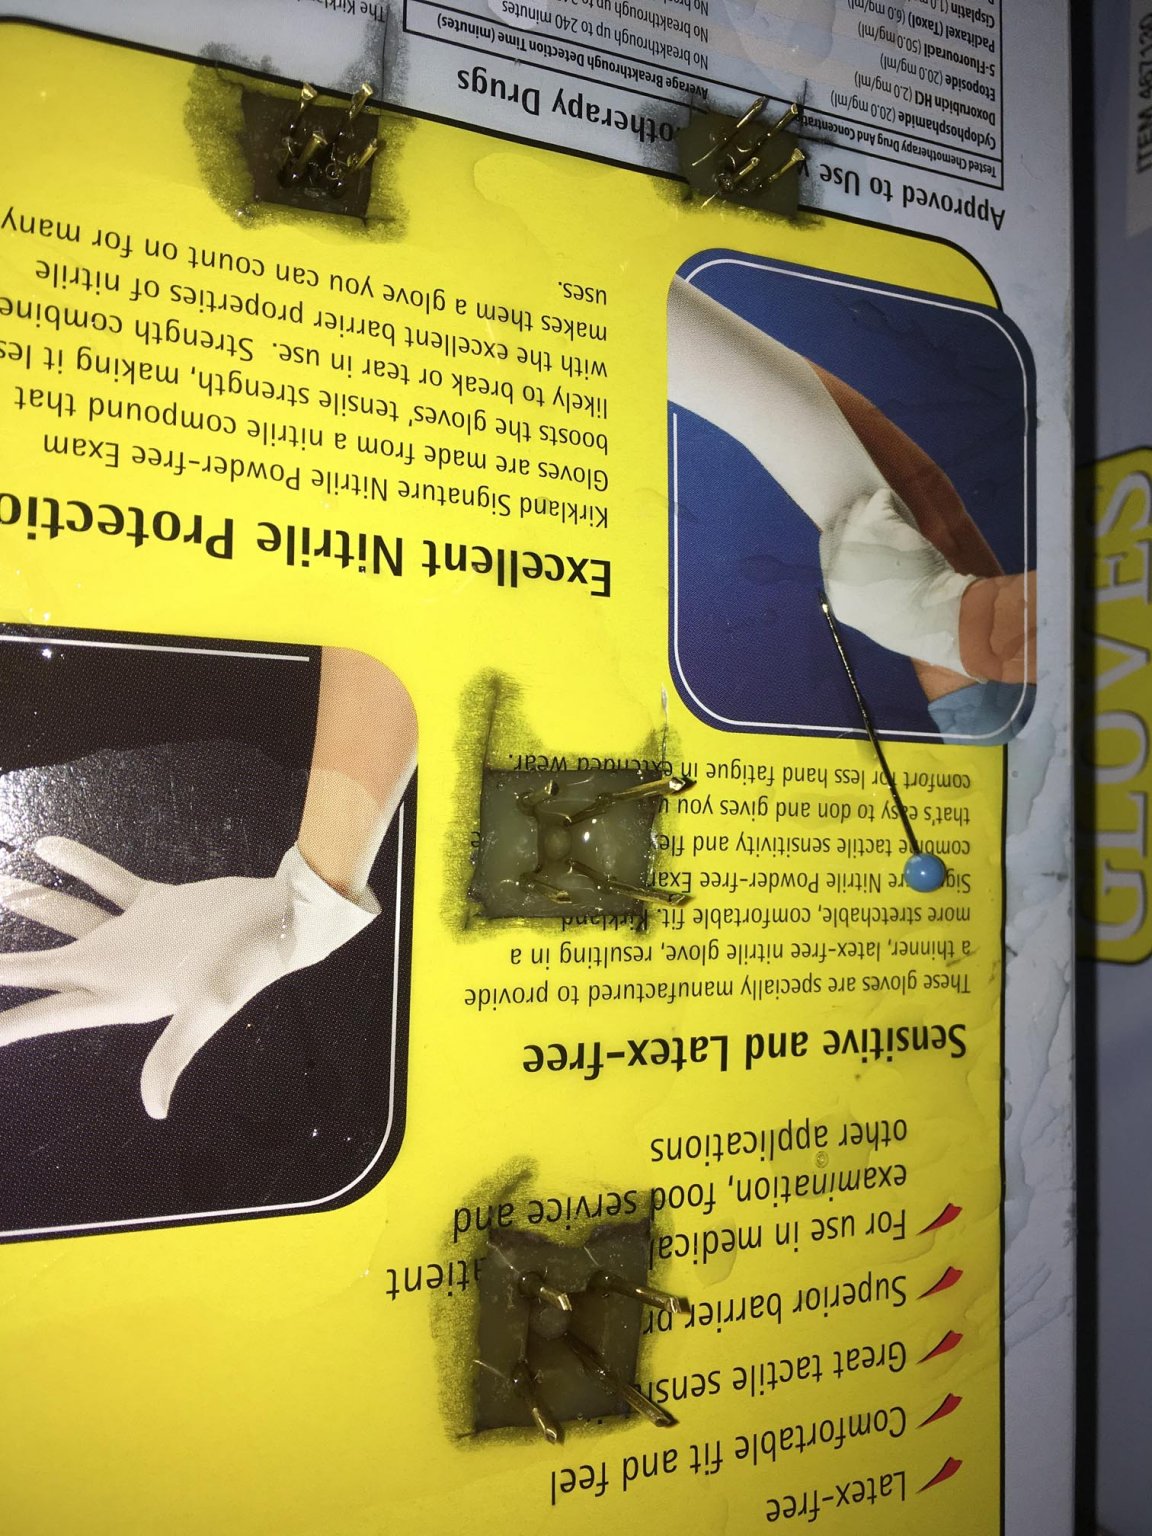
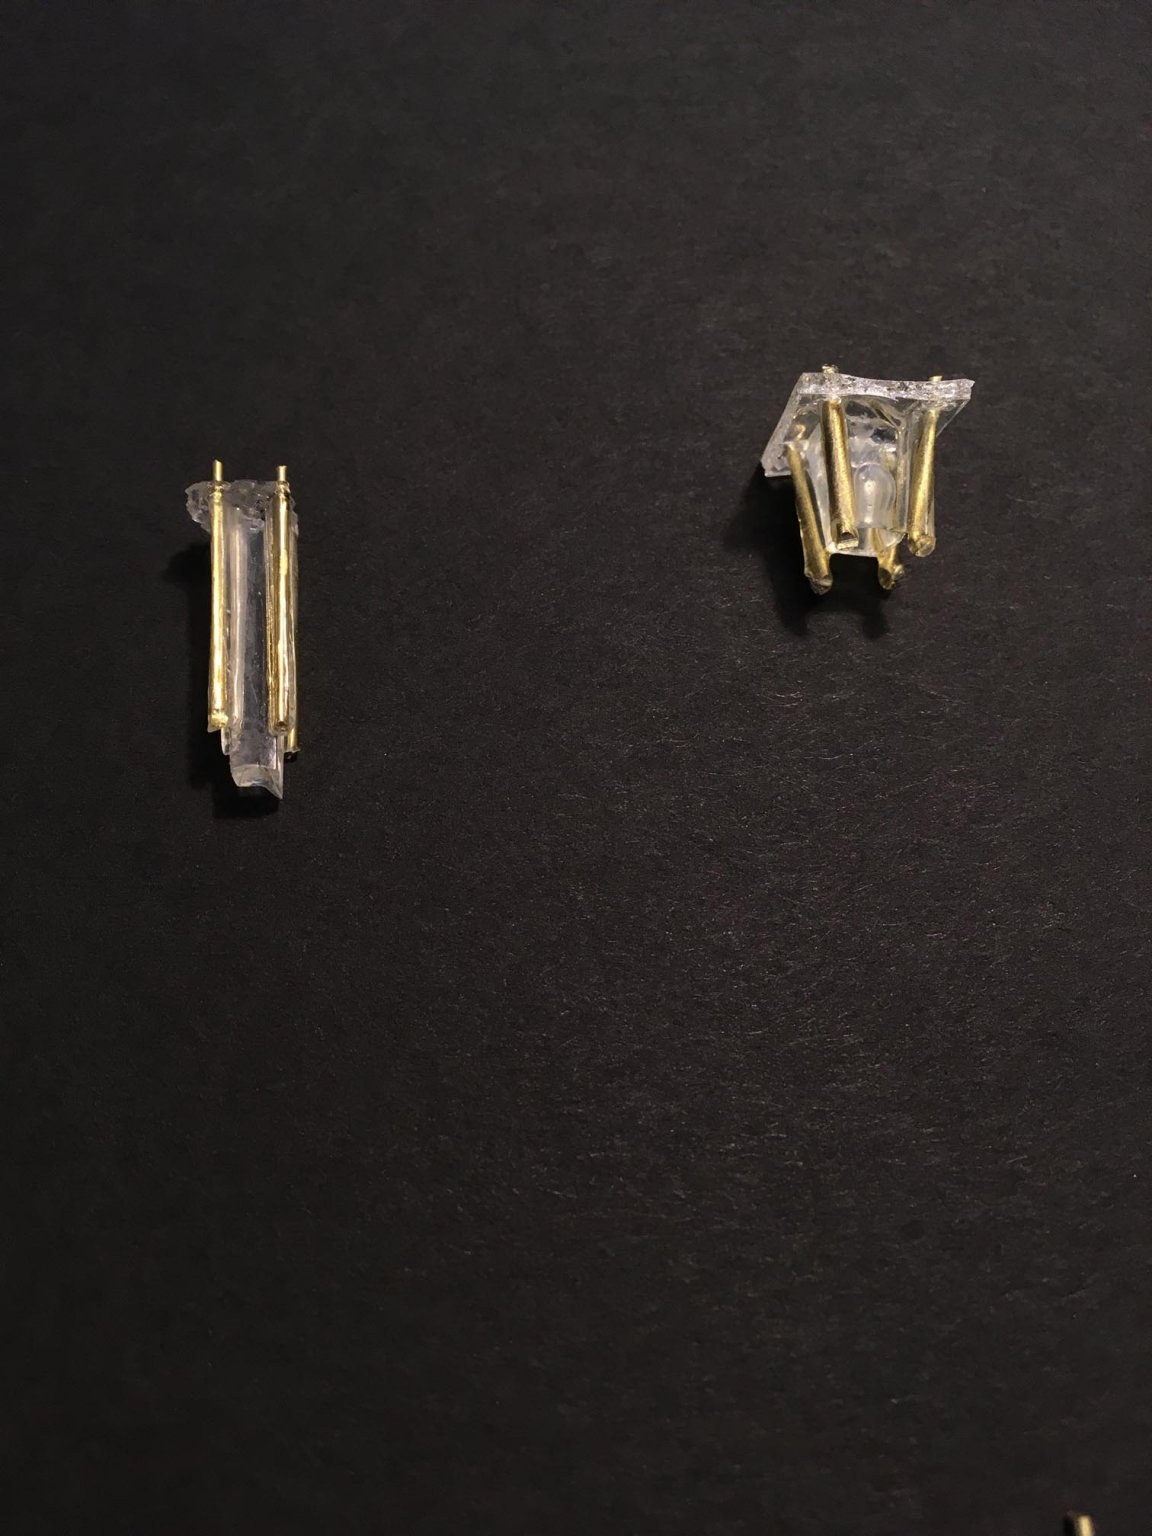
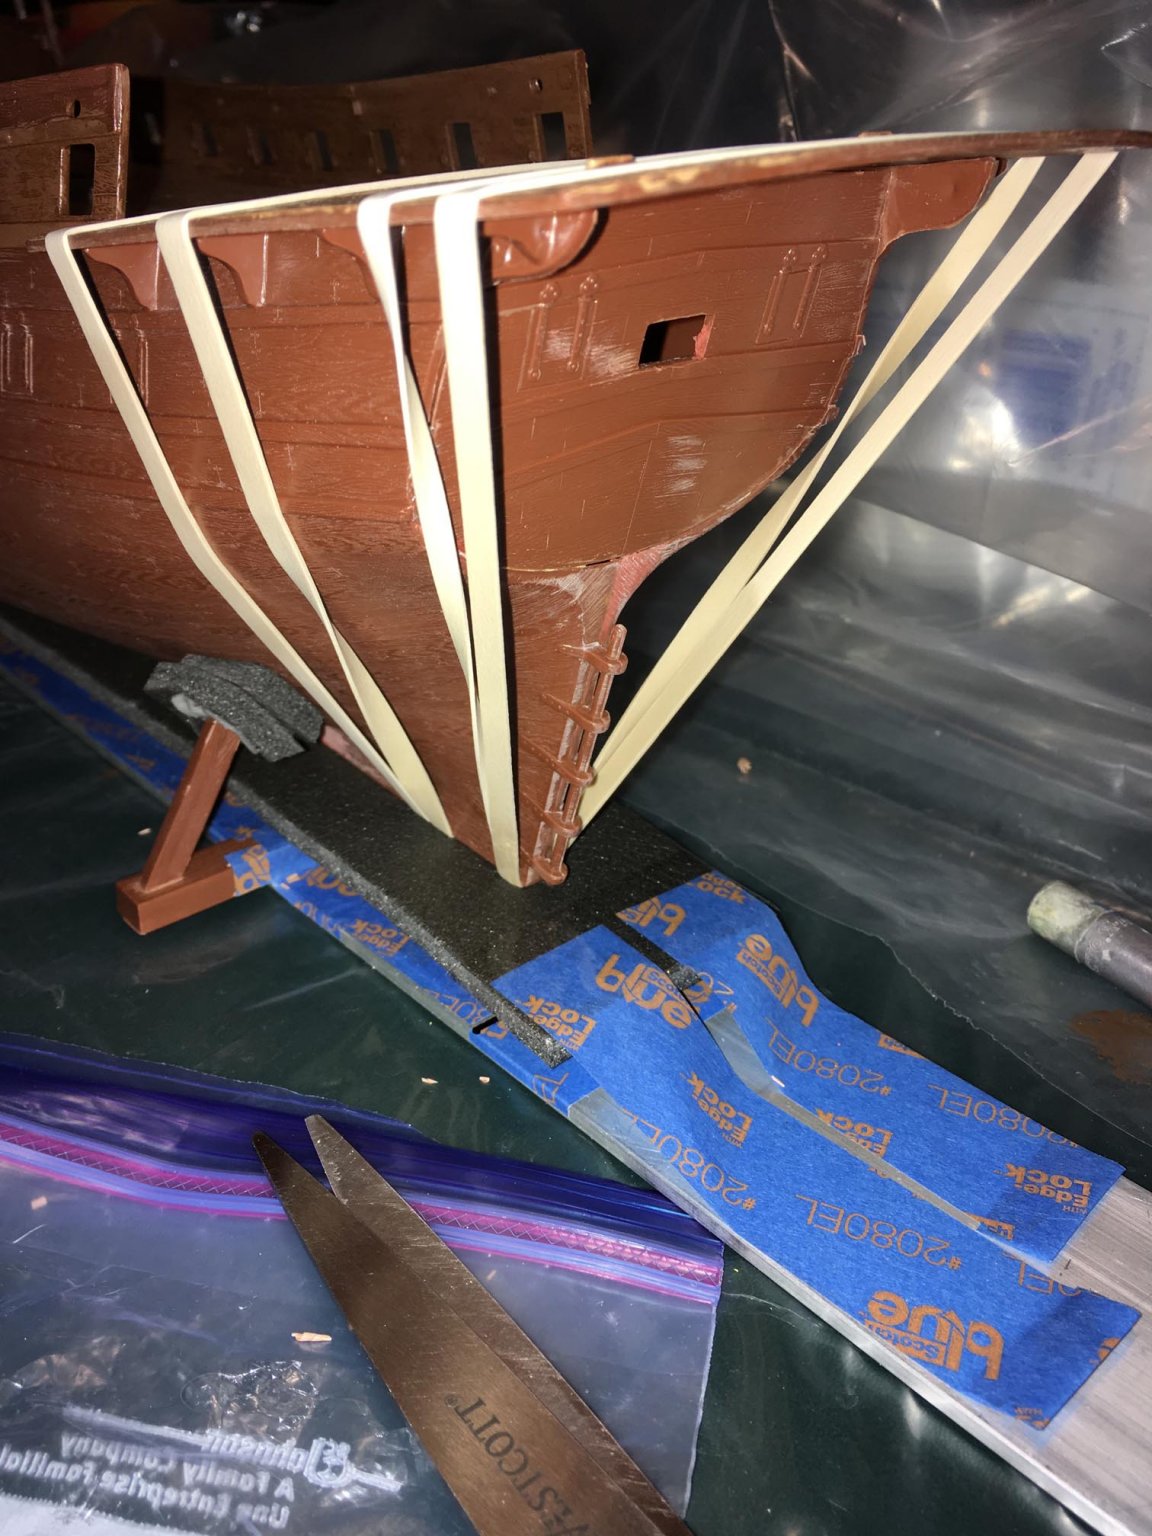
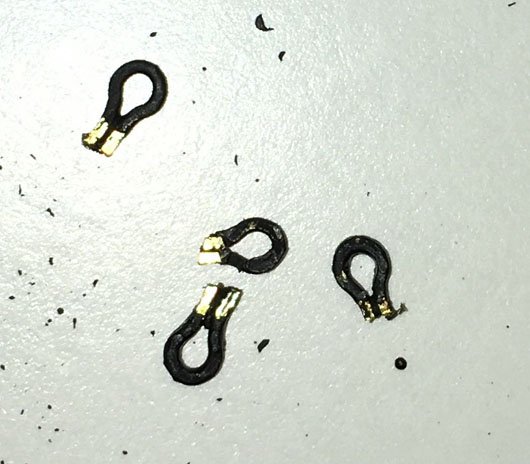
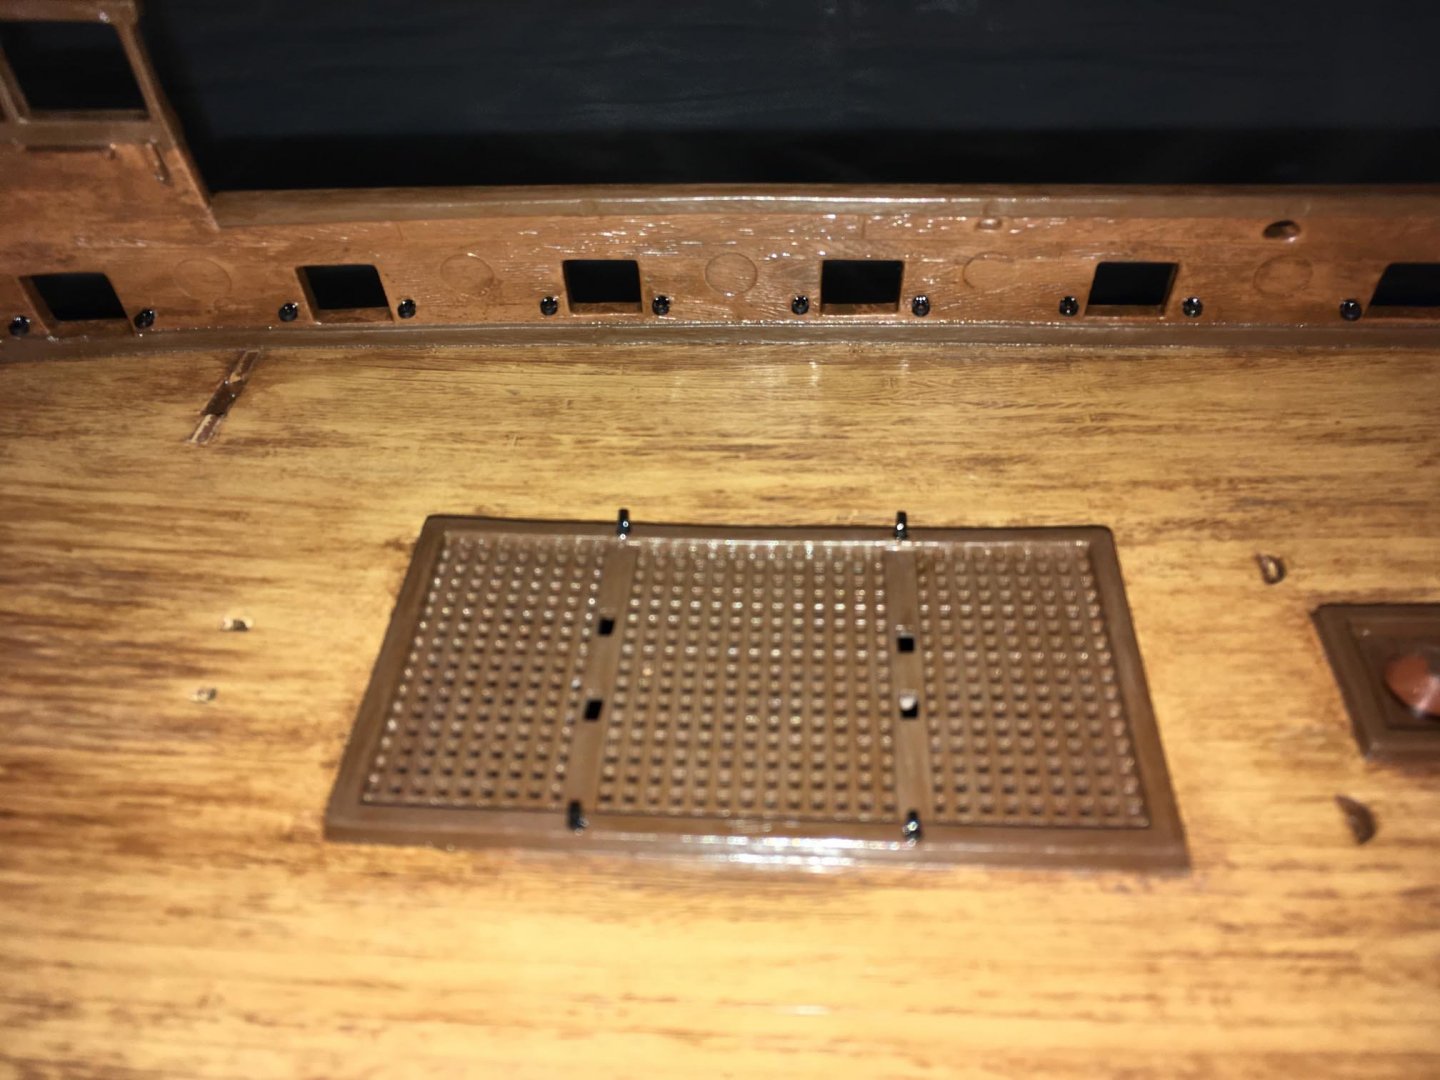
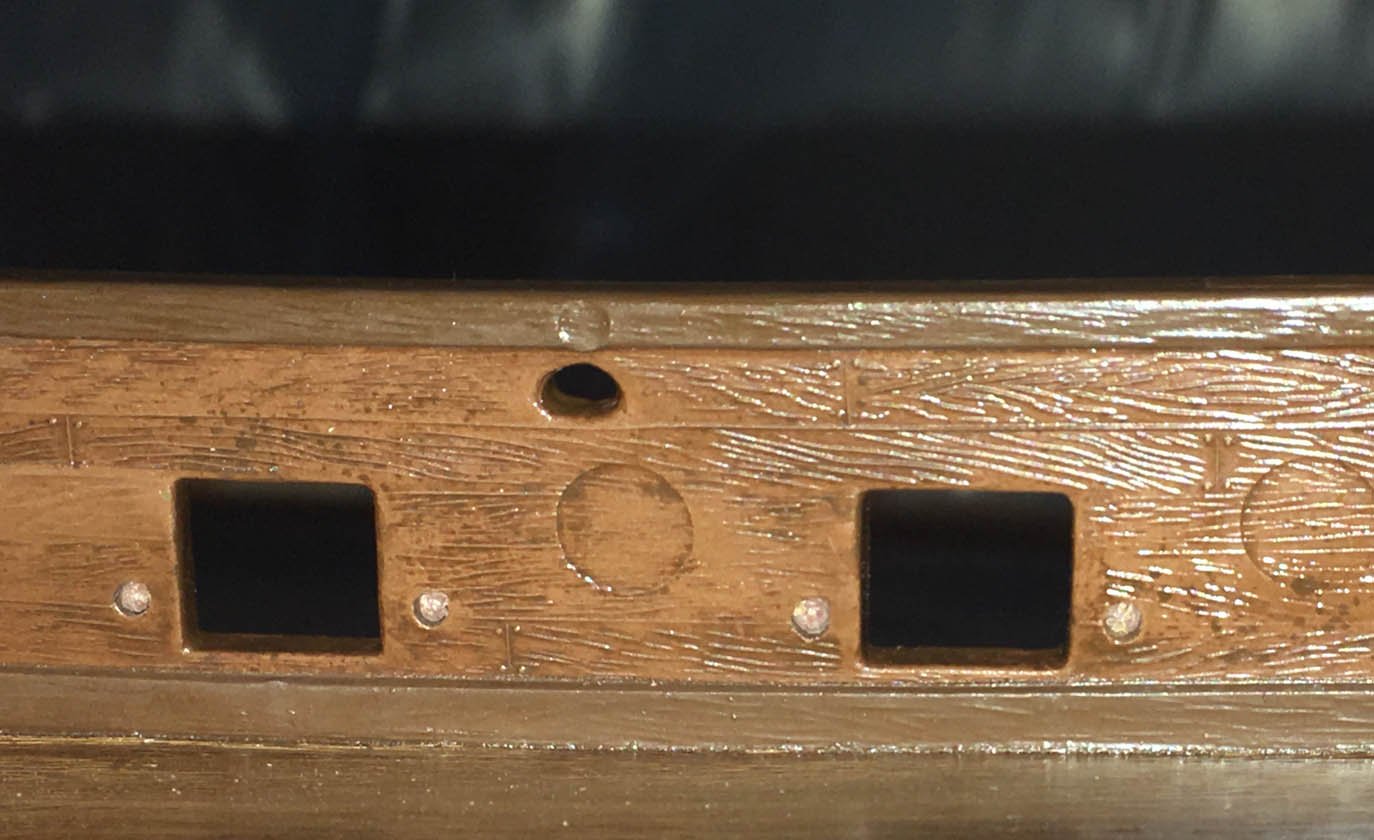
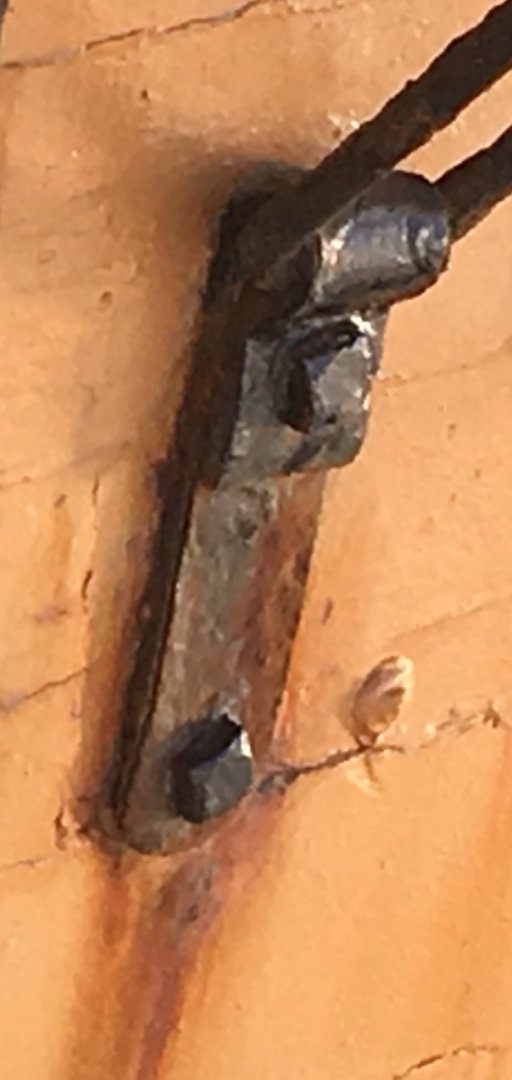
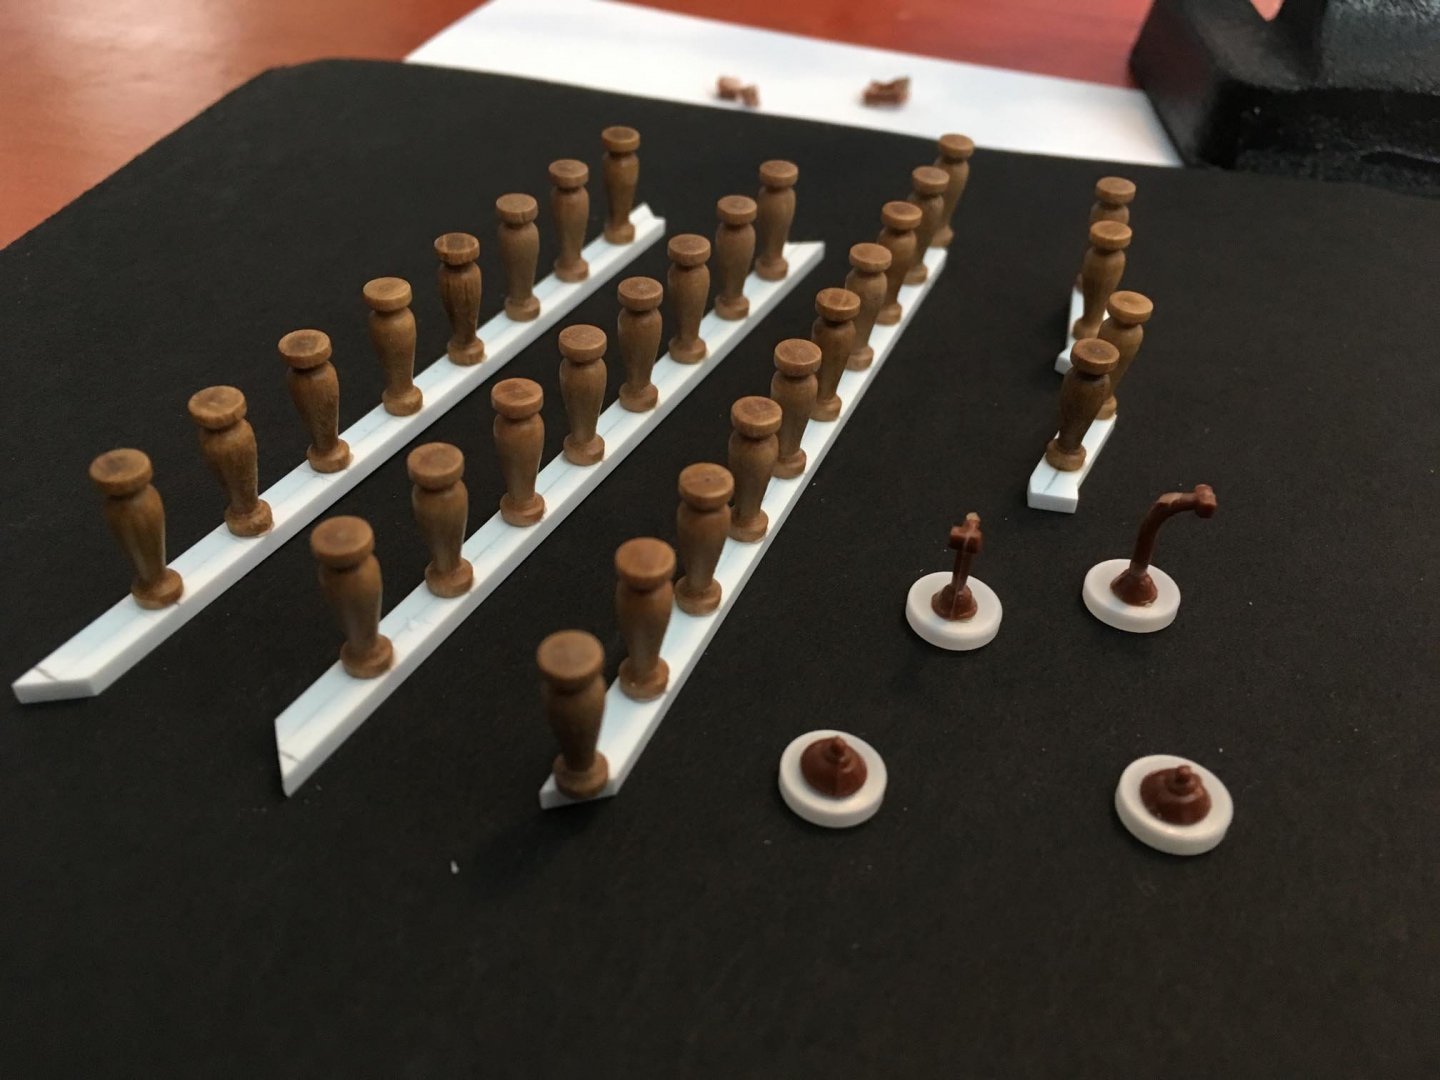
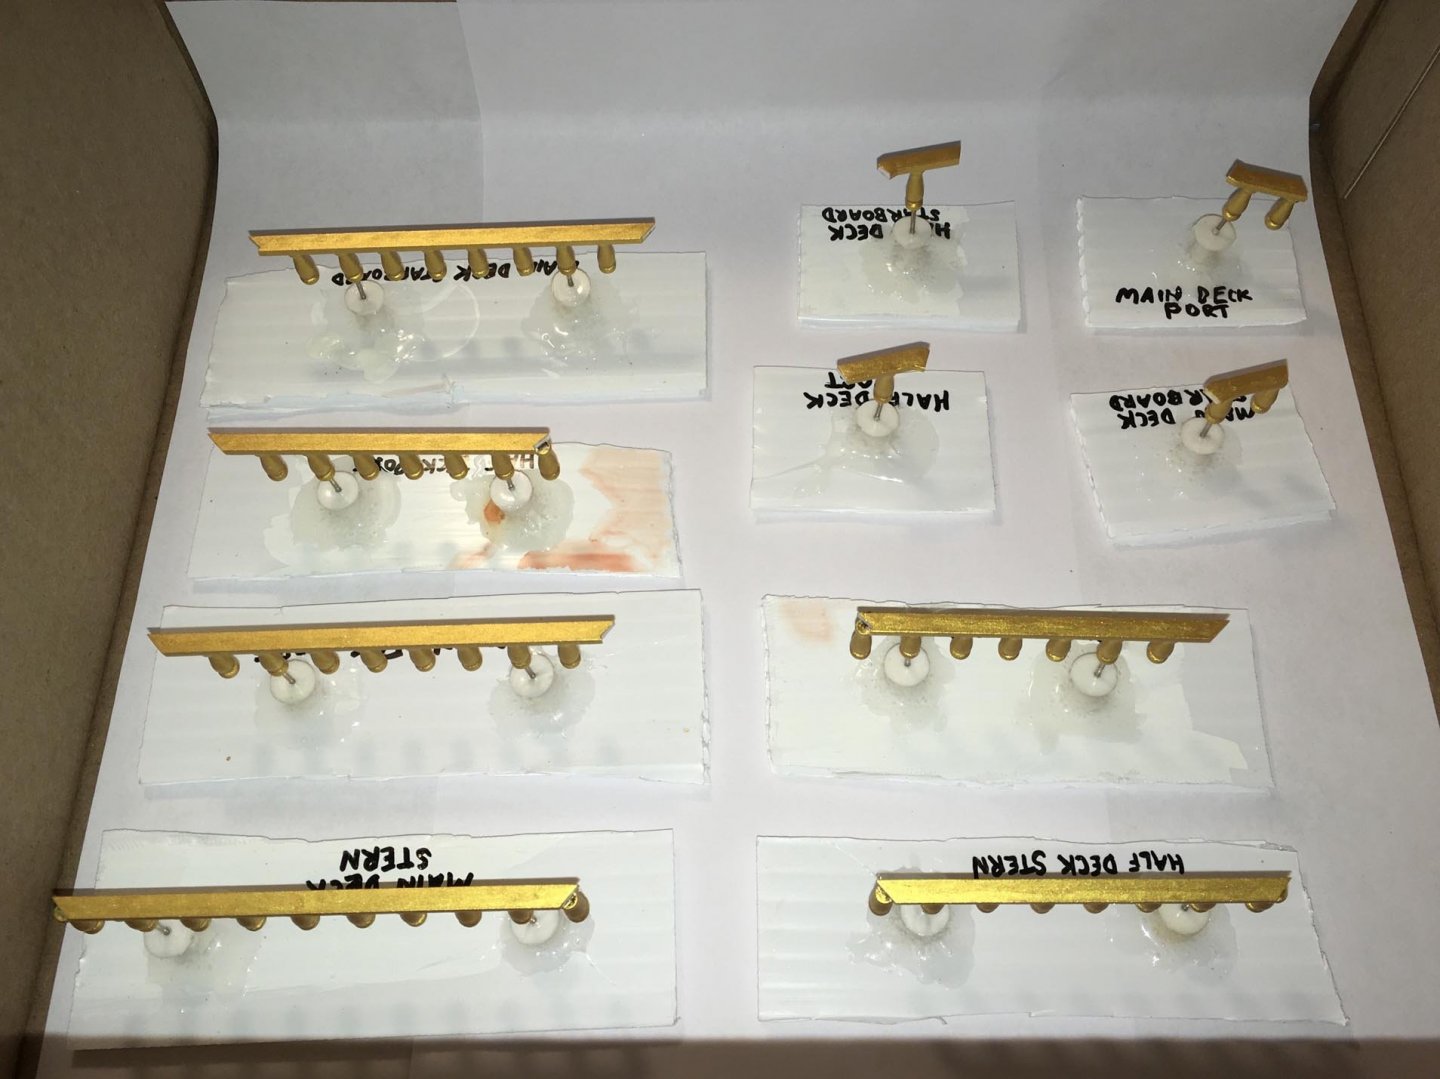
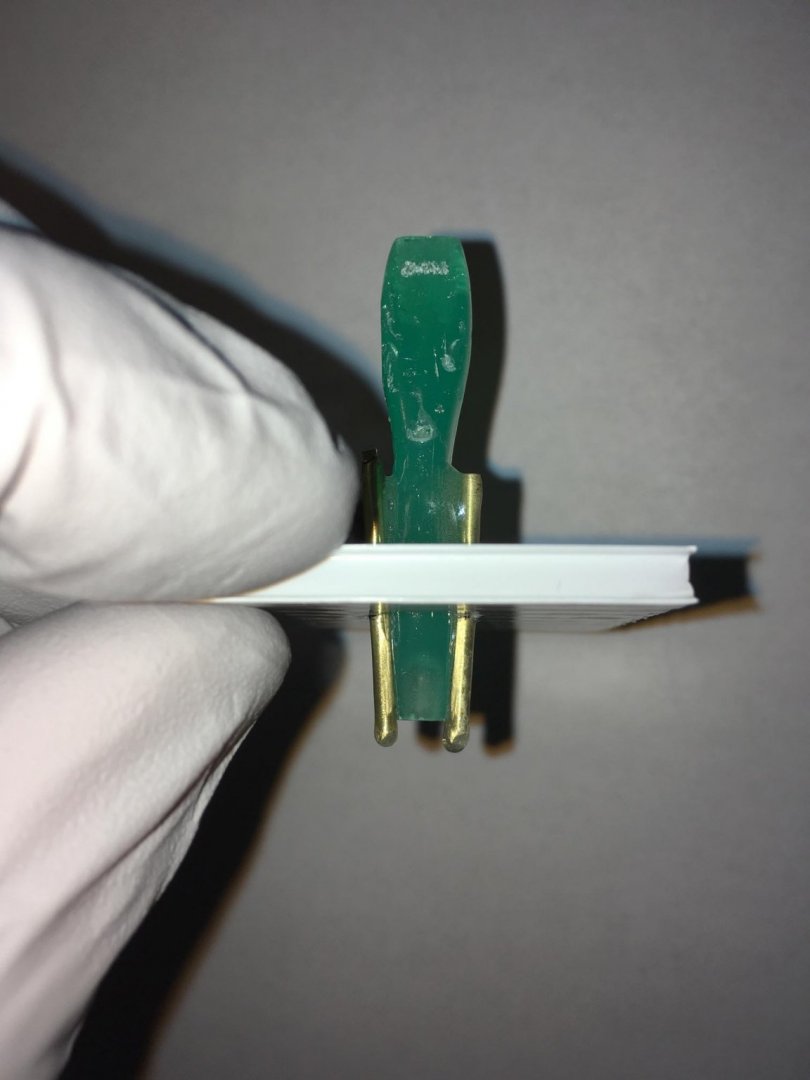
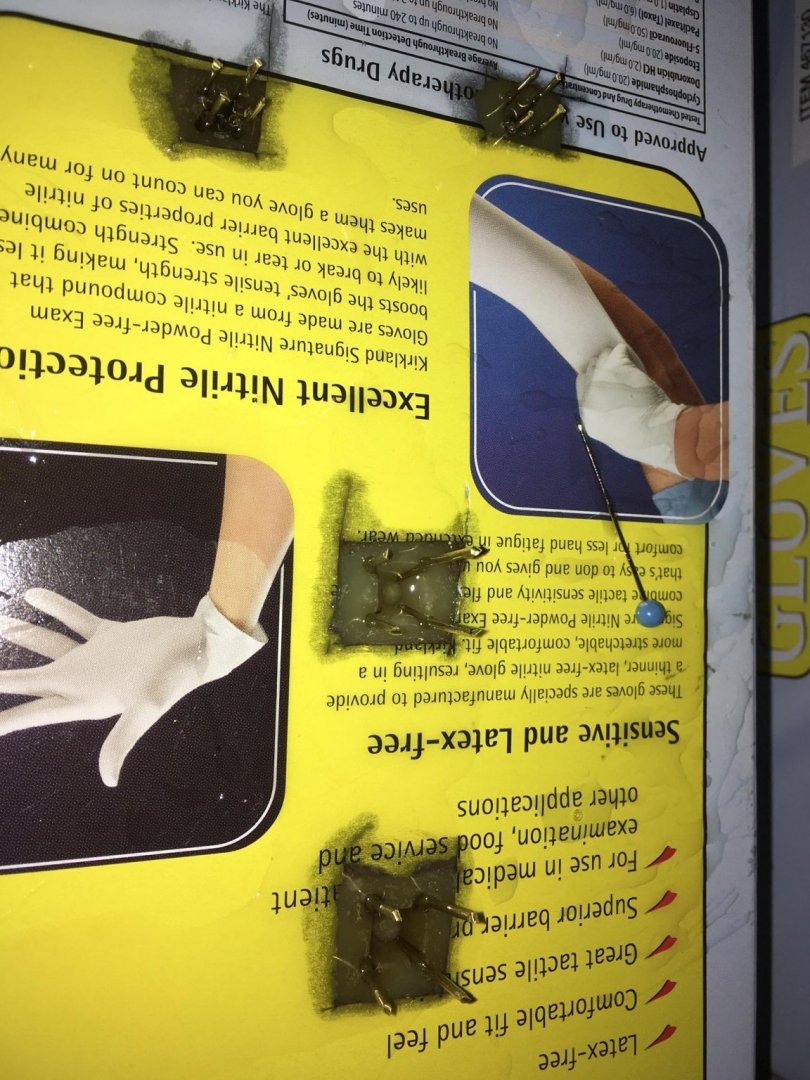
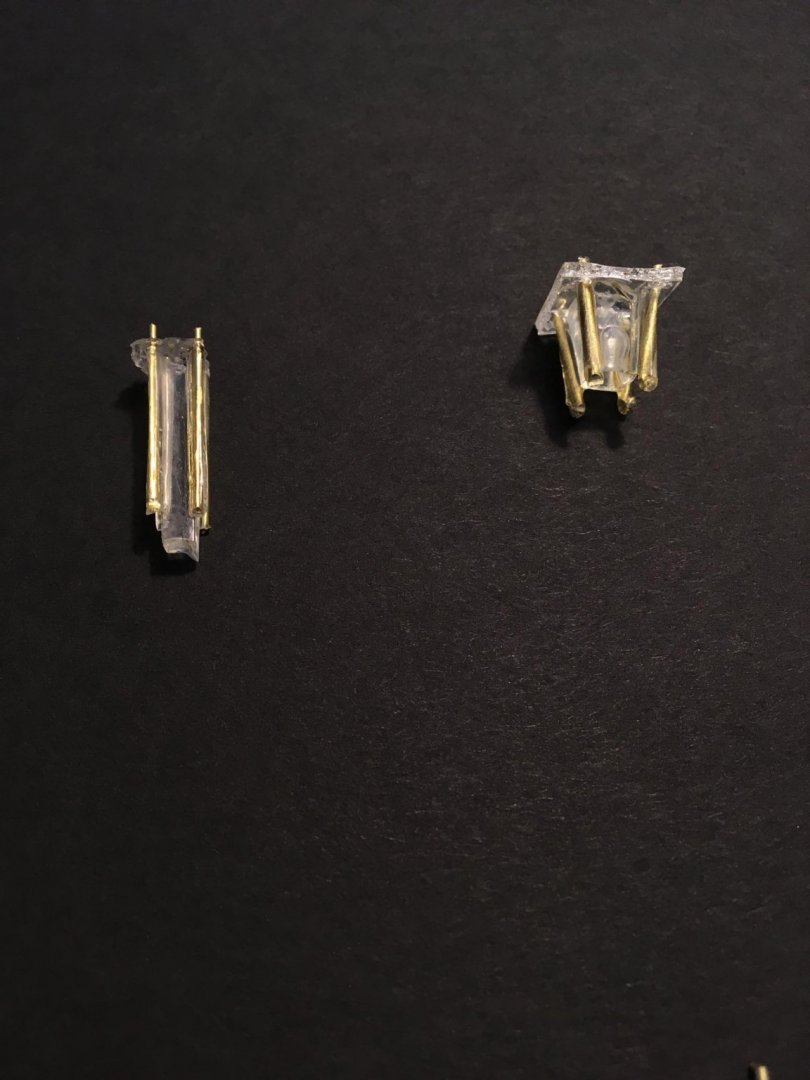
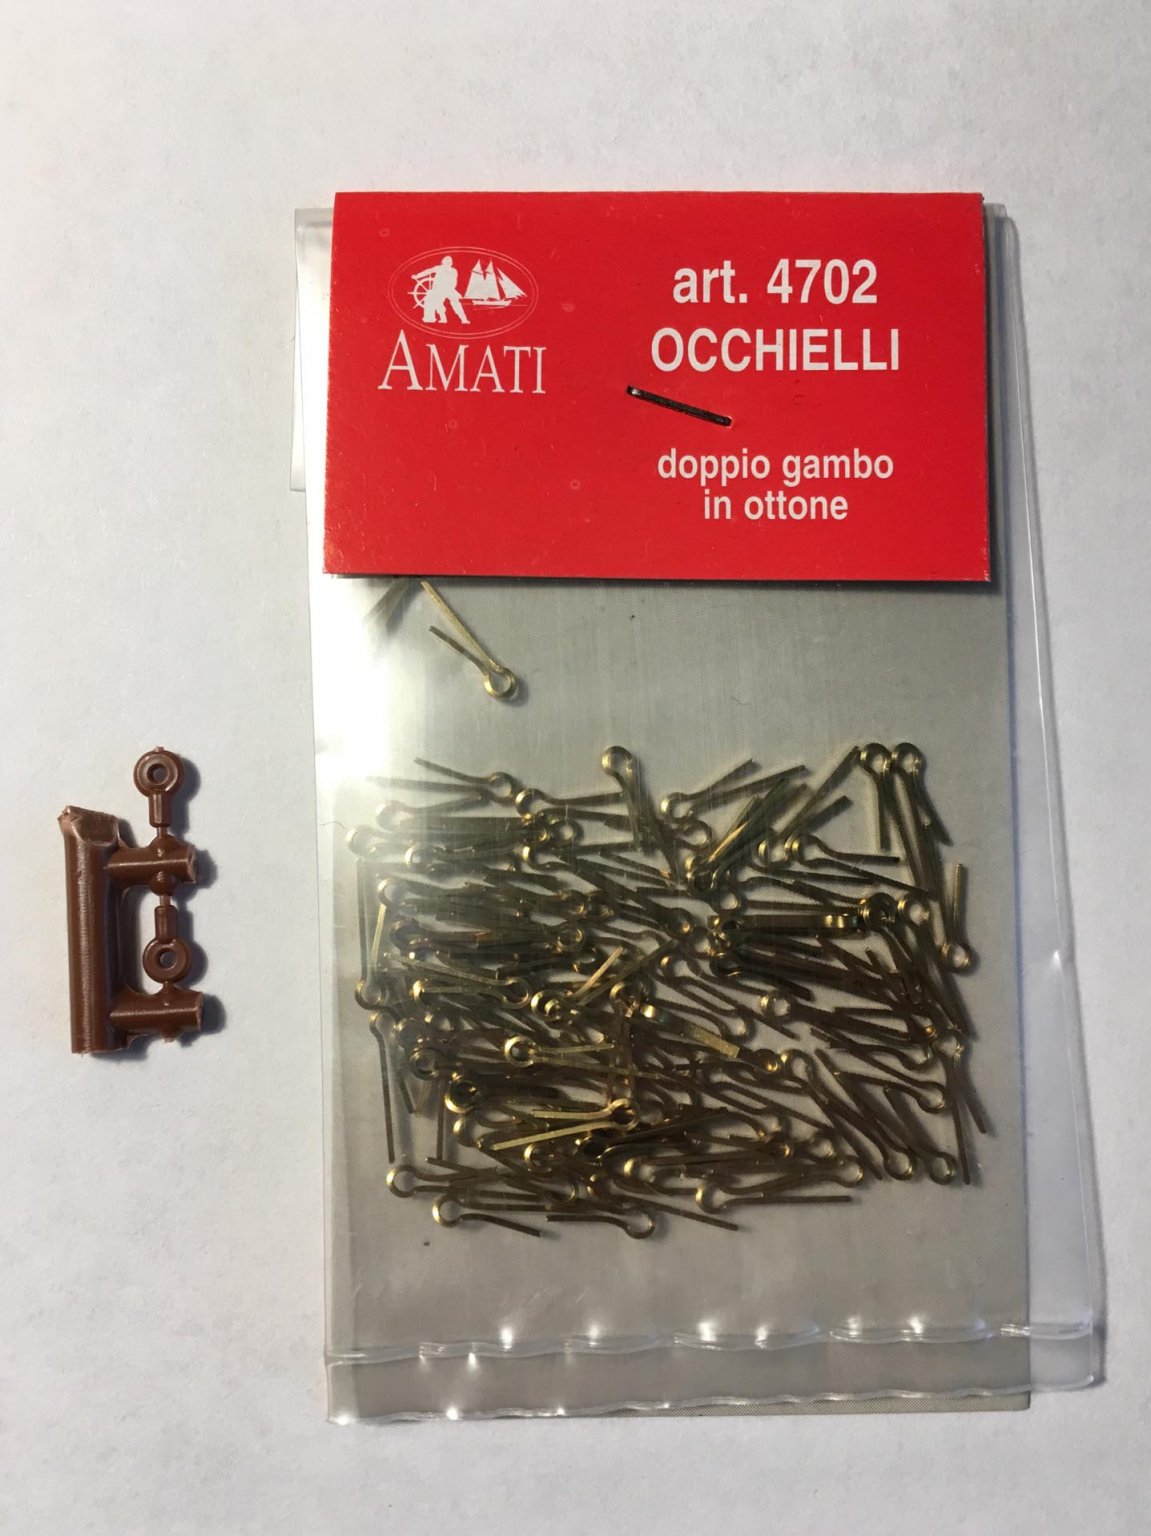
The kit comes with plastic eyebolts that are for securing the cannon breeching ropes to the bulwarks and for tying the boat to the deck. I decided to replace them with brass pieces. I have some "cotter pin" style two-legged eye pins that I modified for the job: (To the left in the image above, you can see a couple of the plastic pins from the kit.) I shortened the legs of the pins that I would use and then painted them with black enamel paint (in lieu of brass blackening solution, which would also have worked). I scraped paint off of the "stumps" of the legs so that epoxy would bond it better. I needed to drill the holes in the bulwarks deeper so that the eye pins would fit in. The pins were glued in place with 30 minute epoxy: Eventually, the glossy sheen will be eliminated with a clear matt varnish.


-
Works well — even for 18th century “tail lights” 👍🏻
-
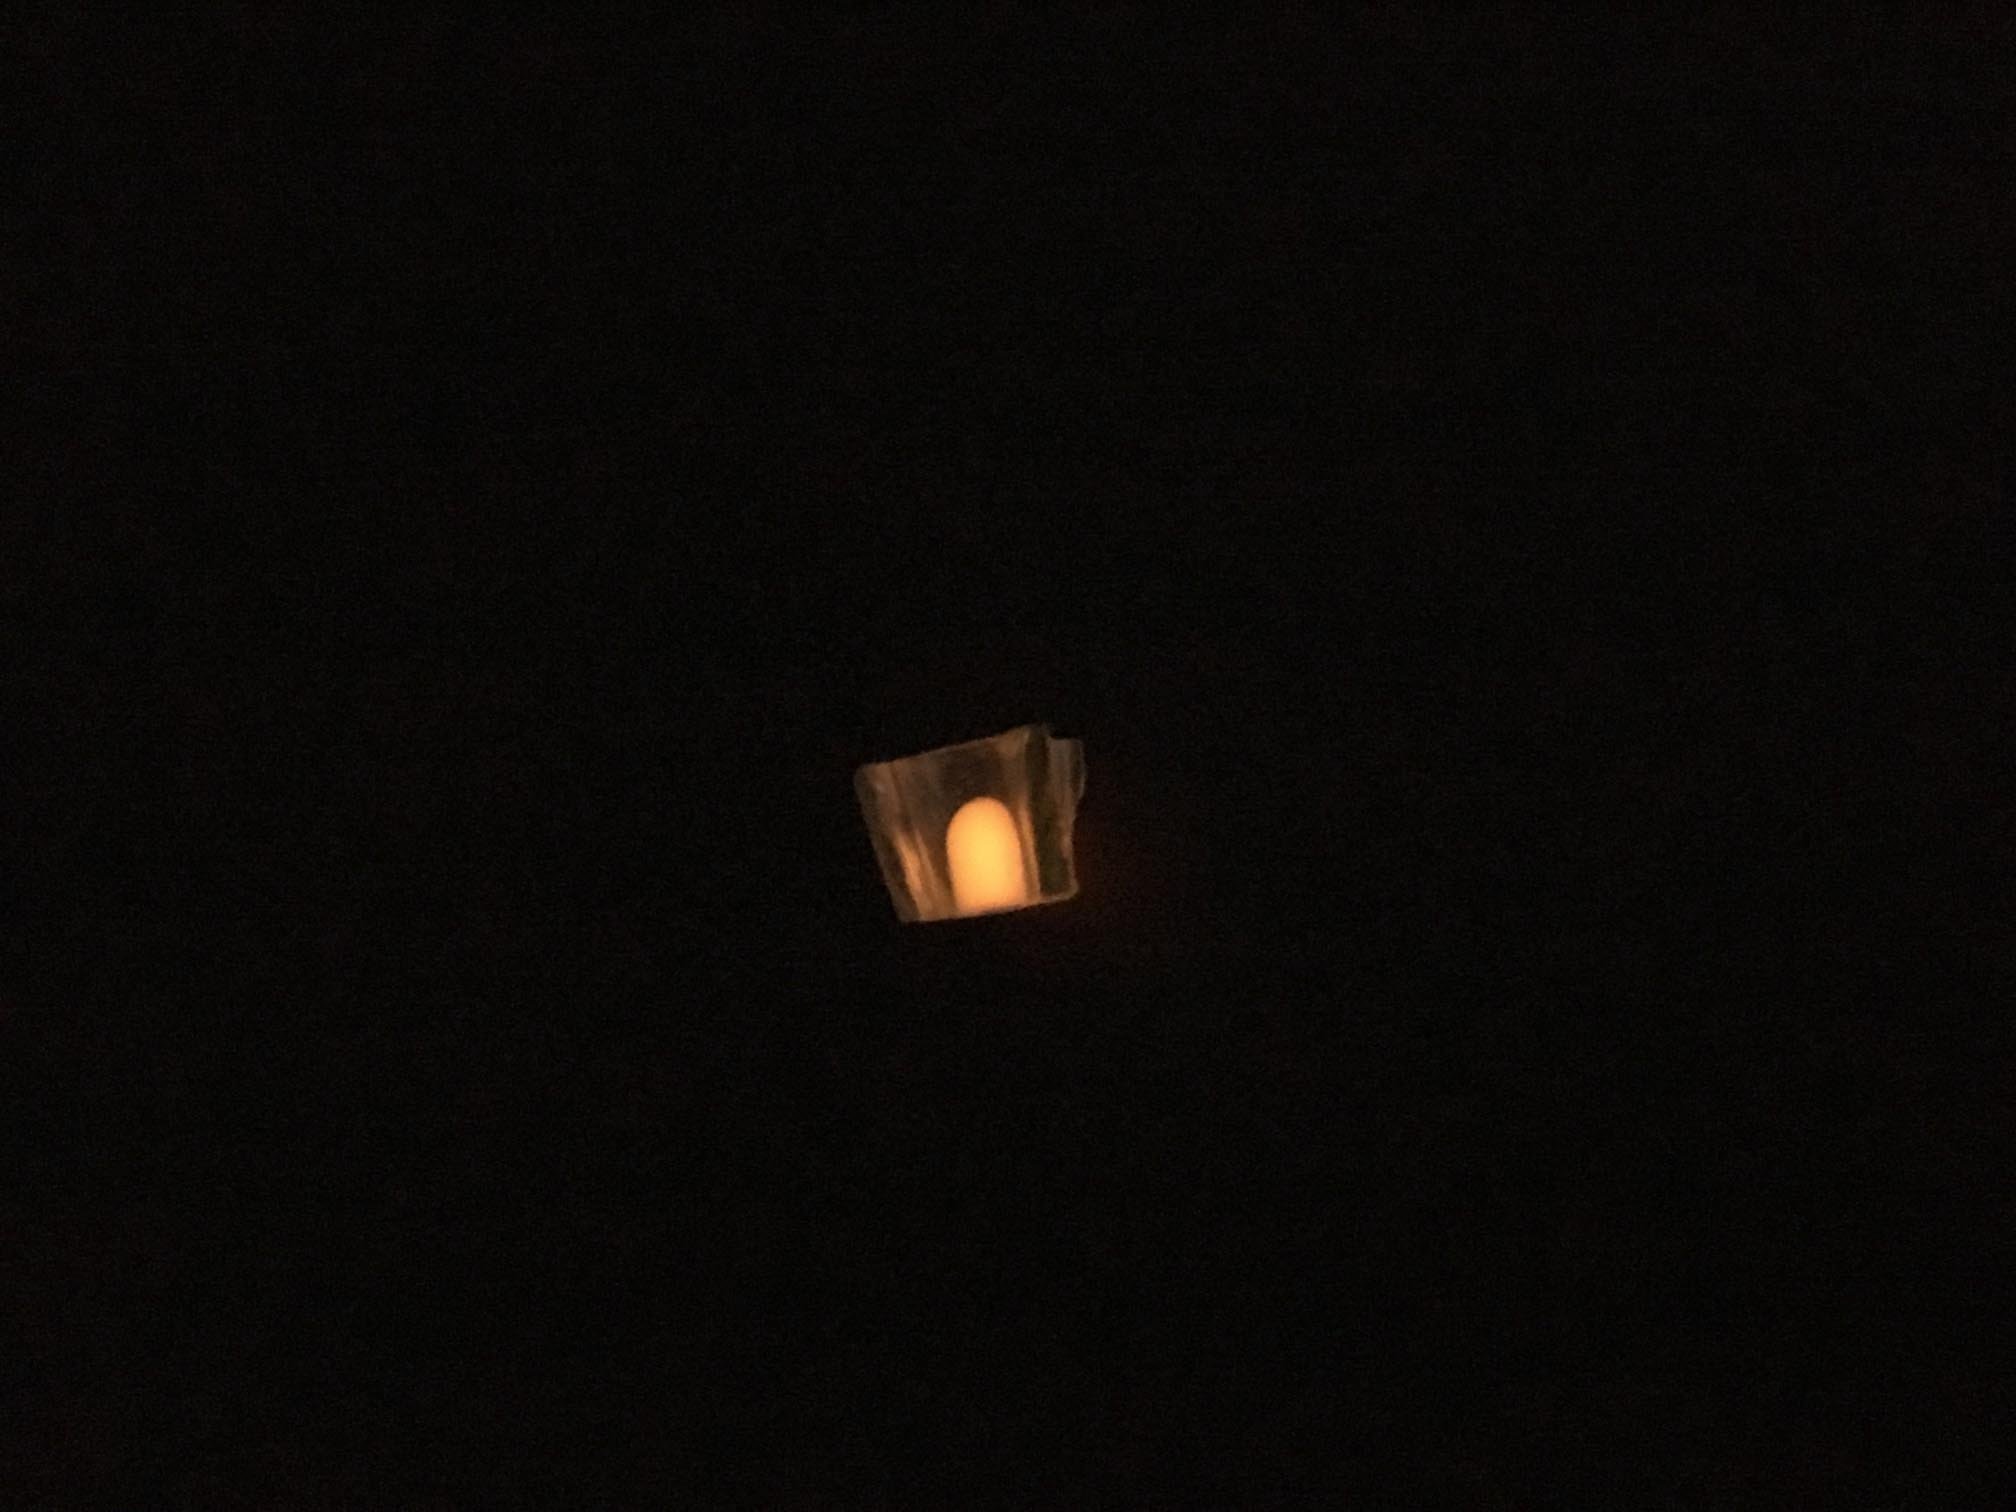
I really like the stern lanterns — they seem to glow orange with the backlighting. What material did you use in them to achieve that?
-
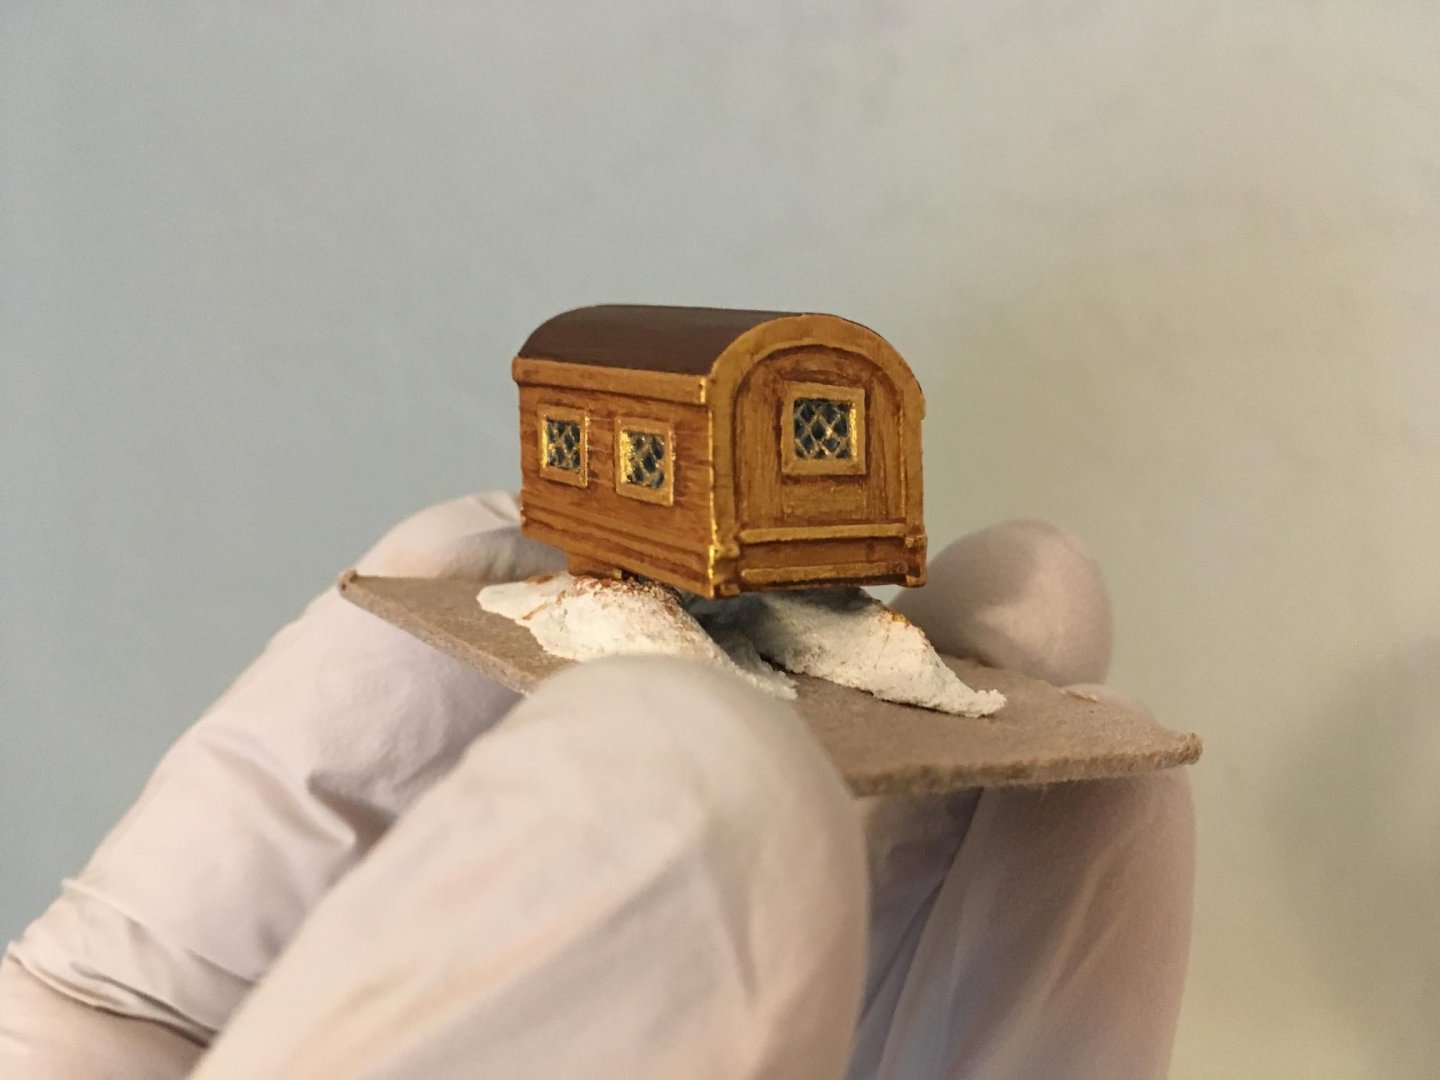
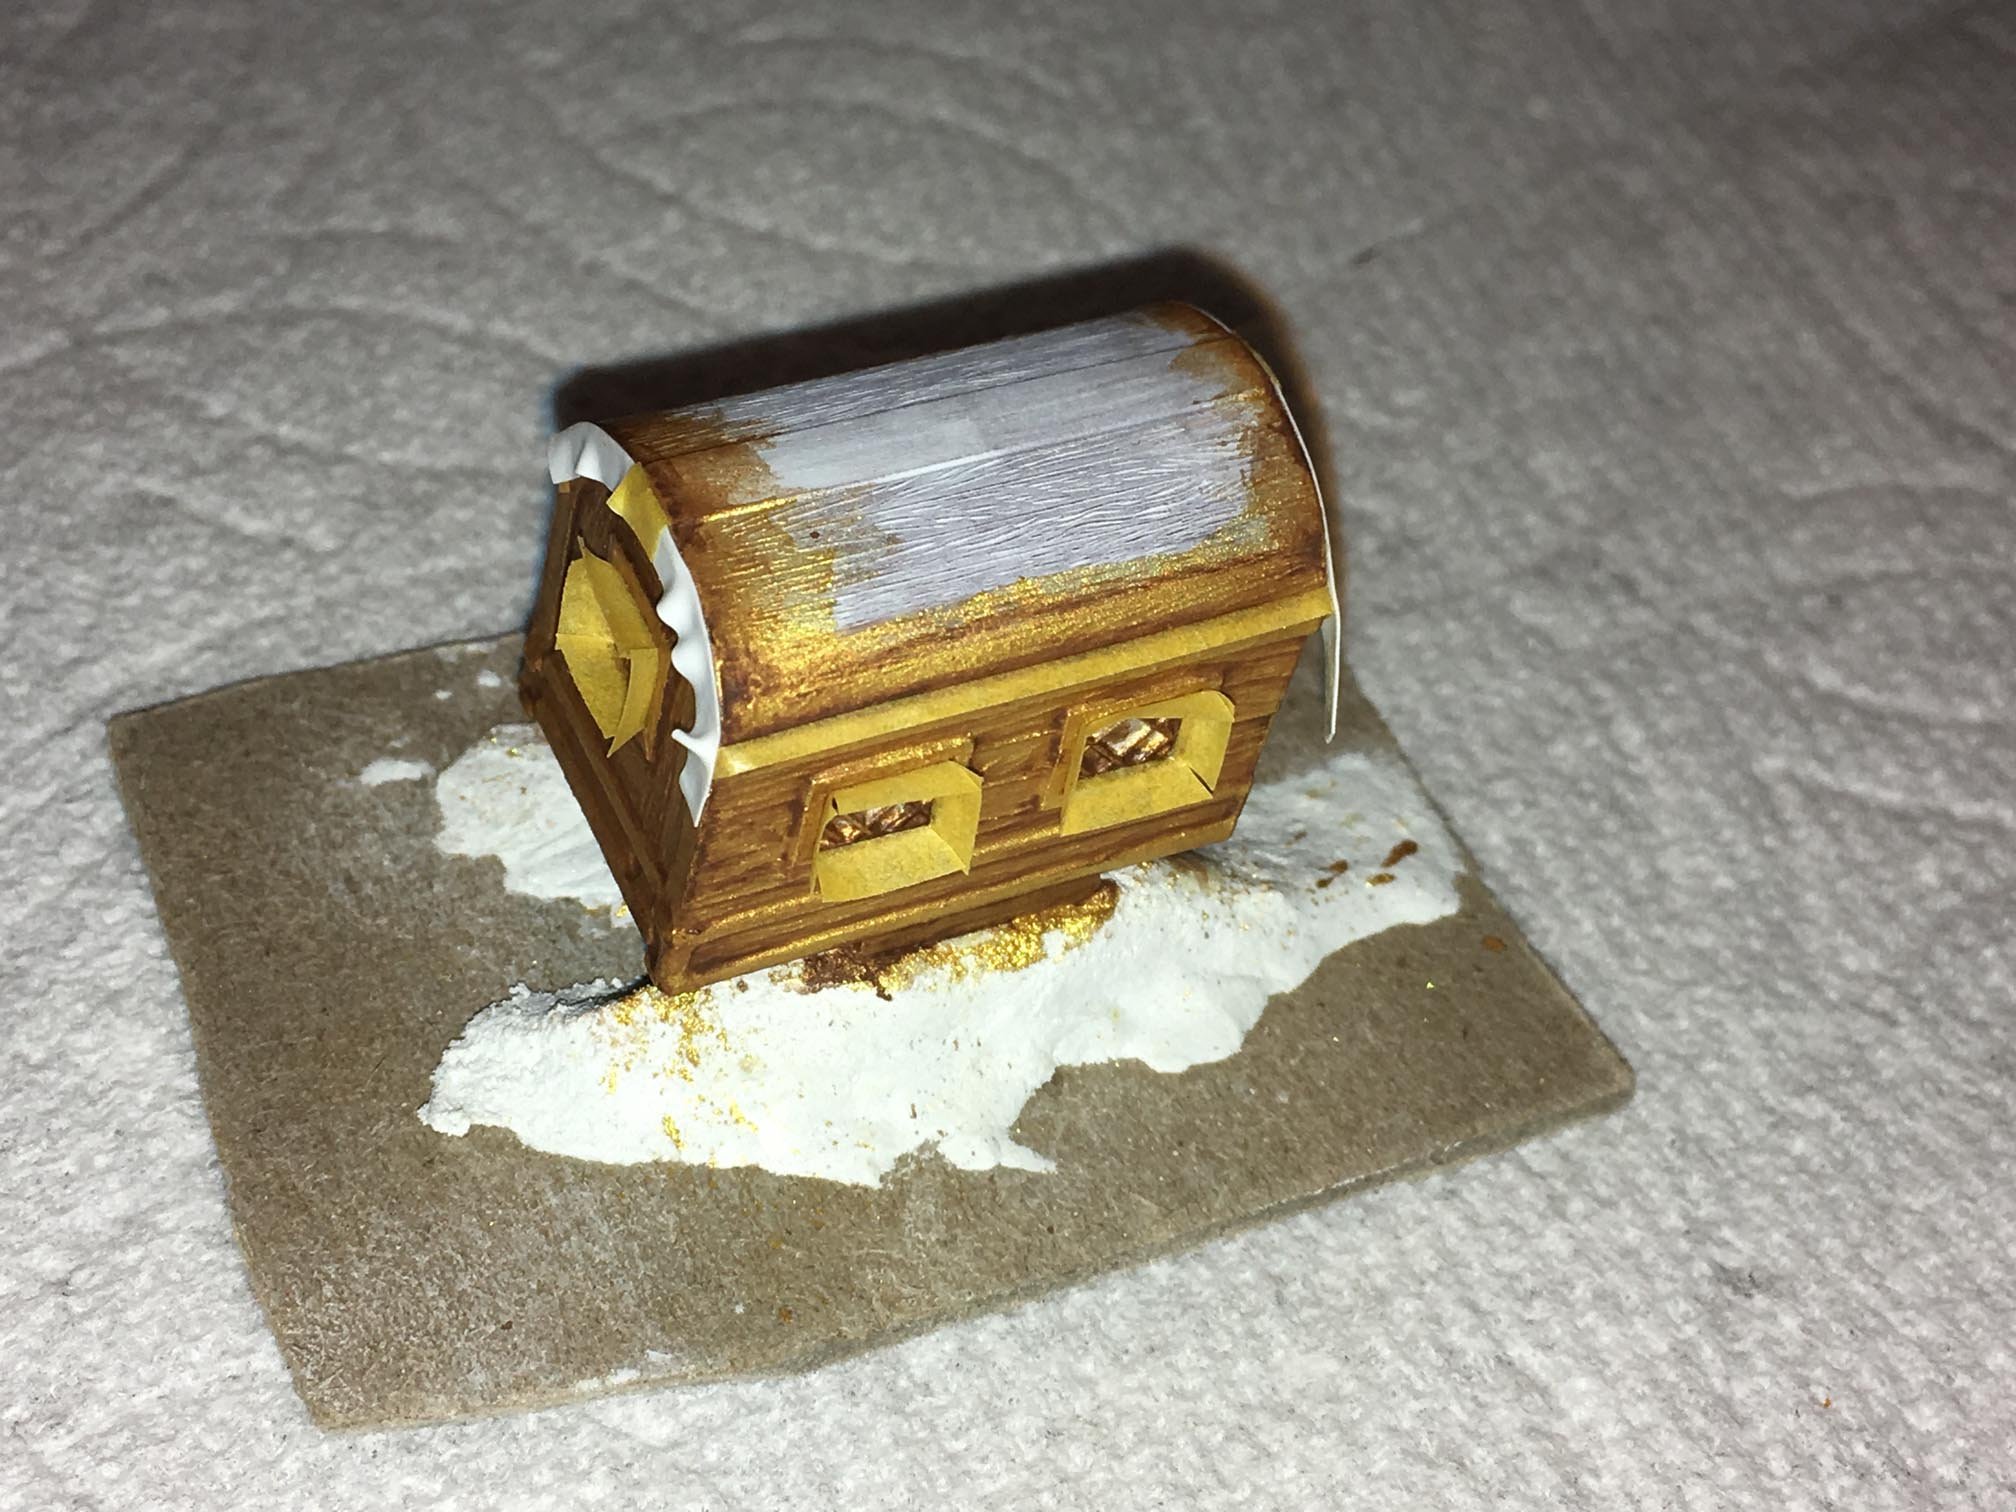
Then I dry brushed gold paint over the muntins or "latticework" of the windows. I think that the original model that was used to make the molds for the kit had had very fine wire for these muntins. With my brushing, some gold ended up in the dark areas, so I touched it up with black: It just seemed too black, so I took a clear acrylic medium, mixed some white acrylic paint into it, diluted it, and painted it on. I had to redo the gold on the muntins after that, but I think it gives more of a "frosted" look to the lites so that one can imagine a reflection or impurity in the glass:
-
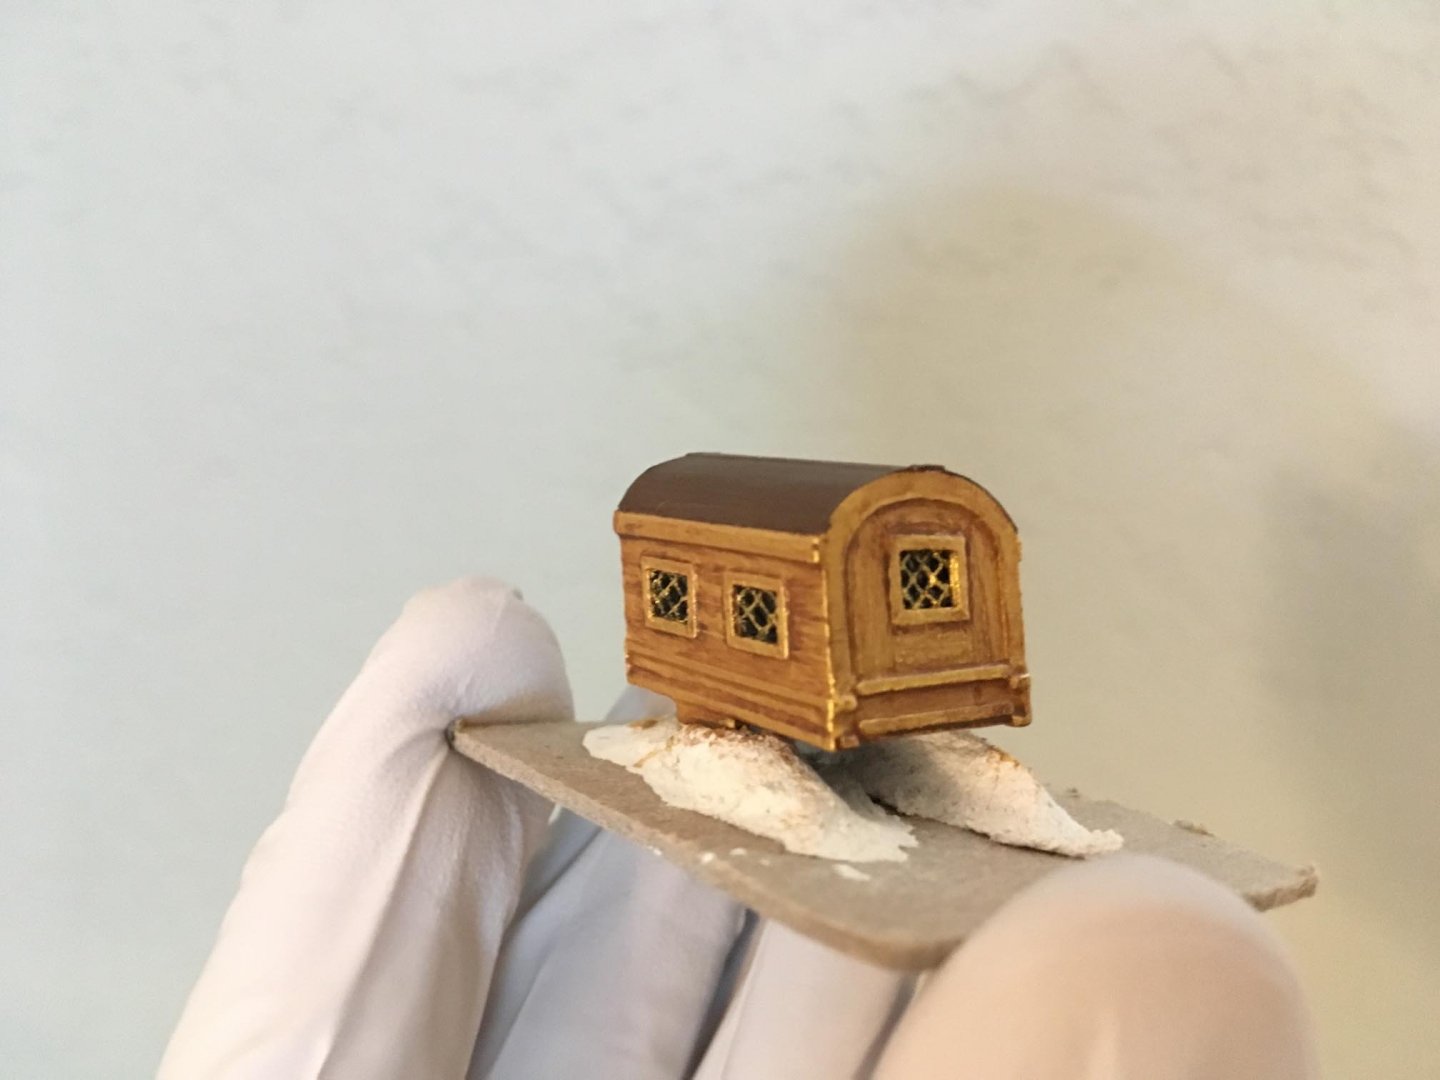
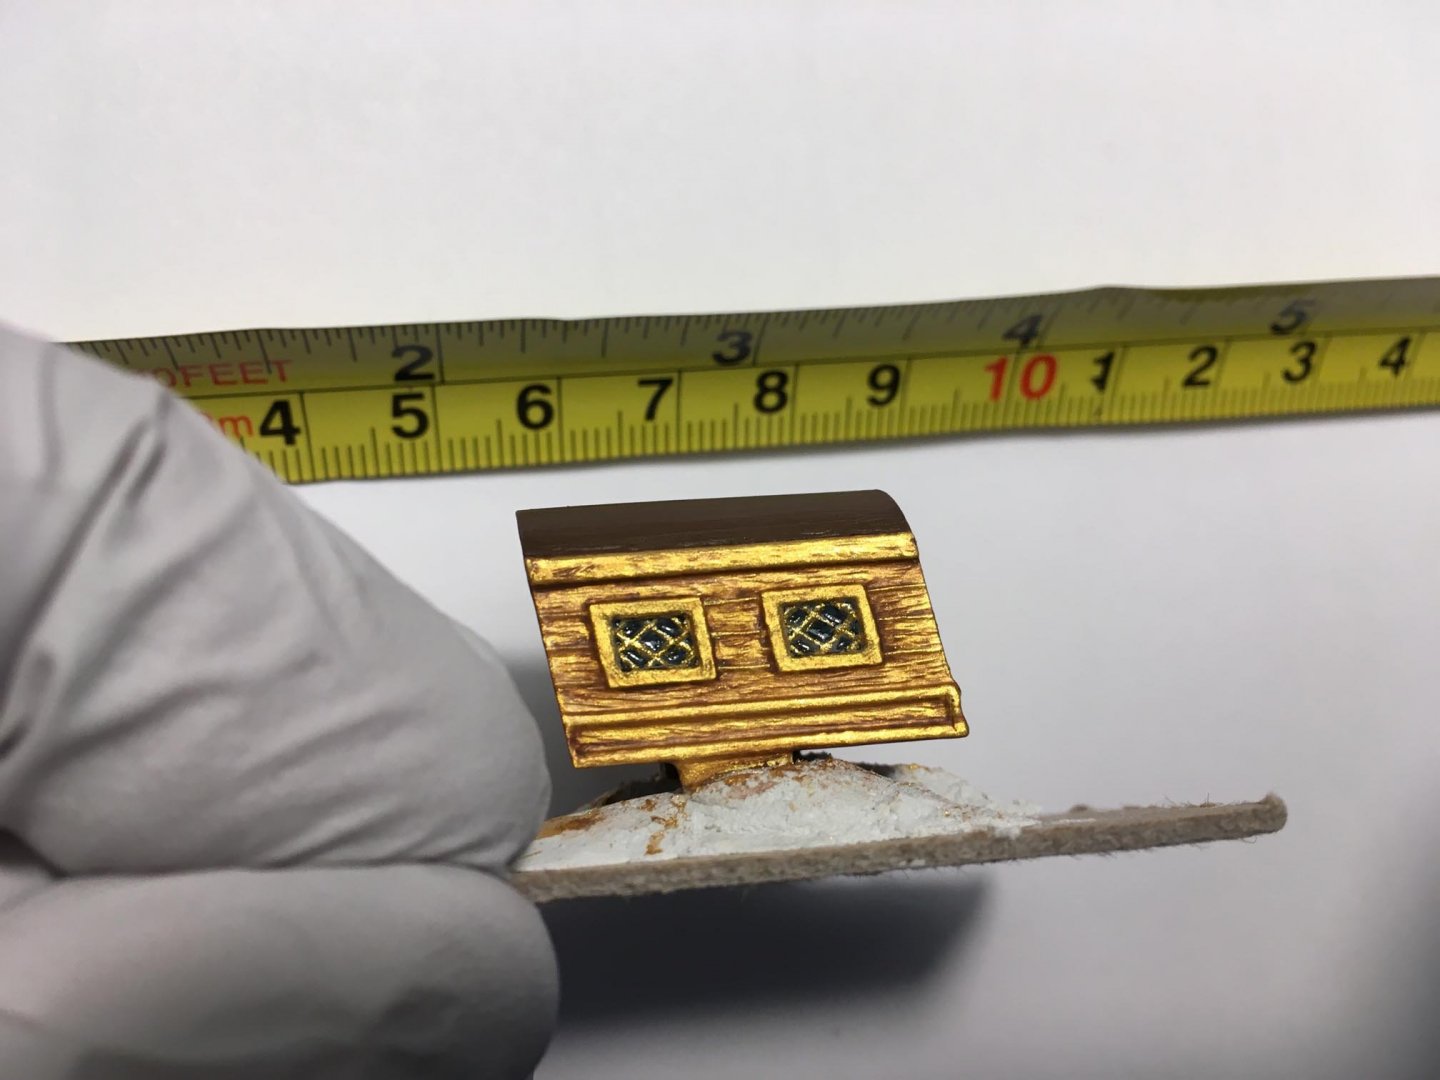
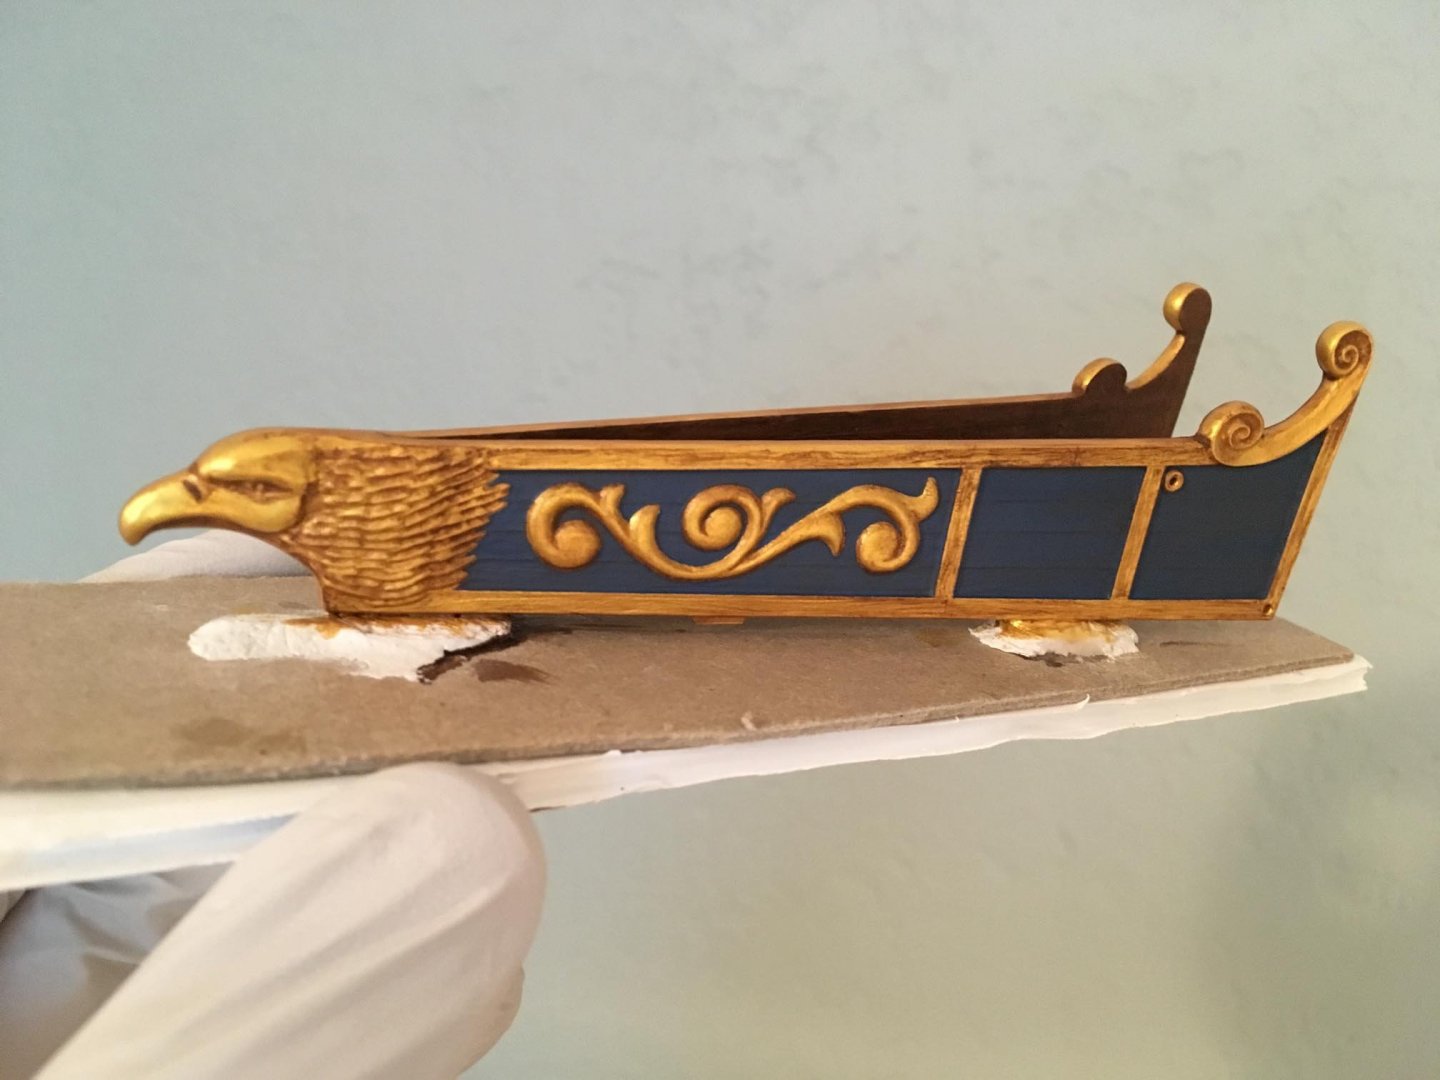
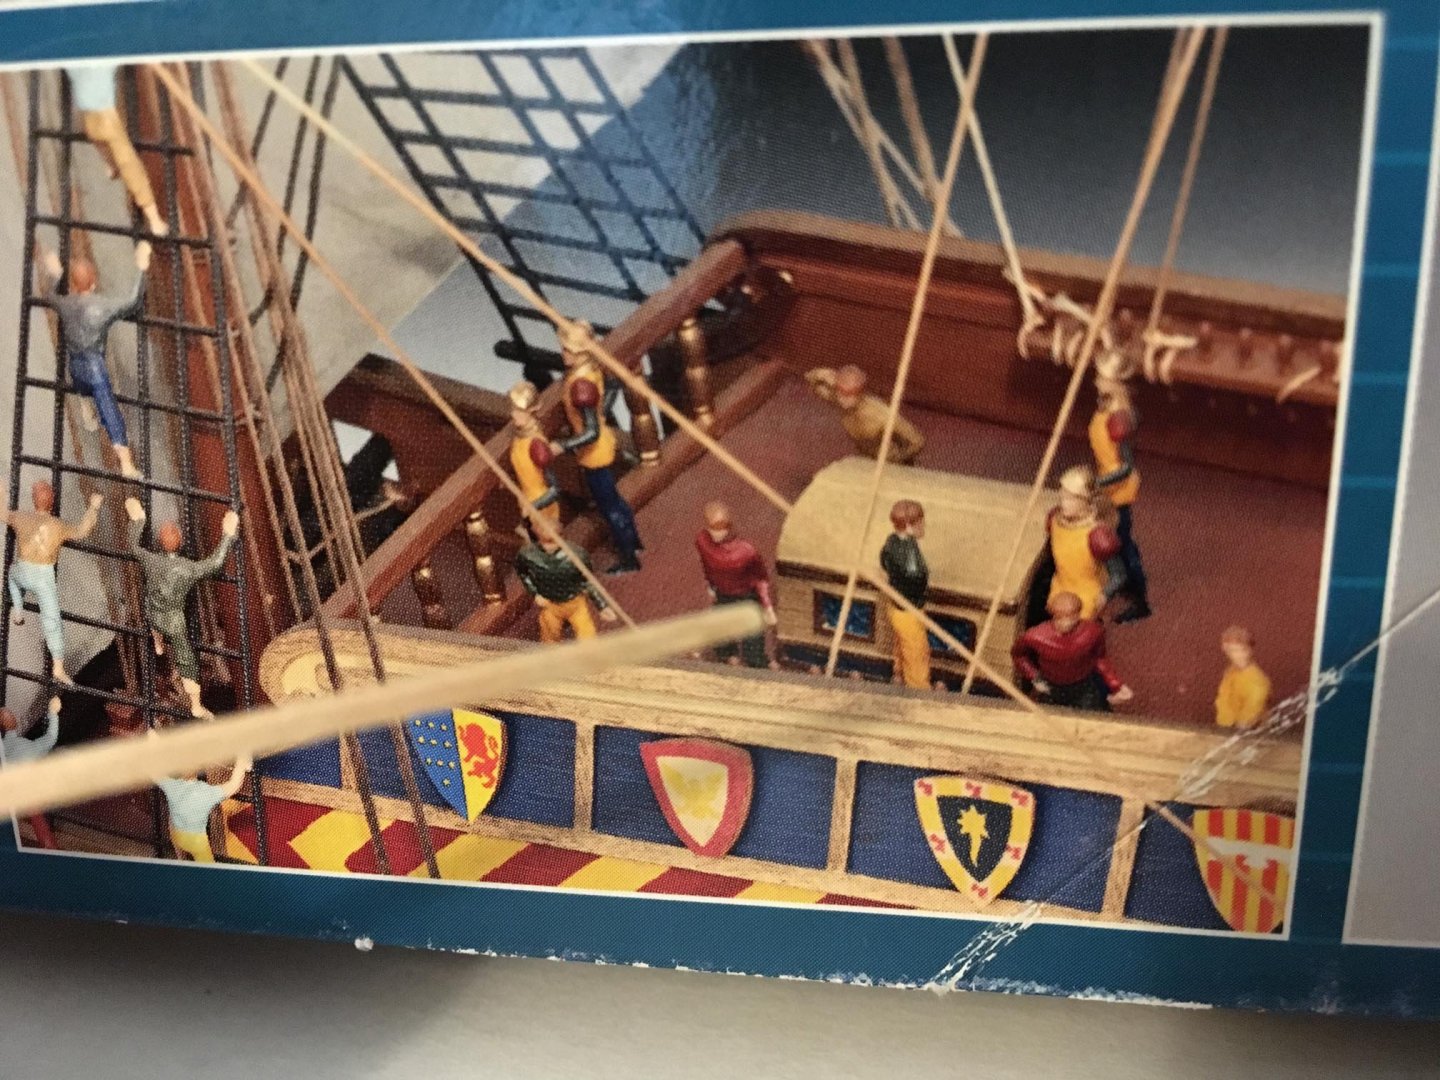
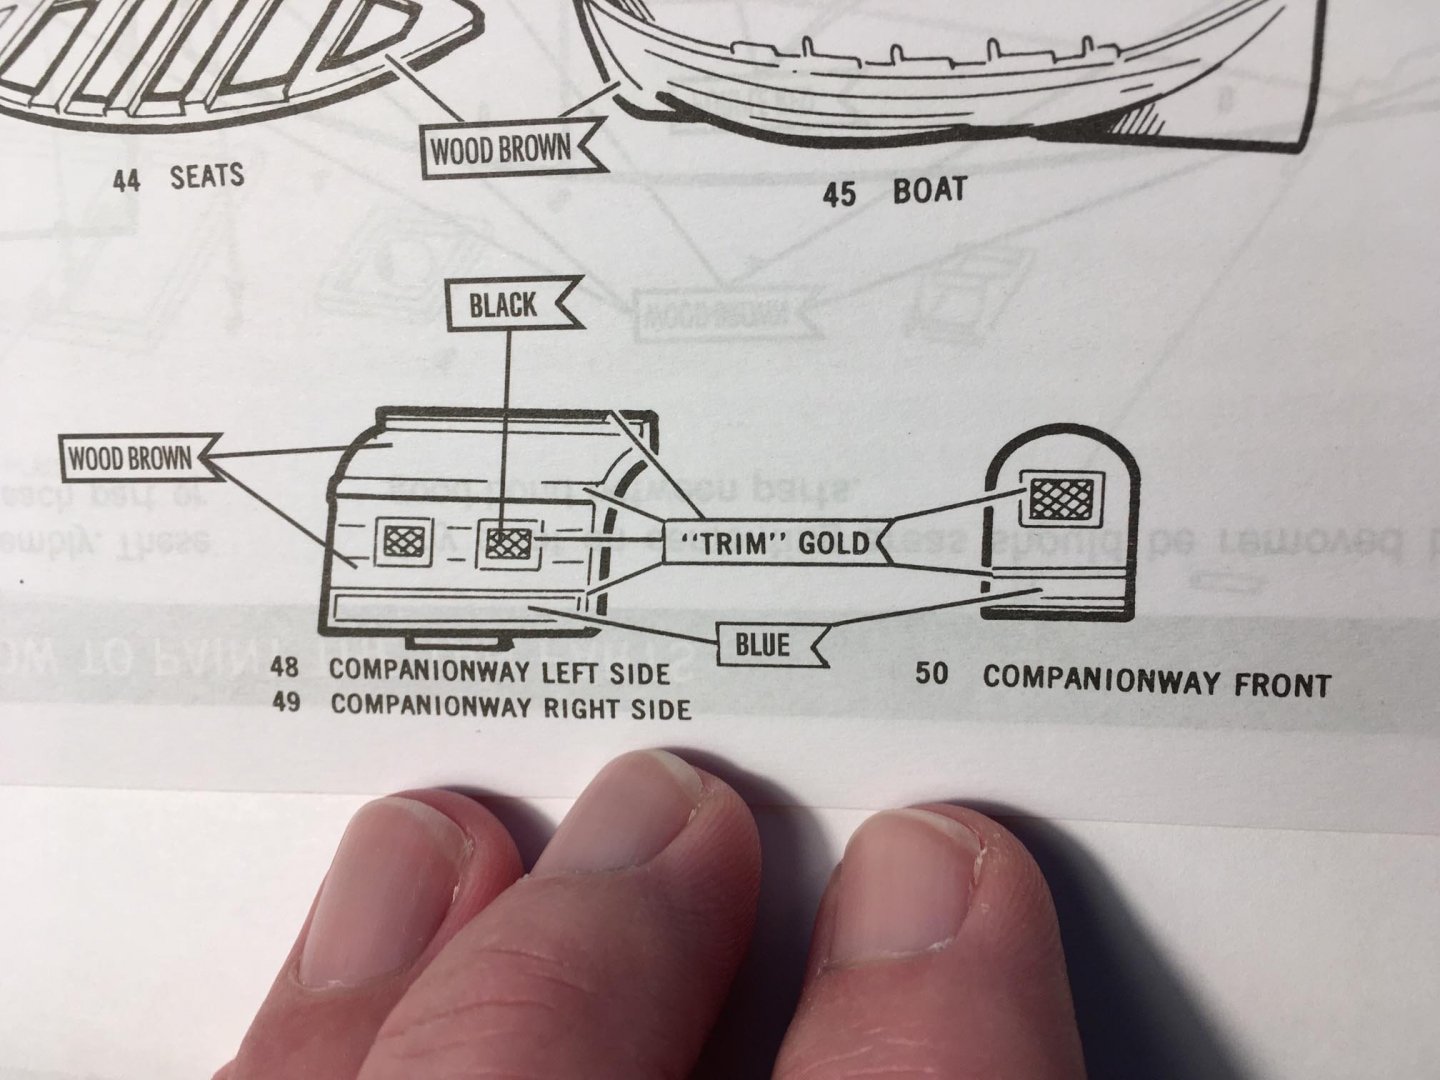
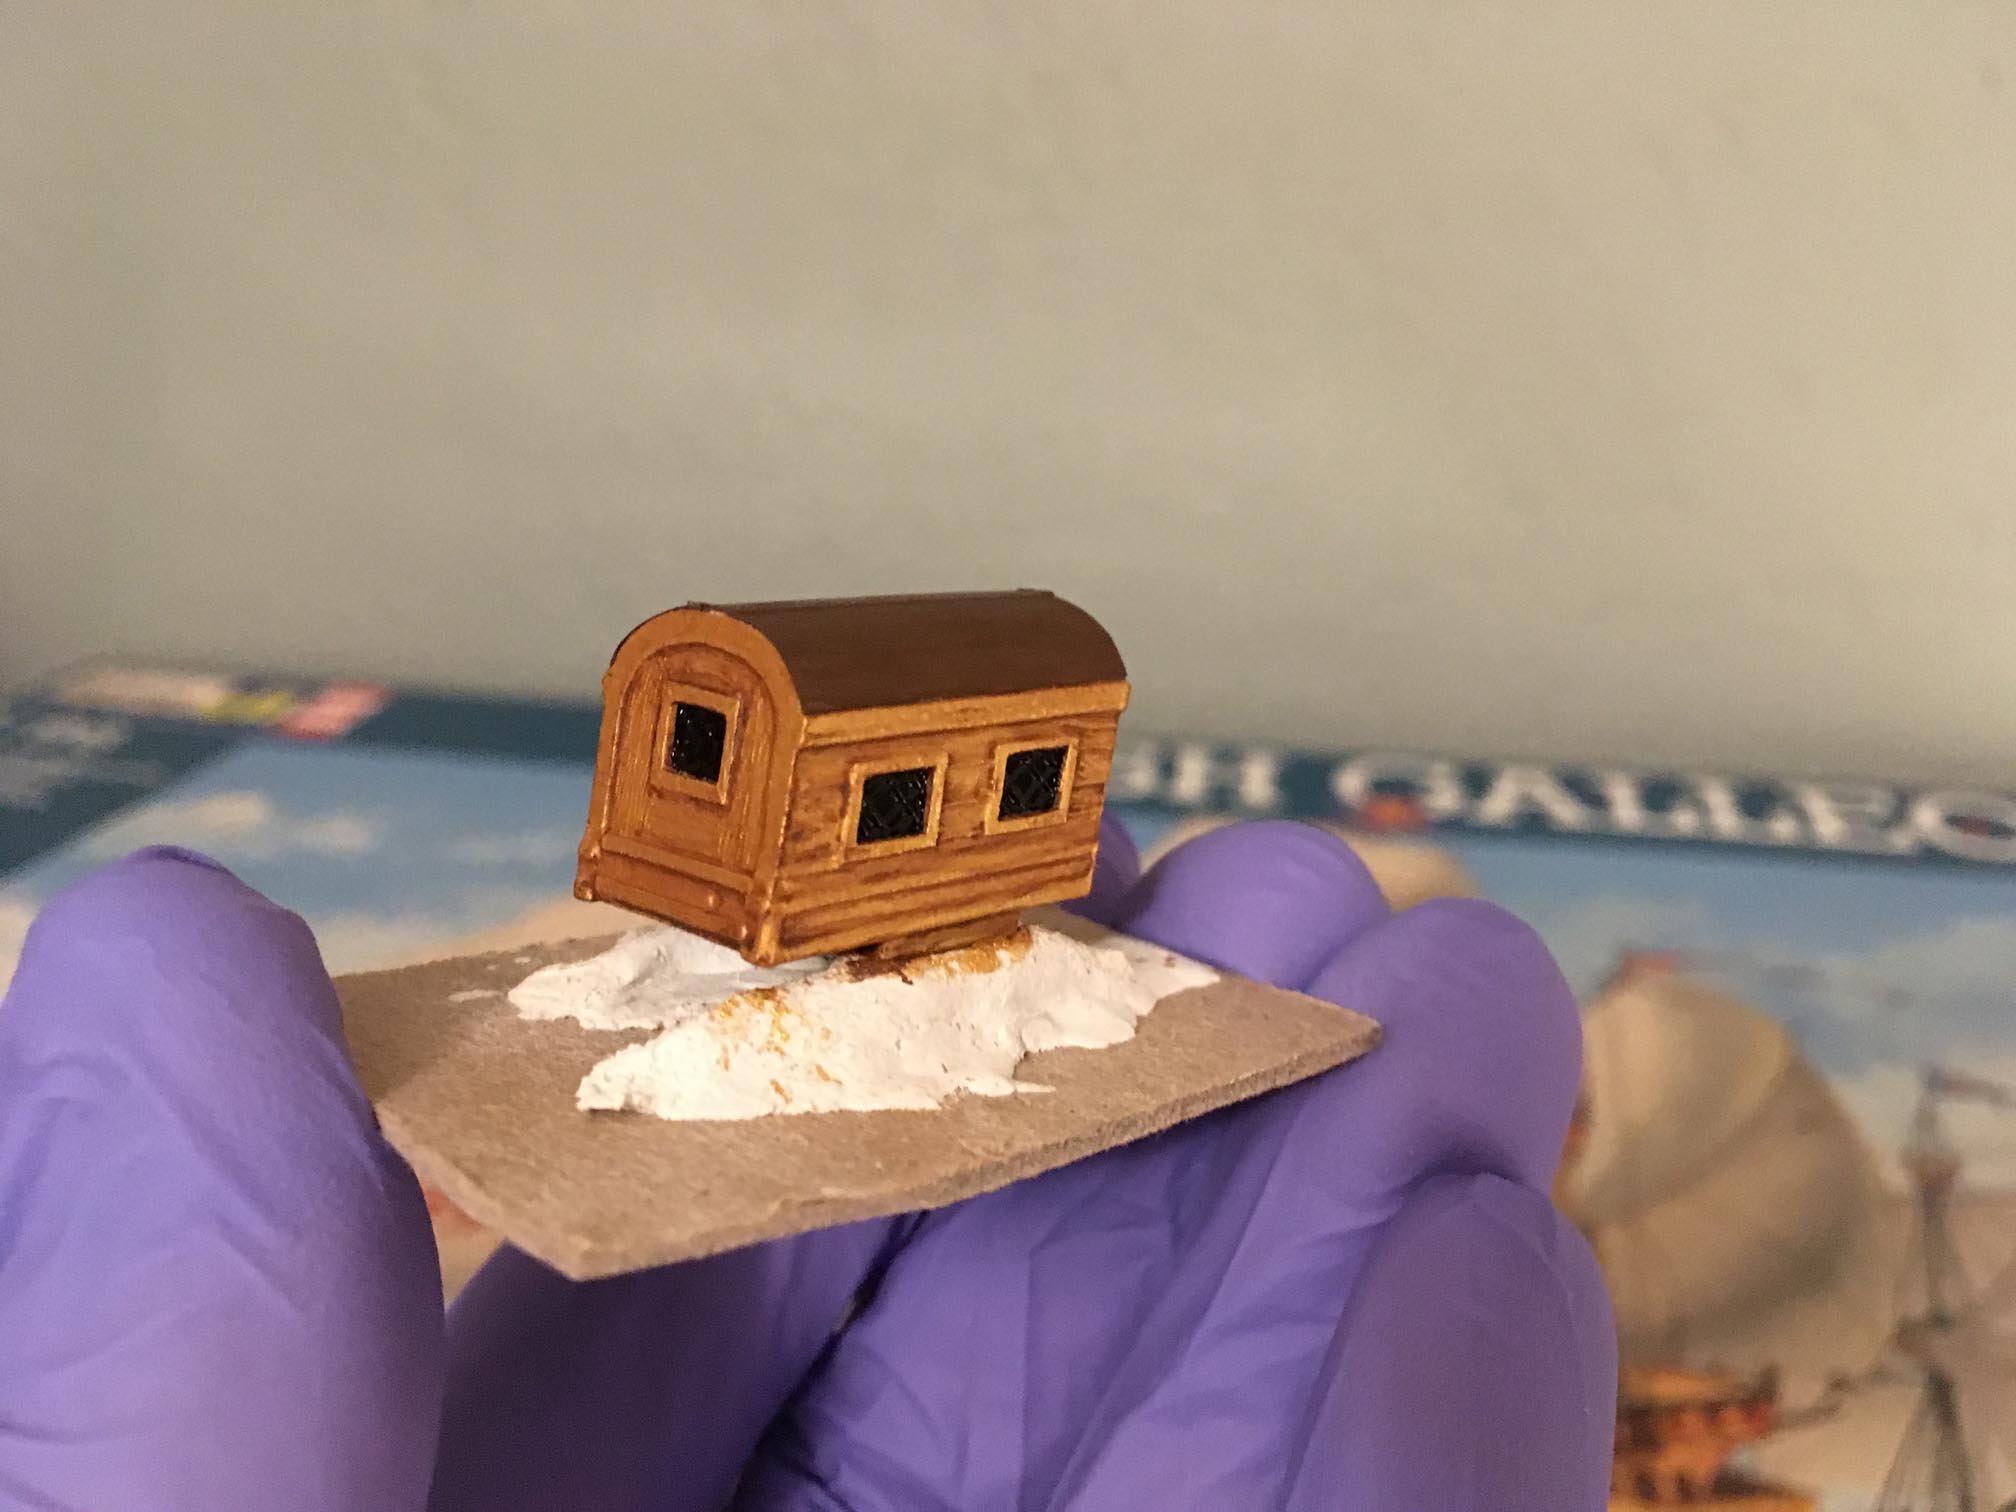
The beakhead is mostly finished (except for pinrails that will eventually be cemented inside the bulwarks and shields (or pavises) that will be attached to the outside of them): I have also made progress on the companionway. I "gilded" it with a gold paint and weathered it like much of the aftcastle, but the trick for me was to do the windows (5 of them) in a way that one can imagine them to be glass windows without cutting them out and replacing them. The other windows in the sterncastle were cut out so that one could eventually see inside the furnished cabins, but with the companionway, there would really be nothing special to see. The photograph of the companionway of the prototype model in the box art shows the windows painted blue: It just doesn't seem convincing enough for me. The instructions say to paint them black, with gold trim: That's basically what I ended up doing. I masked it and painted the windows solid black first:


-
Very nice!! Looks like the rust on the chainplates of the HMS Surprise “replica” here in San Diego:

- 358 replies
-
- 2
-

-
- occre
- santisima trinidad
- (and 1 more)
-
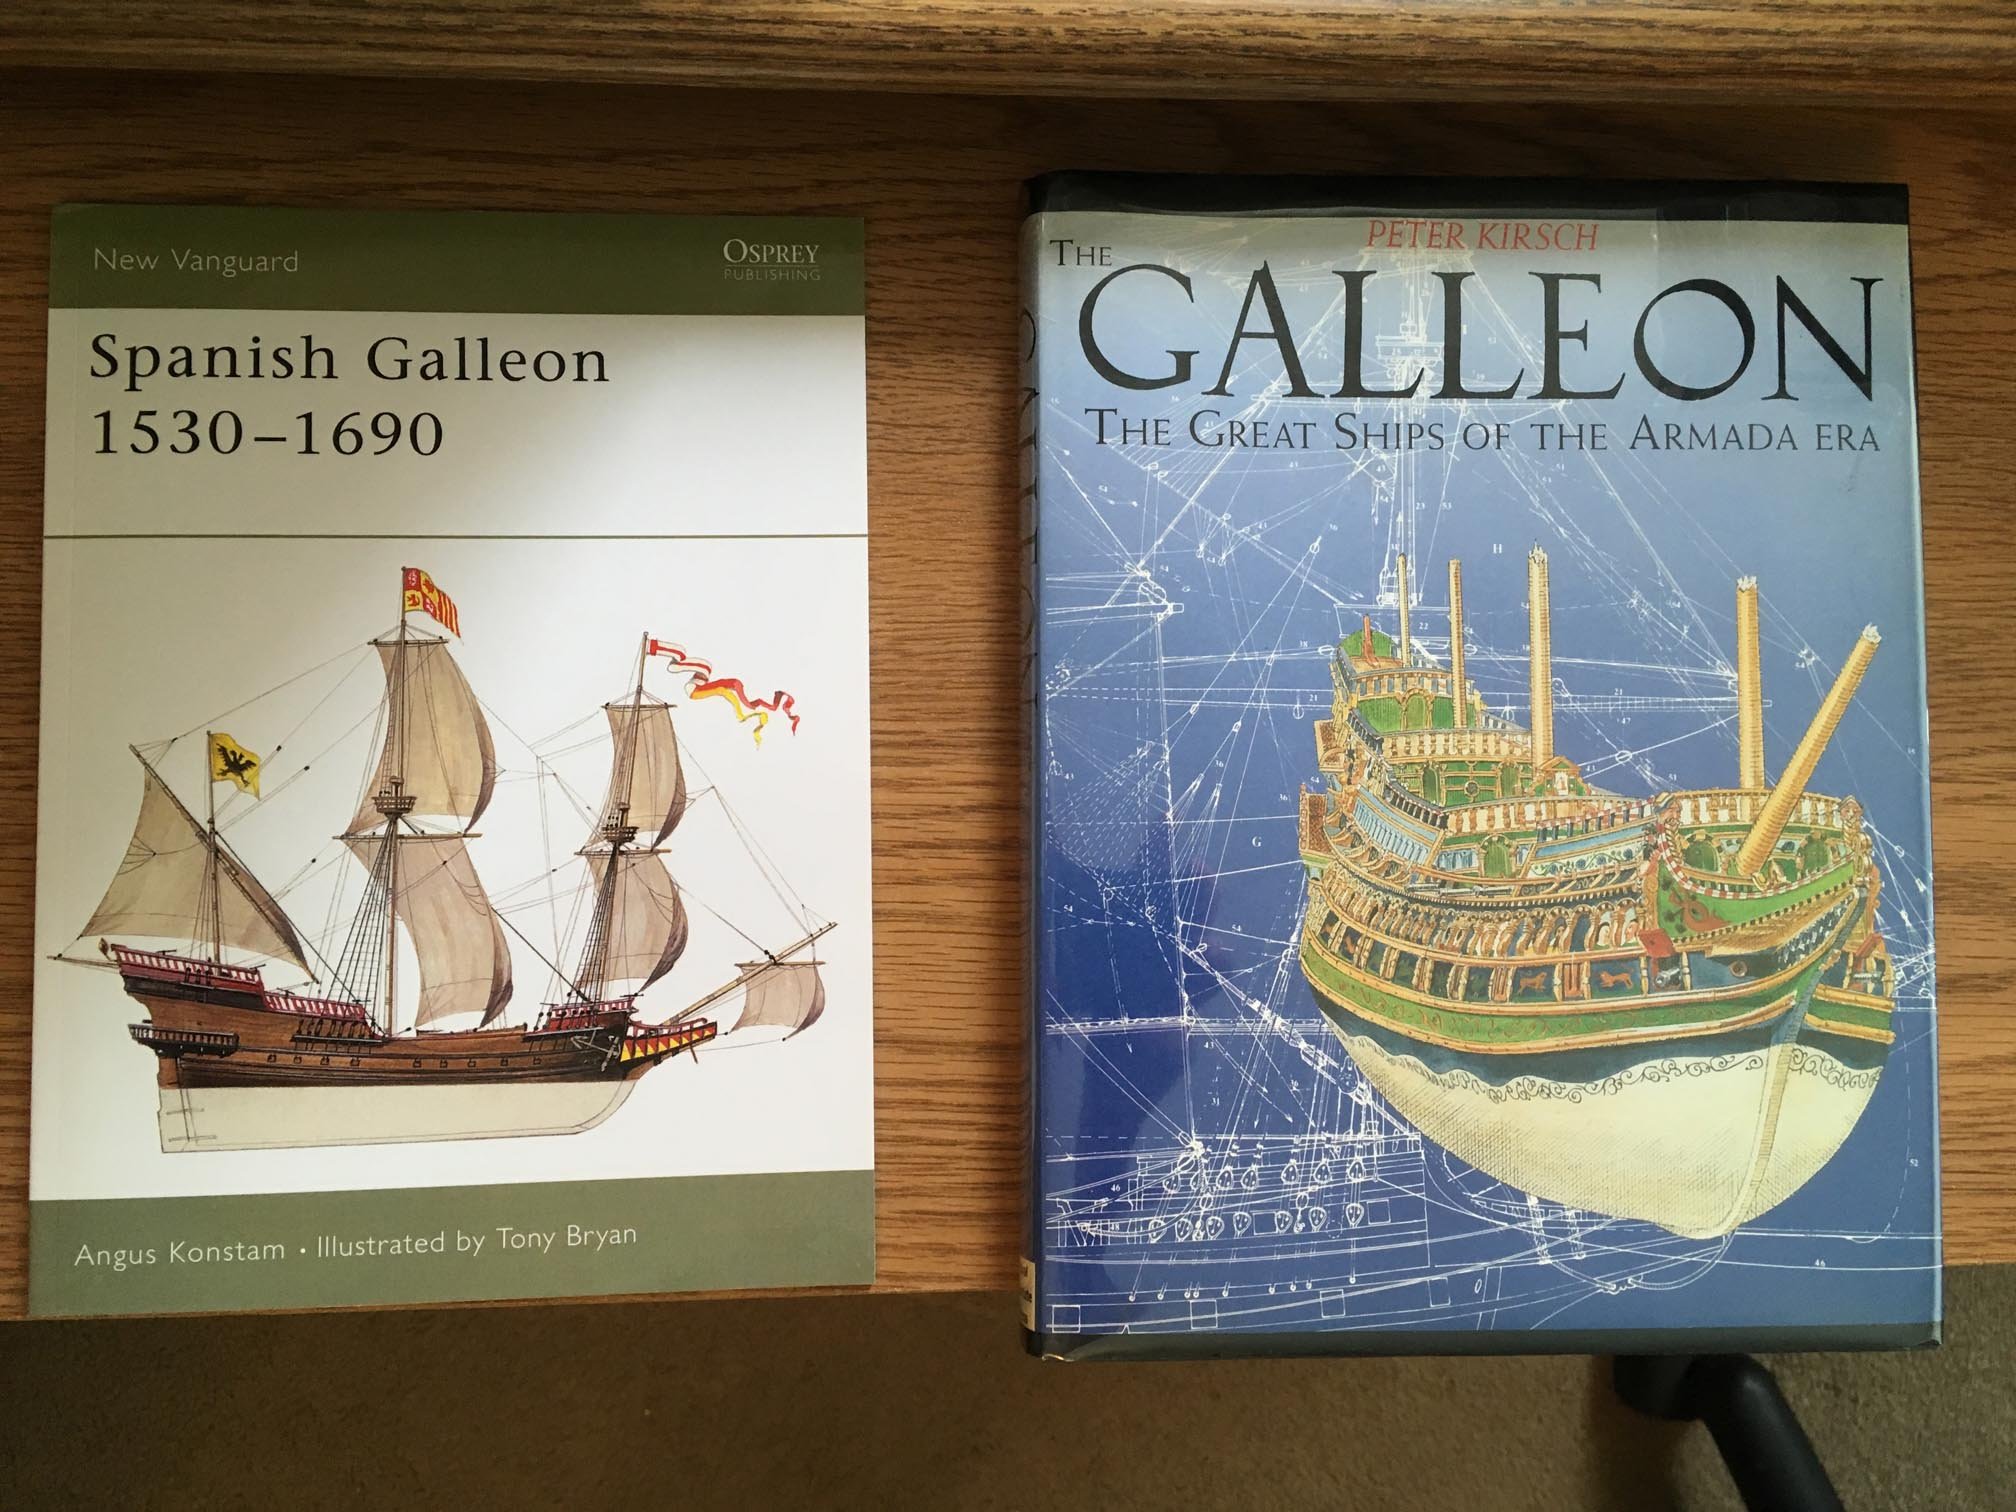
Another modification that I have worked on is the taffrails. The ones in the kit are like solid boards that surround the galleries. If I kept them, I would not be able to see well through the windows into the furnished cabins. So I made new taffrails using walnut stanchions and Evergreen styrene strips: I have used a couple of books for ideas. You may have seen these:

- 133 replies
-
- 10
-
-
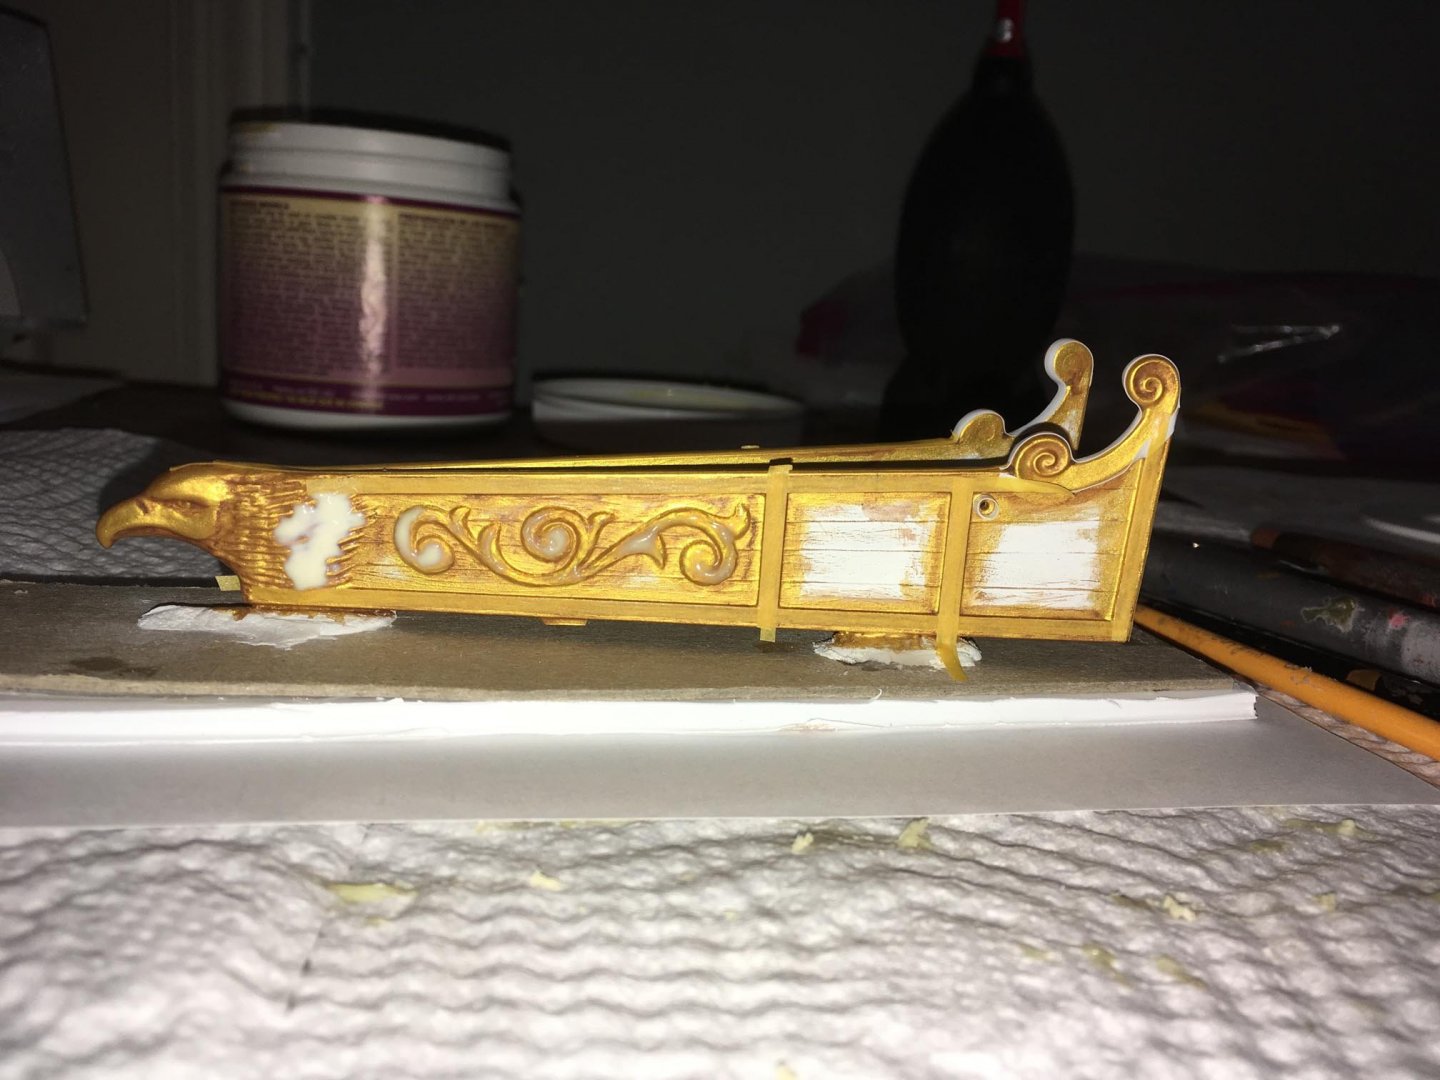
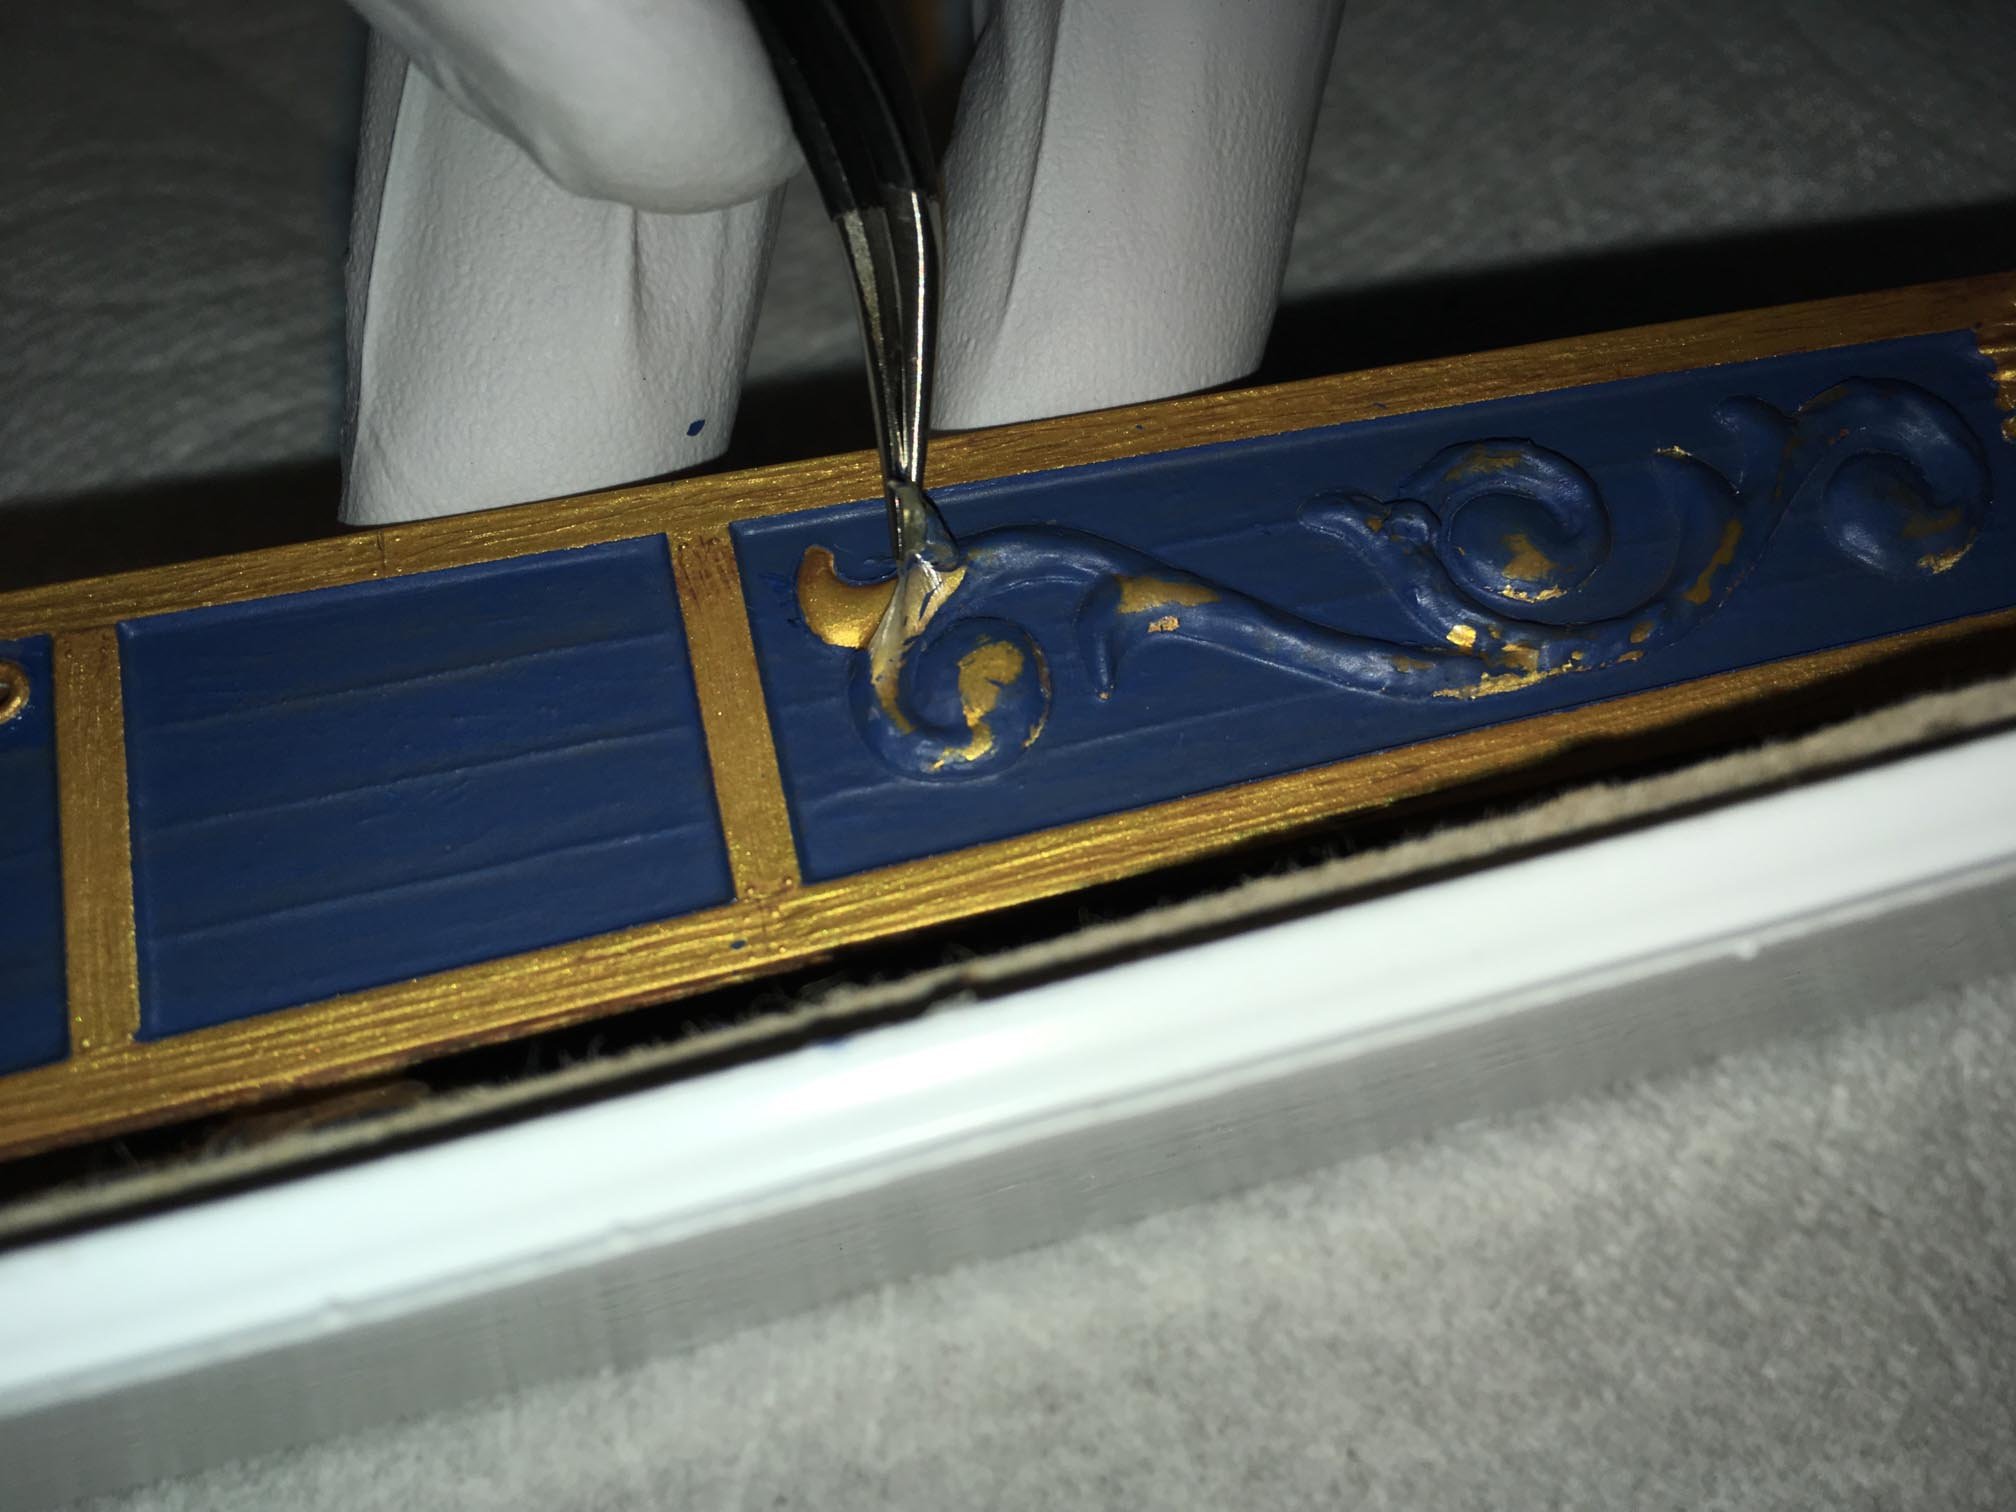
A challenging piece to paint was the beakhead. After priming, I first painted the gold, because I had to use multiple coats in order to make it uniform, and "weathered" it. Then I masked the areas that would stay gold. I used latex to mask the scroll and the feathers. I then painted the blue (outside), and weathered it, and also the brown "weathered" wood (inside): The photo below shows the removing of the latex masking on the scrolling:


-
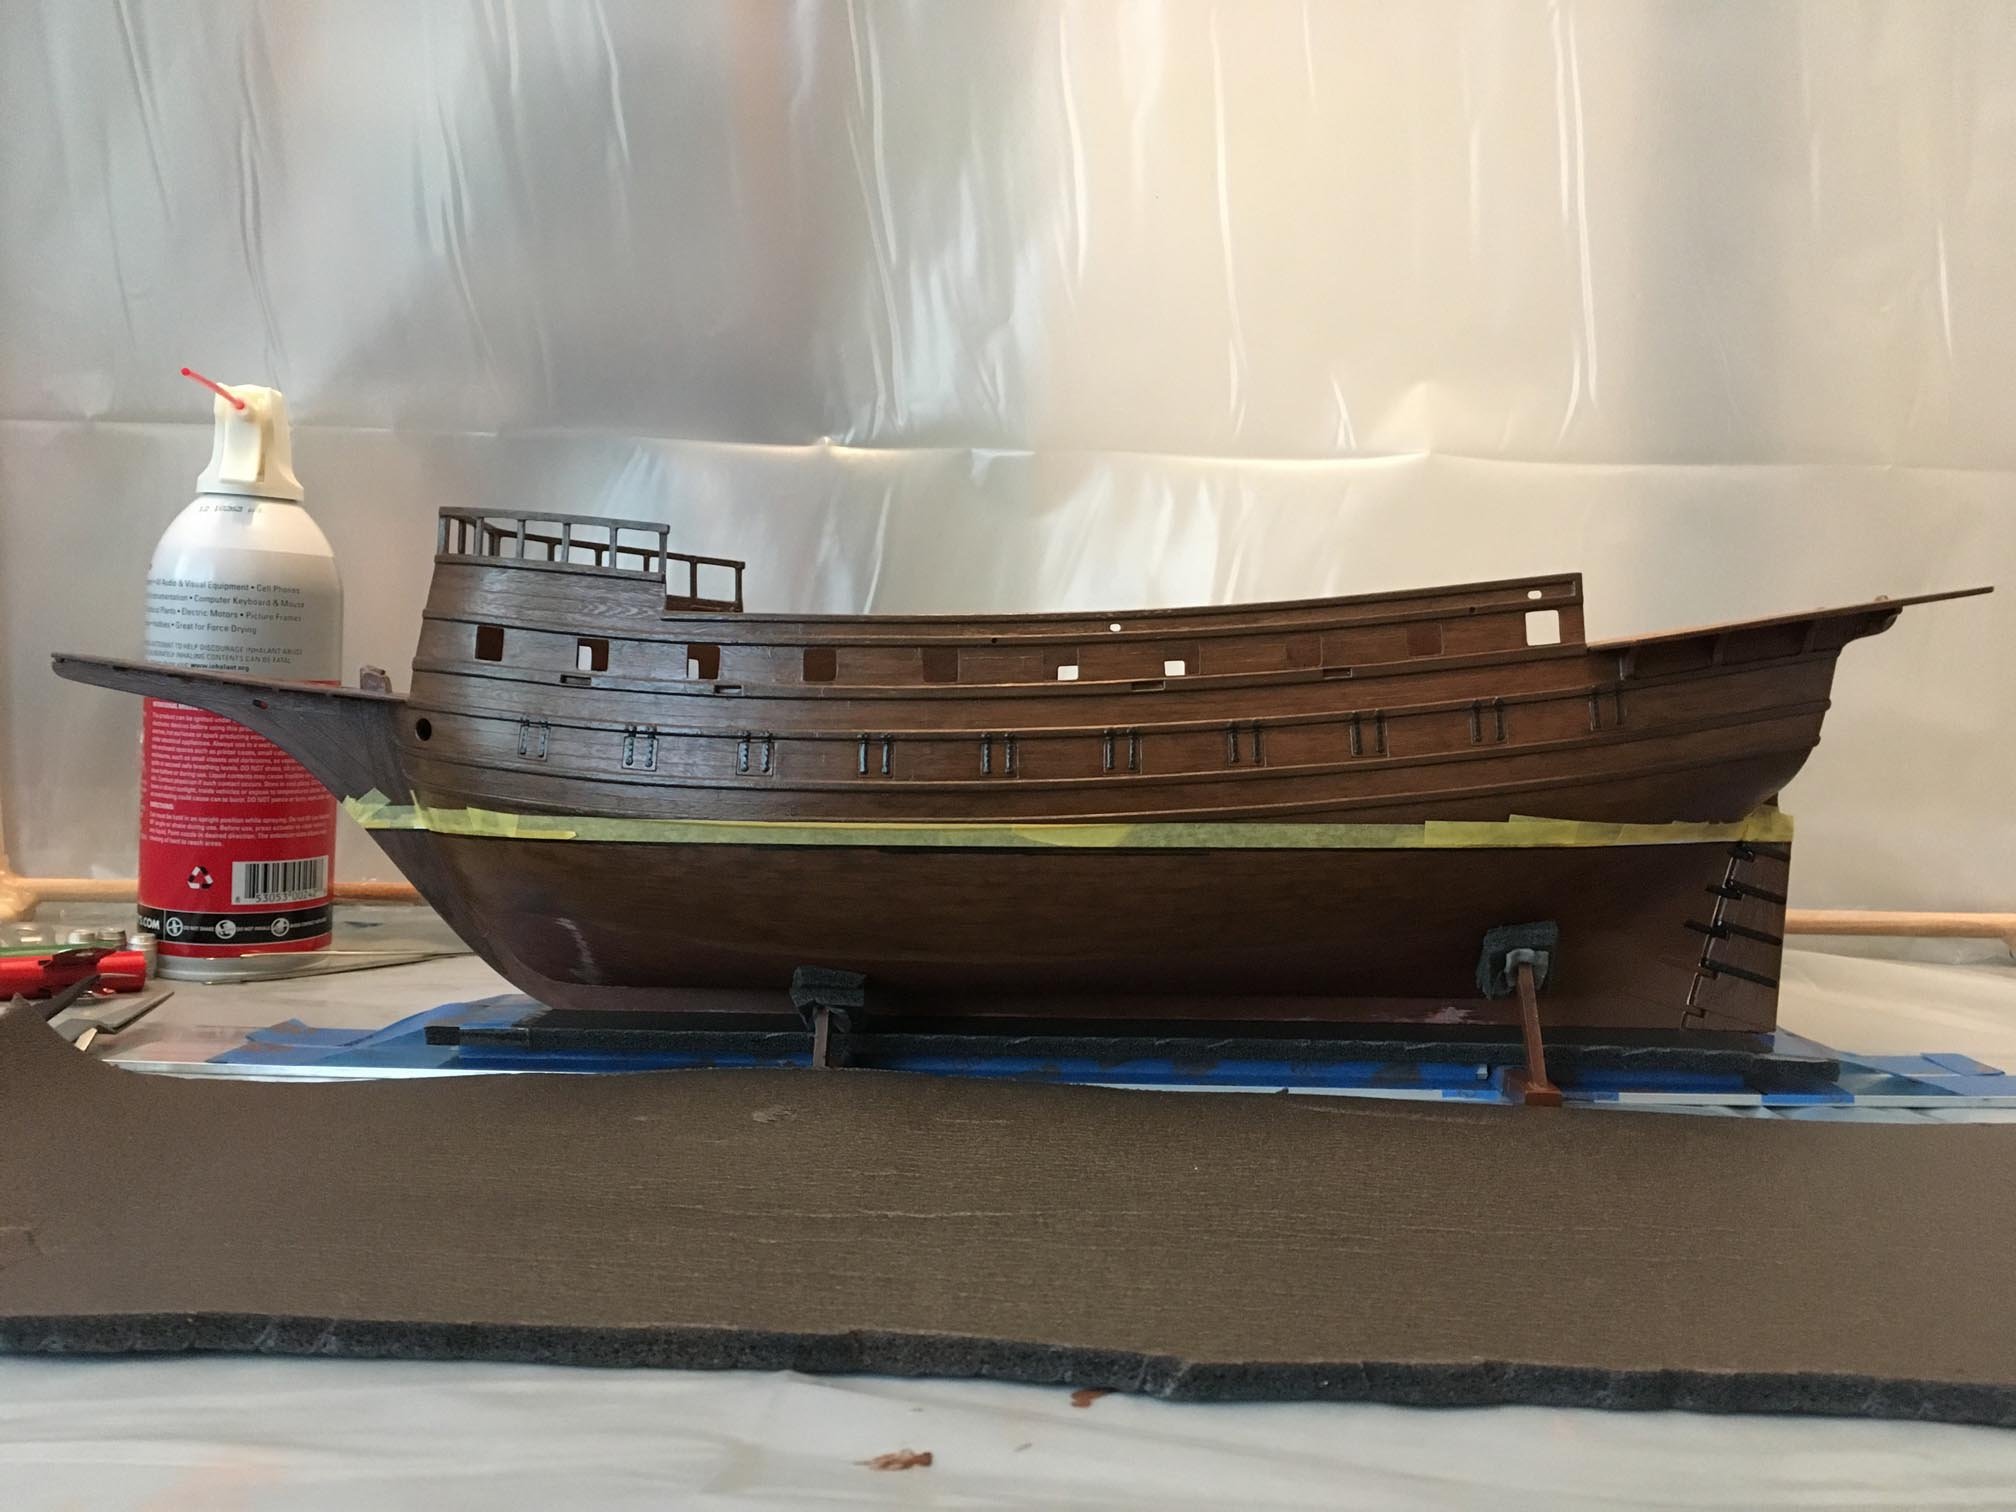
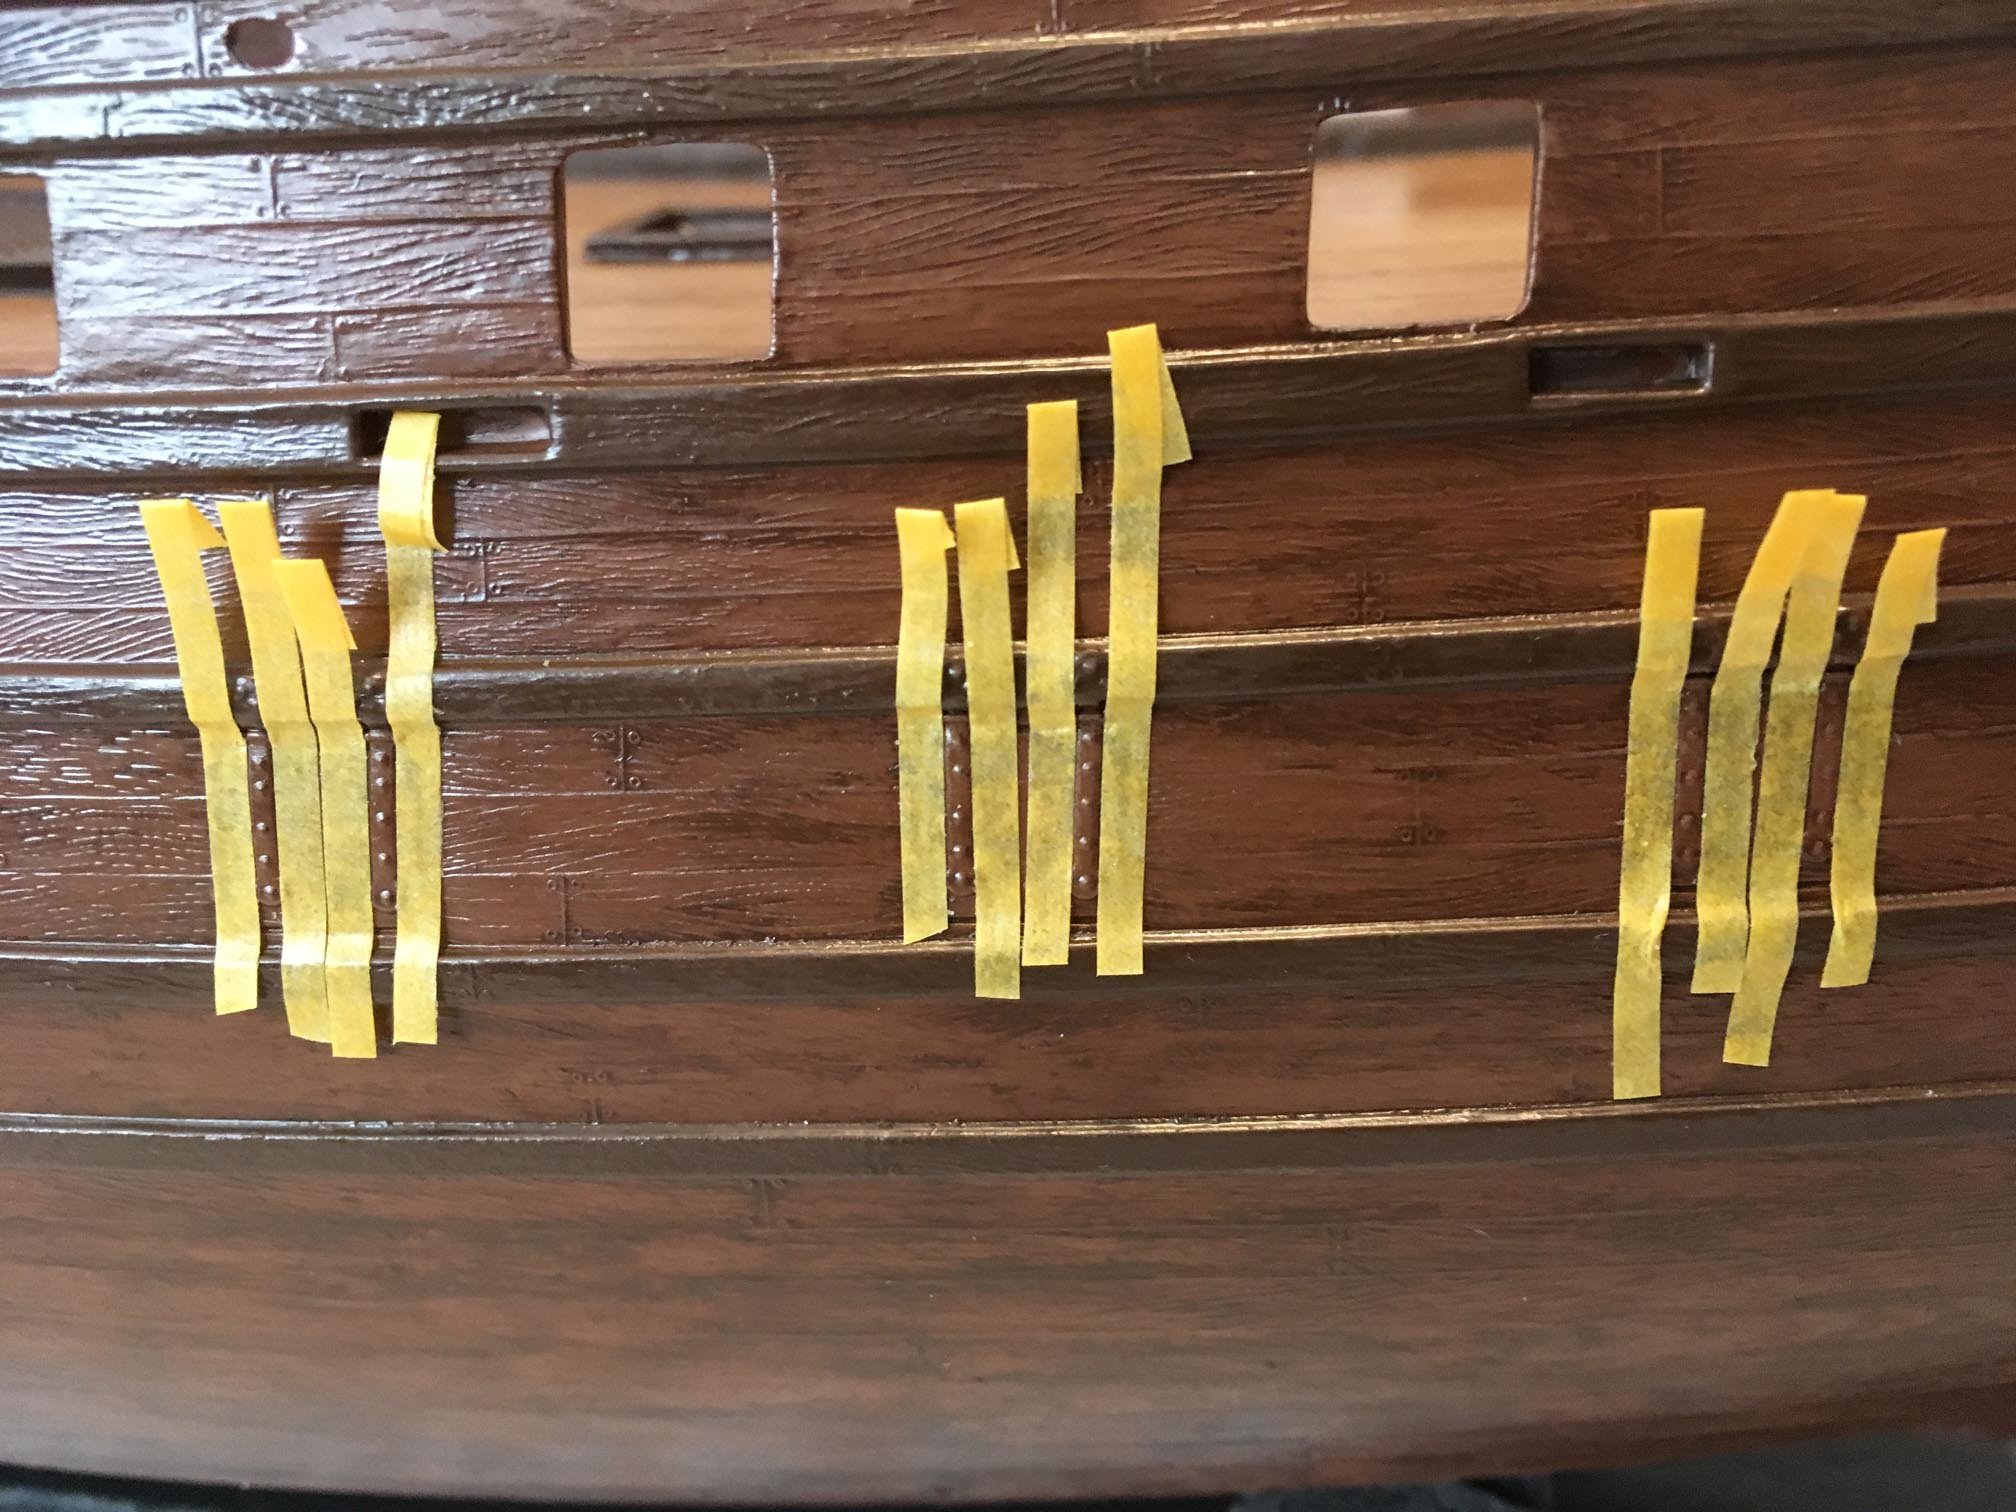
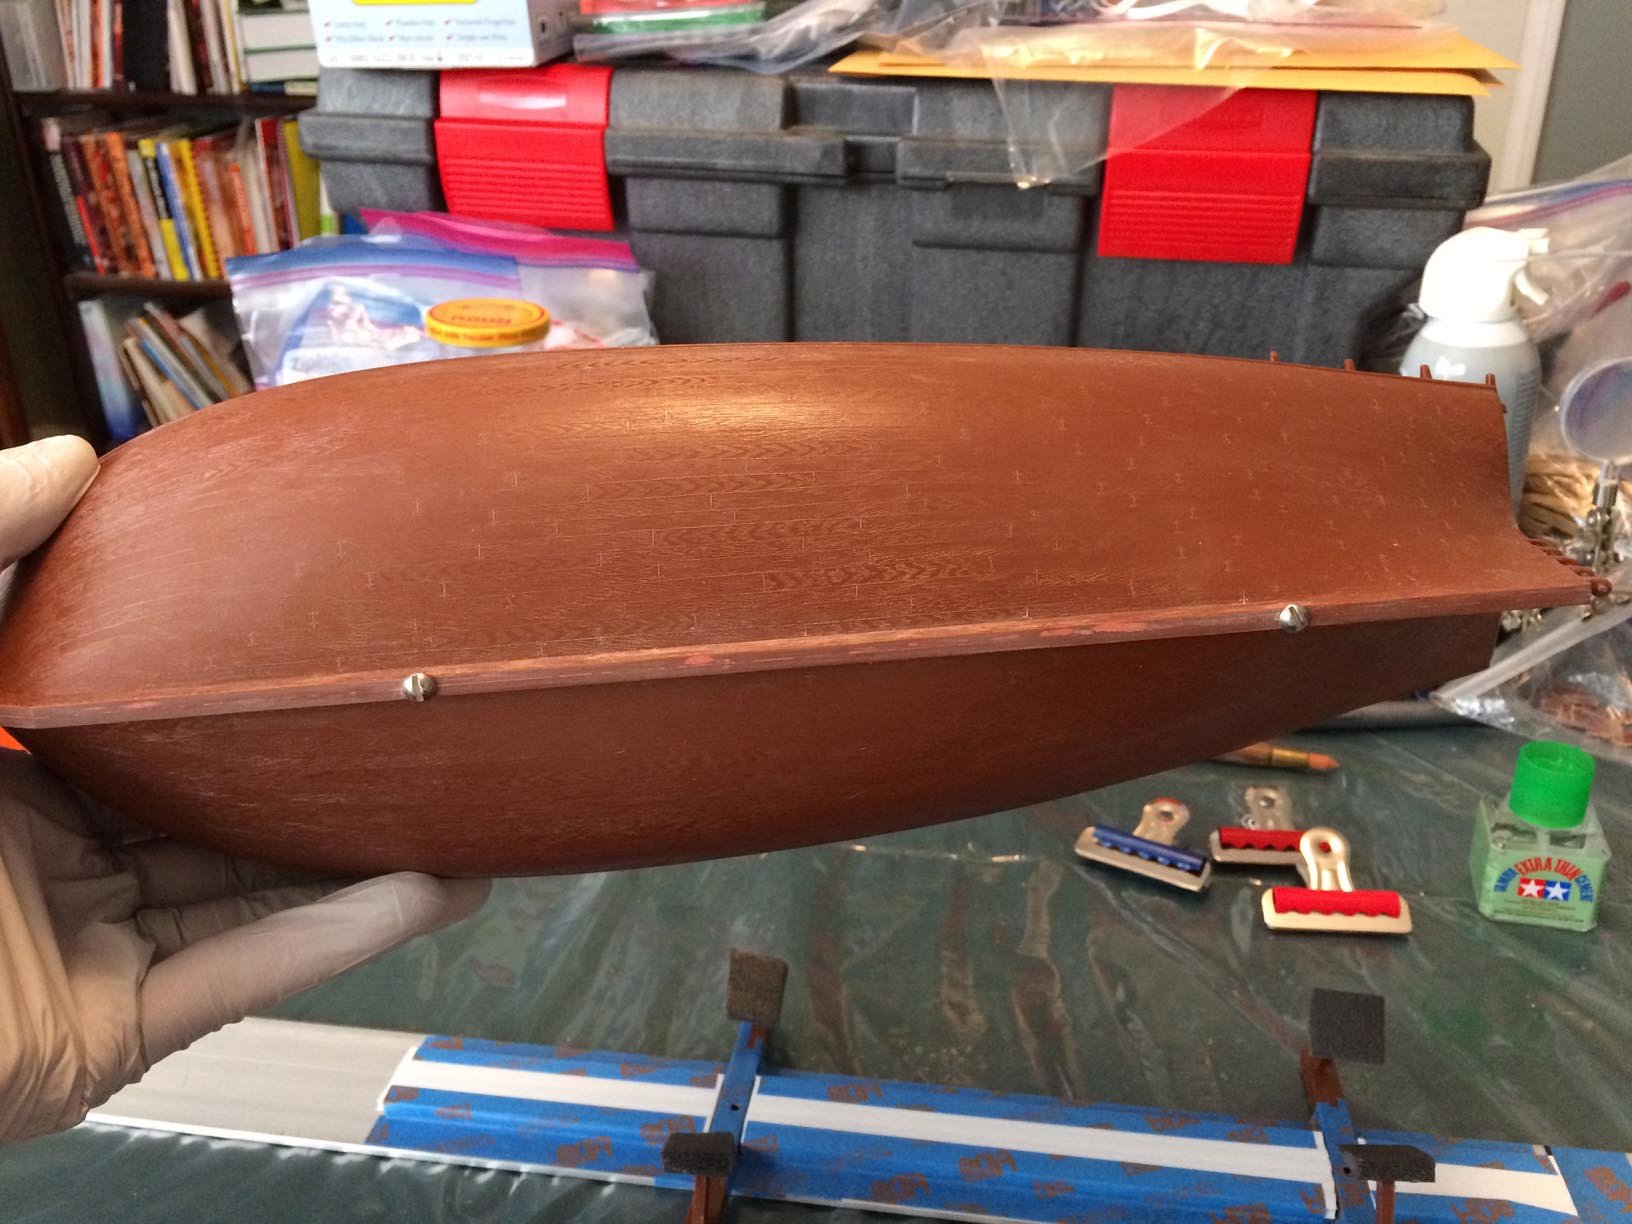
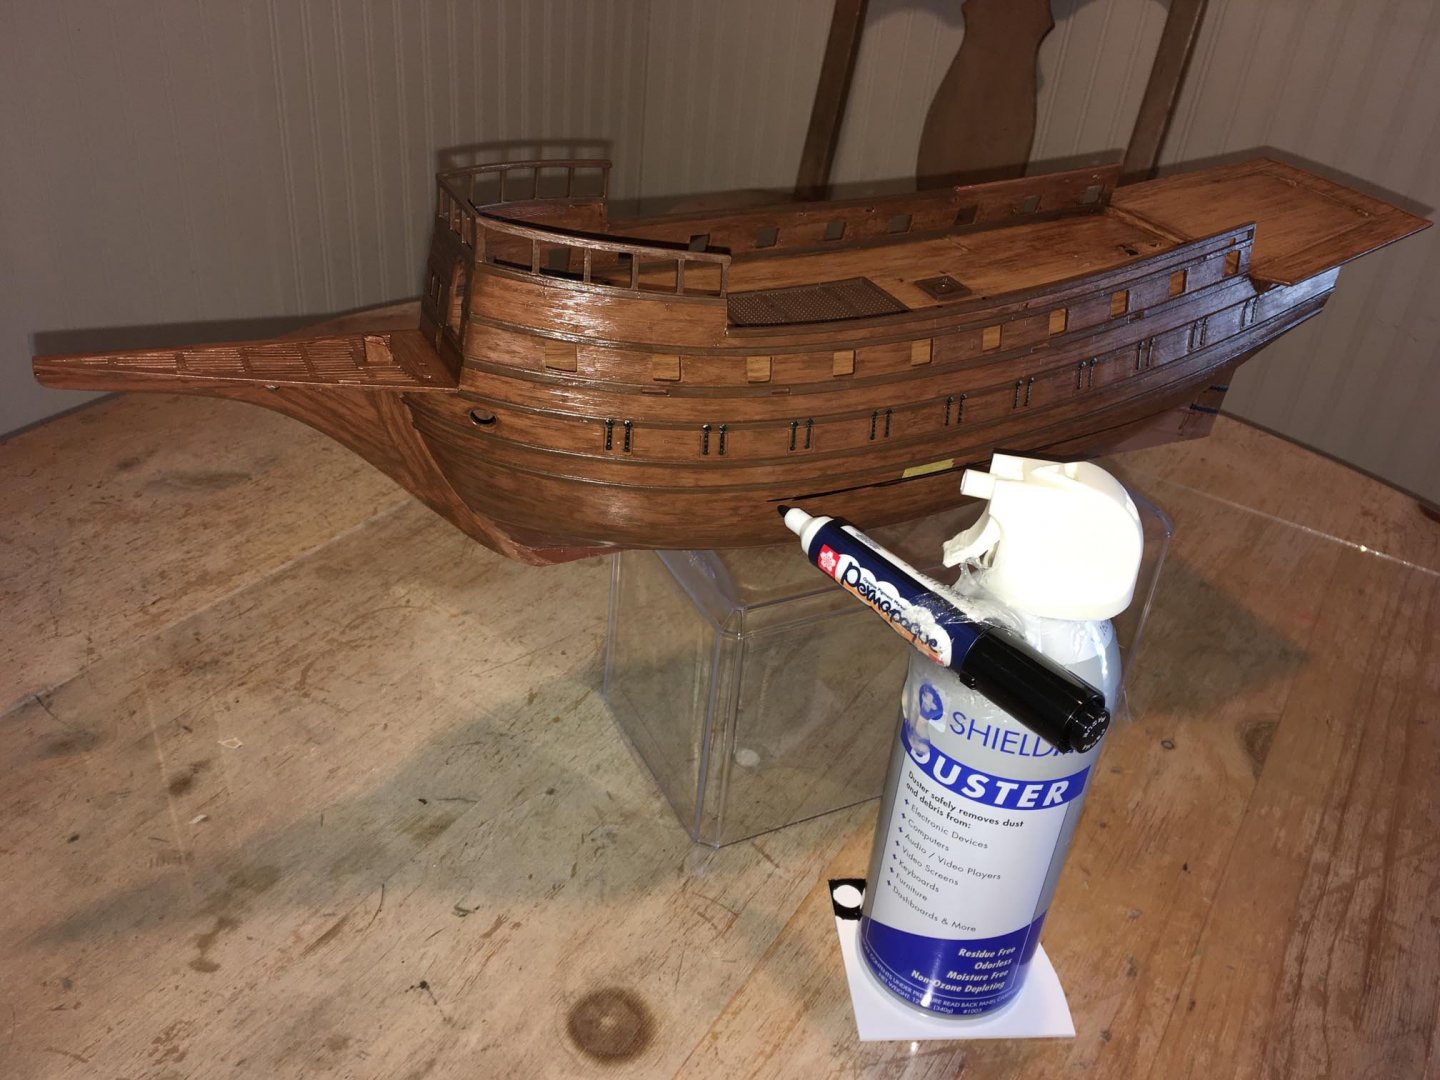
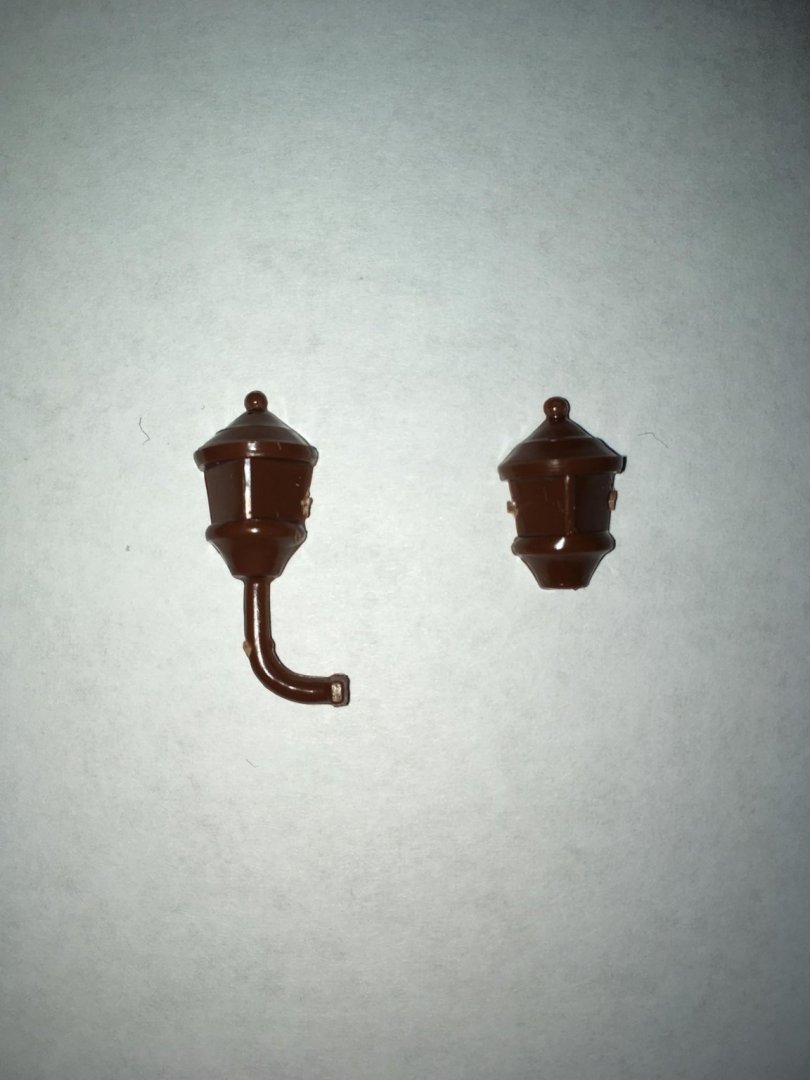
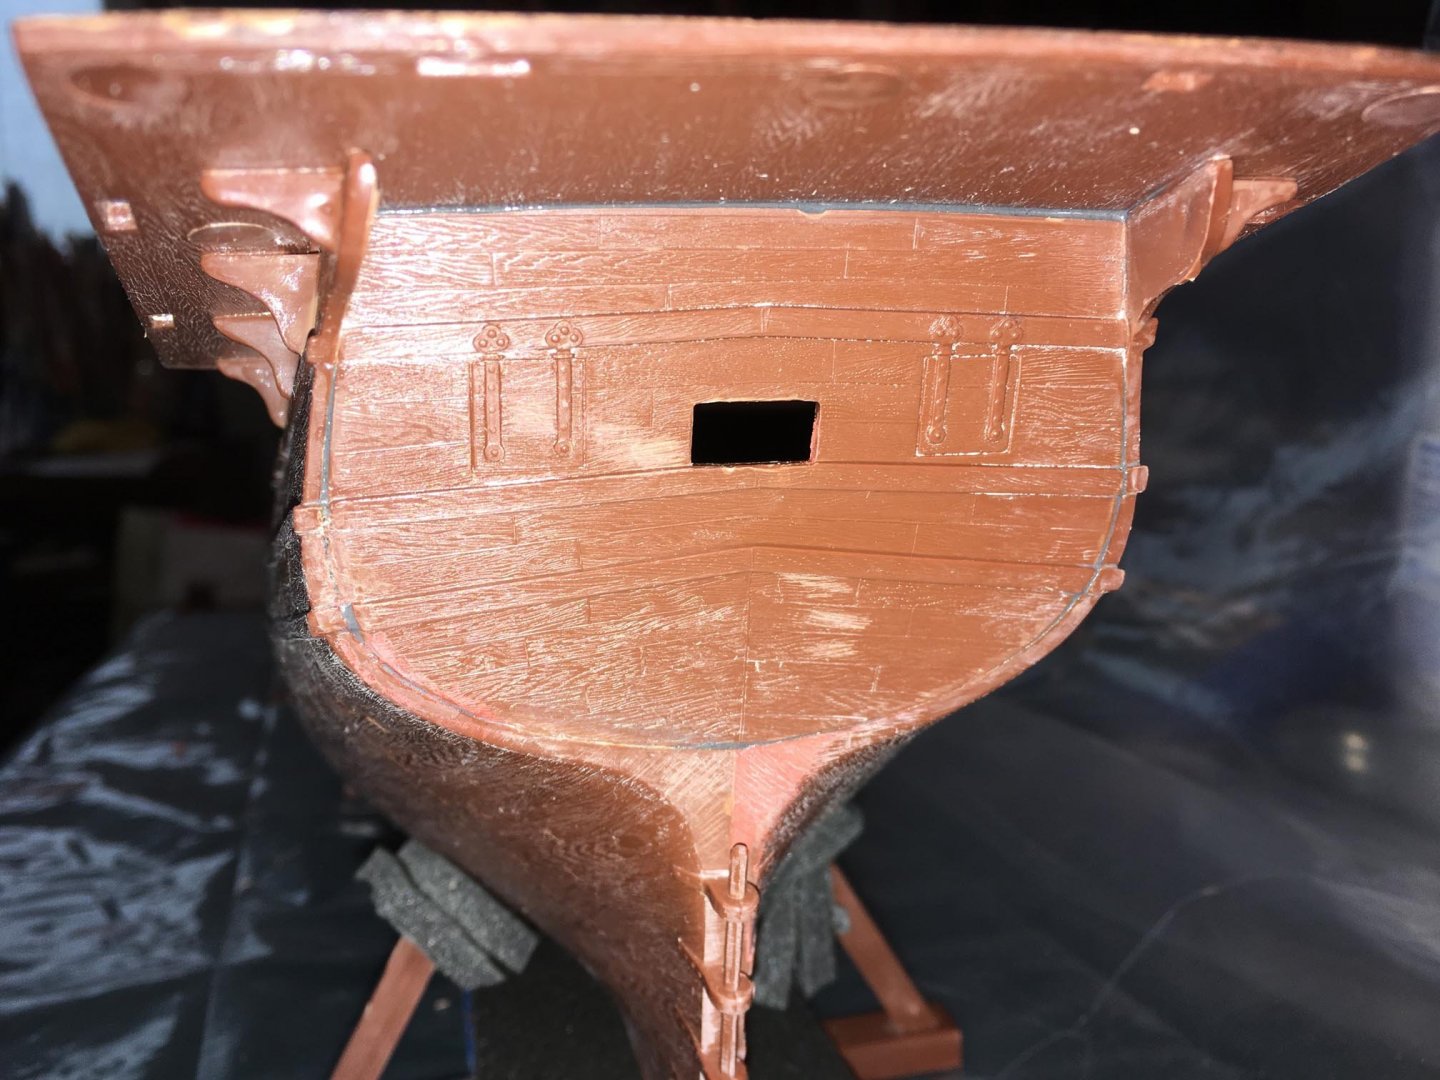
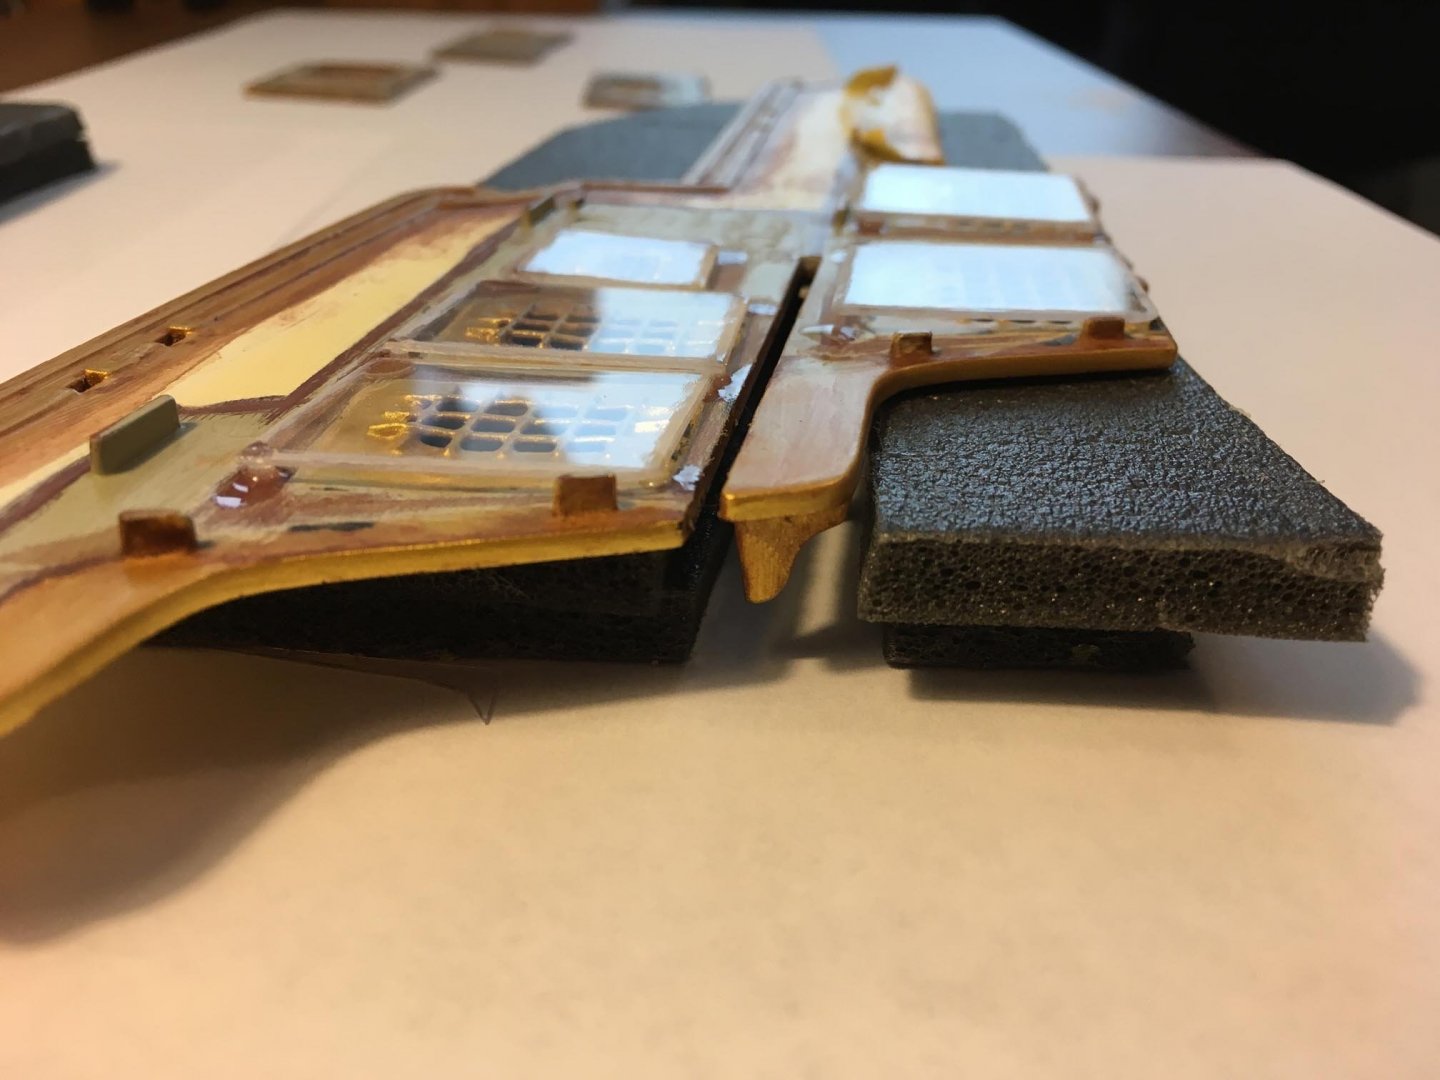
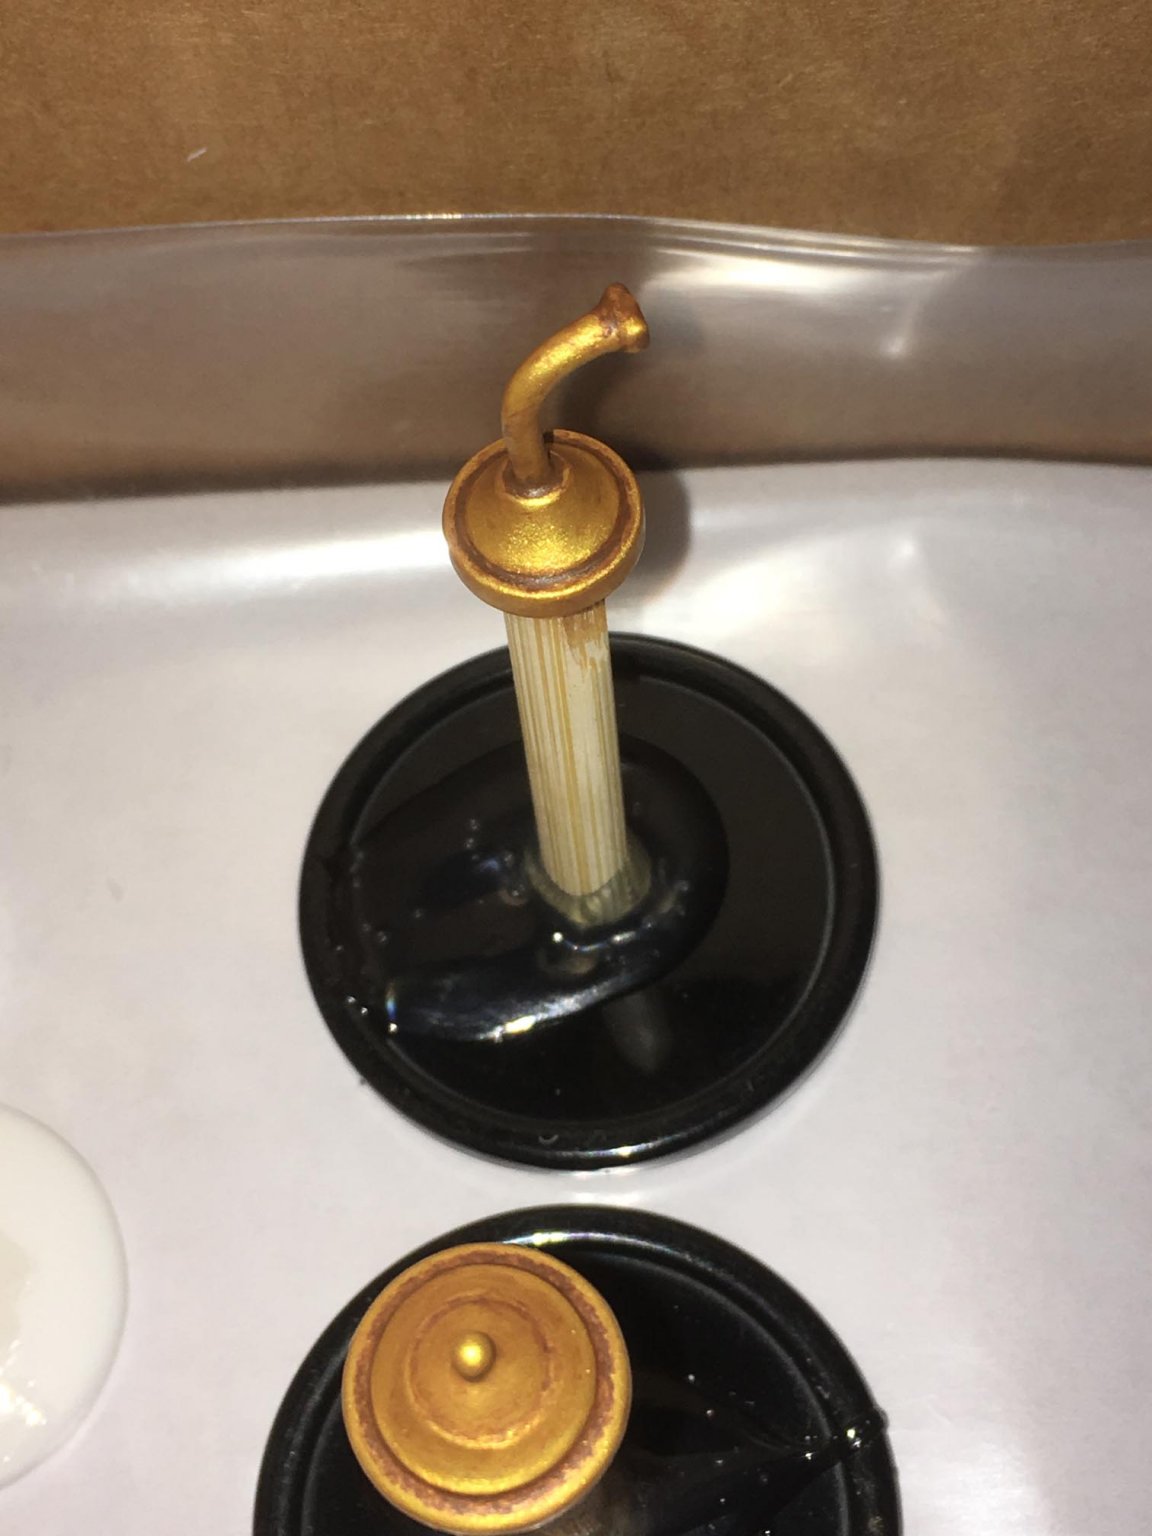
The lantern "glass housings" have central "cores" into which I painted a glow in the dark orange acrylic paint (and white acrylic paint behind it) so that they glow in the dark after being charged with a strong LED light. Here is a "test piece" in the dark after being charged: I needed to make the diameters of the tops and bottoms of the stern lanterns larger in order to fit the new housings, so I glued polyester buttons to them and painted them up (including dirty "weathering" with a wash): Eventually, they will be glued together with the "glass housings". Here are some other progress pictures on the hull: Dry fitting the sterncastle pieces (they are not glued on yet and it will be a while before I can get to that point): The wales were masked and ready to paint. I have since painted the hulls and "weathered" them. I masked the gunport hinges (above) and later painted them black, with some "rust" highlights. Here I am marking the waterline with a homemade "jig": Masking the waterline (below): I still have yet to paint below the waterline. I will use an off-white spray can.


.thumb.JPG.193023182c9f49e366d379bf41e74a3b.JPG)


-
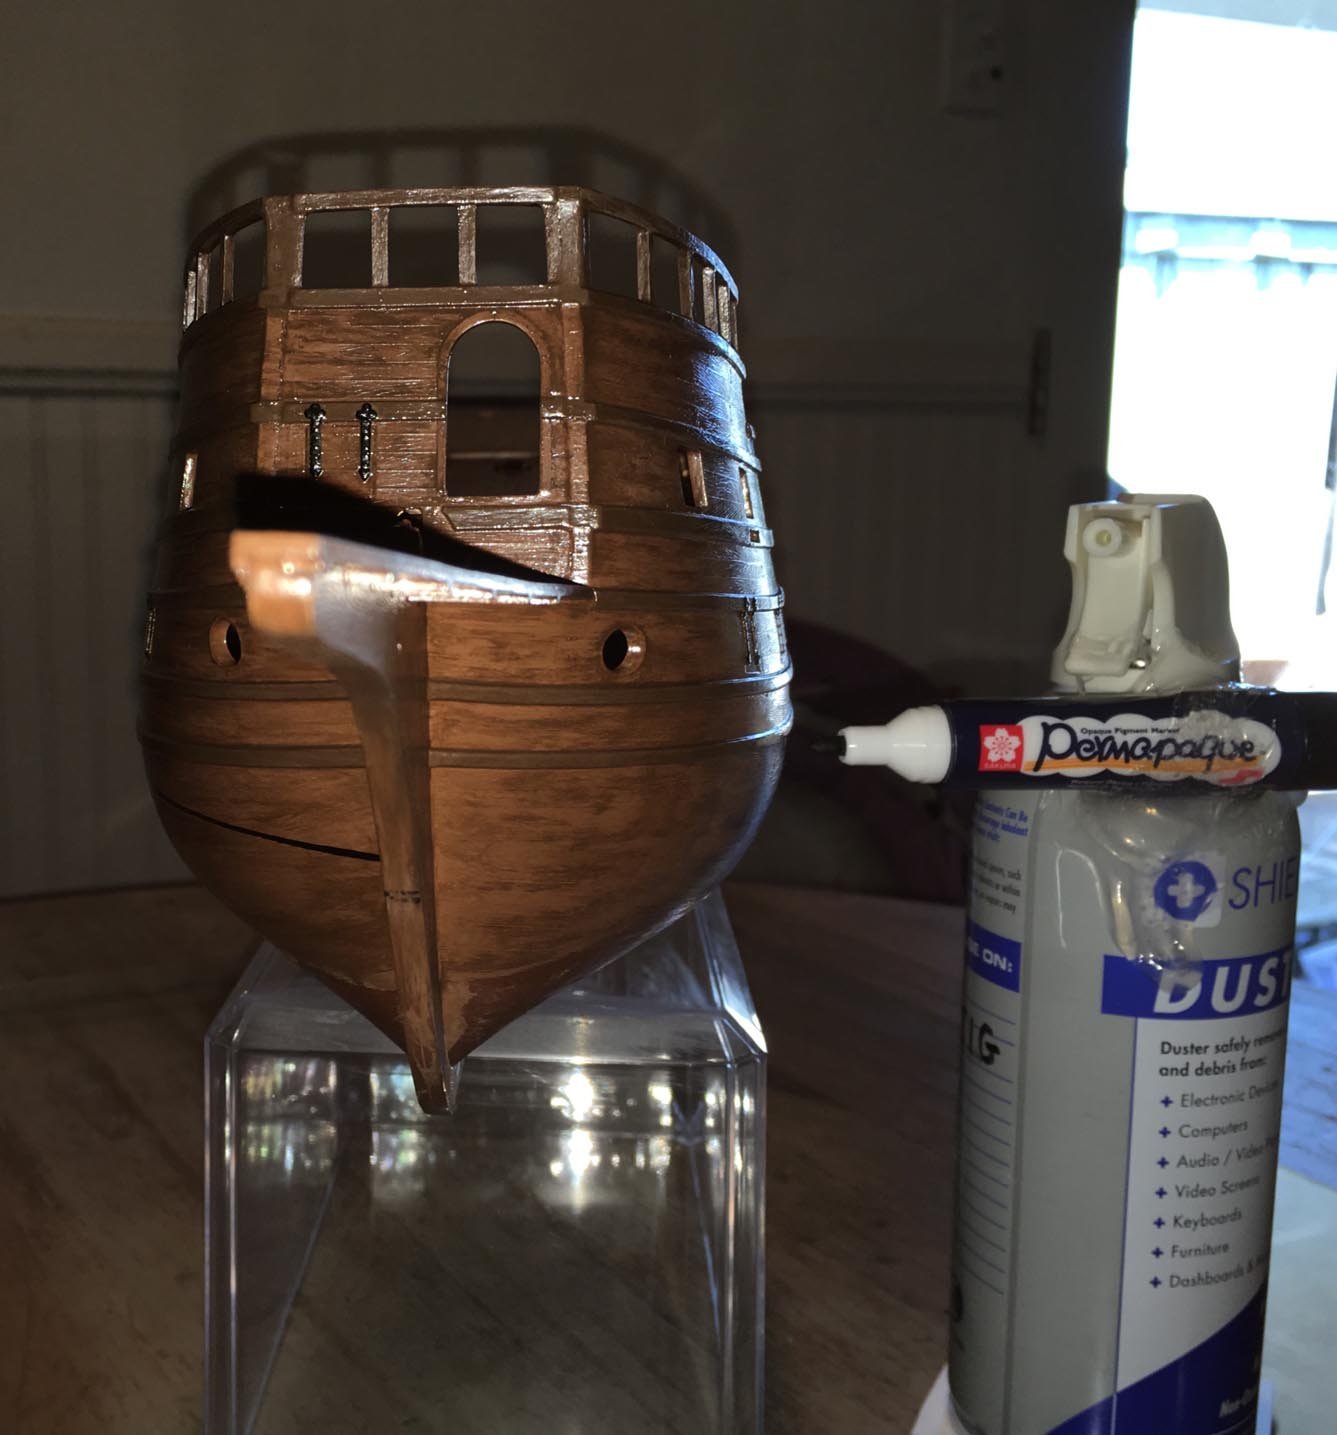
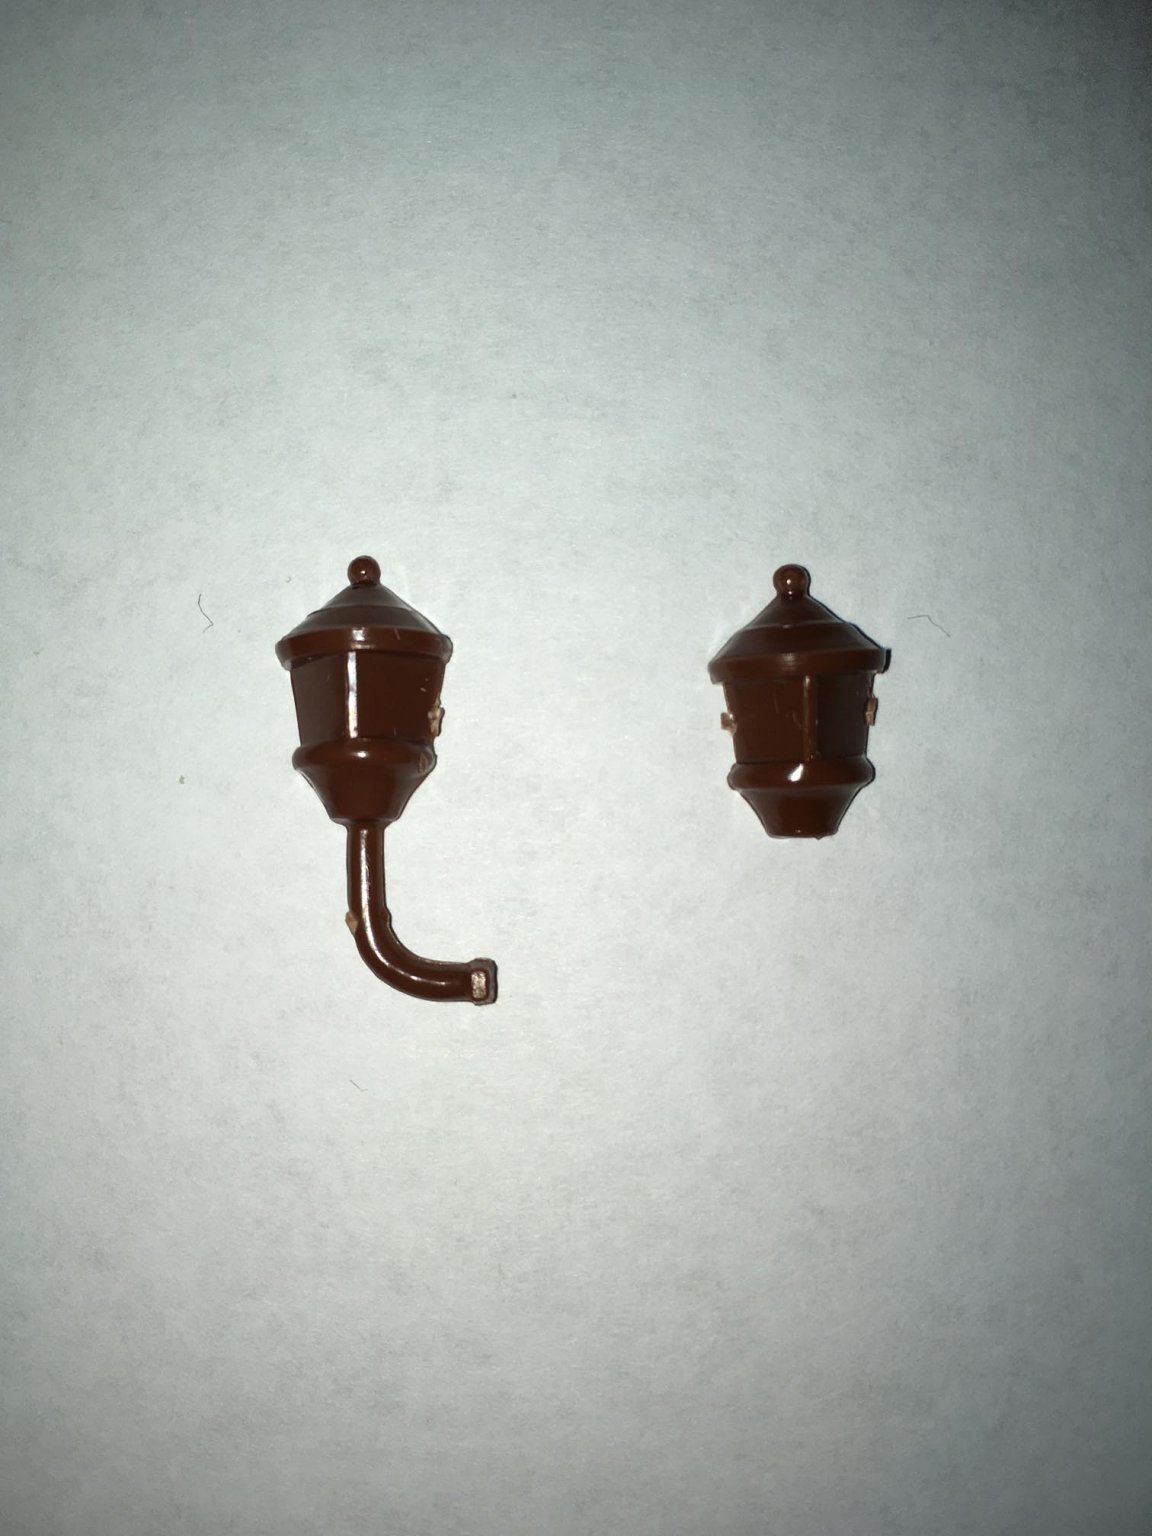
I used a wood color enamel paint for the deck and a brown enamel "wash" over it to add some weathering to the "wood": Eventually it will have a matte sheen when I coat it with a matte acrylic varnish spray. I wanted to make the stern lanterns look more like lanterns, since the way they were supplied meant that you had to paint the glass panes some color (which color?): So I decided to remove the tops and bottoms of the lanterns and replace the middle portion, which I call the "glass housing", with transparent material, in the center of which would be a glowing candle "flame". I made latex rubber molds: Poured ArtResin clear epoxy into the molds: I made spares in case that some didn't turn out. And here are the cast pieces:

-
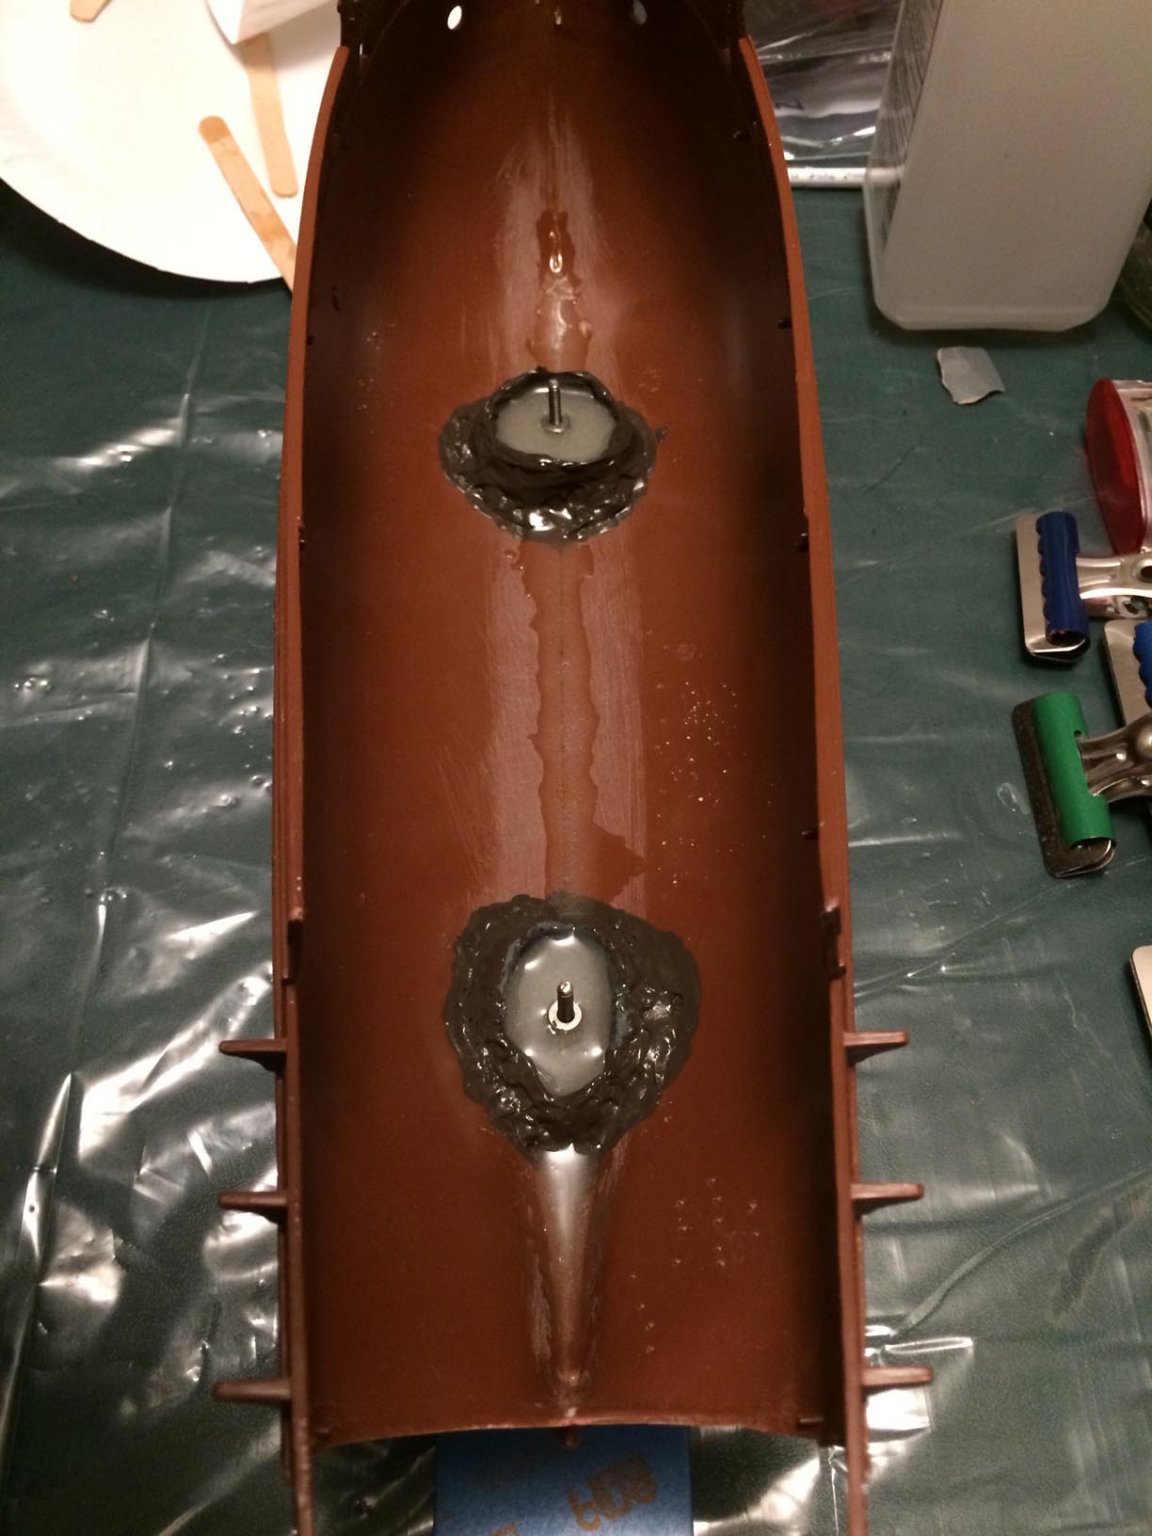
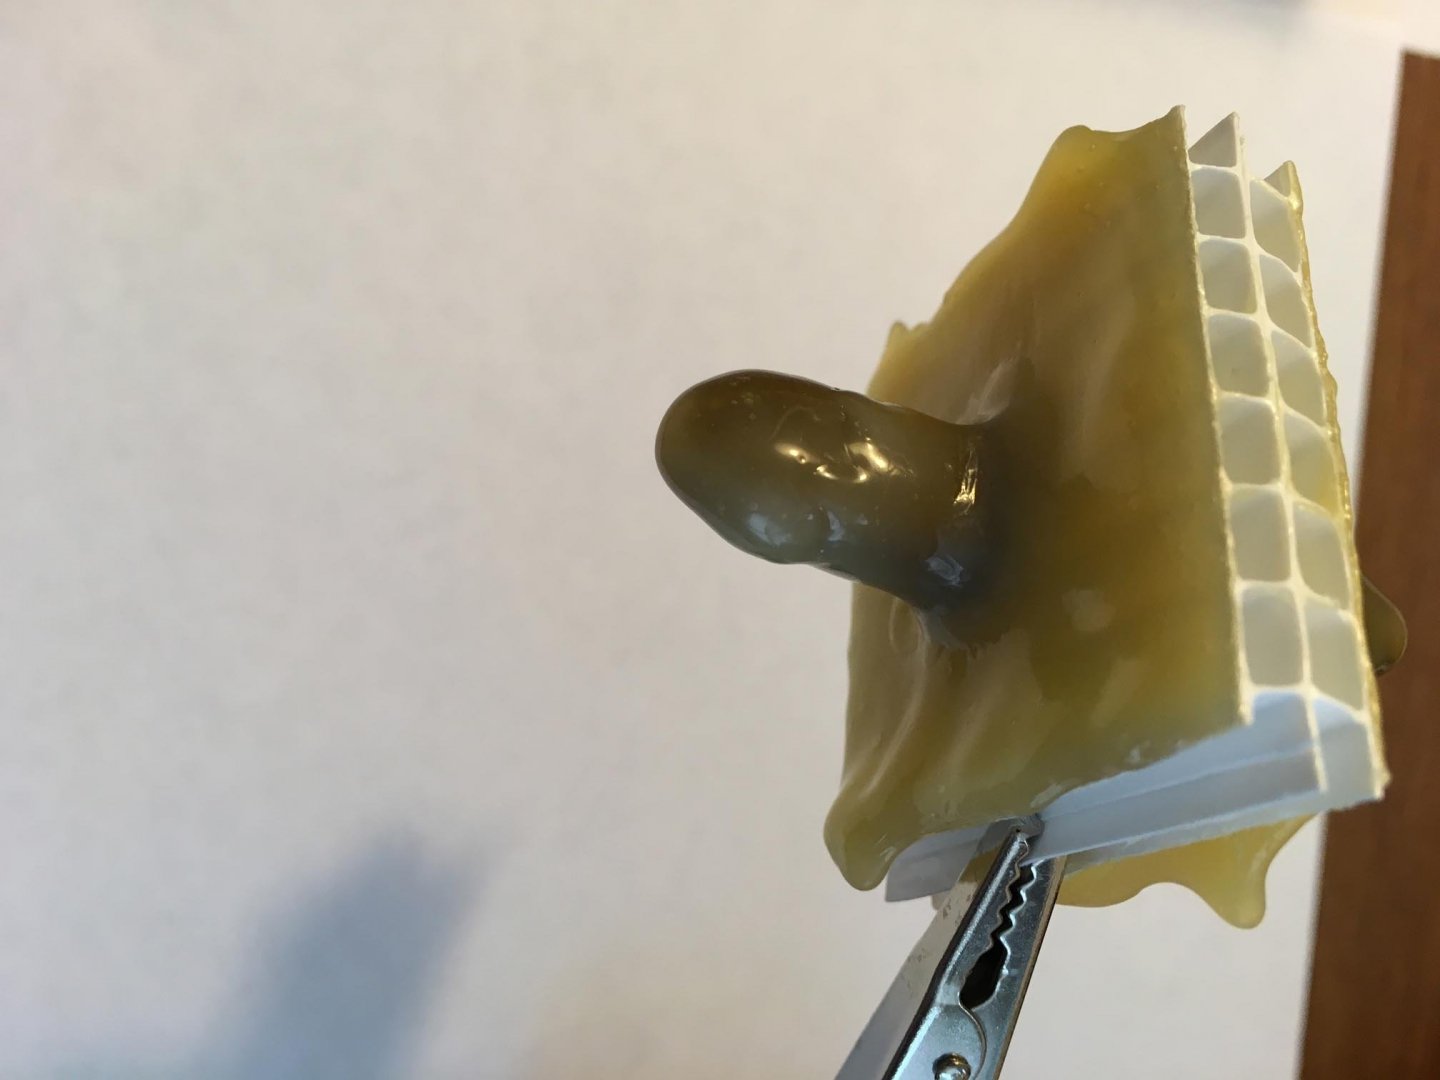
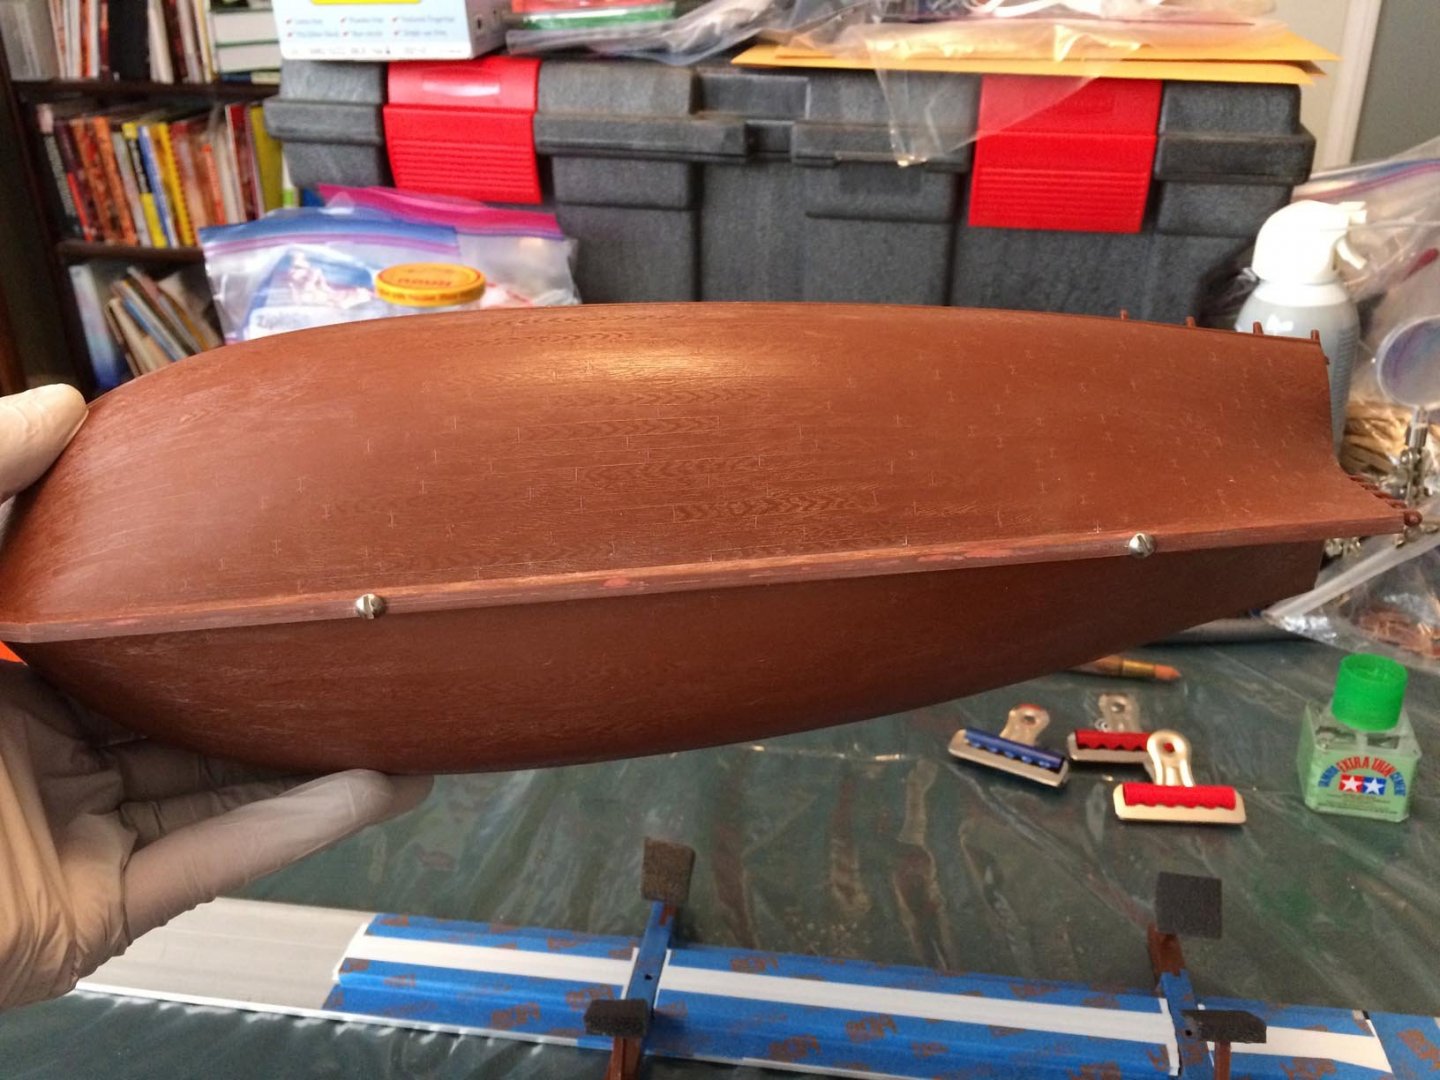
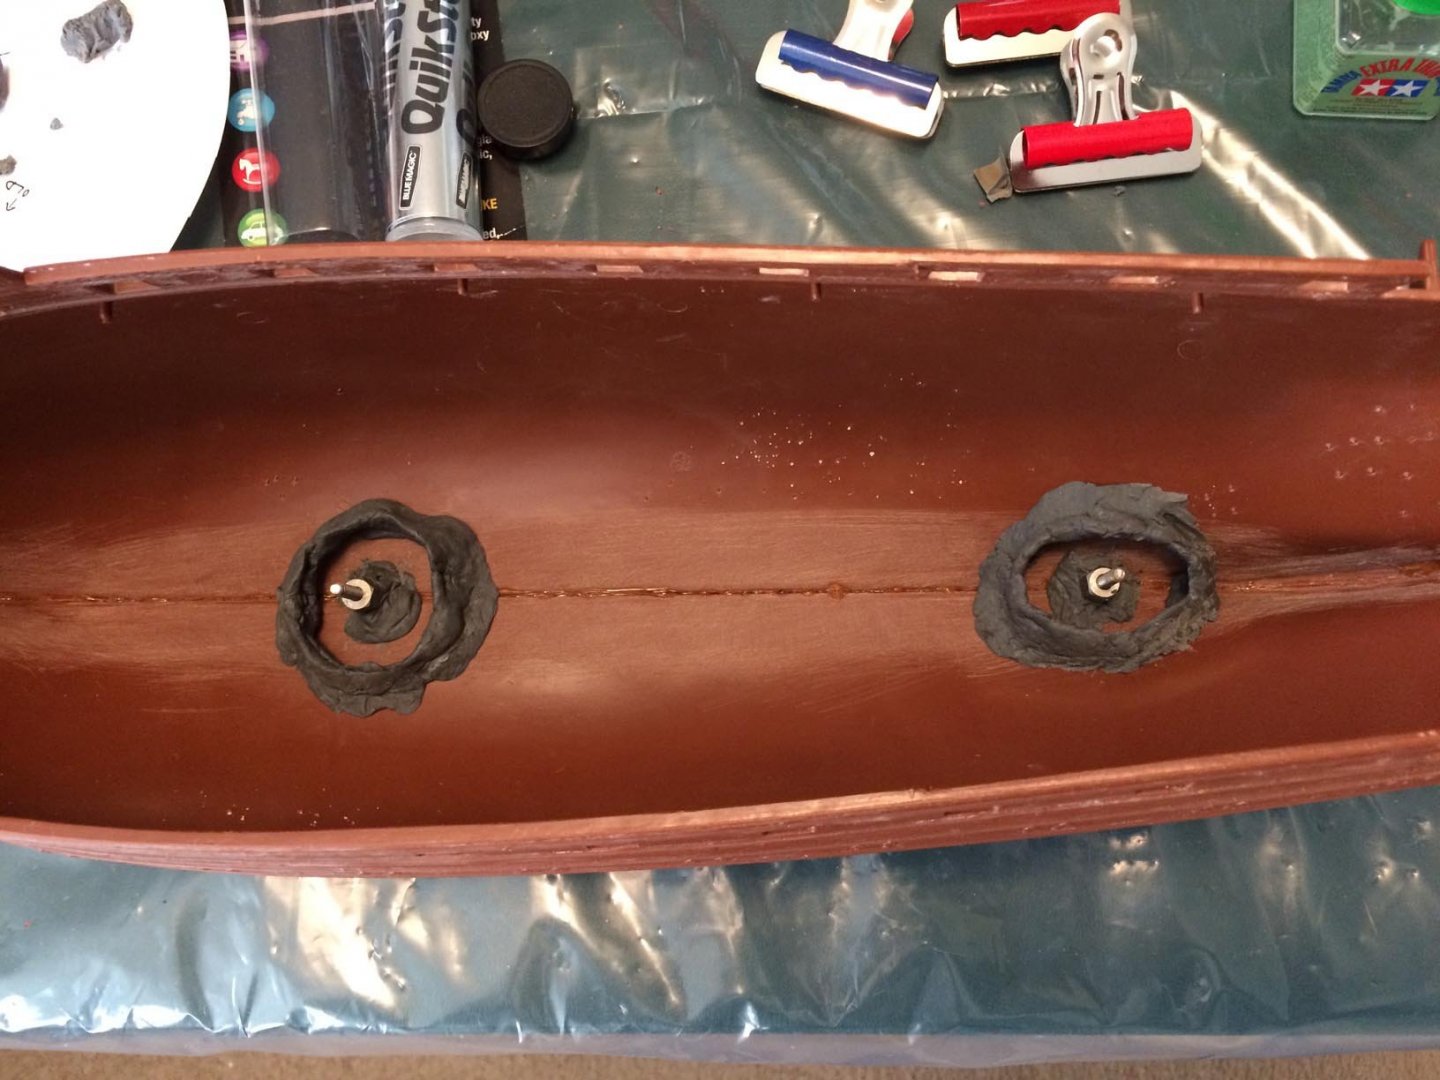
Back in early 2017, shortly after I started working on the model, I glued the two halves of the hull together after trimming off the tabs from the keel that were meant to attach it to the plastic stand supplied with the kit. I eventually want to use a wood stand with brass pedestals. Two holes were created in the keel, through which, after the hull was glued together, I introduced two screws that would screw into long nuts on the other side (inside the hull): Within the hull, I used epoxy putty (grey), and then poured 30 minute epoxy into it, in order to surround the nuts and hold them tight and upright so that I can eventually screw the pedestals to the keel: Here are some photos of the main deck and stern bulkhead placement:


-
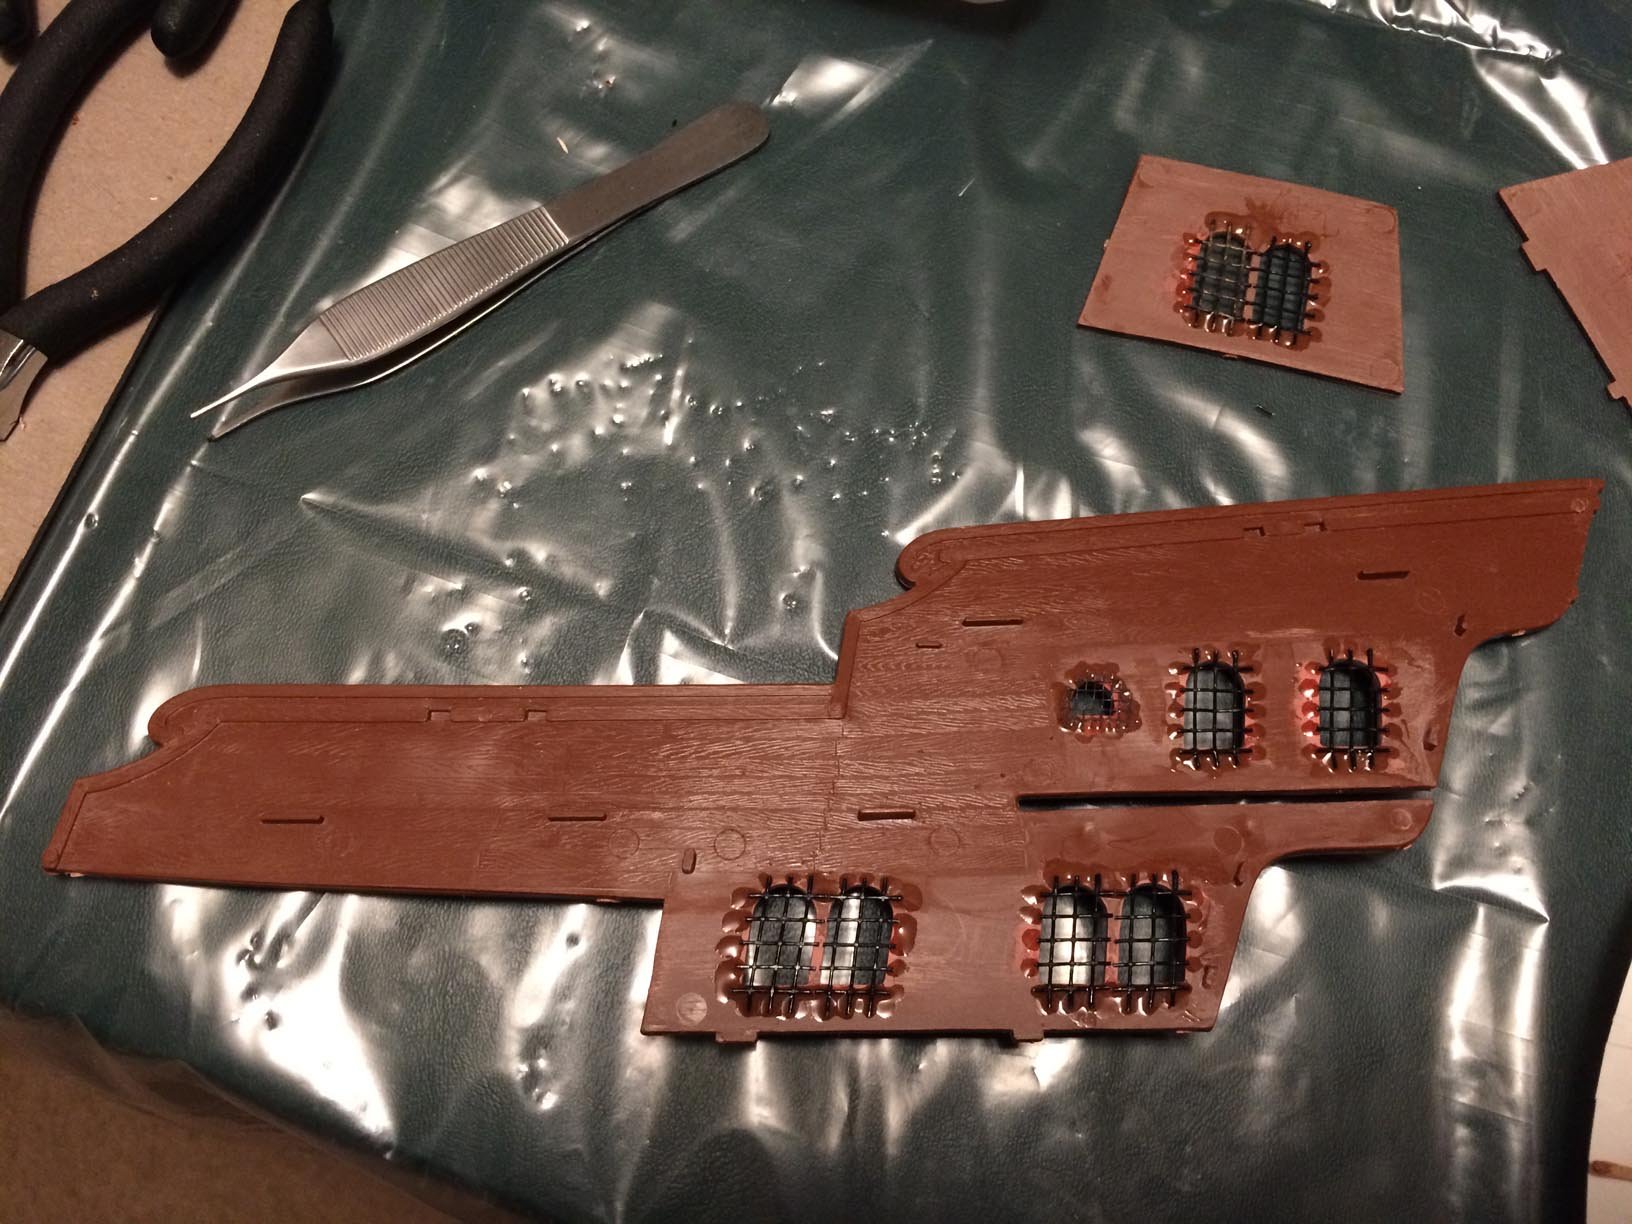
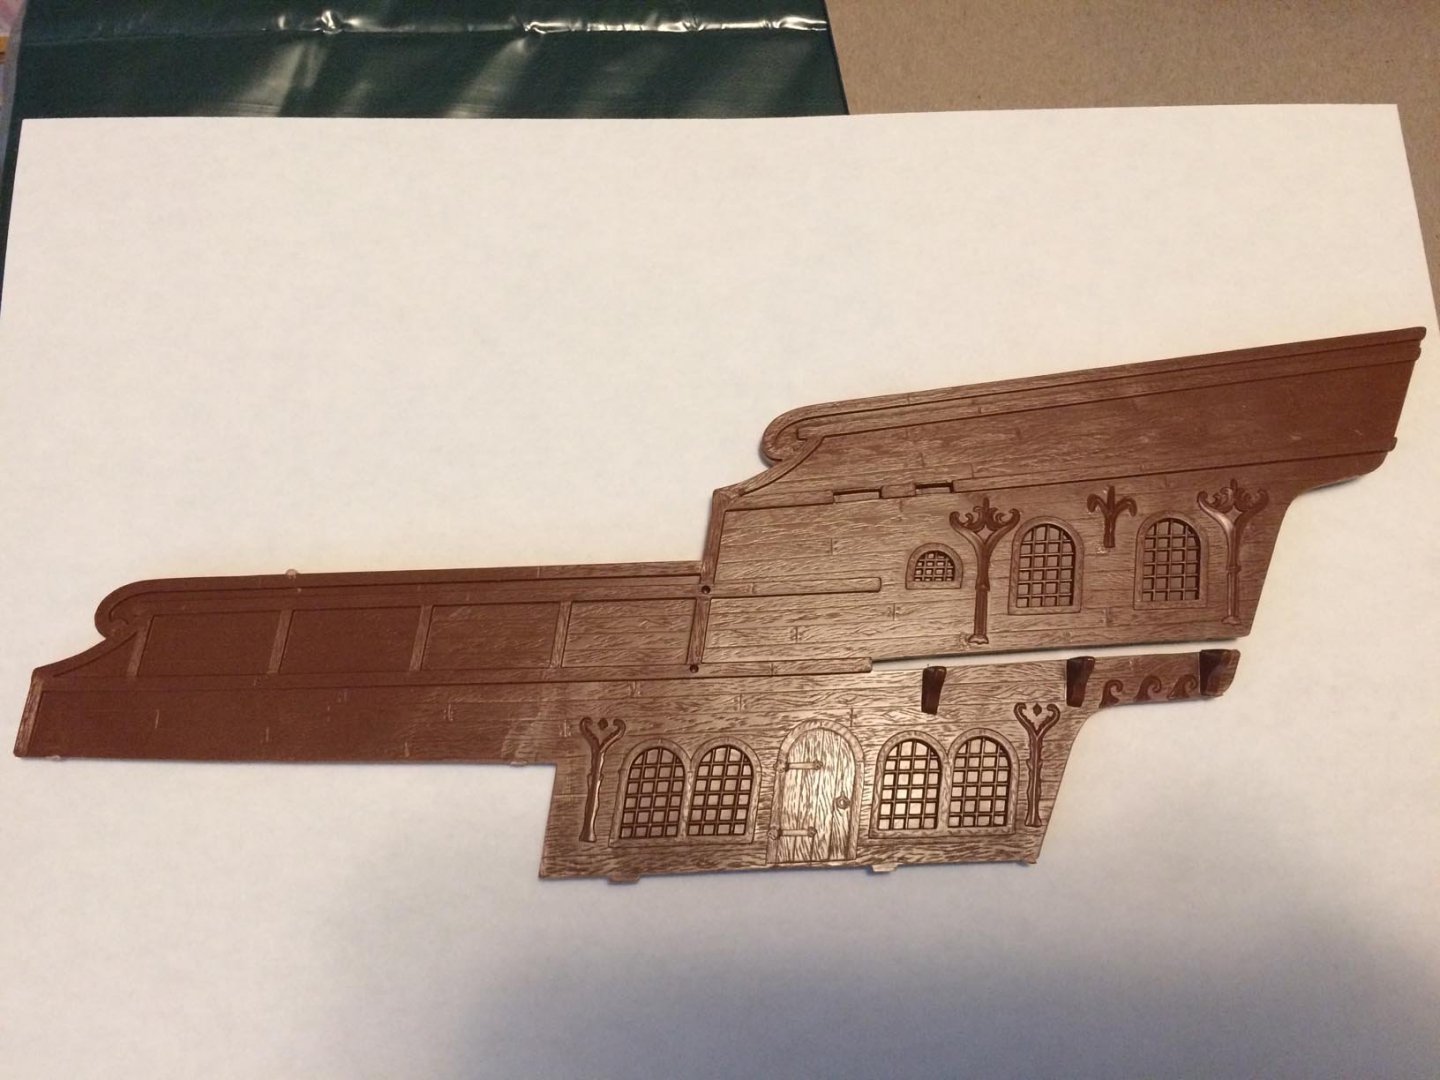
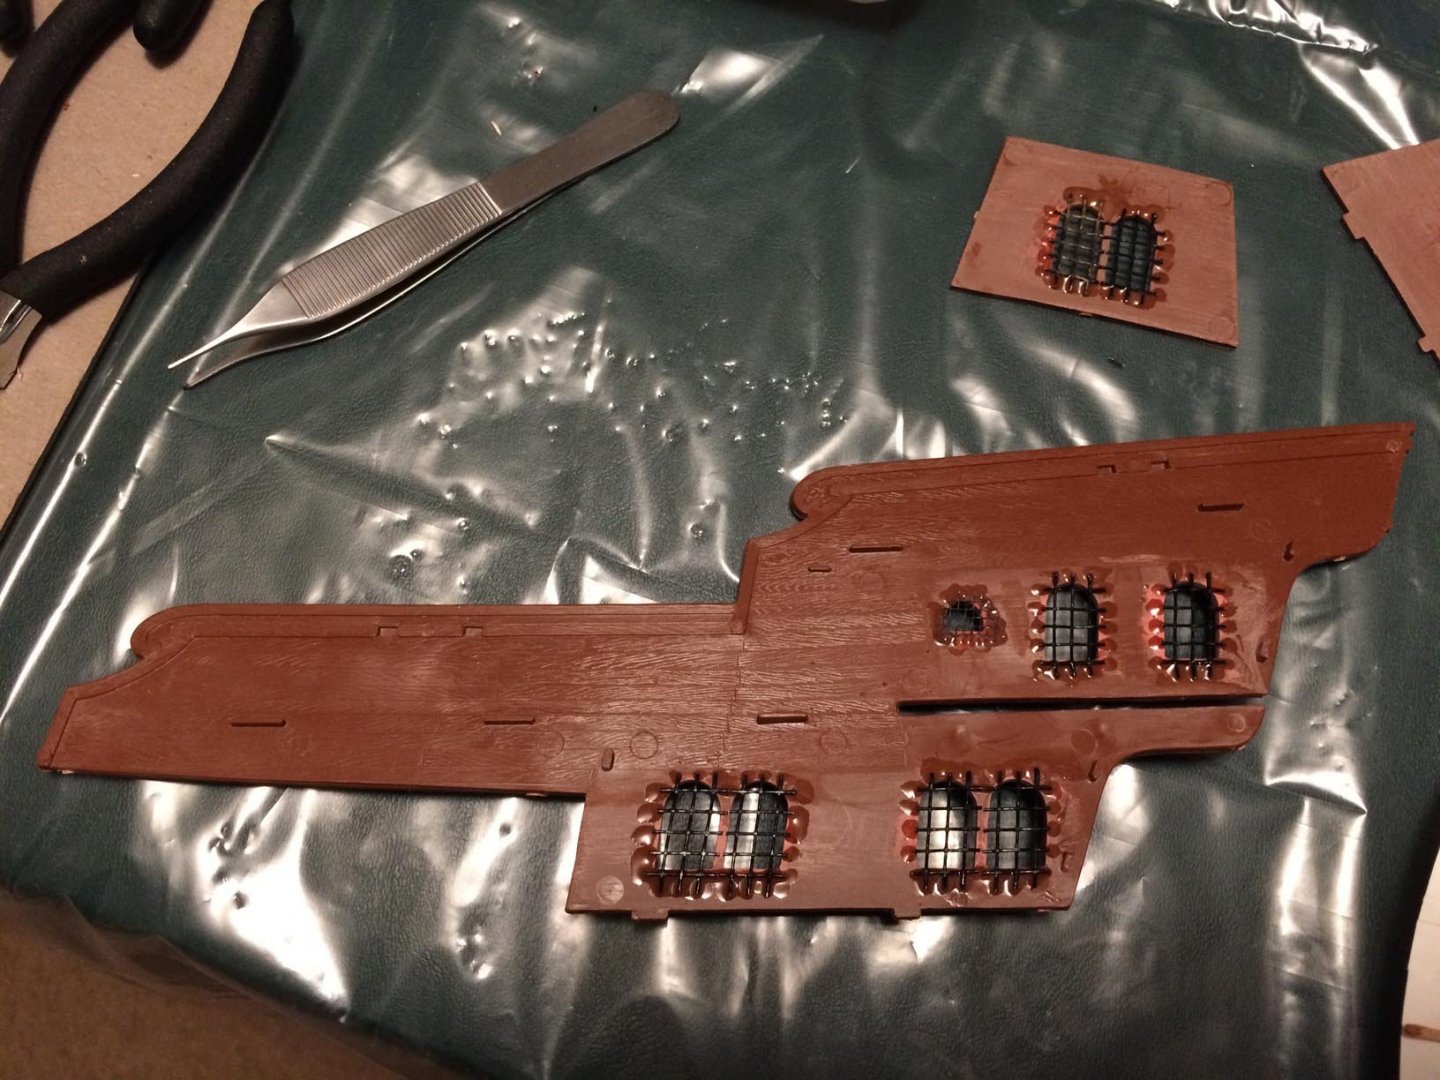
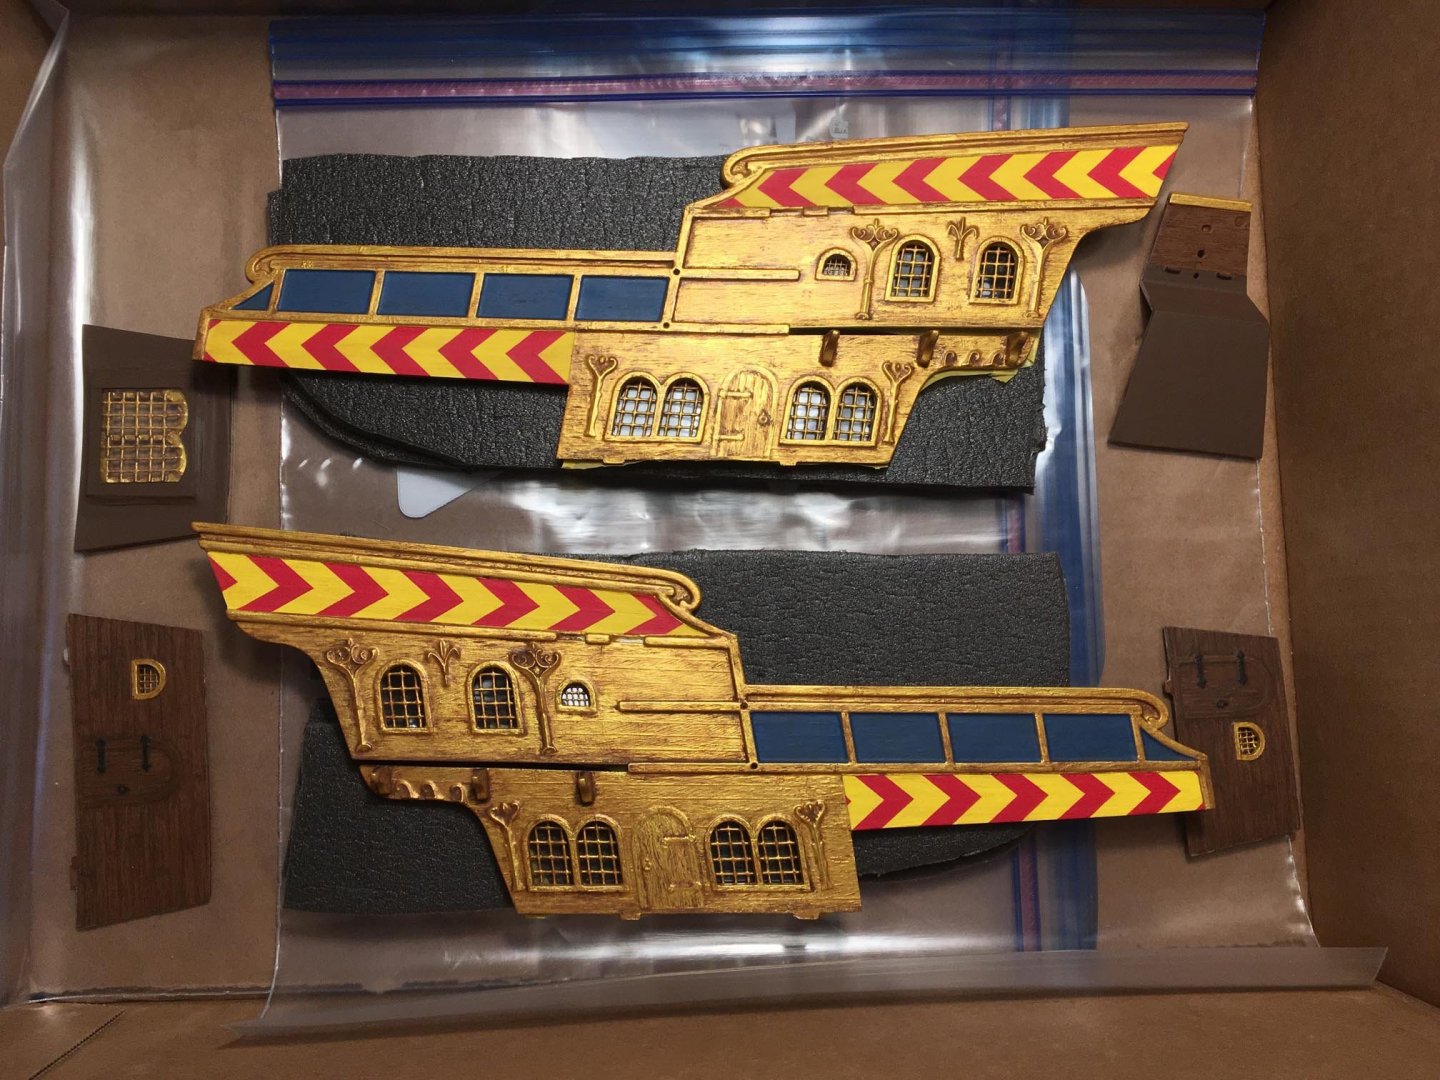
I am not following the instructions step-by-step. I have done mostly preparation of parts and painting, and have worked on modifications, but the order of what you see here is not much like the order in the instruction booklet. The sterncastle is depicted as having some gilding on the box art and prototype photos. I am expanding that gilding to make something ornate-looking a la Sovereign of the Seas (without the intricacy). But there will be a lot of gold. The parts have windows that you have to paint on, and I didn't think I could make that look good: So I cut out the windows and used black aluminum craft mesh from Blick.com to make new muntins for them (this photo shows the inside of the cabin): I want to be able to look into the windows and see what's going on inside the cabins (which I intend to furnish with tables, chairs, beds, chests, maps, figures). Here's a first attempt at adding a clear plastic to the back of the windows (styrene): The styrene cracked easily, so I replaced it all with lexan (polycarbonate), which is a little more flexible. Eventually, after a lot of time and effort, we get completed sterncastle parts: At some point, as you can see above, I decided to add an enamel wash over the gold paint (which was a bright gold acrylic paint varnished with Humbrol satin enamel), in order to create a "dirt" weathering effect.
- 133 replies
-
- 13
-
-
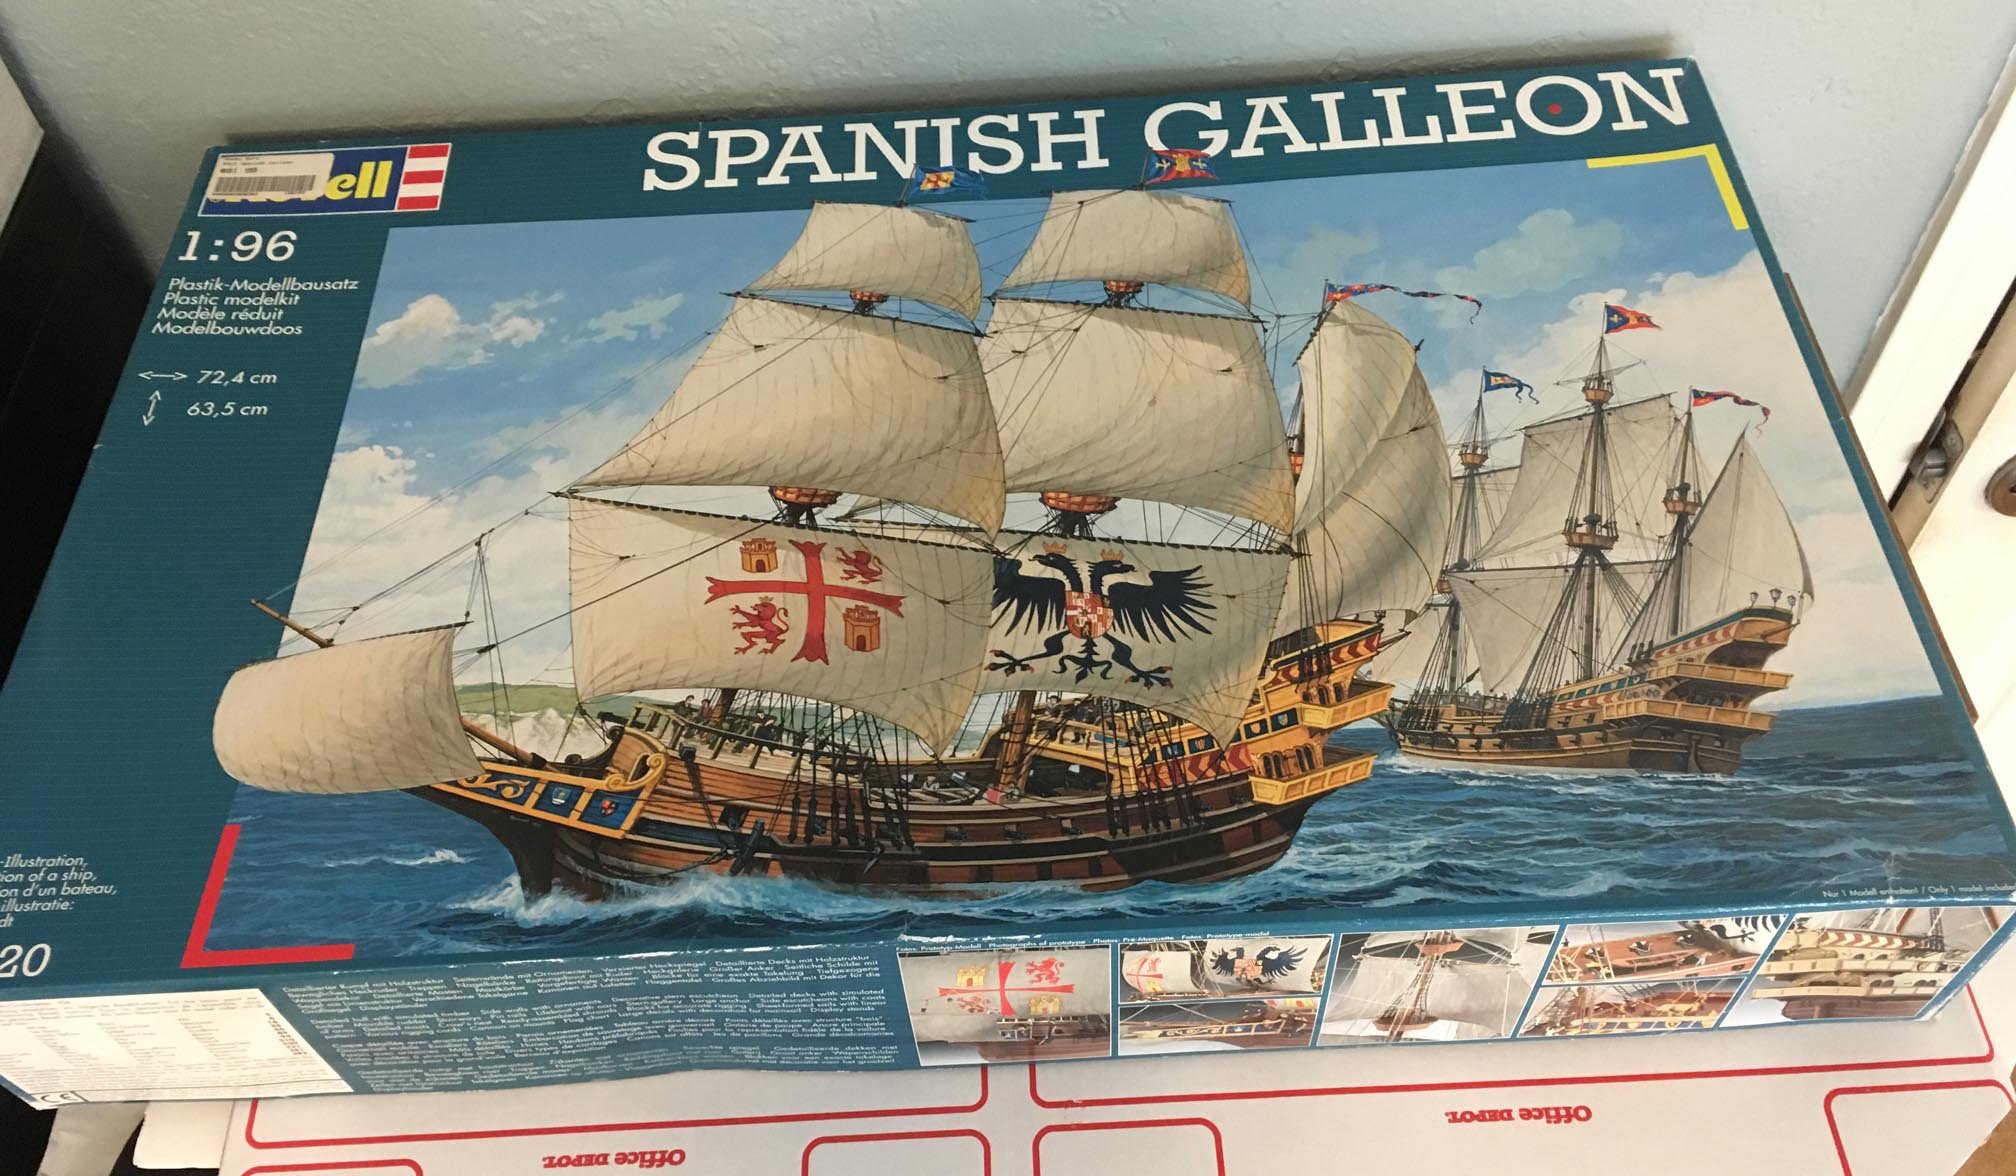
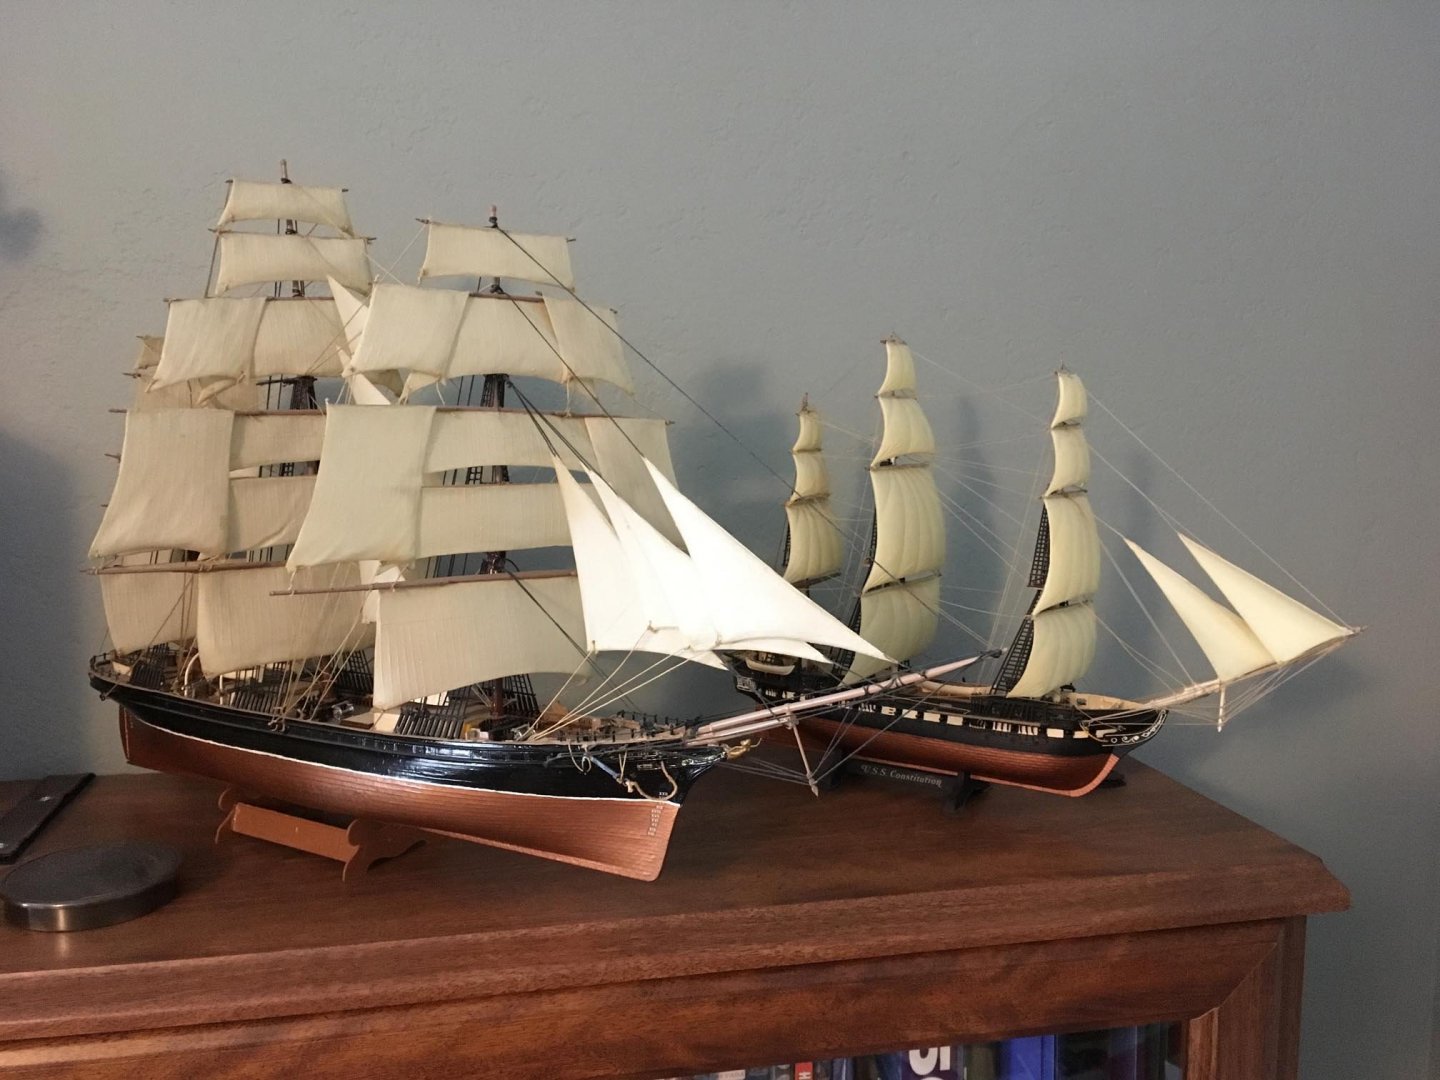
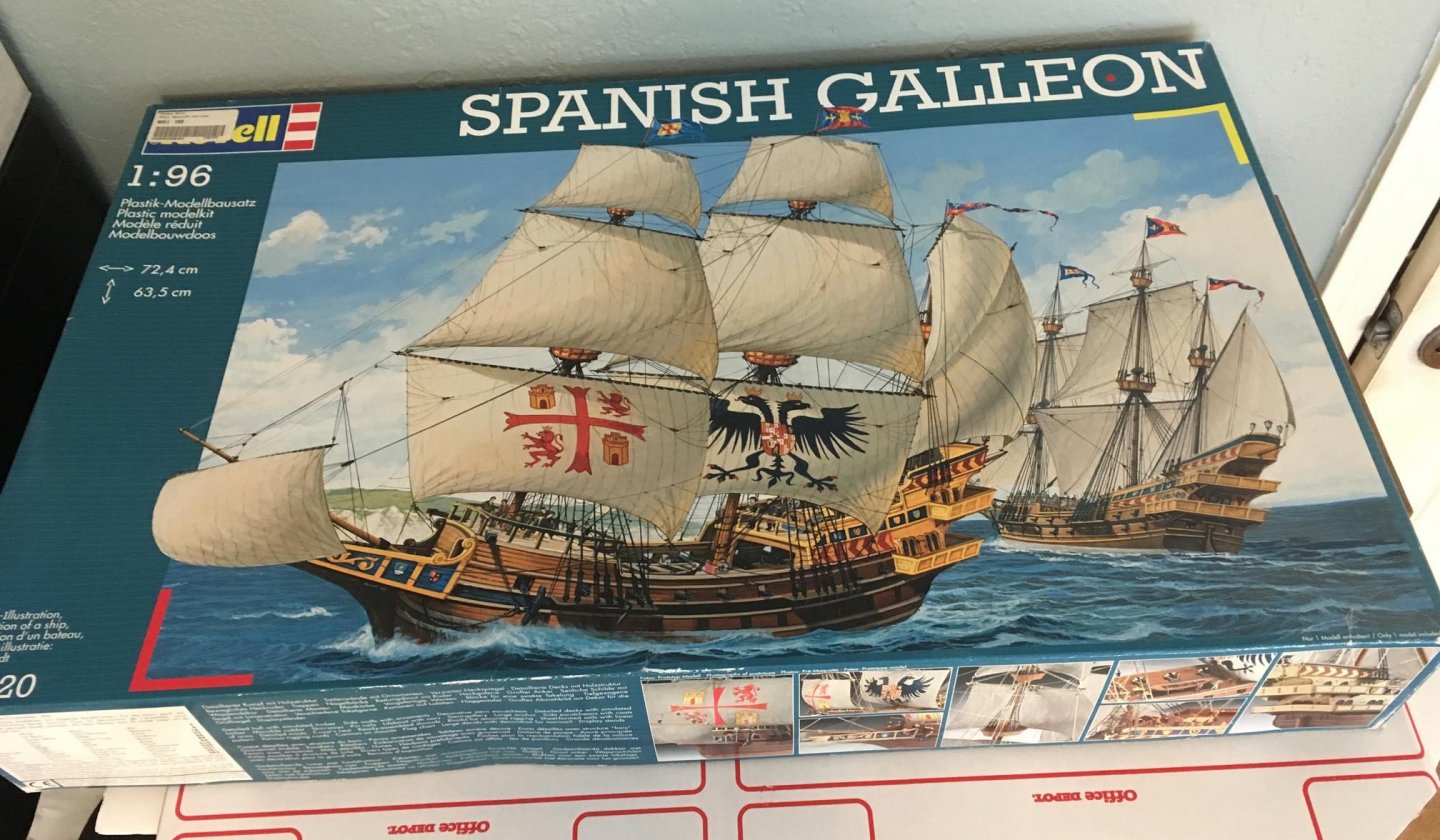
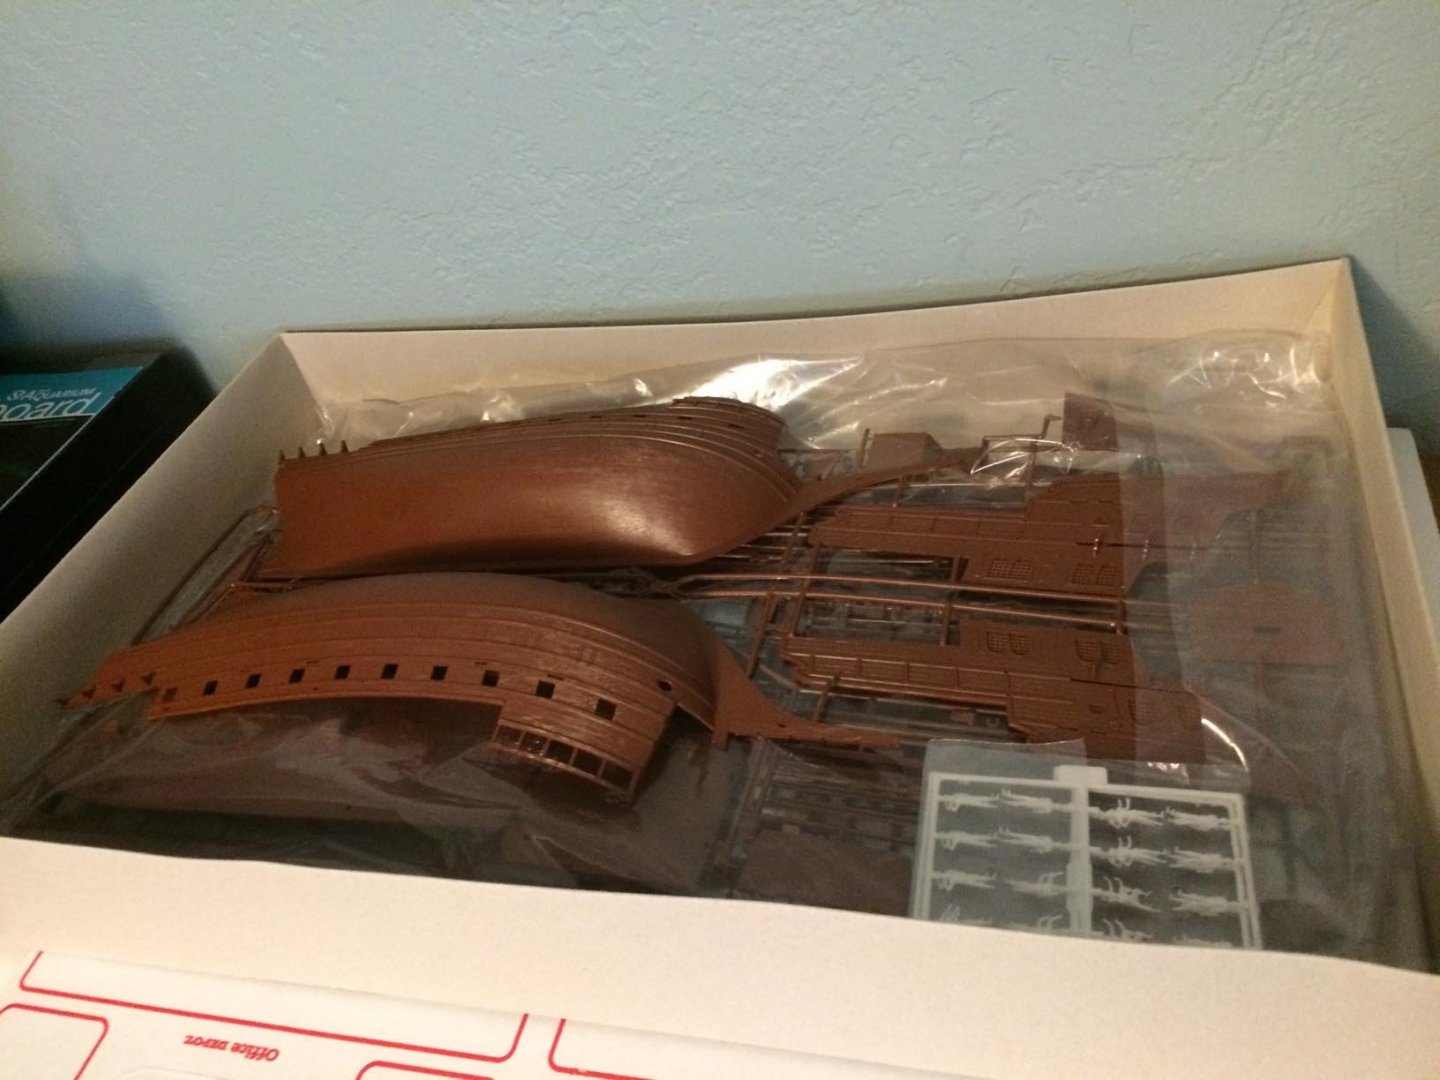
This is my first build log here in Model Ship World, but it is about a plastic ship model that I have already been working on for about three and a half years. I may have have many years to go on the project, because I am only working on it here and there and I am doing some modifications as well, which add time. First, some background information. As a child and teenager, I built a number of plastic models. Some of my favorites were plastic sailing ships, and I still have a couple of them that I built over 30 years ago: I also tried to build the Monogram 1:120 USS United States at the time, but never completed it. My interests changed, and I left the hobby until December 2016. Then, I began to build the Revell of Germany 1:96 Spanish Galleon (which, I understand from my research on the internet, is more like a 1:64 or 1:65 scale). It's not a model that depicts an actual ship that once sailed, but more like a general idea of a type of ship from a bygone era (Armada era in the late 1500s). We have a replica ship of a Spanish Galleon here in San Diego at the Maritime Museum of San Diego. I saw it being built, and completed, and I have been on it under sail, and am excited about building a Spanish Galleon of my own. This model has some features in its shape that some may say are not very accurate for a Spanish Galleon from that period. Well, in my modifications, mainly with masts and spars, I hope to change some of that, but I would like to think of this more as a "fantasy" version of a Spanish Galleon -- embodying some of the "romance" of the ship type. Here's what the box looks like: And what was inside it, minus the sails: I originally was thinking of building it out of the box, but decided to do modifications when I realized that I wasn't going to use the plastic sails, because one of them was wrinkled, so it wouldn't convincingly "billow":

-
I’ve already been working on the Spanish Galleon for over 3 years and haven’t got very far. I may try posting a build log, but it may take me another 8-10 years to complete it, since I only work on it here and there. I am also planning a version of cloth sails, because one or more of the plastic ones were crushed in the box, and I think that cloth ones look nicer anyway.
- 165 replies
-
- 2
-
-
- english galleon
- revell
- (and 2 more)
-
Nice work on the sails! I am building the Revell 1/96 Spanish Galleon and doing a lot of modifications (slower than molasses) so this is very interesting to me. (The Spanish Galleon is essentially the “sister ship” to the English Man O’ War as they use many of the same molds.)
- 165 replies
-
- 2
-
-
- english galleon
- revell
- (and 2 more)
-
This attention to detail is outstanding, especially given the small scale of the model! The black paint idea is a good one — I have also had to remedy things sometimes when I haven’t got the actual result that I initially imagined, and I think that that is ok.
-
Incredible! If it were built right out of the box, we wouldn’t really know what potential there would be with all the intricate modifications you have done. I could imagine this one in a museum. With this build log, you give me inspiration for continuing to do modifications with my own plastic ship build!
-
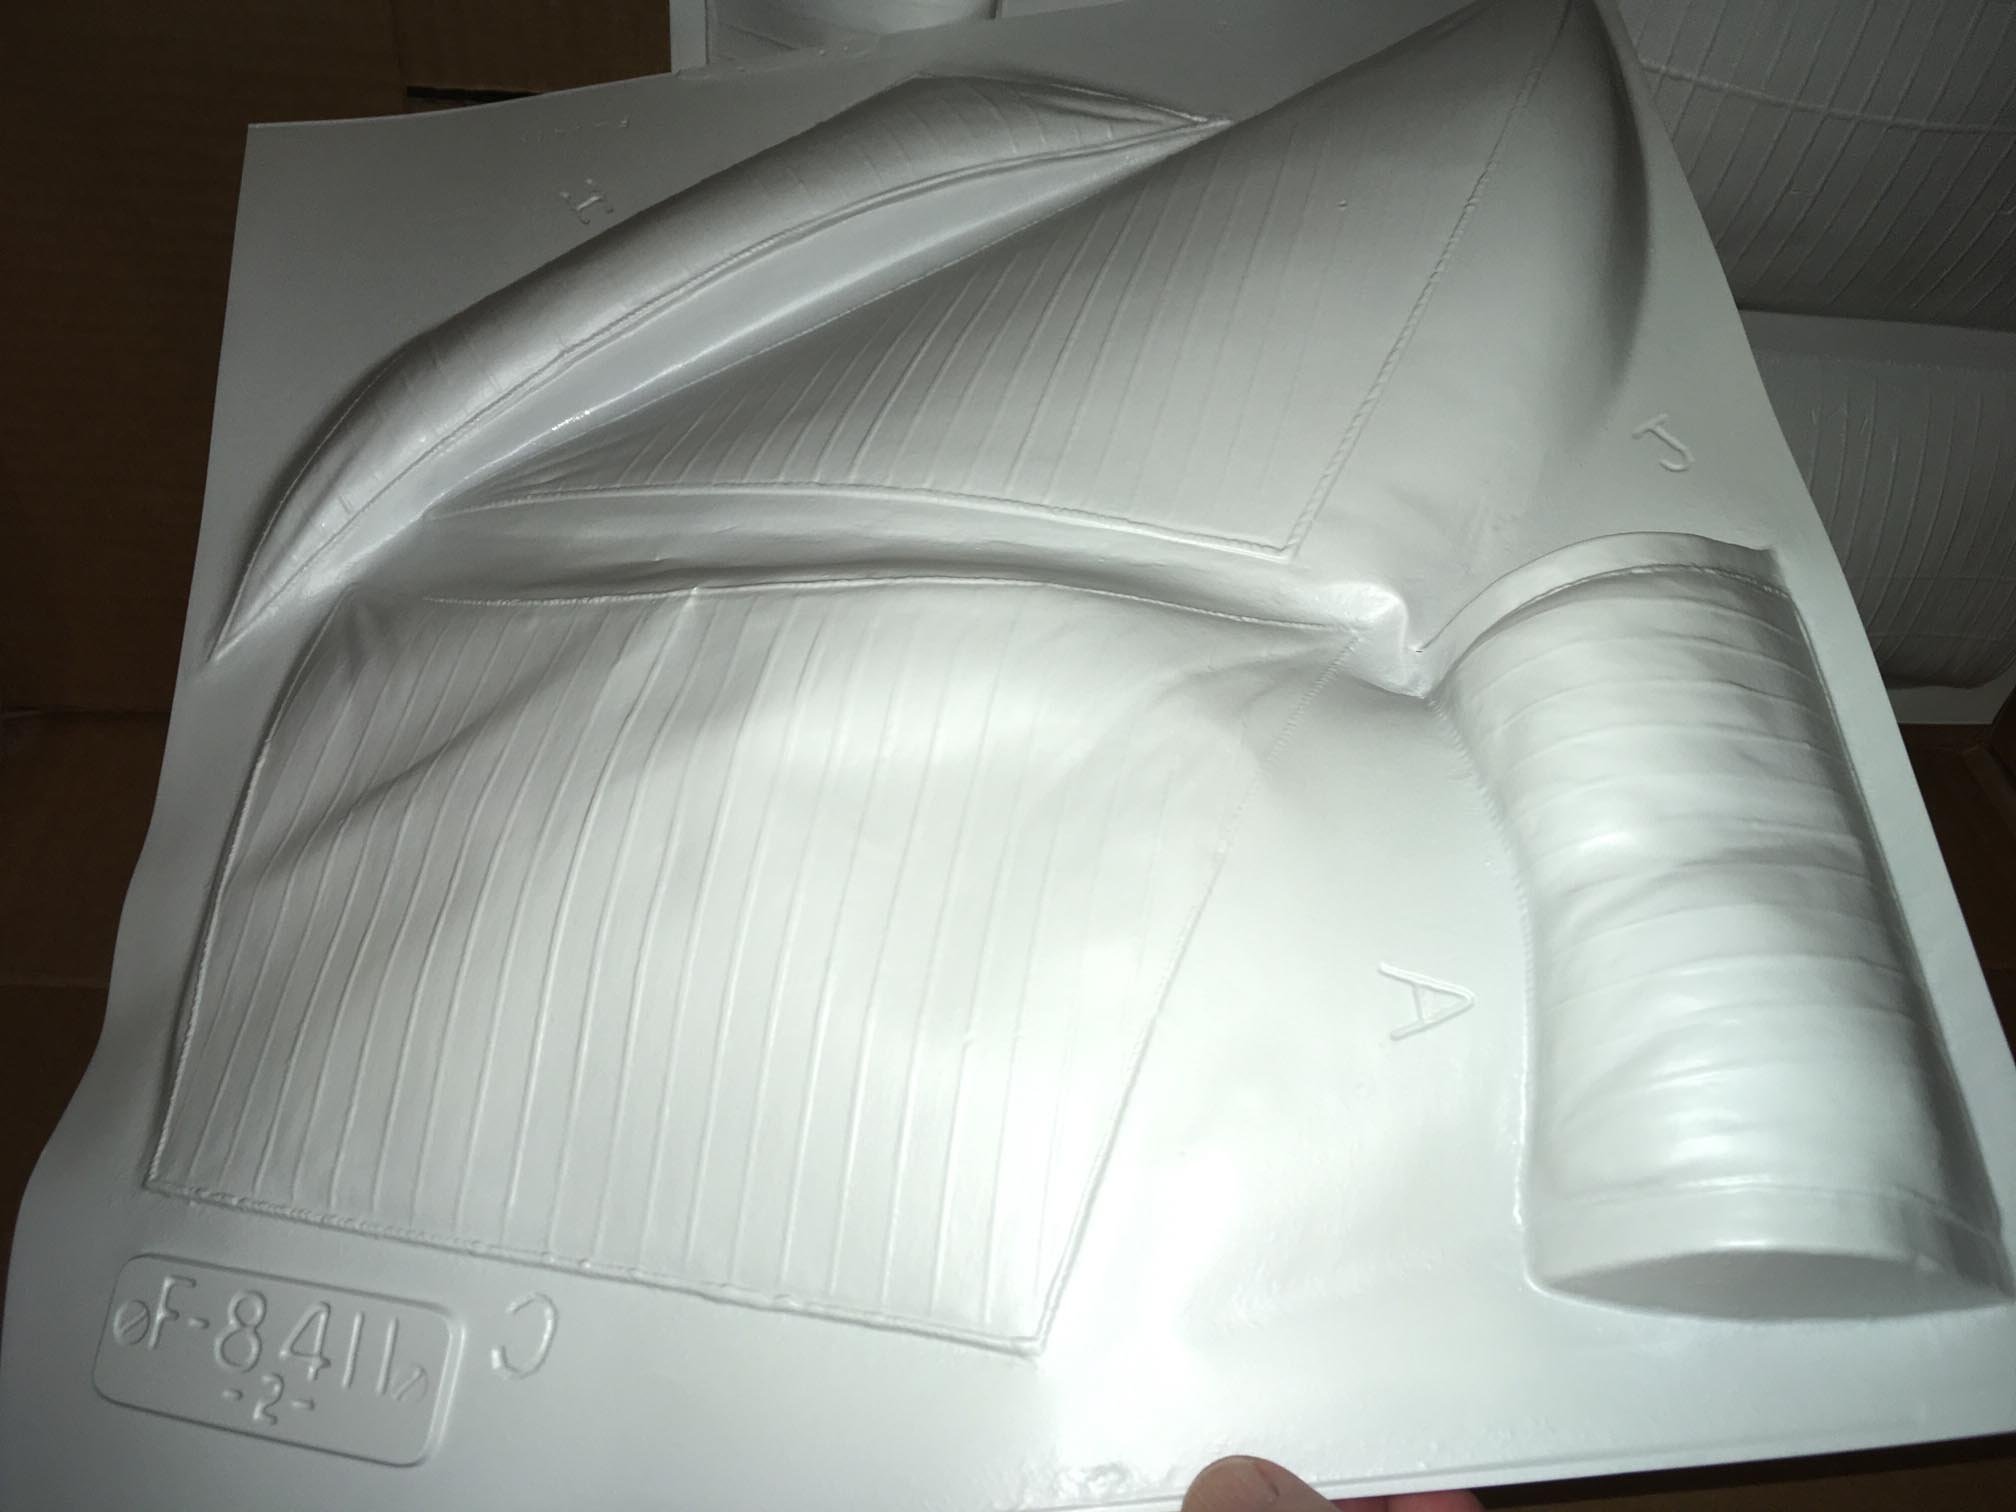
Looks pretty realistic with the “weathered” tarpaulin. You wouldn’t know it was tissue paper! 👍


.JPG.9f2b1373f11f98fa0bcb2f8c1e83c3e8.JPG)