Jeff T
-
Posts
247 -
Joined
-
Last visited
Content Type
Profiles
Forums
Gallery
Events
Everything posted by Jeff T
-
I am finally back at work on my galleon after a hiatus of several months while I worked on a different project. There is not much new to show yet, though. I just started to apply a matt varnish to the glossy upper surfaces of the ship. I am brushing it by hand, because I have not had good luck with matt spray varnishes in the past, and I do not want to deal with an airbrush. Brushing a matt varnish can be tricky. It may at times be difficult to achieve an even, consistent appearance.
-
👍. I think “too thin” may be better than too thick.
-
Thanks for the video — your technique gives those shrouds a nice weathered look.
-
I was sincere — your black pearl is impressive, as is the Captain Jack Sparrow figure and your motorcycles. I think that it doesn’t have to be thrown on canvas or sculpted in order to be considered art.
-
You are a true artist, too
-
Bill, here is a link to a place that sells 2-wheeled carriages: https://www.mantuamodel.co.uk/products/ship-fittings/guns-and-cannons/964/gun-with-carriage-kit-1-detail The wheels are rather proportionately small, though. I ended up modifying 4-wheeled carriages to make 2-wheeled carriages for my Spanish Galleon.
-
Nice and sturdy!
-
Correction: Actually, I recall that I had to cut the area down before I painted it, because the water in the acrylic paint makes the paper buckle and warp, and I needed to tape it down to try to prevent that. It ended up buckling anyway, so I rolled it a bit to smooth out many of the buckles: This rolling technique may be helpful if acrylic paint is needed on paper sails or flags. Once the paint is completely dry, the paper can be unrolled and then rolled again in the opposite direction, repeating the process until the paper is flat.

-
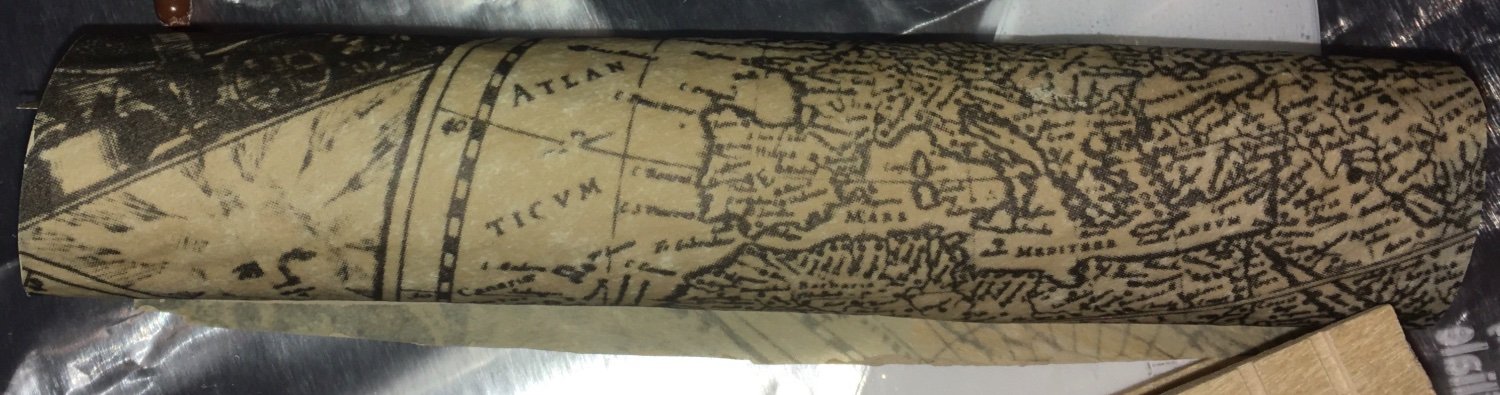
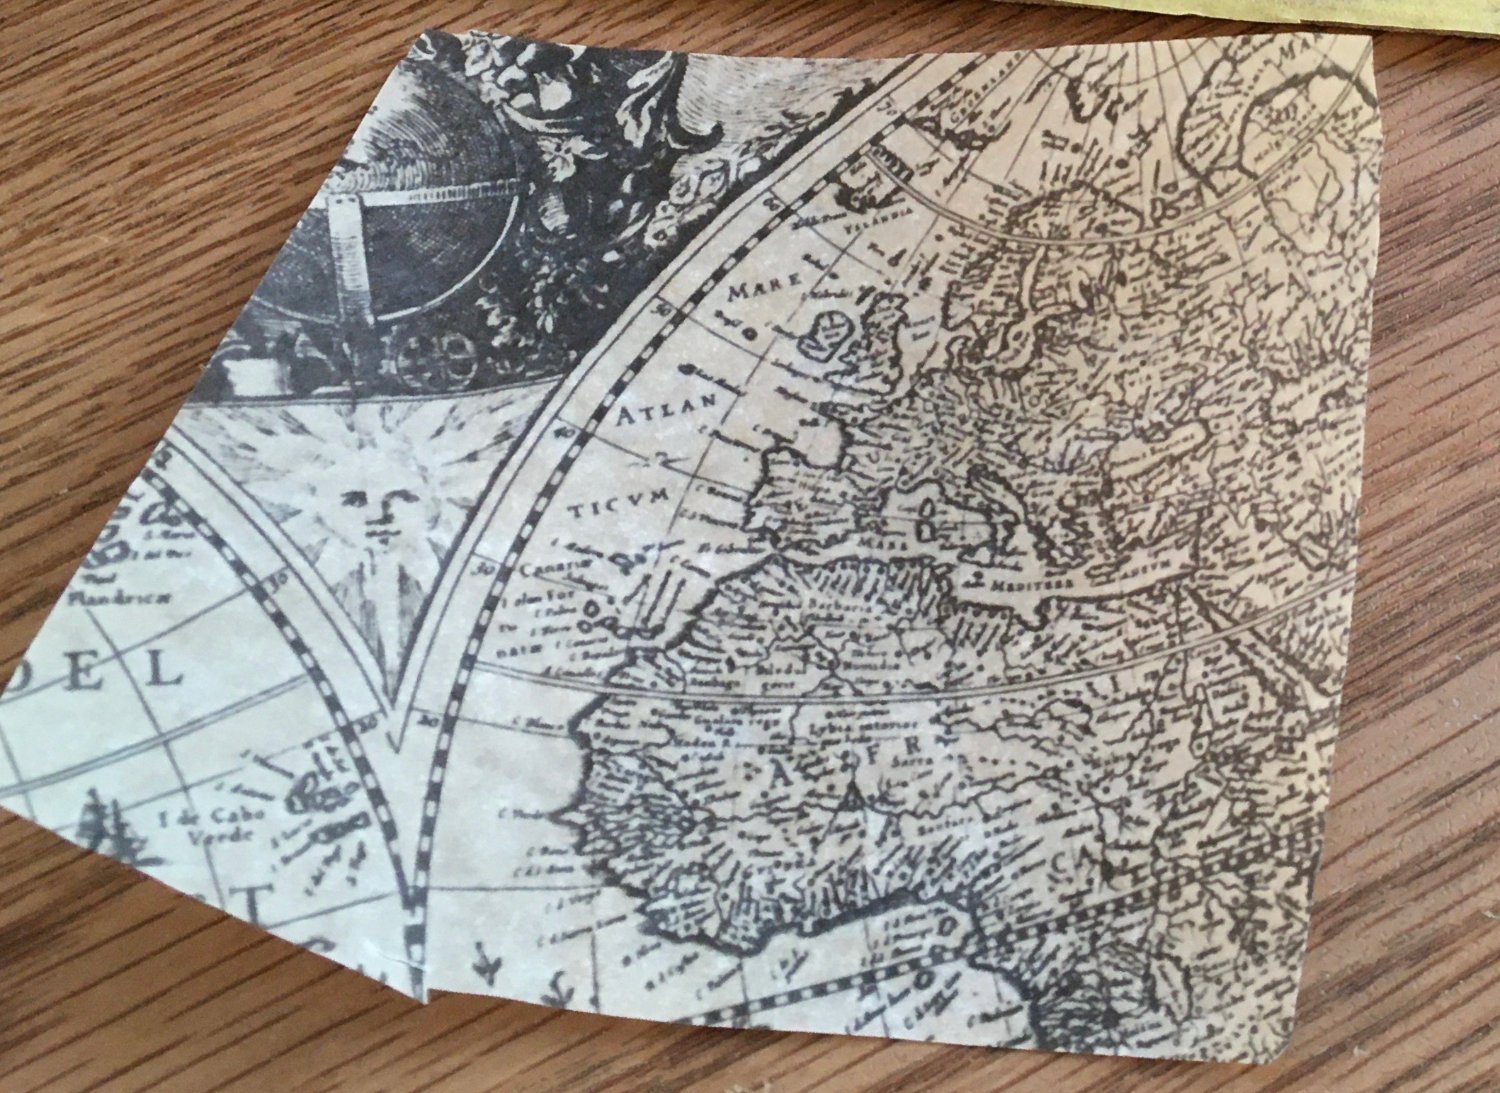
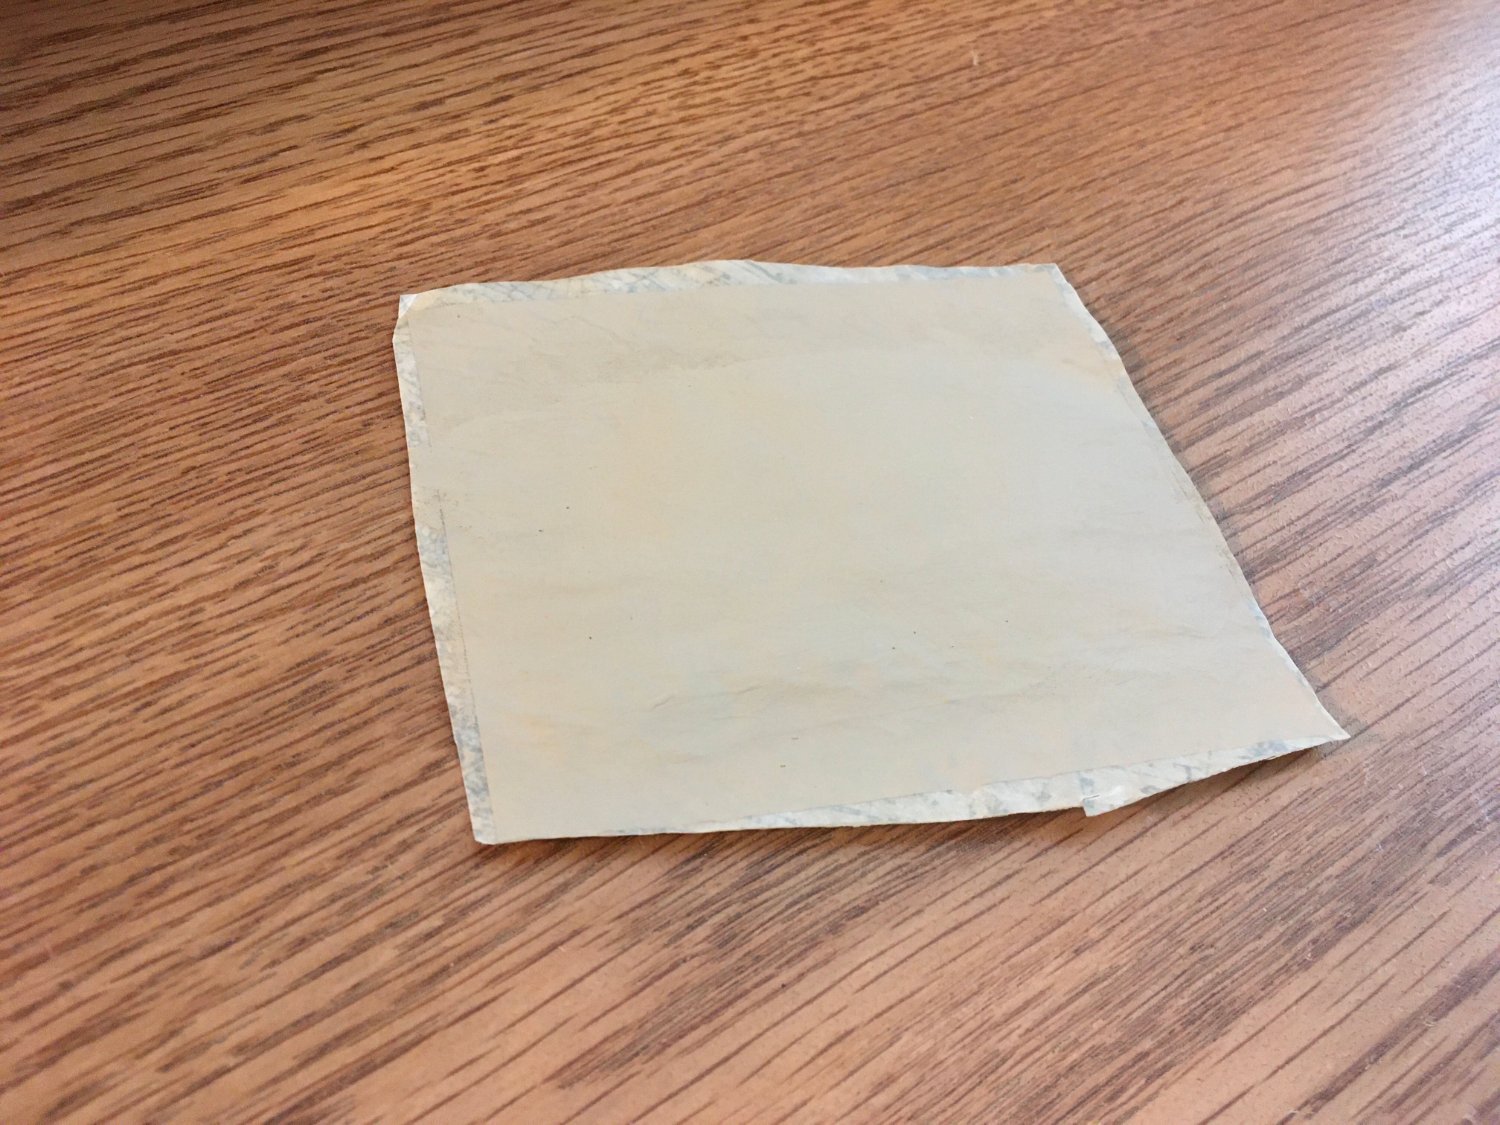
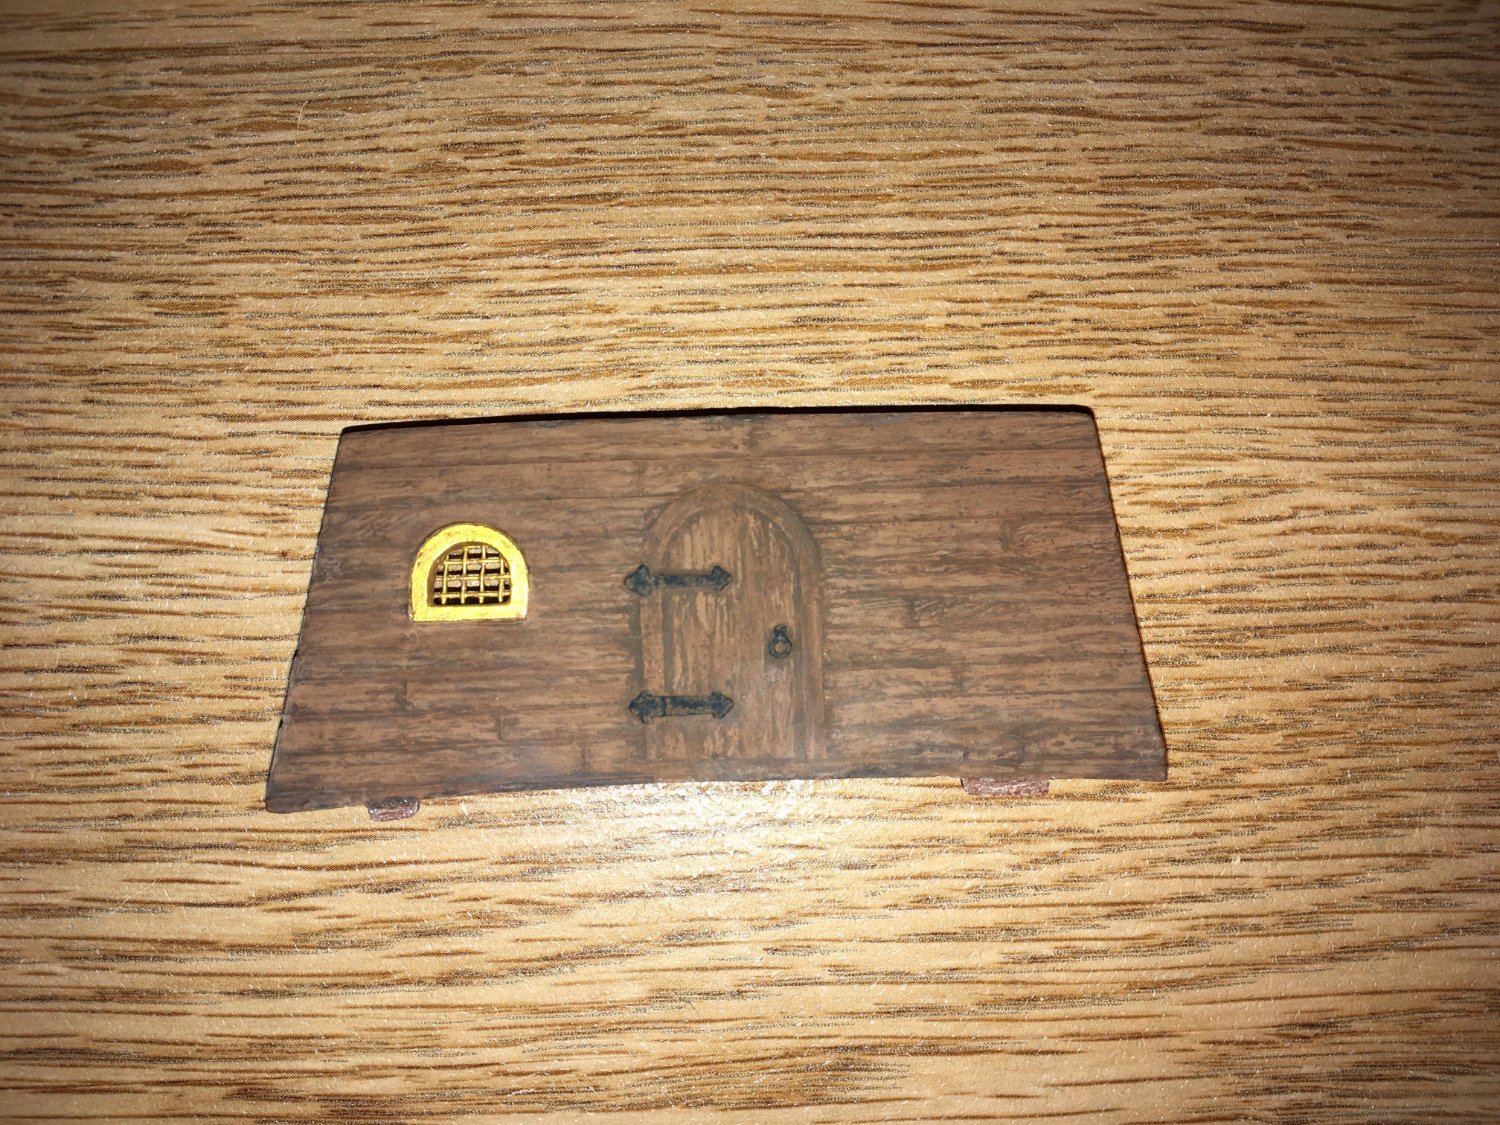
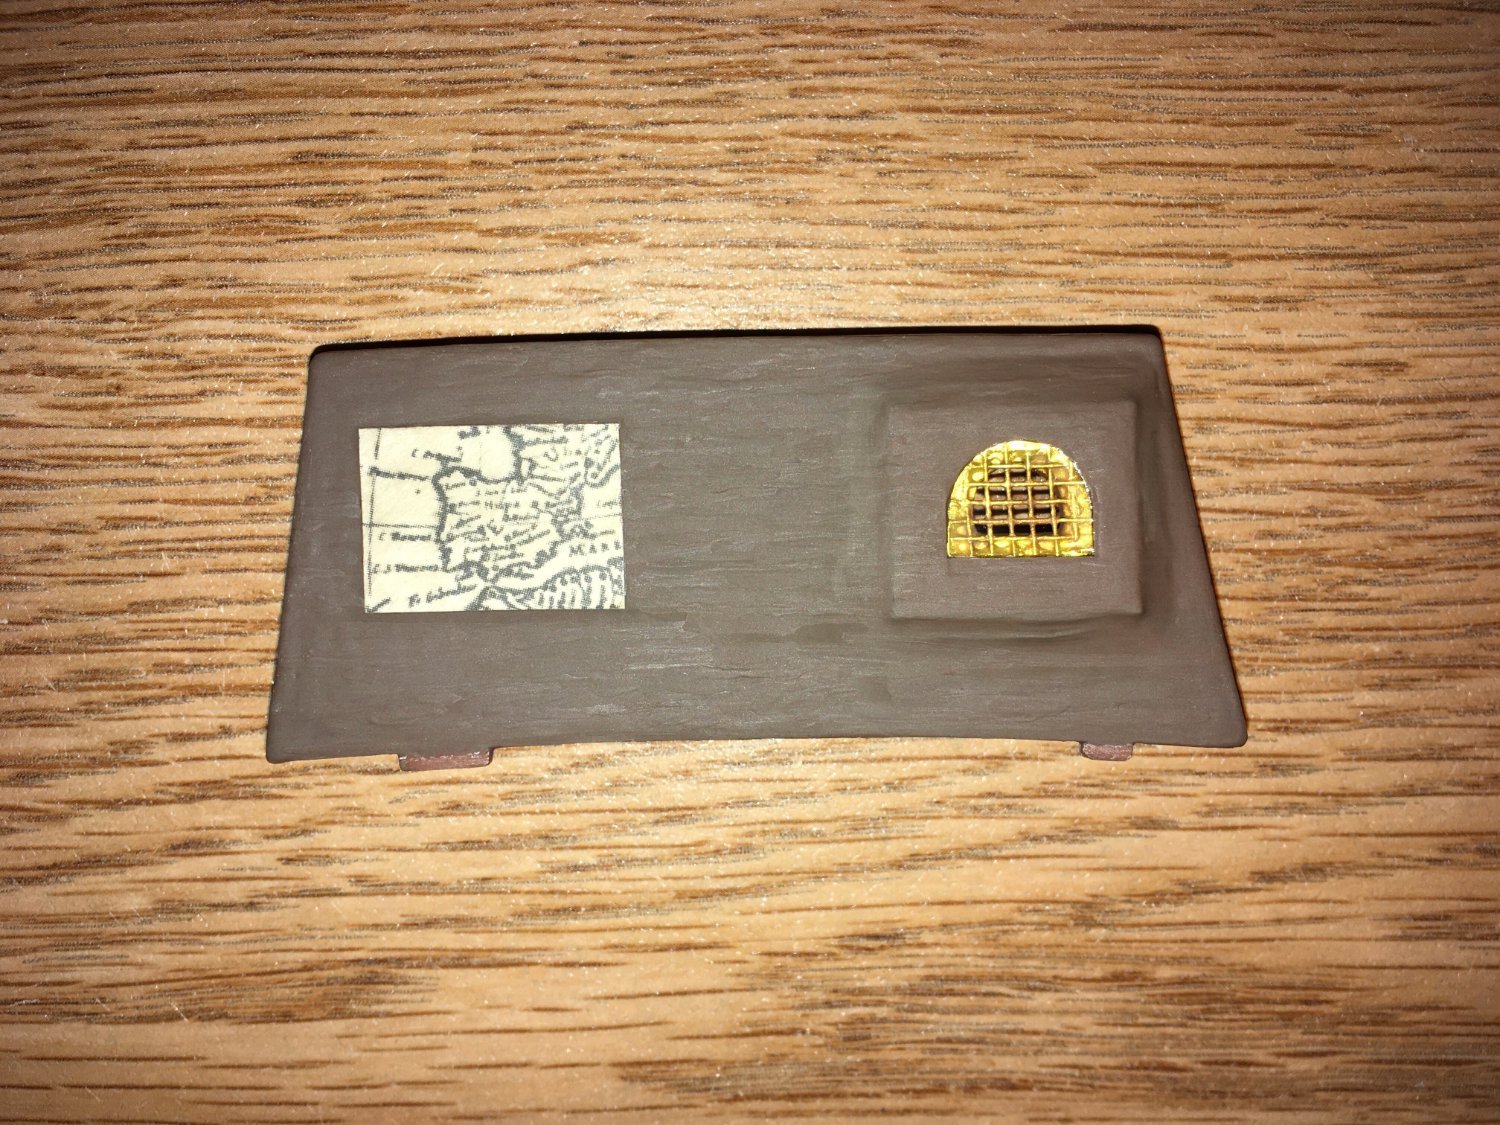
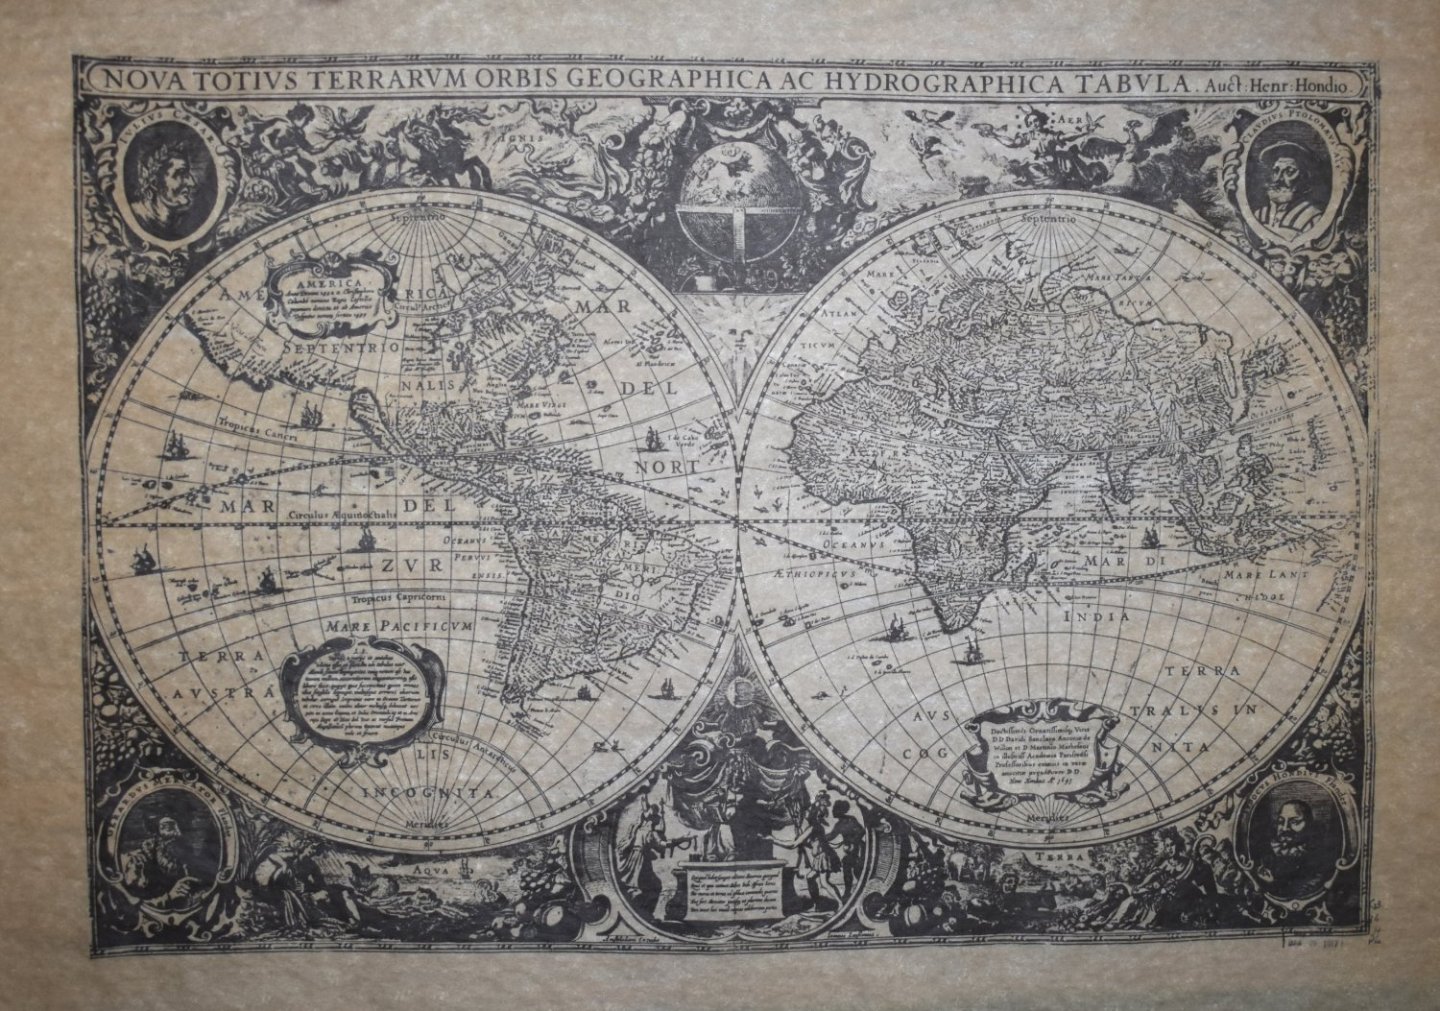
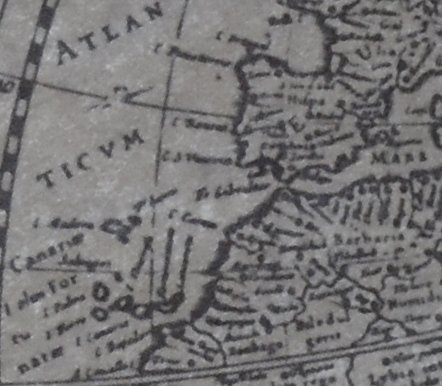
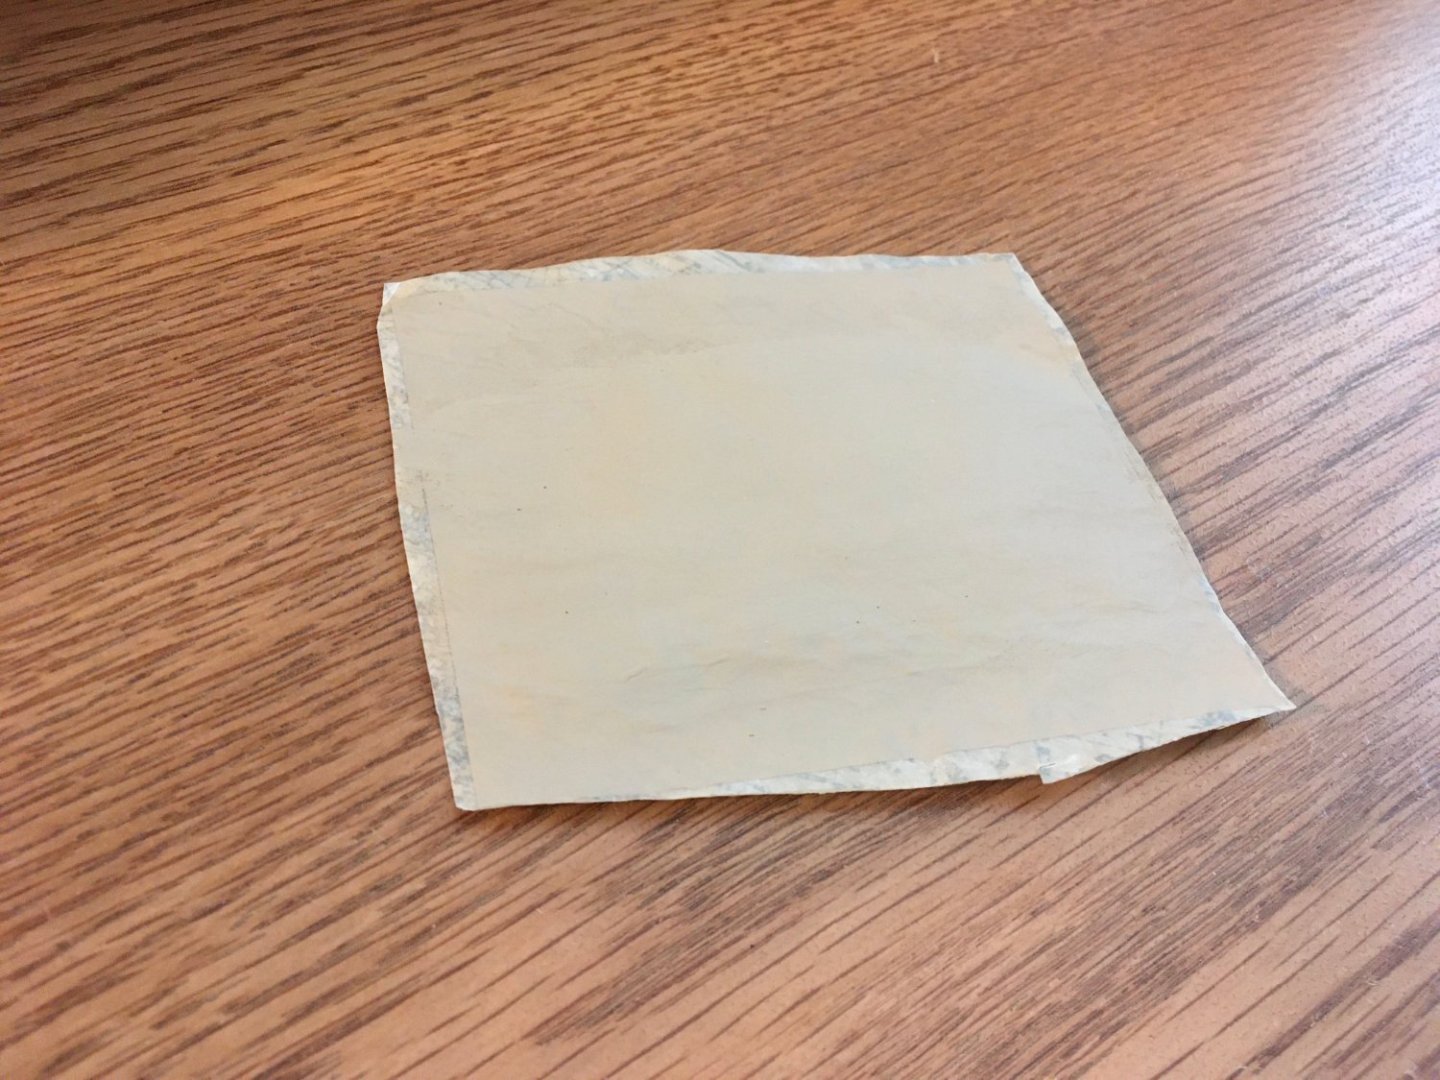
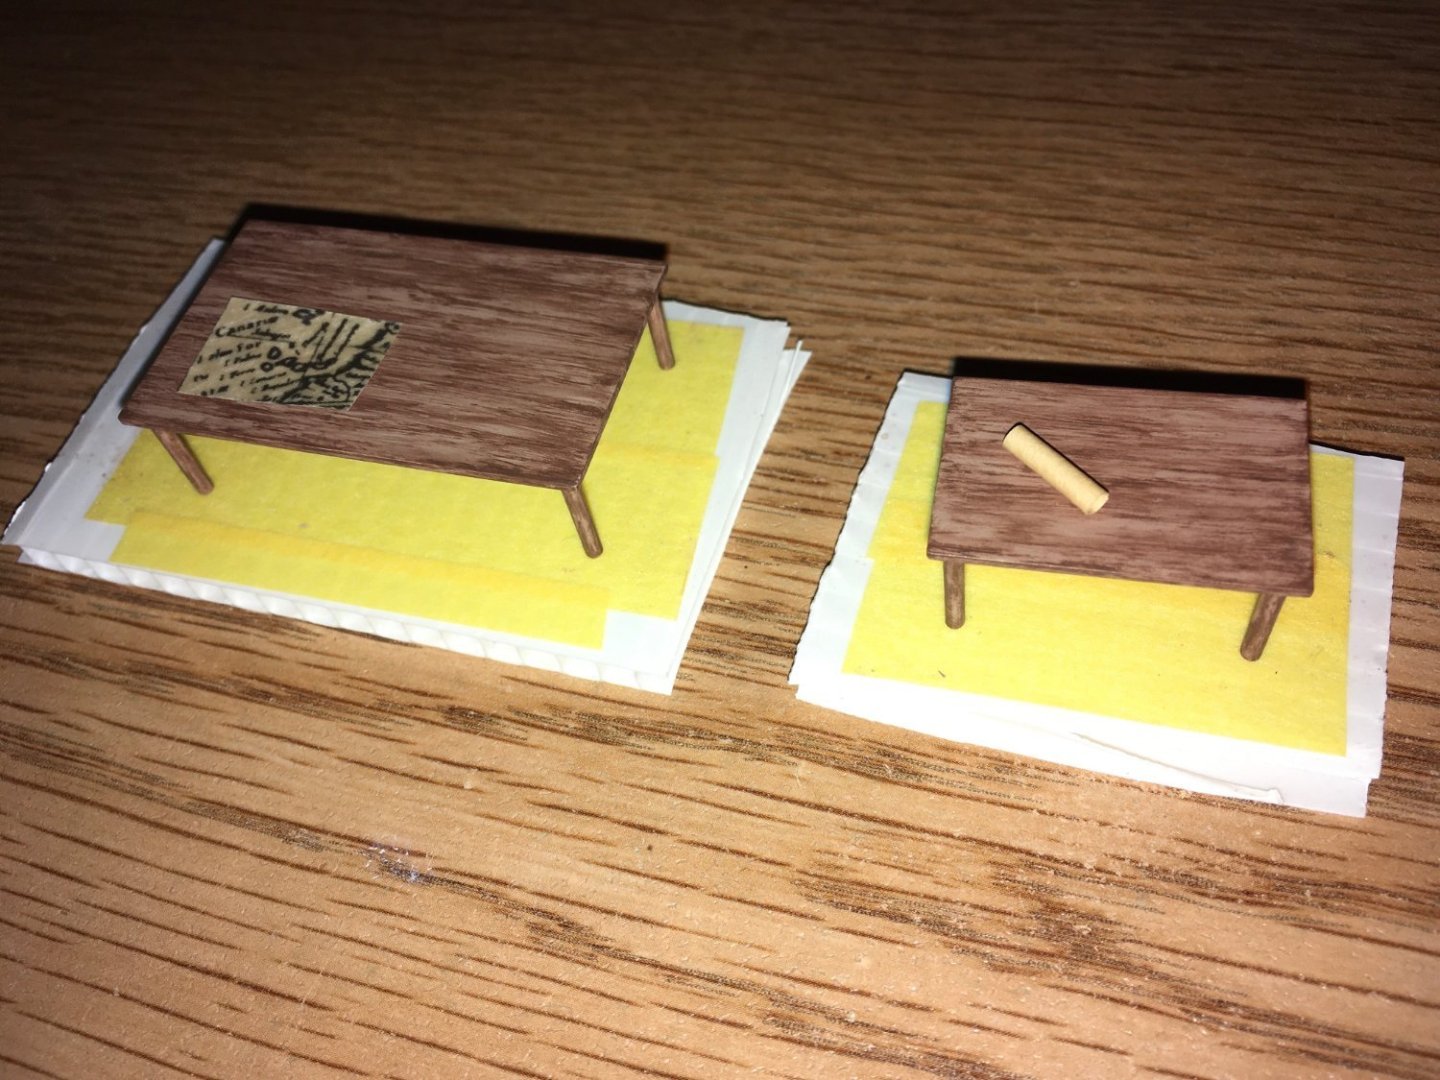
Here's a little update. I wanted to add some maps to the cabin furnishings, so I ended up using a copy of a famous 17th century map of the world from 1630 by the cartographer Henricus Hondius. He was Dutch, but the place names on the map are in Latin, so I think that that would still be OK for a Spanish galleon. The copy is on a faux parchment paper: The parchment effect gives it a more antique look, and some maps from that time period may have been printed on parchment anyway. This map is pretty large, so I honed in on a small area of it for the model: I thought that by including a contemporary map of the Iberian peninsula and its surrounding water and also a map of the Canary Islands would be a nice way to link the ship to its nationality and to the 17th century. I also wanted the maps to avoid emphasizing Spain's political aspirations and conflicts during that time period. Therefore, the maps do not specifically focus on countries which were historical enemies of Spain (but are now its allies). True, the map is very much out of scale for my ship, but I wanted to show recognizable detail, and by using a couple of very small portions of the big map, I could make a "large" wall map and a sizeable "desk map" for the captain's cabin. The faux parchment paper is somewhat translucent, so in order to prevent the glue (used to affix the wall map) from soaking through it, I needed to paint the back side with tan acrylic paint. I cut the area down to size after painting the back: So a piece of this was trimmed down to fit on the inside wall of the fore bulkhead of the captain's cabin. Below is what the bulkhead looks like from the "outside". It will be eventually be situated just aft of the helm. The back side of it (inside the cabin) is where I glued the wall map: Note that the inside surface of the bulkhead is not flat. Initially, it was flat, but it did not have any usable detail at all, because the windows were not open and nobody would be able to see inside the cabin if I built it "out of the box". The window on the right is raised because it is where I glued a piece of clear polycarbonate to serve as "glass" to cover the window, which I had created by cutting out the center and gluing wire mesh over it, then painting it gold. I purposely painted the inside walls of the cabin a dark color (Testor's Model Master Italian Dark Brown enamel) so that they would not be very visible and hopefully absorb much of the light, allowing the emphasis to be on lighter objects such as the maps, windows, beds, tables, chairs, figures, sea chests / treasure chests, and lanterns. On the larger table, in the captain's cabin, I will place a map that I trimmed down to show the Canary Islands. It will be laid out before the captain, who will be seated next to it. In the pilot's house, I will place a rolled-up piece of the faux parchment on the smaller table (the "scroll" map idea is one that I have seen elsewhere on the forum). So that concludes the cabin furnishings. My next project will be to apply matte varnish to the glossy areas of the ship so that it will then be ready for me to glue down the gun carriages.


-
Detail is amazing. Adding Elizabeth Swann is a nice touch, too!
-
The CA applicator tip for the body of the lantern is a really creative way of handling something that can be difficult to convincingly represent on a model. 👍
-
Thanks, Michael! And thanks to all for the likes.
-
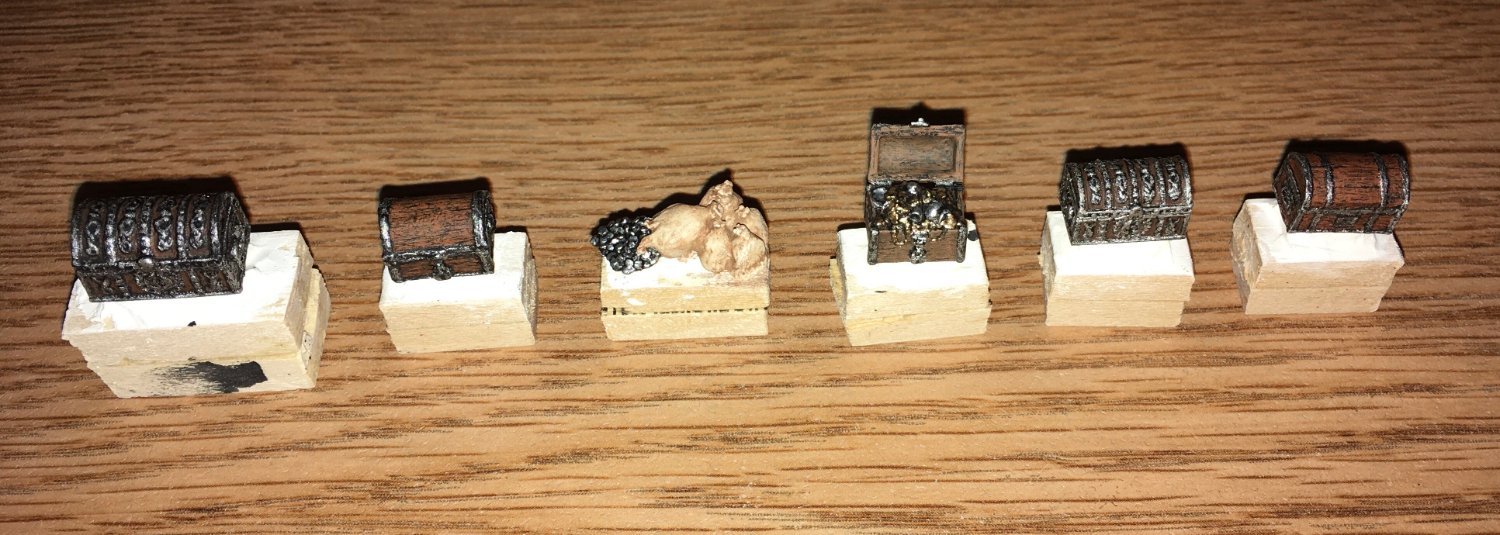
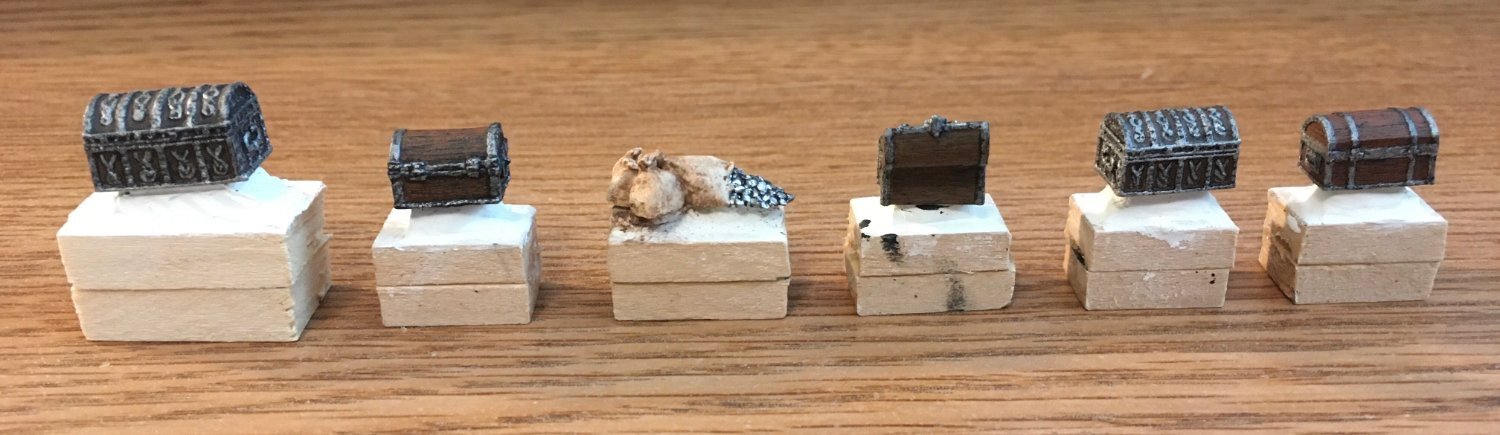
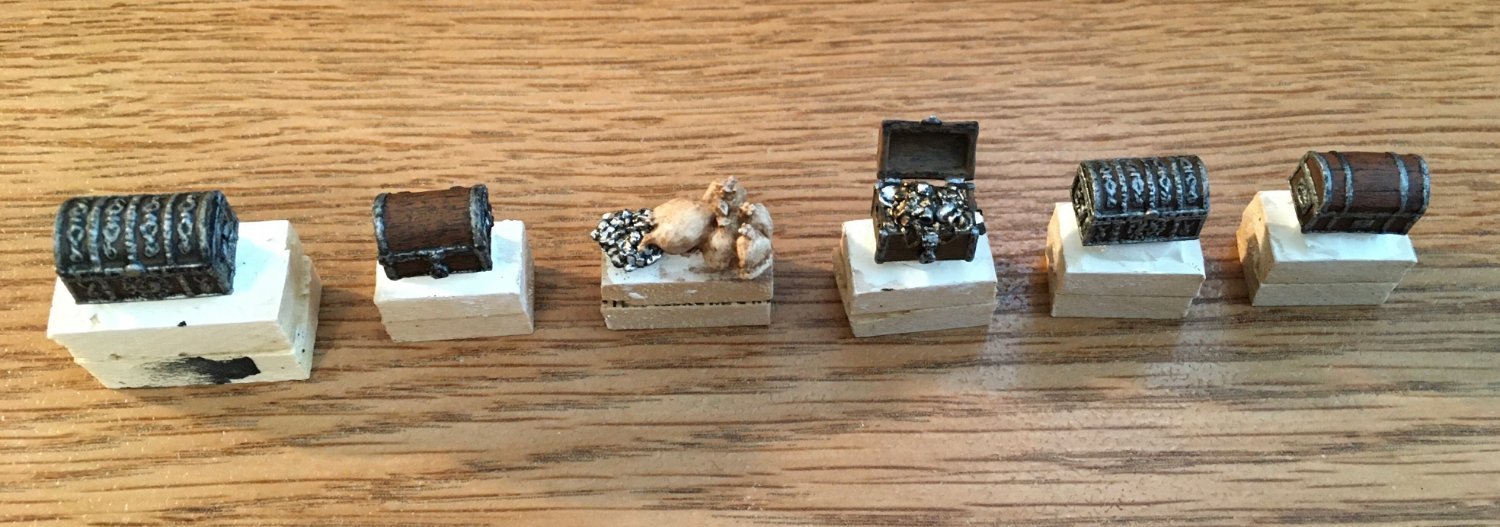
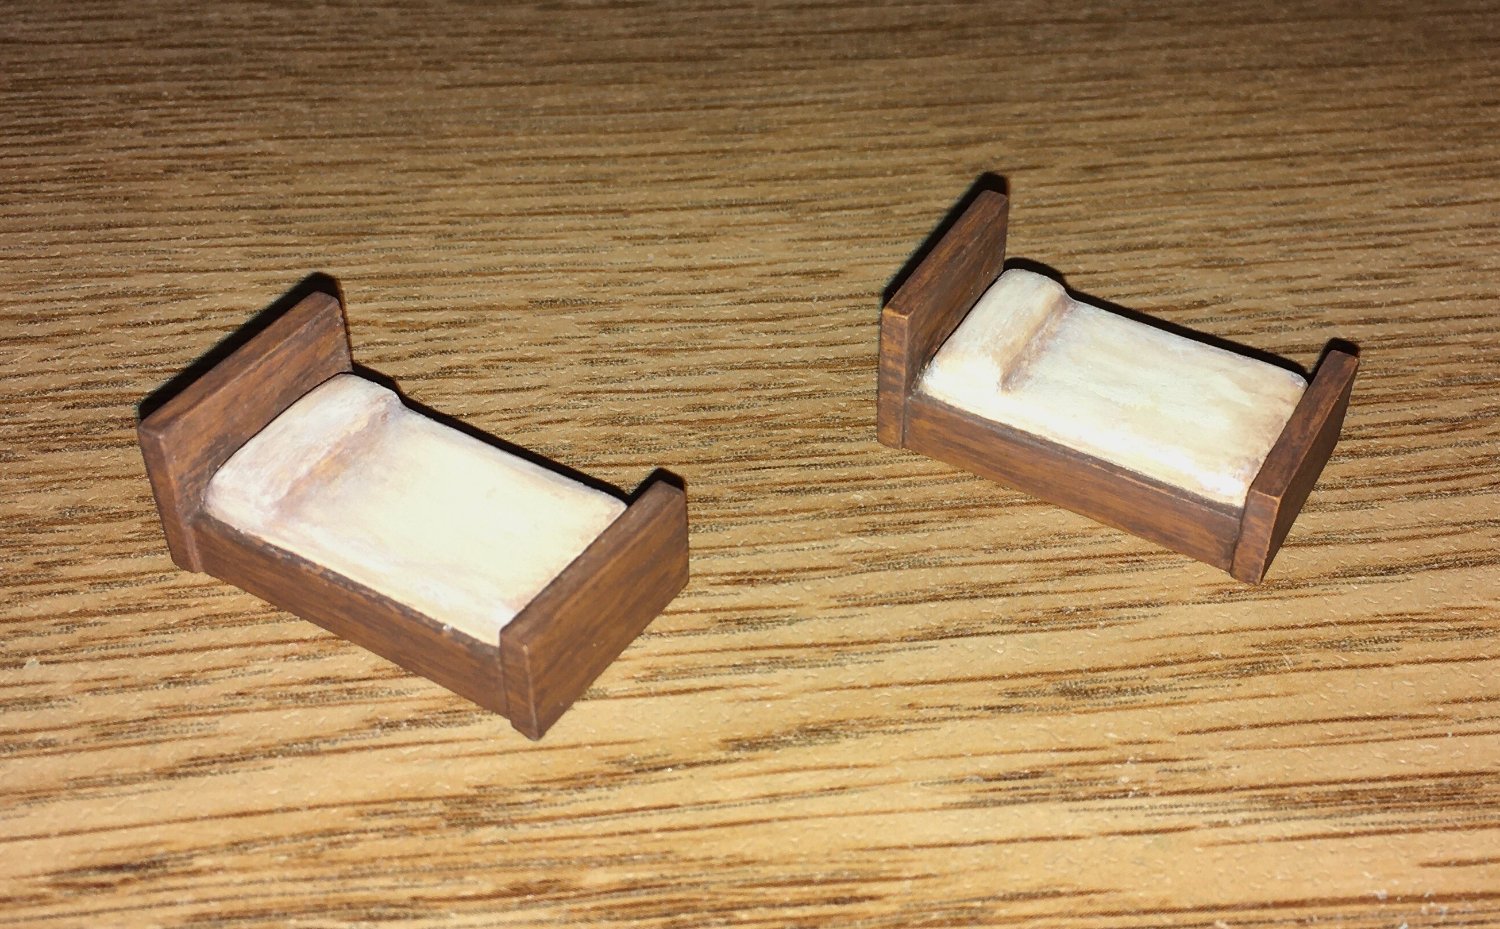
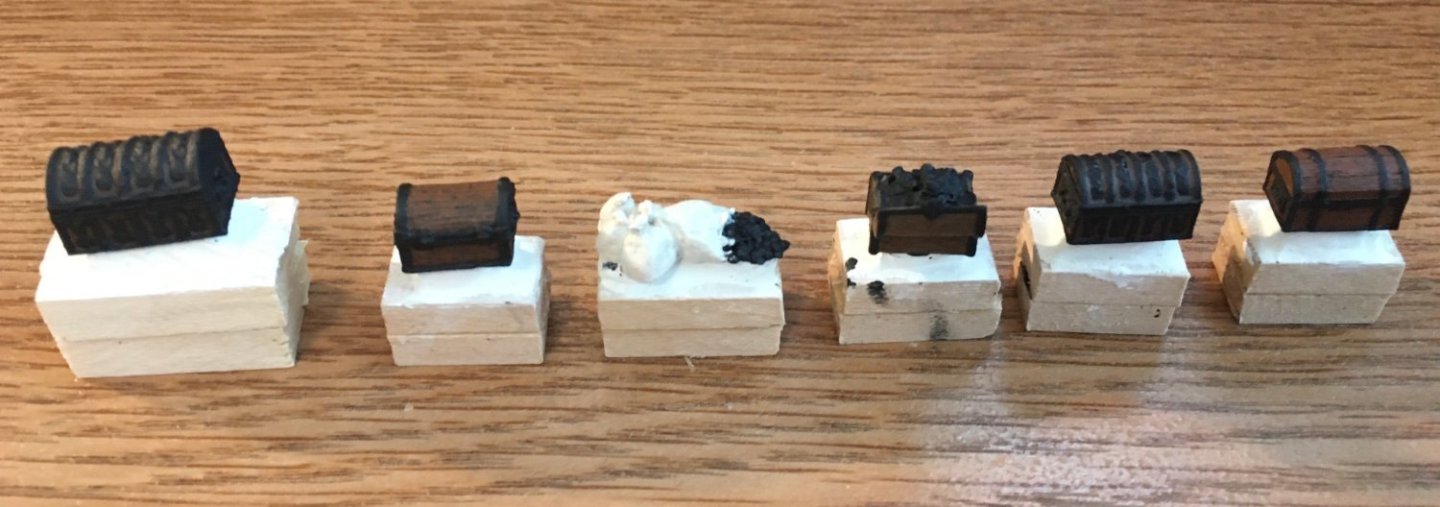
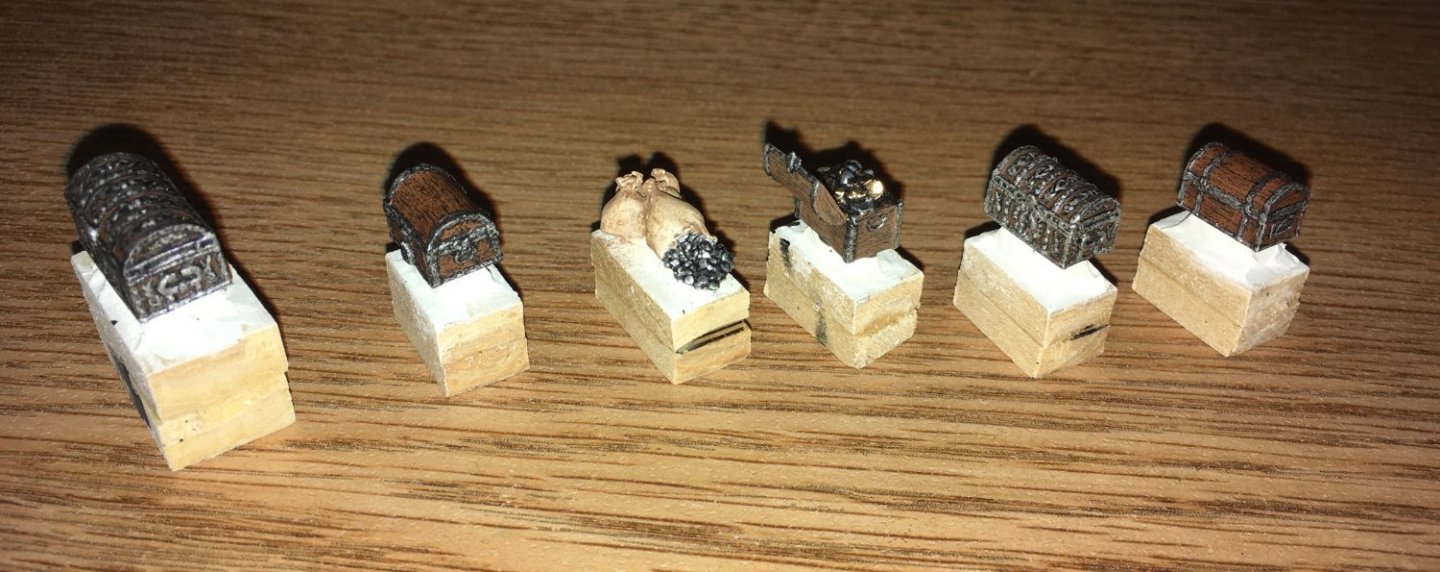
I forgot to mention in my previous post that I had to alter the treasure in the open chest a little before applying the primer due to a problem with the casting -- I think the resin had not completely filled the mold. Anyway, the treasure chests are now done. Here is a photo during the painting process, before final details were added: And after completion: I will leave them attached to their painting pedestals until the time comes to put them in the cabins. While I was applying a brown wash to the sacks of silver, I went back and also applied the wash and some linen color touch-up to the sheets of the beds that I made earlier. I figured that with extended time at sea, the sheets would not be perfectly clean. Before: After: My last project for the furnishings in the cabins will be the maps.


-
I am in awe. Still trying to learn about what all the rigging does for when I get to that stage.
-
I found this: https://www.amazon.com/WHITE-Styrene-Thermoform-Plastic-Sheets/dp/B006T2NA8M I am not familiar with the brand, however.
-
Cutting styrene with clean edges is difficult, especially the thicker the styrene. I have had some success, with a little difficulty, using an old fashioned paper cutter with a long blade handle, and then sanding it. I recently asked Marc (Hubac’s Historian) about how he does it so well in his Soleil Royale build log, and he gave a very detailed description of his process. May be worth a look.
-
Marc, I continue to be amazed with your precision work. The painting is gorgeous, but so is the scratch building? How do you get such crisp edges that seem to fit so tightly when you cut your styrene? I made styrene rectangles for two tables for my galleon, and my initial attempts cutting along straight lines failed. I finally ended up using a paper cutter, and still had difficulty keeping right angles and perpendicular edges.
- 2,699 replies
-
- 2
-

-

-
- heller
- soleil royal
- (and 9 more)