Jeff T
-
Posts
247 -
Joined
-
Last visited
Content Type
Profiles
Forums
Gallery
Events
Everything posted by Jeff T
-
That’s a great result! Creative way of doing the Pearl — you have to look closely to see that the base kit is the English Man O’ War!
-
Looks great! Even the Kraken likes it!
-
Nice! Also, the cannon rigging looks great!
-
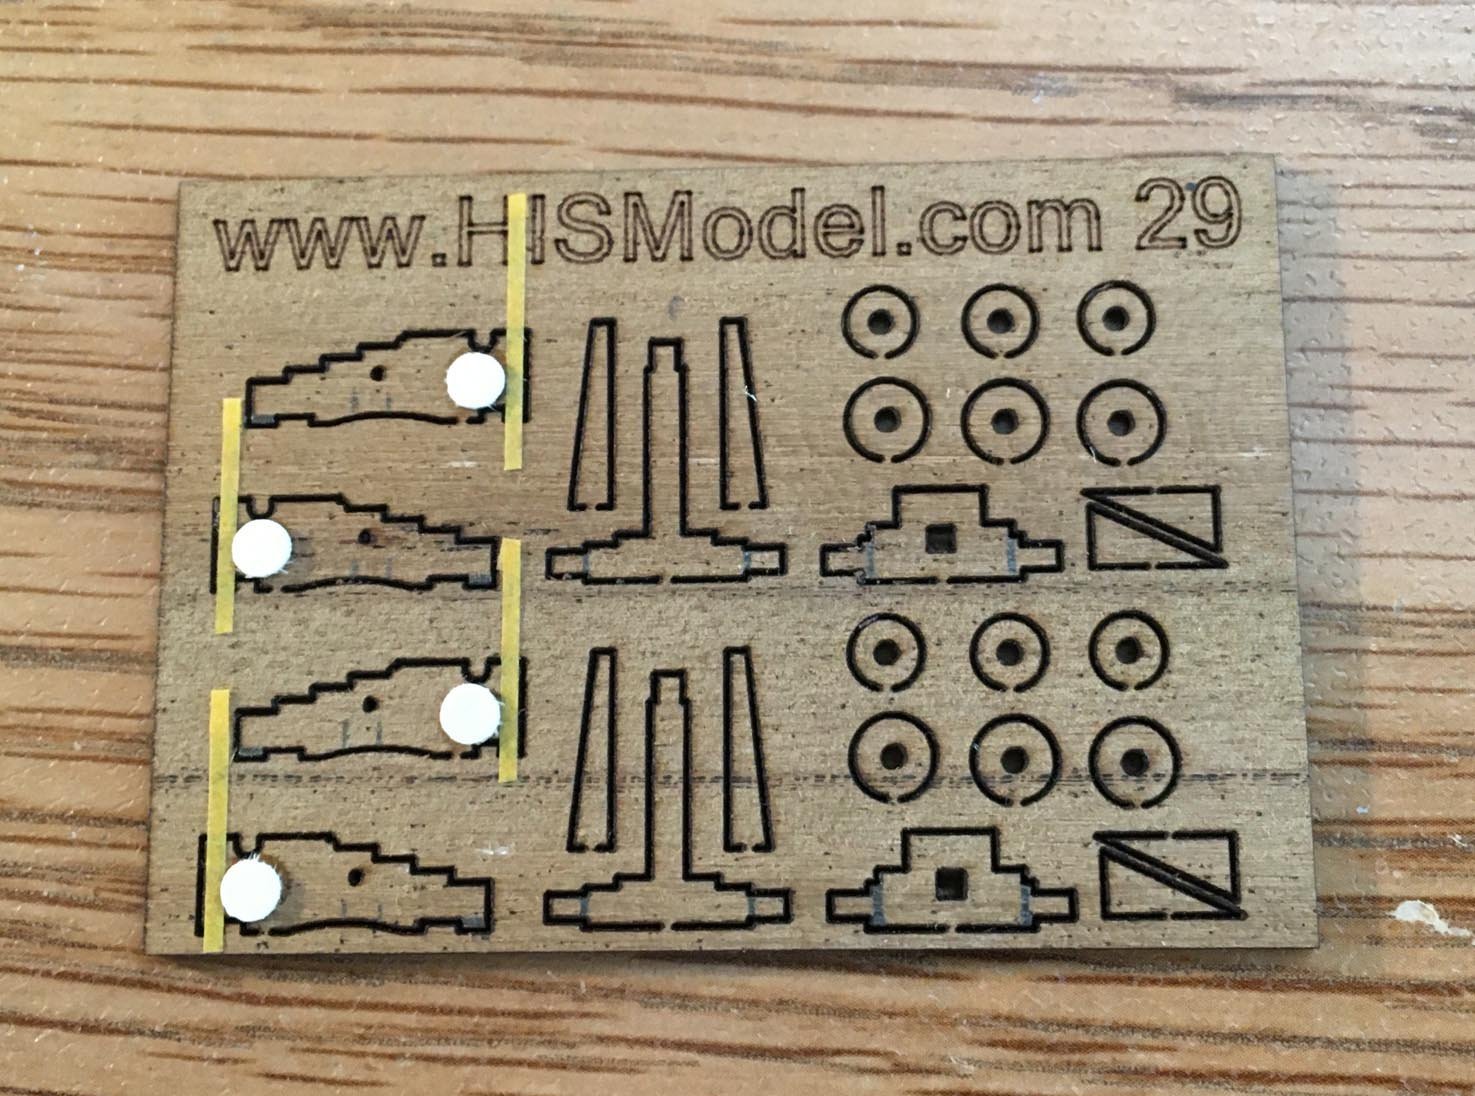
I have not built that particular kit, but those look suspiciously like “pins” that would have corresponding holes on the spars that will likely be glued to the masts at some point. Try dry fitting the spars to the masts and see if they have matching pins/holes.
-
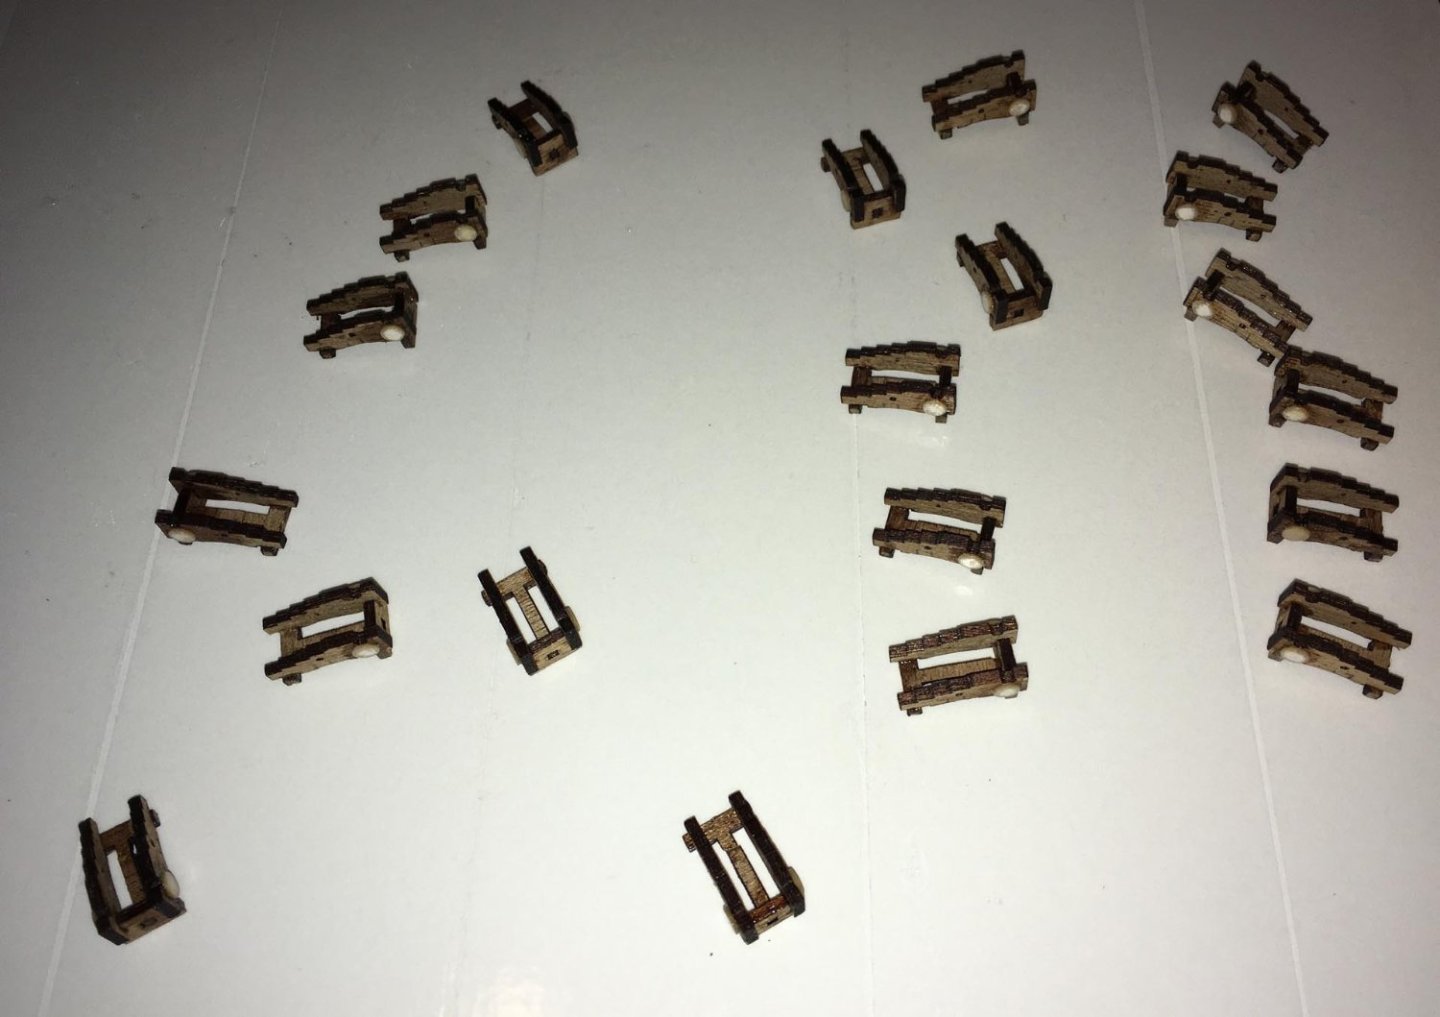
It is challenging and can be time consuming to make your own parts, but in the end, it can give you a very good feeling and help to drive interest to keep plugging forward. Your staircases look very good!
-
Love the captain’s cabin! 👍🏻
-
The cannons are now glued in to their carriages. I used 30 minute epoxy for durability. I have now finally caught back up to the point where I was last year when the original carriages warped. Next, I will work on capsquares to go over the trunnions.
-
I love the modifications — they help make it your own. 👍🏻
-
Very nice!
-
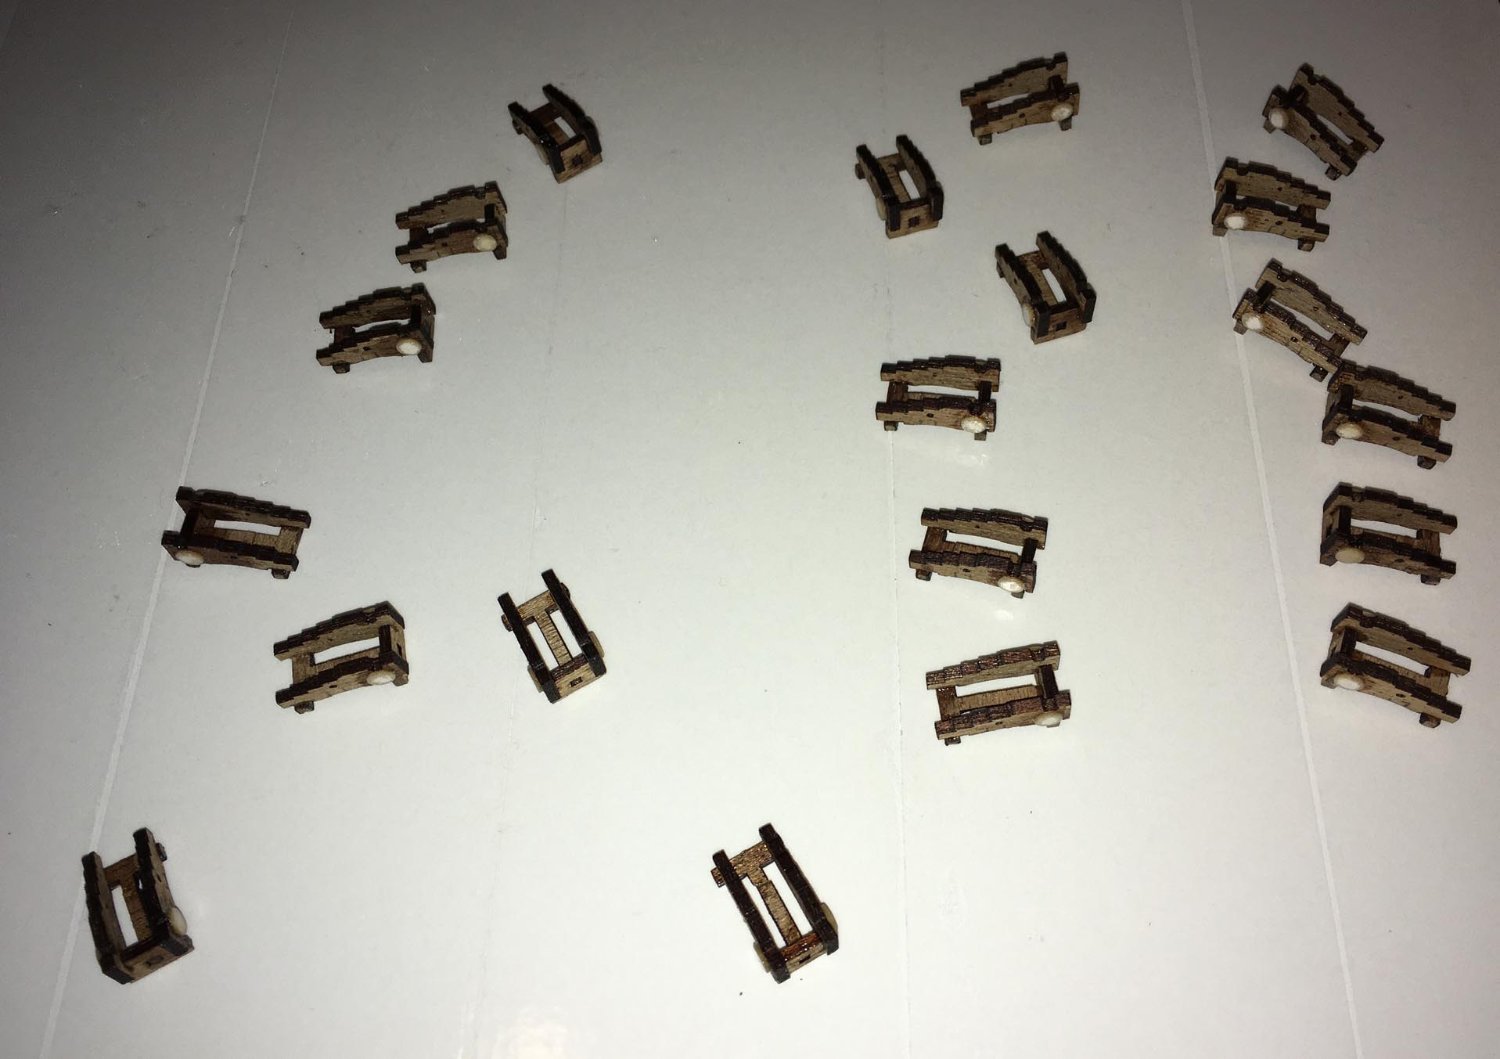
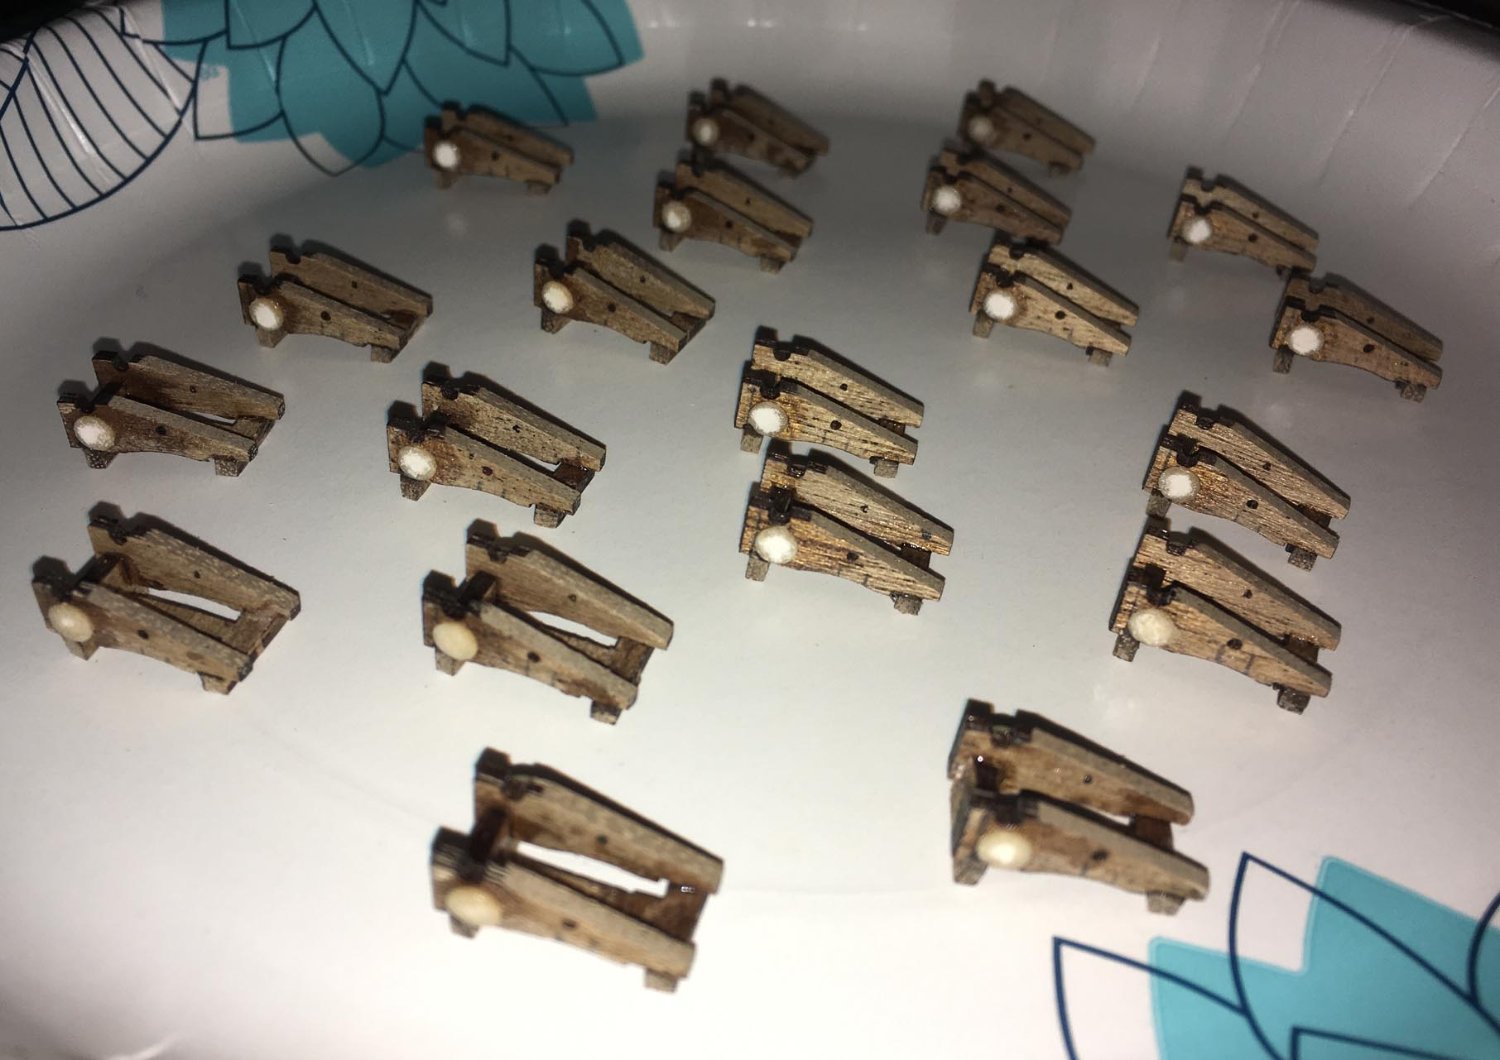
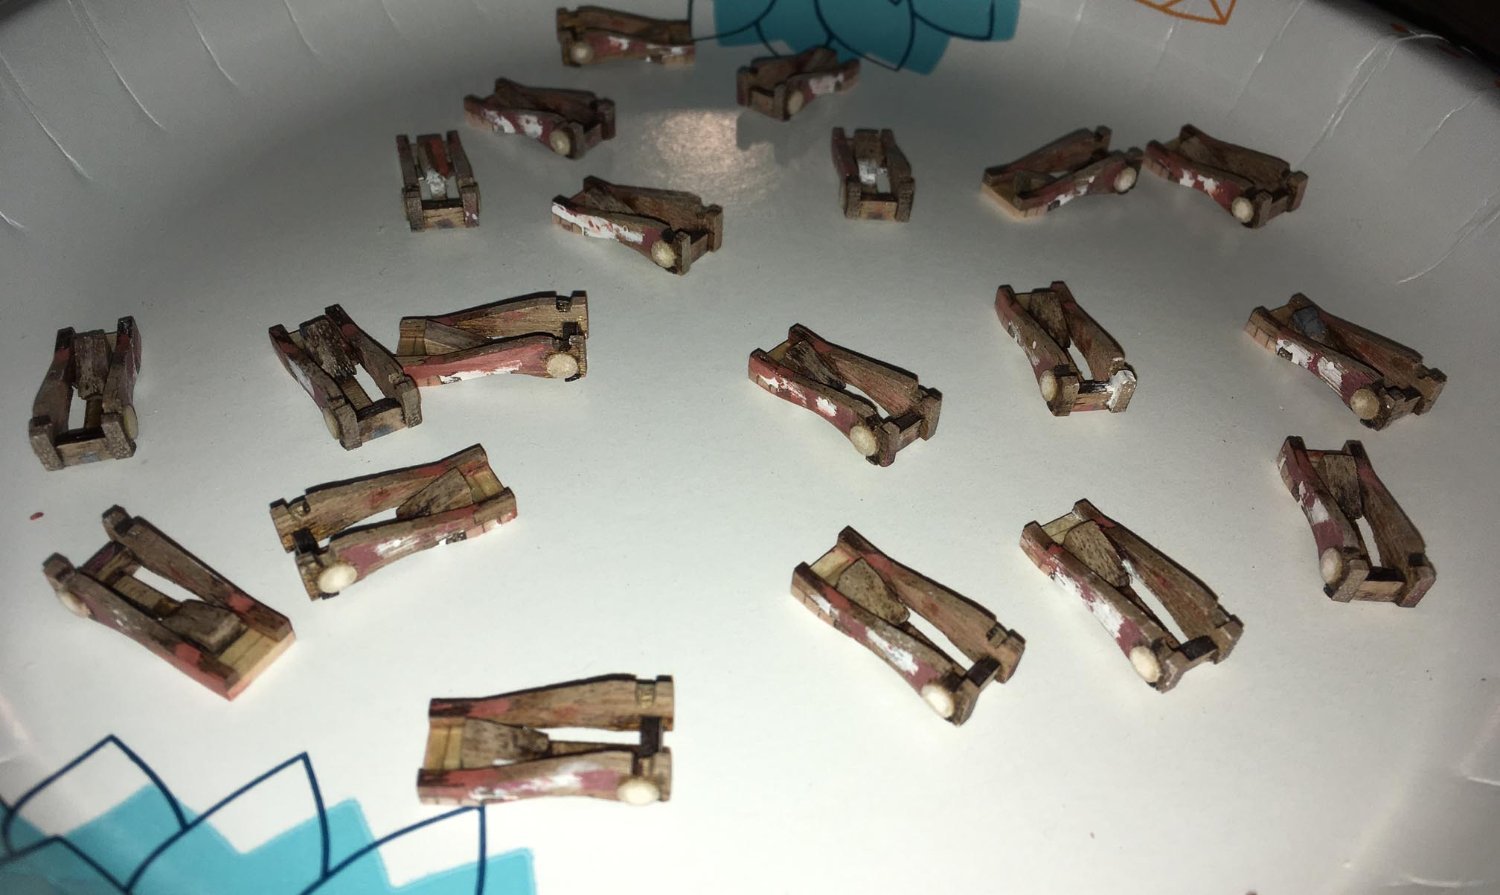
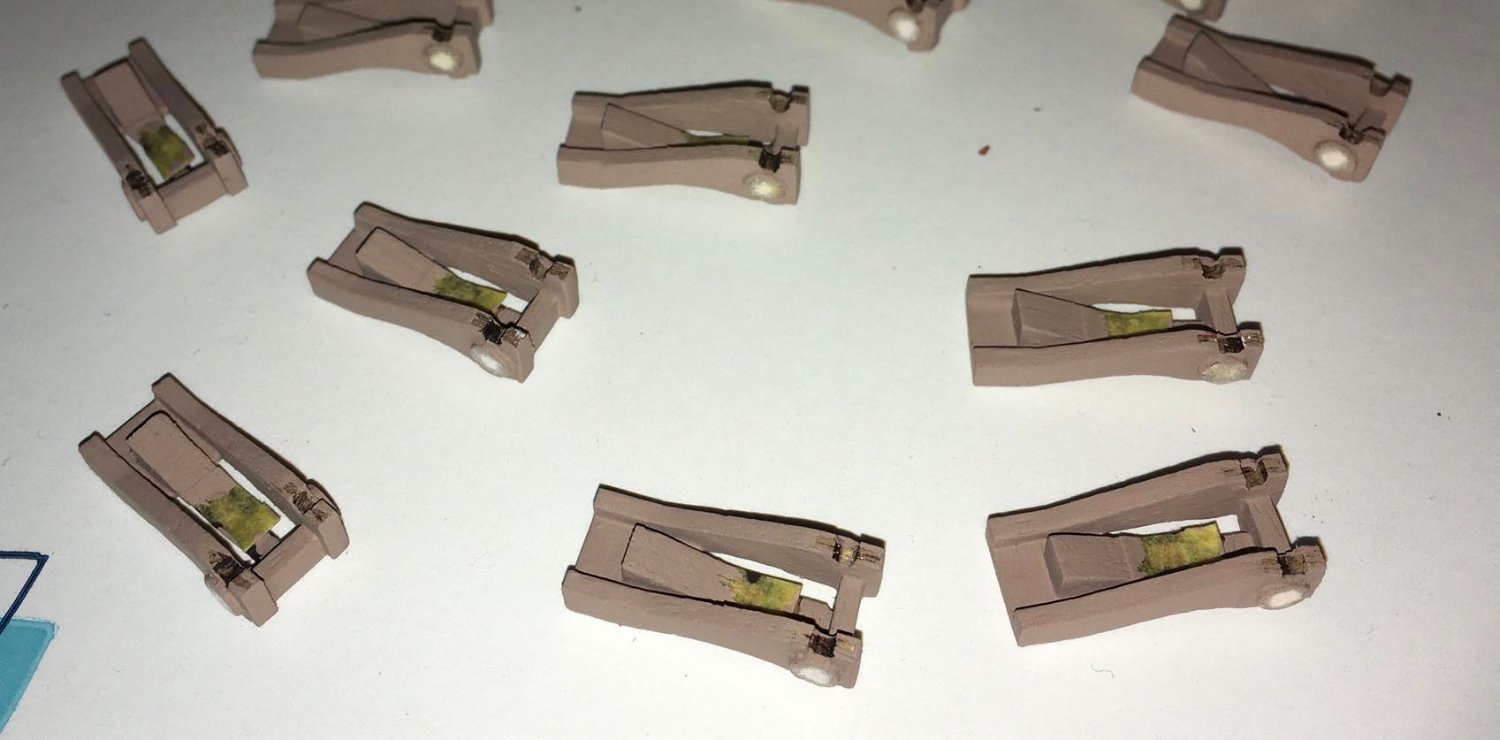
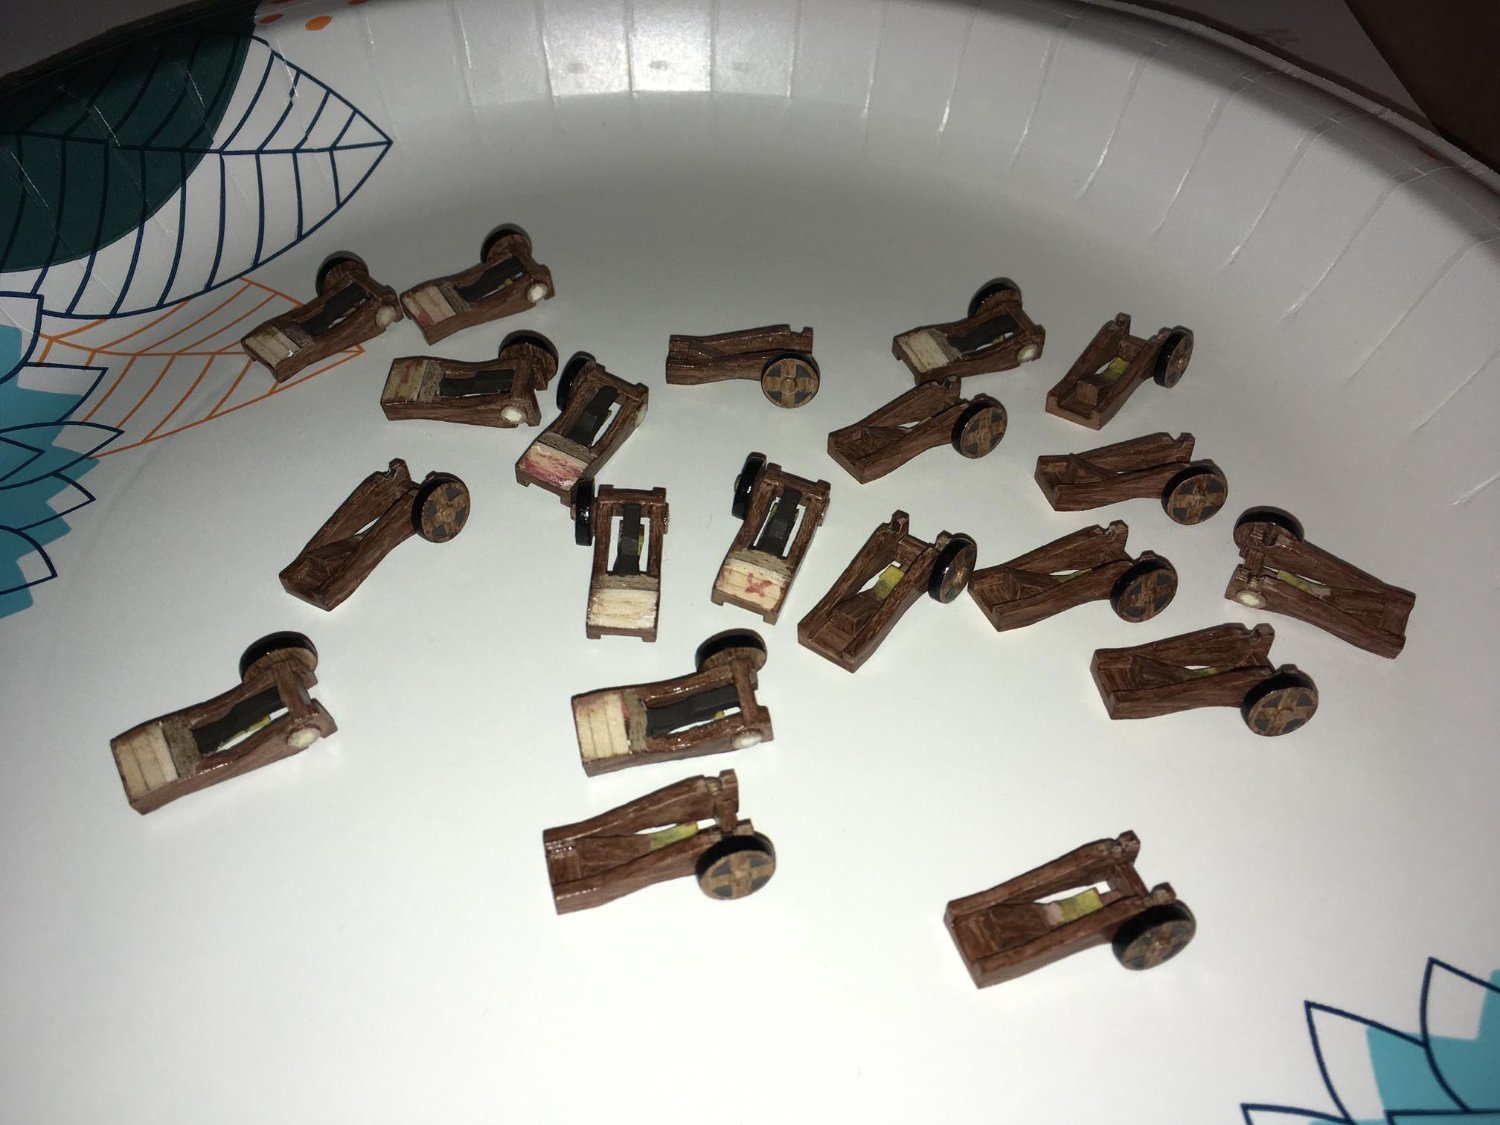
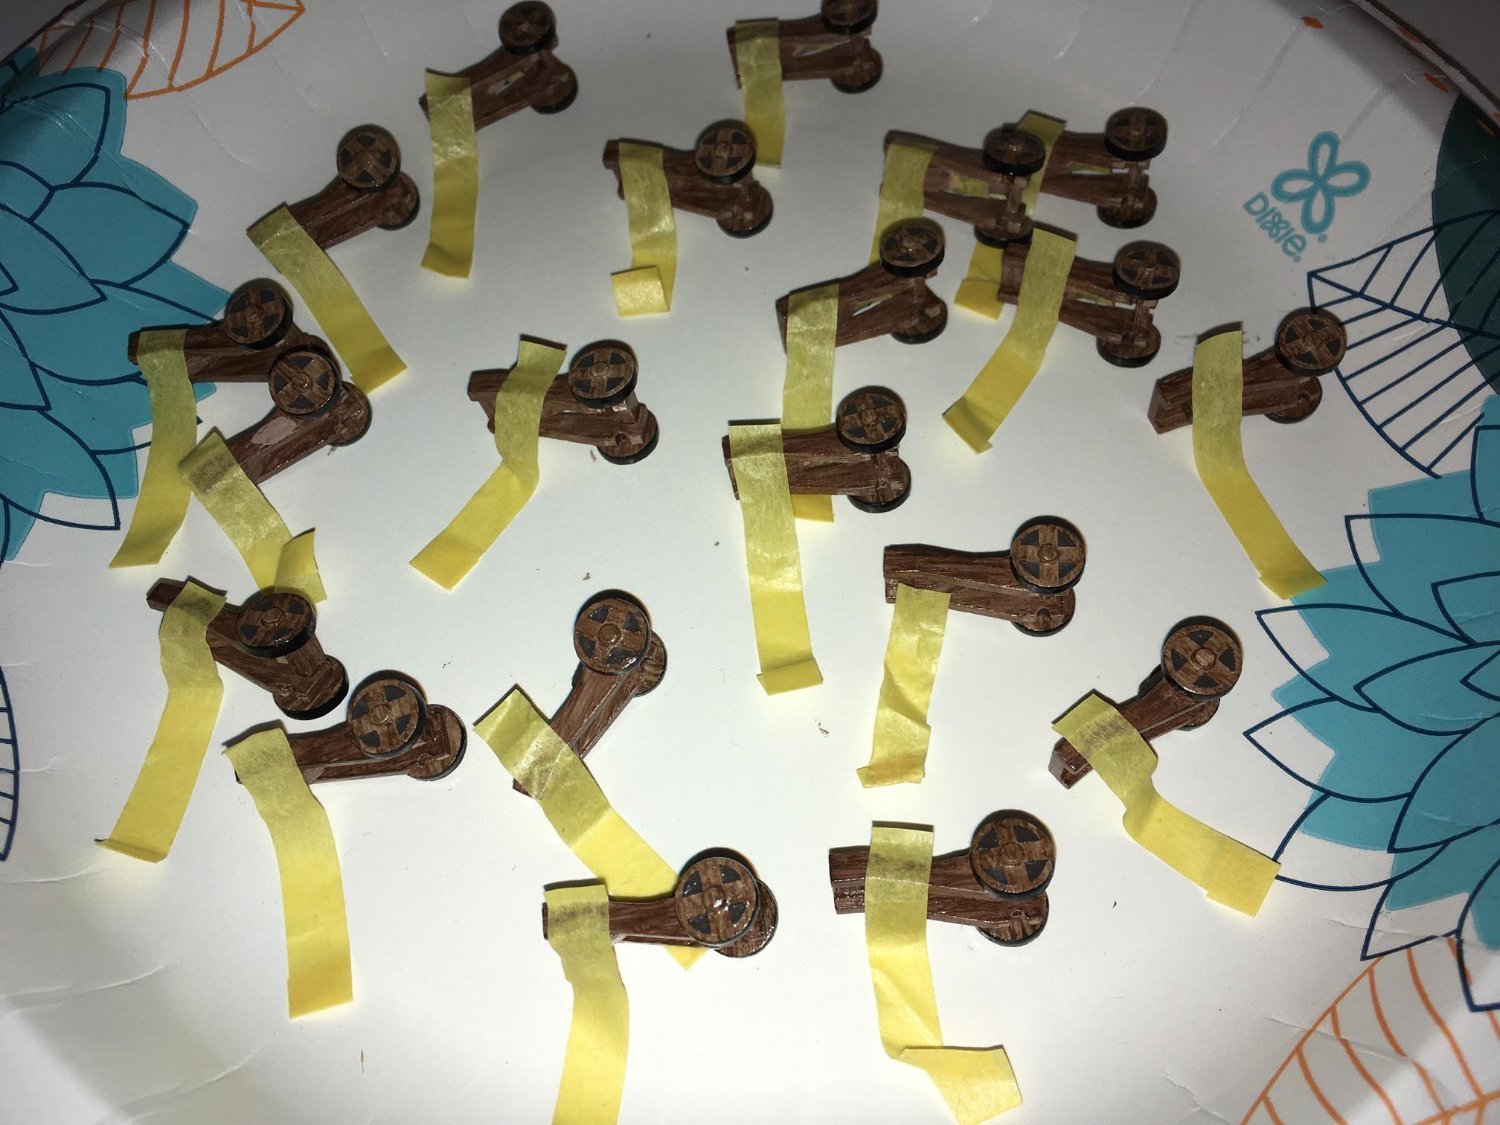
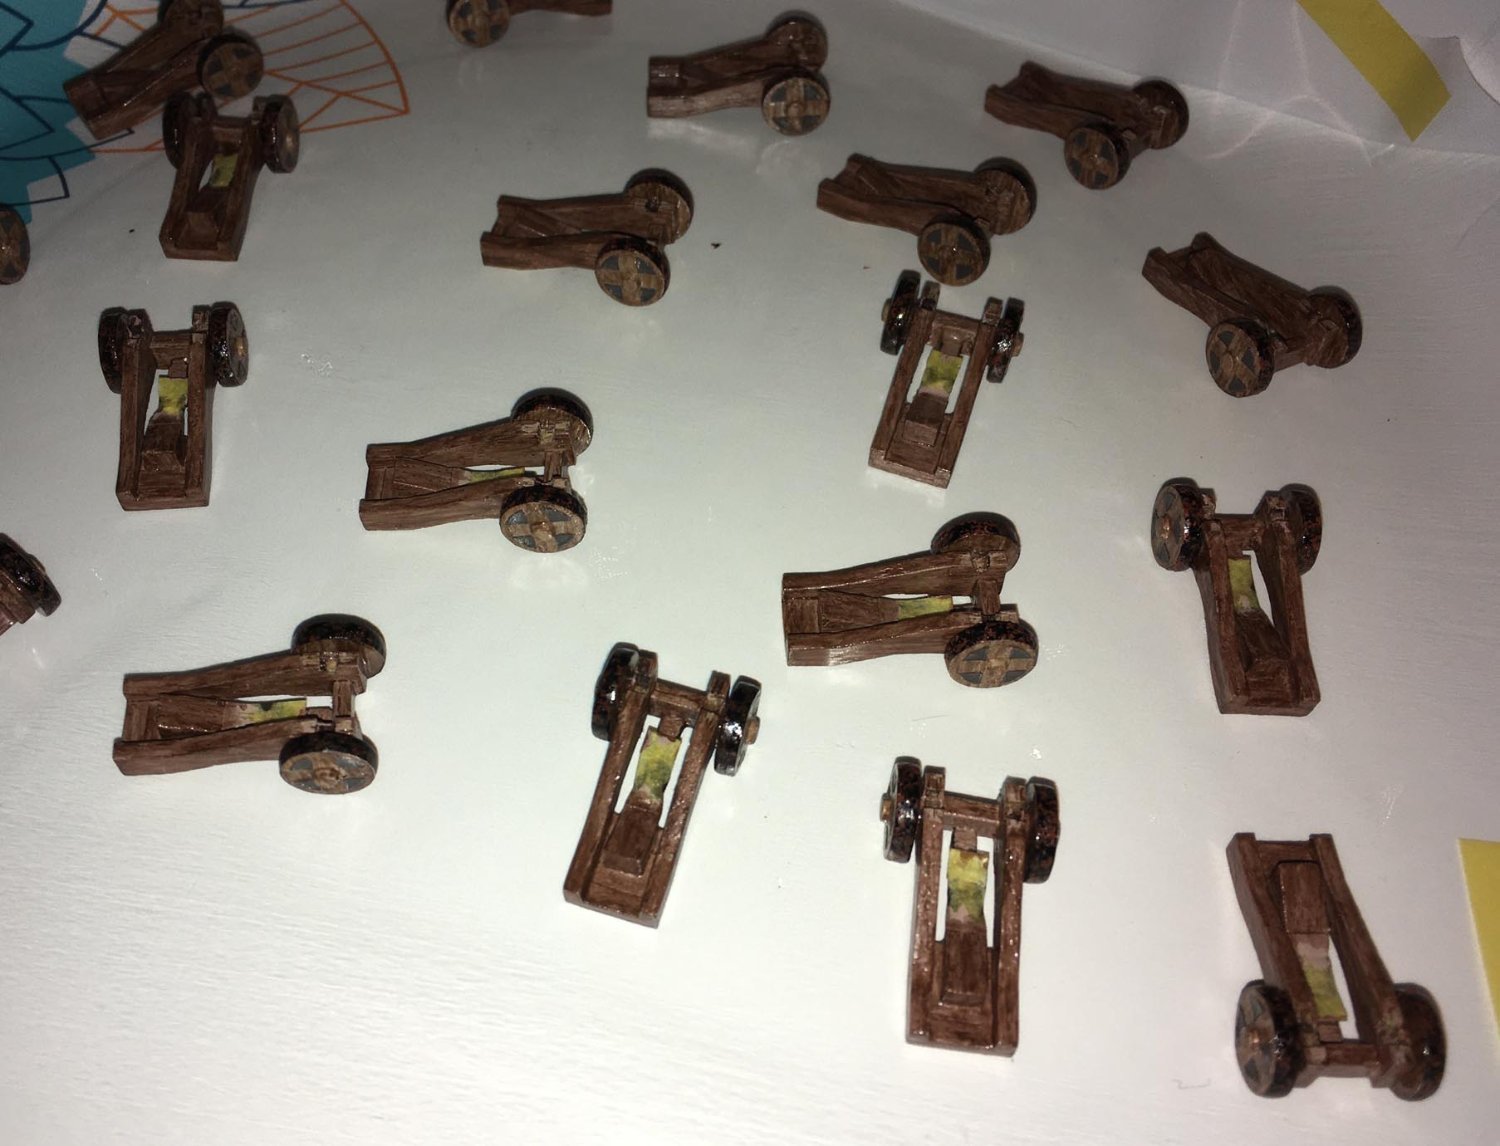
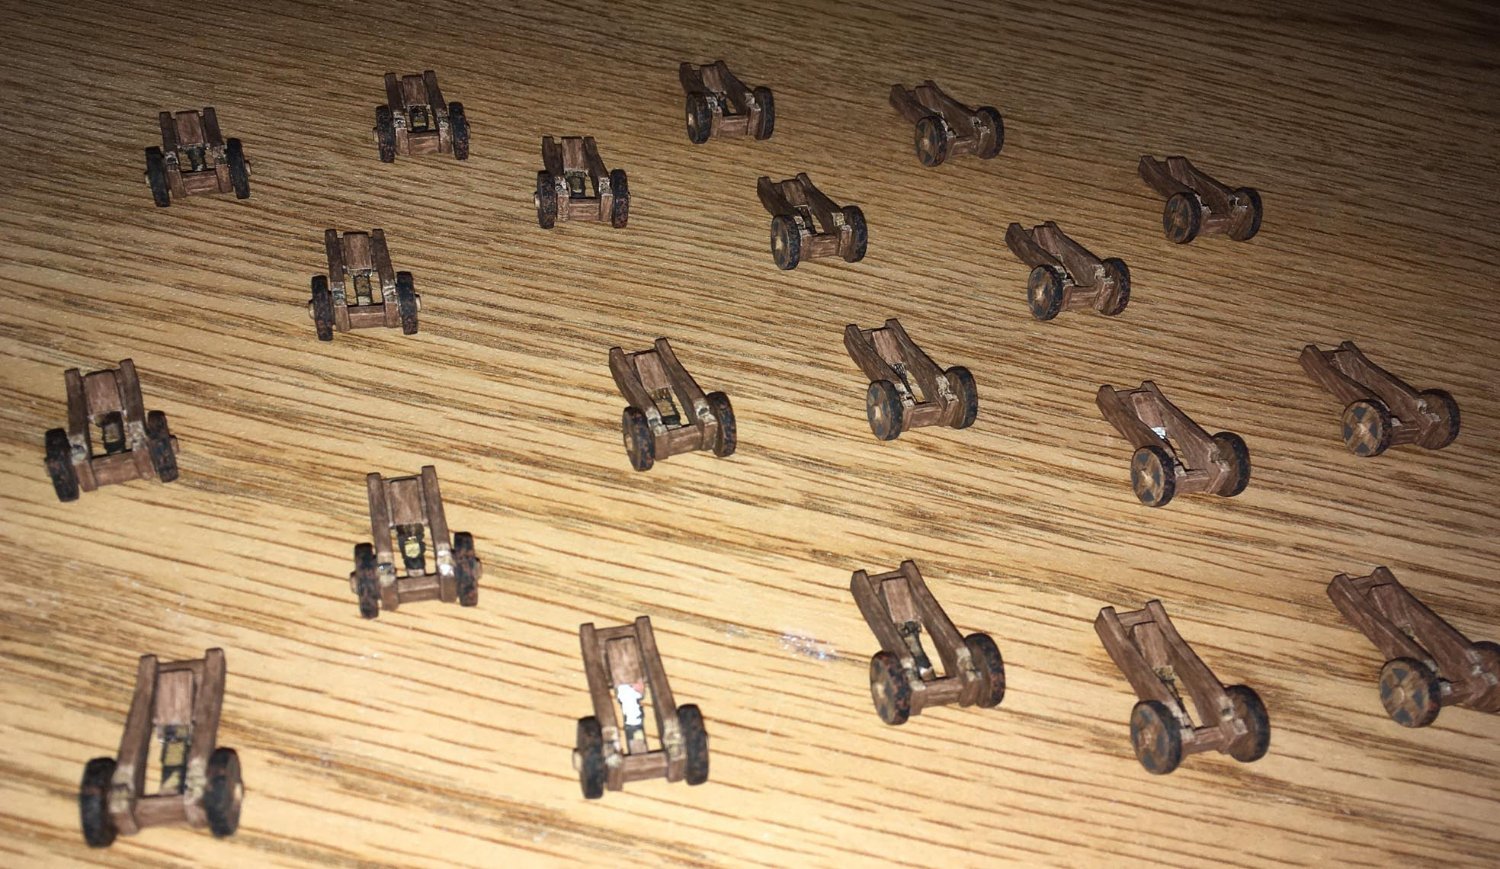
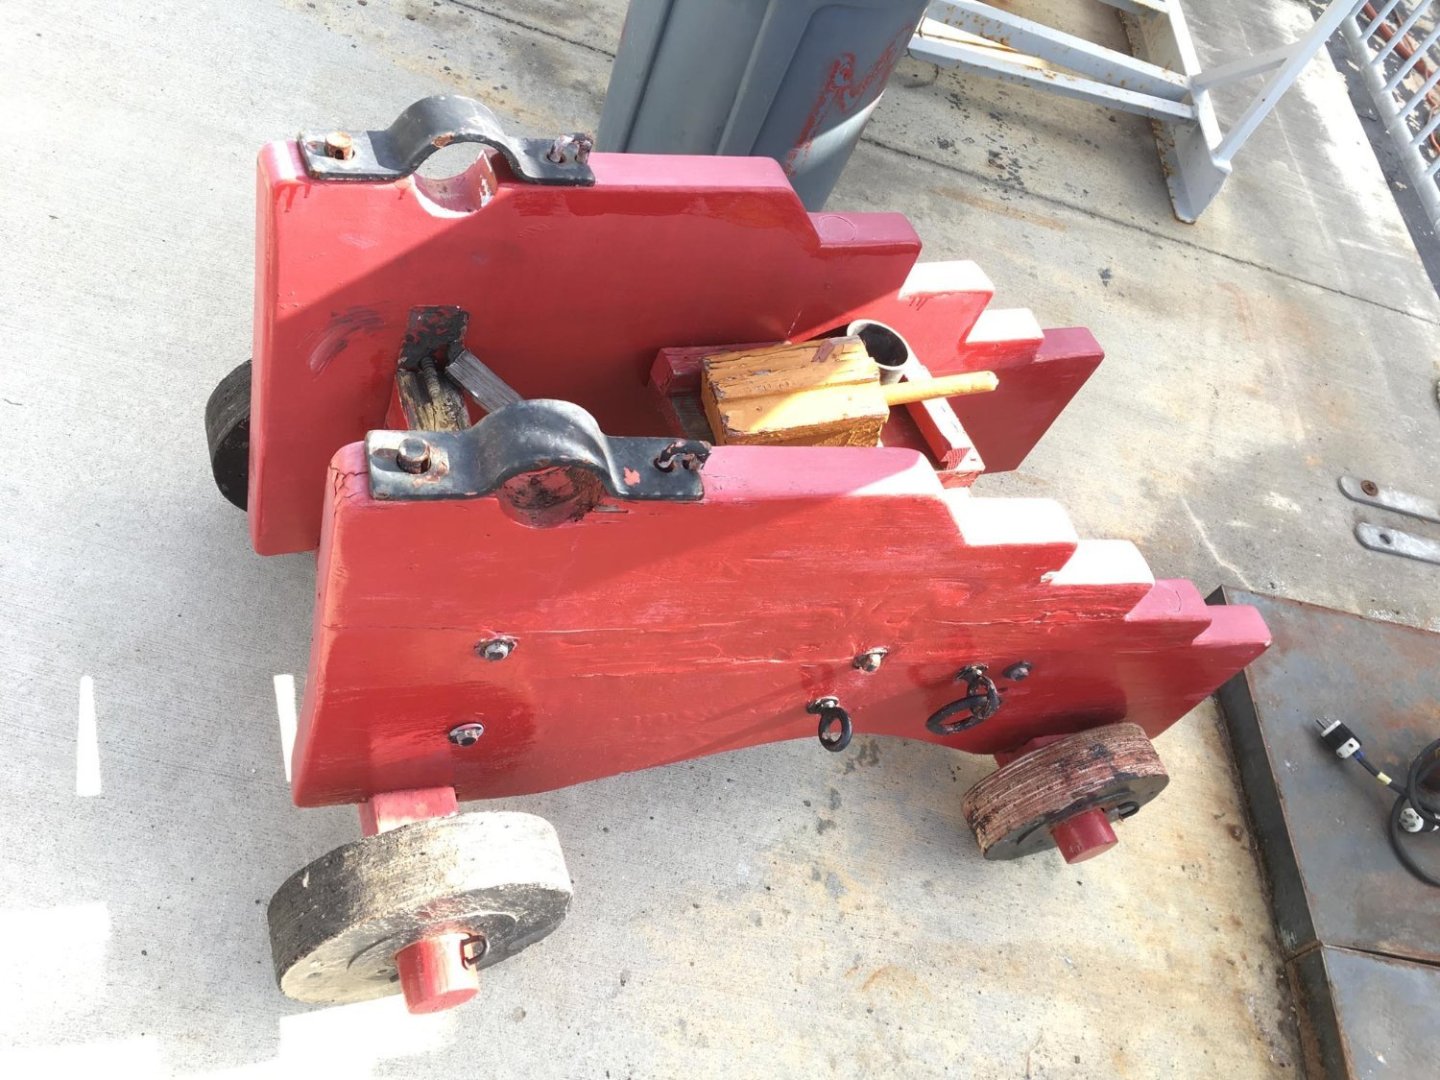
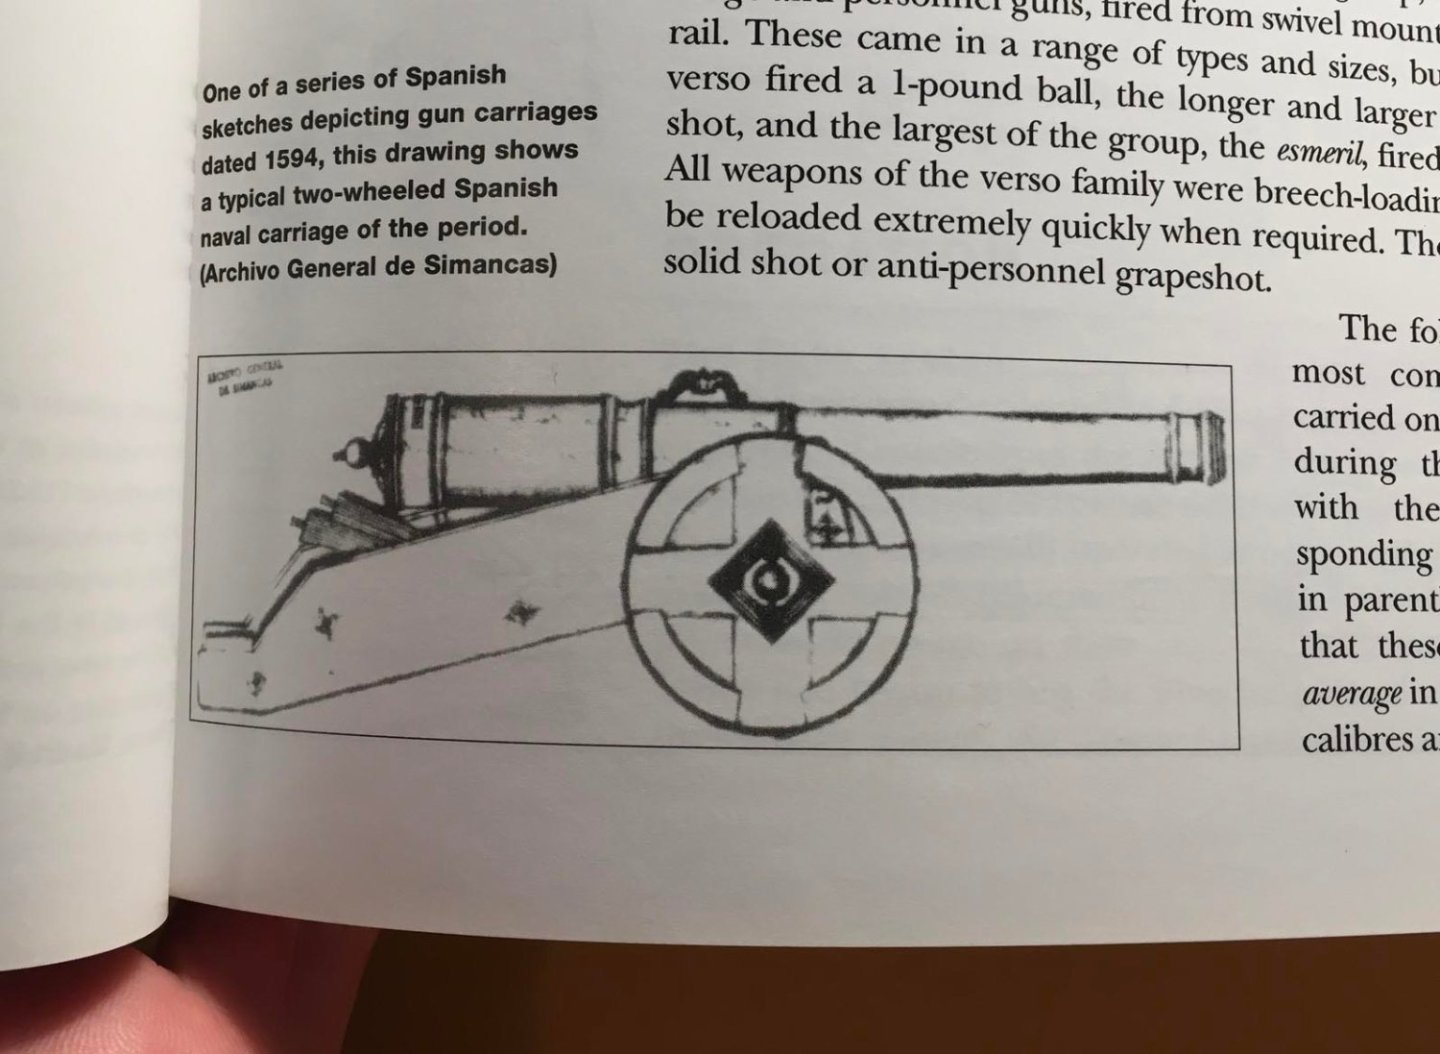
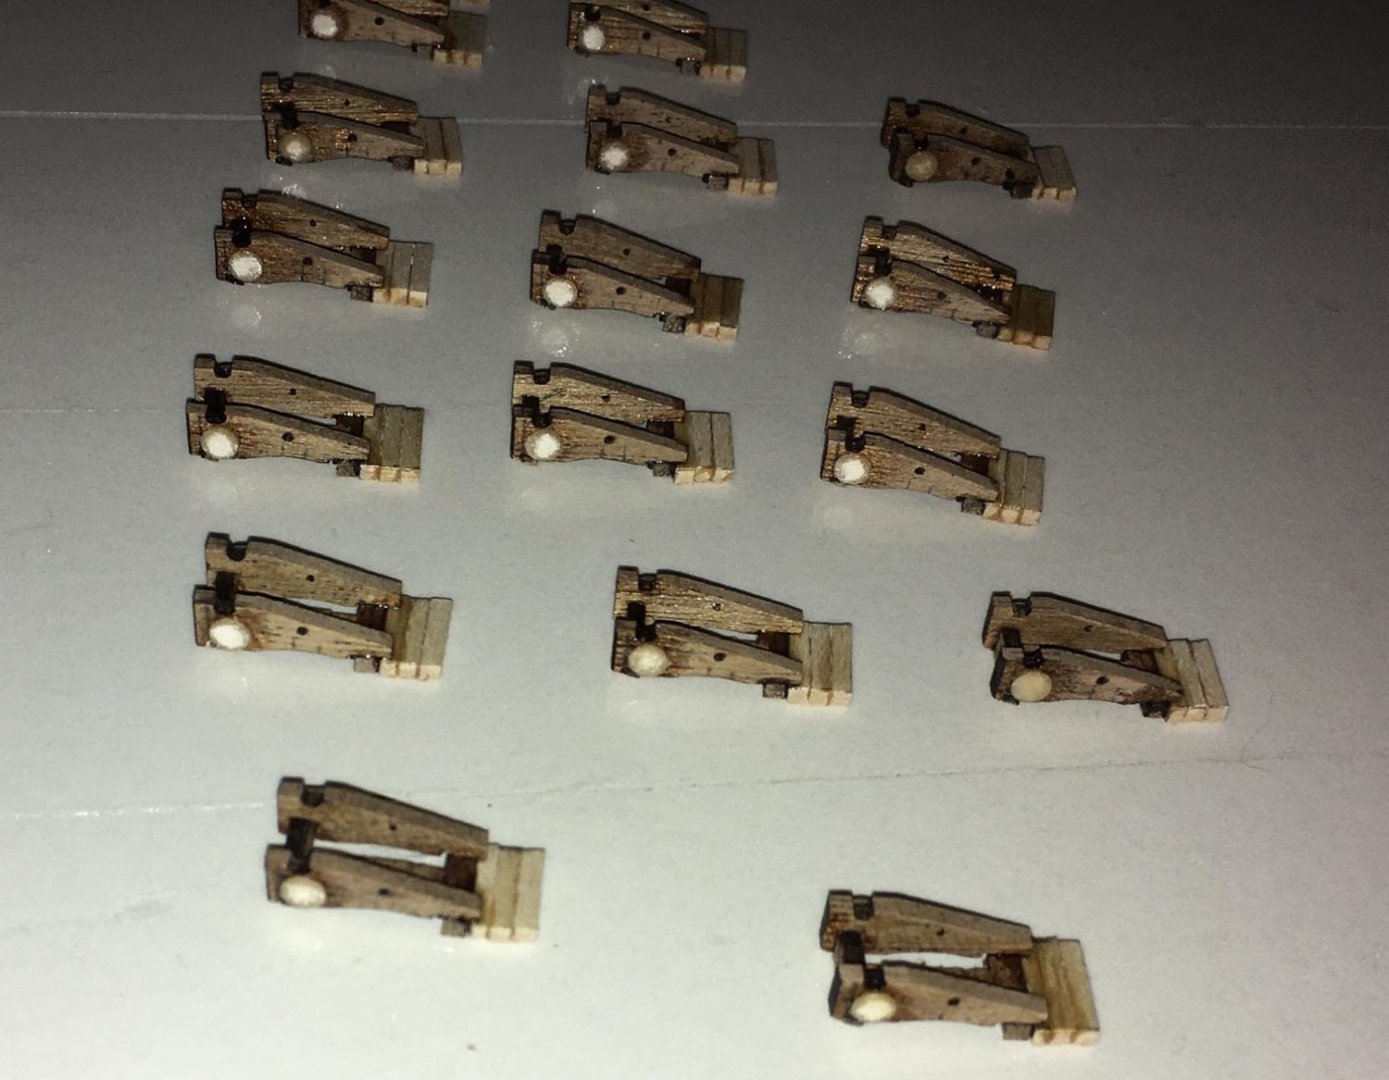
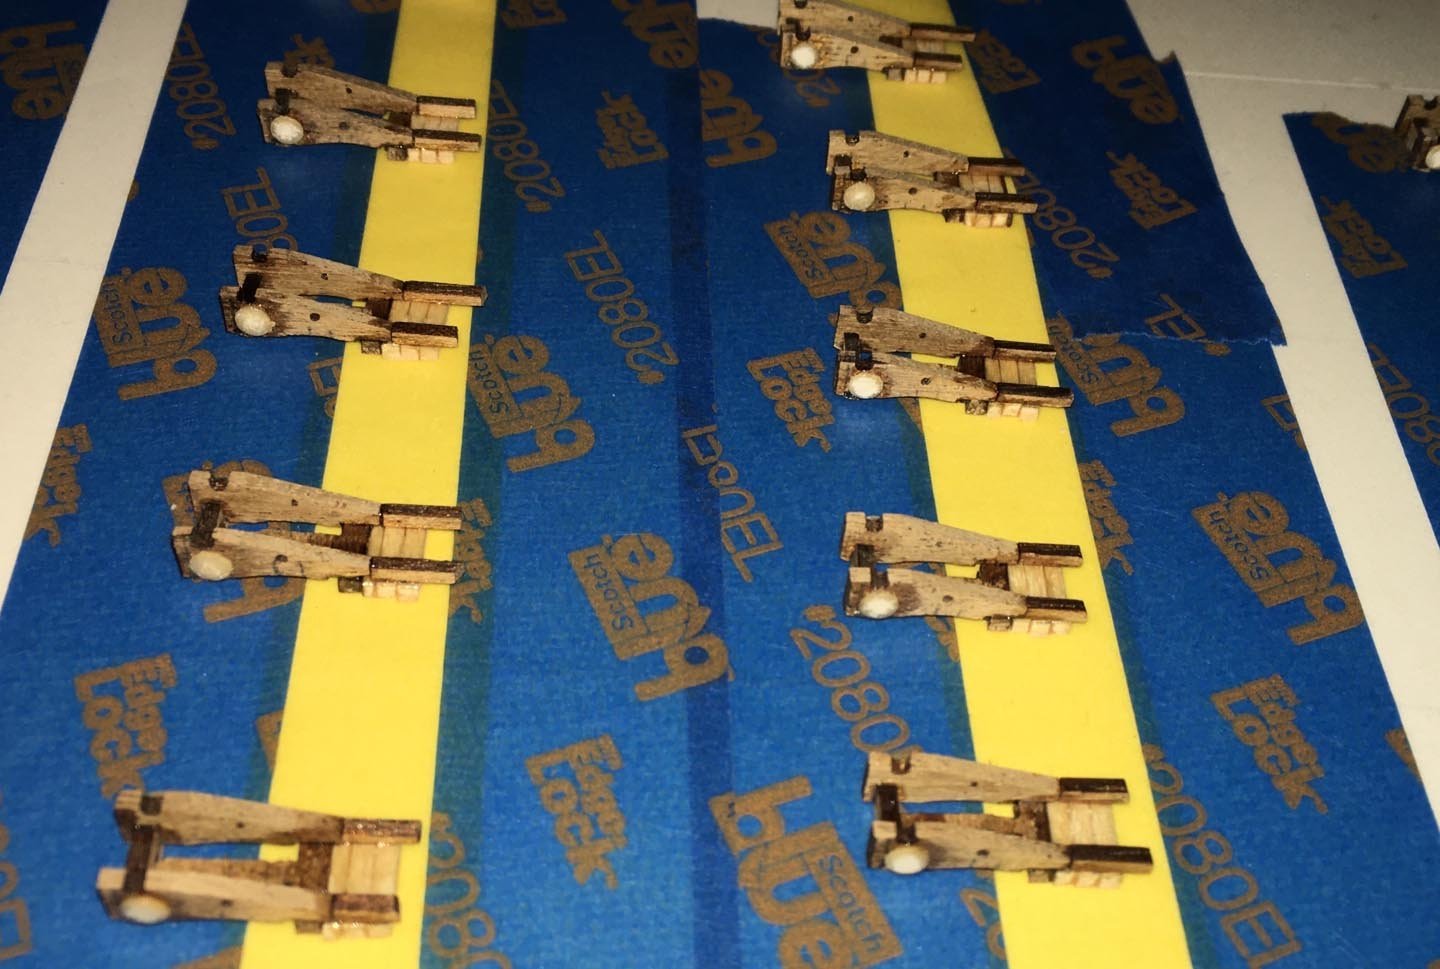
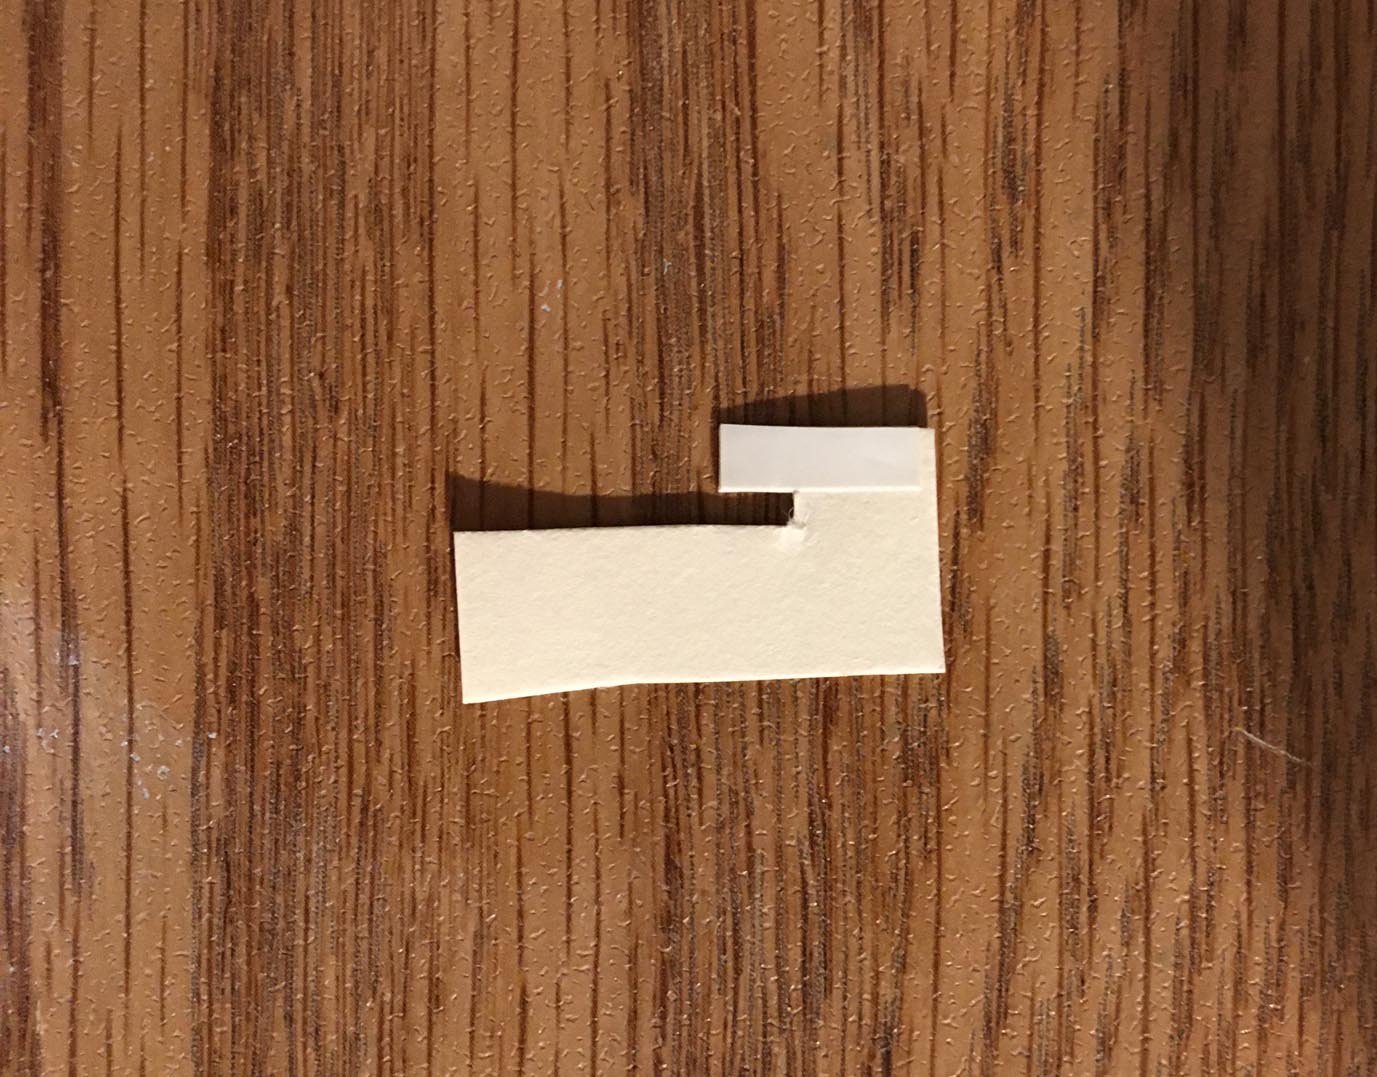
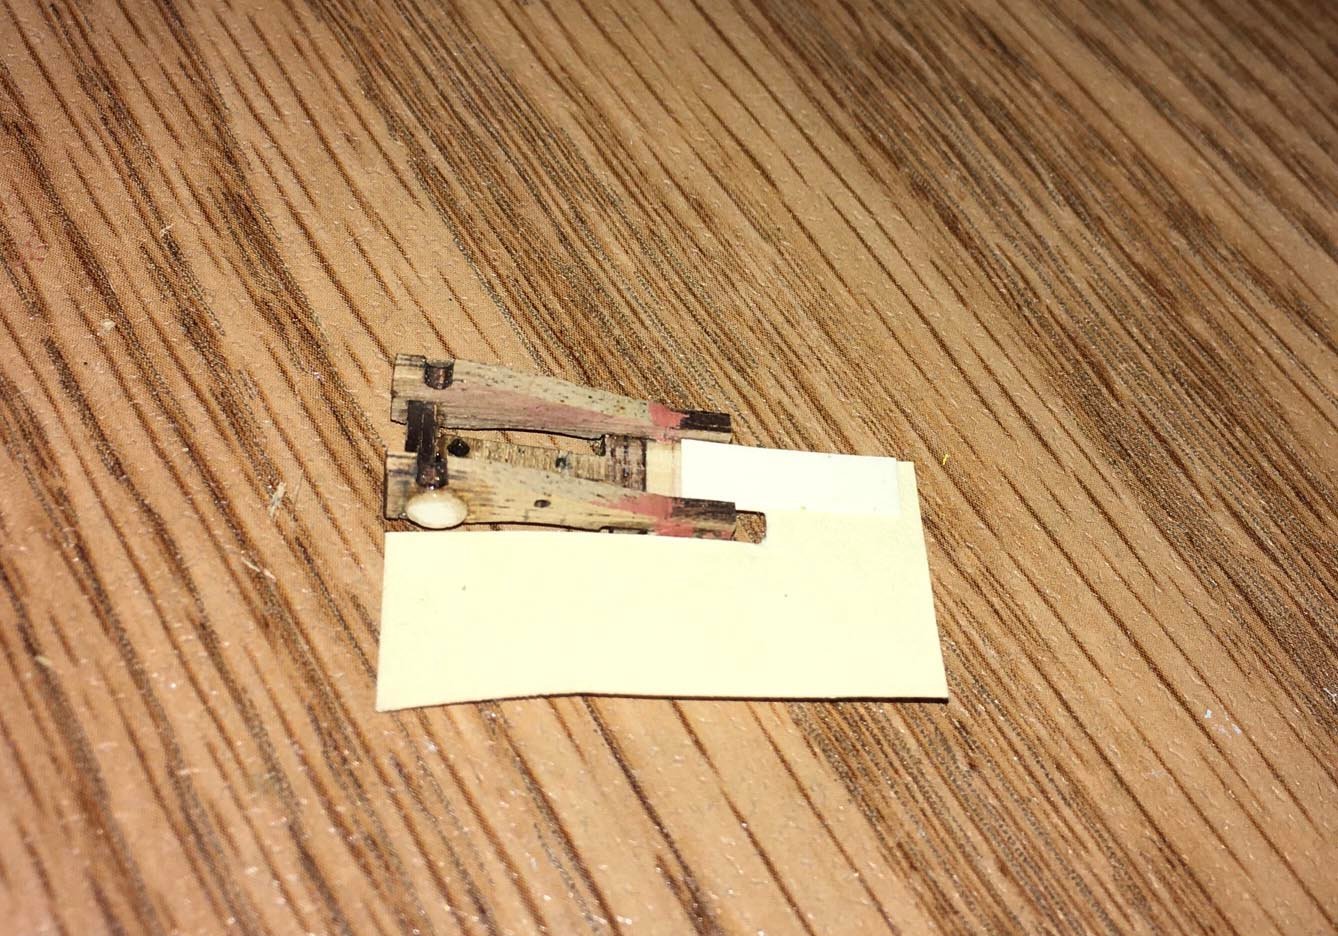
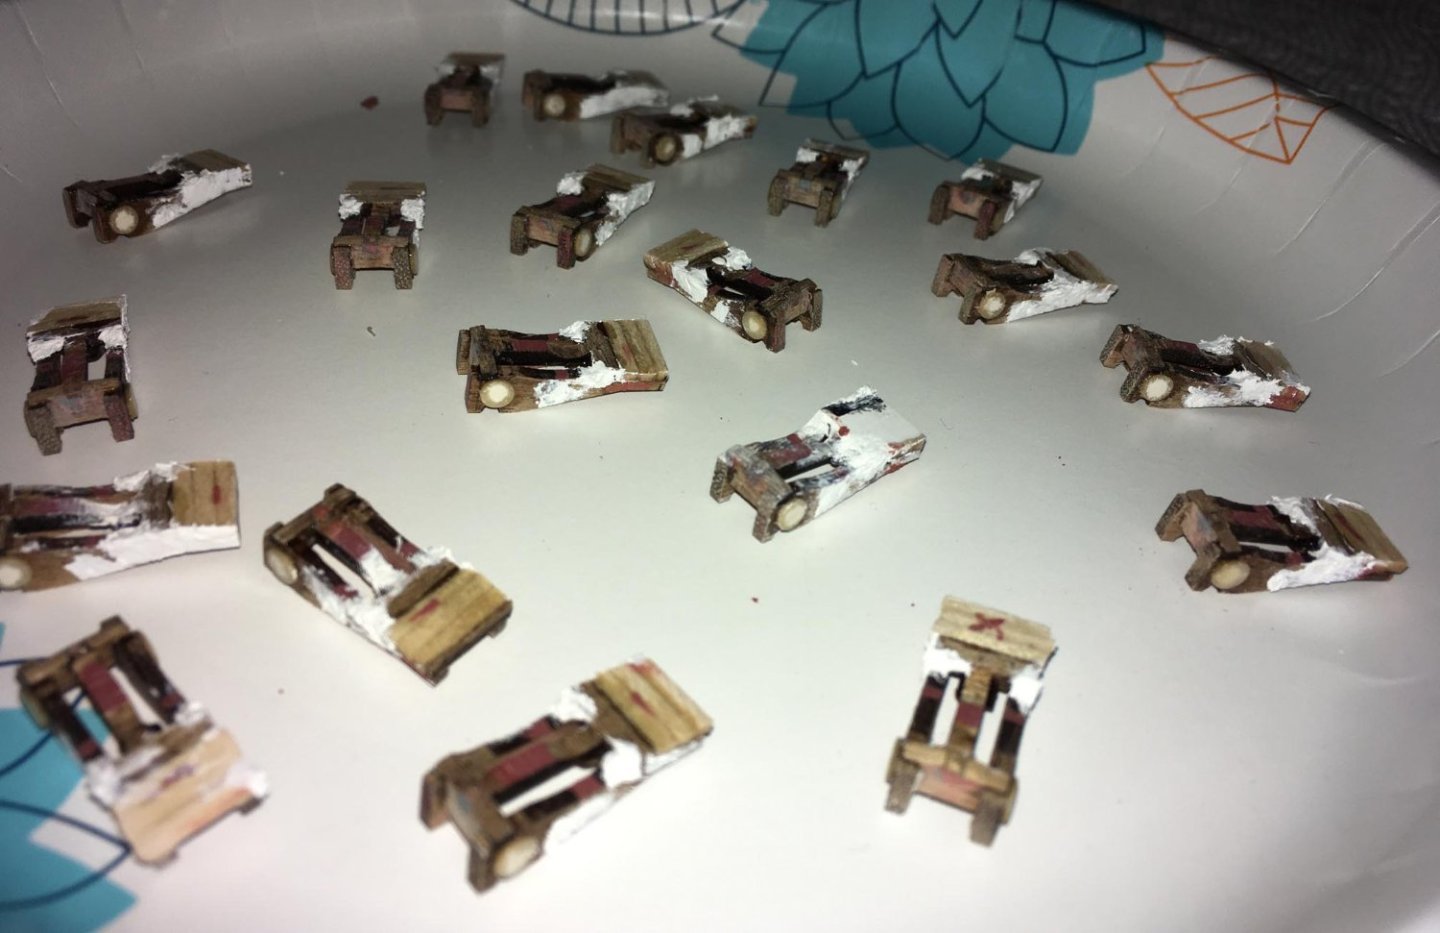
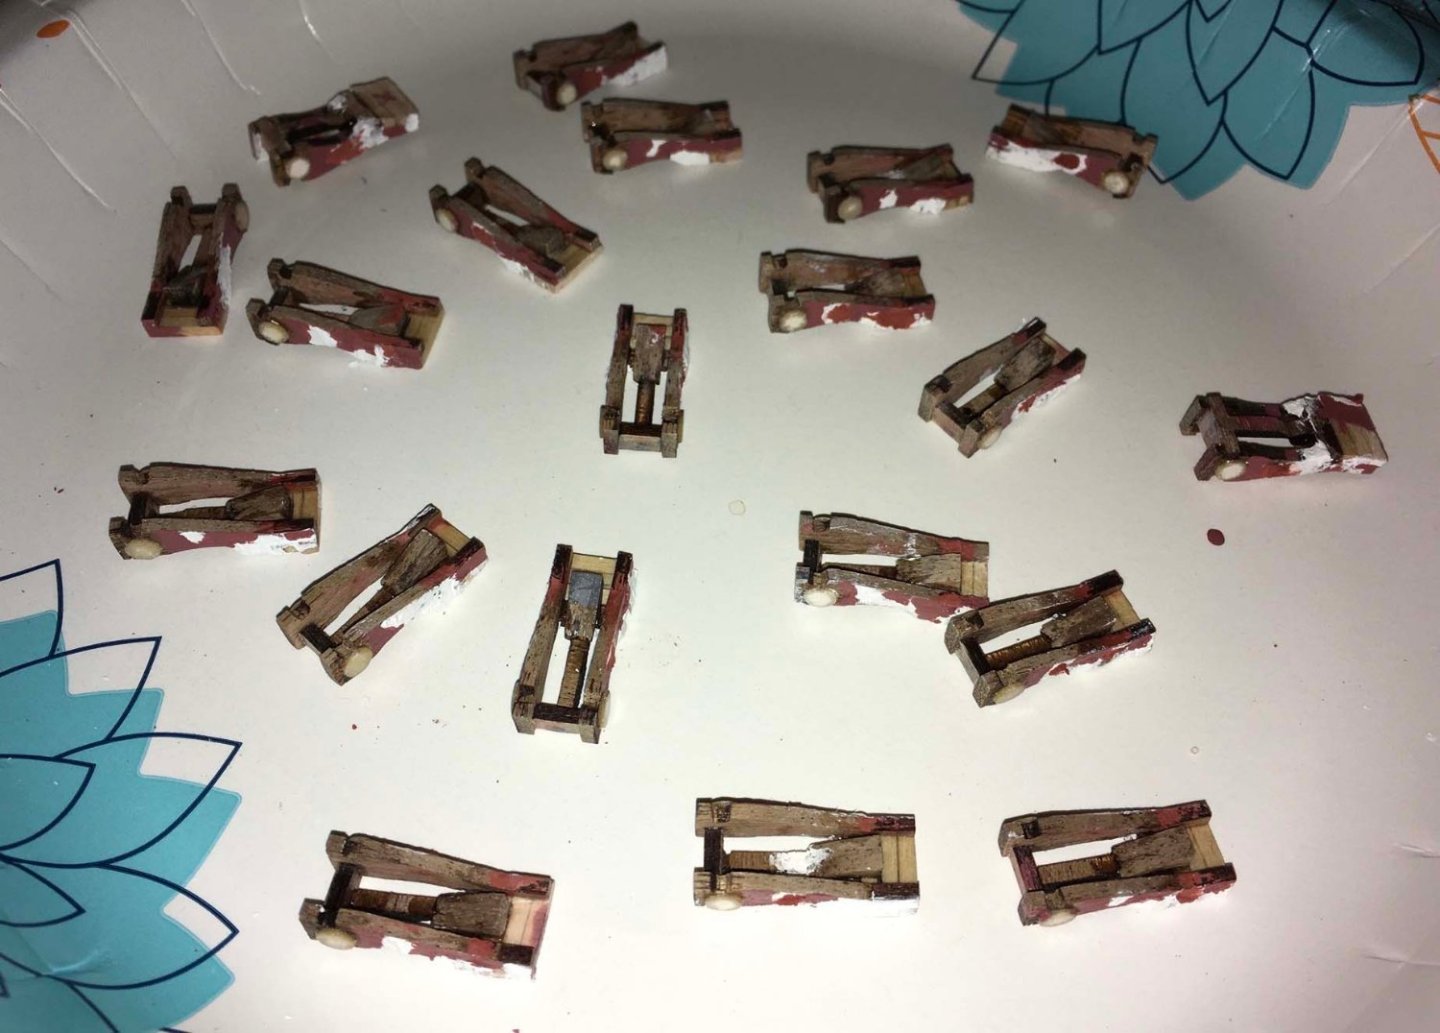
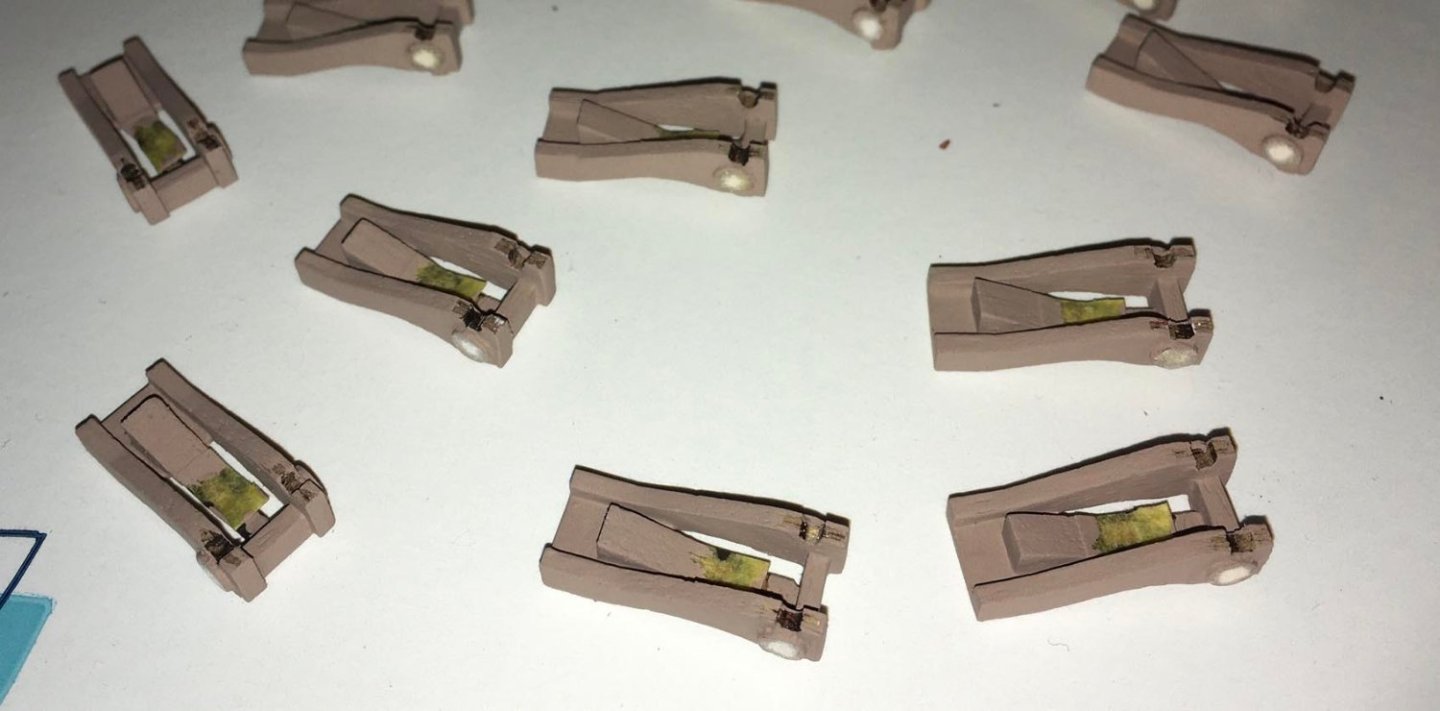
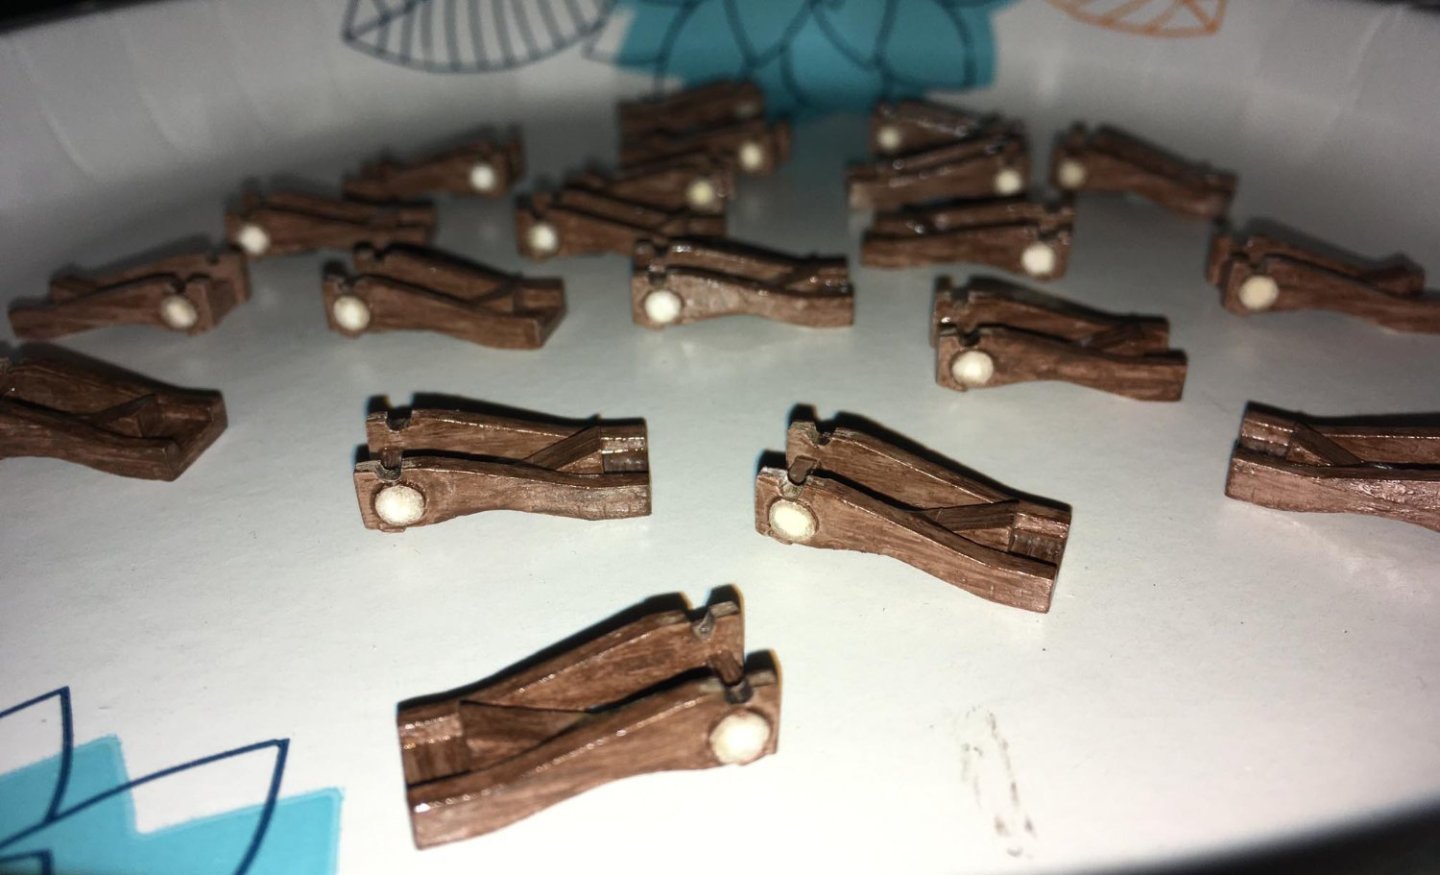
Making the gun carriages has been a long process, as I have only been able to work on them sporadically, but they are finally finished. I had to do a lot of extra work in order to turn something that looks like this which fits a cannon from an 18th century British ship, into something that looks more like this a two-wheeled carriage that the Spanish used in the 16th and 17th centuries. I could not get an exact match of the Spanish gun carriage pictured above, but I think that the result is closer to that than if I were to build the carriages "as is" from the kits. I first used a 3mm hole punch to punch out "spacers" from excess card material that came with a set of triangle deadeyes that I had ordered. I glued them to the cheeks in each kit, using 1mm masking tape to help set them back from the front of the cheeks uniformly. The carriages were assembled: I used masking tape as a guide to sand down the "steps" on the cheeks to get a smooth downward slope: I made "trails" for the cannons by gluing together pieces of a square wooden dowel: Here are the trails attached to the rears of the carriages: I used excess wood from the gun carriage kits to make extensions of the cheeks along the trails: I placed a cannon in an unfinished carriage to determine how far back in the trail to place the quoin: A jig was made out of cardstock to help me place the quoin at the right distance for each cannon, using the front end of the cheek as a reference: I had to do a lot of puttying and sanding to get the profiles of the carriages to look smooth: The white putty is Superfine White Milliput epoxy putty. The red putty is Bondo 907 Glazing & Spot Putty. I painted the carriages with a tan acrylic base coat: A brown enamel stain from Testors was used to "weather" the carriages and recreate a wood grain: I glued the right-sided wheels in place: So that the left-sided wheels would line up at equal height and forward reach, I made a jig from an old piece of plastic: I drilled a hole in the wall of the jig so the hub of the wheel could sit in it and the wheel sit flush against it. When the right wheel sits flush, it helps me situate the left wheel so that it is parallel to it: Left wheels glued in place and carriages held with tape to dry: I painted spots on the simulated iron "tyres" (tires or rims) of the wheels to simulate rust: To remove the gloss, I used a matte varnish: So now they are ready for the cannons. Note that at the front ends of the quoins there are "bare" areas where you can see underlying exposed wood/epoxy/putty that will be used as surfaces to glue the breaches down to the carriages. Also, the tops of the cheeks where the trunnions and capsquares will go have been scraped of paint/varnish to help with glue adherence. Ideally, the carriages should have been bigger with respect to the size of the cannons, with proportionately larger wheels, if I had tried to make these completely historically accurate. I think that there would have possibly been less deck space if I were to do that, and also, the cannon barrels may have been too high in the gun ports. At least, even with the more miniature size, there is still a sense of the basic style of 16th-17th century Spanish naval cannons, which may have been a lot like the field artillery of the time.


-
The detail at this small scale is incredible! Excellent job!
- 740 replies
-
- 6
-

-

-
- Tudor
- restoration
- (and 4 more)
-
This looks great! Precise work with lots of small, delicate parts. 👍 How will the sails keep their shape?
- 756 replies
-
- 3
-
-
- galleon
- golden hind
- (and 2 more)
-
I may understand your frustration. I am struggling with finding uninterrupted time here and there to devote to my own build, which seems to be at a snail’s pace, and it will probably be years before I finish it. I have to convince myself that someday I will see it finished — keeps me going.
- 265 replies
-
- 1
-
-
- Golden Hind
- Airfix
- (and 1 more)
-
Golden Hind(e) by rkwz - AIRFIX - 1:72
Jeff T replied to rkwz's topic in - Kit build logs for subjects built from 1501 - 1750
I like to use Tamiya masking tape to tape the edges. I think it even works well with brush painting, and leaves minimal if any residue when you remove the tape. -
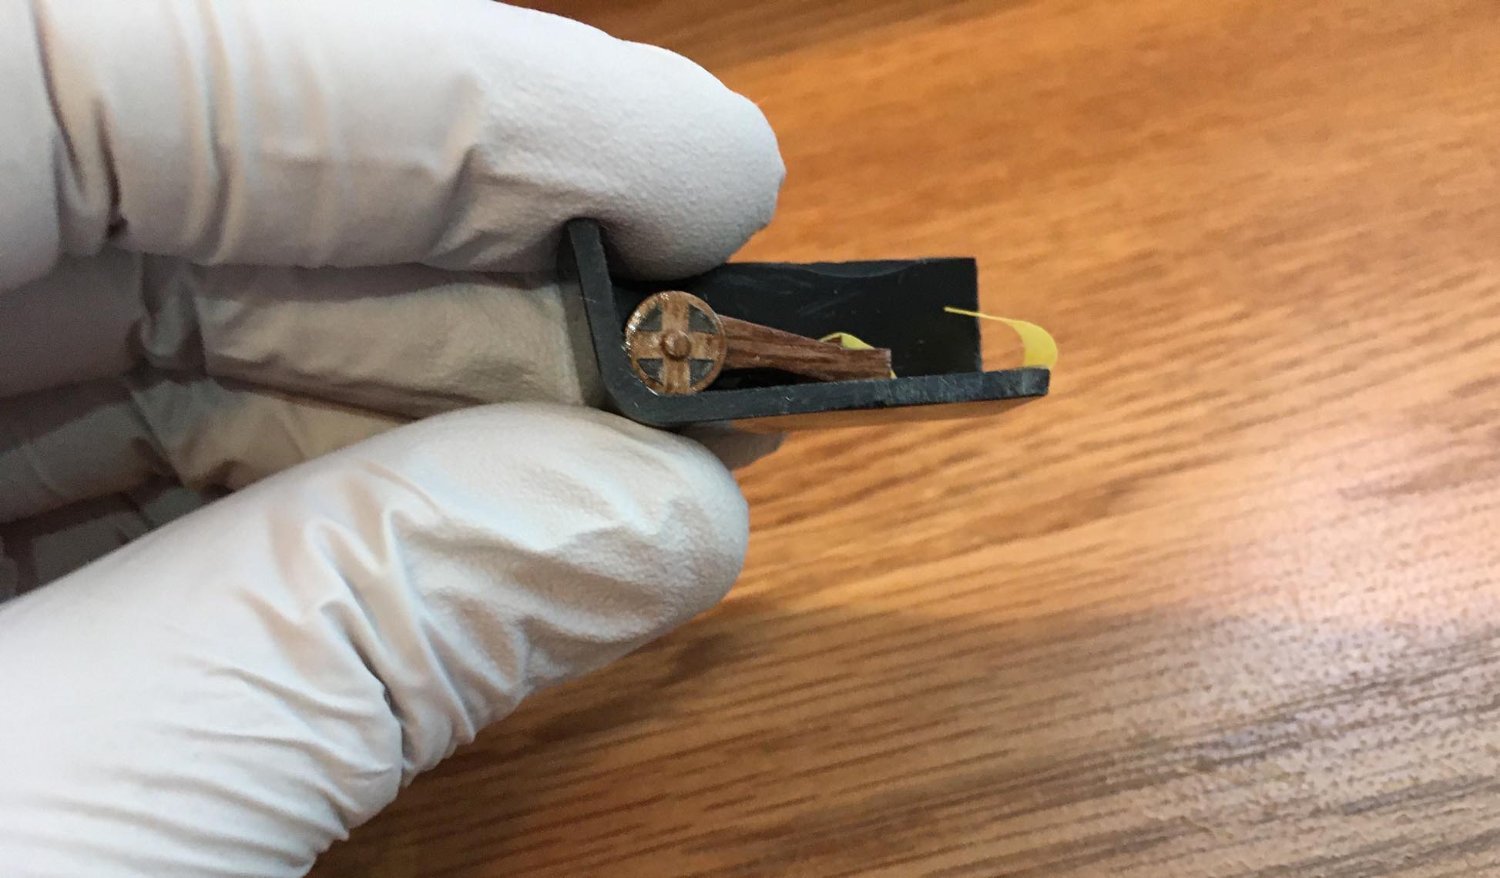
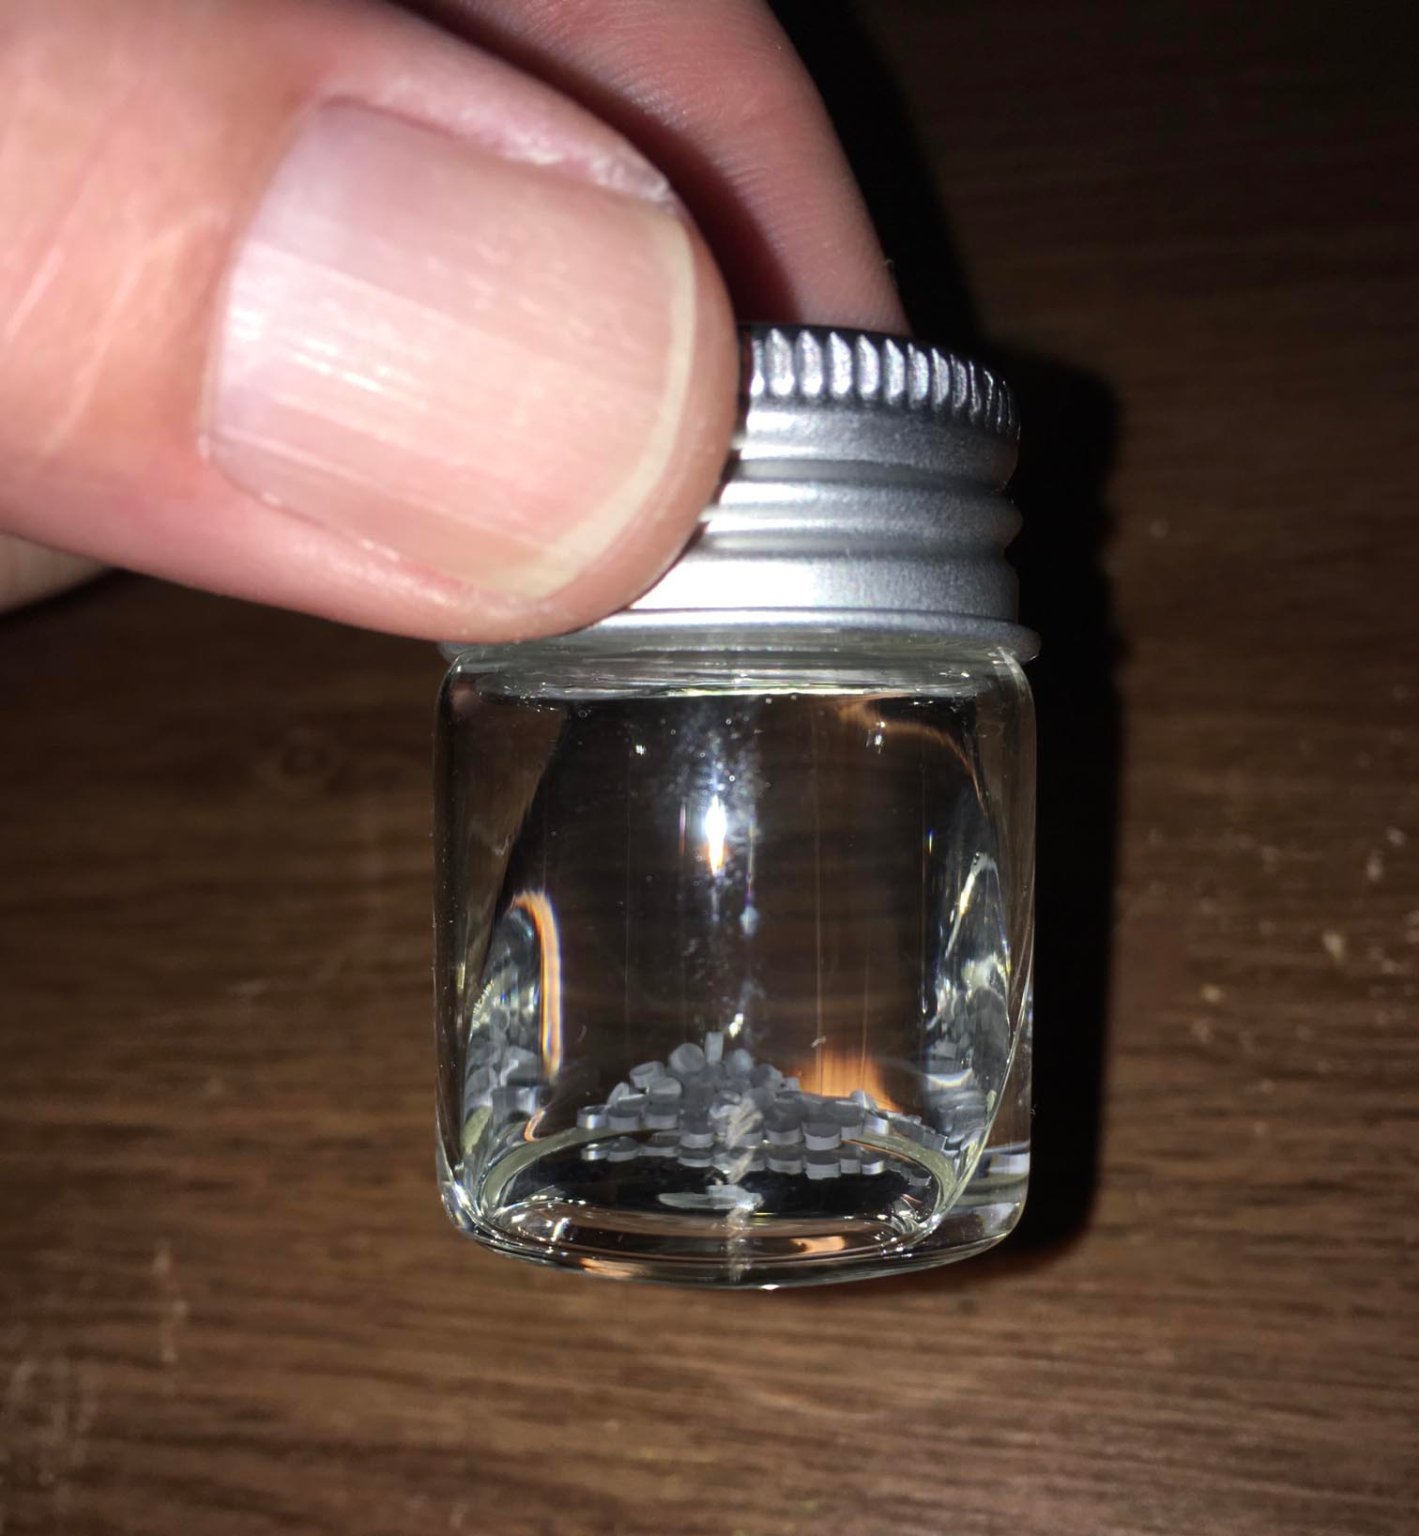
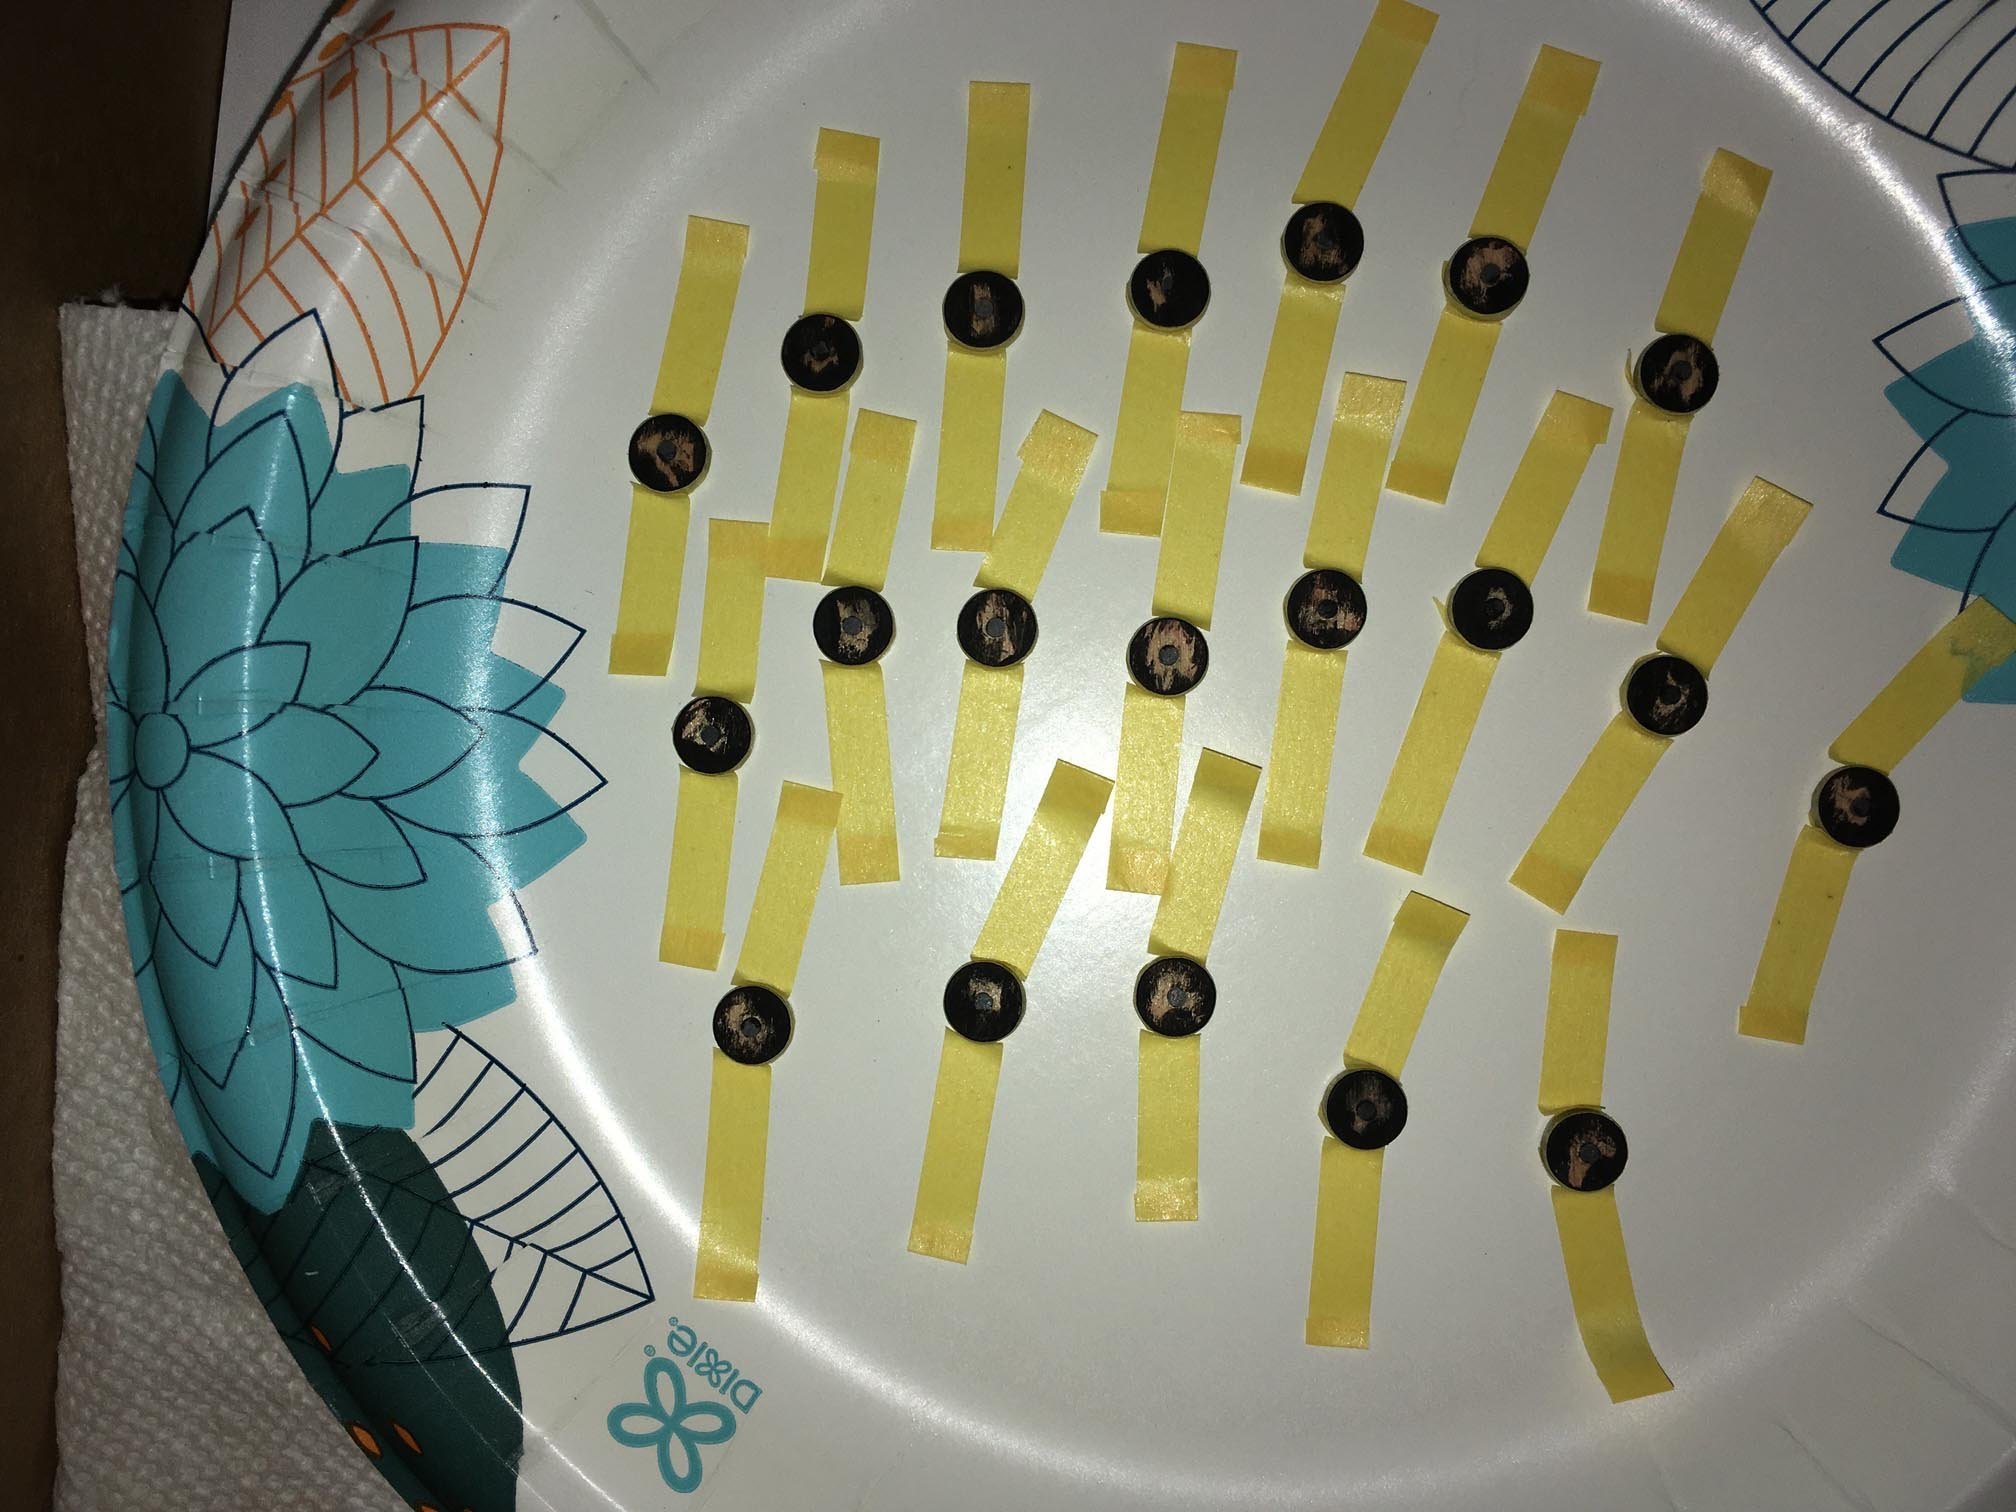
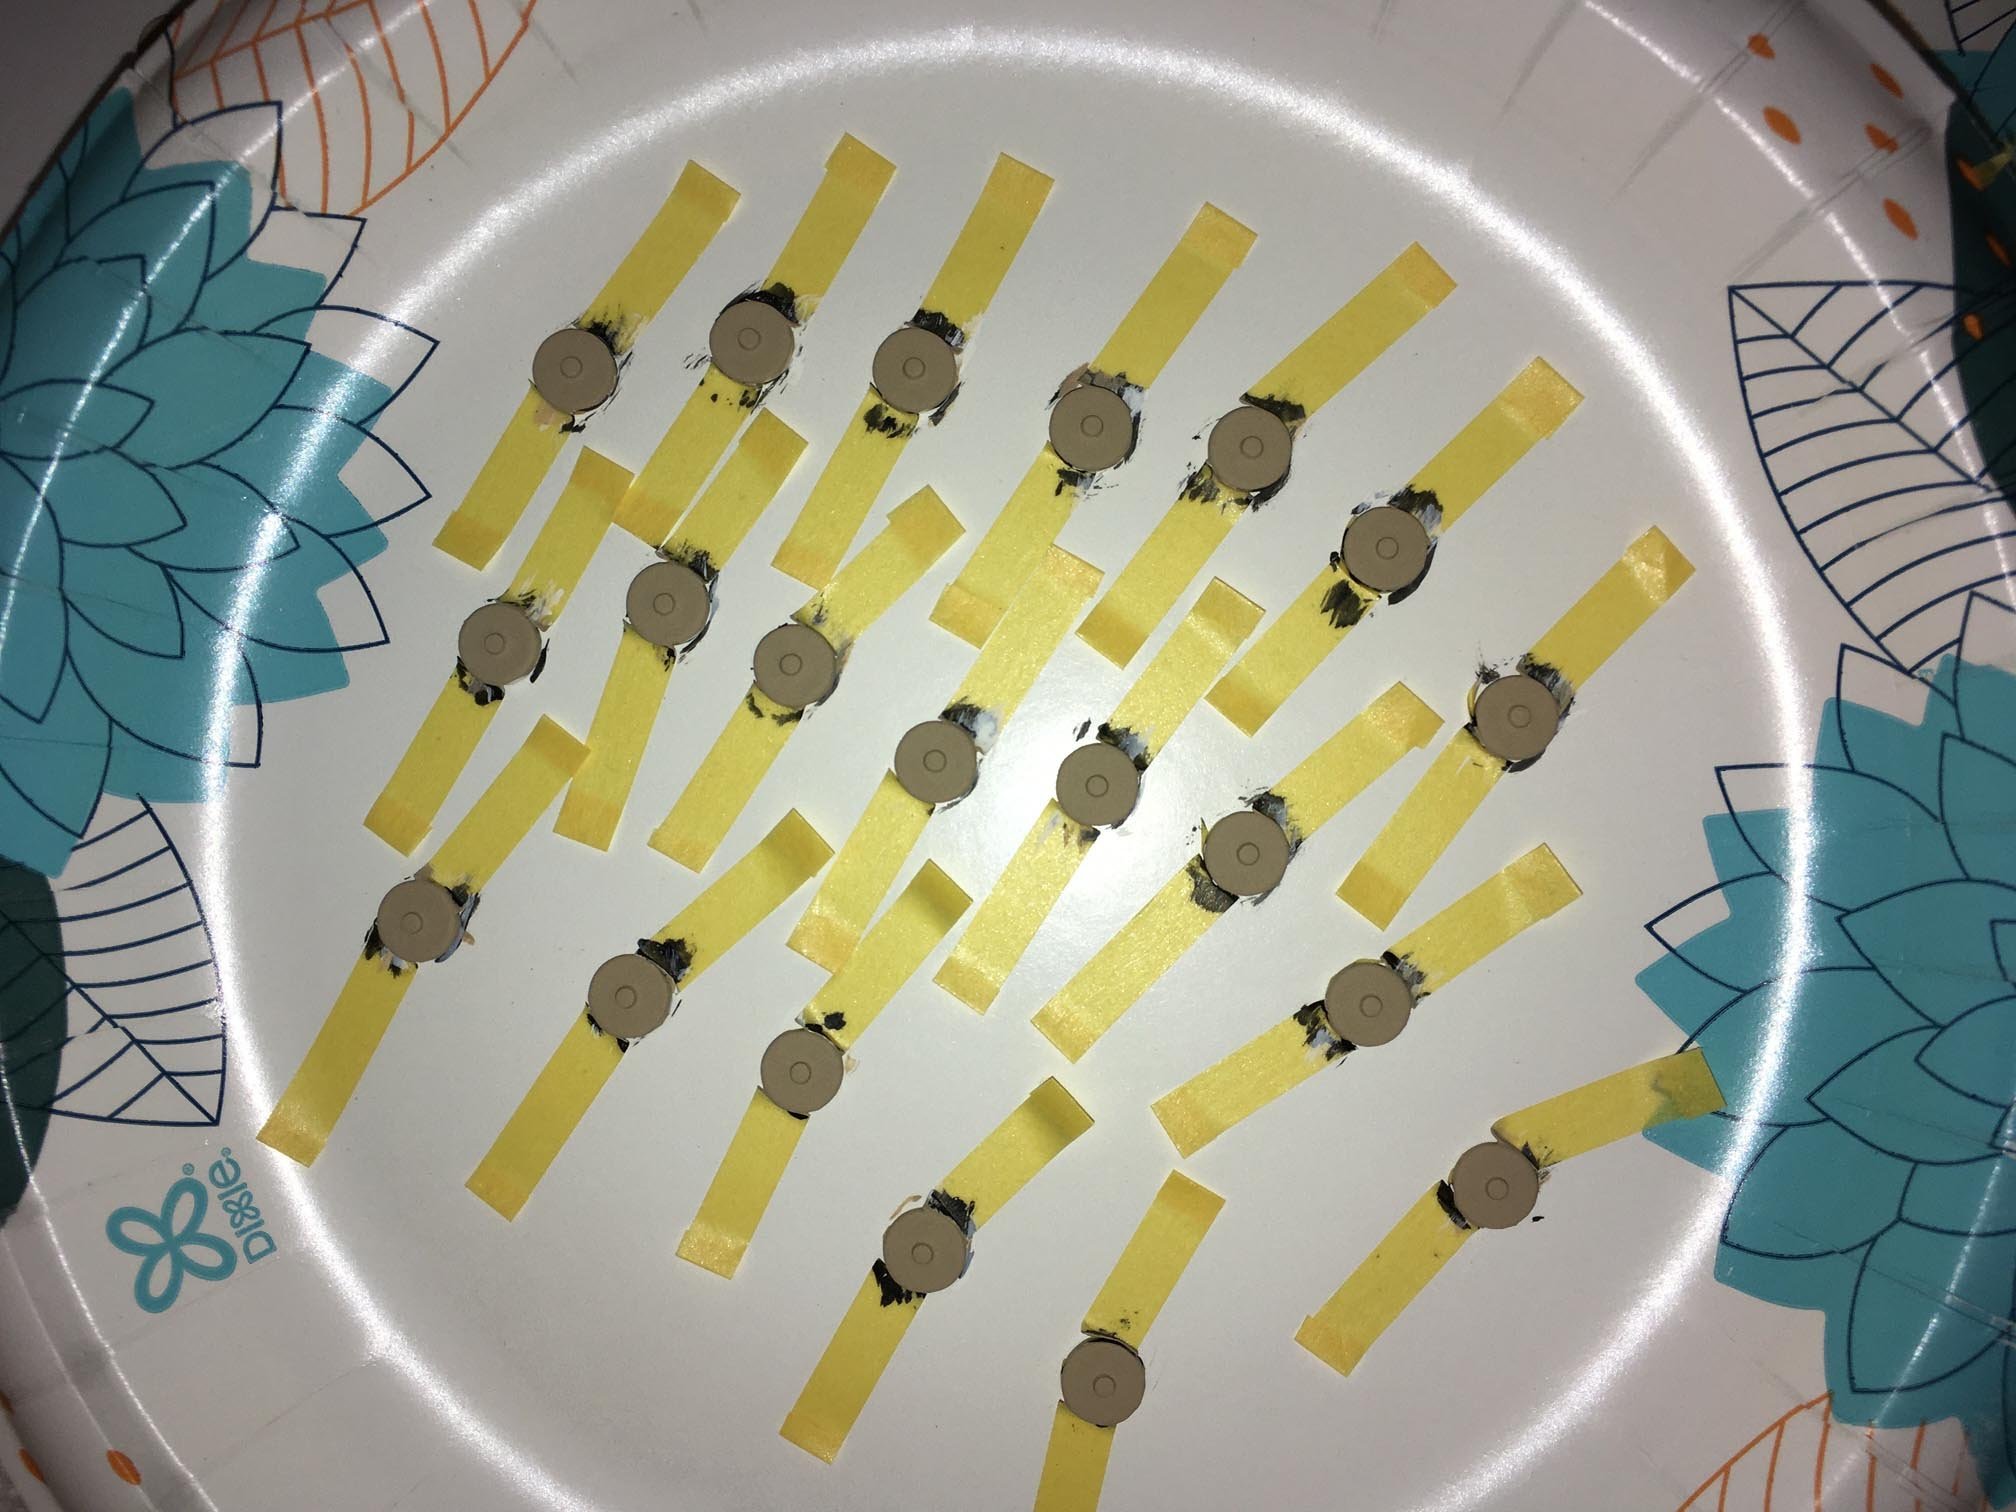
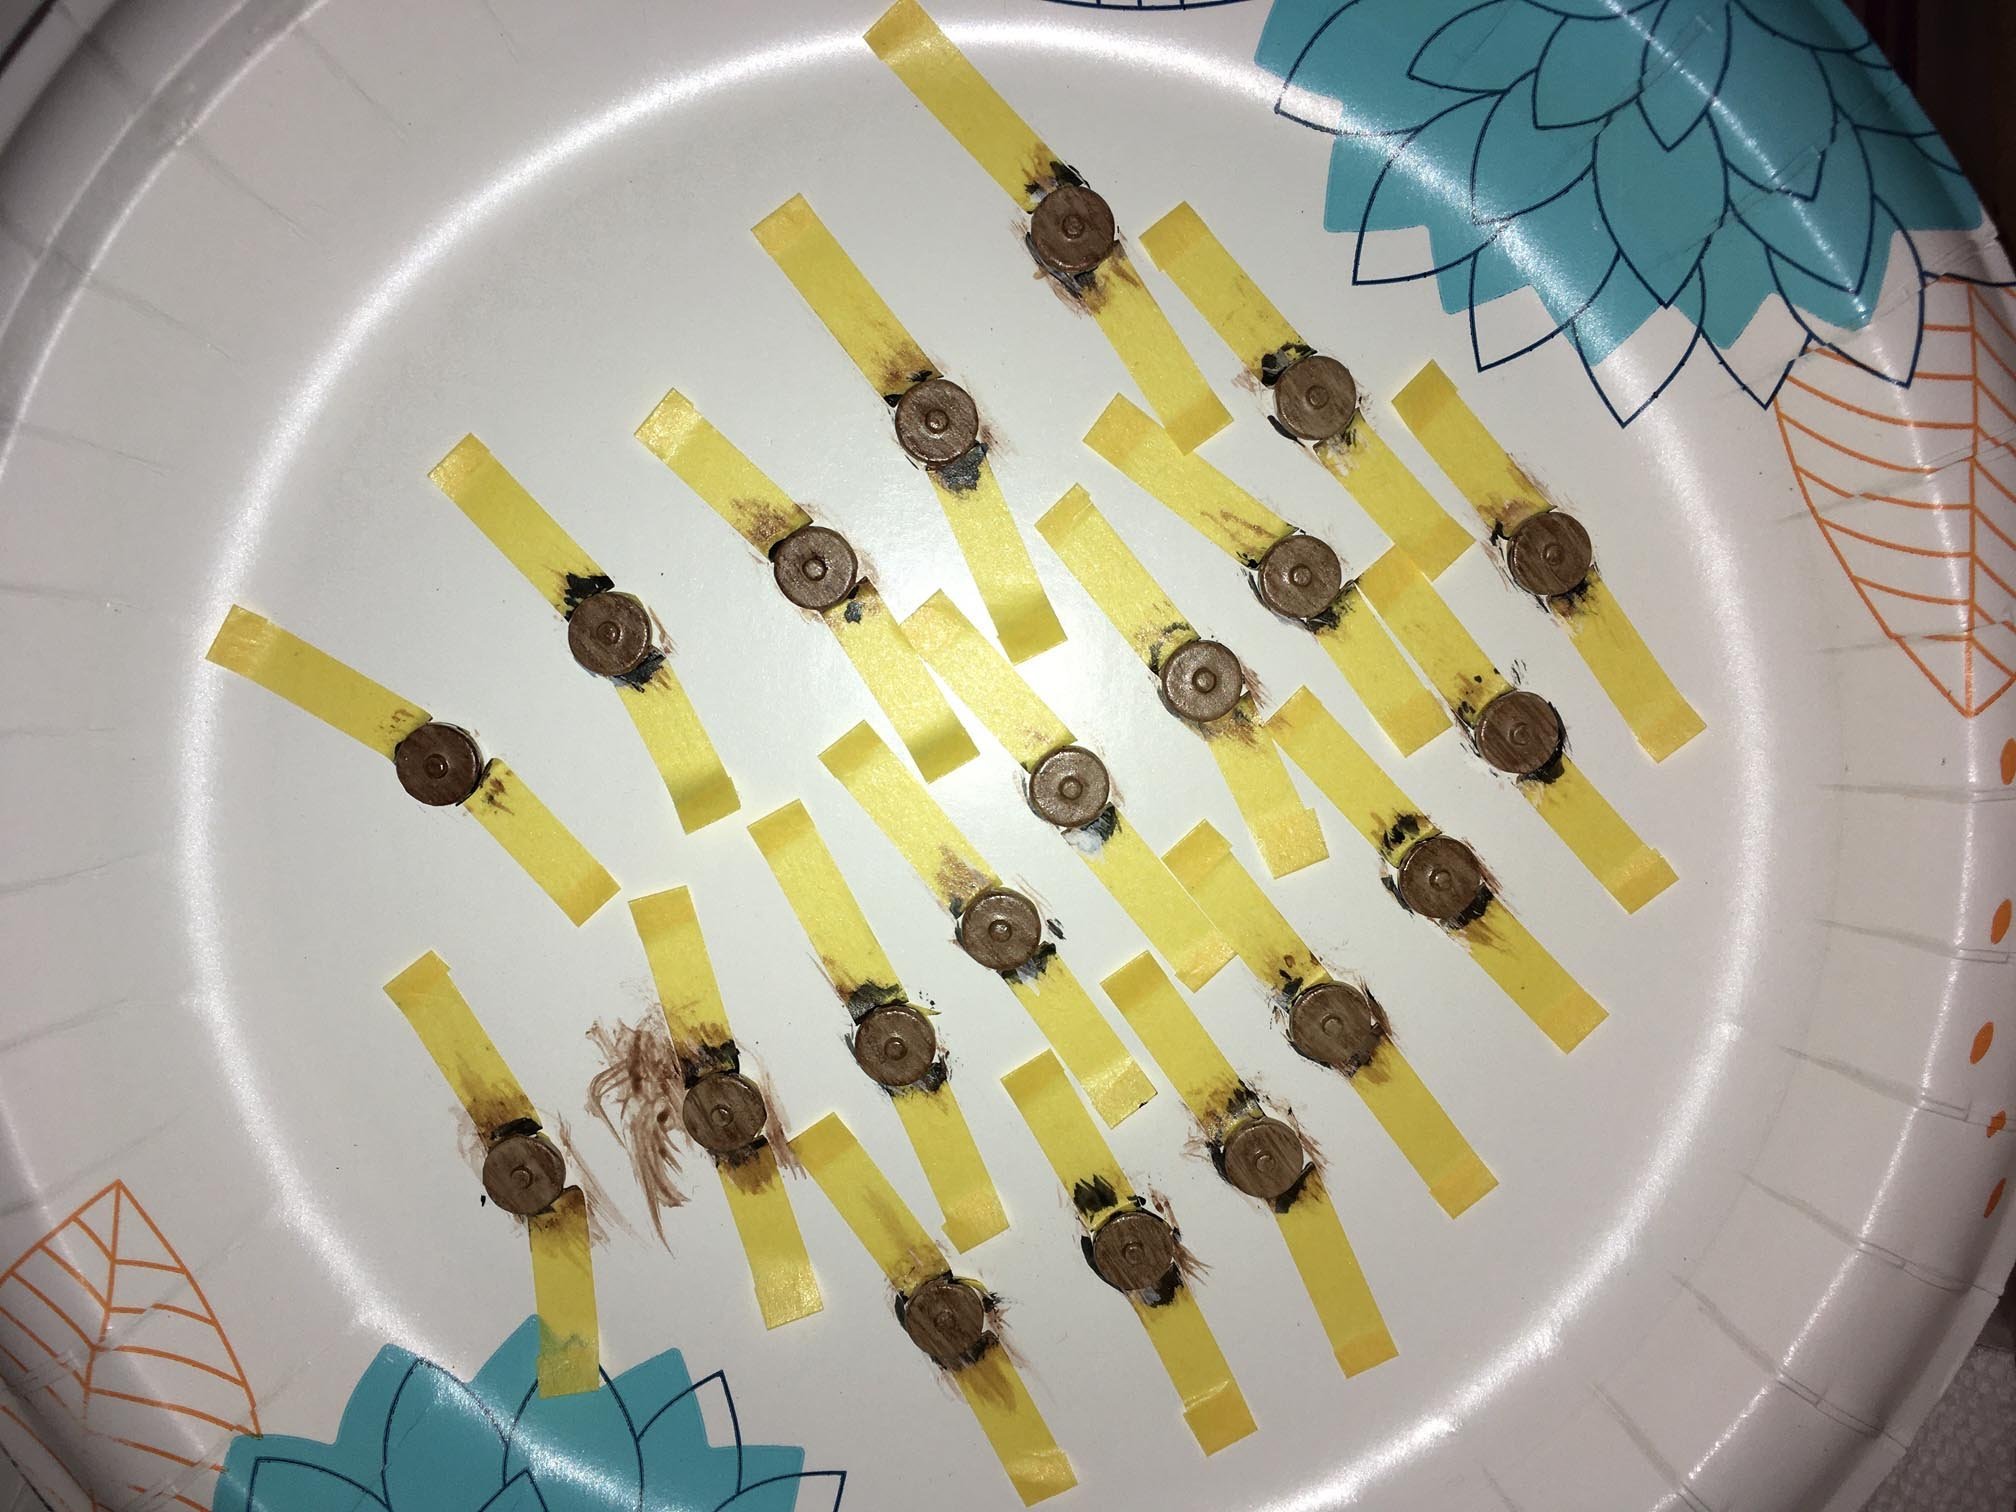
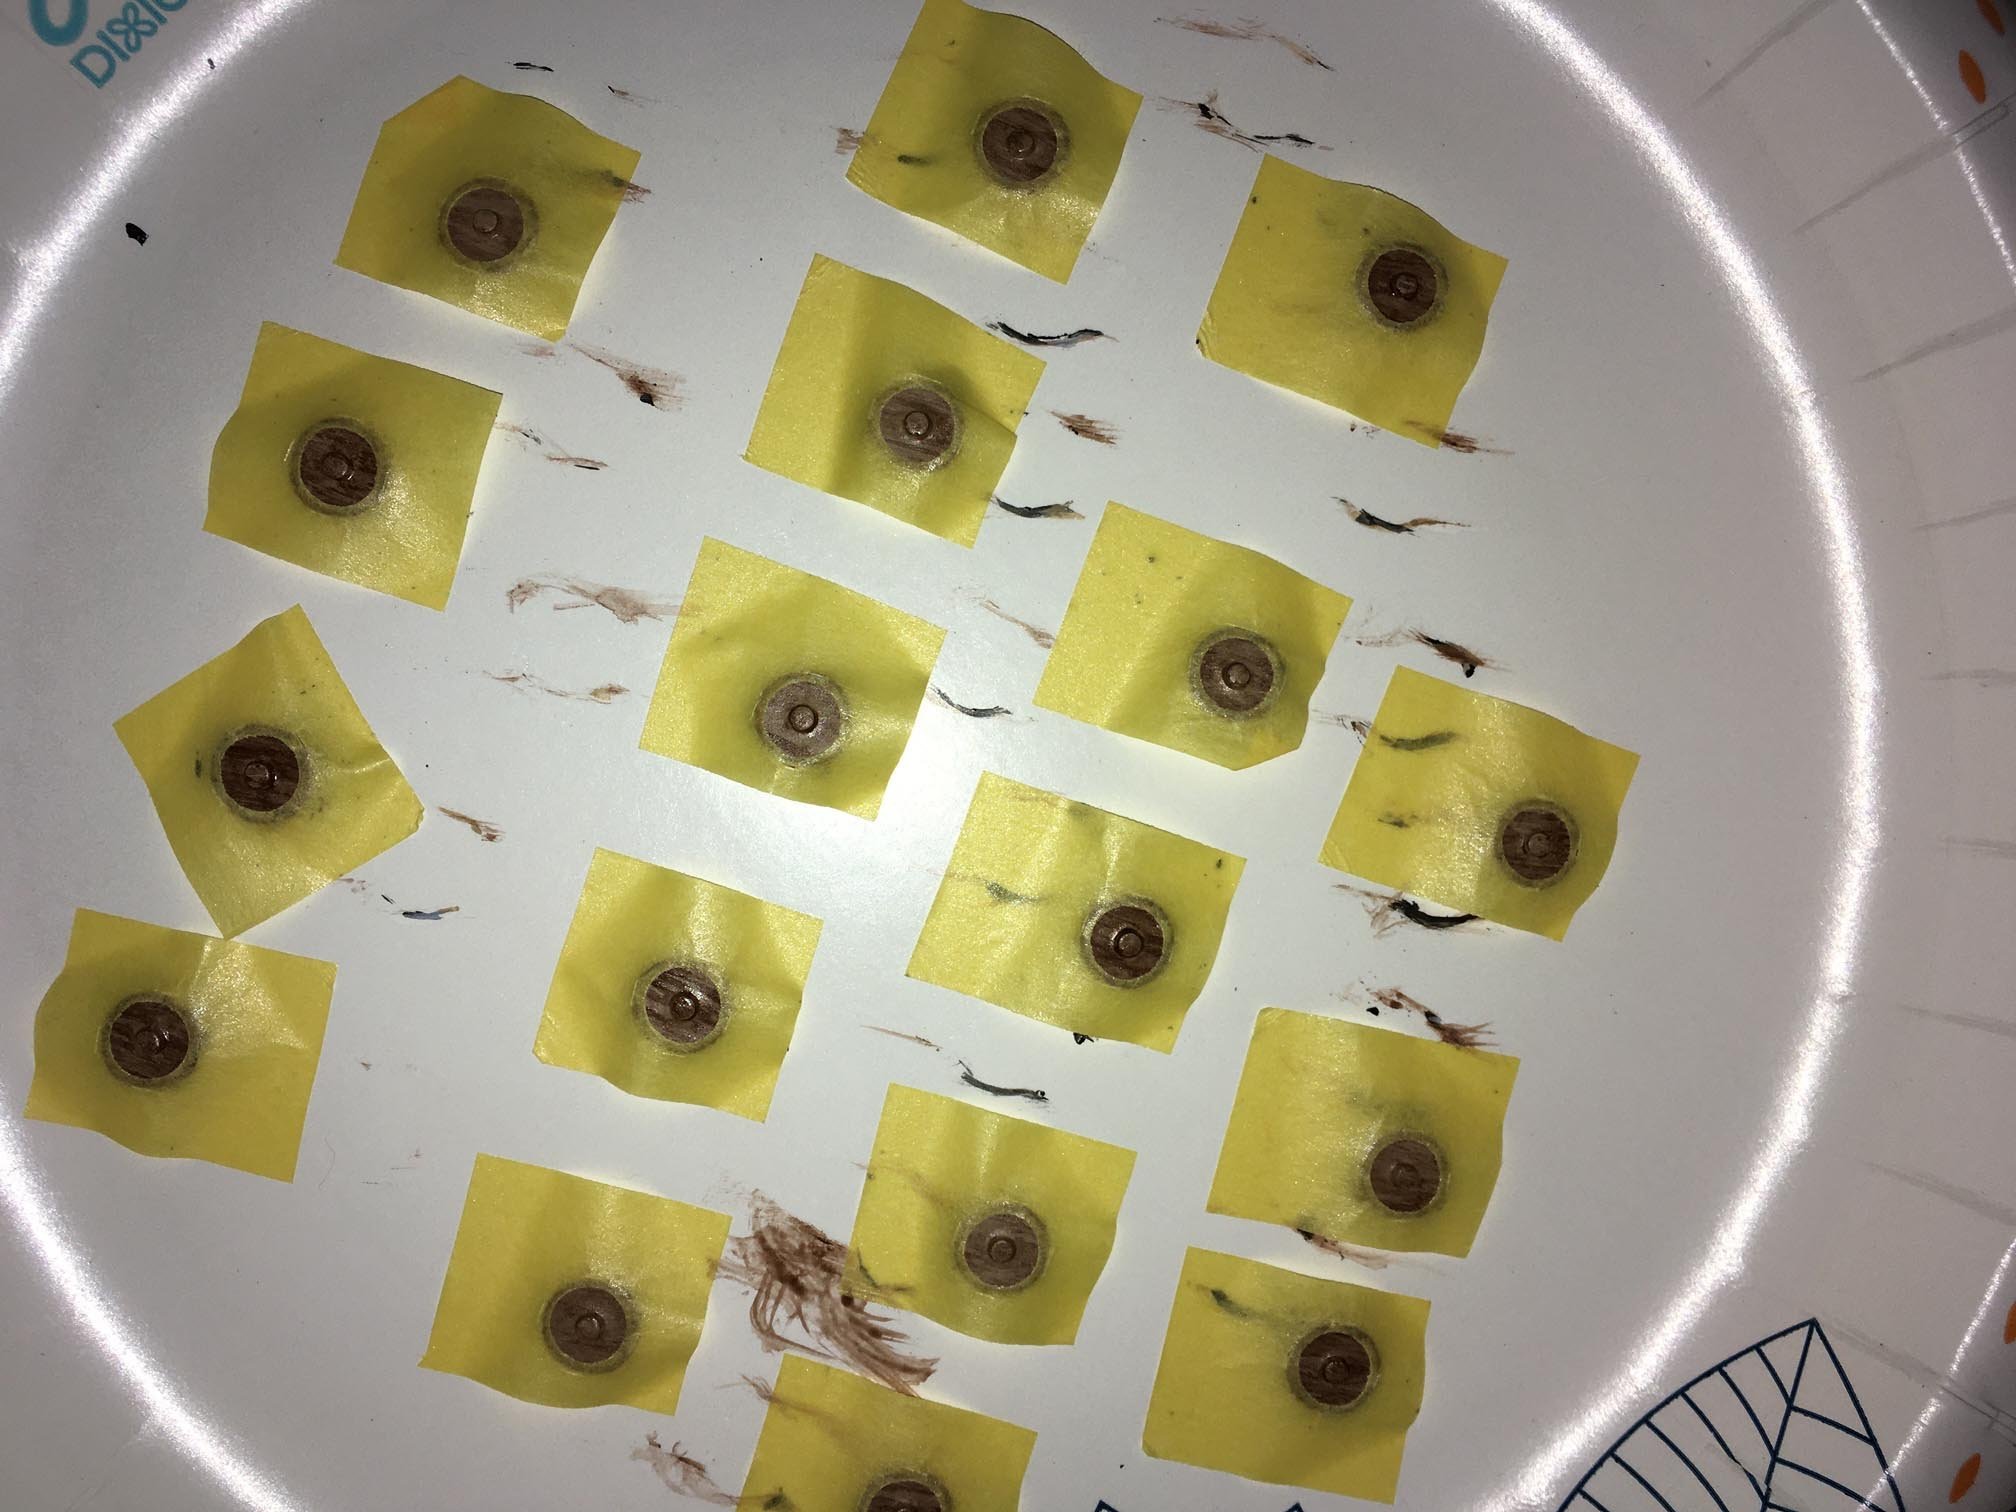
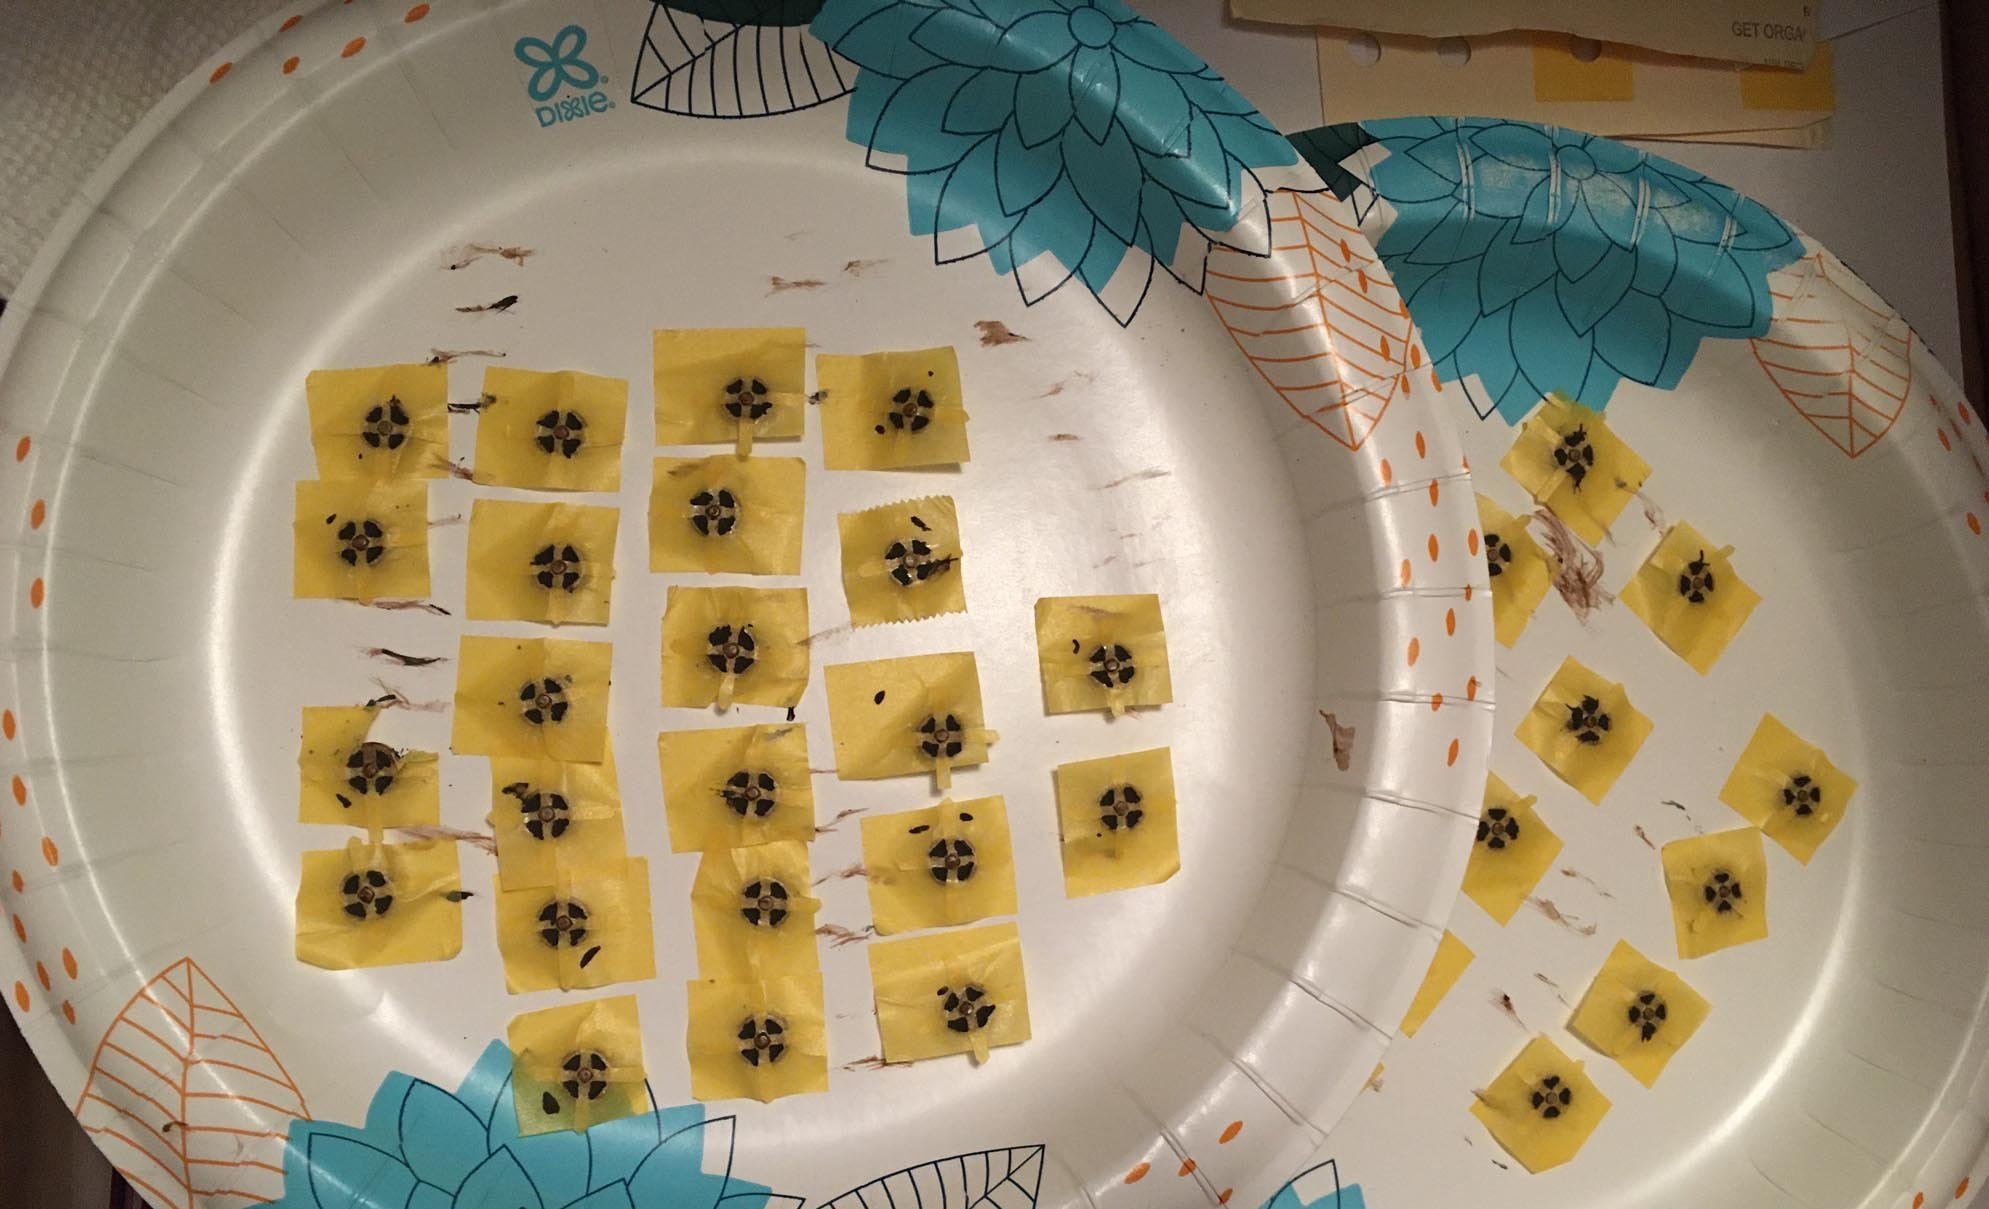
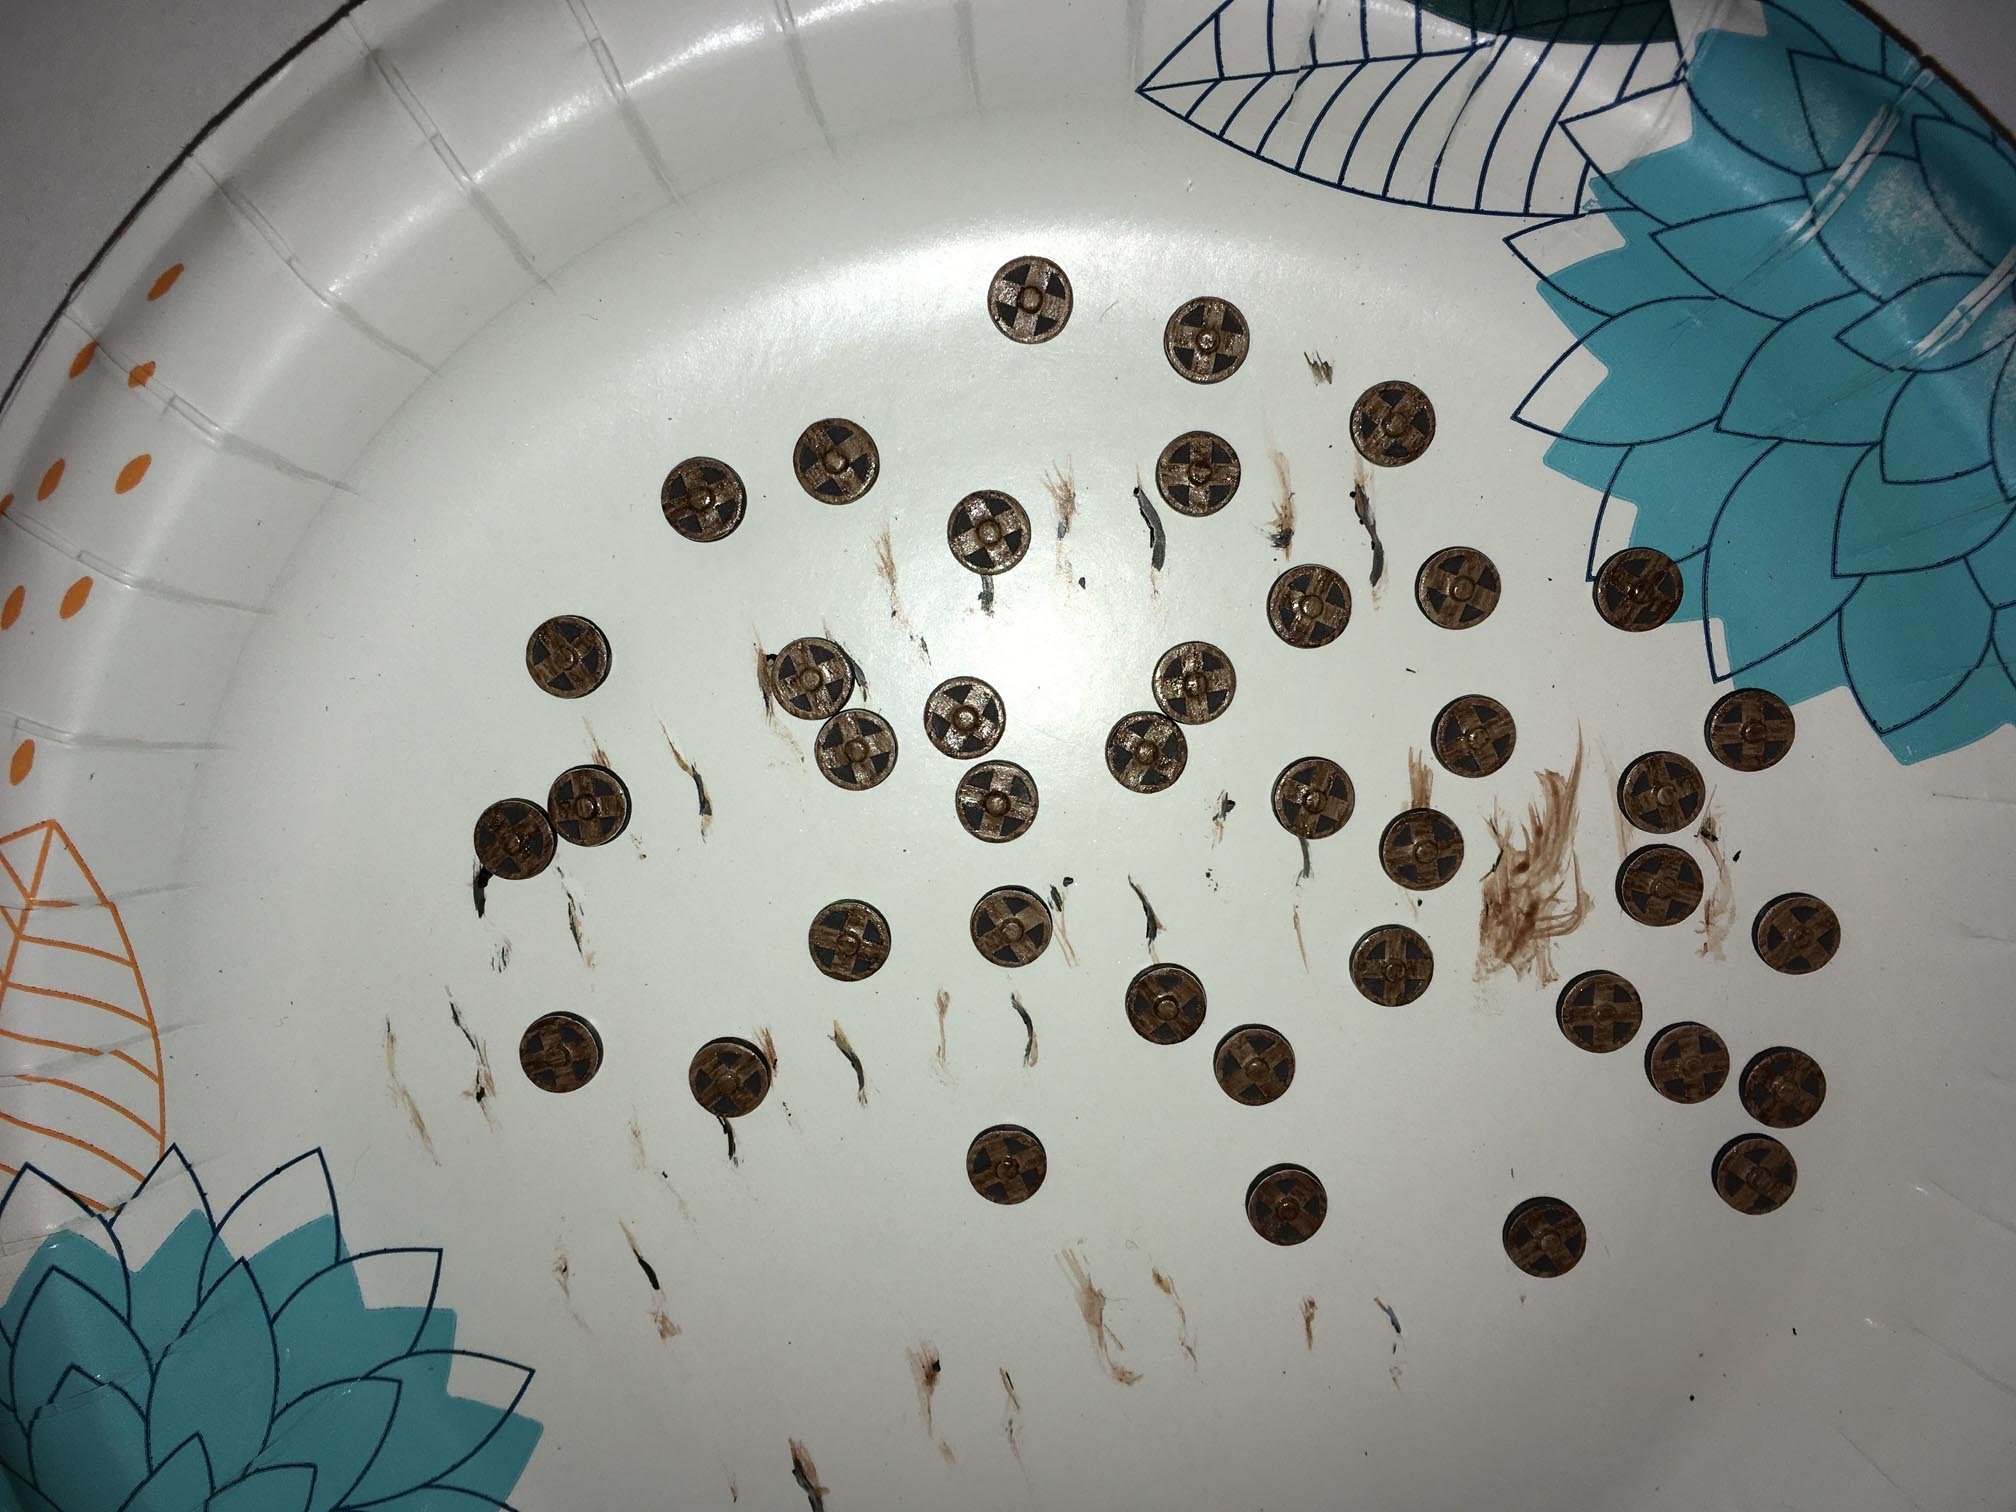
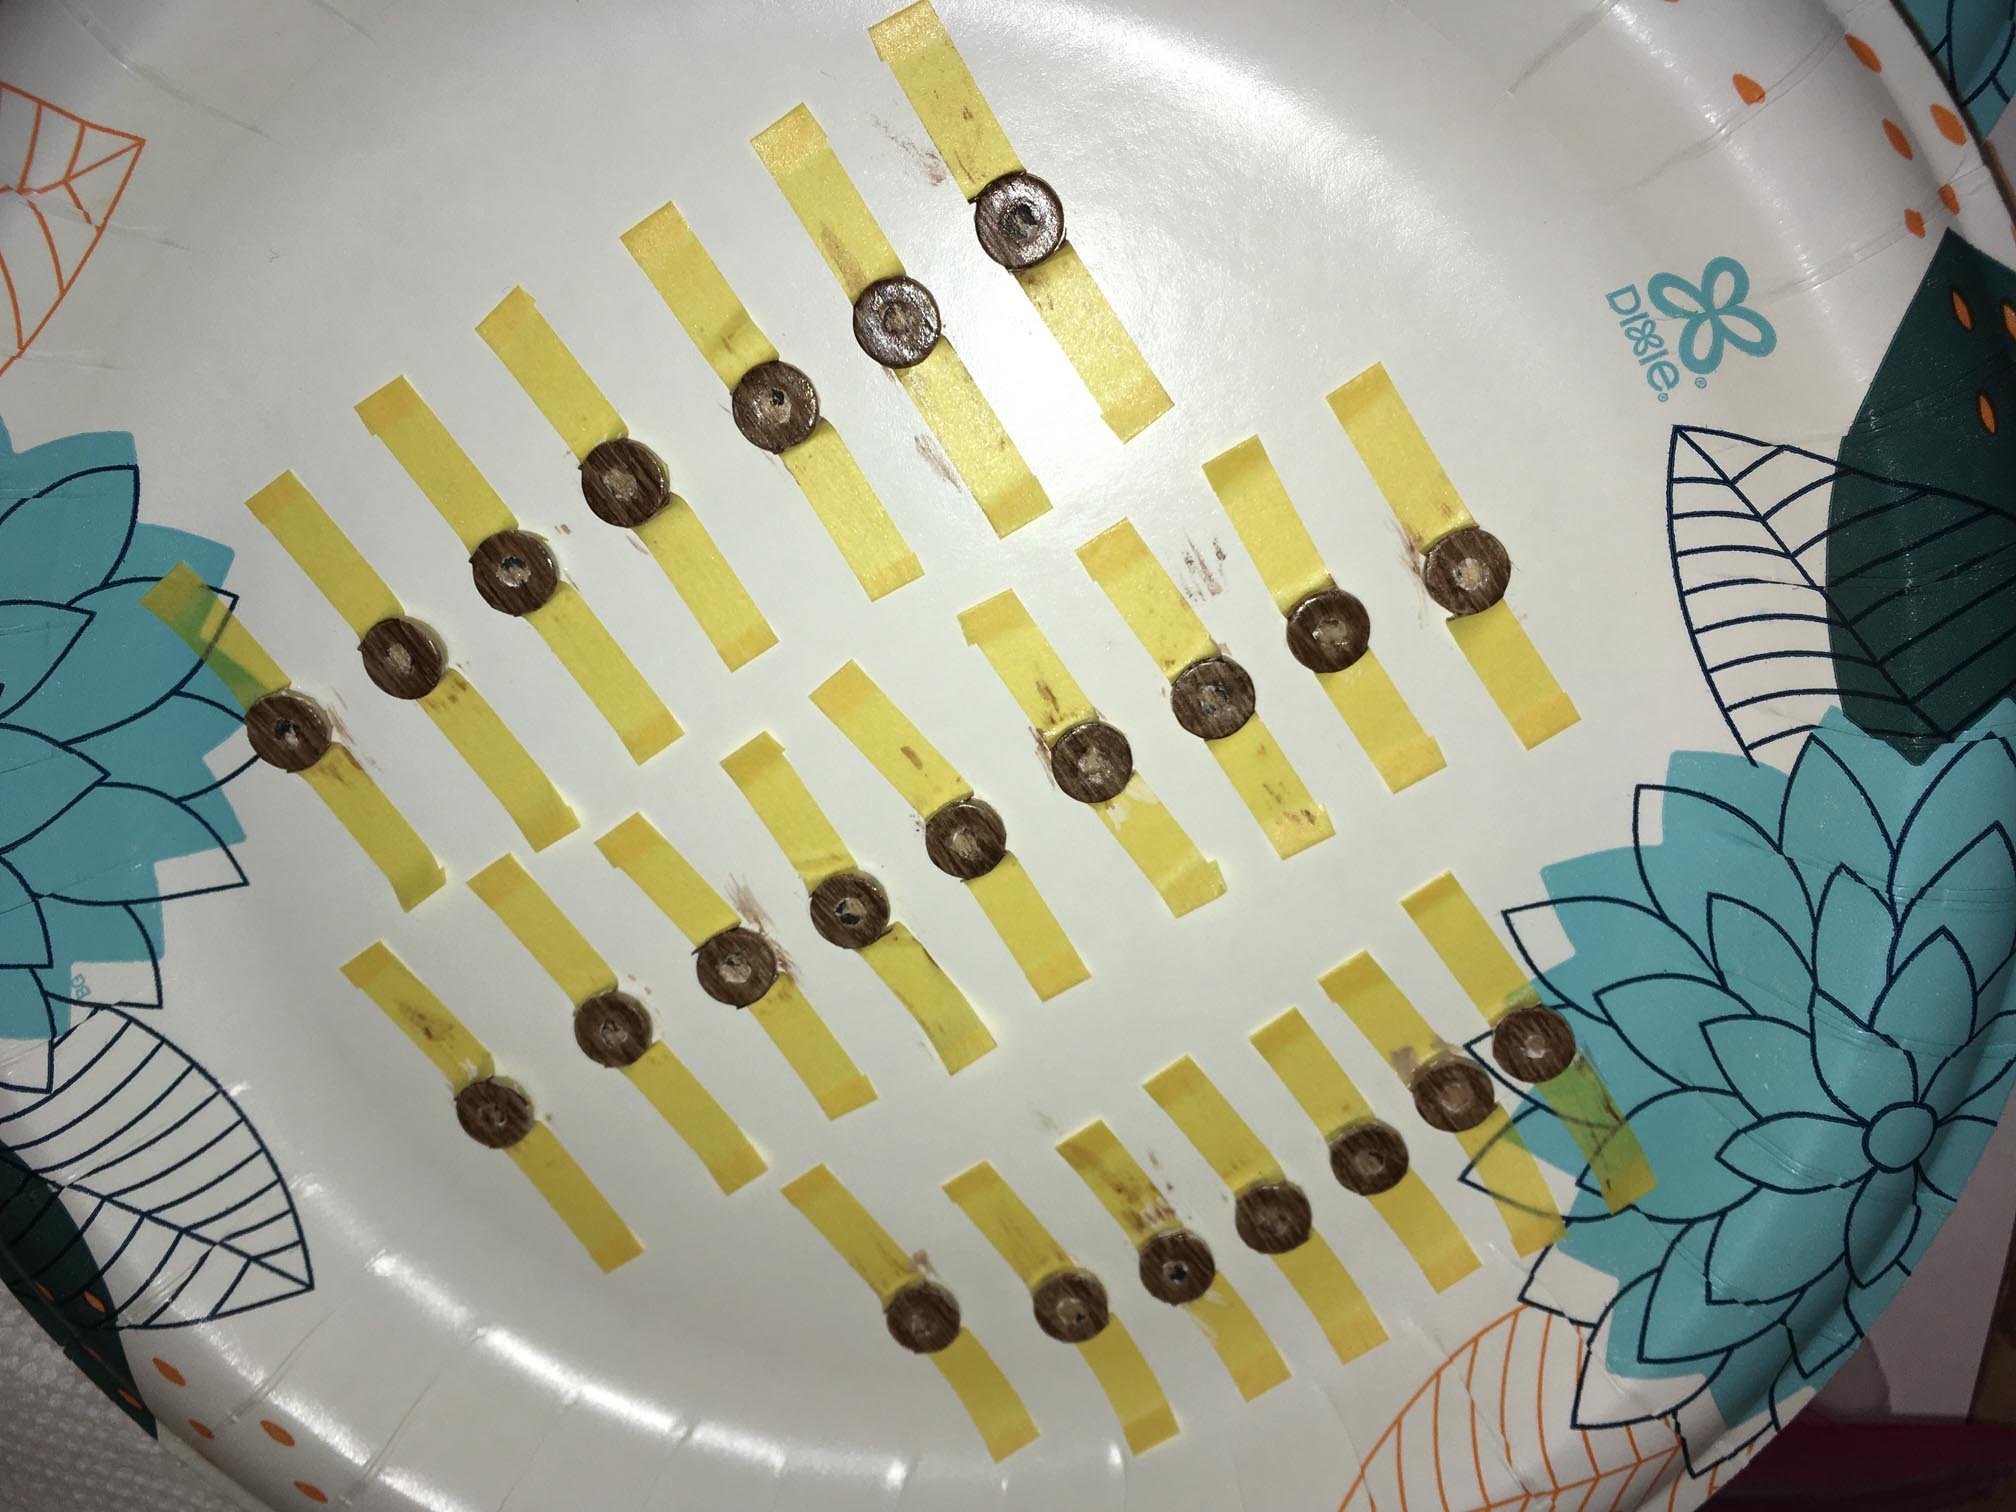
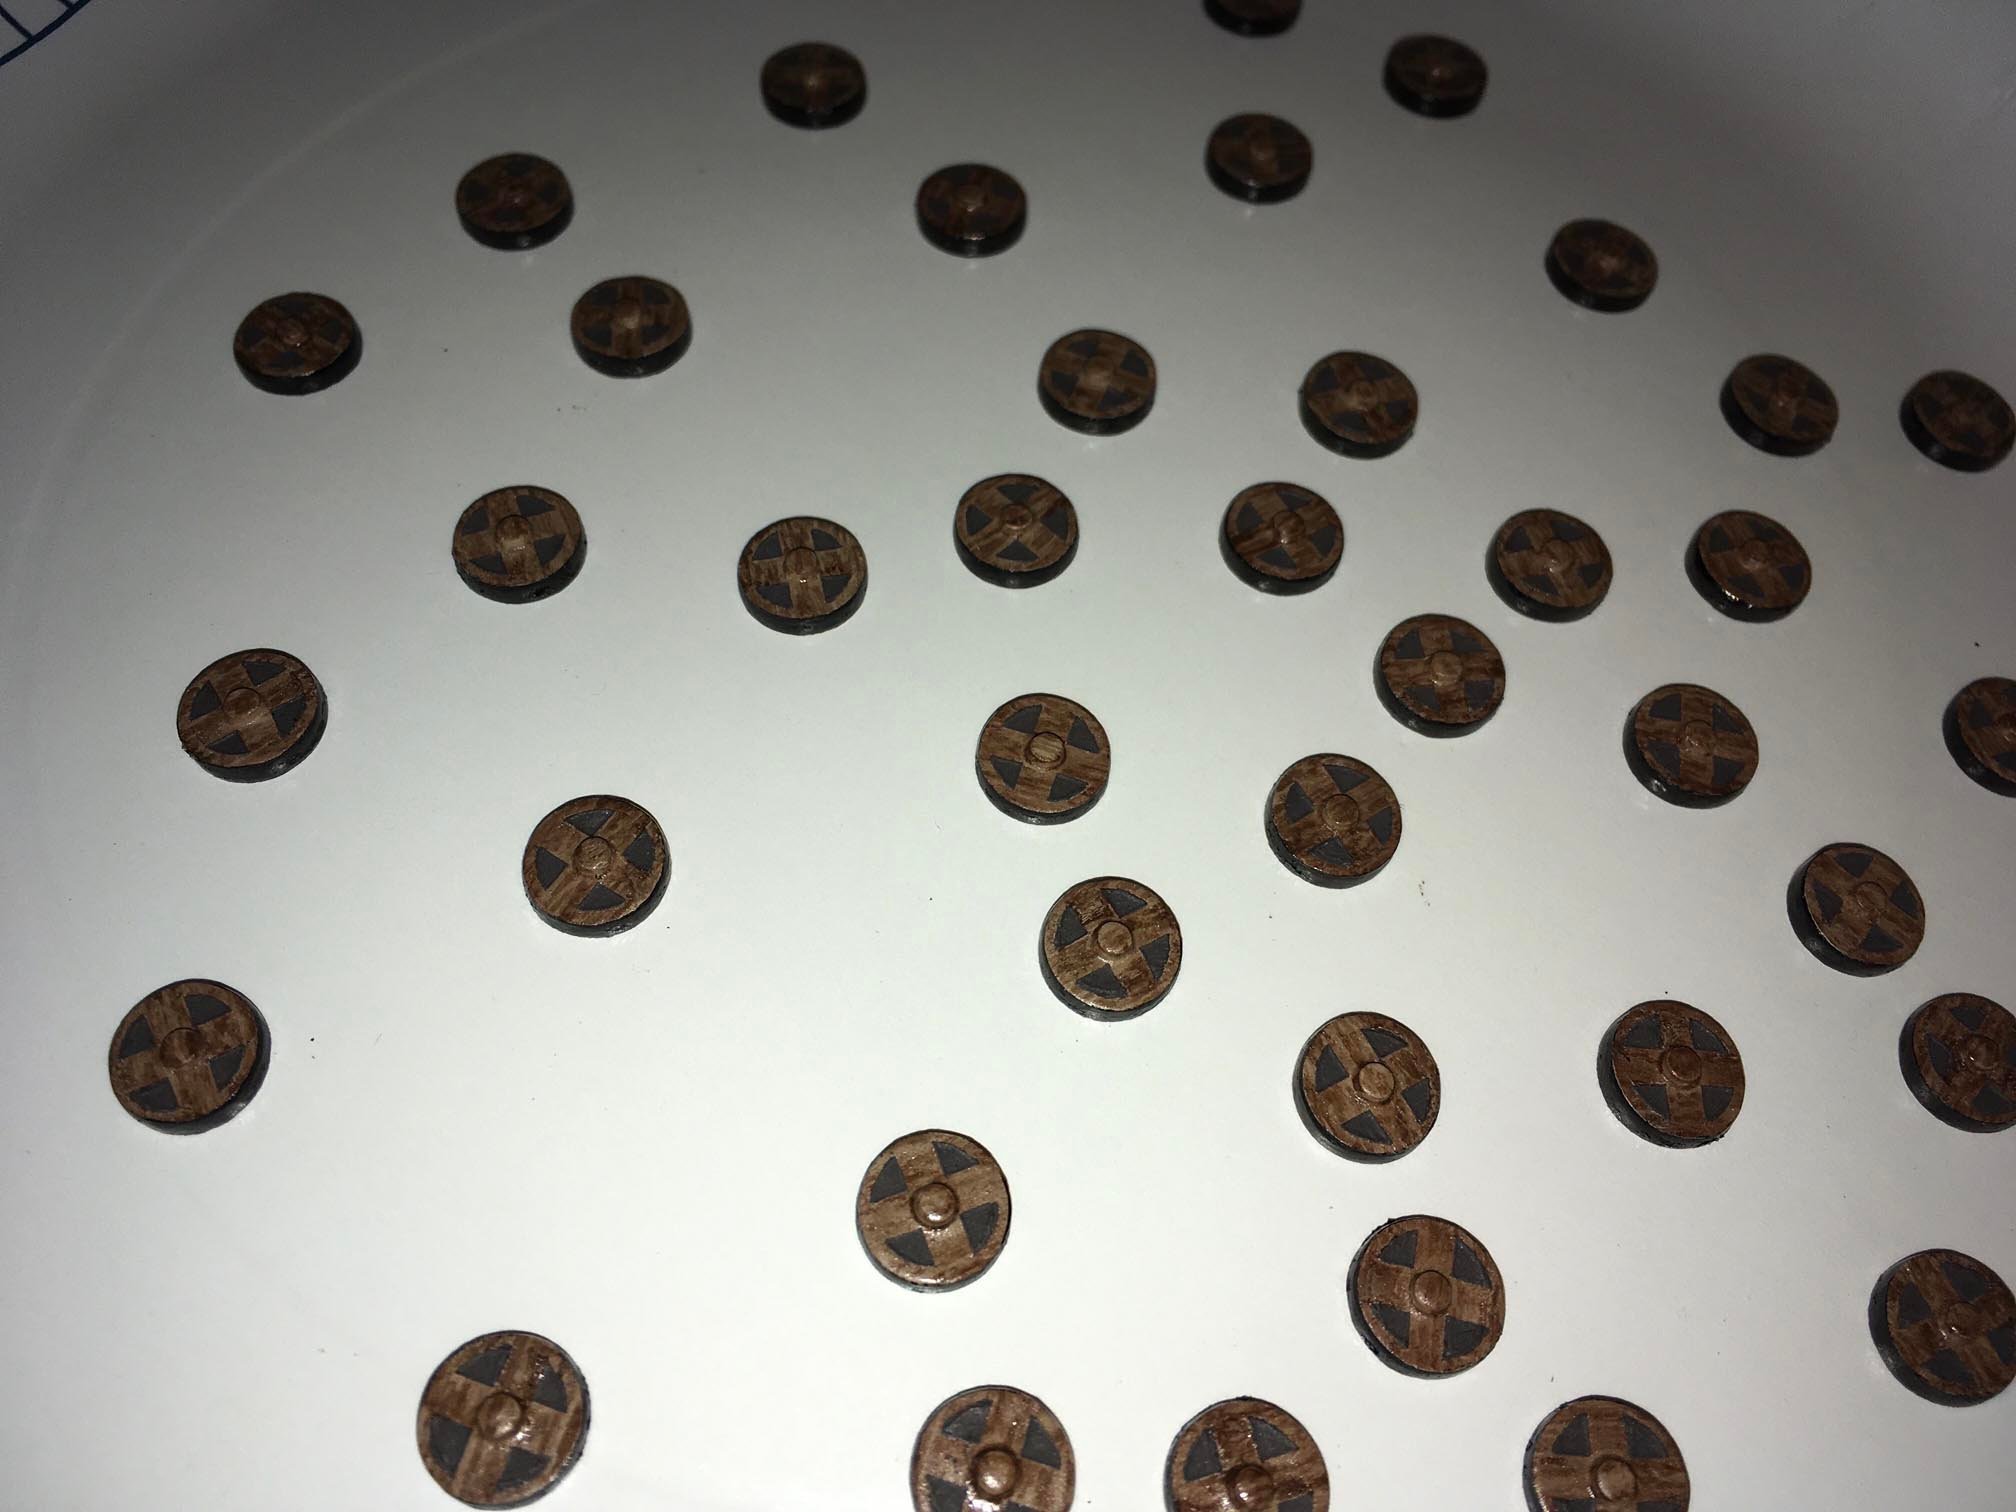
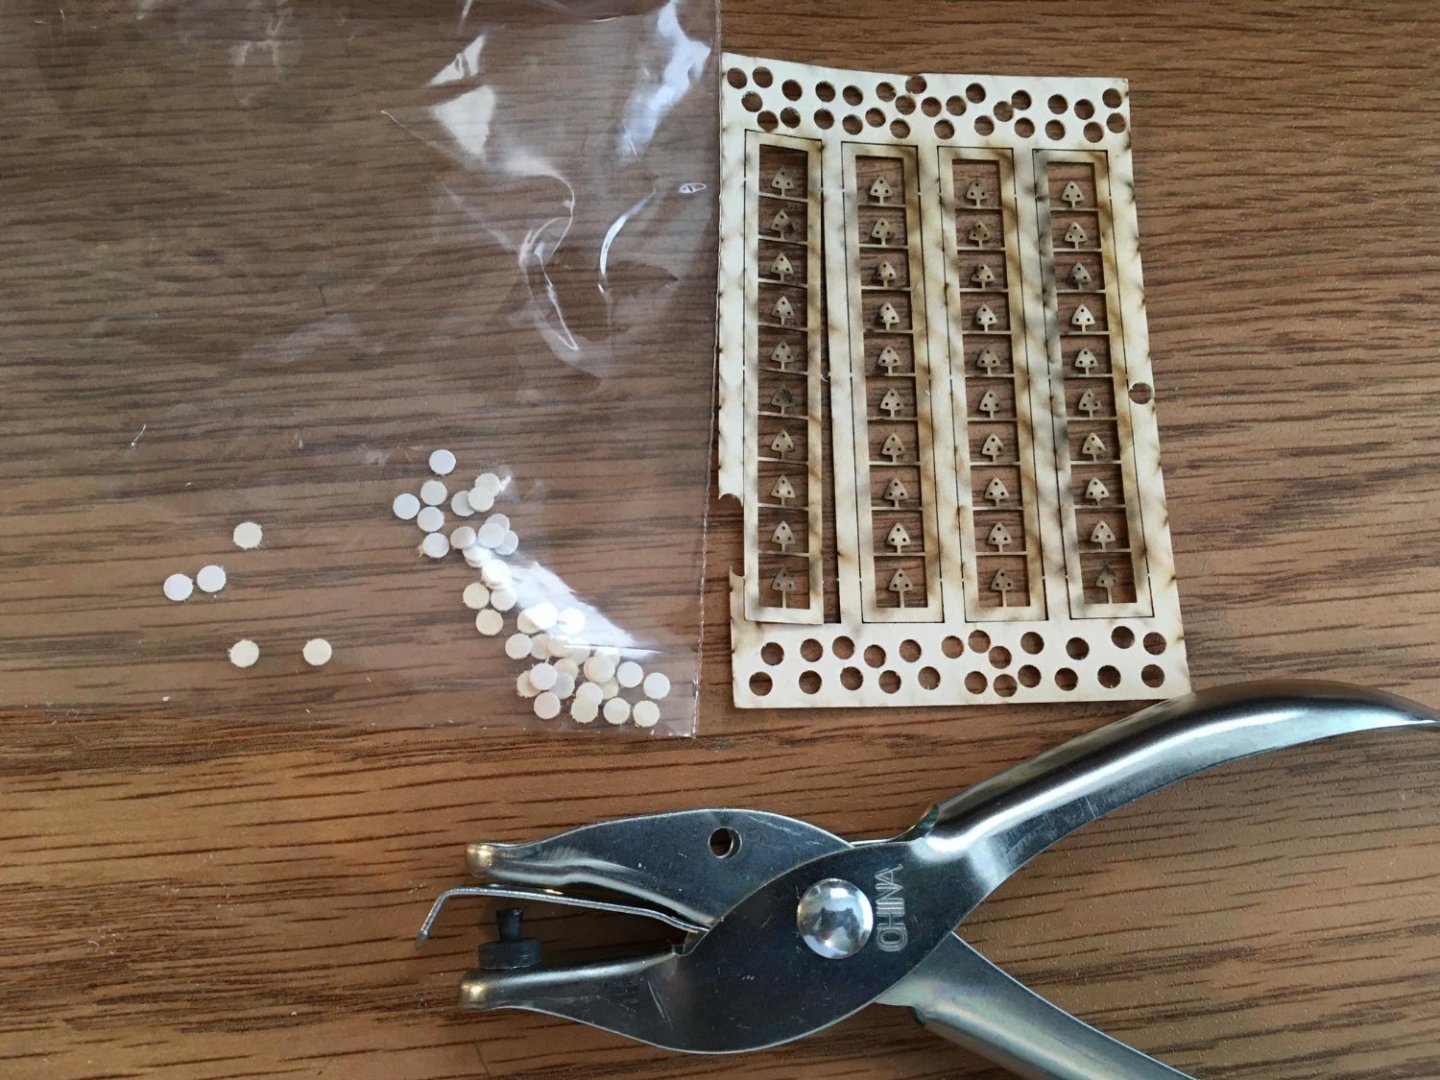
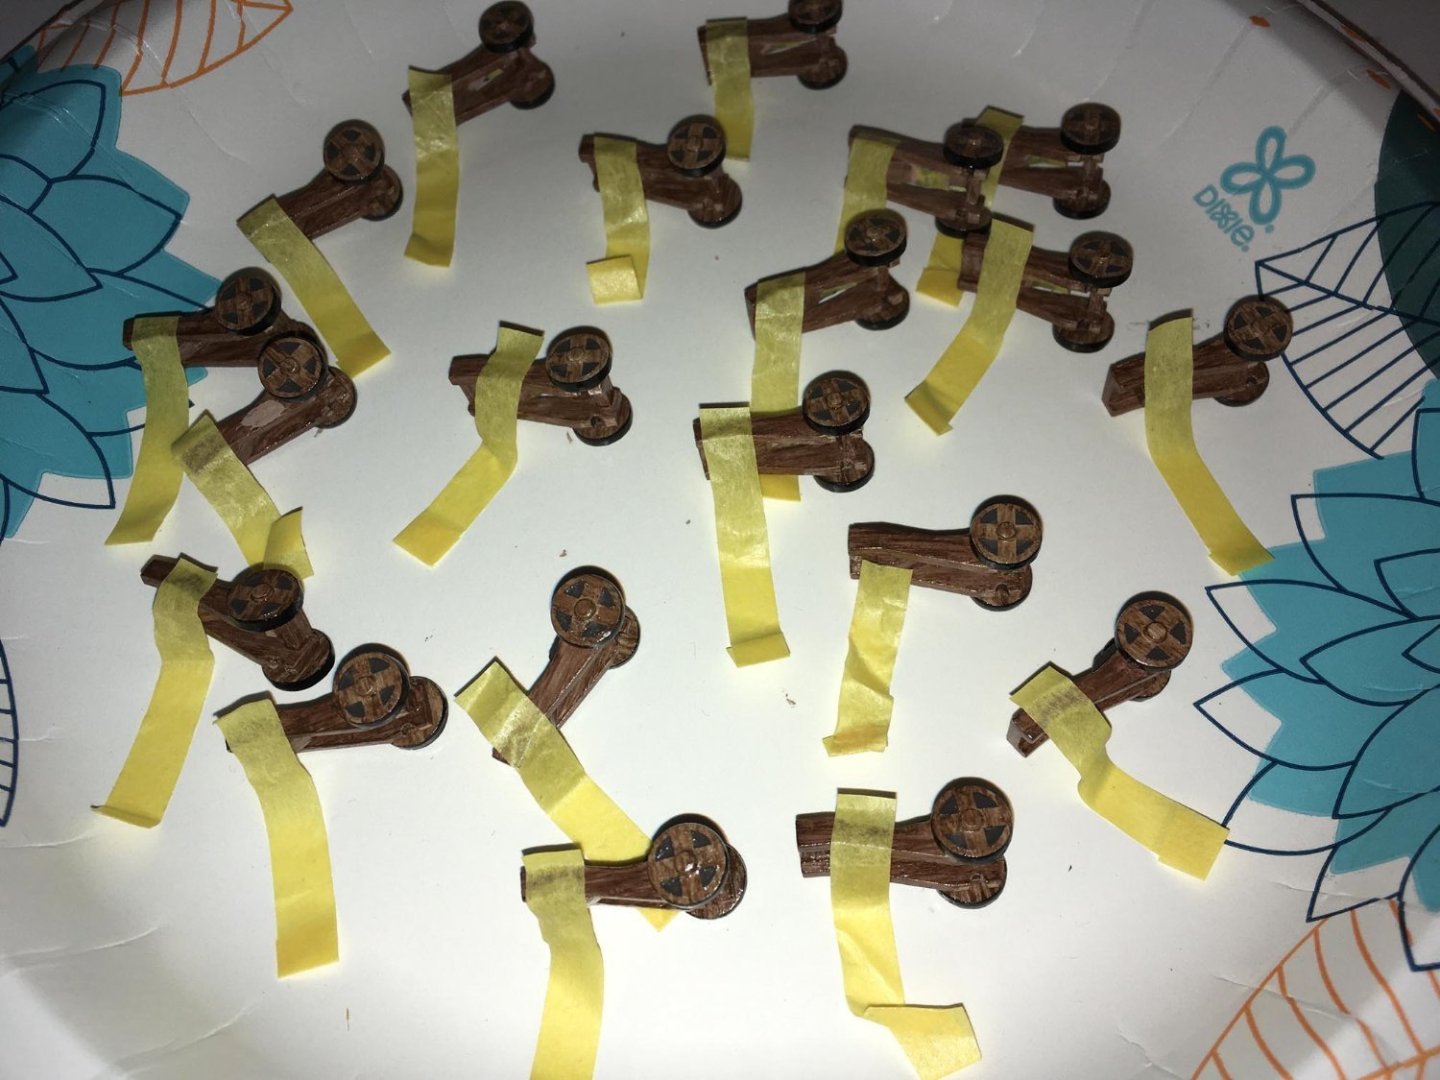
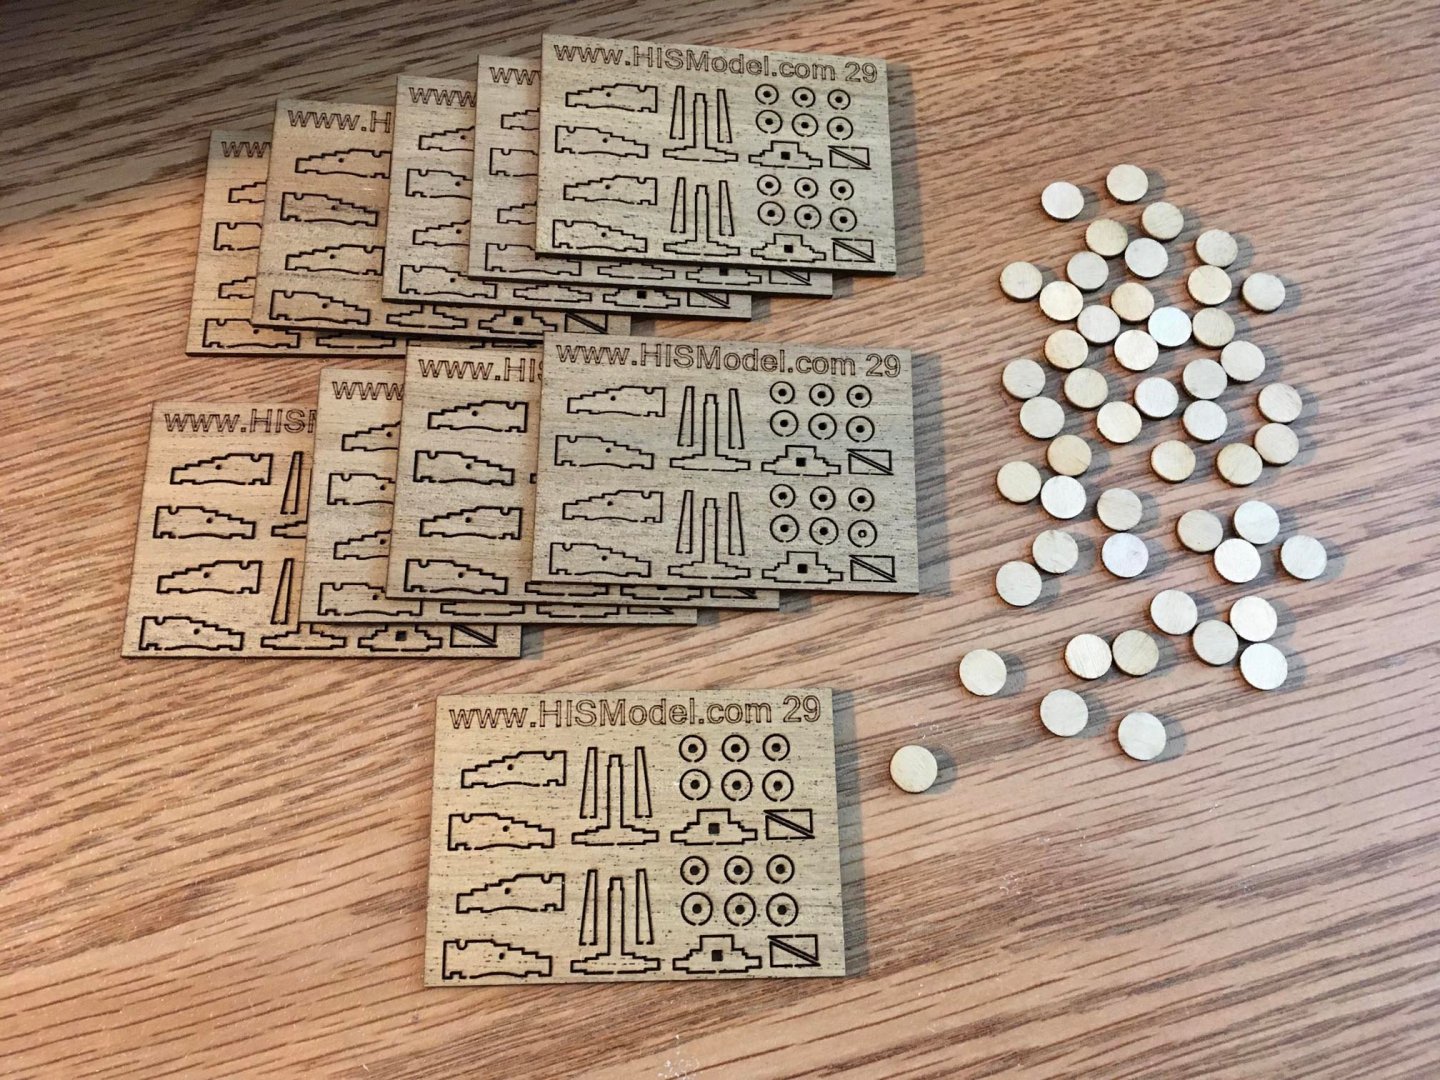
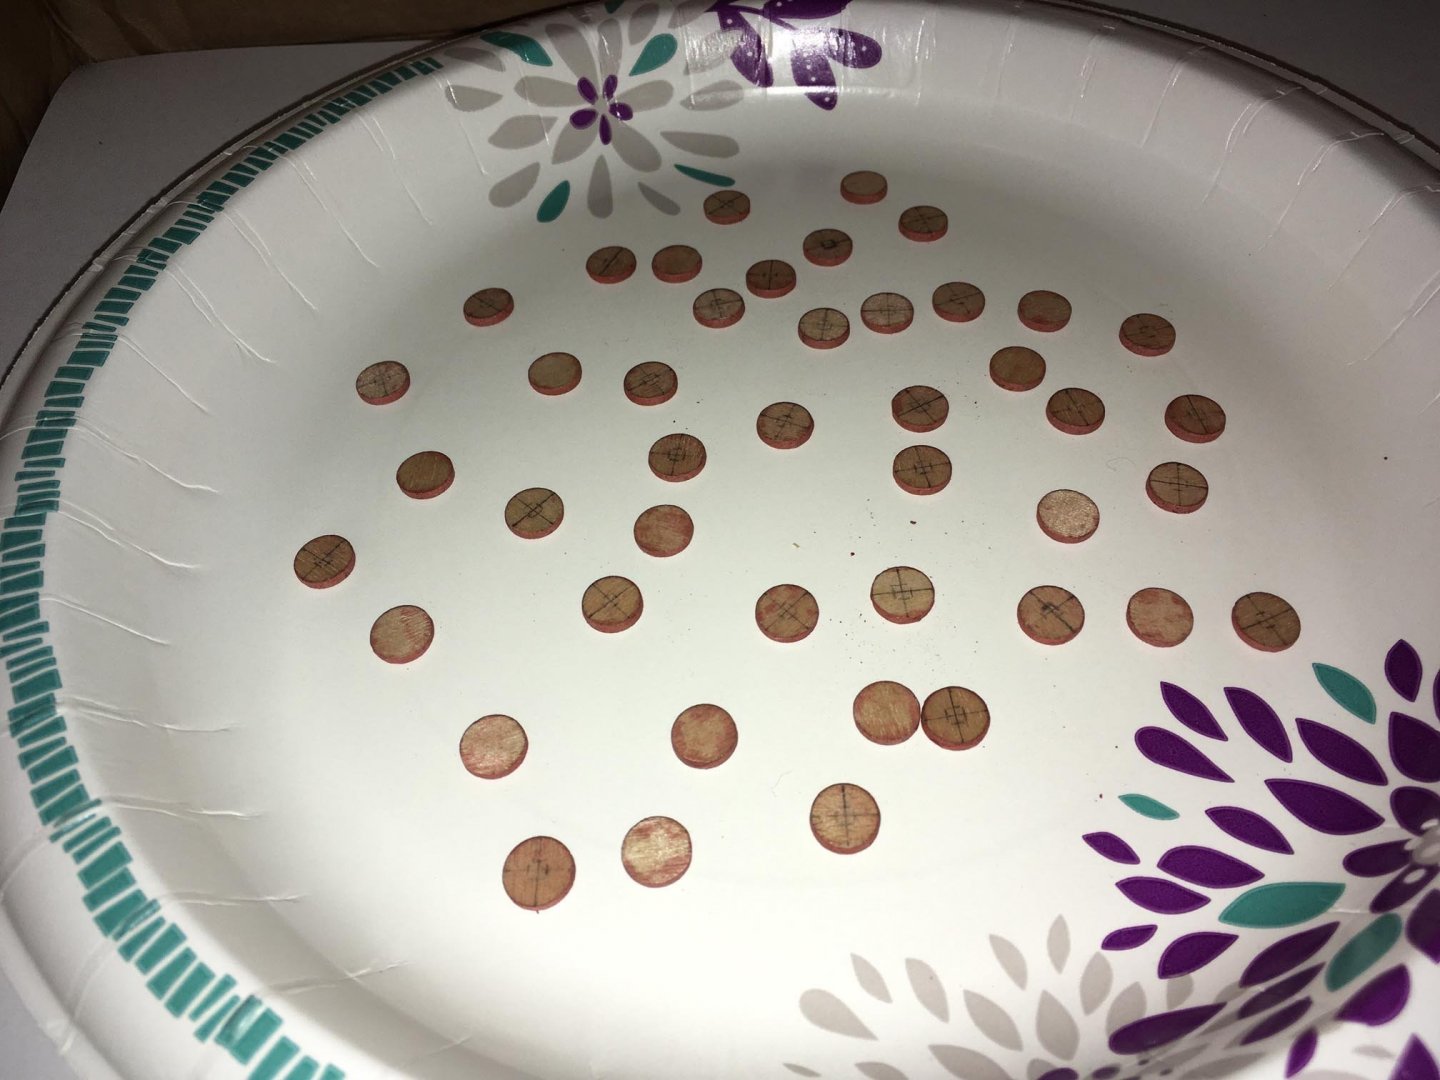
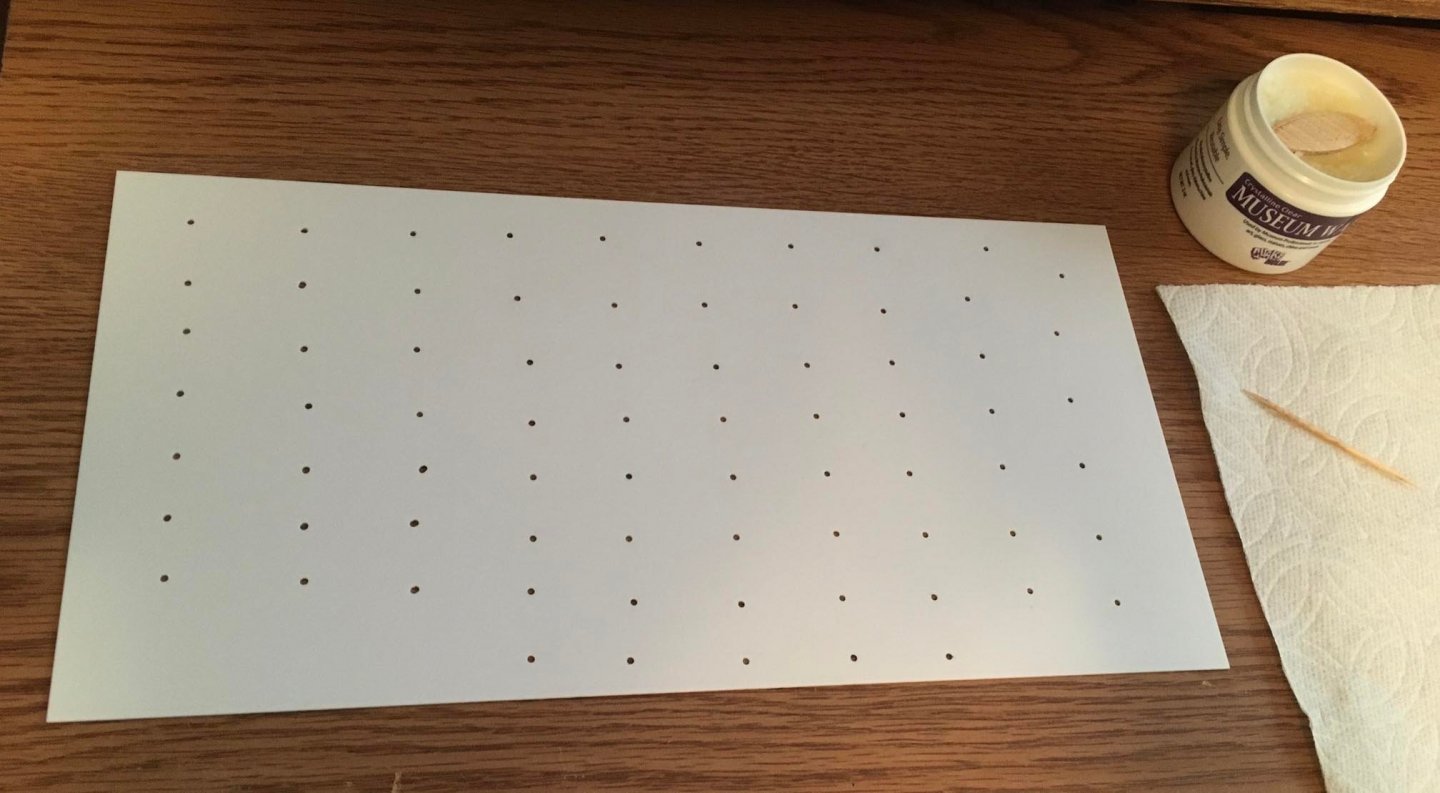
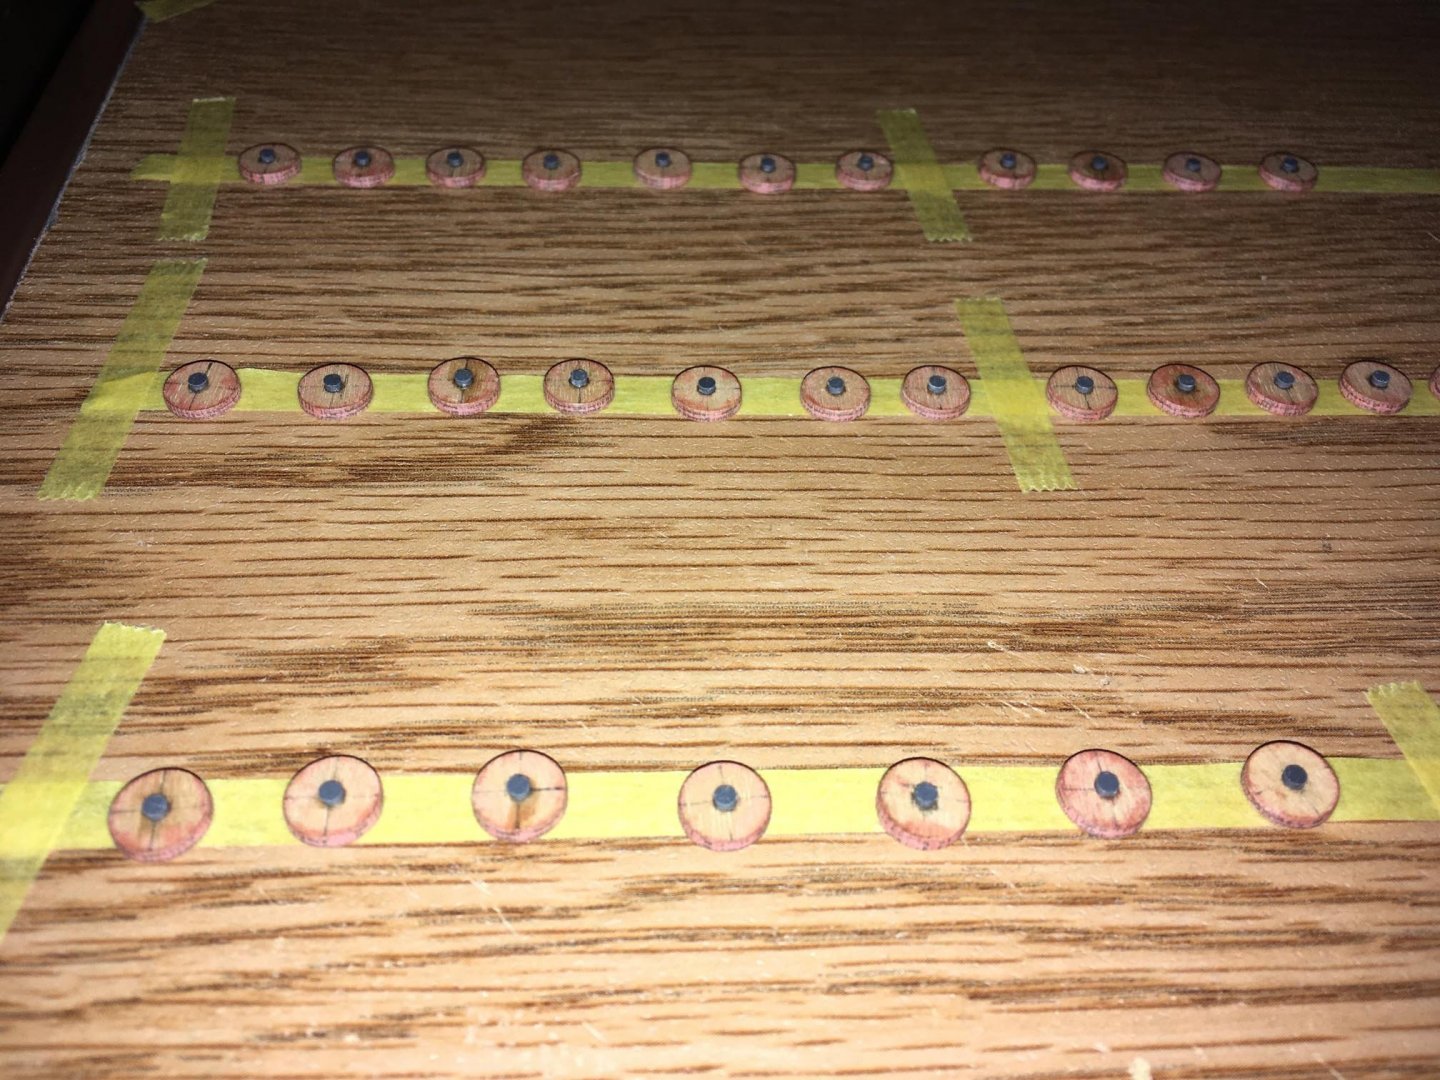
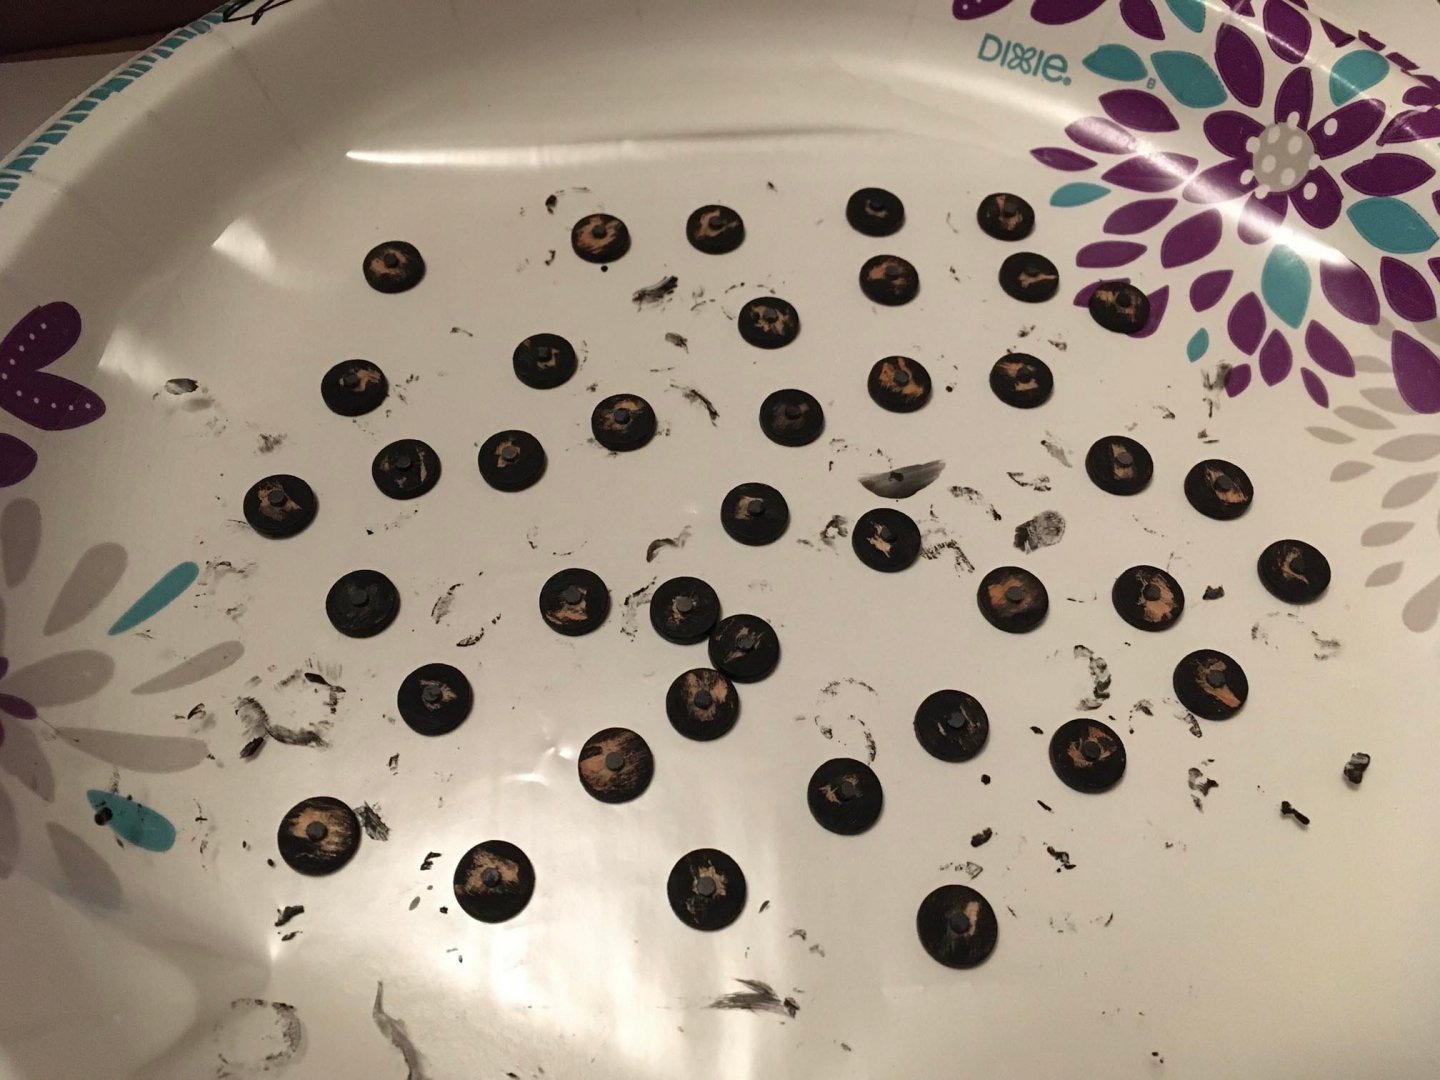
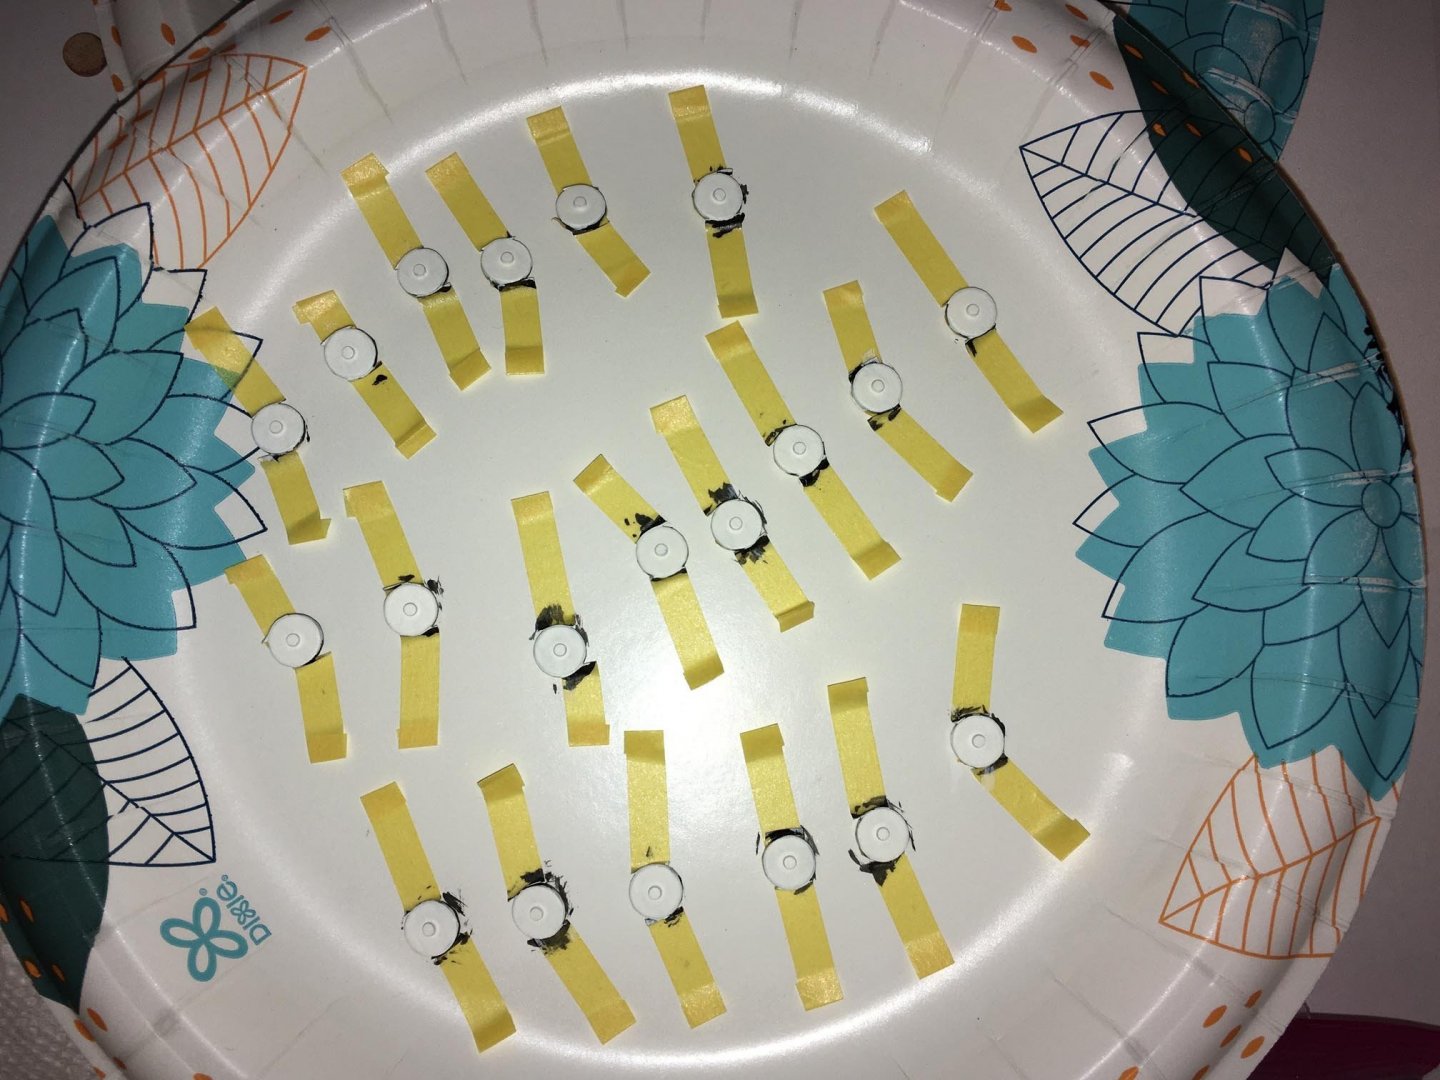
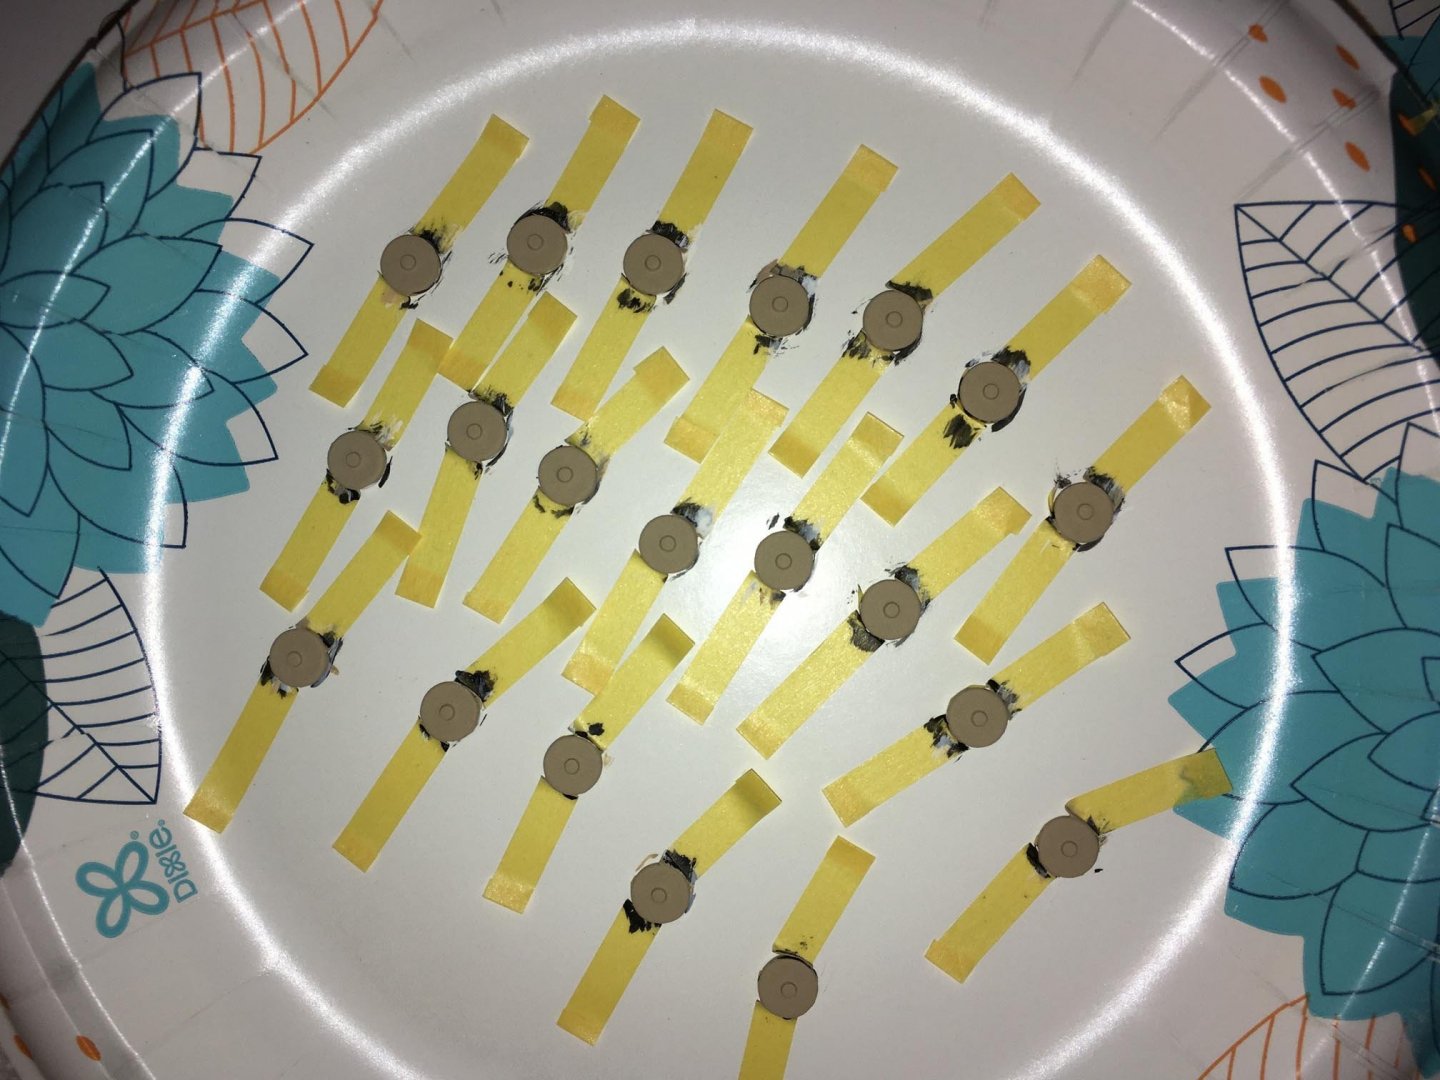
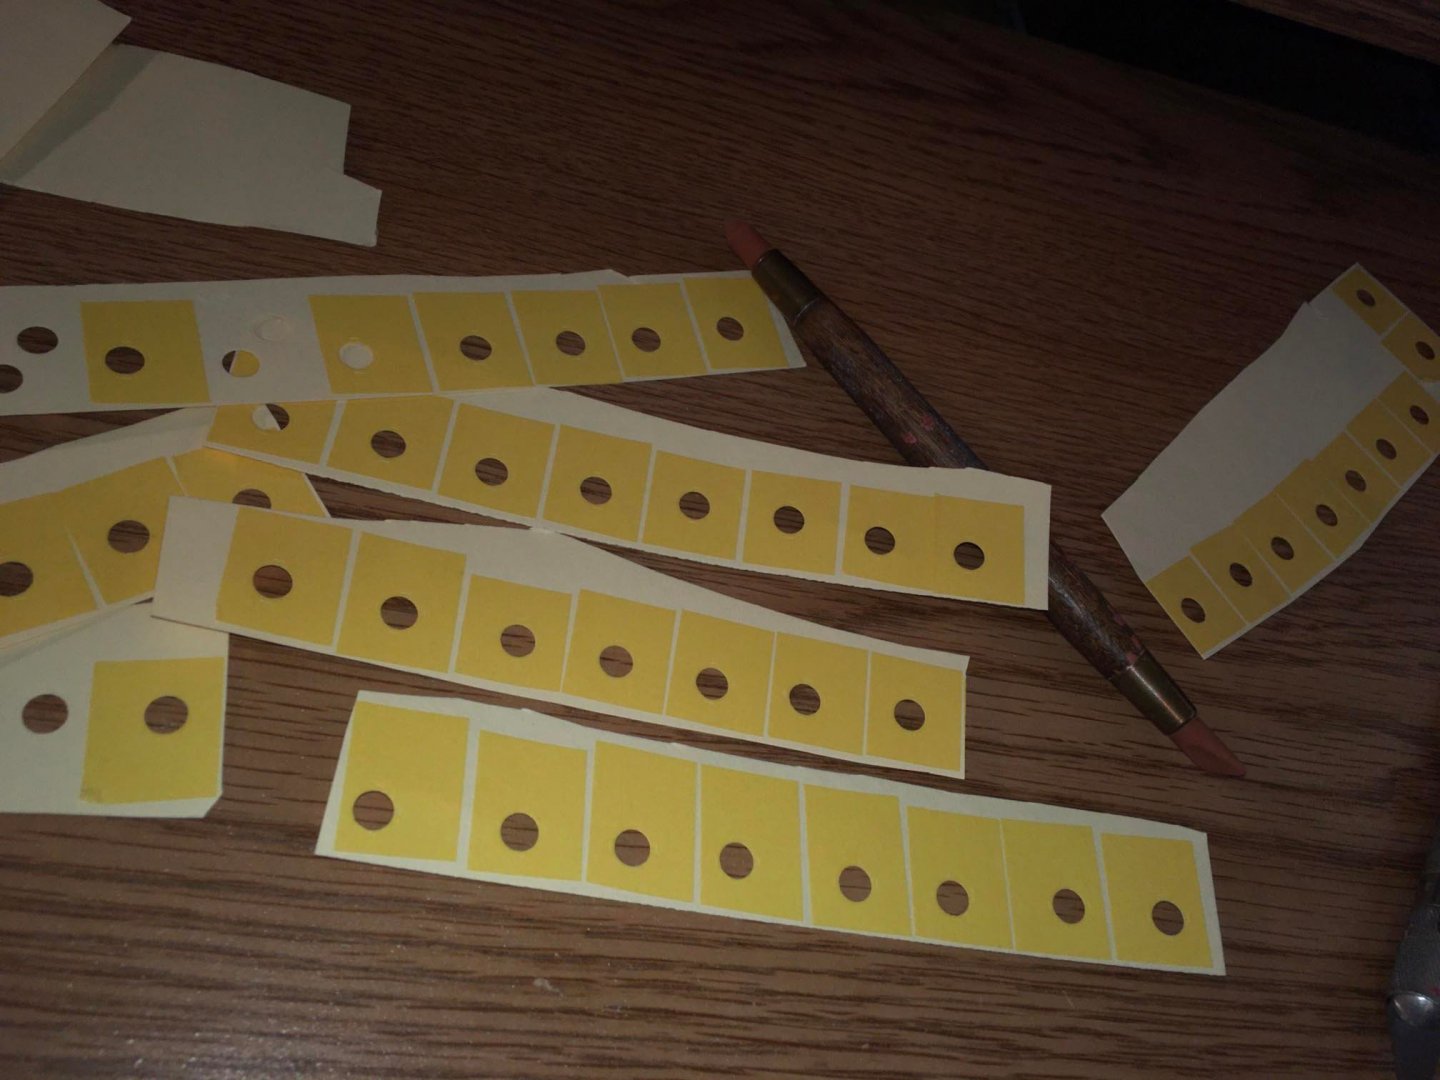
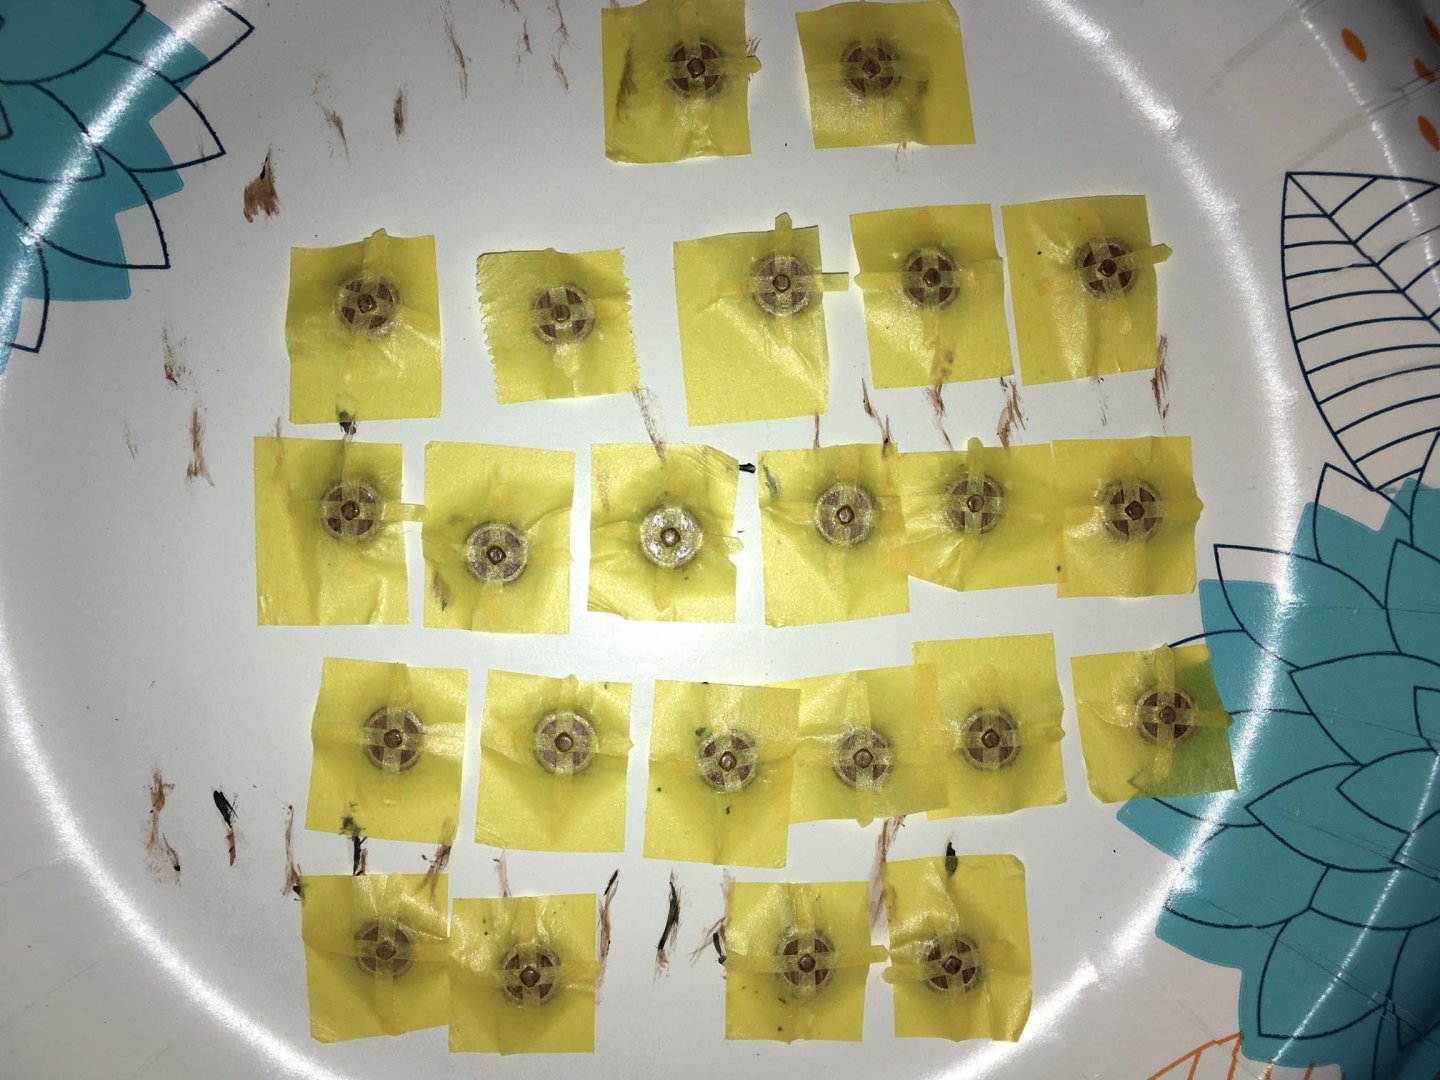
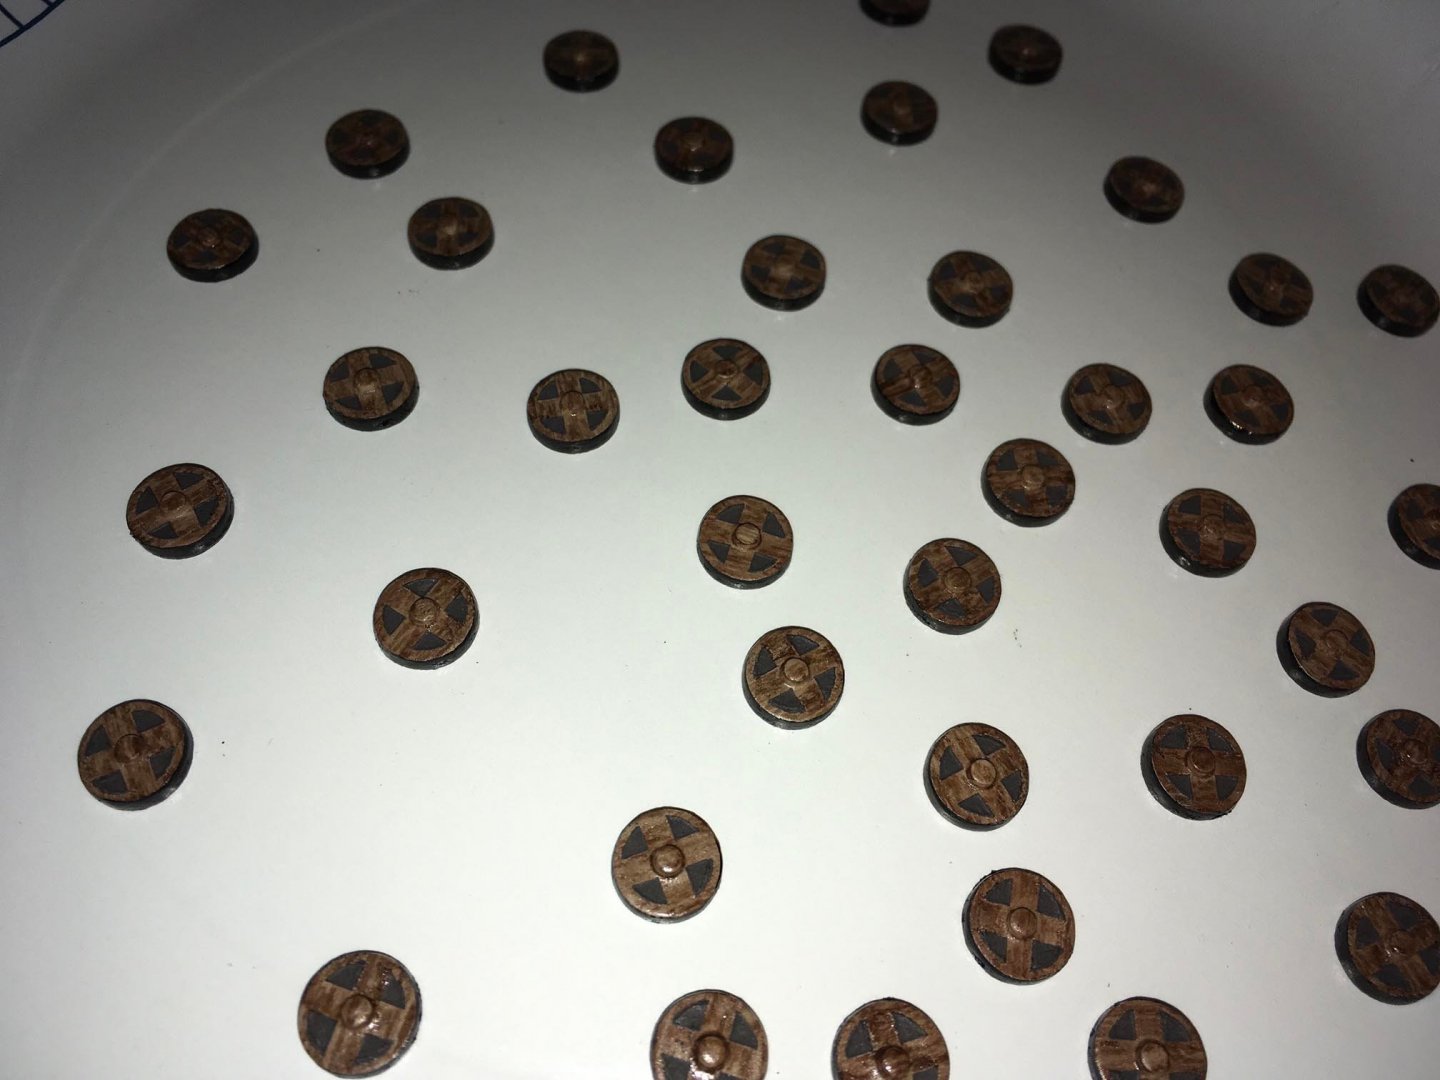
Here is my experience so far with trying to recreate gun carriages to replace the ones that warped. I ordered some wooden gun carriage kits that will fit the brass cannons. These gun carriages are designed for H.M.S. Victory, so I will need to modify them a bit to make them resemble 16-17th century Spanish naval gun carriages. The wheels for the carriages in these kits are too small for two-wheeled Spanish gun carriages, so I also ordered 8 mm laser-cut wooden disks (seen to the right in the above photo) to use for the wheels instead of those provided. The Falkonet Spanish gun carriages, which I did not order because they are of a larger scale, have laser cut-out spaces between the spokes of the wheels, but I do not have a good way of recreating something like that, so I am using them "whole", with simulated spokes. The disks had small ridges at the edges that appear to be artifact from the laser-cutting process. I need fairly smooth edges to simulate the iron outer rims of the wheels. So I puttied and sanded the edges to smooth them: I made cross-hairs on the disks so that I could center the hubs. I made the hubs for the wheels using a steel-filled epoxy that I placed into holes drilled in a sheet of styrene that I used for molds (a microcrystalline wax was used for a "mold release": You can see the dark grey epoxy in the holes, above. Here are the hubs, below: The hubs were glued to the disks: The outer rims were painted black and then masked: After I painted more black near the edges of the tape to prevent a lighter color from bleeding under it, I applied a coat of white, then tan, then a brown wash for a simulated wood grain effect: Spanish naval cannons from the time period looked like "land cannons", with two large spoked wheels. The spokes were broad, and there were four of them for each wheel, in a "cross" orientation: (The above photo, from Angus Konstam's book on the Spanish Galleon, has been referenced previously in this log.) To simulate the spaces between the spokes, I decided to paint a mixture of brown and black (to look like shadows on the carriage wood seen between the spokes). To mask off the rims of the wheels, I used a hole punch to punch circular holes in masking tape: The masking tape was applied to wheels: 2 mm masking tape was used to mask off the simulated spokes: The brown and black mixture was applied to the "spaces": Here are the wheels unmasked: To do the back sides of the wheels, I used a similar procedure, except that I omitted some steps. I did not do the simulated shadows between the spokes on the back sides, because not much of them will be showing as they will be glued to the carriage with spacers. The central areas of the back sides are left as bare wood so that the glue will hold: Here are some of the wheels after the back sides were completed and the black outer rims were "touched up". Eventually, they will have a matte sheen and some small "rust" areas will be added to the iron rims: The next project will be to make the carriages, adapting them to look more like the Spanish ones.


-
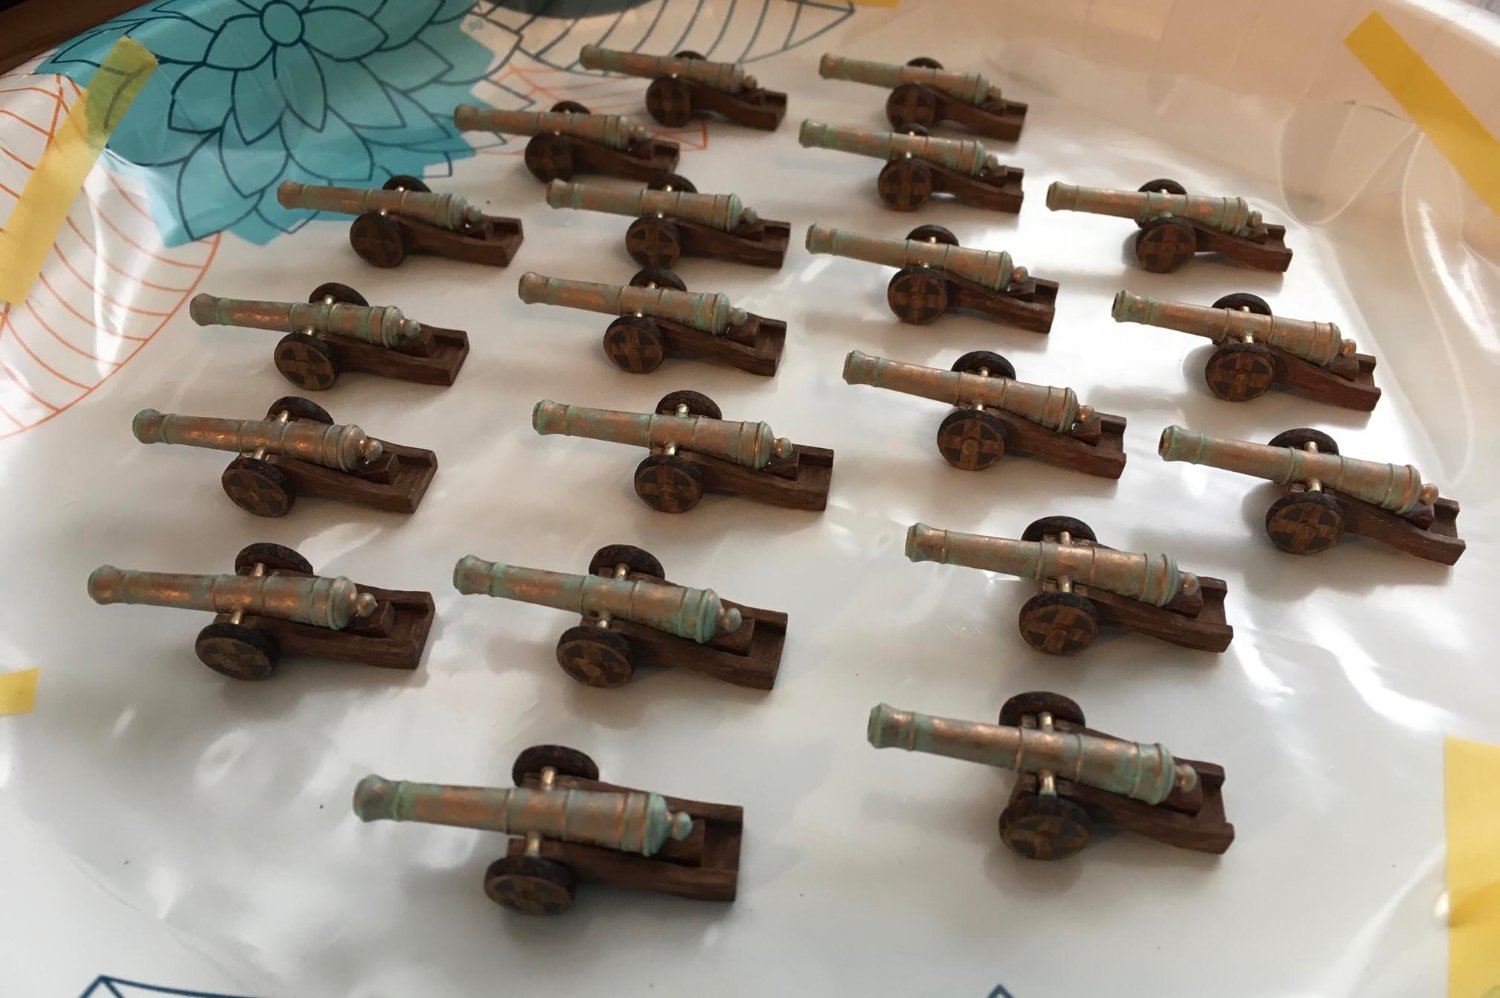
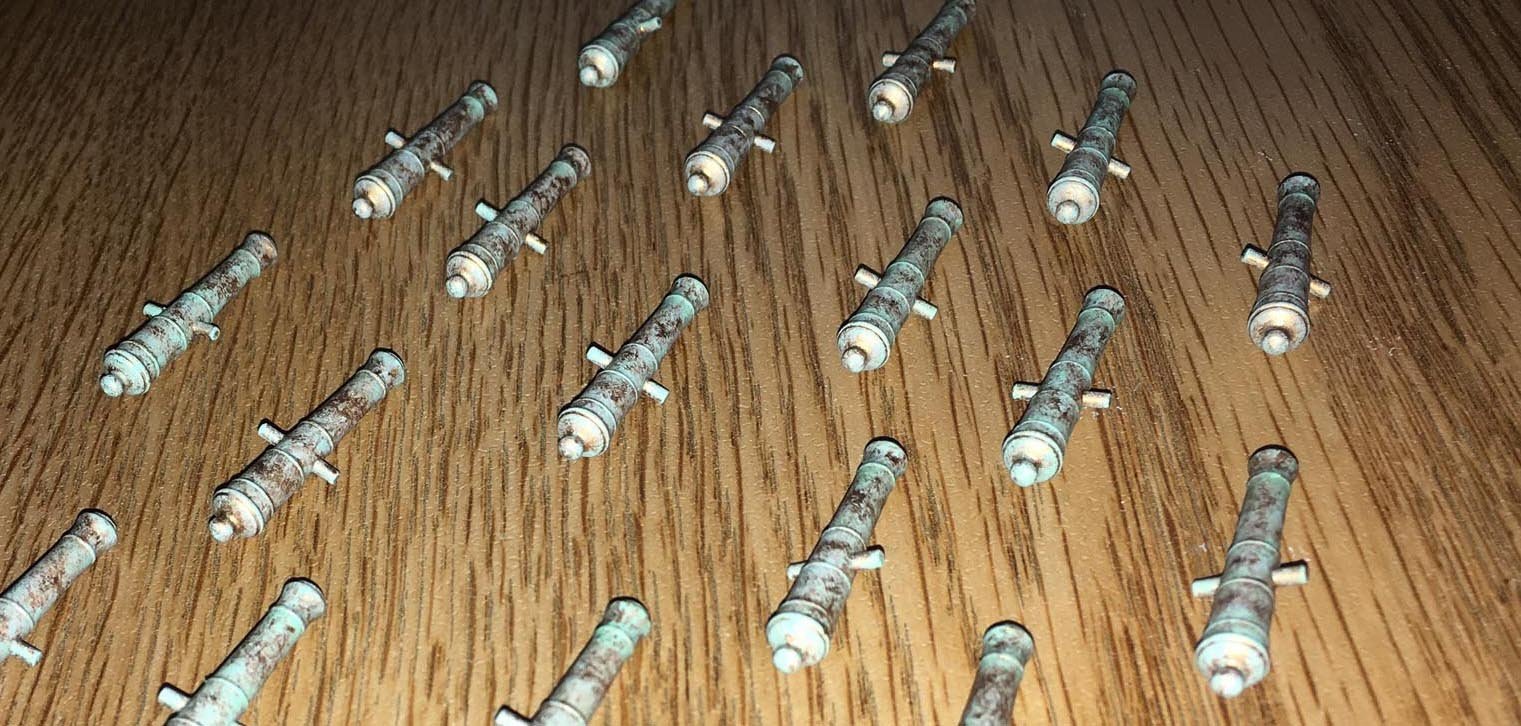
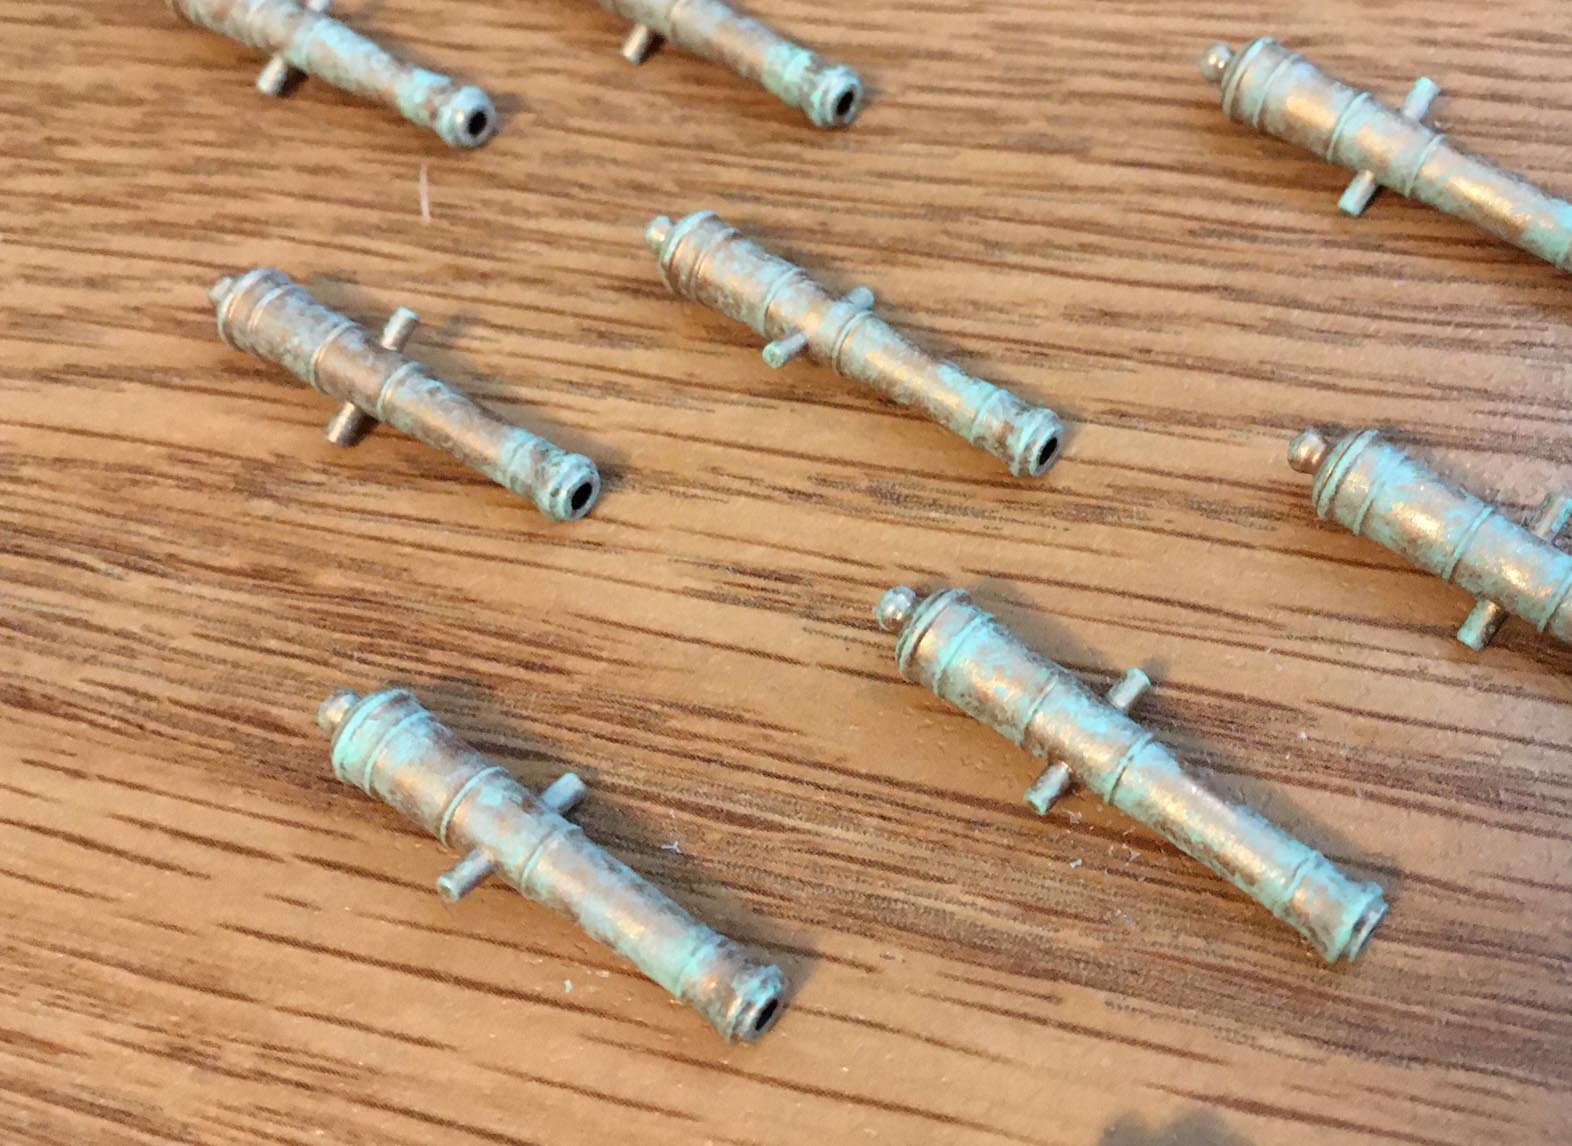
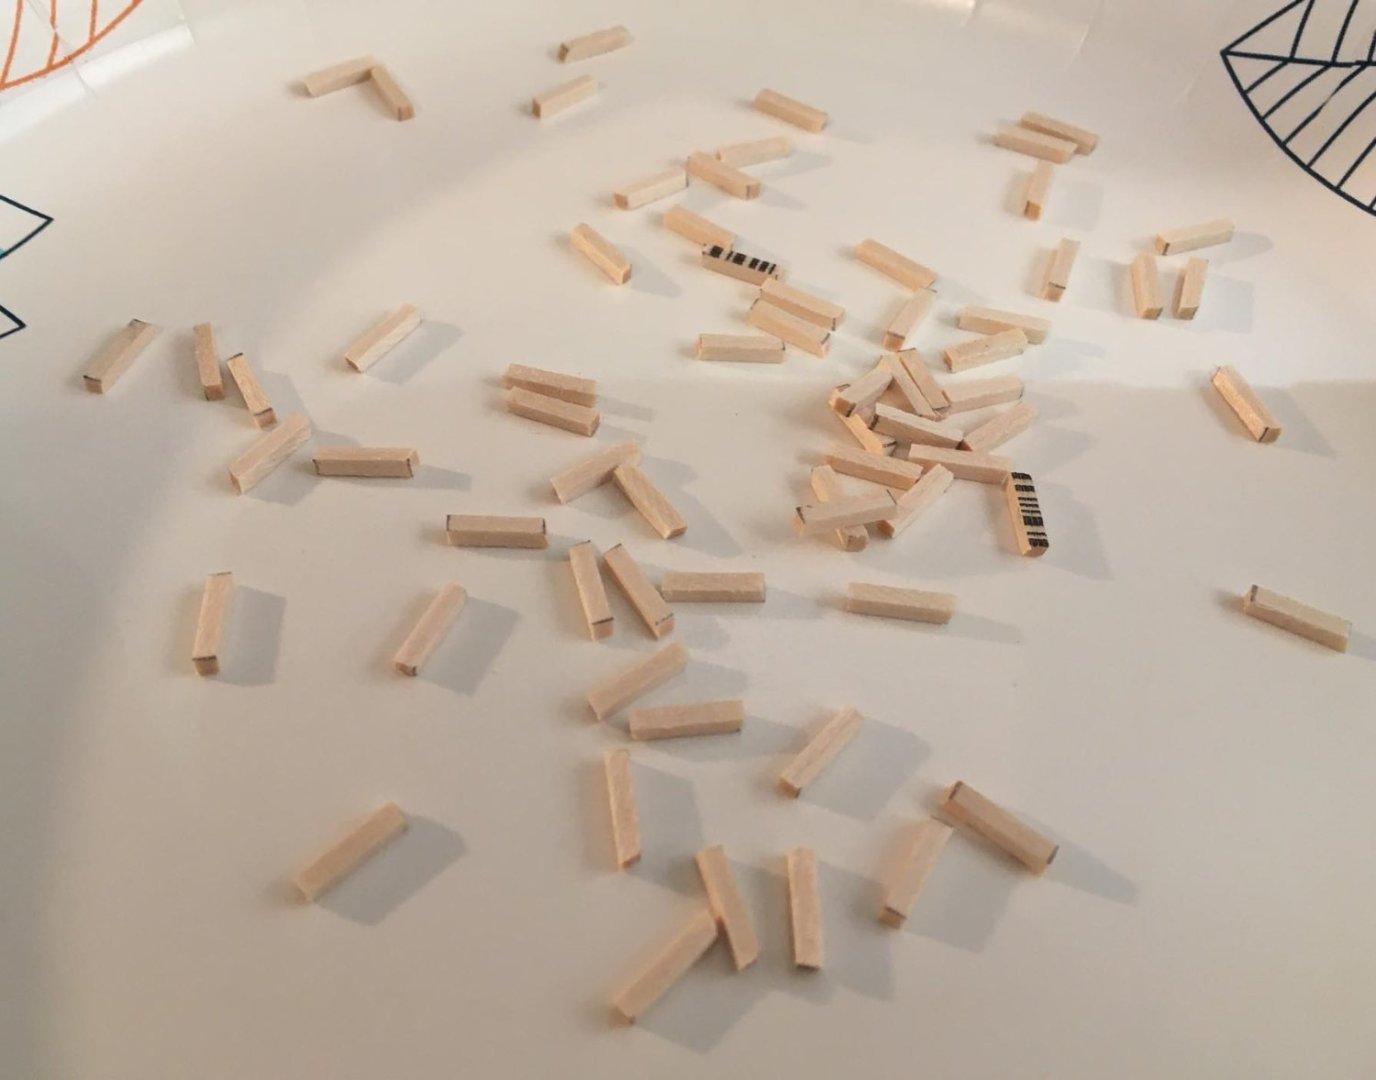
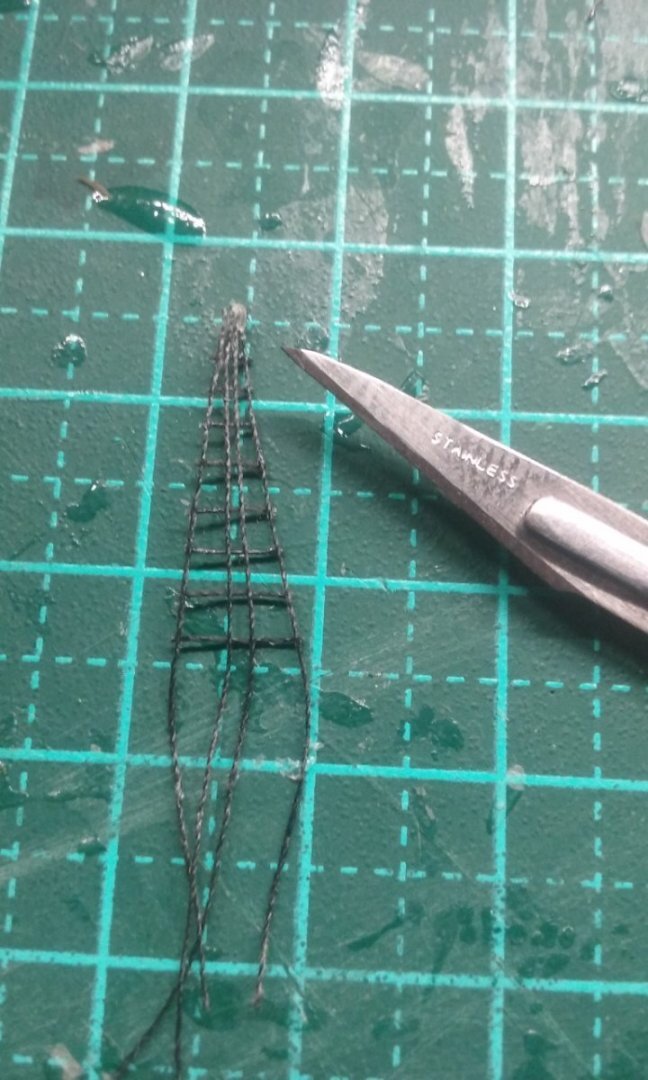
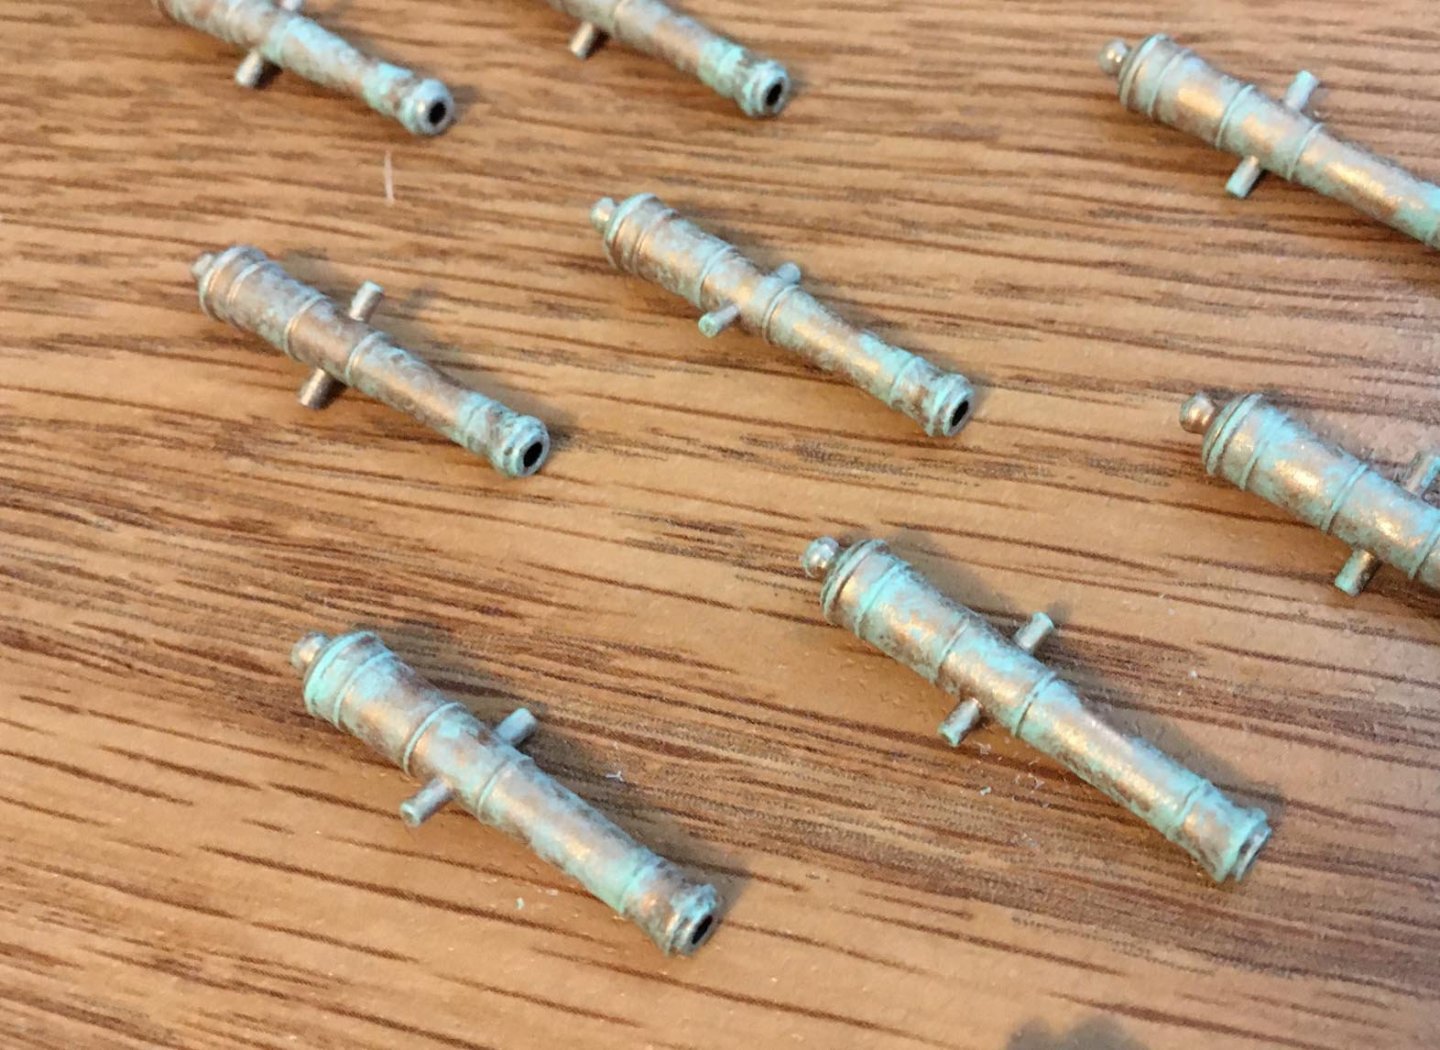
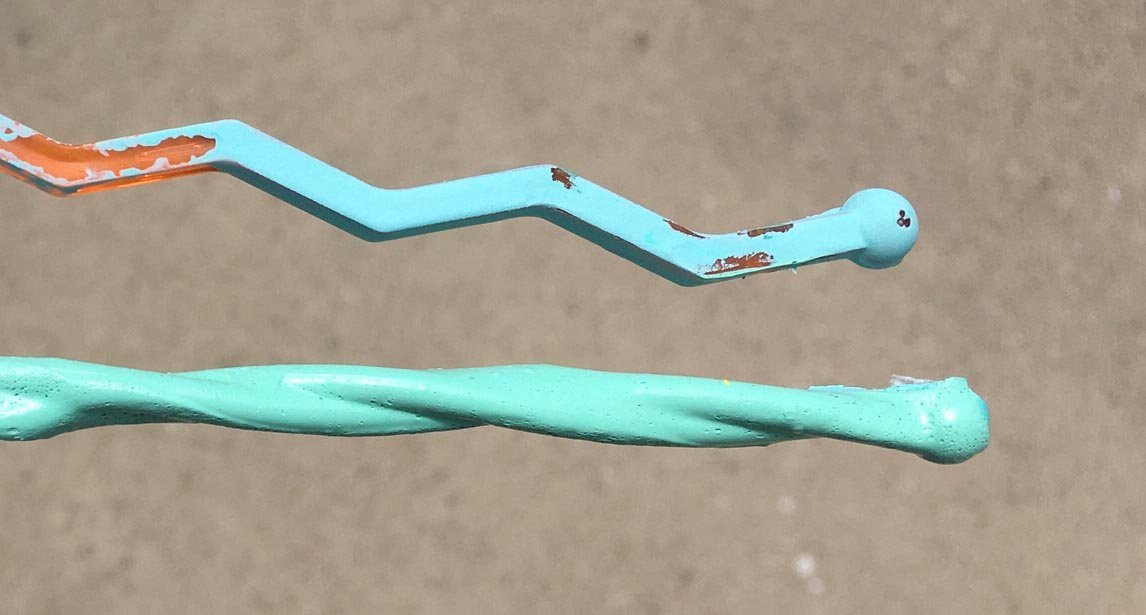
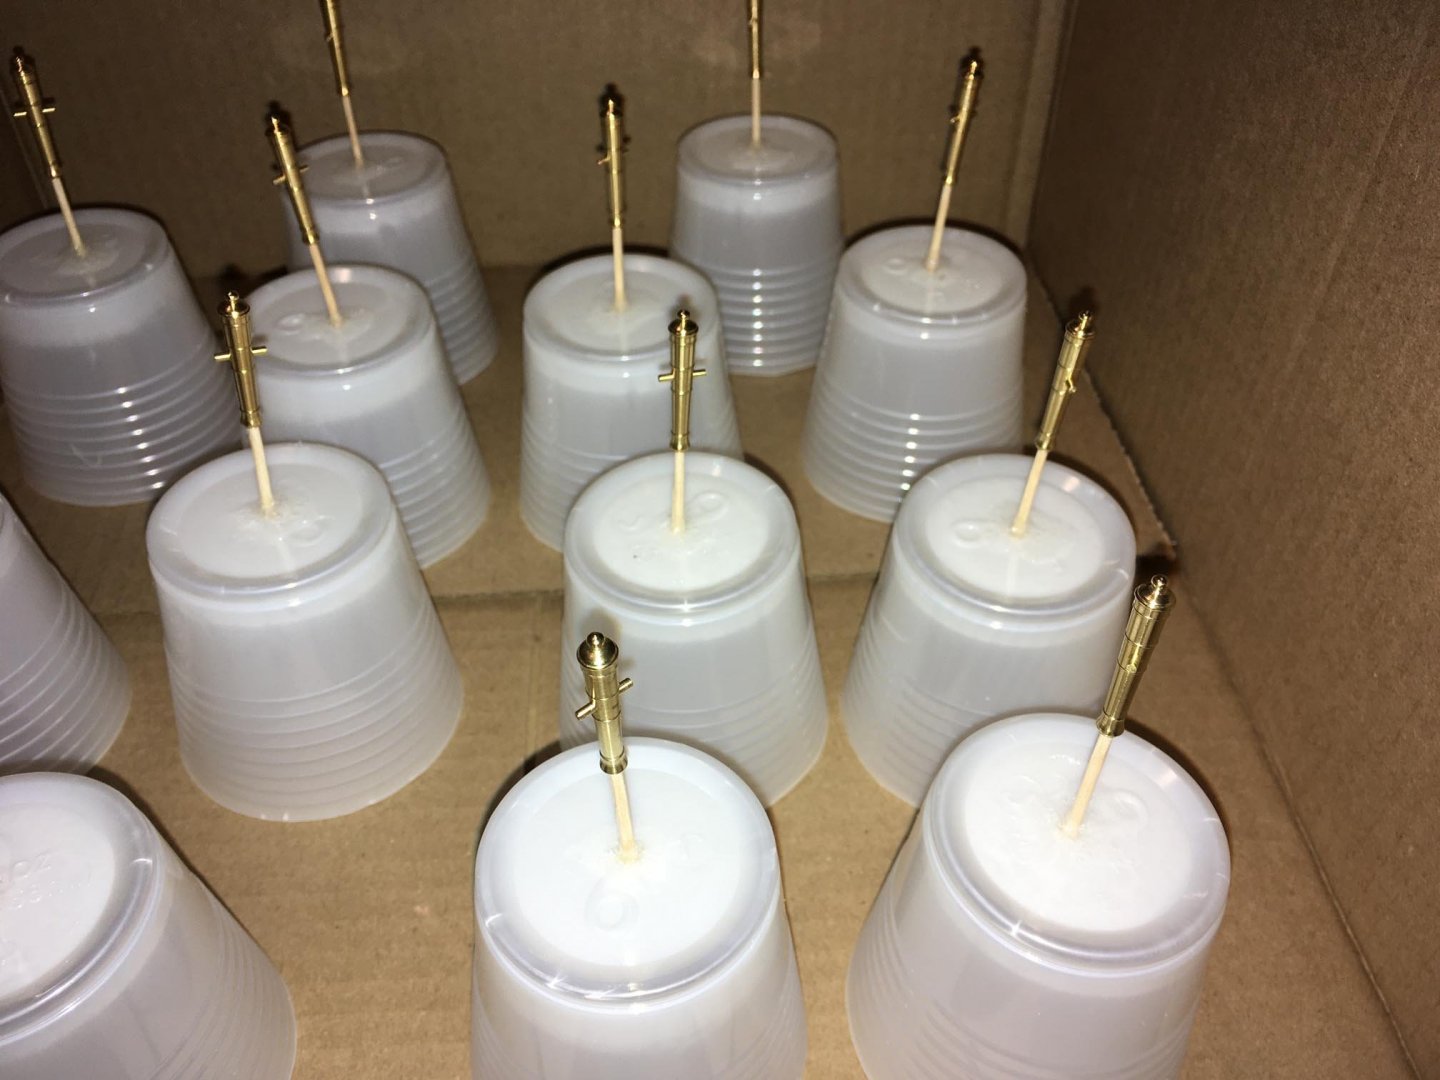
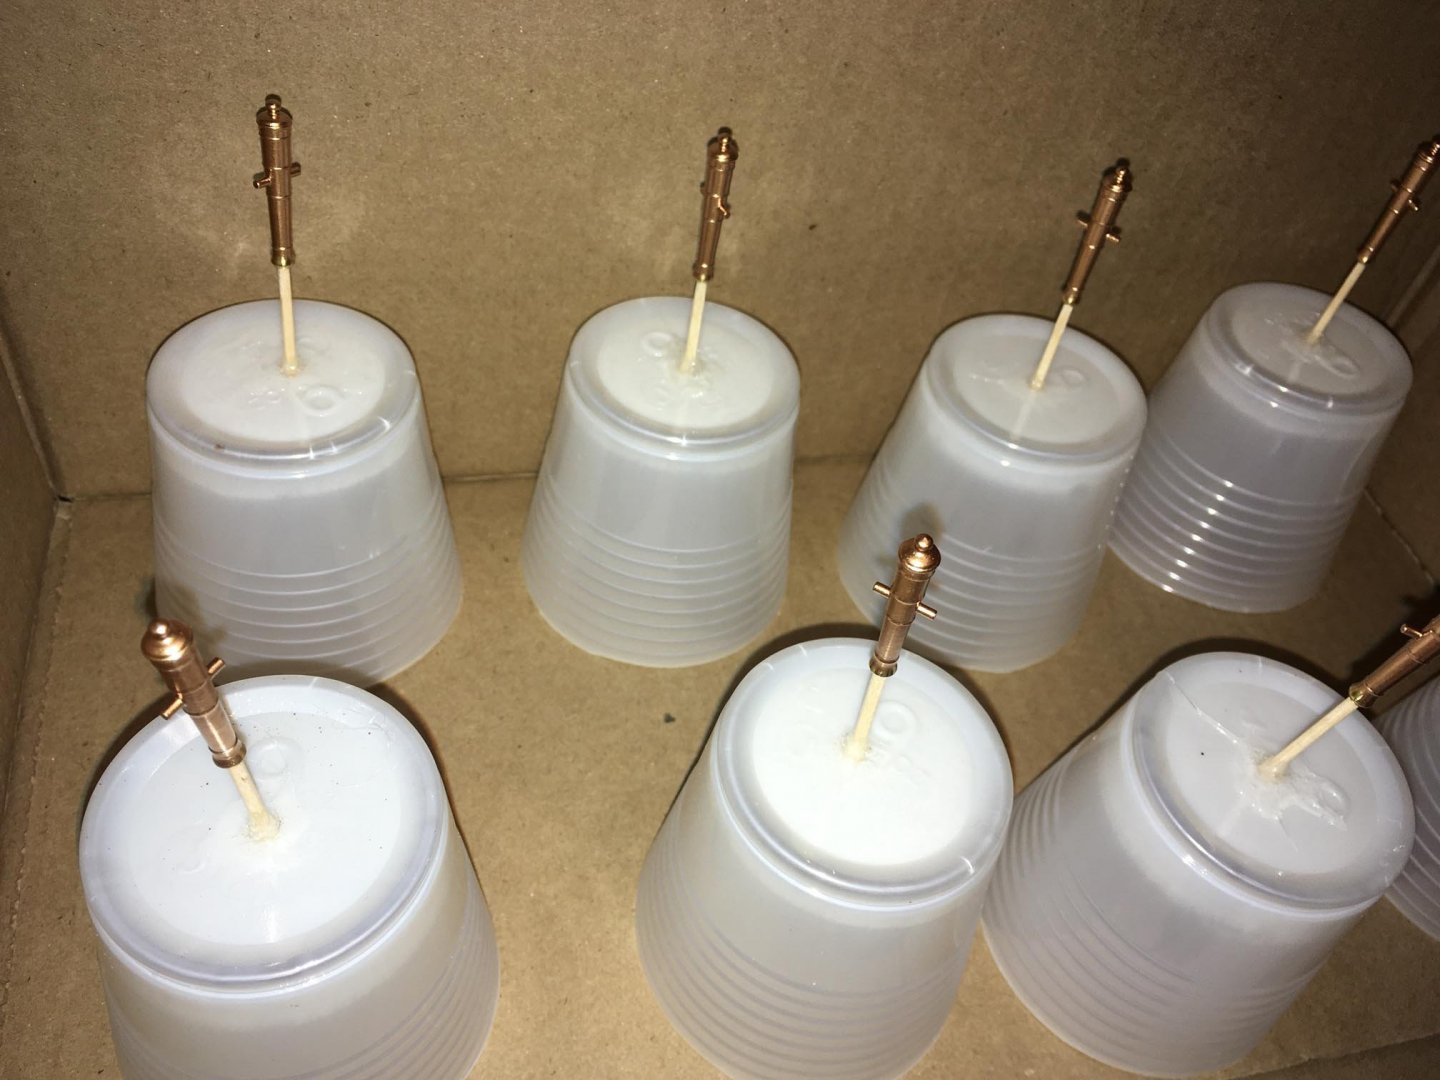
I have finished repainting the cannons: Since I wanted to do the patina again, I decided to use a color that was a little more green and a little less blue, so I used a different paint and mixed some colors into it. The photo below shows the newer, greener paint mix on the bottom stick and the original one on the top stick:

-
That nails it, Bill! You go beyond the “build by the numbers” of the kit and you truly make it yours.
-
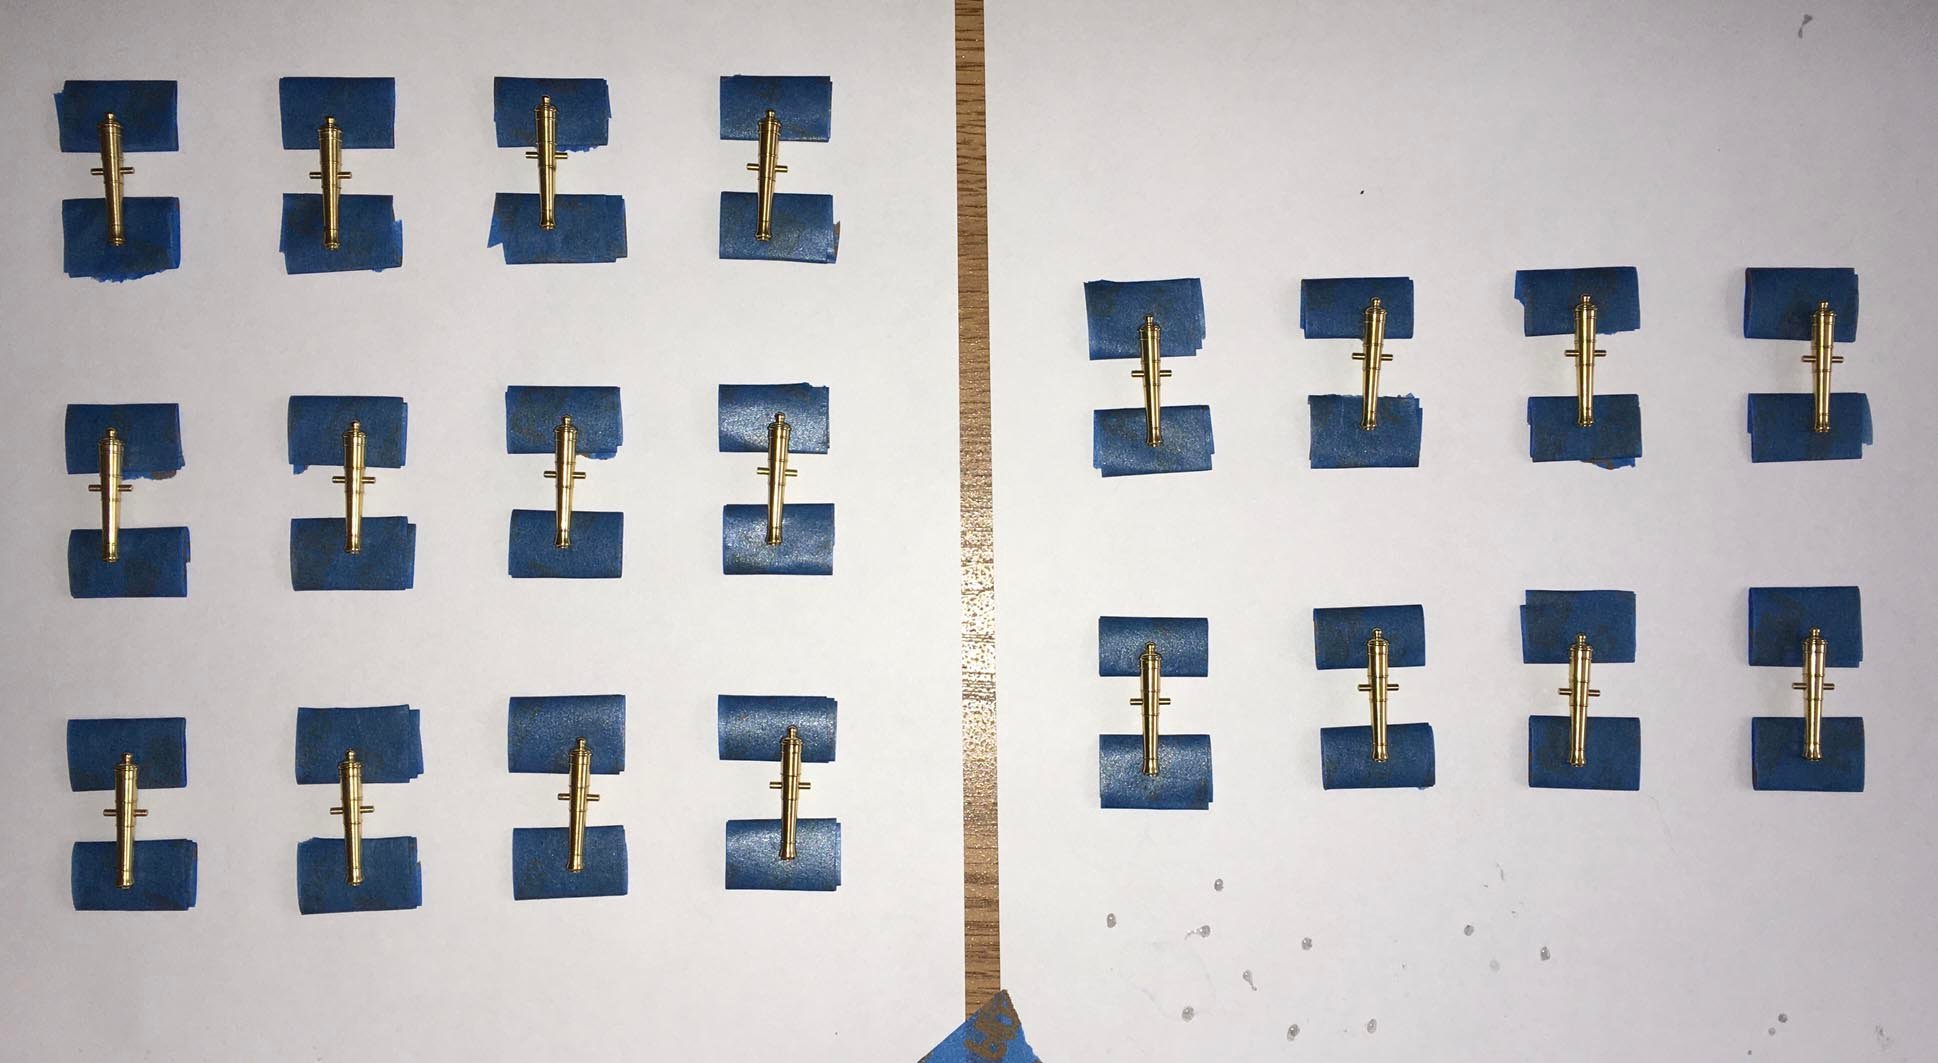
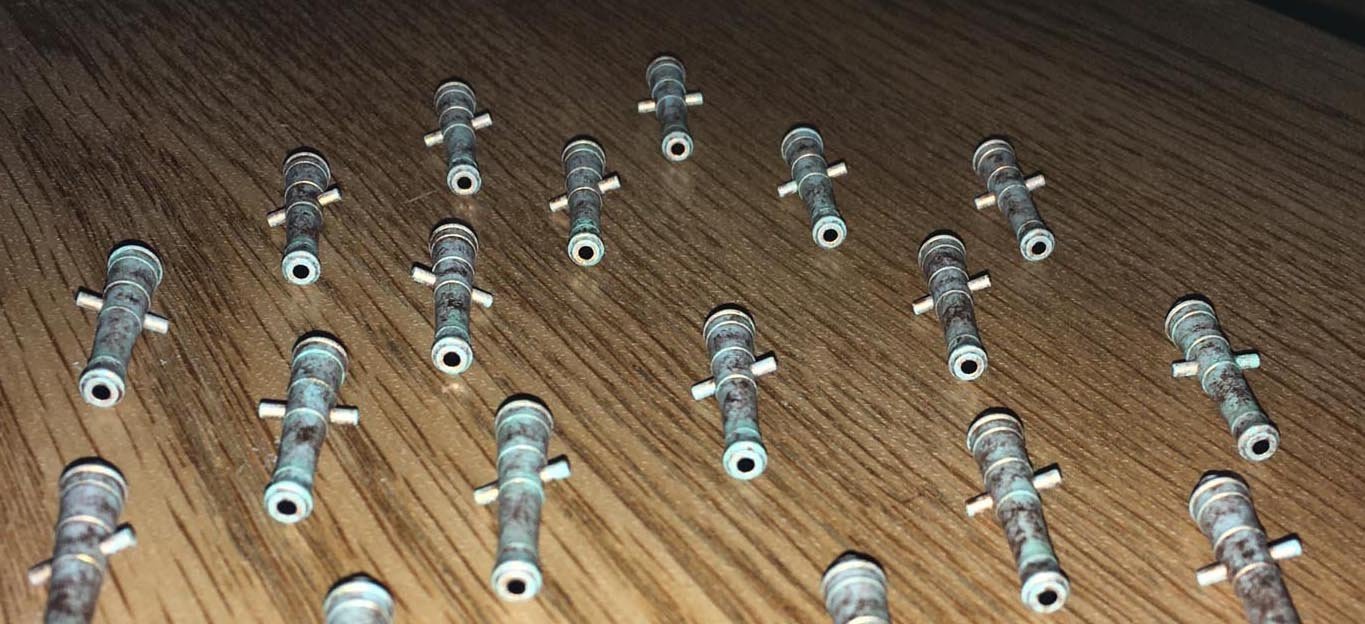
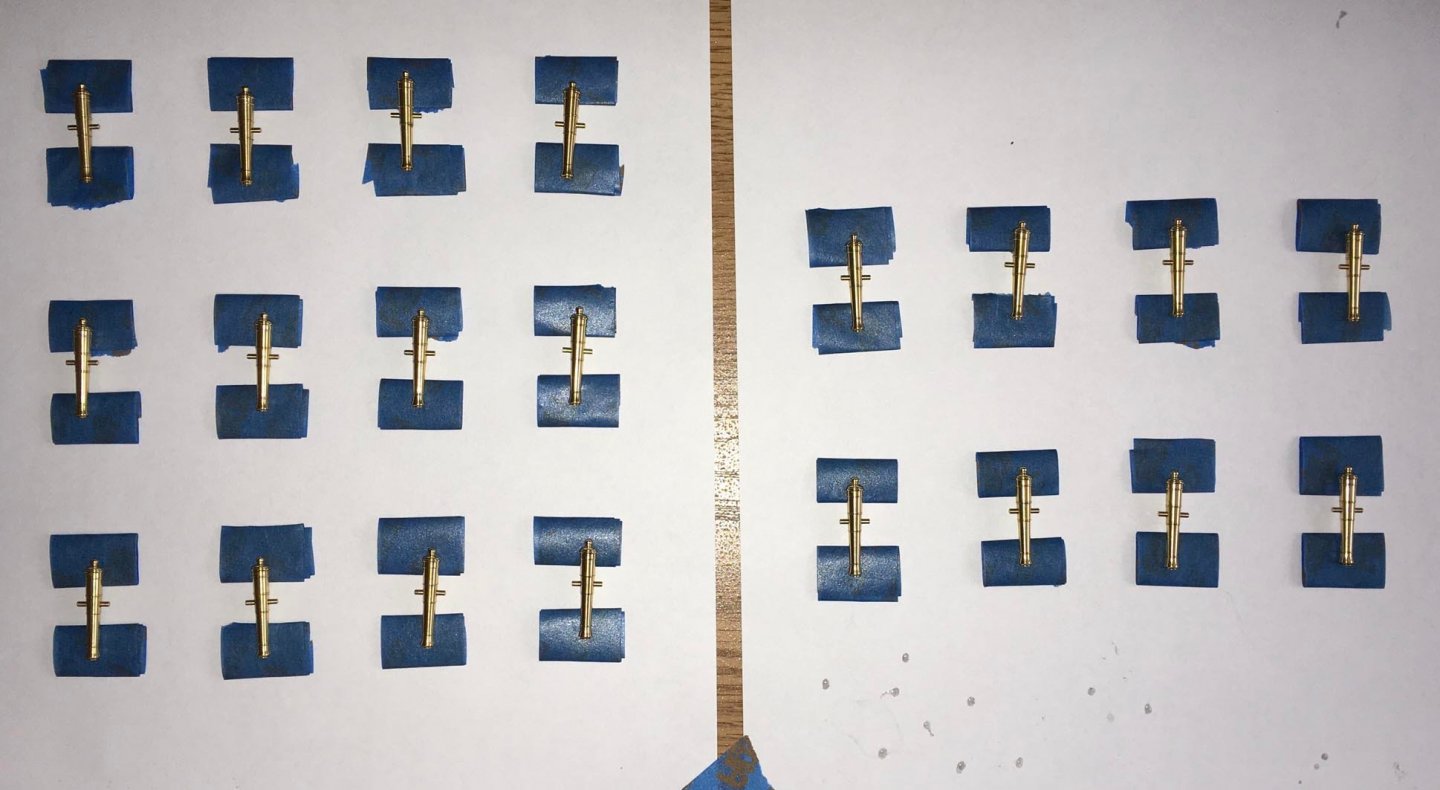
I have started work on the cannons again. After they were stripped of all exterior paint (because the styrene trunnions were ruined and they needed to be soaked in acetone to remove them), I glued in brass trunnions. Here they are drying (blue tape impedes them from rolling to the side and that can keep the trunnions from slipping): Ready to paint: This time, instead of painting a black base coat first, I went straight to the bronze color. That way, if I thinned it, it would not show black through the bronze flakes. By thinning it, it made brush marks less noticeable, but some of the larger bronze flakes are still visible. Here are some of the cannons after two coats of bronze: Applying the patina color will be the next step. I am also working on preparing wheels for the gun carriages.
-
Well, I haven’t used strips for the purpose of thickening gunport walls, but Hubac’s Historian mentioned above that he used 0.125” strips for the lower gunports, which is 0.38mm thick. The closest to that of the thicknesses you mention would be 0.5mm. His link to the website yankeedabbler.com would get you the same thickness he used.