


Mldixon
-
Posts
152 -
Joined
-
Last visited
Content Type
Profiles
Forums
Gallery
Events
Posts posted by Mldixon
-
-
Really nice job on the planking. Good choice making those template checks.
-
18 minutes ago, CaptMorgan said:
Awesome stuff -- very nice work!!! Love the additional details....
Appreciated, the little details were indeed little.
-
28 minutes ago, Chuck said:
Nicely done...
Thanks, cant wait to finish.
-
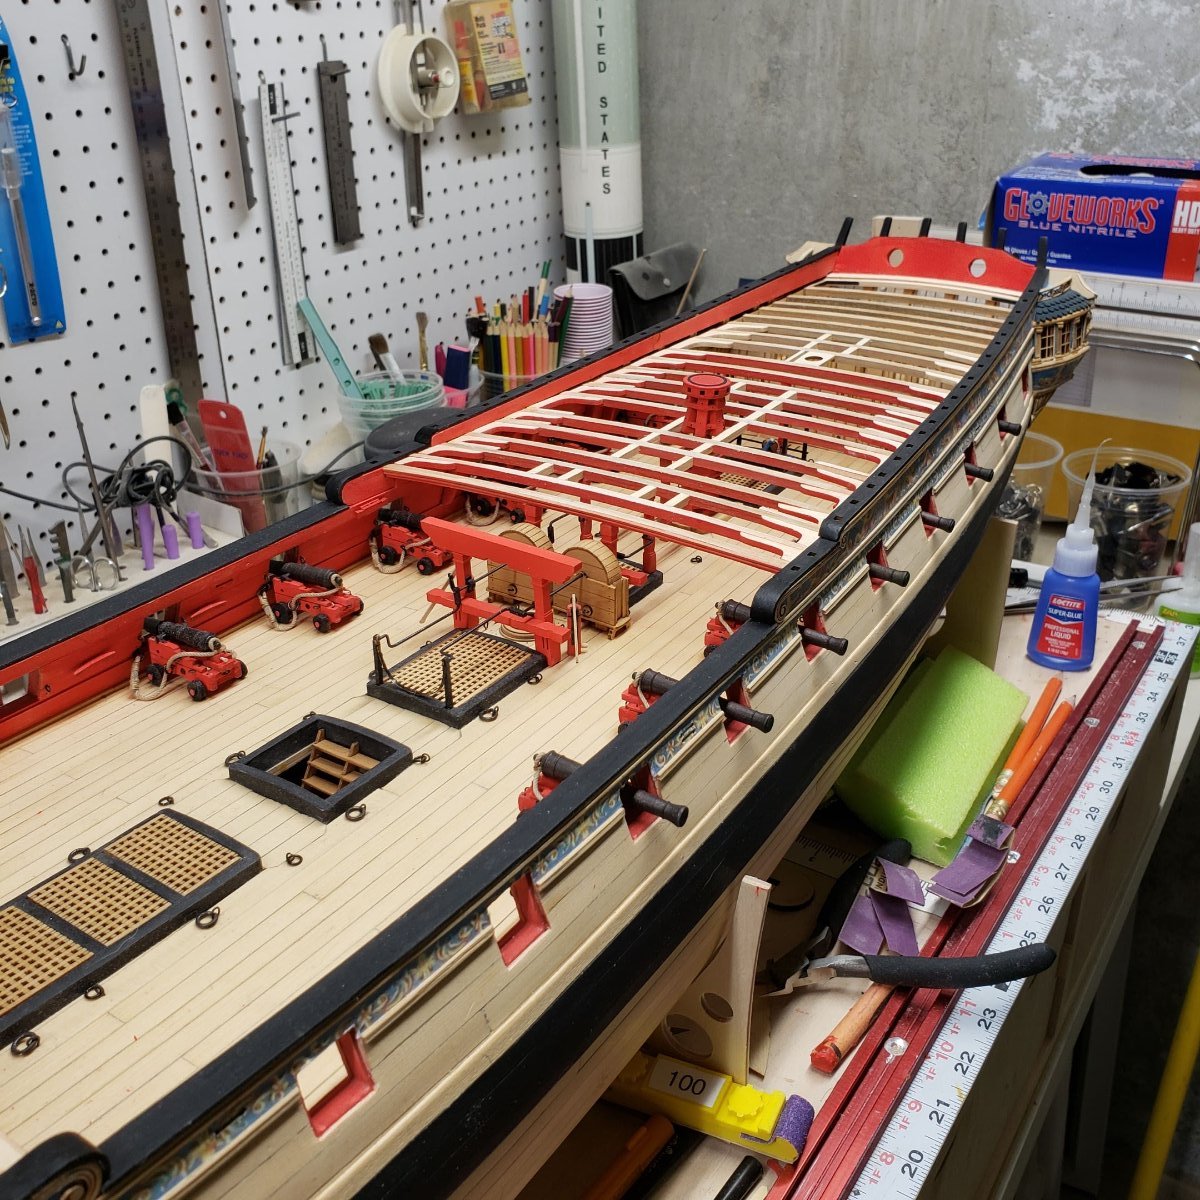
The start of chapter nine.
I have to cut some more planks and make the hatch covers so this is where I concluded building till I catch up on some supply chain issues
Cap rails were pretty straight forward, I love the look of this.


Cap rails make a world of difference in the overall look of this model.
I use a bic lighter and crayons to create a wax filler to hide the seams and minor flaws. The primer paint sticks to it, and I have no idea why...still working on fine tuning .
Planking was not perfect, but I'm going to keep it for the moment. The camera shows the port and starboard sides as unequal in this photo, and I shuddered at the thought of replacing one side or the other, then I went back to the model and checked and they are the same size. I thought it was odd to have them come out differently as I had cut them from the templates with rubber cement as suggested by Chuck. In the above photo they look fine Just the camera I guess as it looks right when viewing the model. I'll put it to the test with some other viewers and see if they make a comment.
The center planks are just resting as I prepare more wood.
-
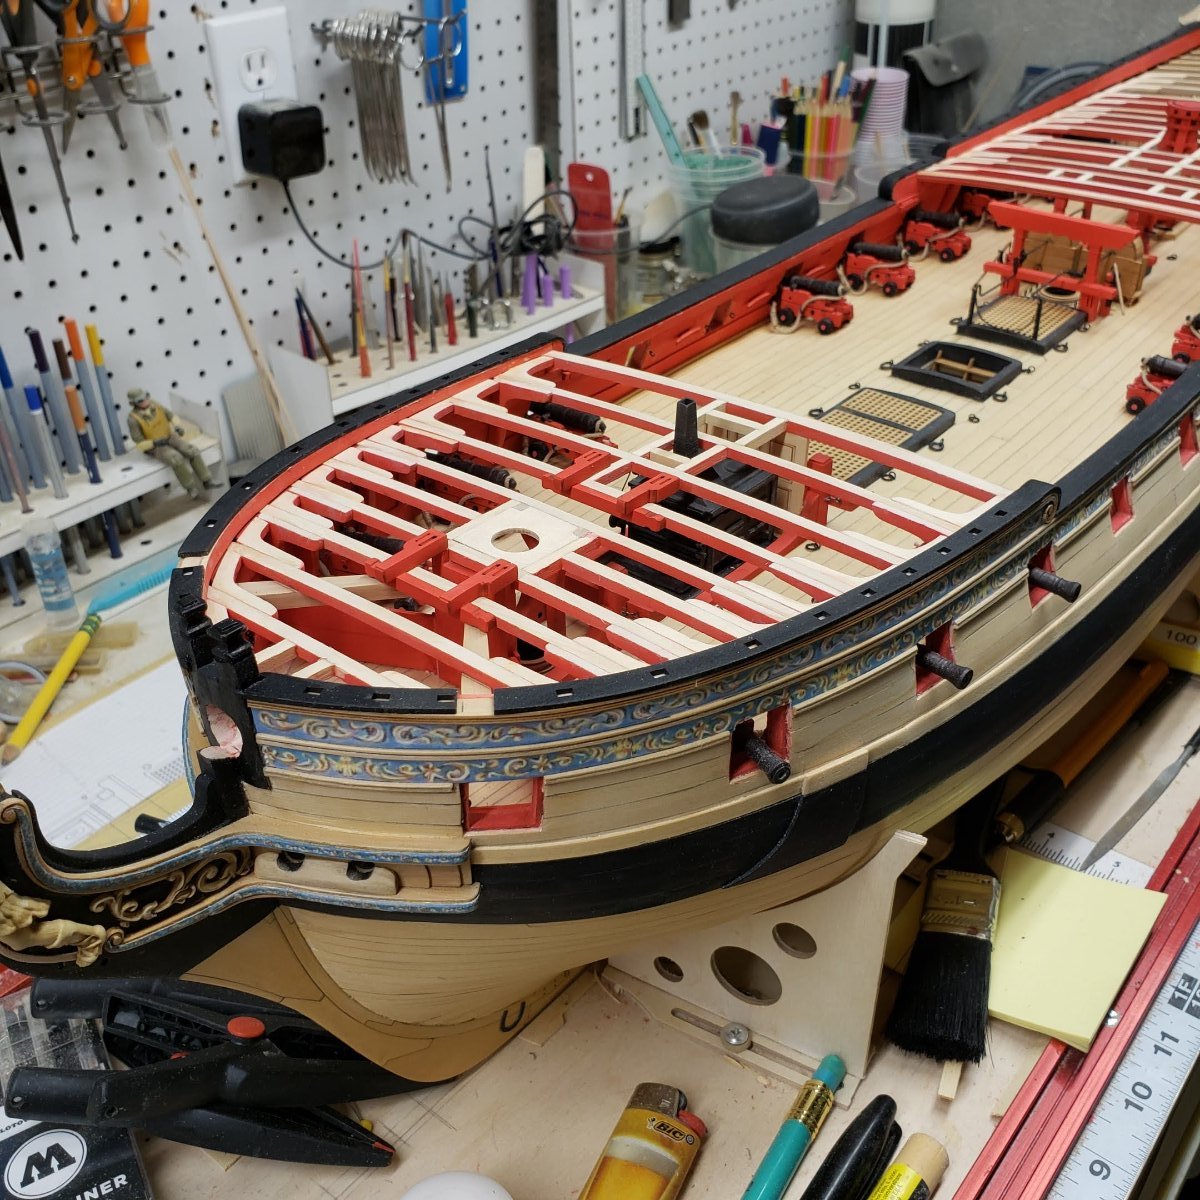
Completed Chapter 8, moving on to Nine
Manger barriers in place

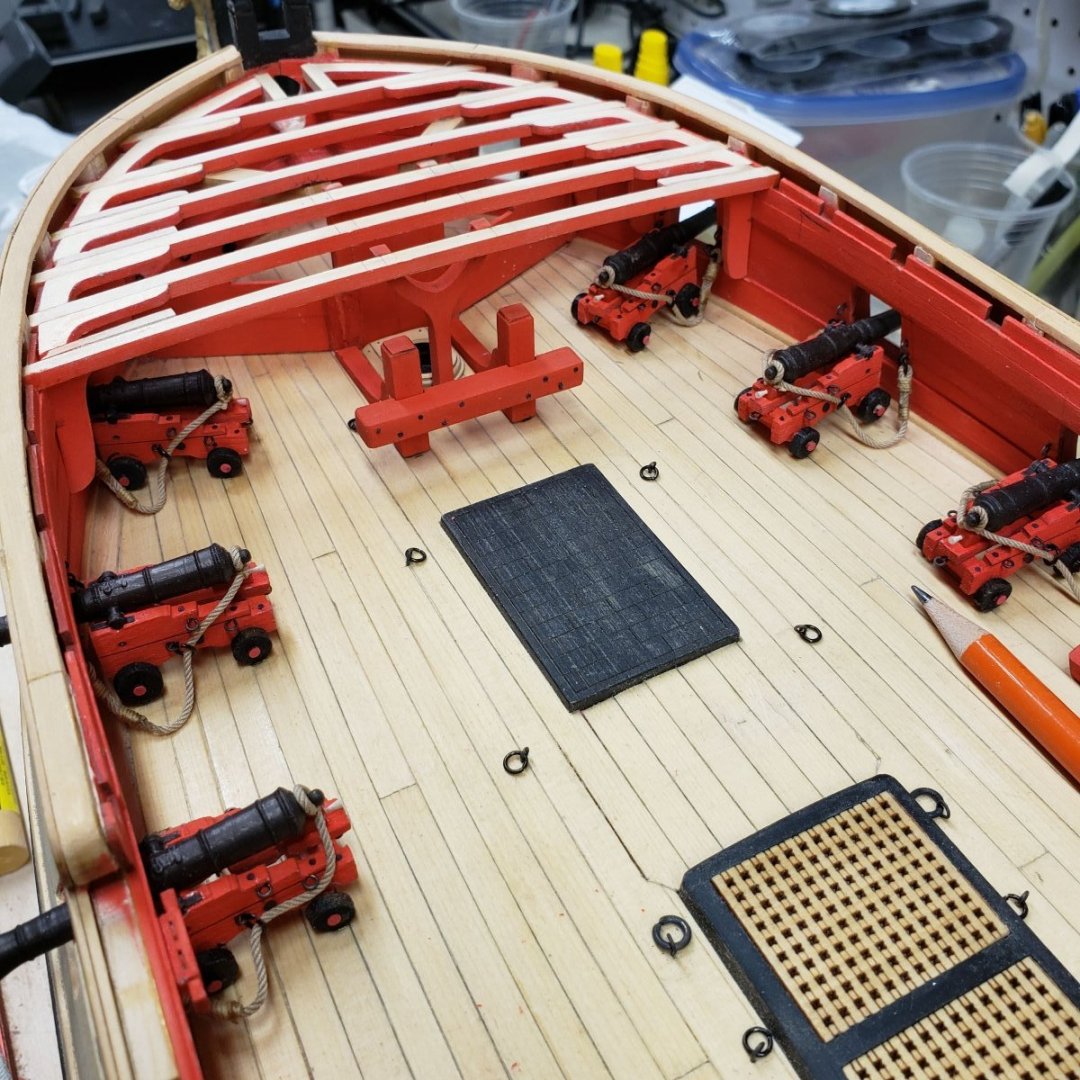
Moving aft
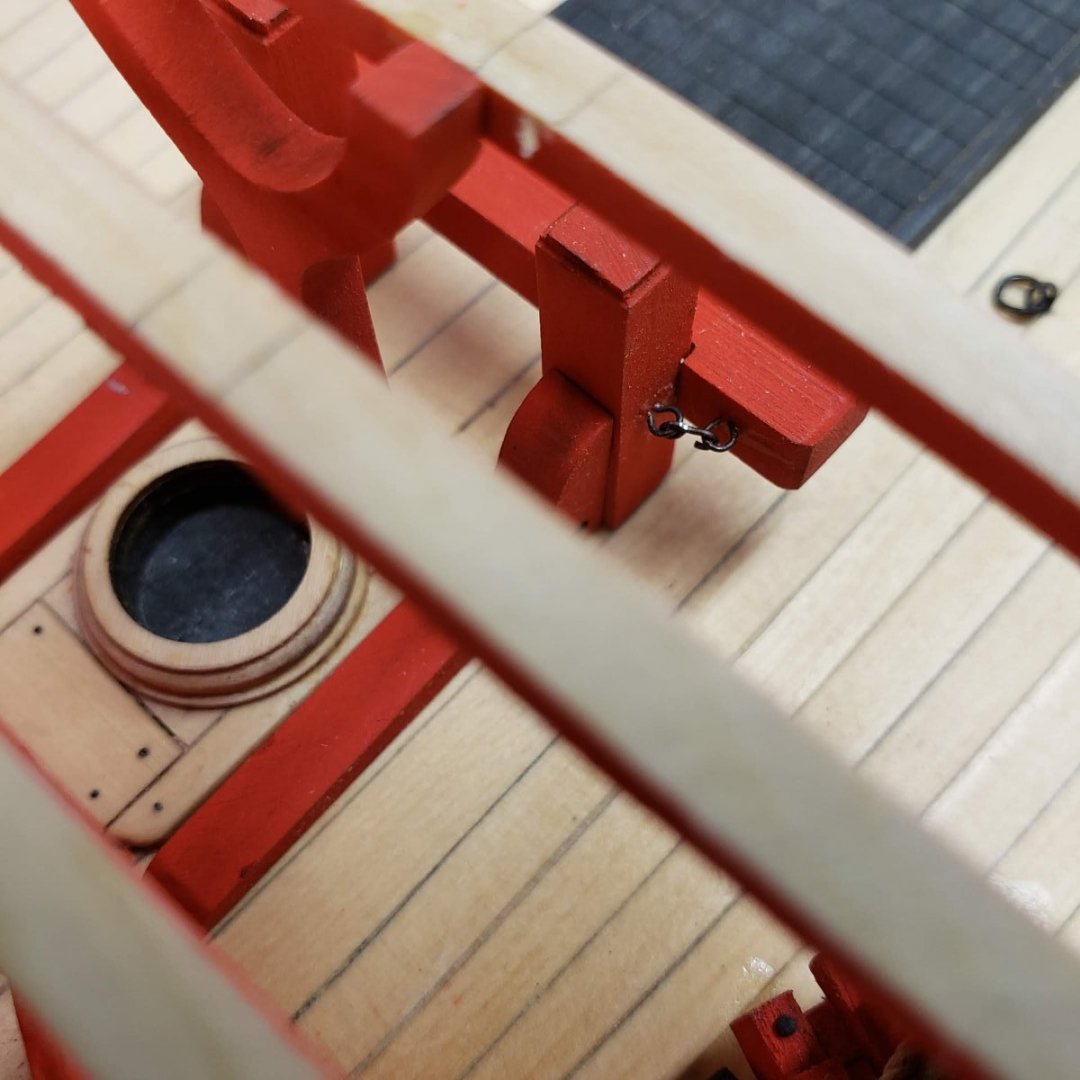
I found these little hooks and eyes to be most distressing....
A little paint and call it a day,,,
- CaptMorgan, Jorge Diaz O, Matt D and 4 others
-
 7
7
-
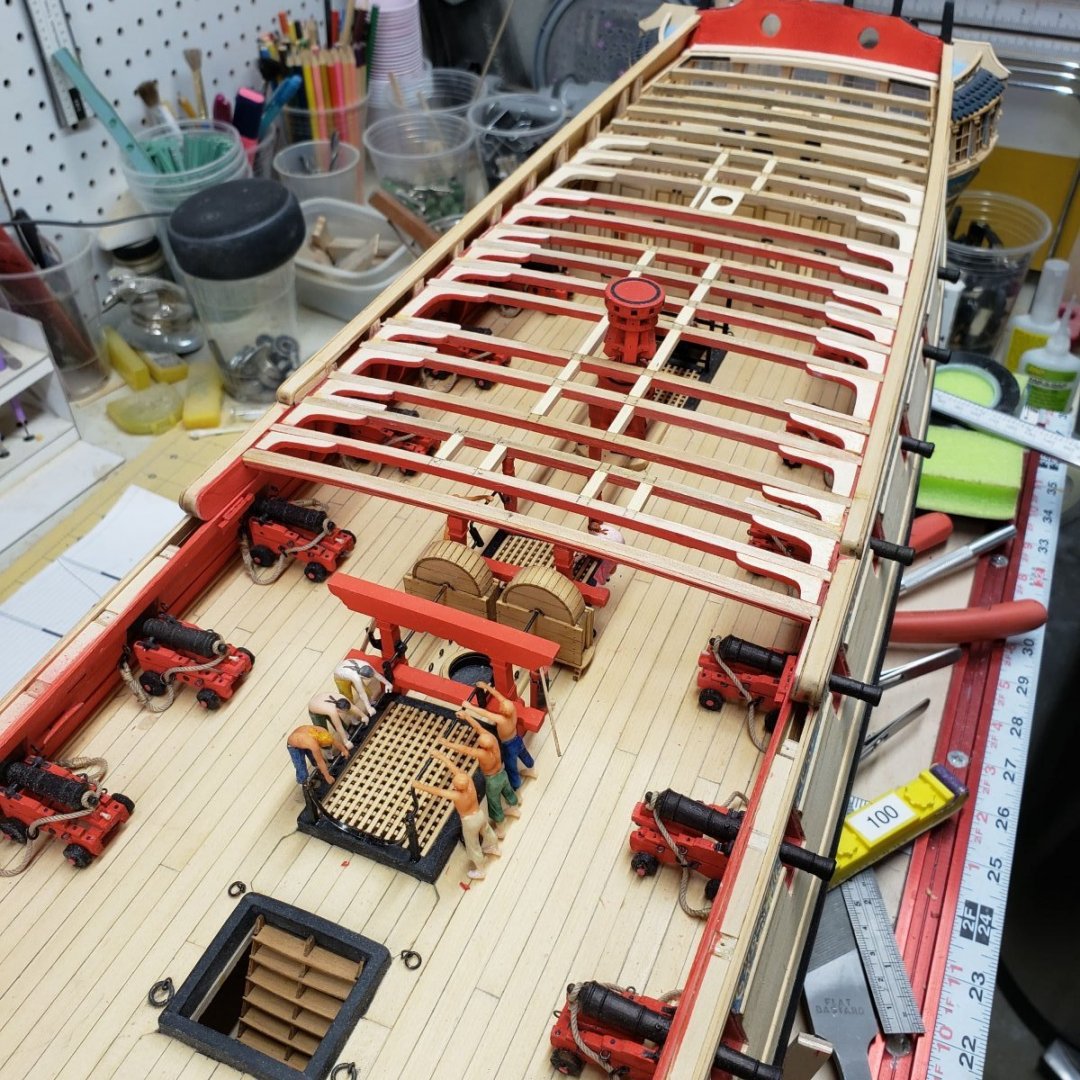
On 2/7/2022 at 12:52 PM, Moonbug said:
As a side note: I've been following a few of the Winnie builds - and this is one of the first photos I've seen that really shows the scale of that thing. That's a big boat!
I agree, every time I think about its final spot.
-
46 minutes ago, Matt D said:
Good thing she didn't think it was a bathtub toy!
LOL....yep I agree. We had a talk about it, but I'm guessing the temptation is going to be too much for her, so I purchased a keyed lockset for the area until she's at least (10 or 12) assuming I live that long.
-
Inspired workmanship, leave no stone unturned...
- scrubbyj427, Gahm and FrankWouts
-
3
-
14 minutes ago, scrubbyj427 said:
😬 I’m getting nervous just looking at that. If my little guy gets anywhere near my Winnie, she’s toast!
Yep, I hear you. She's got a pretty delicate touch so no harm. I took the pictures while talking her down, She is always interested in anything I'm doing that takes attention away from her....so she had to see what was keeping me so busy.😅
- FrankWouts and scrubbyj427
-
2
-
1 hour ago, rafine said:
Frank, your comments are overly generous, but greatly appreciated. My disclaimer was merely an acknowledgement and recognition of the effects of aging and my intention to not allow that to prevent my enjoyment of a great hobby. Thanks again.
Yep, old age is a bear, my body has become a barometer, and I spend as much time researching my aches and pains as I do ship details. But I agree the hobby keeps you sharp in both mind and body.
- FrankWouts and rafine
-
2
-
Glad to see you photos have gone upright, I thought I had an inner ear problem...She looks great. -
She looks quite comfortable there, glad she's back into the action.
- scrubbyj427 and FrankWouts
-
2
-
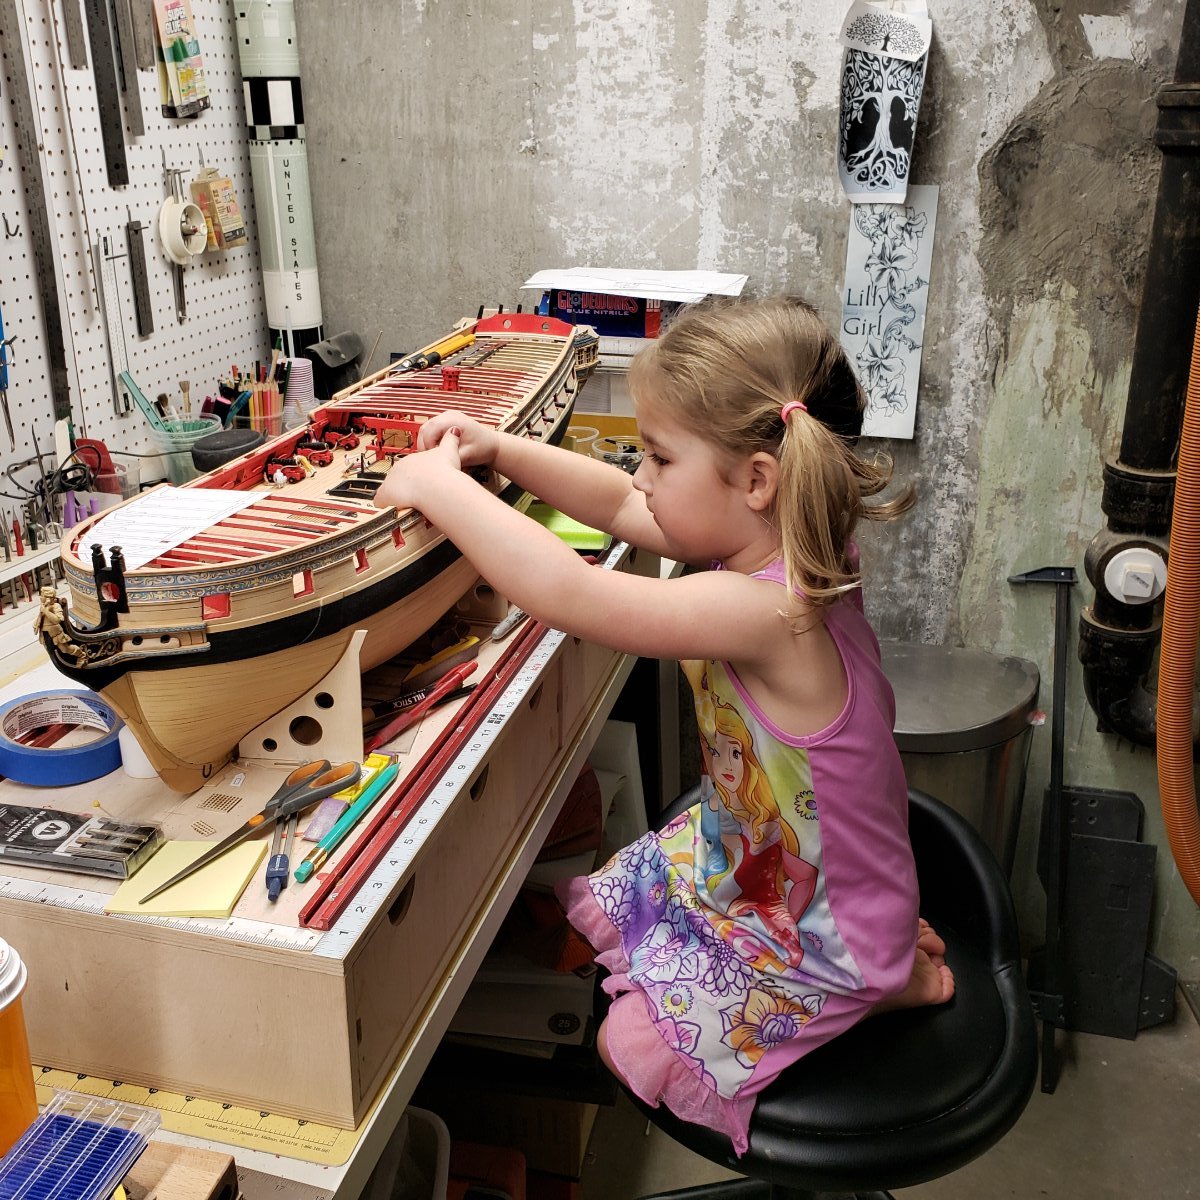
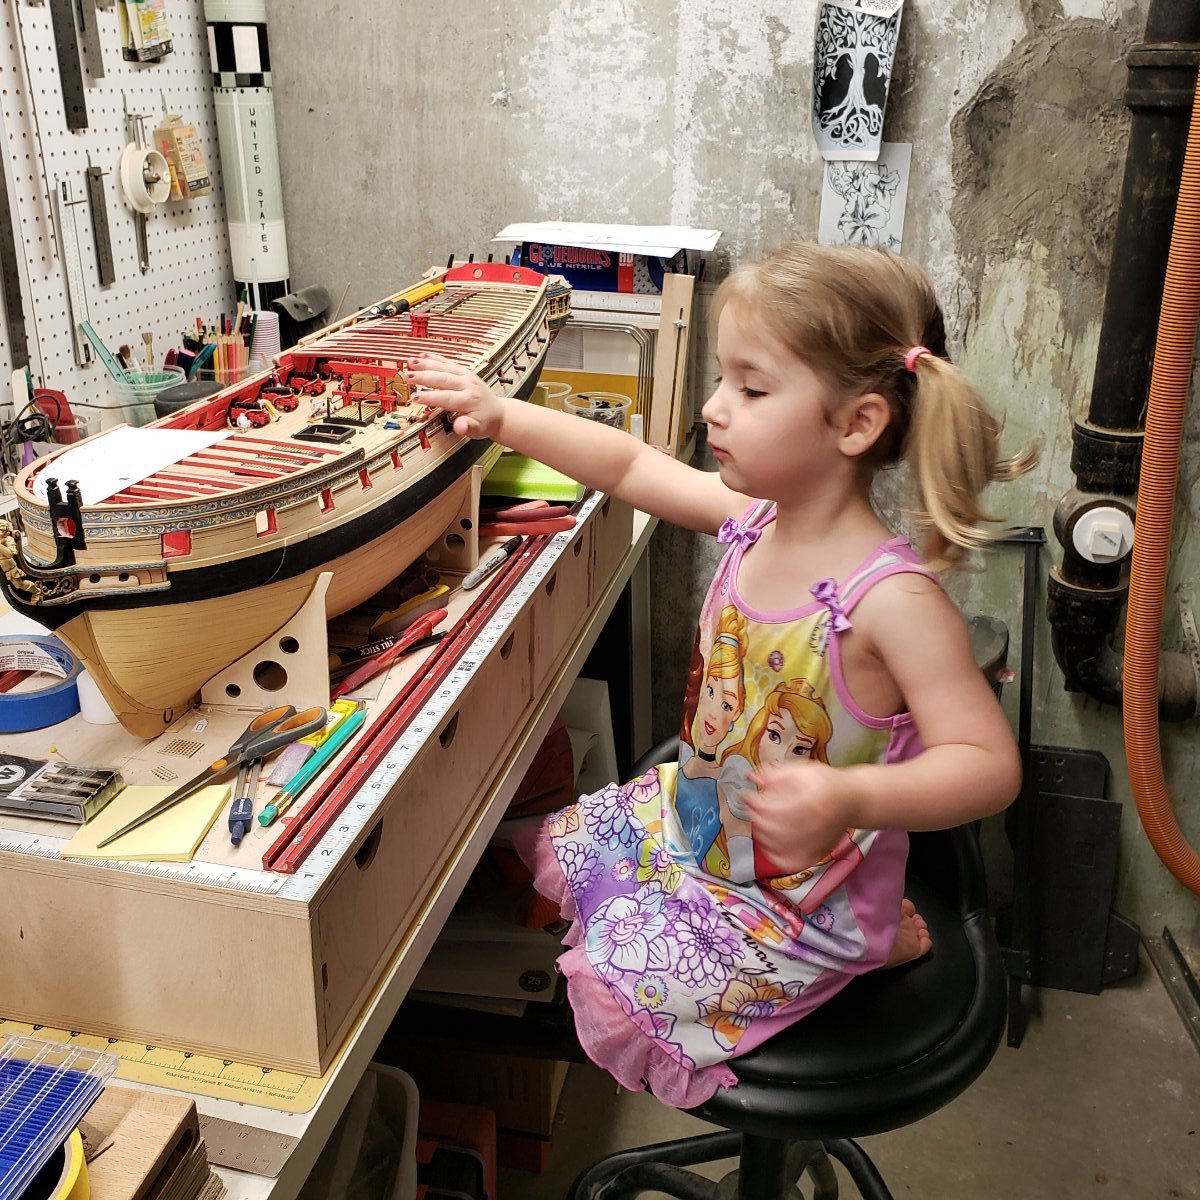
Noooooo.....
I was boarded by a Disney Princess, bad weather and a inquisitive grandchild led to this near disaster.
Luckily just an interest in the figures. One cannon skewed, all in all a pretty tough ship.
I think I'll turn her into a ship builder as she gets older....


-
It's the Mono X , and I use Chitubox slicer, thats a free version. I do reference prints with any new resins I buy to dial in the settings before I print. I have no complaints about the printer, just the operator. 😄
- scrubbyj427 and FrankWouts
-
2
-
Looking really good. Nice clean work, more fun ahead for sure.
-
3 hours ago, scrubbyj427 said:
I think I did the .045” rope, I’ll check out yours again. I’ve been a real cannon snob and I’ve been buying Chucks turned brass ones and blackening them, I’ve been happy with those but the resin ones people are using look great as well.
unfortunately I’ve haven’t invested in a 3D printer yet so off to shapeways I go with this one!
Well, I have an Anycubic Mono, so I just naturally printed my own cannons as it was fairly simple to do. I don't care much for the rotten egg smell from liver of Sulphur so I only blacken when absolutely necessary, hence no brass cannons
-
So when you watch the video of the carver doing the Cutty Sark figurehead. You can translate what he's doing directly to zbush. The big difference as he points out is that his is not an additive process. Zbrush let's you correct mistakes and reverse course when necessary. Other than that its the same, start with a form and manipulate the shapes...sounds easy enough. 😆
-
7 minutes ago, scrubbyj427 said:
Yuck! I hate not being able to obtain permanent licenses... you become forced to “rent” a product.
You own the program, and its permanent forever. You just have to purchase future releases if you choose to get the latest and greatest. I never own anything with a subscription plan..
thought you might like this ,nice link to figurehead carving art
https://hec.lrfoundation.org.uk/whats-on/blogs/figurehead-carving-a-lost-art
-
2 minutes ago, scrubbyj427 said:
Ahh! So make a very simple extrusion from a 2D drawing then start chipping away from there? That sounds like a great idea. I’m going to make a figurehead for another project I’m working on. May I ask what version of Zbrush you are using or what you recommend to get results that are on par with what Chuck has provided us with?
Yes, export a blocked model as close to your figure as possible. I like to fit it to the digital model I'm working on. Then you can start the chipping away and building out process. You'll need to pay attention to the subdividing of the import after you start modeling as that let's you add the very fine details
As far as results on par with Chucks guy, thats a leap, I have toyed around with some bas relief, but I fear you need a lot of Anatomy skills and a sculpture background to get to those levels, but doable for sure. I tried winnies wreaths on the aft transom as practice, I bought Chucks...lol
Not sure what my version is but I think 2021, I'd go for 2022, they just announced that updates for permanent licenses won't be provided,, bummer
-
Yep, Chuck suggested I only breech, so I tried that, and liked the look. But the .055 rope from his store really sold the package.
If your printer is resin you'll get great results on the lanterns.
I printed all my cannons and was amazed at the detail. Airbrushed them with a bronze metallic paint over a black primer coat
-
2 minutes ago, scrubbyj427 said:
Just out of curiosity, what was the learning curve like with it? On first impression it doesn’t seem too difficult. Have you had decent results with importing 2D drawings and sculpting off those?
Not too bad a curve, I use the crash bang method of learning new programs, l watched the absolute begineers videos on YouTube, that was a great help.
I like to jump in and go for end result, rather than go through tutorials. Lots of starting over, but quicker results as you get the skills specific to what you need.
I haven't tried 2d approach yet, I suggest you export a 3d model from your cad program as a stl, and then import that as a starting point for wherever your headed.
-
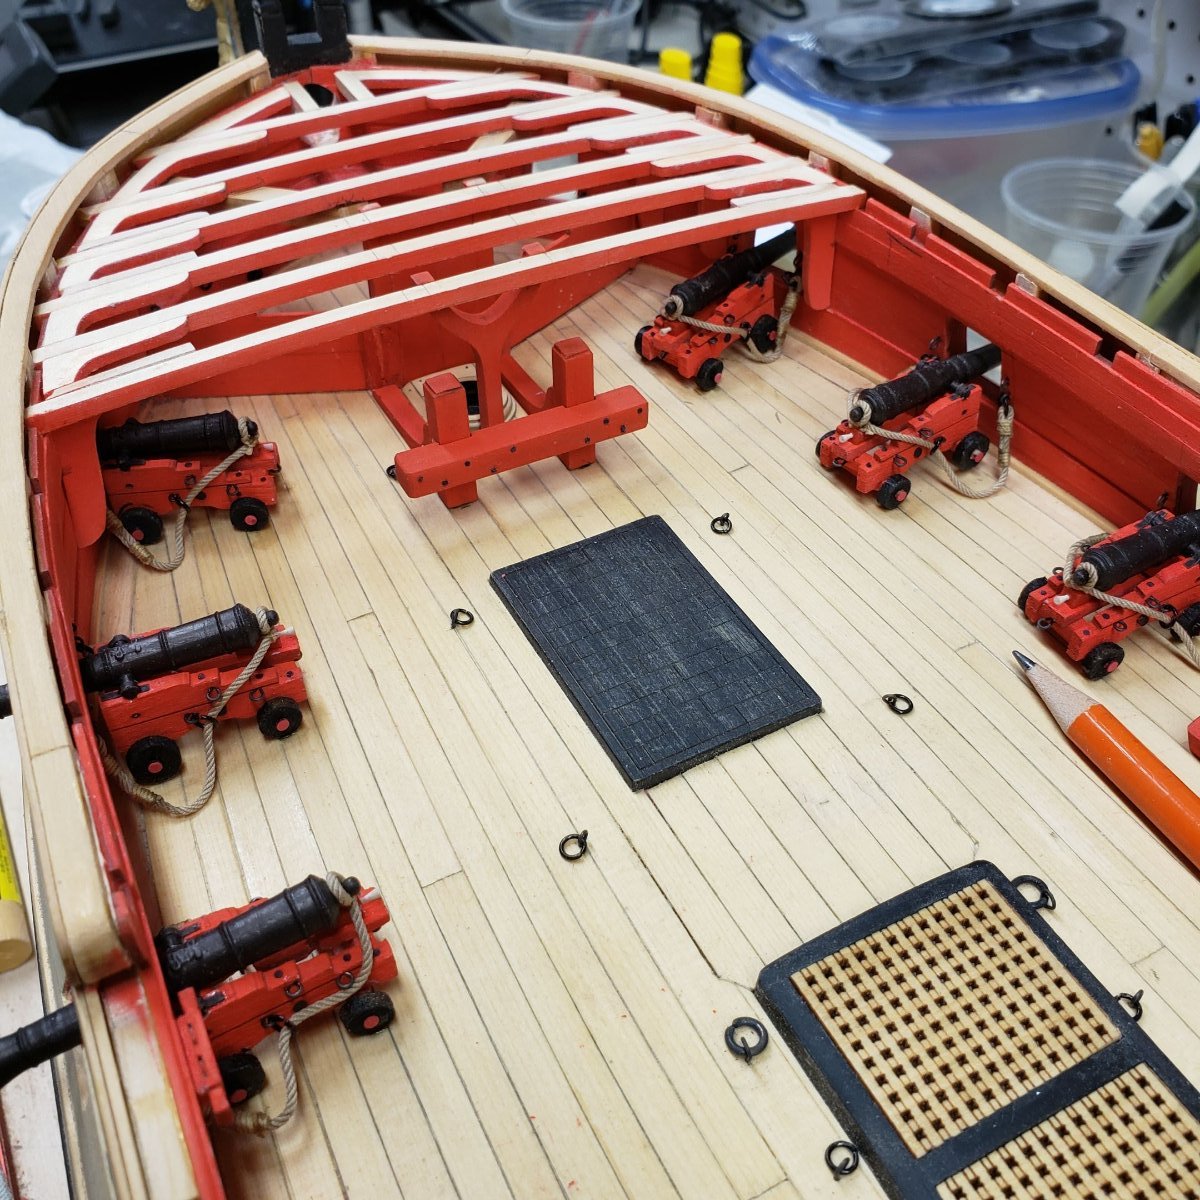
Lots of cannons and repetition in that chapter. I spent a lot of time on fluctuating between how to do the lines, I finally settled on just breeching details.
By the way I really liked the lanterns, great idea and execution..
-
1 hour ago, scrubbyj427 said:
Ahh so you’re a Z brush user too! I’ve been playing with the free version and quickly realizing I need to step up if I’m going to make any quality carvings. I need to invest some time into really learning that program, it’s incredibly useful in our hobby.
JJ
I agree, and its now affordable. I'm using it to design my support structures for the Winnie, a work in progress....
- FrankWouts and scrubbyj427
-
2
-
Any plans to reserect your winnie....


HMS Winchelsea 1764 by MLDixon
in Member Build logs for the HMS Winchelsea
Posted · Edited by Mldixon
spelling
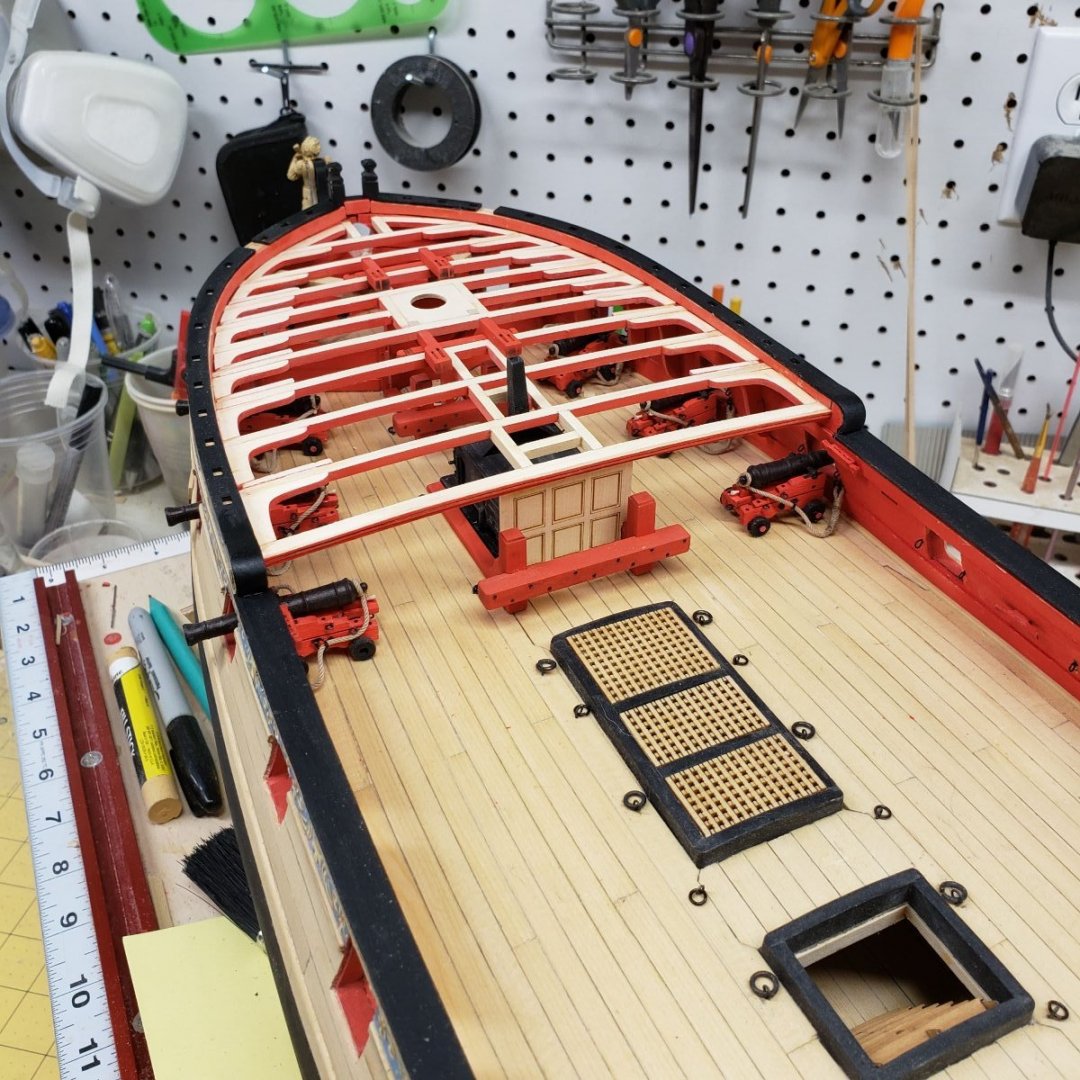
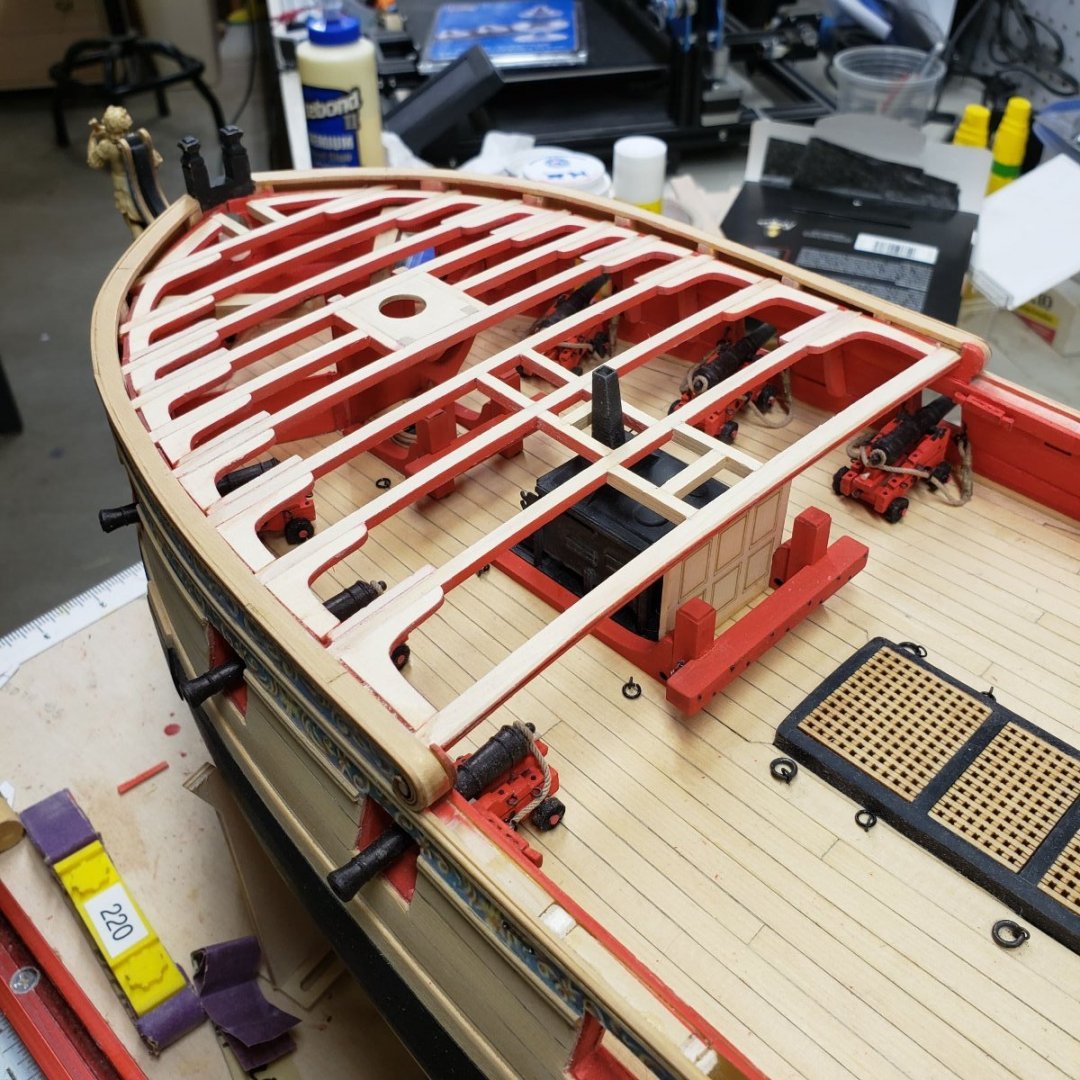
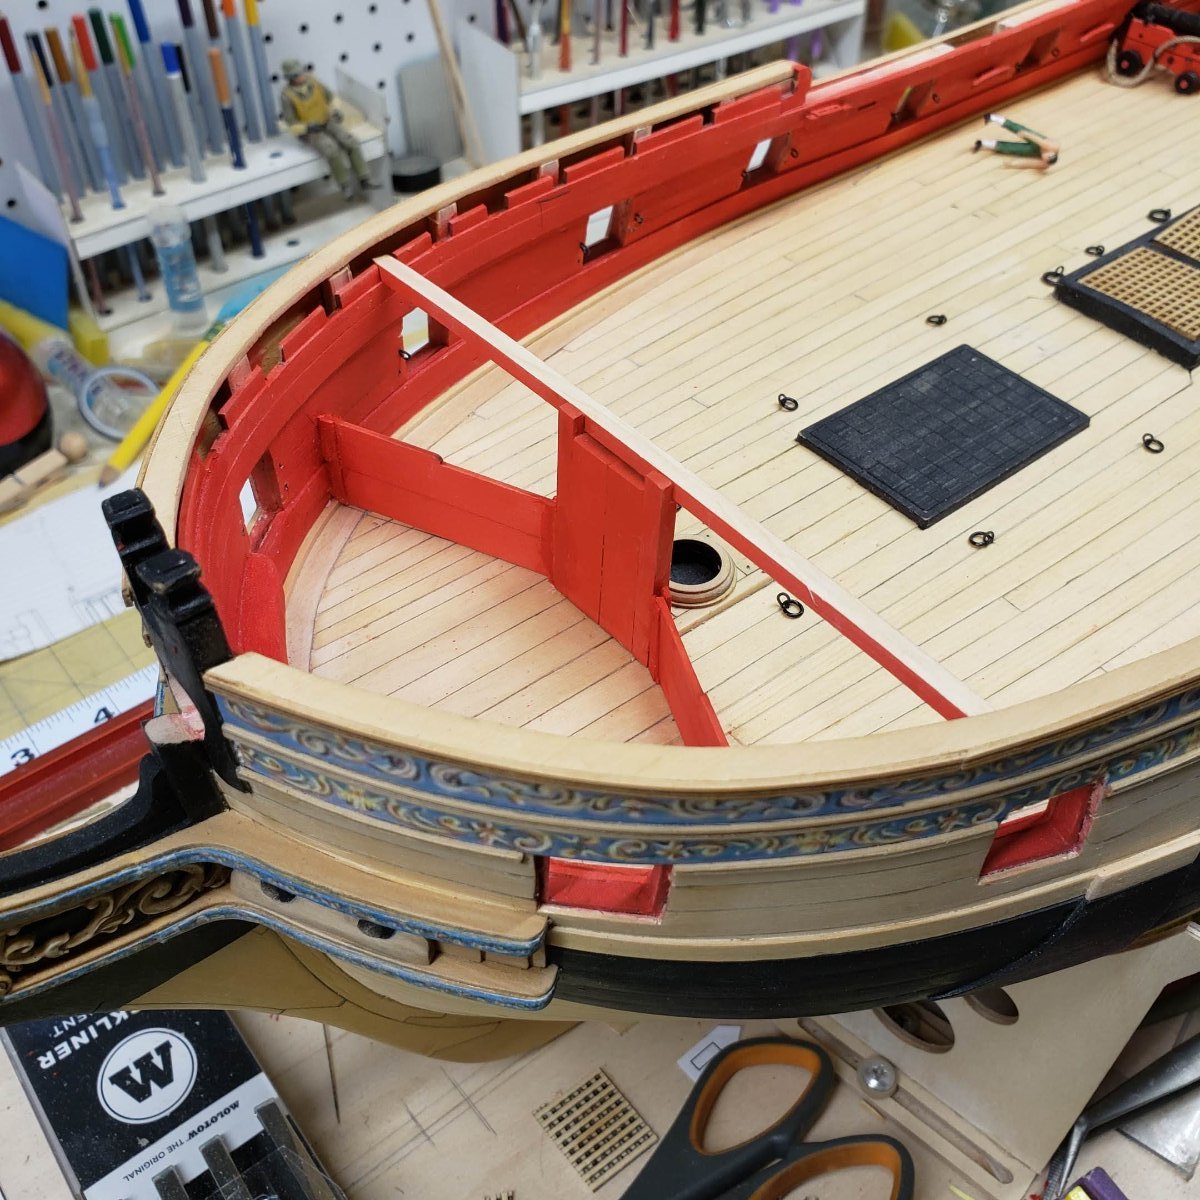
Chapter Nine begins and comes to a screeching halt...
Remember this photo, well I tore all that planking on both sides of the bow out all well as the starboard side of the q gallery deck. Now I gottta tell you that it broke my heart to do this, but I've come a long way to compromise at this point in the build. It just wasn't right.
🔺 A really sharp chisel did the trick, and I had plenty of practice doing this when I was planking the hull.
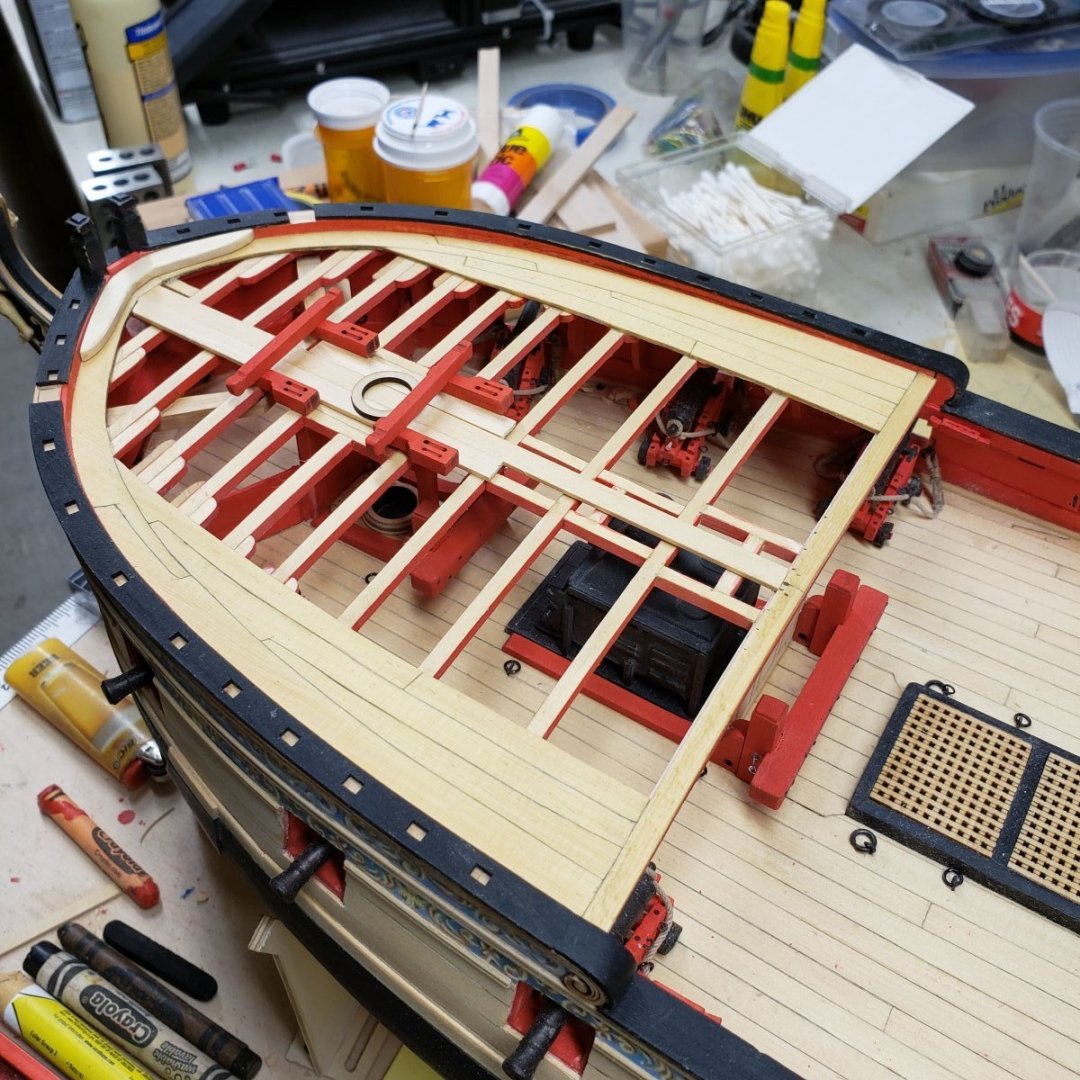
🔻 The problem was my bulwarks shape. I cut the planks from chuck's Template and just forged ahead. But my ship was not Chuck's Ship, and even though I could install them, it wasn't right. In the next photo you can see a clear template that I overlaid on the framing this was adjusted to the center line of the hull. I clamped it into place, and all was revealed. My margin planks were installed to my incorrect hull and it threw the whole thing out of
kilter
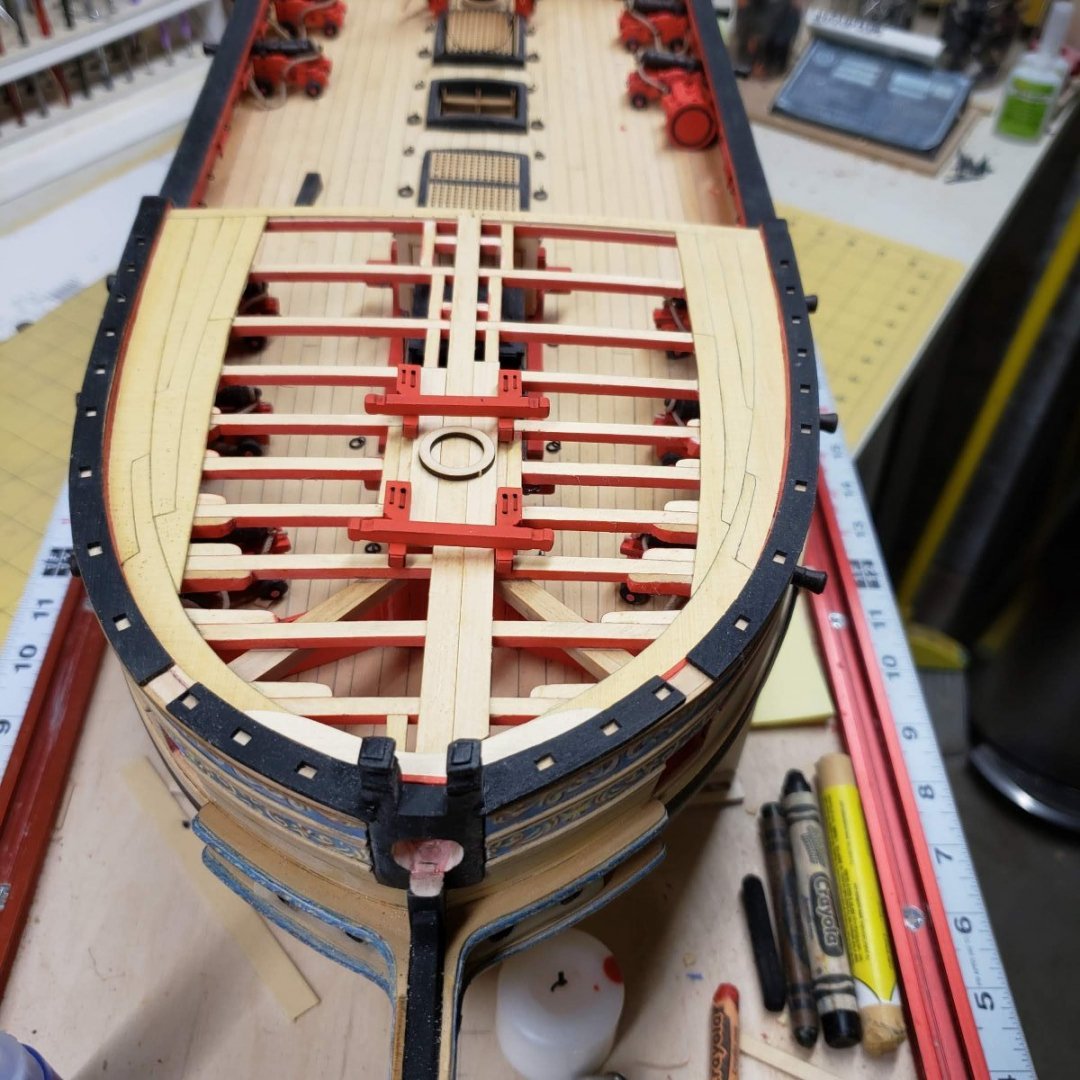
🔻This next photo is the Qdeck and the wave in the planking. Now at this point it was clear to me that I could not proceed and that is when I started tearing up the decks. One bright note in this destructive process was that I remembered knocking out some windows and did not repeat that mistake.
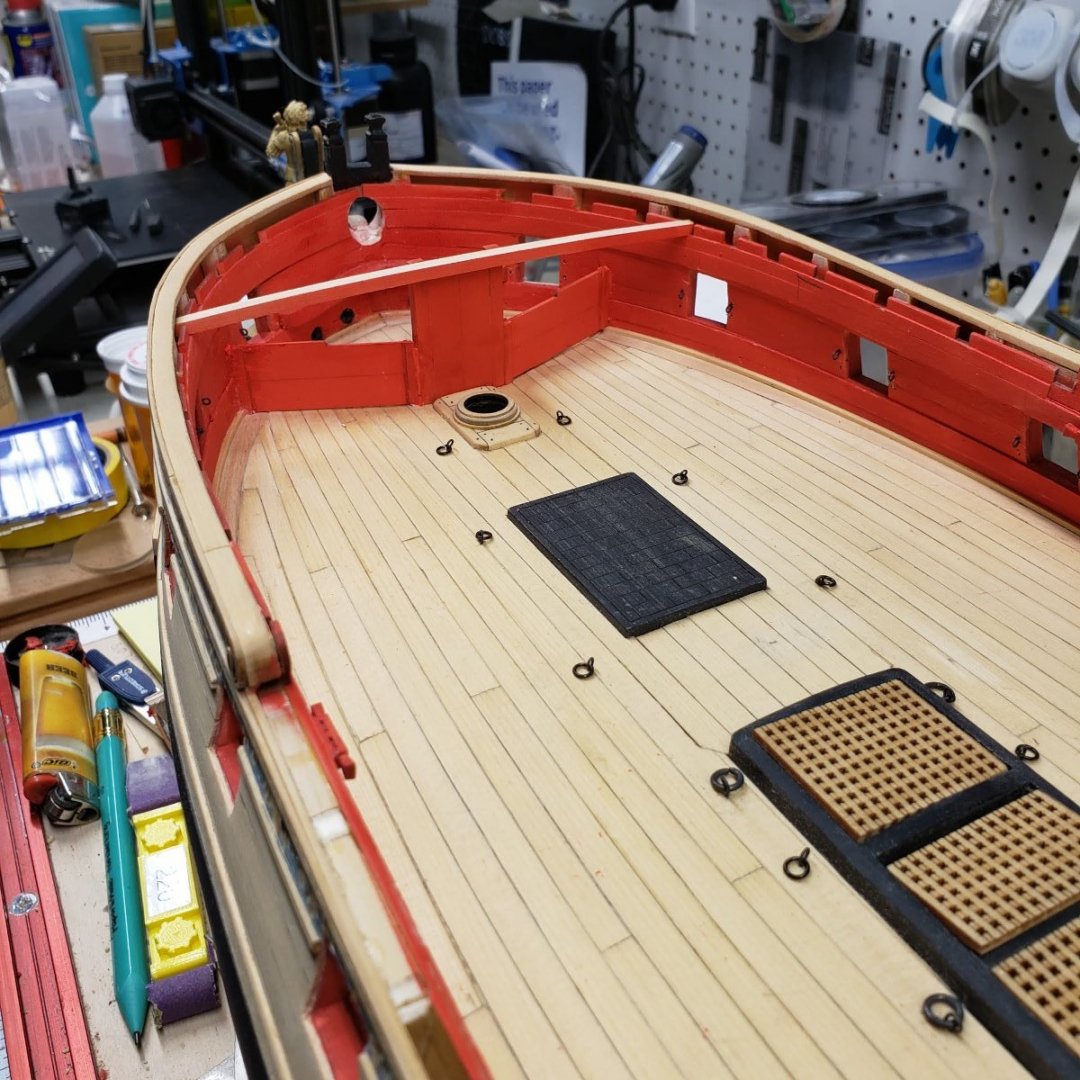
So the solution to my problem is going to be to lay all the center line decks first fore and aft. These areas are correct and will split the decking into equal parts port and starboard. Then I am going to lay the deck planks from the center line outward to margin planks, and then the Margin planks will have to be scribed to the bulwarks as they are, I will most likely have to change the widths and tapers, I am hoping the this will result in a symmetrical deck that is more pleasing to the eye. I am going to do this with paper and cardboard templates to make sure it will look right before cutting the actual deck planks.
So much for a well laid plan....