hamilton
-
Posts
1,933 -
Joined
-
Last visited
Content Type
Profiles
Forums
Gallery
Events
Everything posted by hamilton
-
Thanks Frankie - I'll have to revisit the rigging plan to see if there's anything amiss with what I've already done - but this makes sense. Thanks again hamilton
-
Thanks a lot Thanasis!! A very clear and precise description with a great illustration - very much appreciated!! hamilton
-
 Hi Augie: Chuck's after market figurehead and cannons look amazing! They will look even better on deck! Are you now leaning towards a fully rigged Confederacy? I suppose that regardless the mortices will add strength between the bulkheads in those places. This is a very exciting build! hamilton
 -
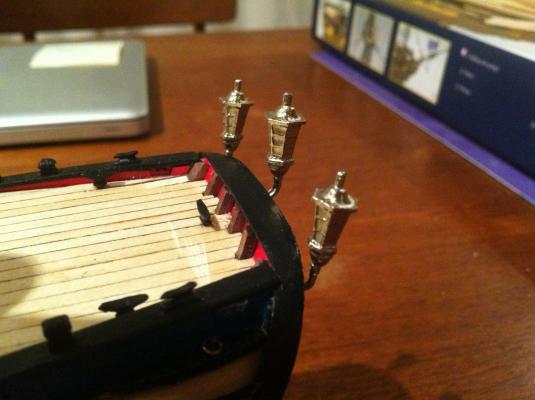
Finally here's a shot of an upcoming challenge.... Any advice on what to do with these would be greatly appreciated!! I don't think I can make these tiny lanterns from scratch, but I can't leave them raw...the figurehead poses a similar issue.....though it might be easier to find an alternative for that.... hamilton
-
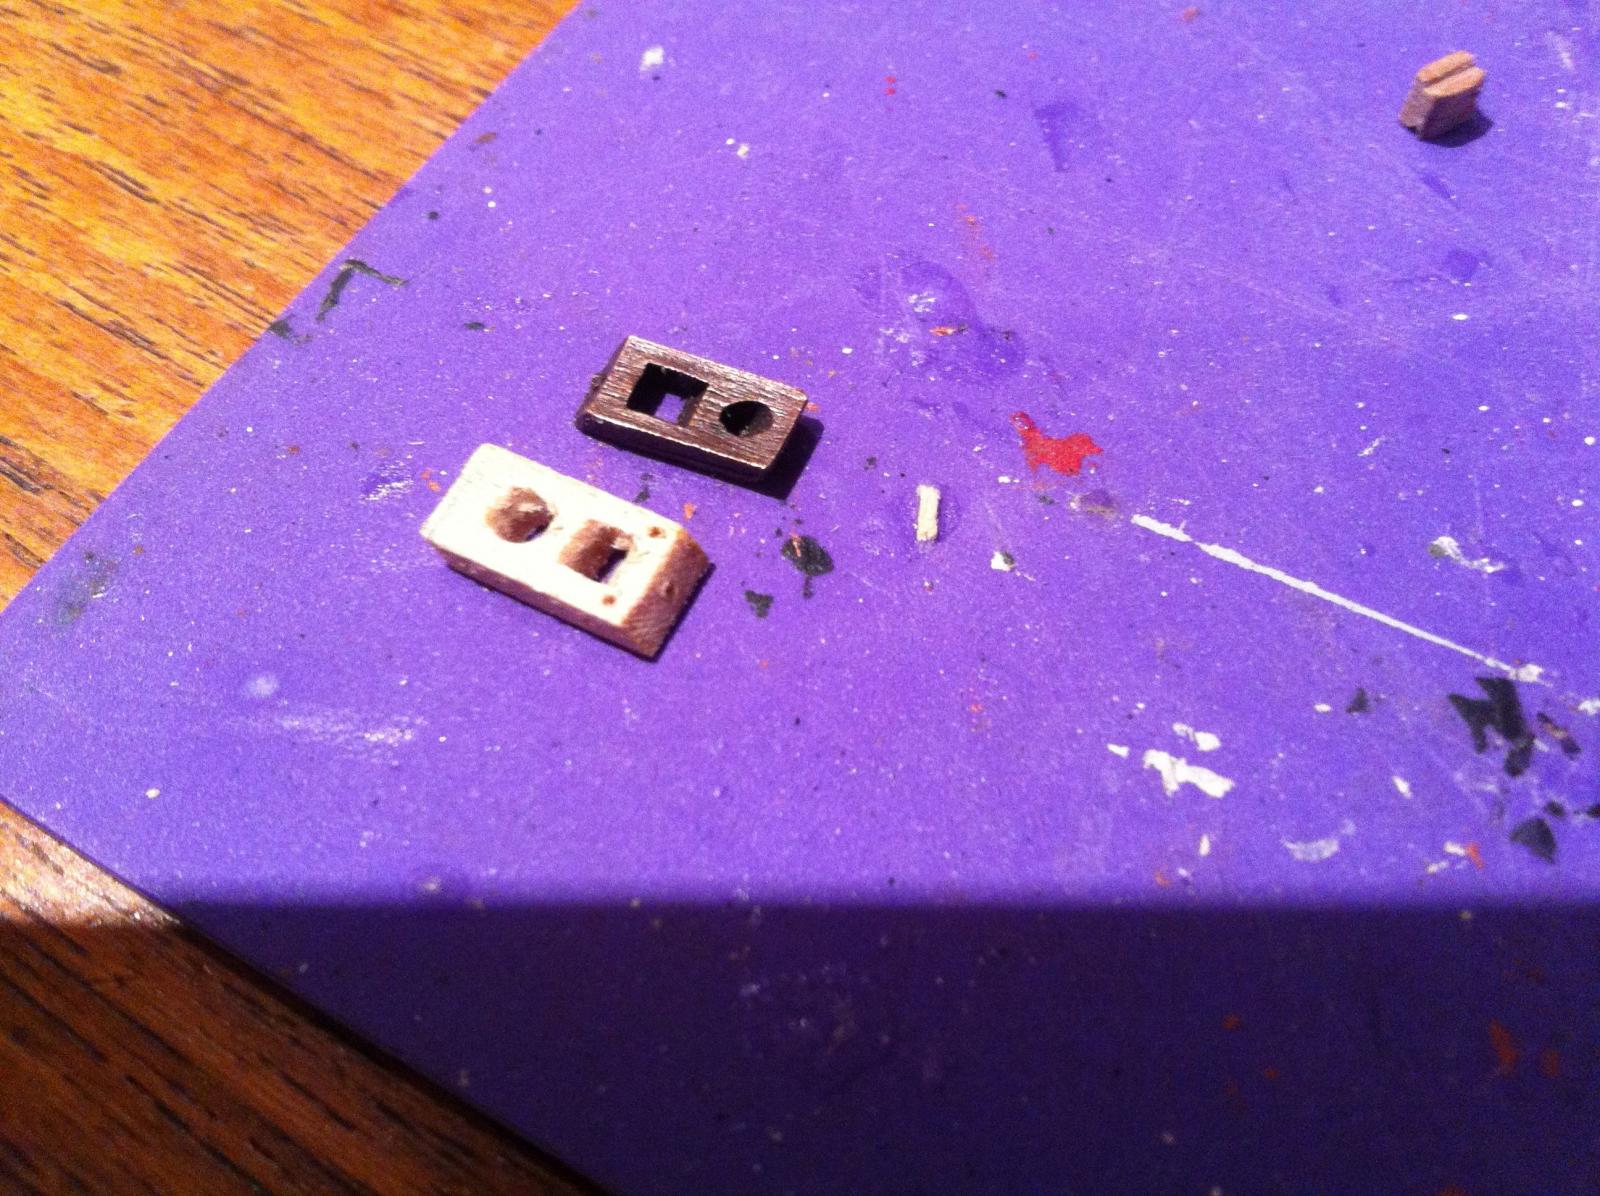
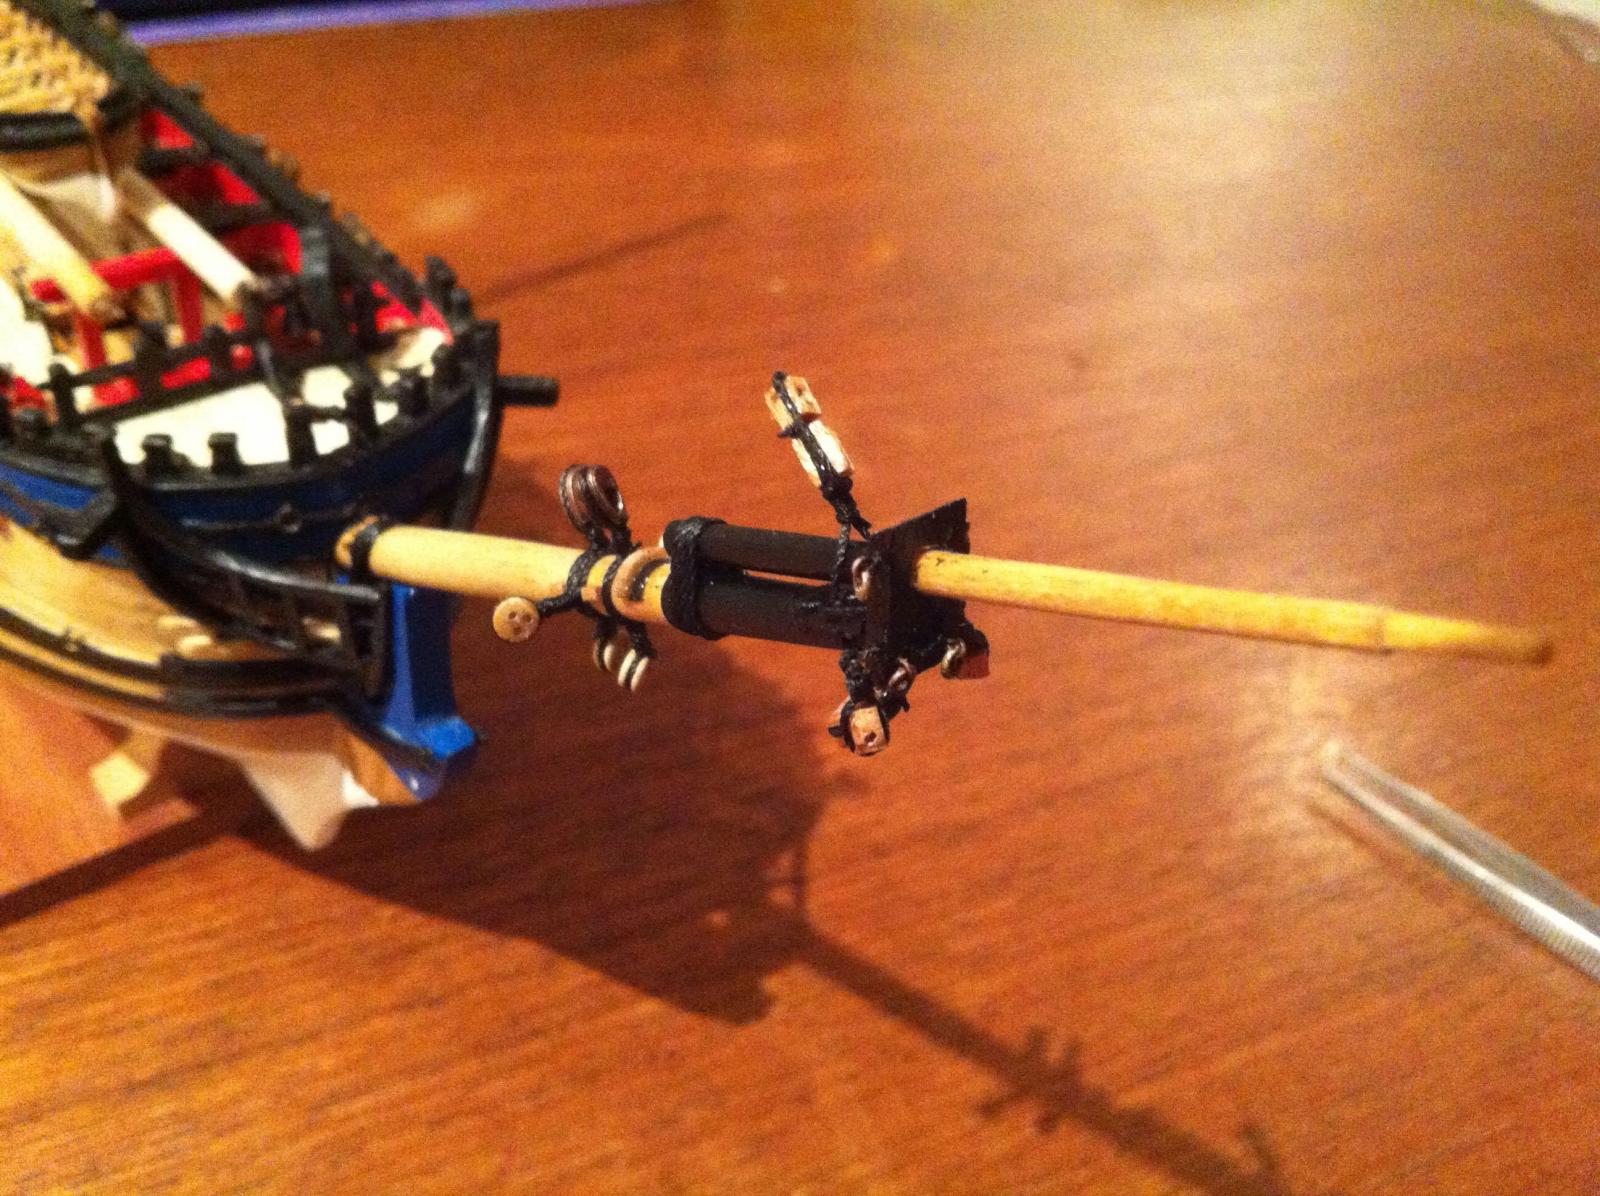
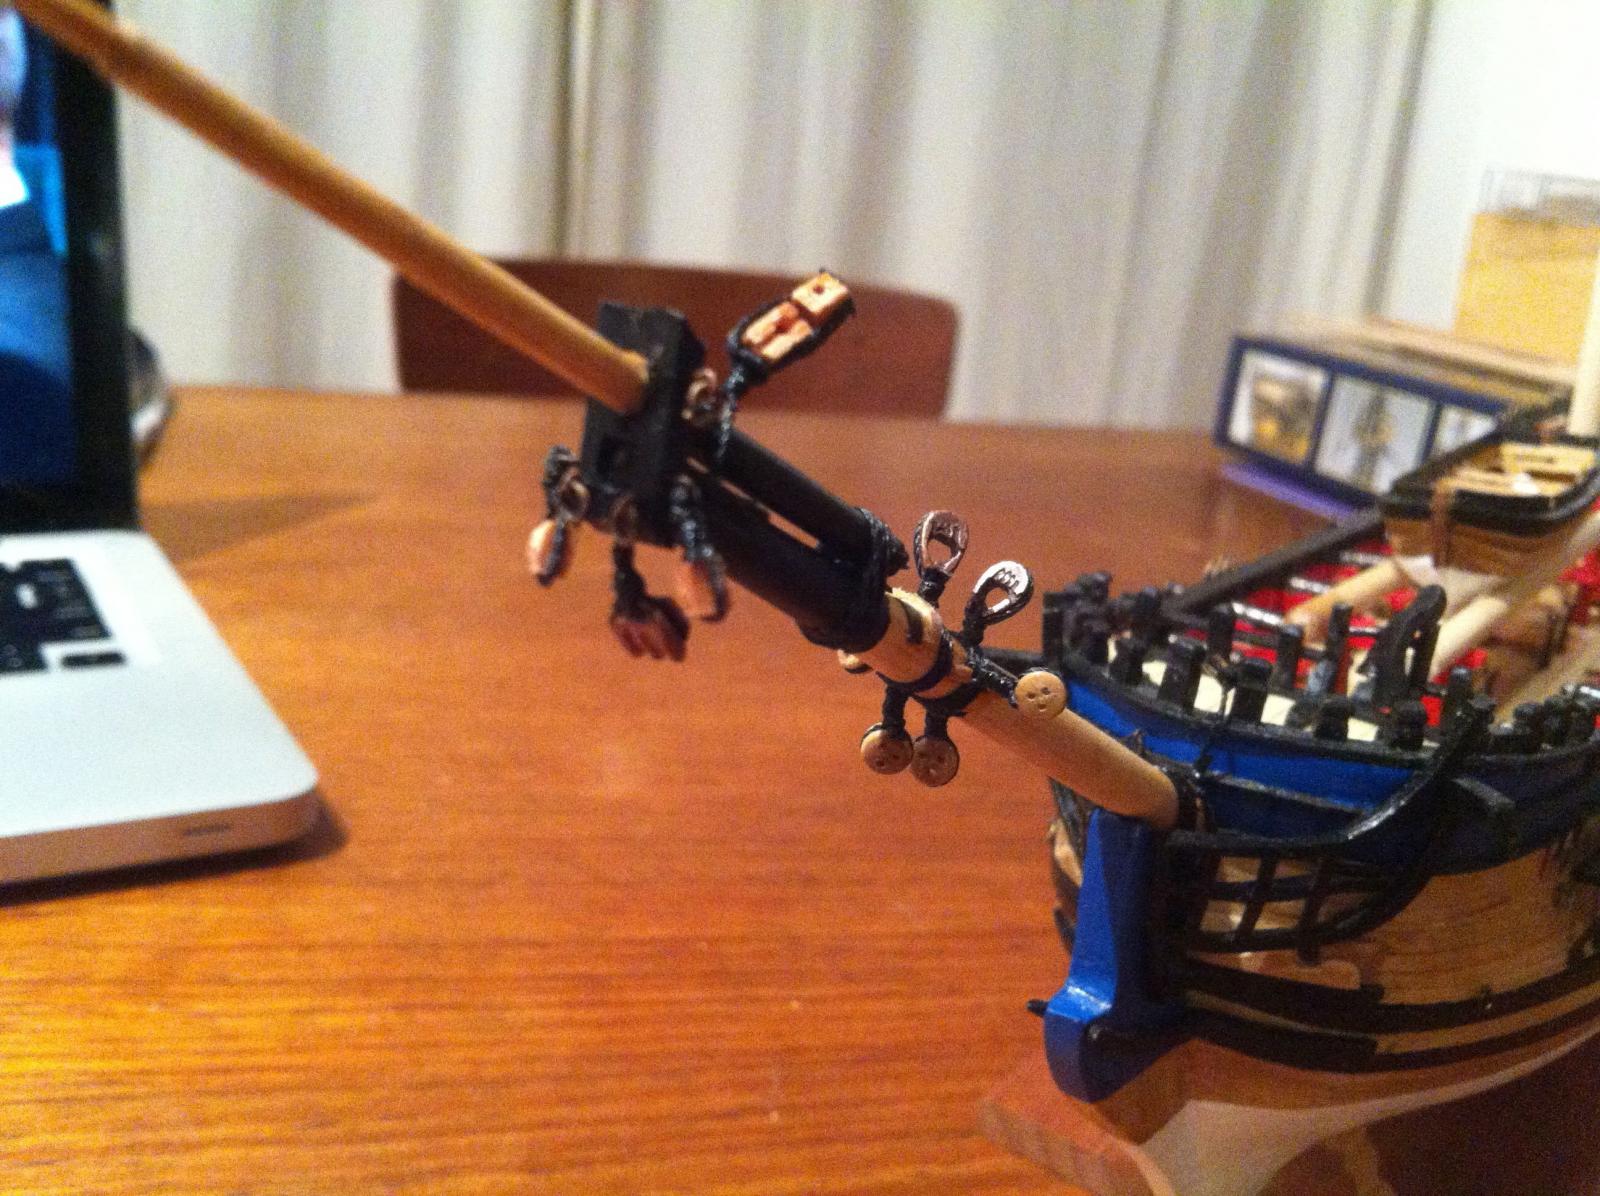
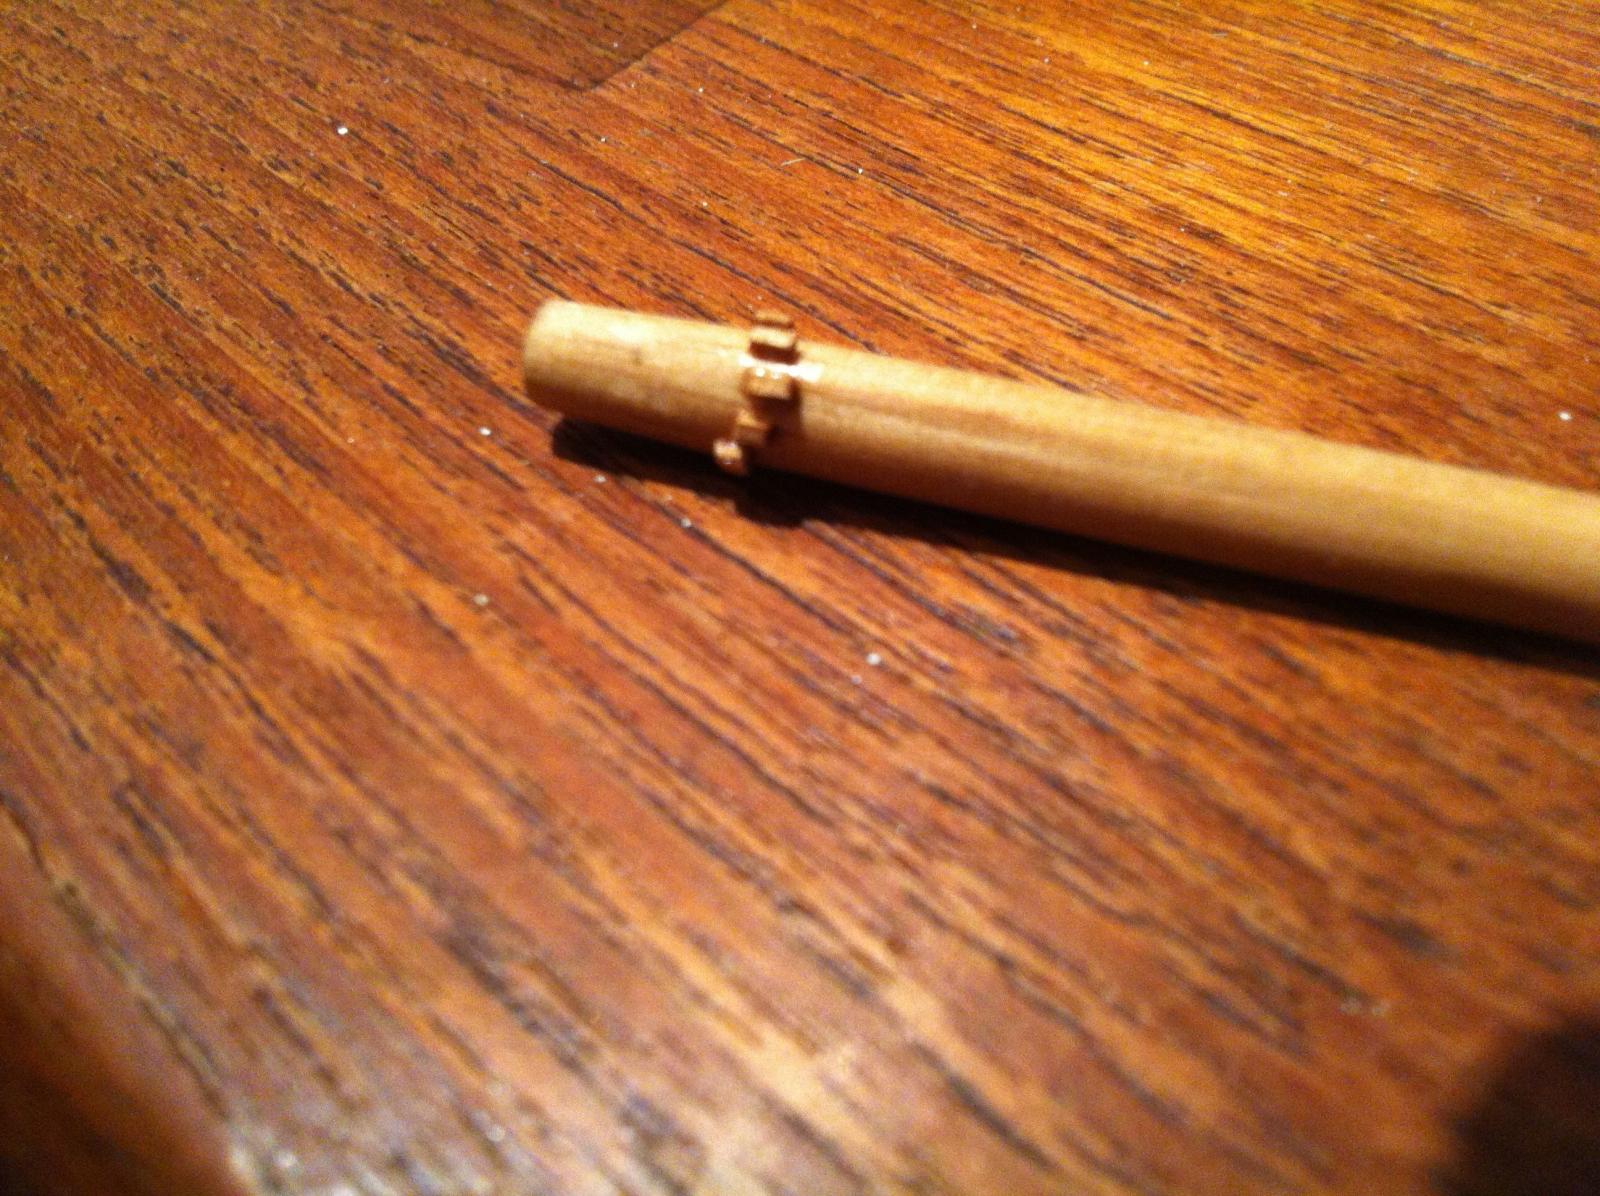
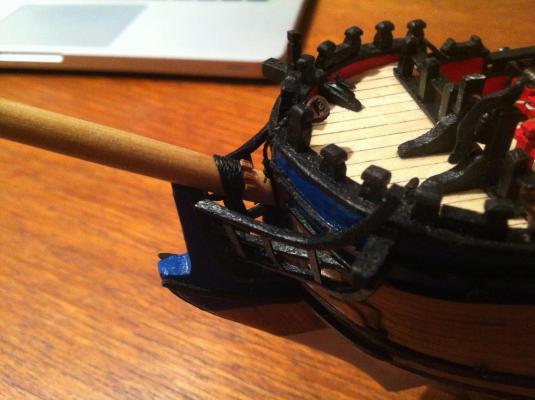
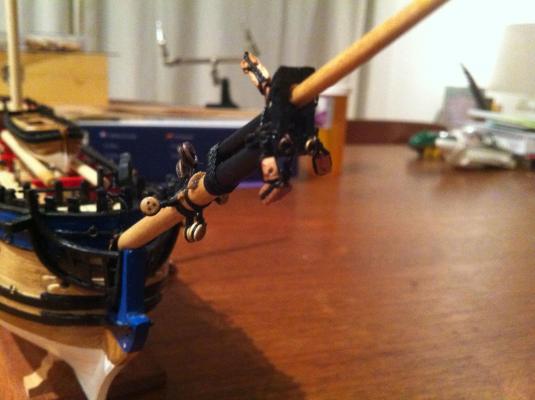
Corel supplies laser cut walnut caps for the main and fore lower masts. These are each provided in 3 1.5mm thick parts that are glued together to form the final cap. I will likely use these when the time comes. The bowsprit cap, as well as the mizzen mast cap and the fore and main topmast caps are cast metal and are useless - first because they make it impossible to add rigging features and second because the holes in them are not fully bored, and with only handtools to work with I could never get them into shape. So, I'm faced with scratch building 4 mast caps - the bowsprit and mizzen caps are larger (about 2mm x 5mm) while the topmast caps are quite small (and may prove very difficult to craft...). Anyway, here is the only shot I have of the rough mast cap that I made. I gradually drilled holes at the appropriate locations and at an appropriate angle to account for the rake of the bowsprit. I then used round and square needle files to get the finished shape. After I took this shot, I sanded the sides down a bit more to match the size of Corel's part - something they seemed to get right. The bobstays are a bit of an ambiguity. Goodwin (and Corel) shows only one, but Lees mentions that the 1719 Establishment allowed for 2 - he does not mention as he does elsewhere if this was only a practice on larger ships. I've taken the liberty of adding a second bobstay, less for historical reasons, then because I think it will look good. However, Corel suggests using 5mm deadeyes for the bobstays and bowsprit shrouds but provides 4mm cast metal hearts for the fore stay, for preventer stay and main stay. Take a look. I initially thought of ditching the metal hearts and making my own of a comparable size to the deadeyes, but again to my eye the deadeyes seemed too big and clunky for the model. So I decided to replace them with 3mm deadeyes, and to stick with the metal hearts.....sorry!! Anyway, after agonising over how to make a single collar for all the deadeyes and the heart for the fore stay, I looked again at Lees only to discover that each of these rigging elements was put on with its own collar....! Filled with relief I went ahead and attached the remainder of the rigging elements, including -- 3mm deadeyes for the bowsprit shrouds -- 3mm deadeyes for the inner and outer bobstays -- 4mm hearts for the forestay and fore preventer stay -- ringbolts p/s on the upper sides of the cap for the bowsprit horses -- two 3mm single blocks p/s on the lower sides of the cap for the spritsail lifts -- two ringlbolts on the lower forward face of the cap for the jibboom footropes -- a 4mm double block on the bottom of the cap for the spritsail jeers -- a 4mm single block married to a 3mm single block for the fore topmast stay and the jib sail staysail downhaul. -- a blackened brass ring service as a traveller I also added the jibboom (3mm dowel cut to 72mm and tapered appropriately), the jibboom gammoning, the main stay heart and the bowsprit gammoning....here is the finished product.... All in all an eventful few days. On and on it goes.... hamilton


-
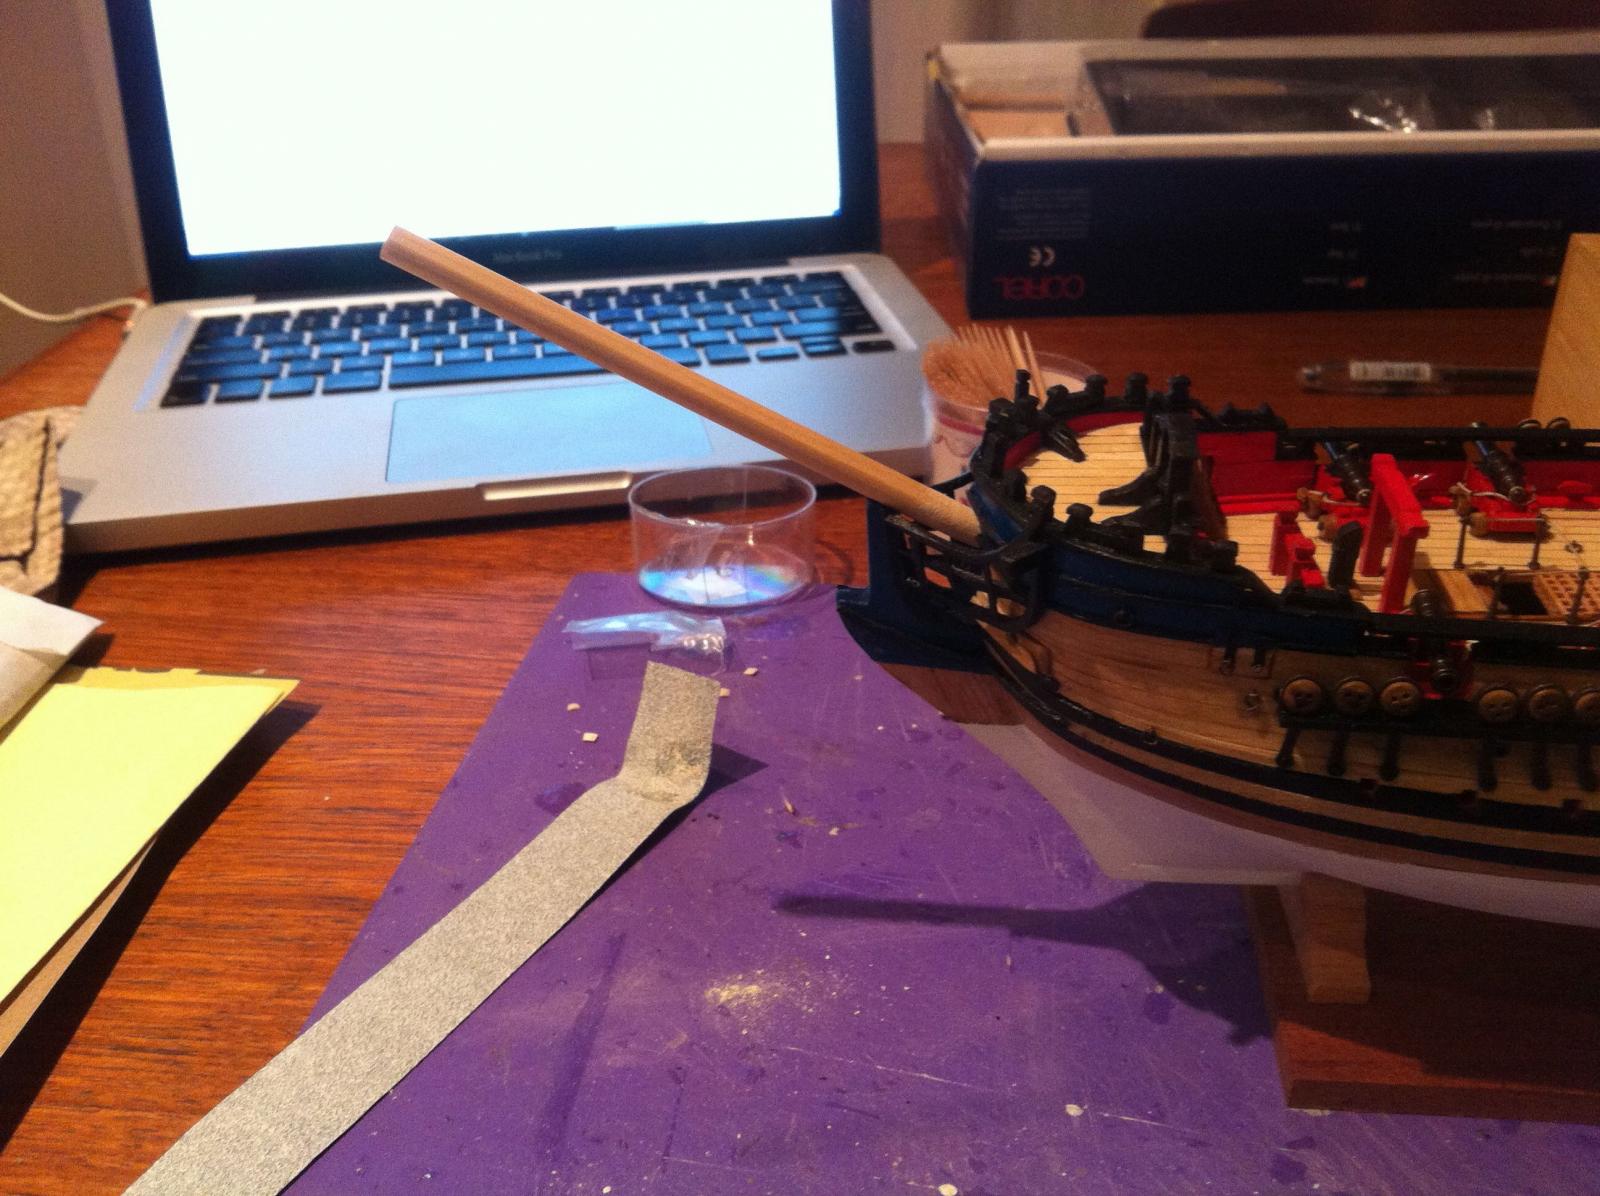
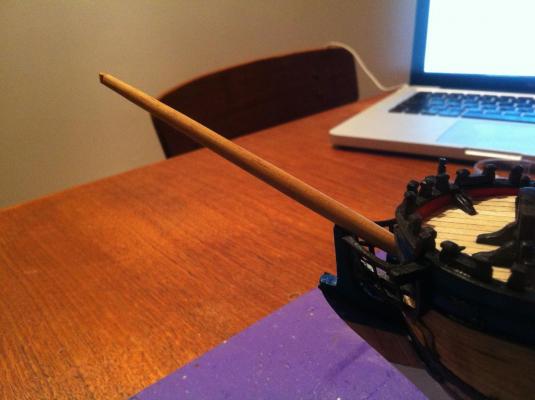
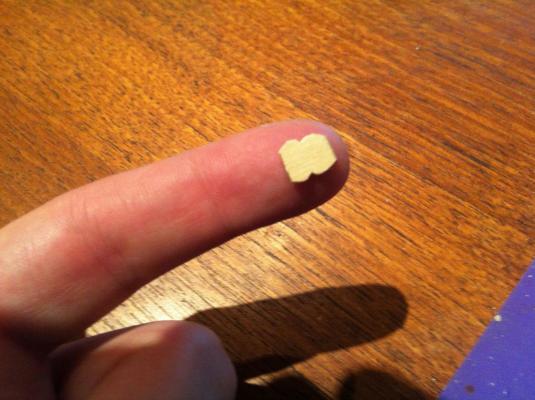
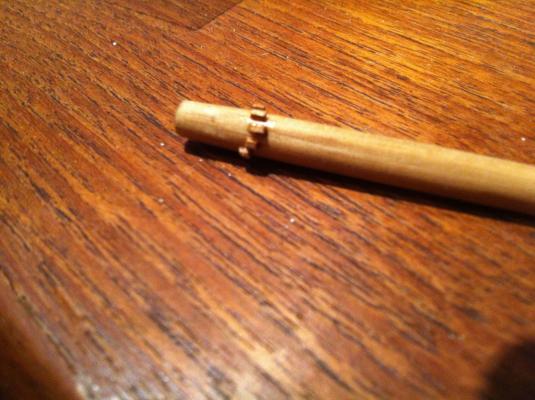
OK time for another update. I've begun the masting with the bowsprit, which is now outfitted with most of the necessary rigging elements and installed on the model. I think I have more or less worked through the confusion over mast & spar lengths - thanks to the help of BE - and have come up with what I think is a good compromise between information provided in Lees and Goodwin and what looks pleasing to my eye. The lengths of the bowsprit and lower masts will be a bit longer than the scale calculations taken from Goodwin - like BE the scale lengths that I arrived at from Goodwin seemed a little short to my eye....all other mast and spar measurements will be derived from the scale measurement of the main mast as given by Goodwin, using Lees as the guide to calculation. The bowsprit was cut and shaped from a 6mm dowel to a length of 111mm. This is longer than Goodwin's measurement by about 10mm, but I think it will look better on the model. Goodwin shows the bowsprit outfitted with bee blocks and though at 1:100 these are very small, I decided to give it a try. I shaped the bees from a 1/32 x 3/16" strip of lime. I filed a section of the top of the bowsprit to accept the bees and then installed the bee blocks underneath - these were 1mm x 1mm strips of light walnut. Turned out ok. I used the same 1mm x 1mm strip to make the gammoning cleats and the stop chocks for the collars. I couldn't get a good photo of it, but I also installed a sling cleat for the spritsail yard, including a 1/16" bit of pinstripe tape as an iron buffering bar on which the sling will lie. I'll continue this in another post since for some reason I'm not allowed to upload many photos in a single post... hamilton


-
I'm not sure this is the right term for it - and I don't recommend taking it literally - but I'm wondering if anyone could share an effective technique for rigging two blocks together - as in a larger and smaller block stropped or seized together at a yard arm for the sheets/lifts or (in my case) on the bowsprit for the jib stay (the larger) and the jib downhaul (the smaller)... Anyway, any and all advice is appreciated! Sorry for so many questions today! hamilton
-
Thanks a lot Andy! I'm going to have a go at a couple to test the waters - what's the worst that can happen? I'll use up a bunch of rigging line.... hamilton
-
Thanks John I get this in principle, but how would you go about tightening such a thing around your spar - or is it a question of getting lucky and having the correct diameter after you've seized all the elements in....? It is still a very abstract thing to me..... What I may try is making 2 collars - one for the bowsprit shrouds and one for the bobstay and forestay heart. This may result in a bit of a clunky look, but the images of collars I've seen show a length of rope with two eyes in the ends, lashed together around the spar....I can see how I might manage this at my small scale (1:100) with 2 rigging elements (the bowsprit shroud deadeyes, e.g.) attached - as I wrote this Druxey just responded saying the same thing, so now I'll close! Anyway - I appreciate the responses all! If anyone has a photo of a bobstay/bowsprit shroud collar they've made and want to share I would greatly appreciate it - it would be nice to have an image to help me think about how to go about things. Happy modelling all hamilton
-
Thanks Jan: It's actually the bobstay collars that I'm curious about....the mainstay collar is straightforward since it only has one heart seized to it - what I'm having difficulty with is a collar with multiple deadeyes/hearts seized in. On my HMS Blandford build there is an inner bobstay collar on which the bobstay deadeye, the bowsprit shroud deadeyes & the forestay heart are all seized....there's also an outer bobstay deadeye on which the fore preventer stay is also seized - I'm wondering how to seize multiple deadeyes/hearts onto a single length of rigging line...... Thanks again for your post! hamilton
-
Hi there: I'm wondering if anyone has a good technique they would be willing to share for making collars for bowsprit shrouds/forestays/bobstays and other similar types of rigging elements. I cannot wrap my mind around how to do this using a single length of rigging line with multiple seizings. Thanks in advance for any tips! hamilton
-
Hi Ian: This is magnificent work! The level of detail you are working to is beyond believable! If I were to solder anything at this scale it would look an absolute mess, but I'm pretty sure you could pull some nice taters out of that stove if you could find any at scale - if not, I've sure you could cut them to scale!! hamilton
-
Hi Jason: Excellent work! As for those eyebolts on the rear of the cannon carriages, I think they would have been used for a tackle that would run back behind the cannon and include another block hooked to an eyebolt on deck - not for the gun tackle (though using them as such makes more sense aesthetically for the reason you explain above). I'm sorry I don't know the name of the tackle, but someone here will..... Alistair's suggestion is a good one and if you can follow it it's the way to go. Being lazy I might have fudged it by seizing the block directly to the eyebolt on the gun carriage and leaving out the hook altogether - but Alistair's strategy results in something far more authentic. Anyway - great work! I love watching this ship come together hamilton
- 800 replies
-
- 1
-

-
- snake
- caldercraft
- (and 1 more)
-
Thanks again BE - I appreciate the time you've taken in helping me with this! I'm assuming that the foremast measurement you quote as your final length (242mm) is the total length of the mast, including whatever is below decks....I'm working at a much smaller scale, but I arrived at a main mast length (on the model) of 182mm. The calculation of the other masts & spars will be from the scaled full mast length as calculated from goodwin - 209mm total length - with the exception of the lower fore and mizzen, which will be calculated from my adjusted above-decks height for the main mast (that is, 182mm) with a bit extra added for the seating of the masts.... Thanks again for your help! hamilton
-
Of course it would have been most helpful to take direct measurements from Goodwin's book & scale down to 1:100, which is what I spent the last hour doing......The only issue remains the lower masts and bowsprit, which are difficult to calculate because of the obvious difference between a kit with a false centre keel and a real ship....for these I have gone with a longer measurement above the partners, as follows Main mast = 182mm Fore mast = 170mm Mizzen mast = 150mm Bowsprit = 101mm The extra length can be shaved off depending on how the masts look relative to one another and their tops/yards...... That's all on this for now - back to the bench!! hamilton
-
Thanks Wayne: Unfortunately I can't use Danny's spreadsheet on my Mac!! I'll have to check it out on a PC when next I'm able....great idea, though! hamilton
-
Thanks BE Yes this makes sense to me - I re-did the main mast calculation using first the drawing on p.93 of Goodwin, and then Lees calculation starting from Goodwin's overall measurements (2.42 x the beam of the ship) and substracting the below-decks section taken from the longitudinal plan provided by Goodwin - the result in both cases was 165mm for the length of the mast above the partners - this seems a little short to me...I, too, may cut it a bit long (perhaps about 180mm), though I'll try to keep the dimensions of the head, cheeks, bibs, caps and so on to the measurements given by Goodwin.... Quick(?) question -- how did your elongation of the main mast influence the calculation of the other mast/spar dimensions? I'm thinking that an elongated main would have to result in elongated fore and mizzen masts. But did it influence your calculation of the dimensions of the topmasts and topgallants and the yards as well? Or did you calculate these in some other way? My Lees is the 1979 first printing....which explains the difference! hamilton
-
PS BE - I now see what you were referring to - section G (Masts & spars) in Goodwin! Thanks a lot! It will be difficult to calculate the below decks length of the masts as they would be on the model, since there is nowhere to sink a tick strip down into the "hold"....I may simply assume that the below partners measurement given by Goodwin is the same at scale on my model and go from there....path of least resistance and at least some marginal accuracy - at least the basic reference point is reliable! Thanks again hamilton
-
Hi Harlequin: Sound like fun! Glad to hear she's making you keep up! As for the deadeye strops, yes they are very soft! I broke only 2, though, and got through them pretty quickly. I pressed lightly down on them to make them more round in shape and then inserted the deadeye first at the bottom (where the strop was most likely to break) and then "folded" the top over if you see what I mean...Had to do some touching up. The strops are not ideal and if I had more energy I might have replaced them with my own brass wire versions. However....they will suffice. It's nice to be done (more or less) the hull - though honestly I thought my problems with the kit would end there (since I've already worked out a new rigging plan based on Lees and Goodwin's Anatomy of the Ship. However, as my post regarding the mast and spar lengths indicates, things continue to be confusing! Bye for now hamilton
-
Thanks Alistair & BE!! BE - I wonder if we're working from different editions of the Lees book - my p. 196 is the last page of the index (and of the book!) Nevertheless, the measurement 68' 6" is all I need to go on, since the mast & spar dimensions are taken from this root. I can get the length of the mast below the partners from the longitudinal section drawing in Goodwin - I imagine the difference between 1:96 (Goodwin) and 1:100 (Corel) are so small as to be negligible.... In my version of Lees there are no tables outlining the mast & spar dimensions of the various establishments. There are rigging tables for different classes of ships that correspond to pre-1719, 1719, 1745, etc., and also an appendix which gives prose descriptions of the proportions of masts, spars & rigging lines....Numerical tables would be much more useful as a tool for consultation! Anyway, thanks again I'll draw up my own tables again and have a crack at the bowsprit this evening.... hamilton
-
Well I had hoped to begin the masting this evening by cutting and shaping the bowsprit. But somehow I found myself resealing our bathtub and painting the bathroom ceiling instead! How annoying.... In any case, with the little time left to me tonight, I did a bit of a masting comparison - Corel, versus Lees, versus Goodwin. I found wide variation between all three of these sources as to the lengths of the masts and spars....Here is the general rundown... Corel, by and large, provides for taller masts and longer spars - in some cases by as much as 40 or 50mm!!! (as with the main & fore topgallant yards). Using the proportions found in Lees' Masting & Rigging of English Ships of War, we find much more conservative numbers. In many cases (especially for the lower and topsail yards, these more or less exactly mesh with Goodwin, but in other cases there are significant differences - as with the topgallant yards, where at scale there is a 10mm difference in each case. Goodwin lands in about the middle in most cases except where, as noted, he agrees with Lees....though in one important instance (the main mast) he overshoots Corel by a good 10mm (at scale, obviously) - though we're calculating the mast length from the step on the keelson, rather than from the lower deck, as in the case of Corel.... Here are some highlights (all measurements are at 1:100) Main Mast Corel - 199mm (from lower deck) Lees - 189mm (uncertain, but I presume this is a measurement from the step in the hold of the ship) Goodwin - 208mm (taken from the step in the hold) Main topmast Corel - 140mm Lees - 113mm Goodwin - 121mm Bowsprit Corel - 101mm (outboard section only) Lees - 111mm (again, one assumes a length inboard, but hard to say how much....) Goodwin - 88mm outboard Fore Lower Yard Corel - 169mm Lees - 161.5mm Goodwin - 161.5mm Main Topgallant Yard Corel - 86mm Lees - 66.5mm Goodwin - 78.5mm Anyway, you can get a sense of my conundrum....The commitment to historical accuracy on the part of the kit manufacturer can possibly be ruled out. However, the disagreement between more trustworthy sources leaves doubt. Also - since it is difficult to determine the length of the masts at scale from Lees and Goodwin, since they are including in their calculation a section of the mast on the real vessel that will not be included on the model, it's hard to know exactly how to use them - at least for the lower masts and bowsprit.....Goodwin is easier here, since there is a 1:96 drawing of the longitudinal section of the Blandford that shows the masts stepped. All I need to do is calculate the 1:100 dimensions of the full masts and substract from this total the length of the mast below the lower deck (after converting from 1:96 to 1:100 - though how miniscule will this difference be? So there it is....what to do? what to do? I'll have to spend a bit of time with my chart and make some decisions, but in the meantime, any and all advice is welcome! hamilton
-
Thanks a lot John! I'm liking your CW Morgan, too - a very complex and interesting build! hamilton
-
Harlequin! I was wondering where you had gone! Hope the season went well for your daughter. My son and I watched some kids playing rugby at one of the beaches at our vacation spot on Hornby Island. I can't pretend to understand the game myself, but he seemed to get into it. Looking forward to seeing some progress on Bellona hamilton
-
Thanks Augie! I'm finding it very difficult already to keep up with your Confed! Your log is less a log and more a microcosm! I will try my hardest! hamilton
-
Hi Mark: Yes....ratlines!! I can hardly wait!! The hardest part about the ratlines (for me) is thinking about having to tie them....once I start and get into the rhythm of things it's not so bad as long as there is some good meditative music or an interesting podcast to listen to.... I should note that the smaller 3mm deadeyes did come in adequate supply in this kit - Corel supplies them only for the topmast shrouds. I had to hustle for some extras so the backstays would look proper.... hamilton