hamilton
-
Posts
1,915 -
Joined
-
Last visited
Content Type
Profiles
Forums
Gallery
Events
Everything posted by hamilton
-
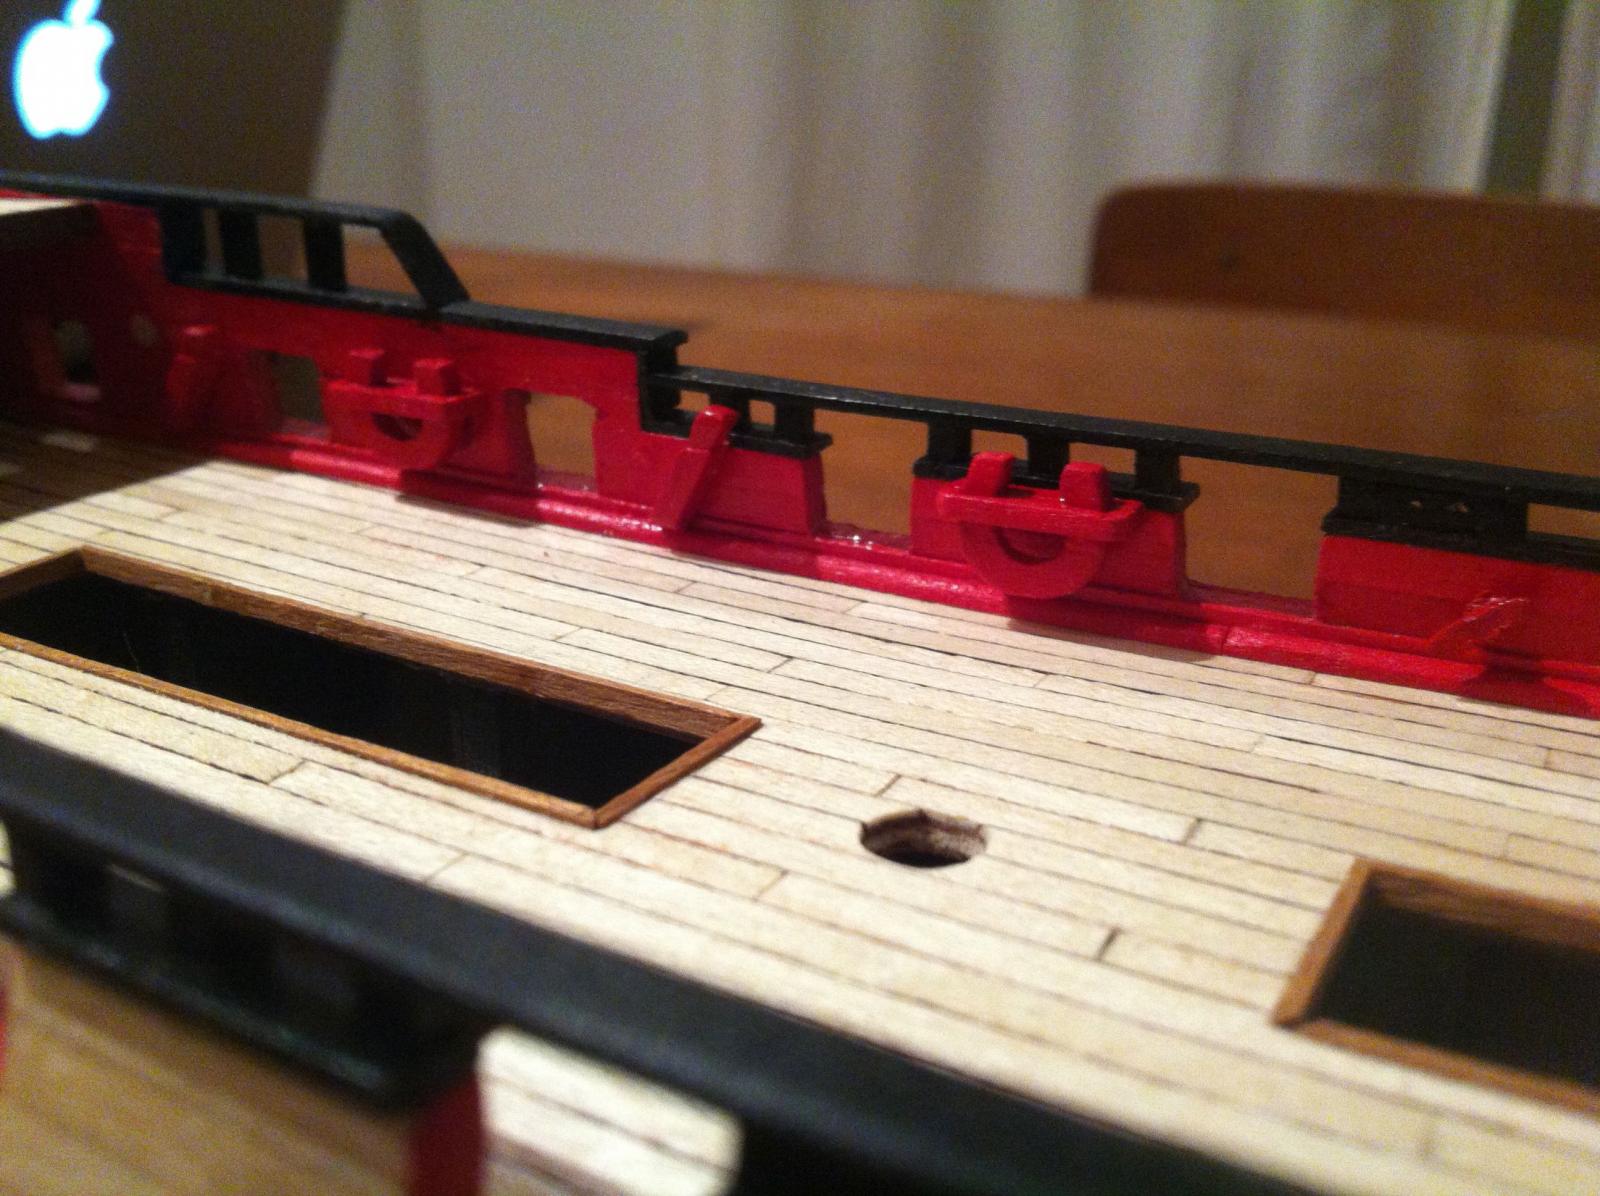
 Thanks a lot BE - much appreciated! The kevels were tricky...even though they are too big for scale, they are yet too small for me to have provided a real chamfered head for them...I also wish I'd taken some "in process" shots to document the construction...I can describe it for those interested.... I drilled some 4mm holes in 1.5mm x 10mm lime. I then rough drew the form of the kevel "horseshoe" around these holes, cut out the top and filed the inner part down. I then cut the piece out and filed and sanded down the outer edge. For the cross piece, I took some 1.5mm x 5mm x roughly 15mm lime and filed two square sections out on each side in line with one another and positioned for the arms of the horseshoe part. I then trimmed the length on either side to something appropriate and then sliced the strip in half. This left me with two 1.5mm thick strips, each with 2 small sections filed out I then glued one to one side of the horseshoe part and the other to join with it fitting around the heads. Presto! An oversized bulwark ornament!! Anyway, words probably don't do it justice - but they were definitely fiddly little bits to make....thanks again BE for stopping by! hamilton
 -
Thanks Ferit, Andy and Augie! I have to keep remembering that the more the ship progresses, the more the little nuissances tend to fade into the background - not much can be done about the big nuissances (in modelling as in life!) but..... The Goodwin and Lees books have been really great investments - Lees in particular, since his descriptions cover vessels throughout the classical age of sail and can be applied to many a ship model. Goodwin has just helped resolve the ample ambiguities of the Corel kit... Anyway, I'm still wrestling with how to do the decorative elements on bulwarks and transom - haven't had time to follow up on Andy's earlier suggestions, but hopefully will have a moment or two on the weekend to poke around the local hobby and second hand shops for some workable trinkets and figures....I'm trying to delay this as much as possible but eventually I'll have to face it.....for now, more little jobs to do, maybe a rudder... Hope you all enjoy your weekend! hamilton
-
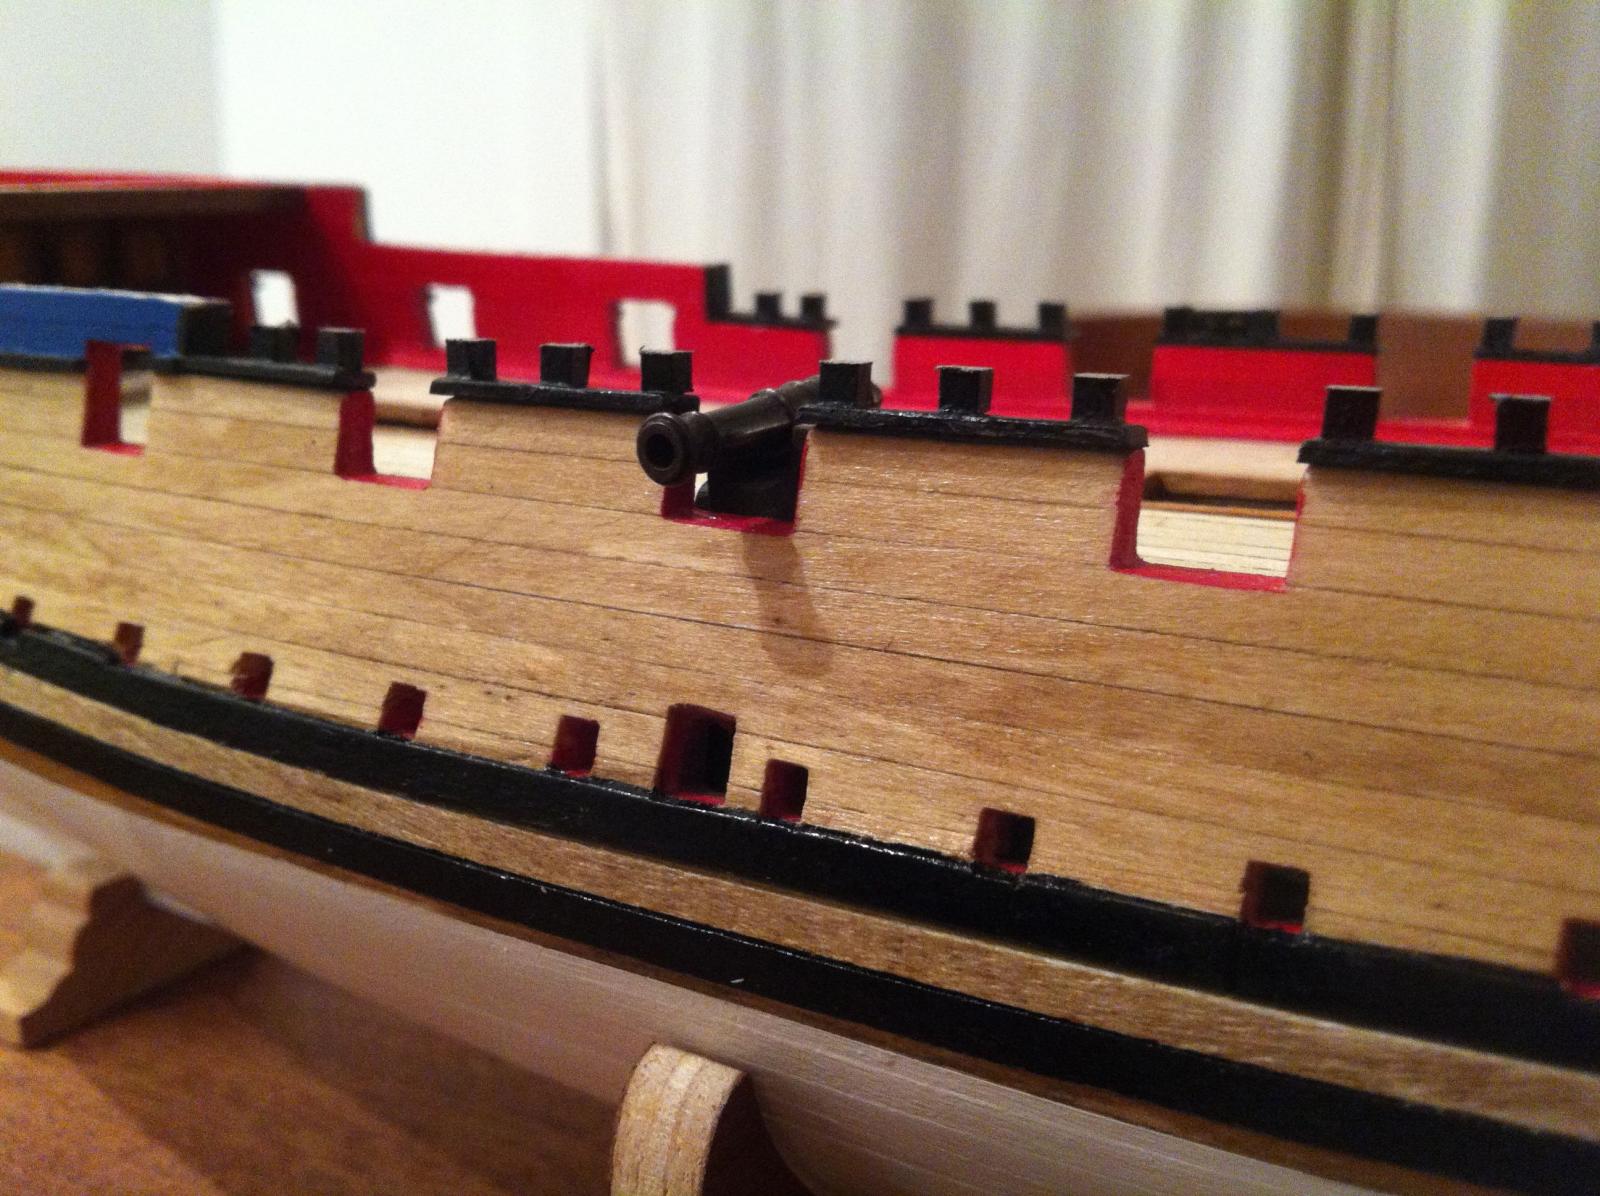
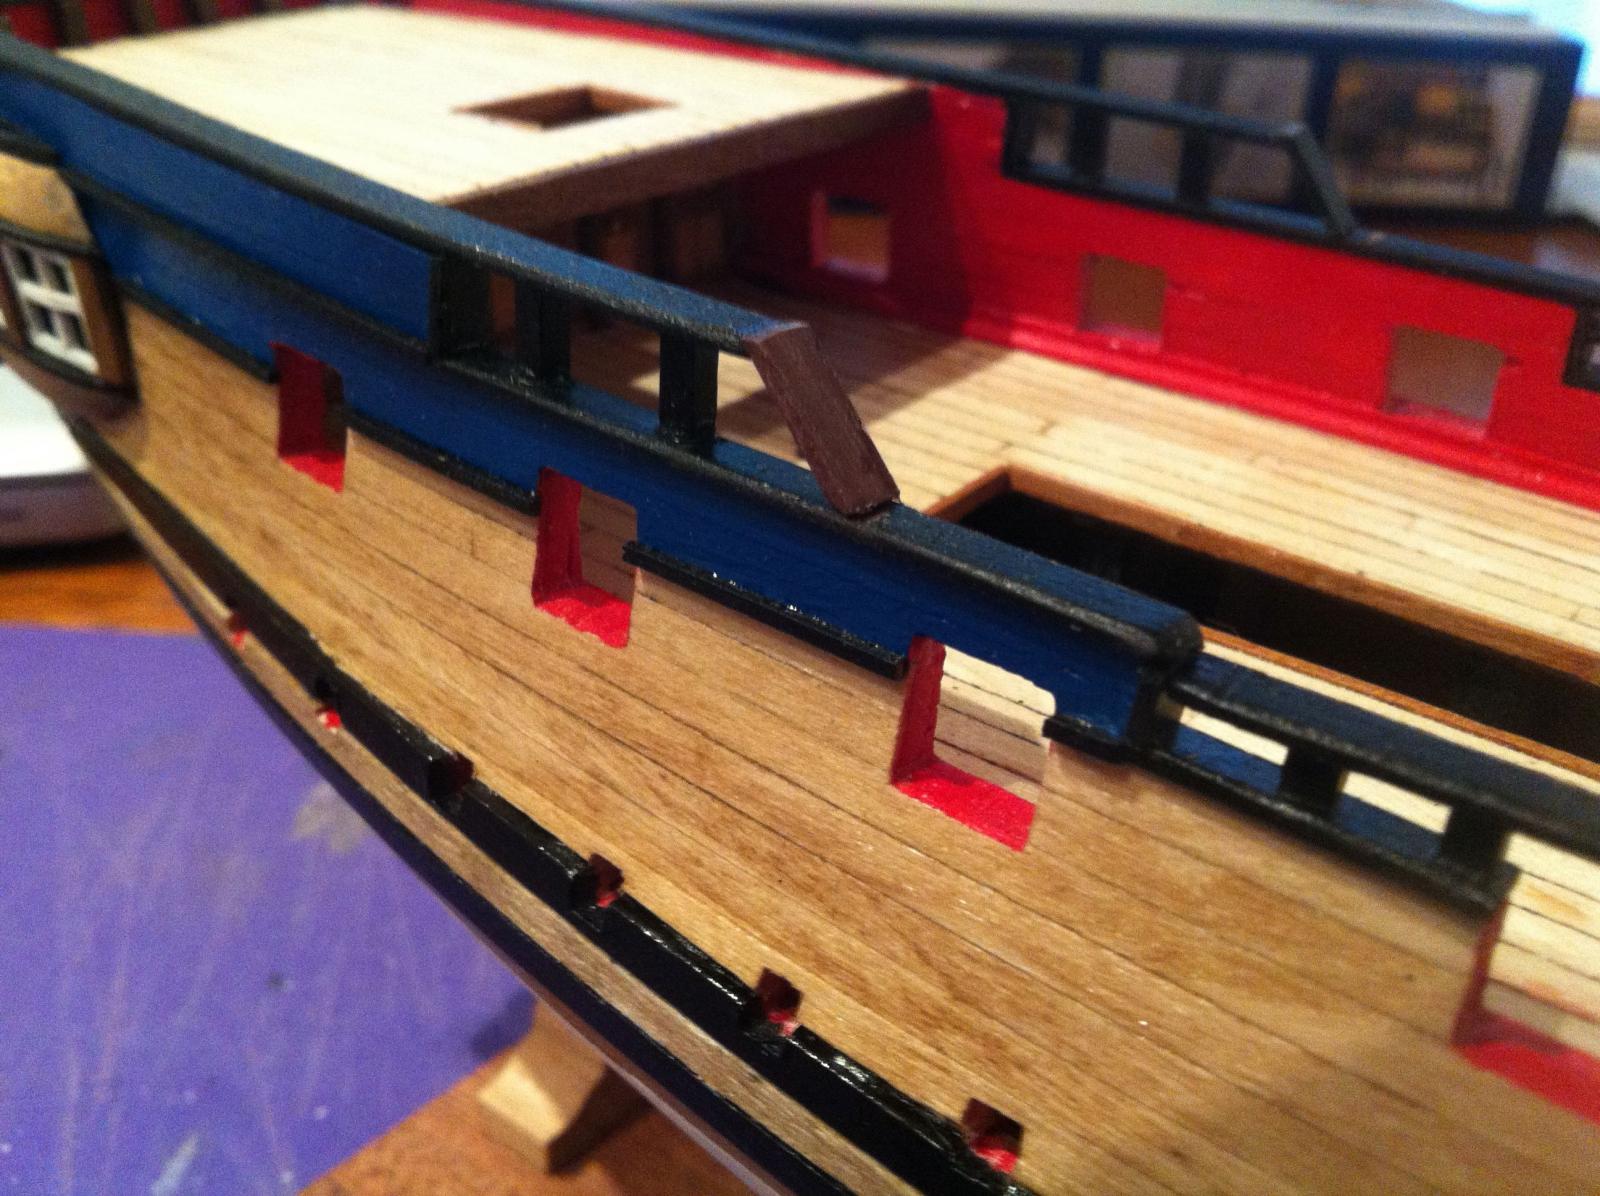
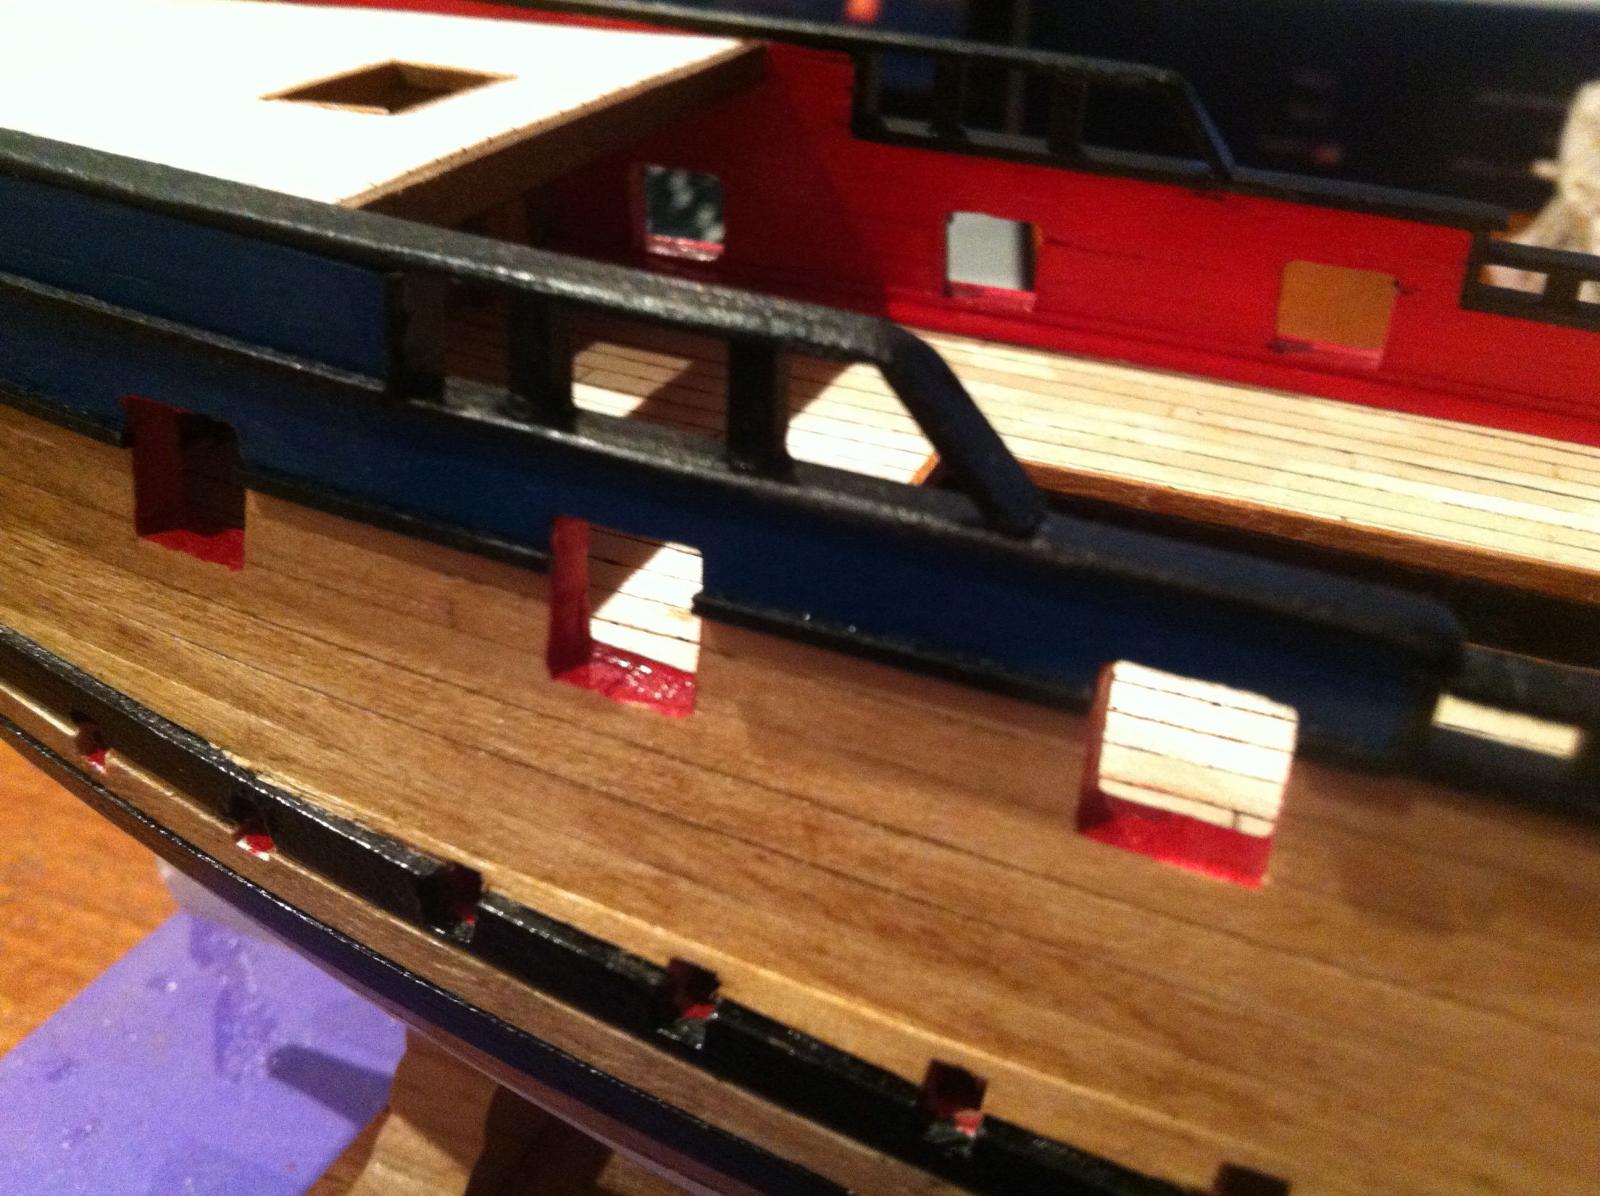
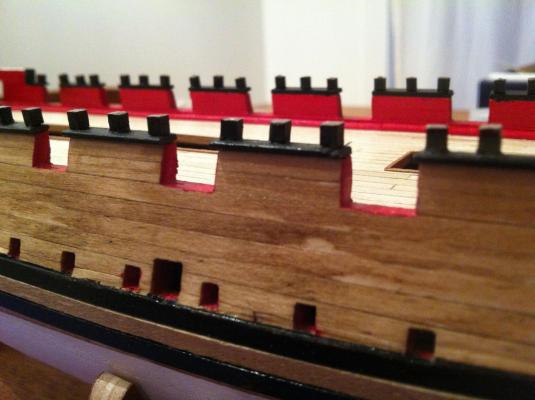
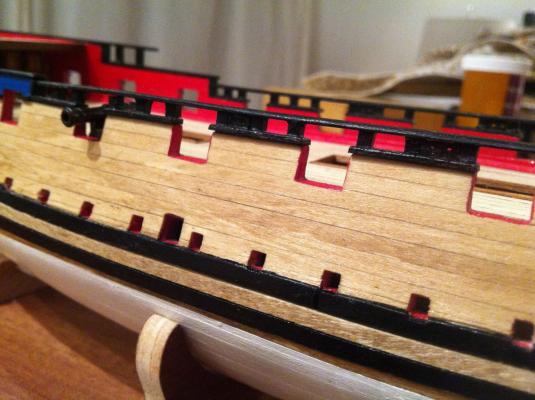
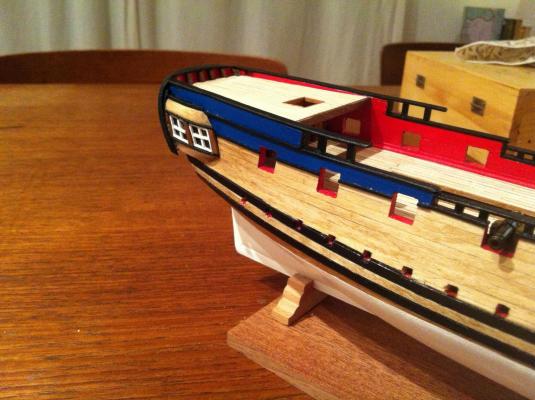
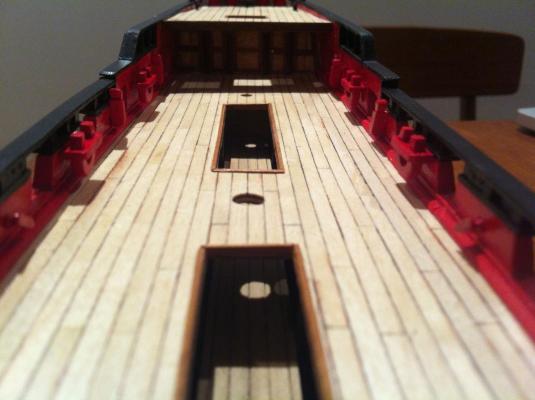
Alright - the last time I updated this log seems an eternity ago! I have not, however been idle (unless you ask the admiral, in which case I am only ever idle...) As I mentioned previously I have completed the rails. I've left off the decorative metal scrolls that Corel supplied and opted for something very simple - and closer to the representations in the Goodwin book. I also had to confront a structural problem that is very difficult to describe but that resulted in a situation where if I had followed the exact scheme of laying the rails as provided by Goodwin I would have had gunports that were 12mm wide and roughly 20mm tall!! Clearly absurd and to be avoided at all costs. Goodwin's book shows Blandford with open bulwarks - the cap rail along the waist establishes the top of the gun ports and should be 12mm above the gun port sills to create a nice square opening. However, given the height at which the quarterdeck and forecastle sit, I could not build the bulwarks up in a way that truly reflected Goodwin's drawing. I might have been able to do this had I anticipated it back when I was building the framework - but that would have involved replacing and recrafting each and every bulkhead in the kit - something I am not equipped to do....so the structural aspects of the Corel kit are, in this instance, inadequate for reproducing the Blandford as depicted in Goodwin. I needed to make some compromise - and what I chose to do was to make sure that the gunports were of normal dimensions. This necessitated making a little "step" in the main caprail both towards the forecastle and towards the quarterdeck. Goodwin shows the main caprail running smoothly from the break of the quarterdeck to the break of the forecastle...mine does not do so due to this unanticipated aspect of the Corel kit.... The results are not altogether awful, though they make the ultimate appearance of the vessel less satisfying than if I have been able to achieve the nice smooth lines of the Blandford.... Anyways, I'm trying not to get too upset about it.... Along with the rails have gone the frame ends in the waist as well as a set of sheave blocks situated in the open bulwarks for sheets and tacks. In other news, I've also completed plotting out the belaying arrangement and re-doing my rigging tables based on information gleaned from Lees and Goodwin - the Lees book is quite amazing and will undoubtedly come in handy when I turn to the Bellona some time in the future. I finally returned to actual building two days ago and have now completed the rigging details on the inboard bulwarks (cleats, kevel cleats and kevel blocks). The kevel cleats are a bit large for scale....but I am not entirely annoyed by their appearance.... My next step will be to shape & fit the catheads, add the knightheads and bow/quarterdeck timberheads, fish davit cleats, and some outboard details (ringbolts for rigging elements, fenders, ladders, etc.). Not sure how much I'll be doing in the next week since, though I'm technically "off" for the summer", Fall registration begins on Monday and as a program advisor for my department, I expect to be swamped with emails from anxious students about what they should be doing (should have asked a month ago!).... Anyway, photos follow - hope you all are keeping well and happy 4th of July to our American friends!! Oh - and happy belated Canada Day to all the Canucks! hamilton


-
I recall driving with my mum between St. John and Fredericton NB one late summer/early fall evening in the early 90s. There was construction on the highway and we were crawling along at around 20km over gravel, but it being a Sunday there was no one around and not much other traffic. We were good naturedly bickering about something when a shadow fell across her. It was a very large bull moose jogging beside the car. My mum decided it would be "fun" to roll down the window and have a chat. I argued against this, but she's a powerful woman. She had the window down and the moose lowered its head and looked in at us as it was running alongside. I thought we were in serious trouble - especially if the beast decided to try to put its snout in the car....my mother was giggling like a school girl and I was probably swearing like the proverbial longshoreman (no offence to any stevedores out there!). After what seemed like an eternity in which my mum cooed at the moose like it was a newborn babe, it finally peeled off, jogged across the highway and disappeared into the woods....the closest I have ever been to one of these majestic animals Sorry for hijacking your brilliant Syren log for this anecdote, Augie! hamilton
- 1,668 replies
-
- 2
-

-
- syren
- model shipways
- (and 1 more)
-
Hi Mobbsie: I had to go back and check the date of your last update - June 28....6 days ago - and in that time, how many guns did you rig?!?! I hope you've been getting enough sleep! And going easy on your eyes! Should we be worried.....? Have a great holiday! The closest I'll get to a walking tour any time soon is in about 10 minutes or so when I'll walk out to buy some vegetables up the road....I'm jealous... hamilton
- 1,279 replies
-
- 1
-
-
- agamemnon
- caldercraft
- (and 1 more)
-
Happy 4th of July! And congratulations on reaching another stage of the Rattlesnake build - such an elegant looking hull! Can't wait to see more hamilton
-
Thanks a lot Mobbsie and Wolf! Much appreciated coming from such great craftsmen! hamilton
-
Incredible! Such fine detail - it'll be a great addition to the model! hamilton
-
Looks amazing Jason! hamilton
-
Beautiful work - love the contrasting wood! hamilton
-
Beautiful! I saw the Niagra on sale on ME this past week at a very good price - if there wasn't a household ban on kit acquisitions I would leap at it! Your build is an inspiration hamilton
-
Wow! She's shaping up very nicely Mobbsie! Makes me wish I could afford one of these myself!! hamilton
- 1,279 replies
-
- 1
-
-
- agamemnon
- caldercraft
- (and 1 more)
-
Simple yet effective jig! She looks even better now with the yards on! hamilton
- 92 replies
-
- 1
-
-
- finished
- caldercraft
- (and 1 more)
-
I guess "phew" doesn't really cover it! I've had my share of mis-steps - hand getting caught in rigging, normally....always a cause for alarm, even when the damage is minimal! Lucky your incident didn't case more mayhem hamilton
-
belaying lines on knightheads...yes or no?
hamilton replied to hamilton's topic in Masting, rigging and sails
Thanks BE! - this settles it hamilton -
I guess the subject says it all, but to give some context, I'm working on an early 18th century 6th rate (or post ship) - the Blandford of 1719/1720. Thanks in advance for your answers! hamilton
-
Thanks Augie - it's actually not that bad - it's about time I revisited this work anyway, since I'm at the stage when it's really going to start to guide my work. This final revision will make it almost like a kit-basher's tool kit for the Greyhound. hamilton
-
Hello all: I've now finished the rails (photos later) and though I thought they would be pretty straightforward I found myself having to come up with a compromise between the modification of the kit as the HMS Blandford and the structural aspects of the Greyhound kit as supplied by Corel - more on this later. In the meantime, earlier in this log, I reported on my redrafting of the kit parts list, rigging tables and belaying plan. Foolishly, I did this before receiving the Lees and Goodwin books that I ordered to assist in the build....now I'm at the point where I'm adding the rigging elements on bulwarks, deck, rails and outboard hull. Looking at Goodwin (in particular) it's clear I need to re-do my belaying plan and rigging tables (and ultimately the parts list) to take into account the modifications I'm planning to the kit based on the Blandford..... So the long and the short of it is that after tonight, I'm going to be draw away from the modelling table and back to the drafting board....At least for a couple of days. I don't know how big the job is going to be until I get into it - but I will not feel comfortable proceeding until I've worked out my "road map" so to say..... Anyway, hope everyone is having a good time at the bench! hamilton
-
Hey Brian: I have a copy of the AOS Bellona as well - both are beautiful books, though I wish there were more model shots in the Bellona book...there is a great diversity of examples of contemporary models of 20-gunners in the Goodwin book - the variety makes for a lot of options for building, which is nice to have in the trickier phases of the build! hamilton
-
Brian - funny you mention that, since the starboard edge of the quarterdeck on my HMS Blandford is half a mm lower than the port side!! hamilton
-
Yikes, Alistair - I don't think my car goes that fast....try not to get blown away - and watch it on that kayak!! hamilton
-
Hi Doug - looks amazing! A nice clean finish and beautiful craftsmanship - very nice to look at hamilton
-
Hi David: Just went through your log - excellent work! Thanks also for resolving a question I had about whether this kit was single planked (info not given on ME website). In any case, she looks really beautiful hamilton
-
Alistair! It's been a while! I'm happy to hear that the Fly is on the horizon - it will be a beautiful model no doubt! The challenges with this build do not stop - in fact when I decided to move to what I thought would be an easy part of this build, I confronted yet another deep structural problem (albeit one that was produced by my adaptation of Corel's kit)....I think I've solved it in a way that is satsfactory to me, but it is essentially a compromise between the limitations of the kit, my attempt to adapt it, and obtaining a result which tends to sacrifice historical accuracy to a minimisation of aesthetically offensive results....sorry if this seems vague - my next update will document what I'm talking about. Anyway - great to hear from you - hope you're having fun down there! hamilton