niwotwill
-
Posts
596 -
Joined
-
Last visited
Content Type
Profiles
Forums
Gallery
Events
Everything posted by niwotwill
-
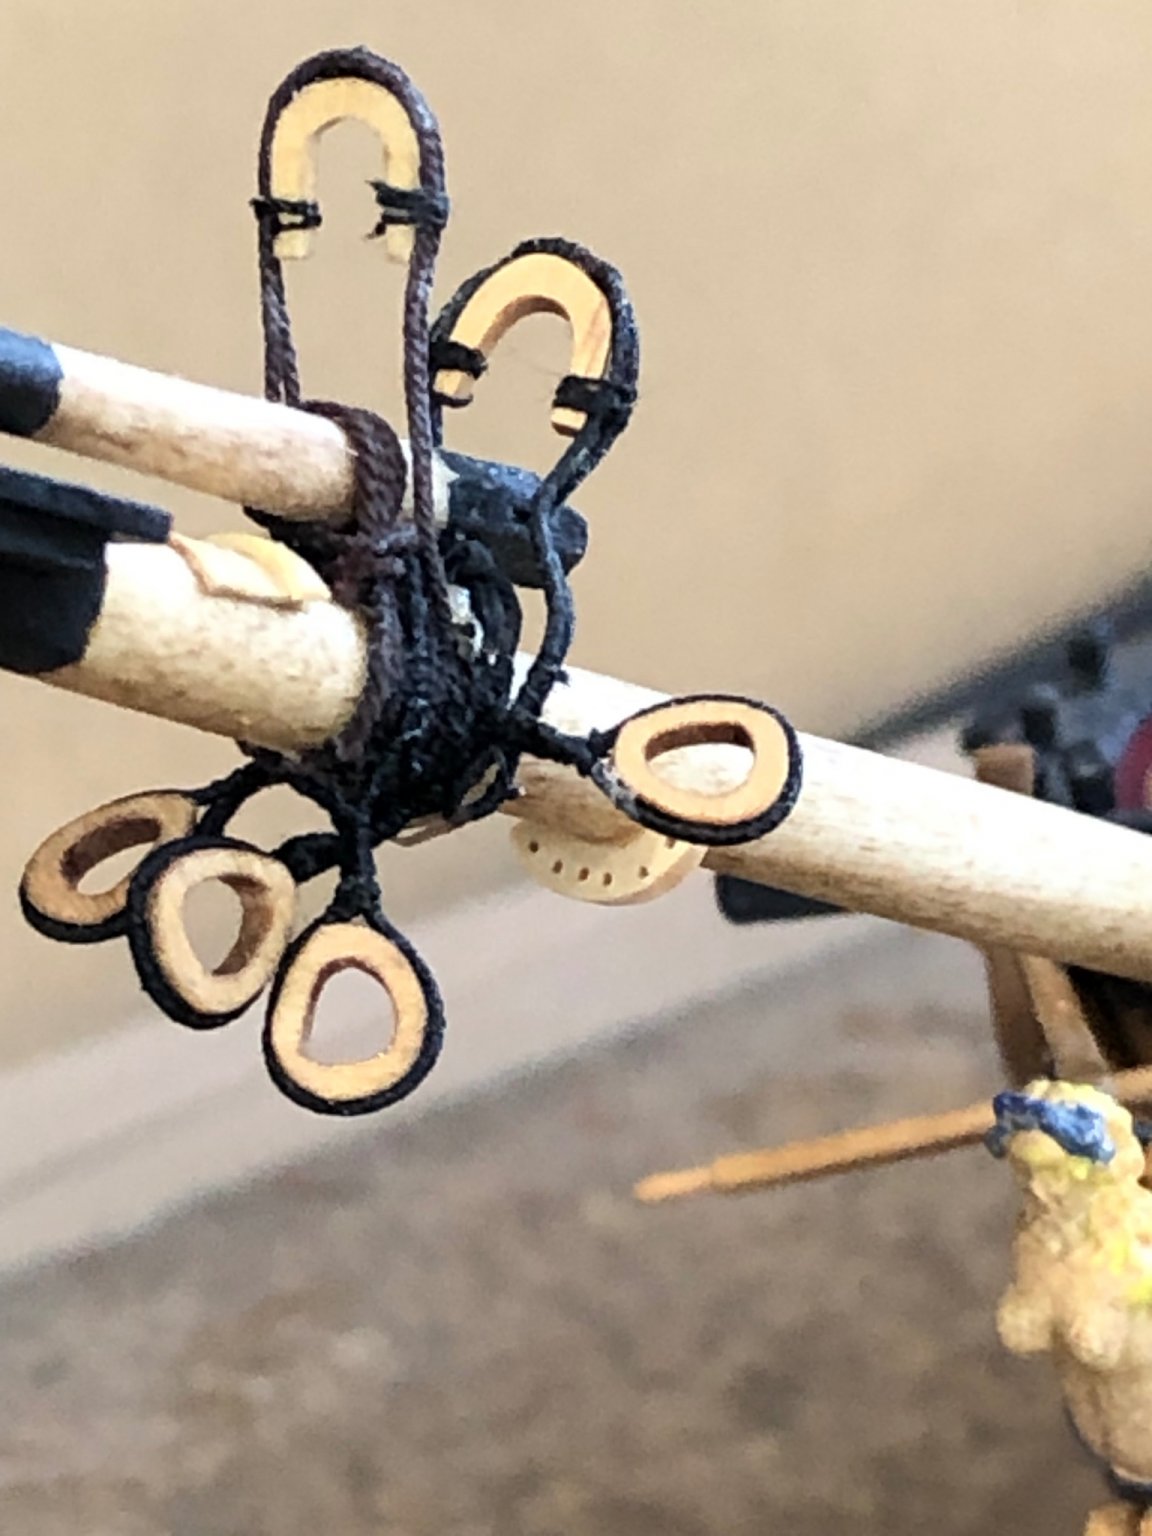
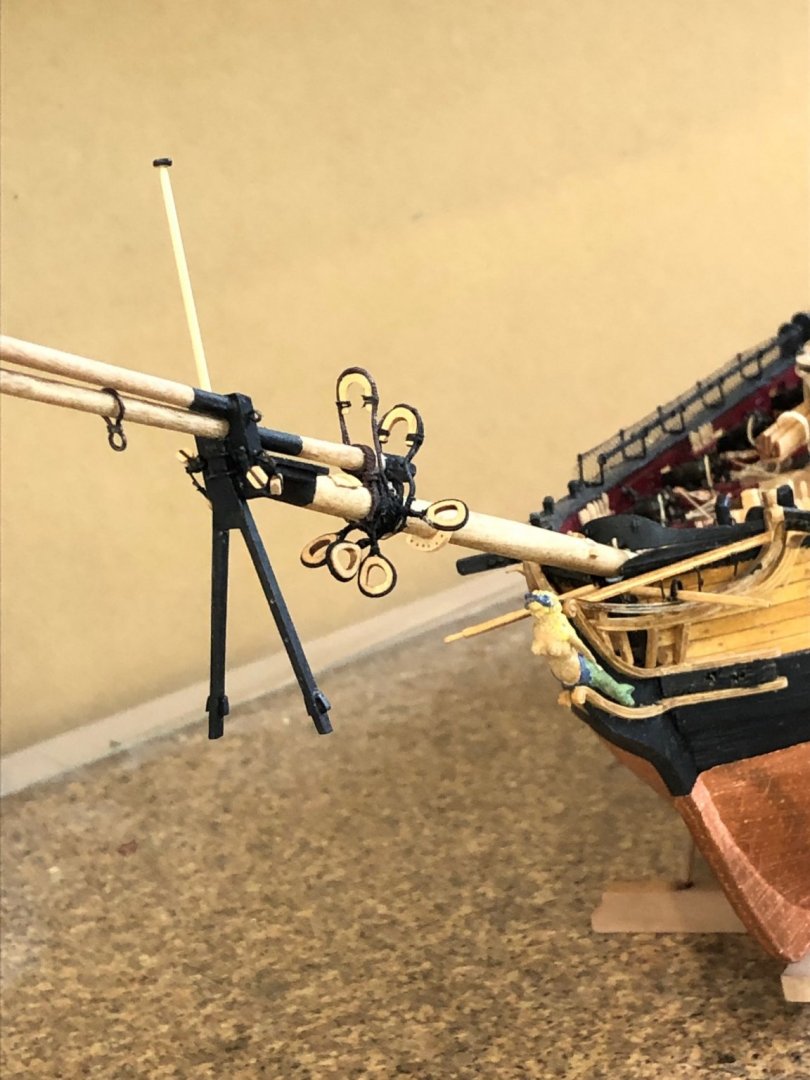
 Well back in shop I go. We were planning on taking to month of August to tour Maine to Massachusetts coasts for lobster and museums but with the Delta variant and my health we cancelled. After breaking all the open heart while cleaning the laser burn I made new out of boxwood. Served up 9cm of line making a loop with a faux splice per David Antscherl's tffm vol 4. Made loops at the ends and attached to the open hearts. Served up 4.3cm making loops at the ends leaving the severing thread to be use for seizing the loop. Seized the line around the heart. Lashed the hearts to the bowsprit with tan thread per monograph. Finished up the bowsprit parts and glued them to the ship. Made the splash guard for painting and mounting. When all items dried overnight I lashed the gammon 9 turns and finished per tffm vol 4. Today I'm making rope for the rigging. Not very exciting.
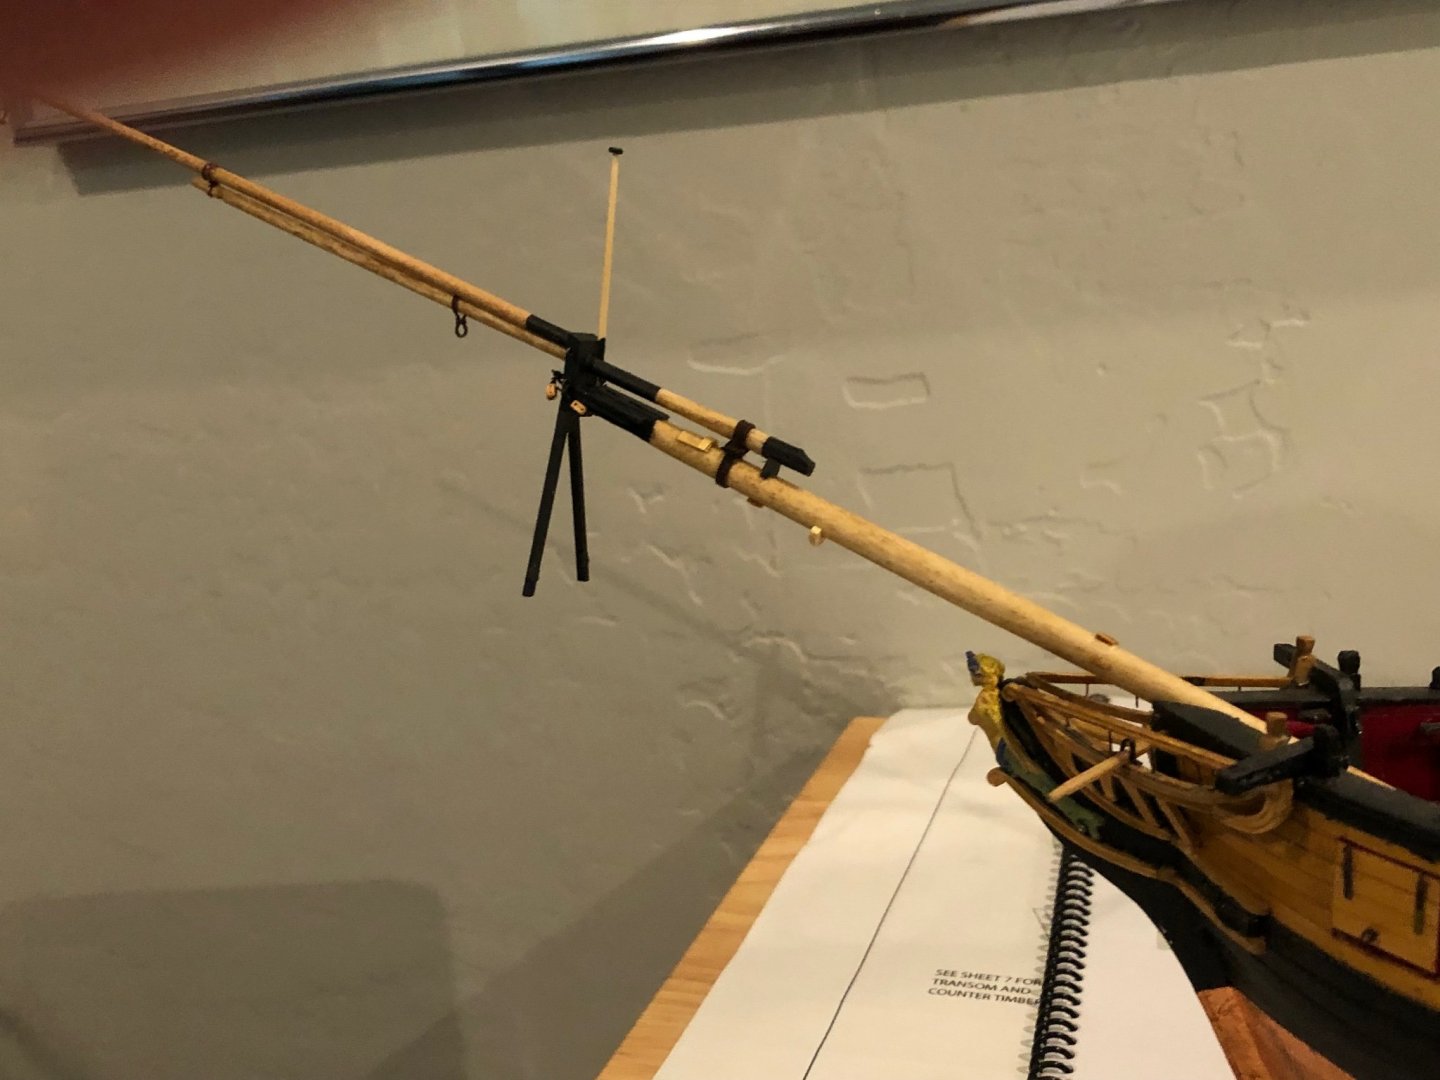


-
You're on the right track. Its looking like the way to go with sculpy.
-
I agree with others that I use both scalpel and xacto for different cuts. I find xacto #11 good for cutting and carving the #11 scalpel is used for slicing and paring to flexible for cutting. I also use the Micro-Mark mini chisel set but they don't hold and edge and I've upgraded to the Vertas mini chisels.
-
You're on the right track for the belaying pins. I did mine for the Syren a while back and now that they're on the model Im very glad I took the time and effort. I used Thomas Gahms method and he was most helpful to getting me started. His method is explained in his Syren log page 8 post #218 and up. His suggestion I used most was to keep a drawing of the shape you want right in front of your work area for instance reference.
-
its looking really nice Paul. Great work on the boarding steps. Did you cut a relief in the top step for the 1/16" moulding or cut the moulding for the step? The treenailing looks great I am very impressed with the pattern and your prior explanation of how you treenailed. I'm not sure if I want to treenail or leave mine plain so looking at your impressive job will help me make a decision.
-
Patrick I love your out of the box ideas. You're on a good path here. Love to hear your ideas for the next step.
-
Interesting result after your basswood pattern. Looks good. I like the comments of two different approaches to the garboard strake.
-
Patrick Its not necessary for me to add more about how bad the quarter badges are!!!!! There are several posts where scratch quarter badges were made in lieu of kit slop. One in point is Thomas Gahms you might try looking at what he and others did . Give it a go and the light work might keep you busy while you recover. My wife has had both shoulders repaired and the recovery time was long and painful. Best of luck on the surgery regards Will
-
good idea to using basswood. I also have trouble with card stock patterns with things beyond planking.
-
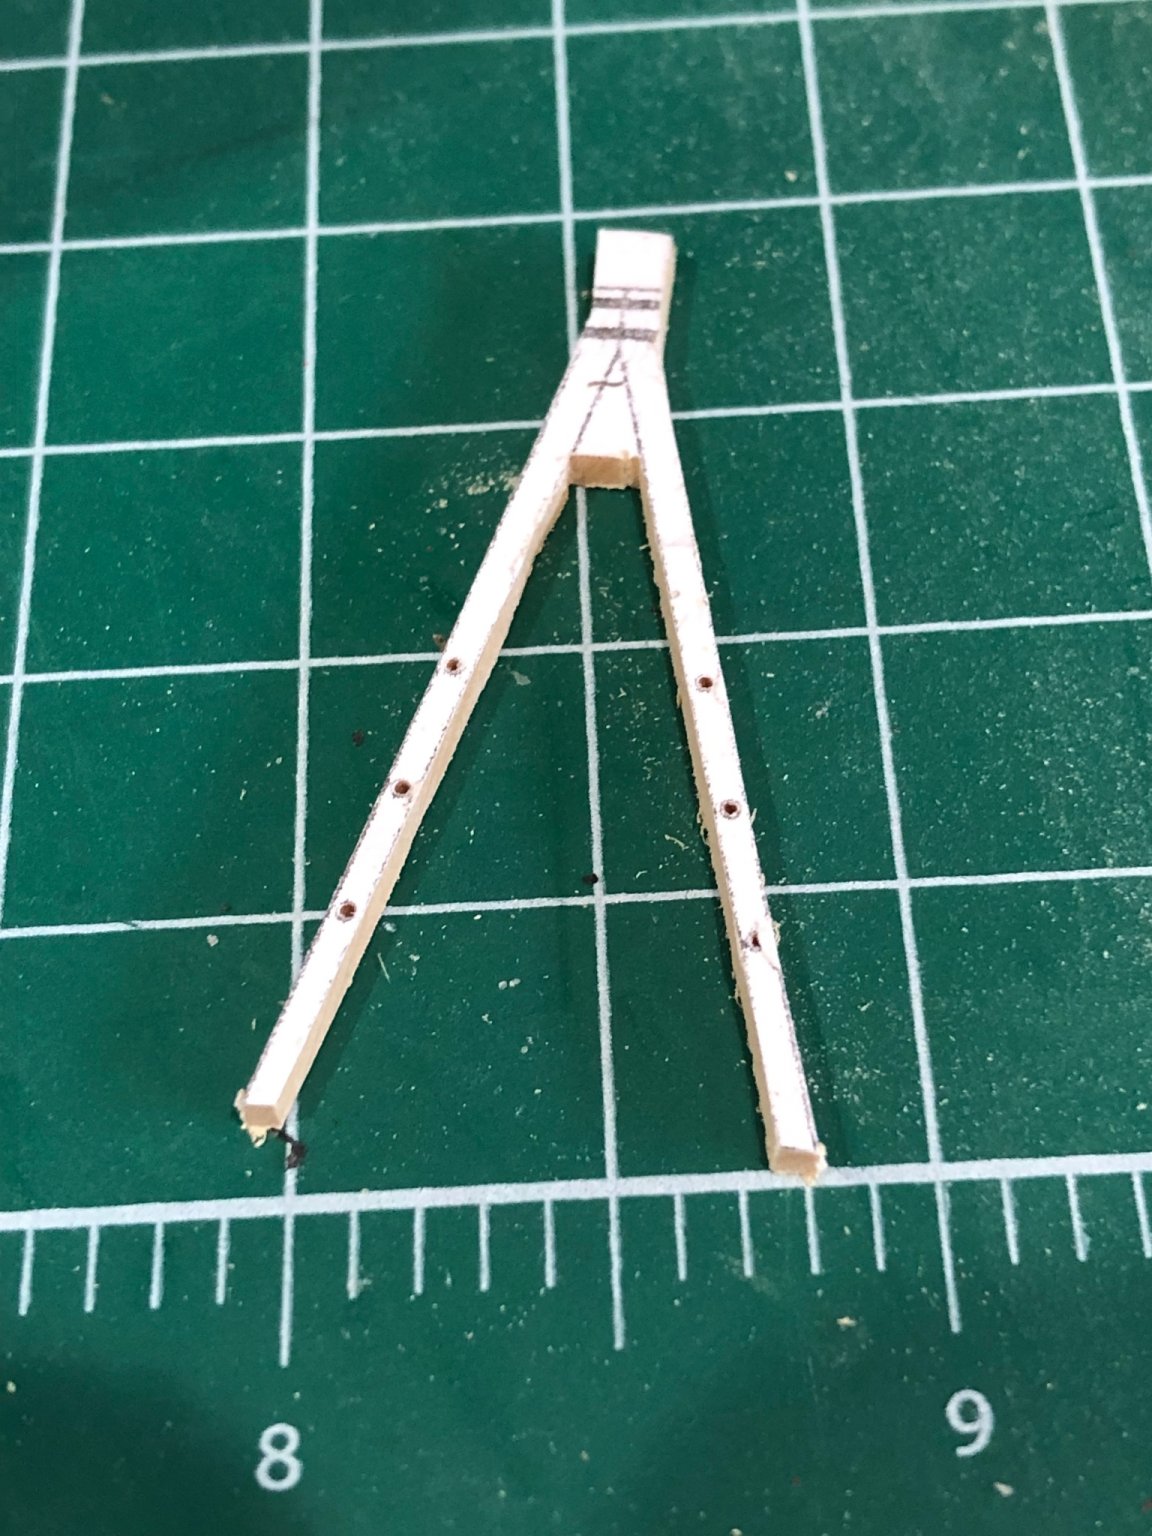
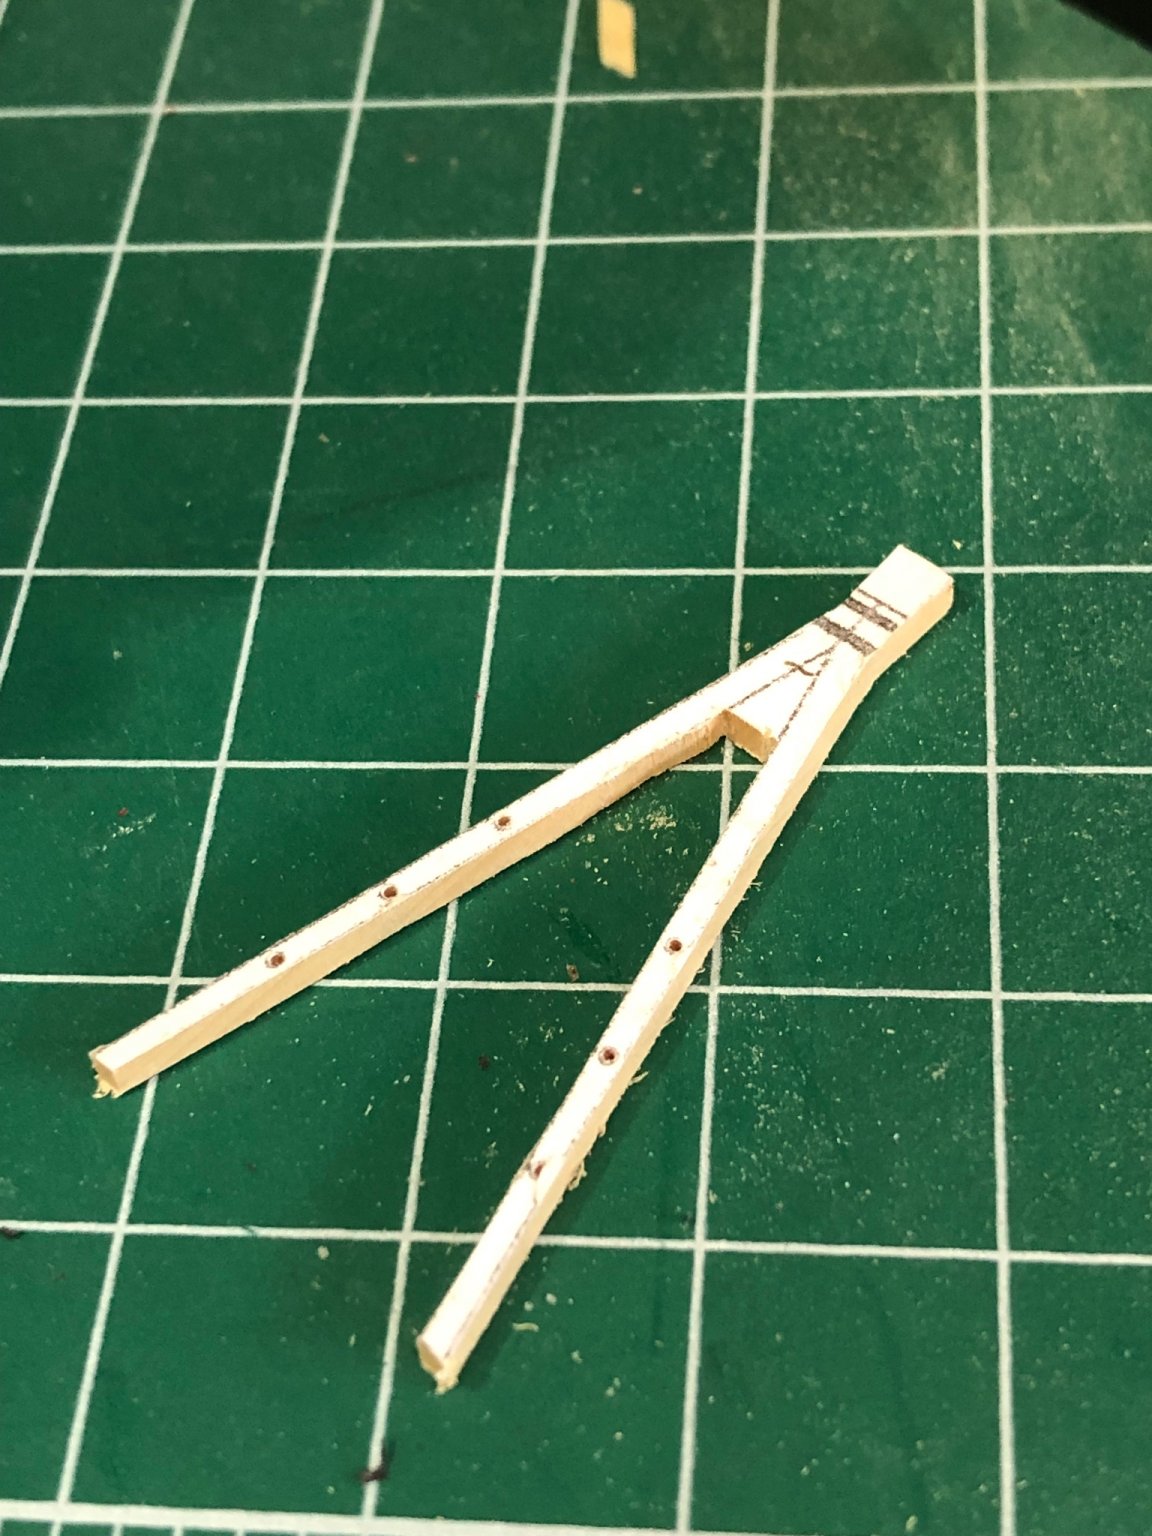
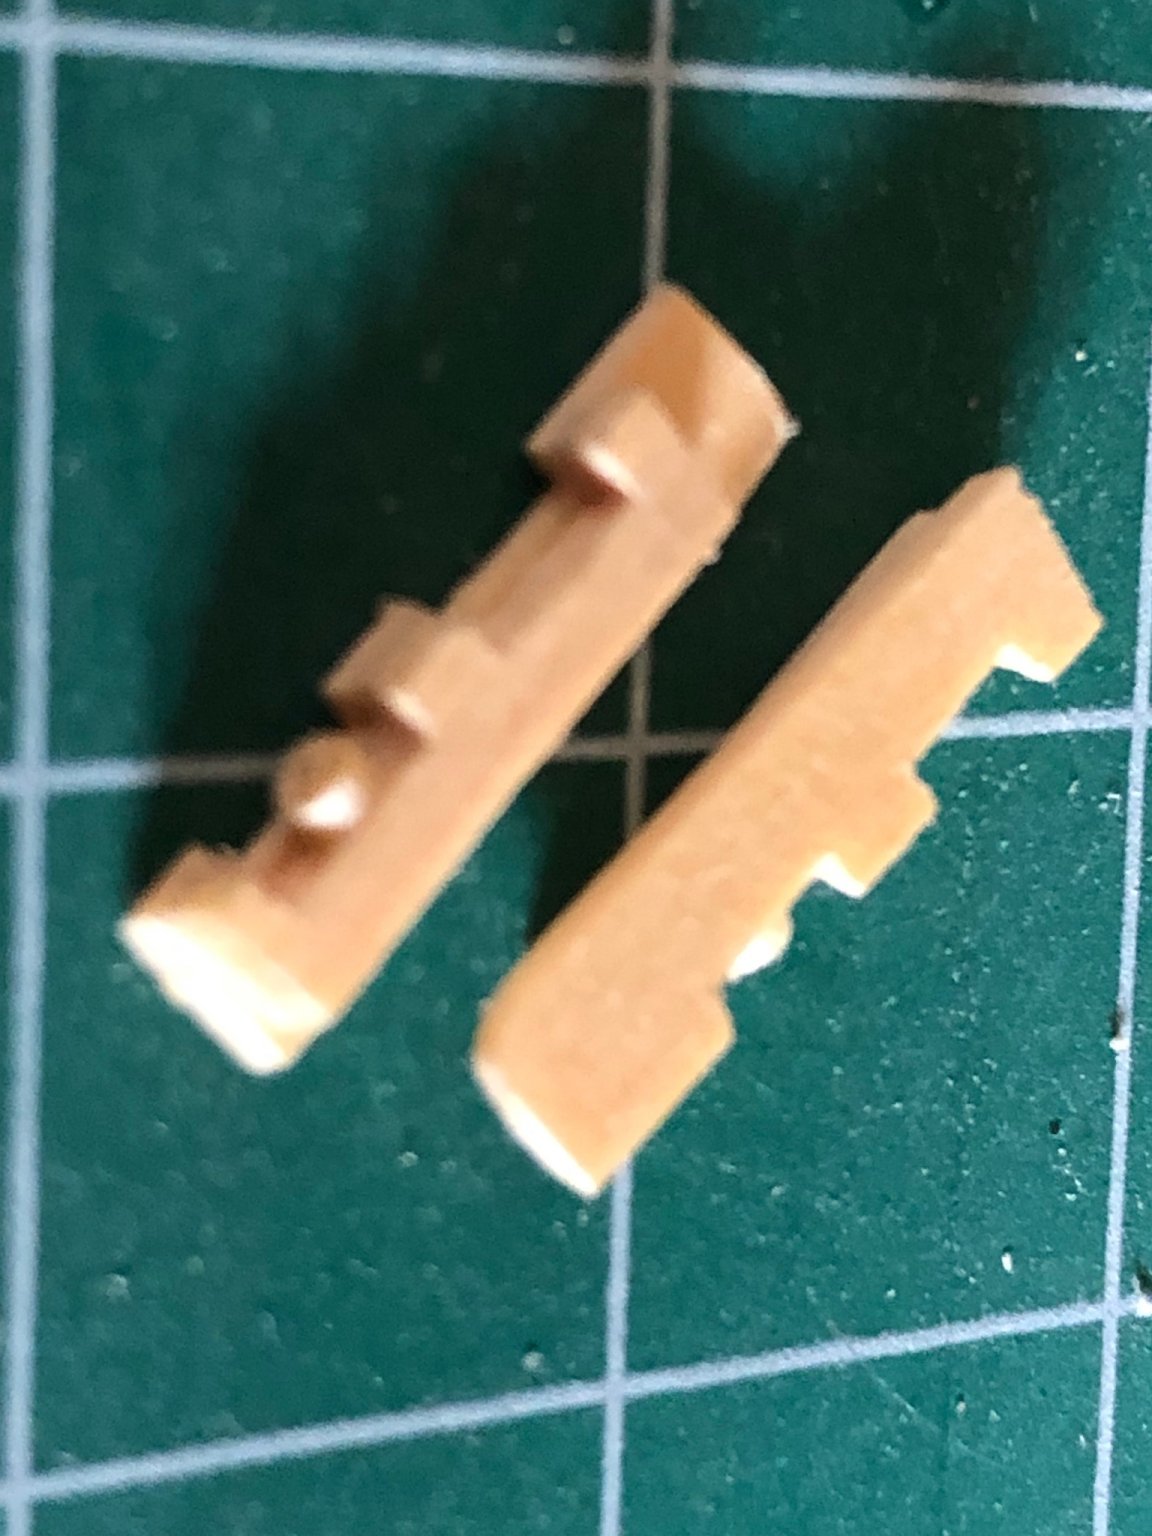
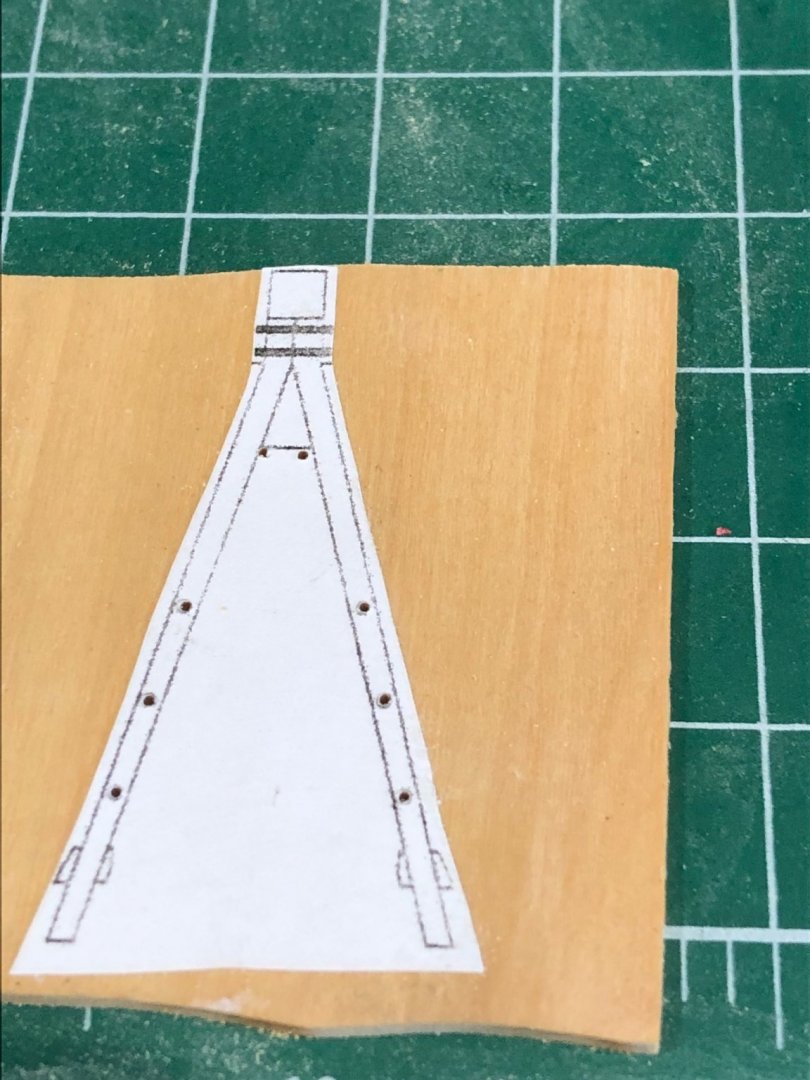
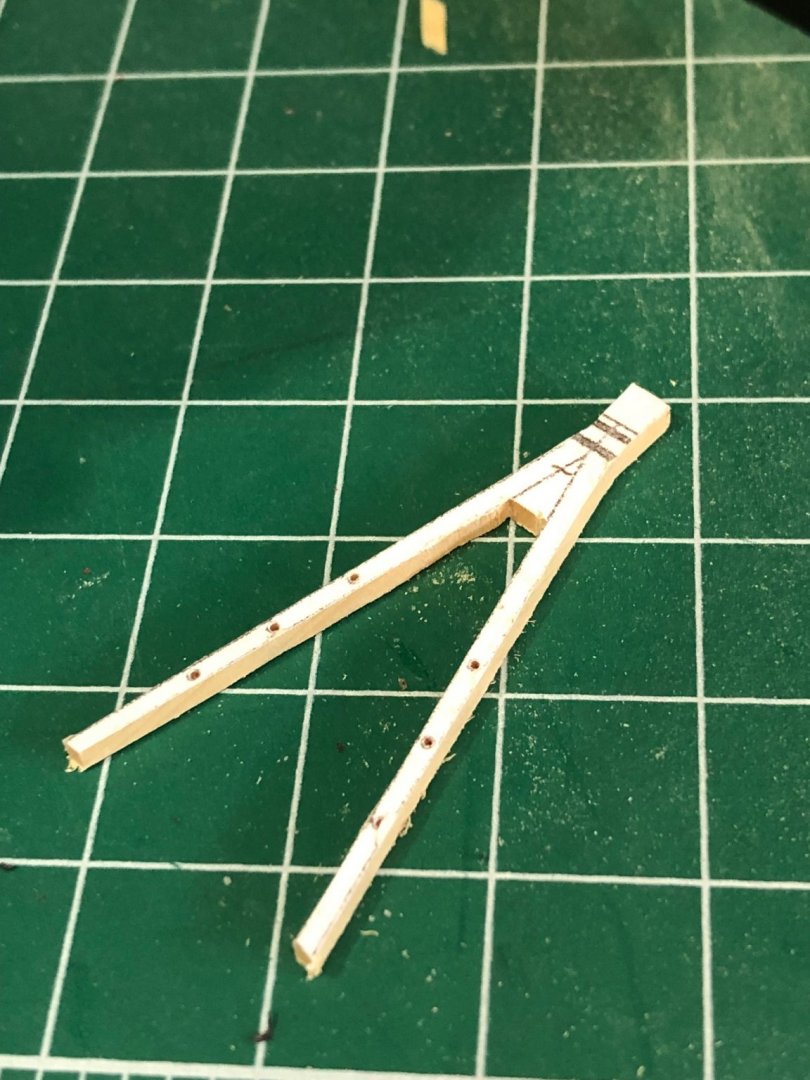
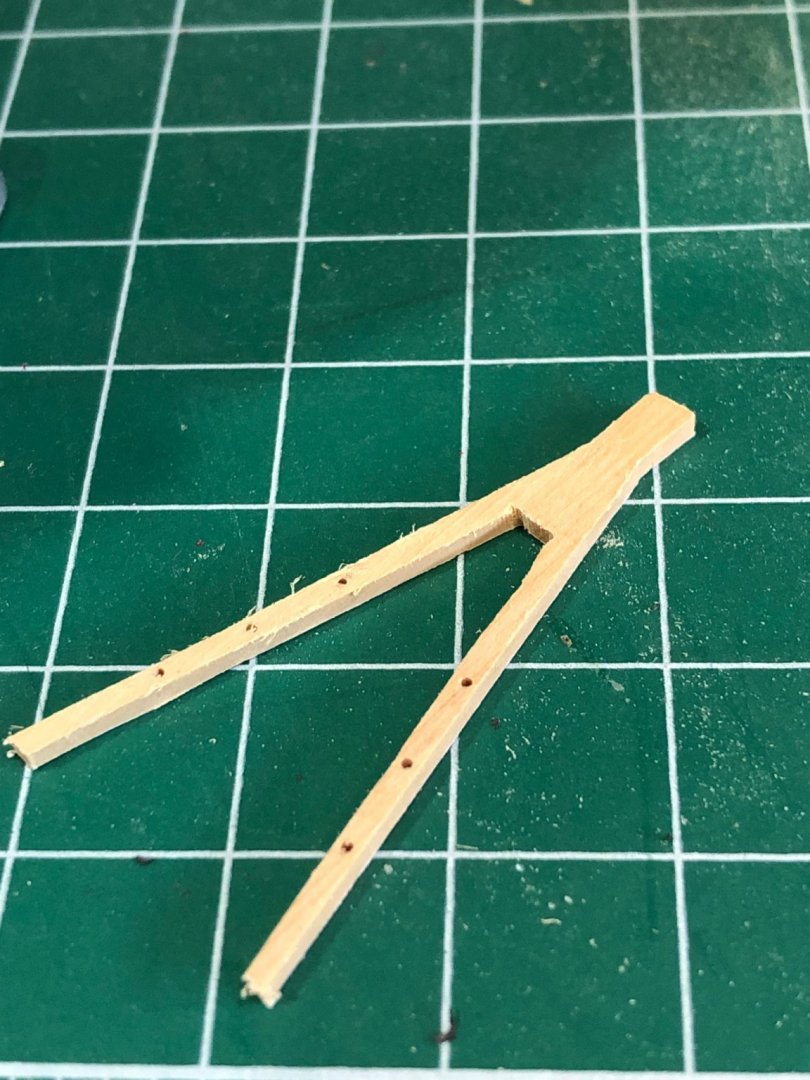
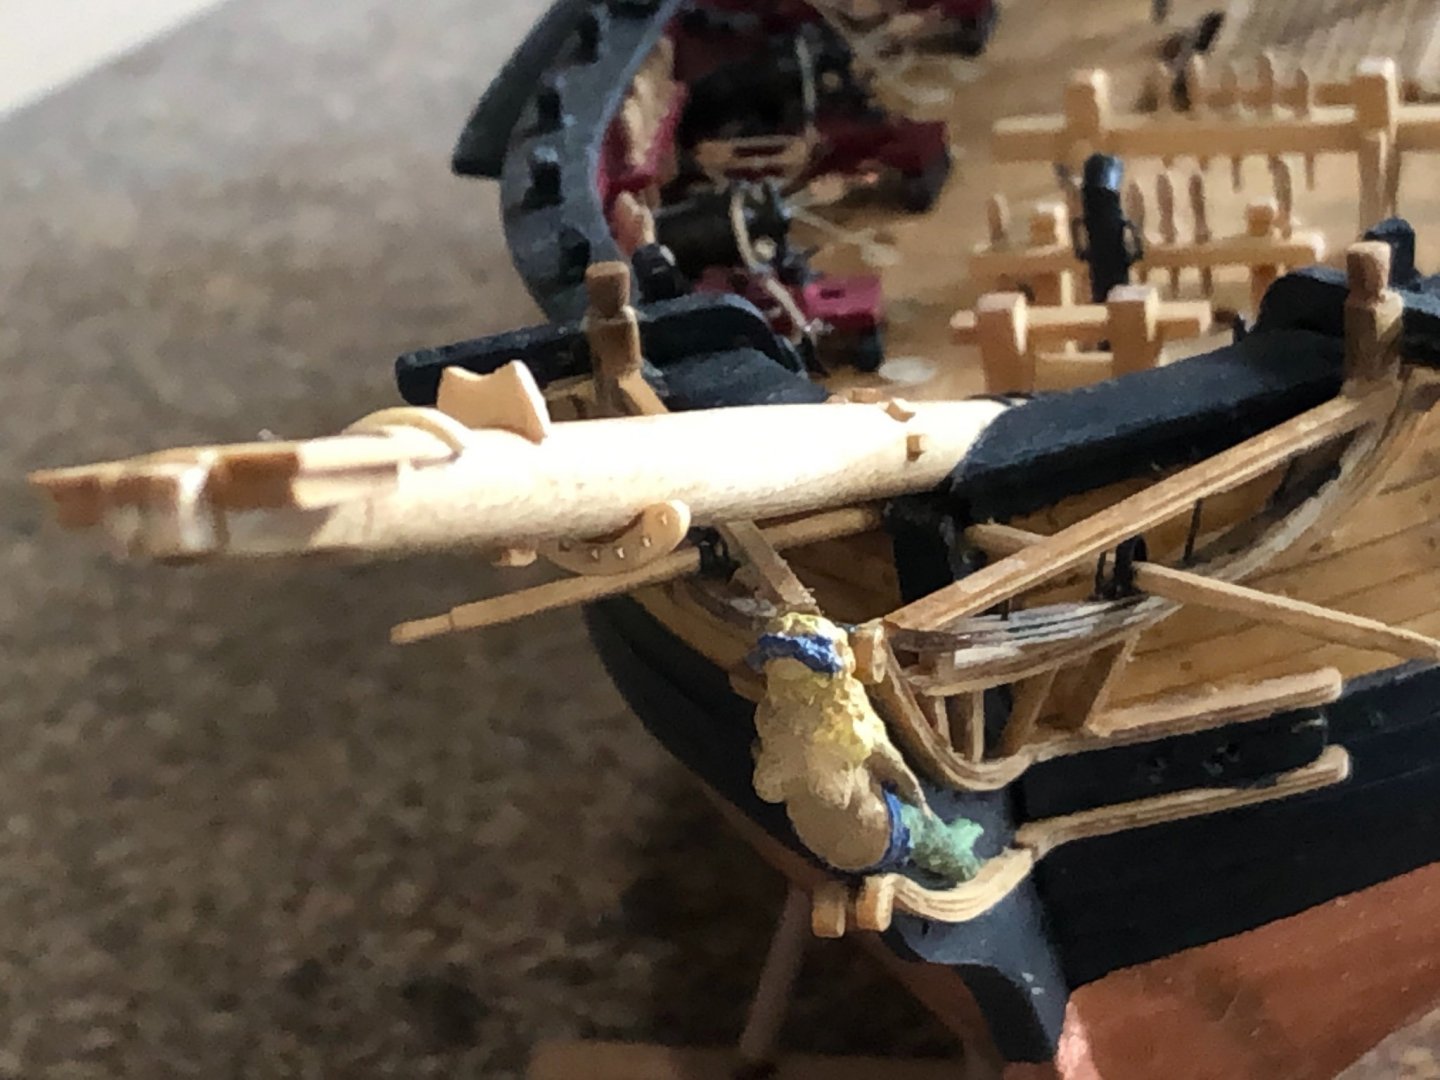
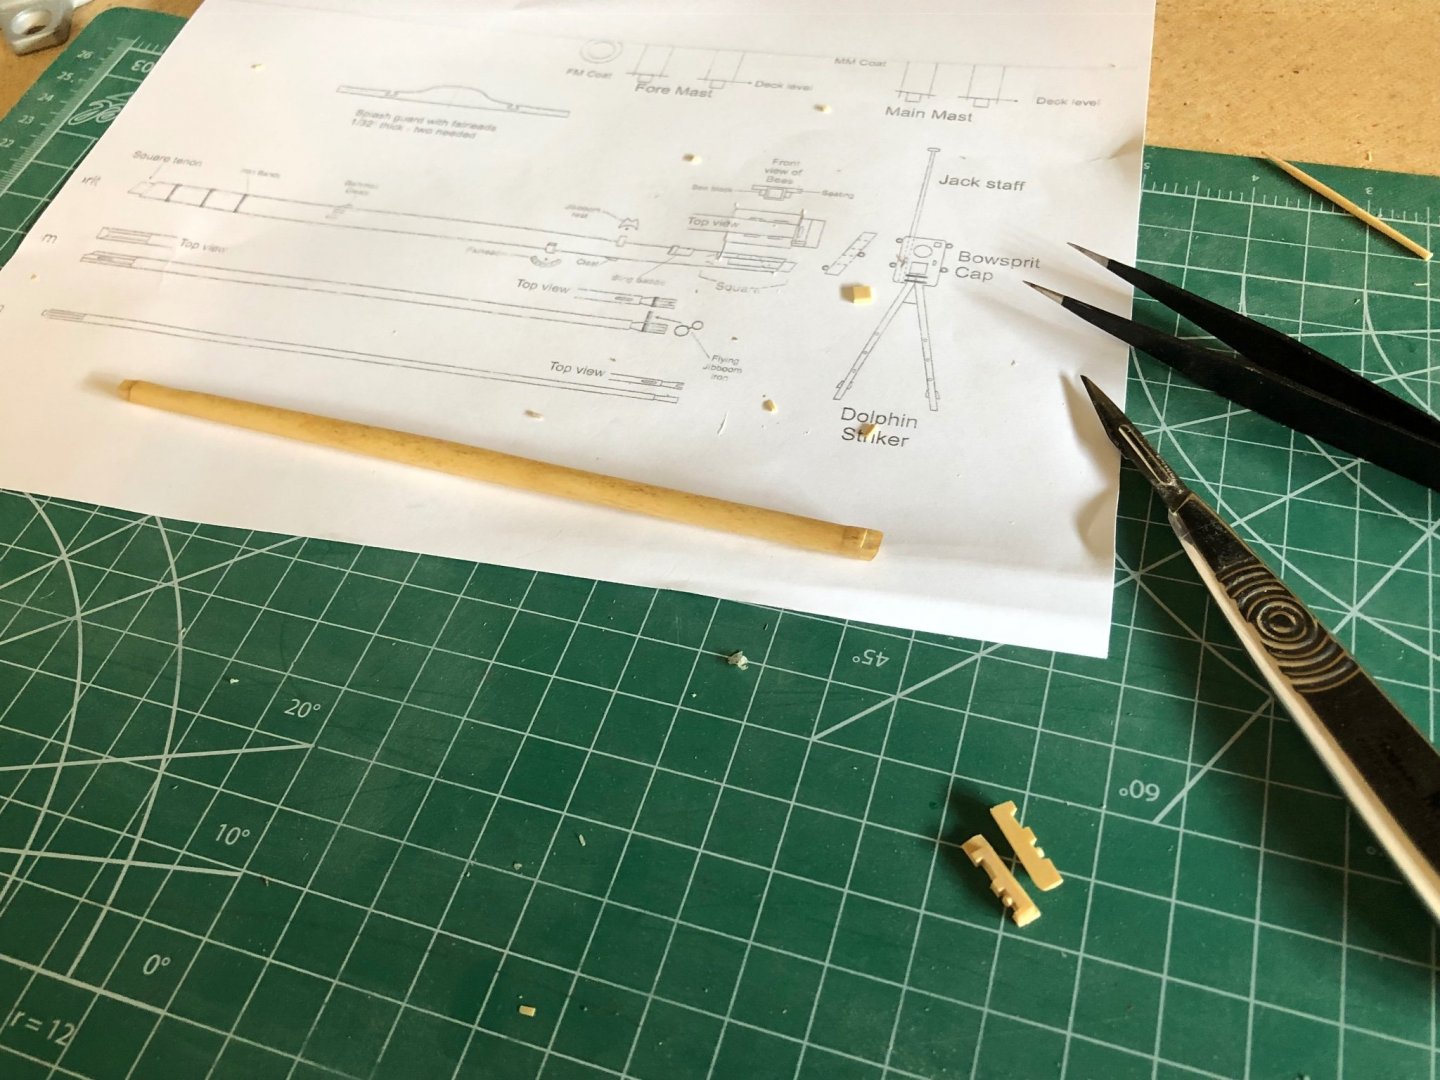
Bowsprit, jib boom, and flying jib boom constructed and painted. Tried to make the dolphin striker with individual pieces as described in the monograph but not satisfied with my results. So I made it out of Boxwood I had laying around. Made a copy of the drawing and glued it to the material using sticky glue. Drilled the holes and then cut it out with the scroll saw. Filed and sanded to final shape adding the blocks. image glued to wood with holes drilled part cut from piece Finished dolphin striker ready for final sanding and painting Completed and ready for the hearts to be added Next the hearts and splash guard


-
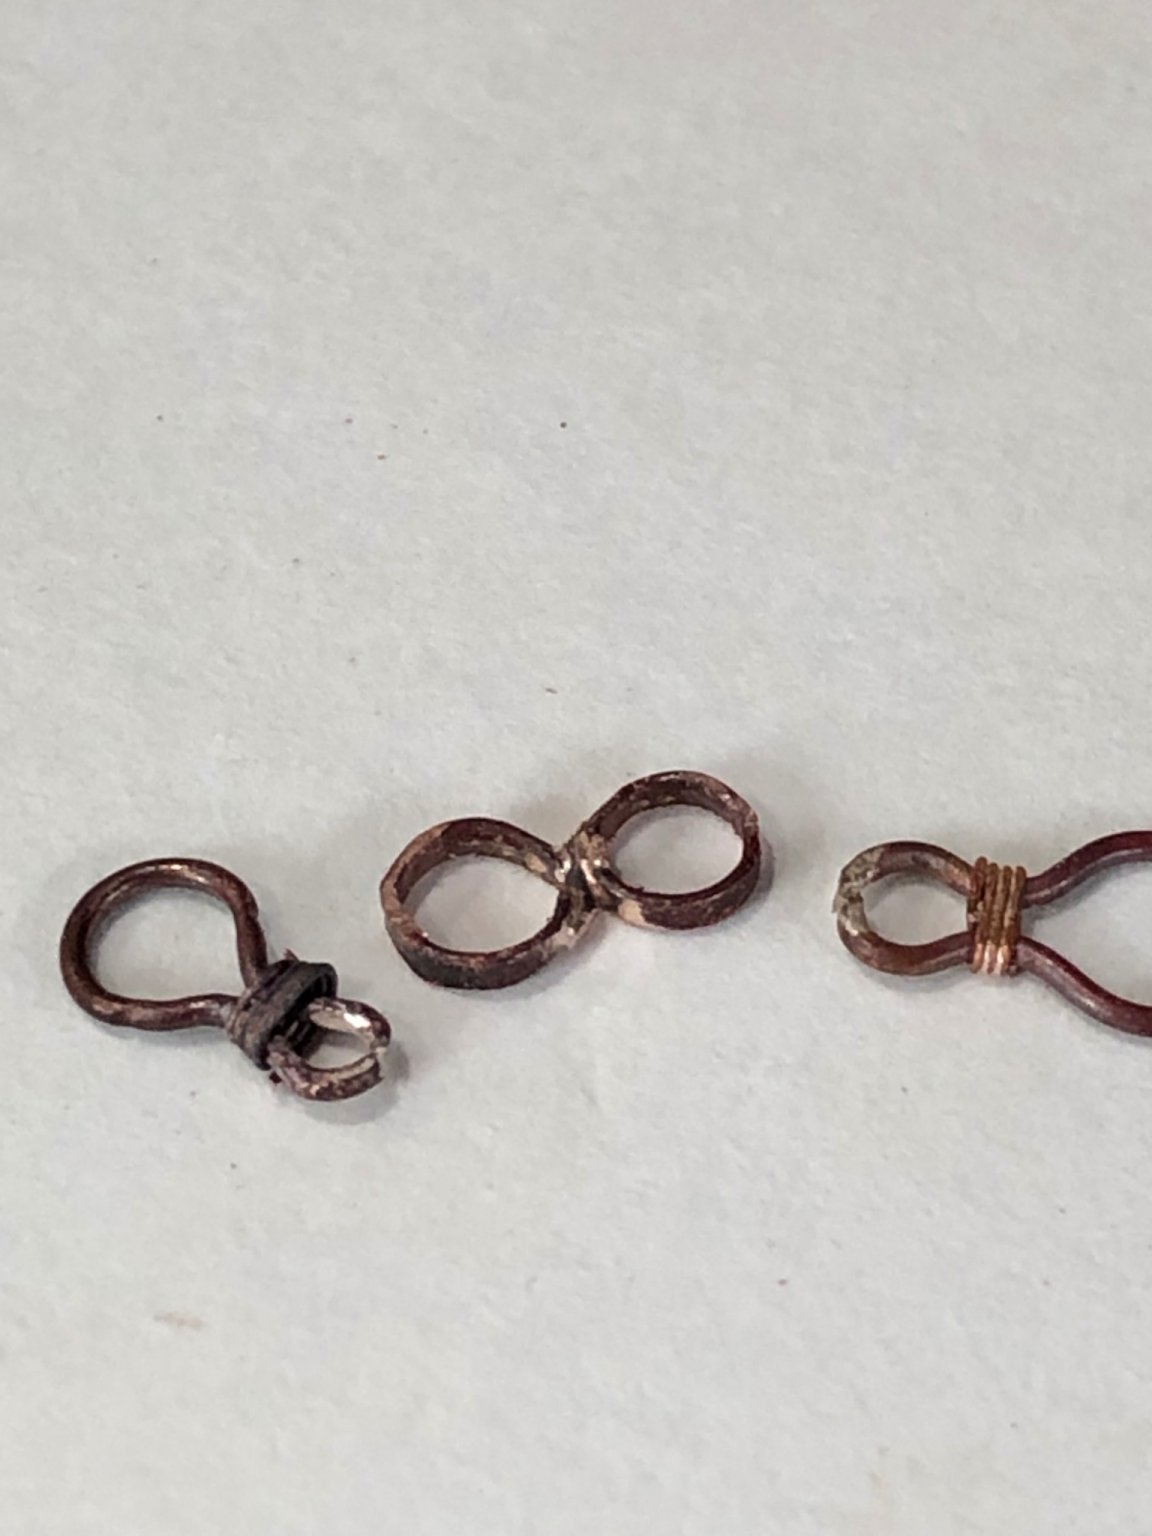
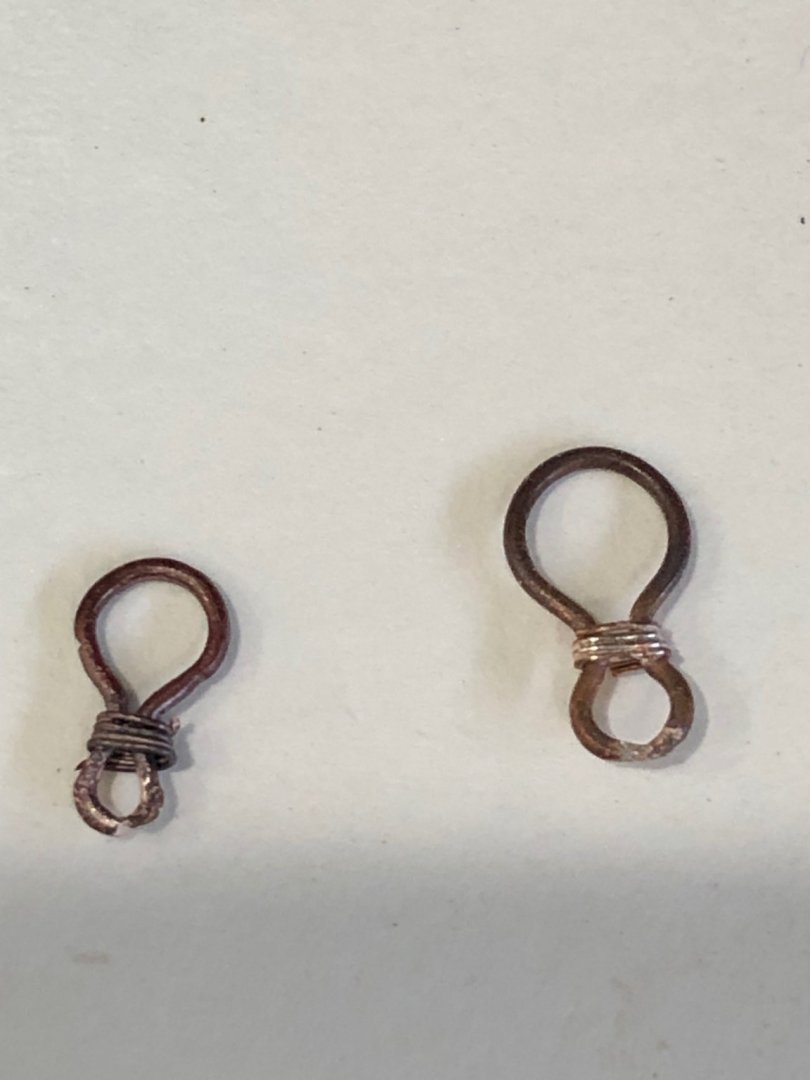
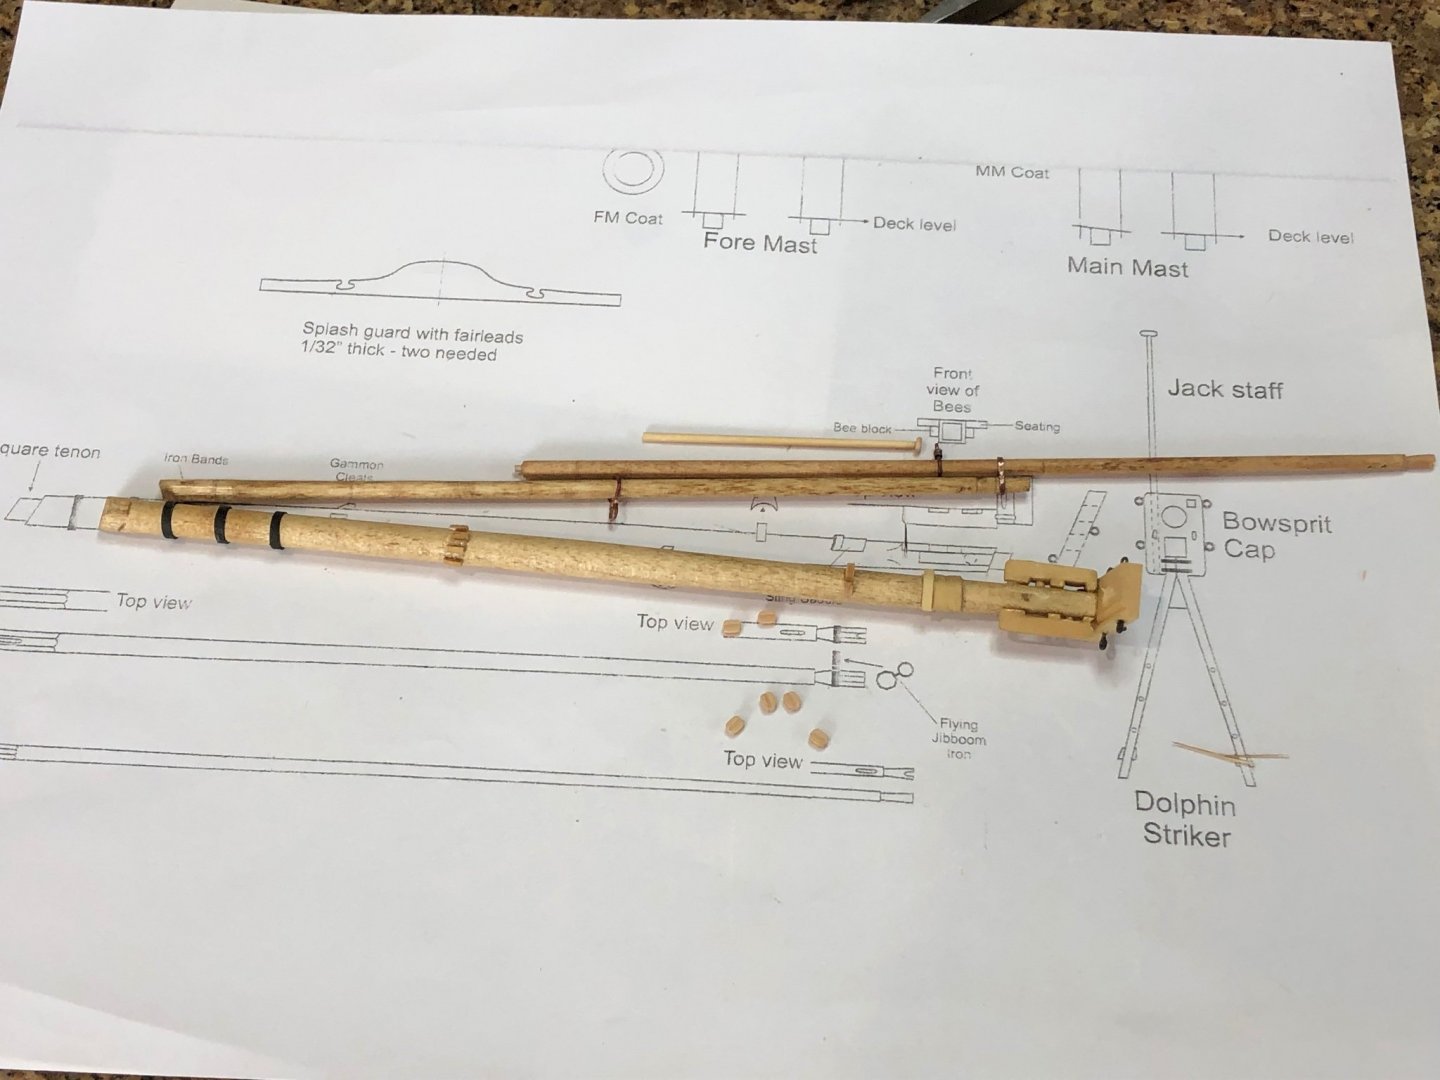
Completed making all the parts of the bowsprit, jib boom, and flying jib boom. The jack staff was straight forward using the Proxxon lathe to shape a dowel to size leaving the cap. The travelers were made from 20 AWG copper wire bent around a larger dowel and soldered to a circle. Using jewelers sizing pliers to hold the circle at 2mm line pinched the circle which caused the traveler shape. Putting the traveler on the sizing pliers at the needed diameter and pinching the traveler causing the middle to squeeze to shape. Wrapped the center with 30 AWG copper wire simulating the rope wraps. Secured the wraps with solder. Used the same process to make the flying jib boom traveler only smaller. The securing bands are two circles with a wire between. Used the 20 AWG copper wire that was flattened by hammering on an anvil creating a 3/64" wide strip. Hammering hardened the strip. I annealed the strip before wrapping around a dowel to make circular bands. The 2 bands were placed with a piece of 20 AWG wire between and soldered. Cut excess wire from the joint and filed to clean flash. Now on to painting and seizing blocks for the bowsprit cap and flying jib boom tip. Travelers ready for paint Jib boom and flying jib boom link (with travelers) All Bowsprit, jib boom, and flying jib boom parts ready for paint

-
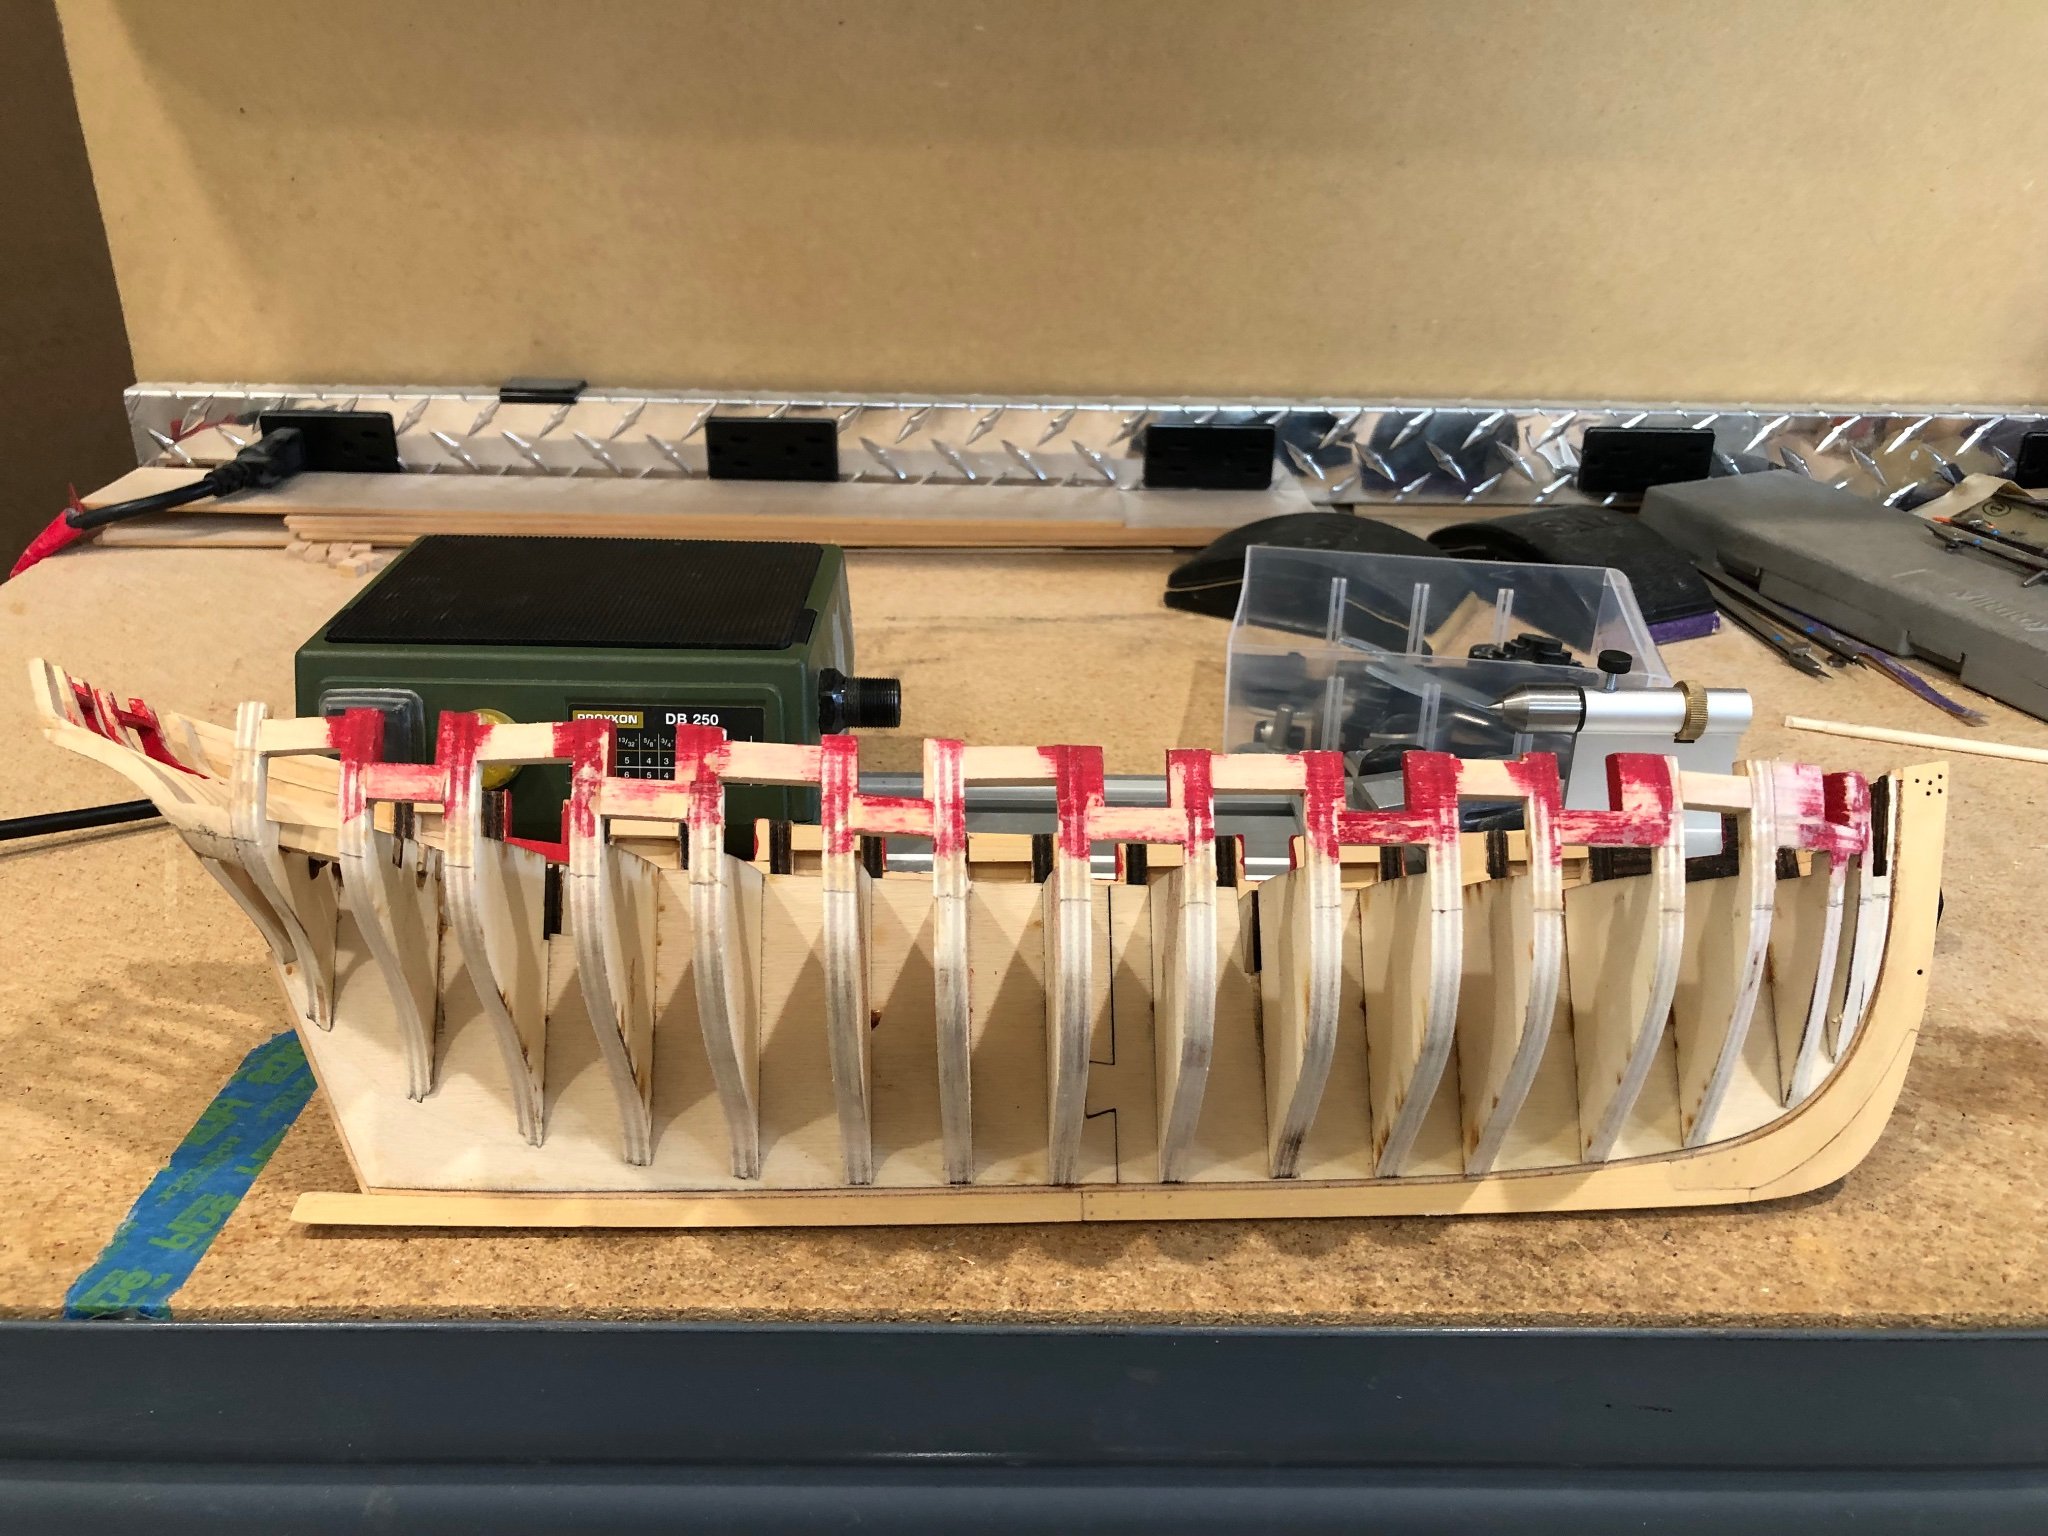
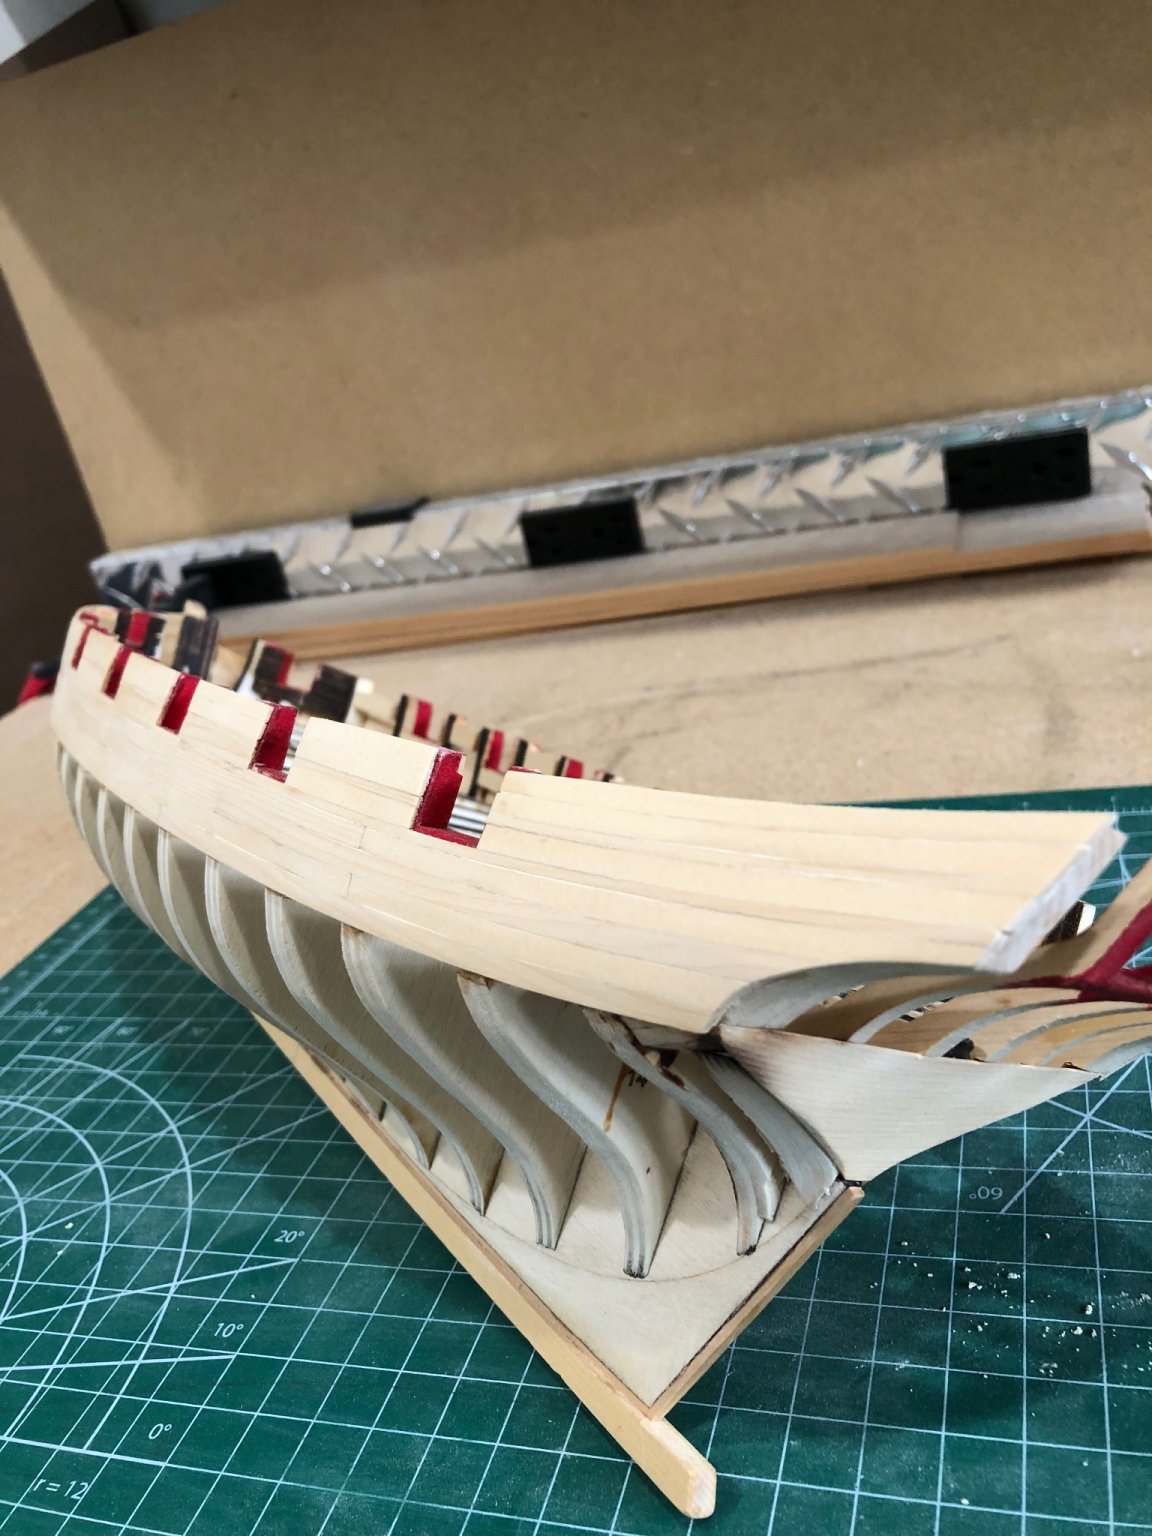
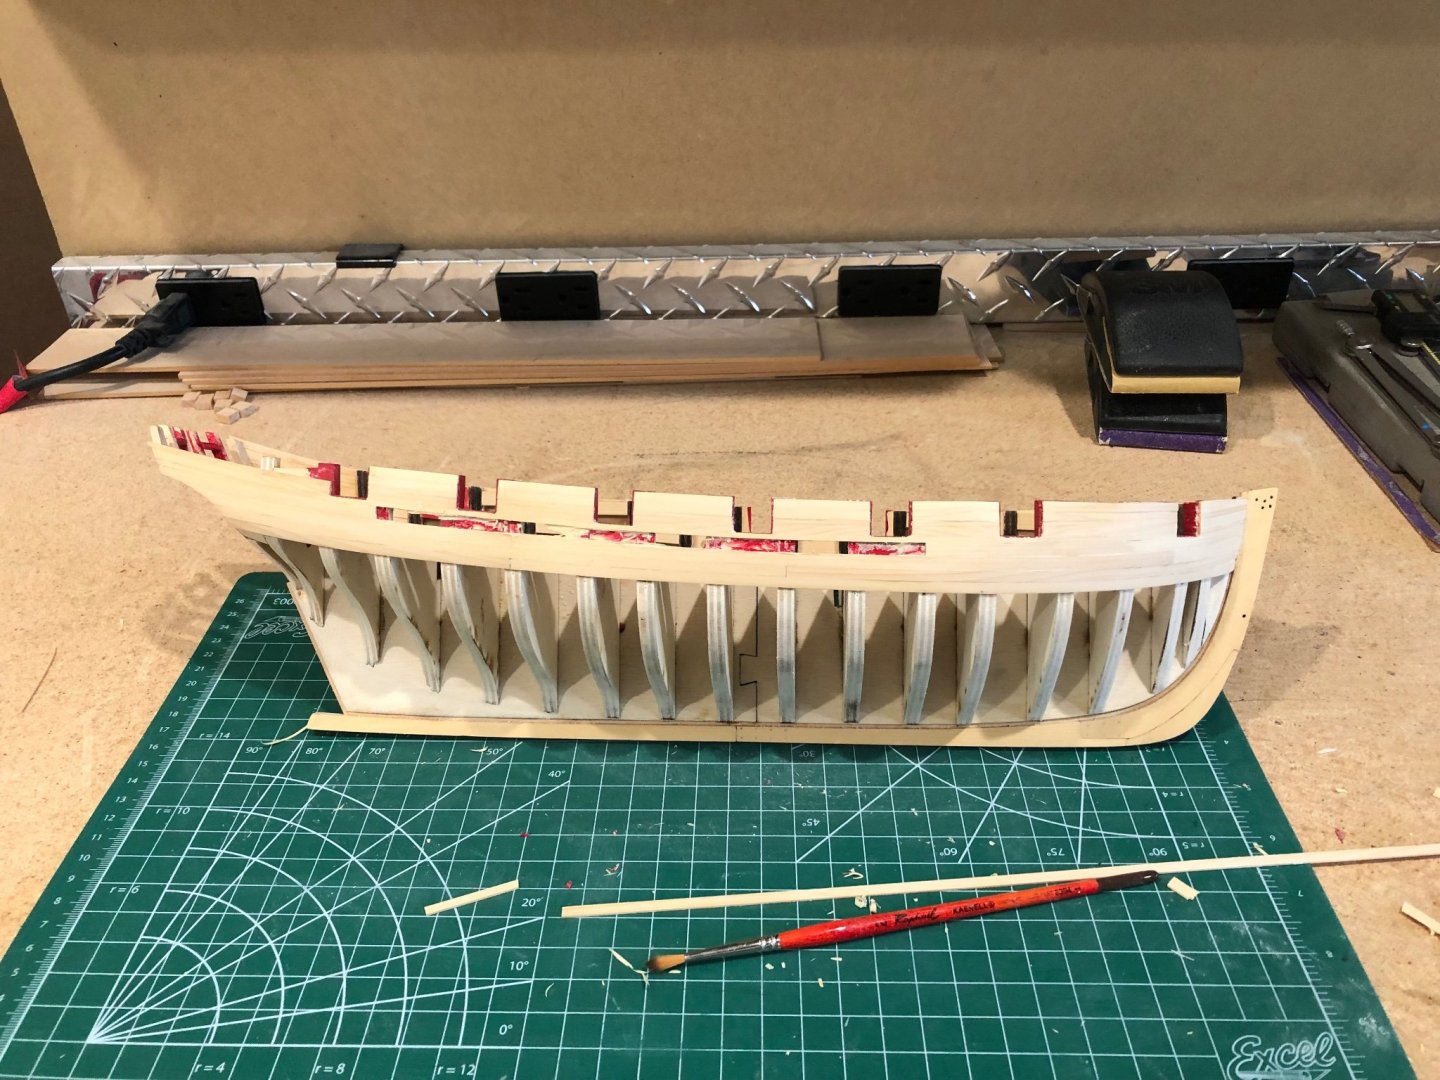
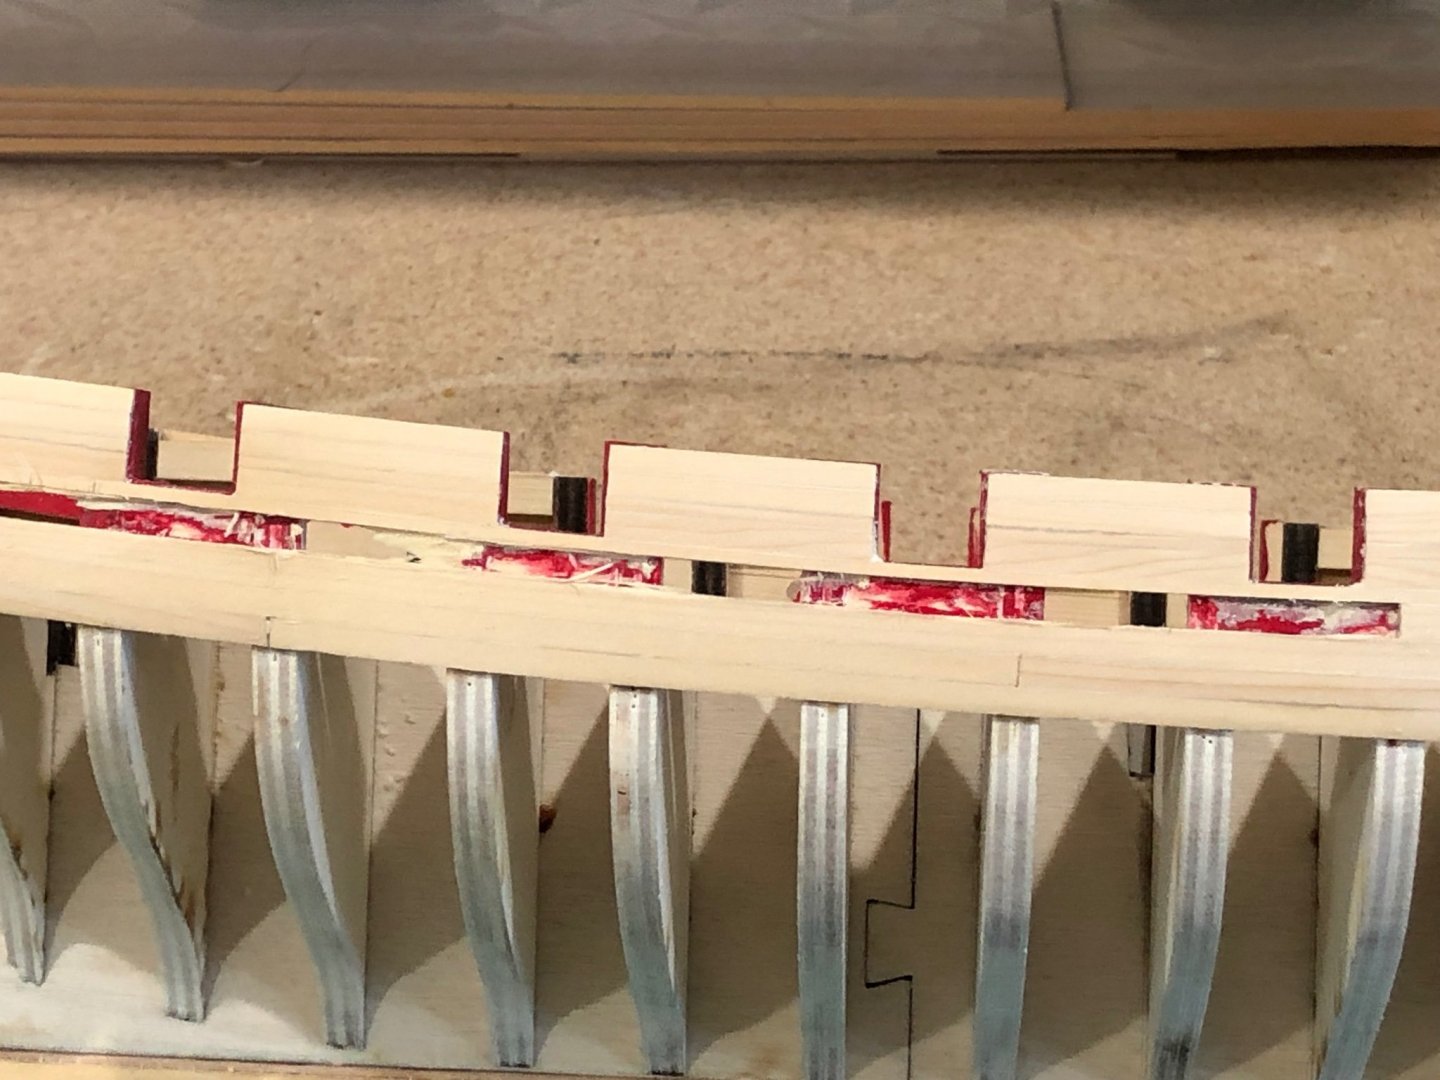
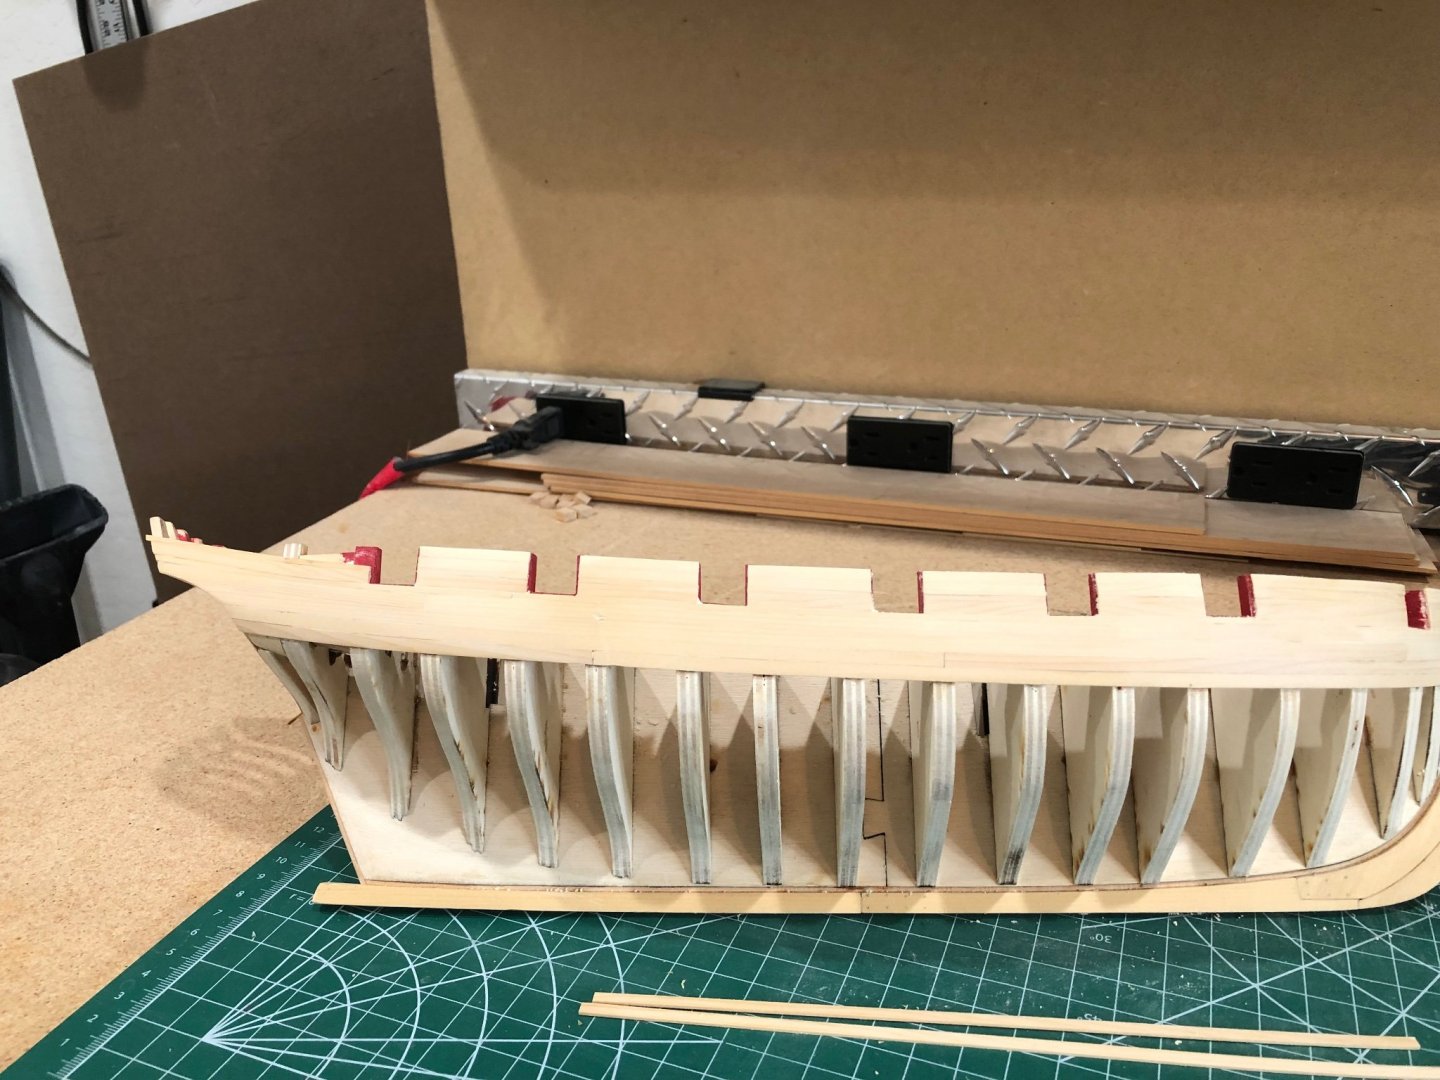
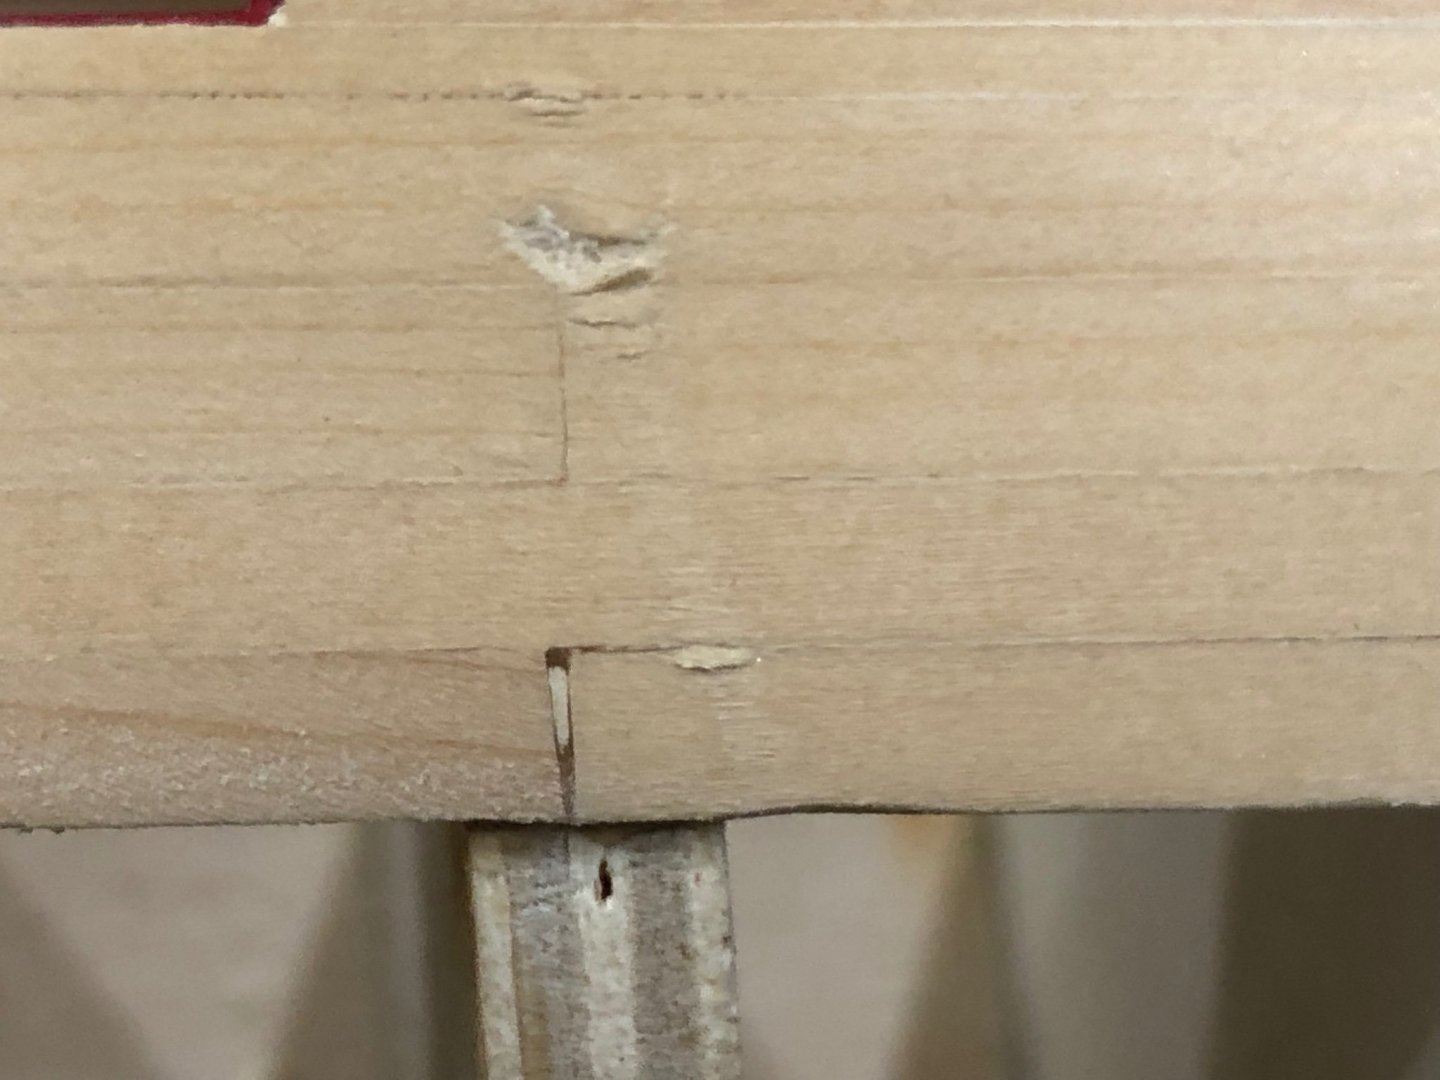
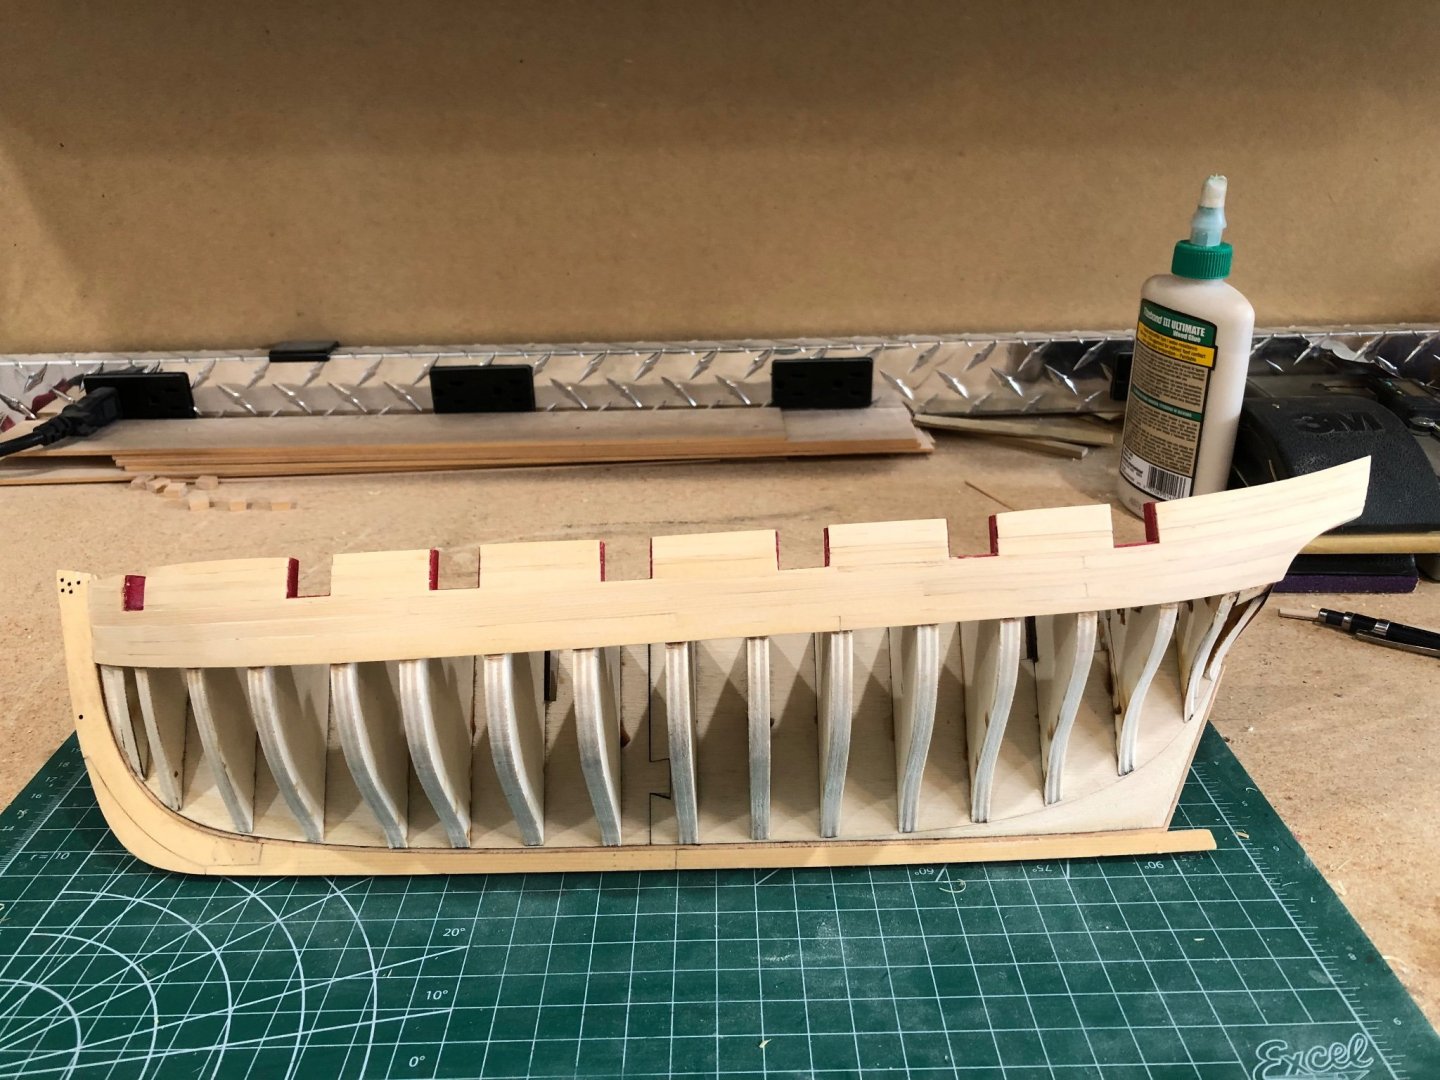
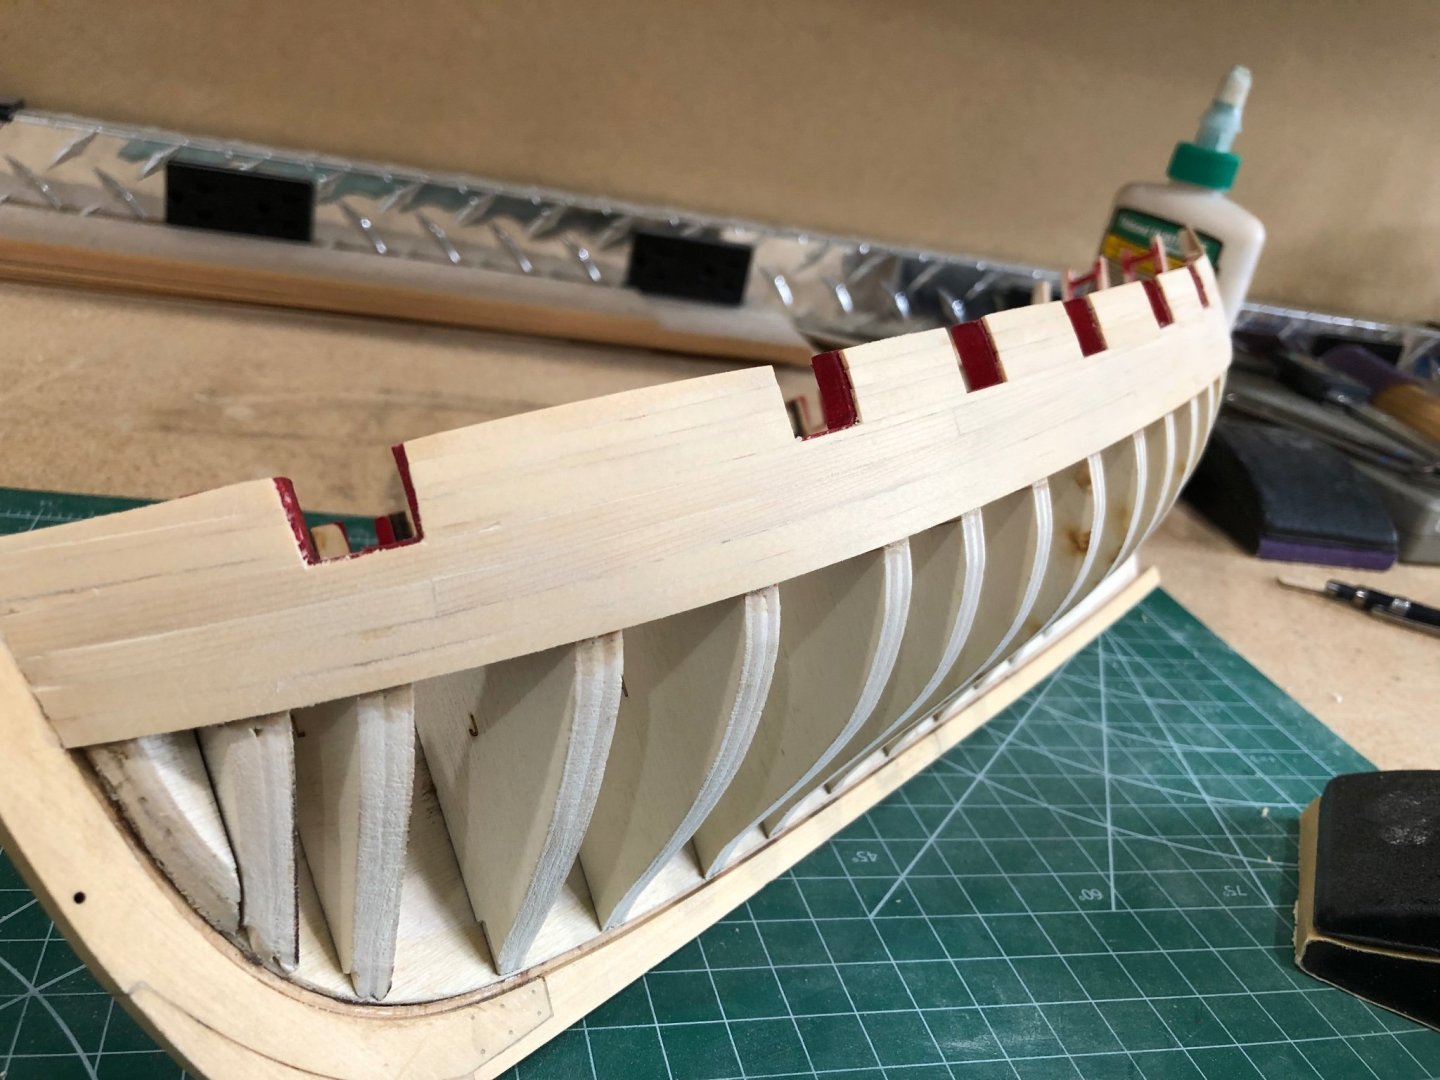
Well my fears have come to pass and I'm starting the starboard side planking over. When running a #11 blade between the planks in between the bulkheads I pushed the blade too deep causing a gap when a new straight plank was placed. I did this at multiple locations and it was such that gaps were very noticeable. Tried to use a wider plank and shape it to fit the gaps but getting the gaps starting, depth, stopping correct was not working. So the decision was made to start over and do a better job the second time. Had quite a mess of glue to cleanup. Got out the 80 grit and faired the entire gunport area stem to stern. Next down to 150 grit to smooth the bulkheads, sill, and port sides and finally 320 grit to finish. Painted the ports and when dry start over. Bare boat before sanding. Sanded and painted boat Inventoried the wood pile and not sure if I have enough so I ordered wood from Modelers Sawmill and I'll start when the wood arrives. Its going to be the end of August before I can get back cheerfully working on Cheerful. We are going on vacation for 3 weeks and won't be back until 8/24/21. See You Then


-
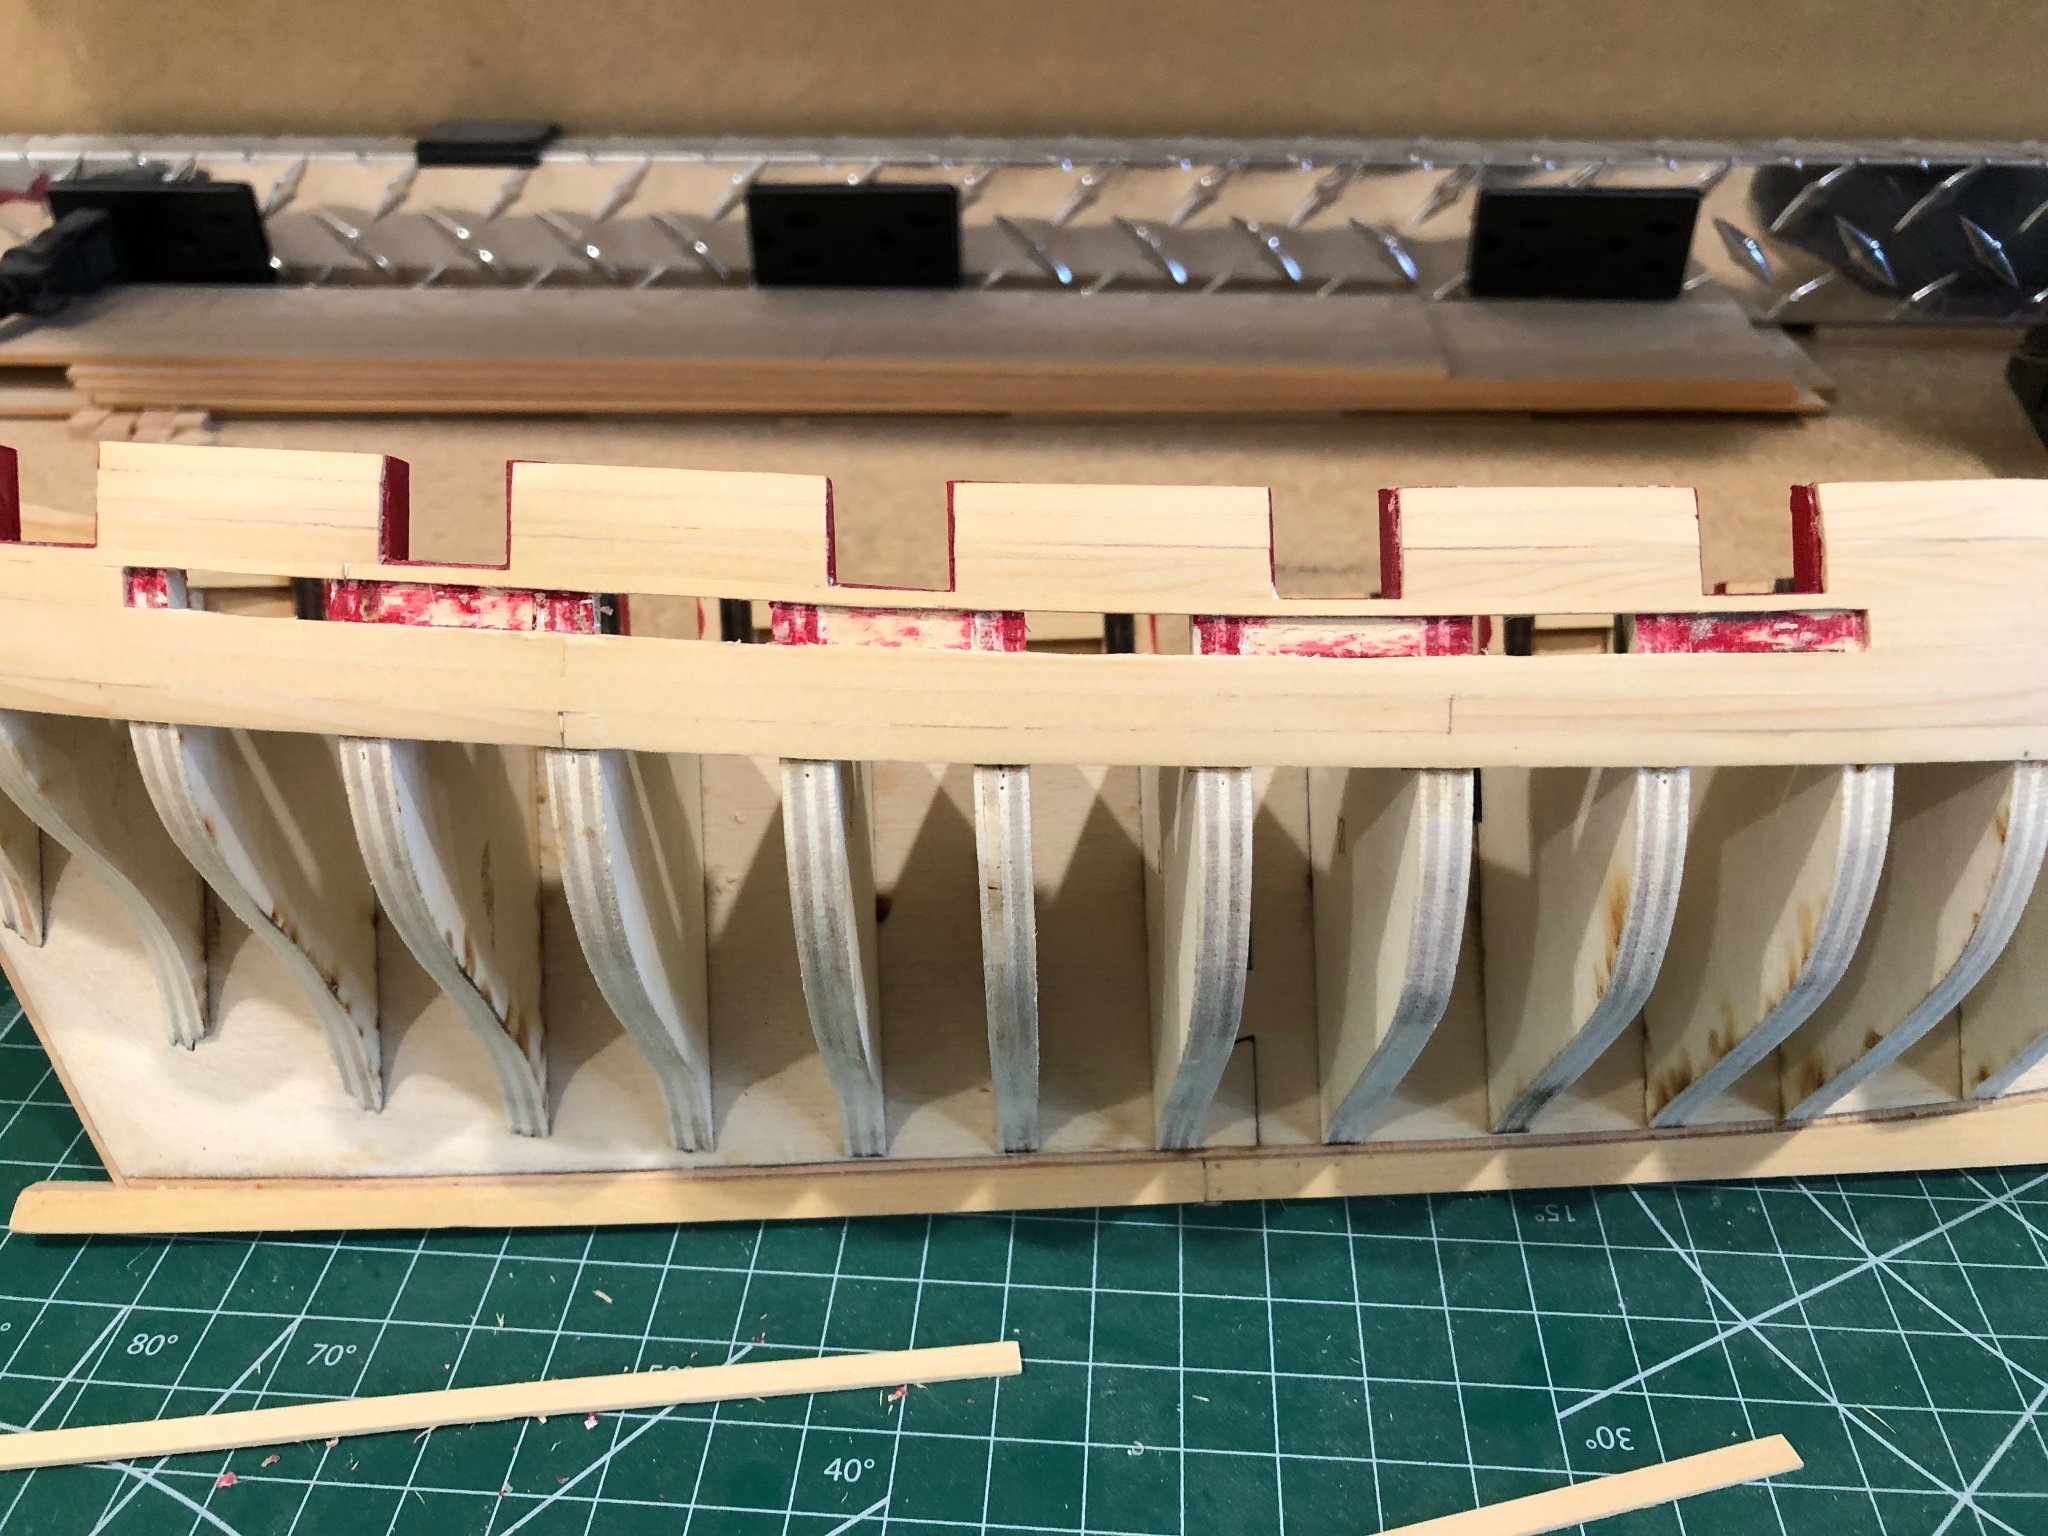
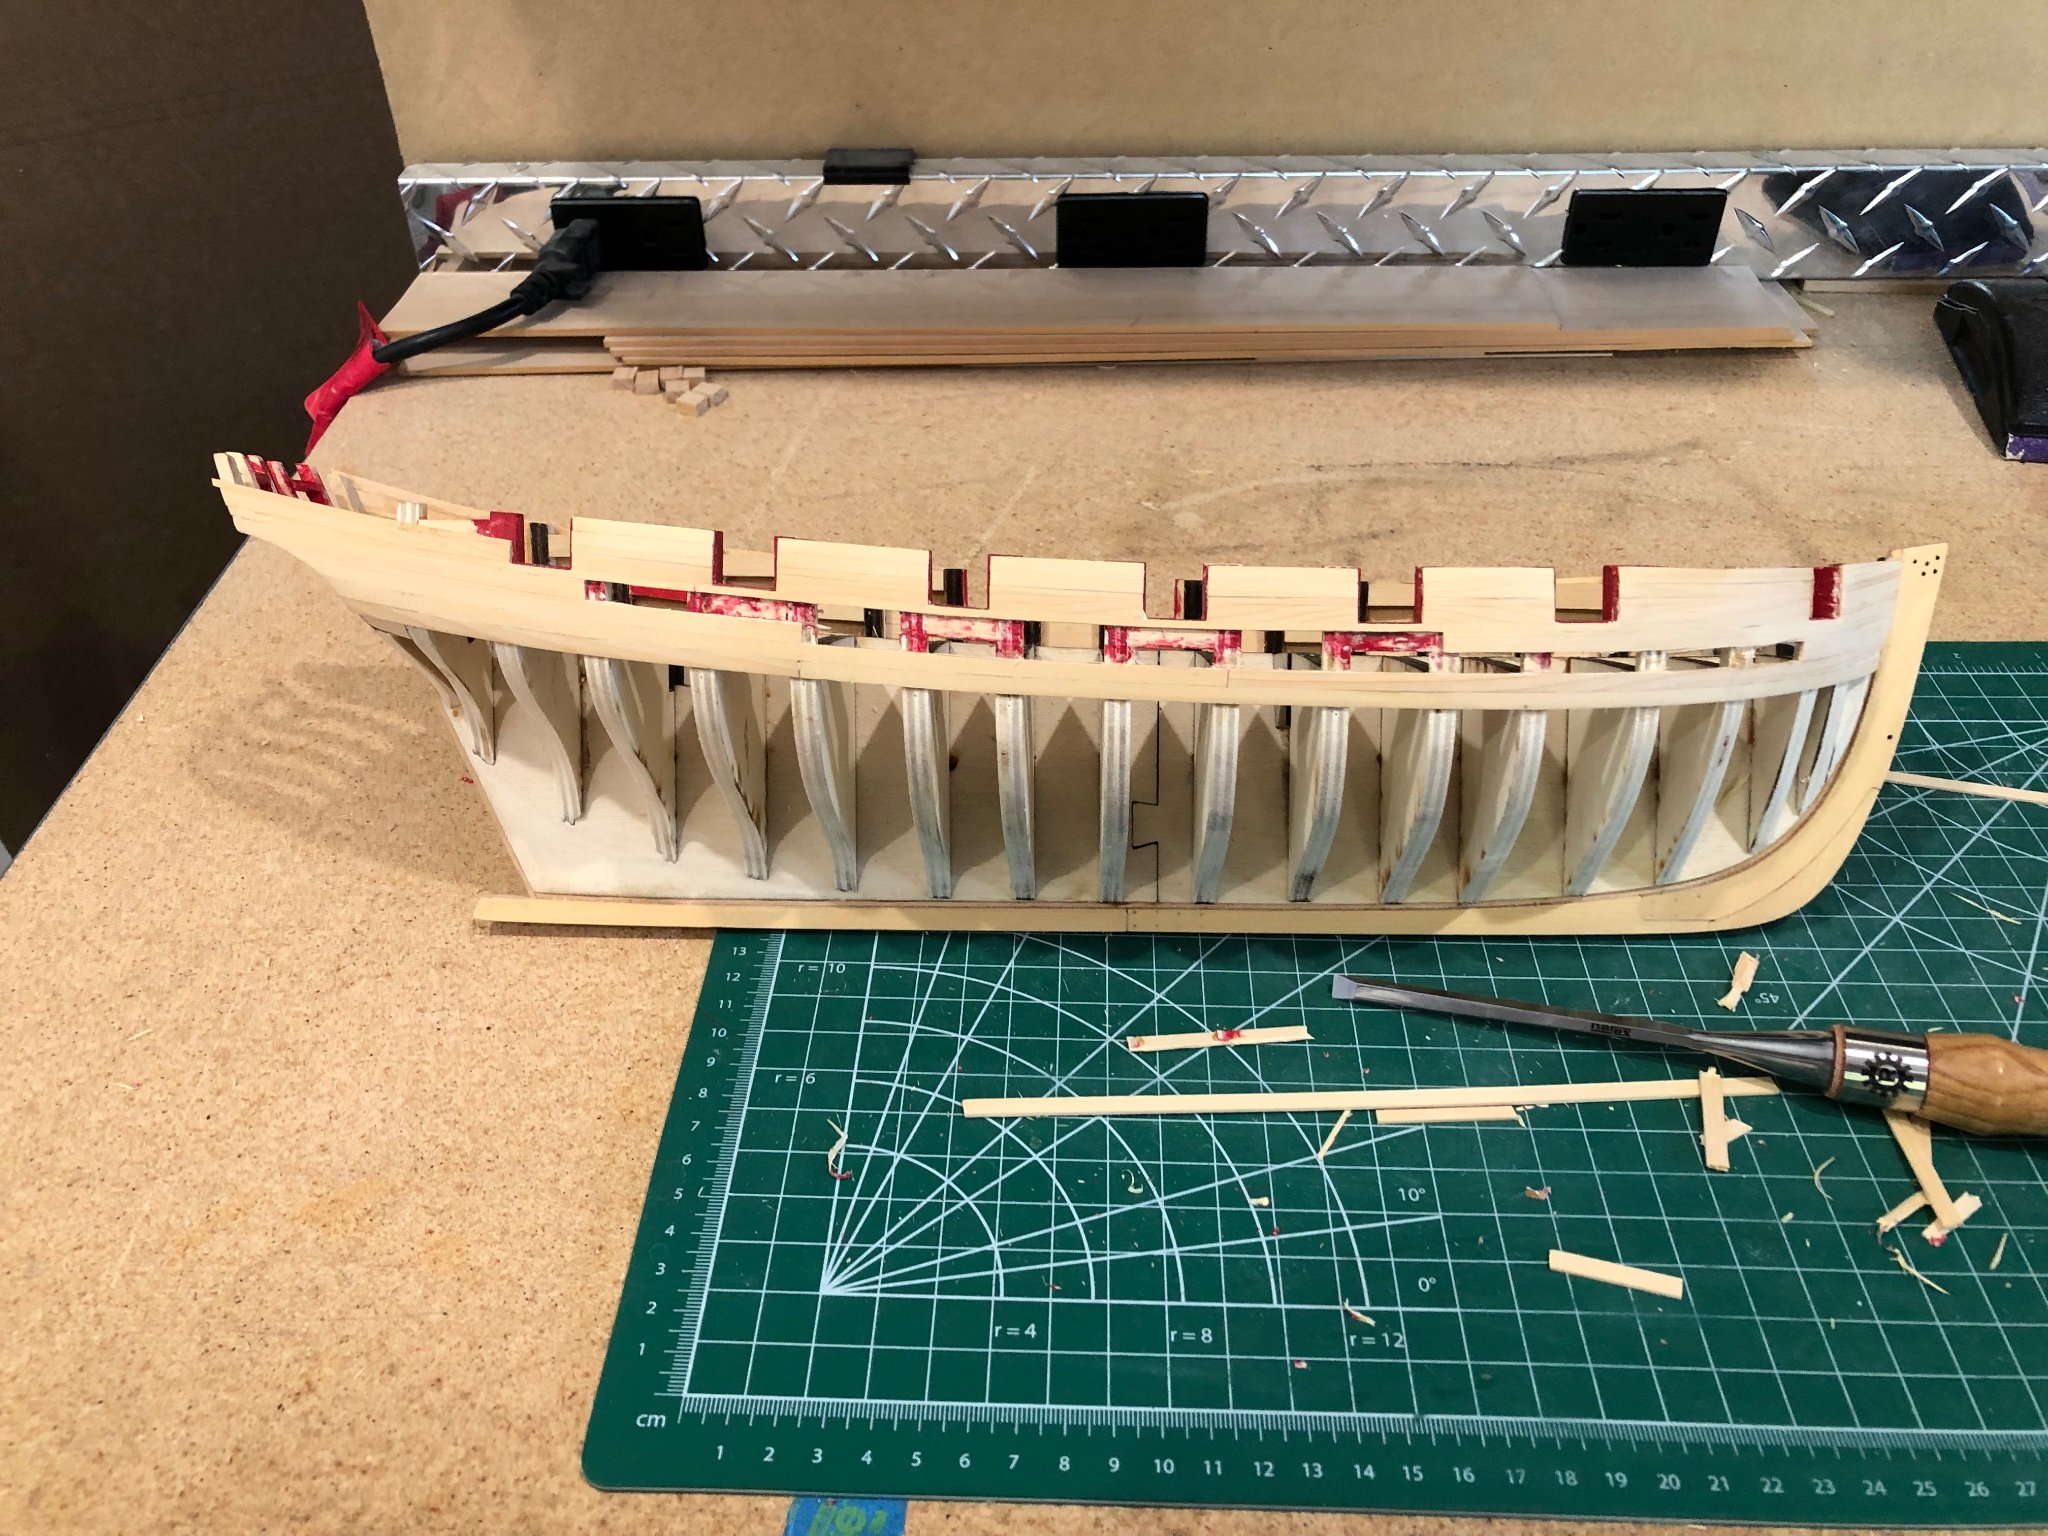
All the offending planks removed and ready to cleanup for new. It was very difficult digging out the planks without damaging the surrounding planks. Start to add new planks this afternoon. Anxious to see how it looks but decided if i'm not satisfied with the results I'll remove all the strakes and start over. First plank cleaned ready for new All offending planks removed and ready for cleanup Hoping I can make it work really don't want to start over but will.


-
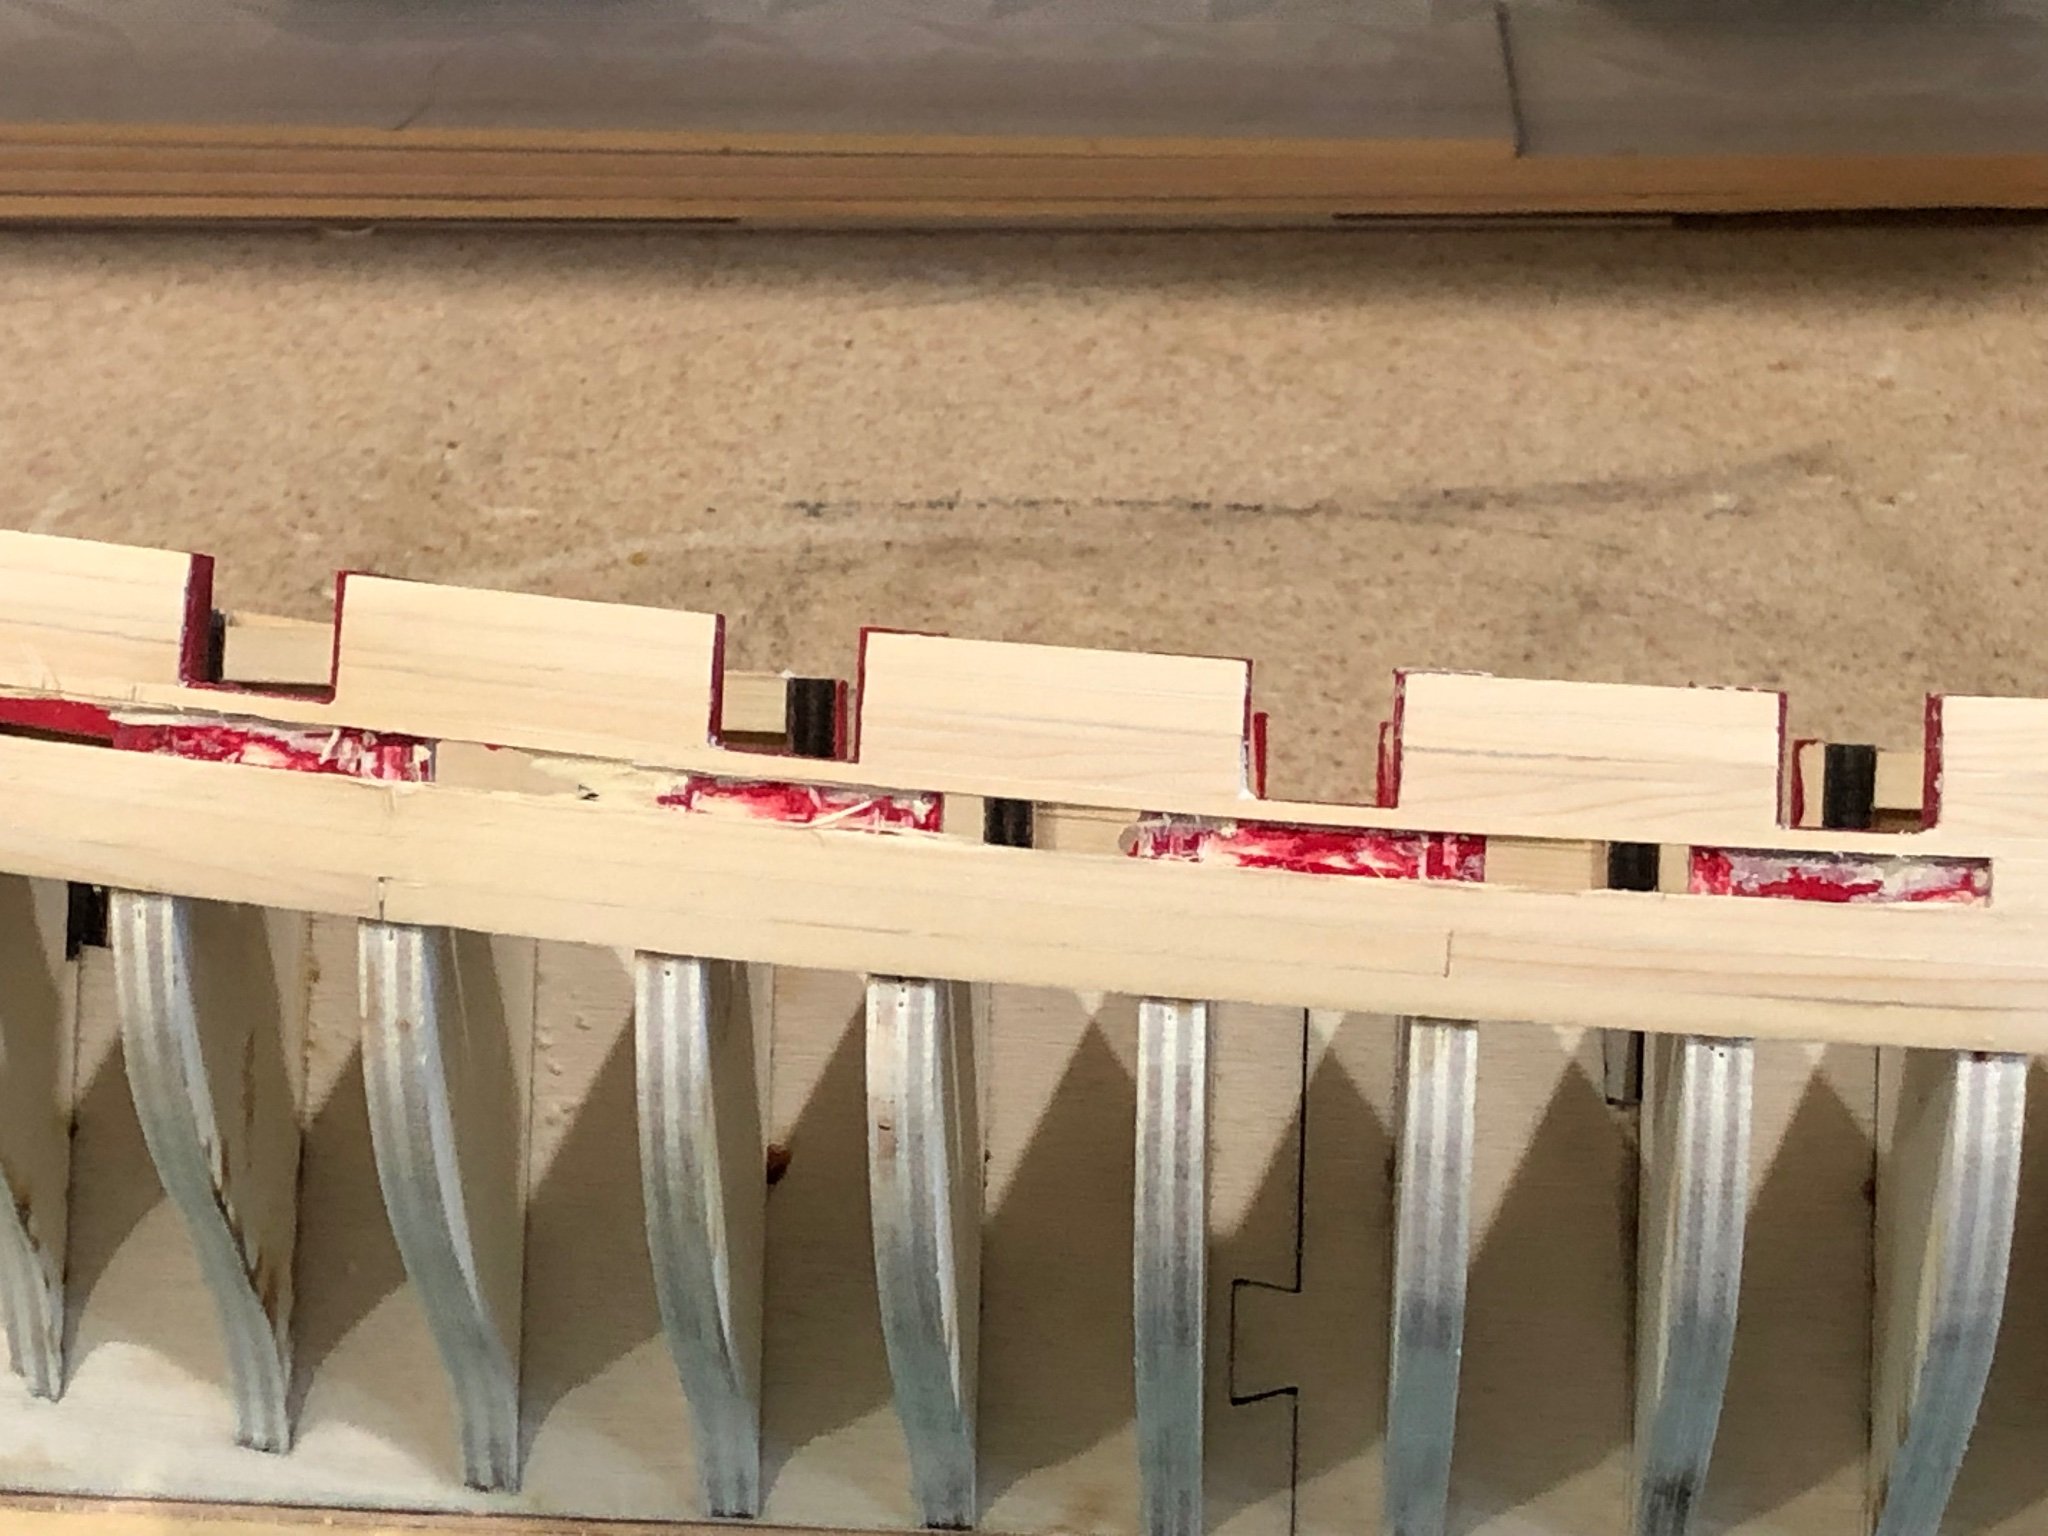
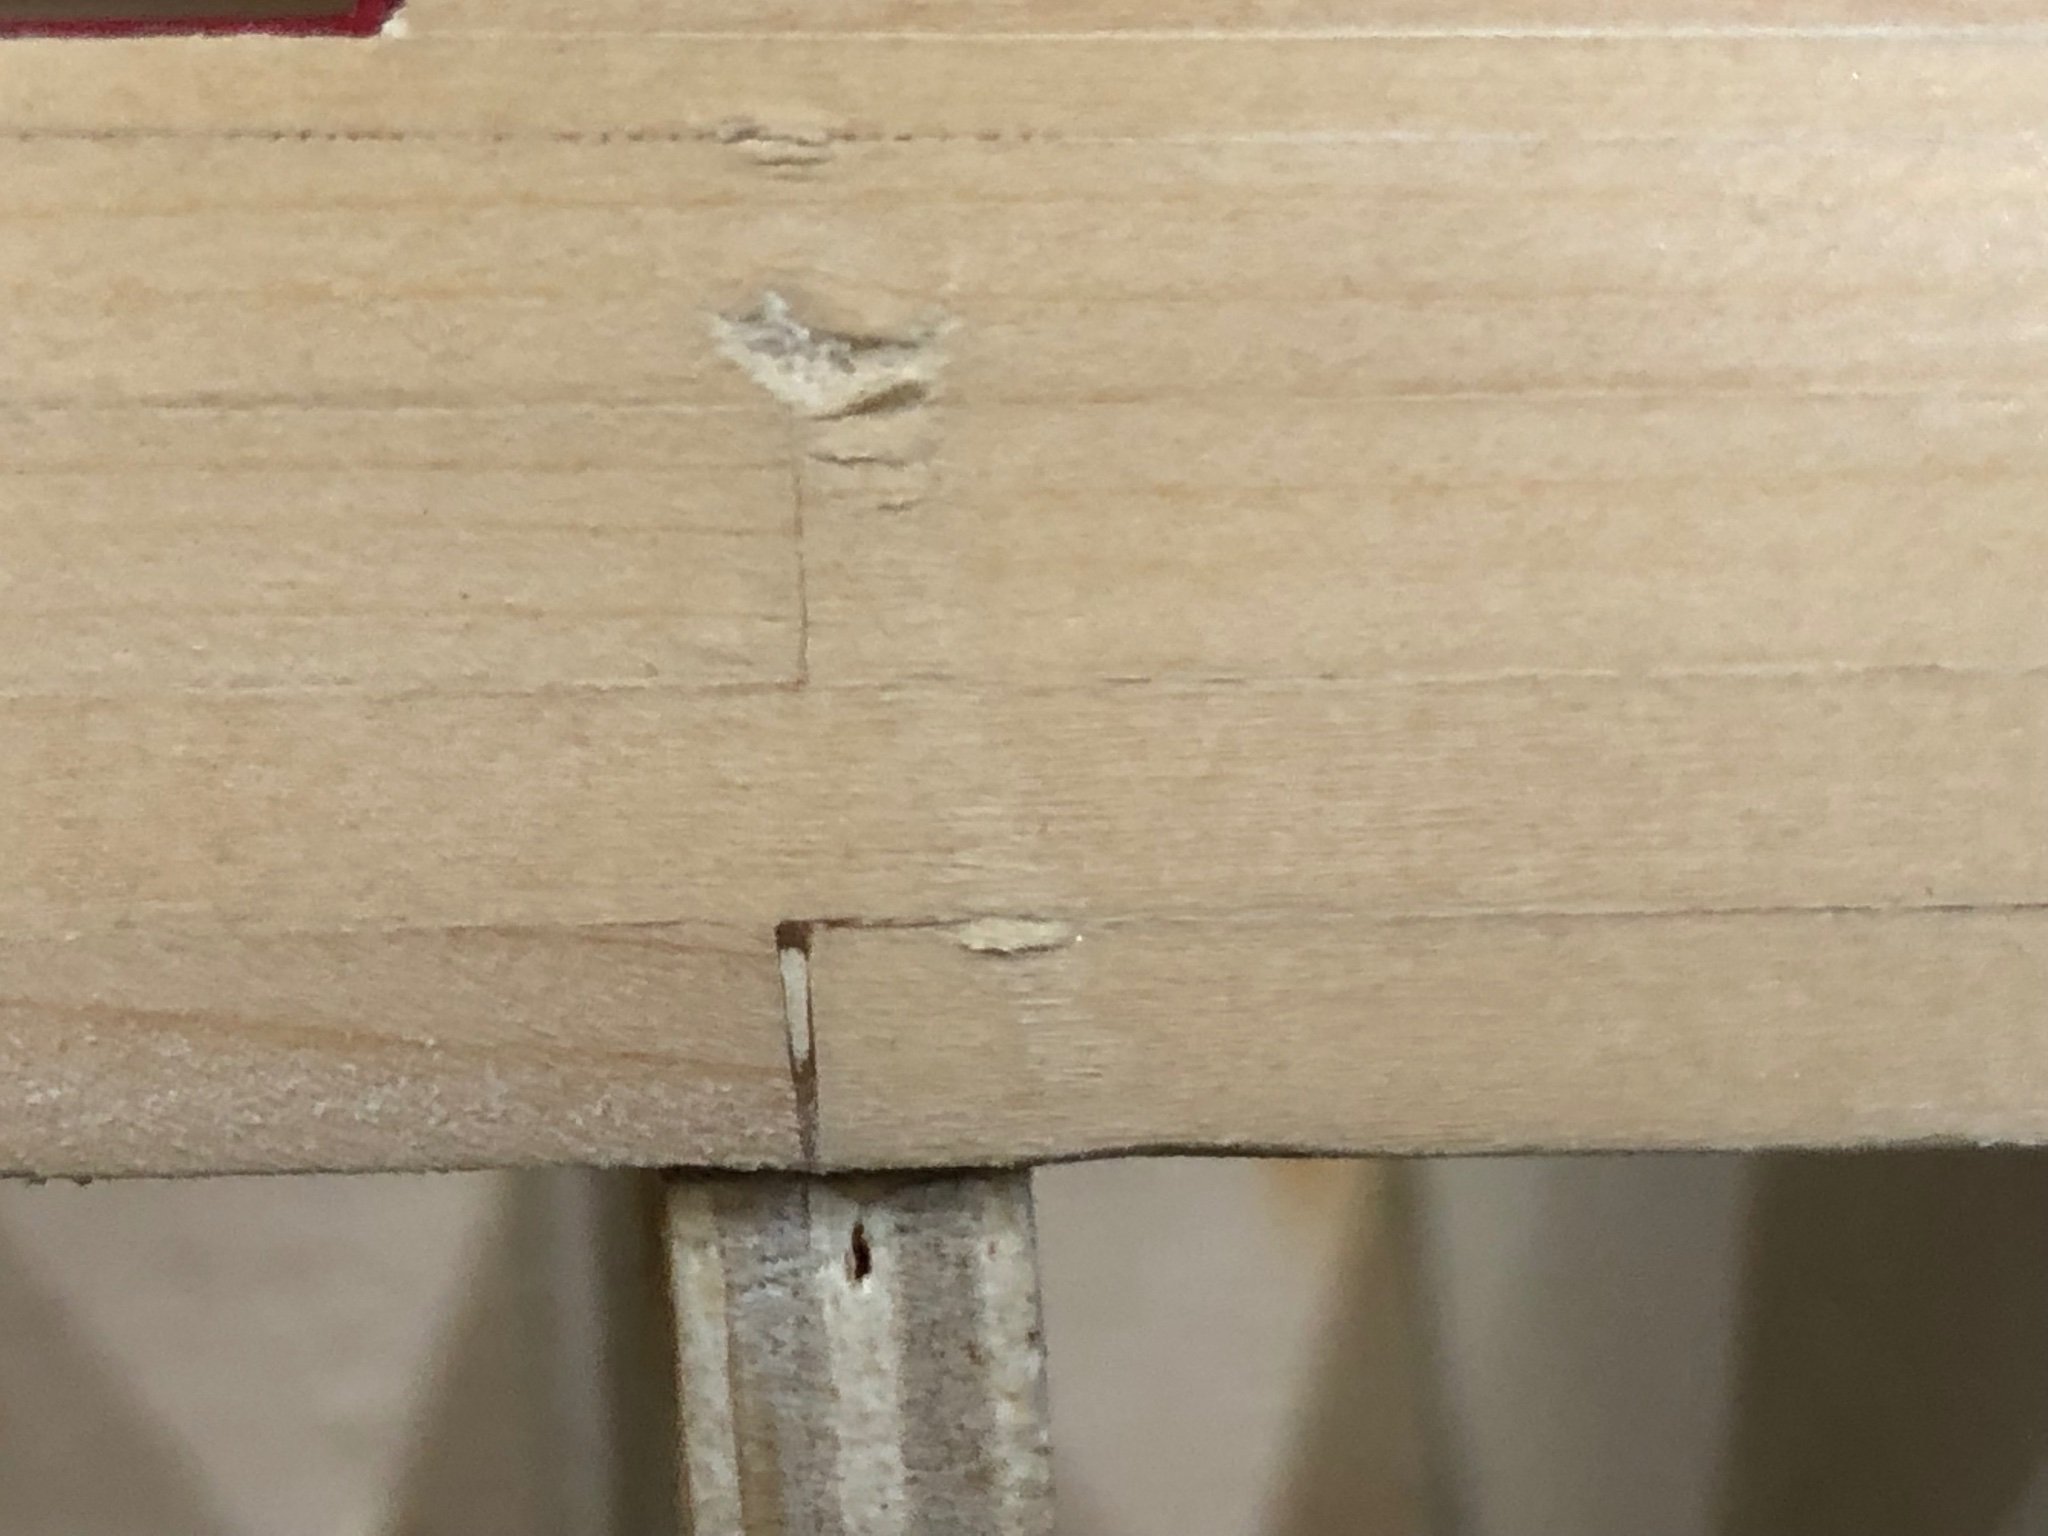
Got up this morning and couldn't bring myself #11 blade and then used a 3mm paring chisel to start digging. Unlike some port side planks this did not just lift and peel off. Piece by piece it came out without causing additional damage. Now just the careful cleanup getting ready for the new plank. I'm going to post the process as it continues rather than wait to the end, so here goes. Here's a photo of the removed plank Closeup of area to clean More to come throughout the cleanup
-
Major problem today. I was close to finish planking the starboard side when I opened a tool cupboard above the Cheerful work area and when I reached in to get something and the waterline marker fell on the Cheerful. At first it looked undamaged but then I saw a gouge and a long scratch down the side. Most of the repair will be fairly easy as it is above the 1/16" plank but the gouge is on two planks above the wales. I don't feel as if I need to replace the wales and 1/16" moulding as there will be a second layer. The two planks will have to be dug out and replaced. (good thing I've had so much practice) I think I'll go ahead and finish the planking especially since I trimmed and bent the after two pieces. And while at it I make the repairs to the damaged planks between ports 5 and 6. Keep telling my self it could be worse and landed on the boat and knocked it to the floor breaking things. On to repairs tomorrow

-
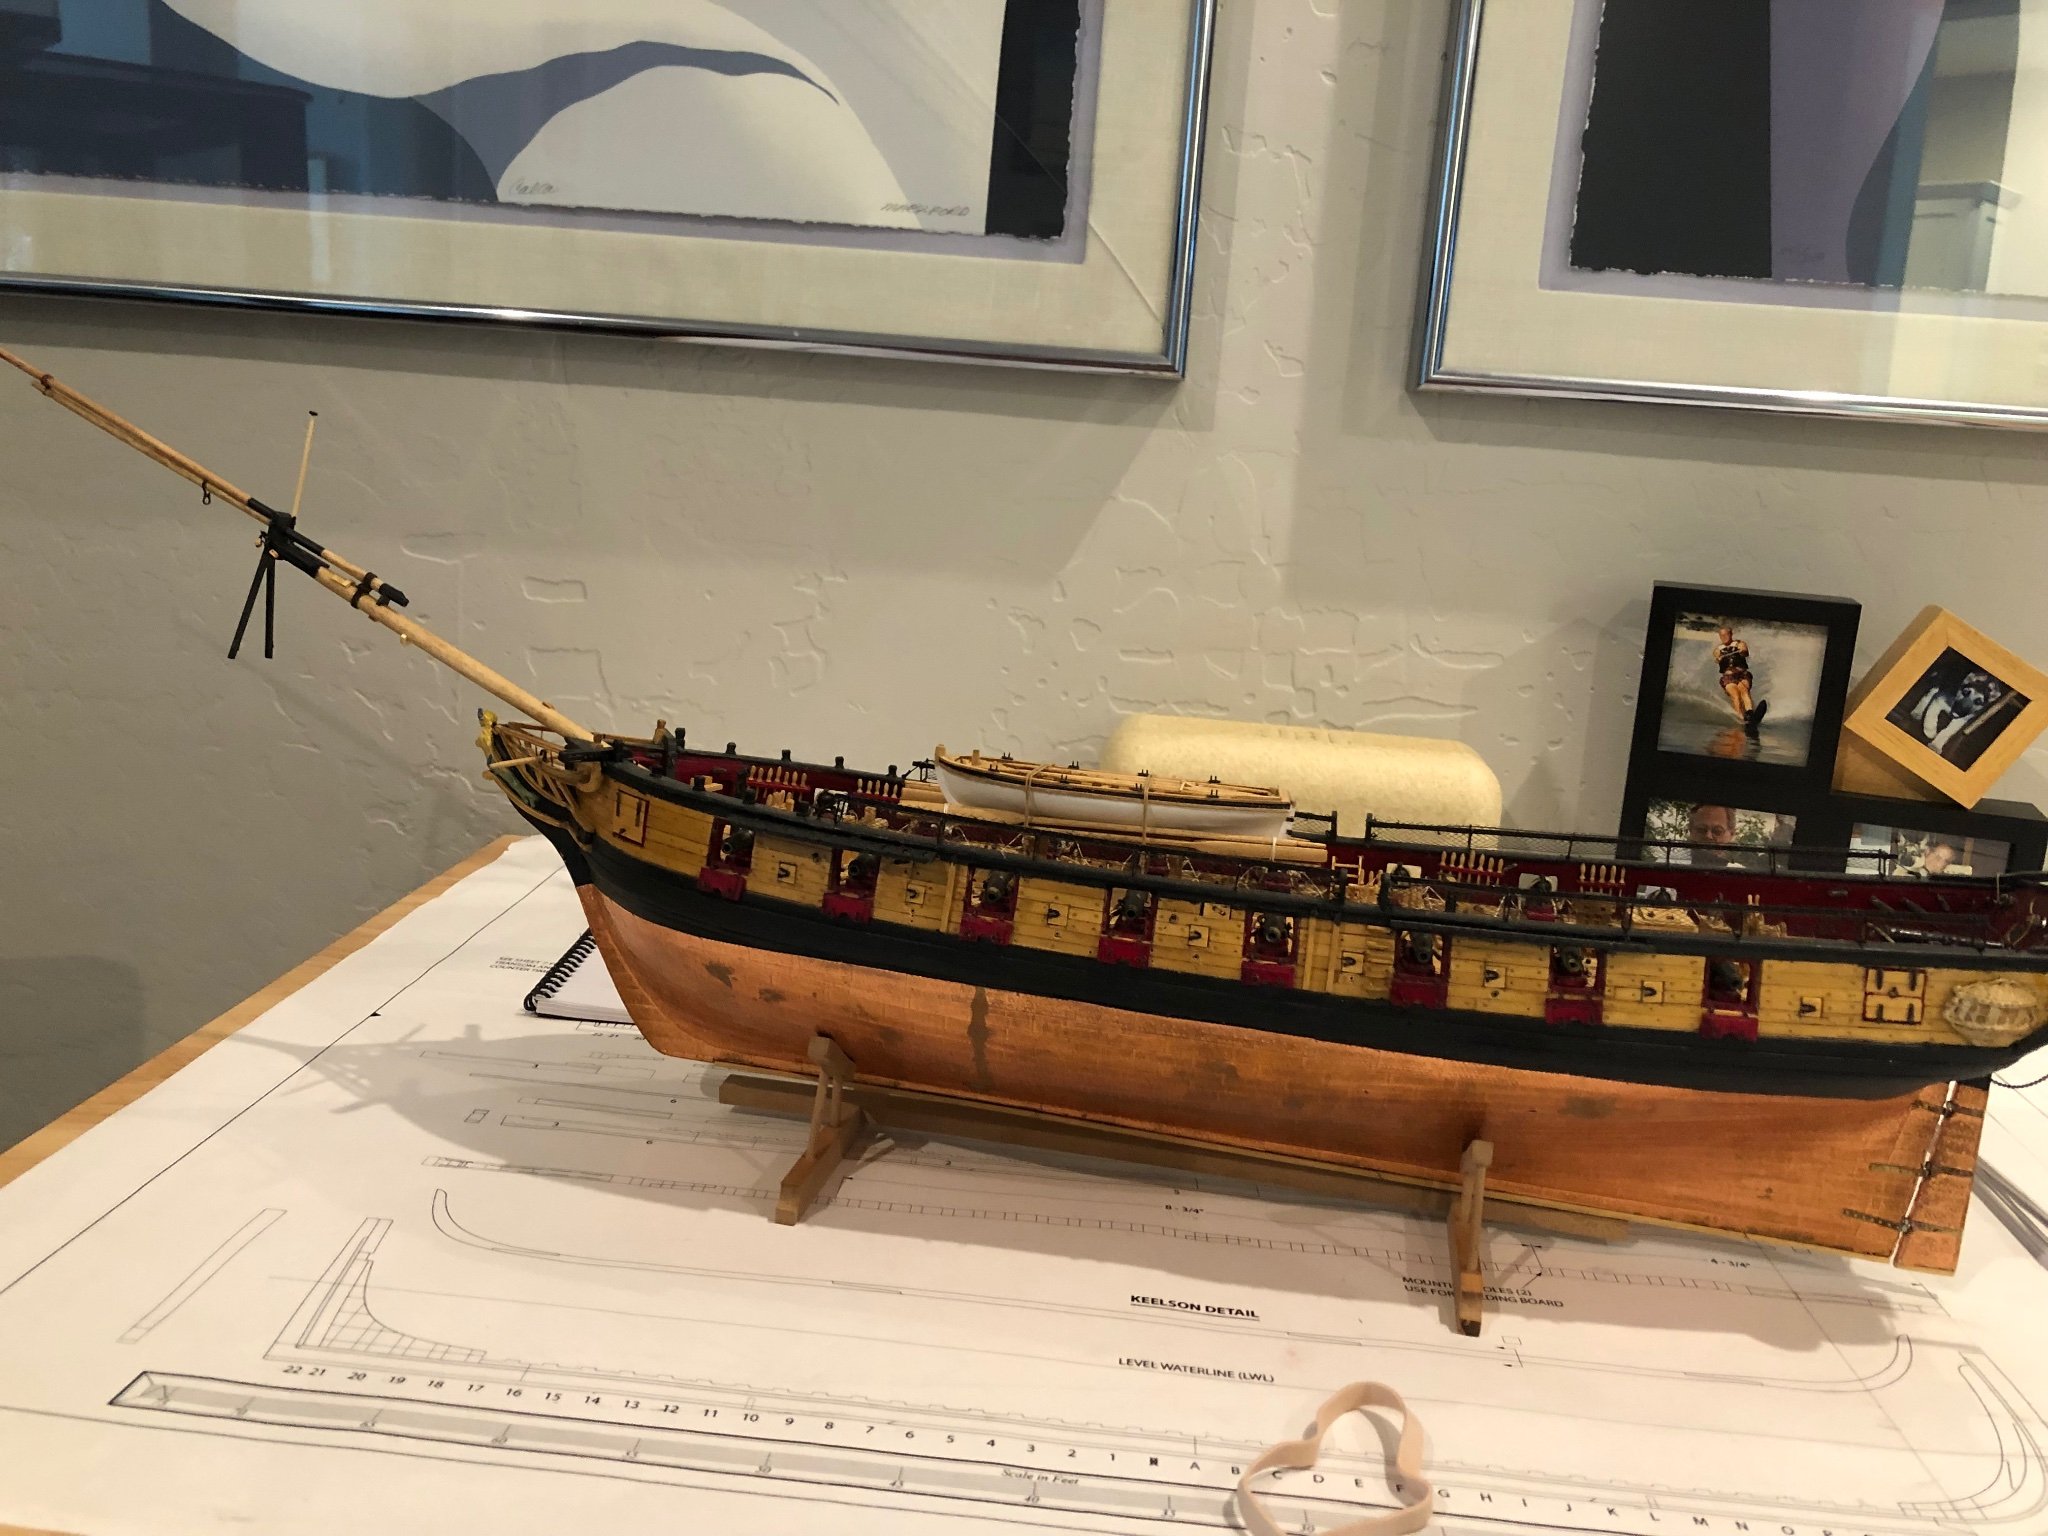
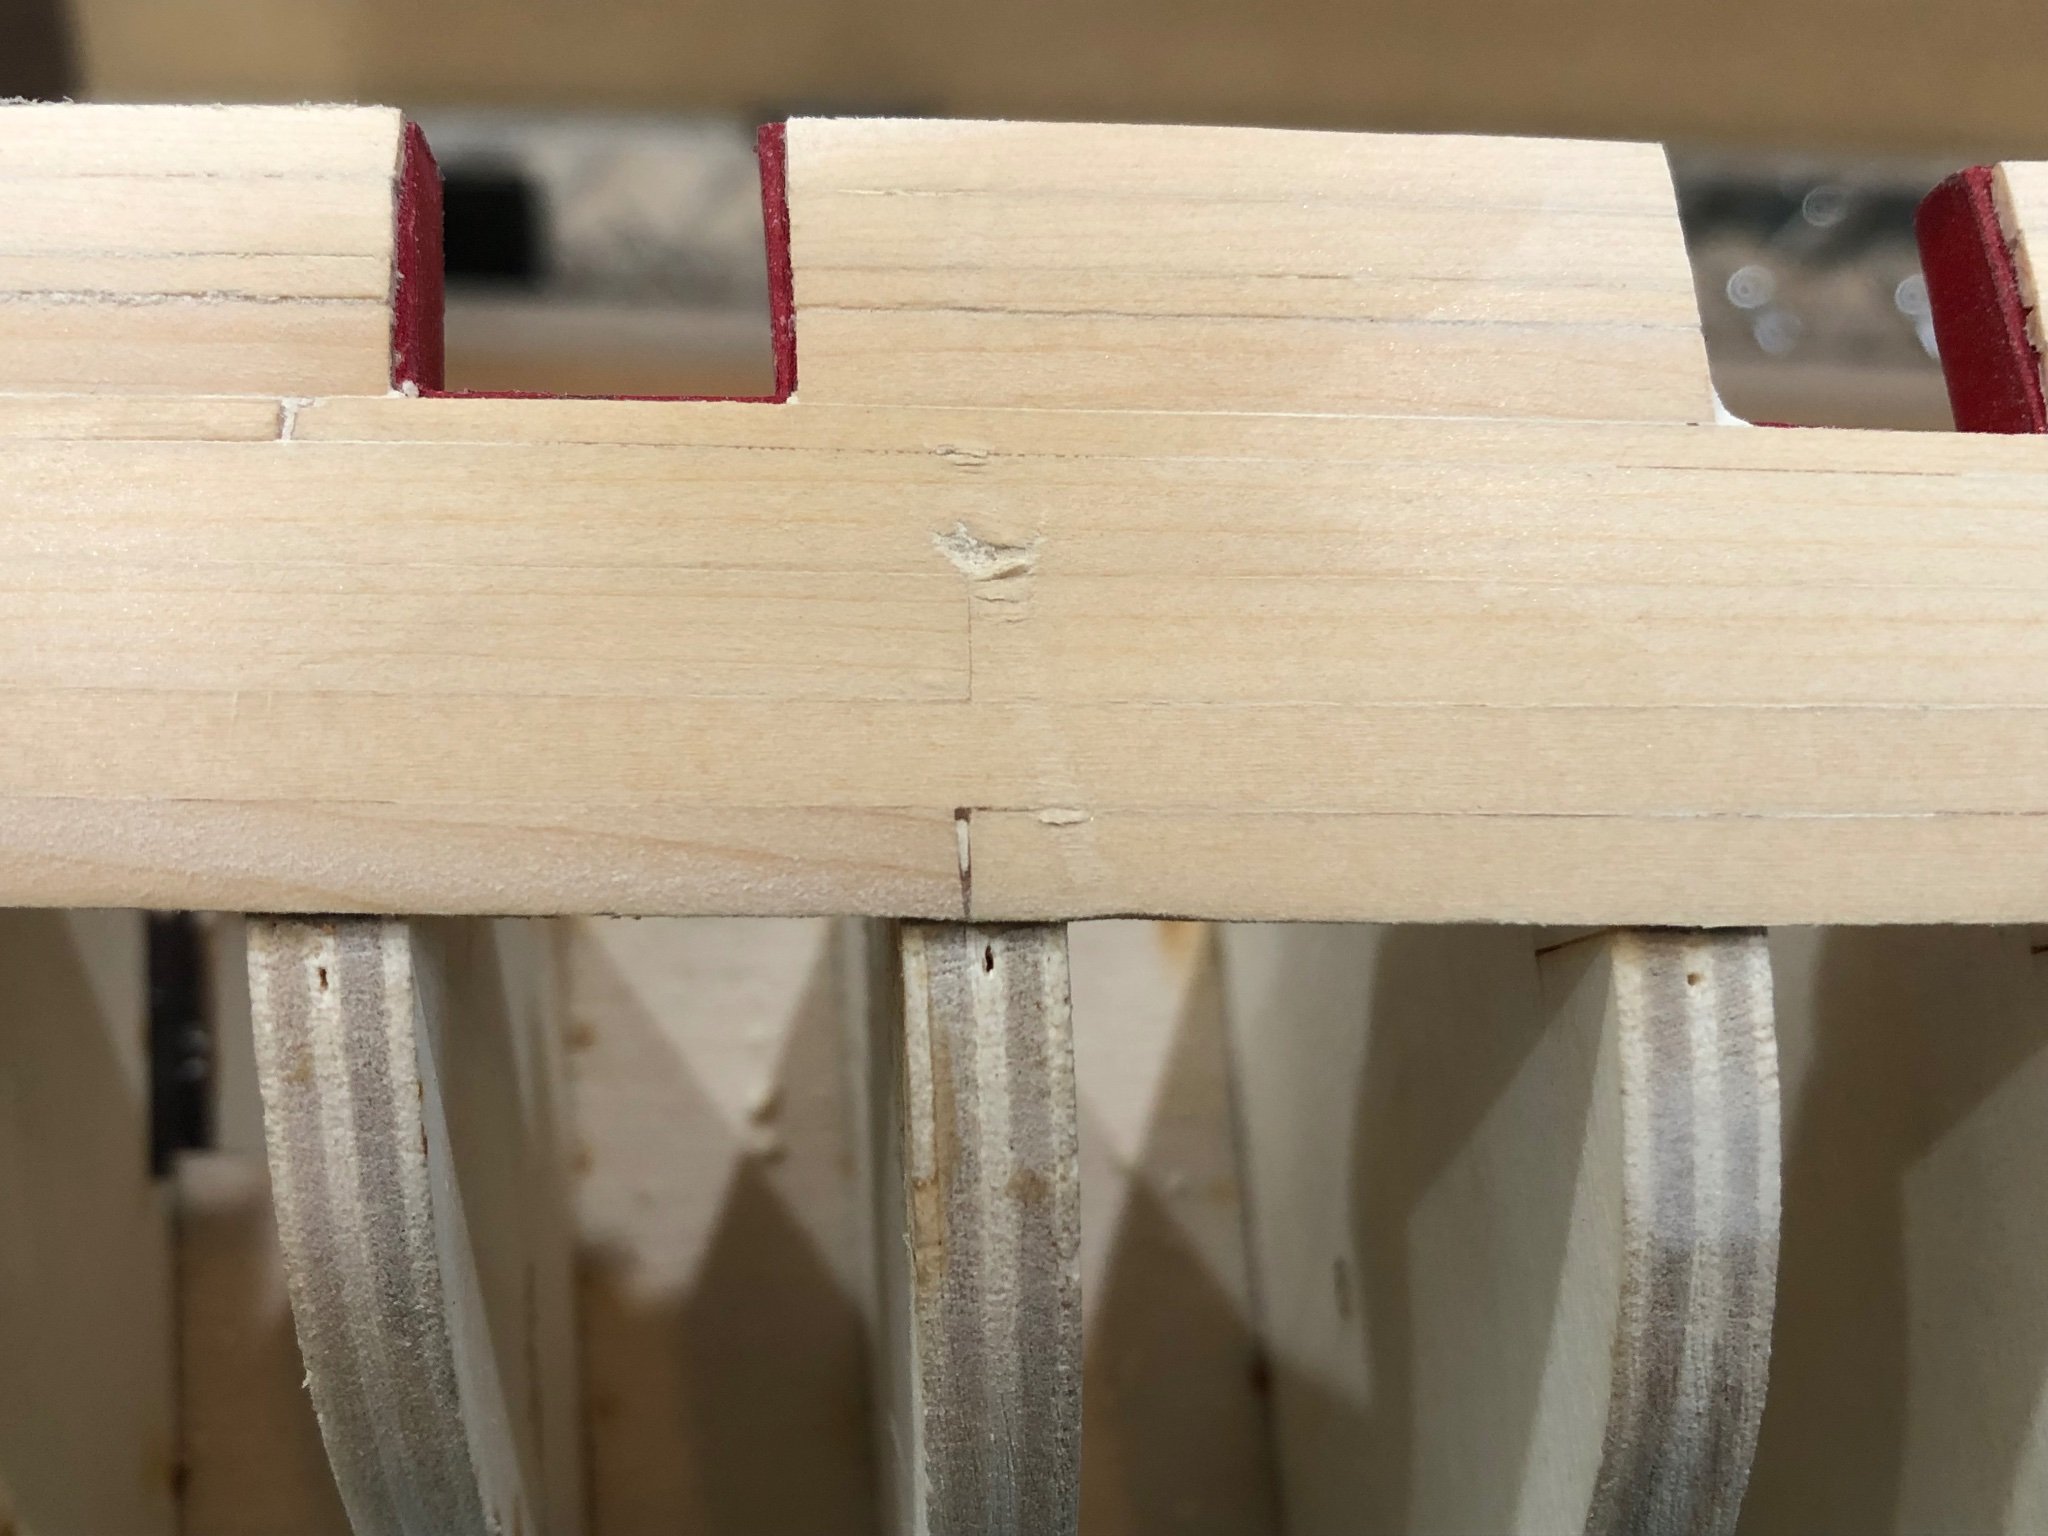
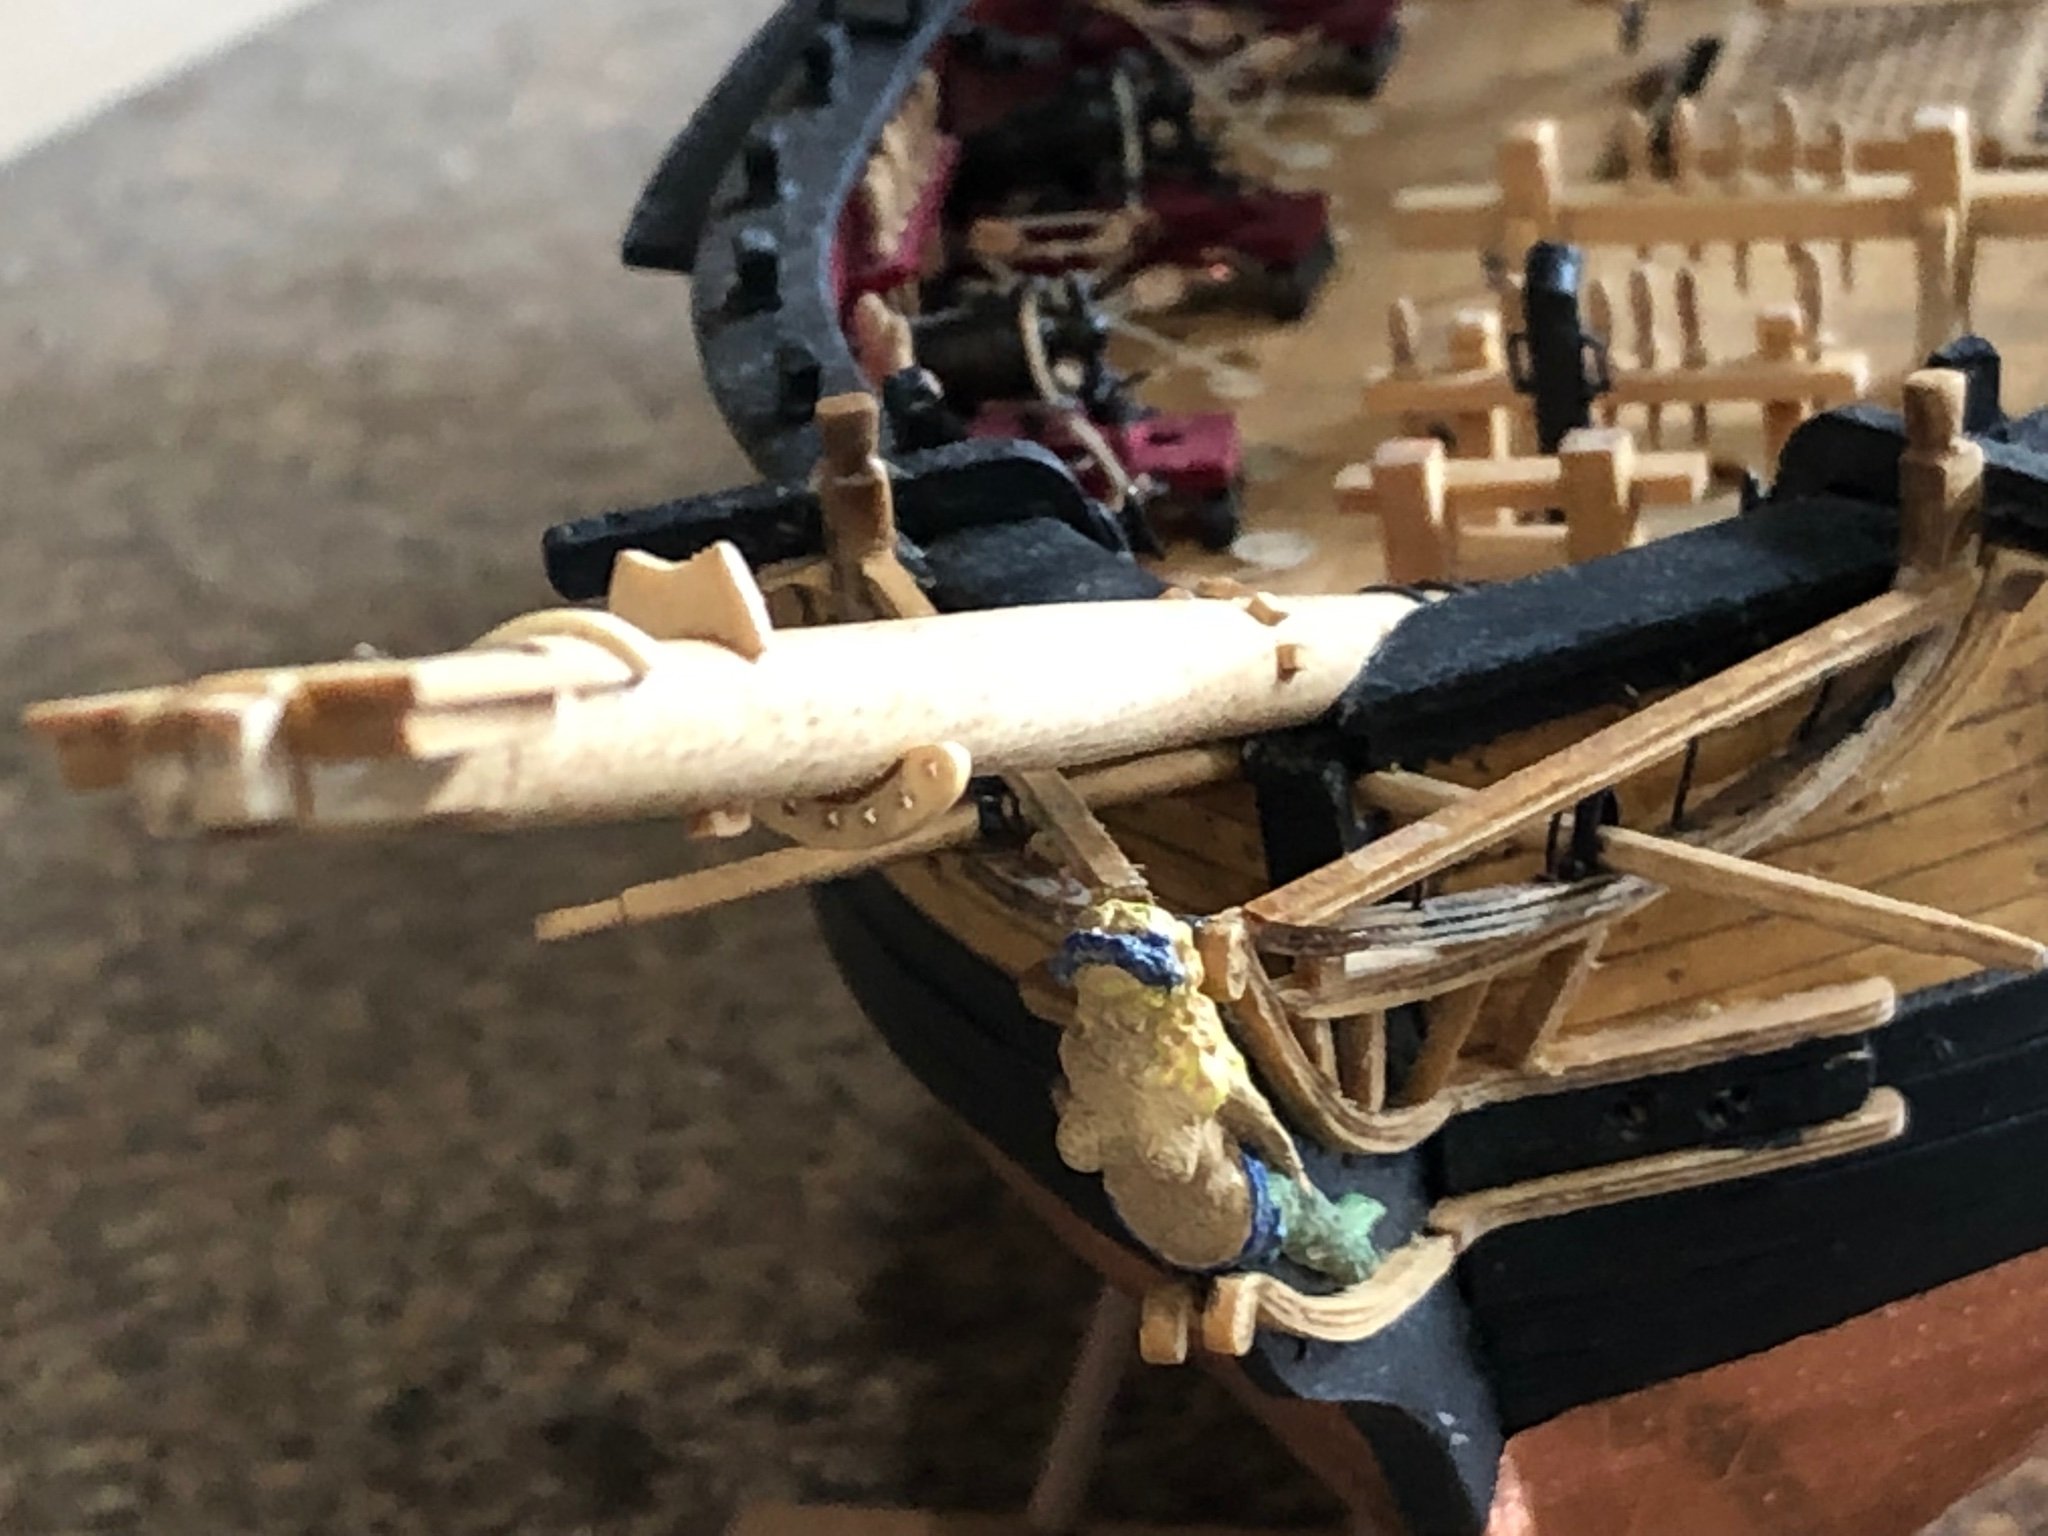
Bowsprit completed. As stated I made all the pieces from AYC. Everything was straight forward with the exception of the fairlead which made me think of how to drill holes on a radius. Supriseingly the method was fairly simple. I cut a square piece of material and found the center. Mounted on a rotating table mounted to the mill bed. Using a laser alignment tool mounted in the mill to locate the marked center. Moved the table to the radius and drilled the 6 holes at 21 degree angle spacing. Amazing that when aligned with the drawing it was almost perfect. Now just a matter of sanding the outside radius and filing the inside radius. The chocks were a matter of taking a piece of 1/32" x 1/16" and filing the angle and slicing off pieces using the razor saw and mitre with the stop set to 1/32". The saddle for the spirt sail yard sling was made be sanding using a thickness sander to thickness of 1/64" stained and soaked to be bent around the bowsprit. Same process was used for the top piece. The iron bands are simulated by using heat shrink tubing cut to the proper width and once shrunk they don't move. All the parts made and stained were assembled to the bowsprit previously made. Couple photos of the completed bowsprit assembly on the Syren I've really got to clean the Syren as the photos really show everything including dust.


-
I've said before how much I enjoy and use you photos as i build my Syren in fact I looked through them Thursday to see how you rigged the bowsprit fairlead to understand how I should build my bowsprit. Great photos and much luck in the contest.
- 950 replies
-
- 2
-

-

-
- syren
- model shipways
- (and 1 more)
-
Thanks guys. I'll read the instructions to learn.
-
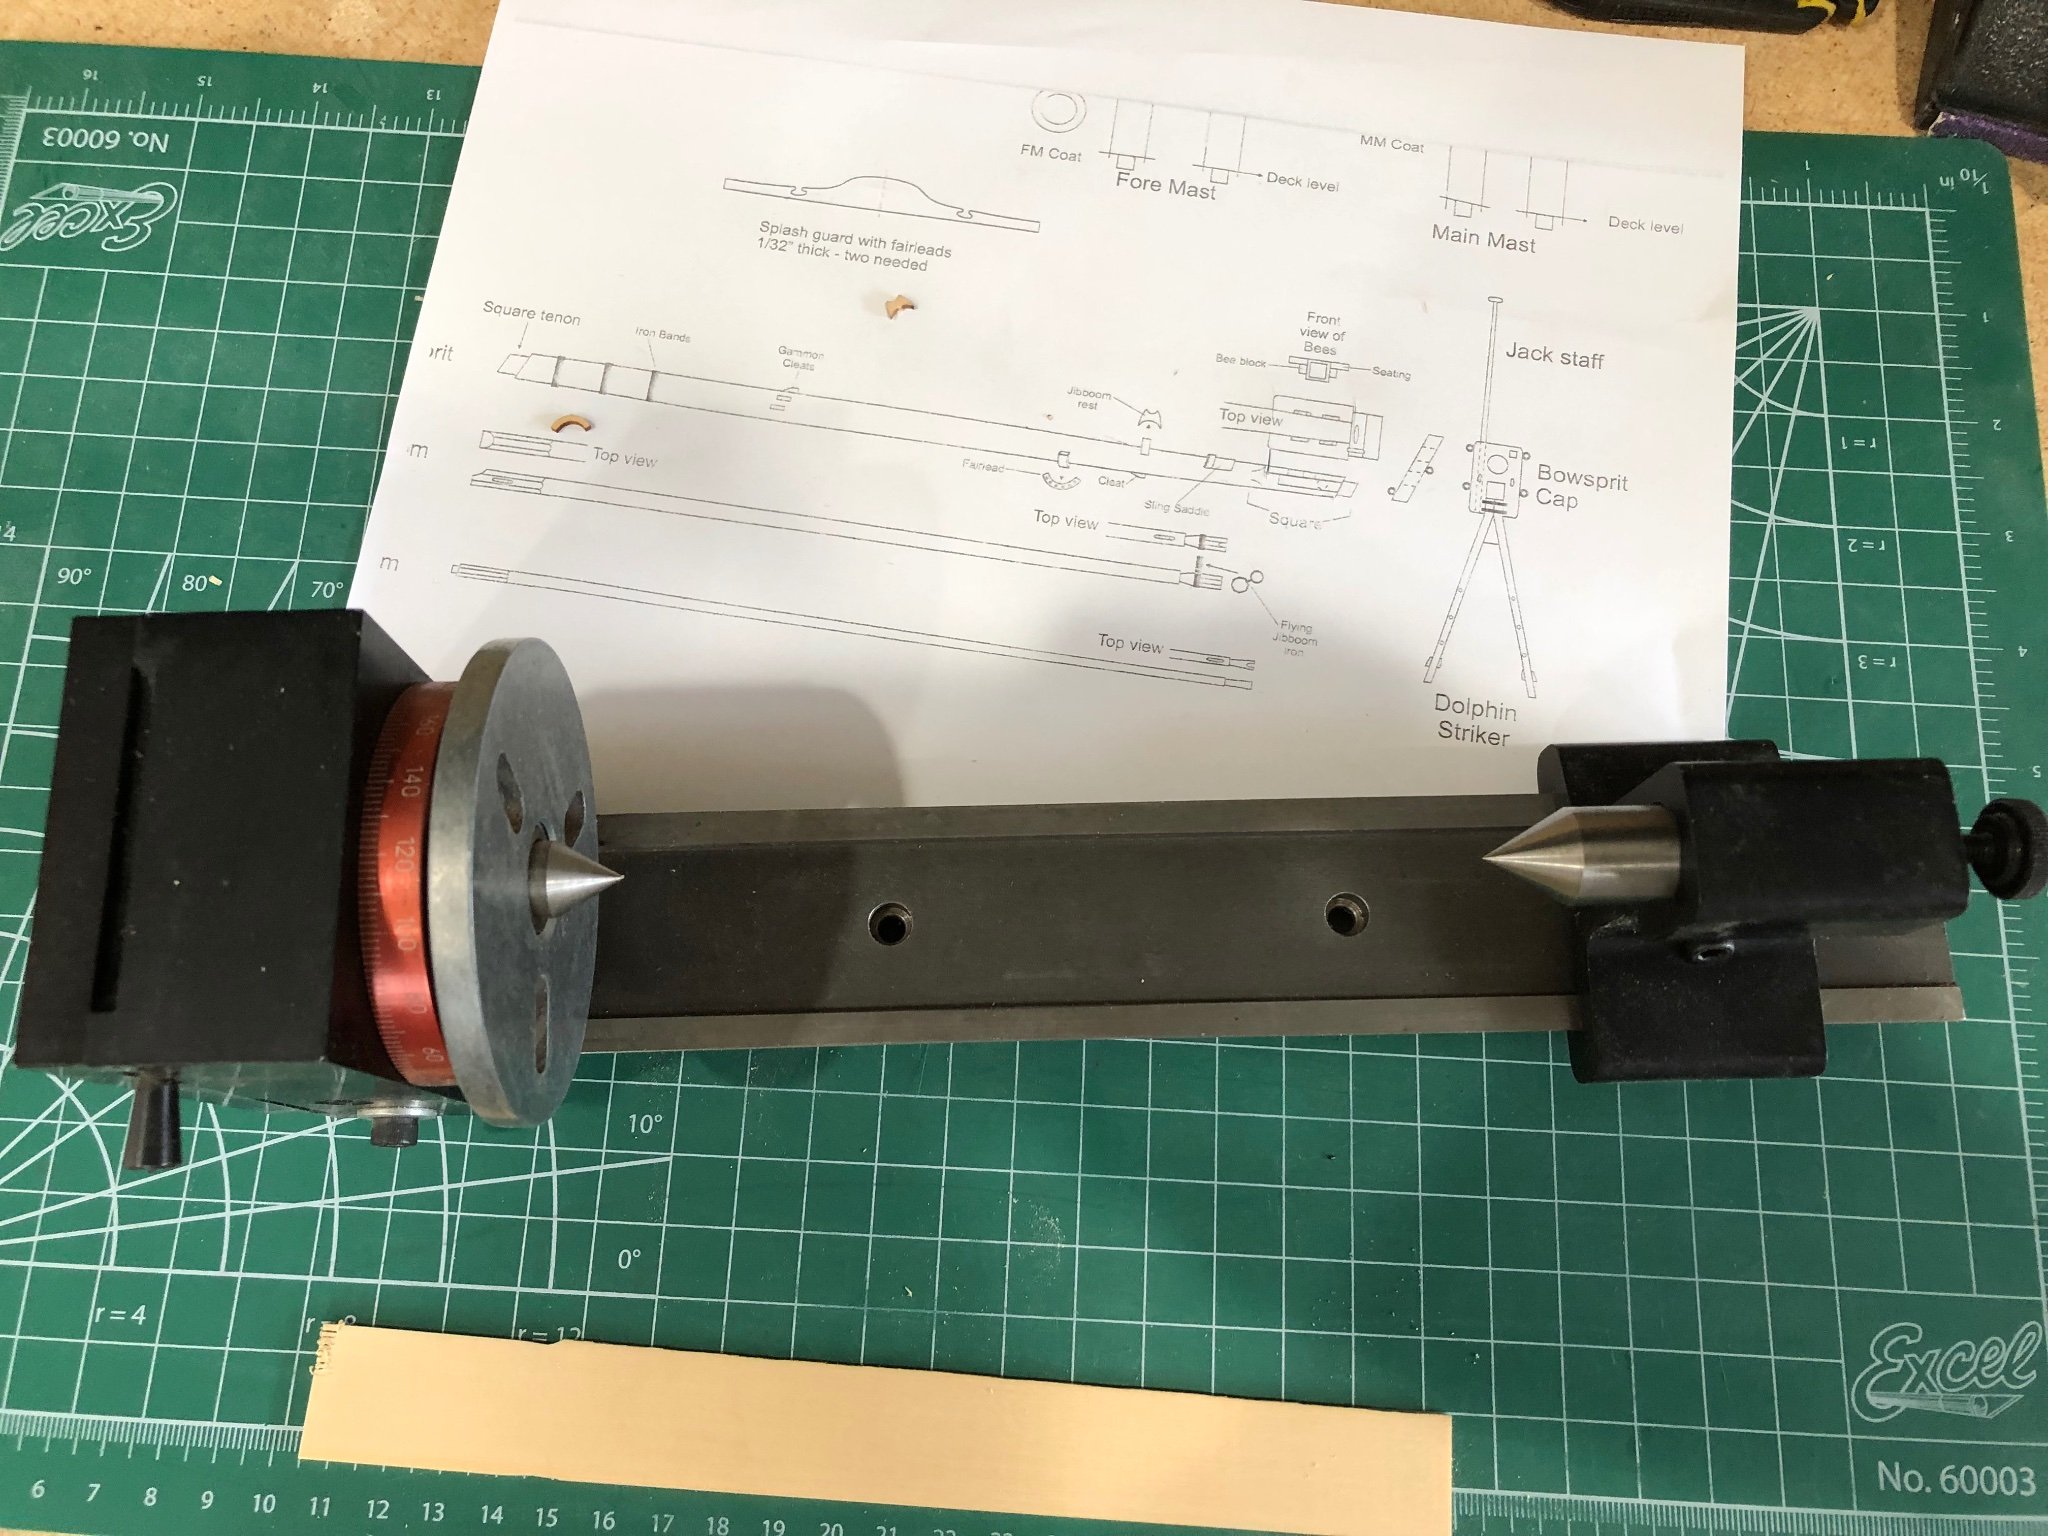
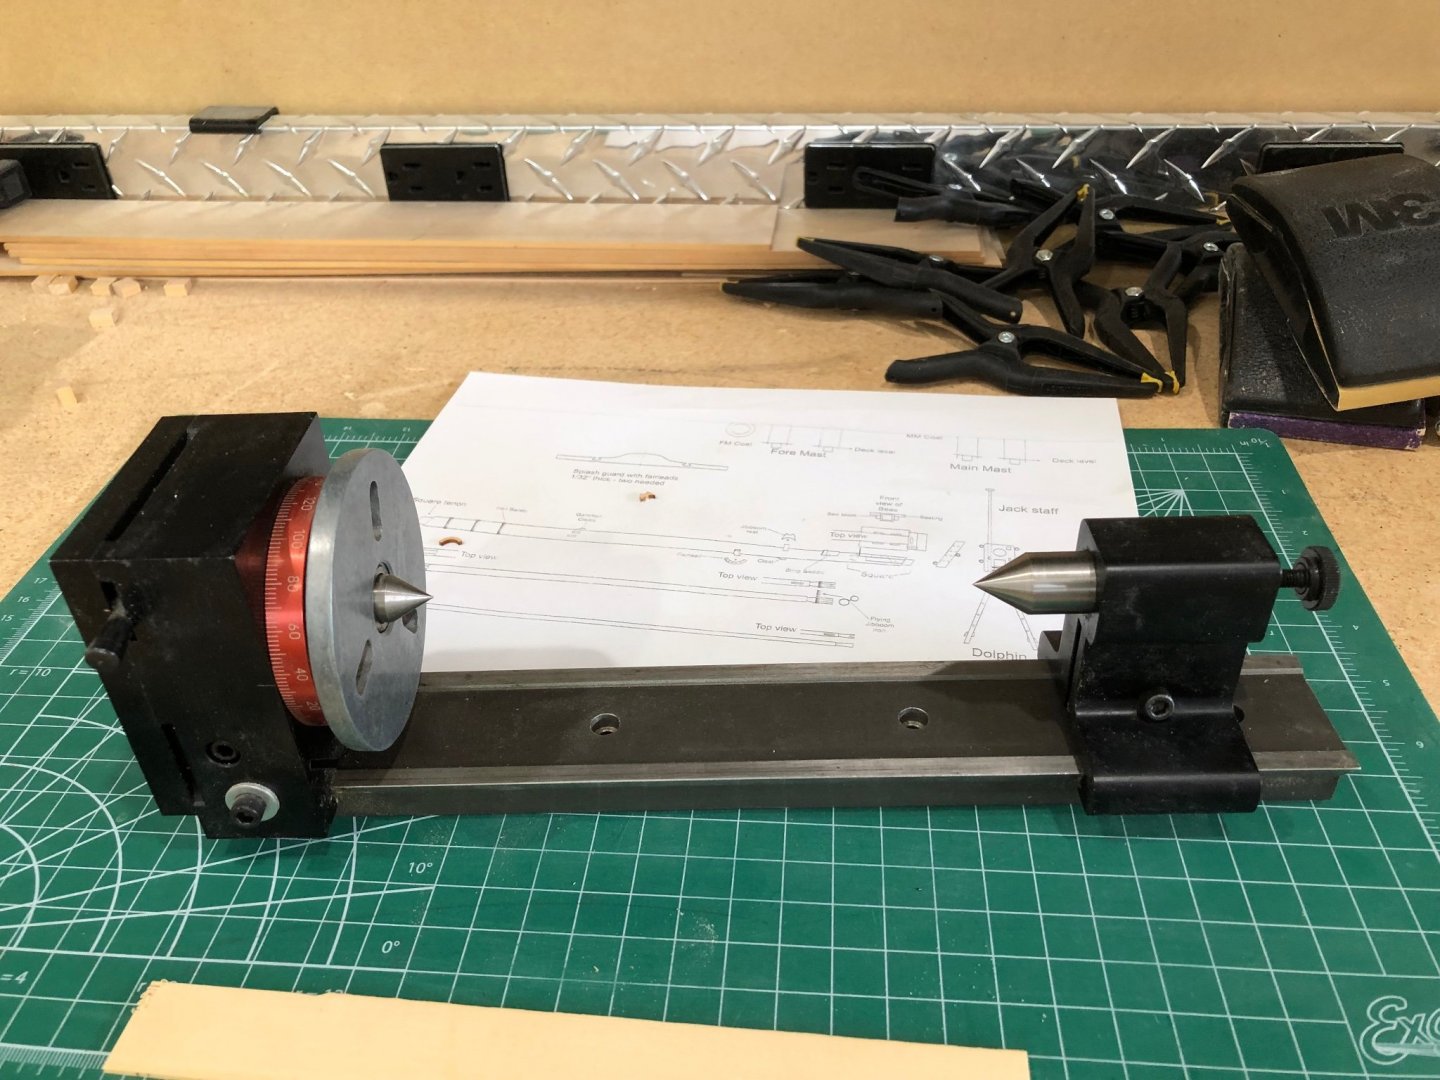
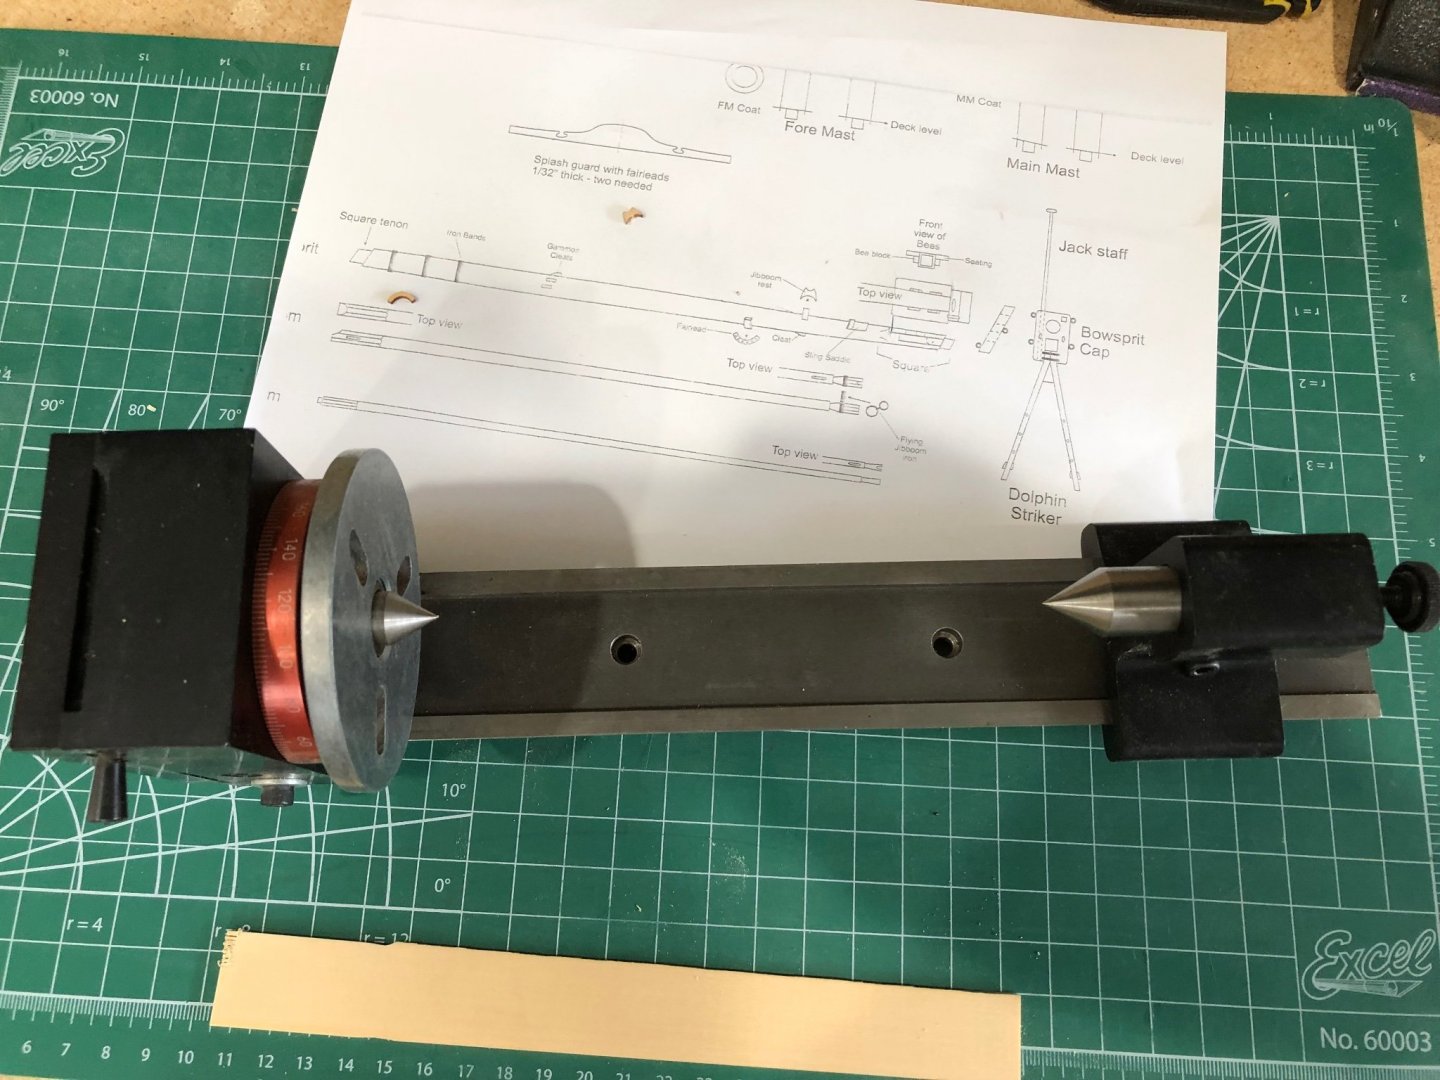
Thanks Ben big whoops here's pictures of the tool

-
I bought a used Sherline lathe and then an acquaintance gave me this tool which I have no idea what it is or how to use it? I'd love to hear any comments.
-
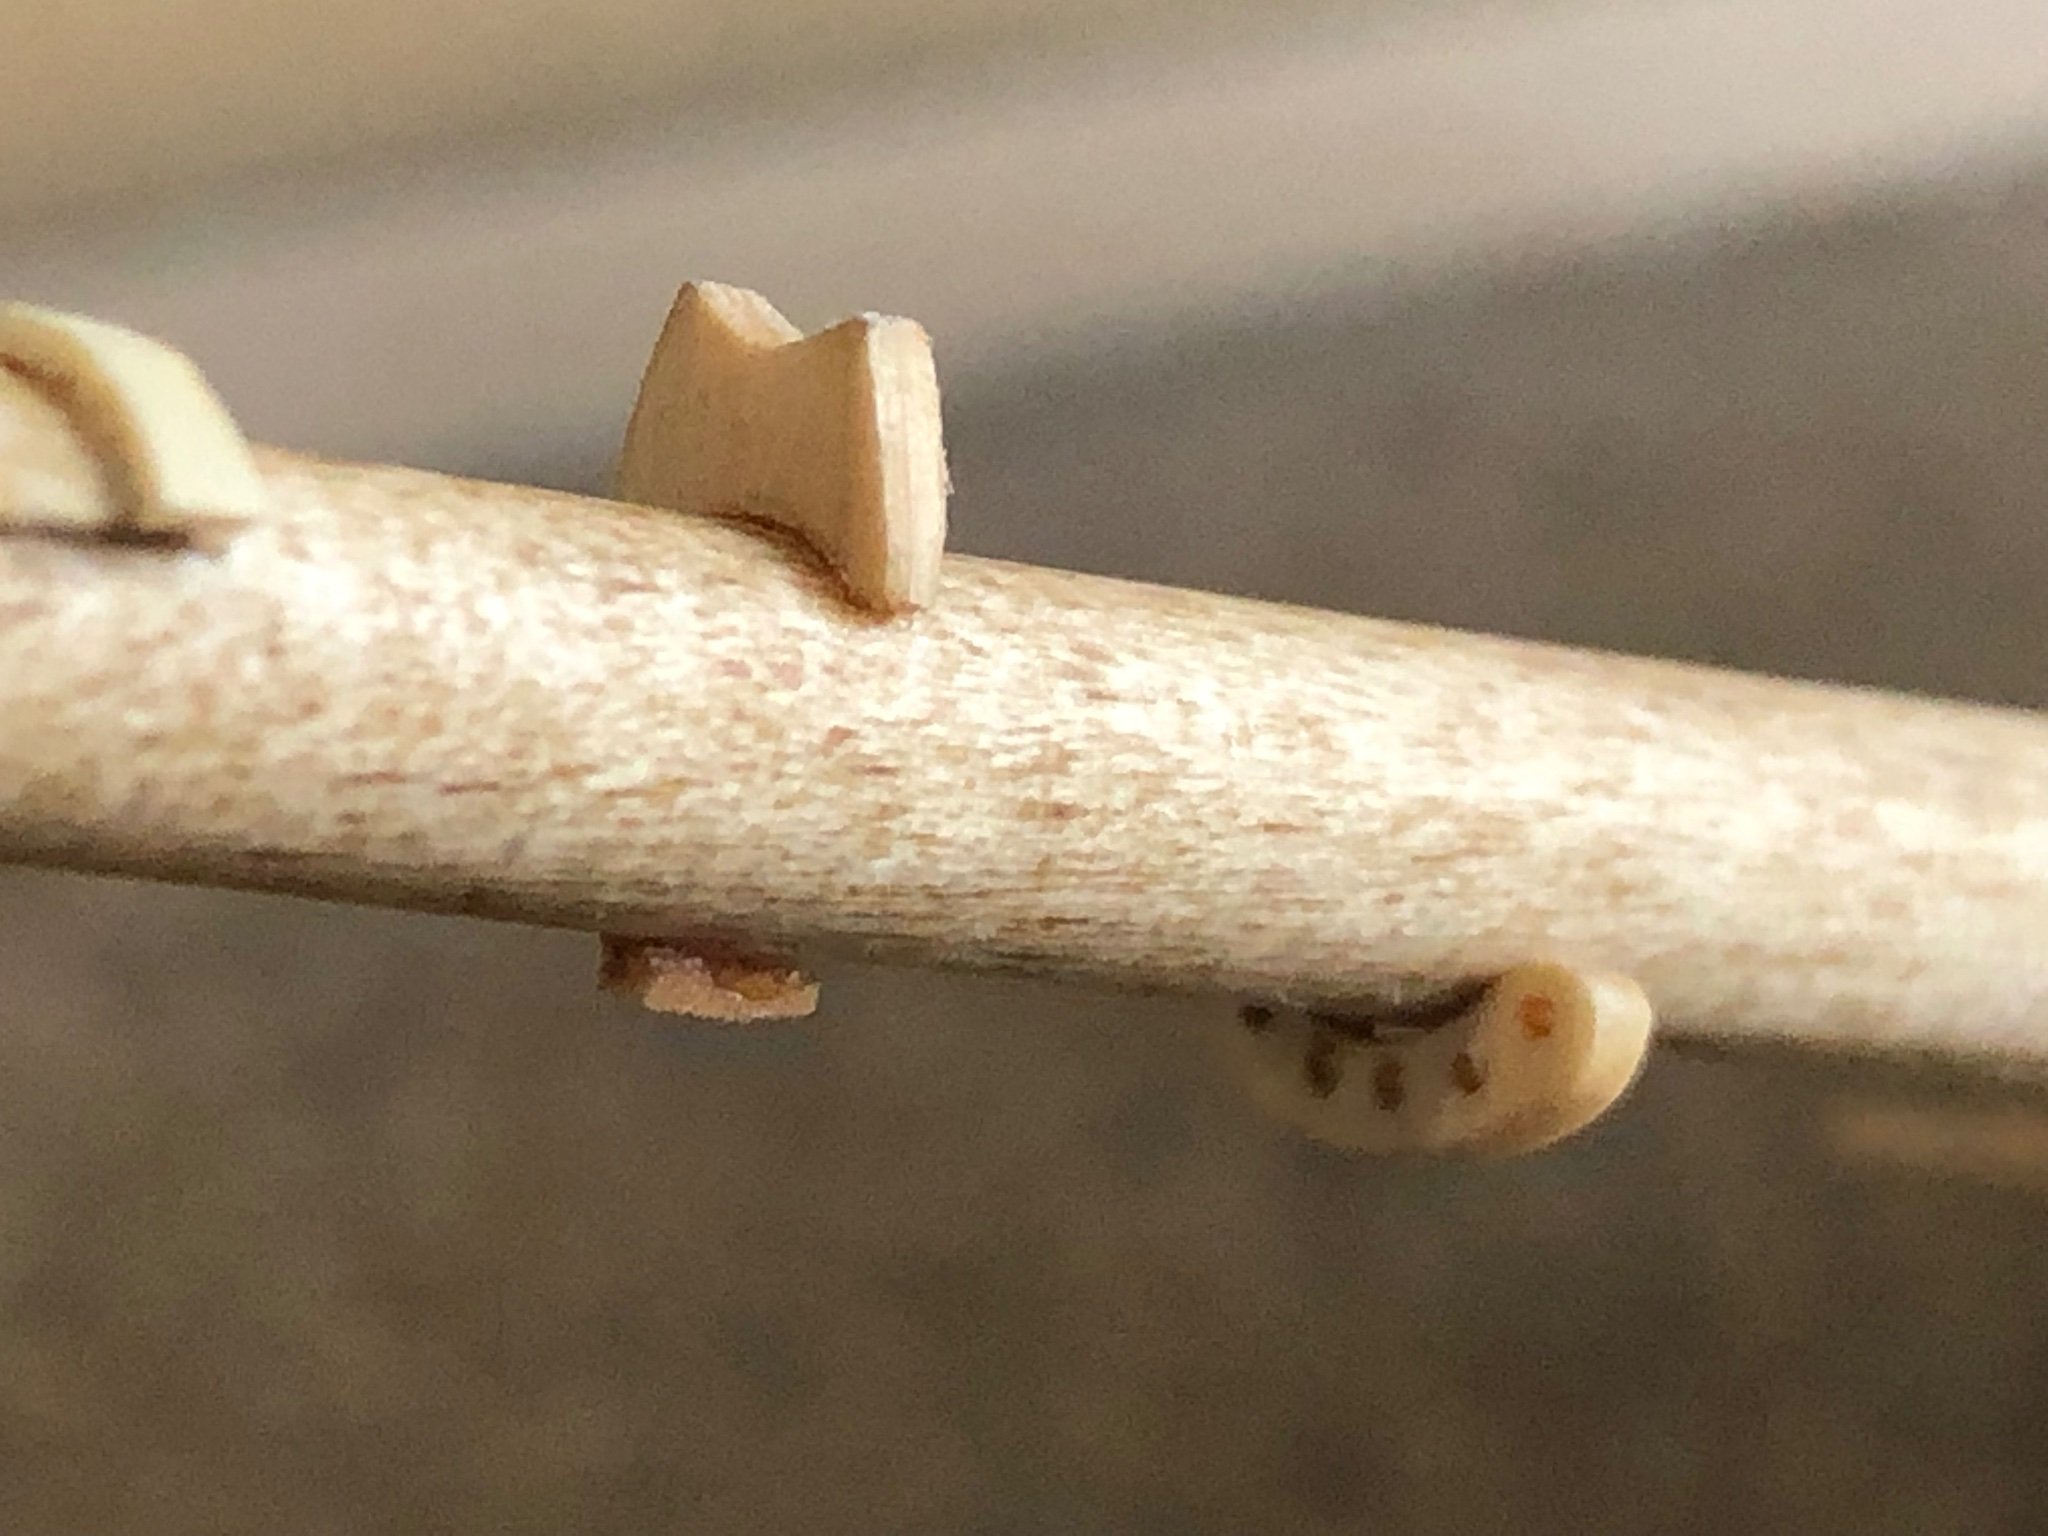
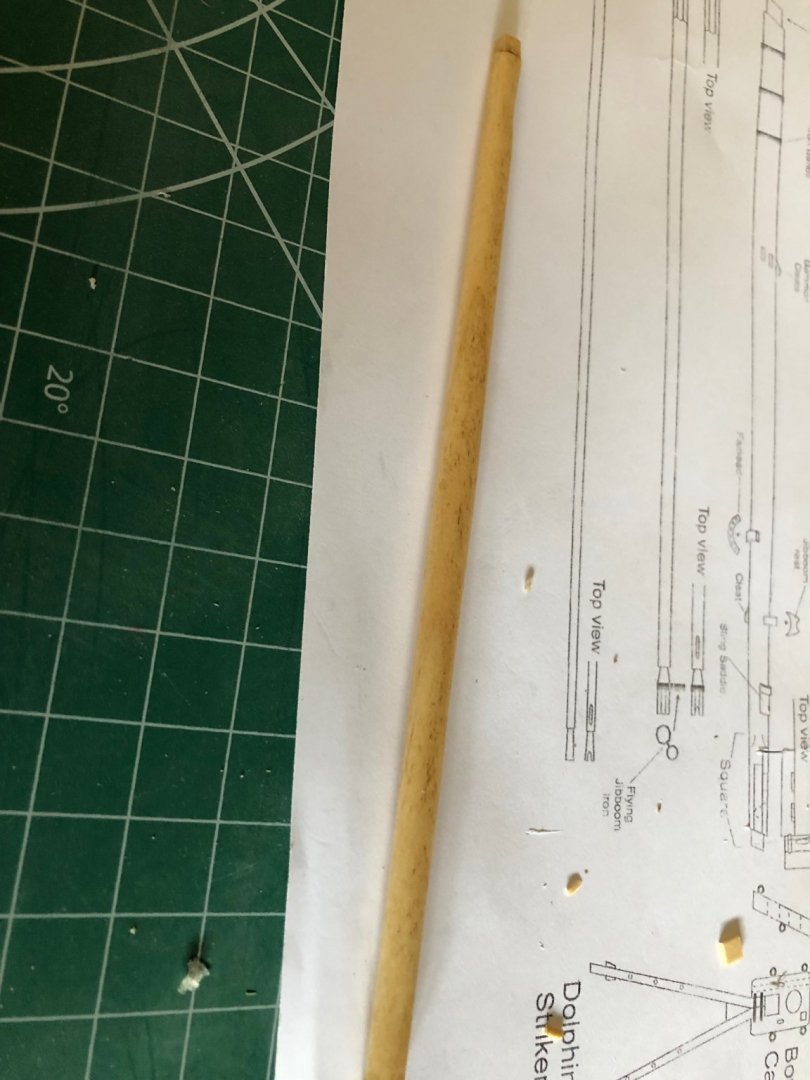
Spent the morning in final shaping of the bowsprit and finish sanding and then staining. This afternoon was spent making bees and sits. 3 hours of studying the plans measuring by copying the plans and cutting parts. Finally got everything glued and ready for staining tomorrow. And I'm making everything our of AYC its much easier to use and finish. Looking at the bees it looks as if the sheaves are misplaced but its because the bees are in opposite positions. Again thanks for following and all the likes

-
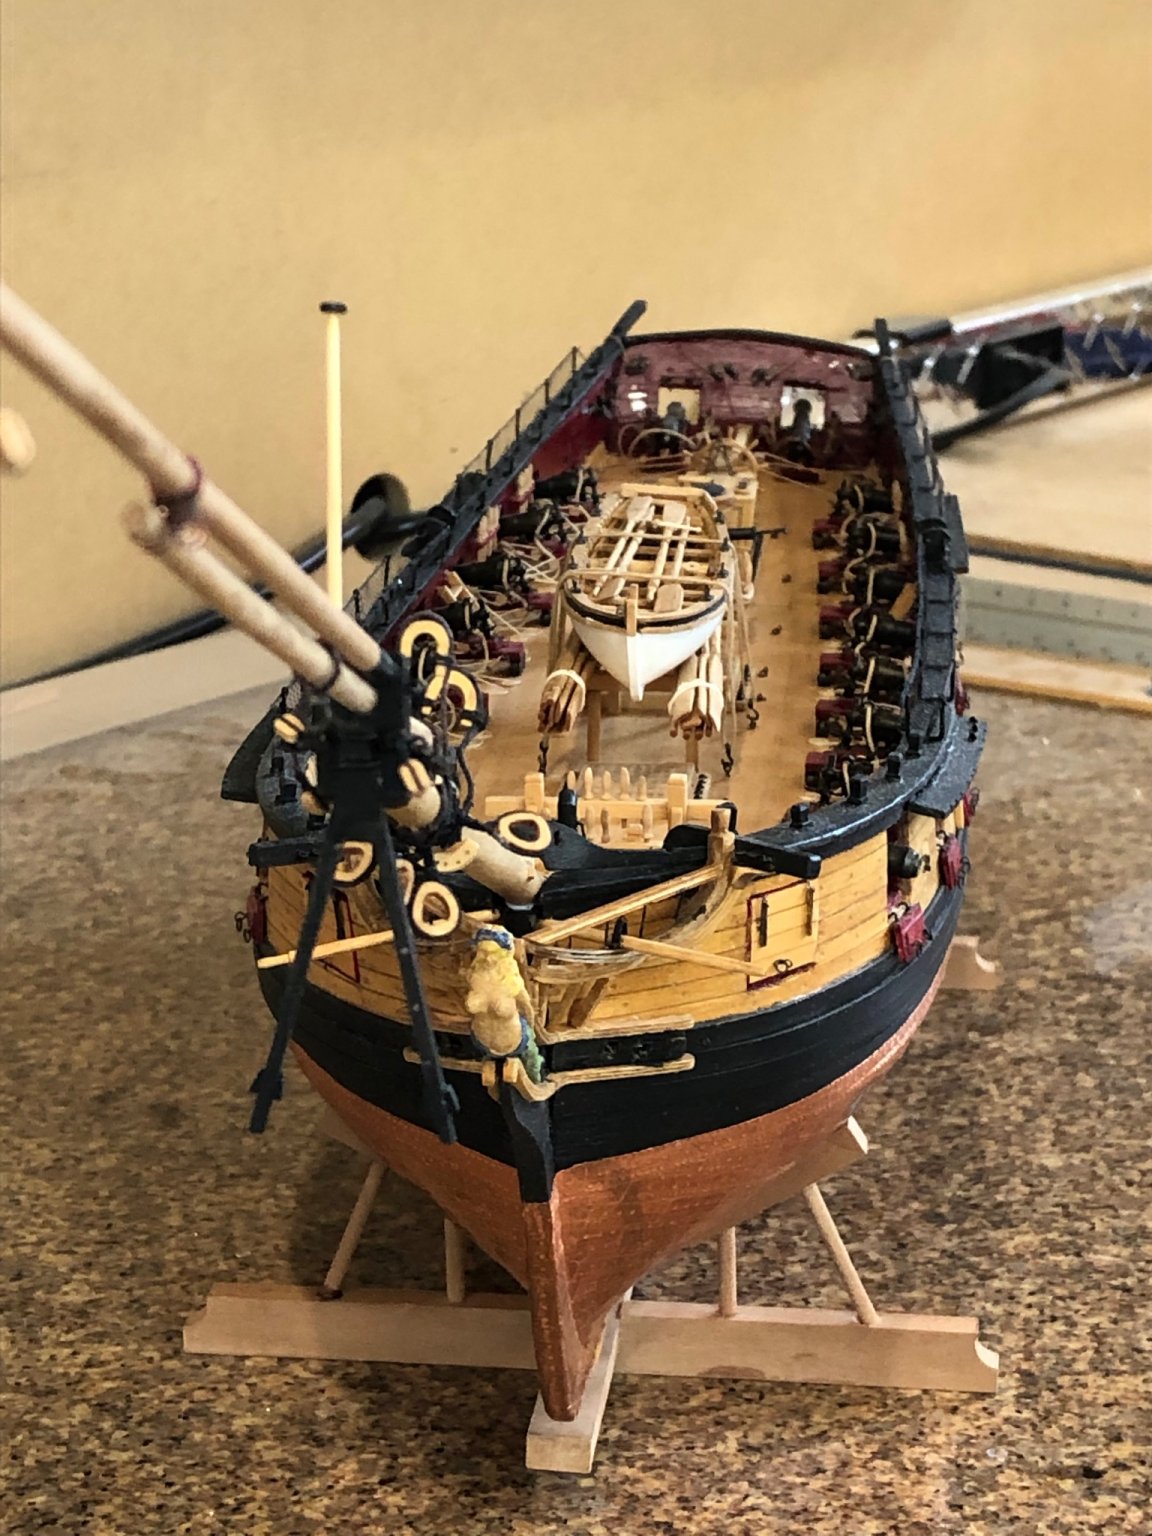
Thanks for the comment it means a lot after seeing your Syren and all the likes Wow!!!! is this thing going to be big. Making and fitting bowspirt

-
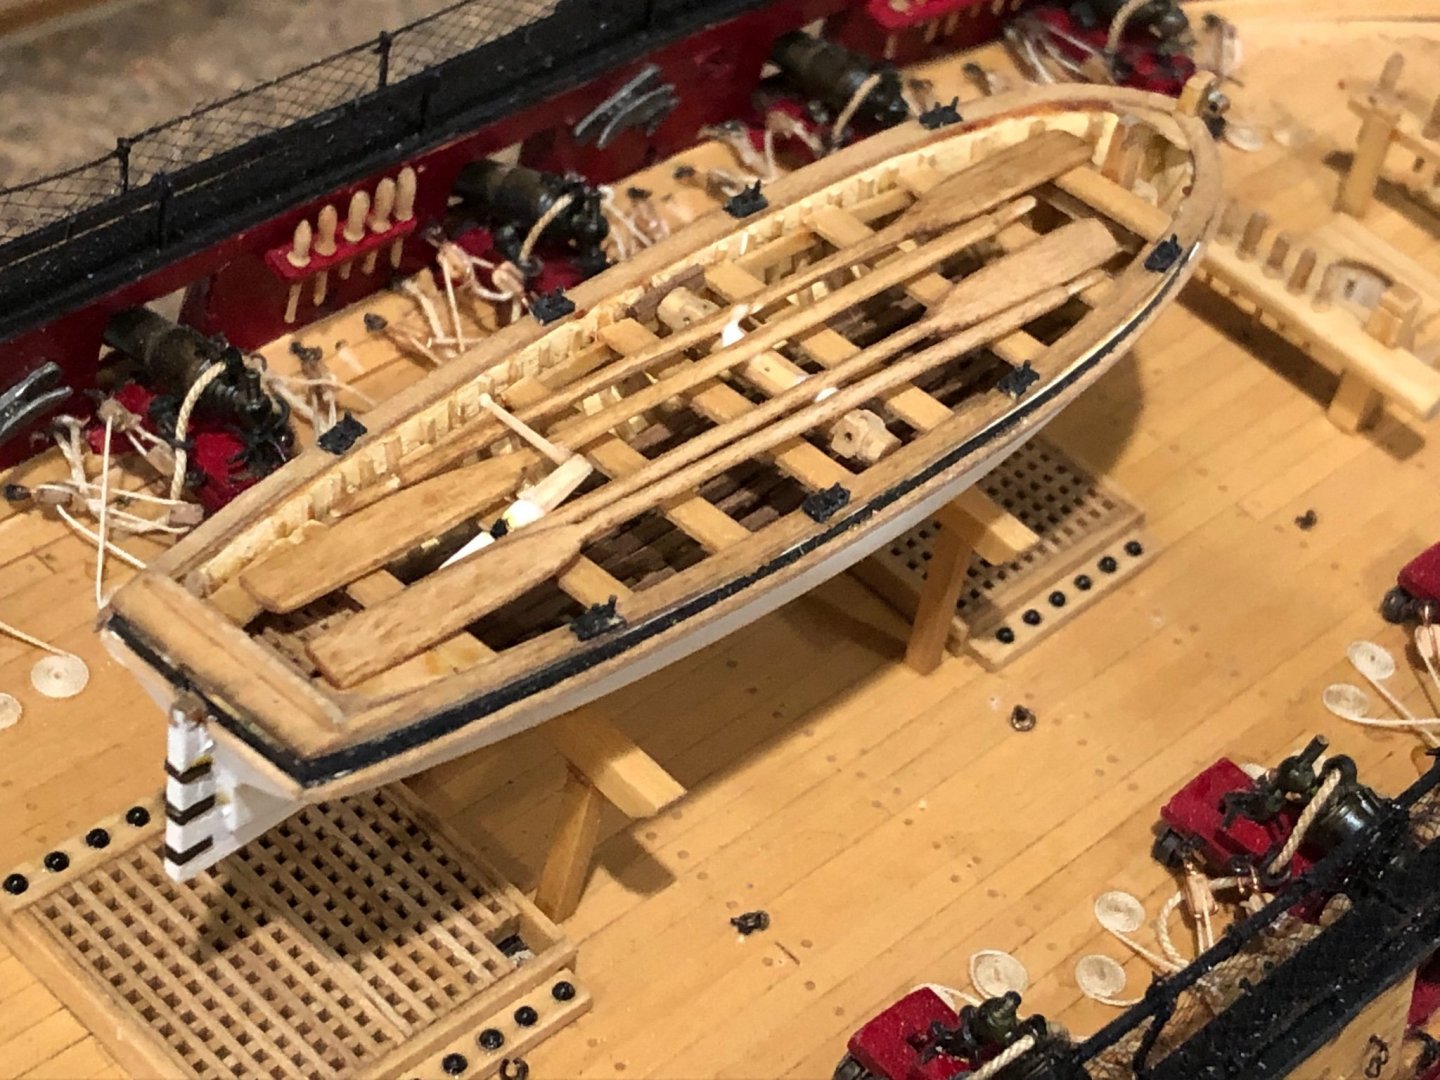
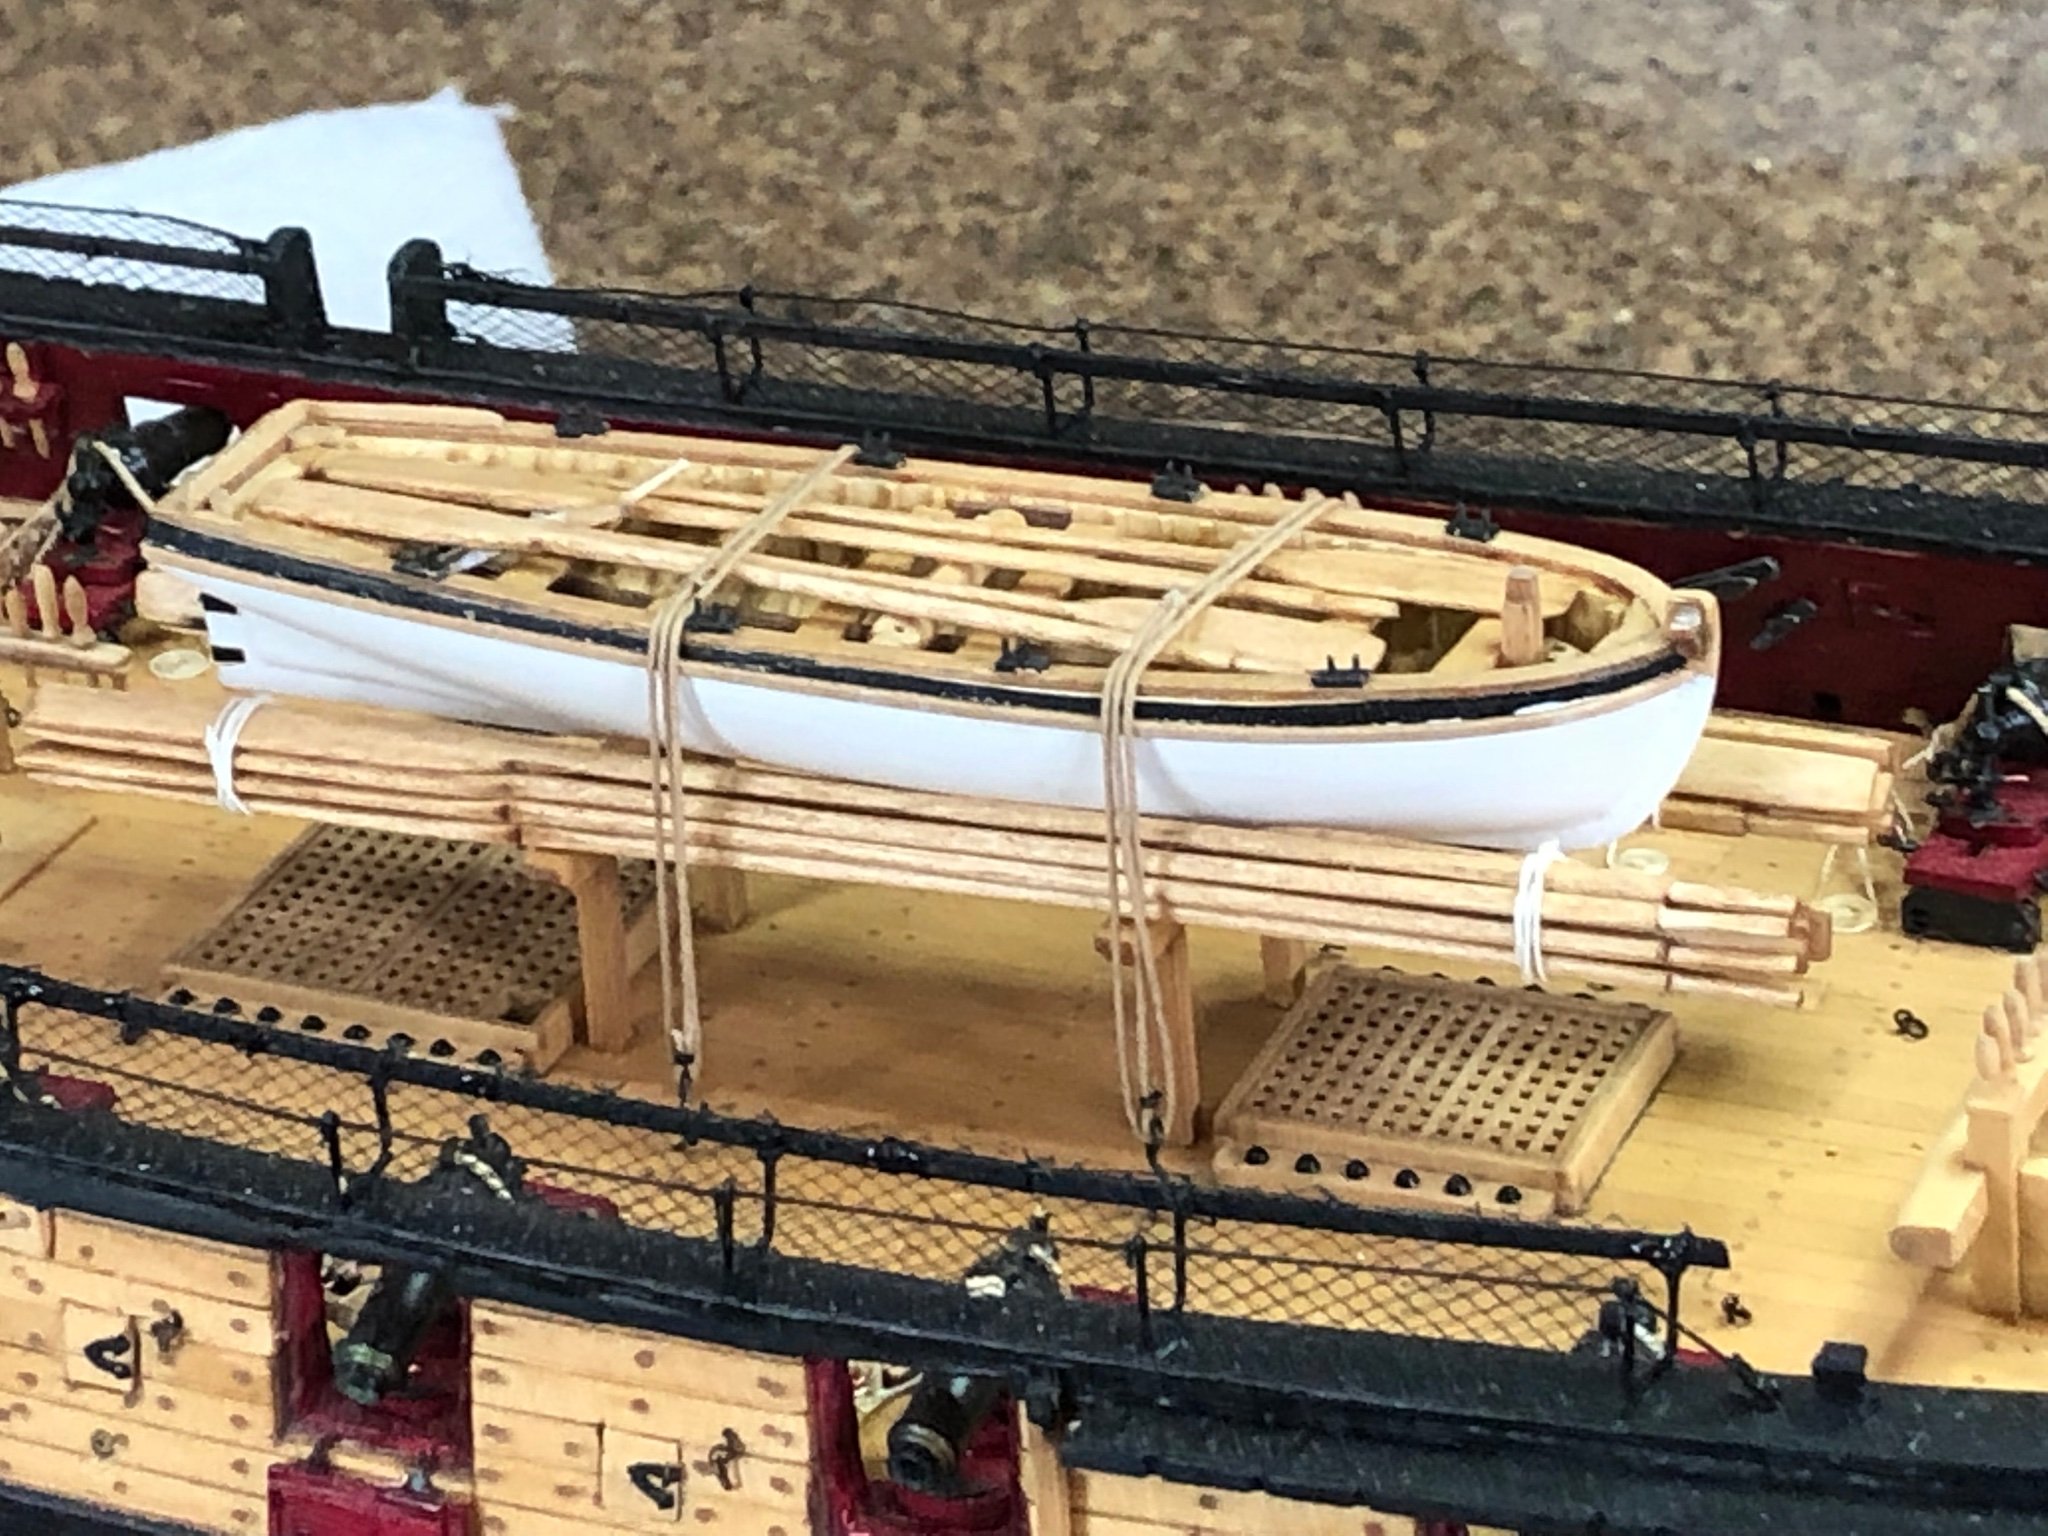
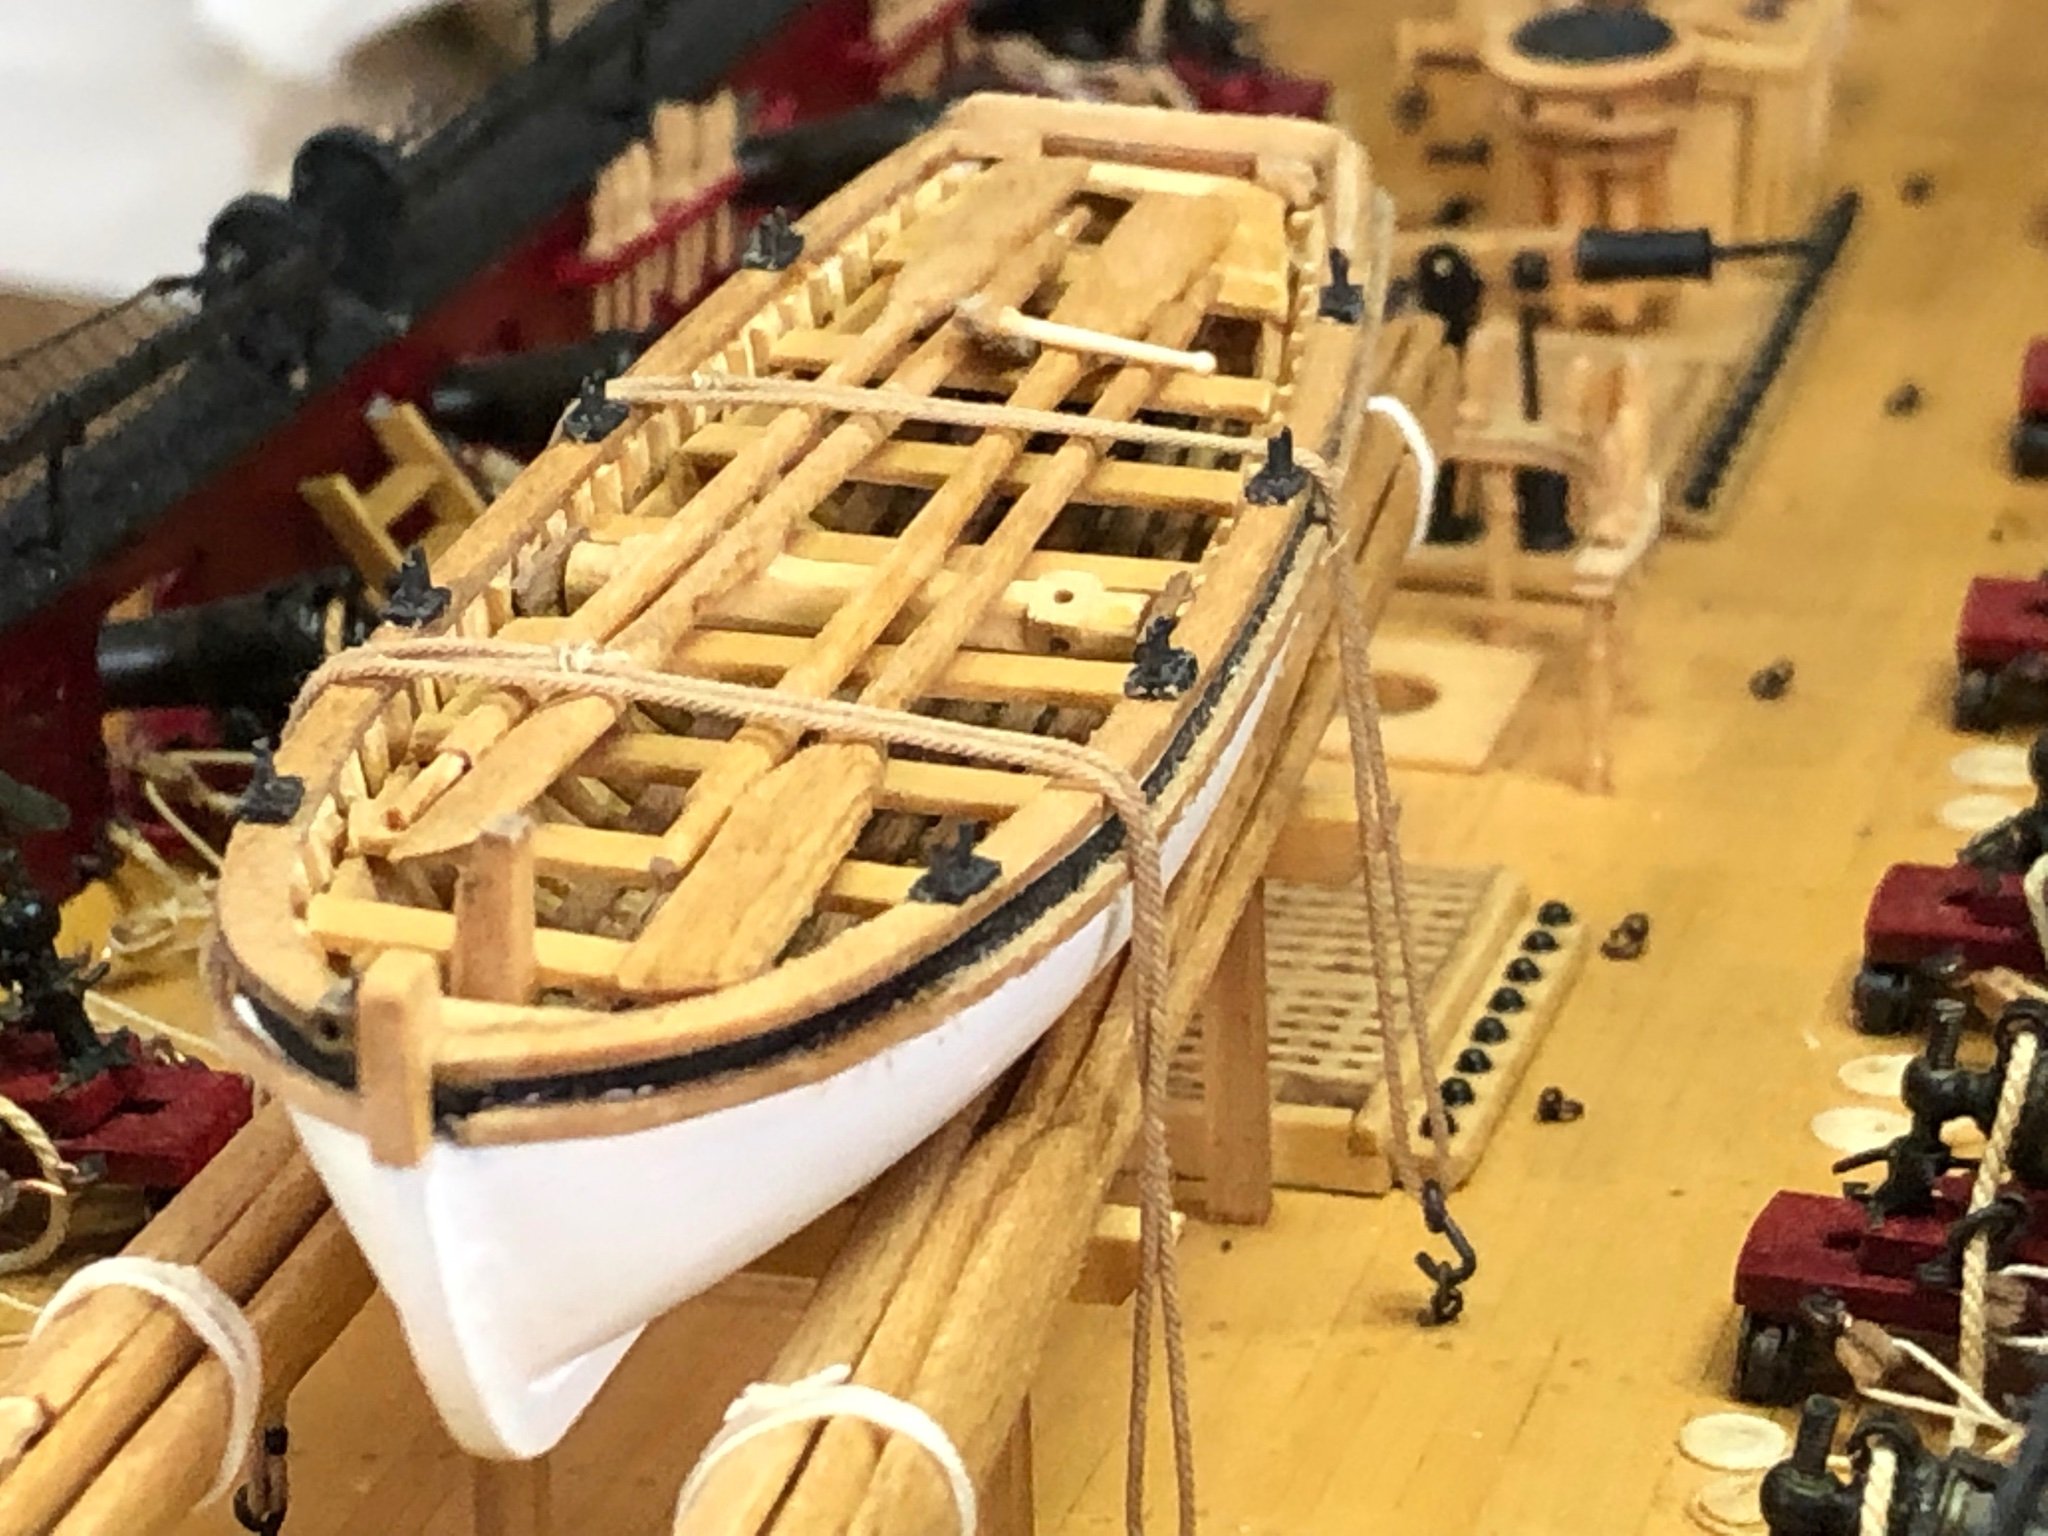
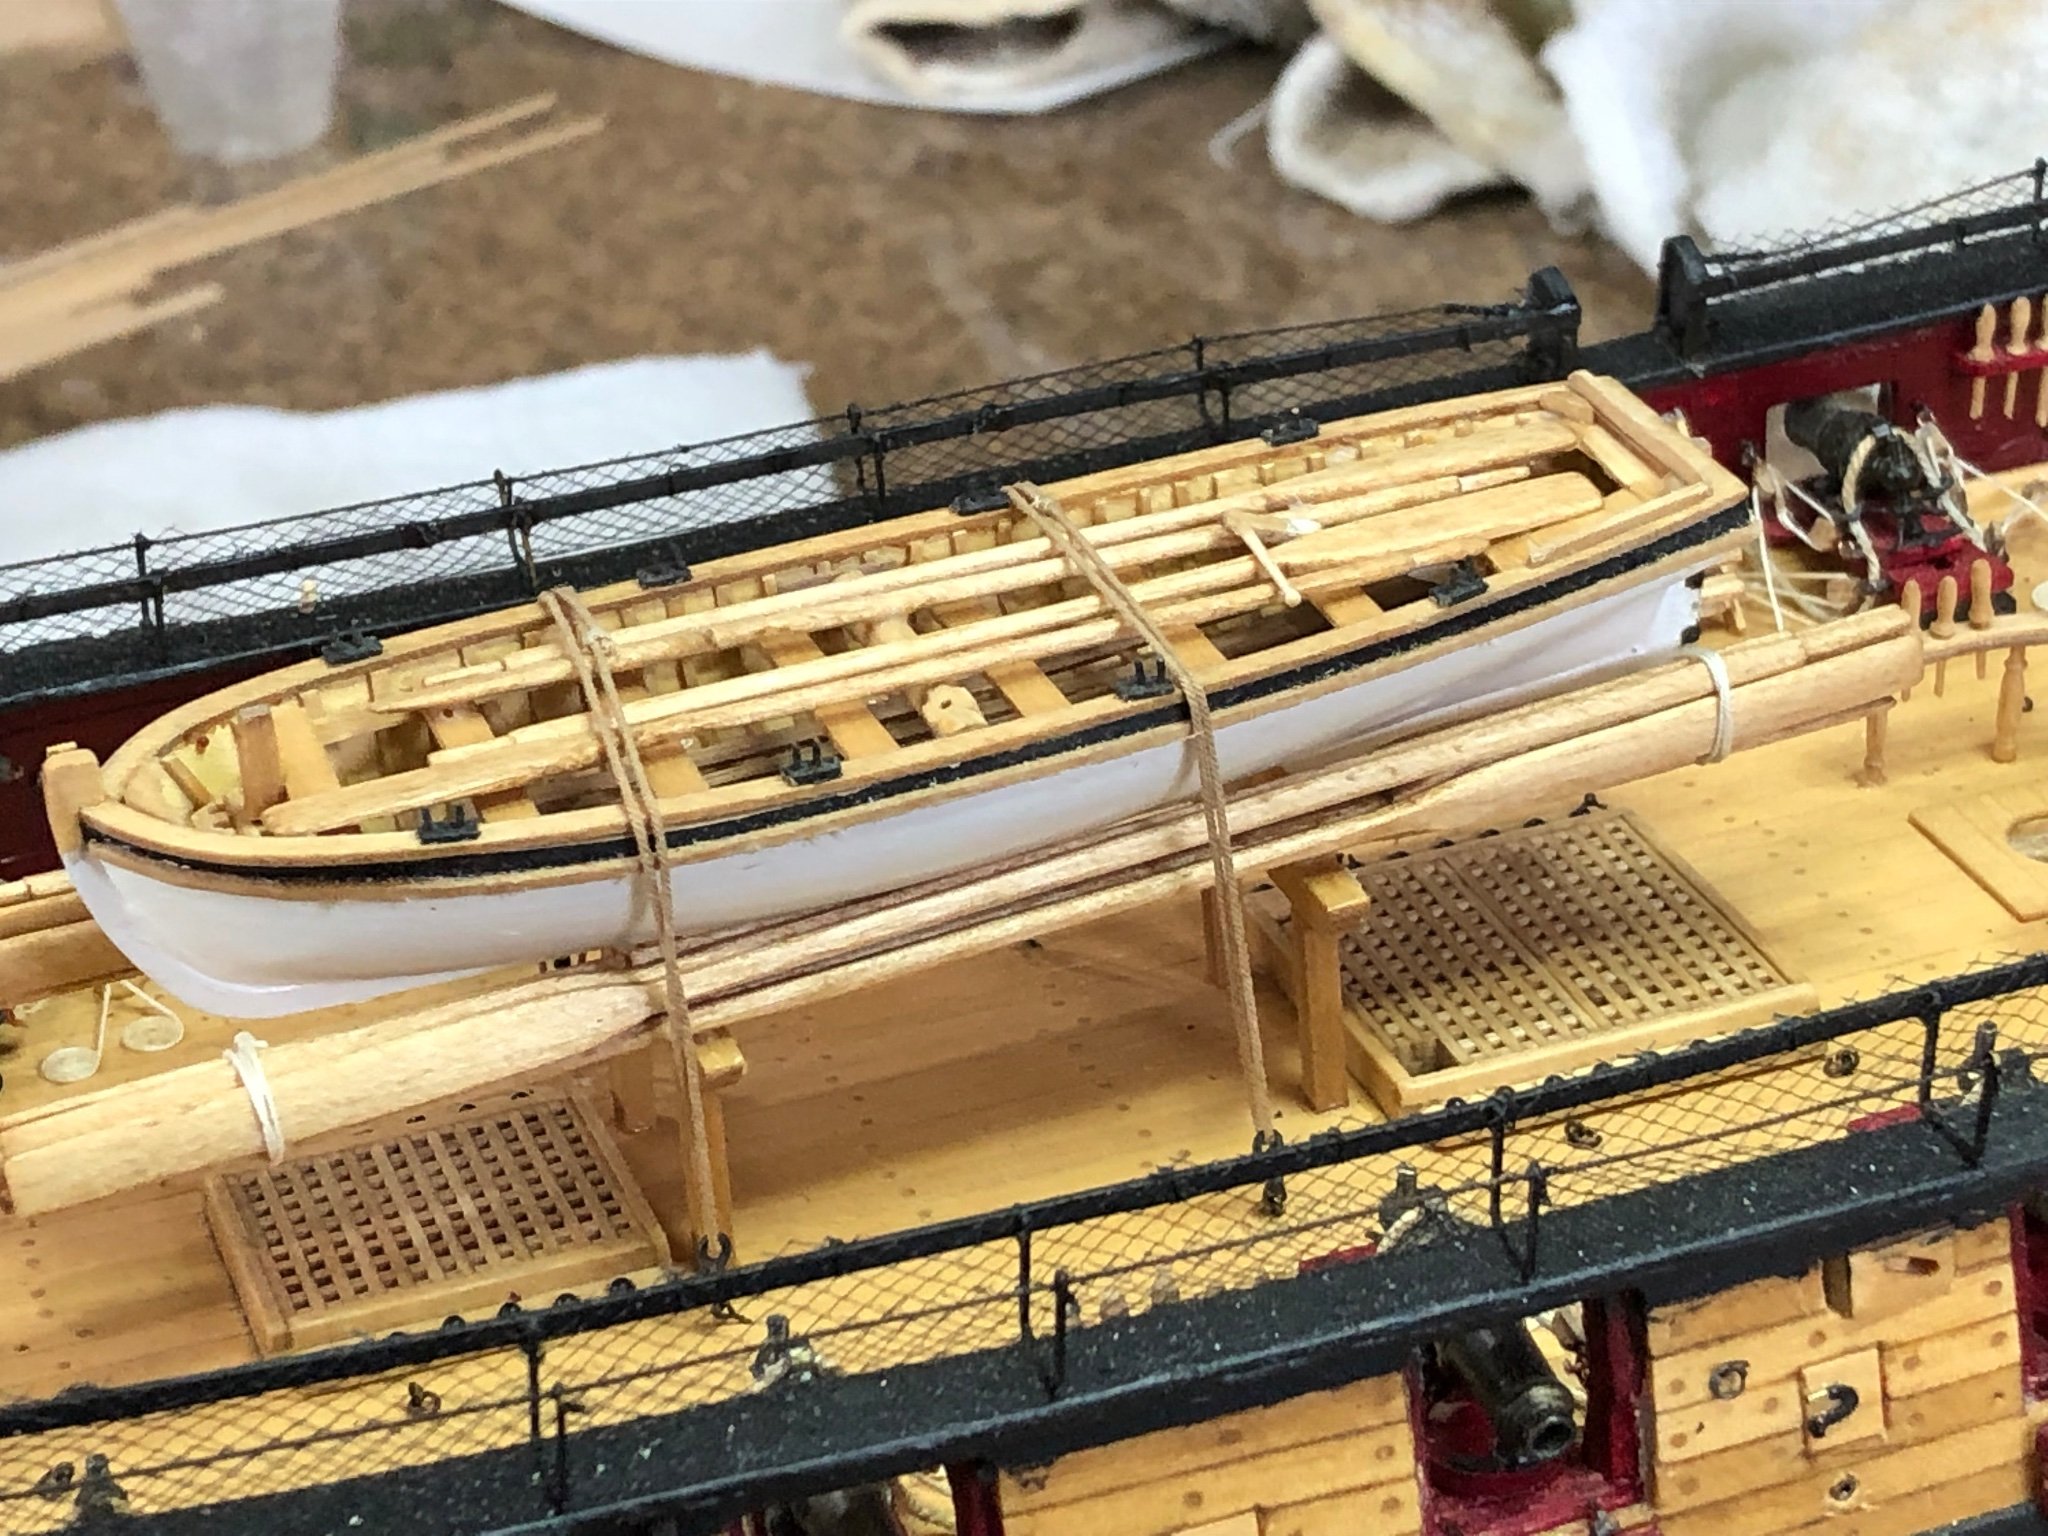
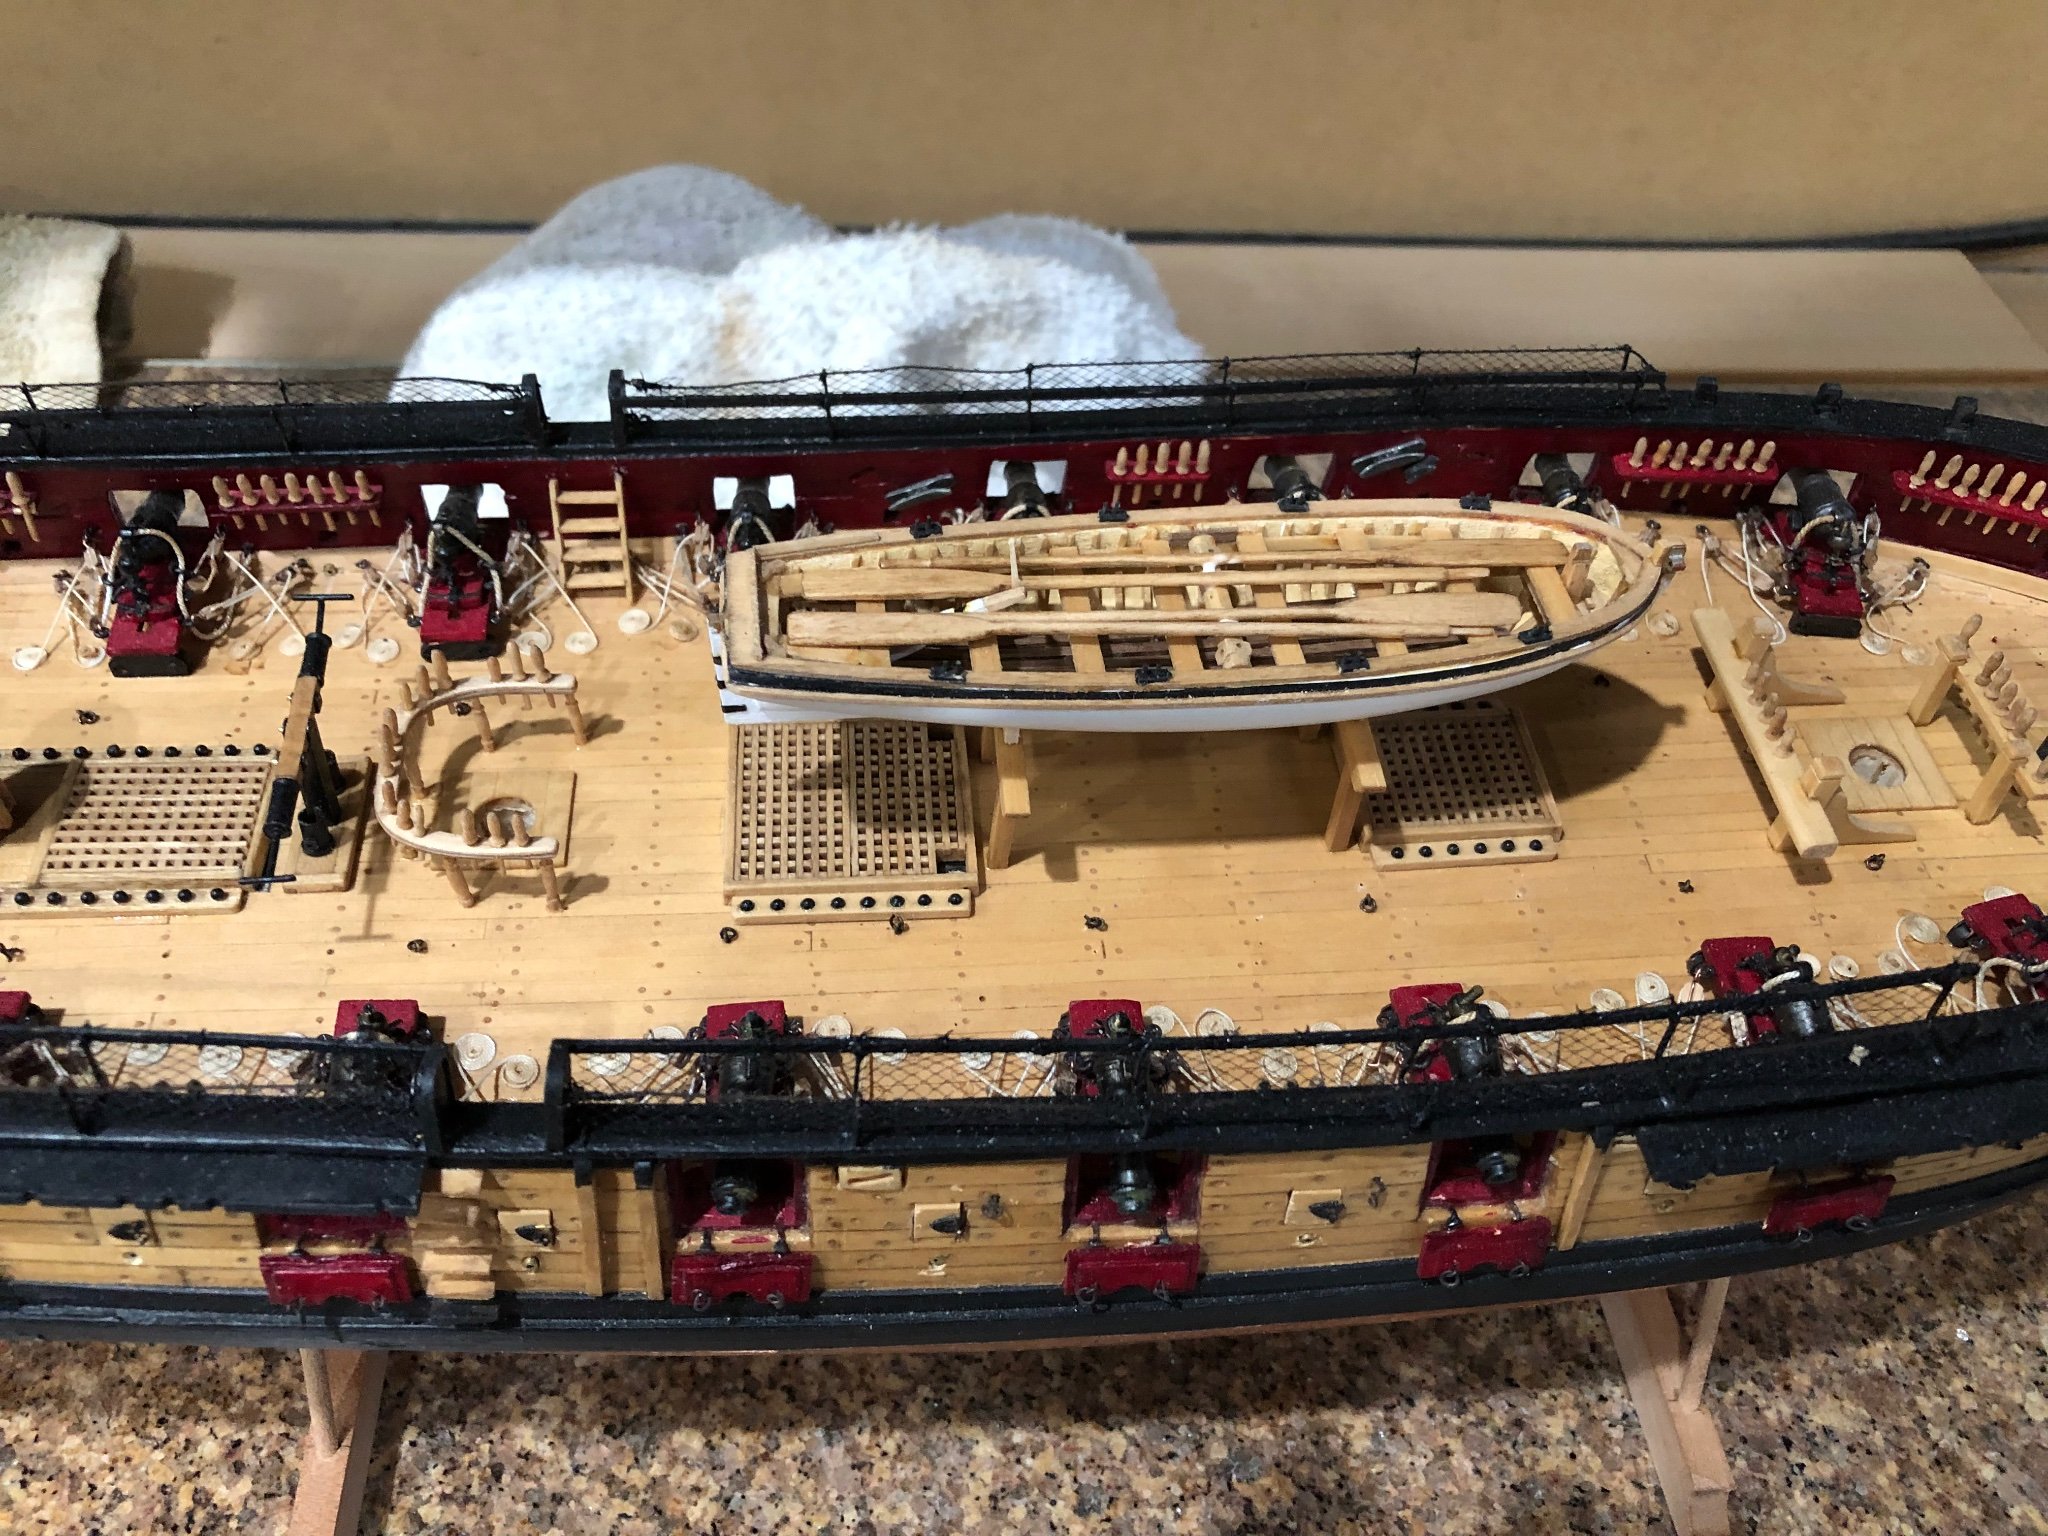
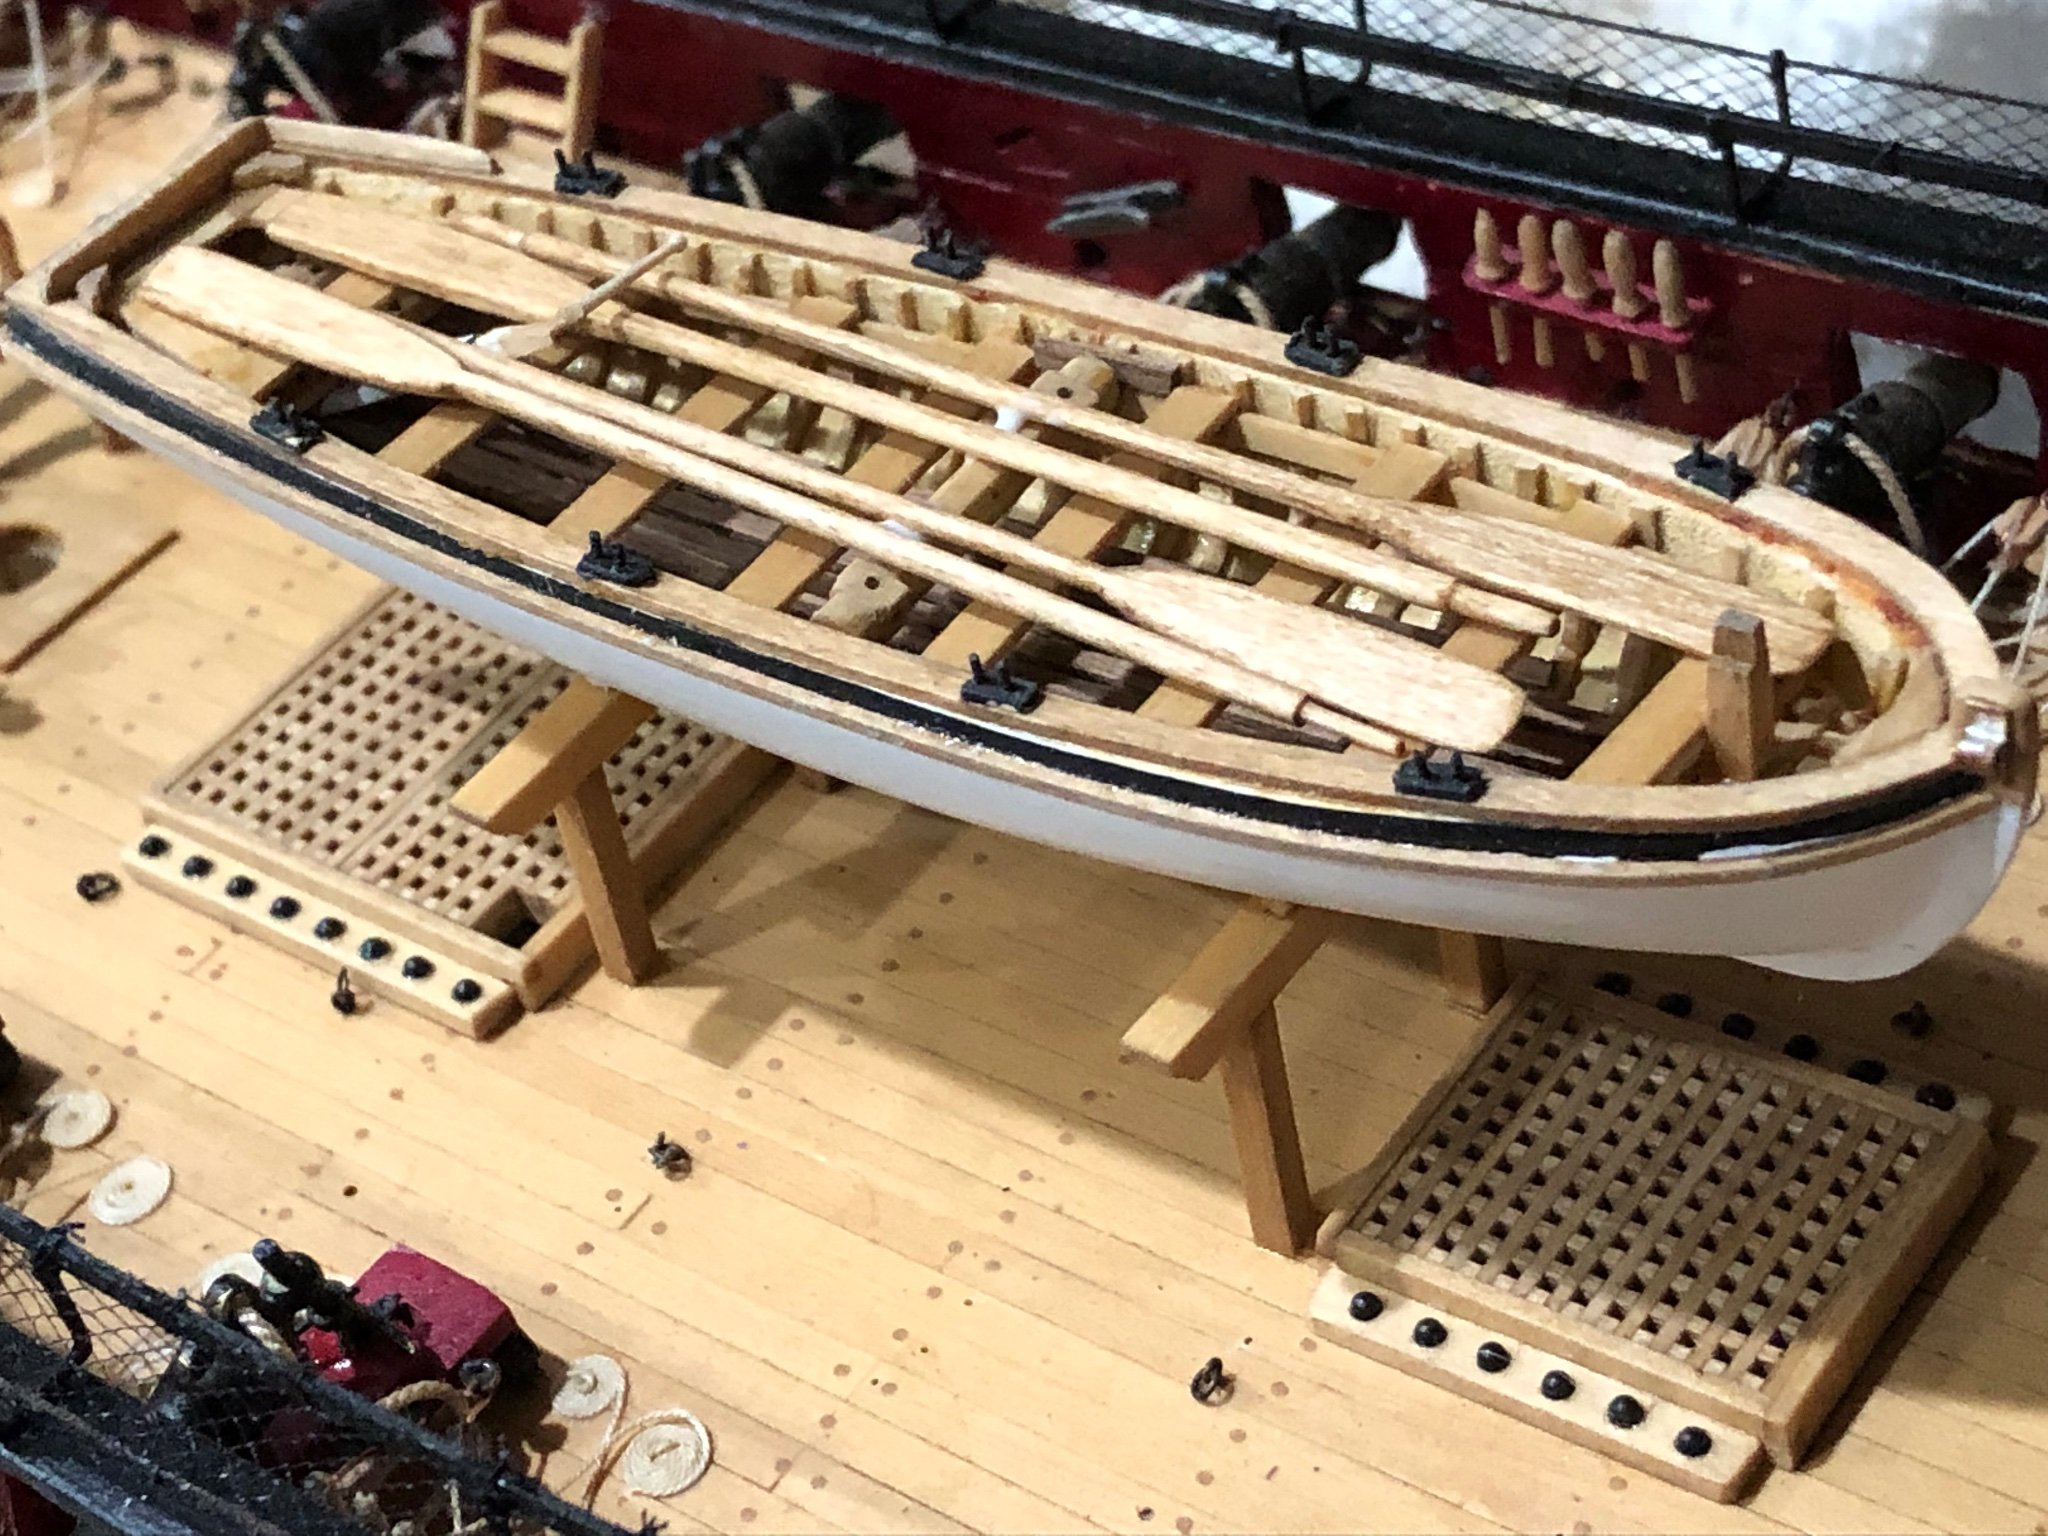
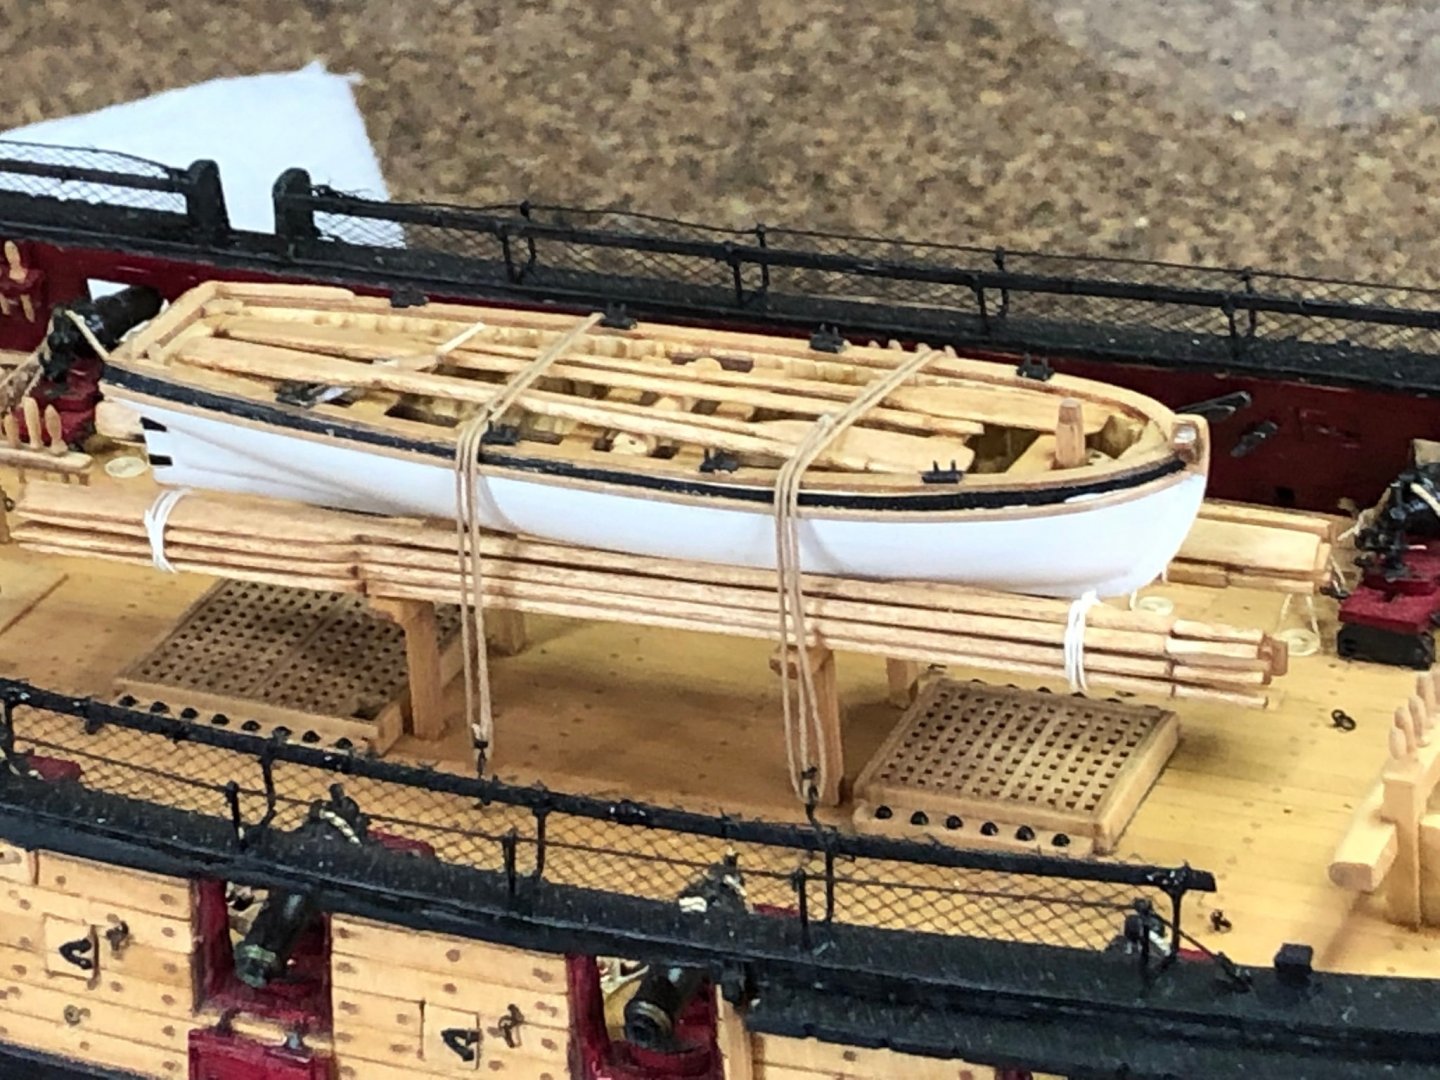
Longboat finished and lashed down with sweeps, oars, rudder set in place. Lashing the boat down to the gallows and rings on the deck was very time consuming and difficult working inside the bulwarks. Not much to show for all the work but here's a few photos. Now I'm on to full time working on the Syren and should see some visual progress as I'll start the bowsprit. But first I have to go to Lowes for a 1/4" dowel having no idea where the kit piece went it was here when I inventoried the kit at the beginning.


-
Finished the port side planking up to sheer and did a light sanding. After all the work of measuring and cutting the individual pieces it looks good. When the 2nd layer of moulding is on the planking will look more better as the uneven thicknesses wouldn't be visible. The process of cutting the individual pieces got quicker as I went along so I hoping the starboard side won't take as long. couple of photos of ports side completed Starting starboard side tomorrow

-
Slow progress with the little fiddly bits for finishing the longboat but there are finished. Spent a couple days making the sweeps and oars and I'm so glad for spares. Finally got all 4 oars and 16 sweeps finished yesterday and stained them this morning. Got the copper gudgeons and pintles colored black (liver of sulfur) and glue in place. Making the oarlocks was a bit of a challenge as I didn't trust my ability to glue the wood on the top cover and then free hand drill the holes with any kind of accuracy so I took a different approach. I took a block of wood the same size as the oarlock pad and made a set up in the mill to drill the holes deep enough to make 8 oarlock pads. Leaving the block of wood in the setup I sliced of .025 layers like bread. Painted the oarlock pads and glued them to the cap rail and was able to insert .026 copper wire. That done more liver of sulfur to make everything black. (side note LOS does not stain wood or paint) I made chocks to mount on the gallows for the longboat to rest and glued it in place. Tomorrow once the glue has set I lash the sweeps in place and secure the longboat to the rings on the deck.