HOLIDAY DONATION DRIVE - SUPPORT MSW - DO YOUR PART TO KEEP THIS GREAT FORUM GOING! (89 donations so far out of 49,000 members - C'mon guys!)
×


niwotwill
-
Posts
596 -
Joined
-
Last visited
Content Type
Profiles
Forums
Gallery
Events
Everything posted by niwotwill
-
 Just a quick note to say thank you for all the comments, likes and looks it keeps me going. Make it a good day Will
 -
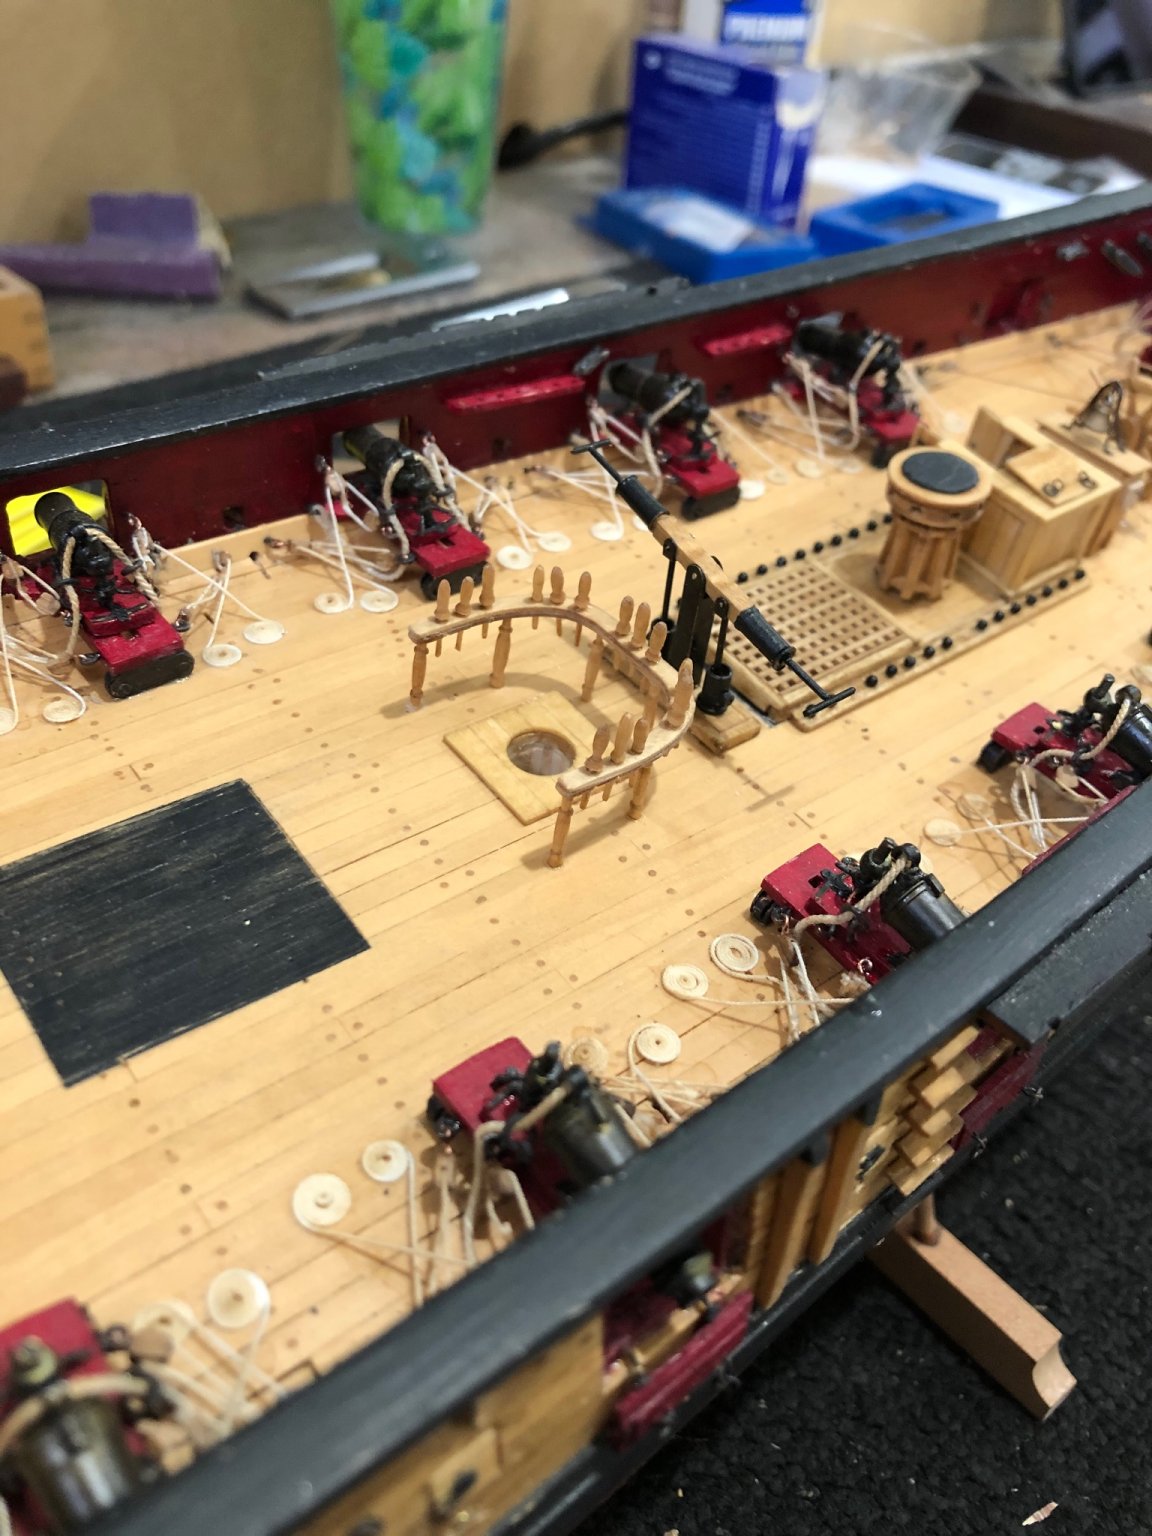
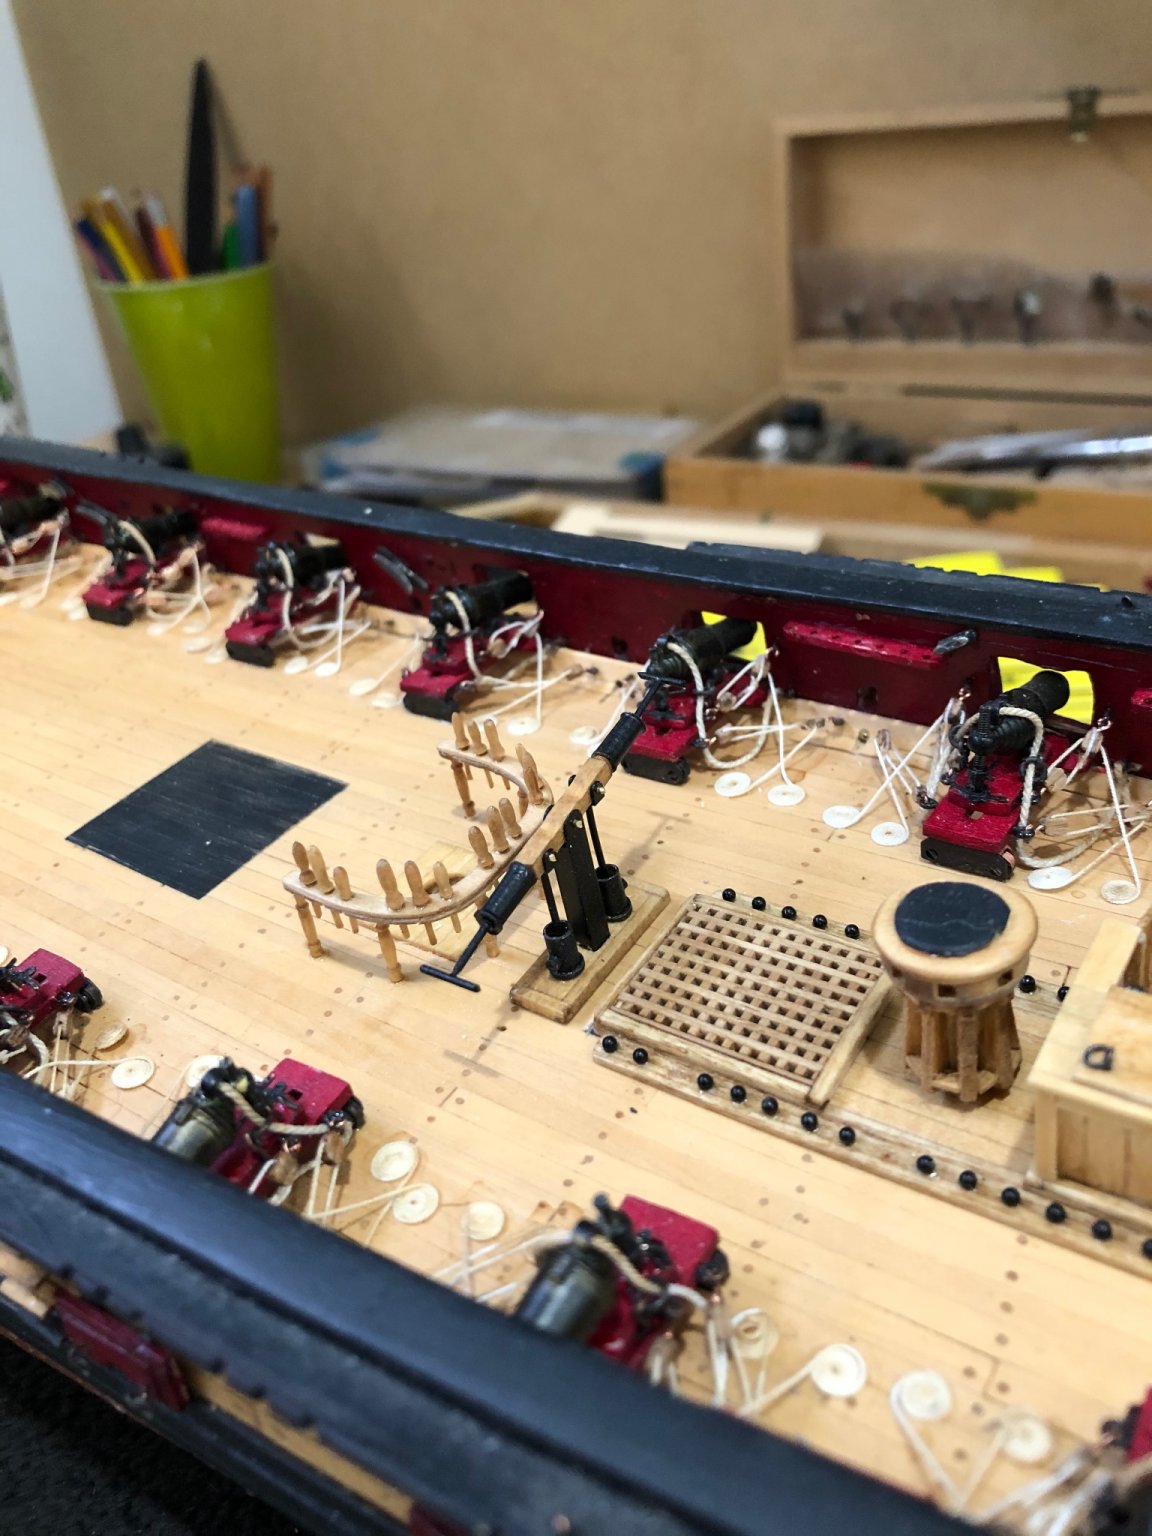
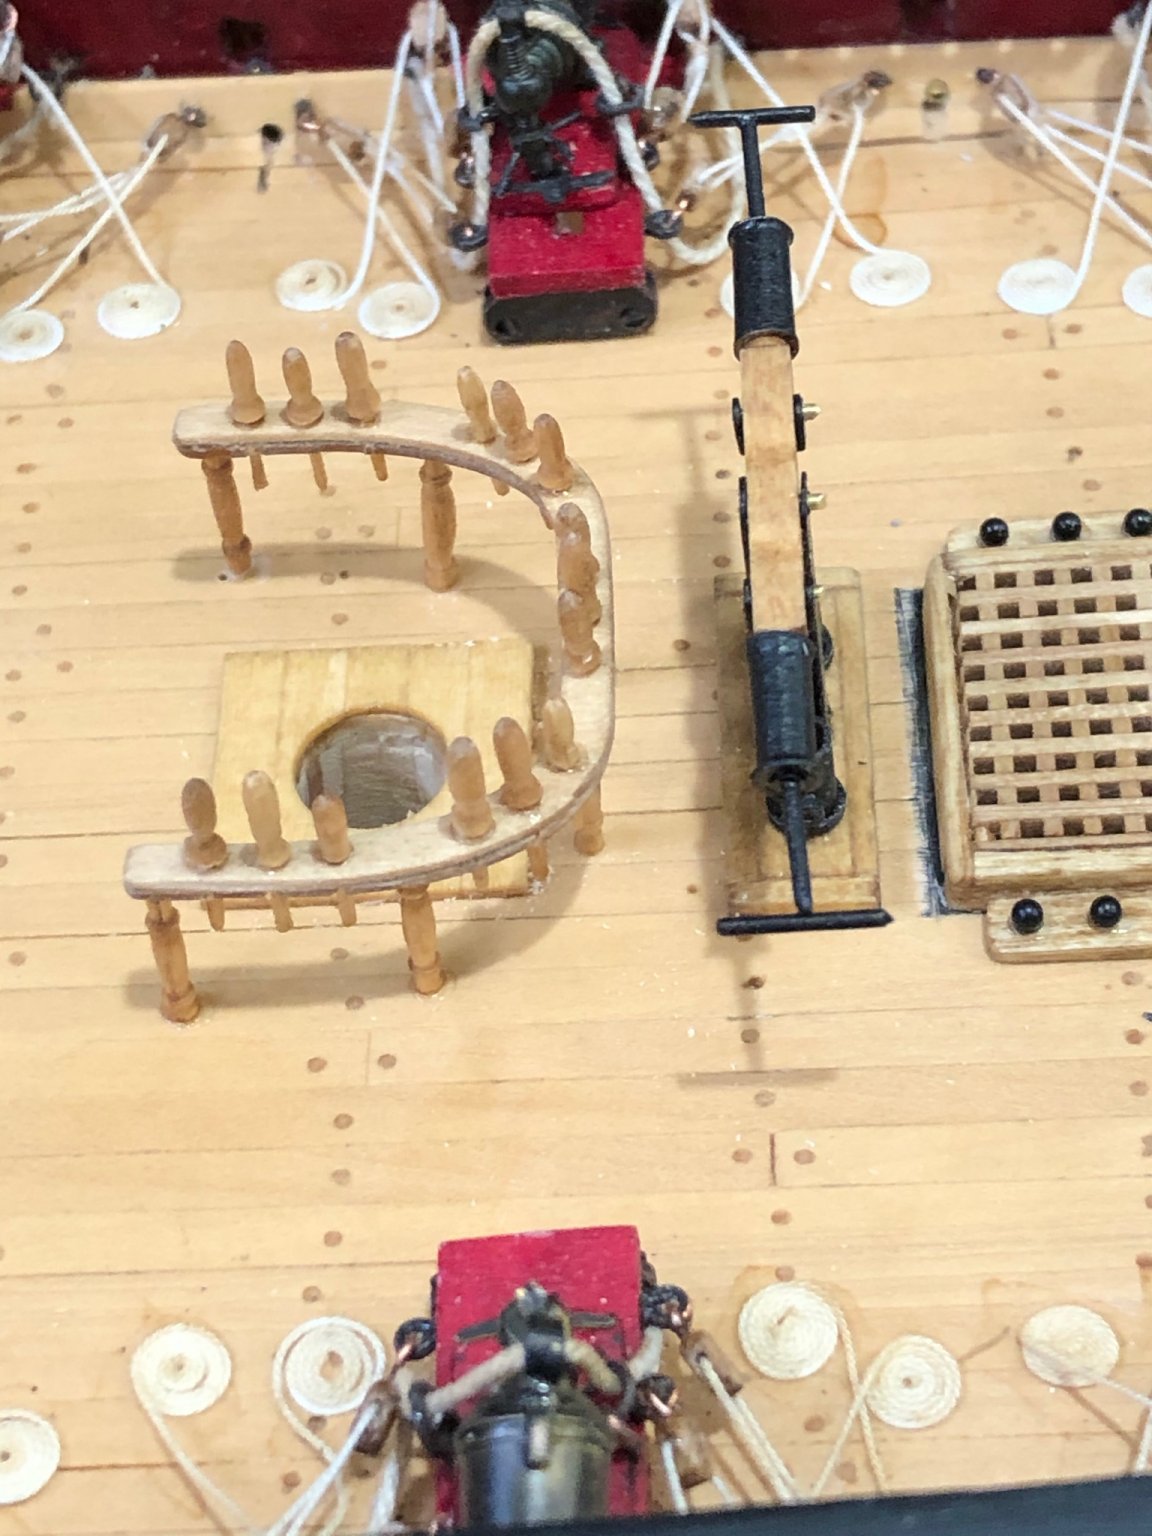
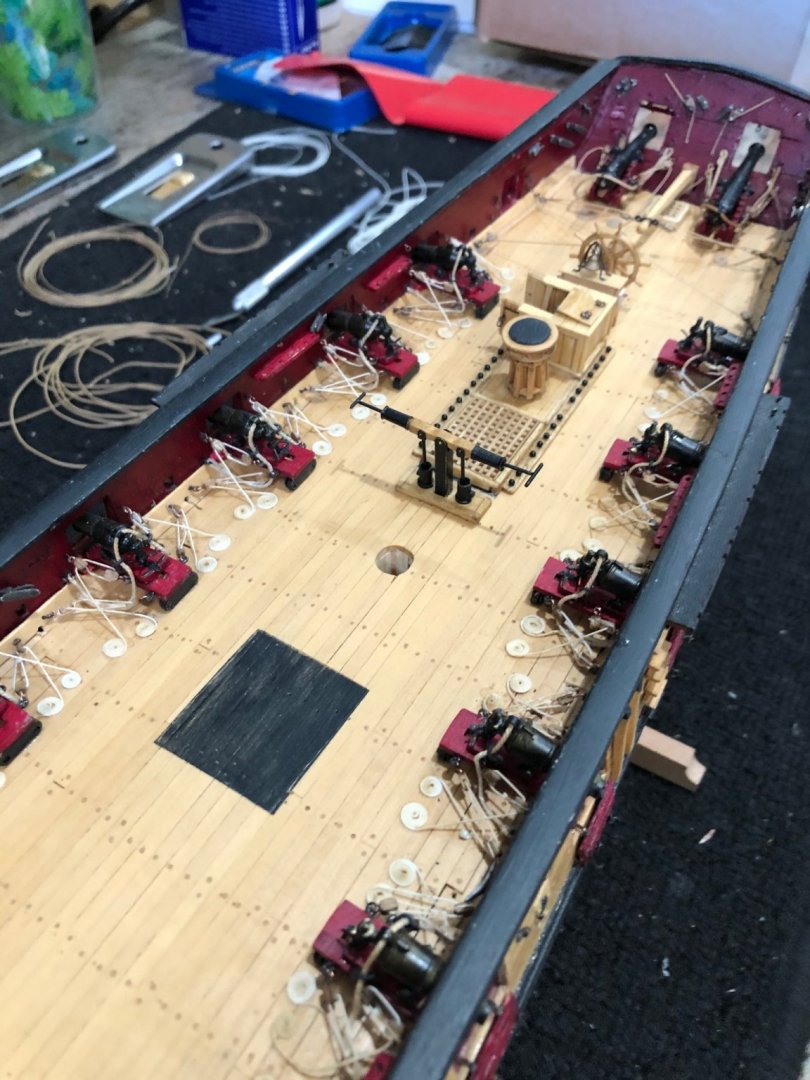
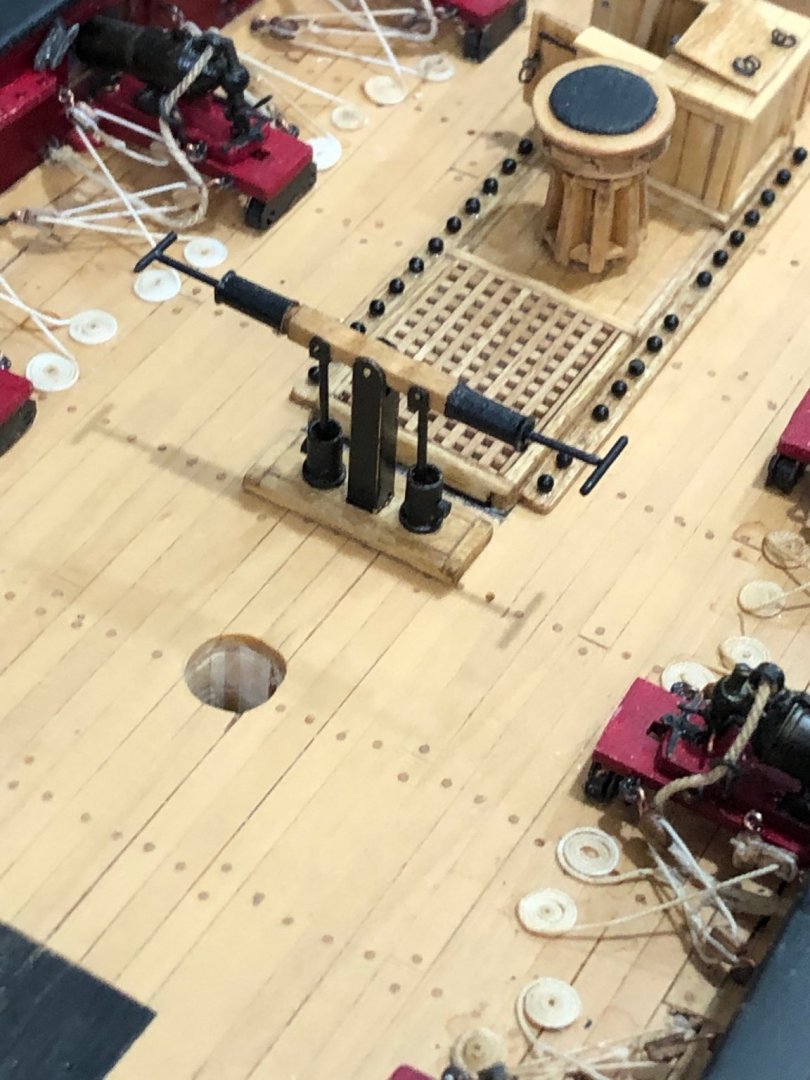
Completed the main fife rail with sanctions and belaying pins. Drilled a hole in the sanctions with a #79 drill bit and glued a short piece of 26 awg copper wire into the hole and a corresponding hole in the deck. Using CA to glue the rail assembly down to the deck. Next I have to make the forward hatches and then on to the gallows Make it a good day Will


-
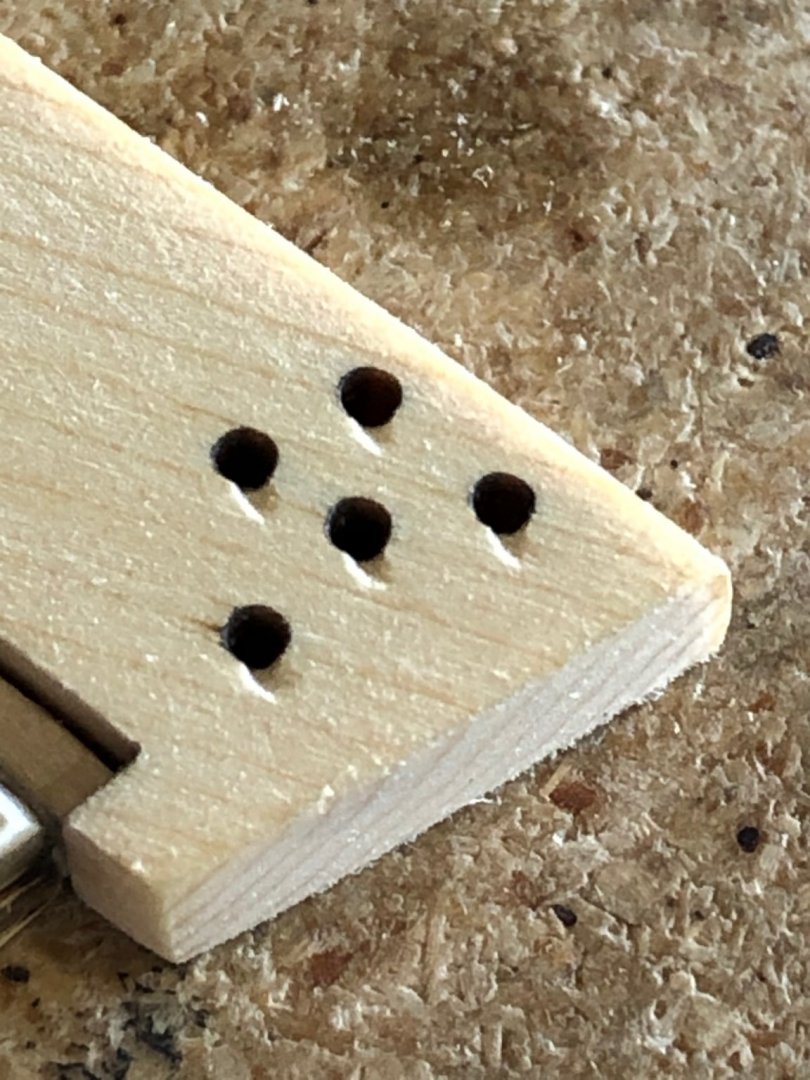
On a previous post I forgot to show one aspect of the stem that I added. One of the logs I follow building Cheerful is Chucks original log while building the prototype Cheerful. In that log he mentions adding reliefs to the holes for the stem deadeye halliard allowing the ropes to lay naturally. Here is a photo of the reliefs Make it a good day Will
-
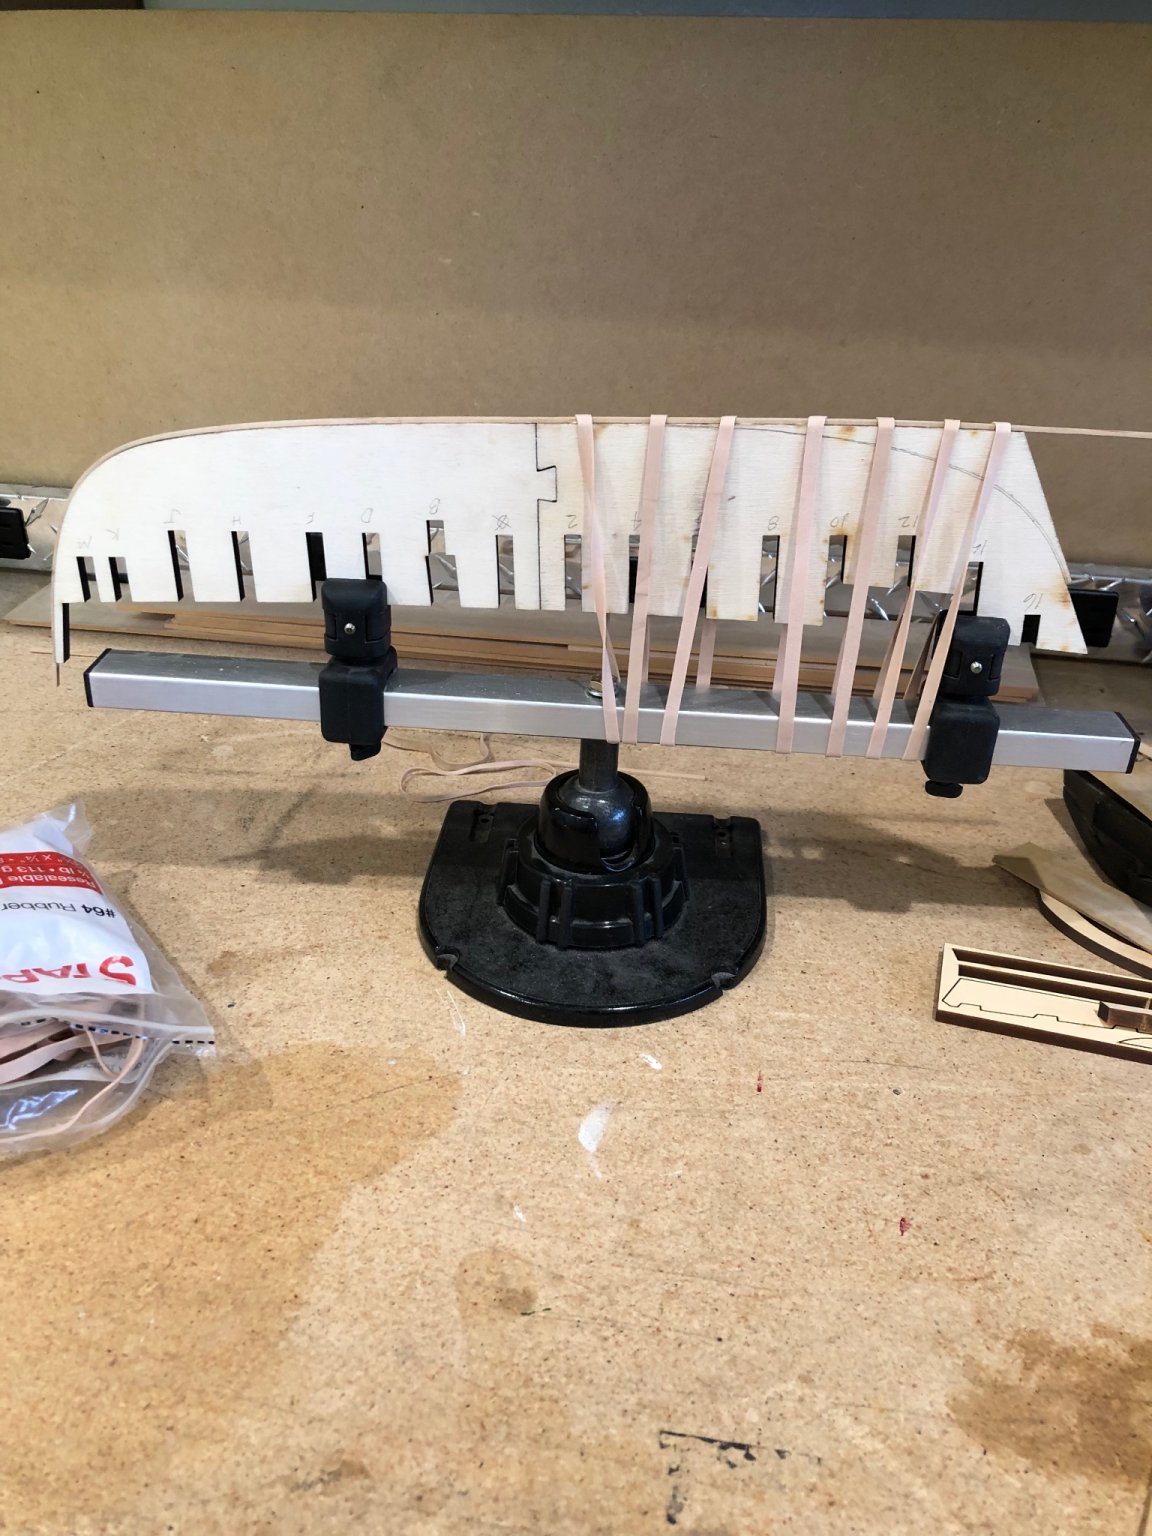
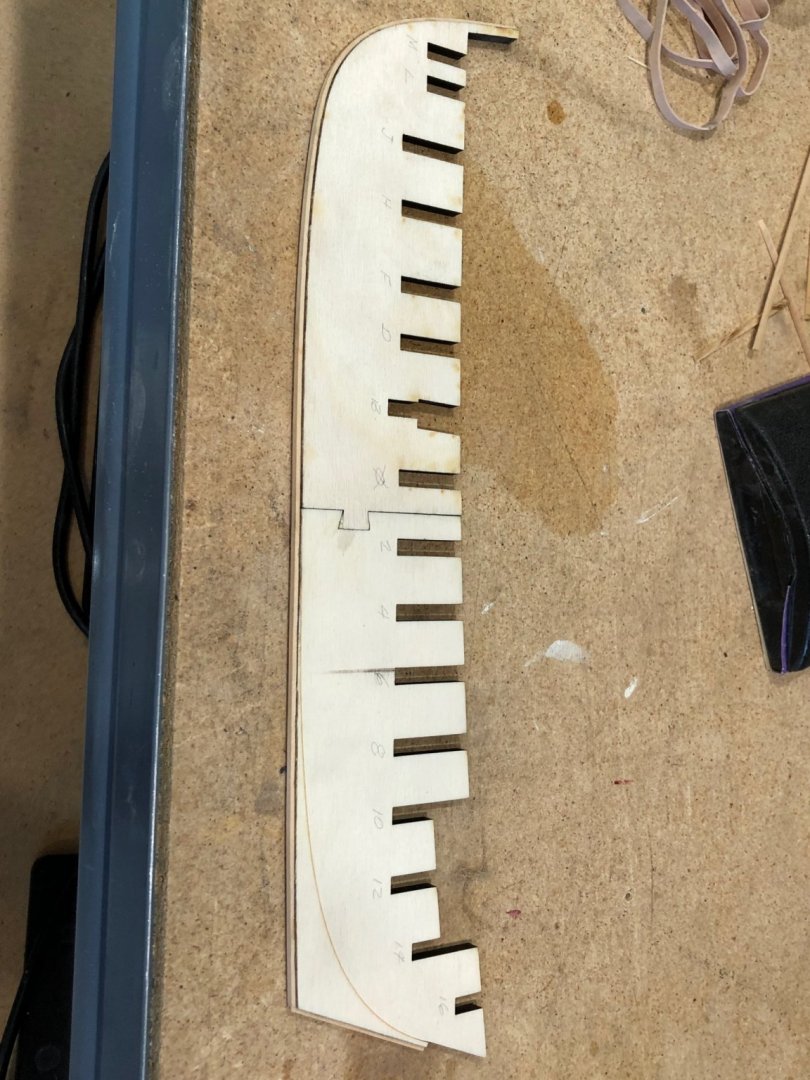
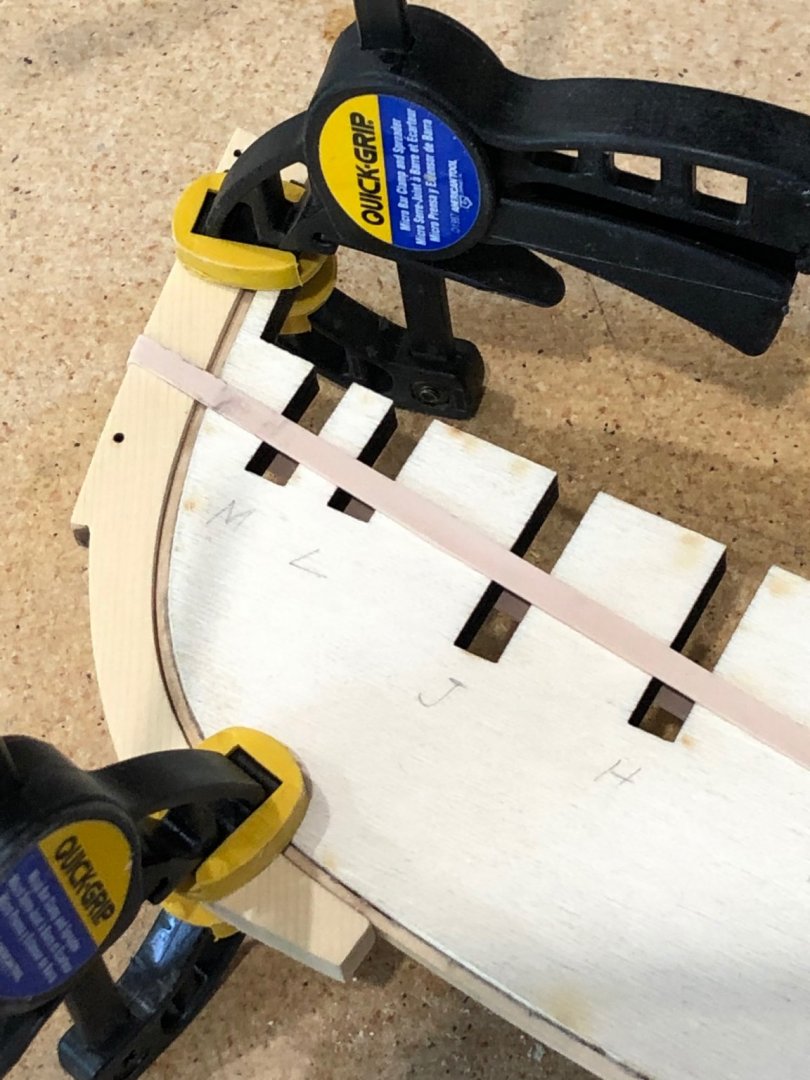
Glued the bulkhead former together so now I have complete BF to work with. Added the 1/8" by 1/16" boxwood strip making the rabbit. Let the glue dry overnight and started sanding the burn off the stem and keel. The stem pieces fit almost perfectly with a very minimal sanding before no light shining through when held up to a window. With the stem being 7?32" thick and BF being 1/4" thick leaving a 1/64" thick gap. With 1/64" being .015/6 I kept trying to find a spacer that would bridge the gap while I clamped the pieces together. While having the pieces clamped together I realized that the rubber pad on the clamps were compressing on the BF and not on the stem. DUH!!! Examining the stem from the front I could see that it was centered on BF. Glued first piece on with a major sigh of relief. More tomorrow and many more tomorrows Make it a good day Will

-
Thanks for the looks and comments. I've been following your ECB and it good to hear about your fife rail. Looking at it again this morning makes me worry again so I'm going to stain and see what I get today. (good, bad, or ugly) Make it a good day Will
-
Many thanks for all the like and comments it really helps me keep motivated Well started the main fife rail by cleaning the char from the two pieces. That was a very delicate procedure and I only broke each piece once. i'm worried about staining the fife rail as I've had so much trouble getting basswood to look good after staining. We'll see how it comes out and if not satisfied I'll make another from AYC. Glued the 1/8" by 1/32" strips together for the mast base using AYC and when adding the hole for the mast I broke one. Oh well make another. Finished making the stanctions (stiles) for the fife rail out of toothpicks. Again many thanks for the likes Everything seems to be returning to normal so I guess its time to change my signature. I have a long time friend who always said "make it a good day" and he still says that to me when we say goodby. Even with his dementia, Make it a good day Will

-
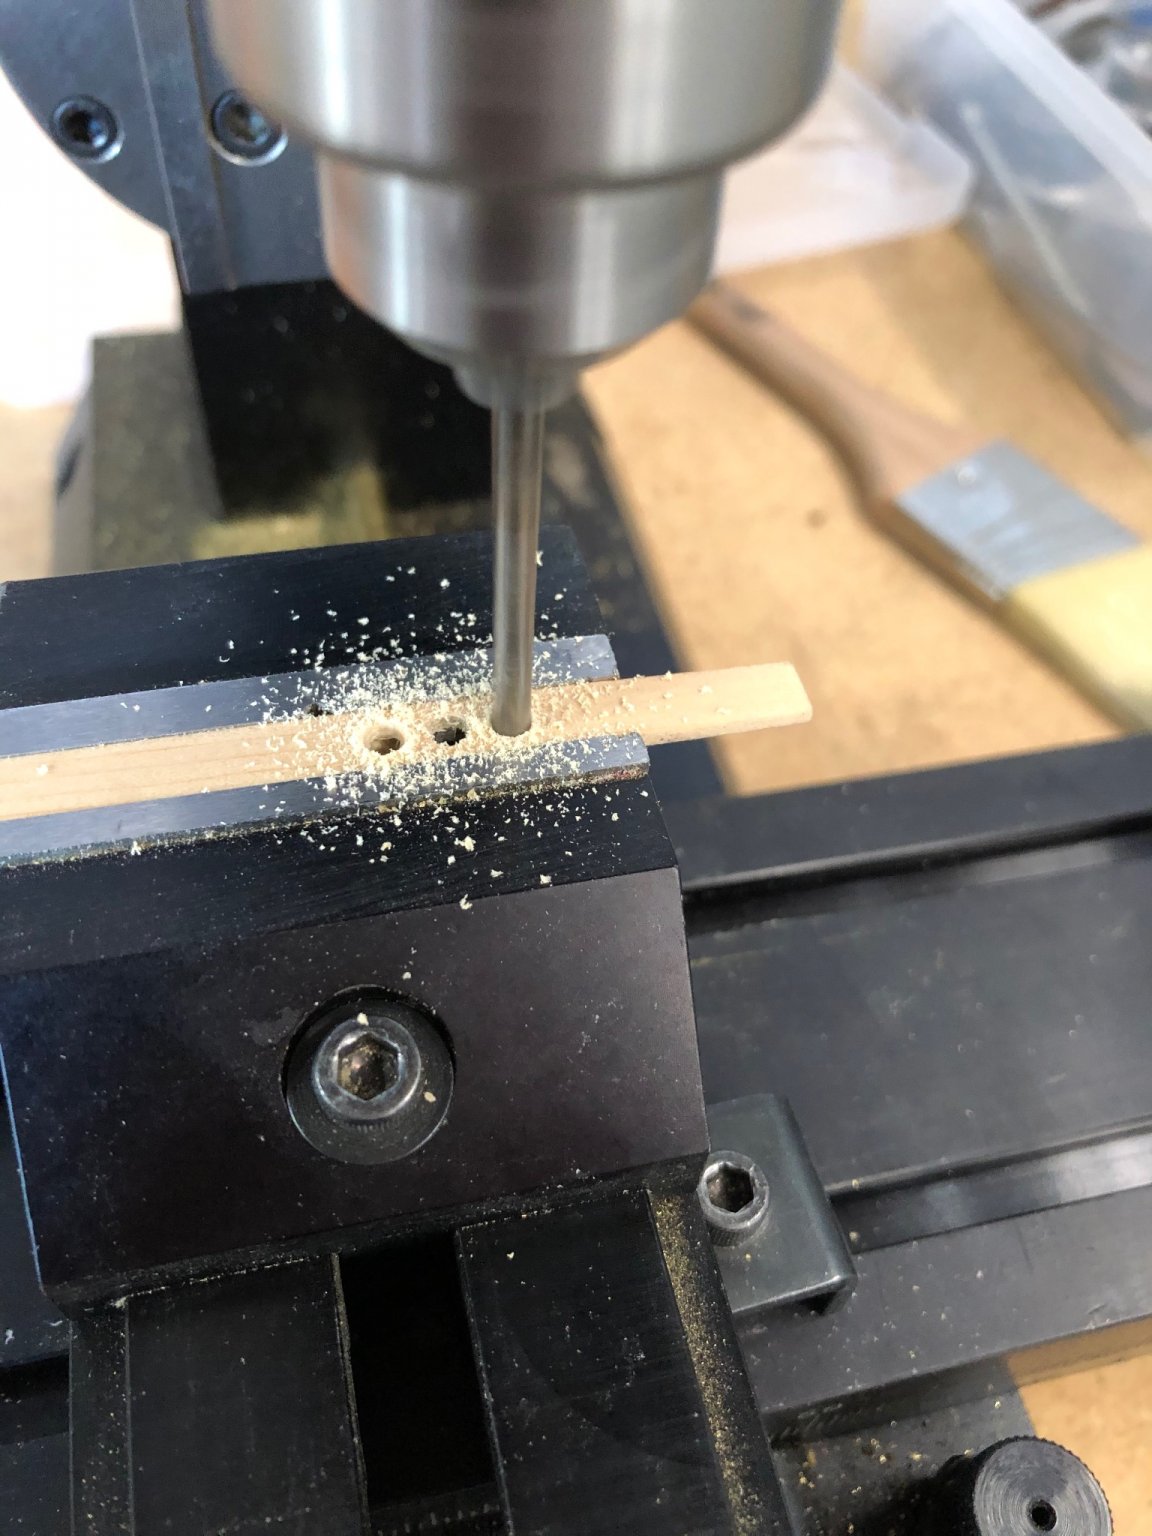
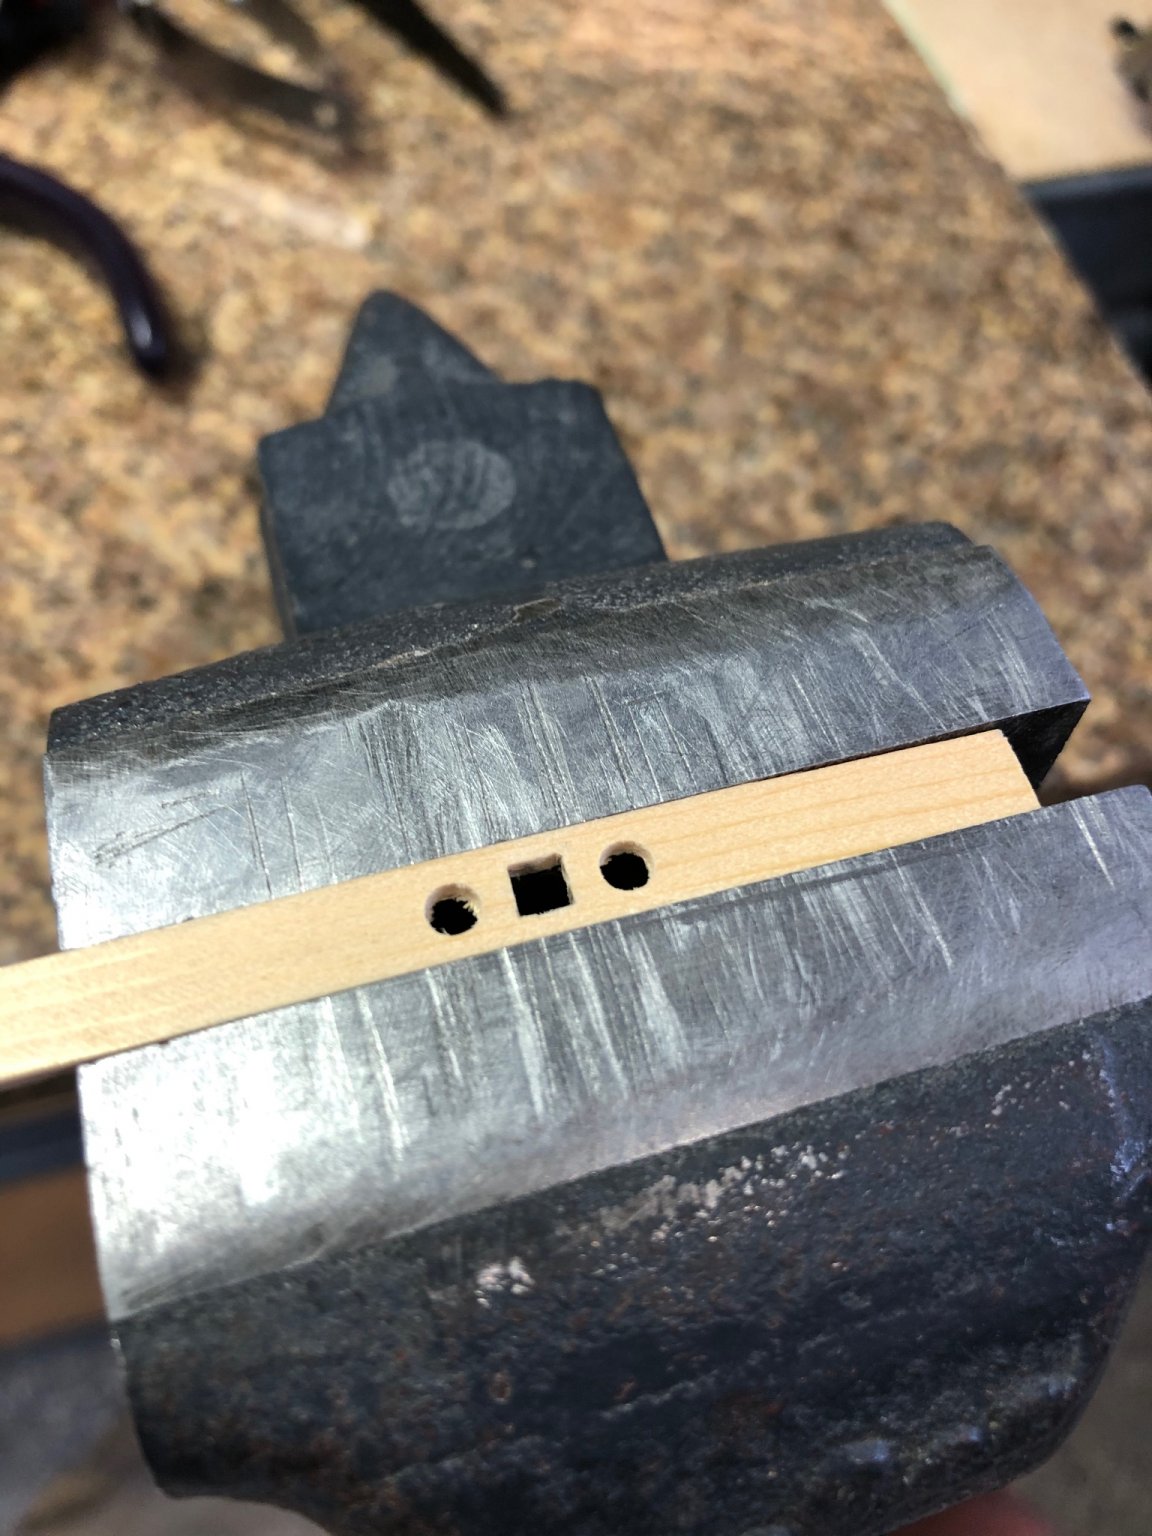
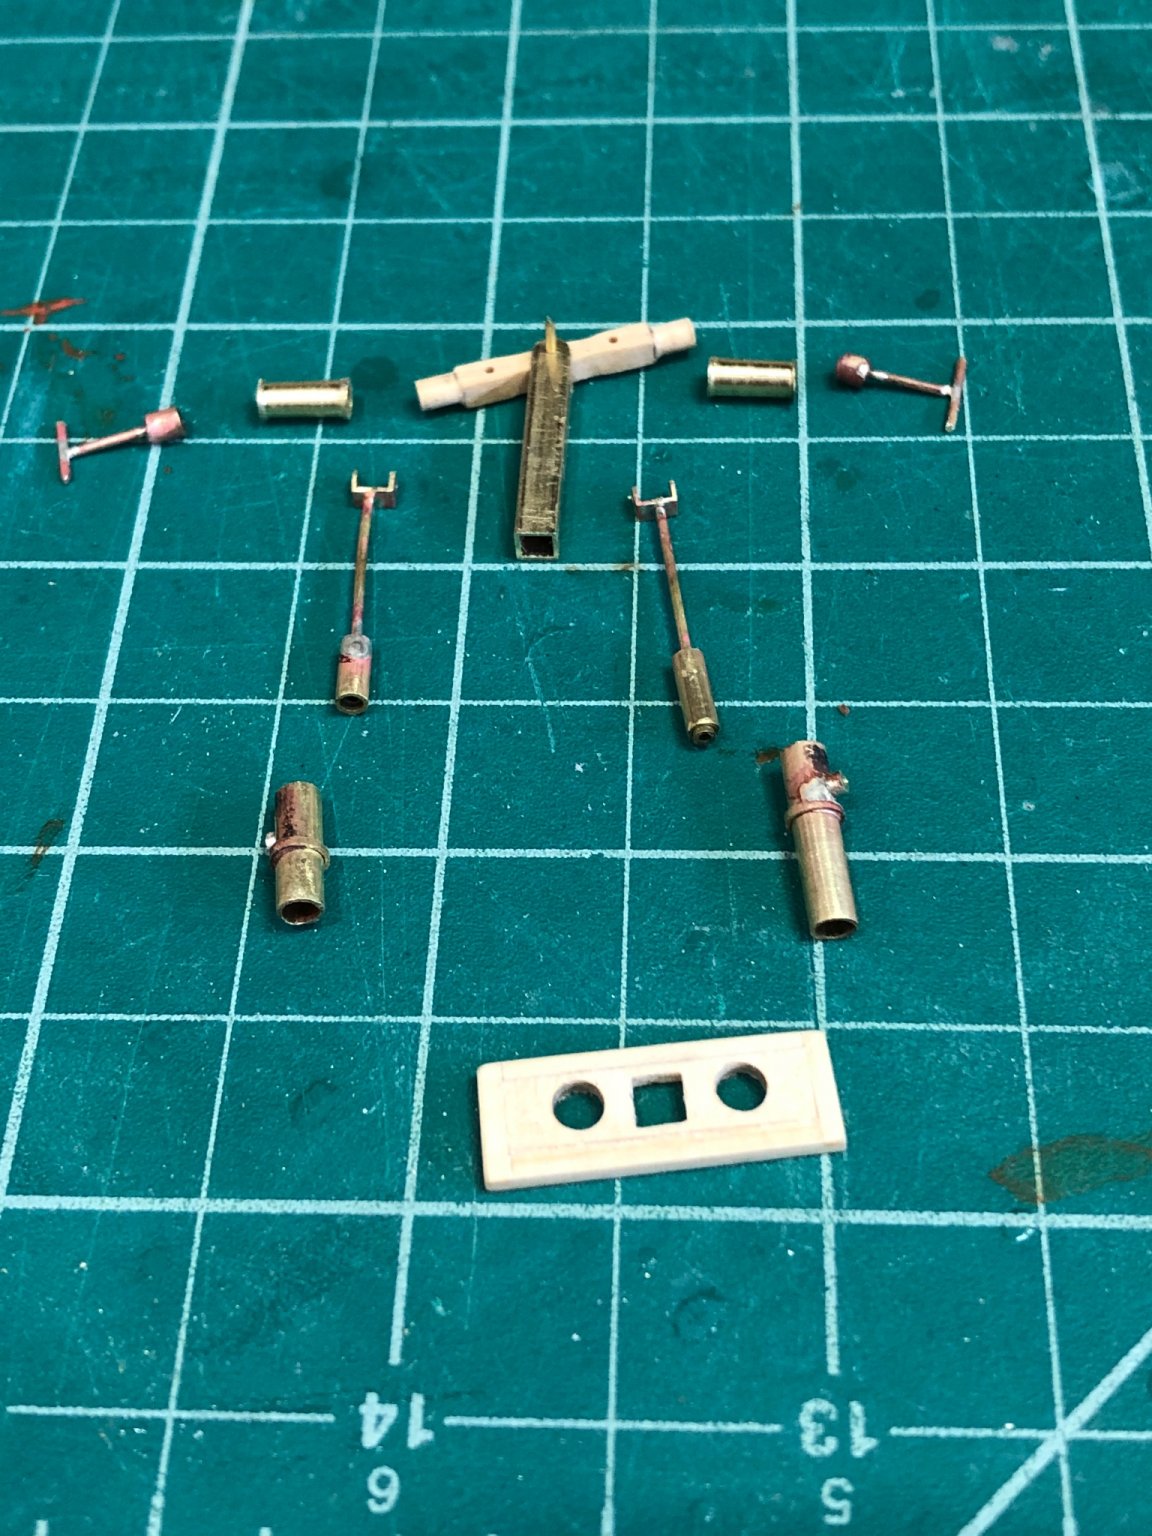
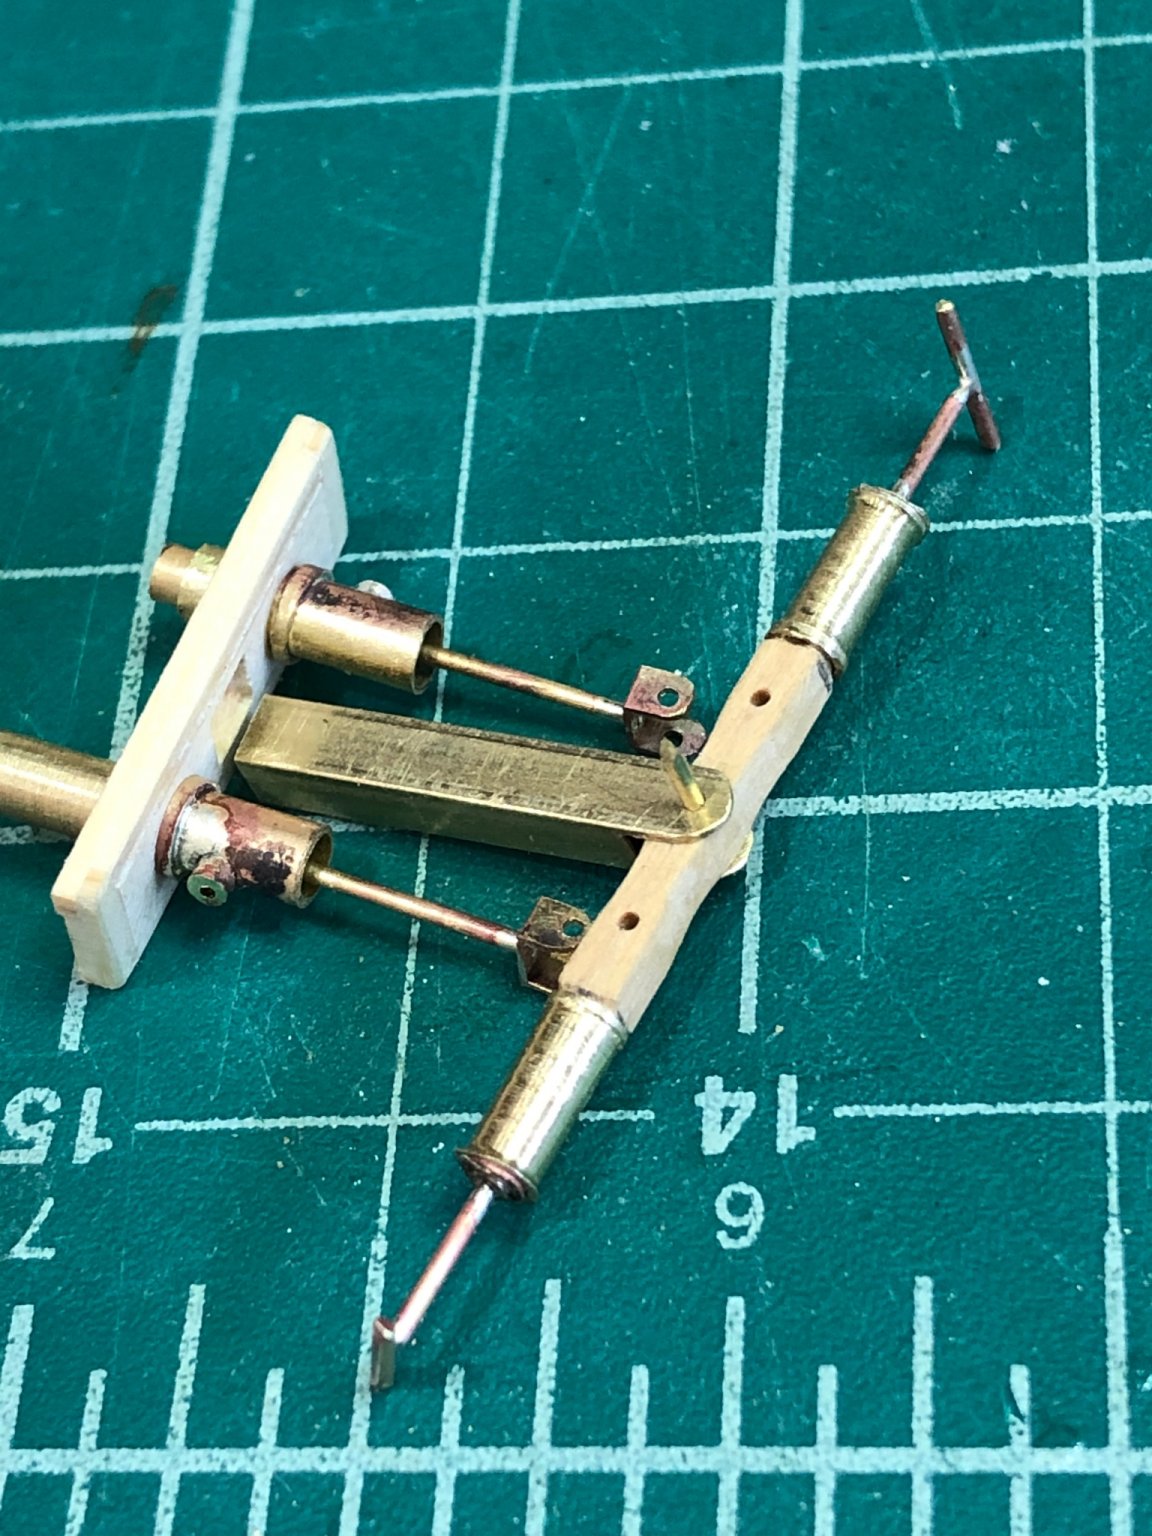
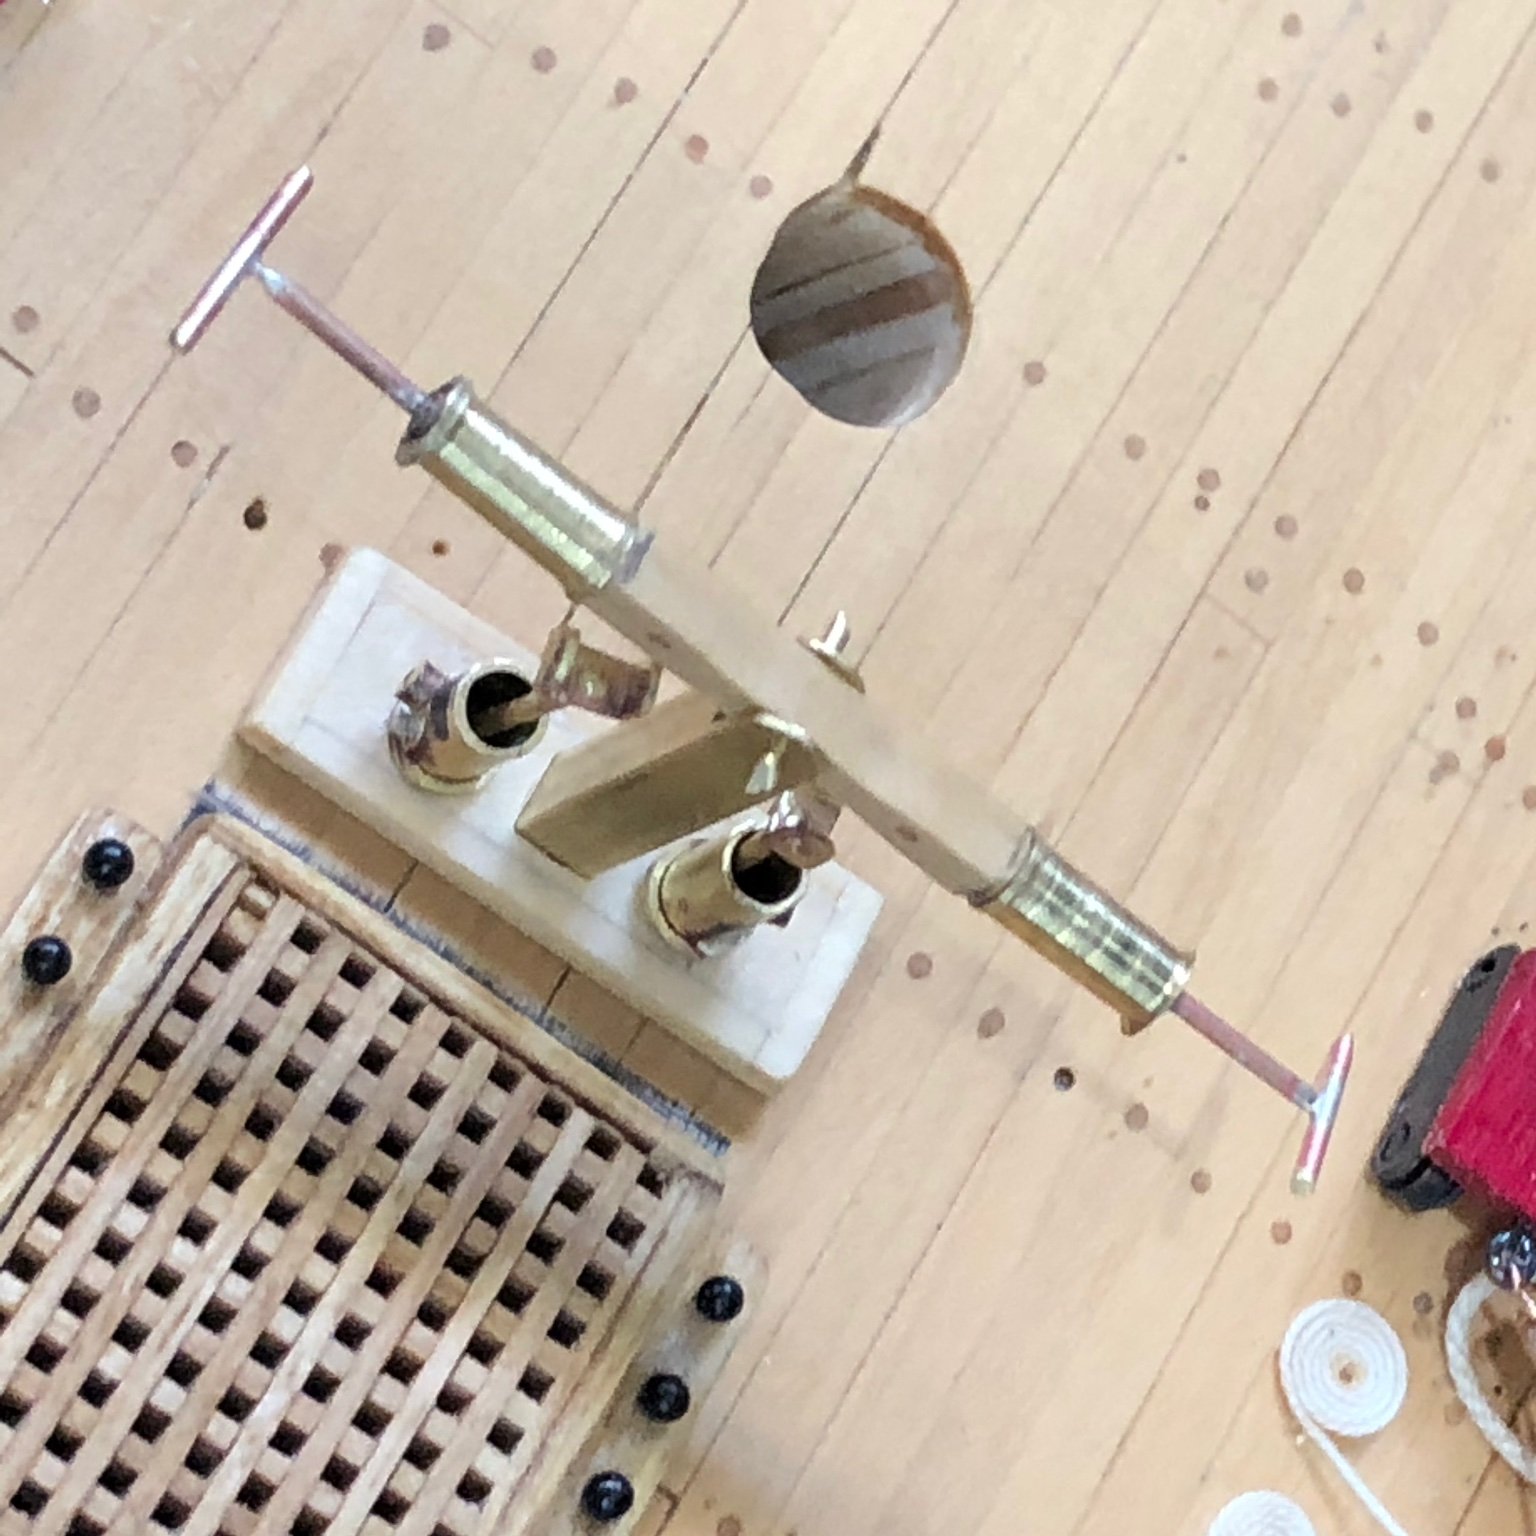
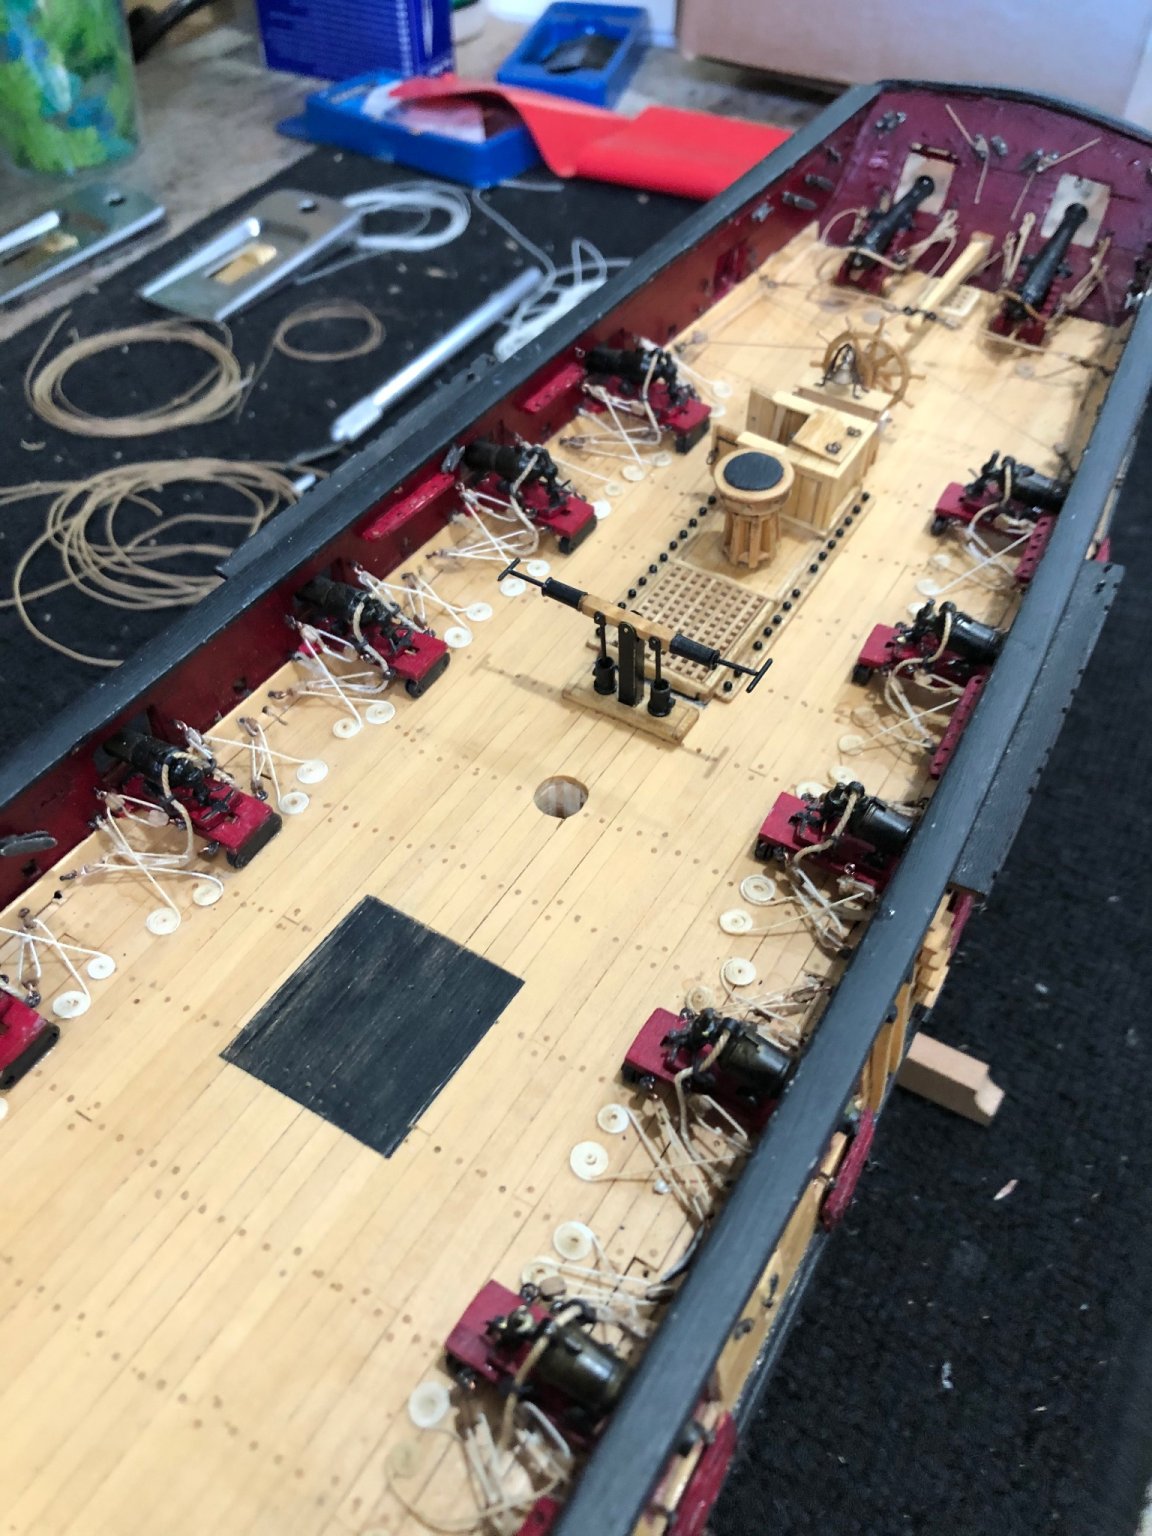
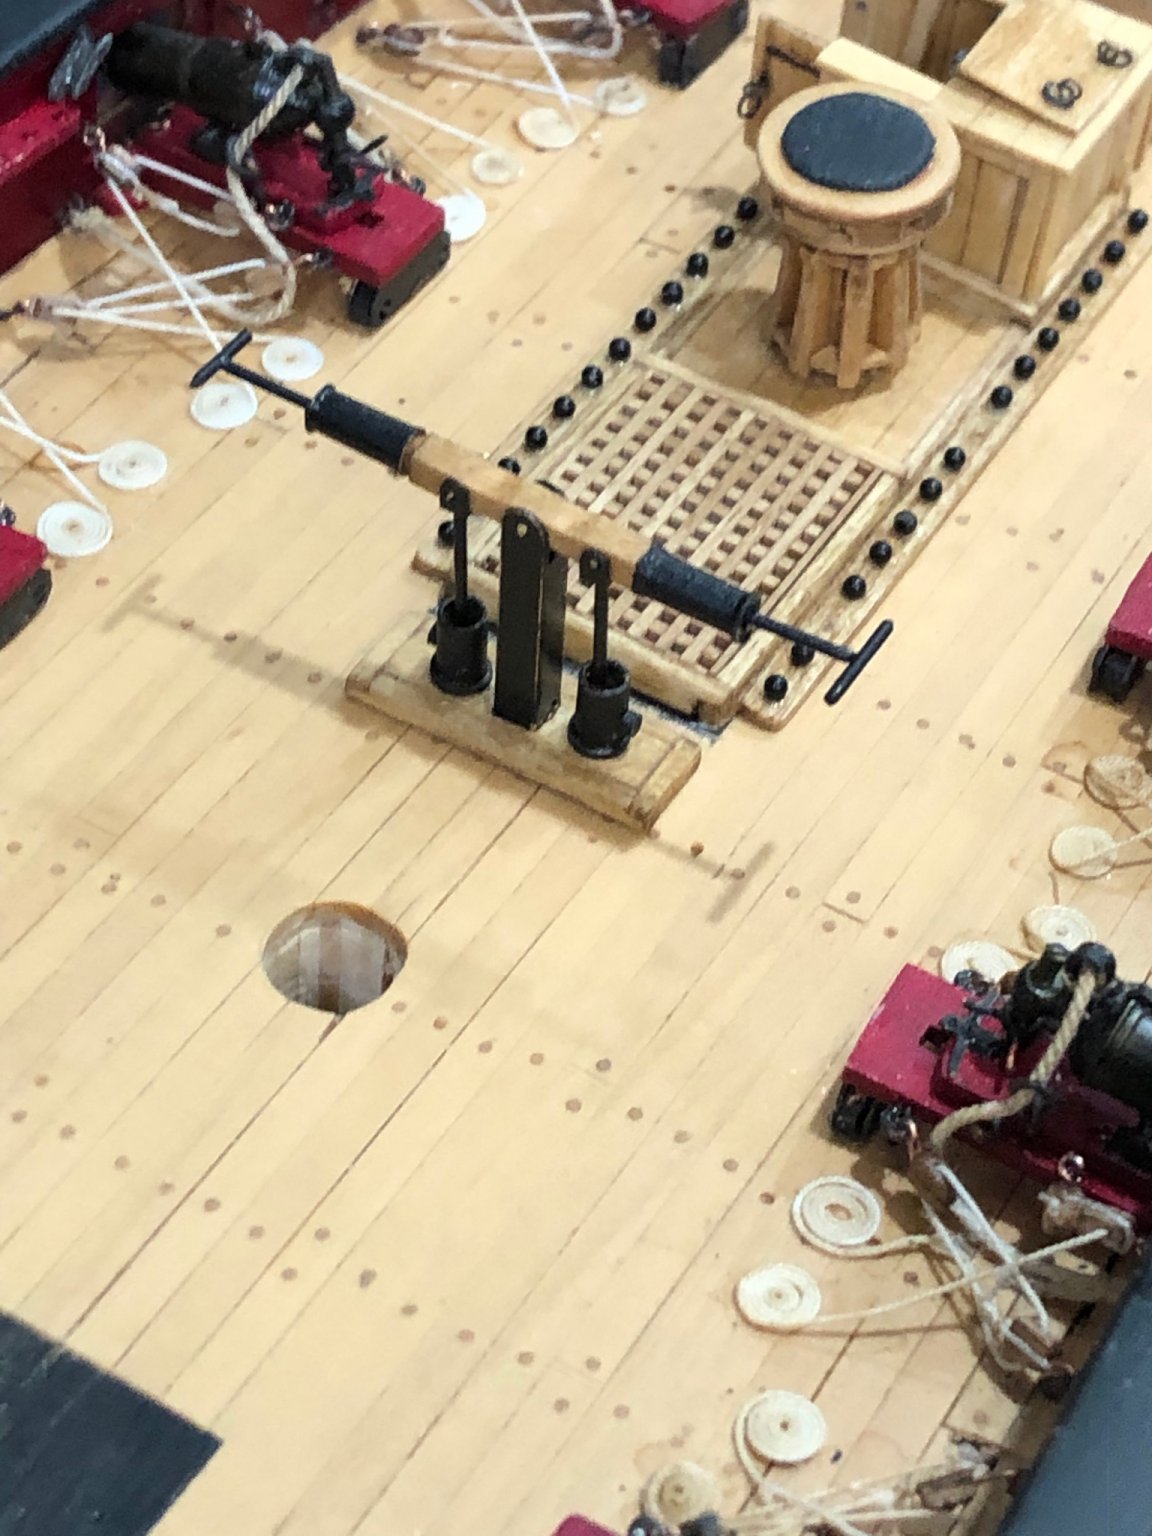
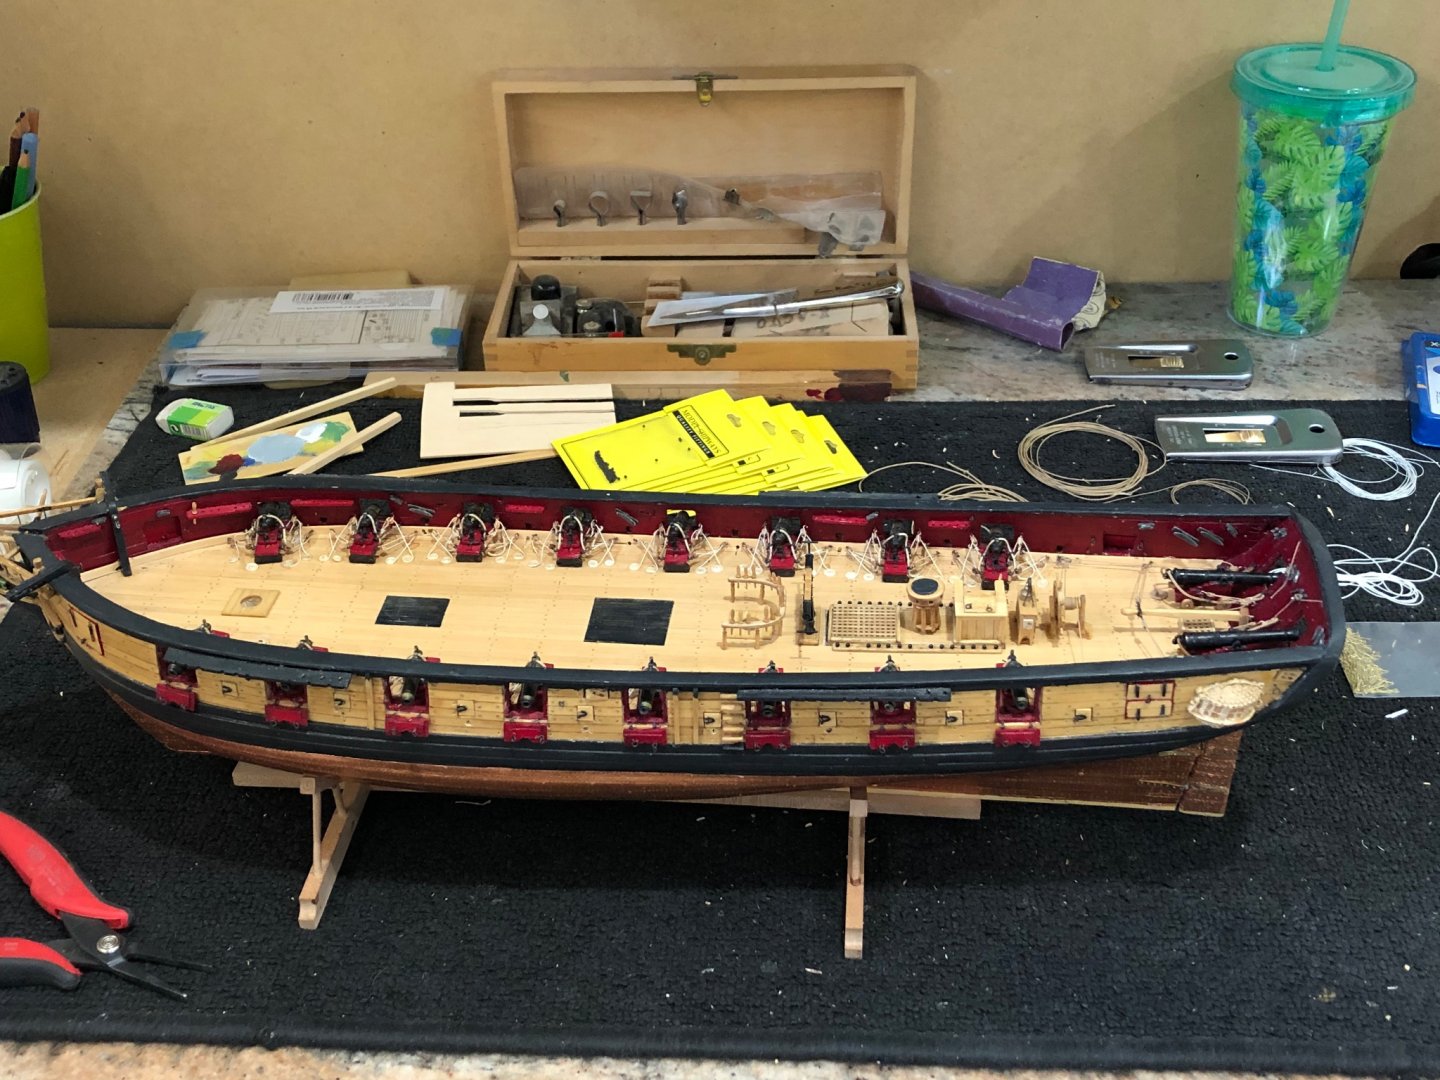
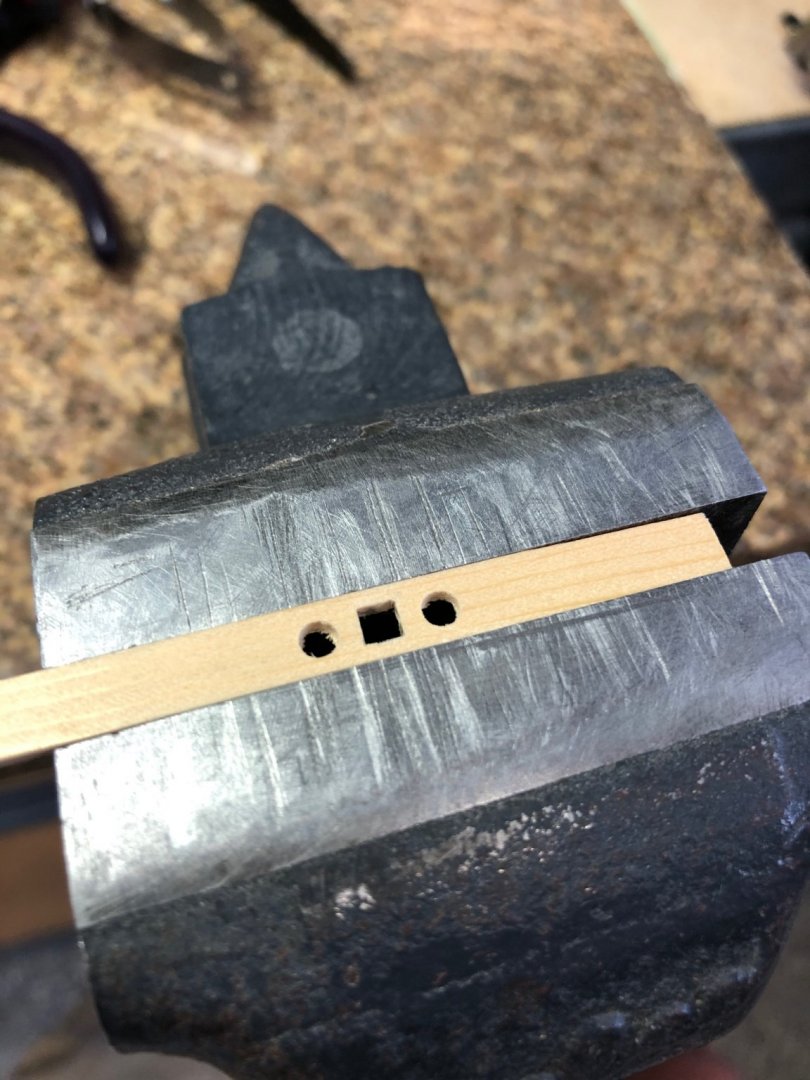
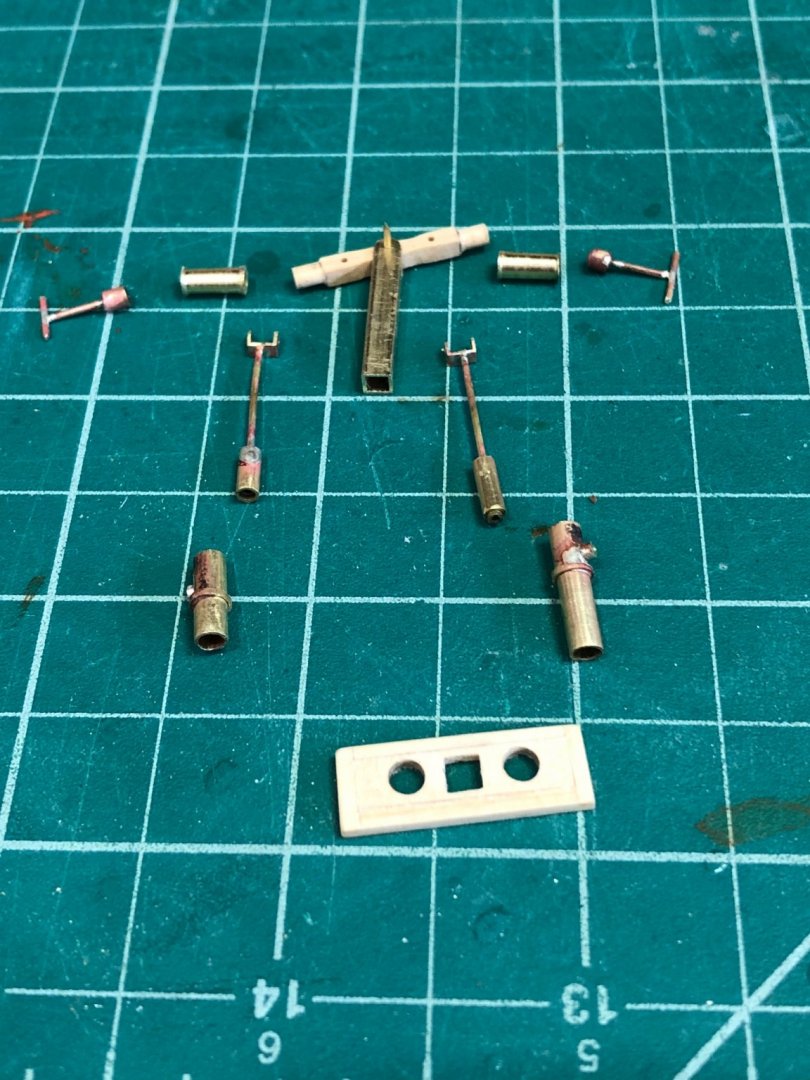
Been a busy week but I did manage to finish the pumps. Just need some minor touchup. I looked at many logs of how people did their pumps everything from exotic to pure kit versions and it left me more confused. I finally decided to make my pumps like the kit designed version with some modifications. I built mine from brass rod, round tubing, square tubing and wood. I used Thomas Gahms method of drill holes in the deck to allow the pumps to move and thereby eliminating the dimensional problem of the plunger to cross beam. Everything else is pretty much as drawn on the plans. I used a piece of 5/32" by 1/16" yellow cedar and drilled 3 1/8" hole spaced for the pumps and center post. Filed the center hole to1/8" square to find the 1/8" square tubing. Used round brass tubing of diminishing sizes to make the pumps, plunger, handles, and brass rod for the plunger rod and handles. All the pieces silver soldered making the individual assemblies. All together it is comprised of 25 pieces. Dry fit on the deck to verify the scale and it all would fit. Happy for the look I took it all apart and soaked the parts in distilled white vinegar to etch before painting. Painted parts and assembled the pumps and glued them to the deck. Now on to chapter 13 and specifically the fife rail. Stay Well and Stay Safe Will


-
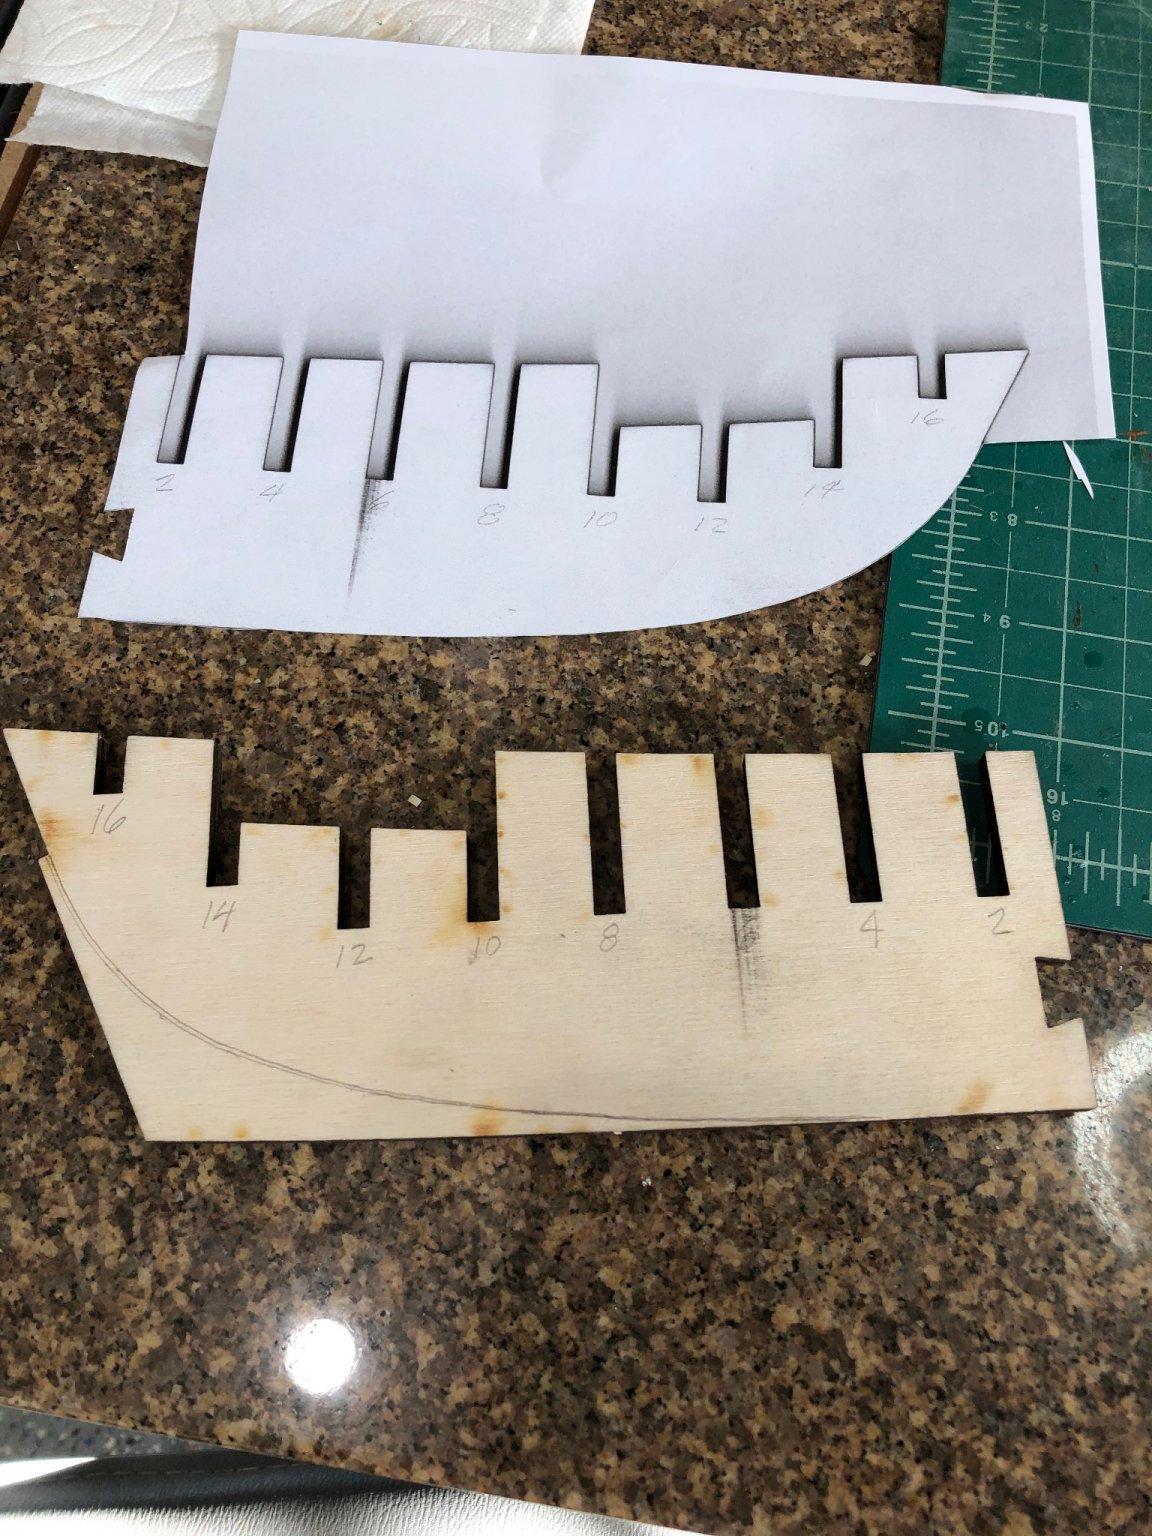
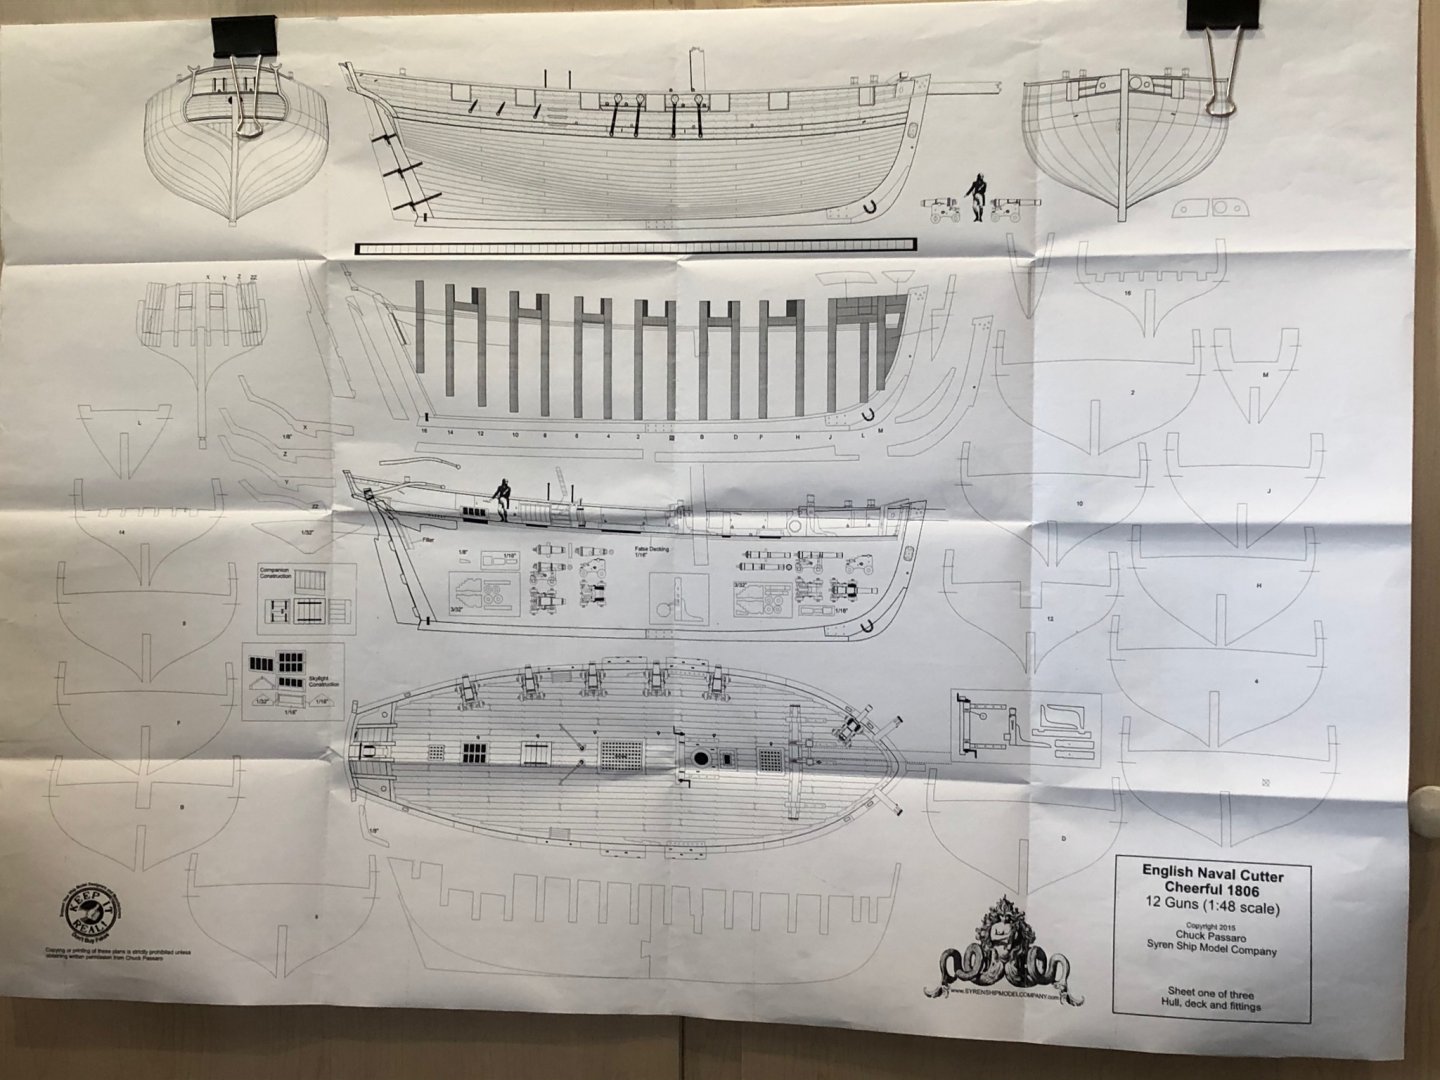
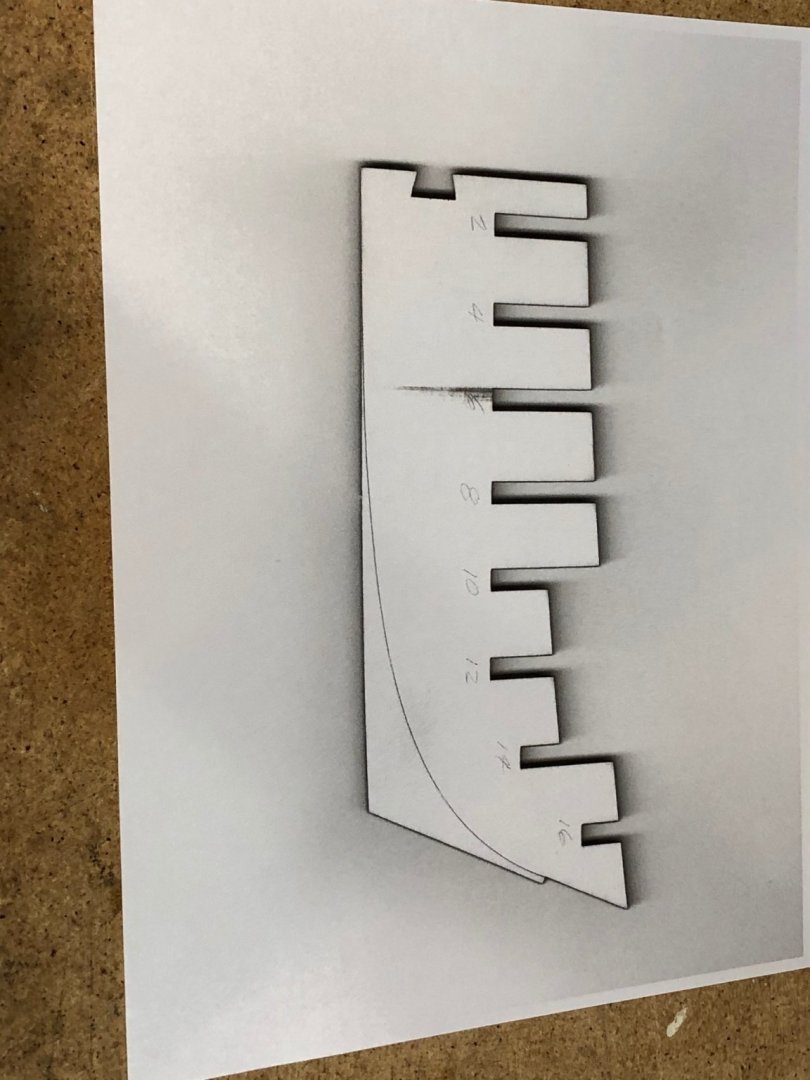
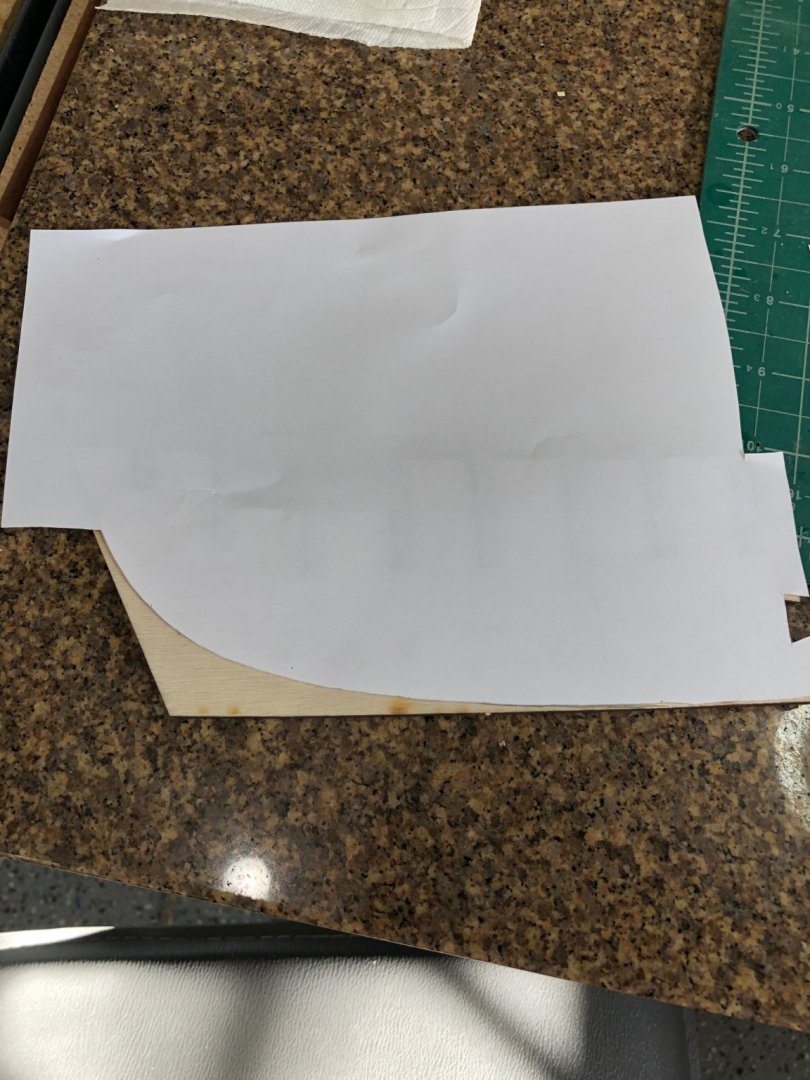
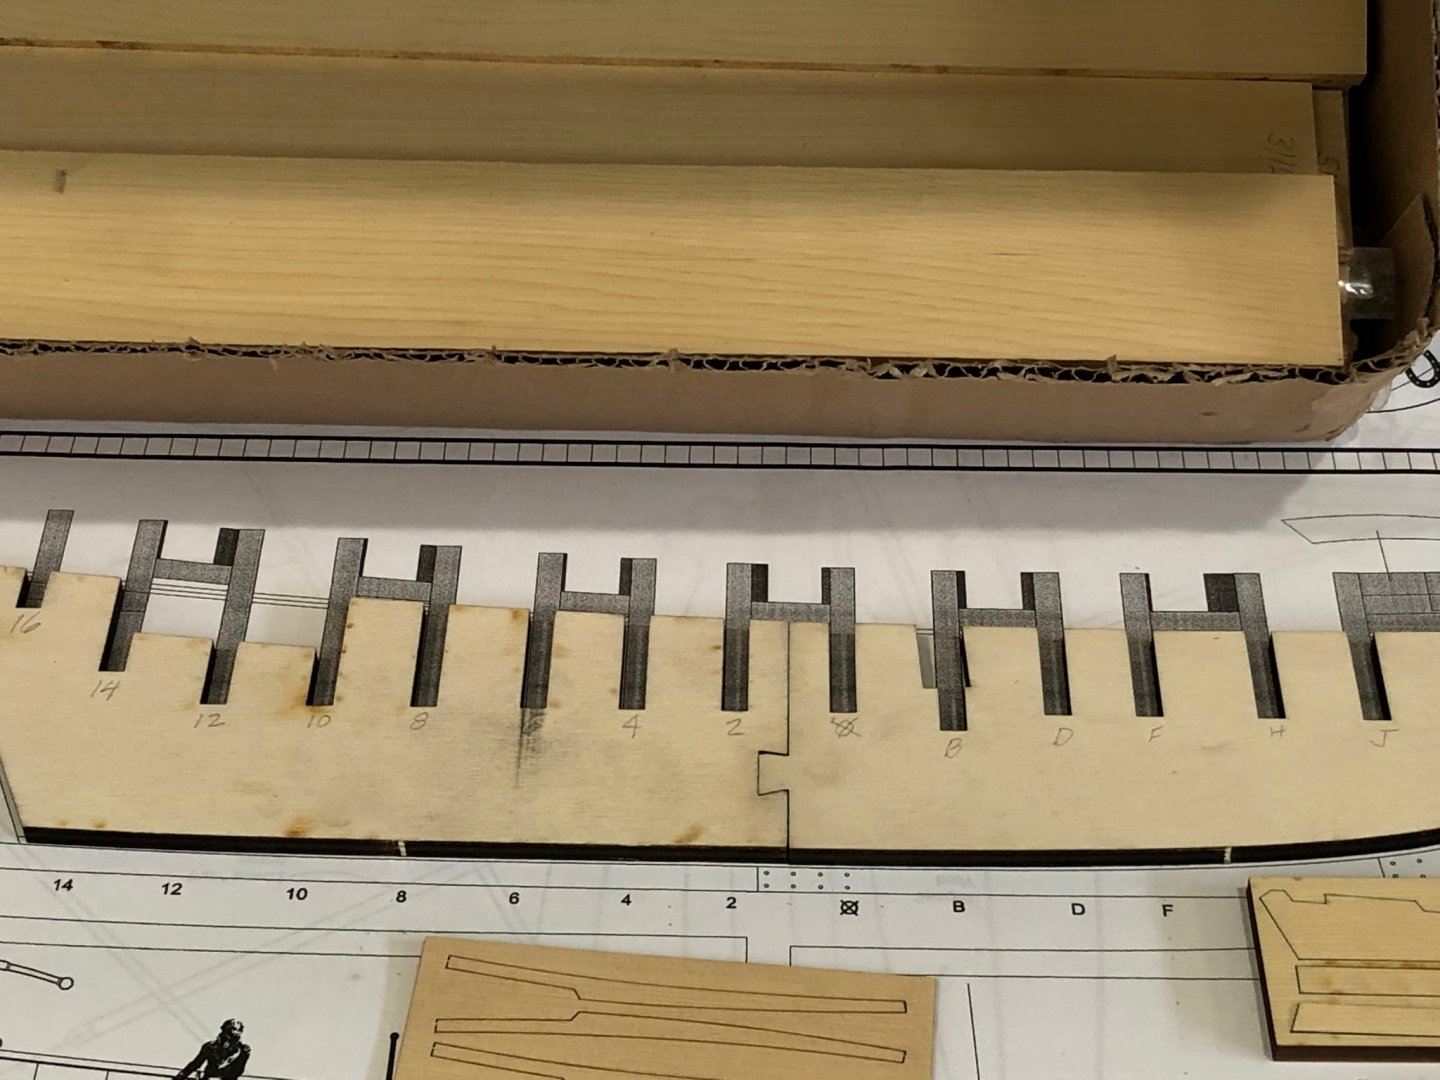
Reading, reading and more reading so now it is time to start building. First have copies made of the plans at Mesa Blueprint and hang up original set for reference. Next to mark the the bulkhead locations on the bulkhead former and then make a copy of the BH. Then cut out the bearding line to use as a template for the port side making sure that I had features included that will allow alignment on the port side of the BH. Drawing the bearding line using the template and that's how I started the build. Stay Well and Stay Safe Will

-
Thanks Matt. Glad to have you along on the trip and as always any and all suggestions, comments, help appreciated. Stay Well and Stay Safe Will
-
Thanks Gregory and Chuck. I've been looking for the prototype build log and haven't seen it in quite a while. I've bookmarked the log and it will be great asset to use while I'm building. Stay Well and Stay Safe Will
-
Looking good. I really like the new wood accentuating the shipyard look. Well done. Stay Well and Stay Safe Will
-
Just a note, I believe that the upper deadeyes are upside down. Should they not be opposite each the lower deadeyes. The knotting looks fantastic its really going to be magnificent. Stay Well and Stay Safe Will
- 778 replies
-
- 1
-

-
- cheerful
- Syren Ship Model Company
- (and 1 more)
-
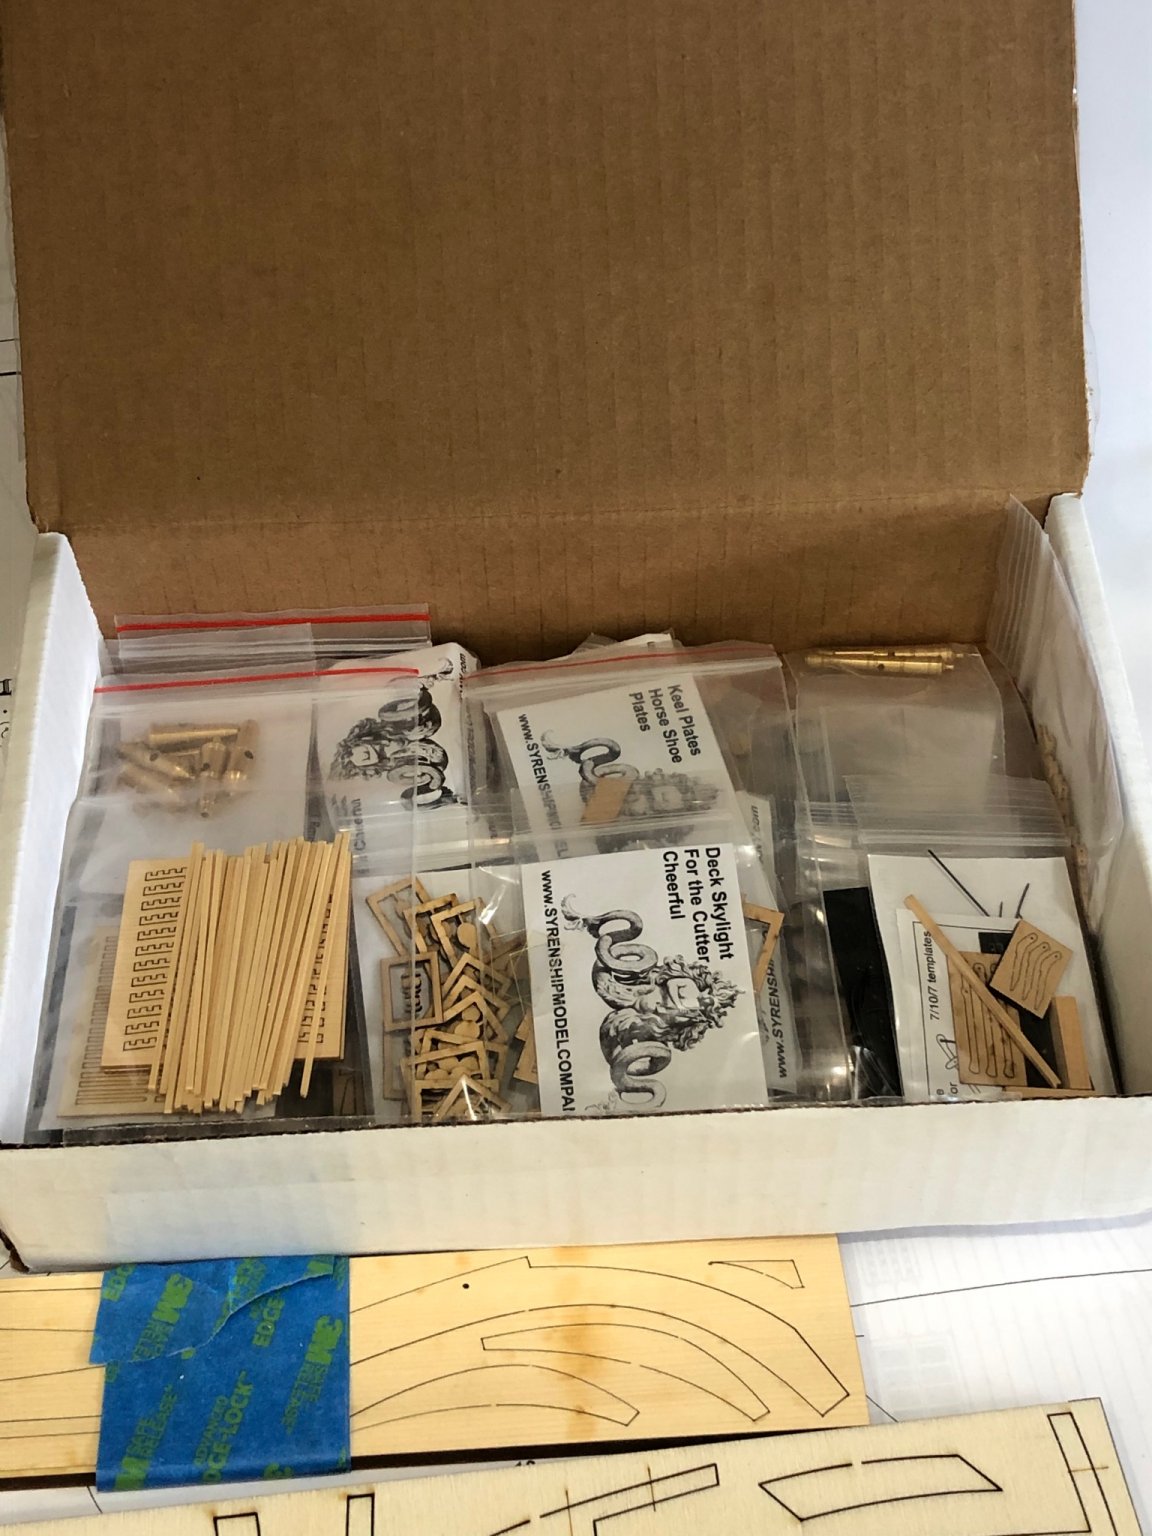
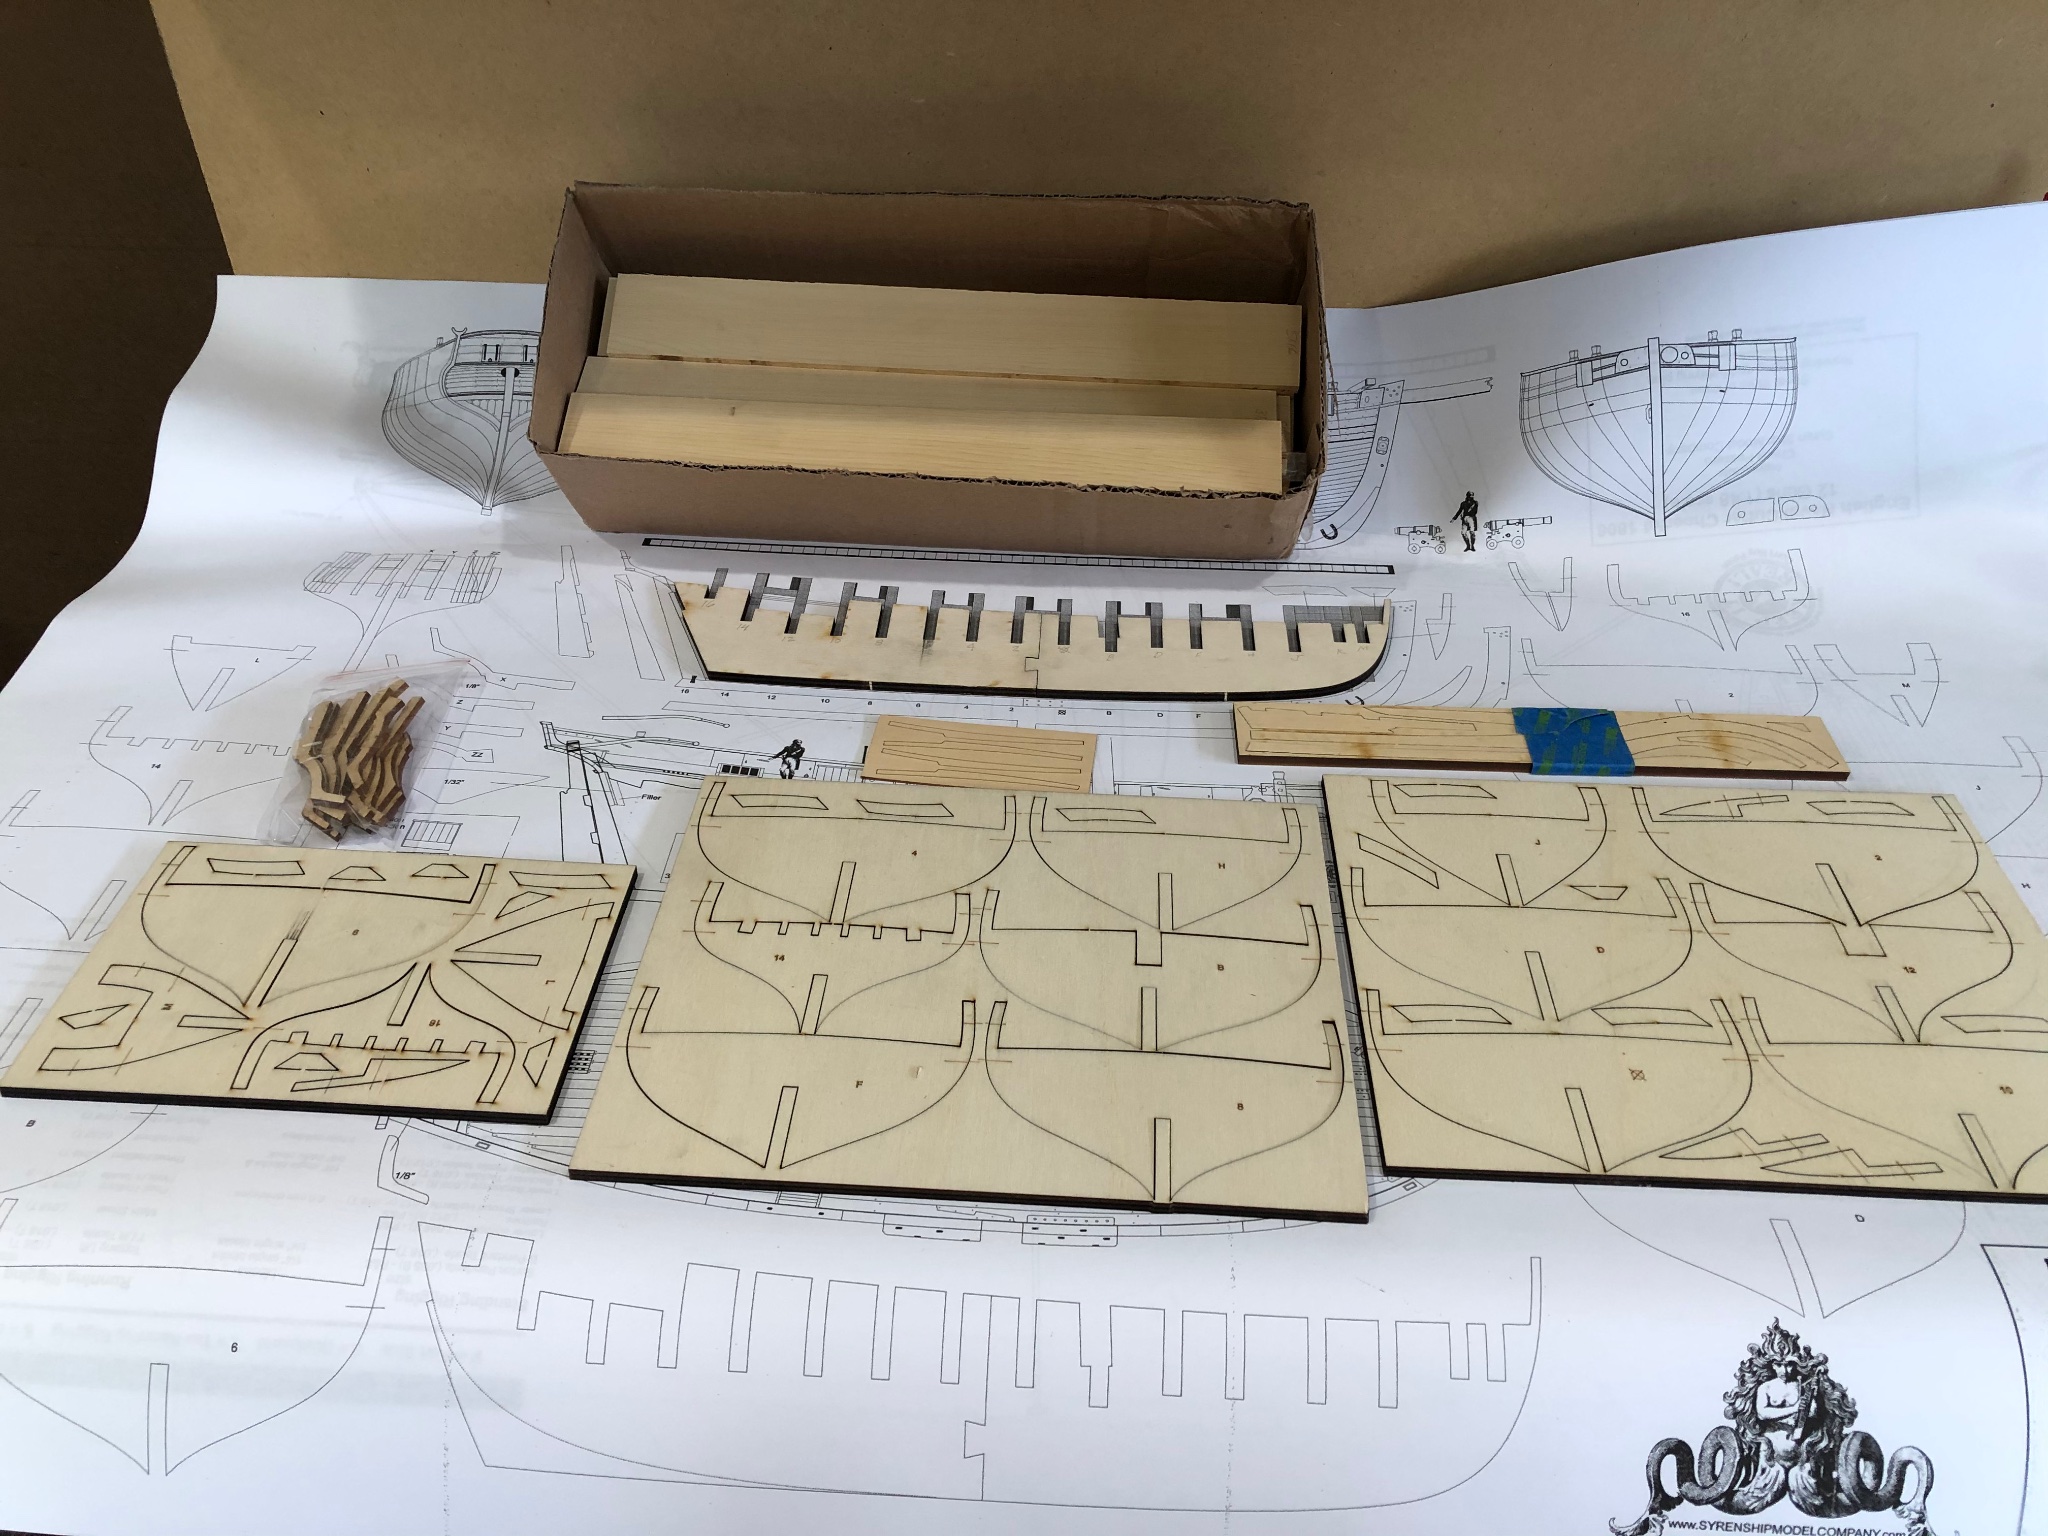
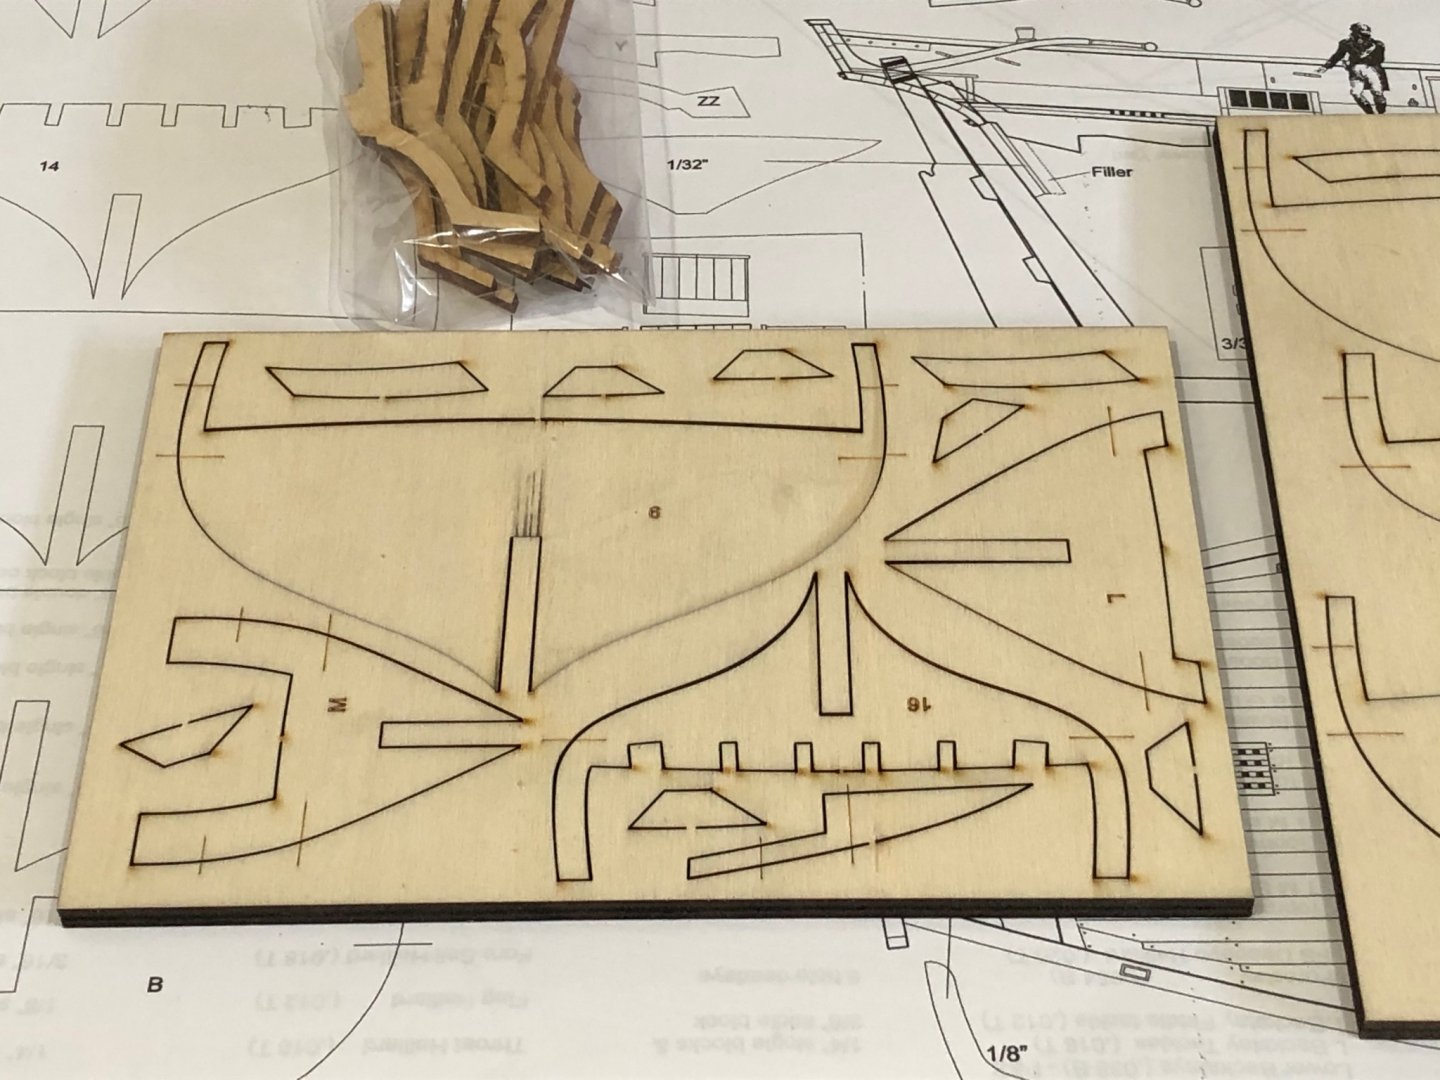
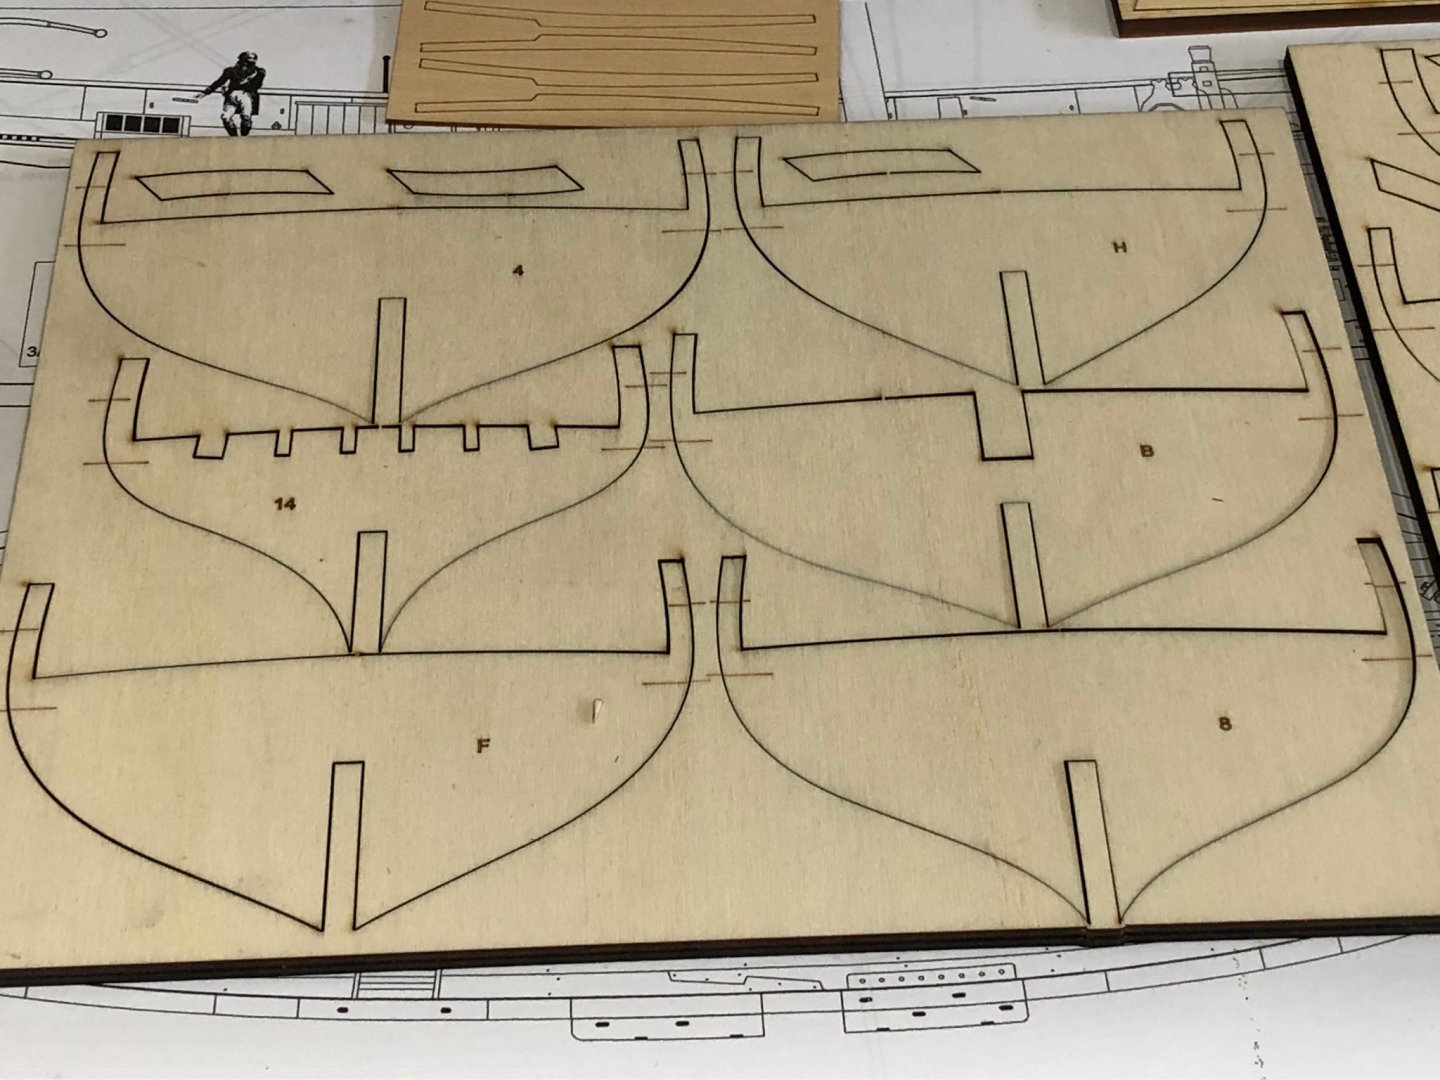
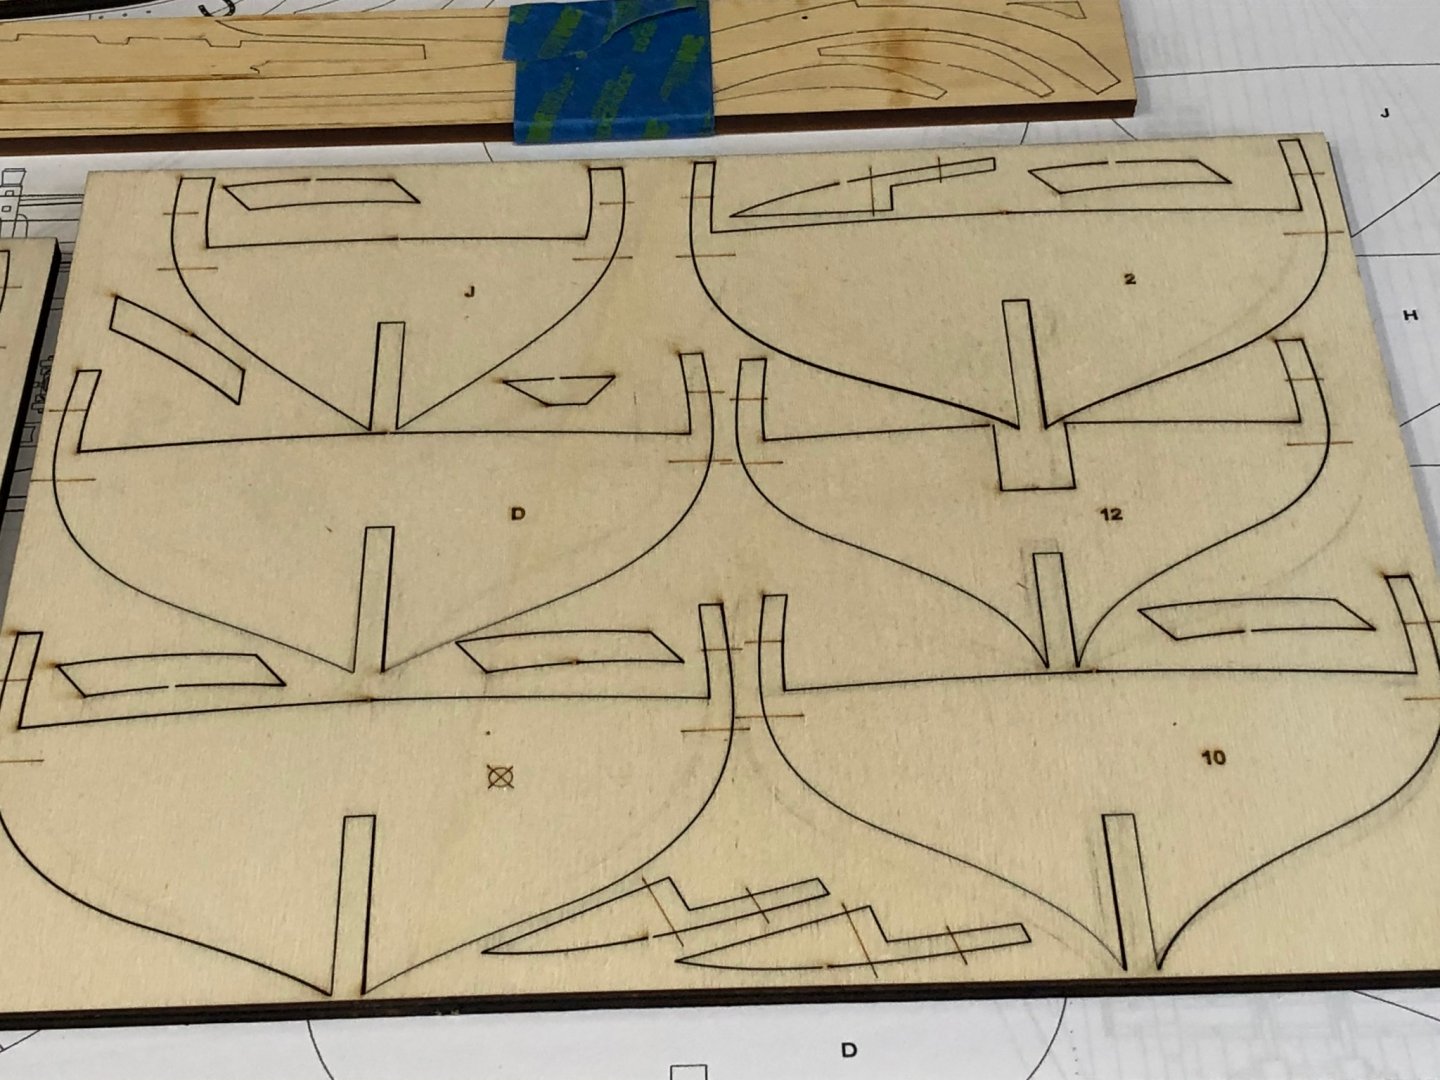
After spending months looking at Chuck Passaro's website and reading through logs of finished and in process Cheerfuls' I ordered the kit. This being a scratch built POB I ordered the starter kit from Syren Model Company. I've been following the Winchelsea group build using Alaskan Yellow Cedar as the building material. Reading comments and looking at photos of the wood with WOP helped me buy some AYC to try on other builds. I must say "I like the way it looks, cuts and finishes" so I bought the wood along with the starter kit. When the Cheerful arrived in a large envelope and a small box upon opening the packages I immediately spread out the contents and started studying my loot. Let the journey begin. Now its back to reading the monograph and logs of how and what to start first Stay Well and Stay Safe Will


-
Looking good Andrew, Did you apply any finish to the frames? I had not study the bowsprit and now can see the detail craving that is required, yours is looking good. Be sure to add photos after the bowsprit is painted. Stay Well and Stay Safe Will
-
Moving fast. Hard to believe you can accomplish such fine work in such a short time. Fantastic !!! Stay Well and Stay Safe Will
- 950 replies
-
- 1
-
-
- syren
- model shipways
- (and 1 more)
-
Hard to see the difference in the hook sizes both look great but I think I like the smaller. BTW what material do you use for your hooks? I can't wait to start my Cheerful. I keep looking at the parts or should I say foundling them. Fit a frame here two frames there and I say finish what I'm working and put everything away. This is a beautiful log with you dialog and photos. Stay Well and Stay Safe Will
- 778 replies
-
- 2
-
-
- cheerful
- Syren Ship Model Company
- (and 1 more)
-
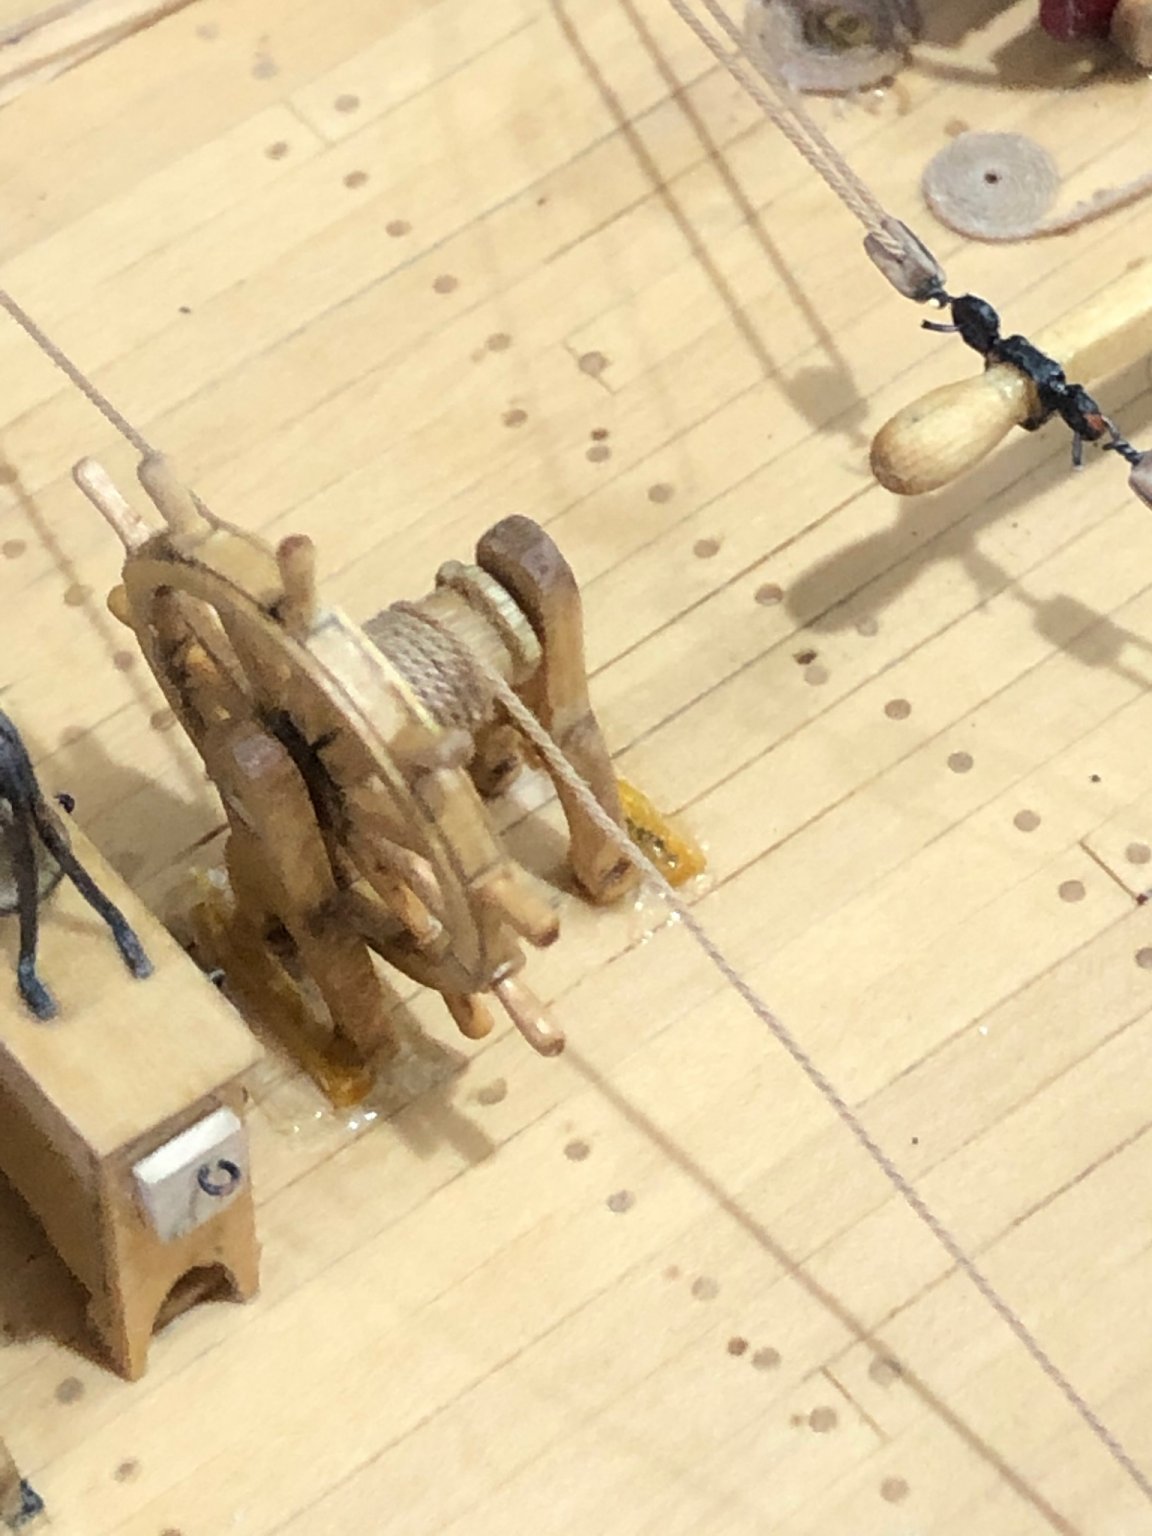
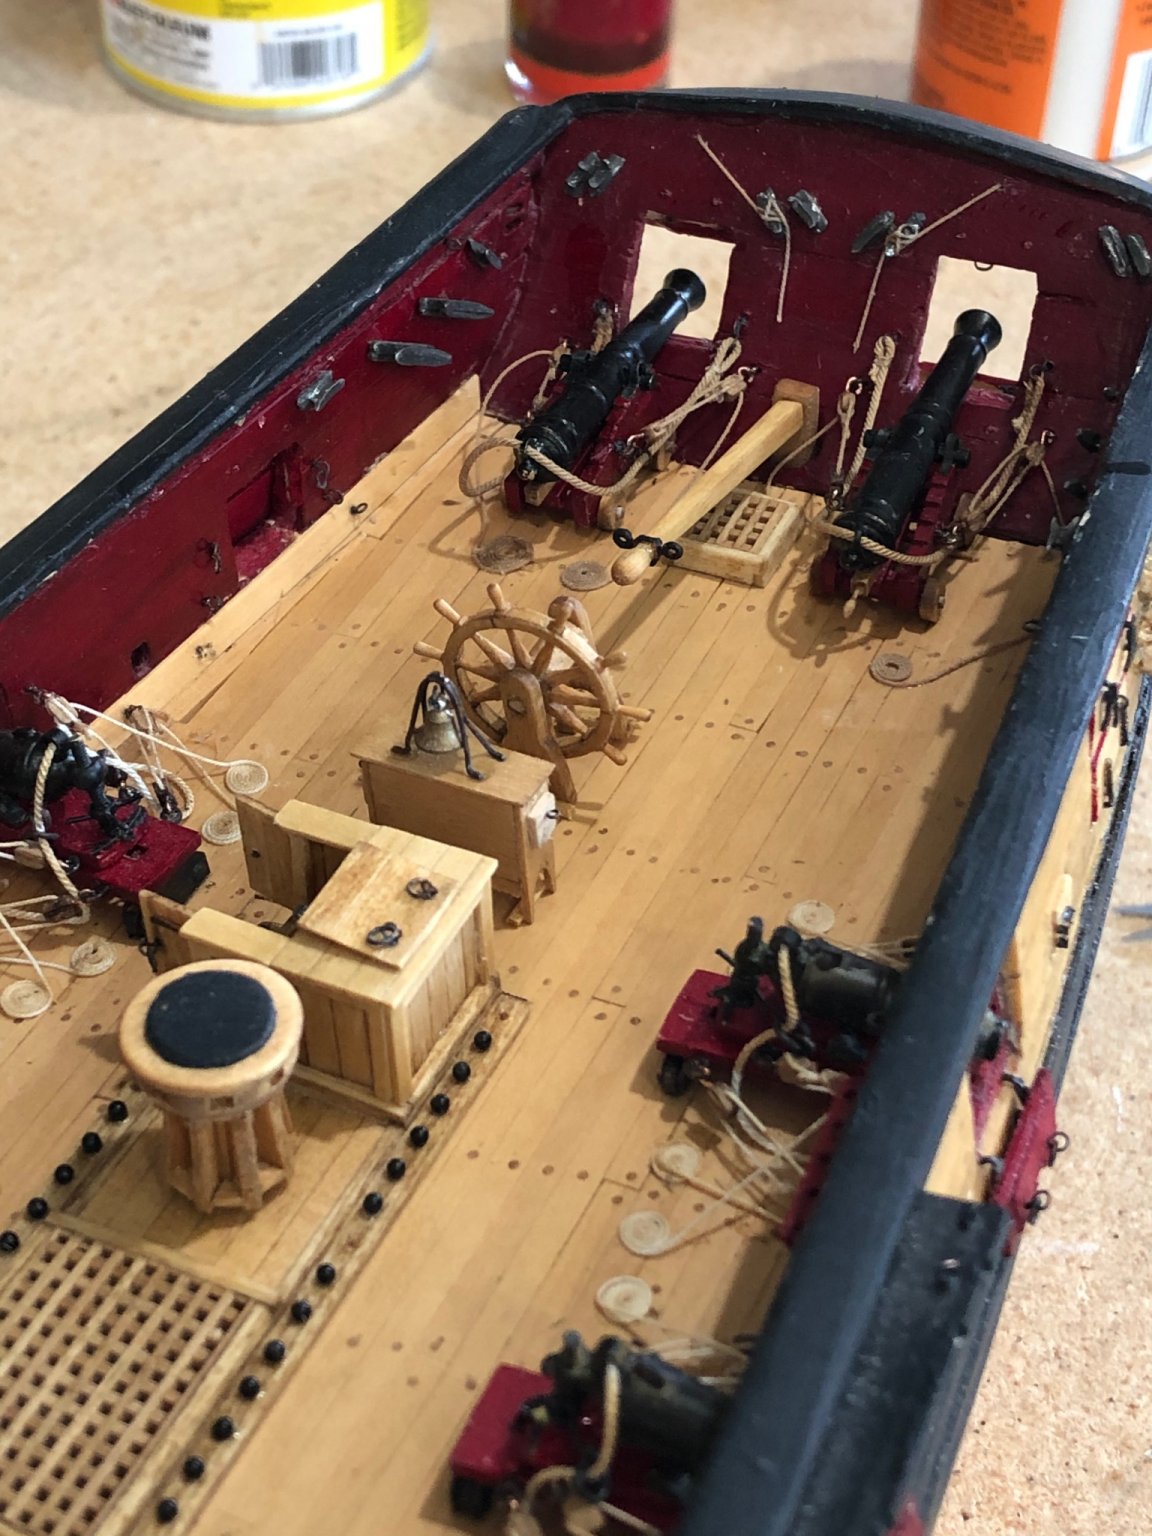
Yippee 🎉🎉 the steering is rigged and now I can get onto the pumps. Stay Well and Stay Safe Will

-
You're right it looks like a ship. Wonderful work and not long now to complete. Stay Well and Stay Safe Will
- 950 replies
-
- 2
-

-
-
- syren
- model shipways
- (and 1 more)
-
Great photos of the ship taking shape especially the sanding dust below the frames. I like your ideas of cross battens and frame fillers to strengthen the skeleton. Stay Well and Stay safe Will
-
Still hard to look ahead in a good book while still reading chapter 9 but I did and it is great. Love the rigging. Small comment on tools scissors I got turned onto suture scissors for rigging. I find them amazing to cut cleanly and close to knots. I am going to add heat shrink tubing to my alligator clips on the third or fourth had what a great idea holding rope. Stay Well and Stay Safe Will
- 778 replies
-
- 3
-
-
- cheerful
- Syren Ship Model Company
- (and 1 more)
-
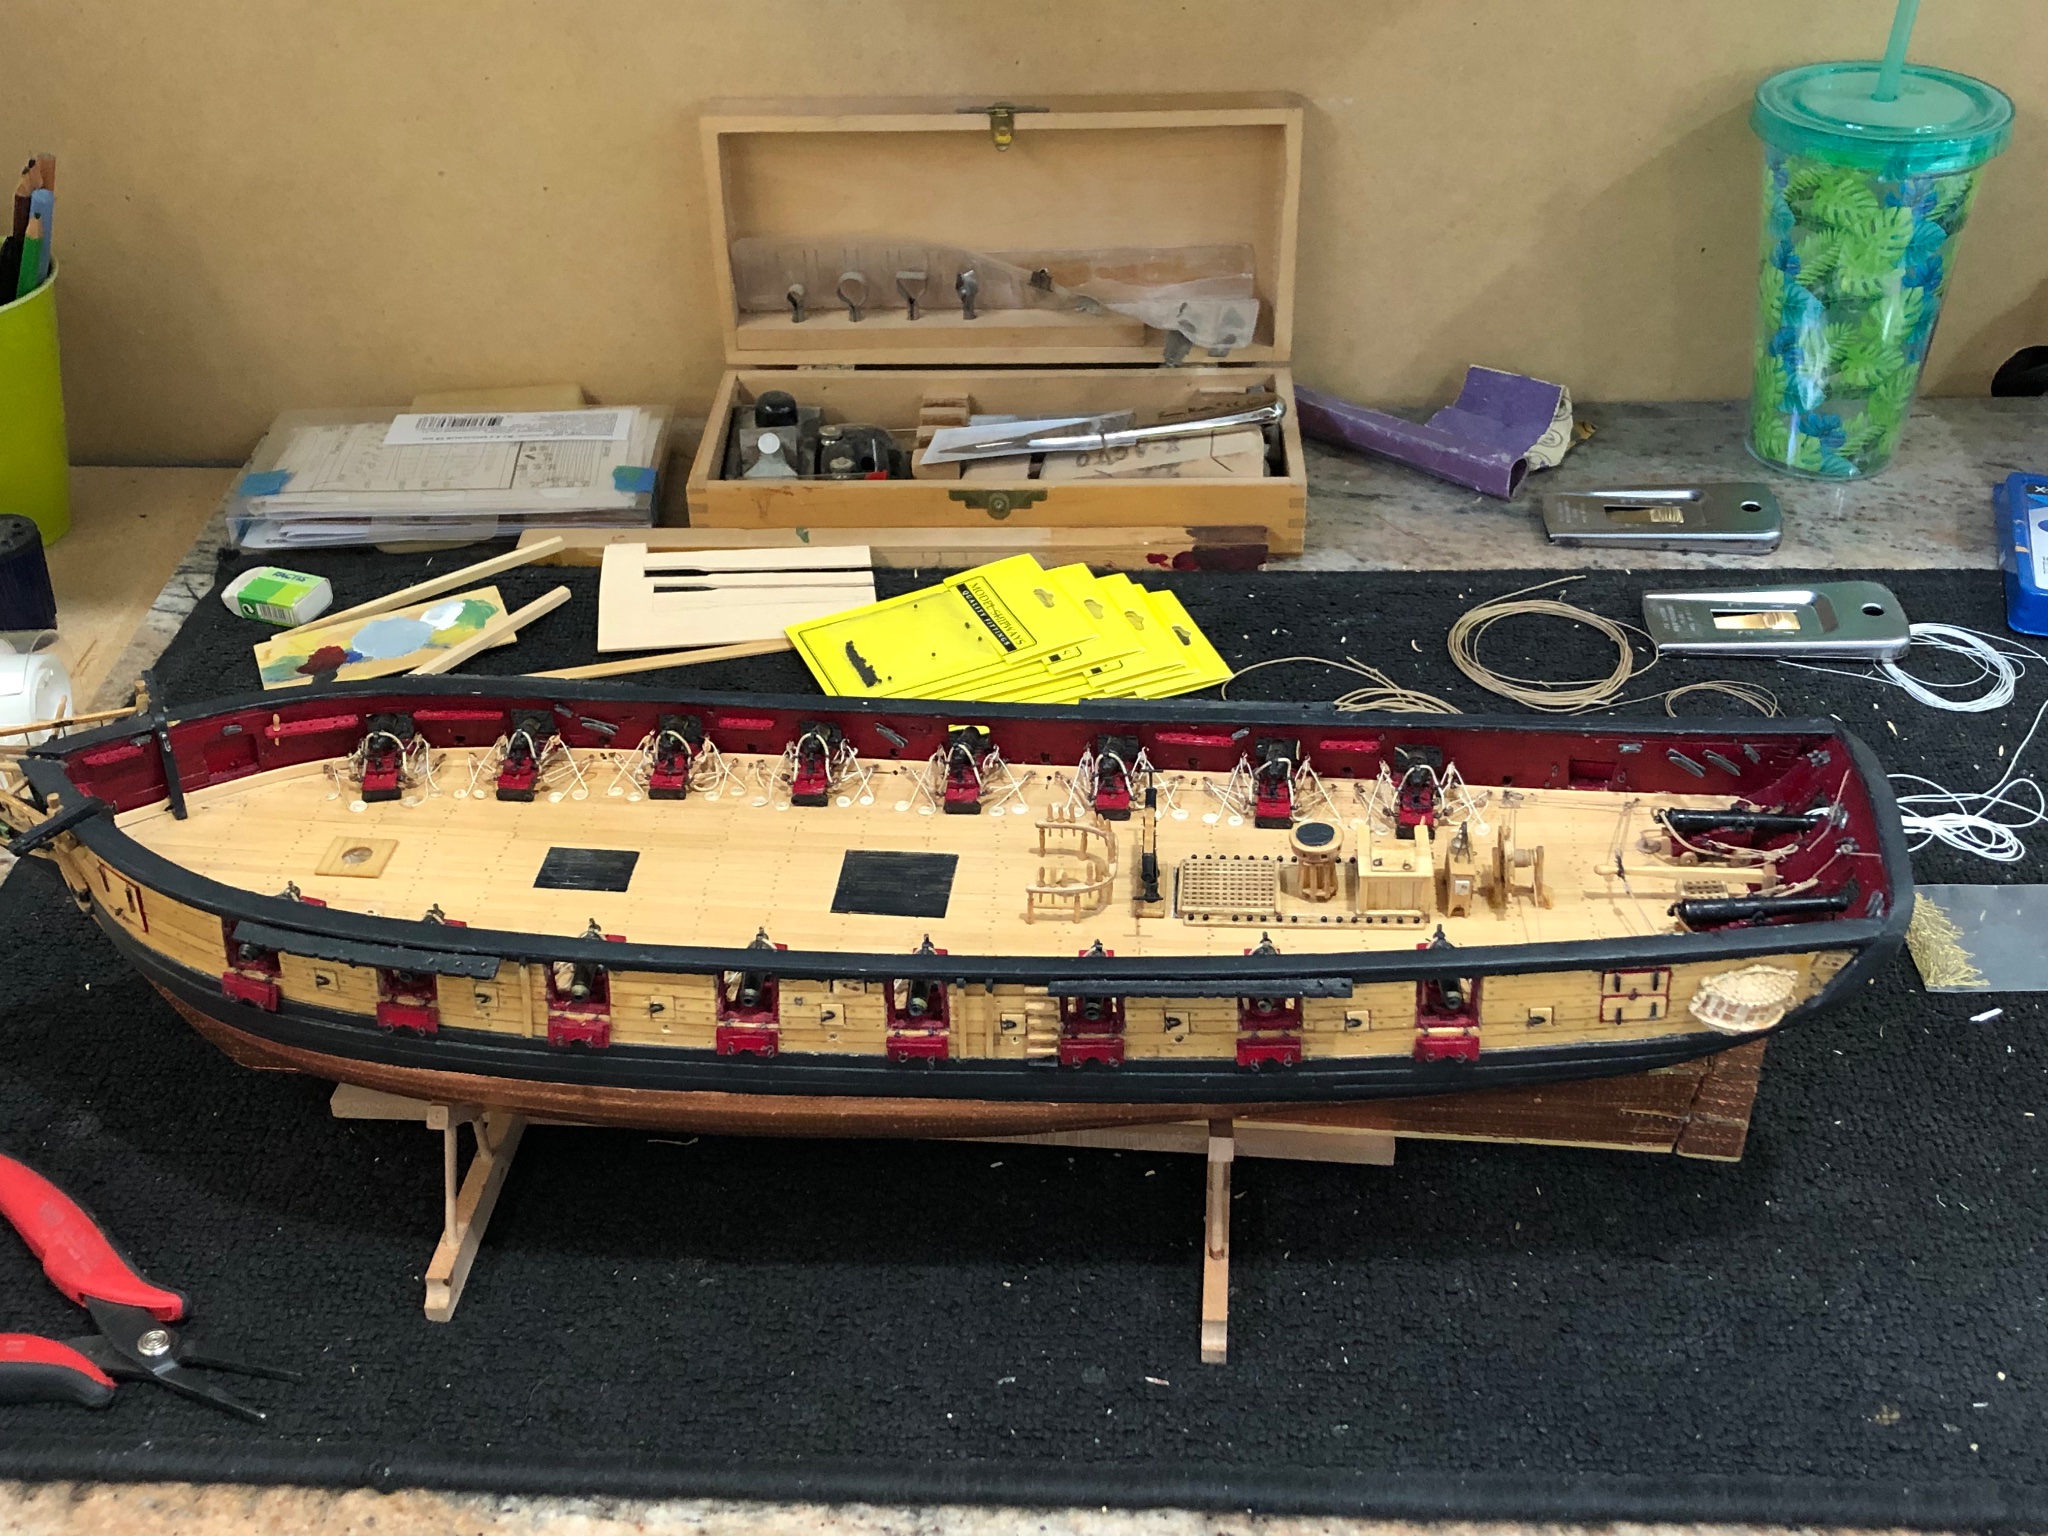
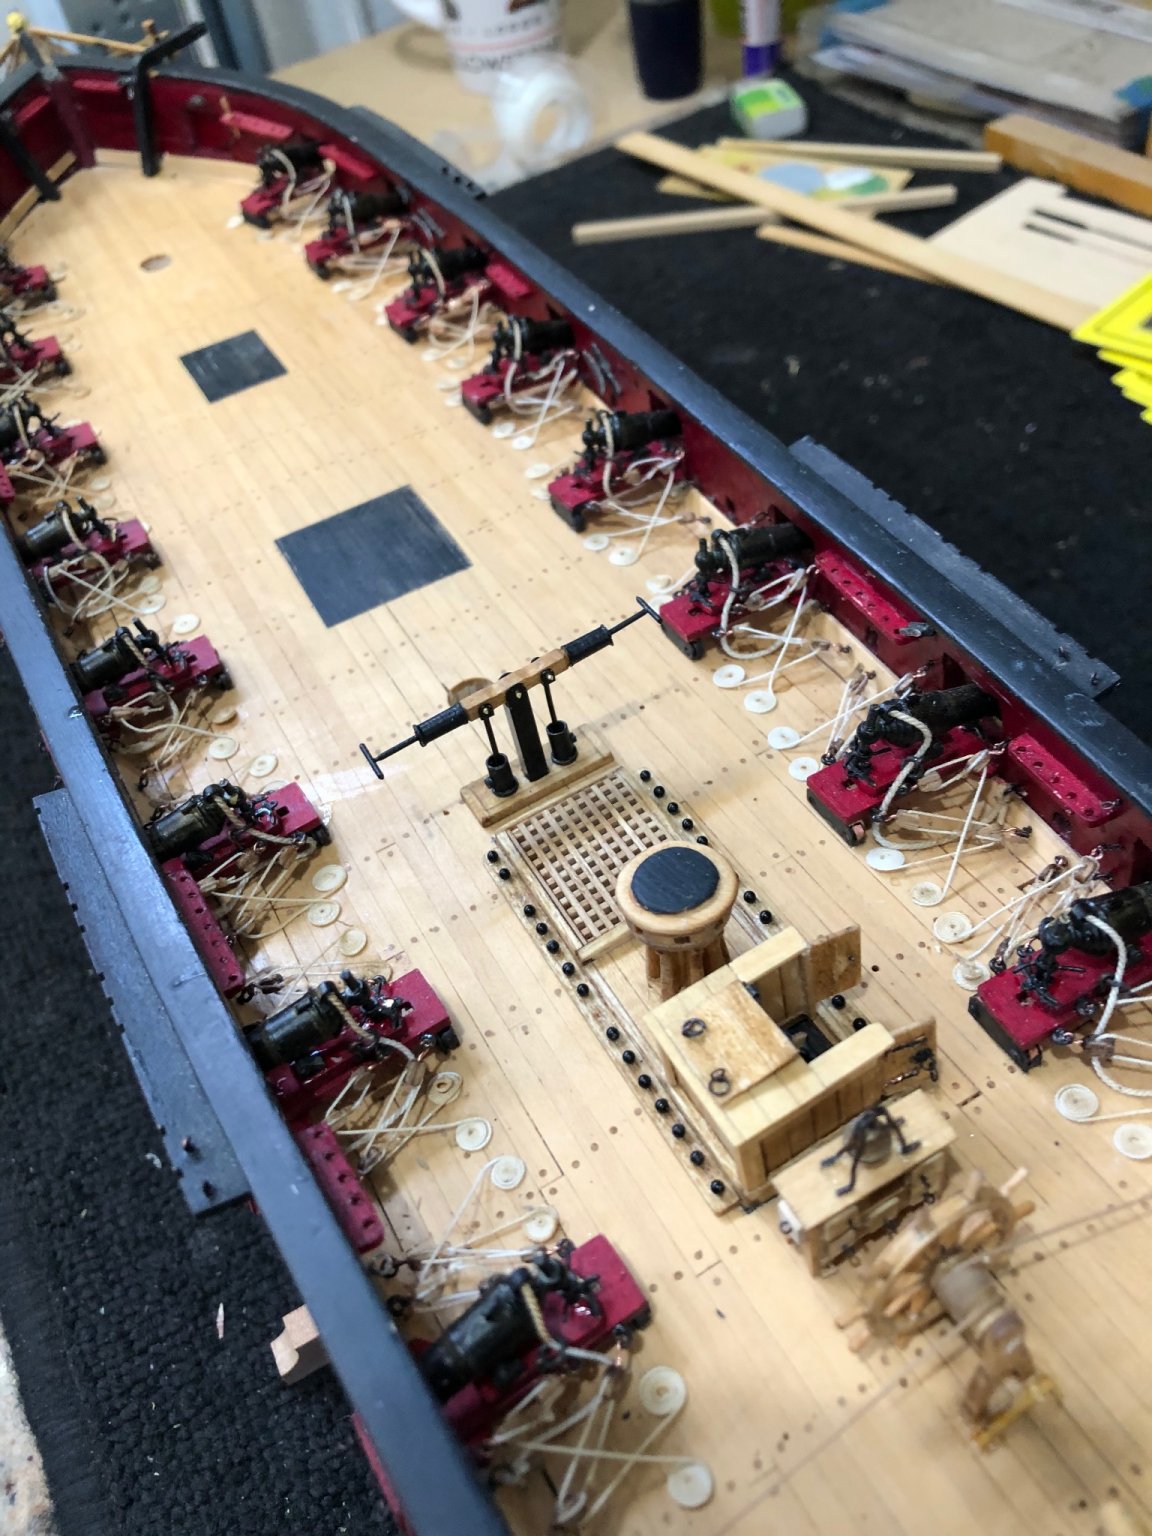
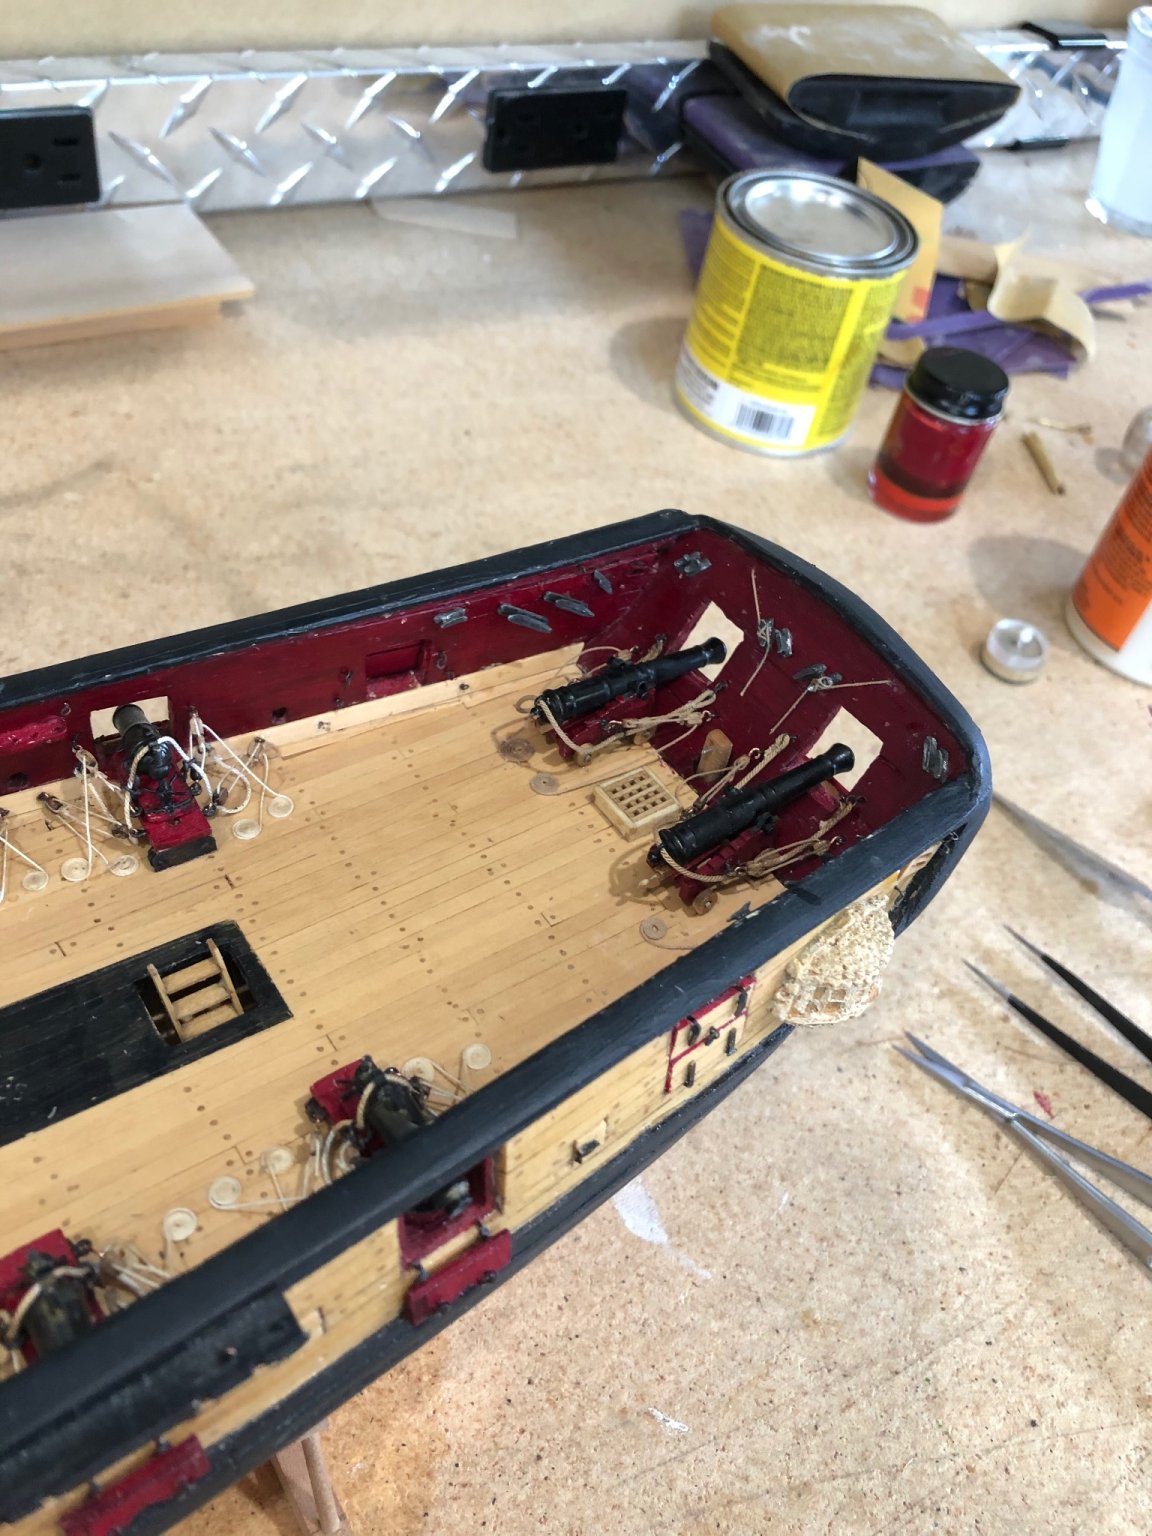
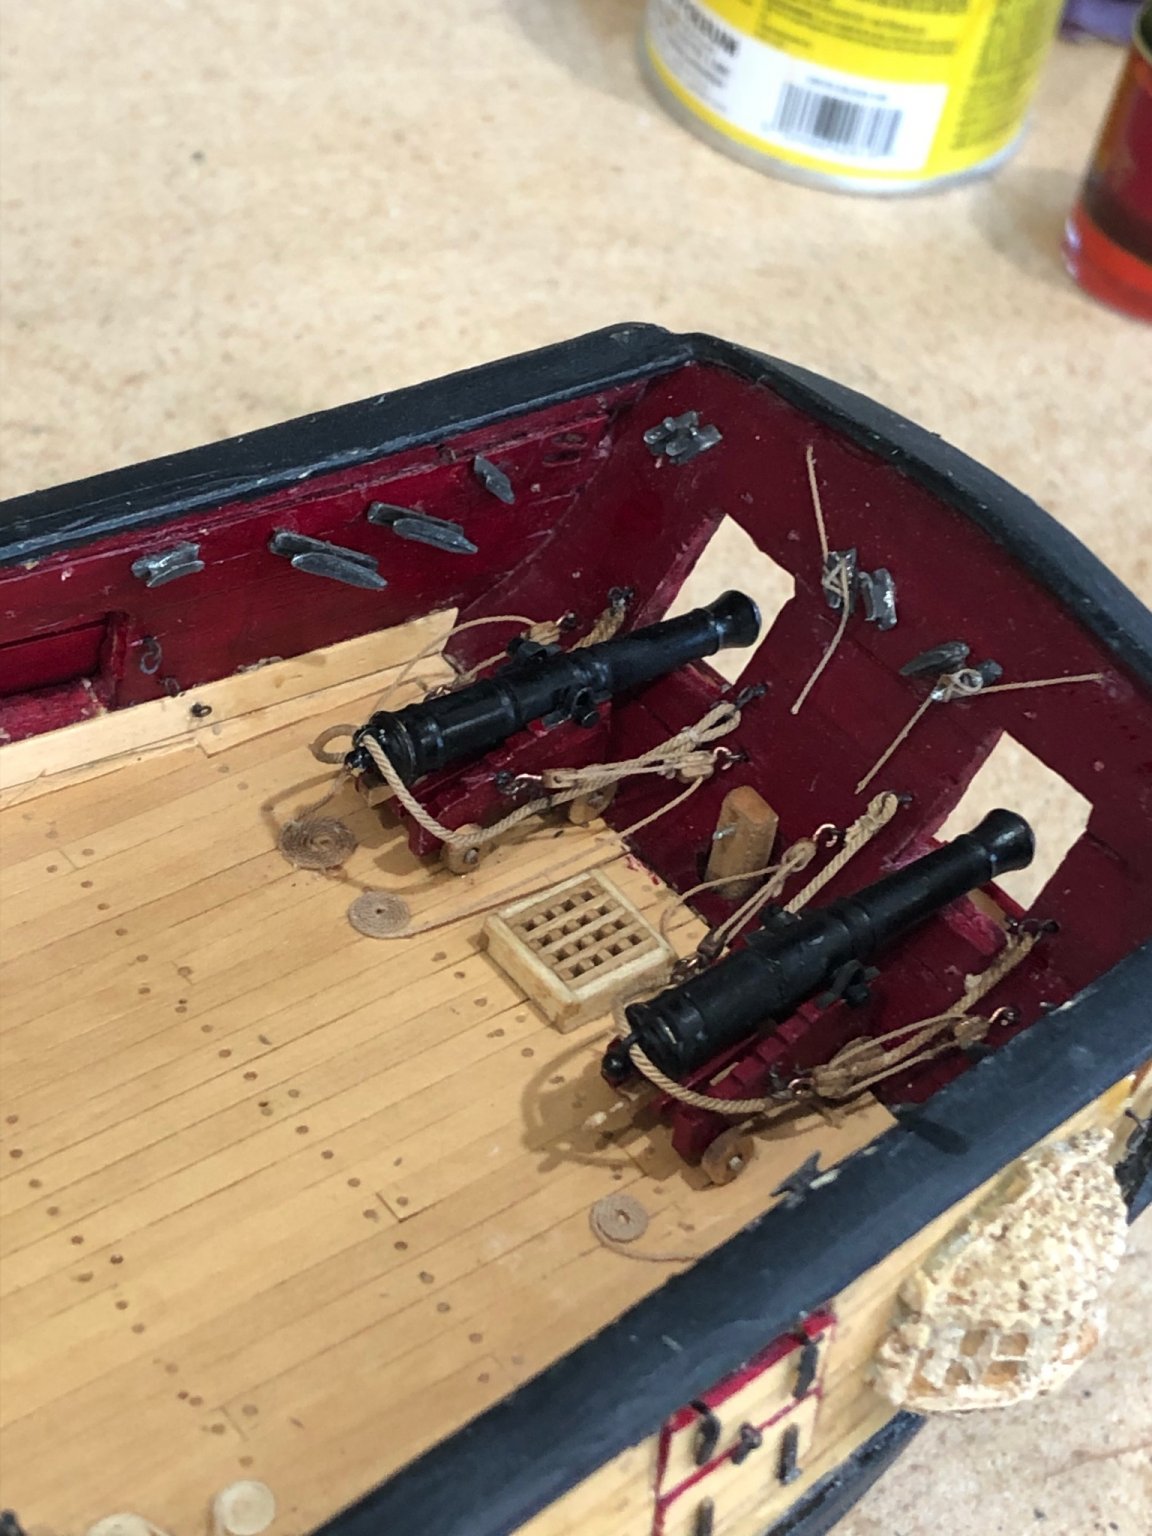
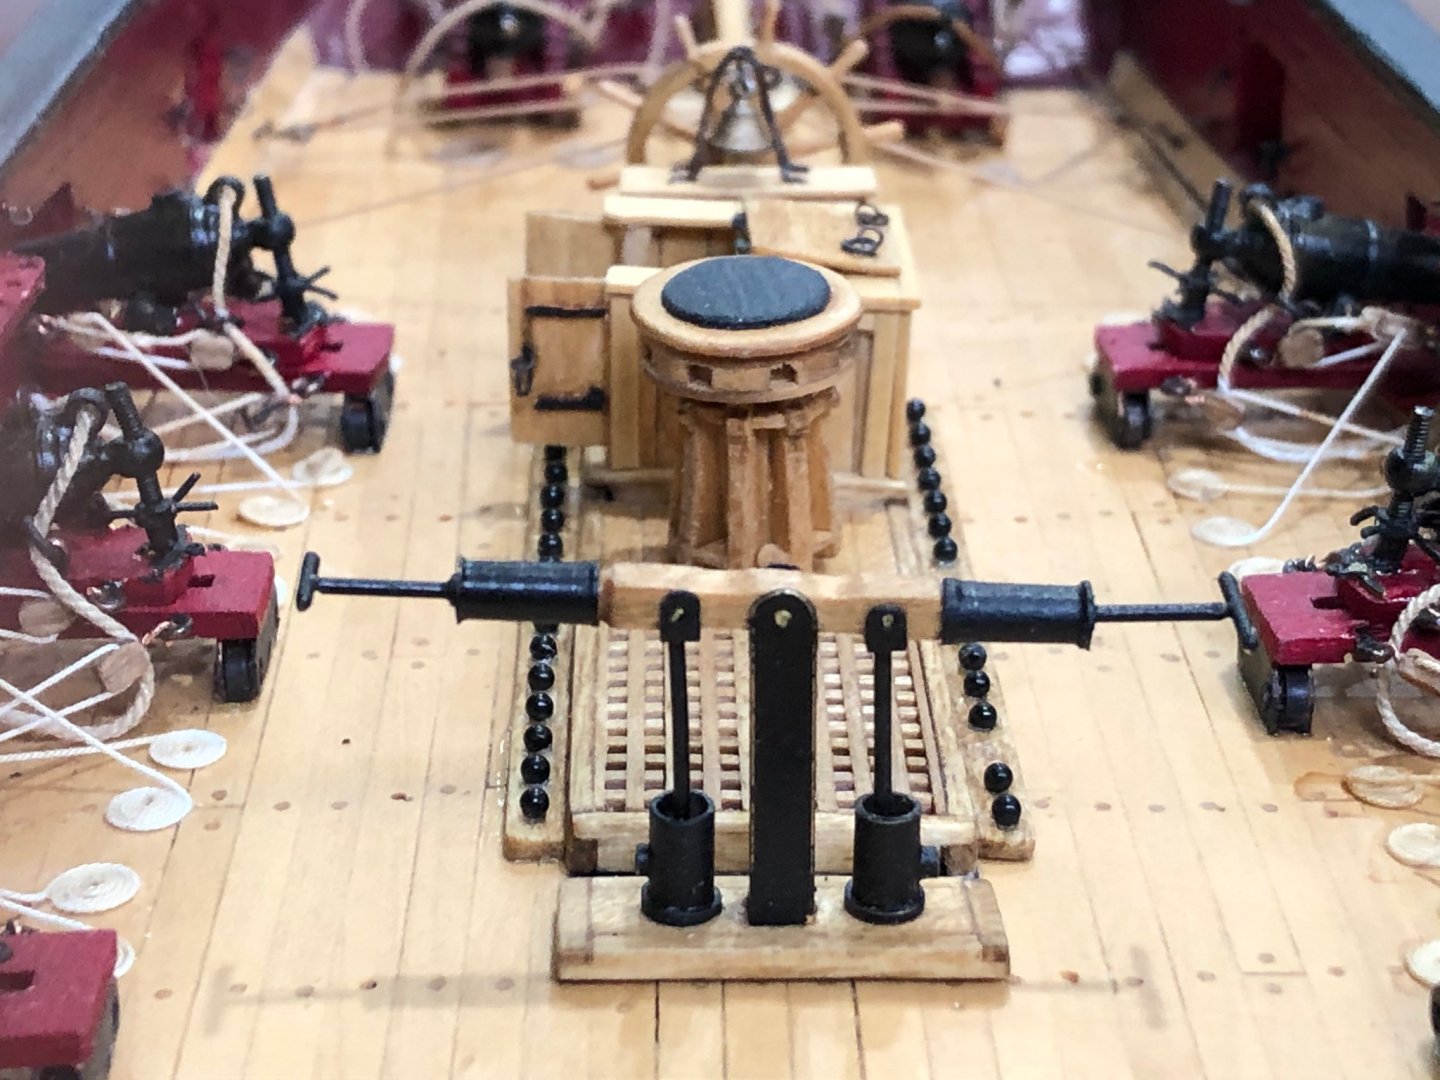
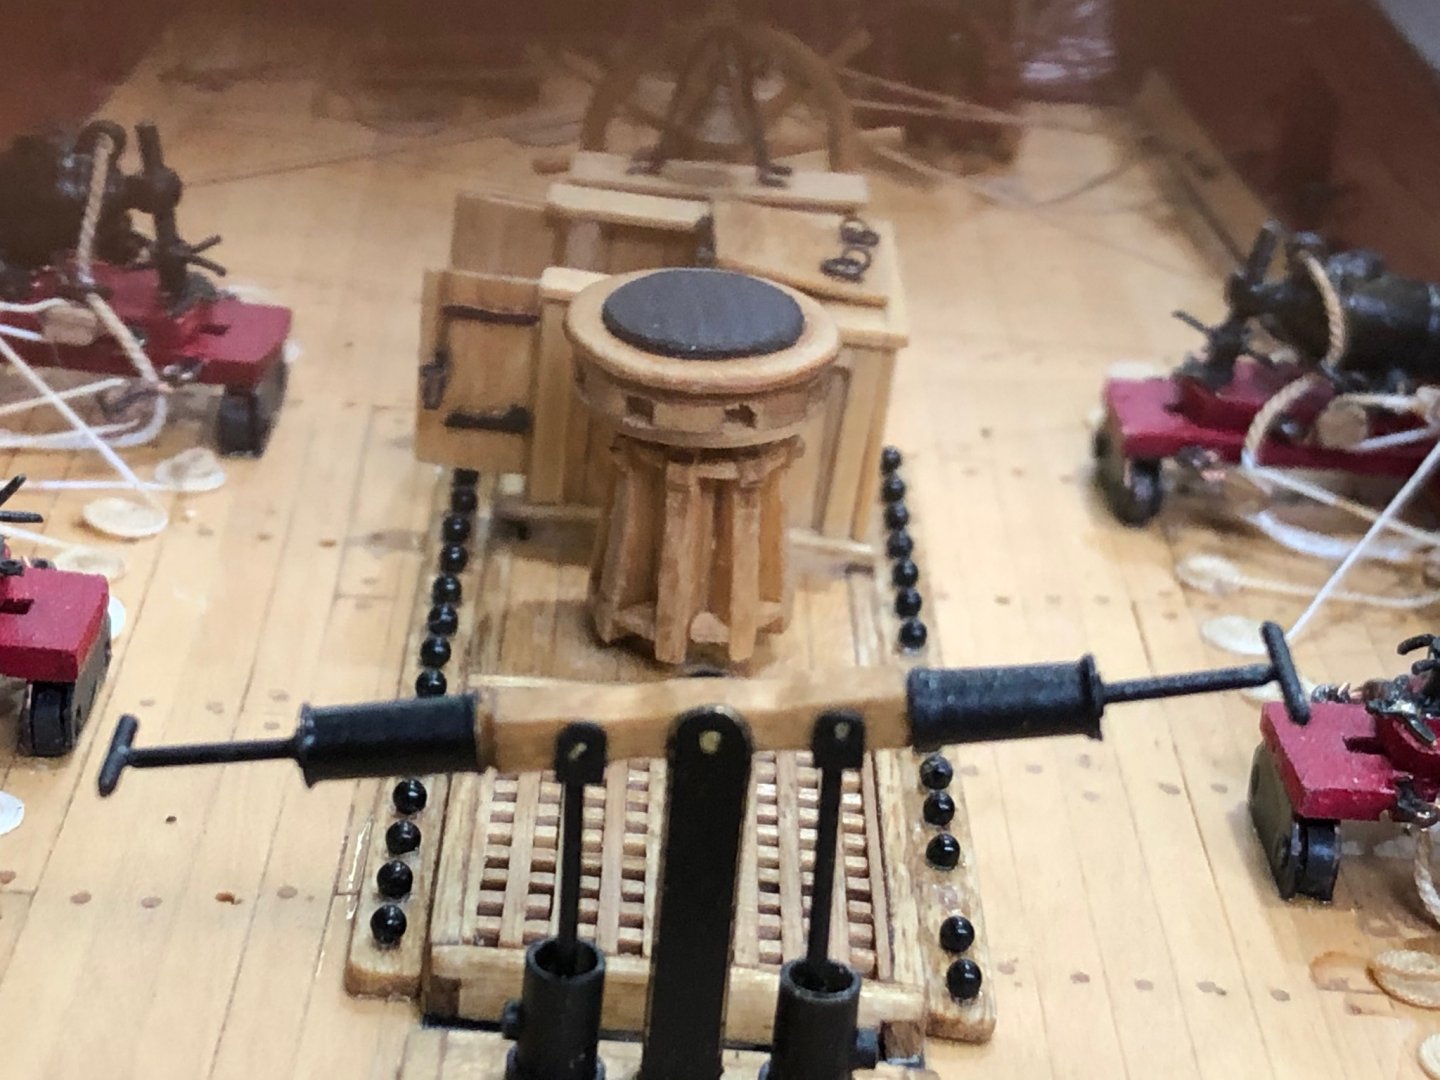
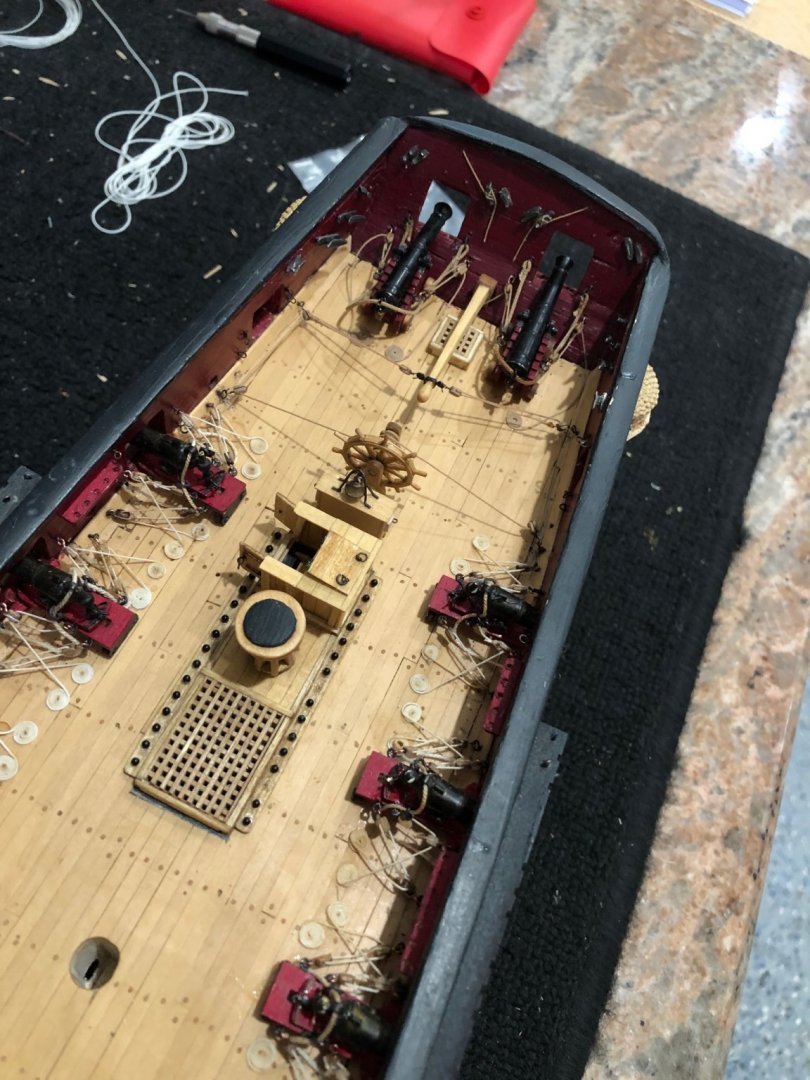
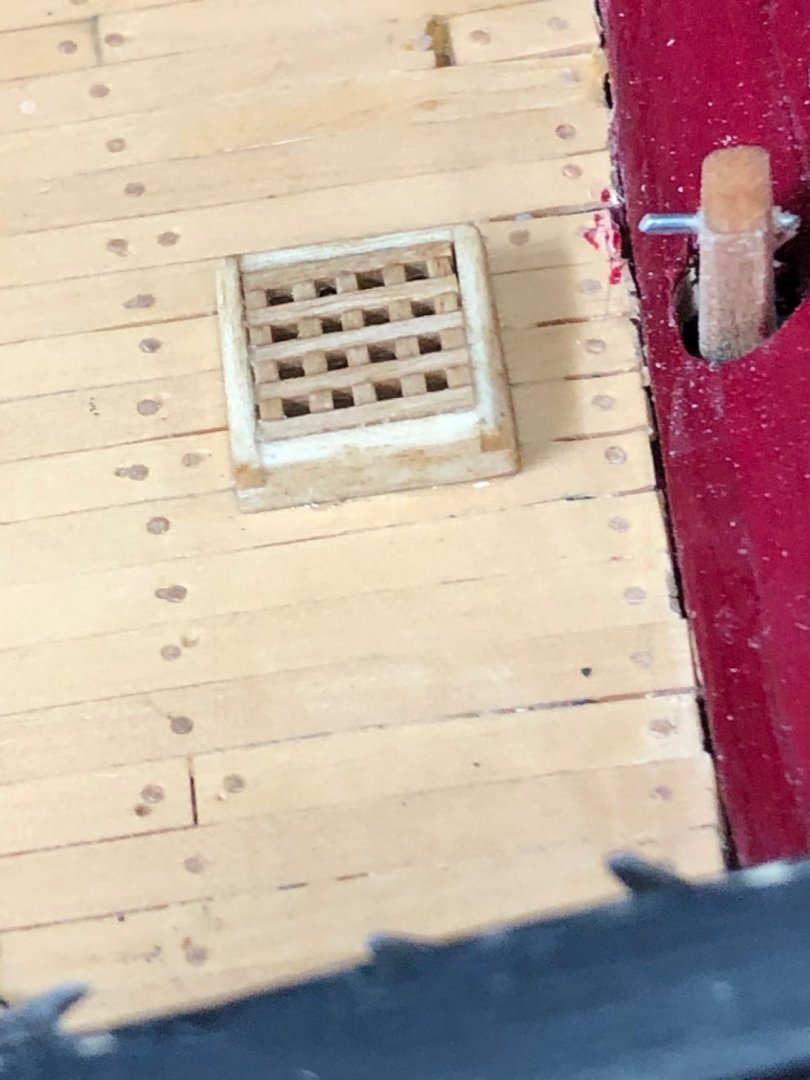
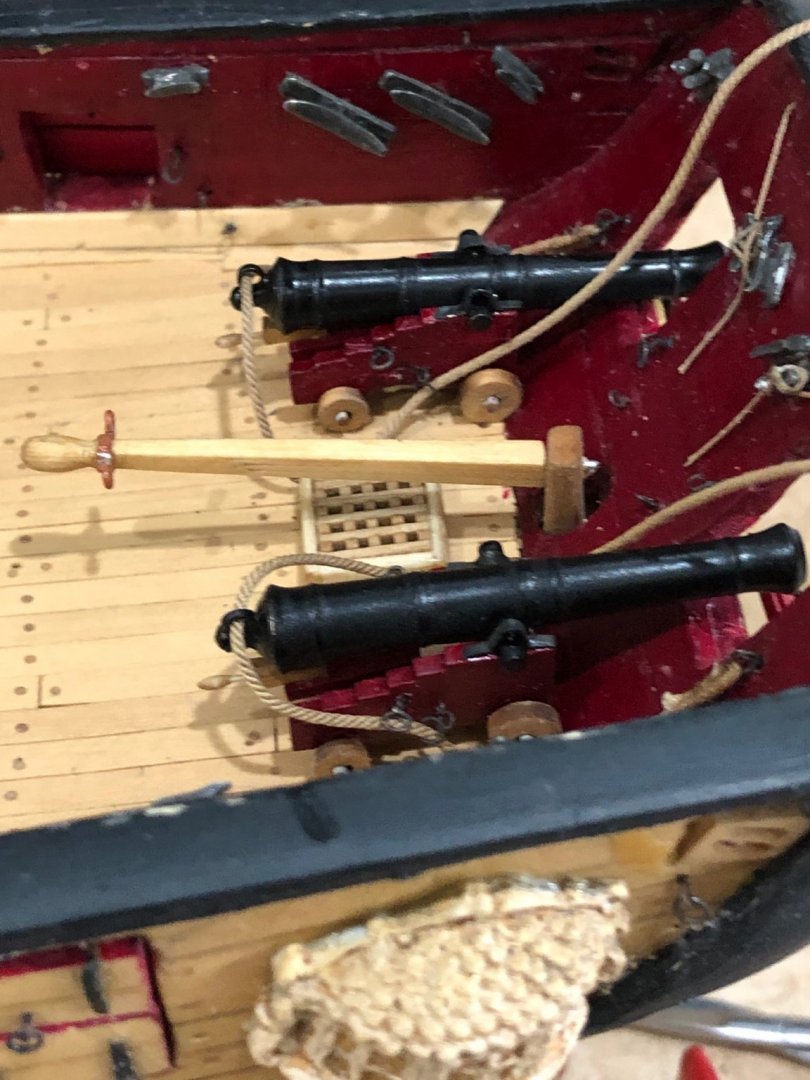
Thanks for all the looks and likes. 😀 Good couple days of work finally finished cannons and associated items. Got the crate, tiller and rings, carriages painted, wheels mounted, quoins glued, cannons mounted with caps and the rigging complete. After rigging steering it is on to starting the pumps and then on to chapter 13 and hopefully a lucky chapter 13. First was to finish the grating clearing the way to work on the cannons. Next was the tiller and rings The tiller was made from a 1/8" by 1/8" yellow cedar and carved to shape and as Chuck suggested I made it thinner that the drawings. I made the rings mounting with a hammered flat 22awg bare copper wire and soldered the two rigging rings. A stainless wire holds the tiller in position waiting to be stained, painted and glued. Deck furniture placed to show how everything will fit. Tomorrow to rig the steering ropes and then on the pumps. Stay Well and Stay Safe Will


-
Nice work on the yards and again the footrope droop is excellent. Stay Well and Stay Safe Will
- 950 replies
-
- 4
-
-
-
- syren
- model shipways
- (and 1 more)
-
These are great. Stay Well and Stay Safe Will
-
Thanks John much easier to see the details. So this like a heater not a cooking stove, is that correct? It looks really good I like the door and handle Stay Well and Stay Safe Will
-
Great job the shackles look great. And a great big thank you for the drill bit info and link. Do you have a photo of the stove without the light glare? It looks great but Its hard to see all the detail. Stay Well and Stay Safe Will