GrandpaPhil
-
Posts
6,161 -
Joined
-
Last visited
Content Type
Profiles
Forums
Gallery
Events
Everything posted by GrandpaPhil
-
Help with tapering
GrandpaPhil replied to N1ckel's topic in Building, Framing, Planking and plating a ships hull and deck
Yes, and stealers. I used them on my Revenge and they looked really good. It seems really difficult, but after the first few, it gets easier. -
I made mine 1 mm thick.
-
I typically use an overhand knot.
-
1/16 inch basswood makes excellent planking material. If you are in the United States, it can be found pretty cheaply in the woodcraft sections of Hobby Lobby or Michael’s, along with most hobby shops. I have seen it at hardware stores such as Menard’s and Lowes too.
-
I’ll vouch for the Shipyard and Seahorse kits. They are excellent! Also, I recommend checking out Ab Hoving’s most excellent card modeling from scratch tutorial: That tutorial got me started on card ships. I have finished four of them now.
-
I just got an email flyer from @OcCrediscussing the Great Eastern. Are they making a kit of the Great Eastern? That would be very cool if they did, since the Great Eastern is a popular topic.
-
Congratulations! Very nicely done!
- 87 replies
-
- 5
-

-

-
- King of the Mississippi
- Artesania Latina
- (and 2 more)
-
Will this be for a fully rigged model?
-
Thank you very much, OC!
-
Ahoy from Southwest Arizona
GrandpaPhil replied to CaptainBlackbeard's topic in New member Introductions
Welcome! -
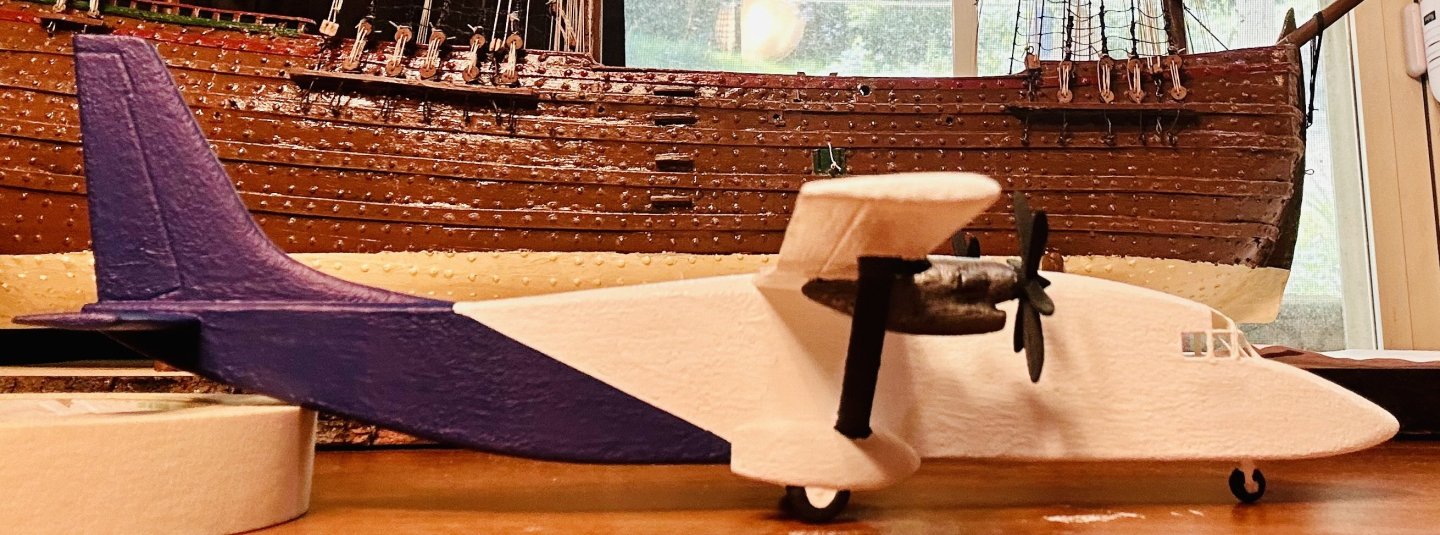
And done: I didn’t weigh down the nose because my friend is going to hard mount it to his own base.
- 15 replies
-
- 13
-
-

-
Bob, Gnomer is doing amazing work! Your King of the Mississippi is looking great!
- 87 replies
-
- 2
-
-
-
- King of the Mississippi
- Artesania Latina
- (and 2 more)
-
Incredible work!
-
I personally use an antique gold (nonmetallic) color for parts that would have been represented as being gold, or gilded.
-
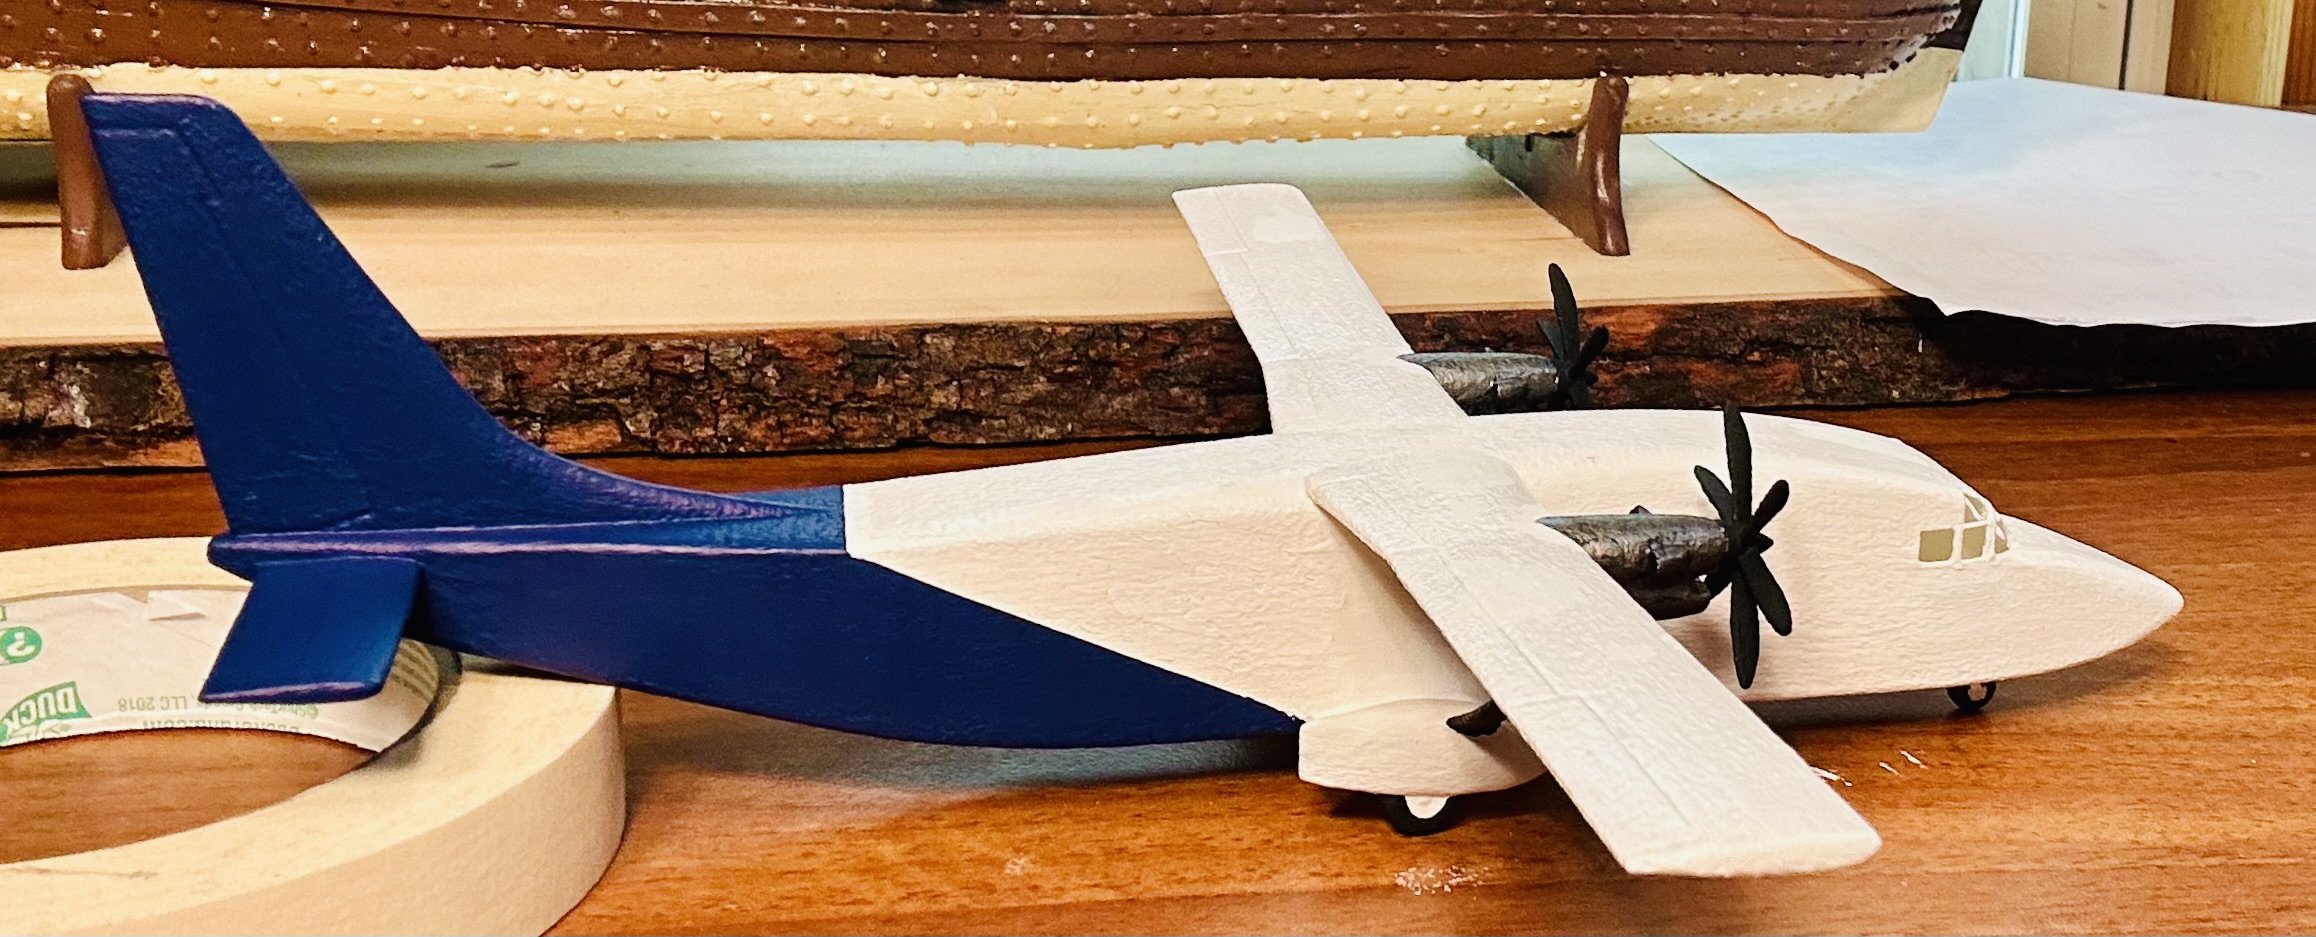
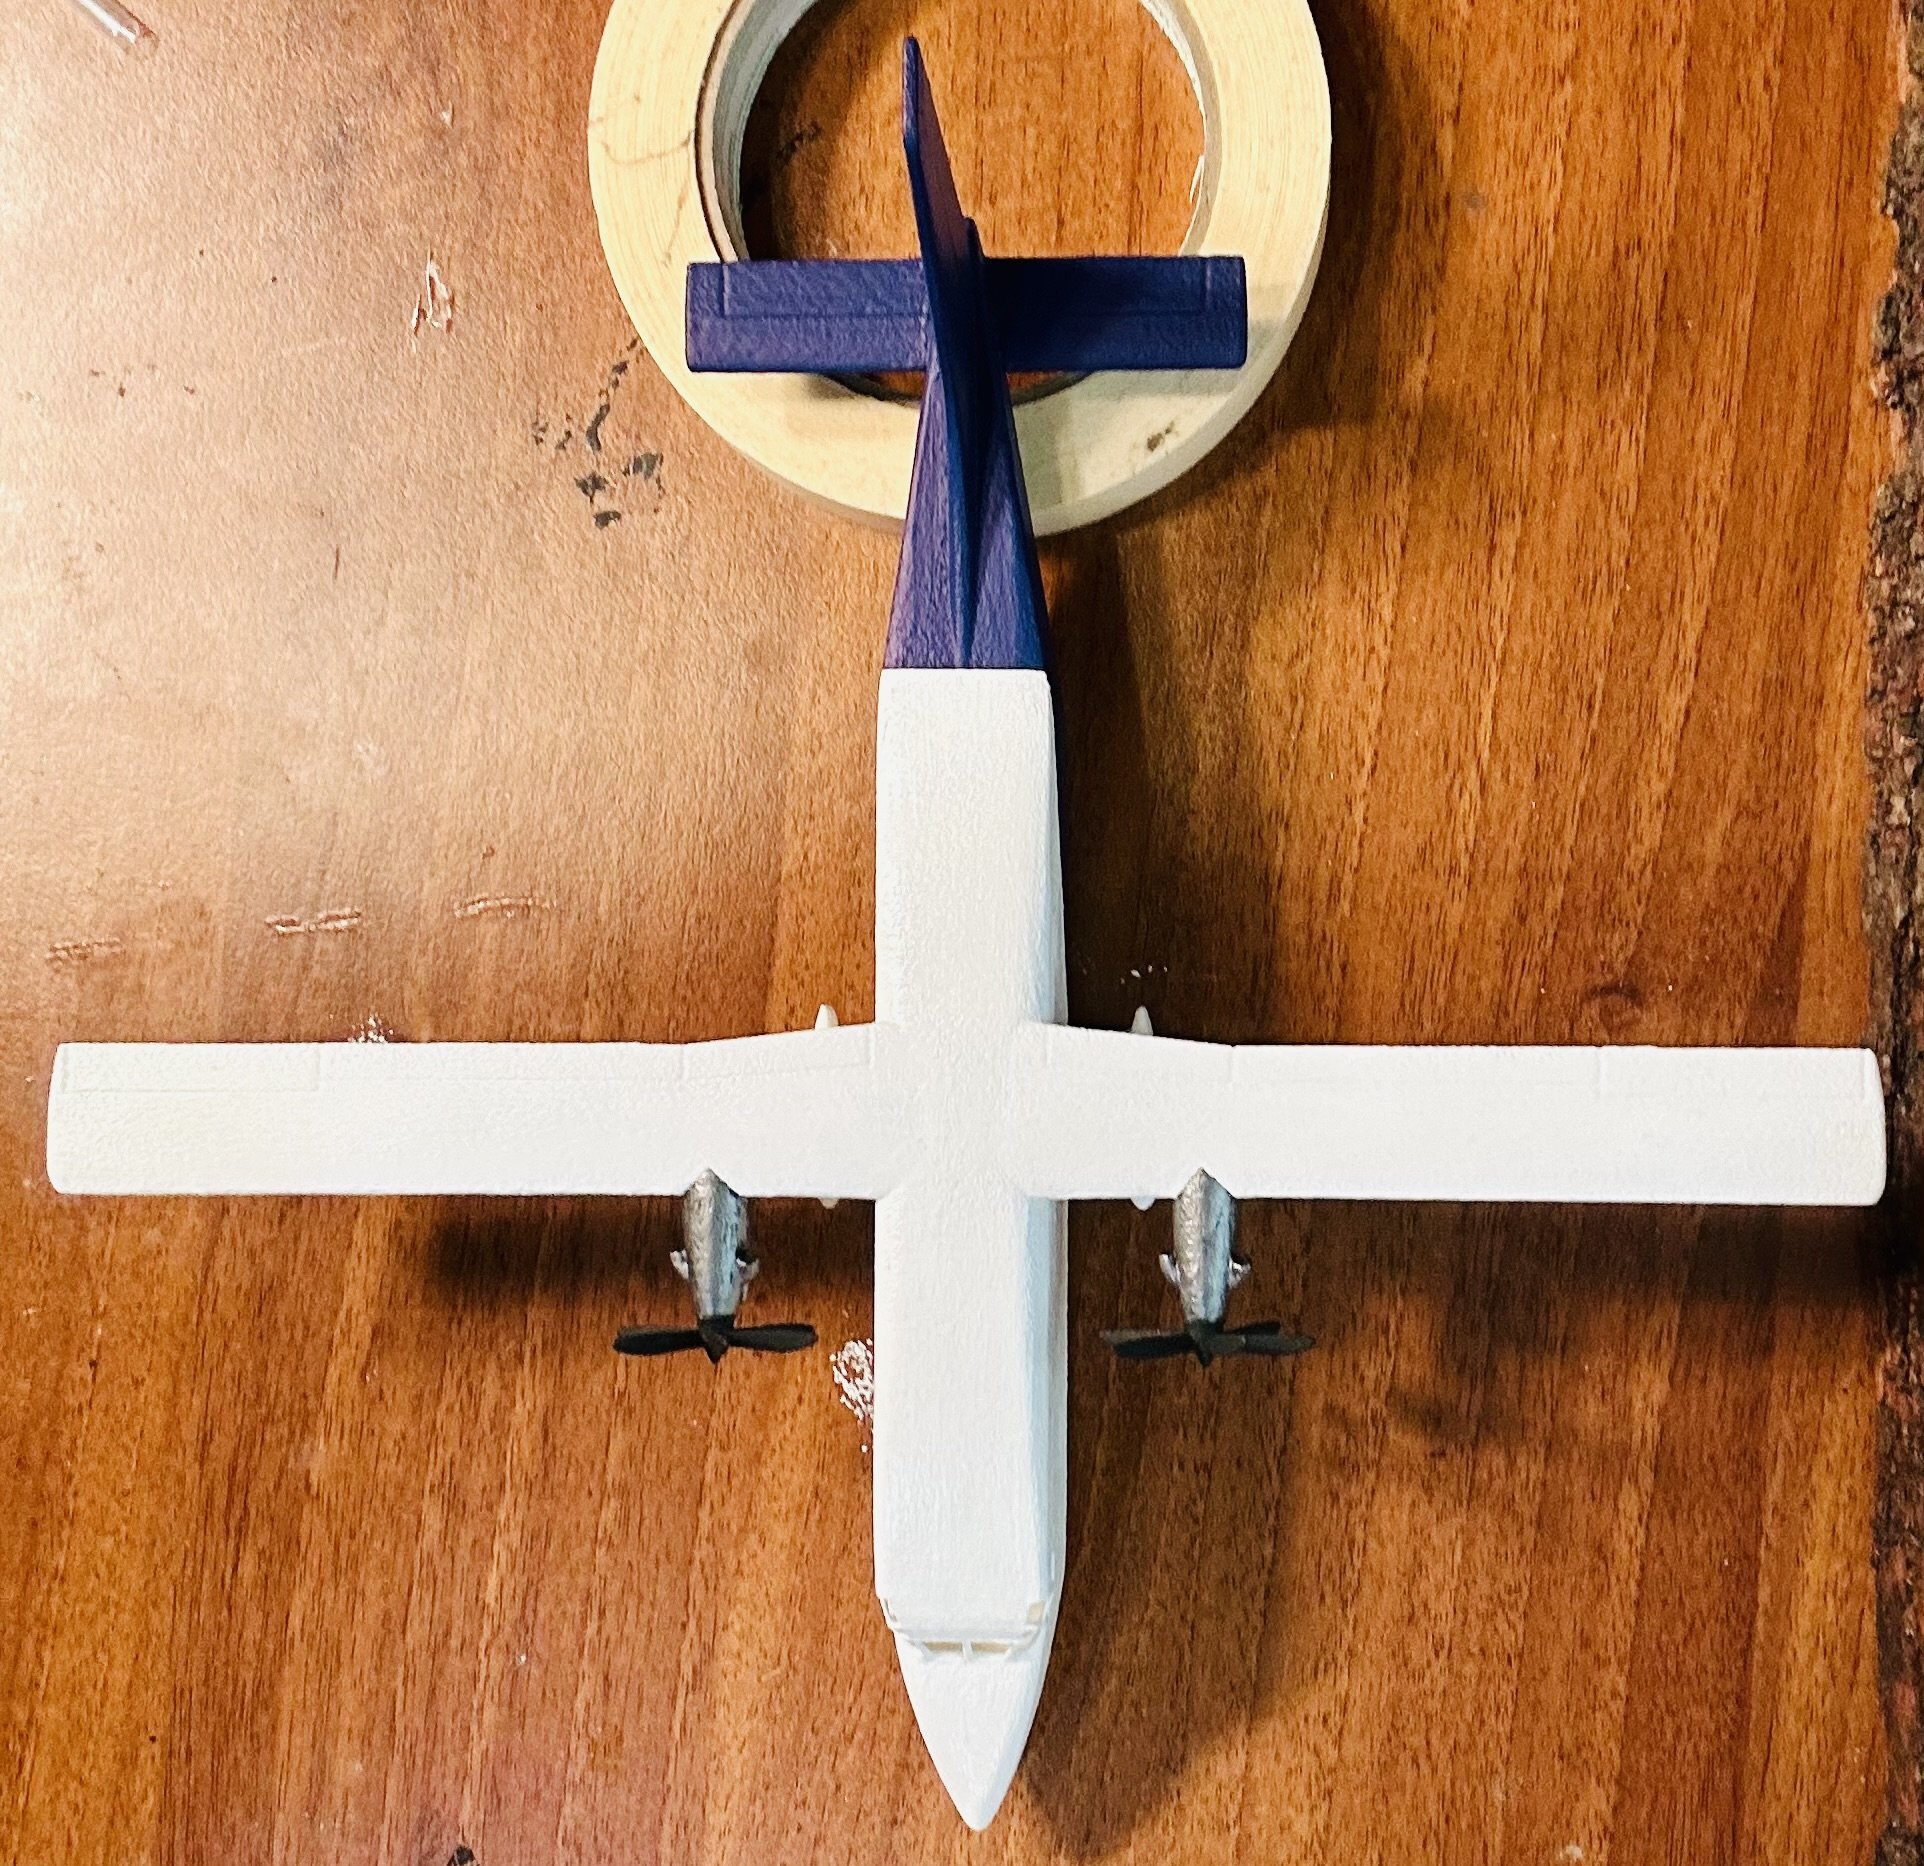
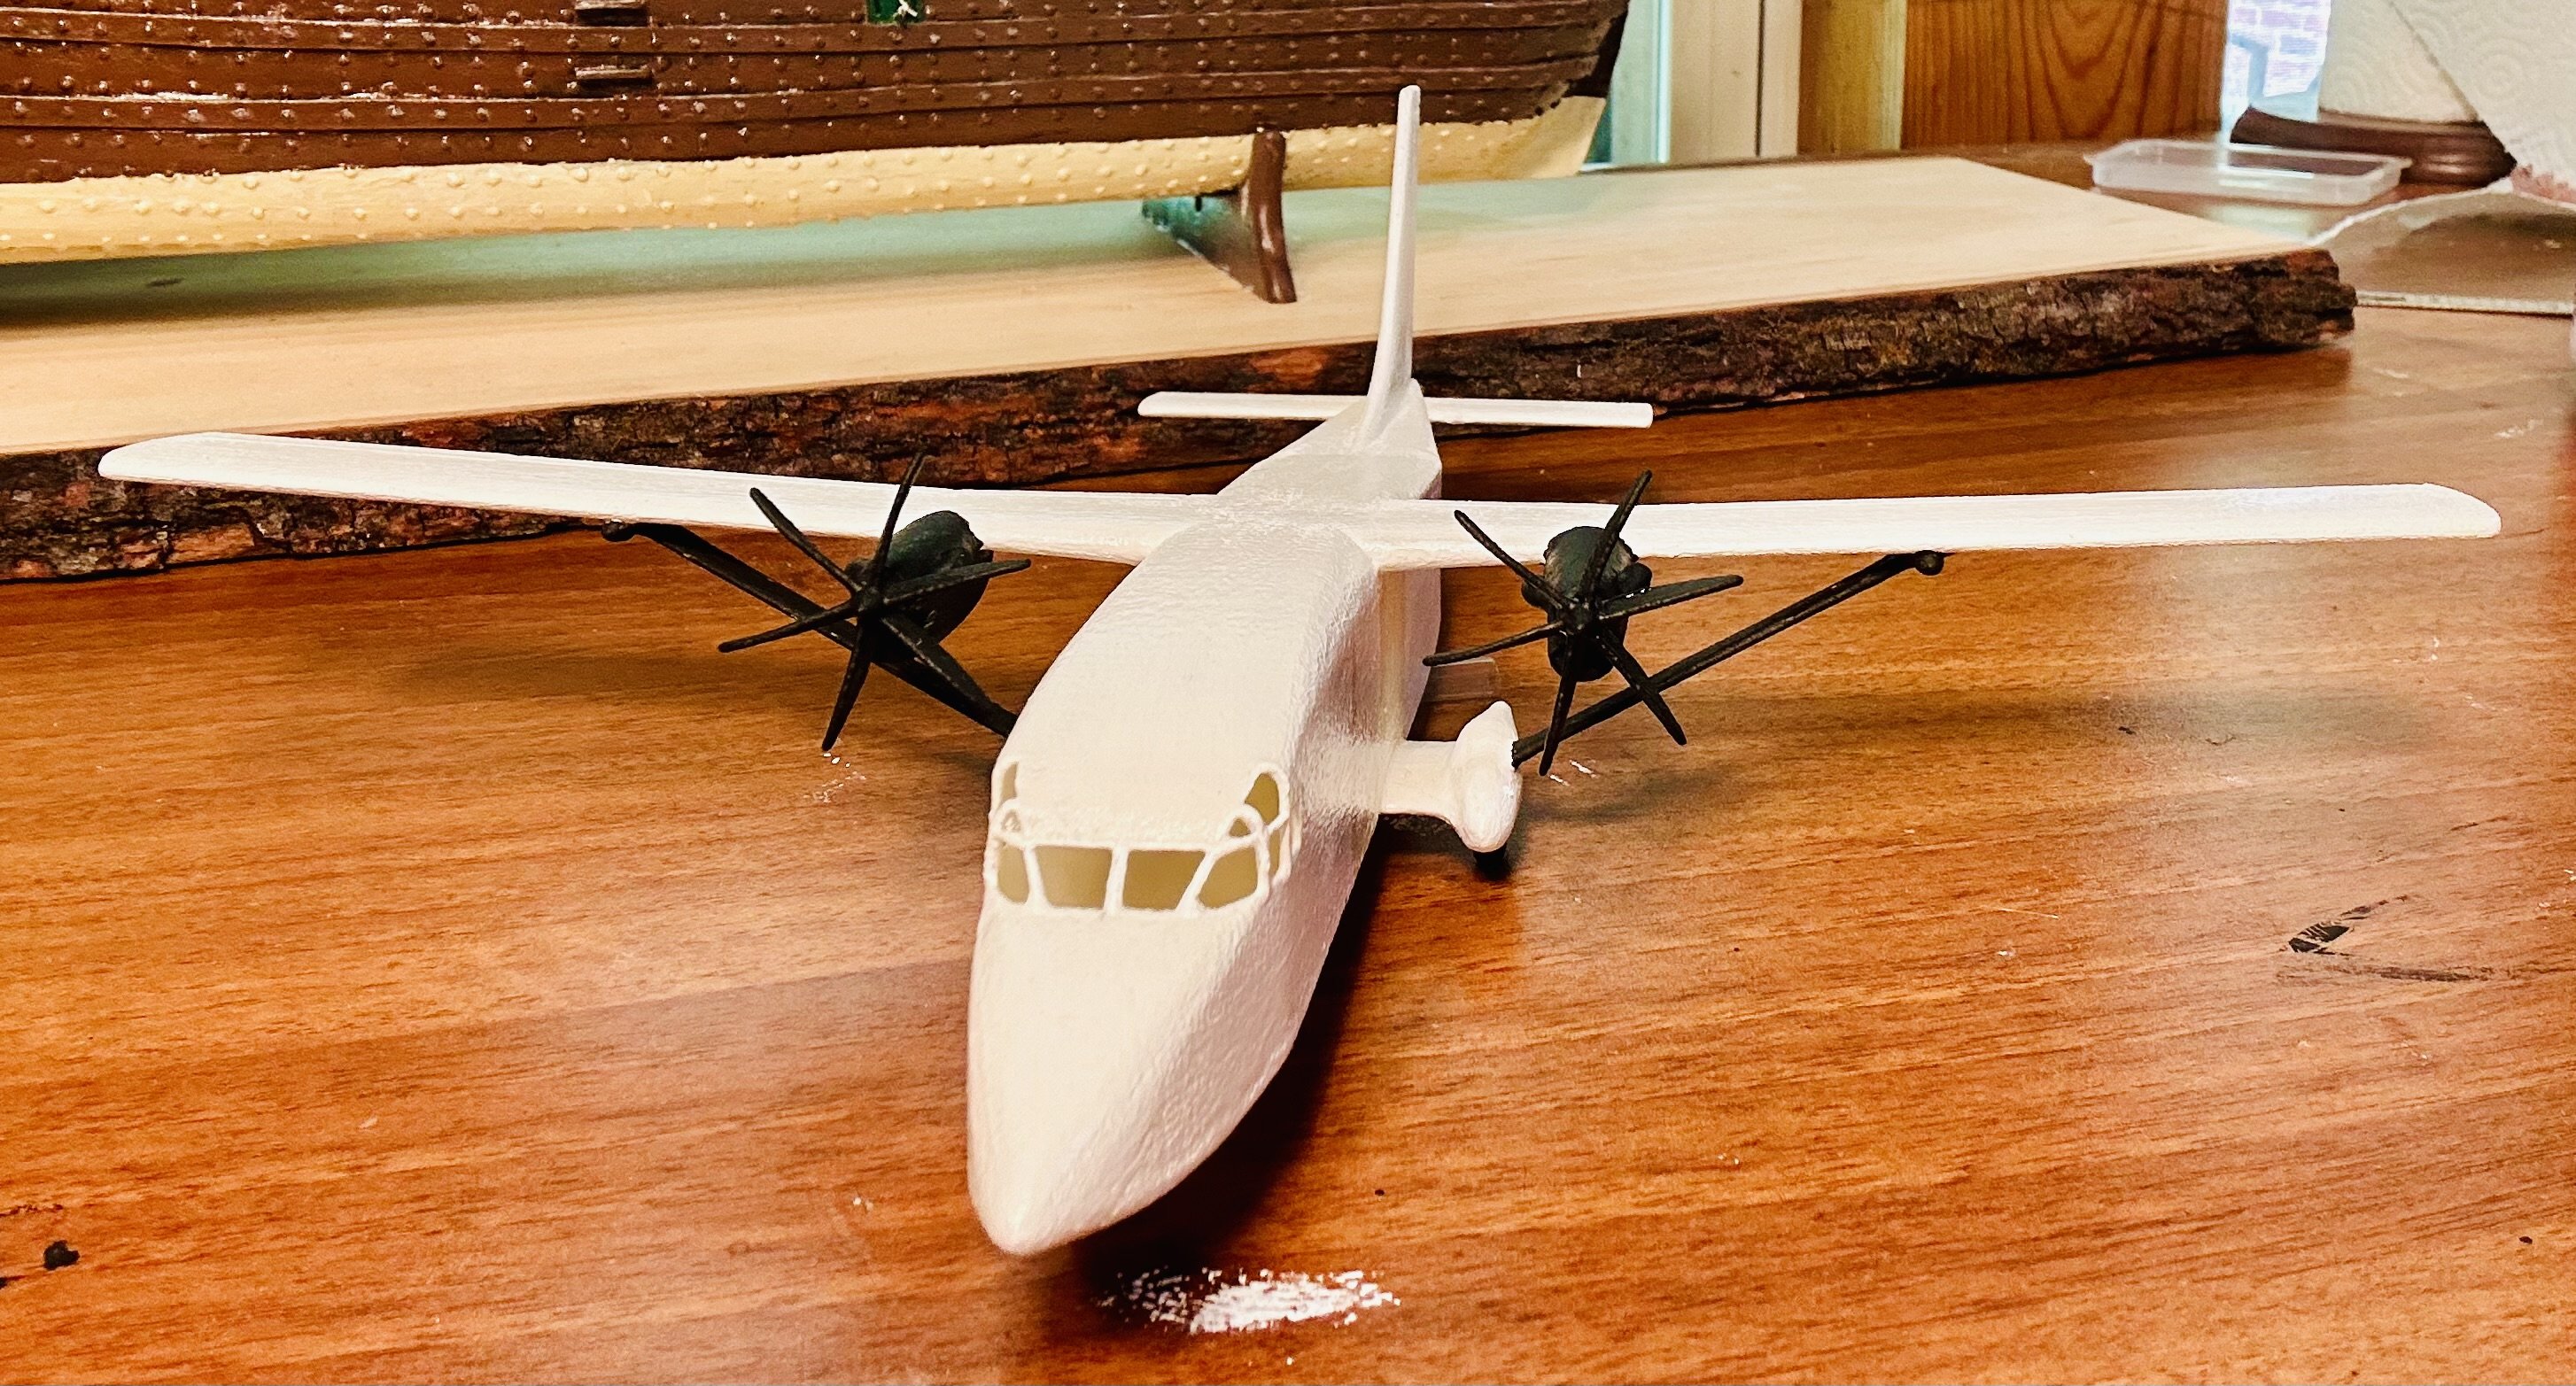
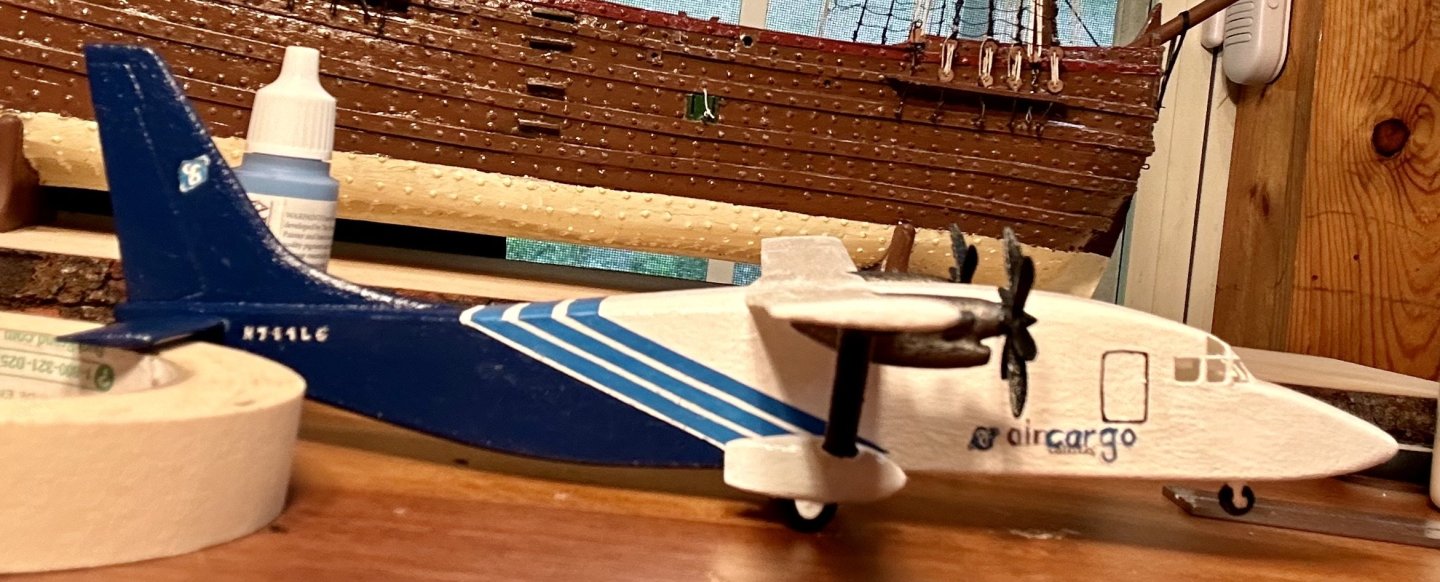
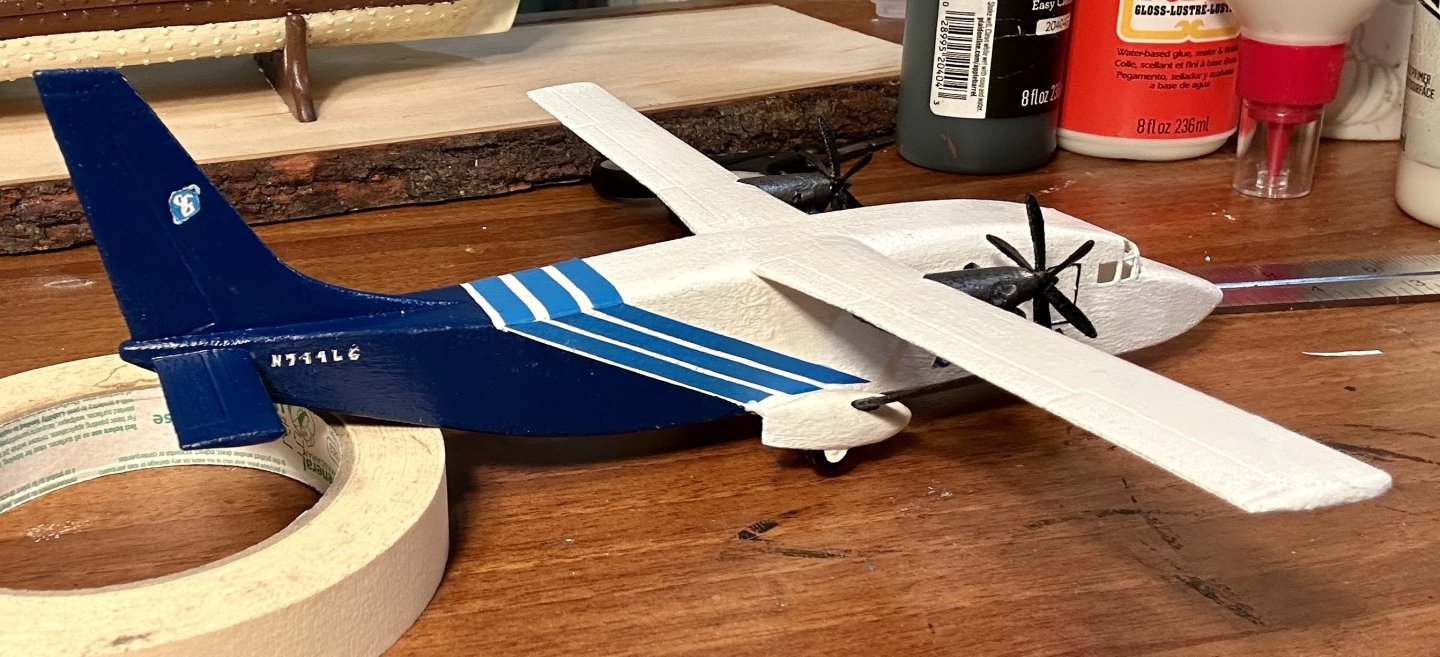
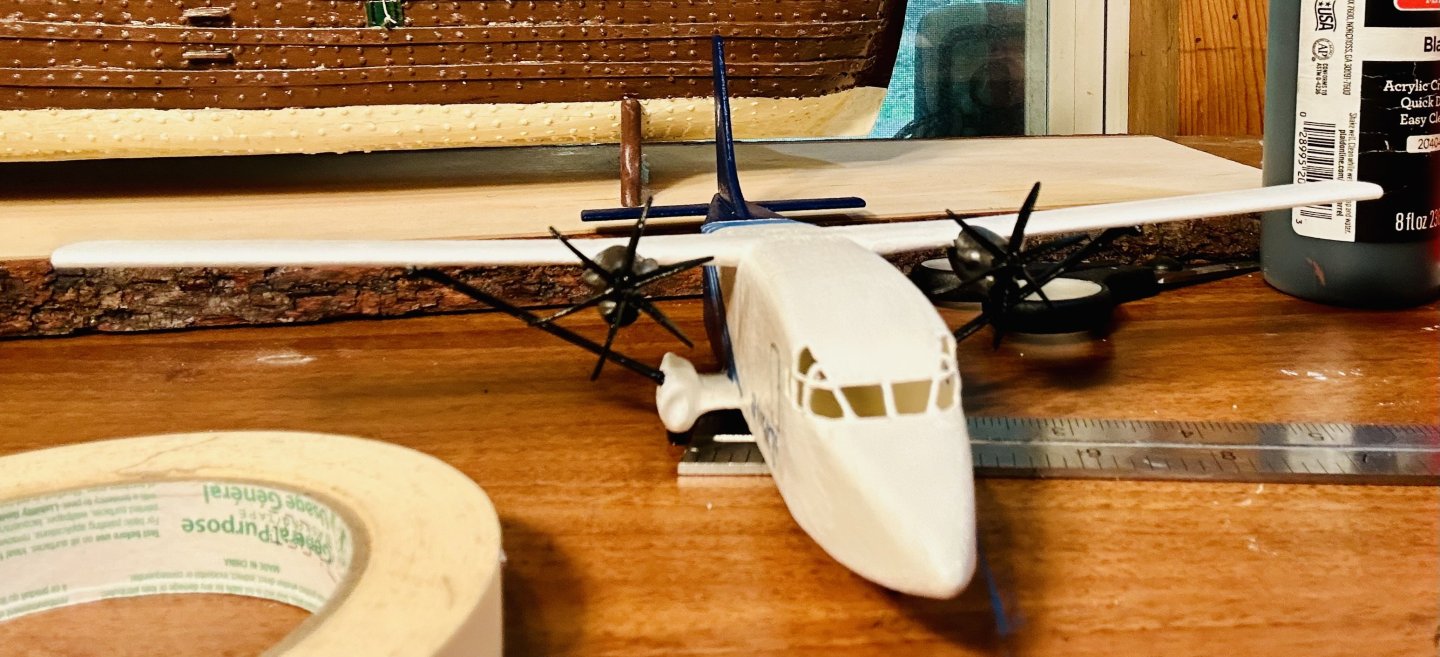
The on the model paintwork is done: Next up, I am going to seal my work in and make some “decals”. I am hand painting the “decals” on regular paper and then sealing them, prior to cutting them out and installing them. I cut some 1/8” wide strips of paper to make the stripes from. I just need to paint them and seal them prior to installation. Card modeling has been very informative for me and has helped me develop my skills tremendously.


-
Painting continues:
-
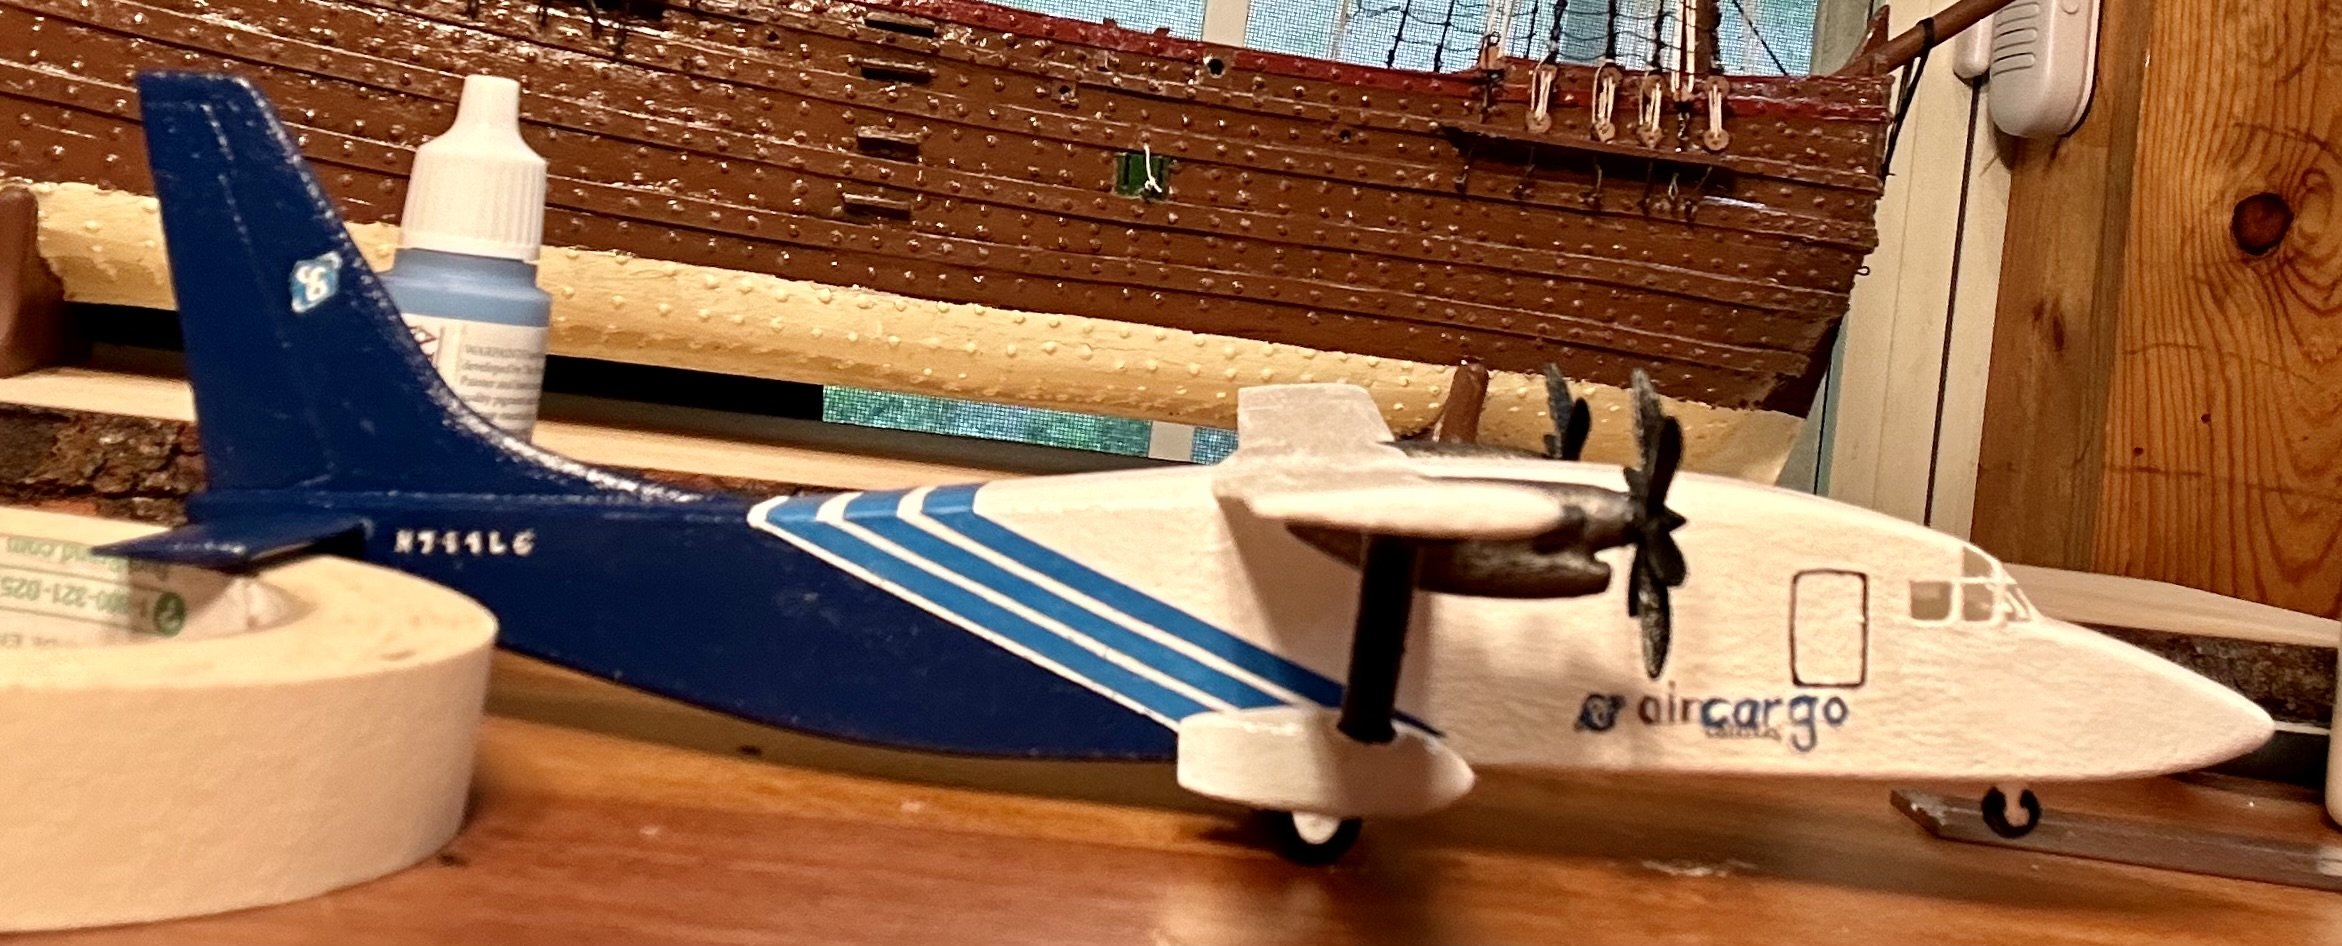
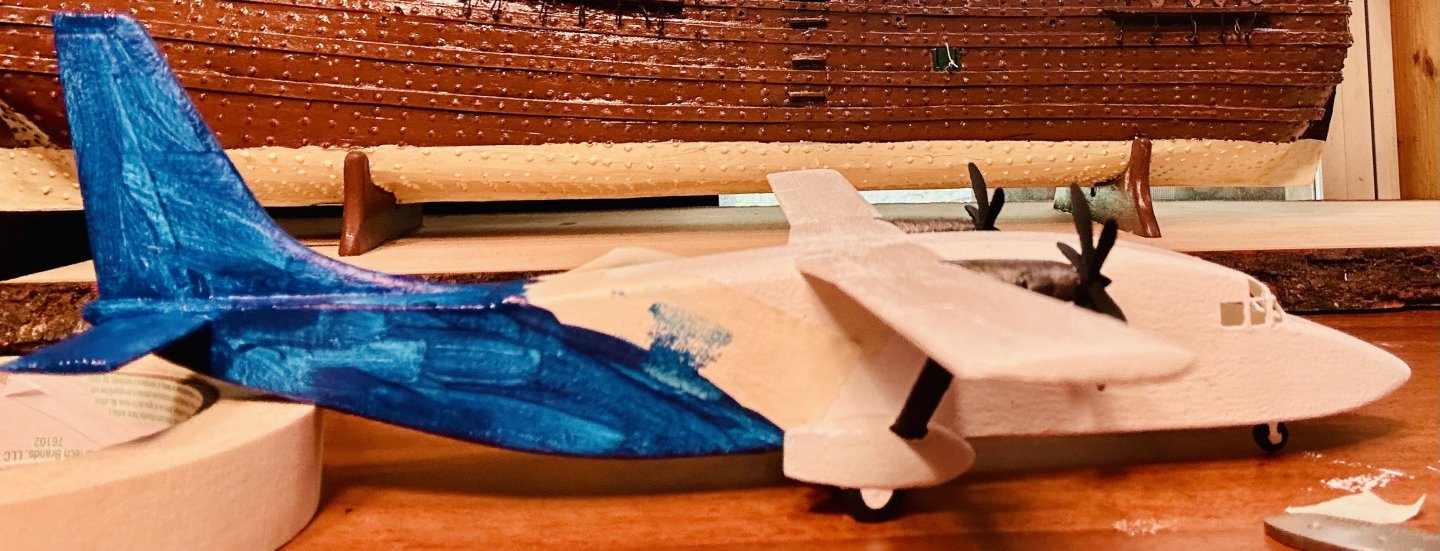
I haven’t gotten a lot of modeling done lately. I discovered the Uncharted games and have played through the first two games. I’m half way through the third one now. I picked back up on this one: The wing supports and props are painted. The engines are base coated and are awaiting drybrushing with a gunmetal color. I figured out how to do the light blue stripes. I’m going to precut strips out of paper and paint those. Then just glue them down. Painting civilian stuff (like aircraft) is like painting High Elves or Eldar (from the Warhammer franchise), it’s very clean cut and not roughed up like most of my models.

-
I remember the instructions in the Heller kit being quite excellent. They are (or were) in French though. Be careful, the French word pont means both deck and bridge. Google translate will translate it as bridge. That caused me some confusion back then.
- 176 replies
-
- 1
-
-
- la reale de france
- heller
- (and 2 more)
-
Aloha from North Carolina
GrandpaPhil replied to Charles Roseberry's topic in New member Introductions
Welcome! -
Looking forward to this!
-
This model was one of my absolute favorite builds! You will enjoy it! From my building experience (granted from 2007-2008 time frame), I would recommend swapping the masts and yards out with wood. AAMM has the plans for La Reale: https://boutique.aamm.fr/plan-reale-de-france They are most excellent and ran me about $50 shipped. I bought them to build another La Reale, one of these days. I am looking forward to seeing this build!
- 176 replies
-
- 1
-
-
- la reale de france
- heller
- (and 2 more)