GrandpaPhil
-
Posts
6,154 -
Joined
-
Last visited
Content Type
Profiles
Forums
Gallery
Events
Everything posted by GrandpaPhil
-
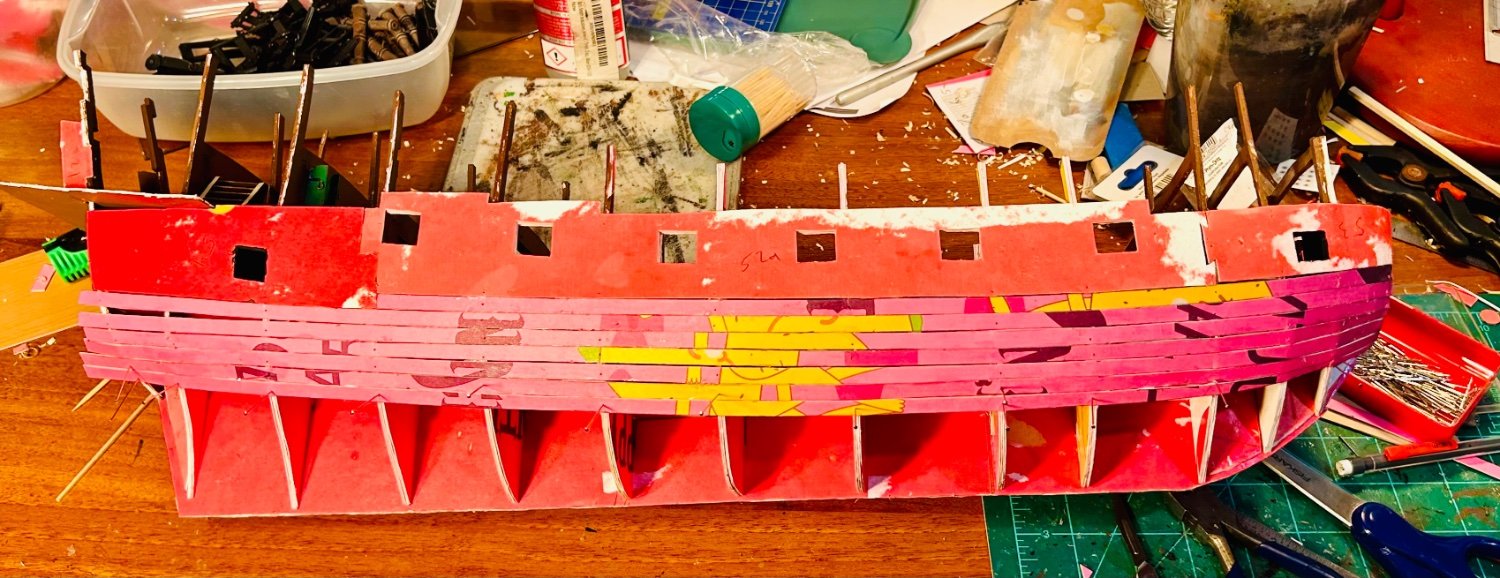
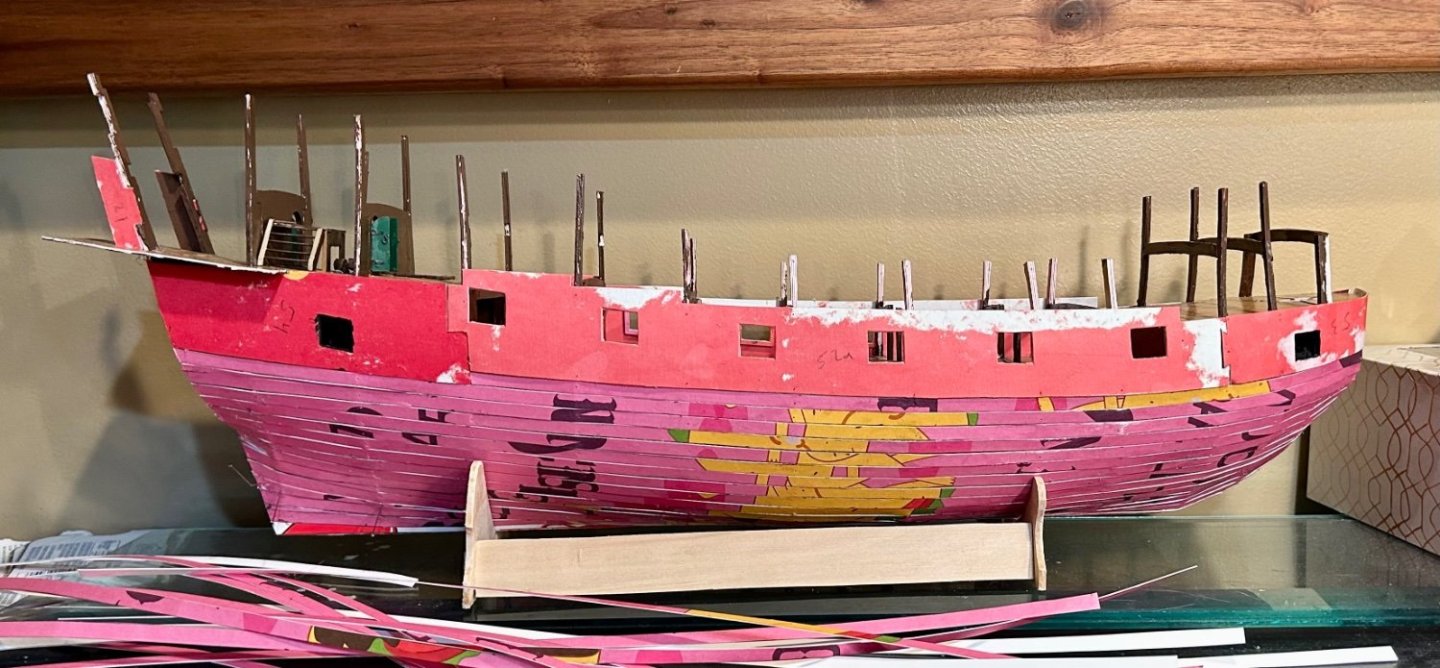
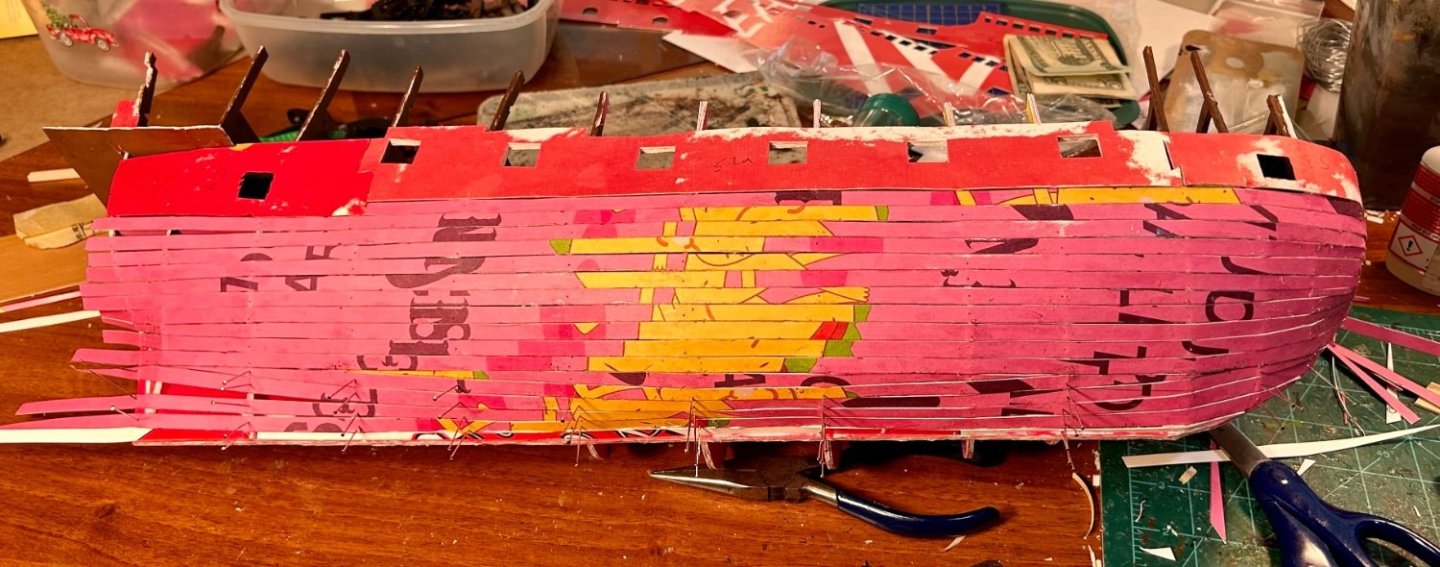
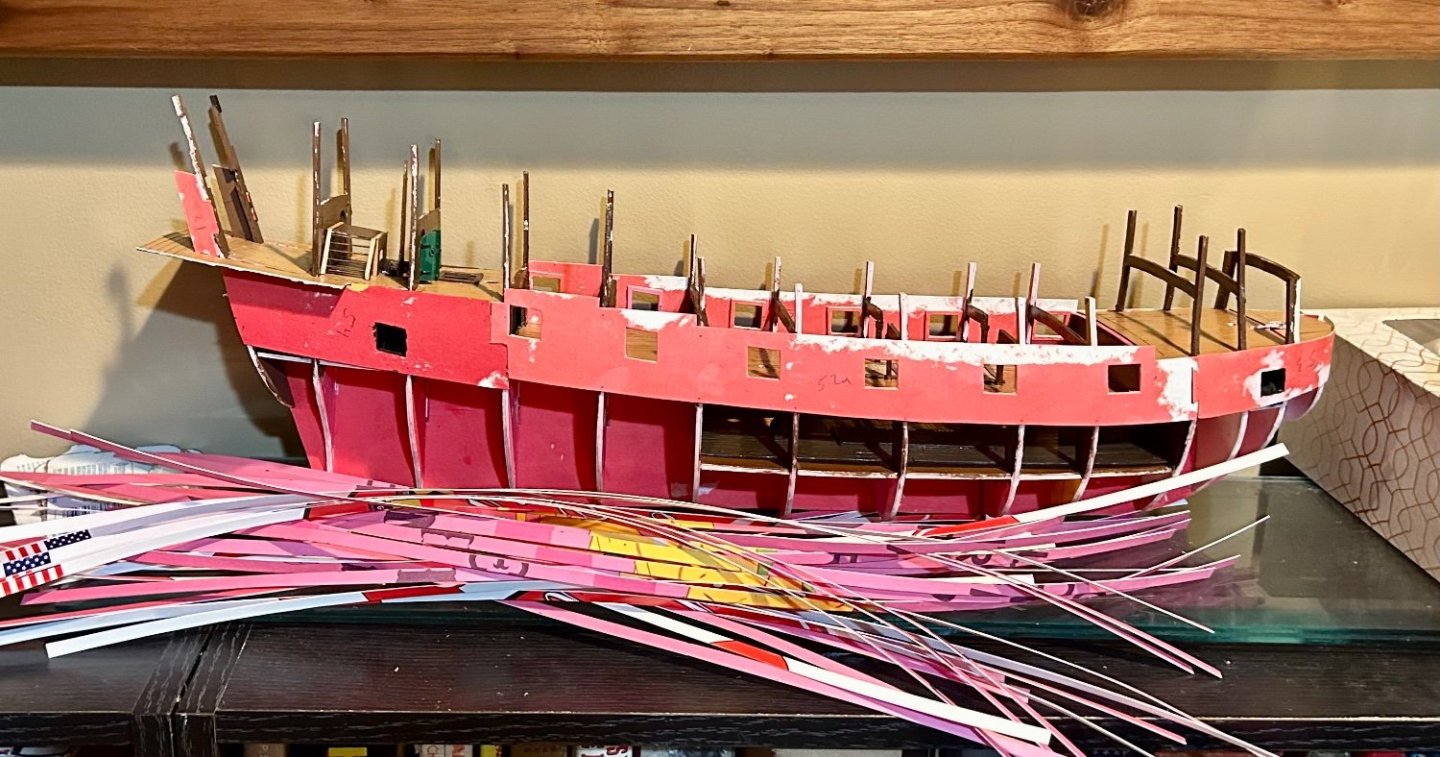
Starboard first planking is complete:
-
Starboard side is first planked except for stealers:
-
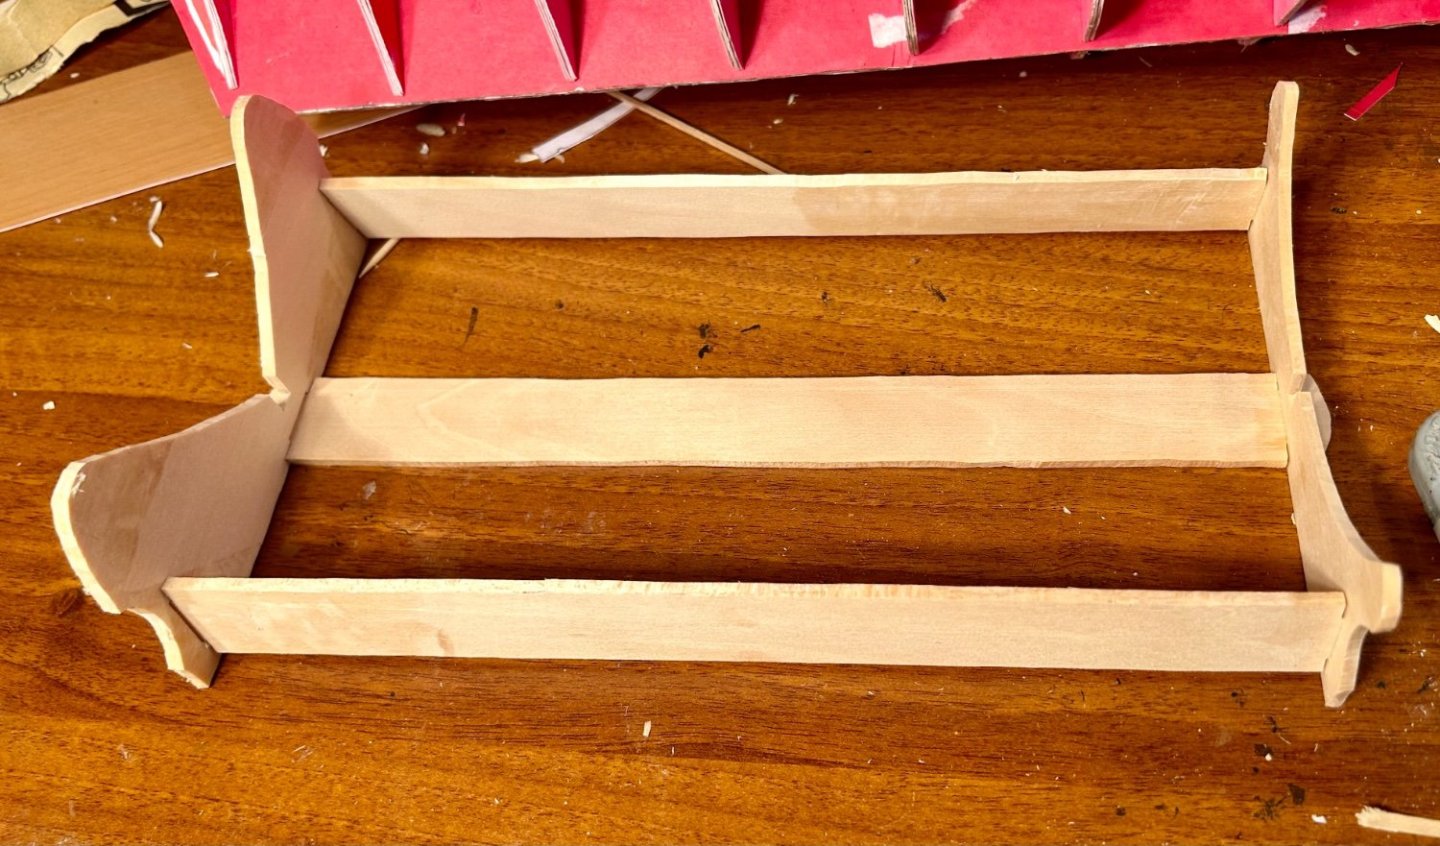
Cradle test fit: I’ll have to decide what color to paint it later.
-
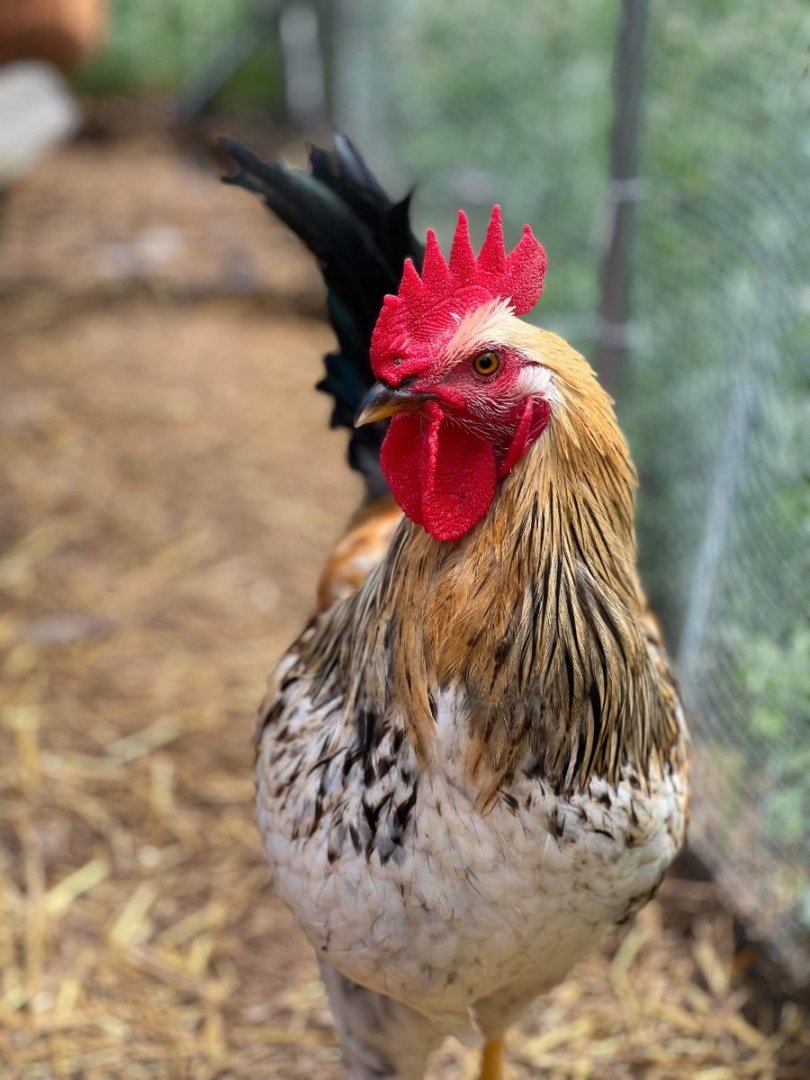
Yes, Roland is a good rooster. He crows in the morning after he hears me or my wife moving around. If he crows any other time it is to let me know that something is wrong. I’m working on the cradle right now to give Revenge a stable place to sit because the planking has progressed far enough that it needs a solid base now.

-
The first planking is in progress: And, my shipyard supervisor, Roland:

-
Here is the trireme: IMG_3431.tiff It won’t embed normally because it is a .tif file, so it is not compressed. It is courtesy of the French Ministry of Defense.
- 290 replies
-
- 4
-

-

-
- Quinquereme
- Finished
- (and 1 more)
-
This is going to be an awesome project! I have a plan from the French Ministry of Defense for a Roman Trireme, drawn in 1861, in .tif format if you would like it.
- 290 replies
-
- 4
-
-
- Quinquereme
- Finished
- (and 1 more)
-
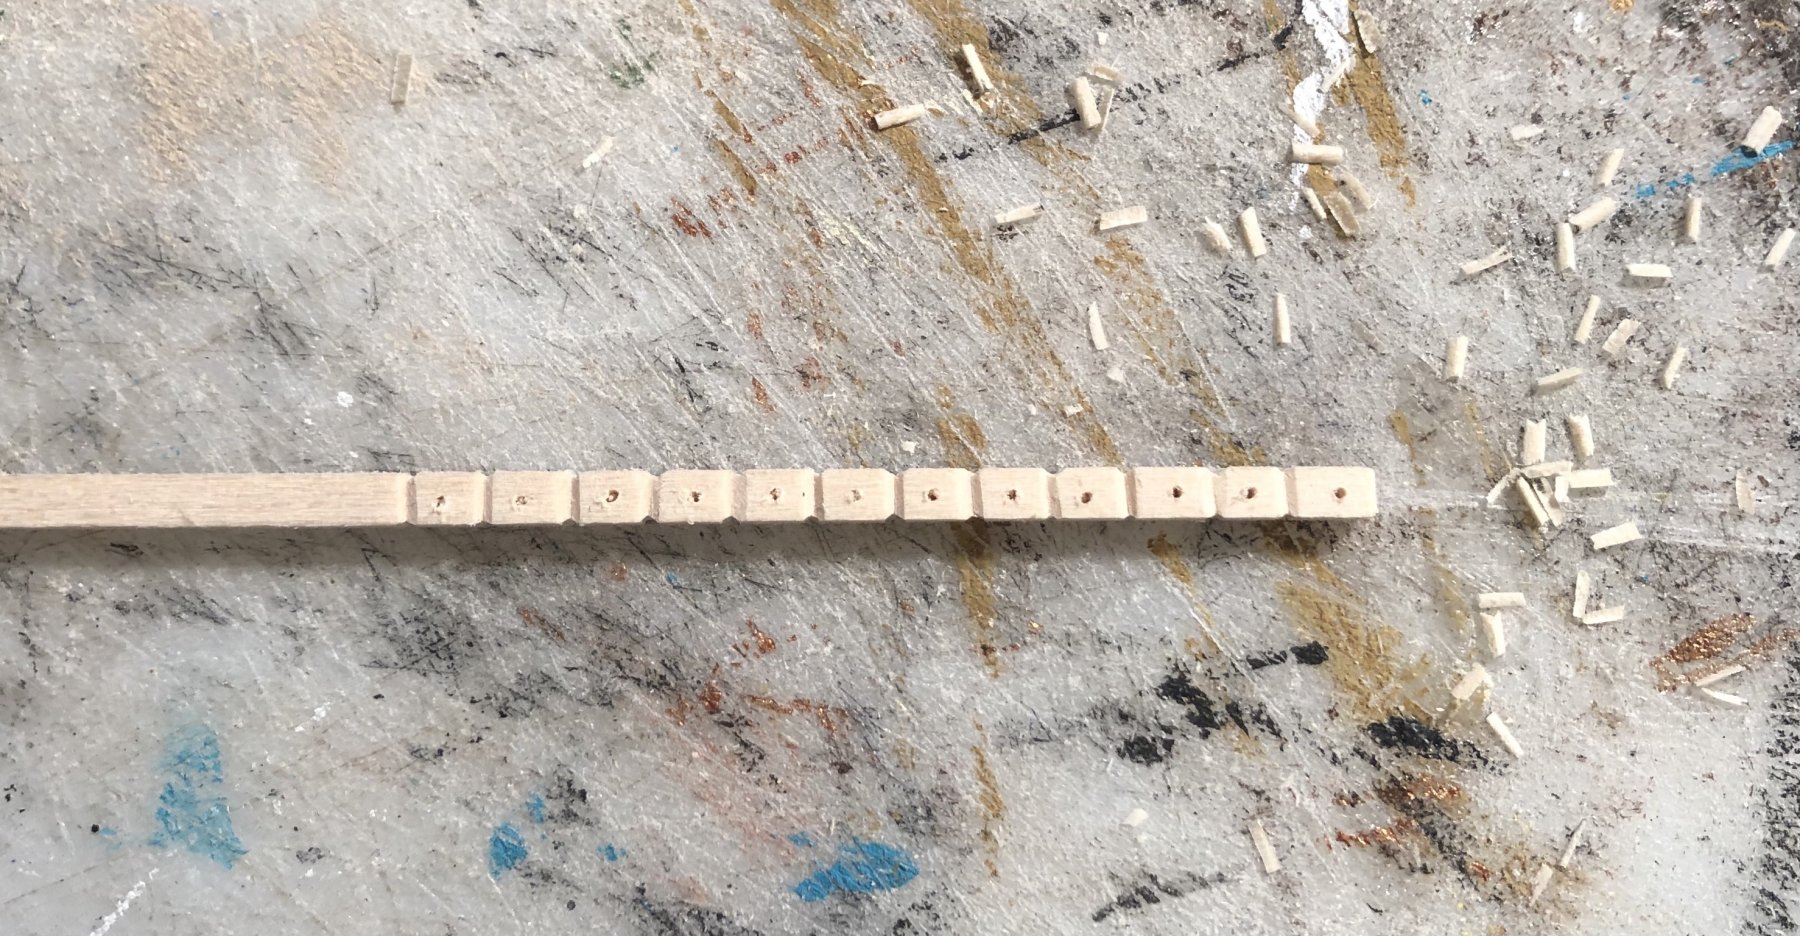
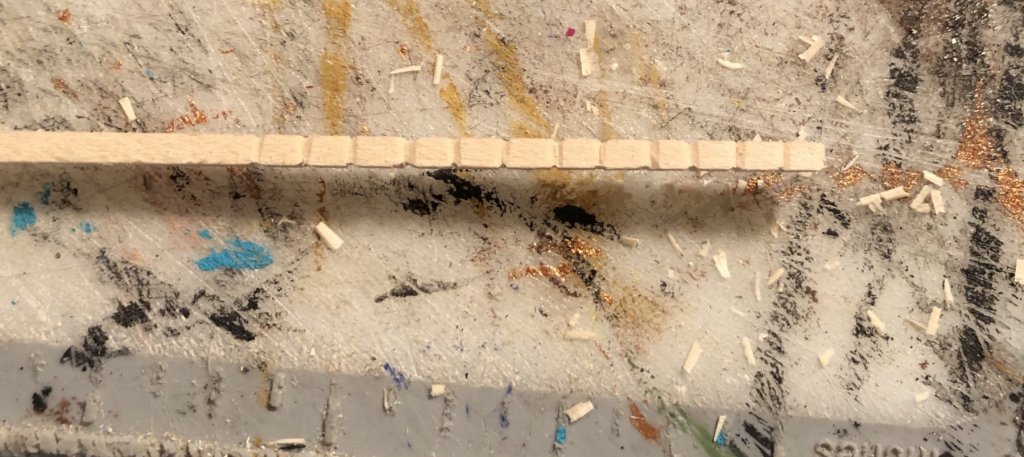
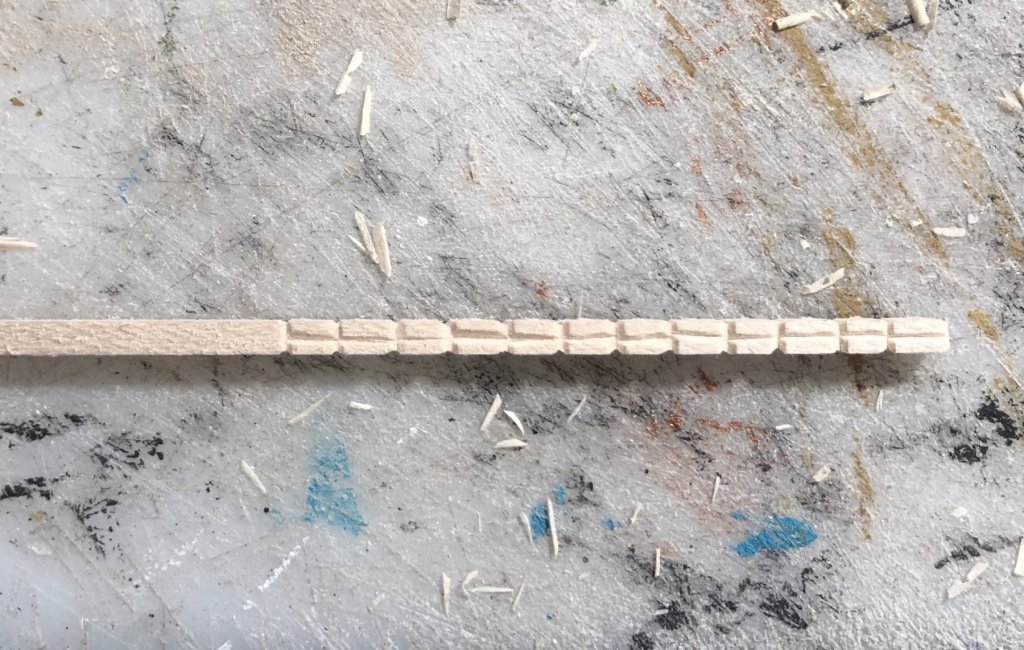
Card makes great “iron” fittings, too.
-
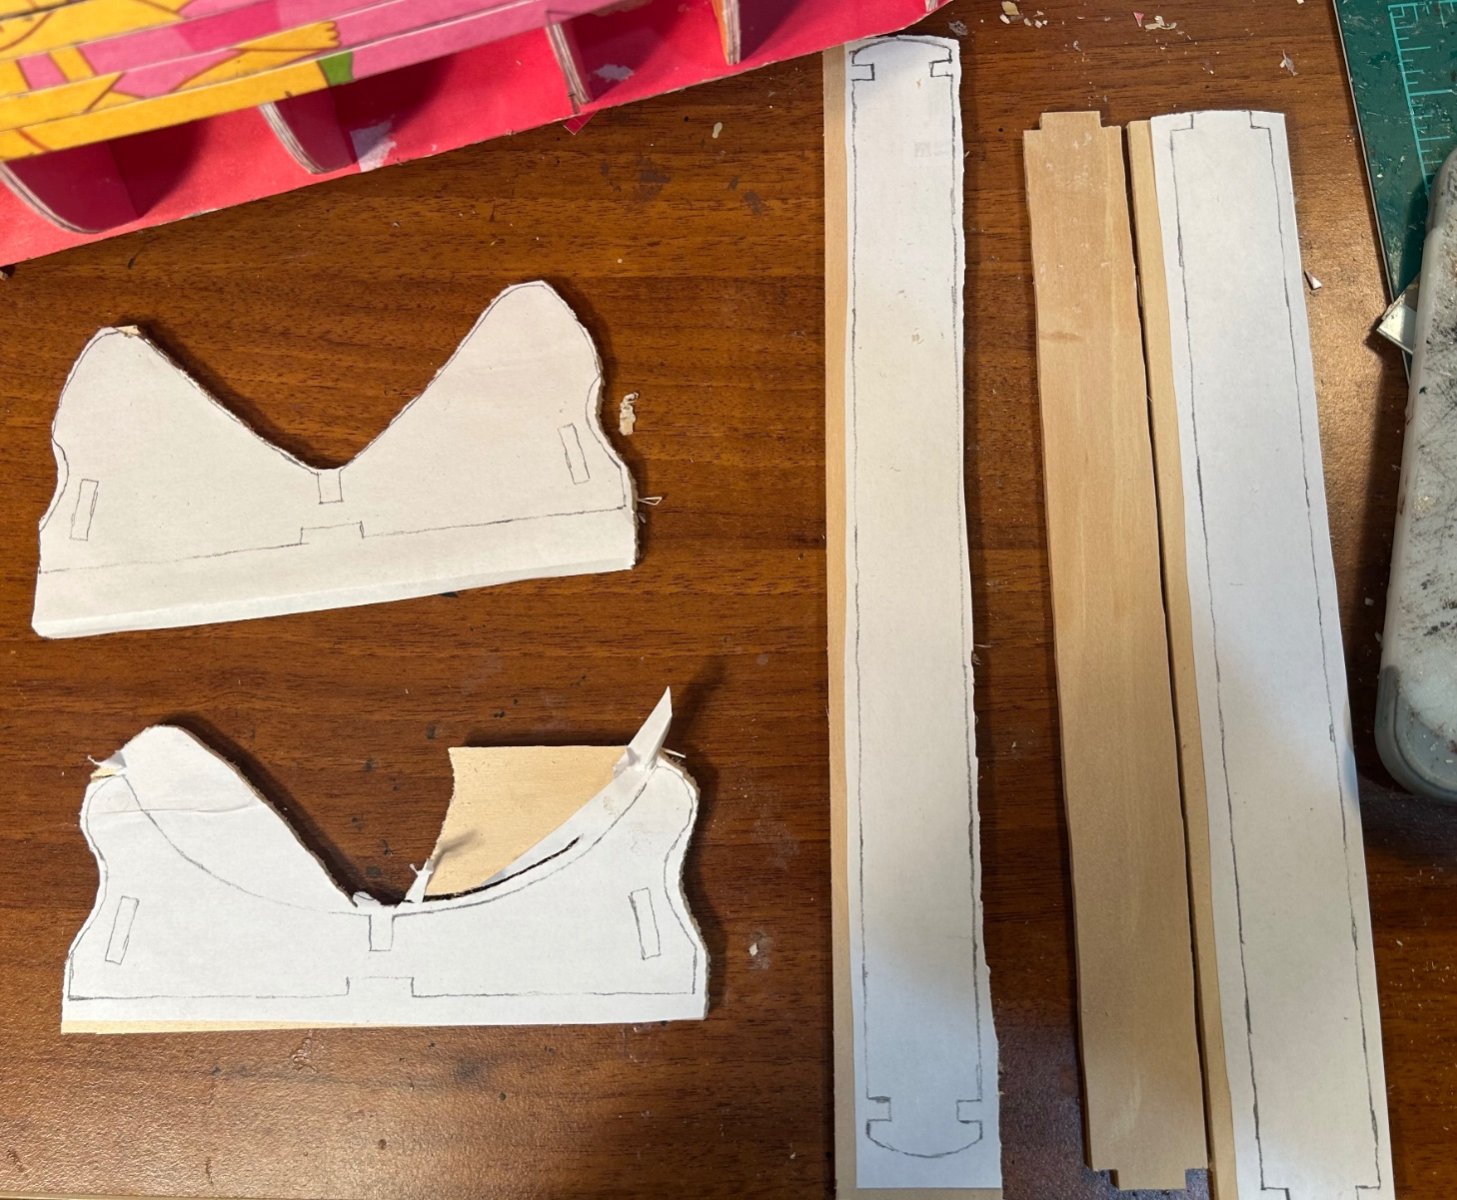
All material is cut for the first planking: We’ll see how this goes. This is the first time I have tried conventional planking on a card model. It should be noted that planking a model has never been my strong suit. Once I have a hull, I am good. It is just getting to that point which is my difficulty.
-
The first layer will be a little rough, anyway. I will try to utilize spiling on the first layer. After I get the first layer done, I will be puttying and sanding to get a smooth surface for the second planking. I am not planning on stabilizing with paper. I will just be directly planking.
-
I started cutting material for the first layer of planking. I need 32 strips that are 1/4” wide. That will get me through the first planking. I installed all gunport sills already. I have 10 strips cut so far.
-
Thank you very much! That was very helpful! Matthew Baker designed and built the Revenge. I will utilize that drawing for my basic color scheme.
-
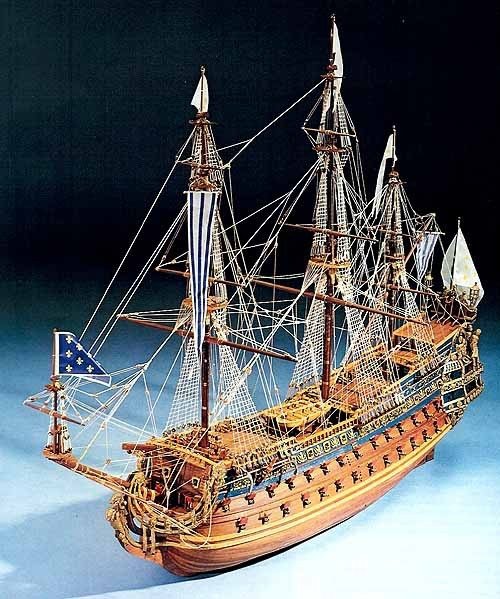
Thank you very much! That makes perfect sense. In other news, I am enjoying this model enough that I just ordered myself the Sergal plan set for the Soleil Royal, from Cornwall Model Boats, for my birthday, so I can execute the same construction methodology that I am using with this model on the Soleil Royal. That will be a fun build in the future! I think that it will be a great build in 1/64 scale. That will make for a 48” model.
-
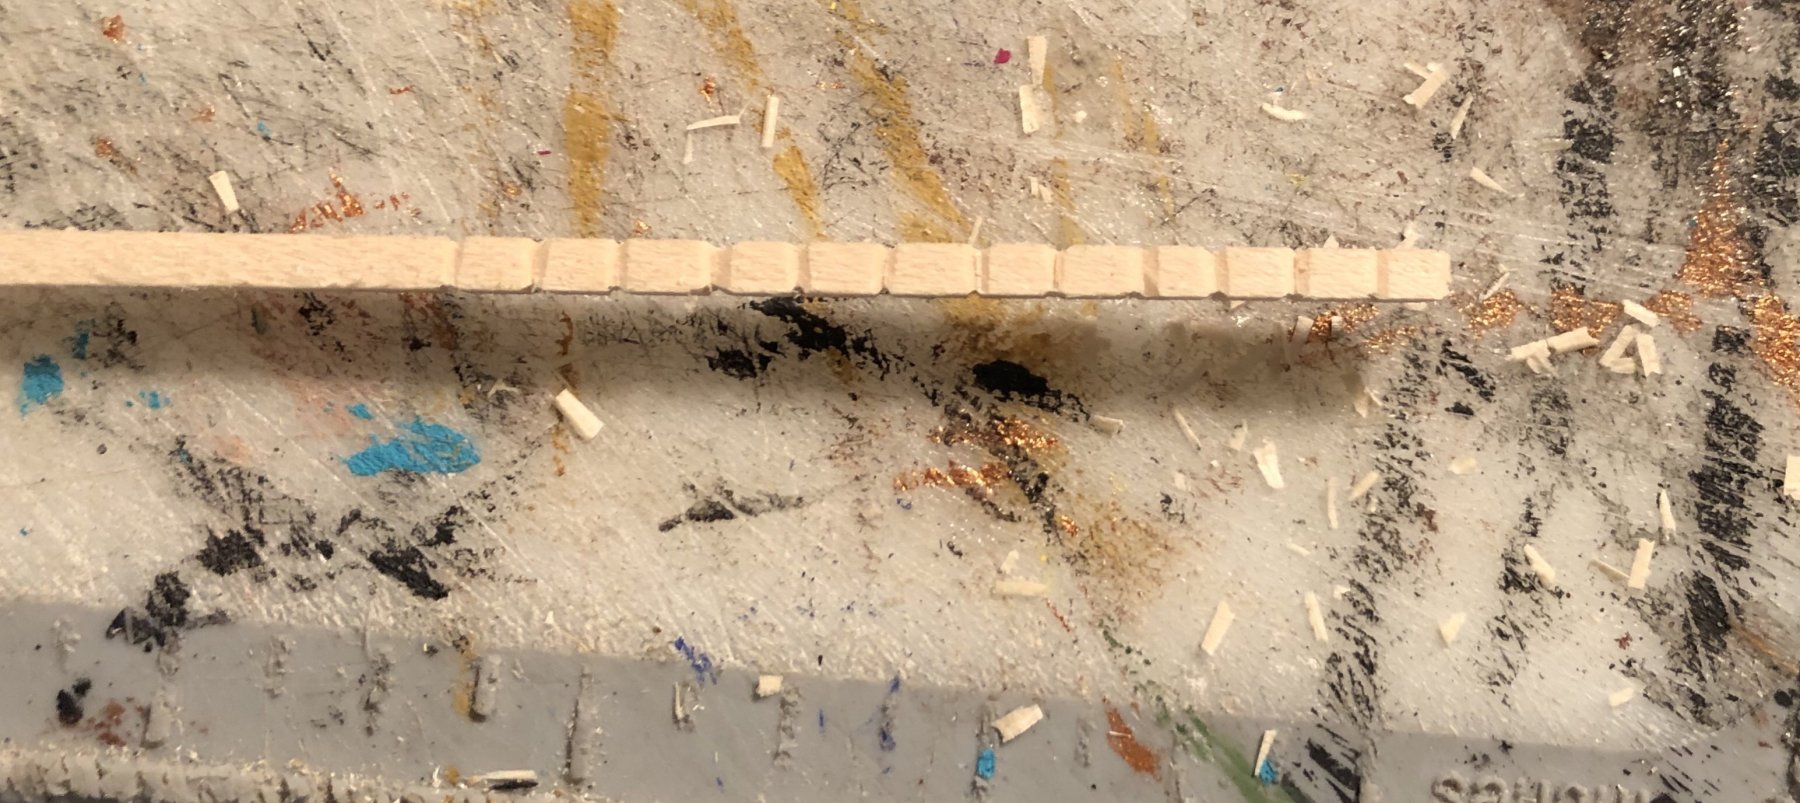
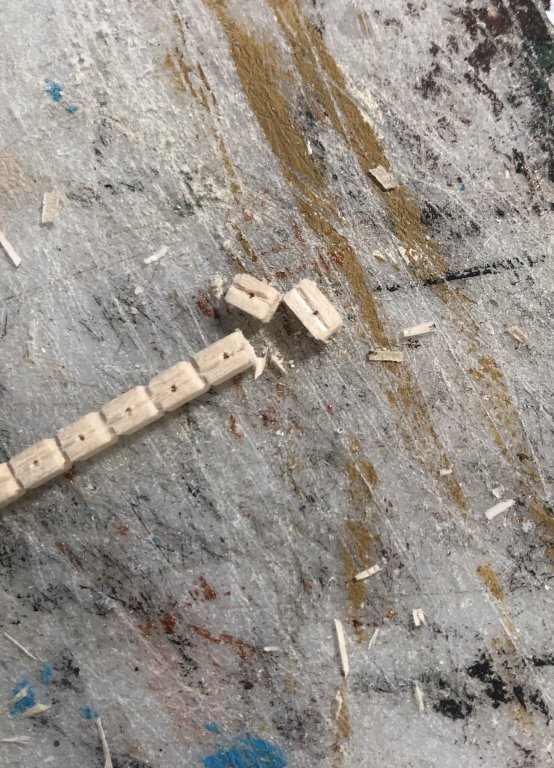
I like making my own from wood strips. They are relatively easy to mass produce. Here is how I do it. I have refined my technique to round them out a bit before cutting them apart.

-
USS Constitution by mtbediz - 1:76
GrandpaPhil replied to mtbediz's topic in - Build logs for subjects built 1751 - 1800
Very cool build, Mustafa! I’m looking forward to seeing it! -
The laser cut gratings would look better and if you have them at hand, I would use them.
-
Edward, Winchelsea is looking good!
-
F4-D Phantom by rvchima - FINISHED - Dumas - 1/25 Scale
GrandpaPhil replied to rvchima's topic in Non-ship/categorised builds
Nicely done! -
In the near future, I will have to select a color scheme for the hull. The Revenge will be painted that dingy white below the waterline, but I am trying to figure out what color to paint the main hull above the waterline, that will integrate with the friezes that were characteristic of the time period. Does anyone have an idea of the color scheme, other than the decorative friezes, that an English galleon would have had in the late 16th century? There is no way that the English would have left the hull bare wood. Salt water is too corrosive and destructive, even on wood.
-
Welcome!