GrandpaPhil
-
Posts
6,154 -
Joined
-
Last visited
Content Type
Profiles
Forums
Gallery
Events
Everything posted by GrandpaPhil
-
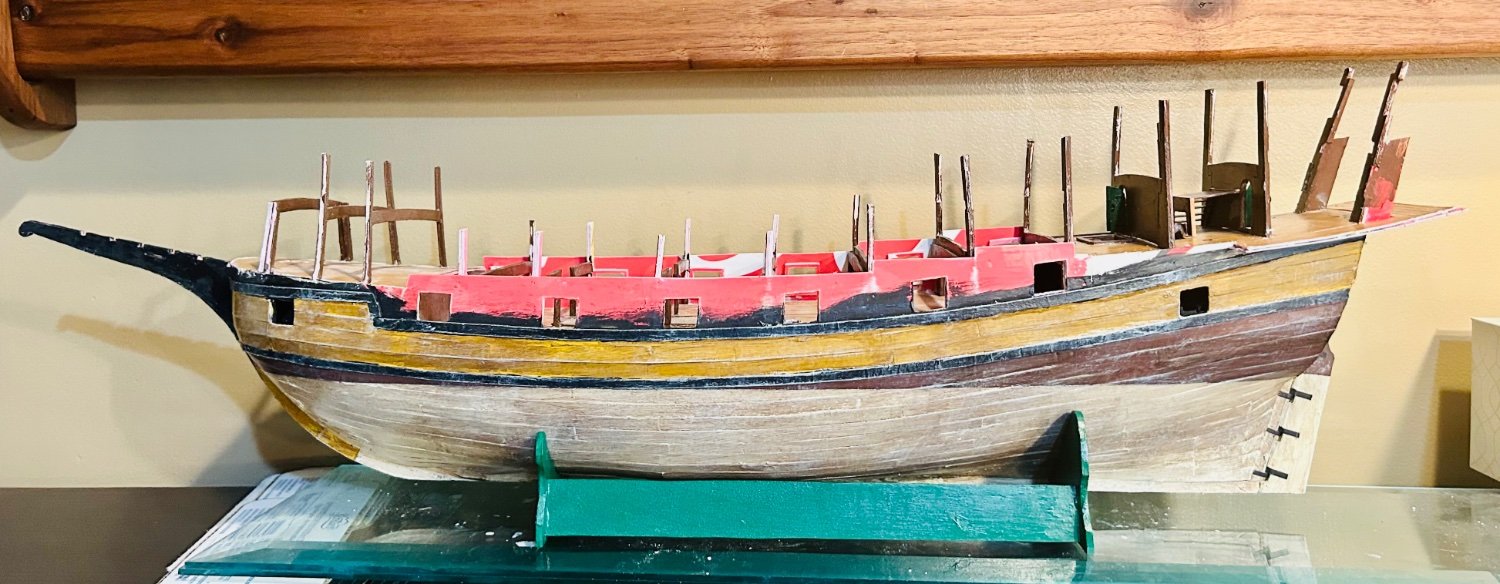
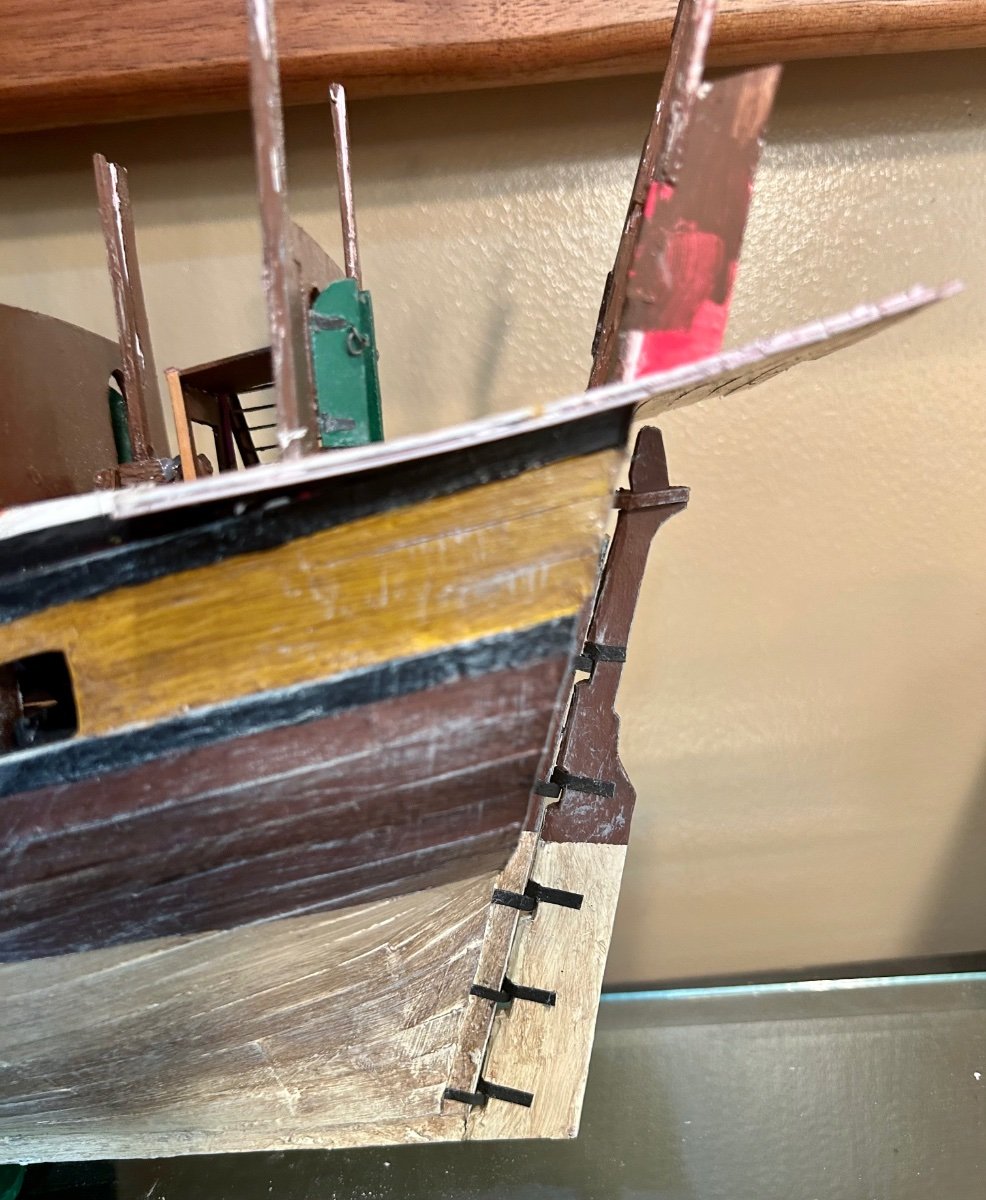
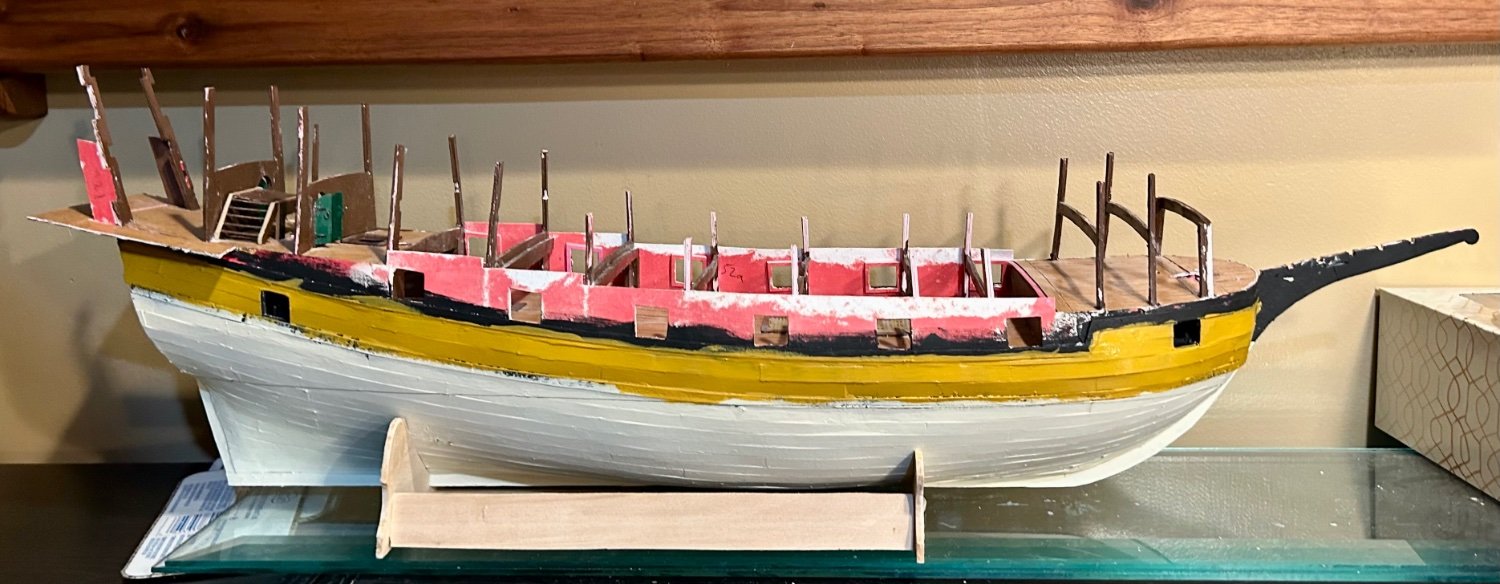
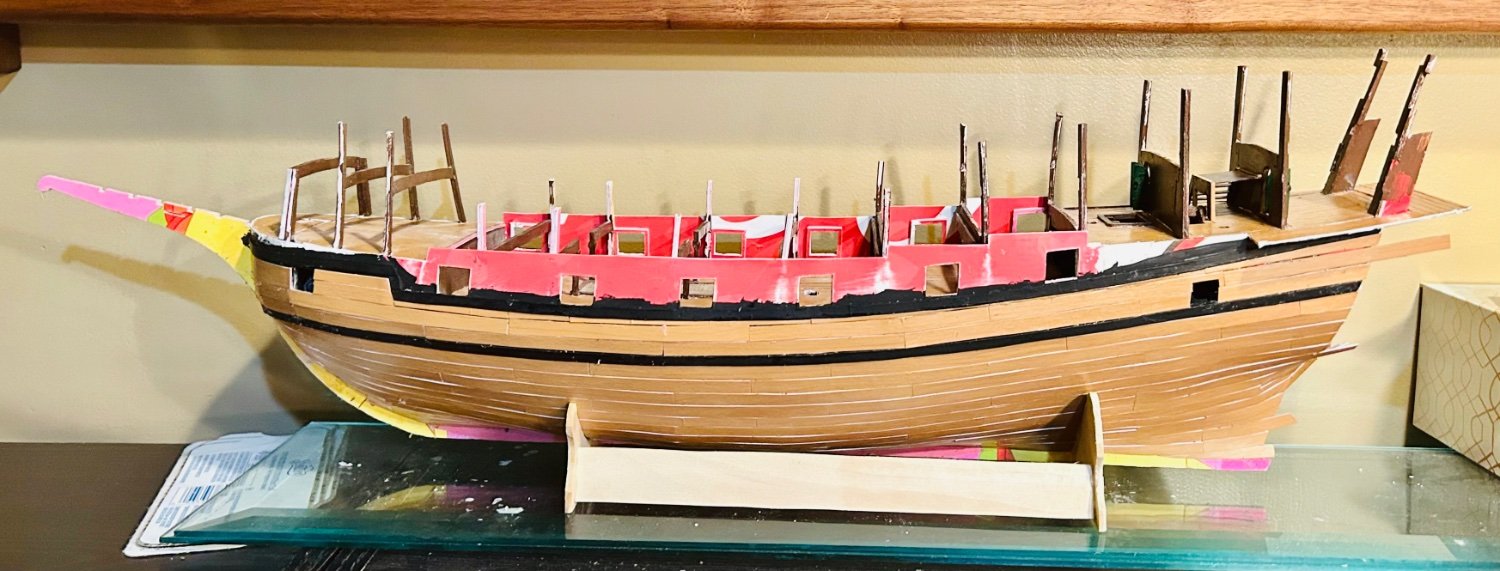
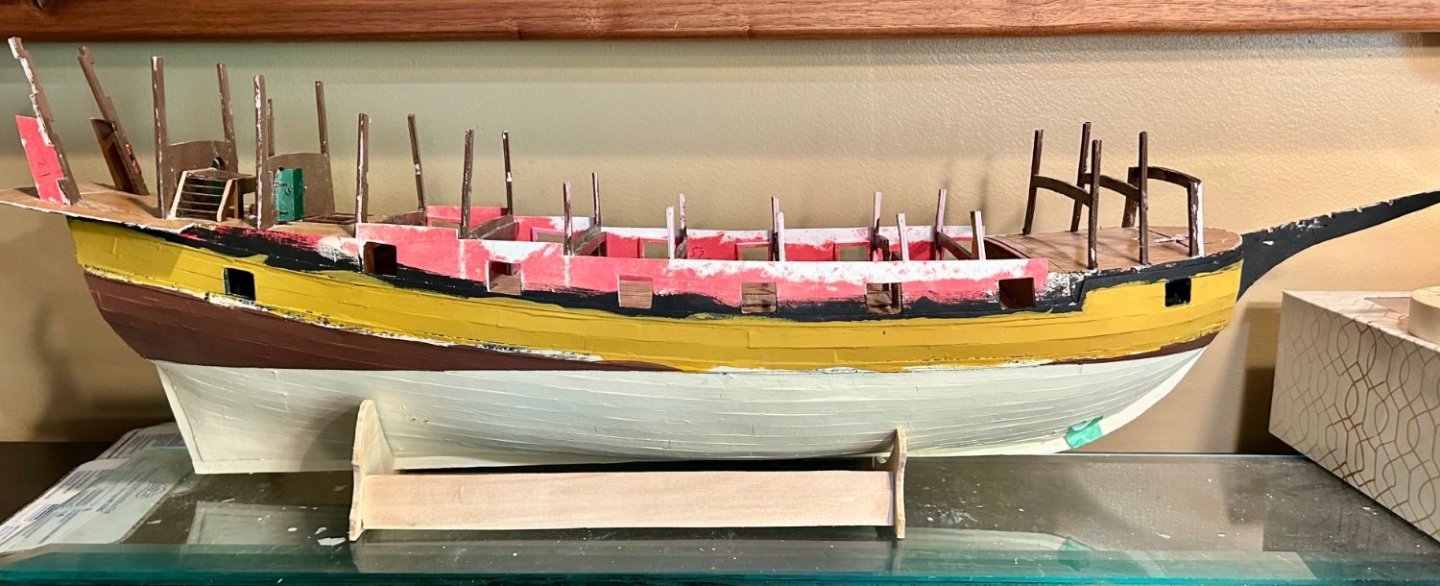
The lower part of the hull is mostly complete now: The pintles and gudgeons on the rudder needs some minor paintwork: I need to paint the ones below the waterline that dingy white. There are a couple places that need touched up in the same fashion, from where the green on the base came in contact with places it should not have, while the paint was still wet. Then it will be time to complete the gundeck.


-
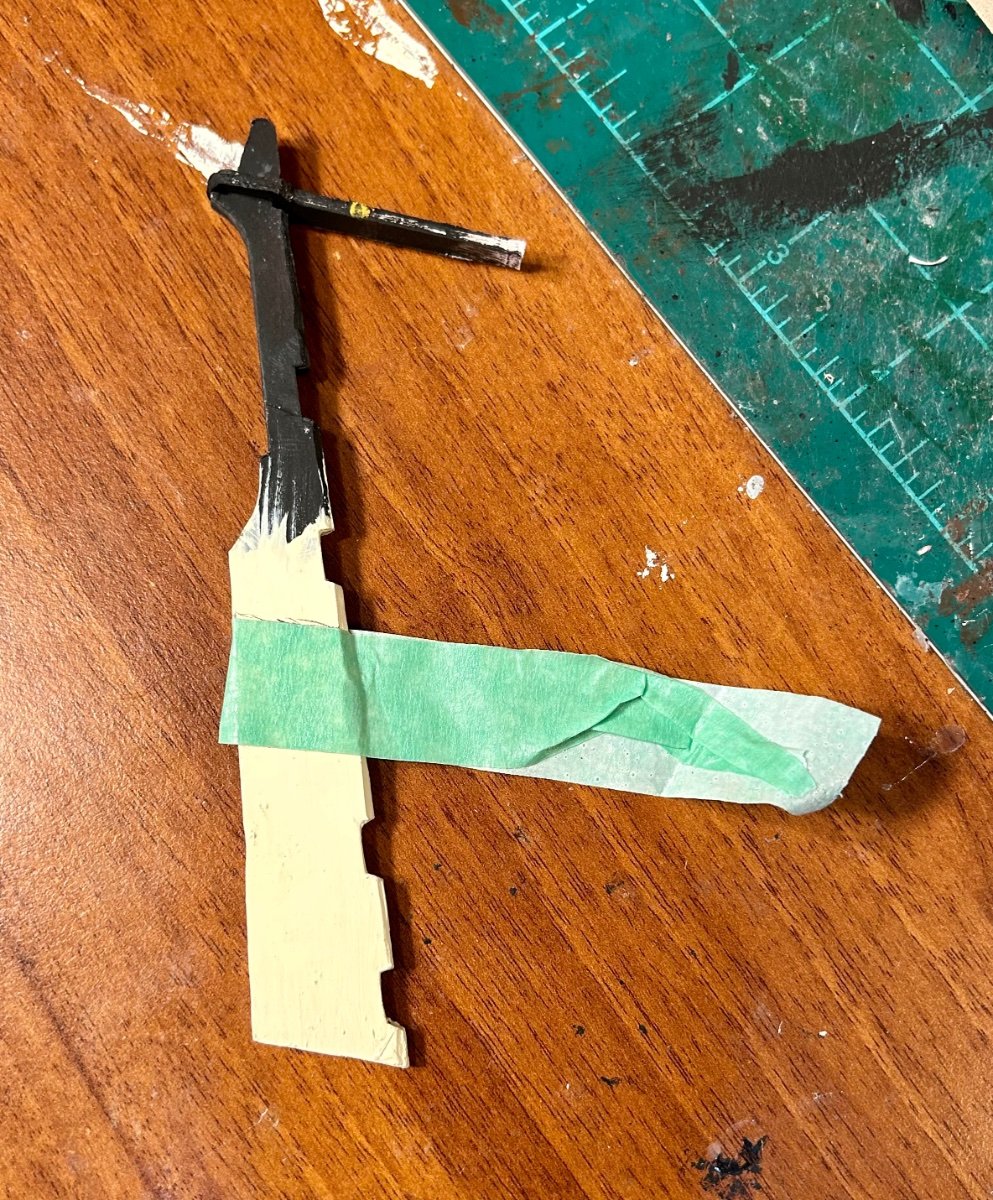
Thank you, Allan. That’s what I figured. I made the pintles and gudgeons from card and the pins from pieces of toothpicks. I embossed the bolt heads with my pounce wheel. I think it looks alright. I’ll repaint those pintles and gudgeons below the waterline with the dingy white after this round of gluing dries.

-
The Admiral likes that look, so I’ll keep it.
-
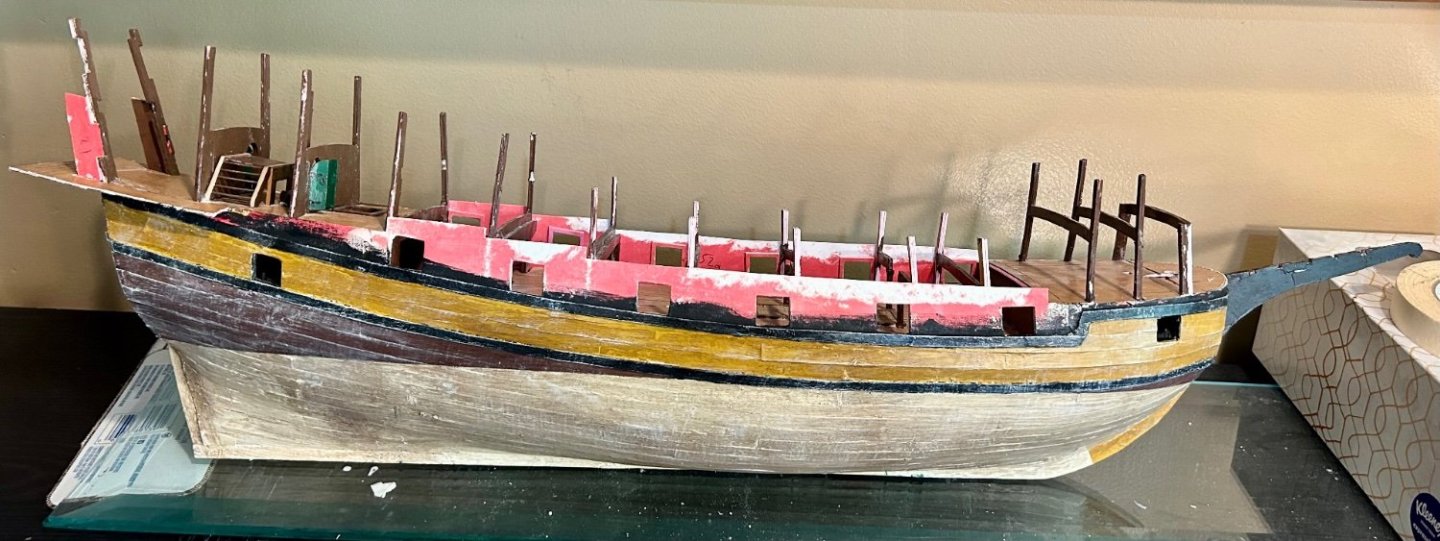
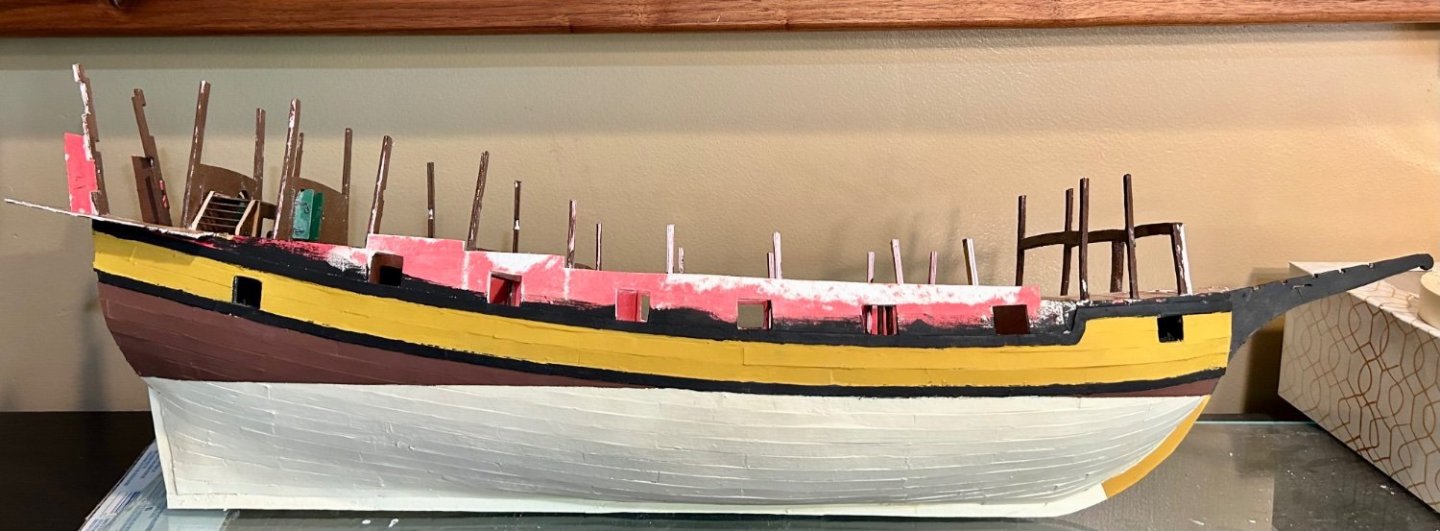
I gave the hull a heavy patina: I think I went a little overkill on the weathering and antiquing. I should probably adjust the paint a bit, but I’m curious how this plays out. It currently looks like I found it in an antique shop.
-
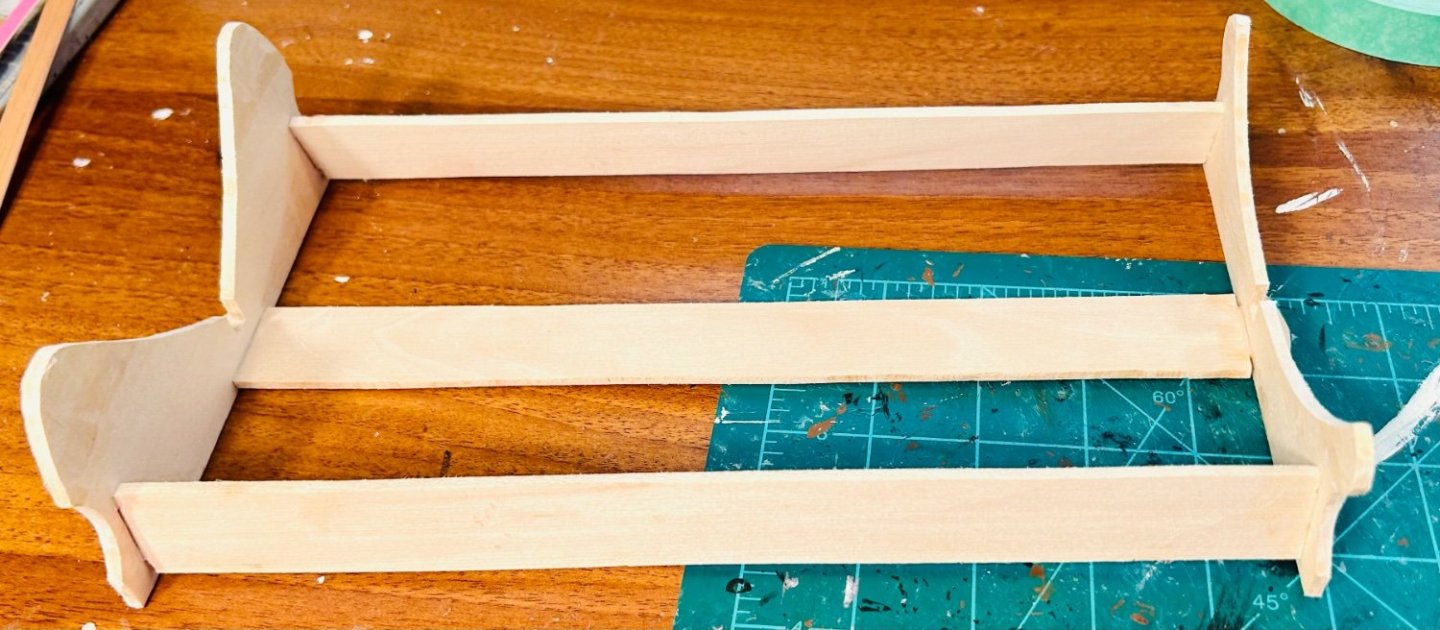
The base coat is done: I am going to add a wash to the model with a strong tone wash from Army Painter. That will add texture increase depth. I am also going to paint the cradle a forest green so I can glue the hull to the cradle to simplify handling.
-
Excellent work!
-
Amazing work!
-
Very good idea! That looks amazing! I will have to pick up a roll of that foil tape the next time I go to the hardware store! I have several armored warships coming up.
-
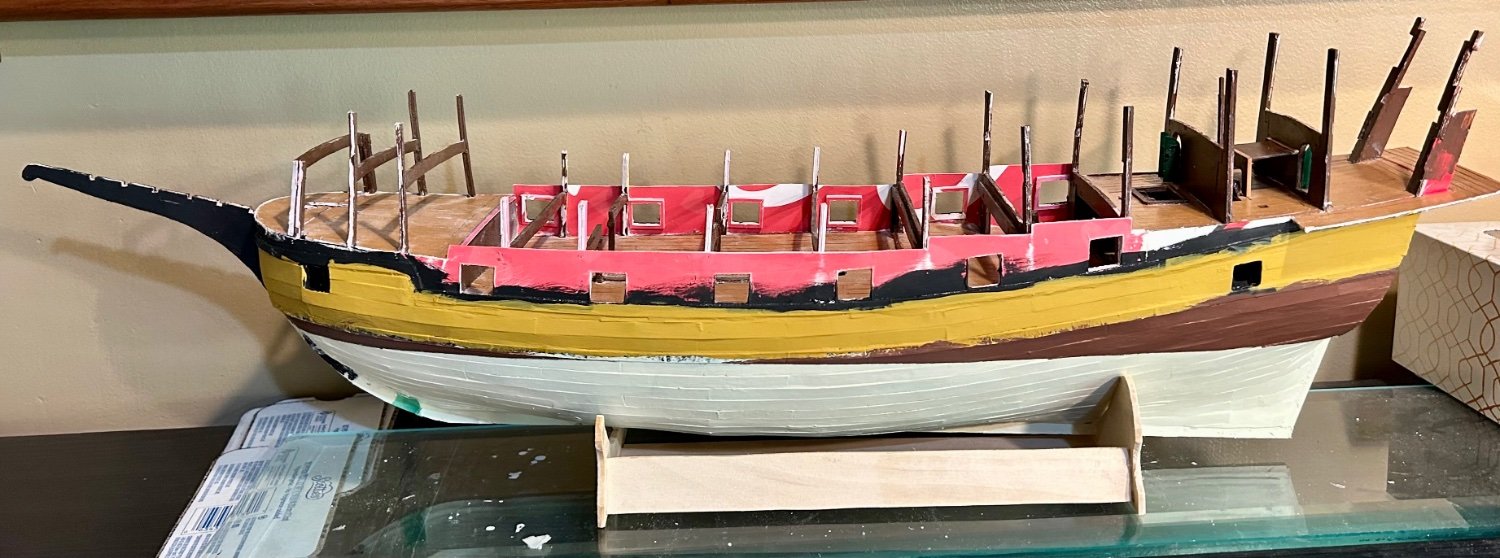
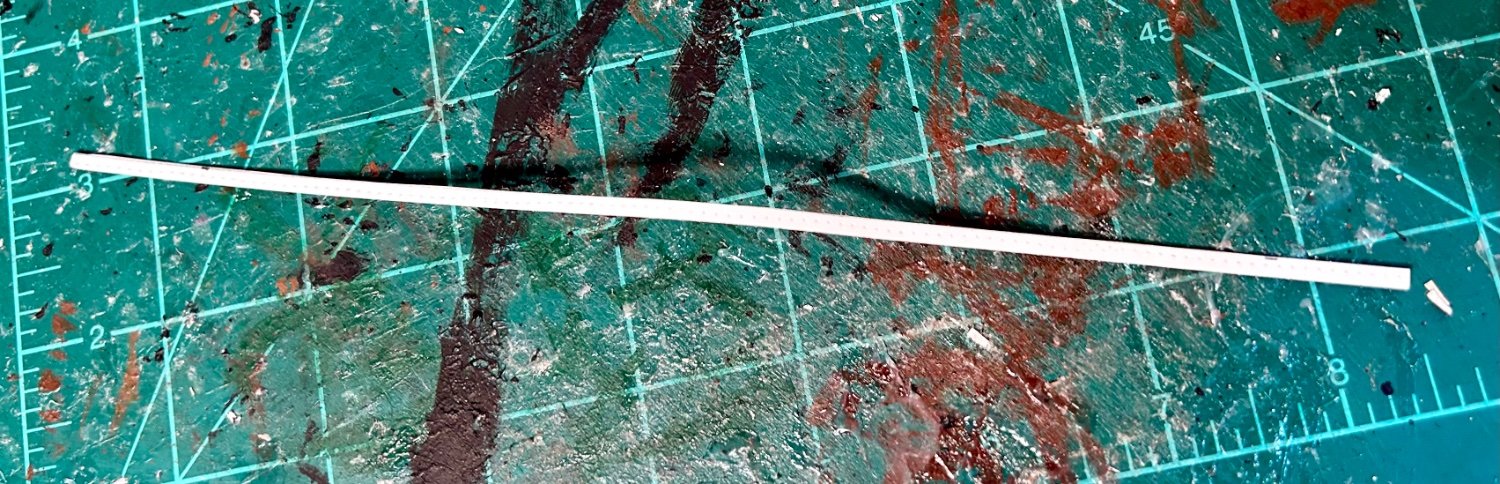
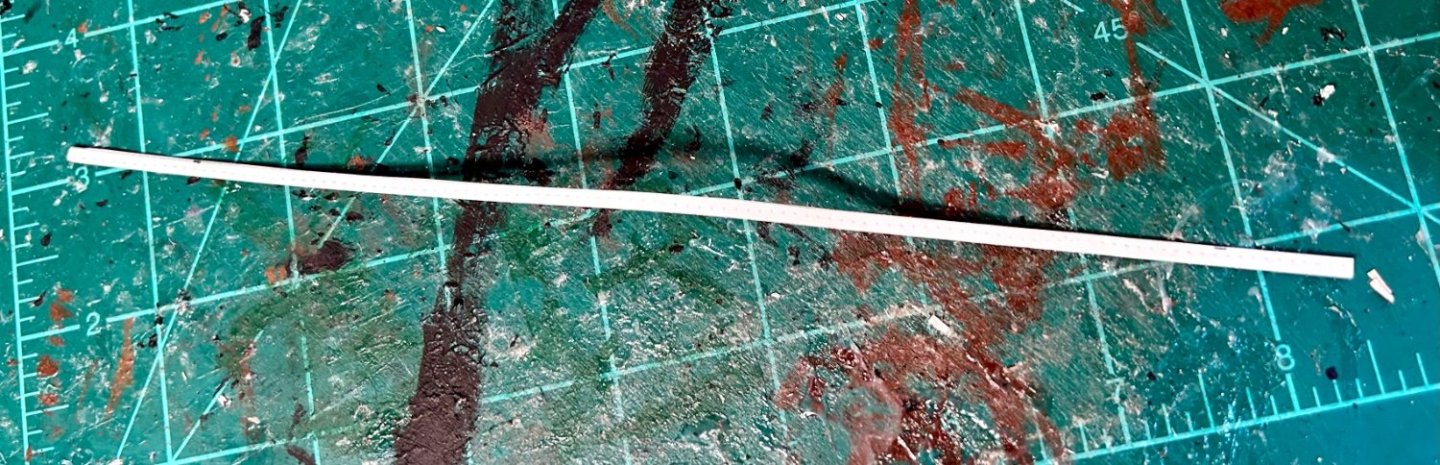
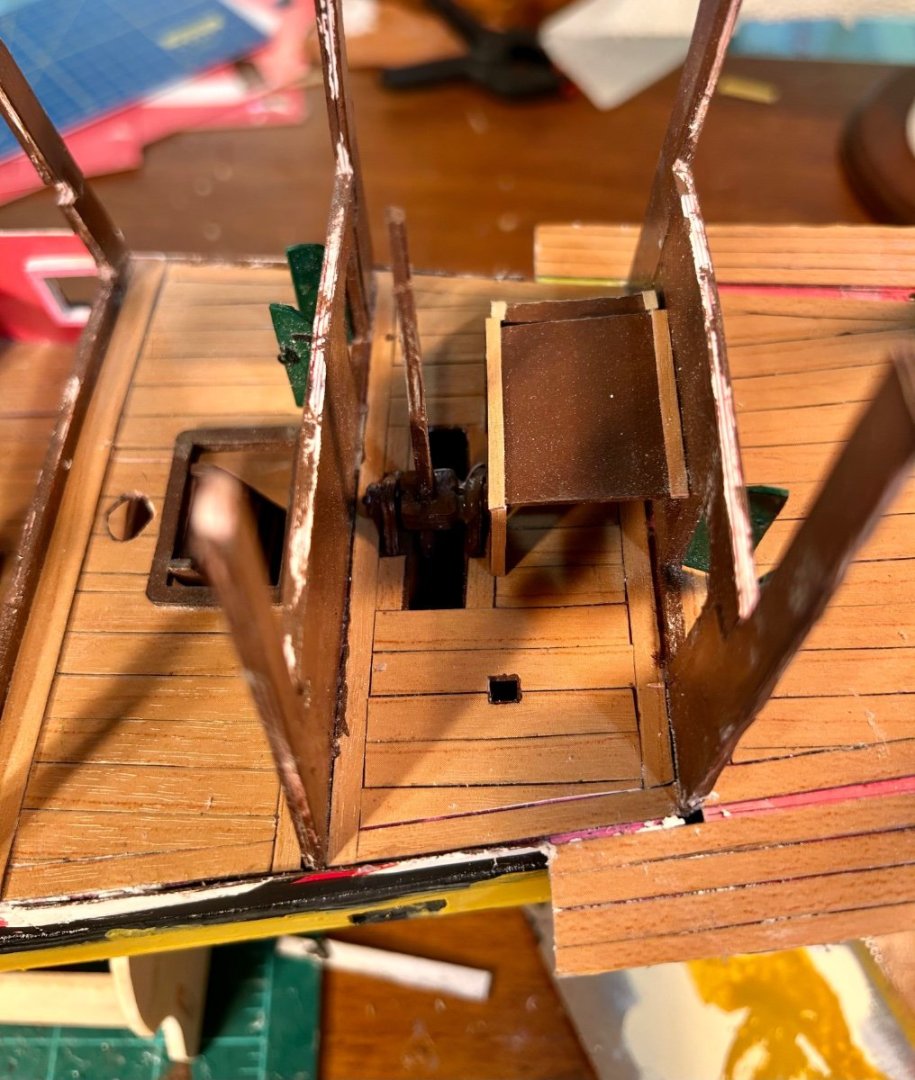
Thank you very much! The painting progresses: And I’ve been working on the rudder: I made the banding: Now I just need to decide if all the banding is being painted black or the parts below the waterline will be painted white: And because I do not like moving parts on a model, I glued the whipstaff in place: Also, edge sealing when masking off for painting works really well for preventing bleed through. And I discovered that most of my pieces are under thickness with my new calipers. But, since this has been the same throughout the build, I am not worried about it.


-
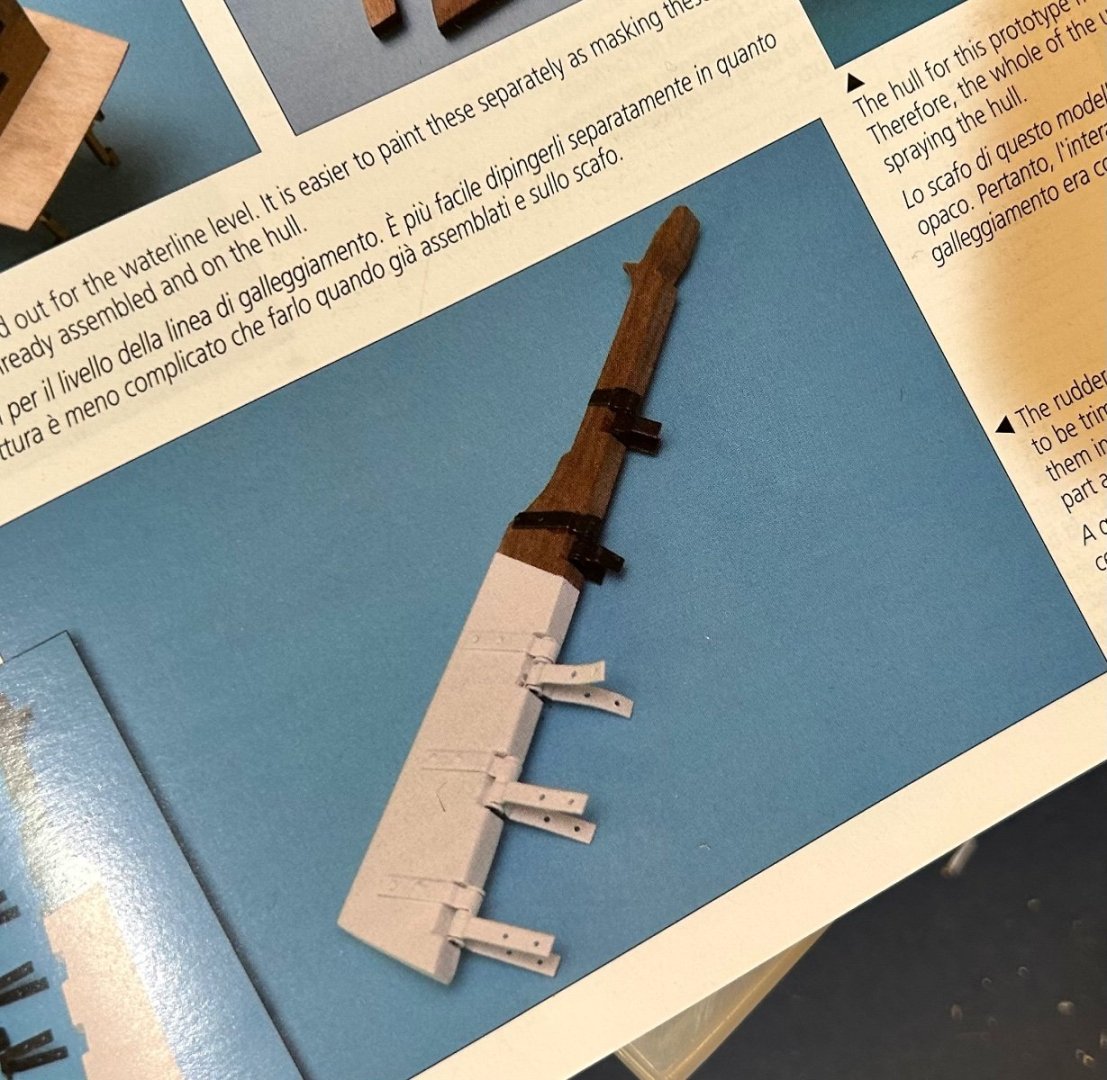
The instruction booklet that came with my plans for the Victory Models Revenge shows the rudder banding below the waterline as being painted white with that lead anti-fouling paint that they used to use before copper plating. Would that have been something done to prevent corrosion?

-
A pounce wheel works well for embossing nail heads in card when using card for iron banding or plating.
-
Barncave Shipyard by mbp521 - Scale 1:1
GrandpaPhil replied to mbp521's topic in Non-ship/categorised builds
Very nicely done, Brian!- 70 replies
-
- 10
-

-

-
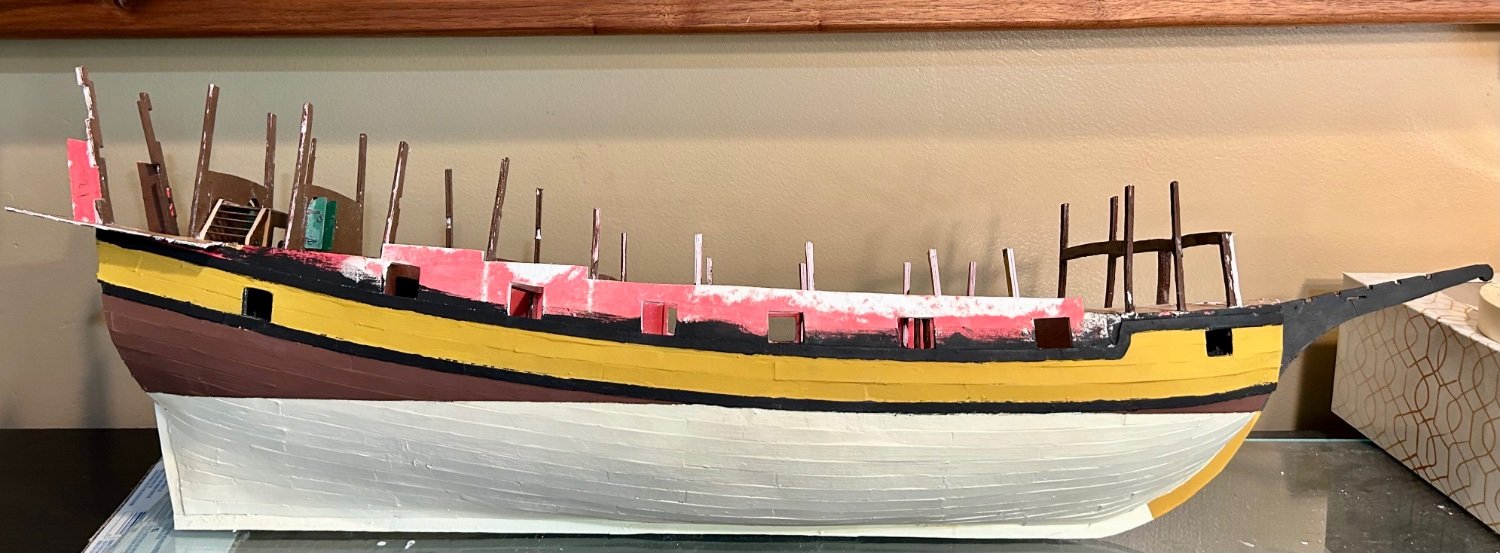
That yellow ochre will offset the black striping and the brown quite nicely once it is all in place: It will be across the gun-ports, too.
-
Thank you all very much for the comments, the likes and just for stopping by! I am using the Matthew Baker drawing kindly provided by @Louie da fly for my basic color scheme: To that effect, I primed black and painted in the lower hull: The waterline is marked. I have a waterline marker that I bought from Model Expo back in 2014 or 2017. I replaced the pencil with a black colored pencil this time, and marked it directly on the paint. It worked well. Now to paint in the ochre strip between the two lower sets of wales. Then to tape and paint the dark brown below the lower wales. Lastly, I will touch up as needed.
-
That’s a personal choice. I personally like to display all sails as being fully raised and set.
- 279 replies
-
- 2
-
-
- Spanish Galleon
- Imai
- (and 1 more)
-
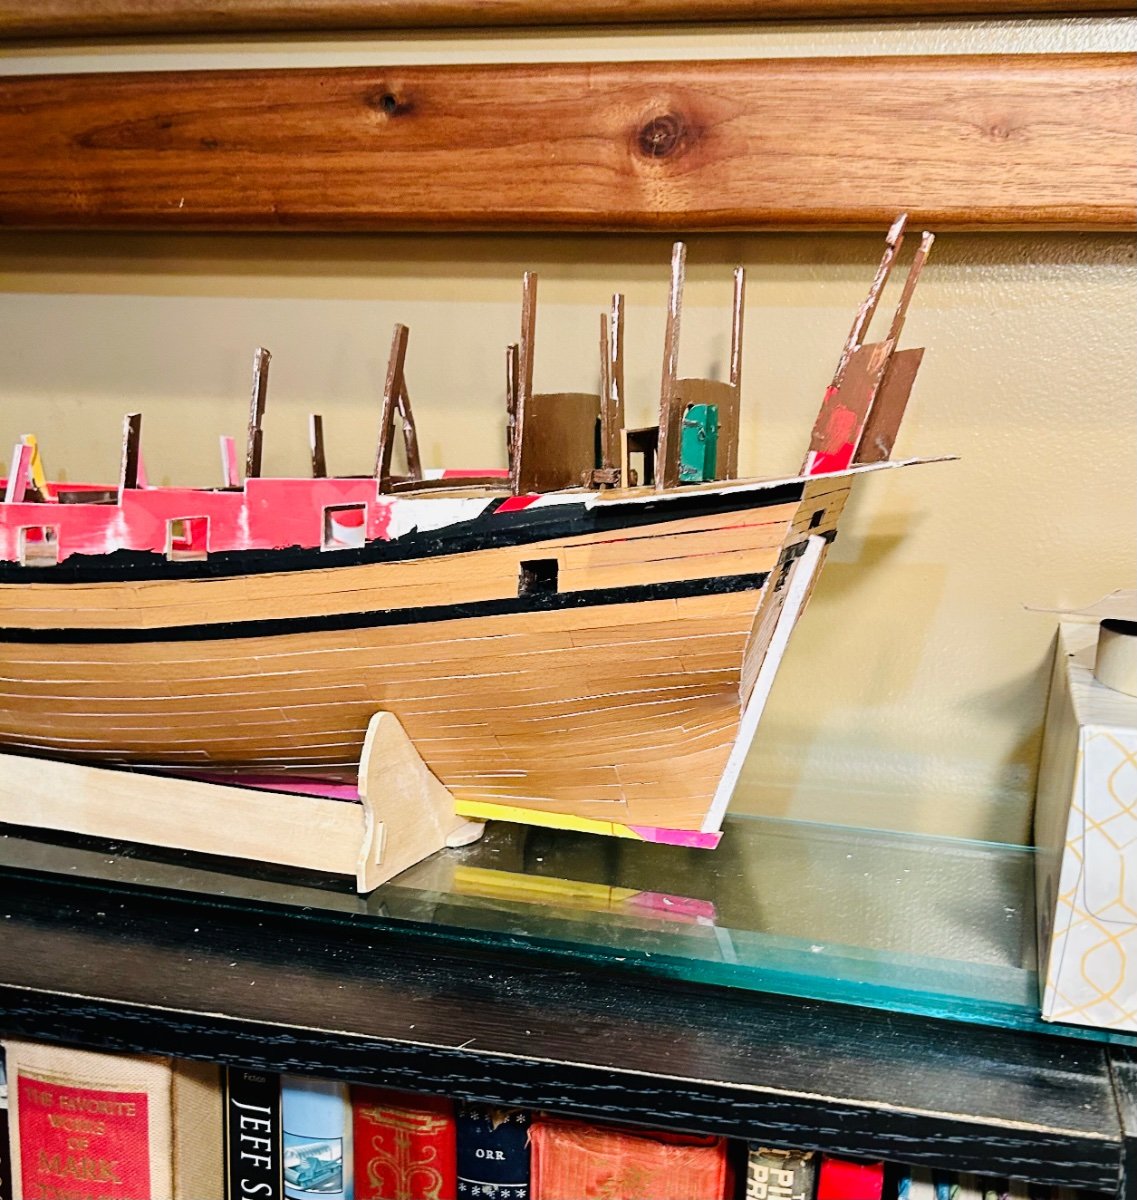
The stern is trimmed and the stern post is installed: The rudder is ready to paint: I now have a hull to work with. Getting to that point is the single most difficult part of building a model ship, for me.


-
The frieze and stern painting look amazing! Incredible work!
- 562 replies
-
- 5
-
-
-
- vanguard models
- alert
- (and 2 more)
-
The port side is planked up to the middle wales: Once all glue dries, I’ll trim everything that needs trimmed, fill all gaps, add the stern post and then seal and paint up to the middle wales. Next, will be the rudder, to include the tiller. After that I’ll outfit the gundeck and then seal it in with the main deck. Due to the lack of visibility in the interior decks, I am not going to bother planking the inside of the bulwarks on the gundeck, I am just going to paint it.

-
It’s a really good thing that I am going to be painting the hull of this model. I am not the best planker in the world. But, I know this, so I make up for it by ensuring that the hull will be well painted after I fill the gaps! Truth be told, I like making my models look like giant wargaming miniatures. I try to make them look as realistic and weather beaten as possible, so having to do some filling and painting is part and parcel to that goal. I built up a Mamoli Endeavour once and left it bare wood. Technically it came out just fine. But, I hate that model. It is my least favorite model that I have ever built. It looks too sterile and commercial.