GrandpaPhil
-
Posts
6,154 -
Joined
-
Last visited
Content Type
Profiles
Forums
Gallery
Events
Everything posted by GrandpaPhil
-
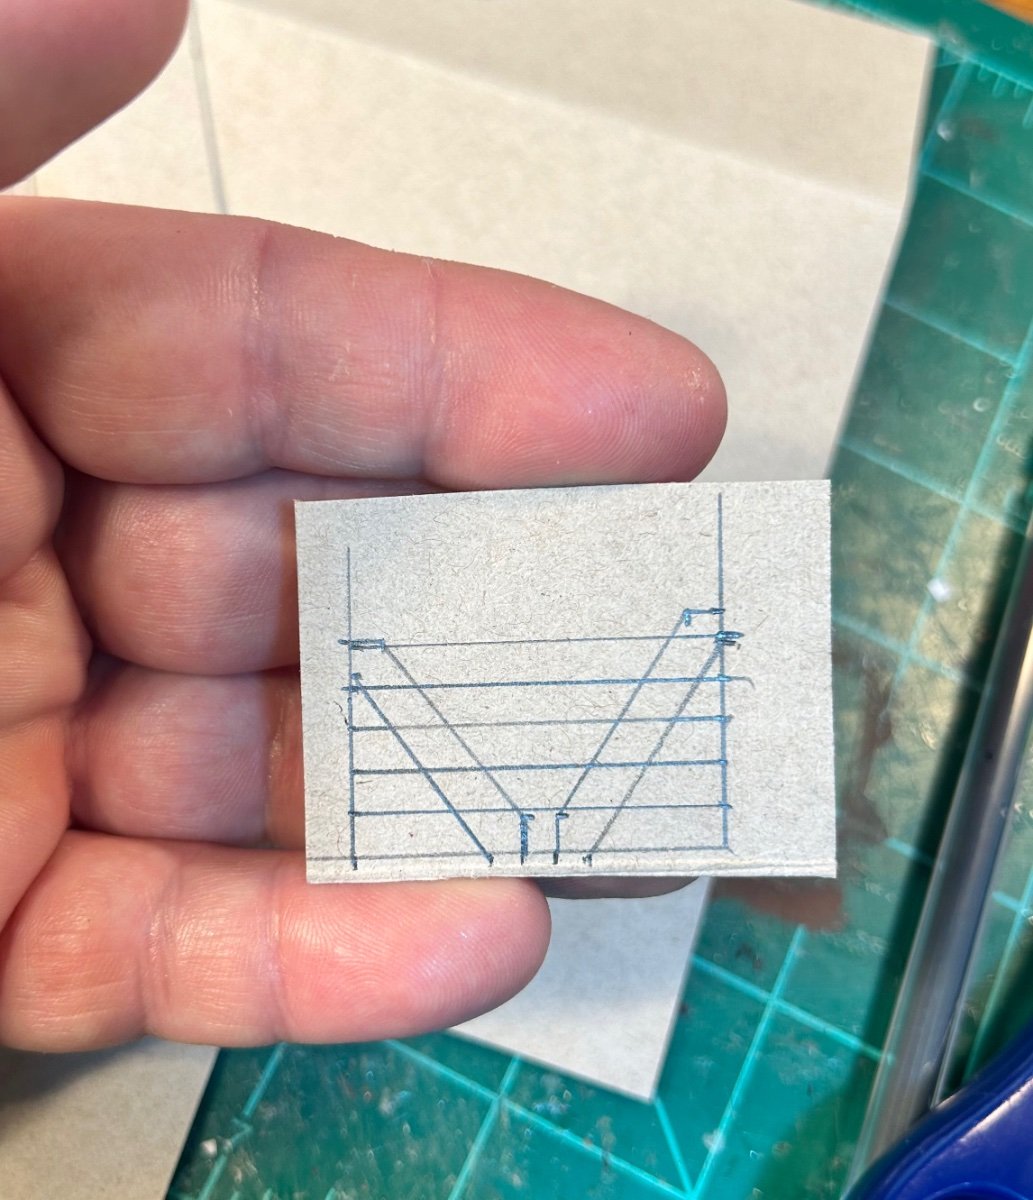
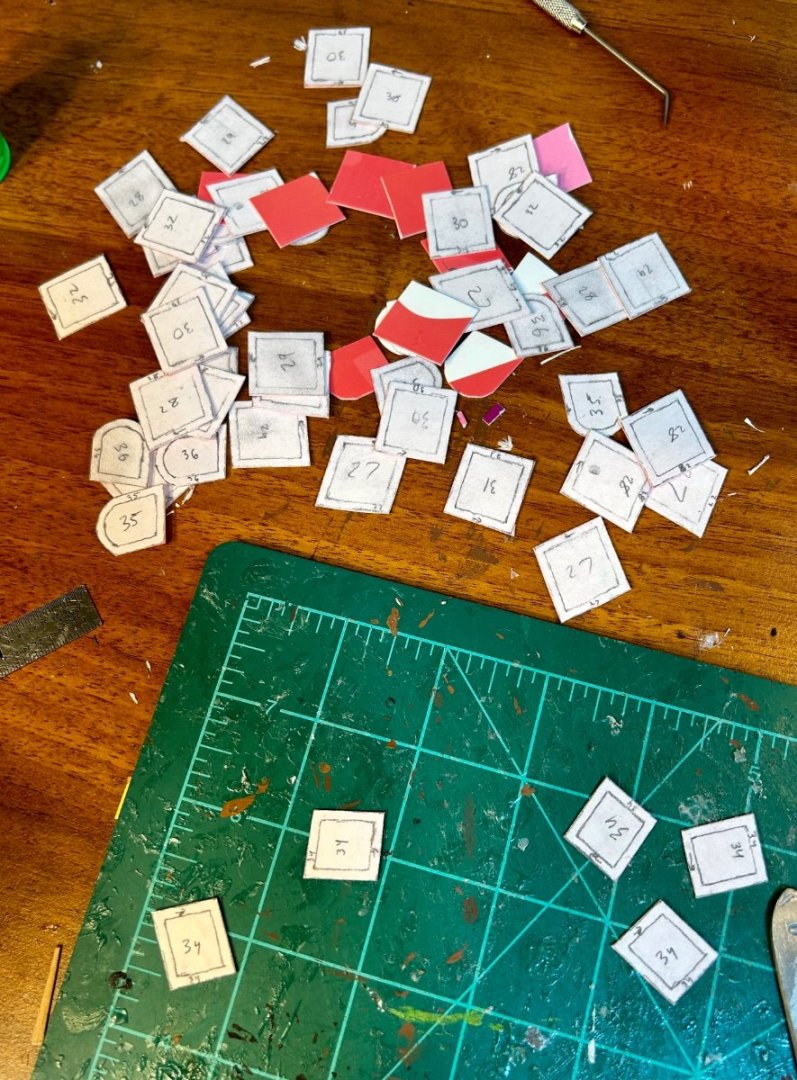
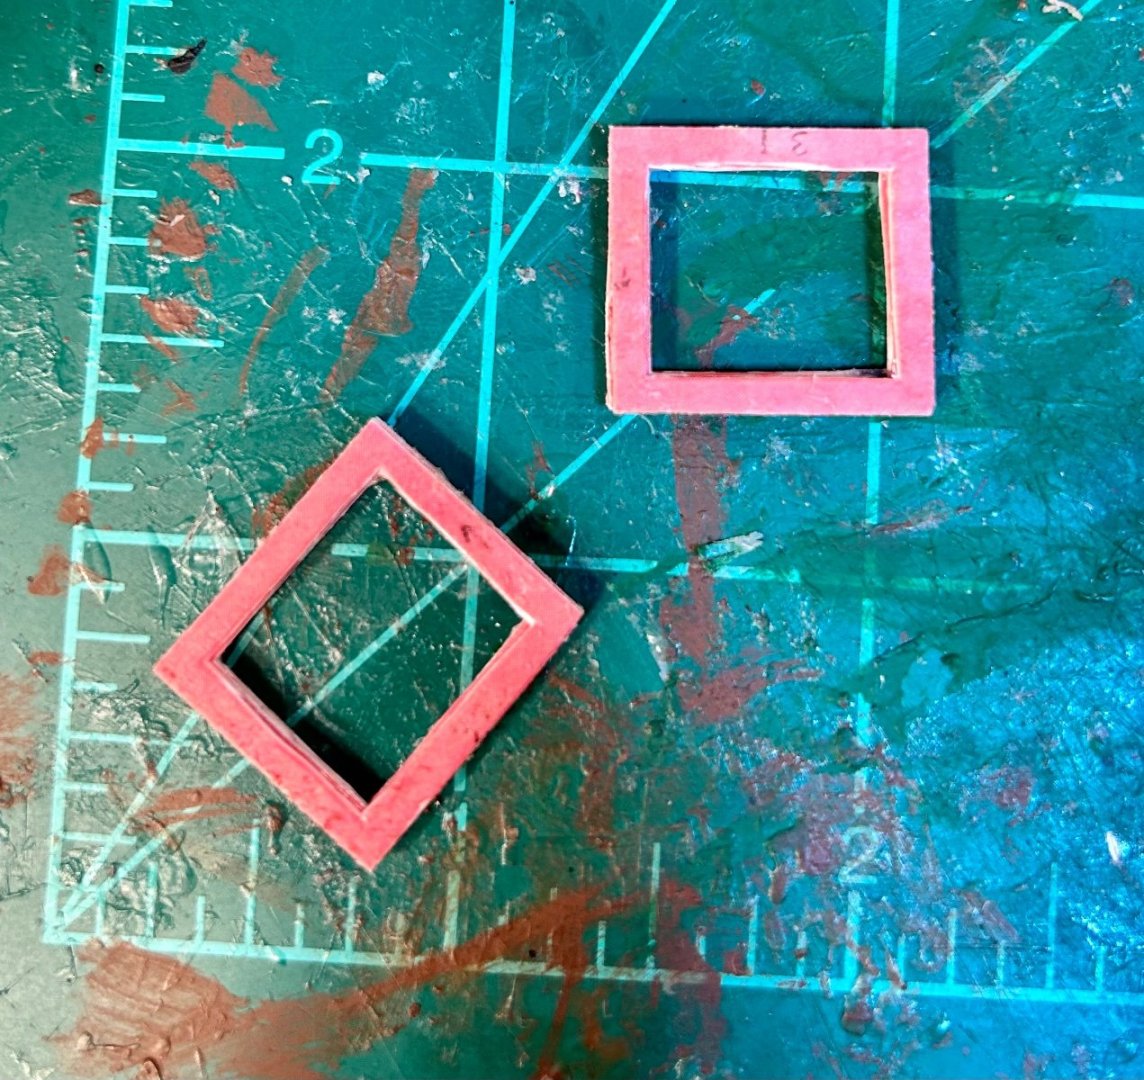
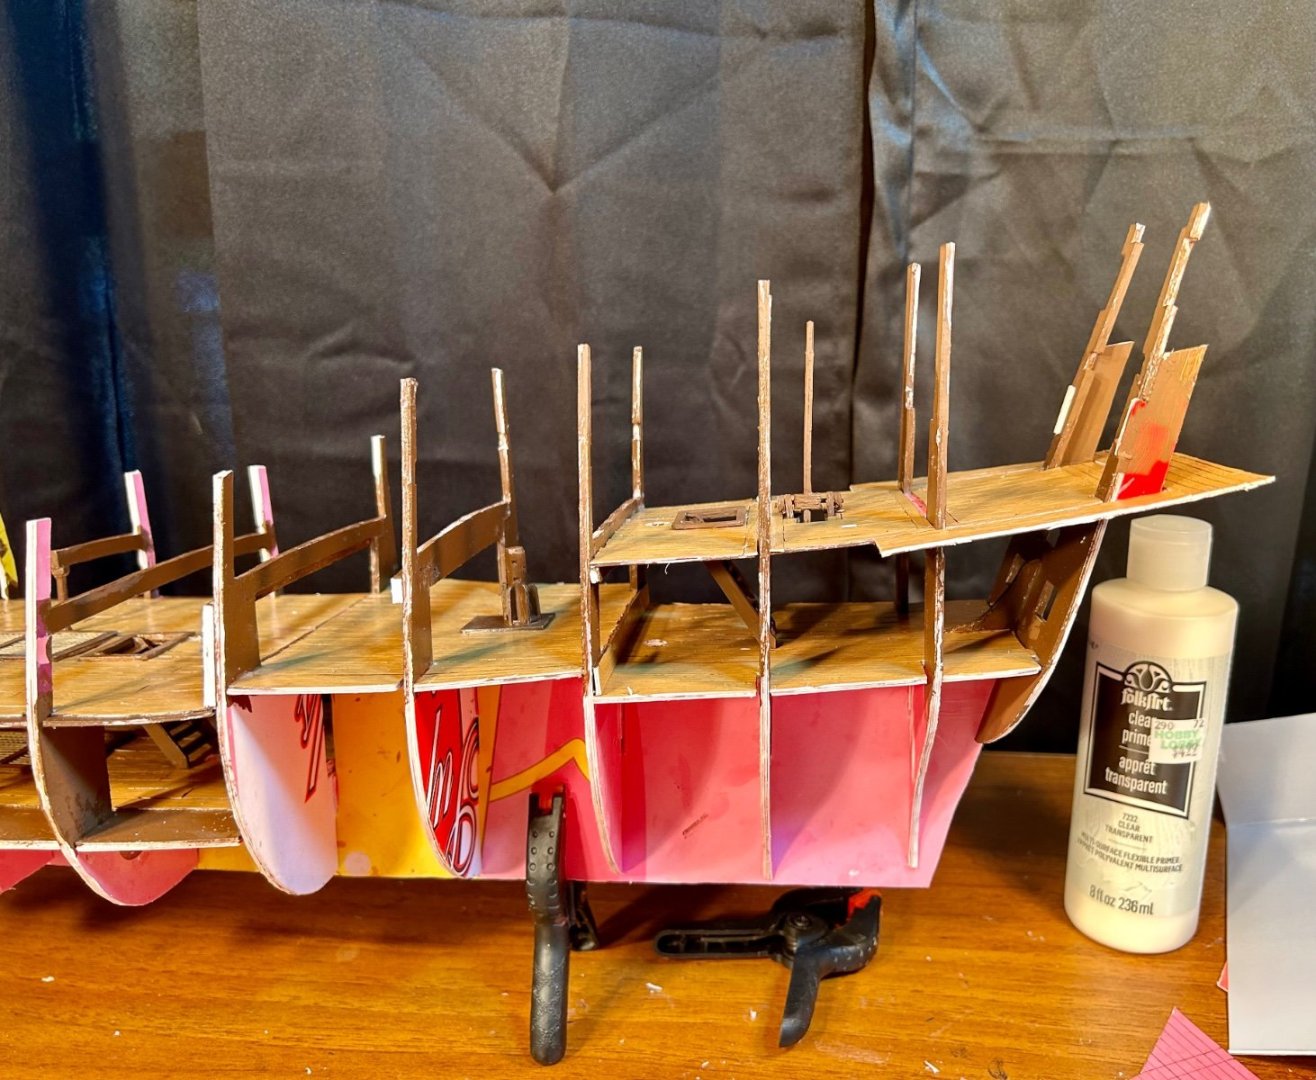
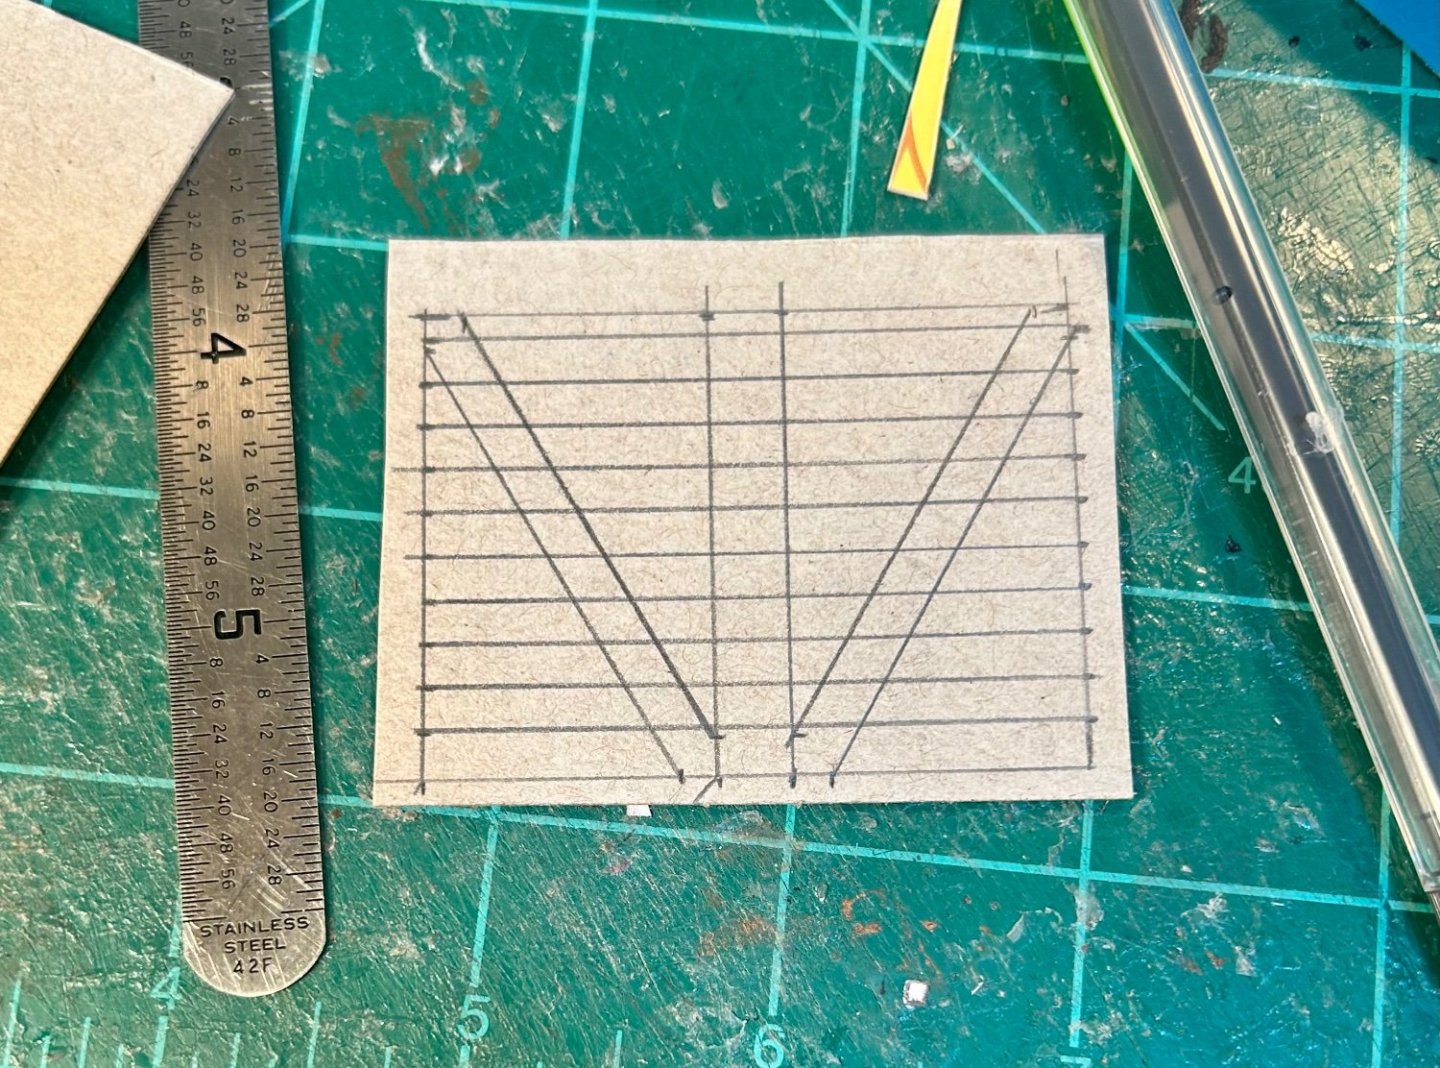
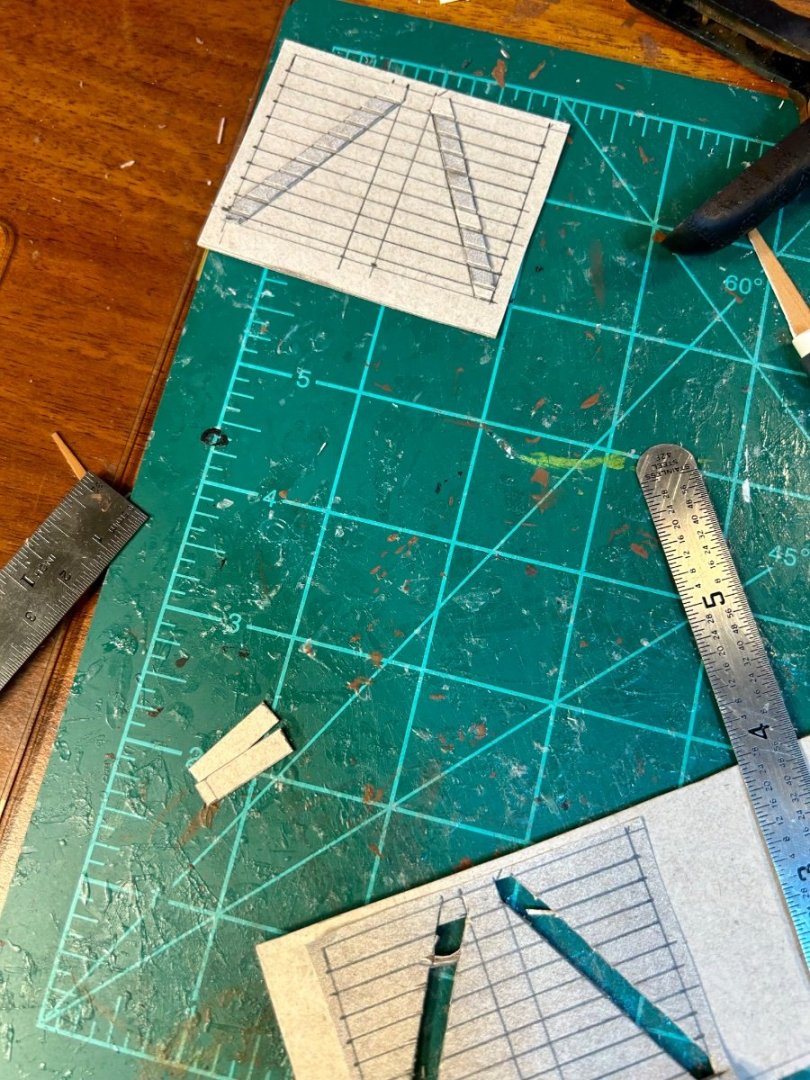
Before I go any farther, I need to finish cutting out and gluing together all those gunport frames I started:
-
Clear coating, even on bare wood, also gives unwanted things, like stray glue drops or stray paint, something else to adhere to. This makes clean up easier, for me at least.
-
Niagara by Alex-Ks1 - 1:7 Scale
GrandpaPhil replied to Alex-Ks1's topic in - Build logs for subjects built 1801 - 1850
Get better! -
I clear coat as I go with: Although the Folk Art clear works well too!

-
Keith, Beautifully executed model! This is one of the absolute best builds that I have ever seen!
-
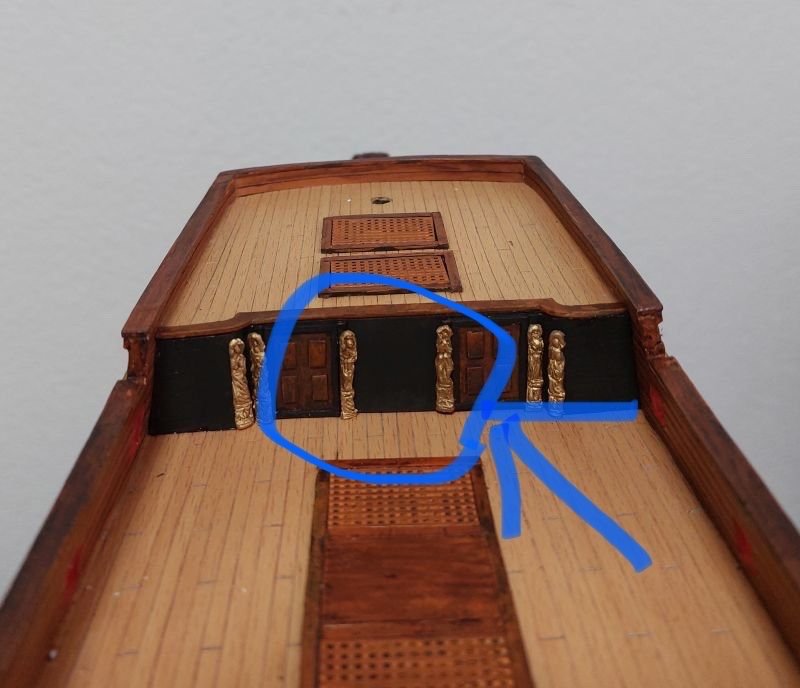
According to sheet 4 of Amati’s plans it goes there, against that forward bulkhead between the caryatids: Your build is fantastic!
-
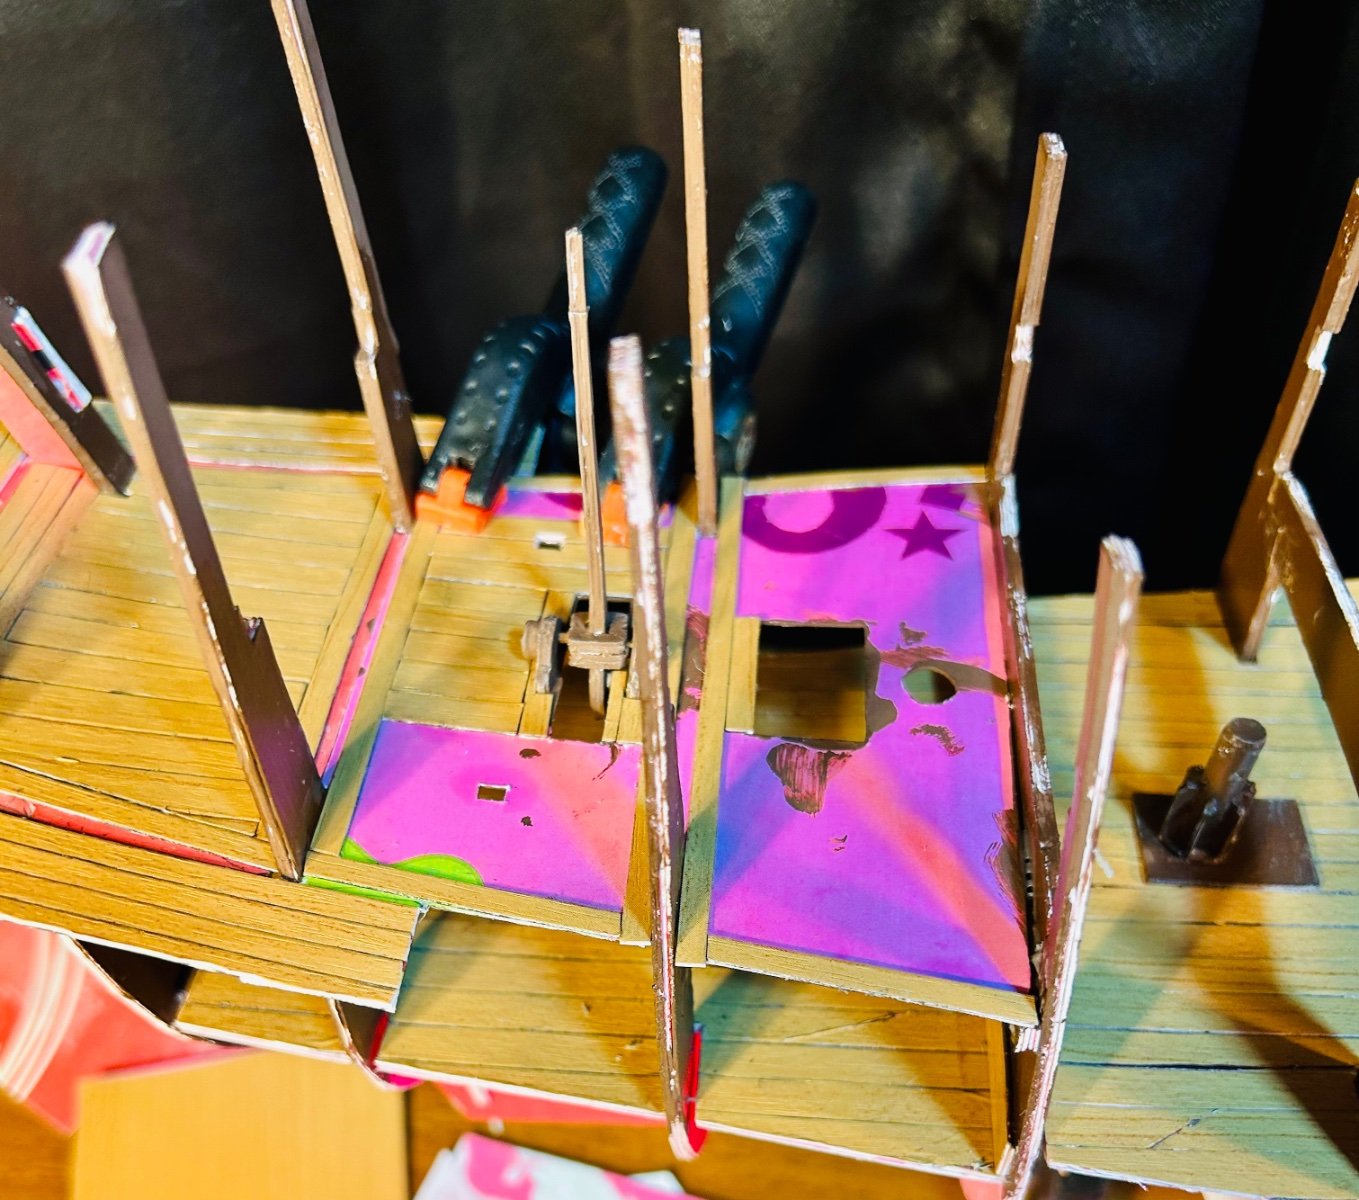
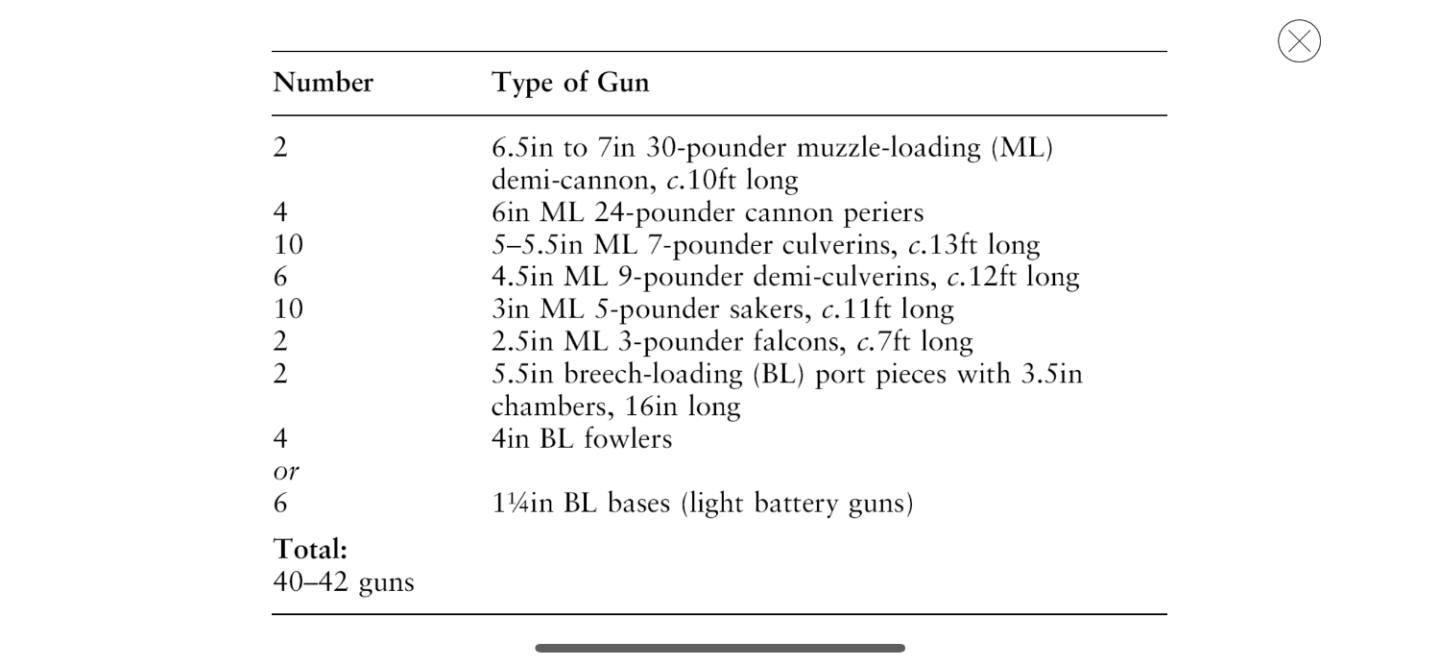
Working notes: Only the demi-cannon and canon periers are getting 4 wheeled carriages. The rest are getting the 2-wheeled carriages, except for the port guns and fowlers which get block carriages. The 2 demi-cannons will be 1 7/8” long. The 4 canon periers will be 1 5/16” long. The 10 culverins will be 2 7/16” long. The 6 demi-culverins will be 2 1/4” long. The 10 sakers will be 2 1/16” long. The 2 falcons will be 1 5/16” long. The 2 port pieces will be 15/16” long and mounted on a Henry VIII style block carriage (breech loader). The 4 fowlers will be 3/4” long and also mounted on a block carriage as they were also breech loaders.
-
The test fit:
-
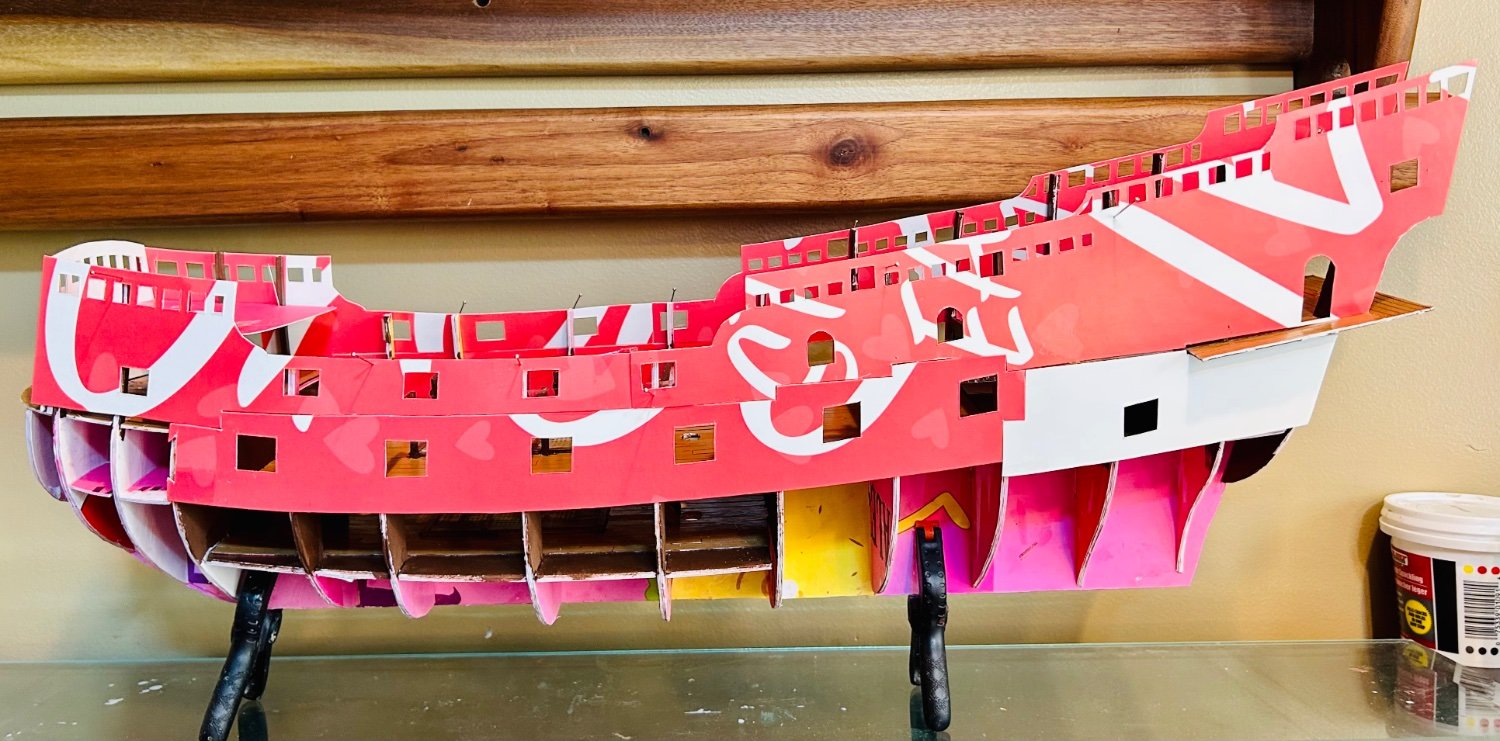
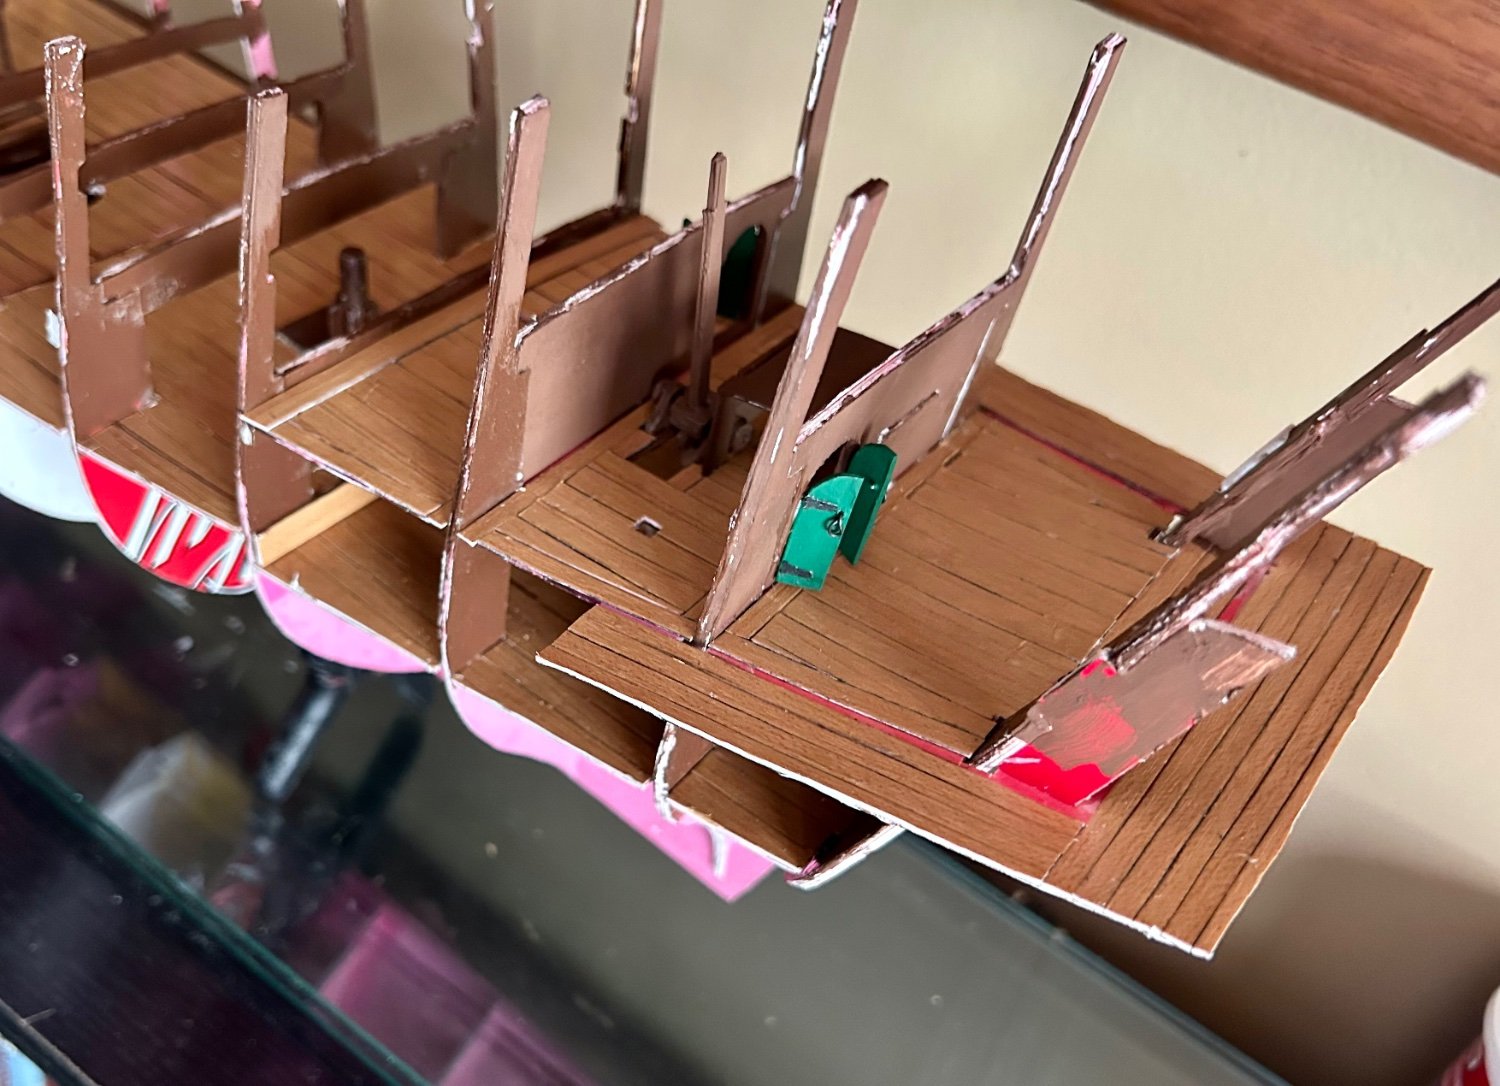
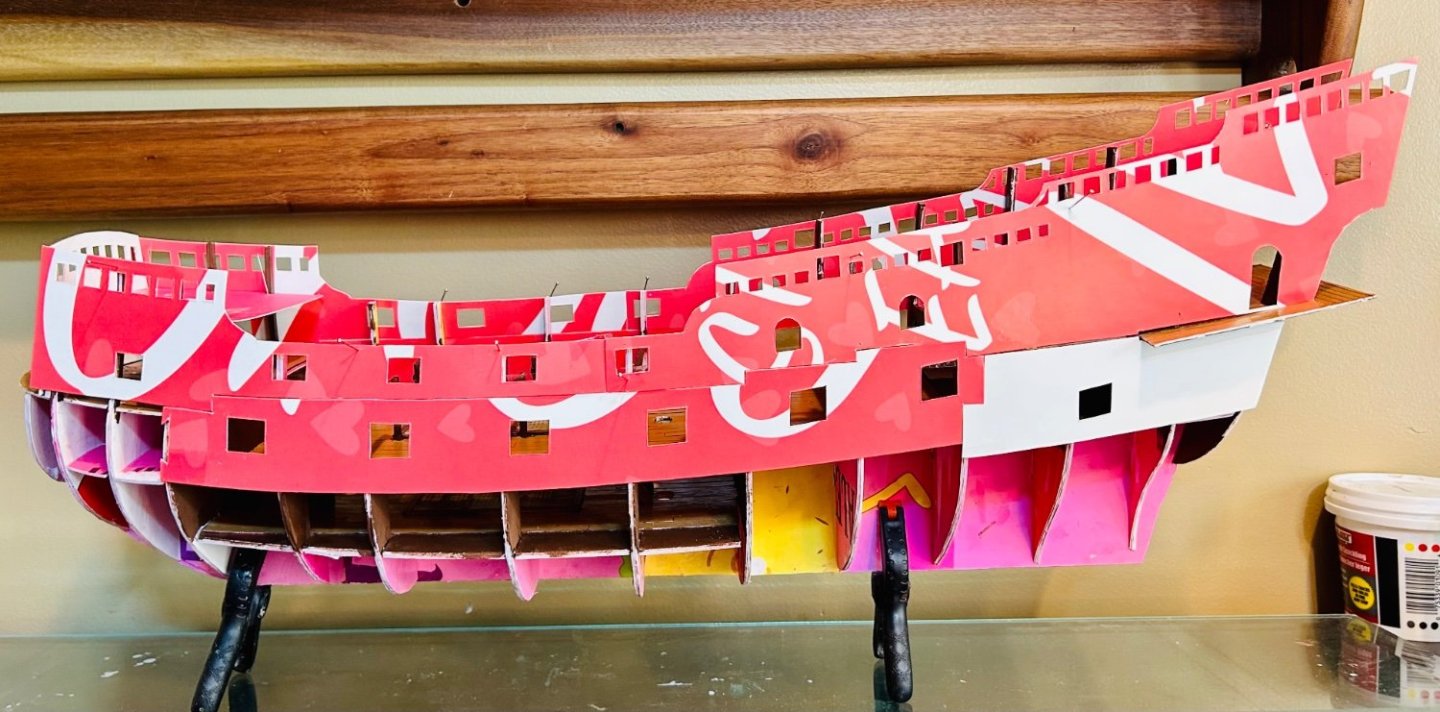
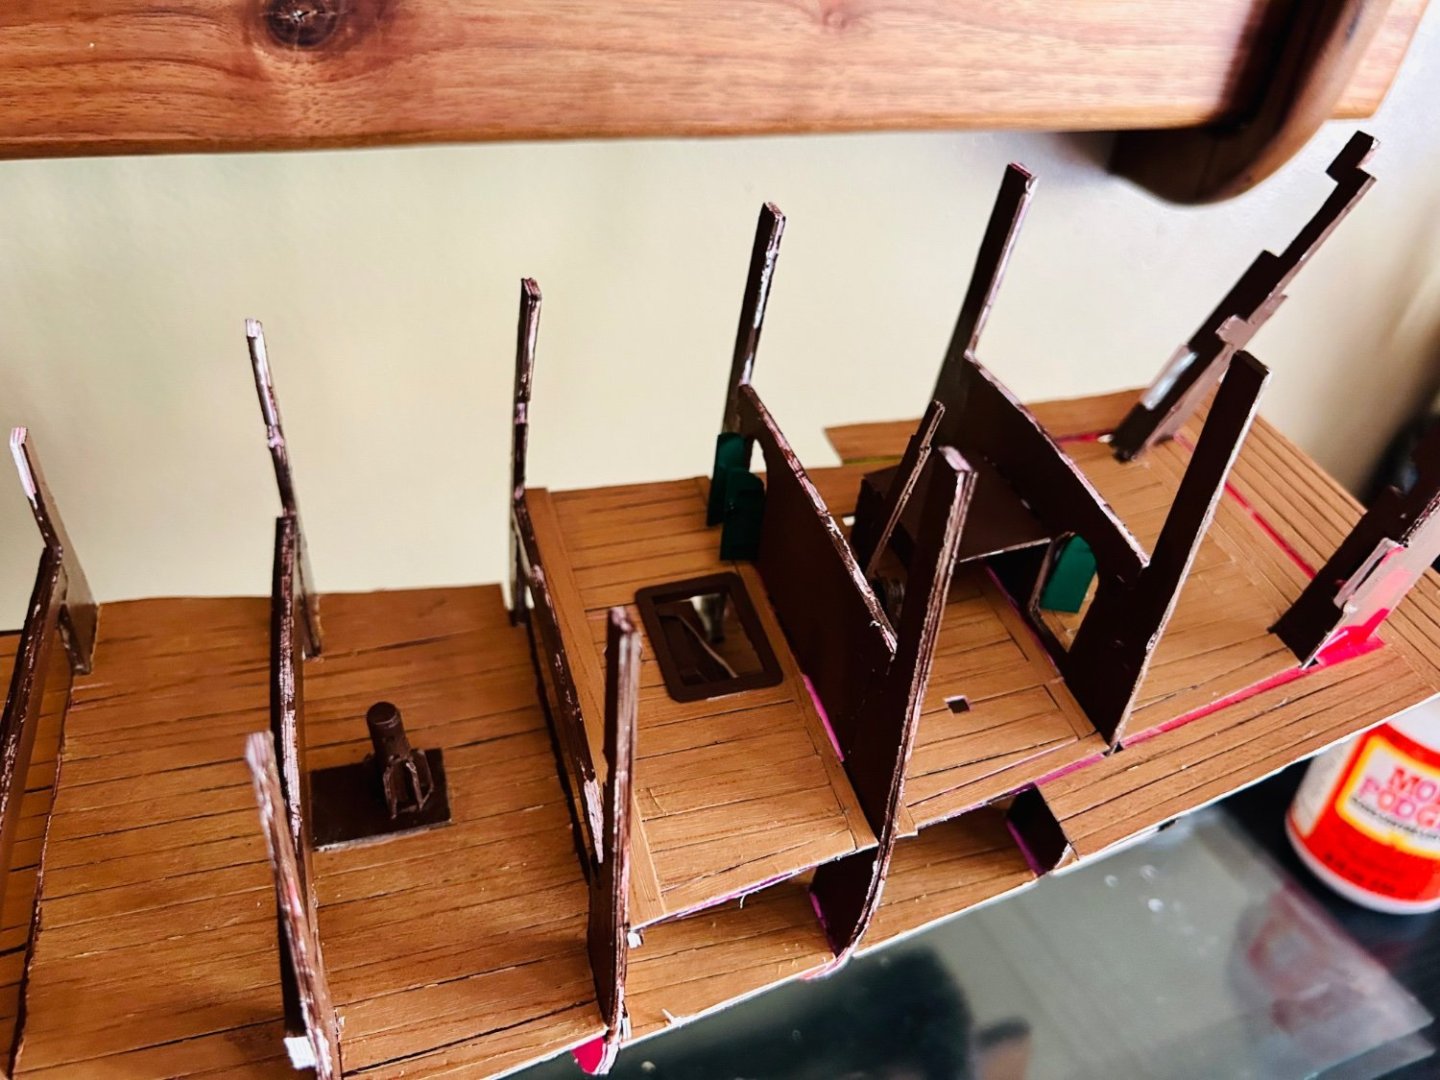
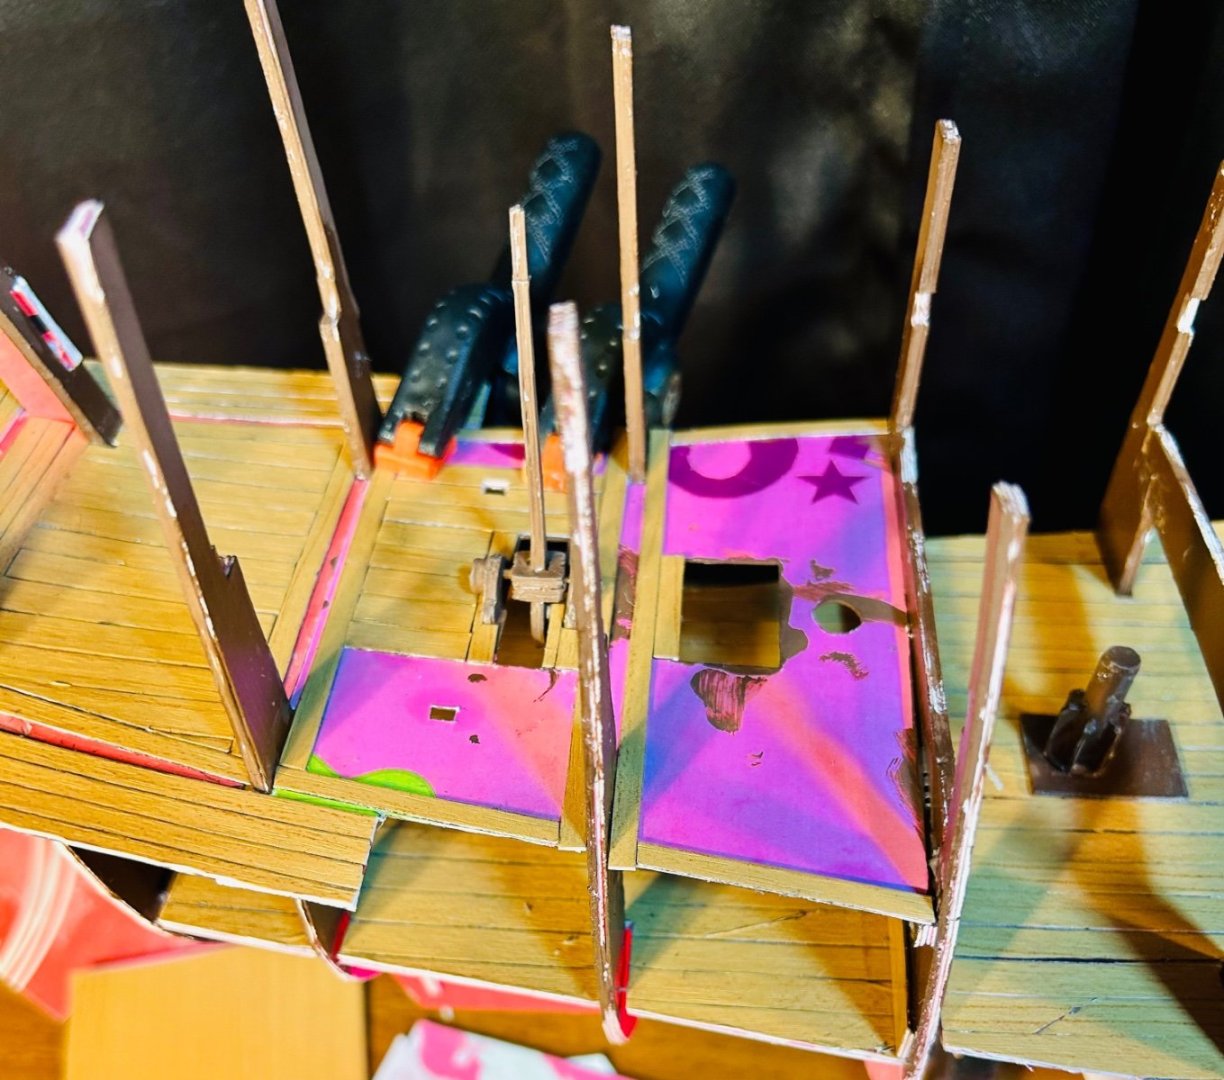
Thank you all for the likes and for stopping by. The vast majority of the framework is now done. Here is the helmsman’s area, and the ladder: The helmsman’s area is done except for some minor touch ups and sealant. Next up is the part where I test fit all the gunport patterns and gunport frames. Part of this involves gun carriages. Gun carriages involve guns. So…once I get the test fit and alter as required, it will be time to make some artillery and carriages.


-
I have the Victory Models plan set for the Granado too. If this one keeps going as well as it has, I will have to build that one next.
-
Wood grain contact paper like you use for cabinets is great for decking. That is what I use for card models. Just draw the plank edges in with a pen and a straight edge.
-
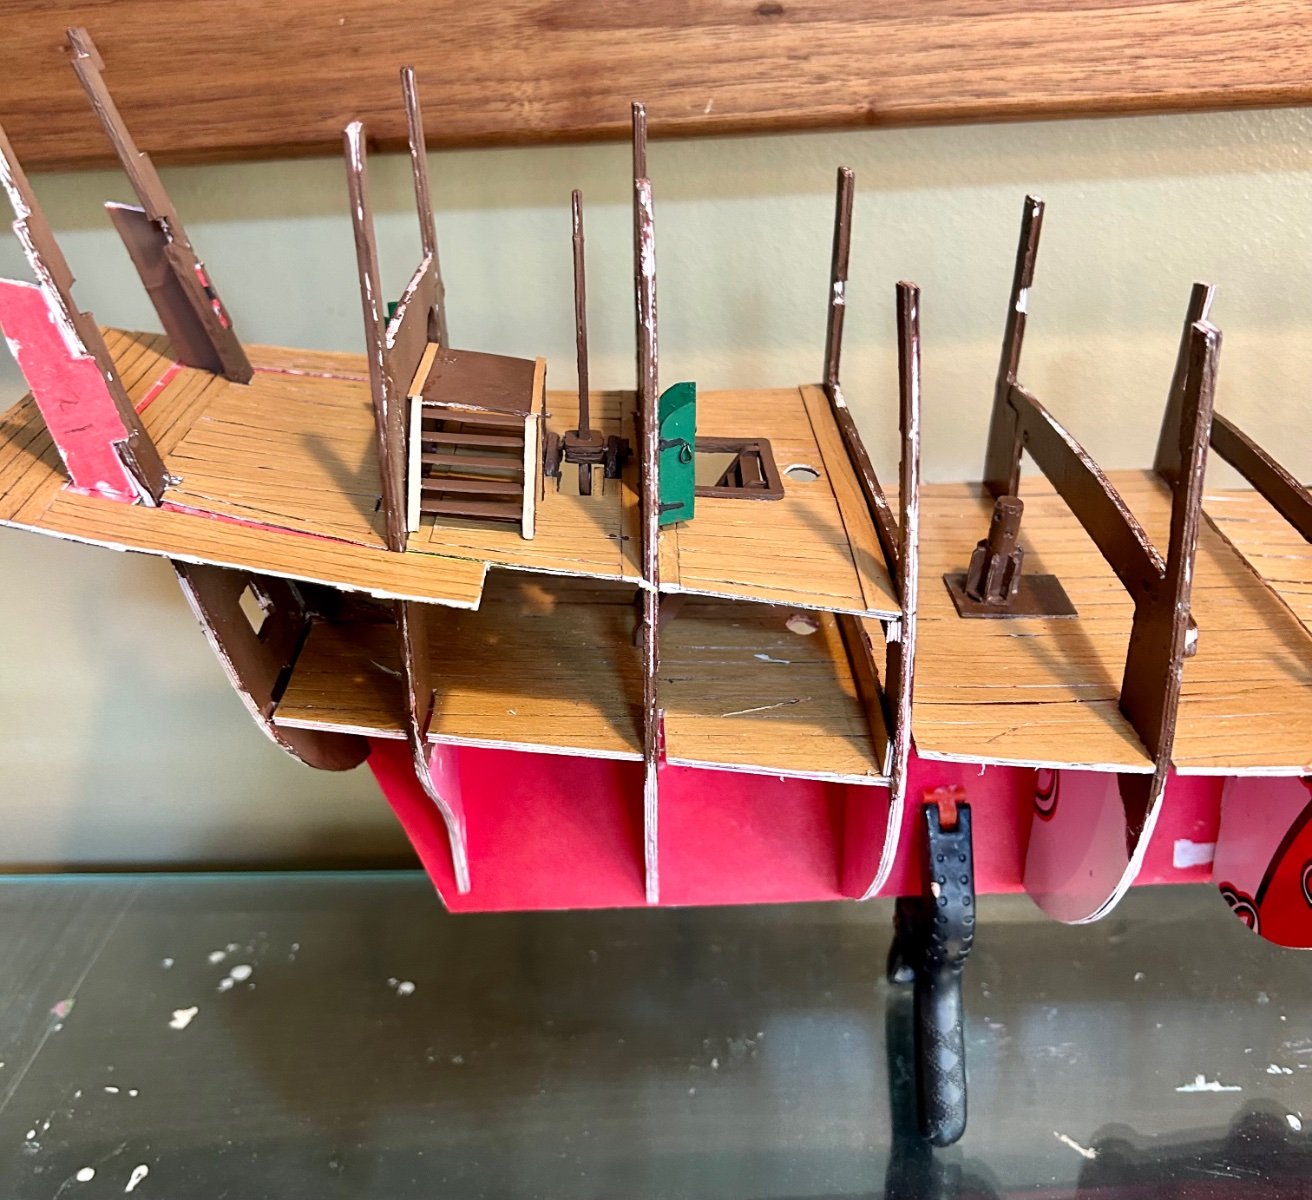
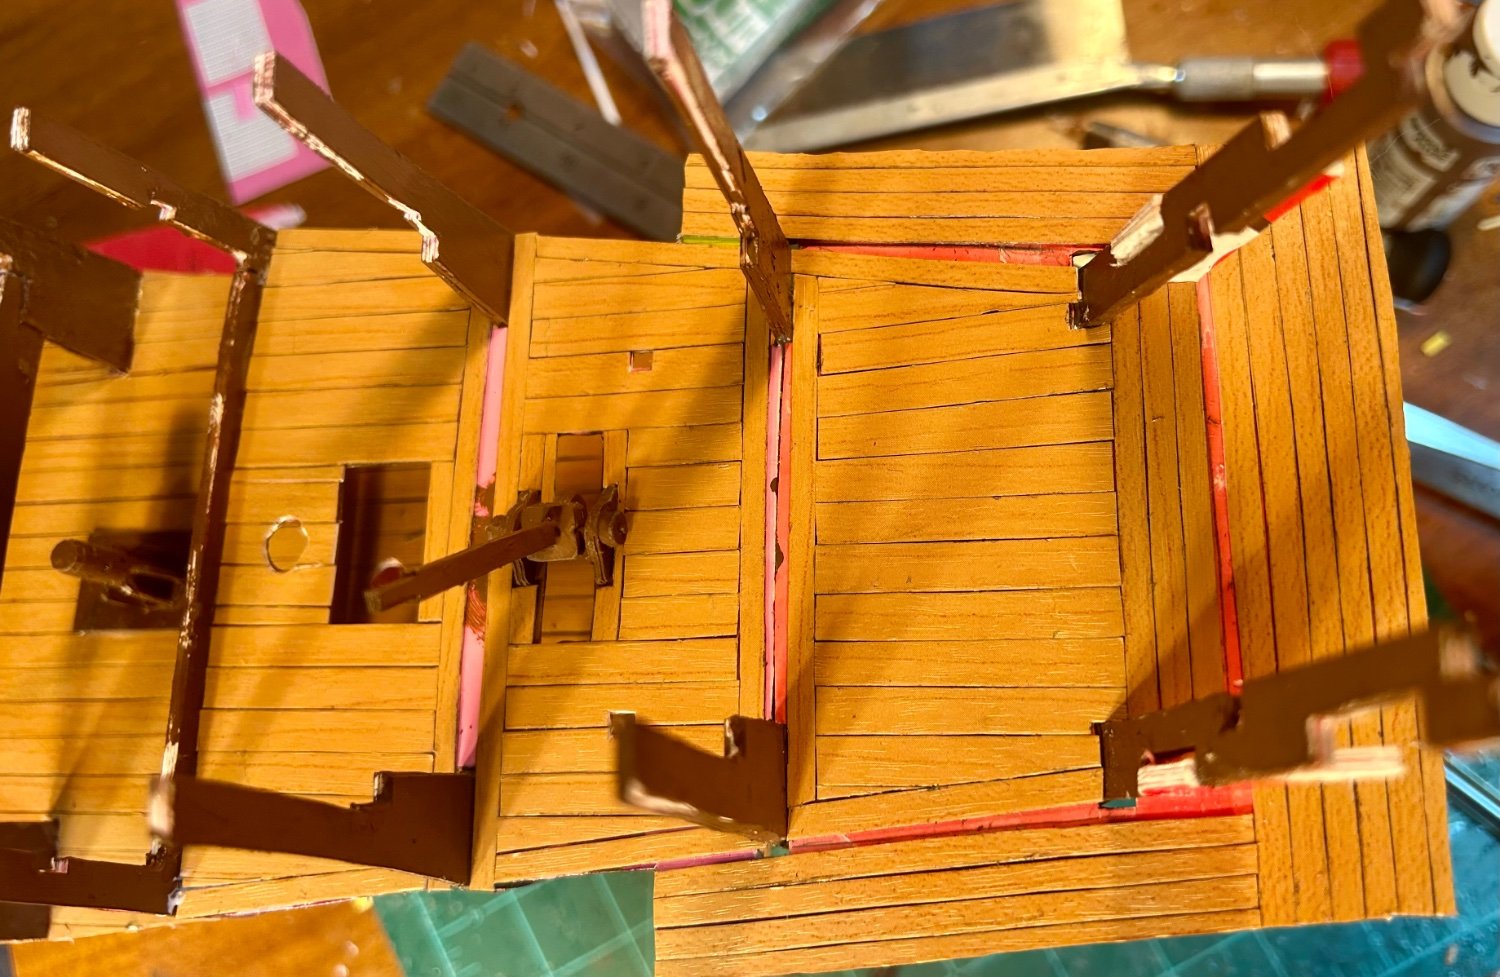
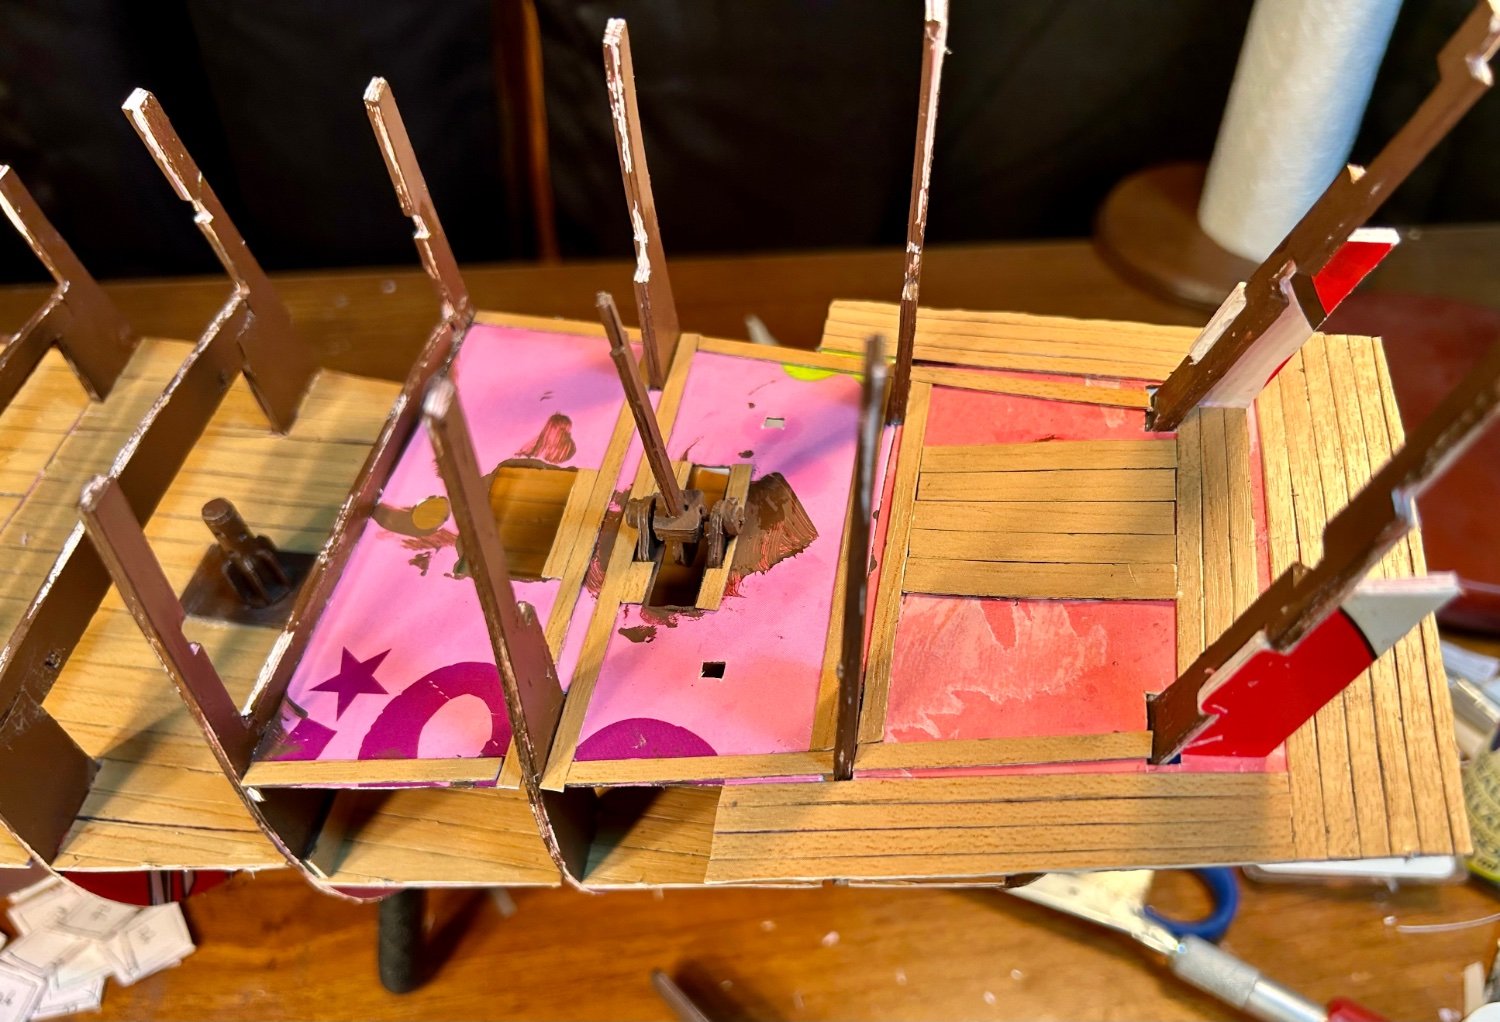
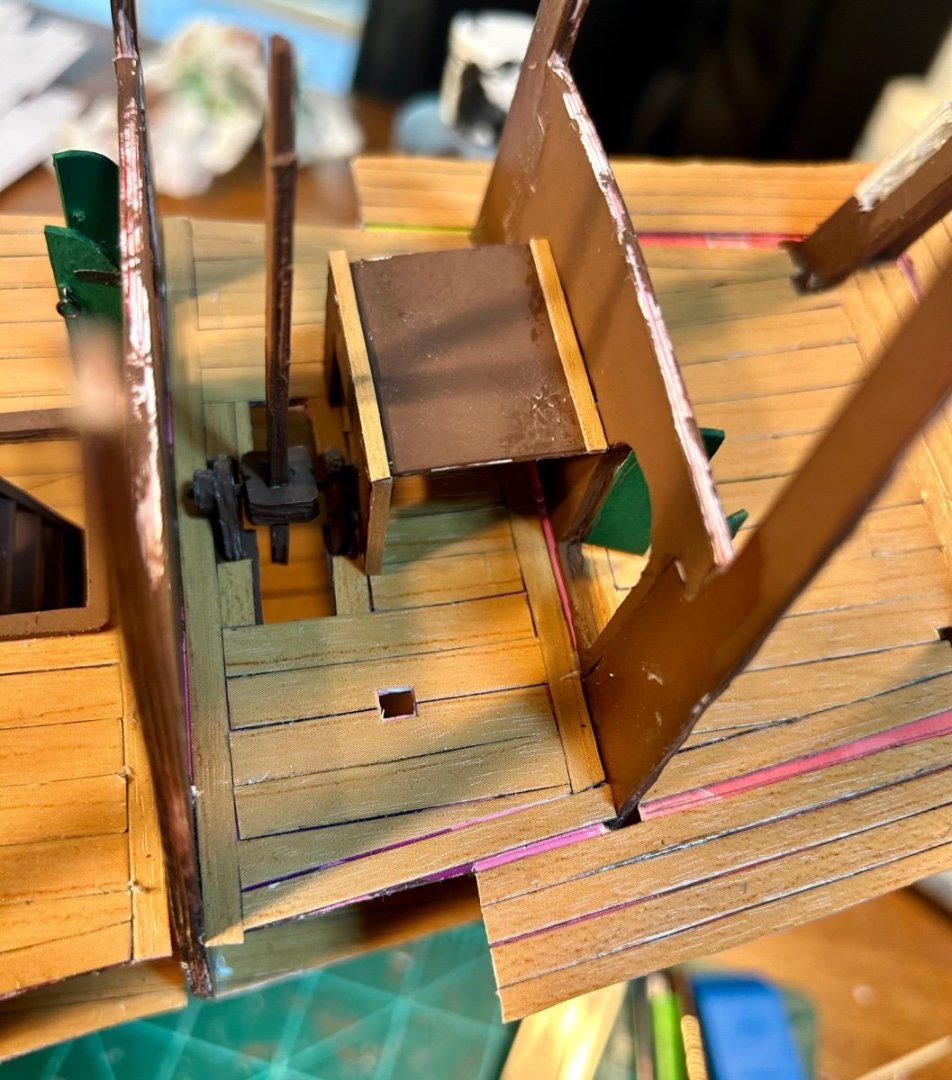
The helmsman’s room w/ platform is made. One bulkhead with pieces of the platform: The aft bulkhead: The aft bulkhead with doors and the platform: Installed: And a side on shot: Now, I need to add some trim “wood” and a ladder to the platform. Next up, it will be time to do a lot of test fitting and aligning of the forecastle pieces and the gunport patterns. Part of that involves gunport frames which are now rough cut. Part of that involves prepositioning gun carriages. Since I am at the point of needing weapons, once I get the helmsman’s platform finished and finish painting/touching up/sealing what is already made and installed, I am going to make all 40 guns with carriages so I can figure out where everything is going. I have good pictures of Elizabethan guns in Historic Ship Models, The Ship and The Galleon, so I will adjust accordingly to get my full complement of artillery. I will use the rolling carriages for the bigger guns such as demi-cannon, culverins and demi-culverins. The cannon periers, minions, falcons and sakers will get the type of carriages with two wheels on the front. I am going to add an inner bulkhead for the gundeck so I can rig those cannons. Cannons will be made of dowel rods like the last few models, but will get card banding to improve the appearance. Also, I am adding the royal seal to these. They will be sealed card stock.


-
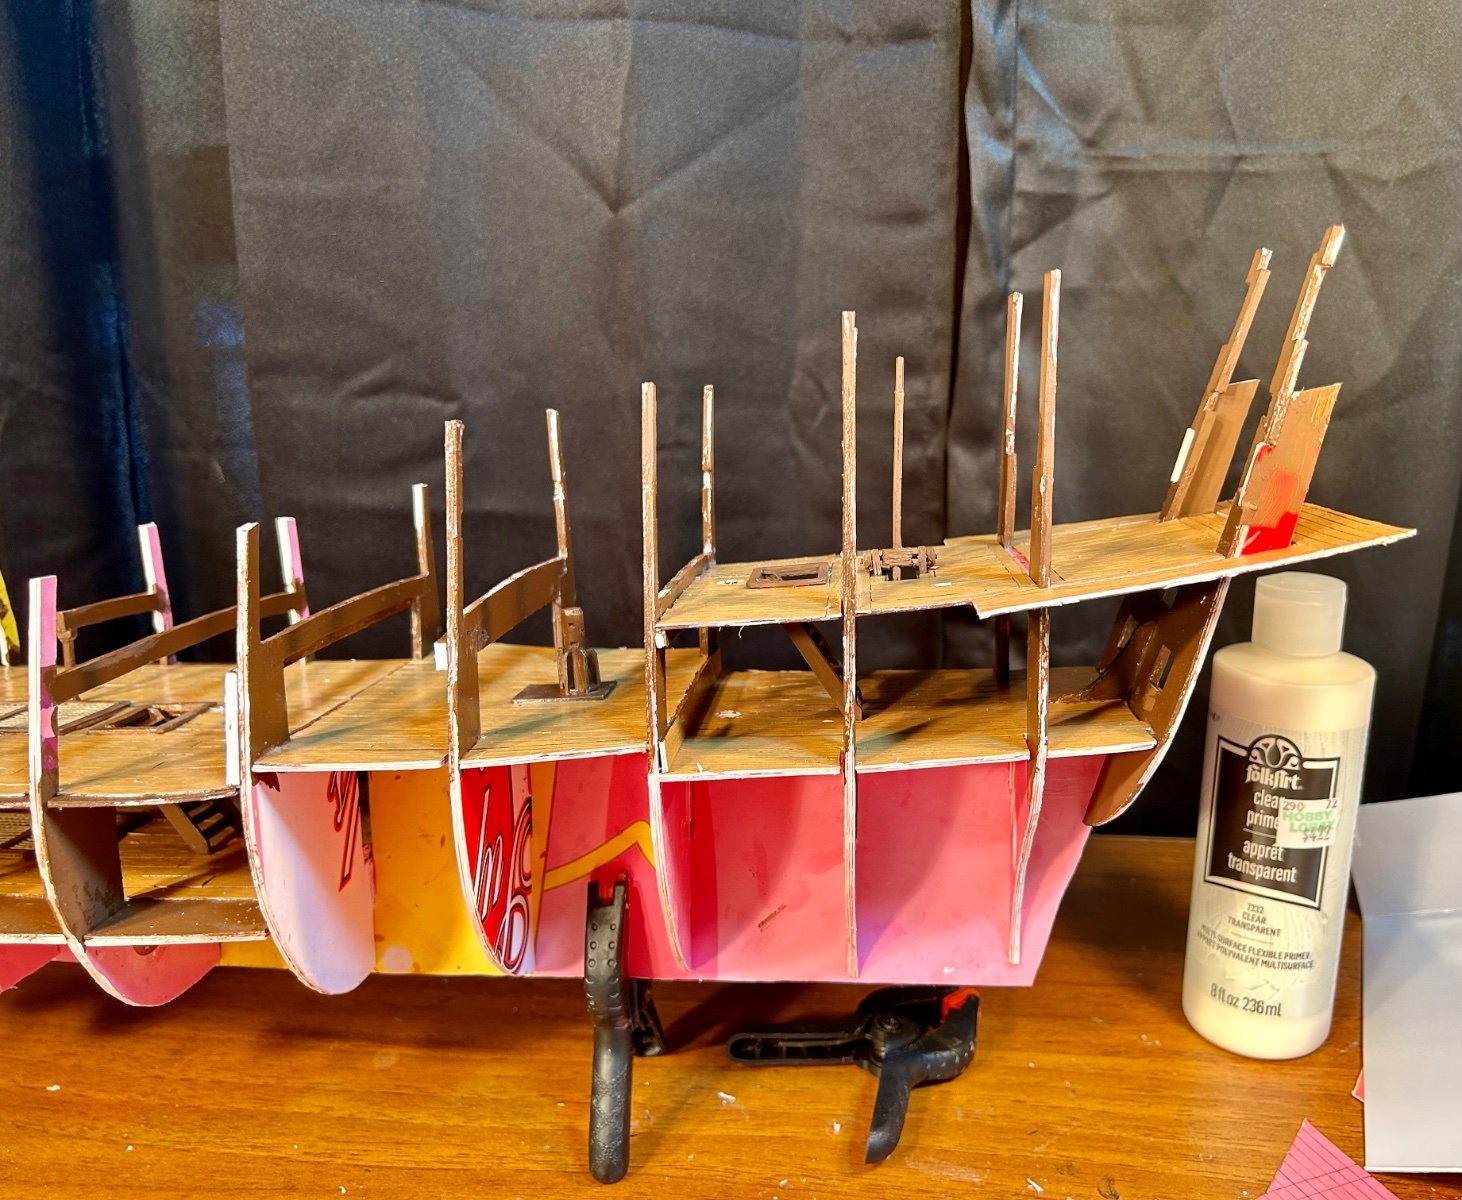
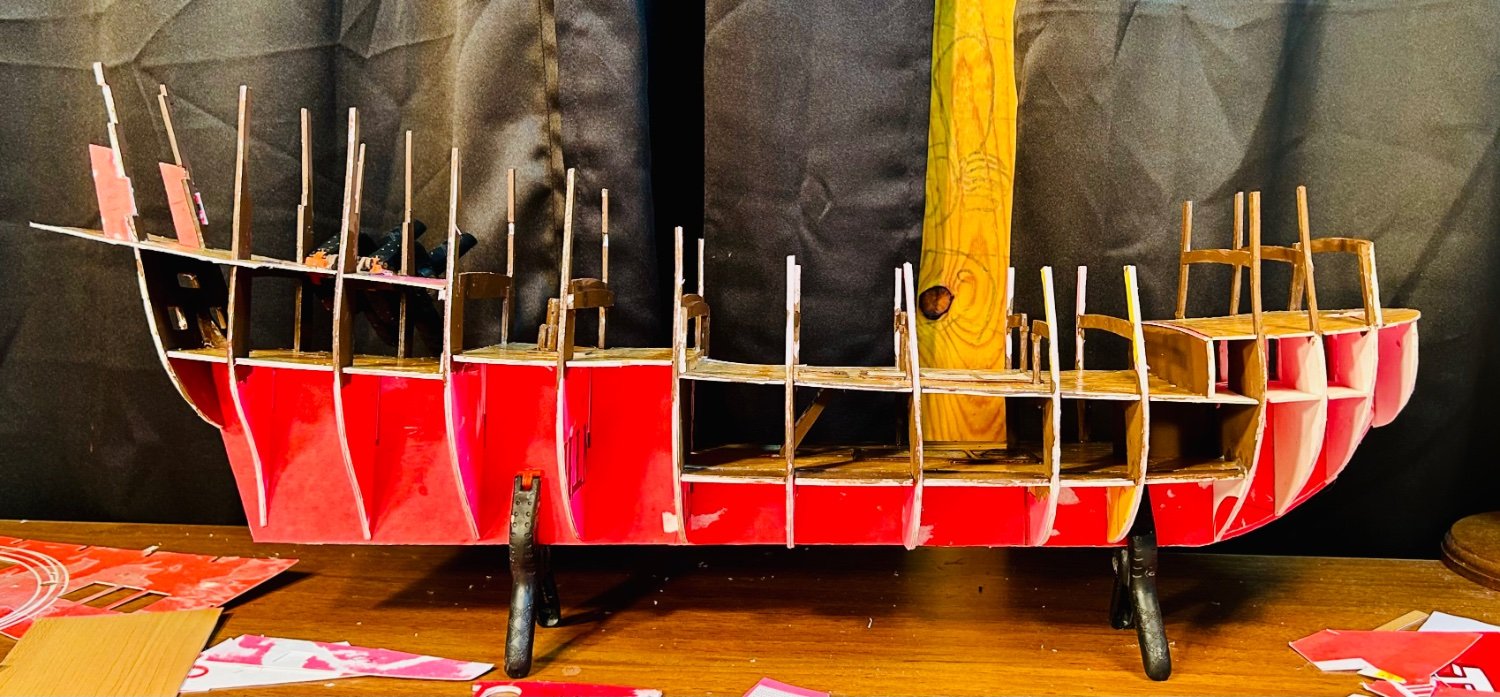
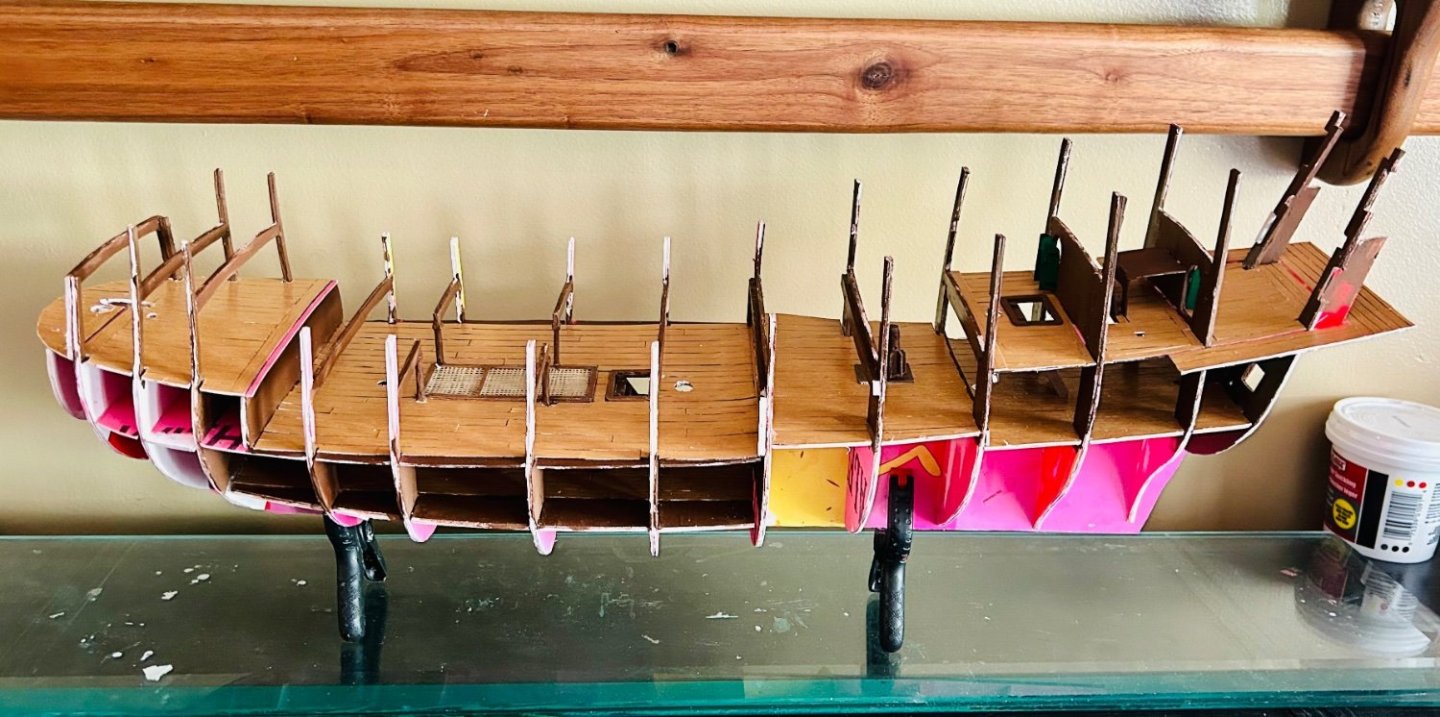
Side on and slightly overhead shot with the aft interior main deck on:

-
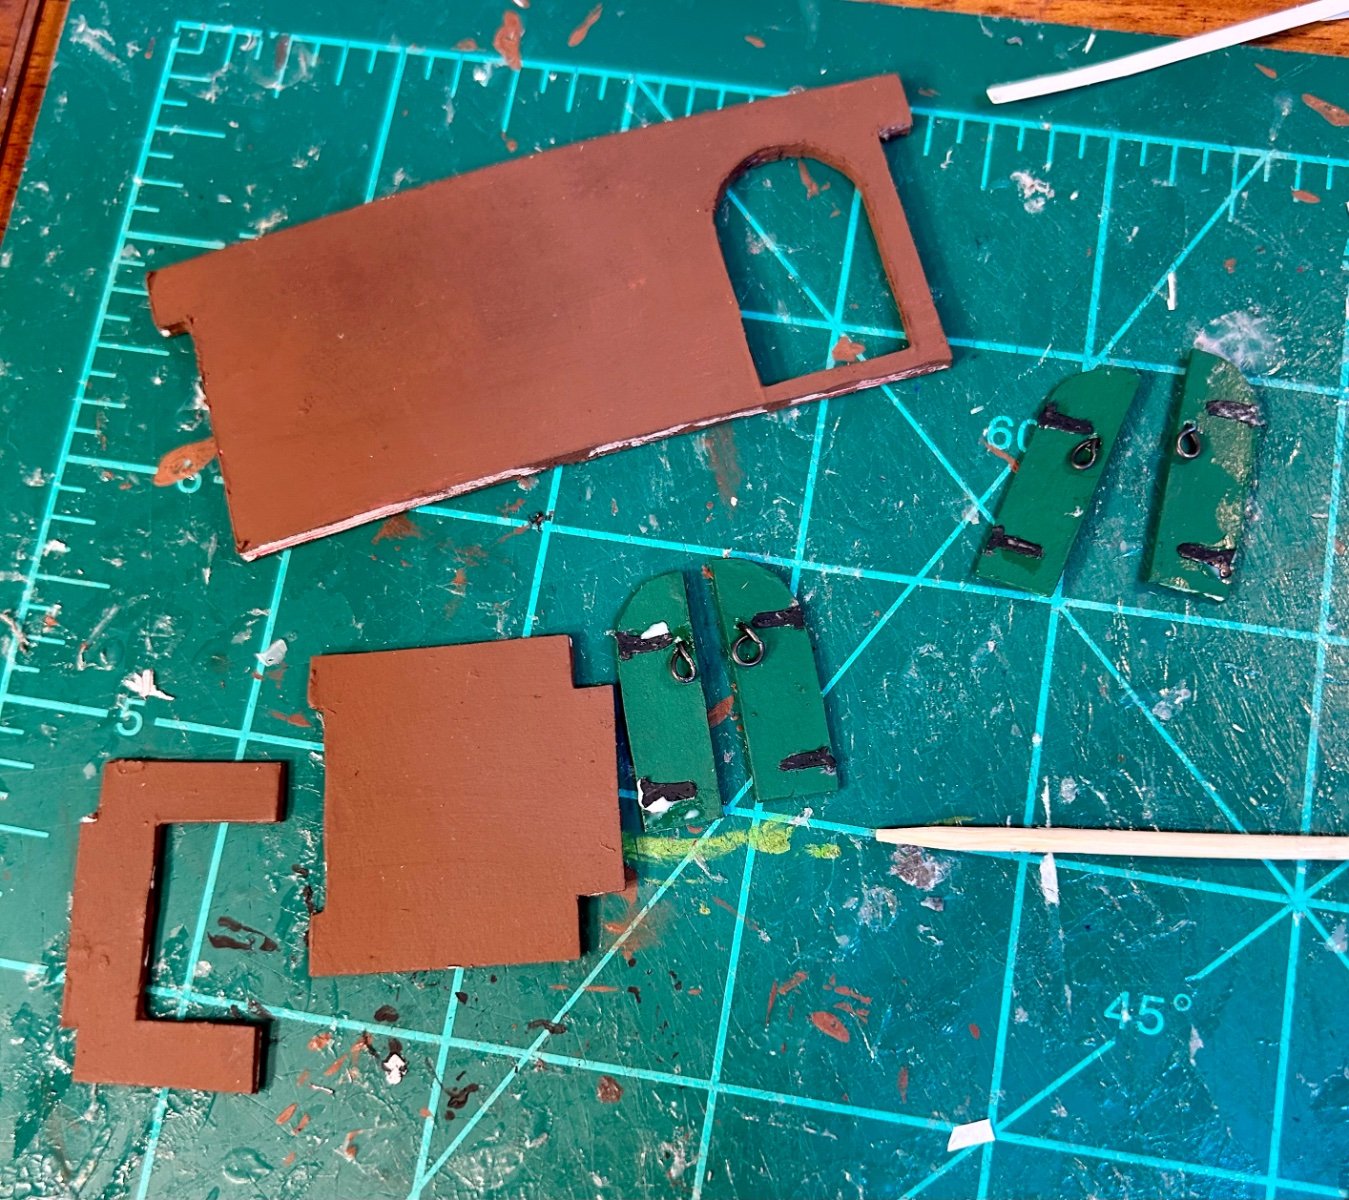
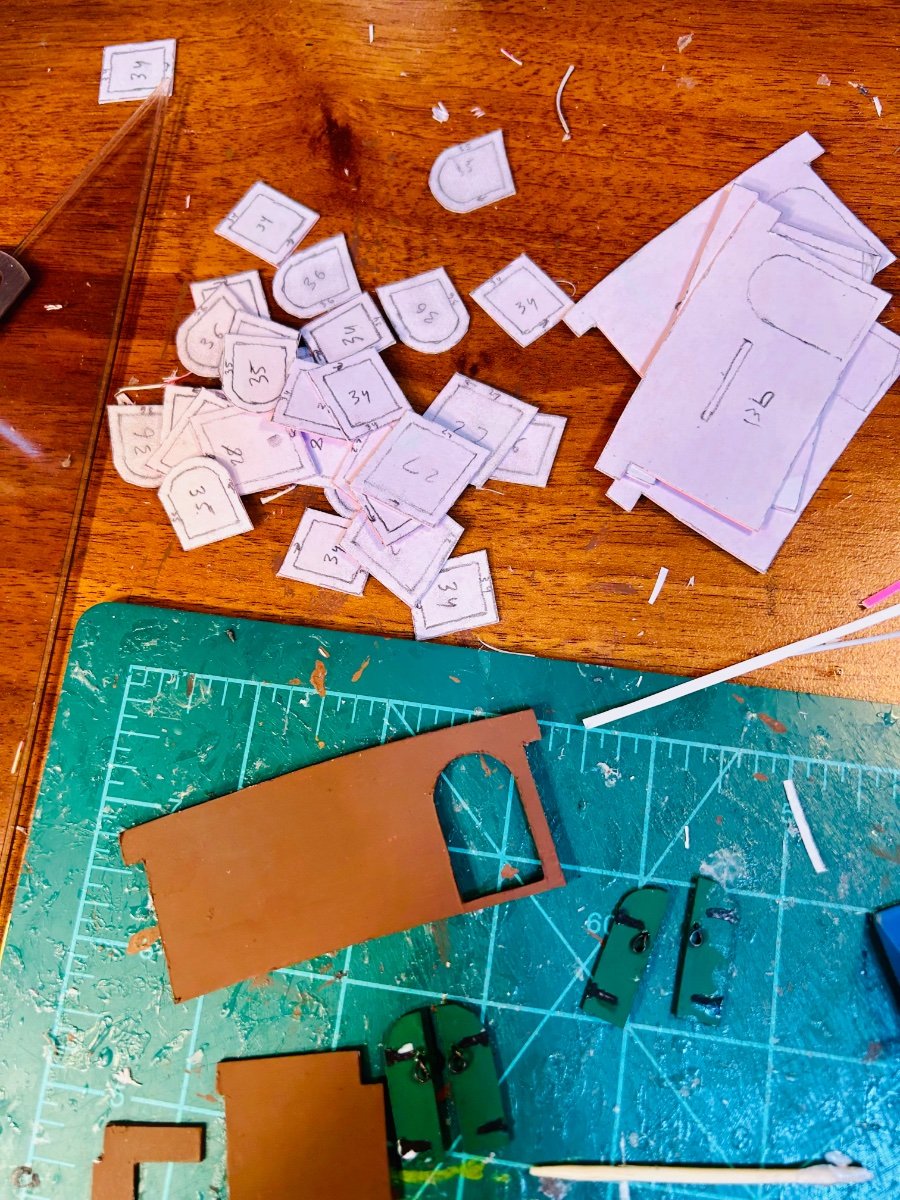
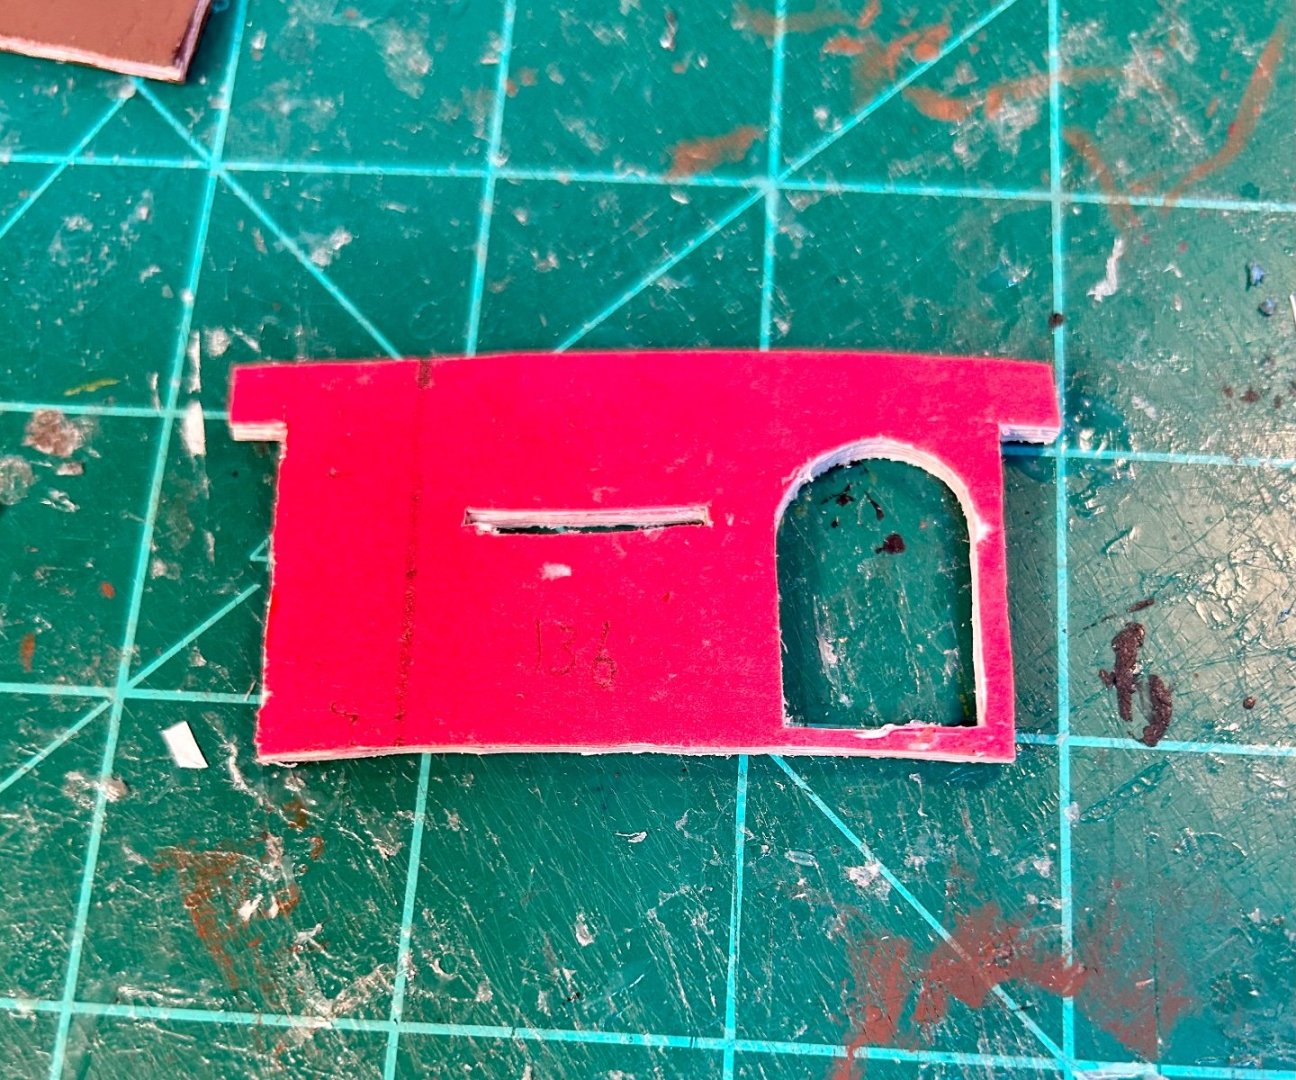
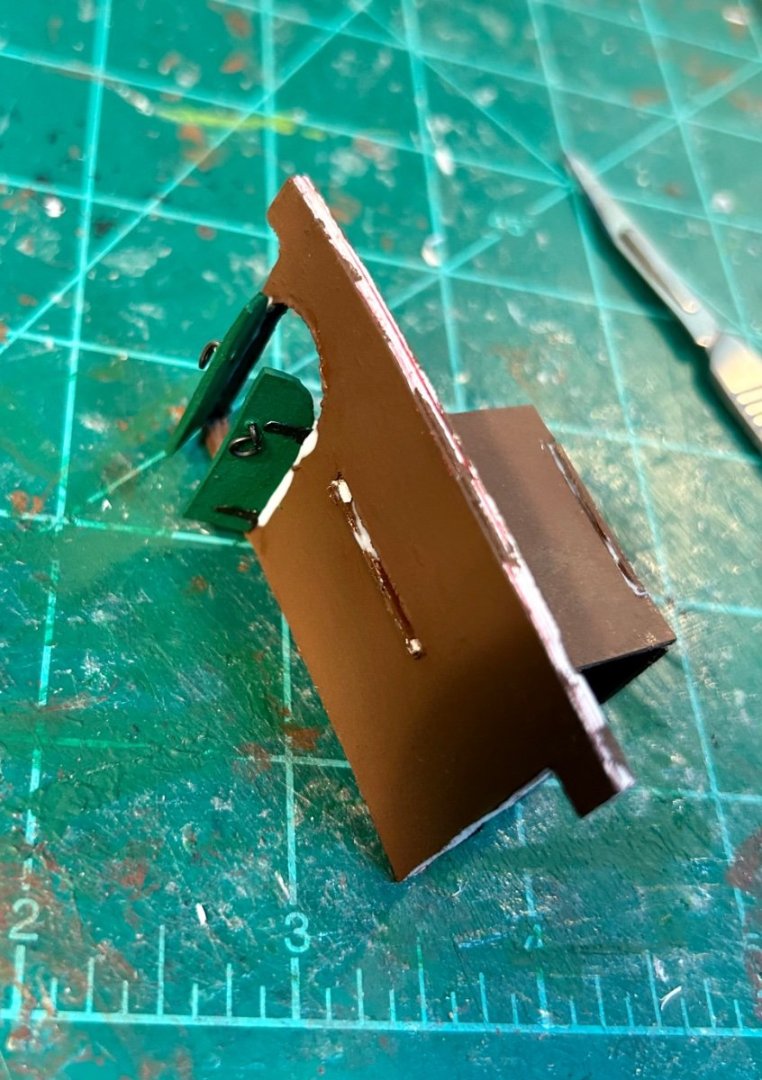
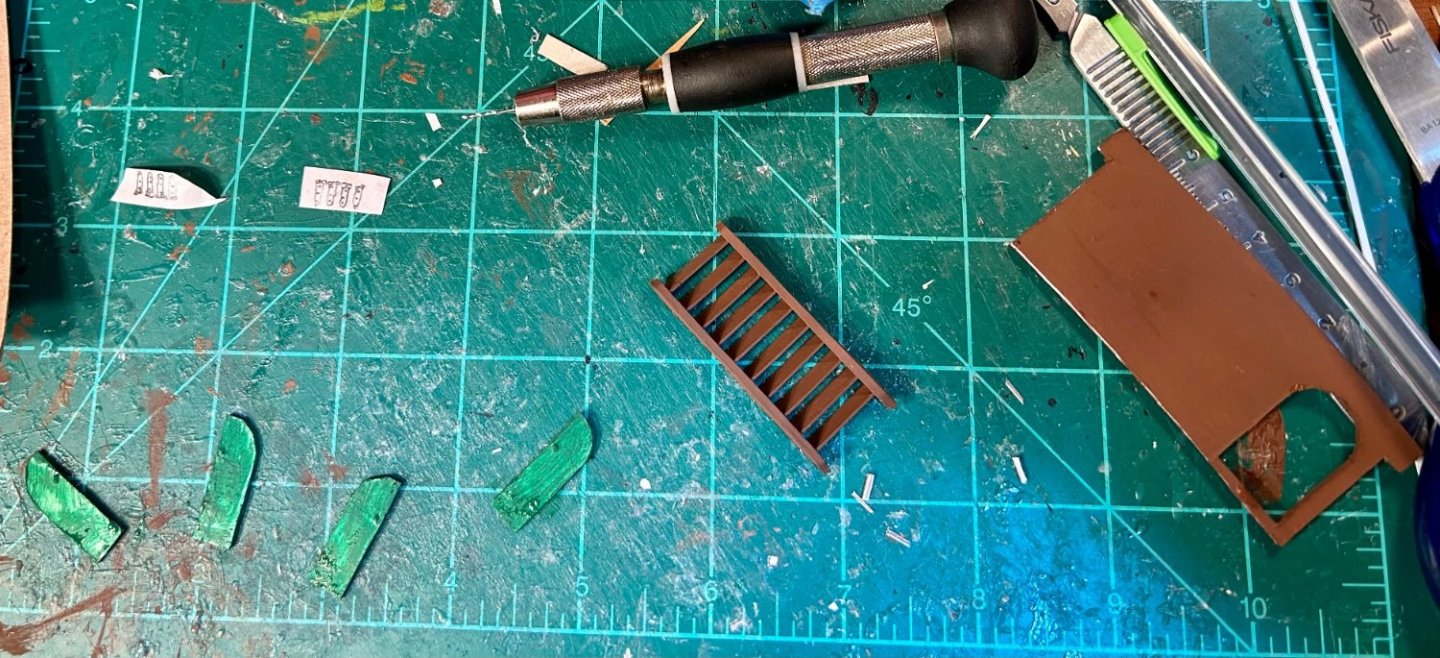
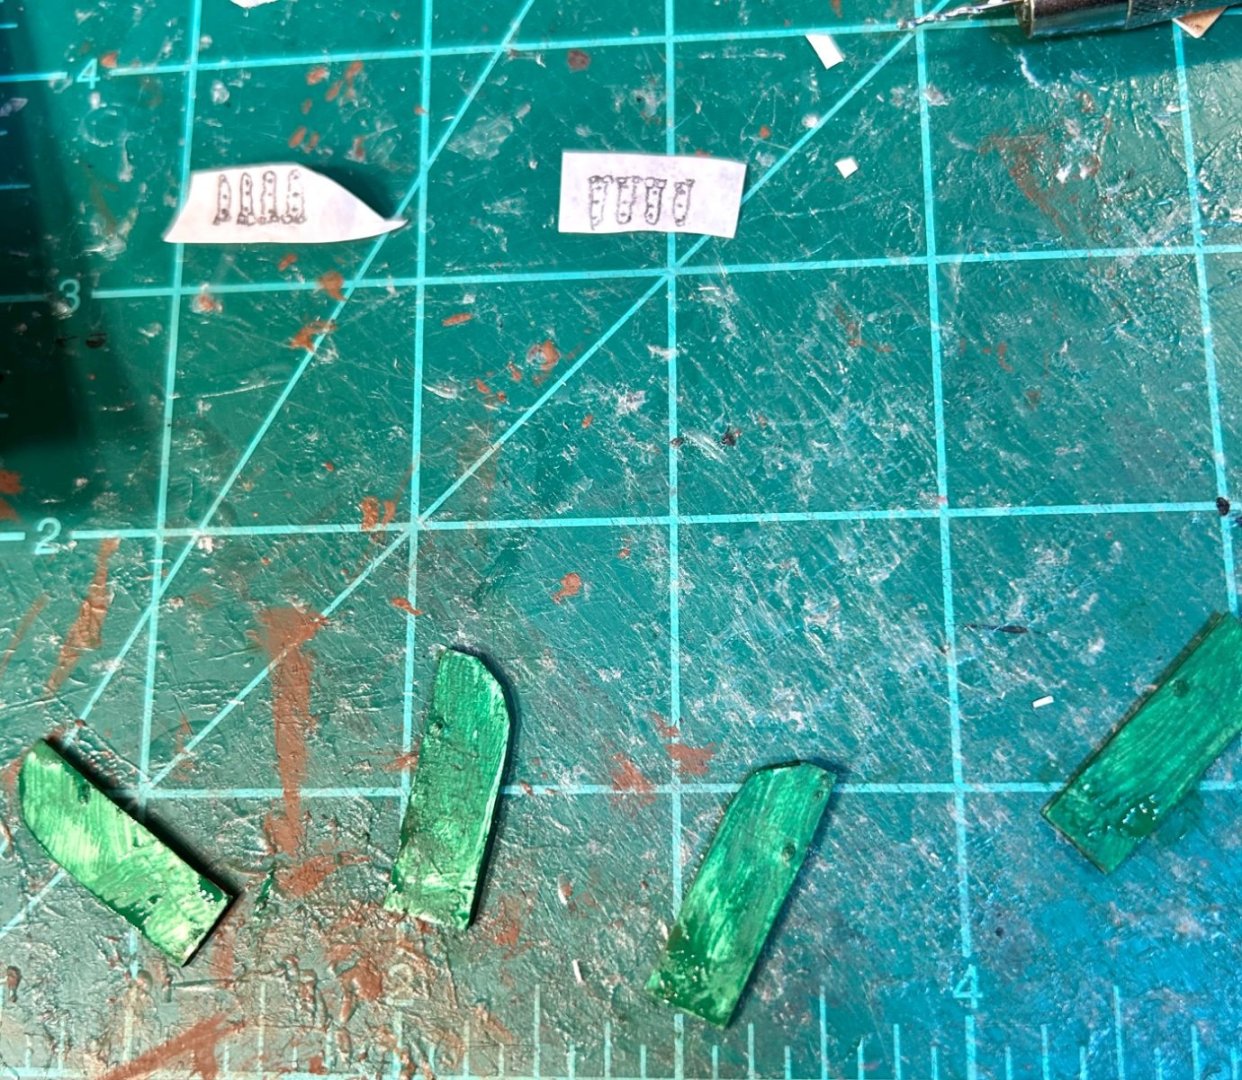
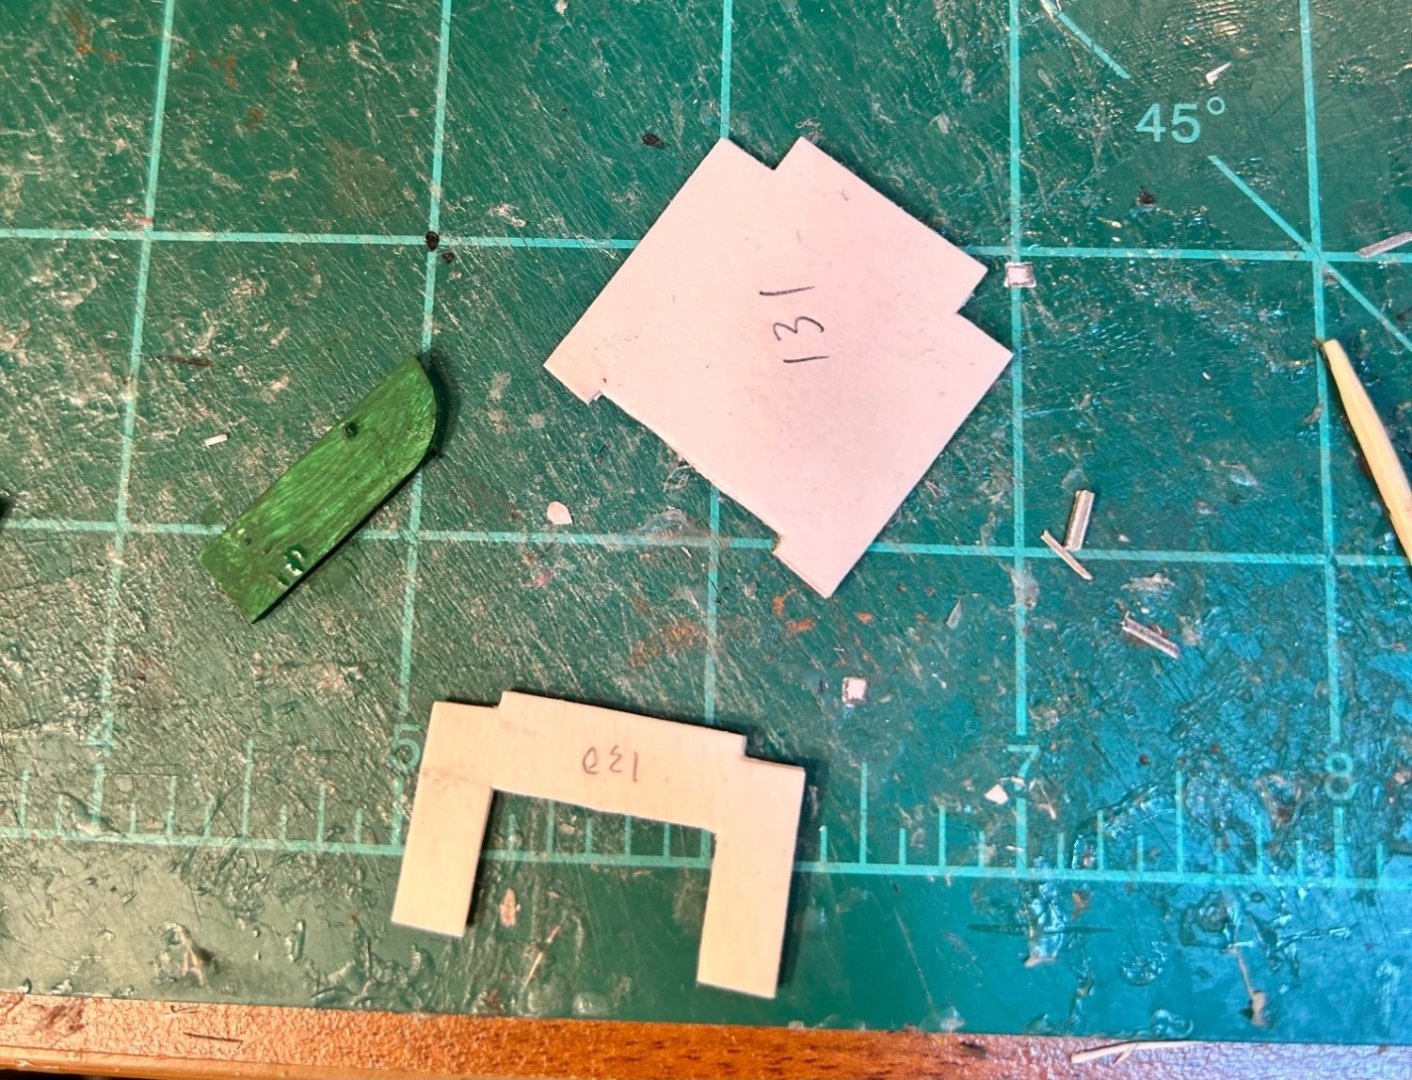
The doors are assembled, along with a bulkhead and the helmsman’s platform pieces, ignore the excess glue: I have another round of parts being made, mostly gunport frames, another interior bulkhead and gunport sides:


-
Incredible work!
-
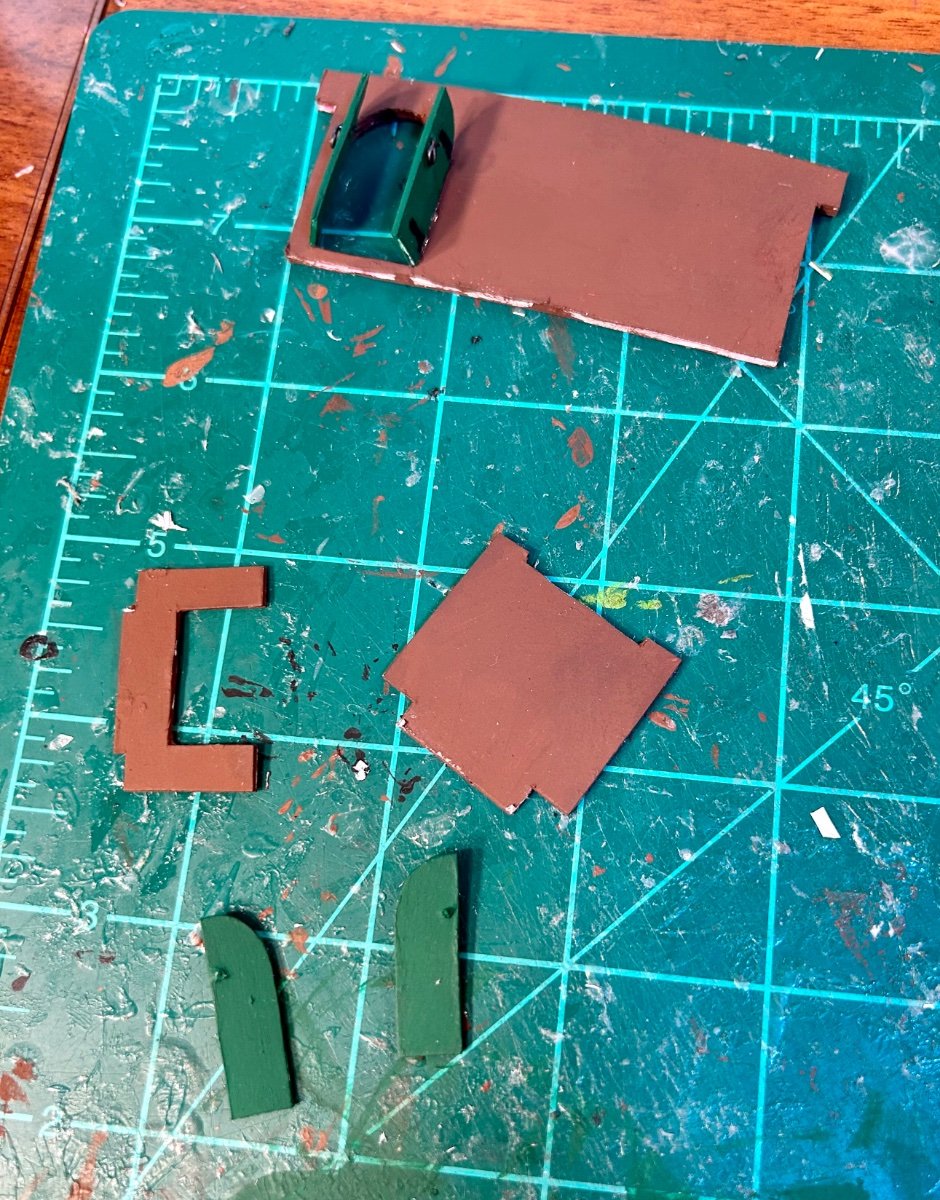
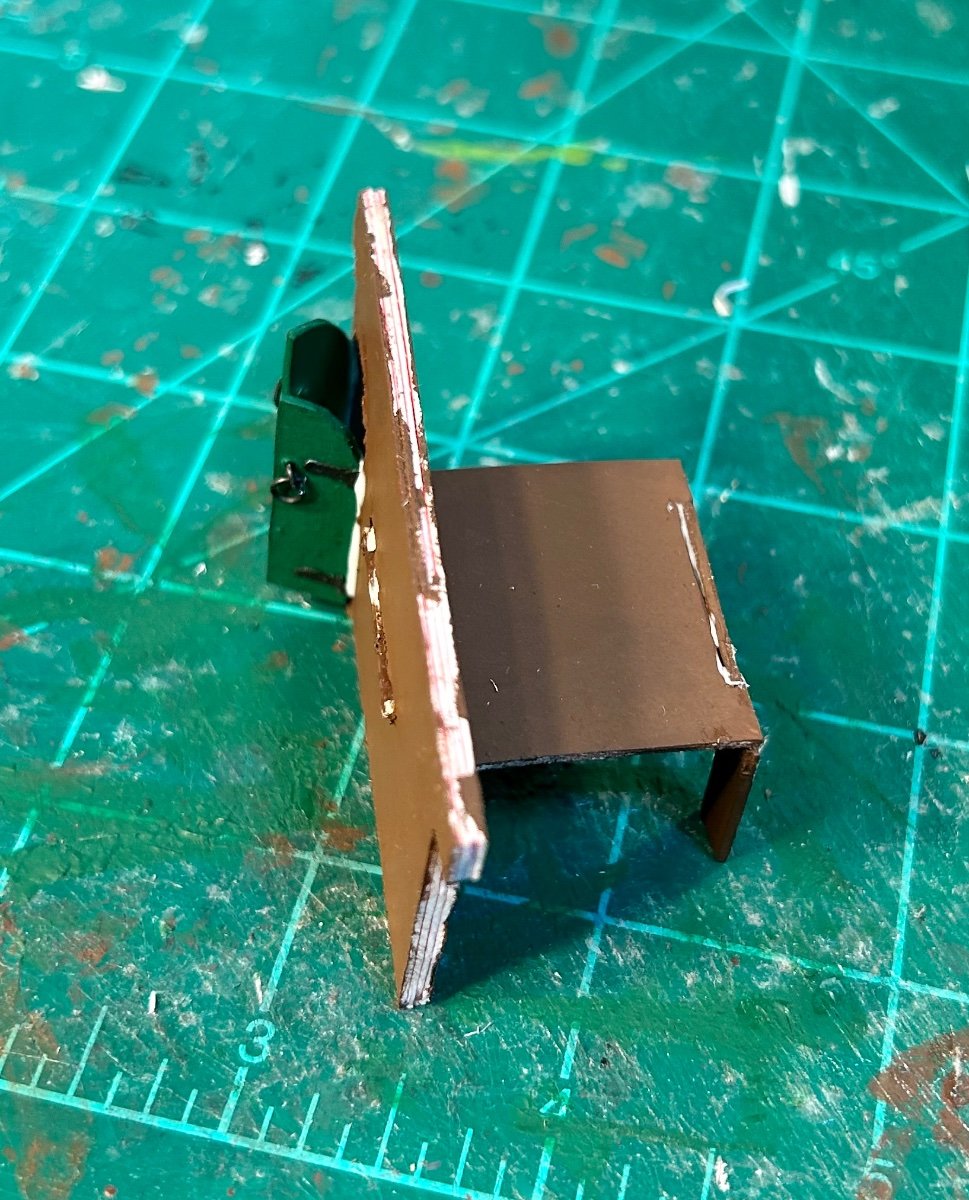
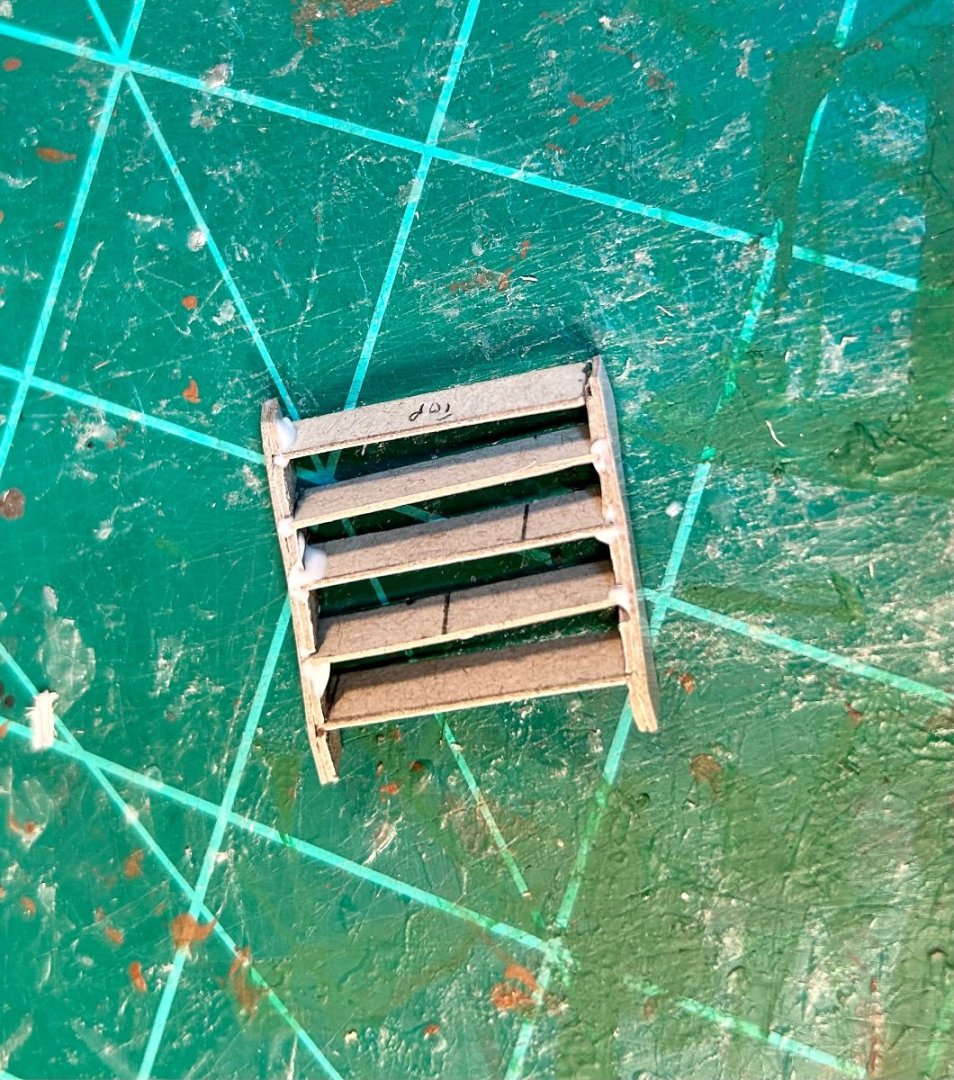
Working on doors, the ladder and a bulkhead: Doors and hinges: Ladder and bulkhead: Installed the ladder: Part of the helmsman’s platform: Working on tracing more parts.

-
Another thread on this forum is discussing solid hull models and it gave me an idea. I have 2 maple trees coming down in the near future with limbs large enough to accommodate the hull of the Magenta. The Revenge will take another year anyway, which will give the limb plenty of time to season and dry. I have a draw knife to square the limb off and access to a bandsaw large enough to rough shape the hull. Then I could use a grinder and a Dremel to shape it. The hull on this thing is supposed to be nearly 1/2” thick anyway. I could then plank the exposed parts of the hull much like I am going to plank the Revenge and cut armor plates and copper tiles to cover those portions. The interior is going to be huge anyhow, so I’ll have plenty of room to work.
-
Here’s the load-out I need to make: According to OpenAI, the cannon perier would have been 12 feet long and cast in iron. The fowlers would have been around 6-8 feet long according to OpenAI, so I am going with 7 feet. All other dimensions are already mentioned. The big guns are going on the main gun deck, the rest are going on the upper decks.
-
I just bought the Armada Guns article from Mariner’s Mirror Vol 28 from 1942, off Abe Books. I am now well over $100 in books for this project, lol. It’s an investment because I plan on continuing to build models in this fashion.
-
Making another ladder: It’s actually assembled now but my pictures are lagging.
-
The main deck in the stern castle is planked:

-
Making progress: A side on shot:

-
Planking the stern castle main deck: Side on shot after more planking: