


CPDDET
-
Posts
1,194 -
Joined
-
Last visited
Content Type
Profiles
Forums
Gallery
Events
Everything posted by CPDDET
-
 Thanks Dave. Doing my best but lots still to learn.
- 389 replies
-
- 1
-

-
- bluenose
- model shipways
- (and 1 more)
-
Thanks Fright, not as good as I would like but I'm learning.
-
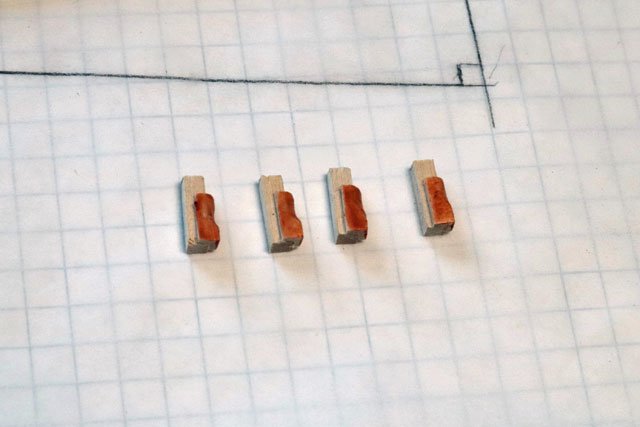
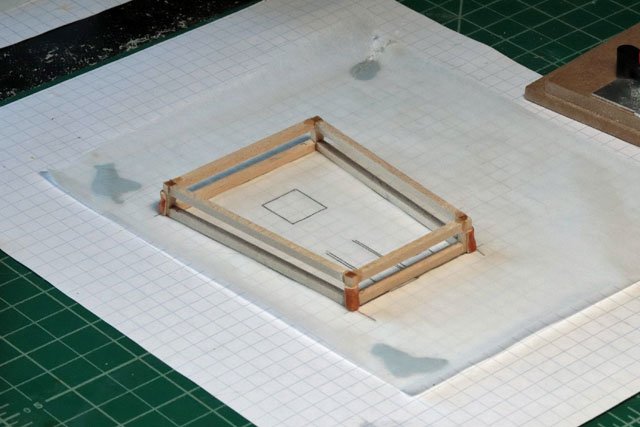
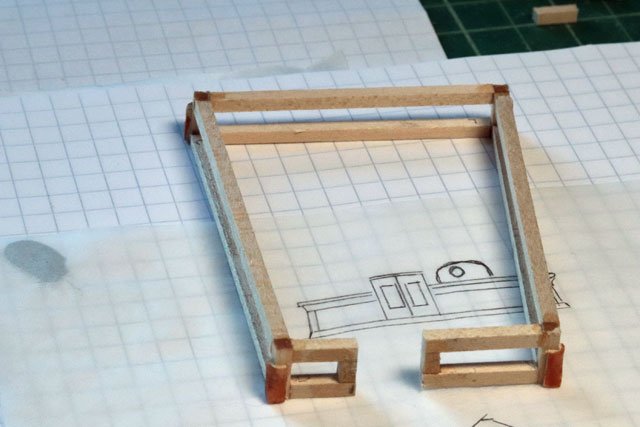
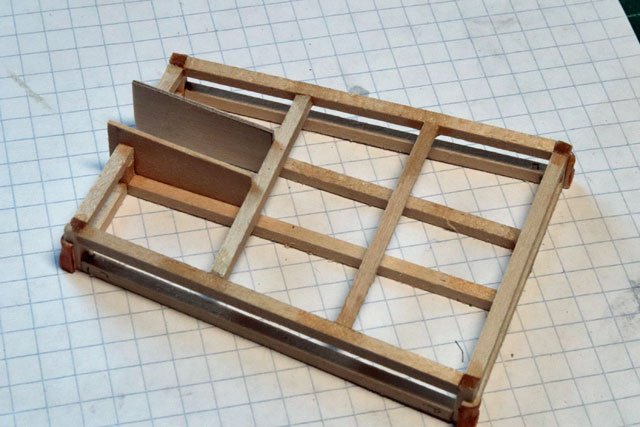
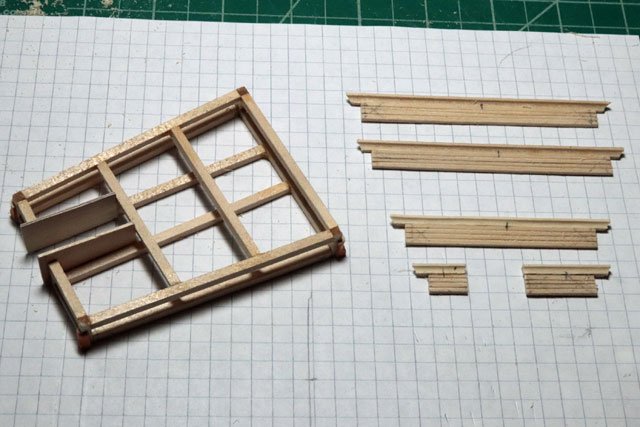
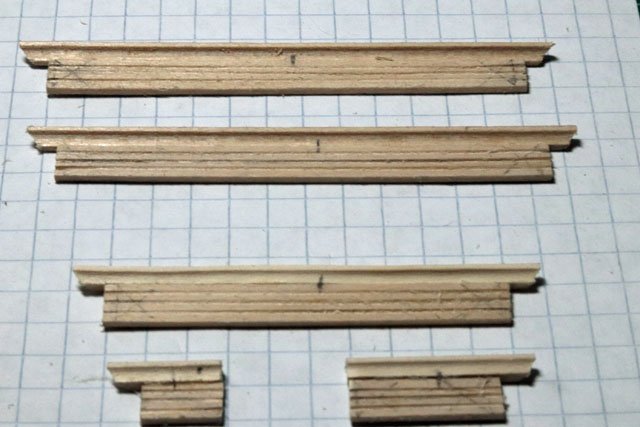
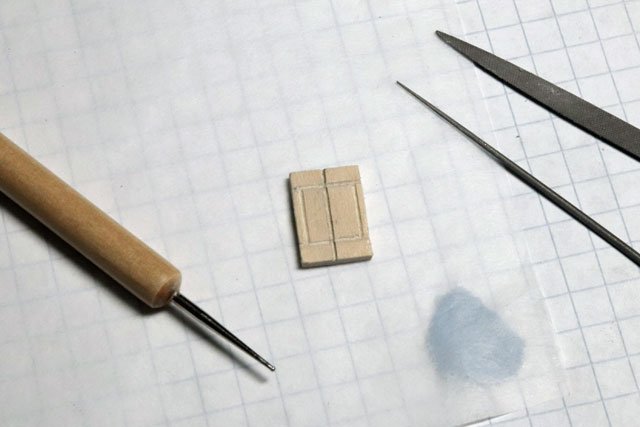
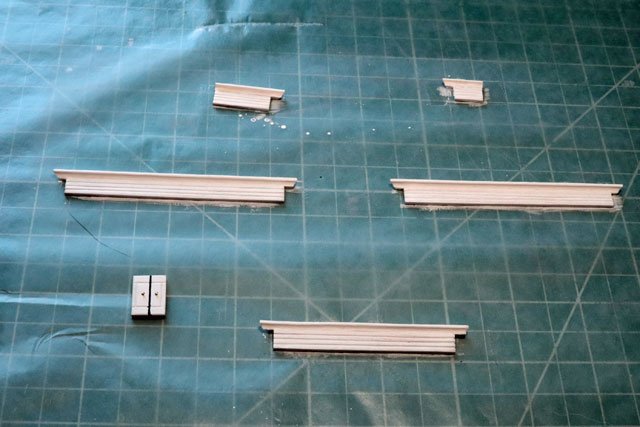
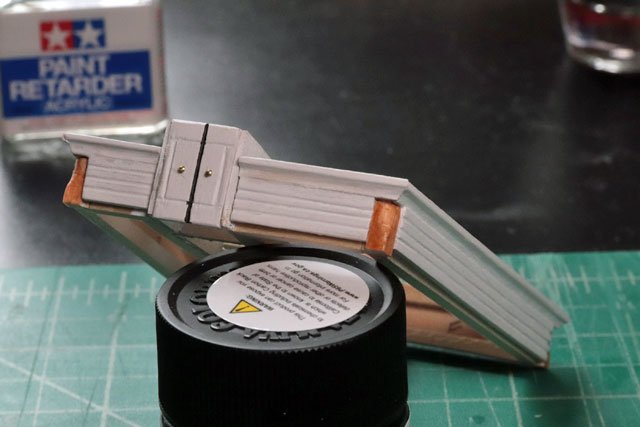
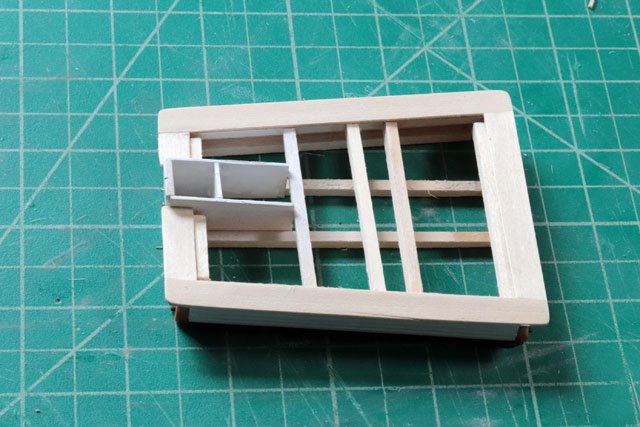
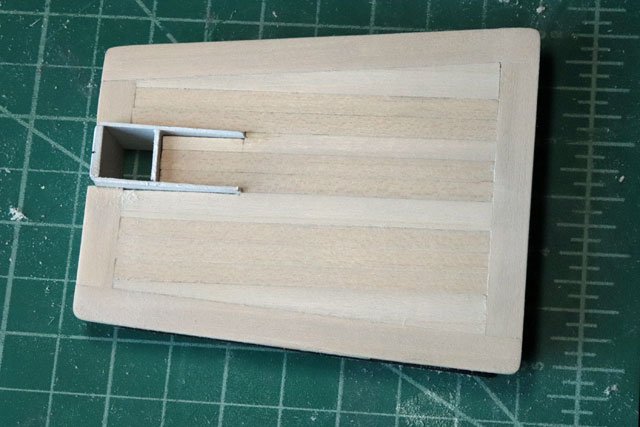
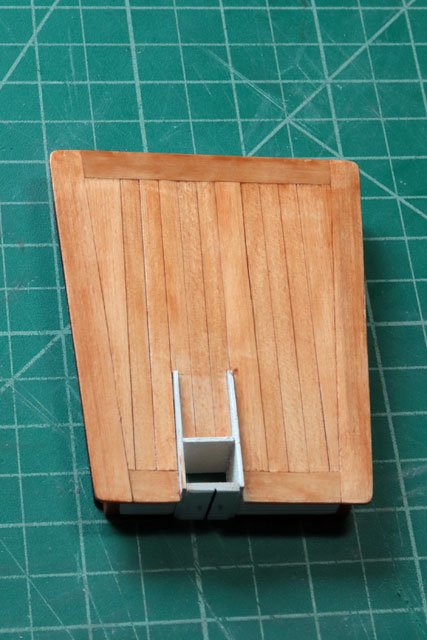
Started building the main cabin. The following sequence of pictures pretty much sums up my progress so far. I used a stylus to press the board lines in the side panels and scrapers to shape the corner pieces and mouldings. Still have some minor paint / stain touch ups to do and then start on the skylight. My plan is to place a piece of flat black craft paper below it so the finished roof doesn't show through. I found that CA readily adheres to the poly coating on the roof, so mounting the skylight and compass housing won't be a problem. How are most people handling the glass panes and bars?

- 389 replies
-
- 8
-
-
- bluenose
- model shipways
- (and 1 more)
-
Drafting instruments
CPDDET replied to Kurt Johnson's topic in Modeling tools and Workshop Equipment
Nice set, it should serve you well. Dave -
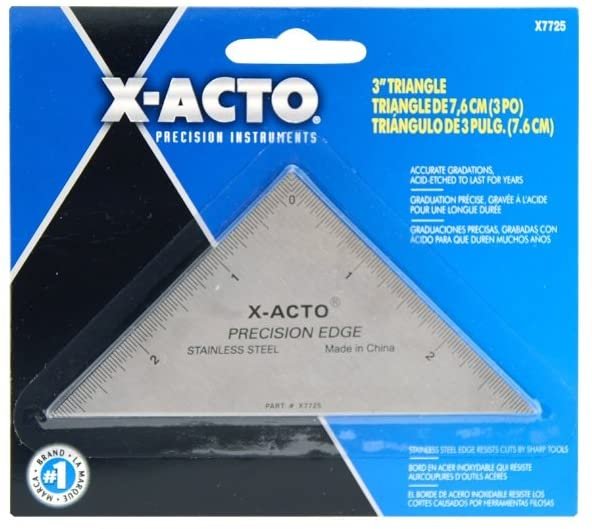
Here is one more I have. Just 3 inches.
-
Here is another tool I find handy. https://bridgecitytools.com/products/mini-miter-square?_pos=1&_sid=0f002990b&_ss=r The edge plate is held on with magnets and can be raised, lowered or removed. Dave
-
I'll be following closely! Do you have a build log going? Dave
-
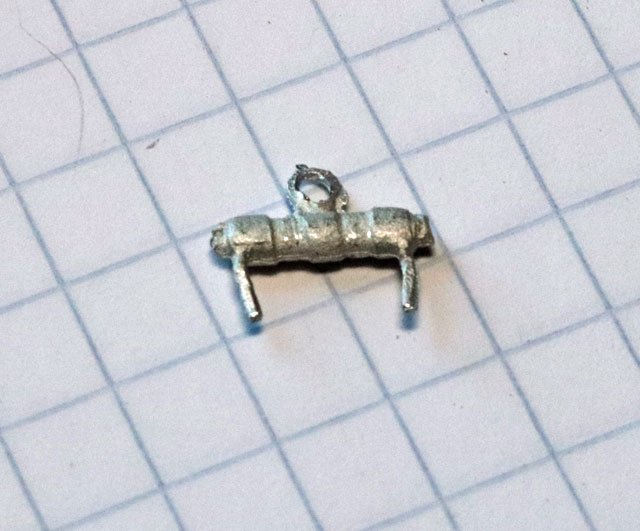
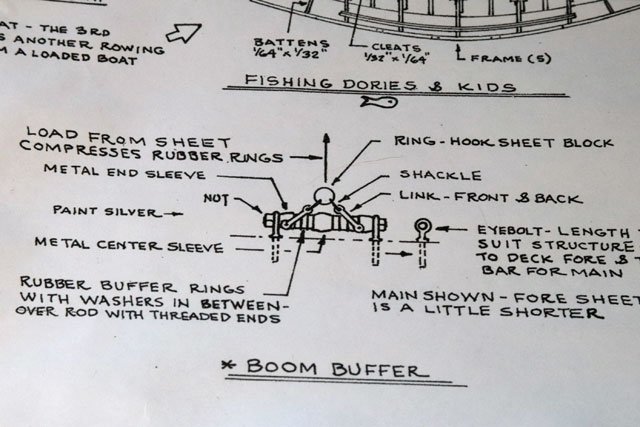
This morning Im a bit torn as to what to do with the boom buffer. While the buffer on Matt S.S's Latham model is exposed (and quite a beautiful job), the buffer on the Bluenose is tucked away and almost unseen. So I'm undecided if I should take the time to build my own or clean up the white metal part, paint it. One part of me wants to move on with the build and the other relishes the challenge of building my own. It's these challenges that provide real learning and honing of skills, and I need all I can get of that. LOL Going to play with it today and see how it goes.
-
I continue to monitor your progress and really appreciate your sharing. As always, wonderful work. Dave
-
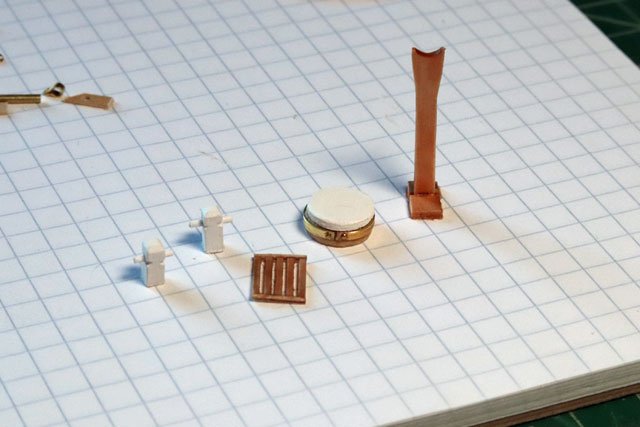
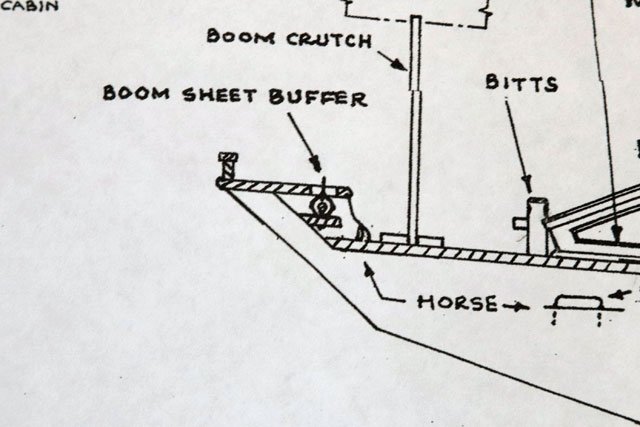
I finished some of the smaller parts for the aft end of the ship. Namely the boom crutch, quarter bits, small grate that goes on the starboard side of the wheel house and the "unidentified" object which goes on the port side of the wheel house. I decided to dress the "unidentified" object a bit by placing a brass band around the base. I haven't installed these because I still need to to deal with the boom sheet buffer and didnt want to black my access. The britannia metal part supplied with the kit looks awful. The plans show the actual buffer in detail. But one view shows the buffer mounted to the deck while the side view shows it on some sort of platform. Anyway, I'm still contemplating on just how to build this piece. I doubt that I can create it in all the detail shown in the drawing but I have to make something better than the britannia metal piece that came with the kit. This may take some time .........
- 389 replies
-
- 4
-
-
- bluenose
- model shipways
- (and 1 more)
-
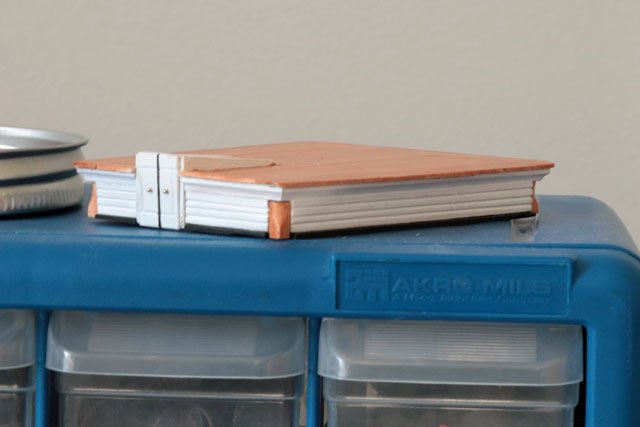
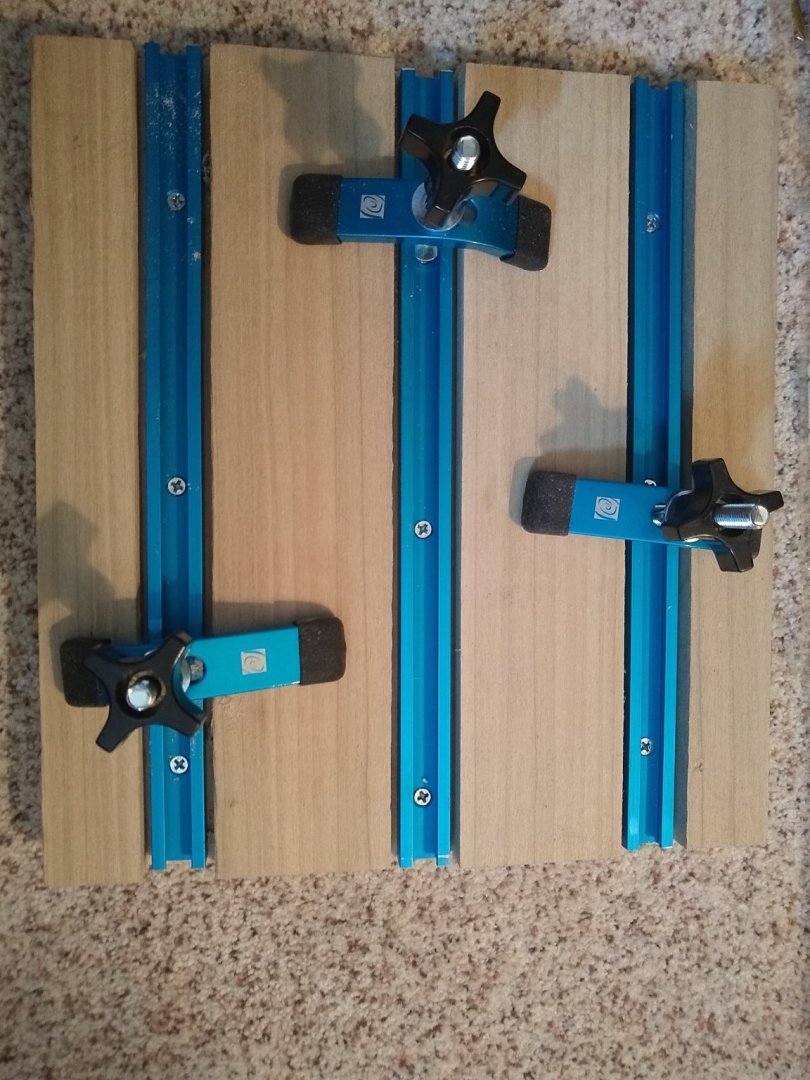
Hold down table, about 12 x 12. Three t-tracks and mini hold down clamps.
-
Just wondered what you wanted pictures of since I mentioned the hold down table and magnetic fence. Didn't mean to imply your knowledge of Japanese pull saws was lacking. Always happy to share my novice techniques! Dave
-
Also use this saw for rip cuts. Have been able to cut 1/32 inch wide strips. Does take some practice as these are pull saws, vs American saws that cut on the push. The magnetic fence is a big help. https://www.suizan.net/products/suizan-japanese-saw-6-dozuki-dovetail
-
Wefalck: What did you want images of? The saw? The hold down table? The magnetic fence? Dave
-
Almost! The kerf is the same width as the blade, .012 inches. Actually made to cut dowles flush and very flexible. Makes very fine cut. I have 2 Japanese pull saws as I only use hand tools for my build. https://www.suizan.net/products/suizan-japanese-flush-cut-trim-saw-5-inch-hand-saw-for-hardwood-and-softwood
-
I'm using a Japanese saw and a magnetic fence I made for it. Using a machinist square to draw the angle. Clamp the piece under the magnetic fence on my hold down table (made this myself as well). The fence holds the metal saw blade tight to it and the Japanese saw has zero kerf.
-
My thoughts exactly. I'll be following along to see your progress.
-
The Smithsonian article has smaller pictures but may be of assistance in paint colors. Keep up the great job you're doing.
-
Not sure if this would be of any help with your figurehead but the Smithsonian recently published and article on recovered 19th century figureheads: https://www.smithsonianmag.com/smart-news/rescued-rot-19th-century-naval-figureheads-feature-new-exhibit-180974396/?utm_source=facebook.com&utm_medium=socialmedia&fbclid=IwAR3Xwdz4XWr6EiFYfQAbAG6Rm6OlvDjYvA6suzChH6Dx3u4xaK76Cs-H0pg
-
Ingenious!
-
Thanks, Schooners. The idea of using brass belaying pins for hand holds seemed to come out of nowhere.
-
Seems I have a lot to learn about planes. I'm curious, what are the "legs" or standoffs bolted to the sides of the plane in the pictures?
-
Thanks Richard. I loved the challenge, even when my first 2 tries failed. Took me a bit to reach a doable method.
-
Thanks, Fright. It's not as perfect as I would have liked but I'm pleased with it.
- 389 replies
-
- 1
-
-
- bluenose
- model shipways
- (and 1 more)
