


CPDDET
-
Posts
1,194 -
Joined
-
Last visited
Content Type
Profiles
Forums
Gallery
Events
Everything posted by CPDDET
-
 Beautiful workmanship. Curious as to the type of brass stock used for the banding.
 -
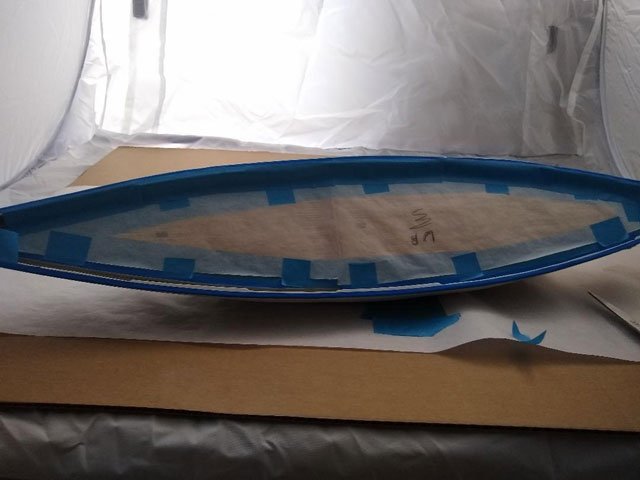
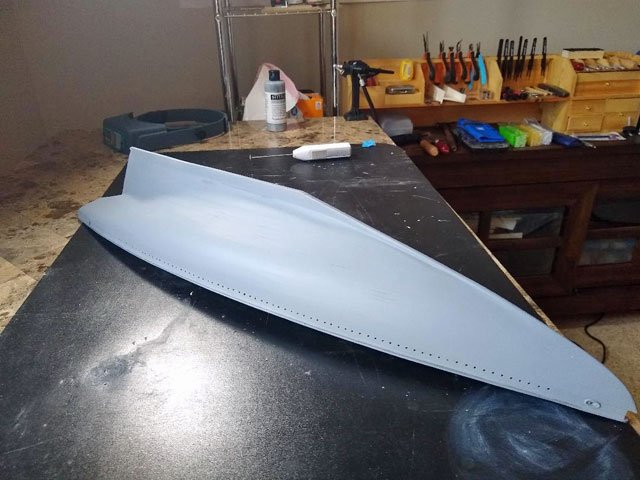
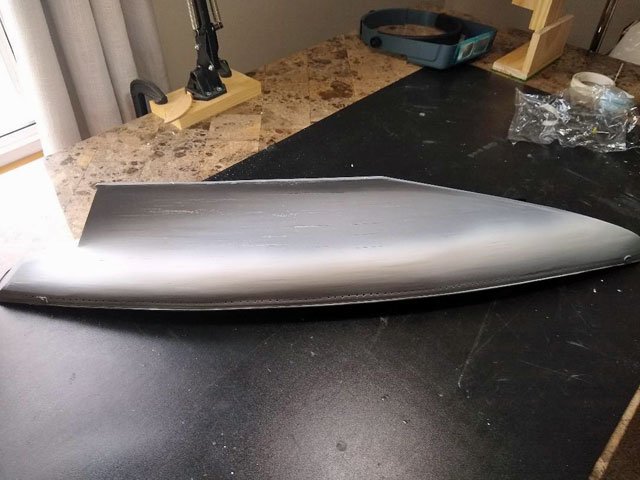
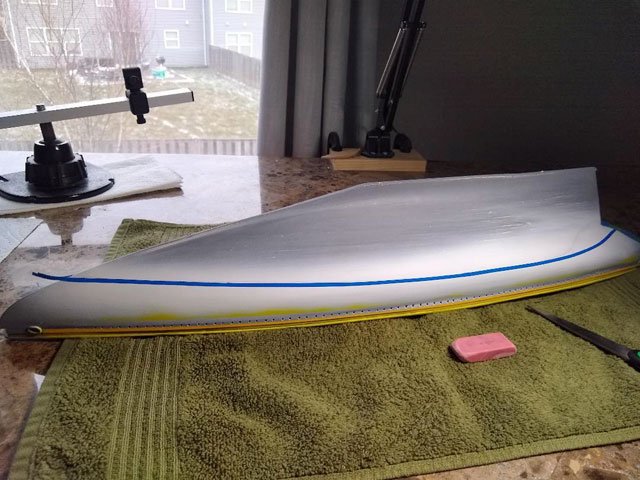
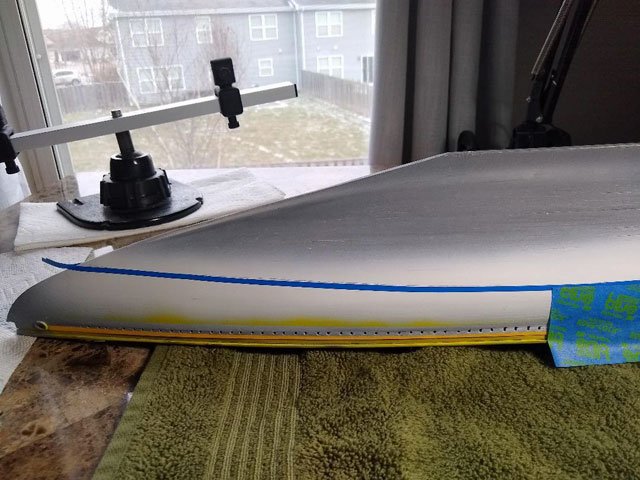
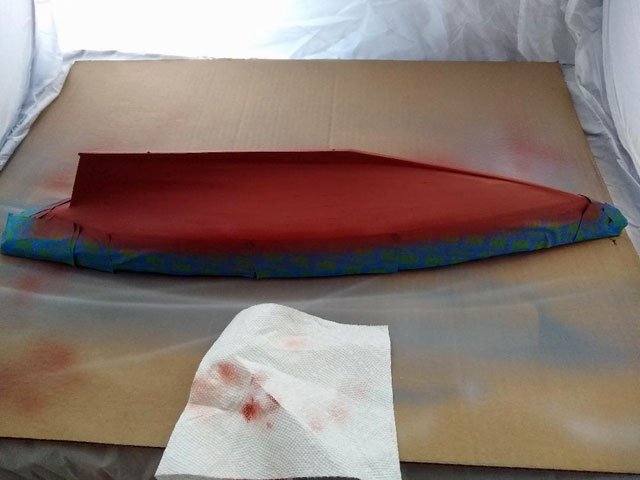
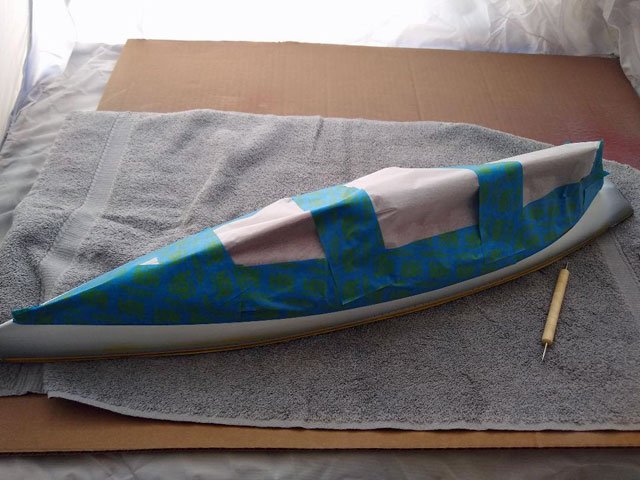
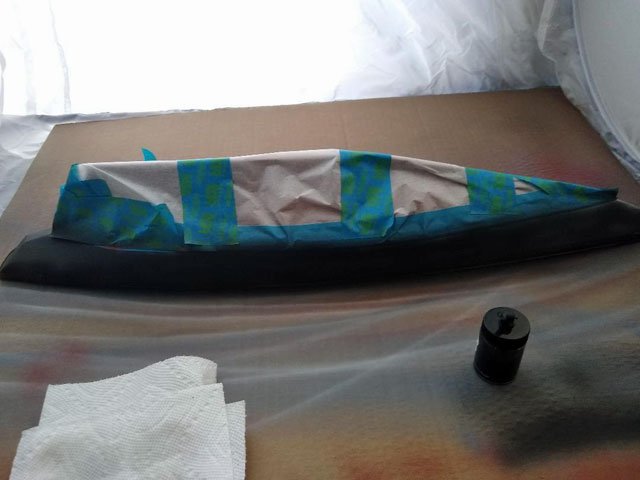
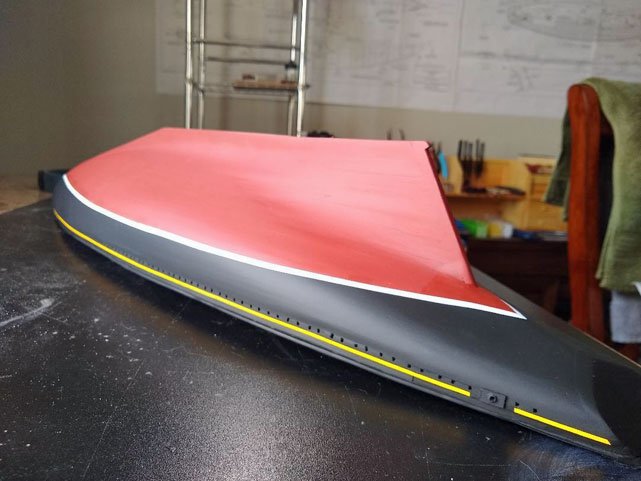
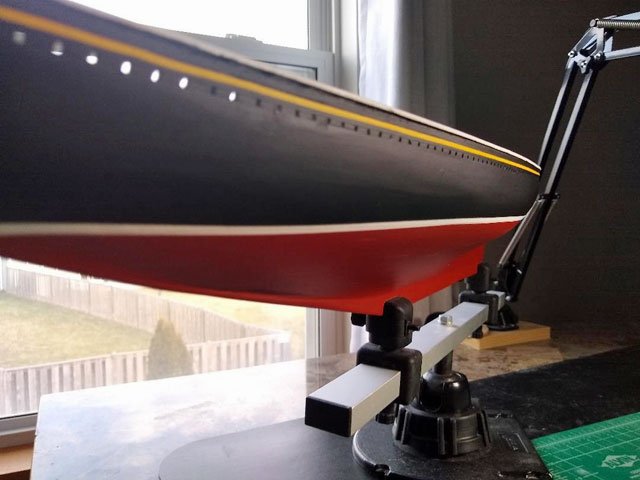
Spent this week painting the hull. Masked off the deck and sprayed the cap rail, frames, waterways and inside of the bulwarks with acrylic sealer. Then masked all painted areas topsides Applied 3-4 coats of primer Painted a wide white stripe in the area were the waterline would eventually be. After marking the waterline, ran a 1/4 inch strip of poly tape along the mark. Also taped over the scuppers and painted the outer bulwarks yellow (photo show tape removed after yellow pain was applied). Extended the masking from the center of the 1/4 inch poly to the top rail. Painted the low part of the hull Then reversed the masking, extending from the center of the 1/4 inch poly to fully cover the painted part of the hull Before painting the top part of the hull black, I ran a 1/16th inch piece of poly tape just above the scuppers. Then painted the top portion black After removing the masking, 1/4 inch poly and 1/16 poly, I gave the entire hull 4 coats of matt finish acrylic sealer Still have a few small touch ups to do on the outboard edge of the top rail and some very minor oversprays
- 389 replies
-
- 4
-

-
- bluenose
- model shipways
- (and 1 more)
-
Judging by your work so far, your rigging will look great.
-
Your a brave soul, taking on such a project for a first build. And a scratch build at that! Looks like beautiful workmanship. Welcome to the group.
-
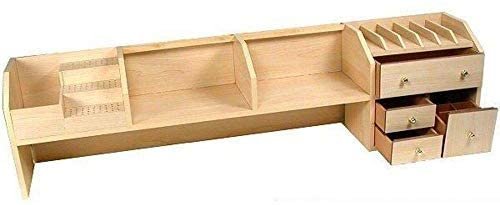
This is the one I'm currently using. Search "bench top organizers". I think I paid around $70 for it. Check jeweler's supplies too.
-
Thanks for the tips and the video, very informative! Dave PS: Kurt, no need to be concerned about the text I sent
-
I will be getting my first airbrush system next week and will be using it to paint the hull of my Bluenose model. On the assumption that I will be doing multiple coats, will I have to clean the airbrush between coats? Or will the paint (acrylic) dry fast enough that following coats can be applied without the fear of the airbrush becoming clogged? I have already researched (through this site and via the acrylic paint manufacturer) the proper method to prepare the paint for airbrush use and will, of course, test things out on scrap wood before painting the model. Dave
-
I now have sets of both Swiss files and Escapement files. While still new to this hobby, I'm finding that, in many instances, files are more appropriate to use than sandpaper. It seems having the correct tools, knowing how and when to use them is key to producing a good result.
-
Swiss made jeweler's files.
-
If anyone is interested Otto Frei is having a closeout on a set of 12 escapement files (various cuts). Regular $190.00 on sale for $155.00 https://www.ottofrei.com/Closeout-Glardon-Vallorbe-Escapement-Files-Set-Of-12-Assorted-Cuts?location=1&quantity=1
-
Thanks for the tips on the chainplates!
-
Your skill in building is amazing. Thank you for sharing ! Perhaps you could enlighten me on how you cut the slits in the cap rail for the chainplates? Dave
-
Poly over acrylic paint????
CPDDET replied to CPDDET's topic in Painting, finishing and weathering products and techniques
My situation is placement of the finished model. I have limited space so the model may very well be placed in a spot that received some amount of sunlight. The sealant will provide UV protection and help reduce fading. Aesthetically it will give more "pop" to the colors. -
Poly over acrylic paint????
CPDDET replied to CPDDET's topic in Painting, finishing and weathering products and techniques
I think I will use this product to seal the paint on my model. Crystal Clear Krylon Acrylic Coating Spray Finish. -
Poly over acrylic paint????
CPDDET replied to CPDDET's topic in Painting, finishing and weathering products and techniques
Per Minwax the only product they recommend over acrylic paint is their Water Based Helmsman® Spar Urethane. -
Does one need to put a poly finish over acrylic paint? I recall reading somewhere (not on this site) that acrylic paint needs this for long term protection. Dave
-
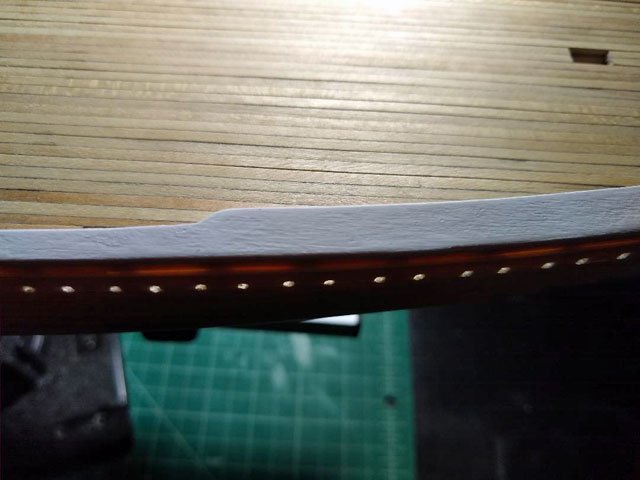
Here is a close-up of the cap rail after painting. I pretty happy the way it came out. The rail looks smooth, yet some of the gain still shows through so one can tell its wood. I accomplished this by sanding with 400 grit paper, applying a coat of Ceramcoat Sealer, sanding lightly again and painting 3 - 4 coats of Tamiya flat white. I prepared the paint by adding 20 – 25 drops of Tamiya Acrylic Paint Retarder to the 23ML bottle of paint.
- 389 replies
-
- 3
-
-
- bluenose
- model shipways
- (and 1 more)
-
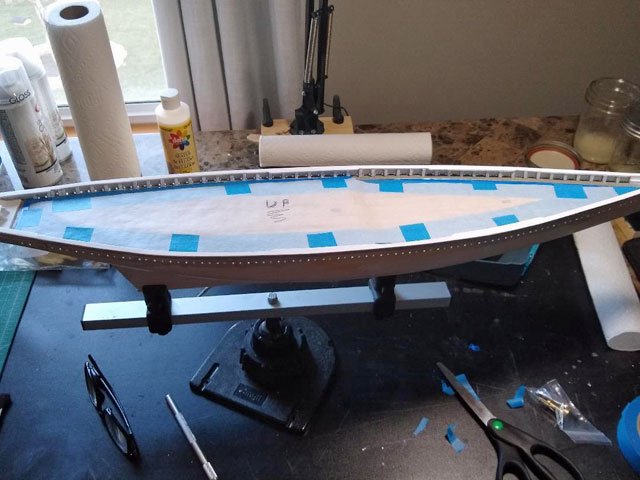
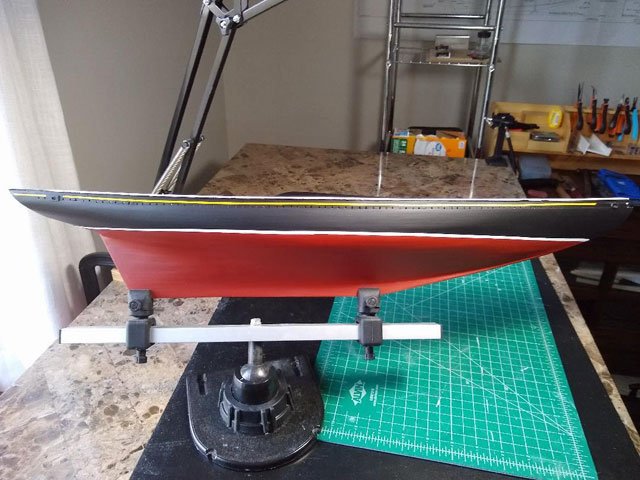
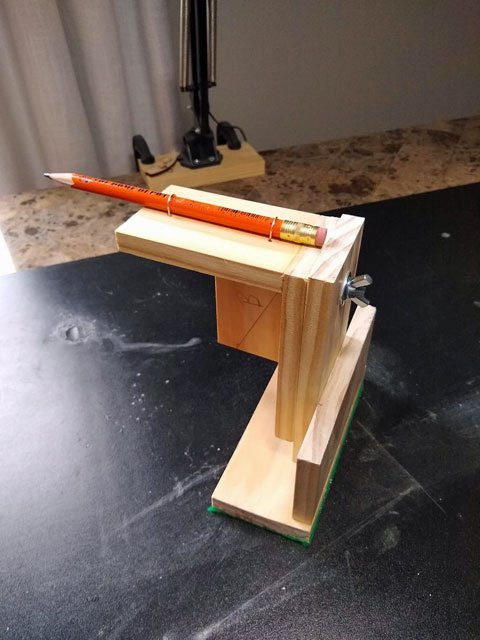
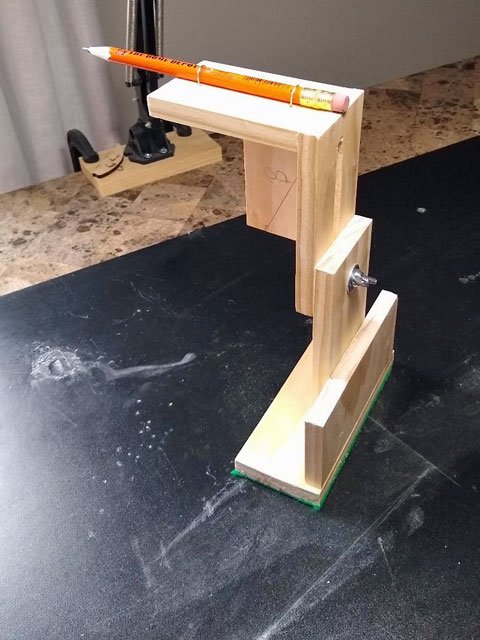
Spent yesterday running around to get necessary supplies and building the jig. Came out pretty decent. Minimum height is 7 inches and maximum is about 10.5 inches. Before moving on to the hull painting I want to touch up a few things topside. But insurance guy will be here in an hour and tomorrow is carpet cleaning day. So dont know how much progress will be made today or tomorrow.
- 389 replies
-
- 1
-
-
- bluenose
- model shipways
- (and 1 more)
-
Switched from X-Acto to Excel blades......
CPDDET replied to CPDDET's topic in Modeling tools and Workshop Equipment
I did pick up 2 boxes of disposable scalpels on EBay, very reasonable. The only issue I have with these is the blades are very thin and flexible and, because of this, aren't always the best choice for the job. But they do have their place. -
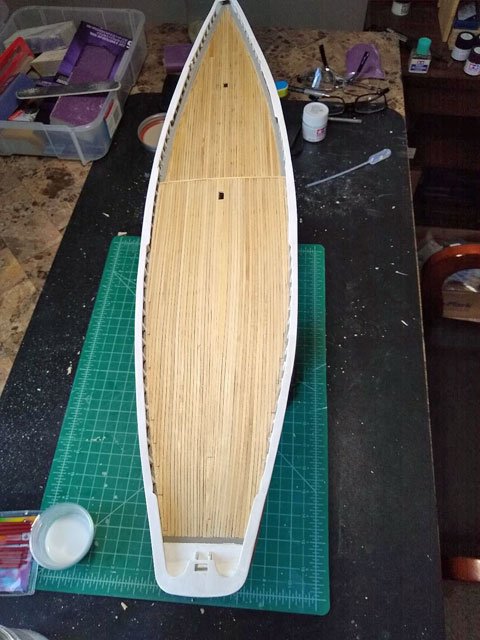
Cap rails installed and 2 coats of paint, 1 coat to go. Next will be to draw the waterline. I'm going to build the jig shown on page 55 of Frank Mastini's book, "Ship Modeling Simplified" rather than buying one. I'll also follow his instructions for drawing the waterline on page 56 which gives instruction for doing this on fishing schooners, which is a bit different than on other types of ships. Bluenose, a fishing schooner, is deeper aft than forward. Referred to as "keel drag". Looks like I'm off to Home Depot tomorrow to pick up a few boards.
- 389 replies
-
- 3
-
-
- bluenose
- model shipways
- (and 1 more)
-
Brush painting hull ??
CPDDET replied to CPDDET's topic in Painting, finishing and weathering products and techniques
Allen, thanks so much for the the clear and precise instructions. This newbie needs all the help he can get. Your instructions clear up many questions and will make my first hull paint job much easier. -
Switched from X-Acto to Excel blades......
CPDDET replied to CPDDET's topic in Modeling tools and Workshop Equipment
Glad to hear you found a reliable, fully stocked place to buy your blades and handles. Makes things much easier. -
Switched from X-Acto to Excel blades......
CPDDET replied to CPDDET's topic in Modeling tools and Workshop Equipment
Yep, half of grandad's old strop was hanging on the kitchen door knob, a reminder to stay in line. 55 years later I'm using one everyday for shaving. -
Brush painting hull ??
CPDDET replied to CPDDET's topic in Painting, finishing and weathering products and techniques
Thanks for the tip Don, I believe I'll try your method when I reach the point of painting the hull. Any further tips you can pass on paint bleed? My Bluenose has a 2 color hull separated by a white stripe waterline. Getting a crisp paint line is important to me and the thinner paint may tend to bleed under tape. Perhaps the coat of wipe on poly id the trick? Dave -
I recently switched from X-Acto to Excel blade. I not only find the Excel blades to be as good or better than X-Acto but I find it much less frustrating obtaining the variety of blades I use. 1. Hobby shops never seem to have the blade types I use. Yes, they always have some of the blade types I need but never all of them in stock. 2. Buying on-line seems to lead to the same problem. Using places like Amazon I have to order from multiple vendors and some of them take far too long to ship. I like the fact I can go to the Excel website, choose the blades I want, choose the quantity I want and get them in a short time. As far I can see, one can't order directly from X-Acto. Just makes my life easier. Dave