grsjax
-
Posts
1,062 -
Joined
-
Last visited
Content Type
Profiles
Forums
Gallery
Events
Everything posted by grsjax
-

what is the ideal modelling table?
grsjax replied to AON's topic in Modeling tools and Workshop Equipment
The ideal modeling table is what ever works for you. -
Rope making machines
grsjax replied to Daryl's topic in Rope Making/Ropewalks's Rope Materials and parts resources
There is a previous post on MSW with links to several threads about ropewalks. Hope this helps. http://modelshipworld.com/index.php?/topic/5522-ropewalk-links/?hl=ropewalk -
I believe the FSB Tancook Whaler model is a "modern interpetation" of the boat and not an accurate replica. From the pictures I have seen it is a hard chine design and rather lacking in detail. Be interesting to see how it turns out.
-
Band Saw Question... or two
grsjax replied to mtaylor's topic in Modeling tools and Workshop Equipment
Sears has a new line called "Steel City". Their 10" model is $260 on sale and looks like a pretty solid machine. Haven't tried one out but would be interested in hearing from someone with experience with these machines. -
Question about shaping/sanding with files
grsjax replied to Jwvanost's topic in Modeling tools and Workshop Equipment
I have been using diamond coated files for awhile and find them to last pretty well. They don't seem to clog as much either. -
Probably all made into ramin noodles.
-
I need advice on a rotary tool
grsjax replied to jdiven's topic in Modeling tools and Workshop Equipment
Not a comment but a bit of information for users of the non-Dremel rotary tools. The spindle thread on the knock offs is 8x0.75mm (very close to 5/16"x32tpi), the Dremel tread is .274"x40tpi. For anyone with the non-Dremel tools the Proxxon micromot chucks and other accessories will screw on to the spindle but the Dremel ones will not. -
Hi I have one of the knock offs of the Unimat 1 6in1 tool. Haven't done much but mess around with it so far but this is what I have learned. The scroll saw option is worthless. Not enough power to cut anything and the blade will bend at a touch. The drill press is usable but a real hassle to use. Grinder is pretty lame. Mill options are usable and useful for light work but will not produce really precision cuts. Same applies to the lathe. I am going to try using it to taper spars. For metal it is pretty much the same as the mill. Useful but don't expect much.
-
All the books listed so far are great. To add to the list I like all the books by Howard I. Cappelle but especially "American Sailing Craft", "American Small Sailing Craft" and "The Search for Speed Under Sail". In addition the books by William A. Baker, "Sloops and Shallops" and "Colonial Vessels" are good reads and references.
-
177x ships - British vs US design, what are the differences?
grsjax replied to Mike Y's topic in Nautical/Naval History
Howard Chappelle discussed this question in a couple of his books. "The History of the American Sailing Navy" and "The History of American Sailing Ships" both cover it. The one thing that the British made note of during this period was the light construction of the many privateers that were captured and their lines taken off. However this probably did not carry over to the construction of merchant or naval vessels as the privateers and blockade runners were built very light to increase speed. I think it is fairly safe to assume that in most respects American built ships were different from their British counterparts only in detail. -
I have used birch dowels successfully. They work easily, look good and and the color looks right. I have read of using something called "yellow wood" for spars but do not know what it is. Another one I have read about but have no experience with is sitka spruce.
-
Just bought one of these on eBay and it came without an owners manual. I imagine this is common with used machines bought online. For anyone in the same situation a pdf. of the manual can be downloaded at http://www.owwm.com/files/PDF/Dremel/580-02.pdf
-
HMS Swift kit - planking
grsjax replied to redwards's topic in Building, Framing, Planking and plating a ships hull and deck
One of the first plank on bulkhead models I attempted was the AL Swift. Not knowing any better I just let the planks run on their natural path and filled in the gaps with stealers. Worked great for the first layer and didn't look to bad for the second layer but does require more thought and planning on placing the planking strips to get a fair looking final result. -
Band Saw Question... or two
grsjax replied to mtaylor's topic in Modeling tools and Workshop Equipment
Jud is right. Also 2.5amps is not a very powerful motor and would probably bog down cutting anything as hard as ebony even in relatively thin sections. -
Any size that can be sawn/planed/sanded to the correct final size is good. Depends on your tools and storage space. I like 2x4x24 because that works for my available storage and tool capacity.
-
Blackening Britannia metal
grsjax replied to DocBlake's topic in Metal Work, Soldering and Metal Fittings
I have had good results using the following process. 1. Clean in a solution of 50/50 water and vinegar. 2. Soak in Blacken-it for half an hour. 3. Dry and let sit for a couple of days. 4. Paint with a thin coat of MS cannon black paint. The blacken-it gives the metal a good new cast iron look but does require time to set (I guess that is the right word). It provides a great base for the paint. The result is a dull black, slightly rough finish that looks like painted cast iron does. Just my results, your mileage may vary. -
Been a while since I posted anything on this build. Had to have eye surgery and thought I would be back to work on the peapod sooner. Unfortunately although the surgery corrected my problems with distance vision and night vision it made my close in vision a bit worse. Have to get new glasses before I can do much more on the model. Until then I have other projects to keep me busy. Will post more as soon as I can.
-
I need advice on a rotary tool
grsjax replied to jdiven's topic in Modeling tools and Workshop Equipment
I picked up a cheap rotary tool from Harbor Freight several years ago and it is still going strong. Variable speed to 35,000rpm and it comes with several accessories including a flex shaft and hanger. I think I paid $15 for it on sale. Probably not as good as a Dremel but for the price it has worked out well. -
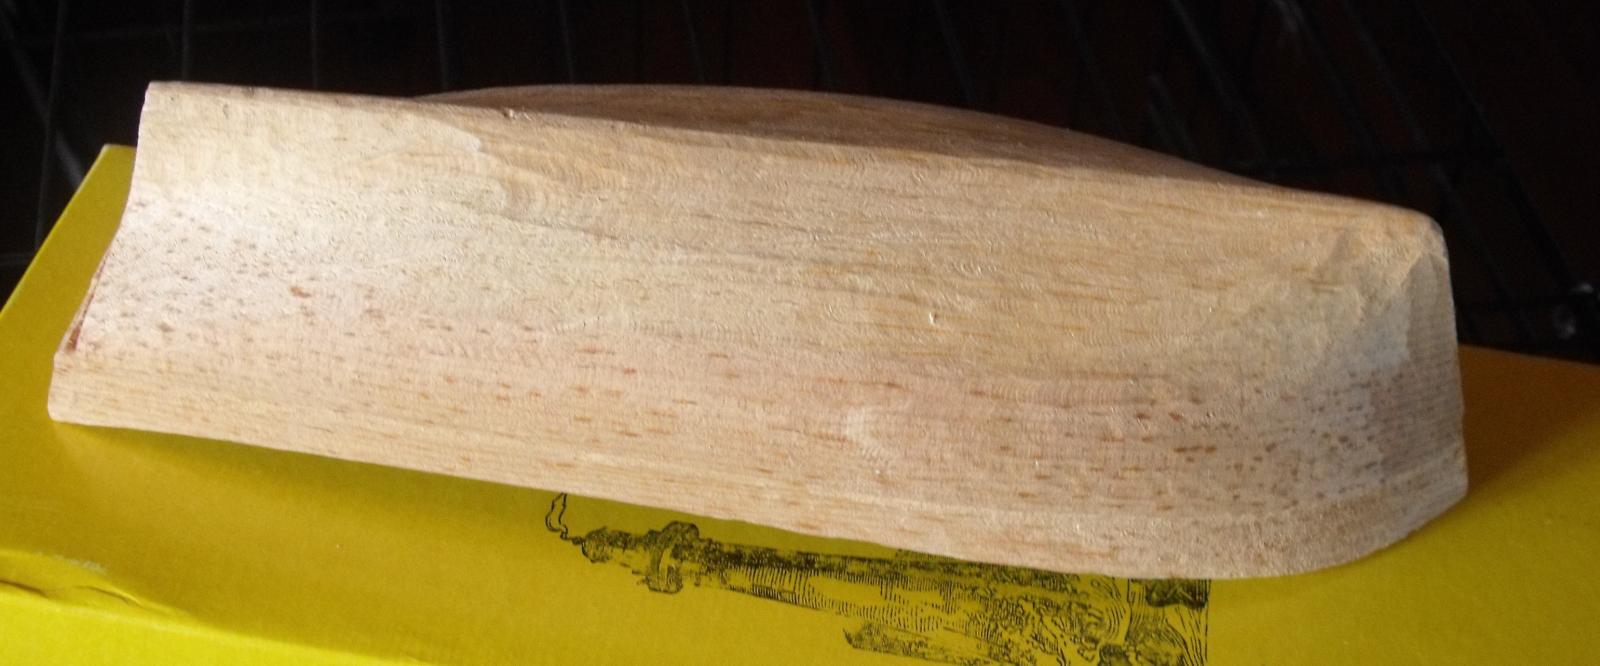
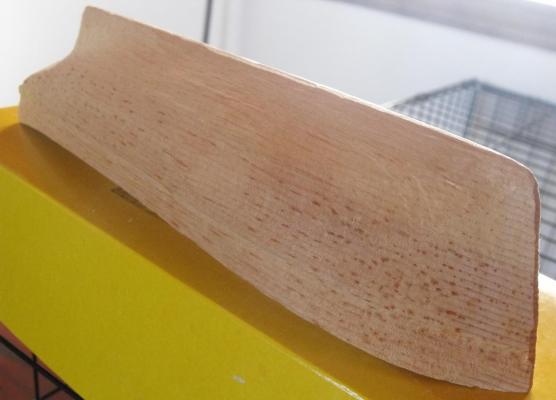
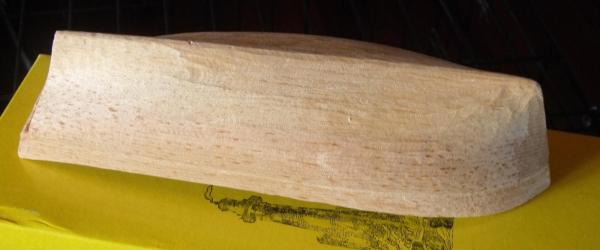
Thanks for the info. Found a website www.wood-database.com that has pictures of several different pine woods. Looks like the hull is most likely eastern white pine. Still not 100% sure but it makes sense that white pine would be used for a model boat hull.
-
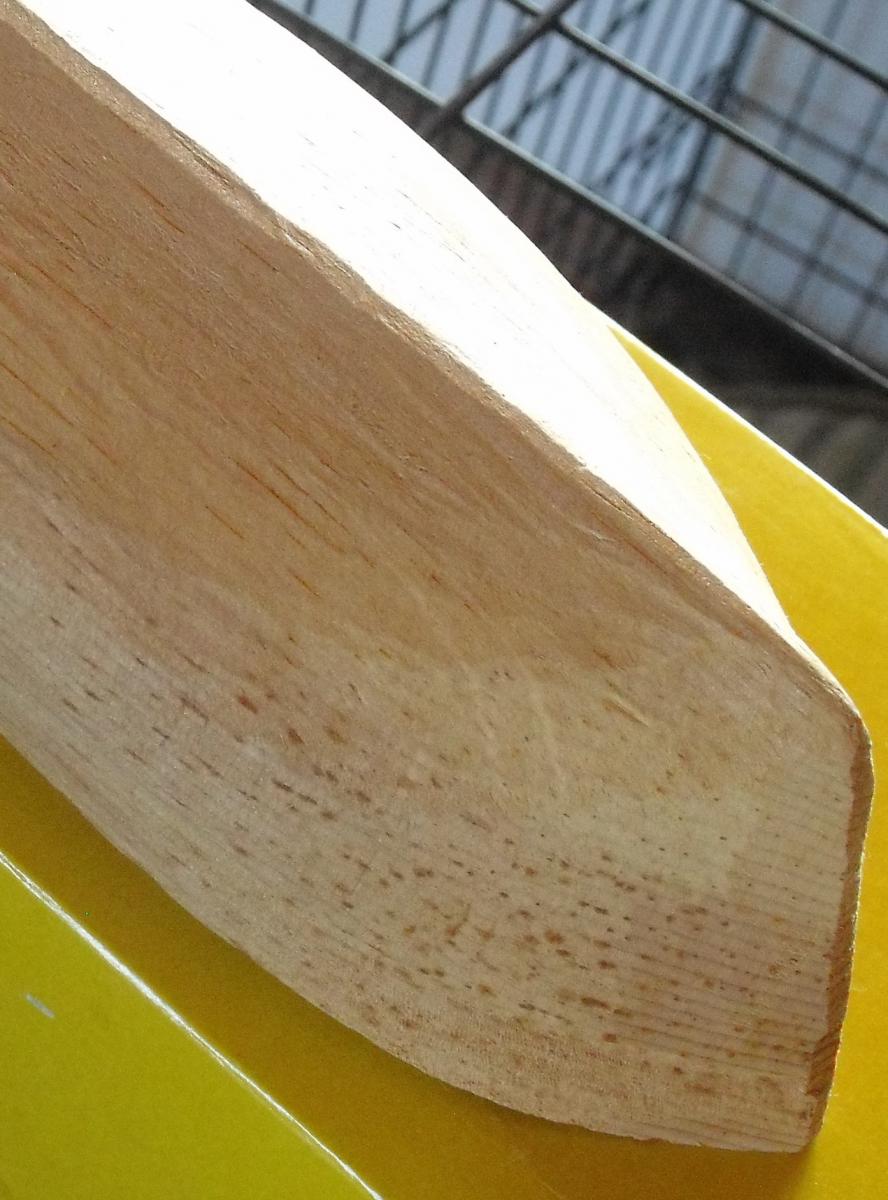
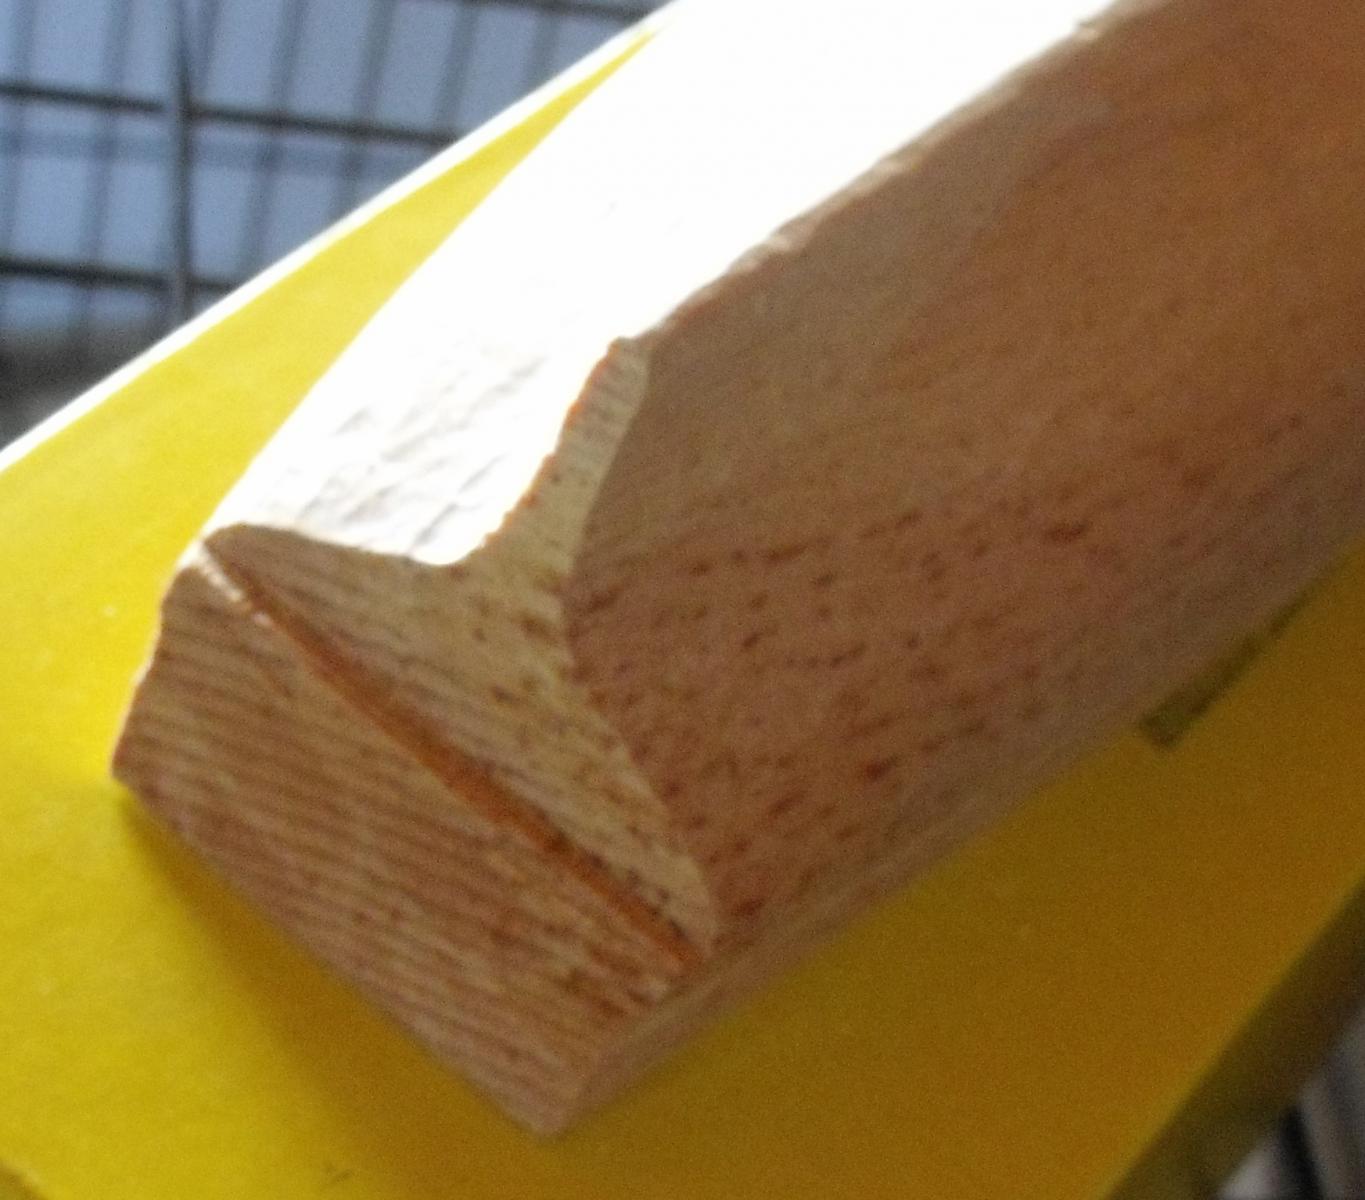
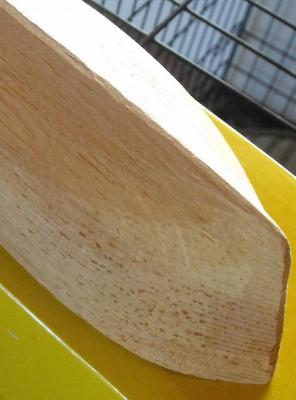
Good point. I have added 4 pics to the original post that show the flecks. I thought they might be stains but a close look indicates they are part of the grain structure.
-
Picked up an old Model Shipways Gjoa kit. The hull is not the usual basswood or mahogany I have seen in other MSW kits. It is a fairly hard light brown with dark brown flecks in it. Straight, coarse grain. I thought it might be pine but haven't seen any with the brown flecks before. Any ideas?

-
One thing to remember is that not everything called walnut actually comes from a walnut tree. Some of the woods that come in kits are from fast growing tropical trees that do not produce the strength and other qualities of true walnut. That said good quality black walnut isn't that expensive and is widely available. I agree that replacing the poor quality "walnut" in a kit is the way to go.
-
Galleys, Xebecs, and Galleases. When did they become obsolete?
grsjax replied to Ame's topic in Nautical/Naval History
I believe the Barbary pirates used galleys as late as the middle of the 19th century. -
Thimble help needed
grsjax replied to Senior ole salt's topic in Metal Work, Soldering and Metal Fittings
Read this somewhere many years ago. Take rosin core solder of the correct size, split down one side and remove the rosin, bend into the thimble shape and you'r done. Never tried this myself so have no first hand knowledge but it sounds like a workable idea. -
Thimble help needed
grsjax replied to Senior ole salt's topic in Metal Work, Soldering and Metal Fittings
You can also use low temperature melting metals to fill the copper tube and when finished forming heat the copper to remove the core metal.