SHIPSCAT
-
Posts
387 -
Joined
Content Type
Profiles
Forums
Gallery
Events
Everything posted by SHIPSCAT
-
 Hello Scott I do hope so, I know one thing this sanding is harder than I thought, very bad for my fingers 😫. Jo.
 -
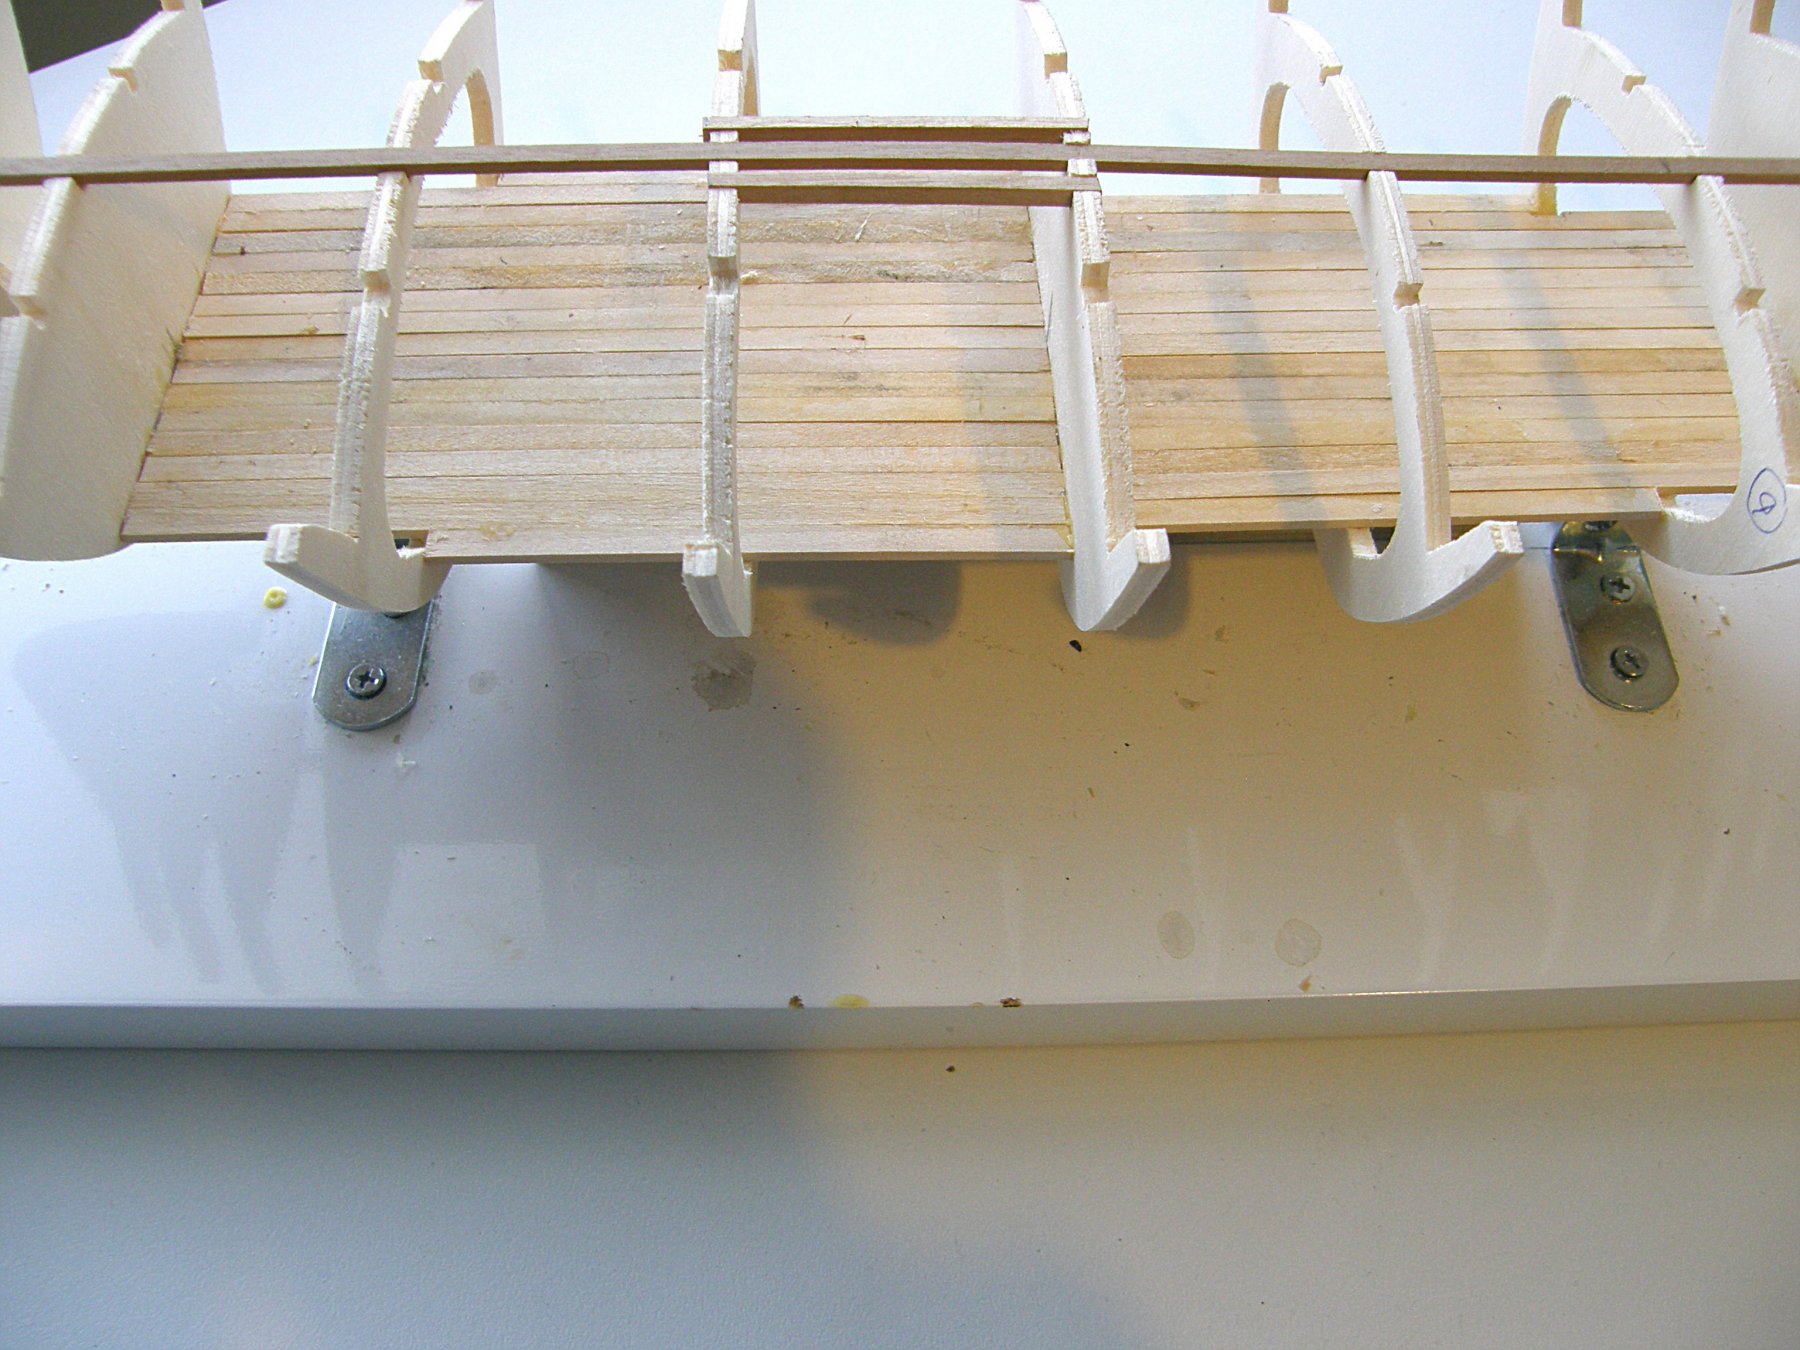
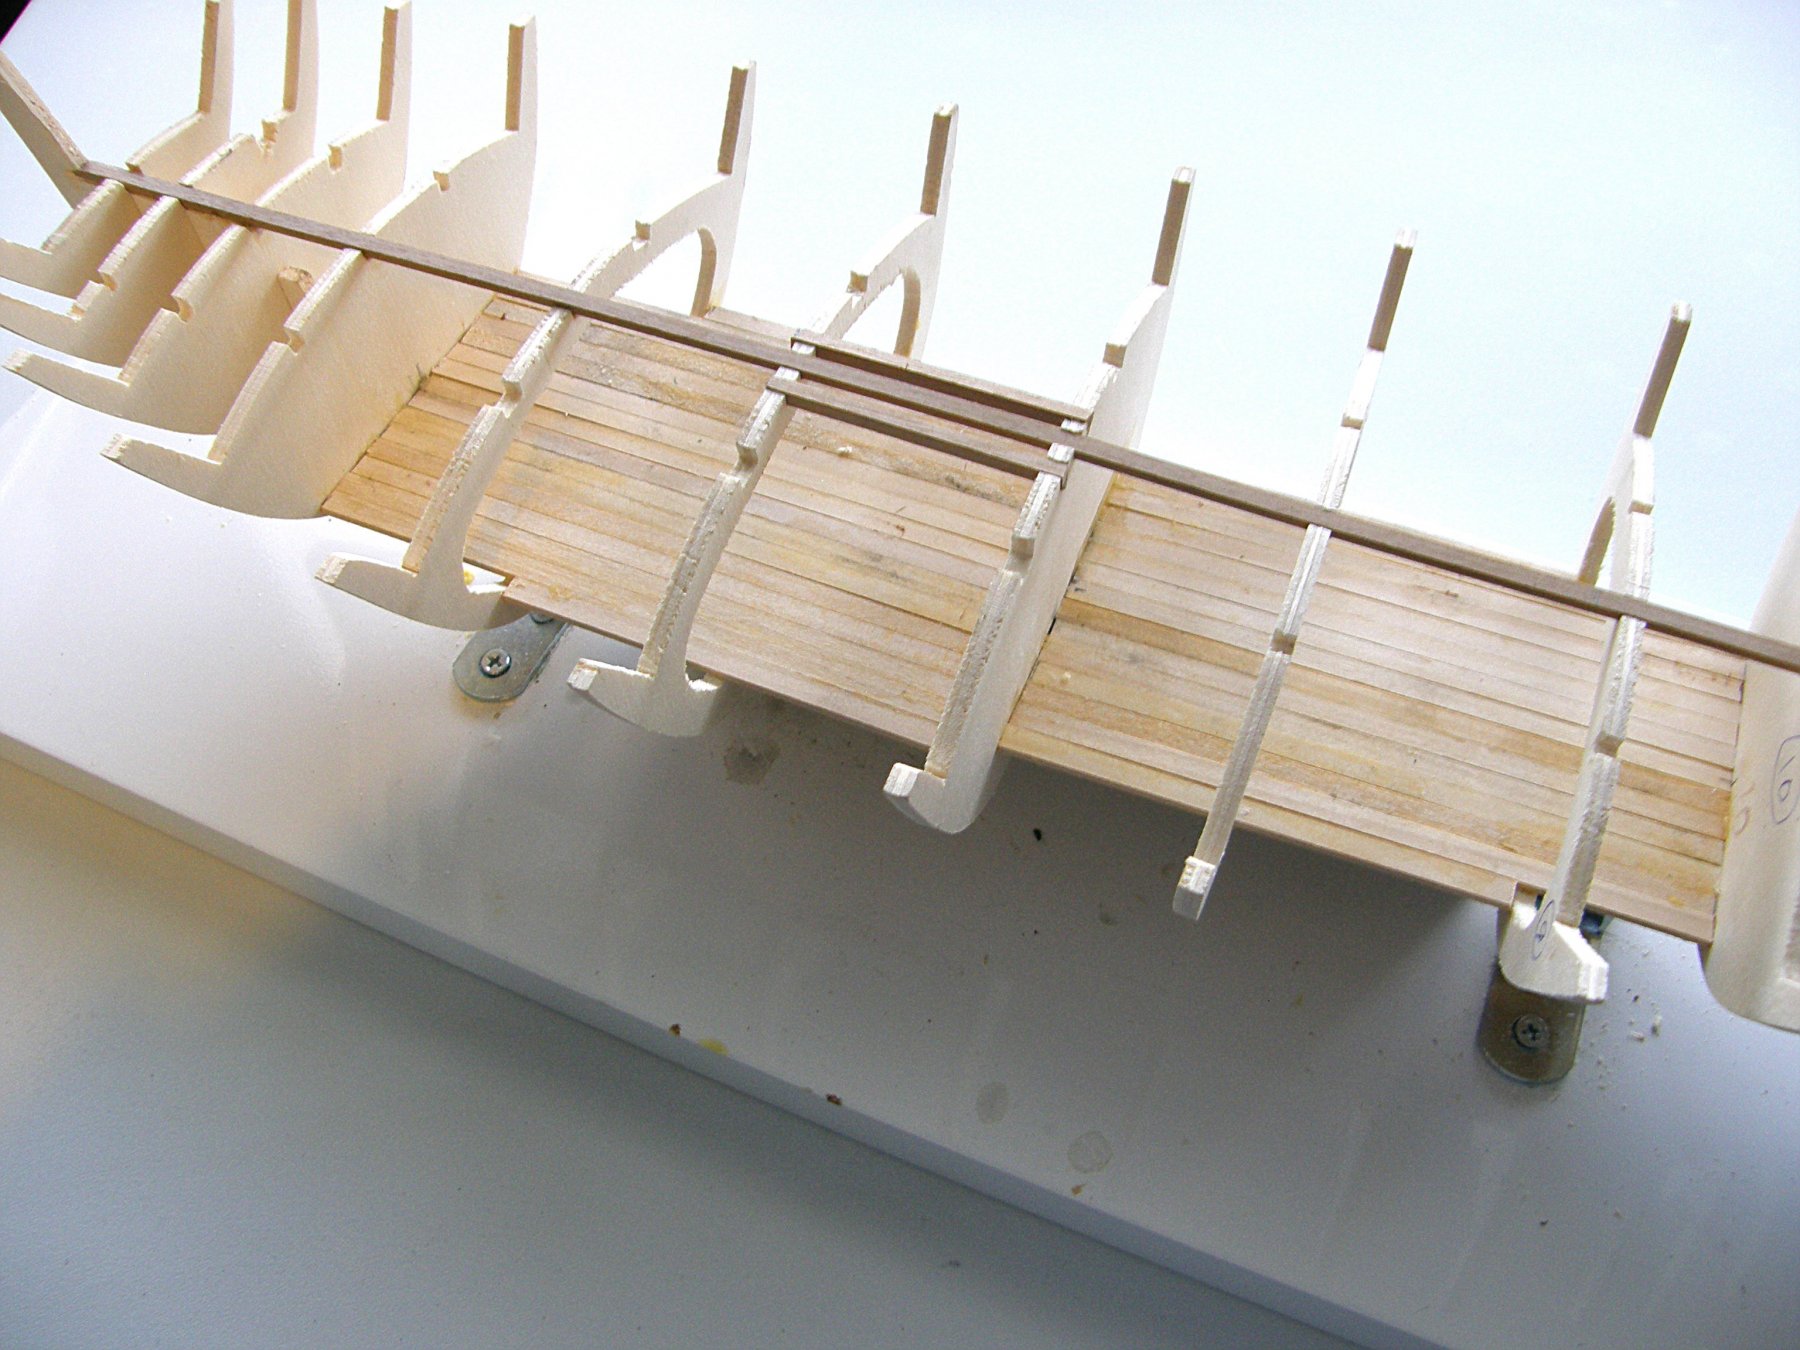
Hello all Well the lower deck planking is on, now have to sand it down 😒. Jo.

-
Hi Sam It's a bit daffadown dilly I know 🤣. Jo.
-
Hello Sam My grandfather was a cockney and his sayings rubbed off on my mother she used to say them now and then. So the words mean, apple and pears (stairs), army and navy (gravy), barnet fair (hair), crusty bread (head), scarpa flow (go), adam and eve (believe) alligator (later), bees and honey (money), biscuits and cheese (knees), bacon and eggs (legs). Jo.
-
Hello Sam I don't adam and eve it. Alligator have to get some bees and honey if my biscuits and cheese and bacon and eggs get me to the atm. Jo.
-
Hello all Thank you all for the advice. Sam this is for you. I could say I am going up the apple and pears but we don't have any in my house. I have to get the army and navy ready for tea but first I have to do my barnet fair on my crusty bread. I have to scarpa flow now. Jo.
-
Hello all I have glued one side of the lower deck planks. Sorry about the glue on some planks, have to sand them down. Jo.
-
Hello Mark Yes I have strips of 3mm x 3mm wood that goes into the slots, but if I put them in before the planking of the lower deck I could not do the planking. Jo.
-
Hello S Coleman I have to agree with you it is very flimsy. I have just started the lower deck planking and I have just realised I have pushed one frame out of alignment. I don't understand model ship building at all as this is my first wooden ship build. I cannot see why you have to put decks on the lower part as you don't see them, only if you have the covers off the top deck. Surely it would have been better to have a higher keel with longer slots for the frames and not hollowed out ones like I have got now, but hey what do I know, I am just thinking out load. Jo.
-
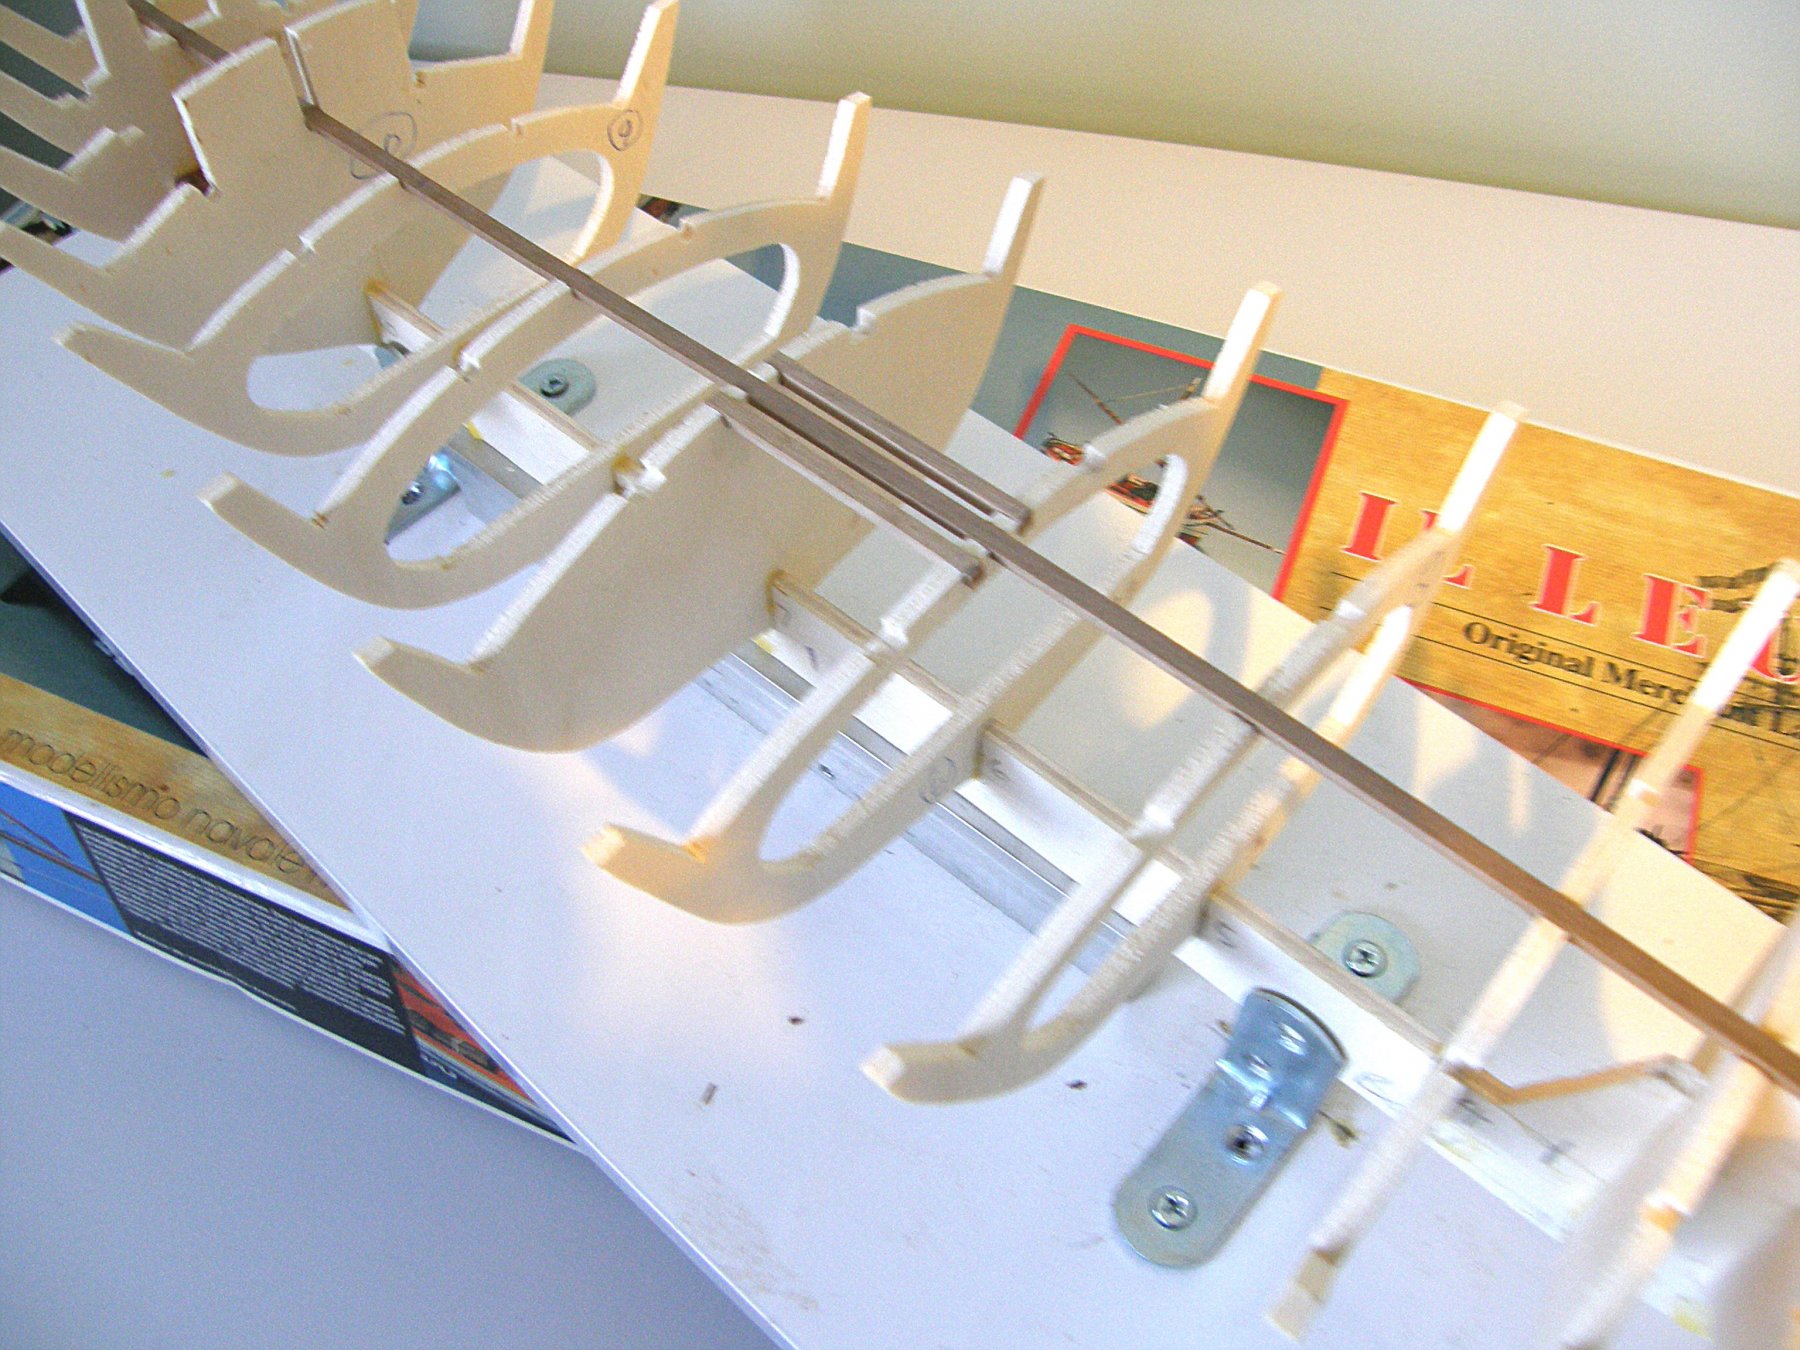
Hello again Just a small up date. I have glued the centre strip of wood on. Now next is the lower decks, this is getting exciting 😇. Jo.

-
Hello Sam She is looking good, just loving your build. Jo.
-
Hey OC Come on my friend don't let a little thing like that hold you back. We know you can correct it easily. Jo.
-
Hello shipmates I thought I would do a little planking GASP you are all saying 😅. I decided to do the lower deck that is under the cabin. The instructions say fit part 23 in place then plank it, so I thought that I would plank it first then fit it, if I mess it up it would not matter as you cannot see it when the cabin goes on. I used some Danish oil for the planks. Jo.

-
Hello CaptainSteve. Thank you for your advice but I have got one from when I put some shelves up on the wall. Thank you also for visiting my log. Thank you all for the likes. Jo.
-
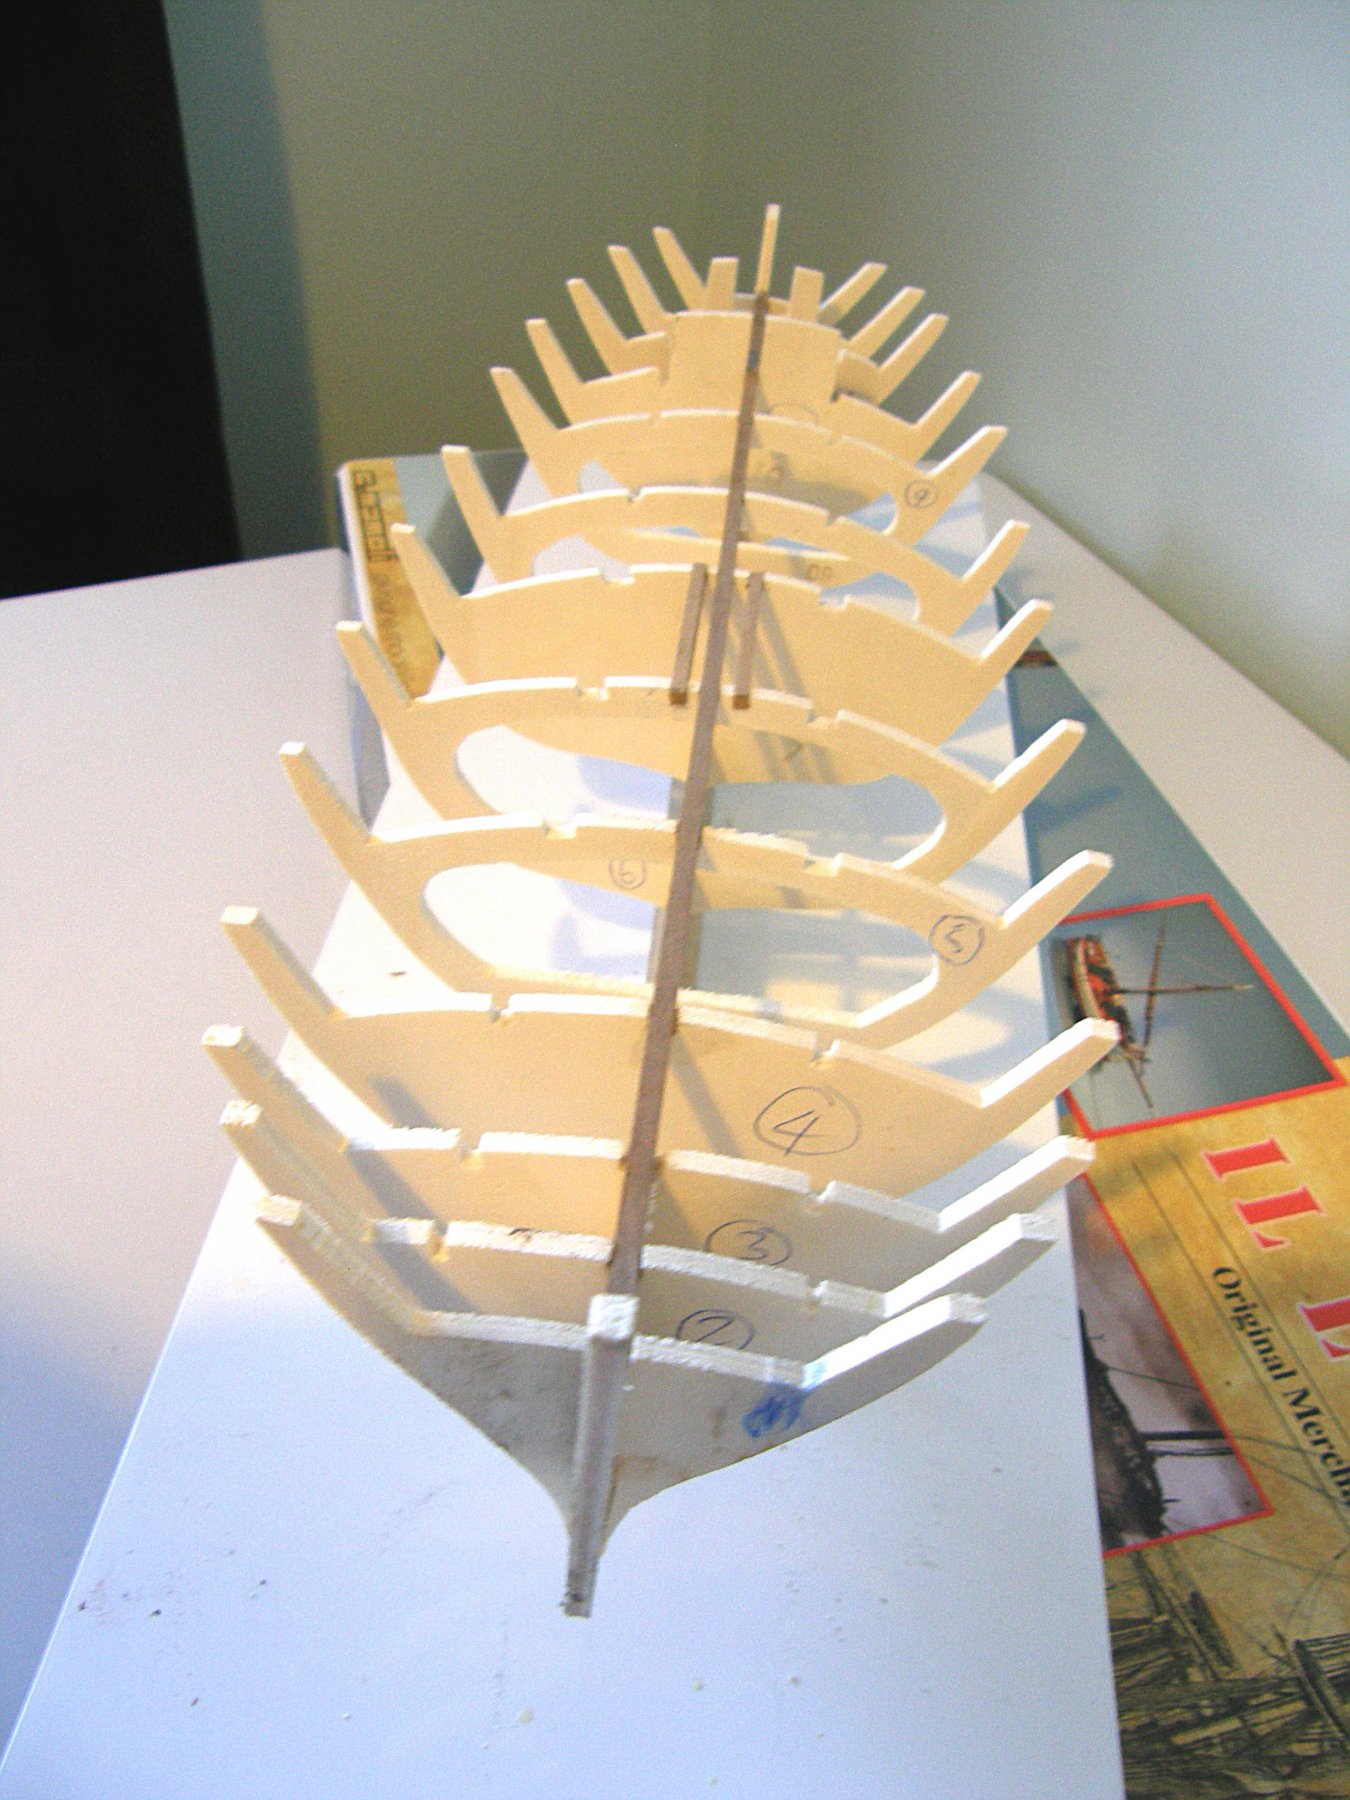
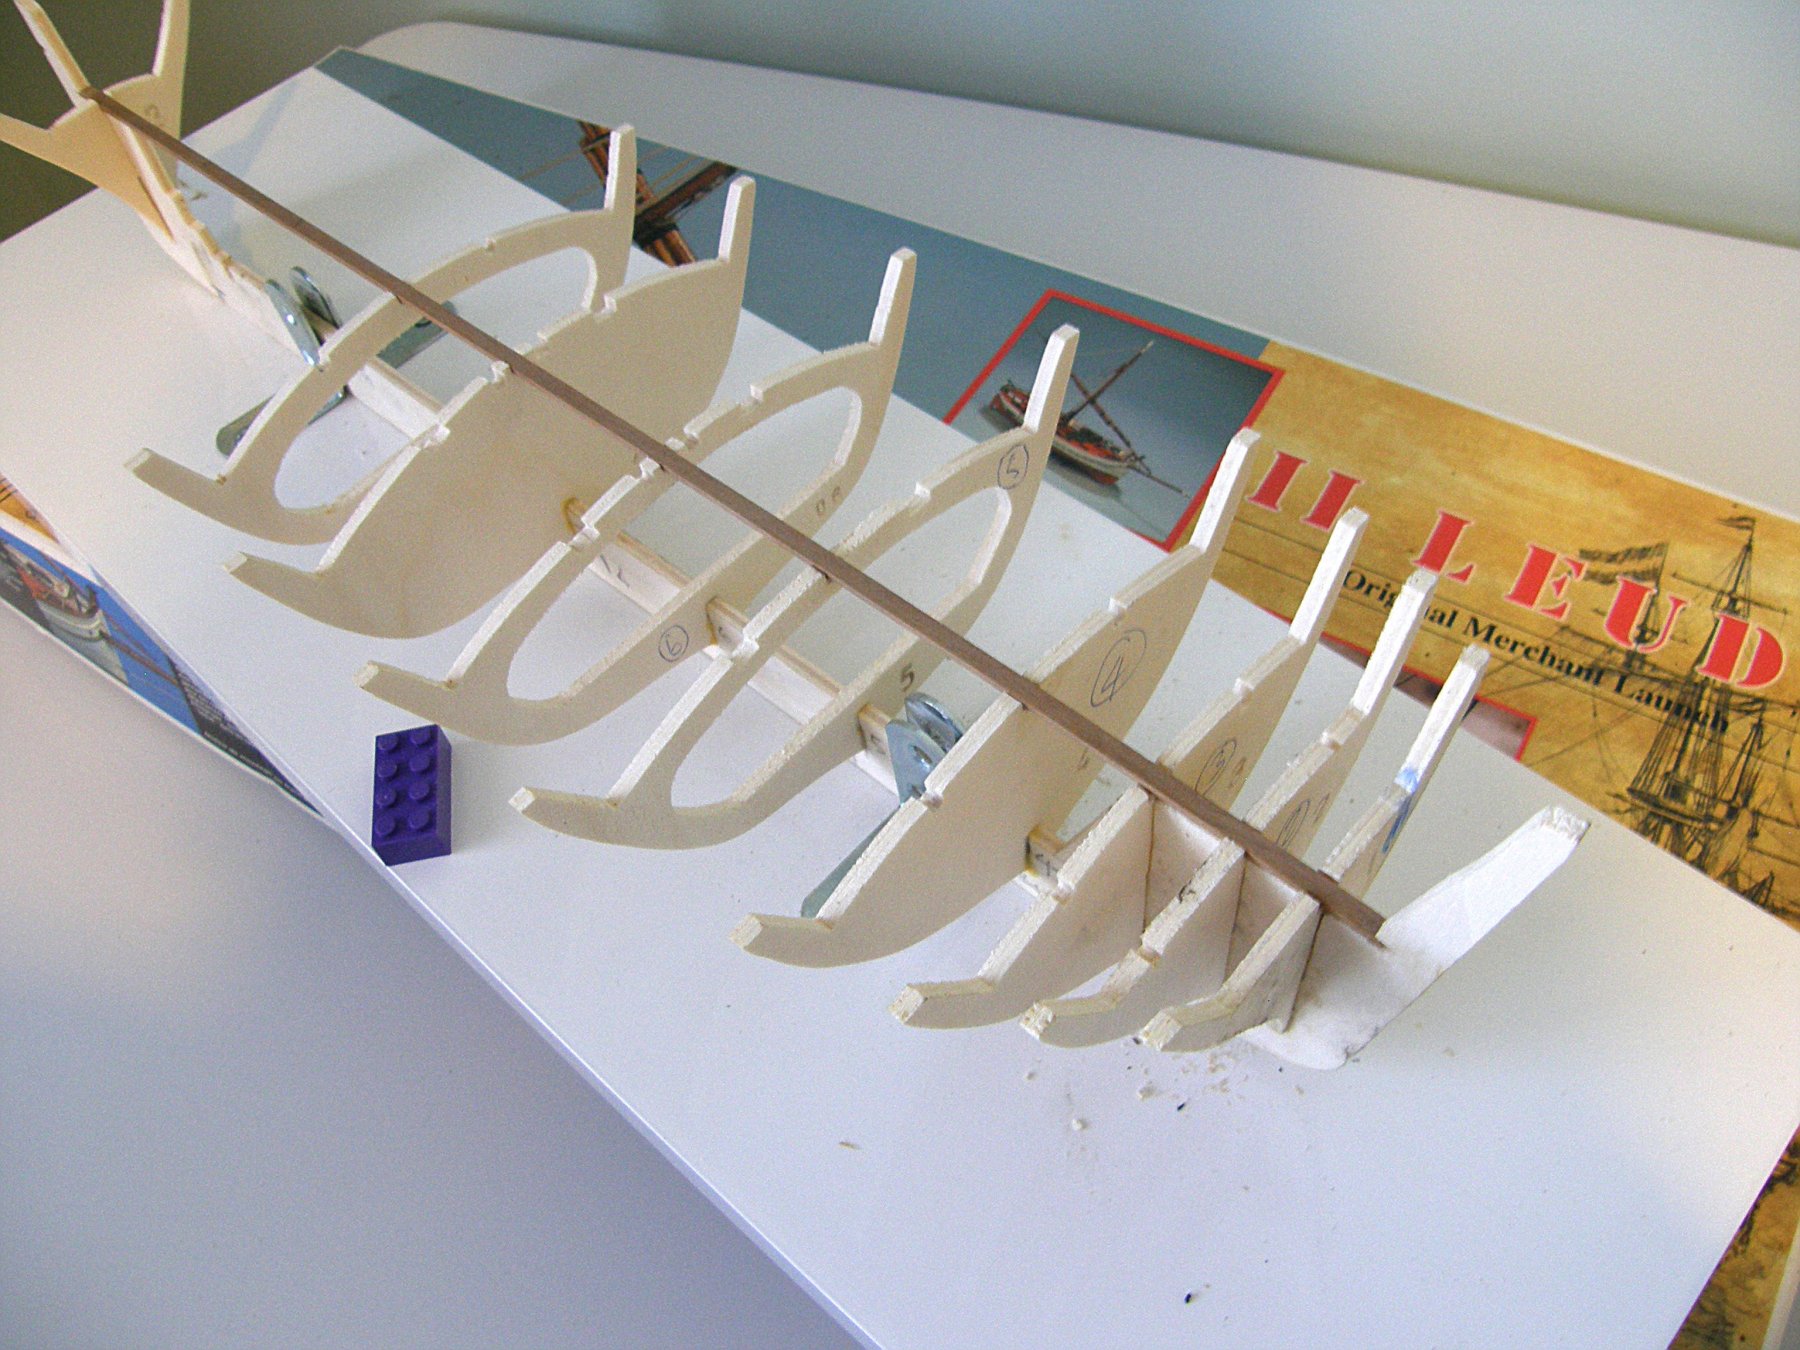
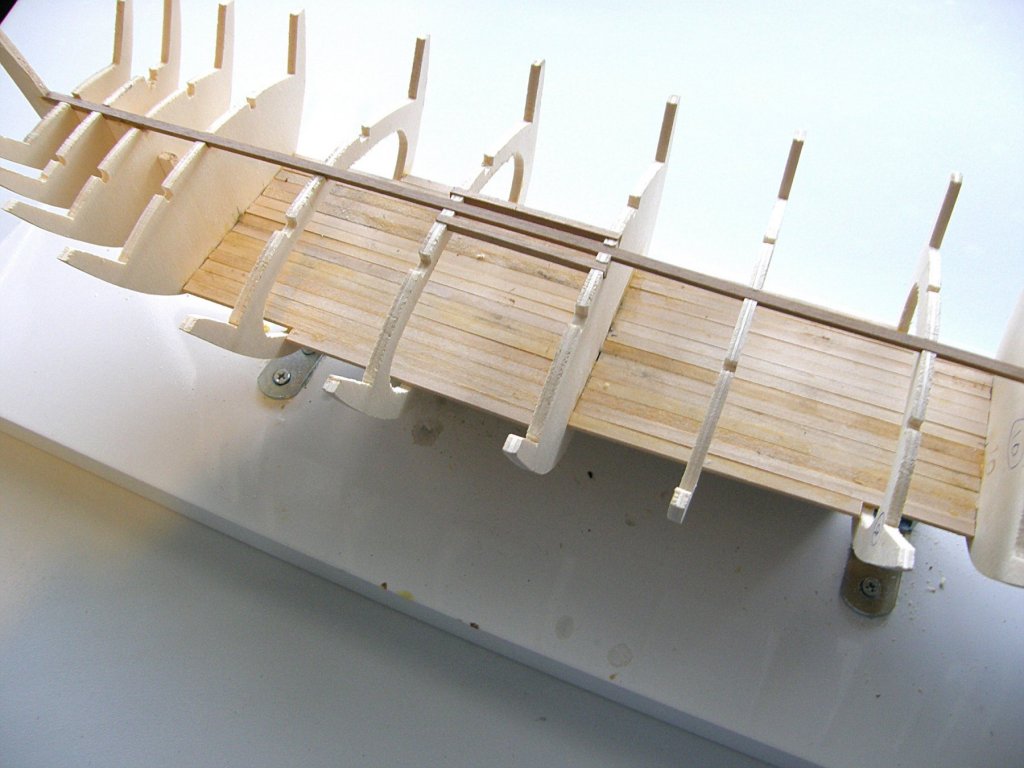
Hello Cog Yes I did use lego on some frames, but some have only about 10mm slots in them and it was hard to keep them vertical that is why I put the strip down the centre of the frames as I glued them one by one. I did my best to get the same gap on each side with out moving them. Jo.
-
Hello Mark Thank you but I think I may have the worse to come, planking 😭. Jo.
-
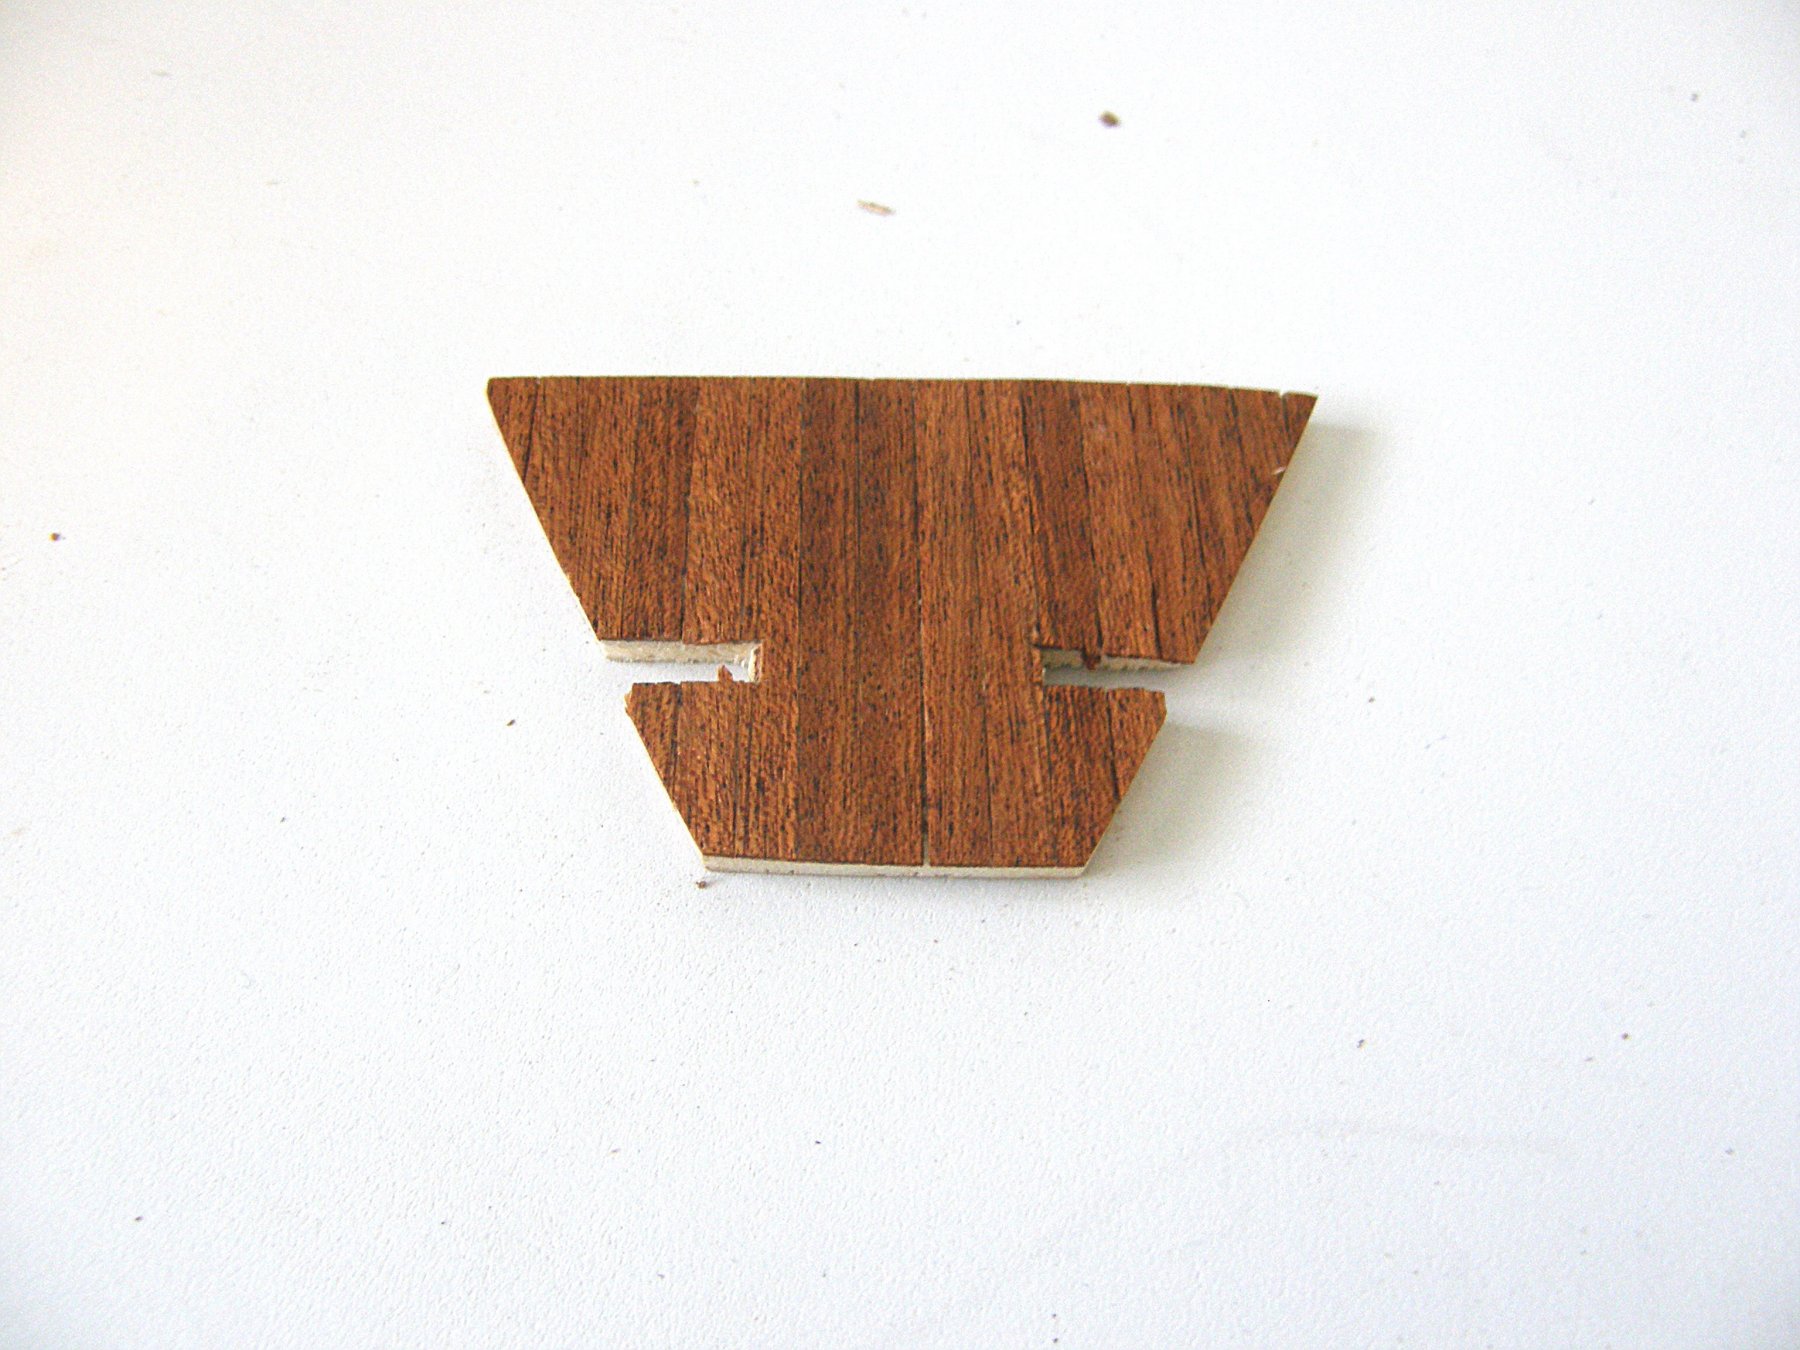
Hello Sam I used that thinner and a sharp knife it came apart easy after some soaking in the thinners. Jo.
-
Hello vossiewulf. I have been reading on this forum about balsa blocks so I ordered some along with some glue, should arrive today. Thank you for your comments. Jo.
-
Sam it's sparkling water 😀. Jo.
-
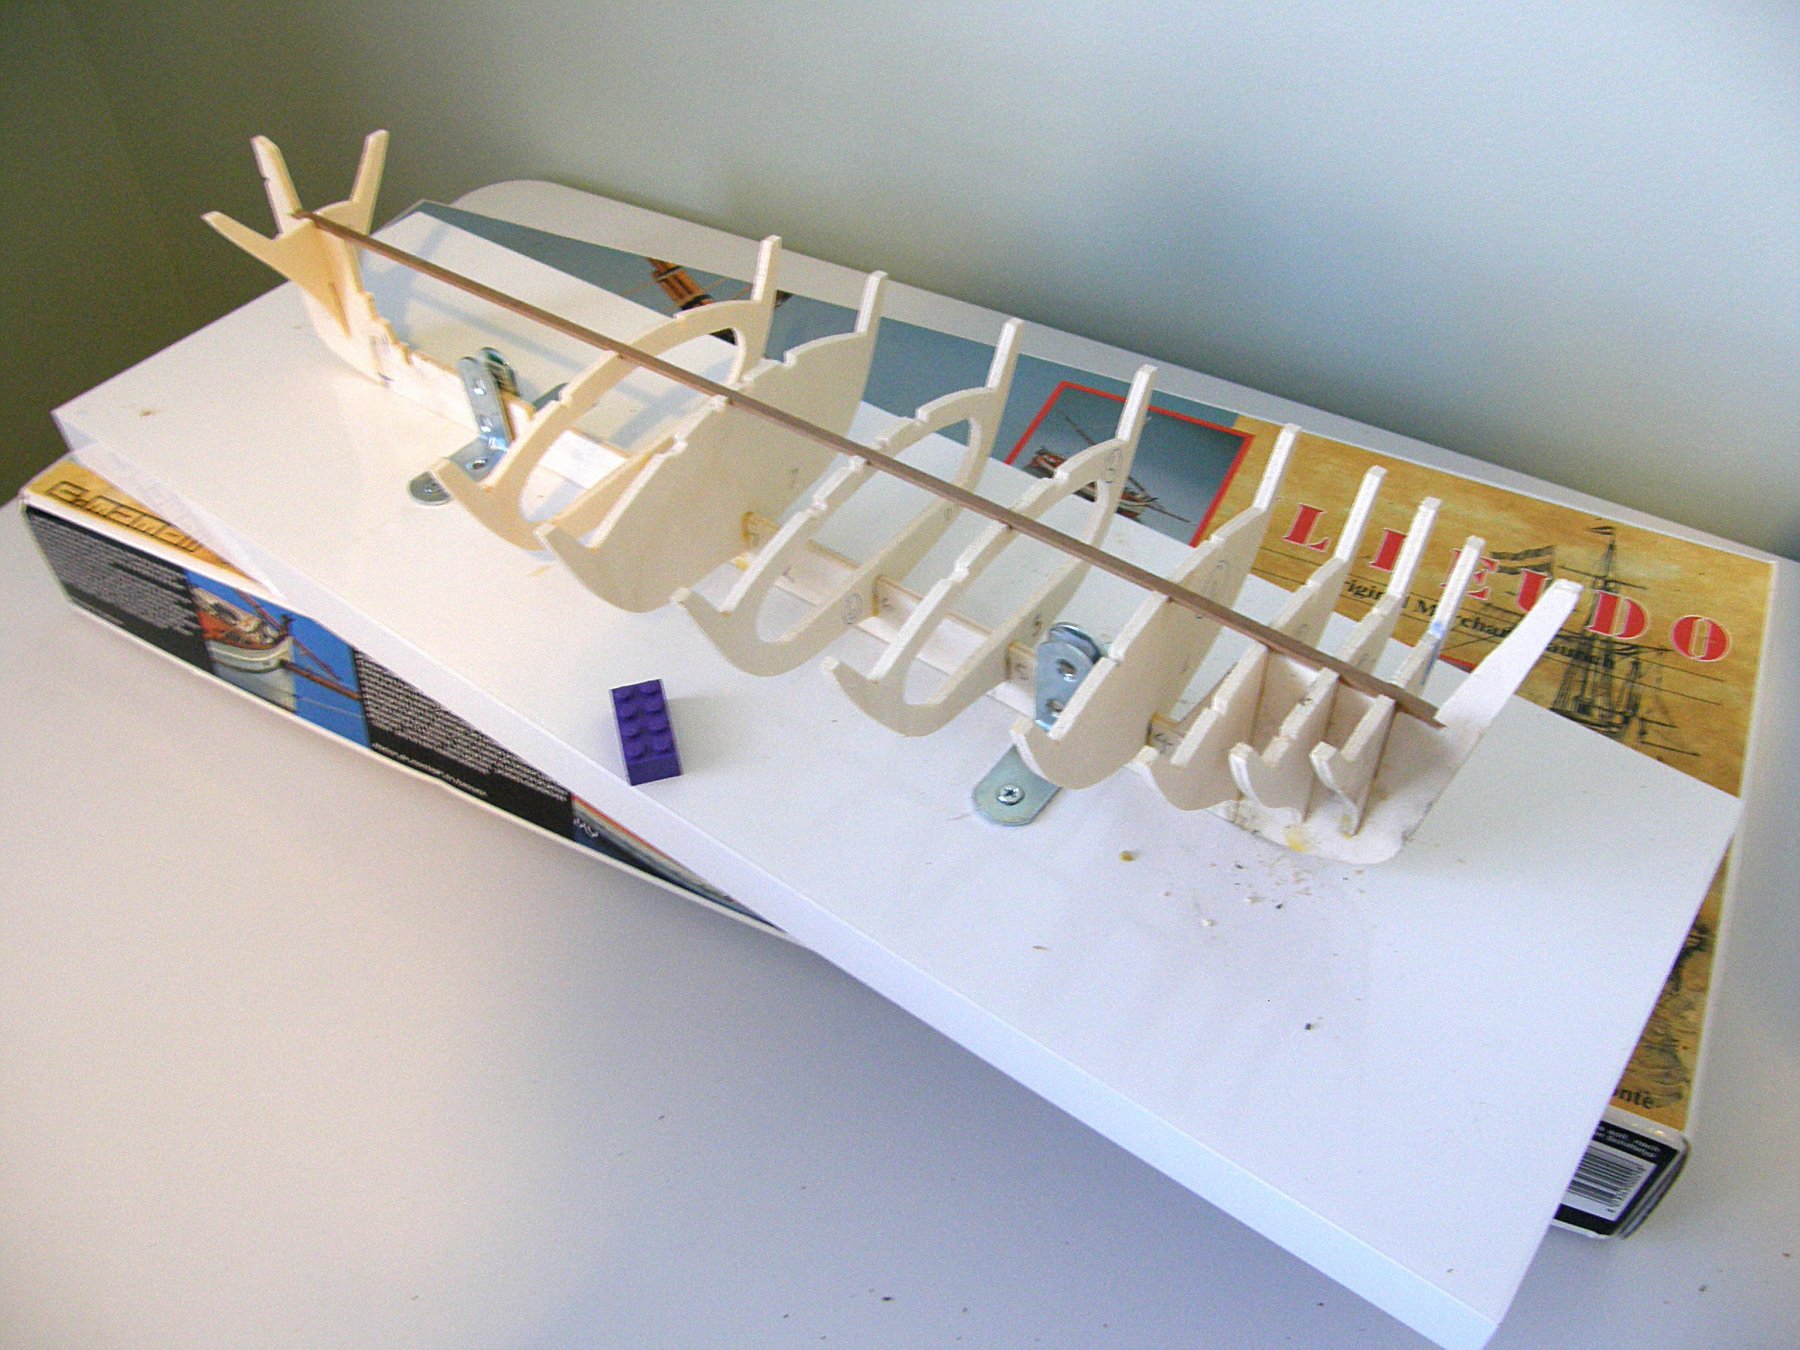
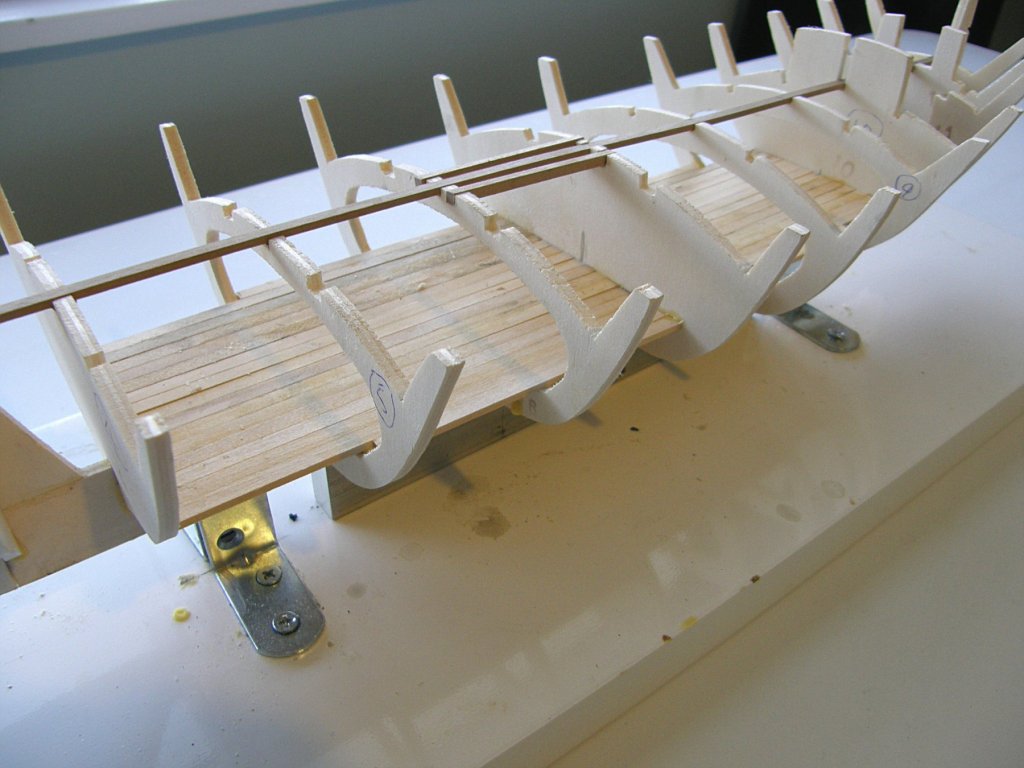
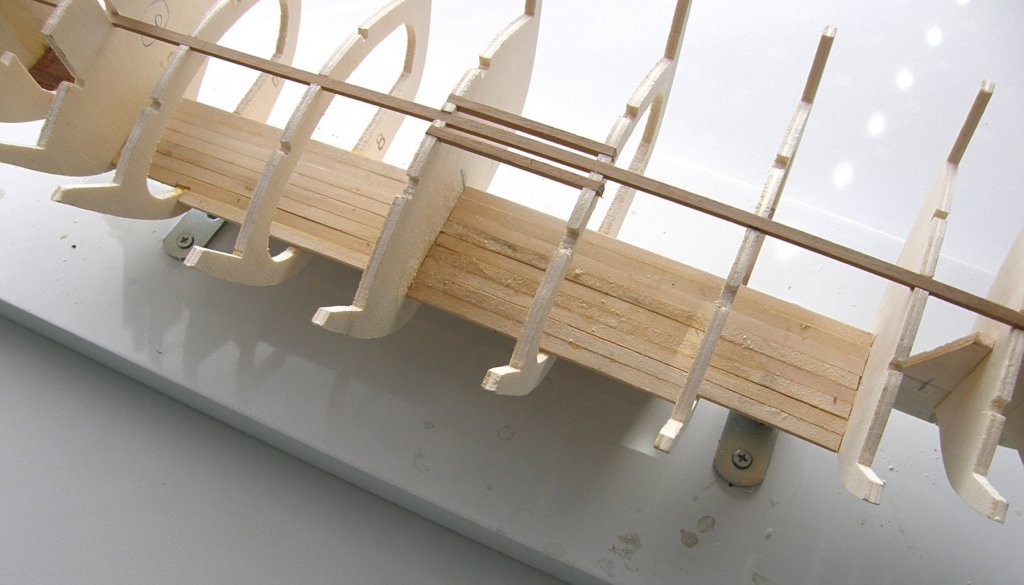
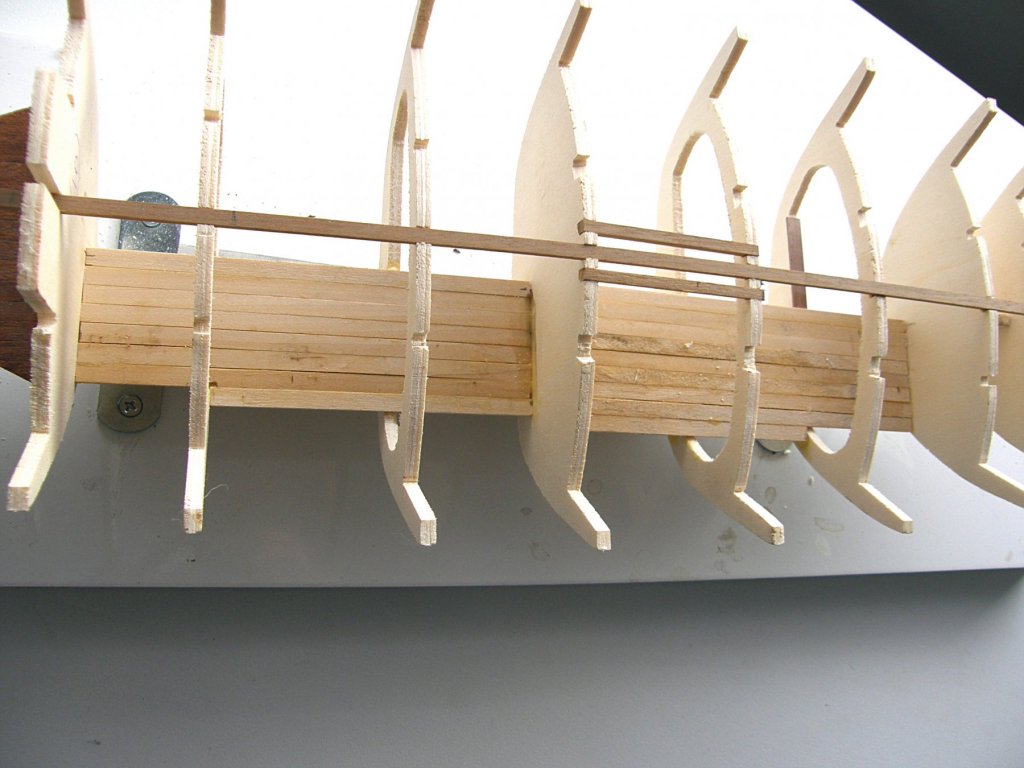
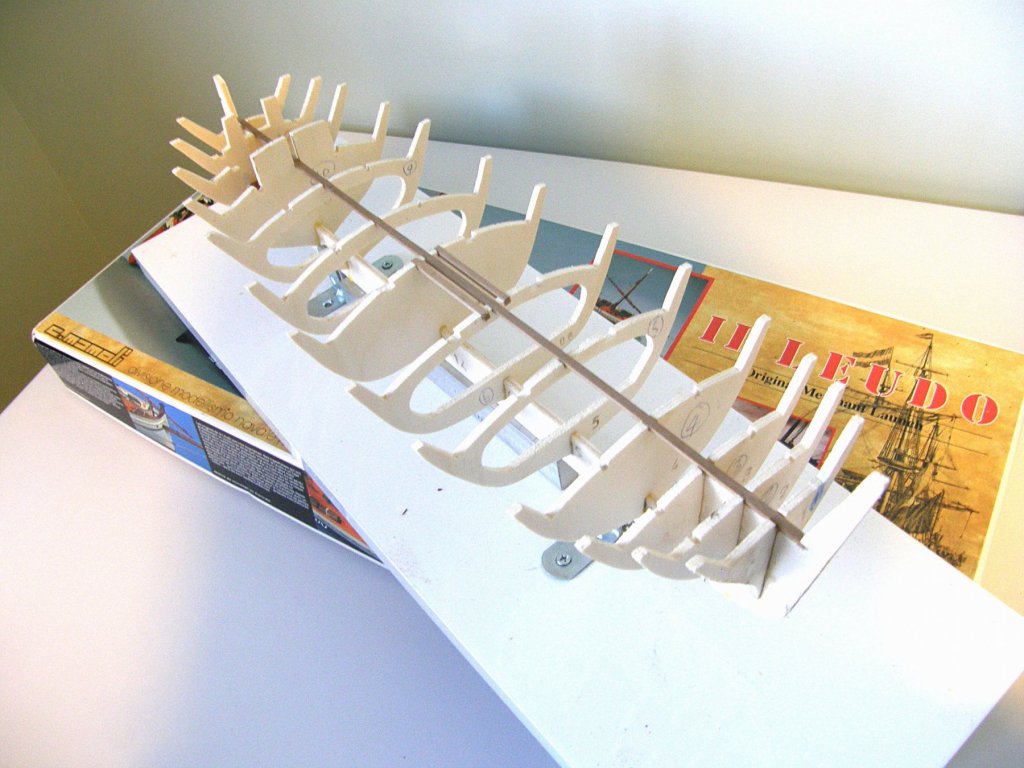
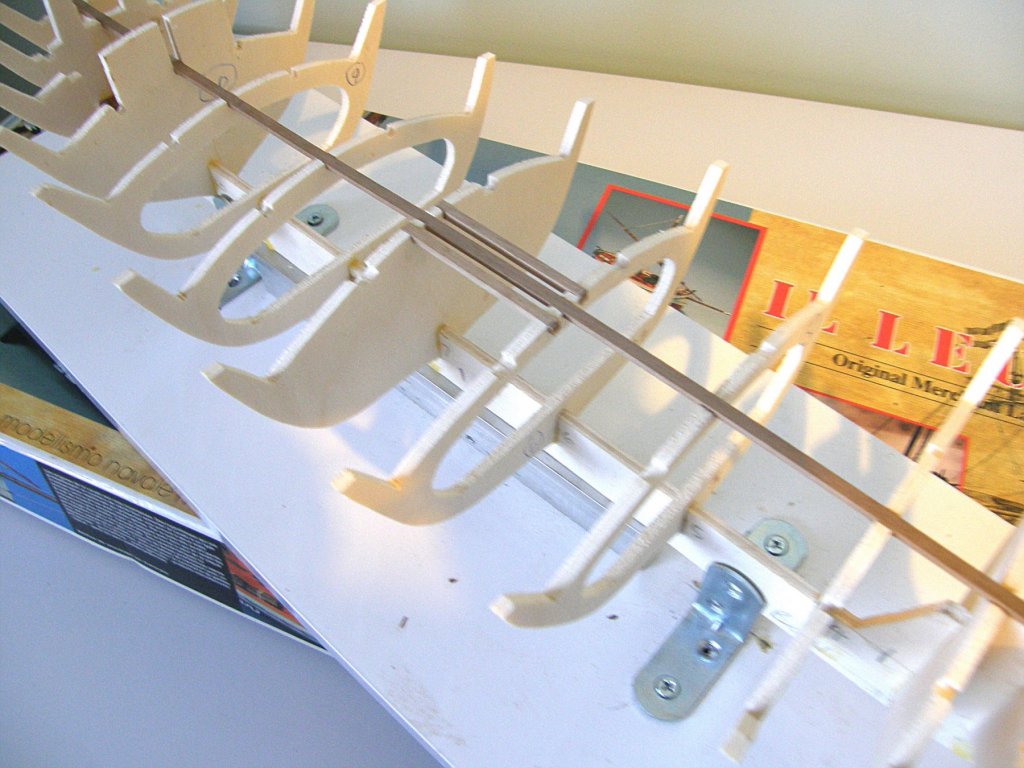
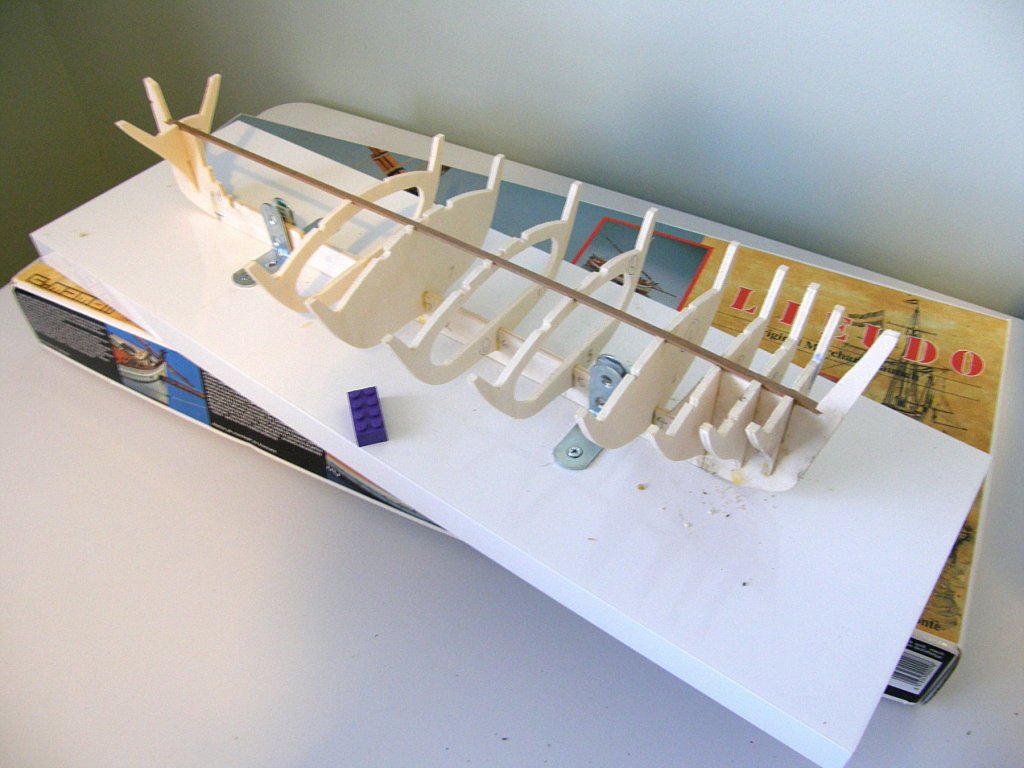
HELLO ALL. I have started the gluing of the frames yippeeeeeeeeeeeee BUT as the instructions are very vague (useless) I had to do some thinking, OK you guys we do think sometimes 😀. As frames 4 - 11 only have about 15mm slots to hold them in place and square, so I have already mentioned that the frames on the top of them have slots that a 2mm x 4mm wooden strip runs down the centre of them. So the idea I came up with was dry fit the last frame 13 as this has about 40mm slot in it and will be very stable, then I started gluing the frames one by one dry fitting the 2mm x 4mm wooden strip as I go, this will keep the frames in a central position till the glue dries. This is the start of gluing the frames. Jo.


-
Hello all. Thank you all for your comments and help + likes. @cog thank you also I do intend to take advantage of all of the advice on this forum 😀. Jo.
-
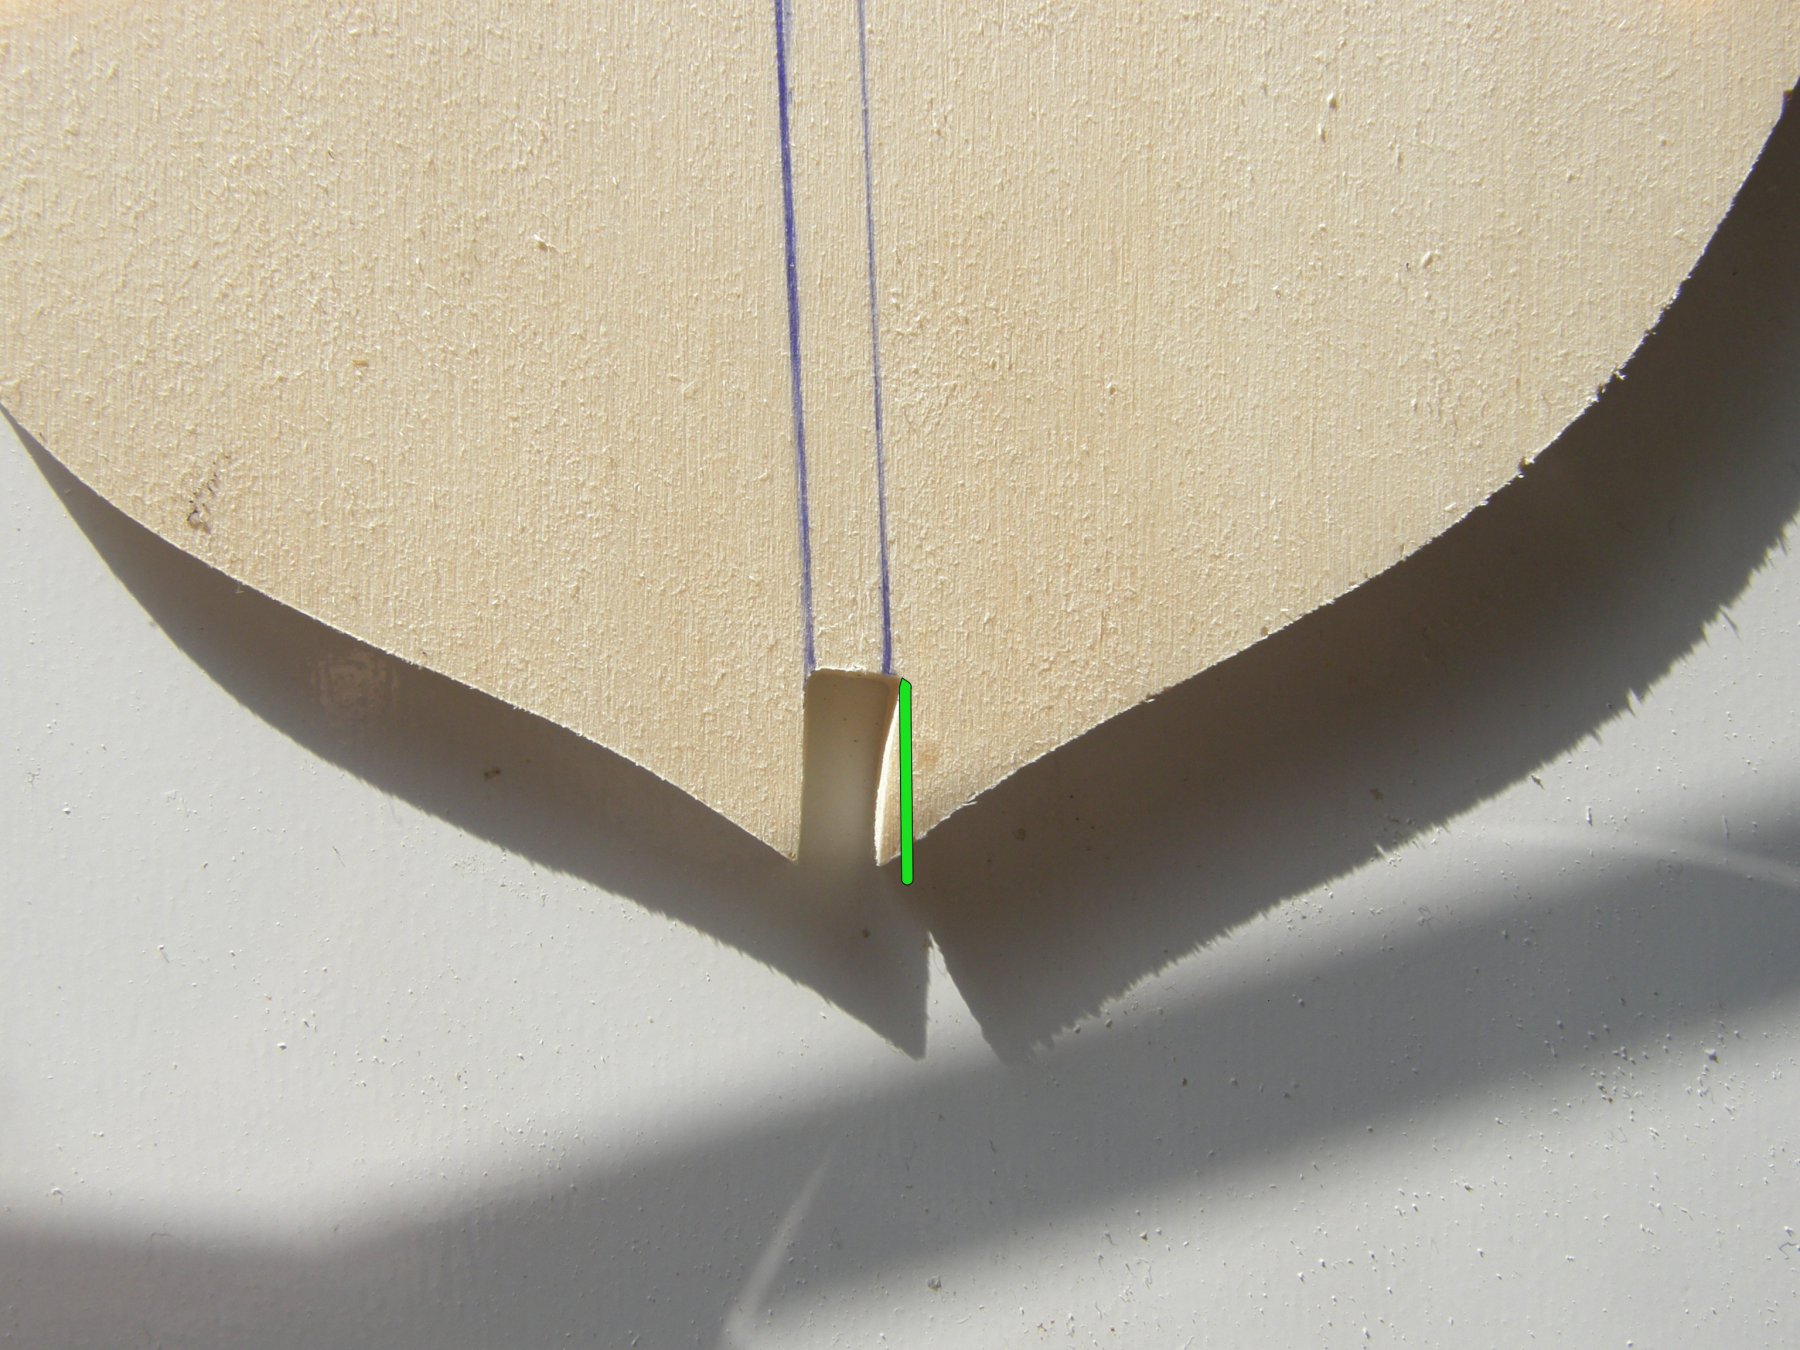
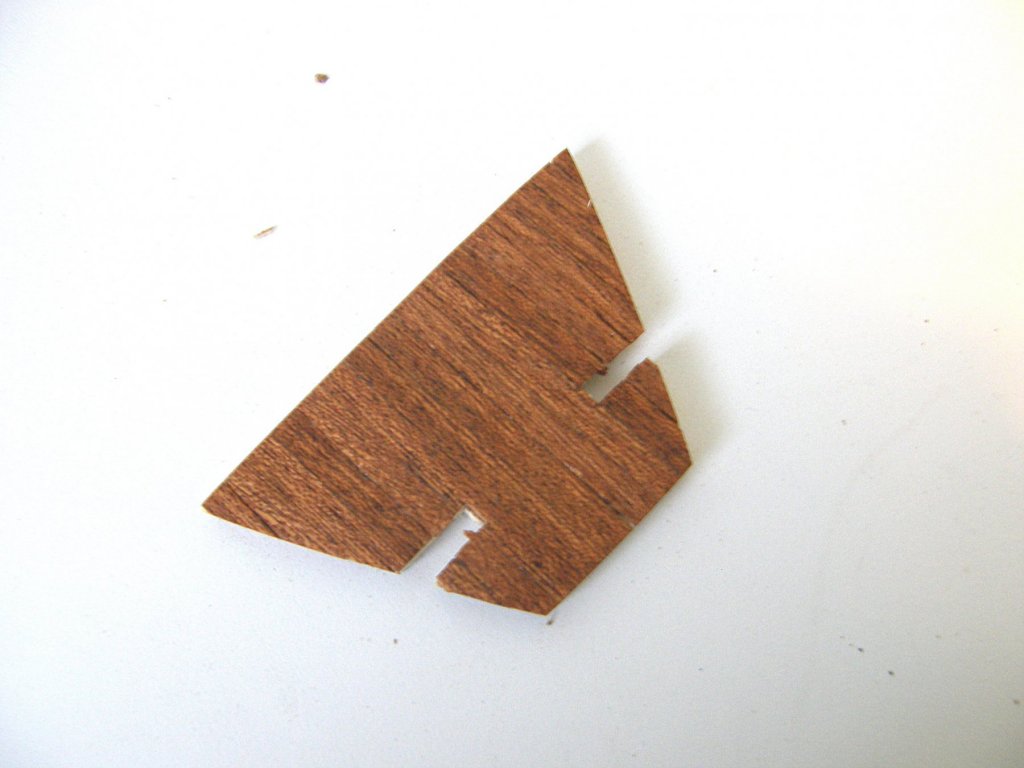
Hello all Well another mistake from the kit makers. Part 10, the slot has been cut wrong, when you put it on the keel it leans over. Looks like I will have to file it down so it is vertical on the keel. Good job I am not a person that gives up that easy. I have to say that it is not a good advert for some one that is just starting out building wooden ship models. Jo.

-
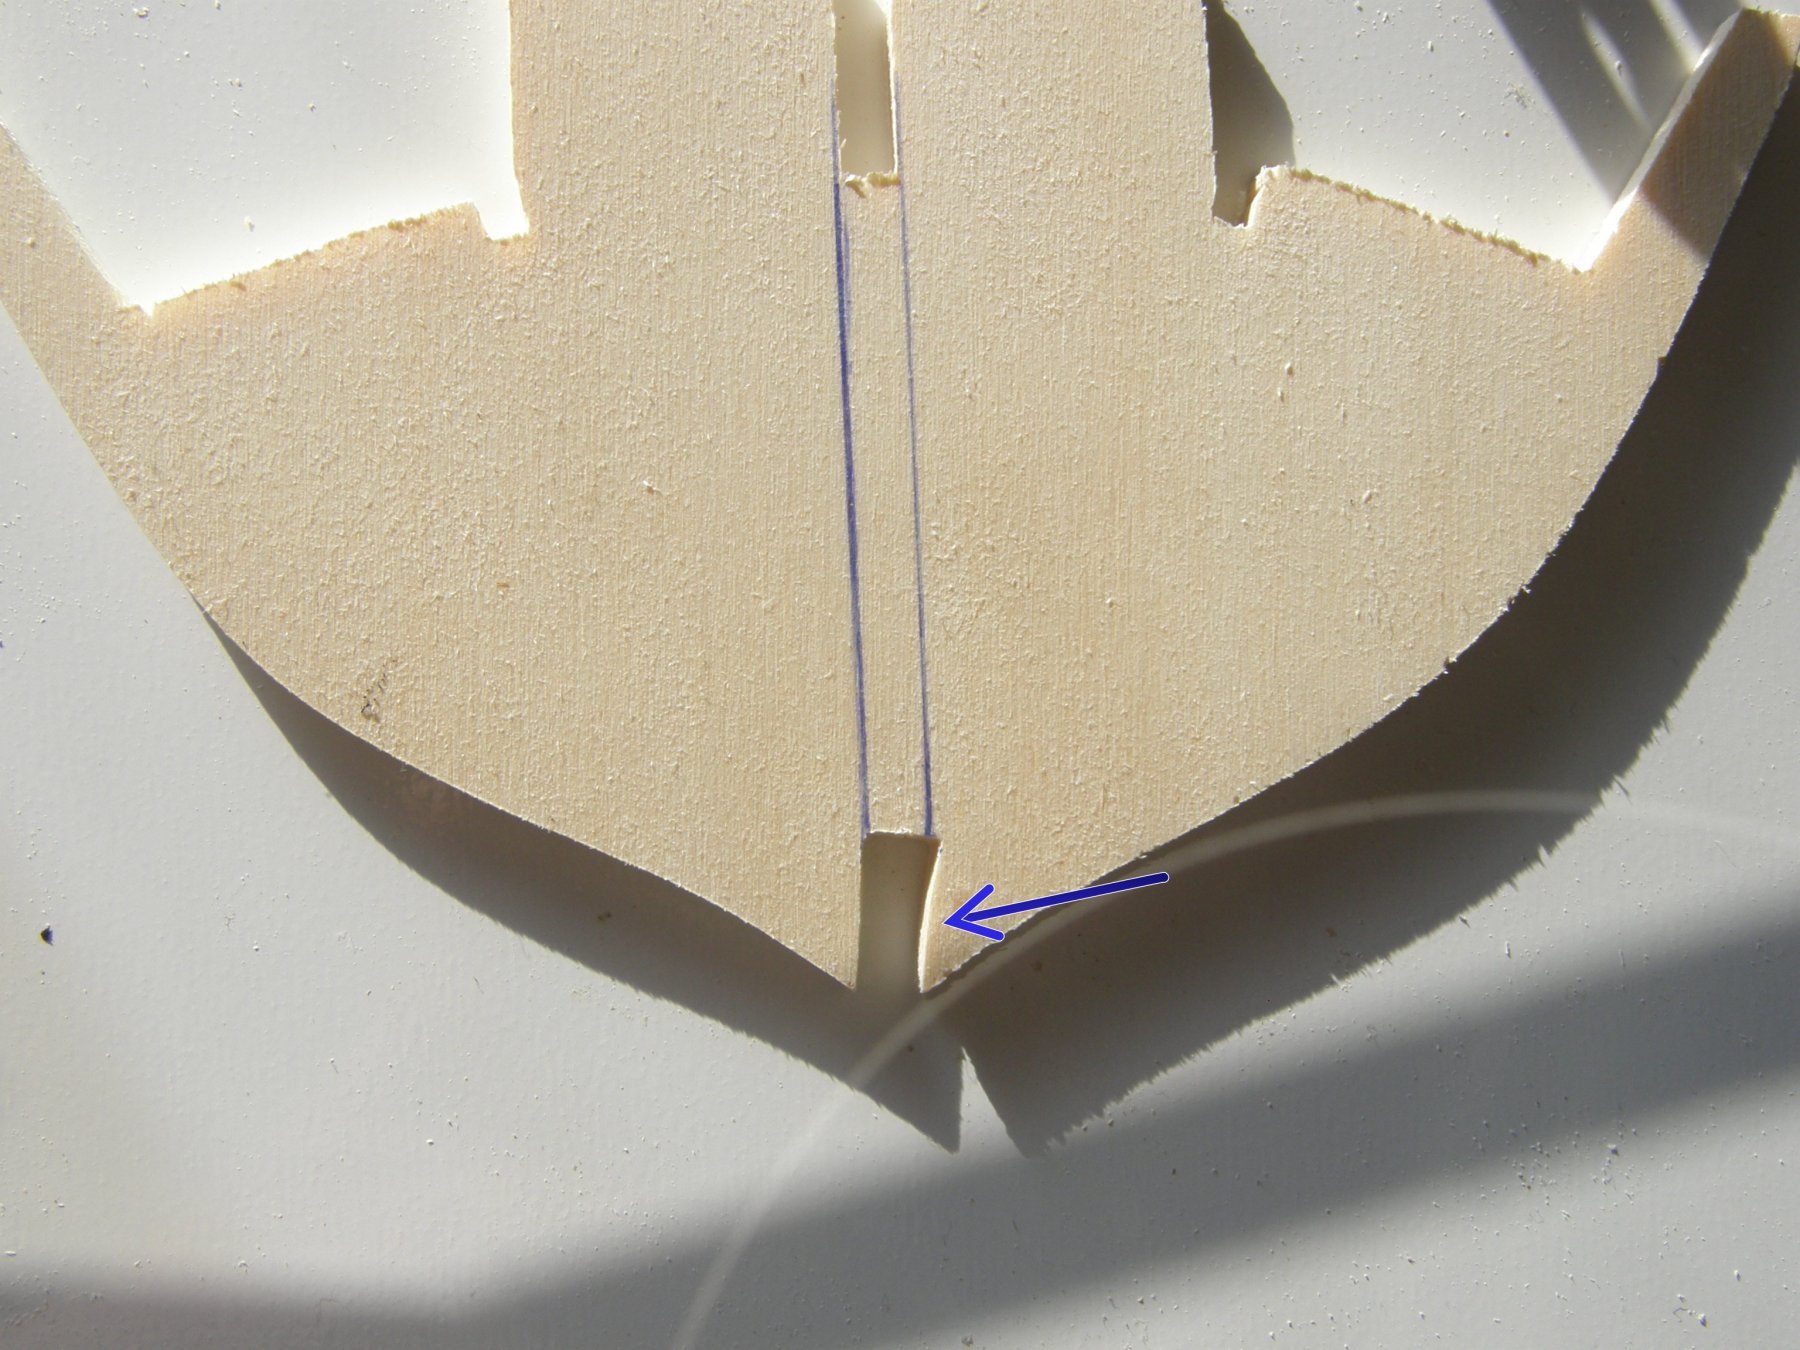
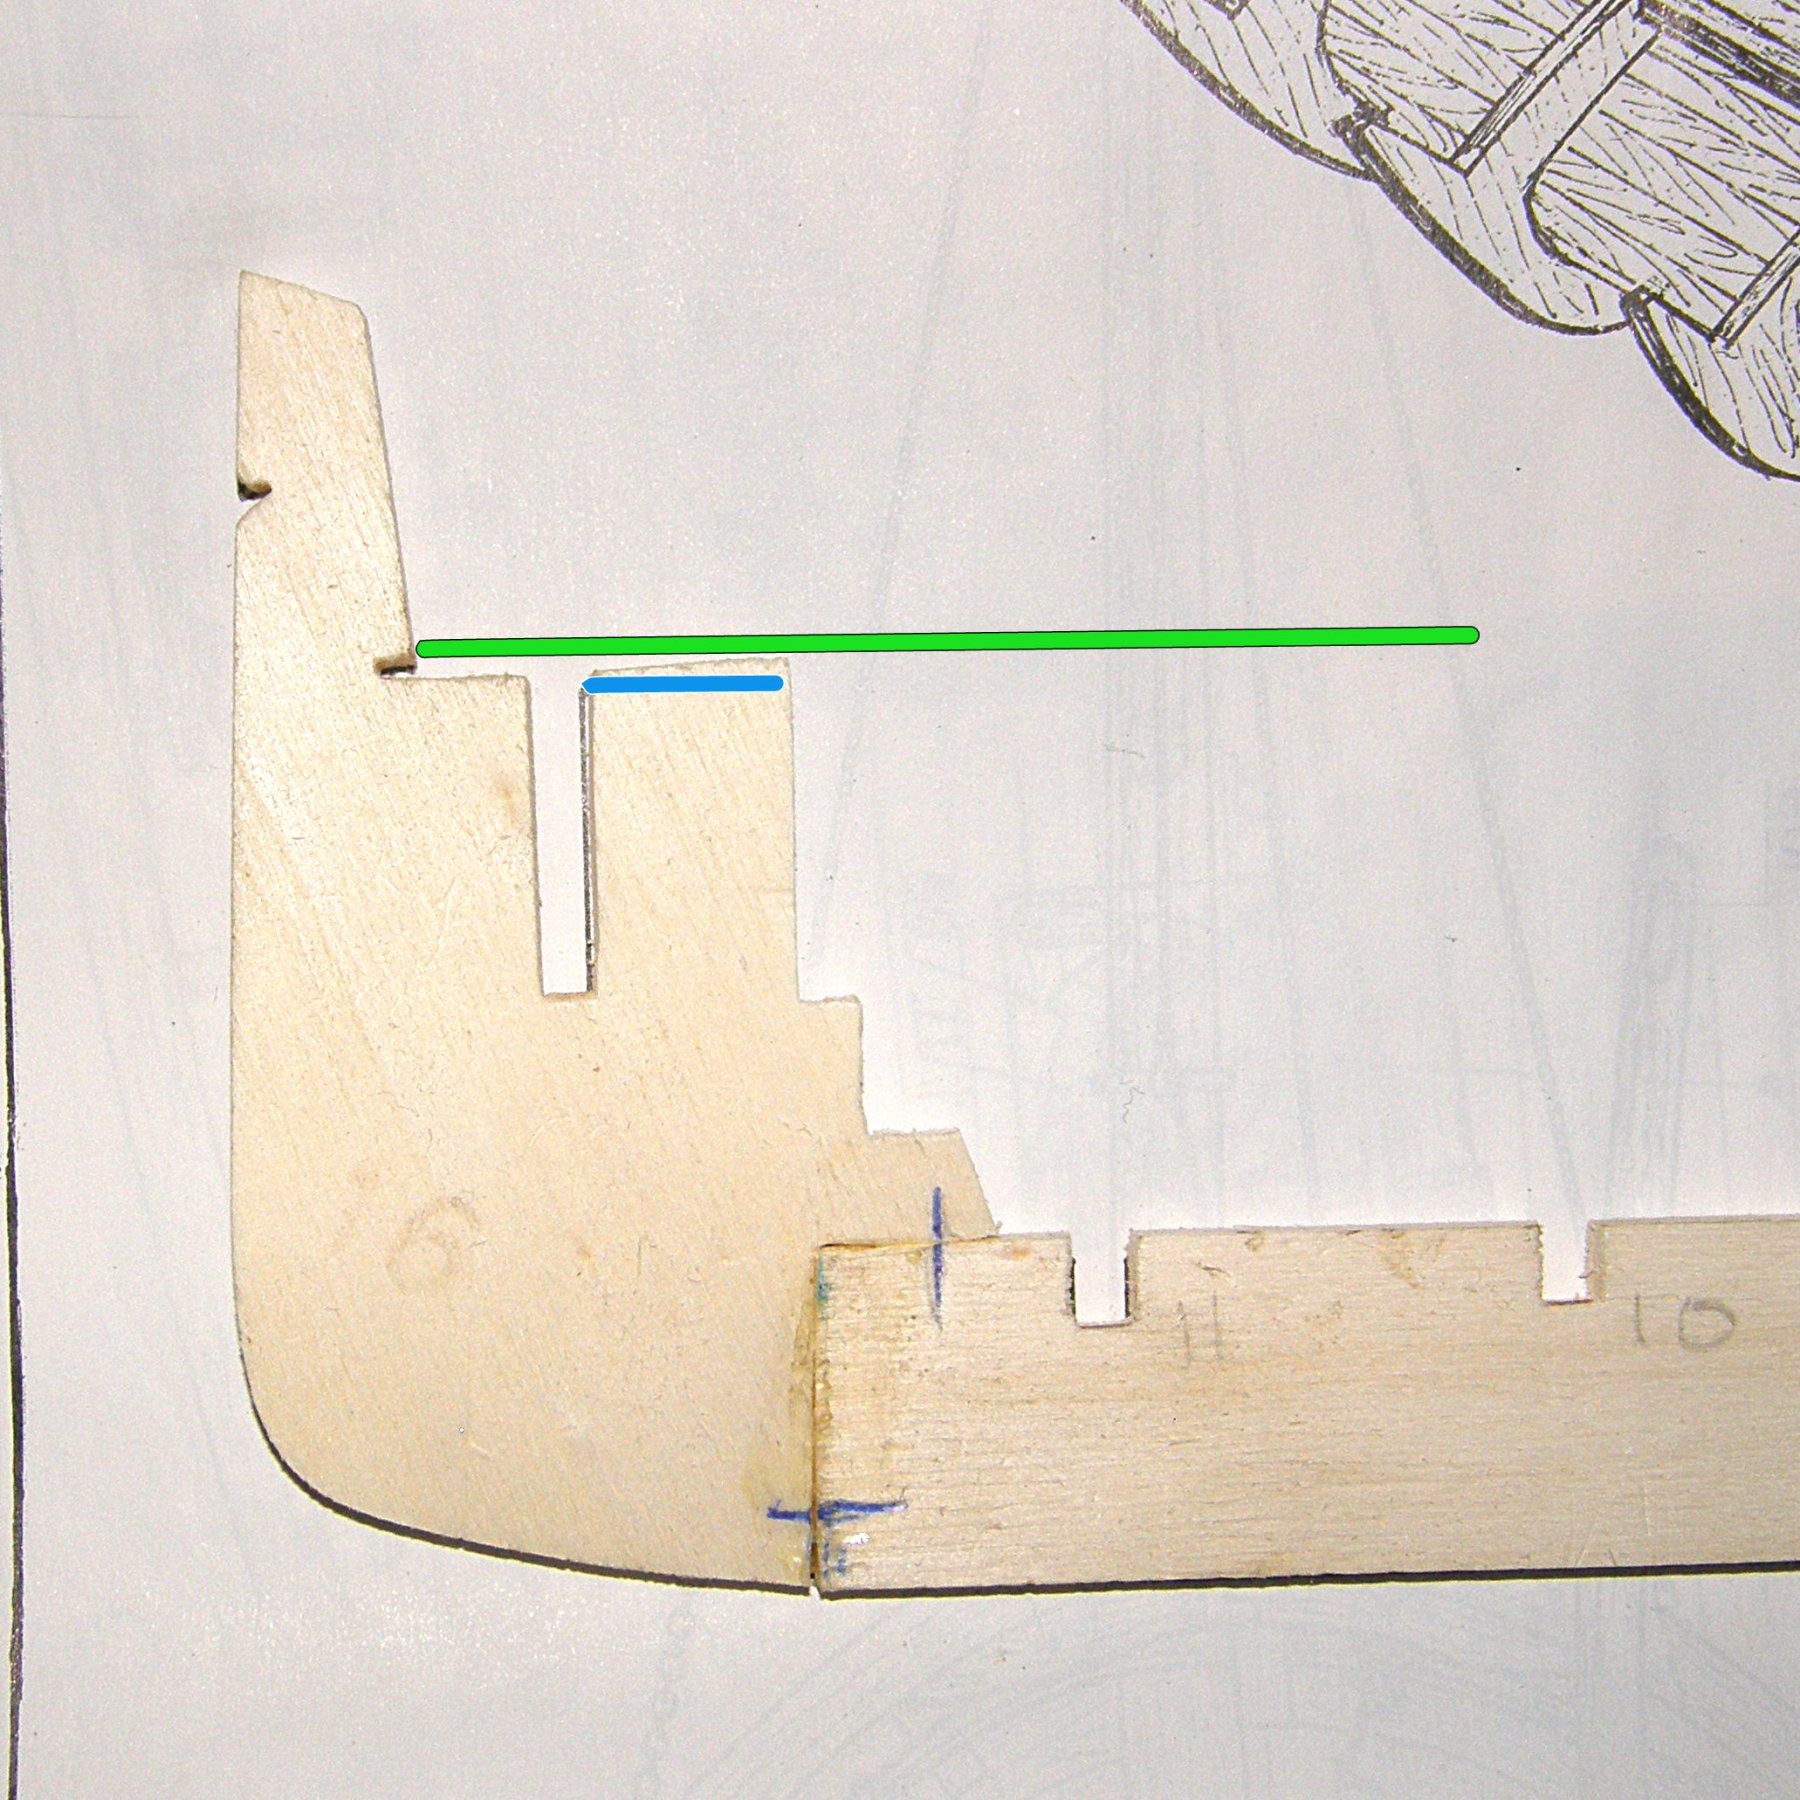
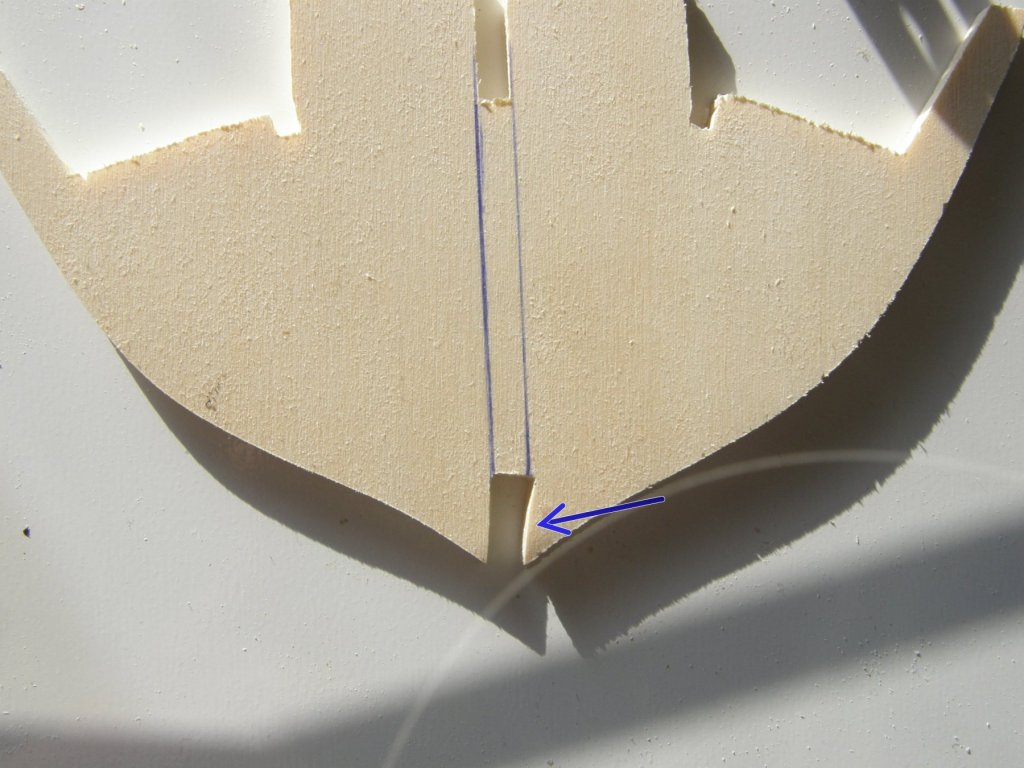
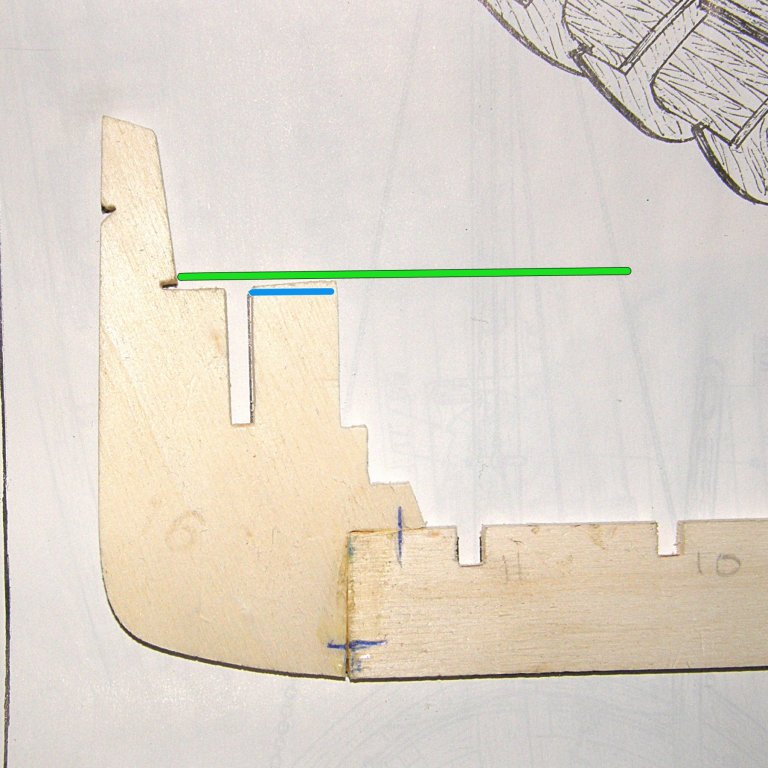
Hello all After looking at the part 16 + the wooden strip that goes down the centre of all the frames. I have had to file down to the blue line as the wooden strip (green) has to slot into part 16 (see left end of green line). I now have to file most of the frame slots out as the 3mm x 2mm wooden strip don't fit. Jo.
-
Good morning Sam Will do. The strip that goes down the frames don't fit so have to file the slots out a bit. Have to go out today back about 4.00pm, my boss is back for a day 😉. Jo.
-
Hi Mark Thank you for your kind remarks 😉. Now for the next step. Jo.