-
Posts
629 -
Joined
-
Last visited
Content Type
Profiles
Forums
Gallery
Events
Everything posted by Matt D
-
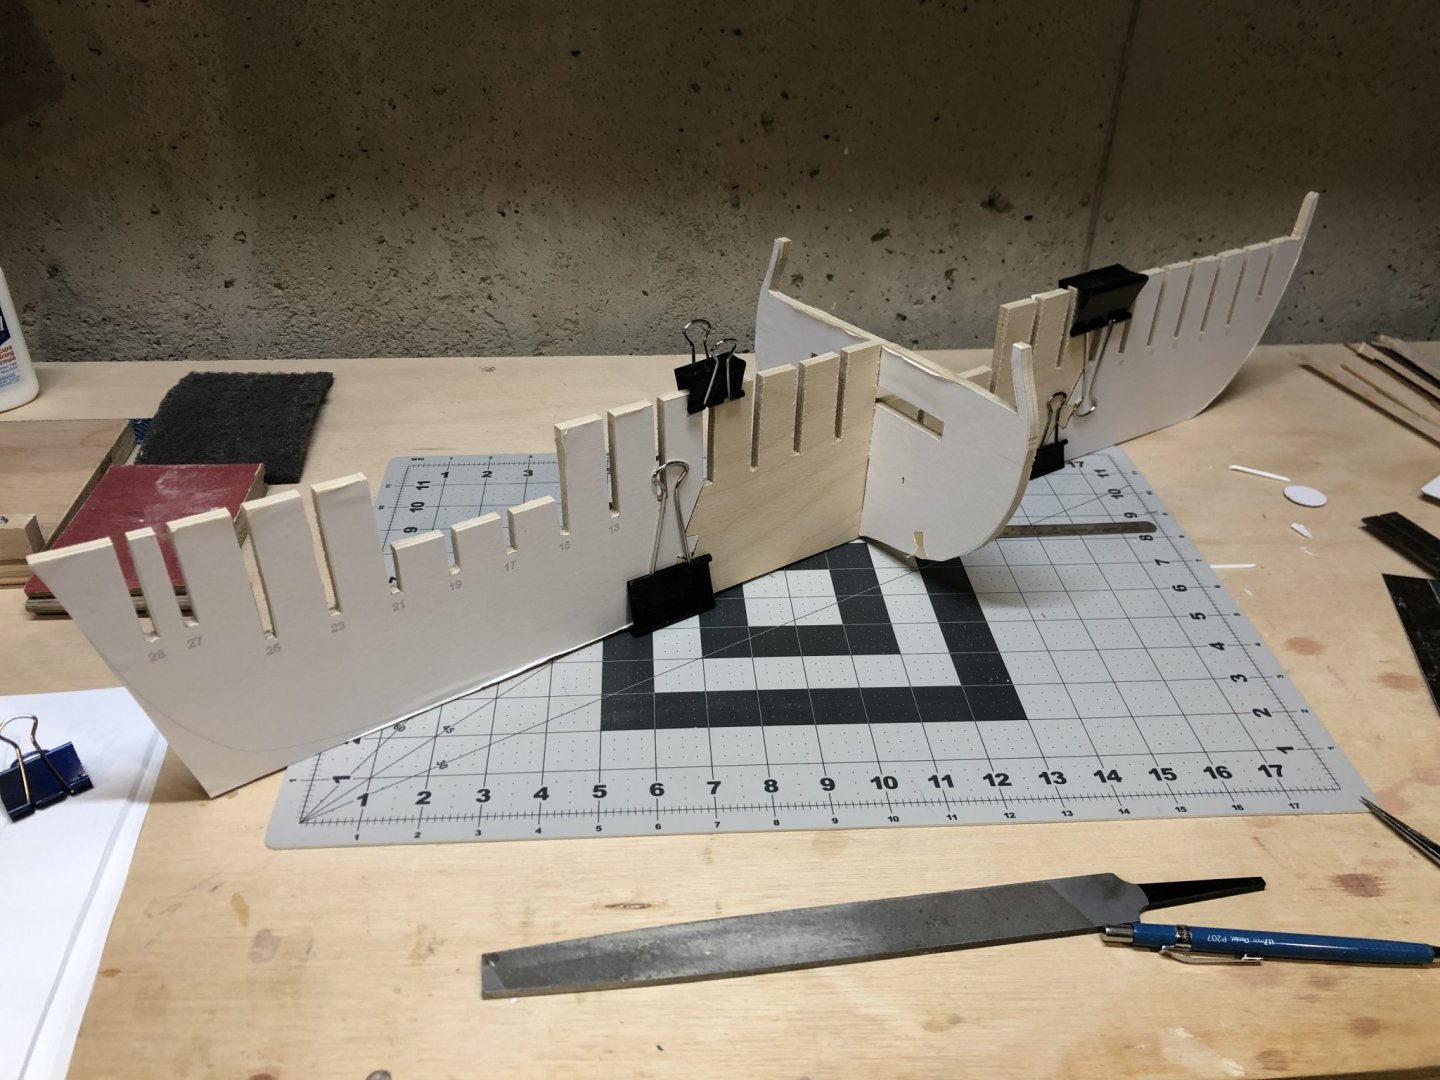
Yes. I have some large scraps of 3/4" birch plywood hanging around my basement that I will use to build the base. I'm going to use scraps from the 1/4" Baltic birch plywood to make right angle brackets to hold it square. The base will be 12x36. This model is gigantic! I held it up next to my Virginia 1819. The hull will be twice as long and almost twice as wide. I knew that going in, but it's different when it's sitting on the bench. Of course, you have to feel the same way about your HMS Victory.
-
I am happy to announce that I have purchased the plans and am starting my build log for the HMS Winchelsea. I've been interested in this since the first time I saw the project on the Syren Ship Models website. I'm very excited to start a group project early on in its inception. It will be fun to work on this with so many other modelers. Thank you, Chuck, for putting this together and sharing your hard work and passion with us. I will download the plans and get started on cutting frames this week.
-
Thank you Mark and Paul. It meant a lot to me to have all the help and support from people like you on this site. This community makes modelling a lot more fun and has really helped me grow my abilities. I have too many ideas for my next build. I bought Model Shipways Fair American a few months ago and have been looking forward to building it. I really like the transom windows, stern framing, painted wales, and the gun port framing to name a few of the features that drew me to that kit. But I've also discovered the group projects portion of Model Ship World. I bought the Triton plans in hopes of building the cross section model of that ship, but there are very few active logs of it right now and the cutting precision is very demanding. I've actually tried building the frames with marginal success to see if I should proceed. I think it will have to wait until I get a little better at building from scratch. However, the newest project, HMS Winchelsea, has just started and looks like a really nice model. I've been lurking over there for a few weeks and I think I'm going to buy the plans and start cutting plywood this week. There are about 20 new build logs and a lot of discussion going on in that forum and I think I would like to be a part of that.
- 68 replies
-
- virginia 1819
- artesania latina
-
(and 1 more)
Tagged with:
-
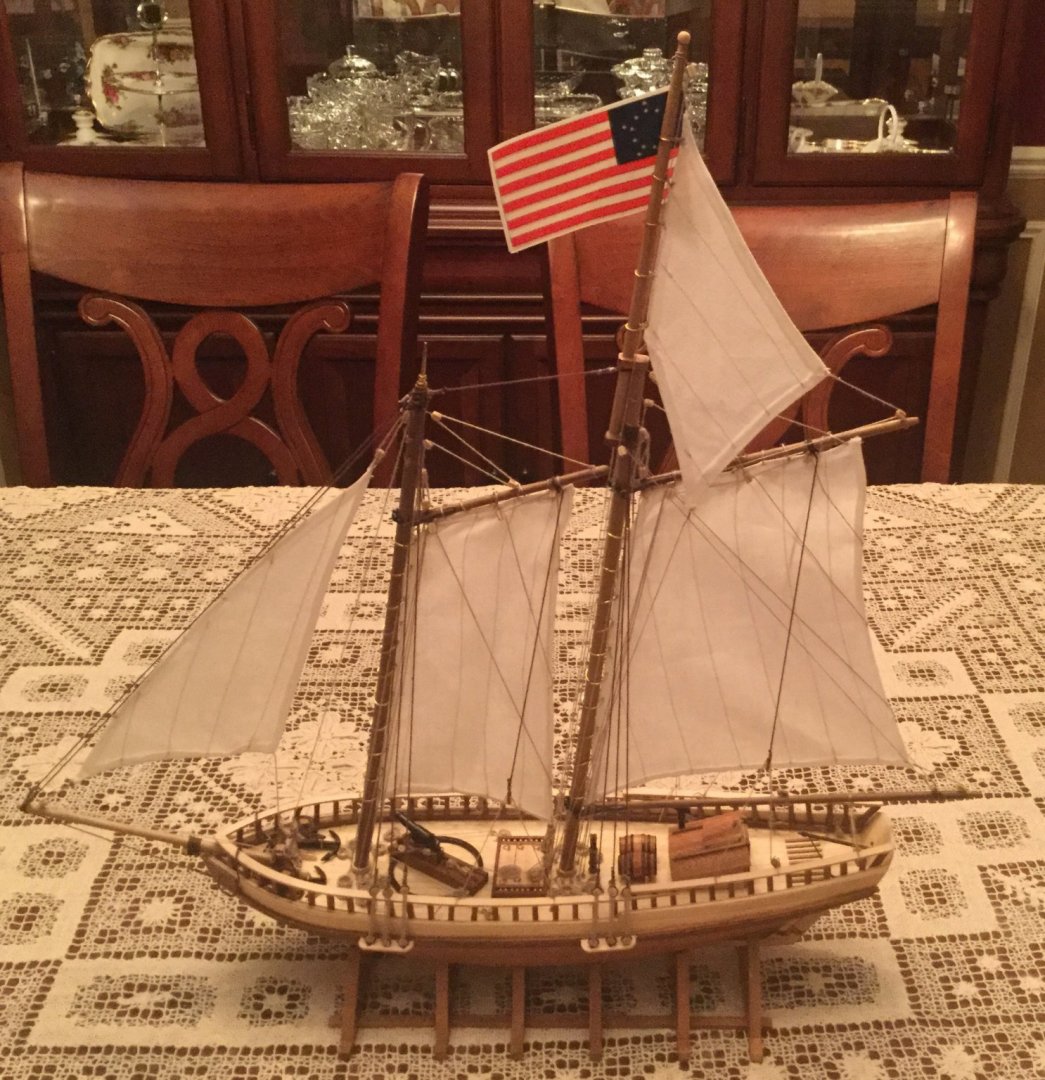
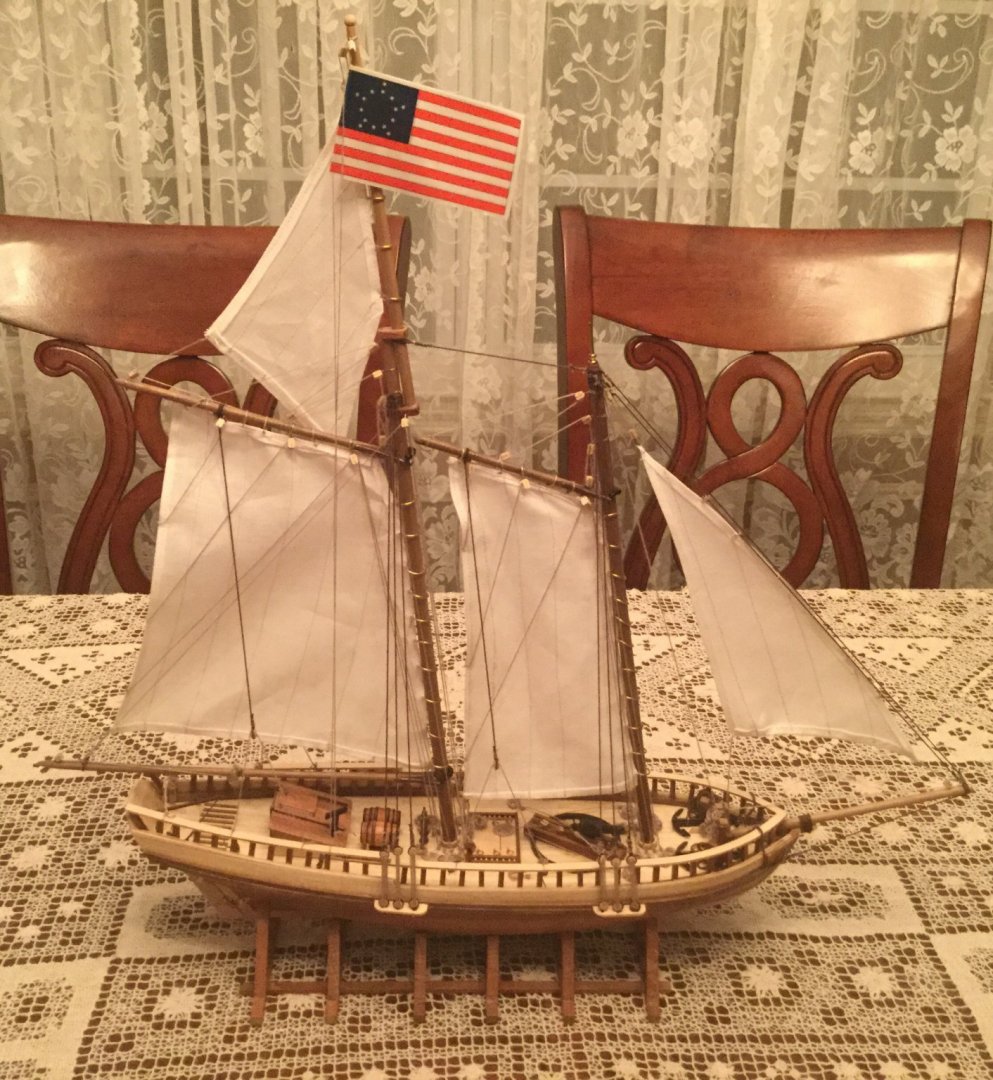
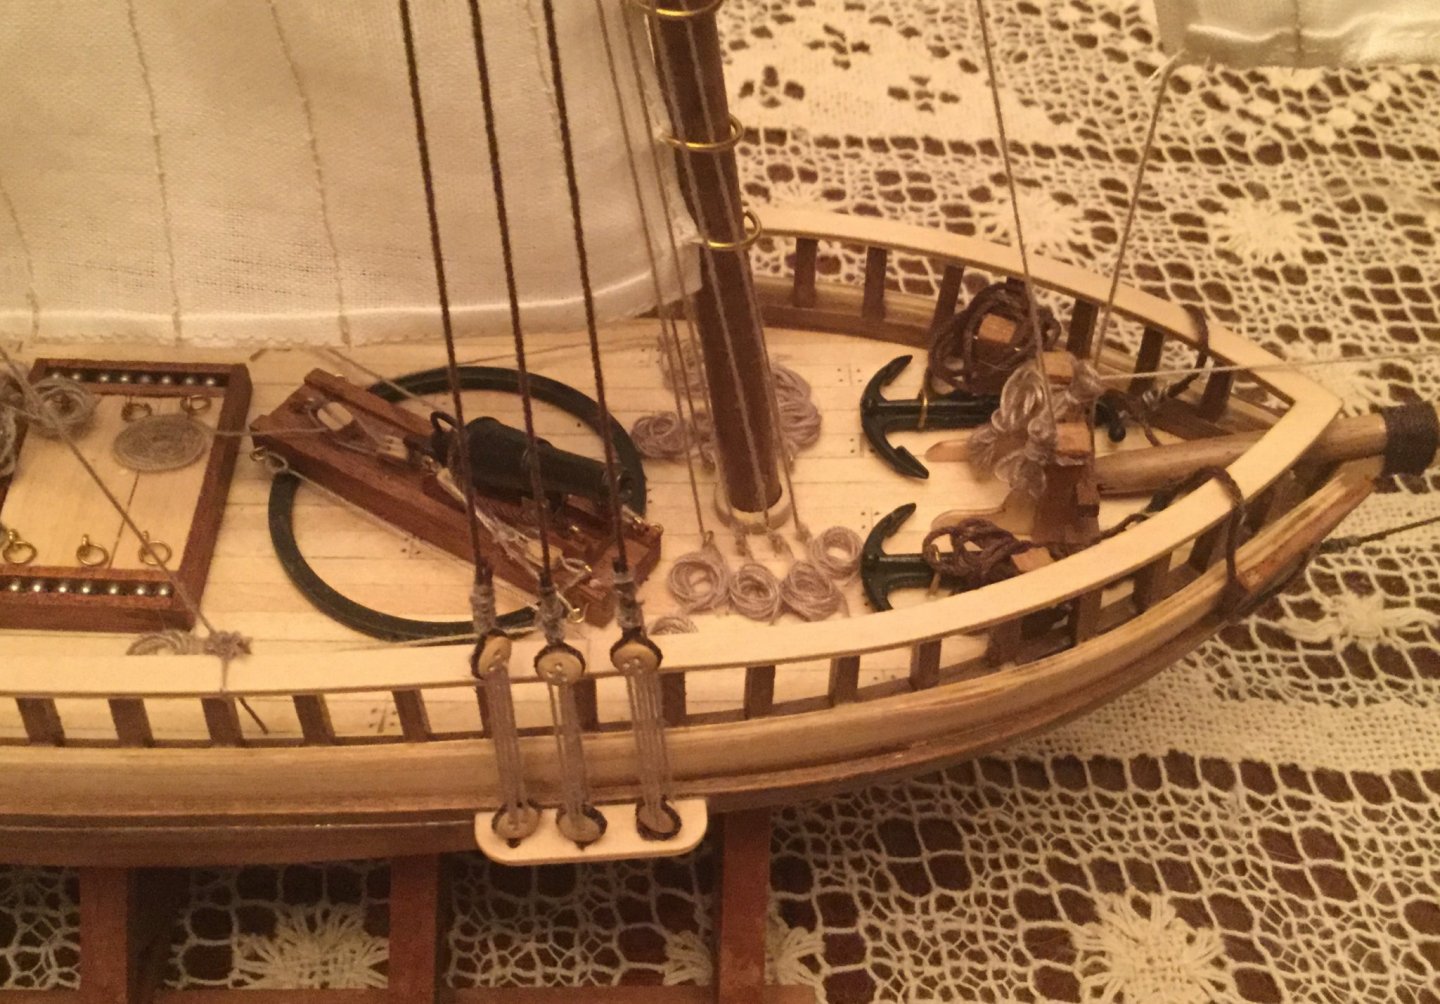
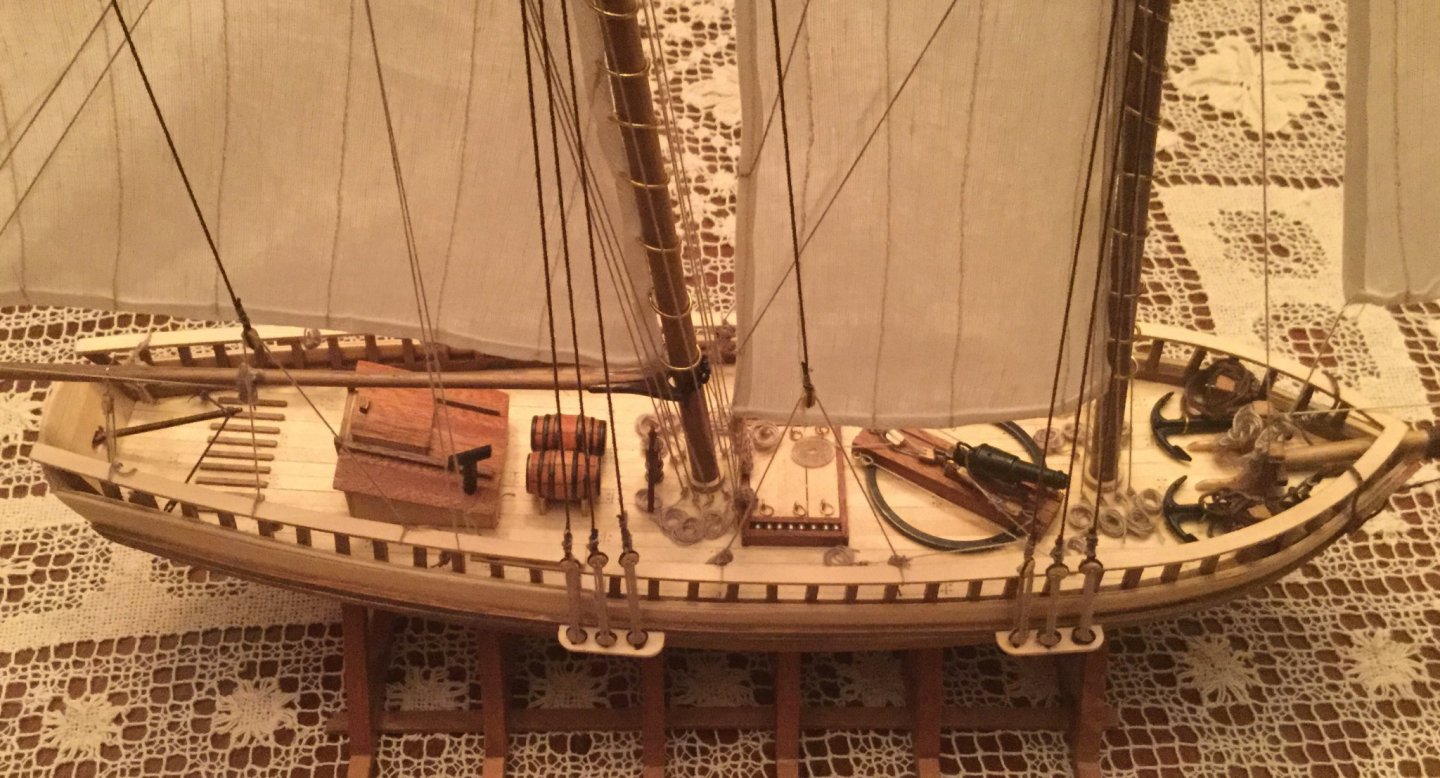
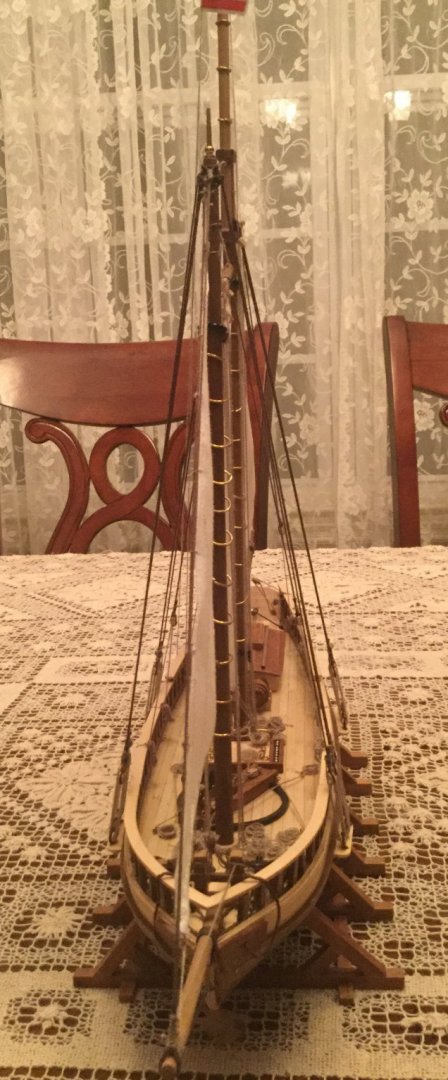
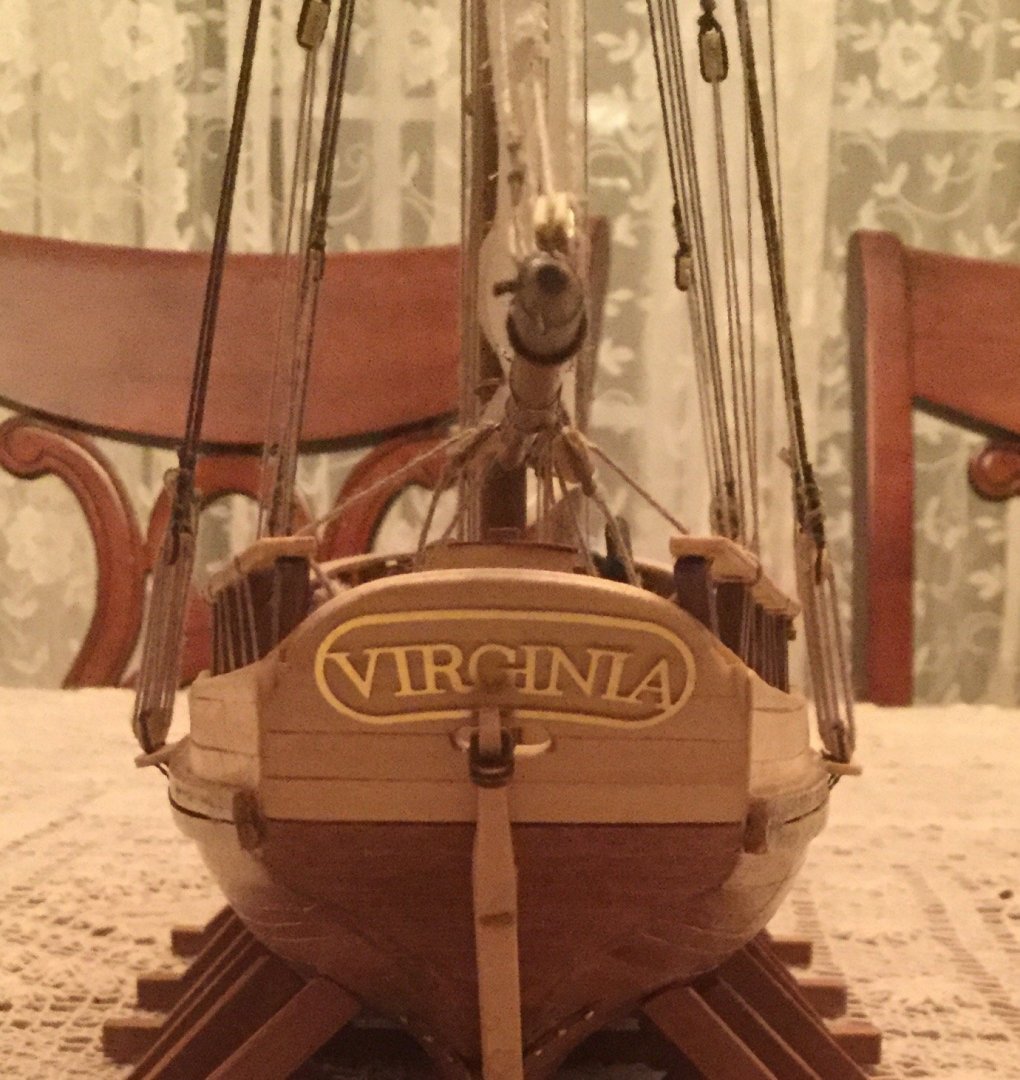
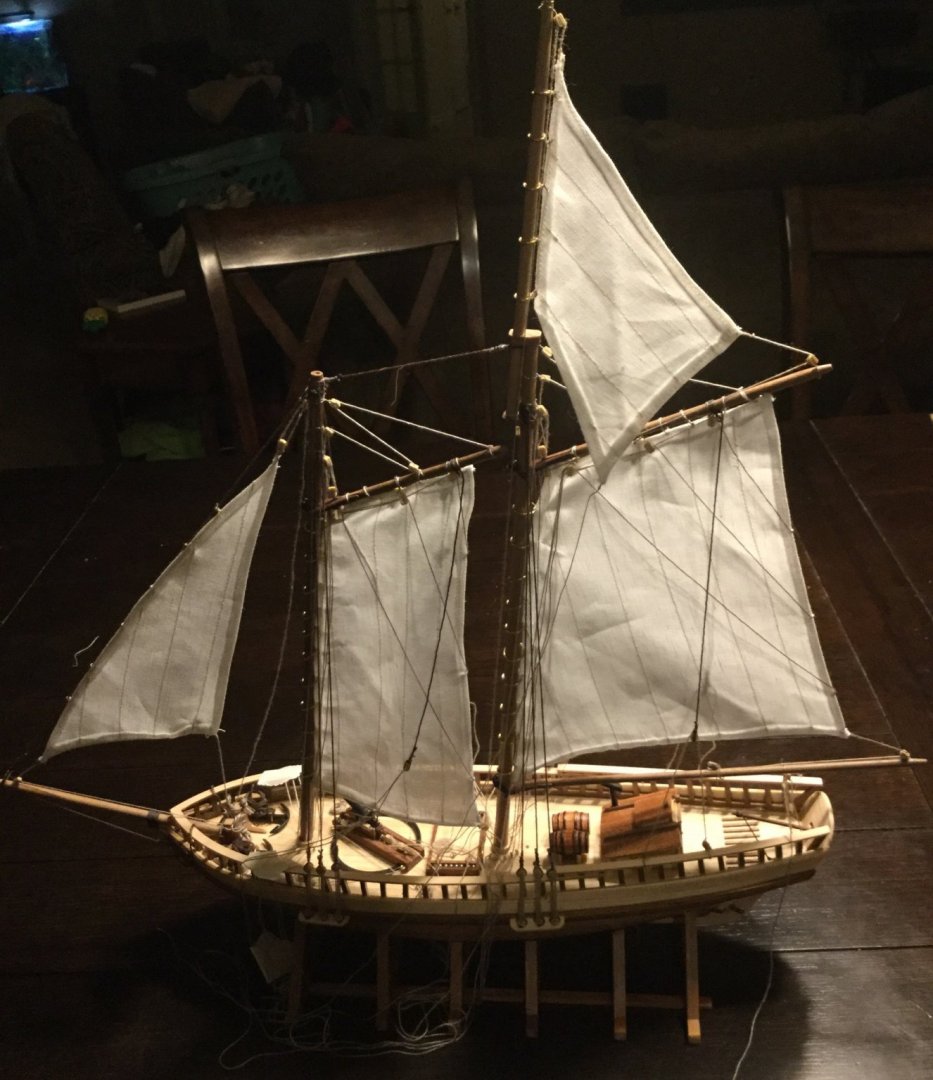
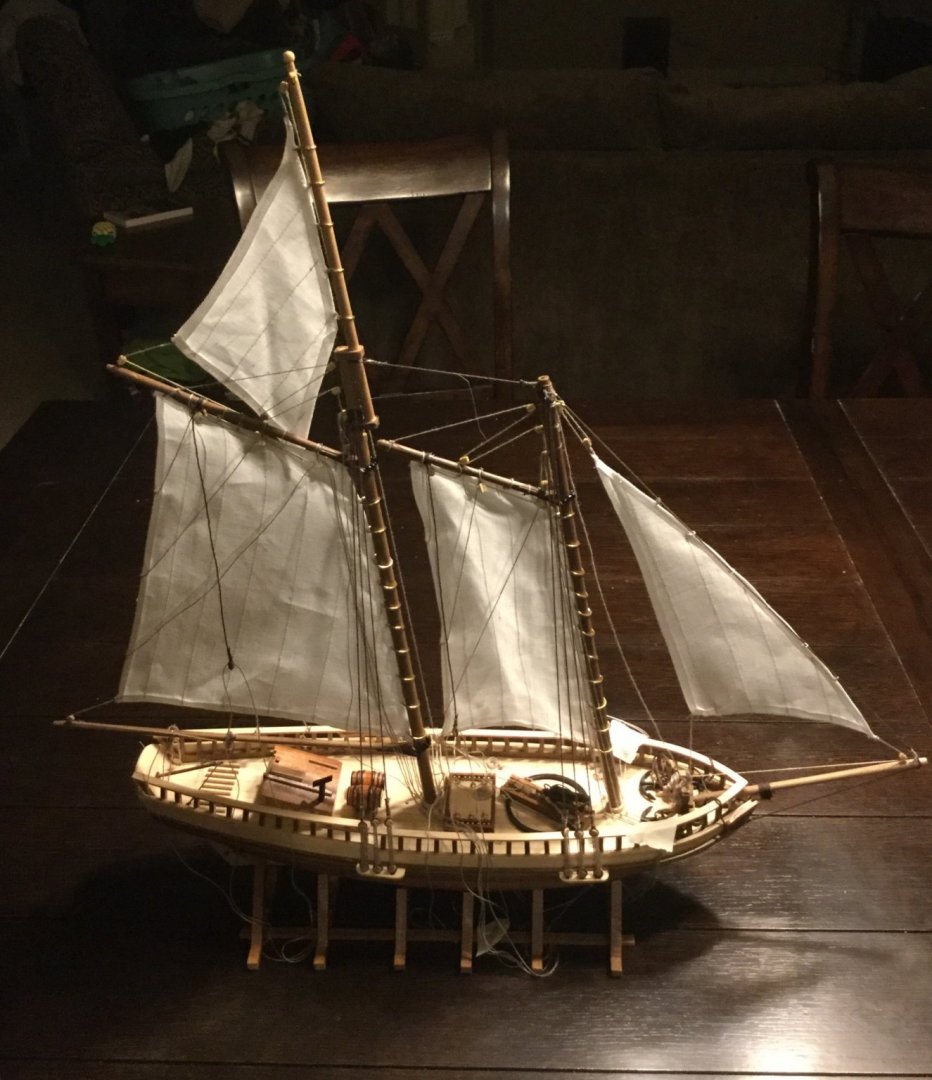
Here is my completed model. I made a ton of mistakes on it, but I’m very pleased with how it turned out. I feel like this was an excellent choice for a first ship model and I looking forward to starting another one. There’s no doubt that I’m hooked!
- 68 replies
-
- virginia 1819
- artesania latina
-
(and 1 more)
Tagged with:
-
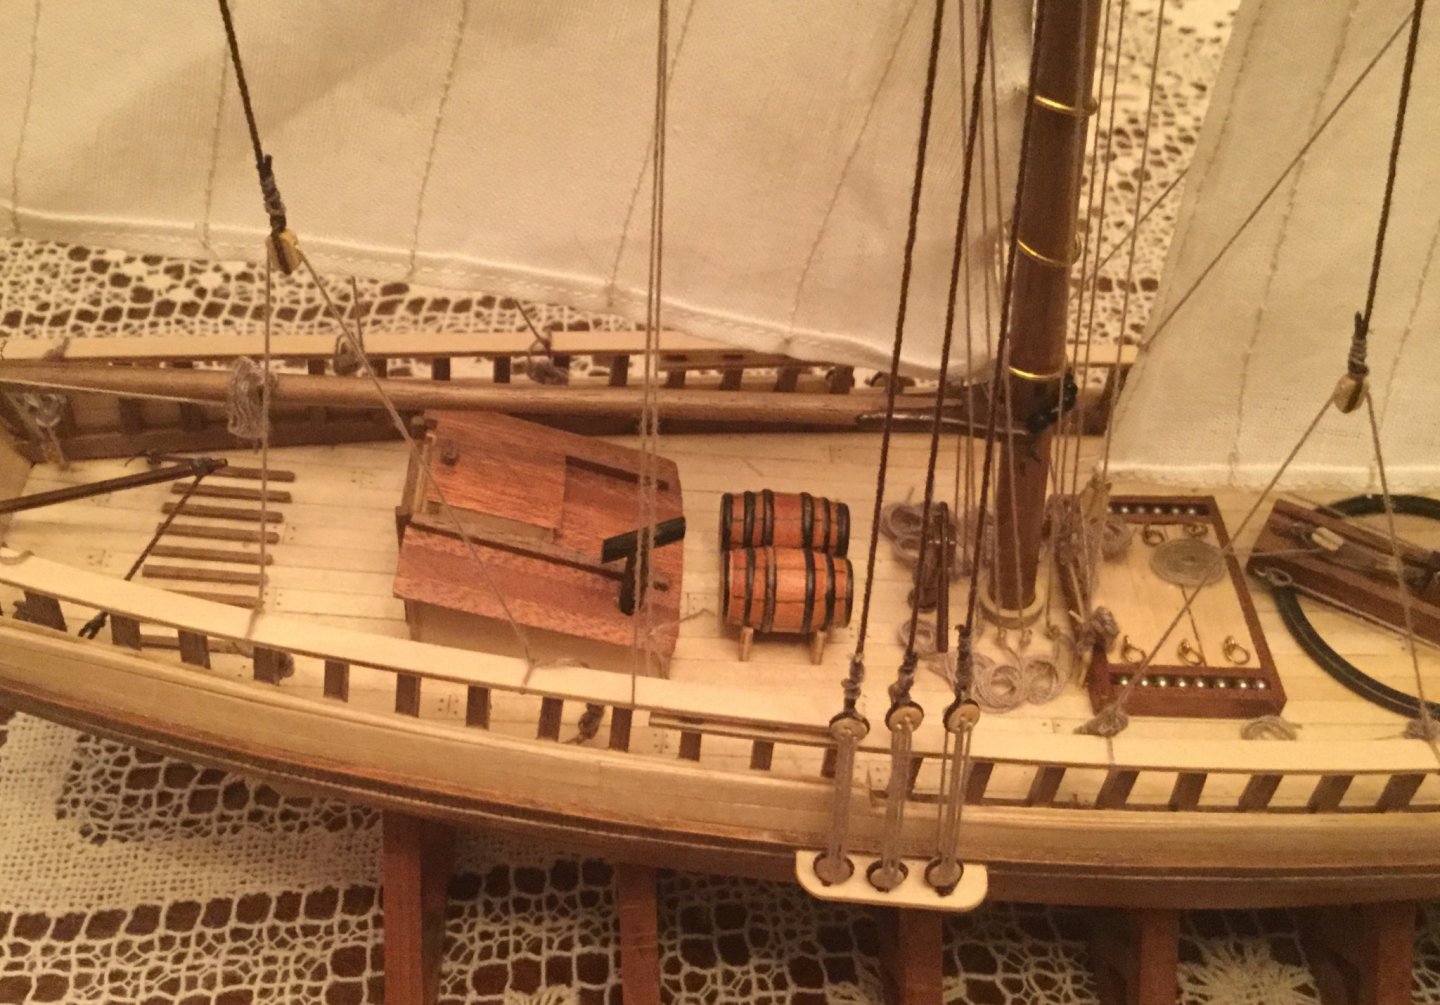
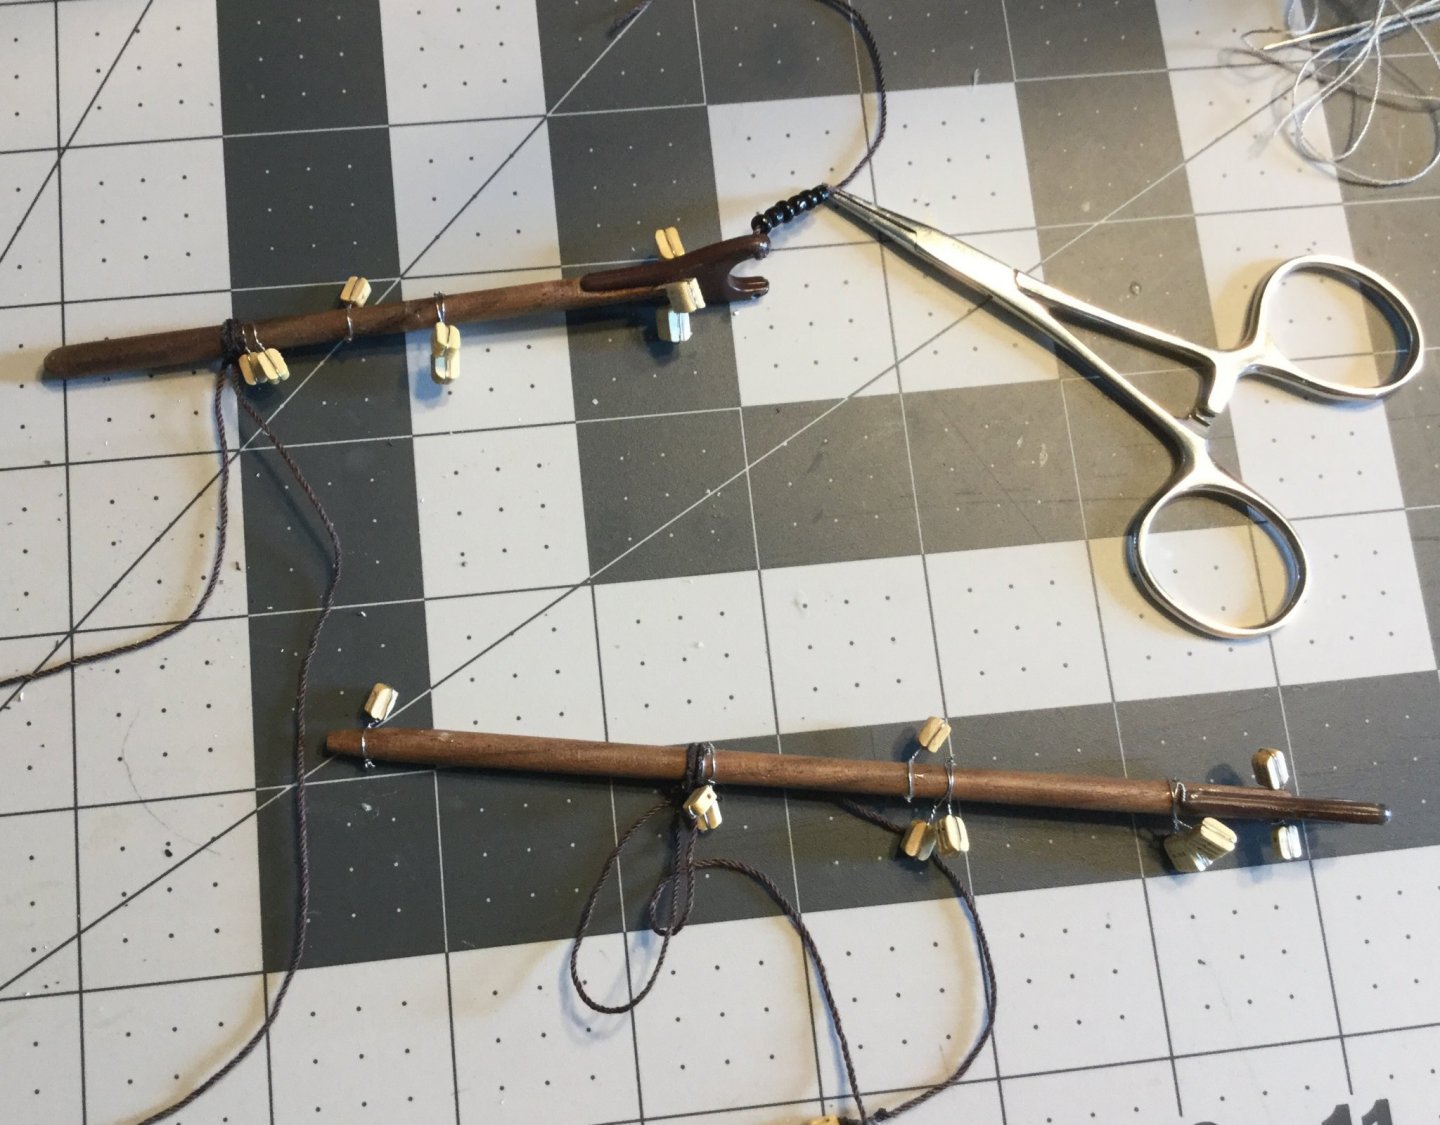
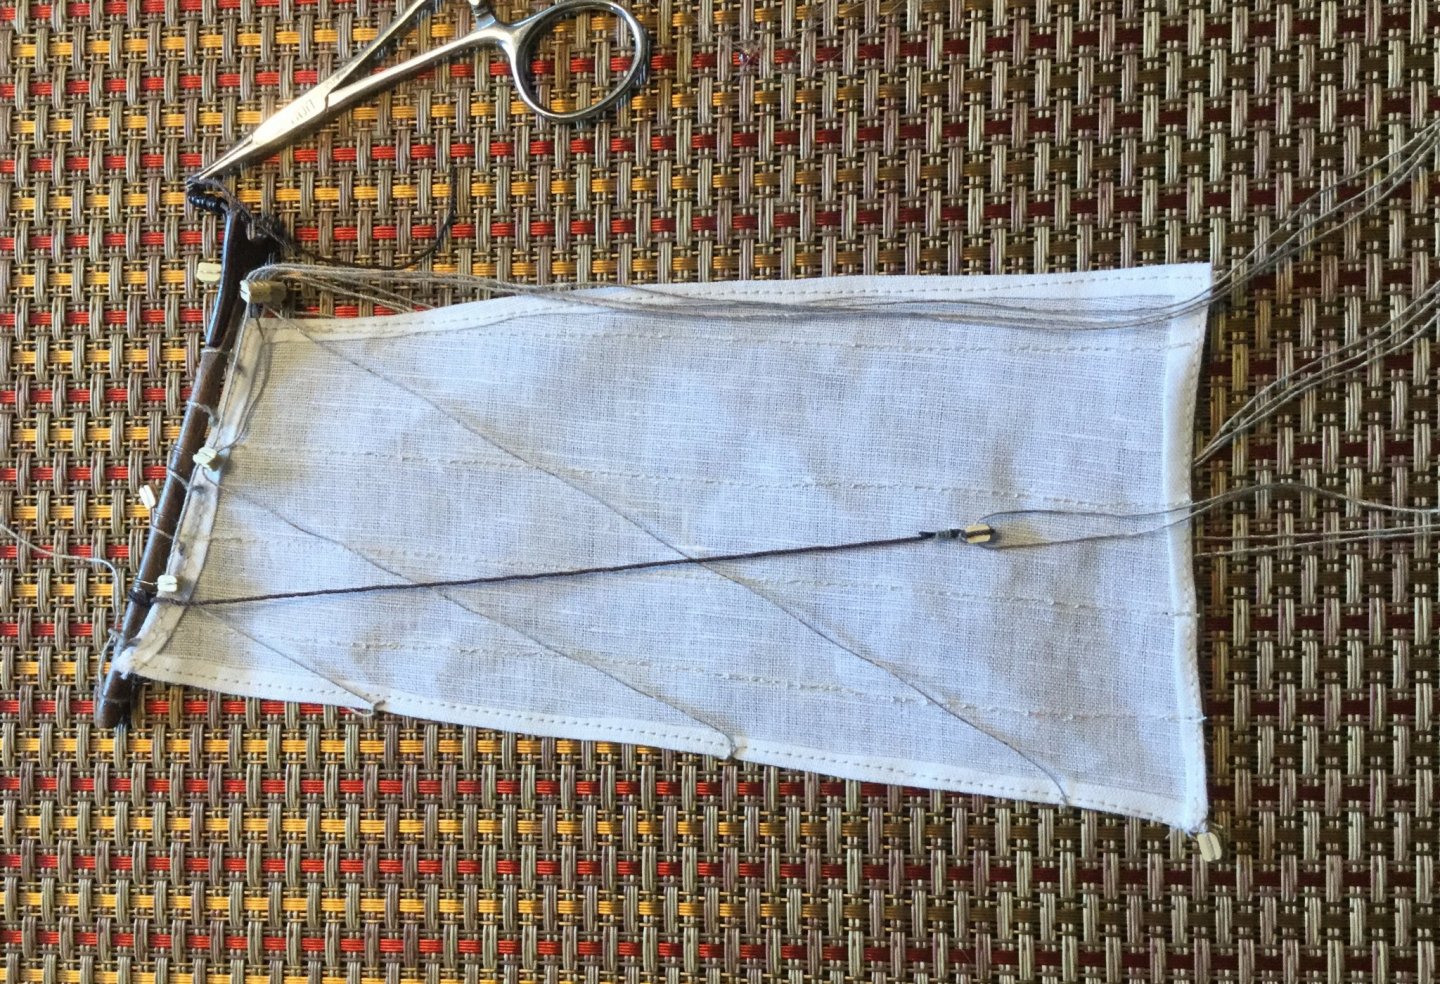
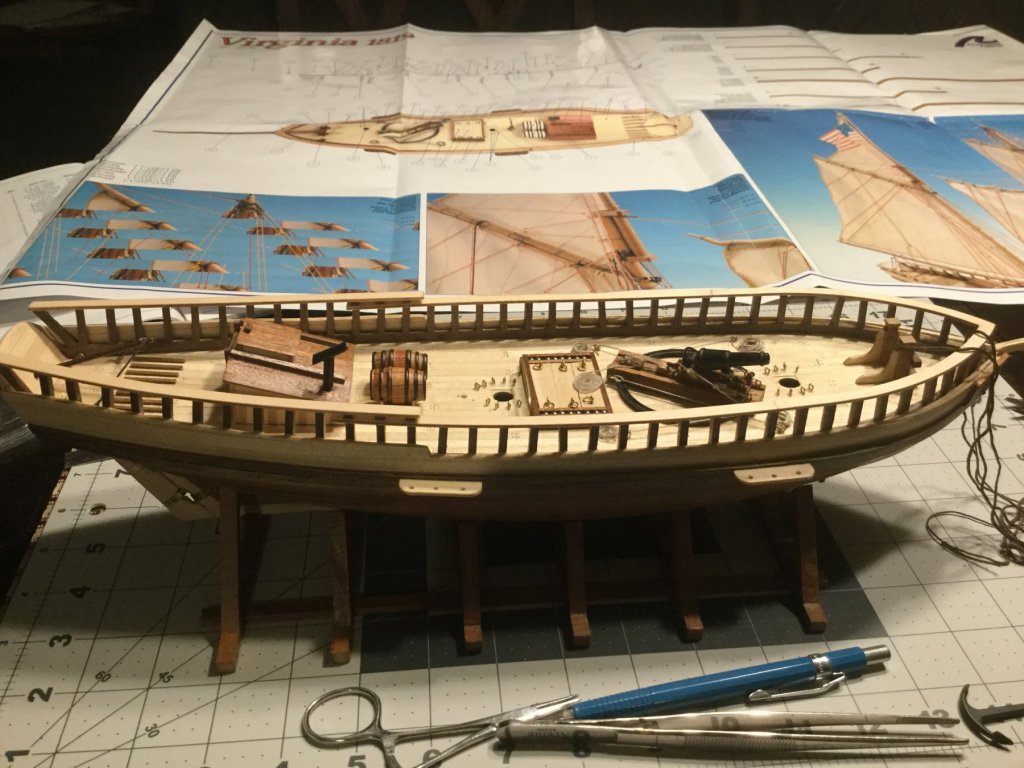
I’ve done a poor job of updating this log through the rest of the rigging. Here are some photos of the work of installing the sails and running rigging. I attached the mail sail to its gaff before mounting the gaff. It was tricky getting the tension right on each line. The most interesting part to me was seeing how the running lines and pulleys actually work to pull the gaffs into place and set the sails. I struggled the most with making the rope coils look decent. I decided to make loose coils because it seemed much harder to make really tight pinwheel style coils. Its tight quarters working on the ropes with the rest of the lines in the way. My long tweezers and hemostats were indispensable for that work. My next post will show the finished model.
- 68 replies
-
- virginia 1819
- artesania latina
-
(and 1 more)
Tagged with:
-
Hi Alec. I used Testors enamel on the canon and the gaff cheeks with just a little trouble: CA stripped a little bit of paint off of the gaff cheeks. In the end, it was so little that I didn’t bother touching it up for fear of making a bigger mess.
- 10 replies
-
- artesania latina
- Virginia
-
(and 1 more)
Tagged with:
-
She’s looking great! What variety of Home Depot plywood are you using? I was thinking about starting this project and doing the same thing, but I am not sure which 1/4 inch plywood would work well versus the more expensive Baltic birch 5-ply stuff that I’ve seen at the craft stores. I don’t mind spending $70 on plywood, unless I can get away with spending $30.
-
It looks like you’re off to a good start. I’m nearing completion on the same kit. I recommend reviewing the other build logs to see examples of how others have built this model. I have learned a lot from reading and interacting on this site. I hope you have a great experience building and logging it as I have.
- 10 replies
-
- artesania latina
- Virginia
-
(and 1 more)
Tagged with:
-
.thumb.jpg.6d6ee4bdbfaac2c58ecc77e7b80ae374.jpg)
QUICK-FIND INDEXES to BUILD LOGS FOR KITS
Matt D replied to Dan Vadas's topic in - Index of all kits by brand and subject
Dan, In case you haven’t been thanked for this lately, I wanted to tell you how much I appreciate your work on these log files. They are a great help and I use them all the time. I’m sure you put a lot of effort into keeping them updated. Thank you! -
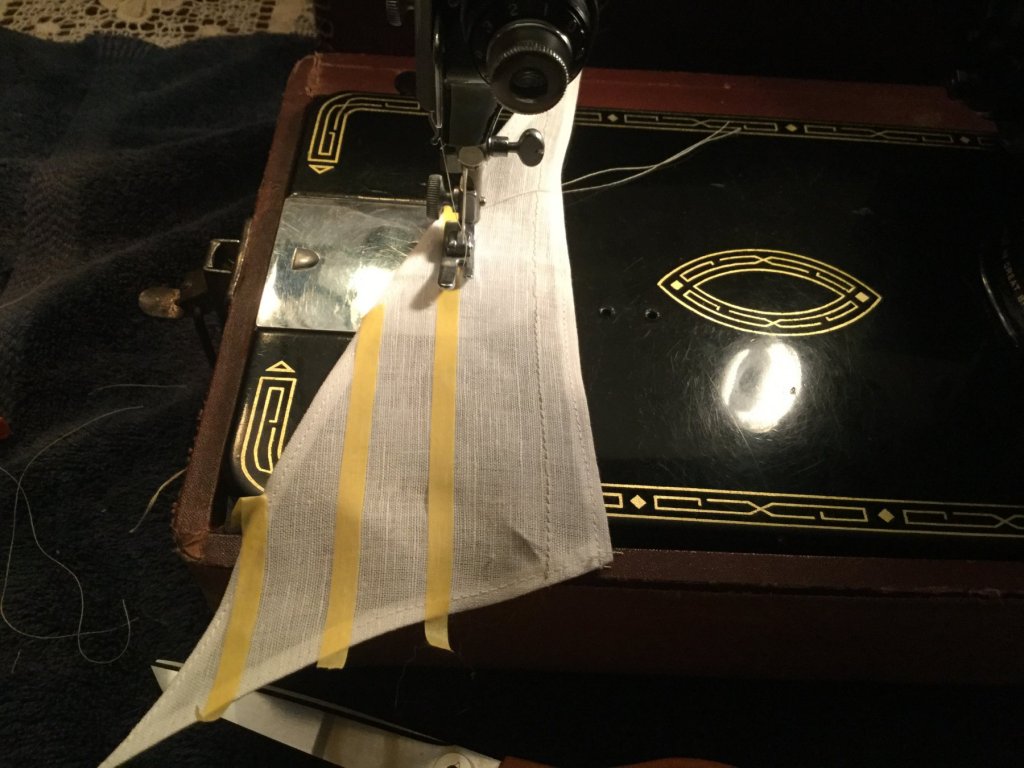
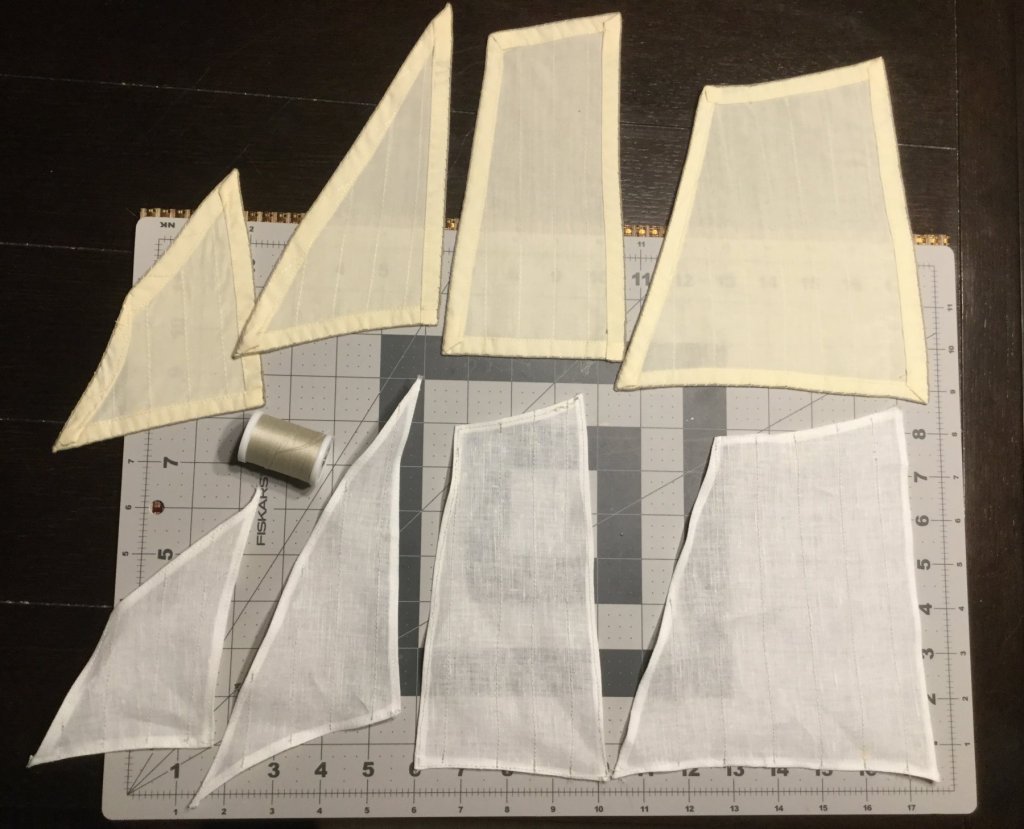
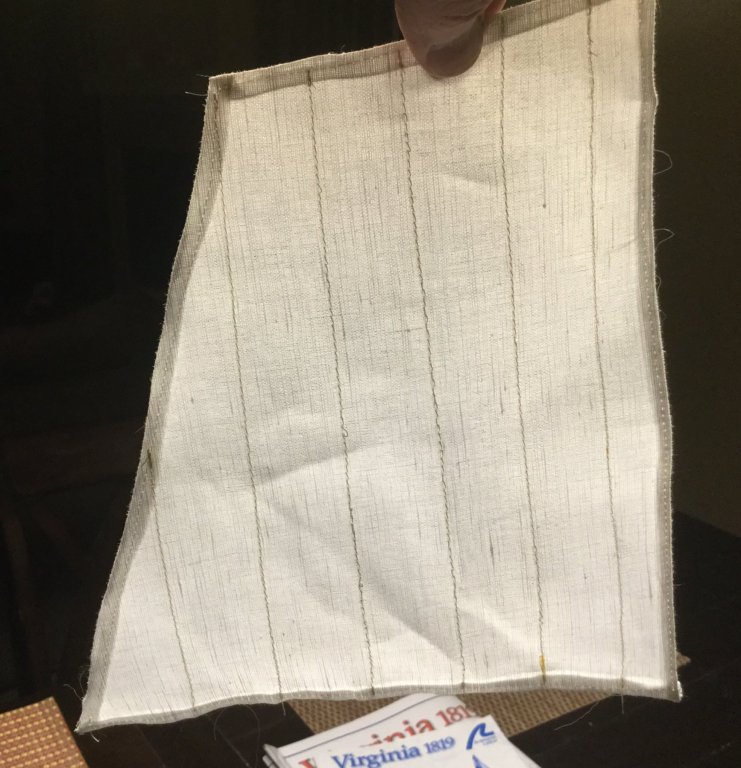
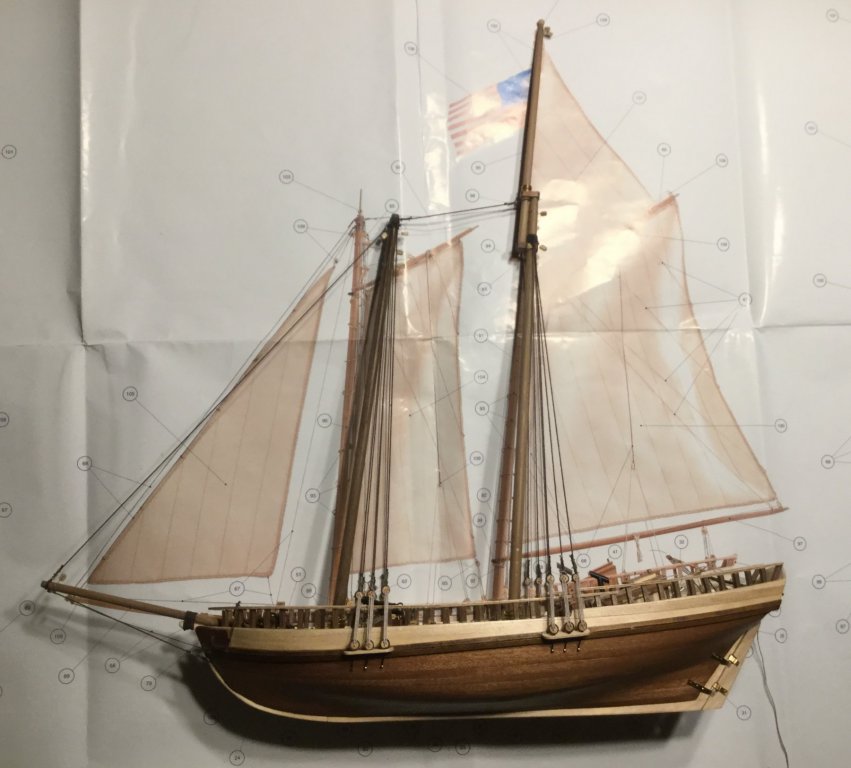
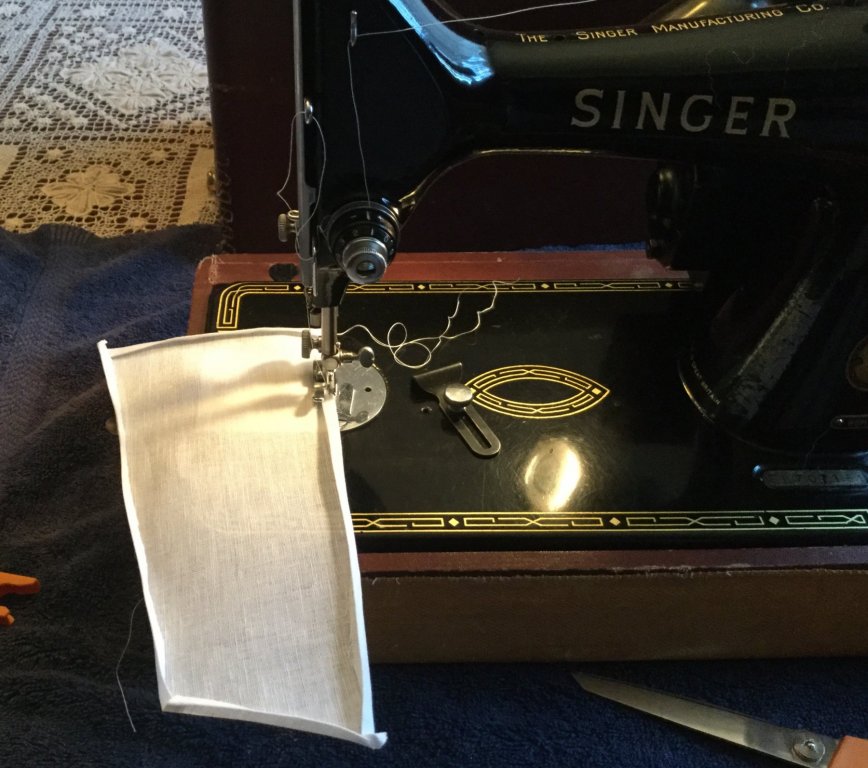
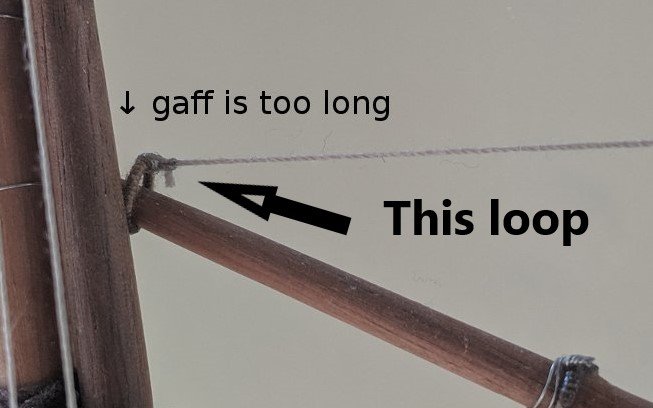
I made my sails this evening. I had the material - a fine linen remnant - from a few months ago when I first started thinking about making my own sails. I used masking tape to mark the seam lines the same way that Sardonicmeow did it. I picked thread that I thought would show up, but it blends in pretty well with the fabric. Here are my sails with the factory sails. The seams show up pretty well with any amount of backlighting. Here is the rake issue I described earlier. I think this is an error in the kit, but it's pretty minor. I will shorten the gaff to avoid interference with the main mast. As Peter recommended, I have moved the double-block to above the shroud lines Peter, Paul, and Mark: Thank you very much for your feedback today.
- 68 replies
-
- virginia 1819
- artesania latina
-
(and 1 more)
Tagged with:
-
- 68 replies
-
- virginia 1819
- artesania latina
-
(and 1 more)
Tagged with:
-
Peter, you're the best! I will move that block up when I get a few minutes to work on it tonight. It should be easy to cut and pull the wire off. I noticed that the foresail gaff is too long, too. Along with using your photos, I've been using the large photos that came with the kit. They're as close as can be to 1:1. Last night, I was trying to gauge the length of the beckets that hang from the gaffs with floating blocks (I don't know the correct term for that line). To do that, I laid the model on the sheet and could see right away why the gaff is too long: The foremast is raked further back on my model then in the photo. It's installed in the factory hole with the rake set by the false keel cut-out, and I know it's perfectly straight. So this is an error in the kit. But it looks like there's room to shorten the gaff without any problems. I'll post a picture later to show what I mean. I'm not sure I want to talk about this, but I'm thinking about making my own sails for this model. The main rub for me is the giant ugly hems on the factory sails. I was looking at the photos in the kit and they have nice narrow hems like yours. I have the right fabric and I bought a light tan thread to use that will give just a bit of contrast. One thing that has held me back is the line that runs around the outside of each of the factory sails. I wasn't sure I could attach them to the ship correctly without the built-in lines. I see that you've made it work without that line and I can now see how your sails are attached. So I'm inching closer to breaking out the old Singer. It's probably one evening of sewing and I'm afraid I'll regret it if I don't. One more question, Peter: How did you make the loops on the gaff with space to thread the line later? Every time I try, I either get a loop that's too loose to get nicely in place or so tight that I won't be able to attach the line later. Yours look very nice, but It think you used a magic trick to make them.
- 68 replies
-
- virginia 1819
- artesania latina
-
(and 1 more)
Tagged with:
-
Thanks, Wallace. Peter’s is definitely my main reference for figuring out the rigging. I’ve found that I can zoom in on his pictures with my iPad to 1:1 to get the block locations correct.
- 68 replies
-
- virginia 1819
- artesania latina
-
(and 1 more)
Tagged with:
-
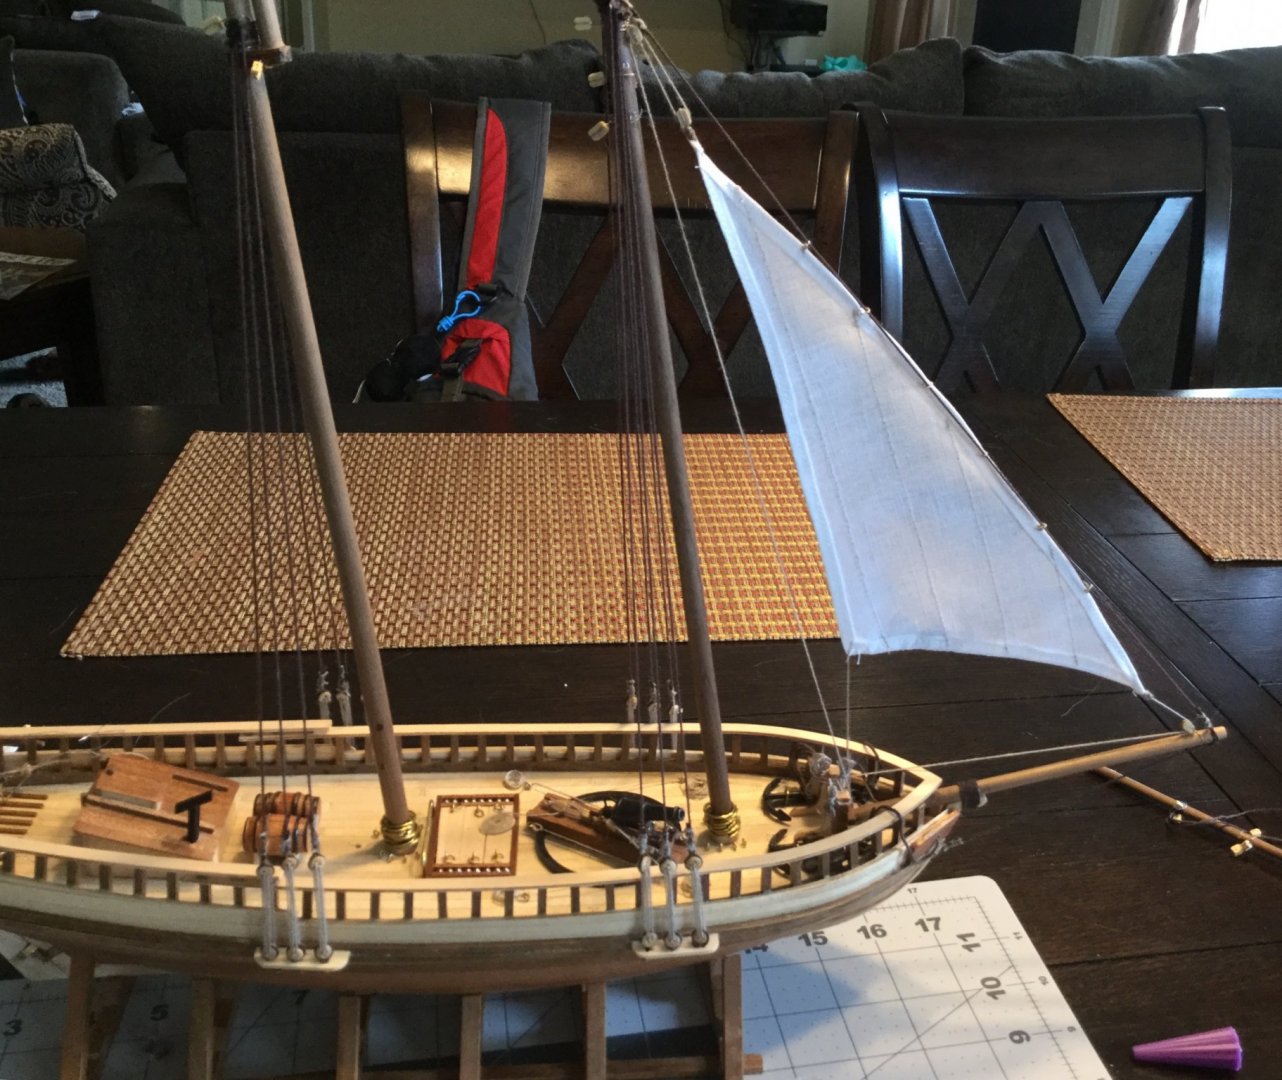
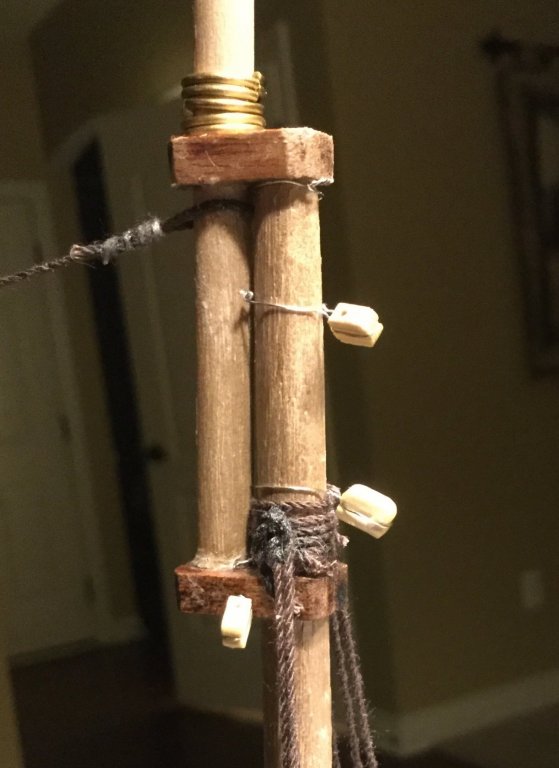
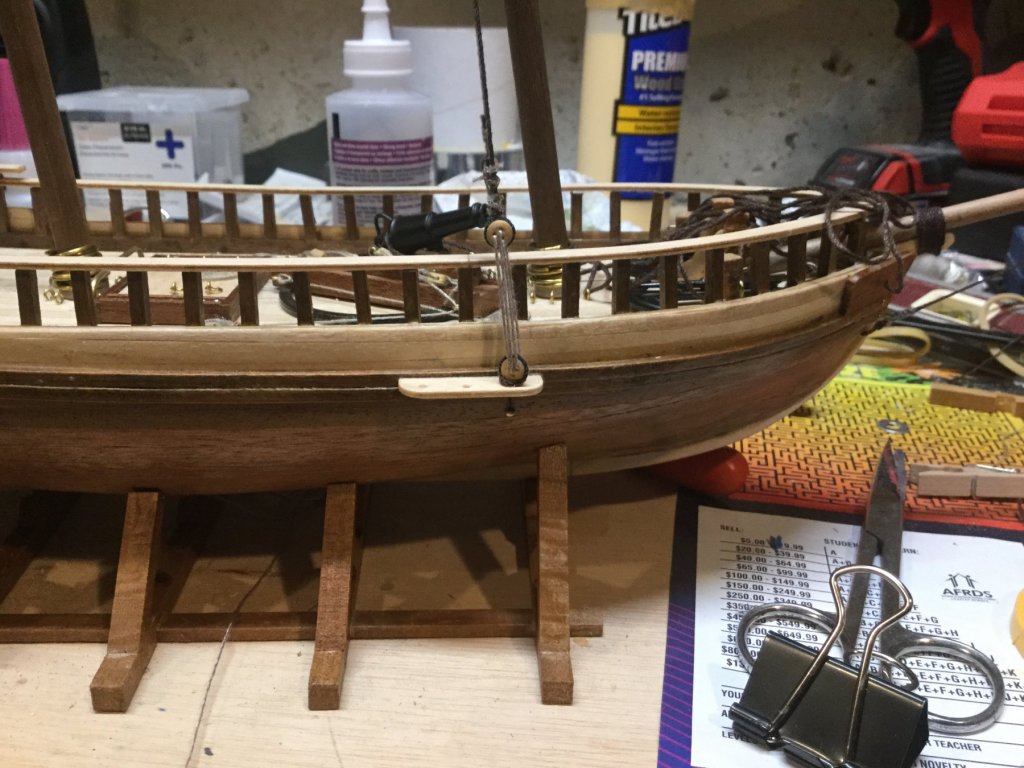
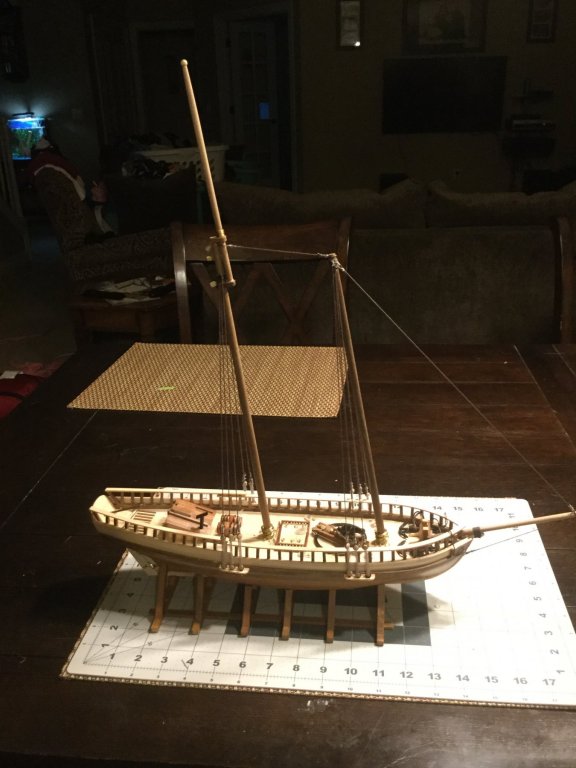
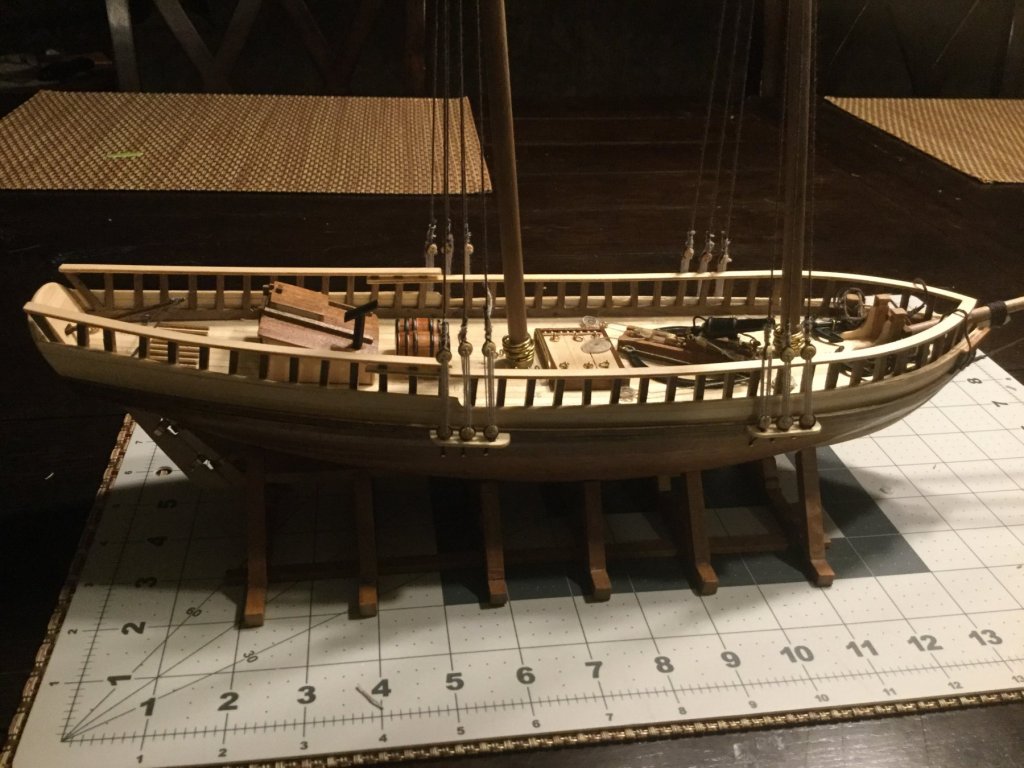
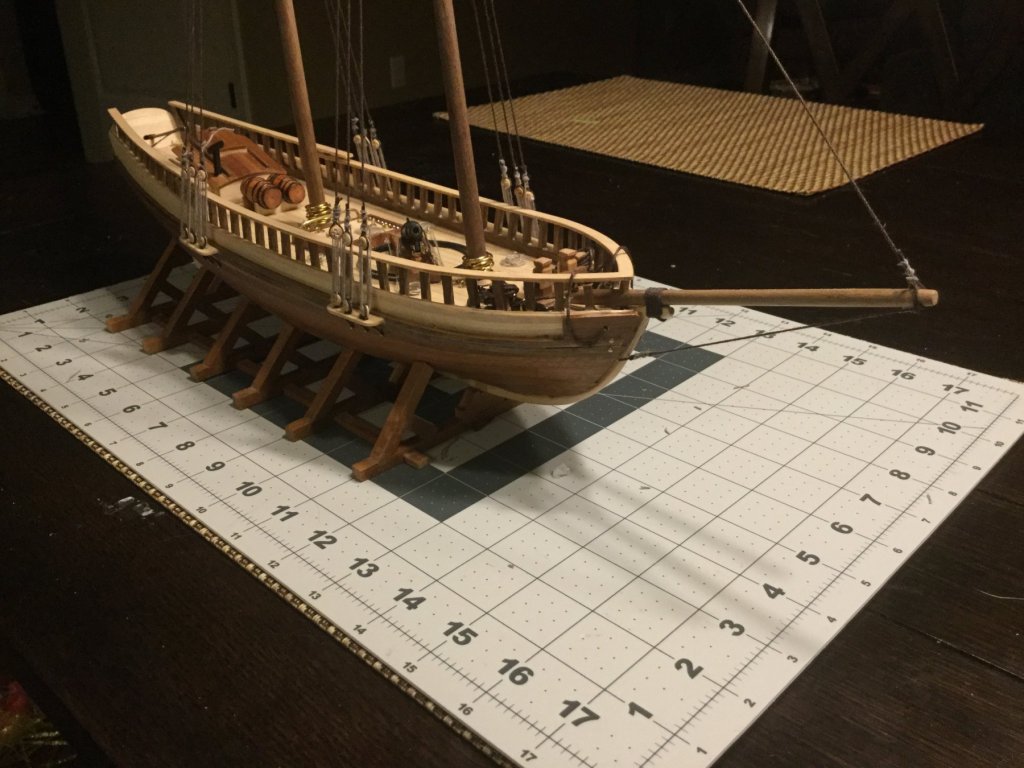
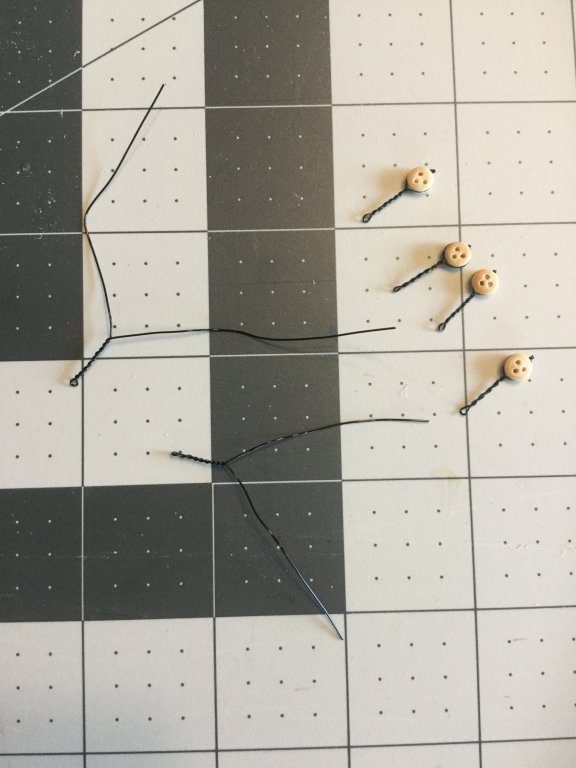
It has been hard to find time for model building with summer activities. But I’ve got all but one line of standing rigging done and I’m starting to get the blocks ready for the running rigging. I have poured over the drawings and found the best instructions are in other build logs. Here are a few pictures.
- 68 replies
-
- virginia 1819
- artesania latina
-
(and 1 more)
Tagged with:
-
Peter, I definitely like the older anchor better than the one in the 2018 photo. But I also like the additional contrast that the dark band creates. It’s really neat that you have all of this info on the ship to get the details right. I don’t think you can go wrong either way.
- 222 replies
-
- sultana
- model shipways
-
(and 1 more)
Tagged with:
-
Thanks, Mark. I appreciate you taking the time to check it out. I am starting to work on the standing rigging and will post some pictures over the weekend.
- 68 replies
-
- virginia 1819
- artesania latina
-
(and 1 more)
Tagged with:
-
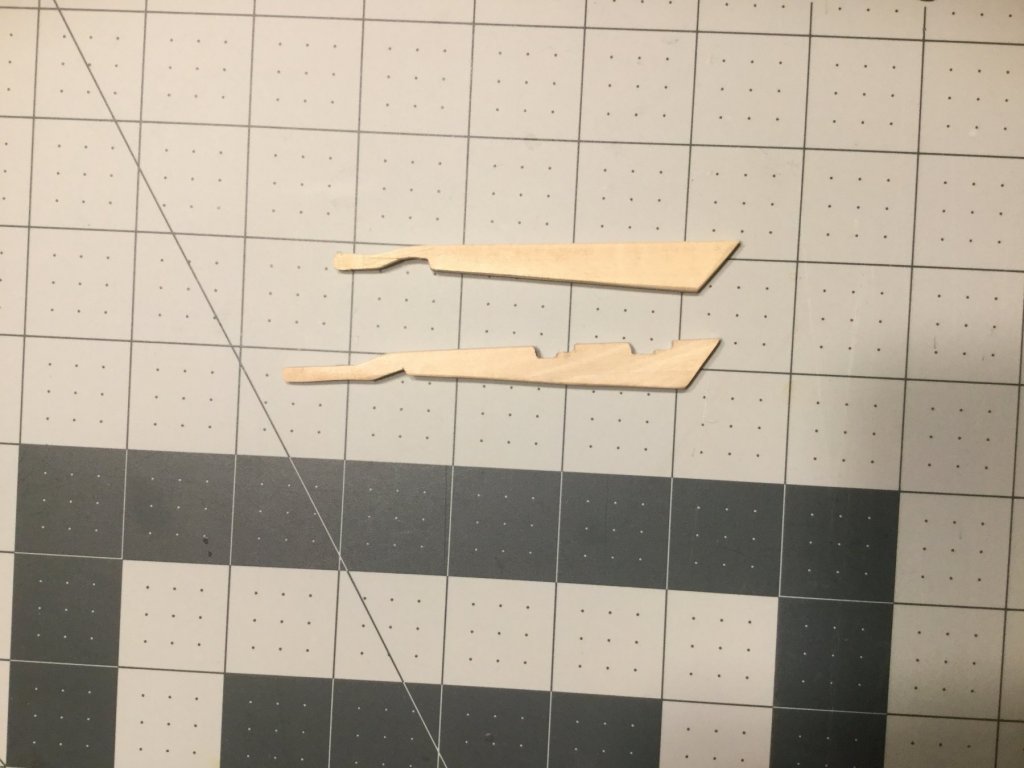
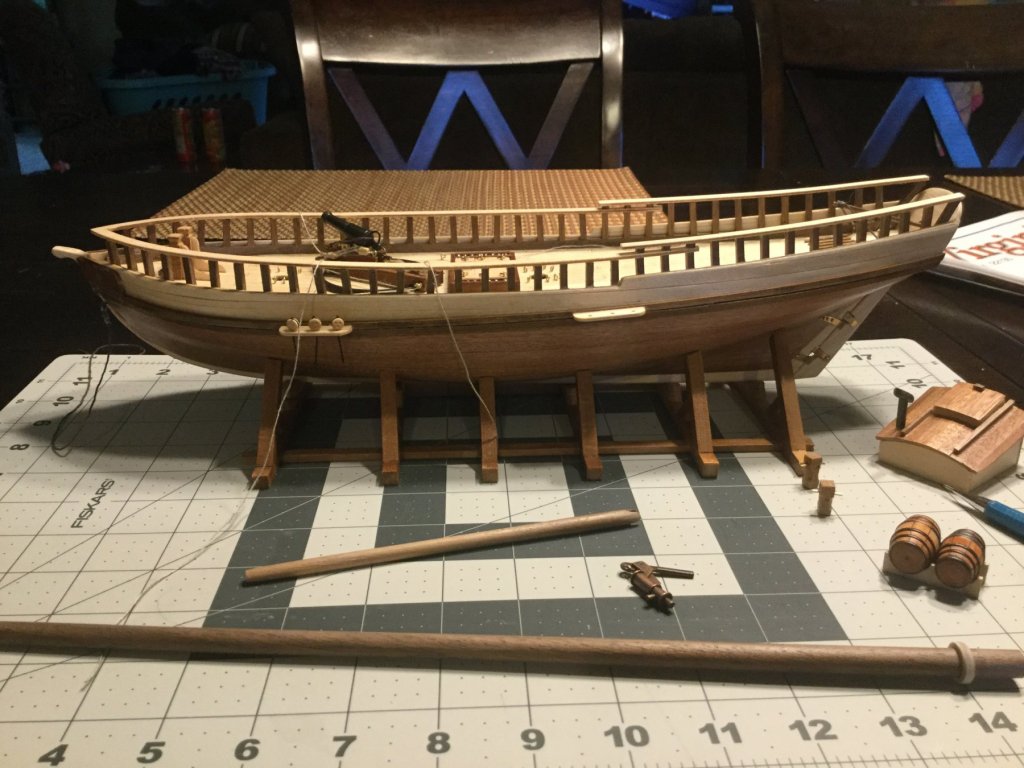
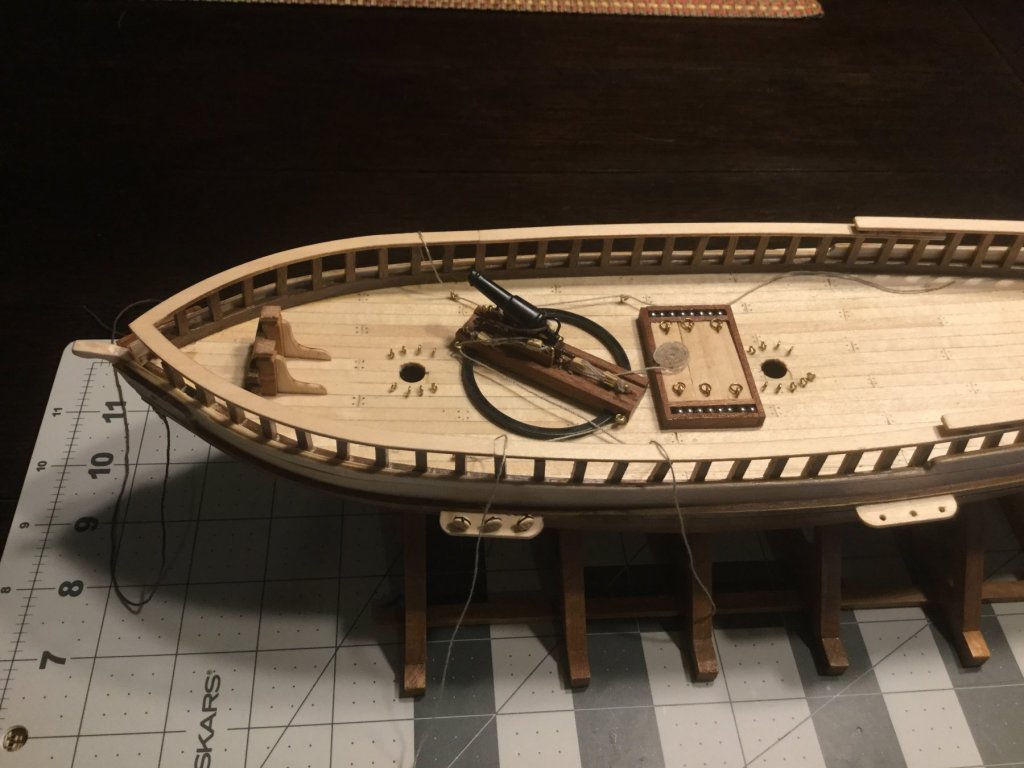
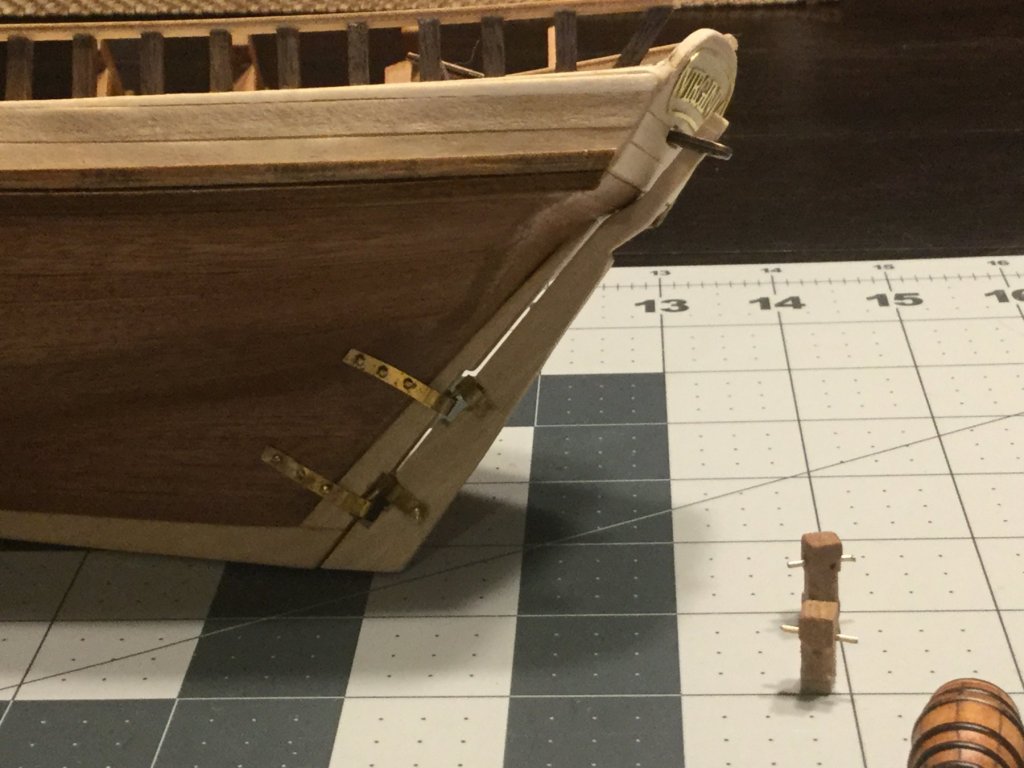
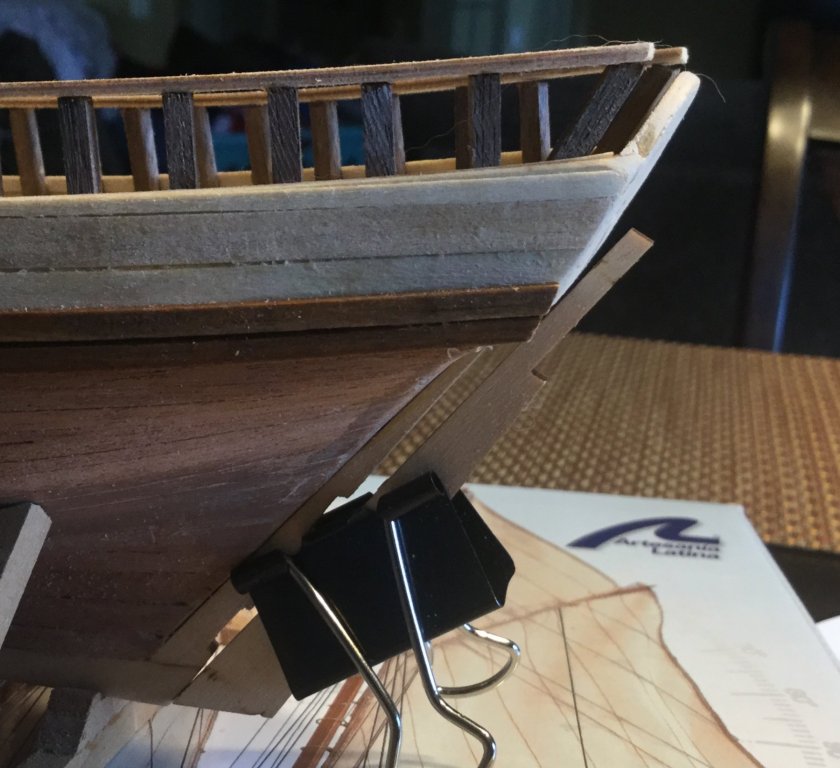
I tried to modify the rudder and ended up with it too short to reach the helm. So I built a new one using the leftover lime from the keel. It is cut to curve around the bottom corner of the transom I’ve also started installing the deck furnishings and preparing the masts. My next step will be to install the anchors and bitts.
- 68 replies
-
- virginia 1819
- artesania latina
-
(and 1 more)
Tagged with:
-
I knew I'd find good company there! Thanks for the compliment, Peter. Your Sultana is looking great. I was showing my 11 YO son what you'd done, too. It was good for him to see what can be done if you use your imagination and find the right tools. We got a good laugh out of the picture of the solid hull in the trashcan.
- 68 replies
-
- virginia 1819
- artesania latina
-
(and 1 more)
Tagged with:
-
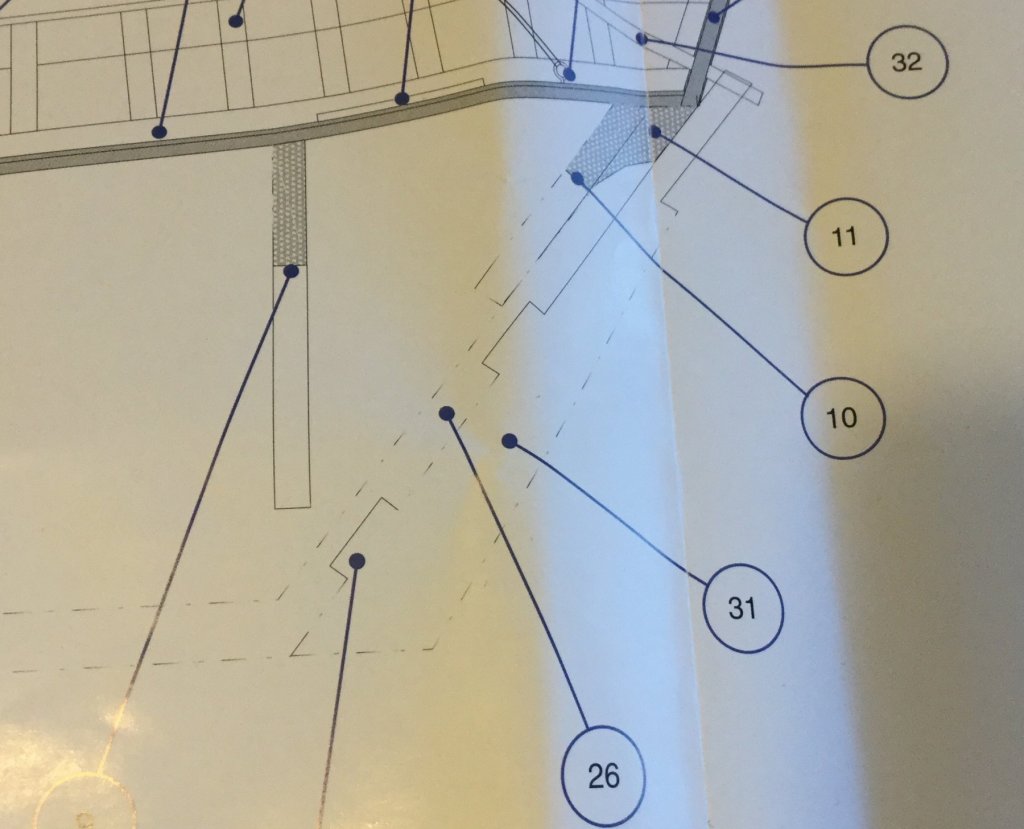
Future builders of this model: this post is for you. I have the same rudder problem that everyone else has had. I also think I just figured out how I could have averted it if I’d noticed before I sanded the keel even with the stern piece. As I see it, the problem is that the stern piece is too small. I would say I built it wrong and the stern piece is too far forward of the transom, but you can see if you go through the other builds that nearly every one of them has the same problem. So I’m going to blame Artesania Latina instead of the fine model builders of Model Ship World. If you look at the drawing blow-up below, you can see the stern piece even with the bottom corner of the transom. Mine is almost 3mm shy of that corner. If I could back up time about a week, I’d have cut a filler piece out of the scrap from the keel and glued it onto the back of the stern piece. That would have evened it up and the rudder would fit just like the pictures on the box. Instead, I’m going to join the Virginia 1819 Modified Rudder Club, where I know I’ll find some good friends.
- 68 replies
-
- virginia 1819
- artesania latina
-
(and 1 more)
Tagged with:
-
Thanks, Paul. Once I had an idea of how I wanted to build the stand, it was a lot of fun to put together. That’s a really neat idea. But I’m looking forward to rigging it the way it’s shown on the box, all ready to set out on a voyage.
- 68 replies
-
- virginia 1819
- artesania latina
-
(and 1 more)
Tagged with:
-
Thank you very much for your kind words, Mark. It helps a lot to see how others, including you, have handled the challenges of this build. Logging the build has made it much more fun.
- 68 replies
-
- virginia 1819
- artesania latina
-
(and 1 more)
Tagged with:
About us
Modelshipworld - Advancing Ship Modeling through Research
SSL Secured
Your security is important for us so this Website is SSL-Secured
NRG Mailing Address
Nautical Research Guild
237 South Lincoln Street
Westmont IL, 60559-1917
Model Ship World ® and the MSW logo are Registered Trademarks, and belong to the Nautical Research Guild (United States Patent and Trademark Office: No. 6,929,264 & No. 6,929,274, registered Dec. 20, 2022)
Helpful Links
About the NRG
If you enjoy building ship models that are historically accurate as well as beautiful, then The Nautical Research Guild (NRG) is just right for you.
The Guild is a non-profit educational organization whose mission is to “Advance Ship Modeling Through Research”. We provide support to our members in their efforts to raise the quality of their model ships.
The Nautical Research Guild has published our world-renowned quarterly magazine, The Nautical Research Journal, since 1955. The pages of the Journal are full of articles by accomplished ship modelers who show you how they create those exquisite details on their models, and by maritime historians who show you the correct details to build. The Journal is available in both print and digital editions. Go to the NRG web site (www.thenrg.org) to download a complimentary digital copy of the Journal. The NRG also publishes plan sets, books and compilations of back issues of the Journal and the former Ships in Scale and Model Ship Builder magazines.


