DONATION DRIVE - SUPPORT MSW - DO YOUR PART TO KEEP THIS GREAT FORUM GOING!
×

.jpg.01e54eff8de6be562e7bc1146f40d40a.jpg)
Matt D
-
Posts
629 -
Joined
-
Last visited
Content Type
Profiles
Forums
Gallery
Events
Everything posted by Matt D
-
.thumb.jpg.6d6ee4bdbfaac2c58ecc77e7b80ae374.jpg) I haven’t built the Syren, but I’m pretty sure this section of decking will be under a grate and not very visible. If you want a different look on the rest of the decking, you will be the only one who knows this looks different. I usually test finish options on a small sample build-up so I know what it will look like before I commit it to the model.
I haven’t built the Syren, but I’m pretty sure this section of decking will be under a grate and not very visible. If you want a different look on the rest of the decking, you will be the only one who knows this looks different. I usually test finish options on a small sample build-up so I know what it will look like before I commit it to the model. -
Really nice work on your rigging, Travis. I made sails for mine also, but didn’t do nearly as good of a job. Yours look terrific!
-
2021 NRG CONFERENCE
Matt D replied to kurtvd19's topic in NAUTICAL RESEARCH GUILD - News & Information
I have to post this, Kurt. This is me swimming in Lake Superior earlier today! And I’m still alive. It was cold by a lot of people’s standards.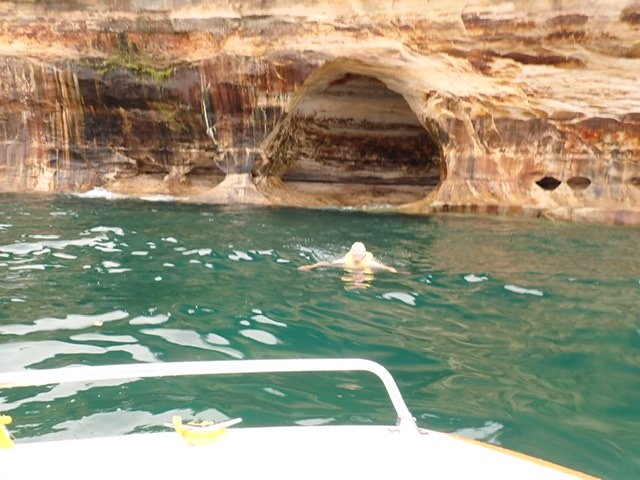
-
That looks great. How tricky was the last strake? It looks like it was in the middle or near the top of the third belt. How did you decide on that spot? I’m asking because I’ll be getting there in a month or so and I can’t see it in my mind yet.
-
This kit looks incredible! I'm going to follow and I look forward to seeing this beauty come together. Thanks for sharing it with us.
- 322 replies
-
- 1
-

-
- enterprise
- caf
- (and 1 more)
-
Dave, this model is amazing! Your work is so precise and beautiful. I really enjoy following it.
-
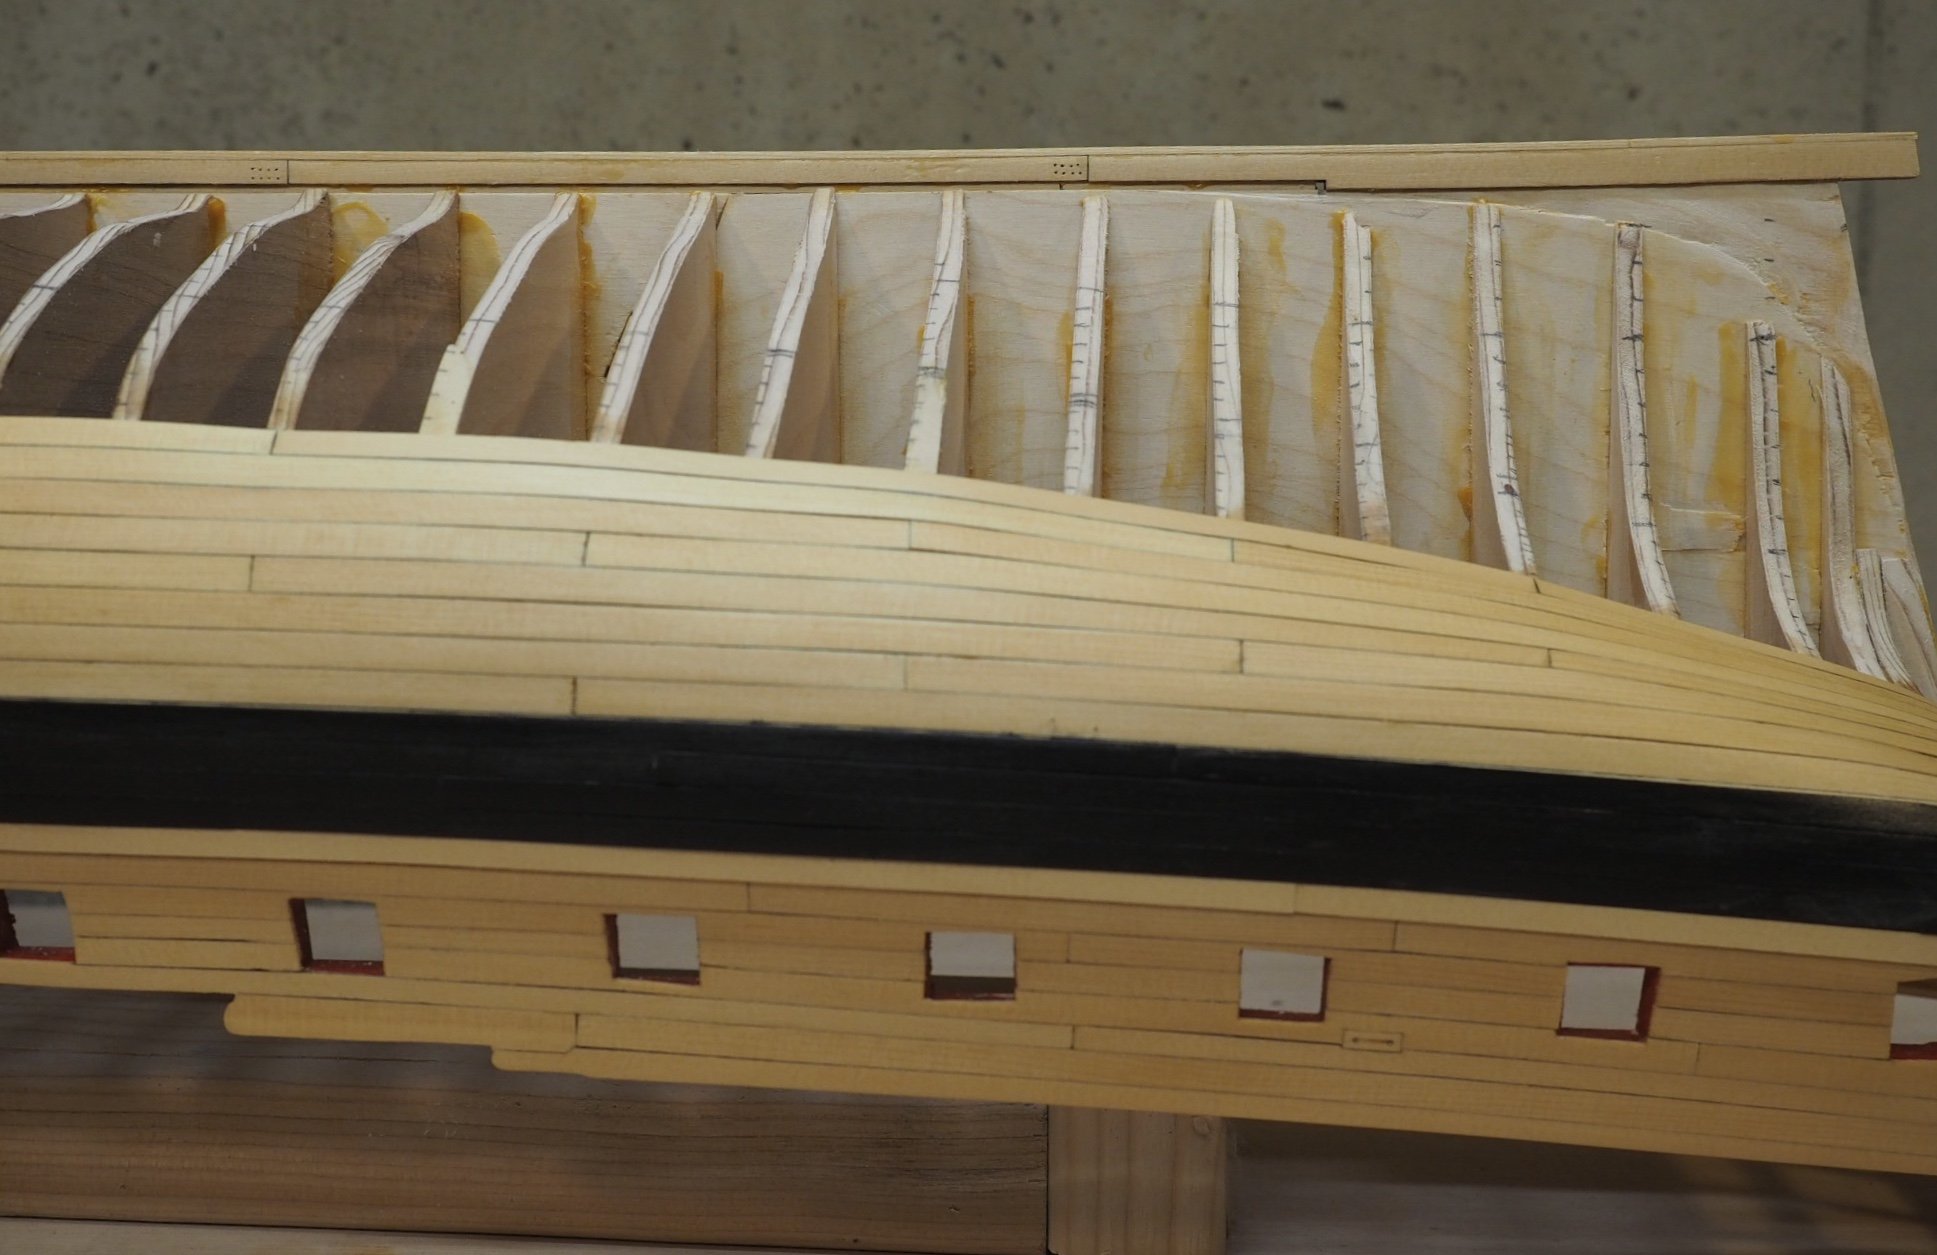
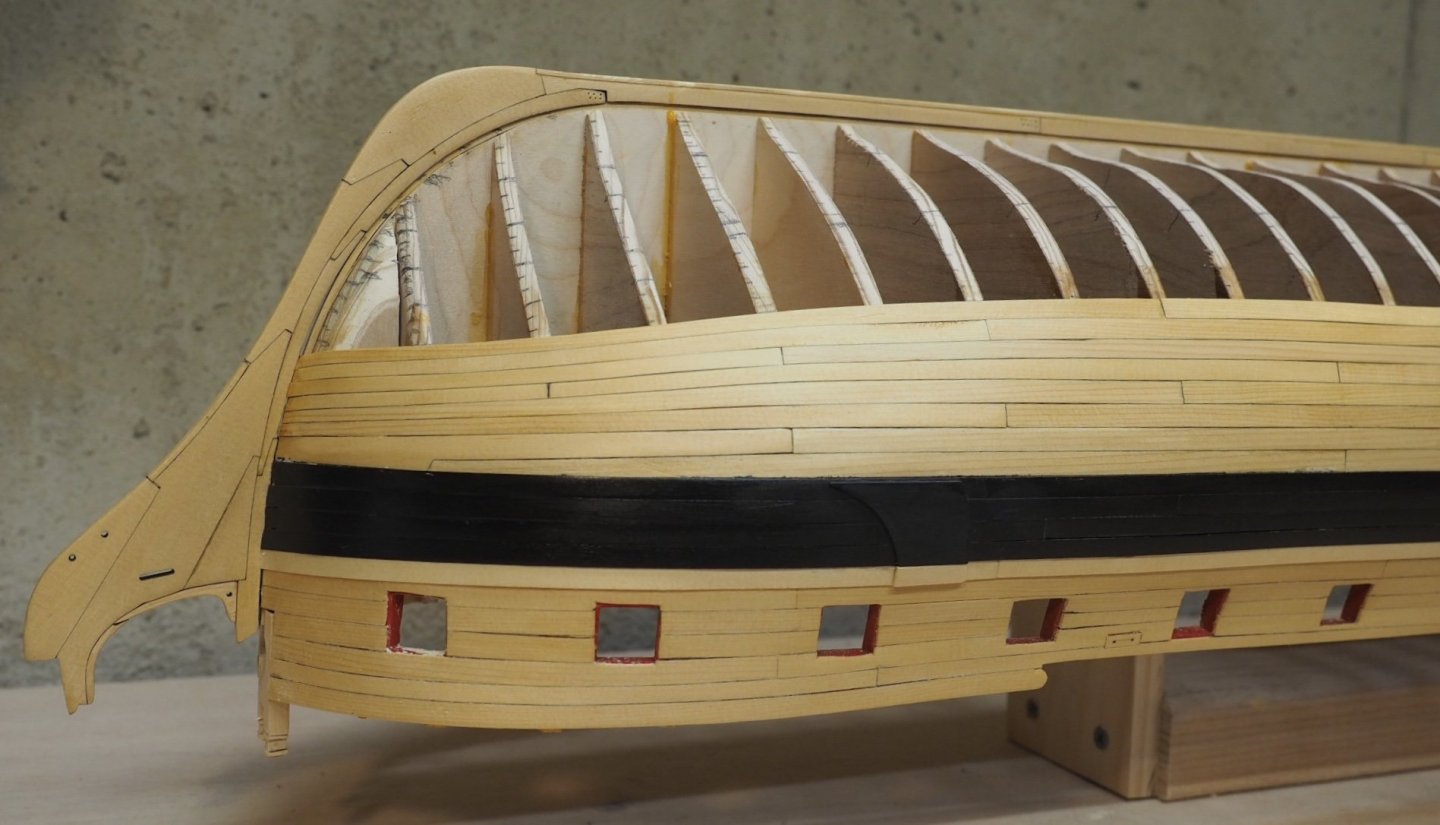
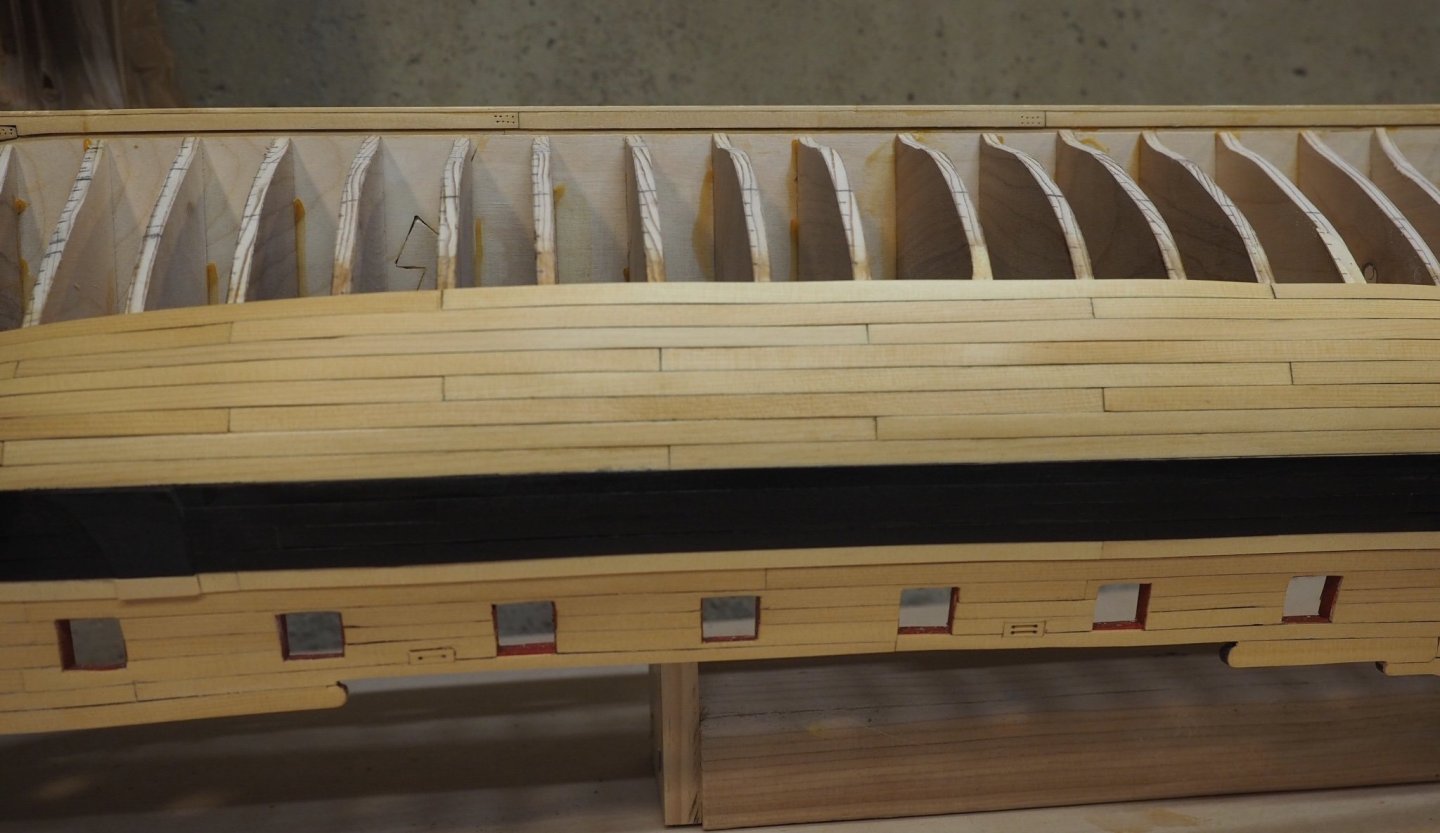
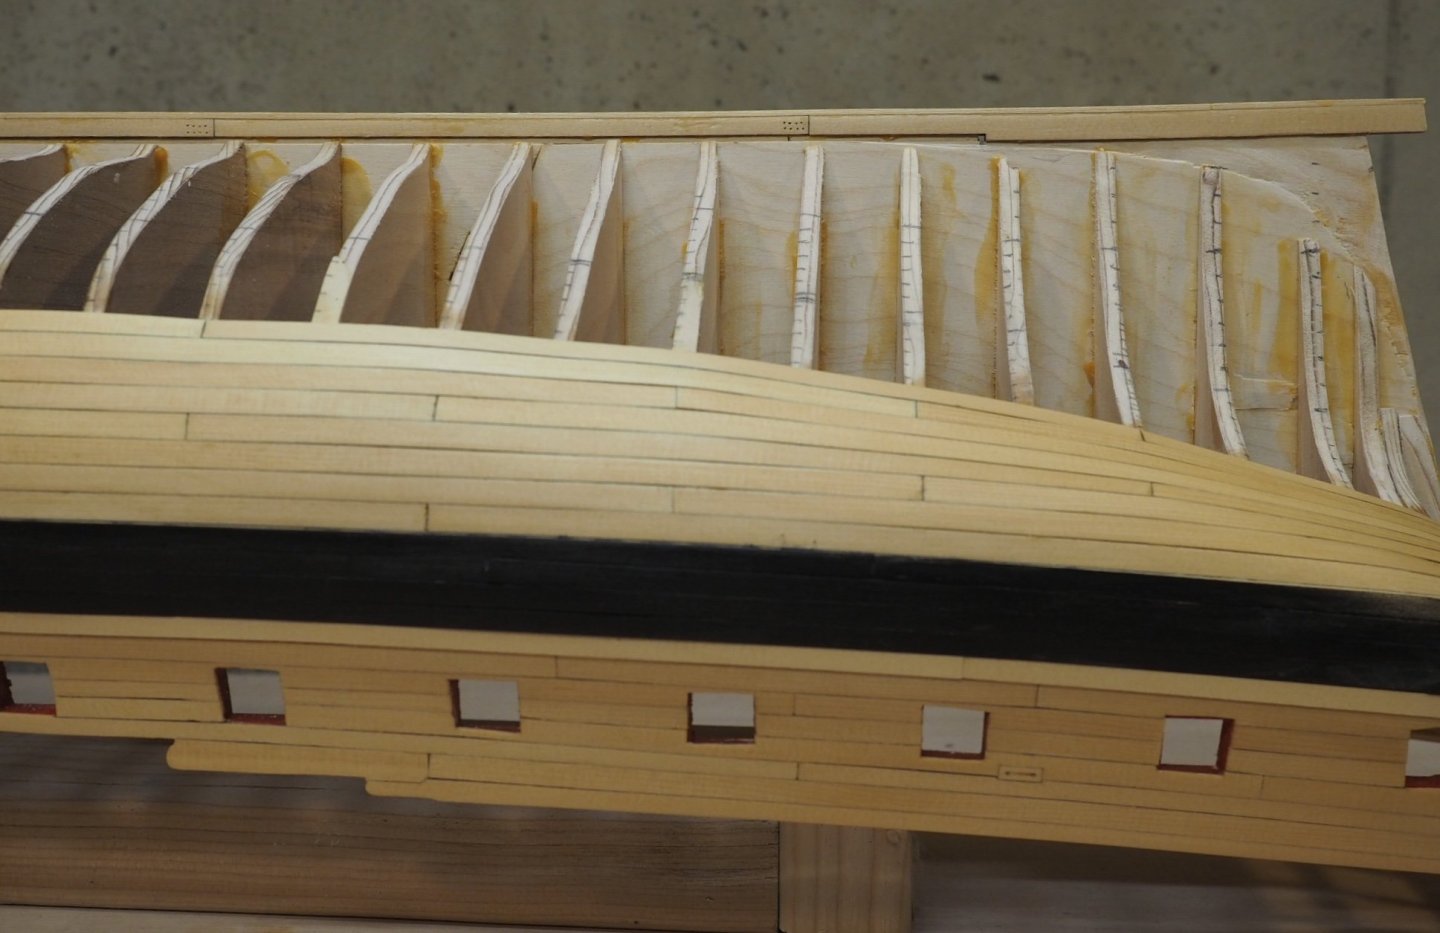
I’ve just completed the first band of planking on the starboard side. It’s not perfect, but I’m pretty happy with it. The edge bending went a lot easier than I expected. I did break the first plank twice before I got one bent without breaking. Once the bend is set, the plank lays flat on the bulkheads so easily.
-
Good choice! Every problem I’ve had on my Winnie has stemmed from my decision to cut out my own bulkheads. It has definitely added a lot of time to my build.
-
We’re all just pushing the boulder up a steep hill! Glenn, your planking looks excellent . If the extra 1/64” helps you, then it’s all good. It looks like you have a finish on it. Is that the case?
- 778 replies
-
- 3
-
-
- cheerful
- Syren Ship Model Company
- (and 1 more)
-
Fred, that looks beautiful. Chuck, you take such good care of us. You are the best!
-
I know the feeling!
-
I used a remnant of off white cotton linen to make my sails. I like it a lot, but I should have picked a darker thread for the simulated seams. The one I picked looked dark enough until I had it all done.
-
This model was my first ship model. It’s a really nice kit and looks great on display. You’re doing an excellent job so far. Regarding sails, I made my own because I didn’t really like the ones that came in the kit. I think you could pretty easily add a jib sail if you plan it out well. I don’t think I’ve seen that in any other build logs, so it will be neat to follow.
- 53 replies
-
- 1
-
-
- artesania latina
- virginia
- (and 1 more)
-
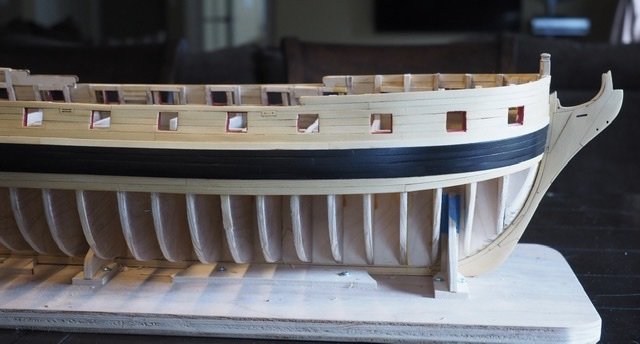
It has been slow going on my Winnie lately. I’ve completed the wales and the black strake, port and starboard. I was concerned that the wipe on poly would smear the acrylic paint onto the black strake. So I put a coat on the wales before adding the black strake. That may have been unnecessary, but I figured better safe than sorry.

-
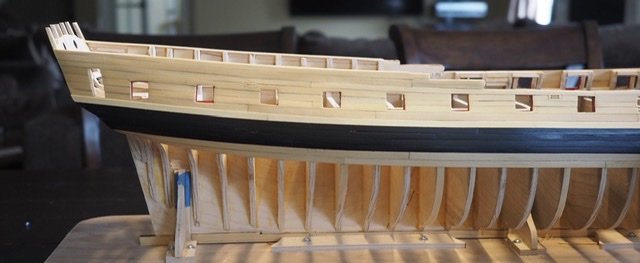
Chuck, thanks for showing the side by side of the gratings. And Guillermo, thanks for asking about it. I’ve been really enjoying the cedar on this project. It is so easy to work with and looks terrific.
- 1,784 replies
-
- 3
-
-
- winchelsea
- Syren Ship Model Company
- (and 1 more)
-
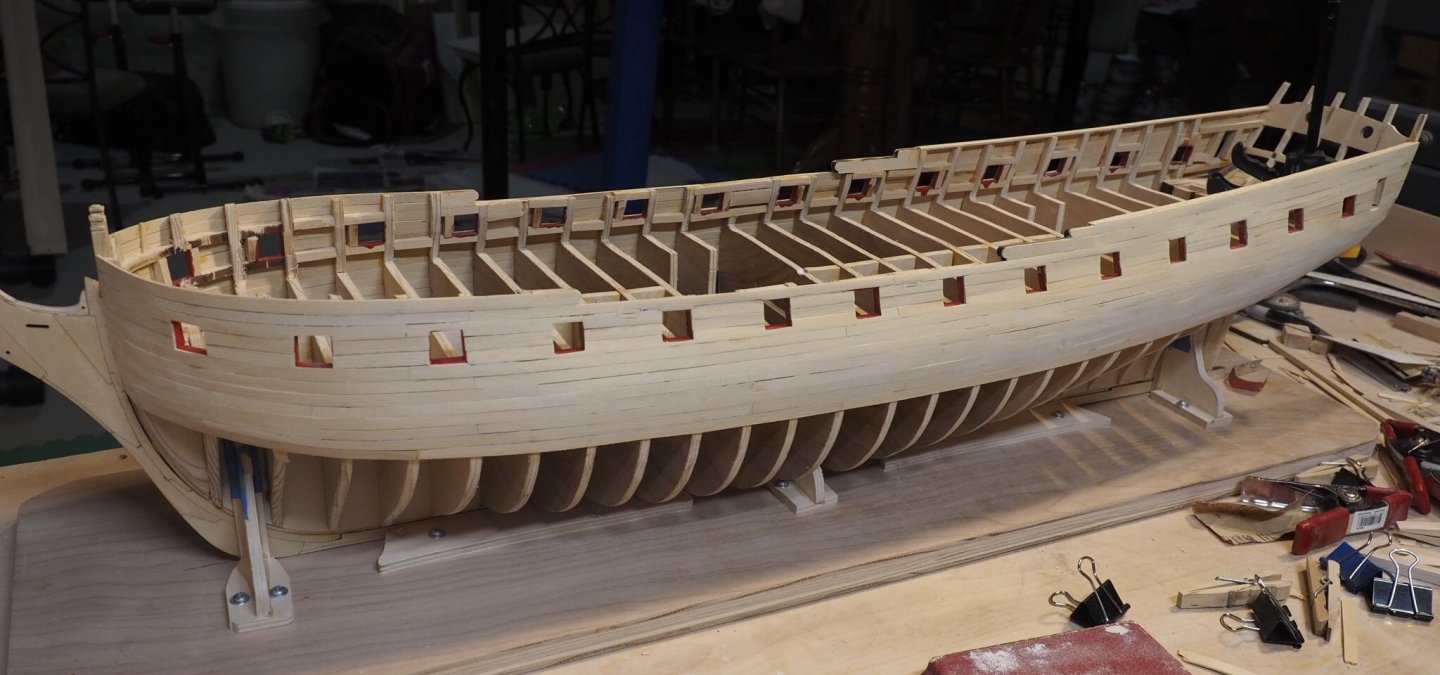
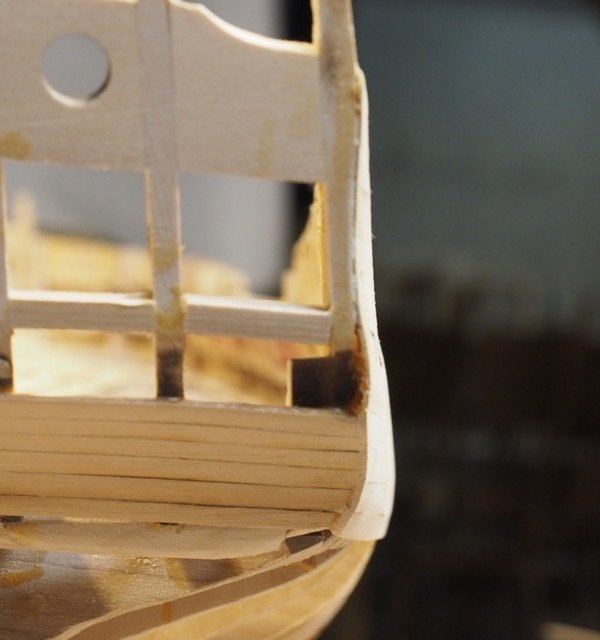
Thanks, Mark, Chuck, and Rusty. One thing I didn't really share with the group is that planking above the wales was really a bear for me. I pealed off and redid about half the planks for various fit and finish problems. At one point, I got a full row above a problem and had to scrape off both, wondering all along what kind if idiot would do such a thing. So for anyone else that finds that part a struggle: You are not alone! I'm back to feeling pretty good about my chances of success on this project.
-
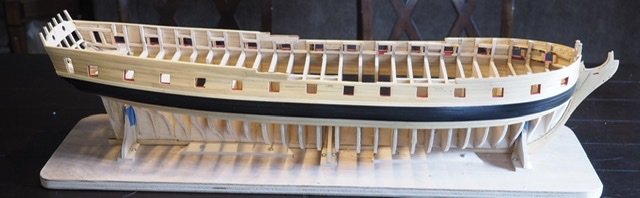
I’ve been busier with work doing it from home than I usually am when I go to the office. I’ve caught the port side up with the starboard. I also completed the first two rows of planking below the wales. Next, I’ve got some sanding to do and a coat of wipe-on polyurethane.
-
That looks beautiful, JD! Nice work!
-
Hi Paul. I hope your recovery is moving along. I want you to know I was thinking about you and wishing the best for you.
-
Great start, JD! This looks like a really nice kit. I'm going to pull up a chair and watch this one.
-
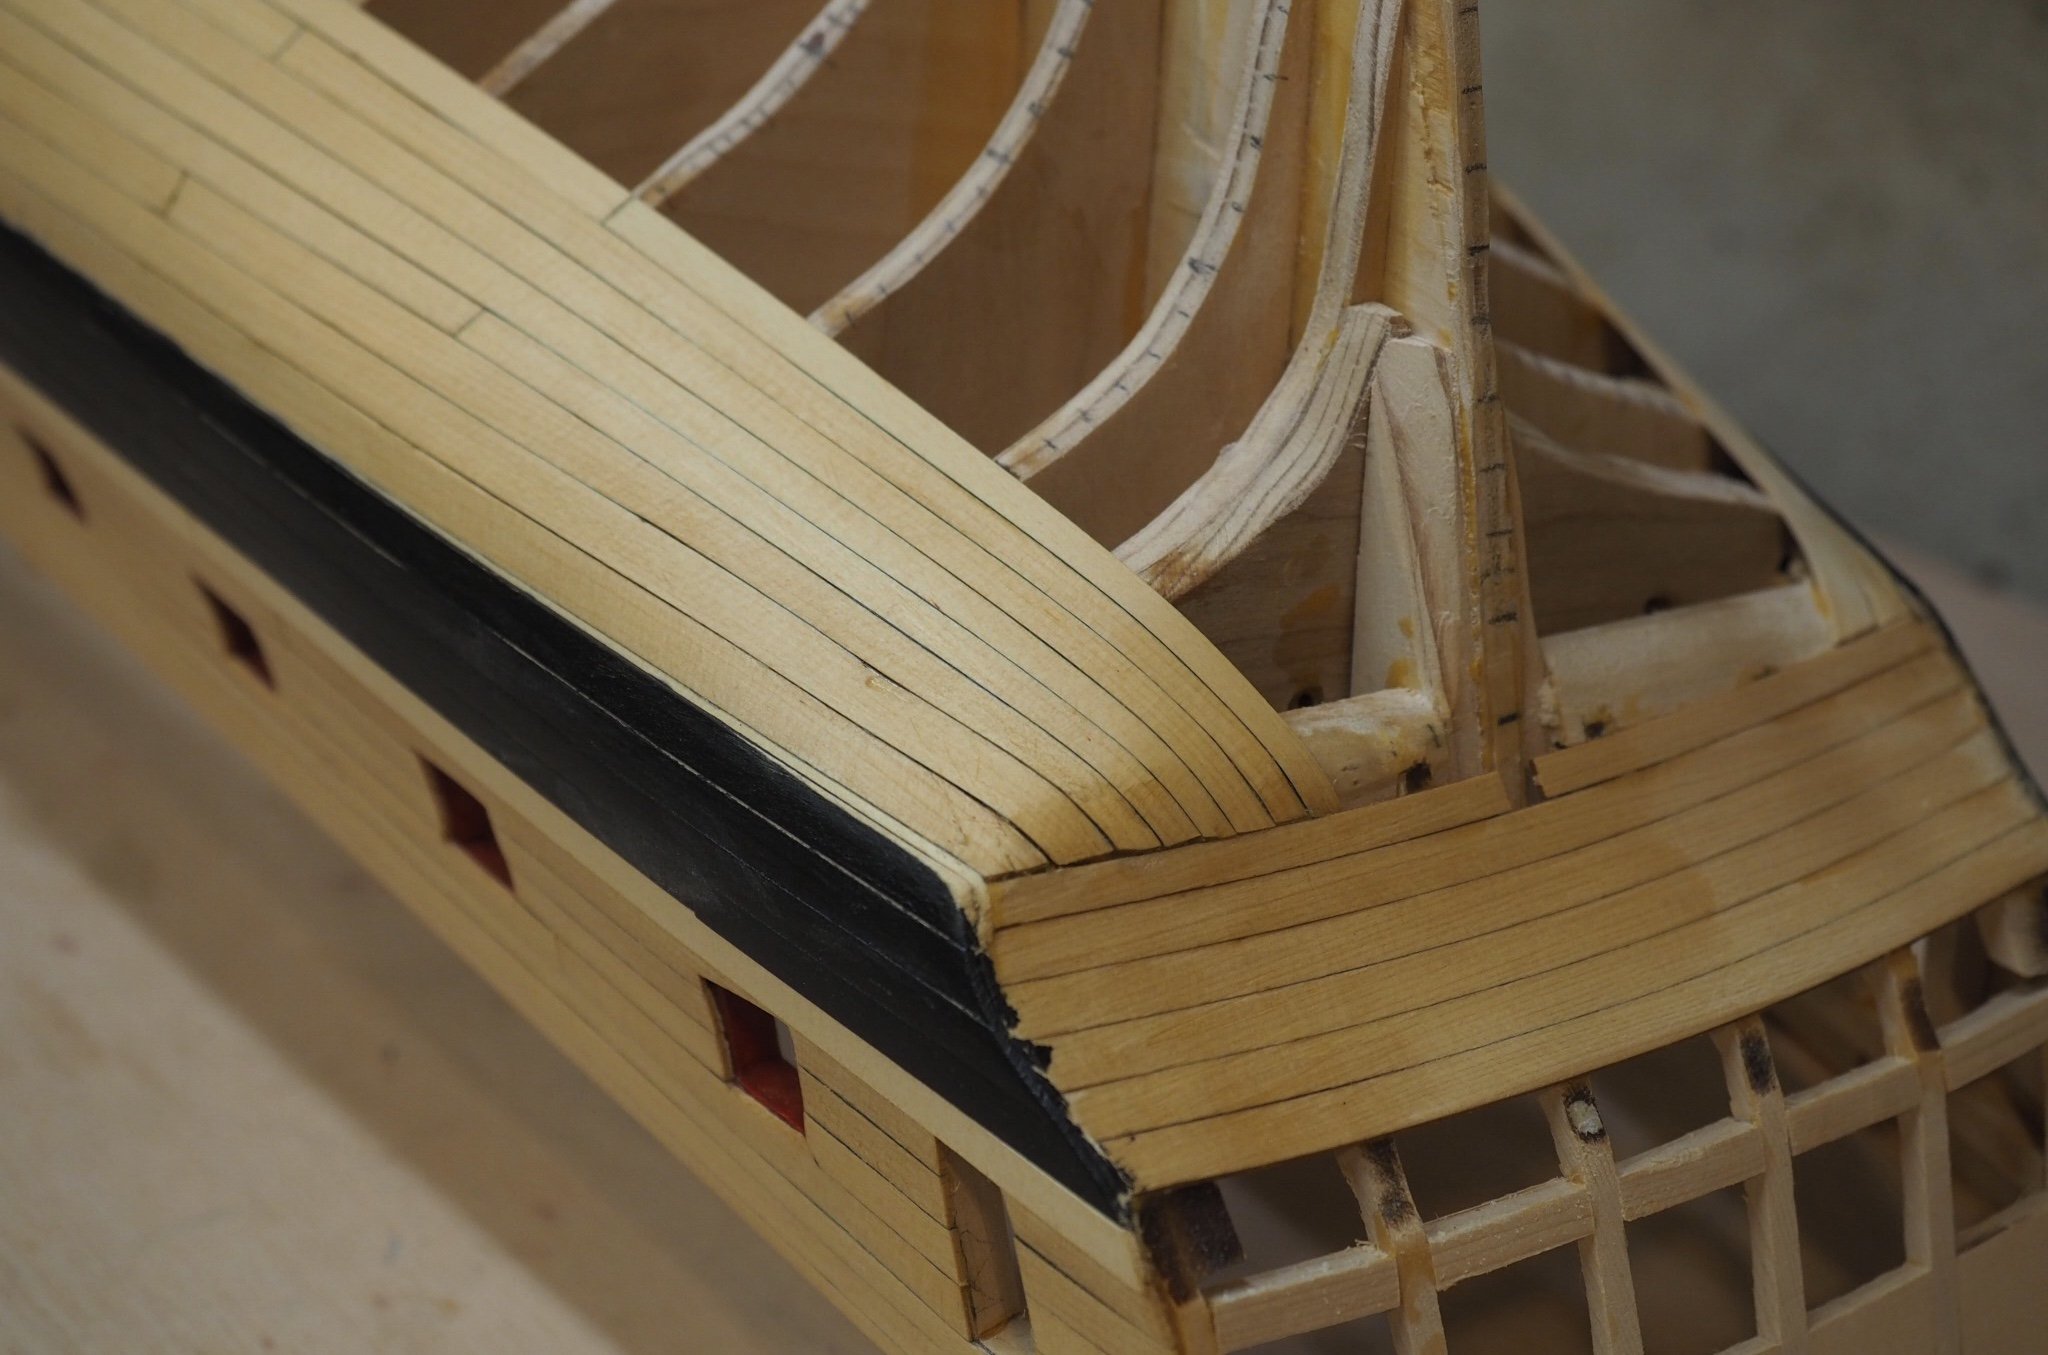
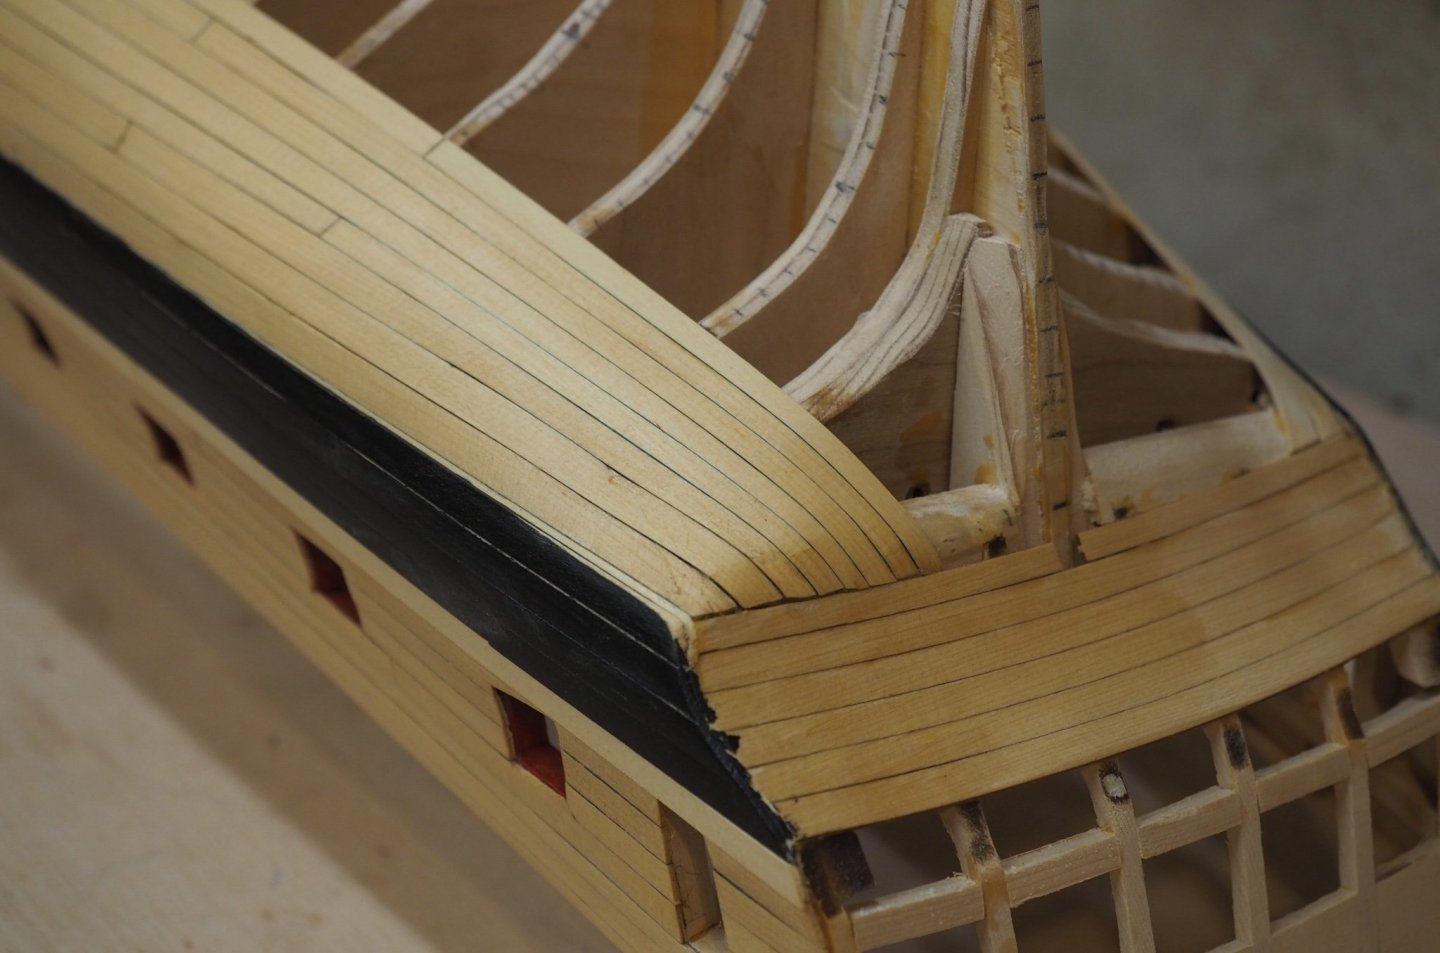
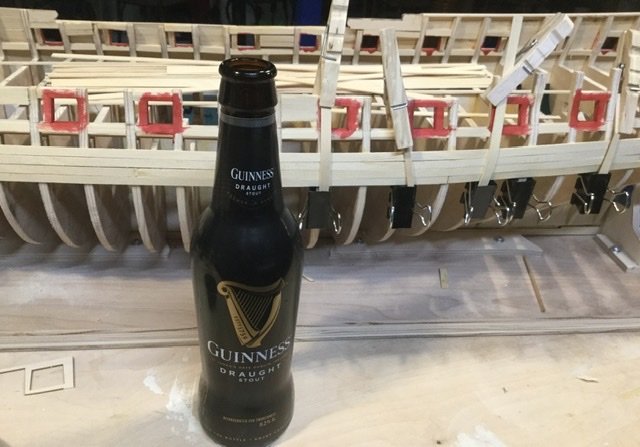
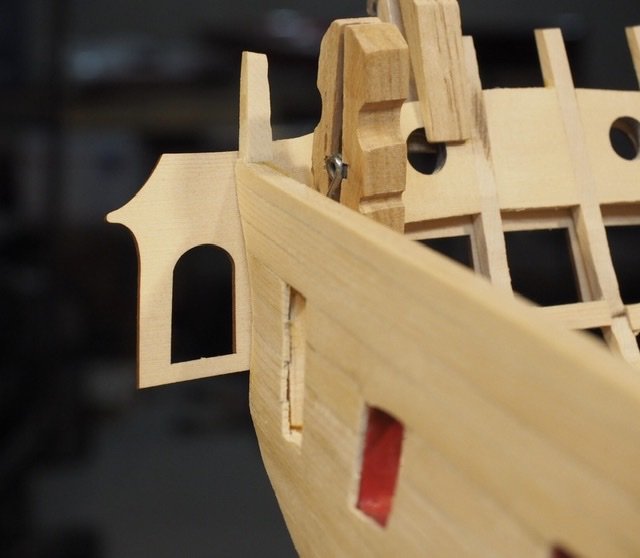
I made more space for the window by carving out about 1/16” between the planks and the stern frame. It’s a little curvier than it should be, but I don’t think that will show. . Happy St. Patrick’s Day, friends!
-
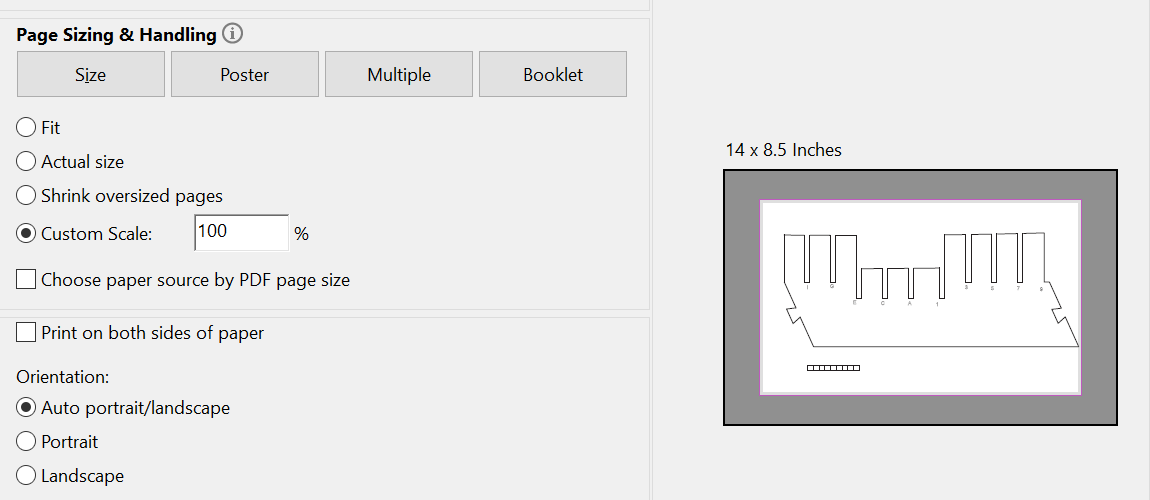
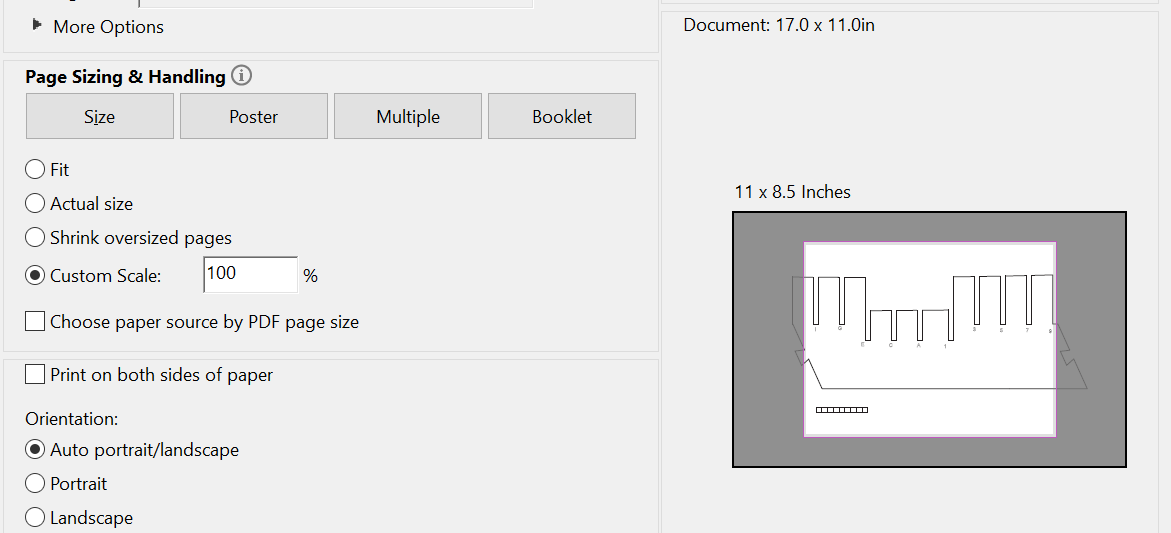
I think you may be mistaken about your paper size. It's likely that you meant 8 1/2 x 11, which is standard letter size. In which case, the ends will be cut off like this: If you use 8 1/2 x 14 legal size, then it should look like this instead: Not many people keep 8 1/2 x 14 legal size around. I didn't and when I needed to print mine, I dug into some old mortgage papers and took a sheet I know I will never miss. The back was blank, so I was in business! Good luck to you, sir.
-
Mr. Frazier, I was in the same spot a few months ago. I learned that you can set your printer to print that page on 8-1/2x14 paper. It will try to auto-scale it to fit. But if you set the scale to 100%, it will fit on the page and print the right size. Also, please make sure you print everything with the scale set to 100%. I have a complete frame set that is at .95 scale. It was a hard lesson that I’d hate to see you repeat.
-
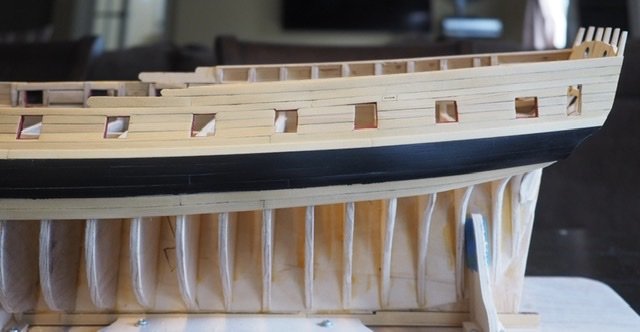
Thank you, Mark and Edward. And thanks for the likes. I’m trying to carve out about 1/16” at the transom to allow the planks to tuck in enough to clear the window opening. I think it will work. I’ll have pictures over the weekend.