tom kinglake
-
Posts
71 -
Joined
-
Last visited


-
 KARAVOKIRIS reacted to a post in a topic:
HMS Pegasus by tom kinglake - Victory Models - scale 1:64
KARAVOKIRIS reacted to a post in a topic:
HMS Pegasus by tom kinglake - Victory Models - scale 1:64
-
yvesvidal reacted to a post in a topic:
Mercury by tom kinglake - Amati/Victory Models - scale 1:64 - Russian brig
-
etubino reacted to a post in a topic:
Avos by tom kinglake - Master Korabel - Russian tender
-
tomas1970 reacted to a post in a topic:
Mercury by tom kinglake - Amati/Victory Models - scale 1:64 - Russian brig
-
GrandpaPhil reacted to a post in a topic:
Mercury by tom kinglake - Amati/Victory Models - scale 1:64 - Russian brig
-
etubino reacted to a post in a topic:
Mercury by tom kinglake - Amati/Victory Models - scale 1:64 - Russian brig
-
etubino reacted to a post in a topic:
Mercury by tom kinglake - Amati/Victory Models - scale 1:64 - Russian brig
-
BobG reacted to a post in a topic:
HMS Flirt by dkuehn - Vanguard Models - 1:64
-
Hi dkuehn I've just bought this kit and am about to make a start on it. Your work looks terrific and your build log is going to be a big help to me. Best wishes tom.
-
ccoyle reacted to a post in a topic:
Avos by tom kinglake - Master Korabel - Russian tender
-
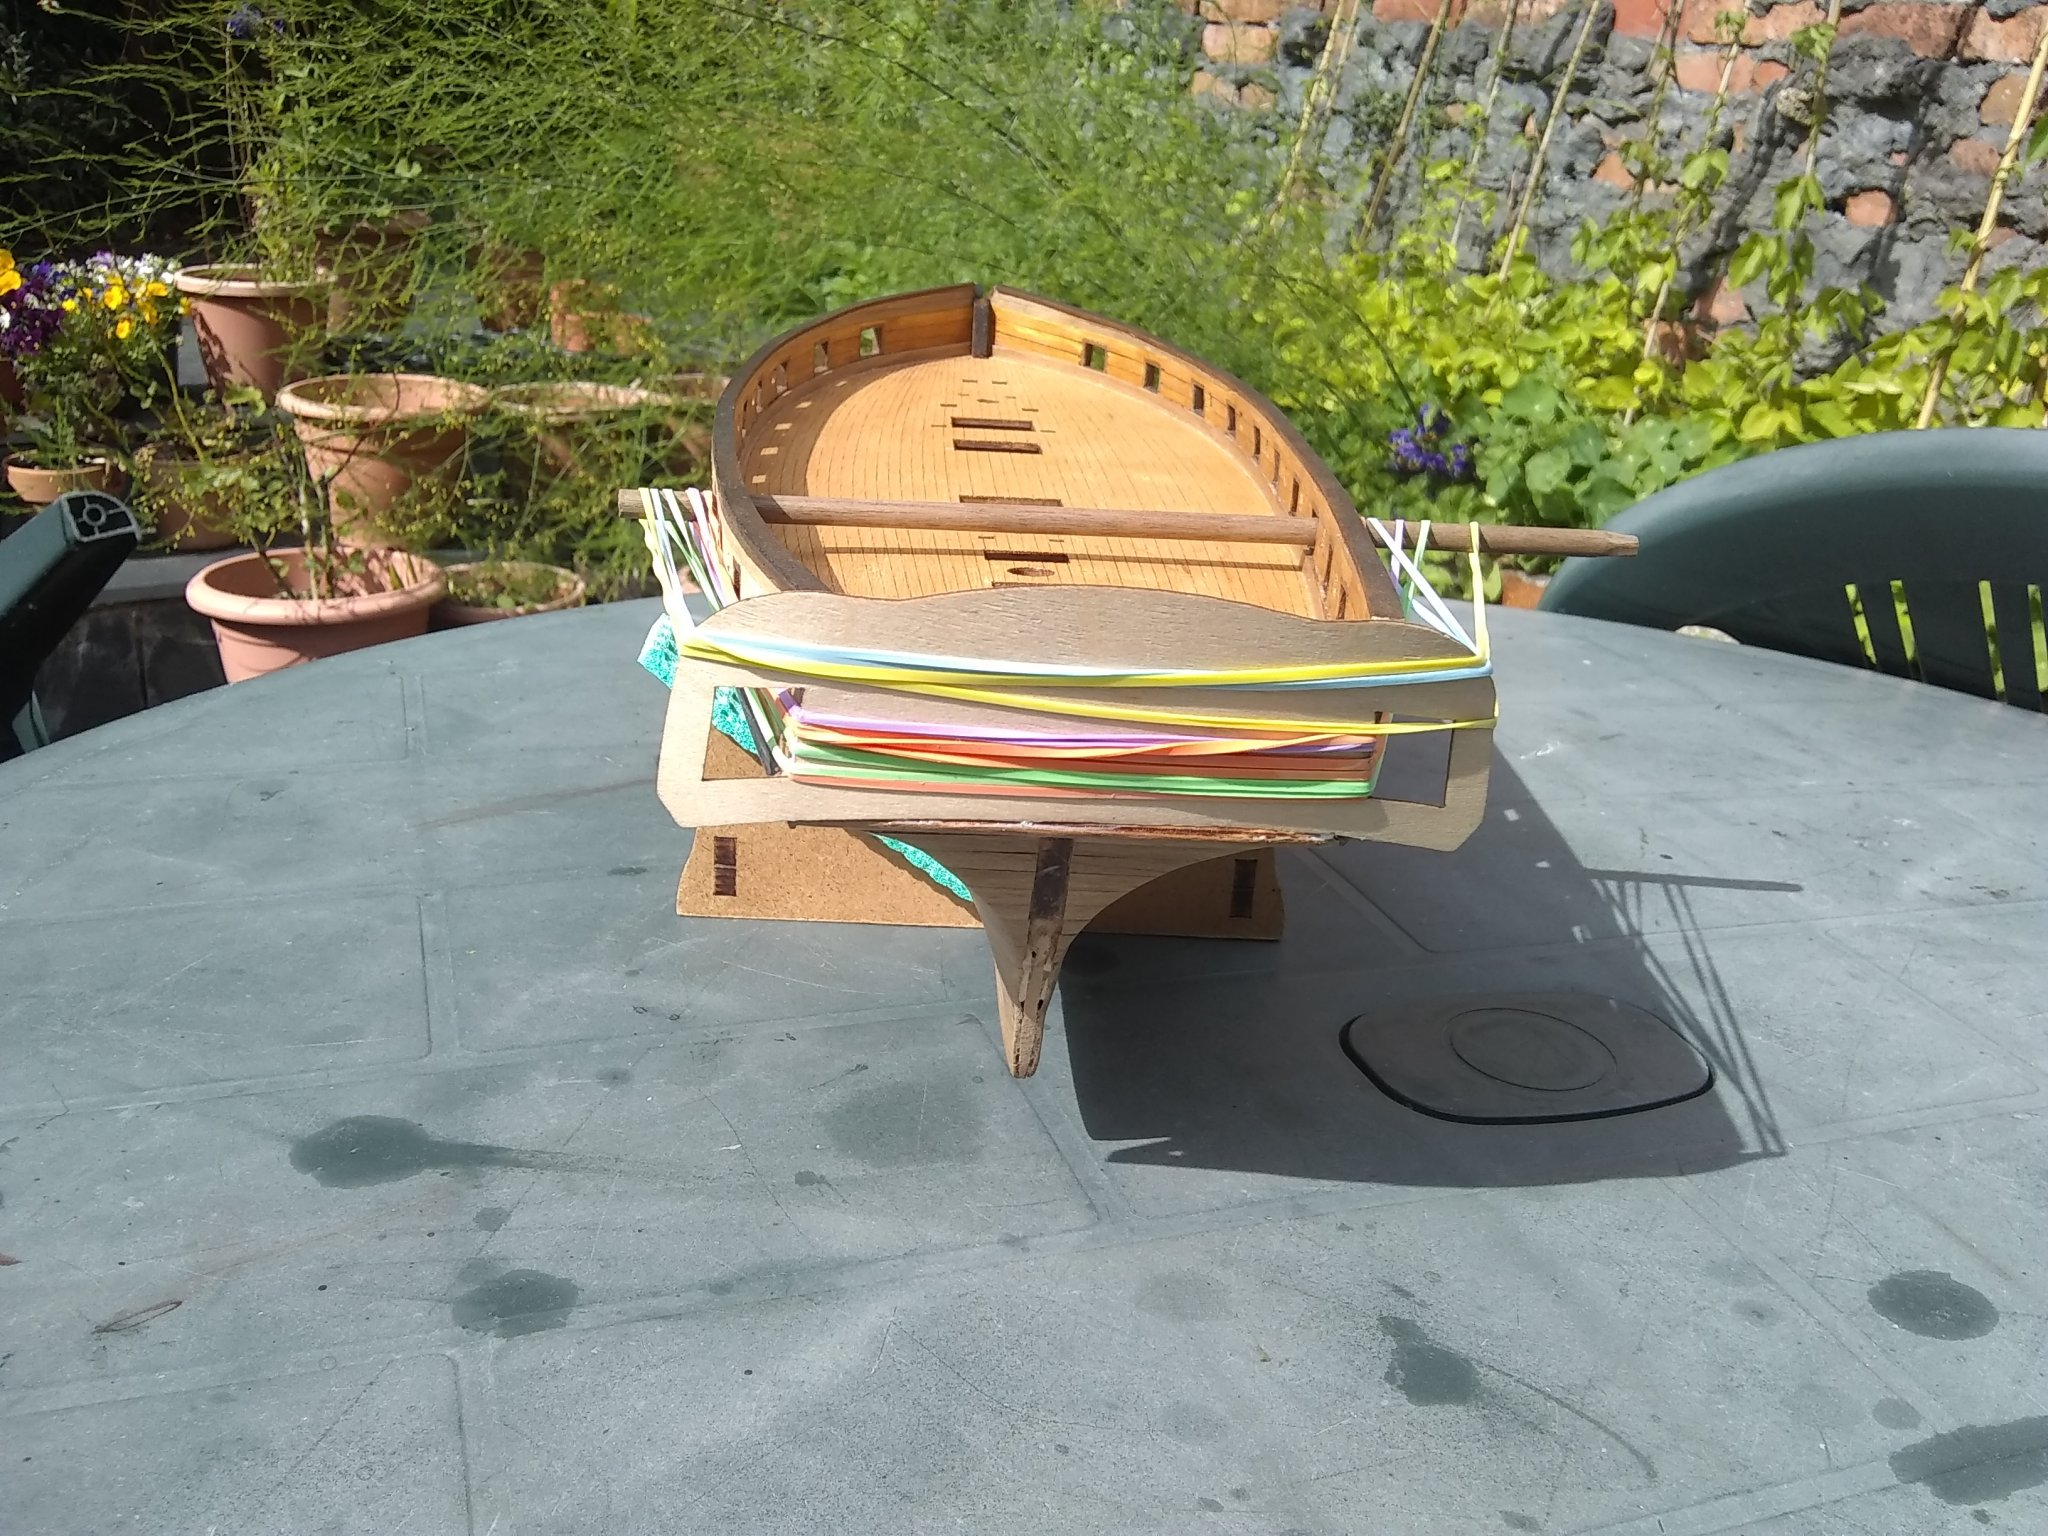
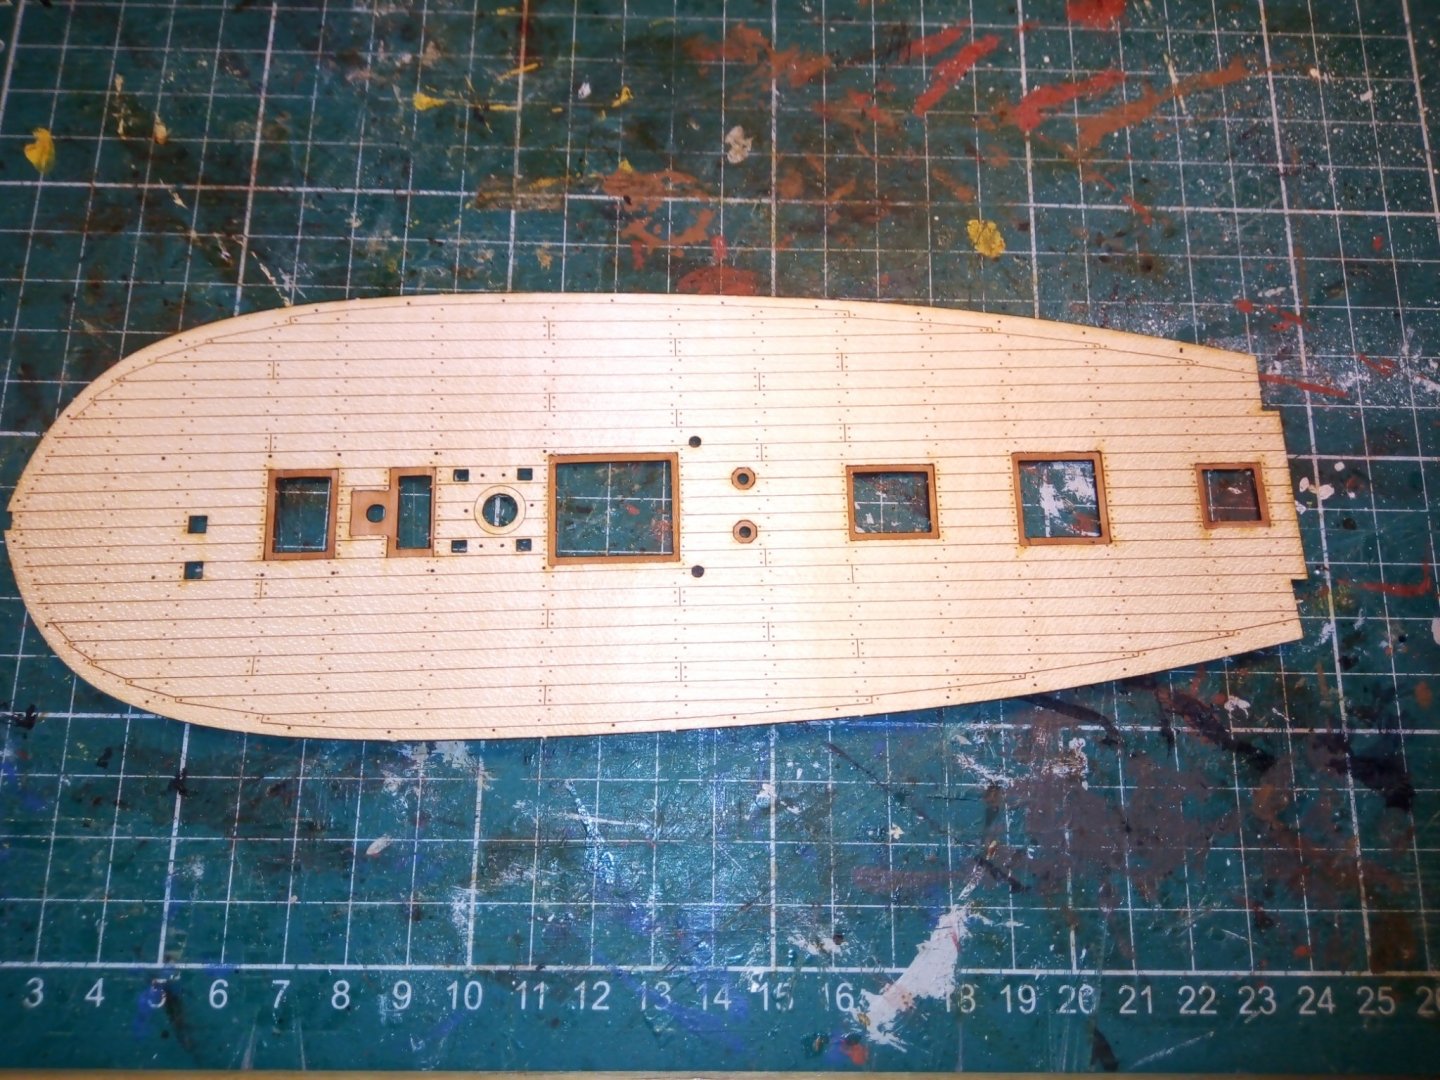
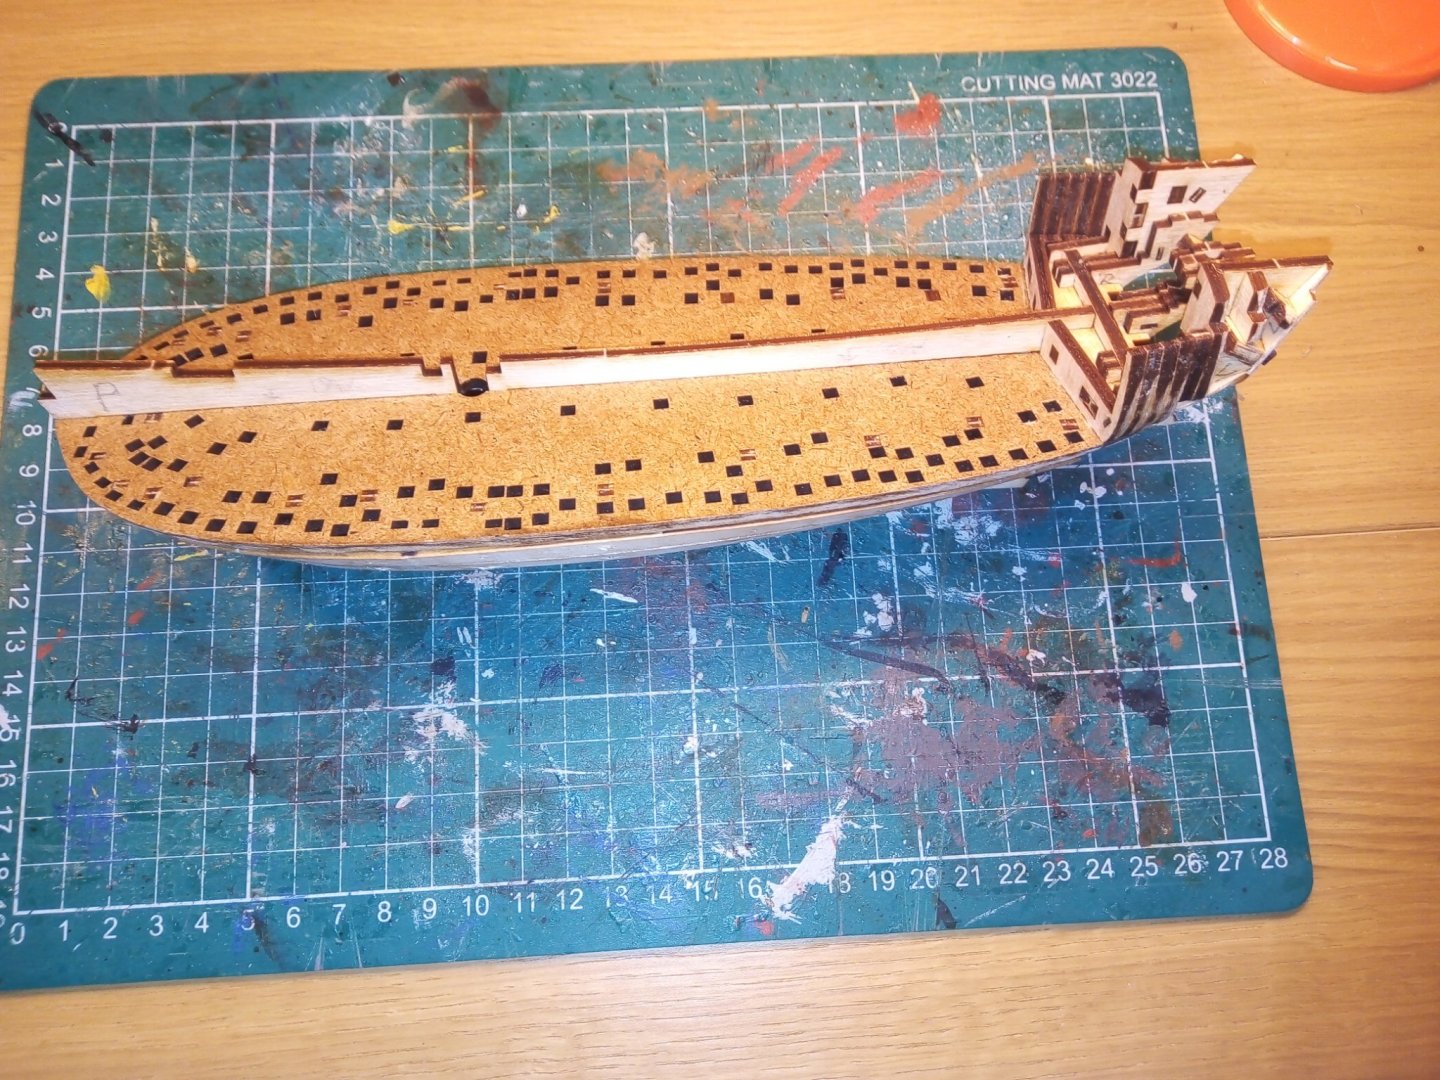
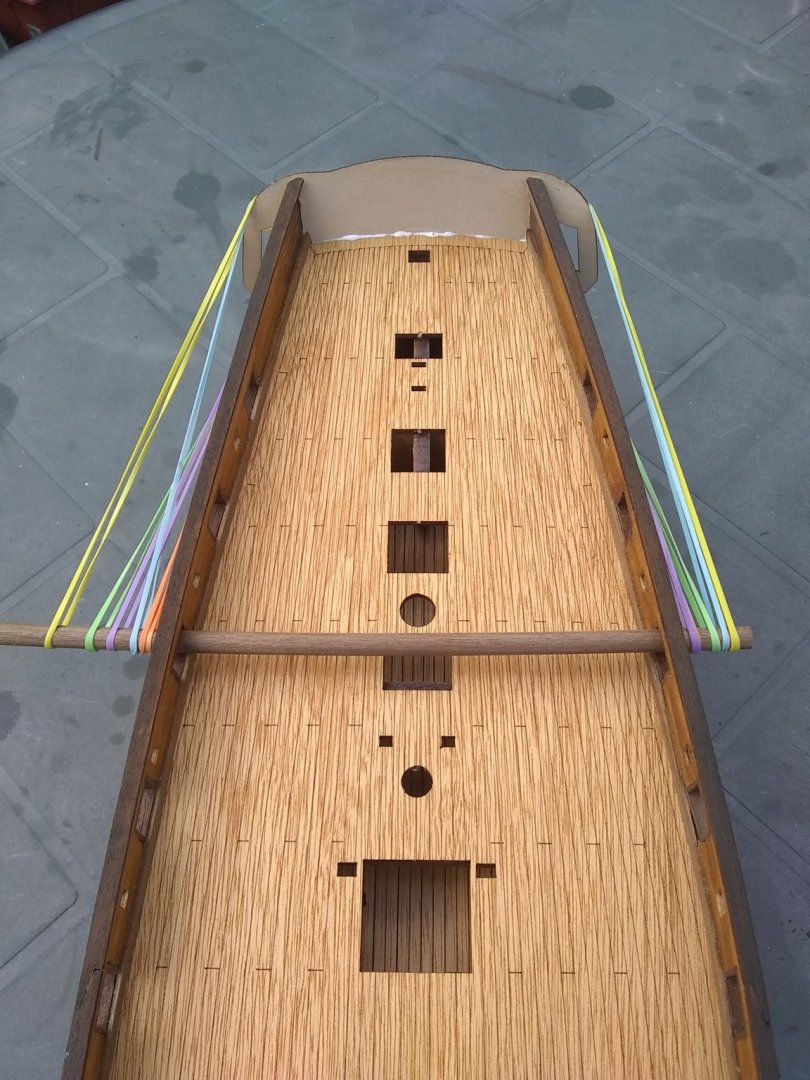
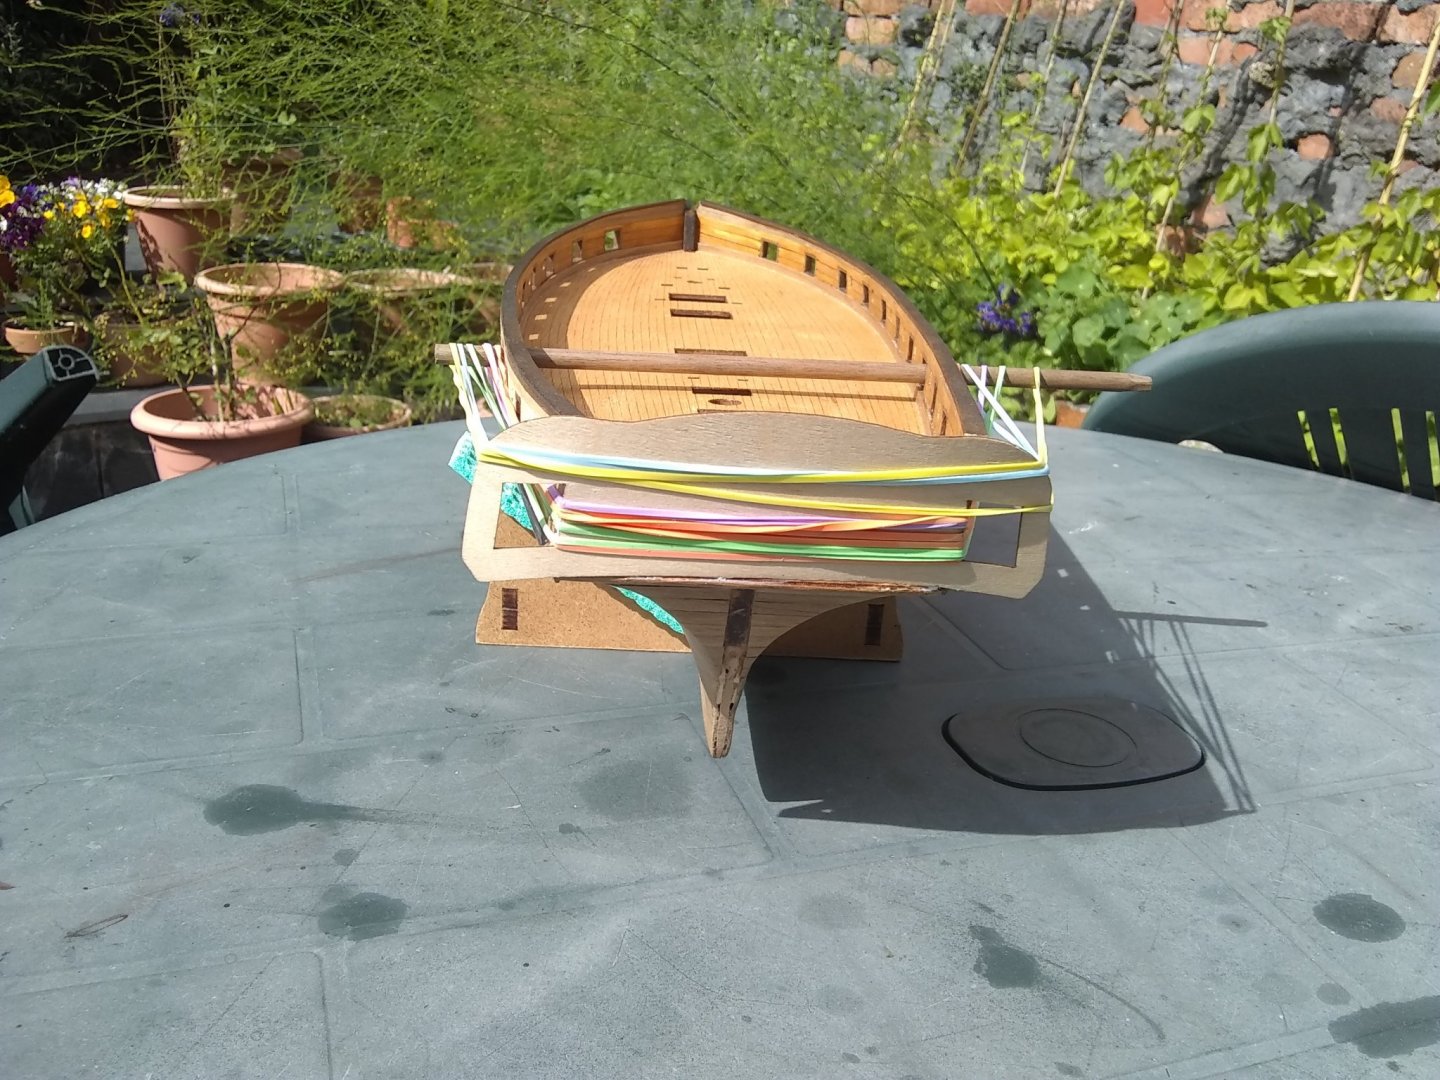
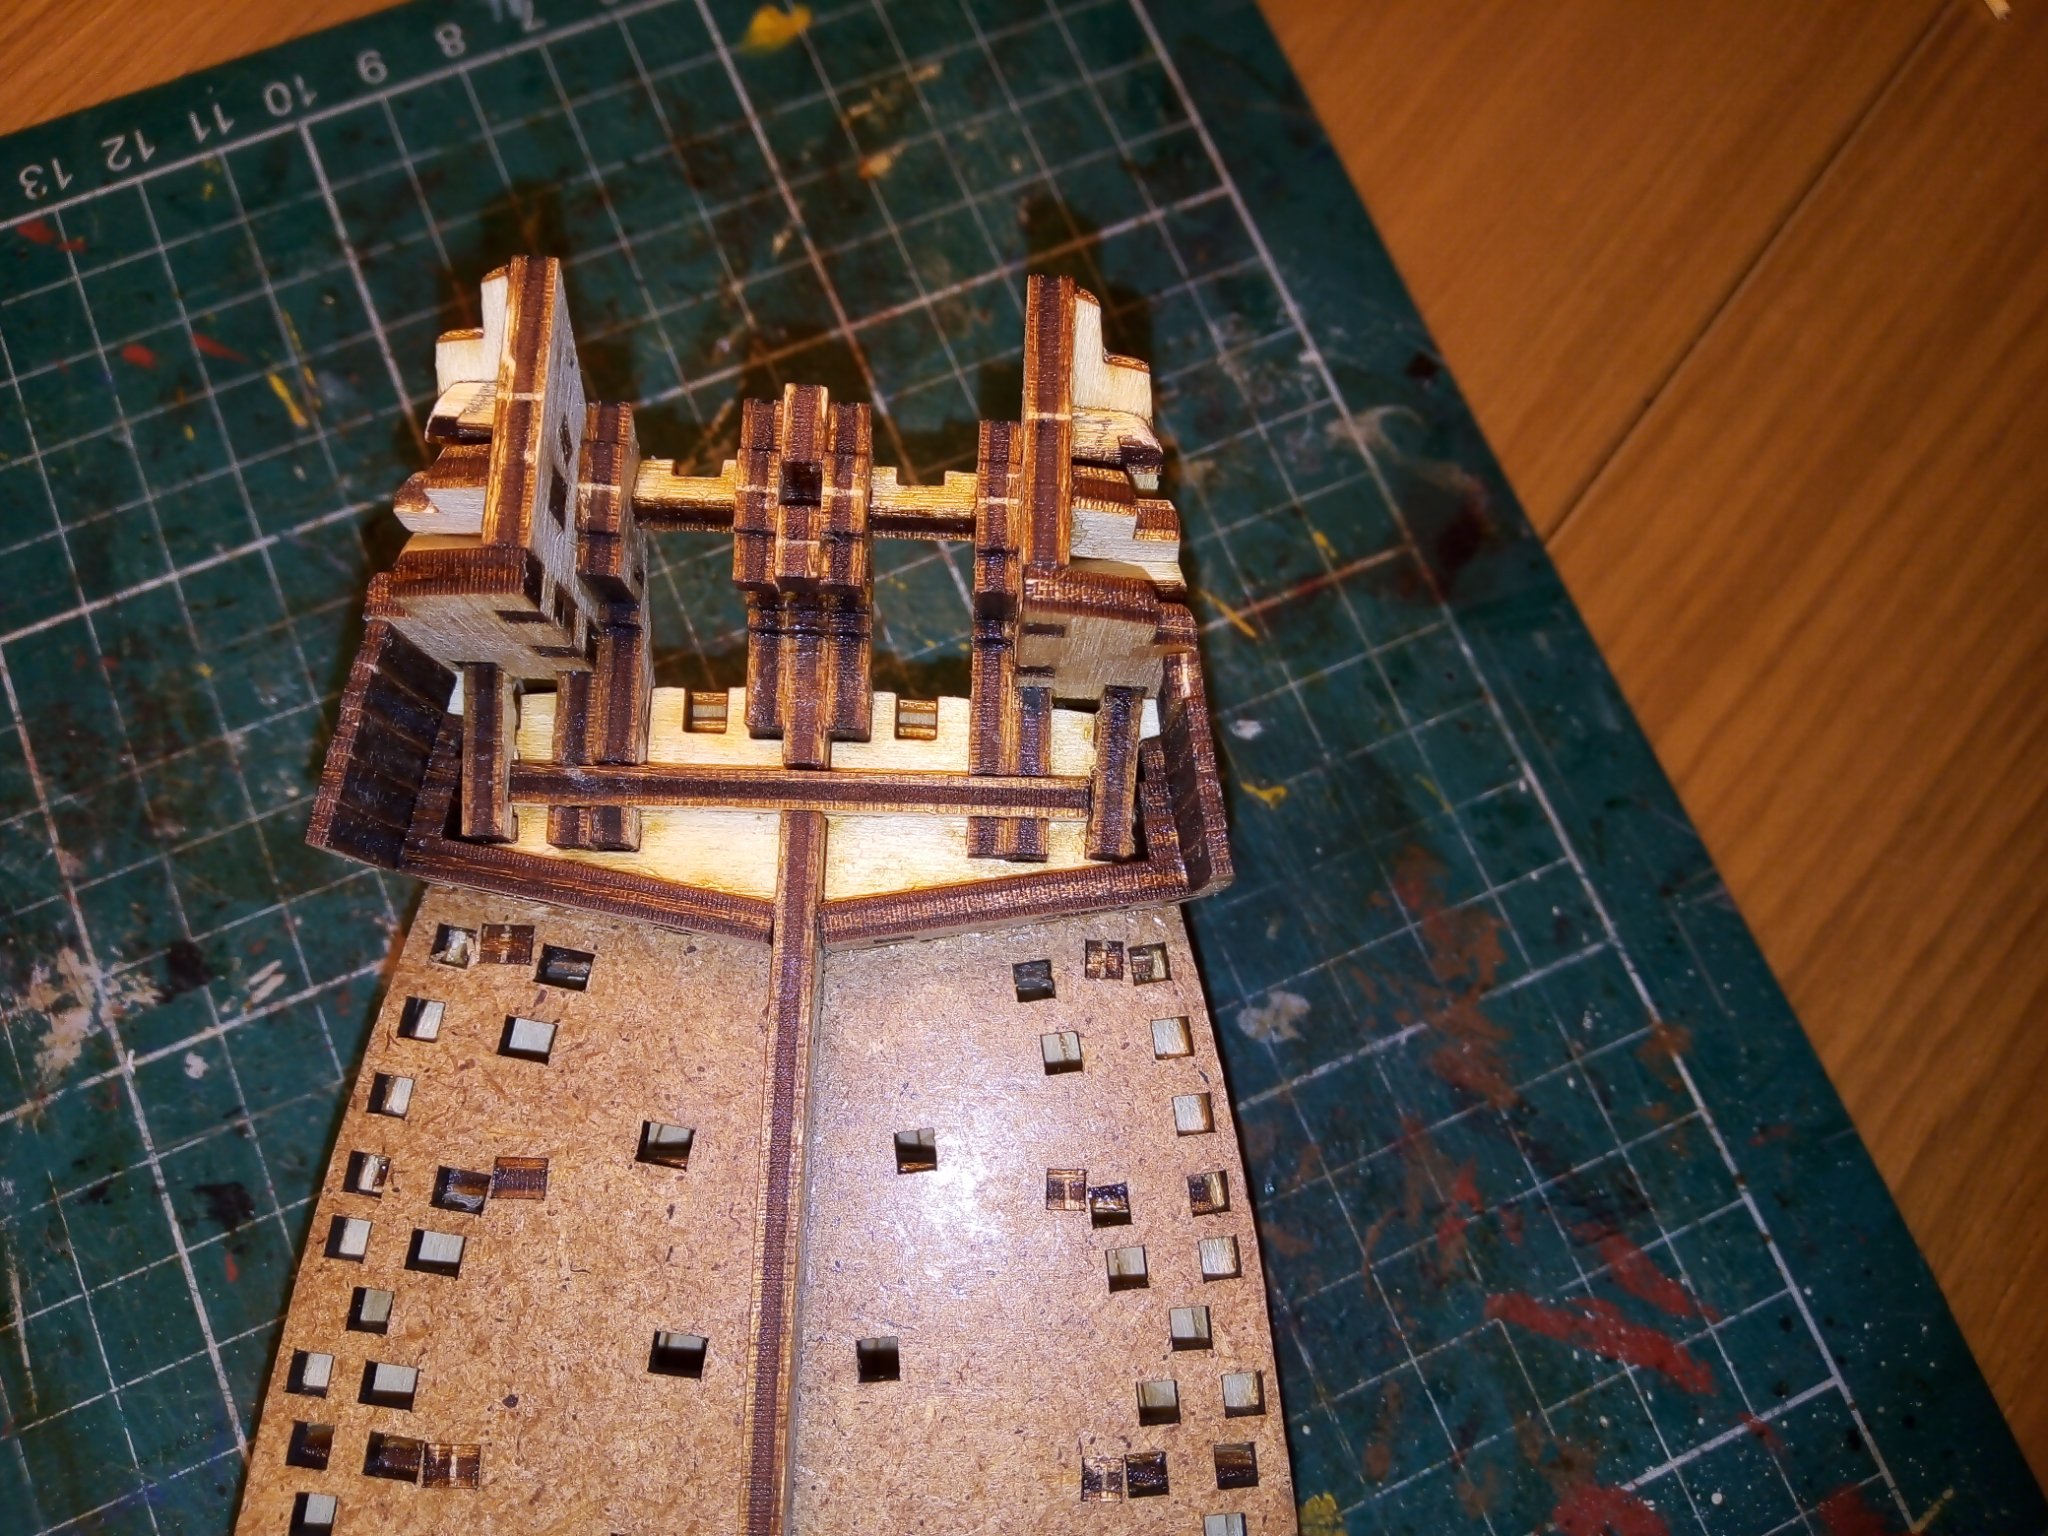
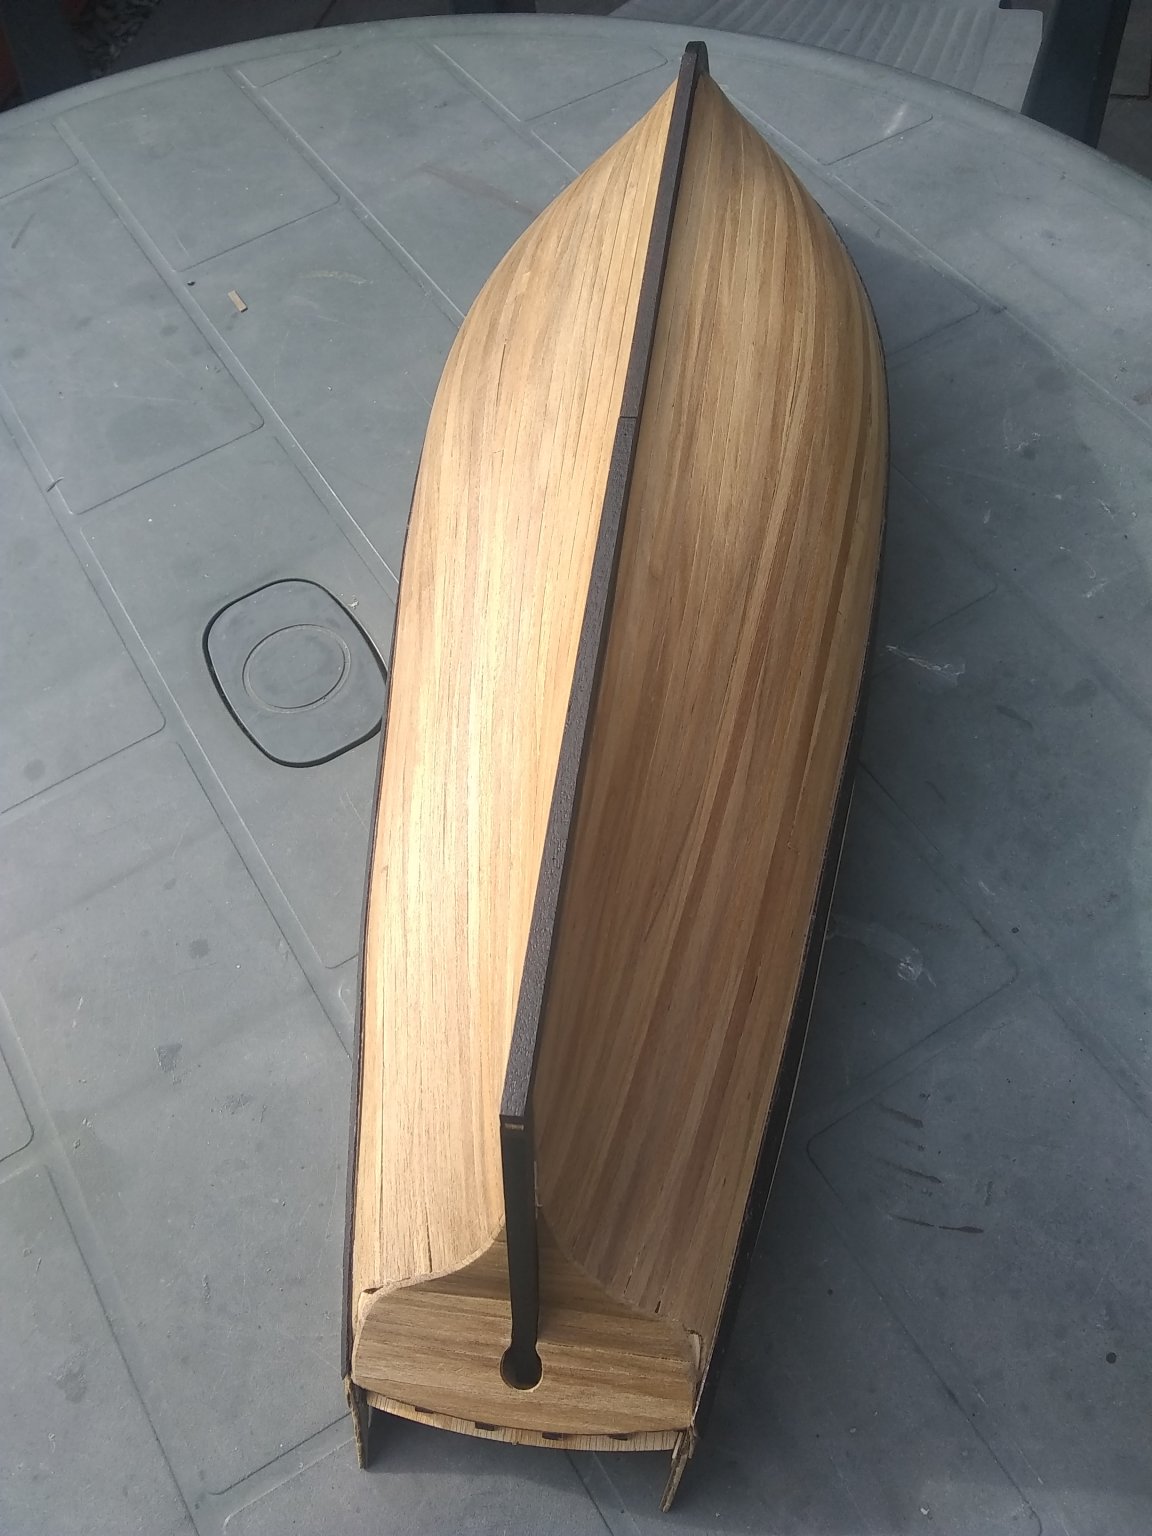
The interior structure of the hull is quite intricate, as these images show: lots of work to complete before first planking begins. The layout of the openings on the 'lower deck' make it almost impossible to go wrong, fortunately.

-
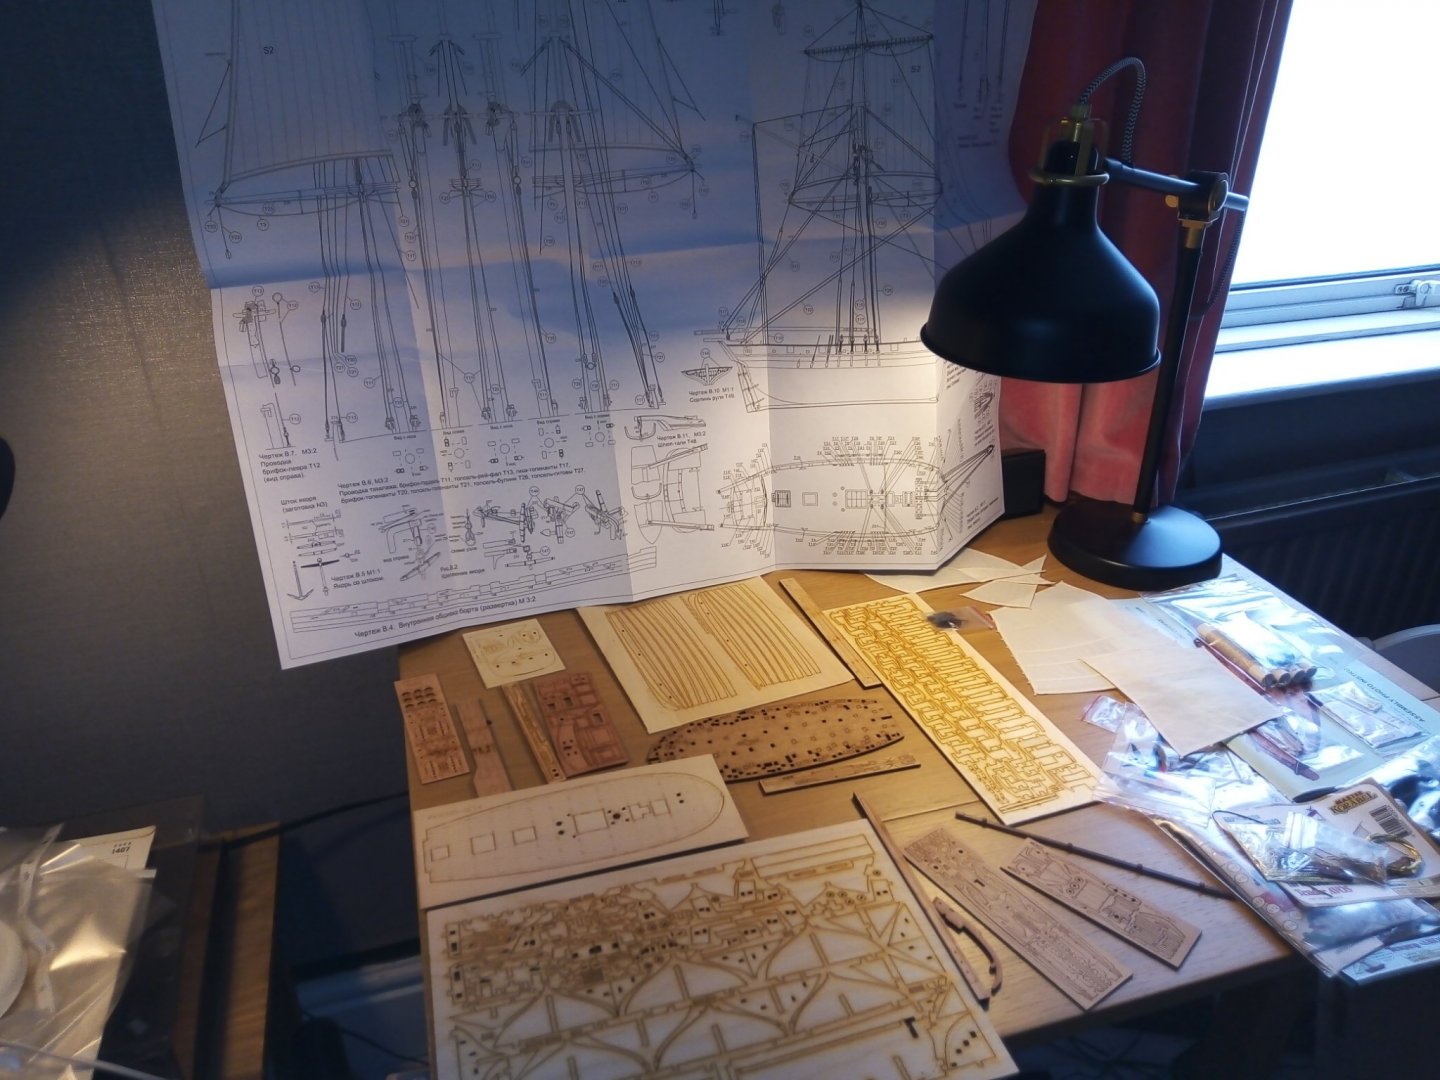
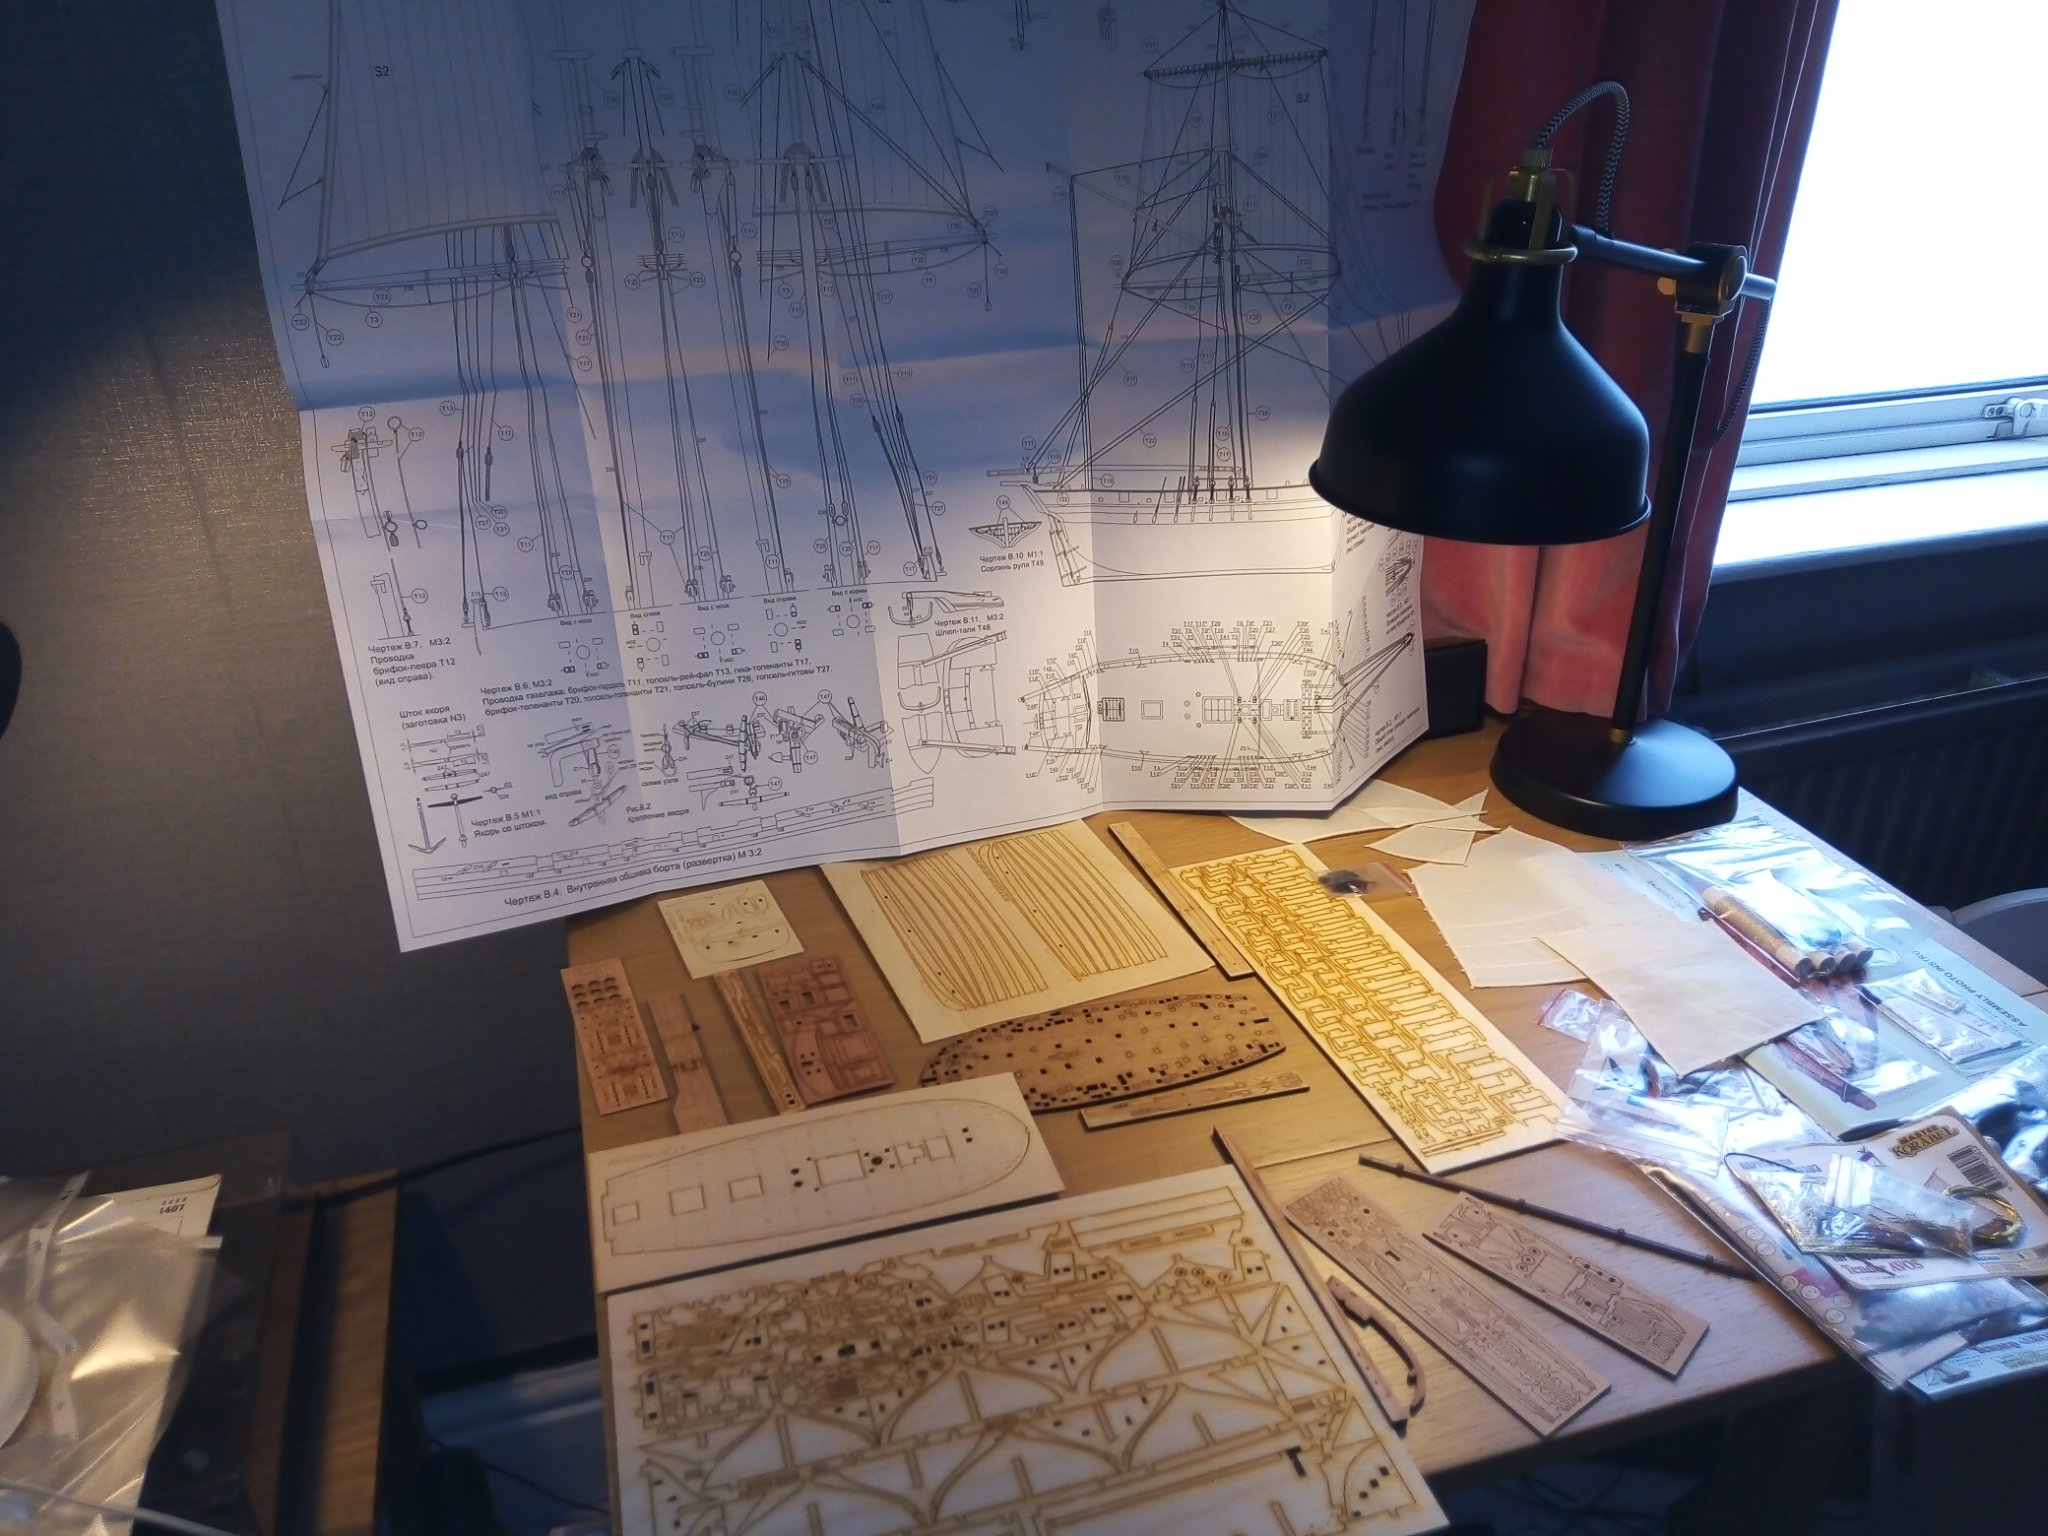
Here is a brief build log of this beautiful kit, which I began in late September - I'm now (4 December) approaching the rigging and sails, so on the home stretch. When finished, I'll put some pictures in the Gallery. There's plenty of excellent material in the Forum about this kit, so I won't go into too much detail - just to say what a marvel of miniature accuracy the laser cutting and photo etching of the parts are. Here are a few images of the early stages...

-
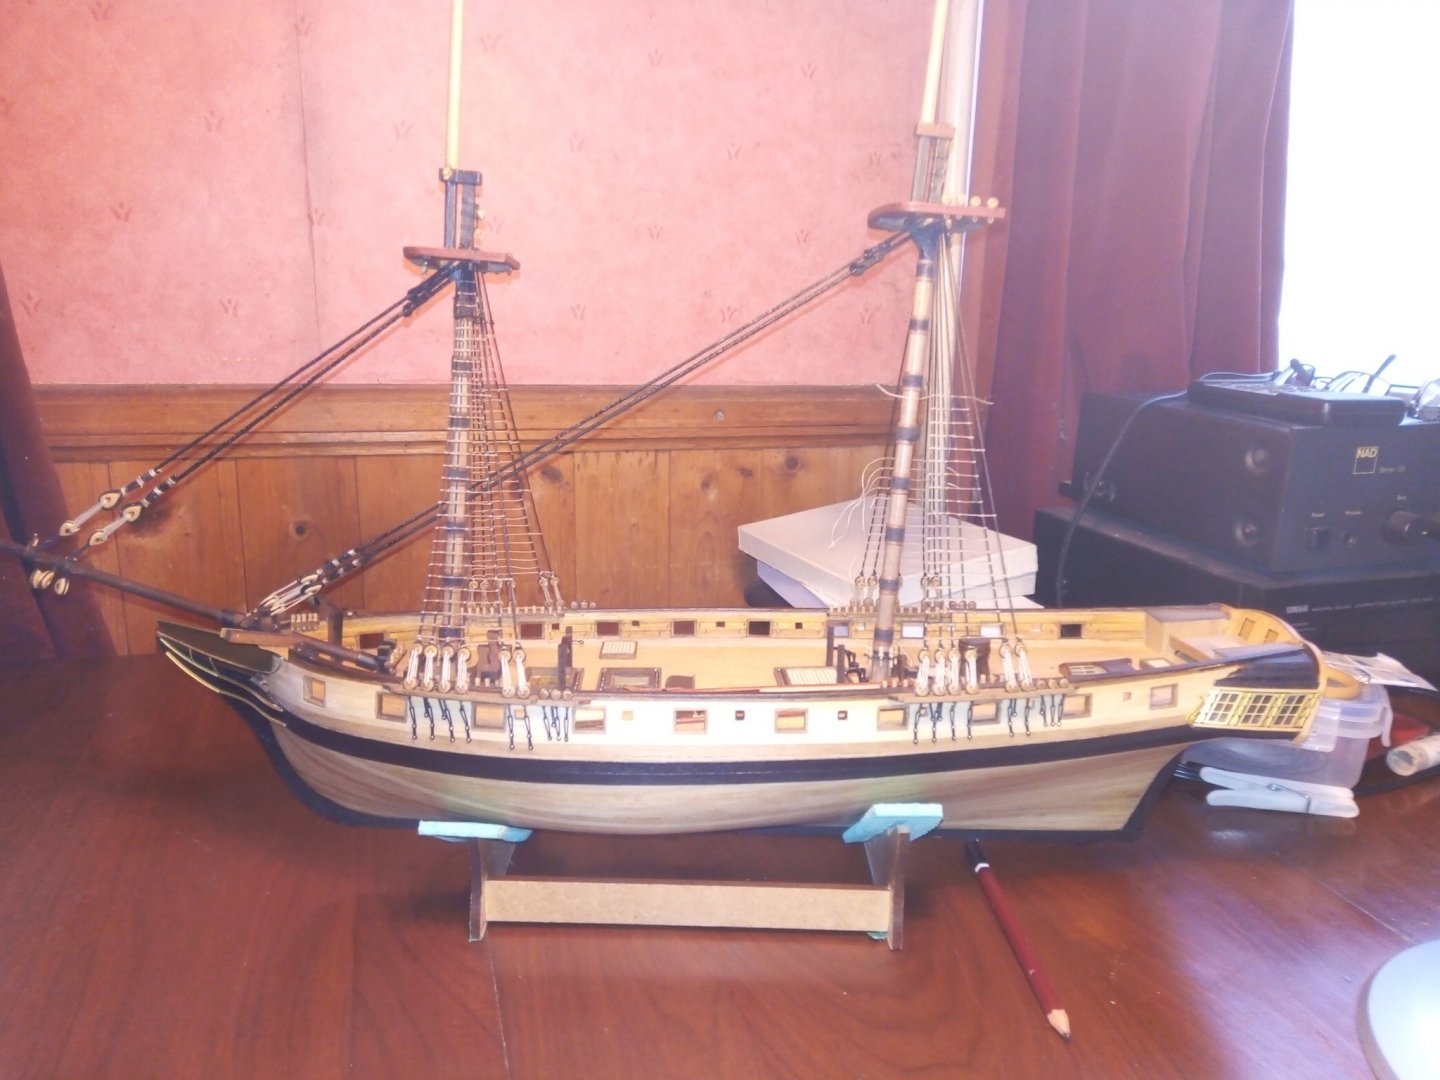
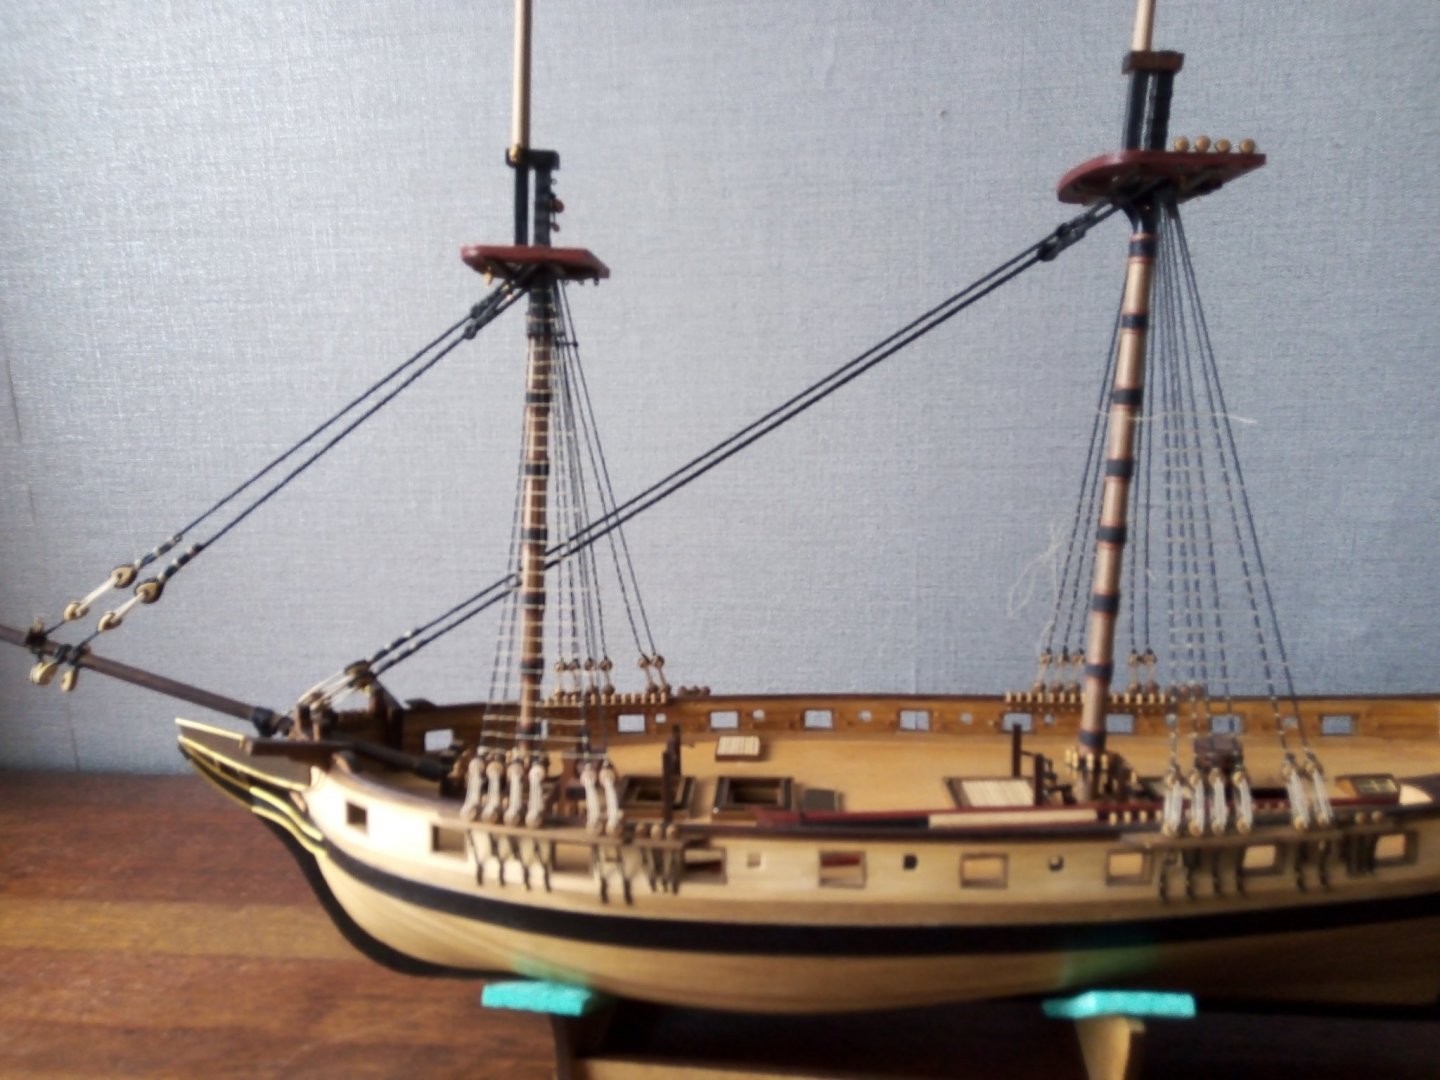
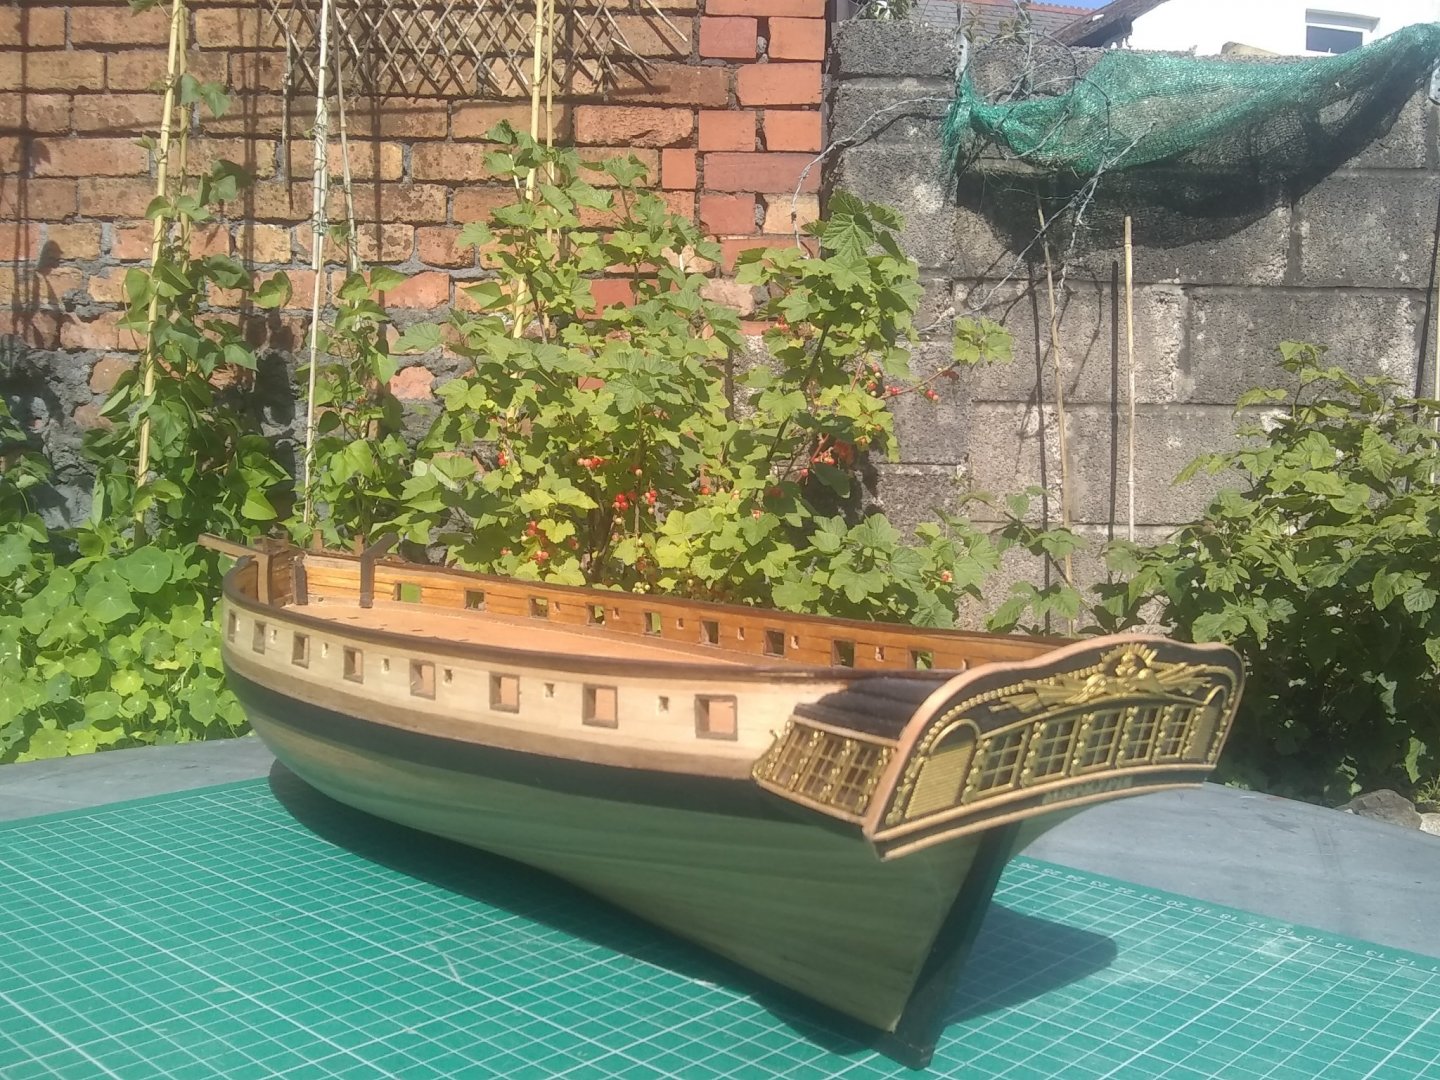
I haven't done any work on this brig for months now, for all sorts of reasons, but now it's time to get back to it and sort out a few obstacles so that I can get back into the swing of things. First of all, can anyone offer some advice on this one please? The Mercury kit provides 2mm and 1.6mm thread for the main and fore stays and their respective preventer stays. At 1:64 scale, this represents 128mm and 102.4mm diameters of rope in real size, or about 5 inch and 4 inch - i.e. nearly 16 inch circumference stays and 12.5 inch preventers on both fore and main masts. This seems huge to me - the stays are twice the thickness of the fore and main lower shrouds, for example. Granado's specifications for mainmast stay and preventer (as given in Peter Goodwin's Anatomy of the Ship volume) are 12 inch circumference (stay) and 8.25 inch circumference (preventer). The mizen stay and preventer are 7.5 and 7 inches respectively. I know Granado is an earlier generation vessel, and a ketch not a brig, but she's a similar size to Mercury, and I can't find any closer comparison data. The resolution of these photos is truly crummy, I'm afraid, but may give some indication of what these sizes look like on the model. I'd be grateful for any opinions from others on this before I re-do the stays with a smaller diameter thread - I'd hate to spoil the effect if heavy guage rigging really was a feature of early 19th century brigs!! Thanks, Tom.
- 21 replies
-
- 5
-
-
- mercury
- victory models
- (and 1 more)
-
Hi Robster I didn't use a stain on the deck - it's just a clear acrylic (satin matt) varnish. I did use a stain on the bulwarks - an acrylic oak colour, varnished afterwards - but I'm not too happy with the slightly patchy finish. Still, stuck with it now, unless I decide on a fairly drastic re-painting job after all. Also used a dark walnut stain on the capping rail, and on the lower masts. None of them came out quite as well as I had hoped. Strangely enough, I was thinking just before you posted your question of taking a few more photos of this brig this afternoon - I wanted some advice on rigging - so I'll get on with that right now. Best wishes, Tom.
-
tom kinglake reacted to a post in a topic:
HMBV Granado by Vane - Caldercraft - Scale 1:64
-
Looking good. Months have gone by since I did anything on my build (Mercury brig) - maybe I'll get round to posting something before too long.
-
tom kinglake reacted to a post in a topic:
HMBV Granado by Vane - Caldercraft - Scale 1:64
-
As far as I remember, I glued the extensions to the bulkheads when I was making Granado - you're sure of a tight fit if you do that - and they broke off easily enough when needed (I used pva and clamped the gunport patterns on), although some sanding was needed to get the last of the glue & wood off. I would rather use pva for this job - you have to get the fit right, and CA can grab too fast too allow this. As advised in the instructions, I used CA for most of the 2nd planking on Granado, but for Mercury I've gone over to pva, using CA only to stick the plank to the stem and first bulkhead. I find it's easier to manage and doesn't mark the wood as badly. And I soaked the gunport patterns, but just once. Are they plywood? (can't remember) - mind you don't over soak them and make them buckle up. I have wondered sometimes whether gluing thick paper to the bulkhead extensions before gluing on the gunport patterns would be an idea - maybe it would hold the patterns in place properly but would make removal easier - but I've never tried this. Yes, I agree with Vane that cutting out the oar port holes could be a good idea at this stage - in fact I don't know why they're not pre-cut in the patterns as supplied. I didn't think of this issue until it was too late and had stuck the oar port lids on!! And I agree with Vane also about the difficulty of getting small holes to look good - I'm not 100% pleased with the results I've got with my Mercury brig, but there it is. At least with the Granado kit you only have to worry about the appearance of the oar ports on the inboard side (assuming that you're going to fit the port lids in the closed position).
-
tom kinglake reacted to a post in a topic:
HMBV Granado by Vane - Caldercraft - Scale 1:64
-
Yes, the colour variation in walnut is a problem. Even similar looking pieces can change colour slightly when varnished. Another worry I had while aiming at a bare wood finish for Mercury was the effect that glue marks can have on untreated wood: whether using CA or PVA, if you get glue on the surface of the wood (and it's impossible not to), it won't take the varnish (or dye) properly at a later stage. So to try and avoid this, I varnished all the planks that I'd selected for the second planking before I glued them on. This seems to have worked fairly well so far.
-
Very nice looking wood work - congratulations. I'm trying to get a similar effect with my Mercury brig at the moment, using only a minimum of paint when necessary. I white painted my Granado below the waterline, but wish now that I'd taken more care at the 2nd planking stage in order to be able to leave it visible.
-
tom kinglake reacted to a post in a topic:
HMBV Granado by Vane - Caldercraft - Scale 1:64
-
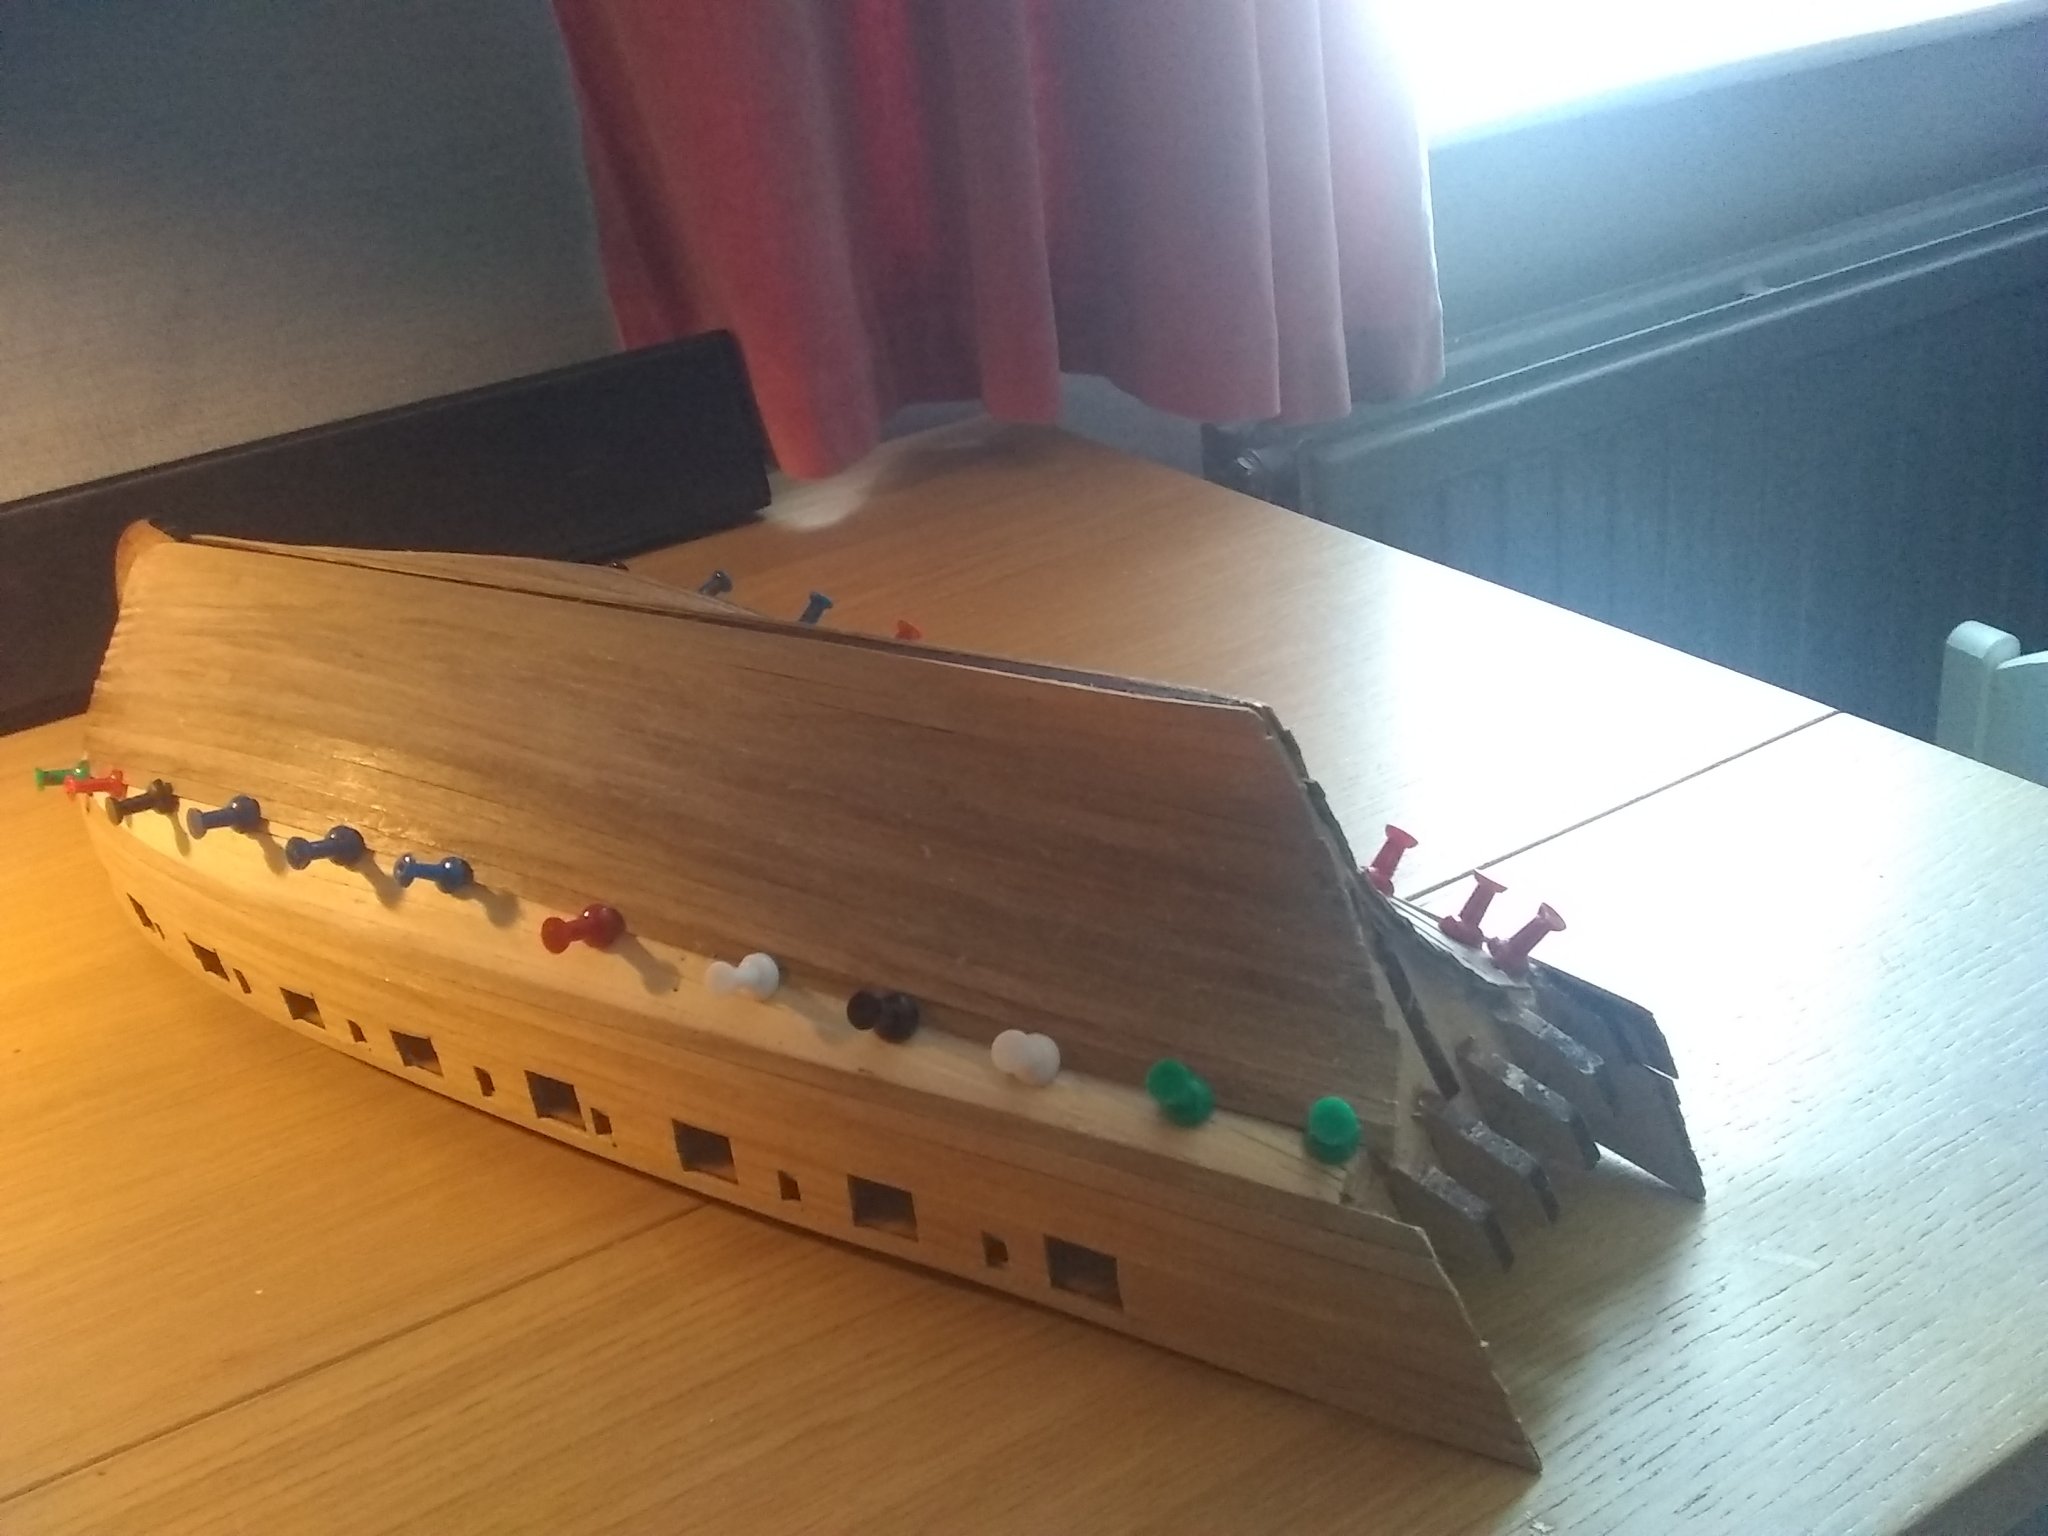
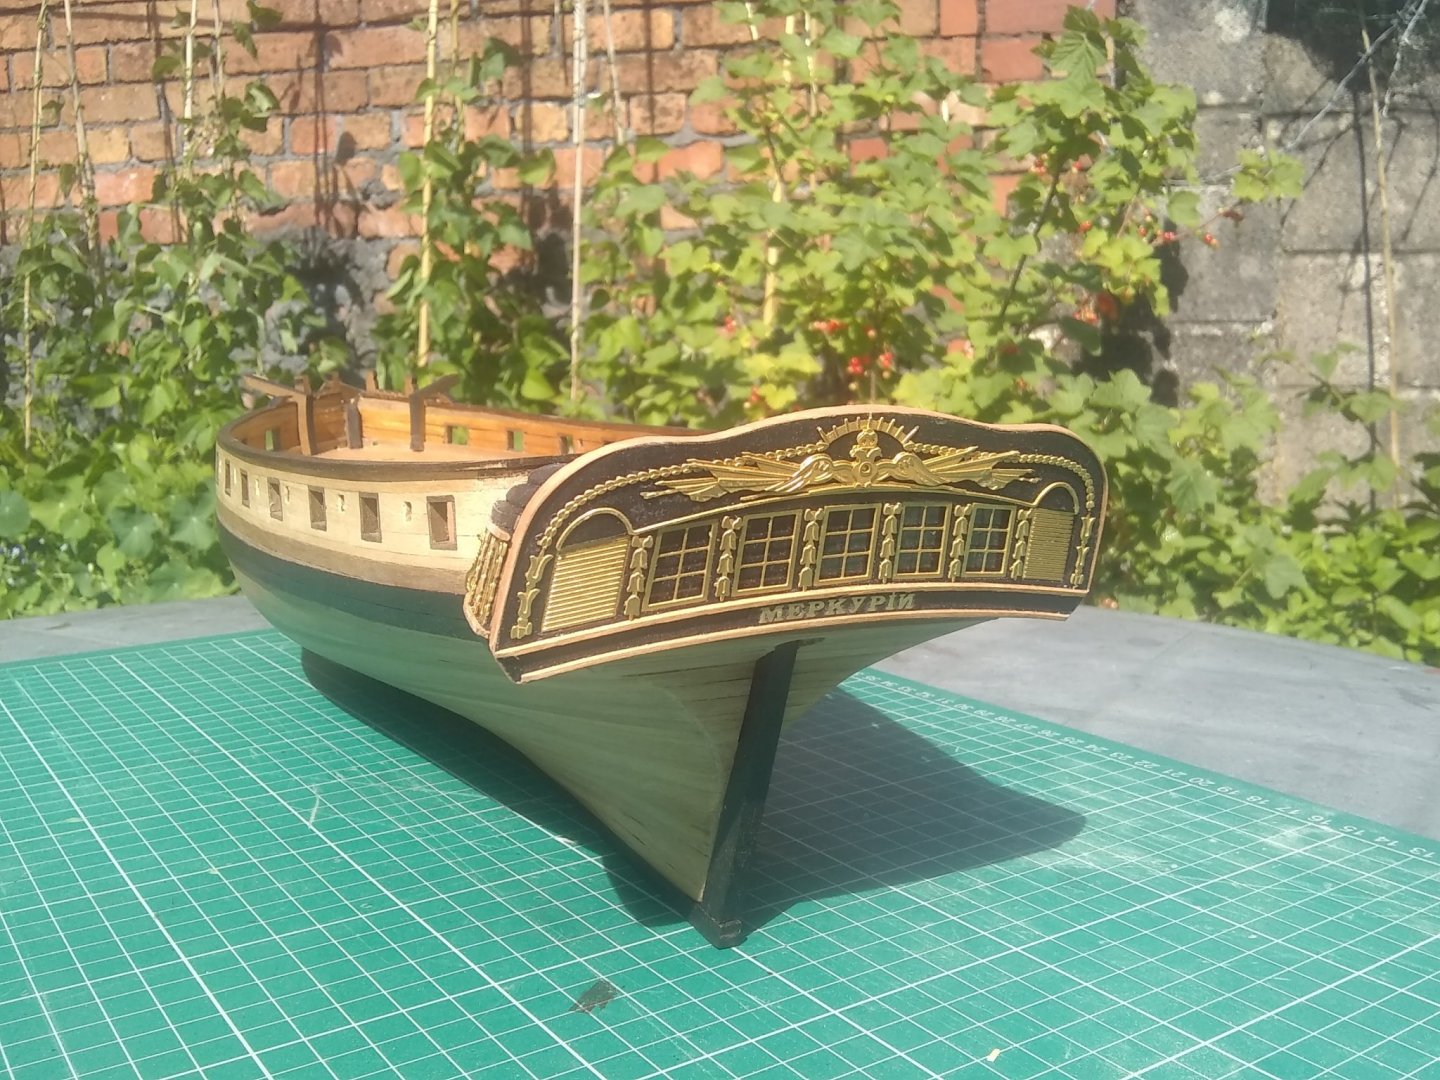
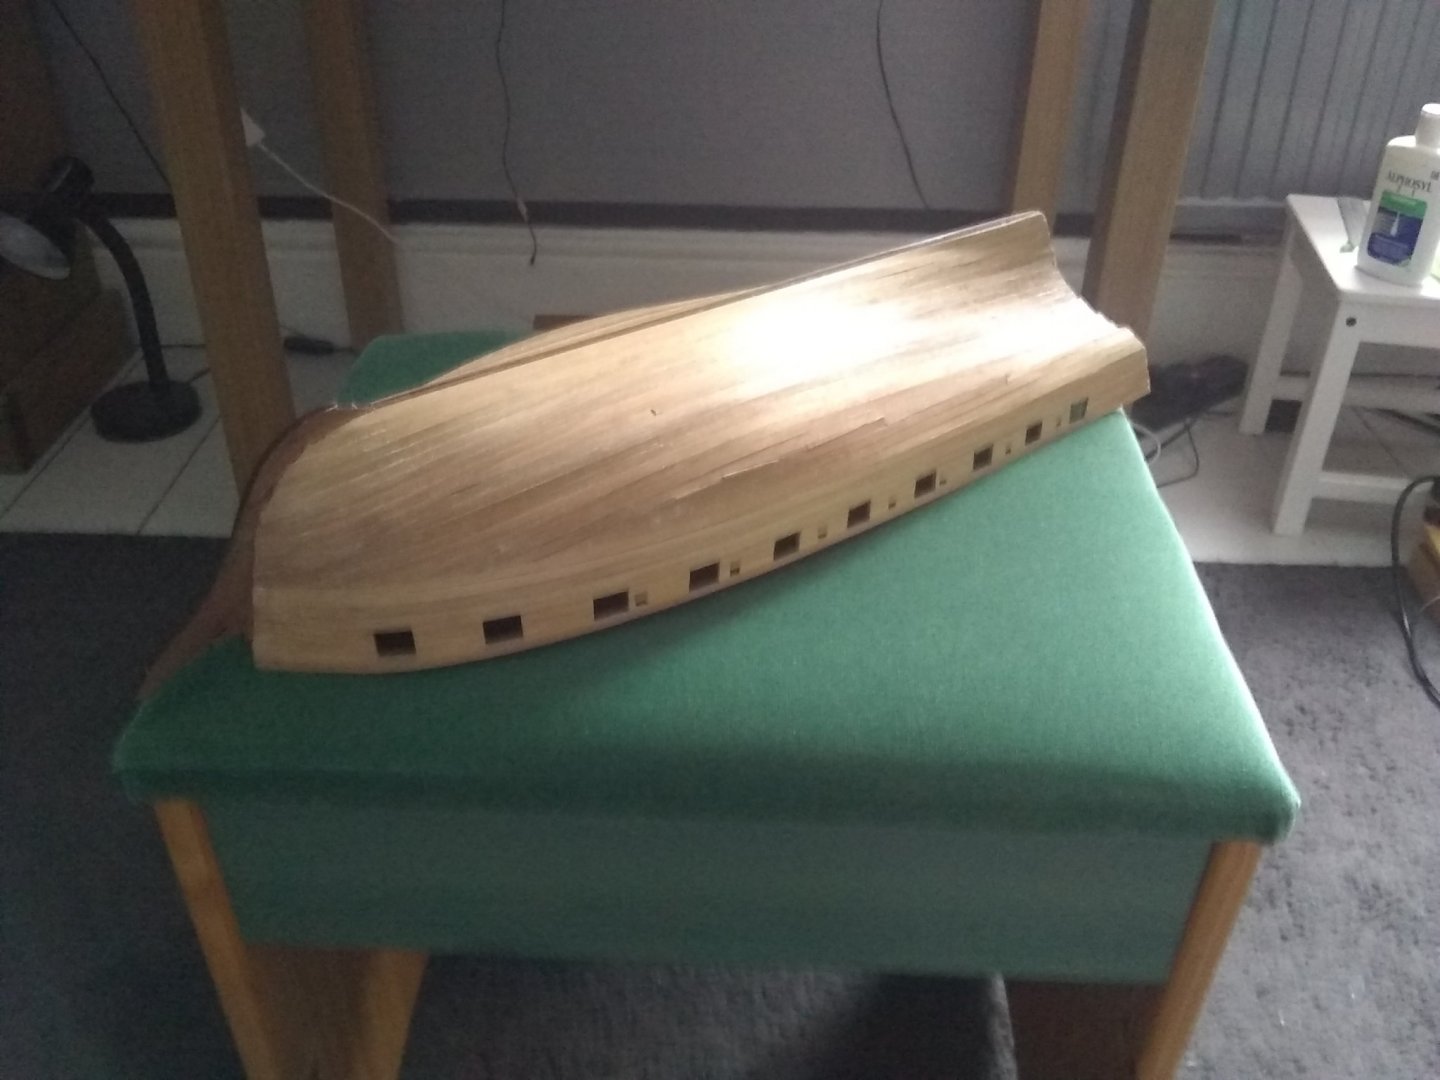
f Quite a time since I posted anything on this log, so here goes... First of all, the above pic shows what happens if you don't read the instructions properly! I should have planked the stern counter before starting the second planking of the main hull - why I didn't remains a mystery - but now as a result I have two unsightly gaps to deal with, not to mention the rather crummy looking join of the hull planking with the stern. Oh well. Getting the deck installed. The clamps worked nicely, the map pins not so well as some of them have left scratches on the deck where the lower edge of the plastic part bore down on the wood. Anyway, it's gone on well enough. Getting the transom on. This was easier than I thought it was going to be. So this is about where I am with this build at the moment. As things are, I've decided to go for a minimal use of paint throughout, with the exception of black for the wale, stem, keel, rudder post & transom. No waterline, no coppering. Unless I change my mind again!

.thumb.jpg.c89214016e51aadd7f61eb0789edf3a1.jpg)
- 21 replies
-
- 7
-
-
- mercury
- victory models
- (and 1 more)
-
Fantastic work! the detail you have achieved is incredible, especially considering the small scale of this model. Some years ago I tried my hand at the Trumpeter Tsesarevich kit, but after a struggle (just spelling the name was hard enough), I abandoned it. Looking at your pictures makes me wish I'd kept at it, though I doubt I'd ever have got near this level of skill!
-
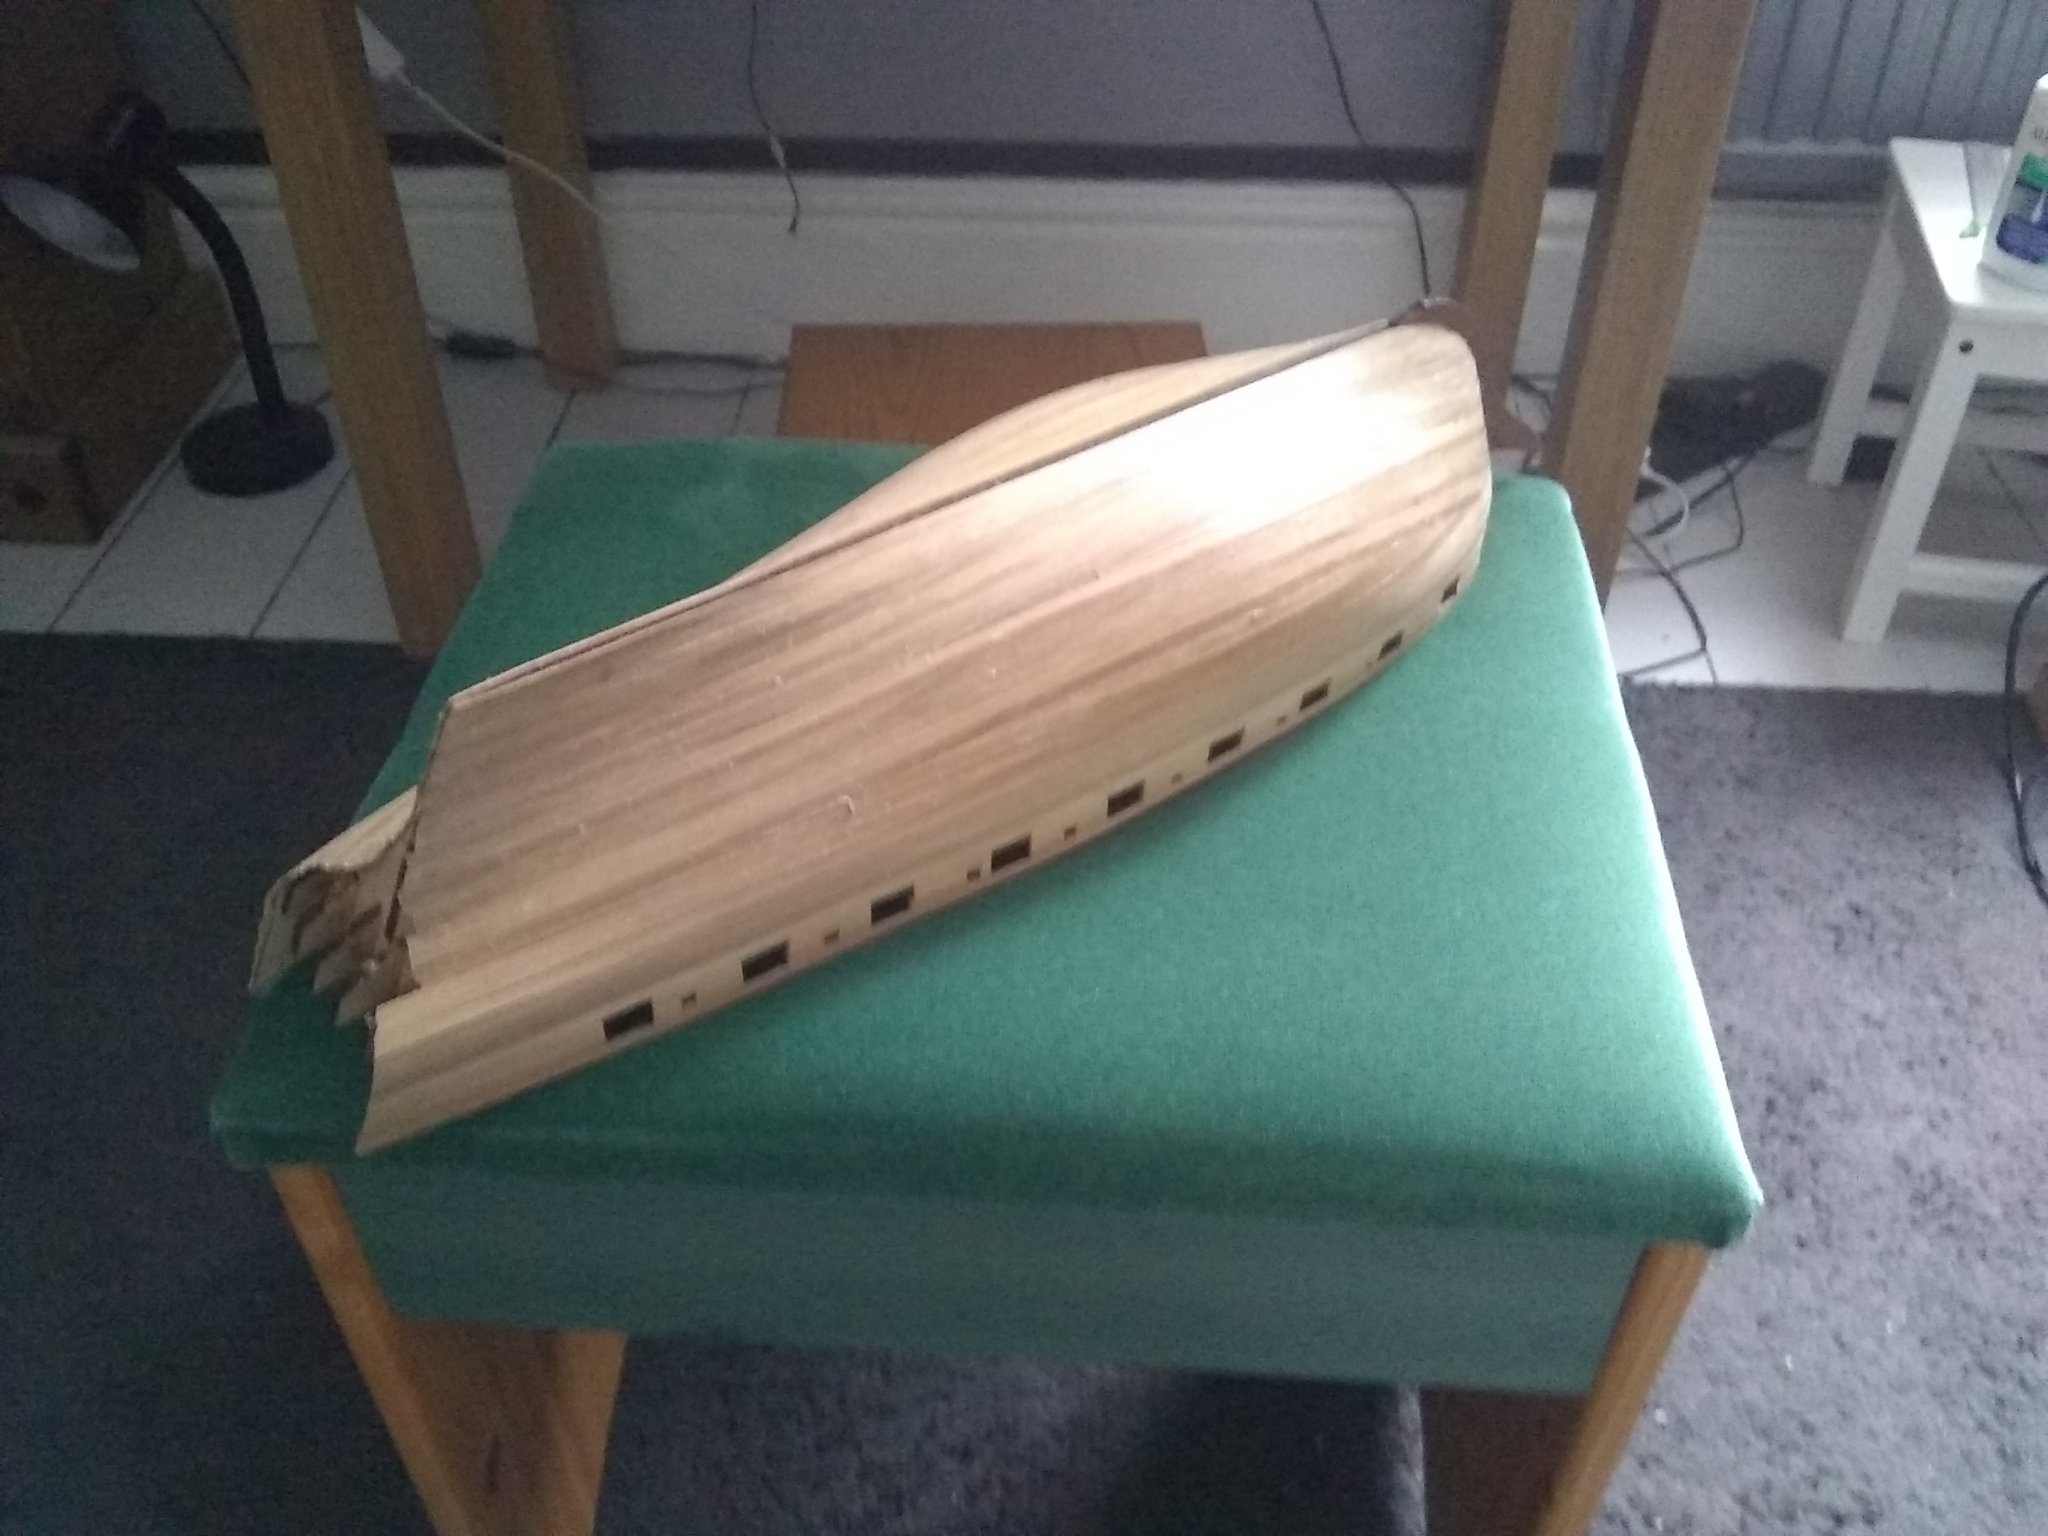
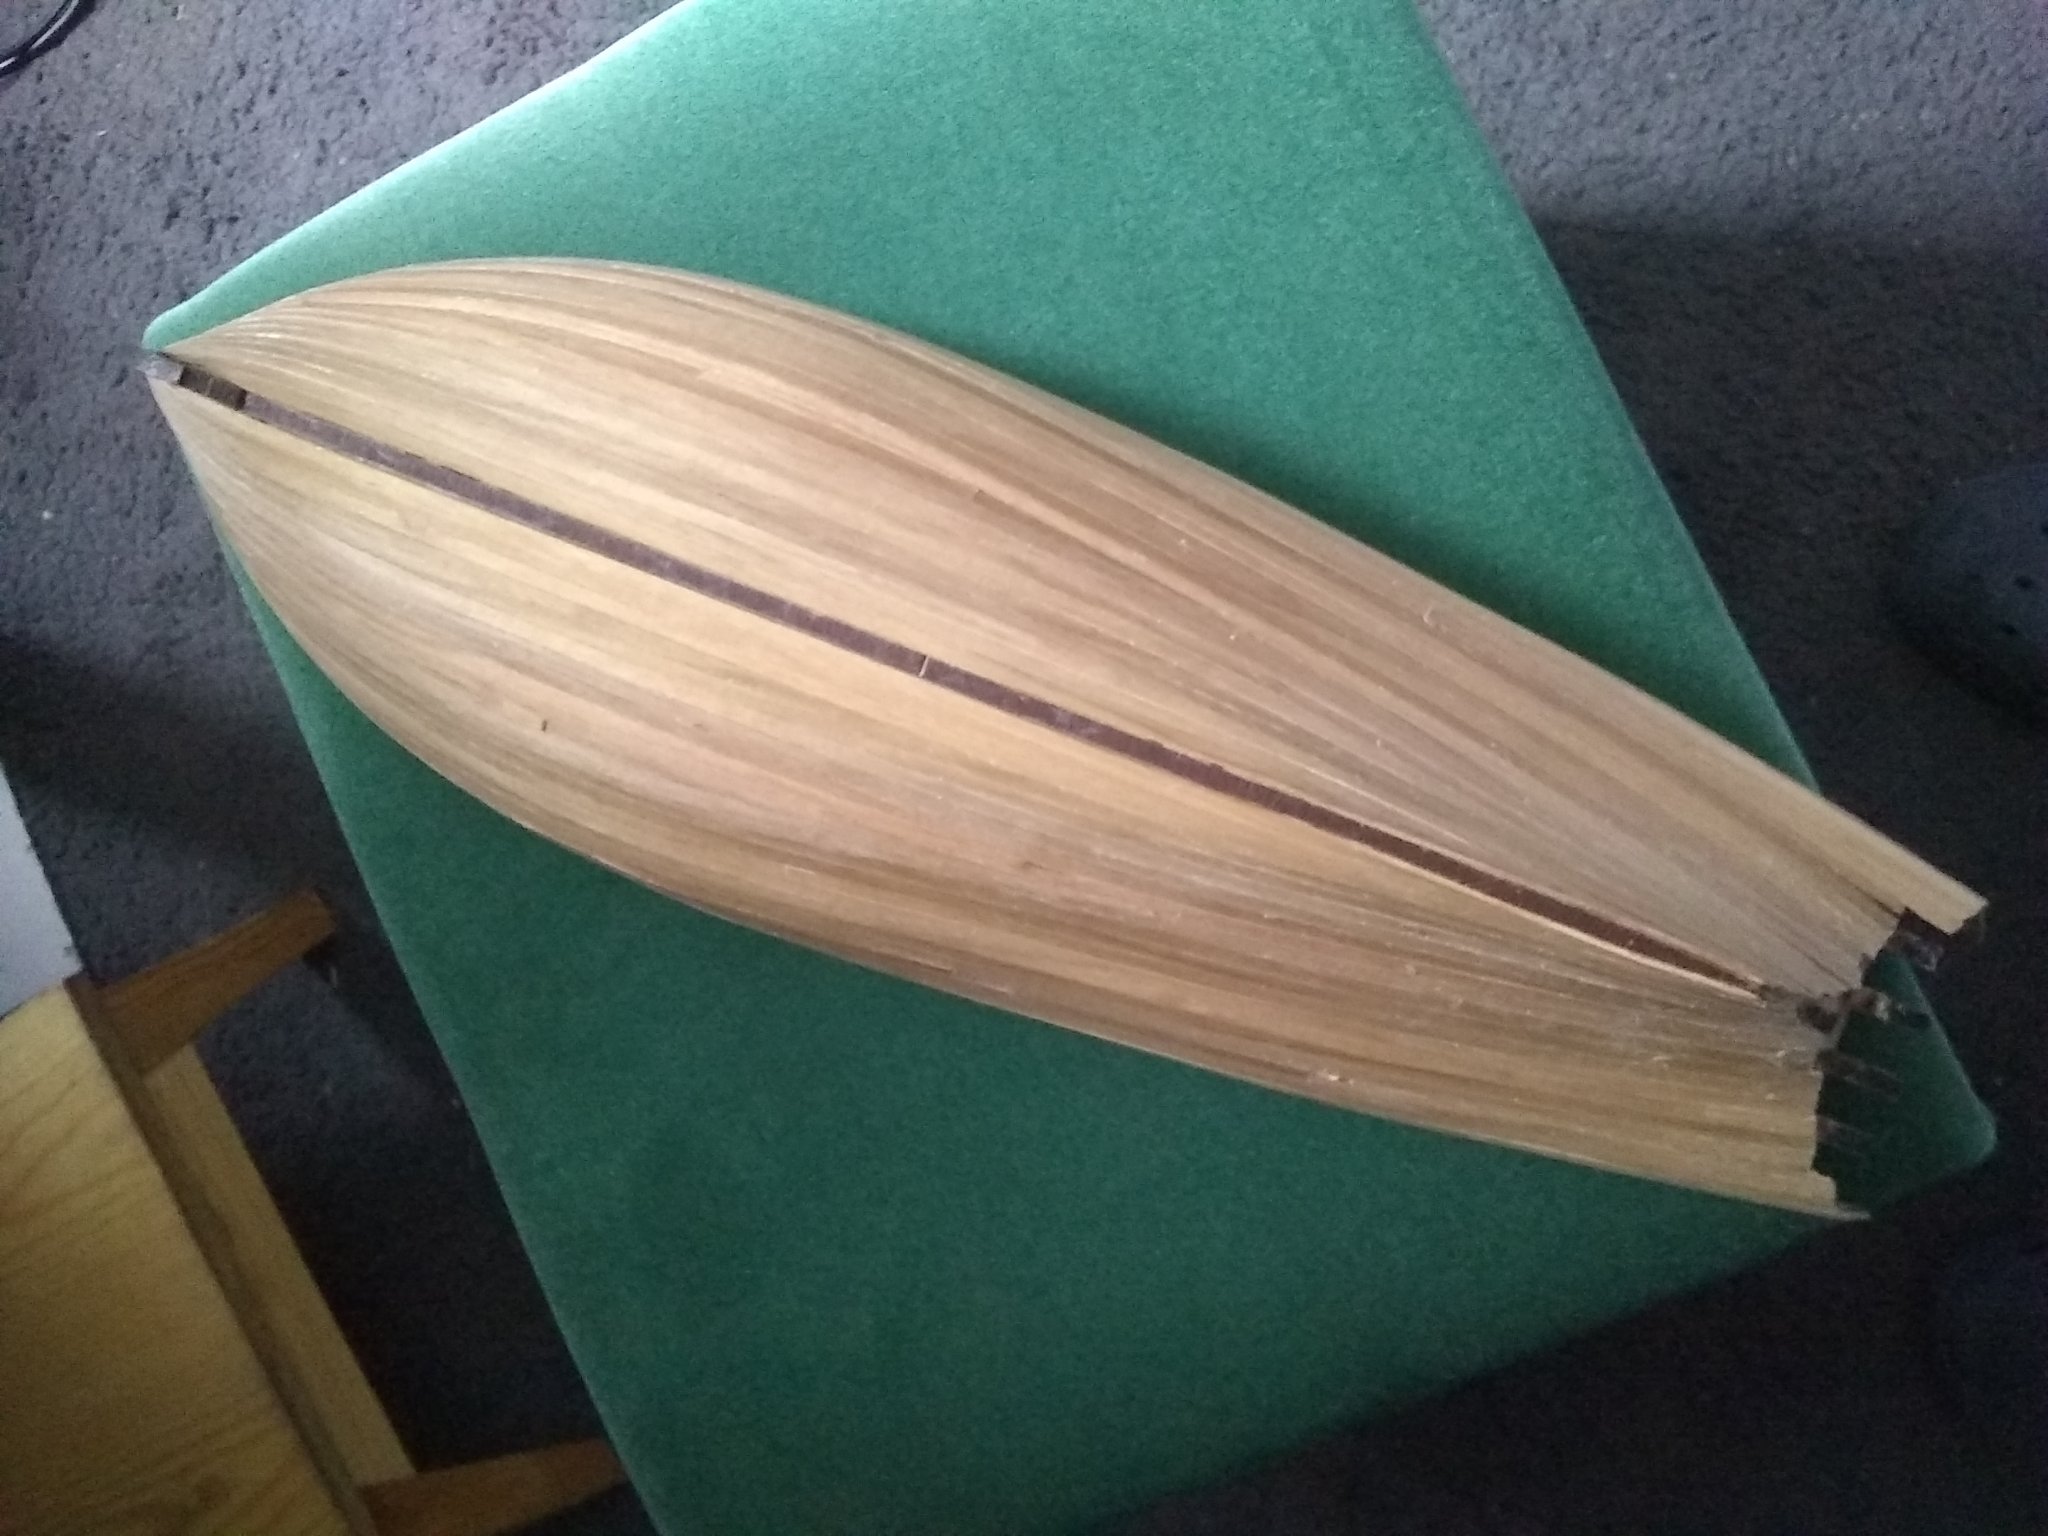
Second planking finished! (well, except for the little bit at the stern). Now for some fun.


- 21 replies
-
- 5
-
-
- mercury
- victory models
- (and 1 more)
-
Hi Glenn I was looking at your Pegasus pictures only this morning - terrific build, many congratulations! Same for Granado. Granado was my first (recent) attempt, Pegasus came straight afterwards. My brig Mercury is coming along, but at the moment I don't feel quite as enthused about it as with the others - not yet, at least. The other day your pictures of Lady Nelson made me start thinking that I might have a try at that kit for my next... Best wishes, Tom.
-
Hi Mark, Exactly the same happened to me a couple of weeks ago - I coppered the entire starboard side of my HMS Pegasus, didn't like what I had spent 2 days doing, and pulled the lot off again in half an hour (used a pair of thin nose pliers). I found that removing the glue residue was possible, though quite hard work, but for the time being I put on 2 coats of acrylic paint (matt white plus yellow ochre), which before long can come off again when I get round to completing the sanding down of the rough parts of the surface (in the meantime, the roughness gives it quite a convincingly worn & weathered look, I thought!) Have a look at the pics in my Pegasus build log. But don't give up!!! Best wishes, Tom.


.jpg.f292a5985cebd1d02c58088a8a207fc4.jpg)