-
Posts
571 -
Joined
-
Last visited
Content Type
Profiles
Forums
Gallery
Events
Everything posted by Duanelaker
-
- 114 replies
-
- small
- Peterboro Canoe
-
(and 2 more)
Tagged with:
-
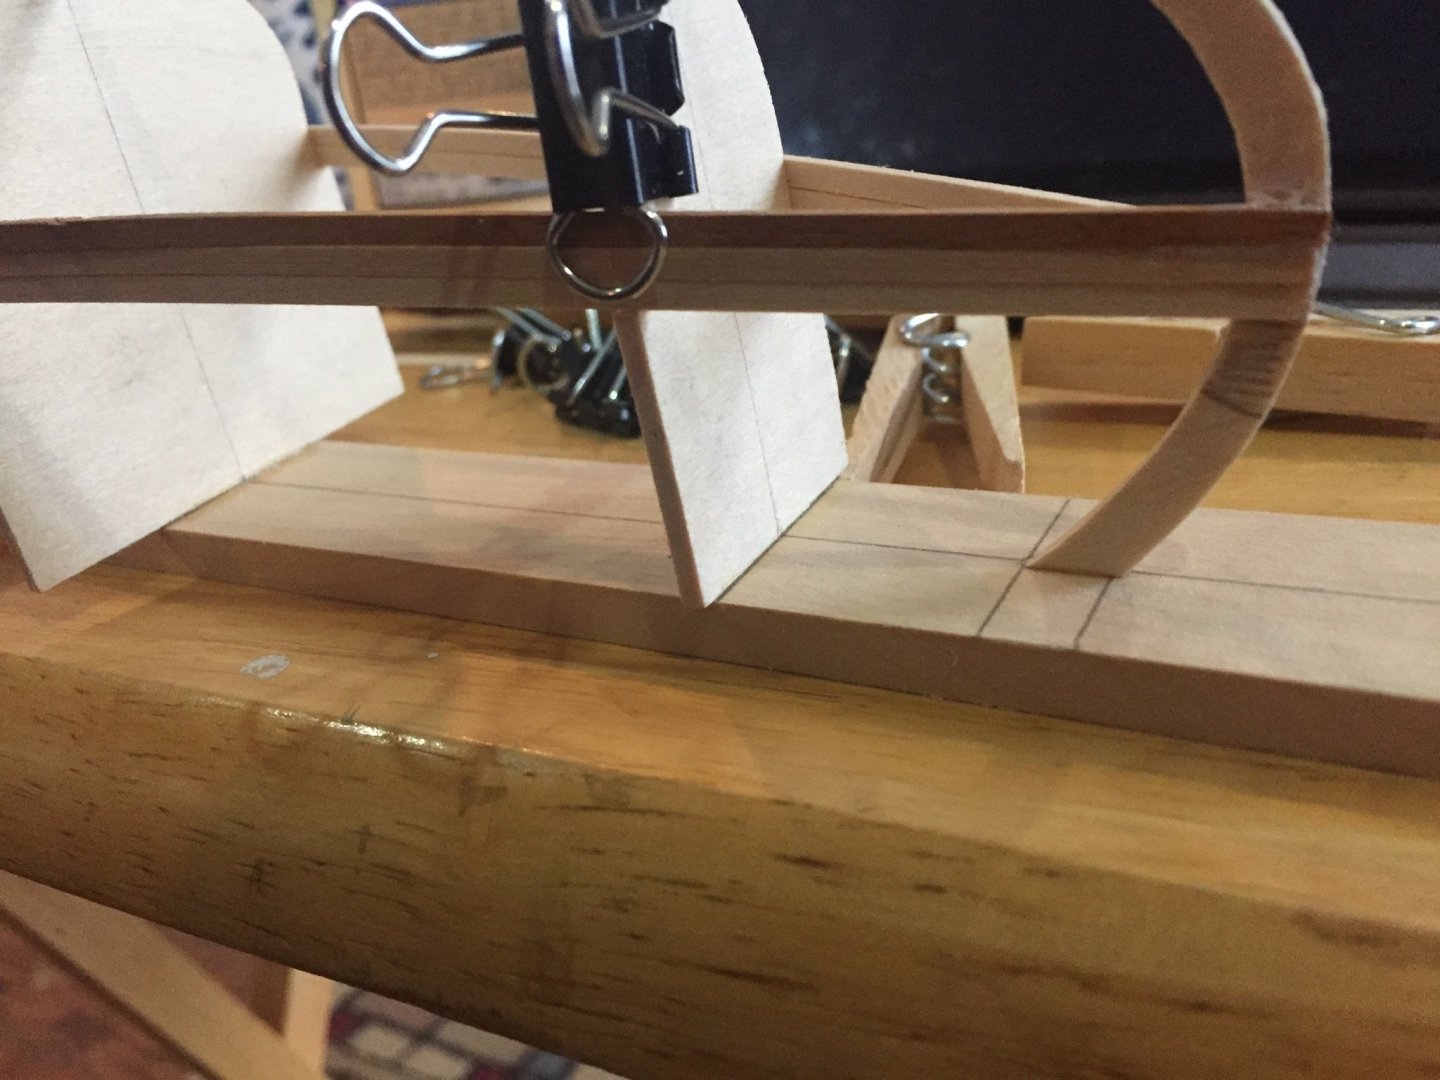
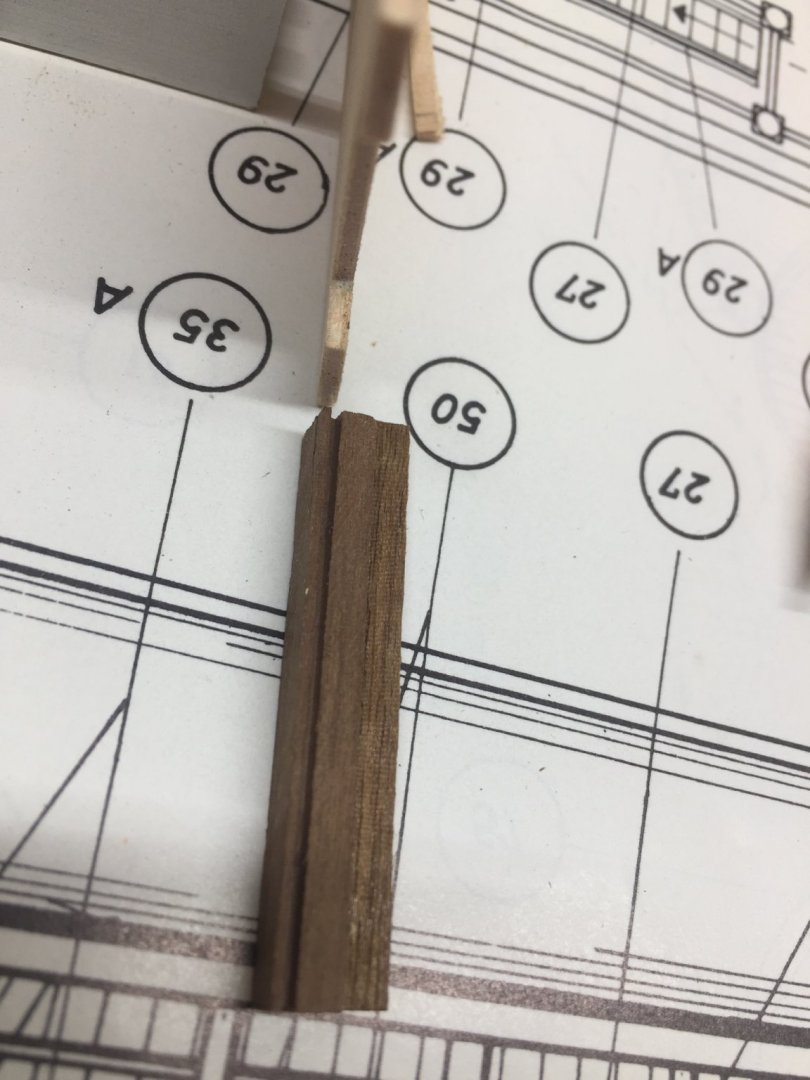
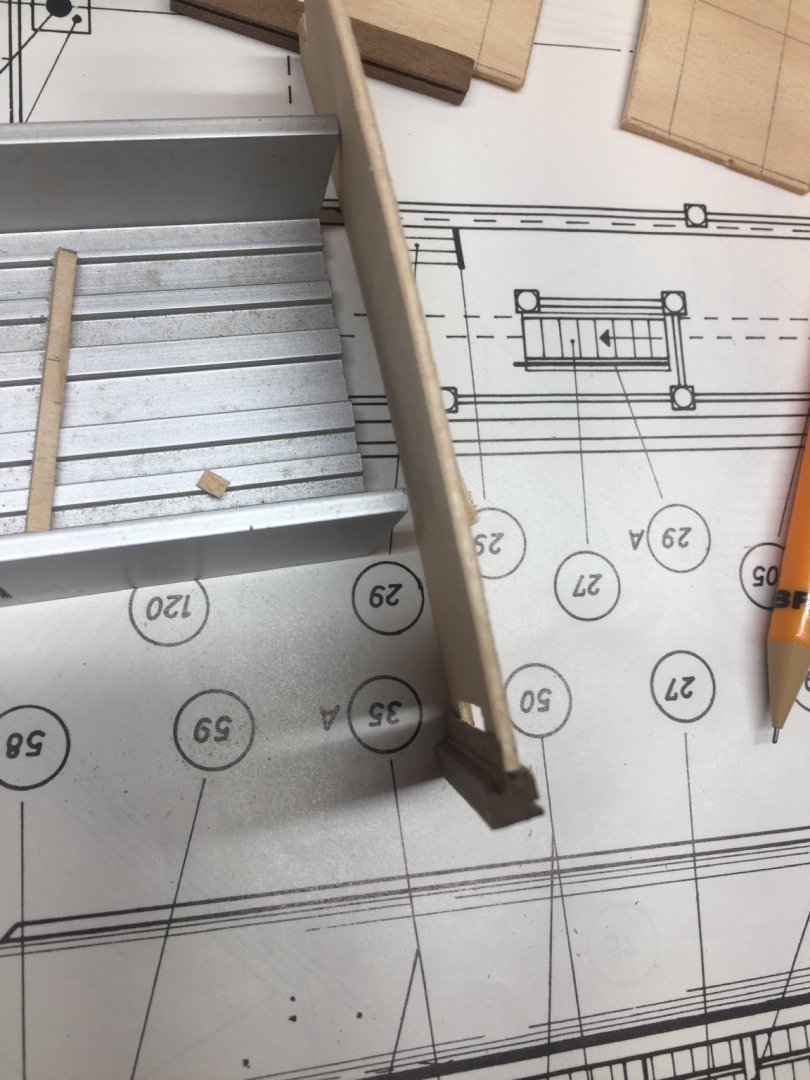
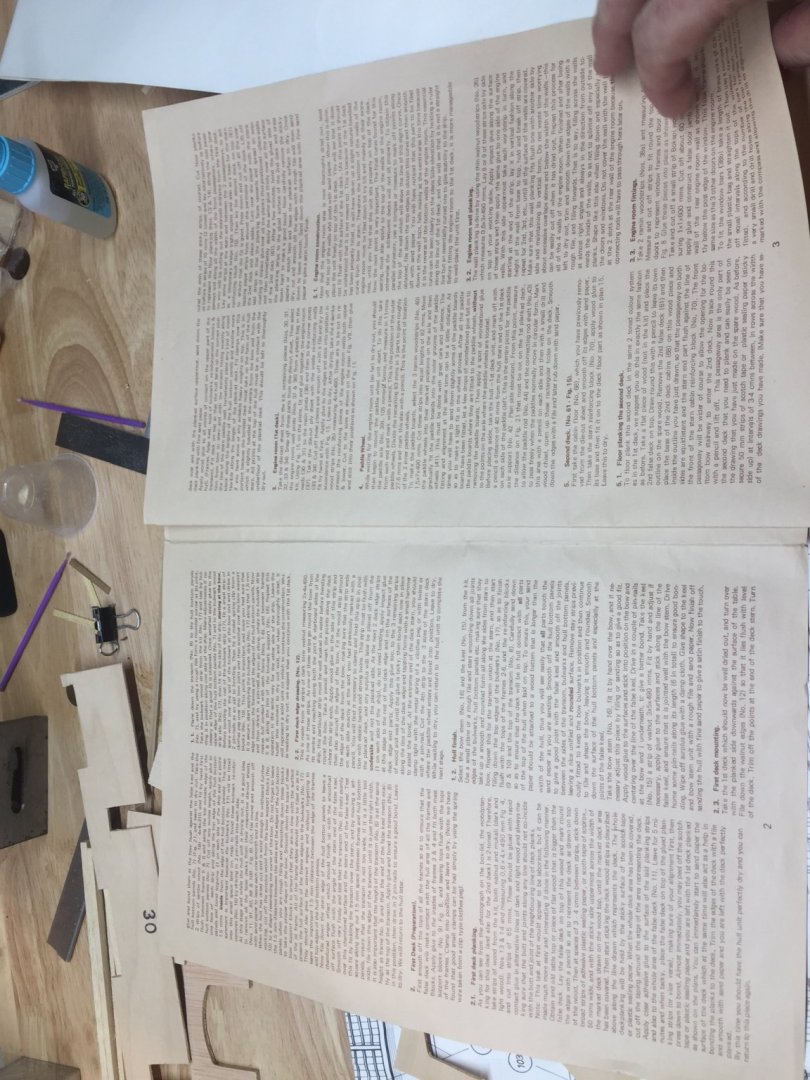
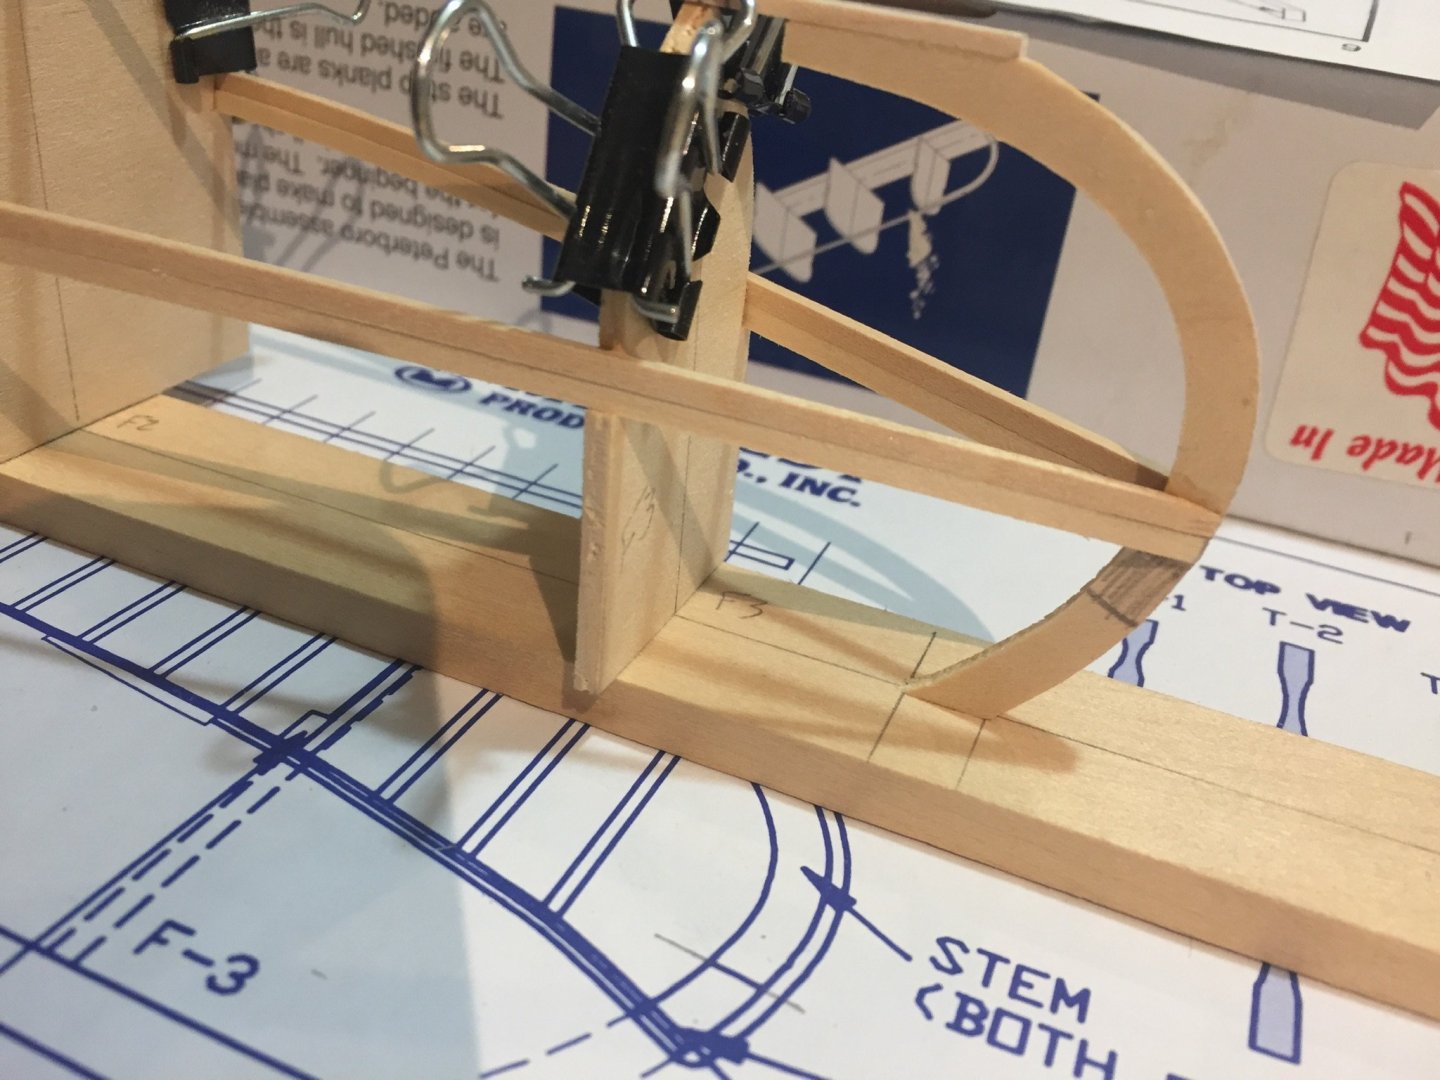
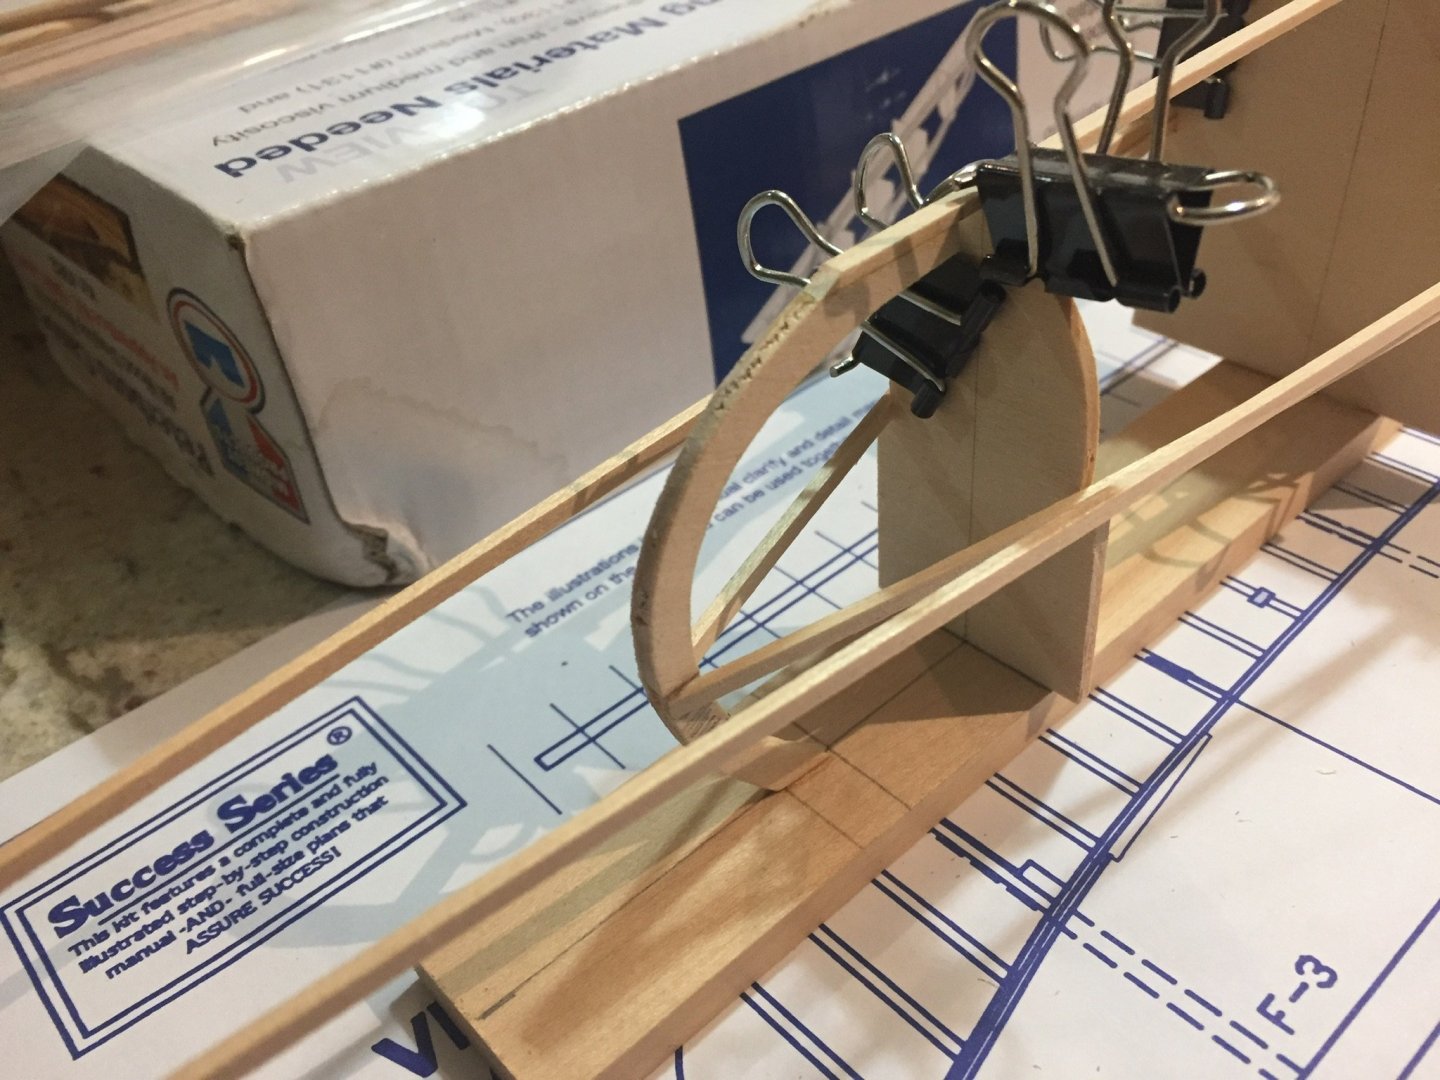
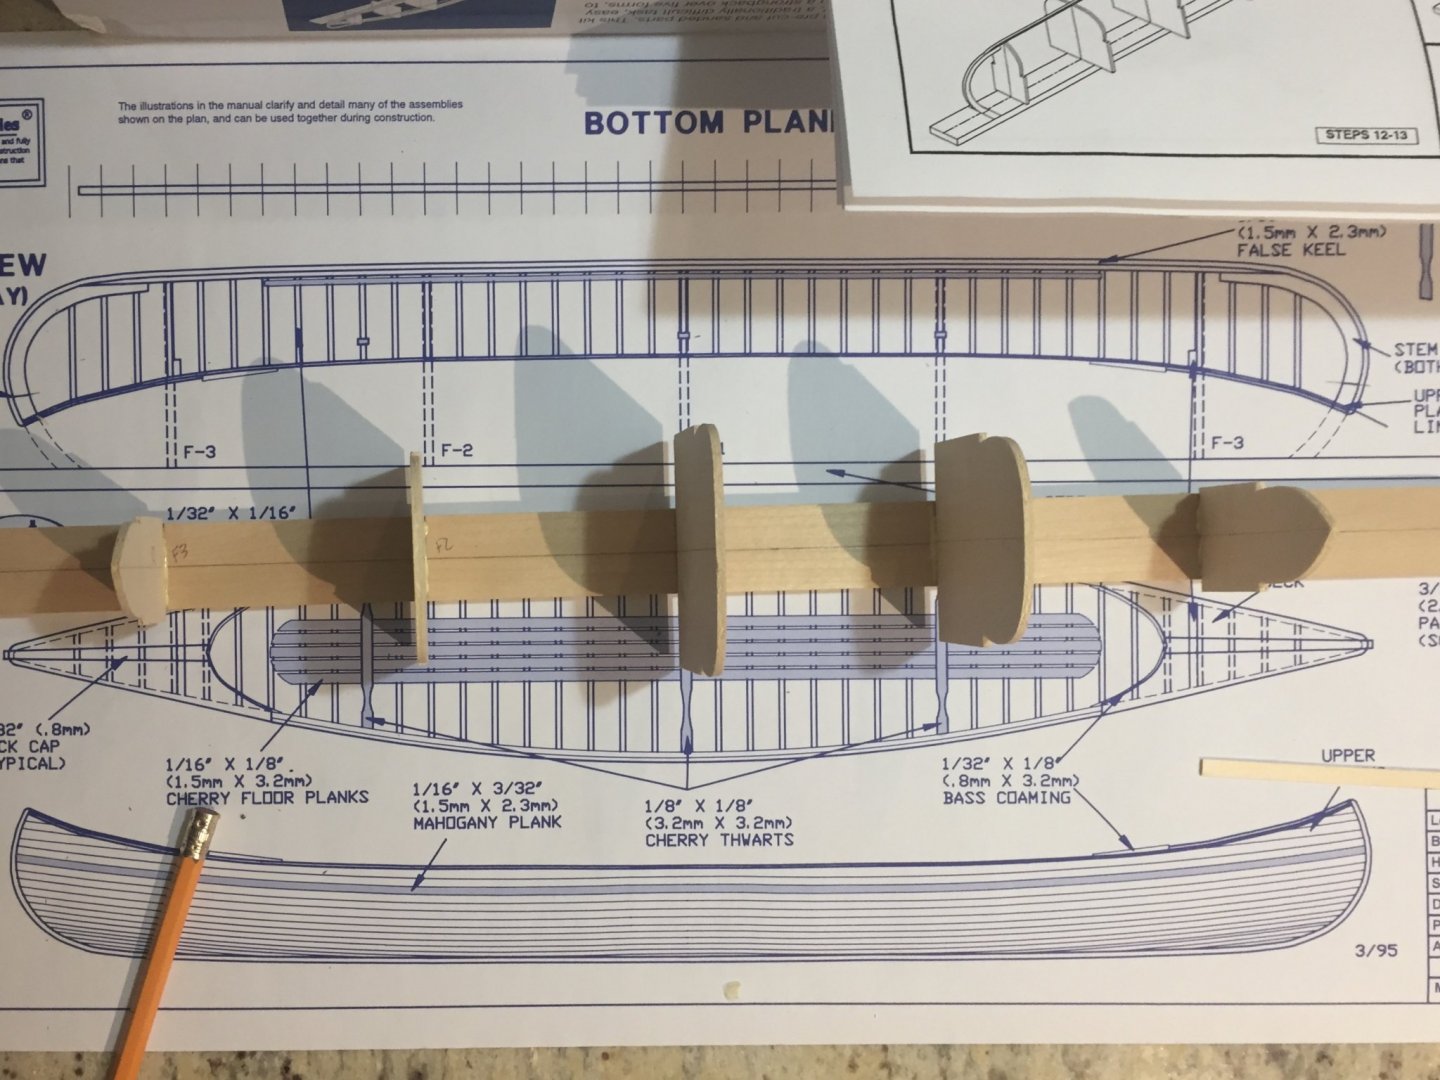
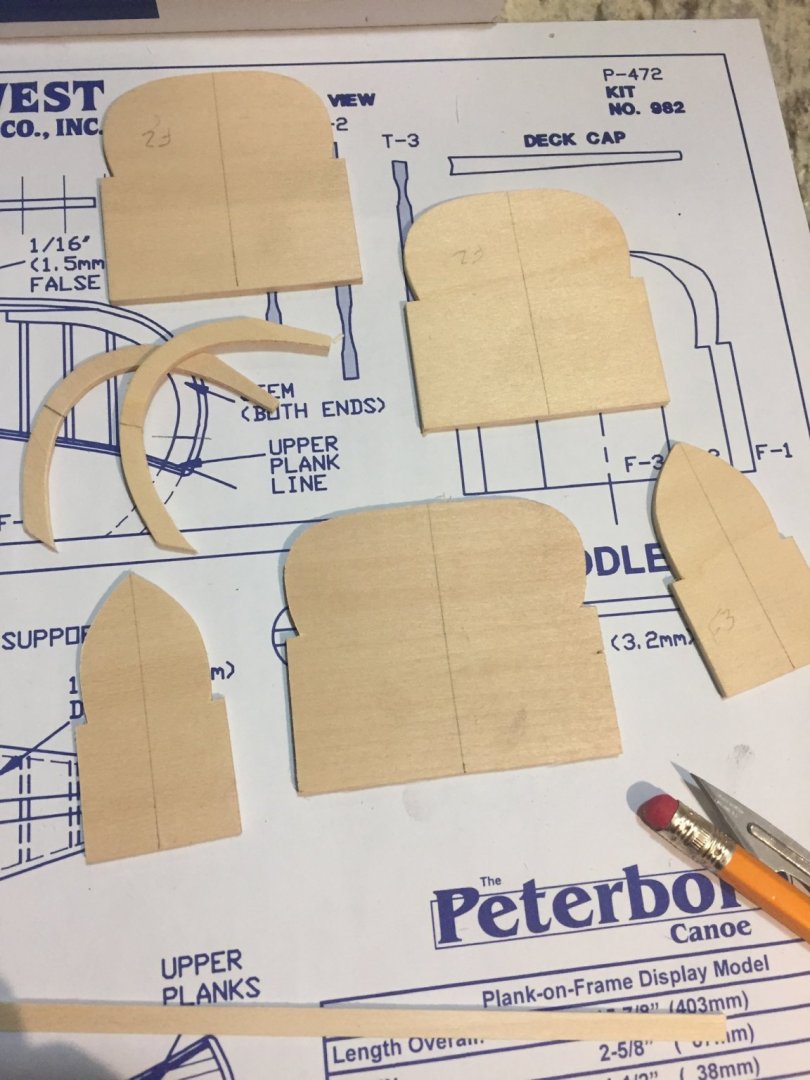
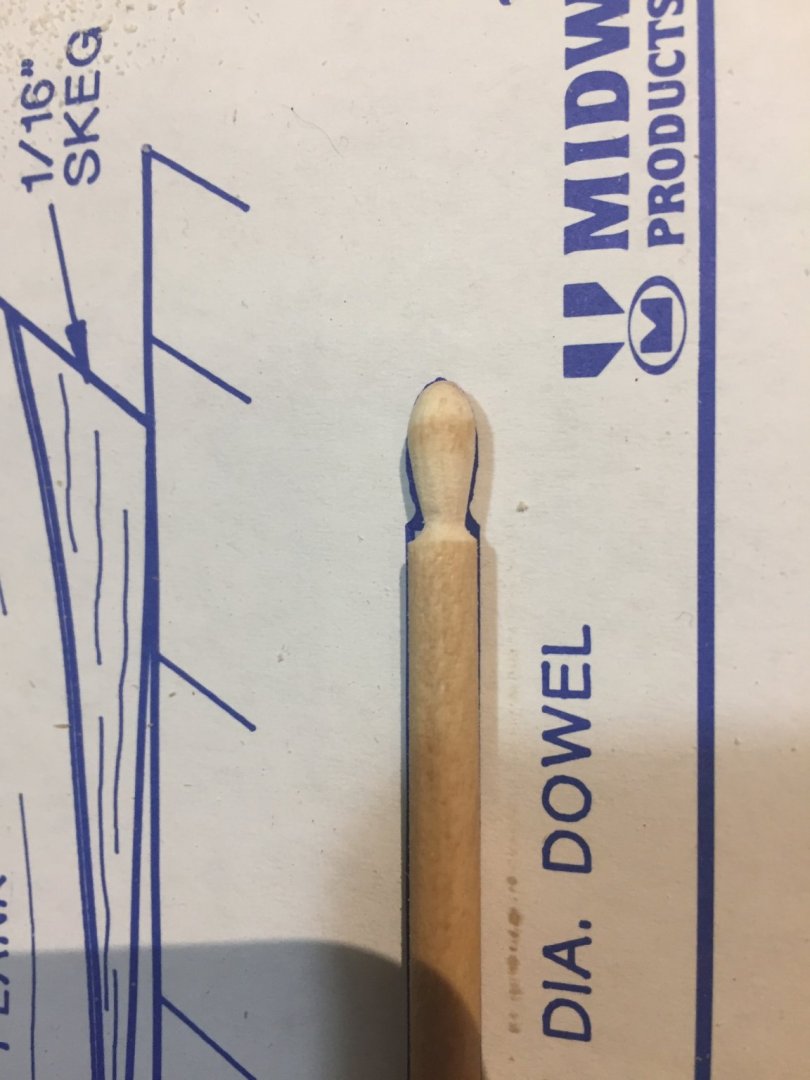
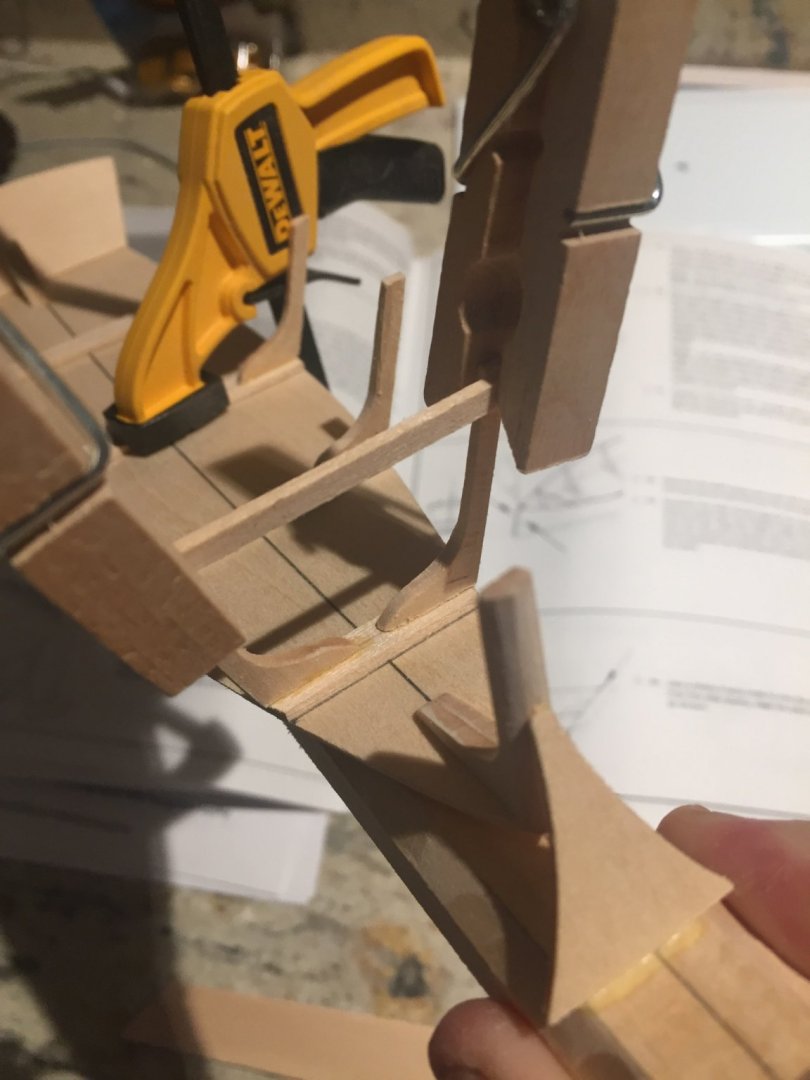
Putting together the engine room and all of the bottoms structures will be fun...I’m doing my best to read, check against the drawings, look at the pictures, think about it.... this pictures shows you how the slot is not nearly wide enough for the plywood...but I need to figure out how to make the structures the correct size and maximize glueing and strength, without creating interference. Fun!
-
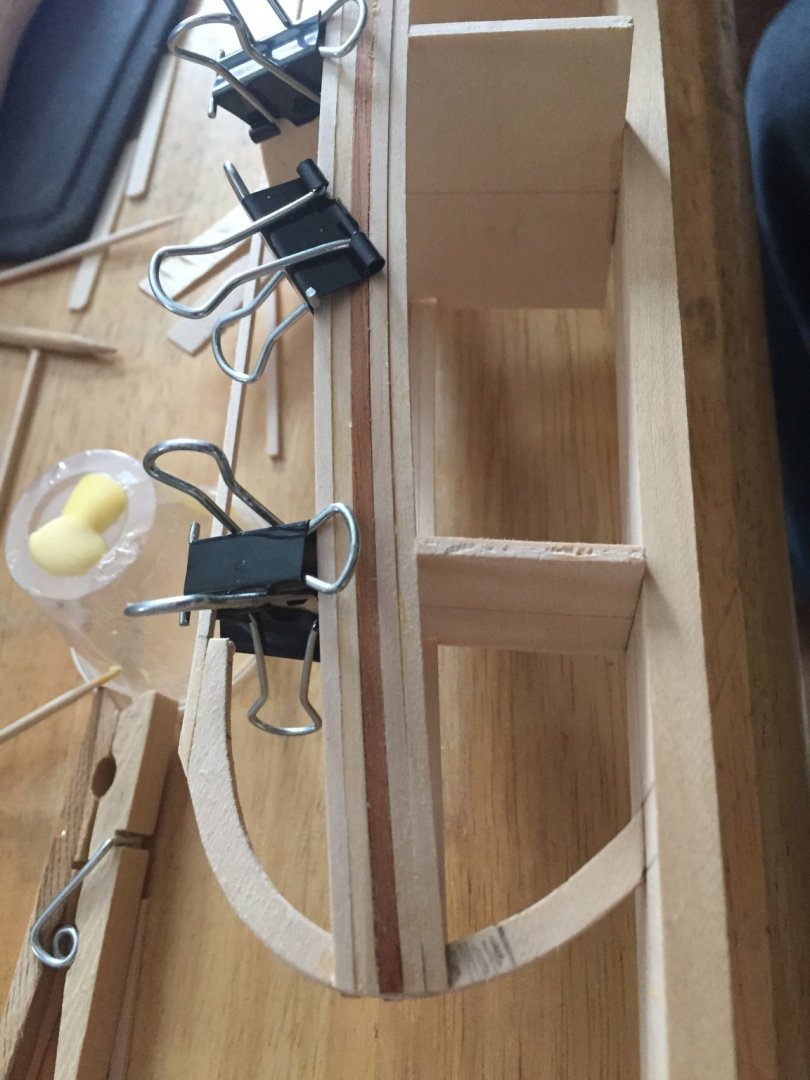
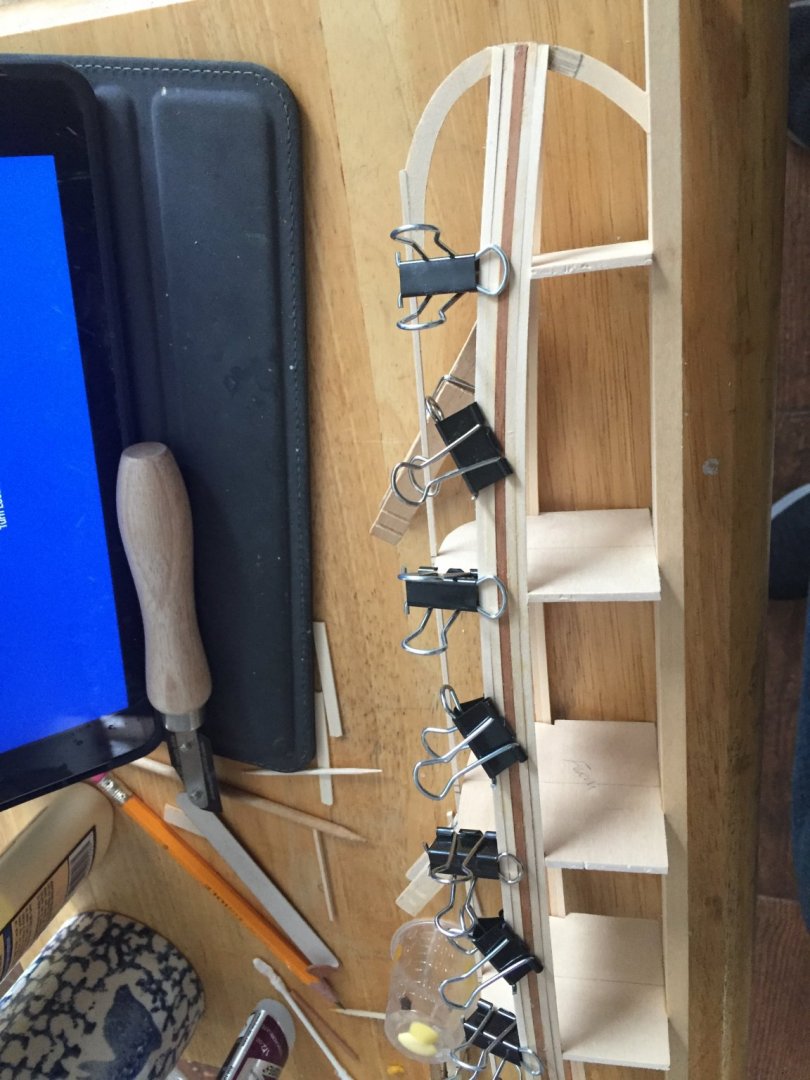
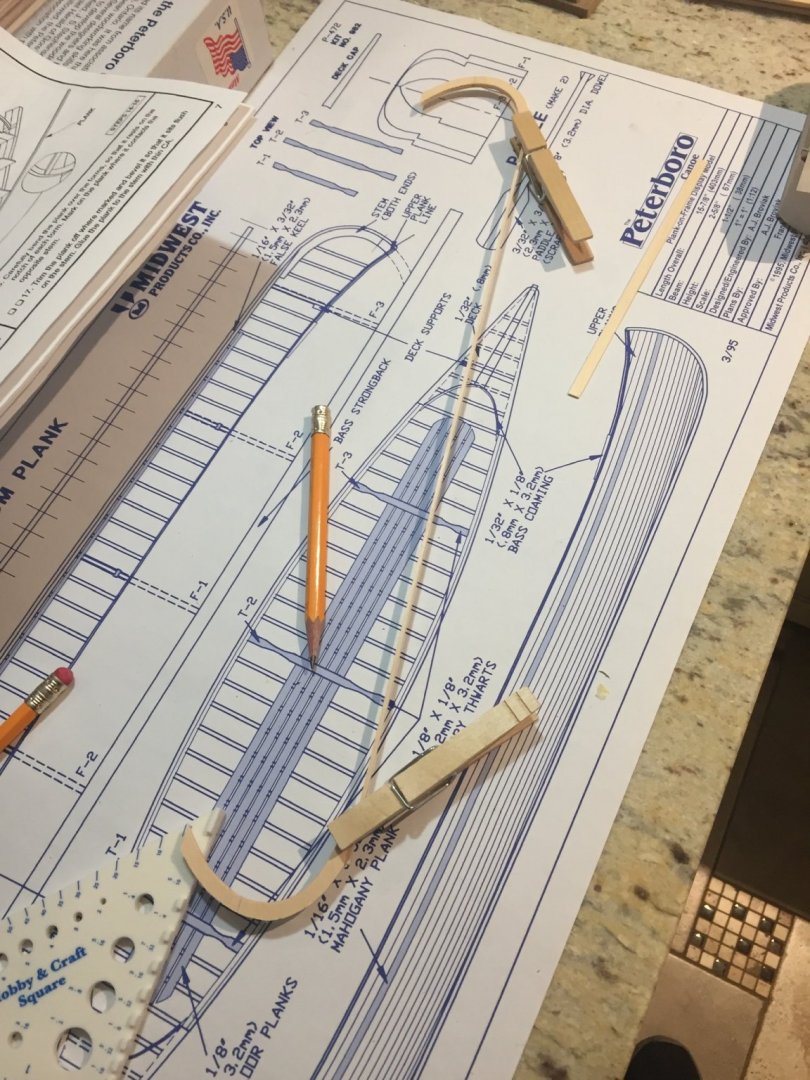
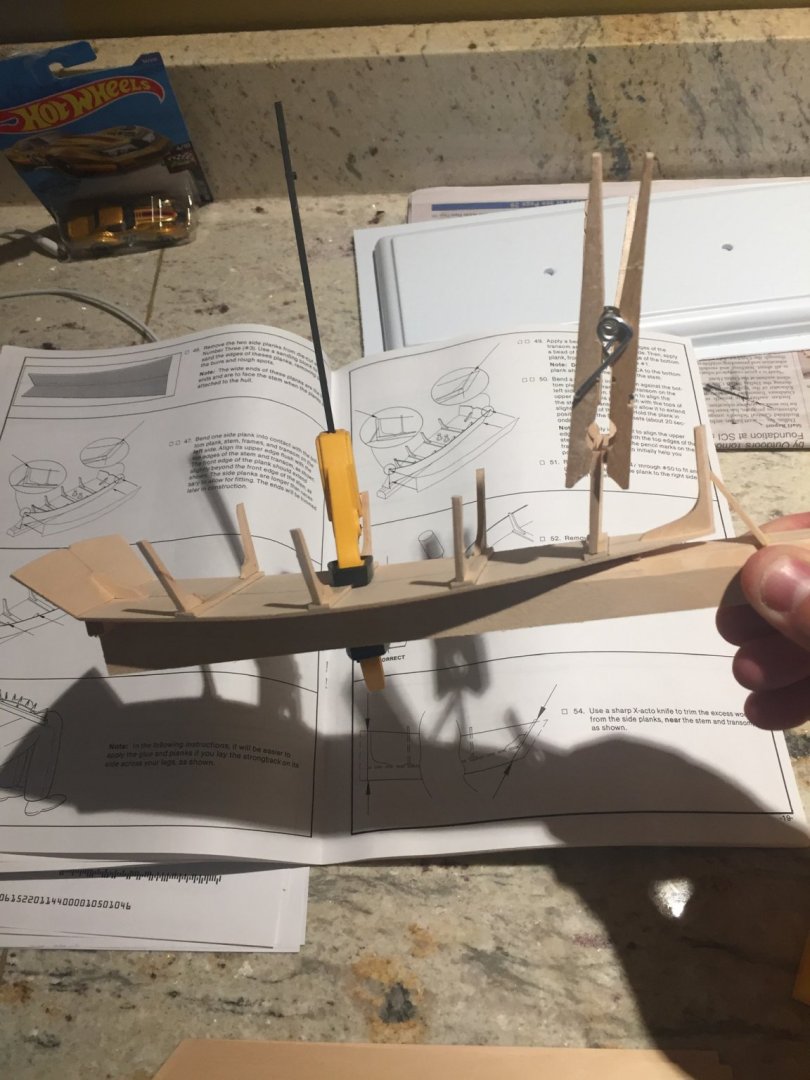
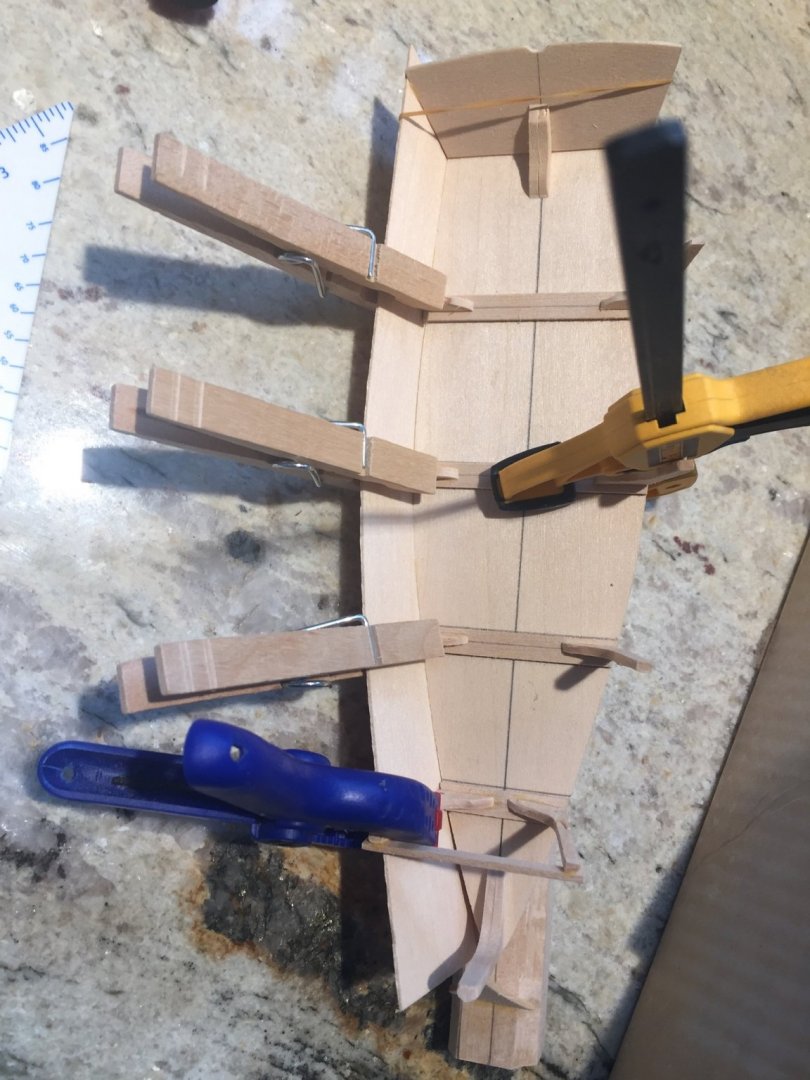
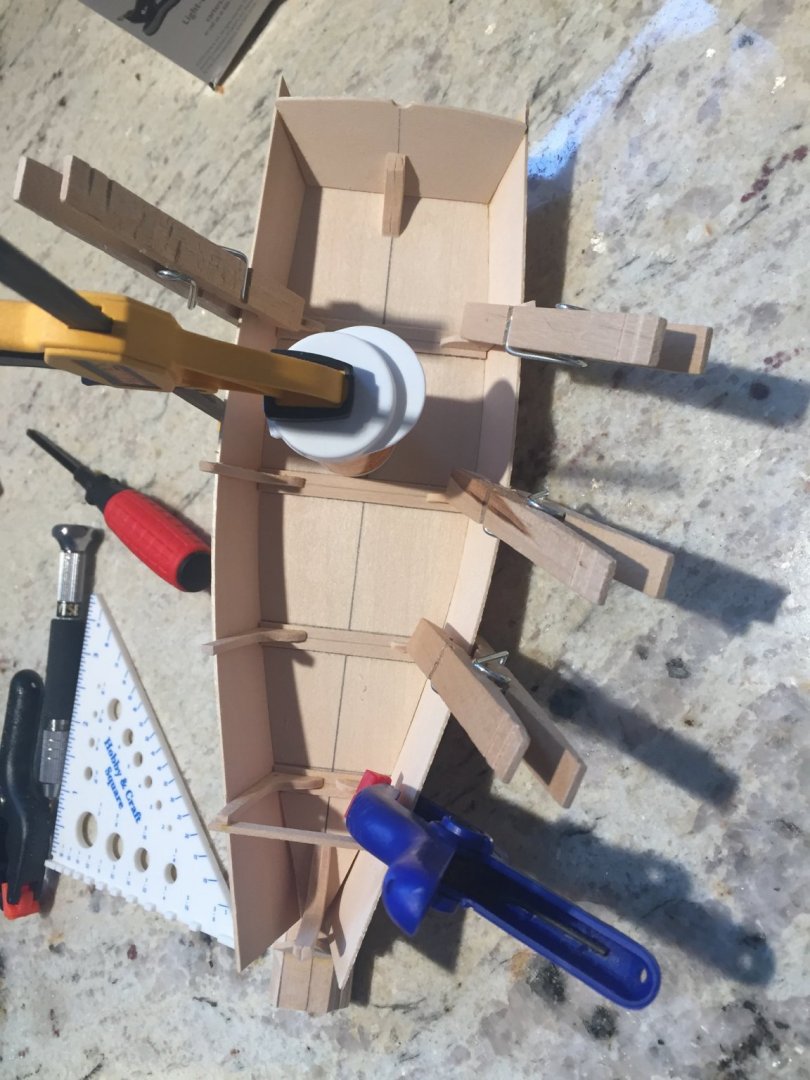
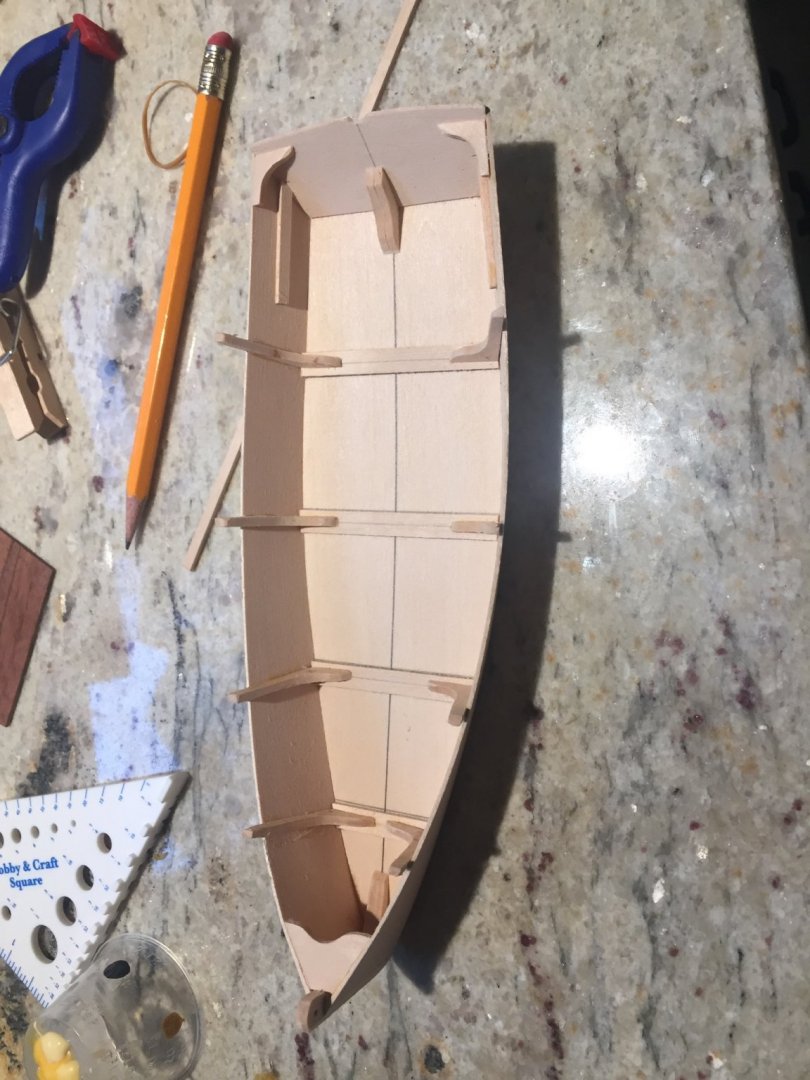
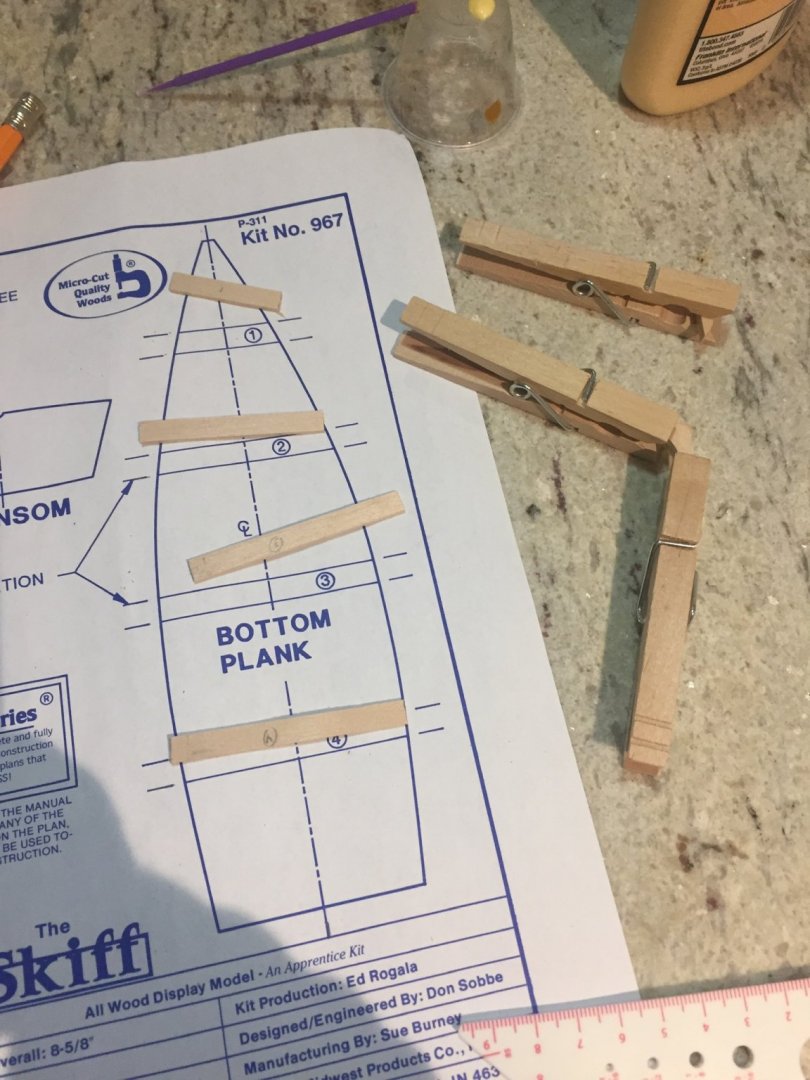
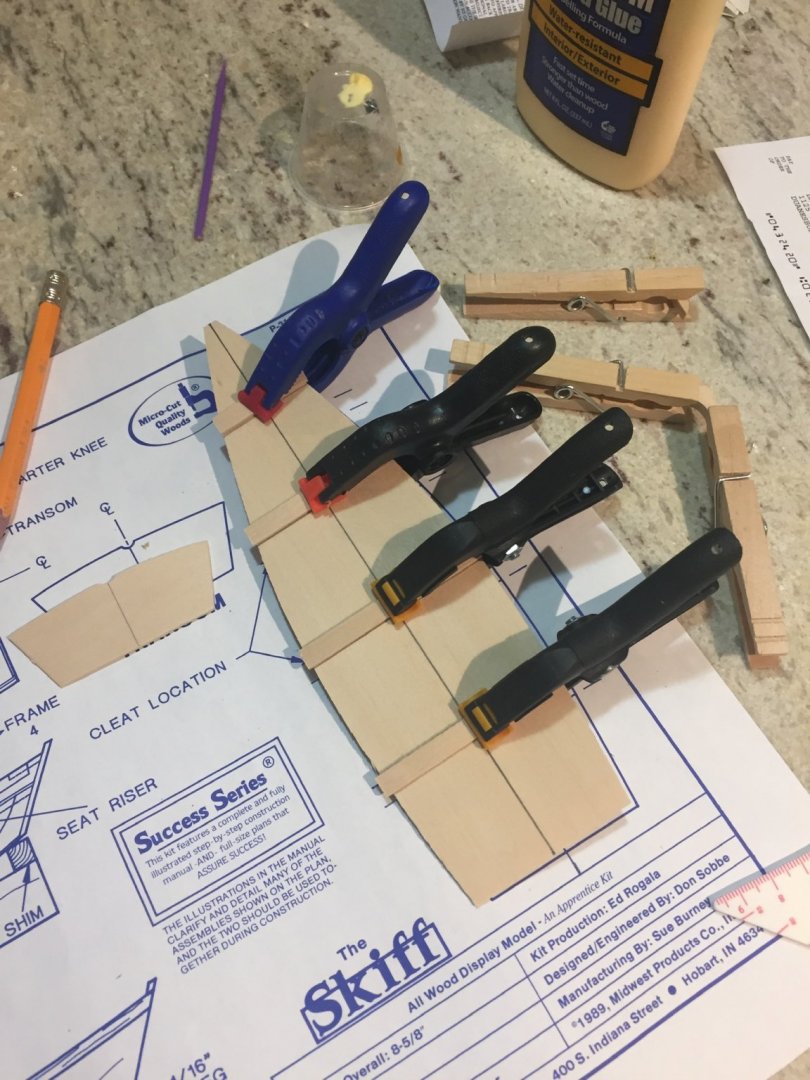
So in laying the second planks I decided to do the port and starboard simultaneously and before I cut and glued them to the stem, it dawned on me that I hadn’t edge glued them to the previously placed plank. I had been using CA since it was in such small amounts but I don’t want to edge glue with the CA as I don’t want to over expose my self to it. I really want to be able to just put a clear coat on it when I am done. my question is what is the best way for me to edge glue the planks to one another? I would like to use PVA, I usually use TITEBOND, should I switch to elmers white glue?
- 114 replies
-
- small
- Peterboro Canoe
-
(and 2 more)
Tagged with:
-
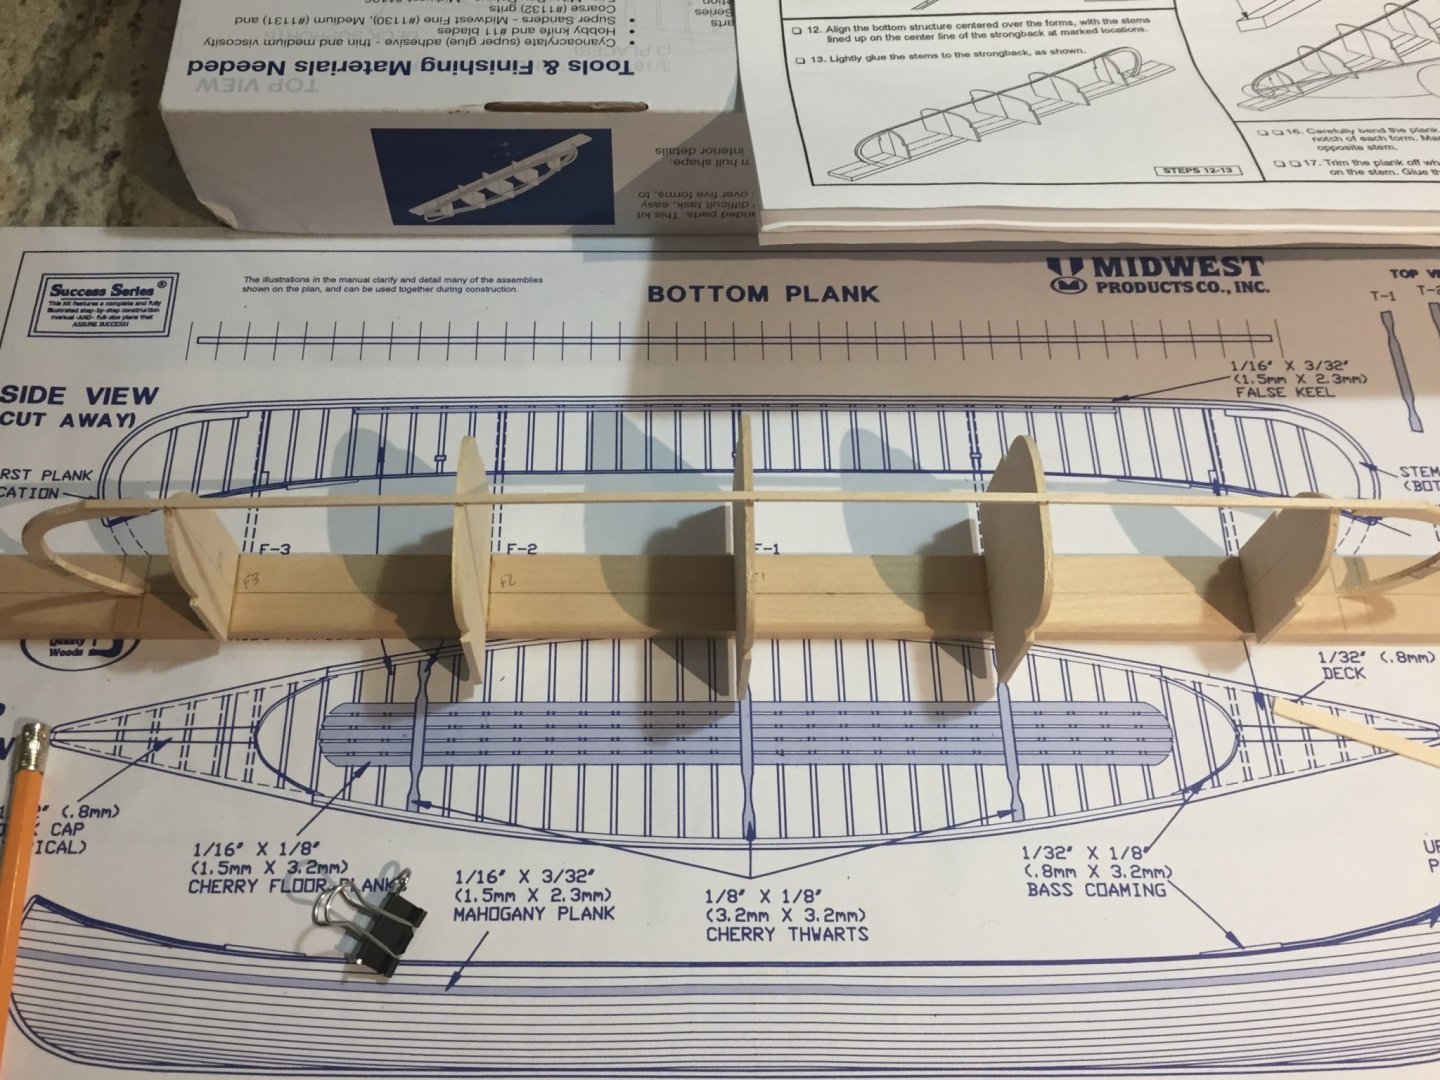
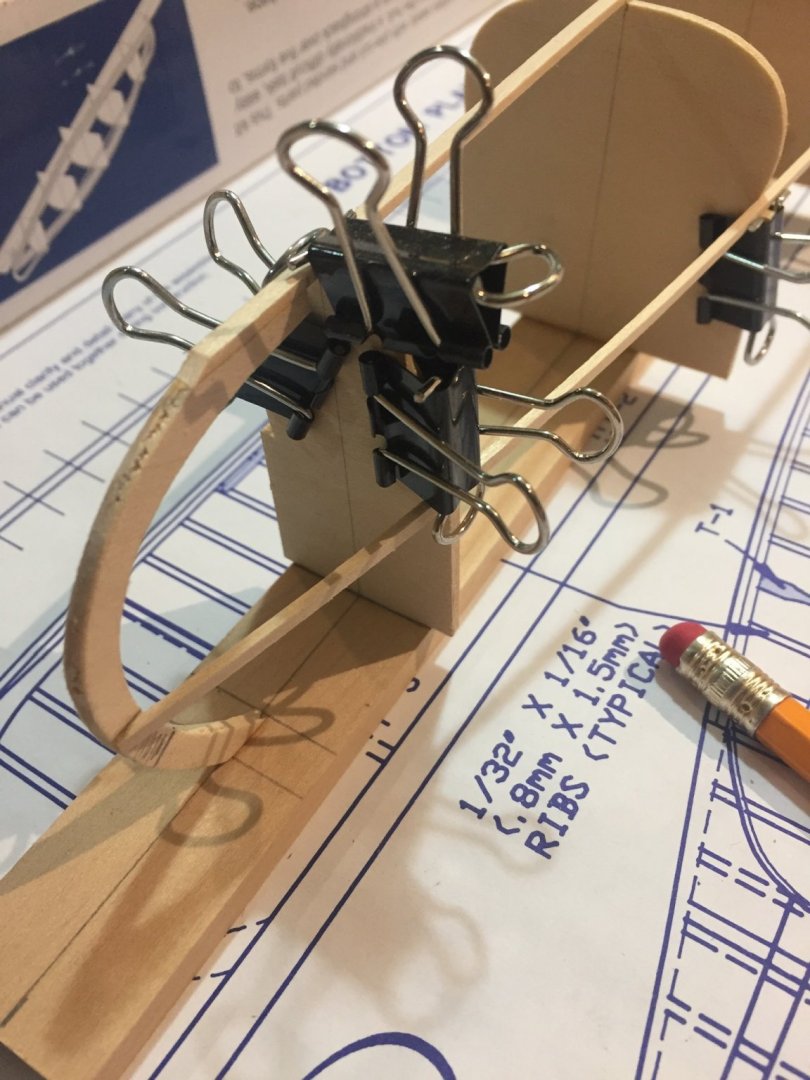
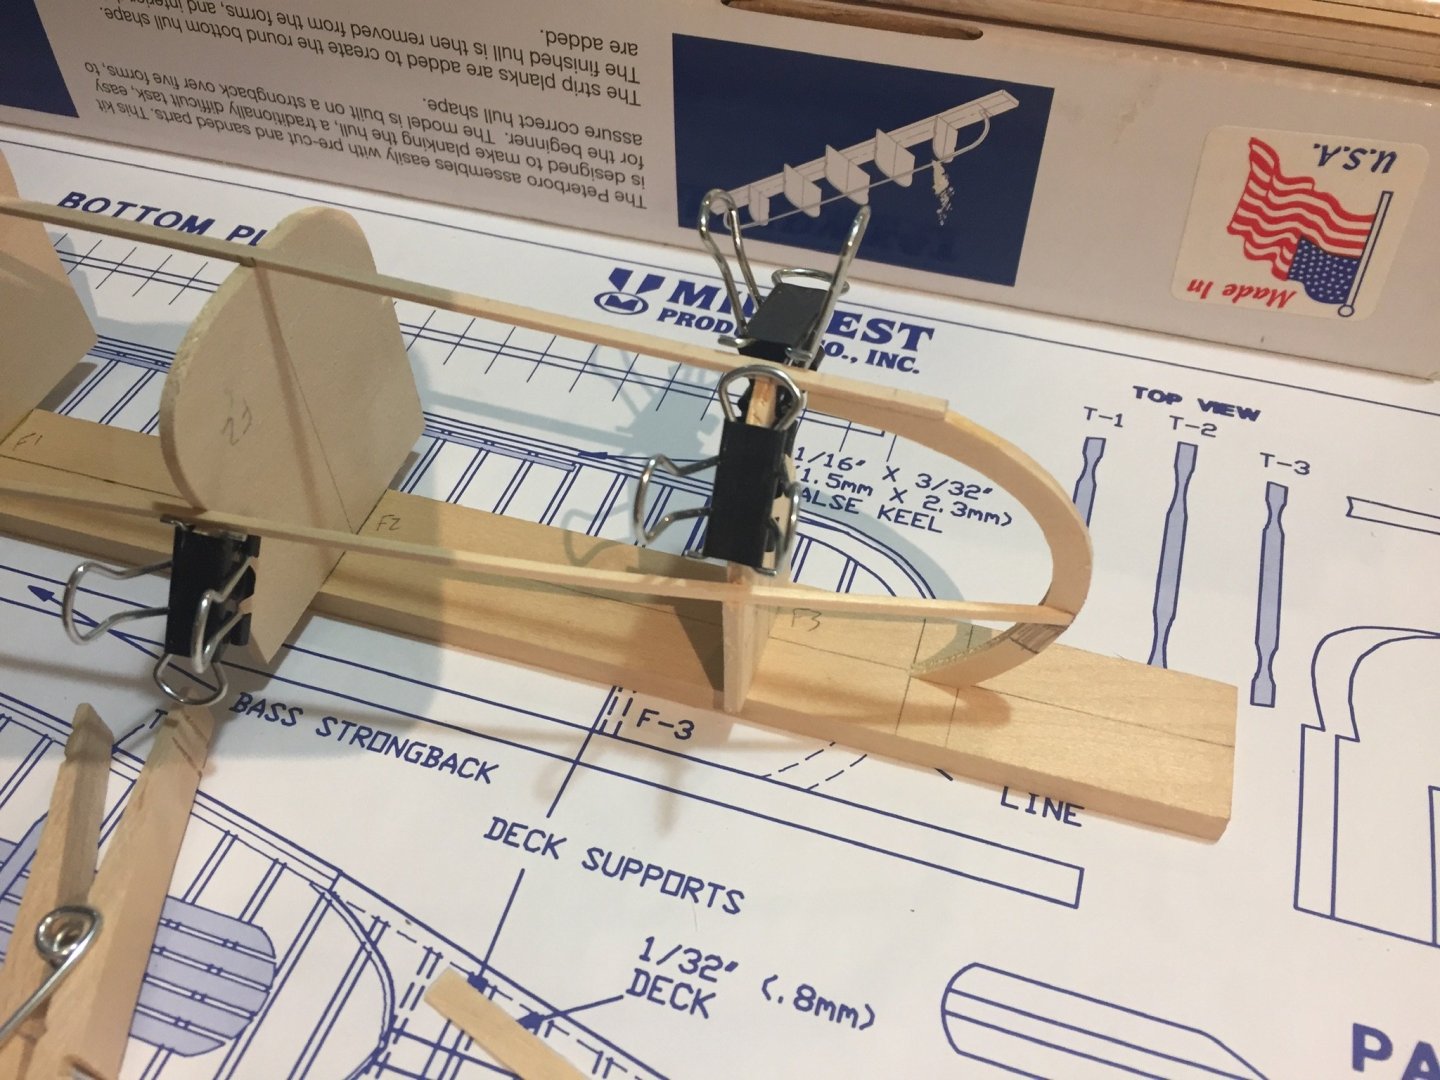
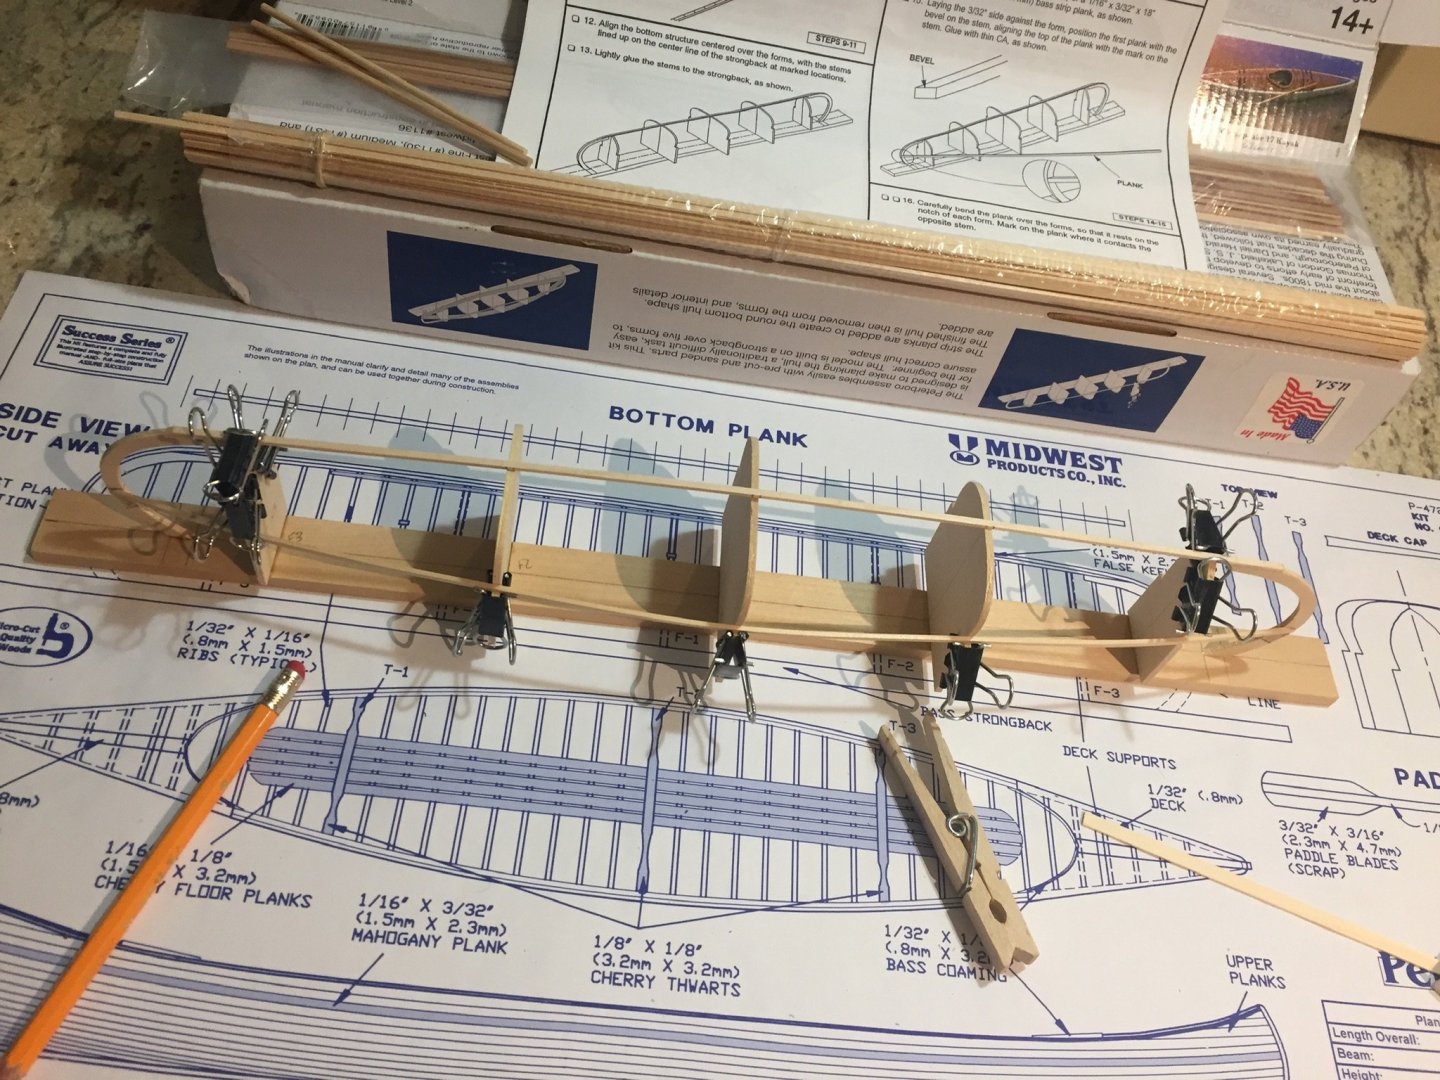
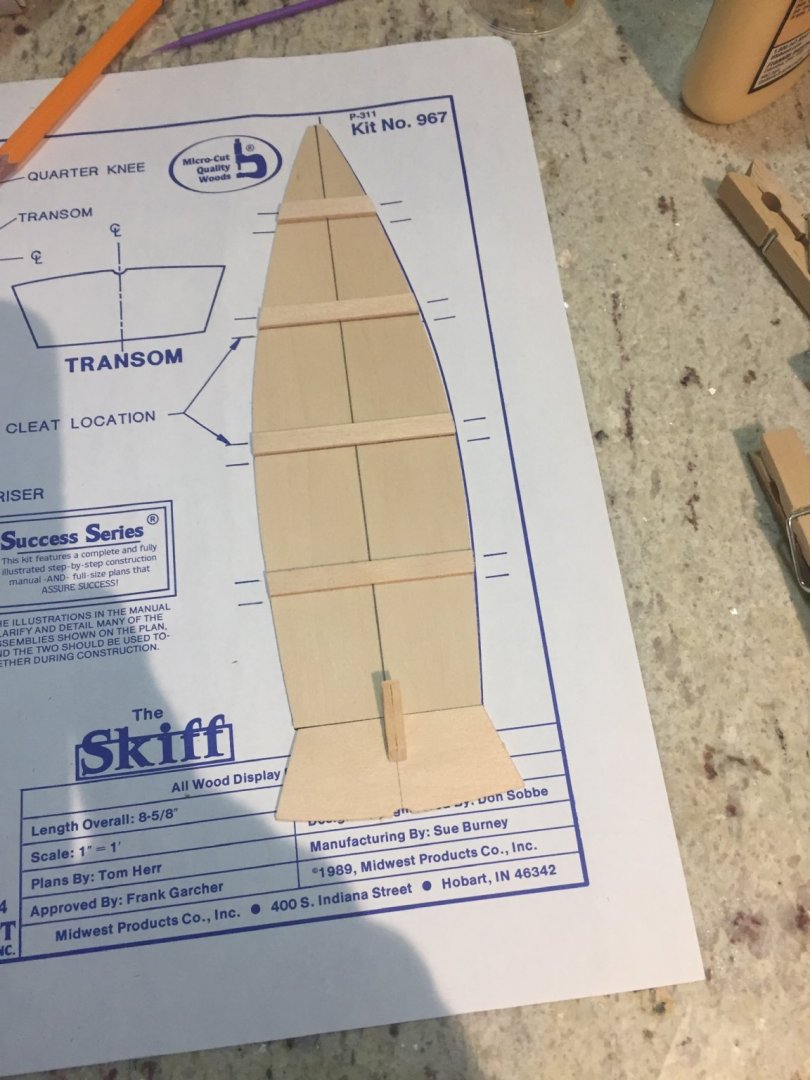
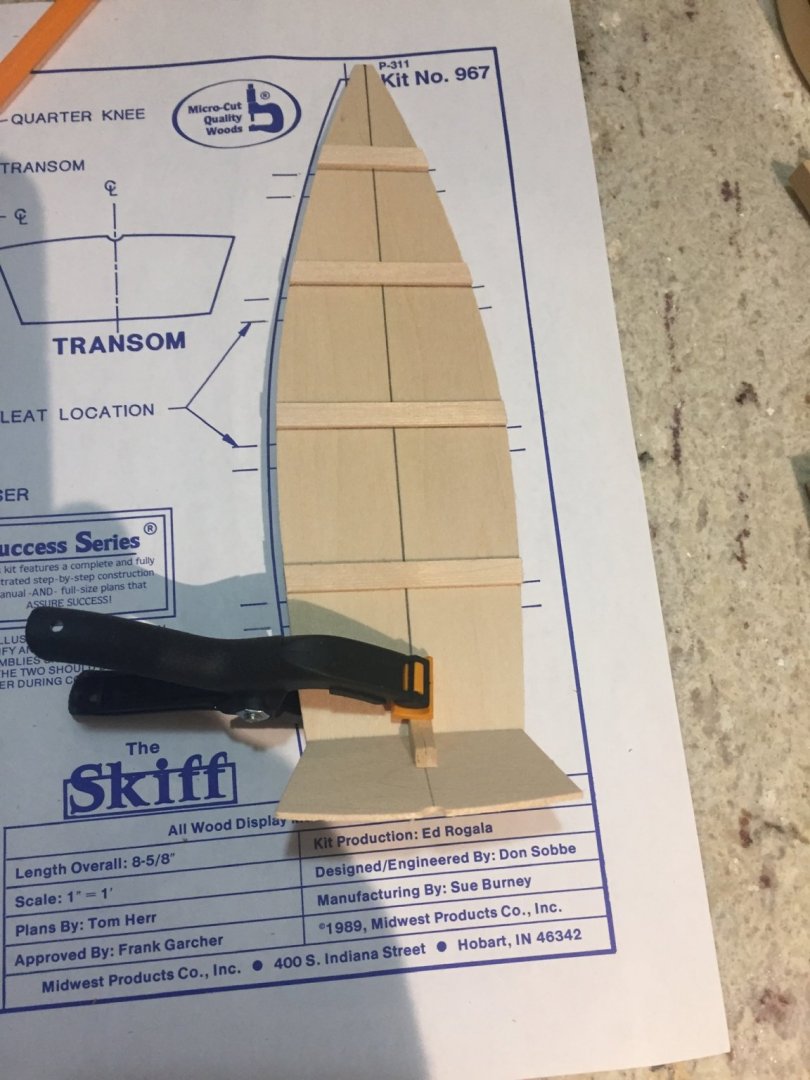
Quick note: DO NOT GLUE YOUR BOTTOM PLANK OR ANY PLANK TO THE FORMS, only the stems get glued to the building board. I didn’t make this mistake, but I almost did! I the glued the stem/bottom plank assembly onto the strong back and laid down my first plank. It went on fairly easy so fingers crossed. I am also lightly sanding each of the planks as I put them on in hopes to cut down on the basswood fuzz.
- 114 replies
-
- small
- Peterboro Canoe
-
(and 2 more)
Tagged with:
-
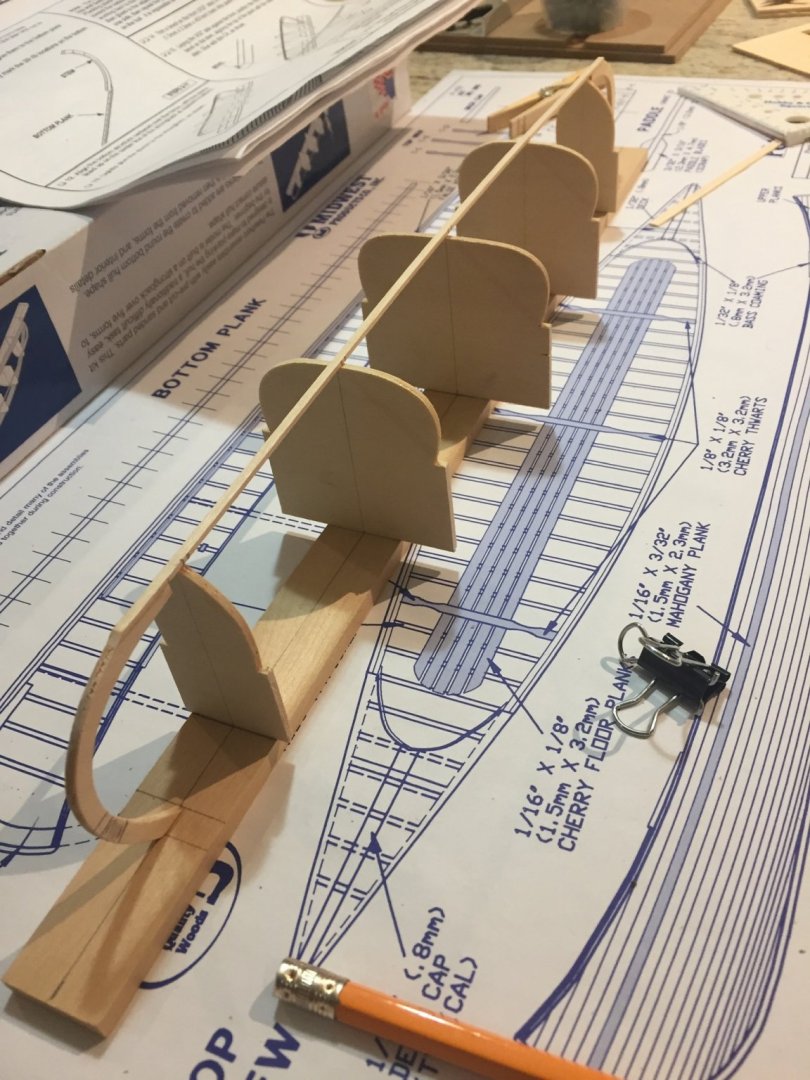
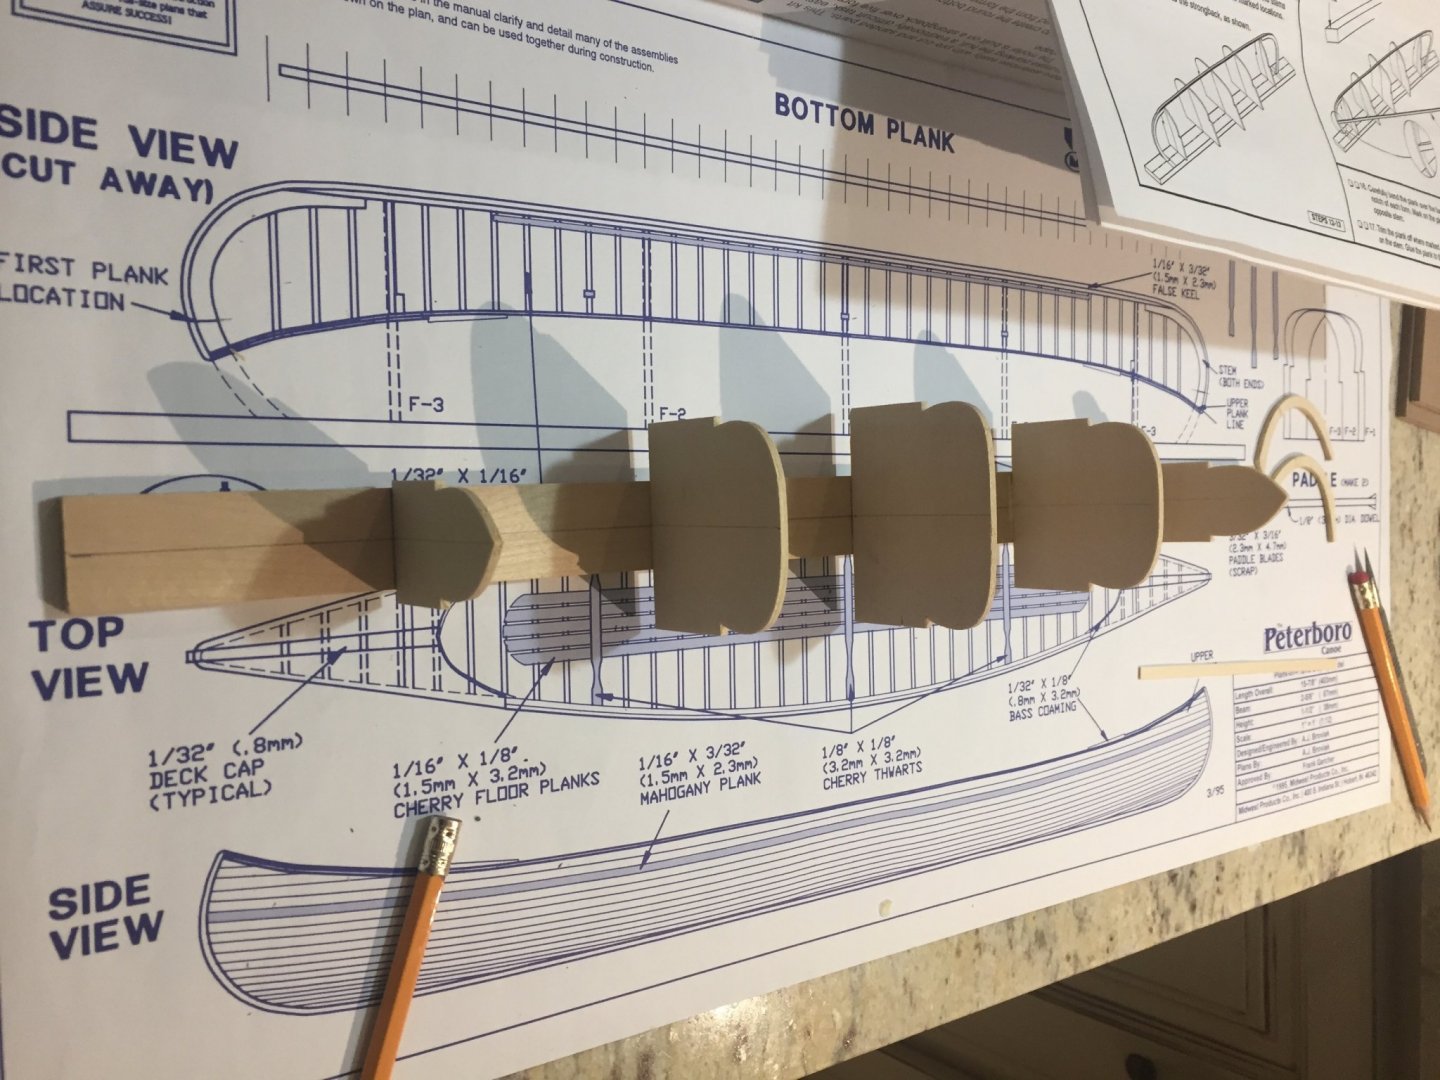
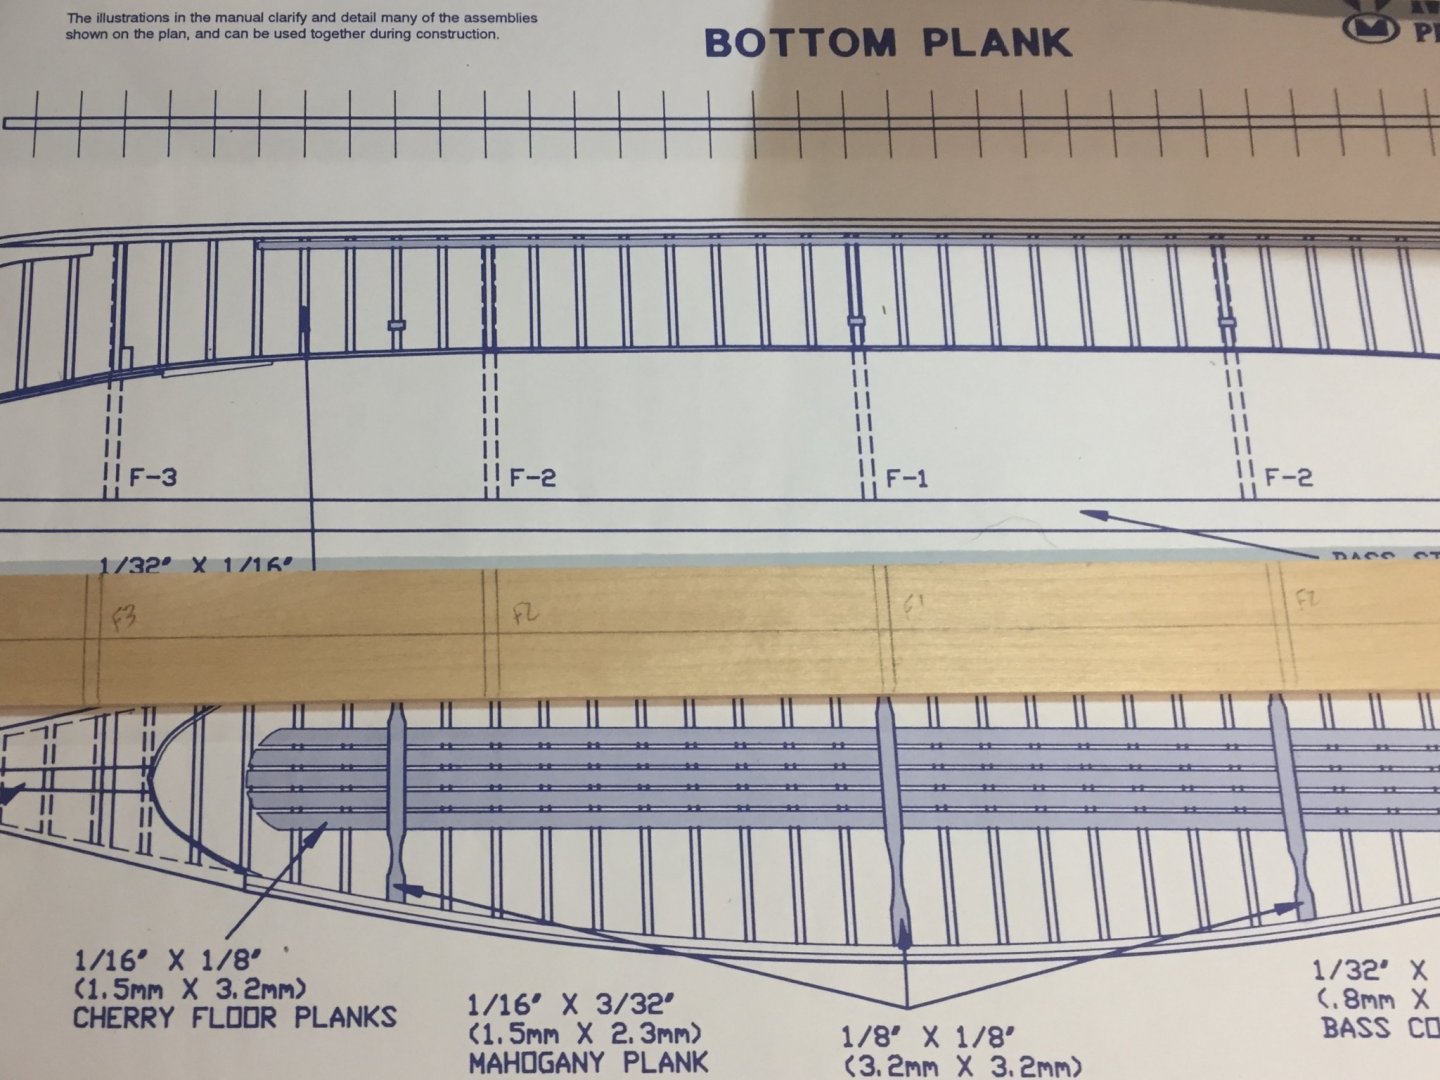
Next up was setting up the building board with the forms. After gluing the forms onto the strong back I glued the stems to the bottom plank and marked it per the drawing. I ended up having to remove one of the stems and shorten the bottom plank. Once I compared it to the drawing it was about a half inch long.
- 114 replies
-
- small
- Peterboro Canoe
-
(and 2 more)
Tagged with:
-
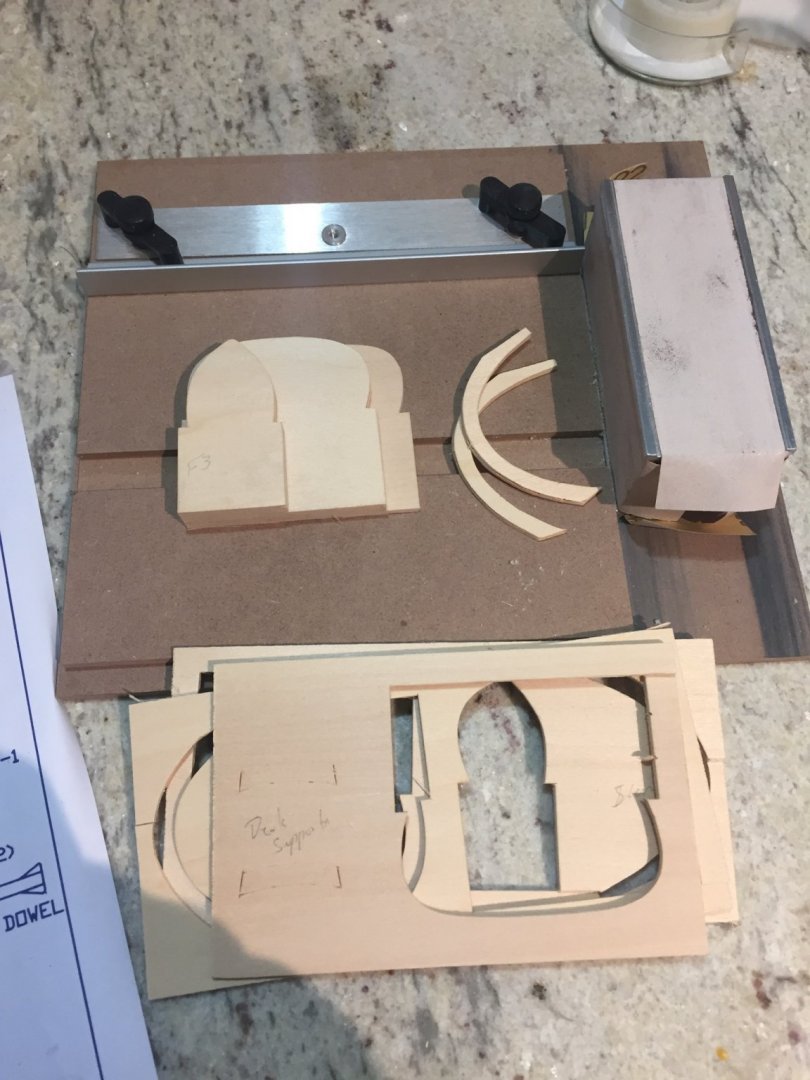
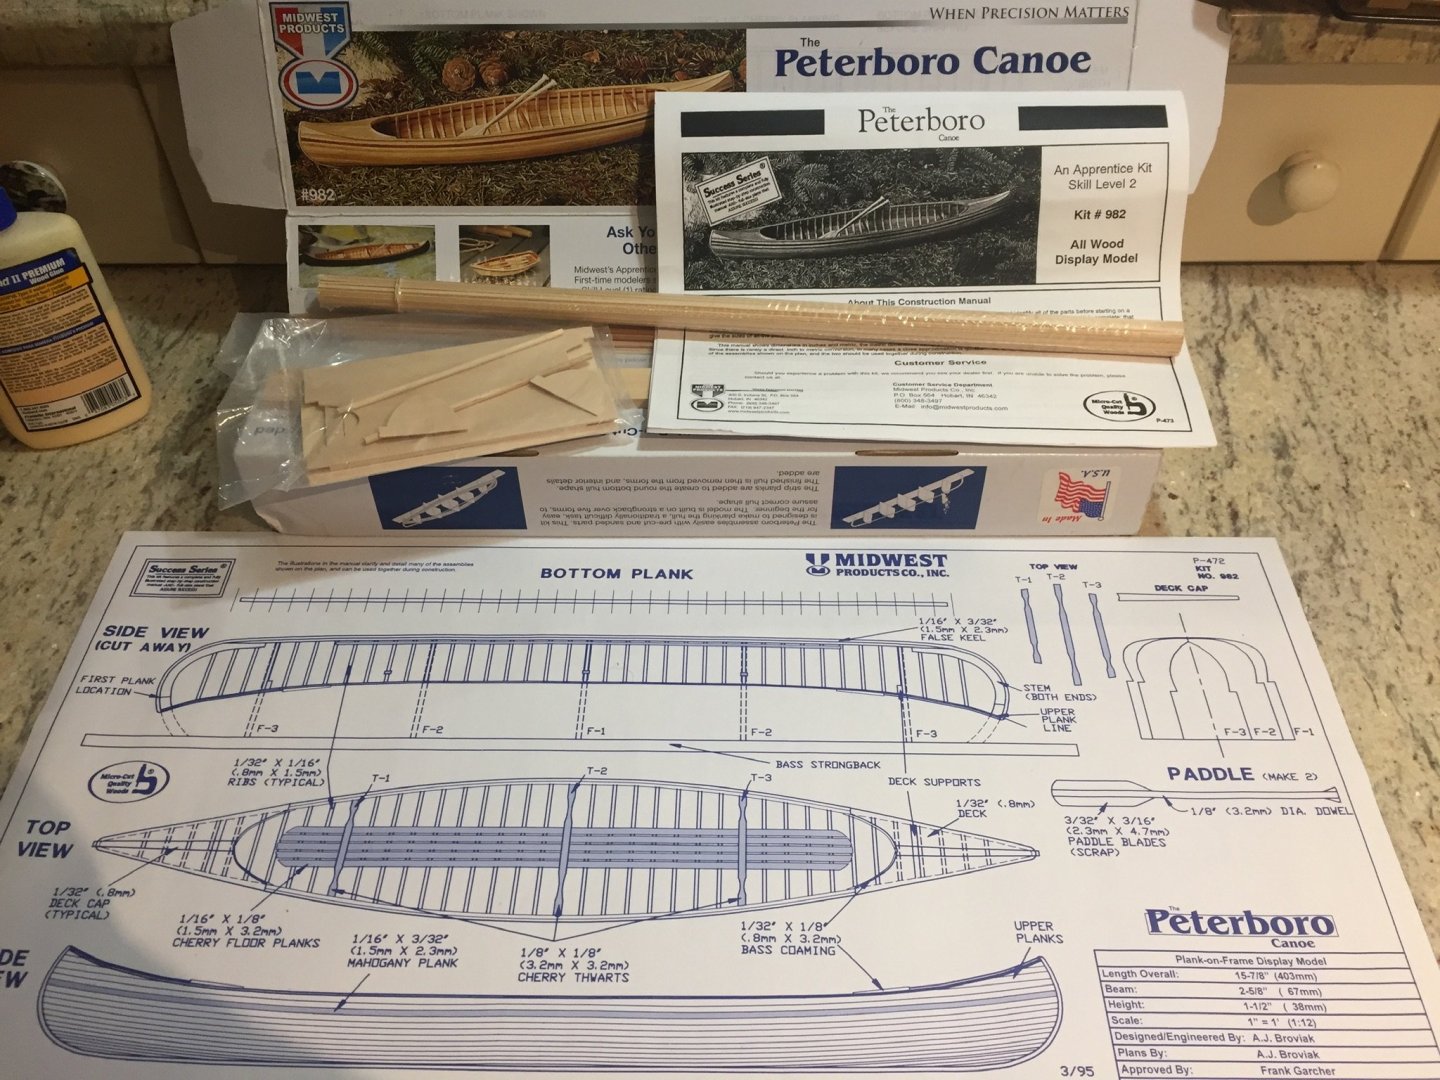
So I followed the very well written instructions and took the Forms and stems out of the kit. I used my Sand it from micro mark to cleanup the edges. I then marked out the building boards and center lines
- 114 replies
-
- small
- Peterboro Canoe
-
(and 2 more)
Tagged with:
-
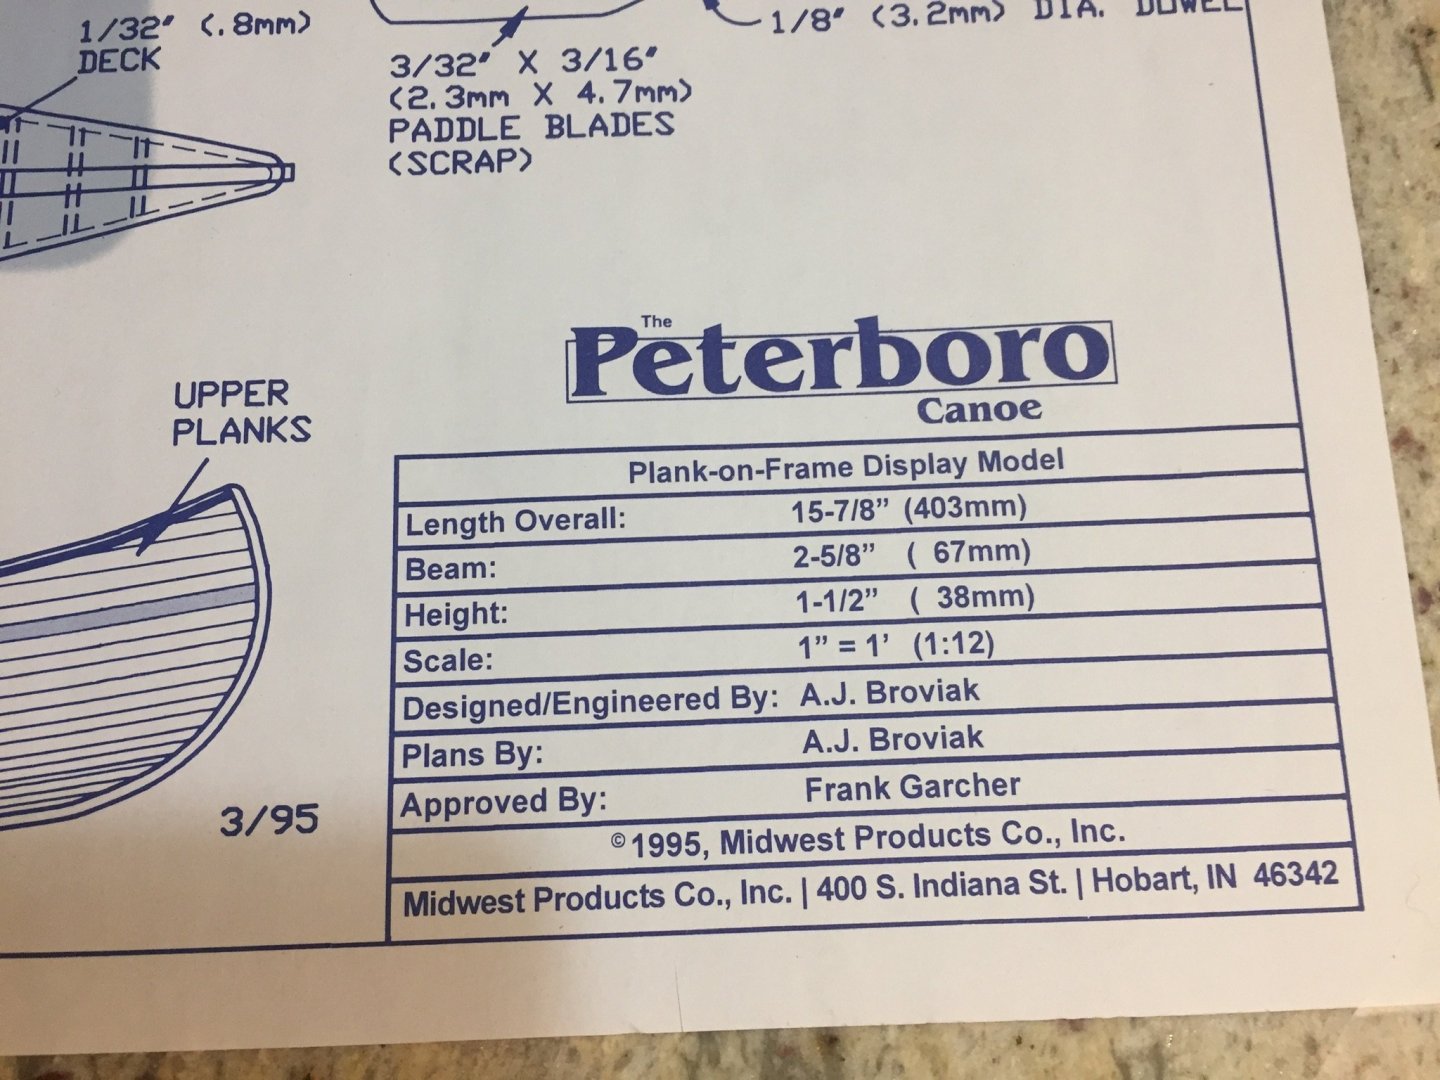
It was interesting to find out that “The Peterboro Canoe” was named due to the association with Peterborough, Ontario. There was a time almost any wooden canoe In the traditional Canadian style, that is, one basically having the appearance of the woodland bark canoe of the North American Indian, could be referred to as “a Peterboro” certainly a rich history with these canoes. So here is a kit I purchased on eBay for less than $50, well worth the hours of entertainment.
- 114 replies
-
- small
- Peterboro Canoe
-
(and 2 more)
Tagged with:
-
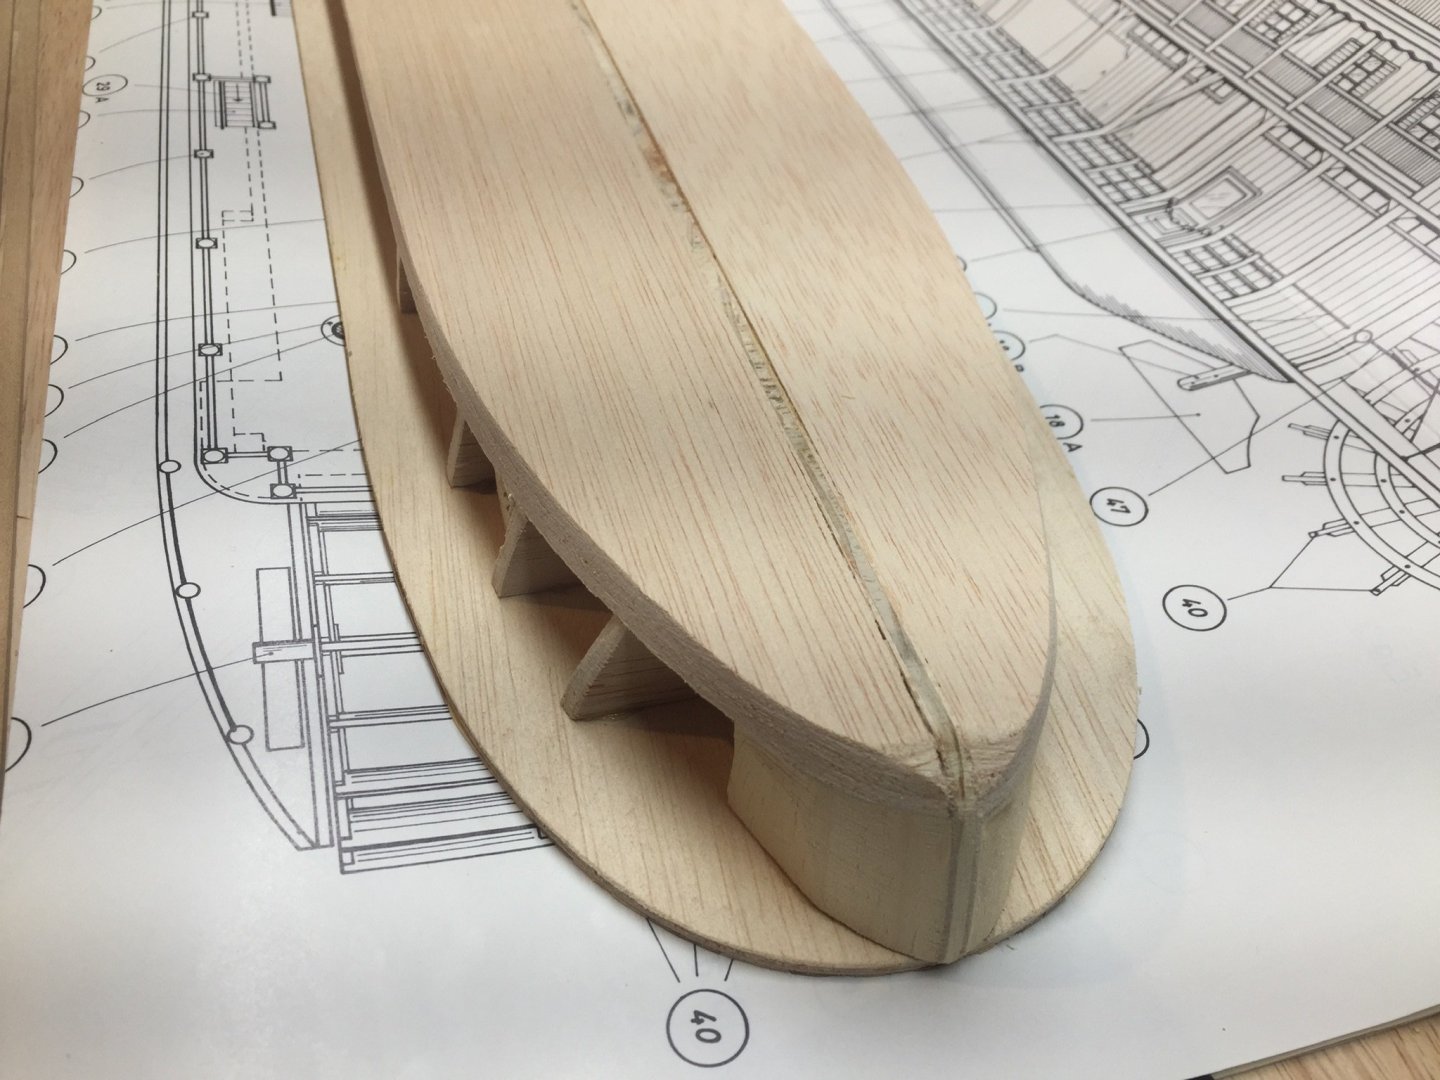
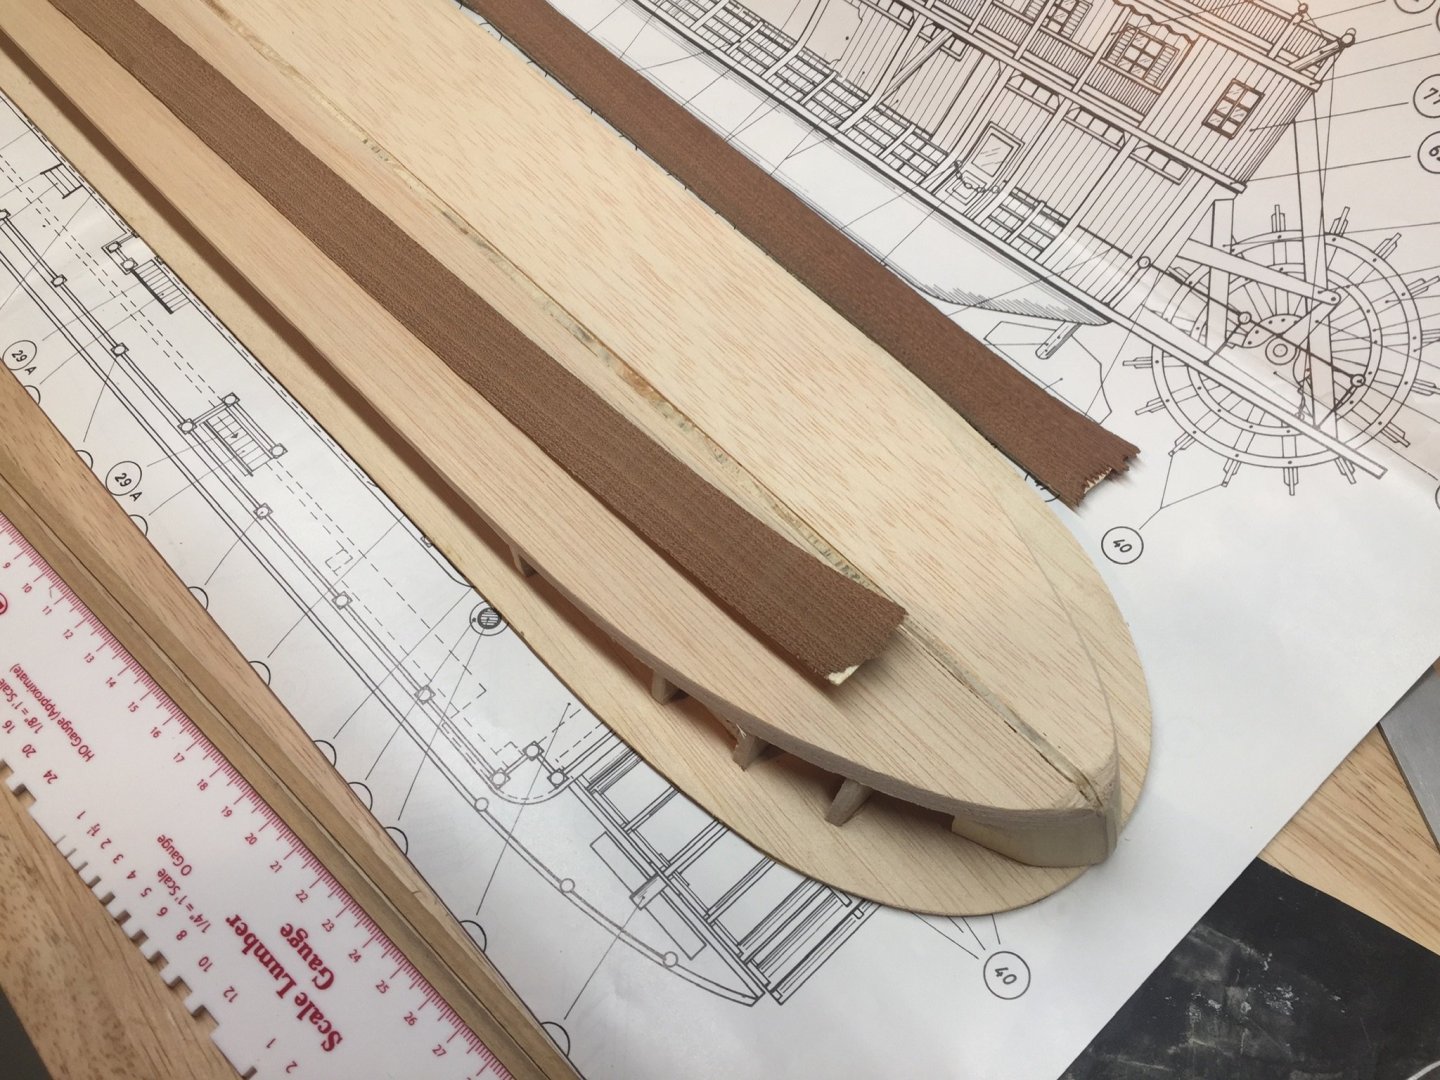
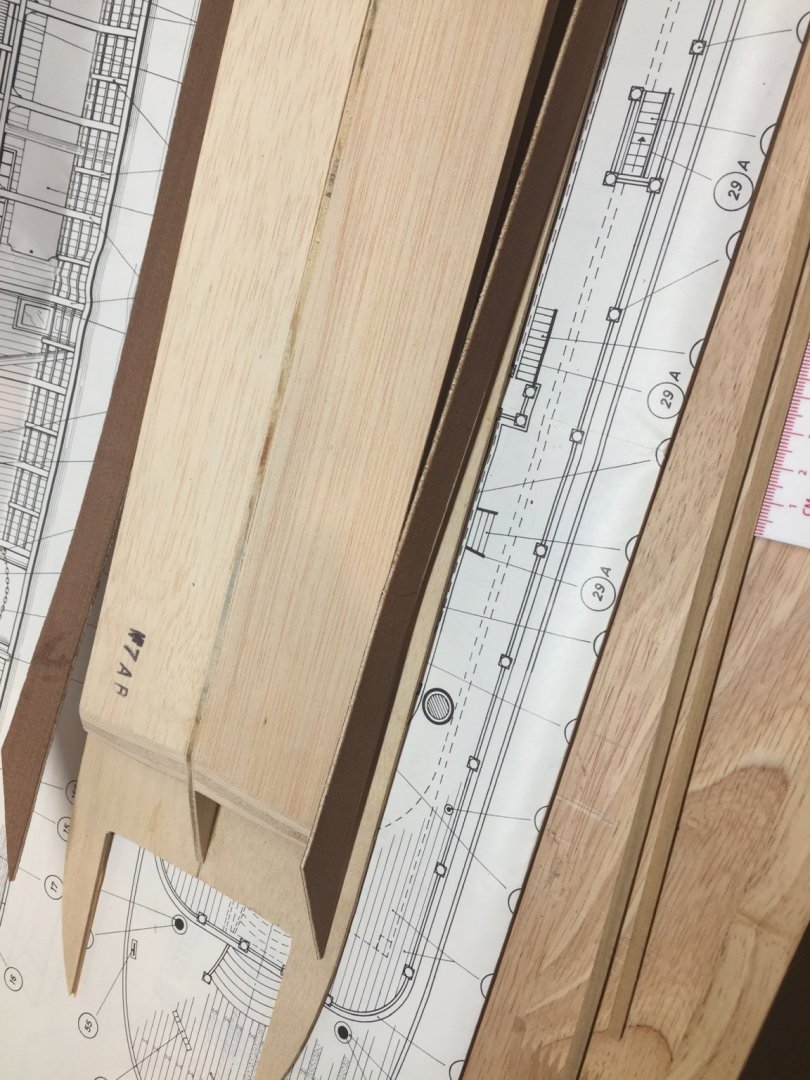
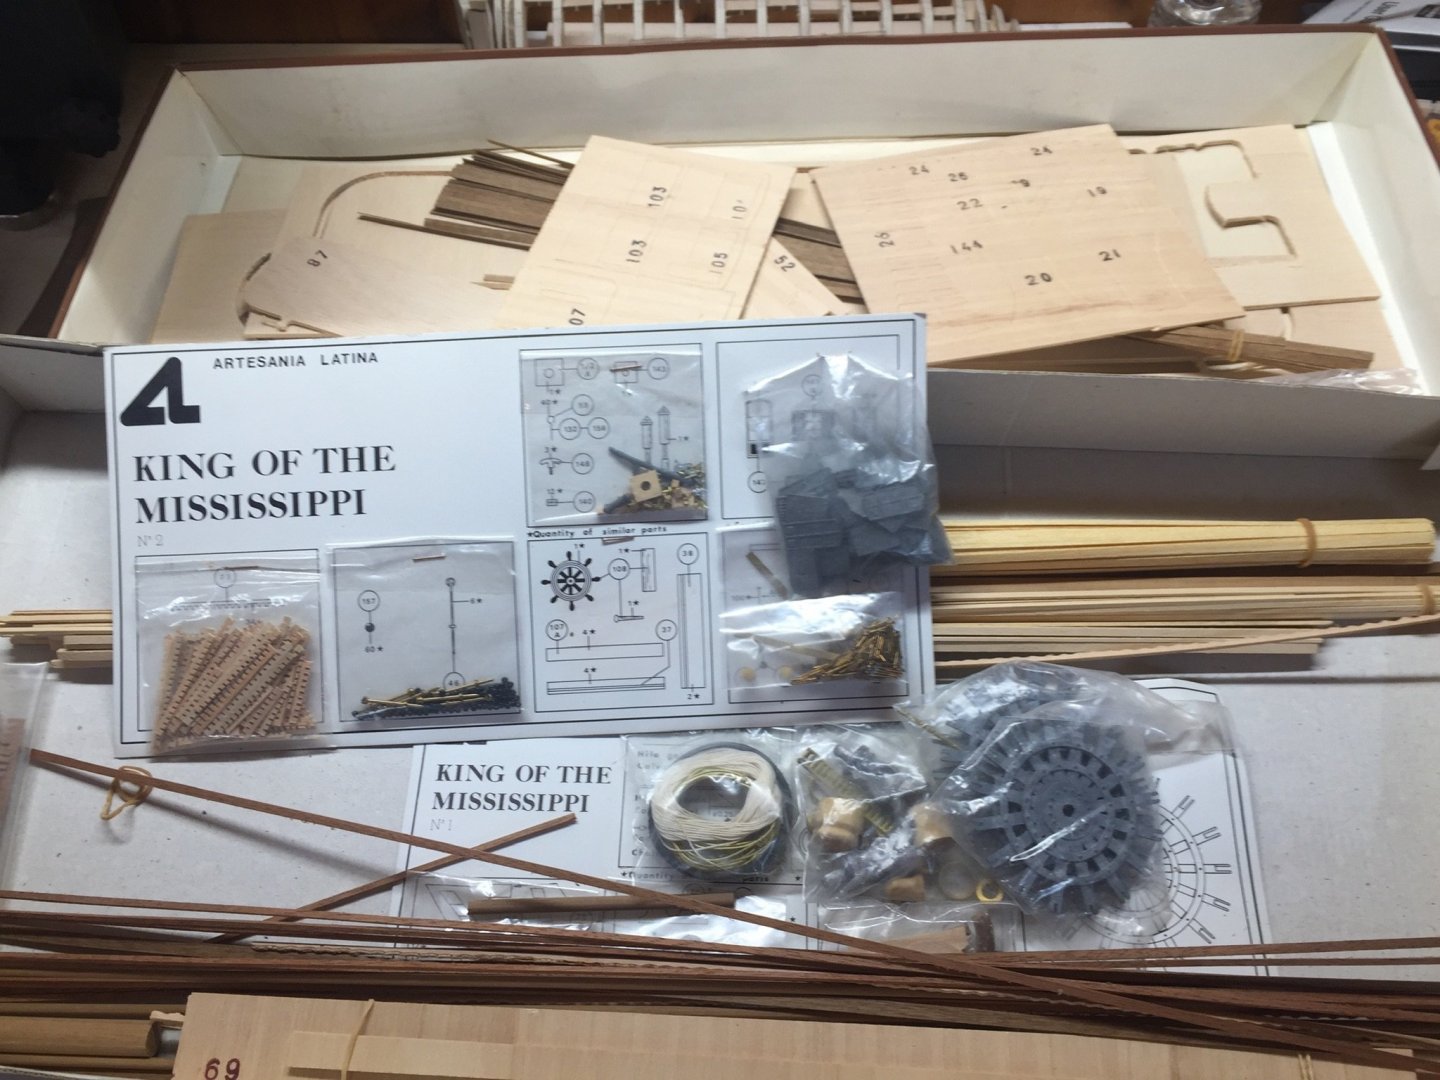
I will be starting two logs actually 😝. Following In the wake of the ridiculous money I have spent on eBay, I will be starting a Peterboro Canoe which is a level 2 kit and one I am hoping to do a nice job on and also a Artesania Latina King of mississipi but this kit is probably 80’s...it’s also advertised as 1:50 scale which I don’t think it is, the newer ones are 1:80 I believe.
-
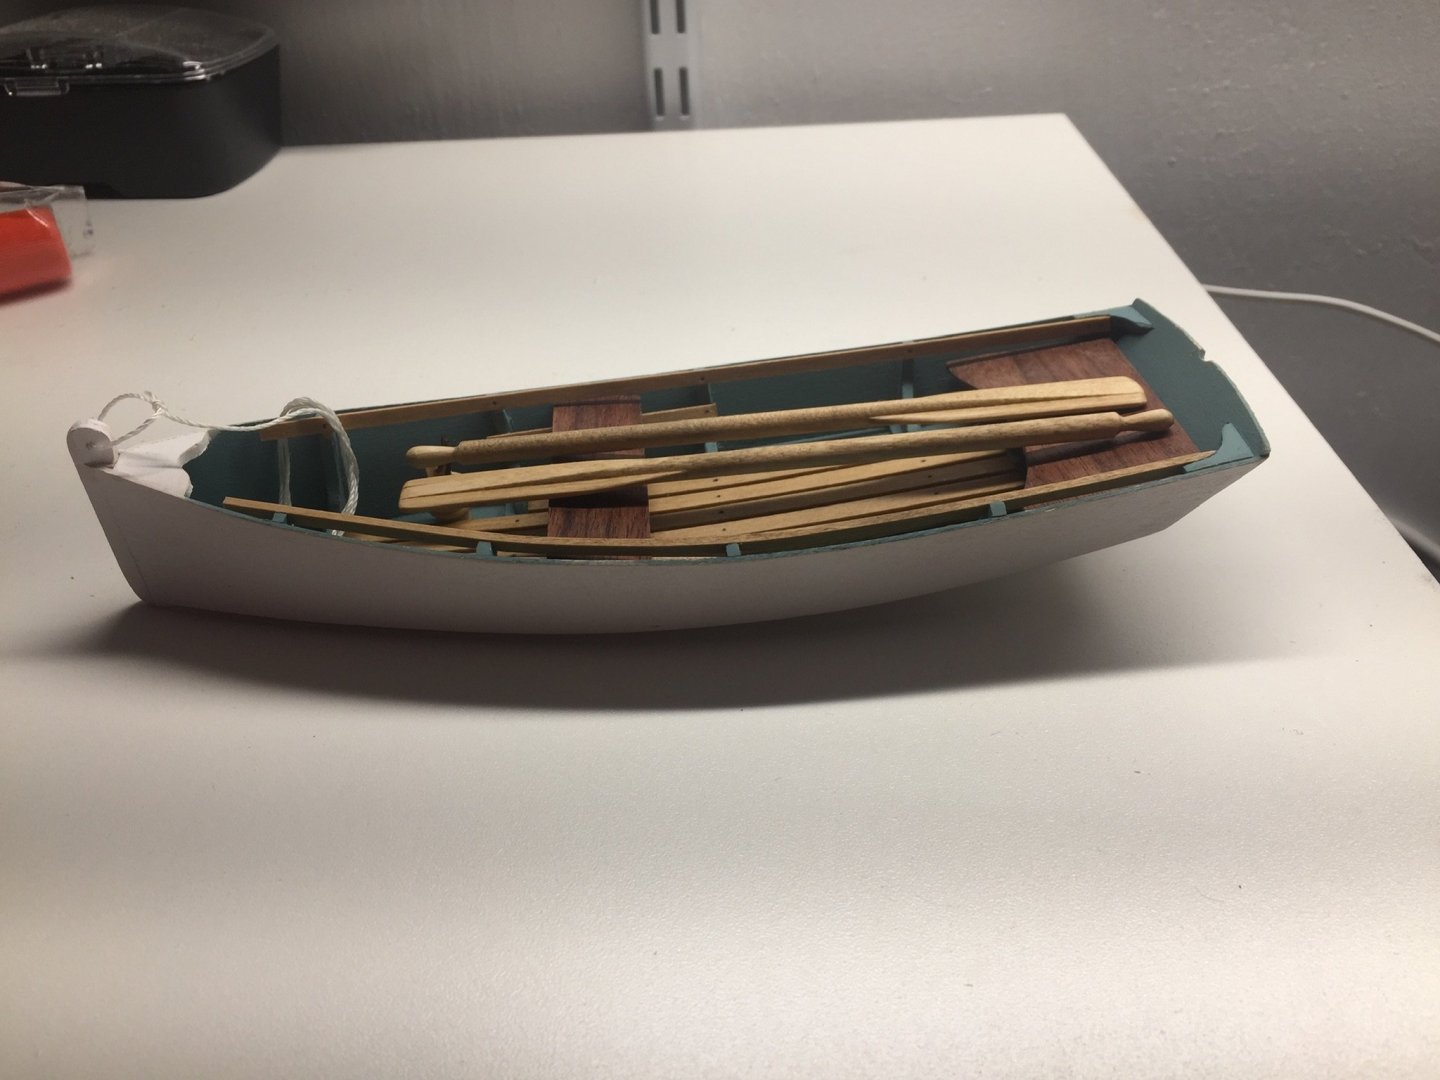
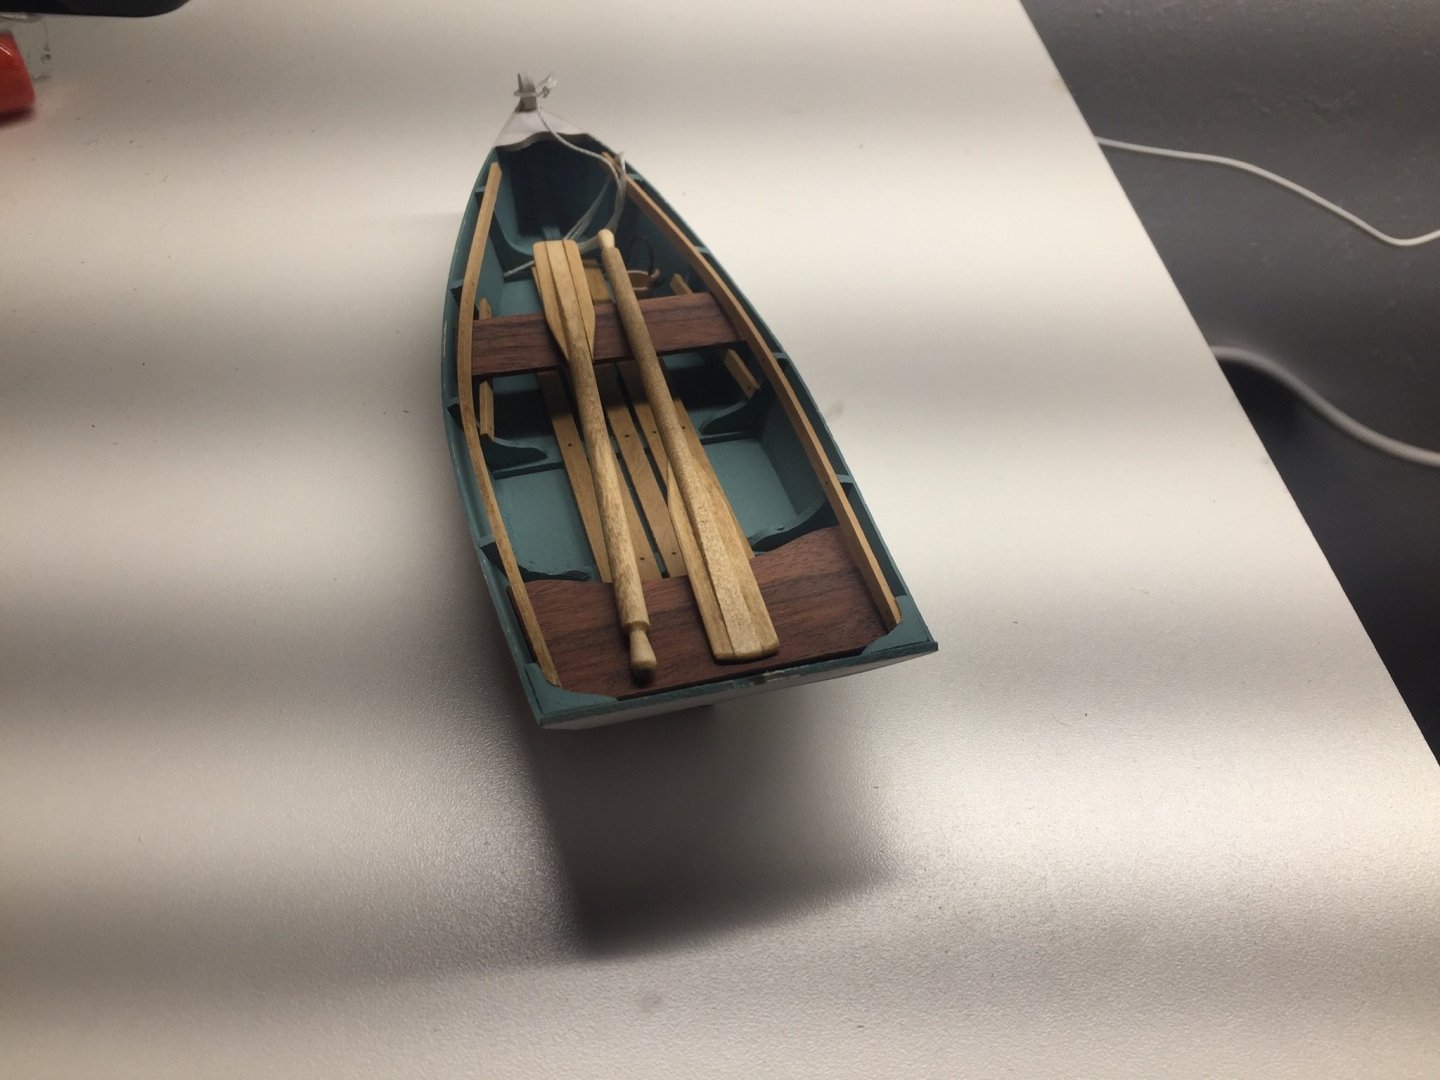
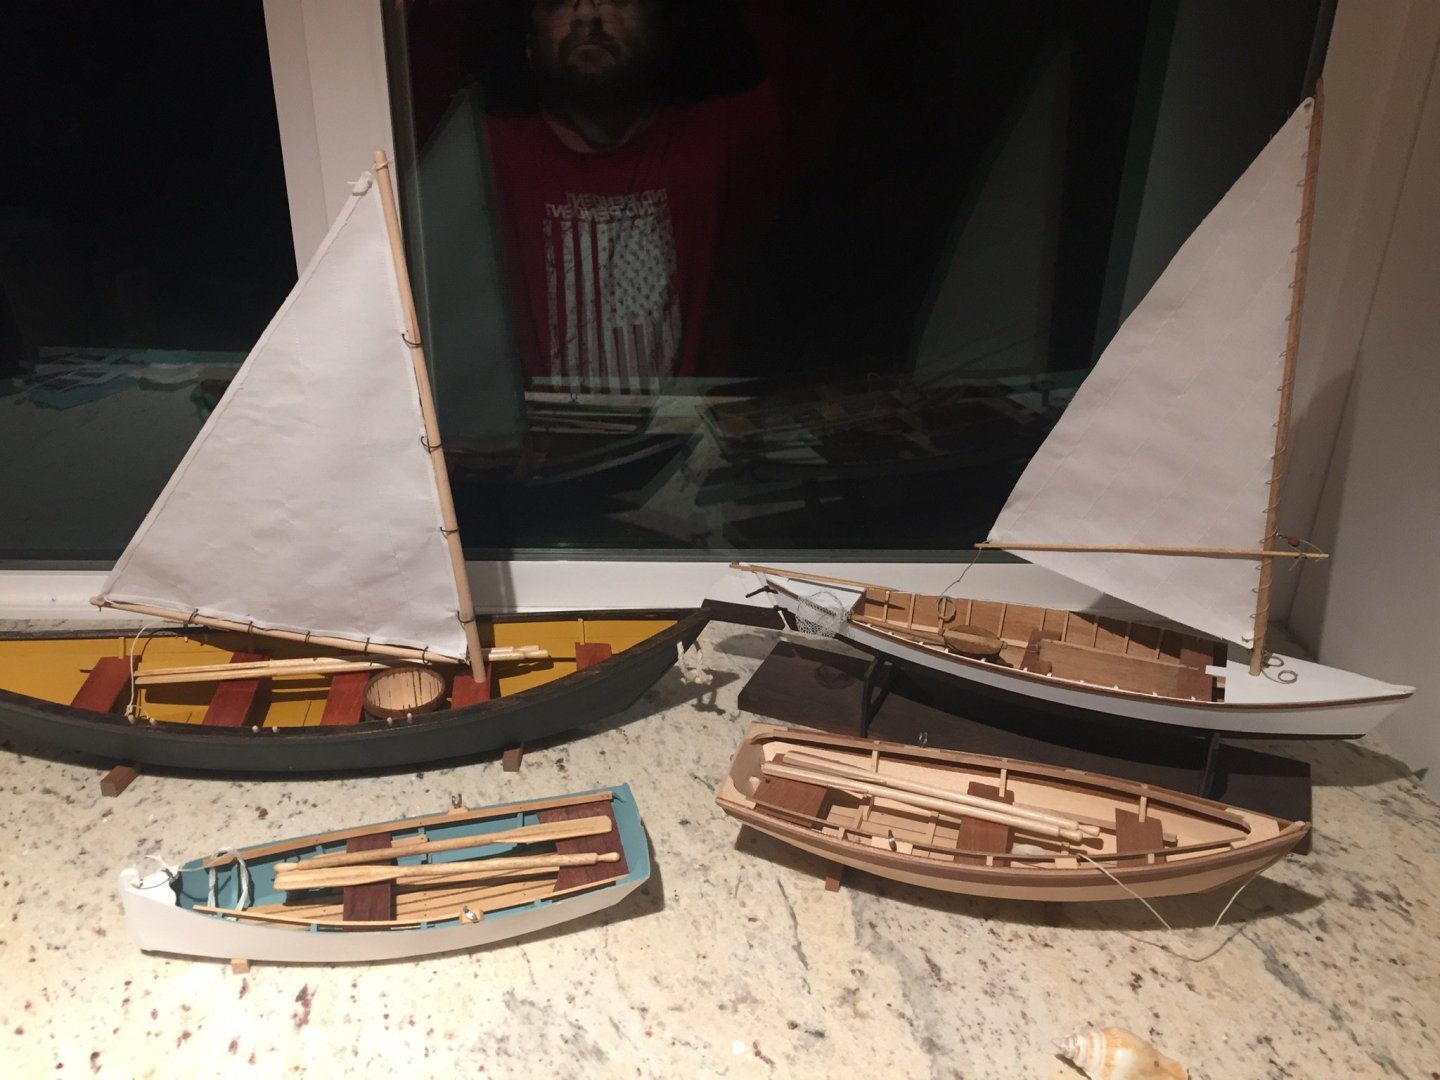
Another one completed. Would definitely recommend any new modeler that wants to get his feet wet without diving in the deep end to pick up a Midwest kit. I believe even that hardest ones still have great plans, instructions and material.
-
Welcome to the site Bob! Very interesting introduction, and I love your Indian Girl Canoe.
-
I bought just about every type I could find lol...their are still quite a few at a good price on eBay. I even found a two seater Chesapeake bay kayak 😆
-
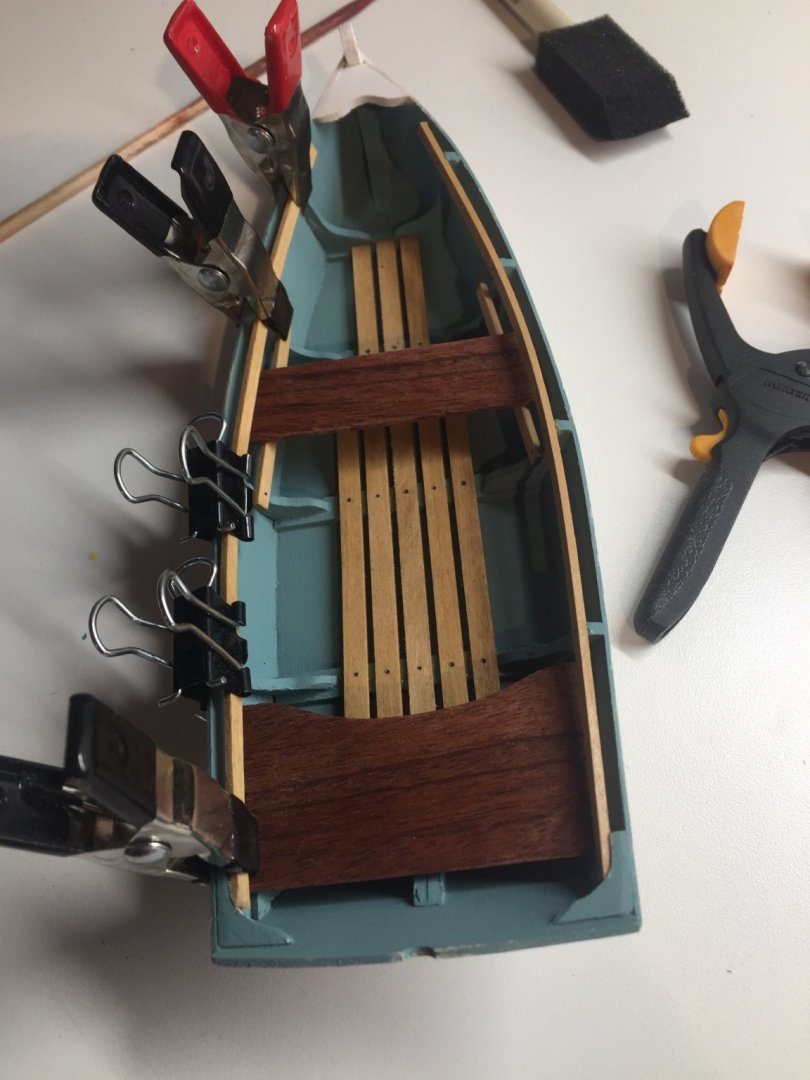
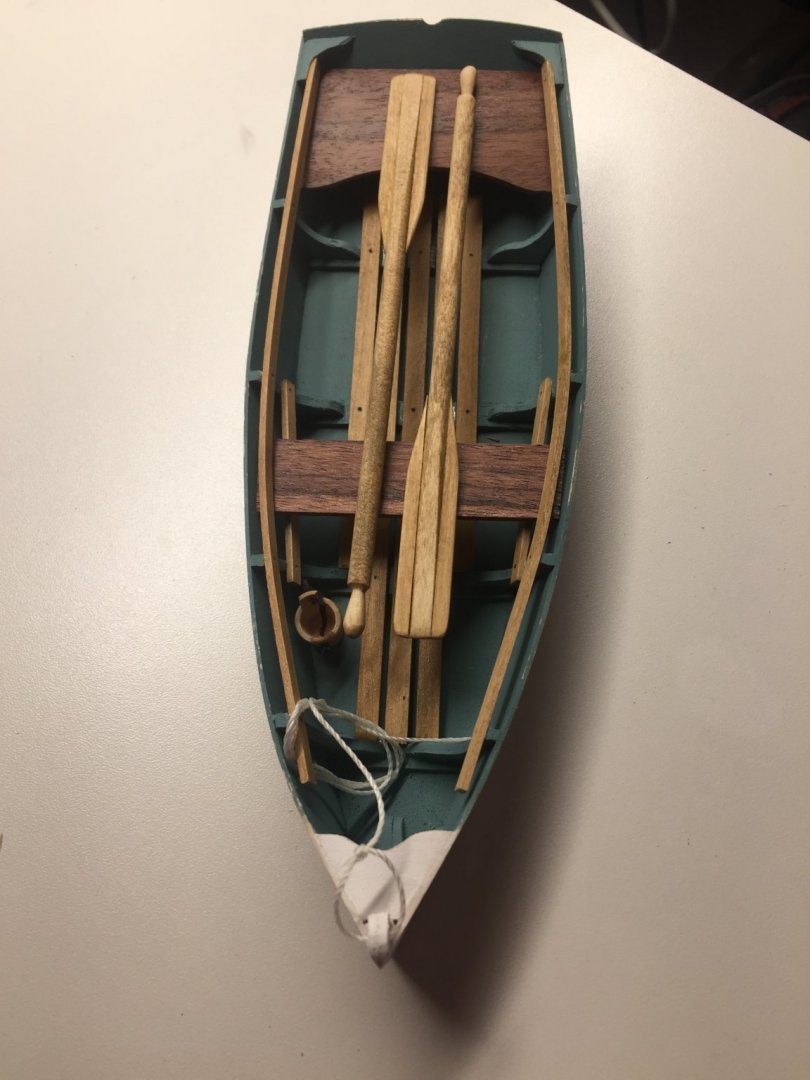
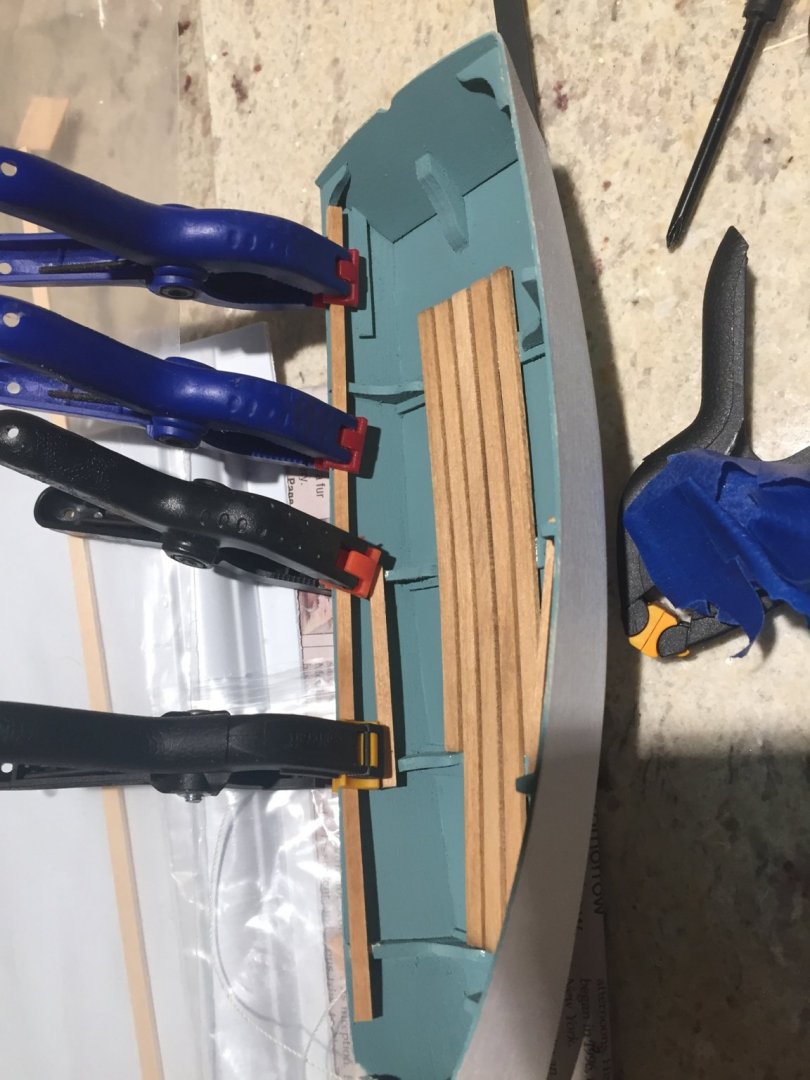
I have one side of the boat mostly finished and I floor planking done...I need to add a semi gloss to them or not, haven’t decided. Should have this wrapped up if work goes well.
-
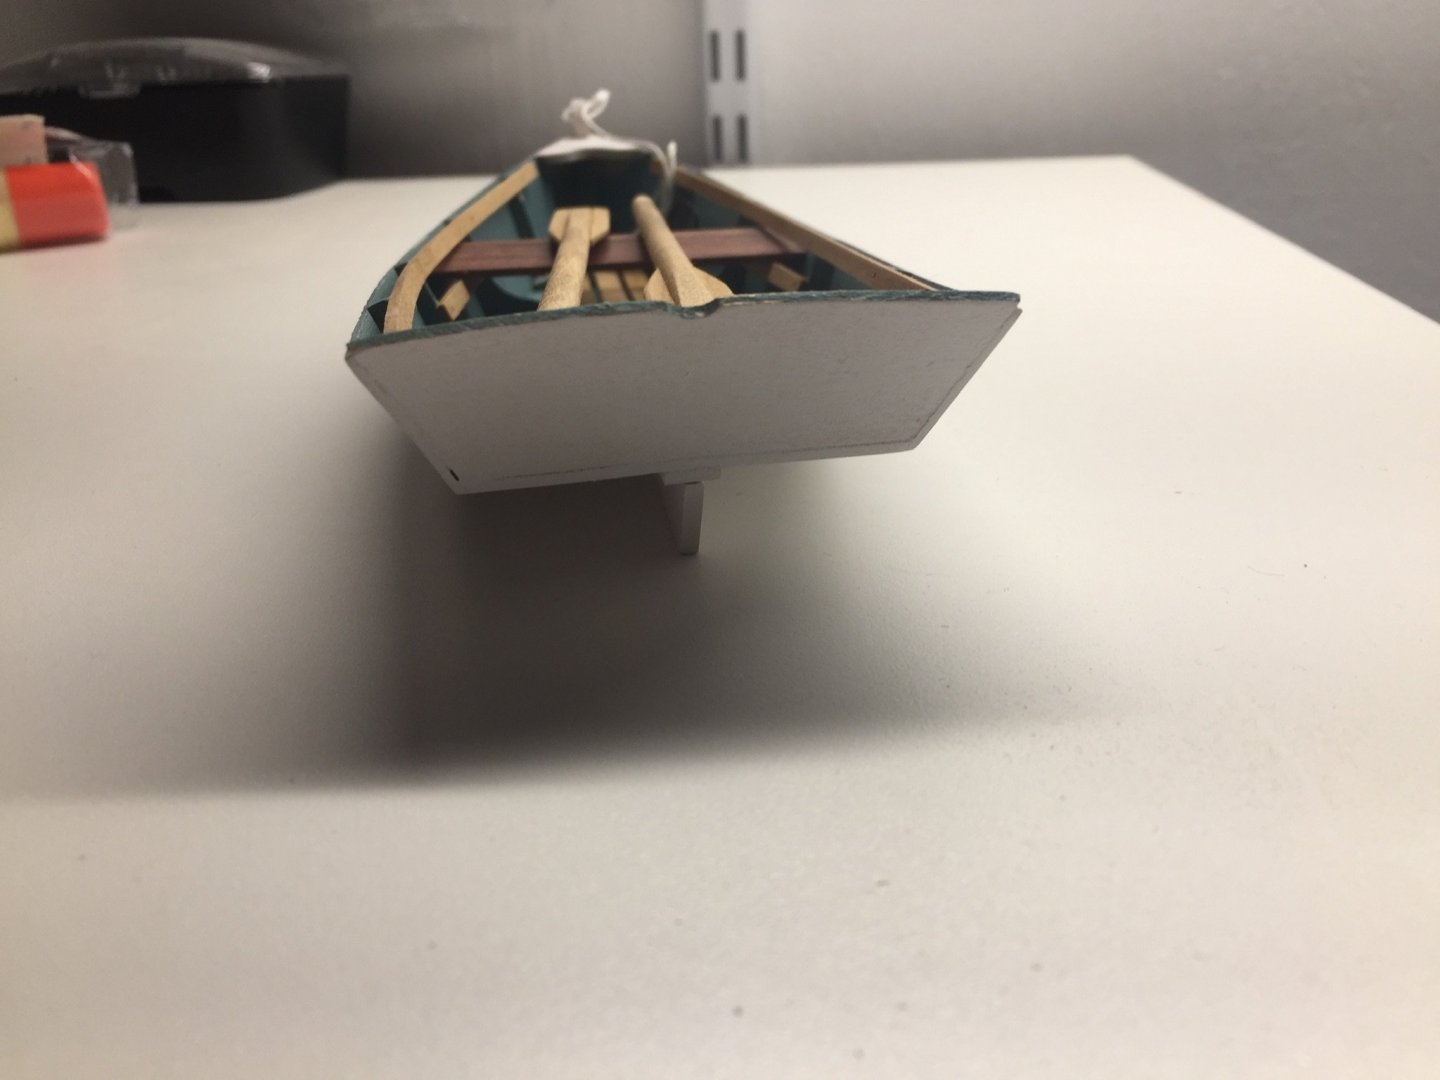
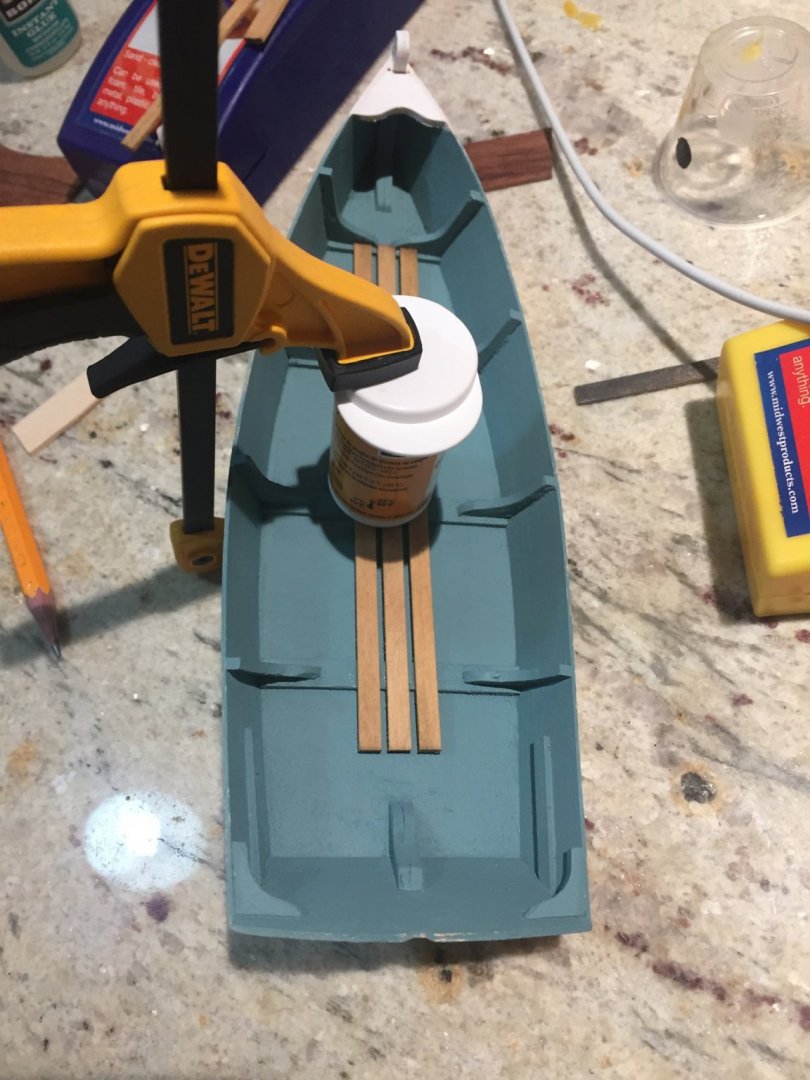
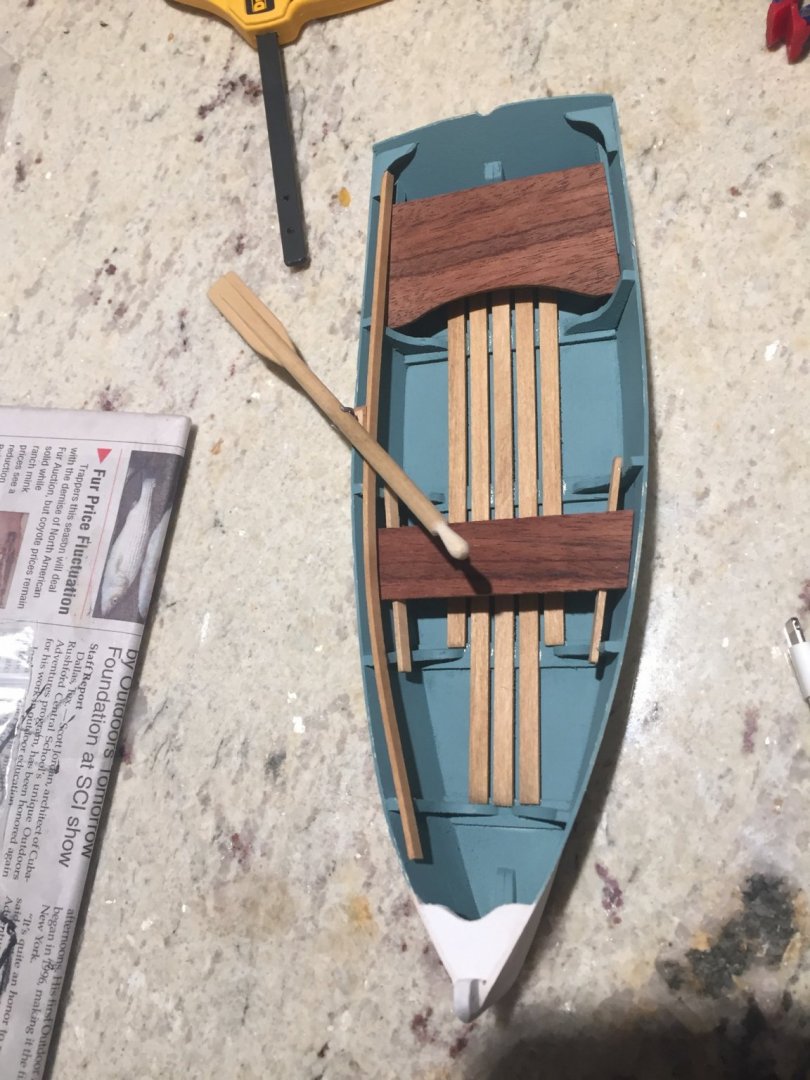
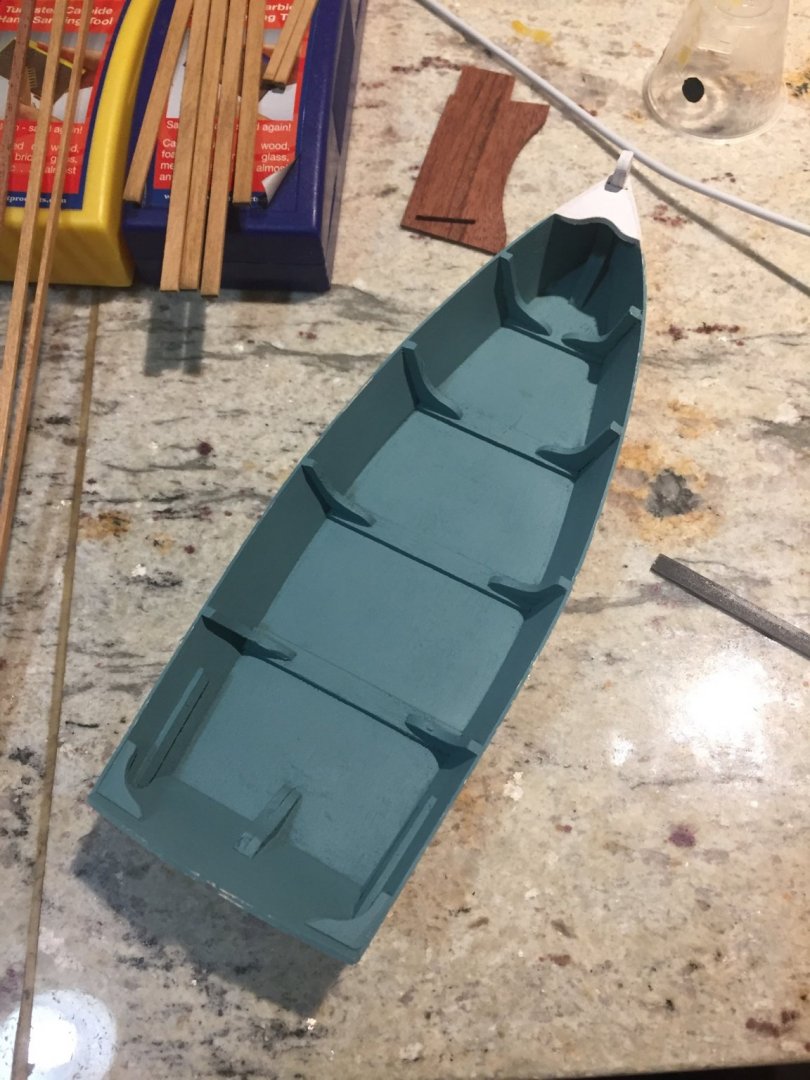
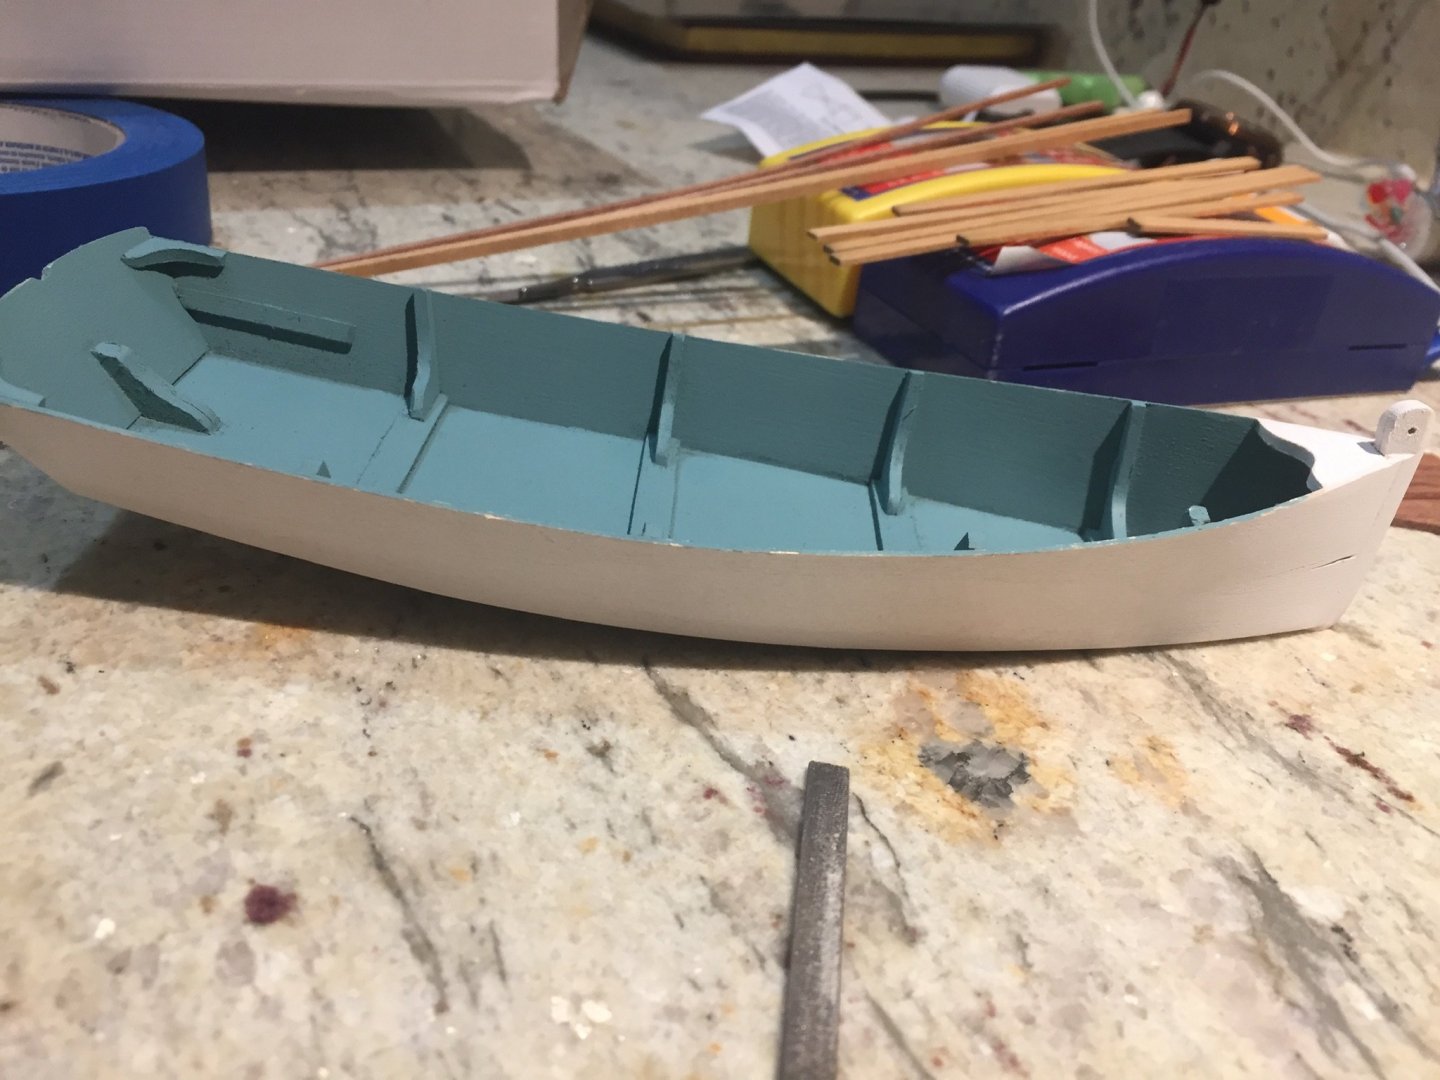
I had a blue color I happened to like, it is a little darker then what the plans call out, but I like it. you can see the crack on the planking above 😳
-
I ended up cracking the one side of the planking due to one of the frames being out of whack...it didn’t bother me enough to fix it lol
-
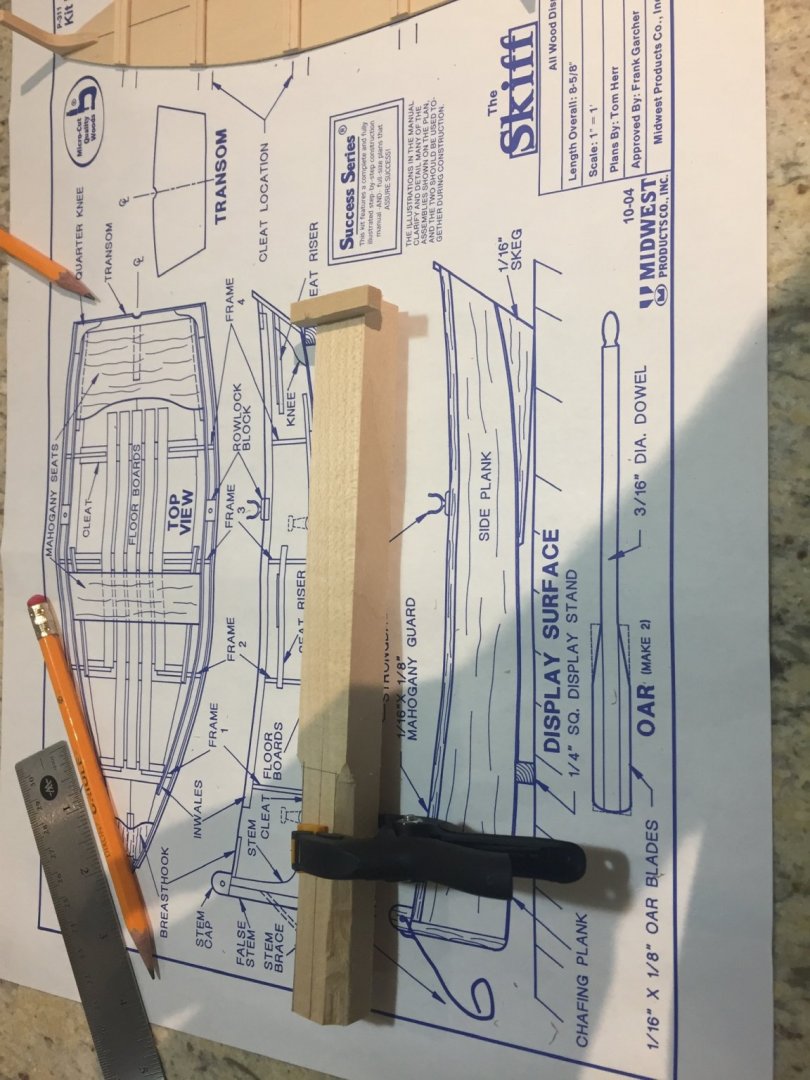
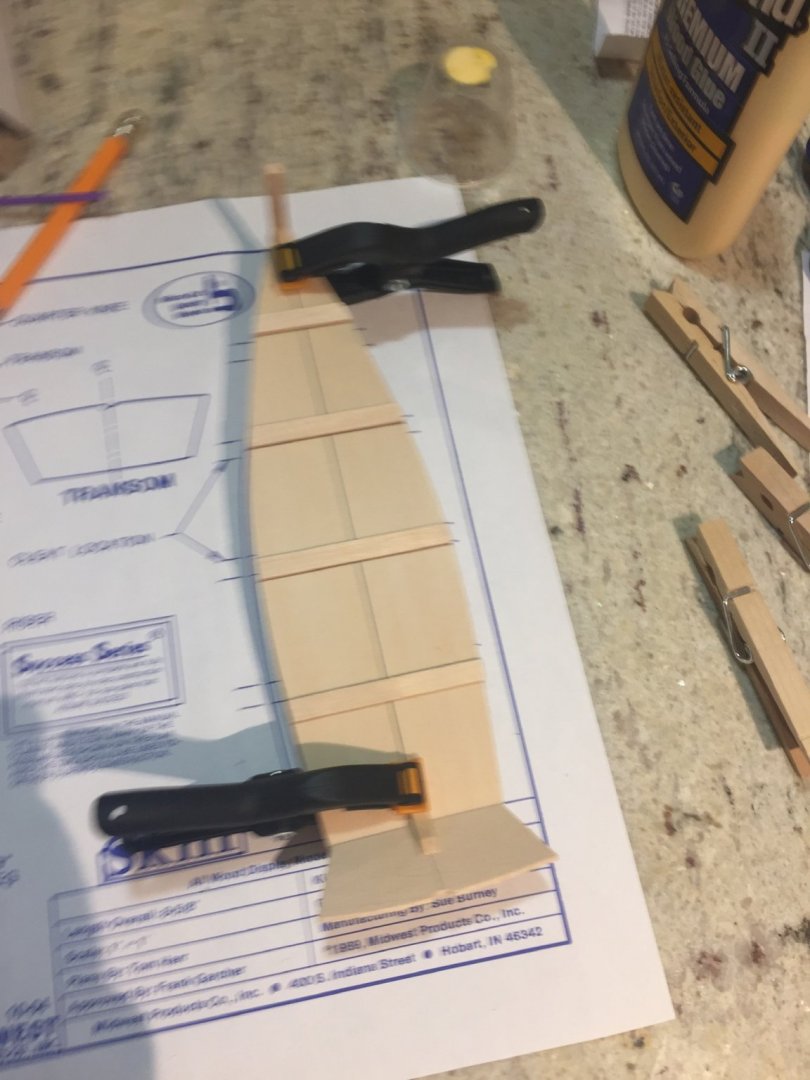
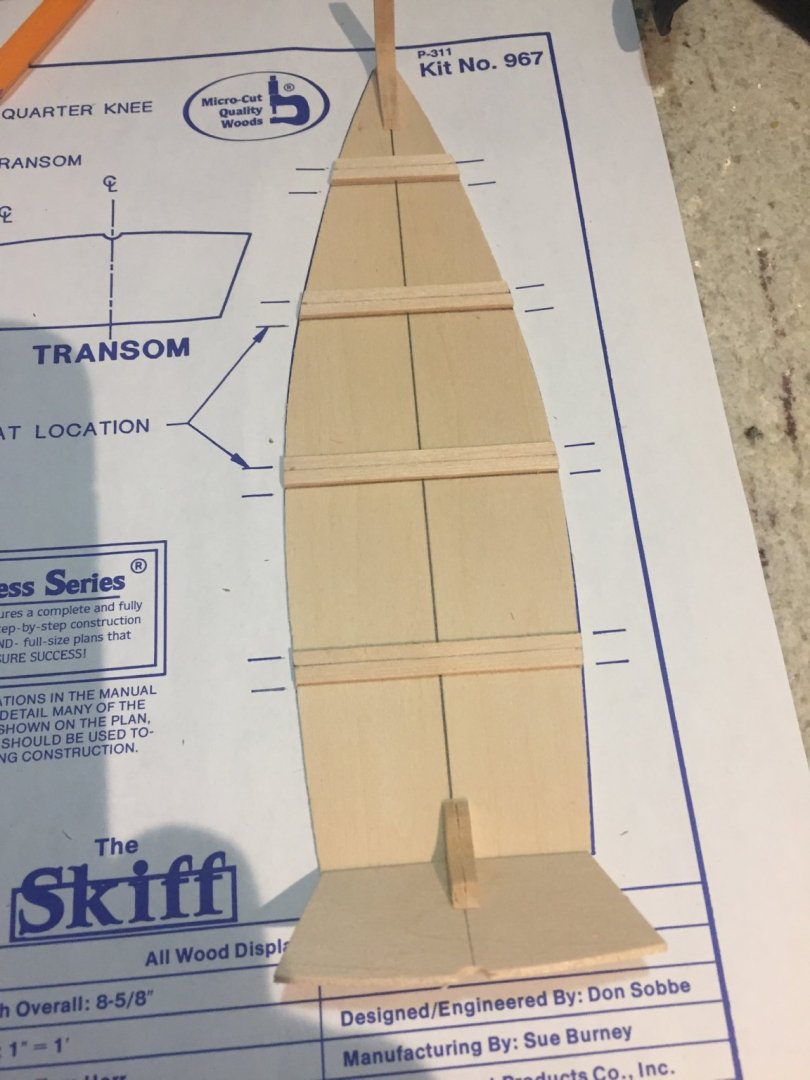
I built the building board. I always do whatever I can in order not to have to put tacks through the bottom of the hull.
-
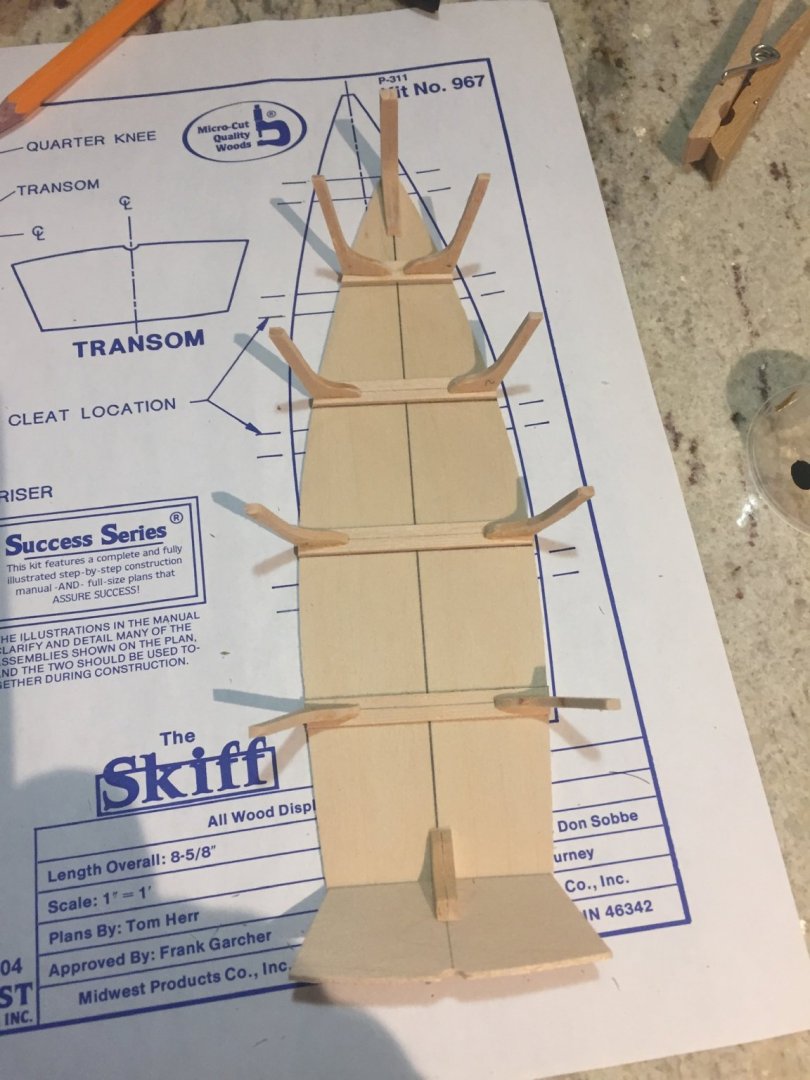
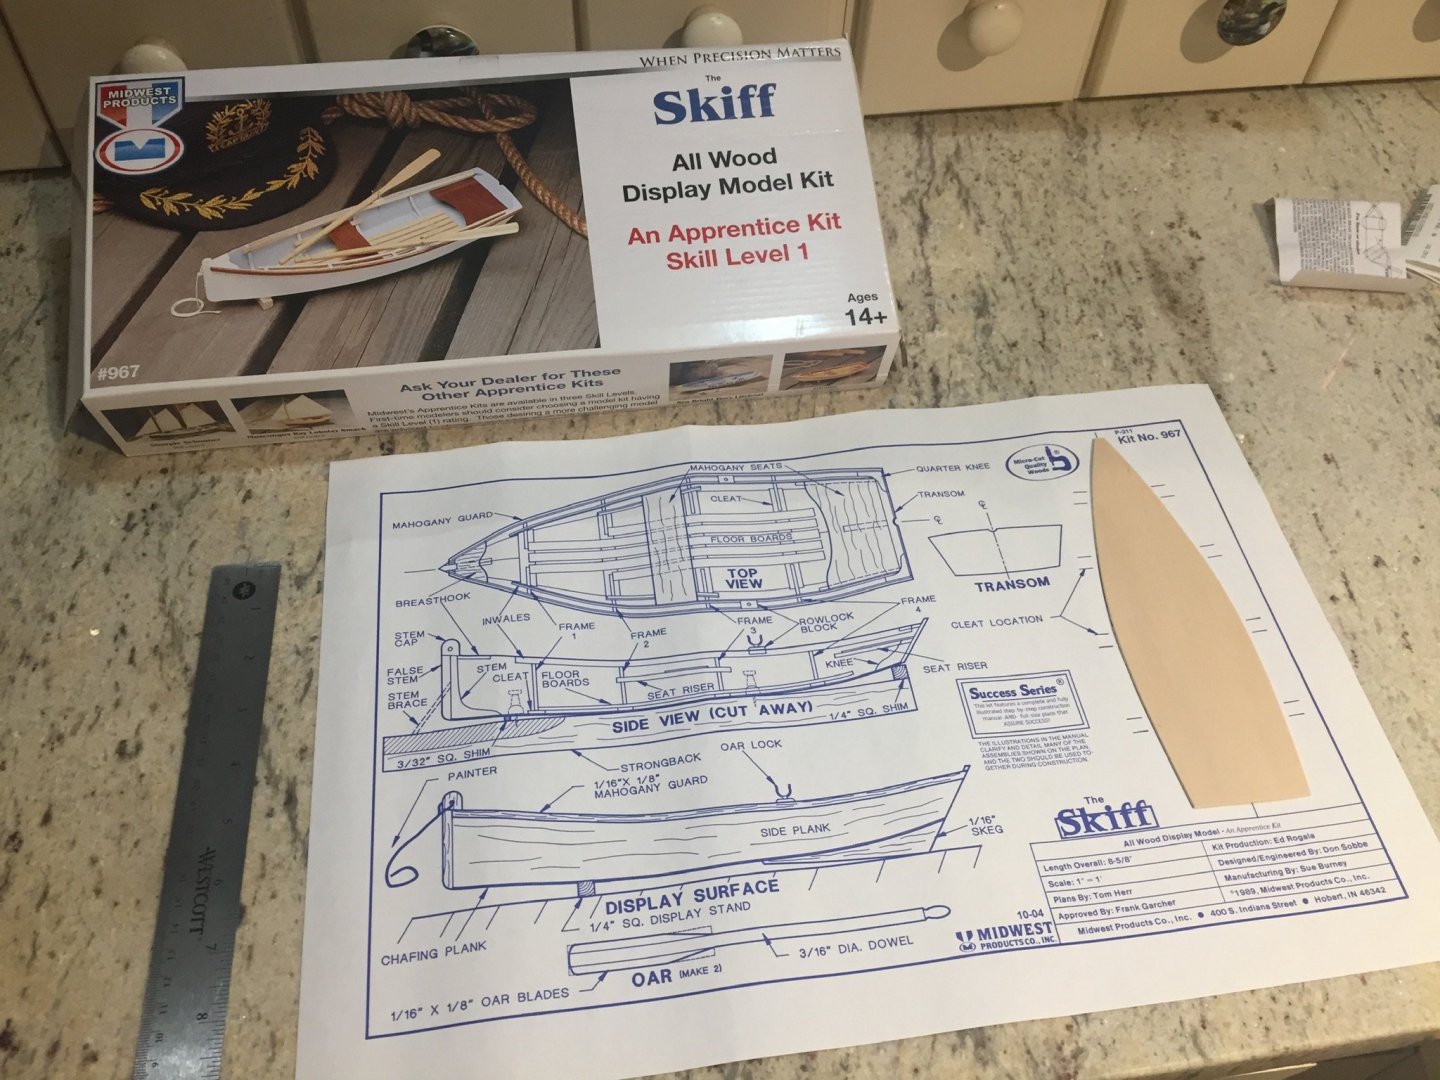
So like always I follow the directions that are very straight forward. I try to think about painting and finish before I start. I enjoy these basic kits but I am certainly wanting to go big...
-

Respect time and detail
Duanelaker replied to TheAuthorsDaughter's topic in New member Introductions
Welcome to the site!
About us
Modelshipworld - Advancing Ship Modeling through Research
SSL Secured
Your security is important for us so this Website is SSL-Secured
NRG Mailing Address
Nautical Research Guild
237 South Lincoln Street
Westmont IL, 60559-1917
Model Ship World ® and the MSW logo are Registered Trademarks, and belong to the Nautical Research Guild (United States Patent and Trademark Office: No. 6,929,264 & No. 6,929,274, registered Dec. 20, 2022)
Helpful Links
About the NRG
If you enjoy building ship models that are historically accurate as well as beautiful, then The Nautical Research Guild (NRG) is just right for you.
The Guild is a non-profit educational organization whose mission is to “Advance Ship Modeling Through Research”. We provide support to our members in their efforts to raise the quality of their model ships.
The Nautical Research Guild has published our world-renowned quarterly magazine, The Nautical Research Journal, since 1955. The pages of the Journal are full of articles by accomplished ship modelers who show you how they create those exquisite details on their models, and by maritime historians who show you the correct details to build. The Journal is available in both print and digital editions. Go to the NRG web site (www.thenrg.org) to download a complimentary digital copy of the Journal. The NRG also publishes plan sets, books and compilations of back issues of the Journal and the former Ships in Scale and Model Ship Builder magazines.

