
Duanelaker
-
Posts
571 -
Joined
-
Last visited
Content Type
Profiles
Forums
Gallery
Events
Everything posted by Duanelaker
-
 Hi, my name is Dave and I’m an eBay-aholic.... I can’t pass up on a deal lol.
- 77 replies
-
- 4
-

-
- point berlin
- diorama
- (and 1 more)
-
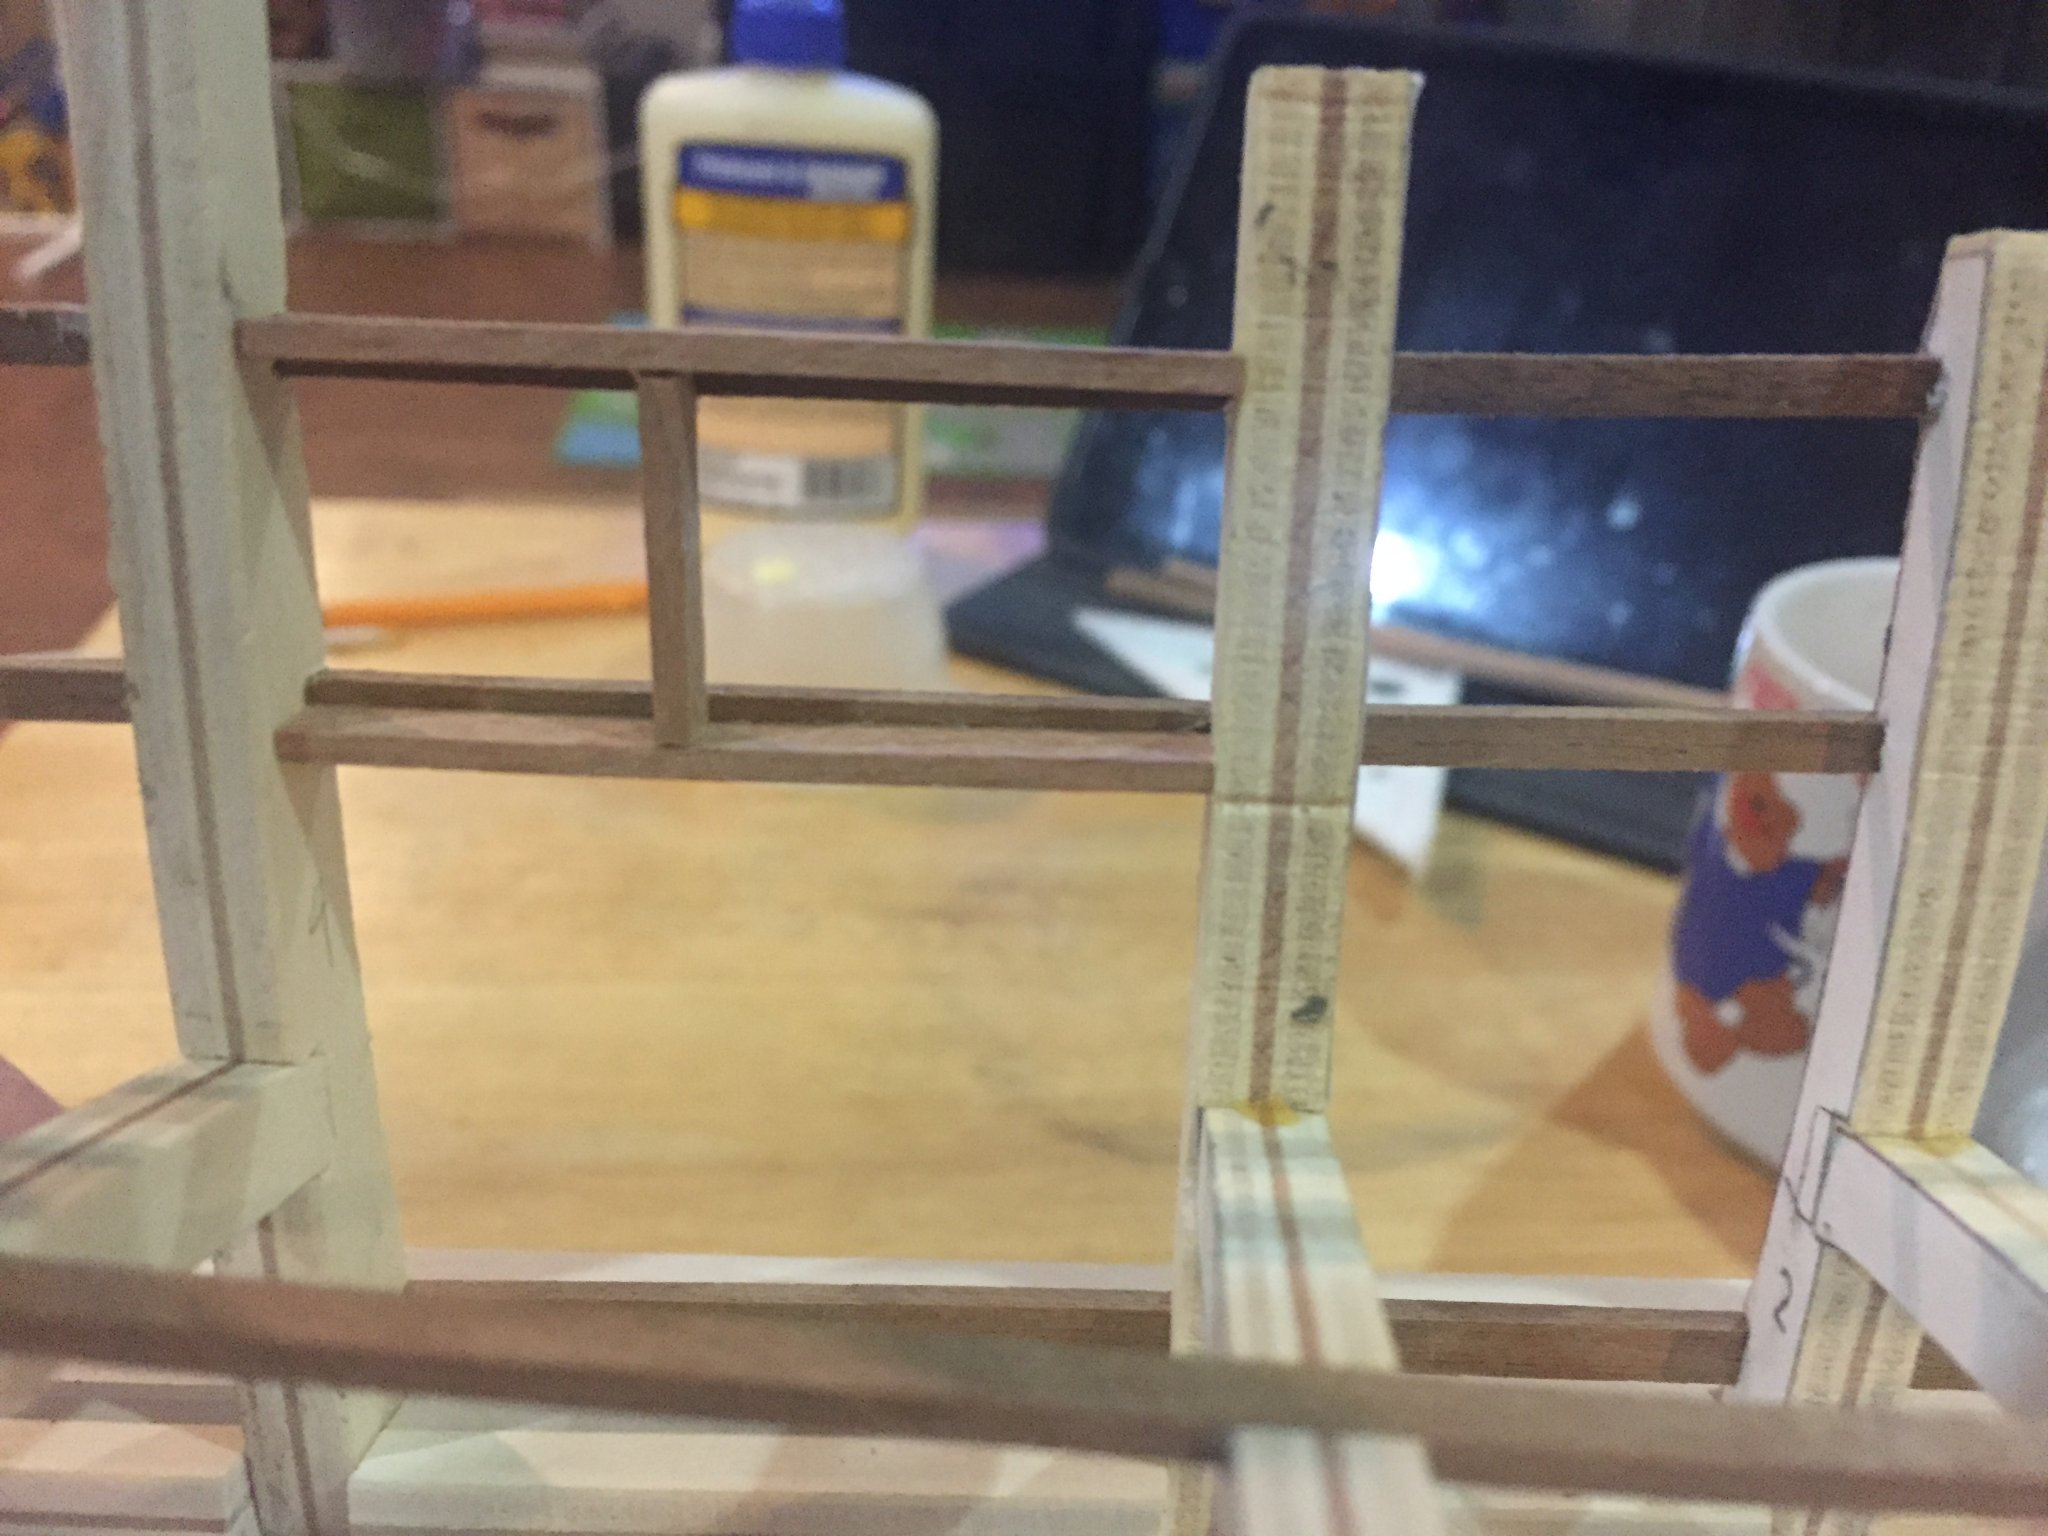
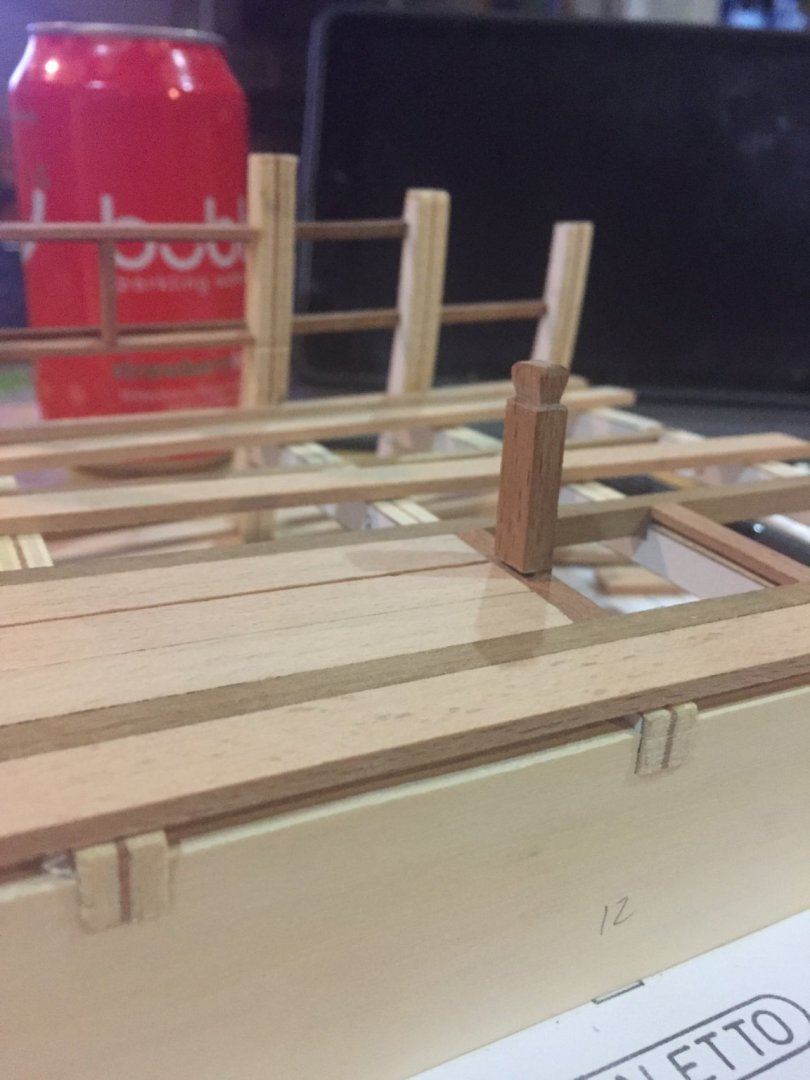
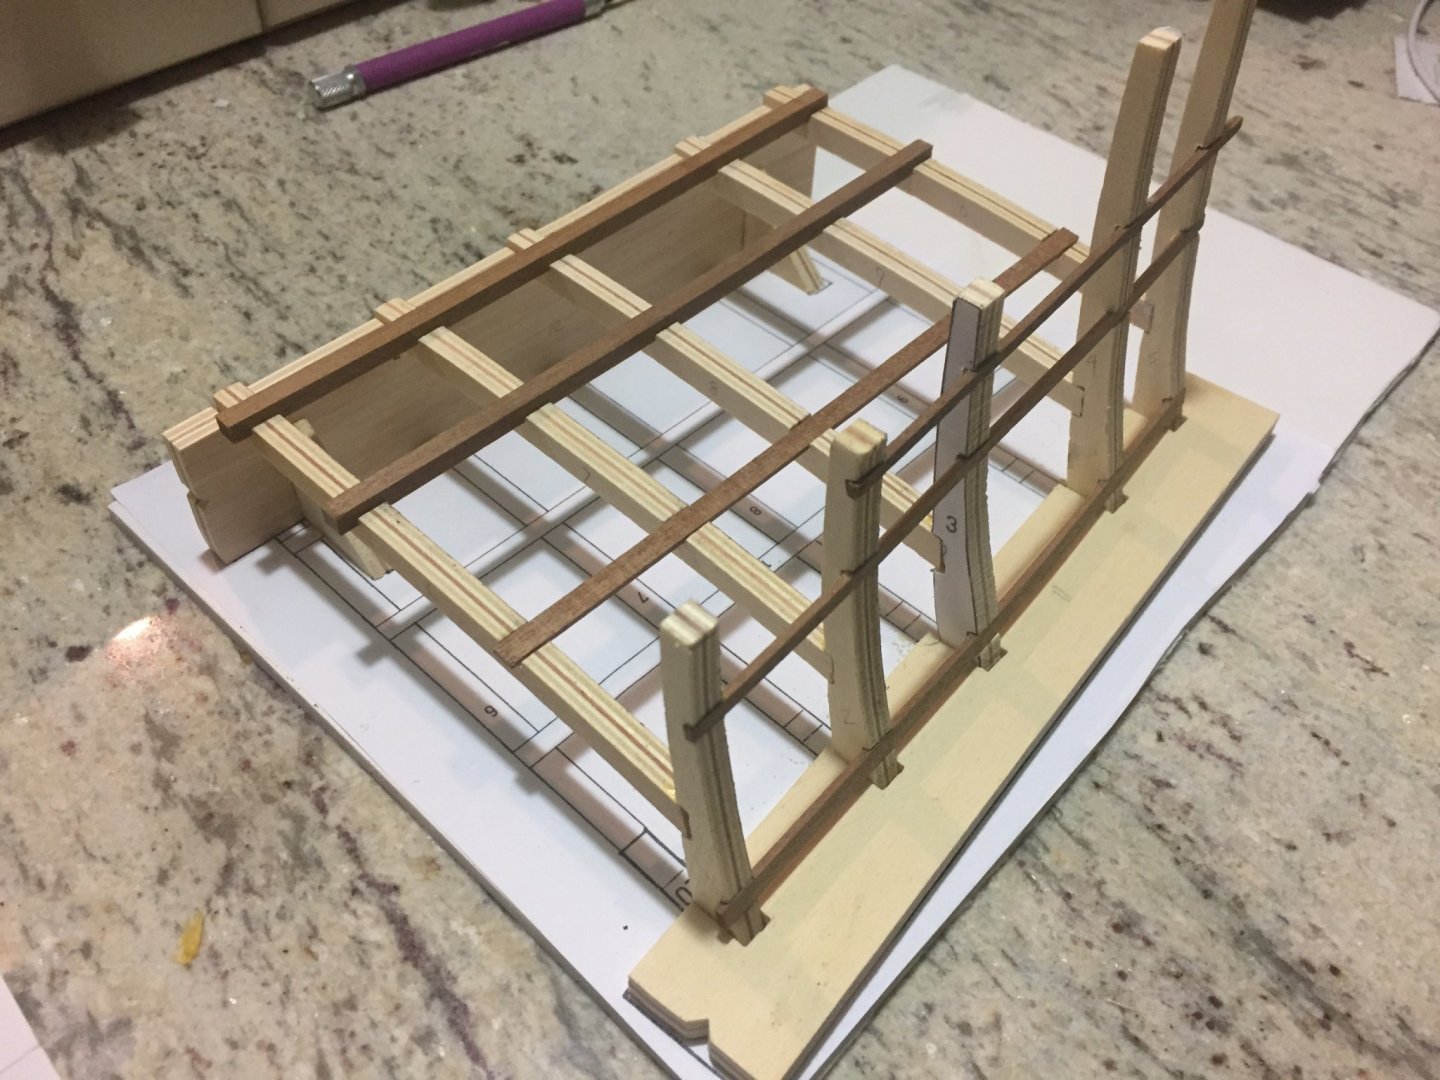
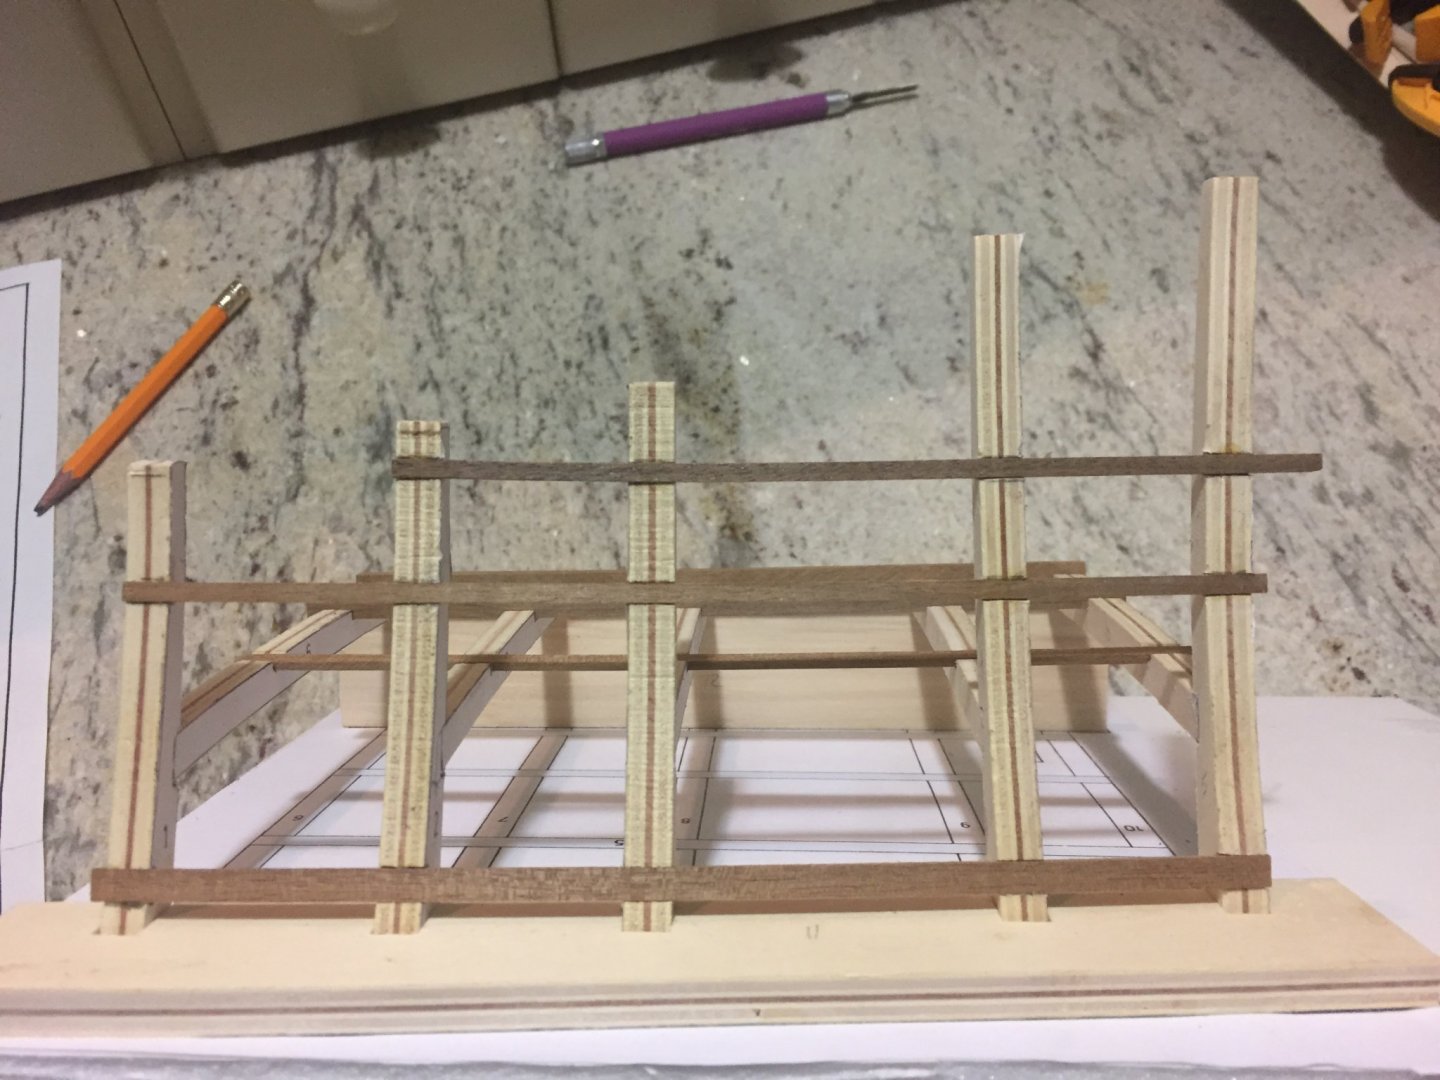
I finished the night off carving up the post and fitting the planking (not glued yet) So far its not too shabby. I’m wondering what the sailer is doing, there is something under him that he is using a post to manipulate. I’ll get the picture off the plan later...


- 77 replies
-
- 11
-
-
- point berlin
- diorama
- (and 1 more)
-
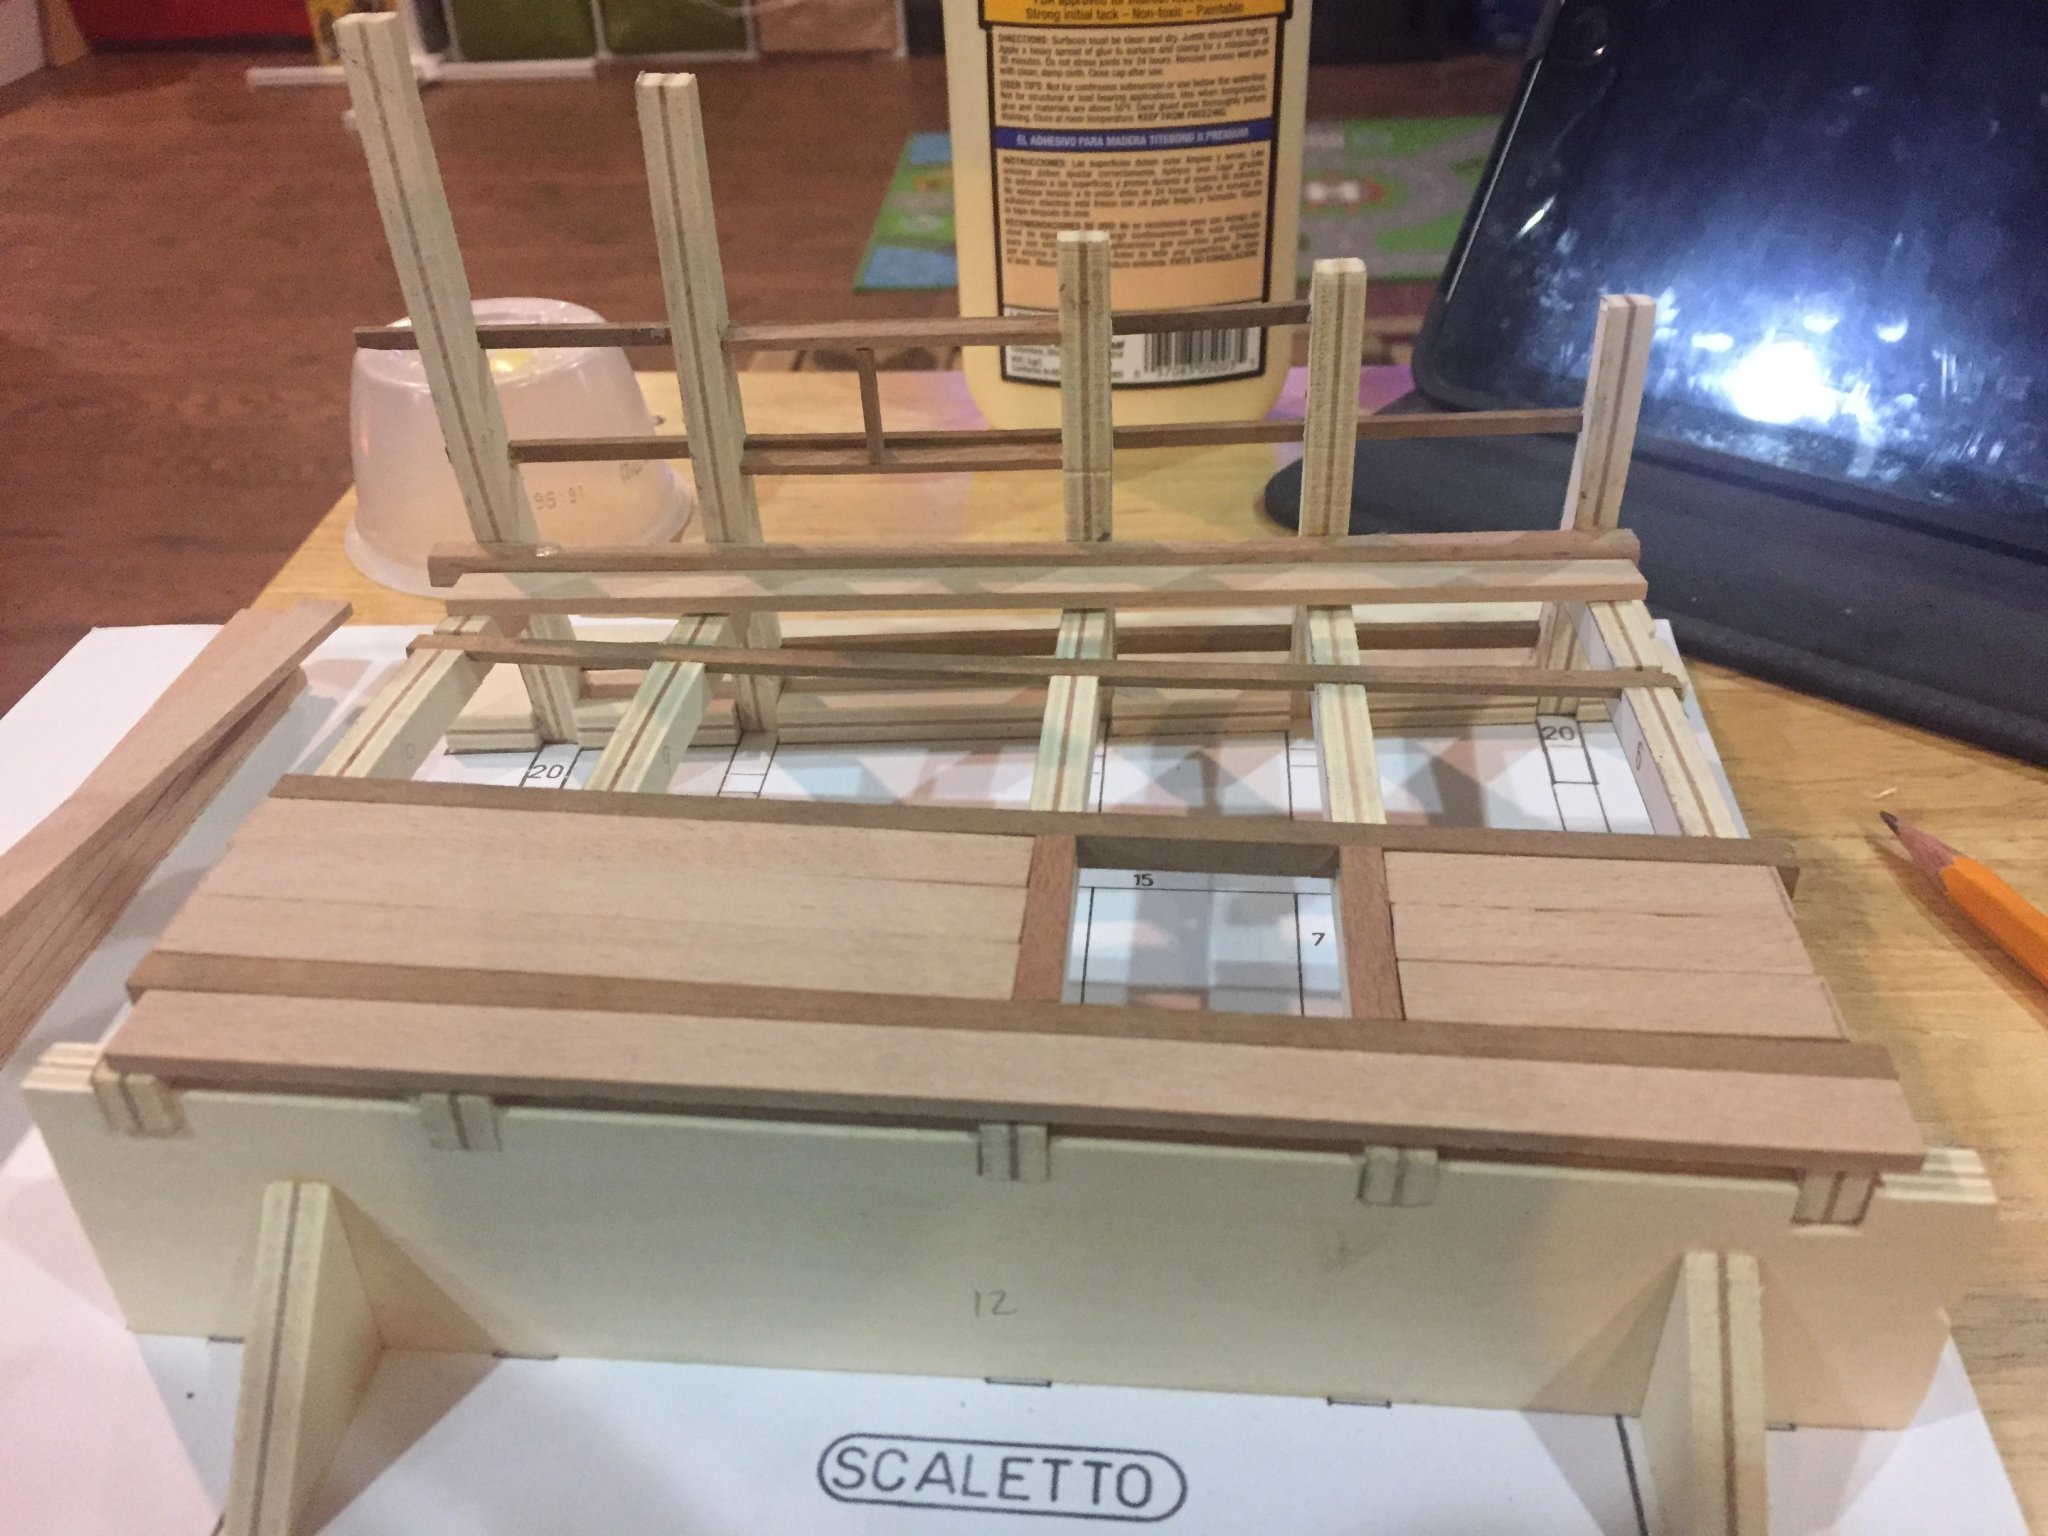
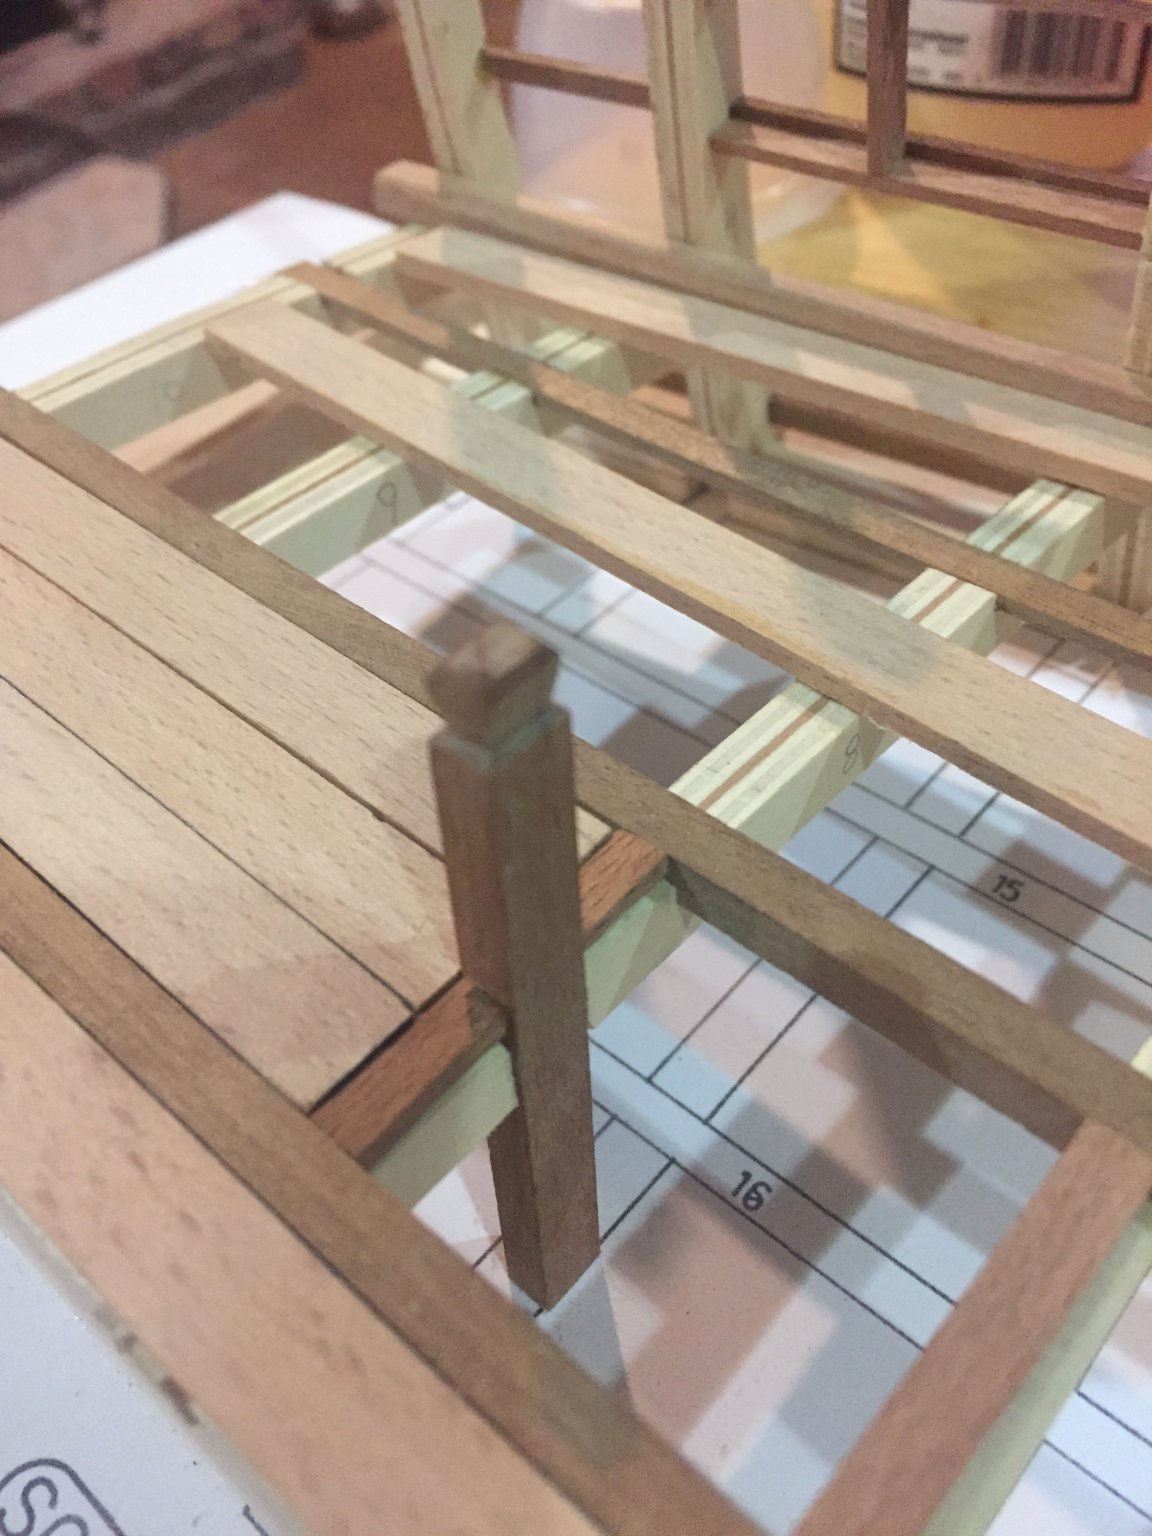
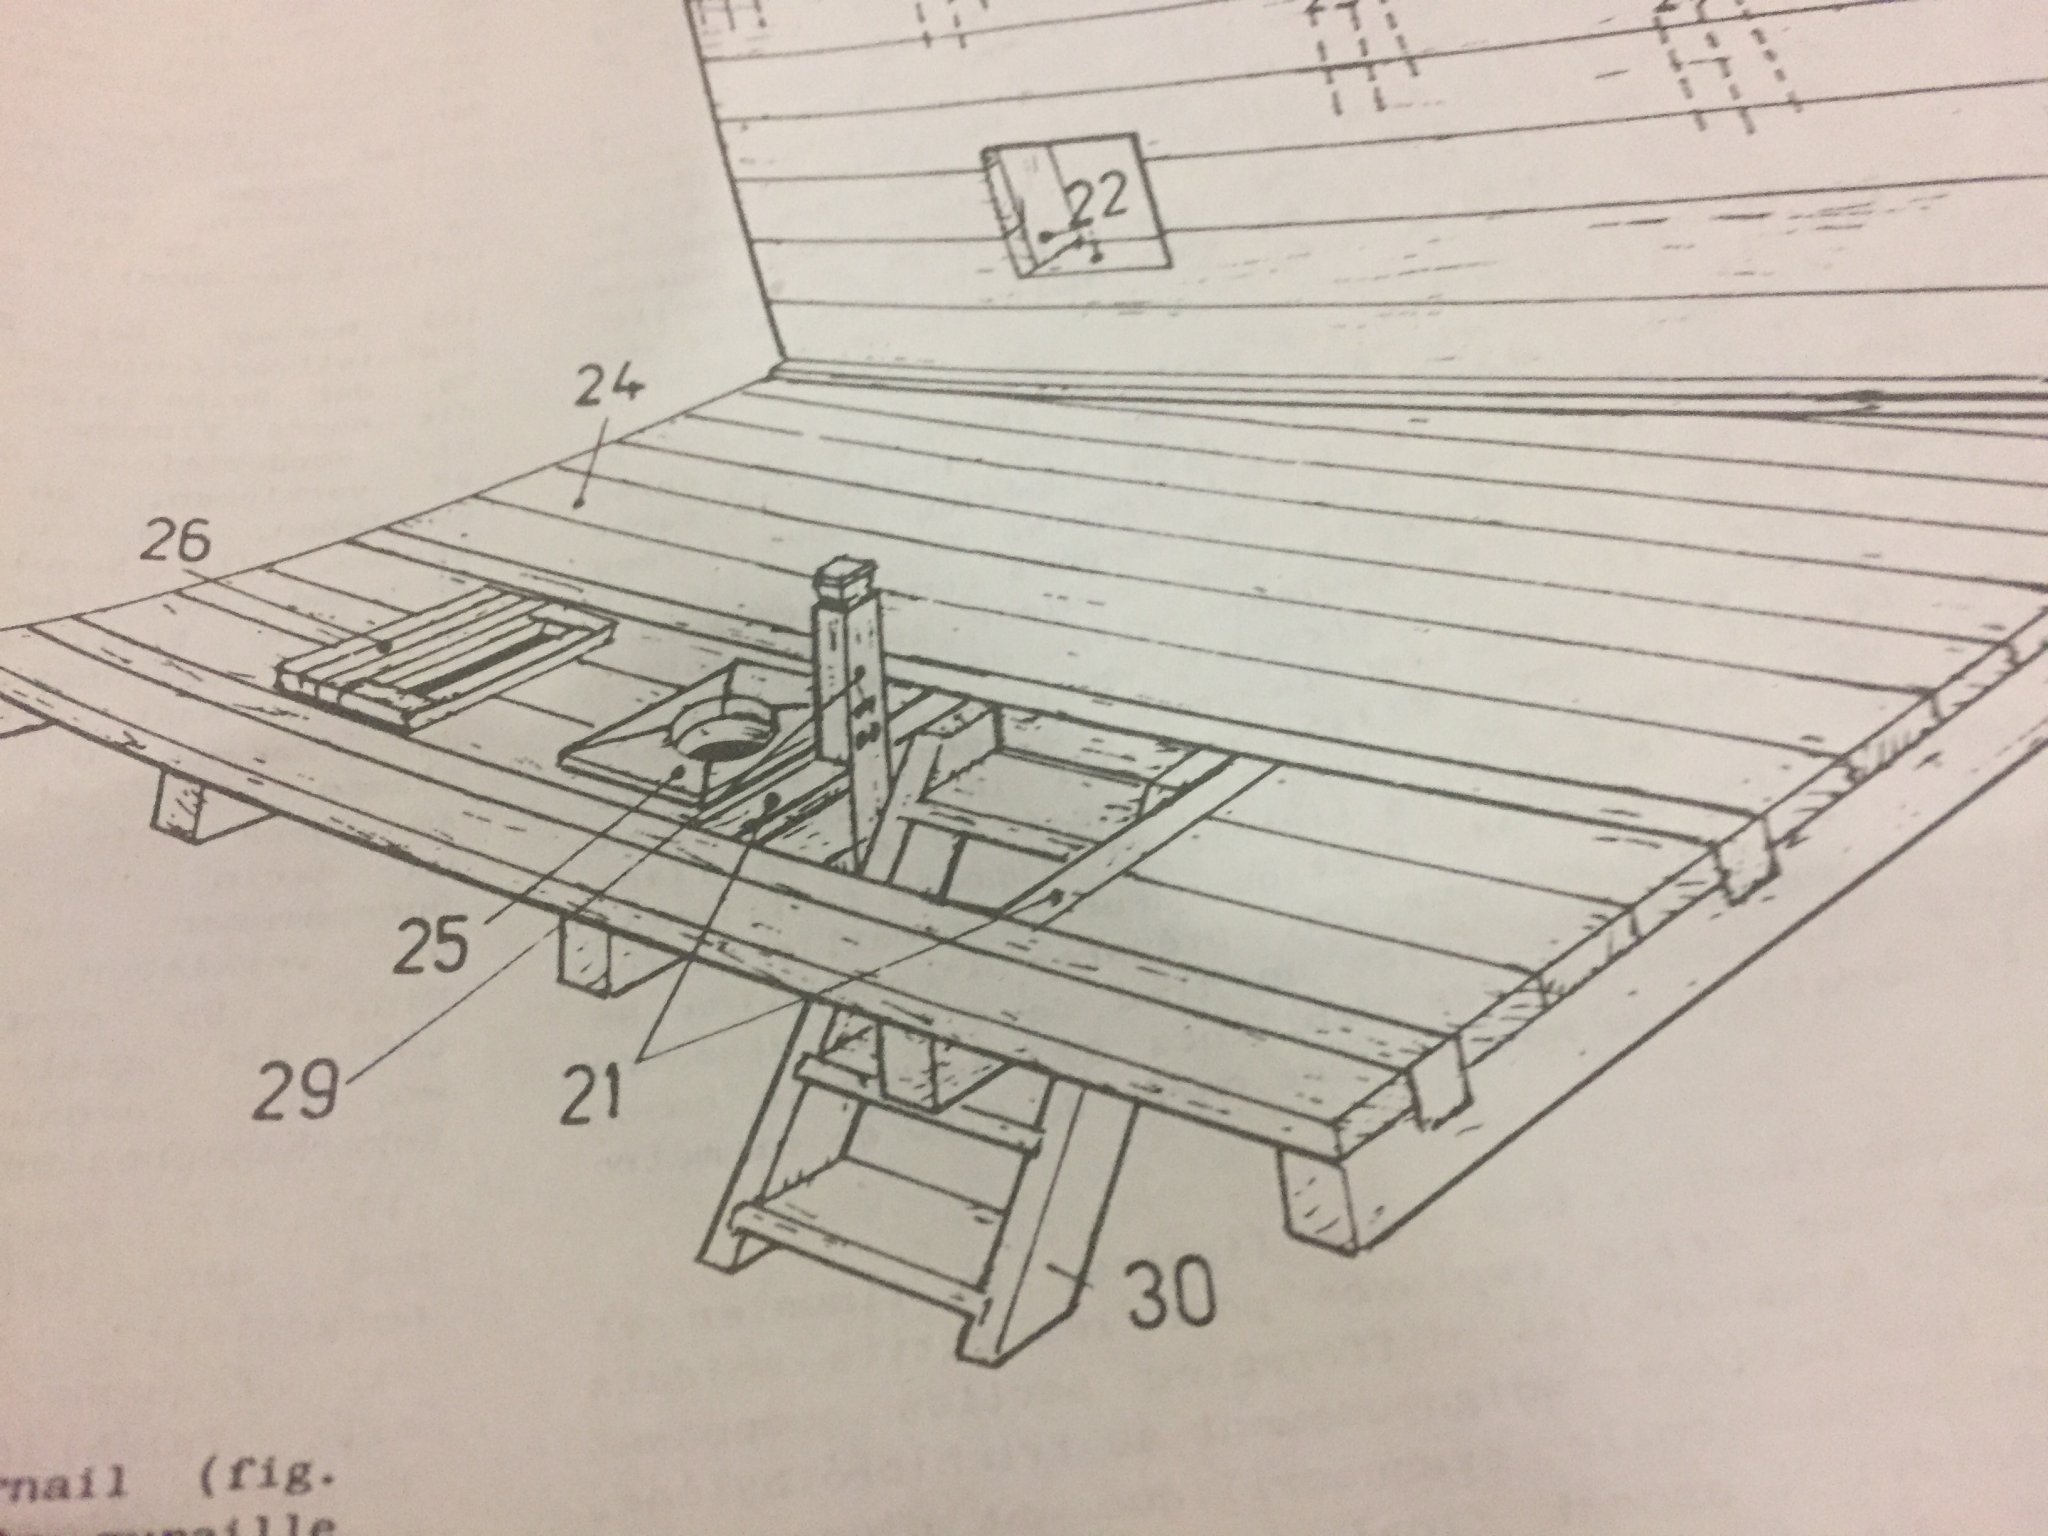
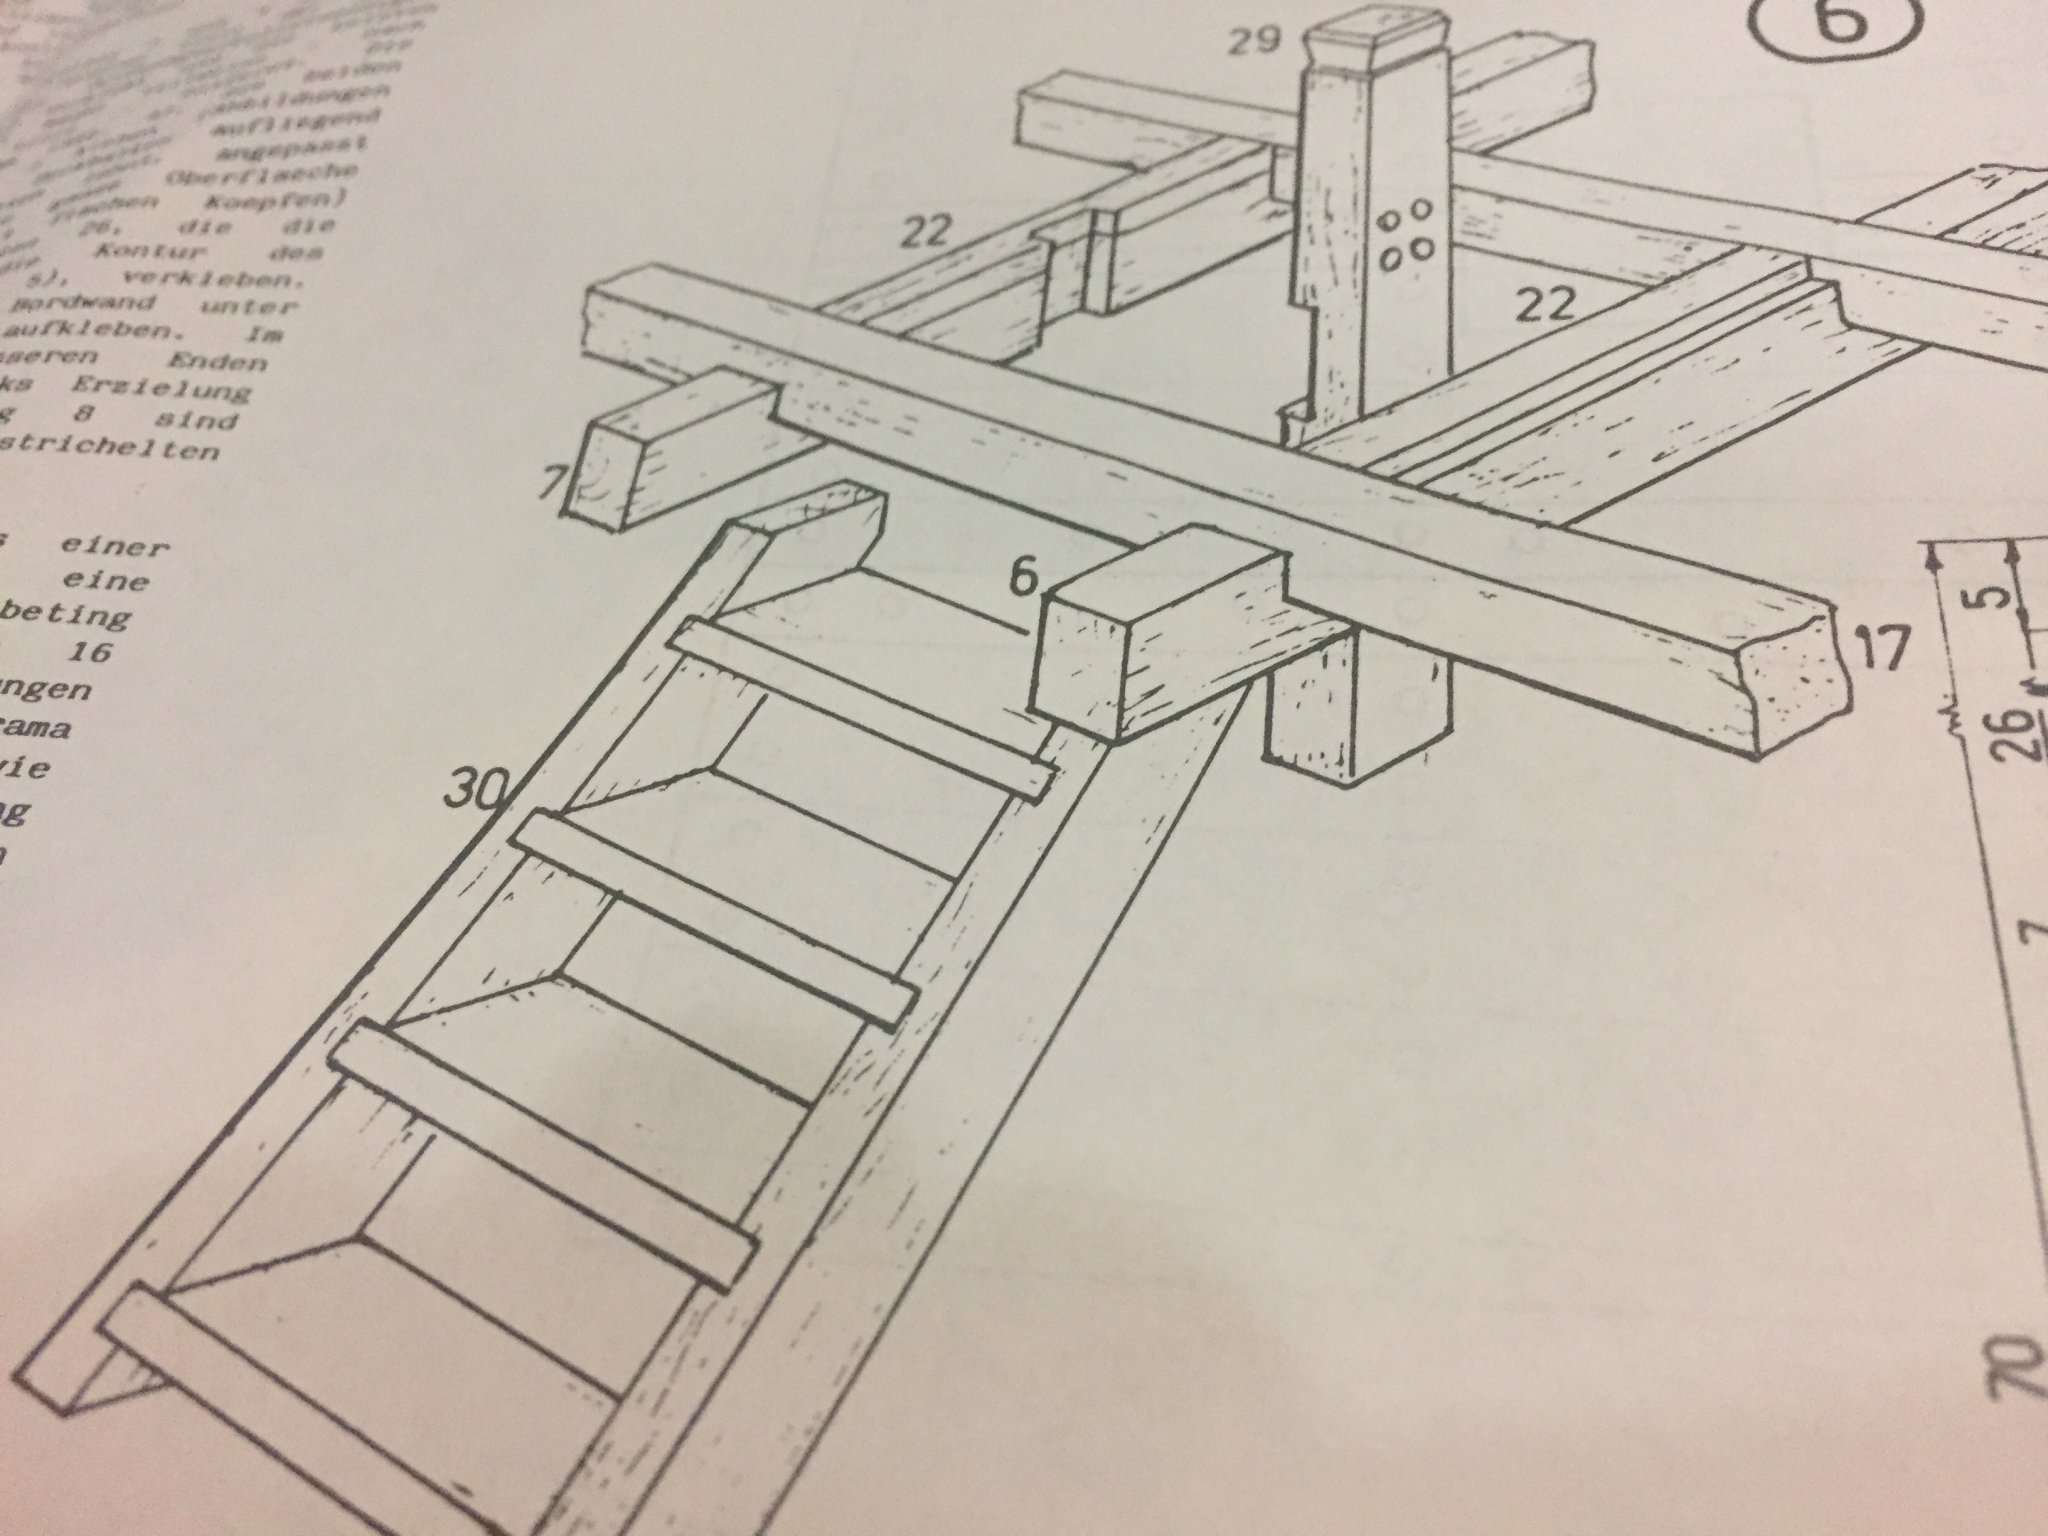
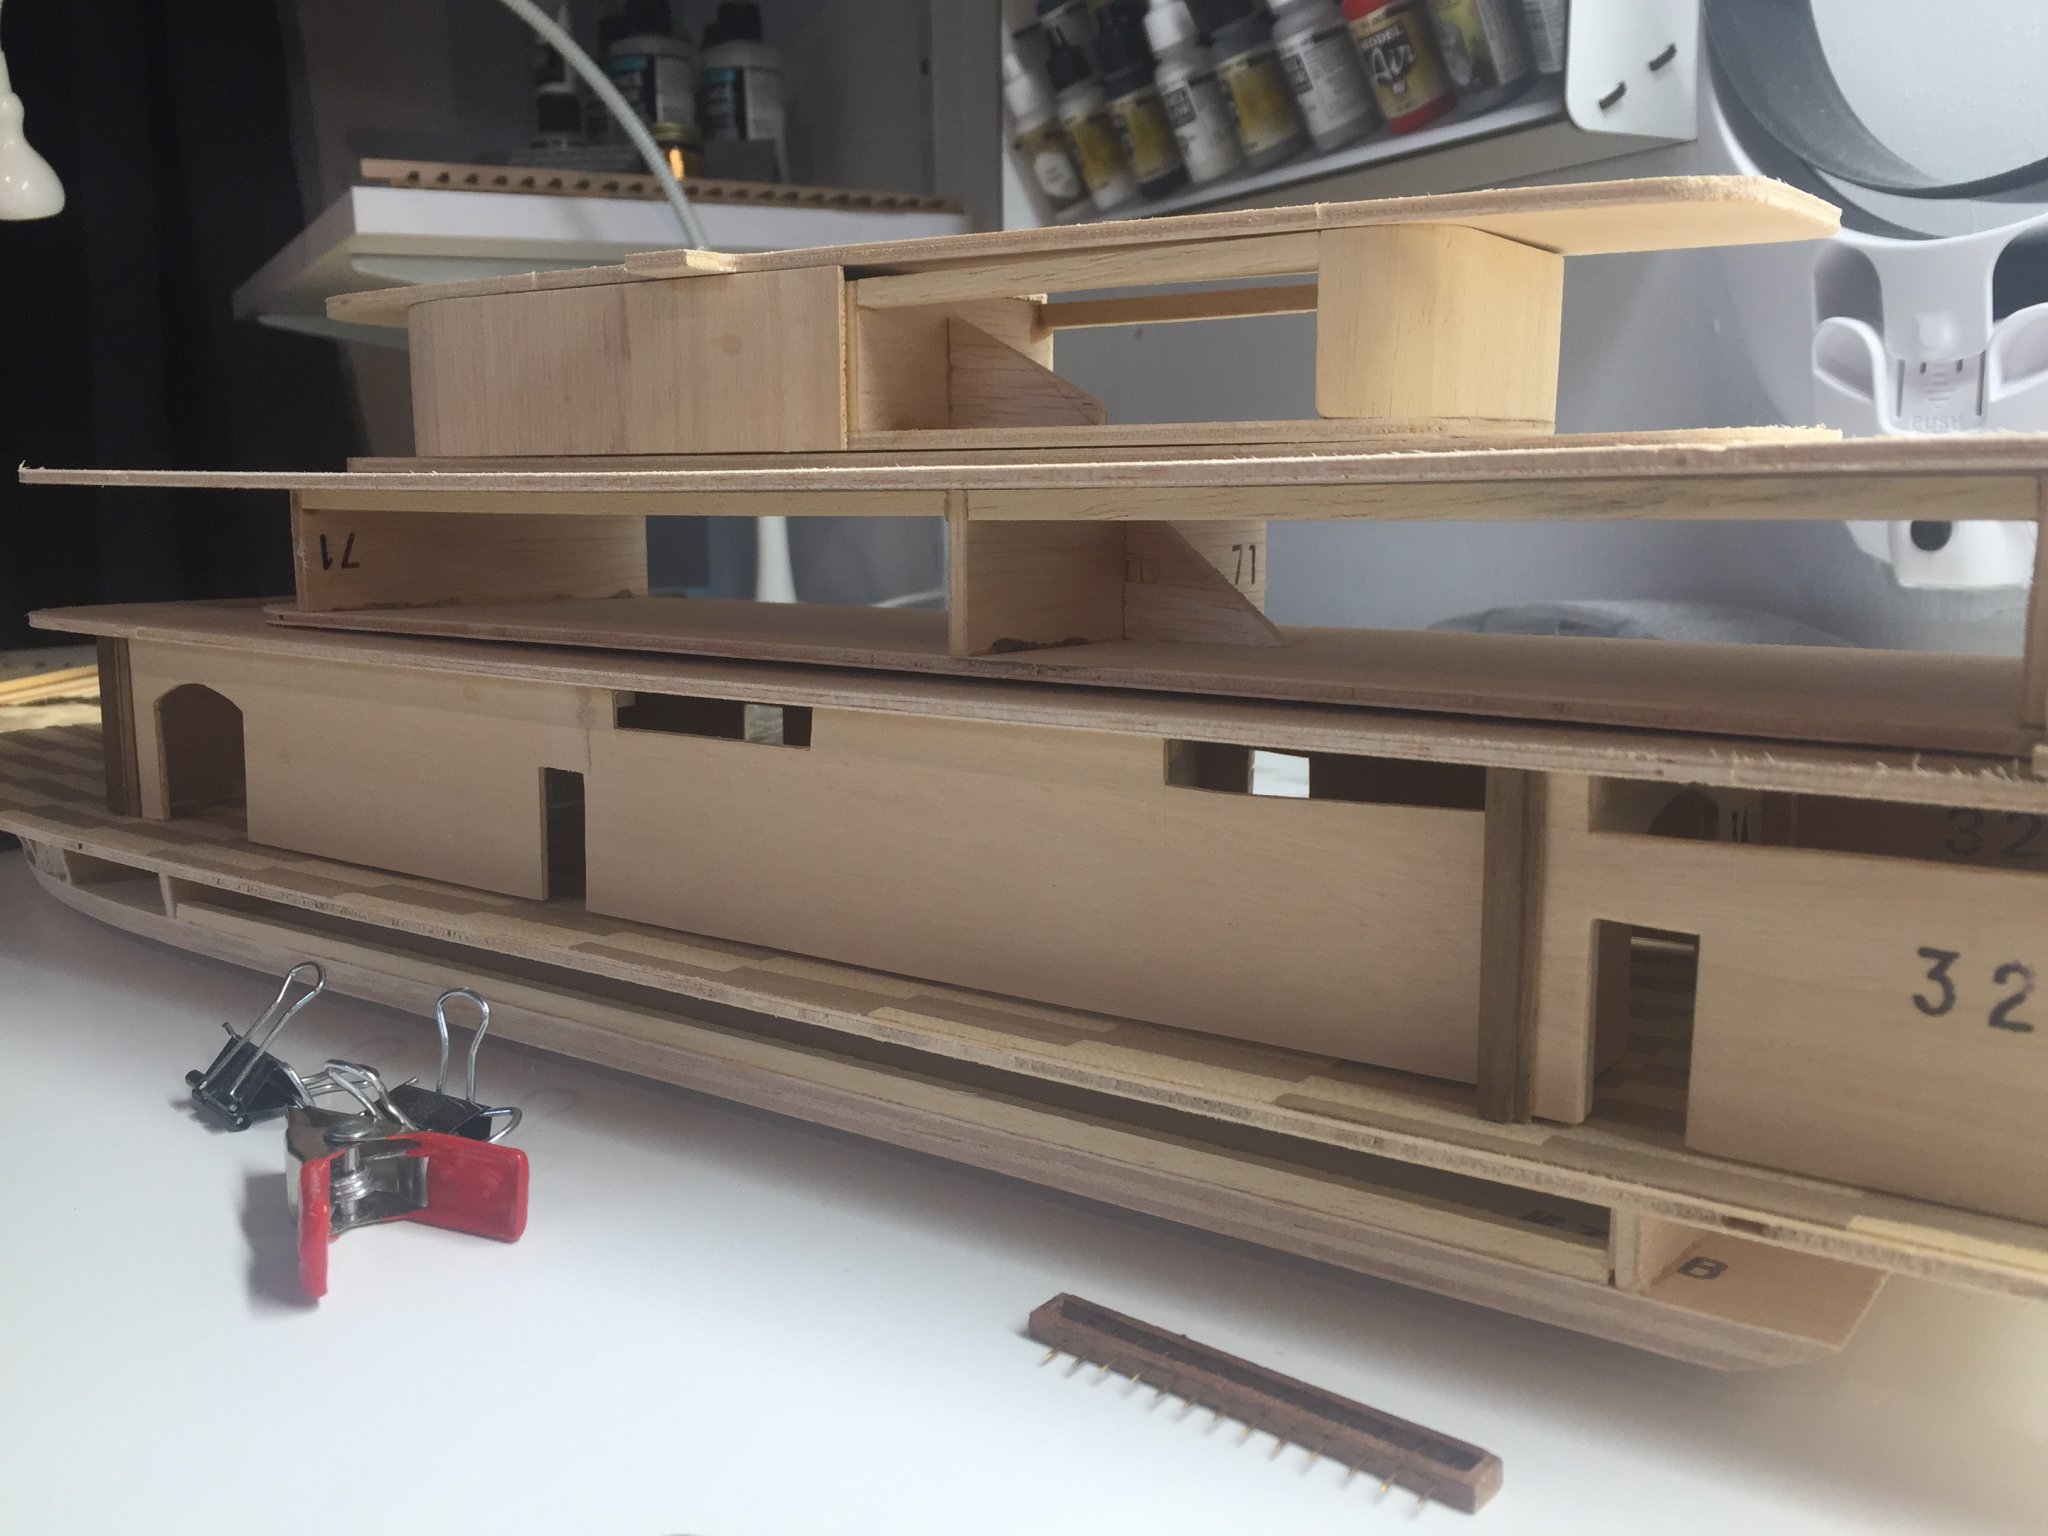
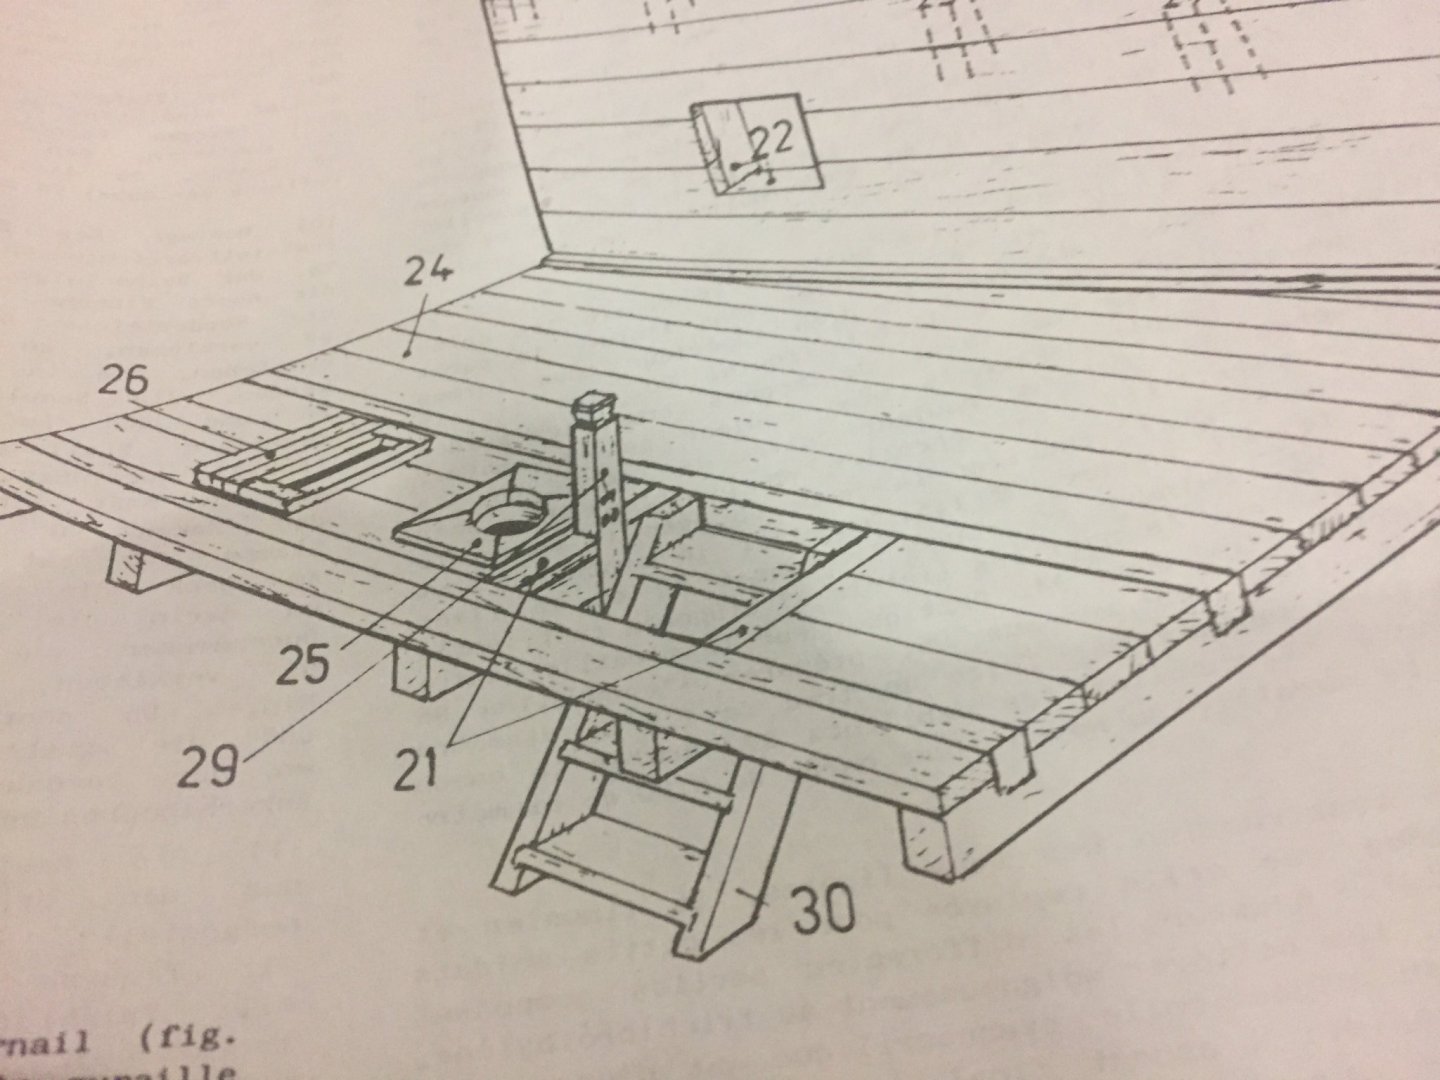
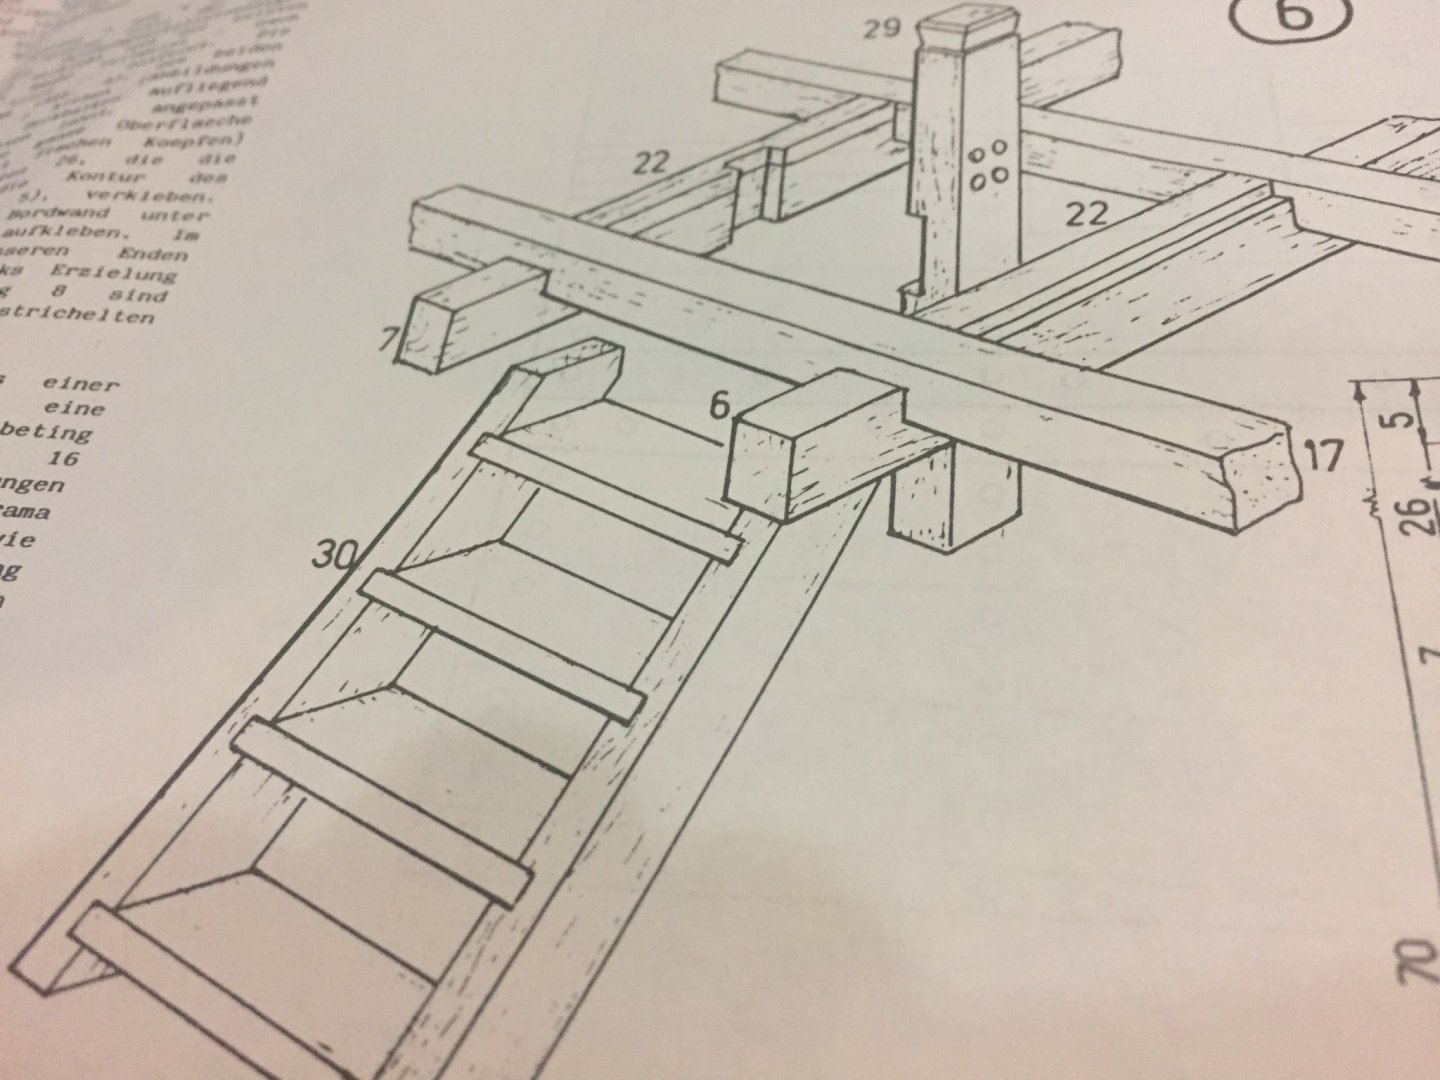
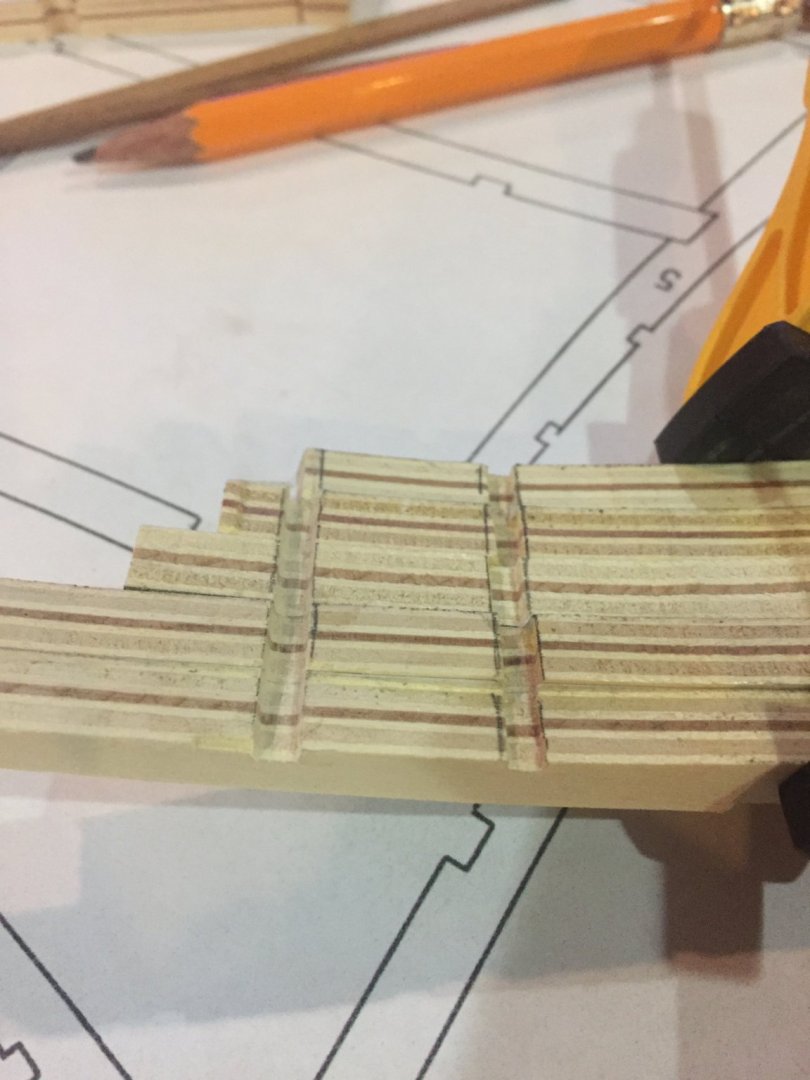
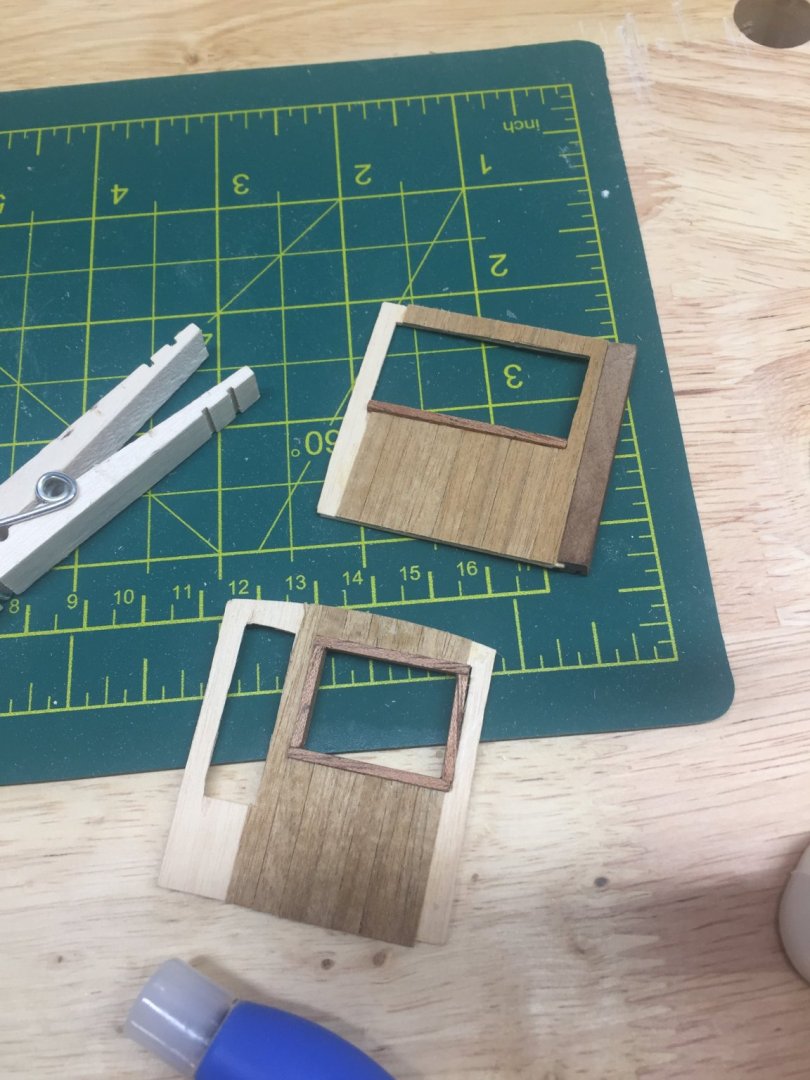
The next step was to box out the gun port and stairs I still have to trim the lip formed within the gunport the plans show the stairs between frames 5 and 6 but the instructions and stair detail say 6 and 7...


- 77 replies
-
- 8
-
-
- point berlin
- diorama
- (and 1 more)
-
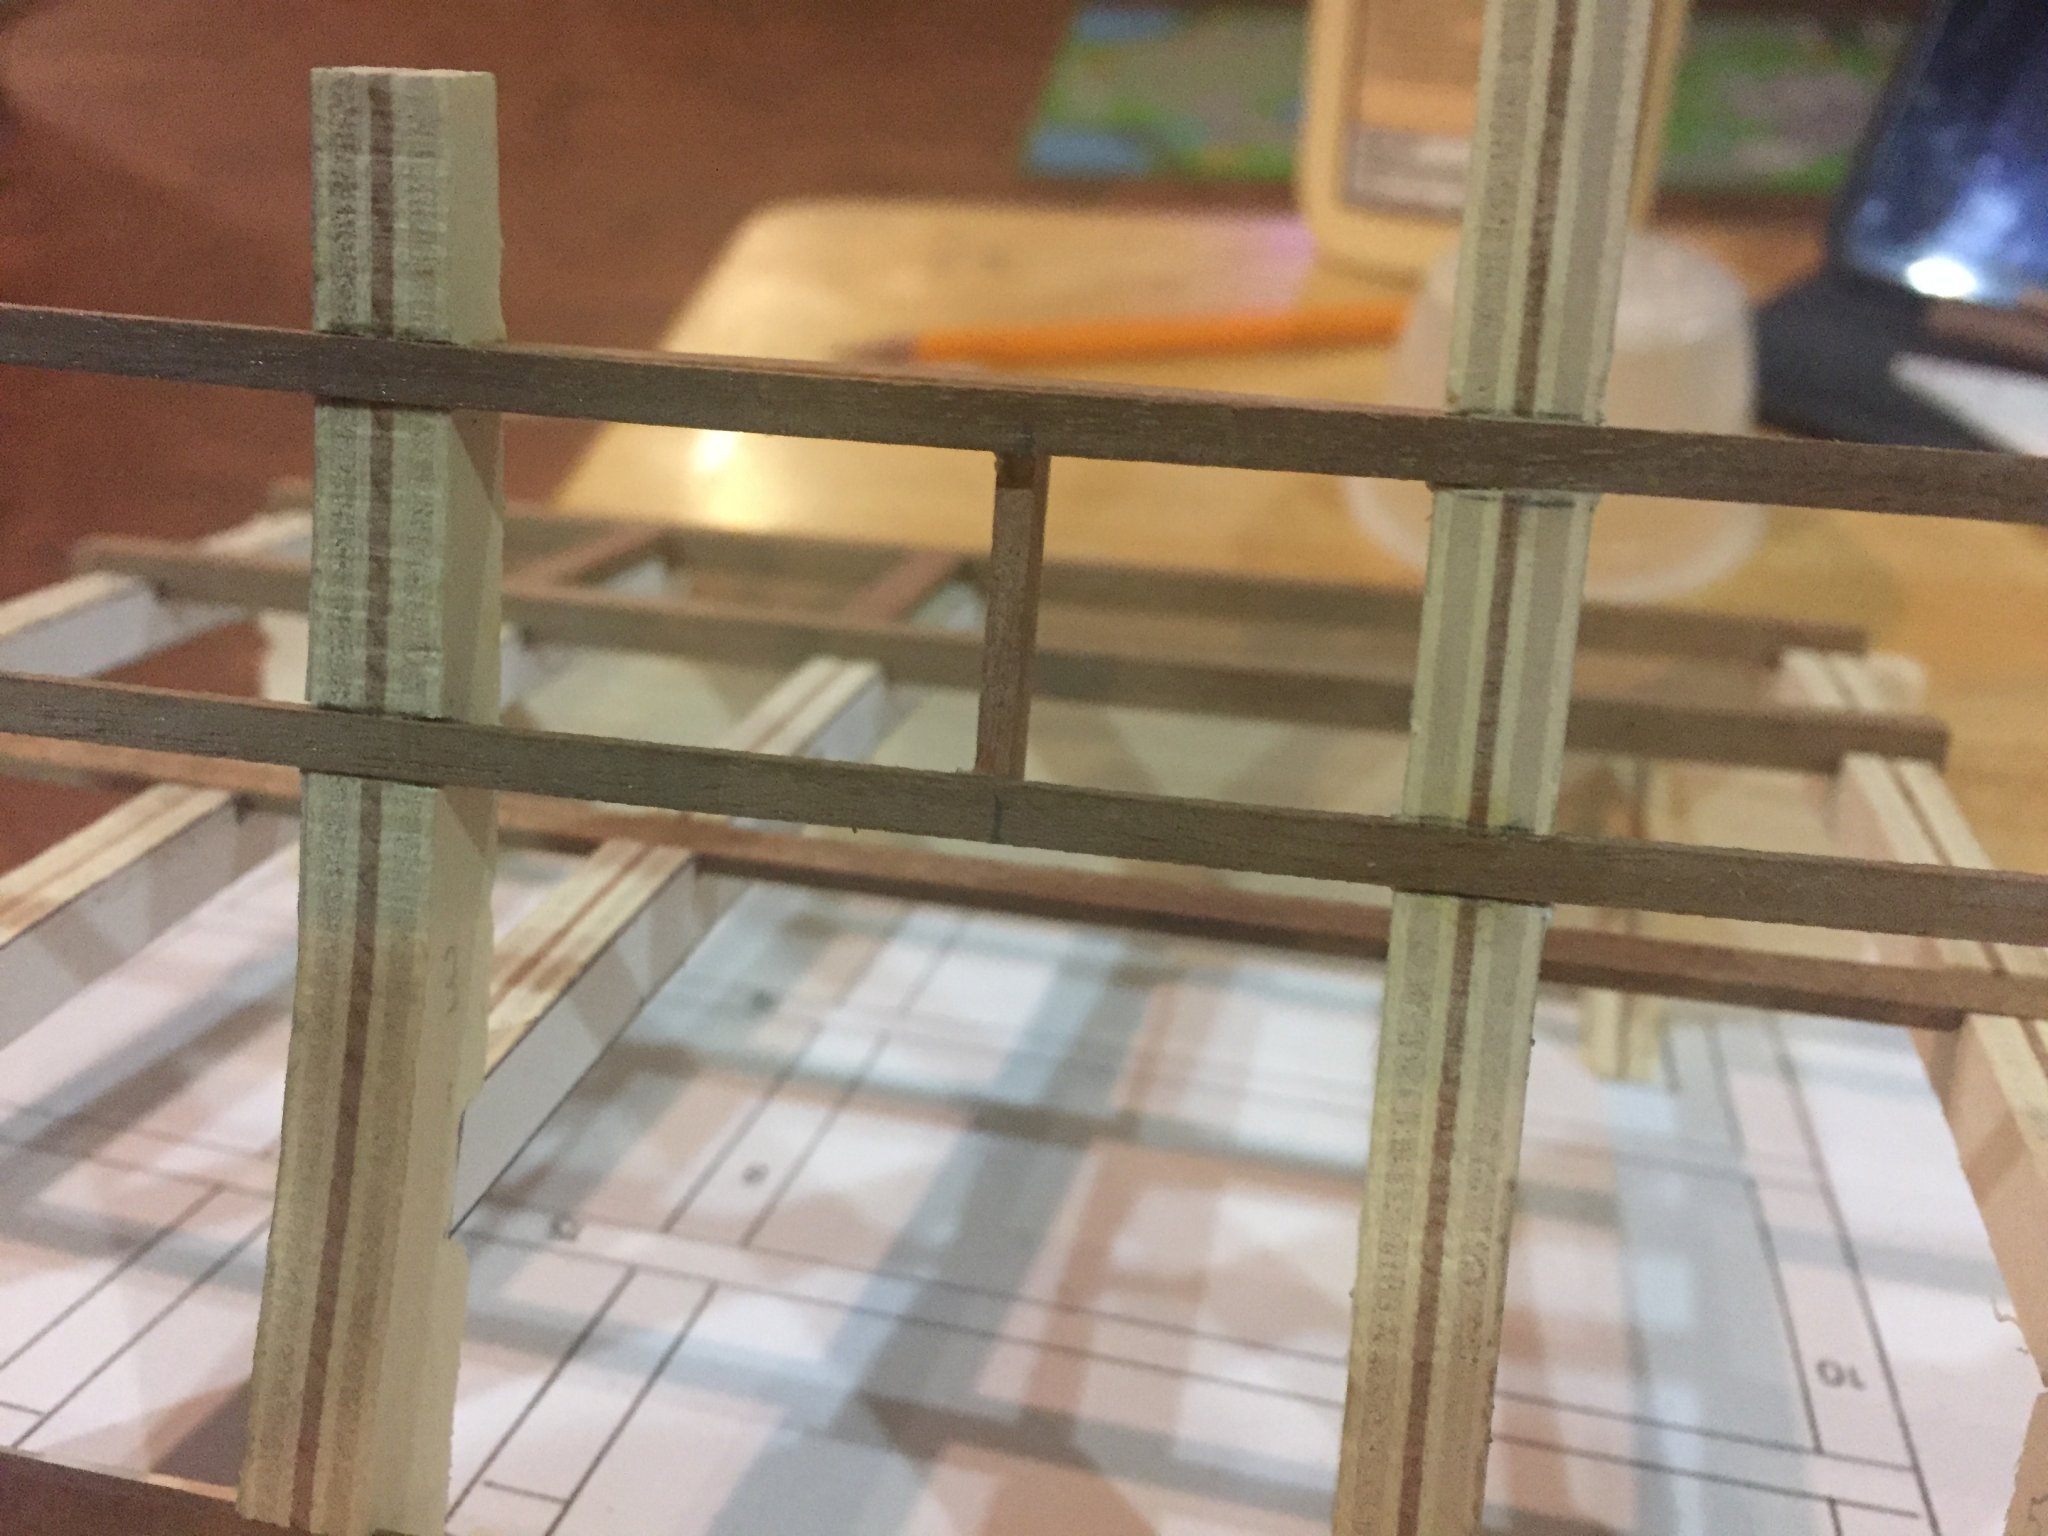
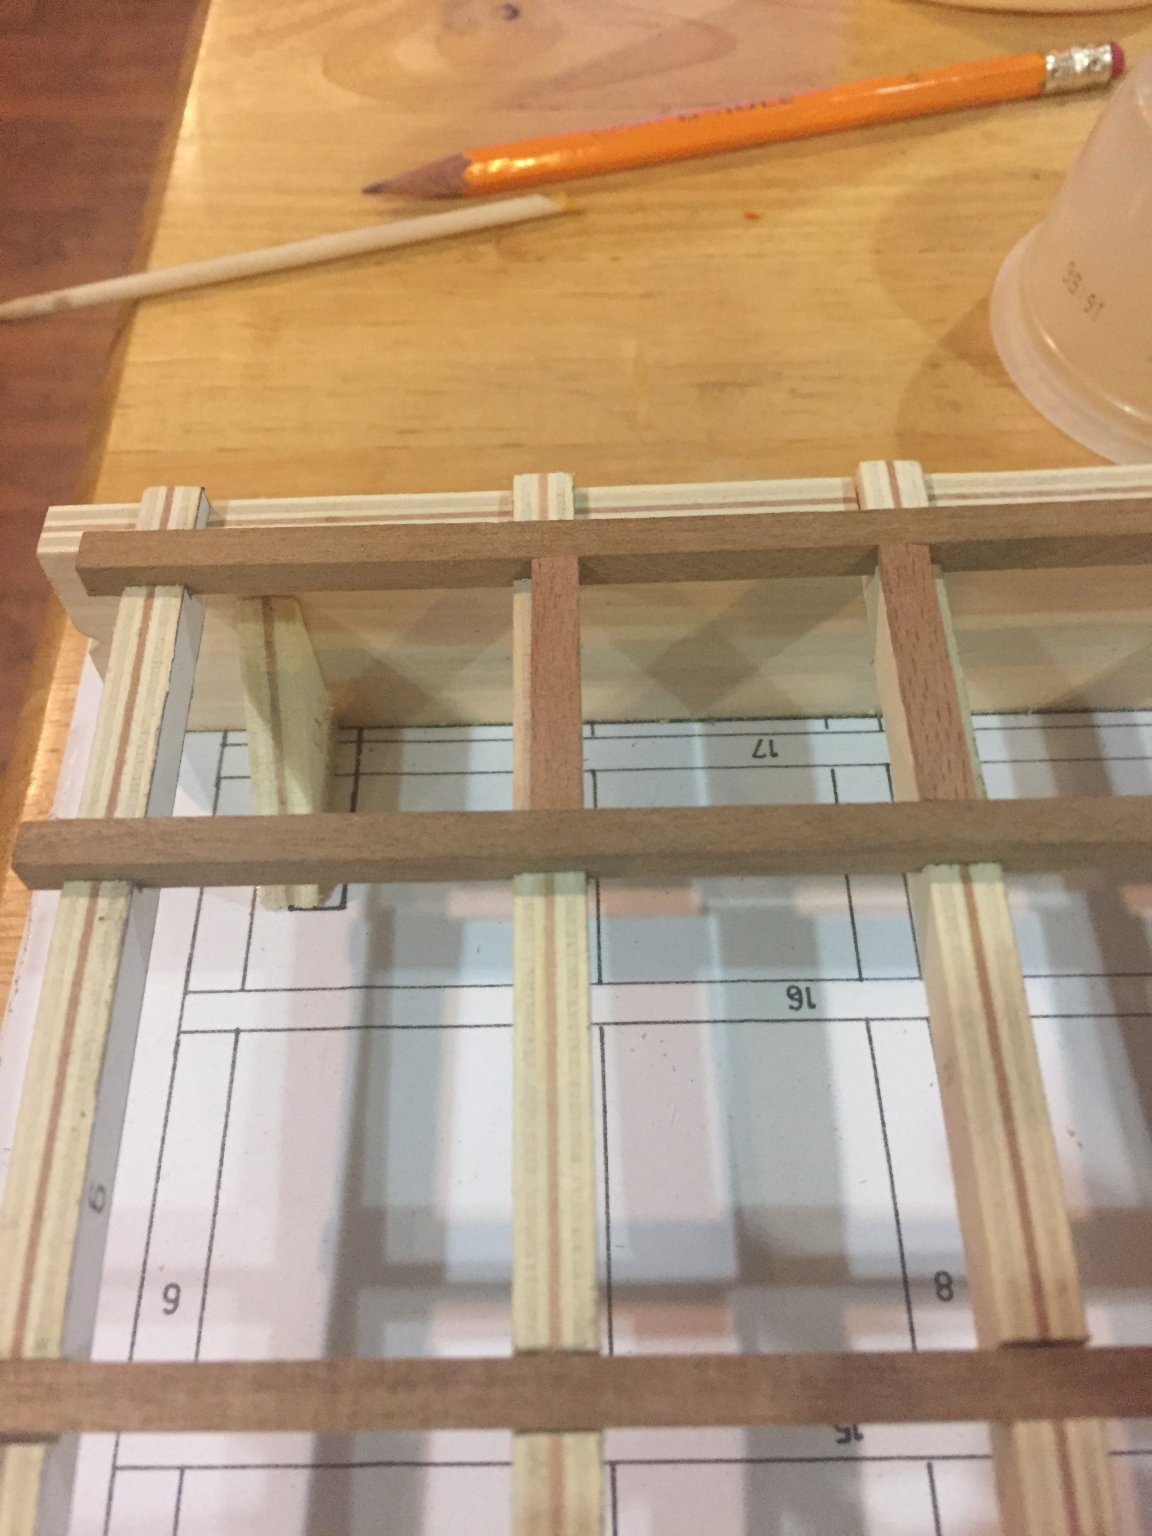
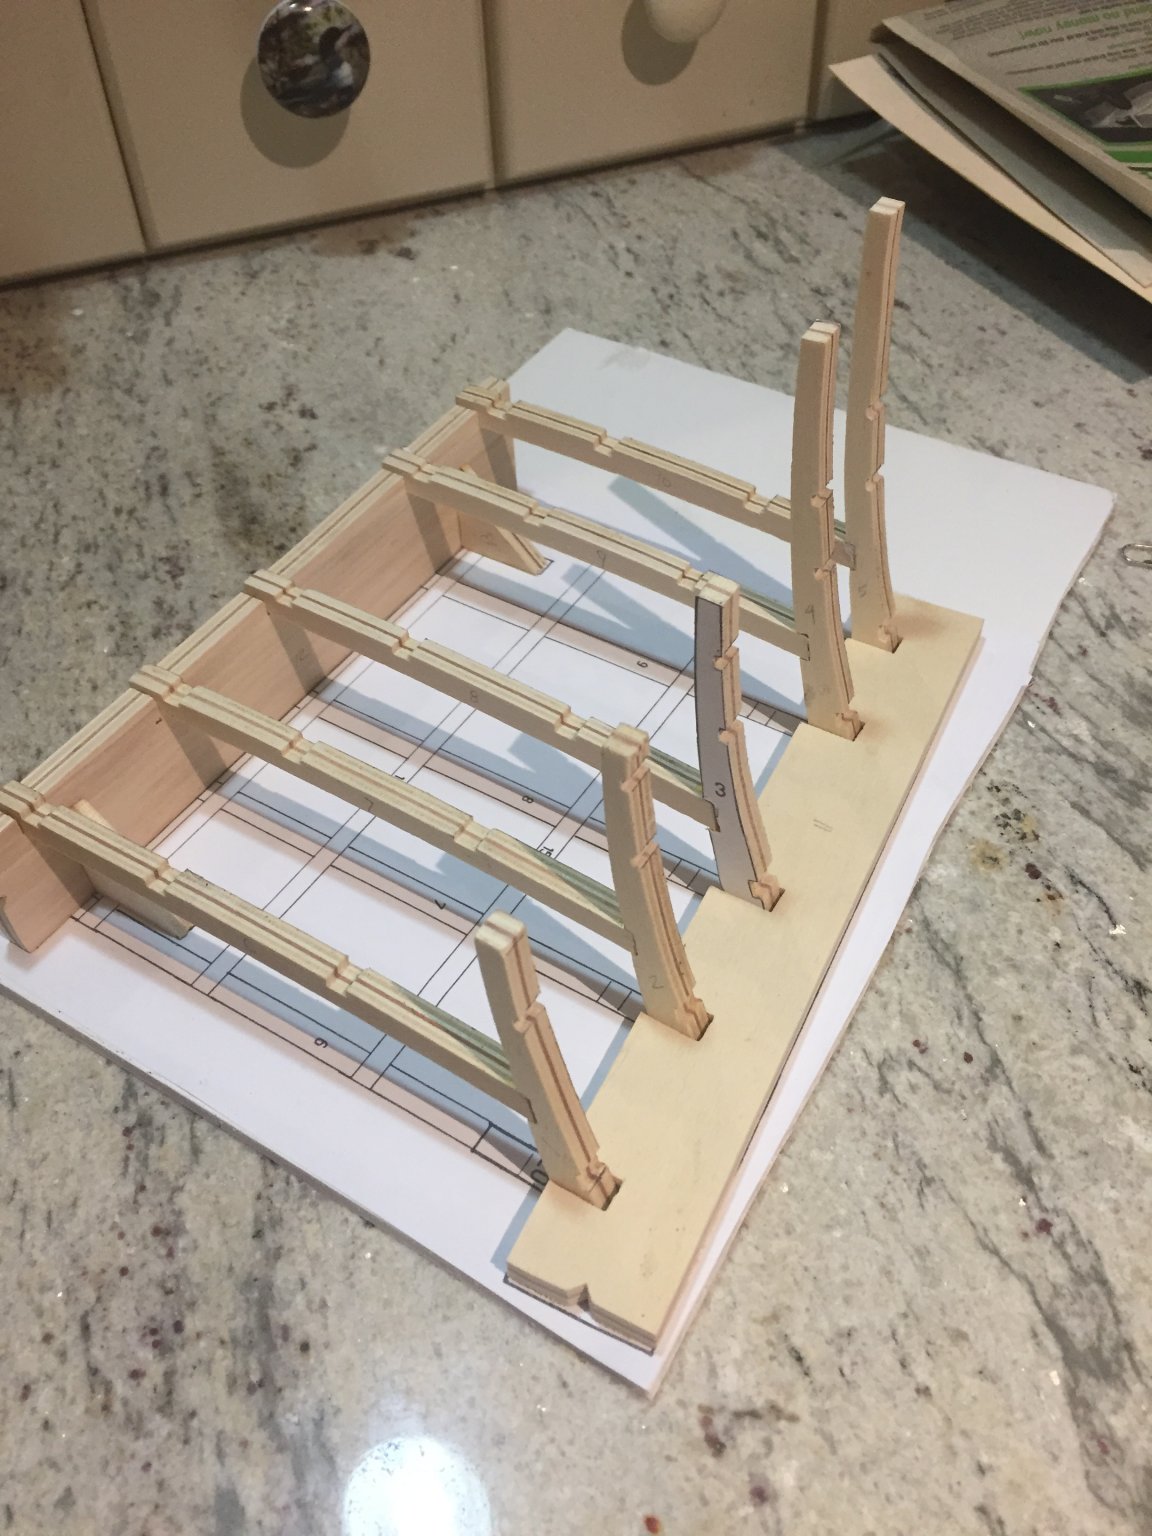
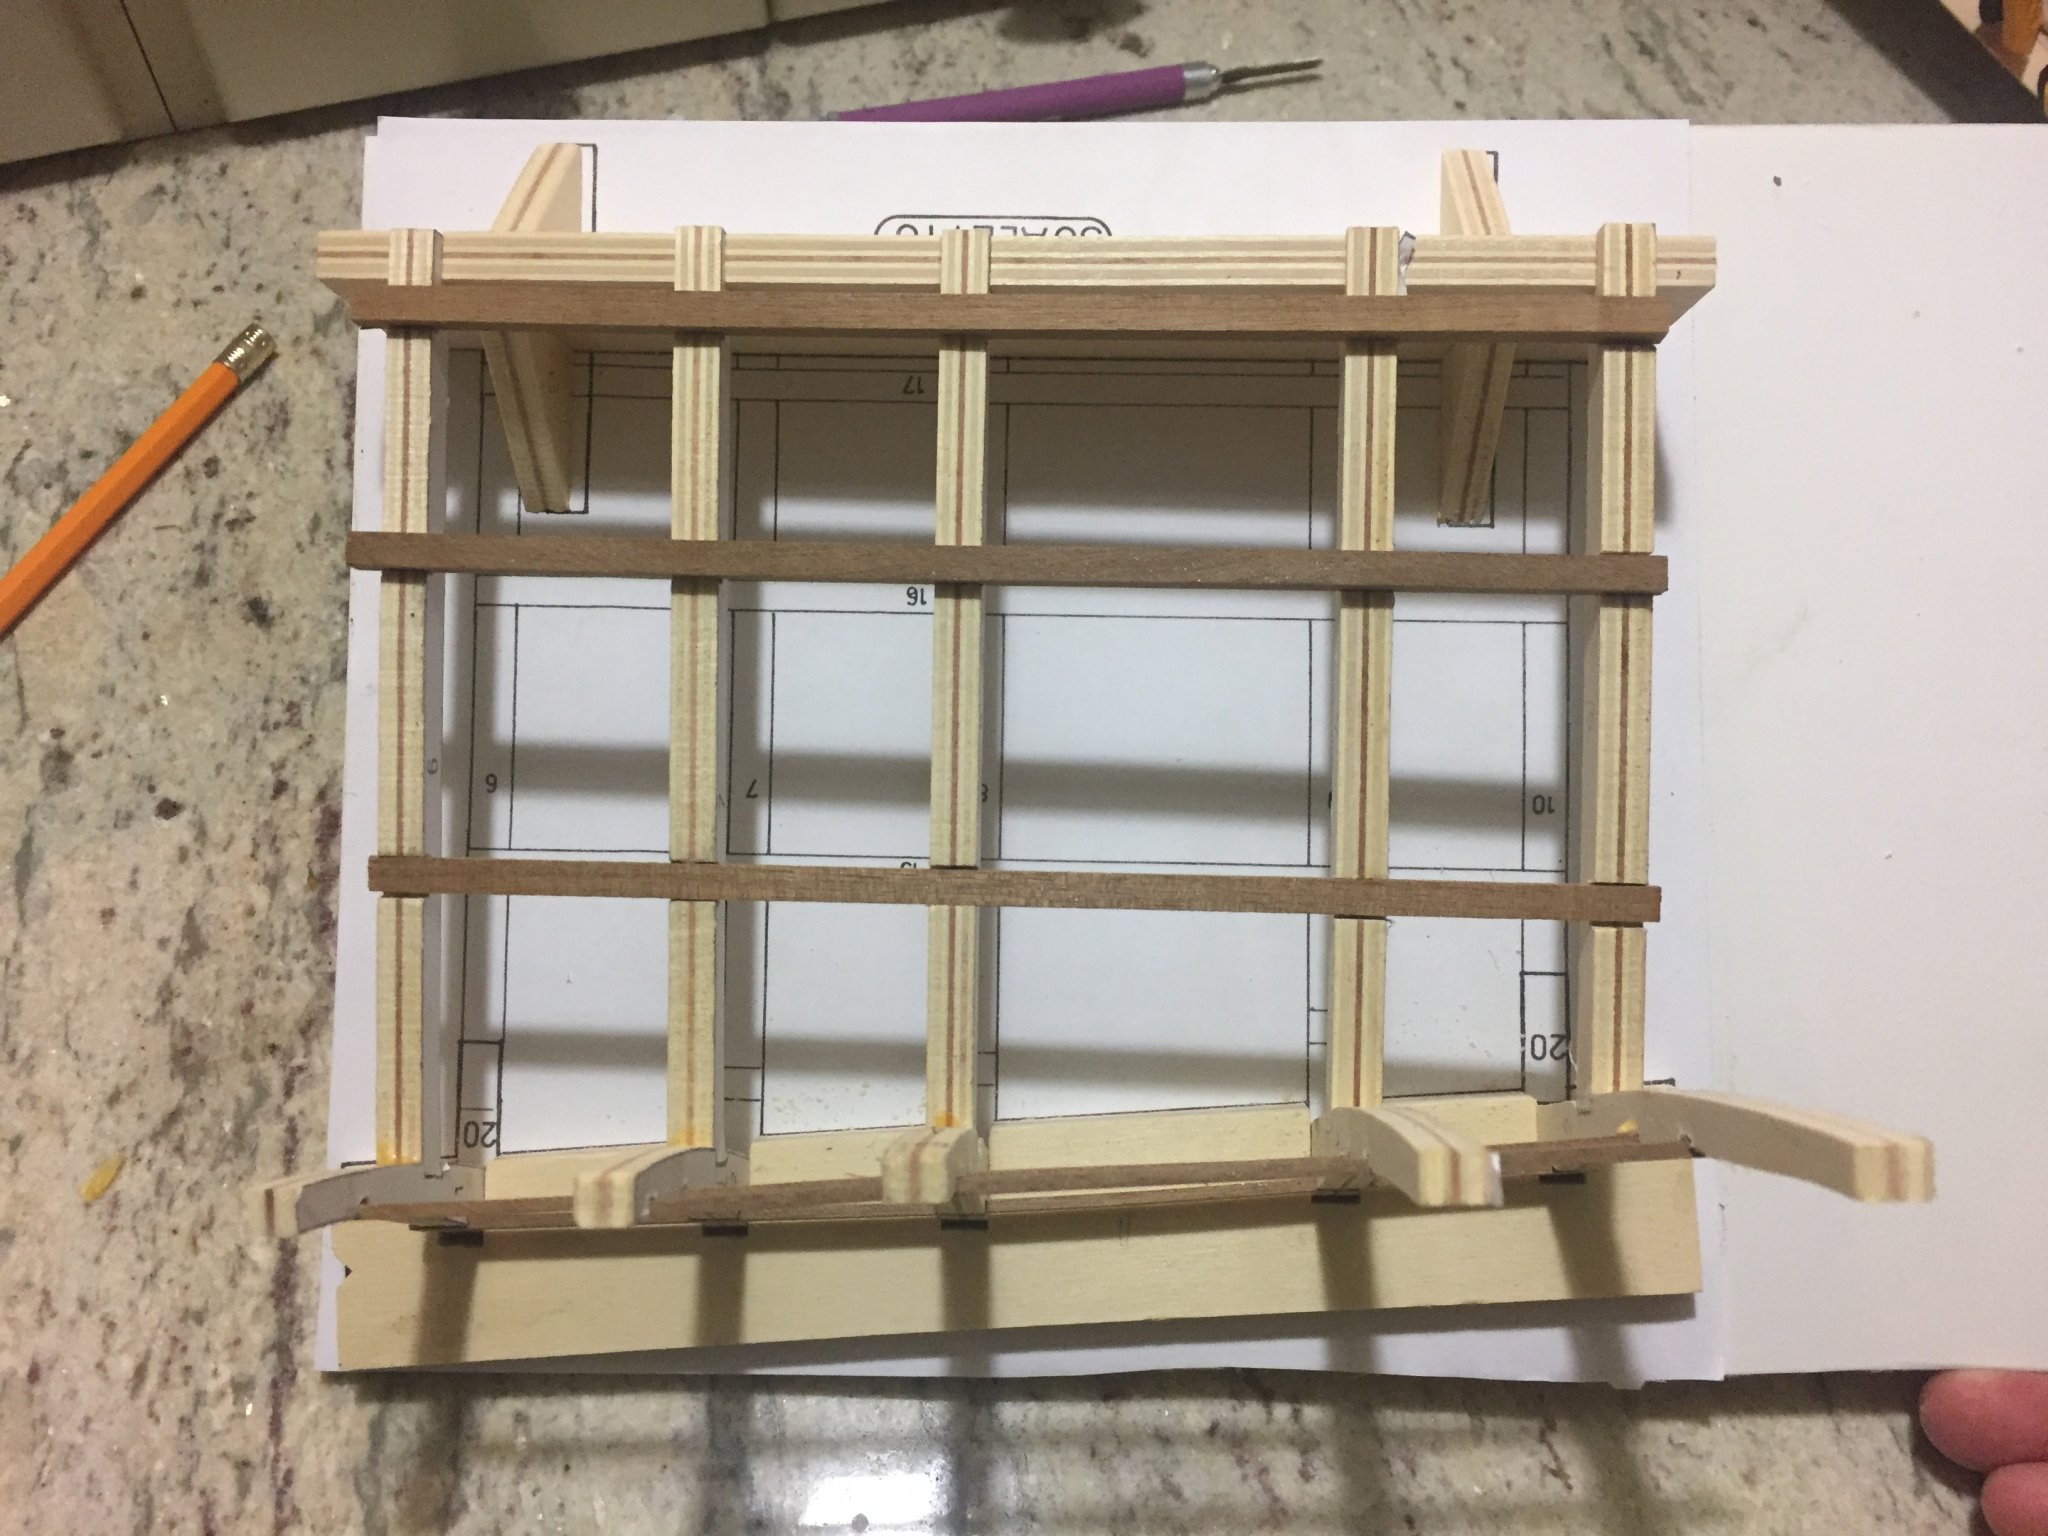
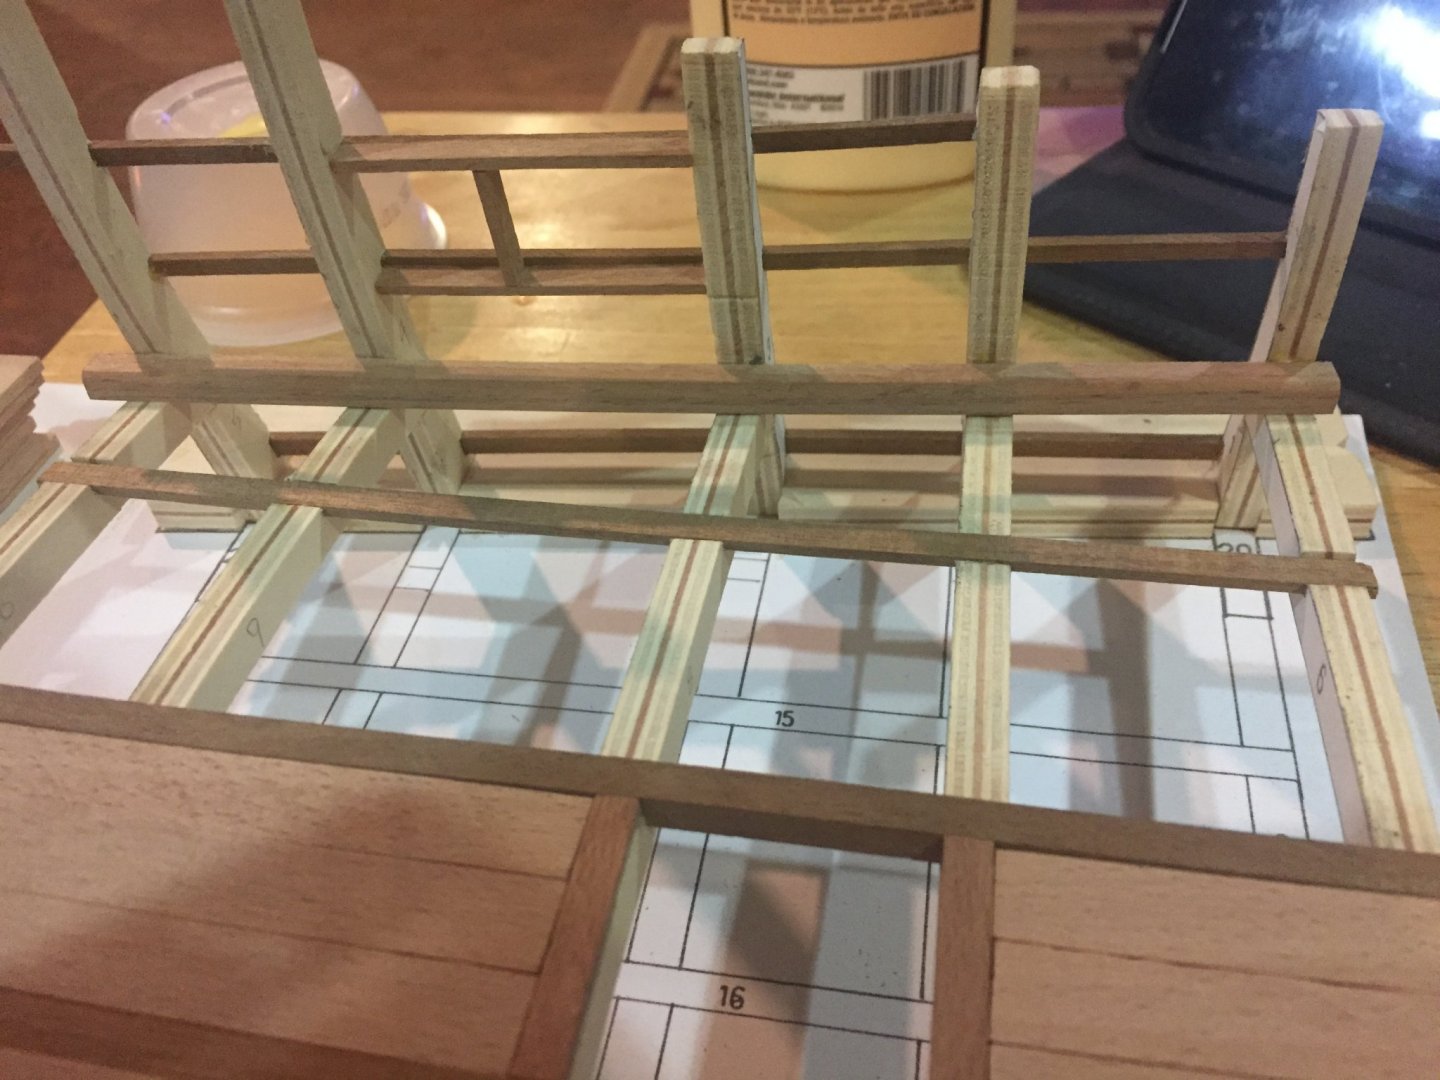
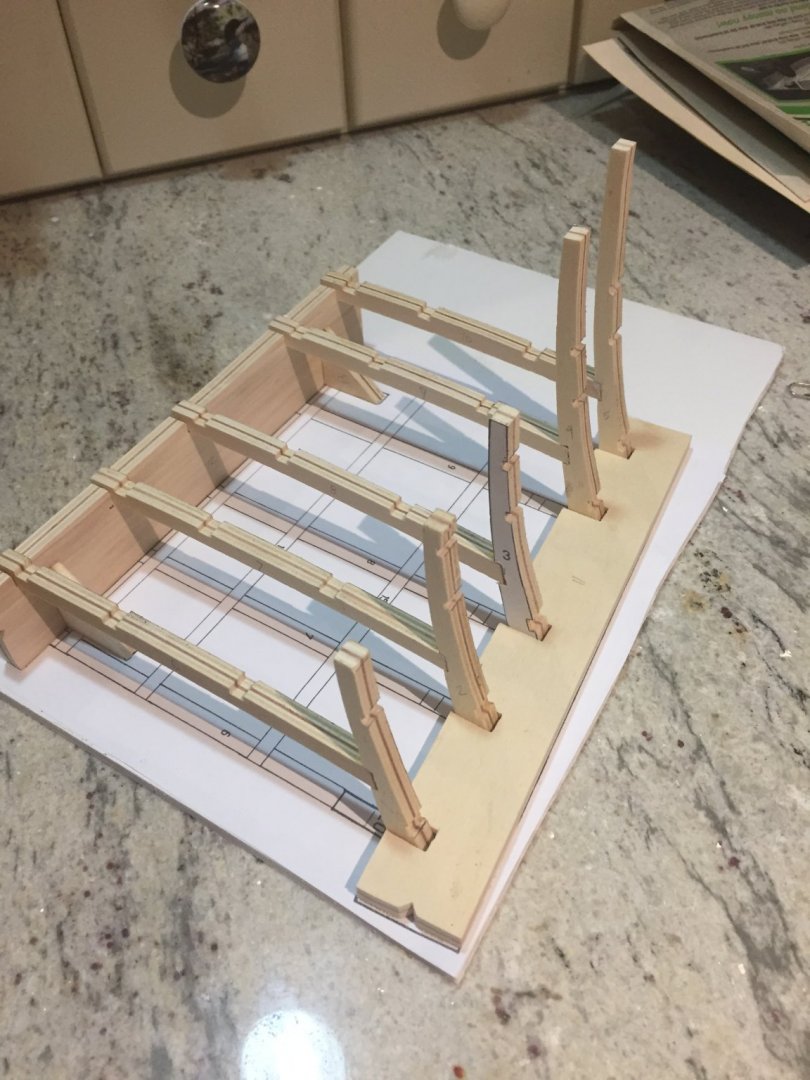
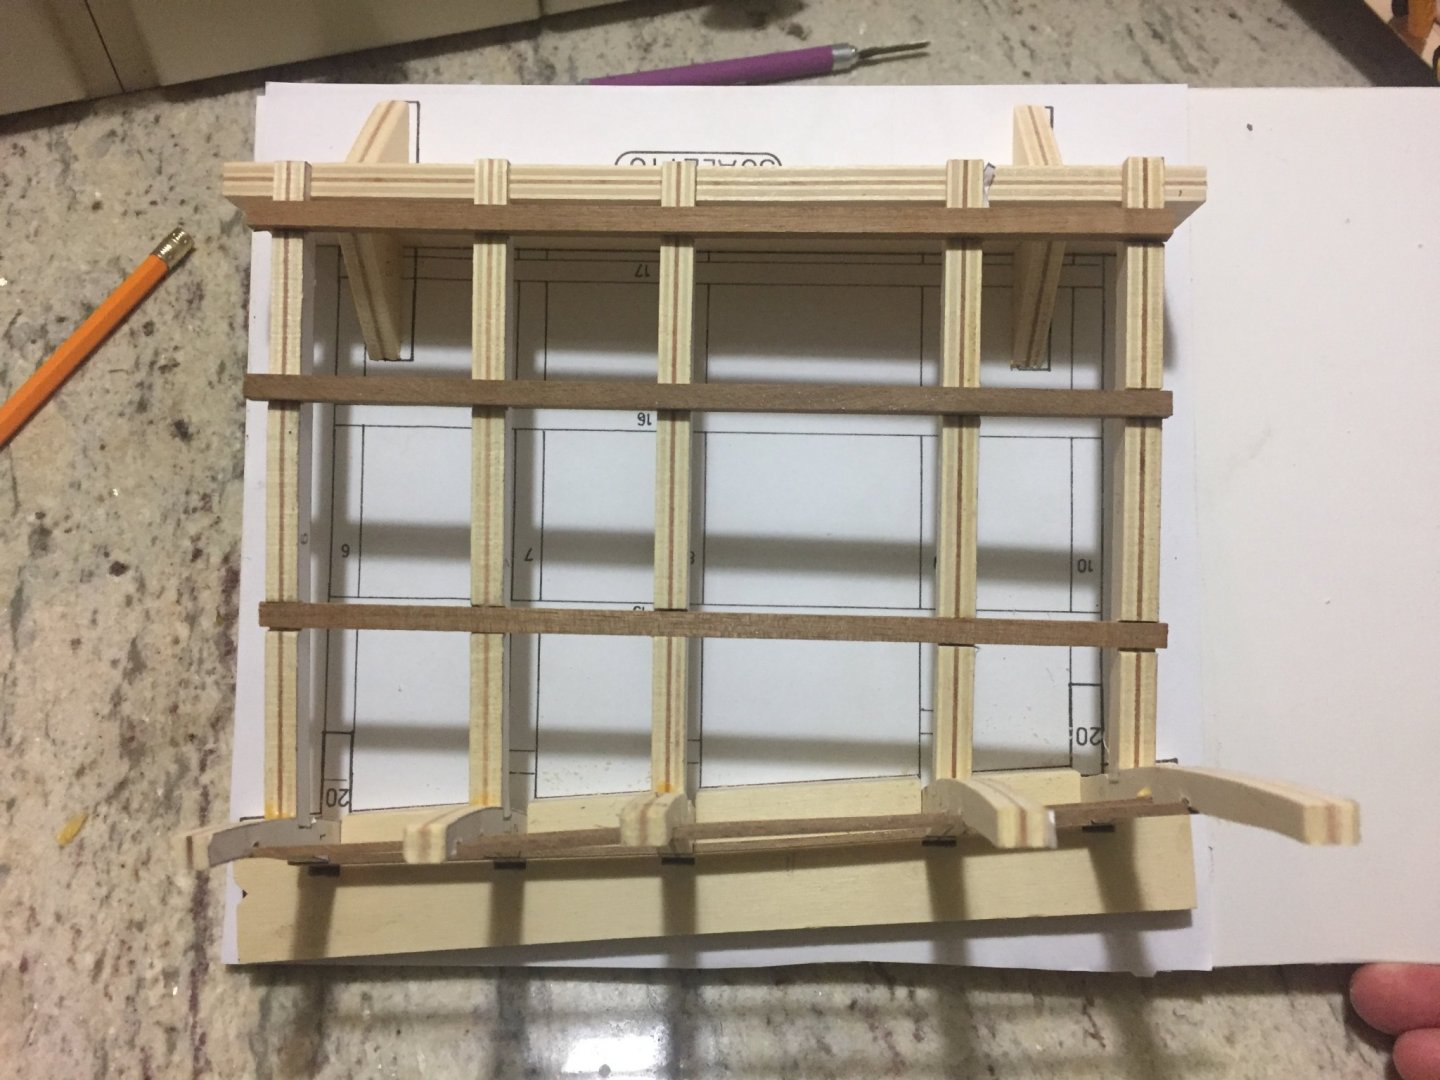
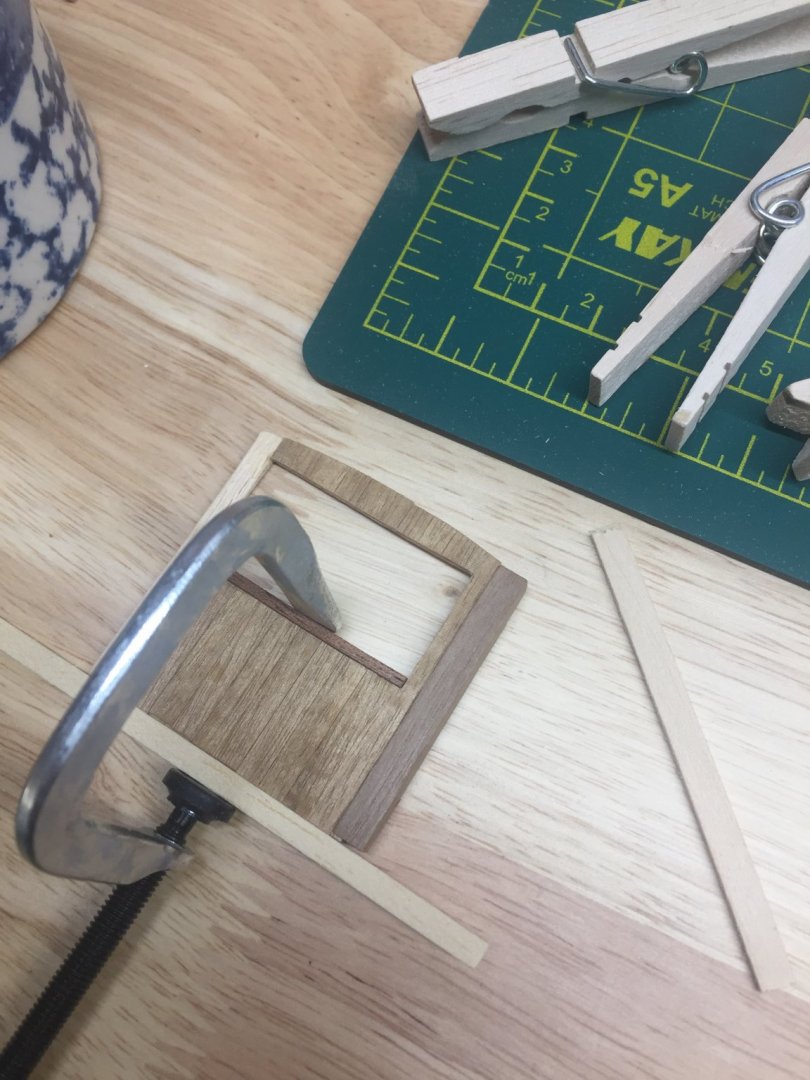
I then built them into the provided jig. The instructions and plans are quite well written I think. i flies the plan and jigs onto a build board. I then put the frames in the jig and started putting some of the strips of wood that form the gun port and outline the stair well

- 77 replies
-
- 9
-
-
- point berlin
- diorama
- (and 1 more)
-
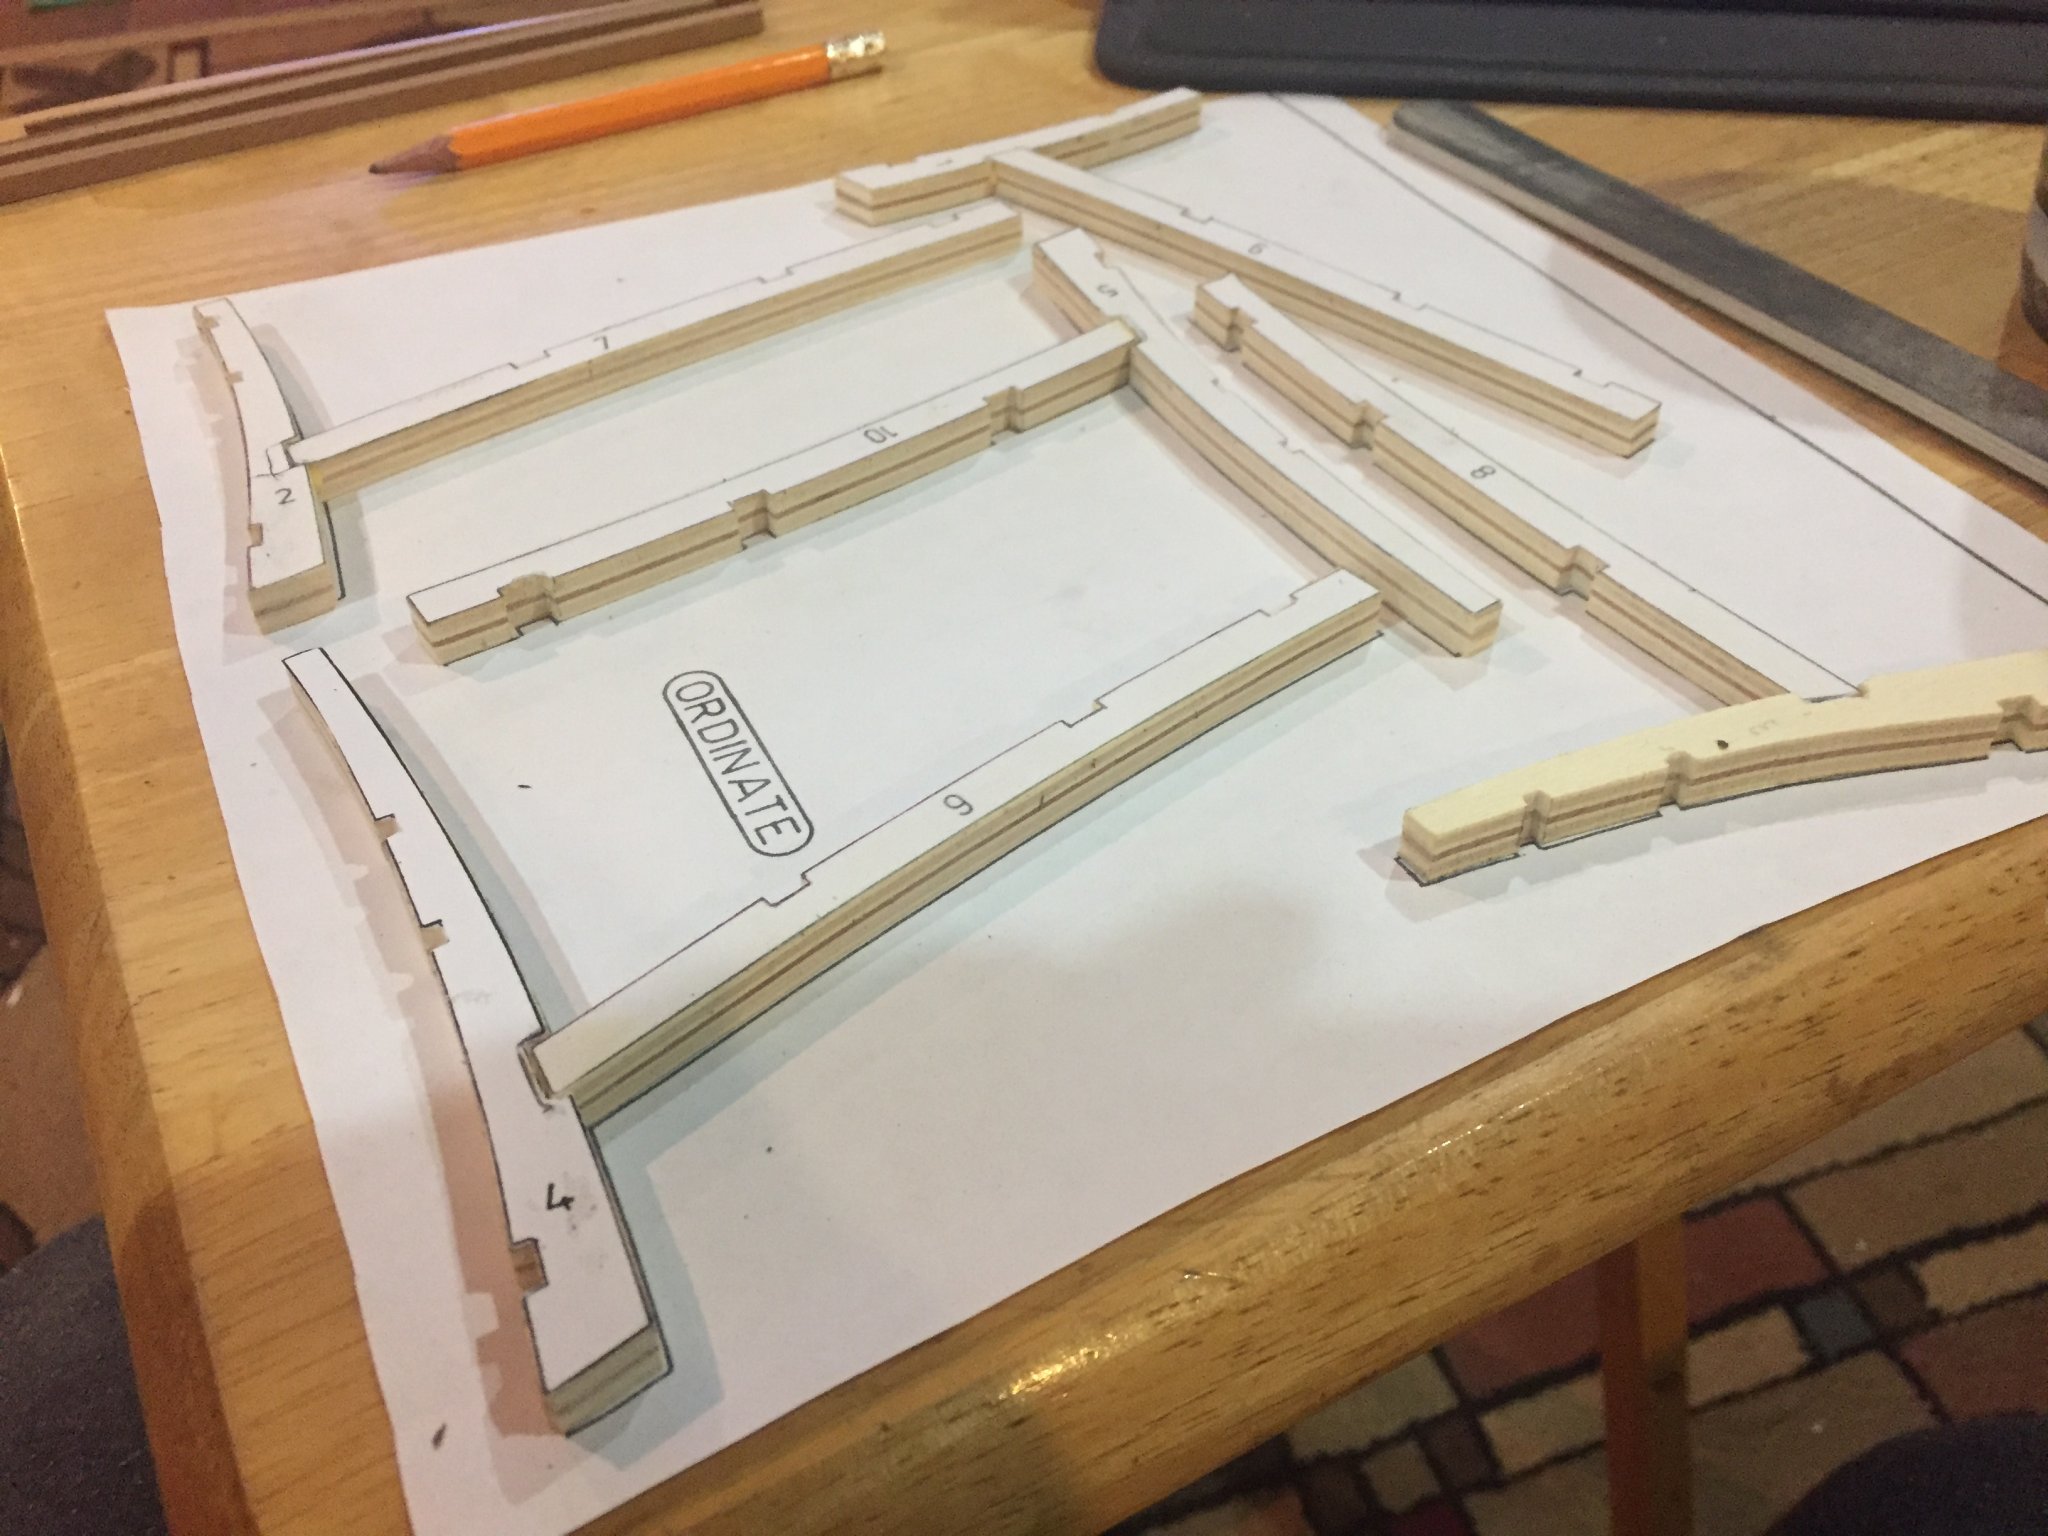
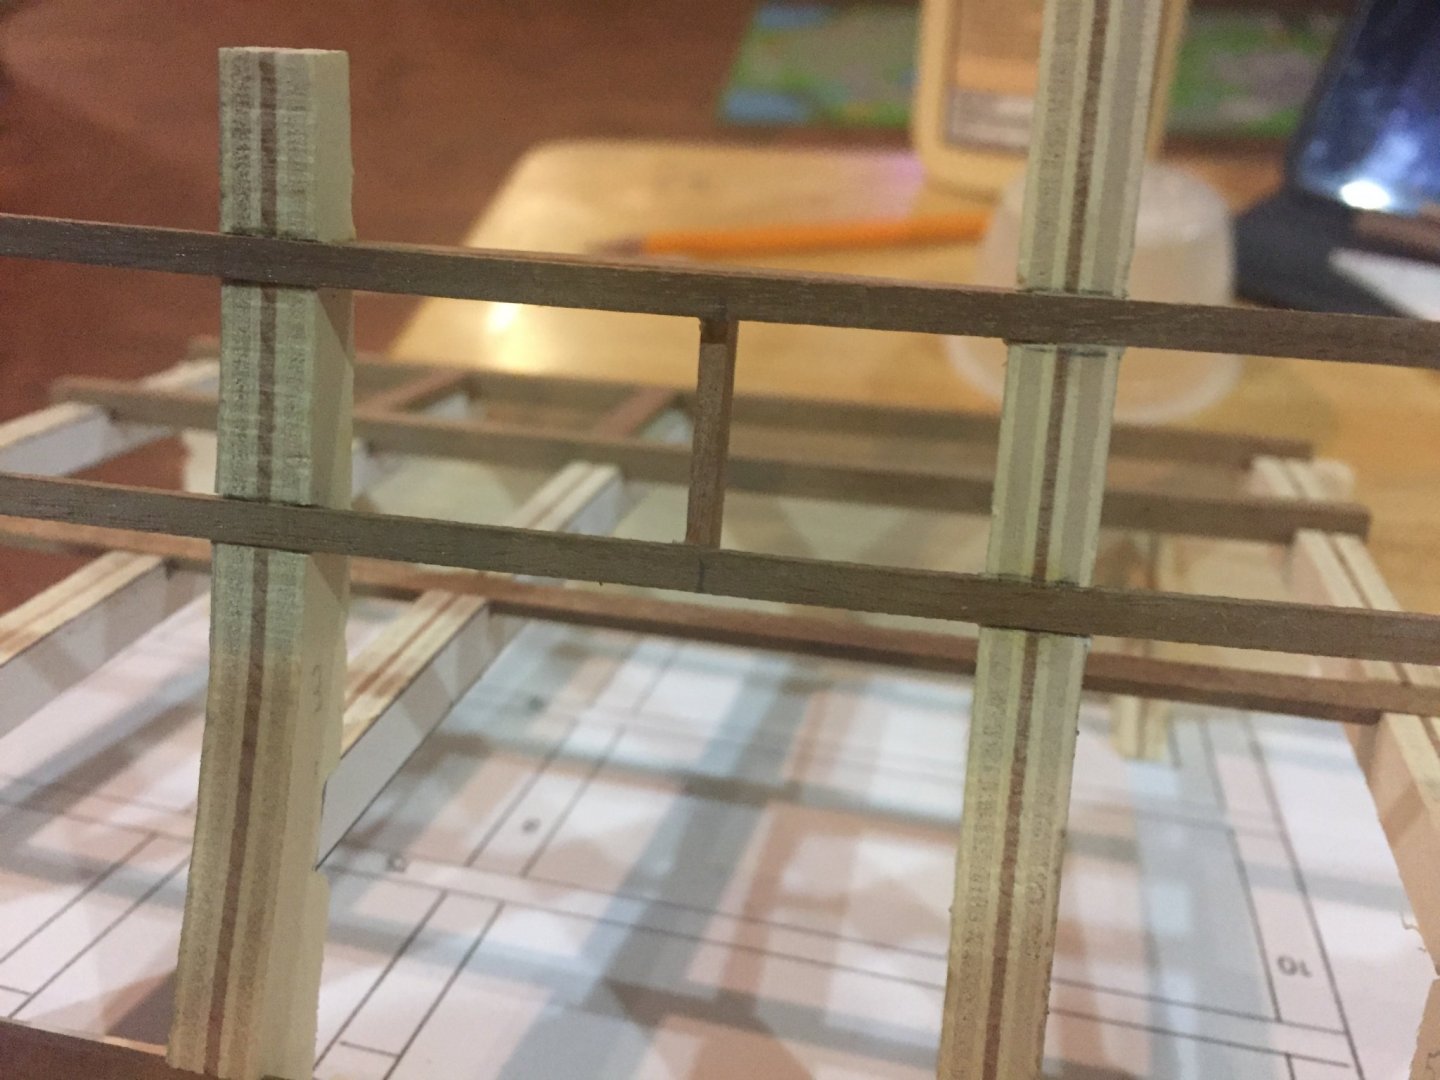
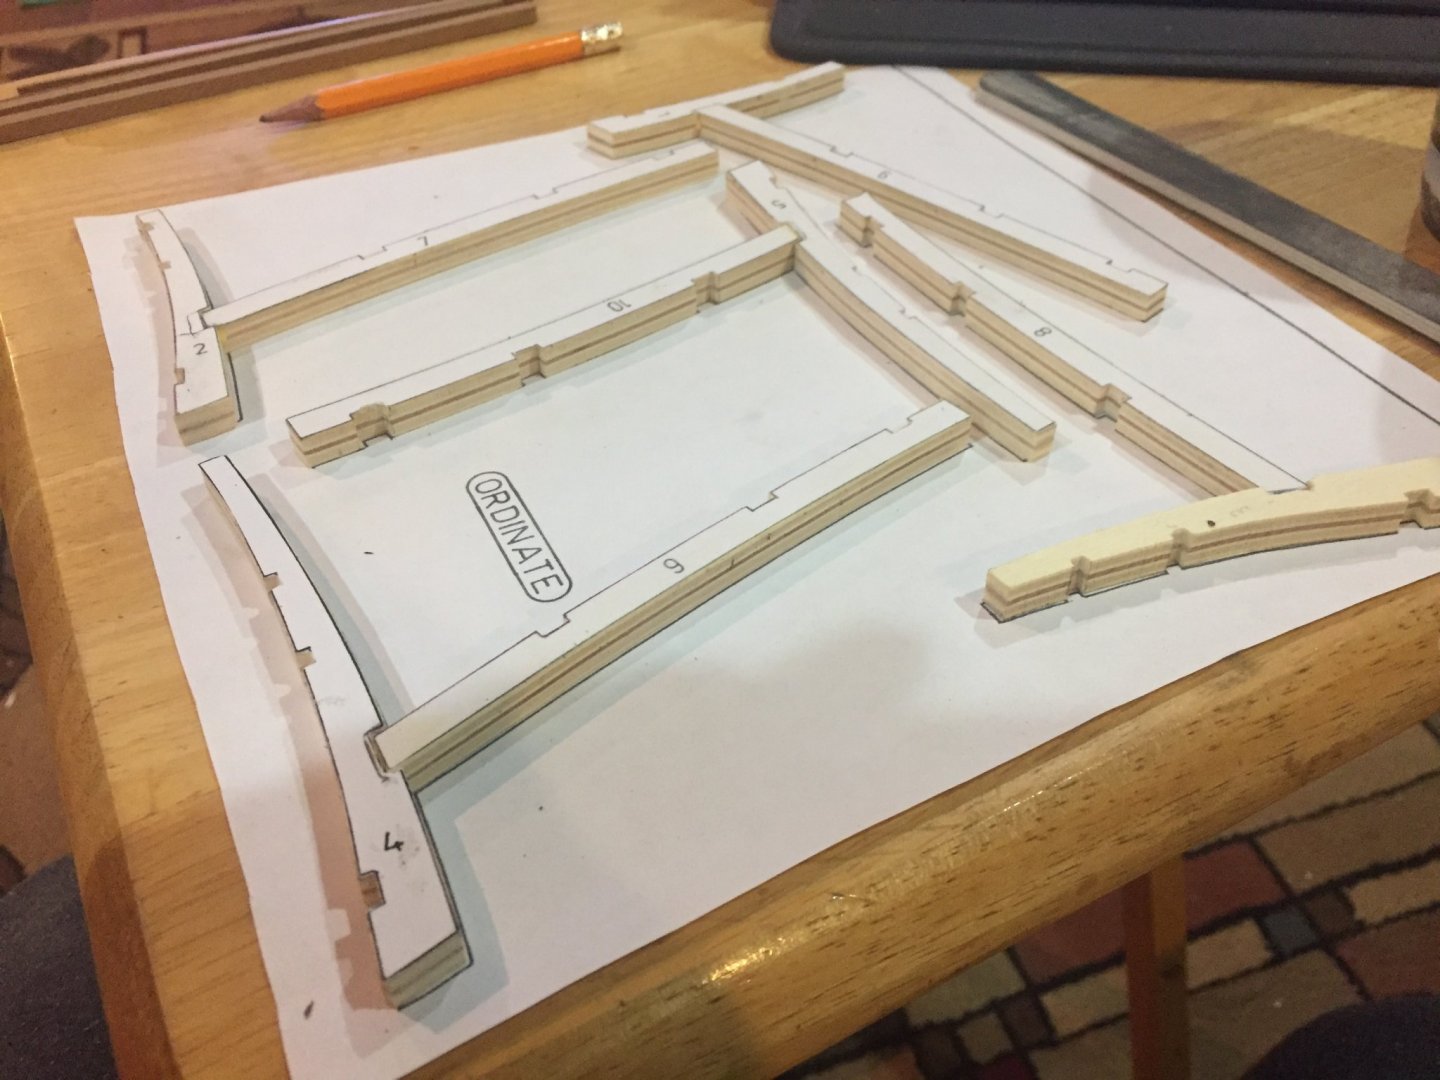
The frames were pretty rough cut...and the drawings didn’t match each other very well. I did my best to align them and get them close.
- 77 replies
-
- 5
-
-
- point berlin
- diorama
- (and 1 more)
-
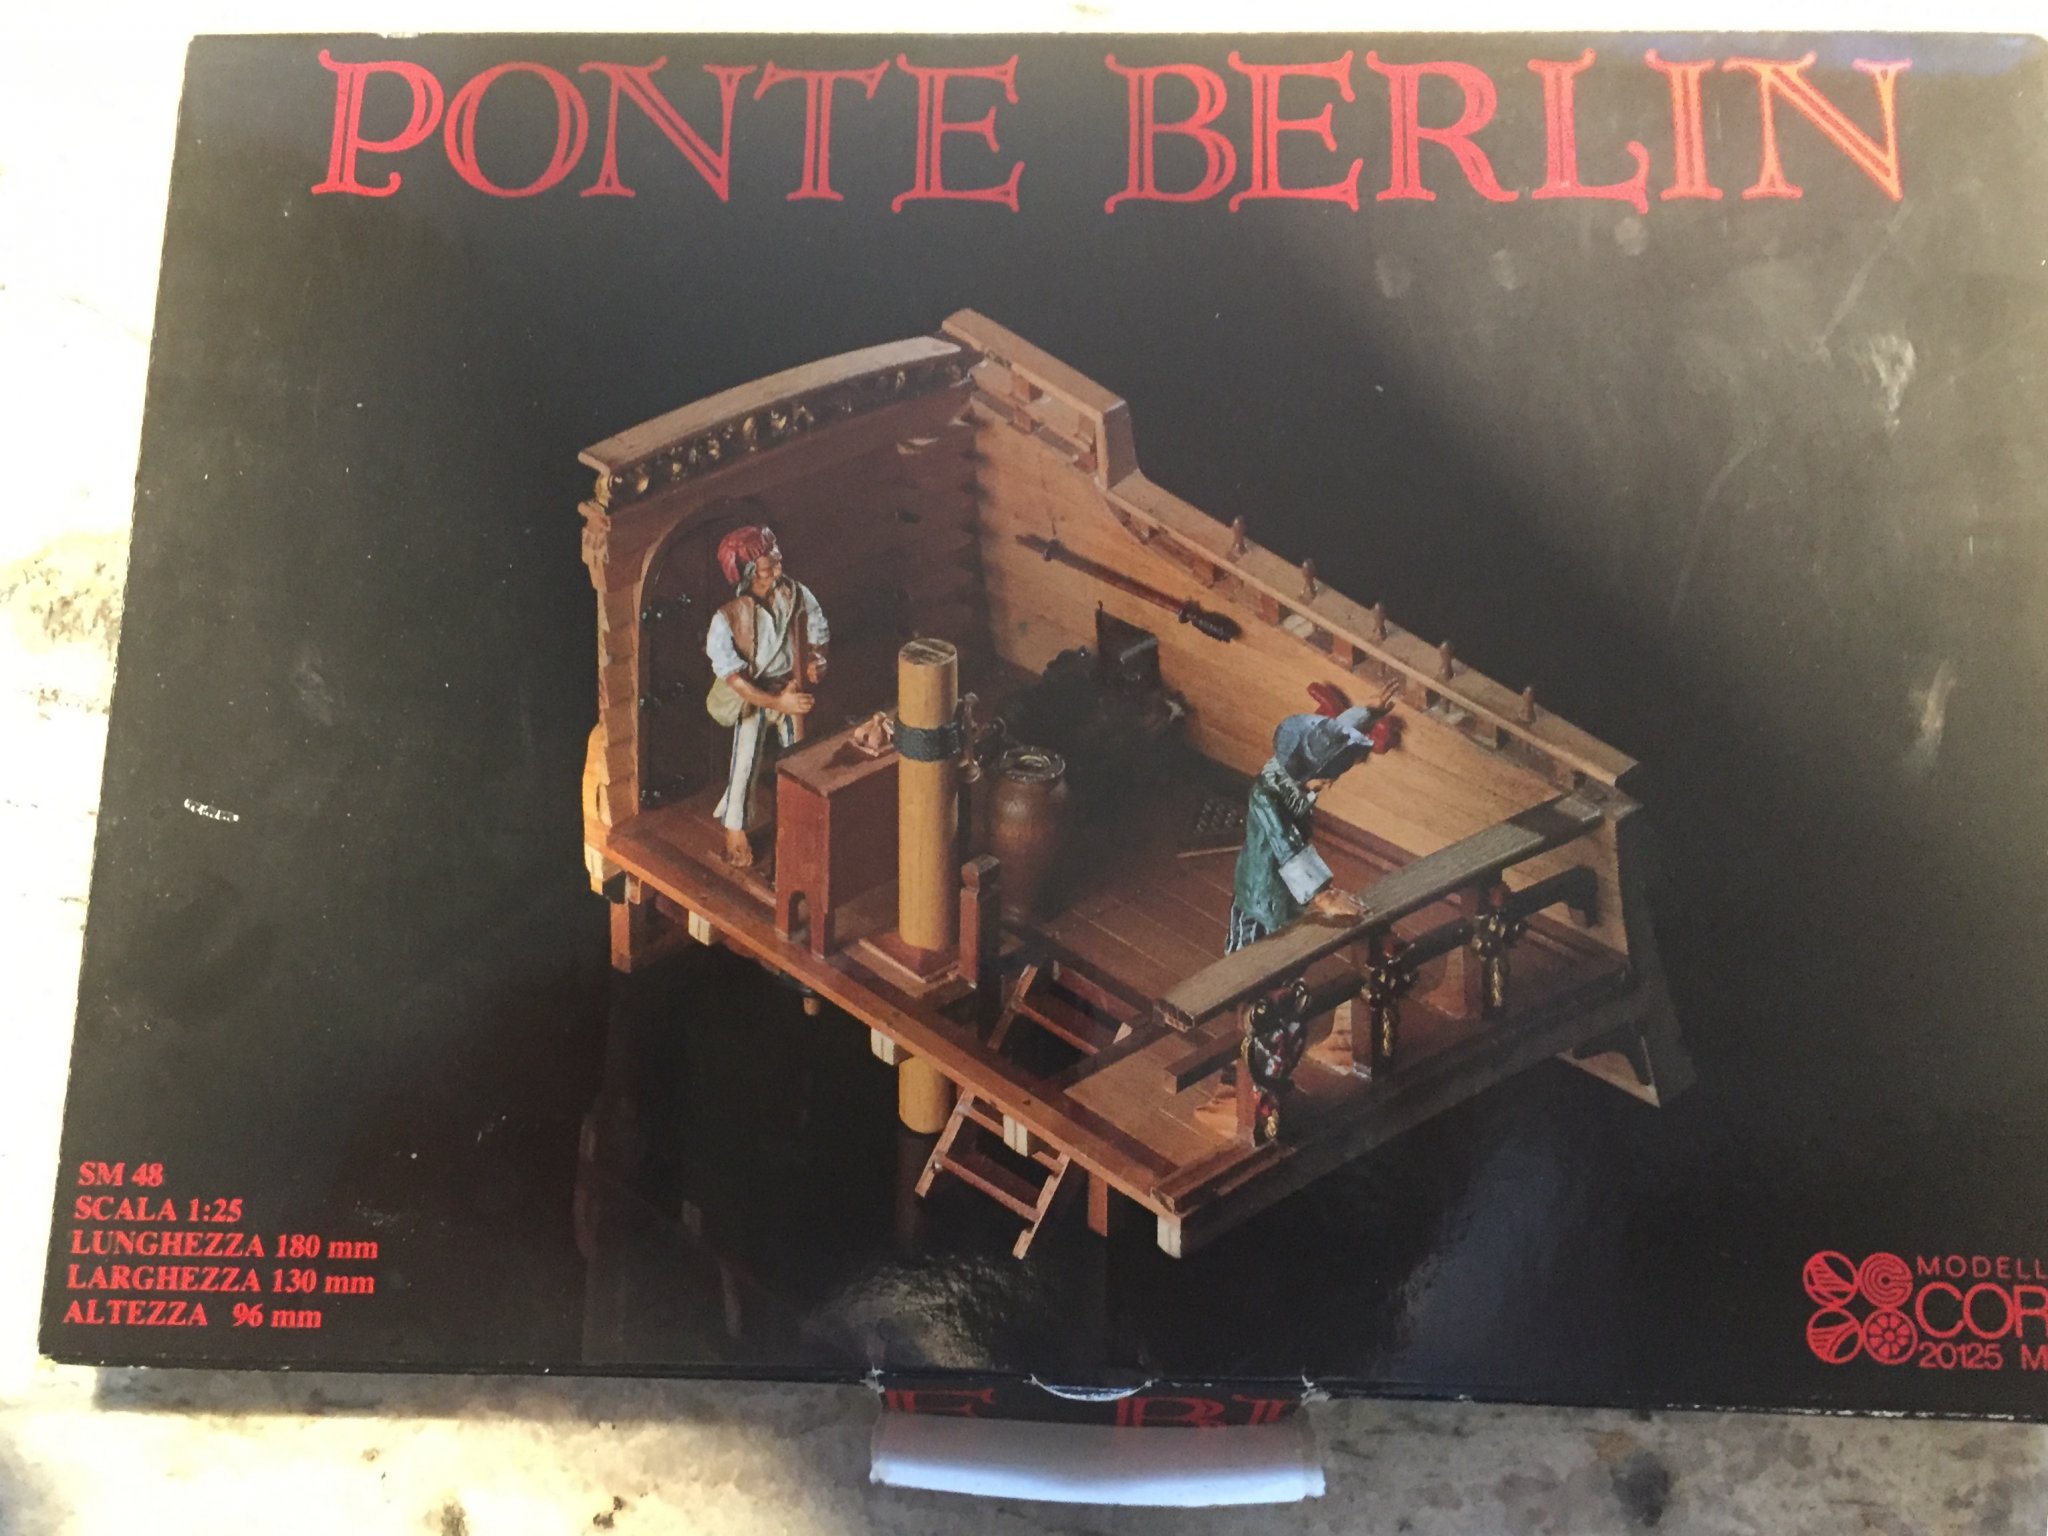
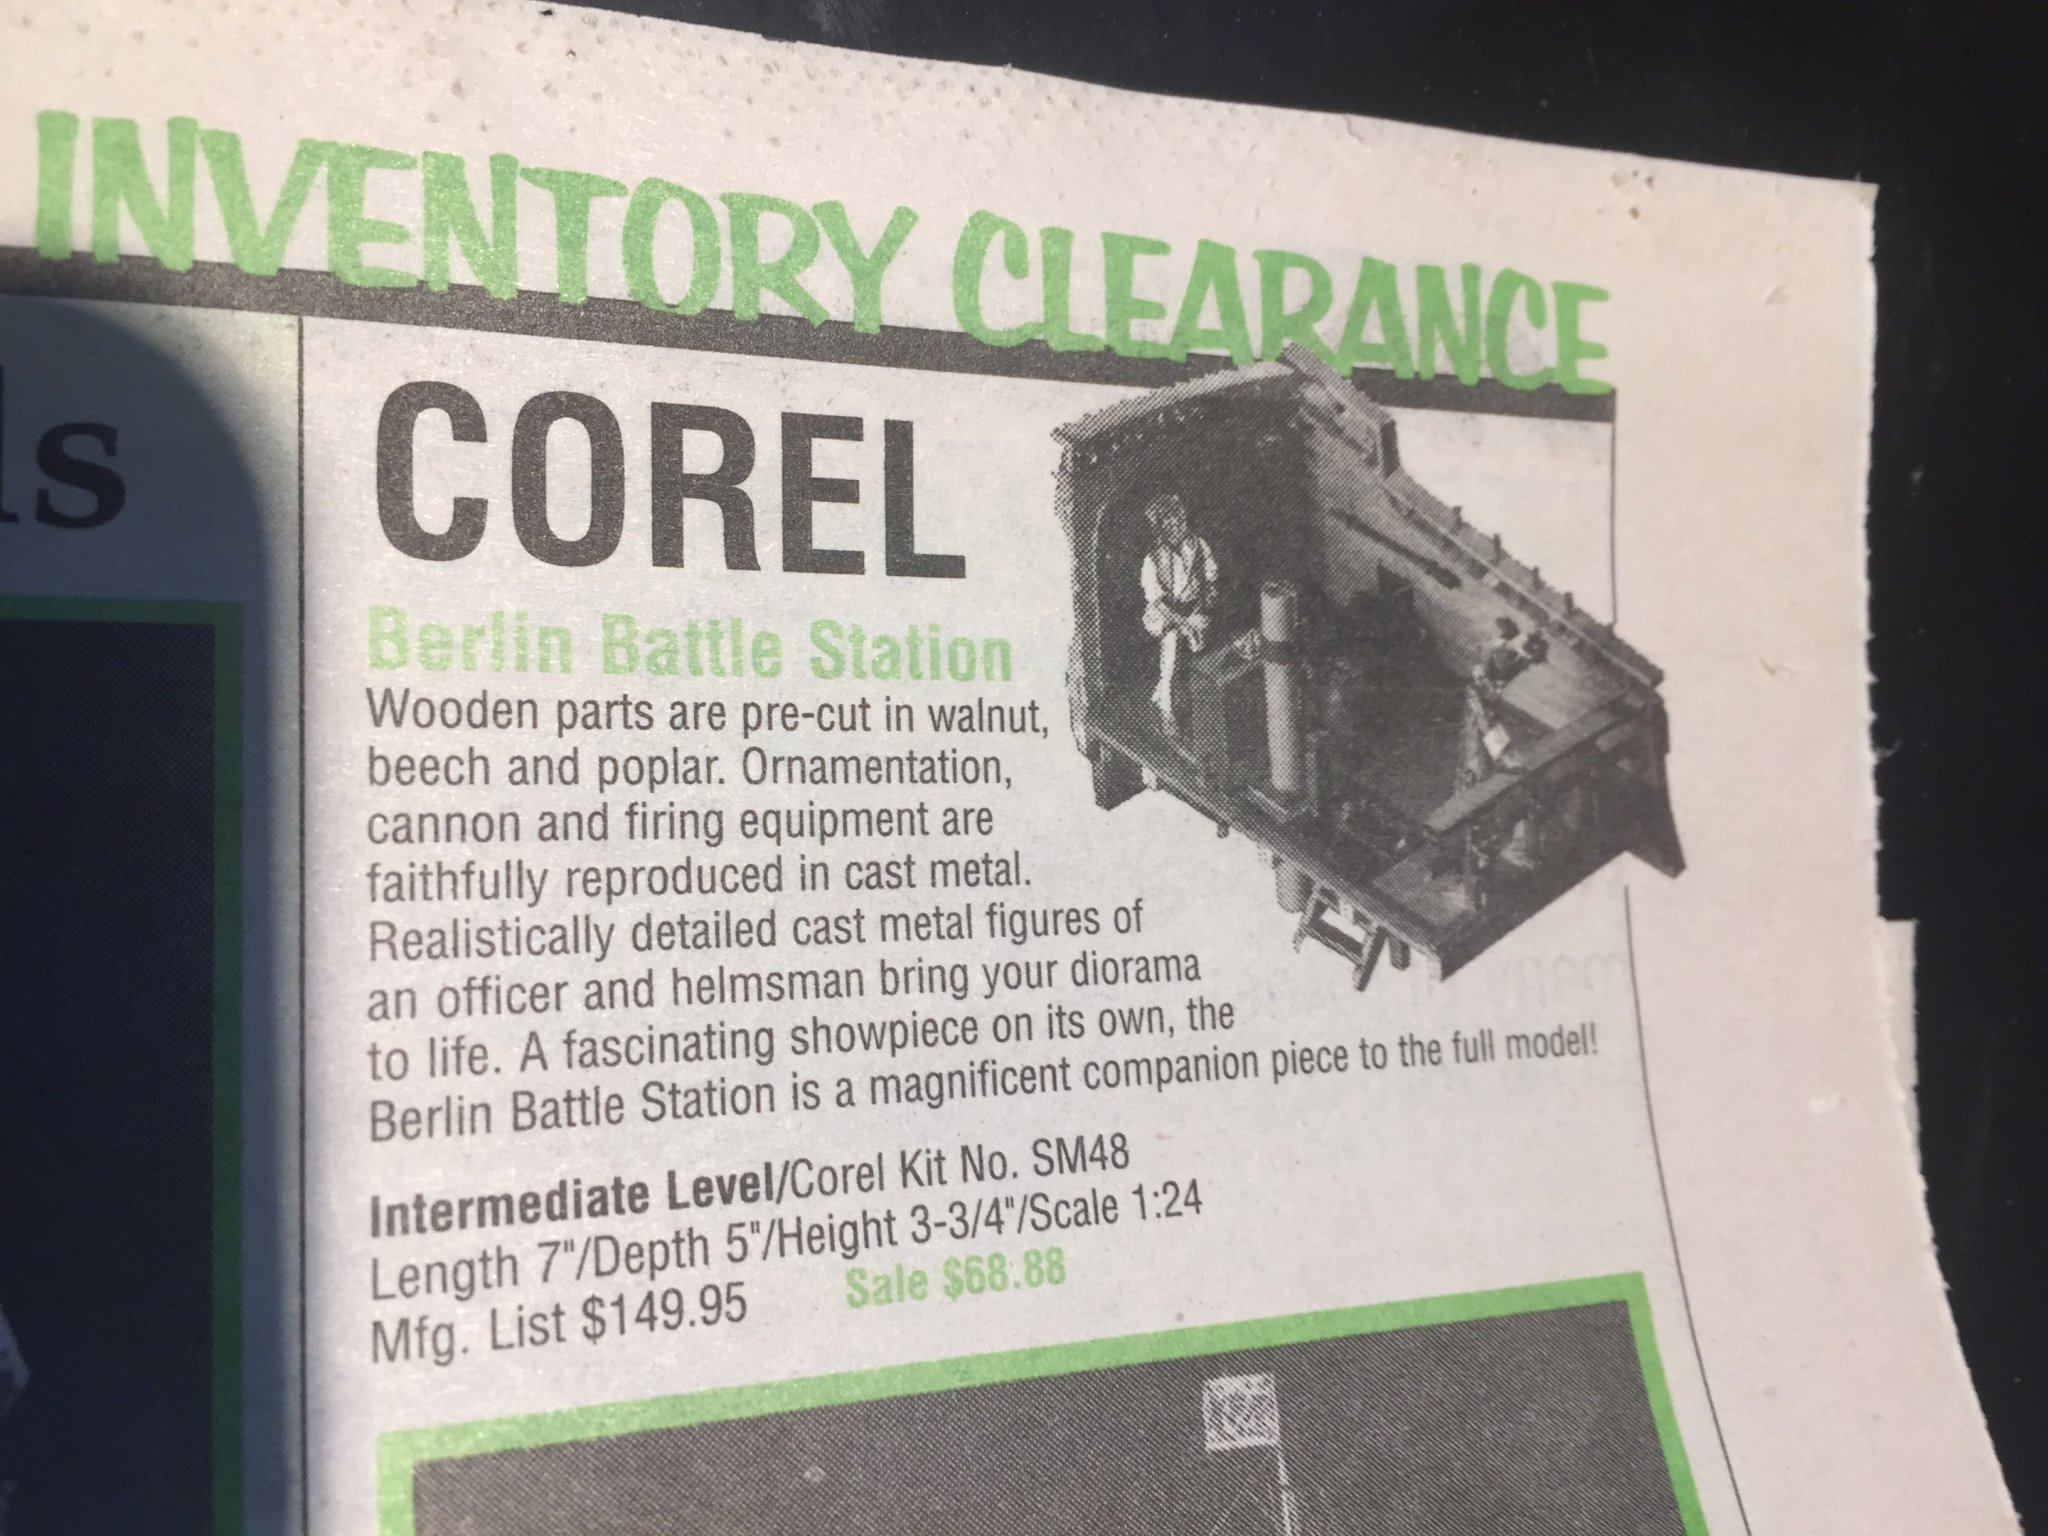
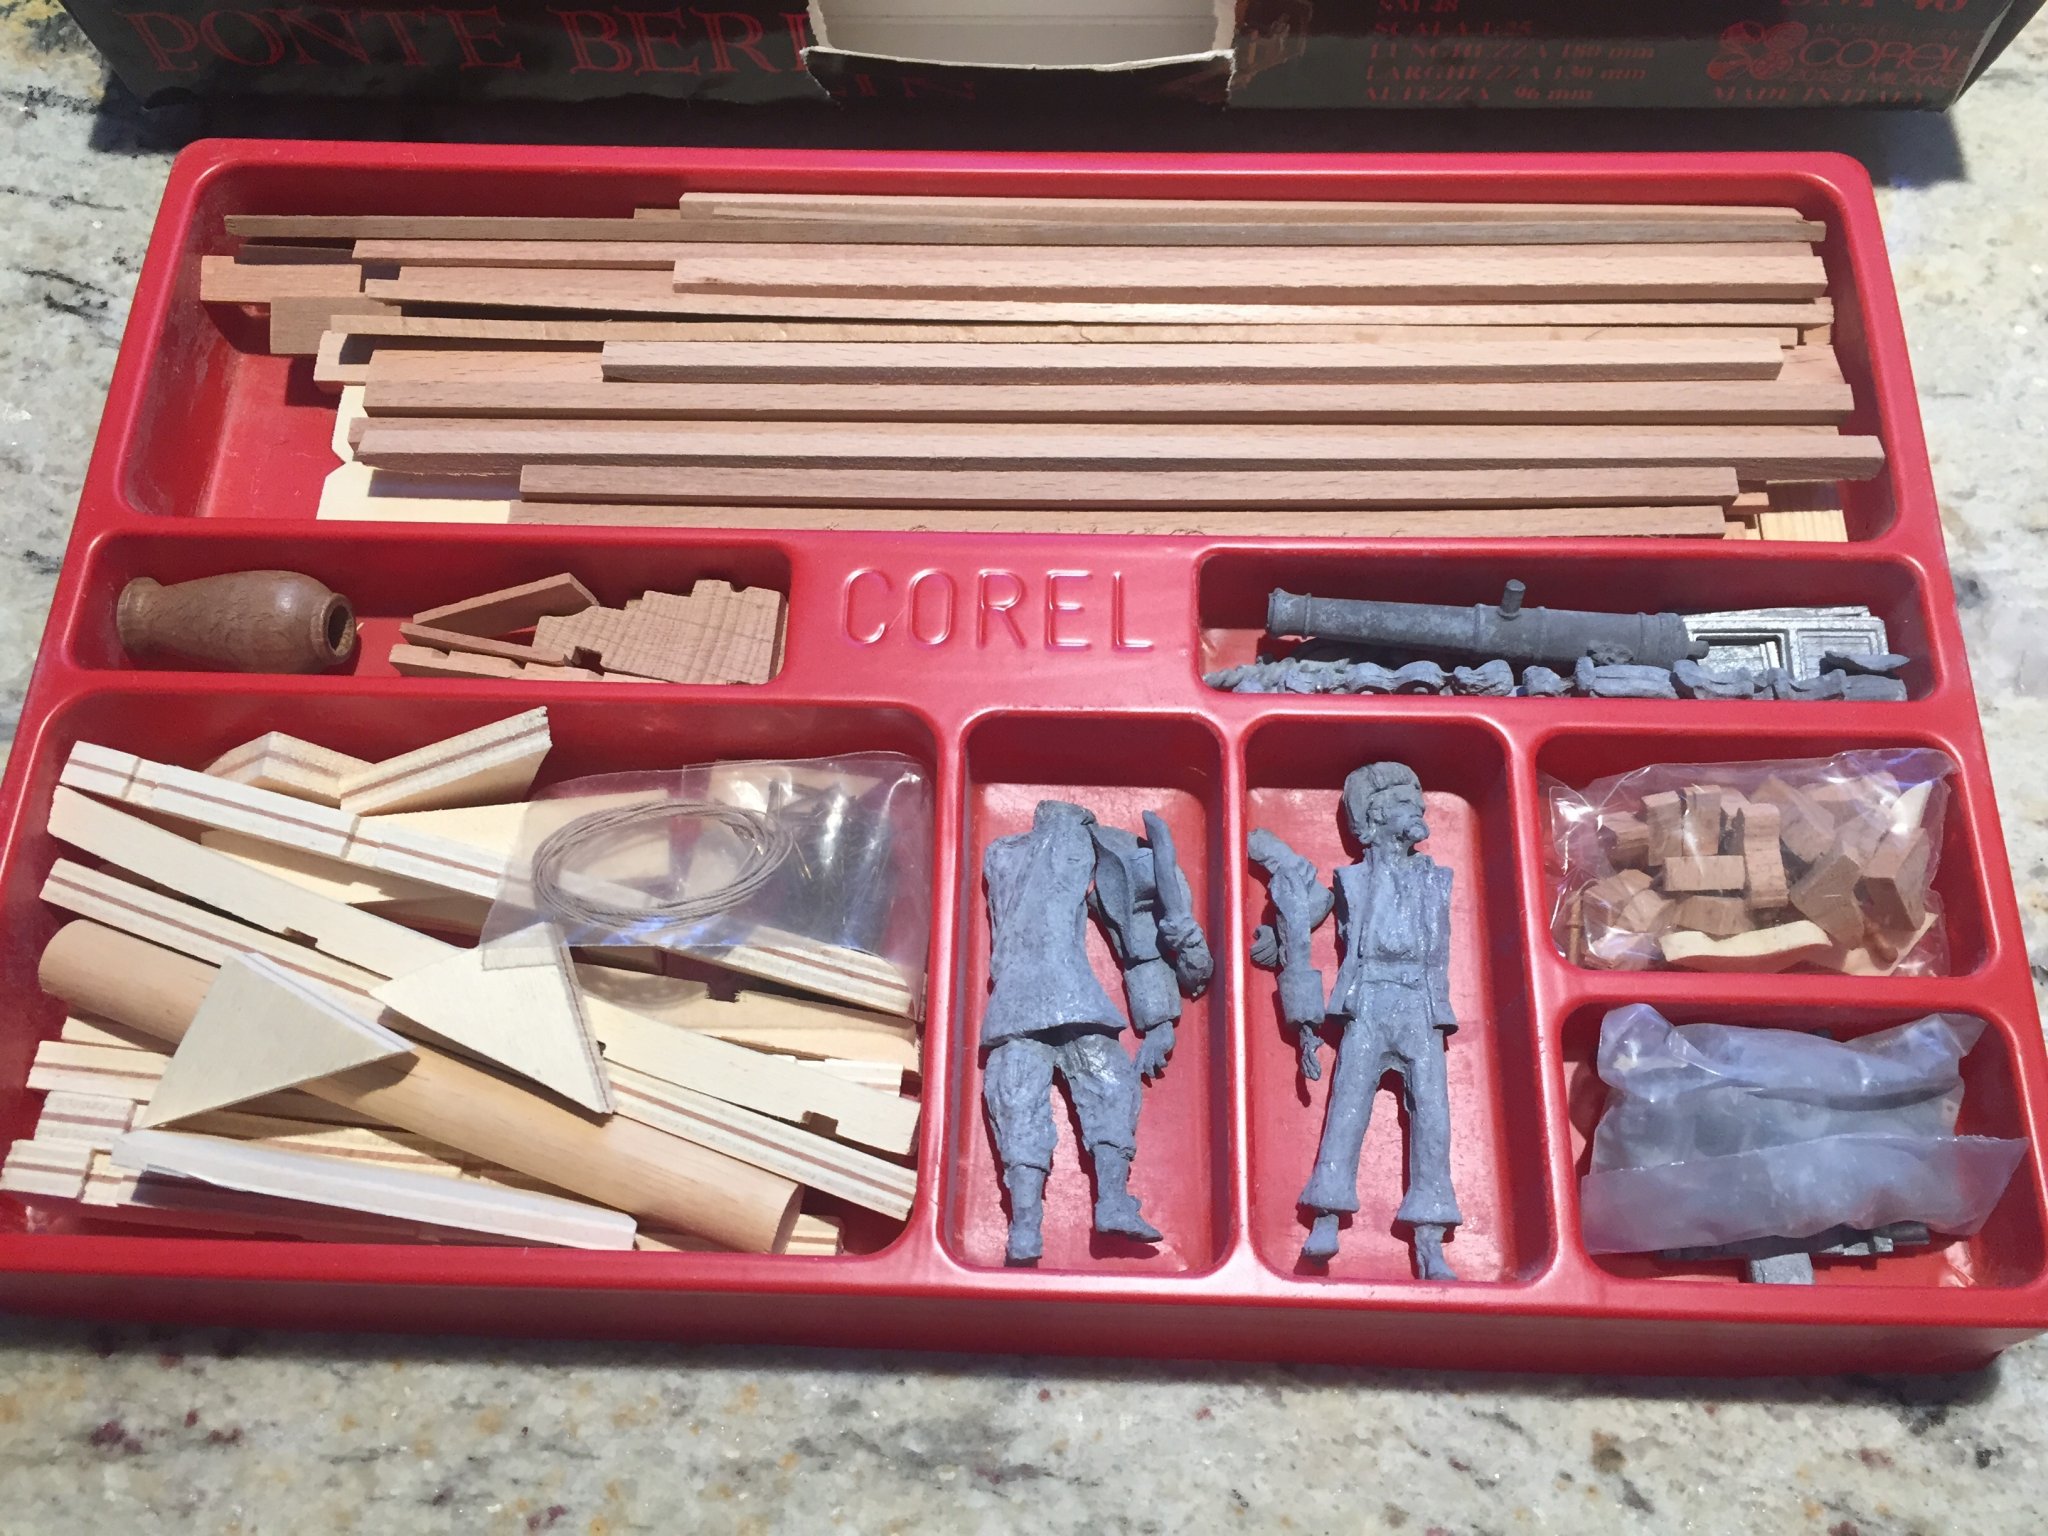
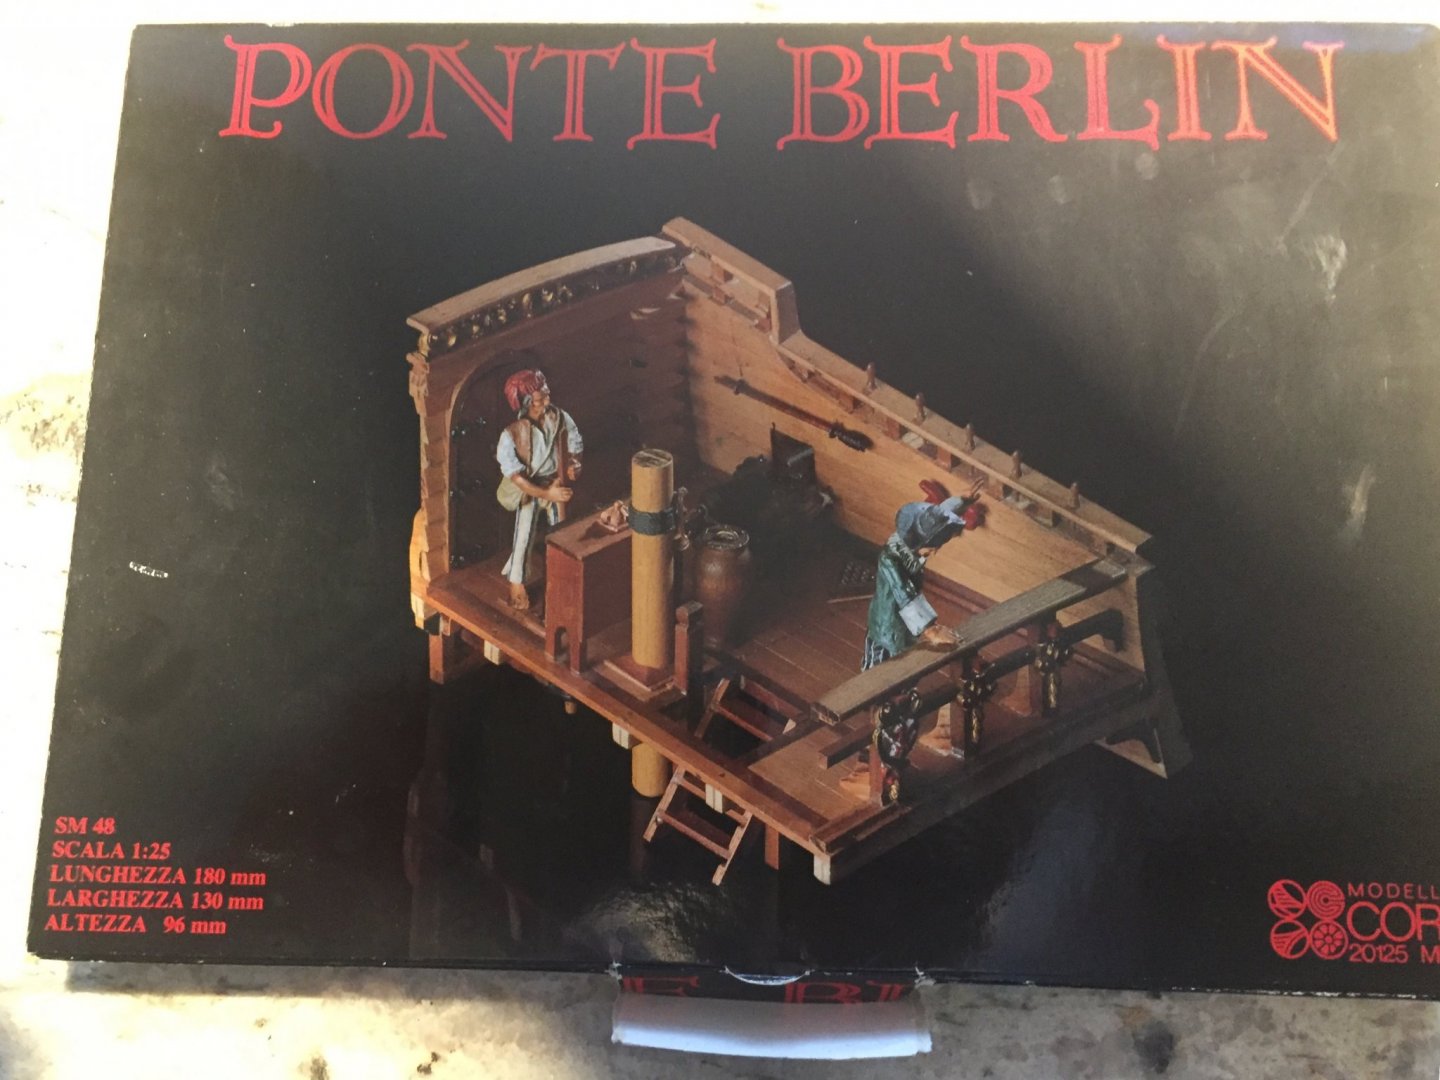
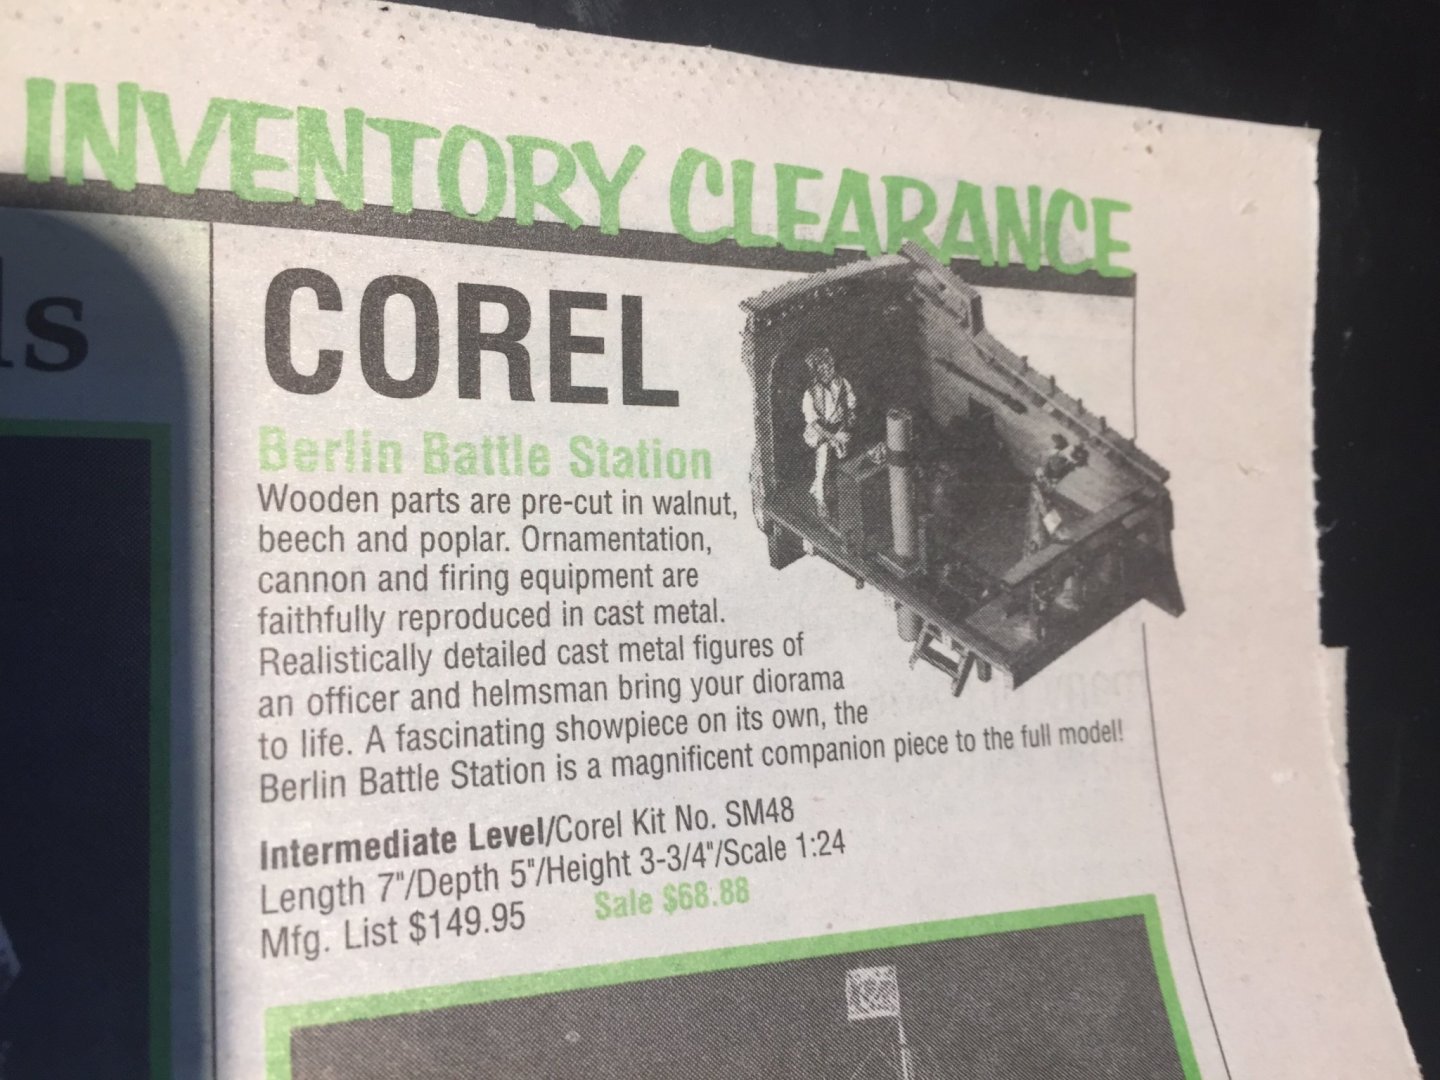
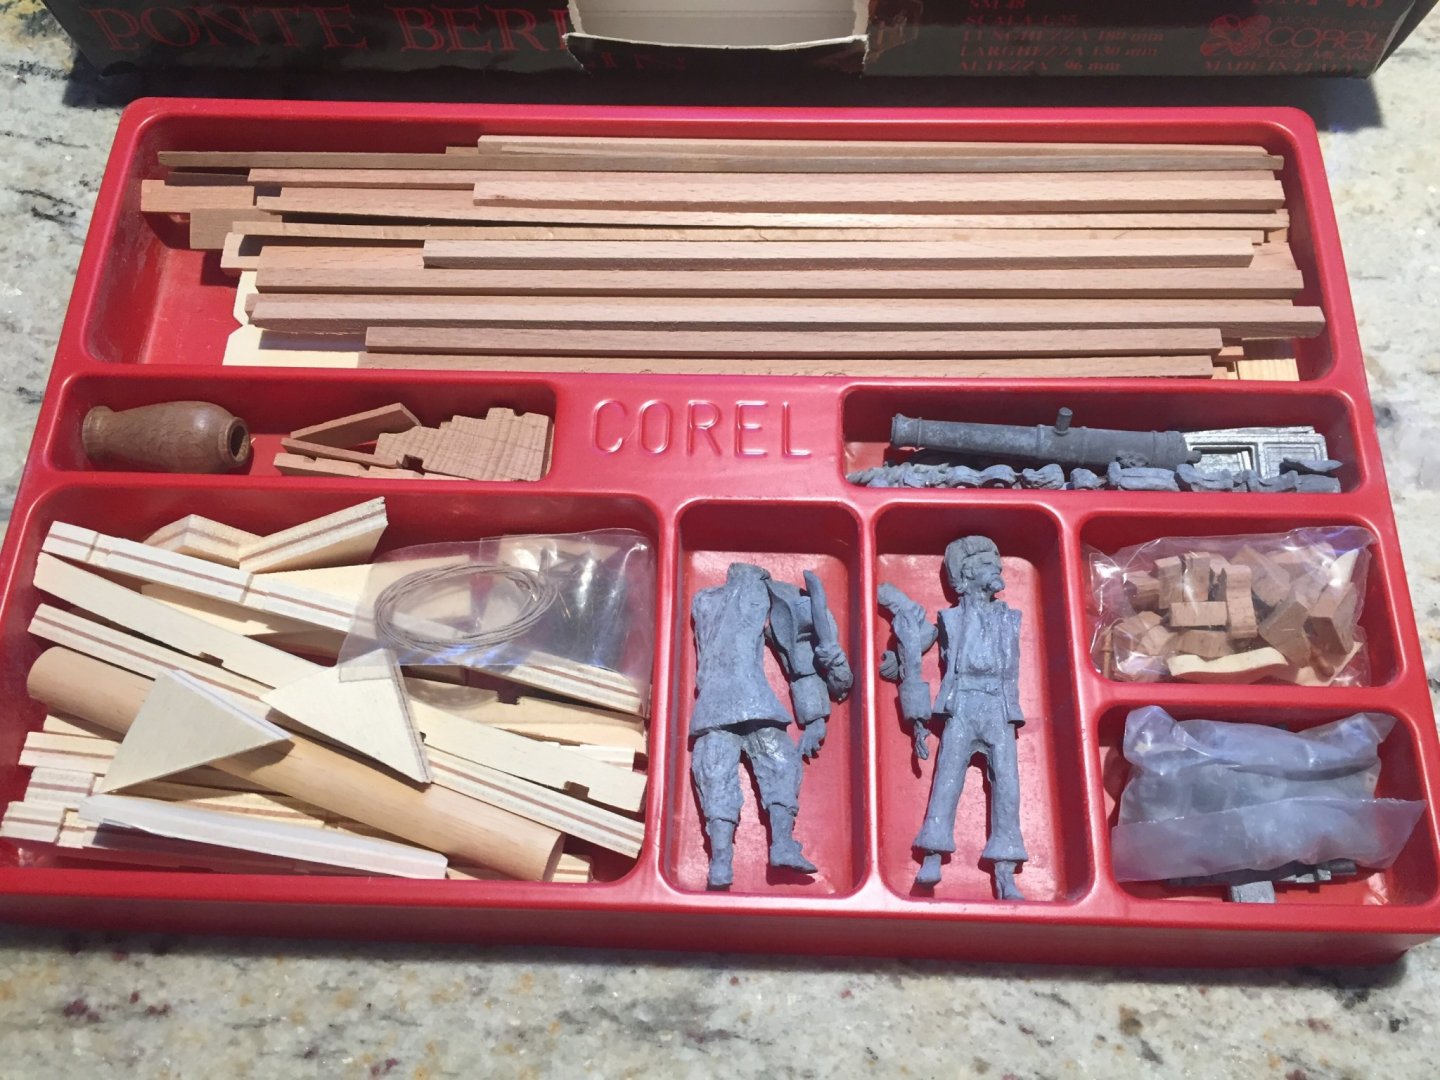
Another purchase off eBay. It’s obviously an older kit judging by the metal. i thought it was amusing that in another purchase i found a model expo ad for this exact kit dated 1995... anyways, it looks like a good time so here we go again.

- 77 replies
-
- 6
-
-
- point berlin
- diorama
- (and 1 more)
-
That link just brings me to my own order history...great stuff but nothing for managing glue 😂
-
I have some in my cabinet, I think I bought some before because someone had used it. What’s the benefit of it? Do you put anything over it?
-
Clear satin poly?
-
Thanks everyone for the kind words and motivation 😊
- 114 replies
-
- 2
-
-
- small
- Peterboro Canoe
- (and 2 more)
-
I will admit I have done these smaller boats for a few reasons... 1) I had never done a wood model before 2) planking intimidates me 3) don’t want to waste a 300$ model 4) my attention span isn’t so good We will see what the future holds. i do think that the support MSW brings to each log is helpful in making me want to finish each project, especially when things aren’t going as planned. - Dave
- 114 replies
-
- 4
-
-
- small
- Peterboro Canoe
- (and 2 more)
-
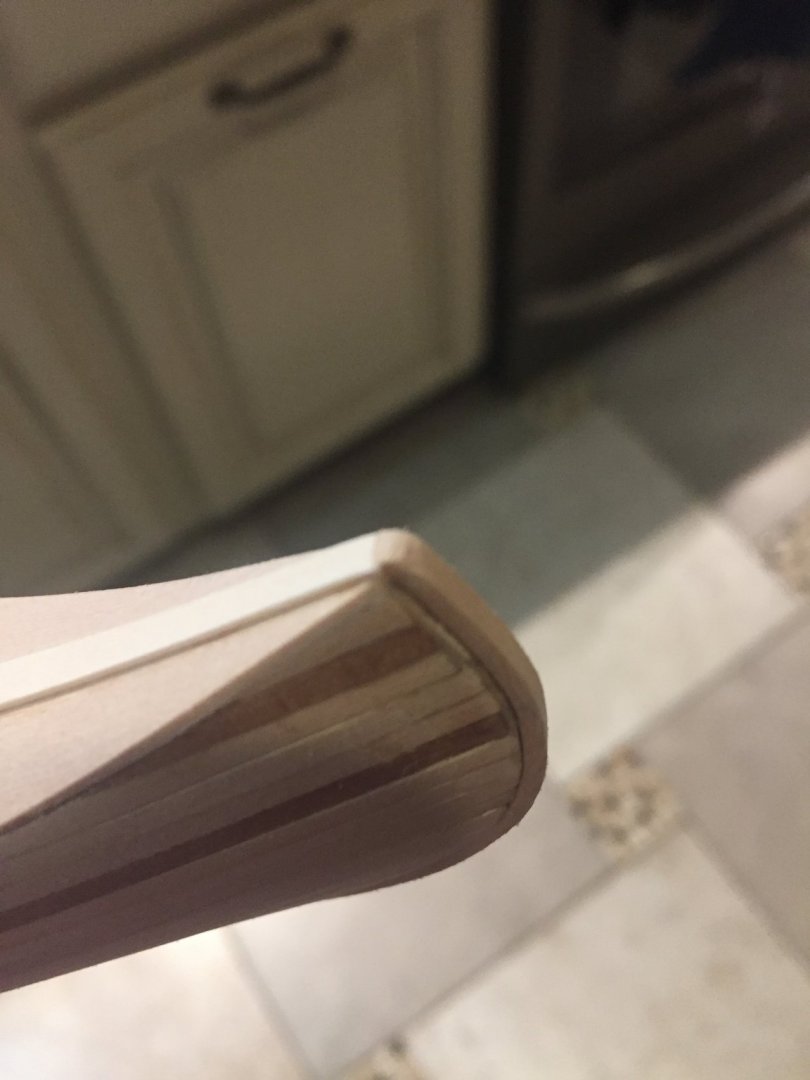
I got to finishing the stem and keel. All that’s really left is the finish. I’m not sure what to do honestly with the finish. I have tung oil, and poly. There is alittle CA so not sure what the impact will be.
- 114 replies
-
- 12
-
-
- small
- Peterboro Canoe
- (and 2 more)
-
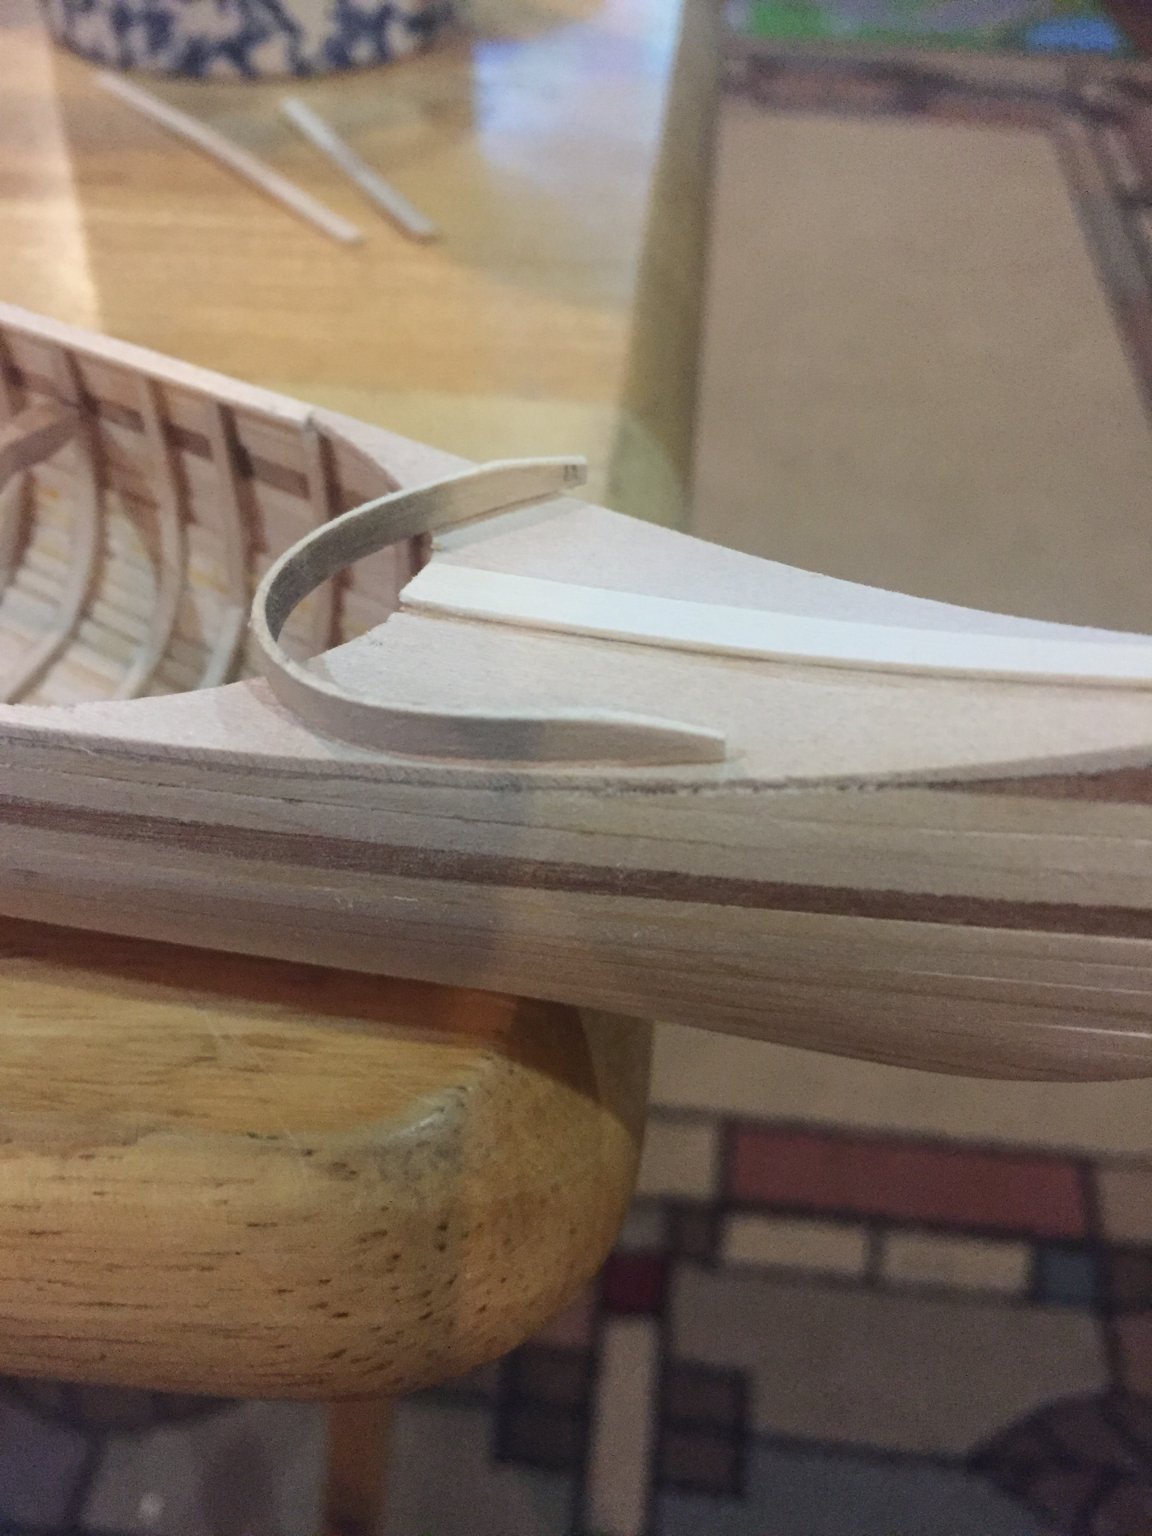
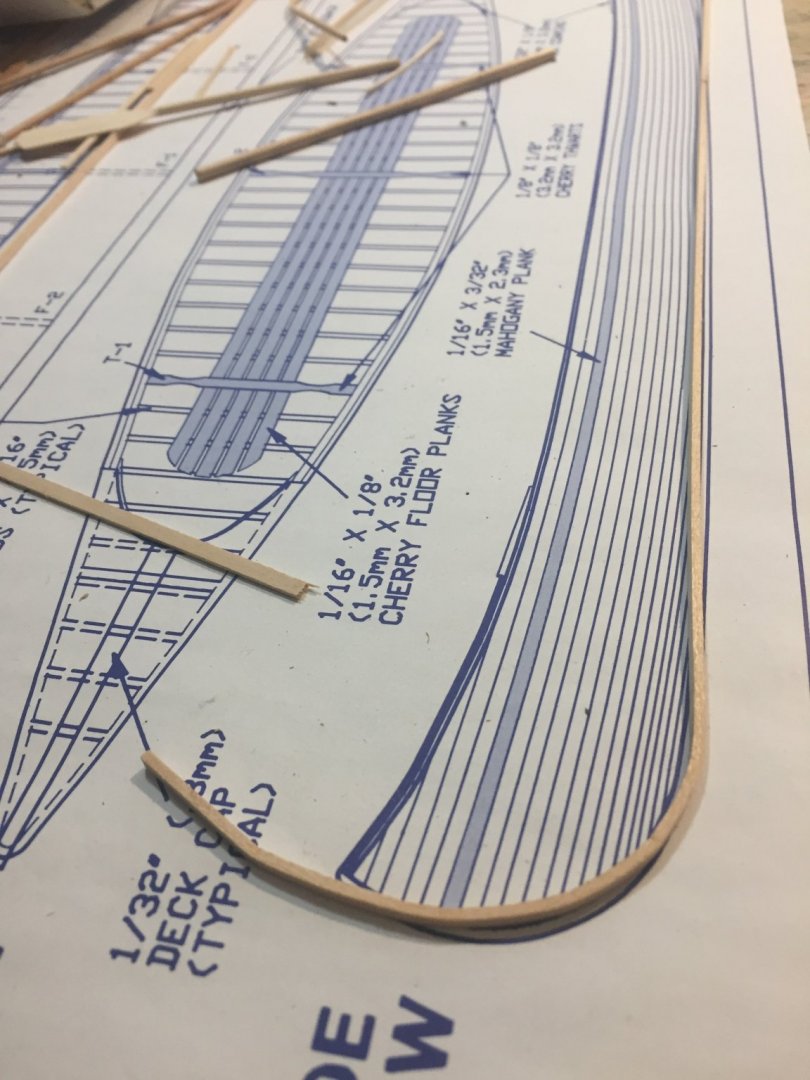
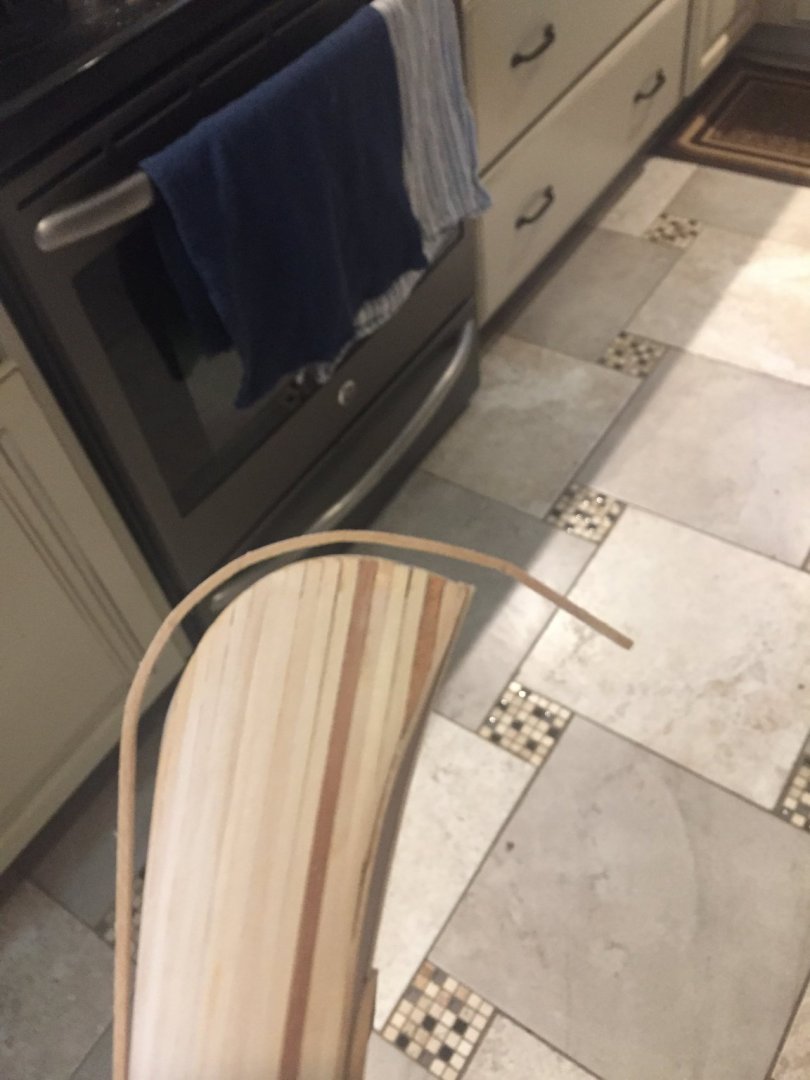
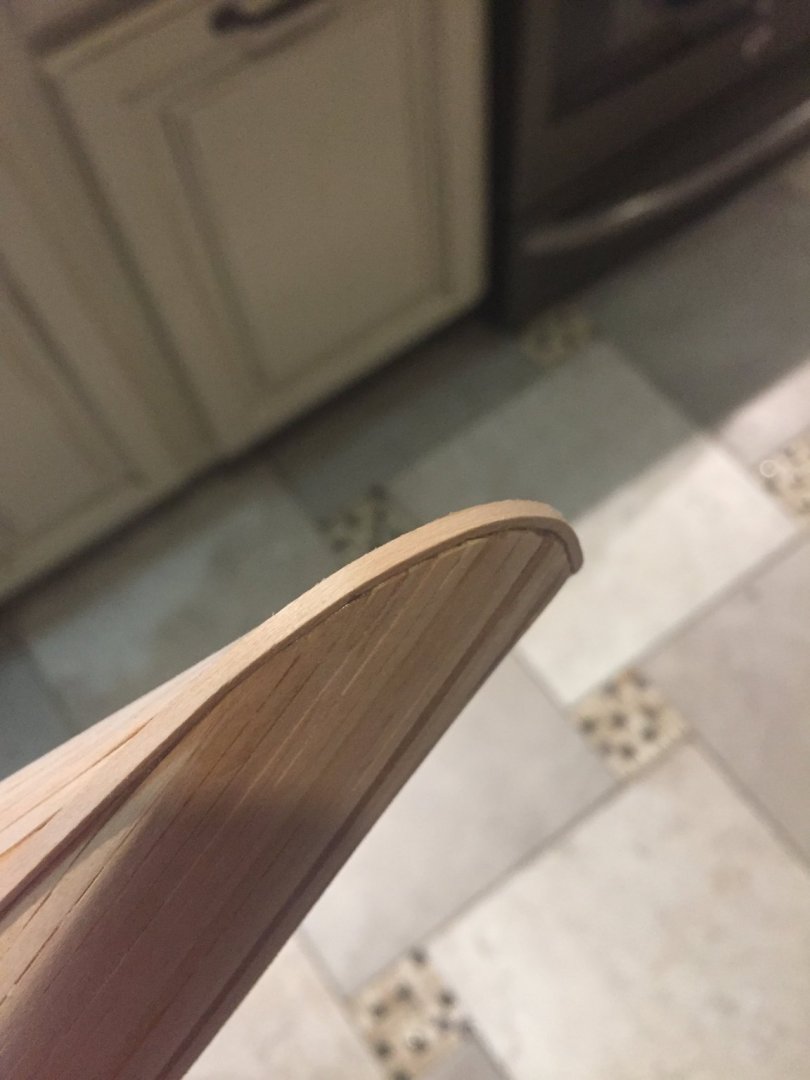
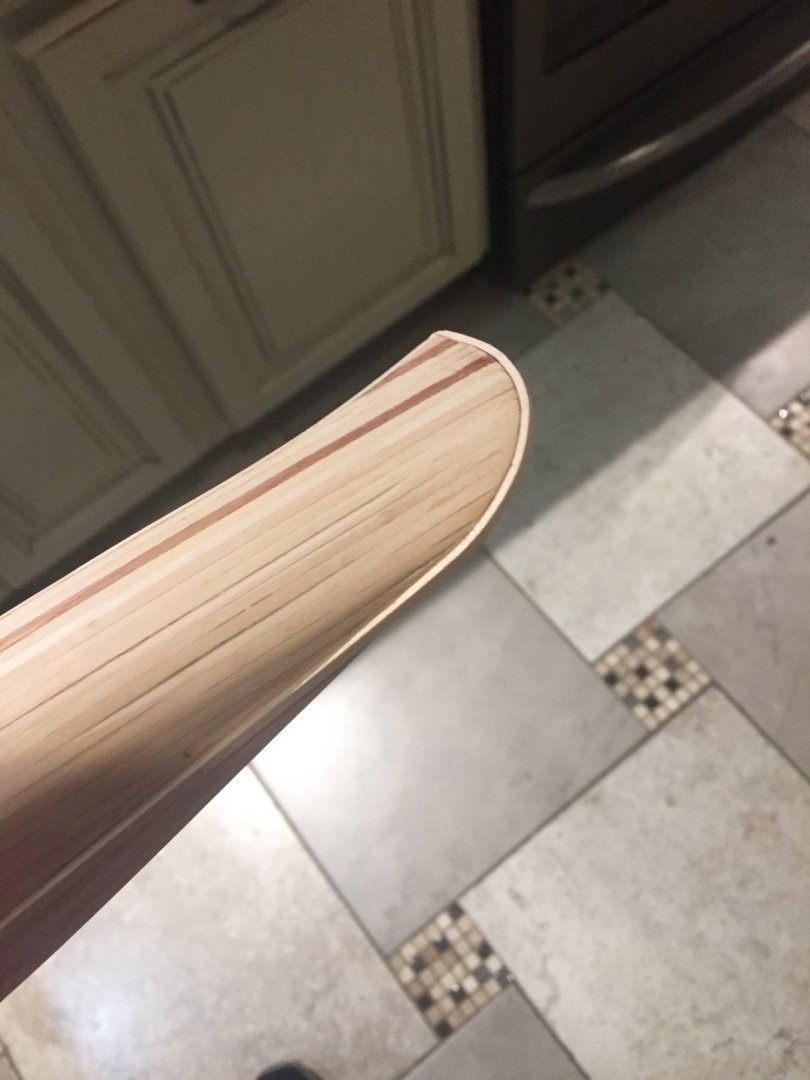
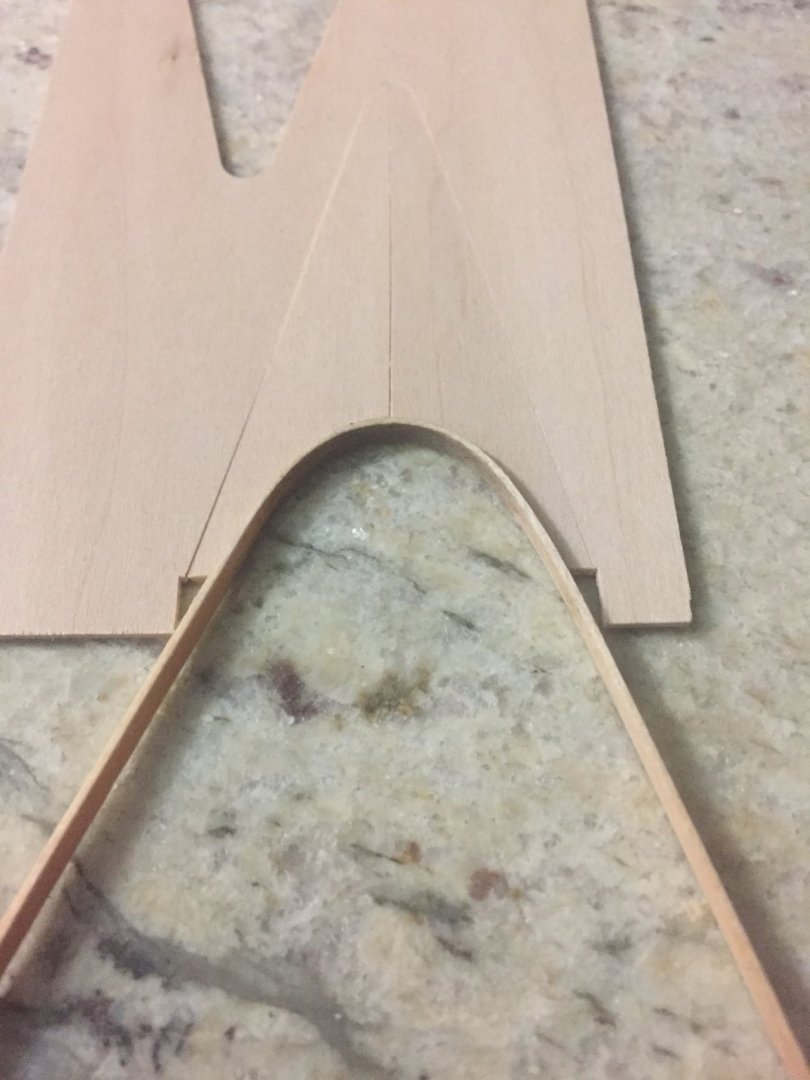
I was able to get one side of the stem and false keel...I think I got that right. first I wet it, used the wood stove handle to manipulate the bend. I then compared it to the plans, wet it again, held it with my finger where it needed to be alittle more curved and worked it over the handle again. I test fit it and it looked good so I glued it with CA. I then trimmed it and sanded it to shape...not bad! Maybe I’ll get the other one on tomorrow...I need to retire so I have more time on my ships lol only 15 years till I can collect a pension 😑
- 114 replies
-
- 9
-
-
- small
- Peterboro Canoe
- (and 2 more)
-
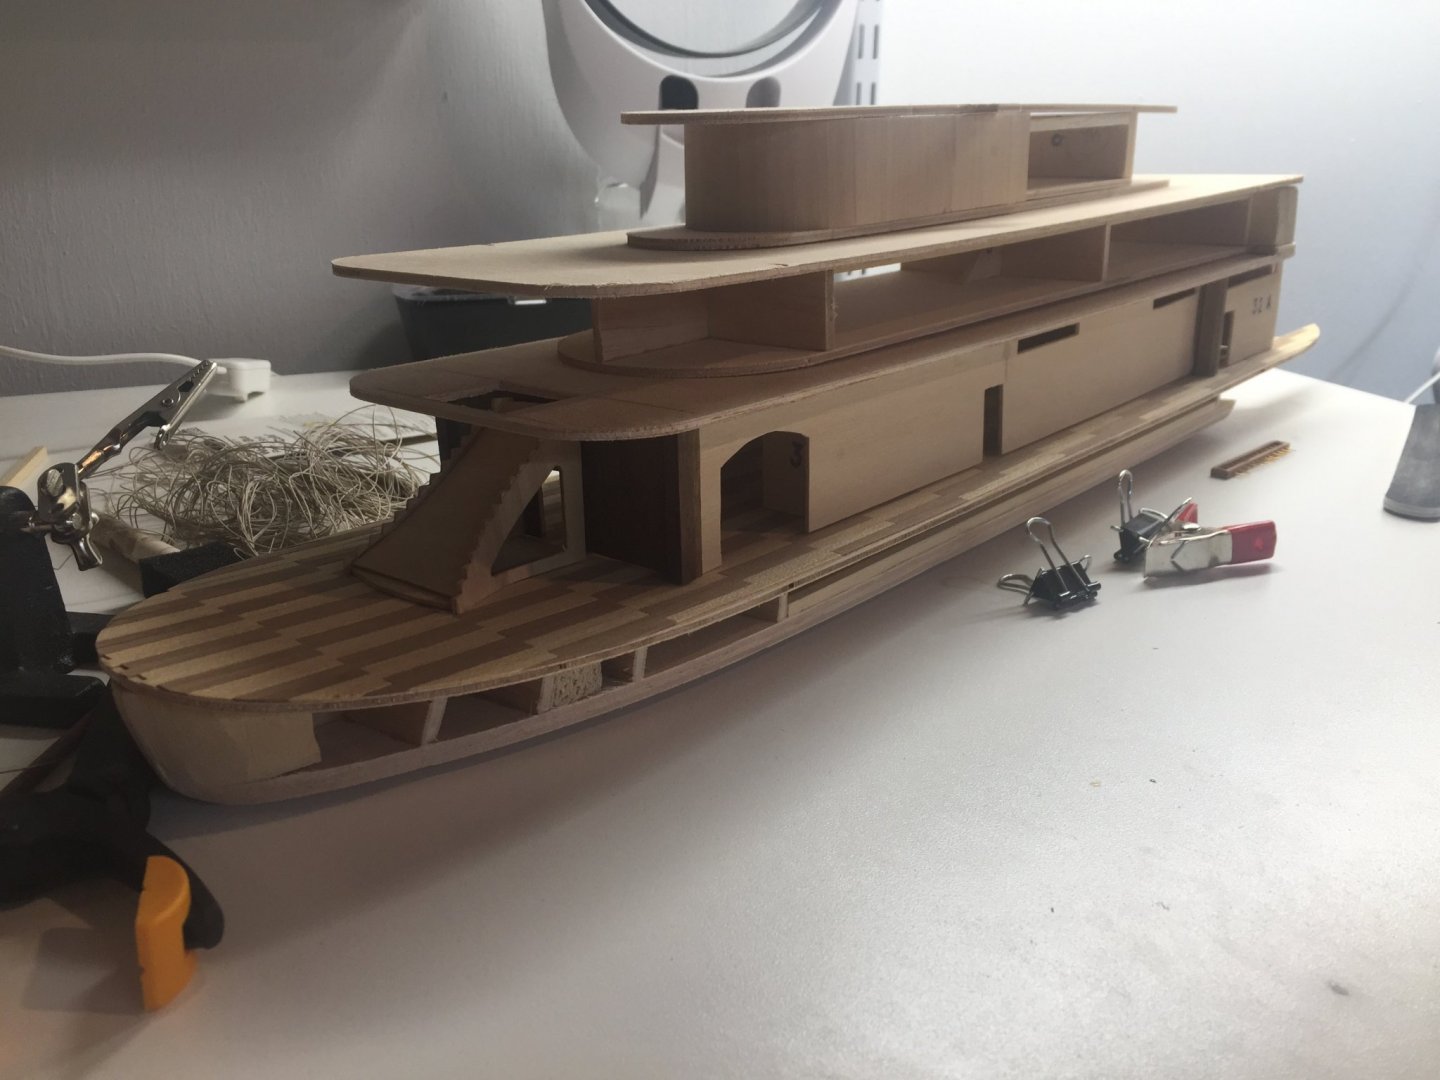
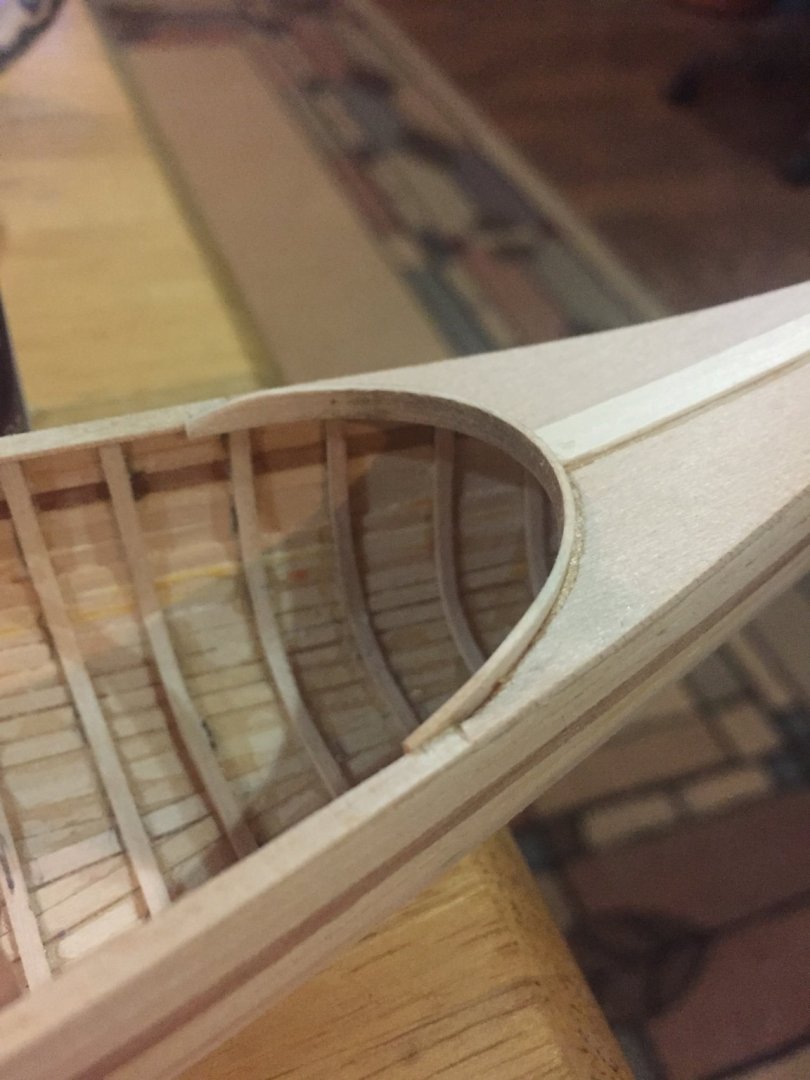
Been working on this model here and there when I have time. It’s frustrating because the instructions are not great, but from what I gather that is the standard. for fun fun I built up the different layers... Shes a big one 😂

-
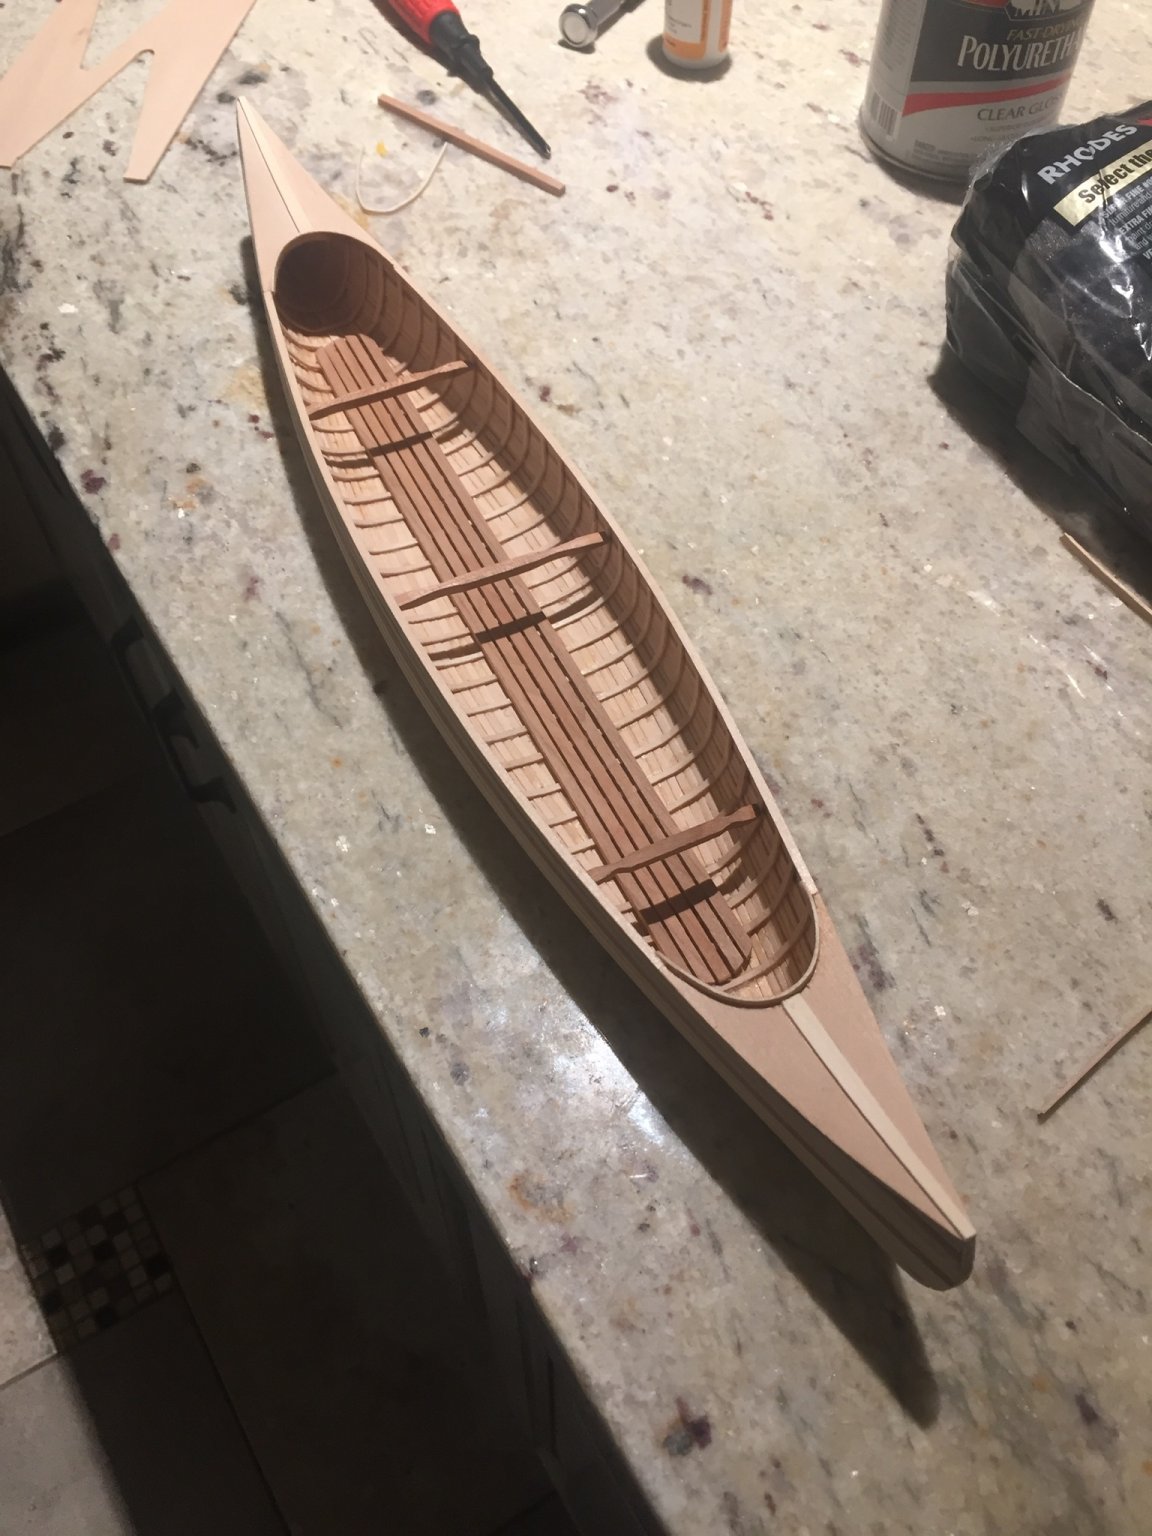
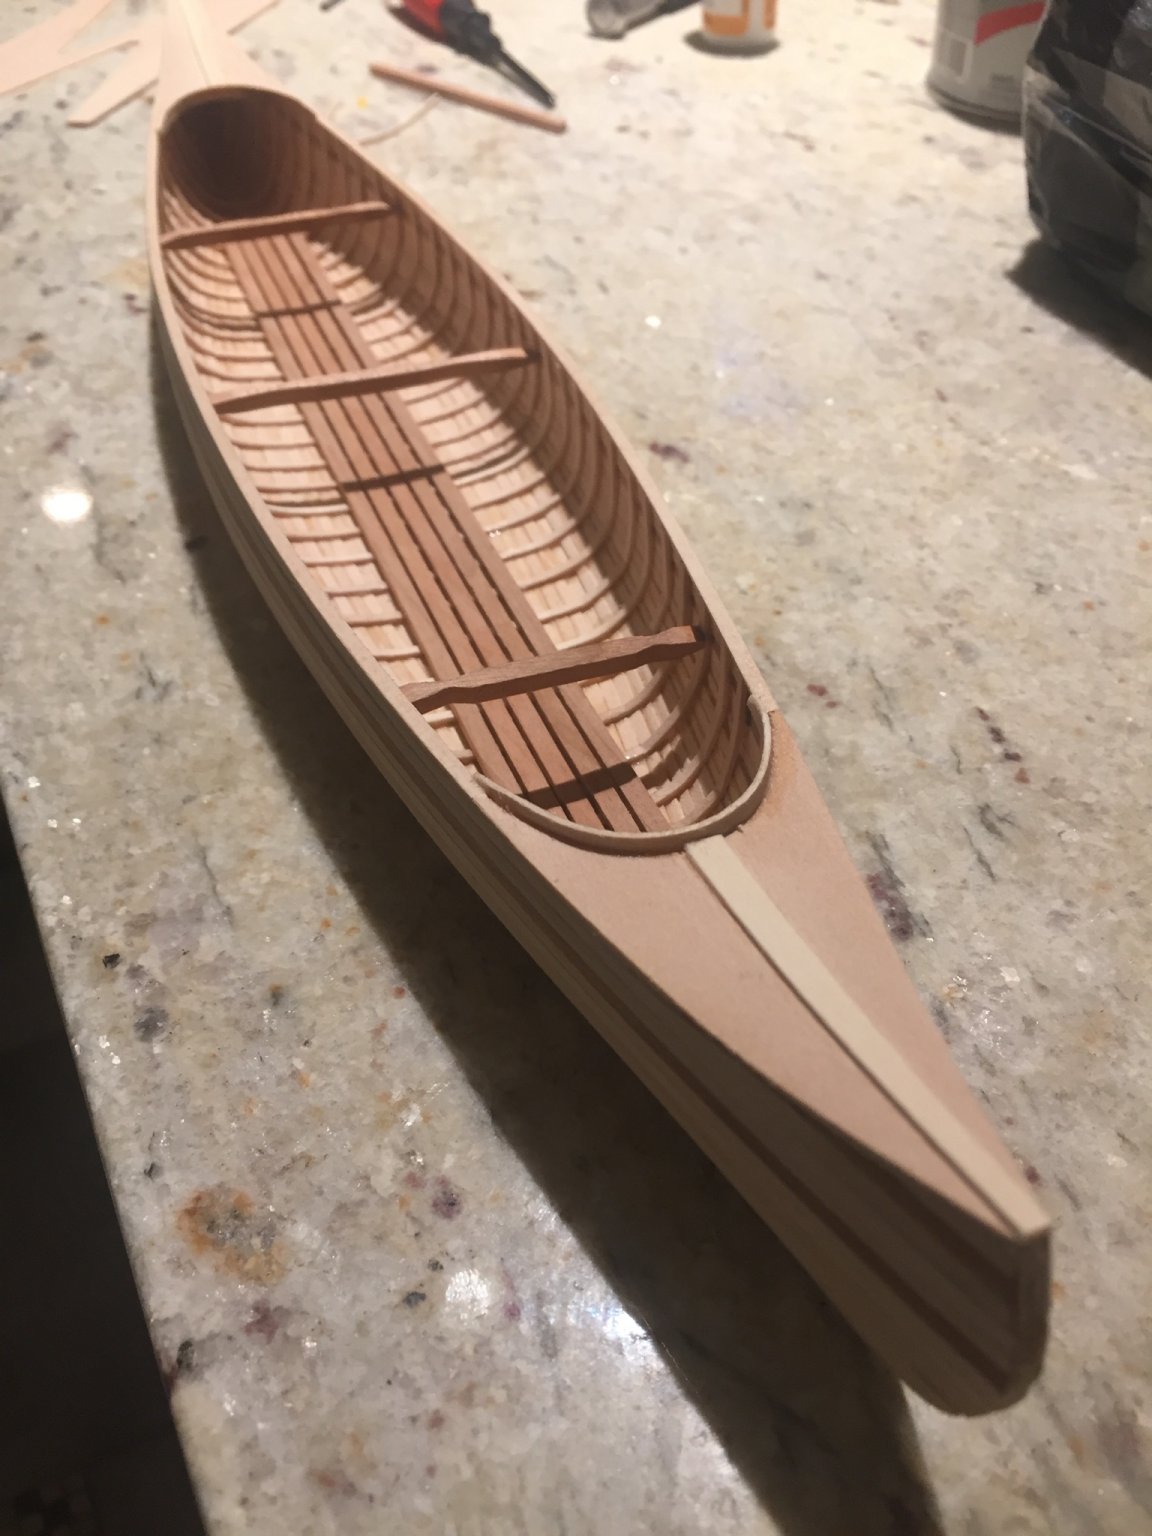
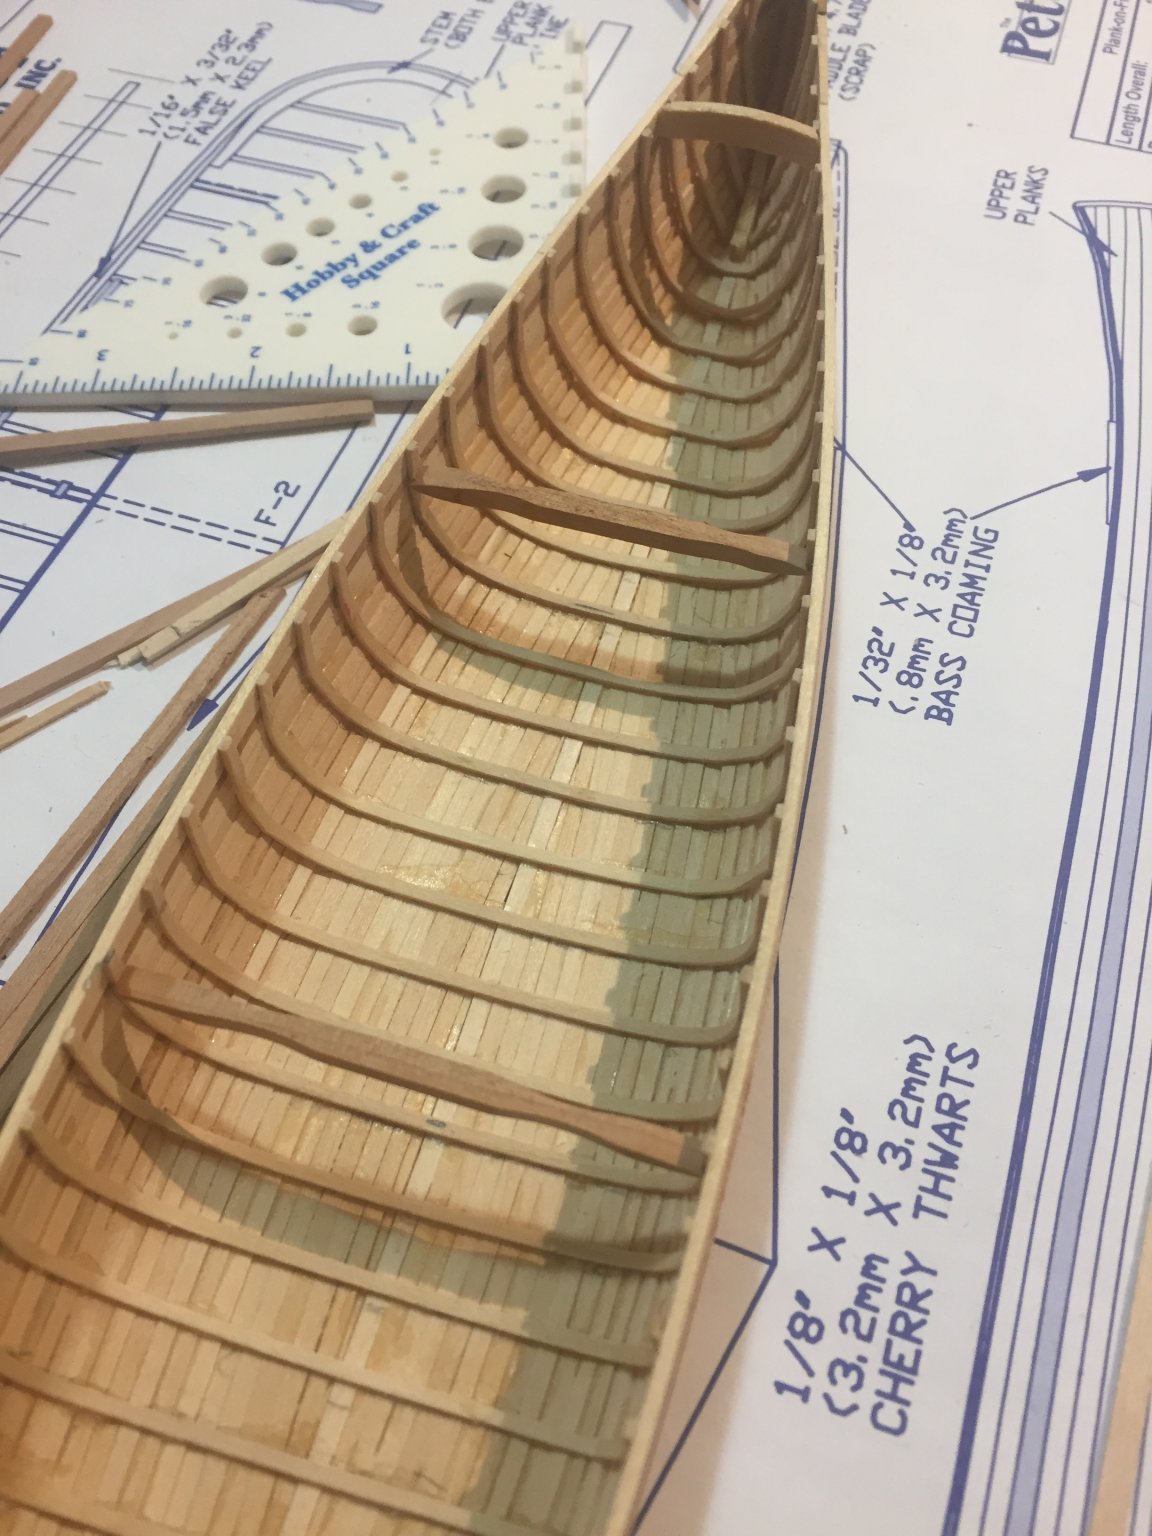
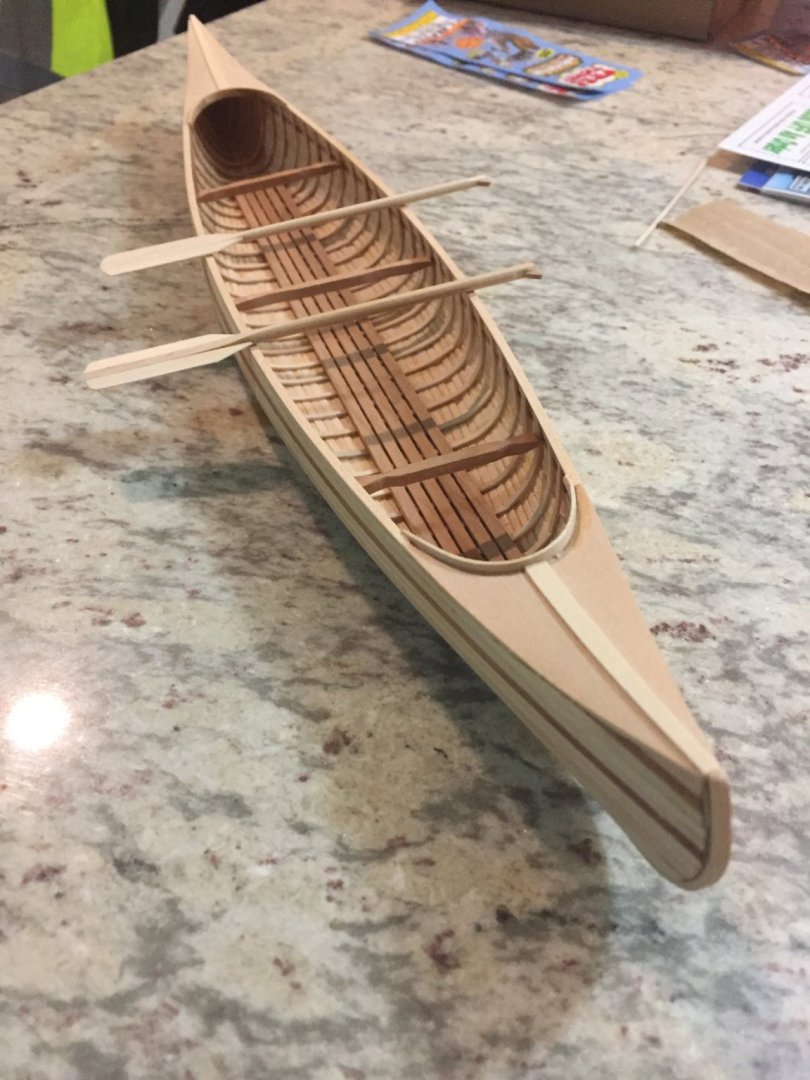
A little more progress...and I must say when I first finished the hull I was a little disgusted with the roughness, however she’s really growing on me..lol I added the decks...which I screwed up but was able to hide with the trim that covered the seam. I then worked on the coamings which I had bent the night before. They fit quite nicely. I then installed the floor boards, which were tricky...I started with wood glue but ended up doing CA. I was curious what the best way to apply a small amount of CA is. I like PVA best but I acknowledge that all glues have their space in modeling. I was squirting some out on a plastic cup, I would use a toothpick to apply, but I’m not thrilled with it.


- 114 replies
-
- 7
-
-
- small
- Peterboro Canoe
- (and 2 more)
-
Welcome! Your horse has brought you to the right place. Best of luck on your first build!
-
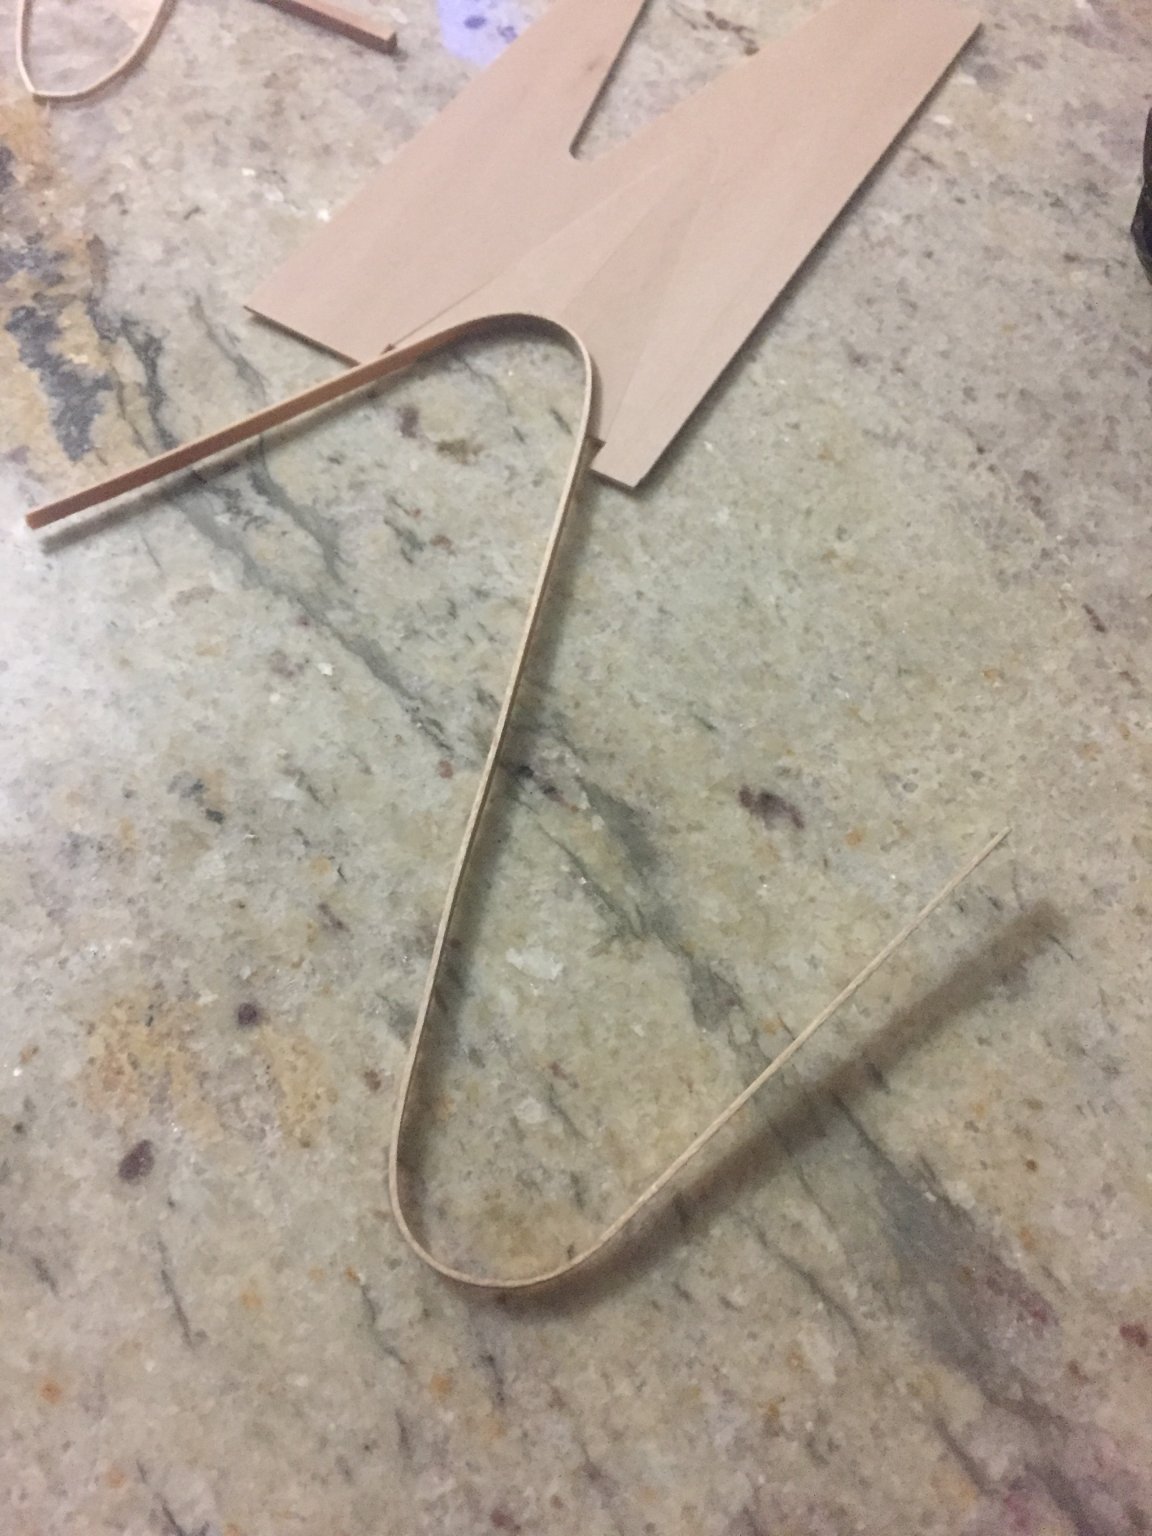
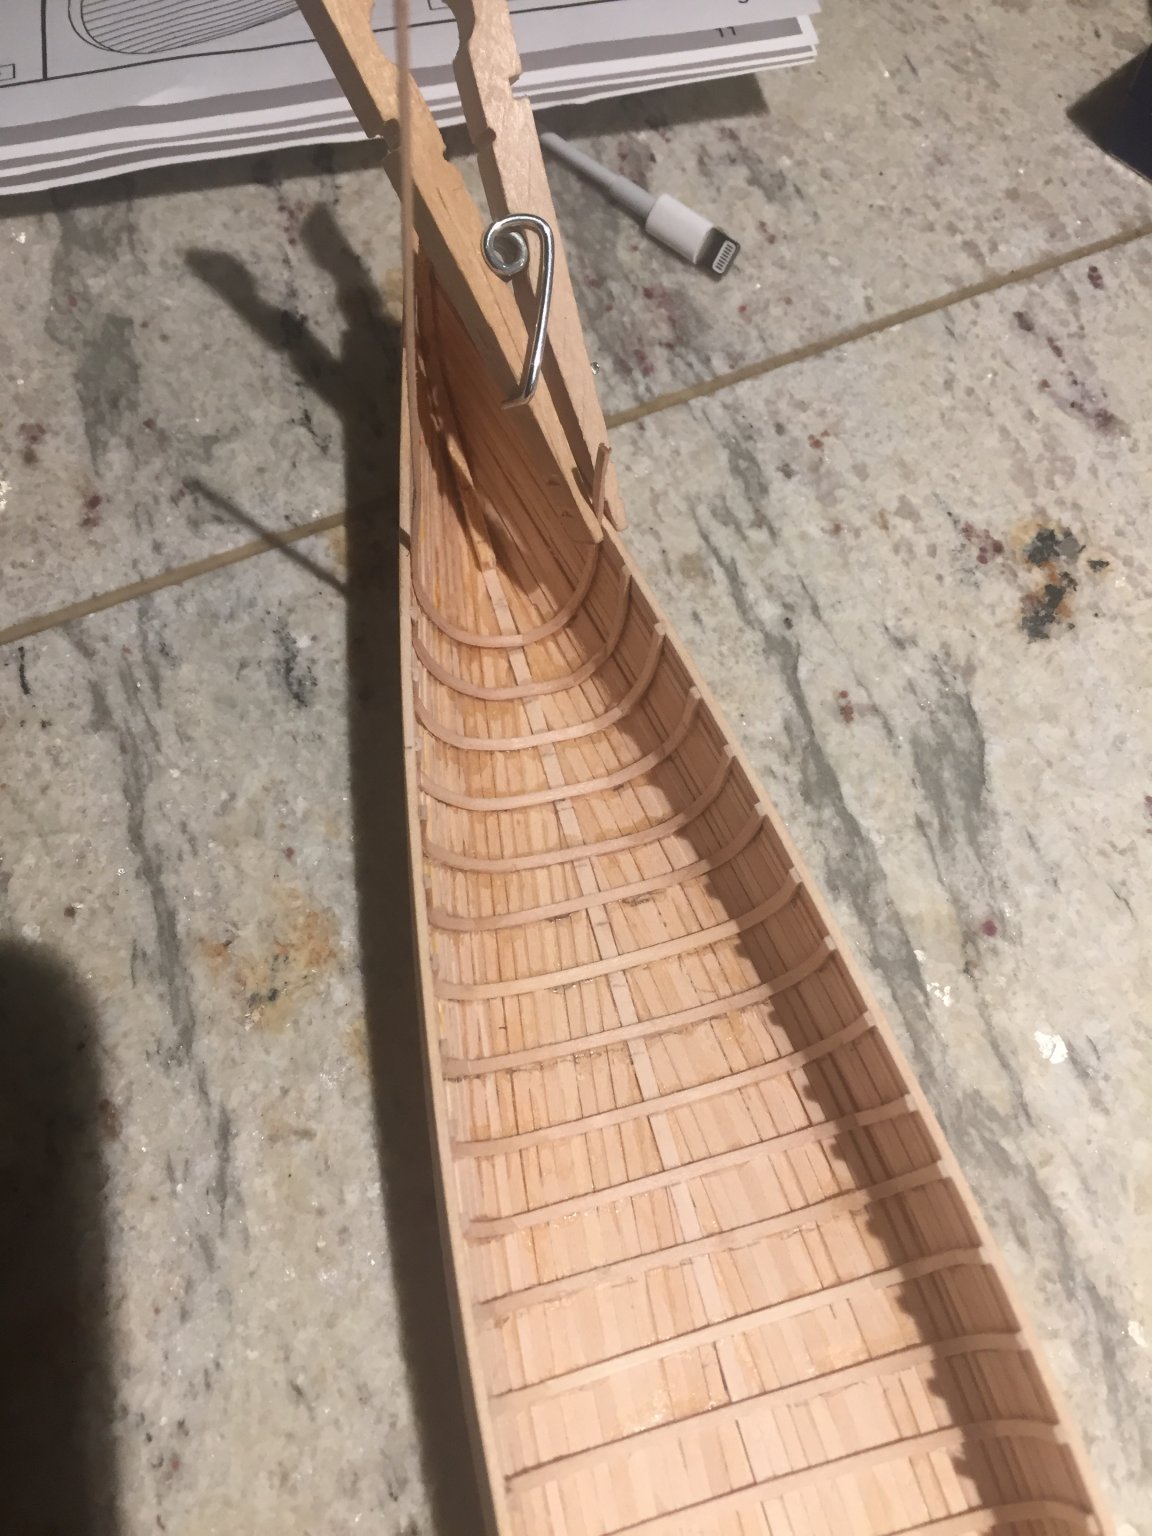
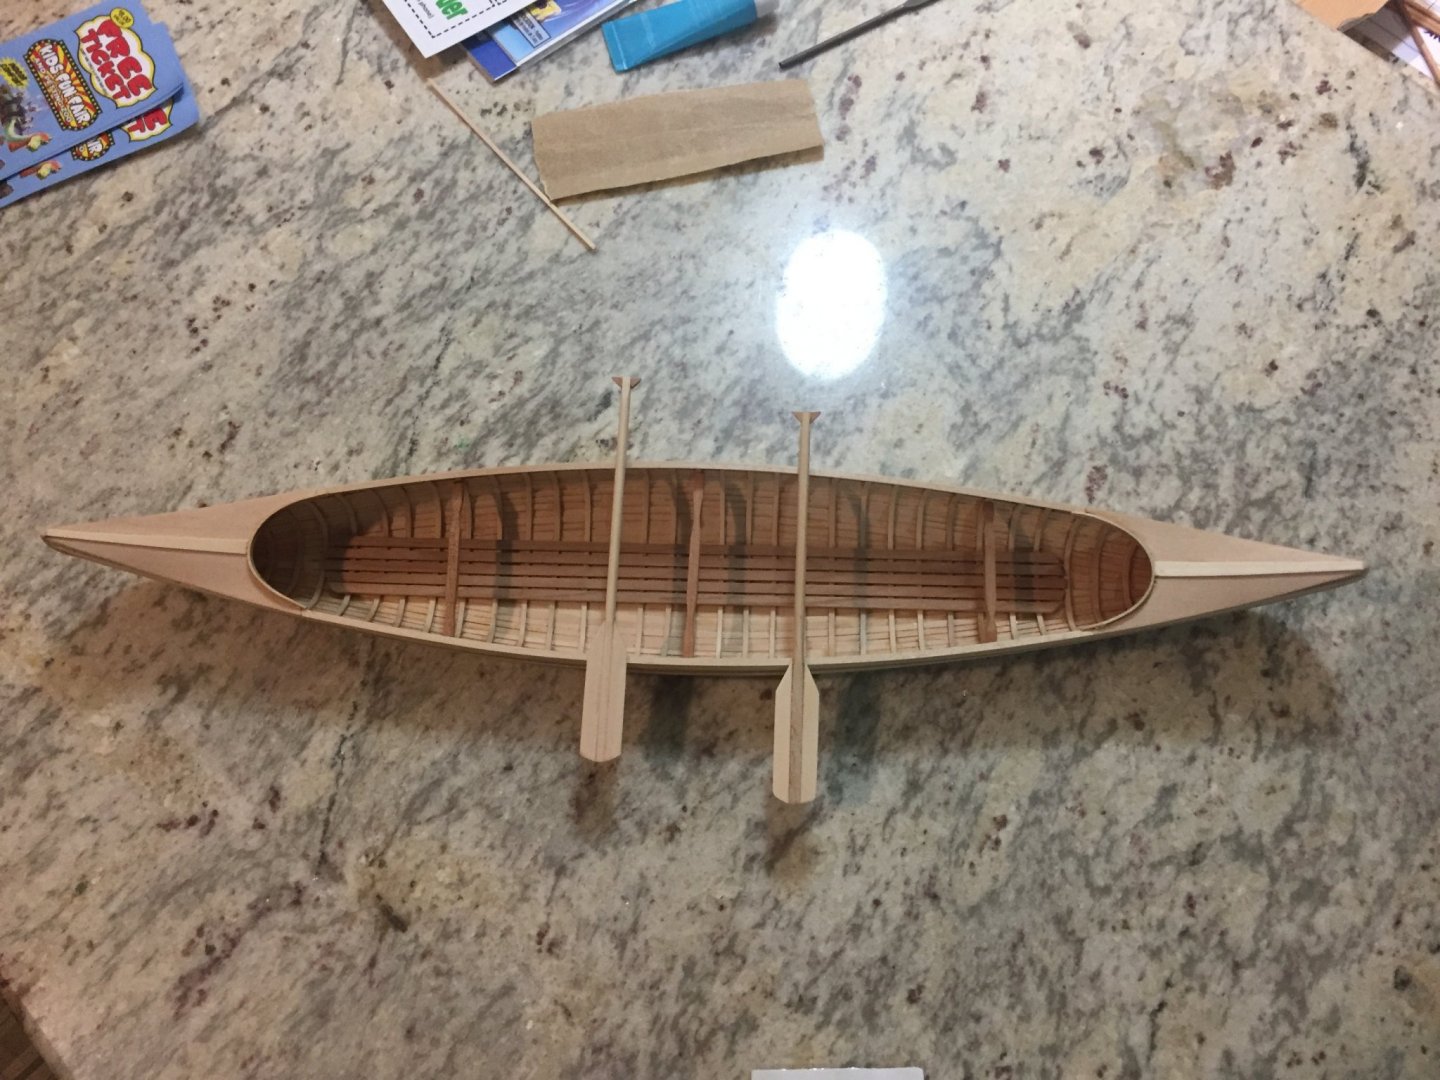
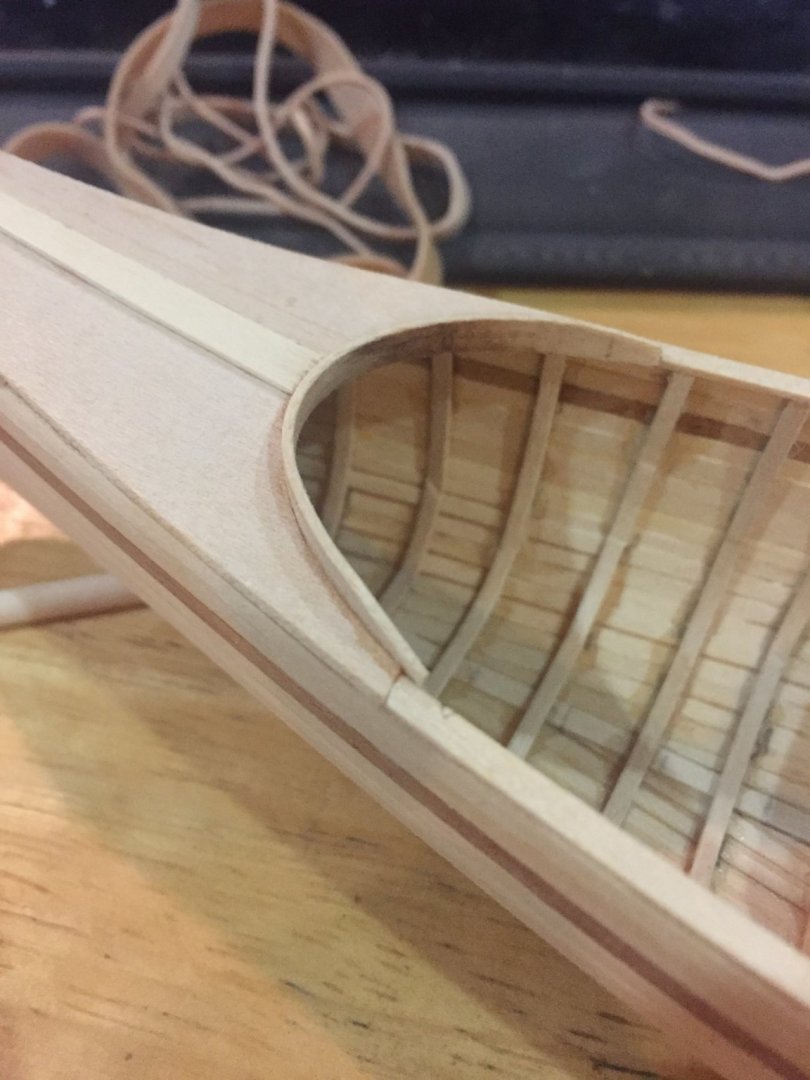
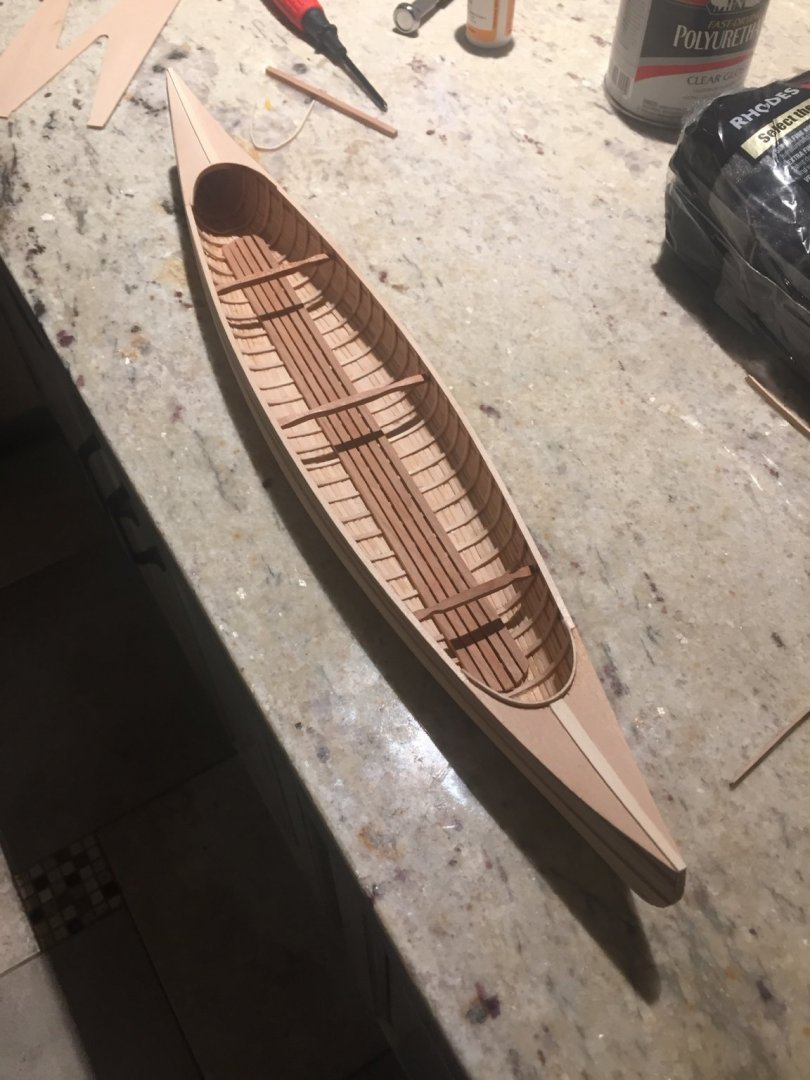
Finished the last thwart. I had to do it twice since I made it wrong the first time...practice practice. I found holding the sand paper against different round edges on my granite countertops helped with the perfect contour. I also used my wood stove handle to bend my soaked wood pieces that will sit against the “deck” of the canoe...I’m hoping it dries in the piece so I can manipulate easier when I figure out how to install the deck.


- 114 replies
-
- 7
-
-
- small
- Peterboro Canoe
- (and 2 more)
-
Thanks Daniel!
-
very nice indeed! I haven't built mine yet as planking has frightened me thus far. I love the rigging on this boat as well, great job.
-
I have done two dorys so far, blue jacket and mid west. Both had build boards (blue jacket was built up side down If I remember correctly), both had you put the planks on before removing from the build board as the curve would disappear with out something holding it. Interesting that this kit would have you do differently.
- 30 replies
-
- 1
-
-
- grand banks dory
- model shipways
- (and 1 more)
-
Welcome to the site! Do you have pics of the long boat? It is a beautiful kit. It seems Amati makes some real nice kits as well.
-
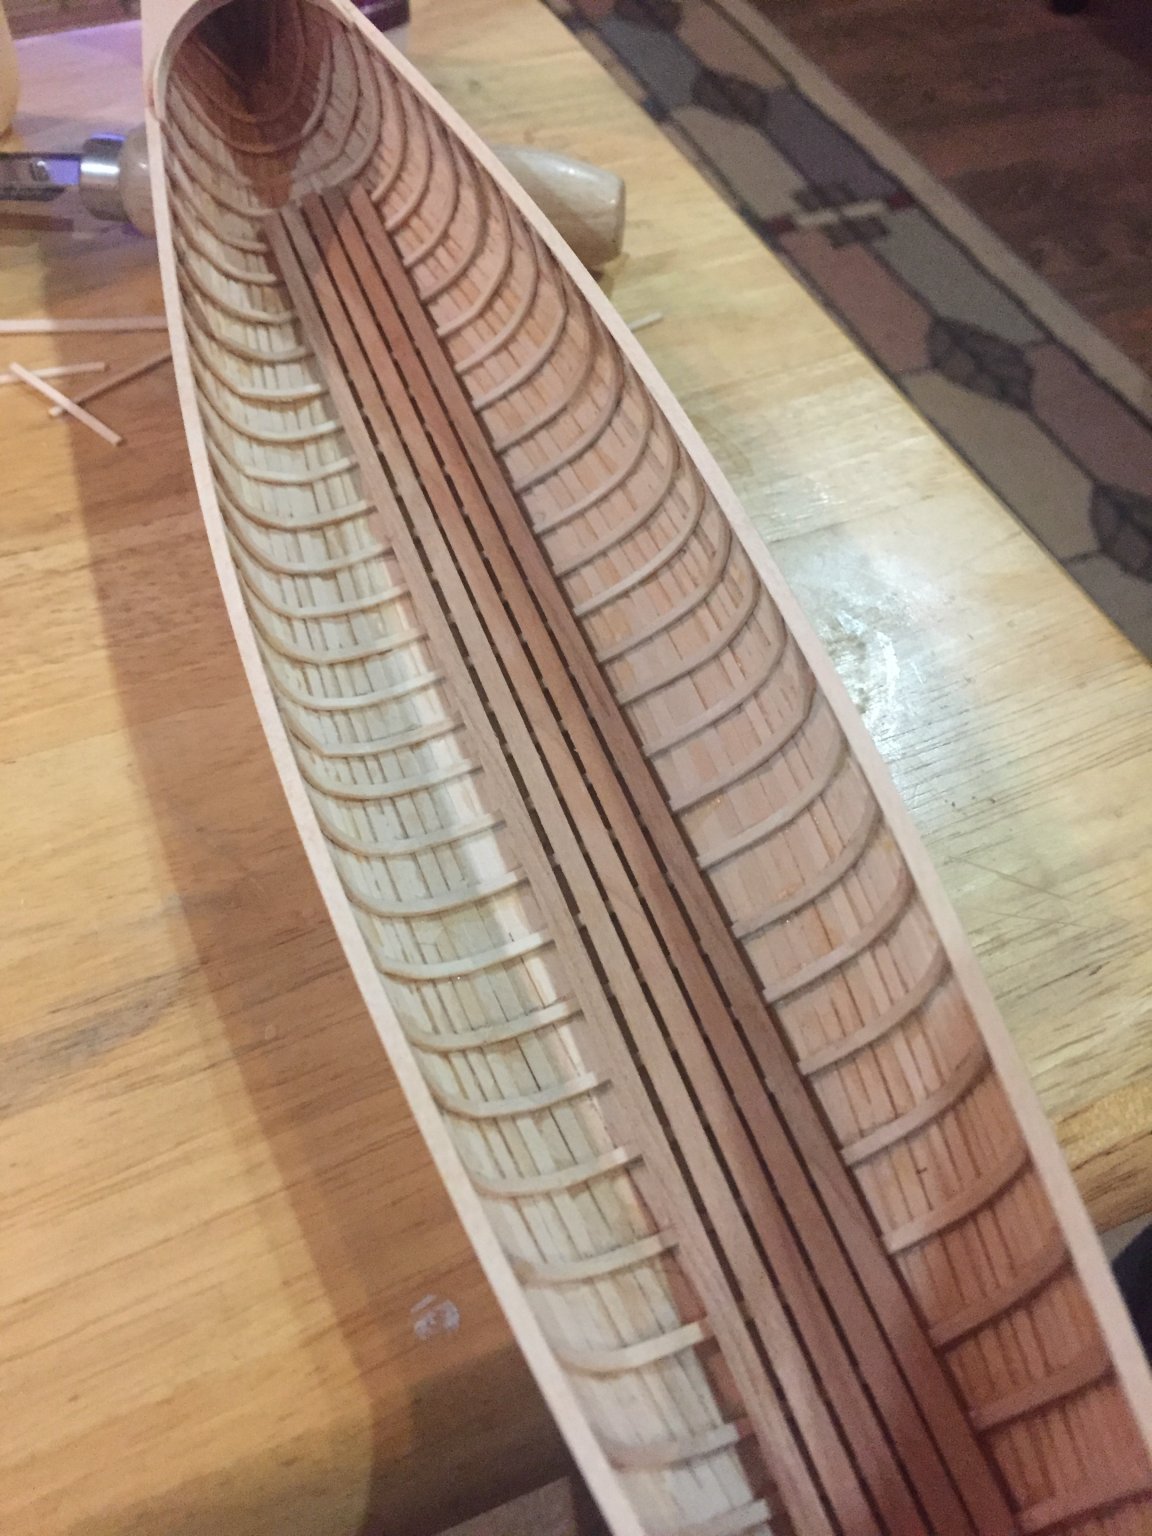
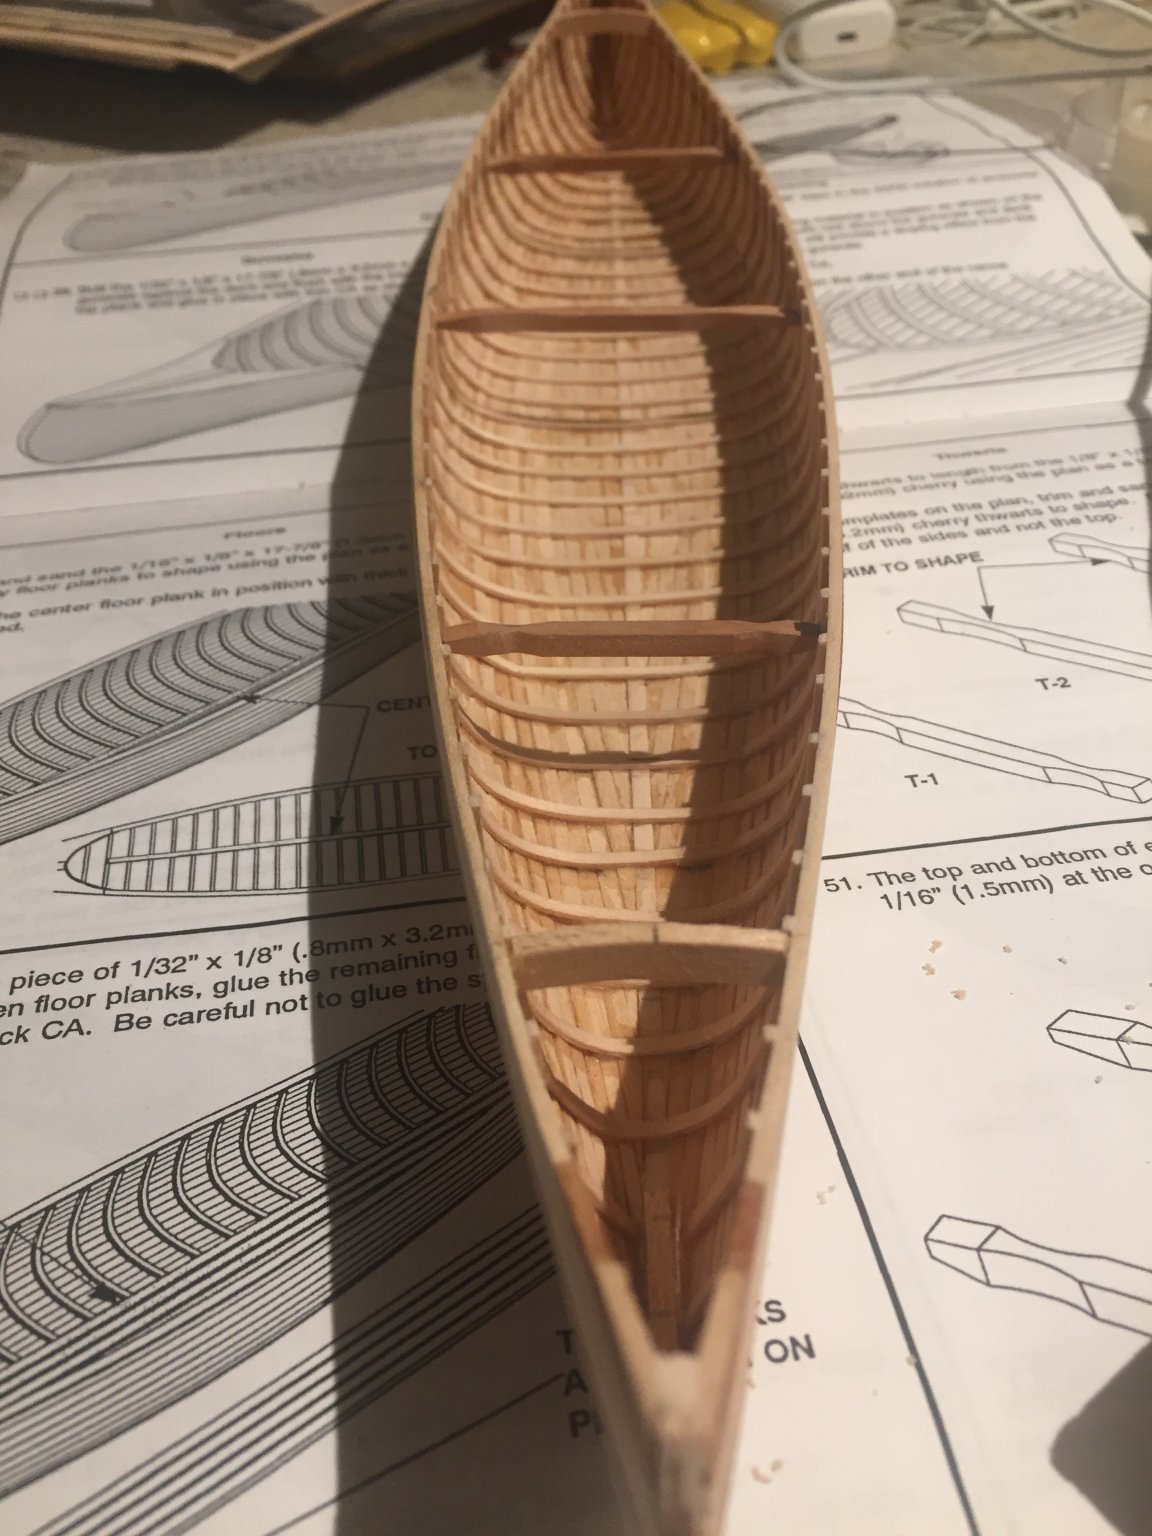
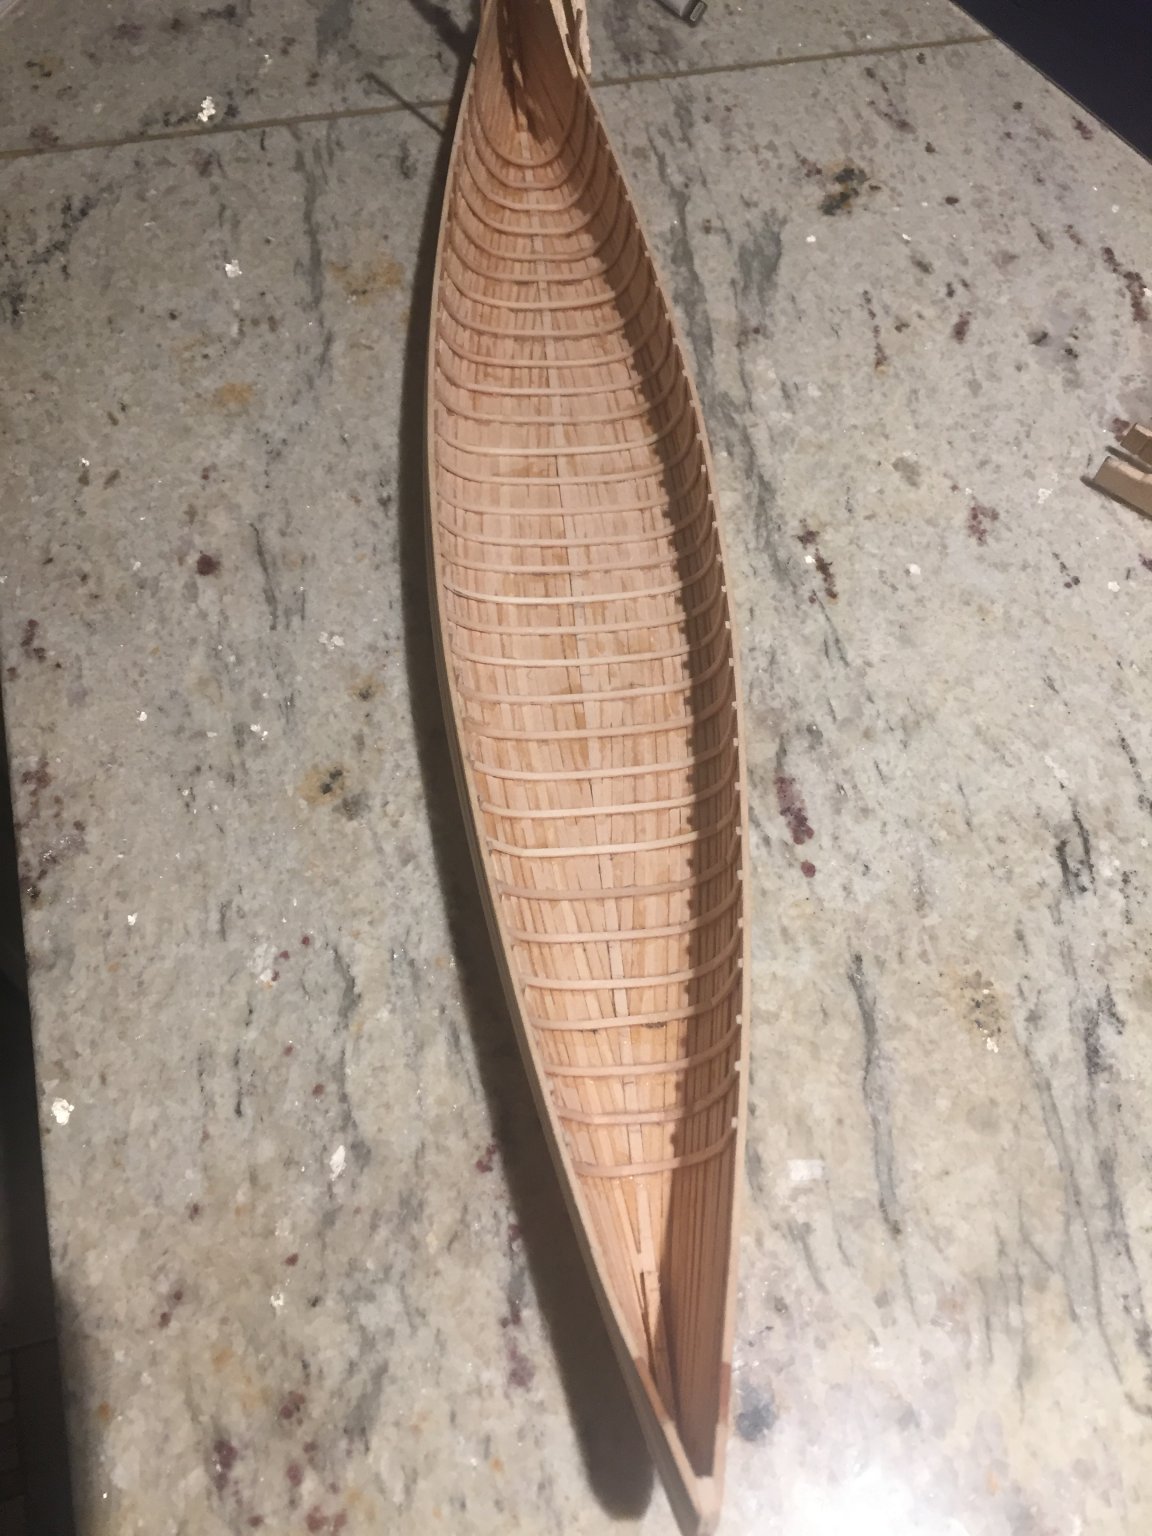
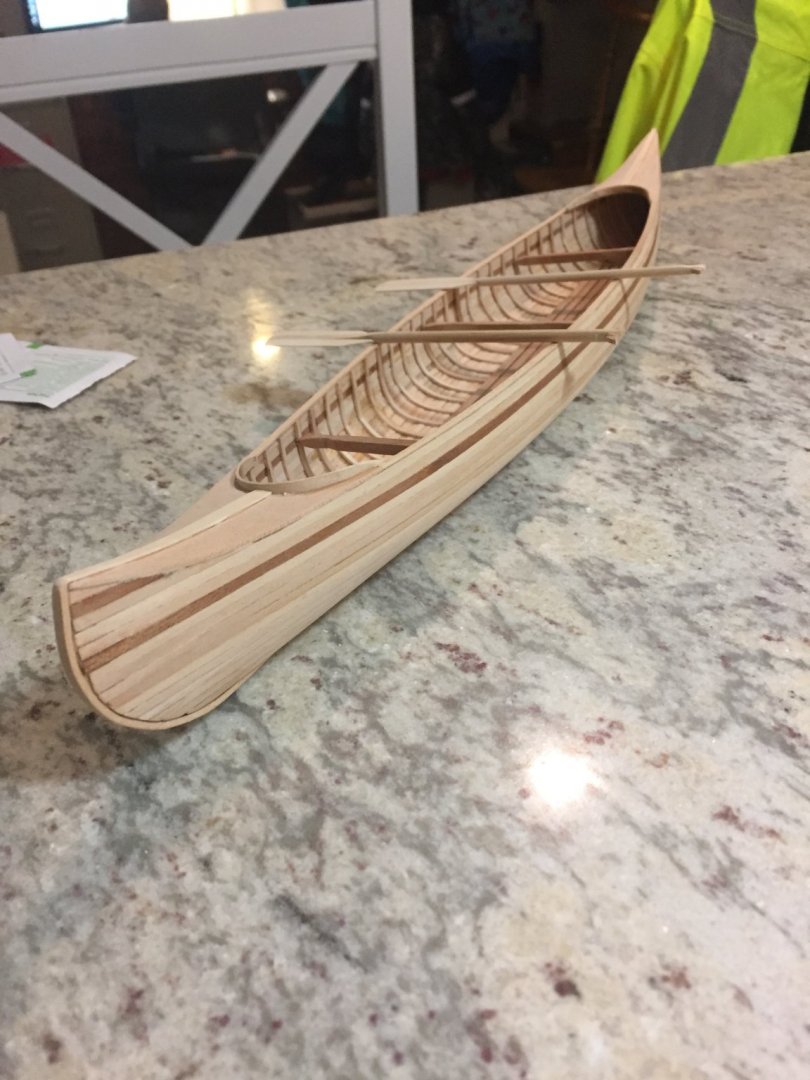
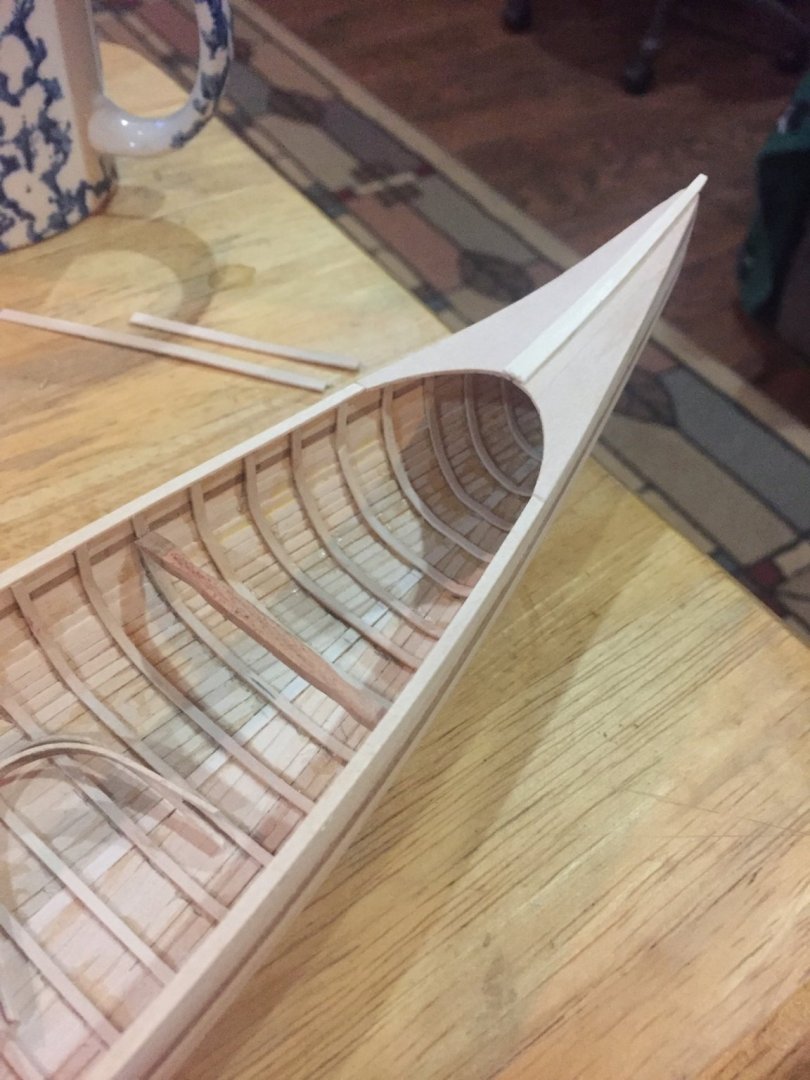
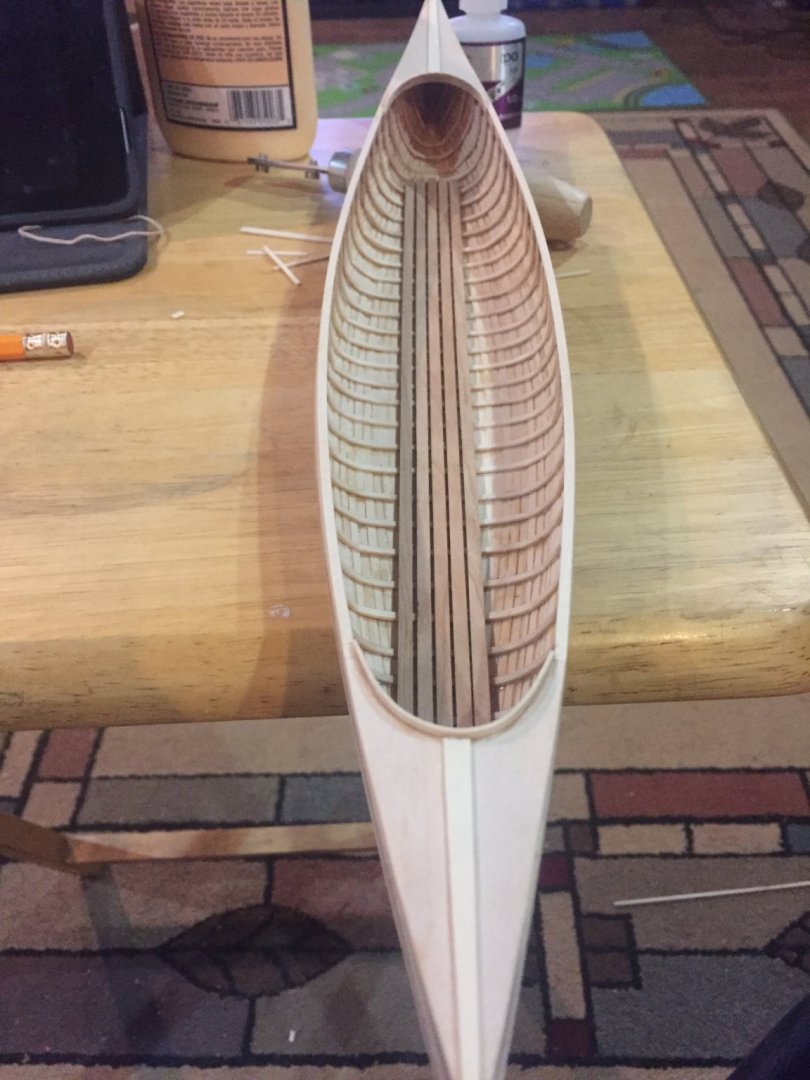
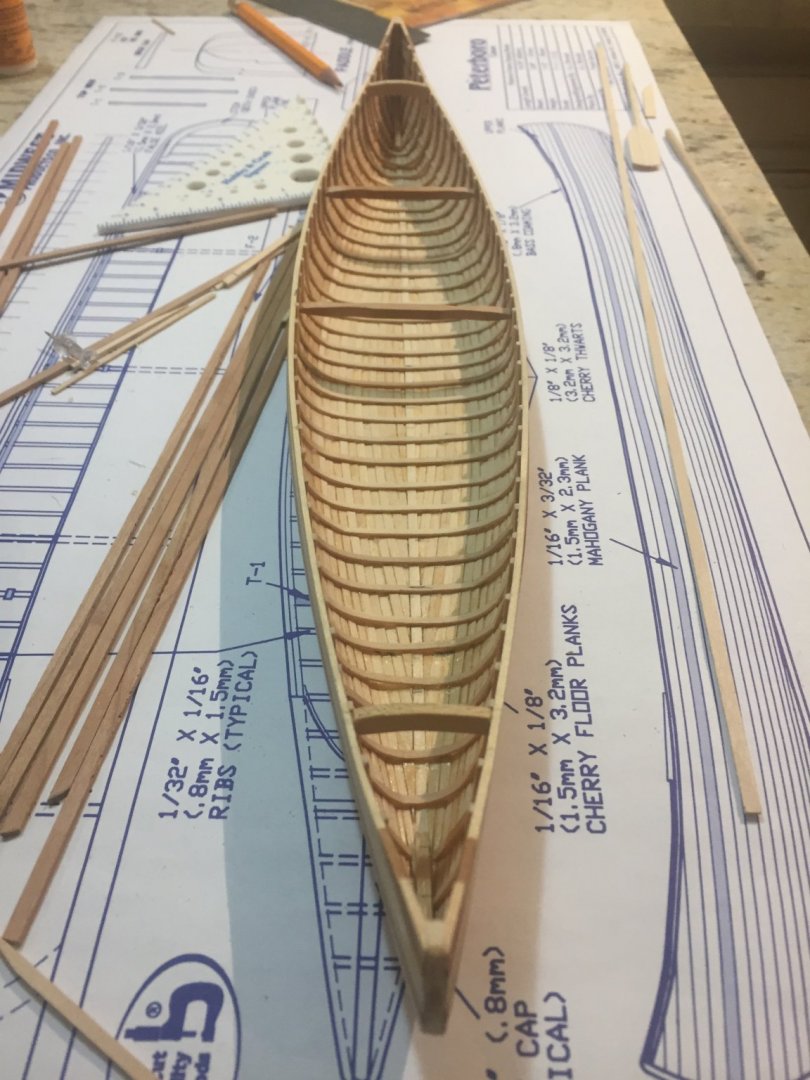
Finally done with all the ribs...yay! The thwarts are a little more fun 😂 all three are different sizes. I find it amusing a few weeks ago I said i would be complete by the end of the week...there’s more to these little canoes then one might think.

- 114 replies
-
- 11
-
-
- small
- Peterboro Canoe
- (and 2 more)
-
I’ll be interested in following this log, you don’t happen to see any for this boat because it’s a new kit that just came to market. Very cool!
- 30 replies
-
- 3
-
-
- grand banks dory
- model shipways
- (and 1 more)
-
Welcome to the site!