HOLIDAY DONATION DRIVE - SUPPORT MSW - DO YOUR PART TO KEEP THIS GREAT FORUM GOING! (Only 13 donations so far - C'mon guys!)
×


Duanelaker
-
Posts
571 -
Joined
-
Last visited
Content Type
Profiles
Forums
Gallery
Events
Everything posted by Duanelaker
-
 I just purchased this kit on eBay...I hope to do as nice of a job as you are doing some day! also I picked these up off eBay as well...might be a sin having them on the HMS Victory though 😝
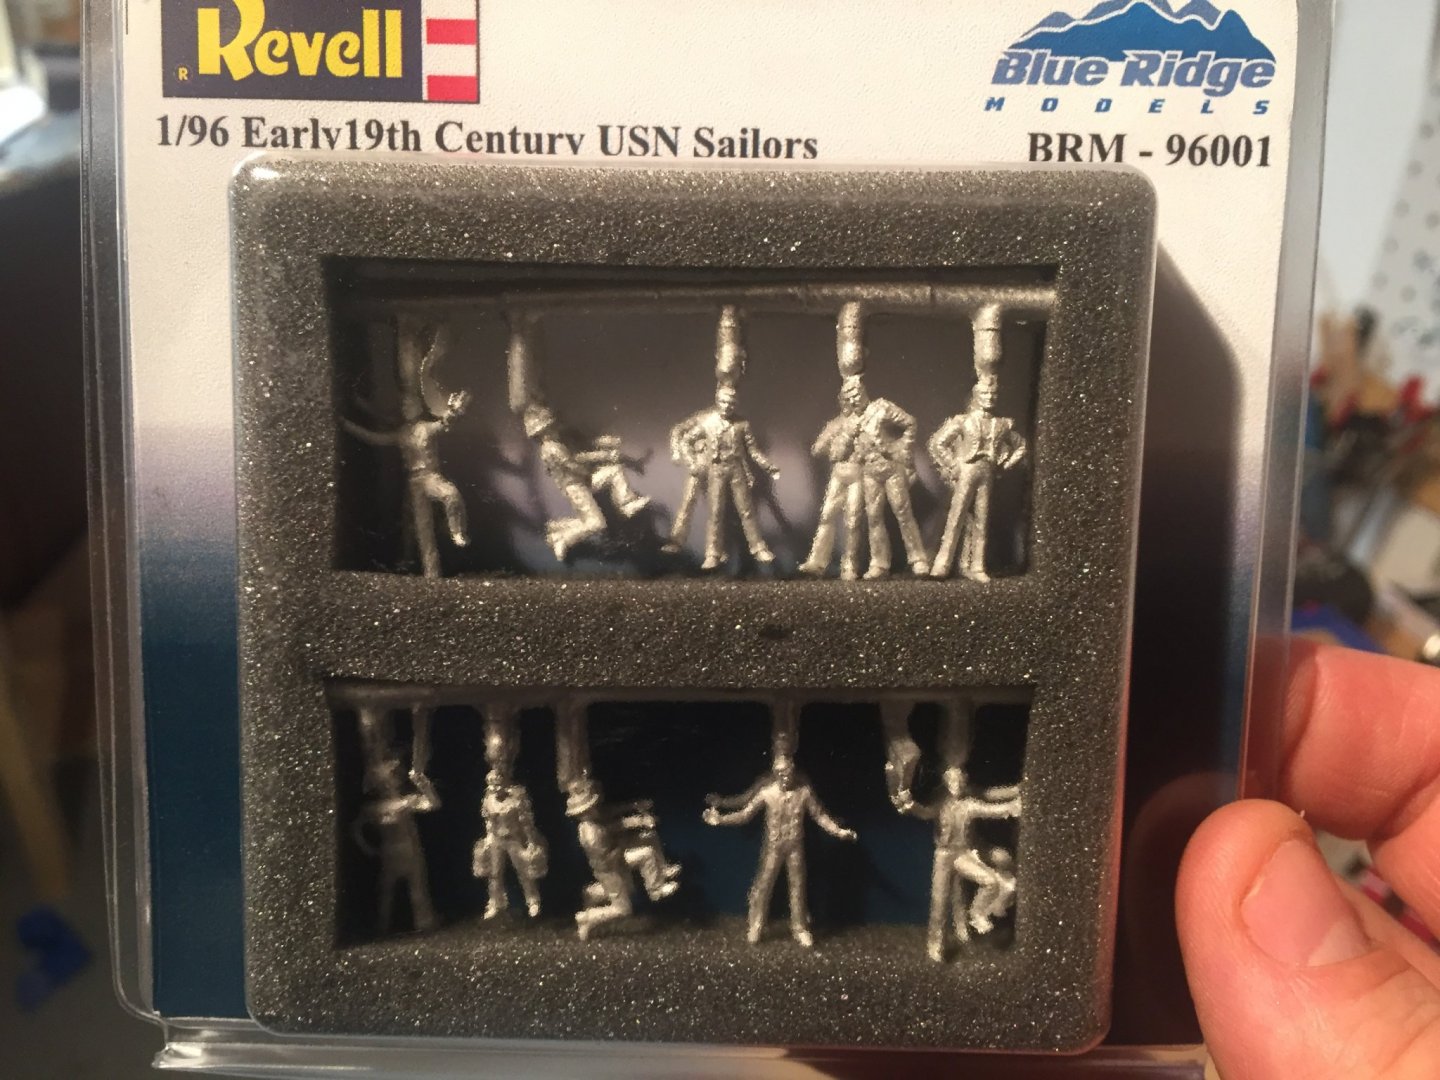
-
I like tite bond wood glue and Vallejo paint, but there are ALOT of options.
-
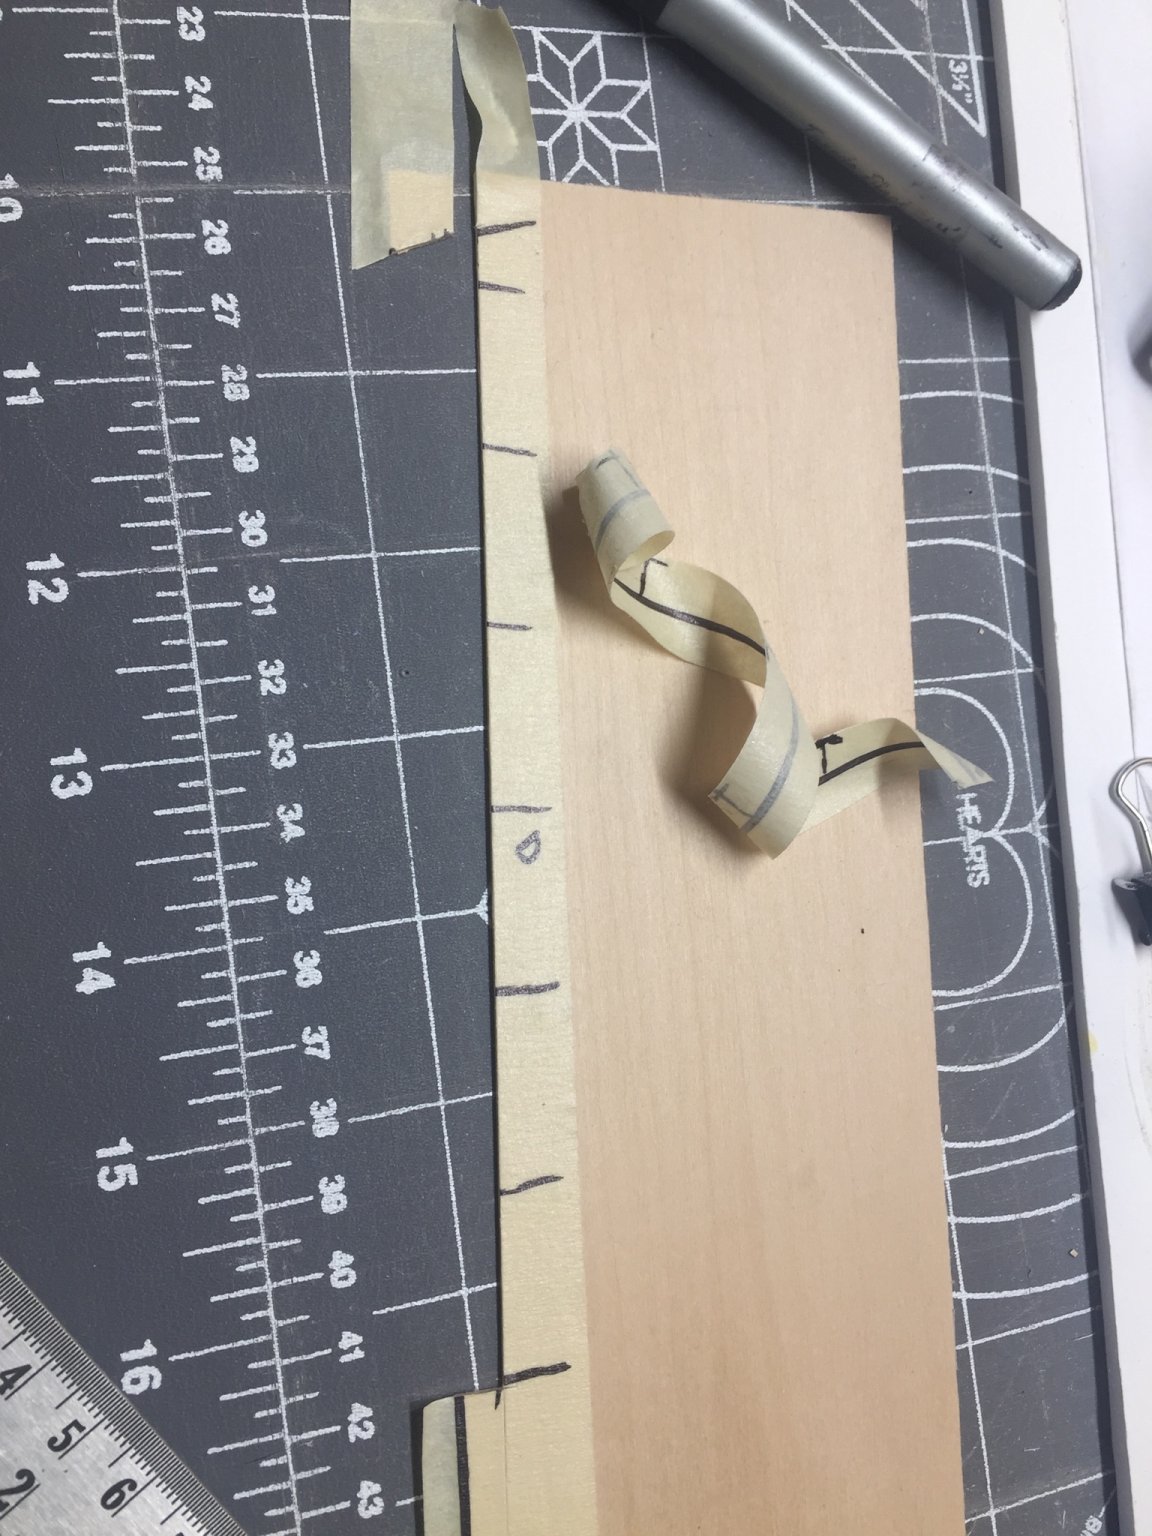
Can’t get upset about it, I figure I will fix it when I get to it. While fairing I did put tape down to protect the keel, which I think was a good idea.

-
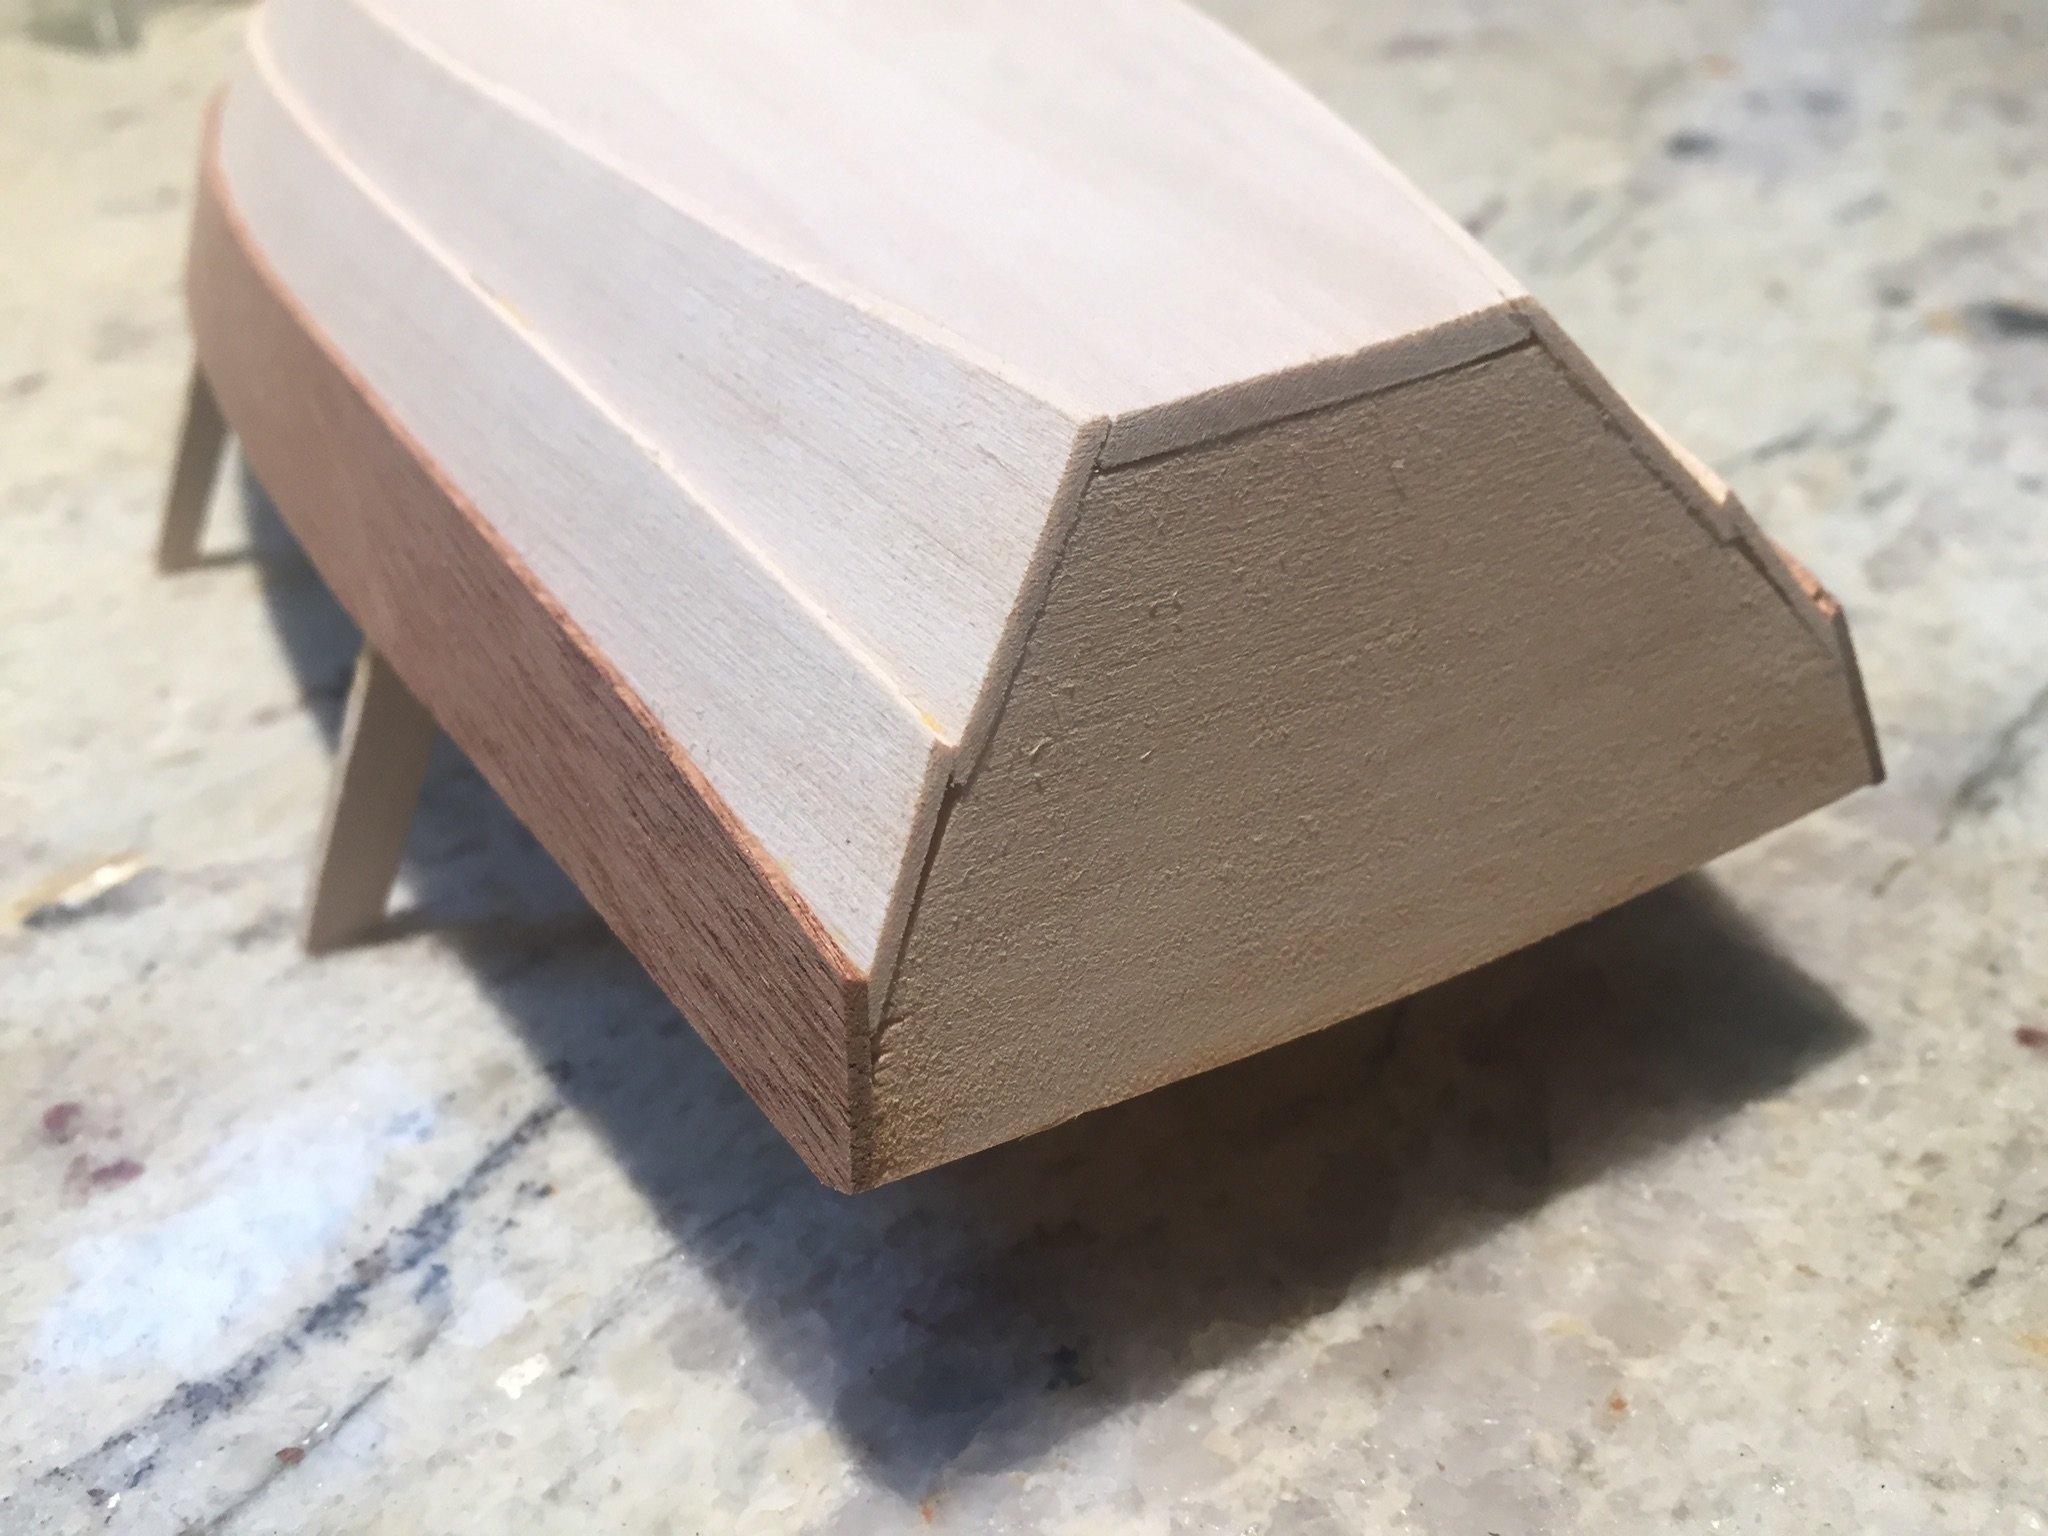
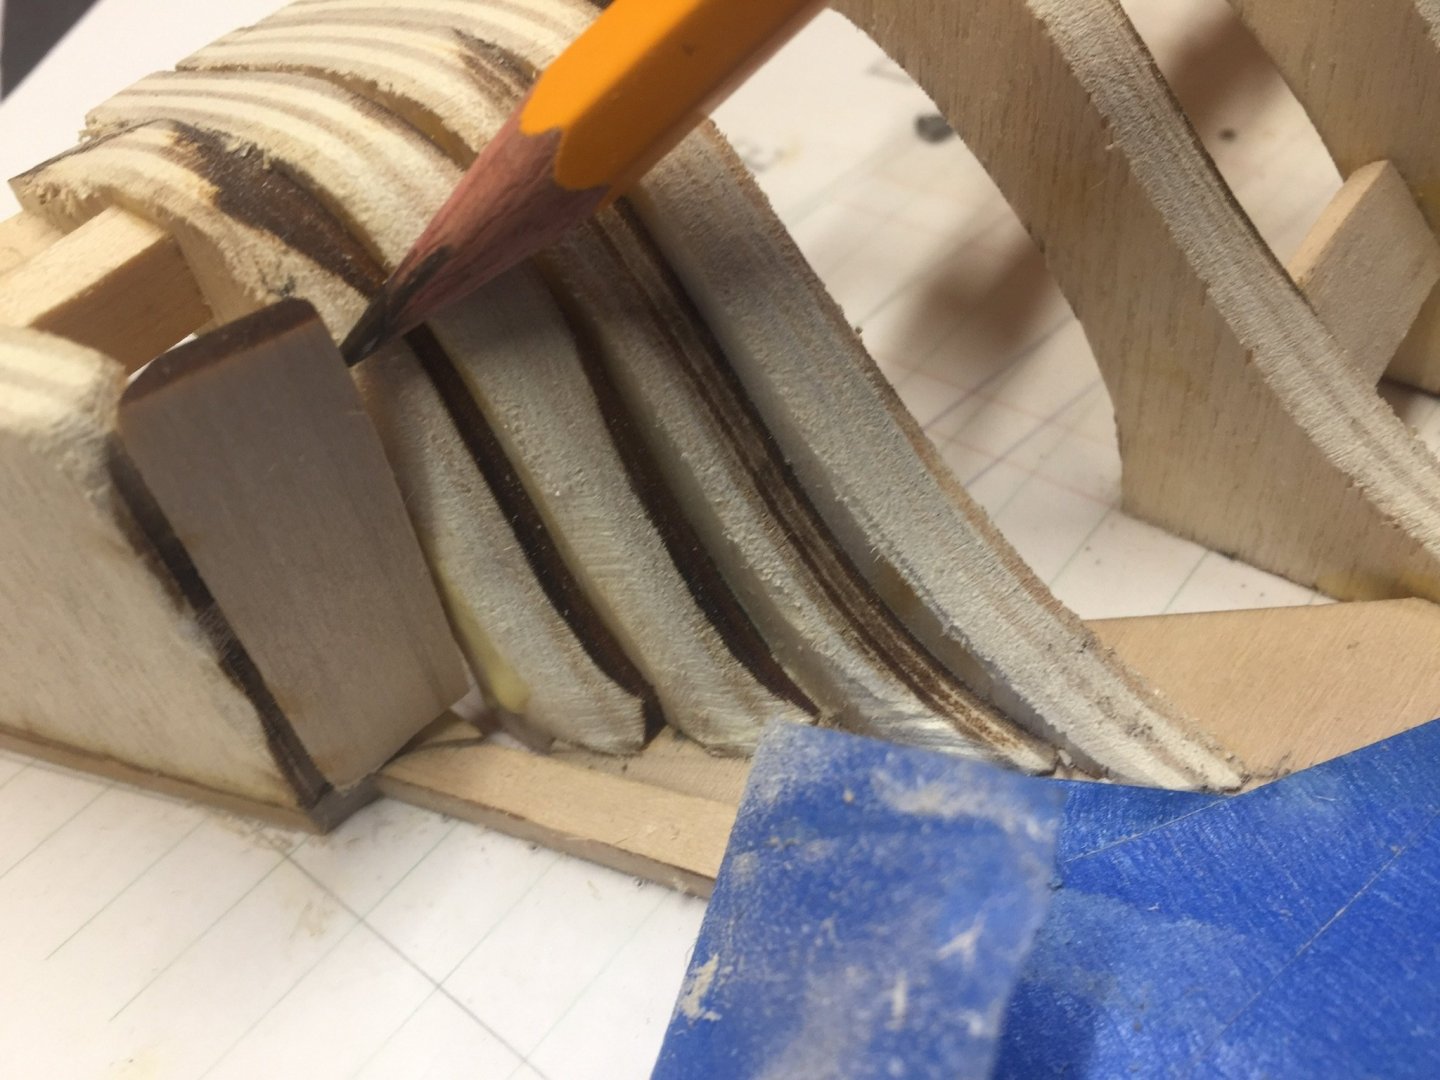
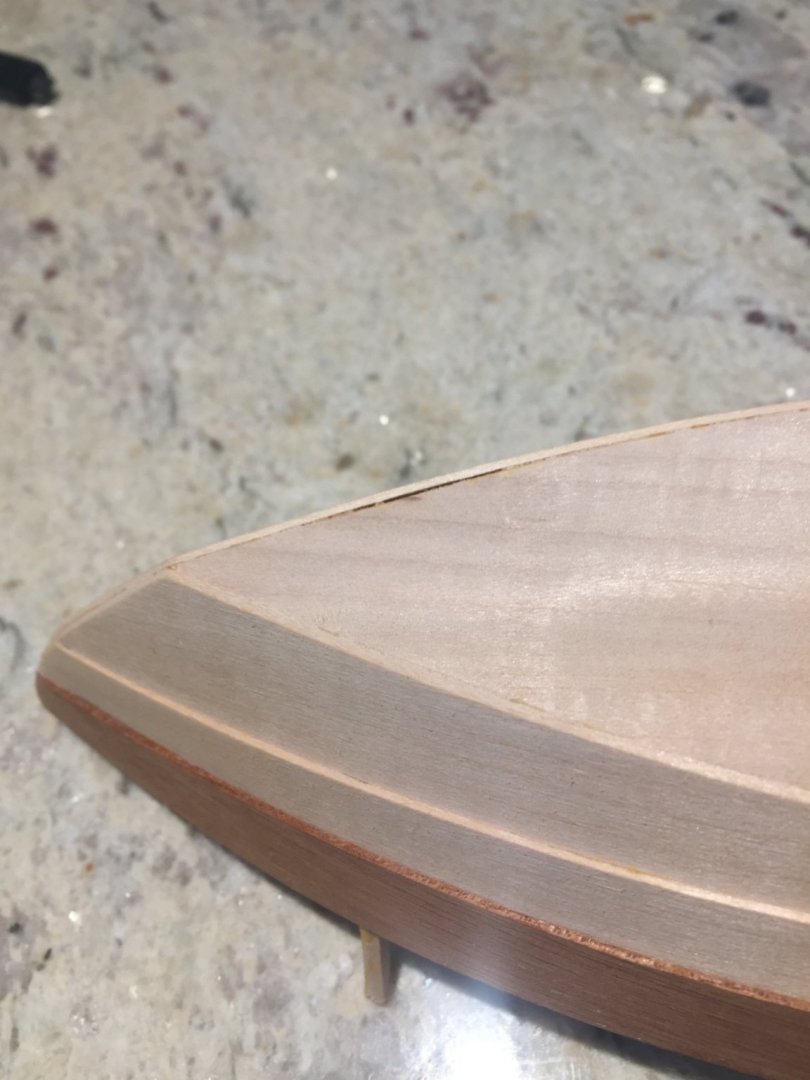
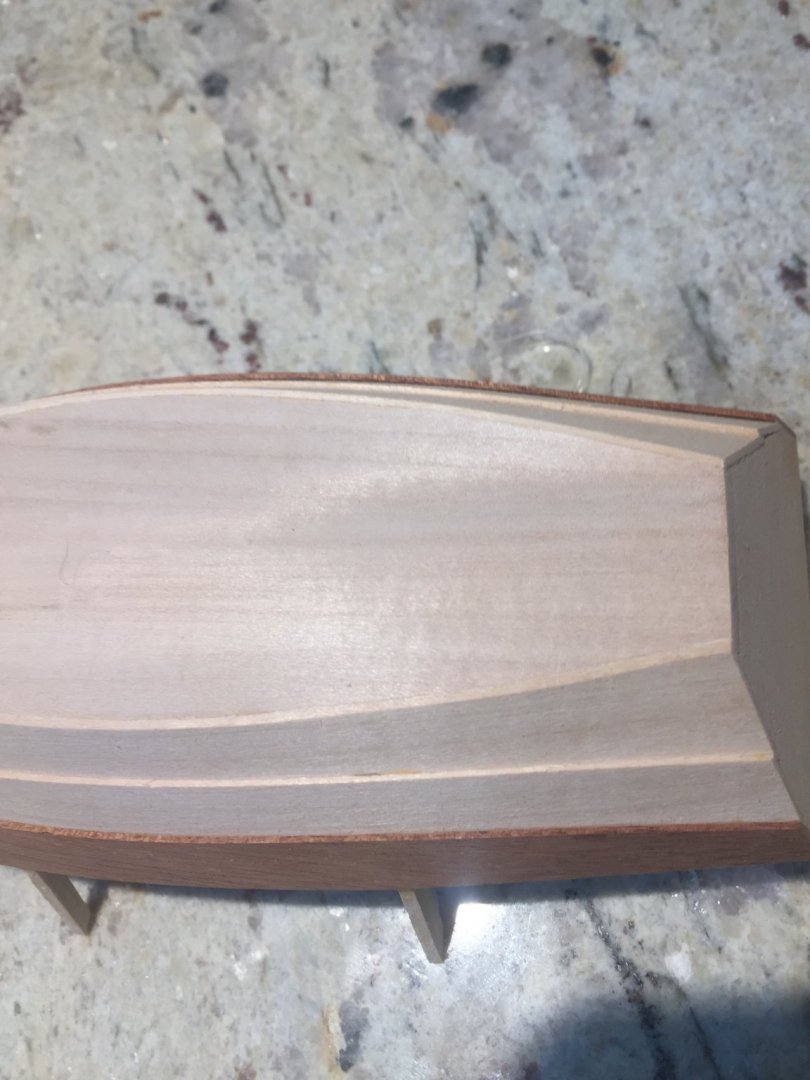
I faired and faired and faired some more...then I realized I faired to much lol. There aren’t great pictures showing you where or how the counter gets connected. It’s an odd shape and really doesn’t look the same as the instructions show, which I’m assuming could be picture angle. However I did sand the aft of the last frame which I wasn’t supposed to. So lesson number one is don’t do the following...


-
Very nice details! Love your rope ideas! There is a great YouTube video on using silkspan as sails (just search silkspan sails in YouTube). I have bought silk span but have not yet used it. I also purchase “Kona” cotton for sails as it was mentioned in a post on this site...it’s basically backer for quilts and can be bought at fabric Stores. It’s what my sails on my Chesapeake bay crabbing skiff were made of.
- 90 replies
-
- 2
-

-
- finished
- Midwest Products
- (and 1 more)
-
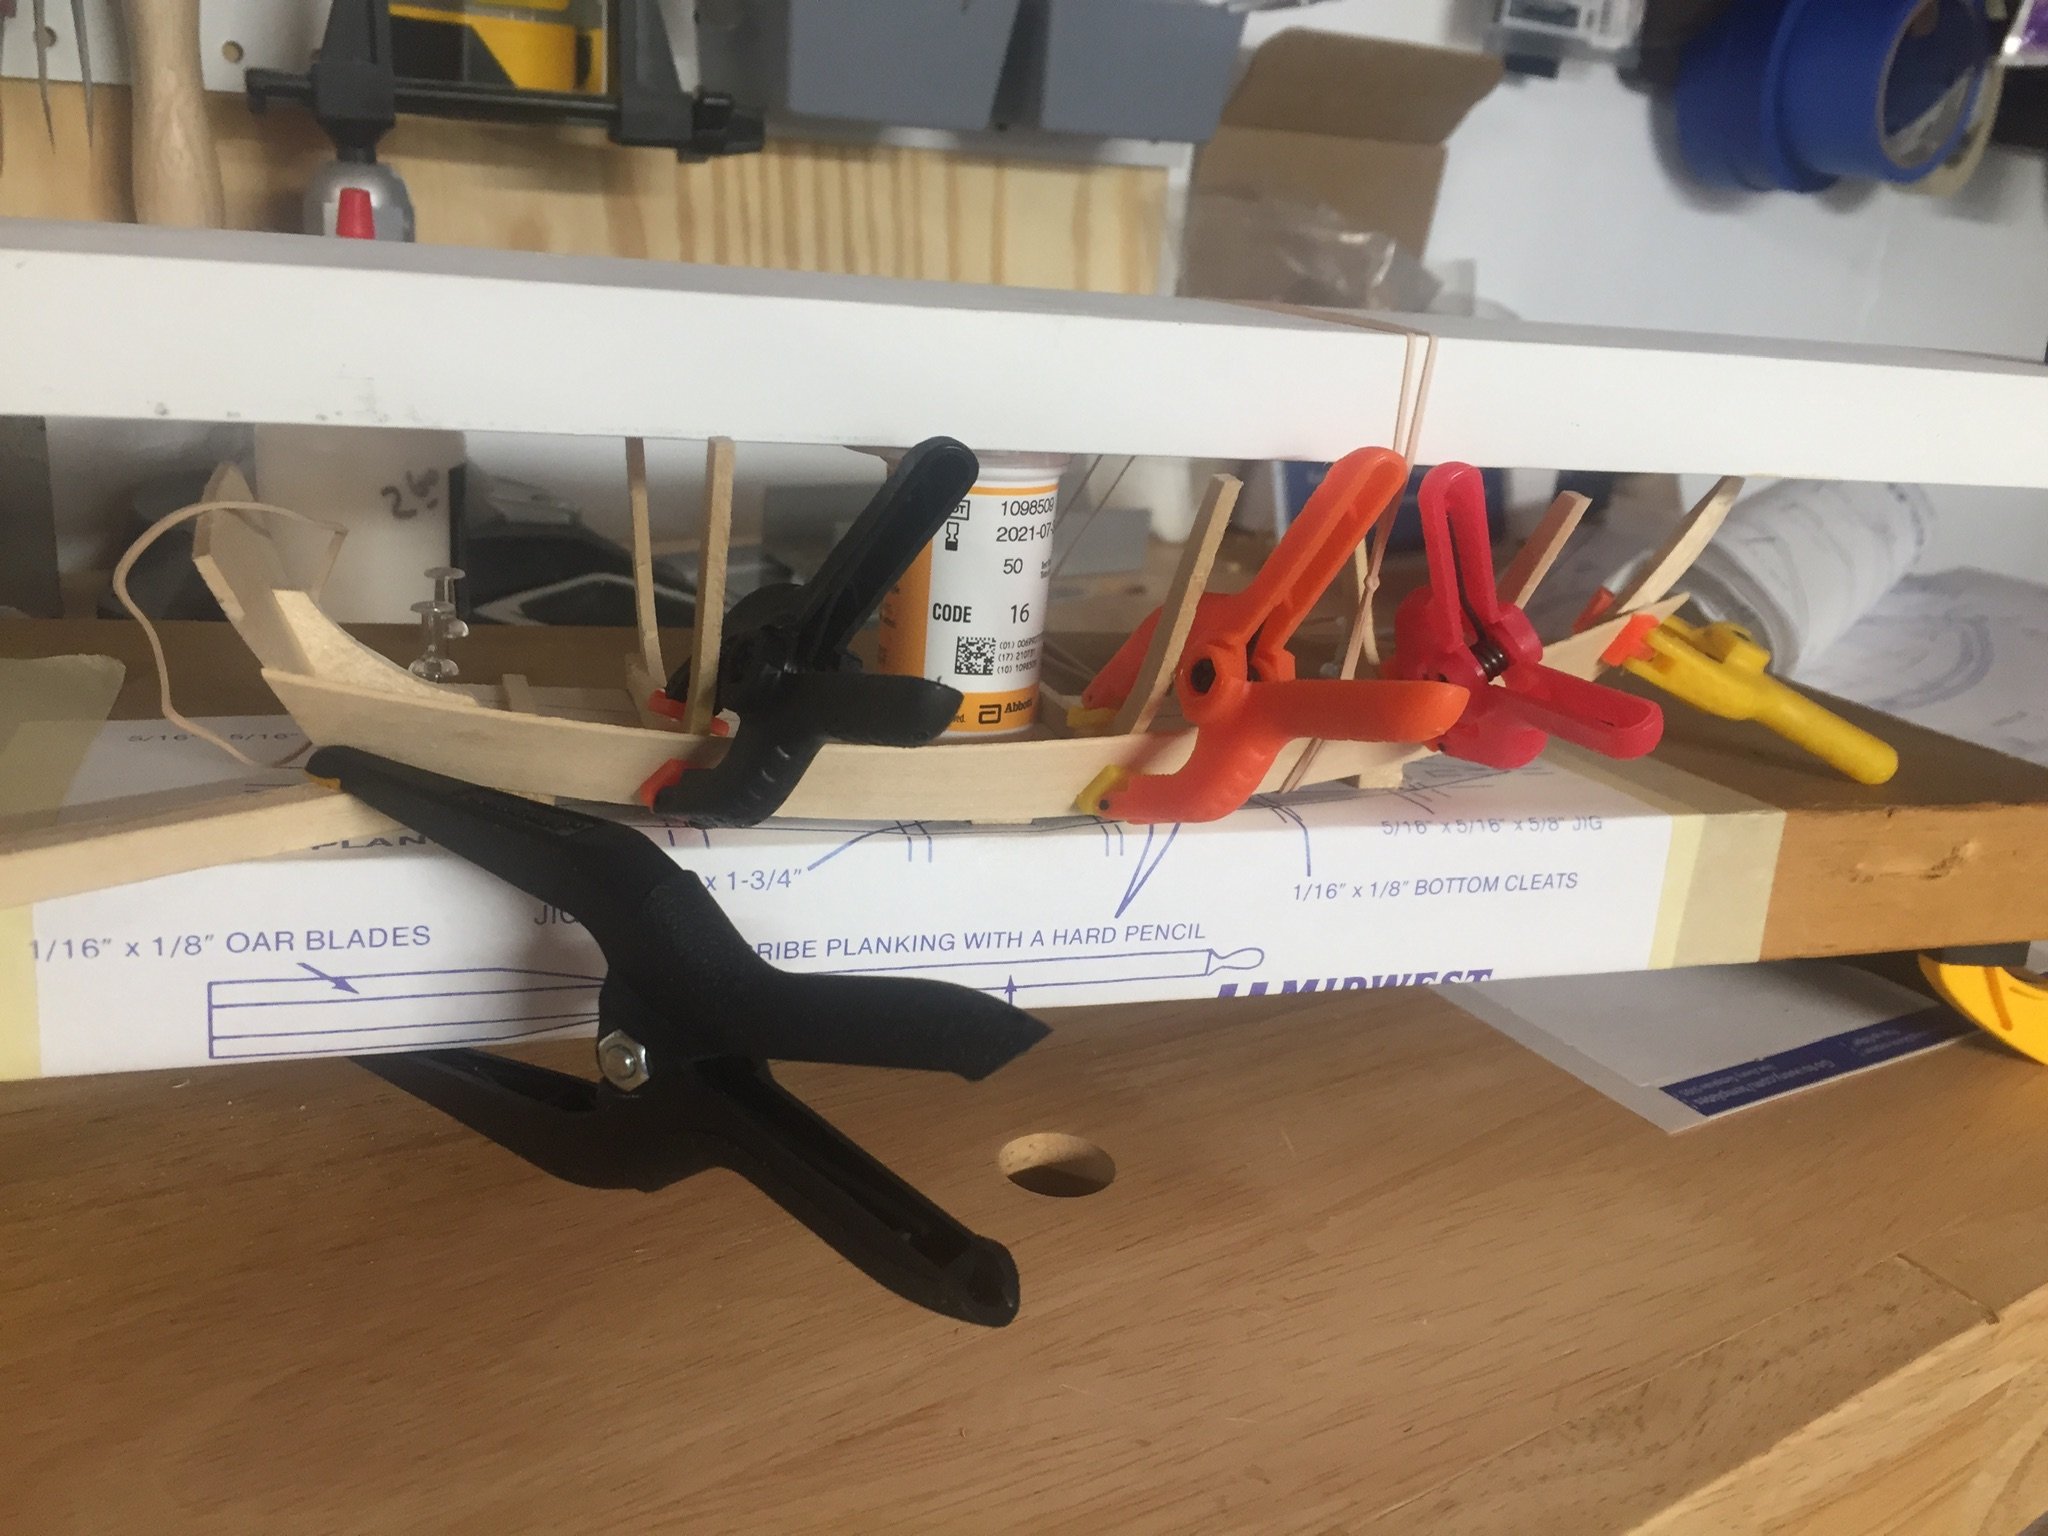
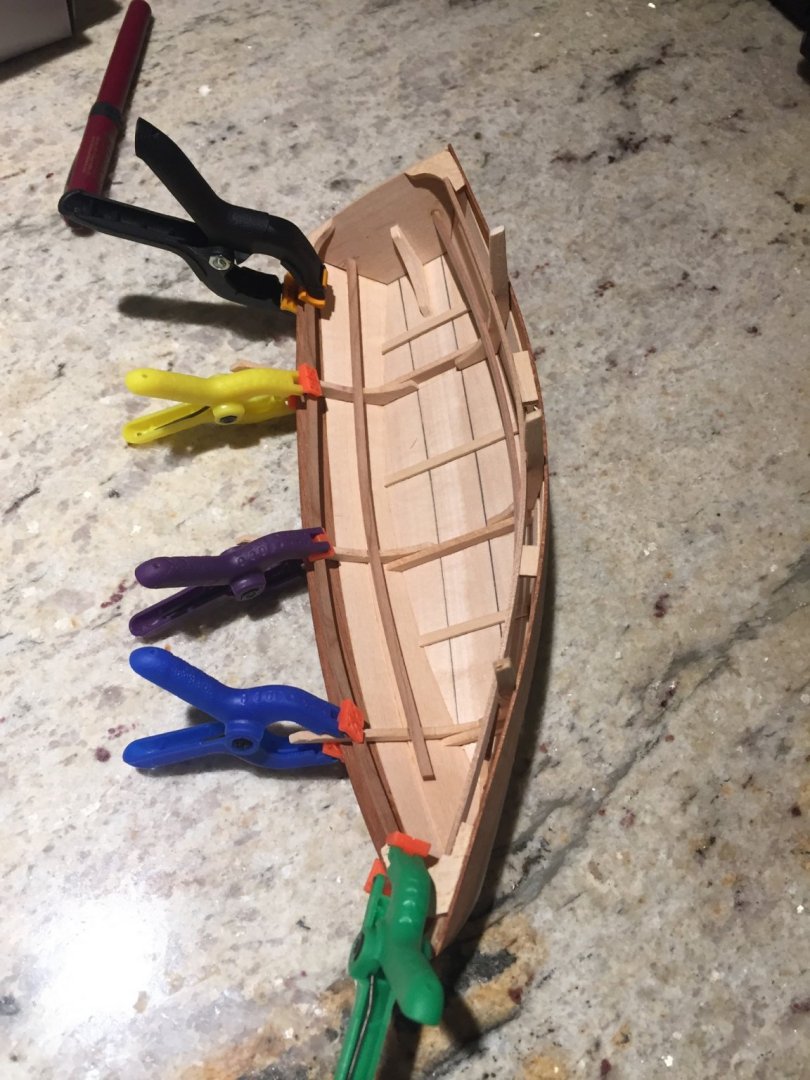
Finished the oars... I also got both of the guards on.... as I note, I love the alligator clips that don’t have teeth for tight areas! All I have left is fitting the seats, the oar locks, the tie down...I’m not doing the bumper with the rope, the rope is super twisted.
- 29 replies
-
- 5
-
-
- Dinghy
- Midwest Products
- (and 1 more)
-
Thank you John! Surprising they went to the trouble of changing the parts list! I notice the boxes are either yellow, or white...do you which ones are newer?
-
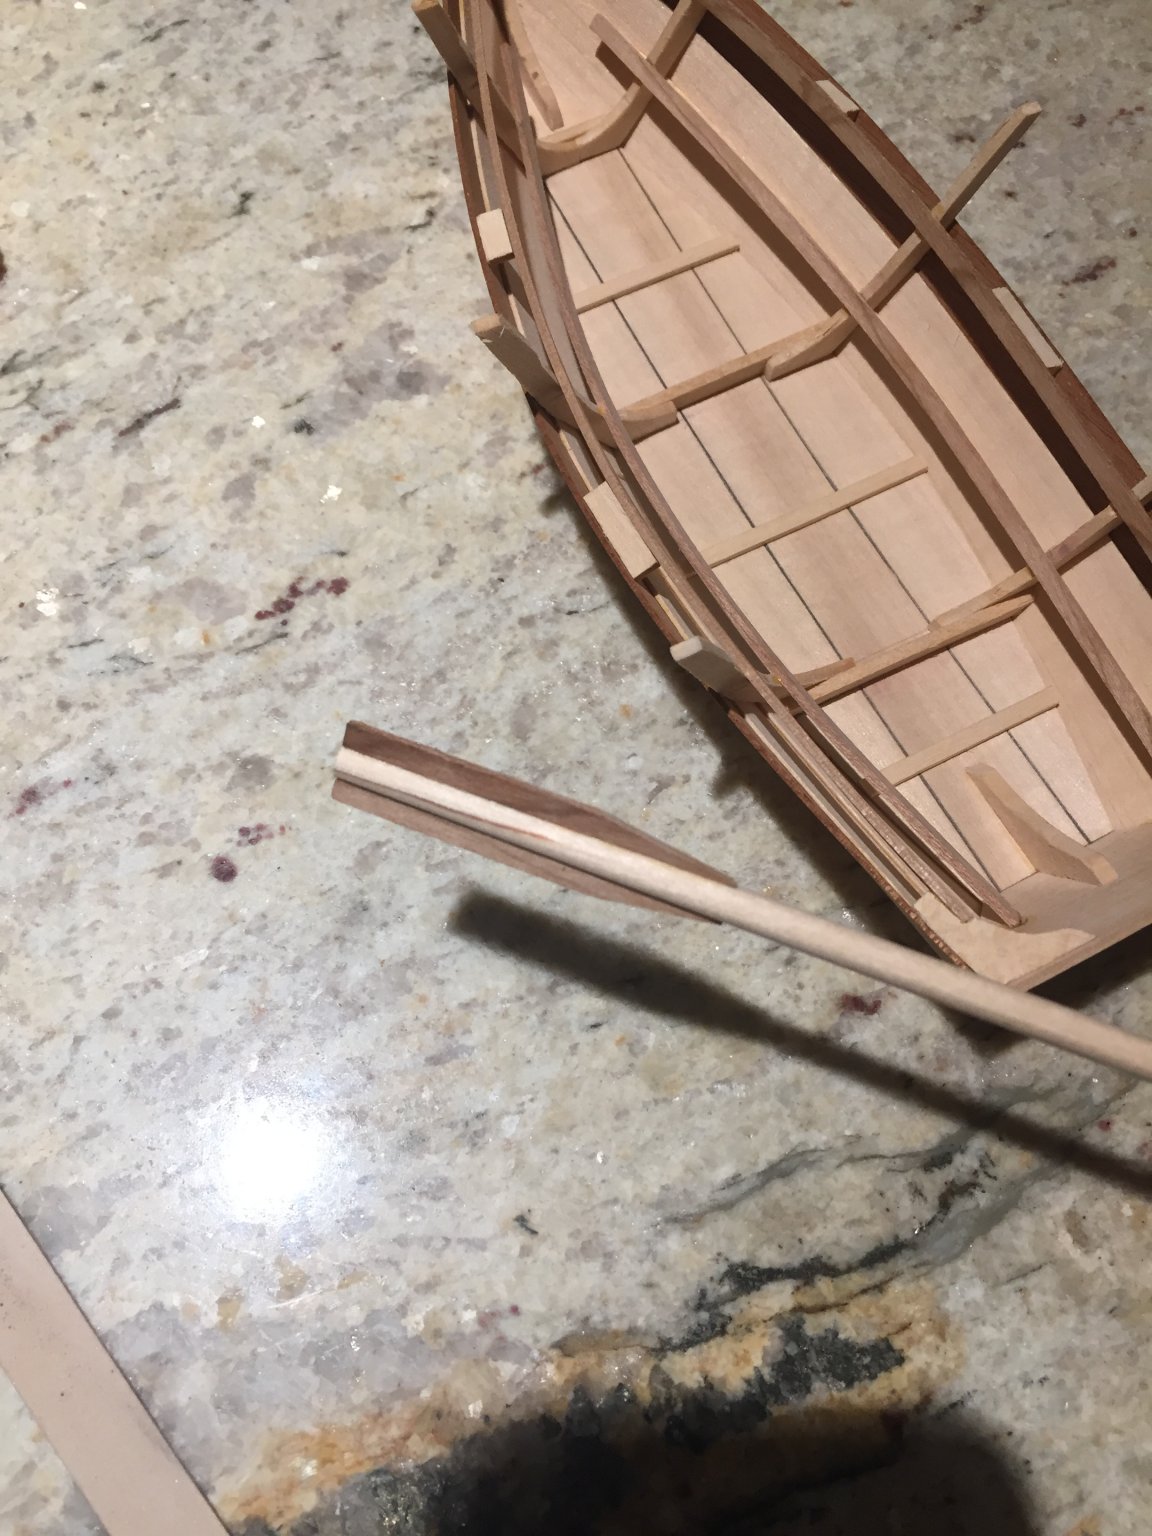
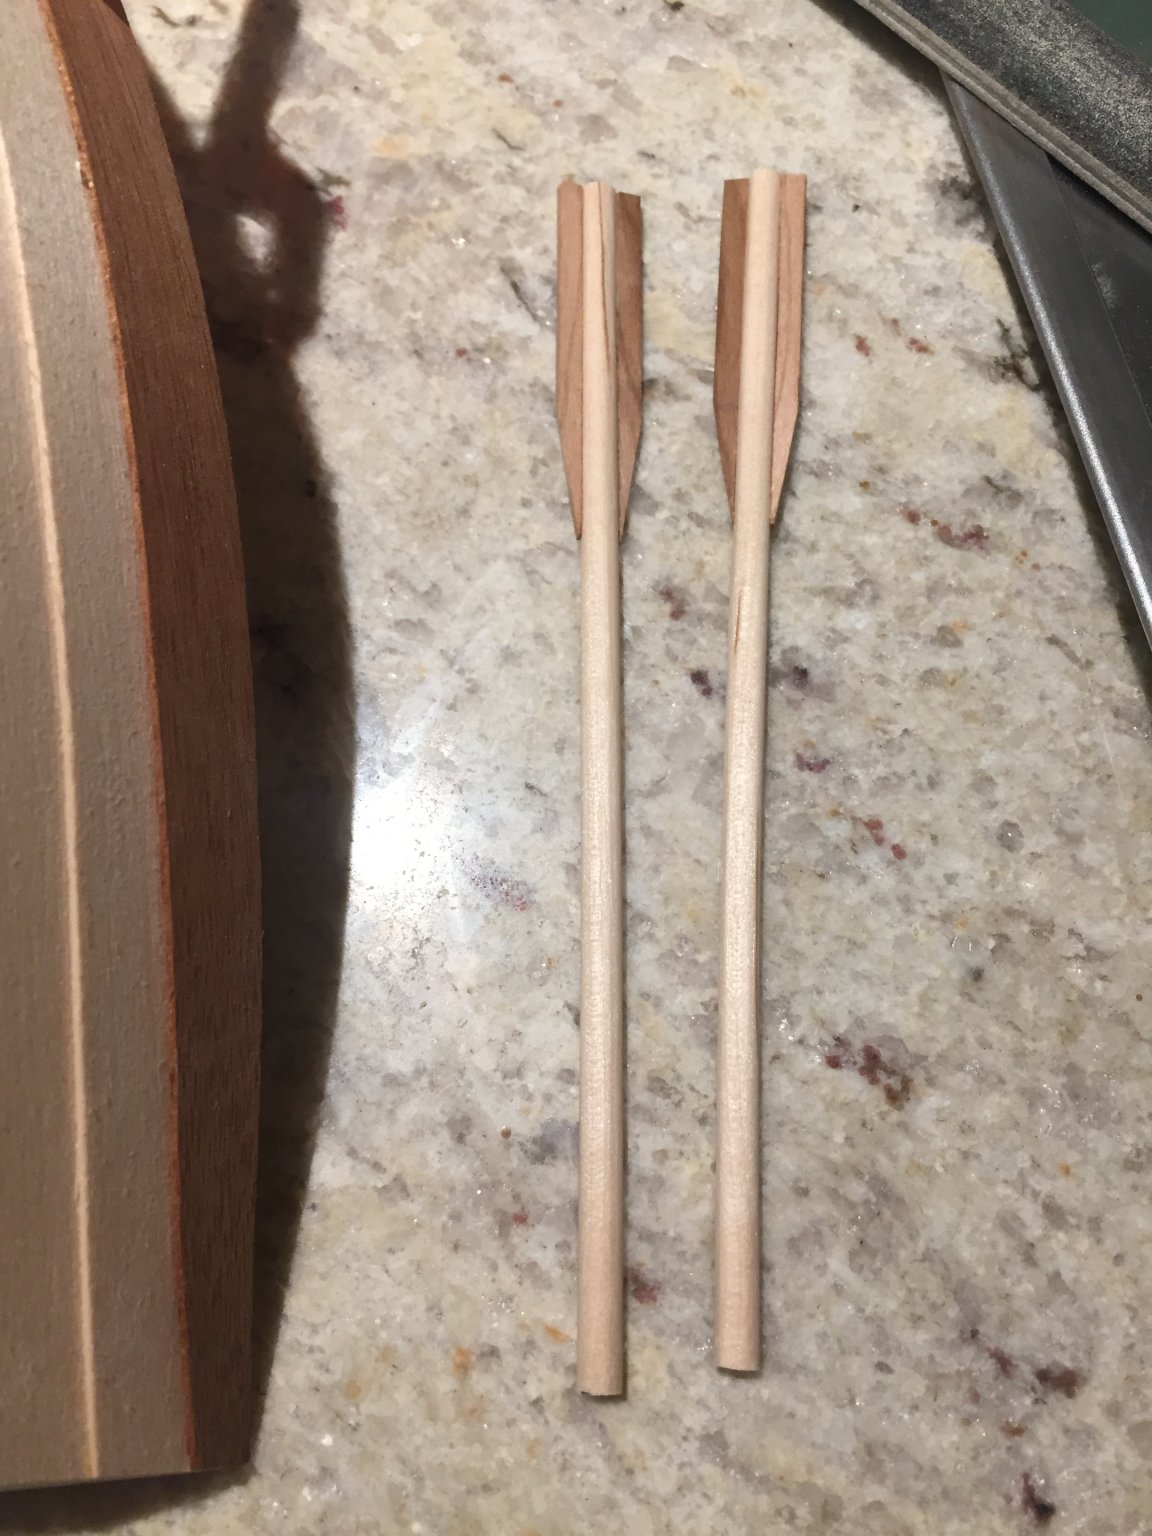
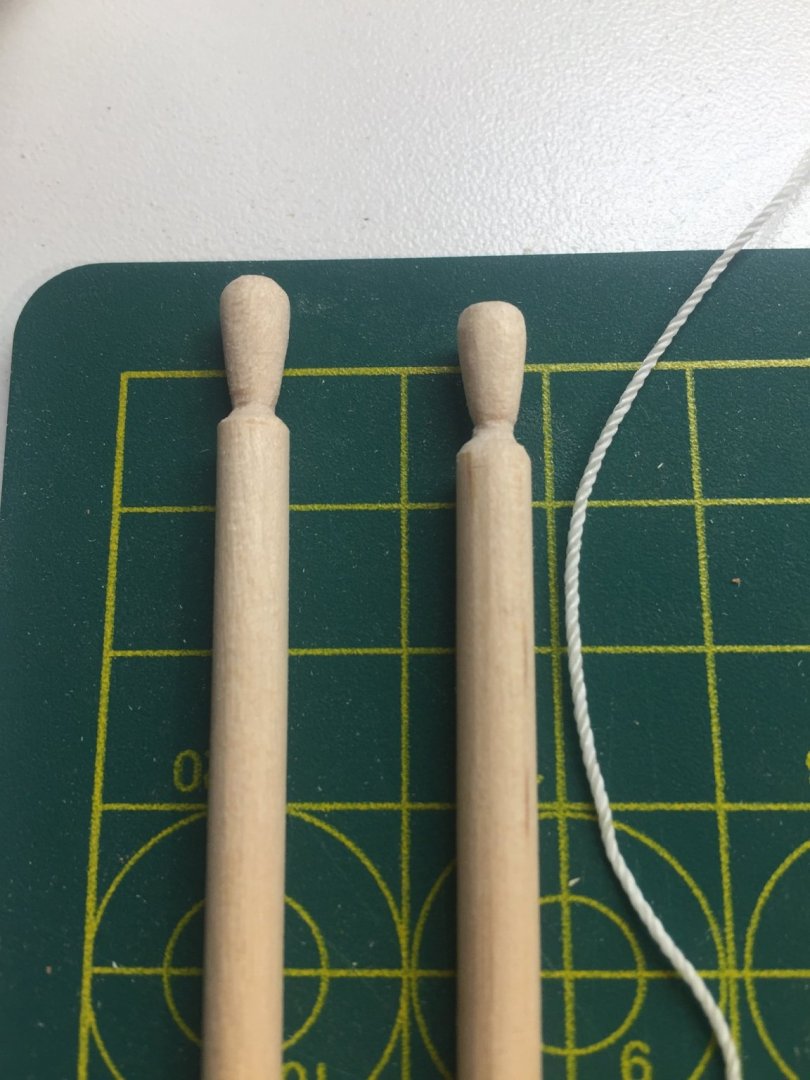
Only got the oars done today...they are a mix of basswood and cherry. Actually still need to finish the handles...


- 29 replies
-
- 4
-
-
- Dinghy
- Midwest Products
- (and 1 more)
-
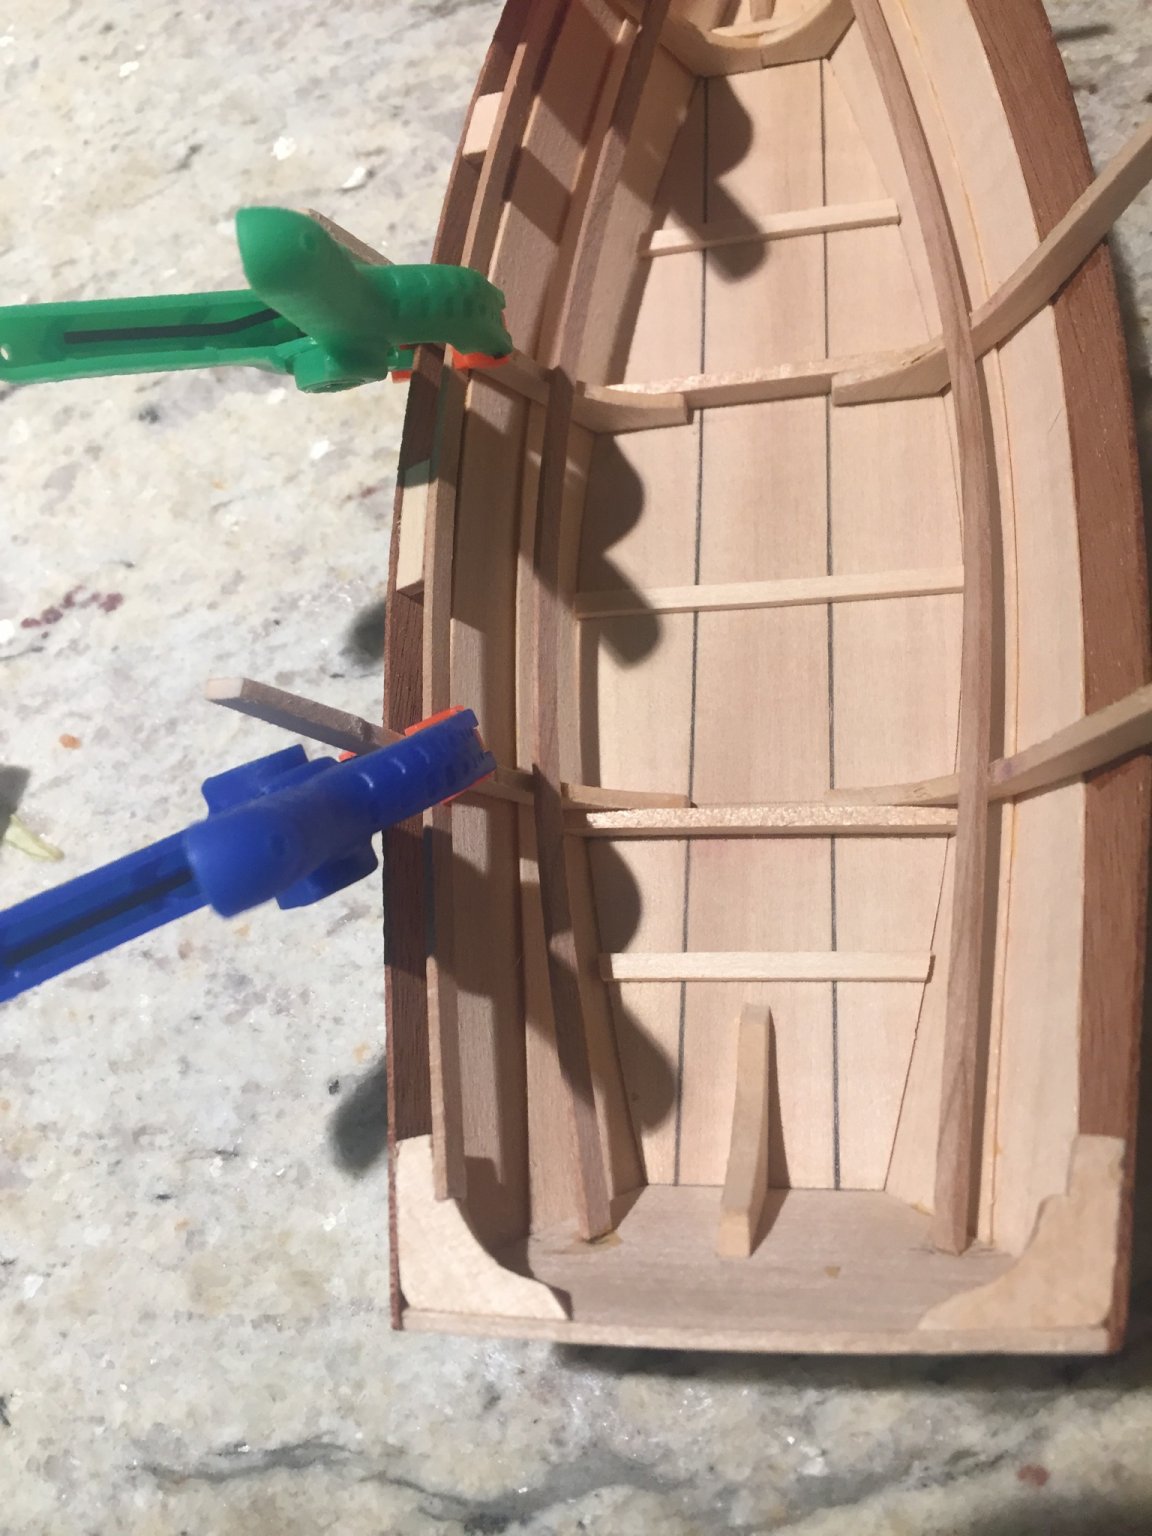
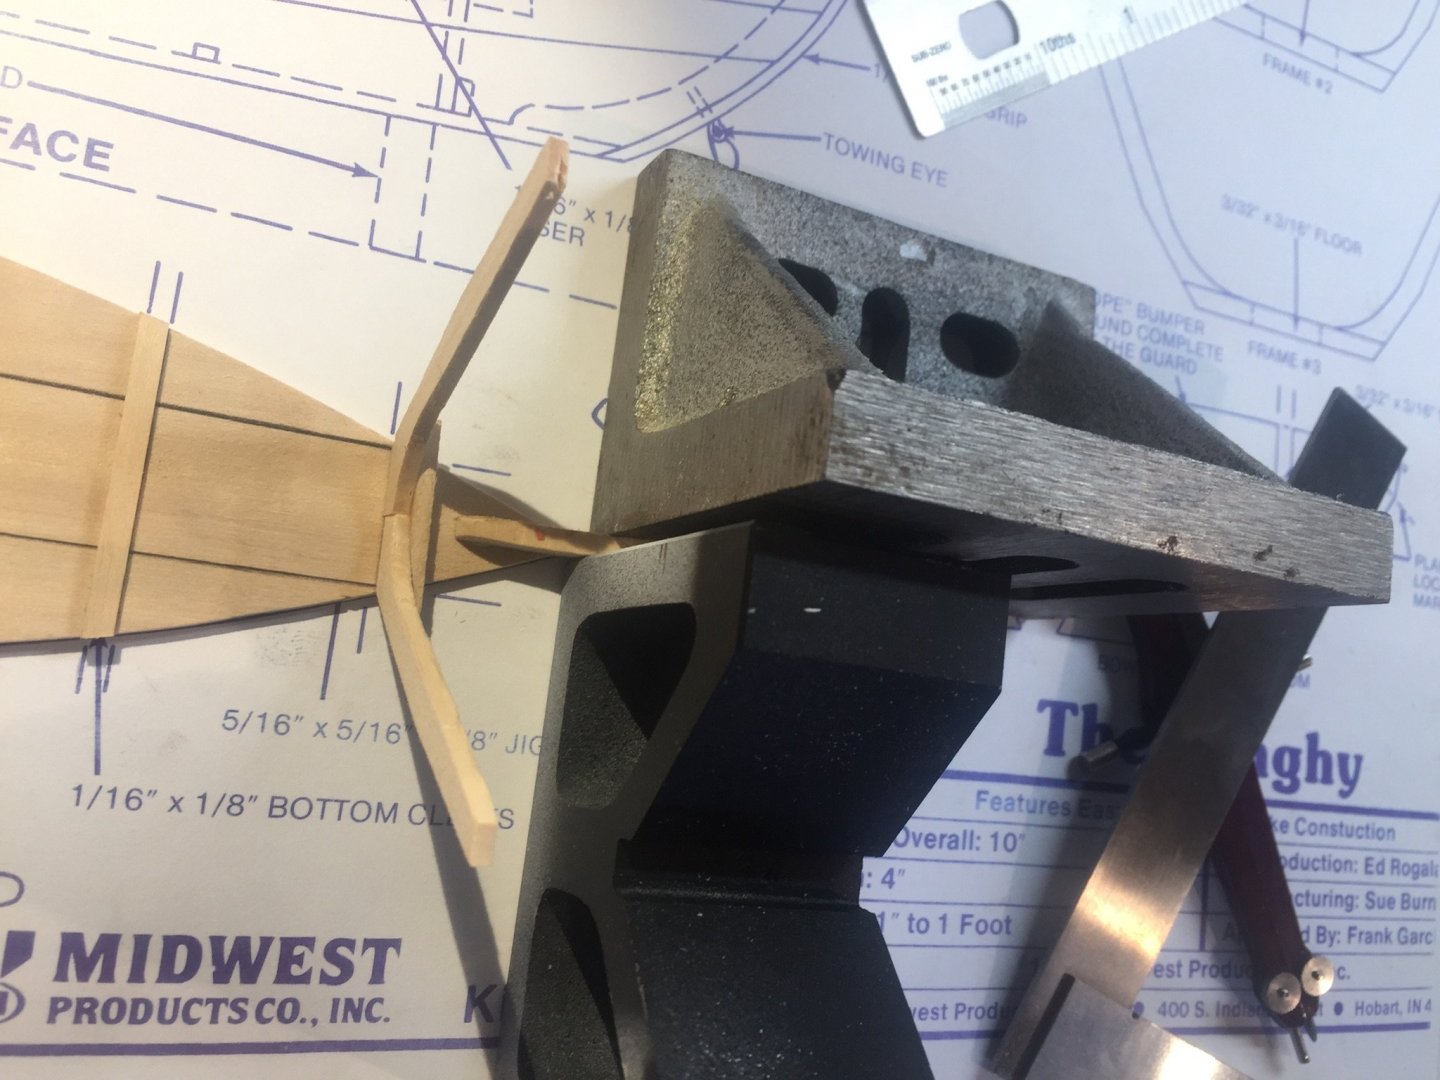
I have finished trimming the “Grip”...now I have to finish the skeg, guards and seats.

- 29 replies
-
- 5
-
-
- Dinghy
- Midwest Products
- (and 1 more)
-
Kevin, the rabbit intersects perpendicular to the bow and as it retreats aft the angle changes until it is flat at the stern almost. The depth is similar as it is as deep as the thickness of a plank.
-
Started the oars, blades are cherry I cut the frames down... im not sure what this is called but it is also cherry...I pre-bent it as well to the shape of the plan. I cut the oars and had enough for the night. all thats left left is the seats, paint, shaping oars, the stand and rope.


- 29 replies
-
- 6
-
-
- Dinghy
- Midwest Products
- (and 1 more)
-
Welcome! I recently purchased the constructo pandora kit off eBay...I’m hoping I didn’t overpay and hope to start it once I get a few more boats under my belt. Are you planning on continuing with your build?? I notice their are no completed Pandora logs.
-
Thank you all for the likes and compliments! It means a lot honestly. I ended up switching out some of the bass wood pieces with cherry I bought from model expo and I really like the way it is looking. I guess practice really does make you a little better each time...I’ve enjoyed this model very much!

- 29 replies
-
- 6
-
-
- Dinghy
- Midwest Products
- (and 1 more)
-
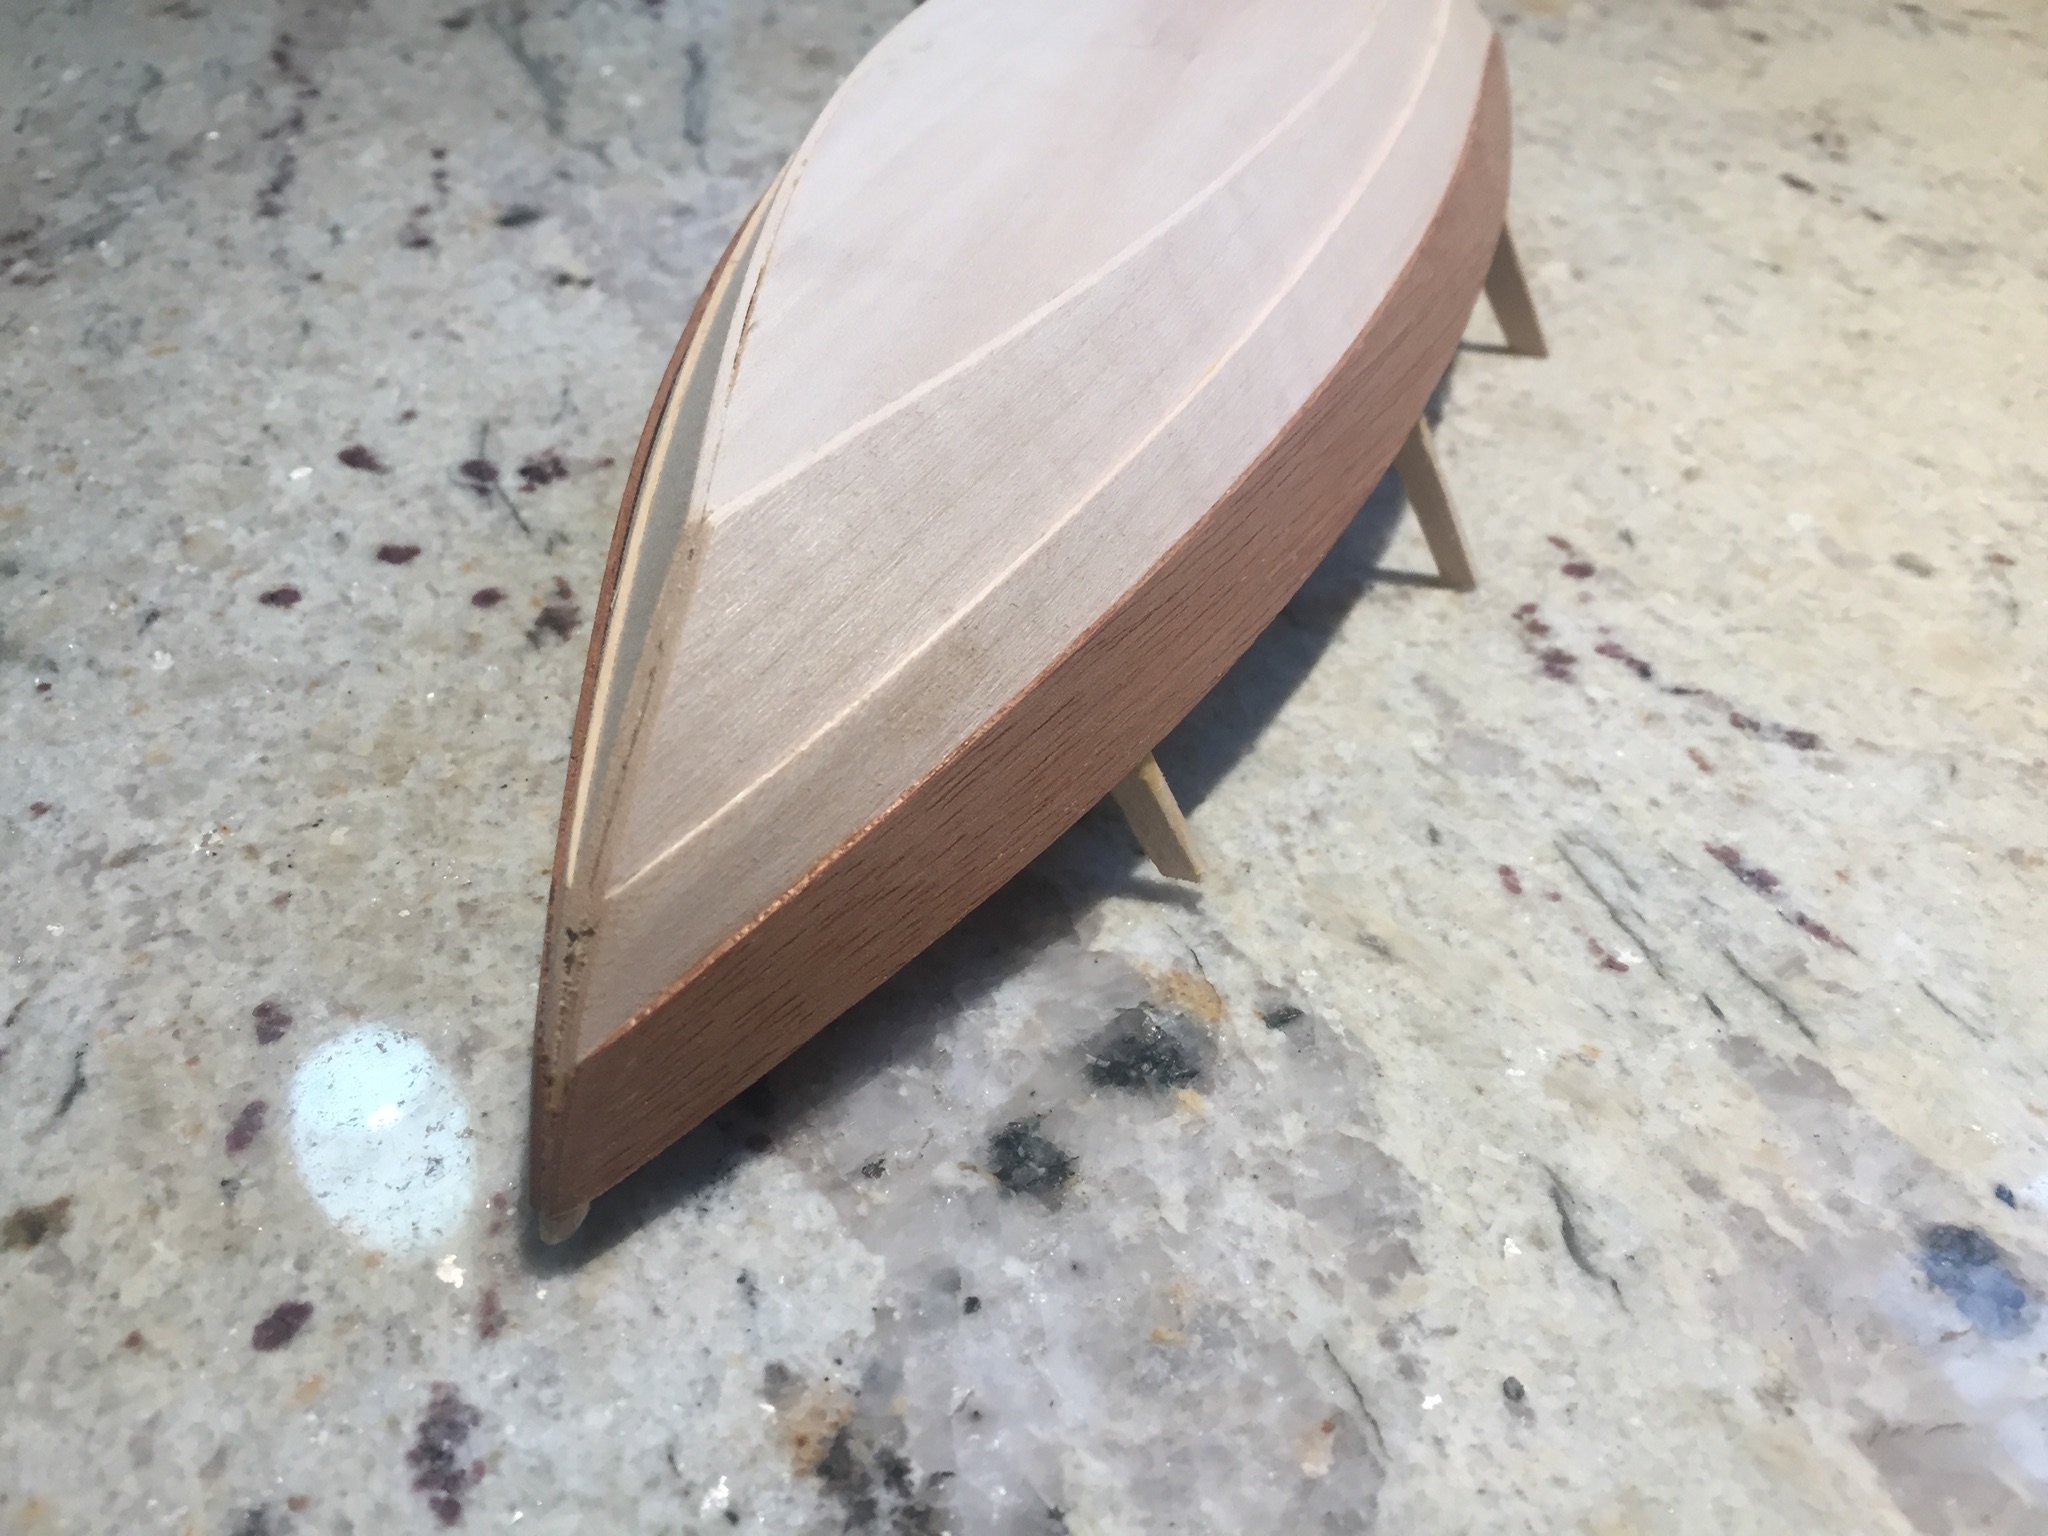
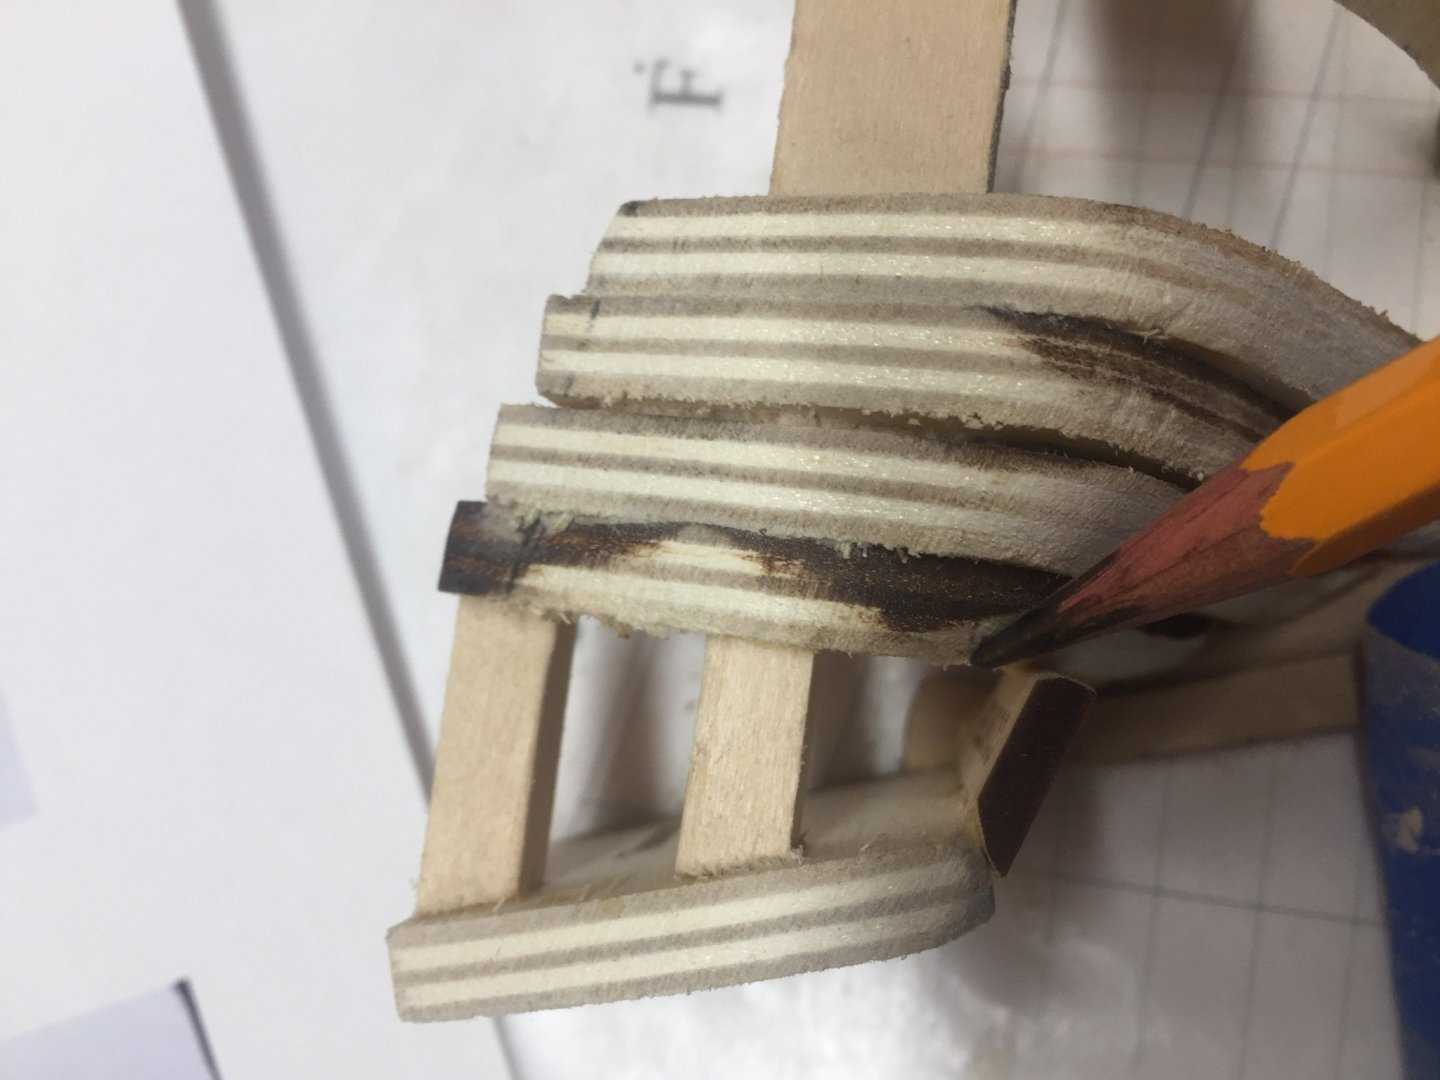
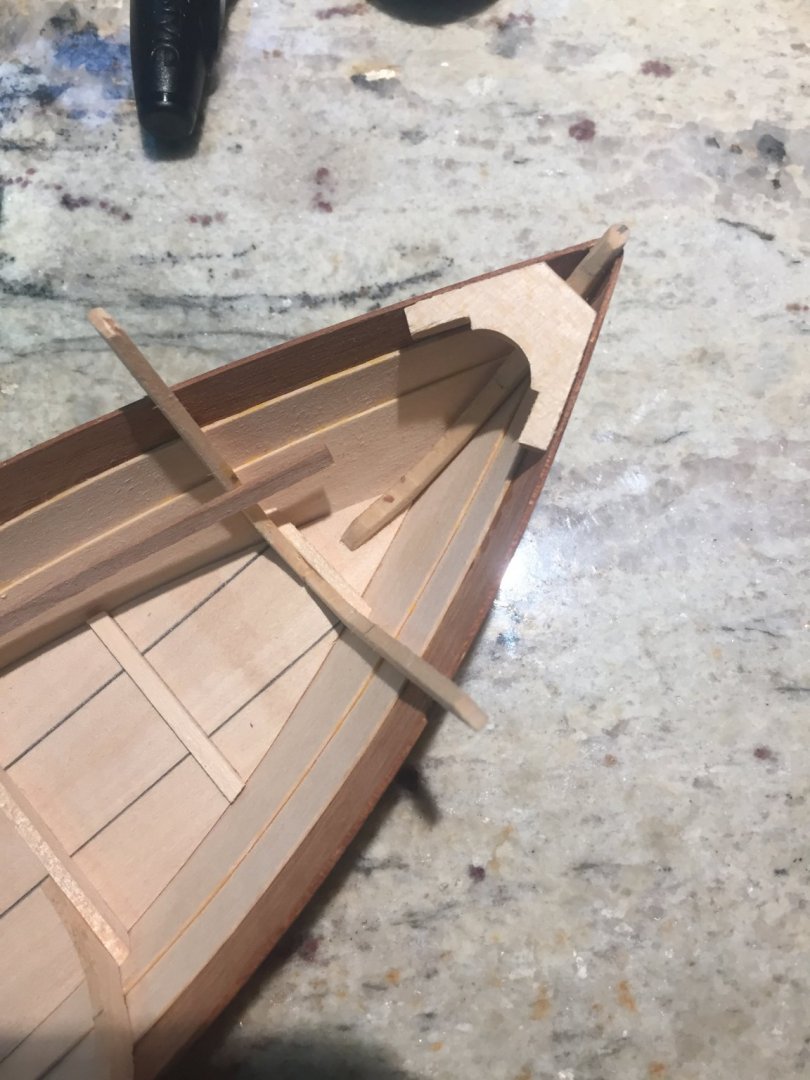
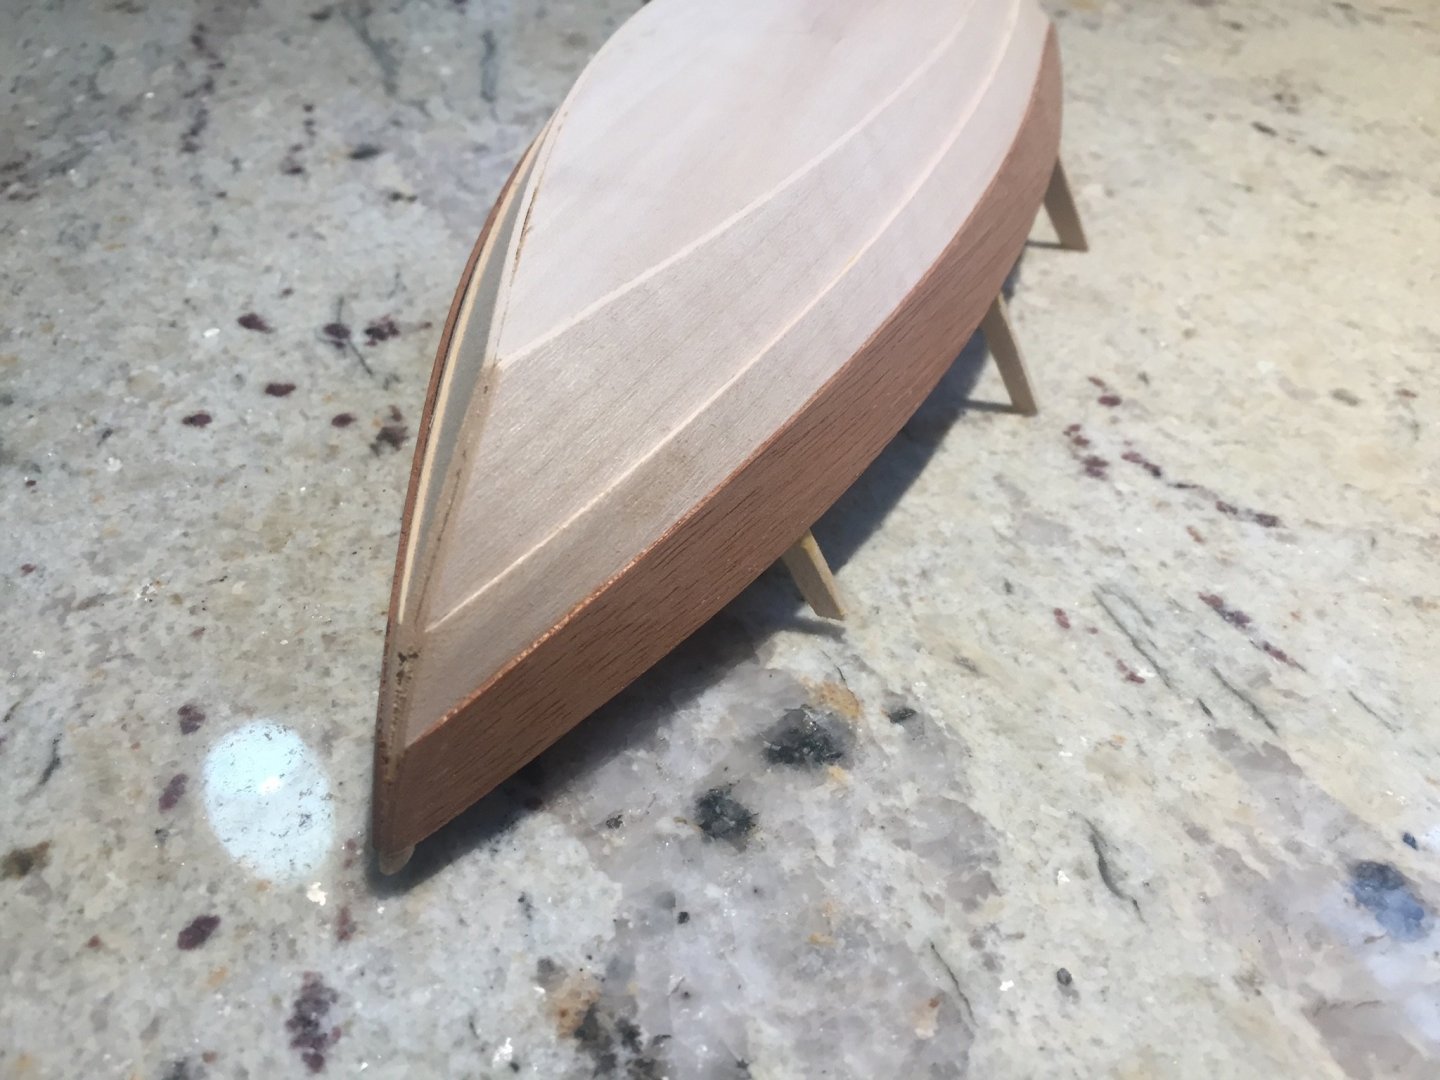
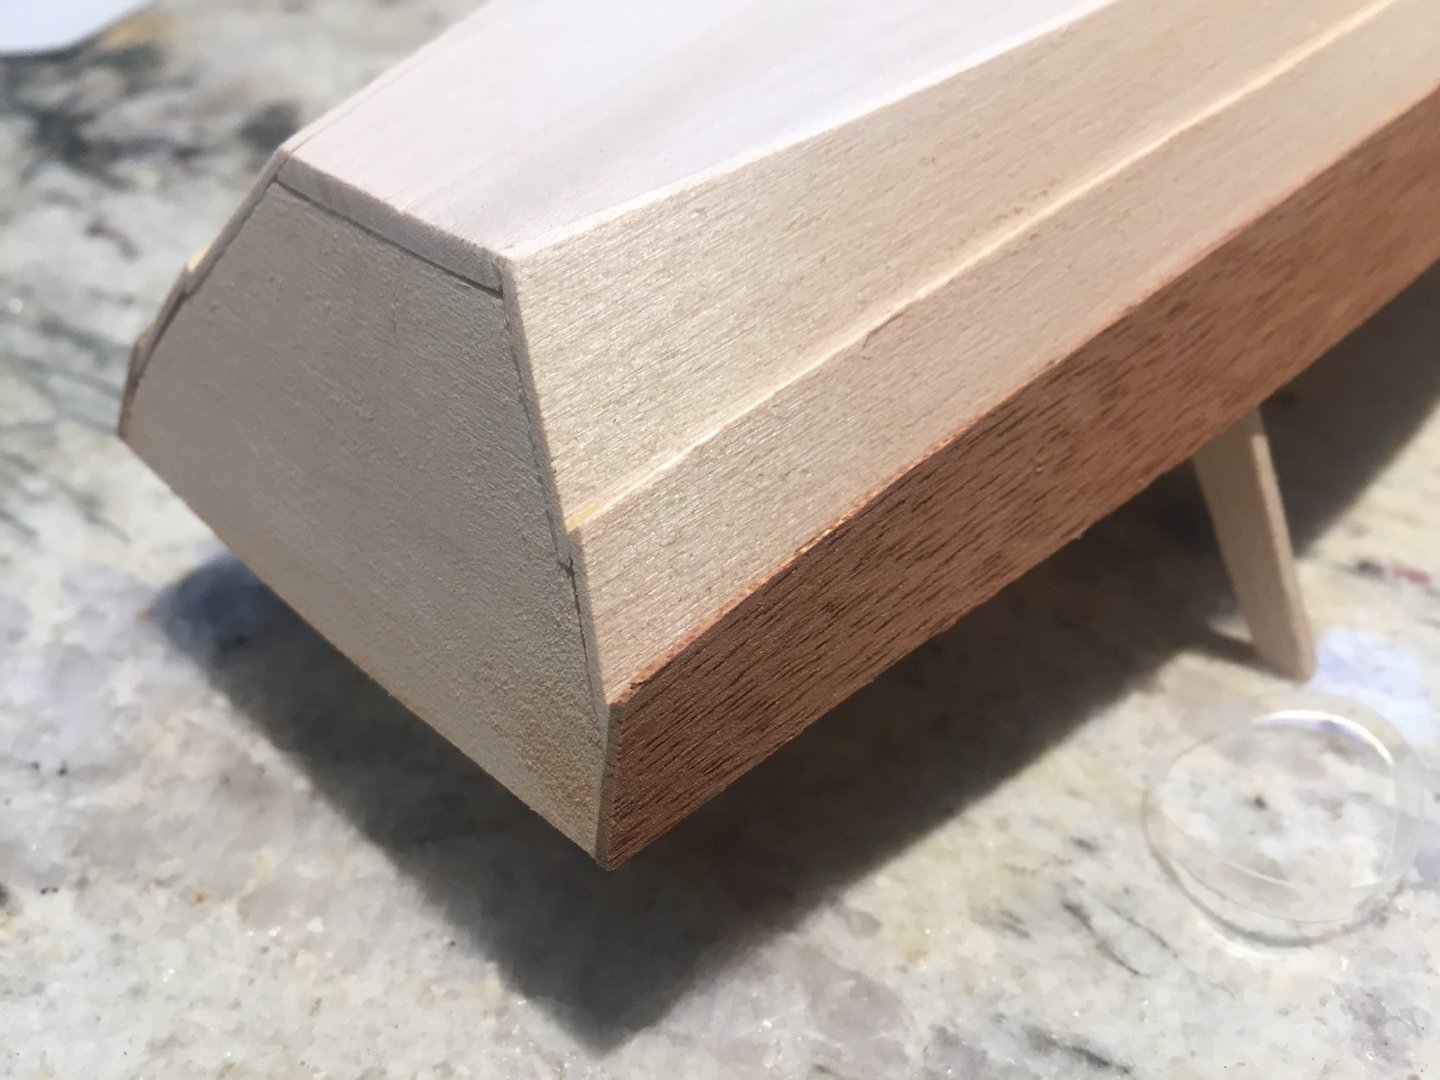
I did not get much further...but it appears I did a nice job on the rabbet 😝 im also noticing per the picture of the finish hull that there is much more fairing to do on the bow toward the keel the stern I ended up using a sanding attachment on the proxxon rotary tool, I like this tool better then my Dremel as it is lighter, goes at a slower speed and doesn’t stall unless a ridiculous amount of force is put onto it. It’s amazing the curves this ship has...
-
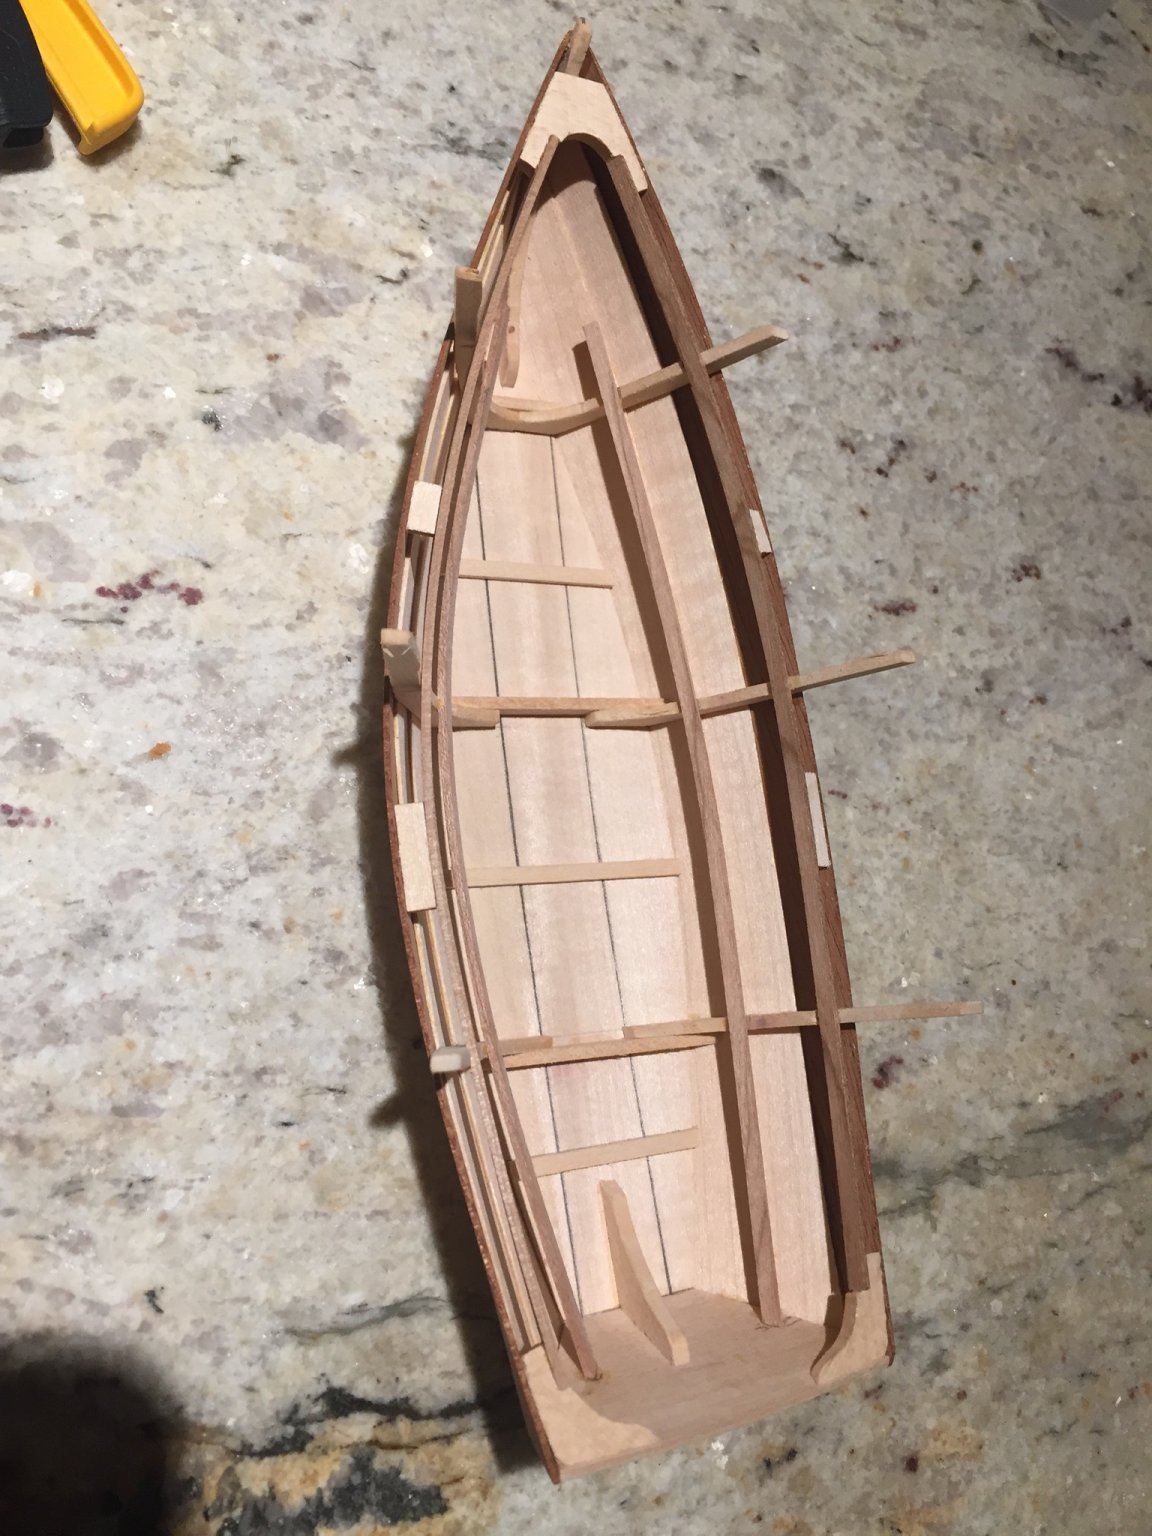
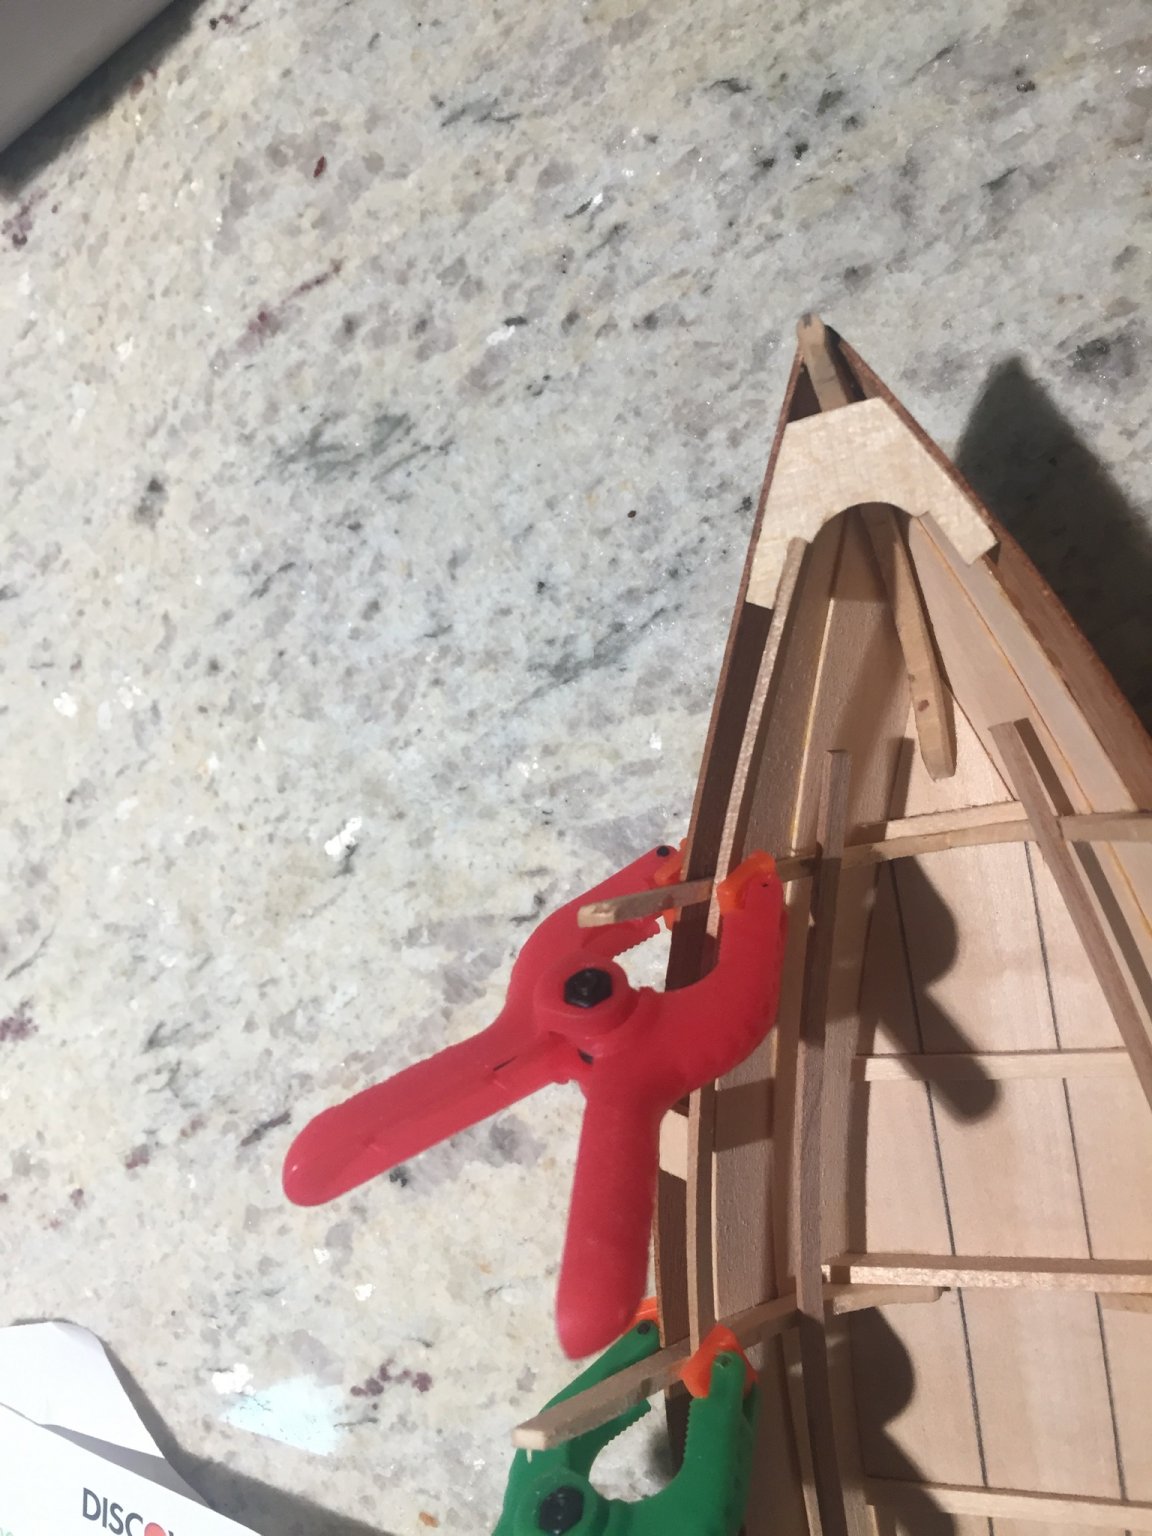
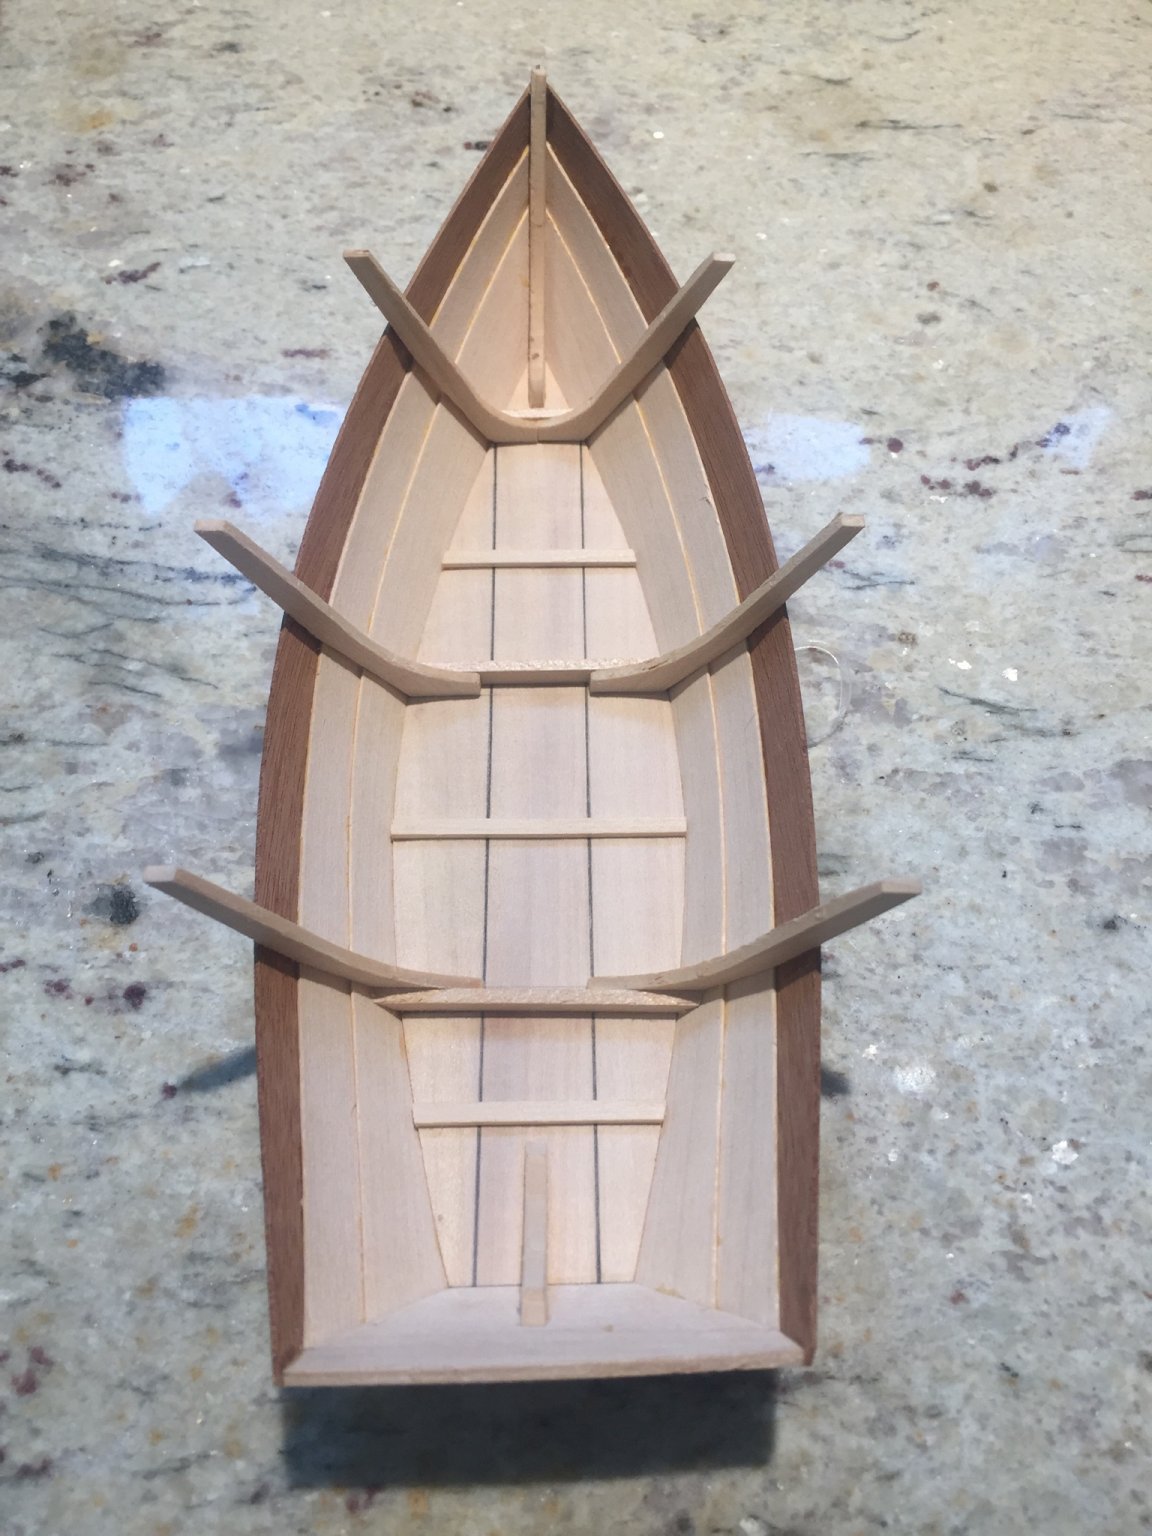
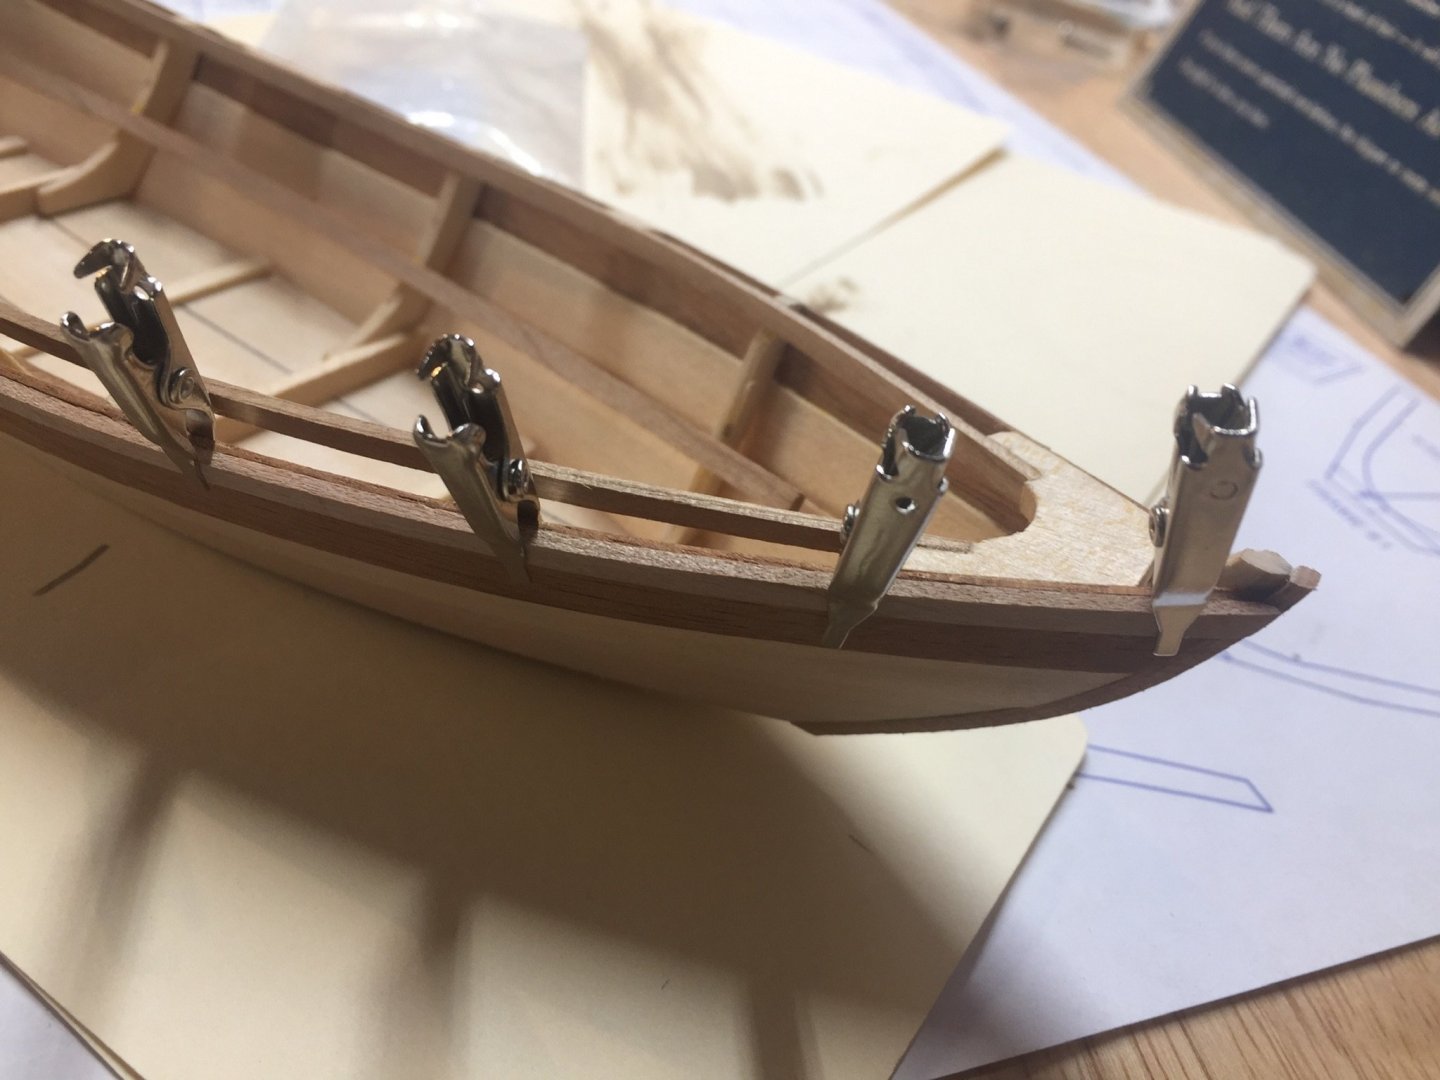
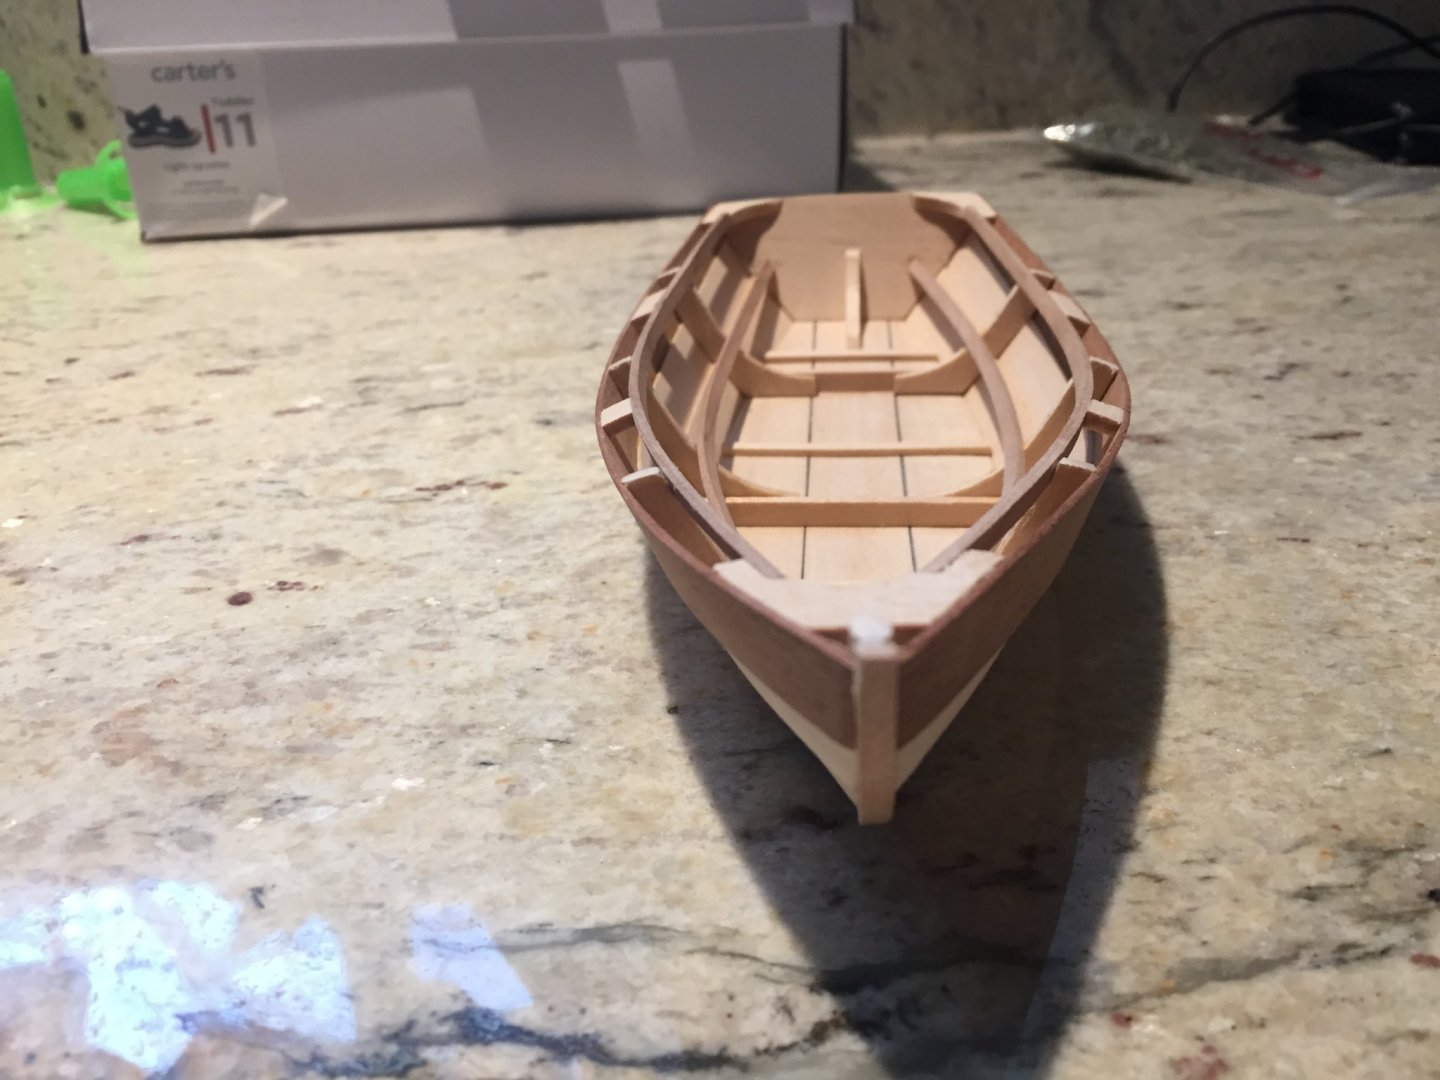
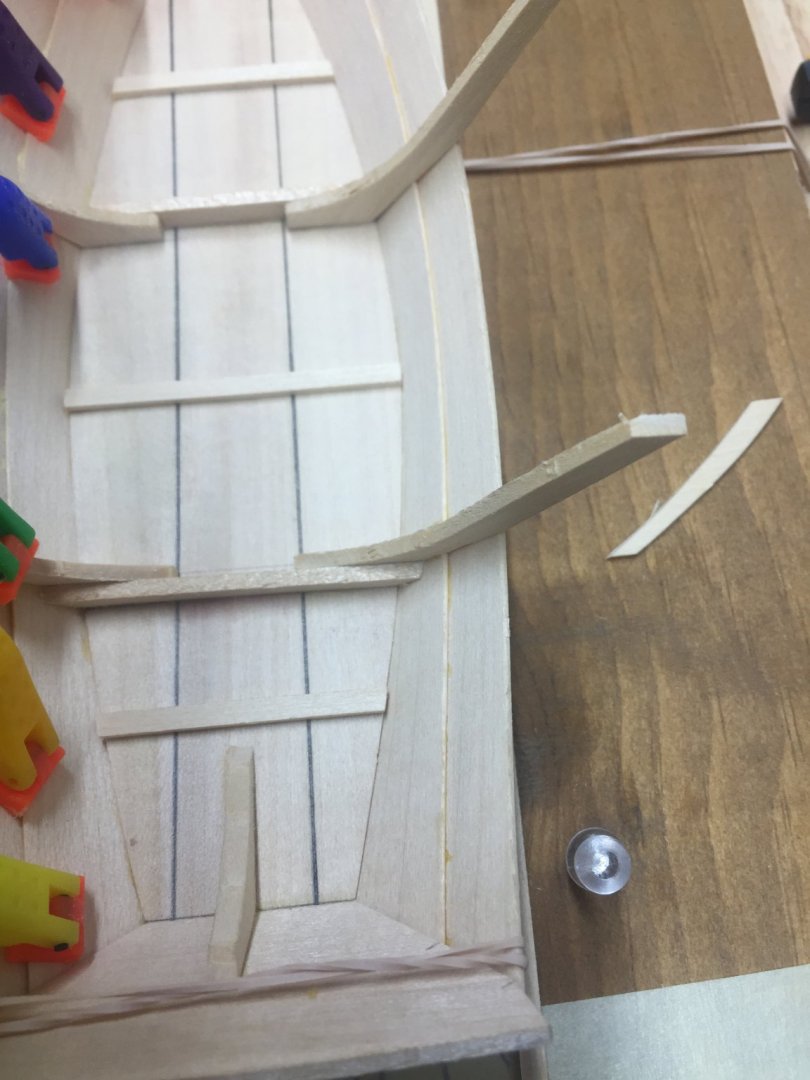
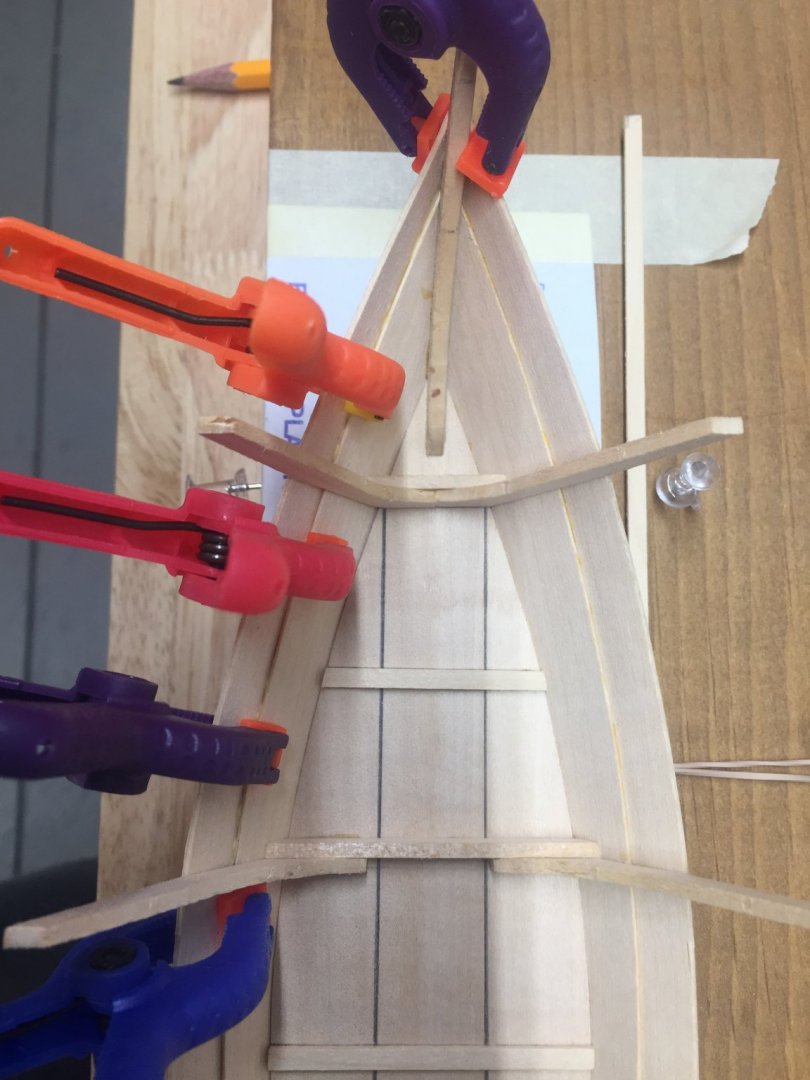
Trying to make sure the inwales, risers and quarter knees fit well. This is where I am trying to improve myself by taking the extra time to make sure they fit nicely.


- 29 replies
-
- 6
-
-
- Dinghy
- Midwest Products
- (and 1 more)
-
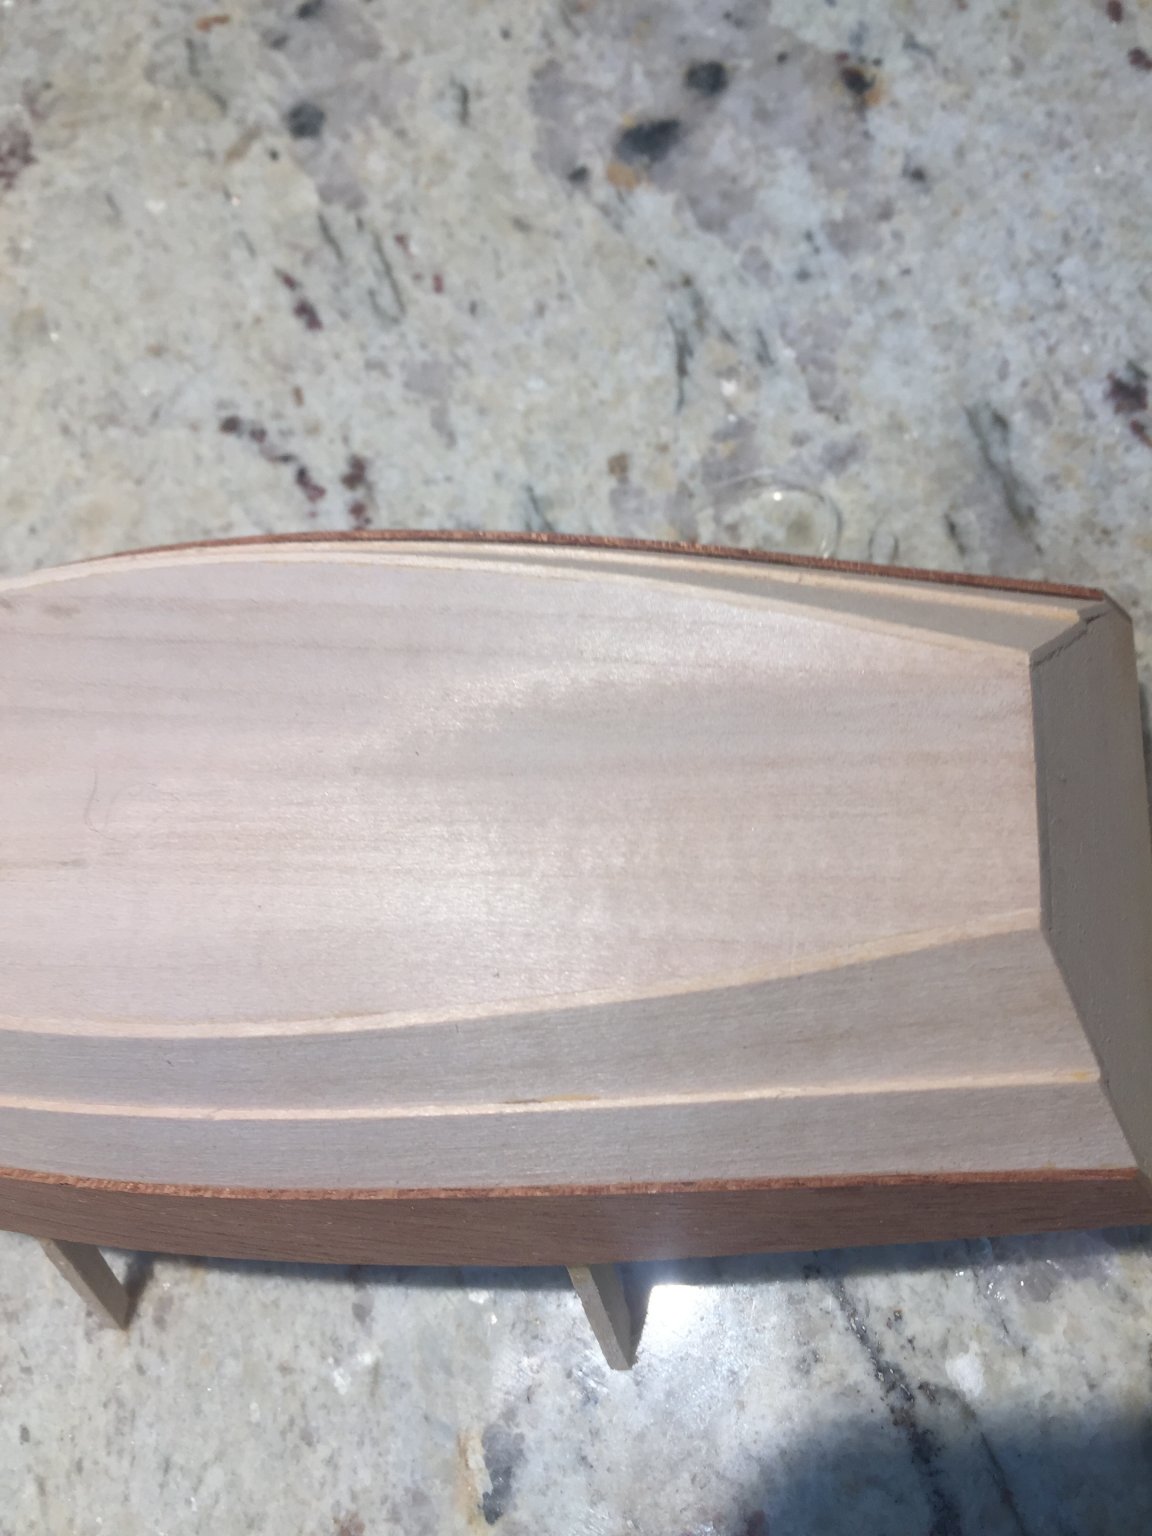
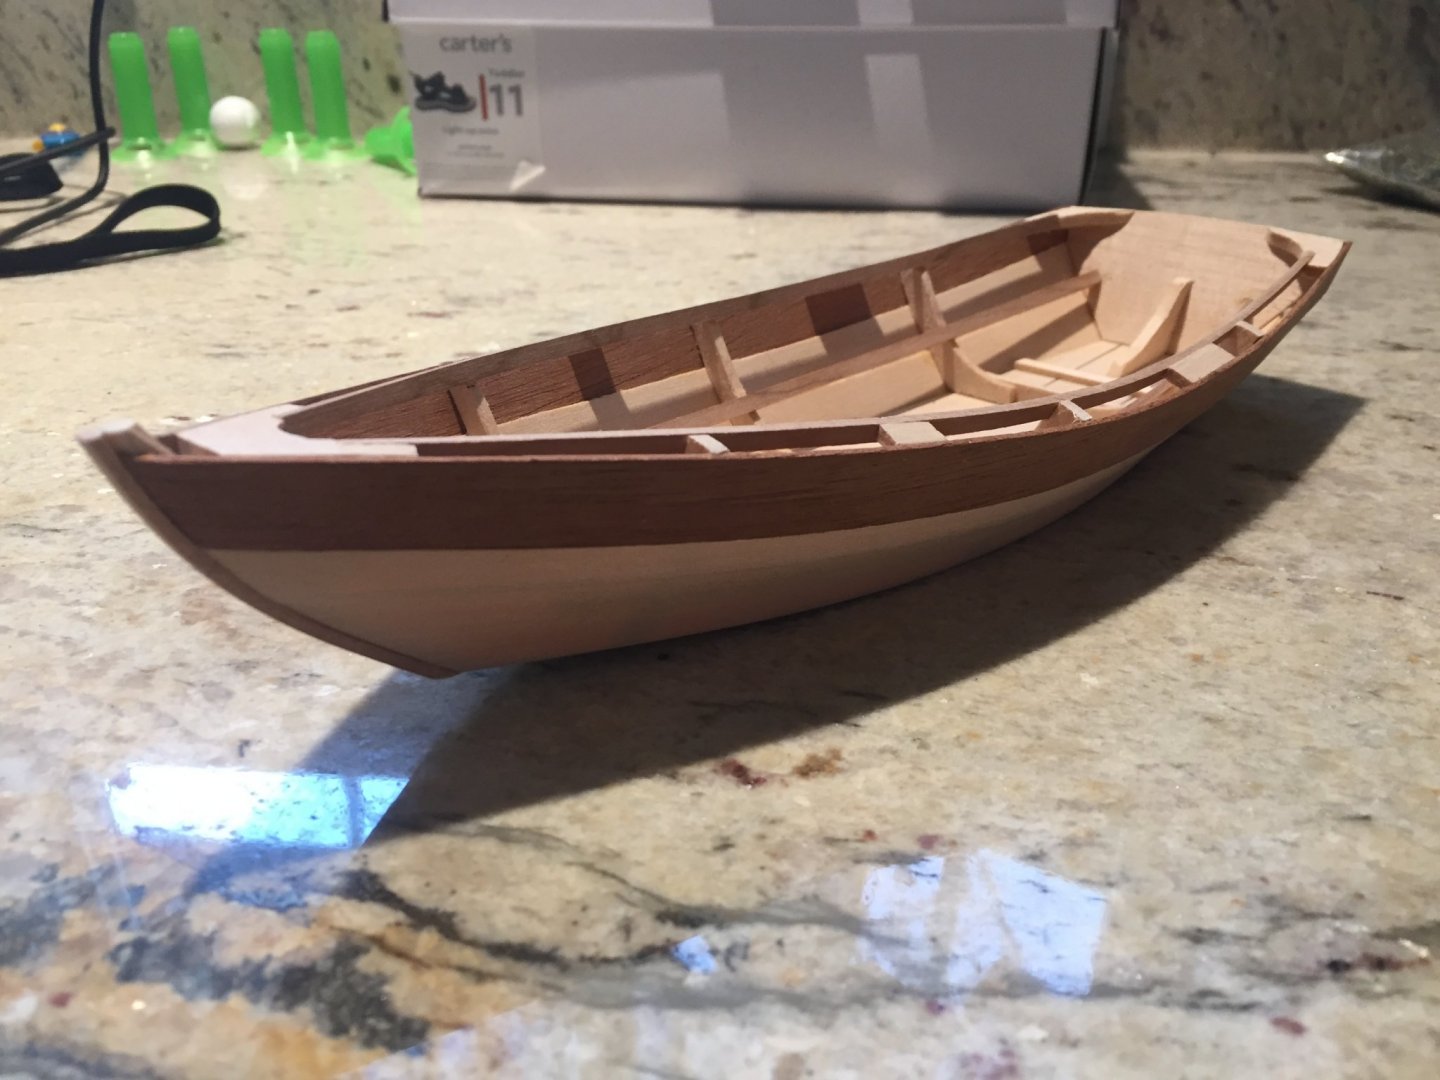
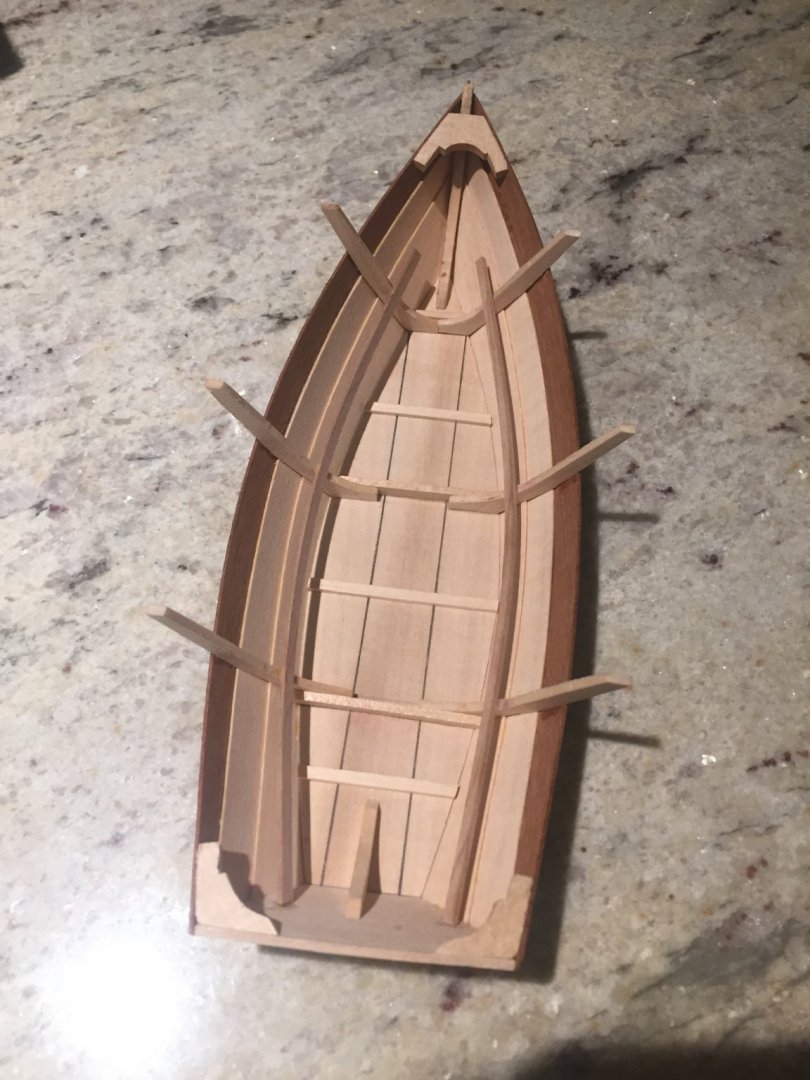
So all planking is complete and I was very happy with the outcome. The wood in these kits is not terrible, but brittle. I would love to see the wood in a brand new kit. So instructions said to sand everything even...


- 29 replies
-
- 7
-
-
- Dinghy
- Midwest Products
- (and 1 more)
-
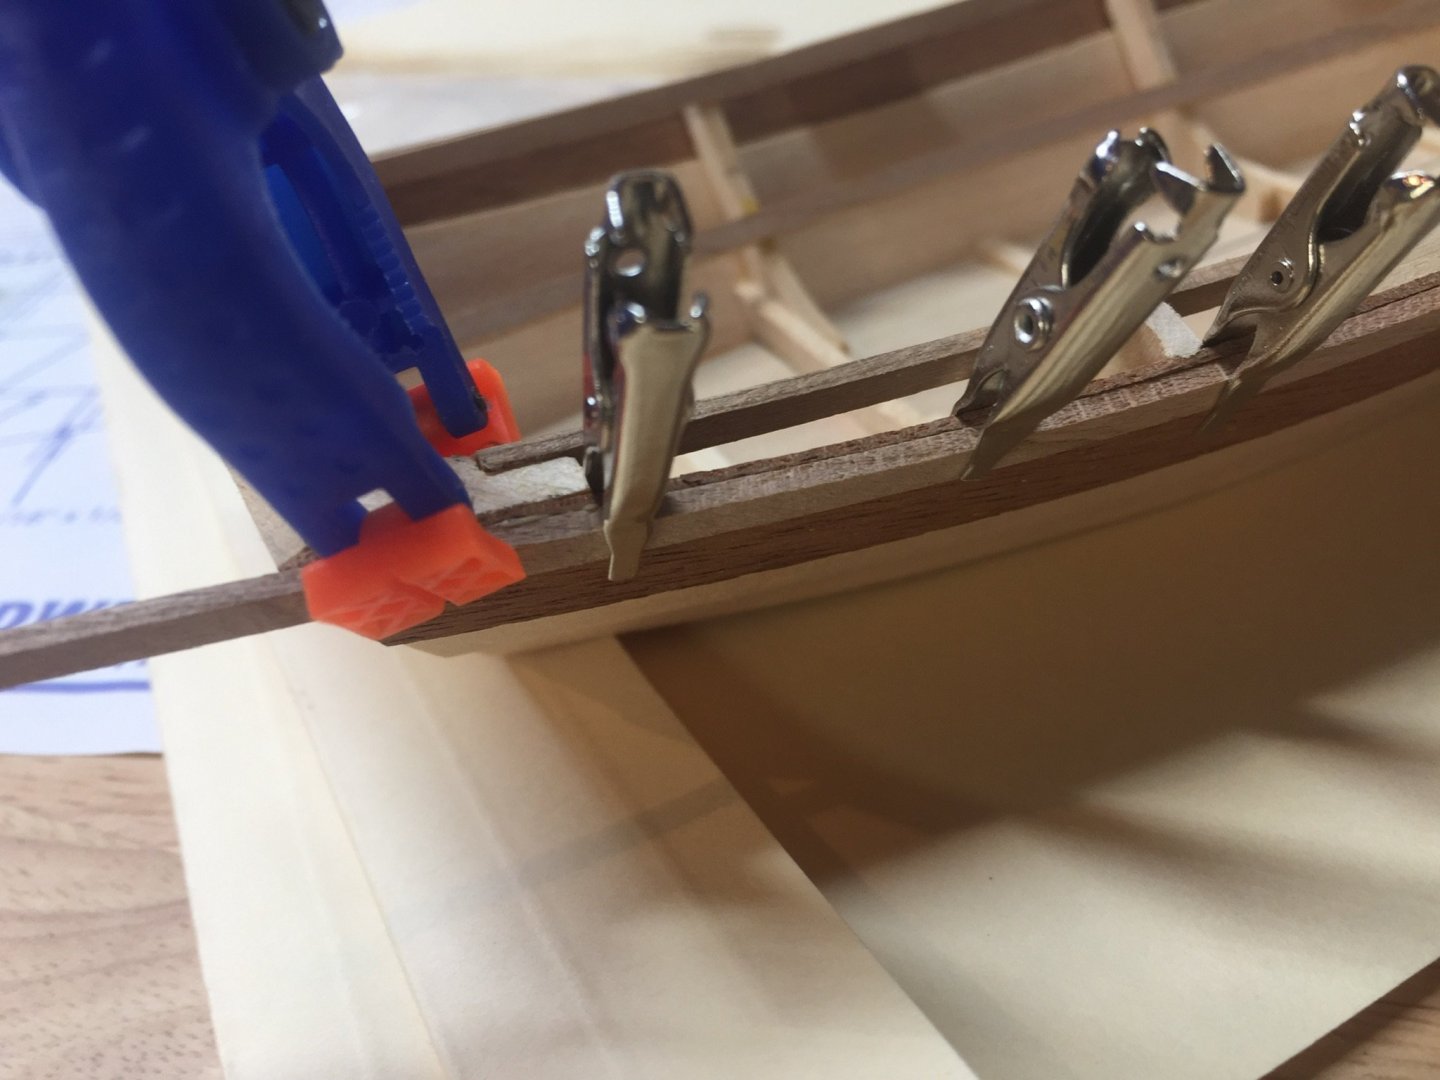
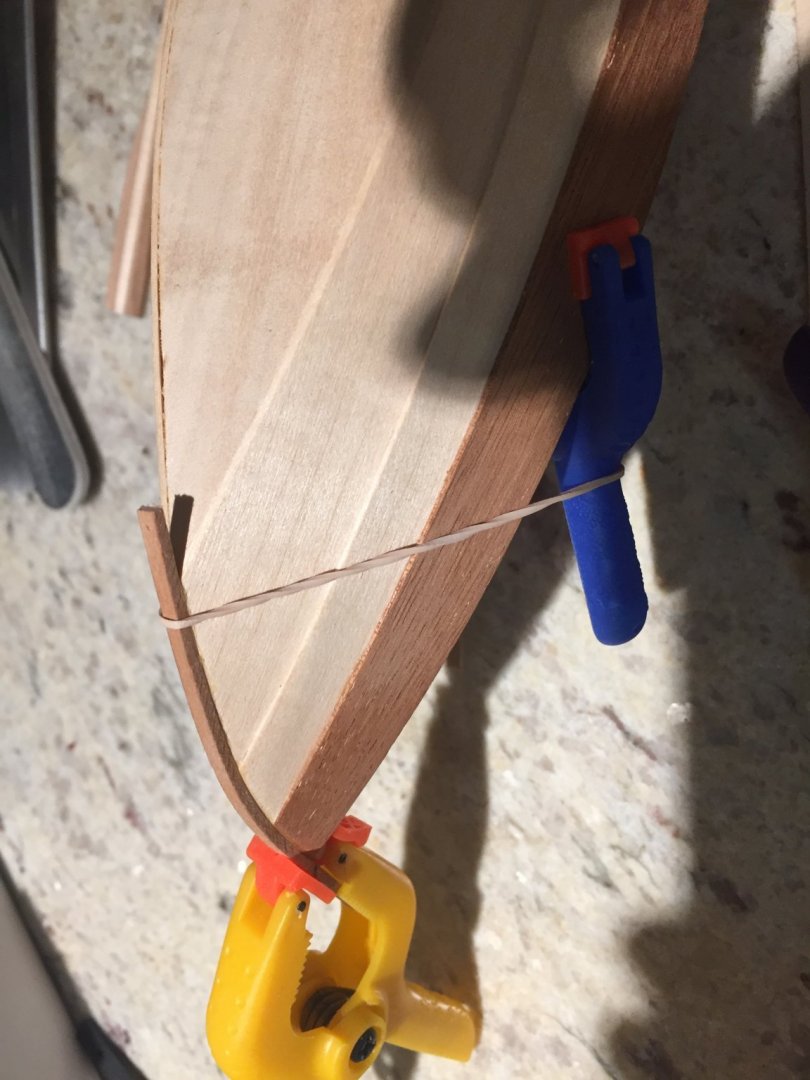
I did my best to avoid excess glue, I didn’t do terrible, but I’m not sure how much less glue I could possibly loose. As soon as I squeeze it, it’s bound to ooze. I dont really want to use CA however. I guess just more practice...

- 29 replies
-
- 6
-
-
- Dinghy
- Midwest Products
- (and 1 more)
-
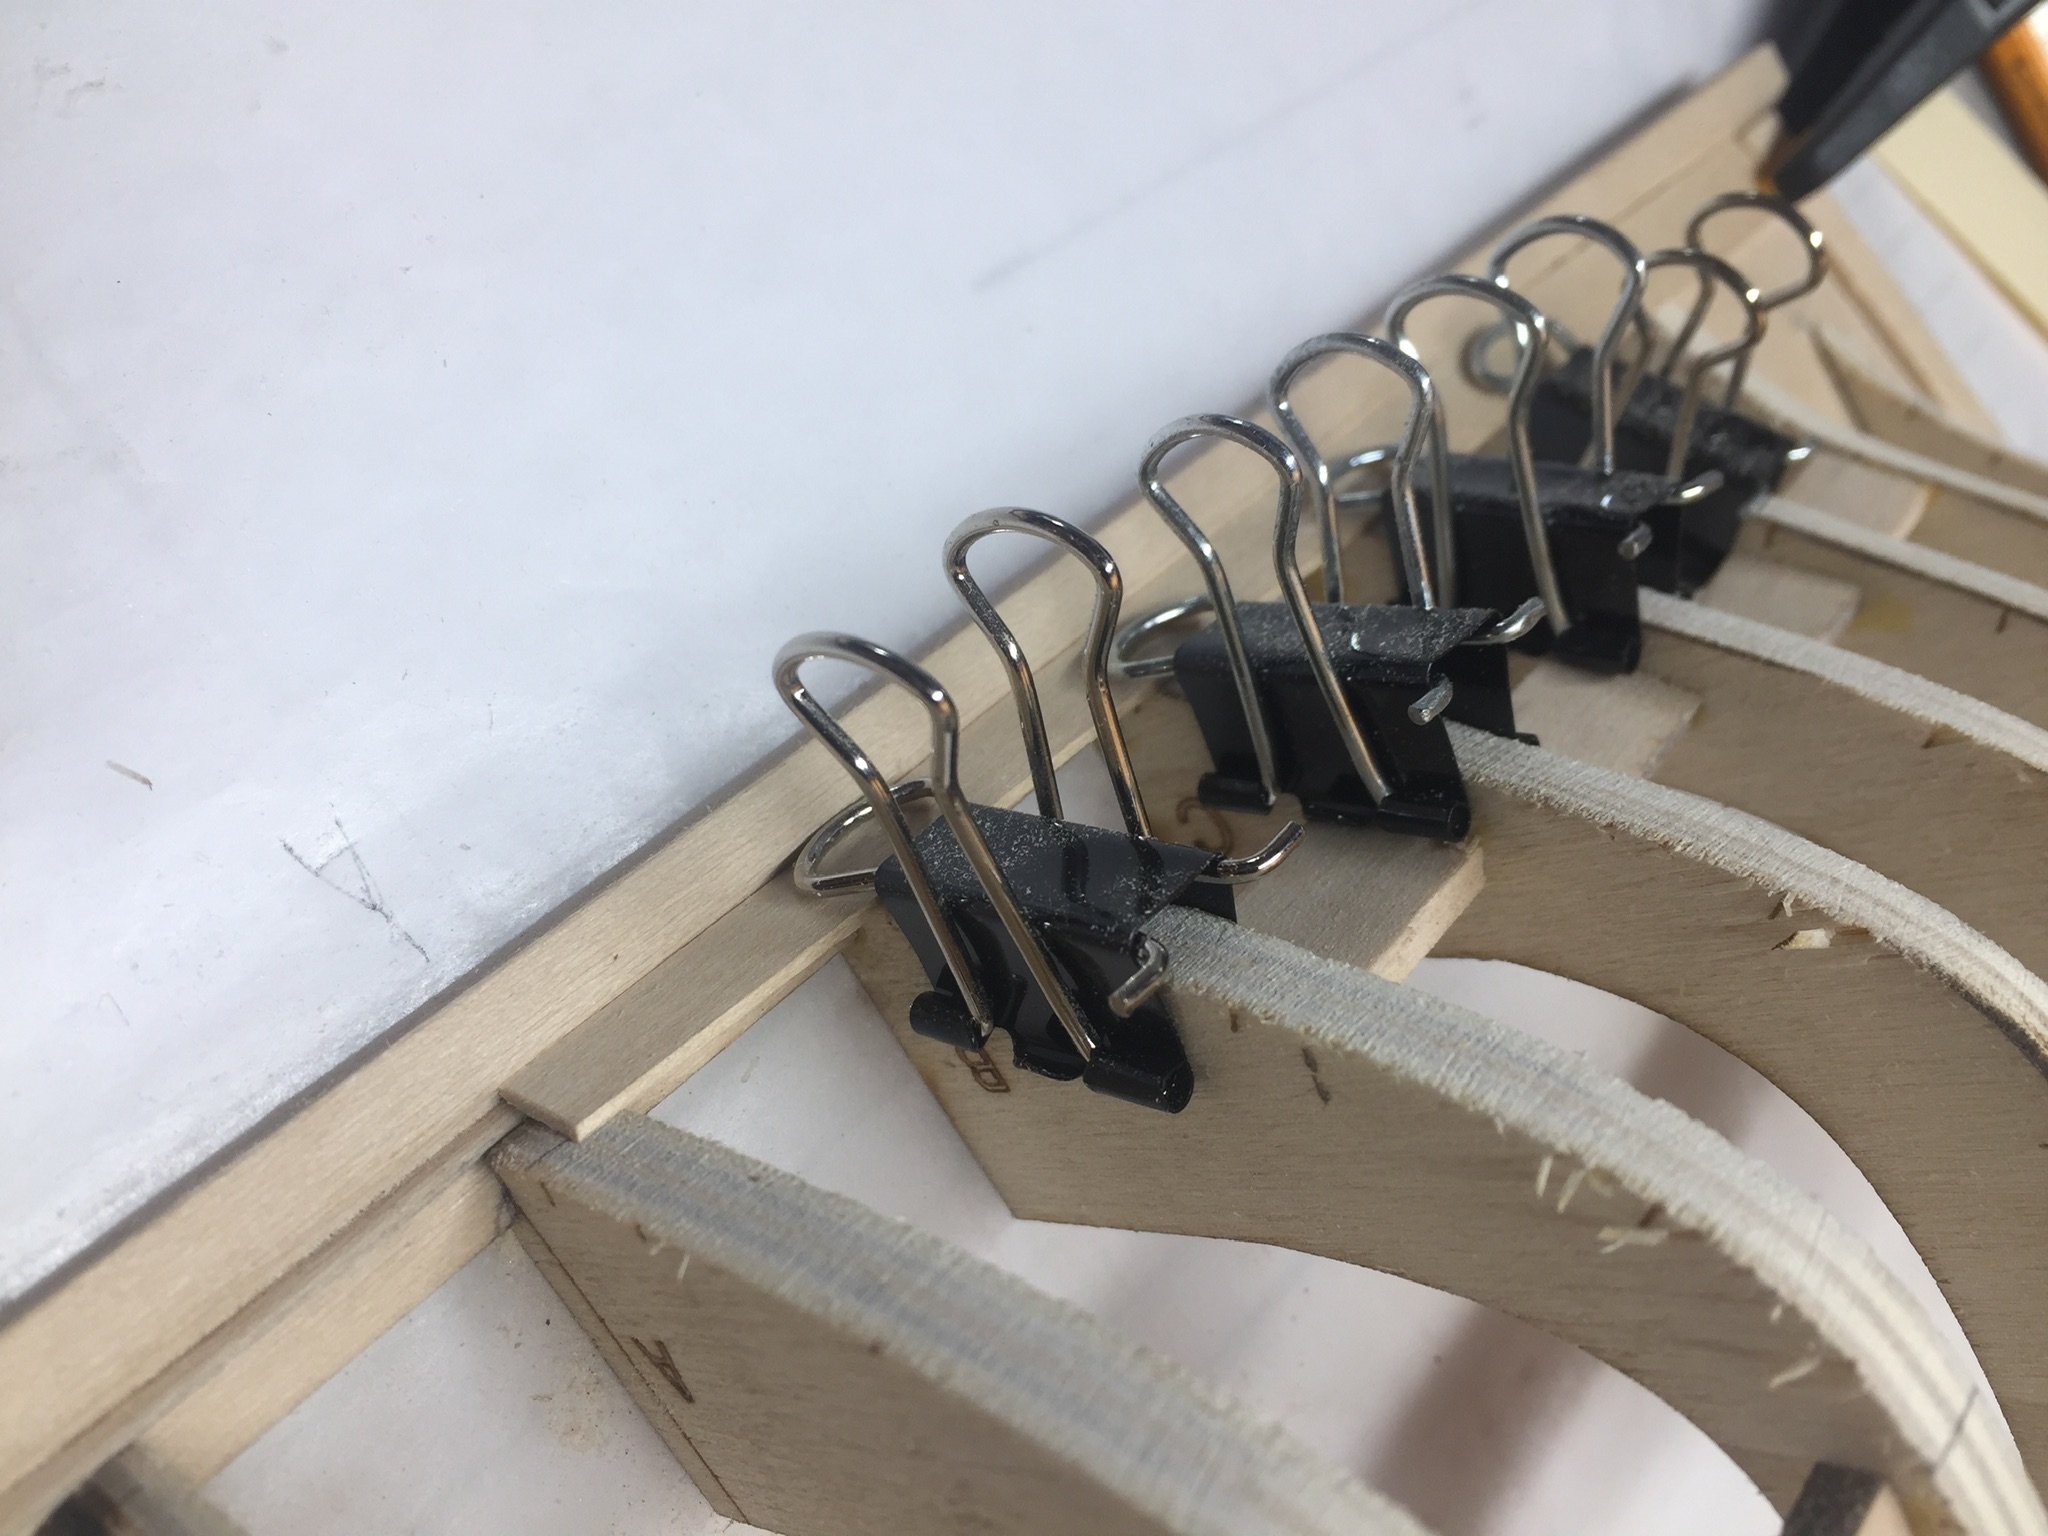
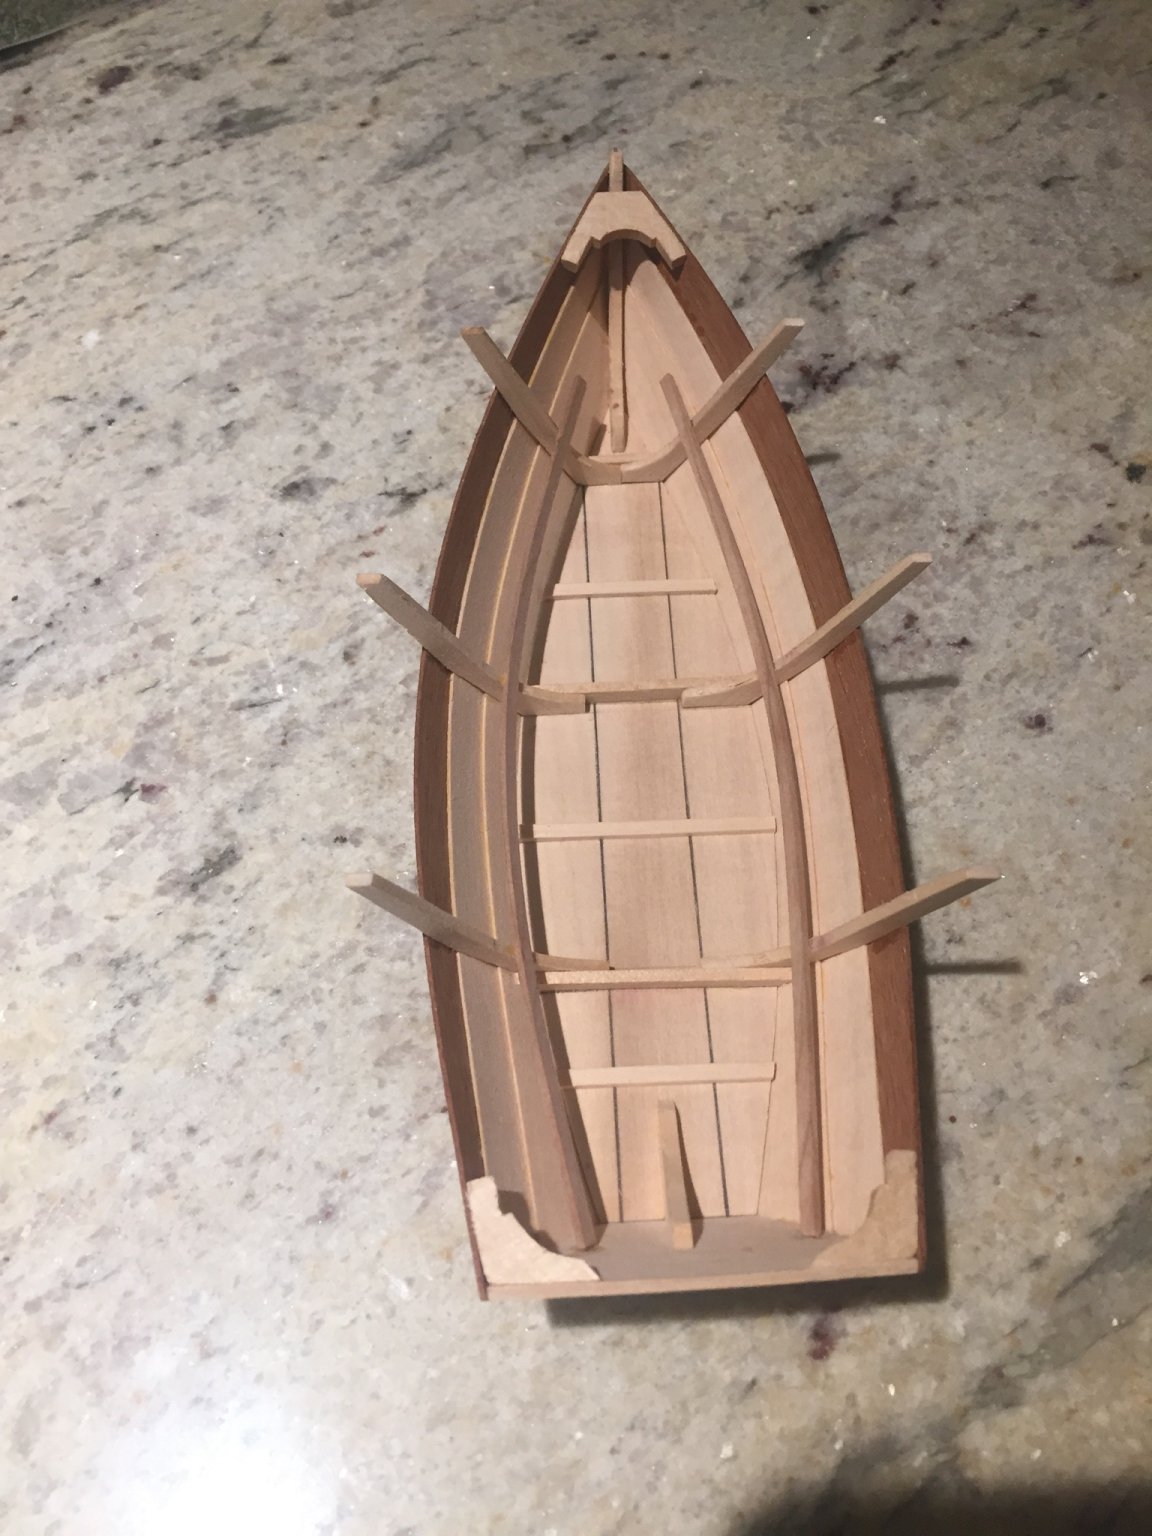
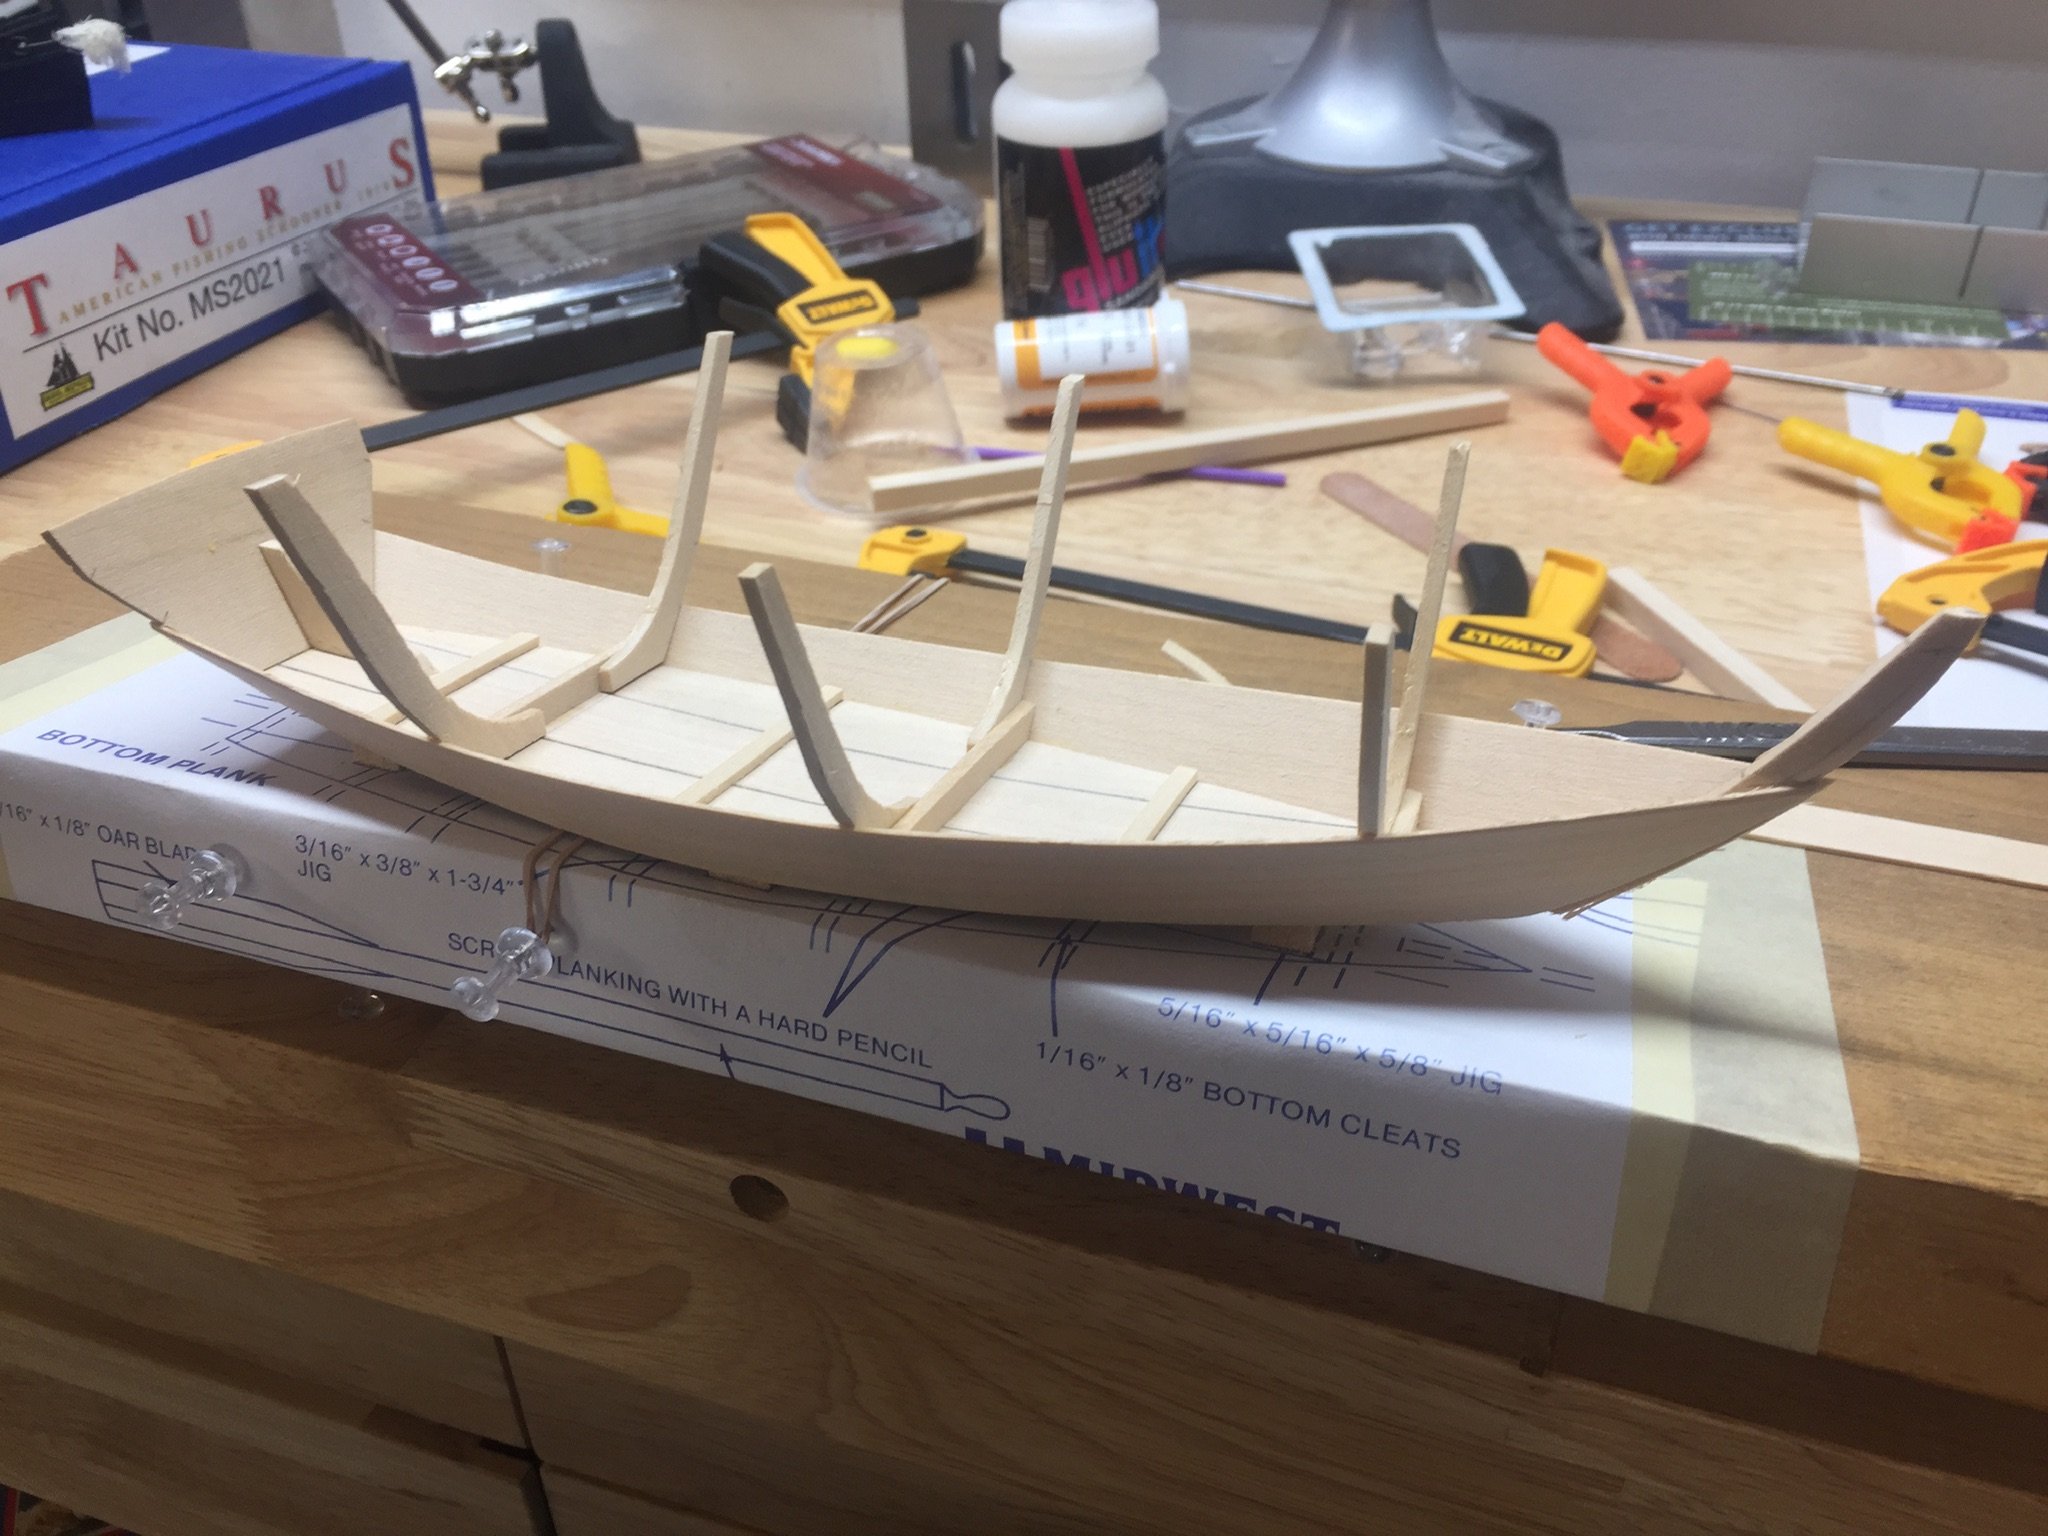
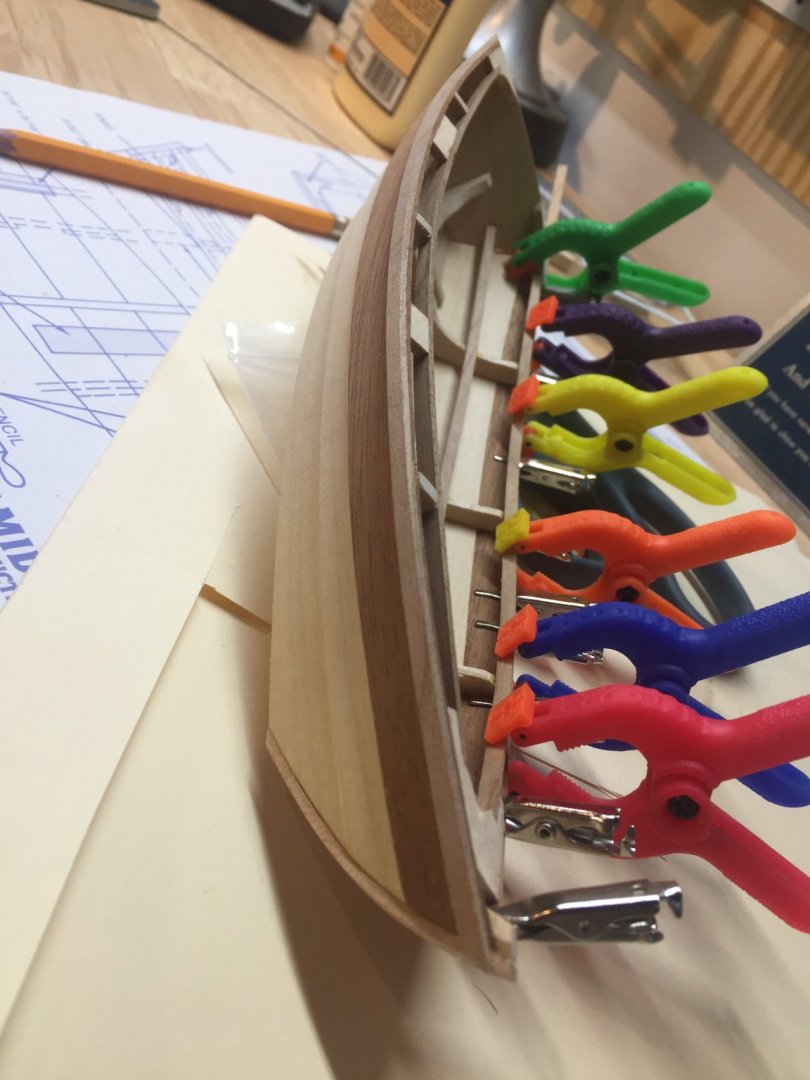
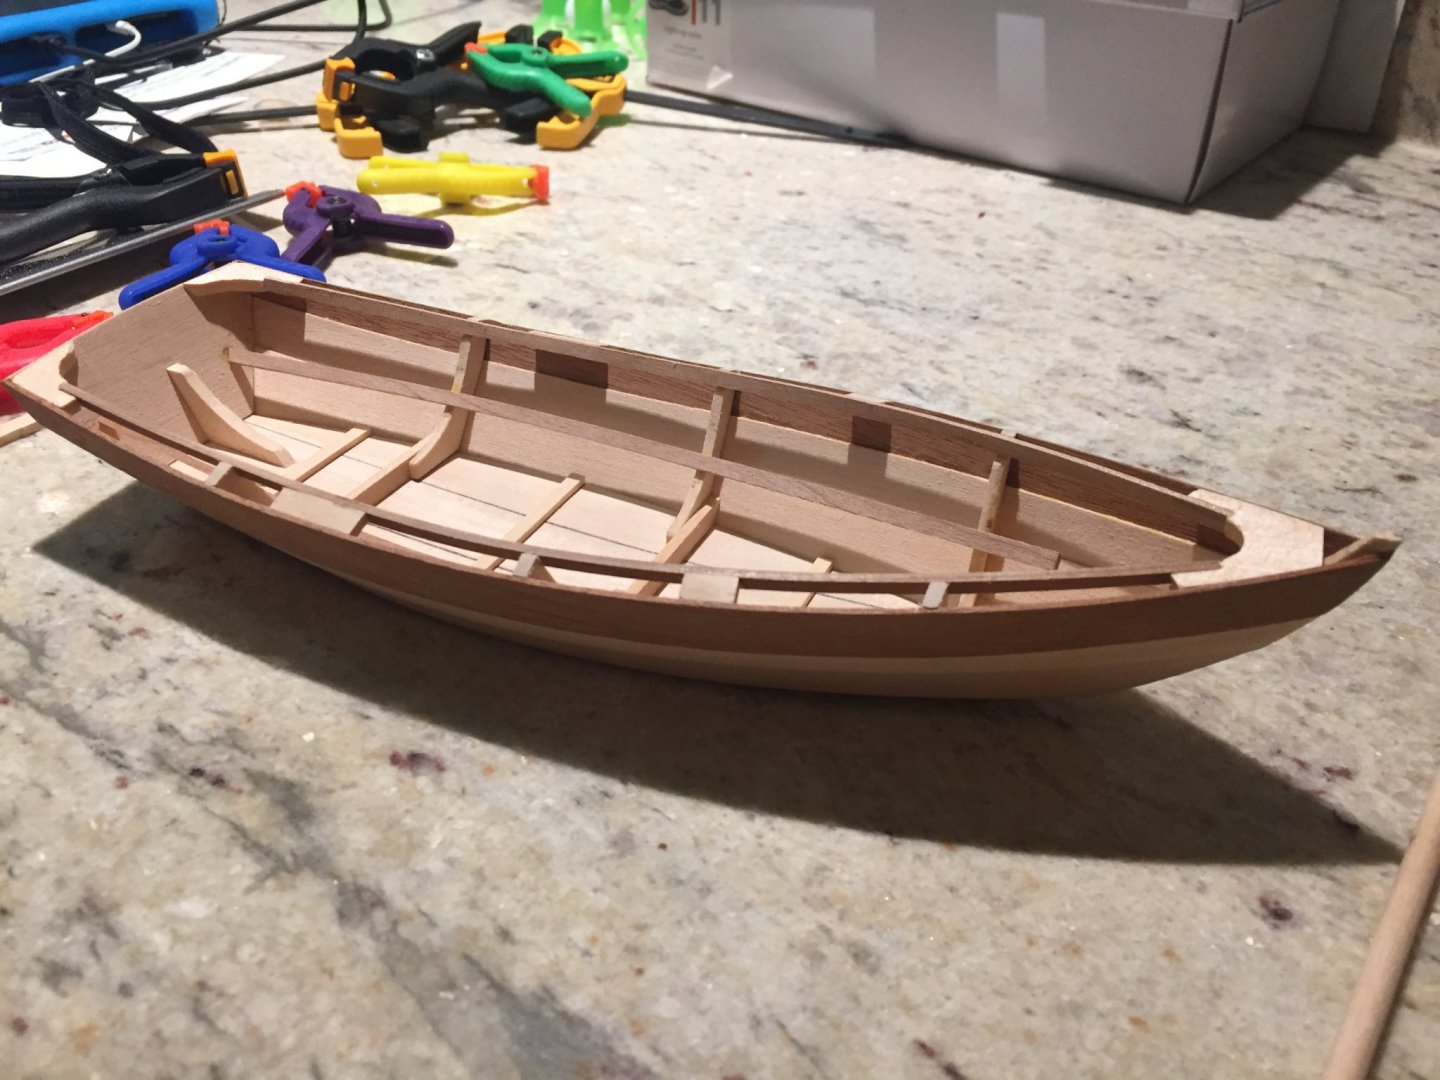
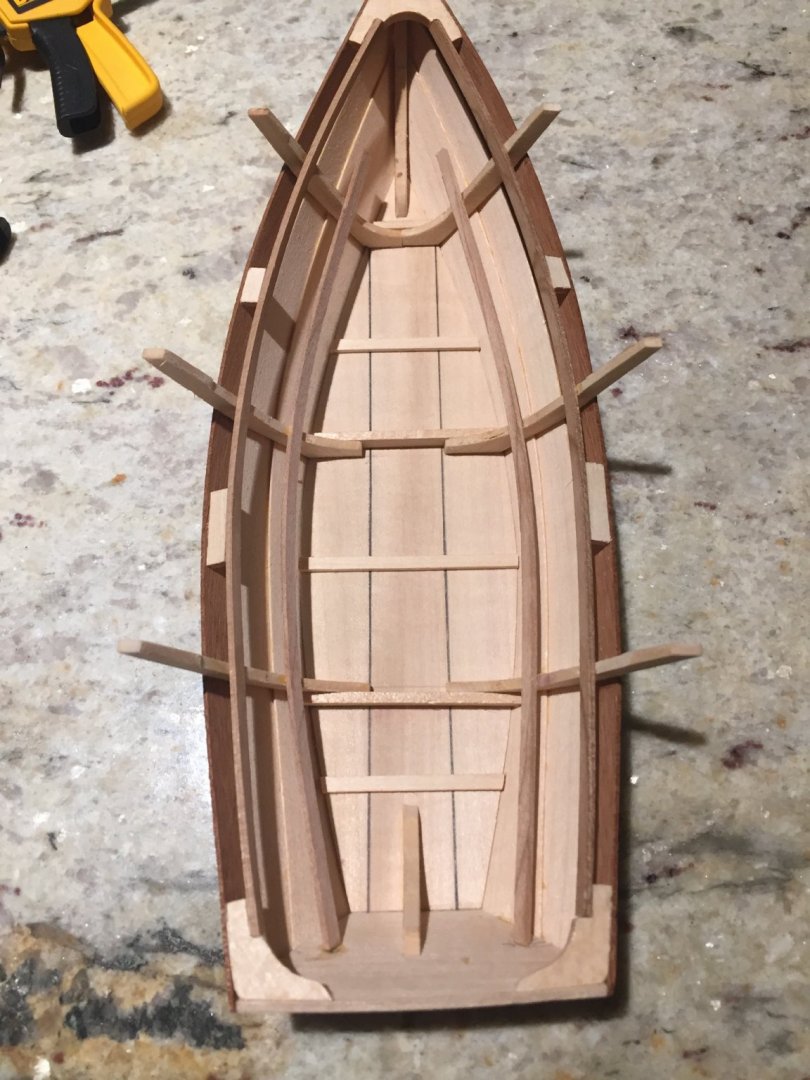
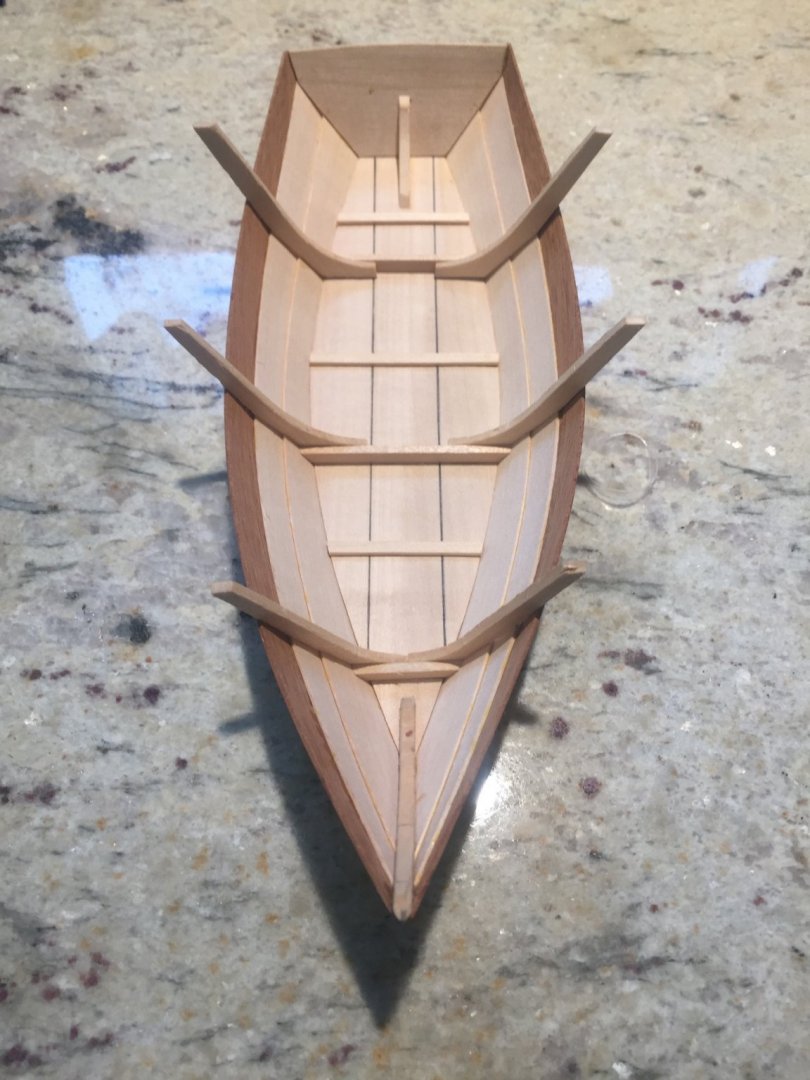
Once I got the bottom two planks on (starboard and port side) I was able to remove the boat from the board without it losing its curve.

- 29 replies
-
- 6
-
-
- Dinghy
- Midwest Products
- (and 1 more)
-
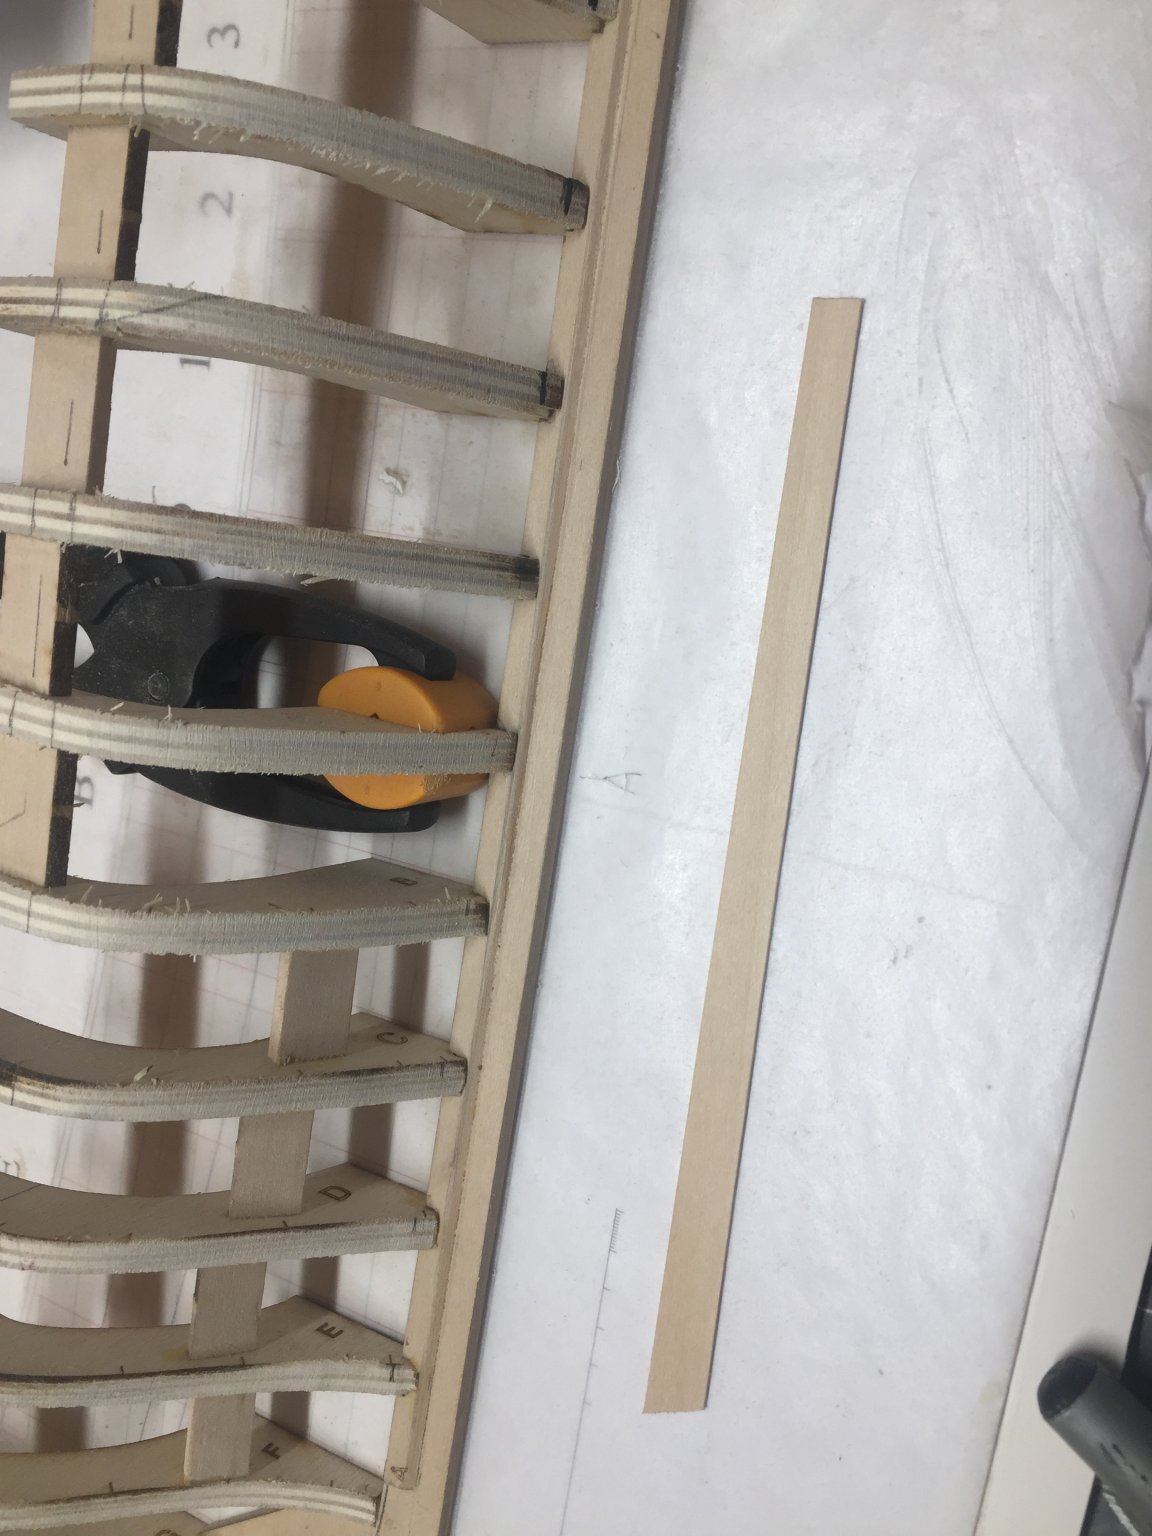
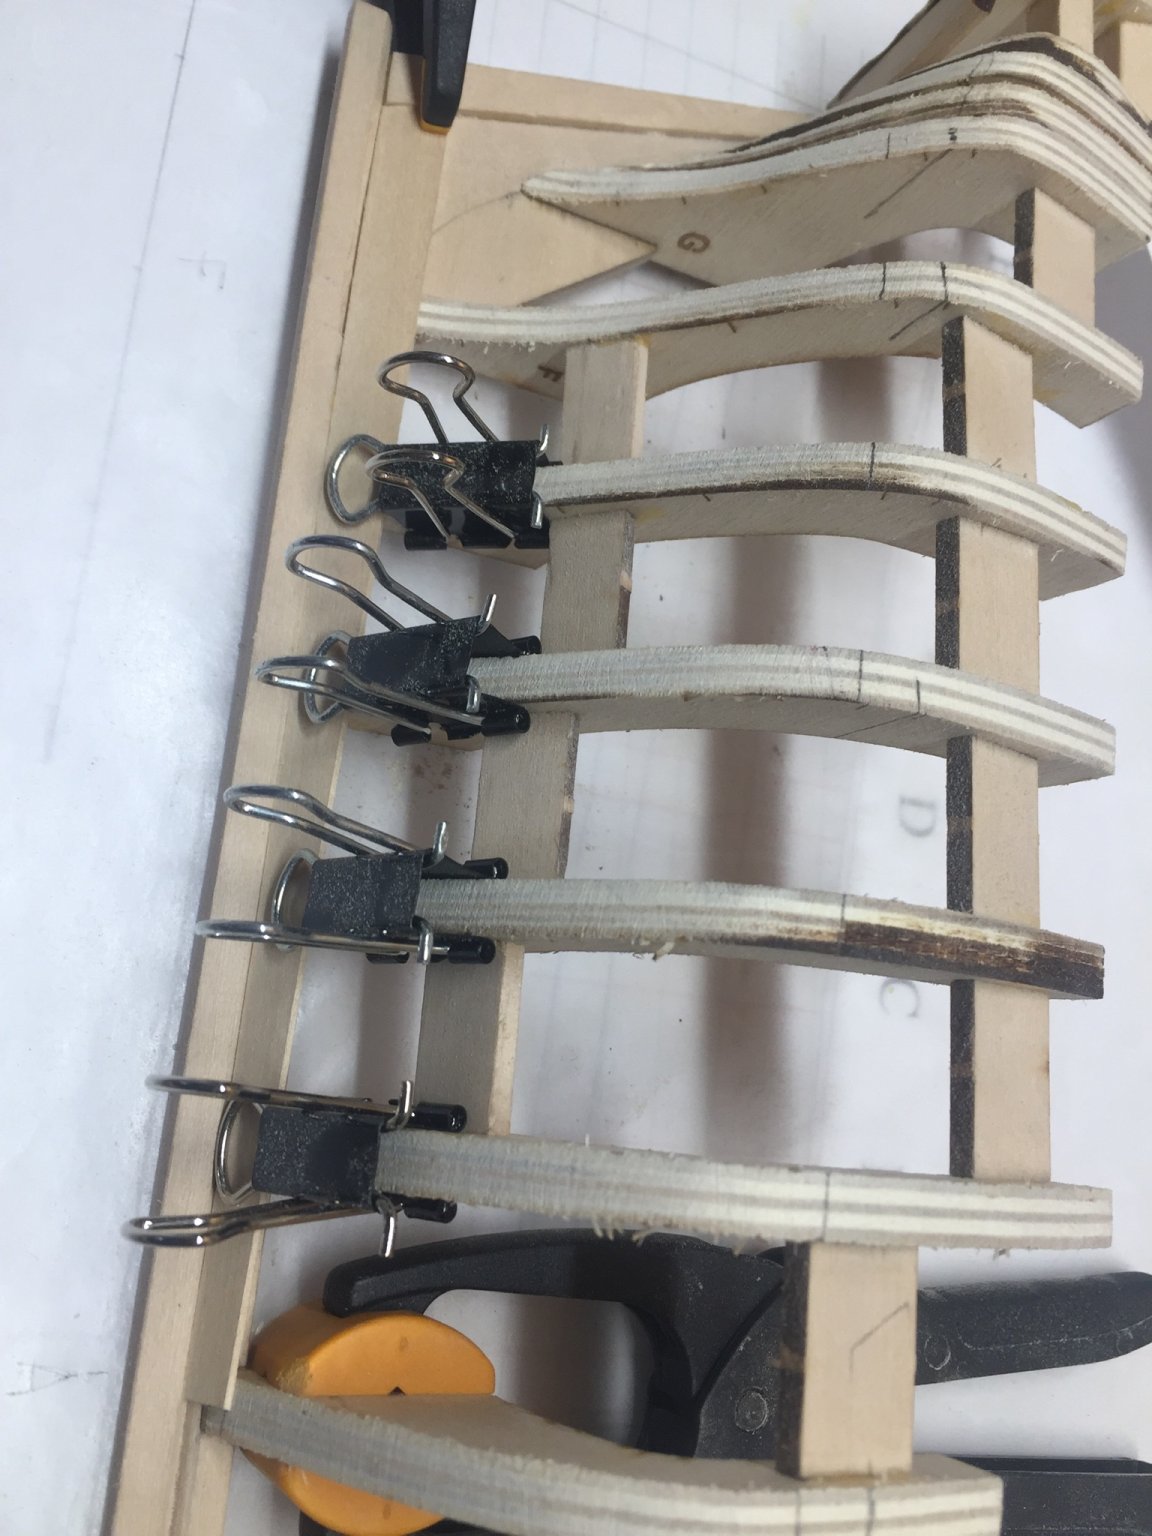
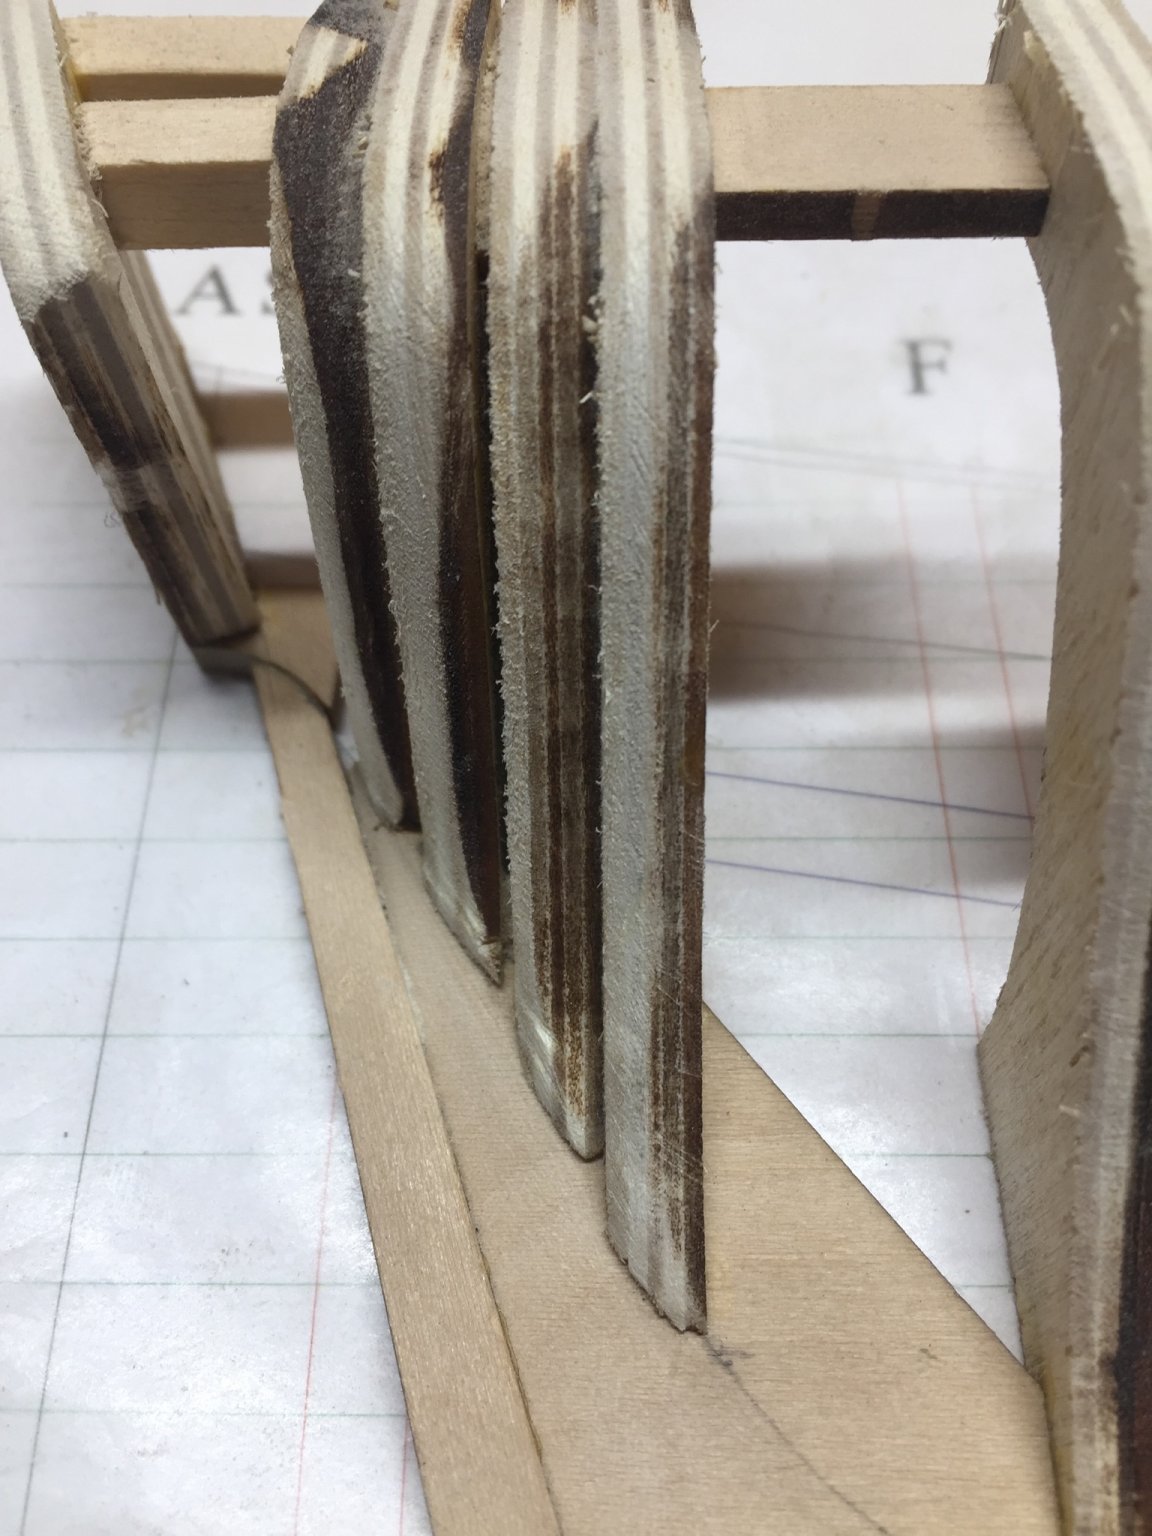
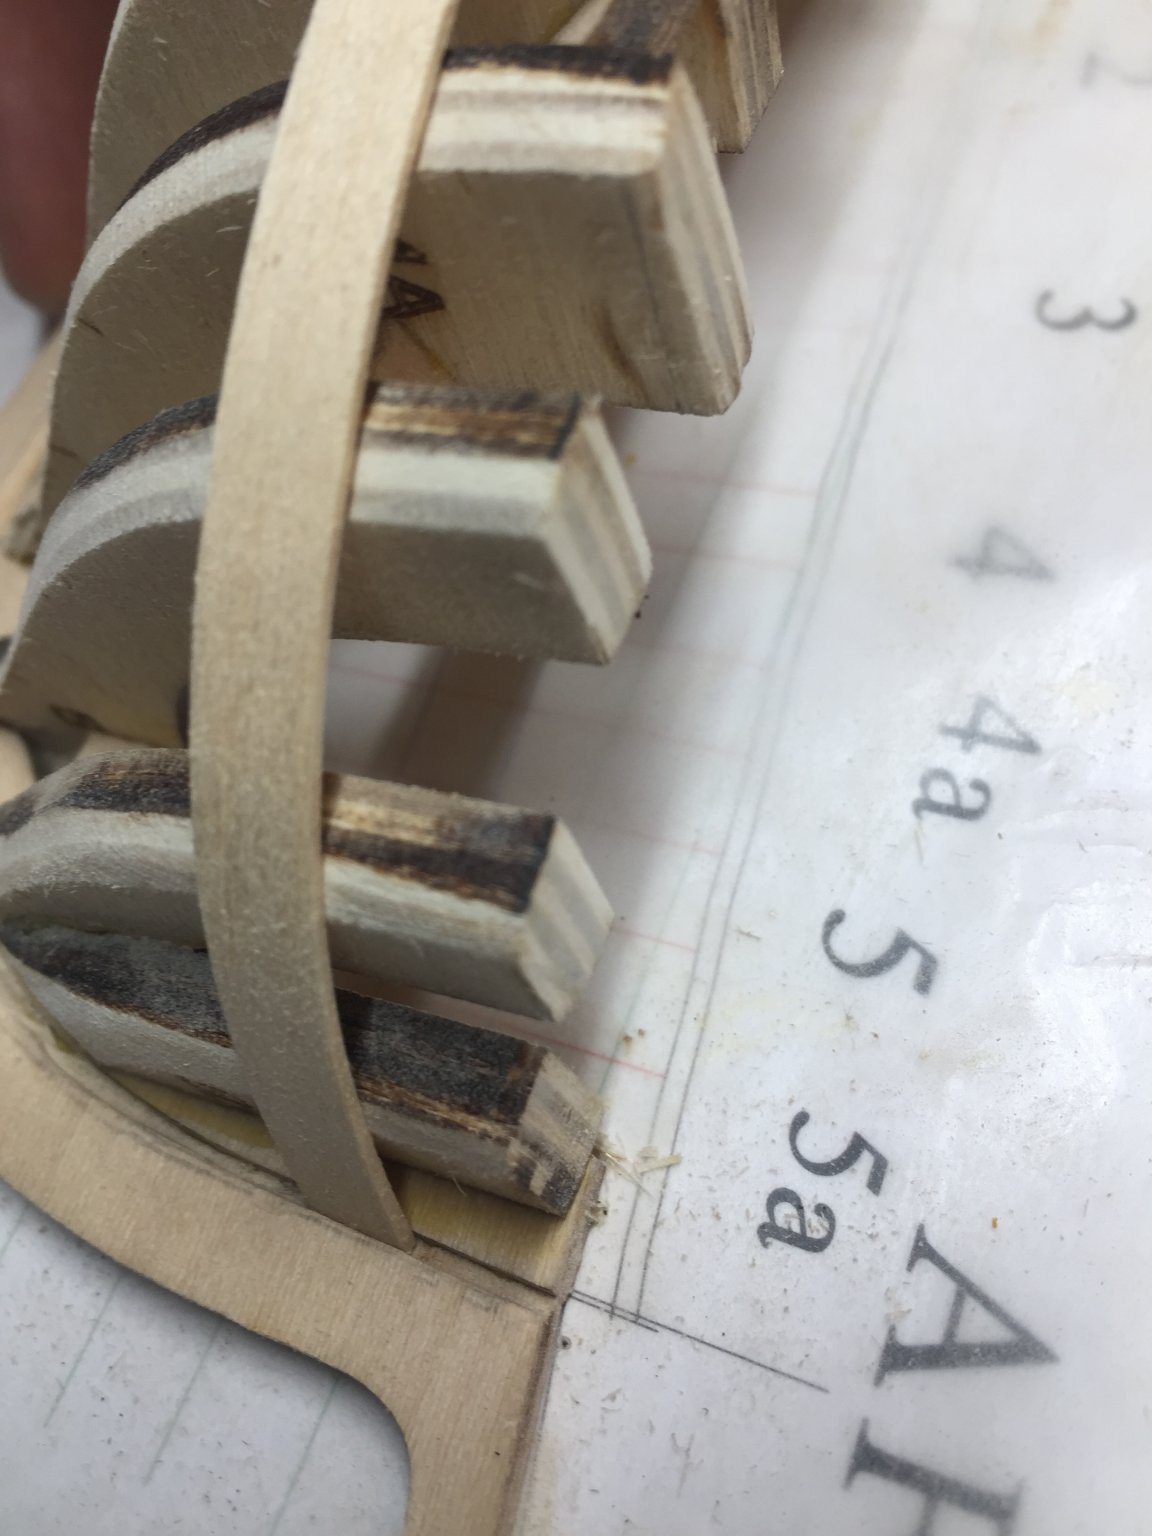
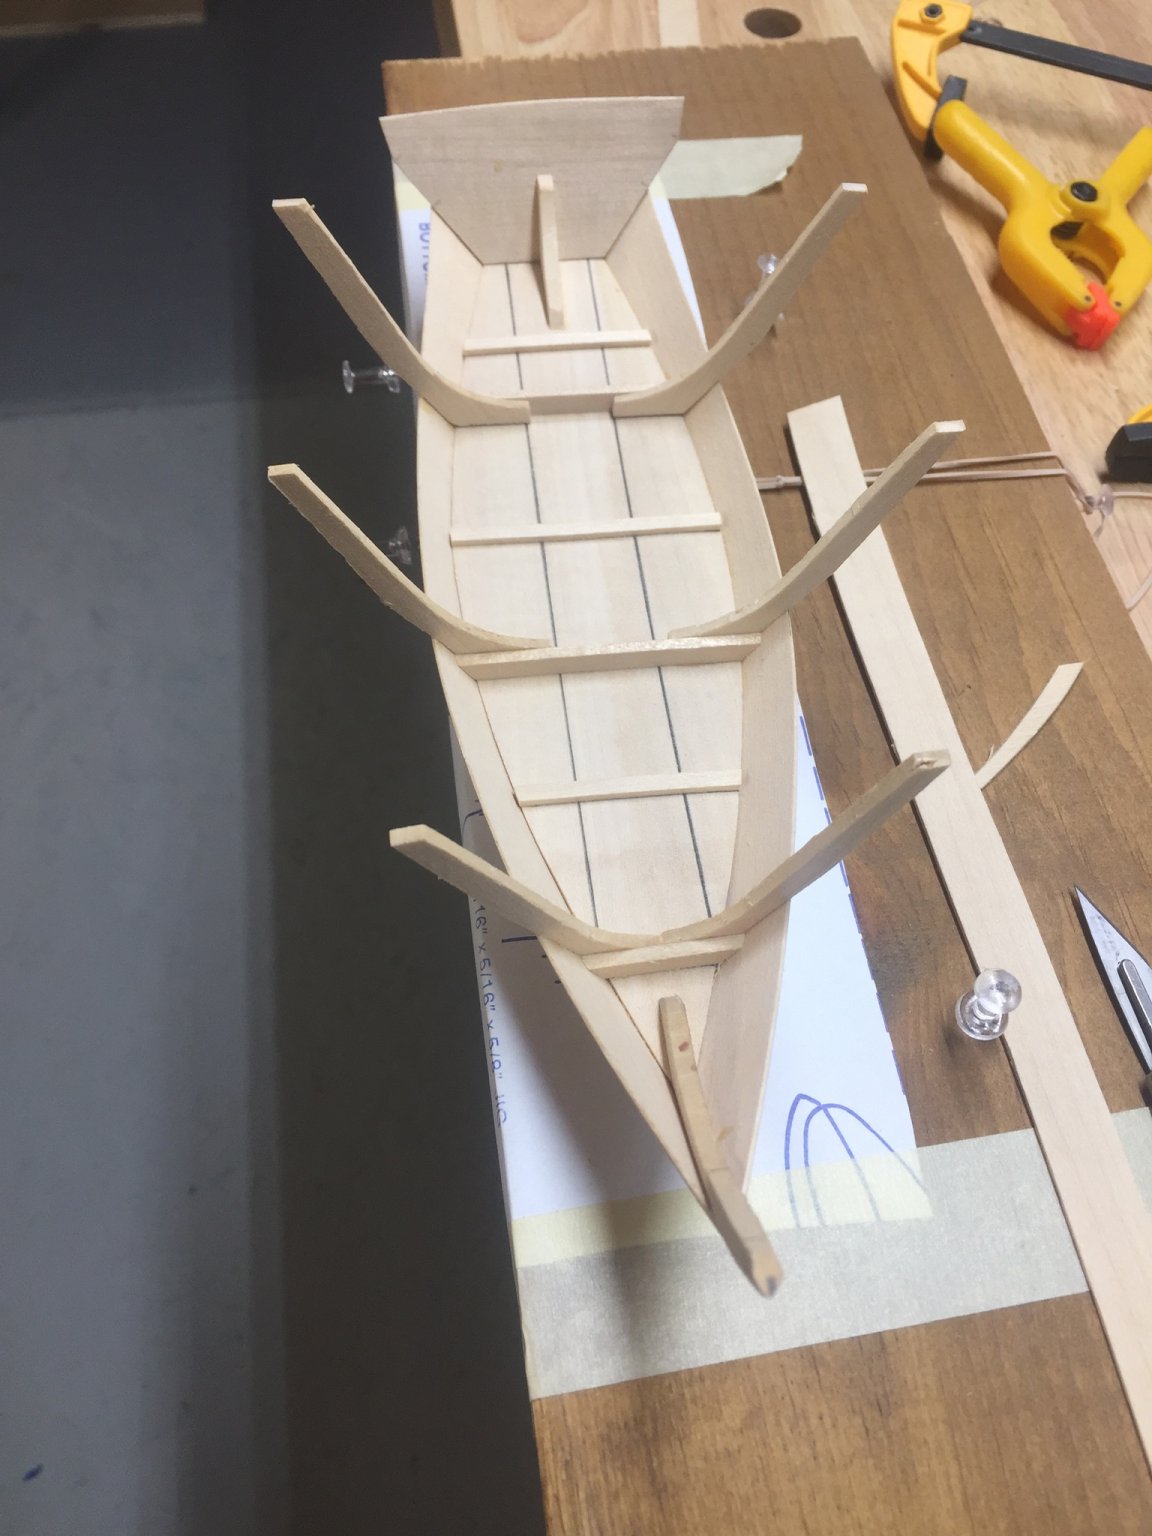
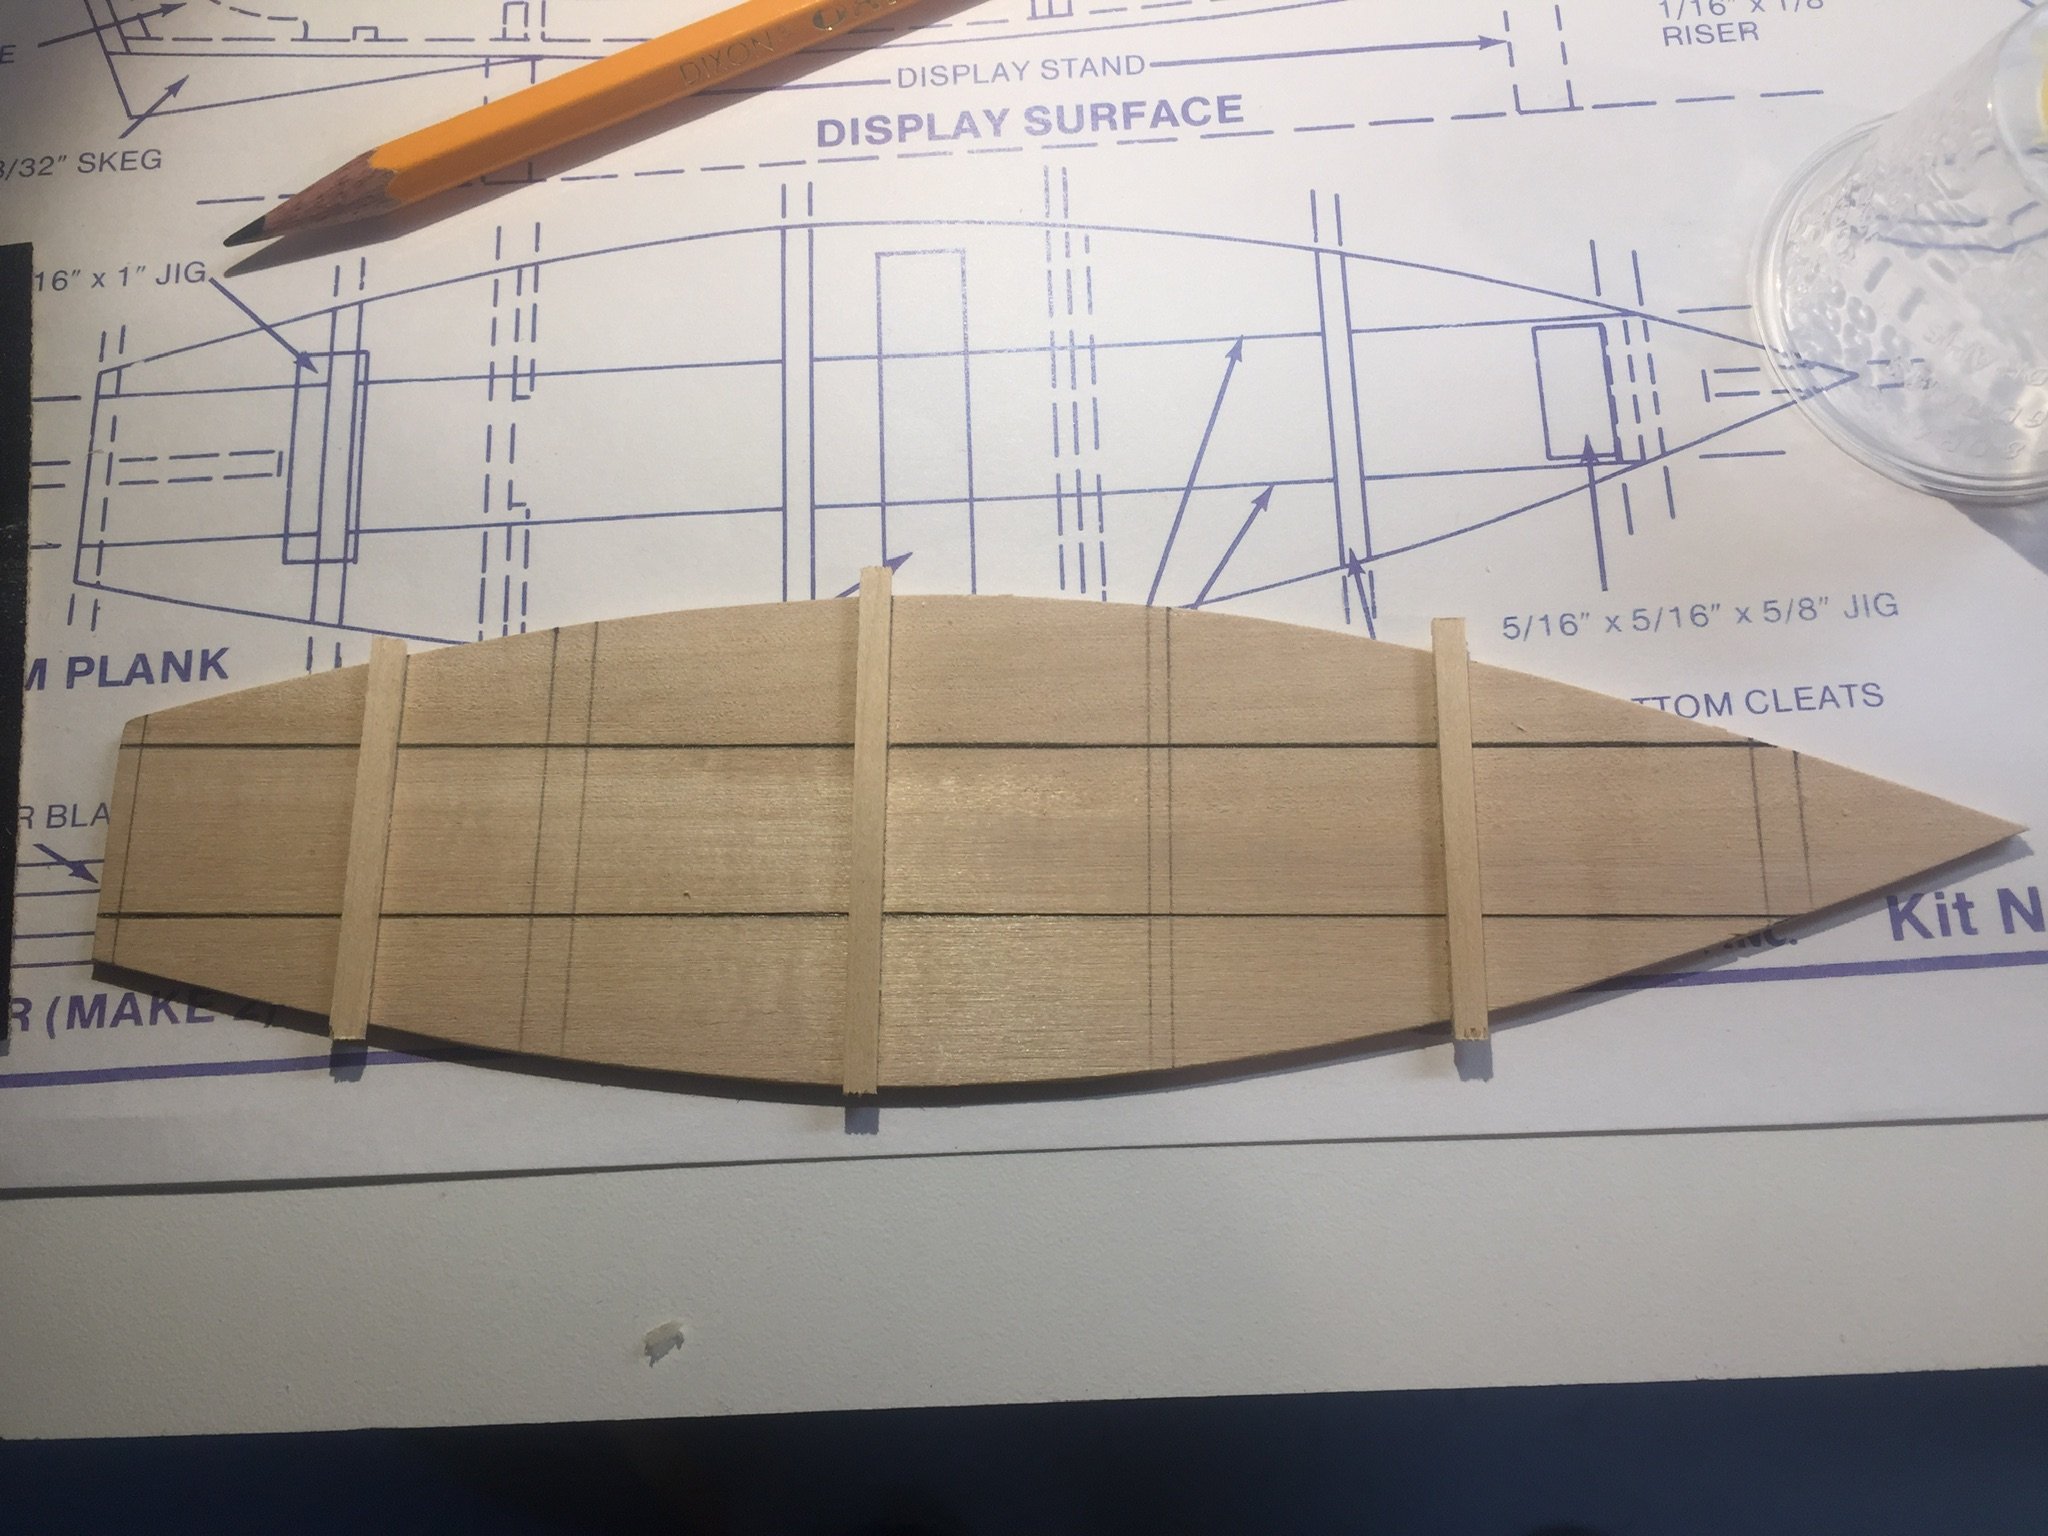
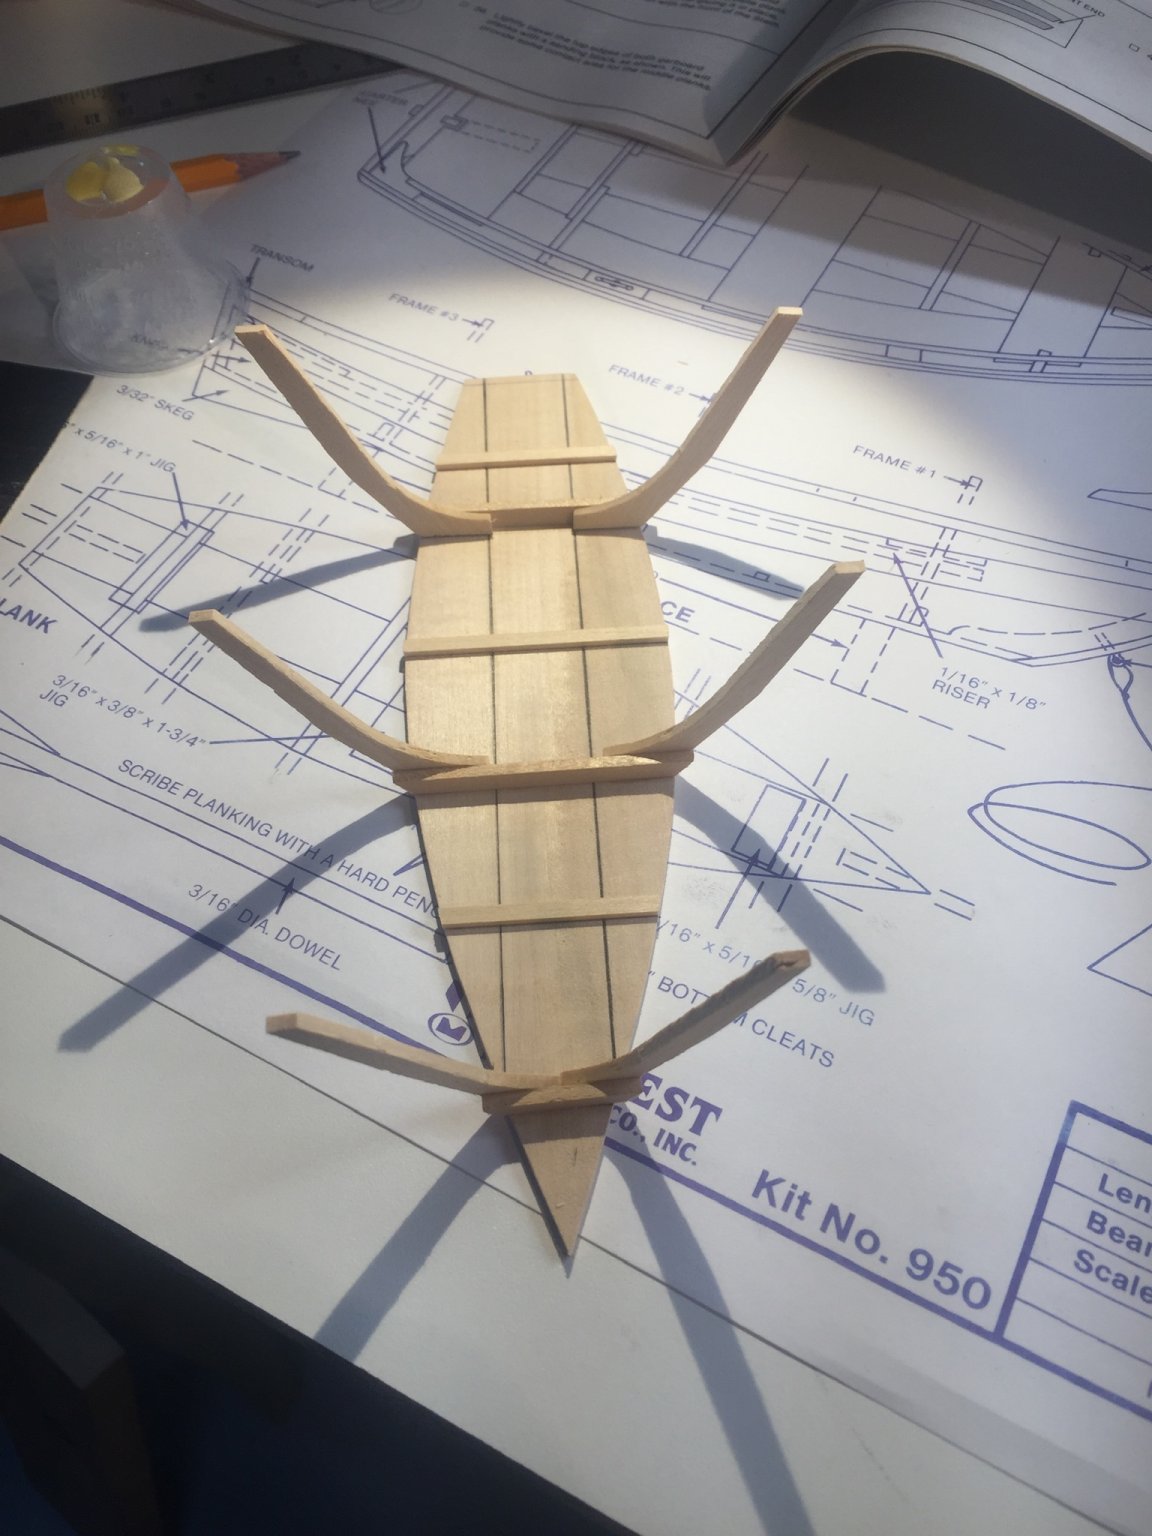
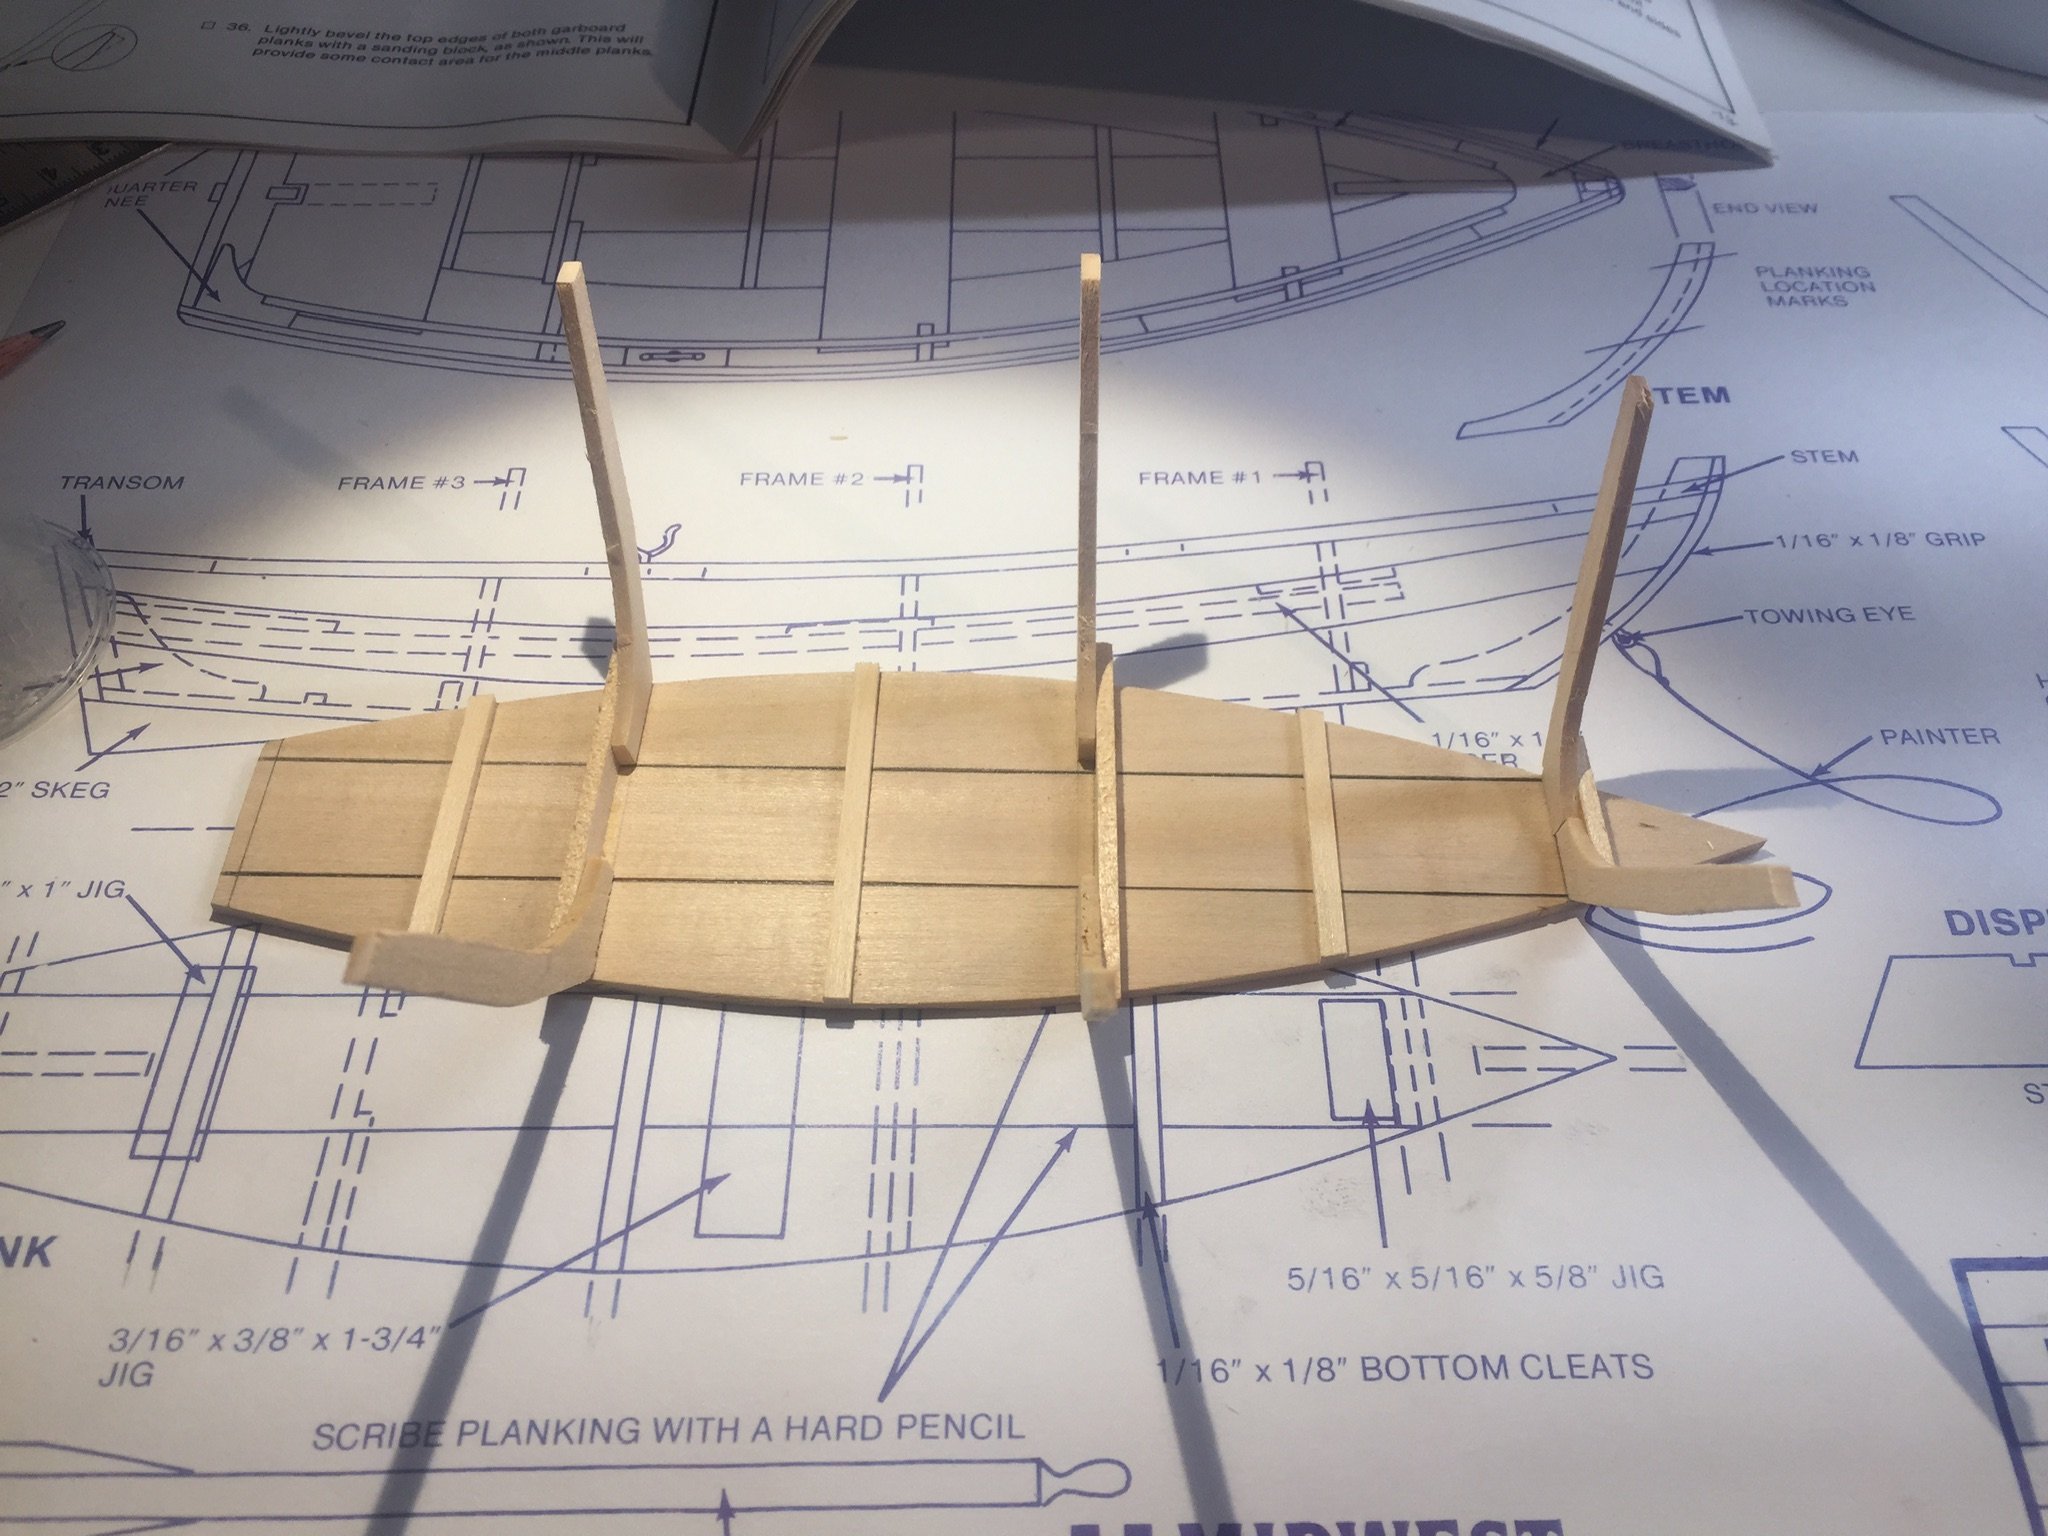
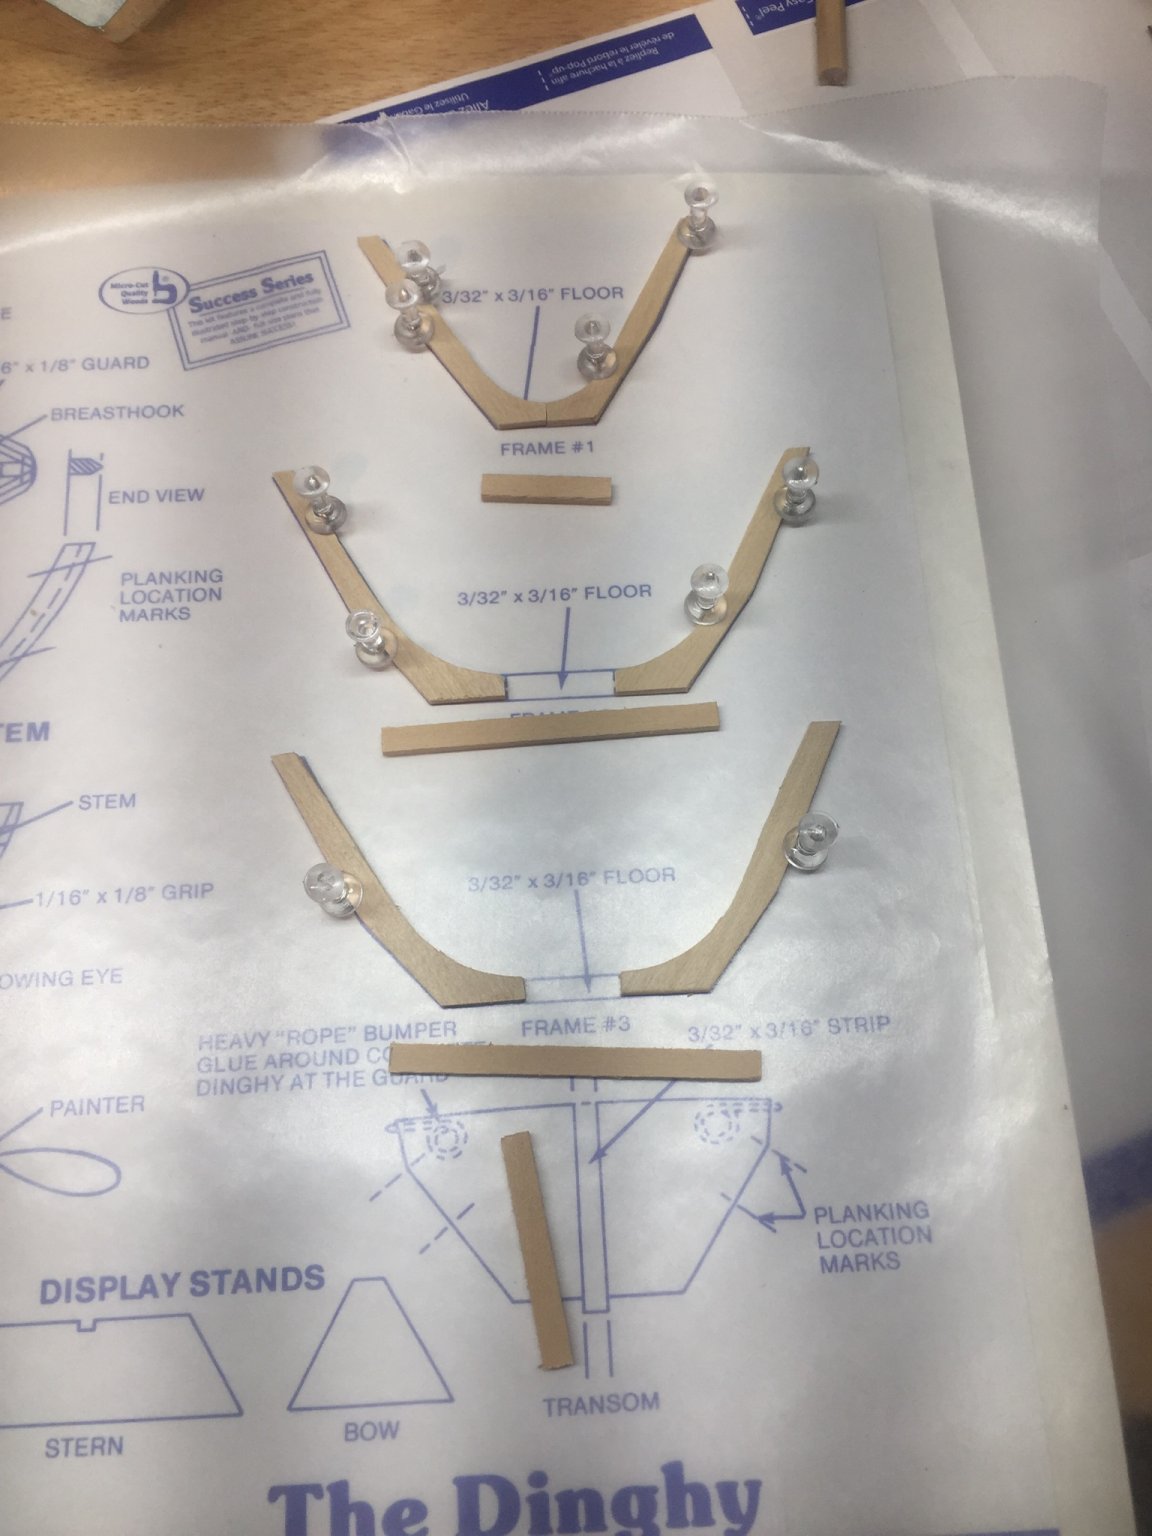
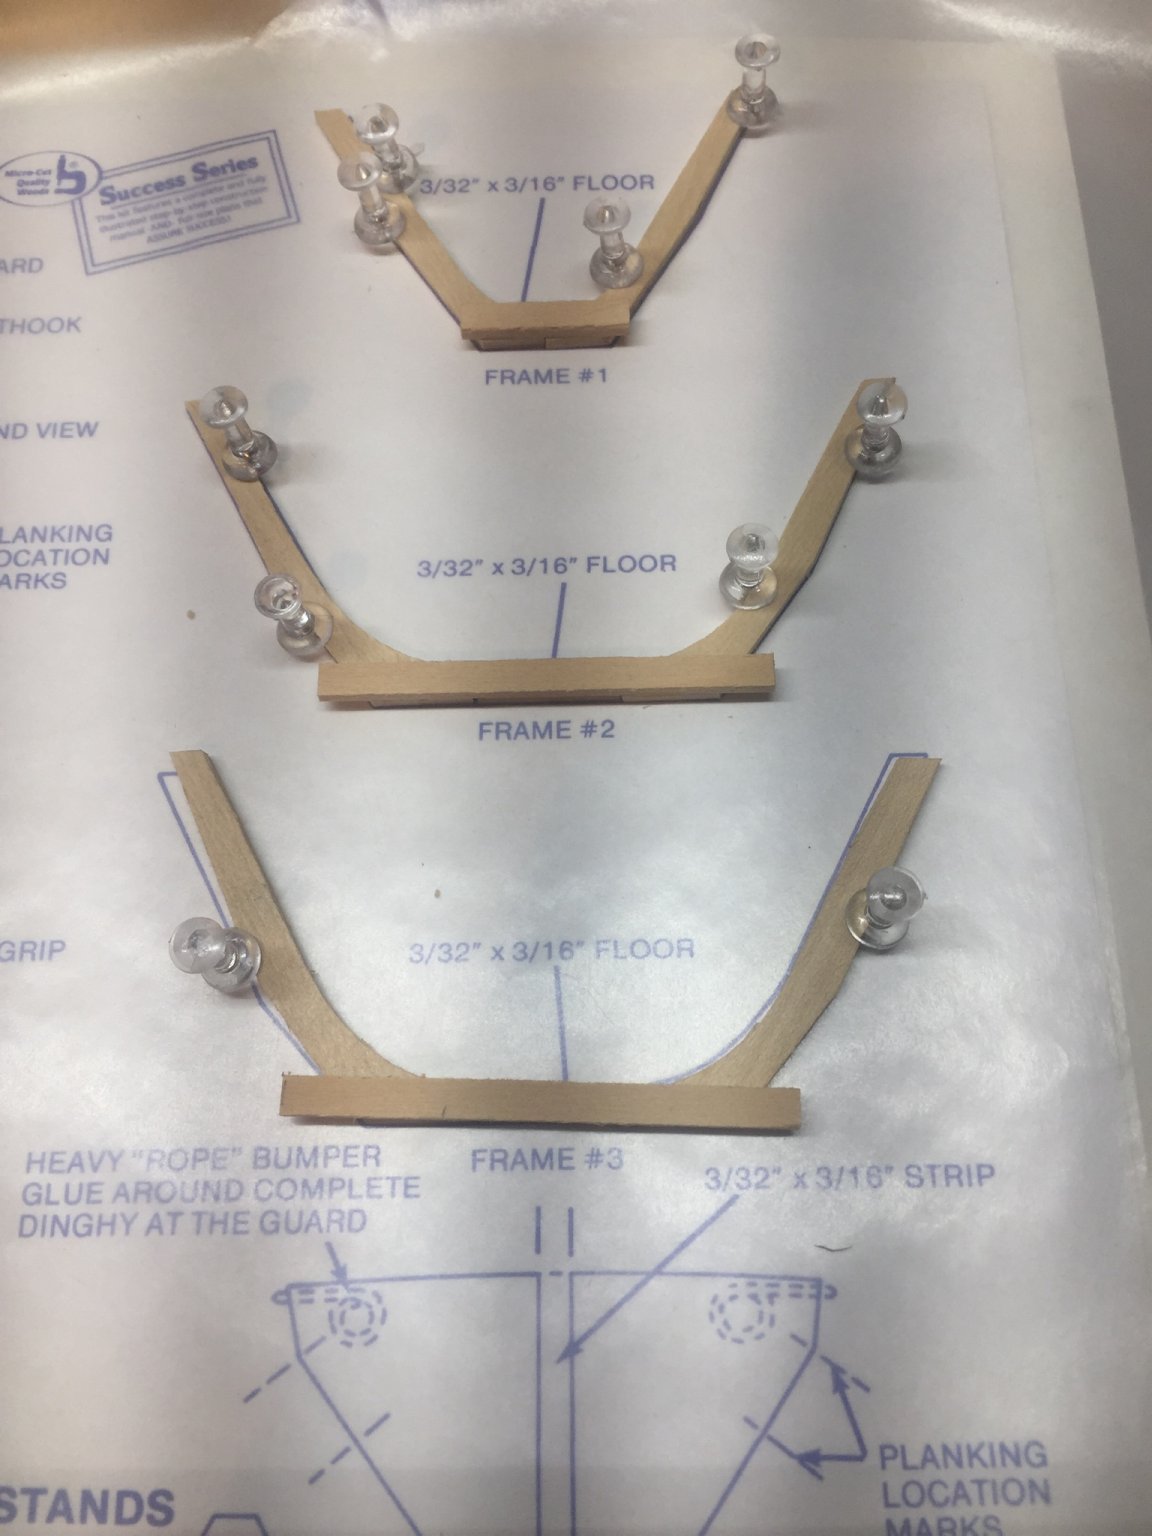
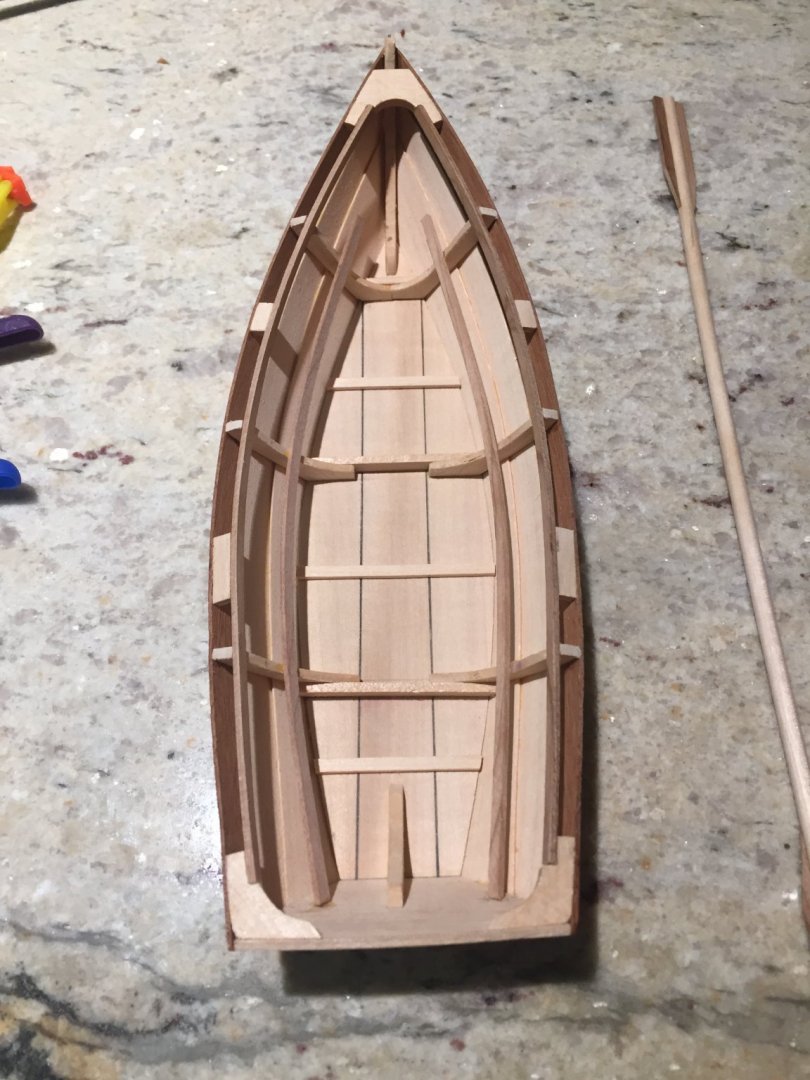
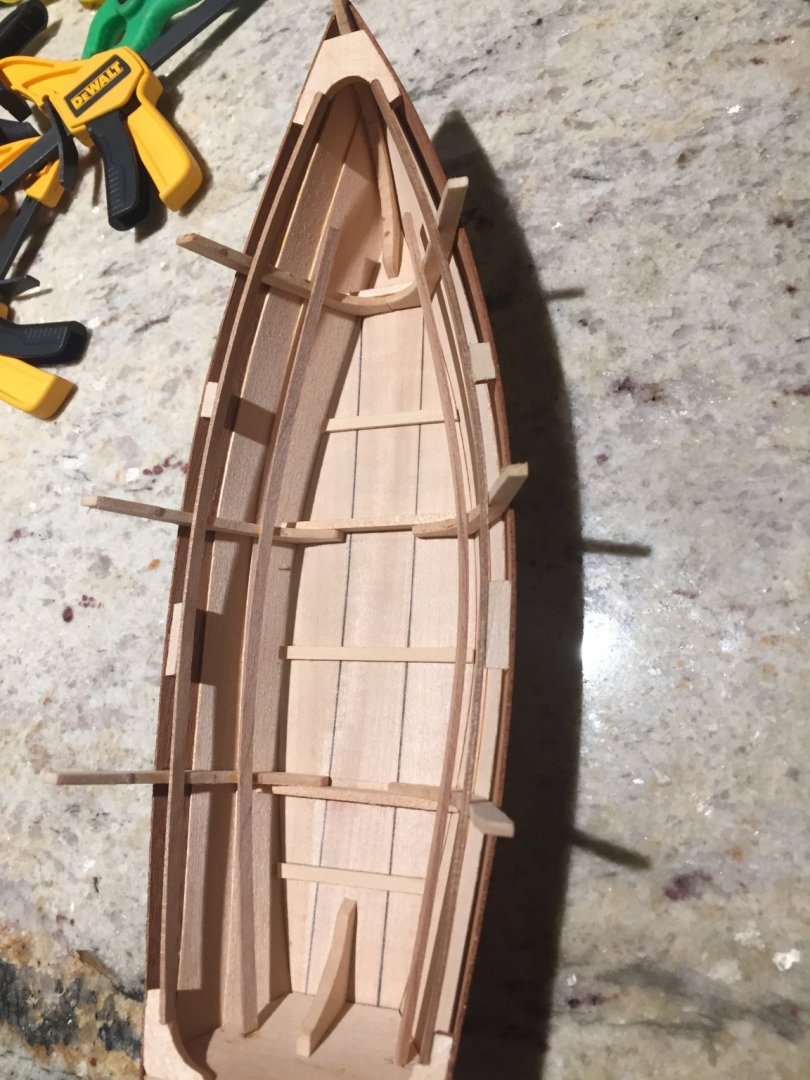
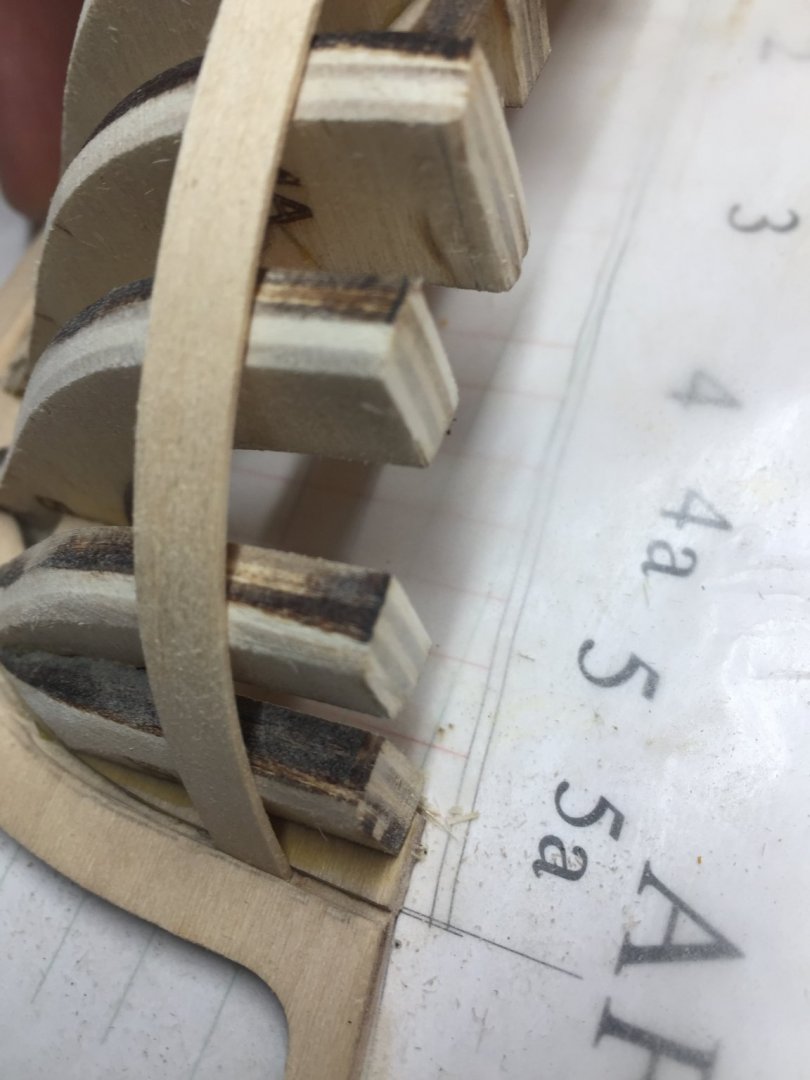
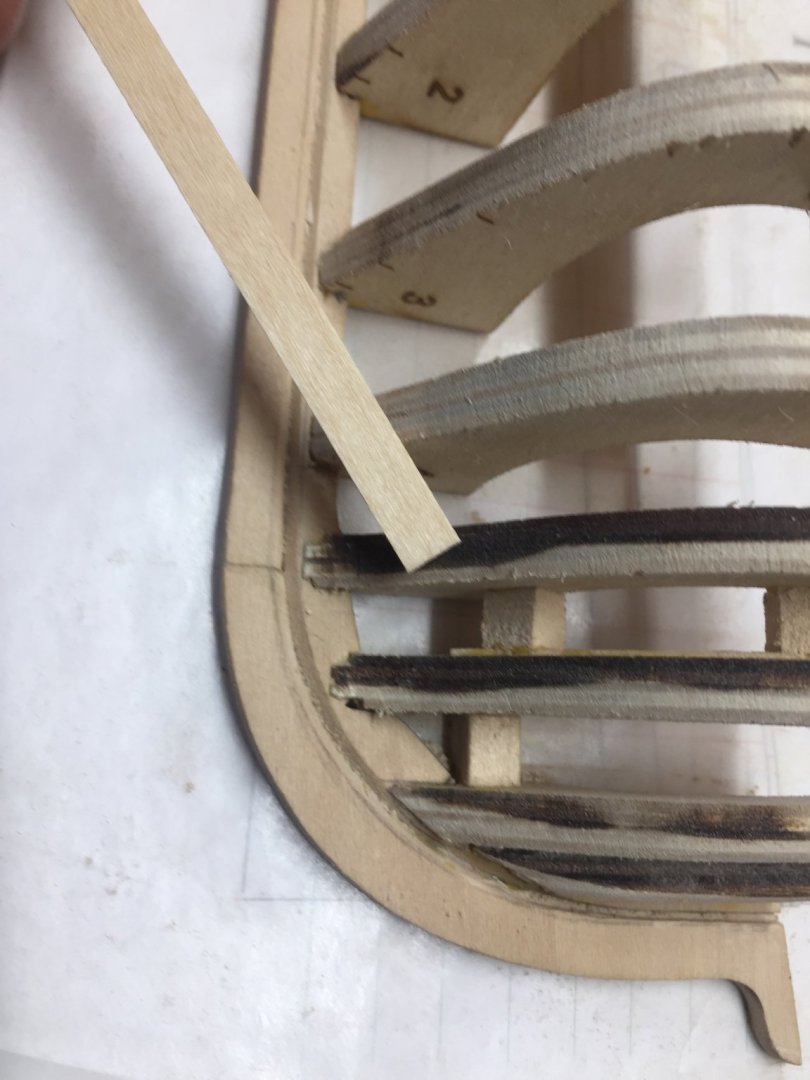
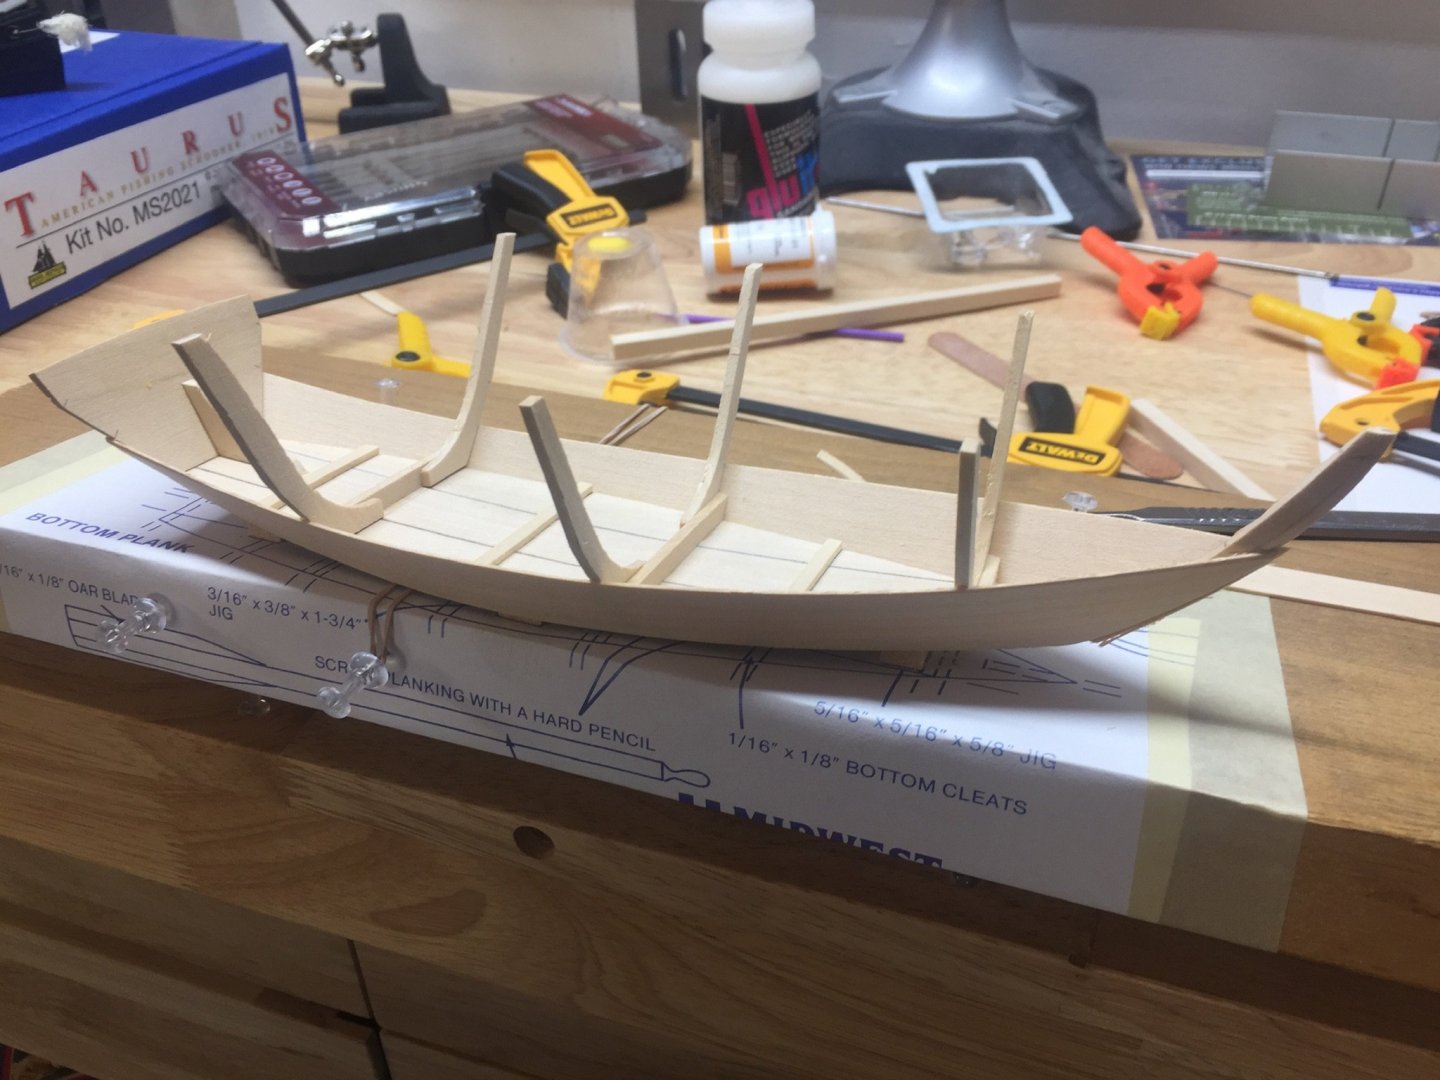
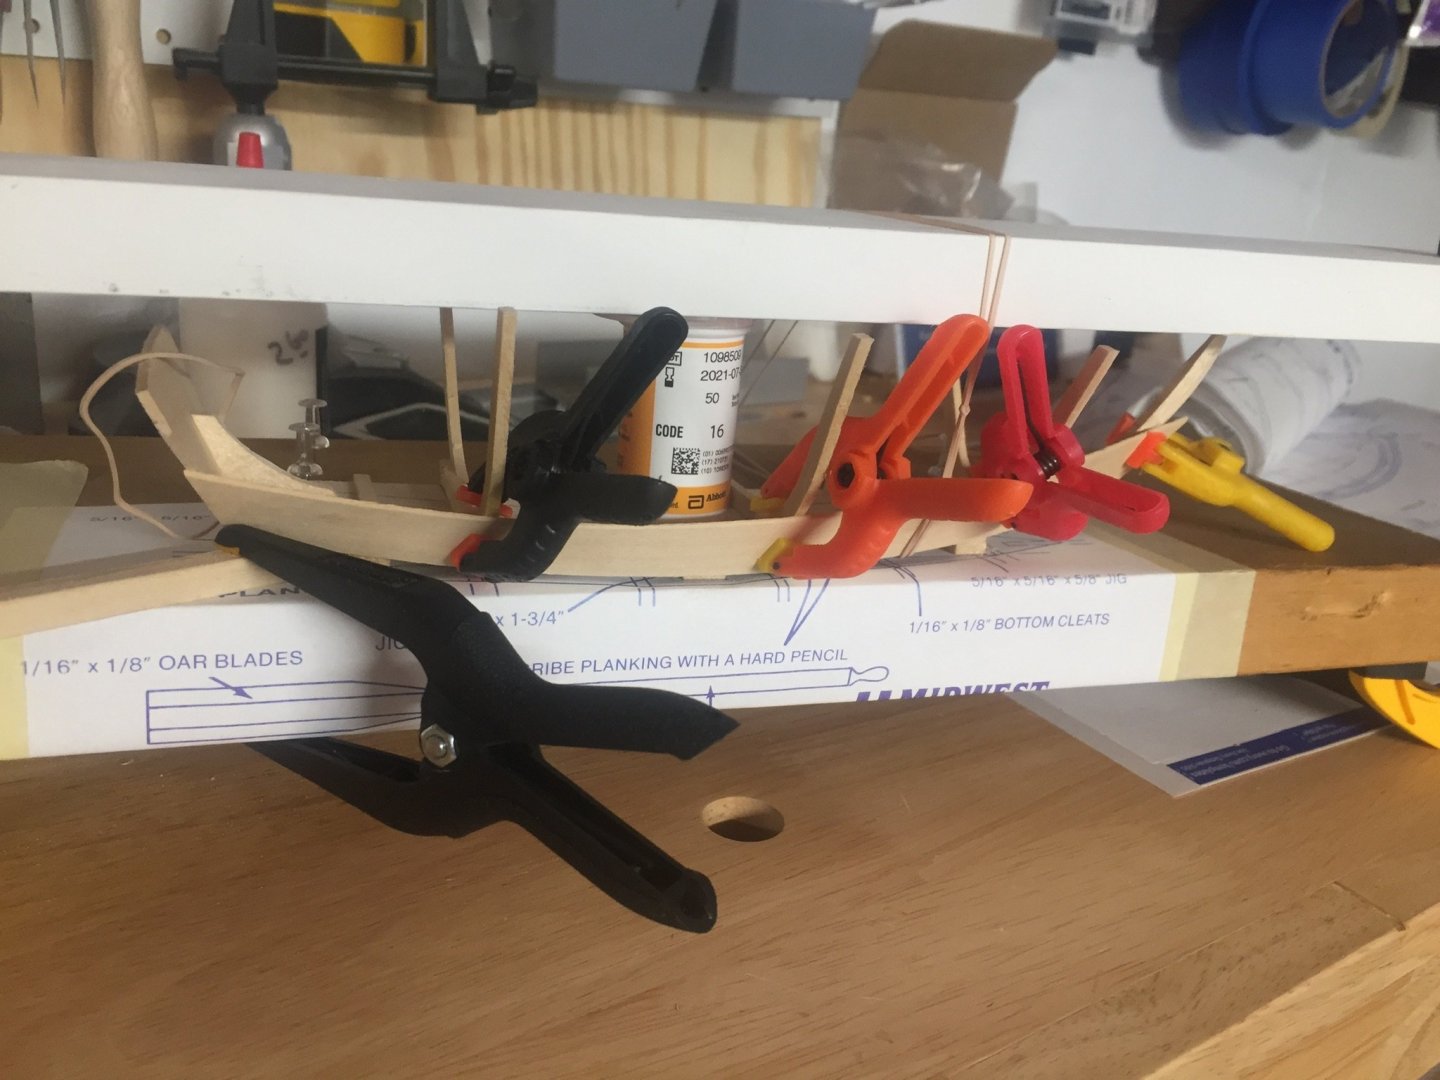
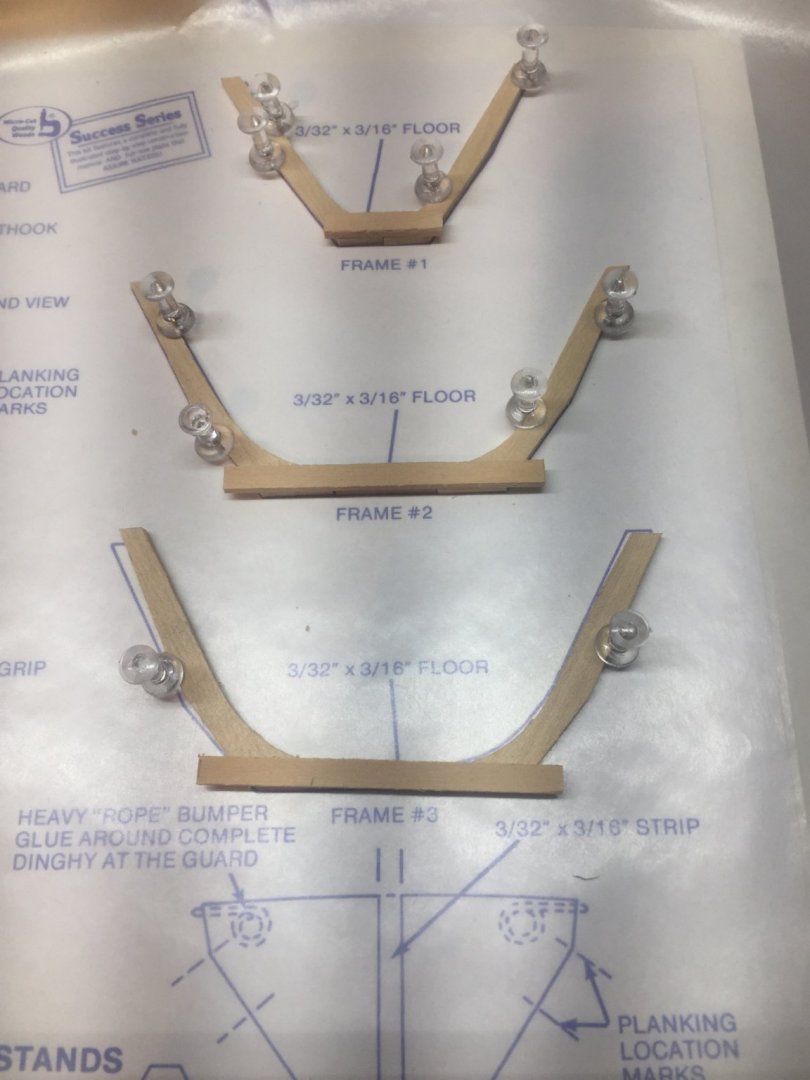
Frames got sanded at an angle and installed, this model went together quickly which was nice. I enjoy these simple kits for the quick satisfaction. blocks come with the kit and you must set up a build board...also another reason I make a copy of the plans so I can cut one up and damage it lol. I thought this was a great idea, but I’ll admit the board did not make it any easier, but I wanted to avoid putting tacks through the hull.


- 29 replies
-
- 5
-
-
- Dinghy
- Midwest Products
- (and 1 more)
-
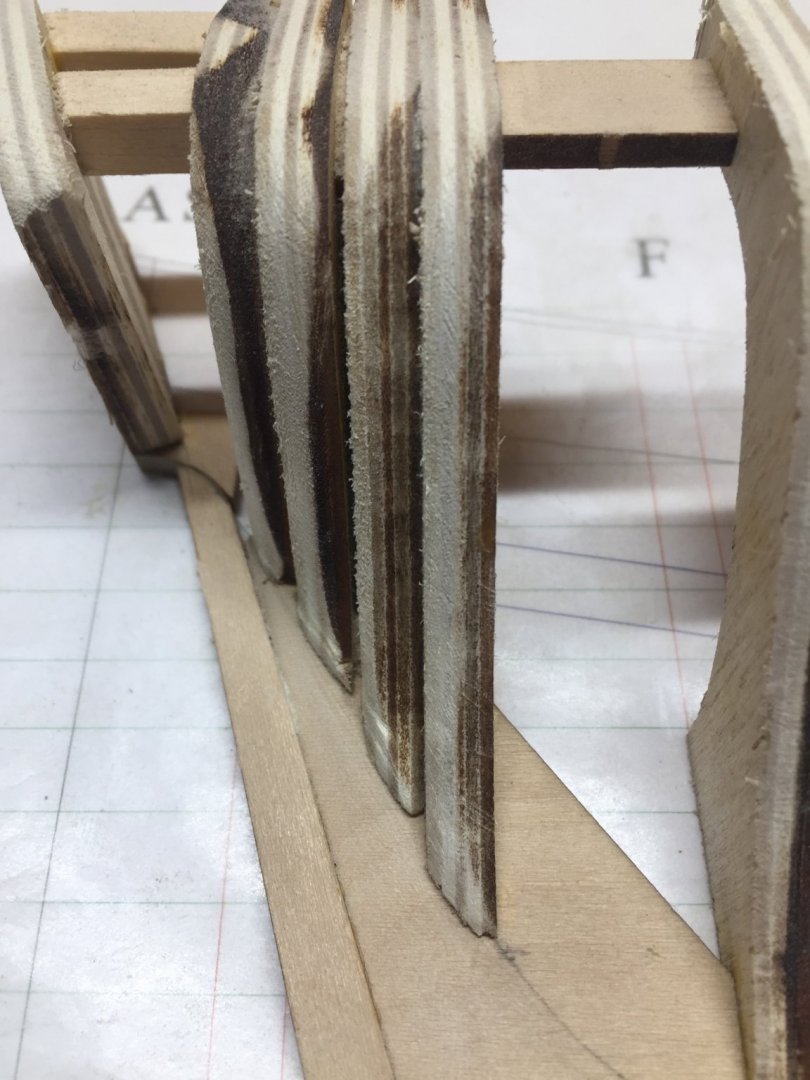
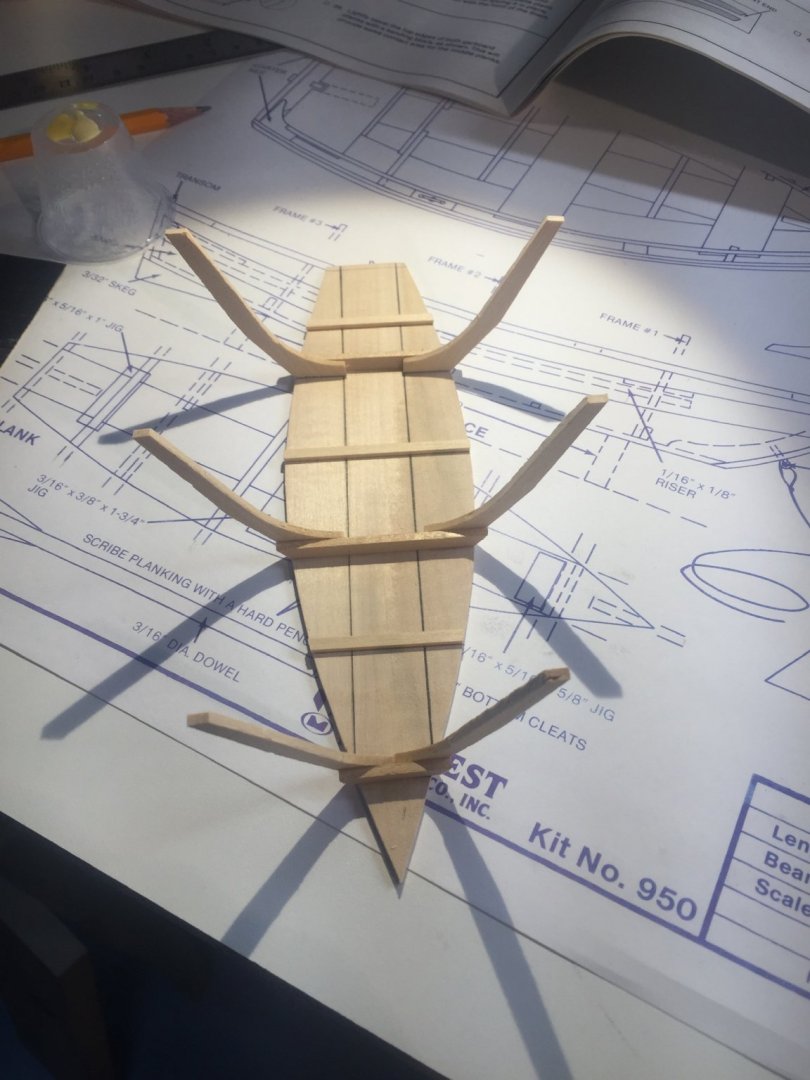
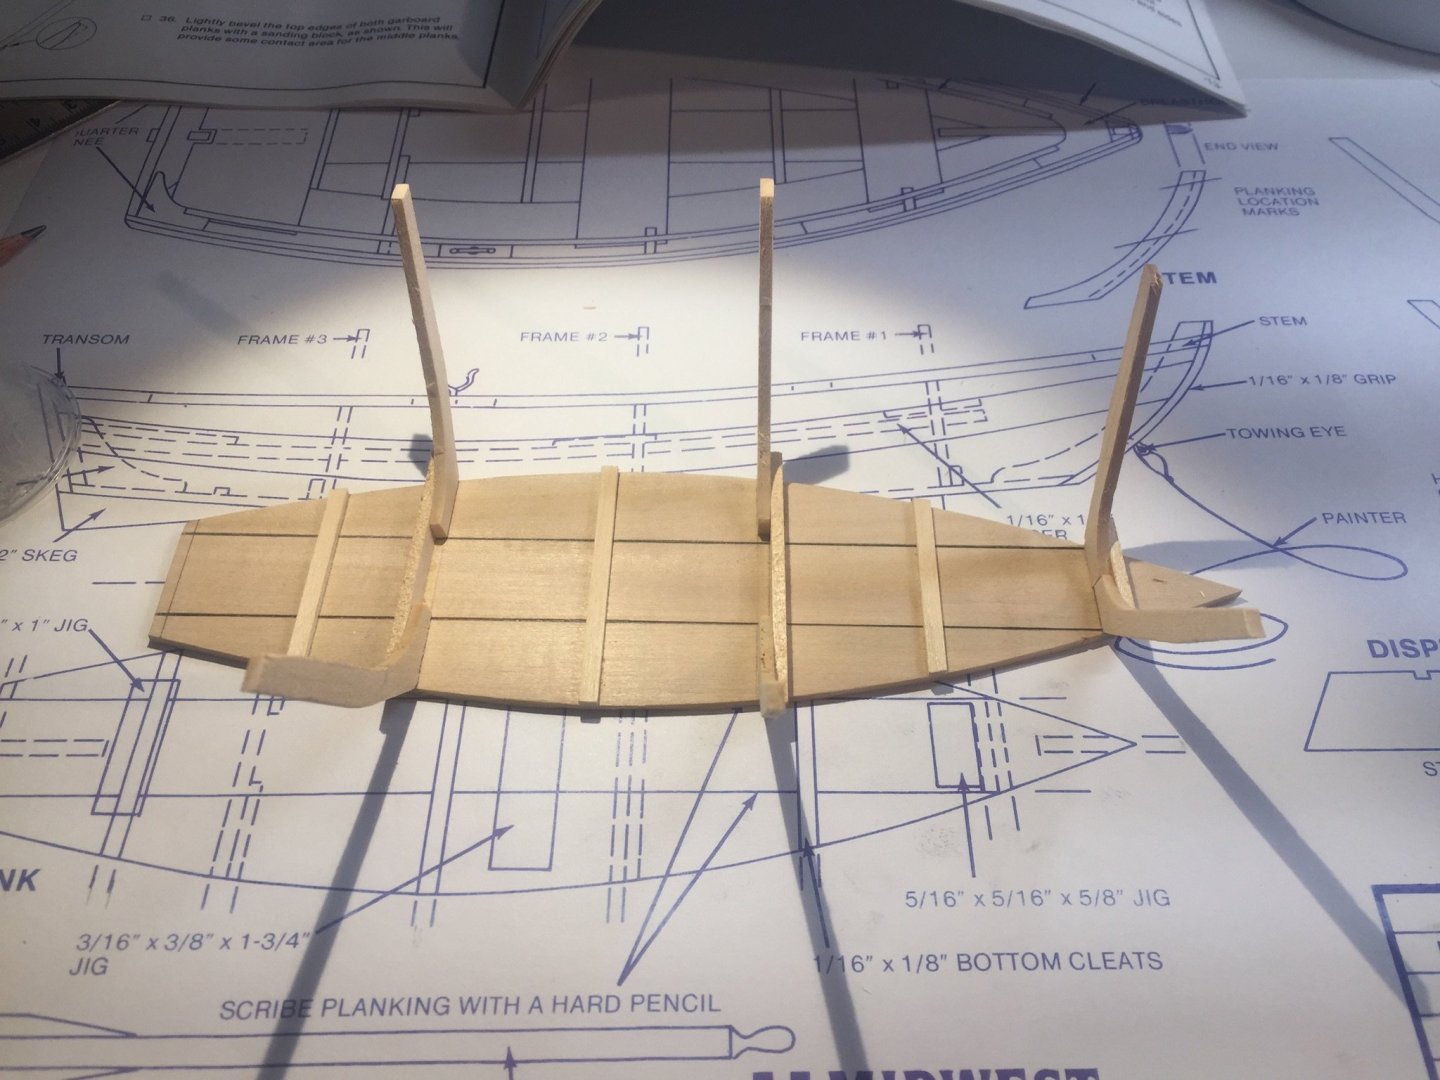
I did fix that frame, I noticed it before I glued. I have learned on my last kit (s) to dry fit before gluing and double check twice... so I continued following the plans and instructions, making sure to take my time, these kits are perfect to try to really get everything exact.
- 29 replies
-
- 6
-
-
- Dinghy
- Midwest Products
- (and 1 more)
-
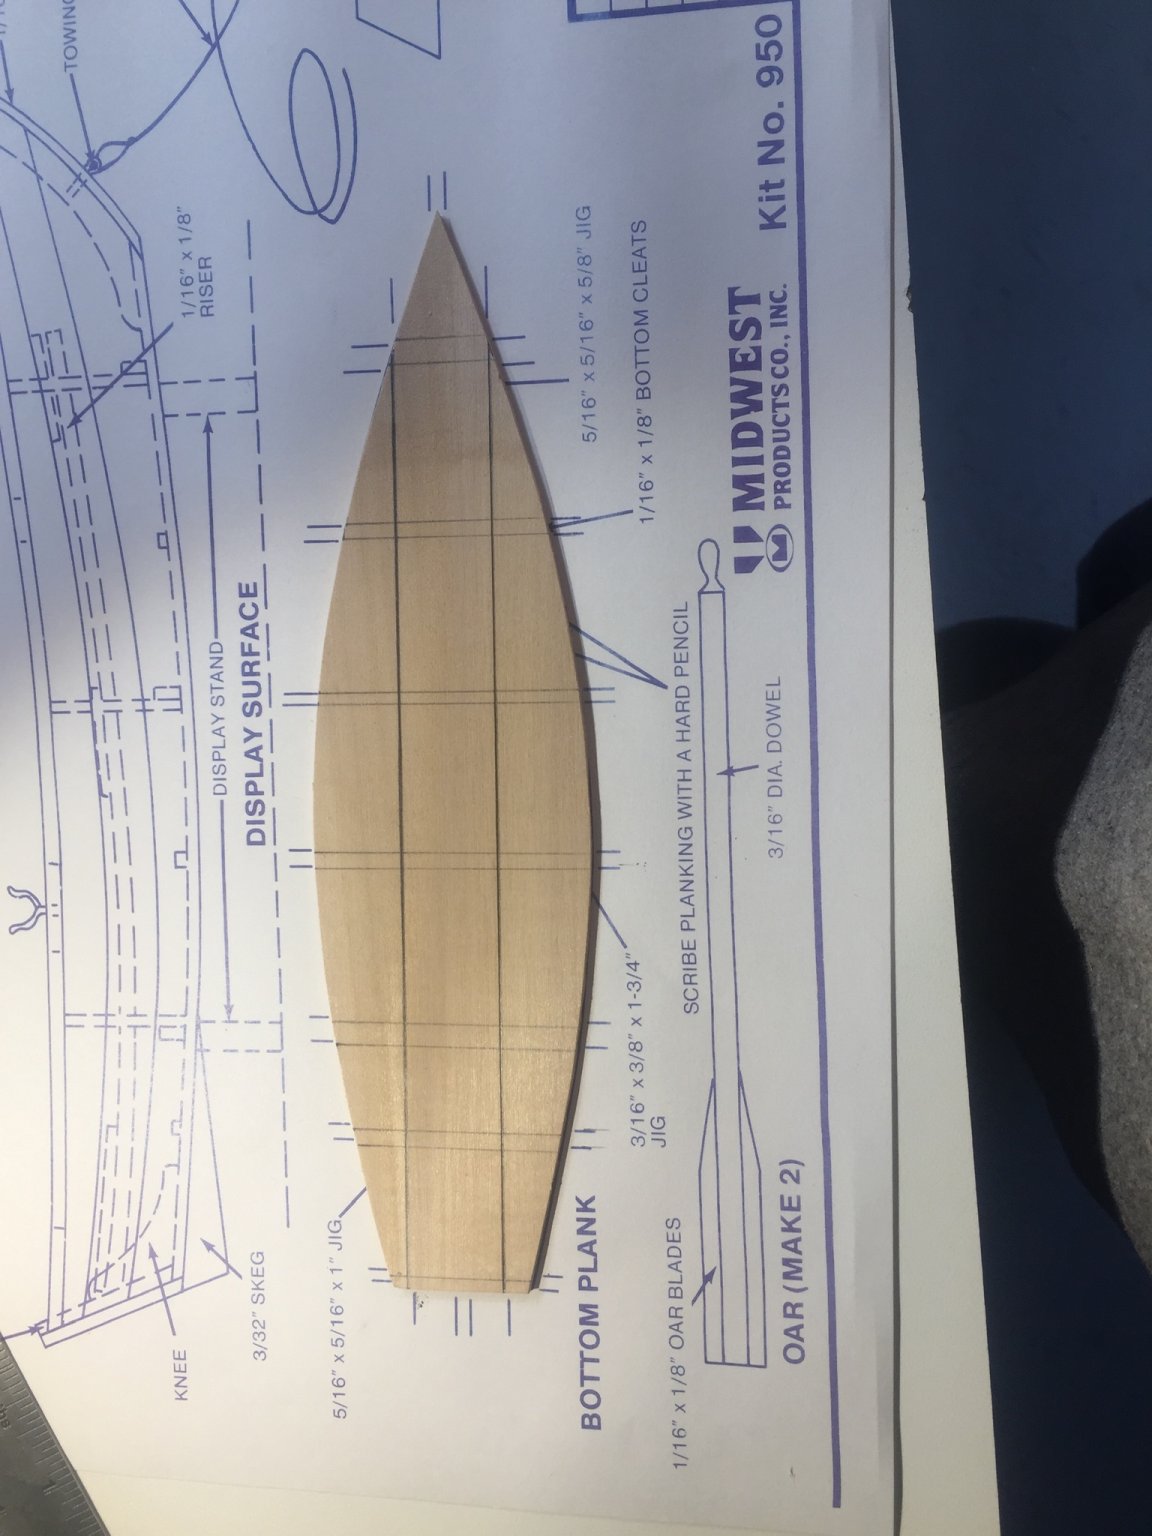
The best part about these kits is the clear instructions and plans...so I followed them....


- 29 replies
-
- 4
-
-
- Dinghy
- Midwest Products
- (and 1 more)
-
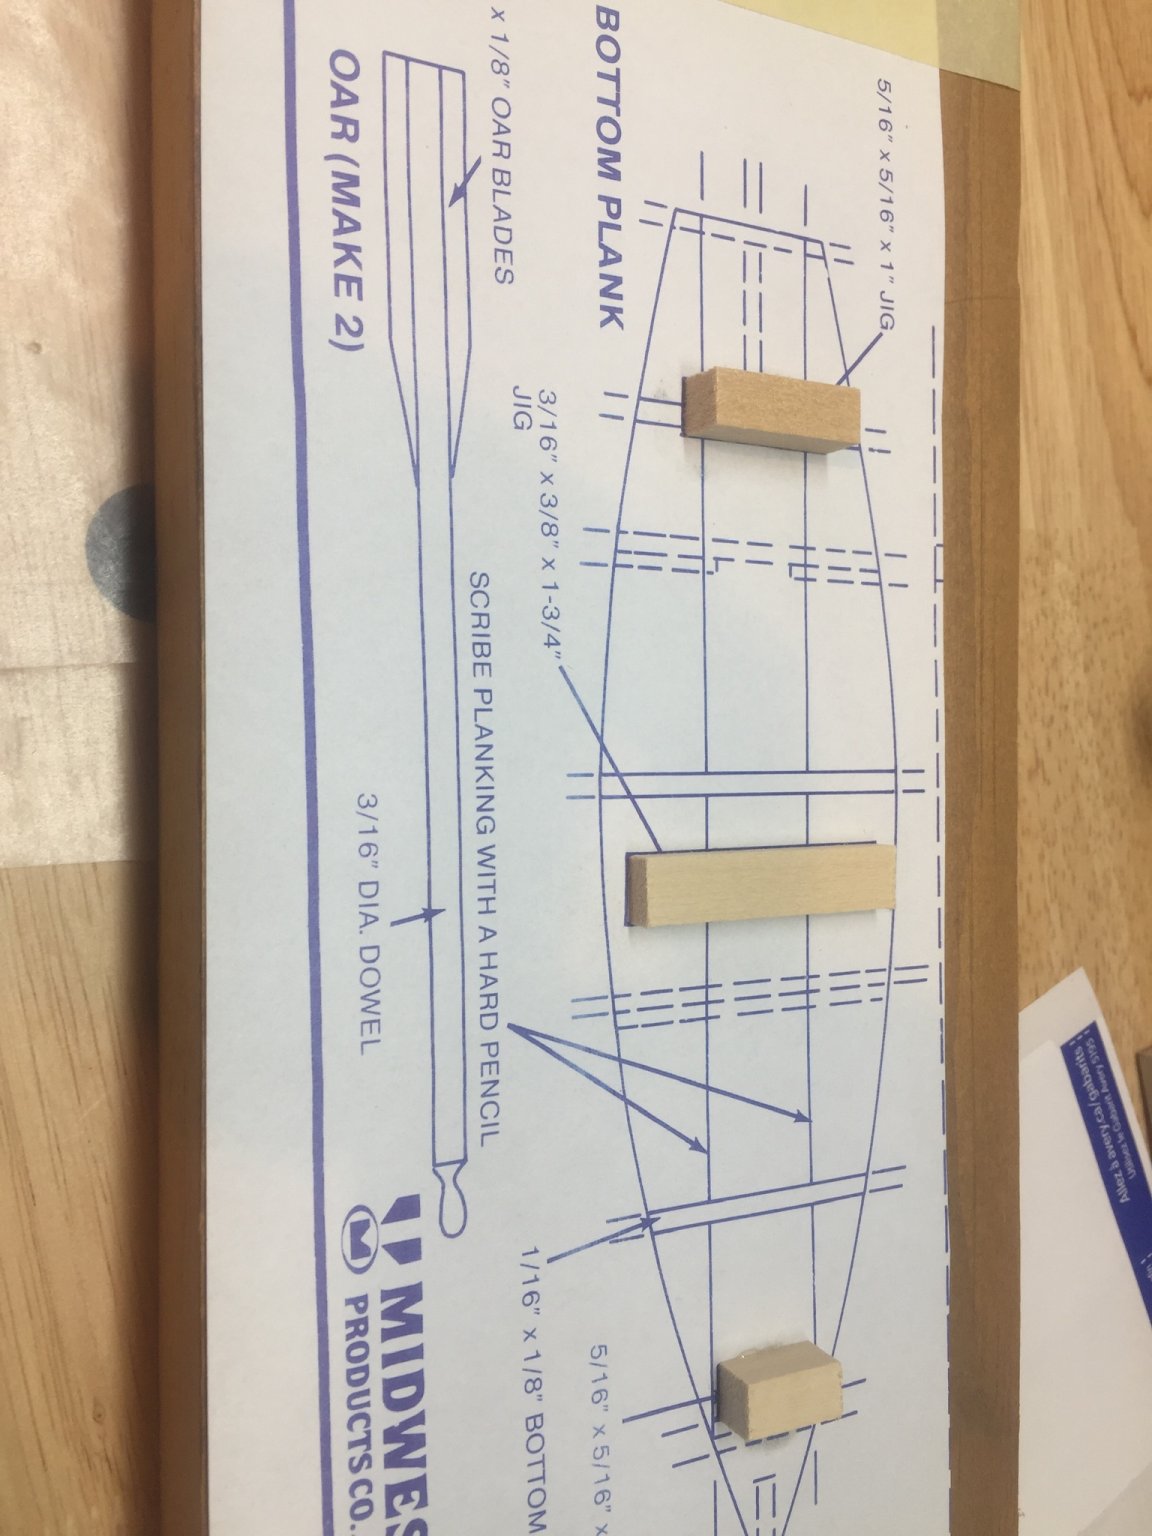
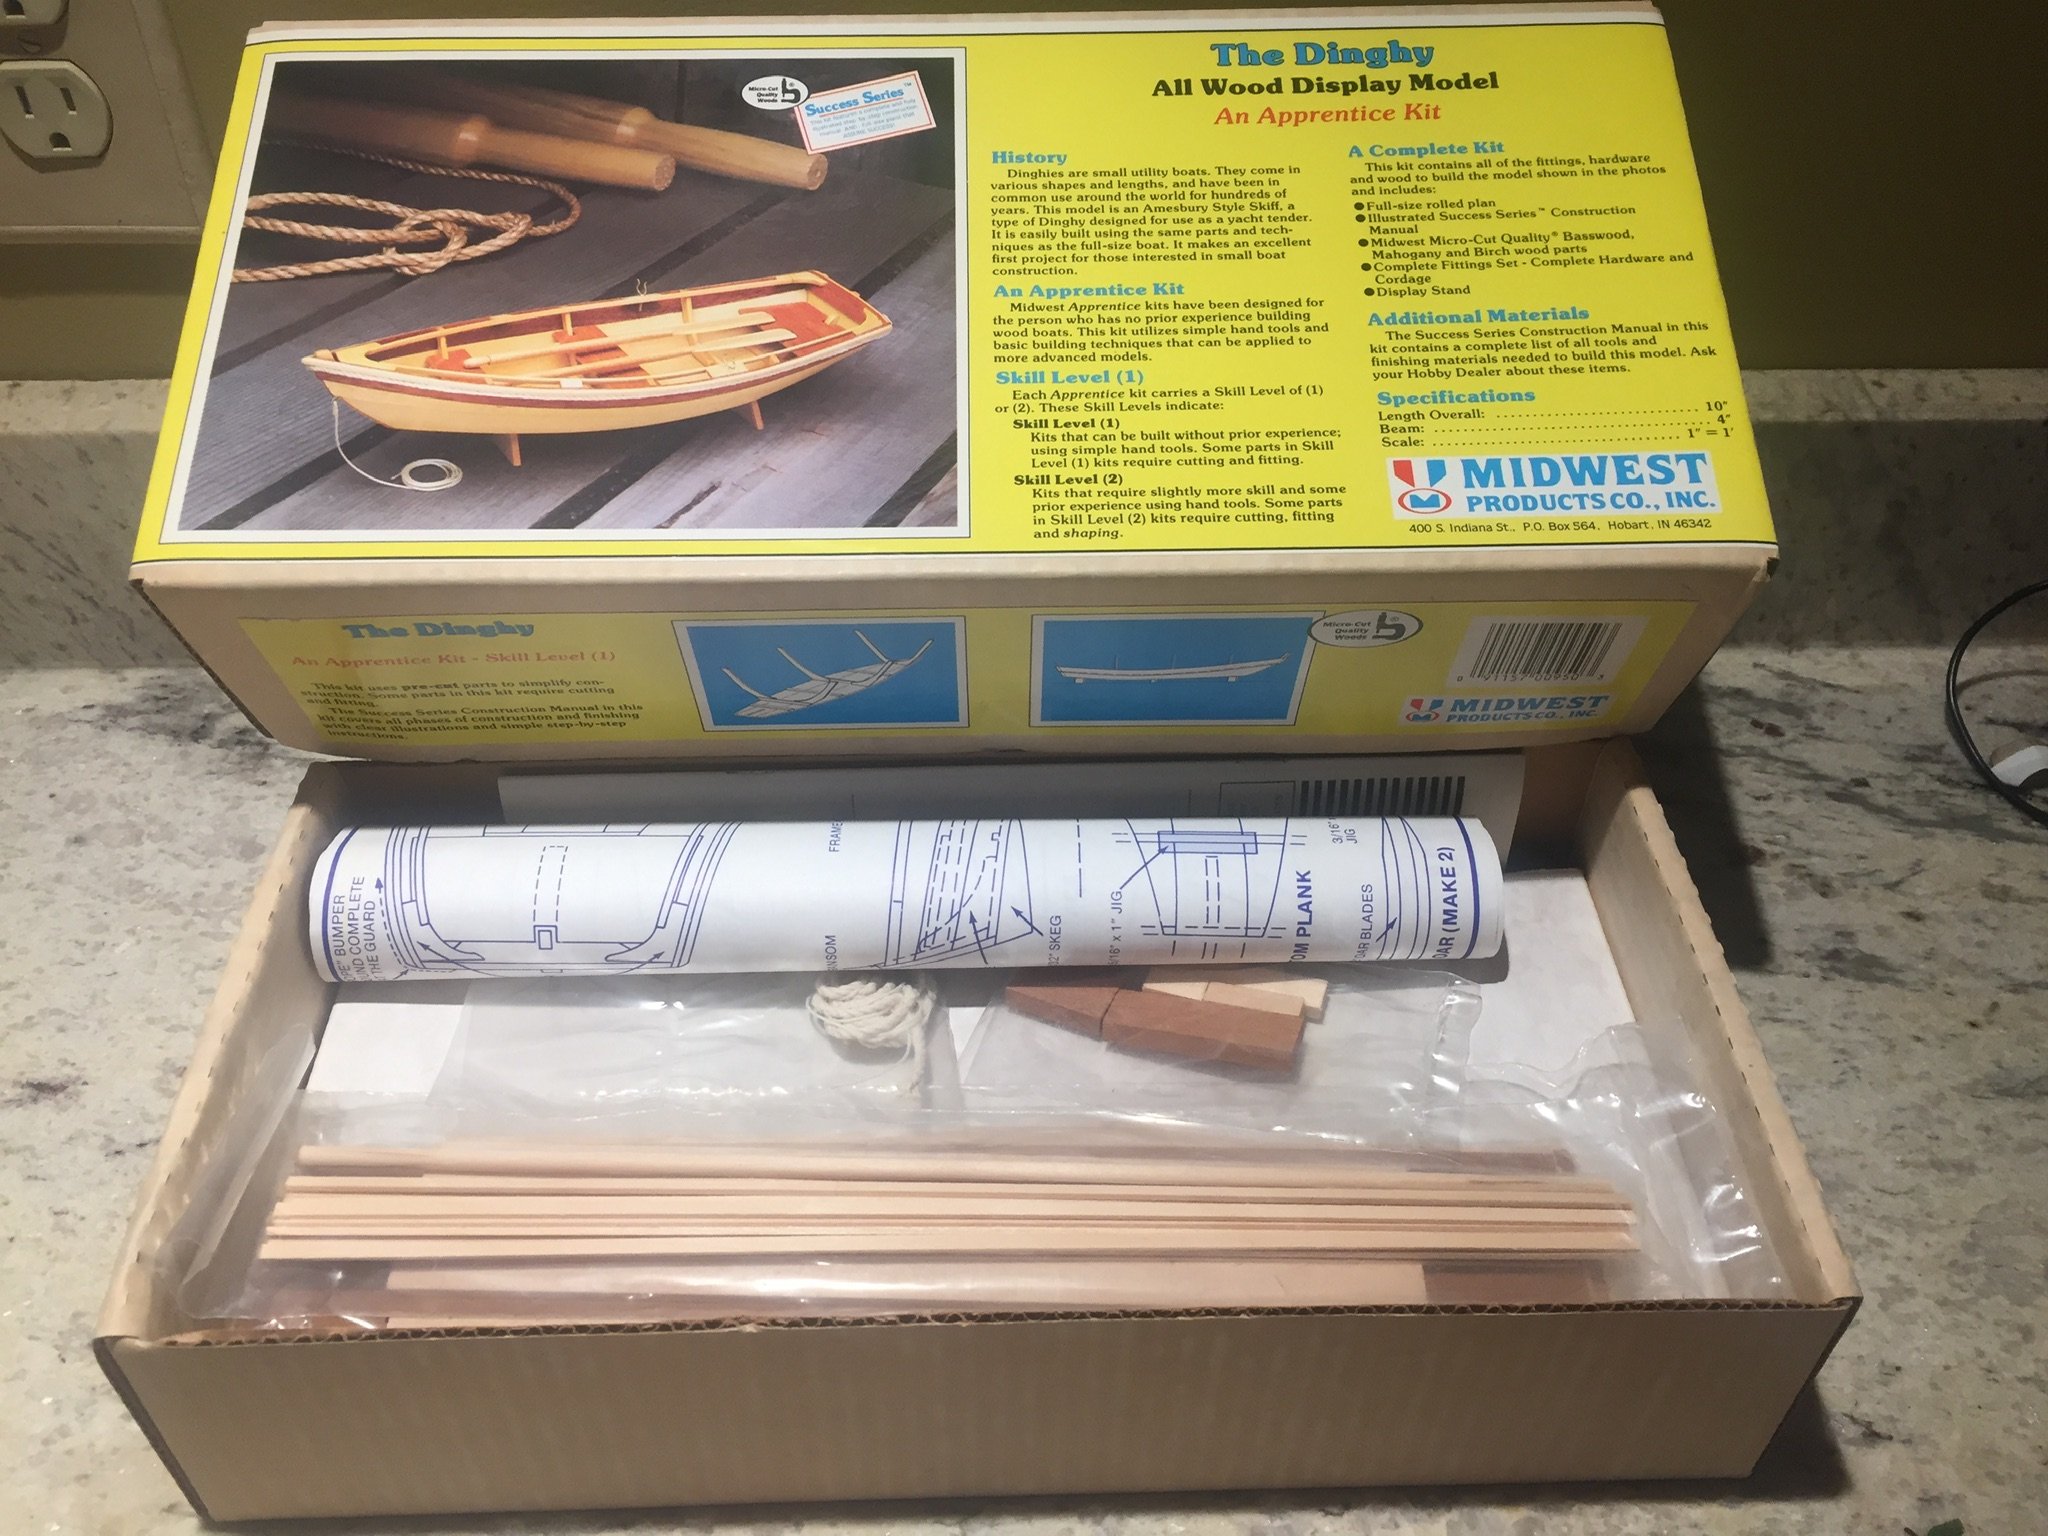
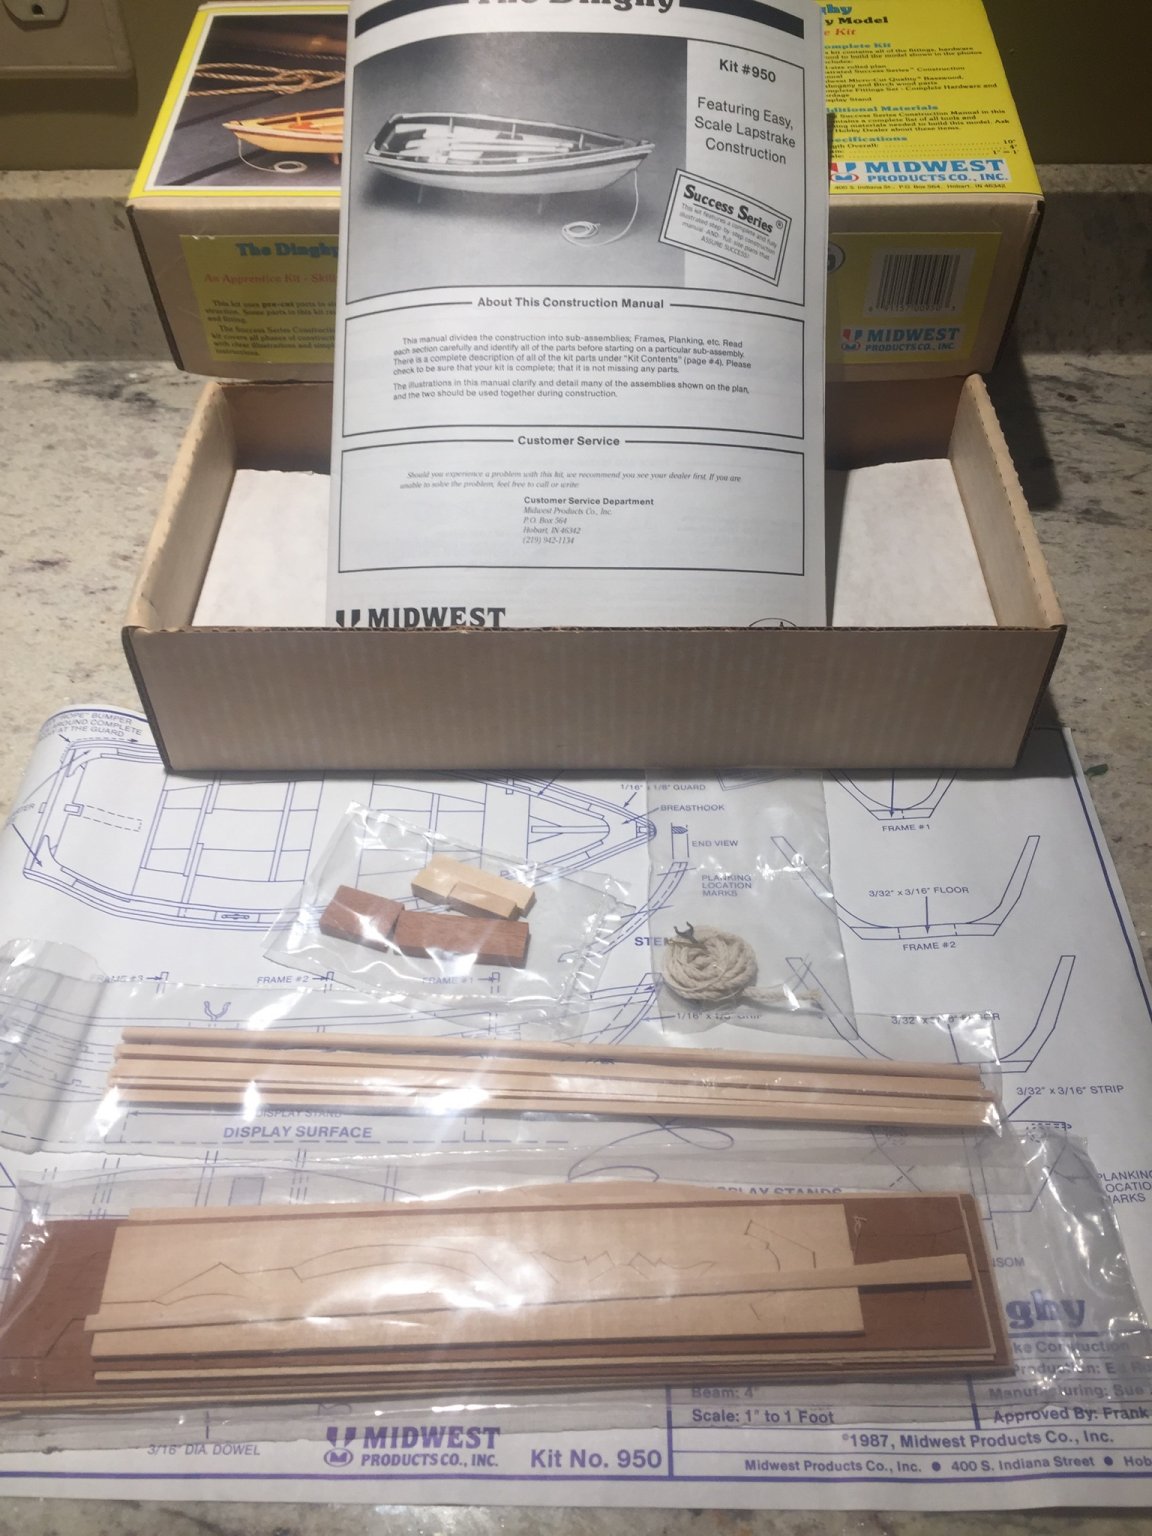
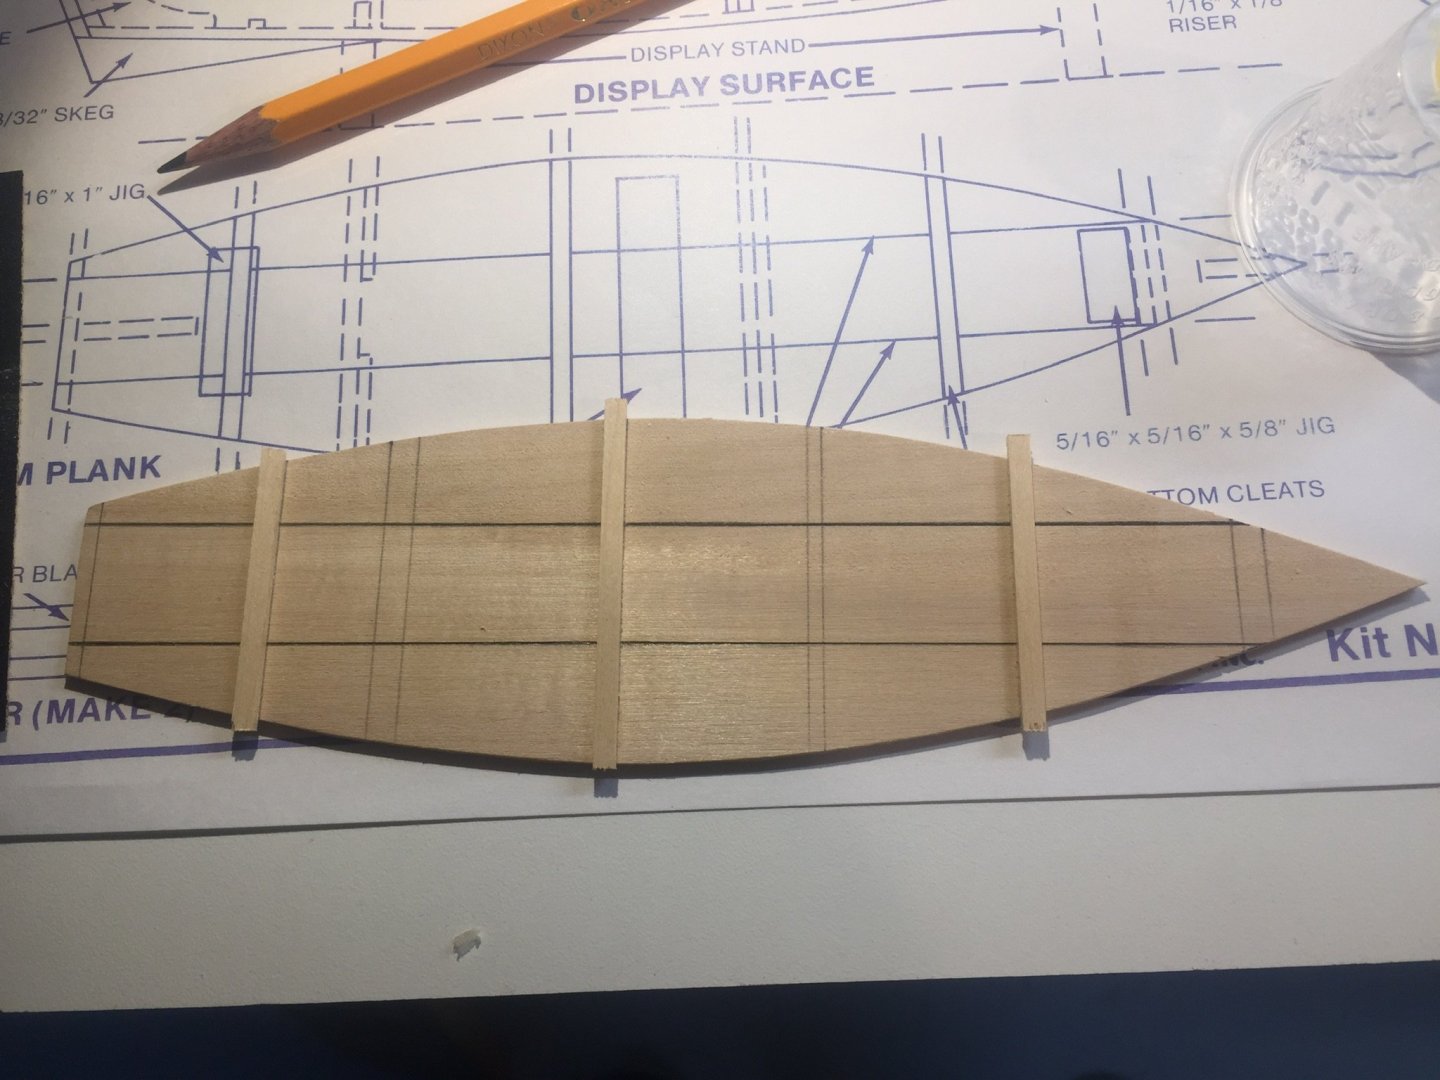
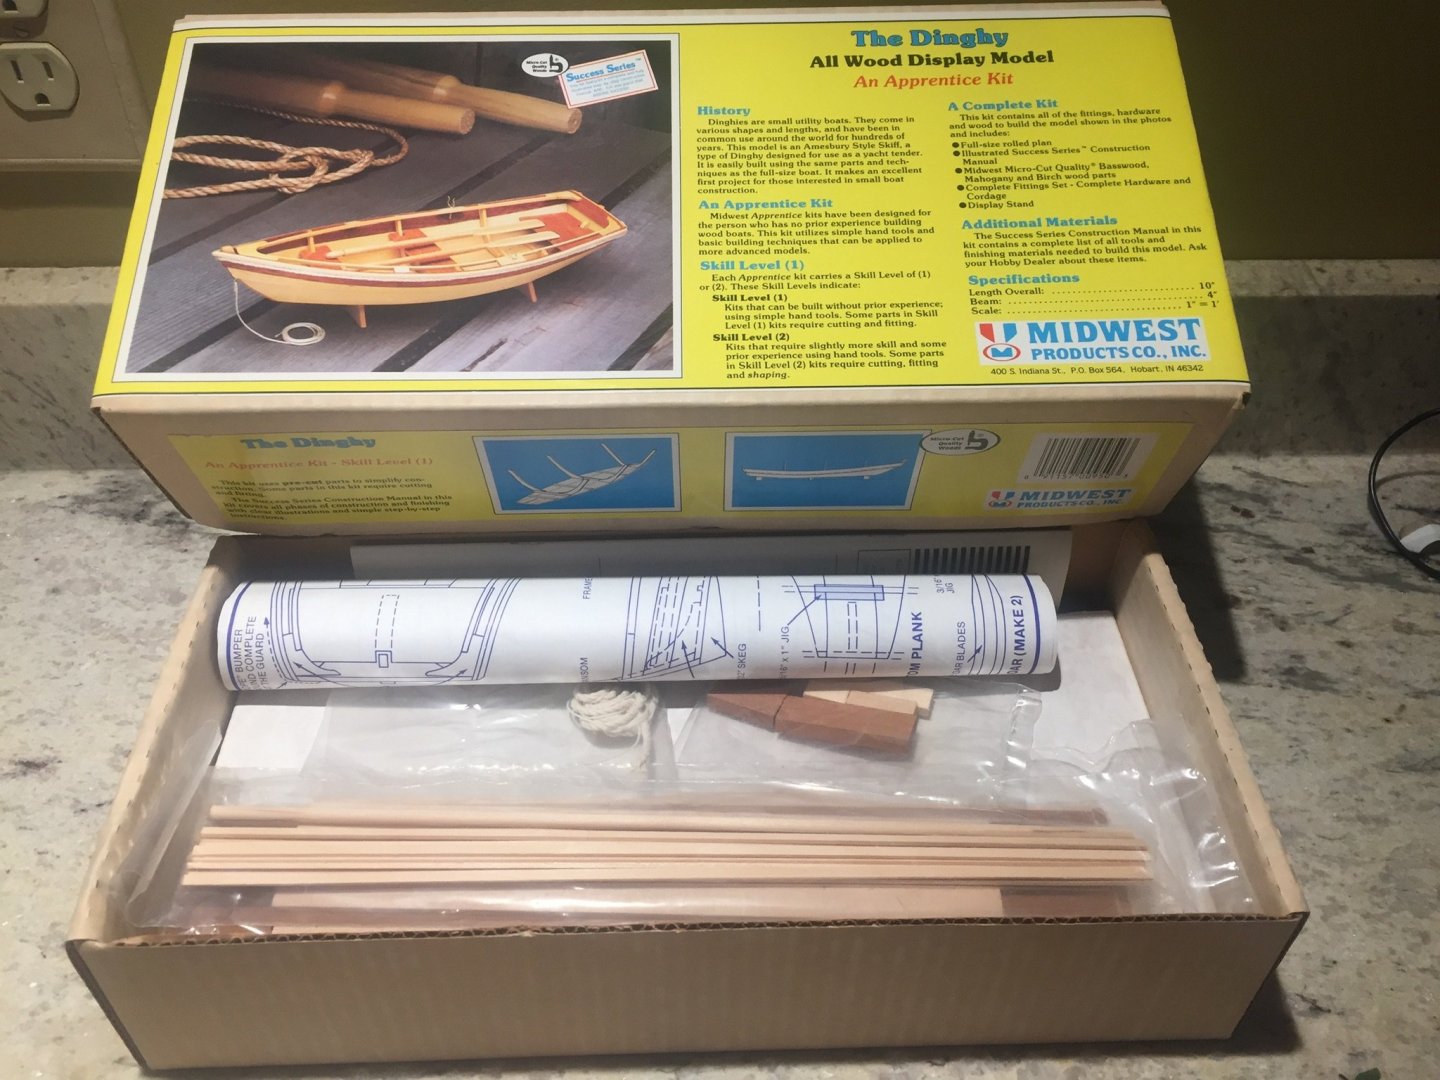
Since I went EBay crazy and bought a few midwest kits, I figured I would start with the kits I had doubles of 😂...but the opened ones first of course.... these kits are so nice, it’s a shame someone doesn’t jump on board and build these or similar. I have also got into the habit of scanning the plans so in the future when or if I decide to scratch build they might be of assistance.


- 29 replies
-
- 4
-
-
- Dinghy
- Midwest Products
- (and 1 more)
-
New Member PA Ship Builder
Duanelaker replied to PA Ship Builder's topic in New member Introductions
Welcome to the site! Congratulations on finishing a boat! My first boat was blue jackets Grand Banks dory which I found easy to finish and a good intro. Pilot phantom is a solid hull, but some have planked it. Reading through the logs the pinnace and long boat are not too easy when it comes to planking. I am doing a half hull sold by the NRG in hopes to learn planking without putting a kit in jeopardy. i have the same paint booth pretty much and depending on what you are spraying it works well...I open a window and put the hose outside. But I only spray acrylics so it’s not that bad anyways on the small scale I do it on. best of luck! -
Welcome to the site! I’d love to see a build log of your willie, such an awesome subject. Best of luck with your virginia, those AL instructions/plans are tough if you ask me.