HOLIDAY DONATION DRIVE - SUPPORT MSW - DO YOUR PART TO KEEP THIS GREAT FORUM GOING! (Only 24 donations so far out of 49,000 members - C'mon guys!)
×


LyleK1
-
Posts
538 -
Joined
-
Last visited
Content Type
Profiles
Forums
Gallery
Events
Everything posted by LyleK1
-
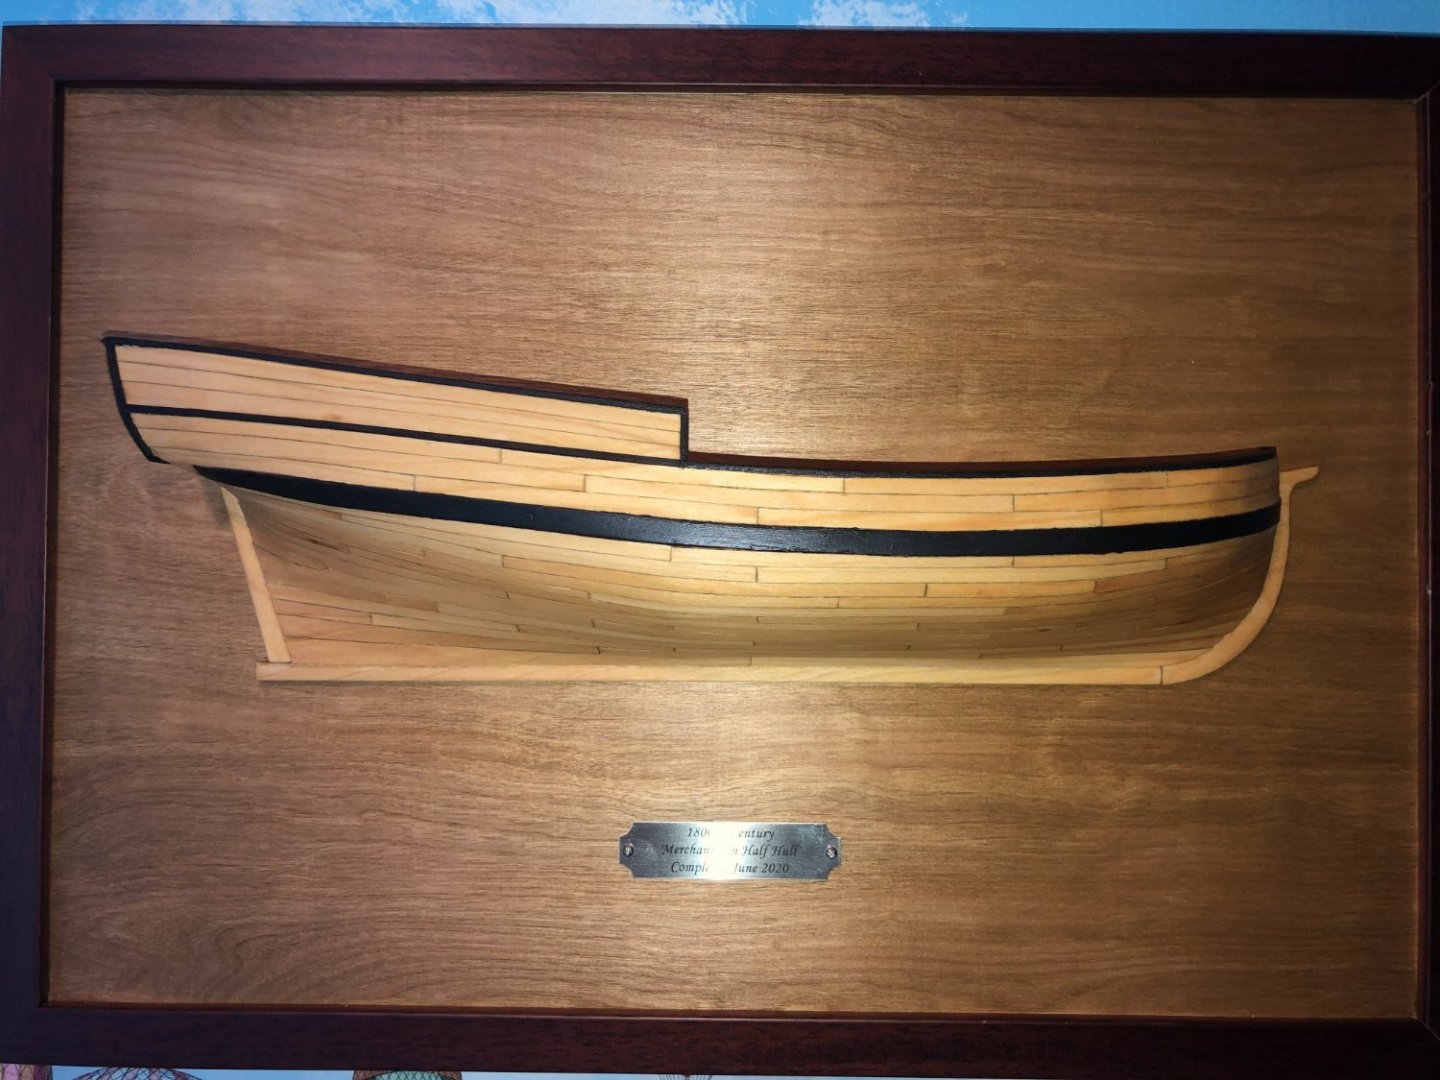
Welcome! I'll second the suggestion on the half hull kit! It was a really good teaching tool and makes for a fine display too! Enjoy!
-
 Agree with the tube ideas... I do the same thing!
 -
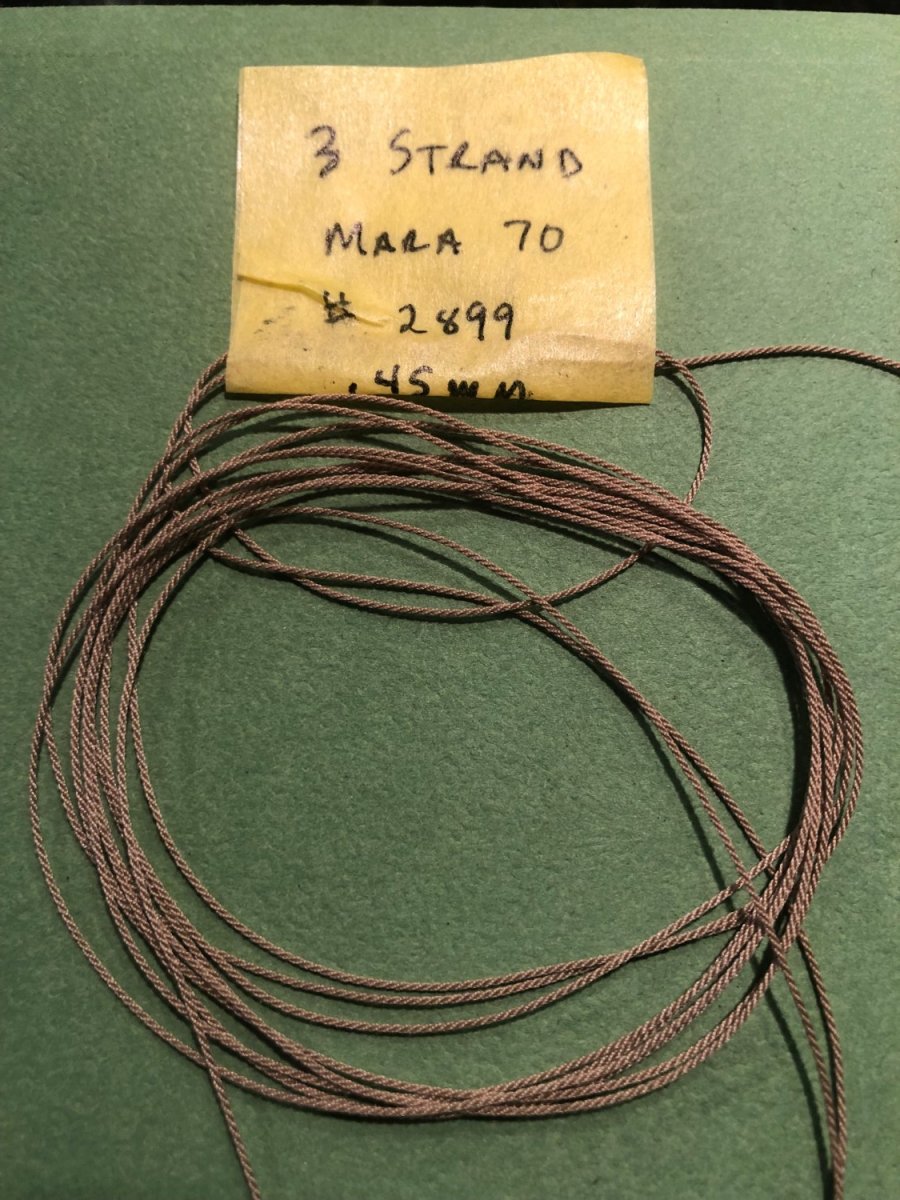
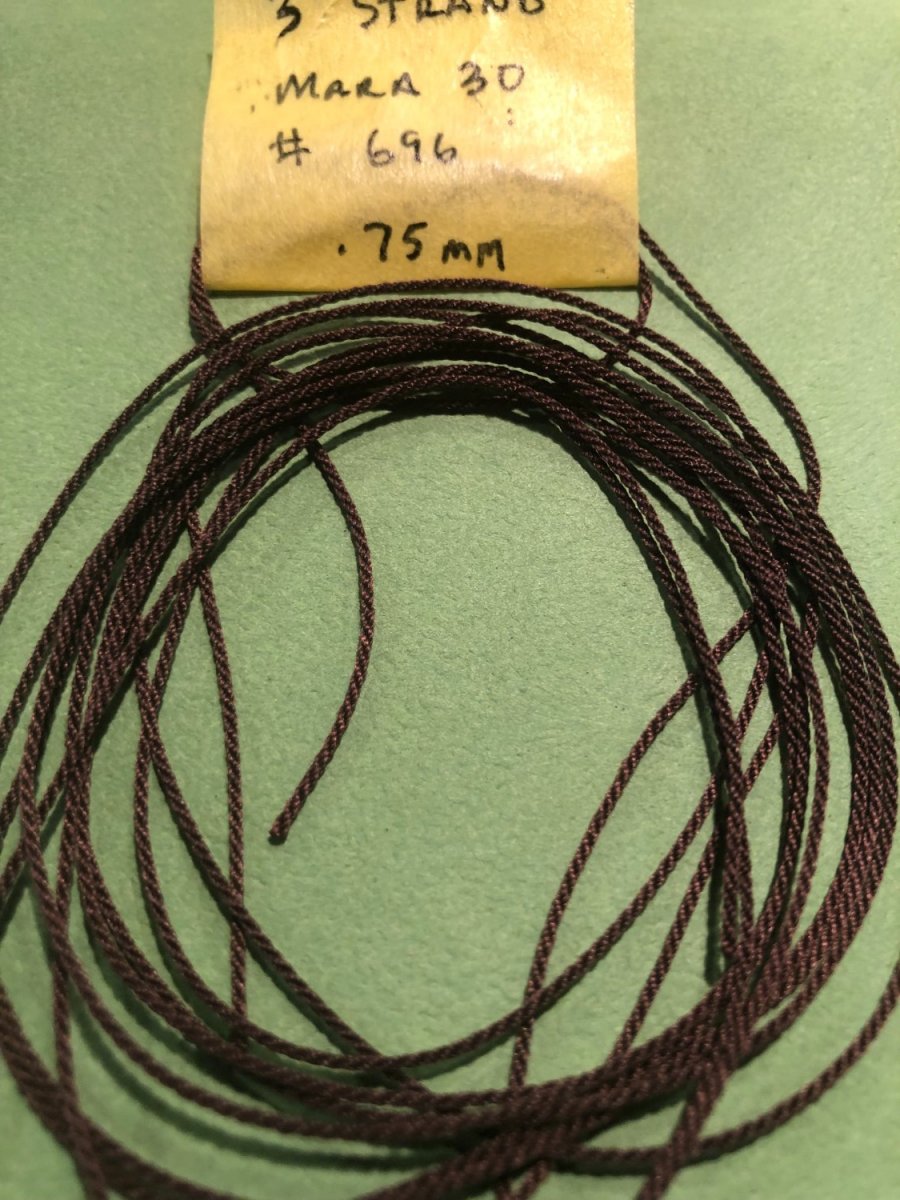
It's pretty easy to do, Dave. Just gotta get the rope walker and thread! If your interested, I can steer you in the right direction to get started! The stuff that comes in the kits is lousy, at best.
-
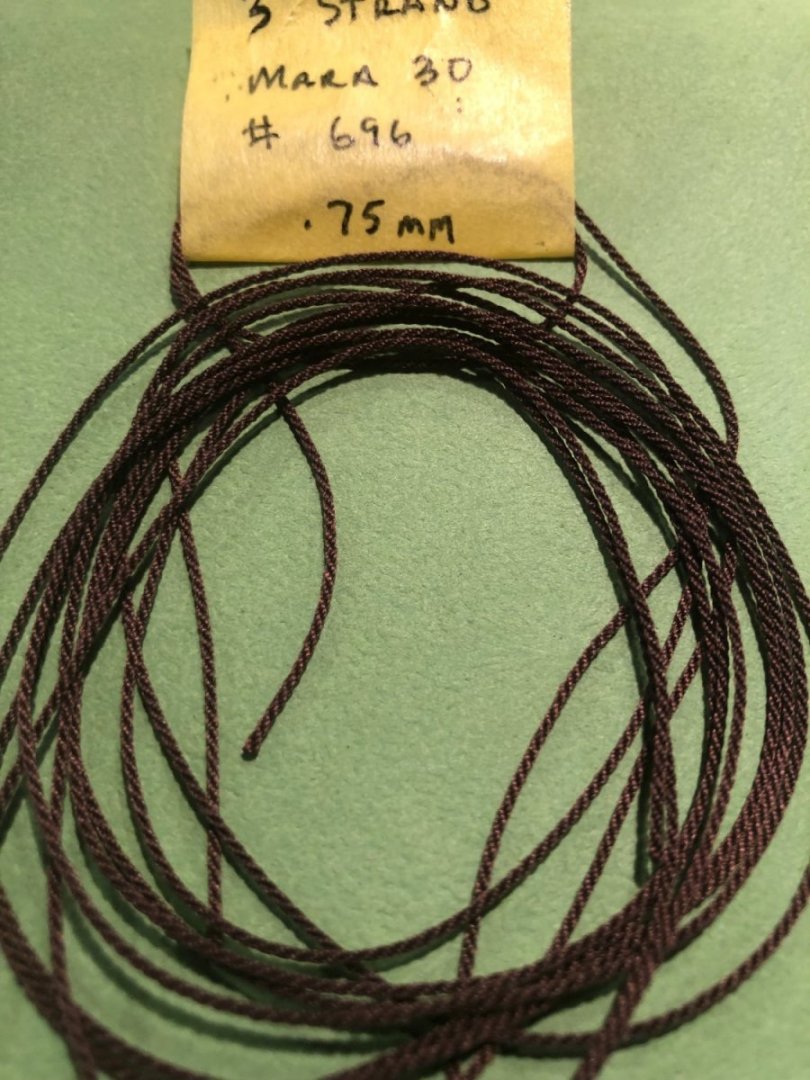
Made some rope today. What do you think? The kit supplied stuff is not only crap but missed marked, as far as its size too. The kit states the sizes as .15 mm, .25 mm, .8 mm. They are smaller. I'm going with two sizes for both standing and running rigging. With ability to change size for certain applications, the anchor line comes to mind, as one. Here are 3 of 4 samples done today: I haven't figured out the other size for the standing rigging.


-
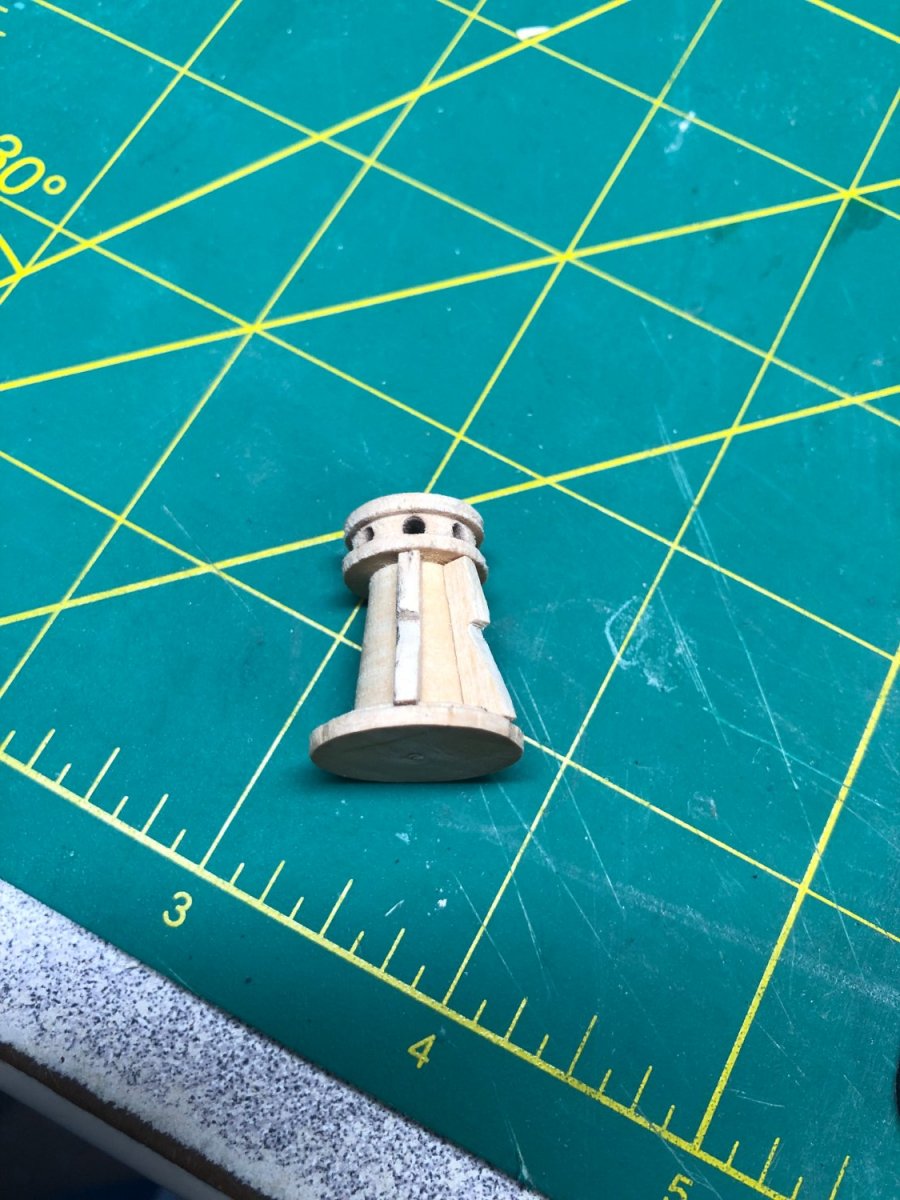
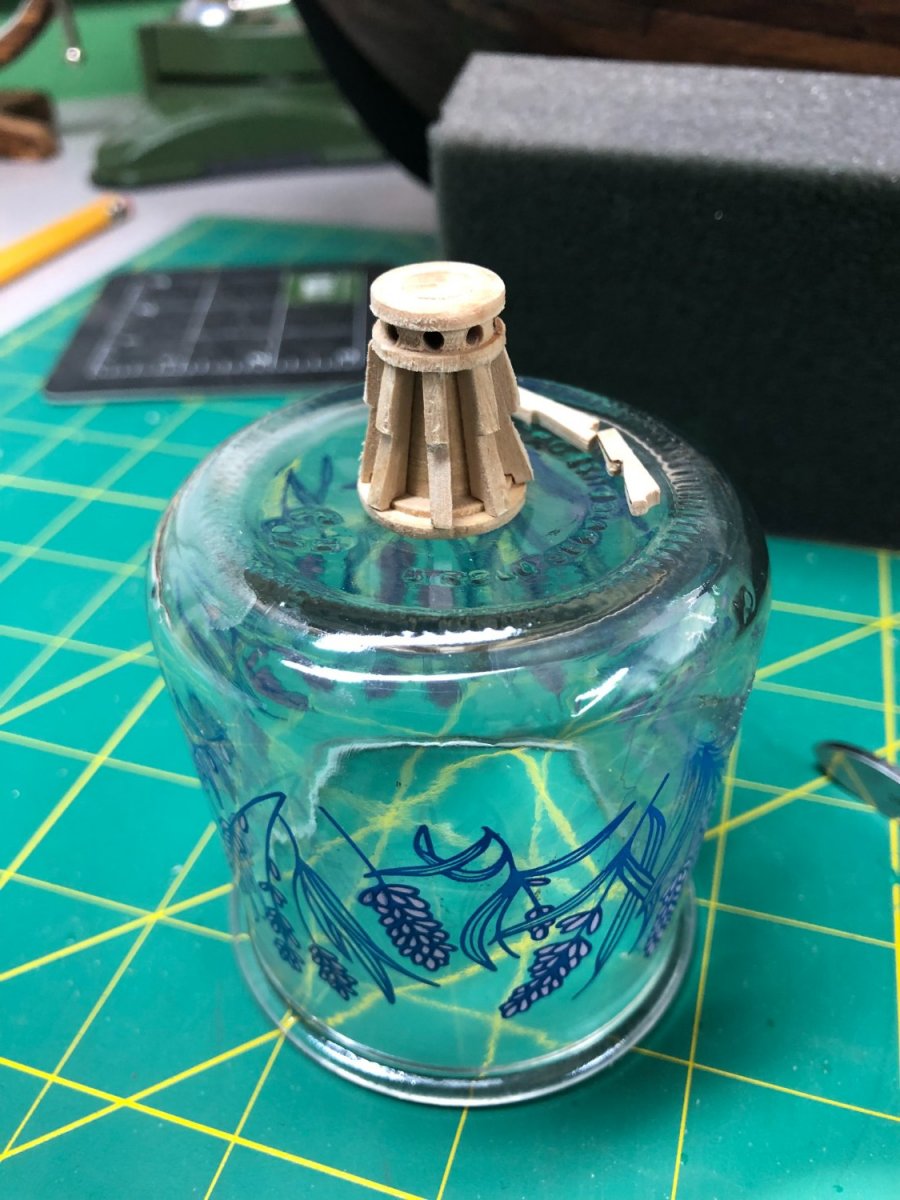
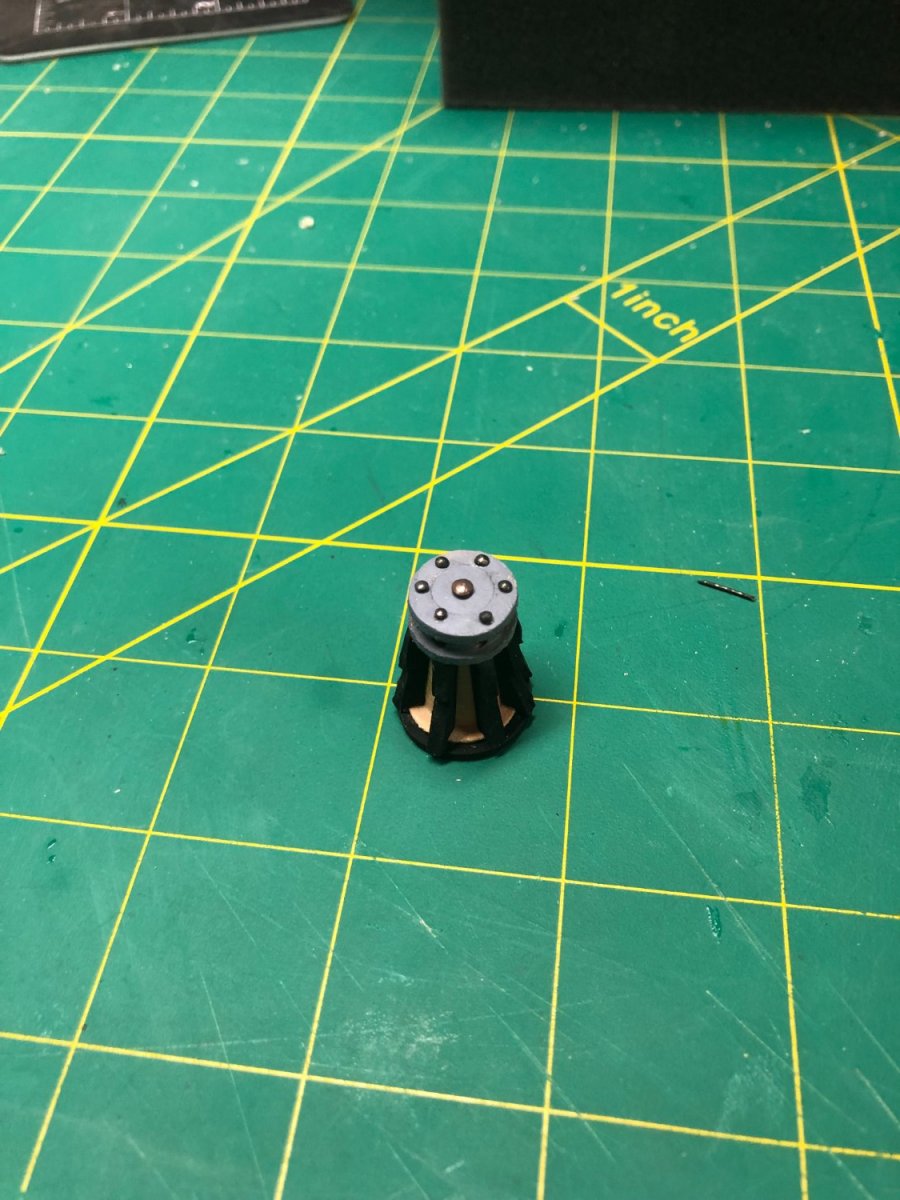
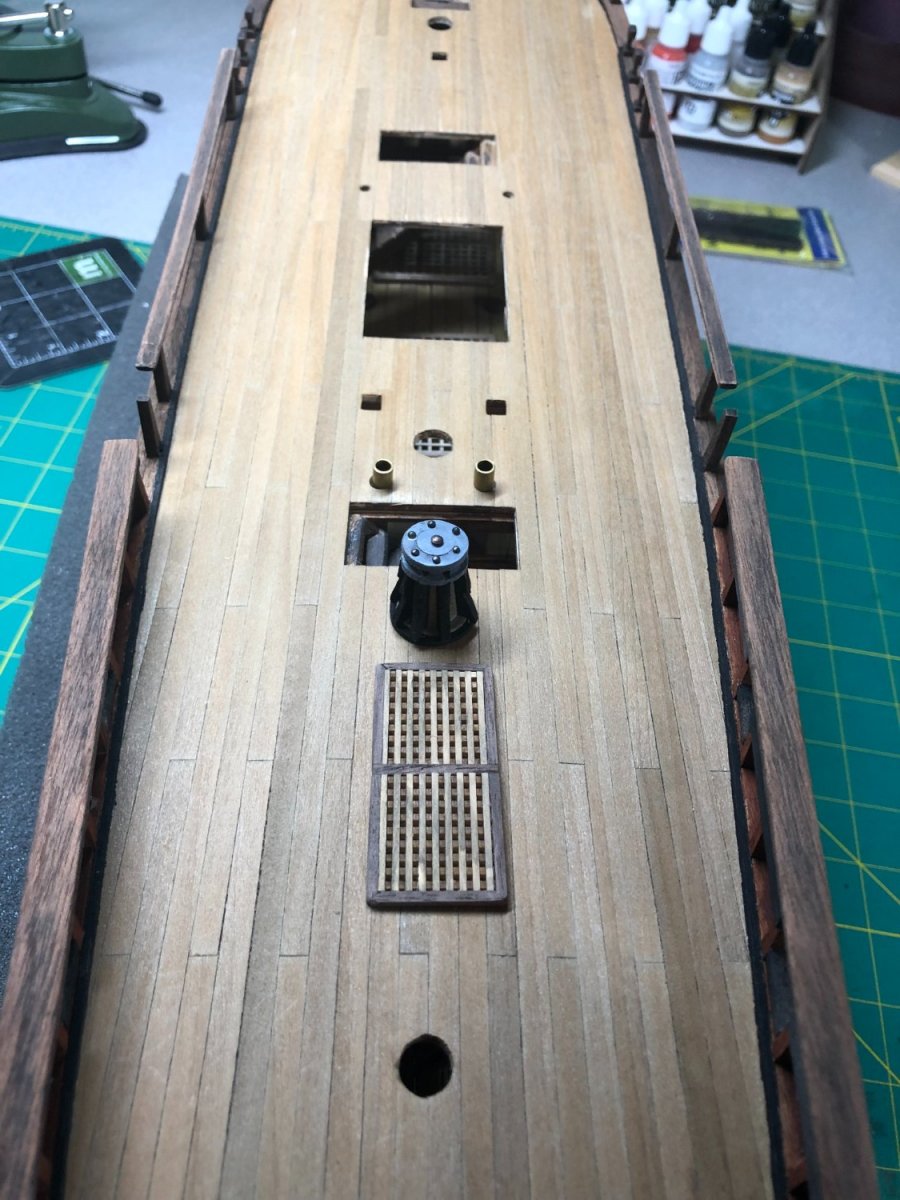
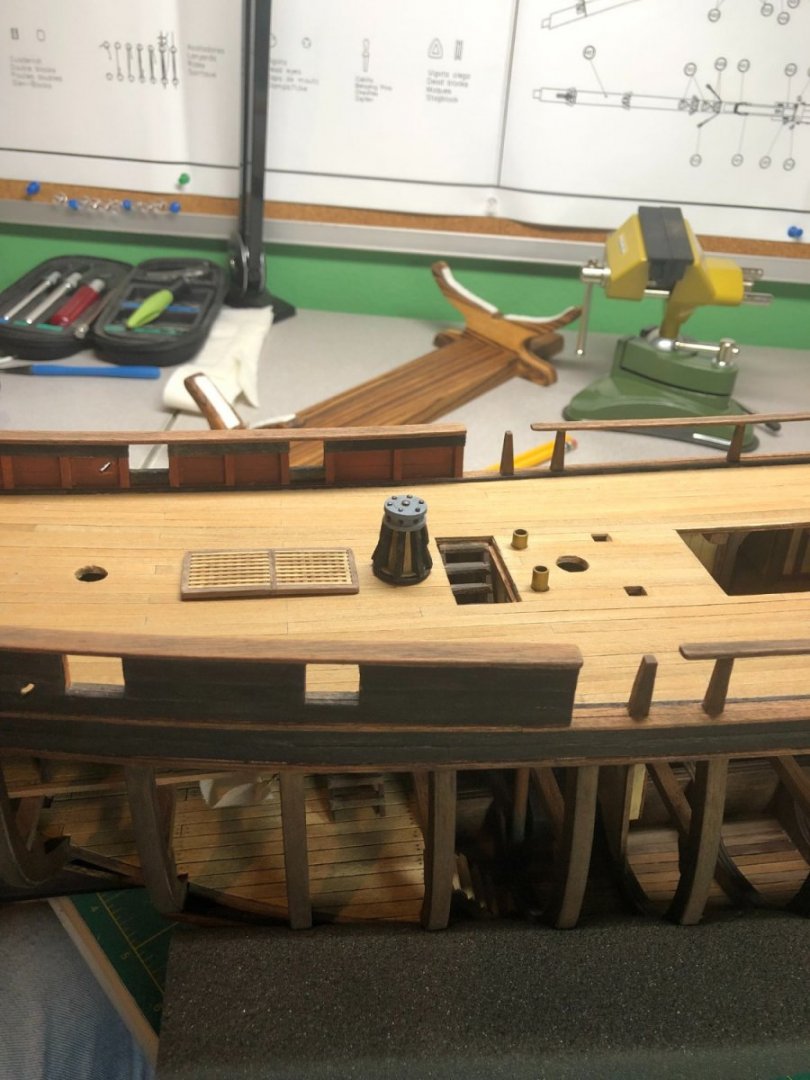
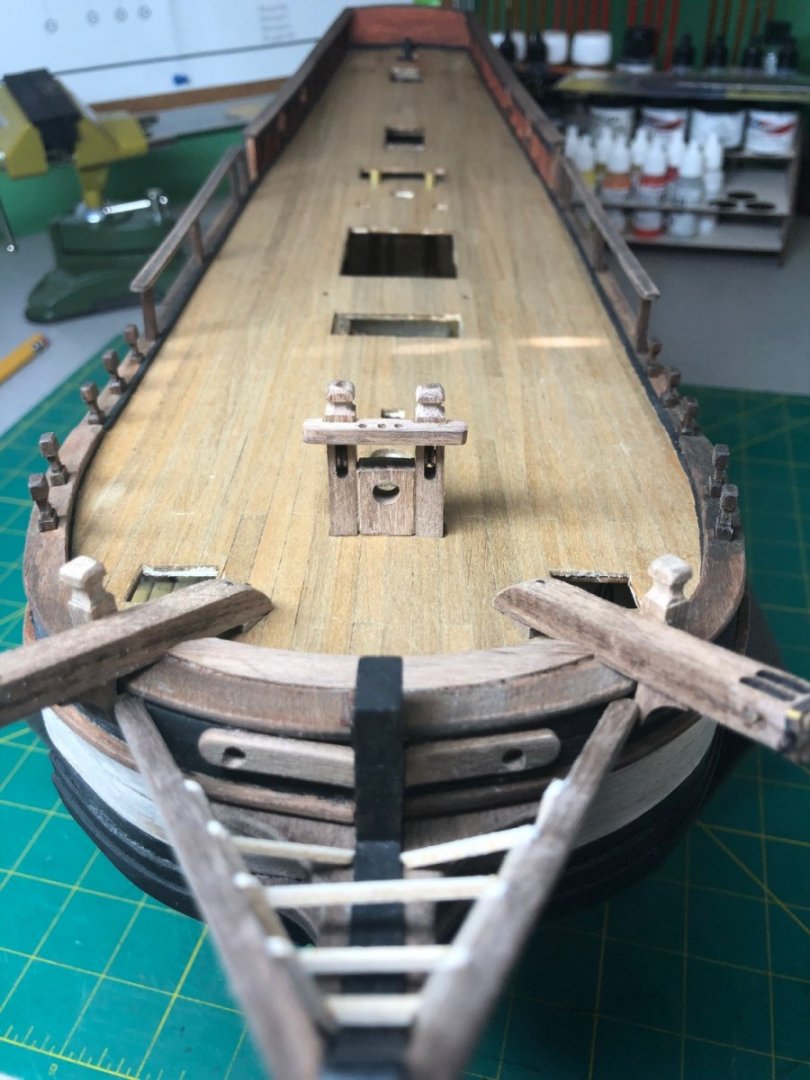
Capstan work! First few vertical pieces are rough cut and ready for sanding. I can sure see why model ship builders like Boxwood over any other... using Basswood just doesn't allow for clean lines and no fuzz. ...and assembly begins: Paint: Cap and bolts were simple. I just used two different size brass nails, blackened them and cut the shaft real short. Used CA glue to set them in the holes I pre-drilled on the mini mill: Aged the grating and Capstan before gluing into place on the deck: I took these pictures last night and this morning I noticed that the grating was actually a bit raised above the deck. I had to pry it off and do a bit of sanding before reattaching... I should've noticed earlier! On to more gratings and deck fixtures including some of the first blocks for rigging! Talk again in a few days!


-
I used mine at random… simply because that would be how it would’ve been done. Of course, it wasn’t with Walnut! Again, a builders choice IMHO.
- 362 replies
-
- 2
-

-
- Amati
- Lady Nelson
- (and 2 more)
-
I’m not that new! Just couldn’t get the right words to come out of my head!
- 362 replies
-
- 2
-
-
- Amati
- Lady Nelson
- (and 2 more)
-
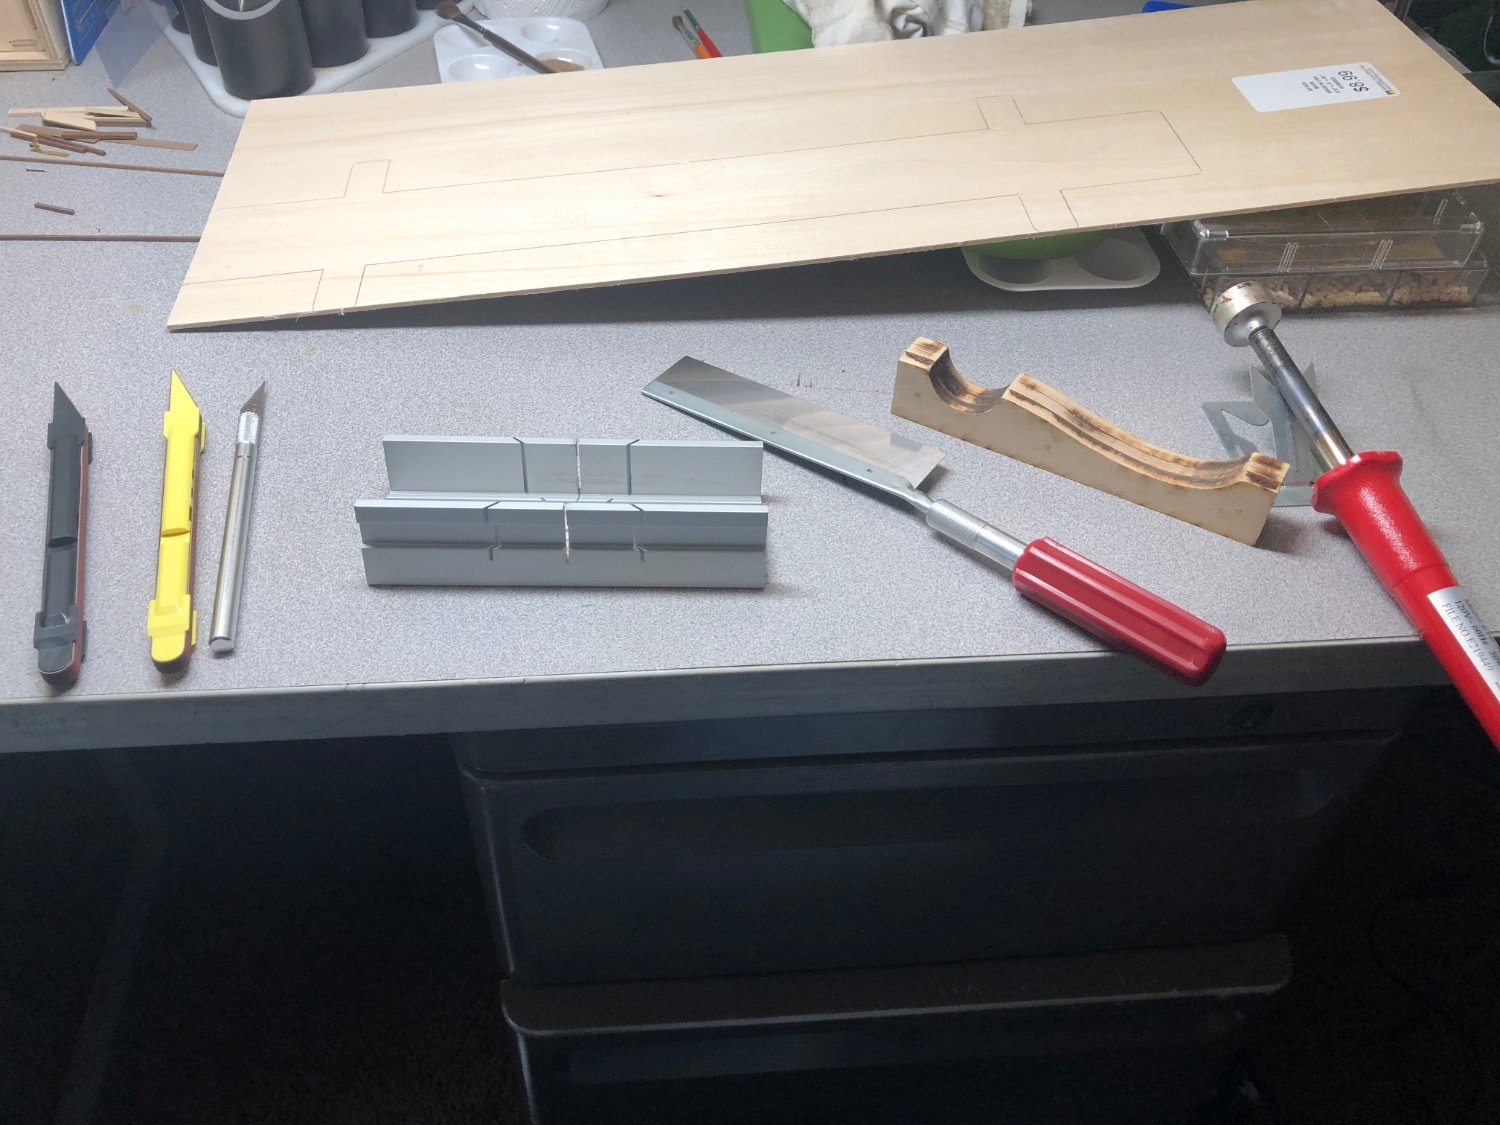
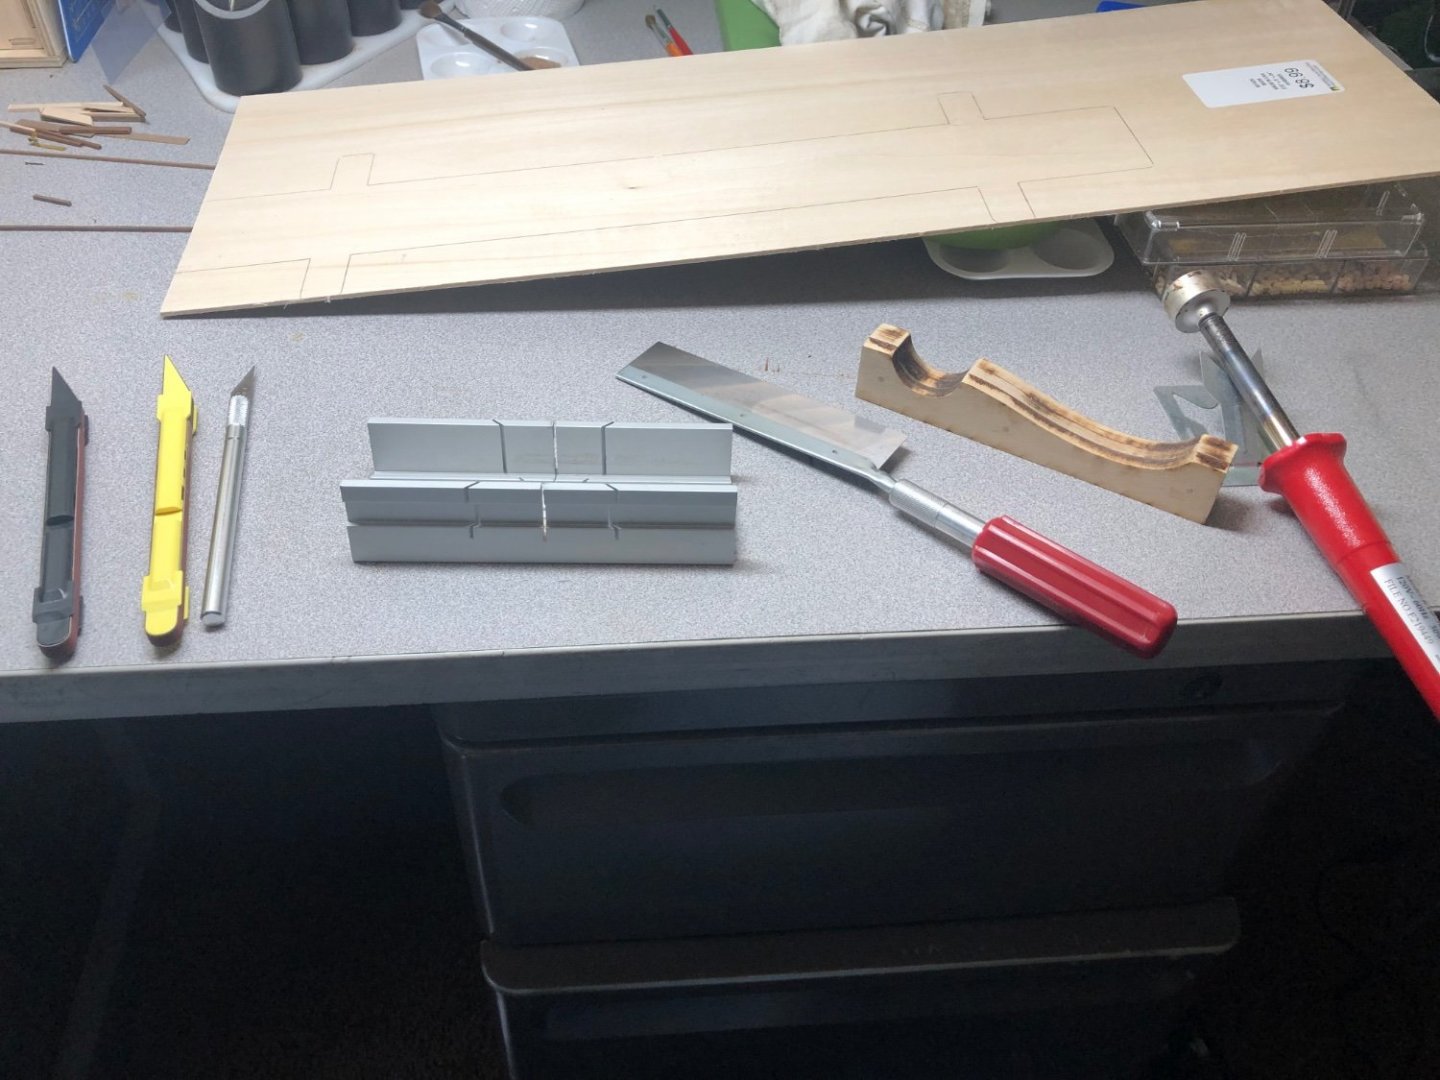
Lots of good info on this site. Go to the different sections and find the planking section. Since I’m not familiar with your particular model, I can’t suggest a pattern but typically a 3 or 4 shift pattern is good to work with. As VT mentioned, here is the tools to start with:
- 362 replies
-
- 1
-
-
- Amati
- Lady Nelson
- (and 2 more)
-
That depends on you! How much work do you want to do? Planks from that time period we’re rarely over 25 feet long… some maybe up to 30 feet but rarely over. Planking to historical accuracy will include splice patterns too. Let me know if I can help further!
- 362 replies
-
- 3
-
-
- Amati
- Lady Nelson
- (and 2 more)
-
Thanks Joe. I'm about 2/3rds of the way through the book... good read! Adding to the info on the Bounty's history. Thanks for the good suggestion.
-
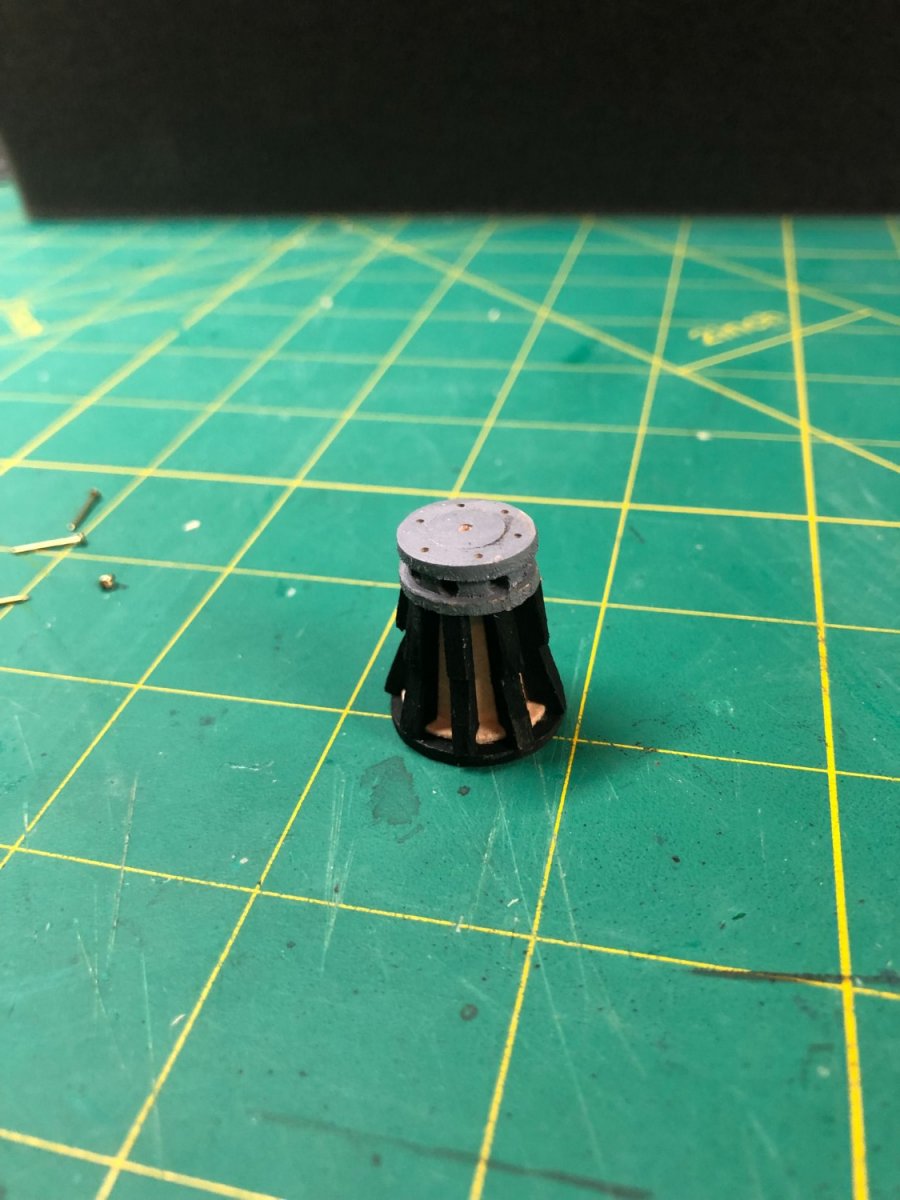
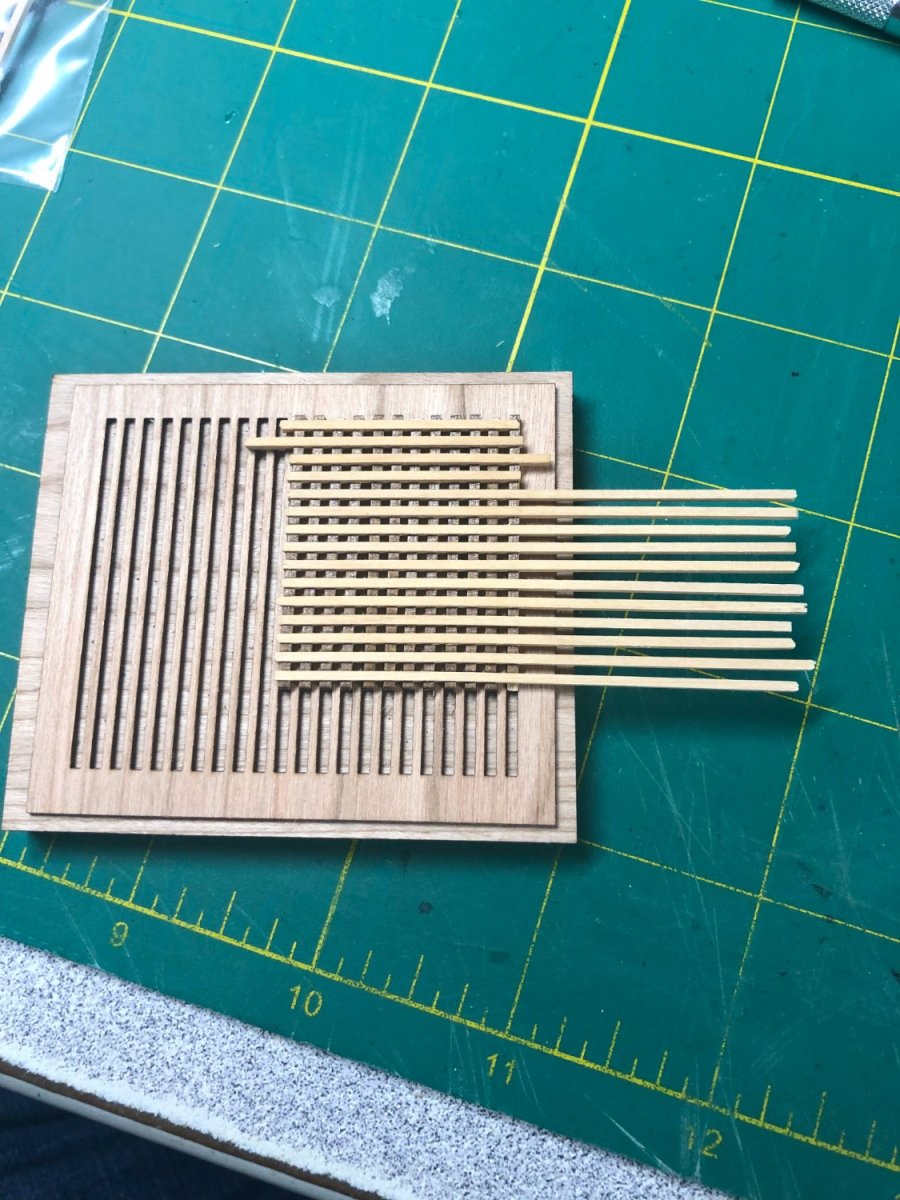
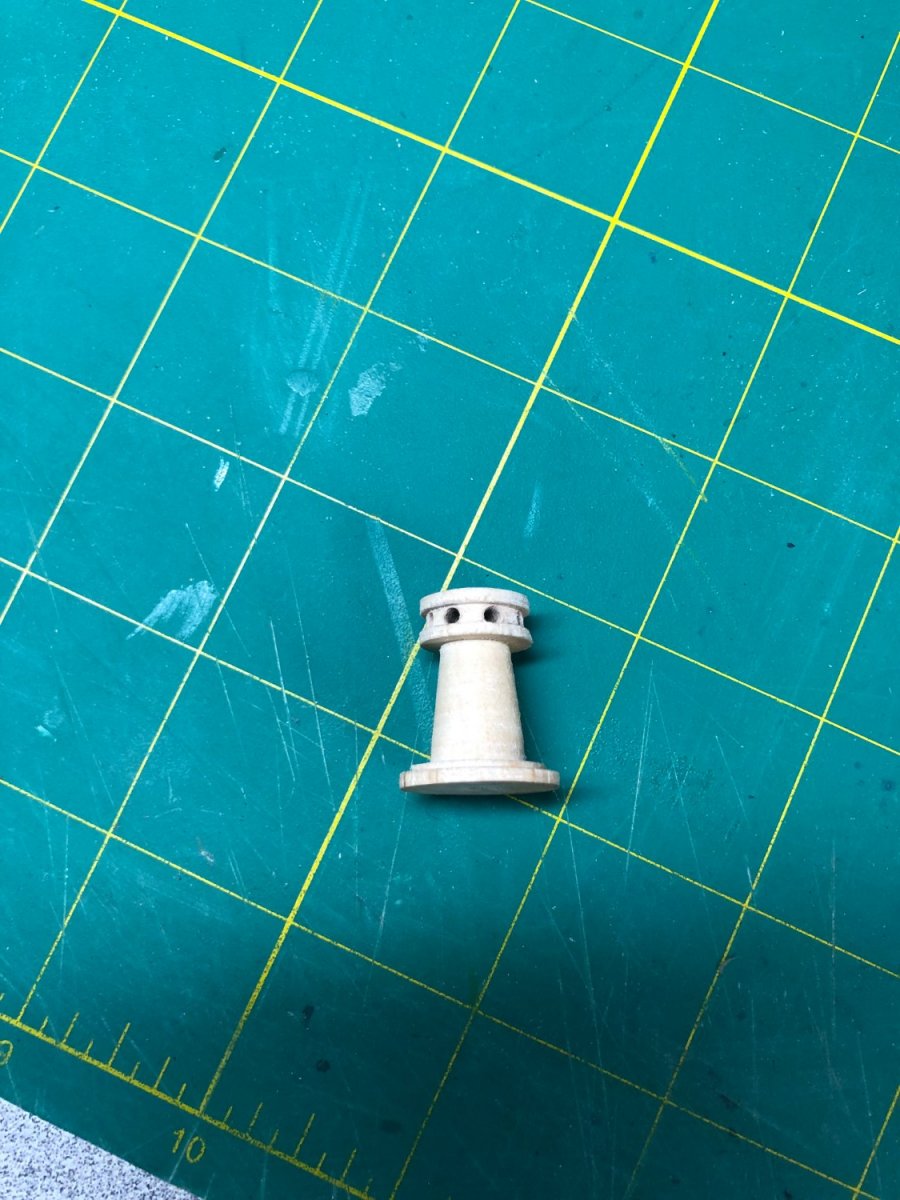
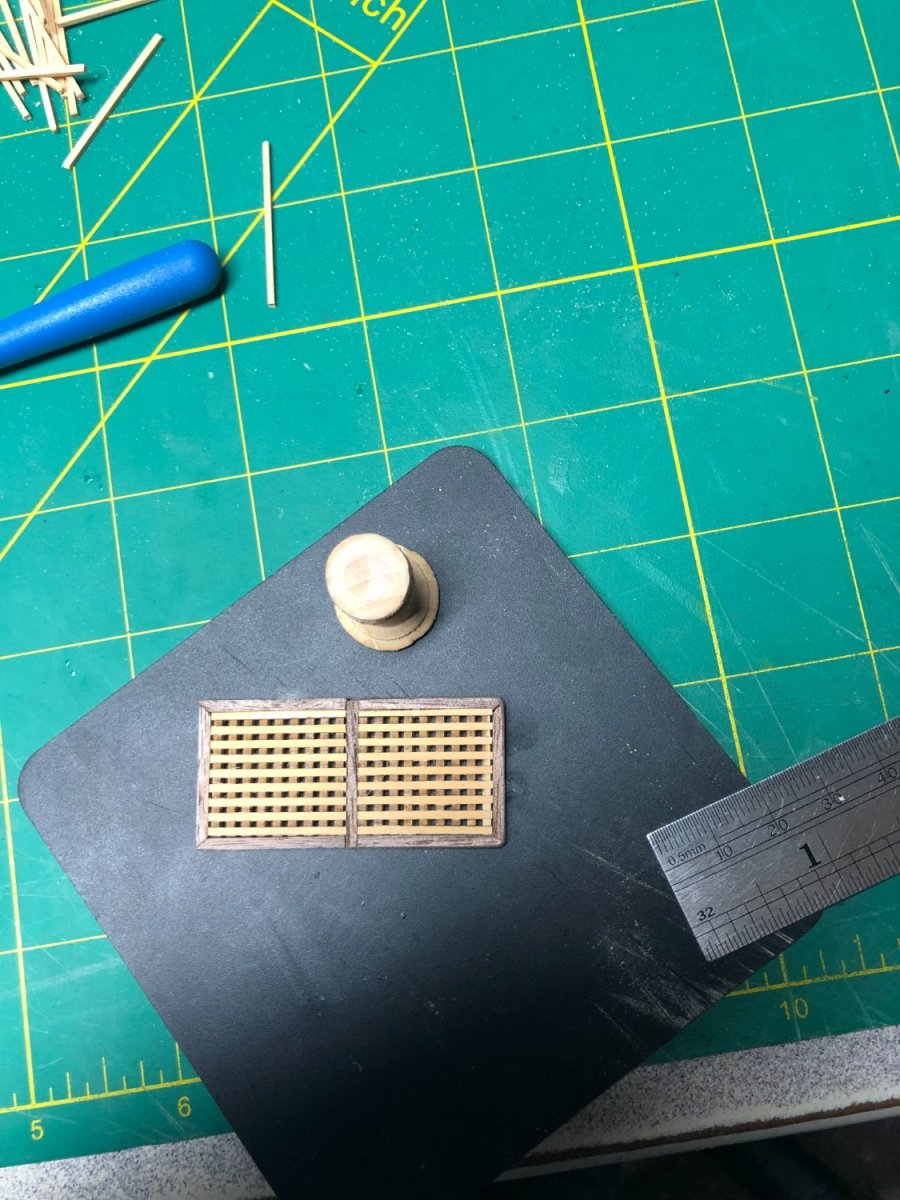
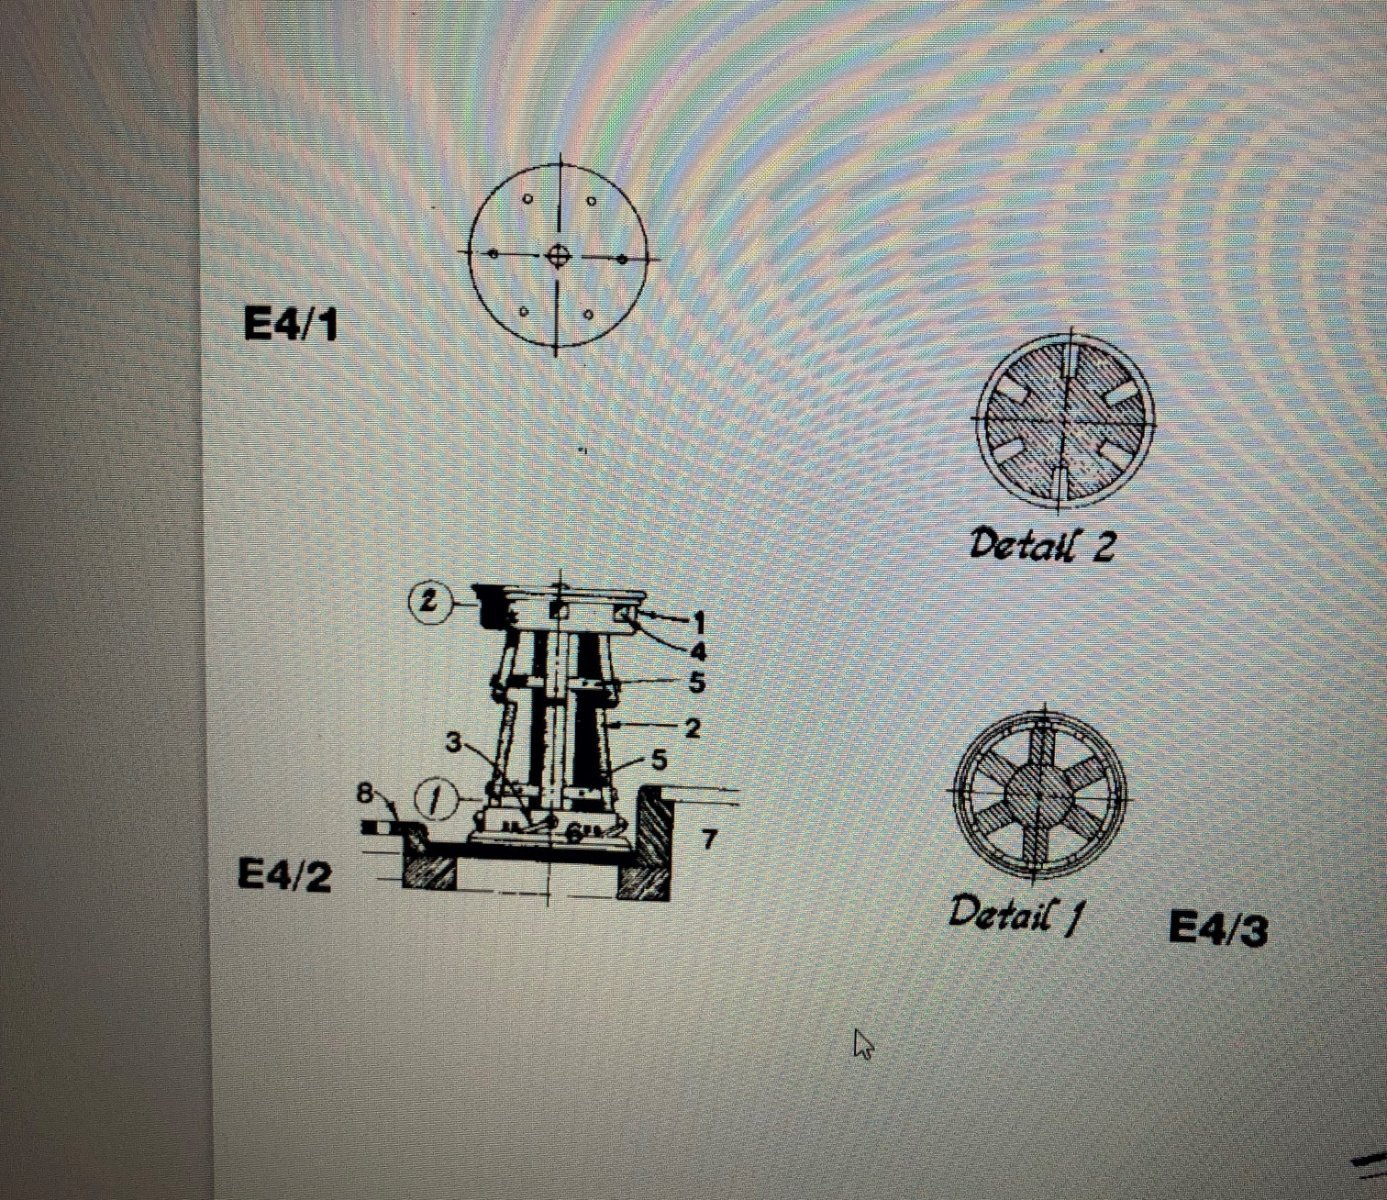
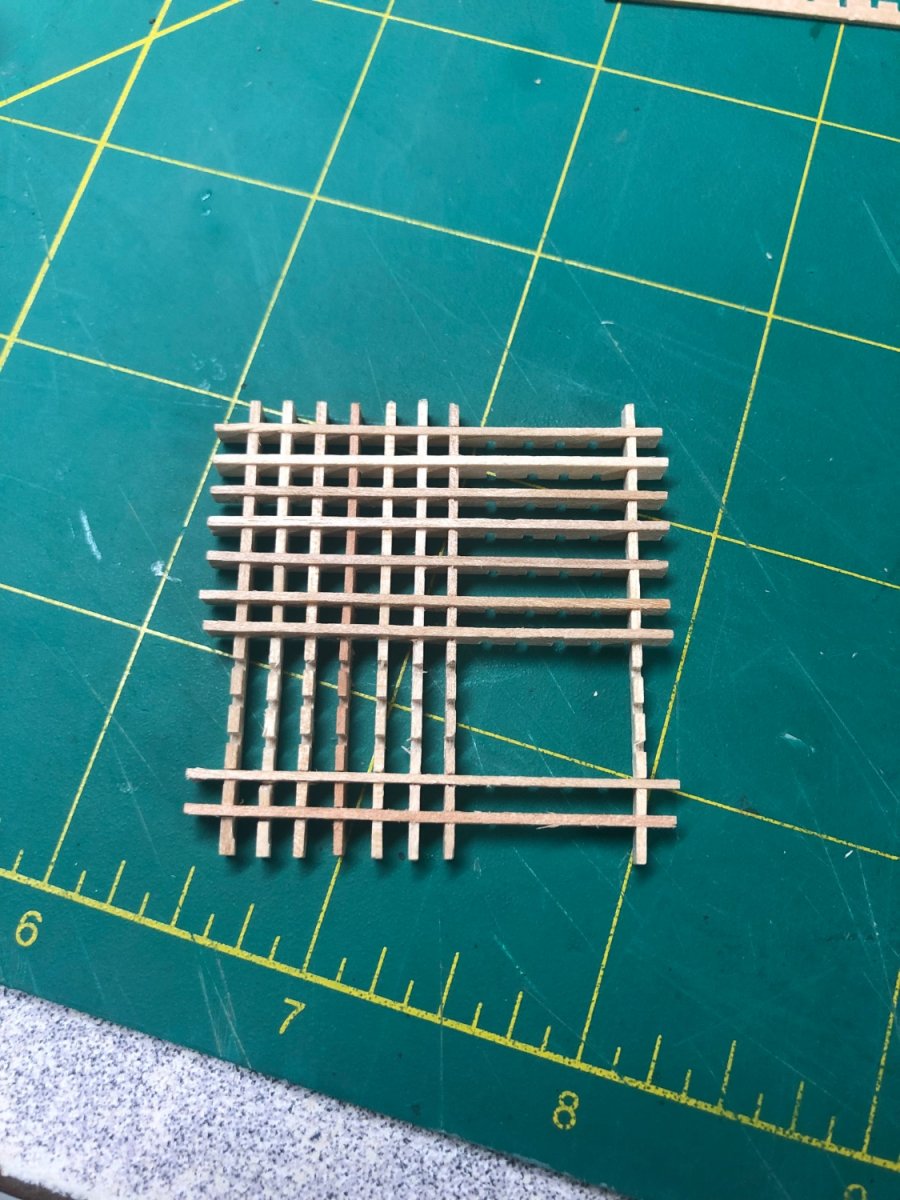
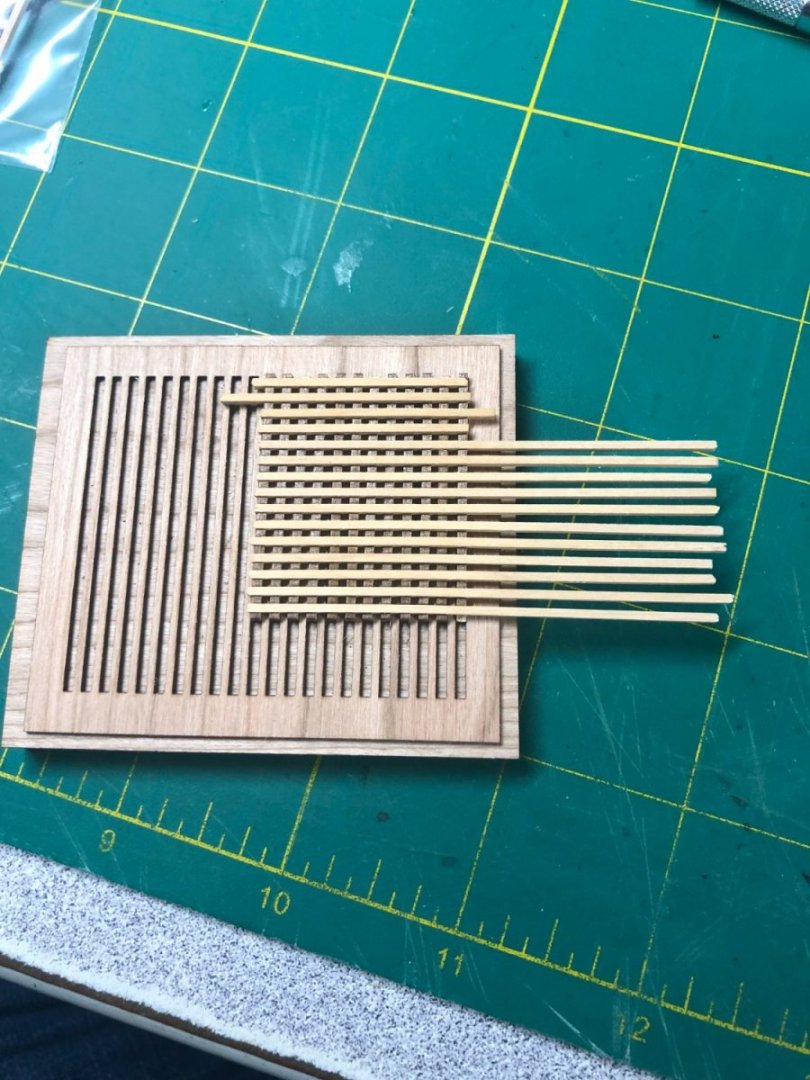
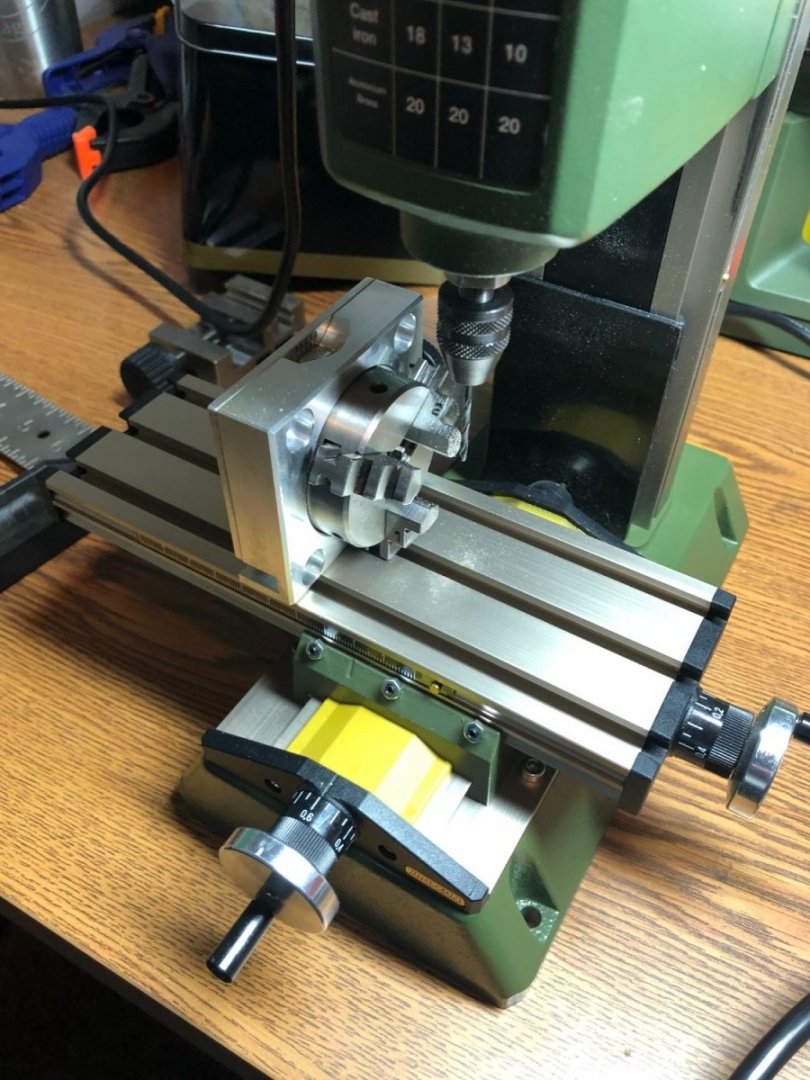
The grating kits from Syren Model Ship Company are simply the best! And quick to be delivered too. I purchased the jig sometime back but rarely used it because the gratings in a lot of kits are okay with a little work. A.L.'s pieces are bad and so is the capstan piece... more on that in a bit. Here is the grating being assembled: Once all the pieces are in place I brushed some diluted wood glue over it and waited for it to dry before prying it out of the jig. Assembly of the edge pieces was simple enough and with some light sanding to be done before placement, here is the result: The capstan in the above picture is a prefabbed piece that came with the kit and is NOTHING like the capstan in the "Anatomy" book. So, in the interest of accuracy, I am changing it to closely resemble the one in the book. It had no holes for the bars and it had a domed top. The top is nearly flat in the book. I used my mini mill to do the holes and am happy with the results: The top will have the bolt pattern added and what appears to be a center rod cap. Additionally, the pieces that run vertically will be patterned like this: Lots of work ahead!


-
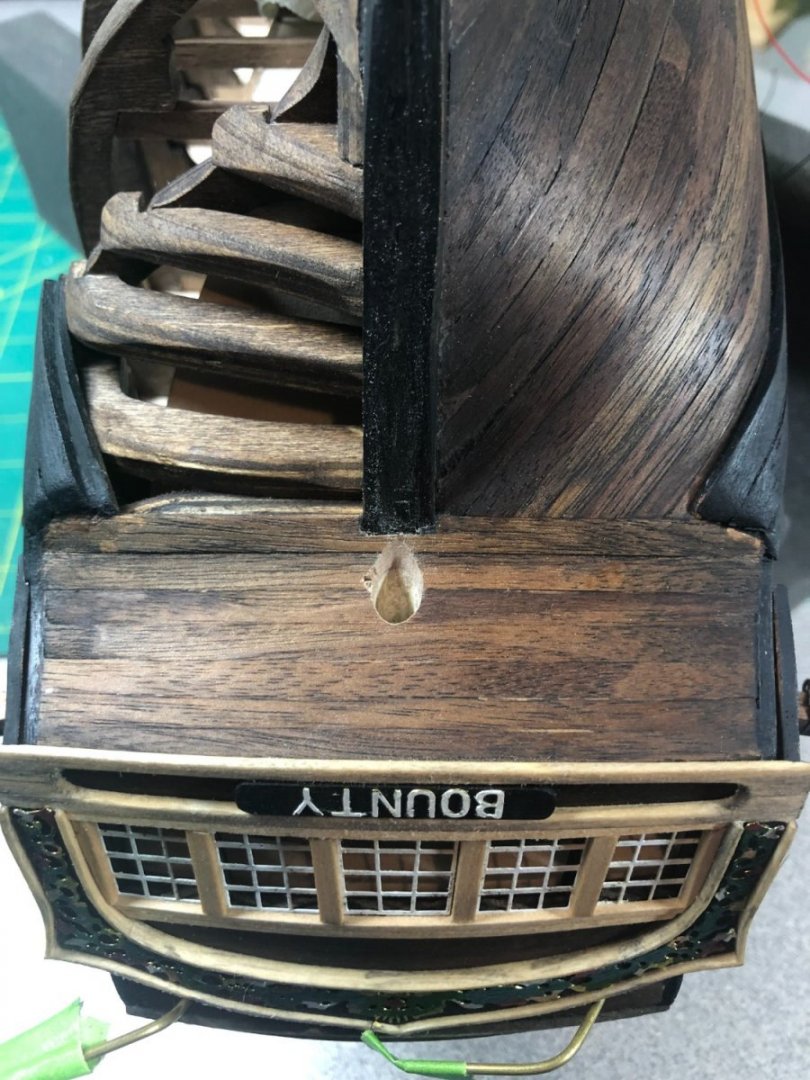
Bowsprit mount is in place: Still need to do some weathering and aging on several pieces but am waiting to get a few more things mounted in place. Some of the gratings are on the agenda but the stuff in the kit sucks! This is terrible: So, I ordered some replacement pieces from Syren Model Ship Company. There’s plenty of other things to work on while I wait! Ropes to be made and tenders to be assembled! For now, I’m off on the big boat for a couple days!

-
Yeah, I was torn over how to show the hull. Since it is walnut and a TON of work, I chose to leave it… no anti fouling paint or copper. I am pretty familiar with other coatings too. Comes with owning a boat! BTW, the book you recommended is due to arrive today!
-
Thanks Joe. I used Jax Pewter Black to blacken the parts. Good stuff! You bring up a good point... bronze corrodes differently than iron. I'll need to use a more green color than red or orange. Not sure I have the right colors but there's plenty of time to get it if I need it.
-
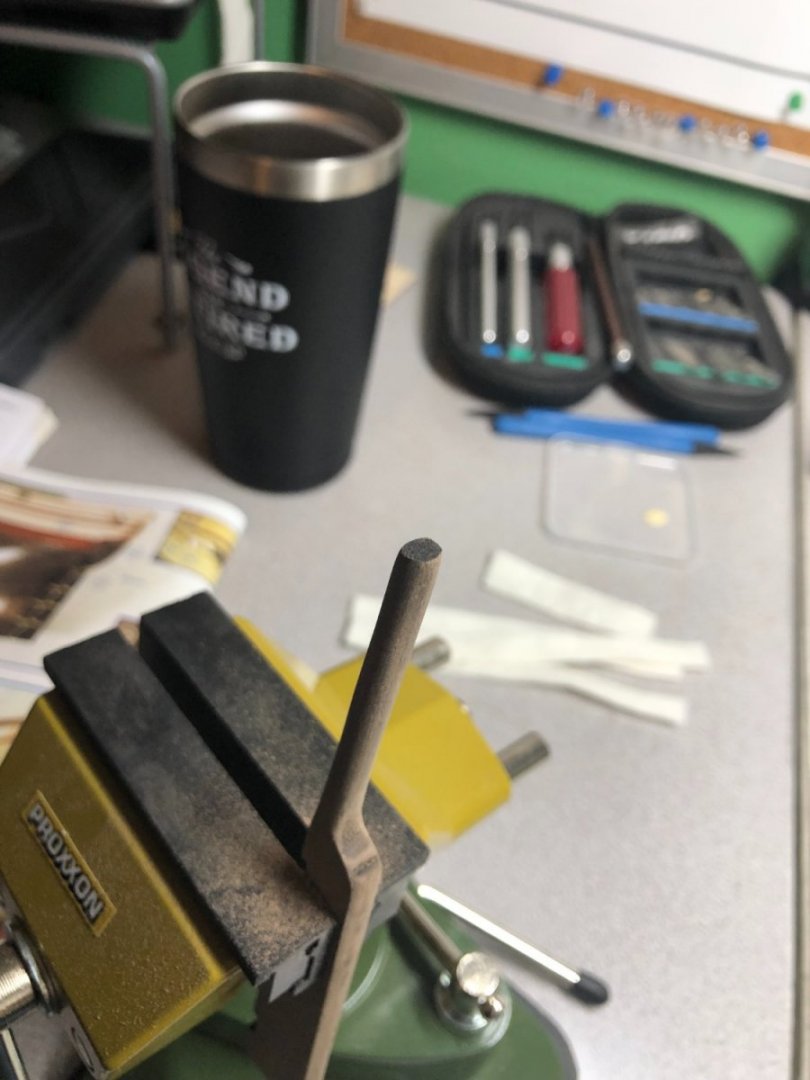
One of the nice things about the Proxxon lathe is that a hole runs through one of the stocks and out of the unit. It can be very handy for longer stocks. I love mine!
-
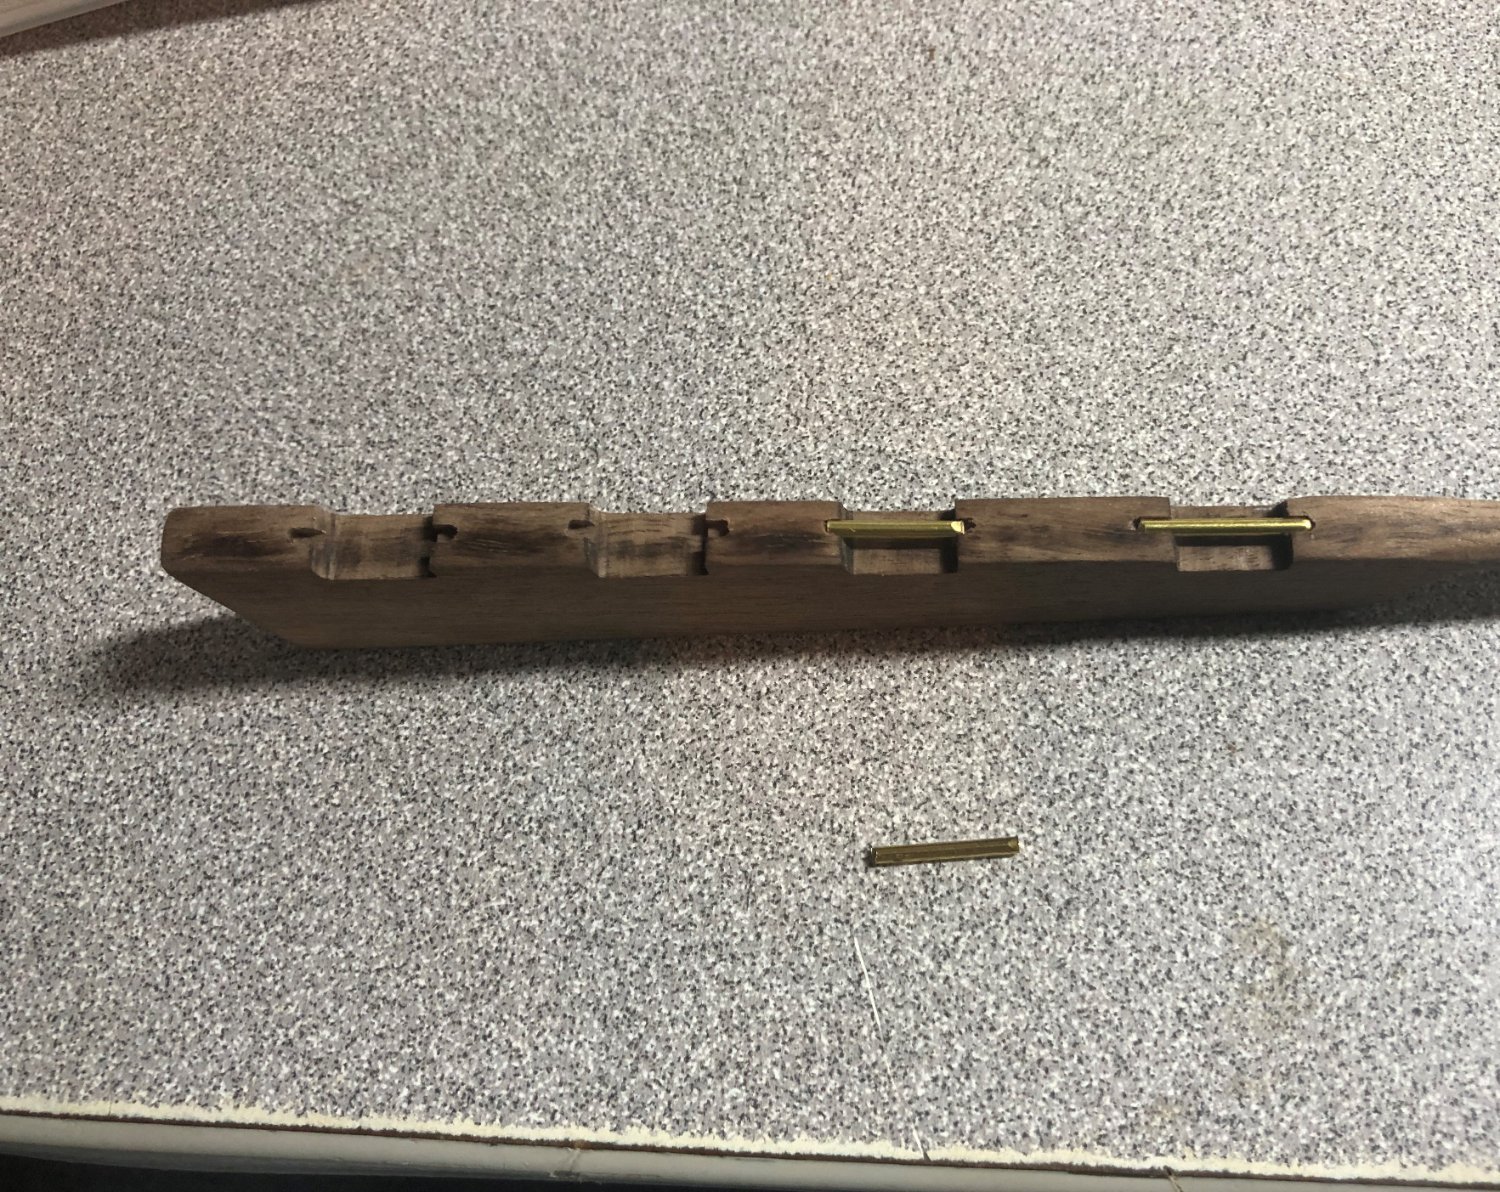
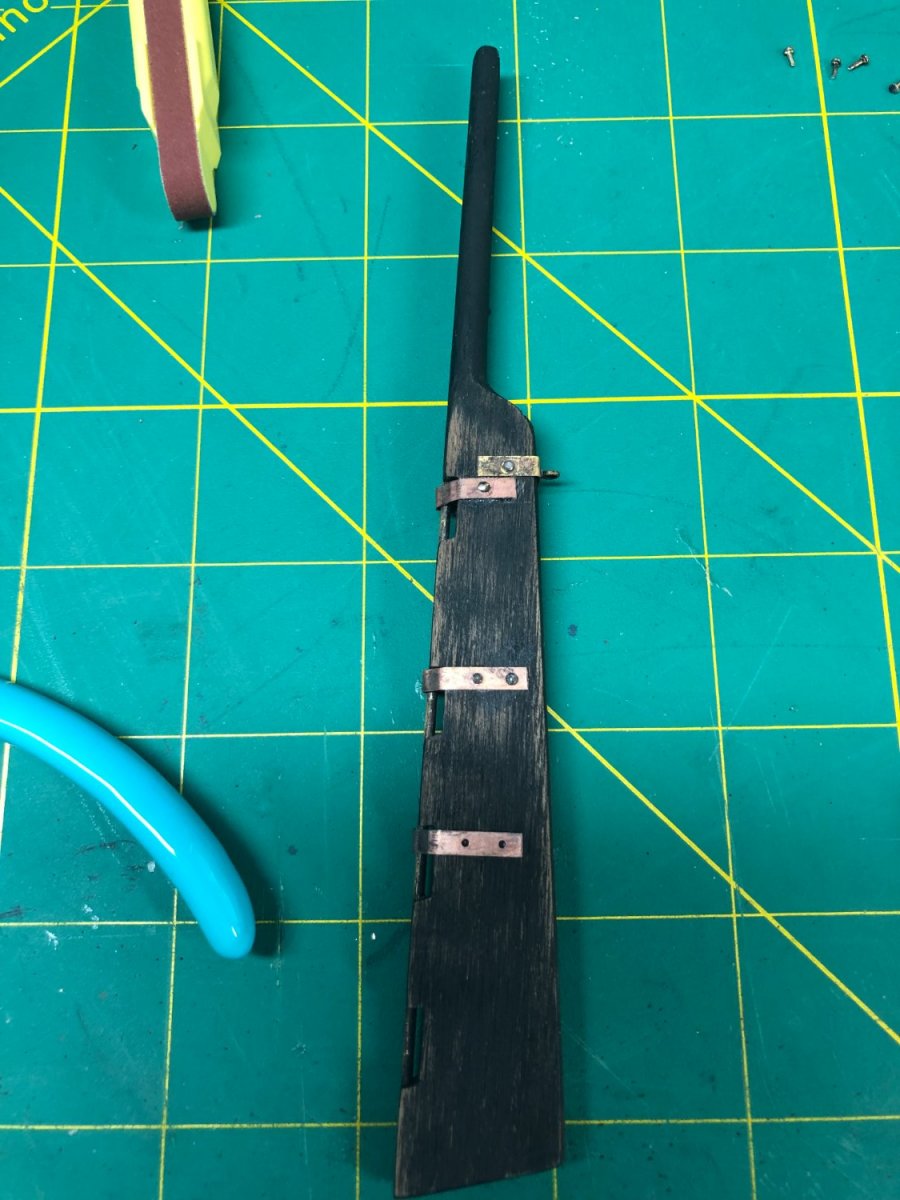
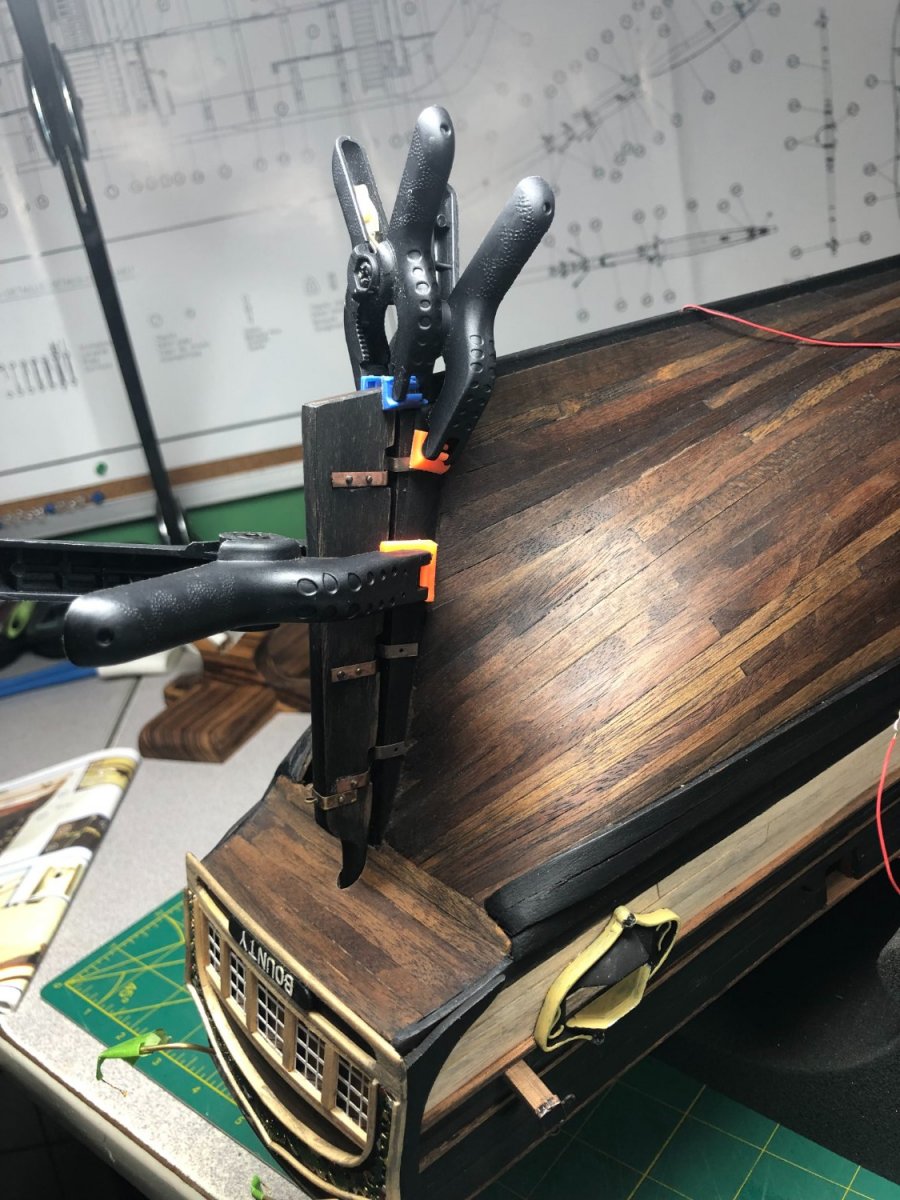
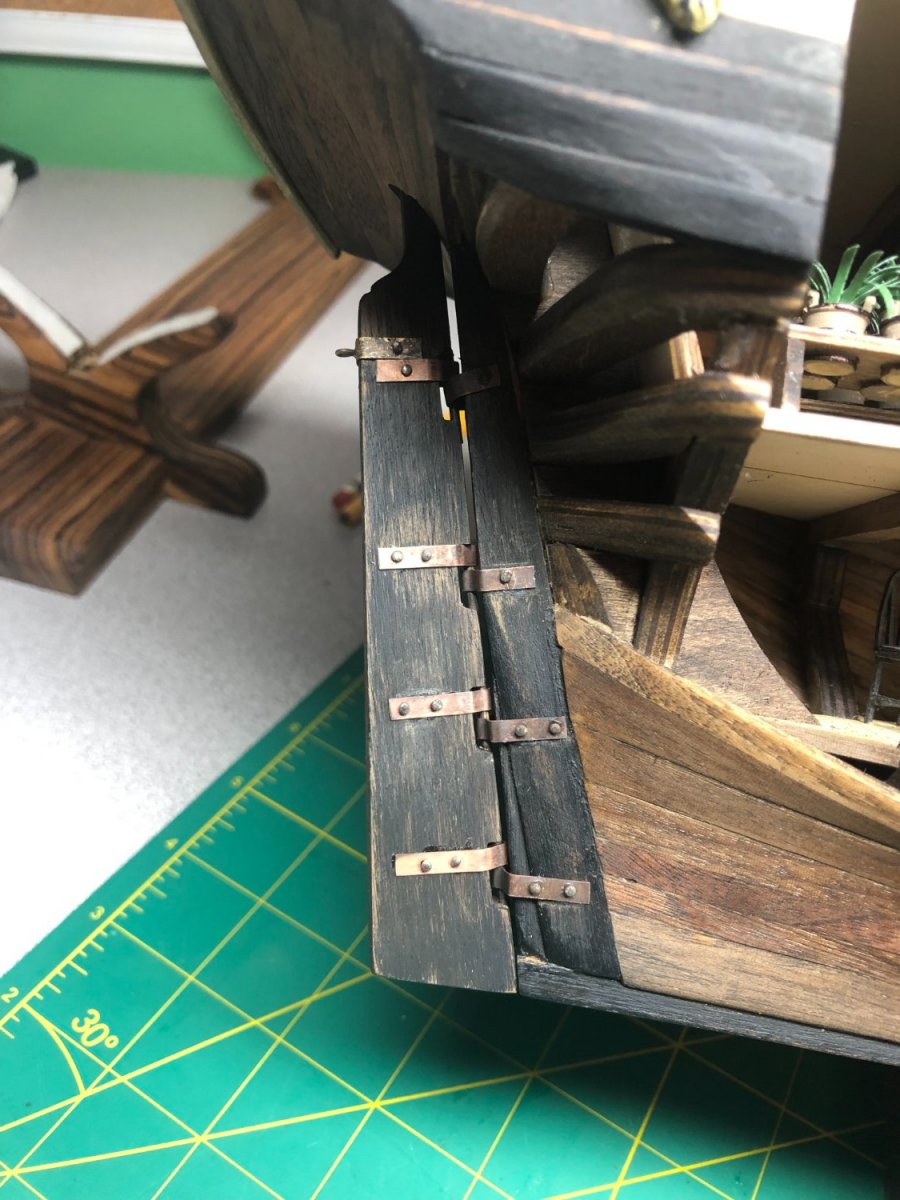
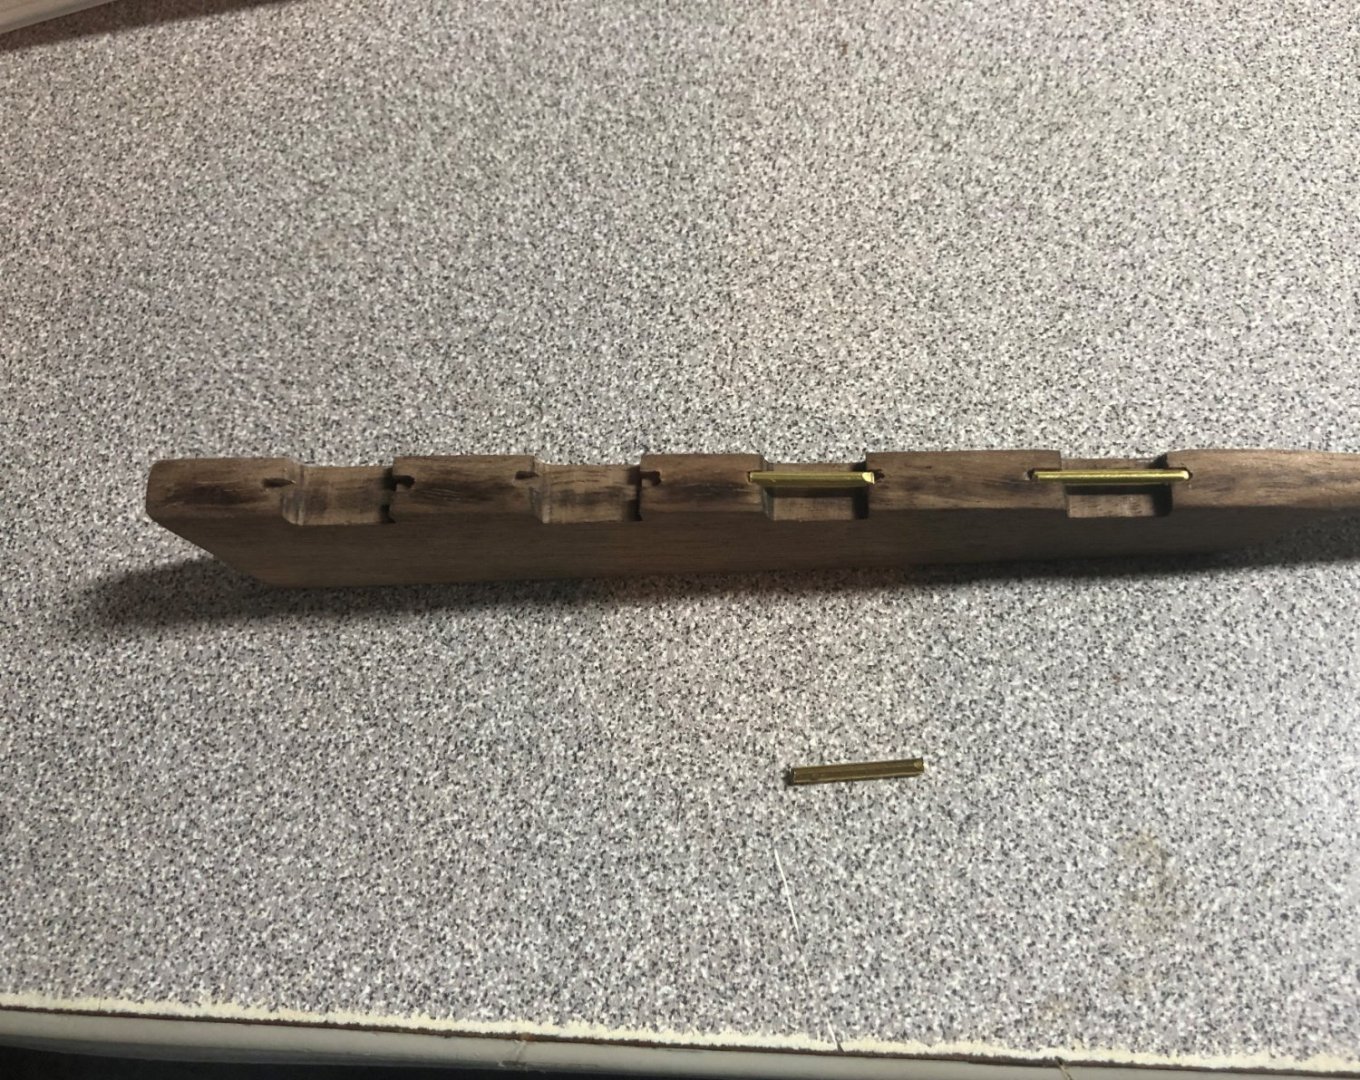
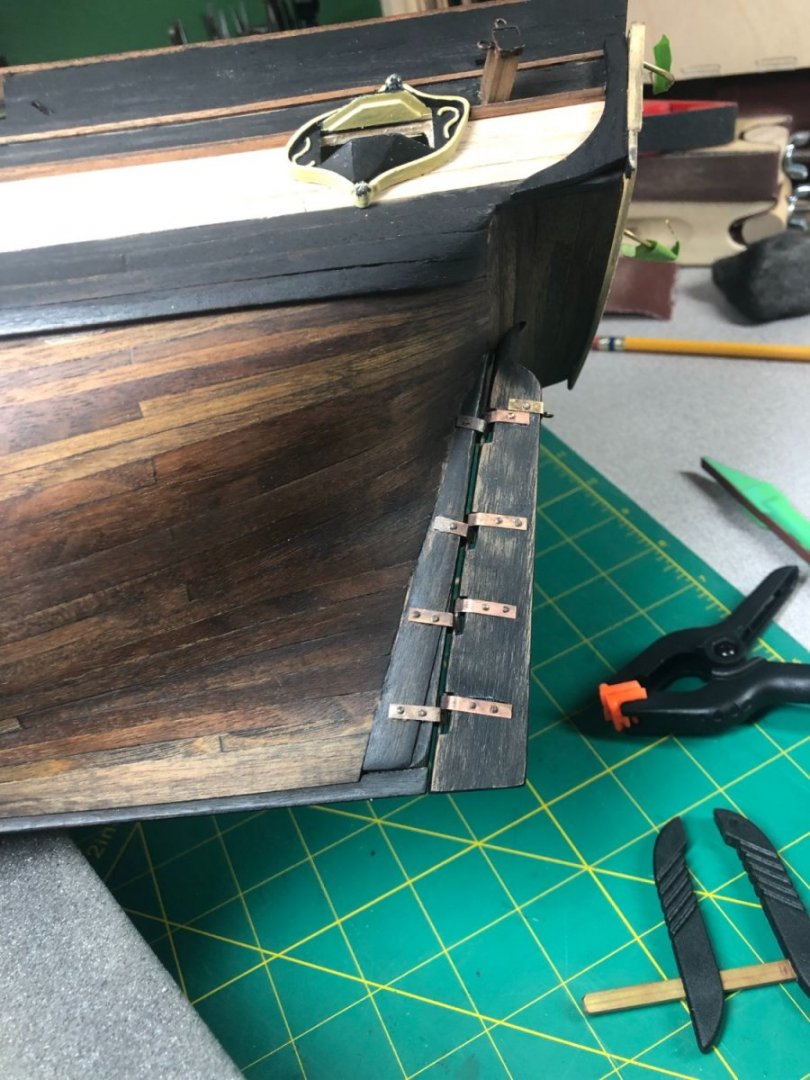
The rudder was an exercise in futility! But it's installed. Drilling the hole to proper size was no problem, I used several drills and two different pin vises (one small and one large) to drill out the hole for the rudder head... The hard part was get the alignment right, as noted in my previous post, I used a brass rod as a guide. The results were good but not excellent. I had to do some round file work through the main deck to get the alignment just right with no binding: Unfortunately, I have that little chip that broke loose at some point, looks worse than it is in the picture! Earlier in the build, I increased the stern post in width to make a better finish for the planking. This made things a bit more difficult to shape the hinge pieces. Additionally, I decided to install the pins into the rudder: I am disappointed that Artesania Latina used different metals in the kit. Check out the top band (for the chain) and the hinges: Two different metals blackened... and to add insult to injury, their included "brass" nails are, in fact, iron nails. I could not get them to blacken, at all and they are magnetic! I tried sanding the "brass" coating and had some success. I also, began the distressing process on the rudder and stern post. Still need to add rust stains: Working getting start on the bowsprit mount and deck fixtures: I need to start making rope too. Lots of rope! I won't be using the thread supplied in the kit. More coming soon!


-
Hey Dave, Good start! I don't know this particular model but I think the garboard should run the entire length of the keel. The area below the garboard and above the keel should have planking. As a side note, I almost always install the keel before planking. I cut a rabbit into the keel that the garboard fits into. Keep plugging away!
- 362 replies
-
- 2
-

-
-
- Amati
- Lady Nelson
- (and 2 more)
-
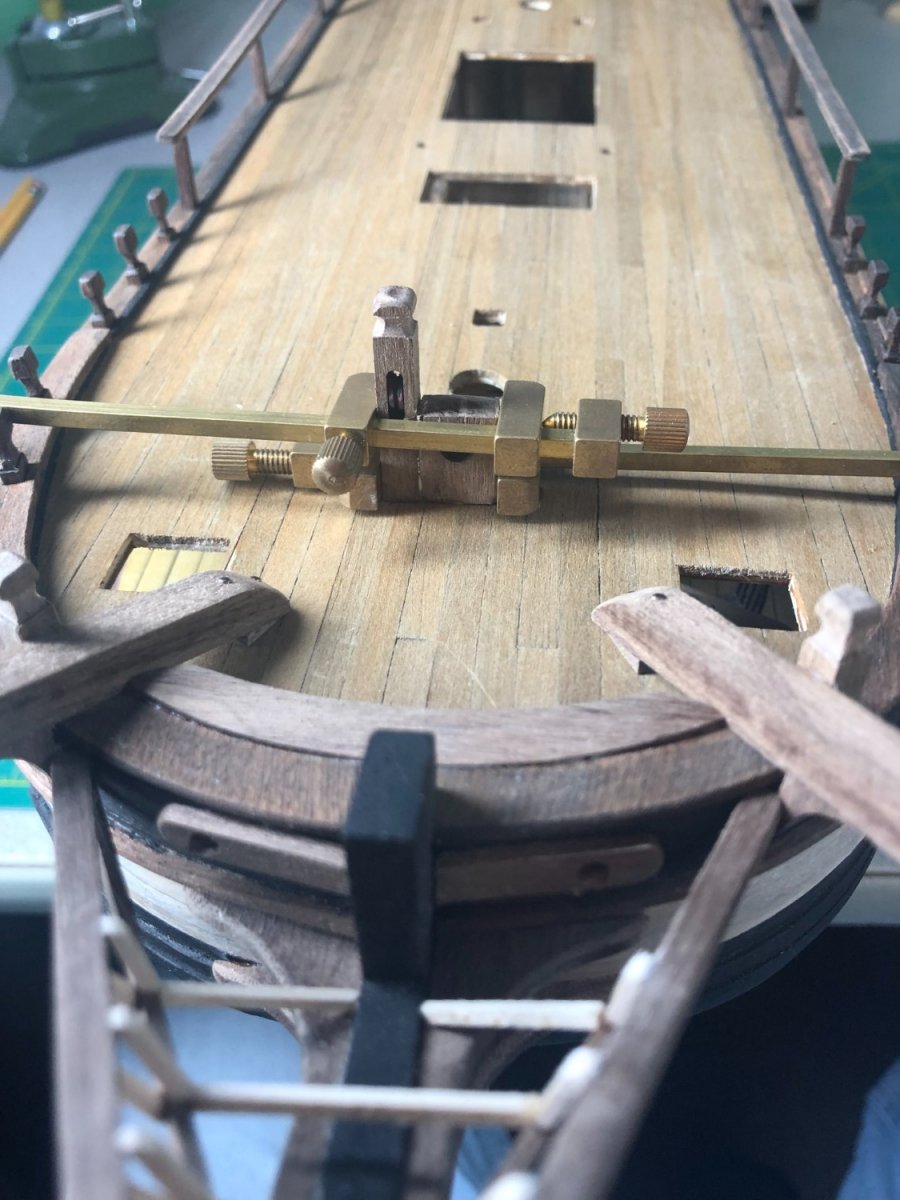
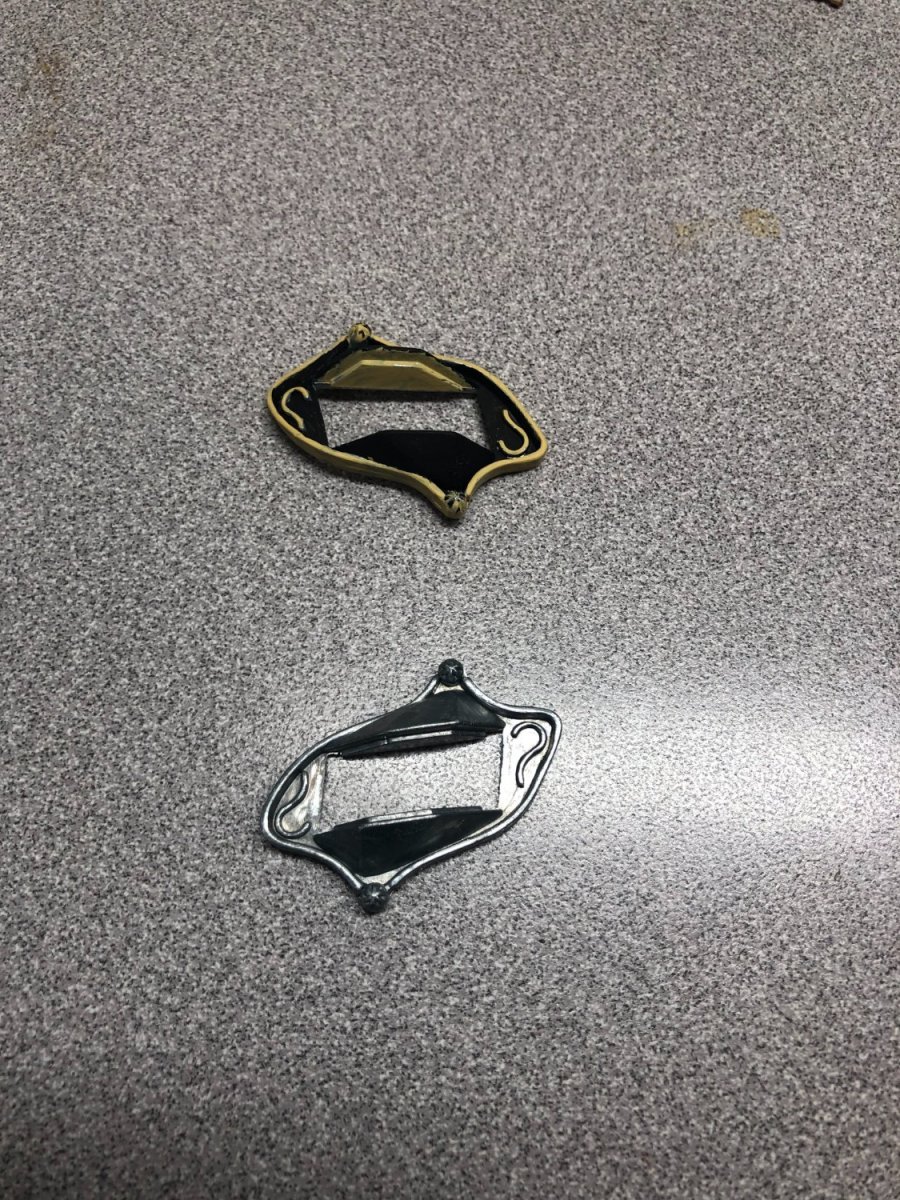
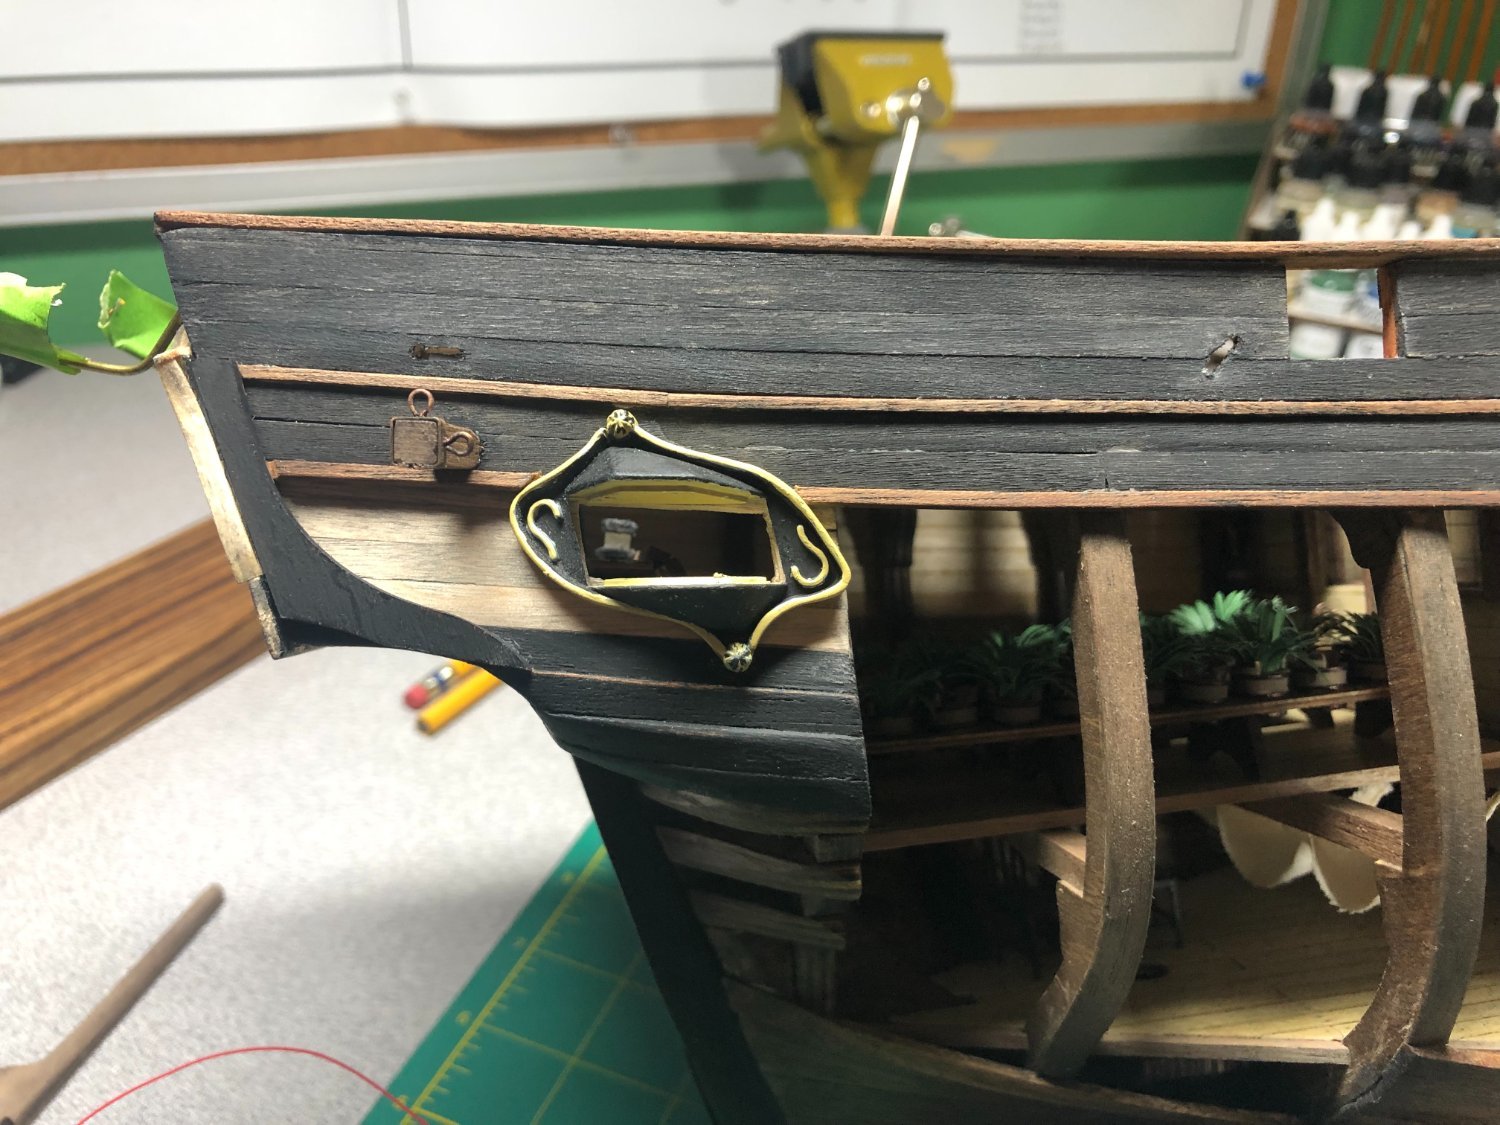
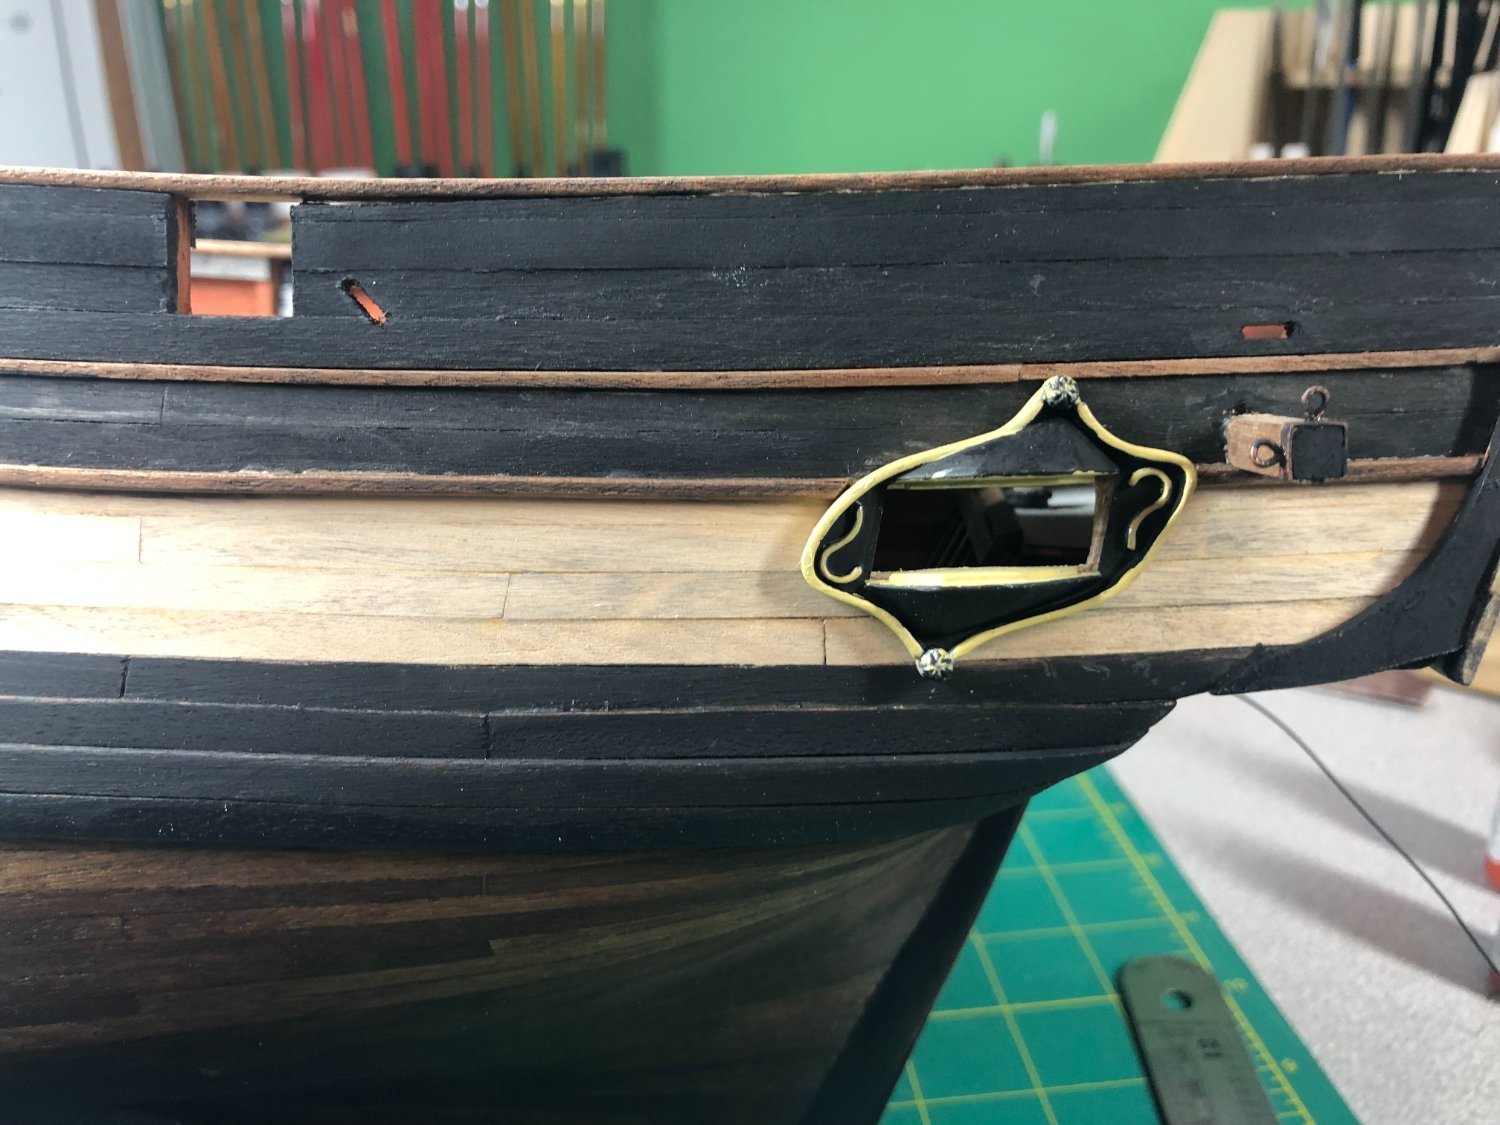
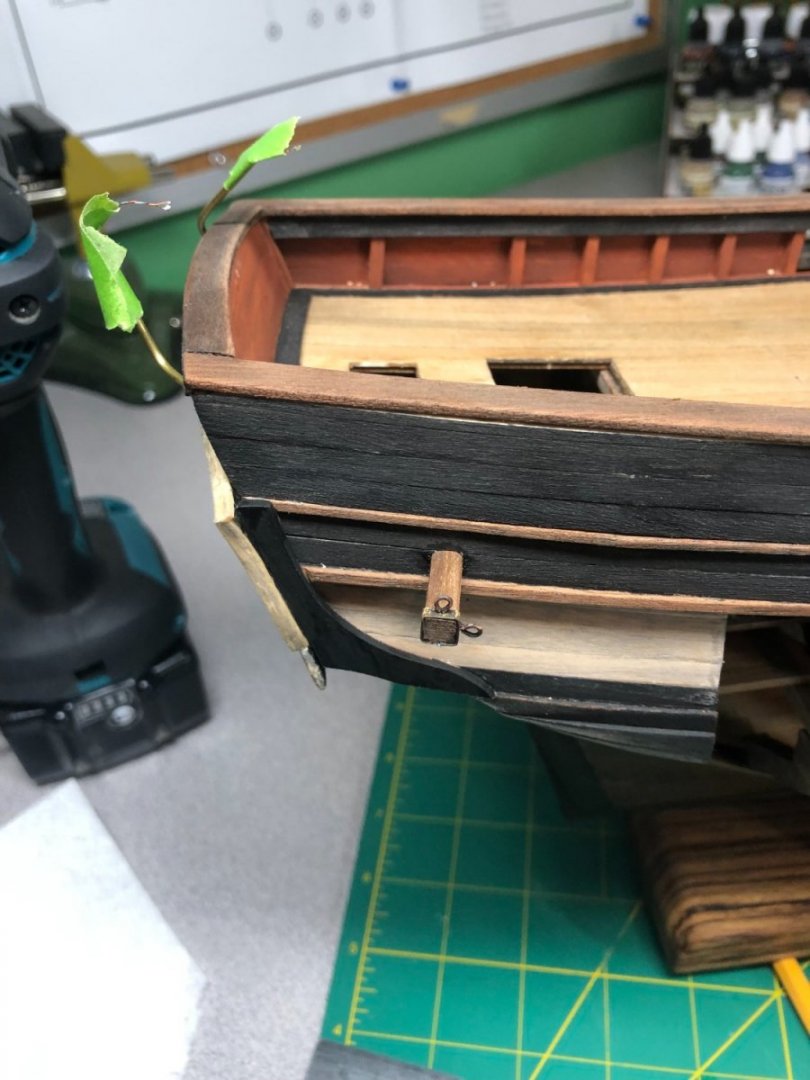
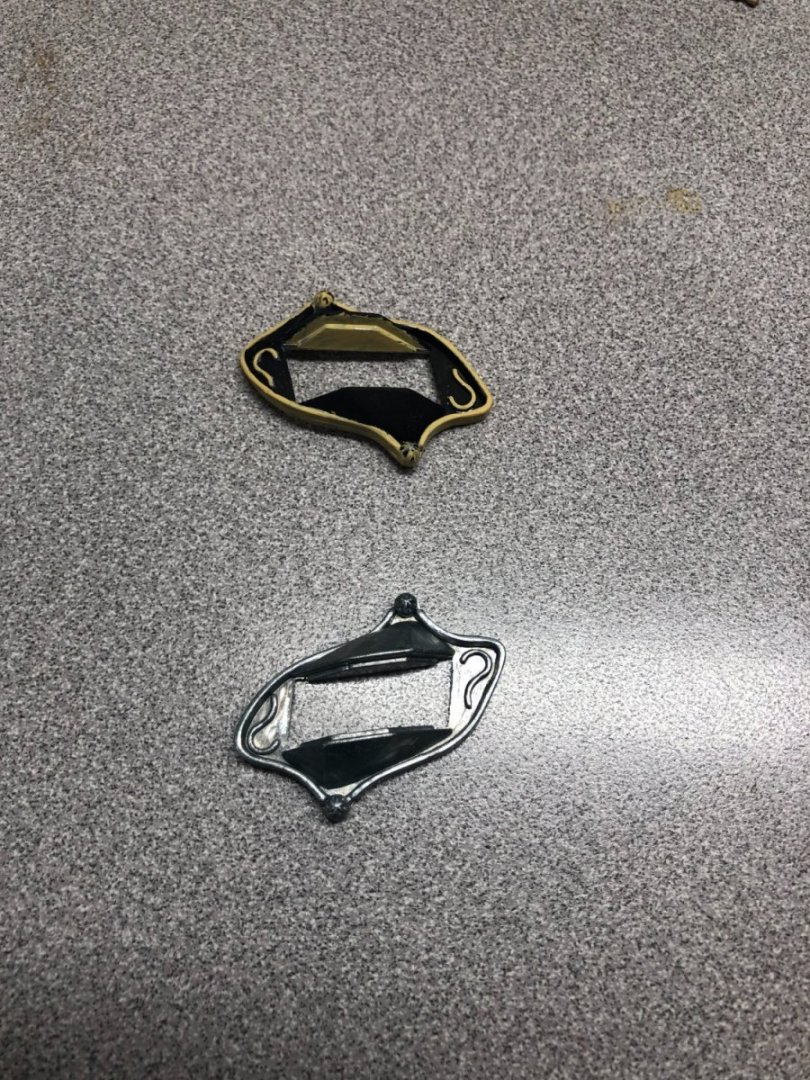
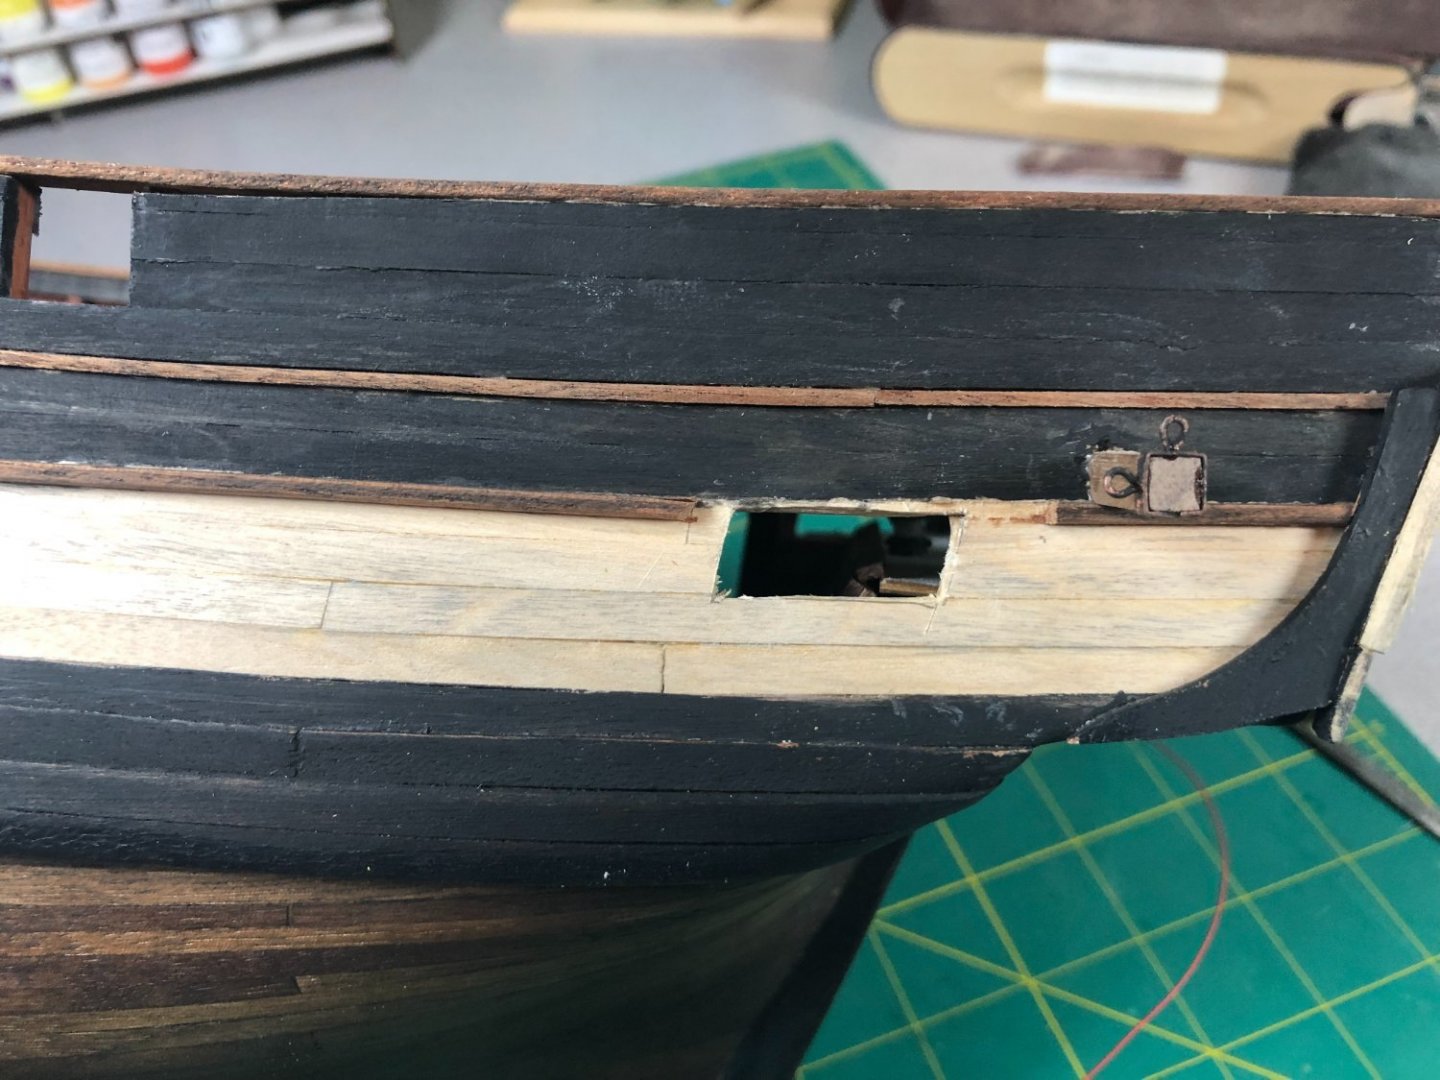
Continuing on with some work in the stern area... I think Artesania Latina could've done better with the layout of this work and the needless cutting of planks... The stern stanchions were first up. Cut to size and wrapped with an aged brass strap and aged pins. As mentioned above, I had to cut a hole in the planking to attach it to the hull. I decided to drill a hole and round of the corners of the piece and fit it to the drilled hole: Same thing done to the port side. The next step is to install the rudder and attach it to the stern post. Installing the rudder requires a 6mm hole to be cut from the transom through the lower deck and through a pre-made hole in the main deck. I had some apprehension over the "hole" work! I spoke to Tim Moore (he recently completed the same model... really good!) and received some good advise. Thanks Tim! I drilled a small hole for about where the center of the rudder post would pass through the transom and used a brass rod to check the alignment. I was off by about 5-6mm... so, leaving the brass rod (still in place) as a guide, I drilled from the top down, being vigilant about adjusting the drill to the angle of the rod to correct the hole placement. Came out almost perfect! I need to purchase a larger pin vise to increase the size of the drill bits, a little at a time. It will be here on Saturday! The rudder post rounded and ready for installation: On to the garden windows. These pewter pieces needed some castings ground flat and then painted. I chose to use the colors from one of the pictures posted earlier in my log: Cutting the holes in the sides, again, seemed to me that it could have been done during the planking, it was not fun cutting these holes! And then installing the pieces: I also cut the slots for rigging to pass through later in the build. Hopefully, I have the rudder installed by my next update. I'm also working on some of the bow deck fixtures.


-
Thanks Joe! I just spent some time looking over your website! Very impressive work... you must have the patience of saint! And only a month to build! Wow! Thanks for sharing and thanks for stopping in.
-
The book doesn't state any colors. It does mention Bligh having it re-painted as you mentioned. No colors! Not sure what I will do. Since my rendition has the breadfruit onboard, I will go with a more colorful figurehead as mentioned.
-
I need to re-read about that in the Anatomy book… I thought it was mentioned as being red.
-
Just ordered the book! Should arrive before I leave for vacation on 2-1. Looking forward to it! Are you doing a build log for your Bounty? Which version are you doing?
-
Thanks Dave!