HOLIDAY DONATION DRIVE - SUPPORT MSW - DO YOUR PART TO KEEP THIS GREAT FORUM GOING! (Only 13 donations so far - C'mon guys!)
×


LyleK1
-
Posts
538 -
Joined
-
Last visited
Content Type
Profiles
Forums
Gallery
Events
Everything posted by LyleK1
-
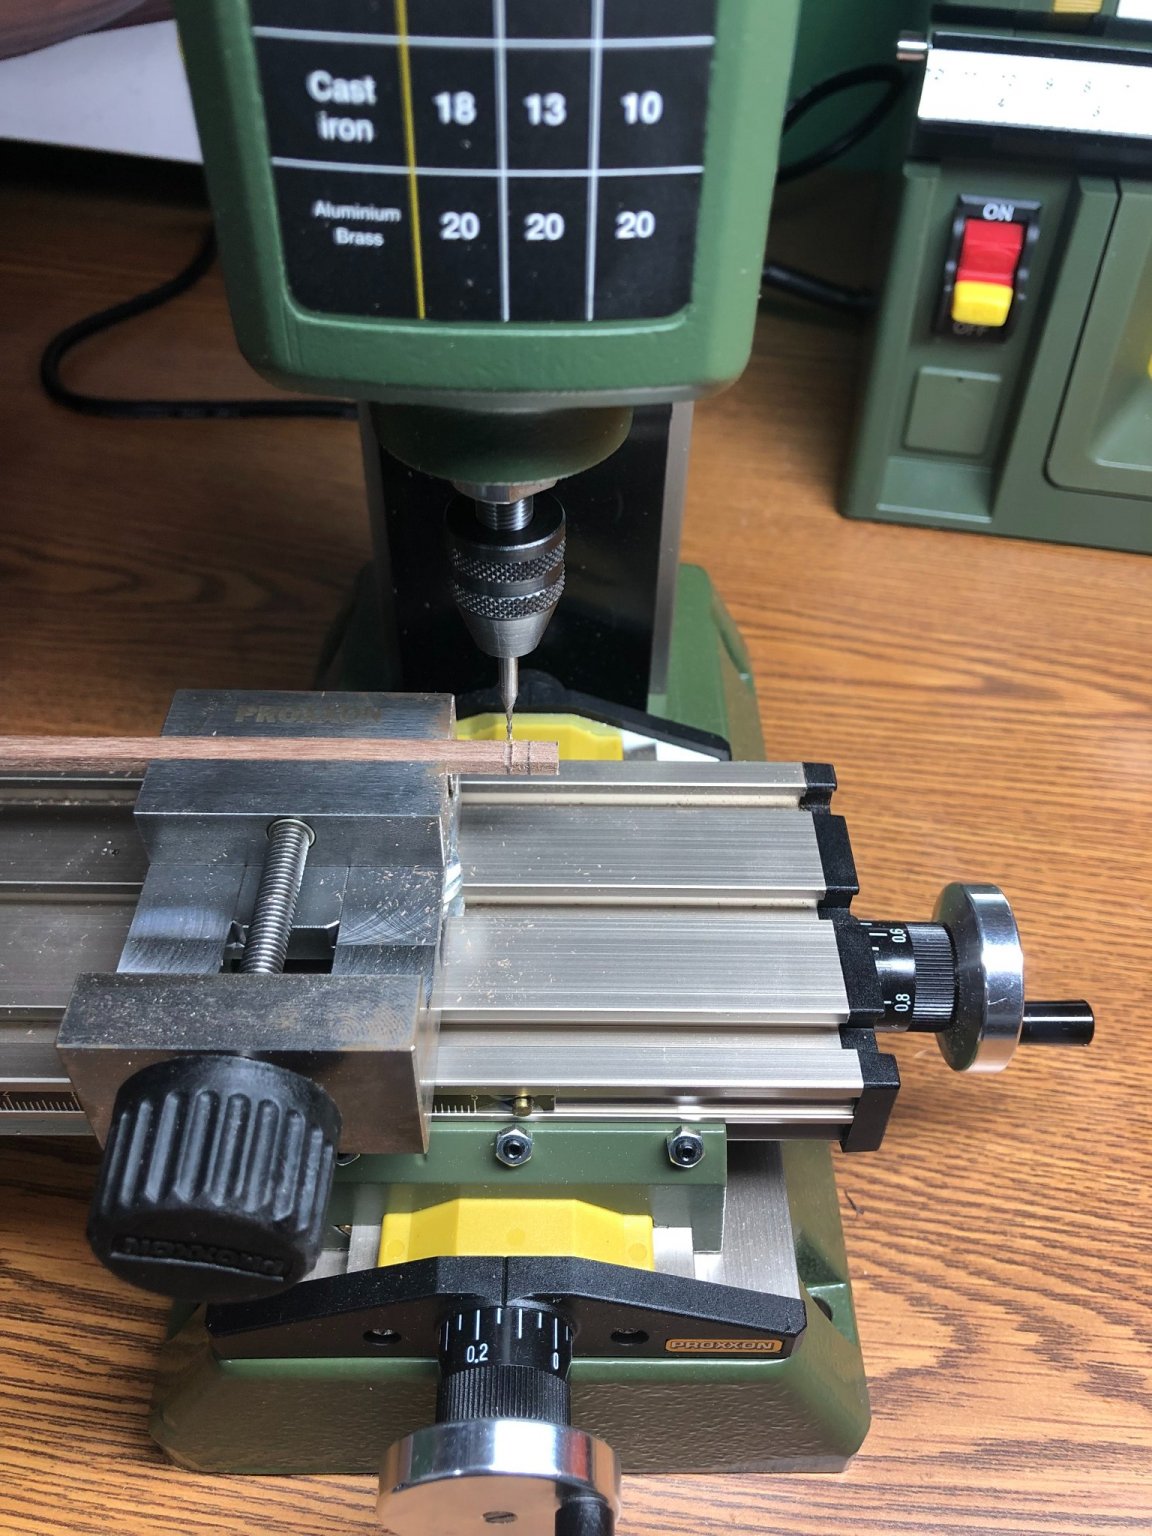
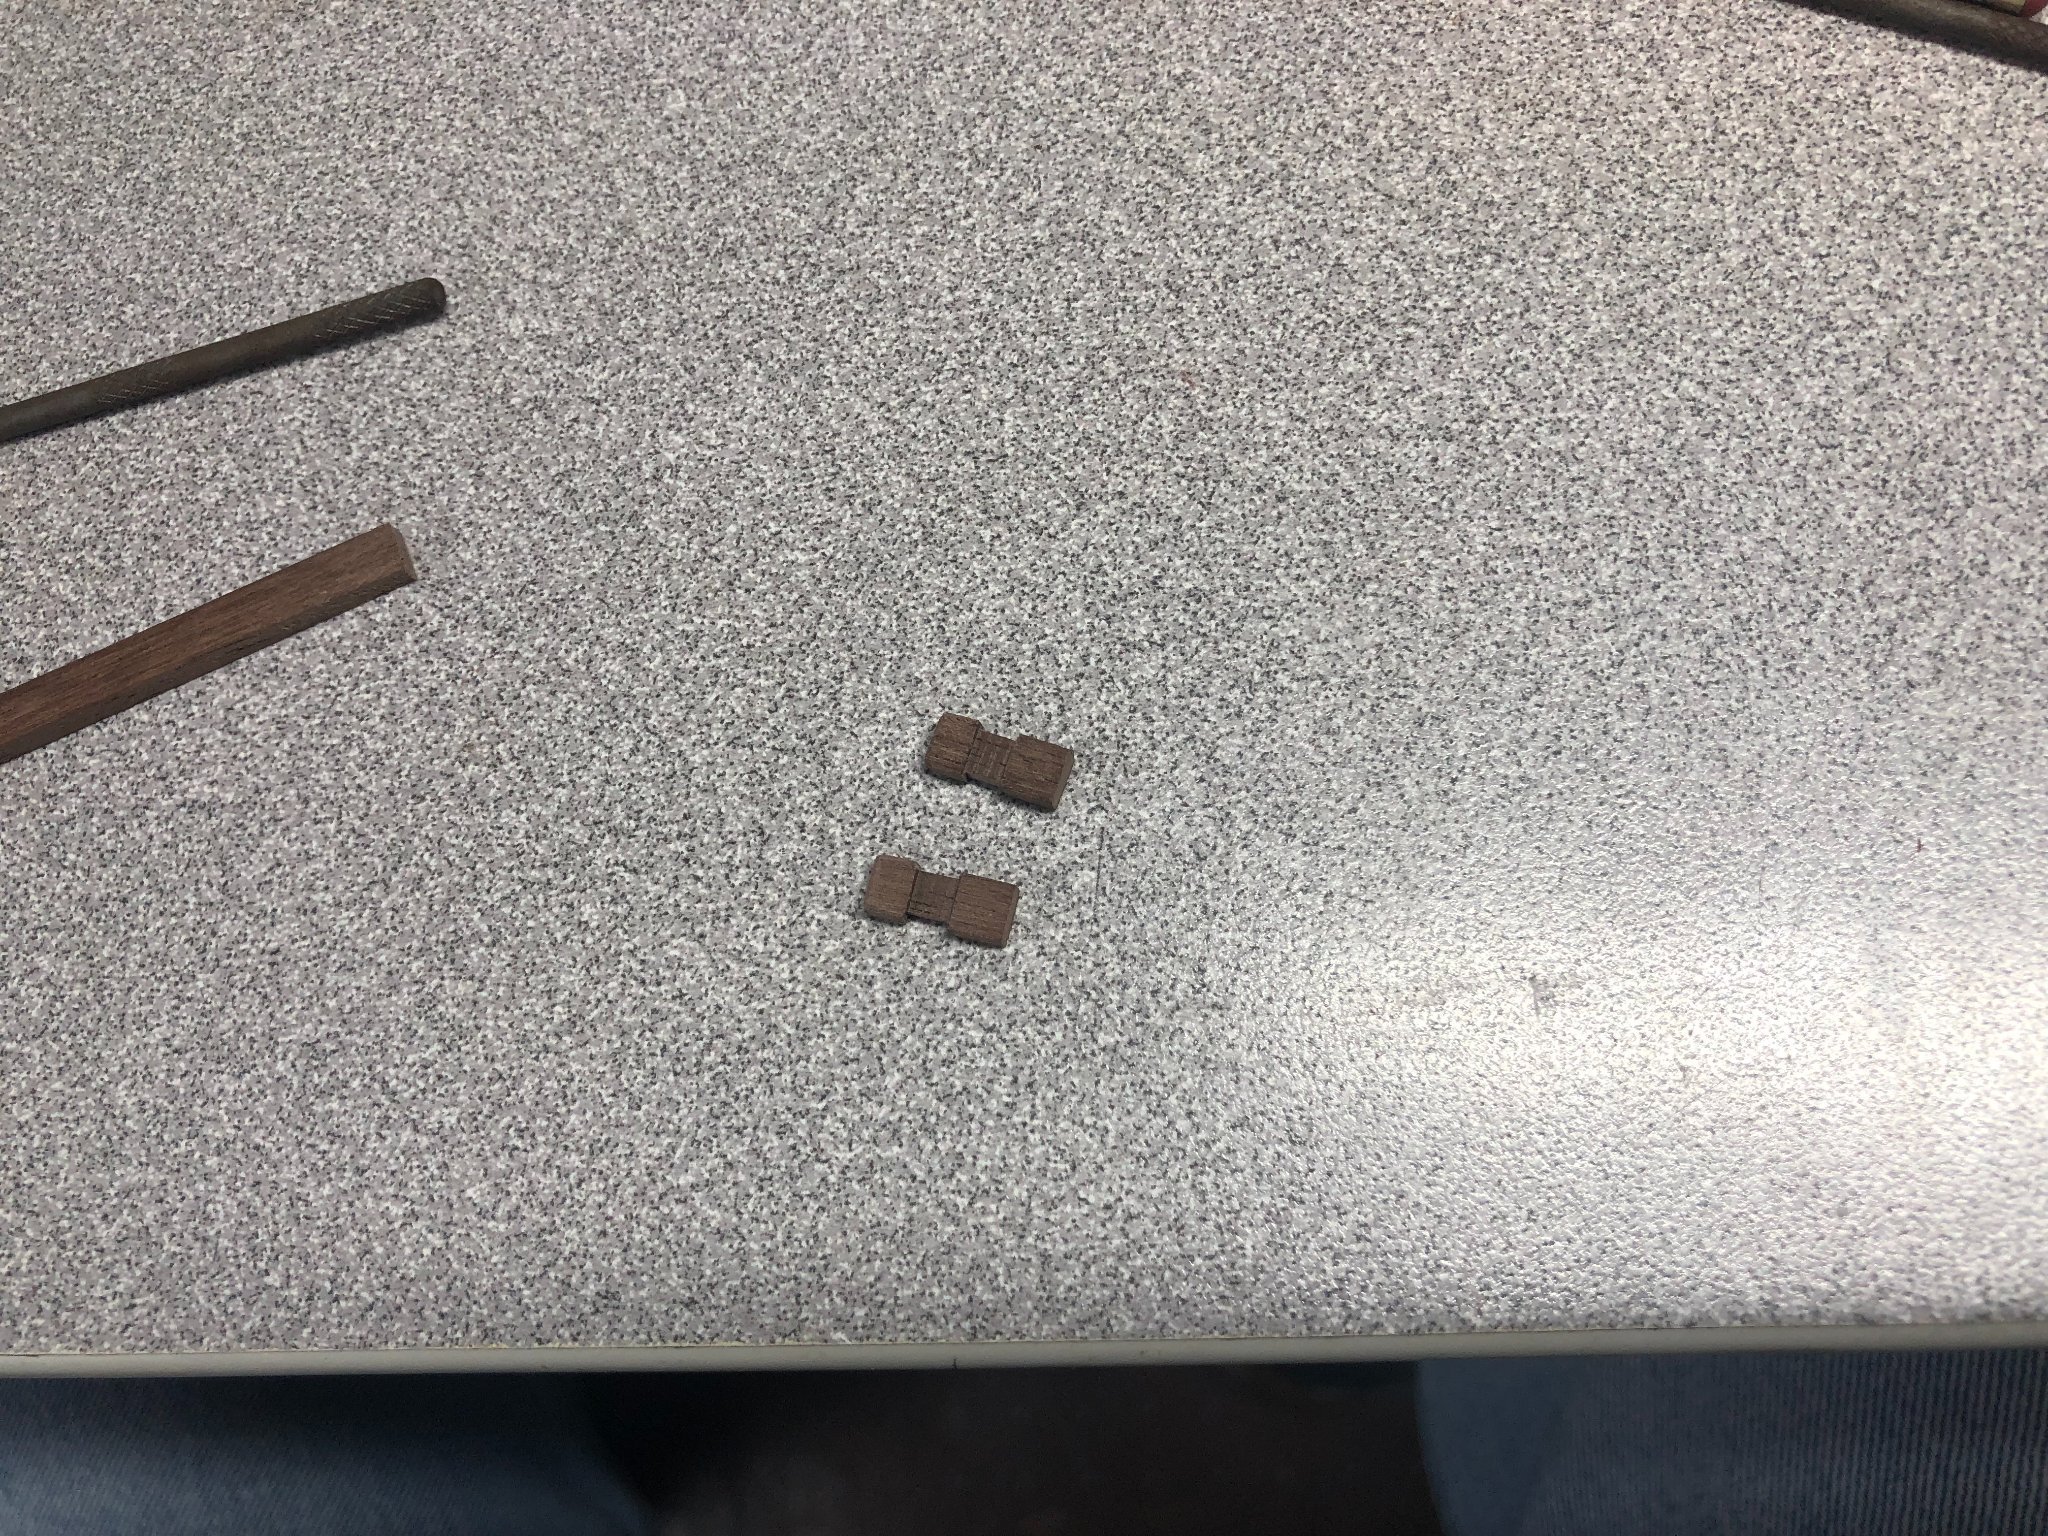
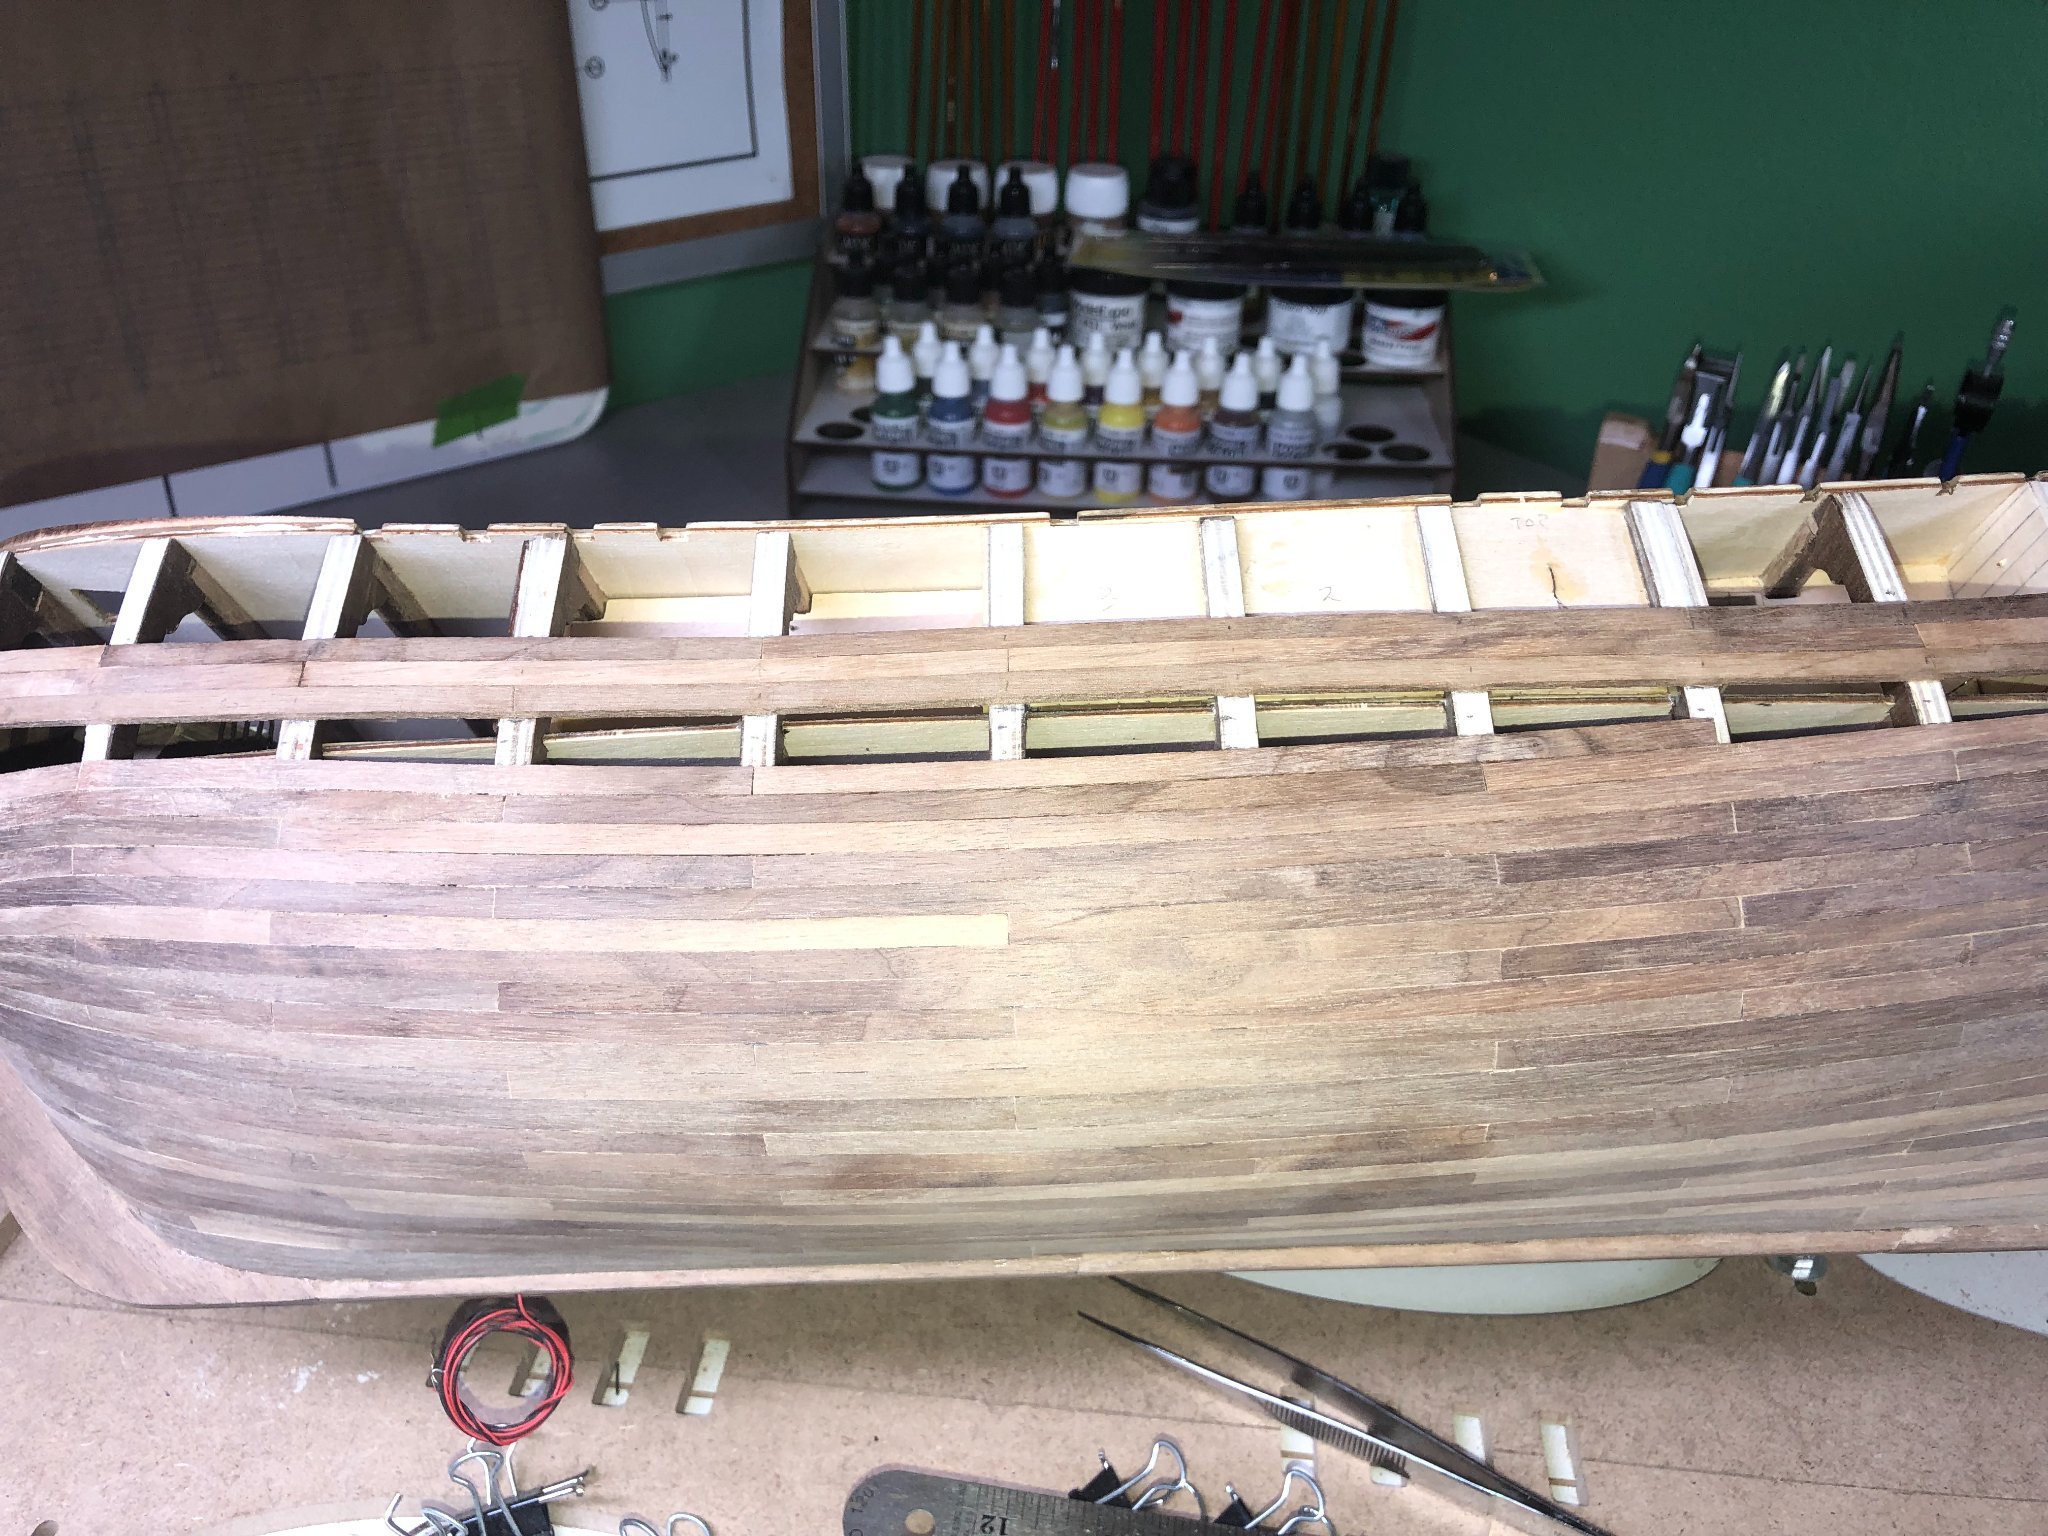
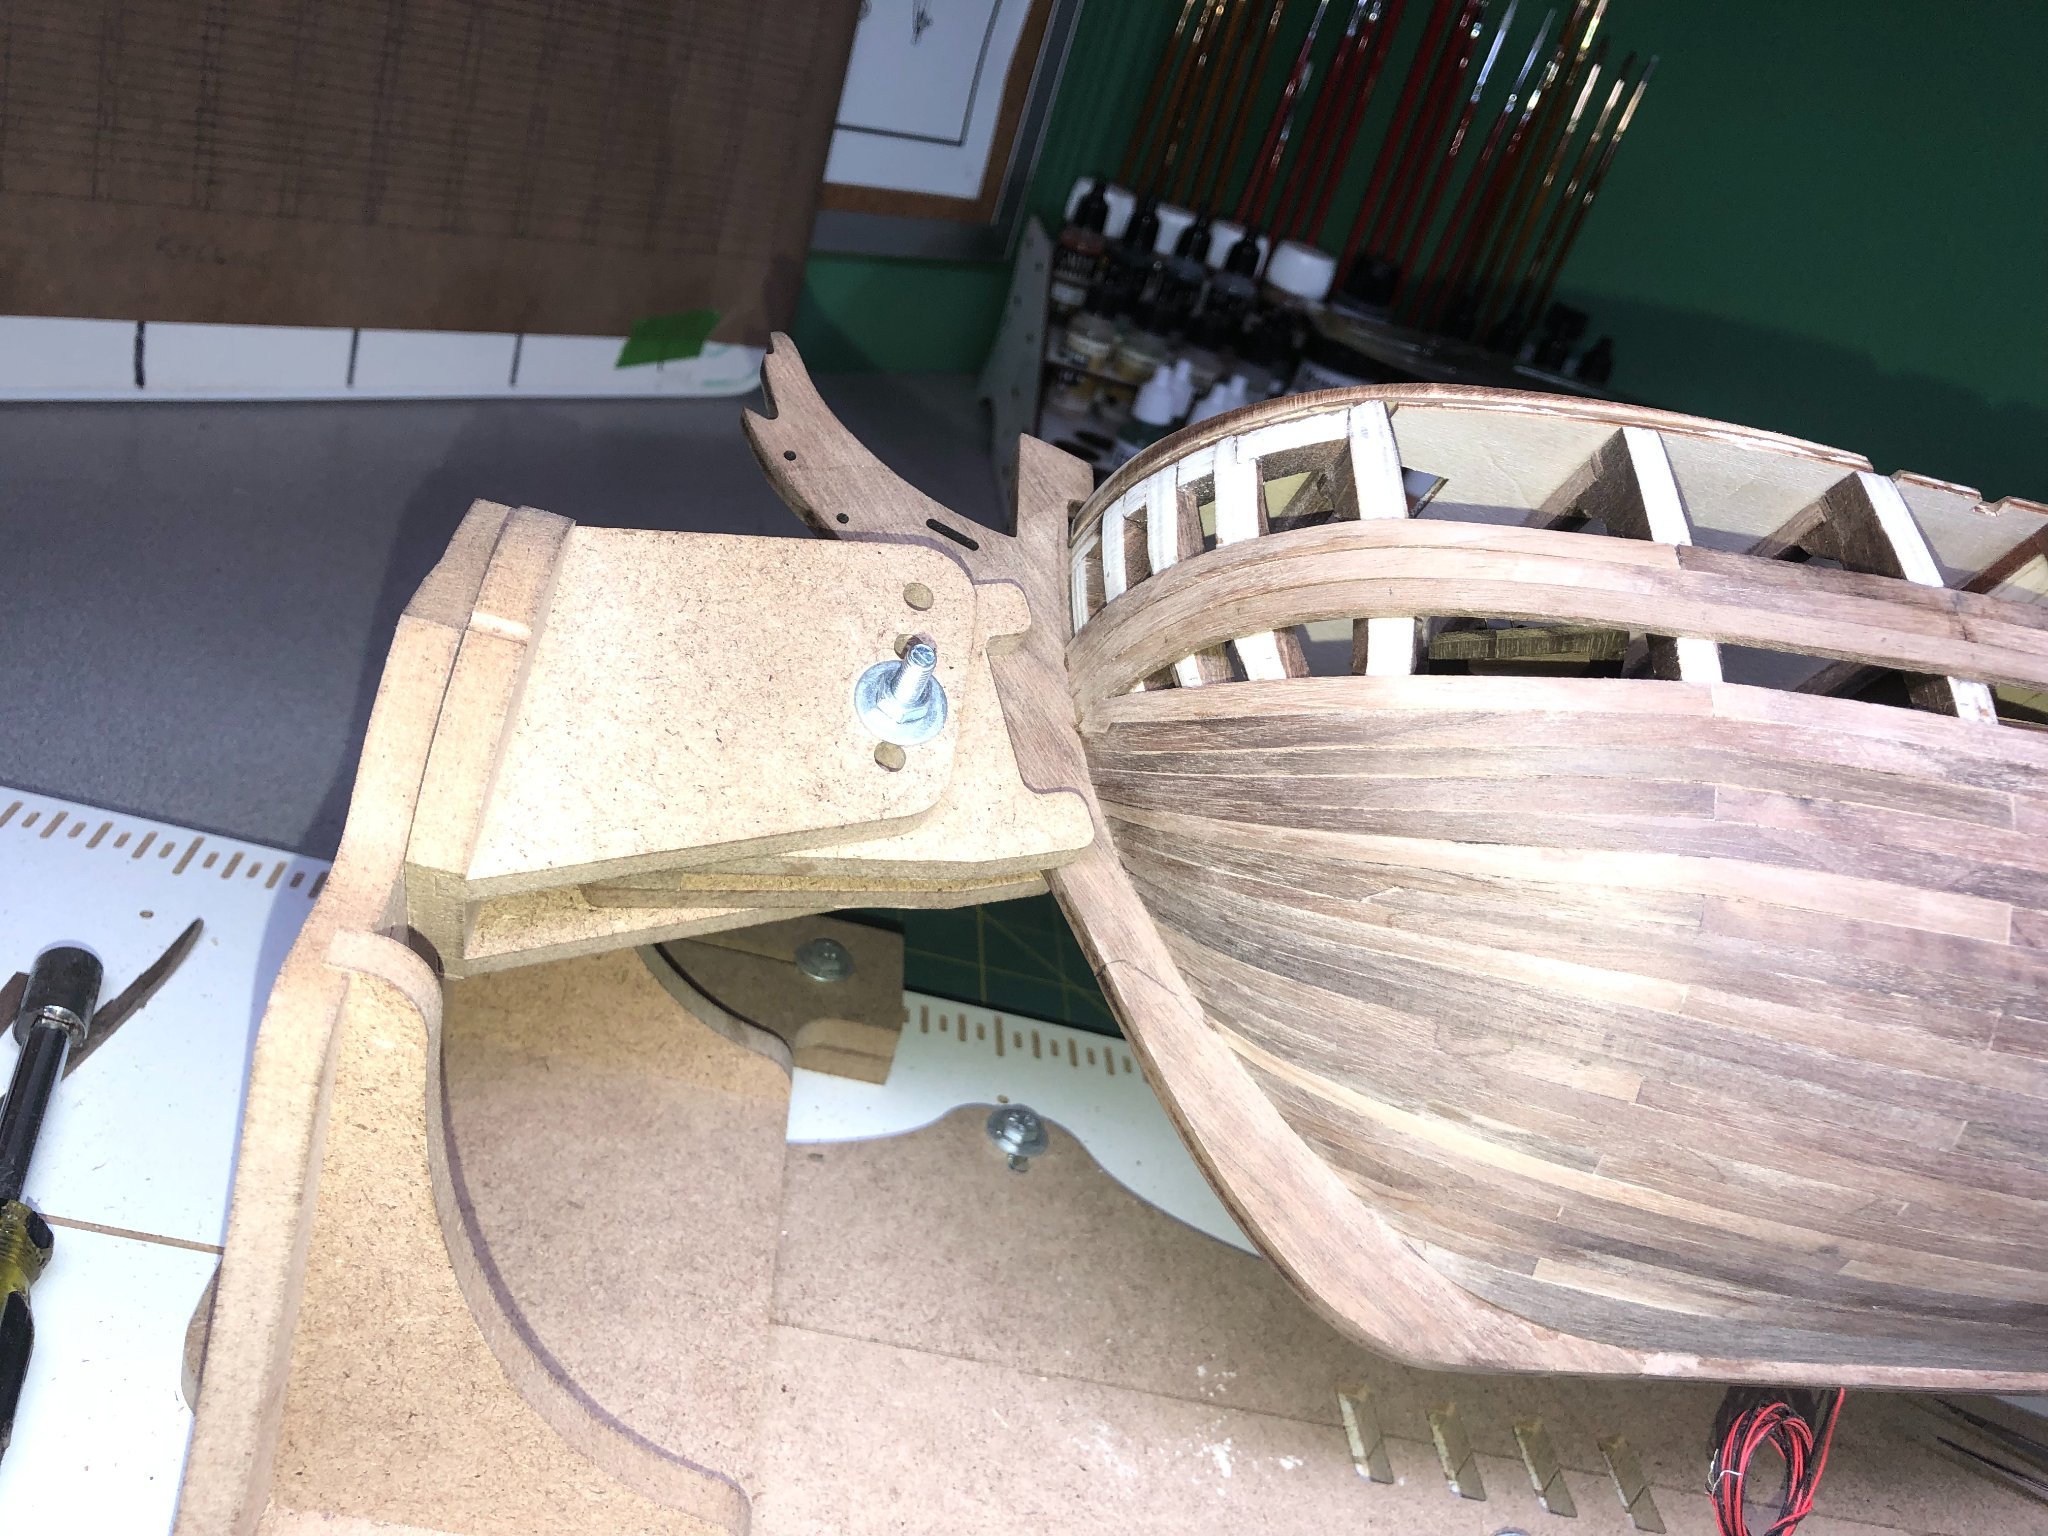
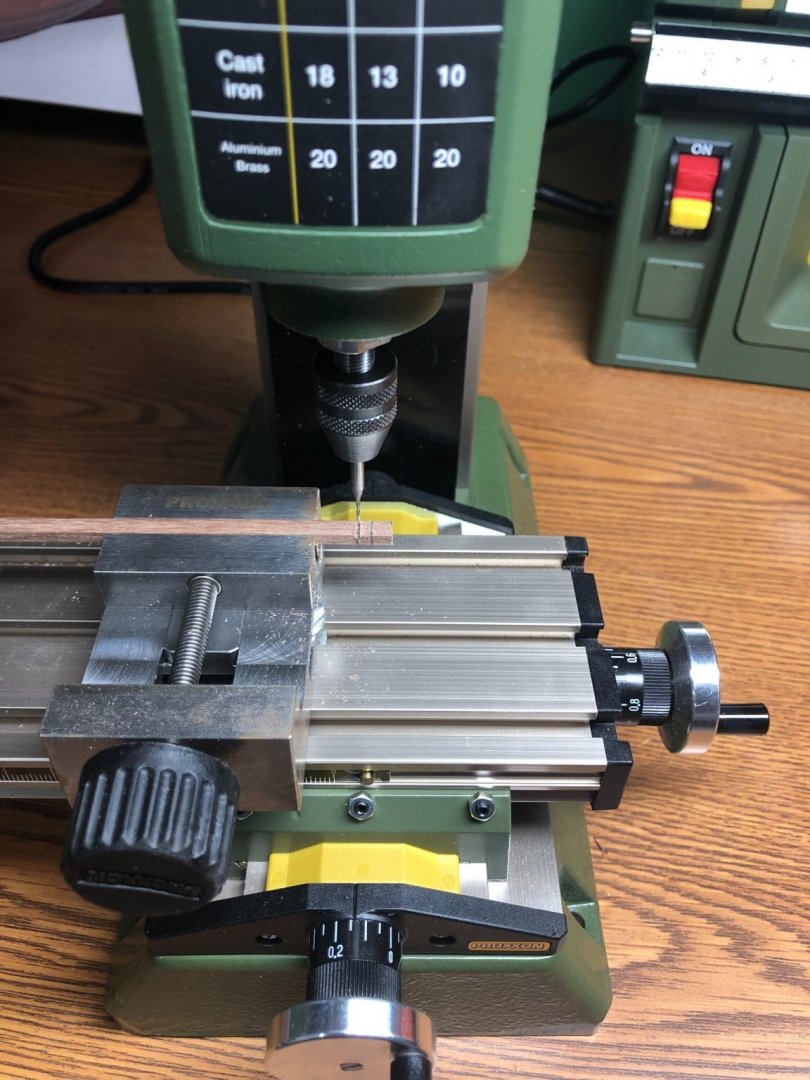
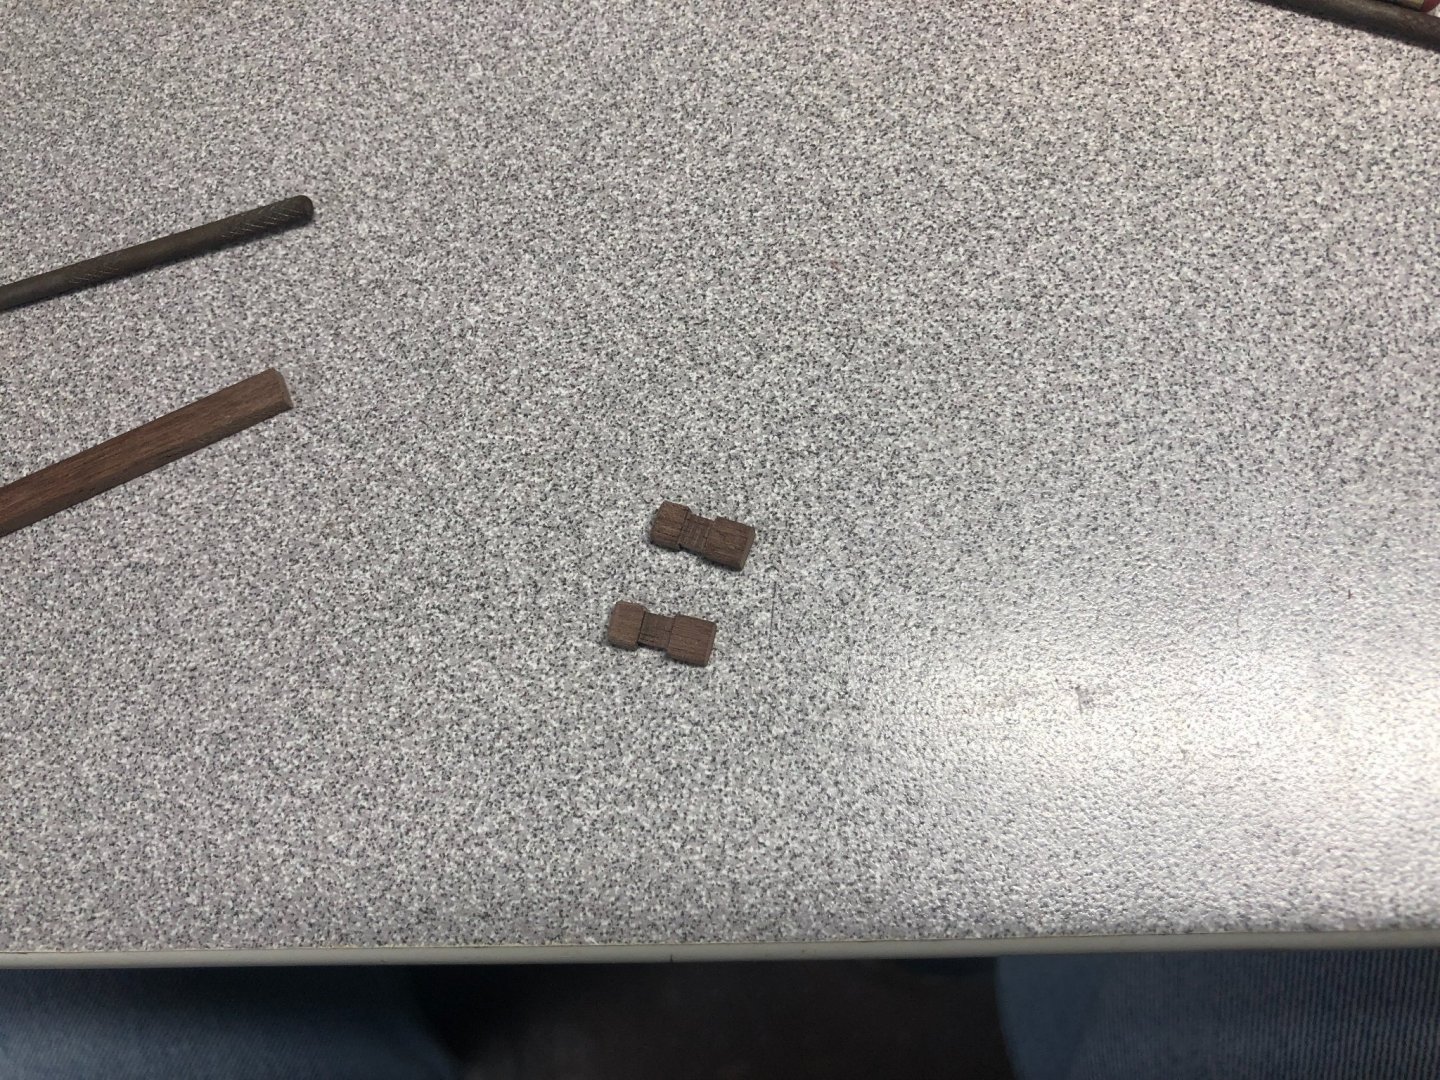
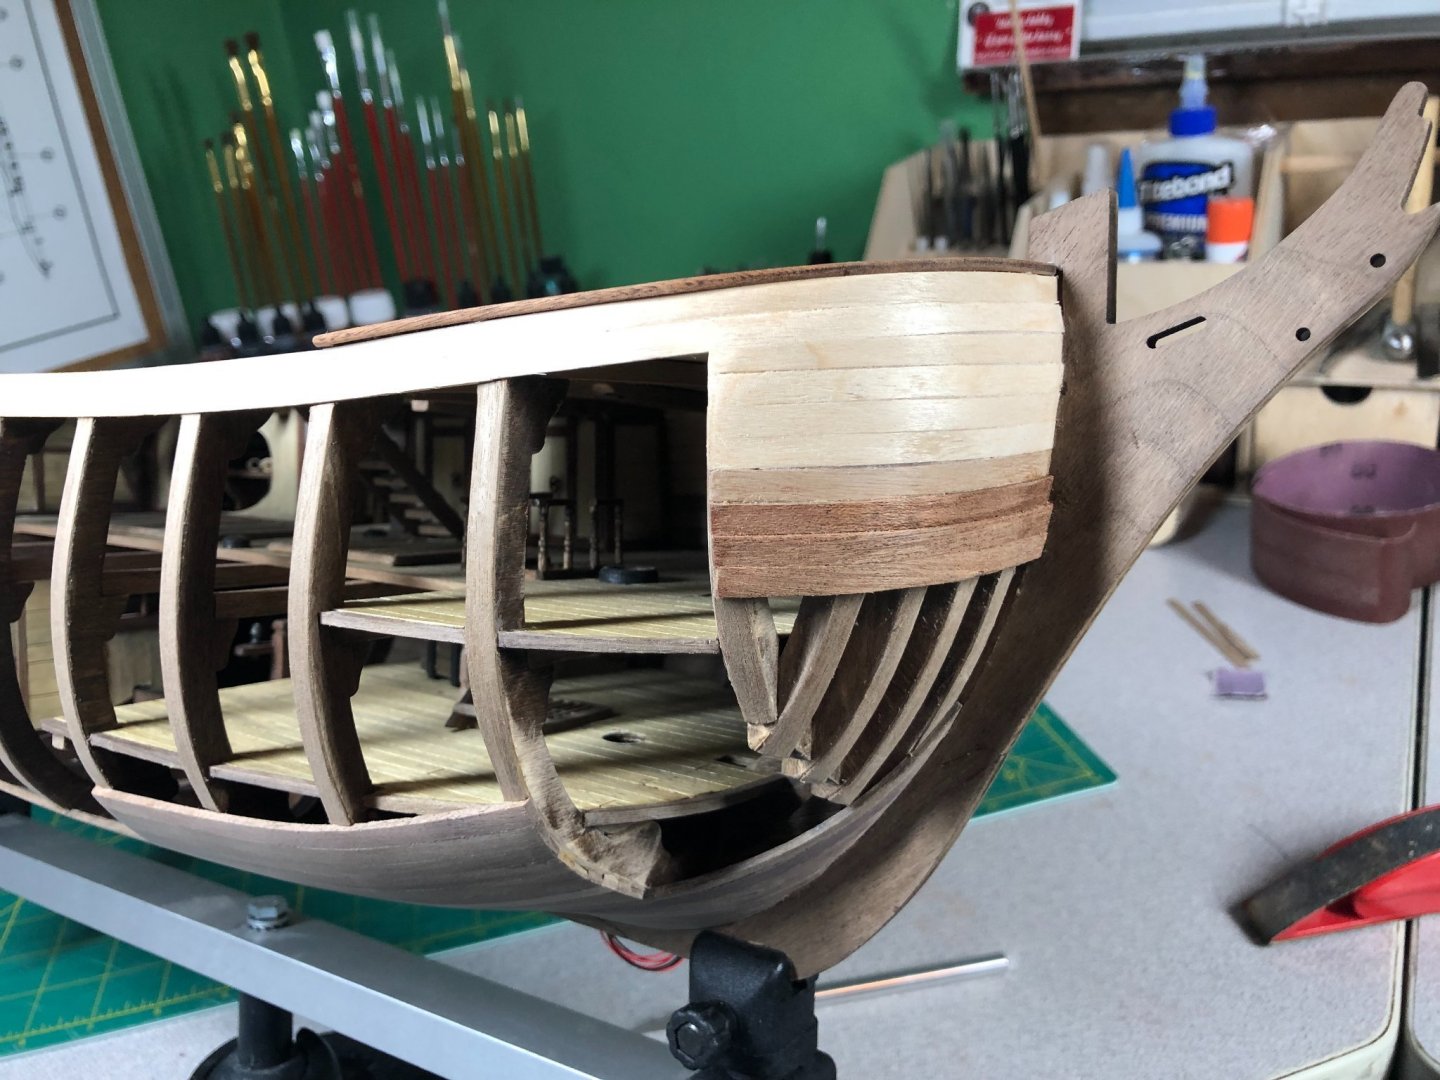
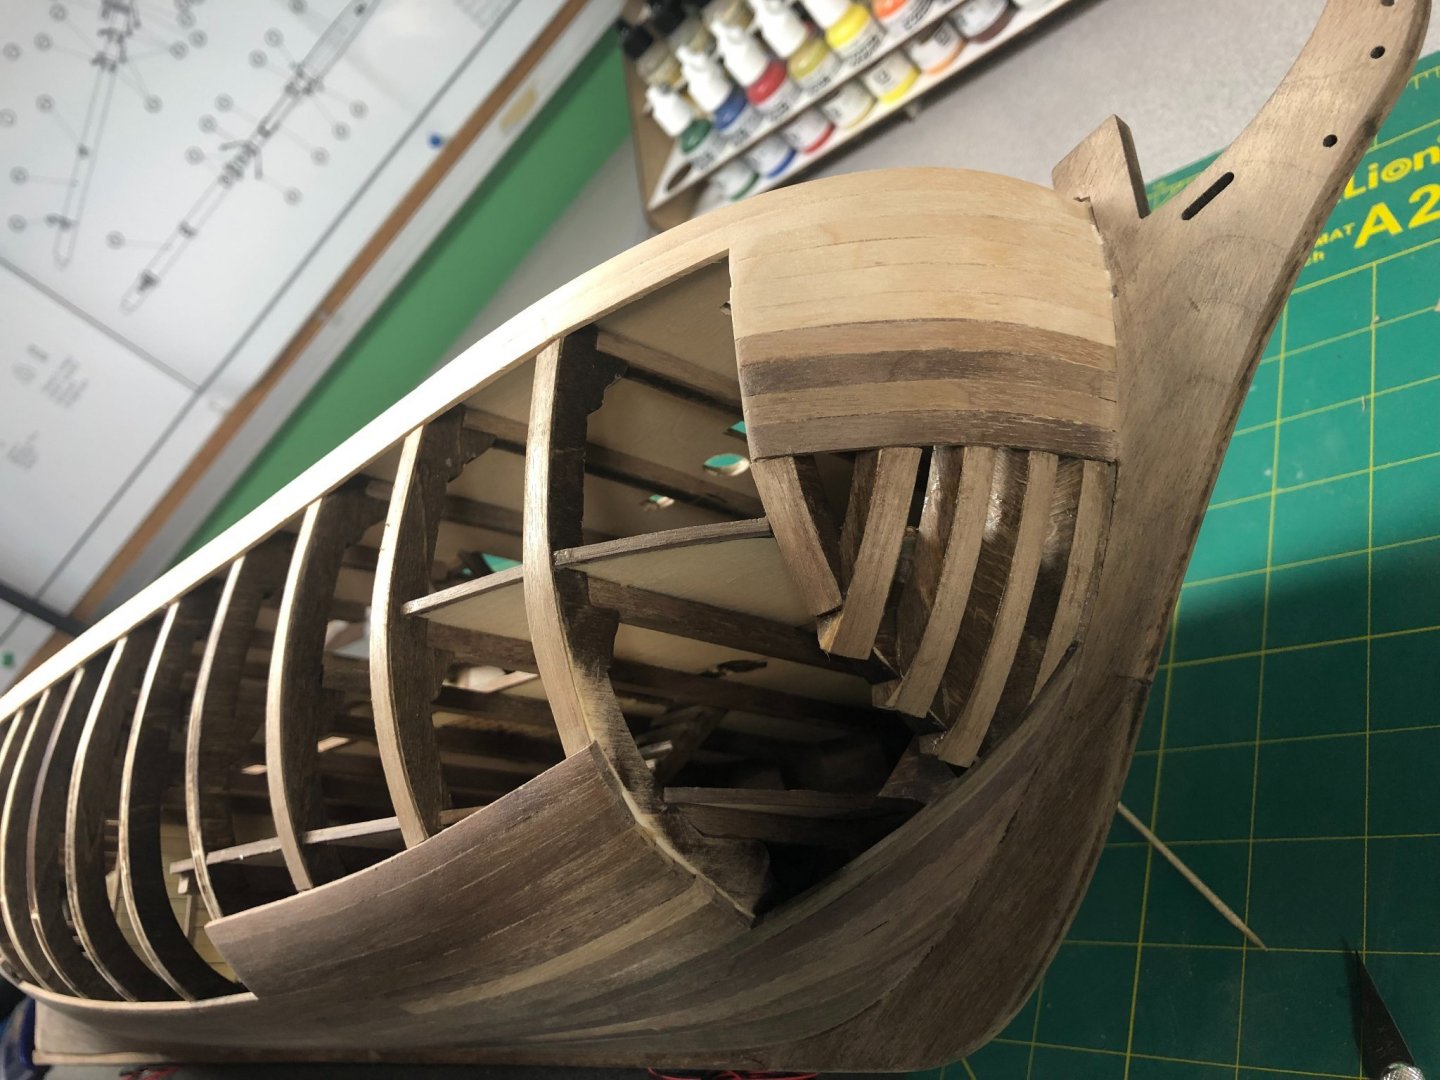
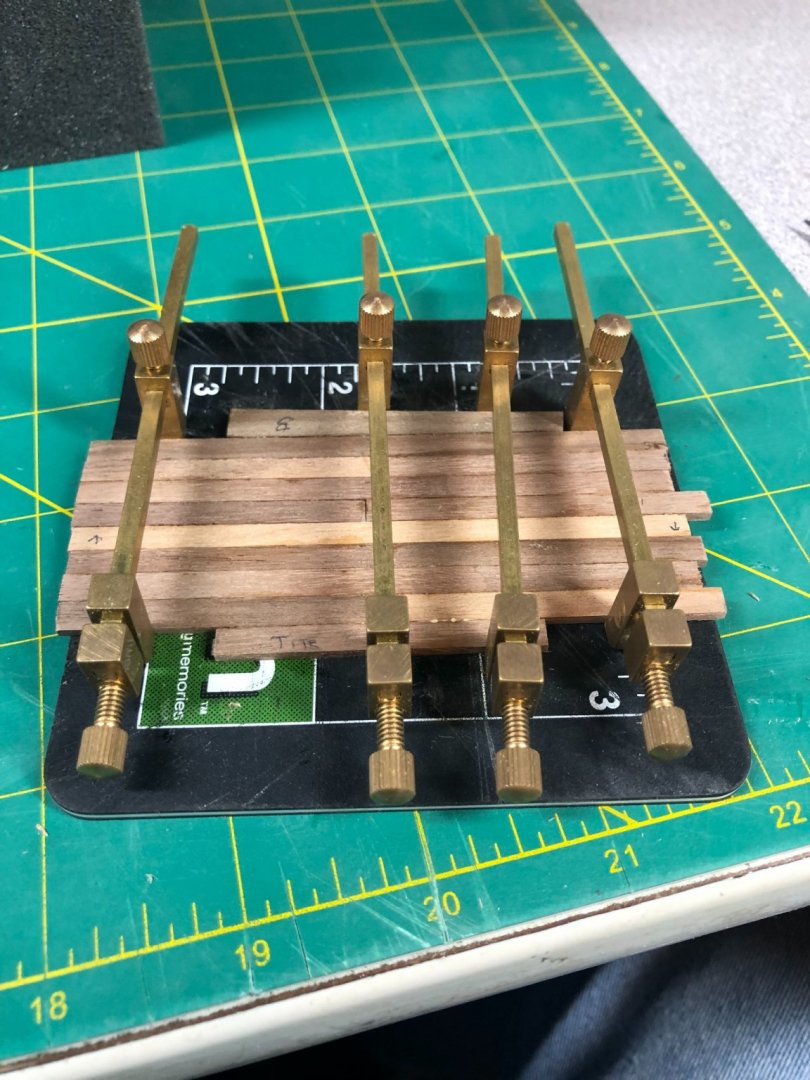
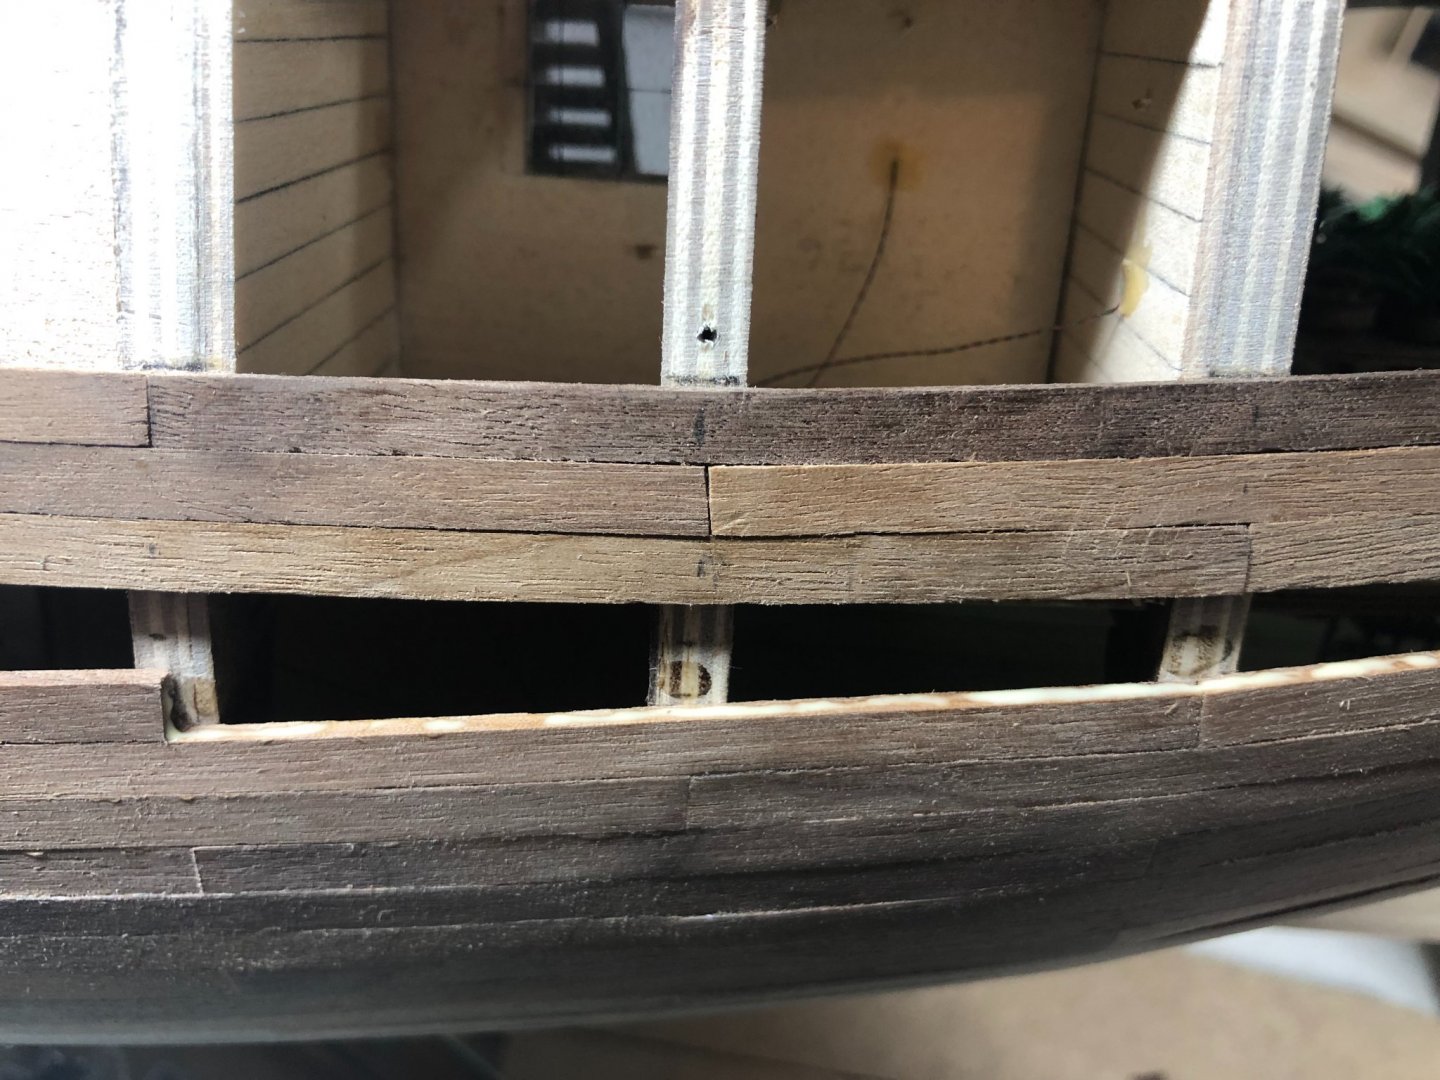
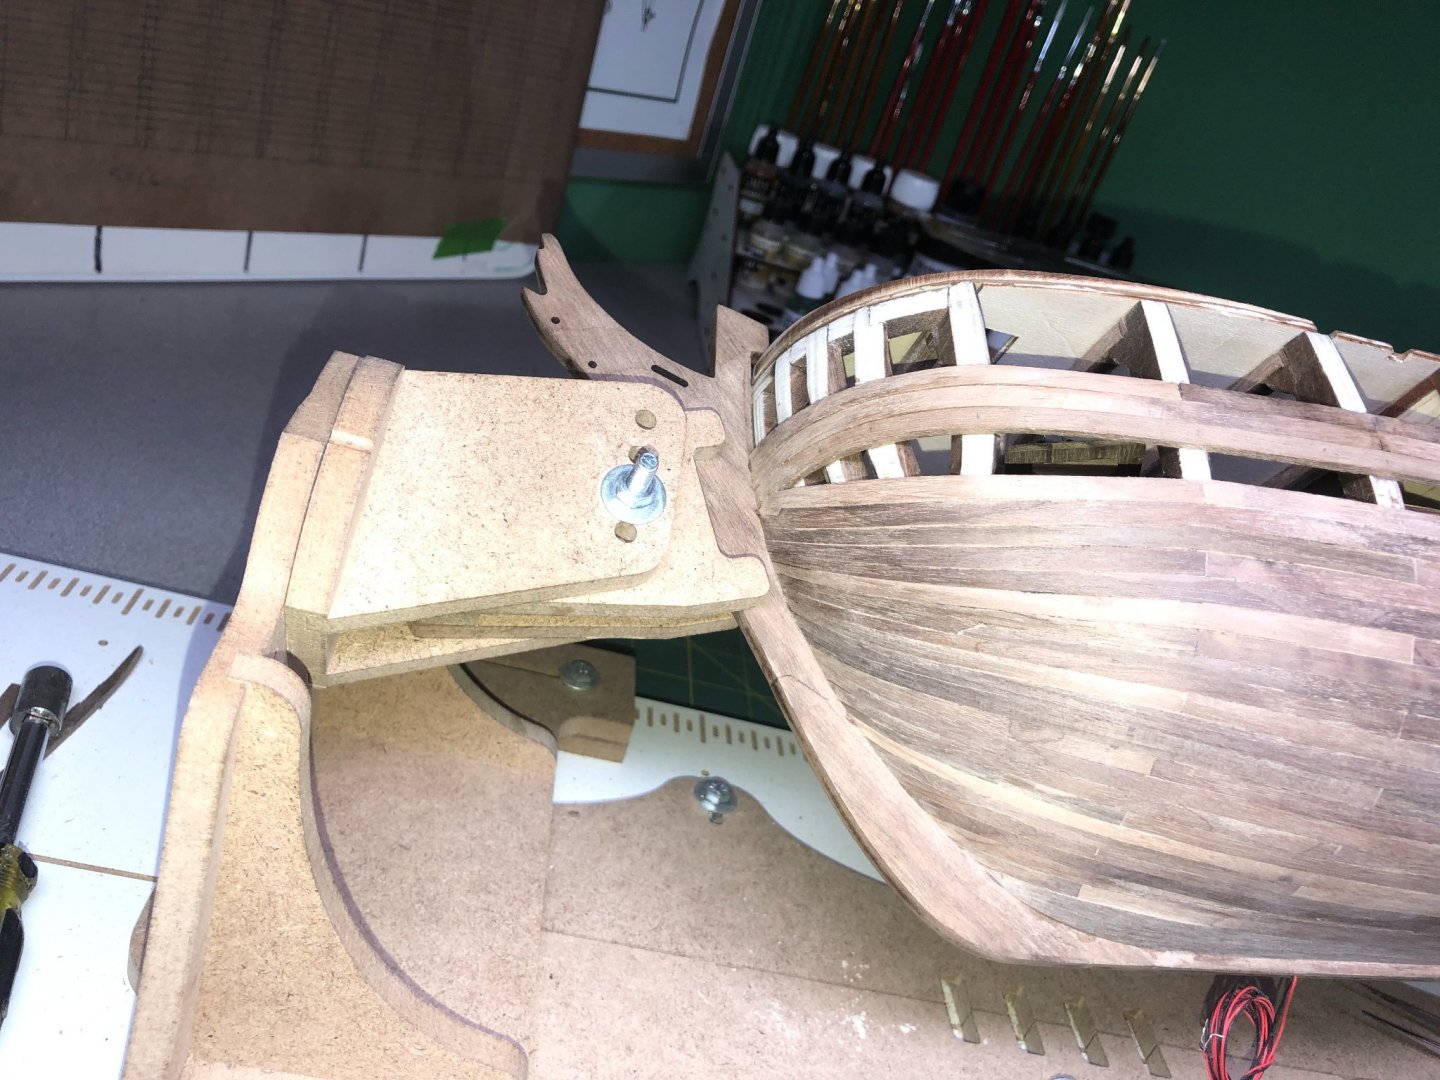
 Midship timbers in place and the first few Samson posts in place. I made the samson posts using my mini mill: A bit slow but uniform looking pieces are the result: Hindsight... I would've put them in the tumbler sander give them a less machined look.
-
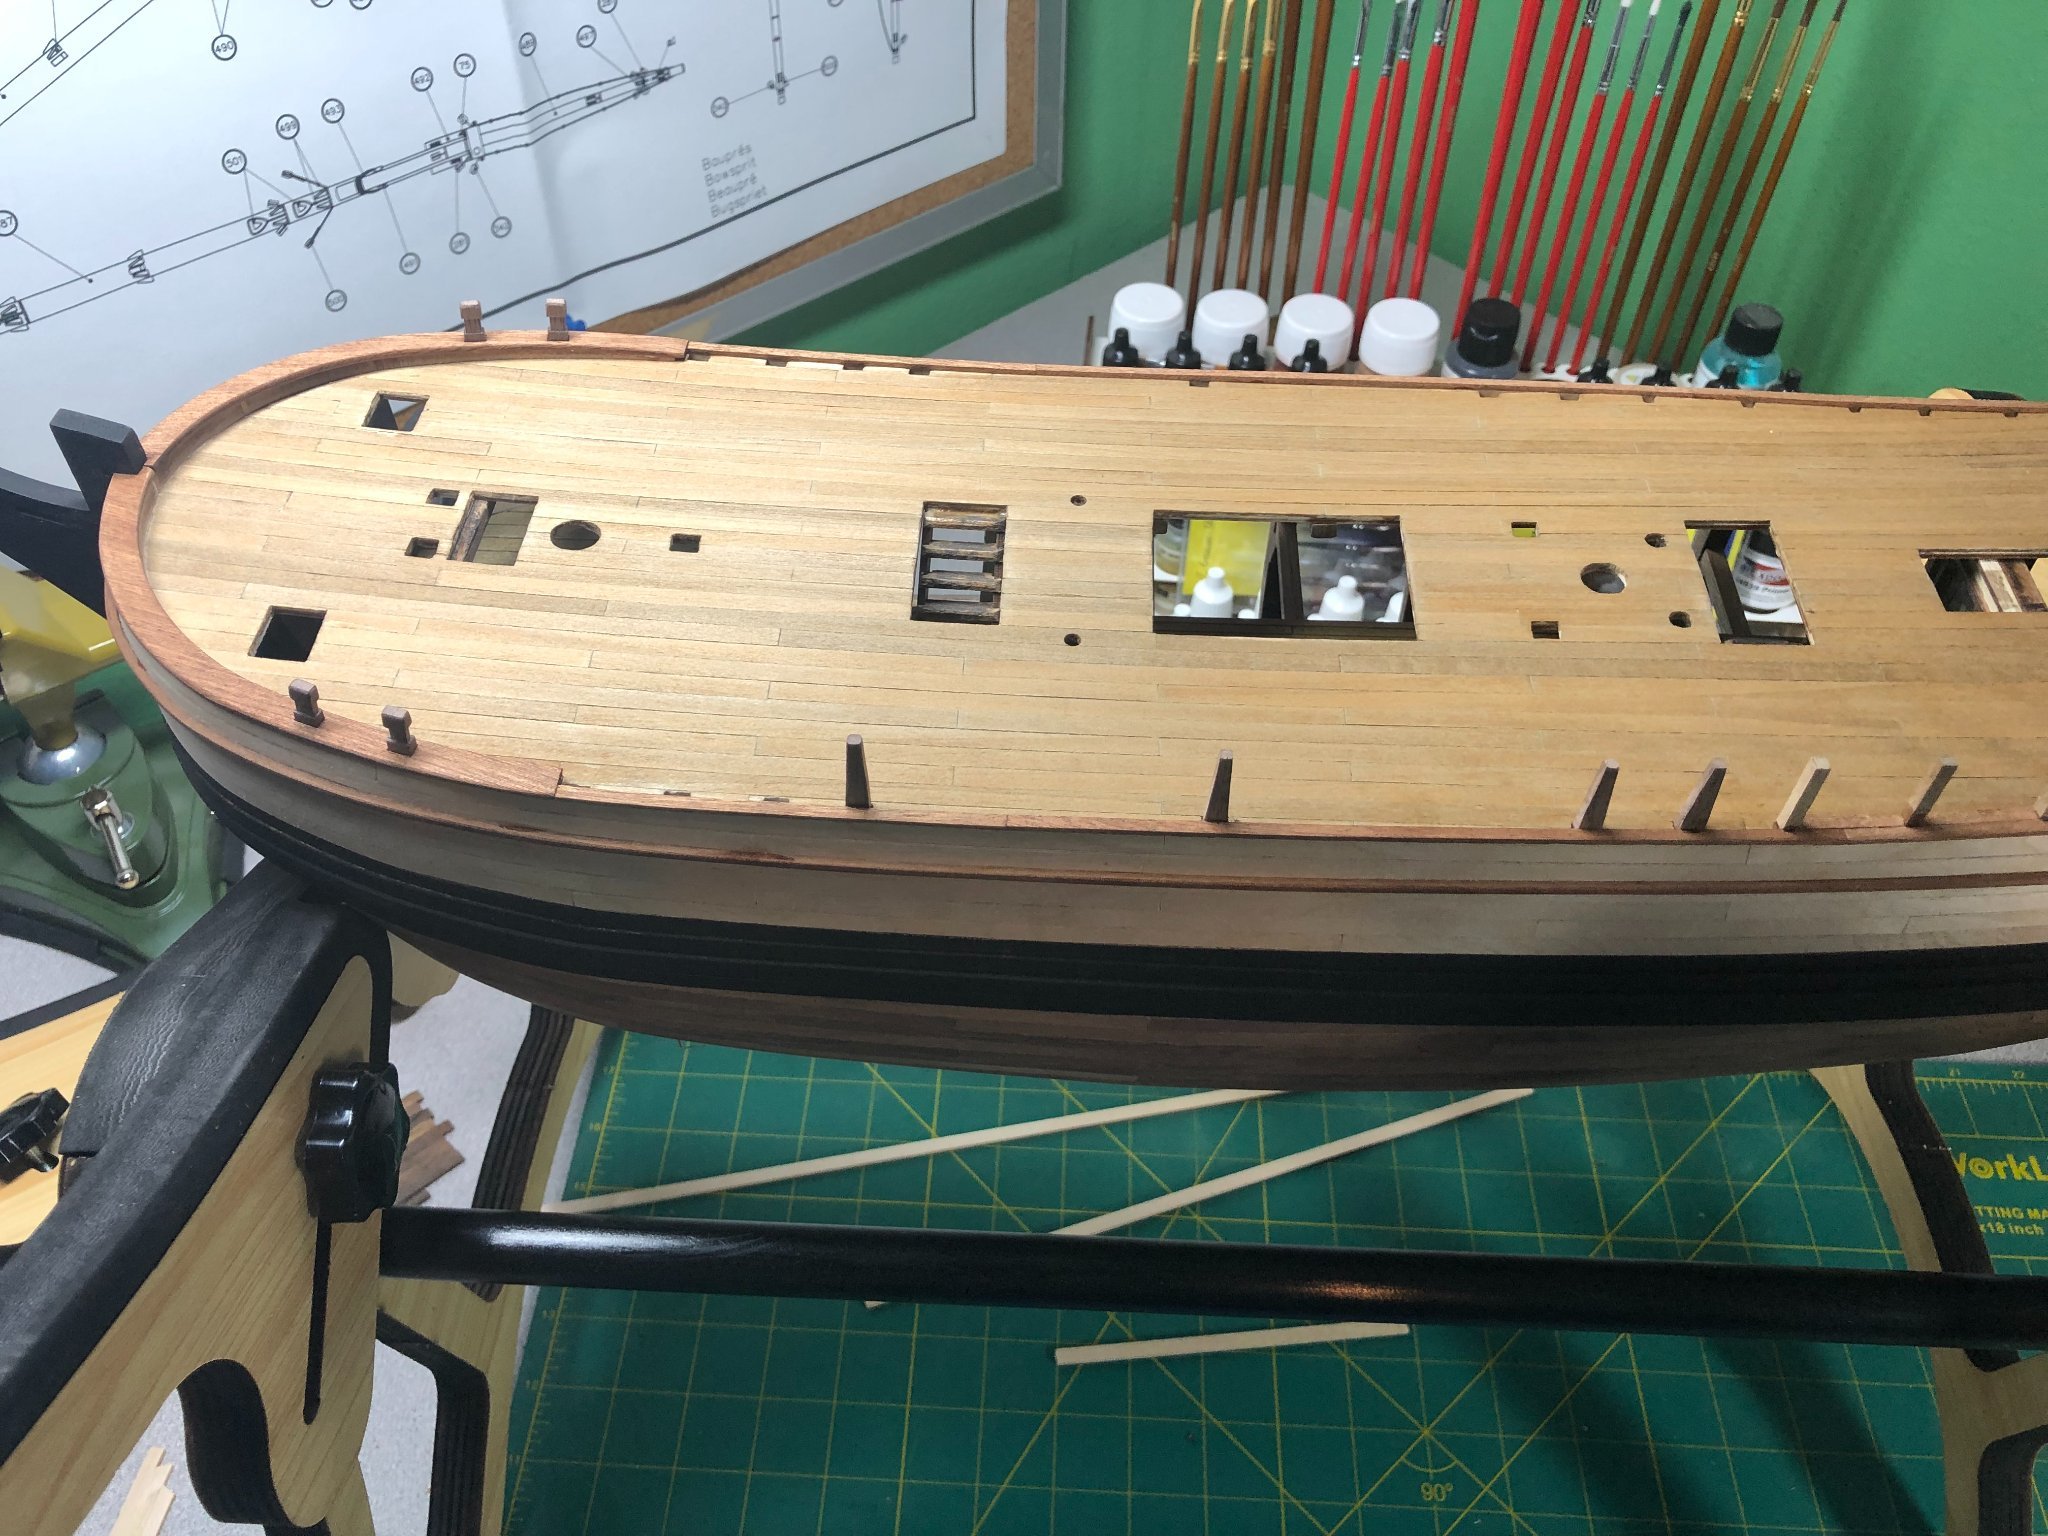
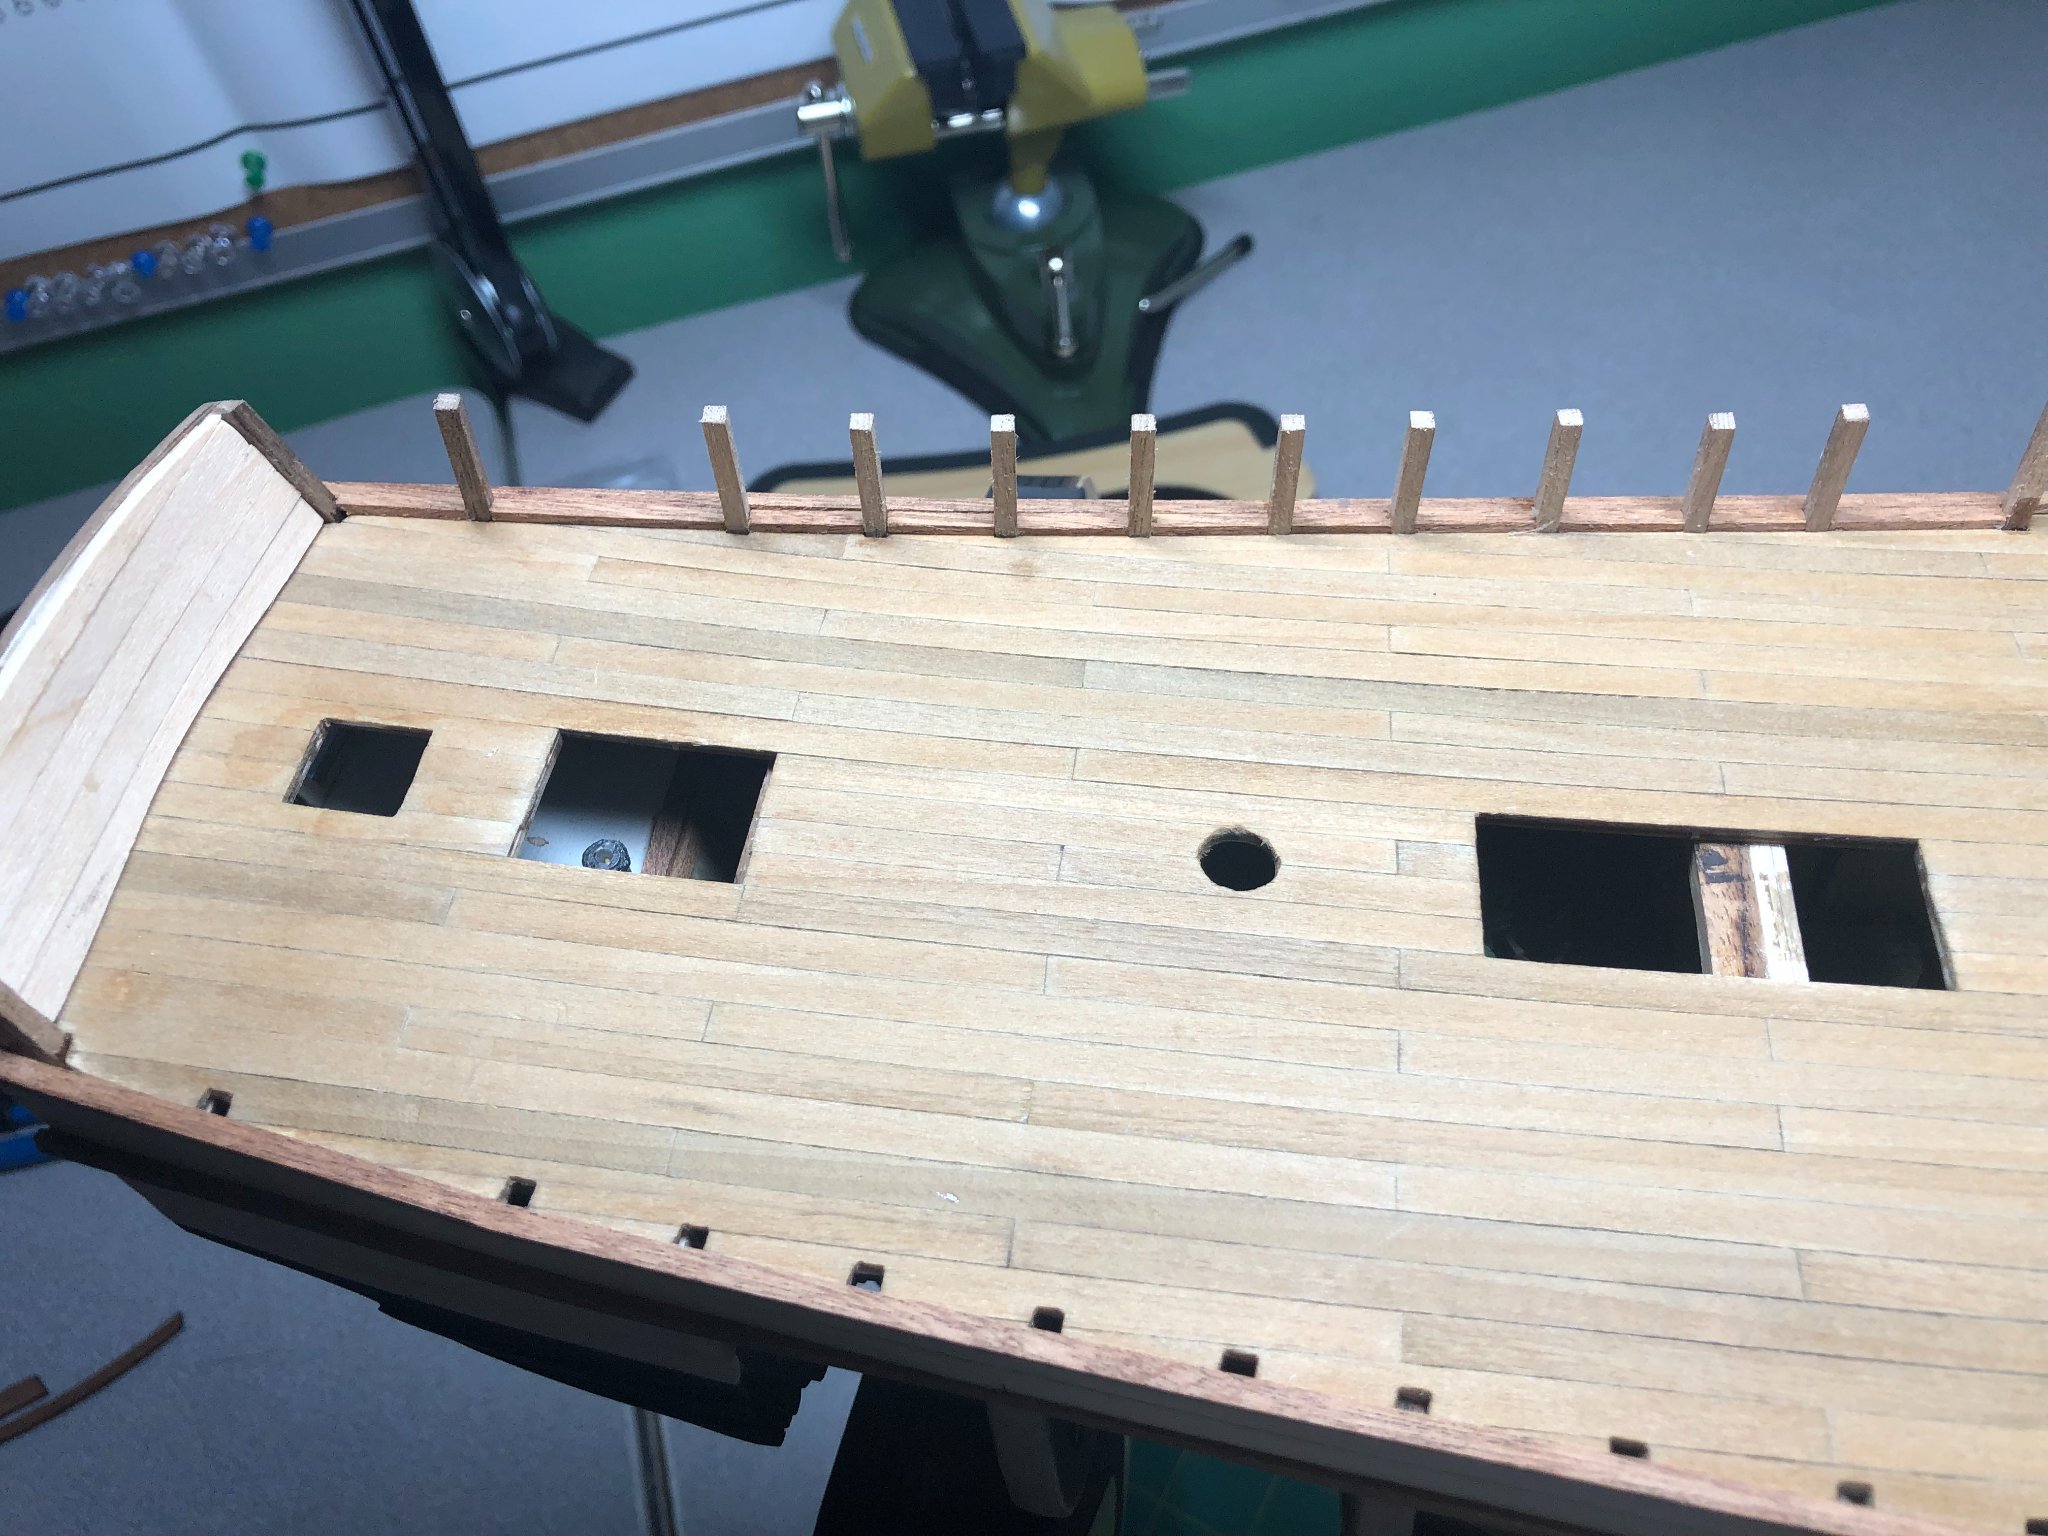
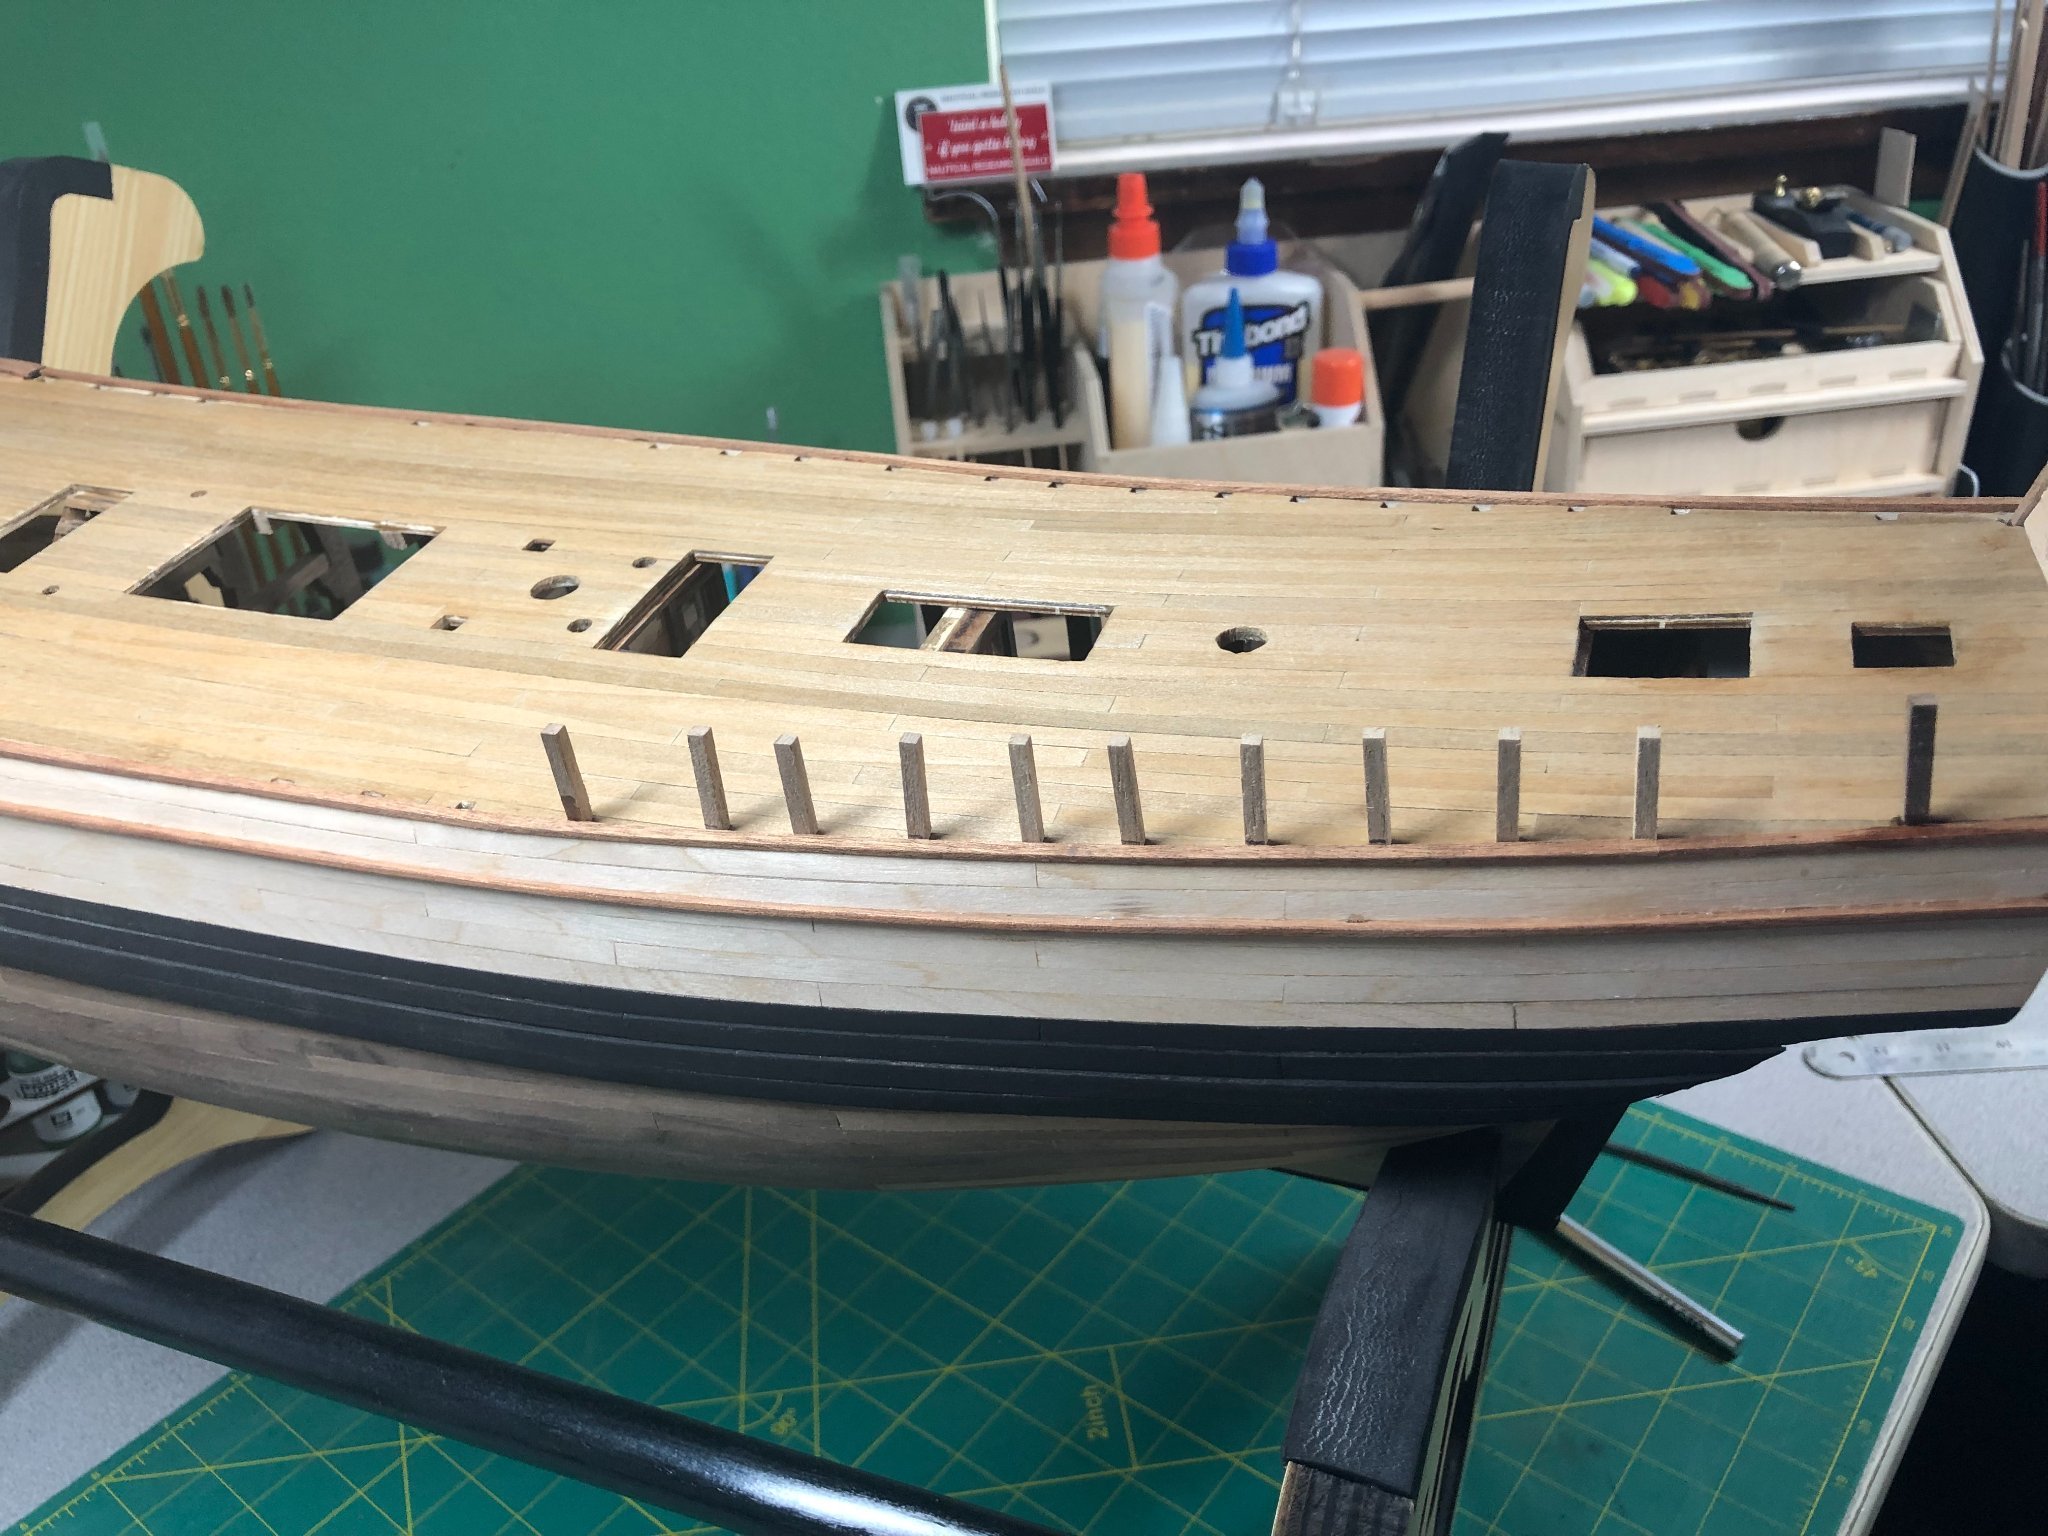
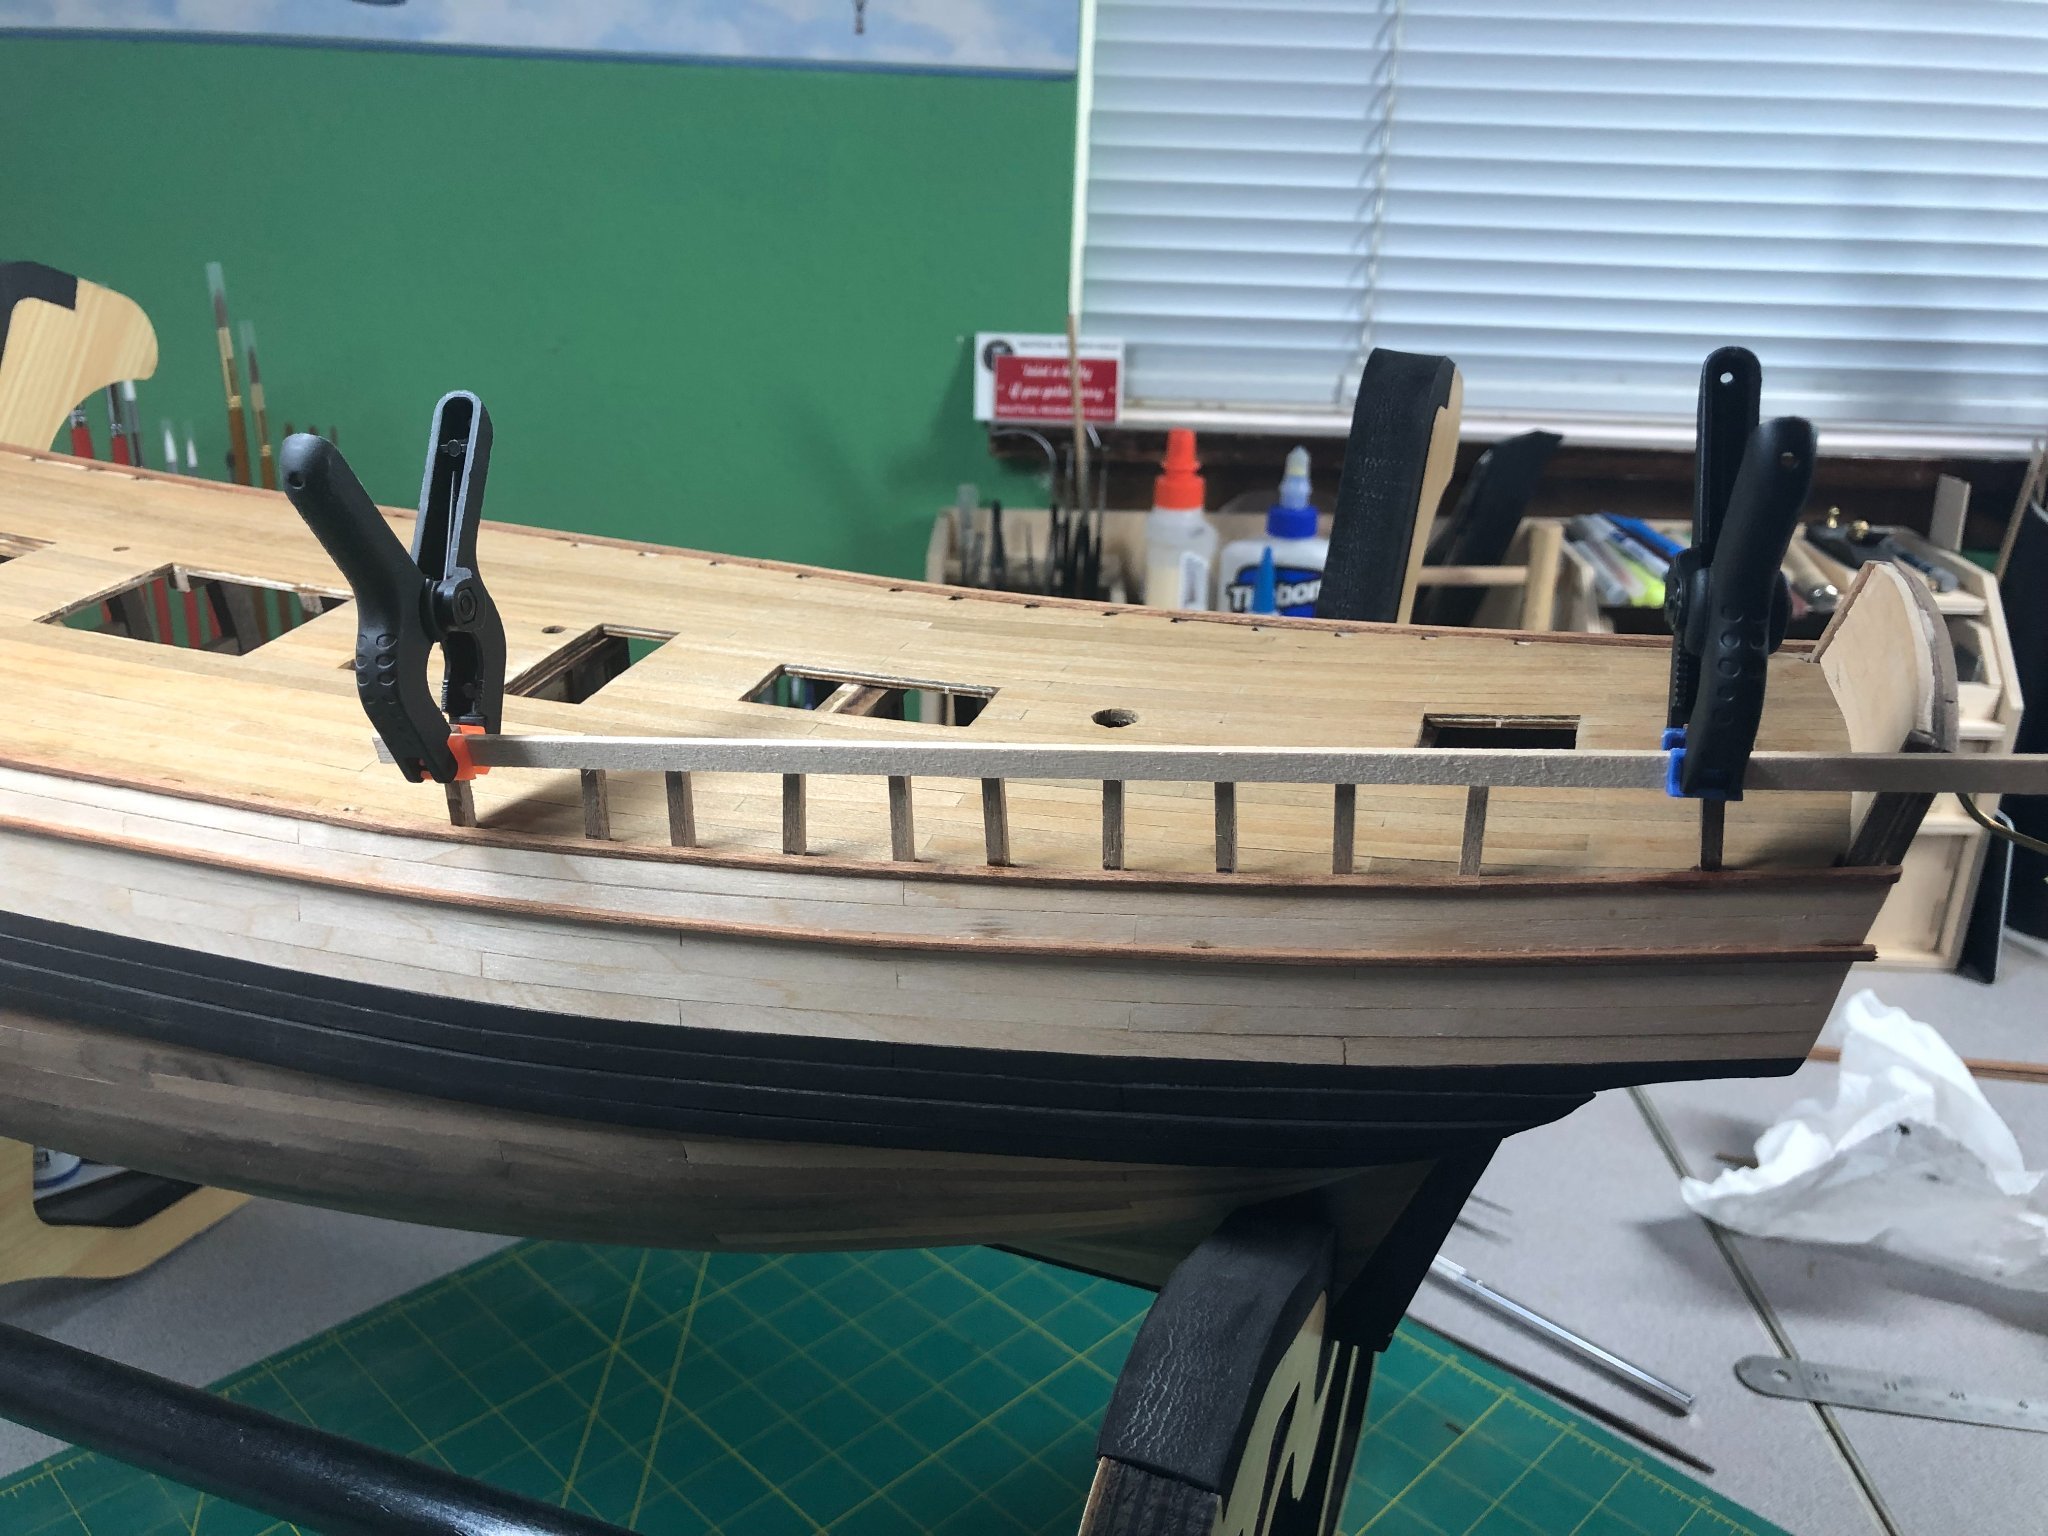
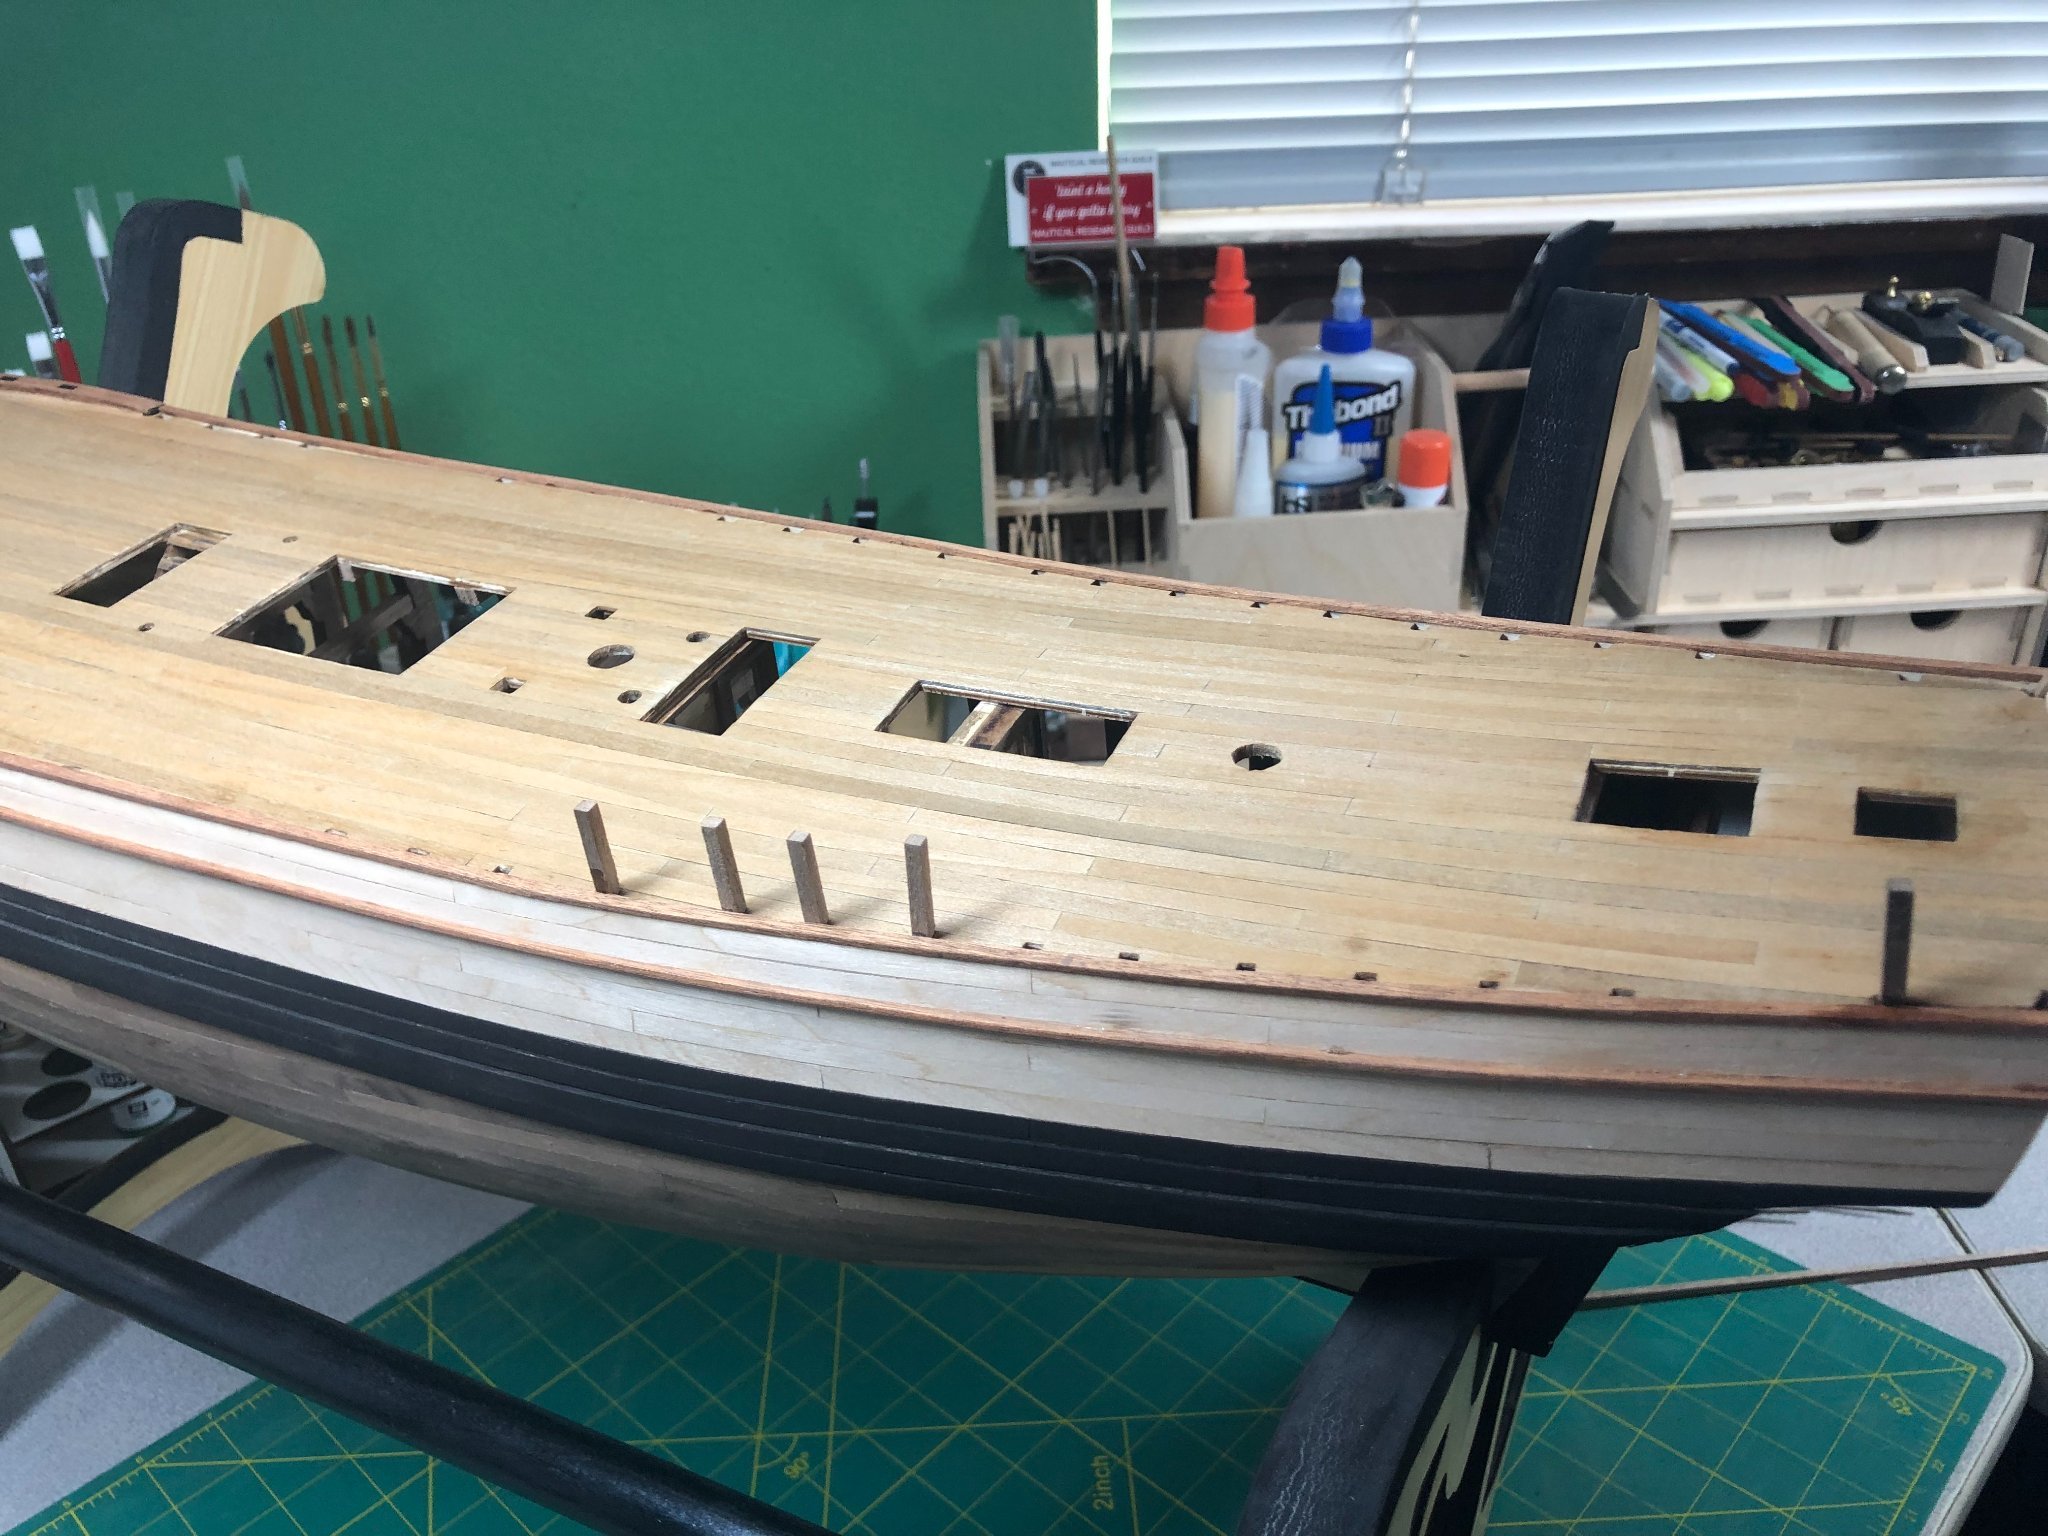
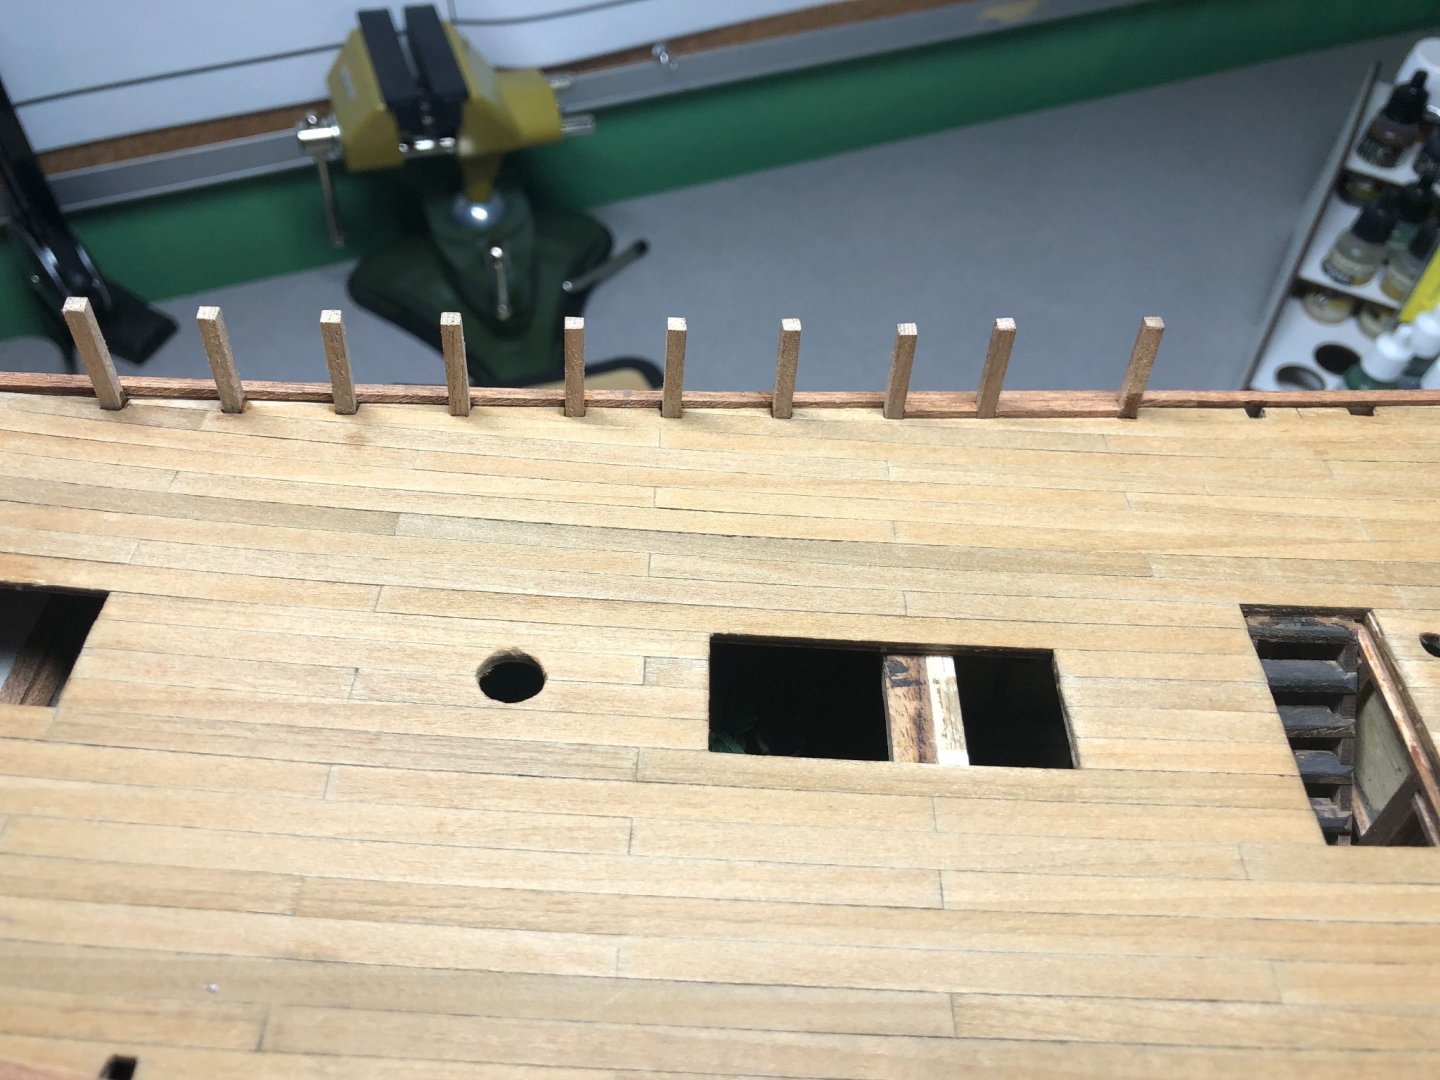
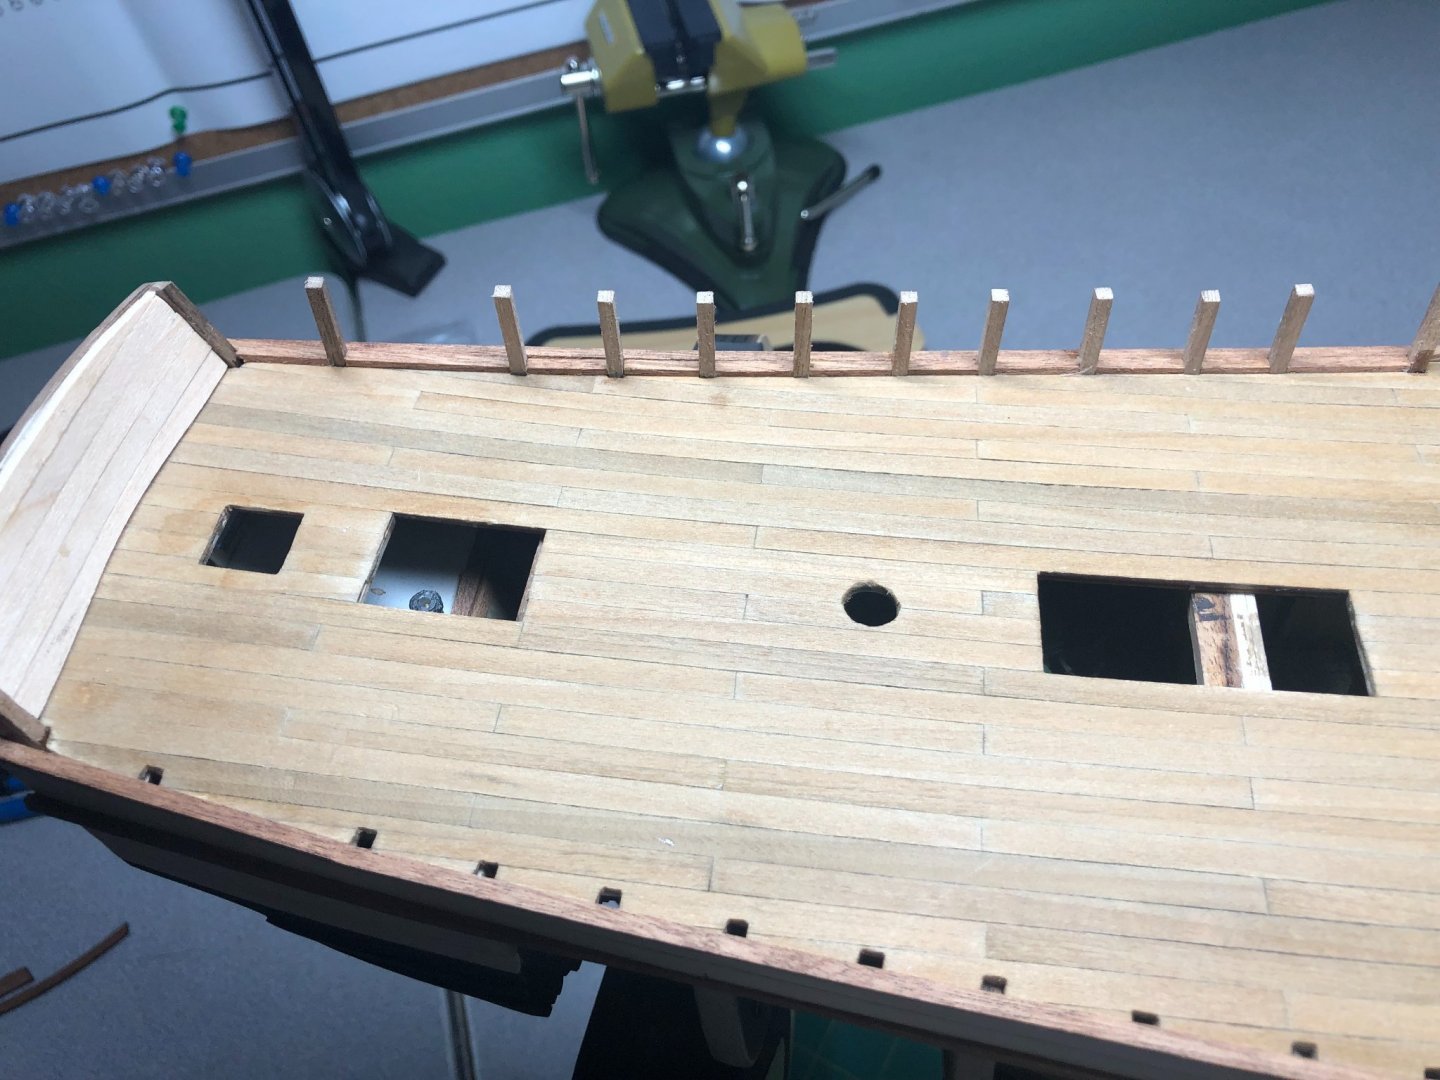
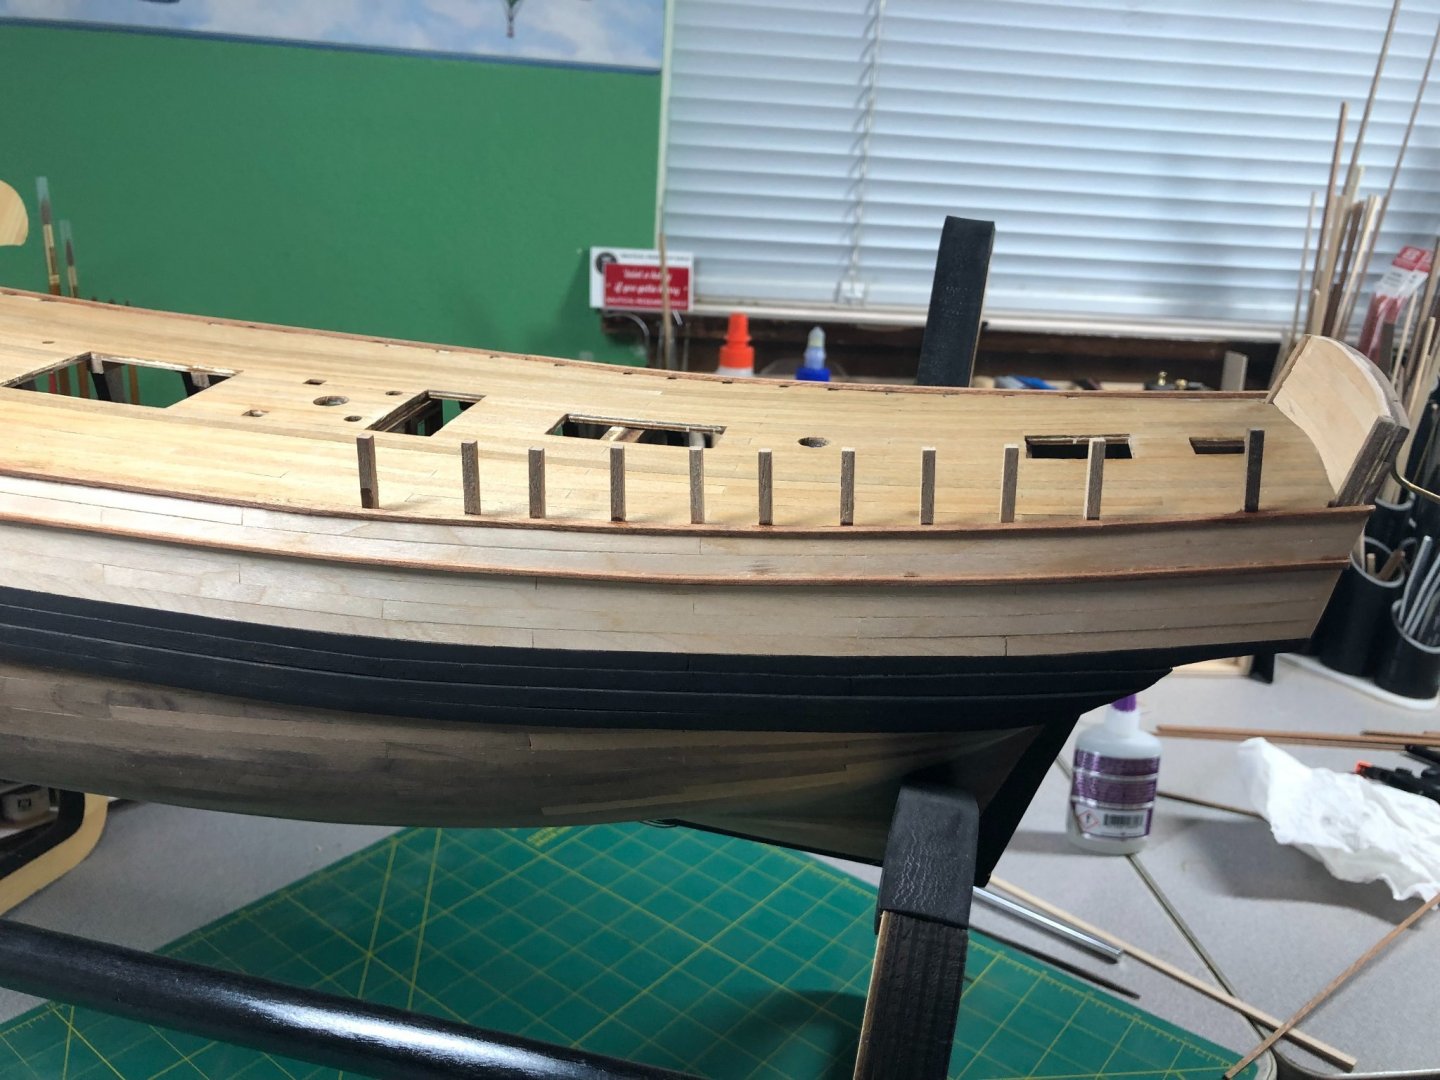
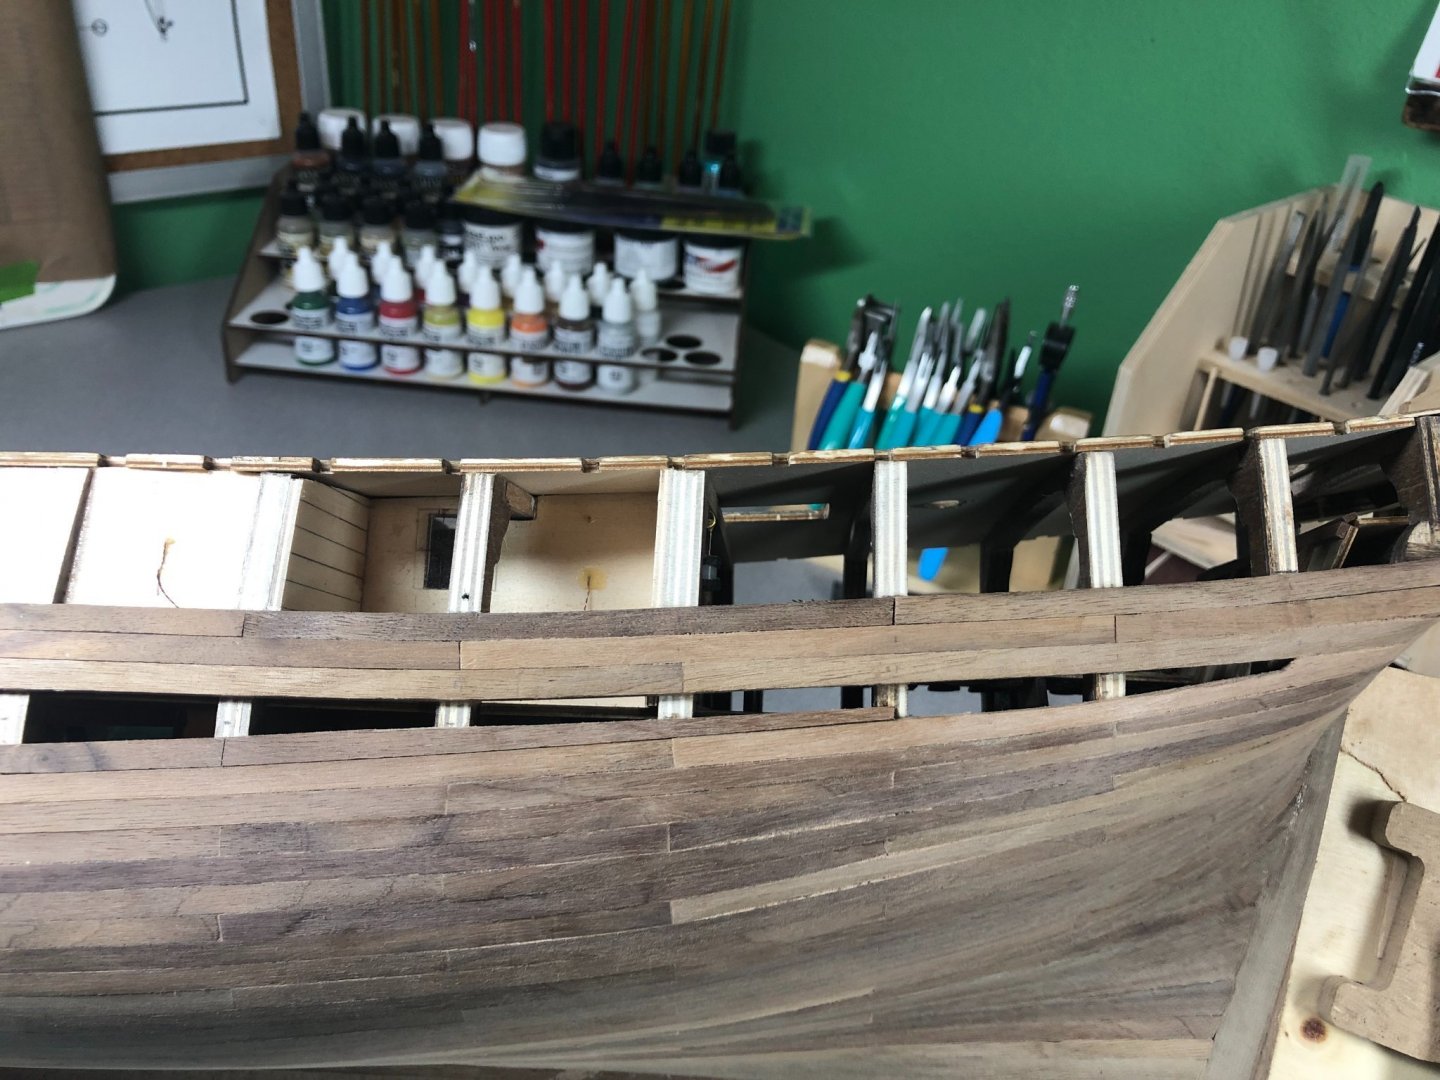
The rub rails were pretty straight forward... had to soak the wood overnight to get the easiest bend at the bow. Once the they were glued in place, I started the deck rail posts: Again, straightforward, no surprises... a little filing was needed in a few spots. Prior to gluing I marked the height on each pieces to keep the elevation across all posts to match the hulls lines. I glued in the first, middle and last piece. Once dried, I used a piece of planking to guide the placement of the remaining posts: With posts in place, I cut pieces of mahogany to go in between each one: And glued into place: I don't care for the exposted posts... I have some veneer strips that can be added to finish the port side. Then off to the starboard side!


-
NRG VIRTUAL WORKSHOP - USING THE TABLE SAW
LyleK1 replied to kurtvd19's topic in NAUTICAL RESEARCH GUILD - News & Information
Well, I didn't buy the Byrnes... but I did buy the Proxxon table saw! Really looking forward getting my first lessons and demonstrations on the different cuts! -
Thanks Tim. I have your build log on speed dial! Doing a similar paint job, some differences but close!
-
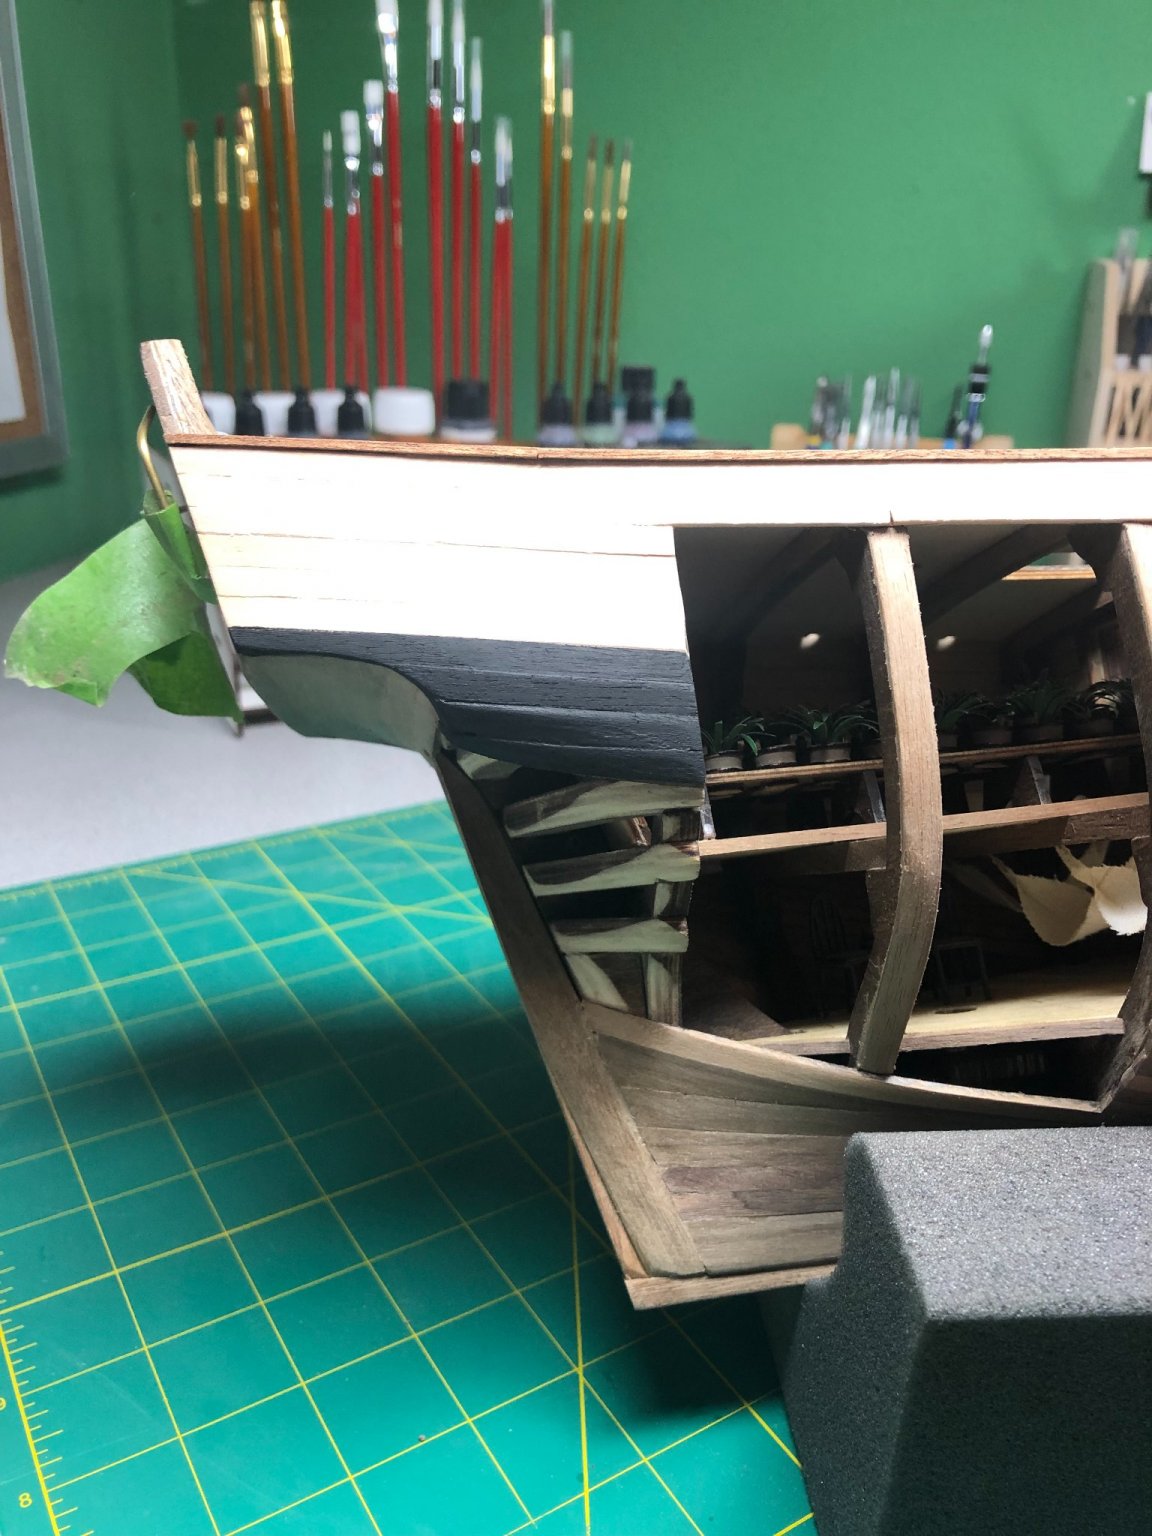
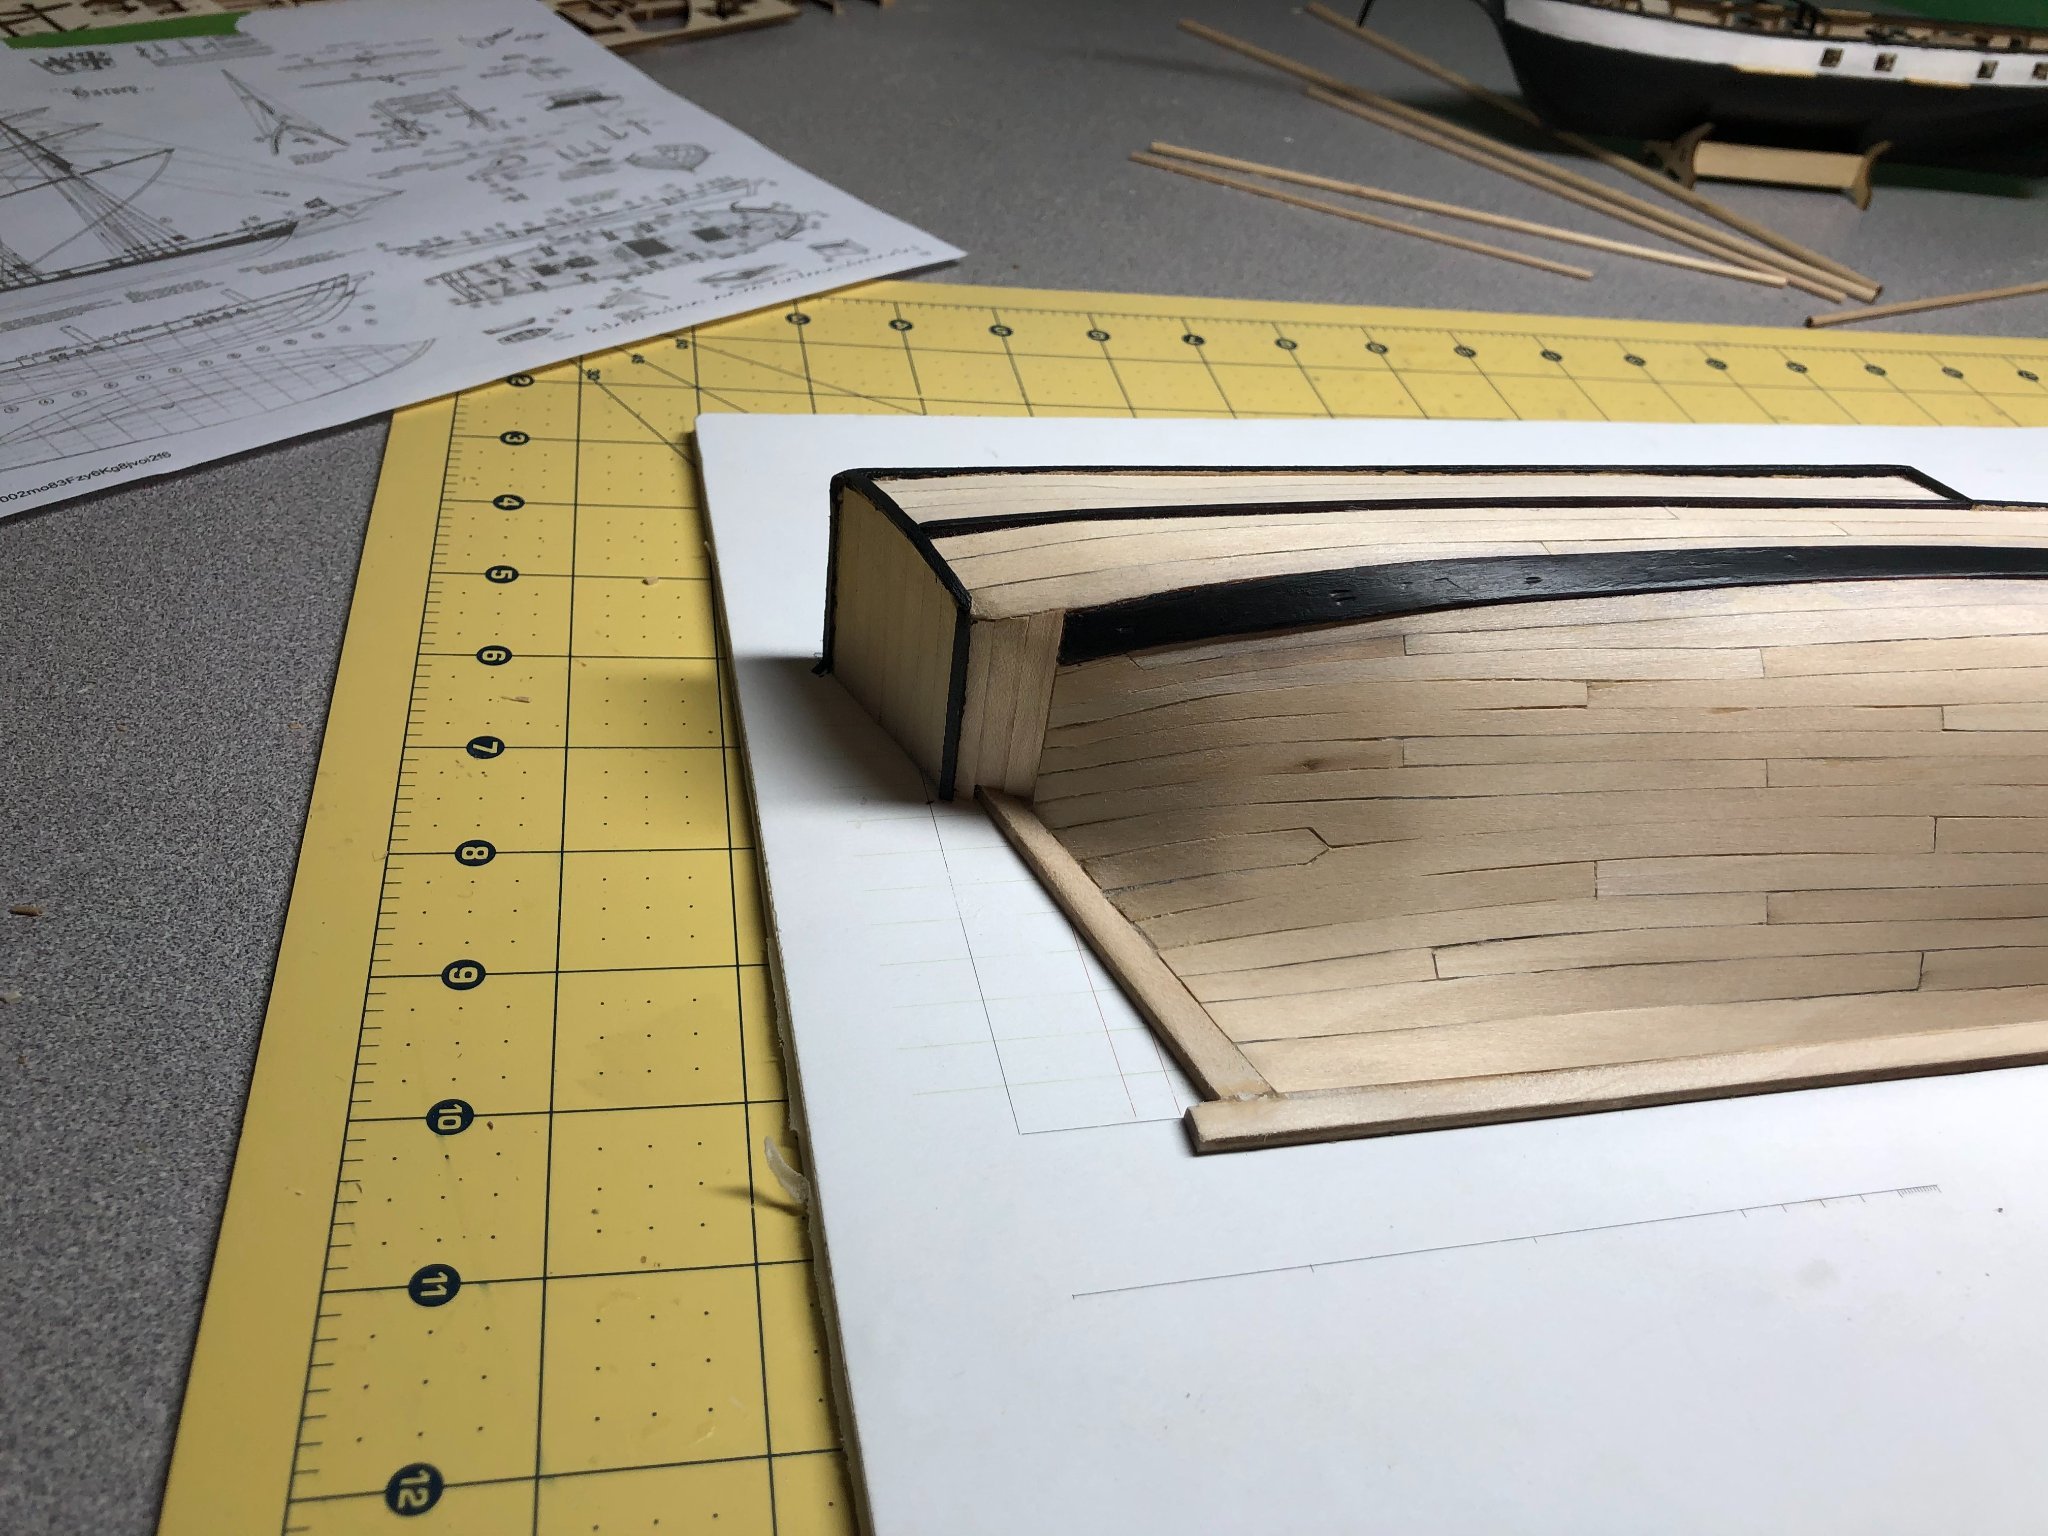
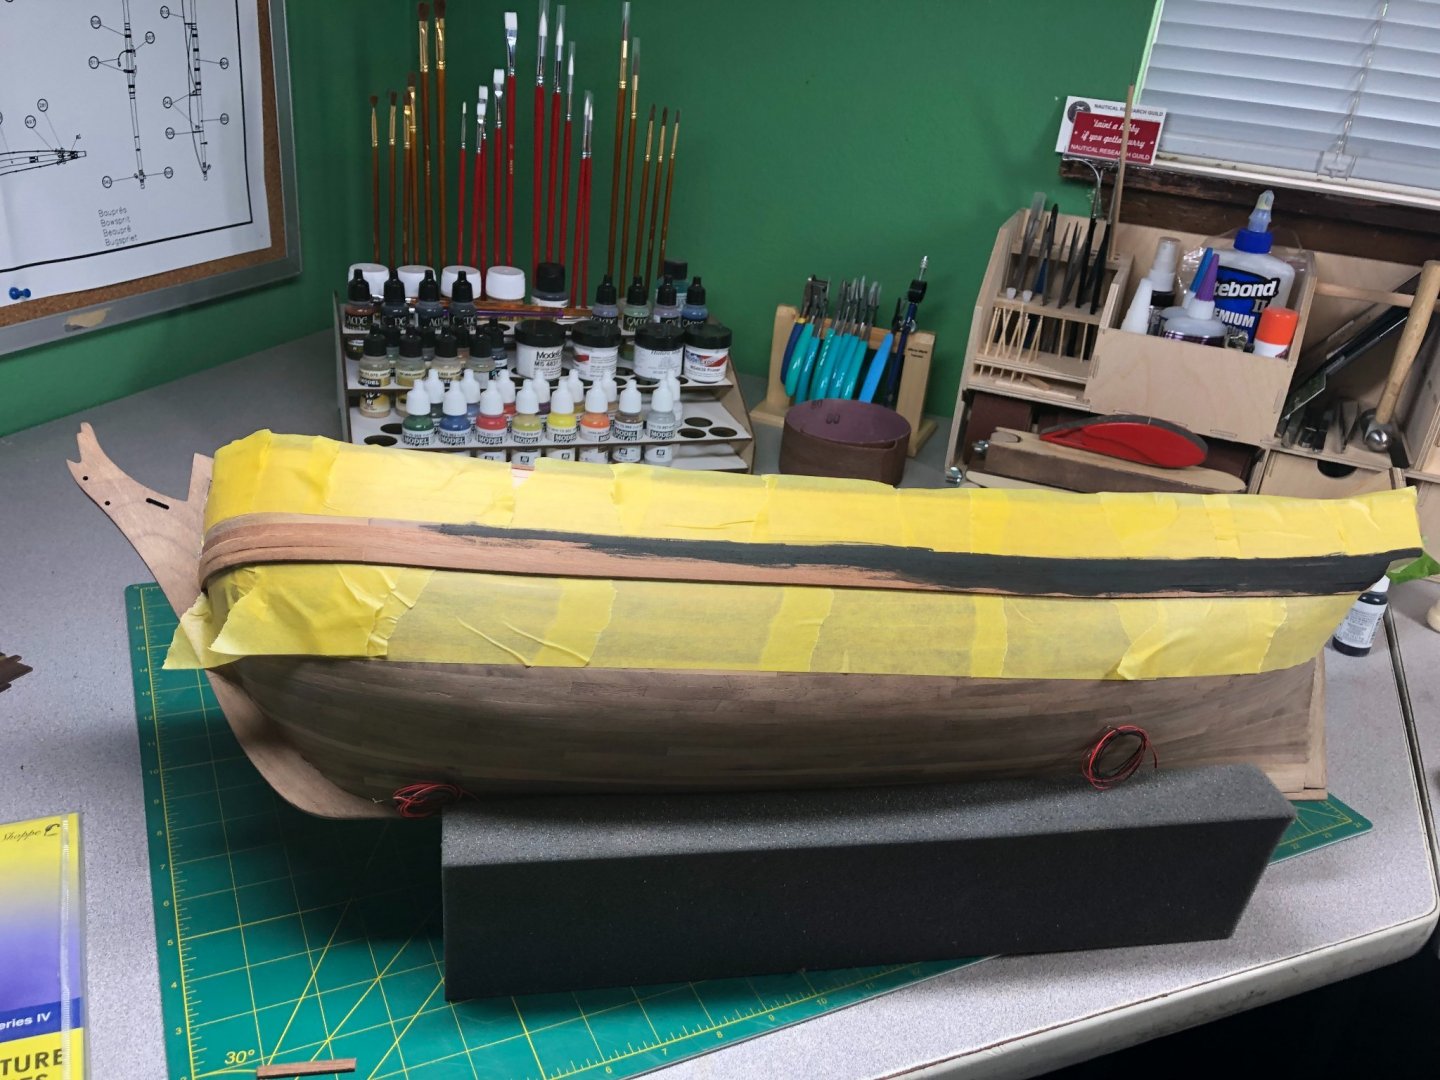
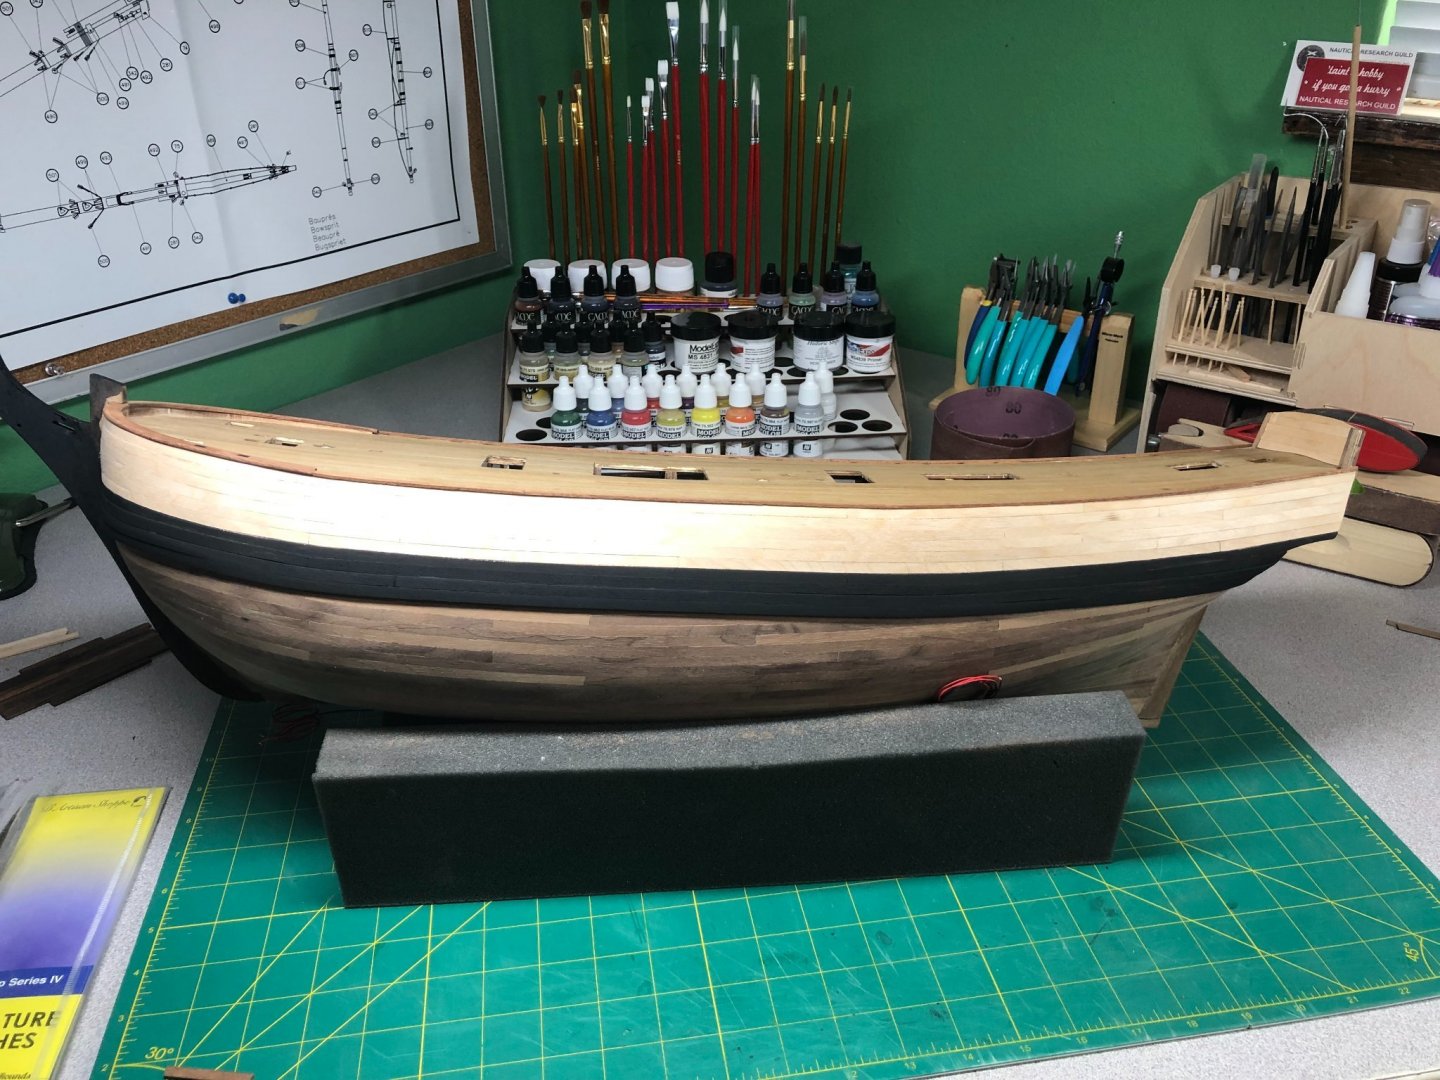
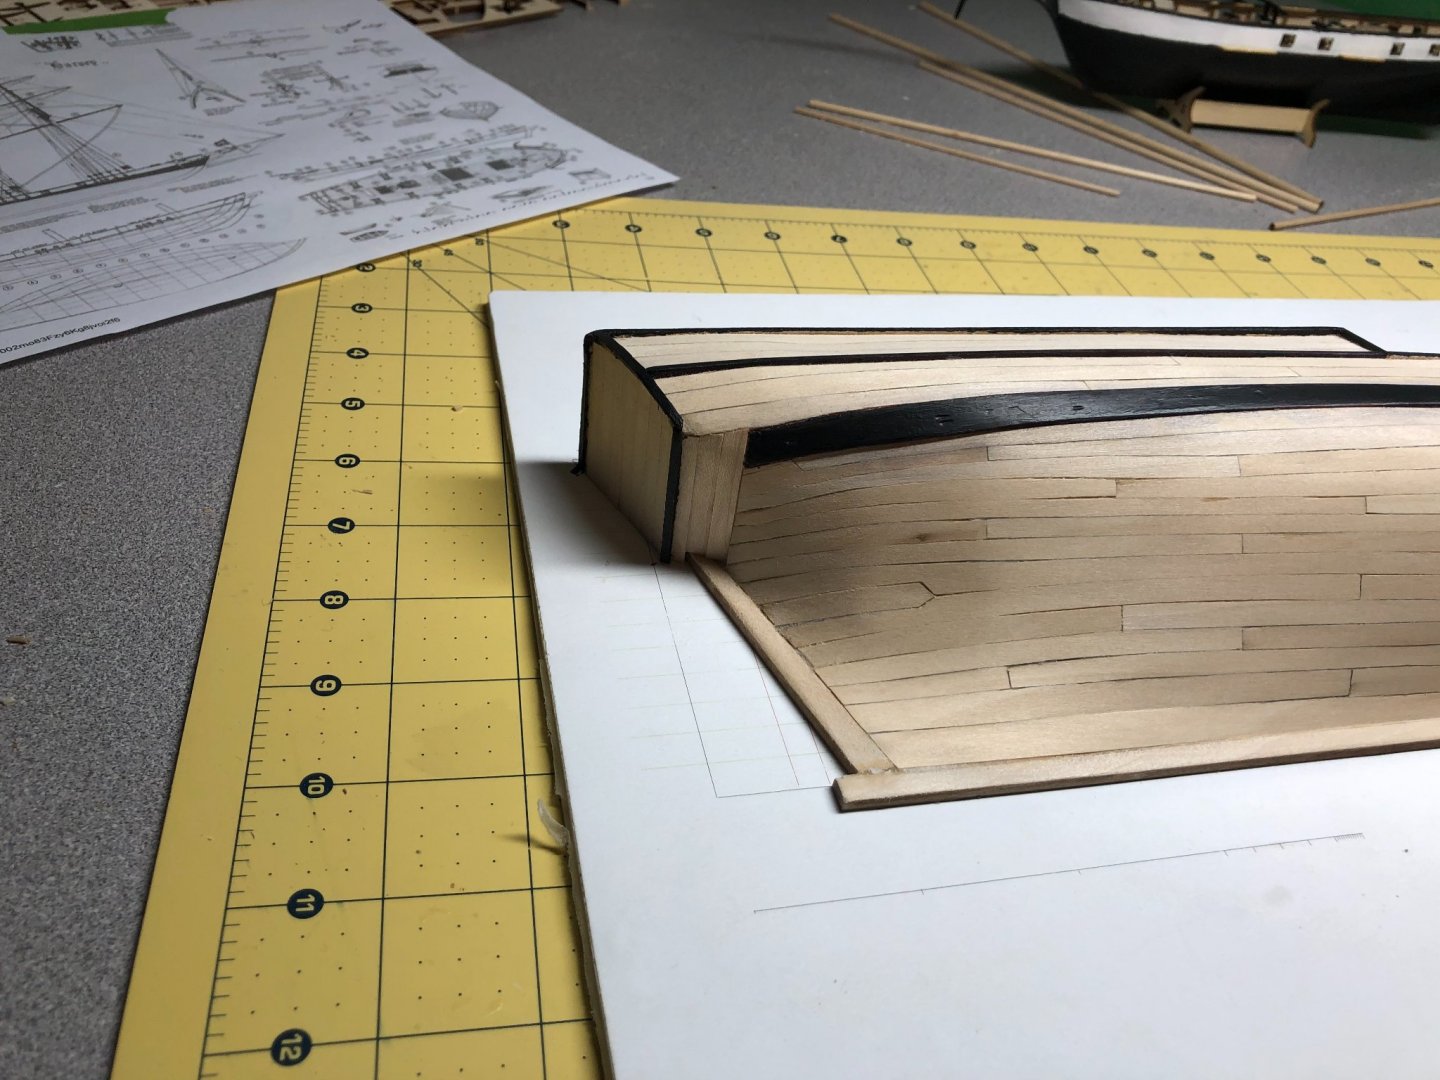
Got the wales completed, sanded and painted: Also, painted the stem and keel. I haven't decided on the color for the keel post. In pictures I'm using, the rudder looks white but the keel post is not really shown. I think I'll stick to black just for aesthetics. Ready to start on the deck rails and rub rails!


-
Finished up a couple projects and am back at the Bounty! I started installing the wales... straightforward and no problems, just some extra work at the bow & stern, as expected. Still need to add a third row on the port side: Also, laid out and attached the foot rails at the bow and started laying it down the port side: Hoping to make some more progress over the weekend.


-
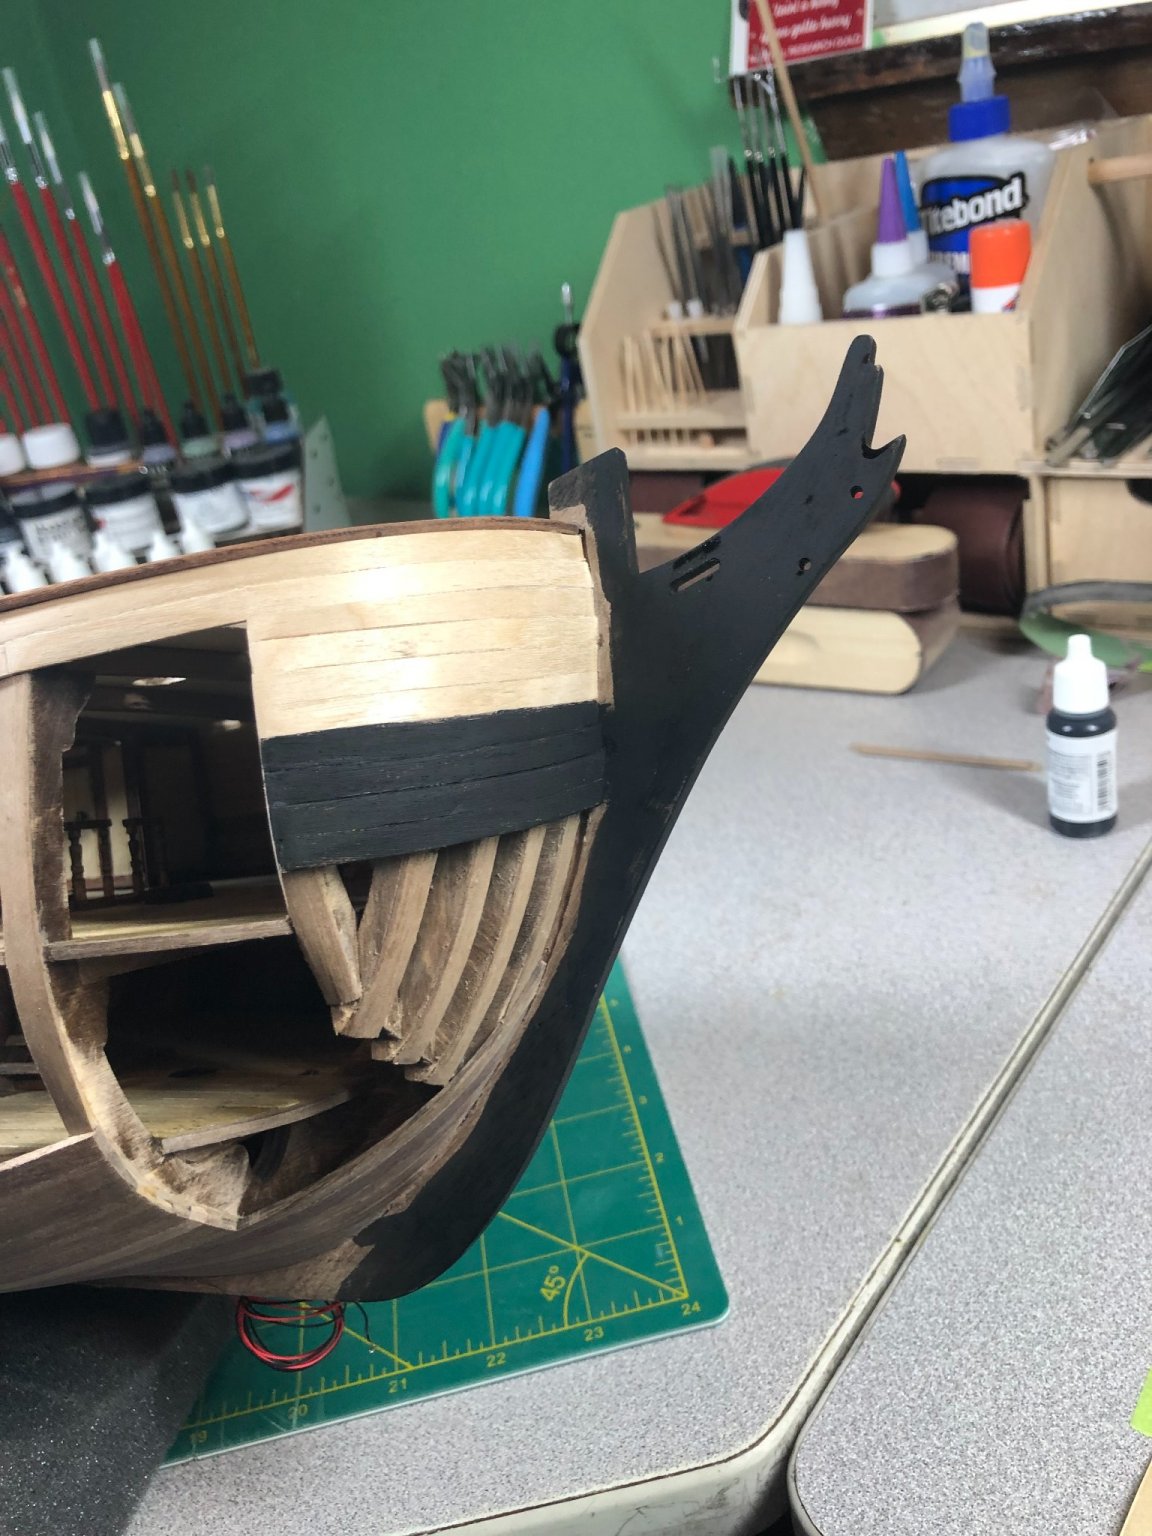
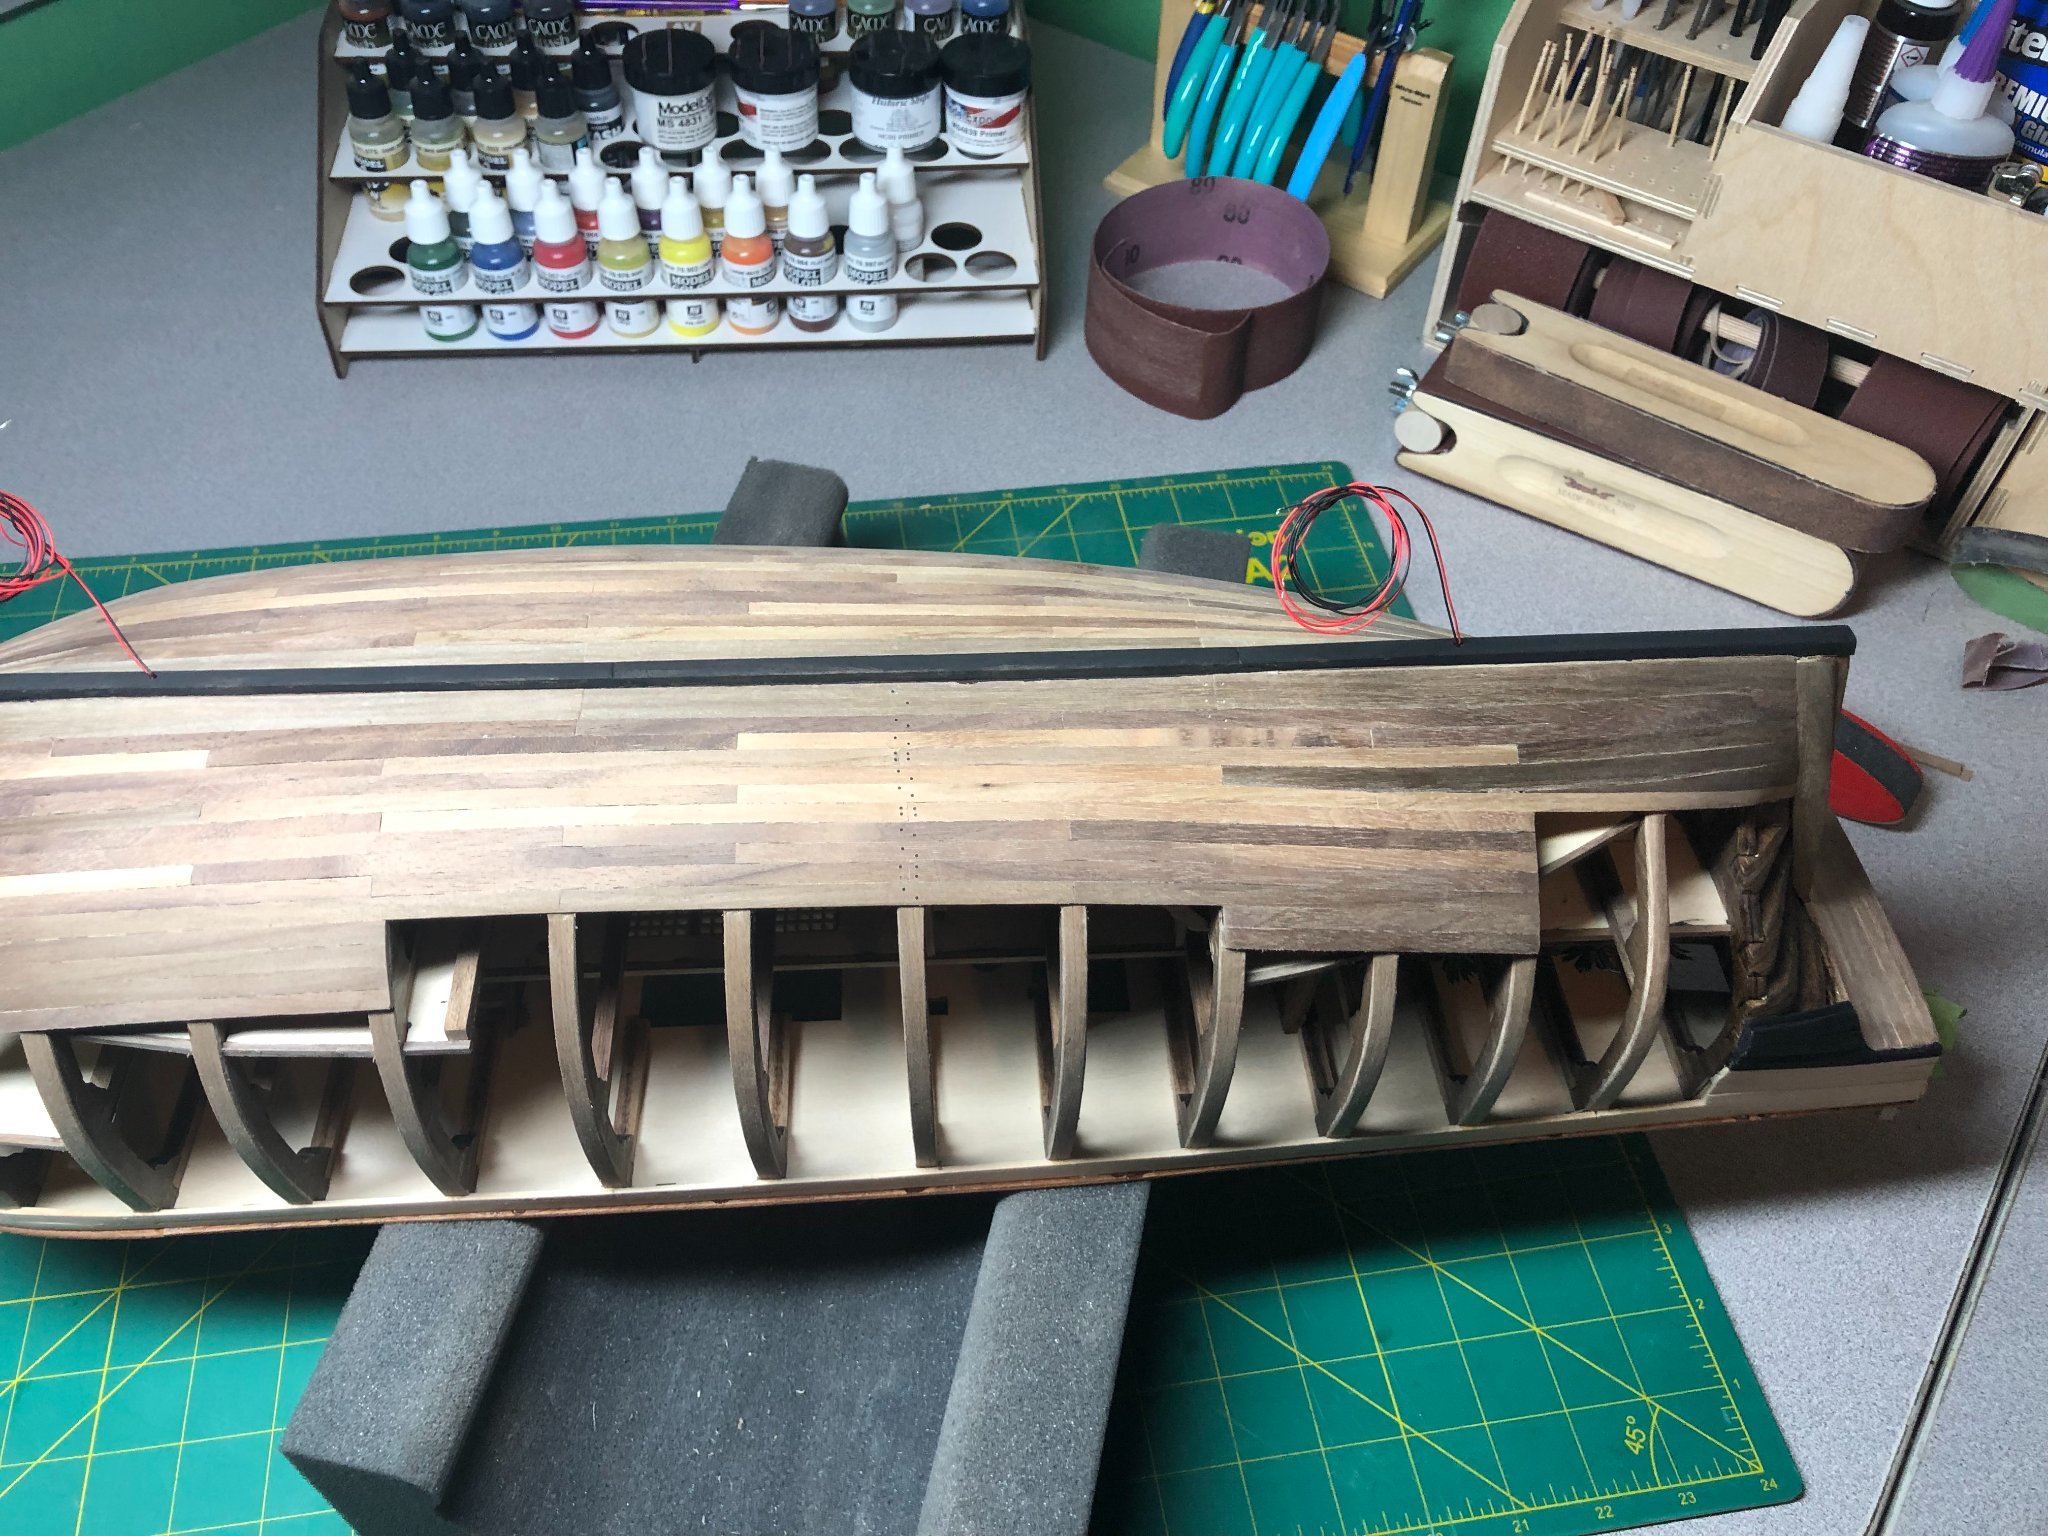
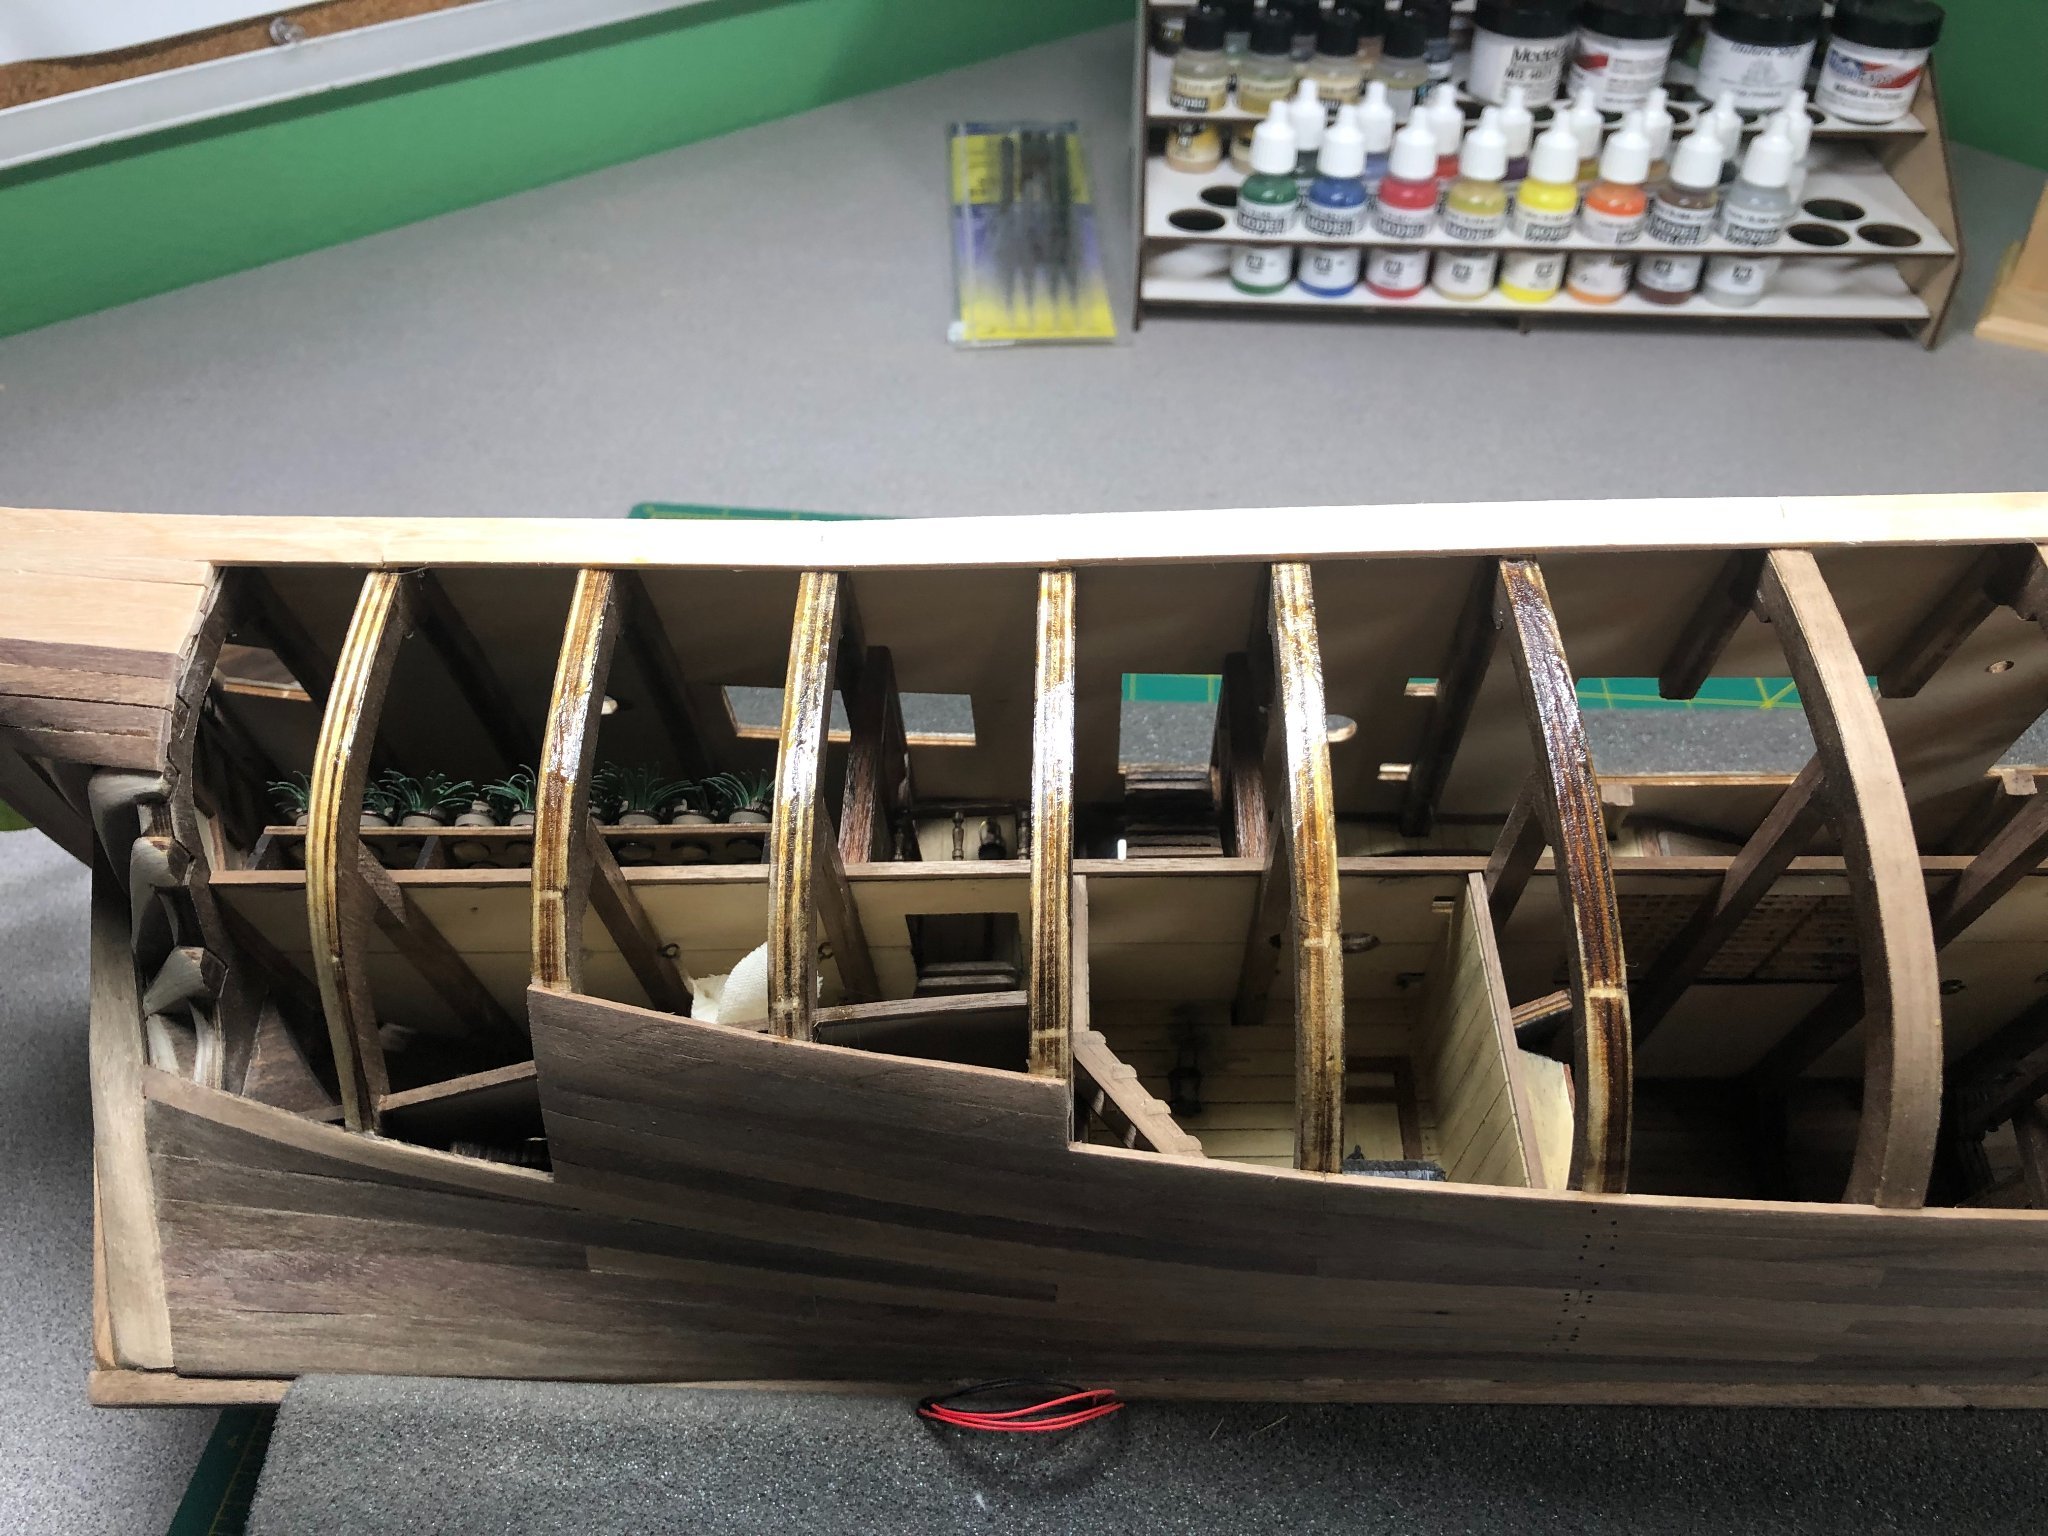
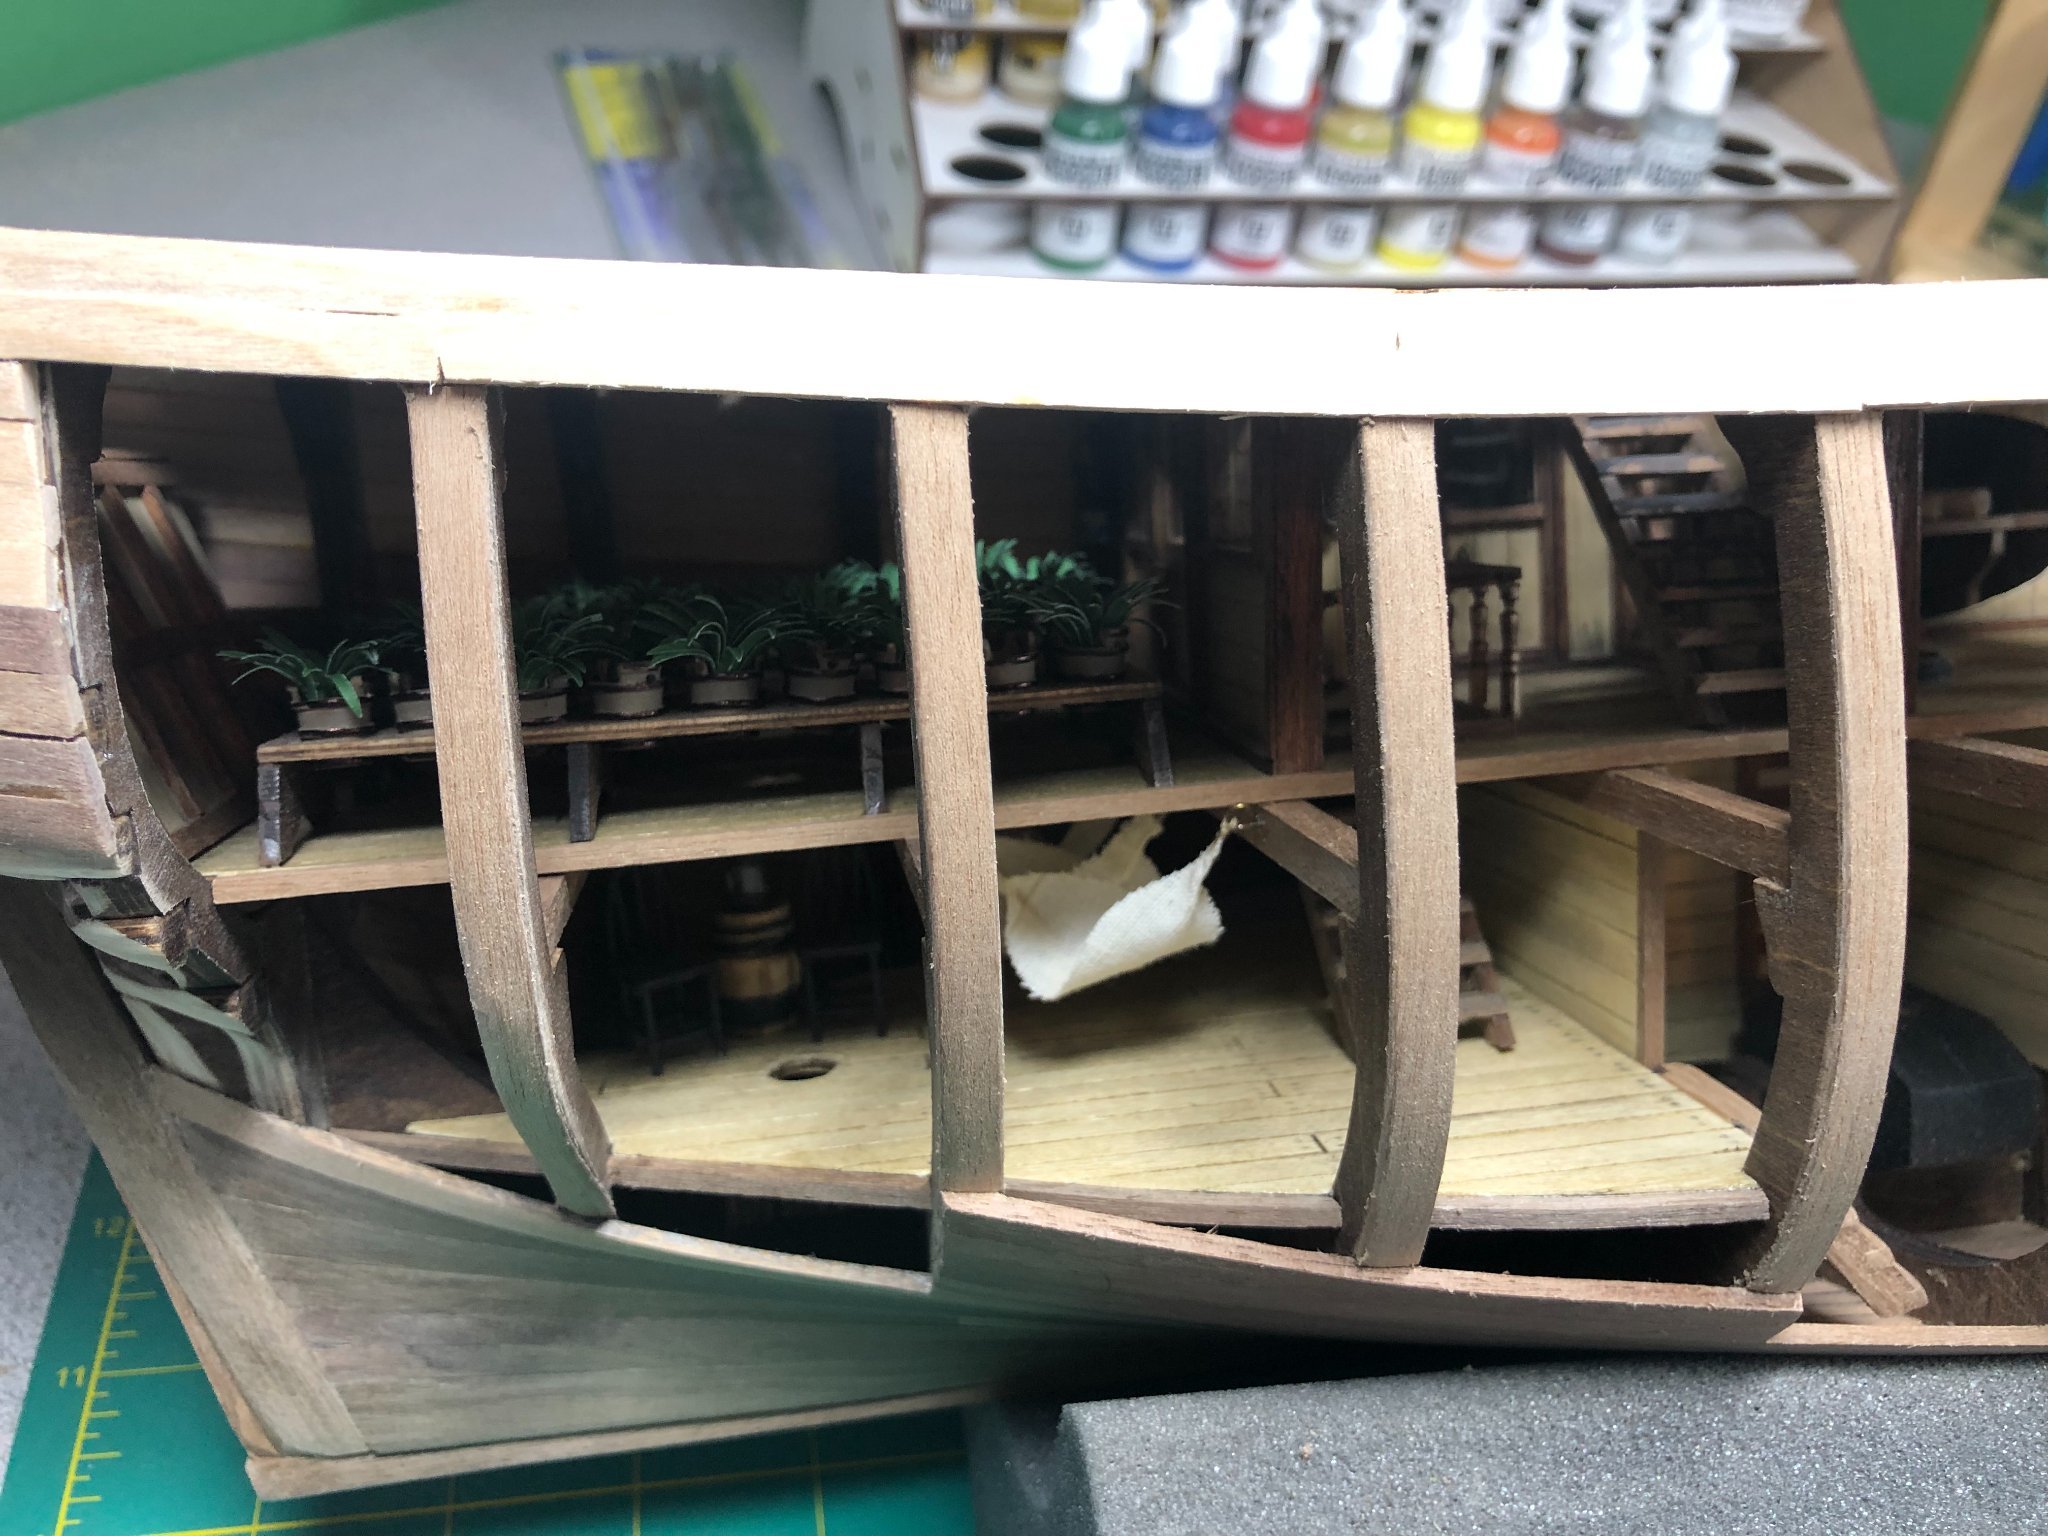
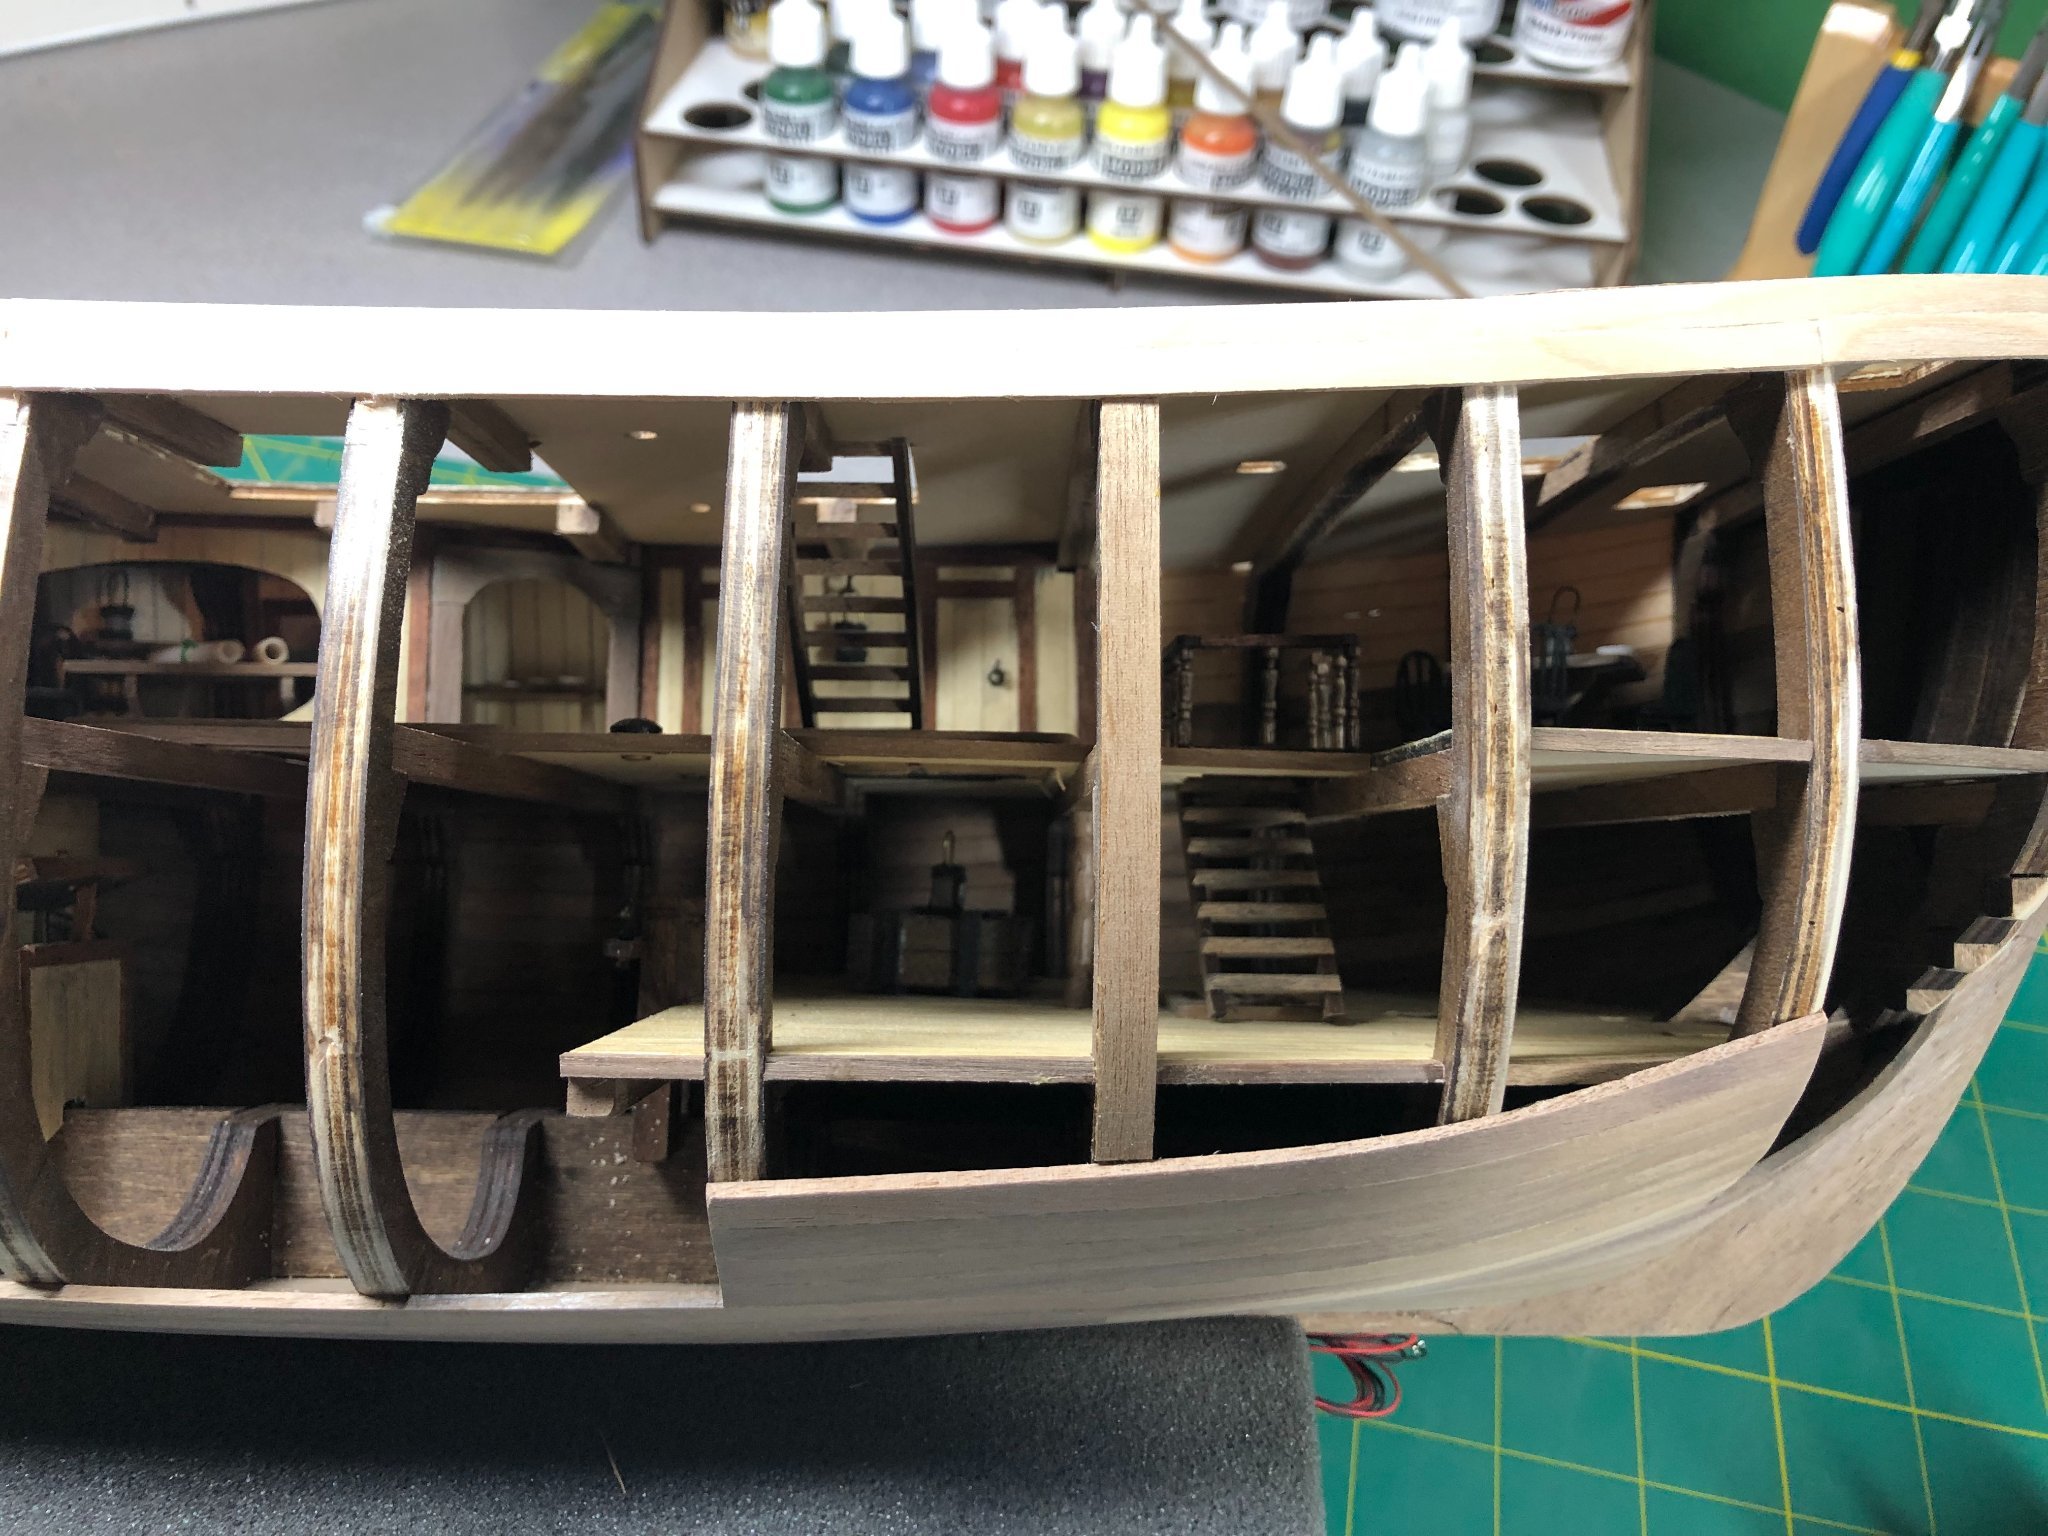
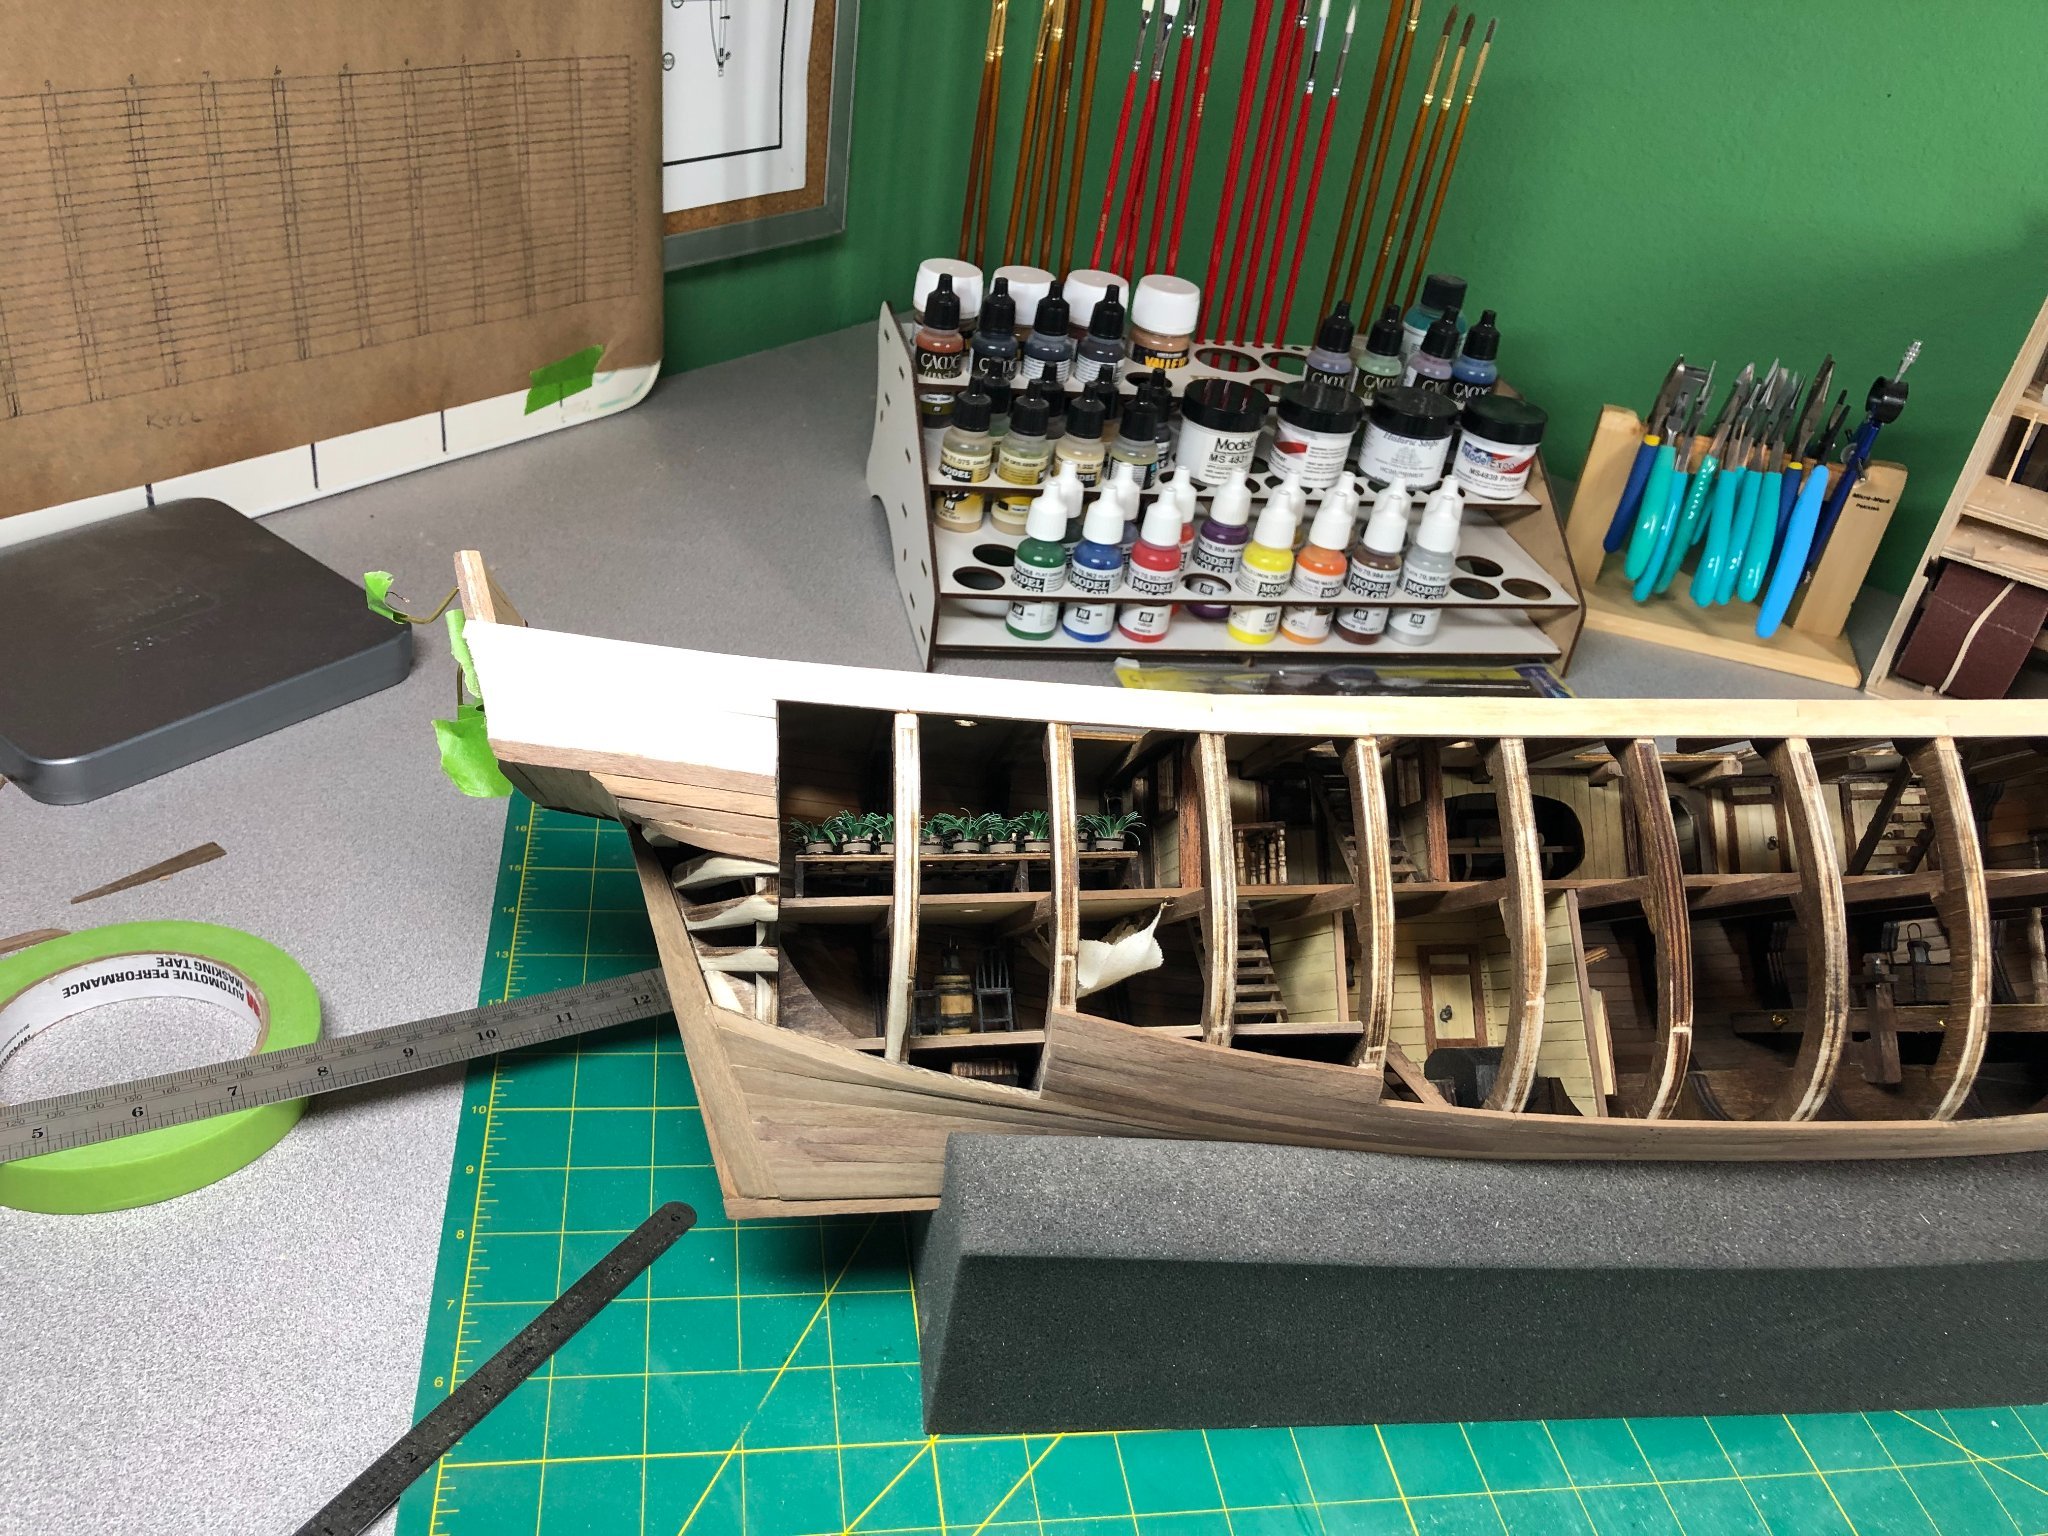
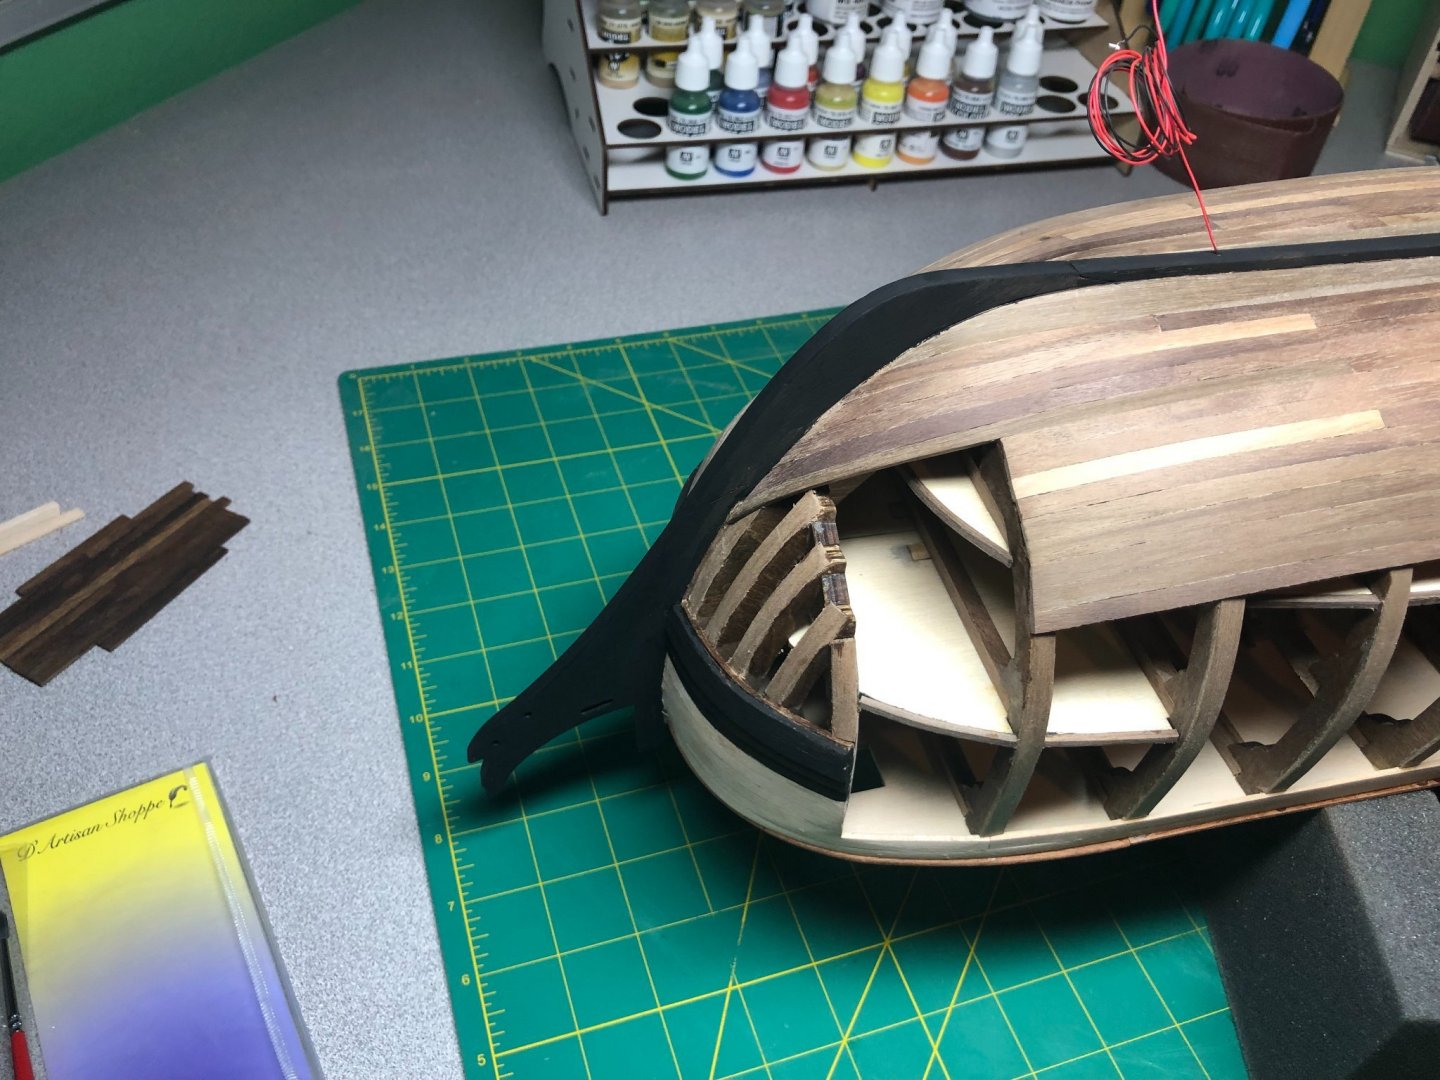
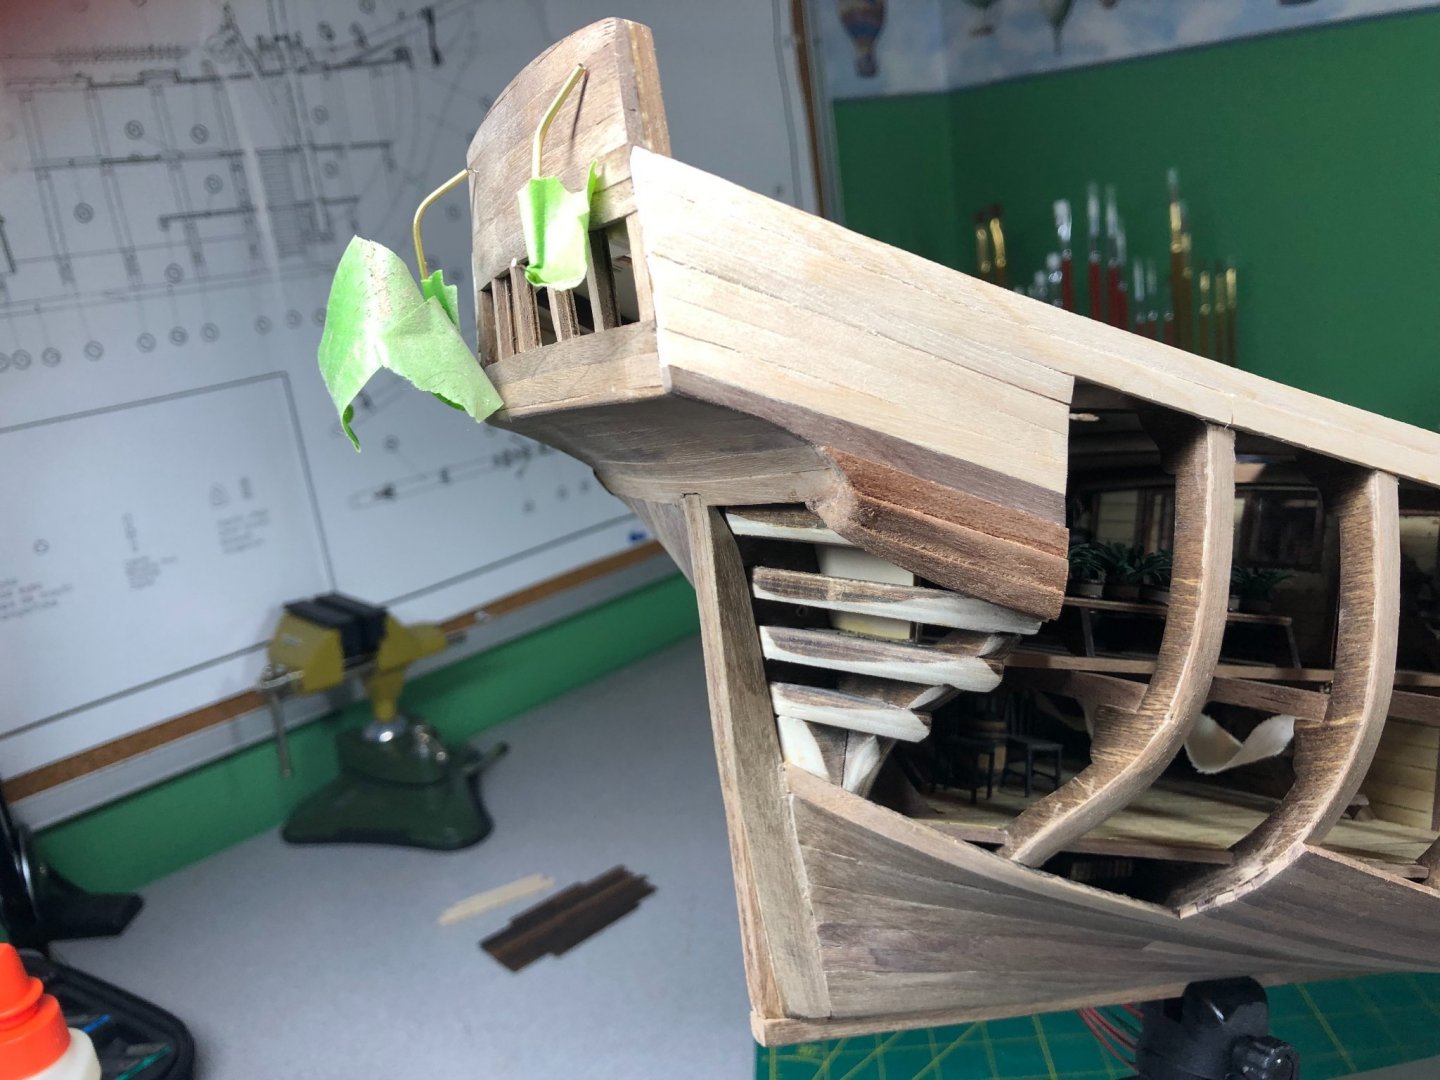
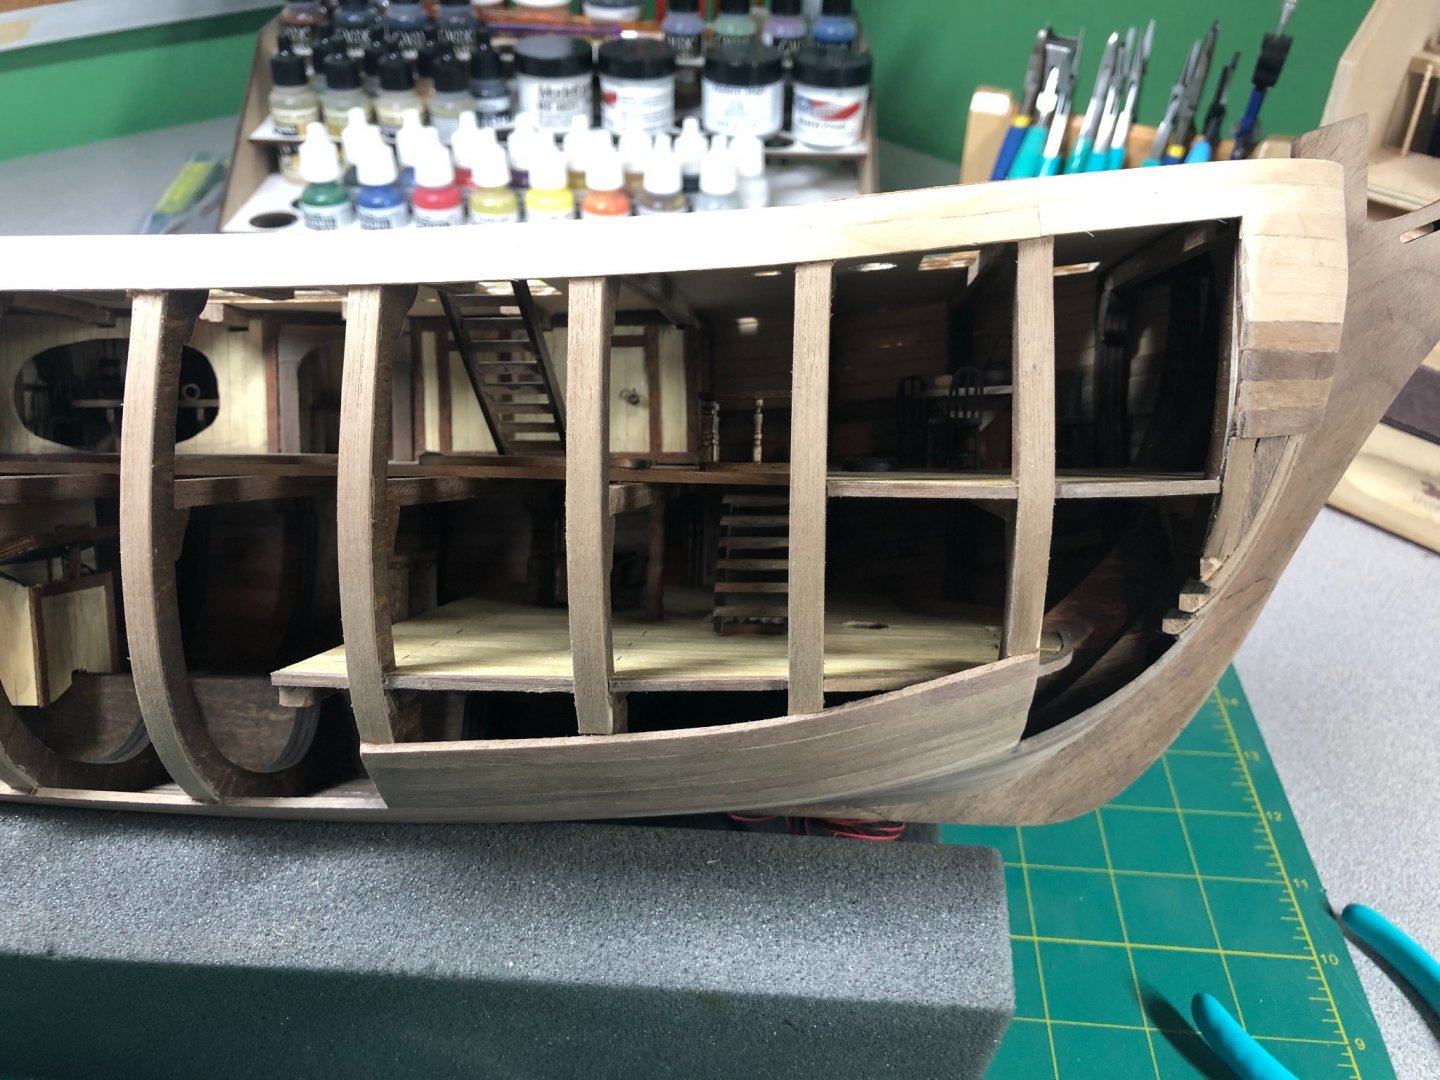
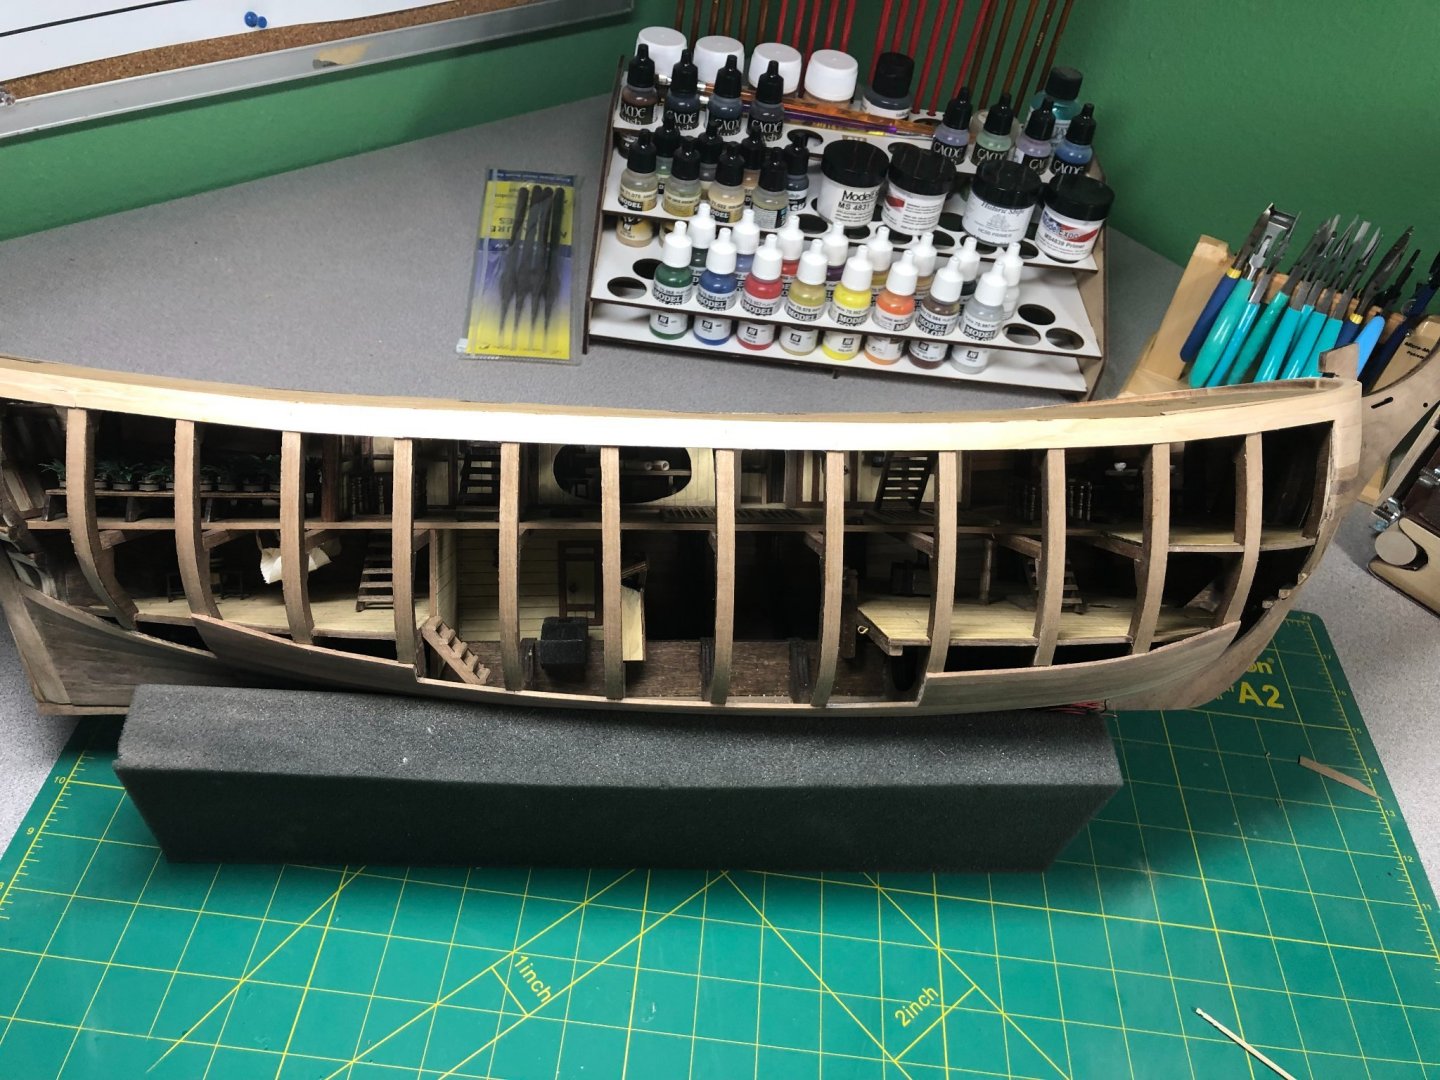
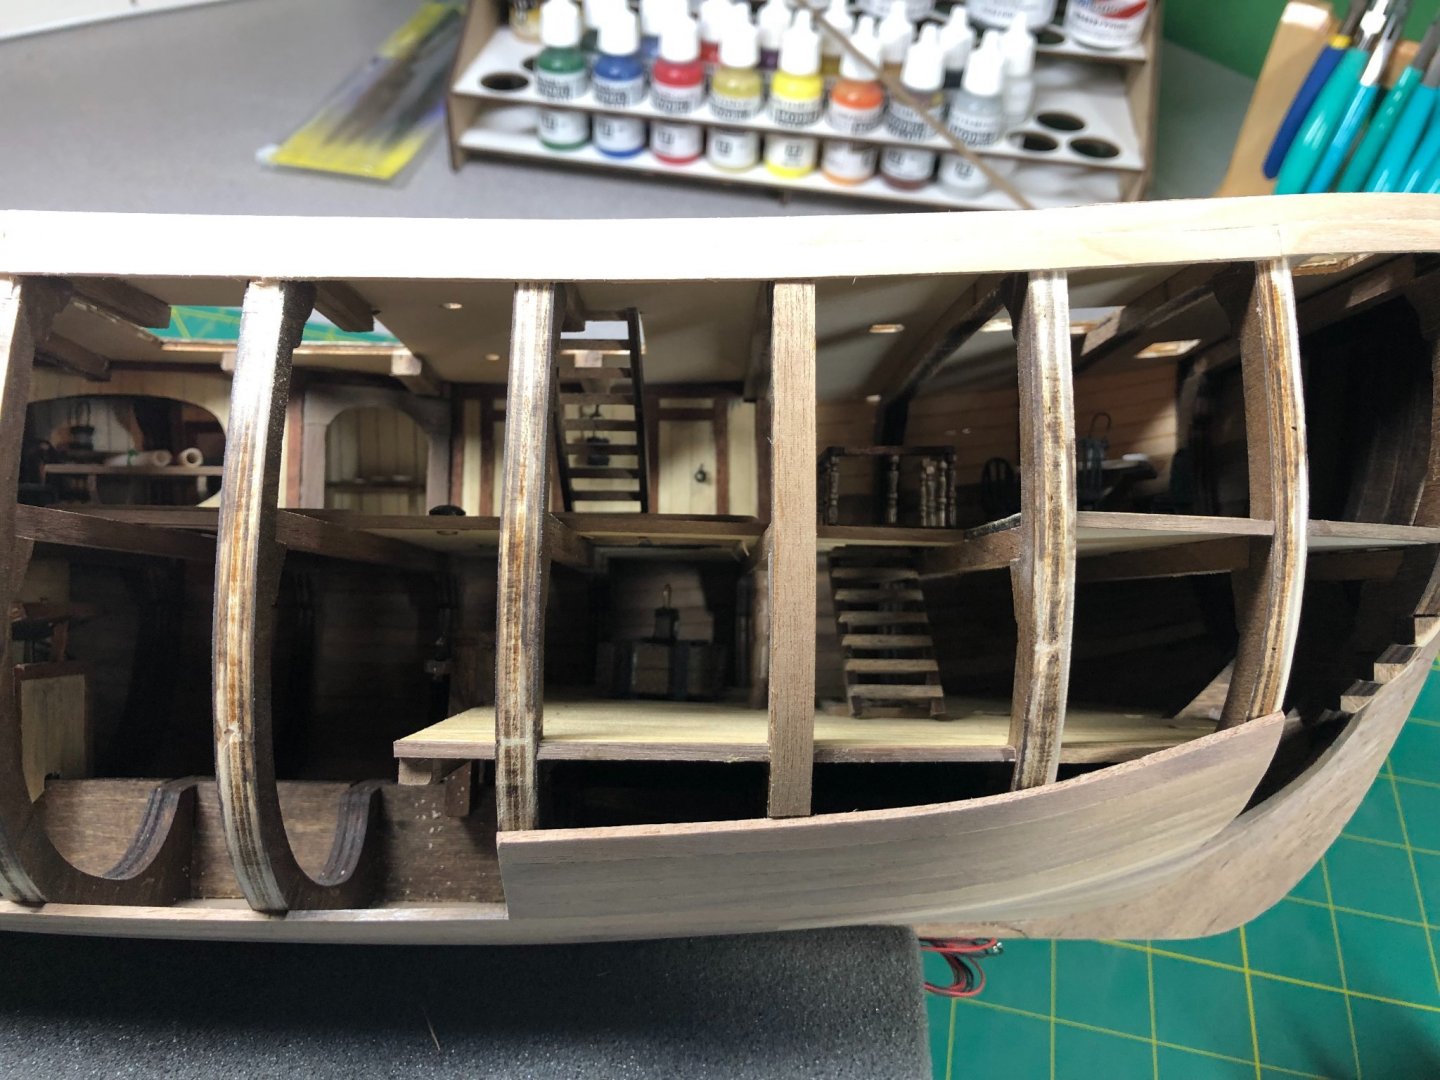
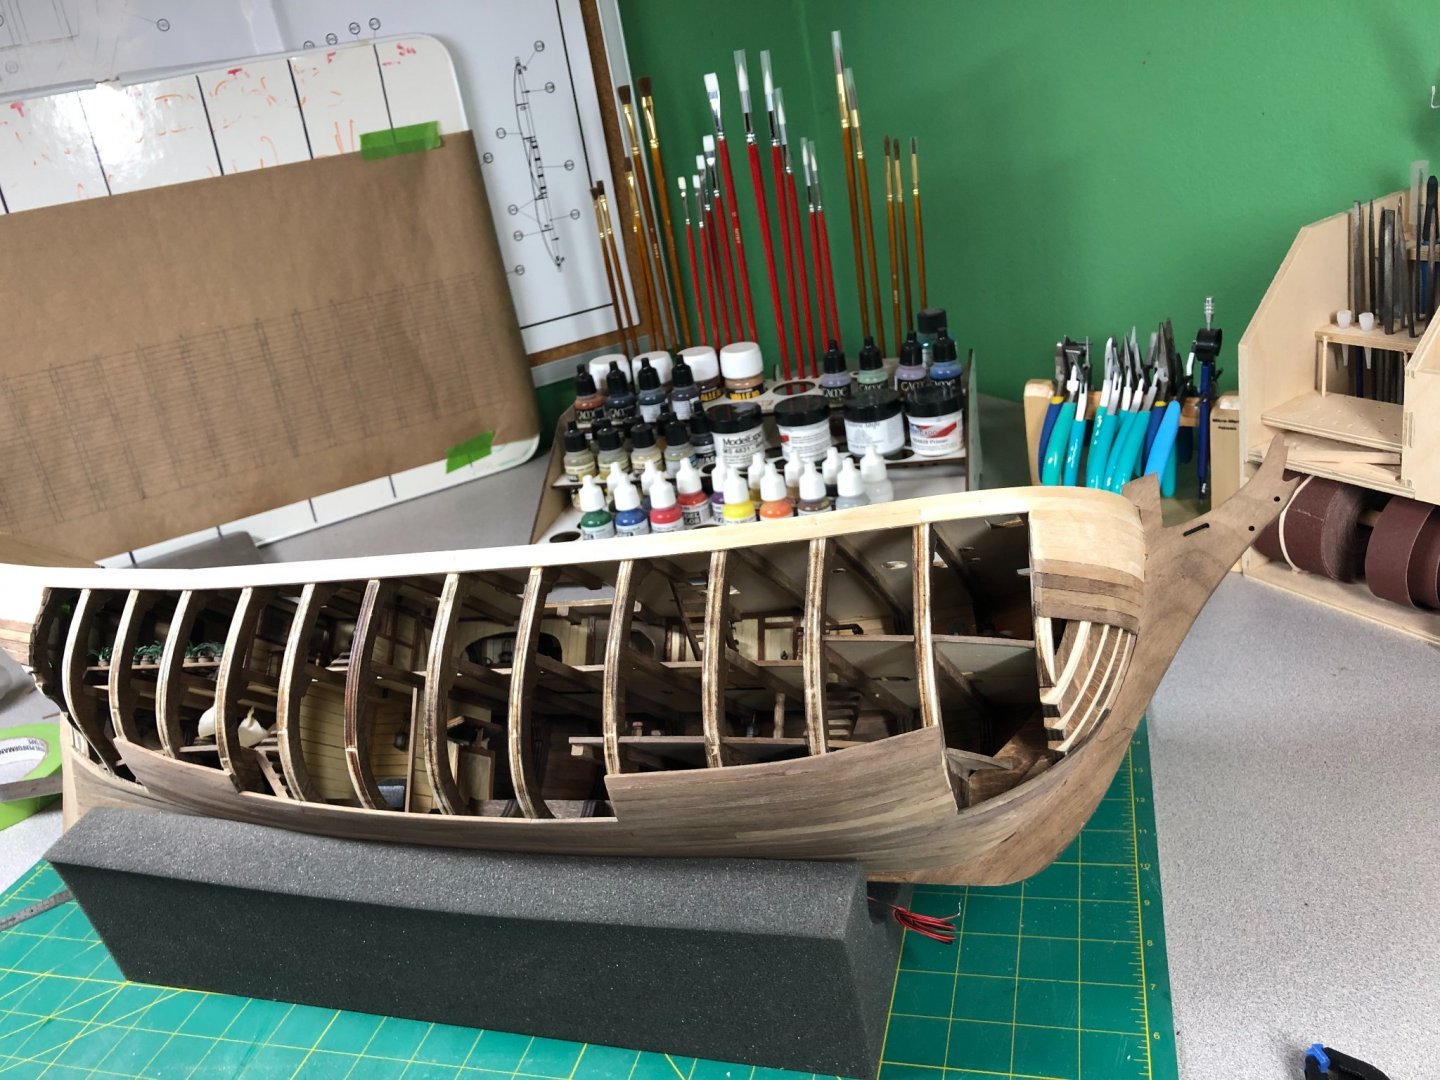
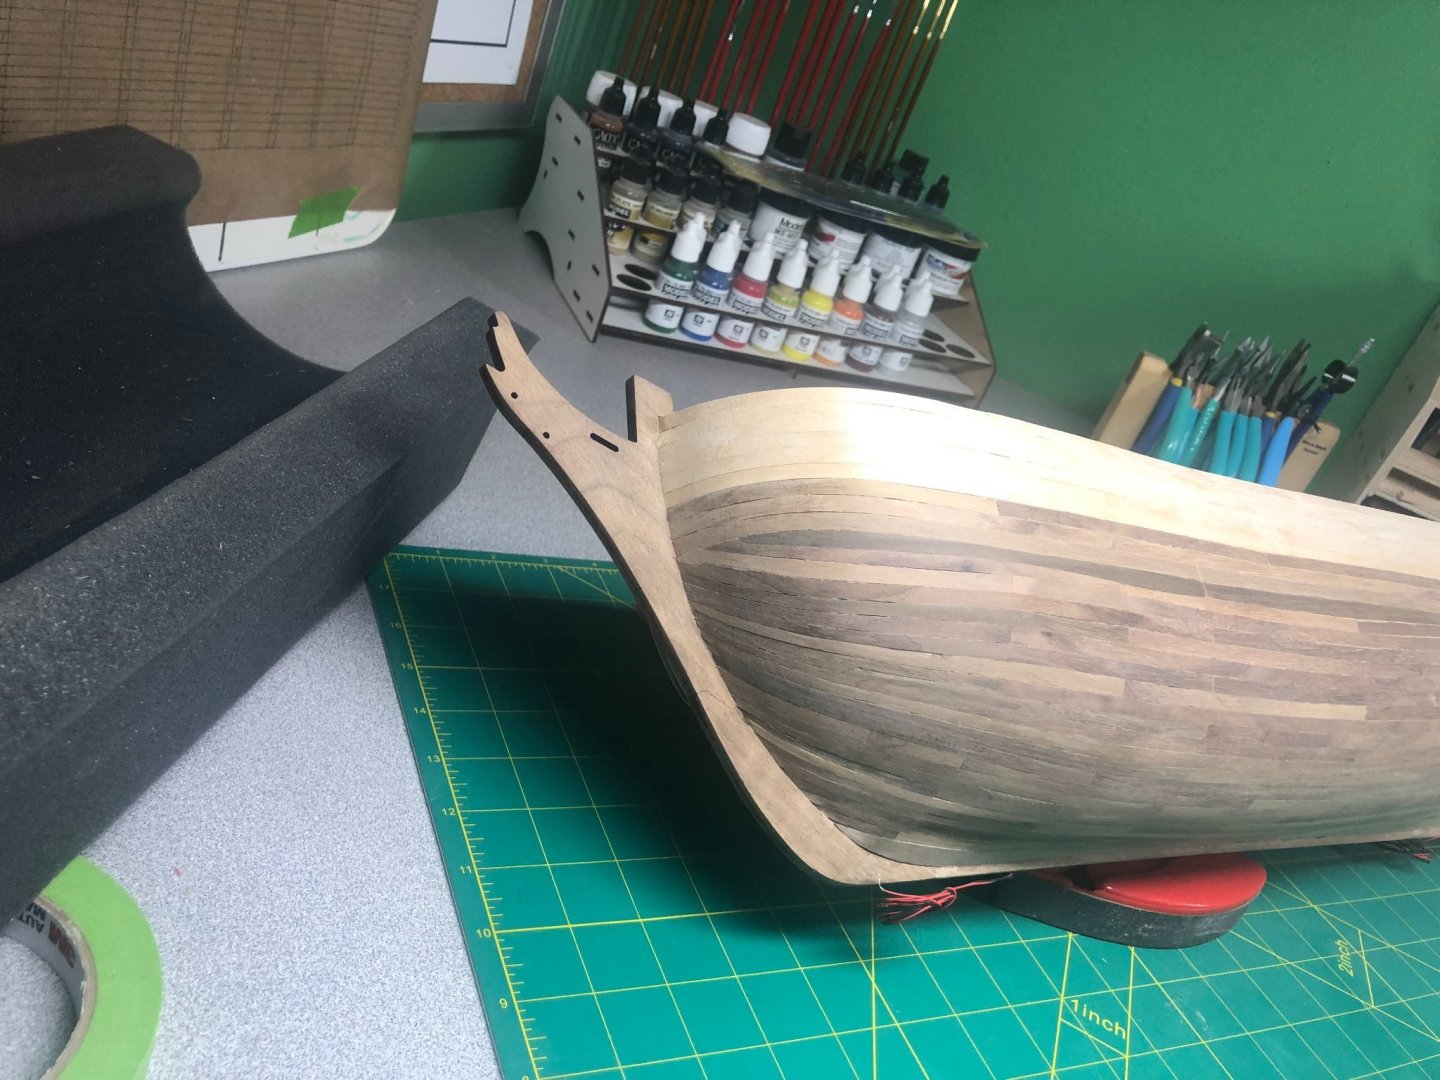
Another week... some progress but not a lot... so many things going until my retirement date in just 2 and half months! I finished up the veneer on frames to give the open side a more finished look... the plywood frames didn't look right. I used contact cement to glue the pieces, it helped the veneer to conform to the shape of the frame: I used a wood block to press each piece down and got a pretty good adhesion to all the pieces: Some light sanding and removal of some excess glue and I have exactly what I was hoping! I nice "finished" look: I think I will age and weather it similar to the rest of the hull... that's for later! On to the wales, that's next!


-
Thanks Dave! Appreciate the feedback.
-
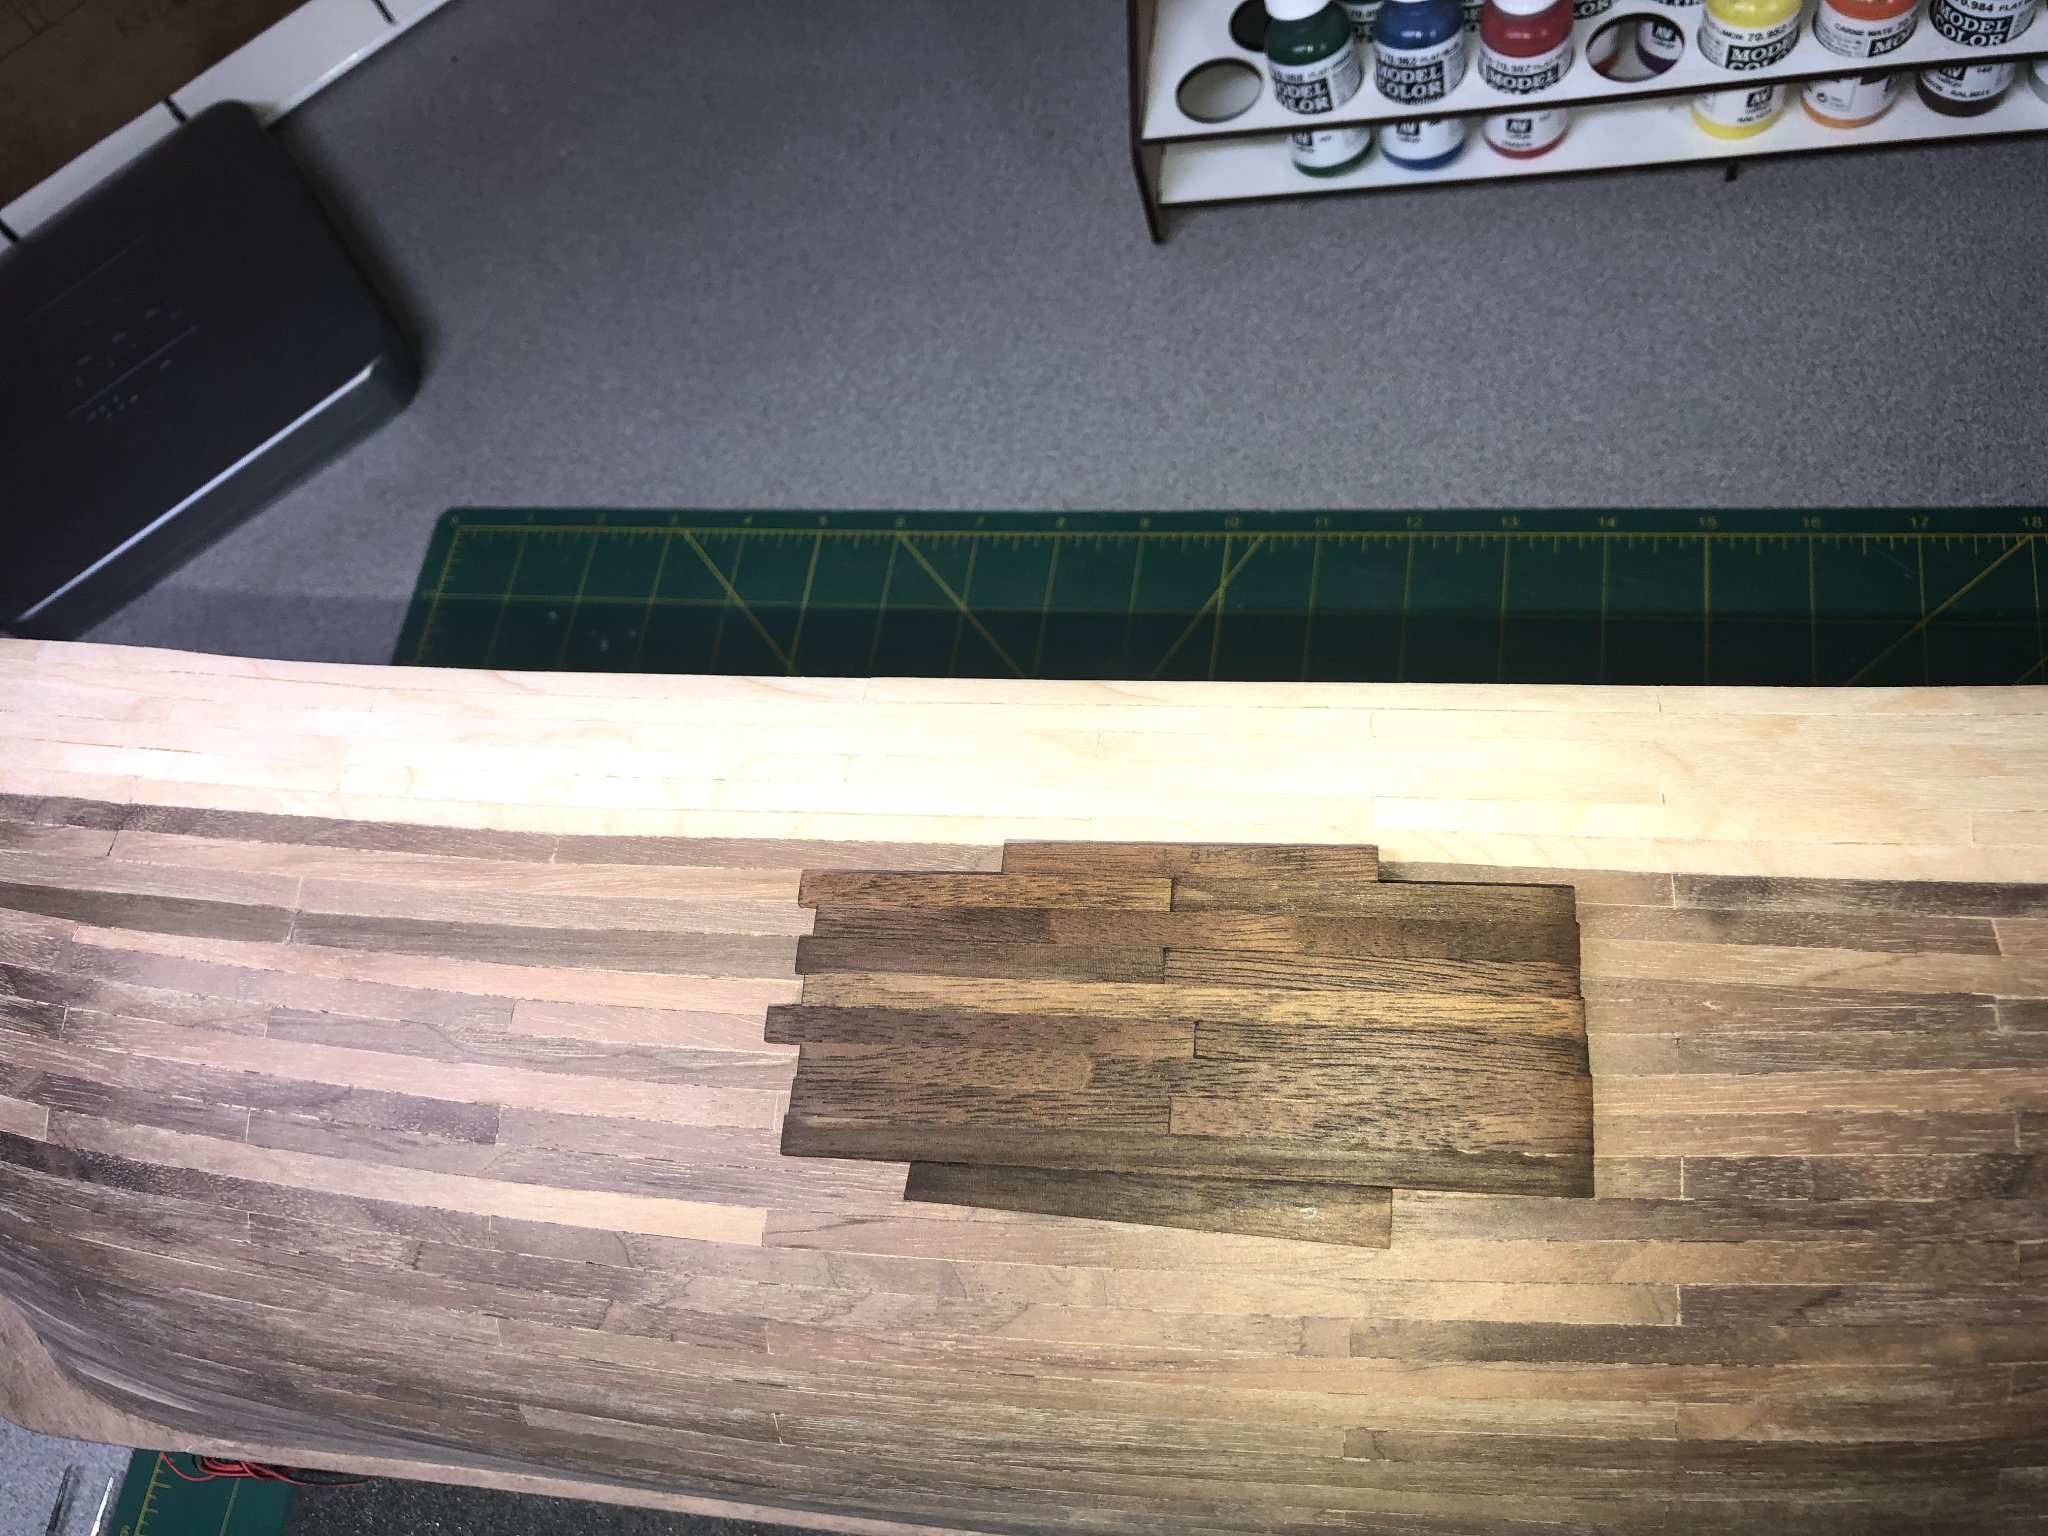
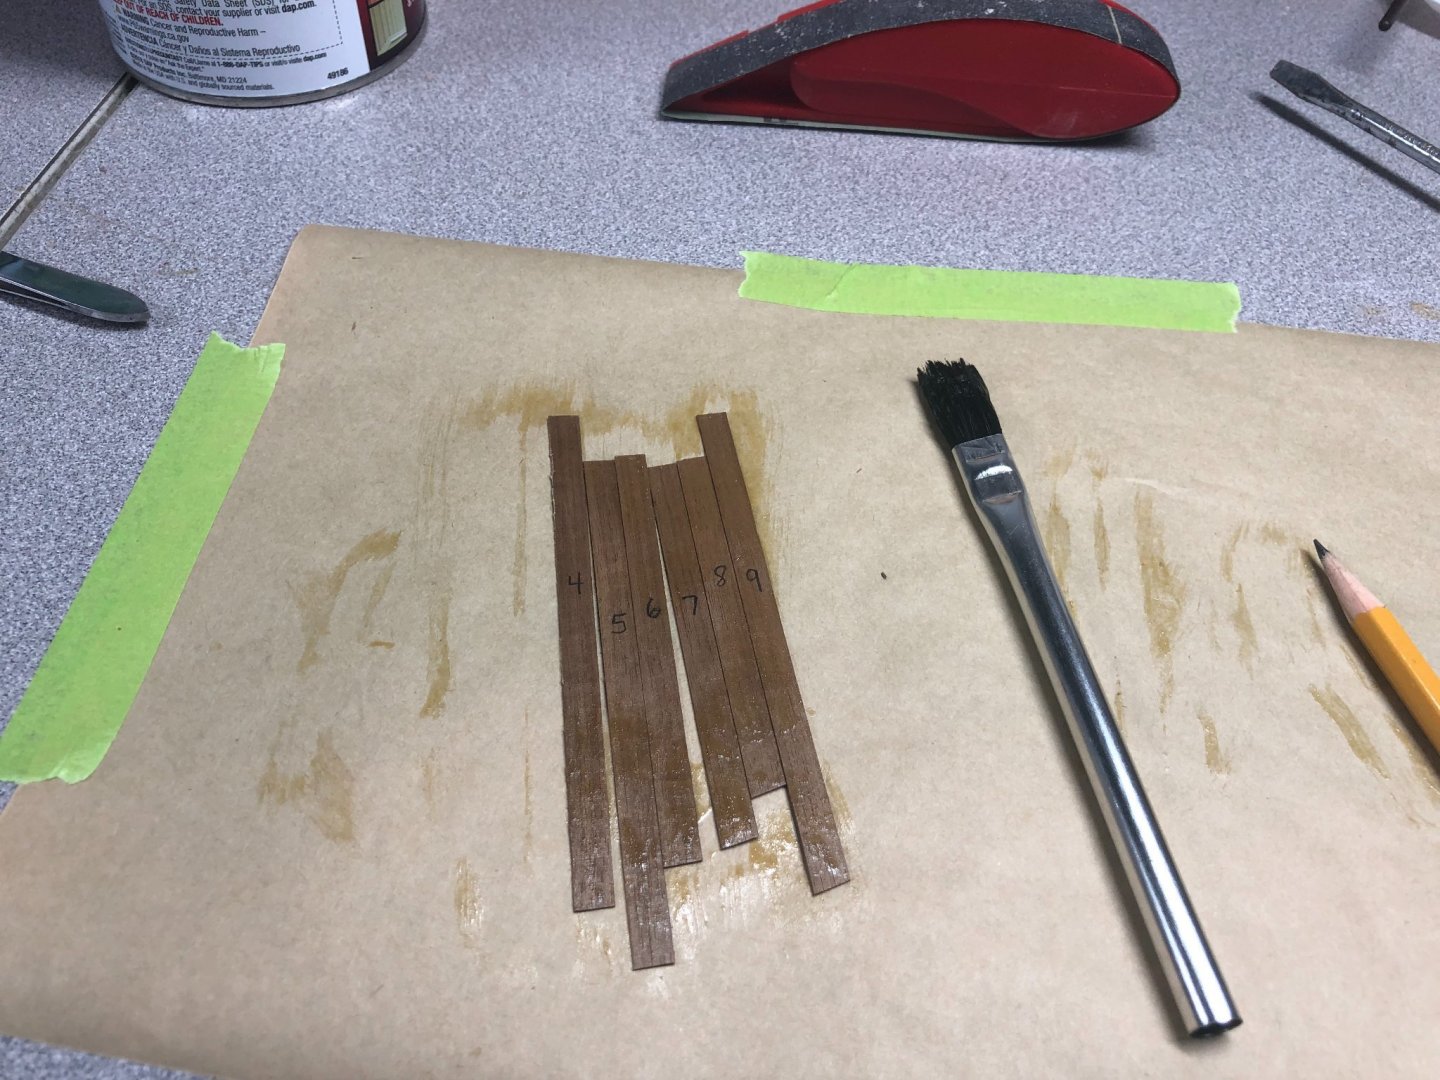
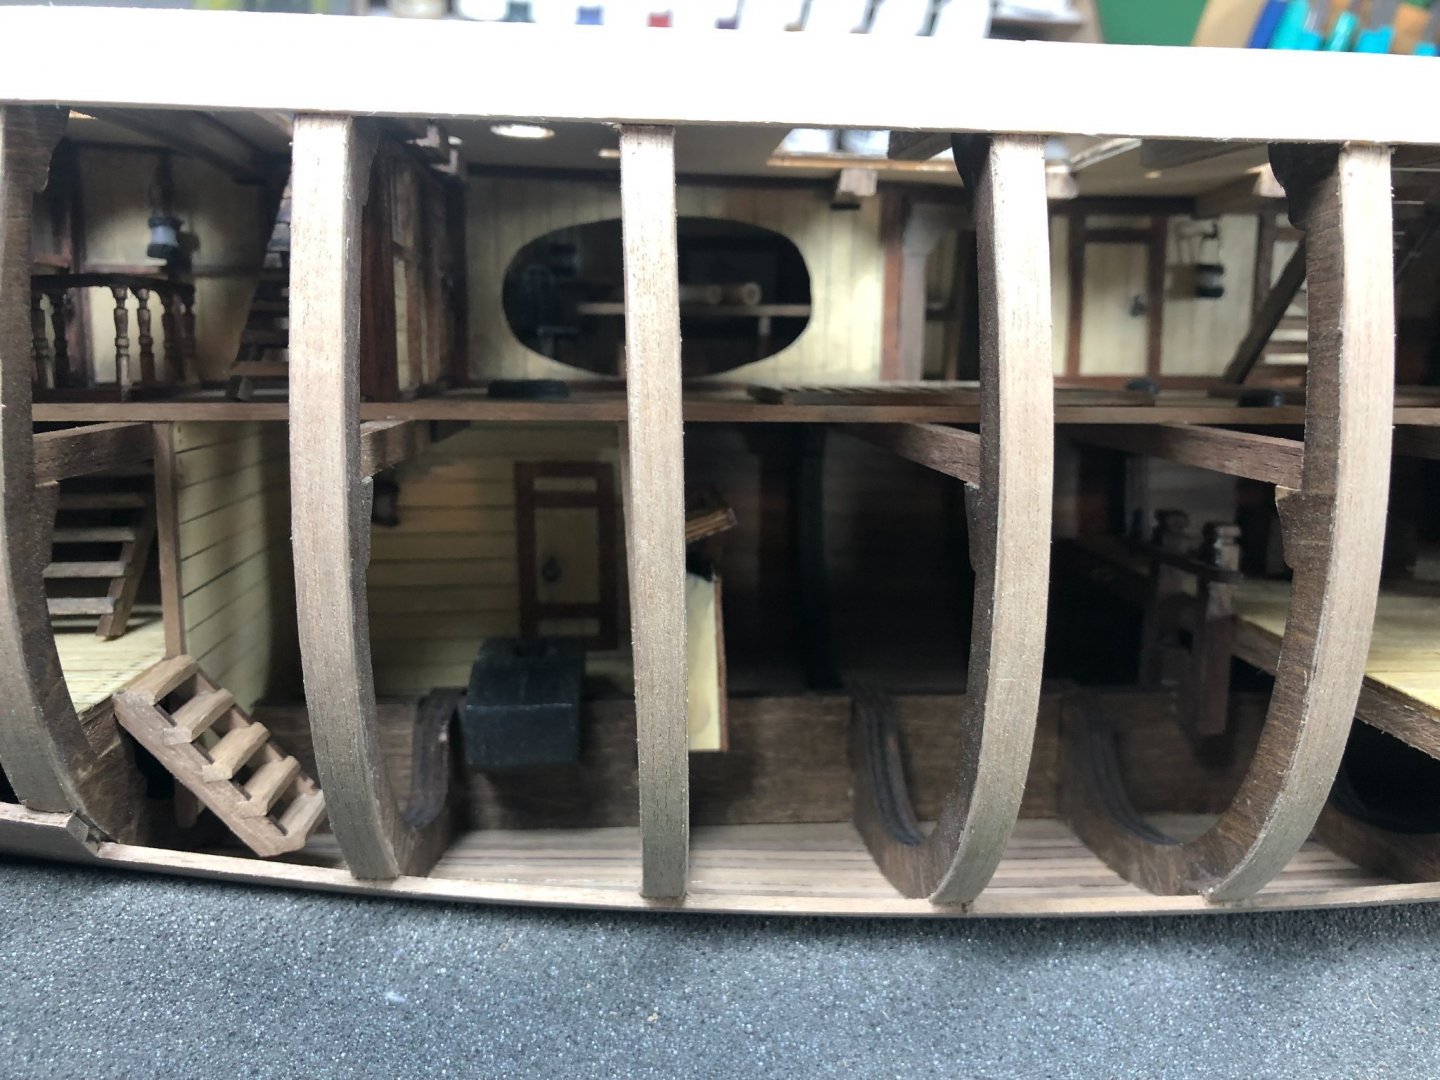
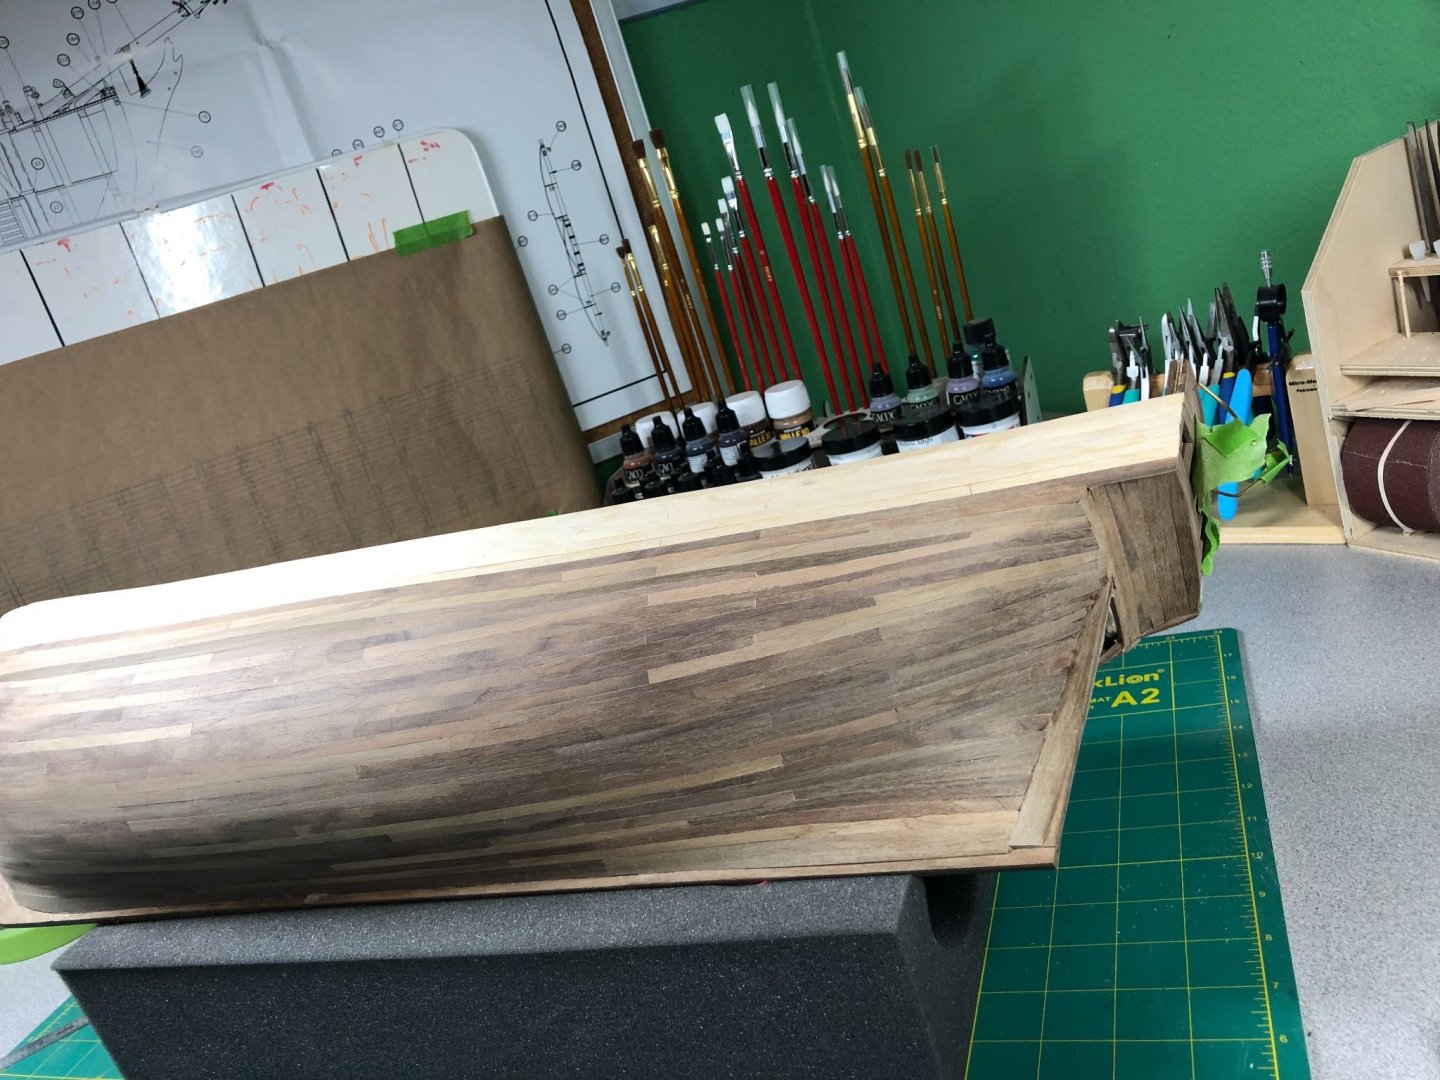
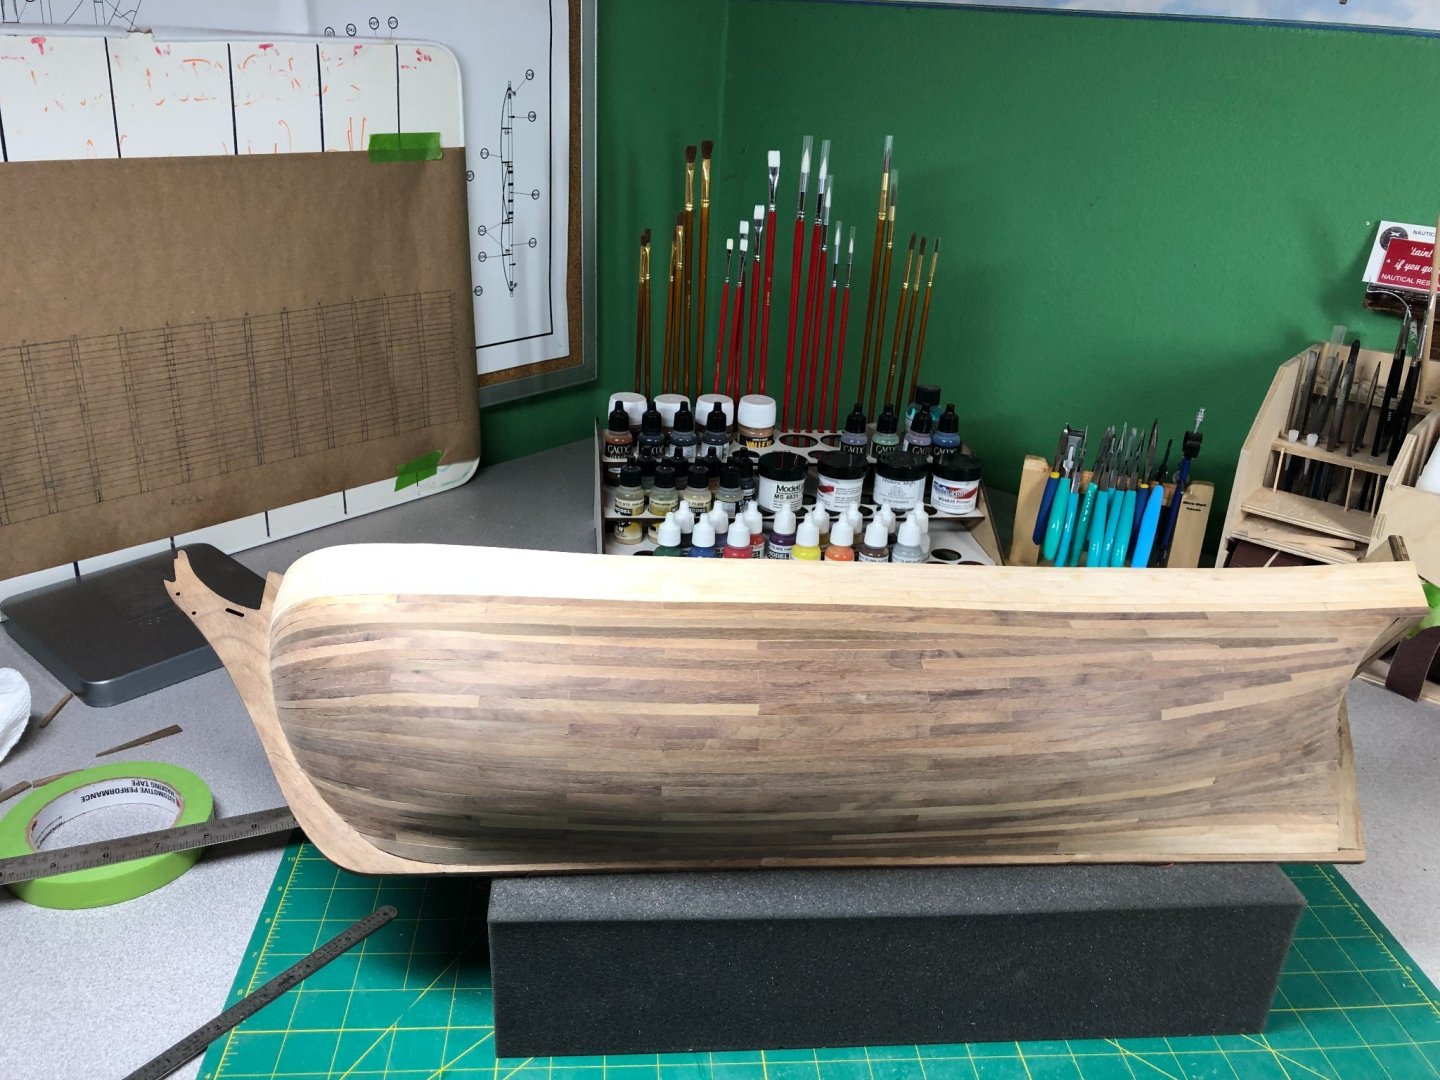
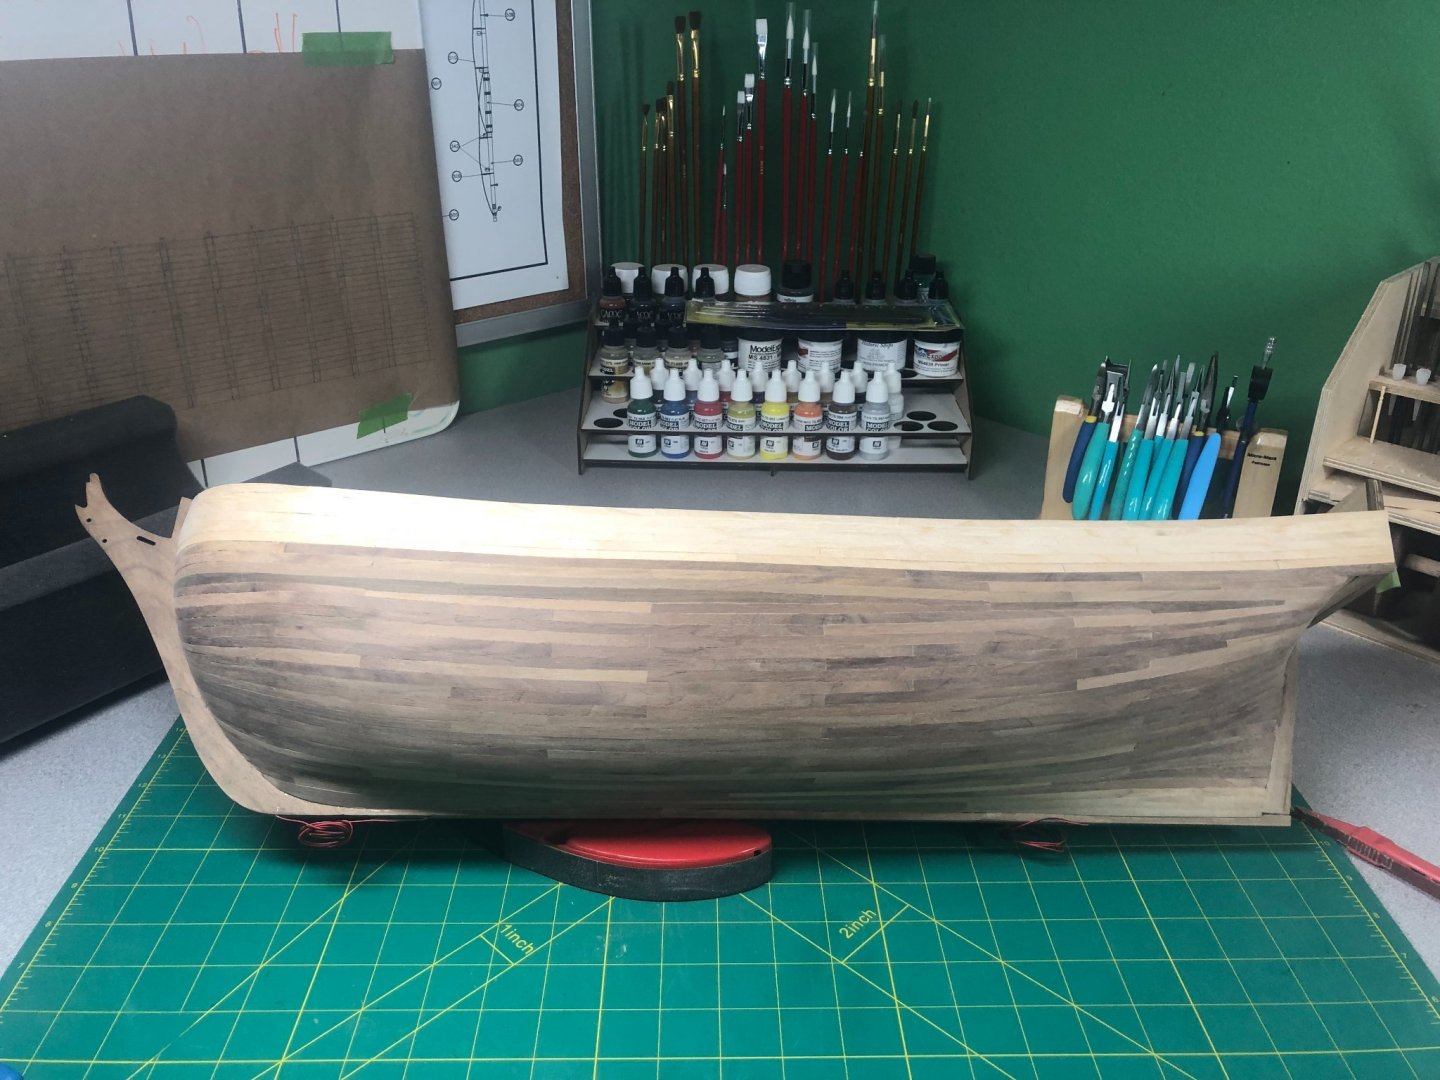
I have finished the sanding! I might fine tune a few spots but overall, it is done. I have been experimenting on the treatment of the hull. I want a weathered or used look without getting too far from what a former naval vessel (with a Naval officer for a Captain) would look like given the type of wood in the kit. As I have documented several time, Walnut is difficult to work and finishing is not going to be easy! After several experiments with different types of finishes, the following two are the ones I narrowed it down to: There isn't a lot of difference but in the top picture, the grain is a little more pronounced and it looks better to me. Steps to achieve the color: 1. Brushed on a black wash to cover the entire area. 2. Waited approximately 3-4 minutes and wiped the area down. 3. Allowed to dry for 1 hour. 4. Coated the entire area with straight vinegar, wiping off the excess after about one minute and allow to dry overnight. 5. Lightly sand to desired shade. 6. Coat with Boiled Linseed Oil - I only put one on for my experiment. Normally, I do 3 coats. On to some finish work. I don't like the "plywood look" of the exposed frames. I'm going line the exposed areas with walnut veneer: A little light sand and it will look good! I'm in the middle of a remodel on one of our bedrooms. So, I'm splitting time between that and the Bounty! Slow going right now!

-
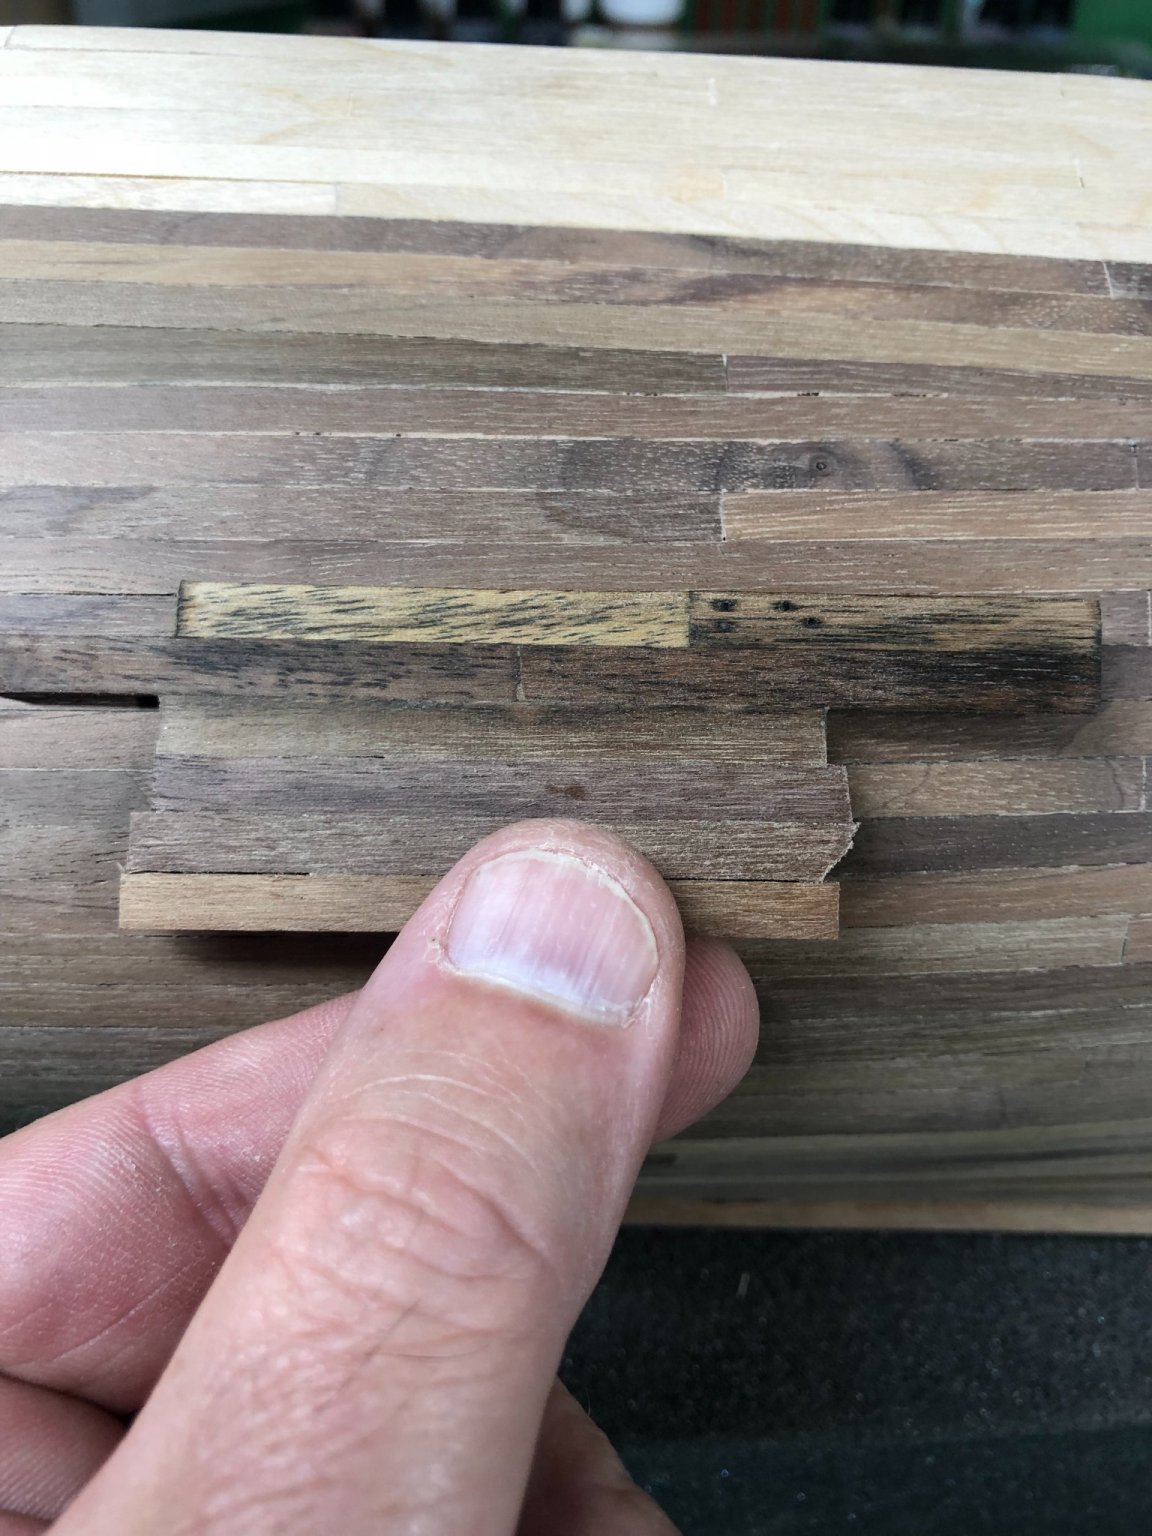
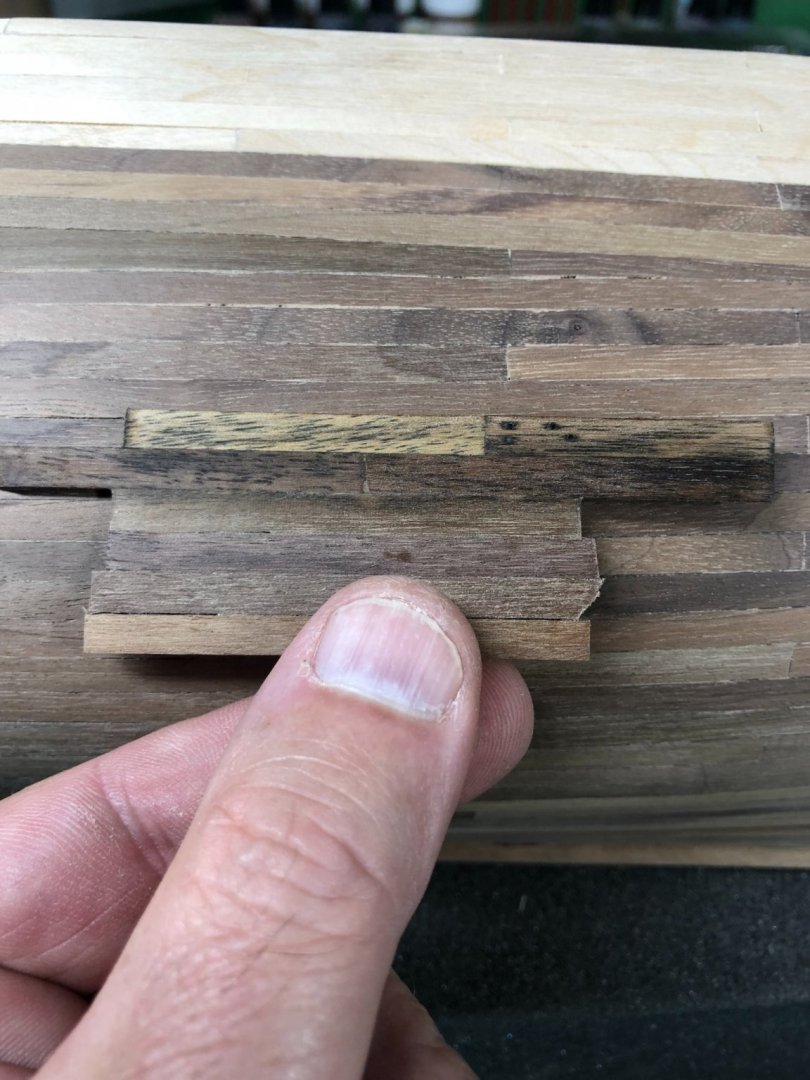
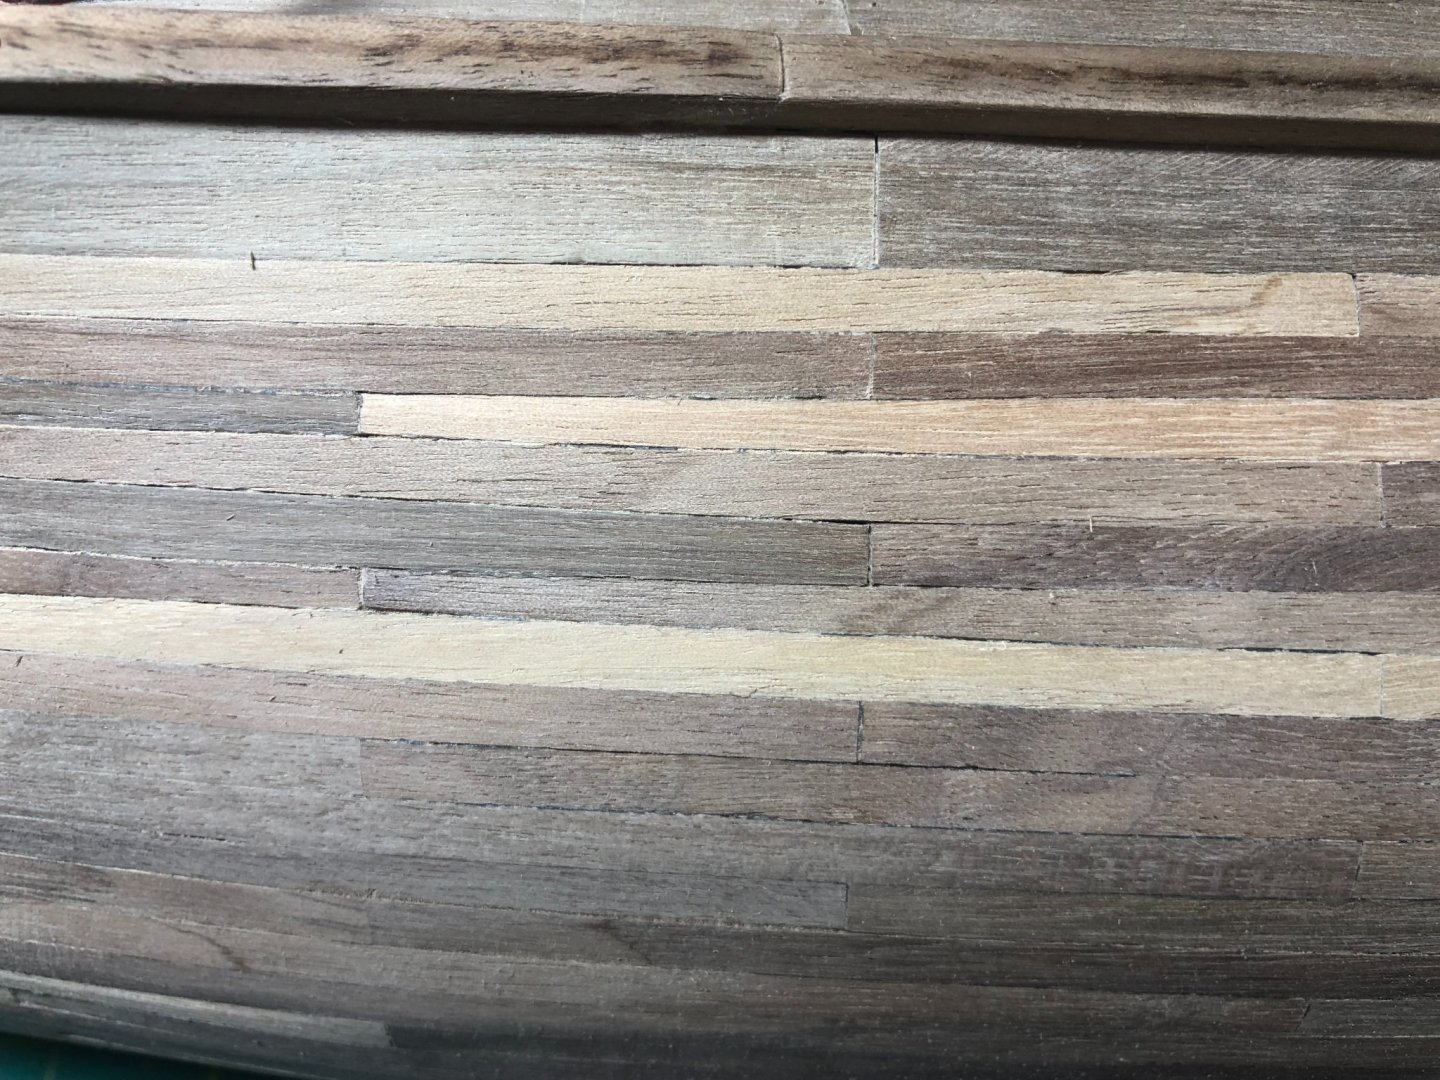
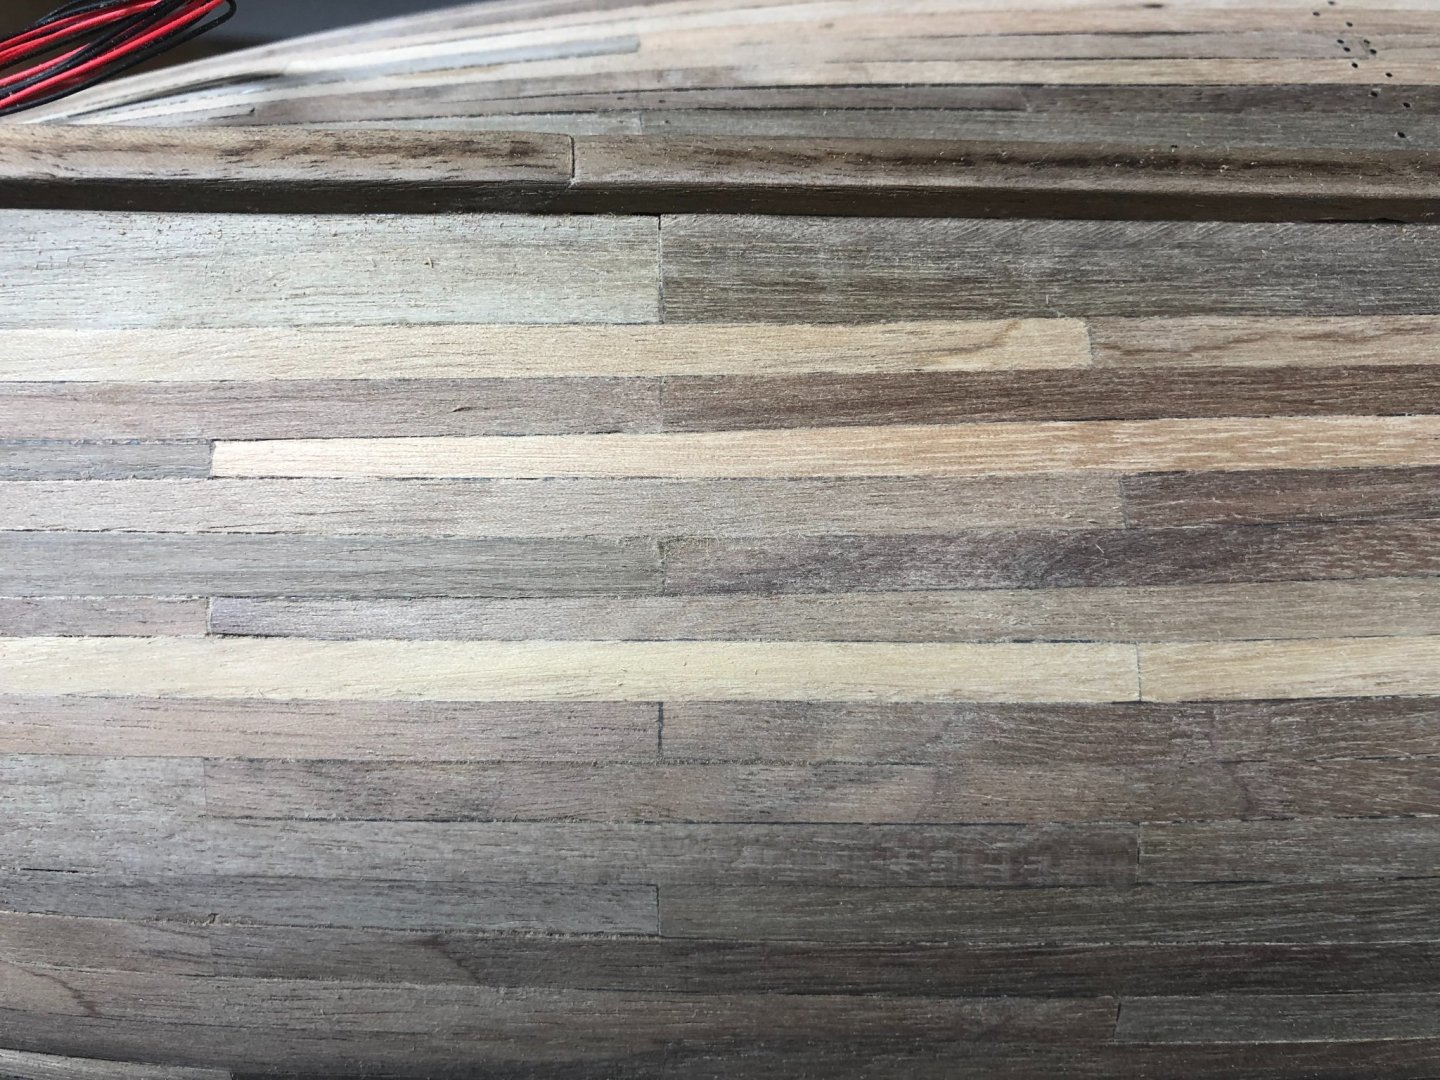
The camera's on these phones are pretty damn good! I just previewed the pictures before posting below and I see I need to do some more sanding in spots... overall, the port side is done: Little bit of work at the stern too (damn camera!) In the meantime, I've begun experimenting hull finishes that I want for my aged/weathered look and I've settled on a process that I'll need to fine tune a bit but I like the affect: I like it well enough to get some notes started on how much of the washes and water I used... The pictures above were taken after the top two strips were washed with a black wash that was watered down a bit... a more precise formula will be forthcoming! Additionally, after drying, I wiped it with a white vinegar and then lightly sanded it. Lastly, I wiped the area with Boiled Linseed oil (one coat) and lightly sanded it again. I've put together another test strip to begin more detailed testing: I've used two different glues on the planking (ran out of one!). So, I am setting up the test panel to see if there are any differences in how they react to the wash and vinegar... Titebond on the bottom half and Elmer's on the top half. Results in a few days!


-
Fairing can be difficult to get right... I struggle with it from time to time! I used mine as a learning experience too... made mistakes, learned from them and moved on! Here is picture of my wales to counter seam... not much difference. Check my build log if you want to see more. I think you're doing great!
-
With the exception of the wales which will be installed after a whole lot of sanding, the planking is DONE! I've already started the sanding and filling of some of the seams. There is still quite a bit left to do before installing the wales. I have done some experimenting with weathering and aging but nothing worth sharing yet! Once the sanding is done, I'll begin that process along with my paint scheme. Generally, I'm pleased with the planking results. And I was able to completely hide the wiring! I checked and all lanterns are functioning! I'm off to Dallas on one of my last business trips! An update when more progress is completed!


-
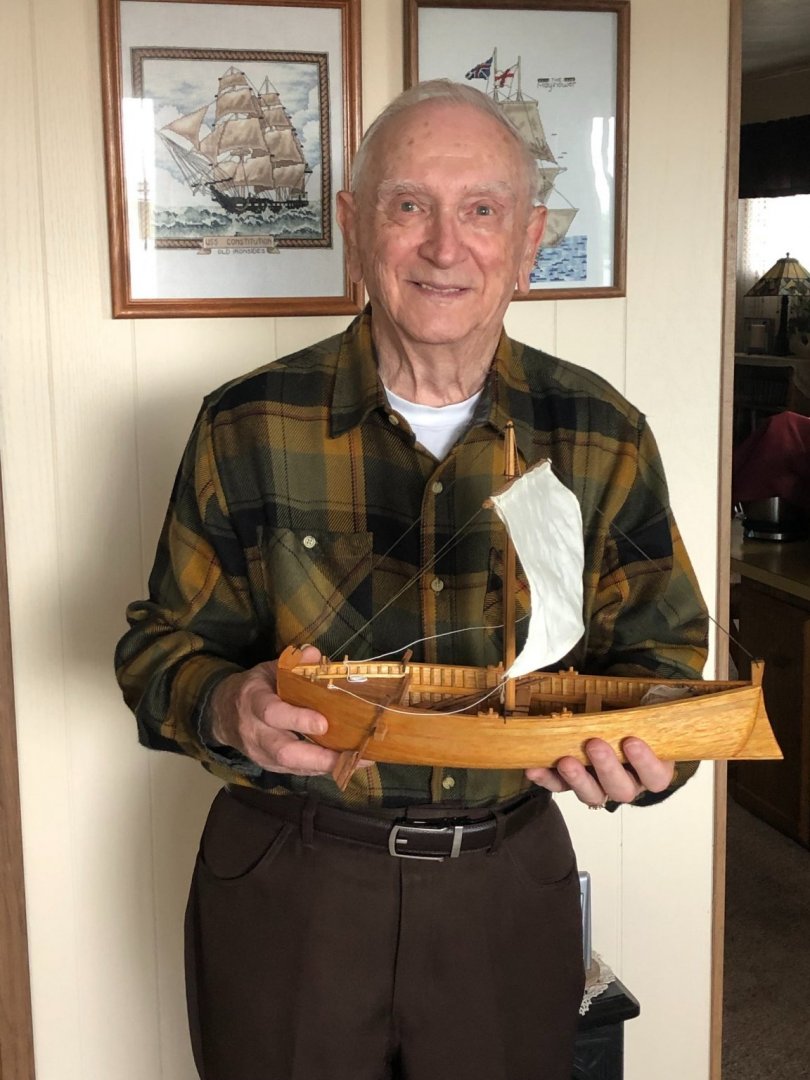
Well, between a busy month of August and a minor health issue for my dad, I was late in delivering his gift. All is well and he finally received it over the weekend: I caught him completely off guard! And he was very surprised! That will conclude this build log!

- 83 replies
-
- 10
-

-
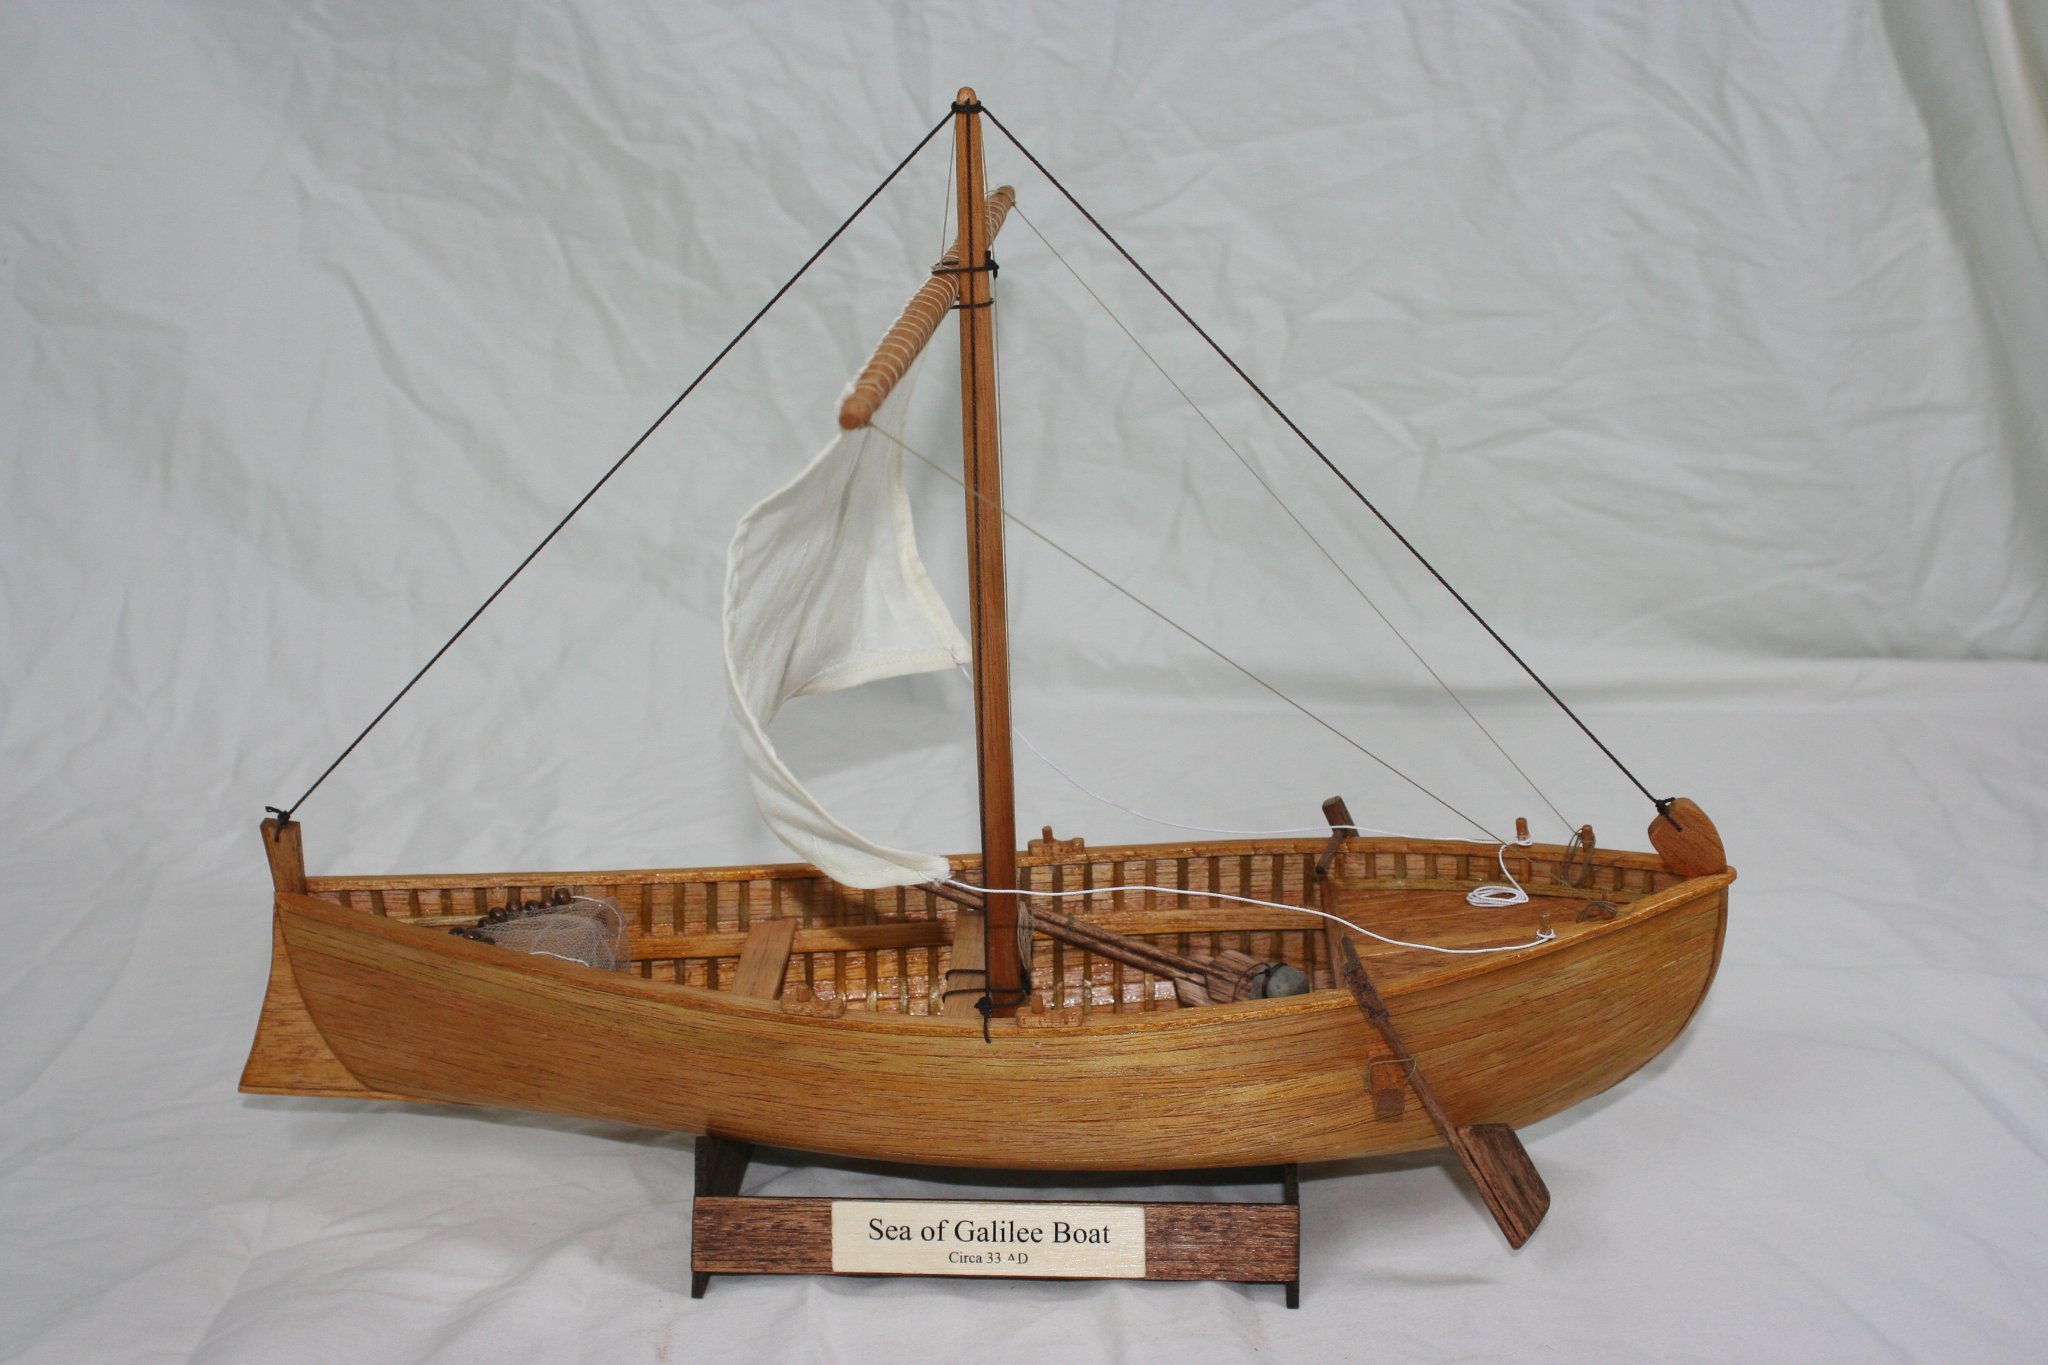
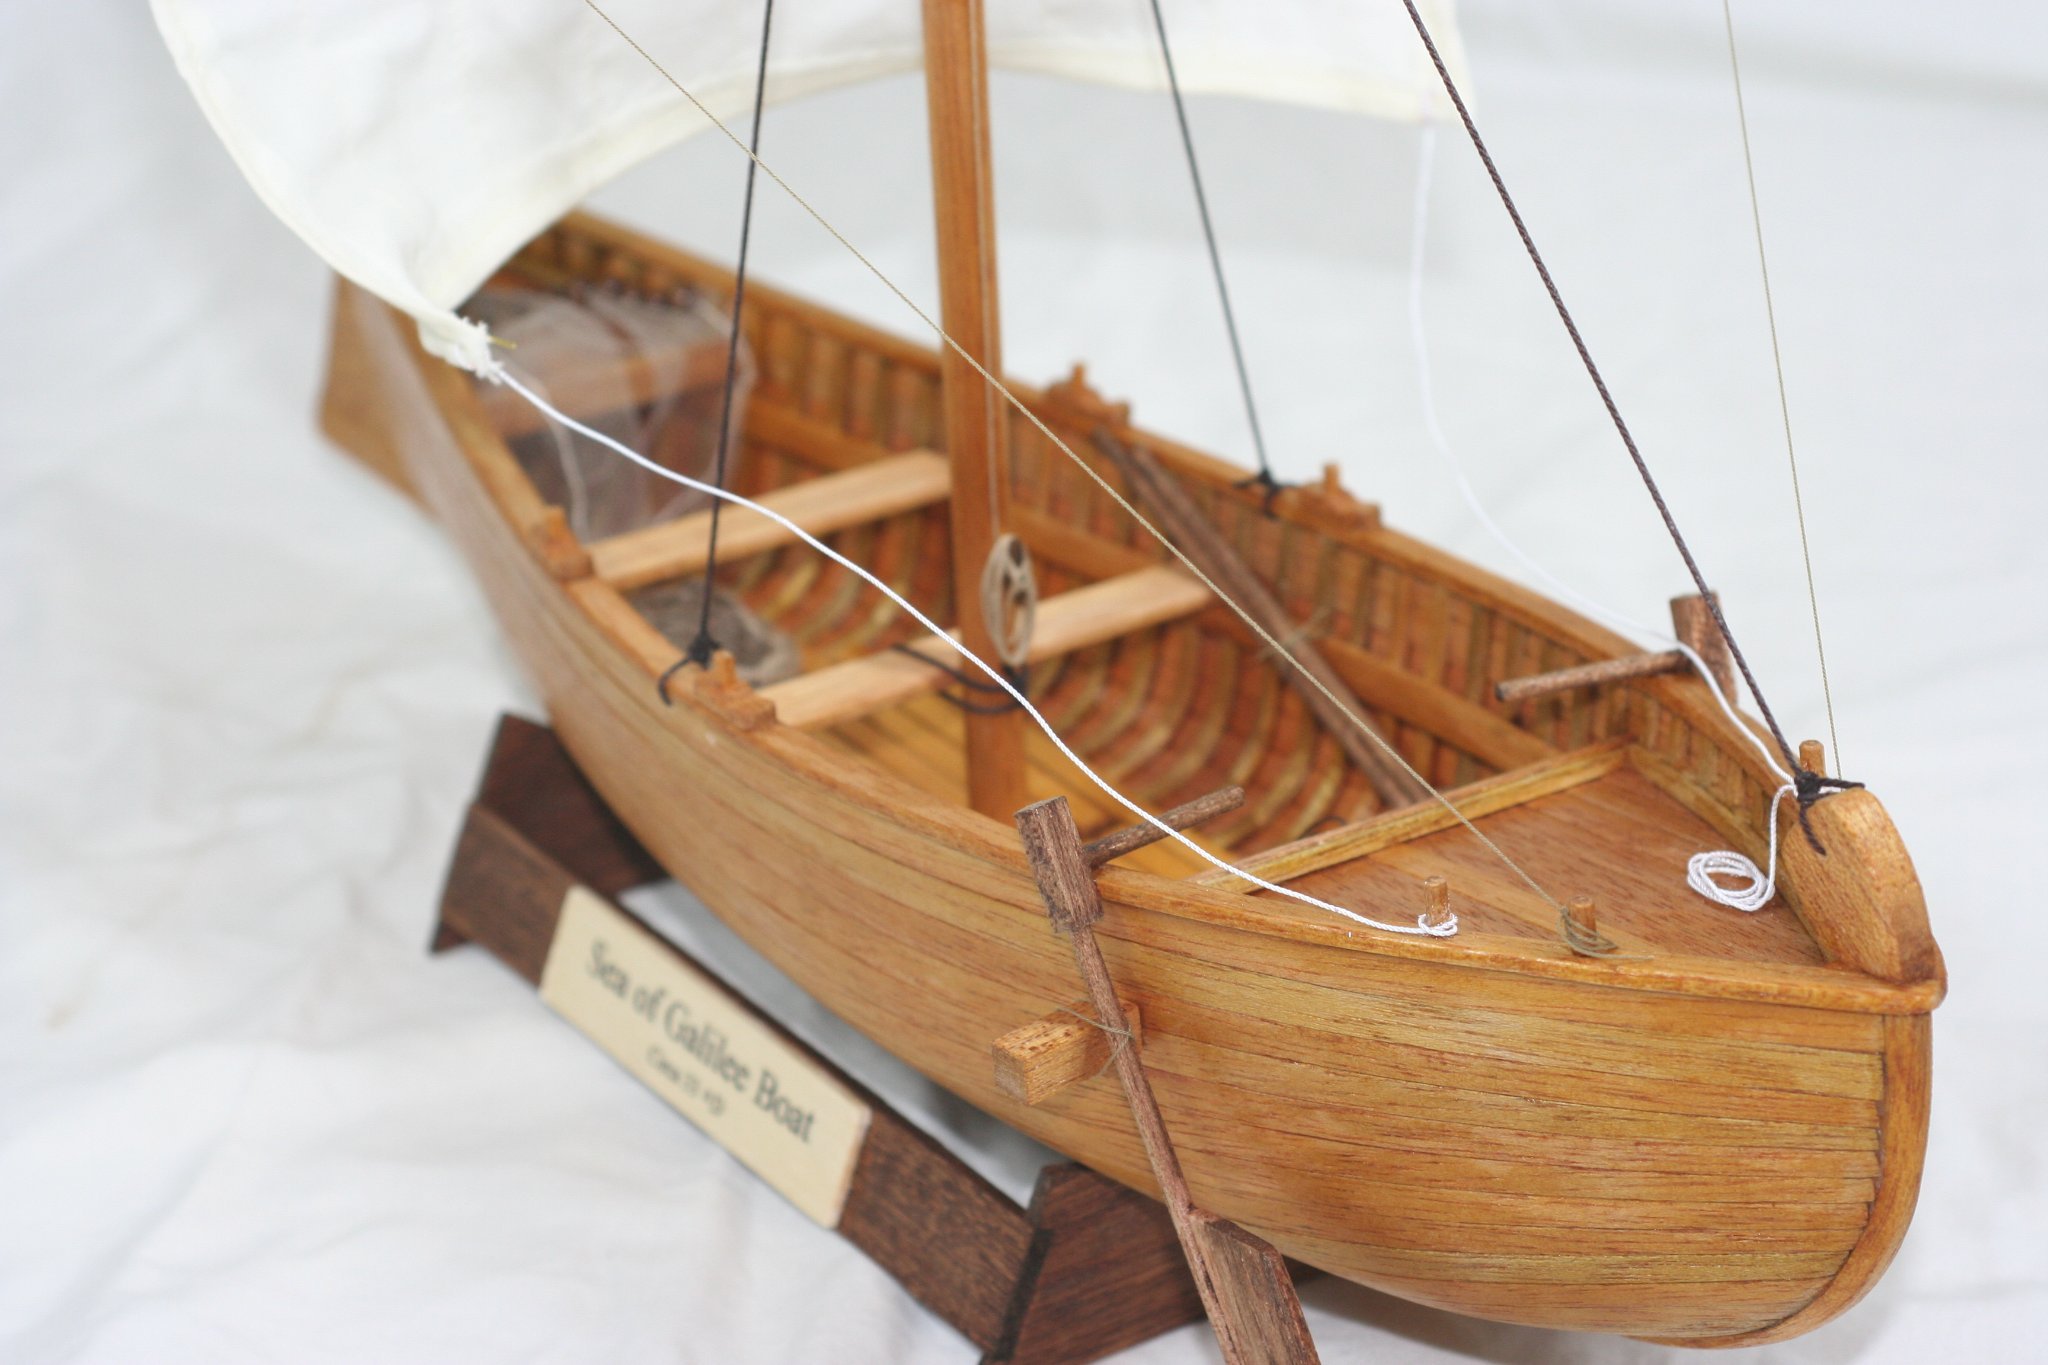
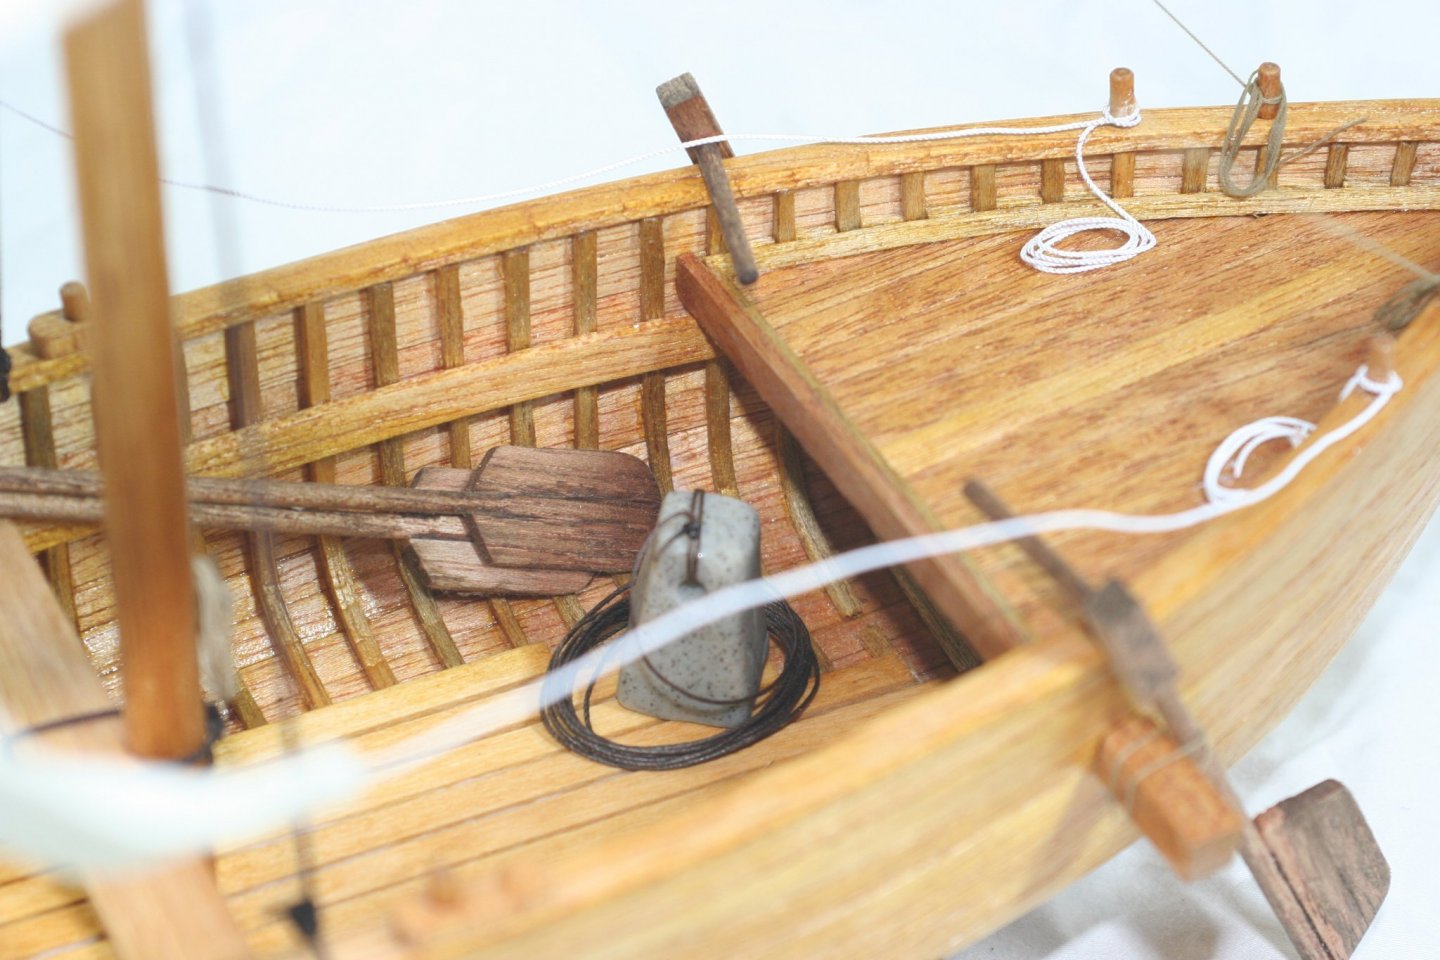
- Sea of Galilee boat
- SE Miller
- (and 1 more)
-
Glad you're finding some useful info! Thanks for stopping in.
-
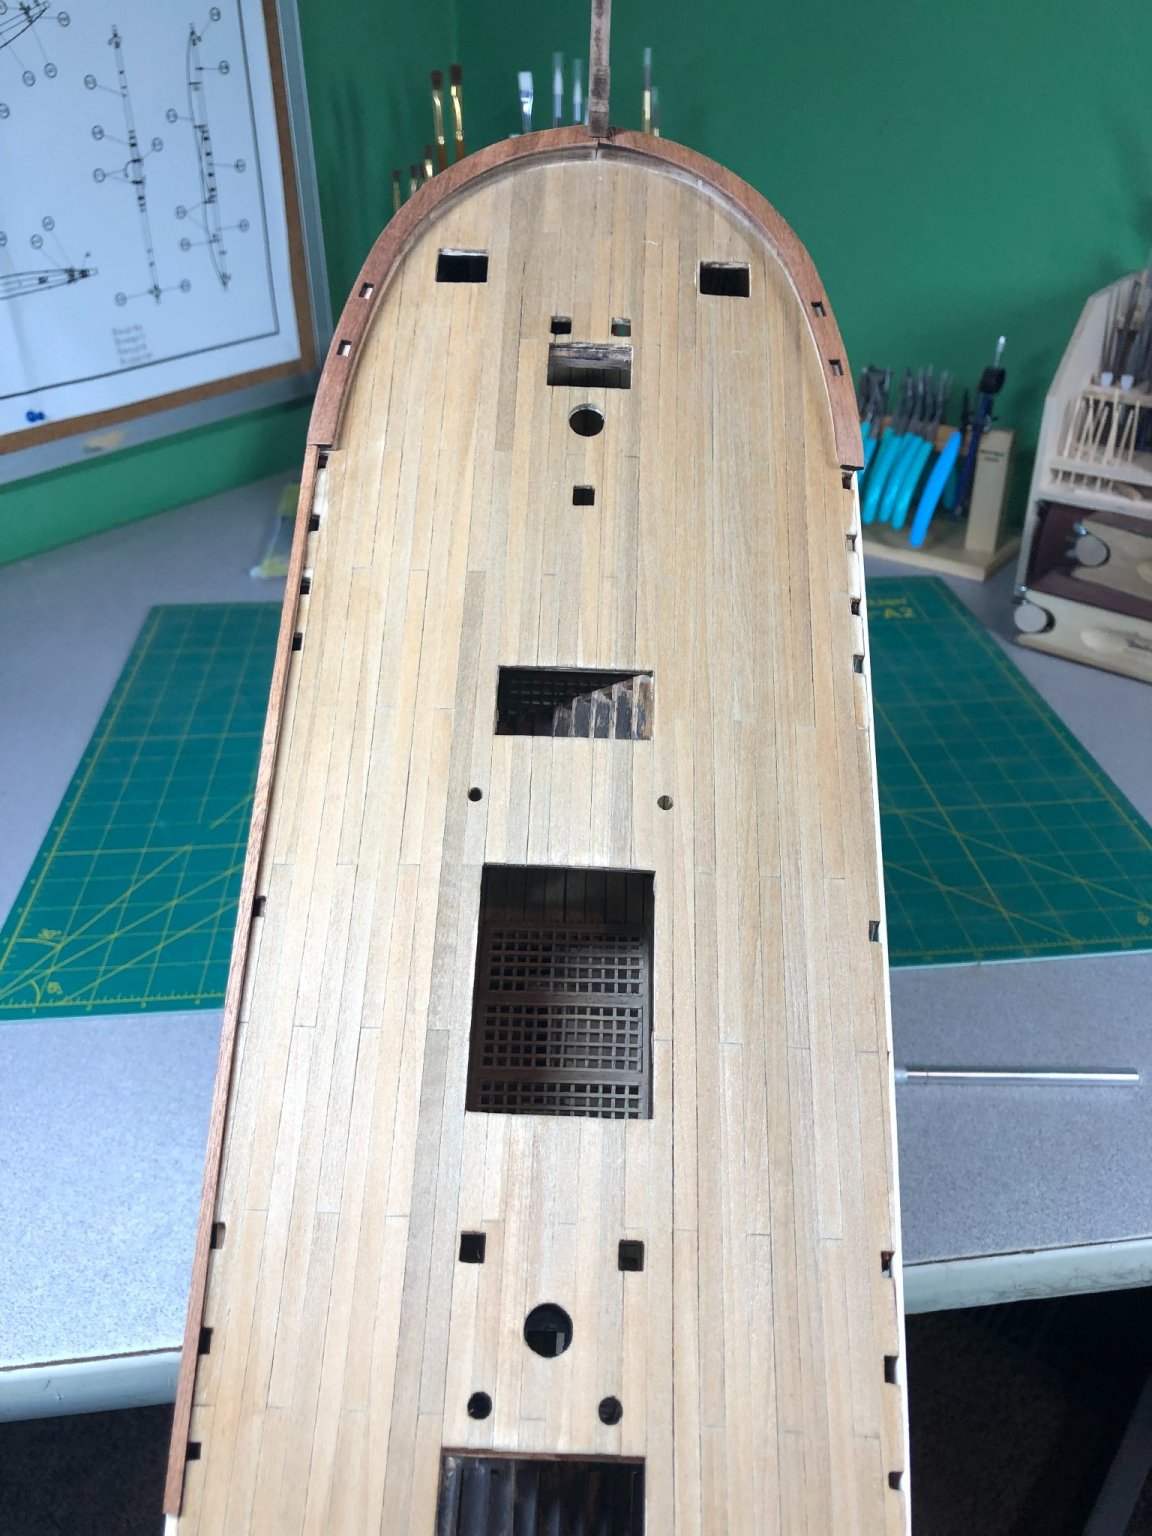
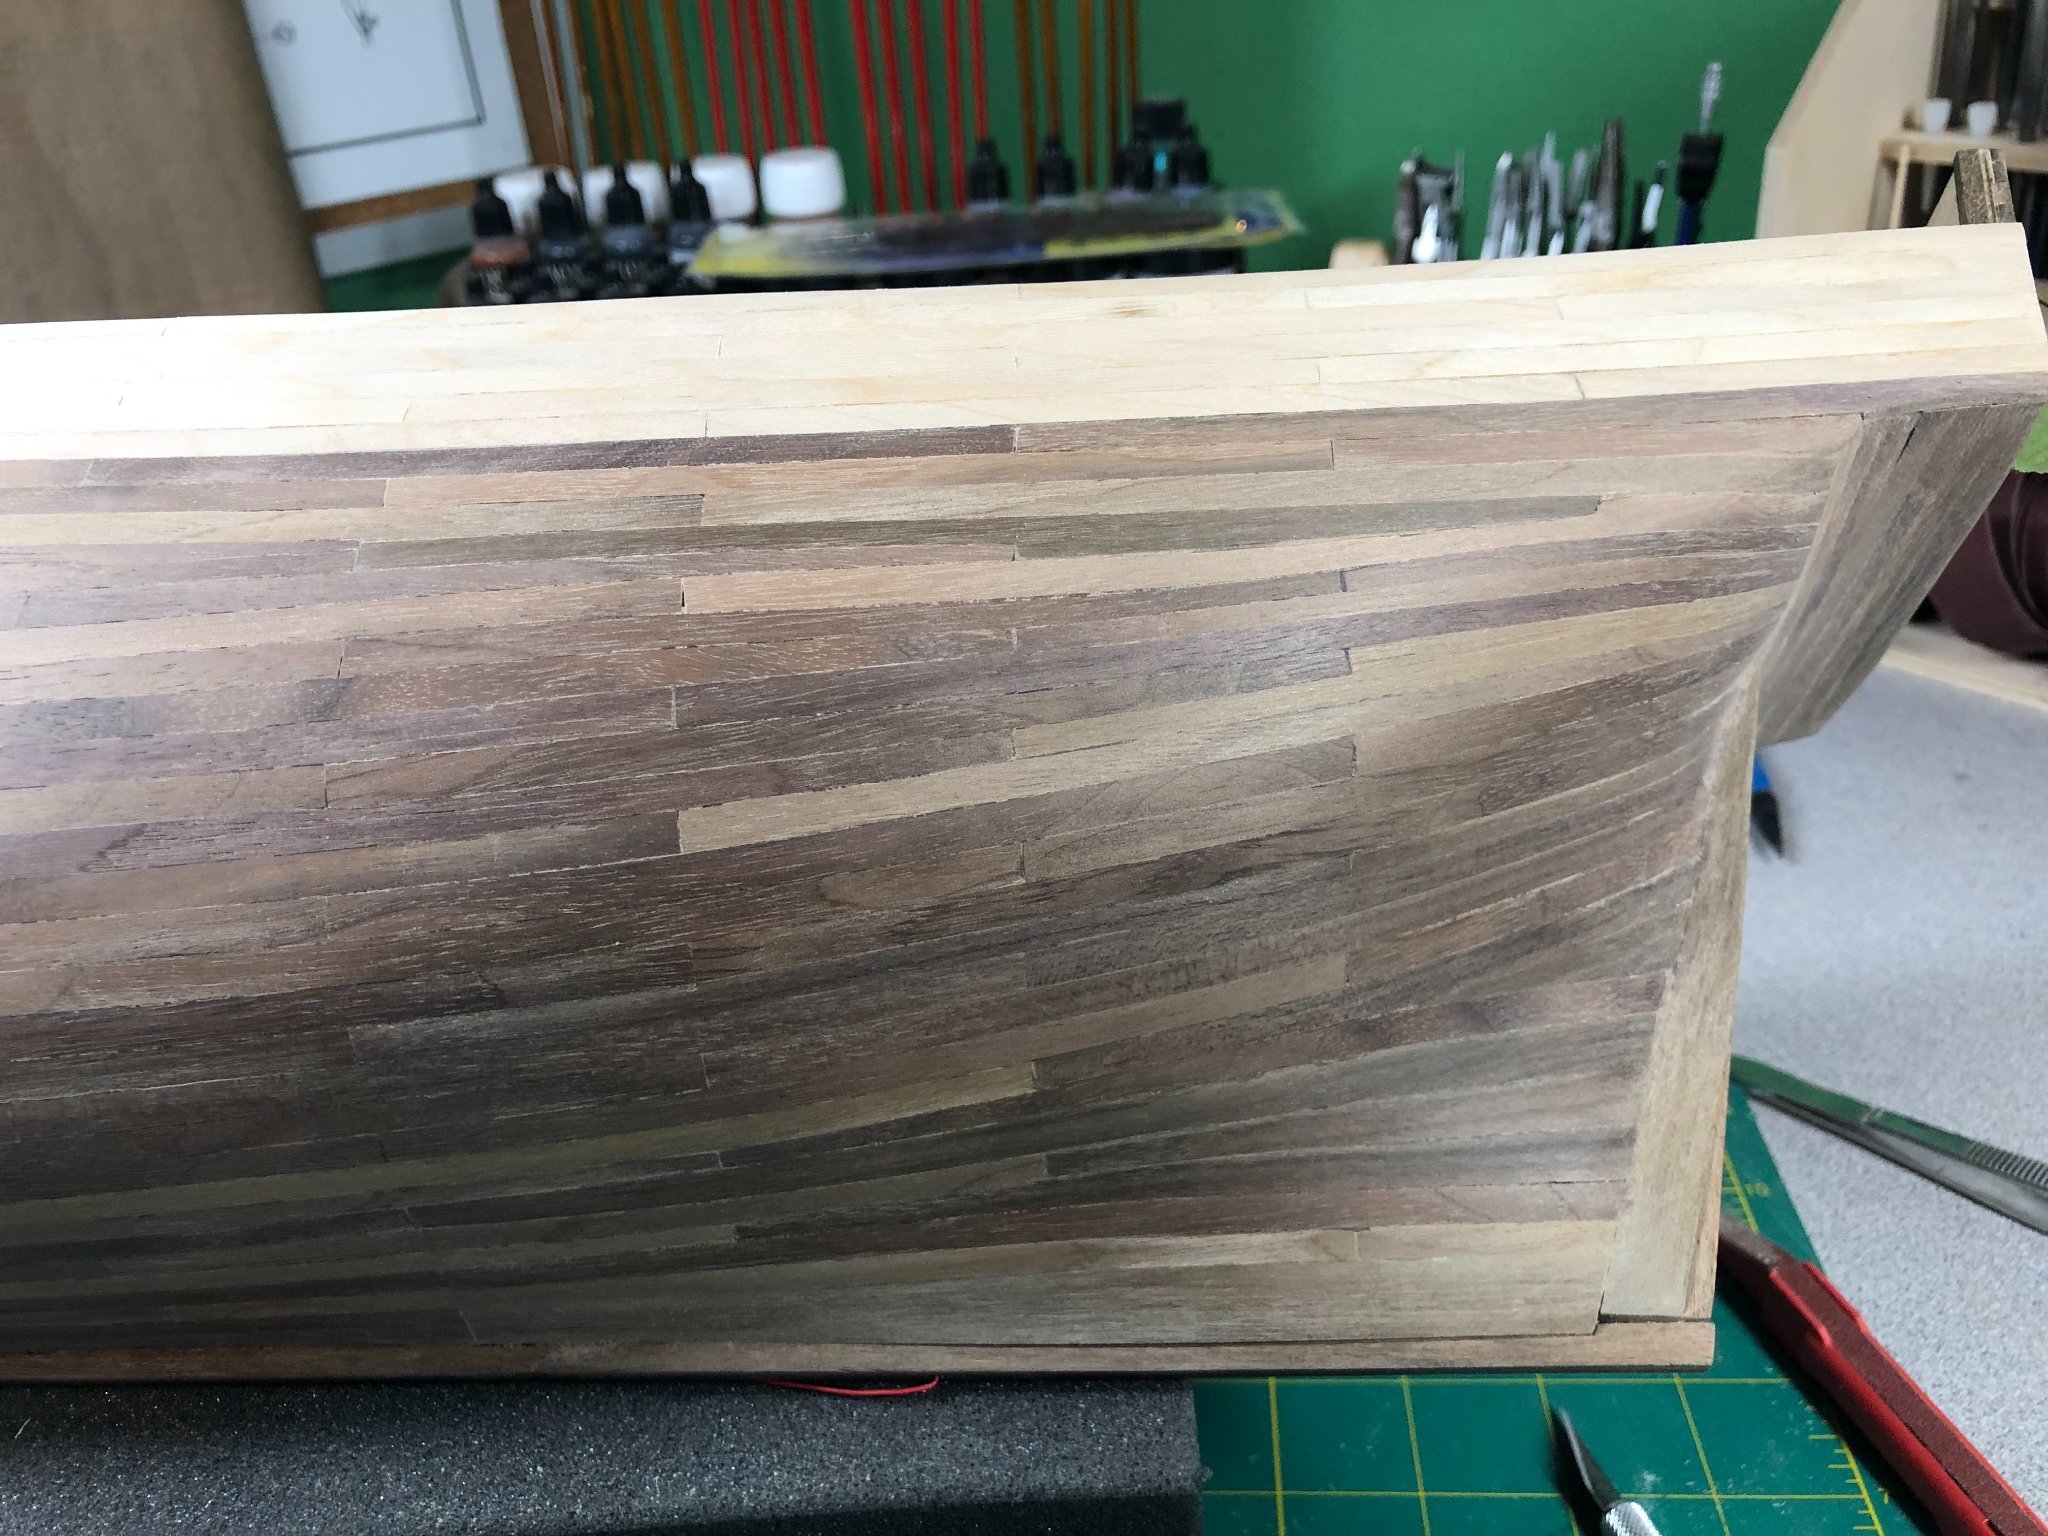
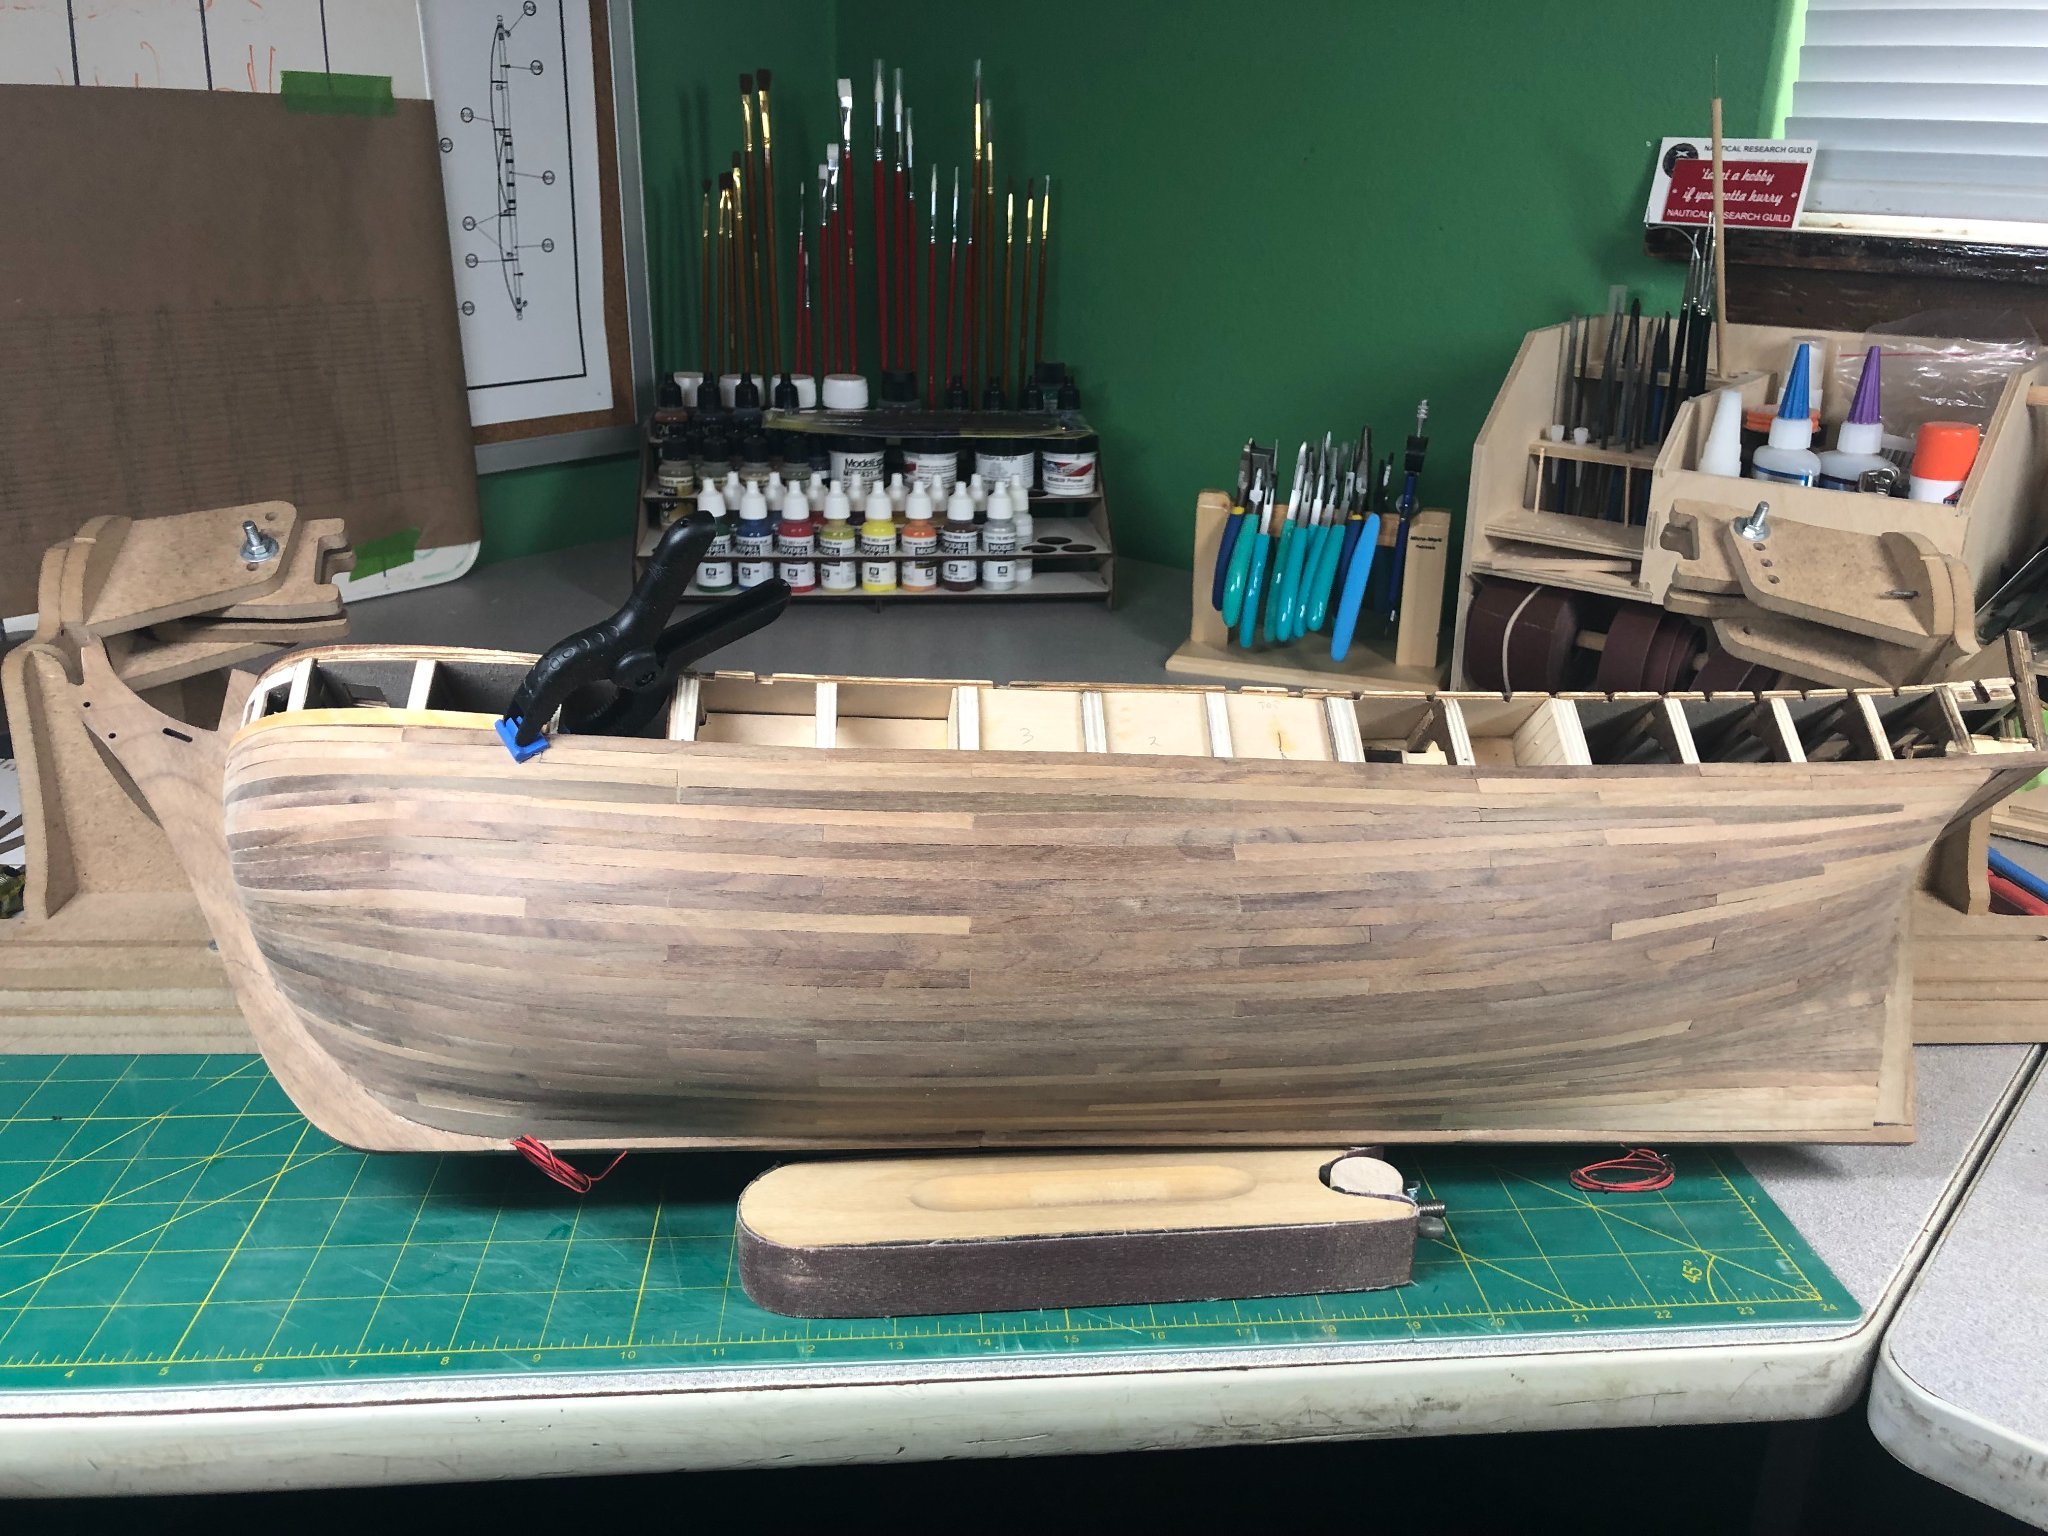
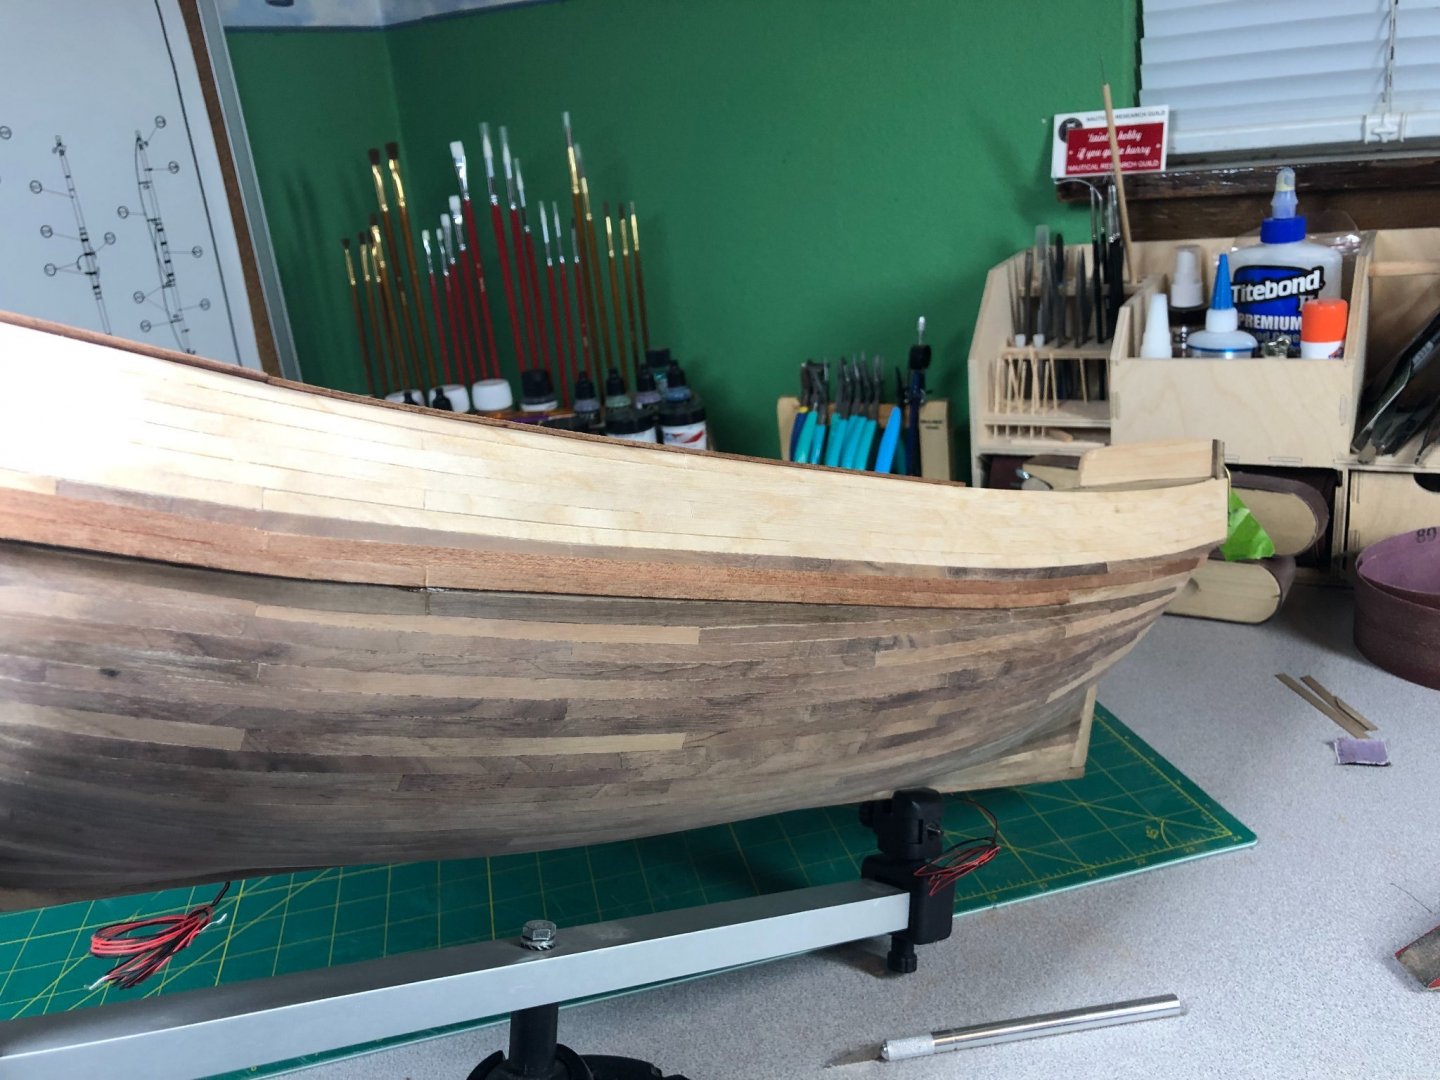
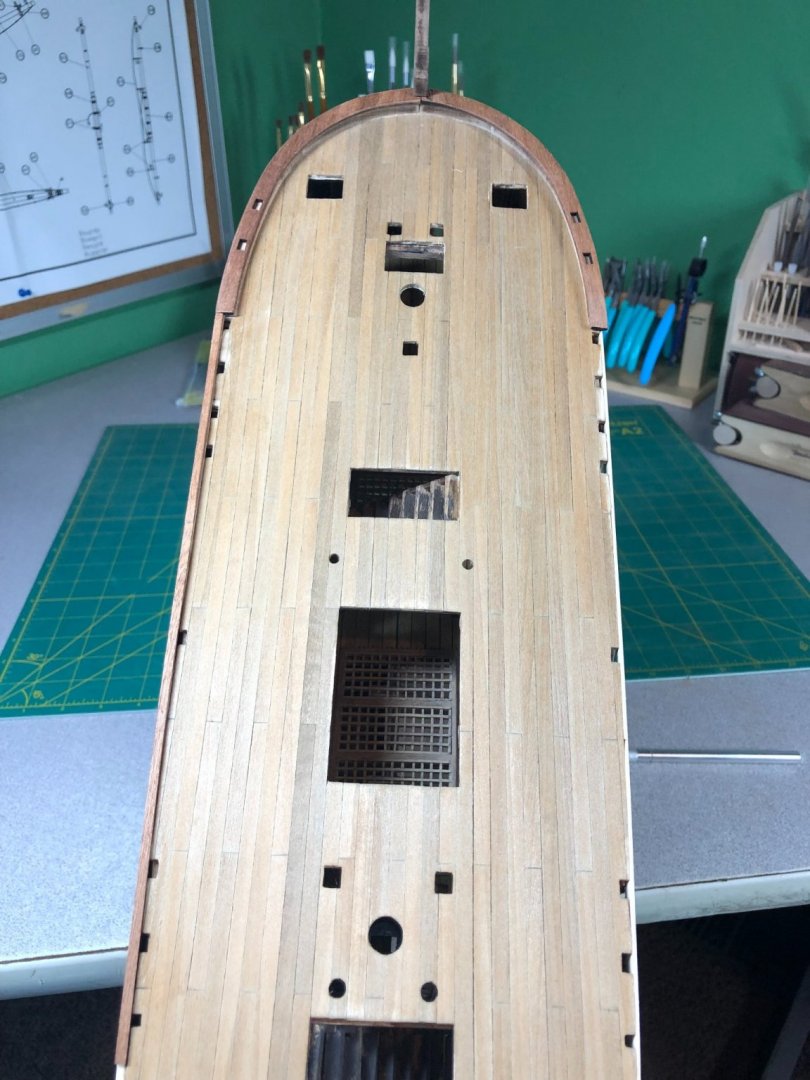
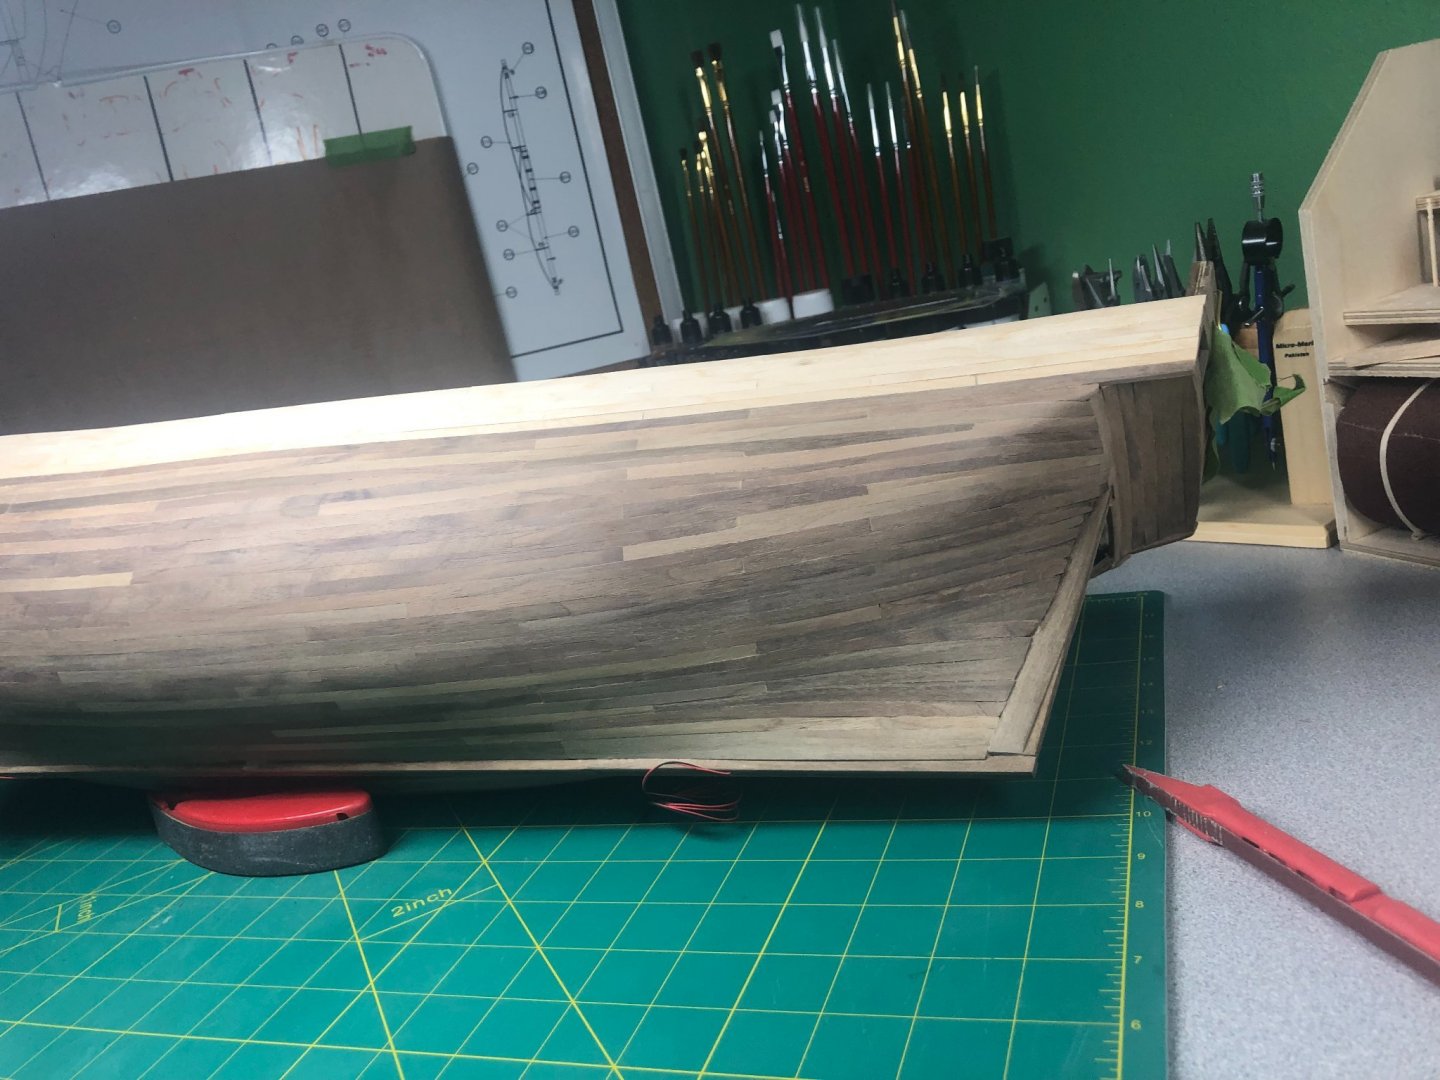
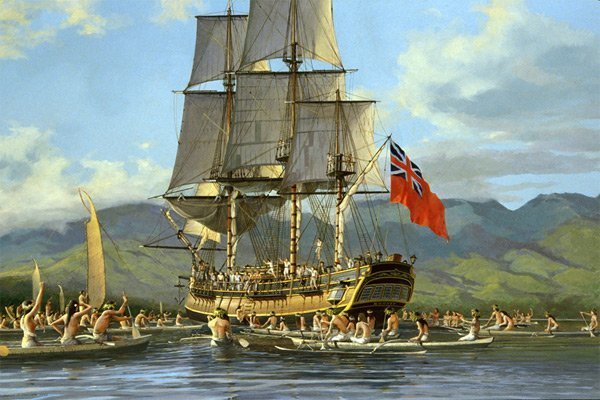
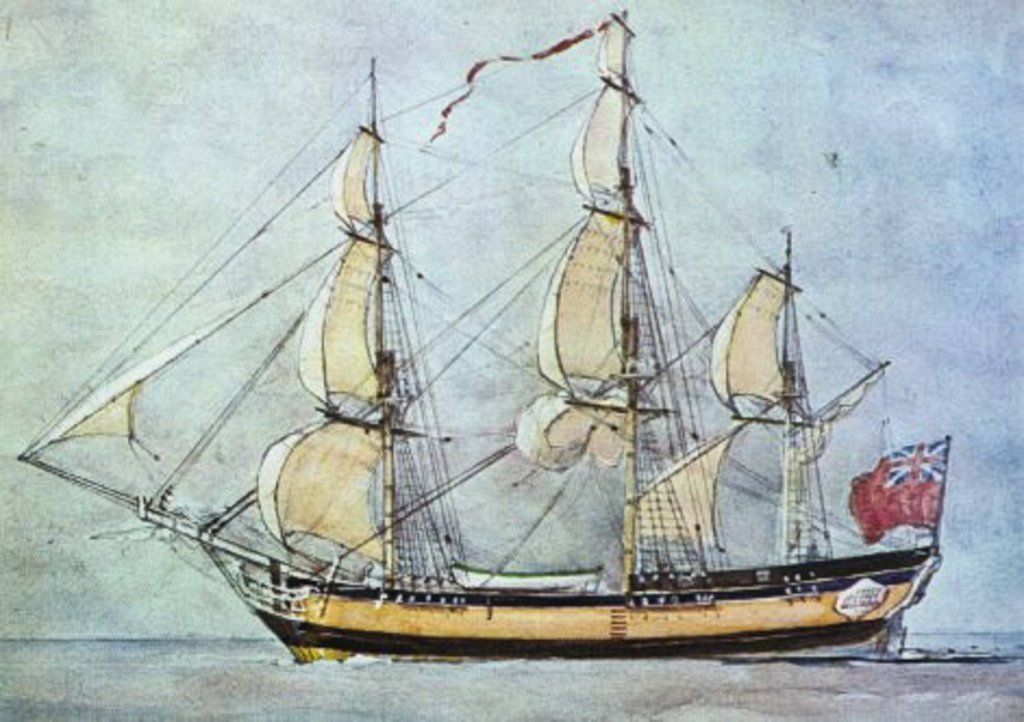
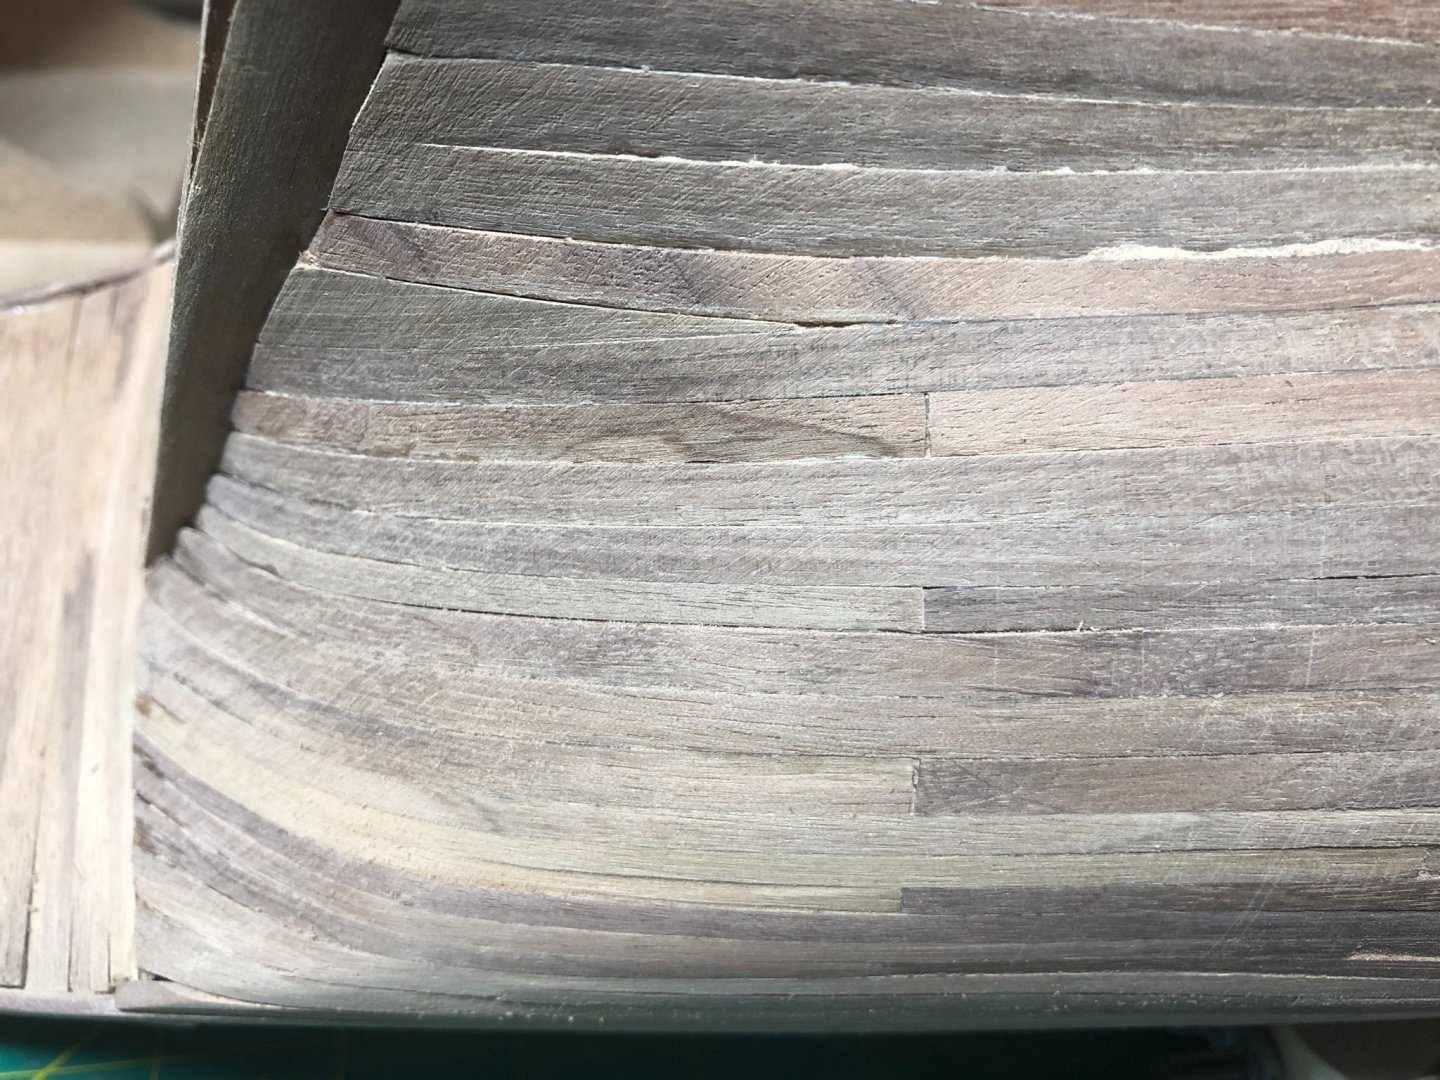
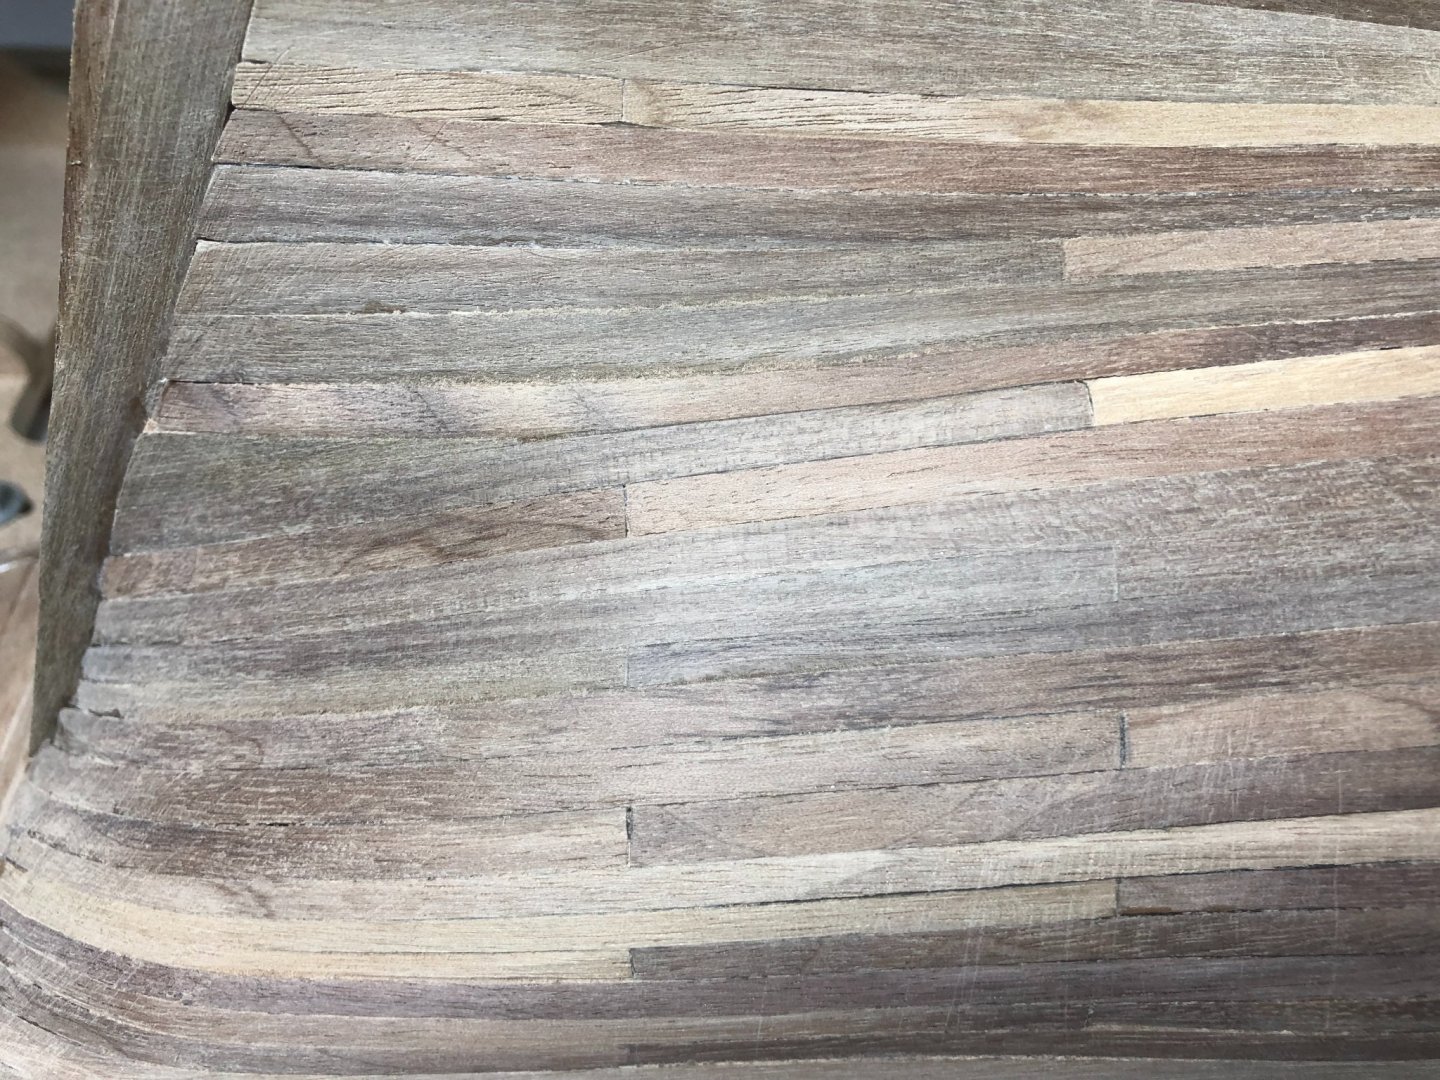
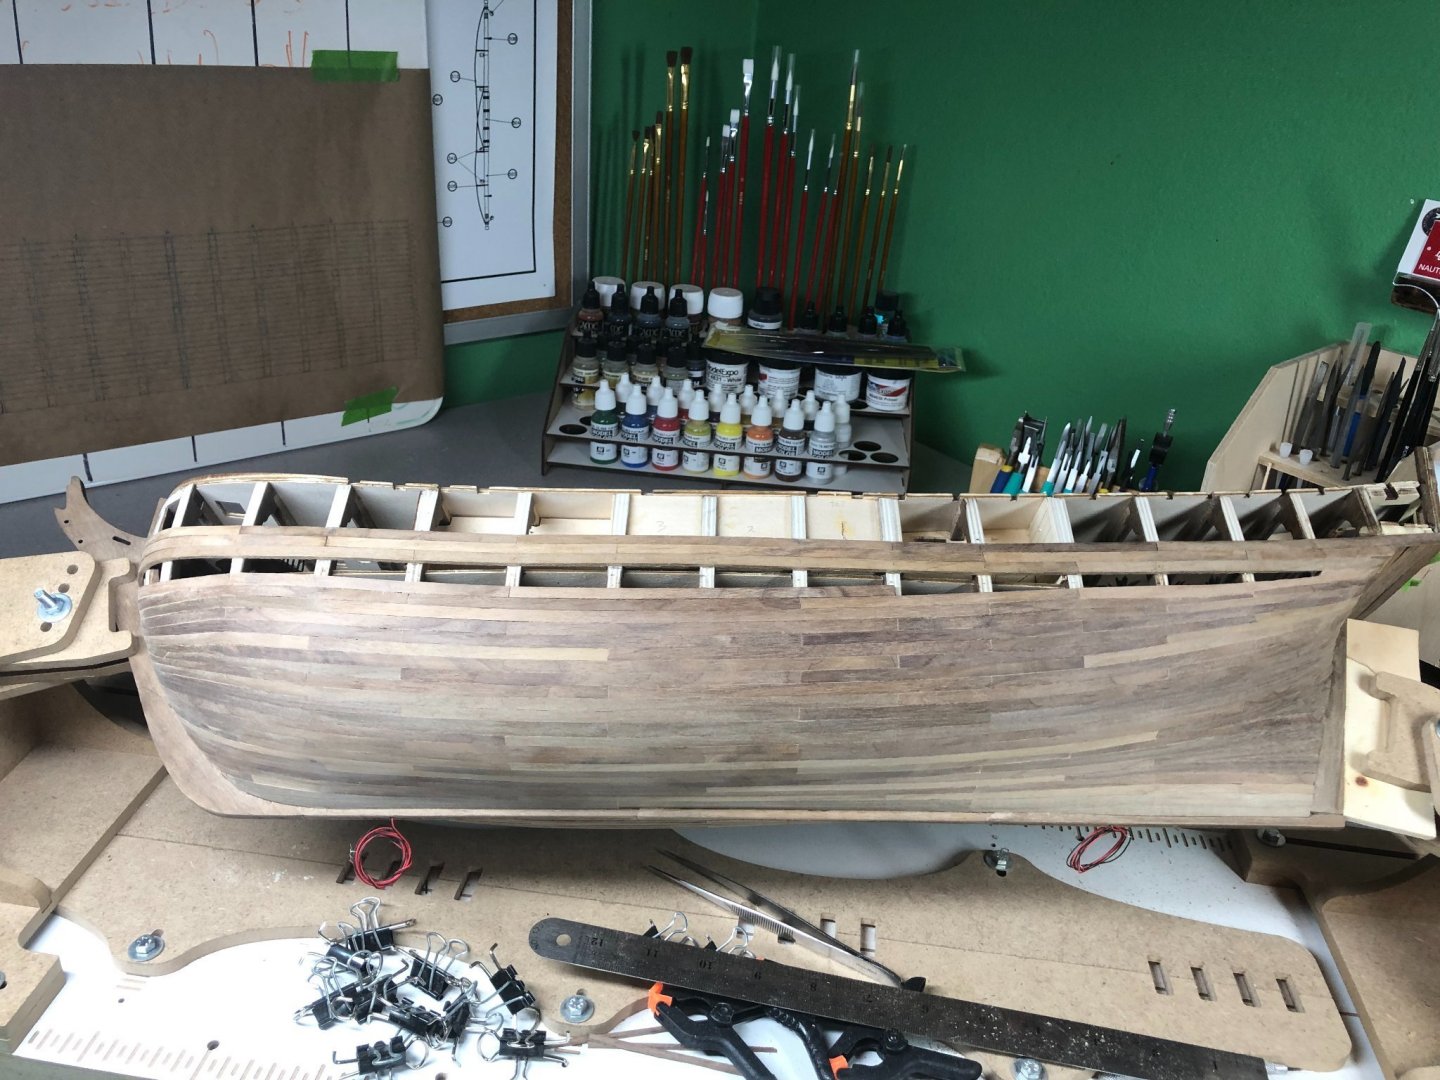
A nice little vacation and some other little projects are keeping me away from the Bounty... but Fall approaches! I finished the planking on the port side: I've done a lot of sanding but there is still a lot left. Still have a few seams that need some attention too. I haven't finished the starboard side. It's just a few rows along the main deck and at the bow and stern. Also need to start on some experiments with weathering/aging the hull along with a paint scheme. I think I will follow the scheme taken from a couple of pictures that I've seen on a couple other build logs. Looks appropriate for the time period: Below the waterline was copper sheathed. I don't plan to do that on this model. I will leave it as an aged and weathered walnut. And finally, the question of using treenails or not... I've done a few experiments and am torn on whether to do them or avoid the "chickenpox" look. At this scale, they would be difficult to see and would be of similar color of the planks... Sounds like I'm talking myself out of them... Any thoughts?? More soon.
-
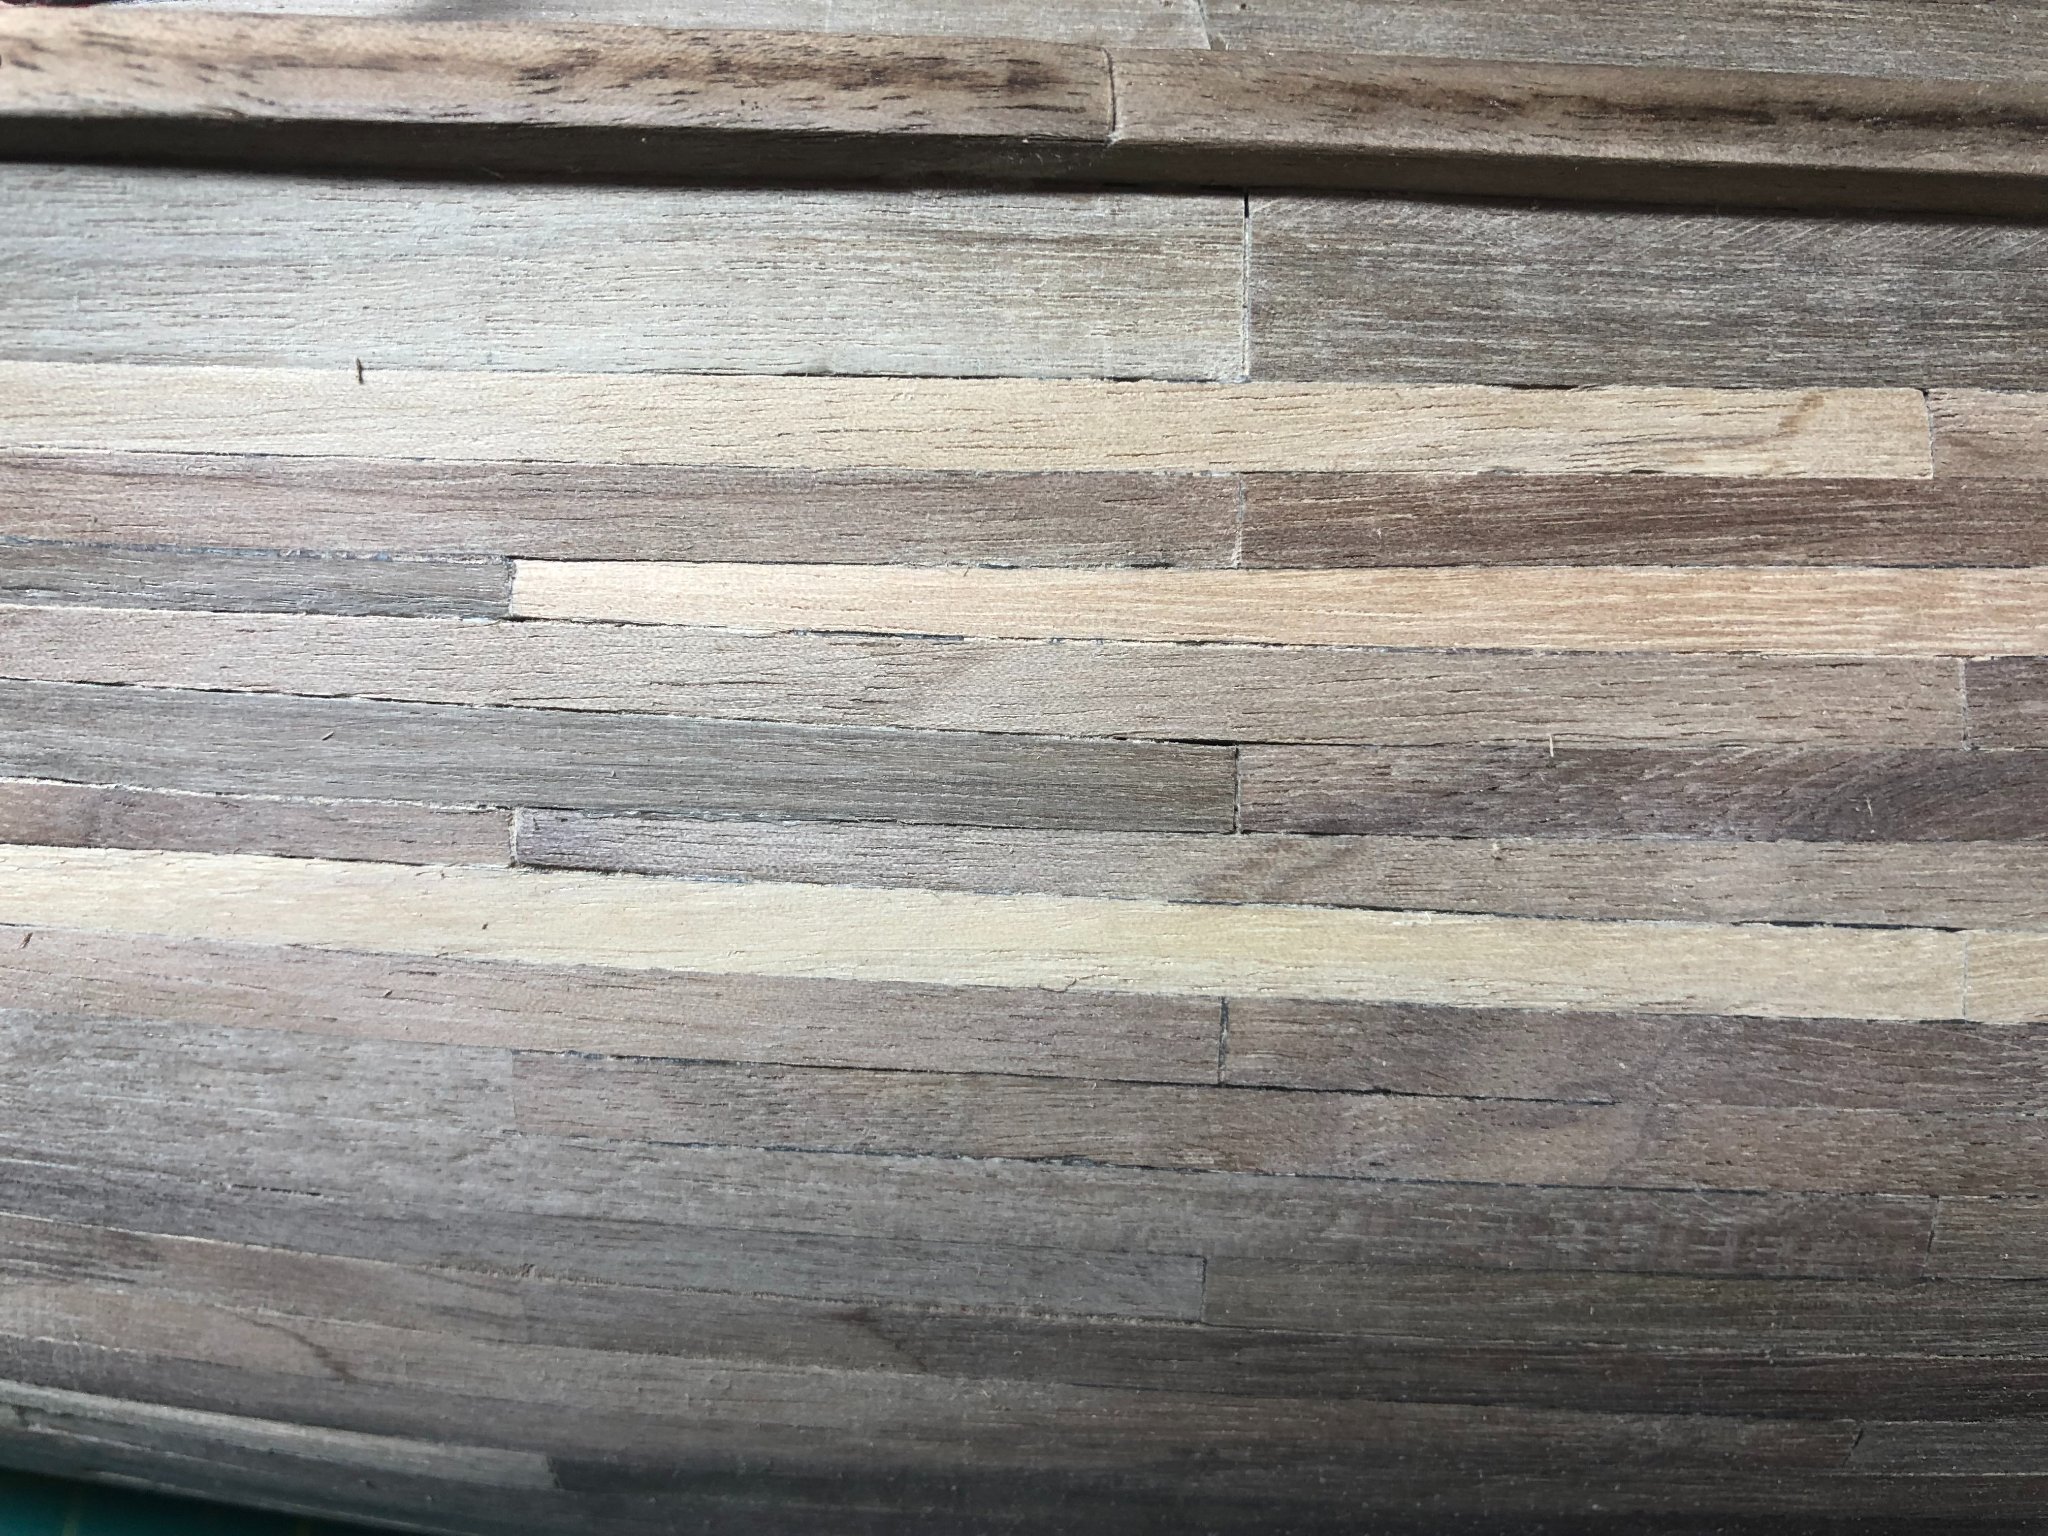
Planking to the wales, DONE! I've got the first piece above the wales being shaped. A ton of sanding to get started on. I noticed some teeny gaps in a few spots and decided to work on filling those up. I use a glue-sanding dust mixture. Glue can be used full strength or slightly watered down: This actually turned out to be too thin and I ended up redoing a few spots but the process remains the same. I use the paint brush to apply the mixture, ensuring it gets into the seam you want to fill. Let sit for about 3-5 minutes until tacky and using a piece of sandpaper, sand the area down. Here is a before and after shot, super close-up: And another before and after: Sometimes you'll need to use this method a couple times if the gap is a bit too wide to fill. As can be seen in my super close-ups, rough sanding has begun... when I get tired of sanding, I'll do a few planks and so on! It sure looks a lot rougher close-up! More in a few days.


-
CA residue problem
LyleK1 replied to Doc James's topic in Painting, finishing and weathering products and techniques
Just to add... Shellac will cover the wood and hide the CA glue completely. I used it recently on a build that used CA glue exclusively. You cannot tell once the Shellac is applied:

-
NRG VIRTUAL WORKSHOP - AUGUST 21
LyleK1 replied to kurtvd19's topic in NAUTICAL RESEARCH GUILD - News & Information
I'm signed up and looking forward to it! -
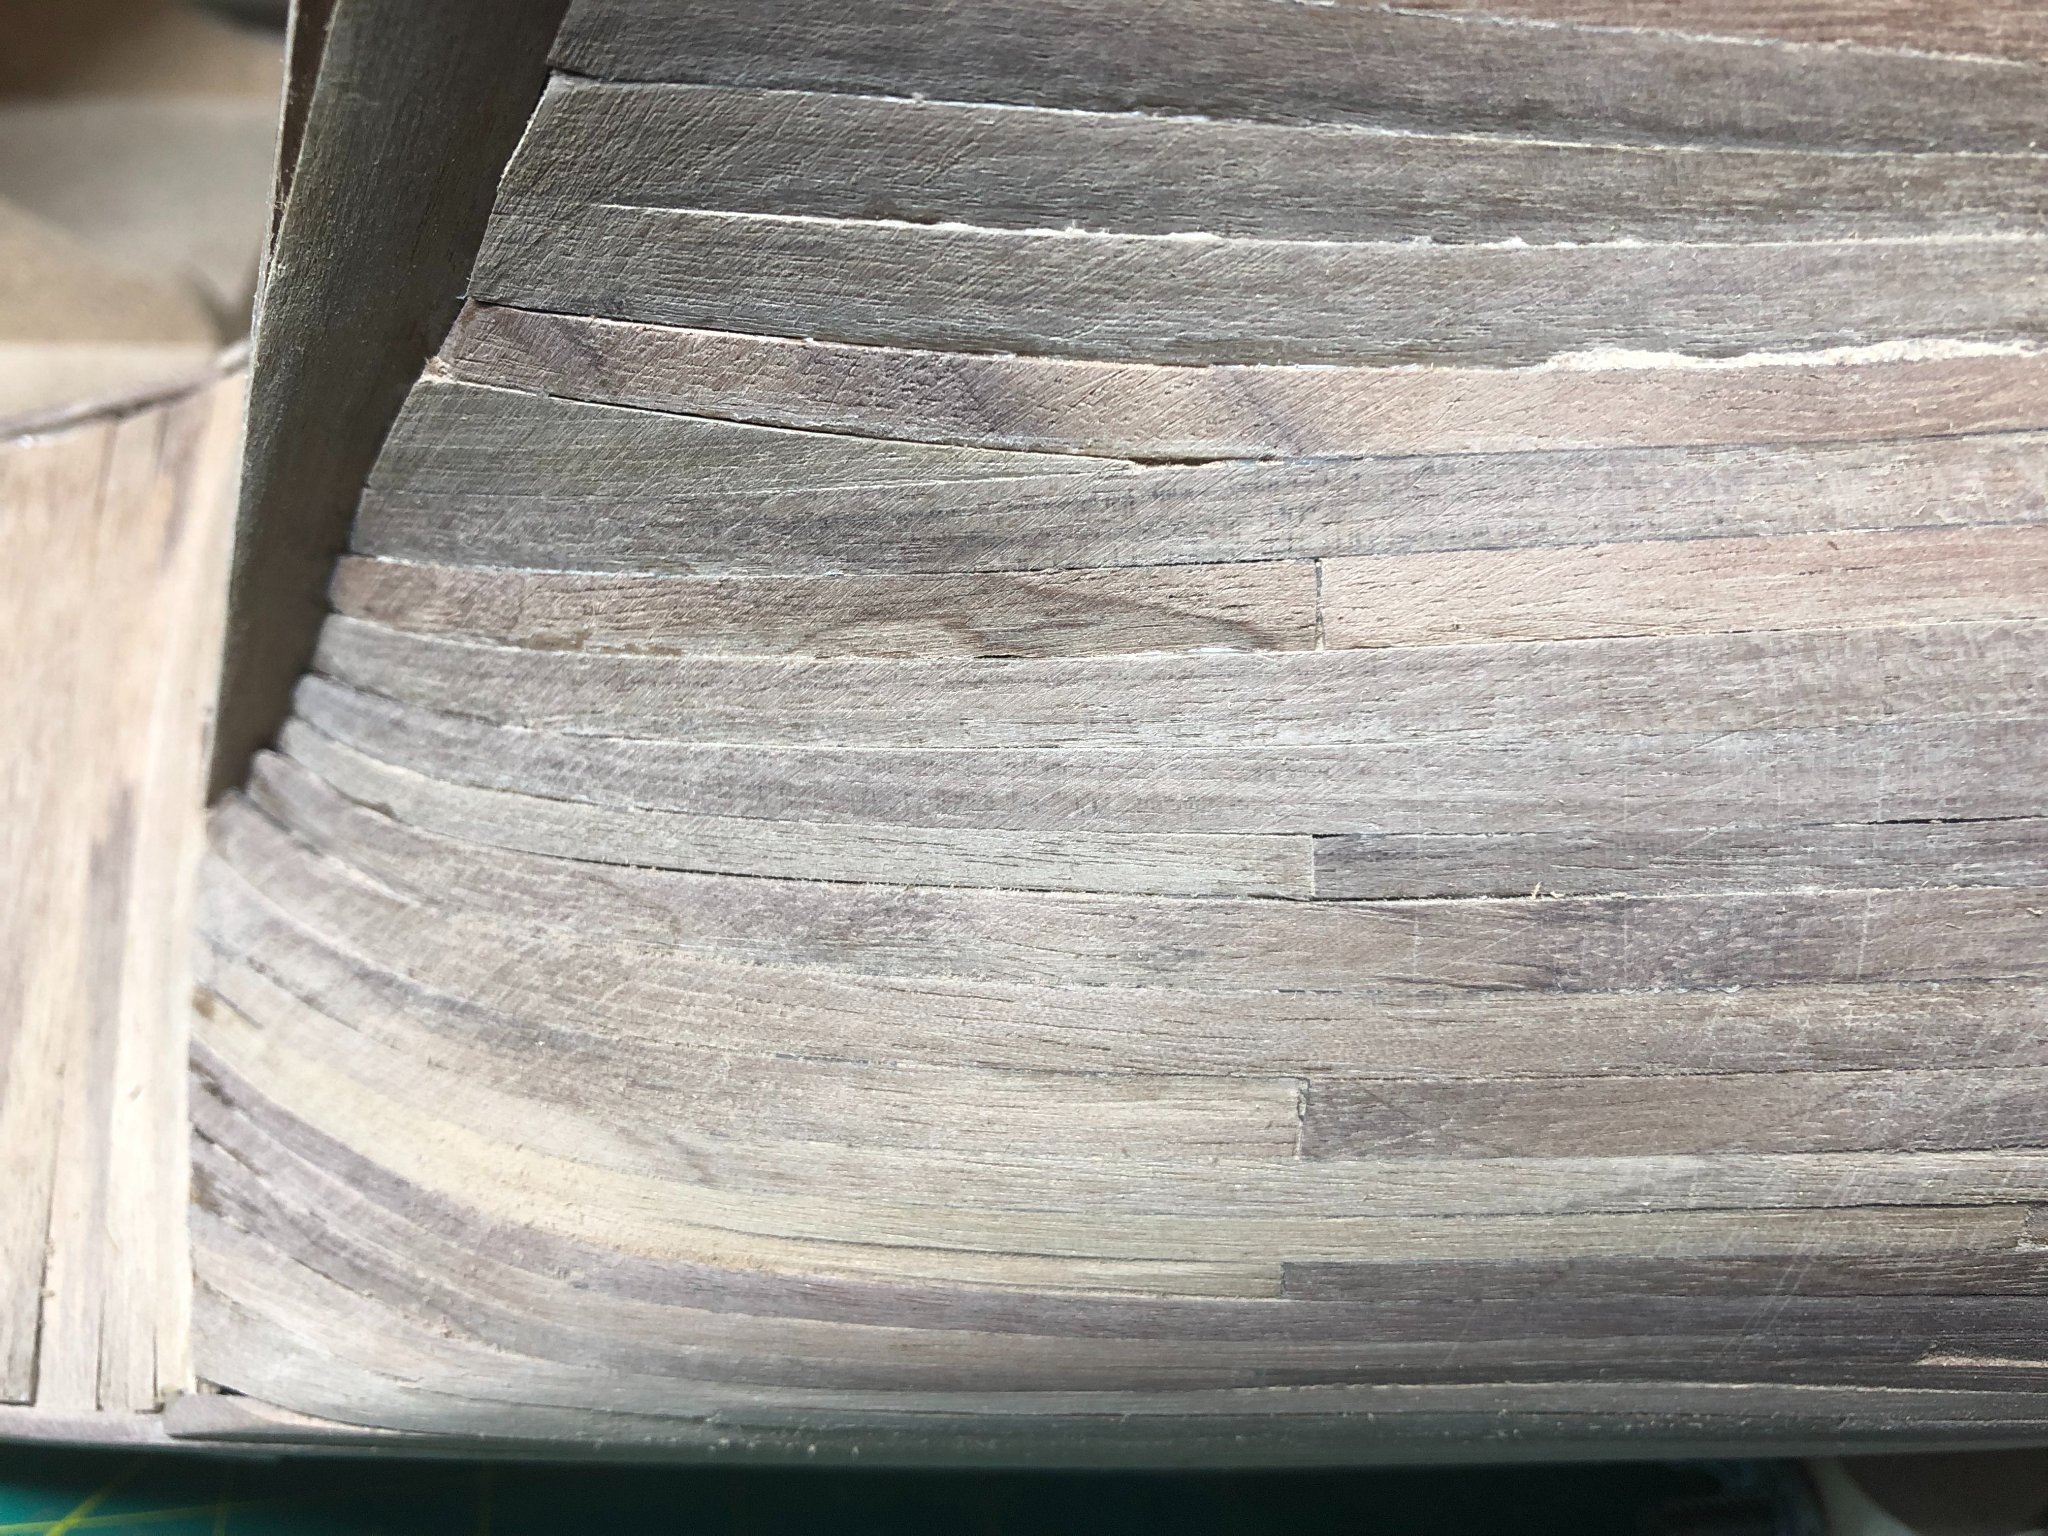
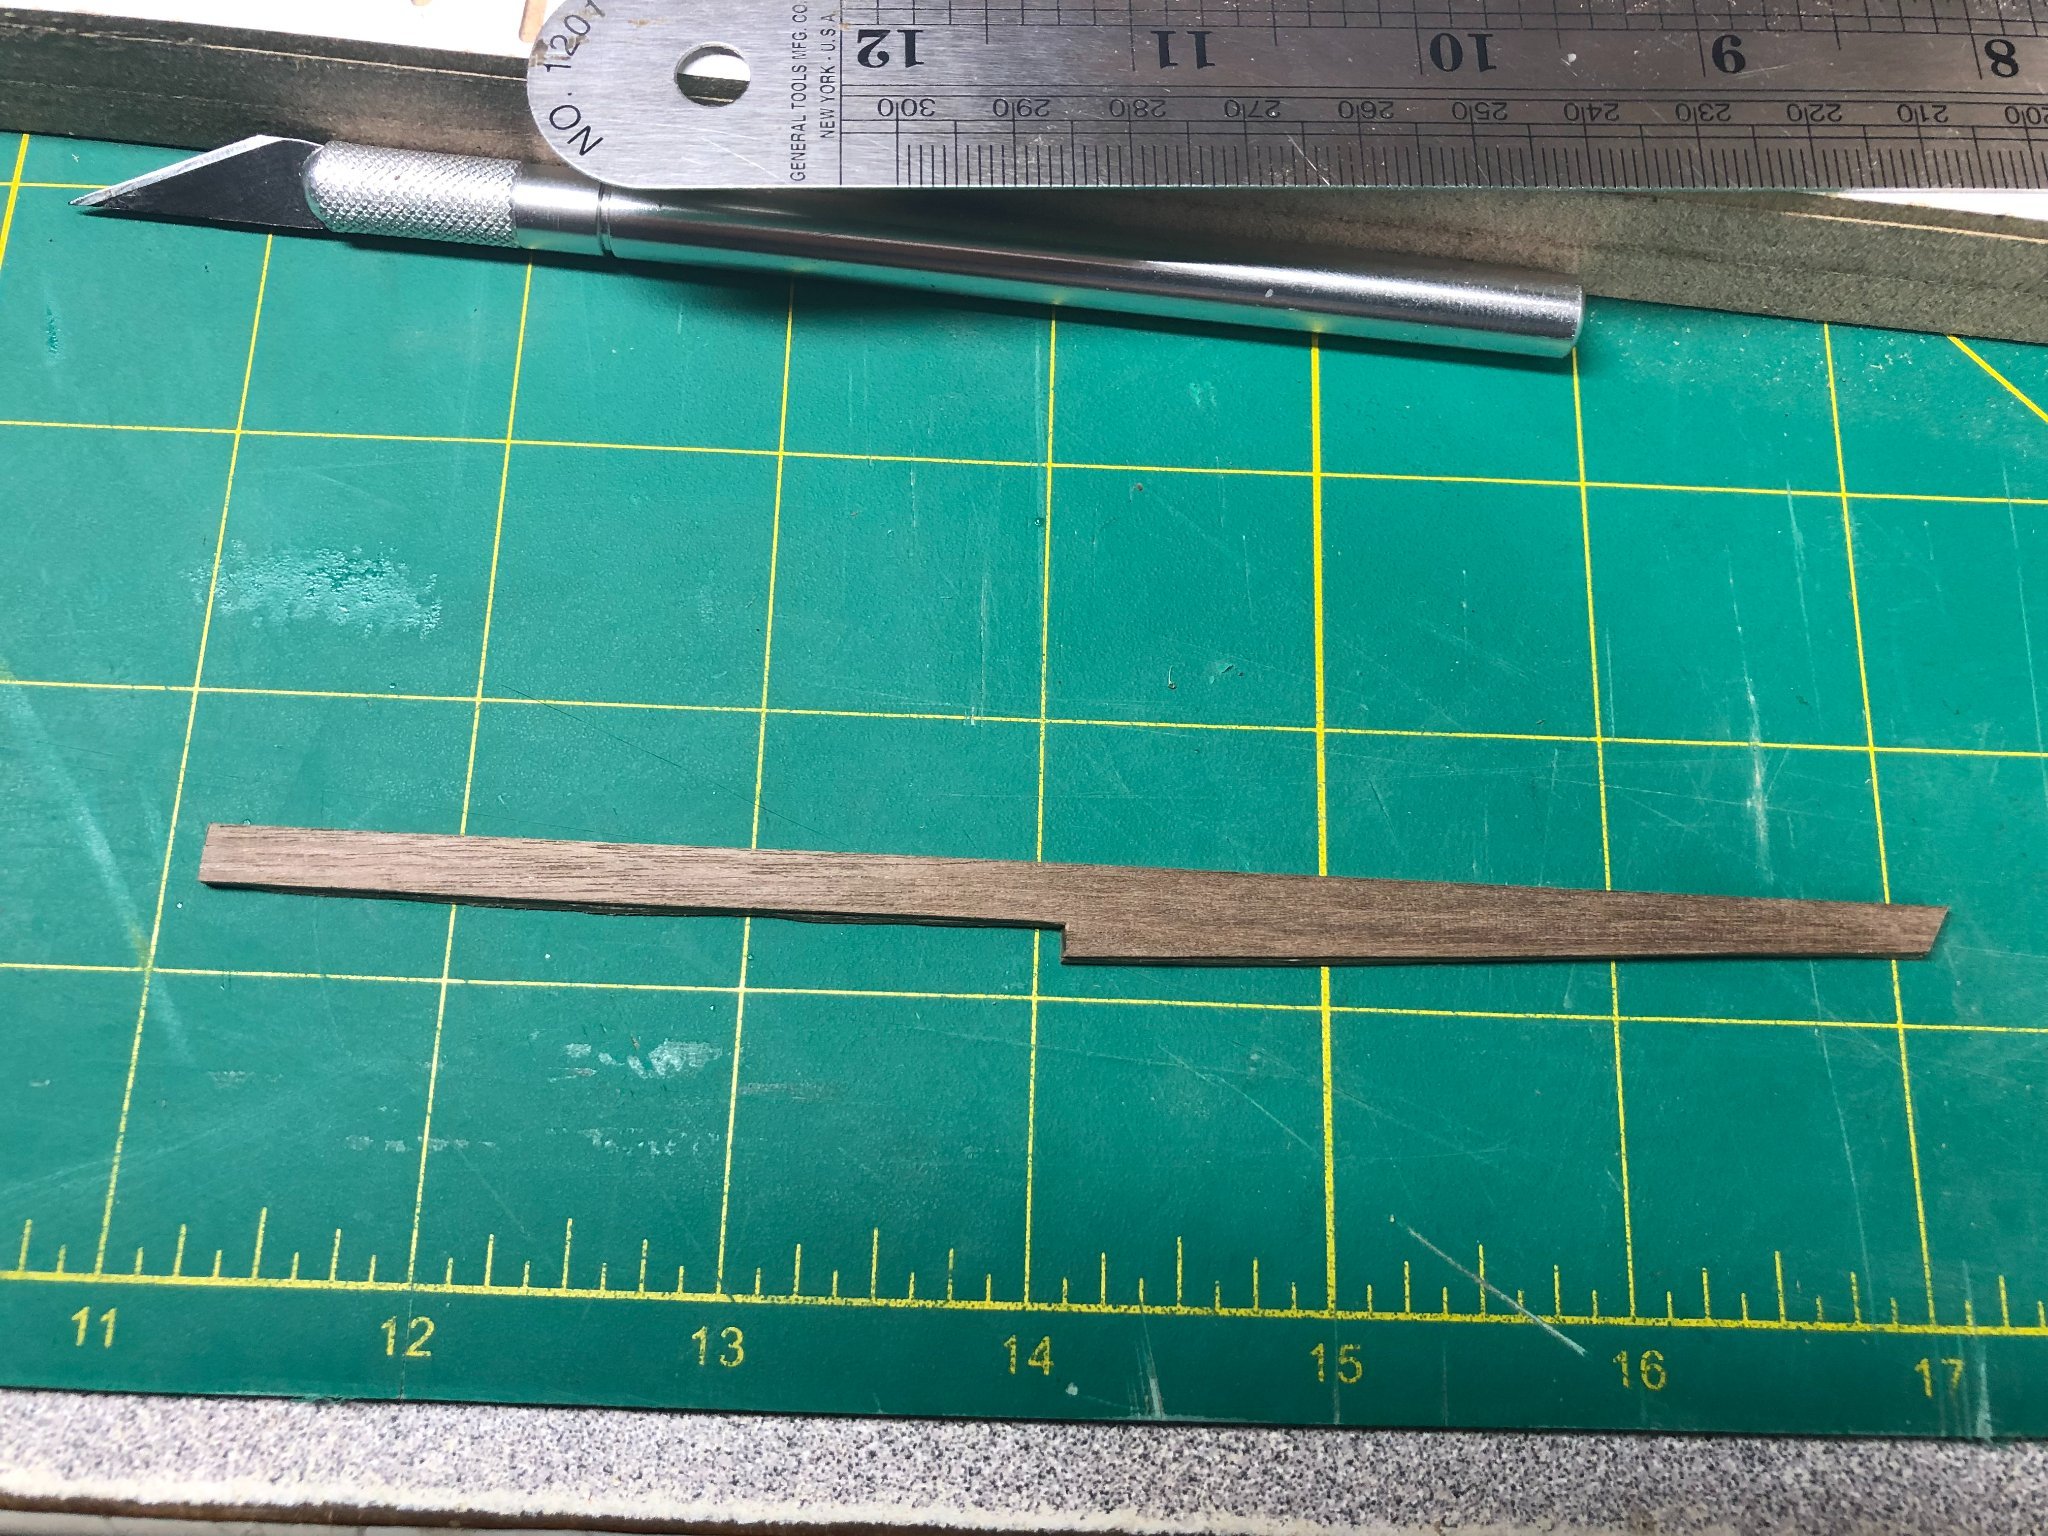
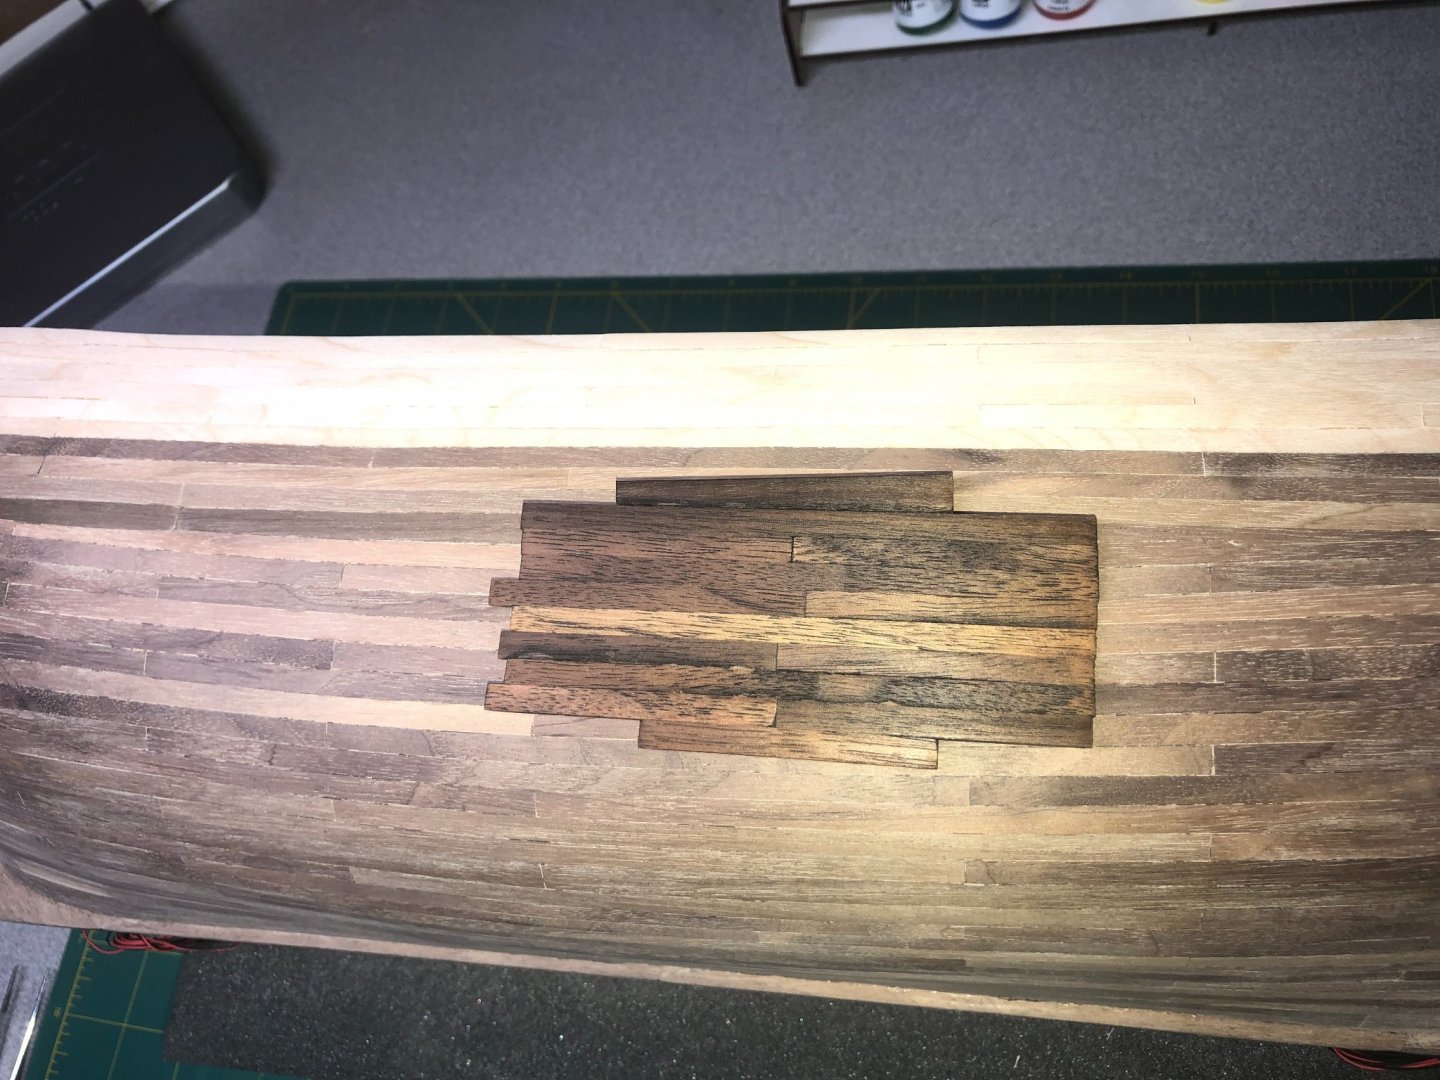
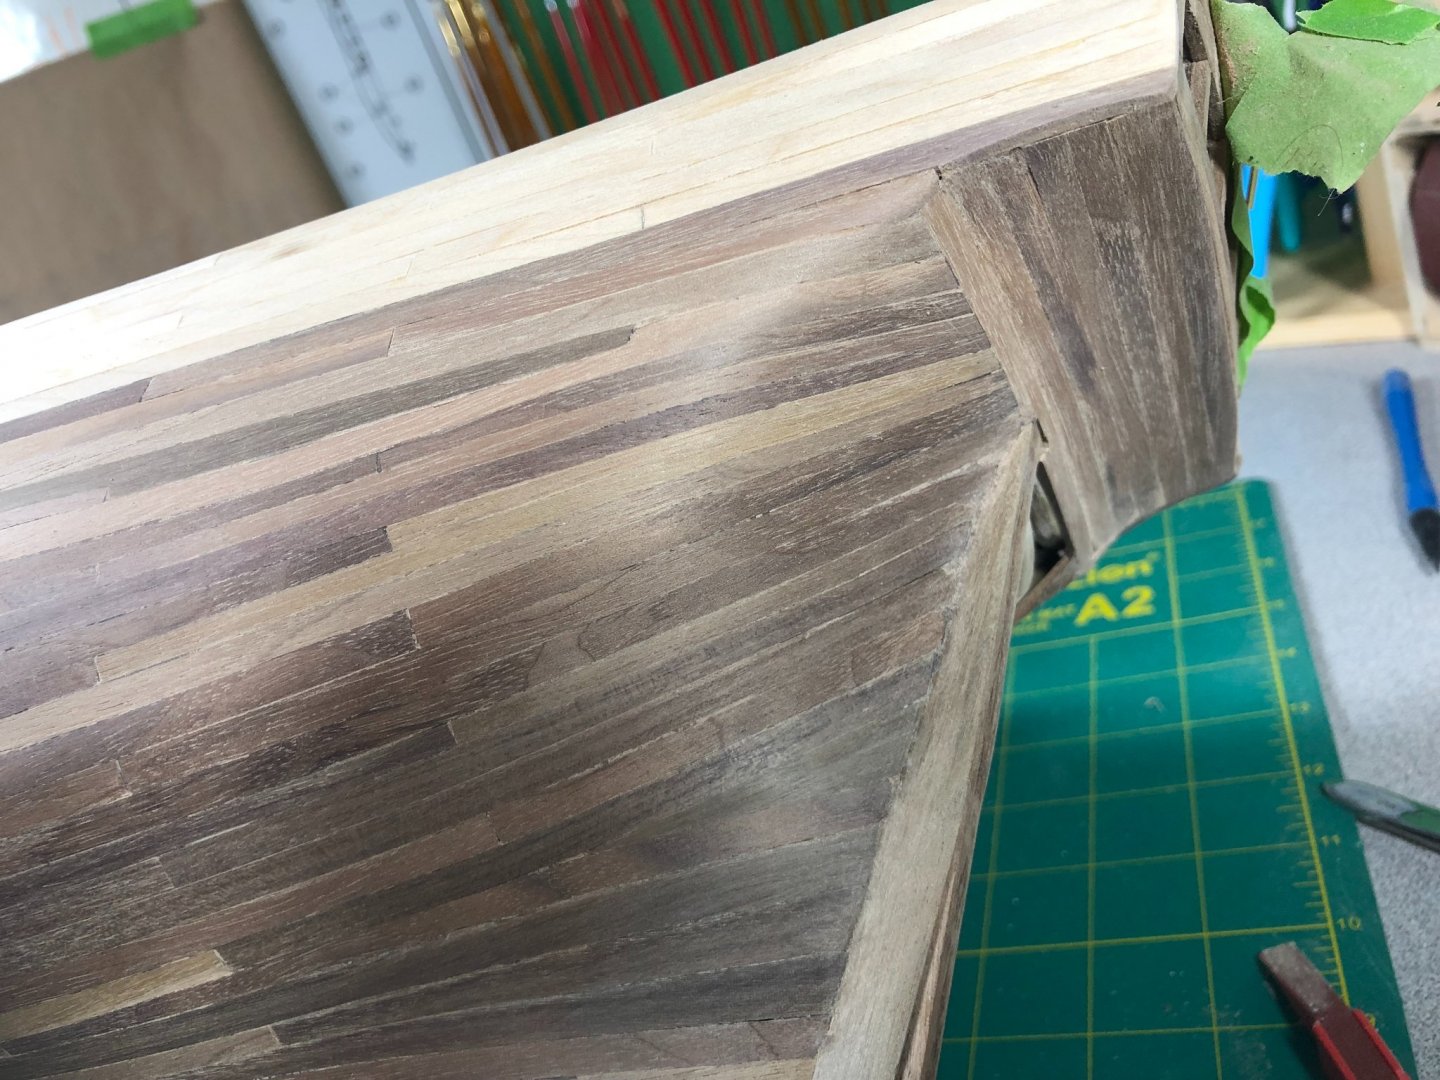
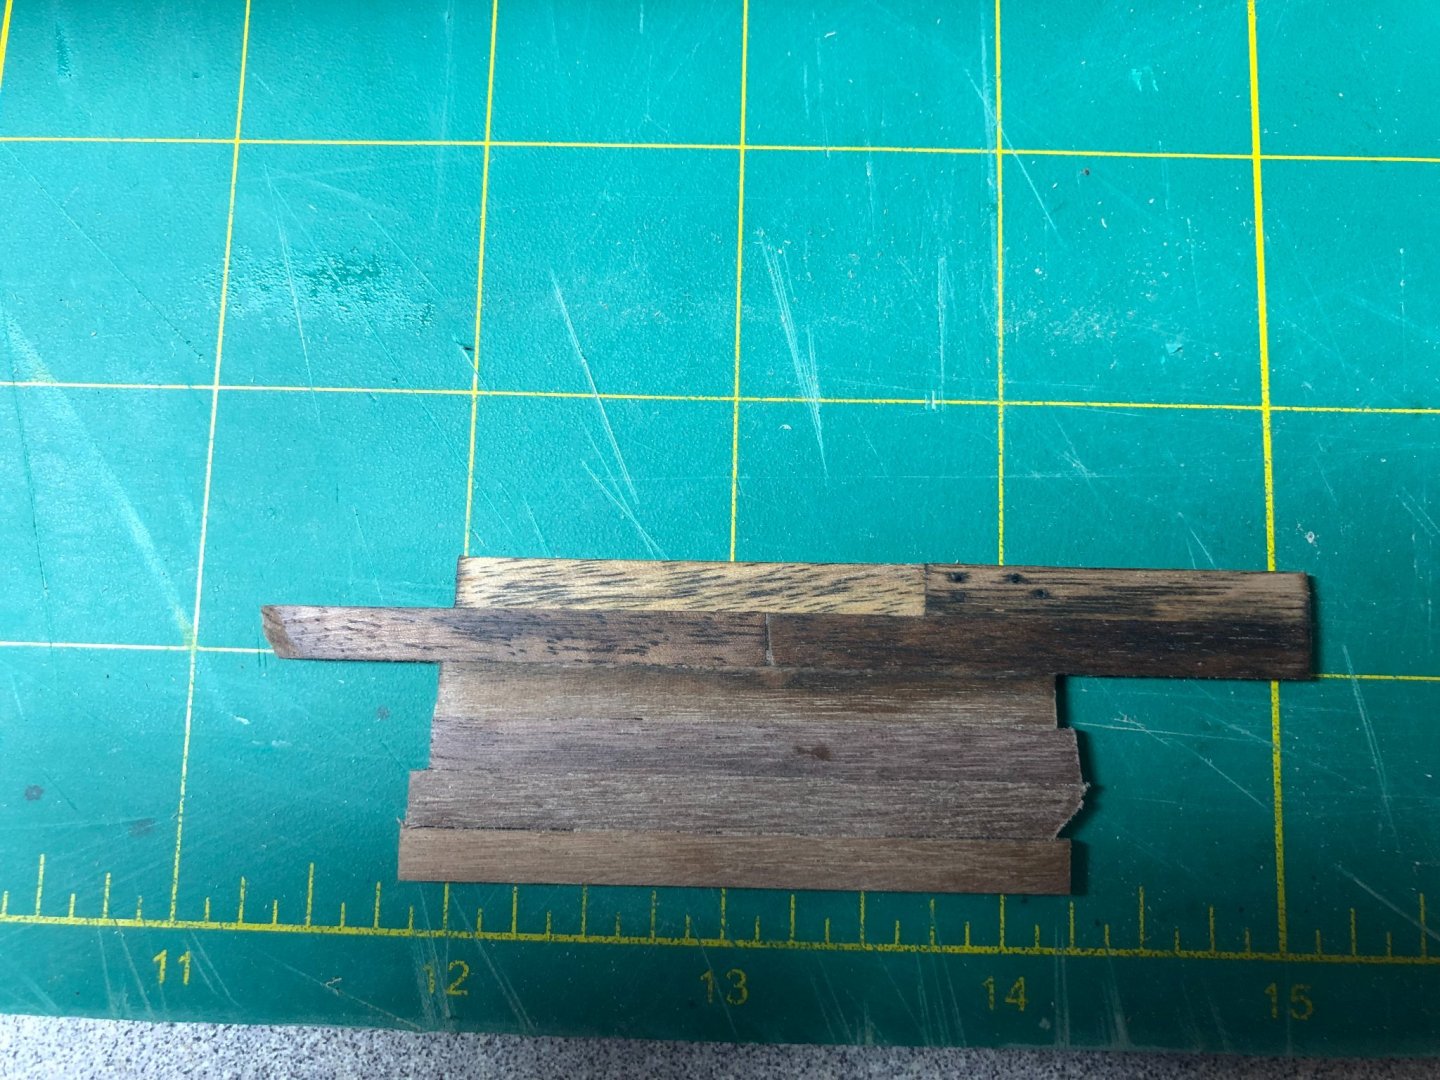
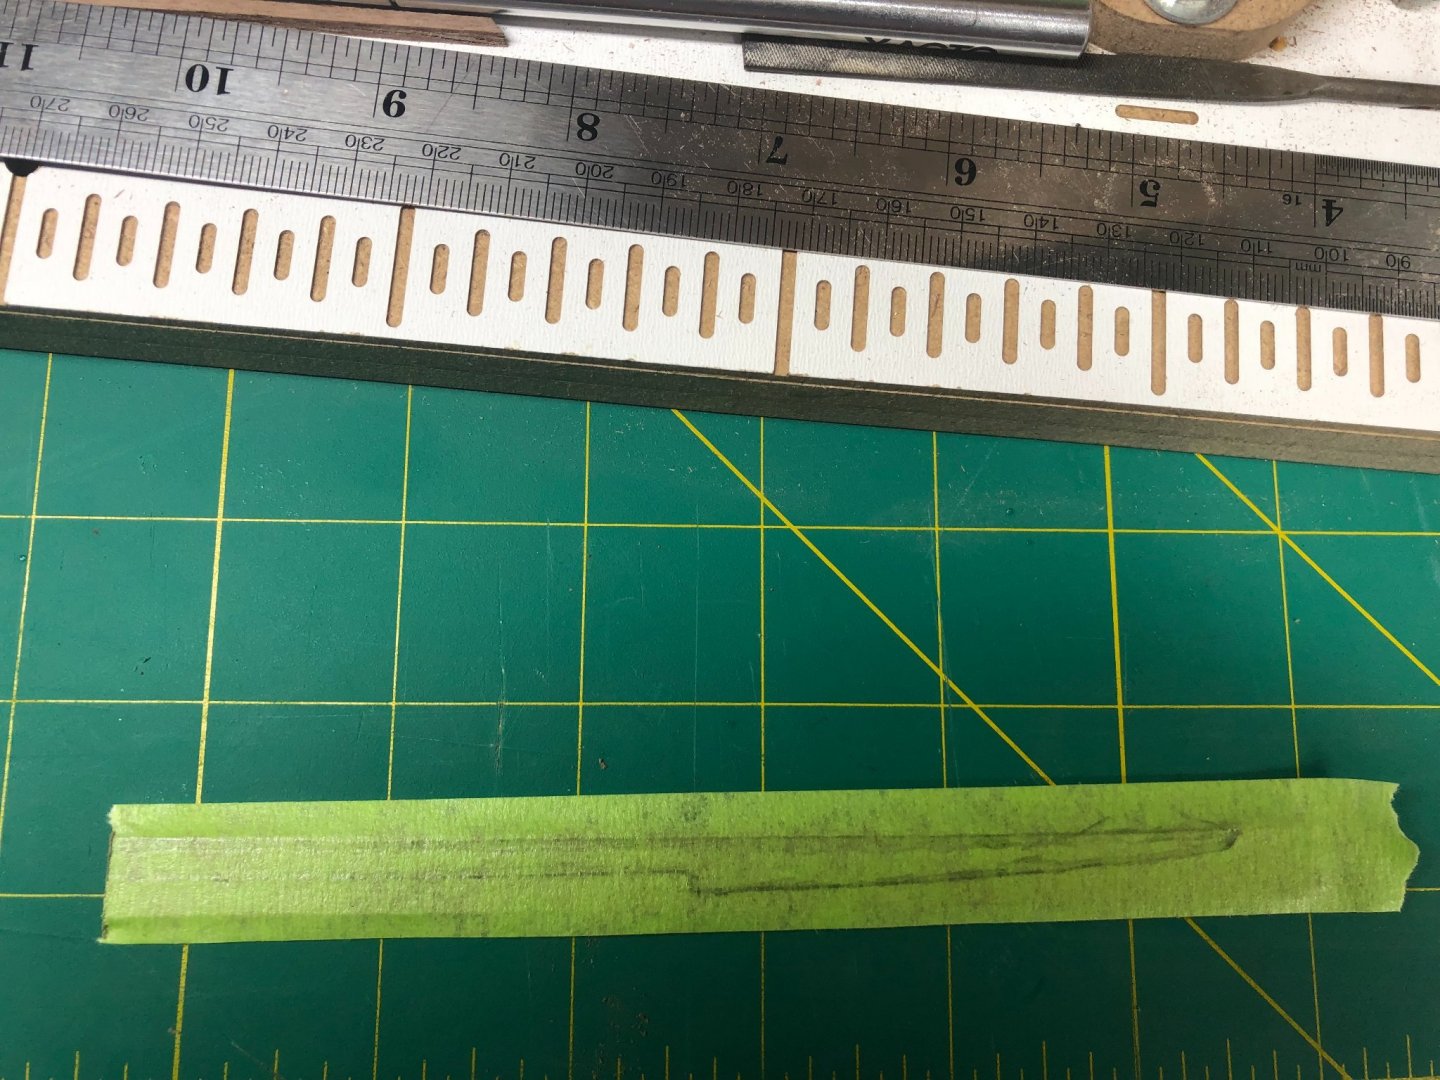
I thought I would note a few processes that I'm using for the final few planks. Firstly, I have no room for clamps anymore. My experience with my previous build (Sea of Galilee boat) taught me to trust the CA glue a little more for certain circumstances... this is one of those! I'm still using the wood glue along the seam between planks but because I cannot use clamps, I decided to try CA glue on the frames to hold the piece in place. Here is a picture of that process: As shown, I've applied wood glue to the seam and a dot of CA glue on the frames. Works perfectly! Now that I've reached the area that stealer and drop planks are needed, here is the process for shaping them. Here is the location of a stealer plank: I use a piece of tape and cover the area. Using a pencil, I trace the outline of the space onto the tape and attached the tape to a piece of Walnut: And then cut the piece out with my X-acto knife: After some sanding and shaping, I begin to work the areas that need a bit more attention: Finally, glue the piece into place as described above. A perfect fit! Here is another glued into place using the same process: I really thought I could finish everything below the wales today... but came up short. As the old saying goes, "It ain't a hobby if you gotta hurry"! Not much left... will finish the planking below the wales later this week. Going to visit my dad next weekend and deliver his Sea of Galilee boat! Looking forward to that! Next update comes when the planking is done!


-
Thanks Tom... watching the videos now! Looks a lot like the washes I use but in alcohol form... interesting stuff.
-
Thanks Dave. This particular kit is a POF, single layer. The Walnut is 5mmX2mm... tough stuff to work. I've done the double layer before (on my HMS Terror) and it is a lot more forgiving. Especially that first layer!
-
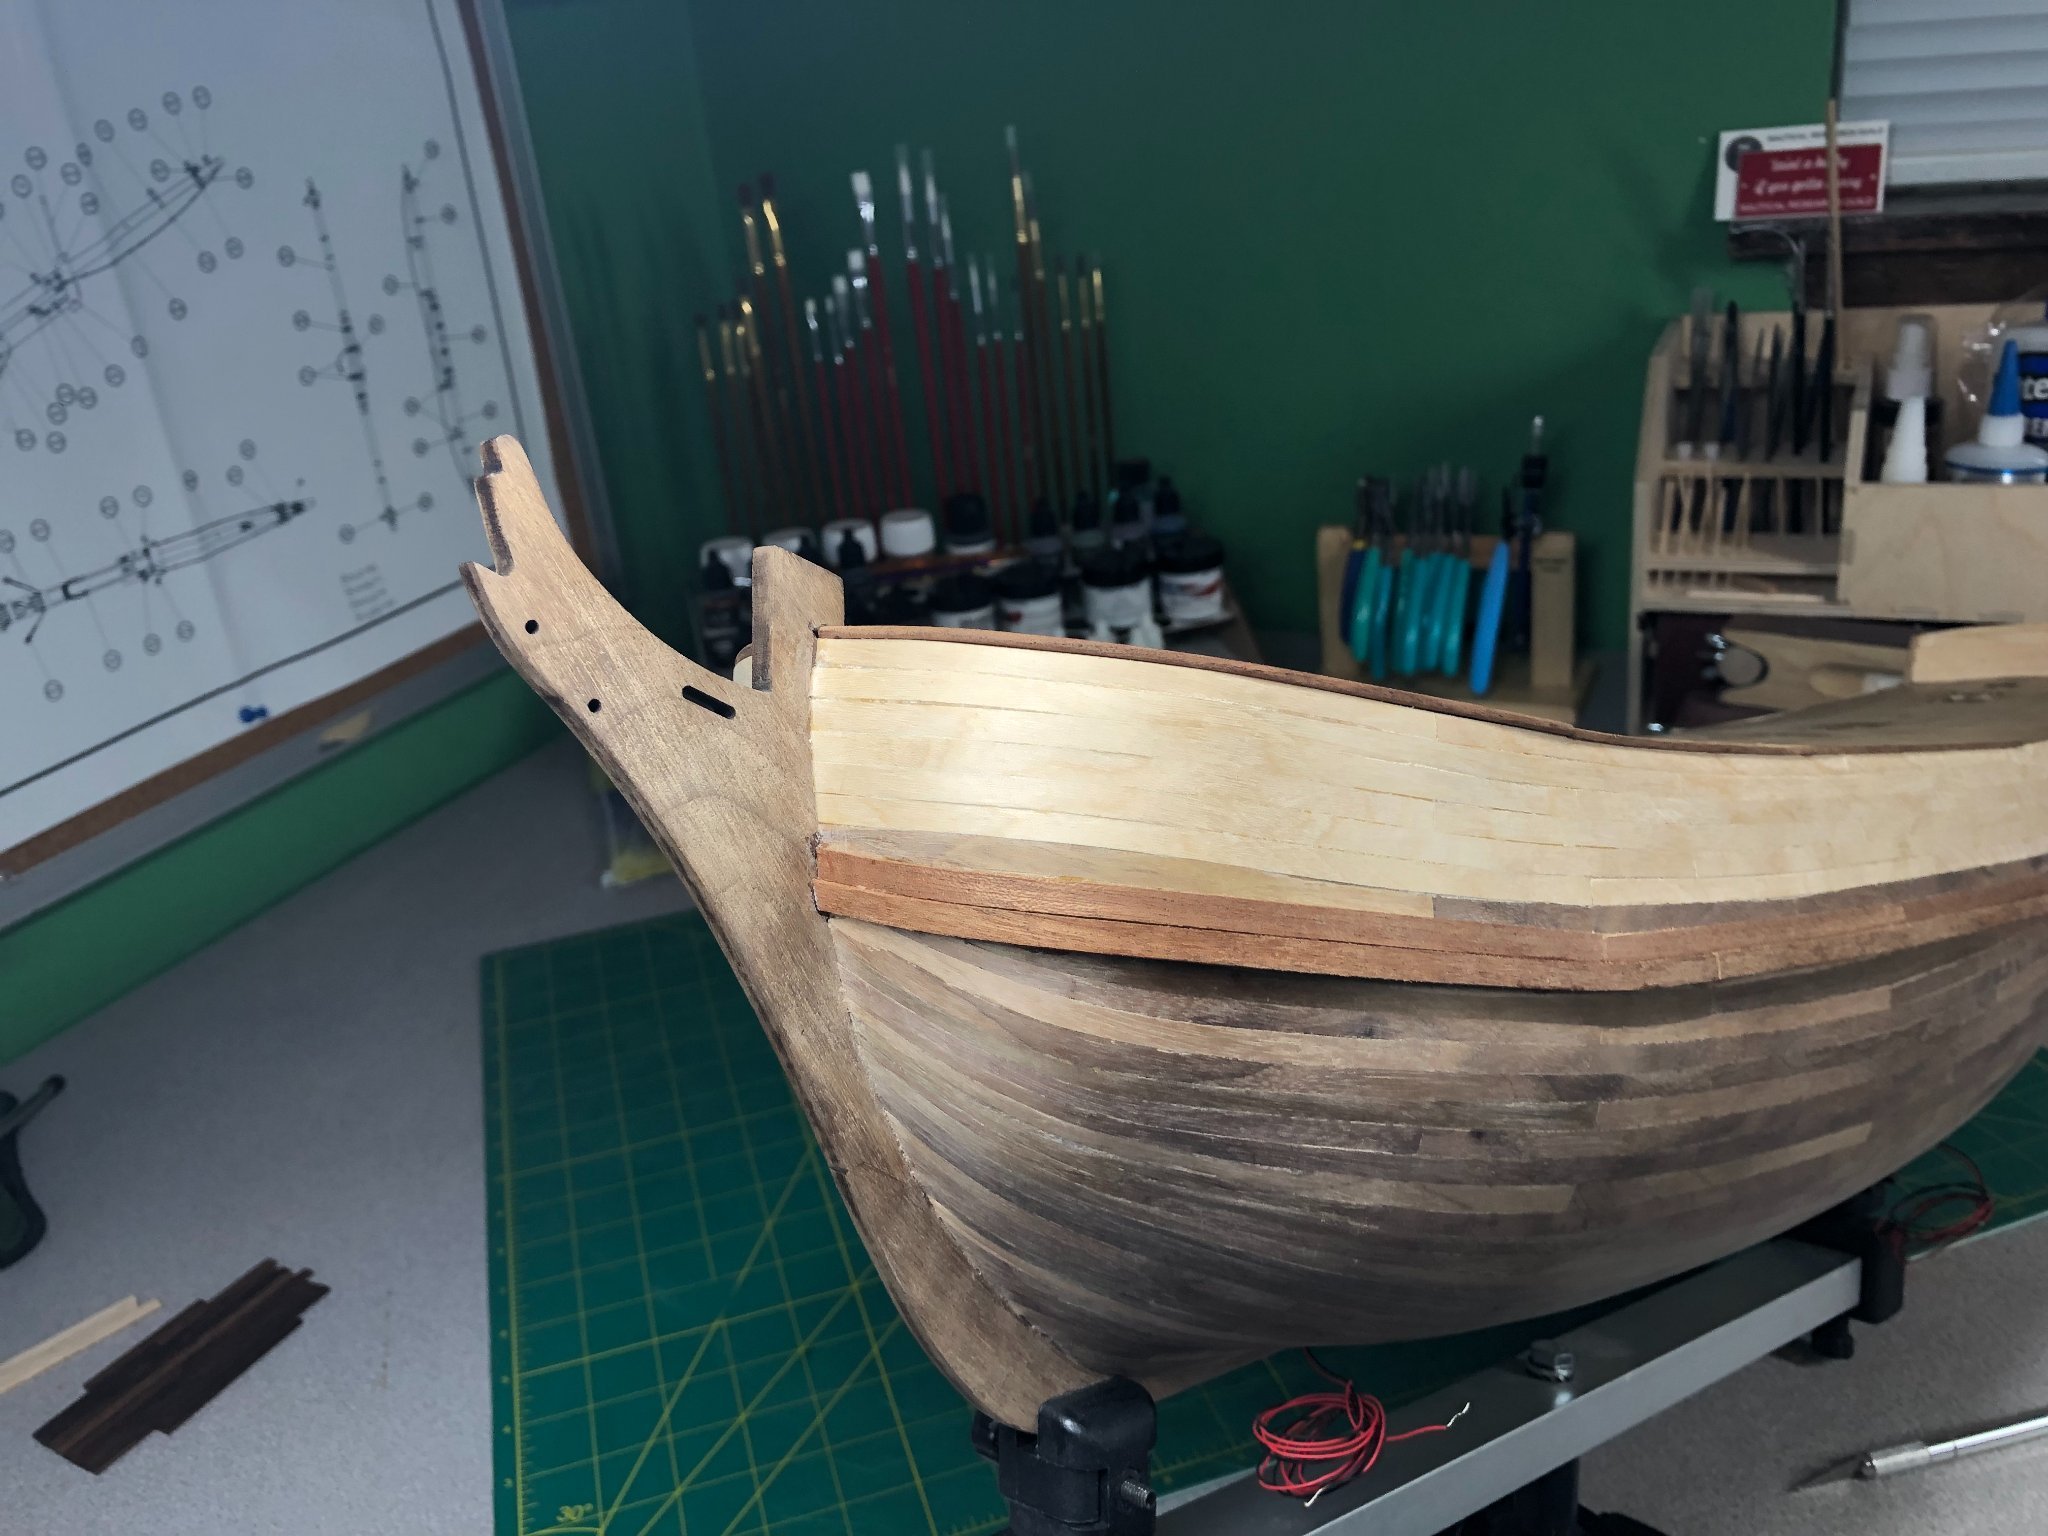
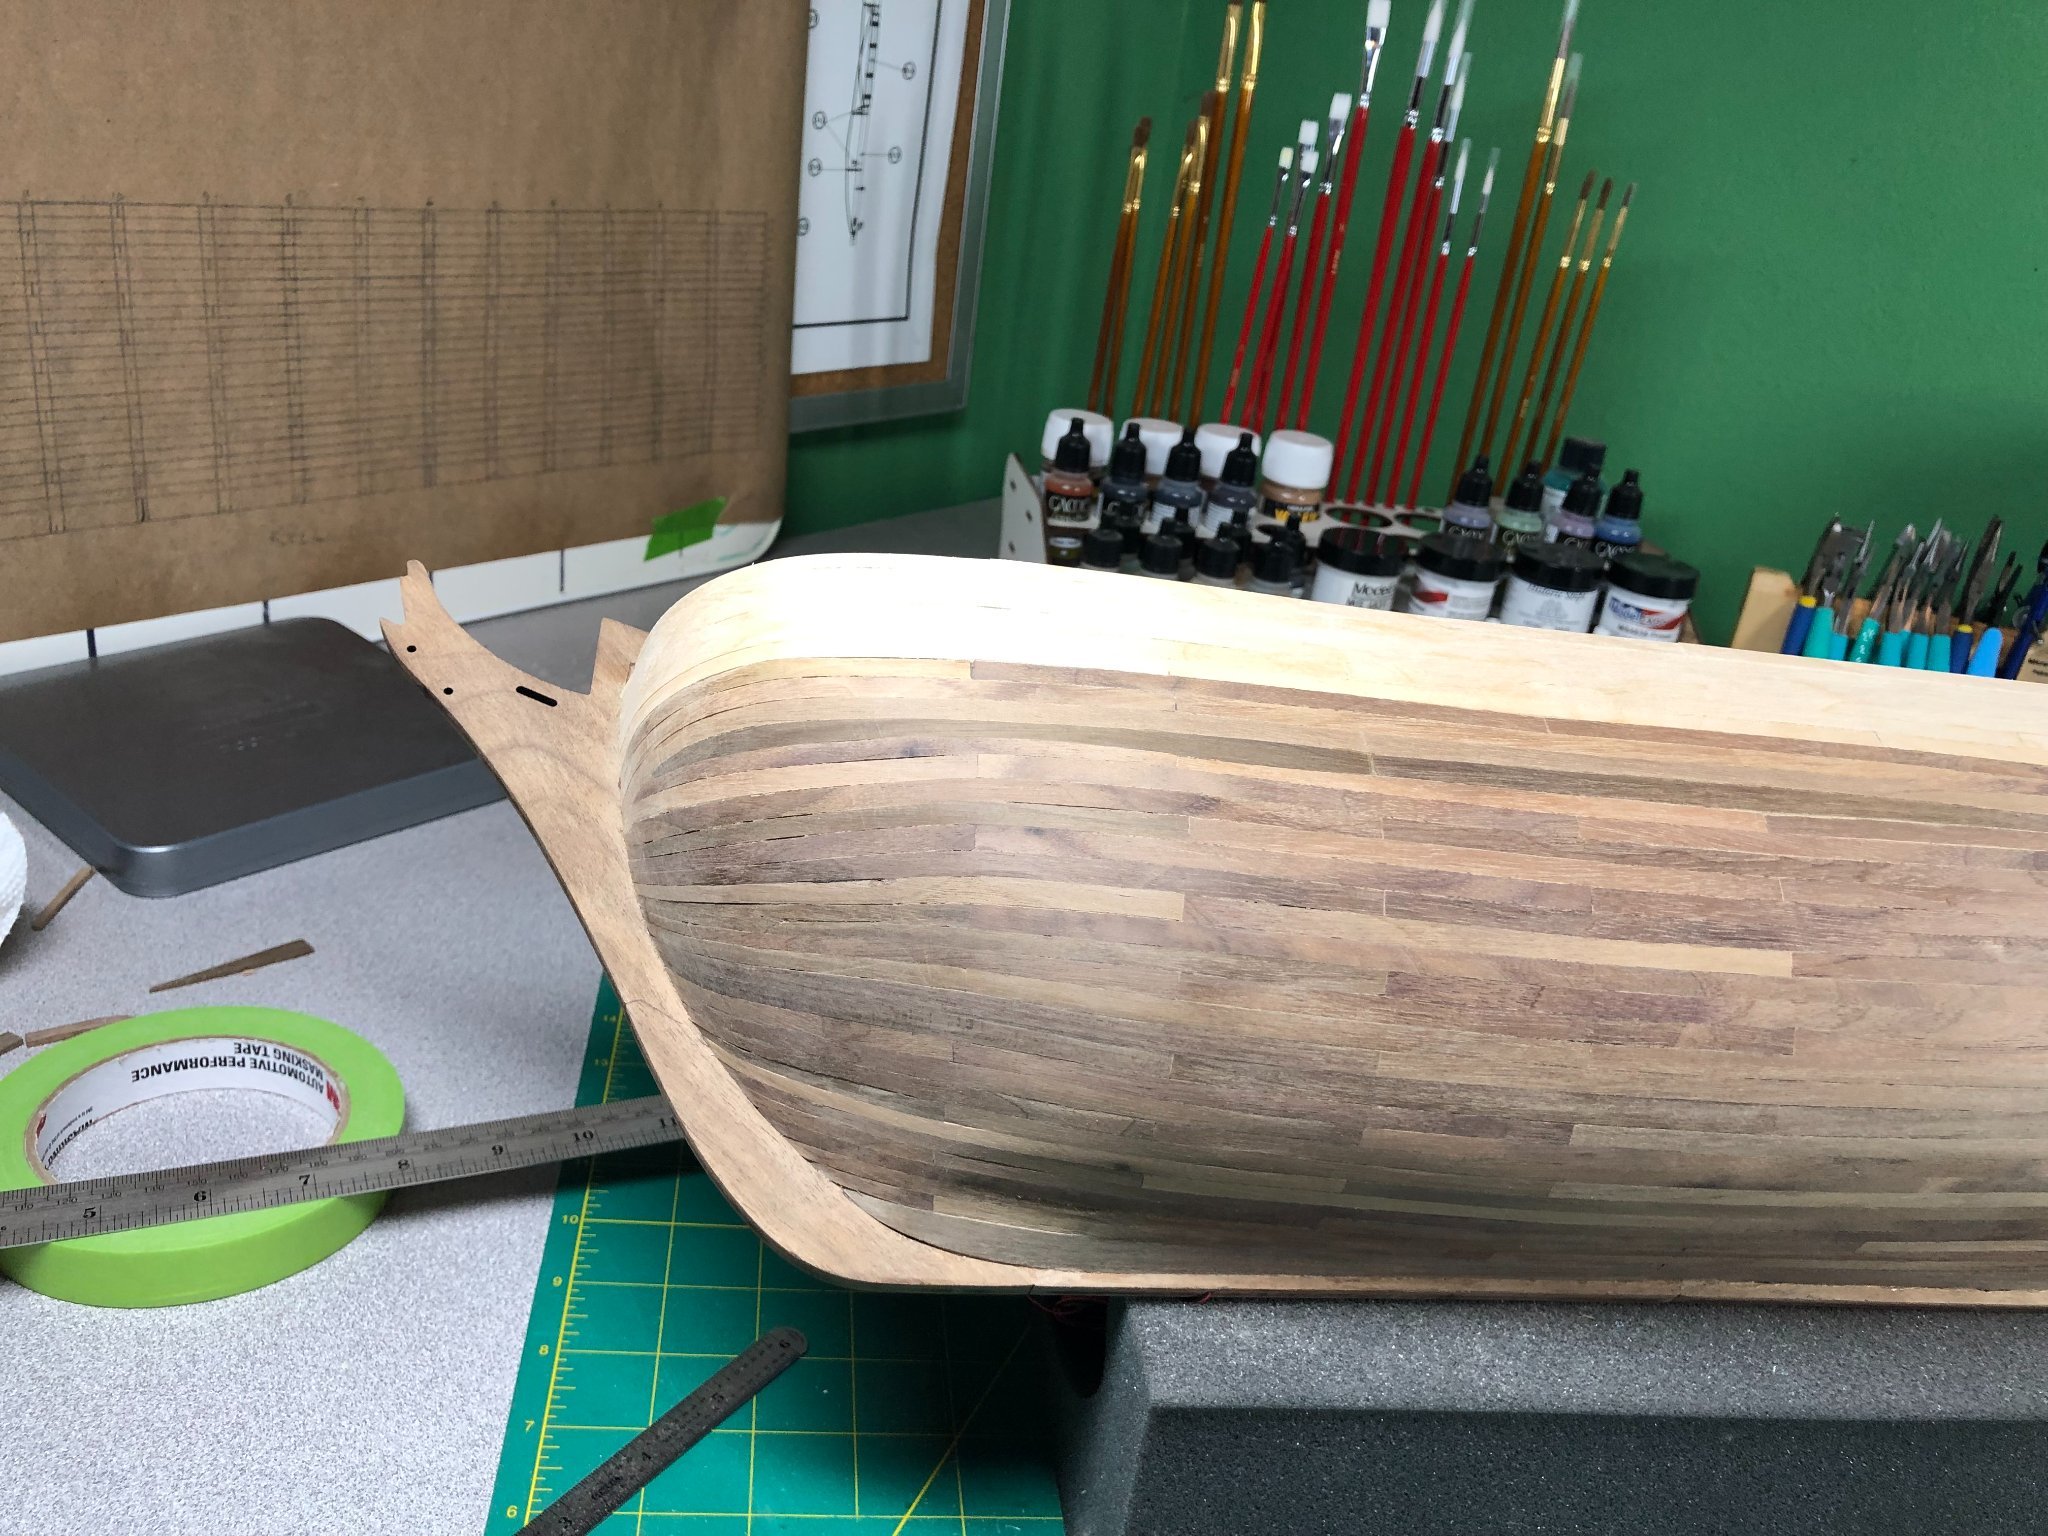
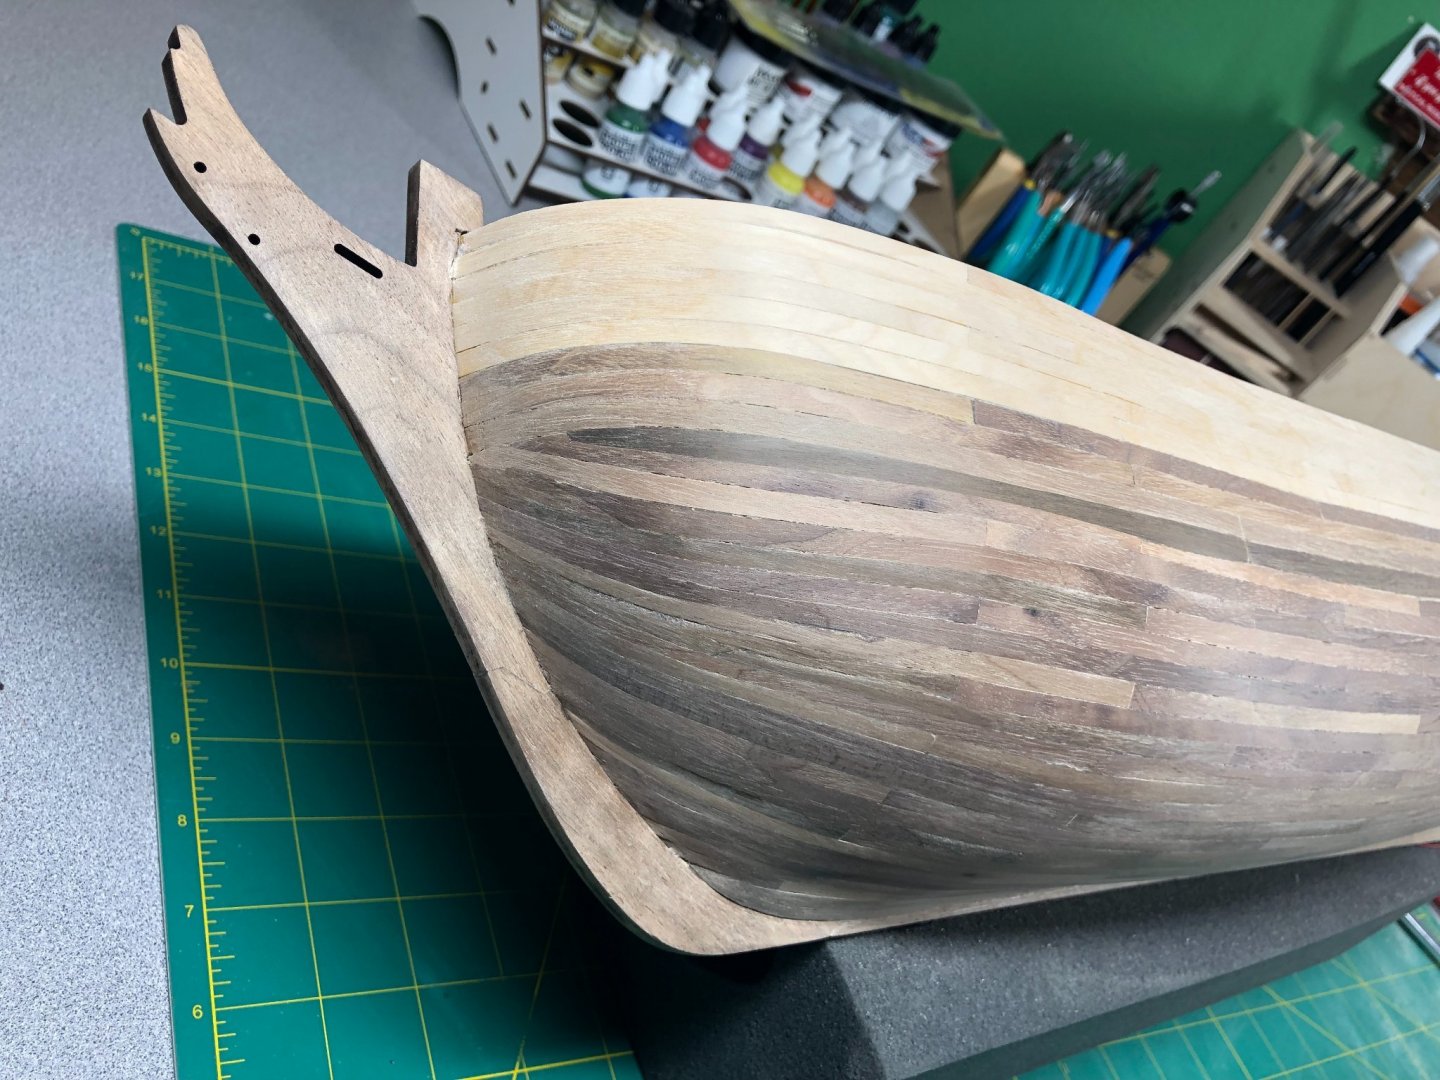
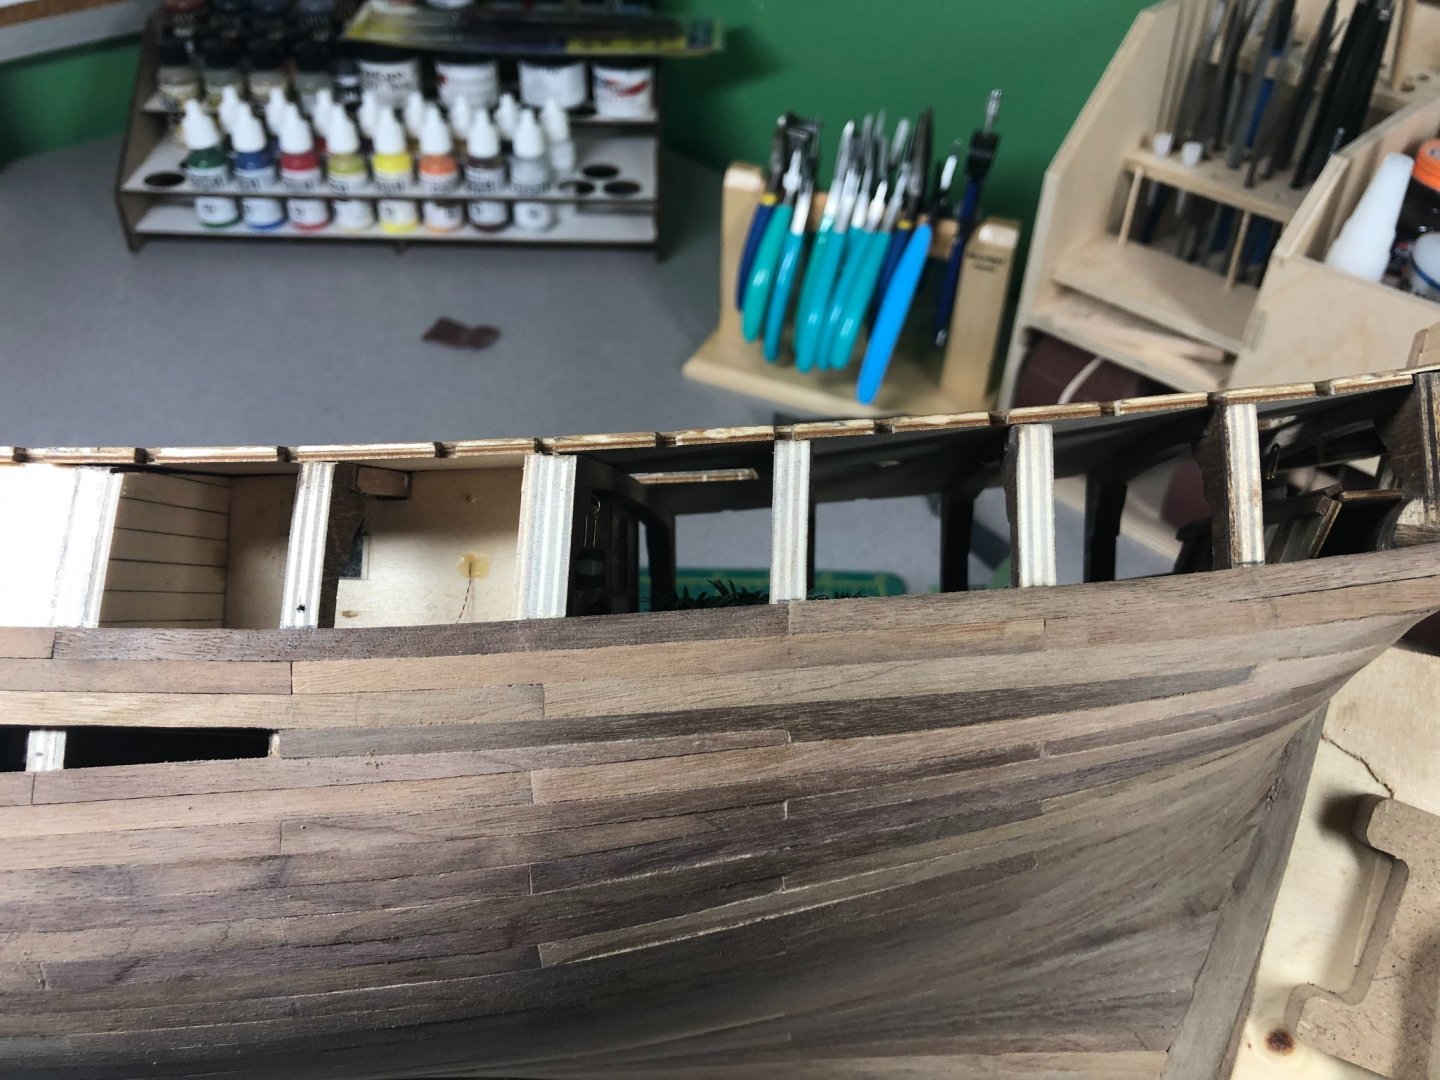
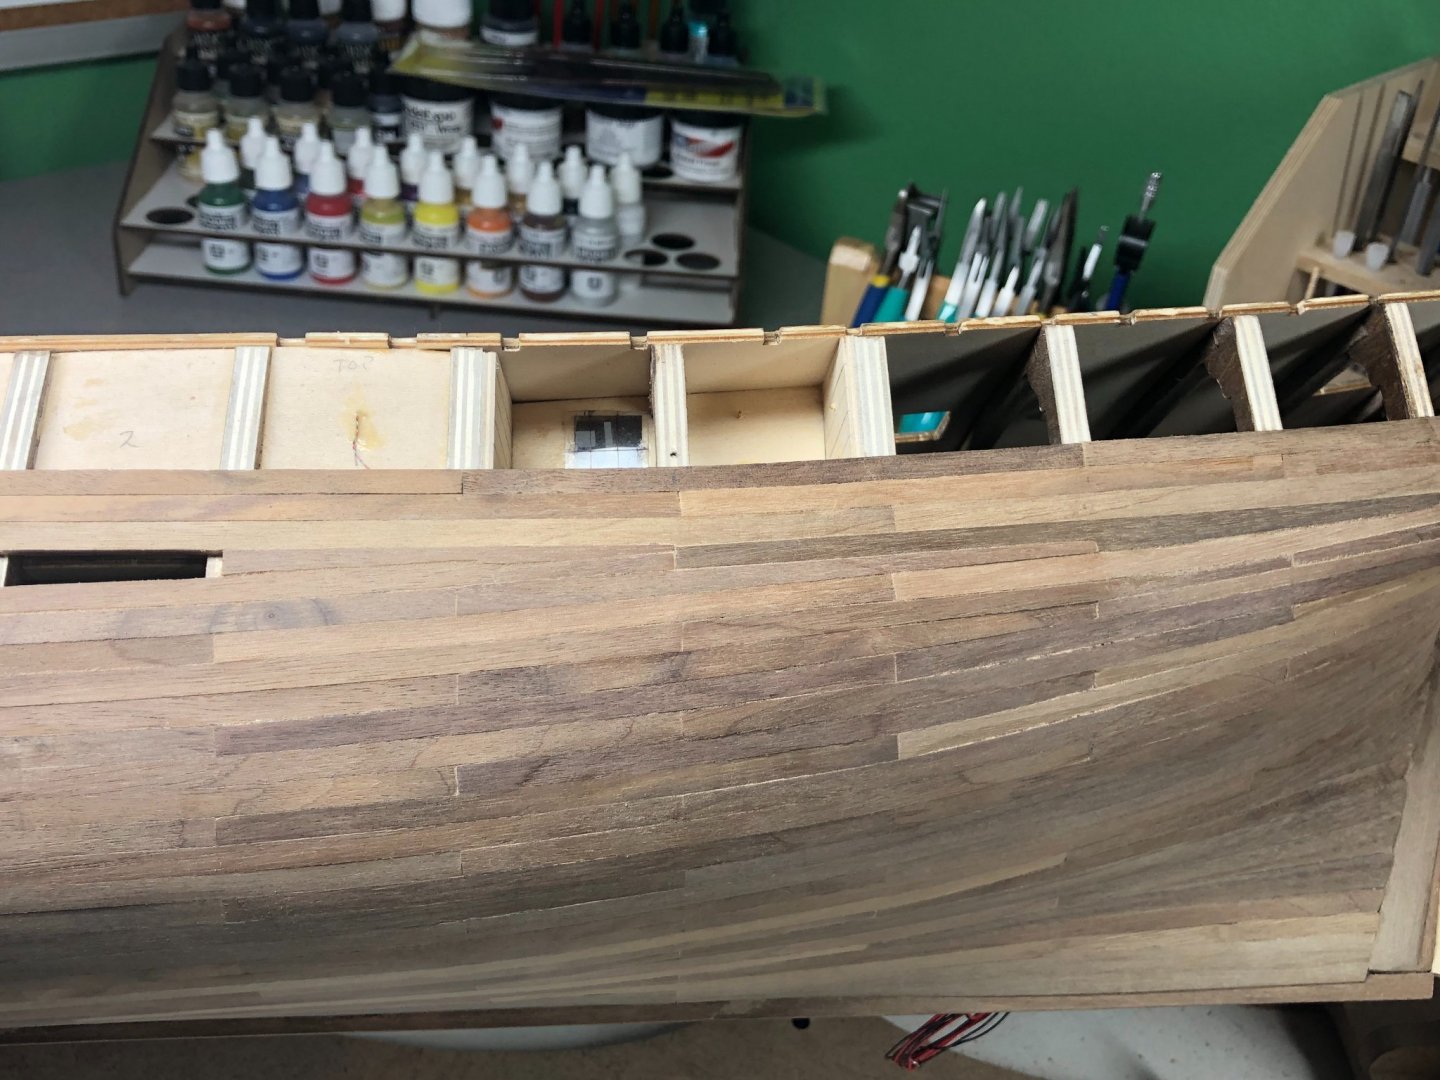
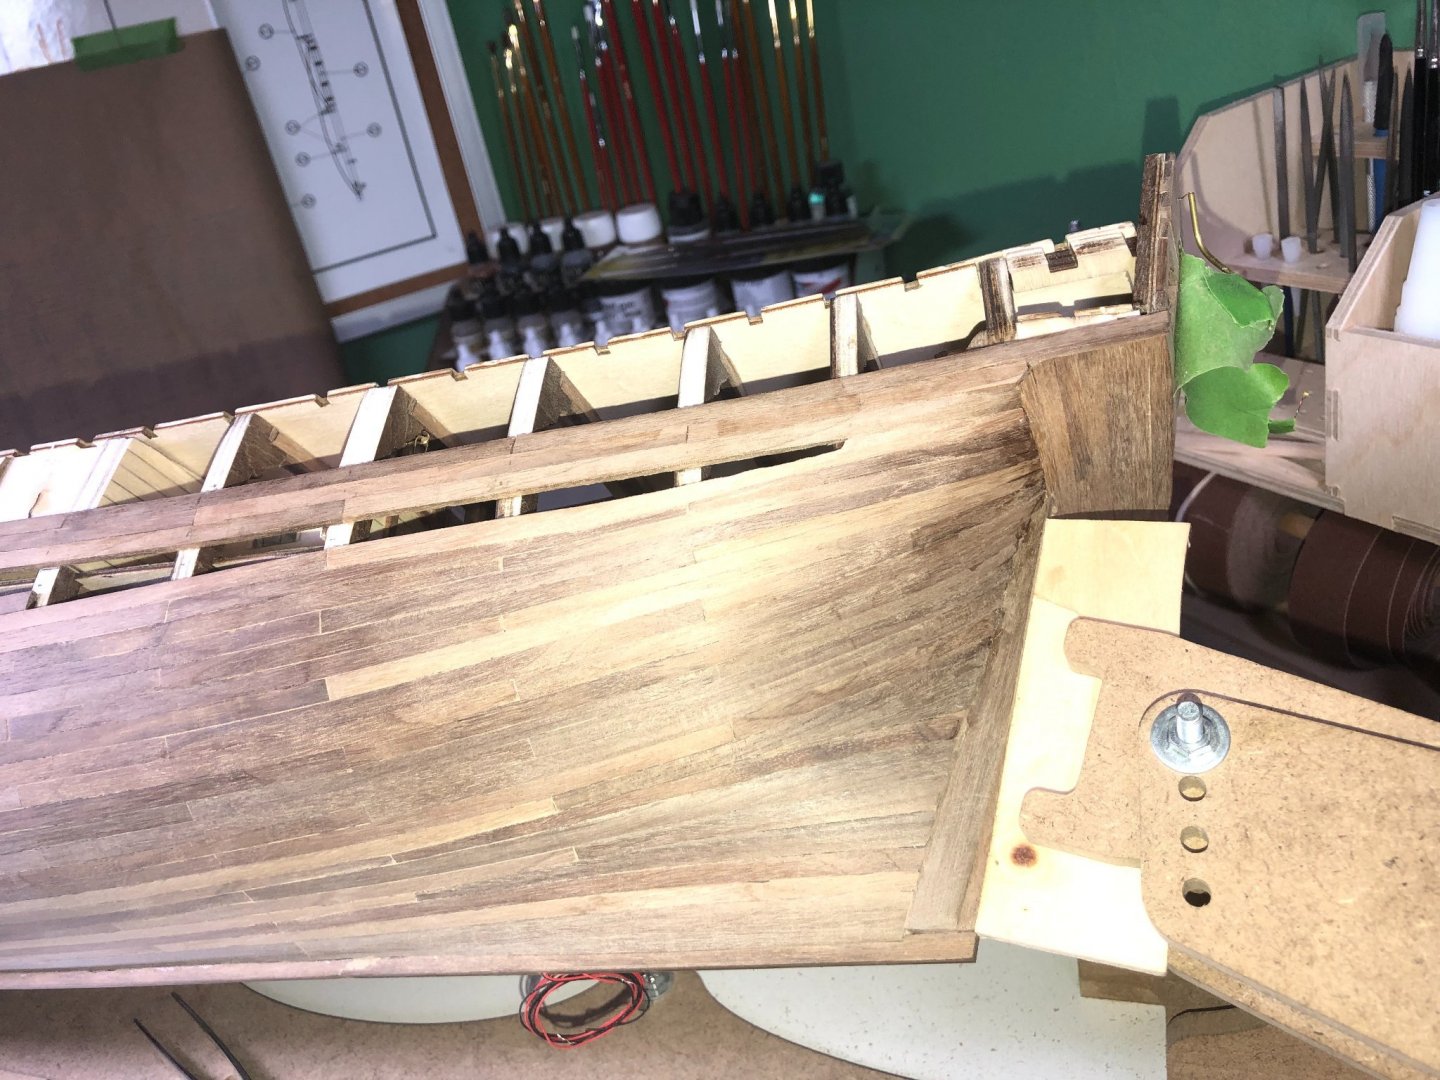
The little hiatus almost made me forget about the trials and tribulations of working with walnut... Almost! I'm nearing the end of the planking. A couple more rows and I'll be up to the wales: The bow is a little more curved than I wanted but turned out good: The stern was tough, it took those particular planks longer due to the bend and twist in many of them. I had to soak the pieces multiple times and used my hands to shape the planks: Once I complete the last couple rows to the wales, there are 5-6 rows above the wales and the planking will be done! I've done some sanding but have a lot more to do. Especially around the stern and bow areas. Such a struggle to get this very hard wood to conform! Gotta start experimenting on how to age this wood too.

-
So true! And you're using them very well!
-
Chuck, Looking good! I like the AYC too. With the taper at both ends, you have a much more pronounced "arch" at the center of the boat. So, I'm wondering, will the center of the planks meet the keel sooner than either end? And if so, how will you reconcile it? The light can be so unforgiving but as you stated, it will look great once sanded! Hate to say it, because I wasn't a fan of CA glue before this build, but you're gonna need to use it with all the twisting and bending! I have a new found respect for the glue if used in the right situations. It can make life easier. You just need to be aware that it does stain the wood... easily covered with the right products though! Let the fun begin! You are at the toughest part of the build... at least it was for me! Good luck!