LyleK1
-
Posts
541 -
Joined
-
Last visited
Content Type
Profiles
Forums
Gallery
Events
Everything posted by LyleK1
-
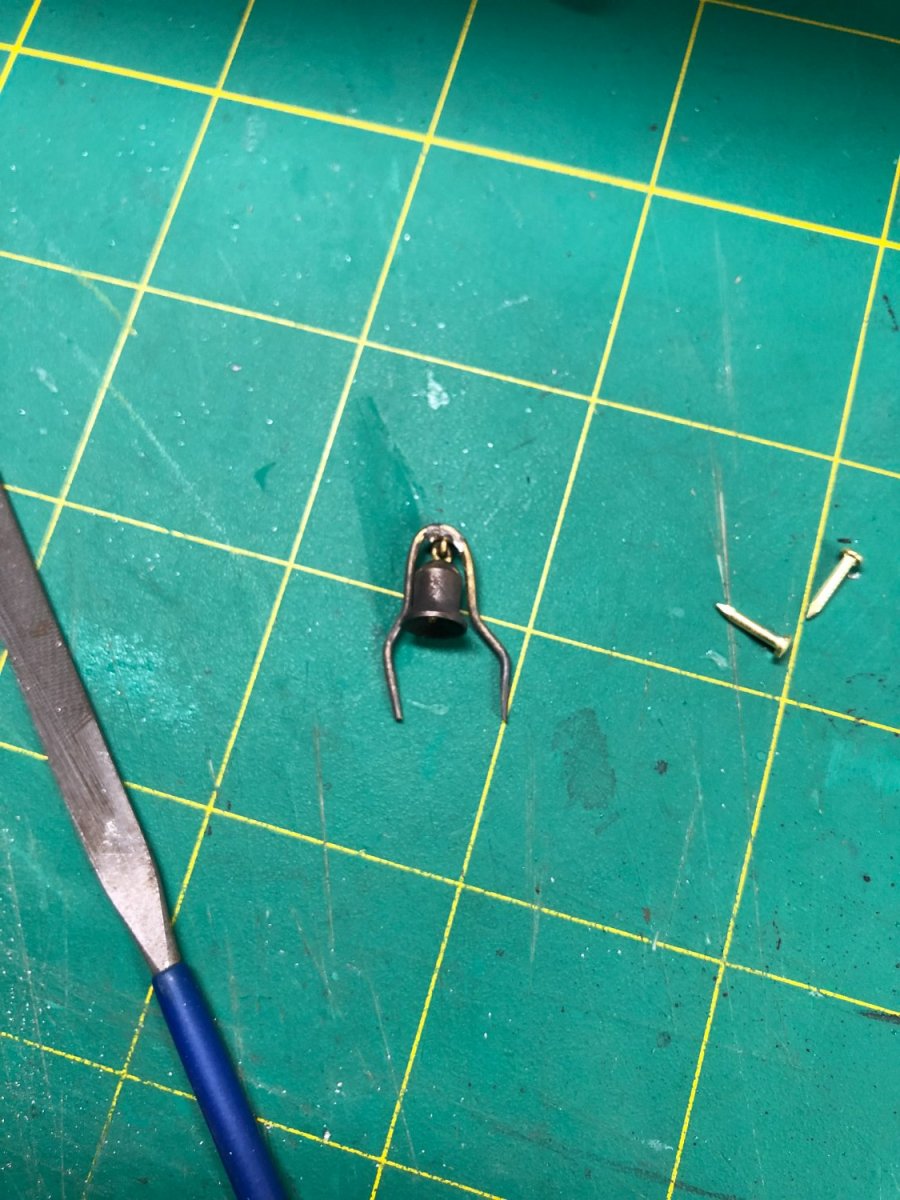
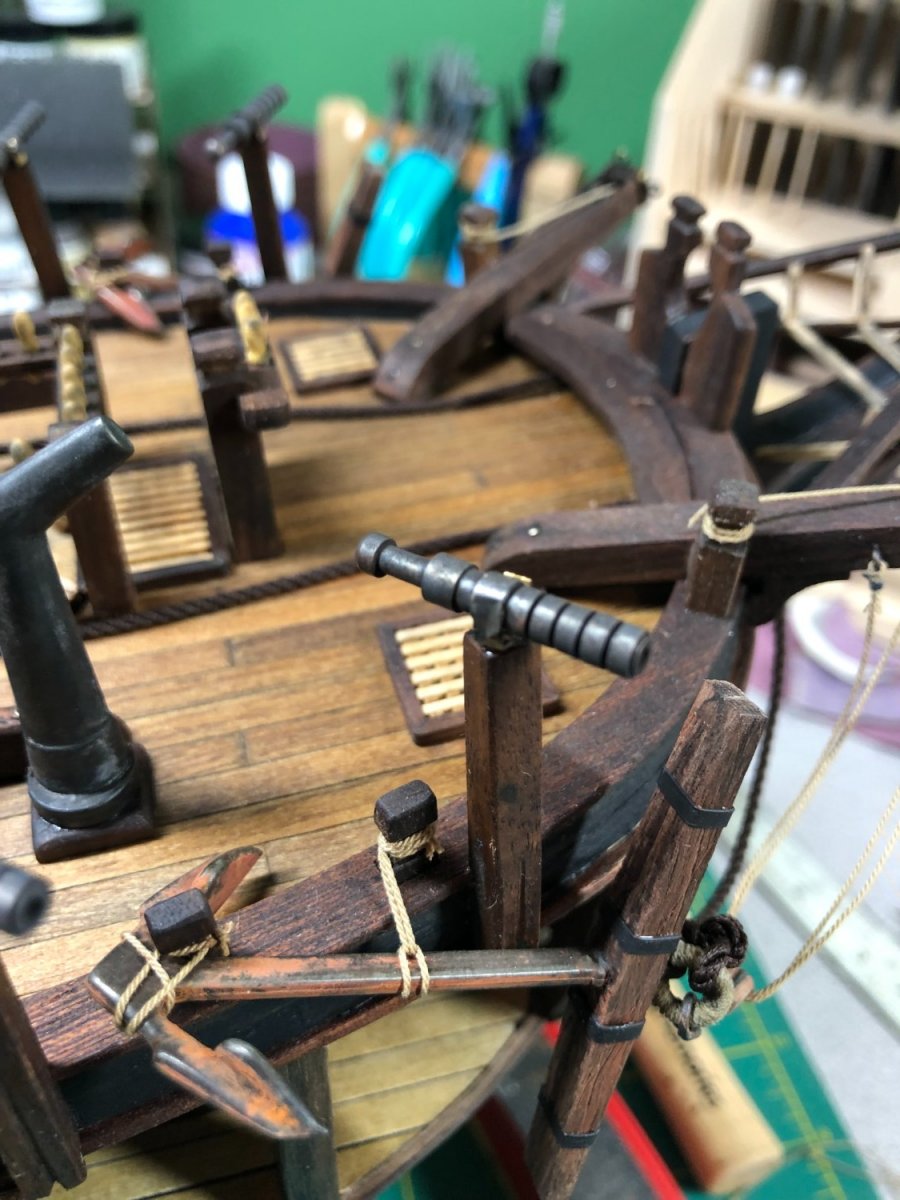
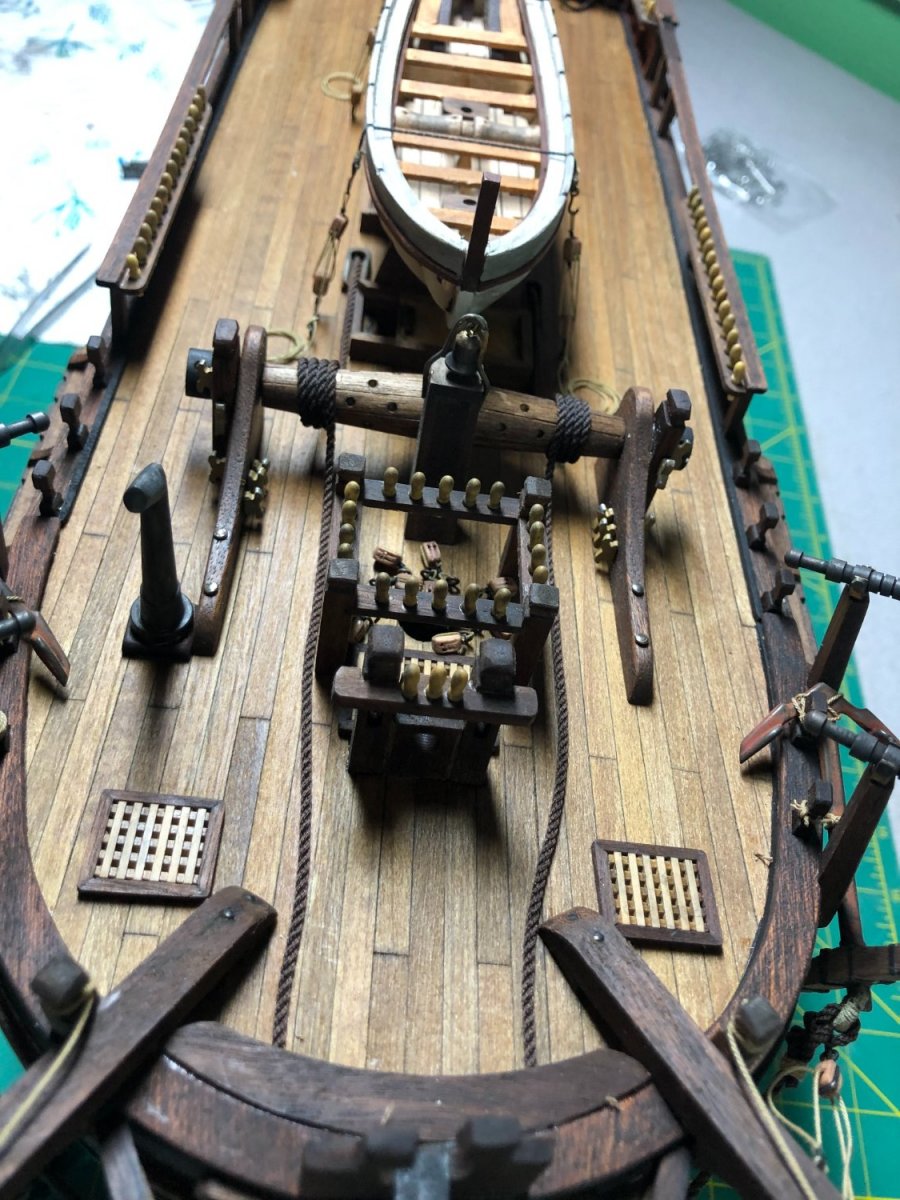
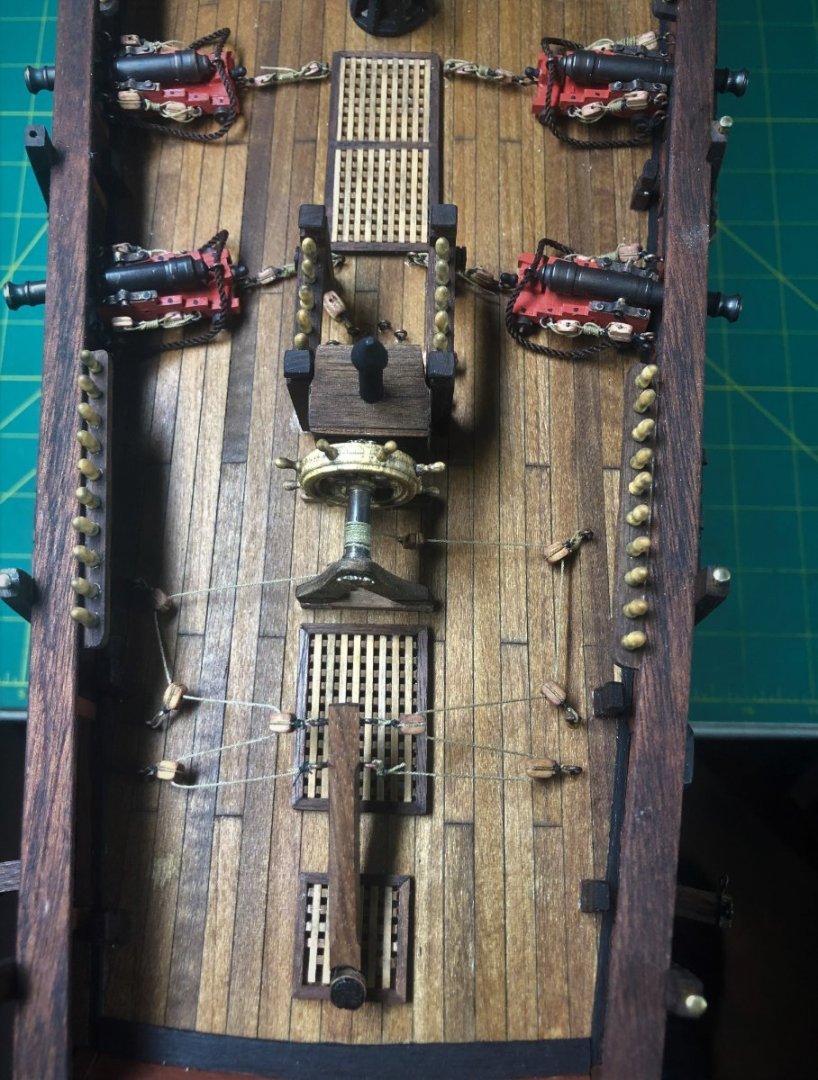
 With the exception of the stern lanterns and a few rope hanks (more on this later in the post), the deck work is done! The last few steps took a little longer than I anticipated... shocking, I know! The ship's bell was a challenging assembly. Bending the brass wire wasn't too bad but soldering the hook to the wire took some practice as I hadn't soldered in quite some time. In the end, I got it looking decent and then did some blackening to give it that aged look: The half-pounder cannons were equally challenging as the assembly really wasn't thought out very well by the kit manufacturer (IMHO). First, after doing some research, I could not find a single image of a cannon that was bent at about a 75 degree angle... all of them were straight, front to back. Based on that, I did not bend mine. Second, the brass wire used to hold the cannon to the bracket was so small that it would just slide out... more soldering! I soldered the wire to the brackets and blackened the entire assembly before installing them: The bell installed: The cannons installed: Rope coils, hanks and served lines were a bigger problem than I thought. As I've mentioned, I make my own rope and I use a poly material rather than cotton. Poly has a longer life and does not have that annoying "fuzz". What I didn't know is that diluted PVA IS NOT a good adhesive to use on poly rope! I have another thread in the masting and rigging section about this problem and got some good help from the more knowledgeable members. After reading through their comments and suggestions, I have decided to try 3 different methods to solve the problem. 1. Use clear shellac 2. Use Liquitex Matte Medium 3. Use Downy fabric softener (this for the hanks only) Once, I have completed my experiments, I'll report back here and on the previously mentioned thread. In the meantime, I did do a couple of loose coils for the Launch using diluted PVA (which was a struggle and began my search for another method): The next update may be a bit as our first long boat trip starts later in the week. We'll talk again when I have more to report.
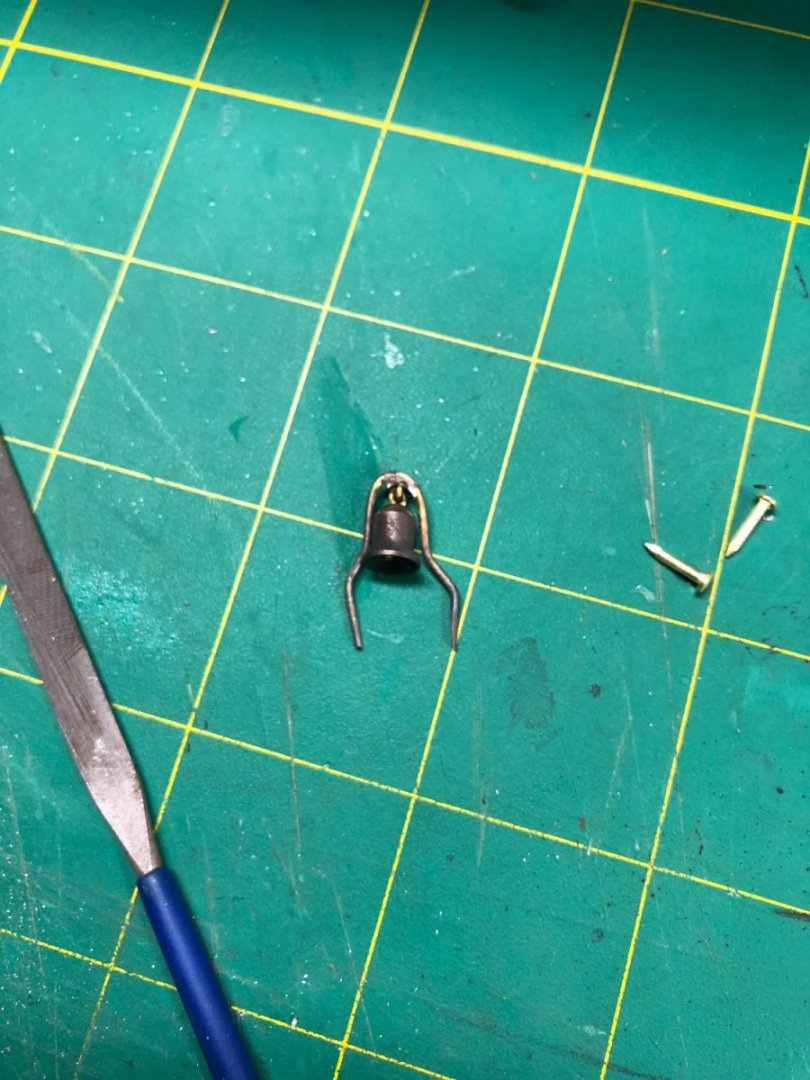


-
Thanks Bob! Clearly and concisely answered any questions I had... I've decided to get some clear shellac and Liquitex Matte Medium to experiment with on my ropes. Once I have both one hand, I'll try out a few different coils, hanks and served lines. I'll report back here on my findings and conclusions.
-
I have not… Leaning toward trying clear shellac. But not opposed to trying the lacquer too. The “Downy” method is intriguing too… but need more info on it.
-
I make my own rope using Guttermann poly threads. Rope coils, hanks and serving a line require an adhesive to retain desired shapes or to prevent unraveling. For cotton, diluted PVA glue is the product of choice... it doesn't work with poly rope. A spot of CA glue on a knot works great but is not practical for coils, hanks and served lines. Any suggestions?
-
It's pretty commonly known that Artesania Latina's instructions are a bit "lacking" at times. There are good diagrams. So, with those and my reference materials, I should be ok.
-
Thanks Allan. I pledged at the start of the log that I would keep it going to the completion of the Bounty. There are not many complete logs! As long as people are patient, I’ll get there. Your question/comment is an interesting one. I’ve been using the dark thread for seizing without giving it a lot of thought. I guess it doesn’t make much sense for the line to be tarred but the seizing is… for visual contrast, it looks good though. Something to keep in mind while I move into the rigging phase. The instructions for the kit are nonexistent and I will be relying on the diagrams and books that I’ve purchased… Lee’s and Petersson in particular. I’ll be researching each and every line before building it up and installing. Unfortunately, there was no info on the Launch tie-downs! Appreciate you comments, Allan. Keep them coming!
-
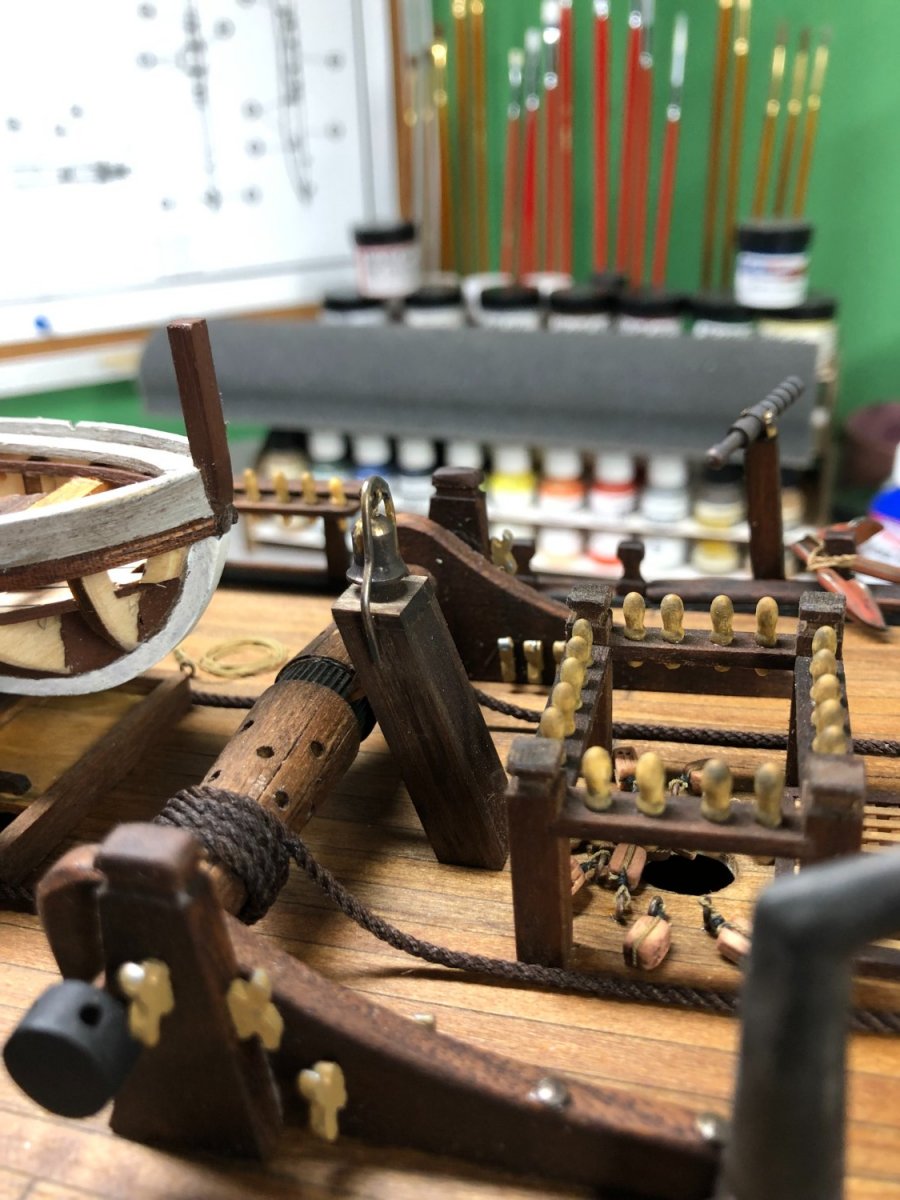
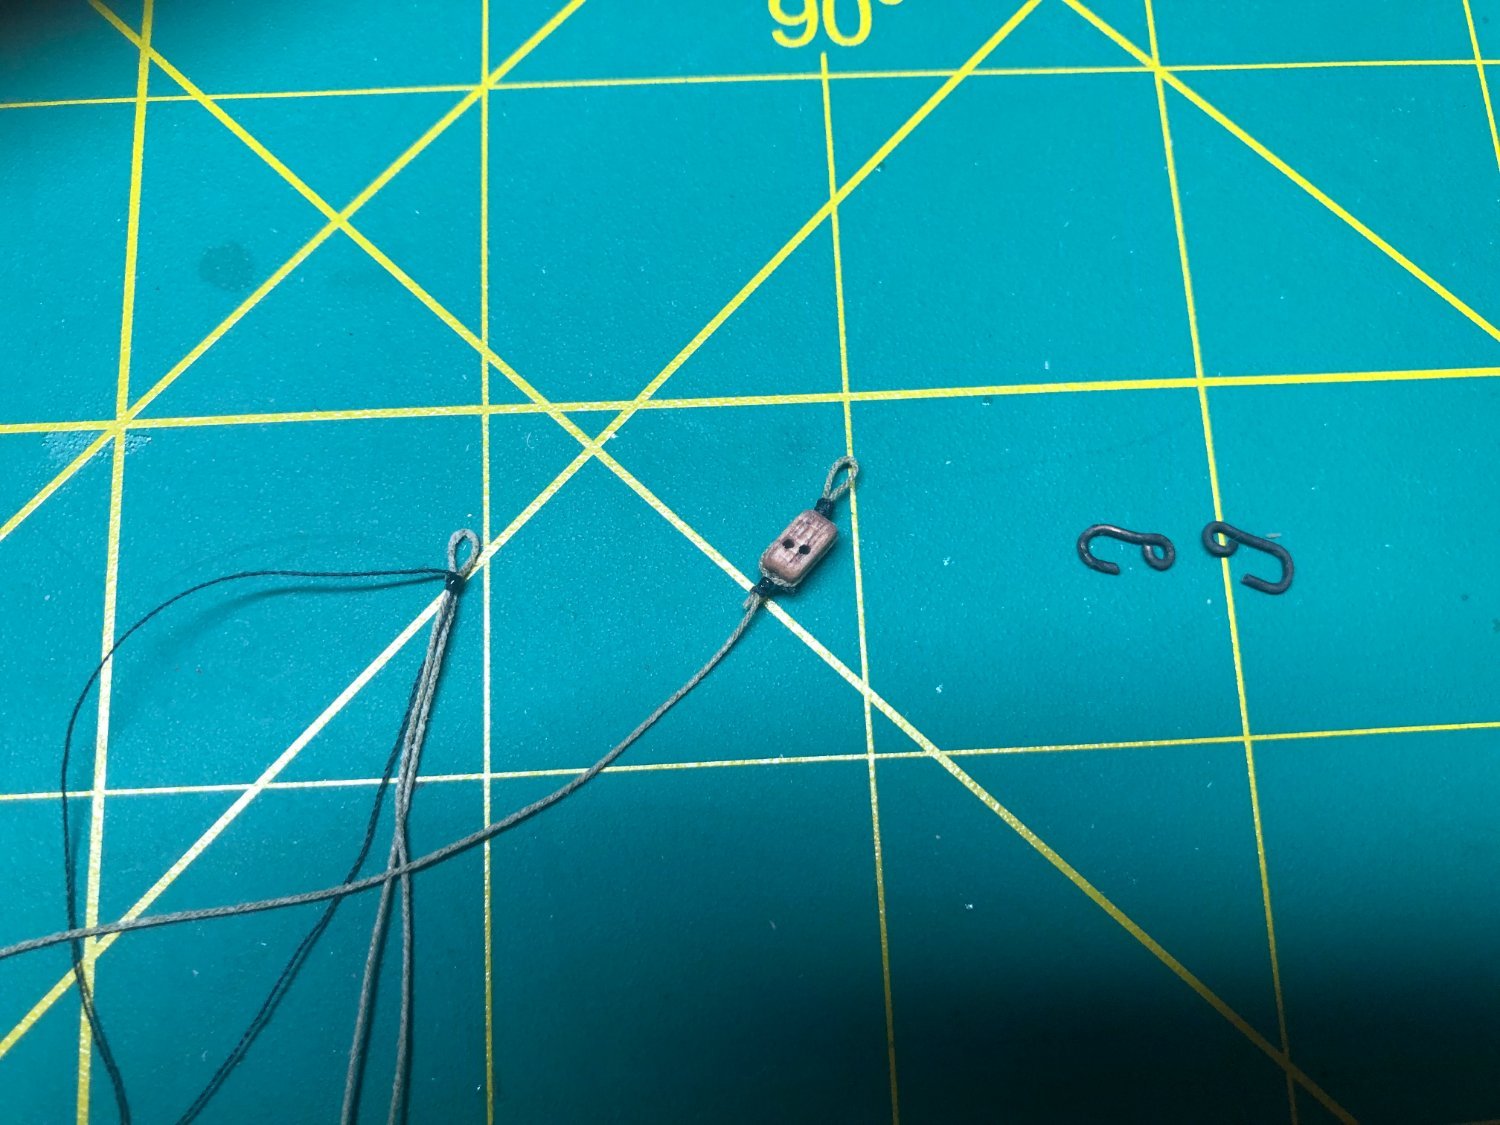
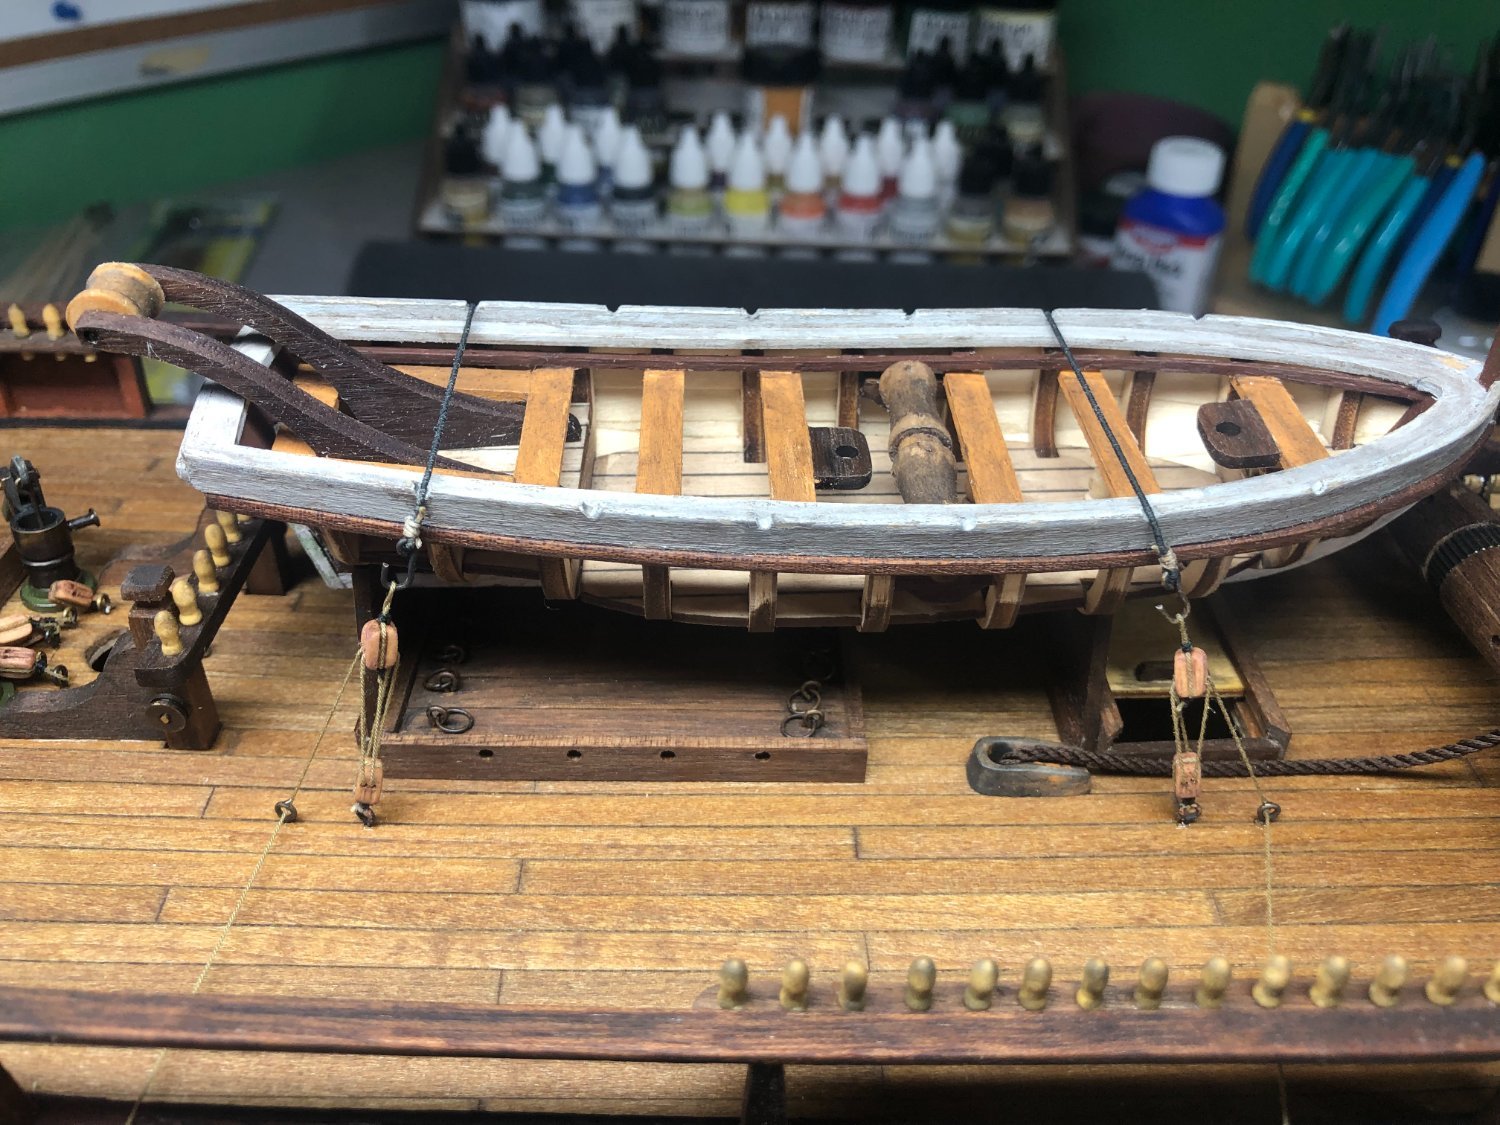
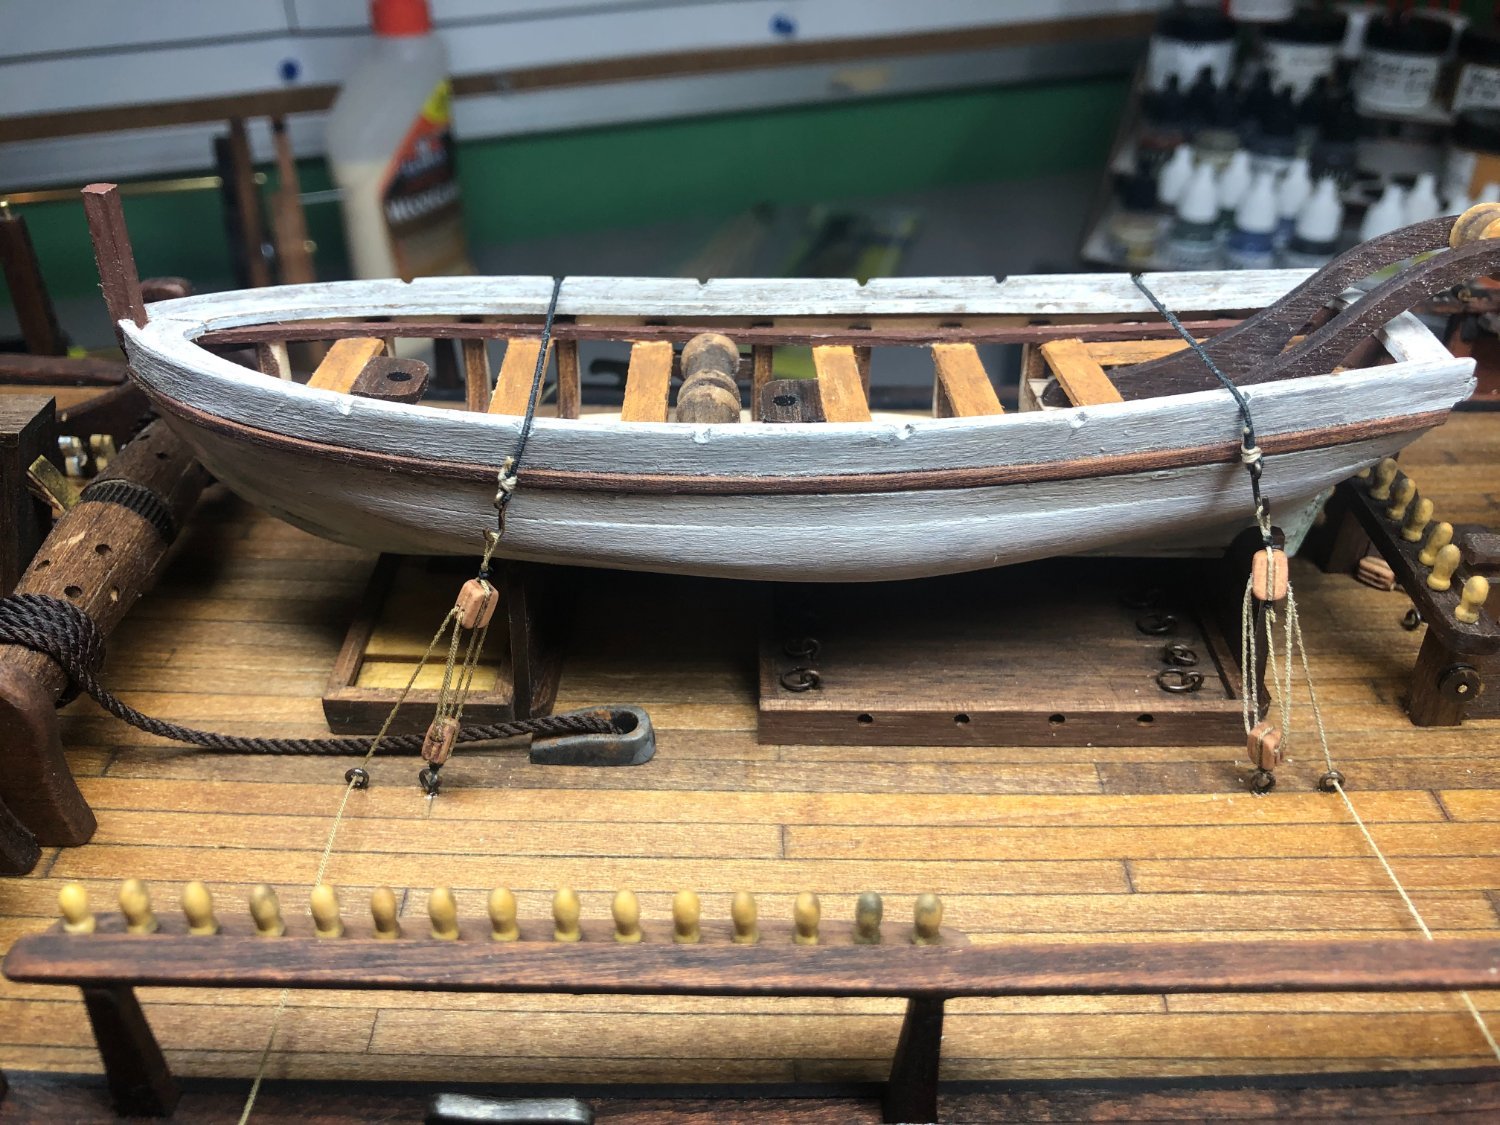
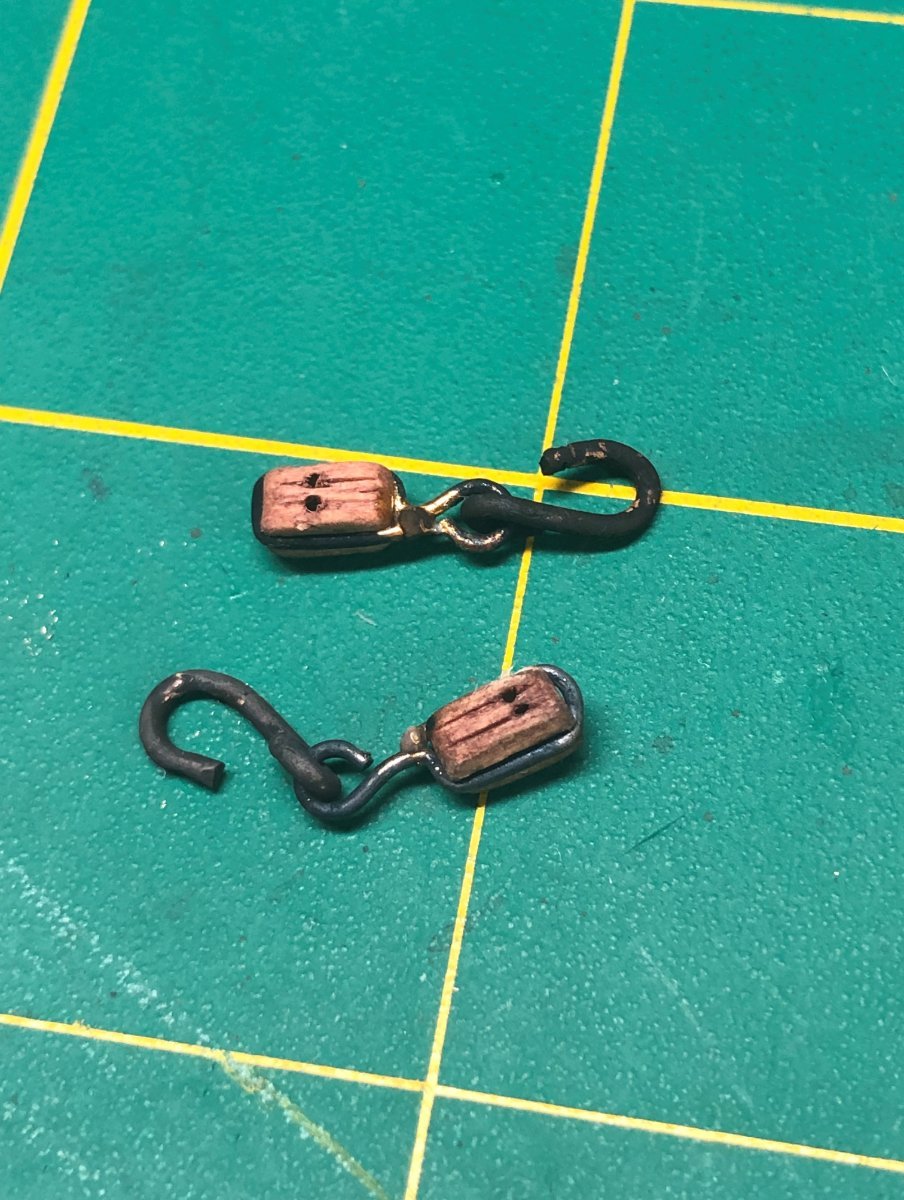
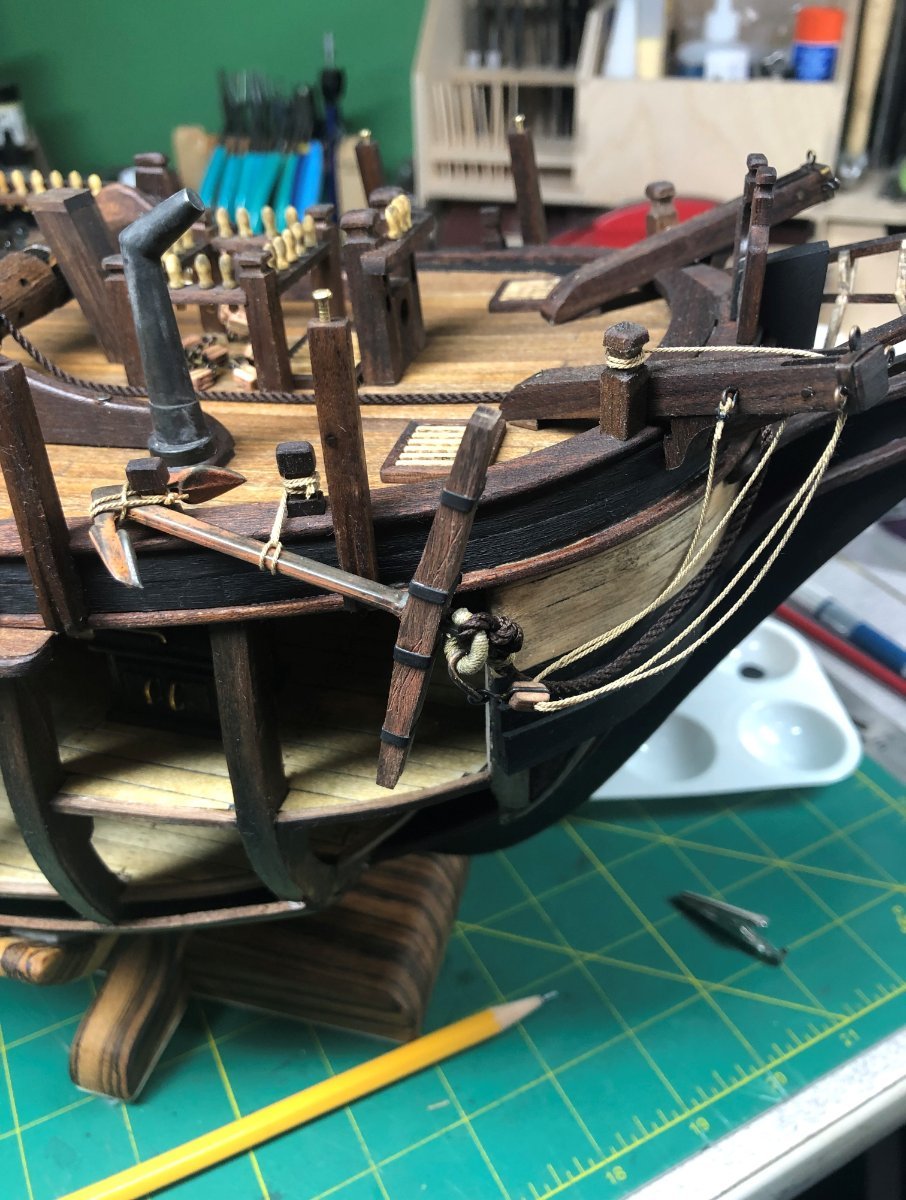
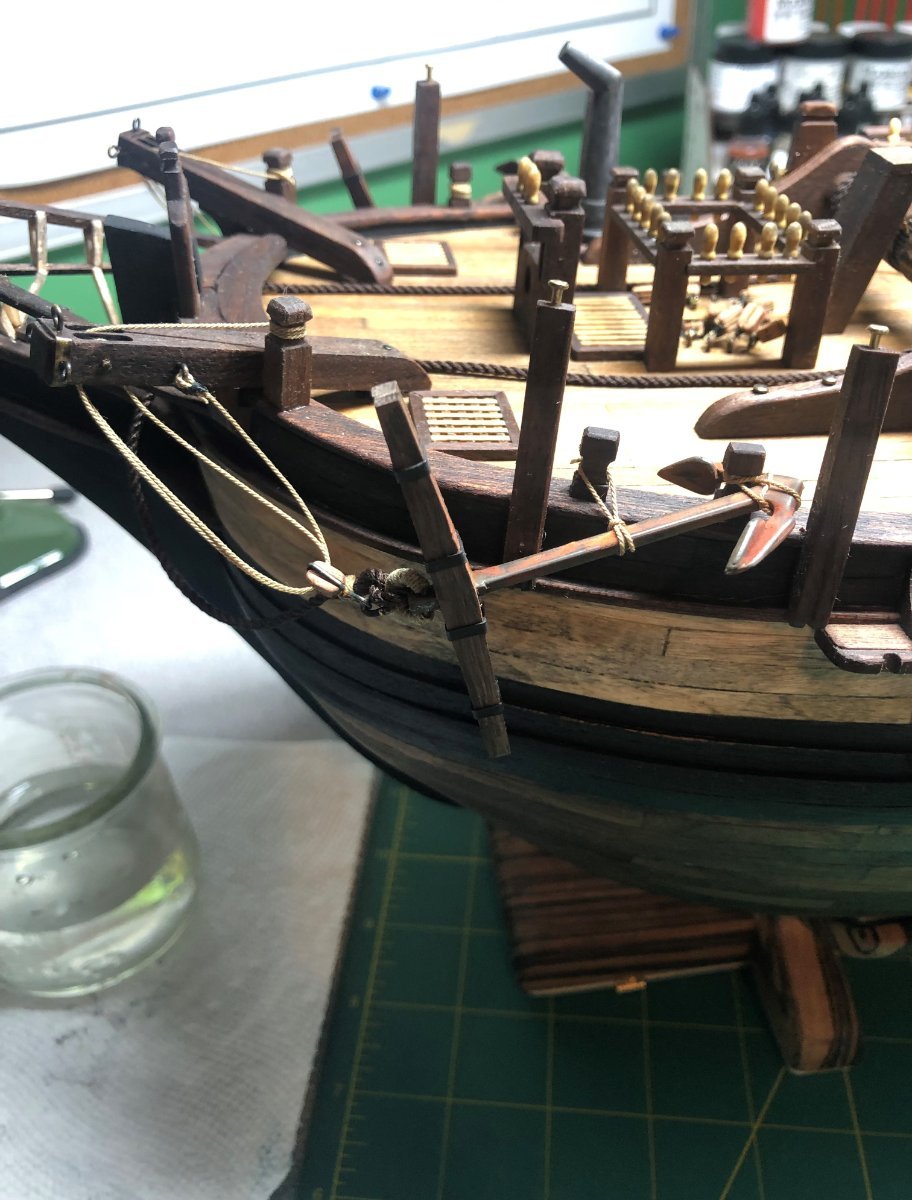
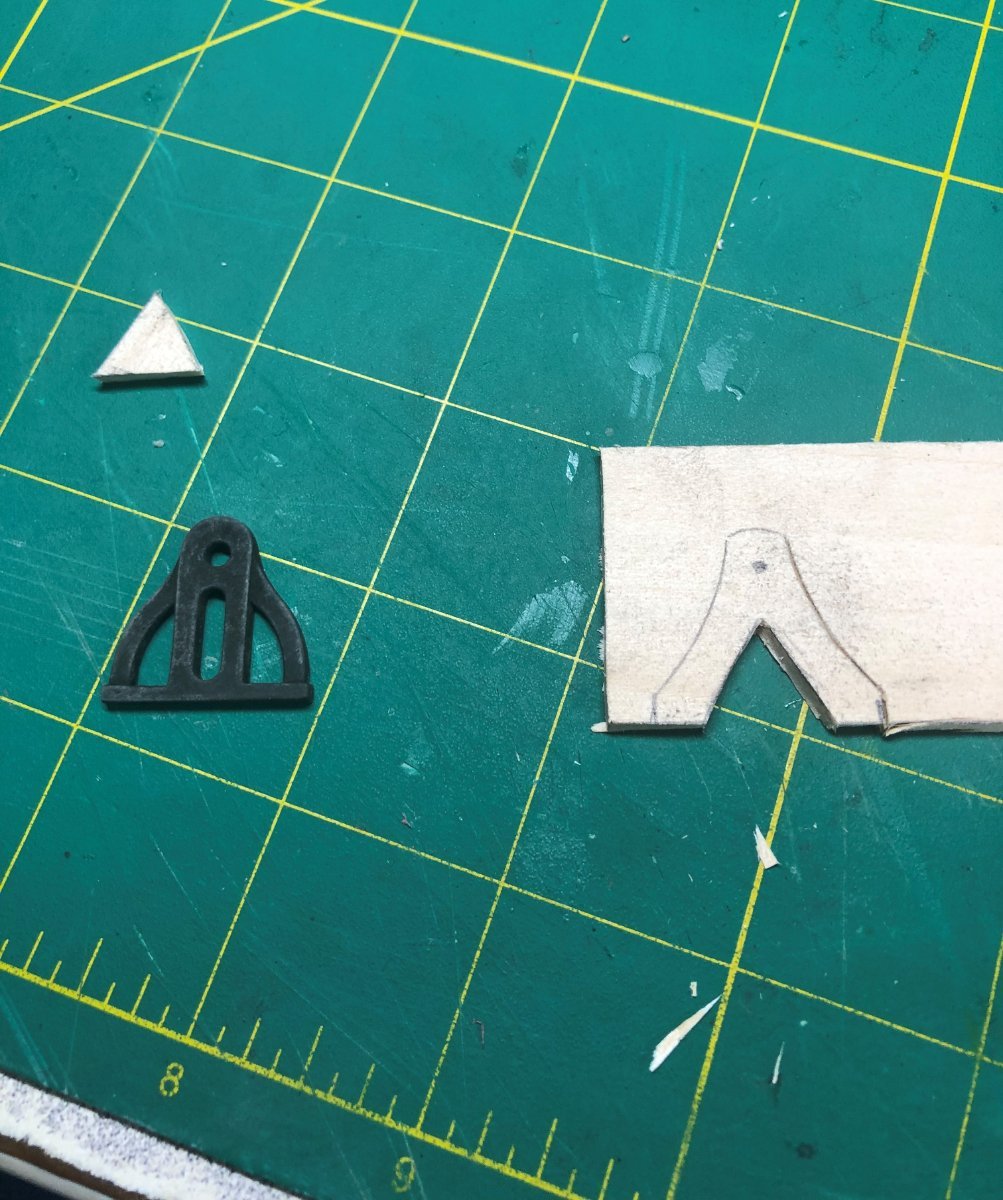
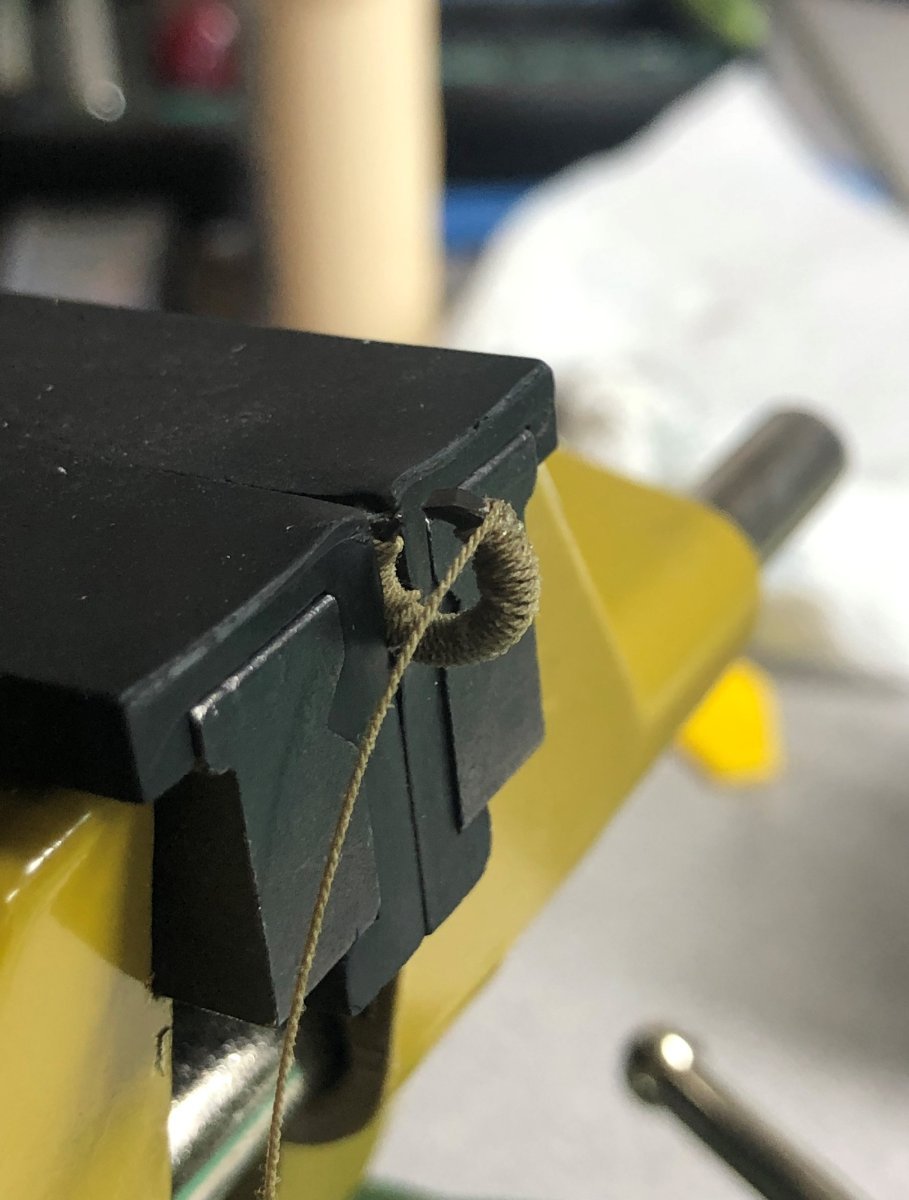
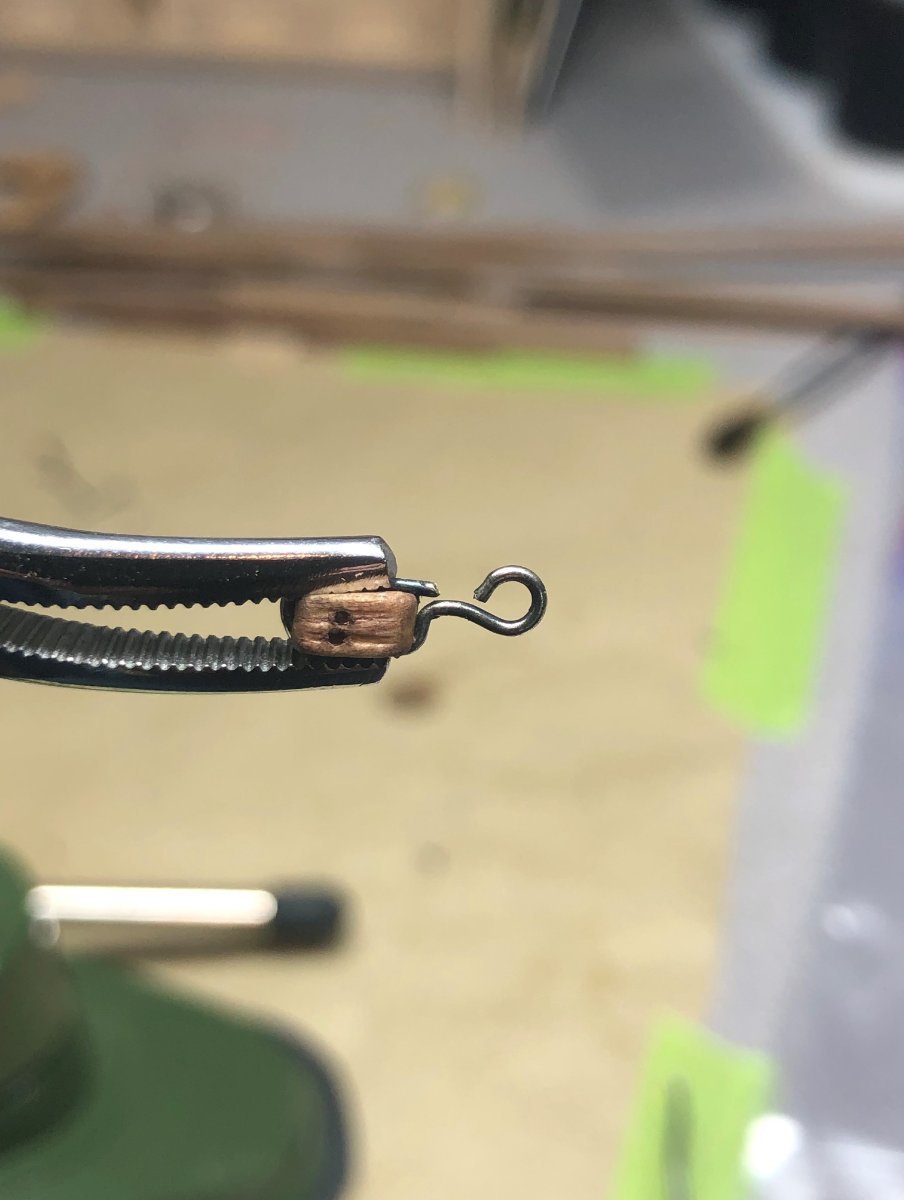
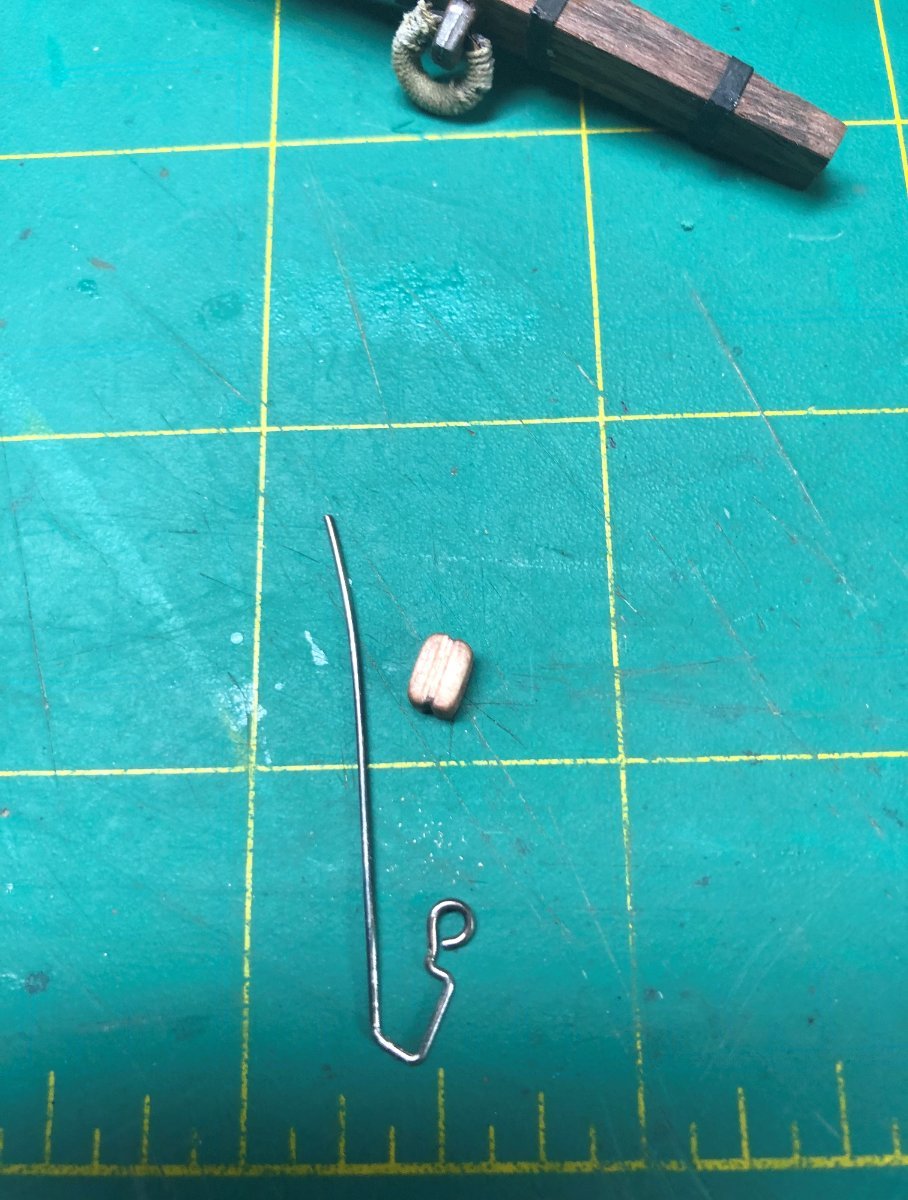
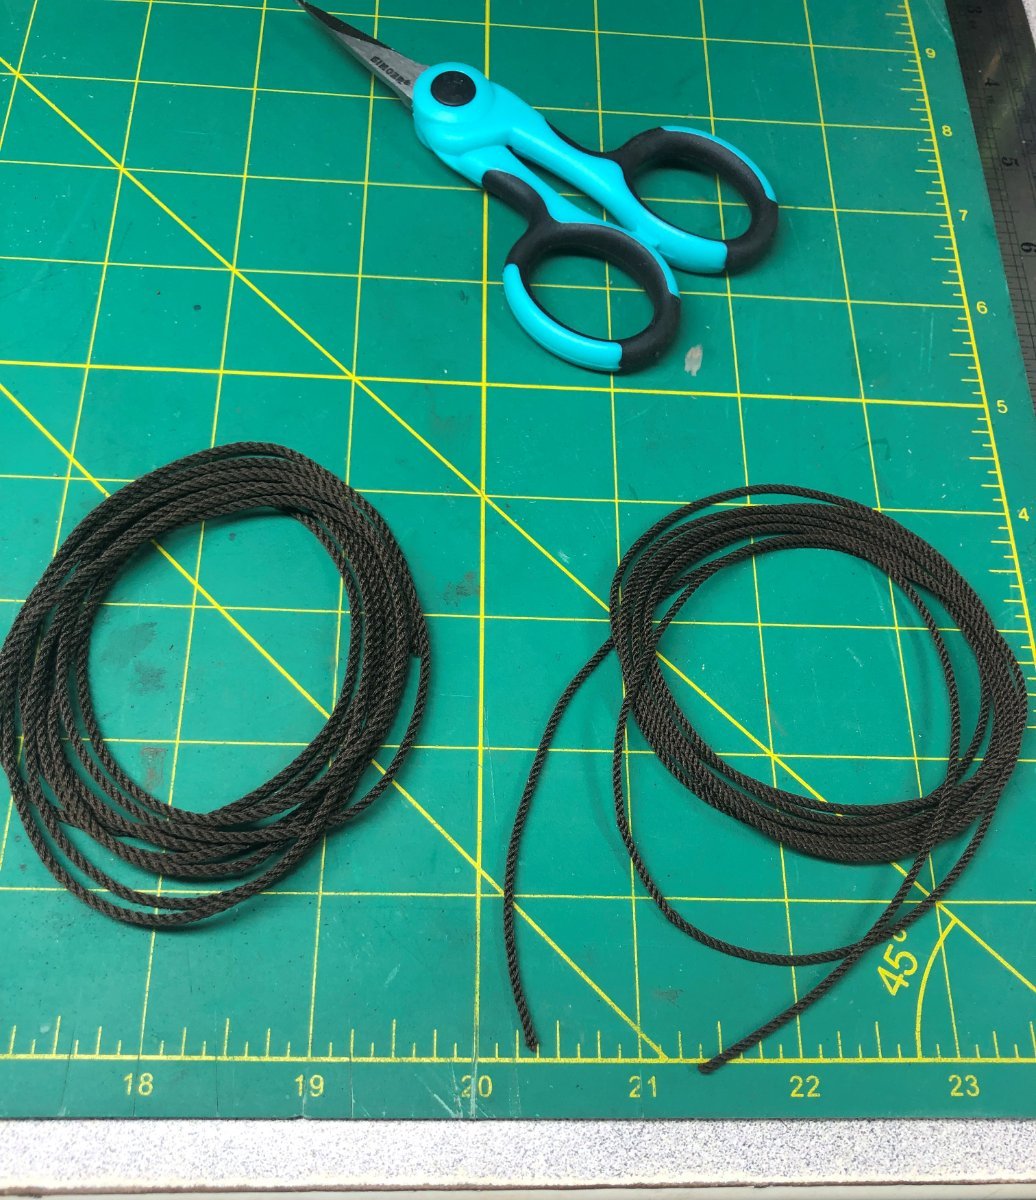
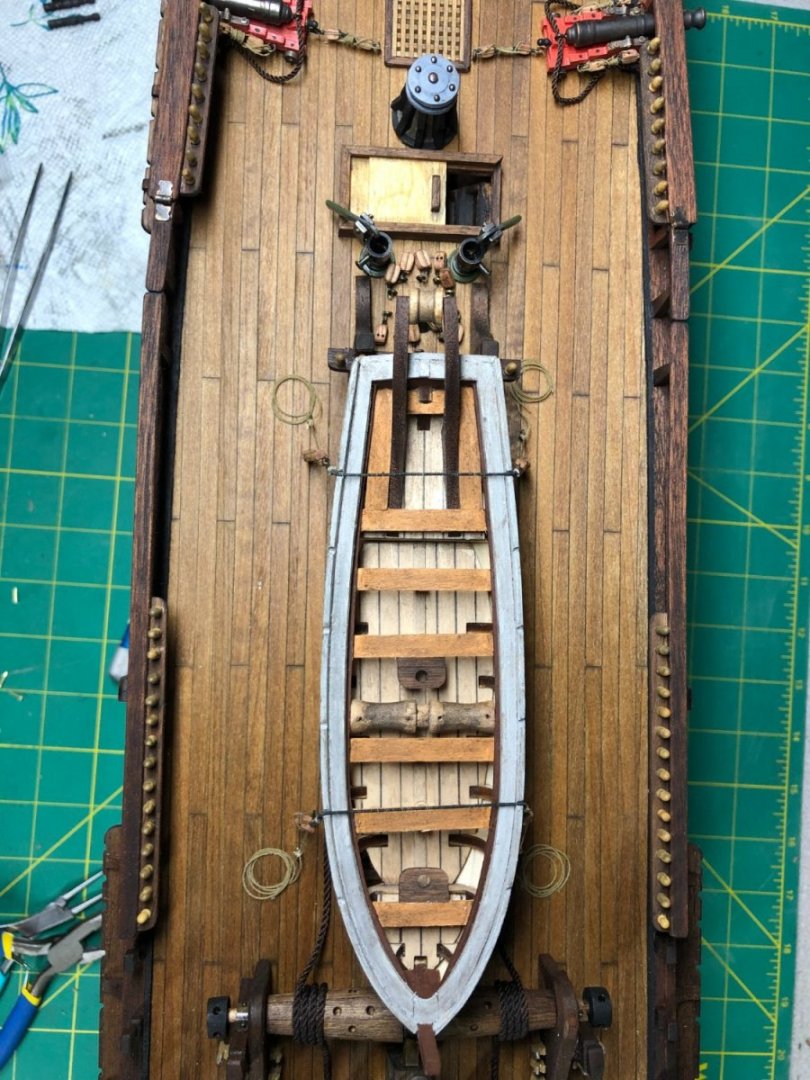
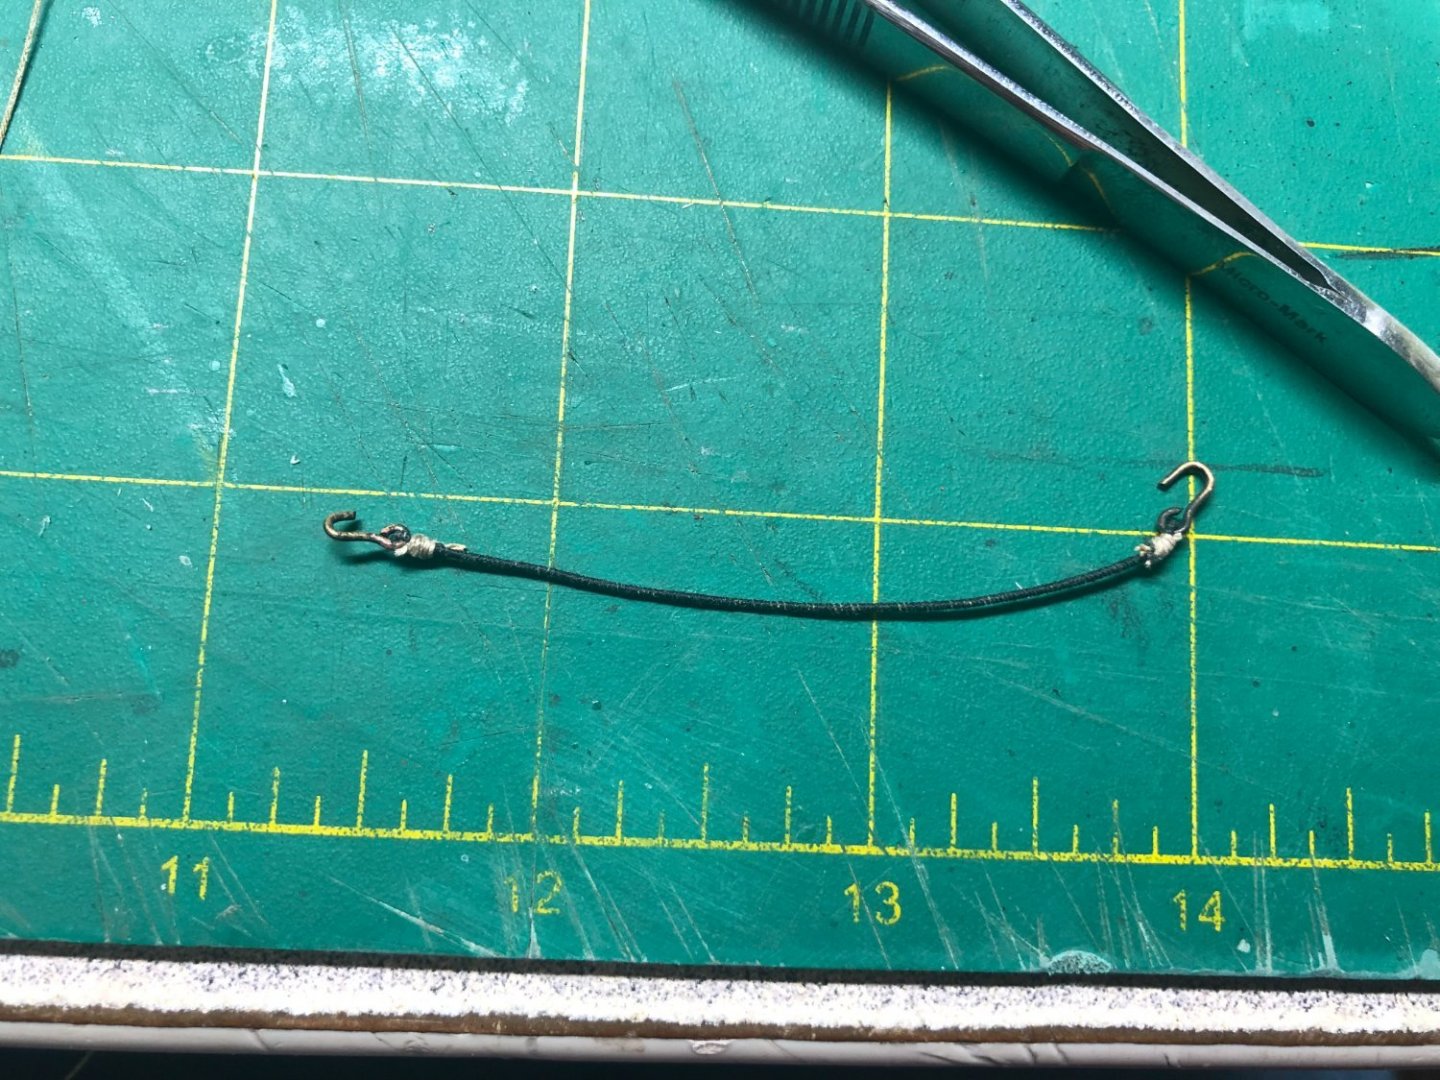
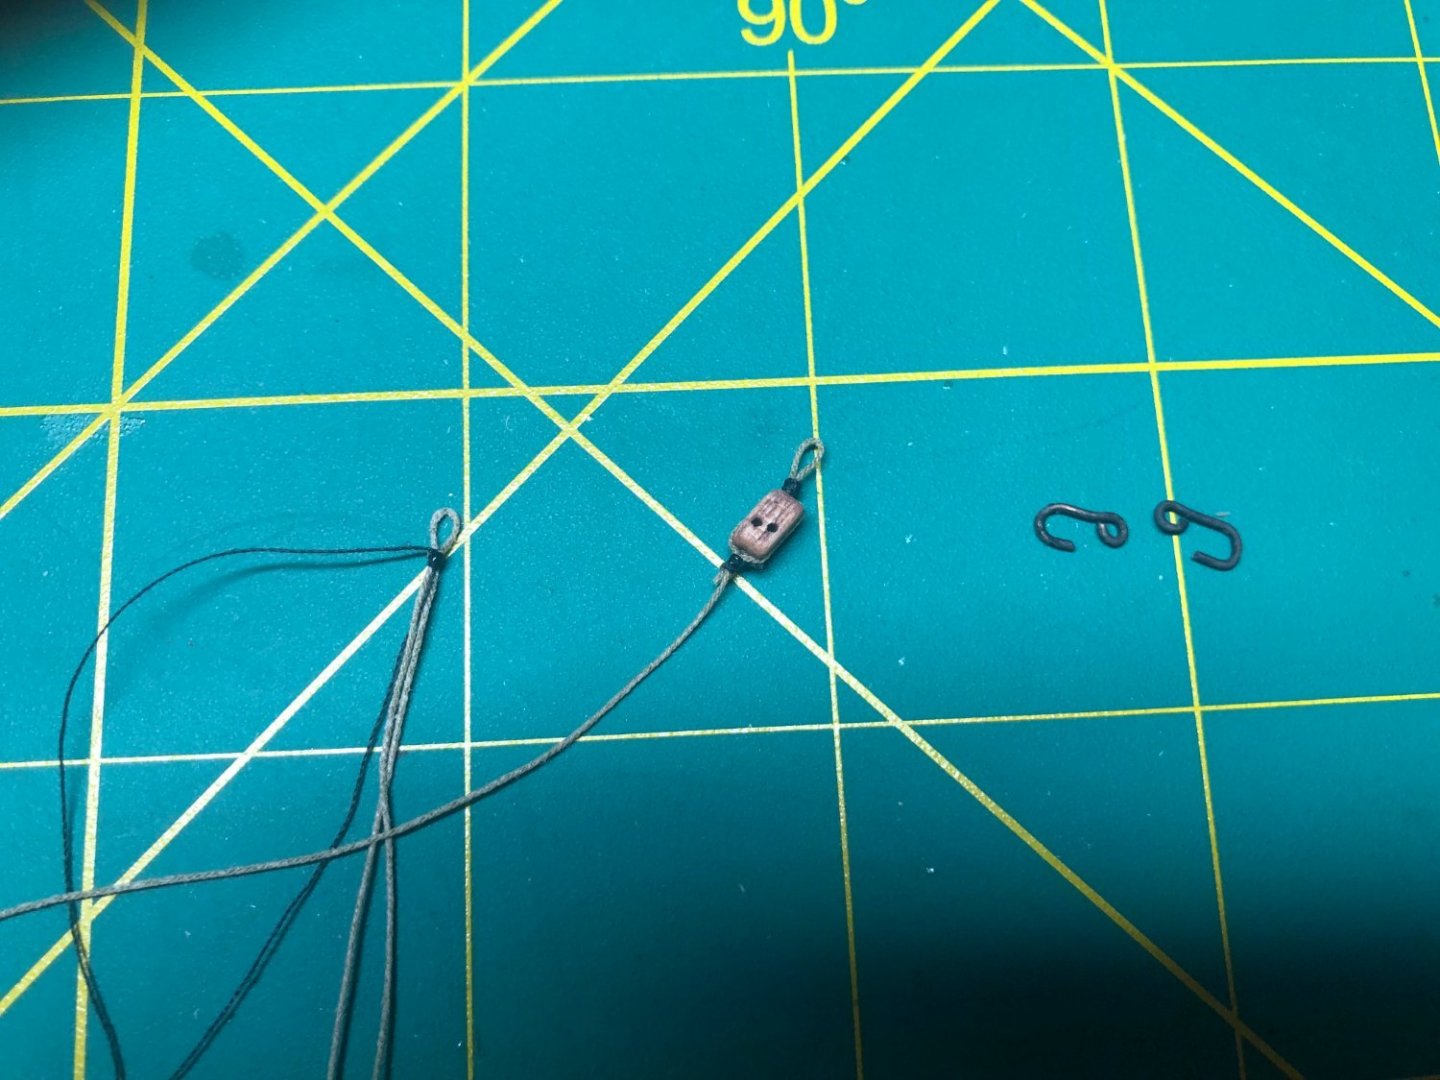
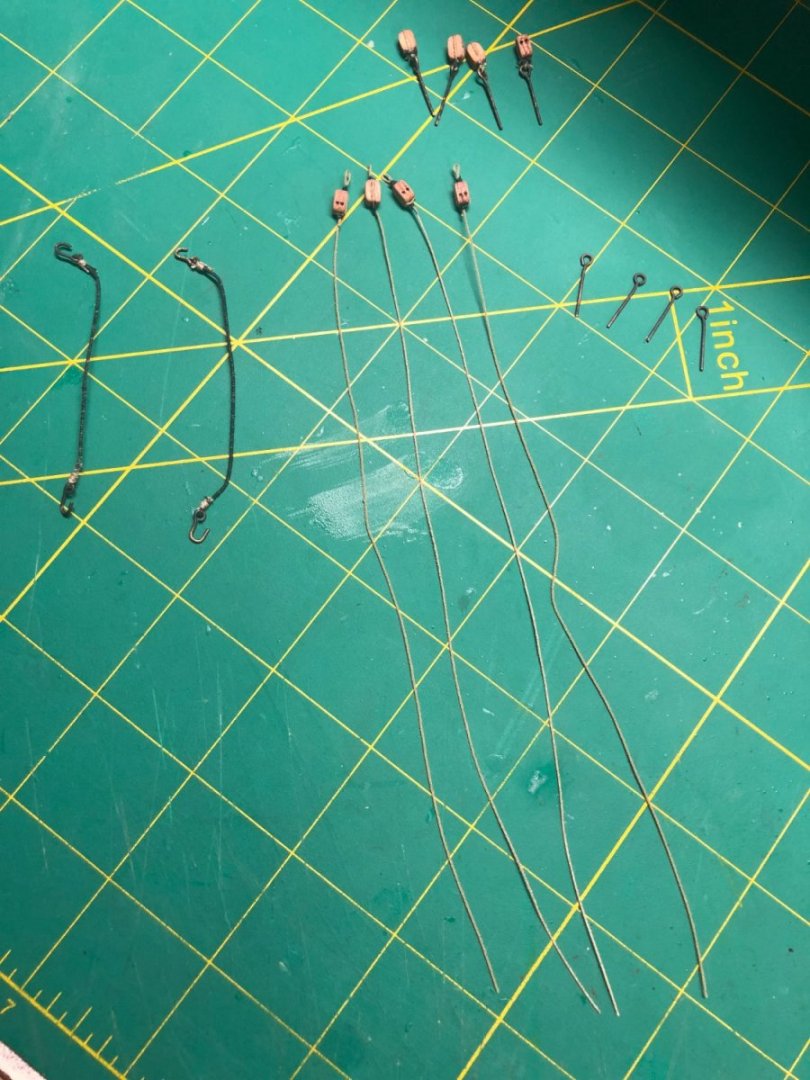
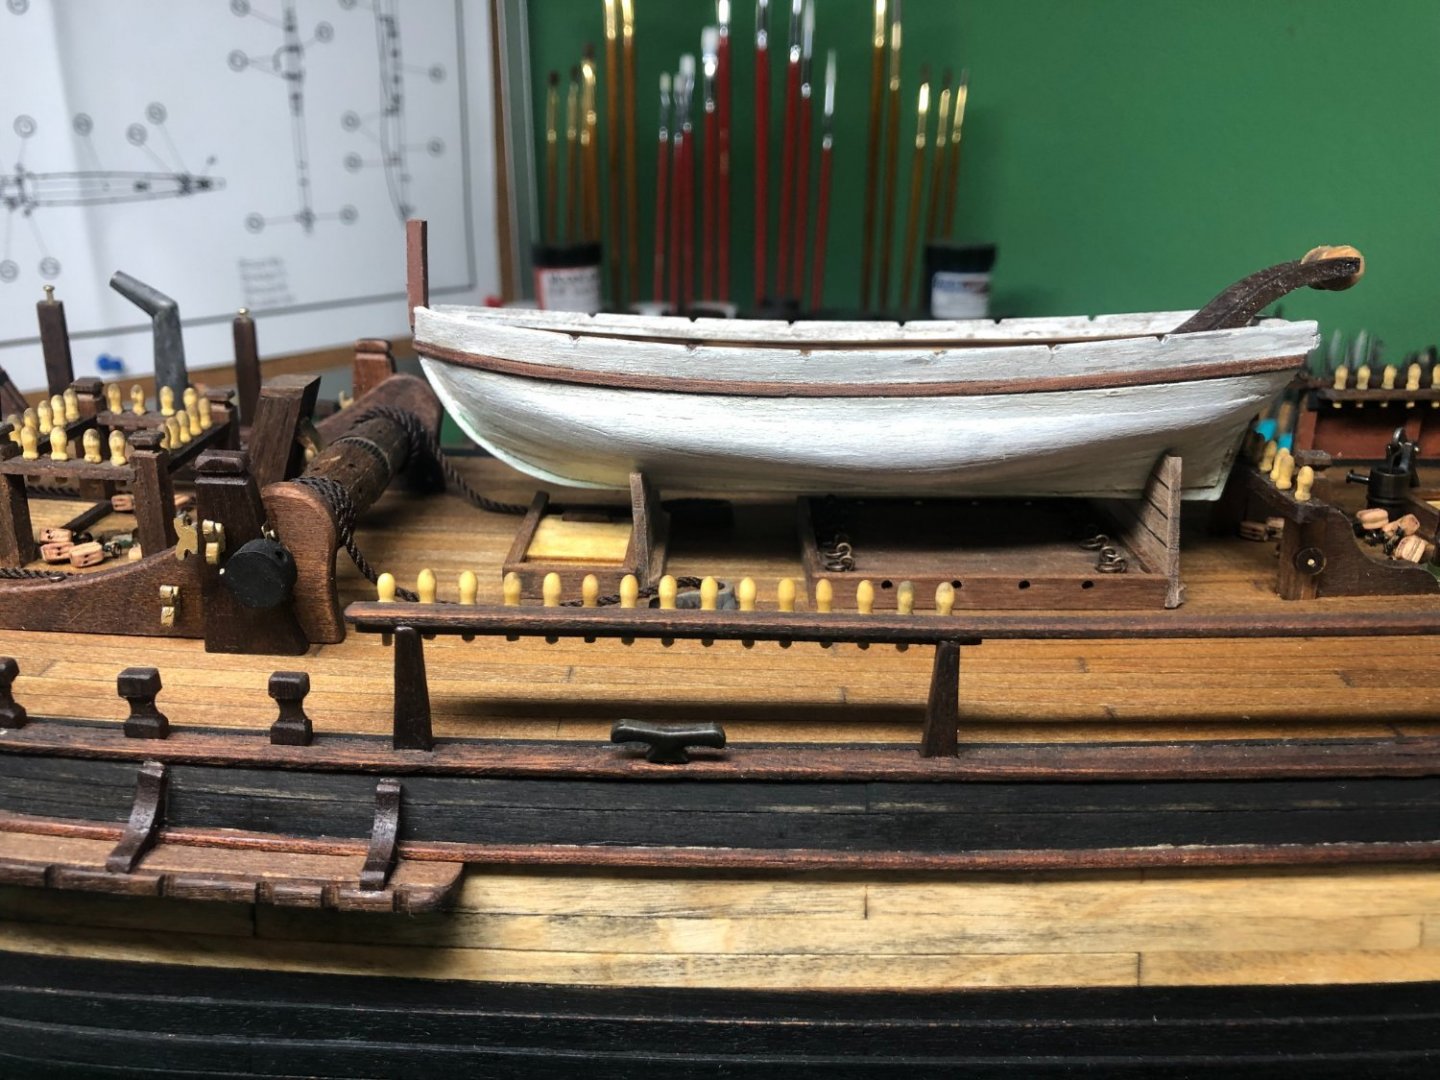
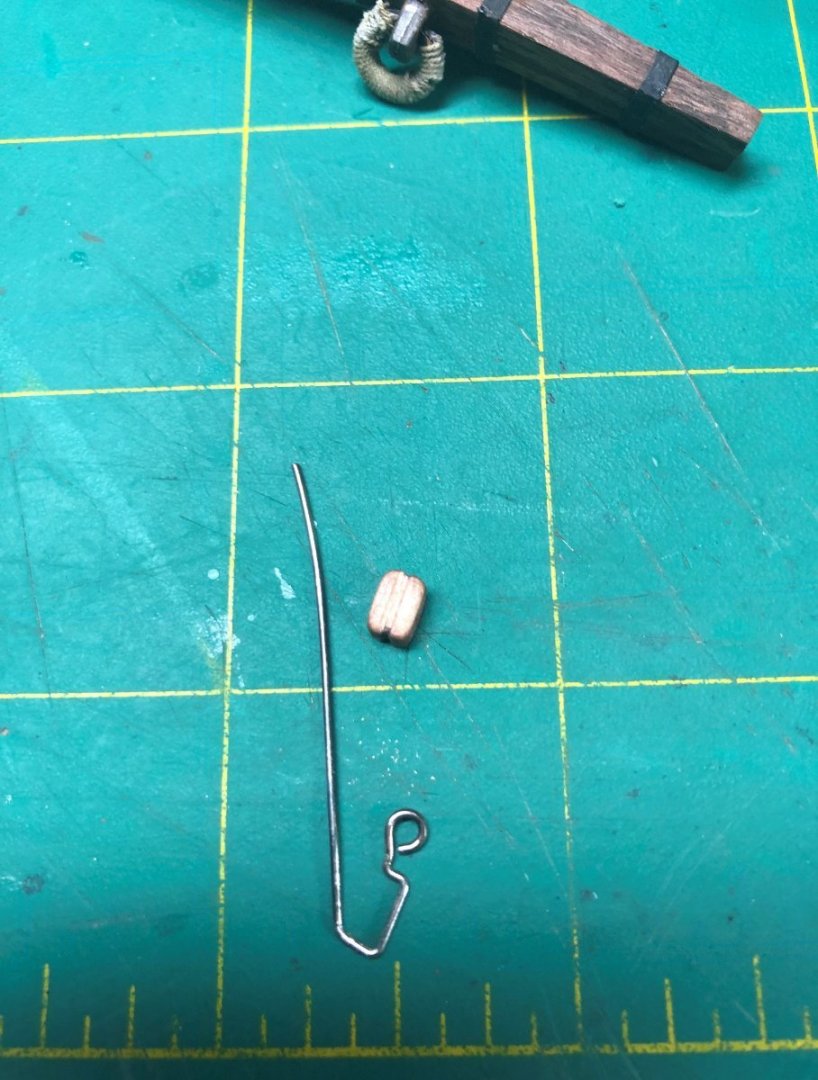
Back at it, after a week of work AND a week of Covid! Lucky me! I can't remember if I mentioned that I am not doing the Jolly boat... The Launch is it for this model. With the Launch done, it needed to be tethered to the deck. I decided to use a bit of a different method... many methods were used. I used the following for my model: First, I served some line: I only needed about 8 inches, total. While that was drying (I use diluted white glue to keep the wrap tight), I started on the hooks: With the served line dry, I cut it to length and used CA glue on the ends to keep the wrap tight. The hooks are added and seized to the line: Blocks are assembled with lines and hooks: Hooks glued to the deck and blocks threaded and cinched down: A couple of quick tie-down knots and rope coils and this step is done. I have one step left to complete the deck work! I'll finish it tomorrow. Next up is the bowsprit and the rigging will begin in earnest! Lots of activities over the next few months. So, work on the Bounty and updates will be sporadic.


-
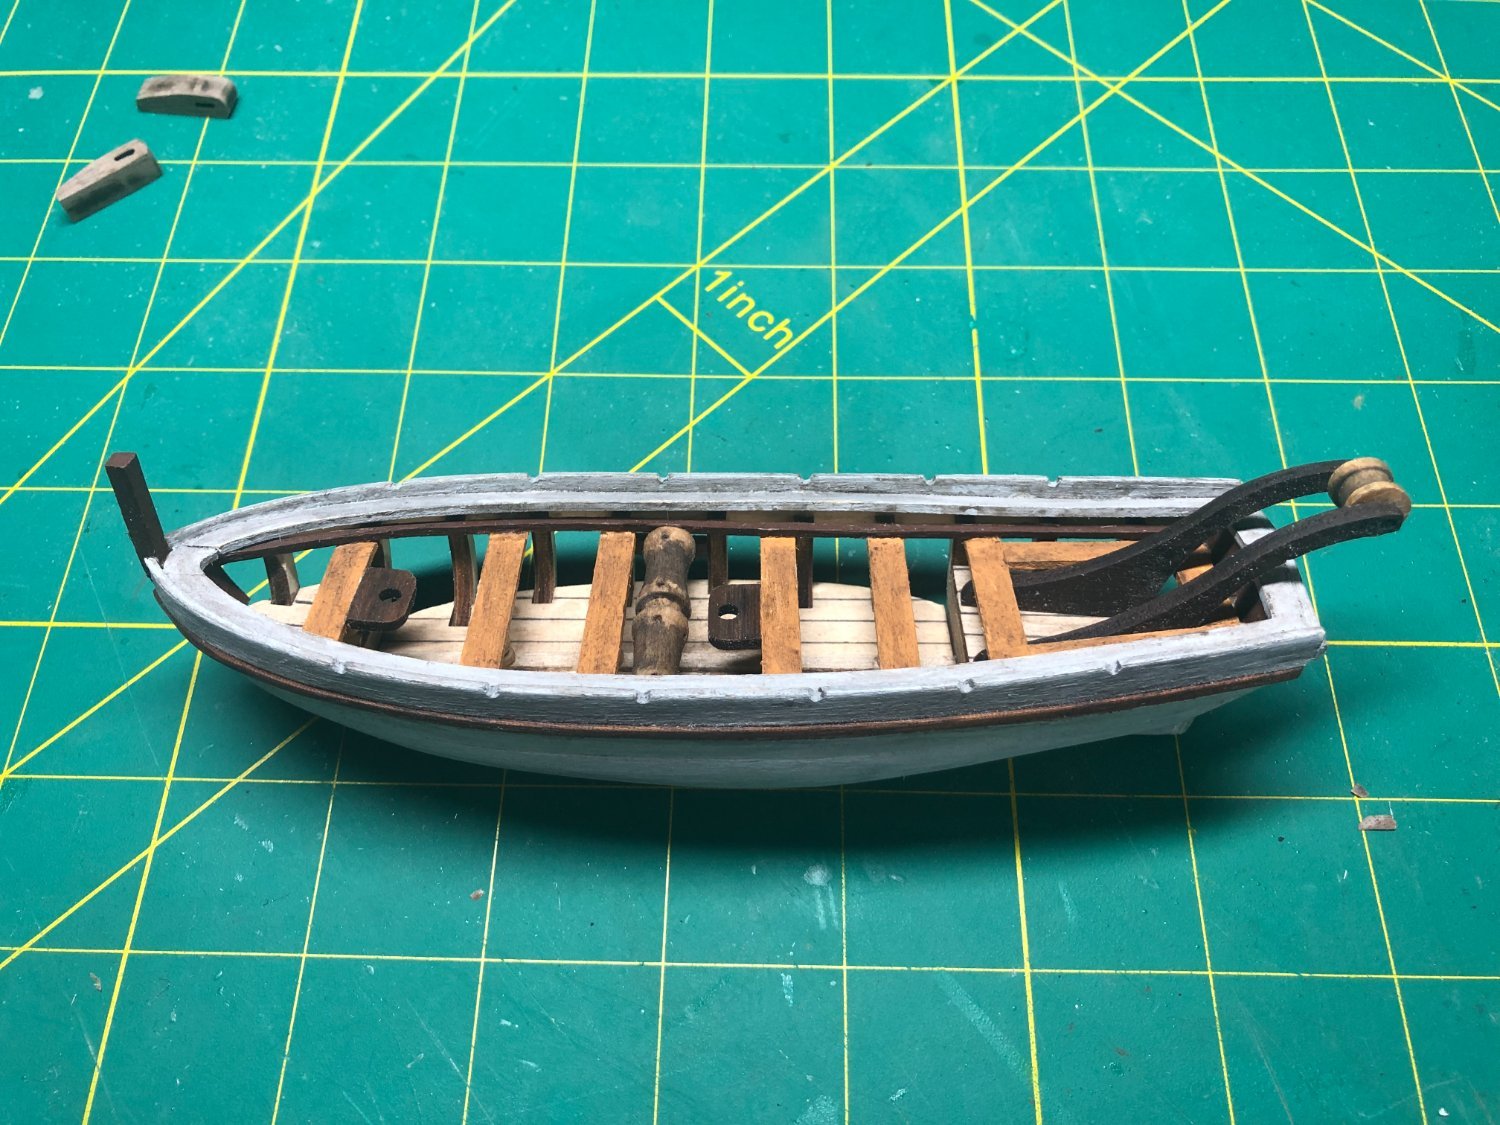
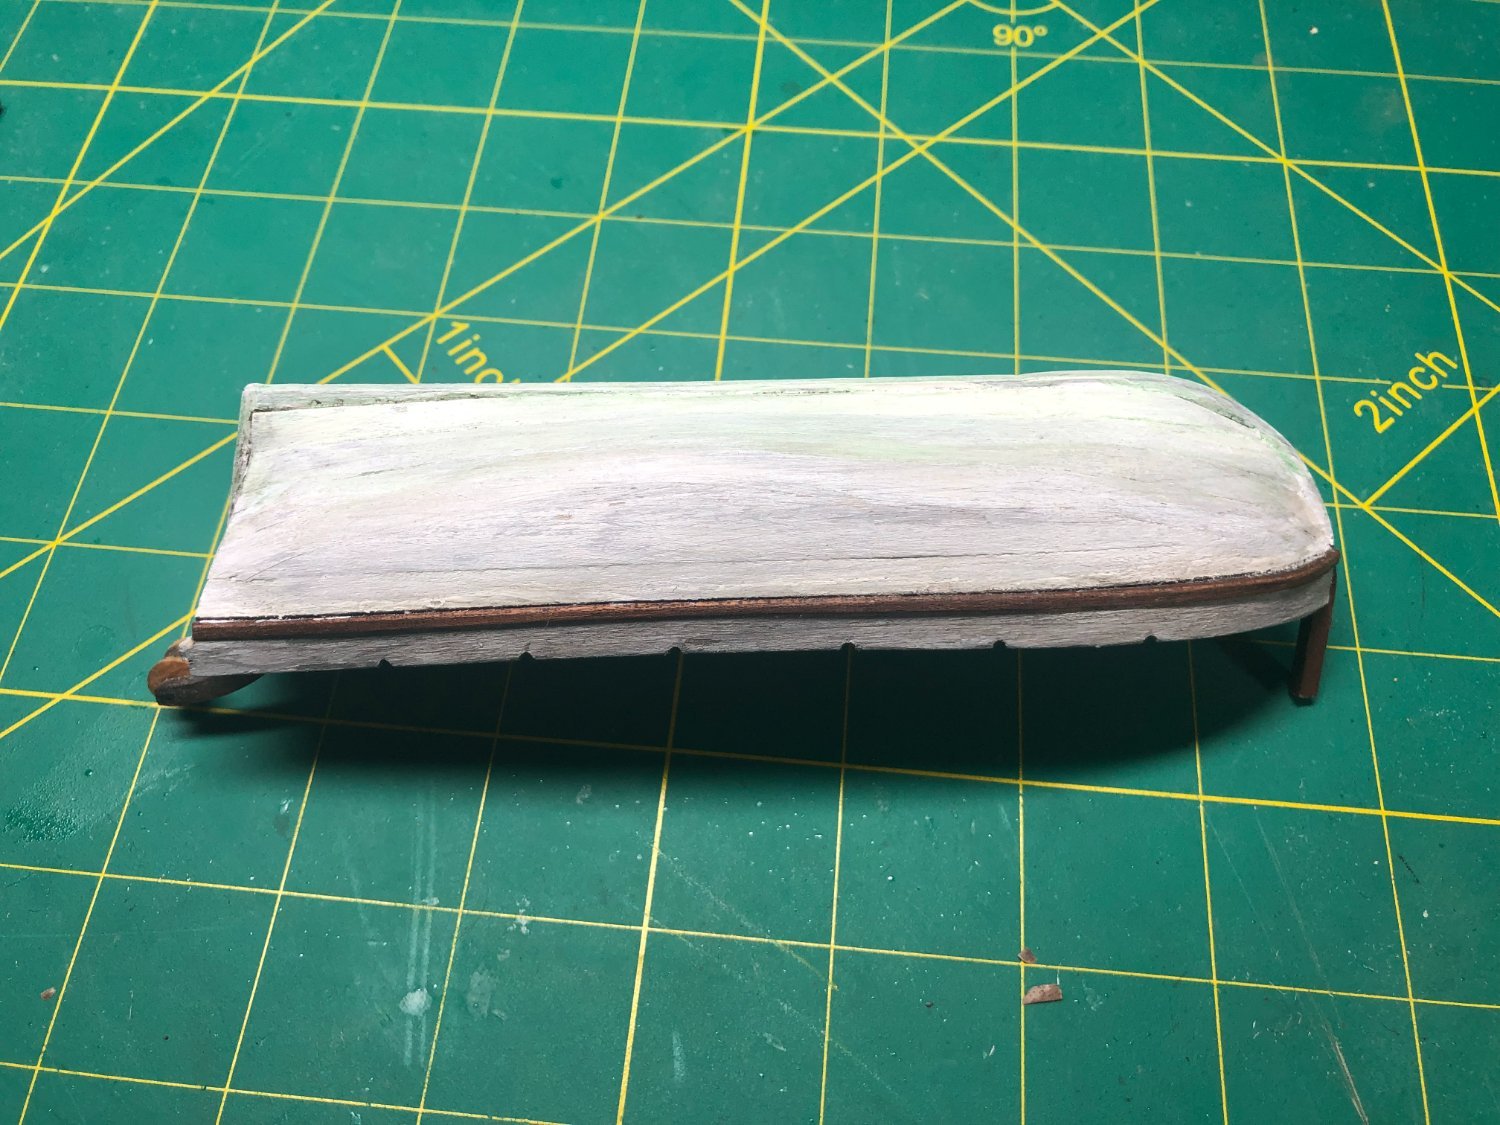
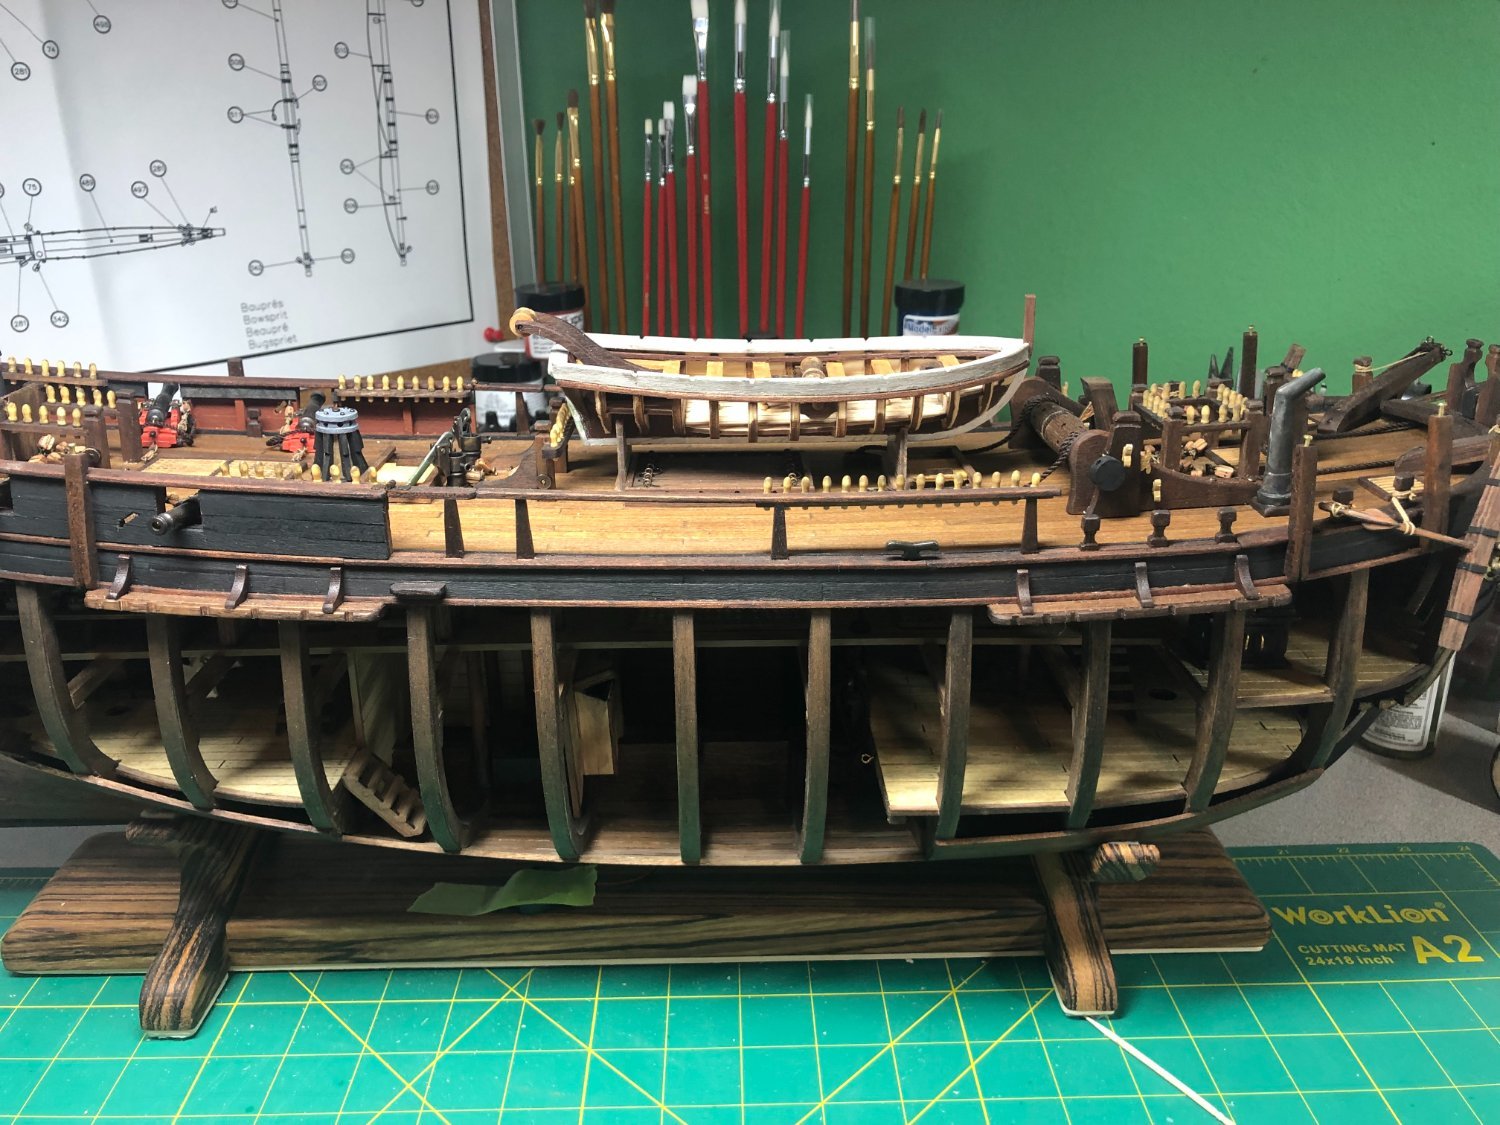
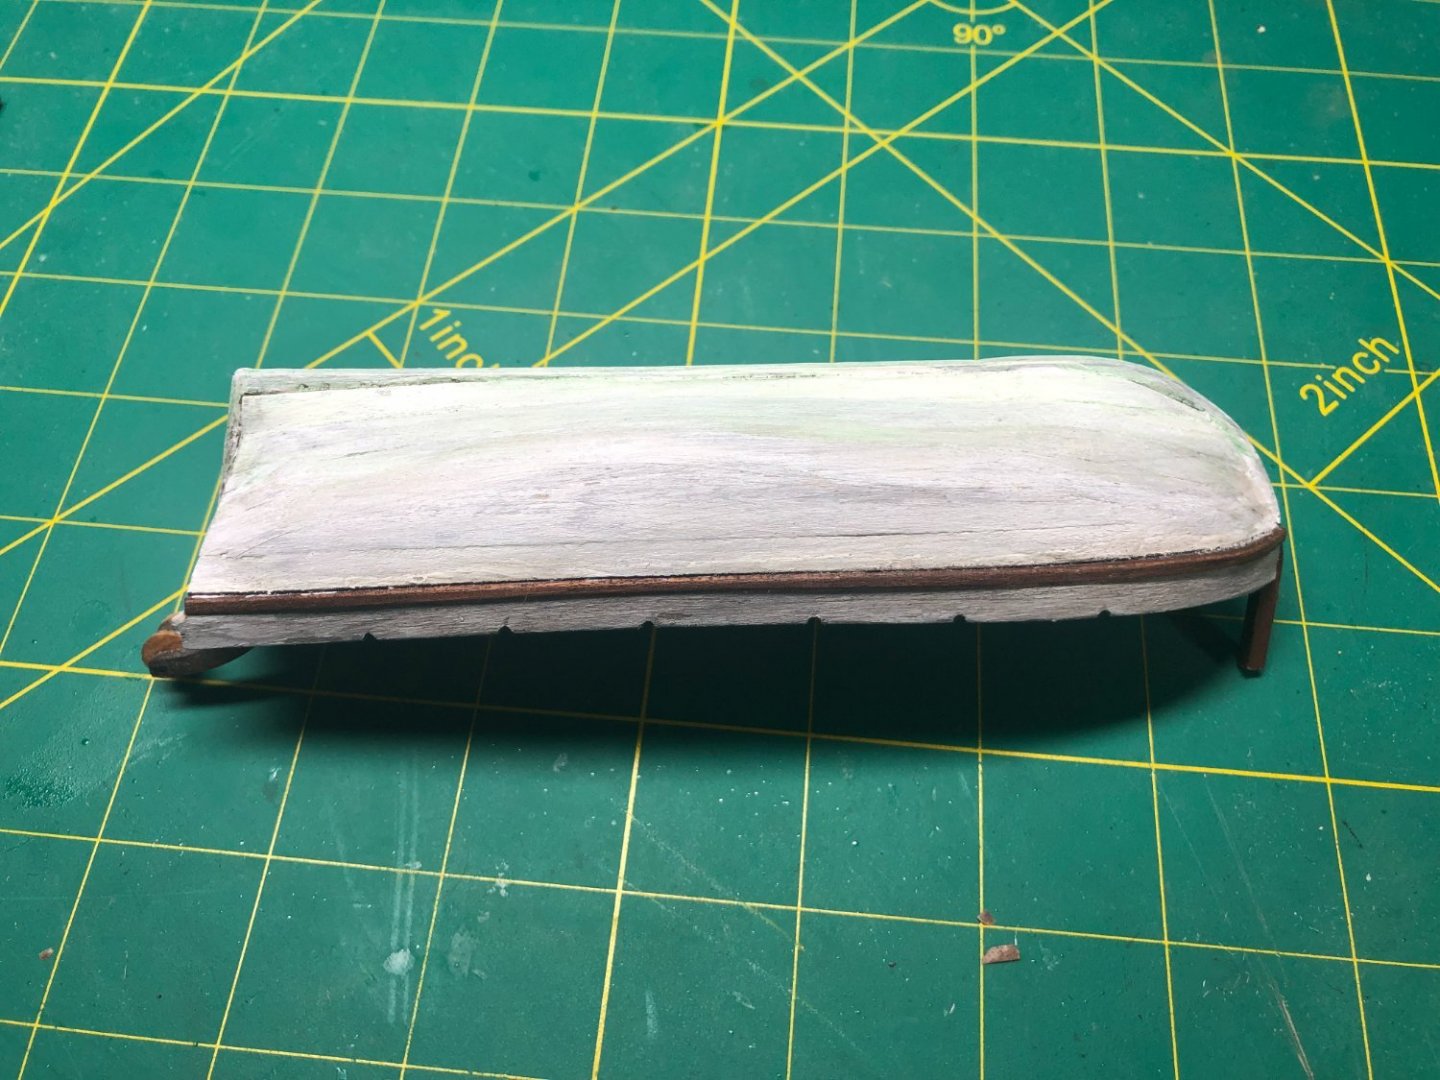
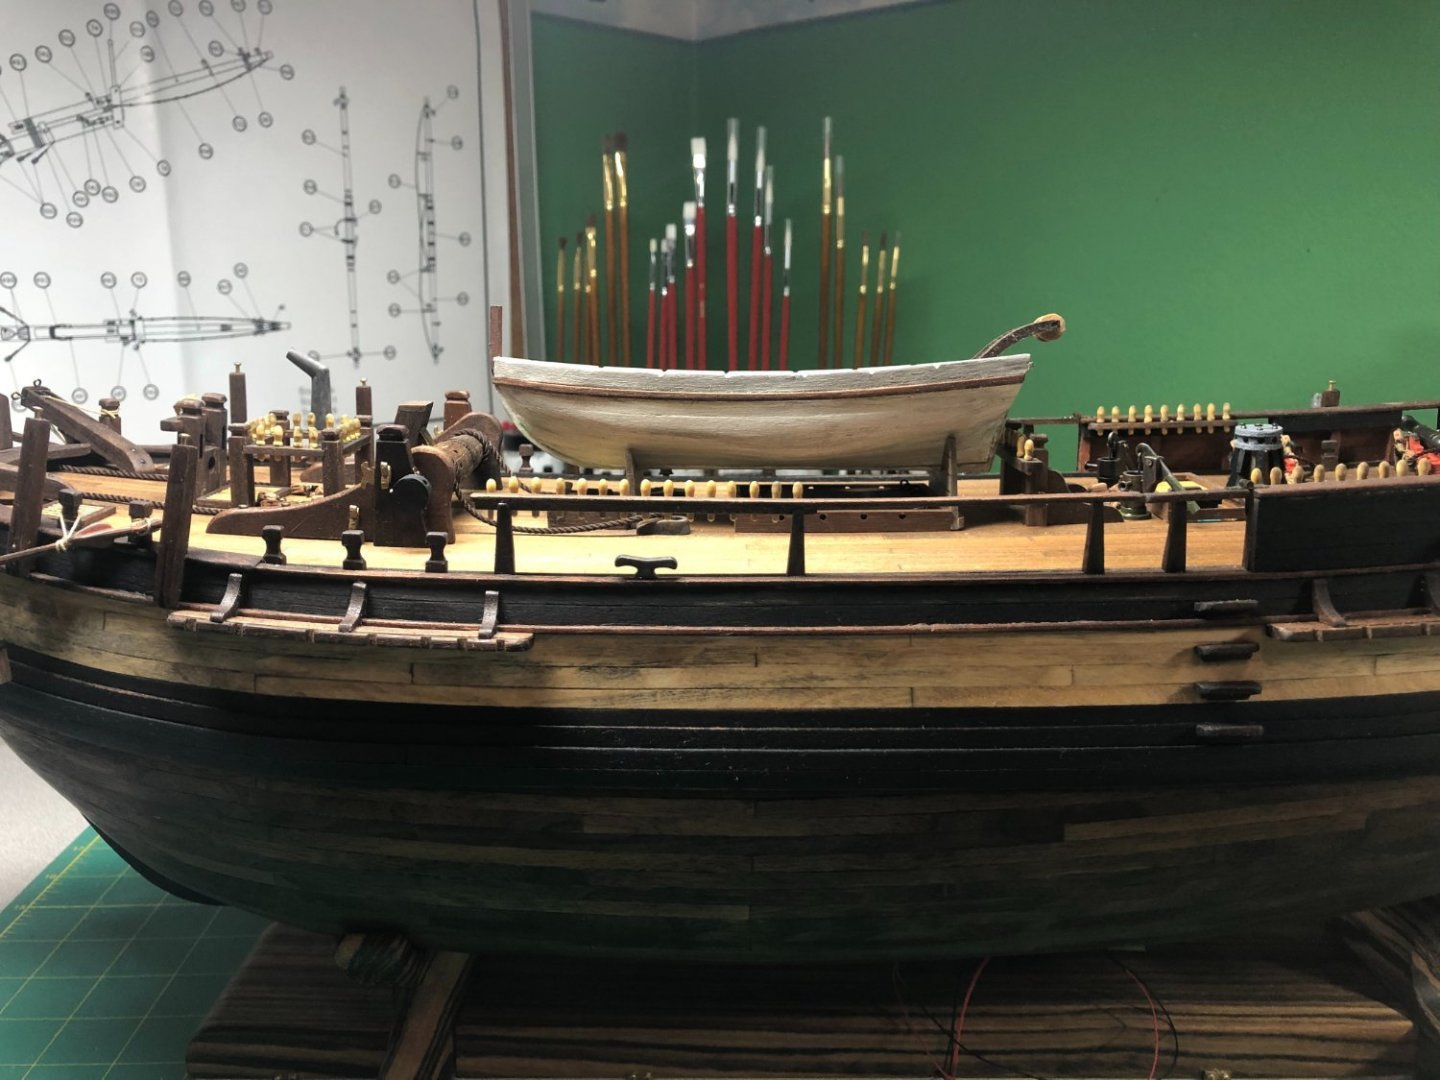
Launch completed and ready to mount. Before planking the port side, I did some weathering and distressing: The planking was straight forward and since it is being painted, I did not follow my usual method. Once completed and sanded, I primed and painted the hull and distressed it with several washes to give it a used look: The picture colors are not showing quite right. The top rail is actually gray! Finally, the launch is sitting in the appropriate spot on the Bounty's deck. Rigging the Launch to the deck remains before moving on the the half-pounder guns. I'm off once again... my old employer has re-hired me... for a week, to help with a project. Made it worth my while, so off to Oakland for a week!


-
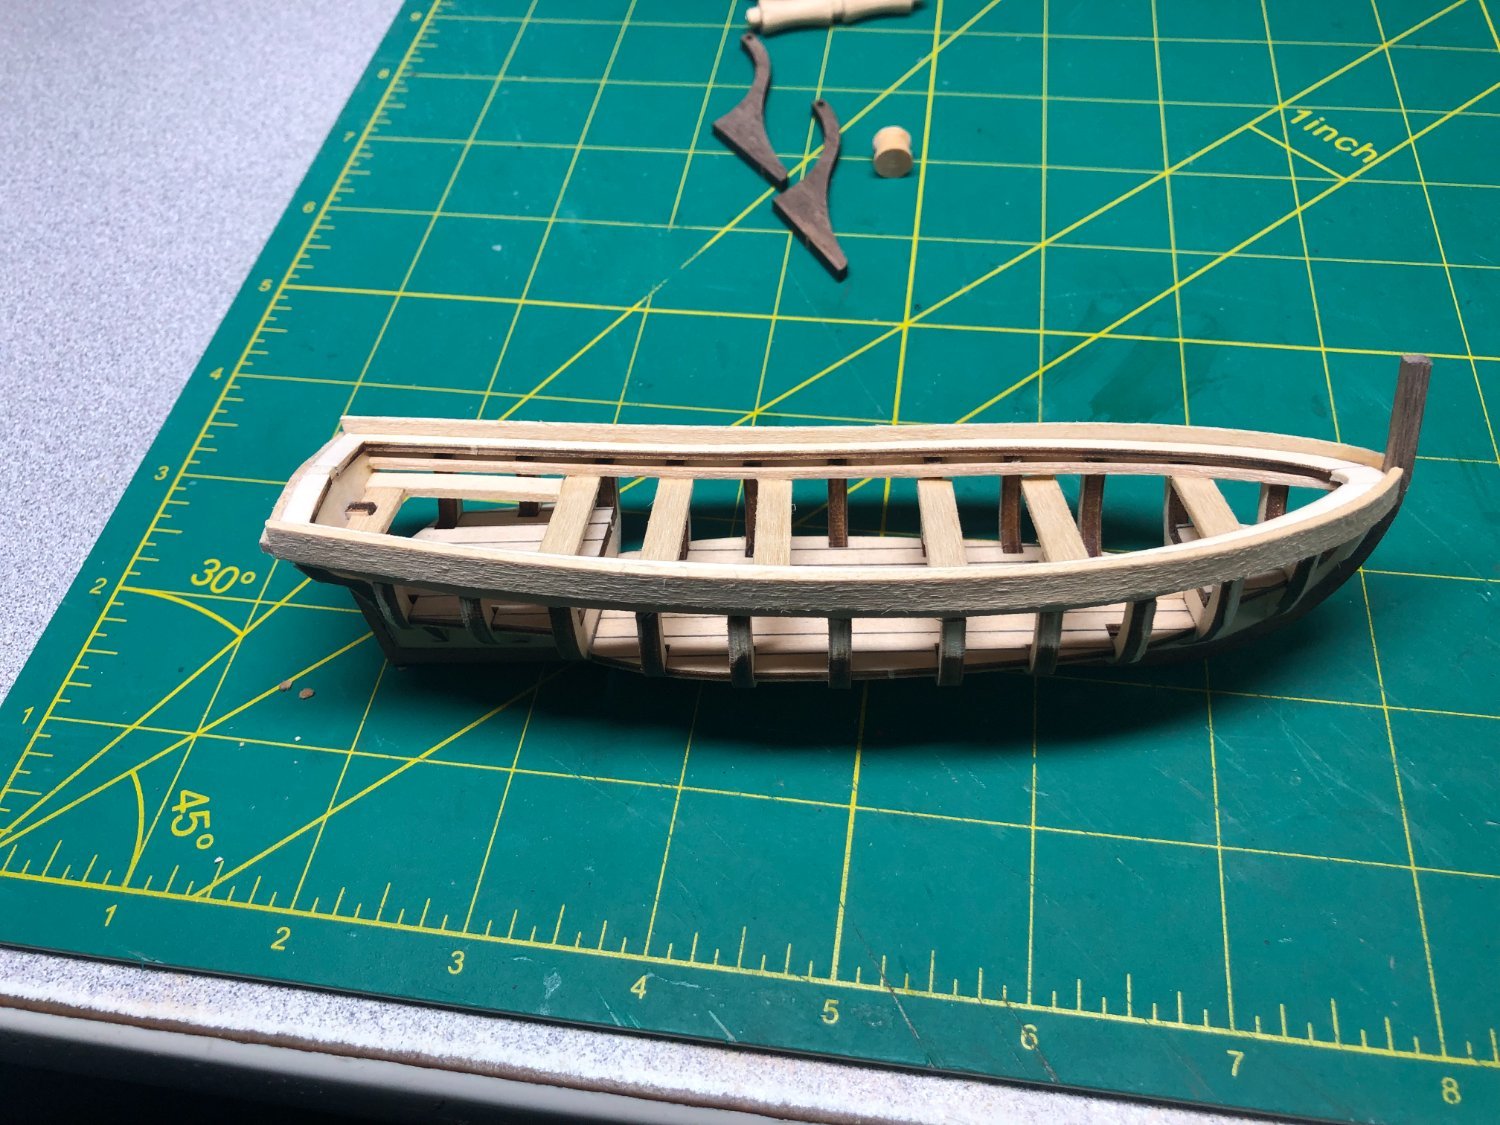
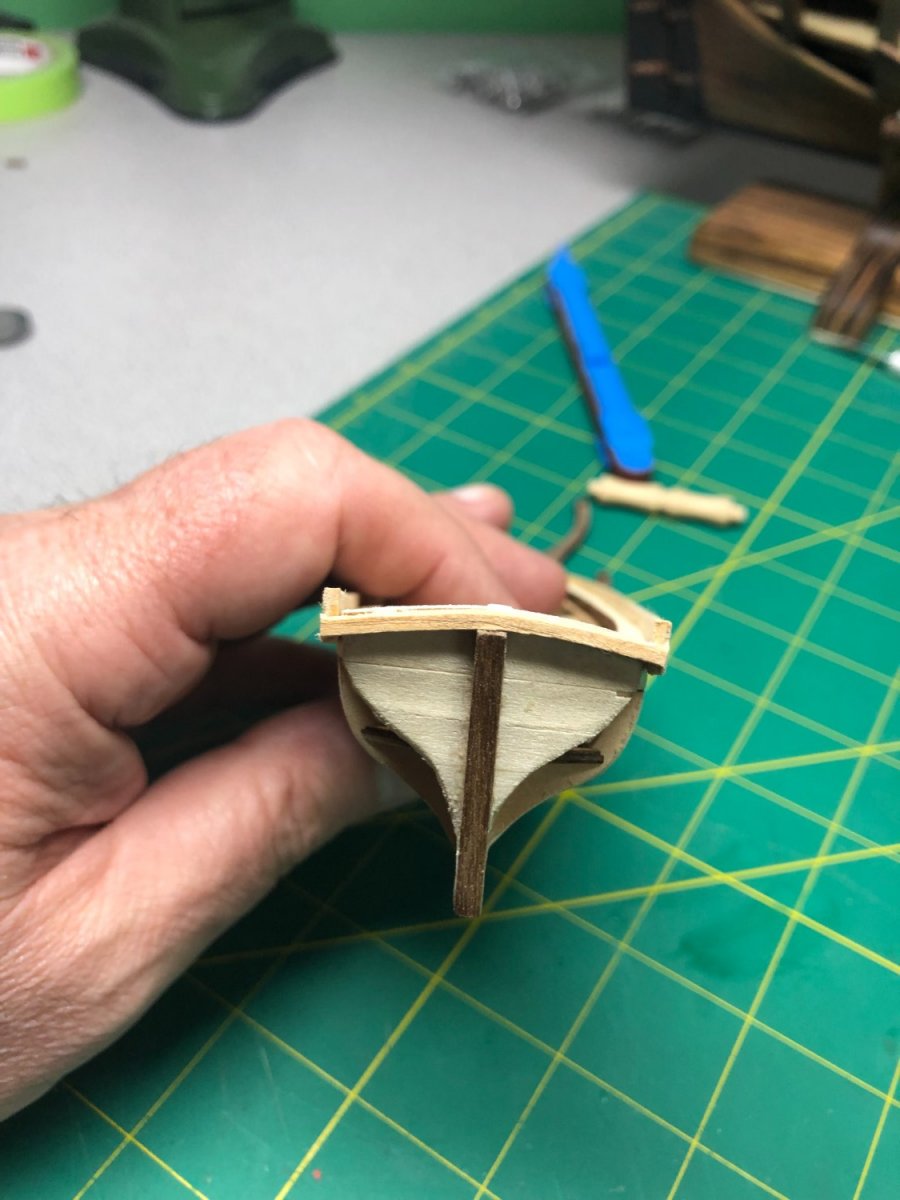
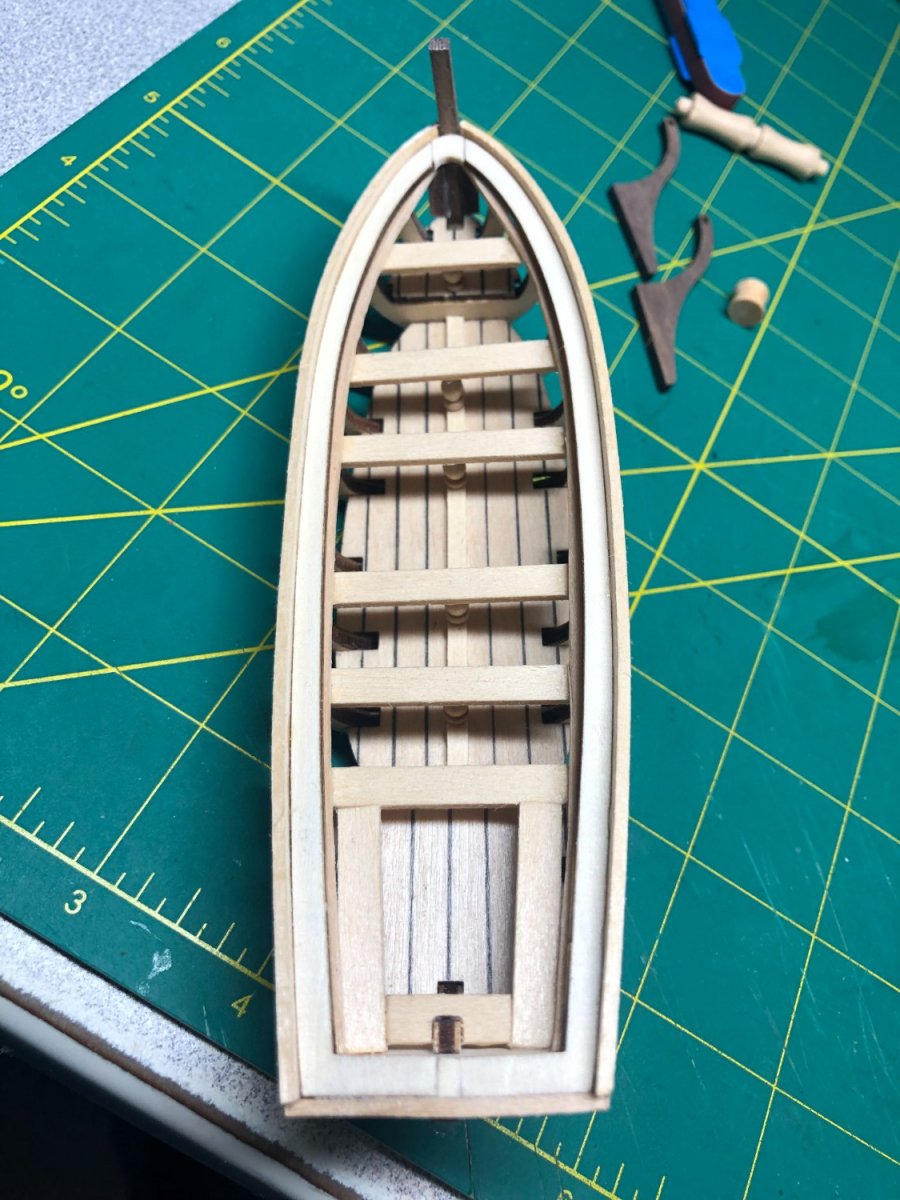
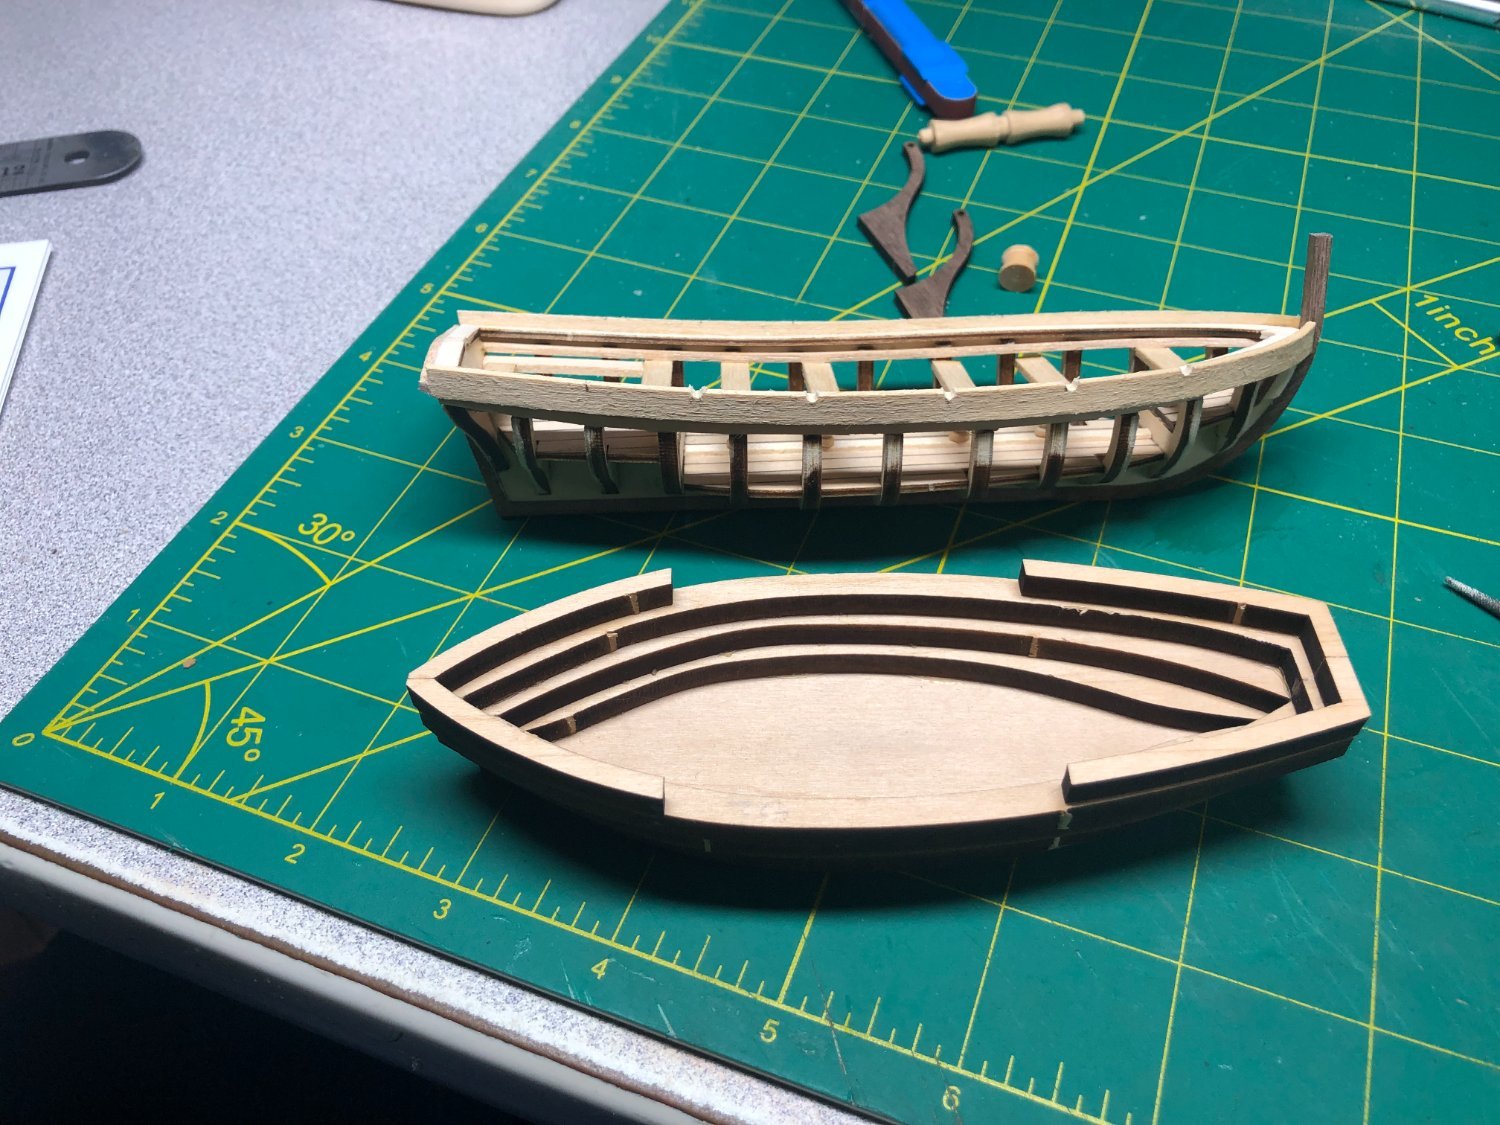
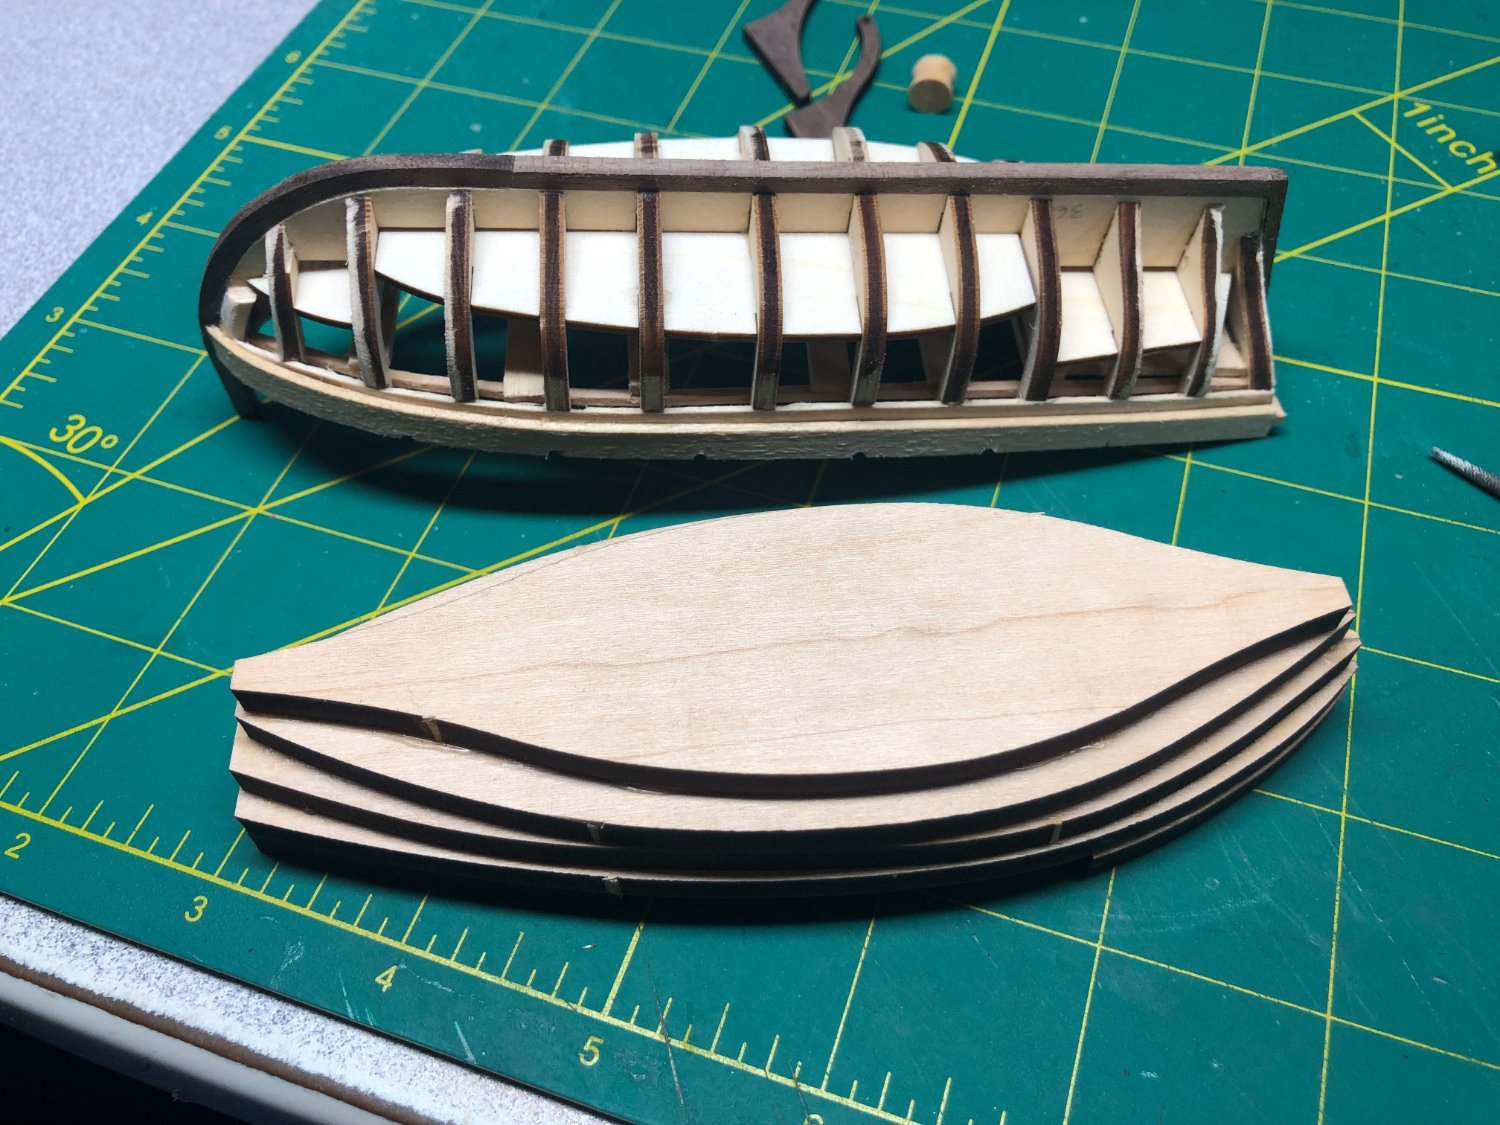
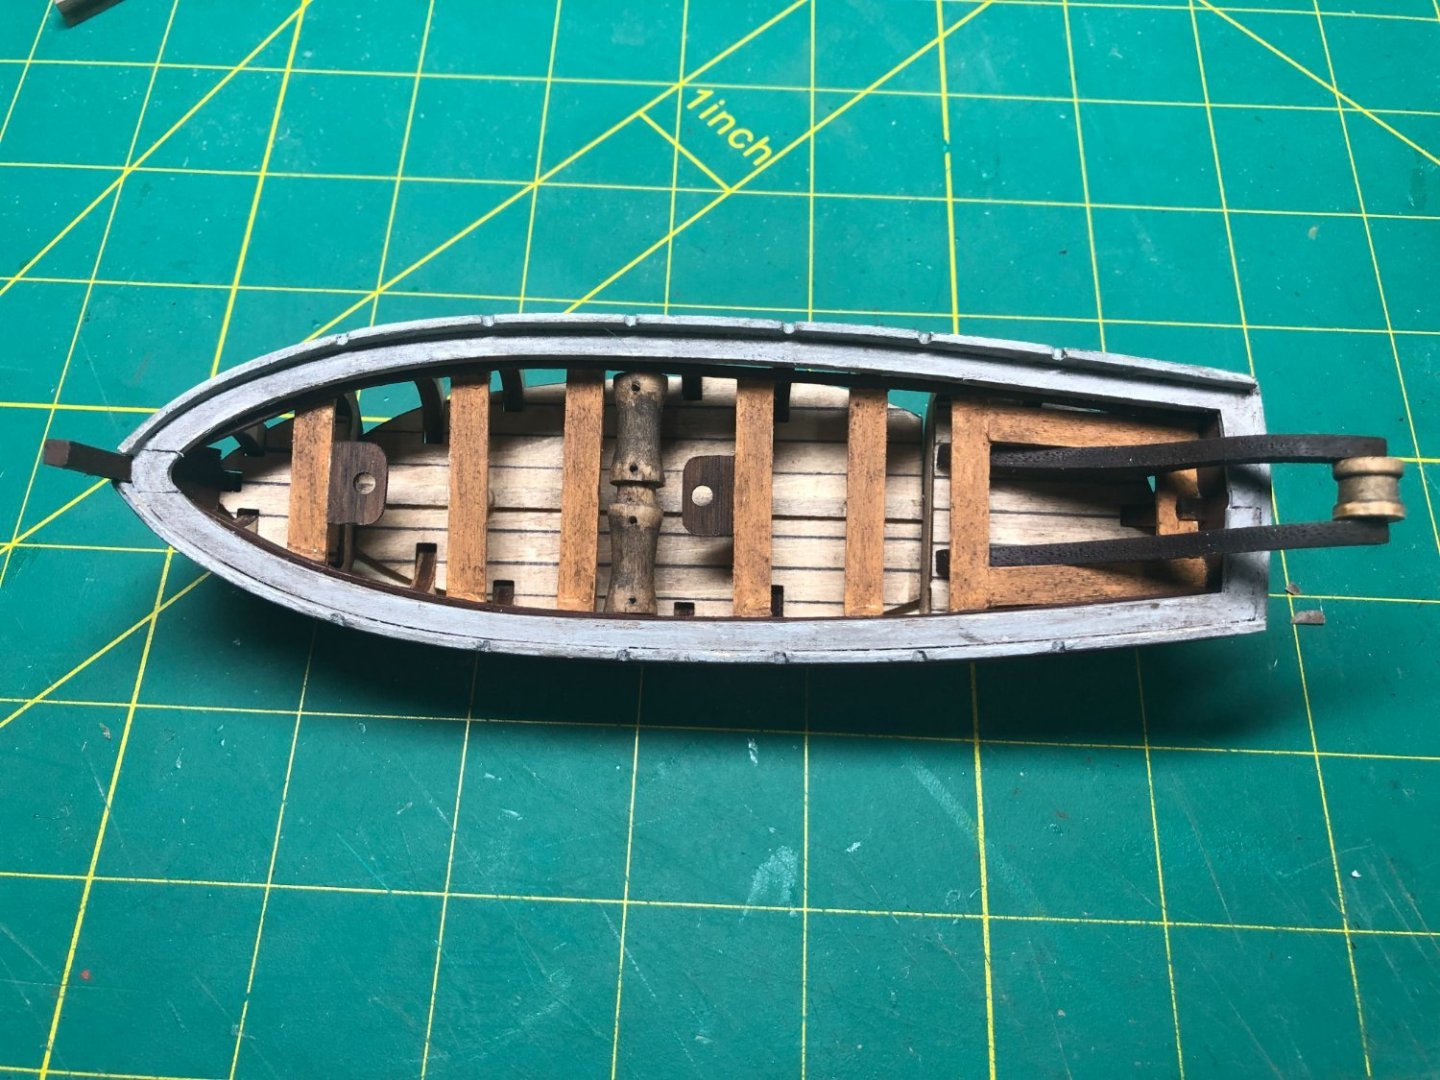
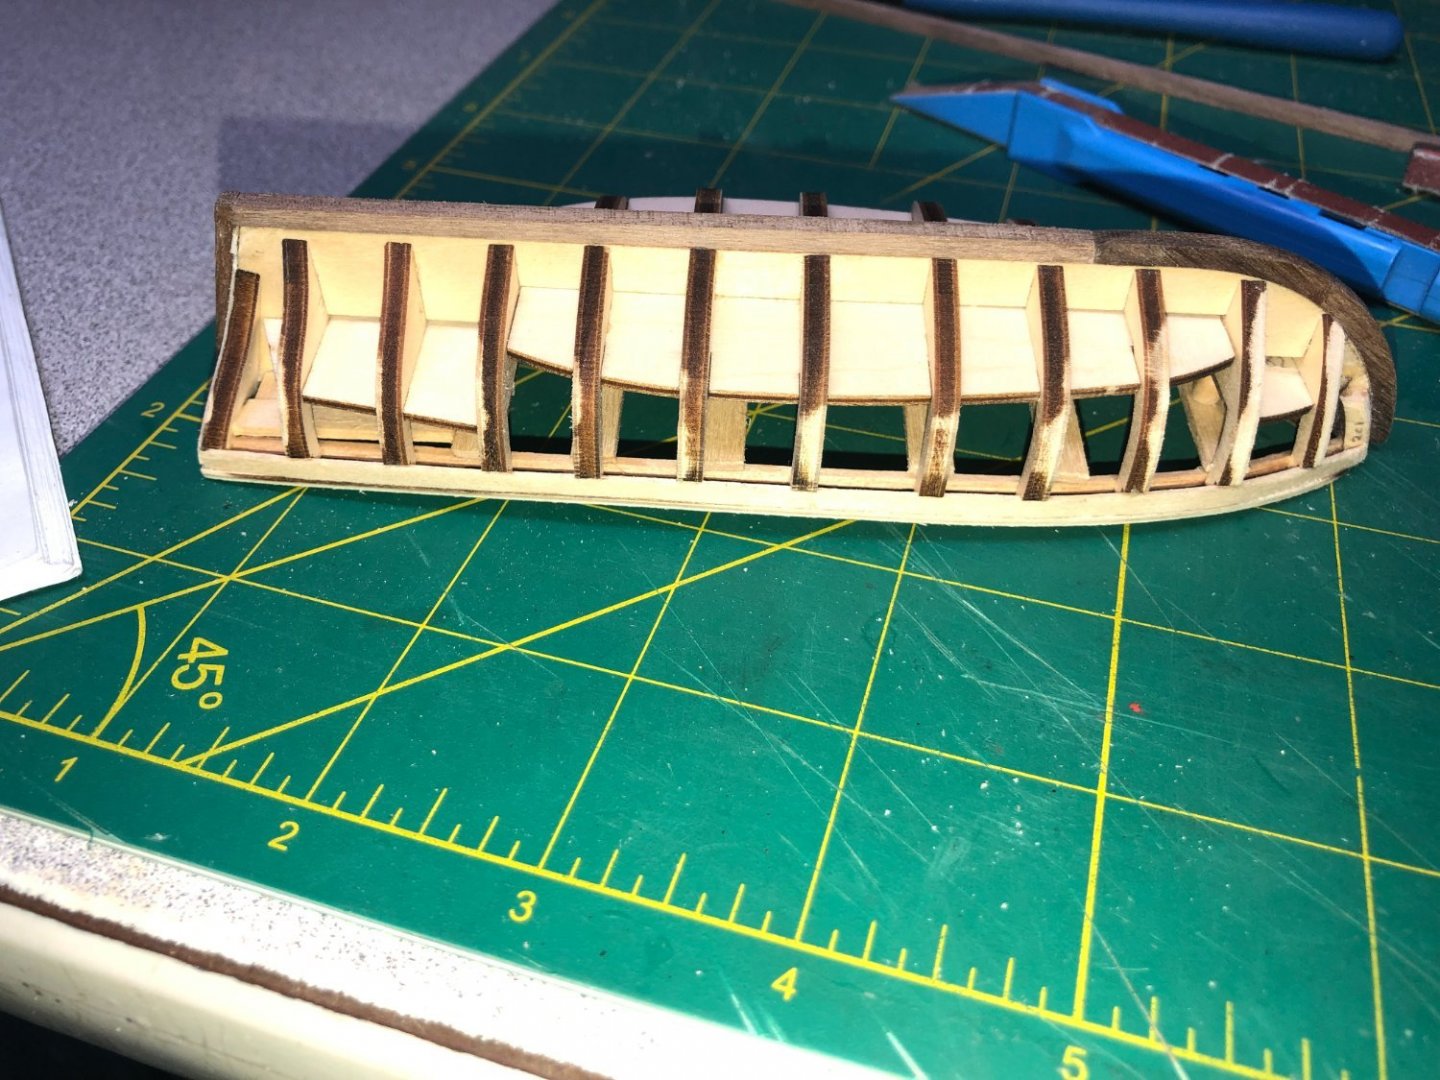
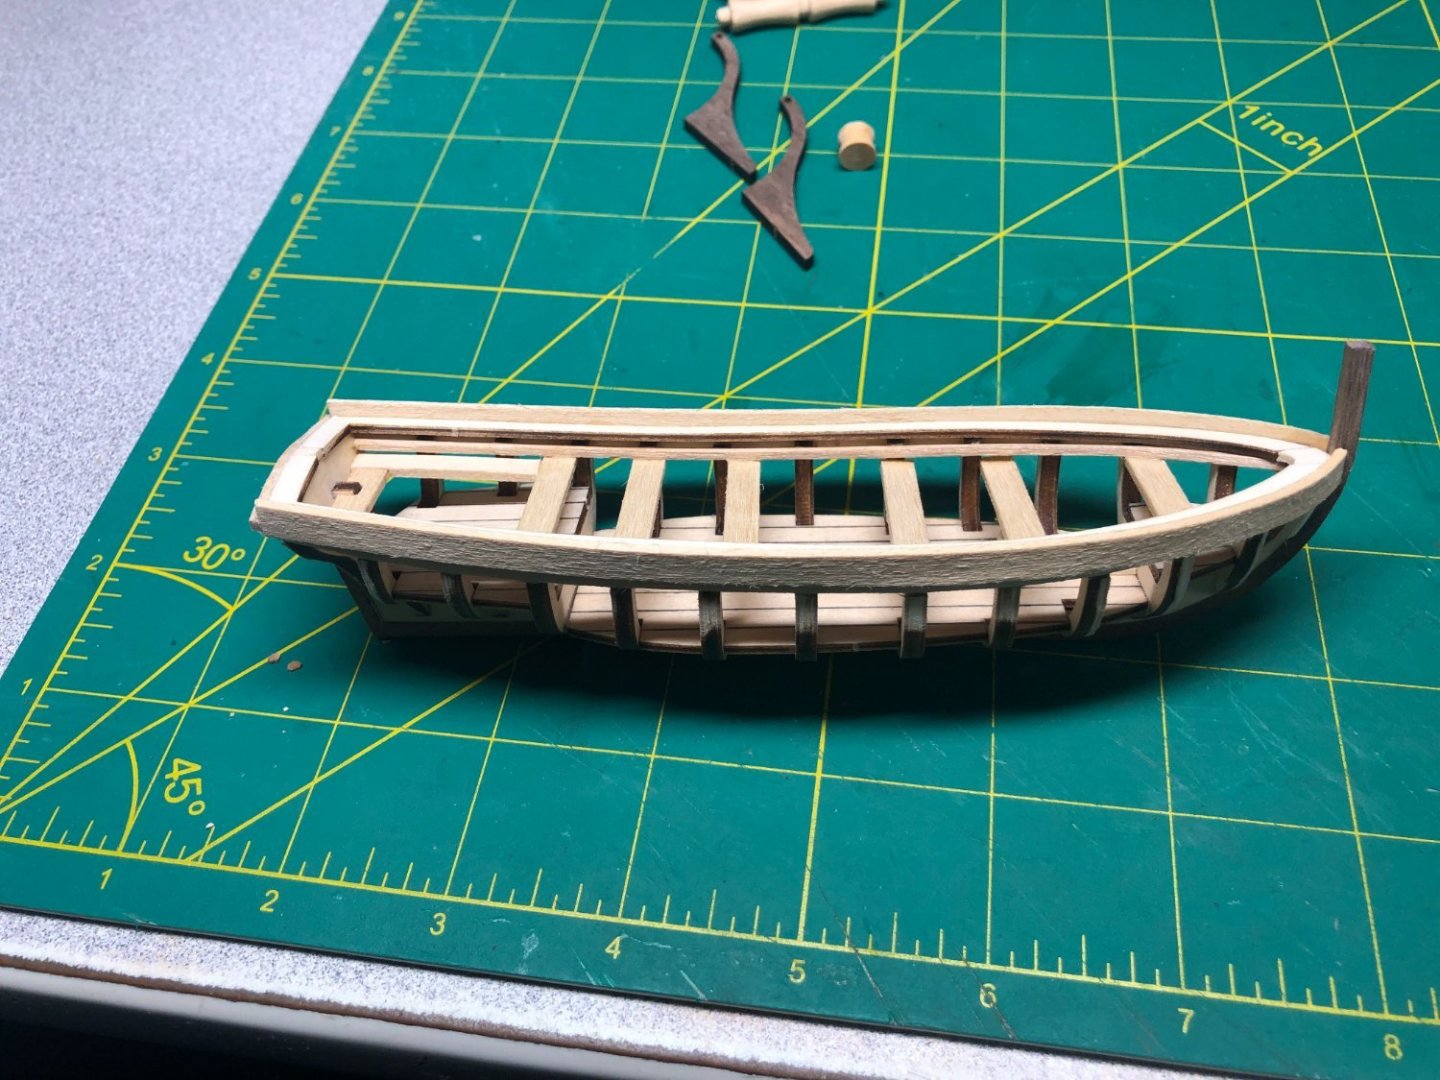
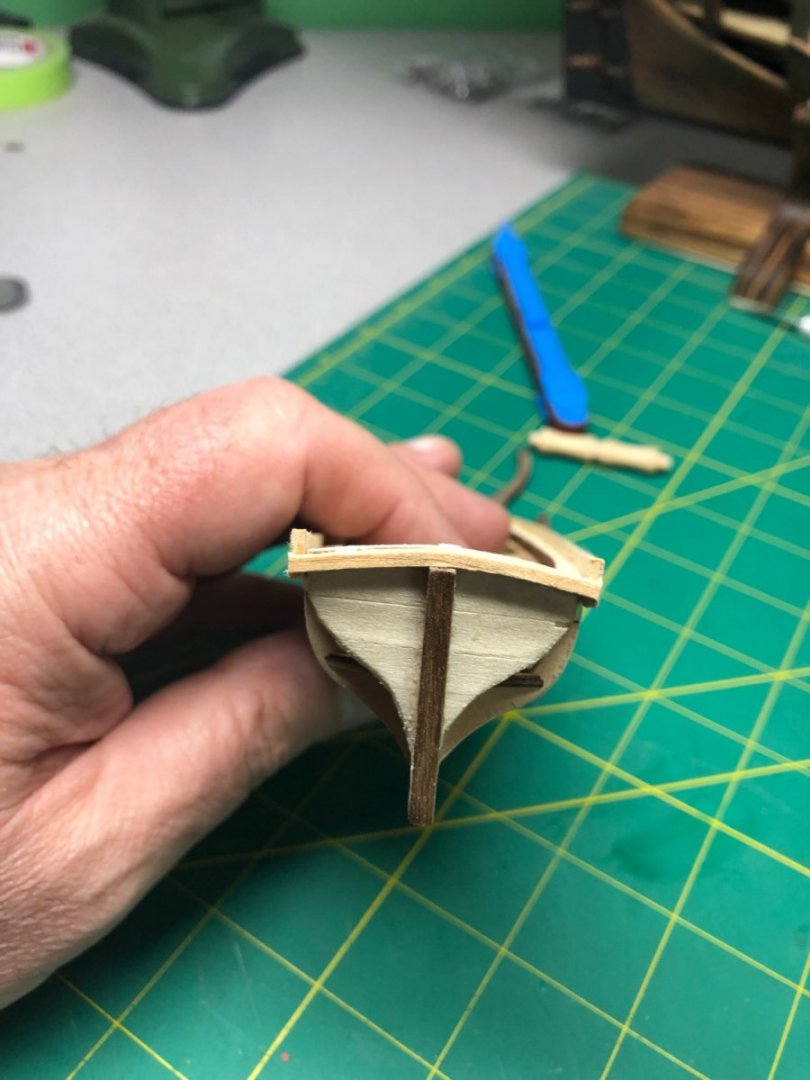
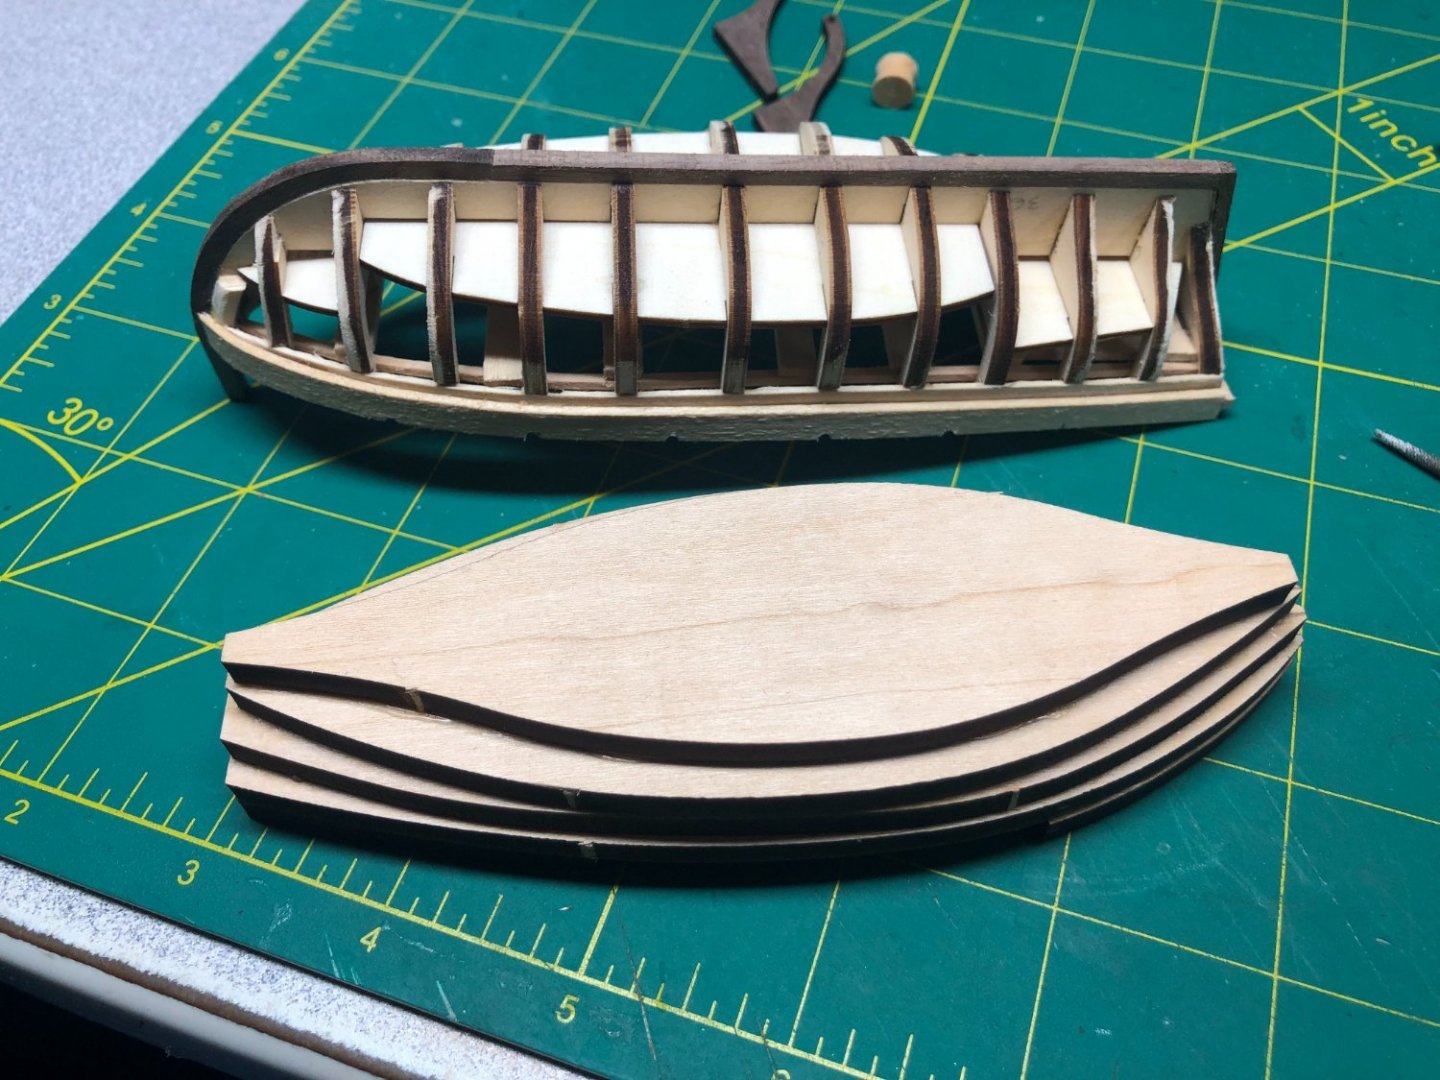
Although not really historically accurate, the Launch is a fun little build. So, I started on the frame pieces and the interior of the boat: The instructions are minimal but the pictures are good... a fairly simple build but time consuming! I added the keel and stern post: Some light sanding... Worked on the Cutter too. Still not sure if it will make the final cut, we'll see how it turns out. An interesting build, using a stacked method with a ton of sanding to shape both the outside and inside: Before moving on to the planking (port side only, just like the Bounty), I painted the launch interior and upper areas. Still need to distress and weather it though: More to come soon.


-
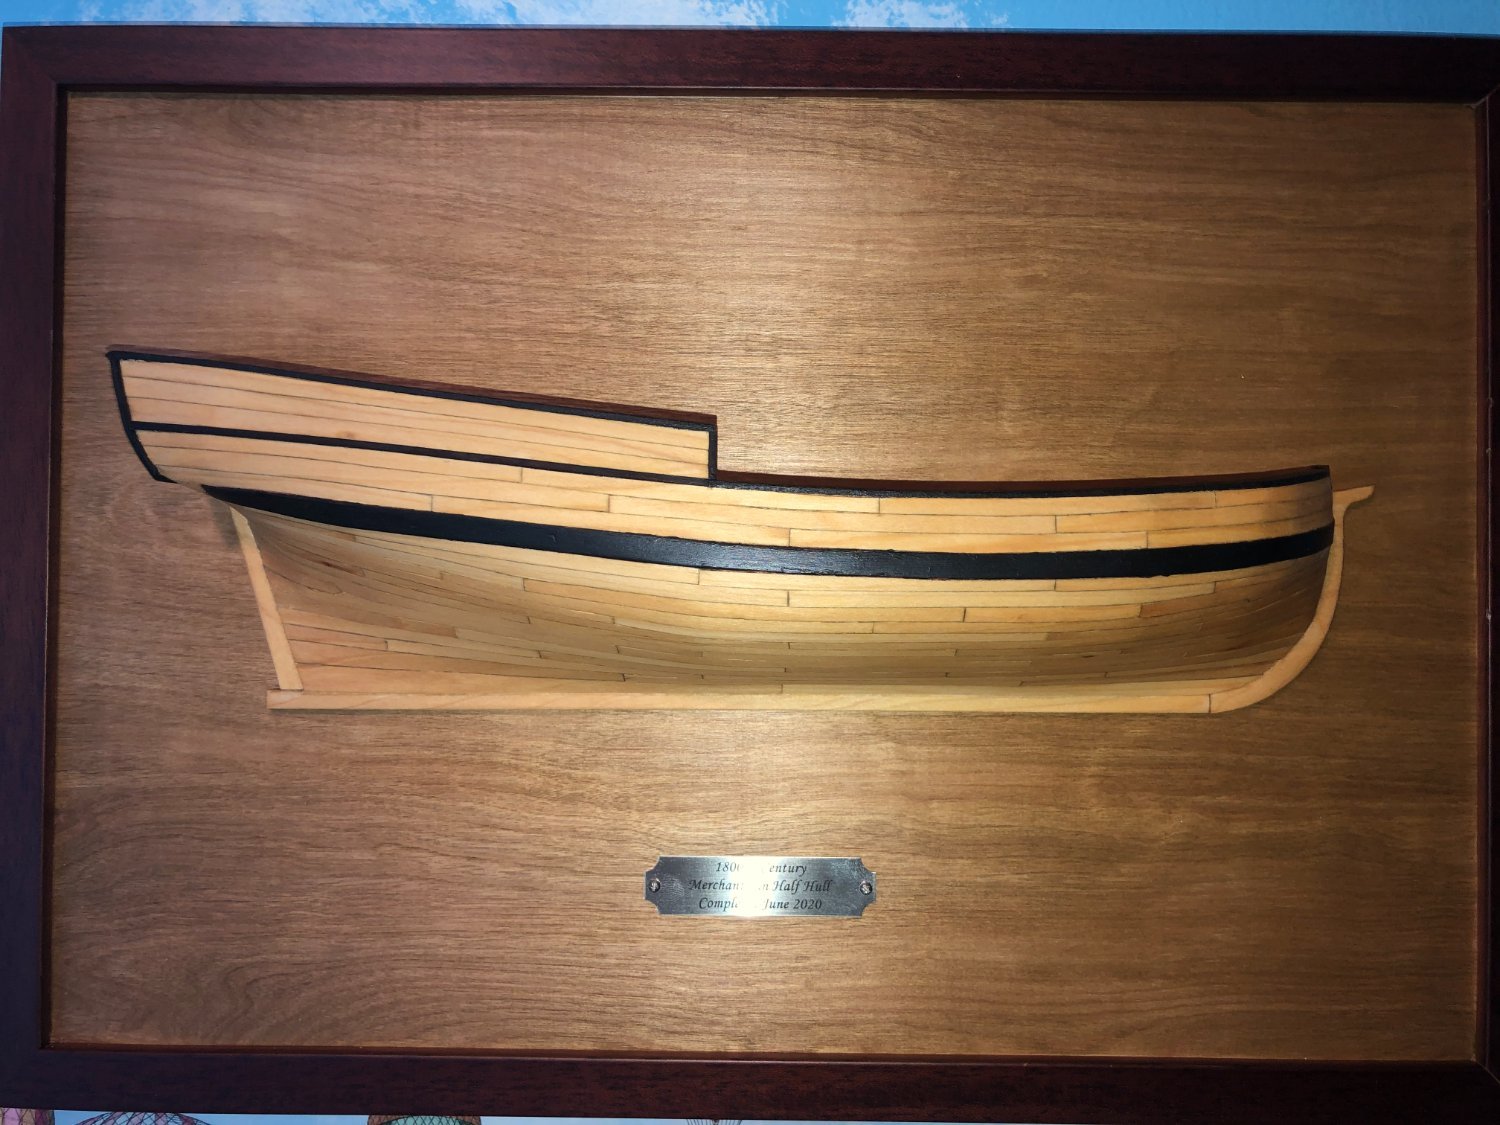
Some incentive for you... a great teaching tool AND a pretty impressive model to show-off! The NRG half hull project was a great teacher for me!

-
Good advice!
-
Welcome, R! You’ll find a wealth of experience and help with your new endeavors. Ask questions, any questions! And spend some time looking at the build logs before jumping in, lots of logs to help you through the rough patches. Good luck!
-
After spending some time researching the boats on the Bounty deck, I've come to the conclusion that the boats in the kit are not accurate... shocking, I know! I am not going to spend a lot of time changing them to be accurate as my focus has always been on the Bounty, not the little boats. I considered leaving them off since my version is more or less with the Bounty as anchor. I decided against that too. I will build the Launch (kit version) and will decide on the Cutter after it is complete. I did find a color scheme that appears to be relatively accurate and I will use it for the "Launch". Still debating on the Cutter... More to come soon.
-
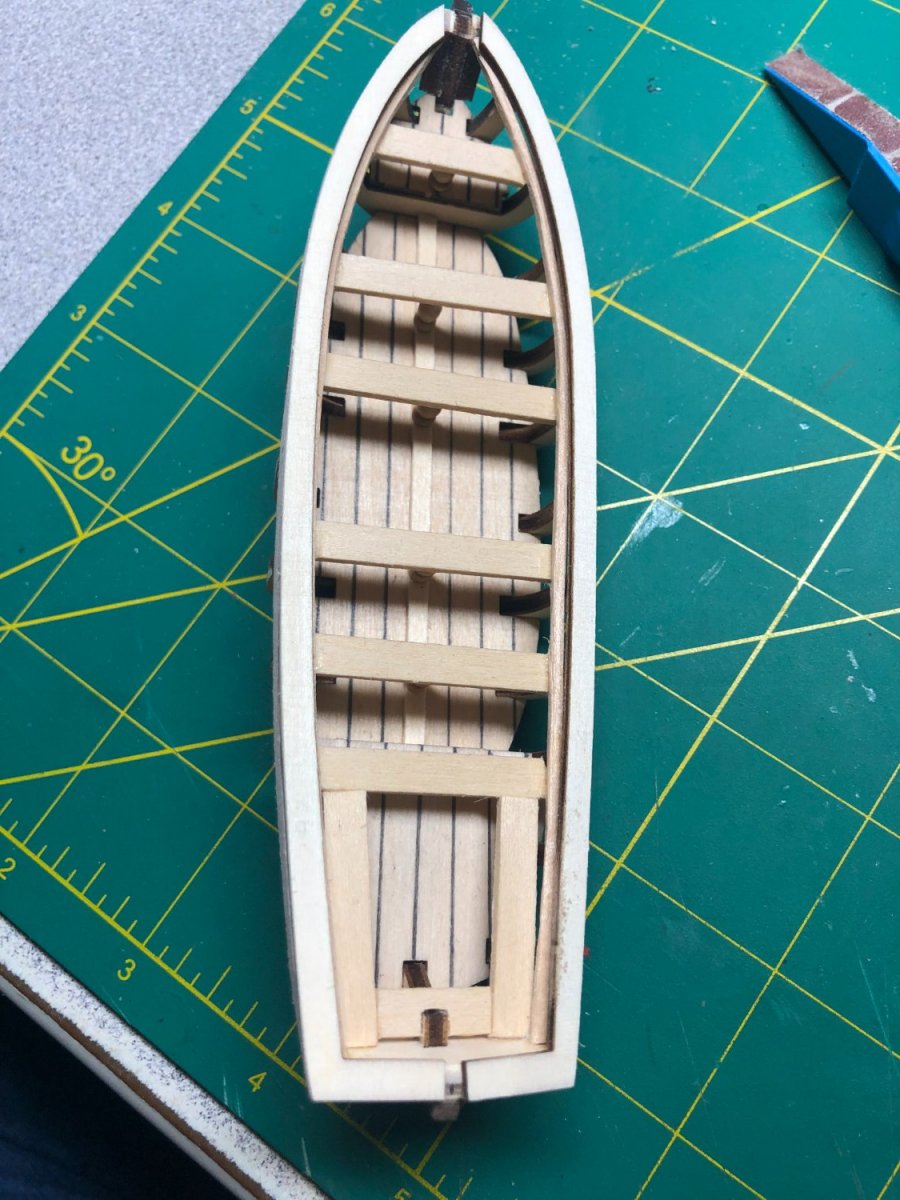
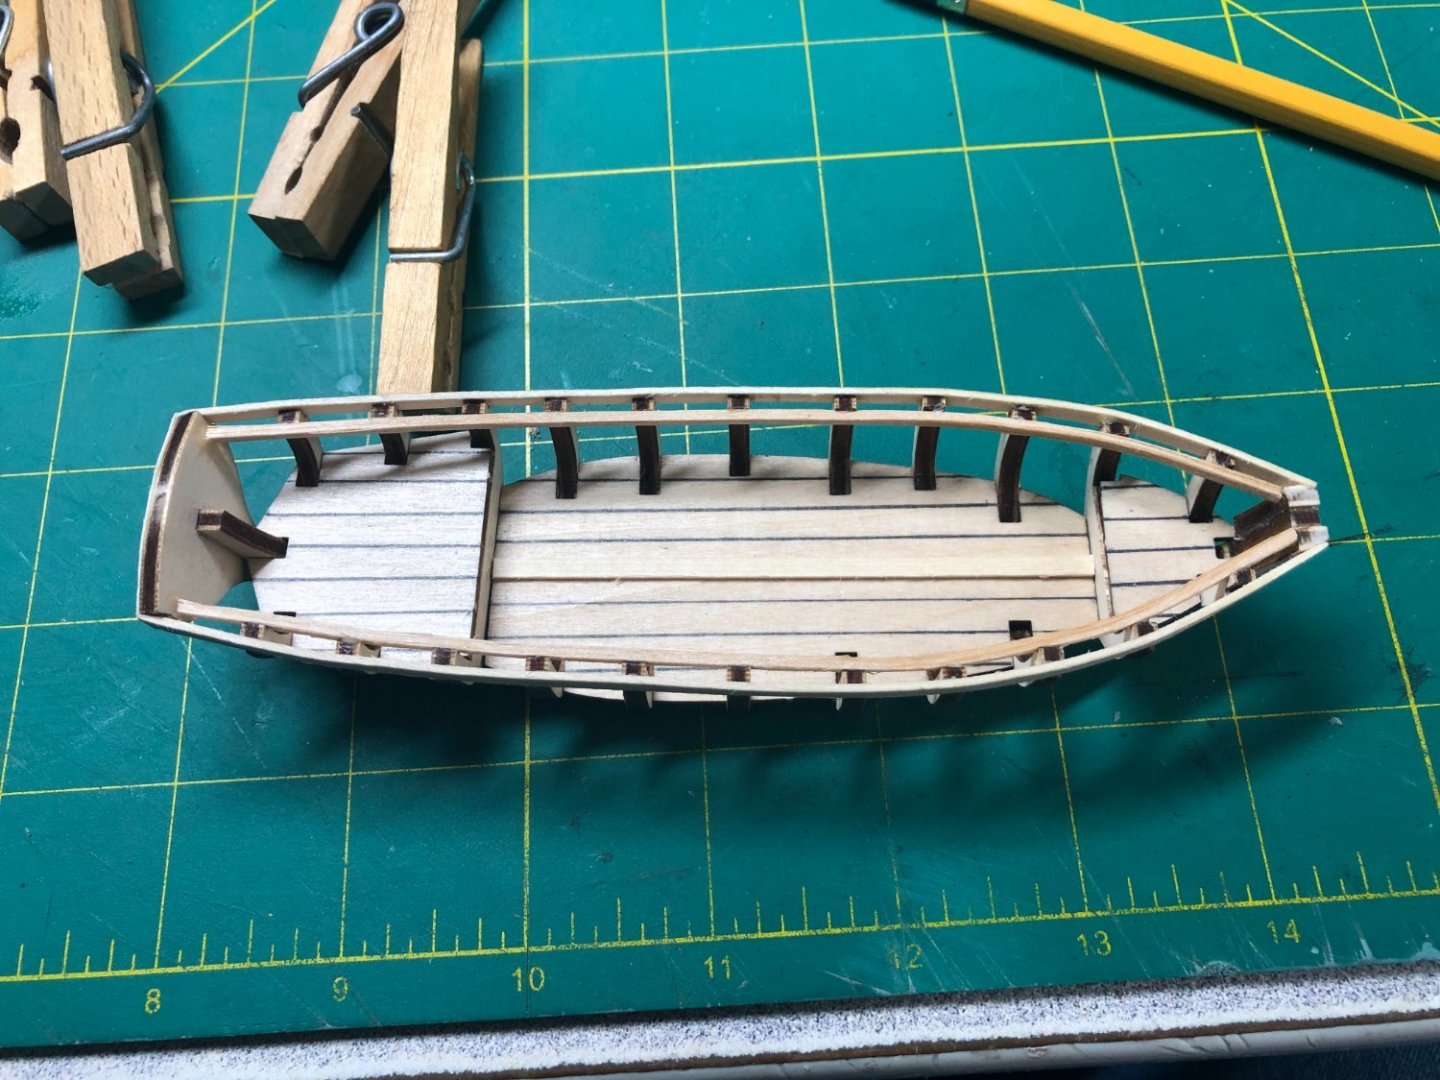
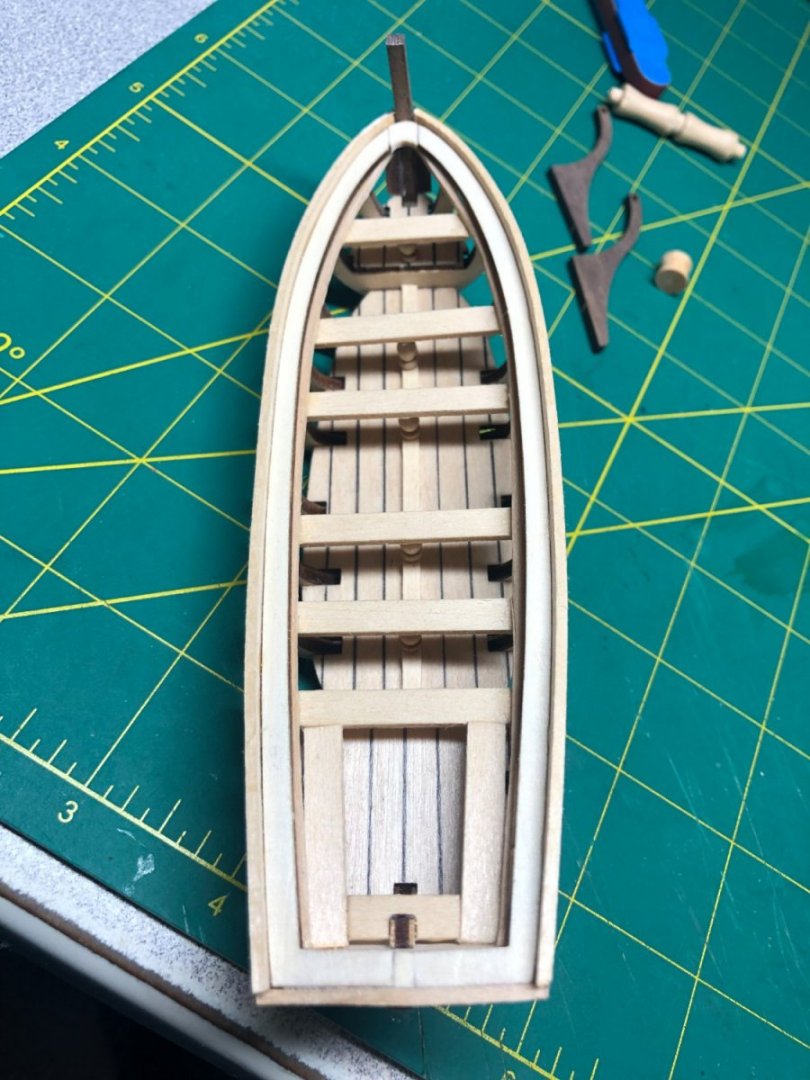
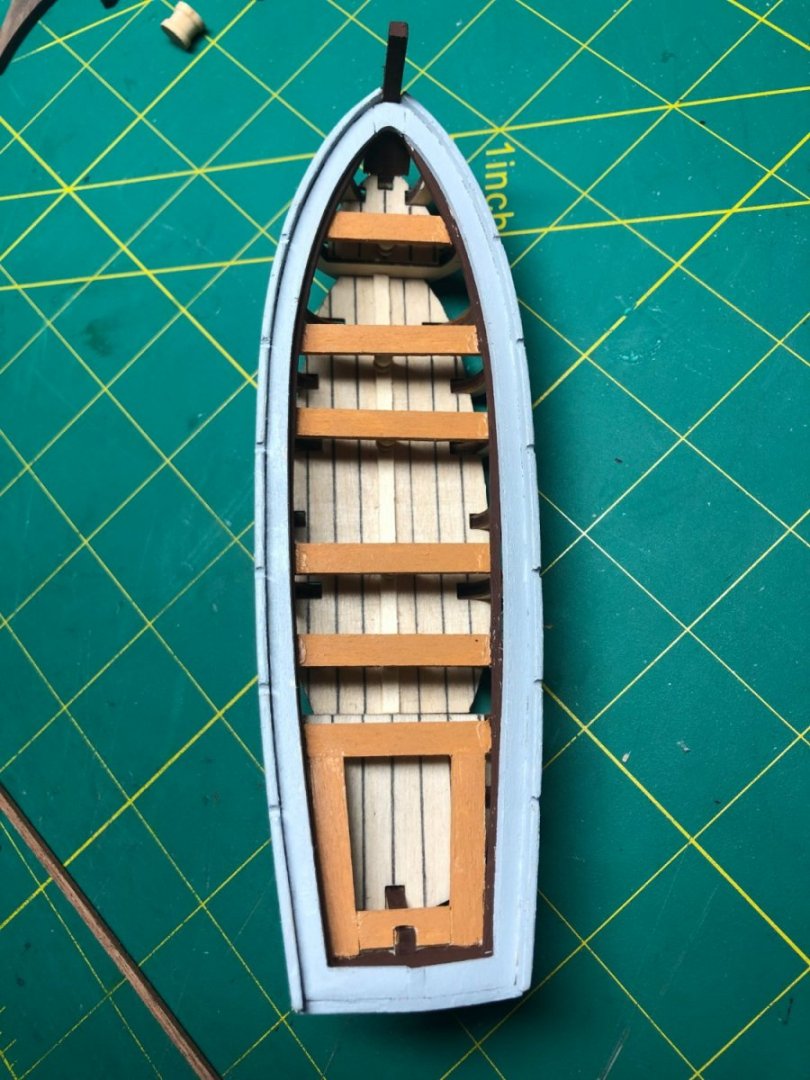
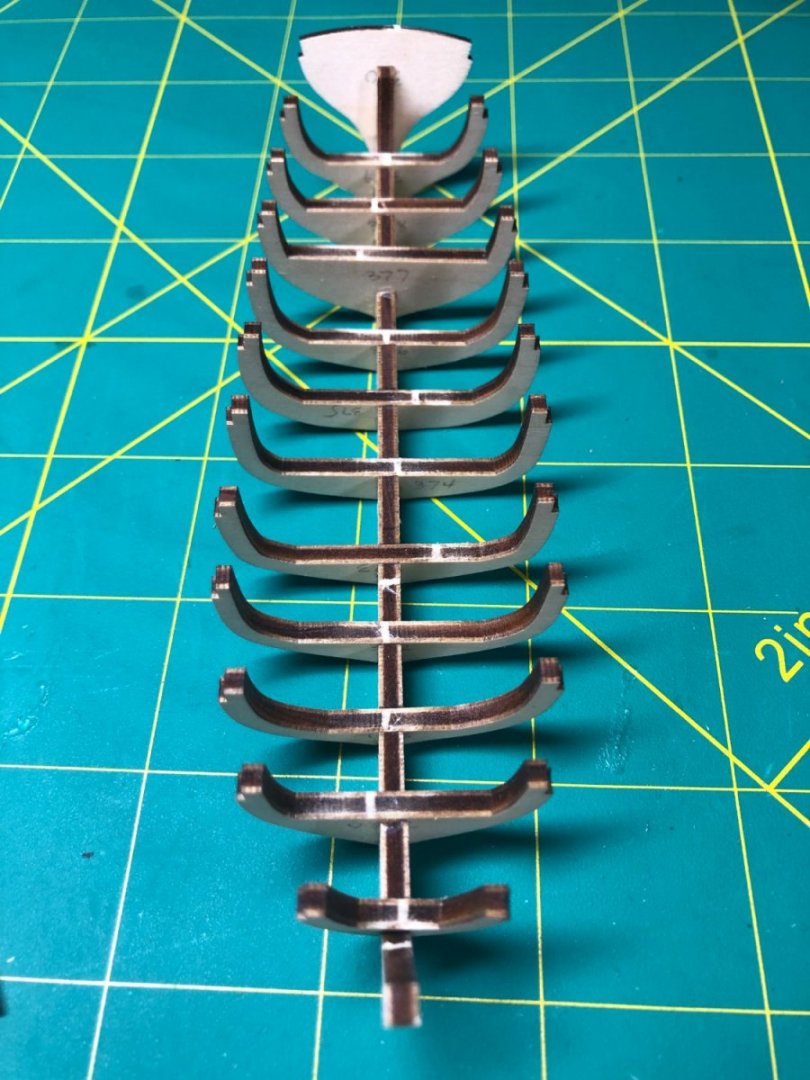
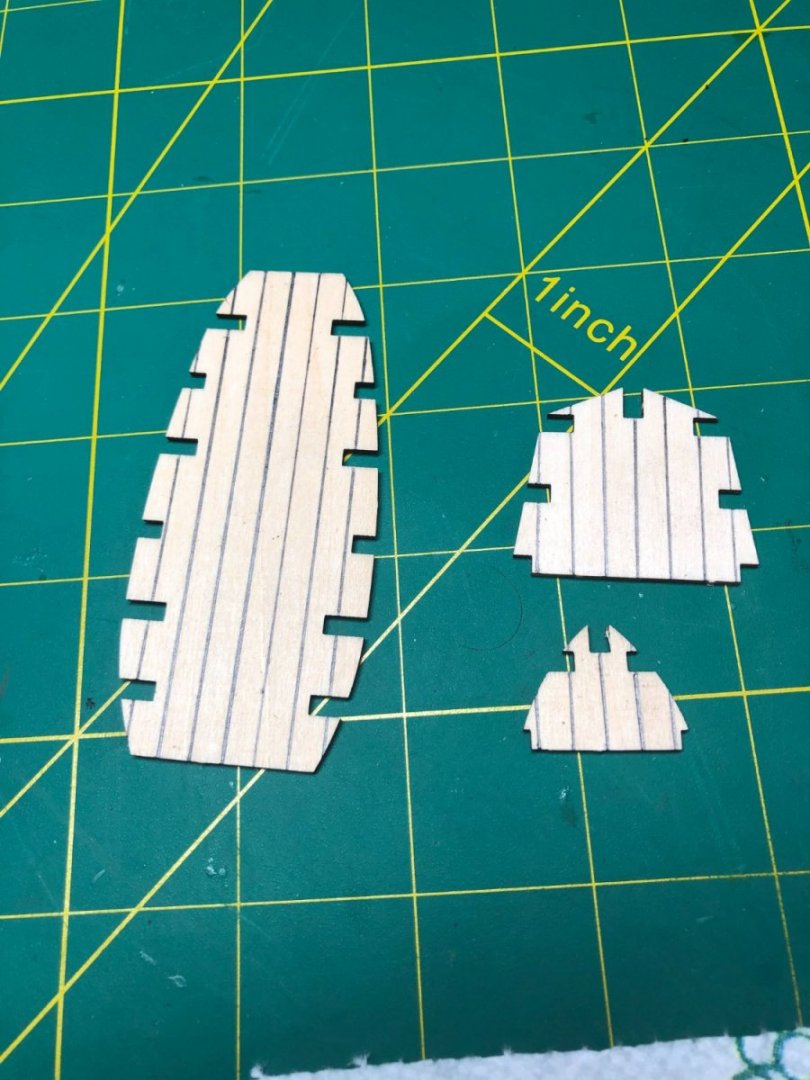
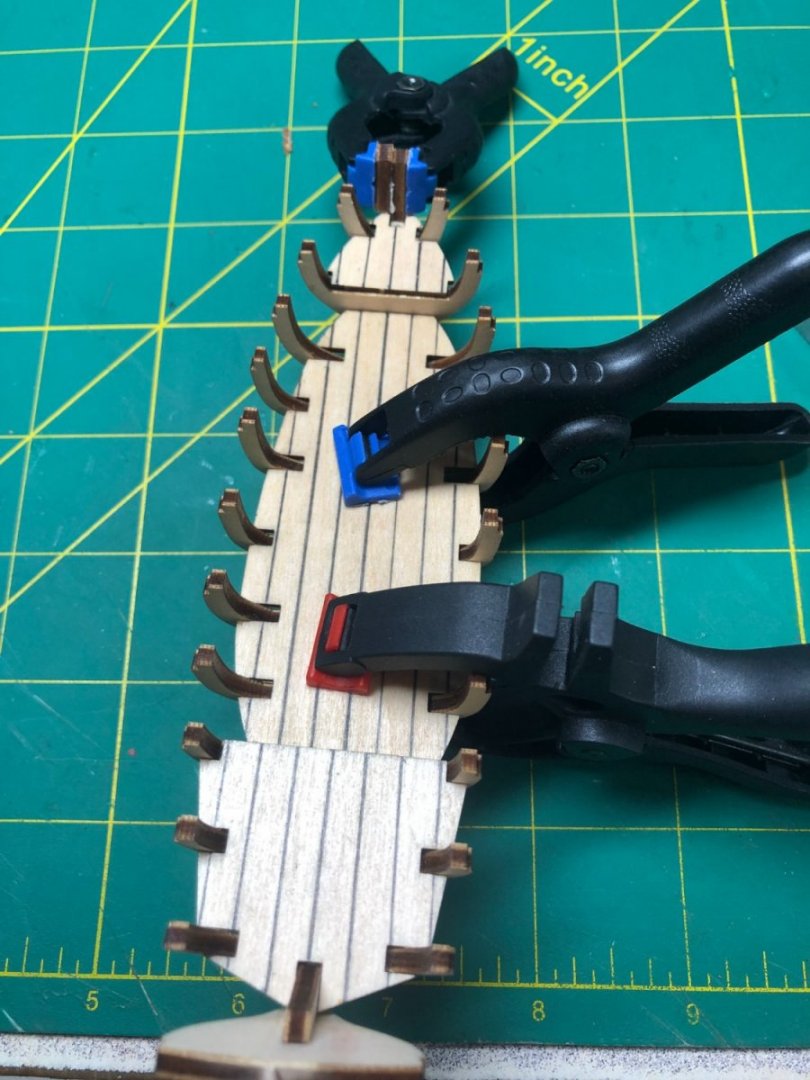
Work has begun on the deck boats. The Launch and Cutter are included in the kit for assembly. I've started on the Launch first. false keel and frames: Very straight forward assembly, no major problems: The decks were "etched" using a No. 2 pencil and then treated with polyurethane: And, the decks in place: So far, pretty easy stuff... before moving forward, I need to research the proper colors for these boats and figure out a method for aging them. As I recall, in the Mutiny on the Bounty book(s), the Cutter was lowered first into the water and Bligh's men began to board her only to find out that it was rotted! So, I need to figure out how much of this info should show on the my version of these boats. Be back soon!

-
Hope the weather was better up there than down in the Puget Sound! We were in southern Cal visiting family... much warmer! Like you, I have many projects and trips planned for the next several months. Life on the Bounty will be sporadic during the summer.
-
Or you could glue flats to it... they would need to be cut to fit.
-
Yes… the boat in my profile is my home away from home. A Sea Ray 420 AC… she’s been updated over the last two years getting ready for my retirement! Now it’s time to go!!
-
Thanks Tim! Off for a few days but looking forward to wrapping up the deck work and moving into the rigging. Probably a bit of a slow go as summer will be busy on the big boat! How’s your latest build coming, I need to stop by for a look!
-
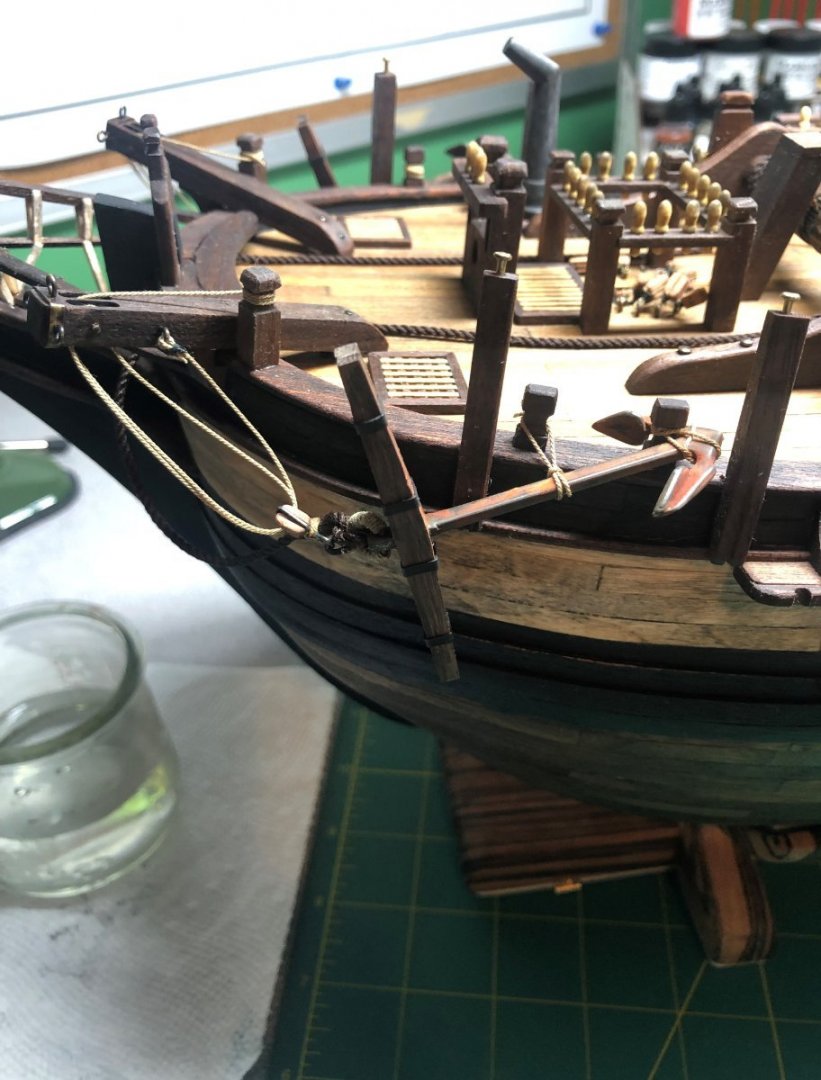
Anchor retrieval hook soldered and blackened, super close-up. Ready to be attached to the cat head: Shows all the flaws! Thank God, nobody has that good of eyes. Anchor rigging is mostly done, just rope coils to be added. I don't like the unnatural way the ropes lay: I need to do some research on how to shape them. Lastly, the steering rigging was straight forward but I managed to screw it up by missing one of the pulley blocks... Doh! Practice makes perfect! Off for a week in the sunshine! Next update will be the start of the Jolly boat and the long boat that will be mounted on deck. Other than that, the deck is essentially done!


-
That's a really good thread... pun intended! I used it and a few others when I did my cannons on the Bounty. The size of the breeching line is what Starlight mentioned above. First time doing cannons, might change things a few things next time. My results:

- 362 replies
-
- 6
-

-
- Amati
- Lady Nelson
- (and 2 more)
-
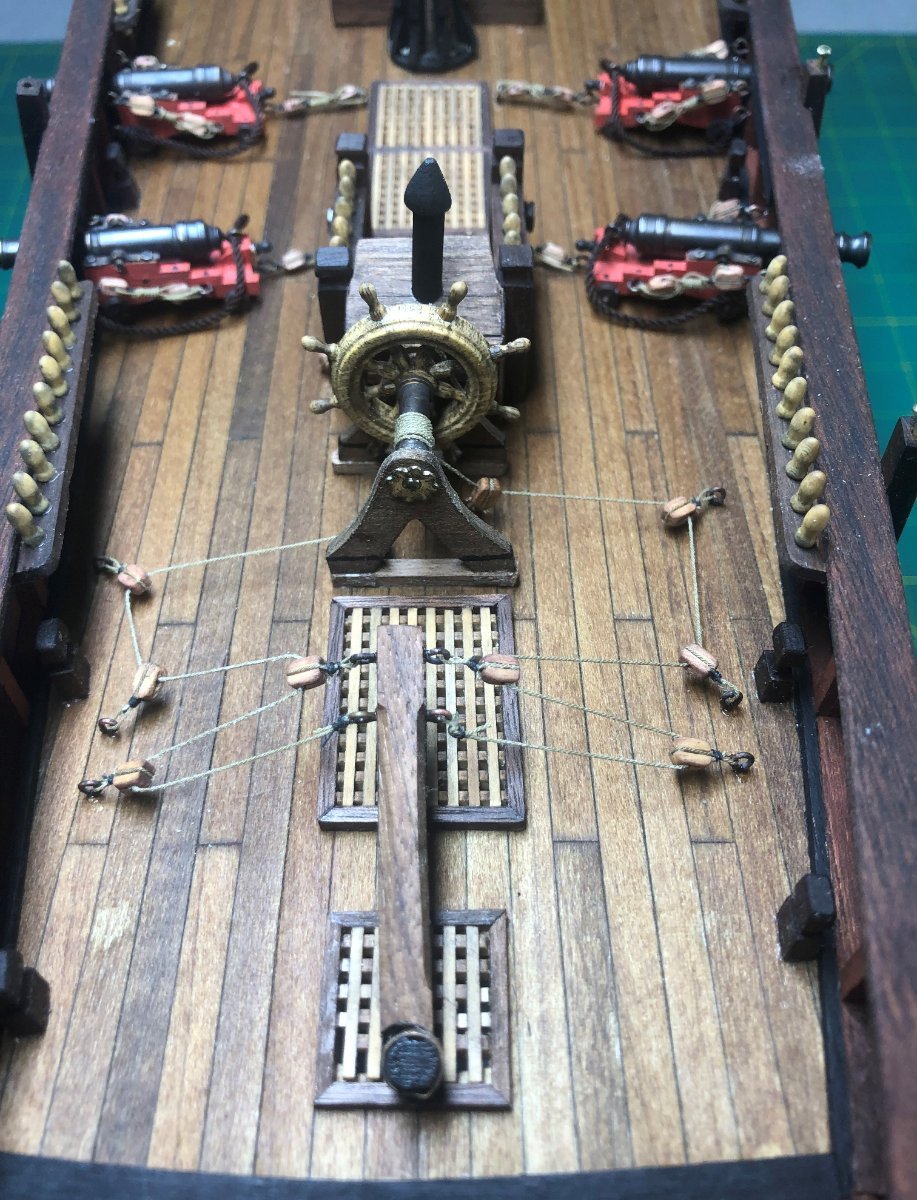
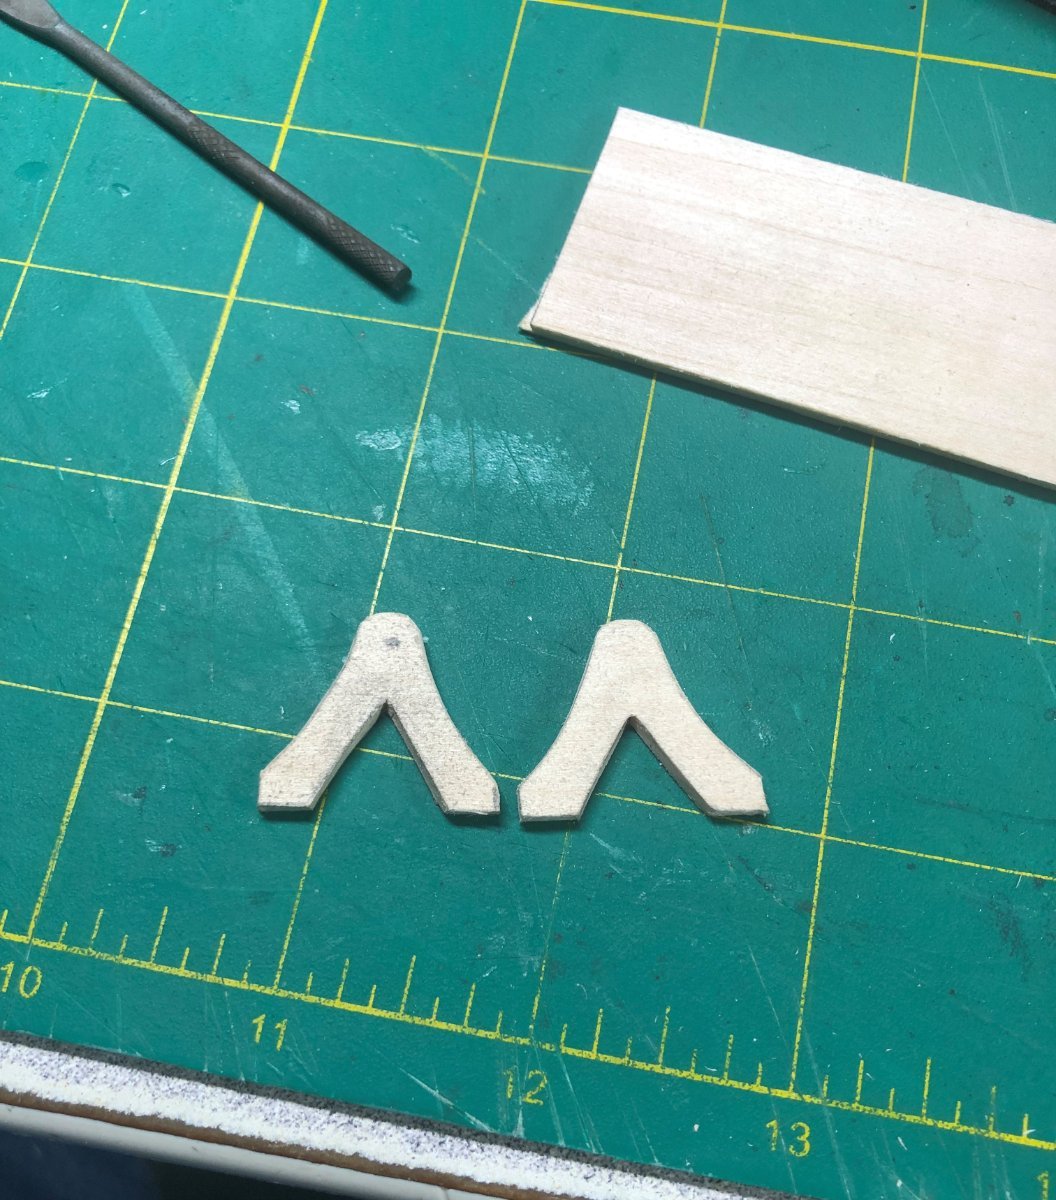
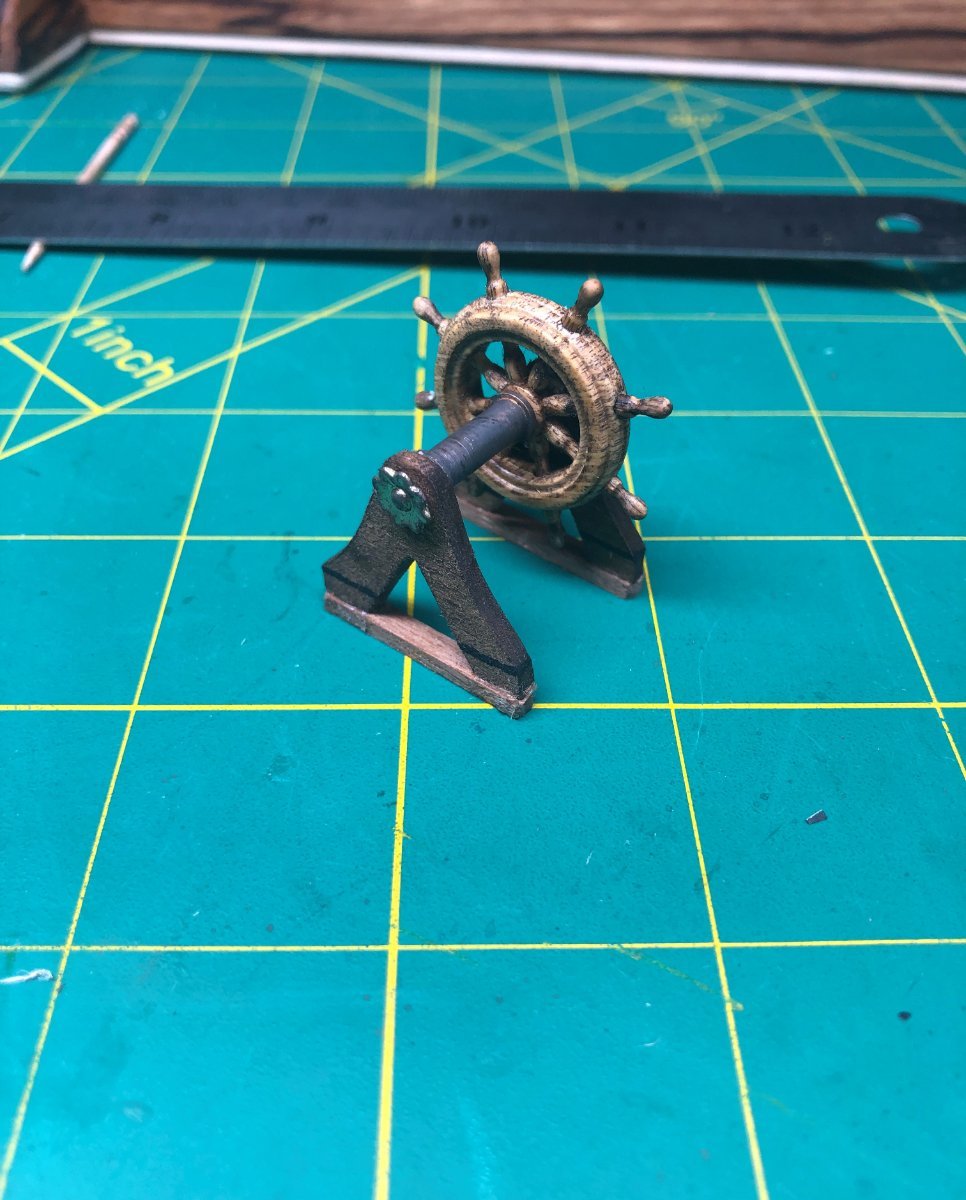
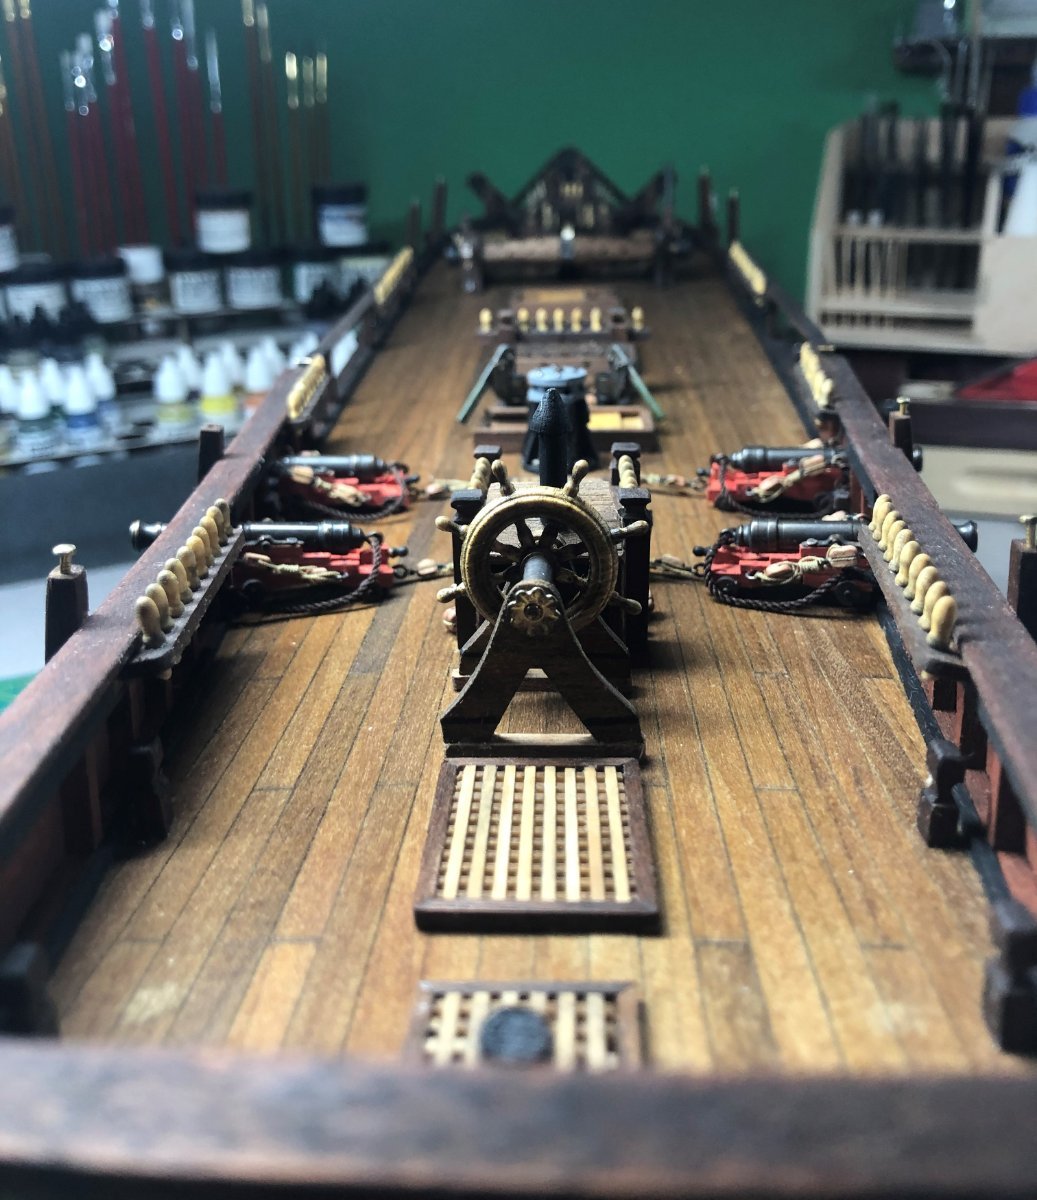
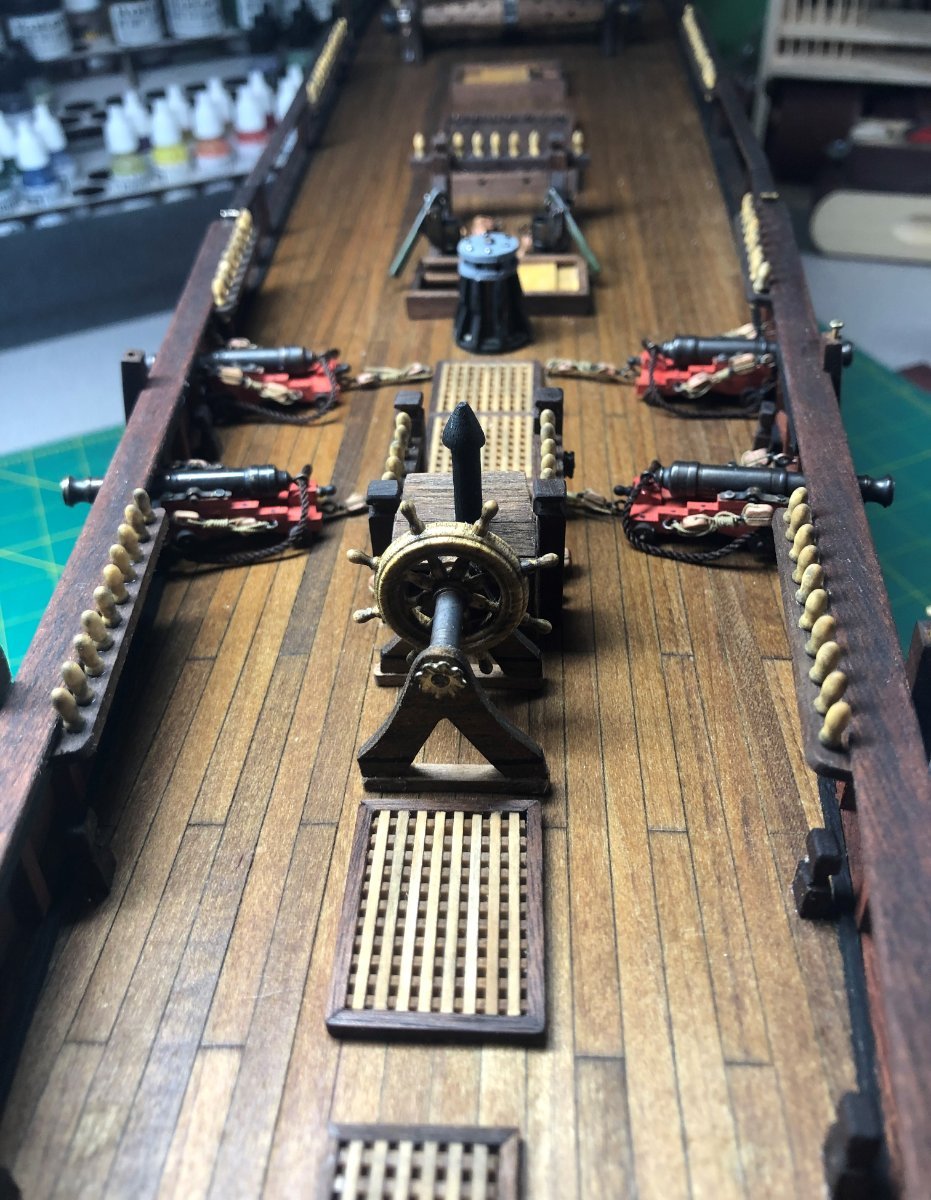
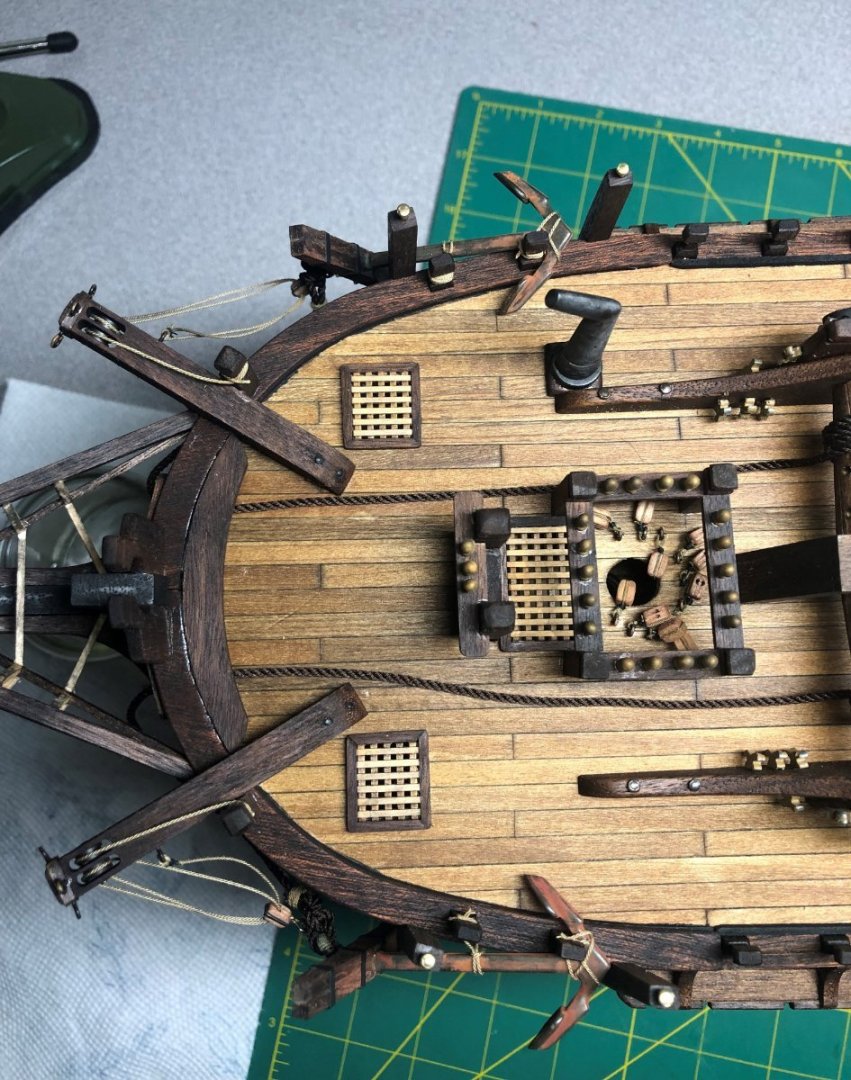
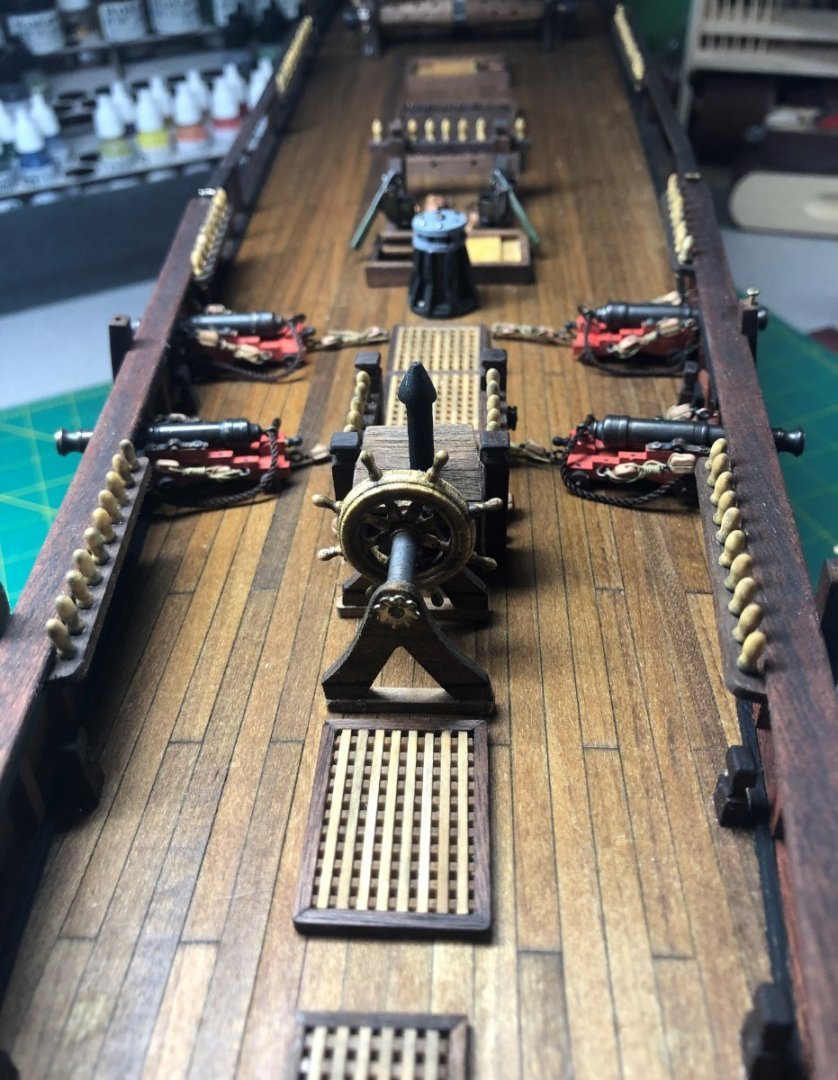
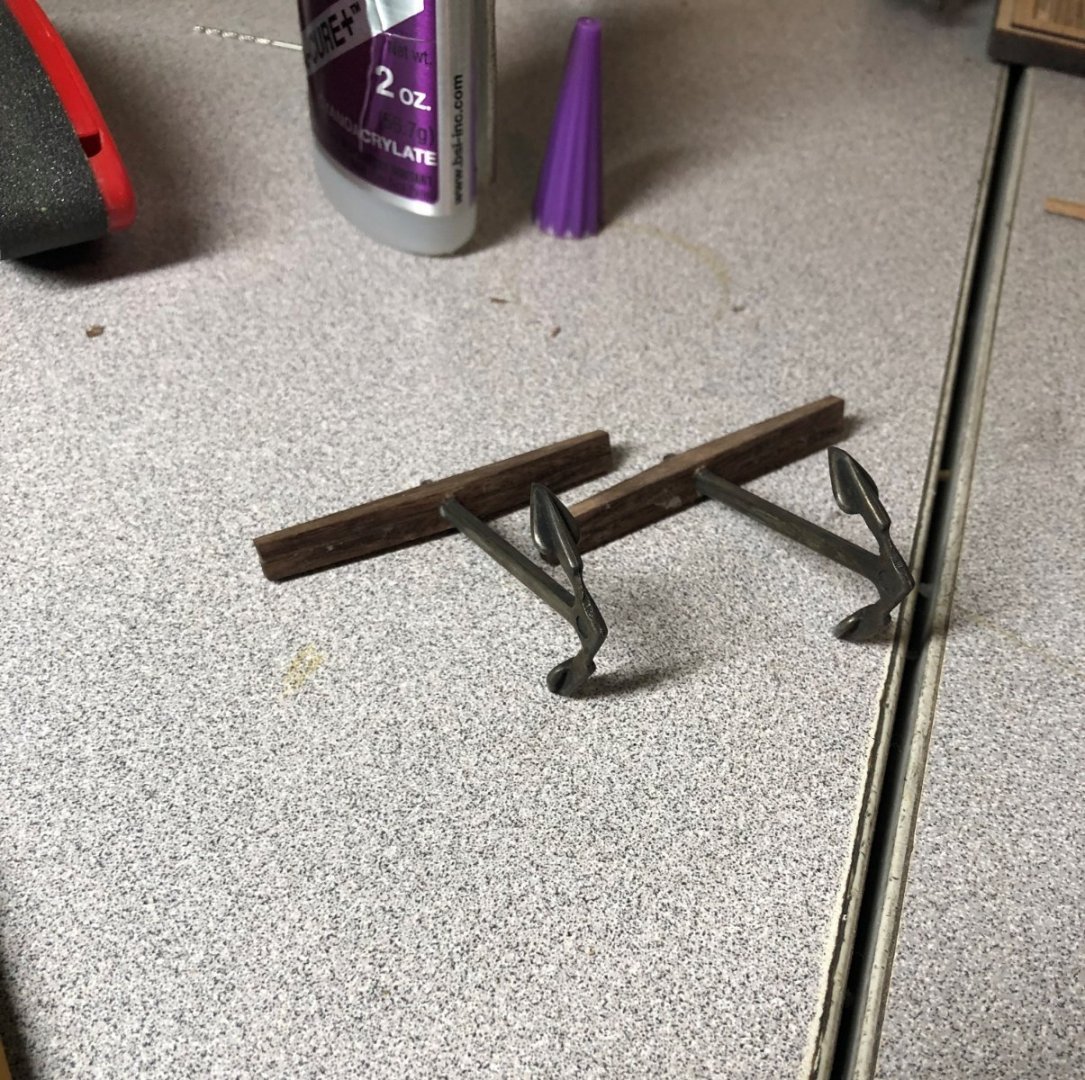
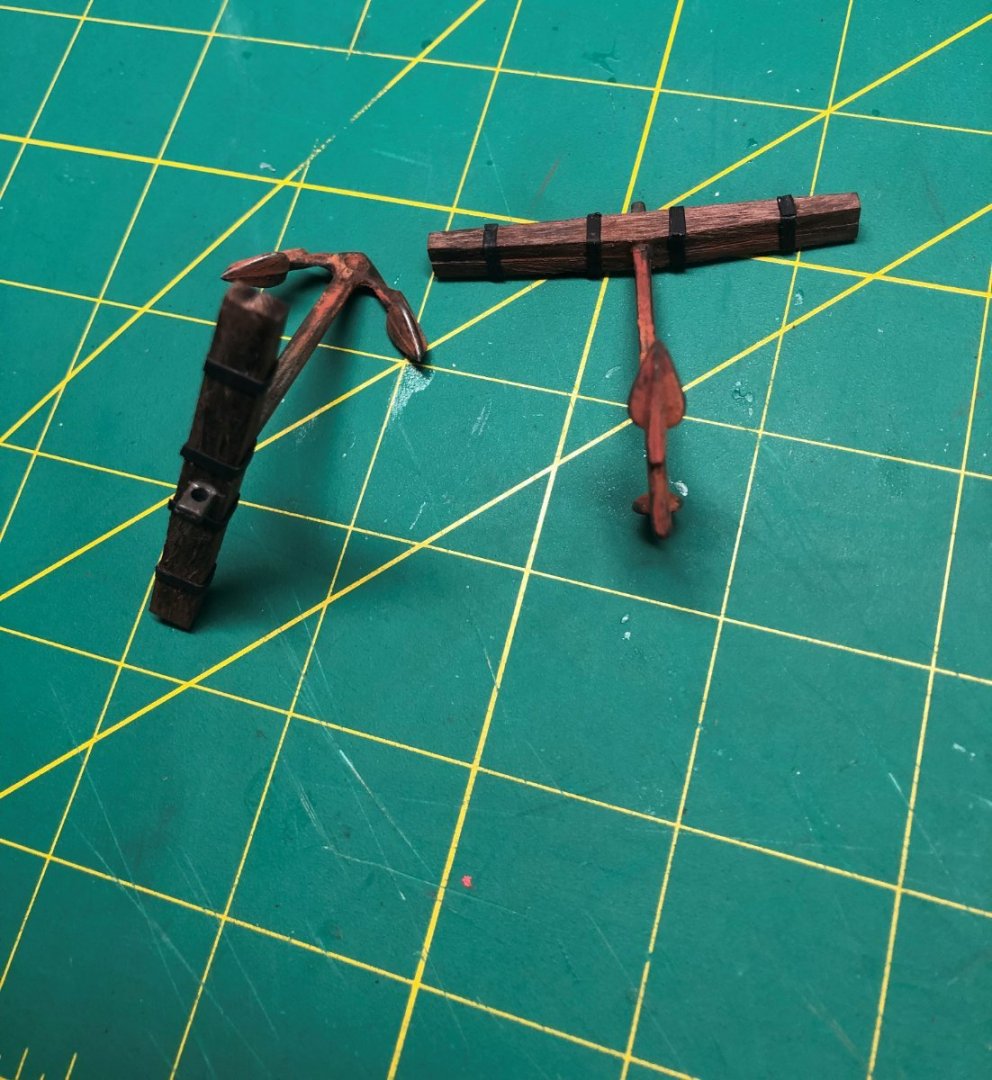
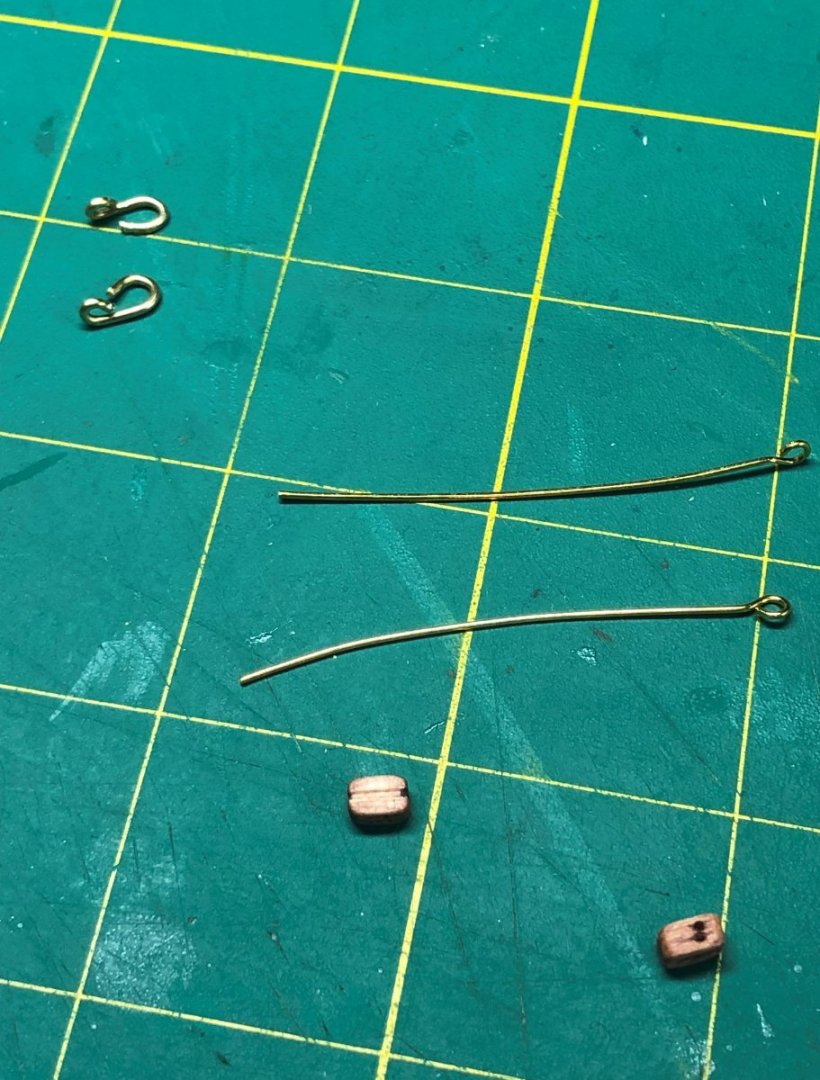
Thanks for the kind words and sticking with me through the build Dave, Joe and Trond (amongst many other followers!). You guys have inspired me with your comments AND your builds! So, off we go with another installment. I finally finished the cannons to my satisfaction! Third time was the charm... still some room for improvement but it was my first time doing cannons and the associated rigging. I learned a lot. Considering my next build will more than likely include more cannons, it was a good teaching aid. Next up are the steering mechanisms and the anchors... a ton of intricate work to be done to prepare these for installation. First off, the kit pieces for the steering were not accurate. Using the Anatomy book, I fashioned the pedestal pieces from some scrap wood I have in my shop: The piece on the left is from the kit and now resides in the garbage! Some sanding and weathering along with the steering wheel (which I also replaced) and the final assembly: Installed on the deck... and a good view of the cannons installed and rigged: You may have also noticed that I added the smoke stack to the binnacle... again, not part of the kit but is part of the original plans. The anchors were not difficult to assemble but took a lot of time and some head scratching because I didn't like the kit plans for them either! It started with a simple gluing of the stock pieces with the anchor sandwiched between. The anchors were blackened first: The stocks were weathered and for the banding, I cut card stock into thin strips and painted them black. I used them to simulate the steel bands around the anchor stocks... so much easier than trying to get brass strips to bend to all the different angles! I also, weathered the anchors and added some rust to them. Lastly, I wrapped the rings that attach to the anchor with rope. The finished anchors: The hardware to raise and lower the anchors from the cat heads is all made by hand, no kit pieces: And then soldered the piece closed. I also needed to make an anchor line as the kit stuff is not to my liking: The rope on the left will be the anchor rode while the rope on the right was a bit too small. For the record, I made both ropes using Guttermann polyester thread MARA 30. The left side was 3 strands with 4 threads used for each strand. The right side was the same number of strands but with 3 threads on each. Much more work to come on the anchors and the steering mechanism rigging. May have another update tomorrow or Monday before leaving town for a week or so!


-
Rigging an anchor - mid 1700's to late 1700's
LyleK1 replied to LyleK1's topic in Masting, rigging and sails
Good points… I plan to display the model as at anchor but ready to depart. Sails will be furled… at least mostly. Since the Bounty has 4-5 anchors, showing two either hanging from the cat heads or stowed to the timbers and attached to the cat heads seems like a feasible look. Thanks for the comments. -
Rigging an anchor - mid 1700's to late 1700's
LyleK1 replied to LyleK1's topic in Masting, rigging and sails
Good info! Thanks Allan and Phil. -
The kits offer a great starting point… And, an opportunity to learn as you go. If you find your level of interest increasing with the build, researching the vessel will tell you that the kit manufacturers often times cut corners for various reasons. I’m not criticizing them but pointing out that “kit bashing” is where you, as the builder can go so many different directions. You can stick to the kit directions and have a beautiful model or you can go for historical accuracy or weather it to look less new or many other directions. Whatever you choose, the end product will be something to be displayed proudly!
- 362 replies
-
- 5
-
-
- Amati
- Lady Nelson
- (and 2 more)