LyleK1
-
Posts
541 -
Joined
-
Last visited
Content Type
Profiles
Forums
Gallery
Events
Everything posted by LyleK1
-
 Thanks Joe! More updates this weekend! And pics! Cannons are done and working on the steering system and anchors...
 -
Rigging an anchor - mid 1700's to late 1700's
LyleK1 replied to LyleK1's topic in Masting, rigging and sails
Thanks Allan. I’ll take closer look in the morning -
Rigging an anchor - mid 1700's to late 1700's
LyleK1 replied to LyleK1's topic in Masting, rigging and sails
Unless I've looked in the wrong spot, Lee's book has a vague drawing and not much more. I have the book... I also have Peterson's book. I can figure it out if I play with it a bit but figured someone might be able to show me the correct method. According to the Anatomy book, the Bounty had 5 anchors... the kit came with two and since my version is after she arrived in Tahiti but before she was burned, it will have two anchors! One was lost and one was cut free by Fletcher, if I remember correctly. The last one was a "sheet" anchor. -
If there is a thread on this subject, please direct me to it as I have not been able to find anything real helpful! I am rigging my anchors for the Bounty... tying the anchor rode is not a problem and the associated hardware is not a problem. My problem arises from how to properly rig the anchor for stowage using the cathead sheaves and the pulley block on the anchor. Can someone provide a diagram or walk me through it? Thanks in advance for the help!
-
Try Syren Model Ship Company for the grating kits… good stuff!
-
I'm fairly certain the decks was laid in a similar pattern to what you have done! Looks good!
-
You can access my log too. A link is in my signature below.
-
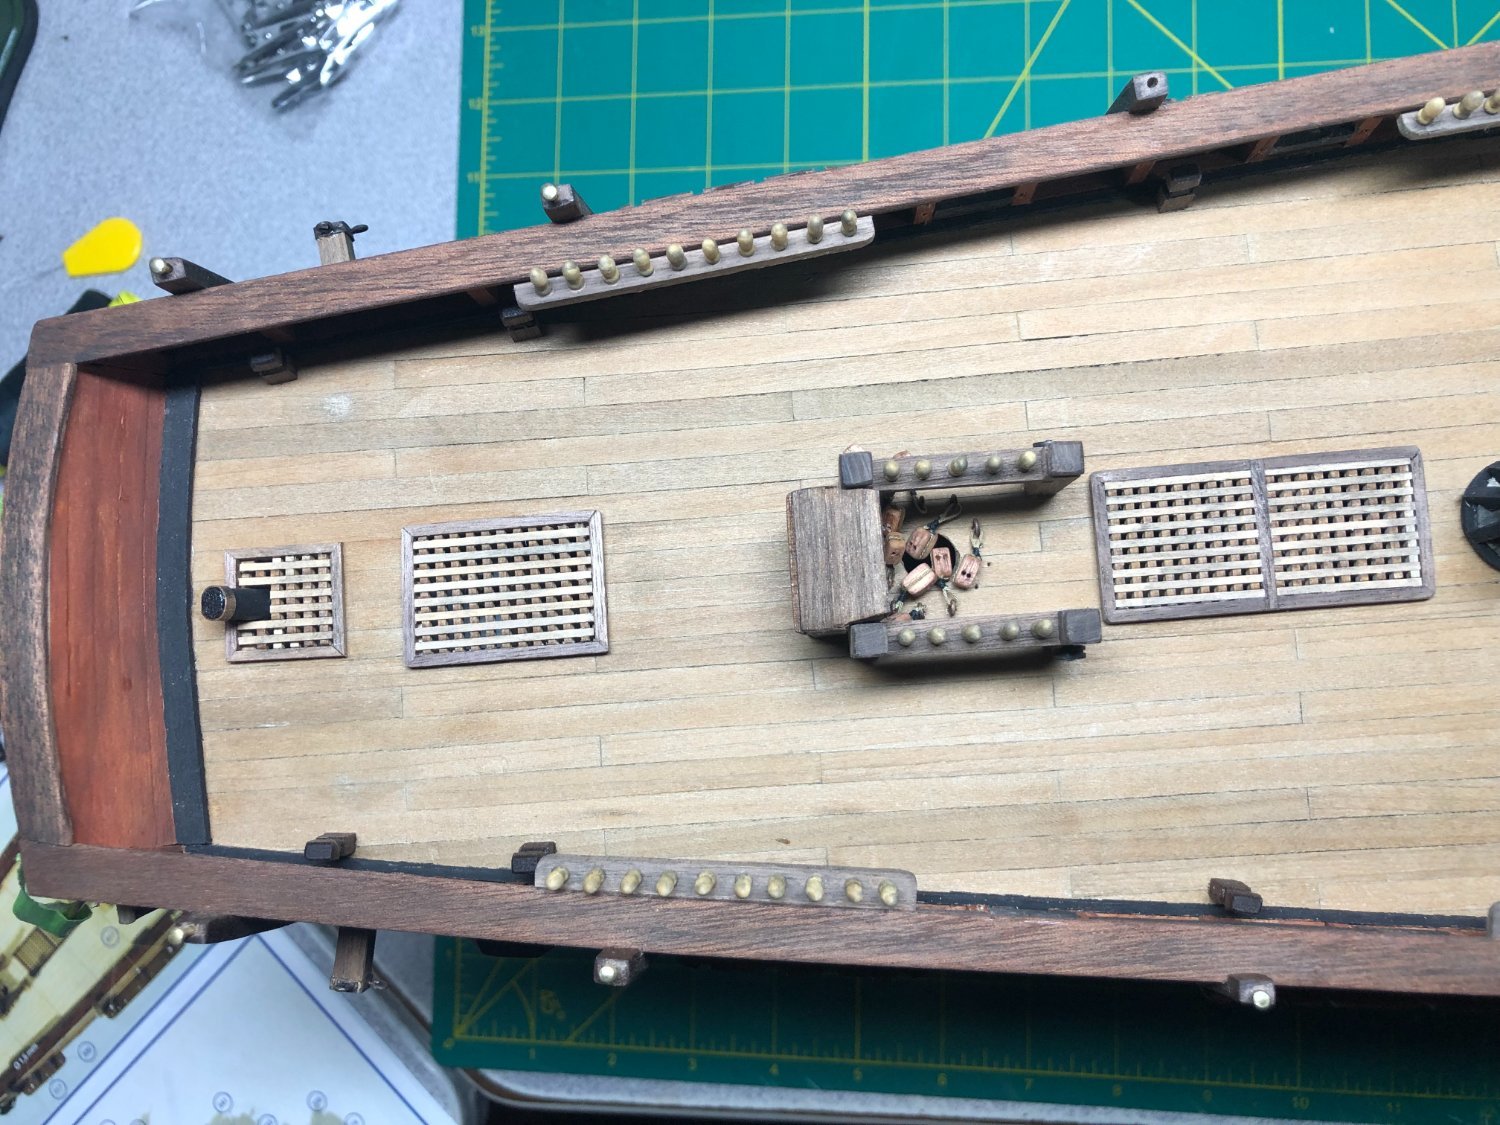
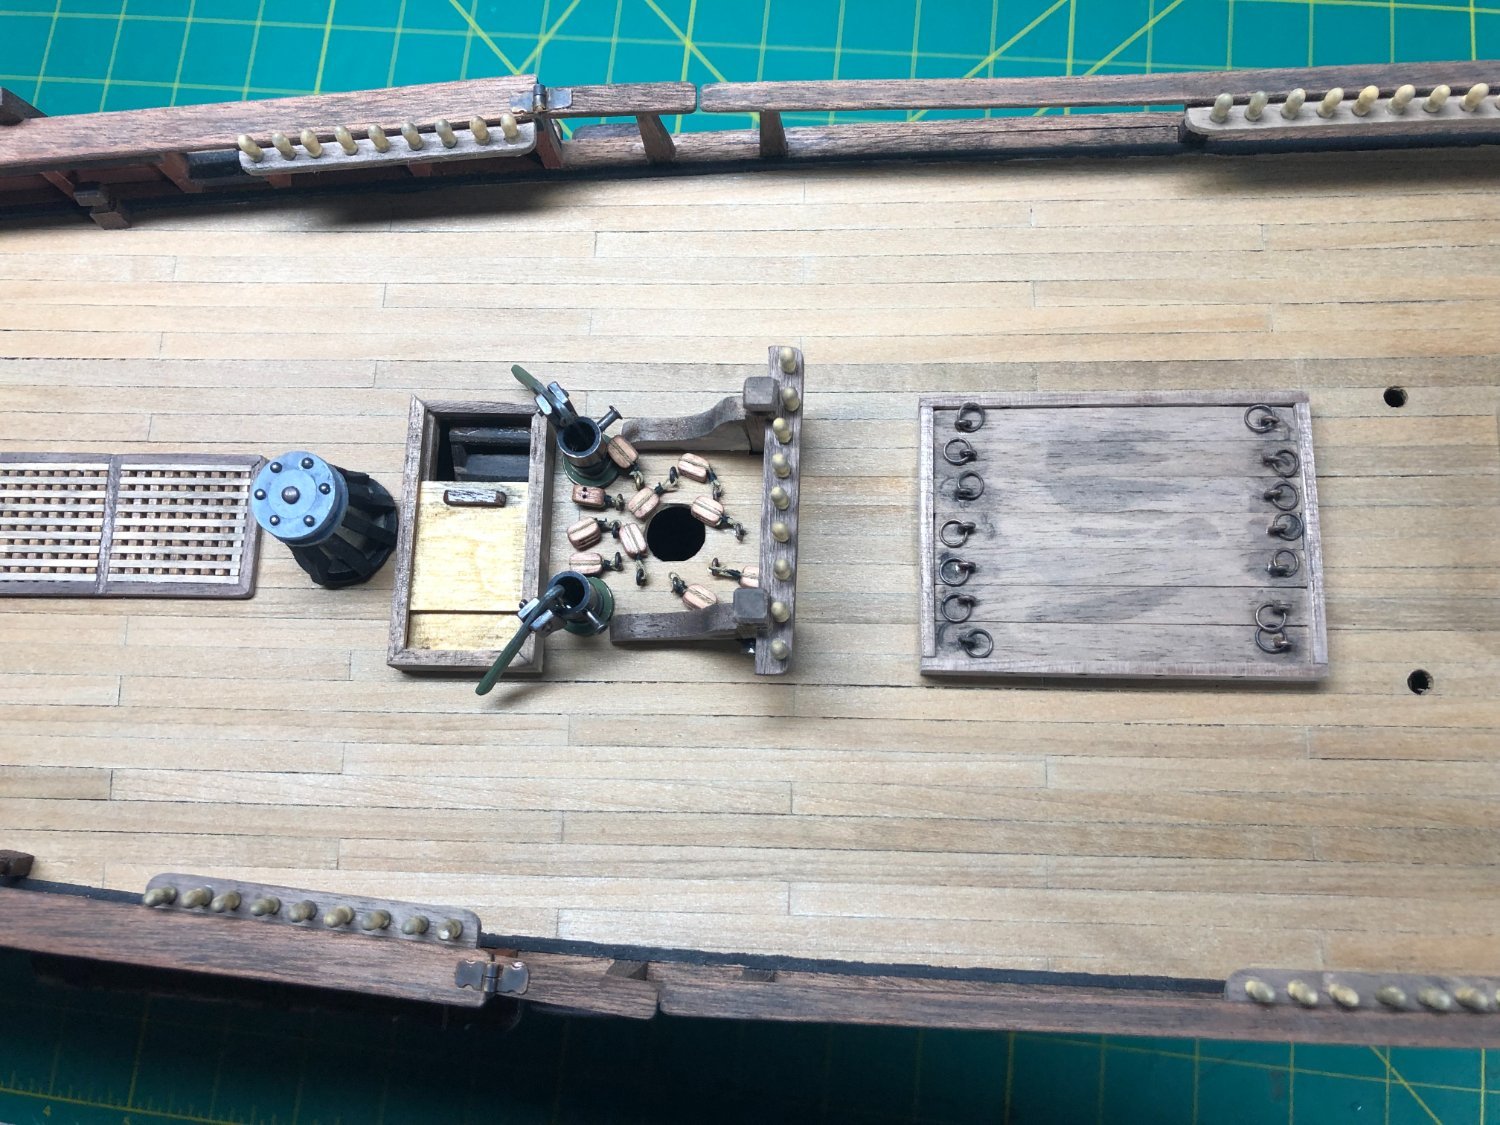
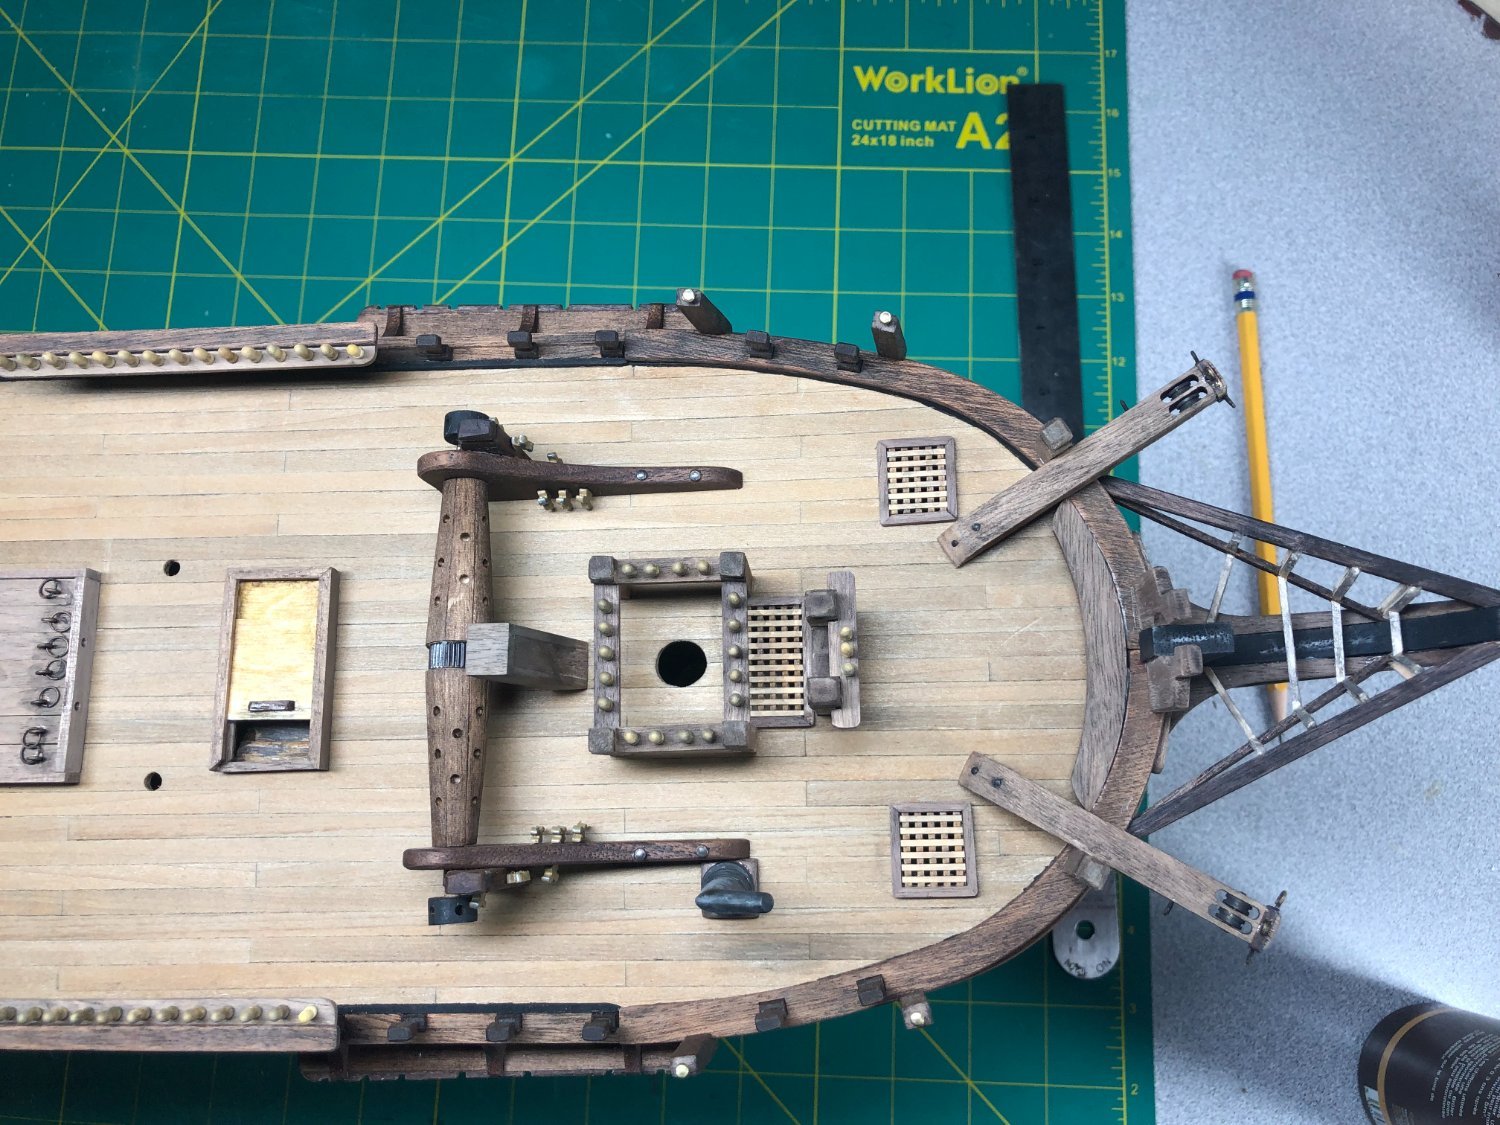
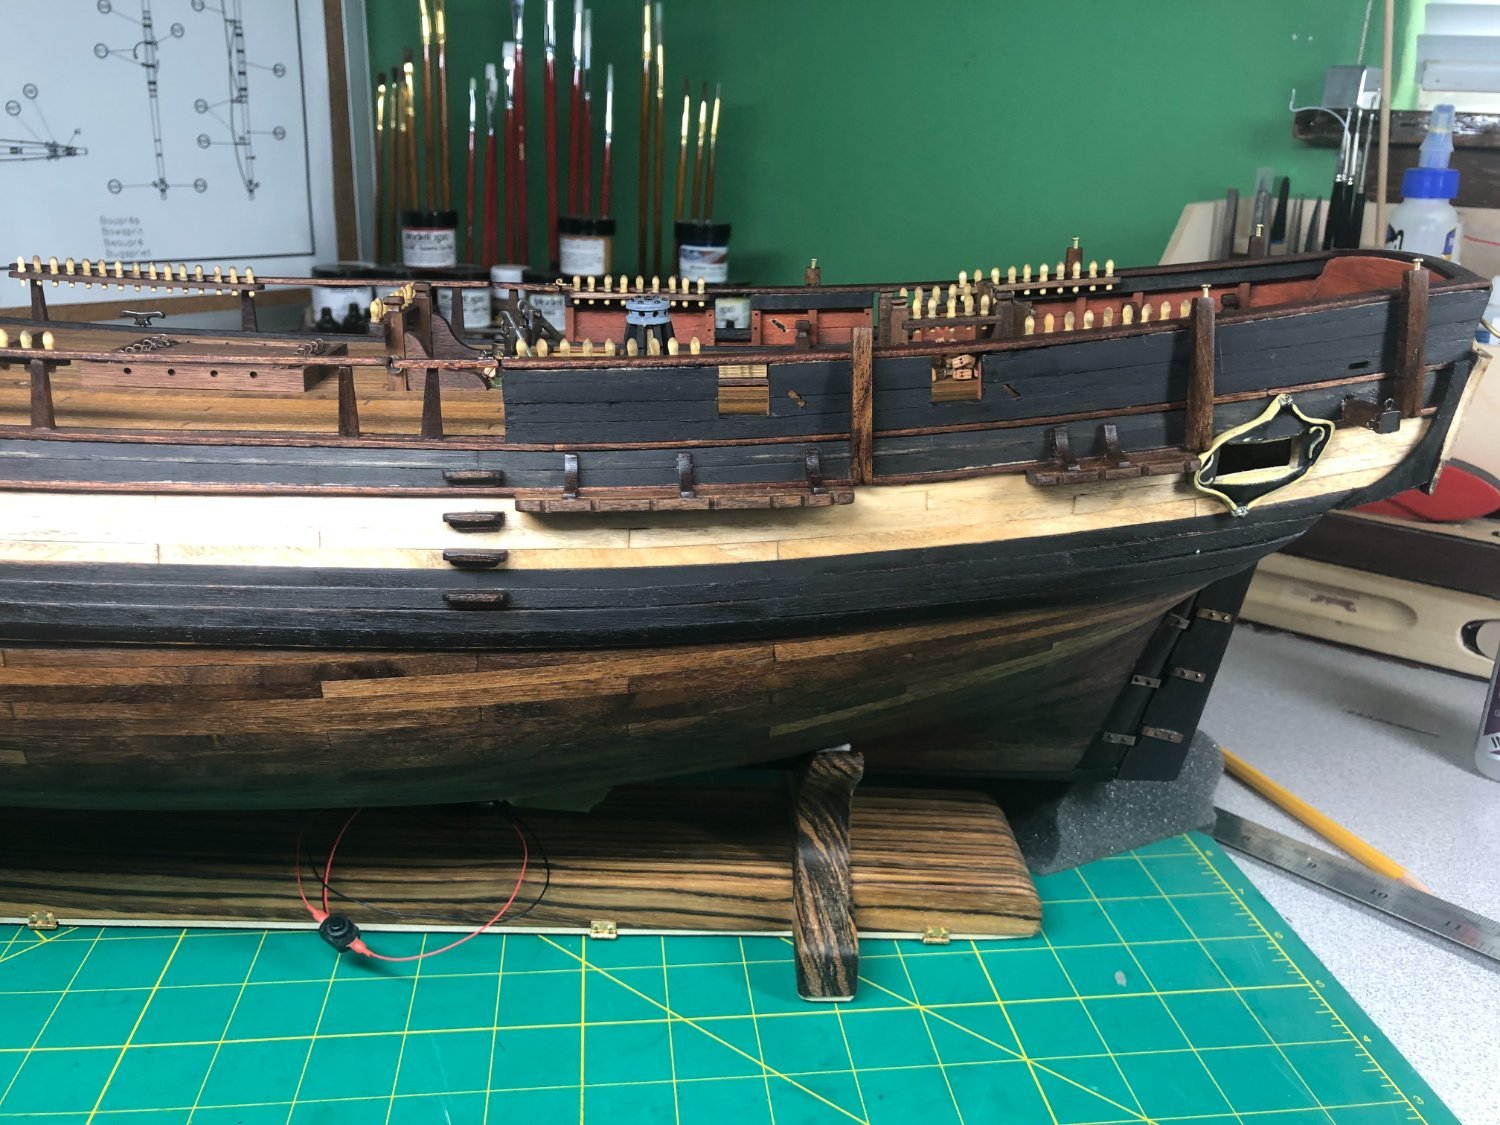
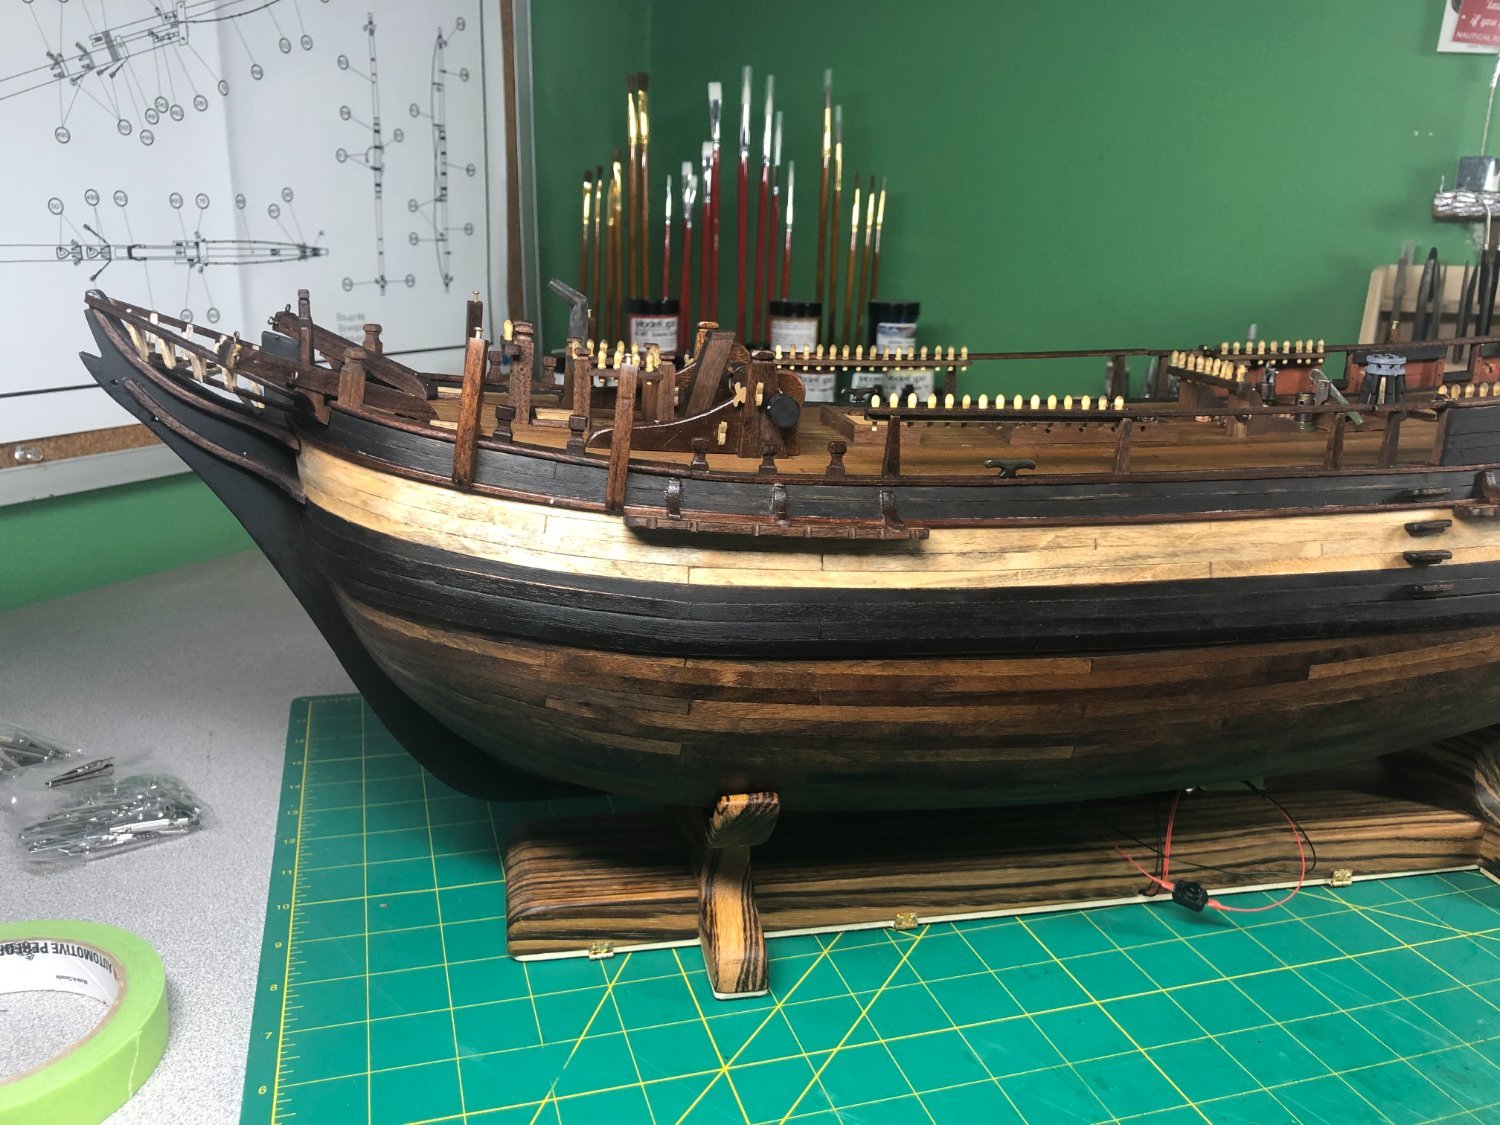
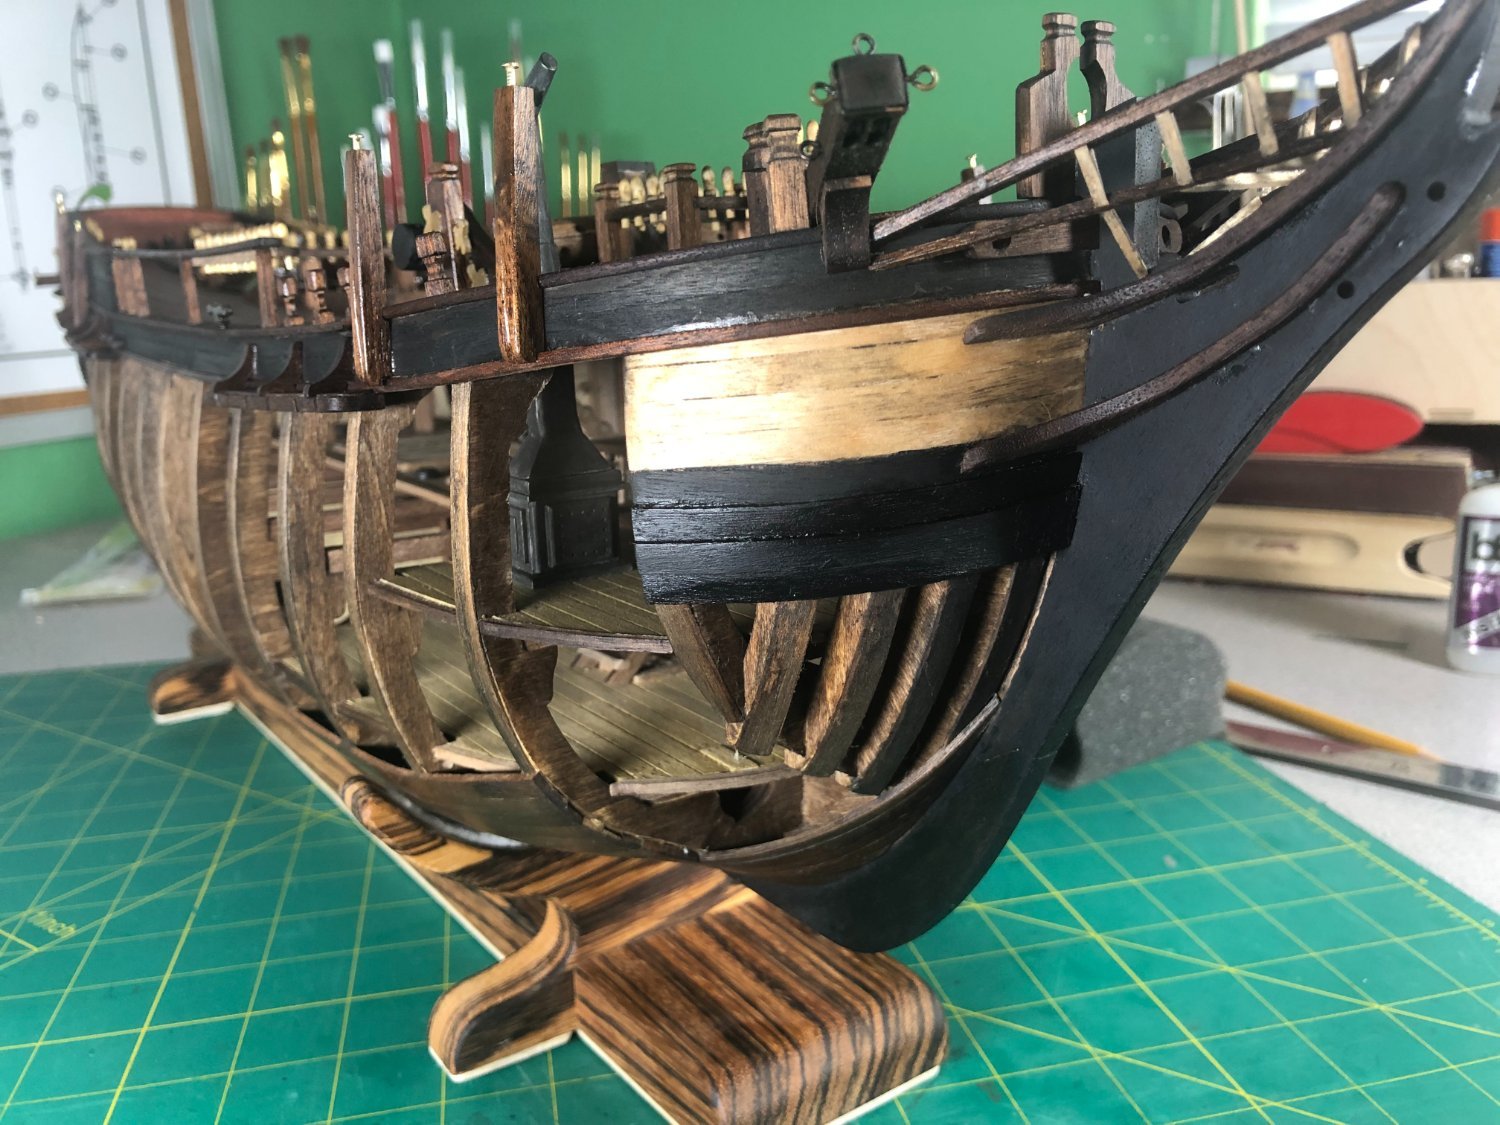
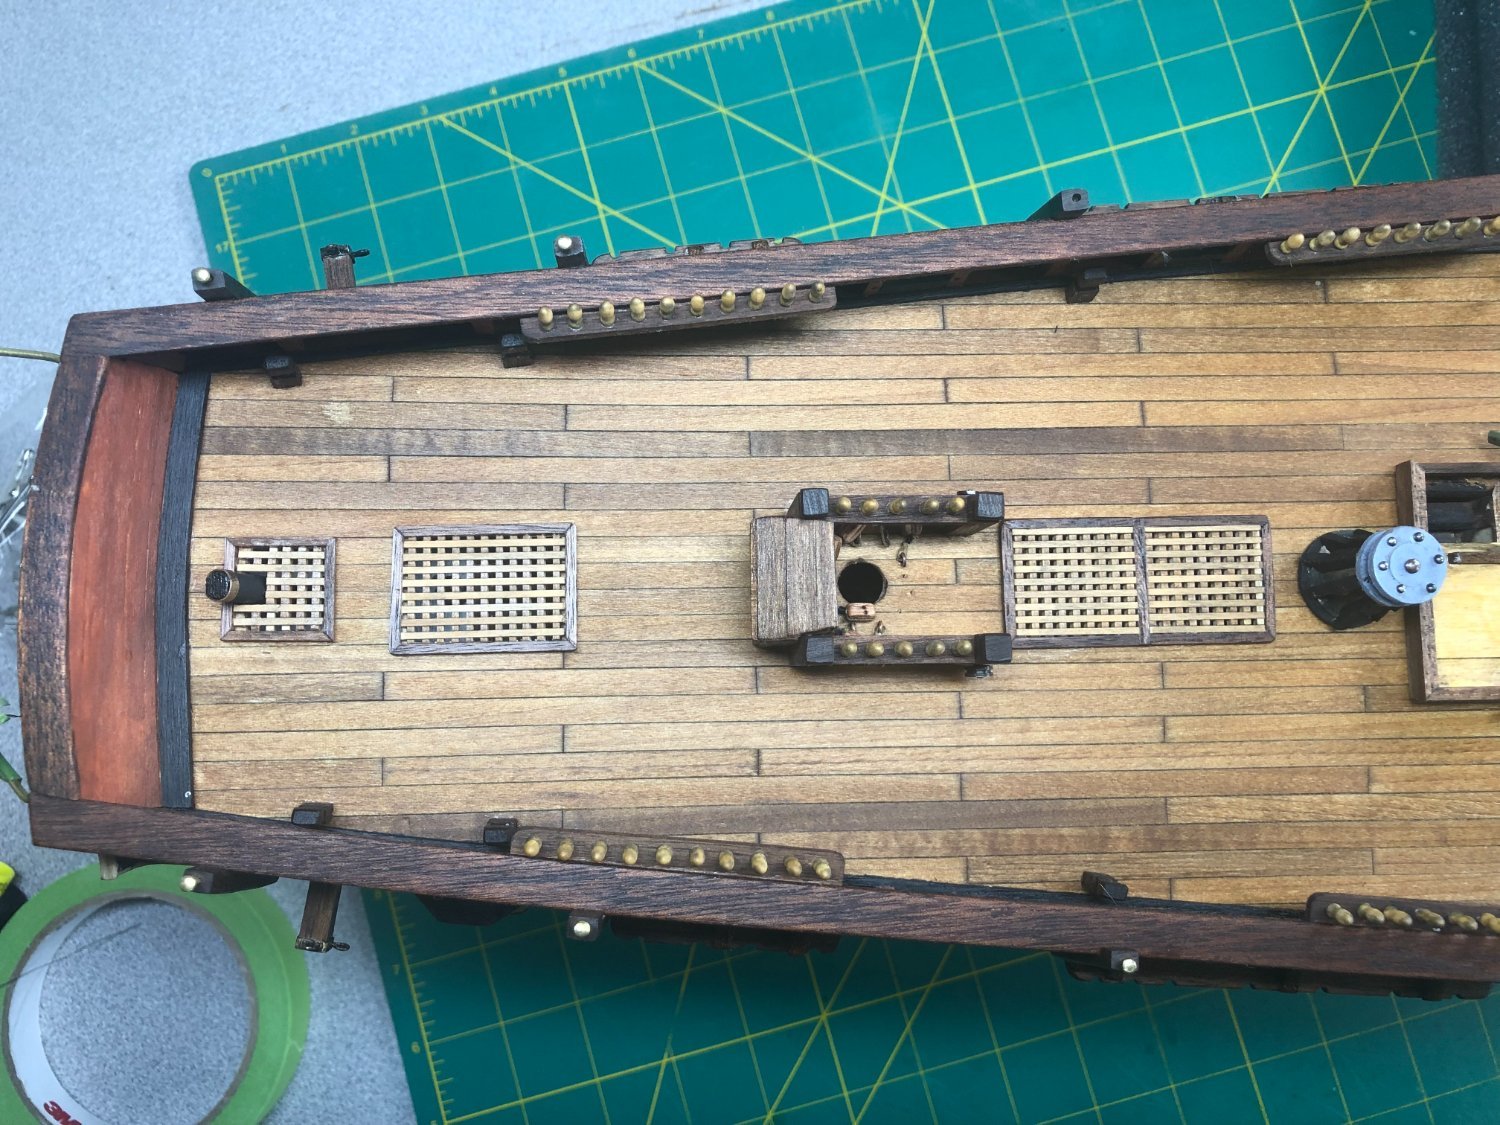
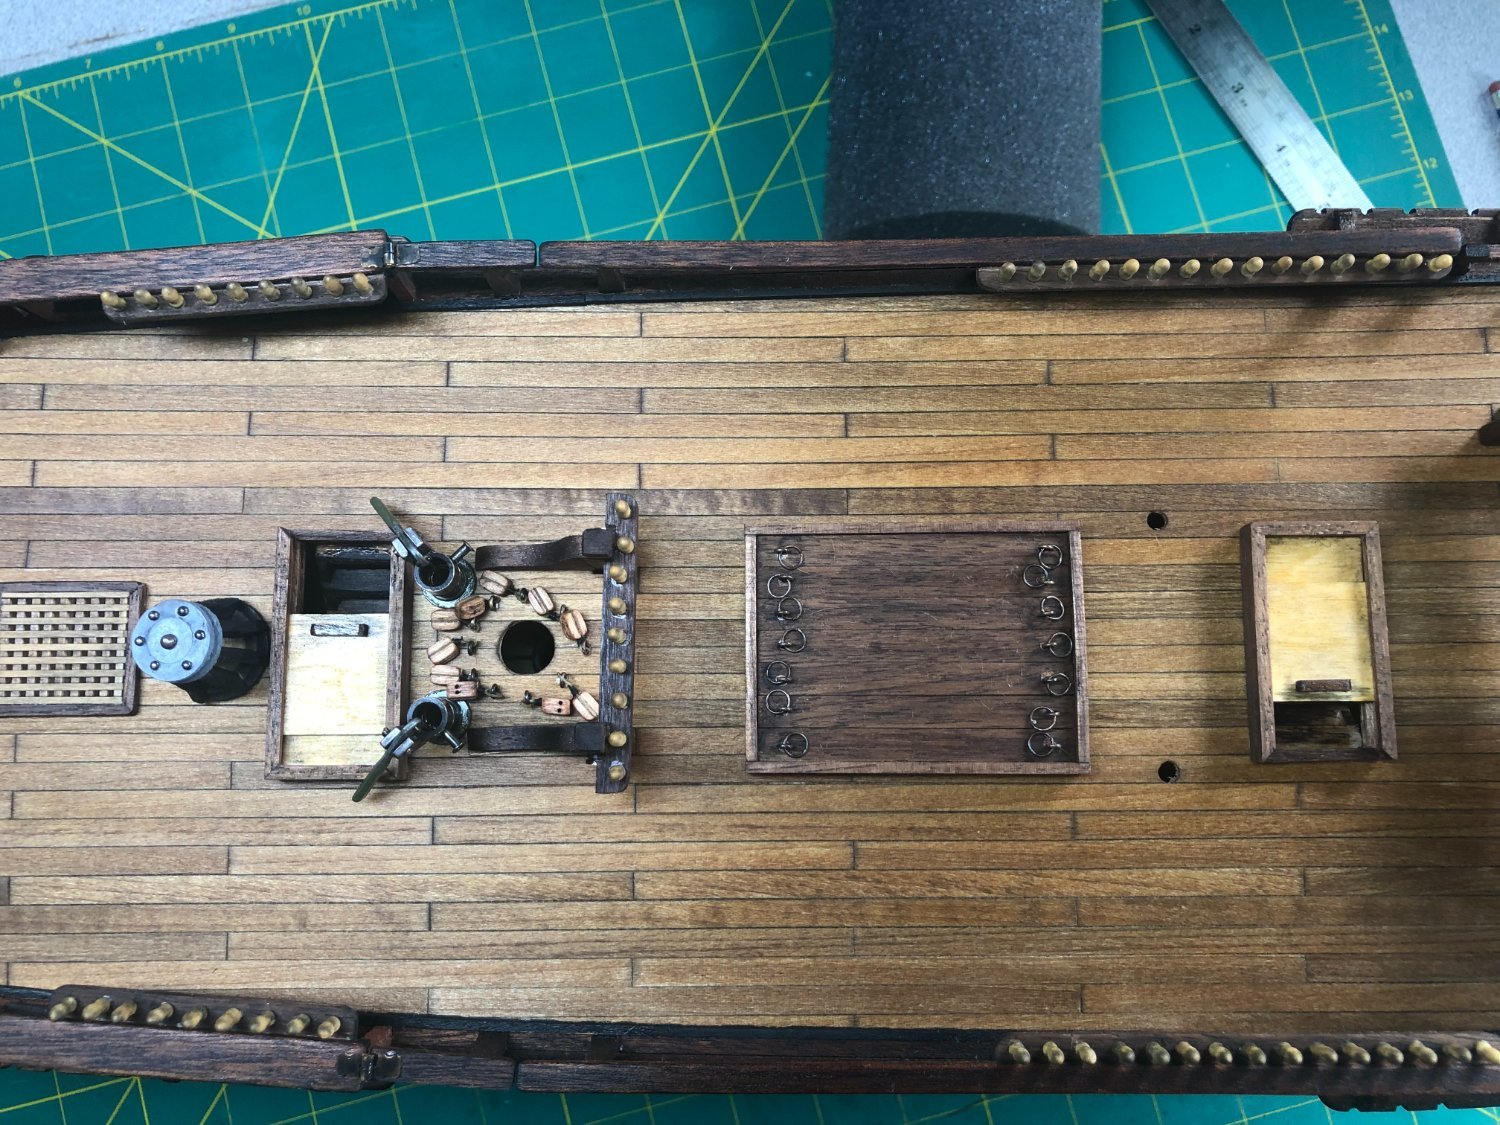
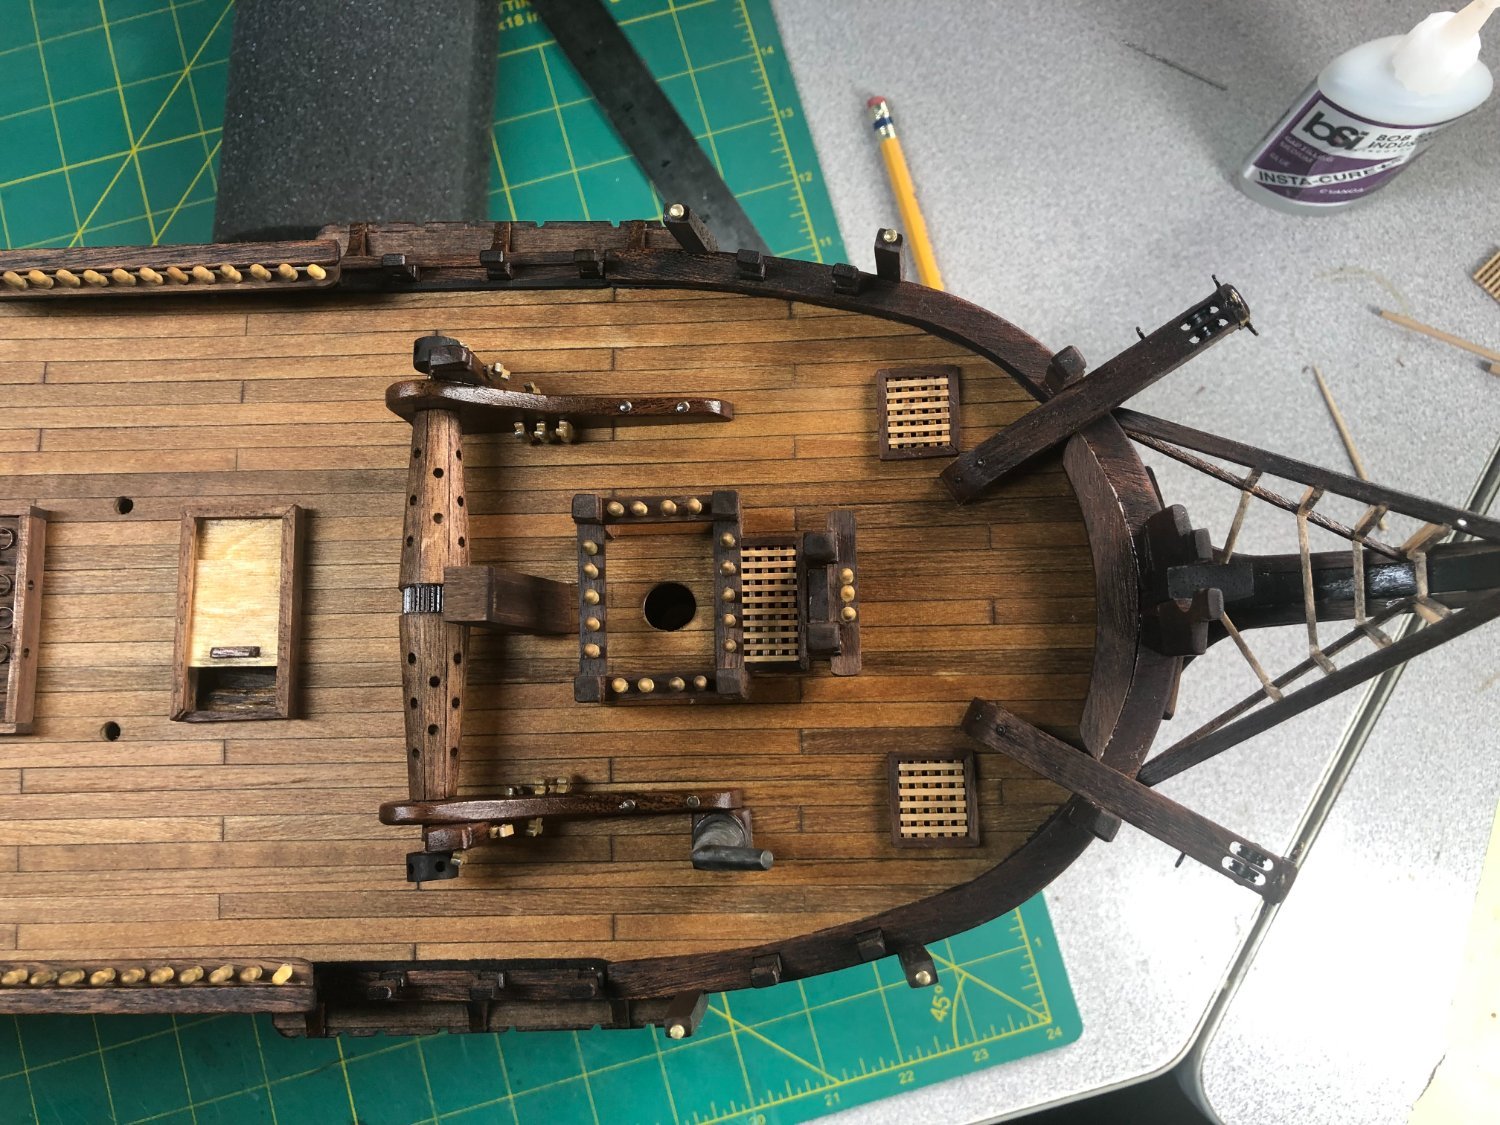
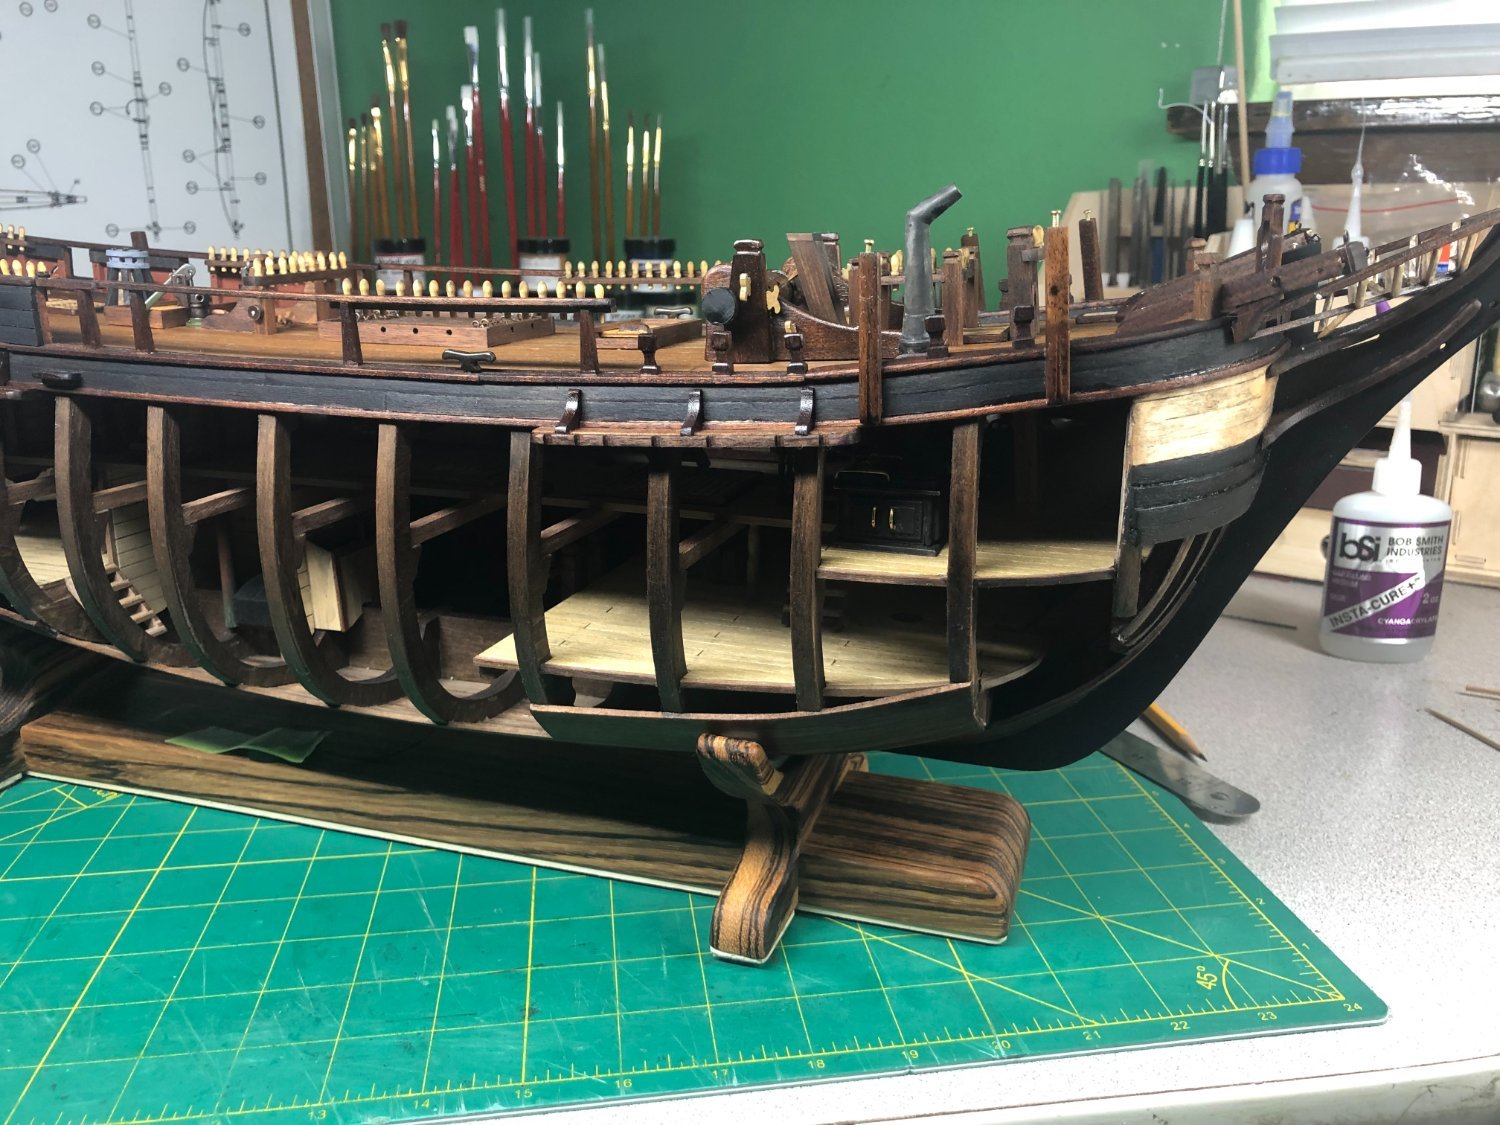
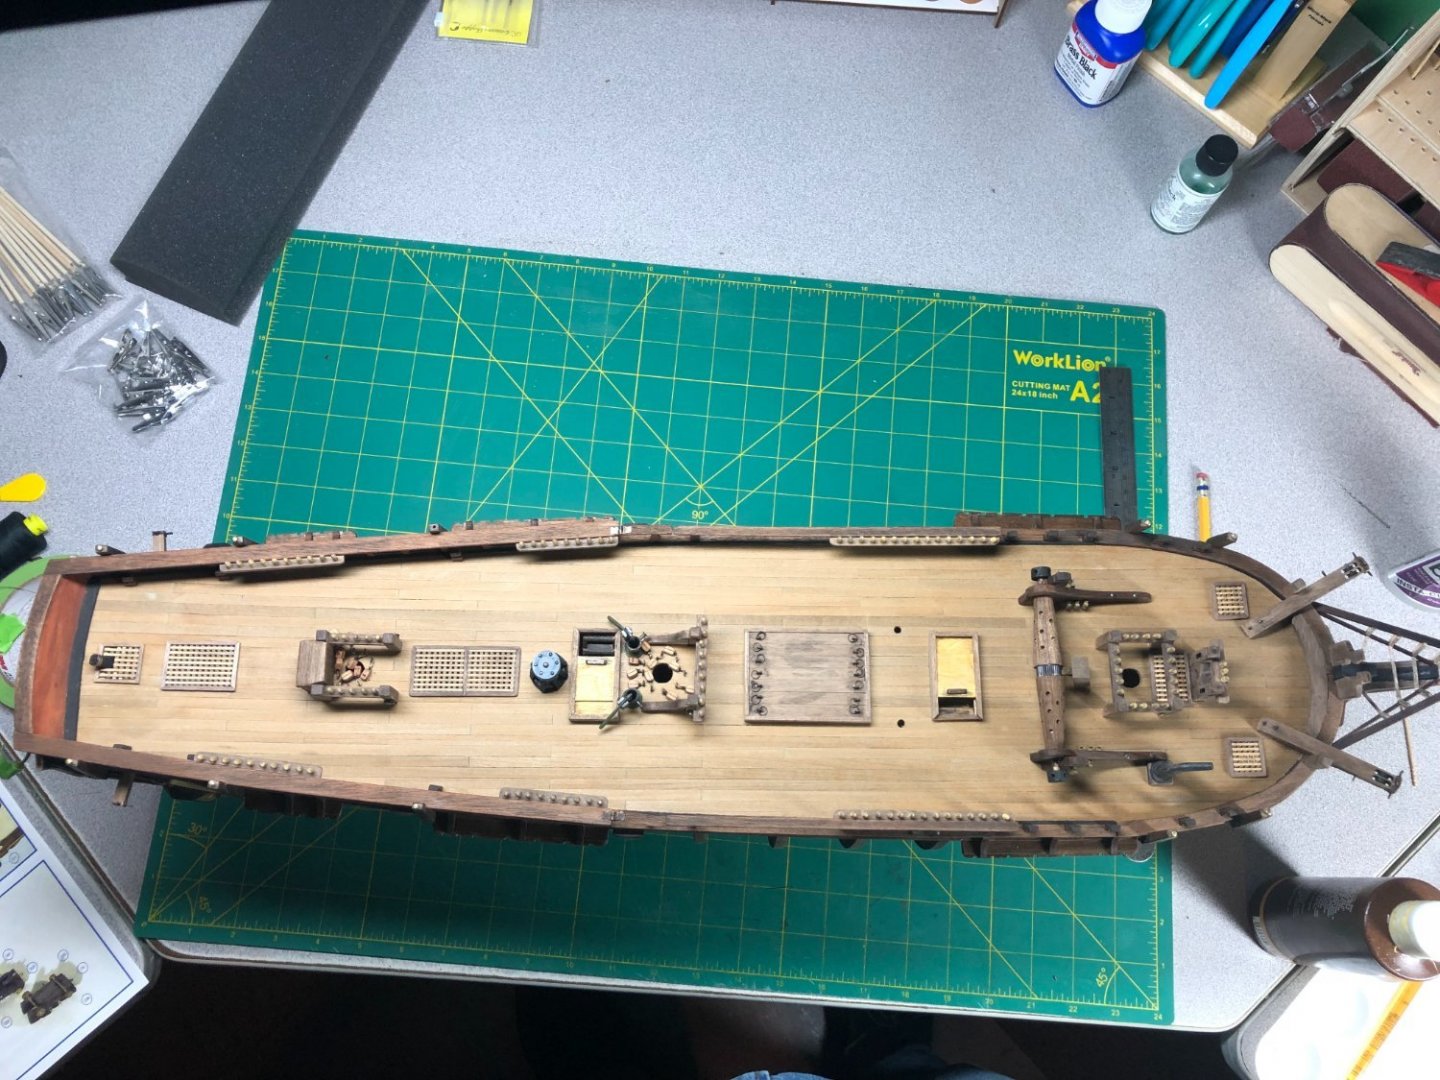
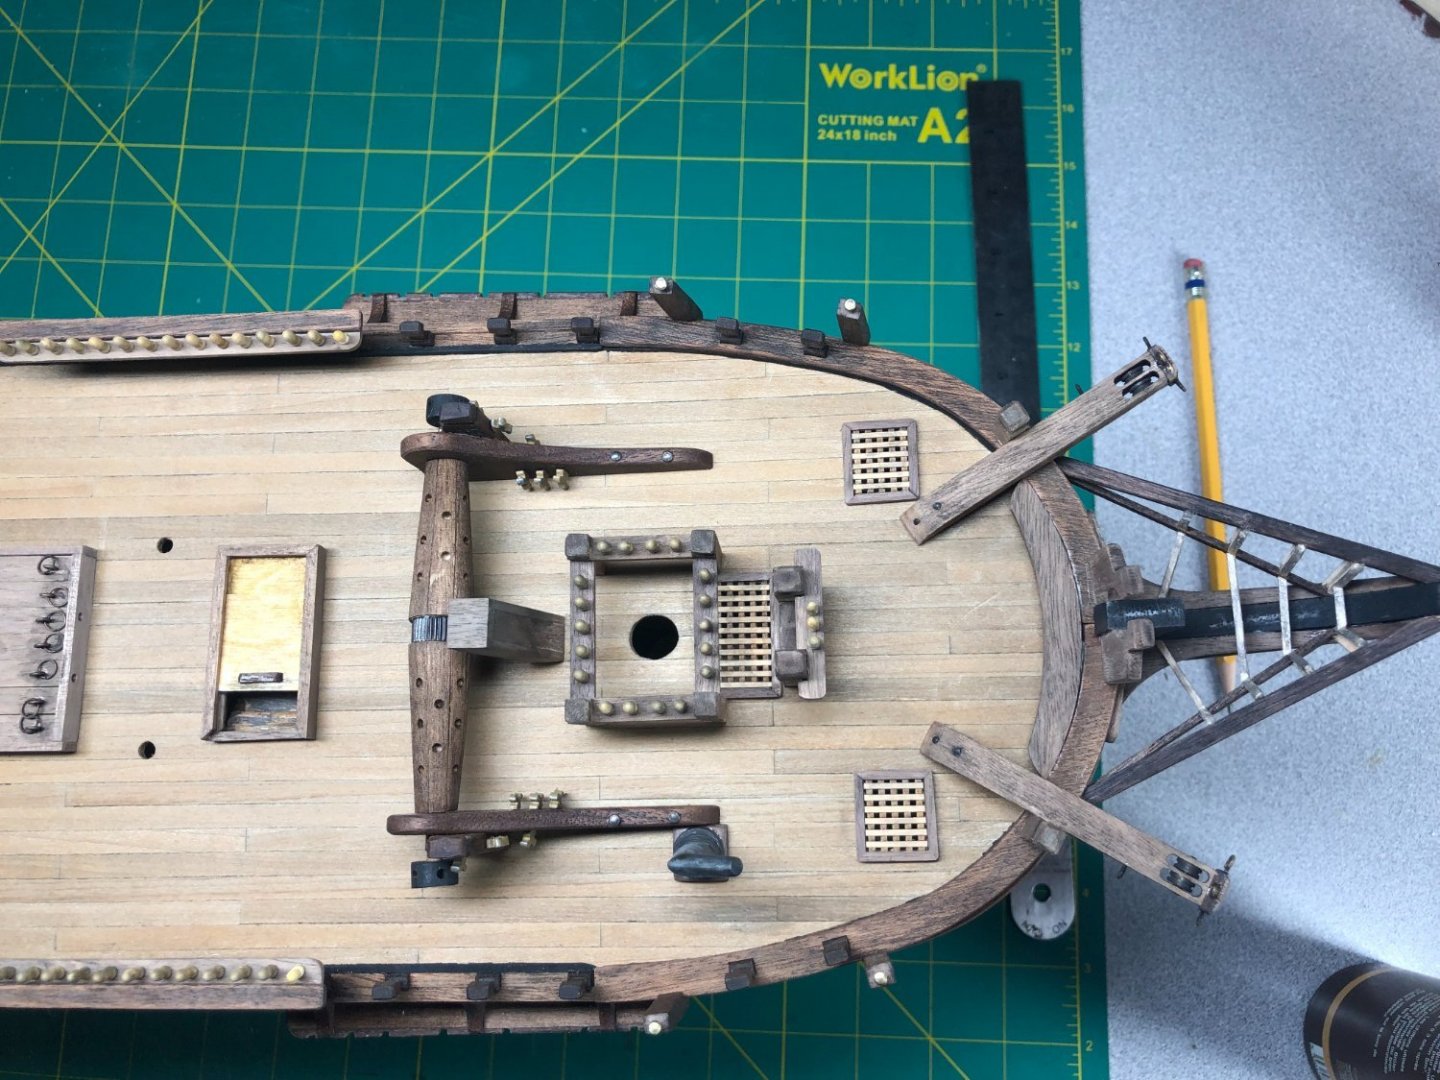
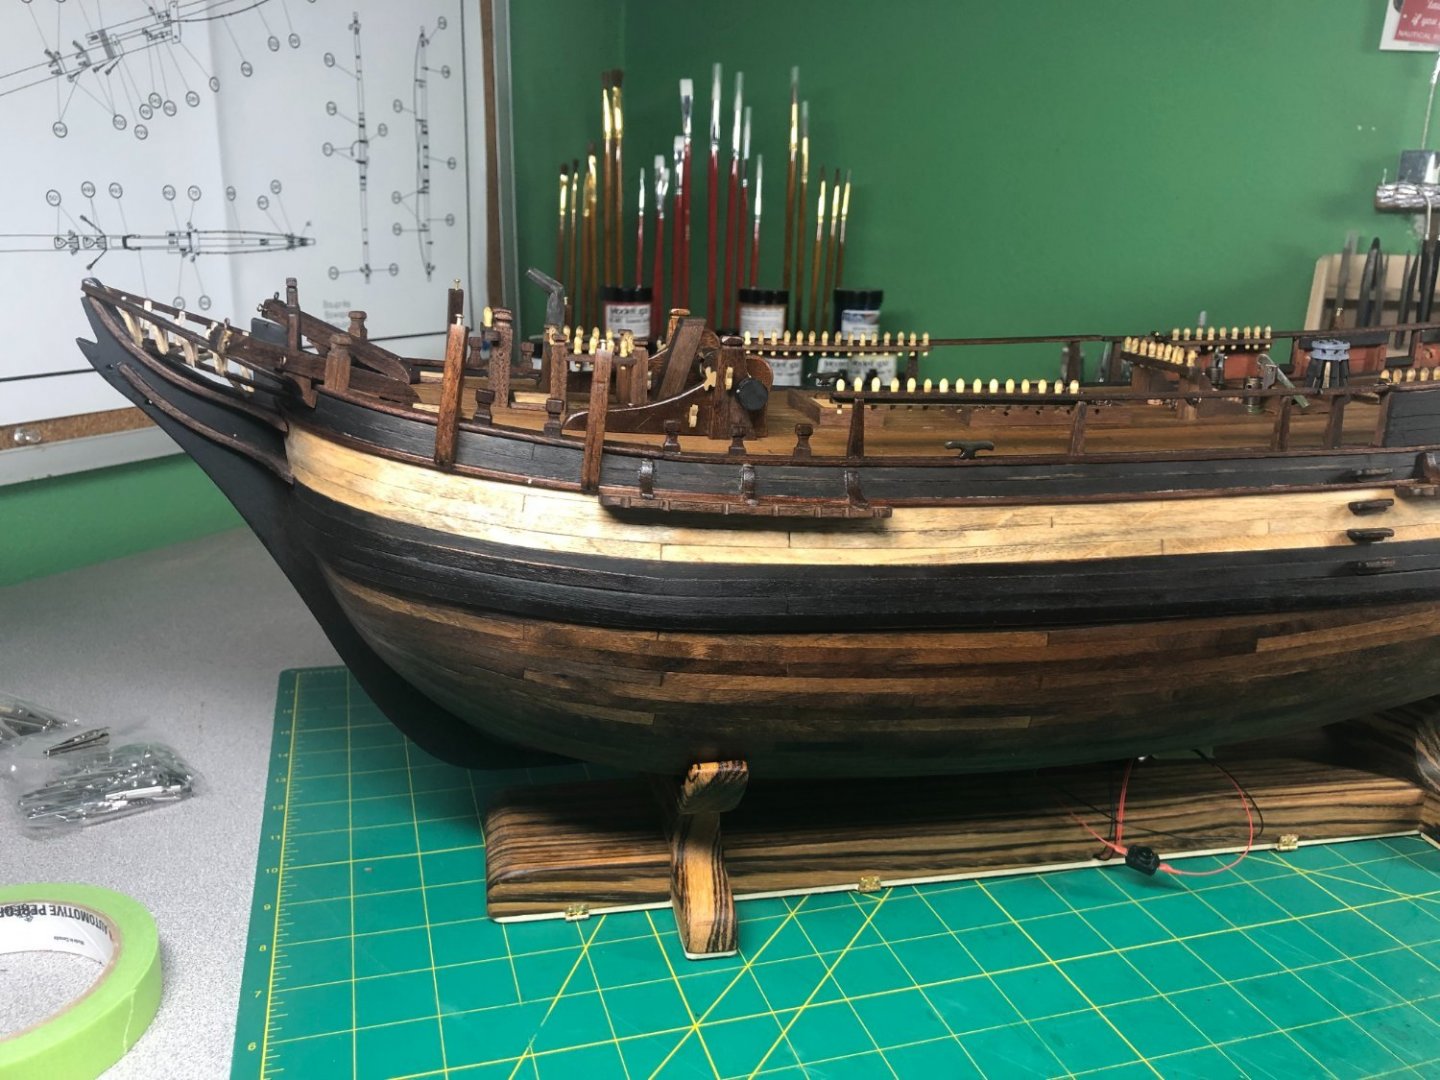
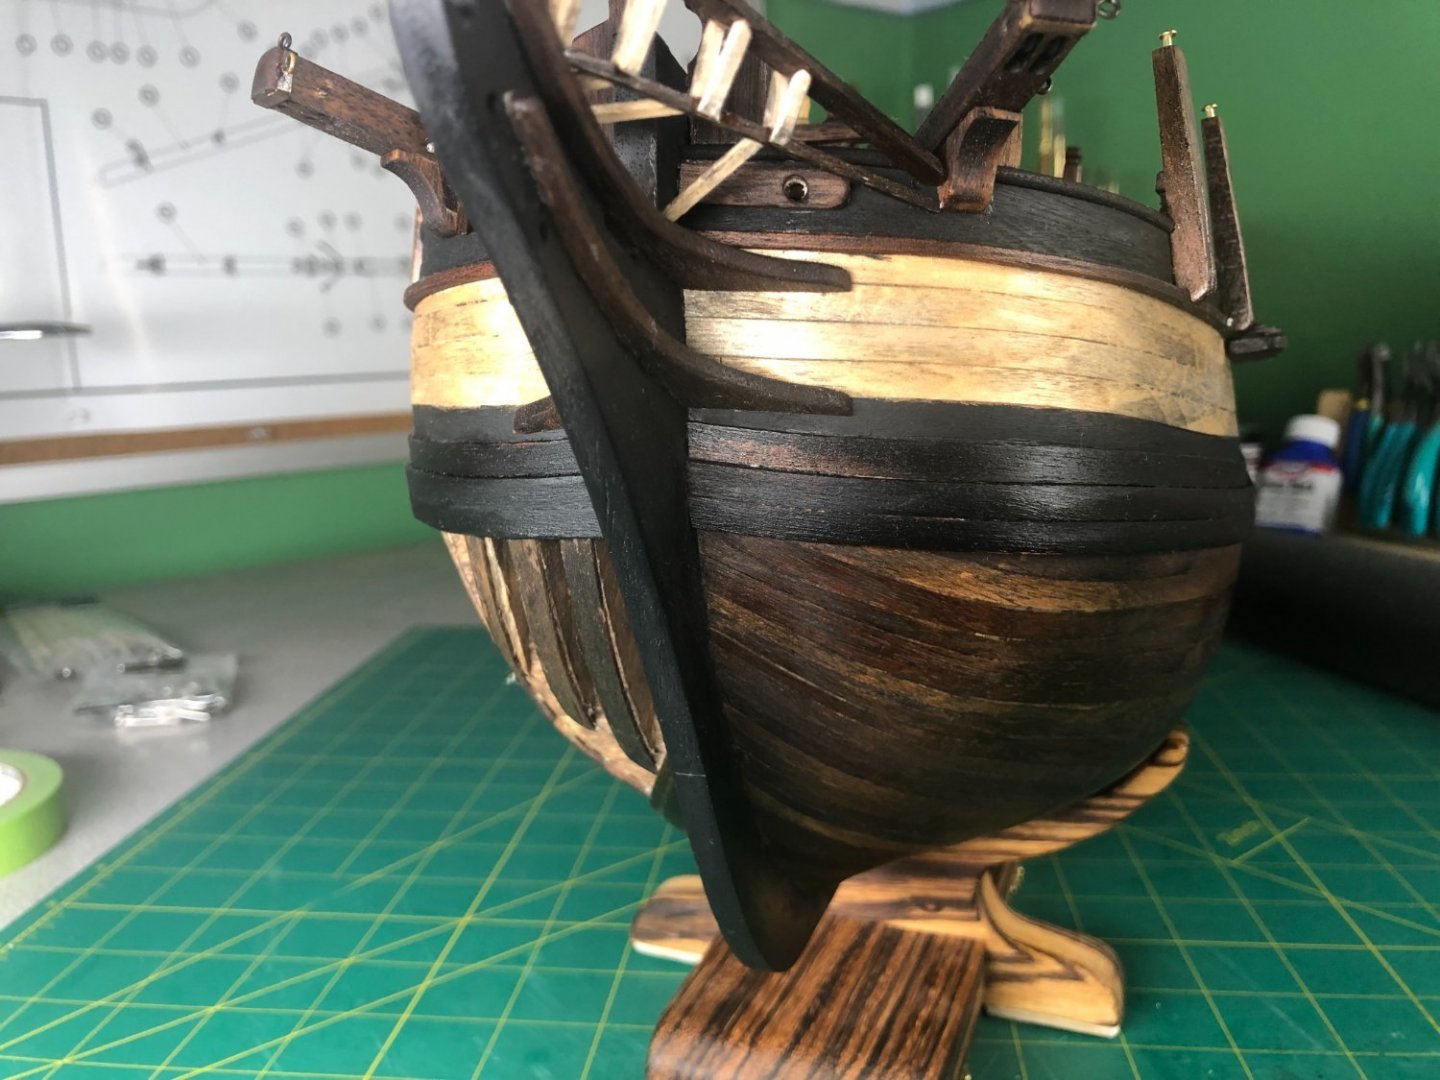
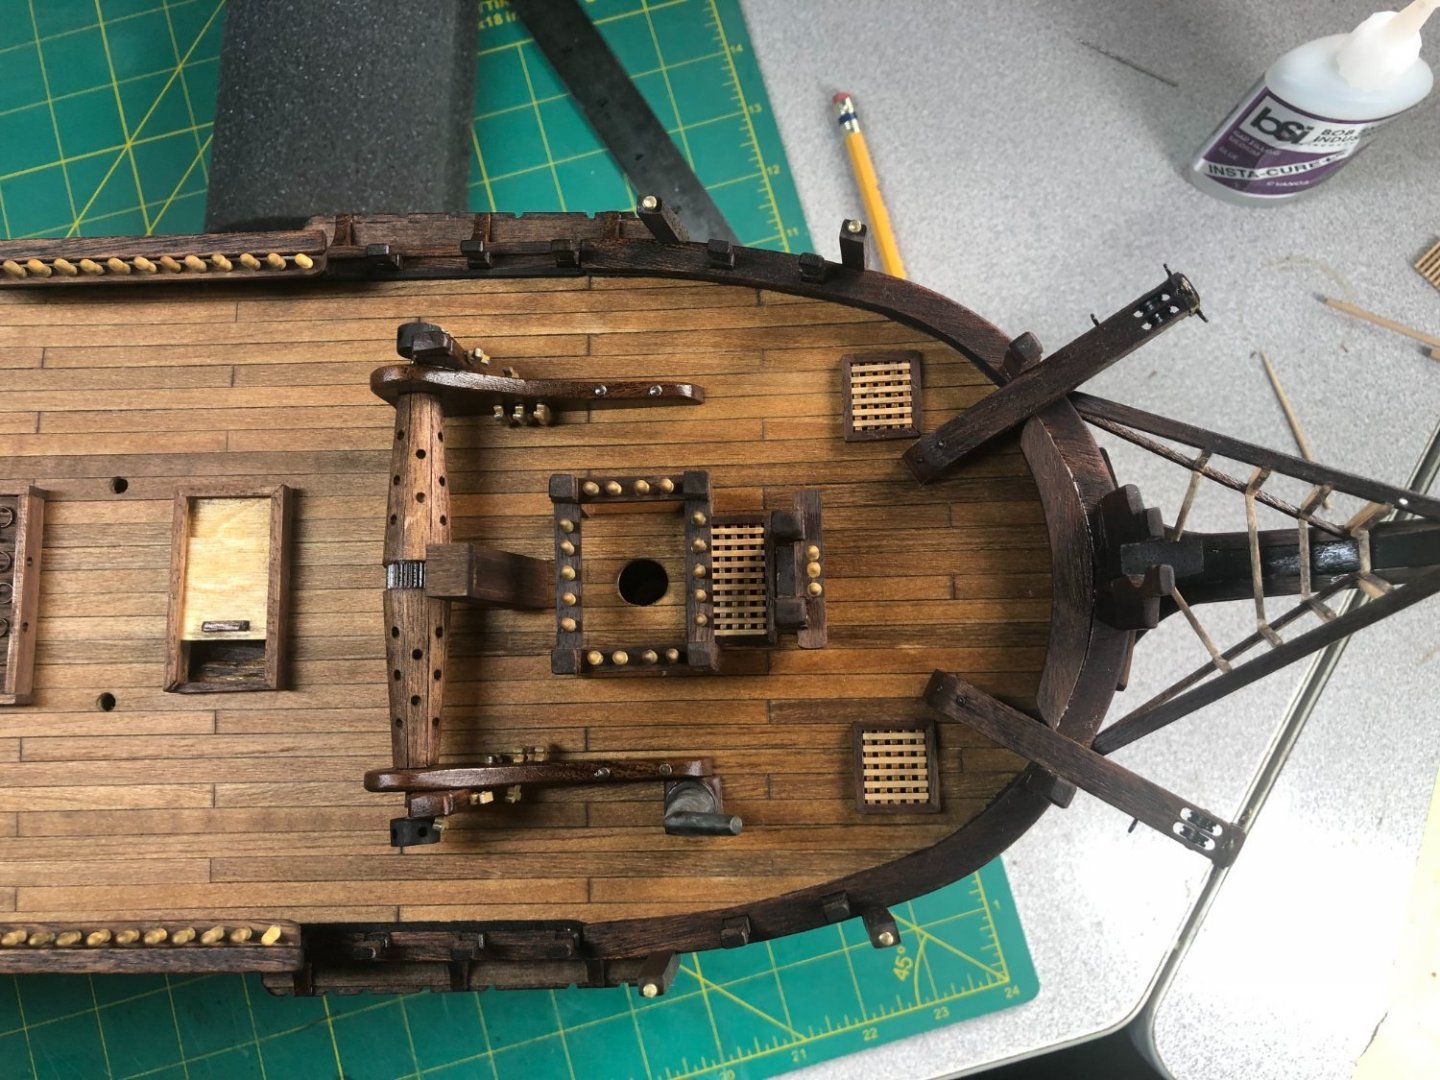
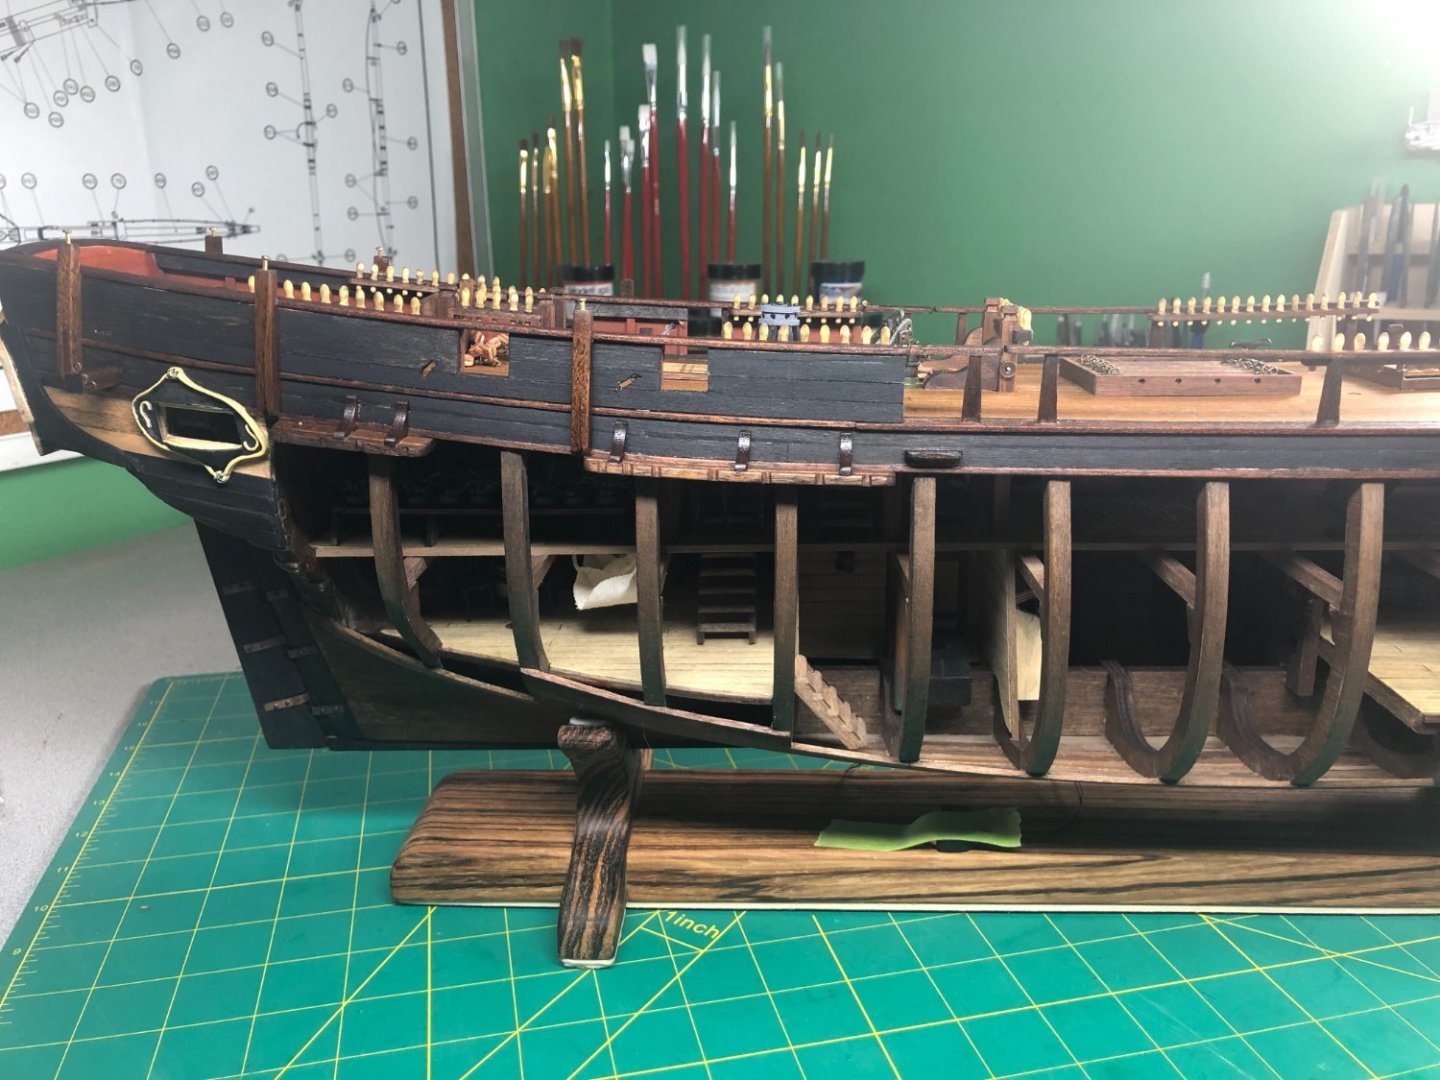
Quick update... lots of pictures. I laid down a coat of boiled linseed oil from the deck down and over the wales. Most of the deck work is done and I am ready to add cannons, long boats, etc. Here are a few before pictures: And after: Lastly, the first cannon in place:


-
Really nice work!
-
I am not familiar with the kit but it seems to me that the bowsprit would go below what appears to be the pin rails. Similar to this:
- 362 replies
-
- 3
-

-
- Amati
- Lady Nelson
- (and 2 more)
-
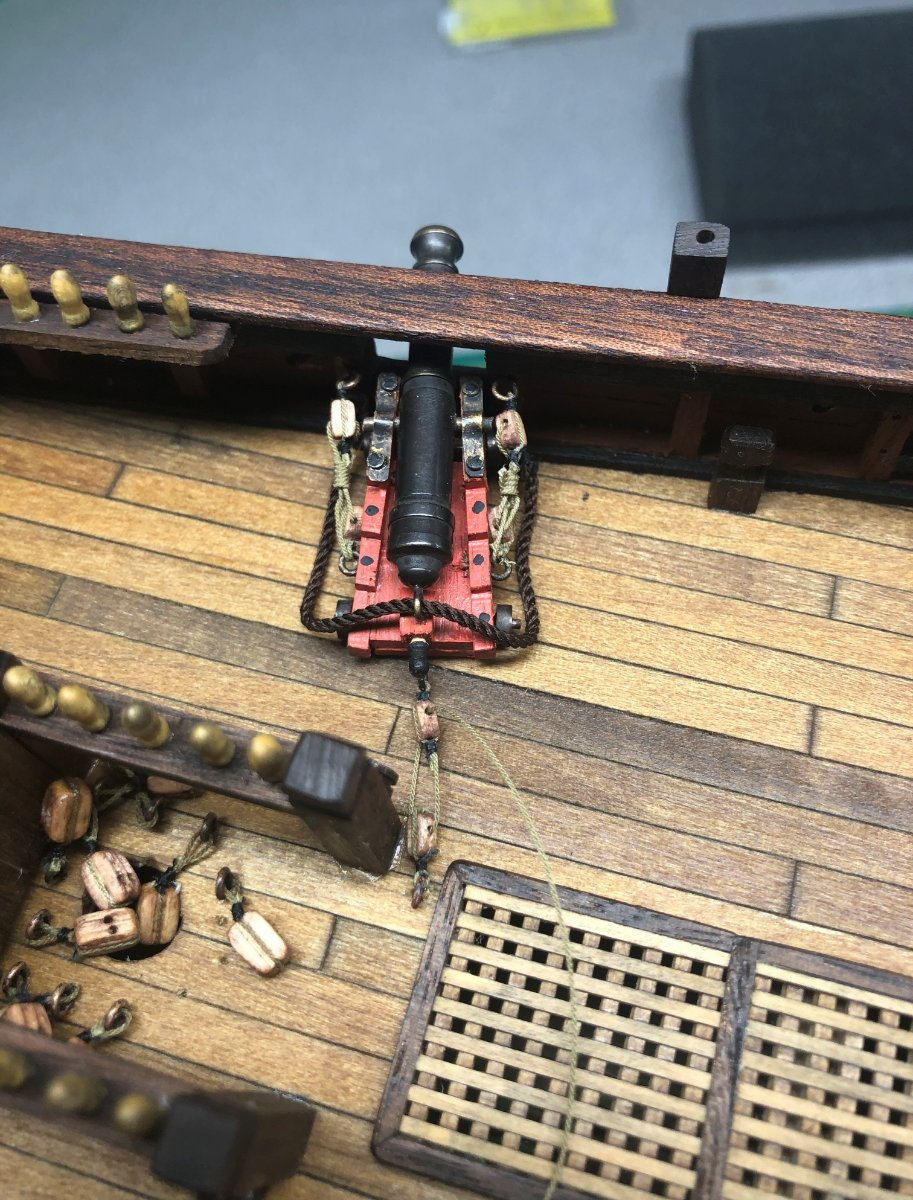
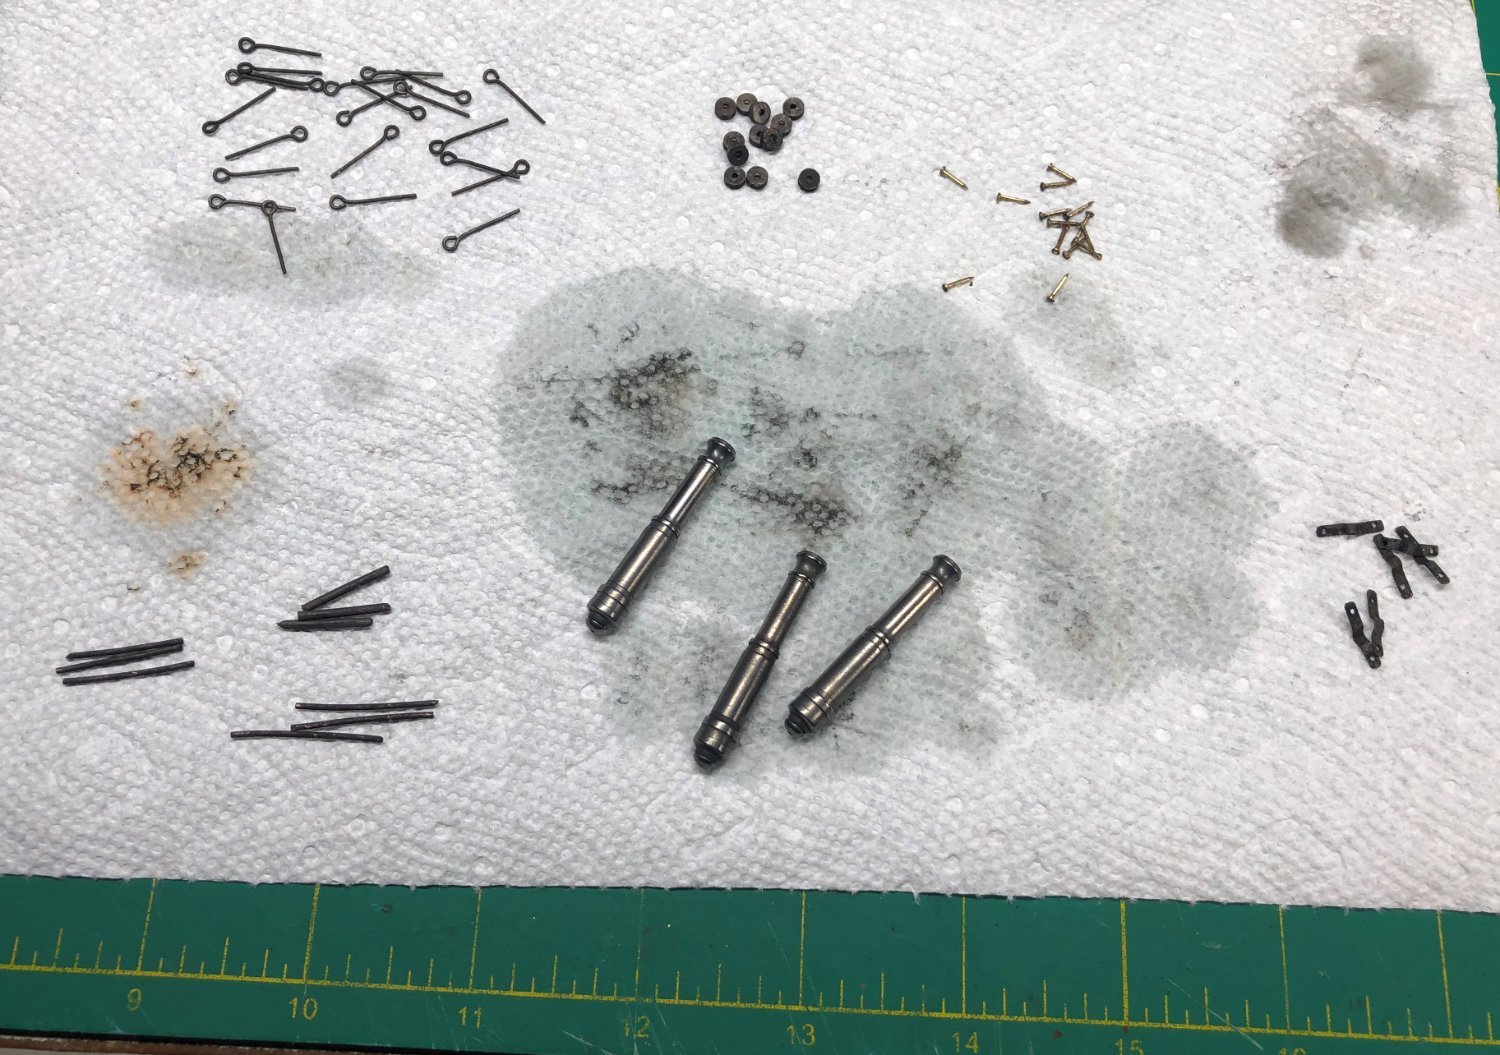
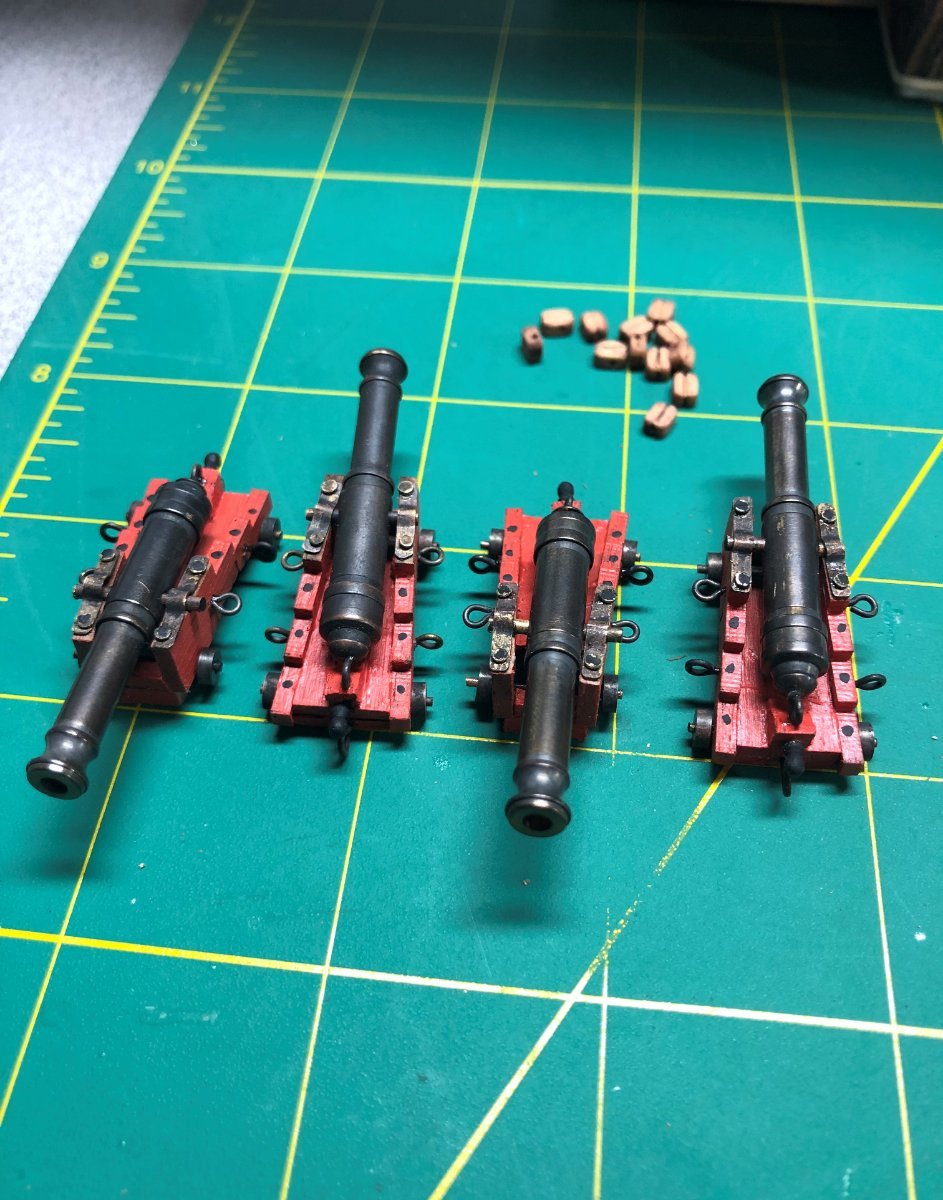
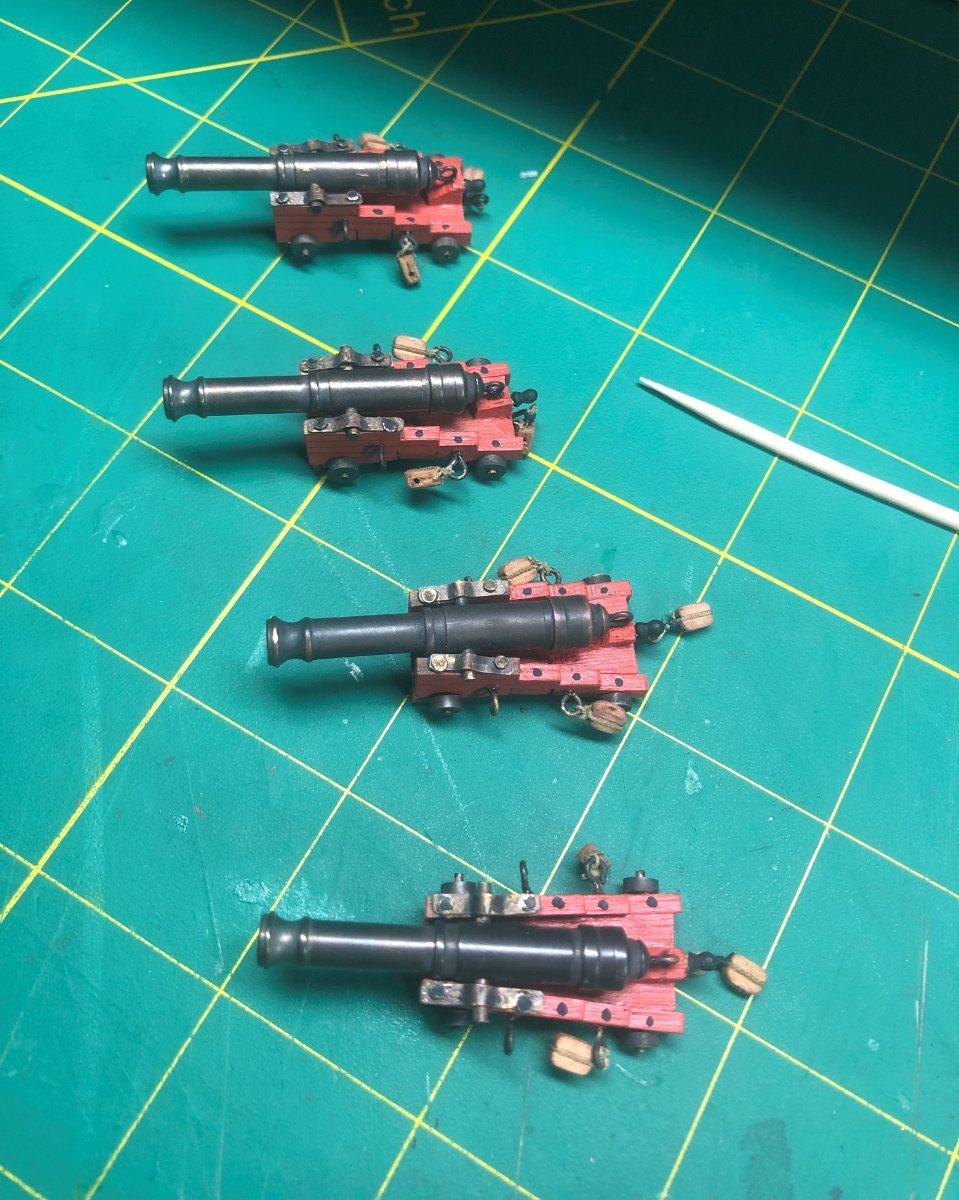
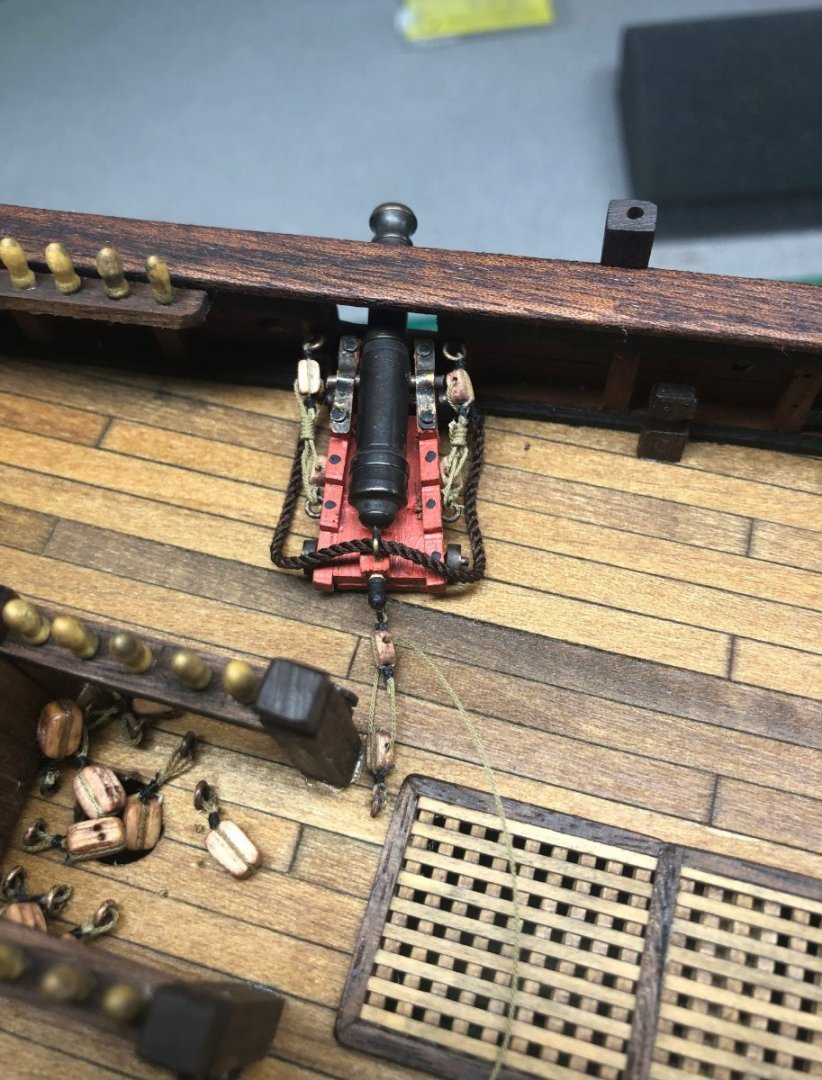
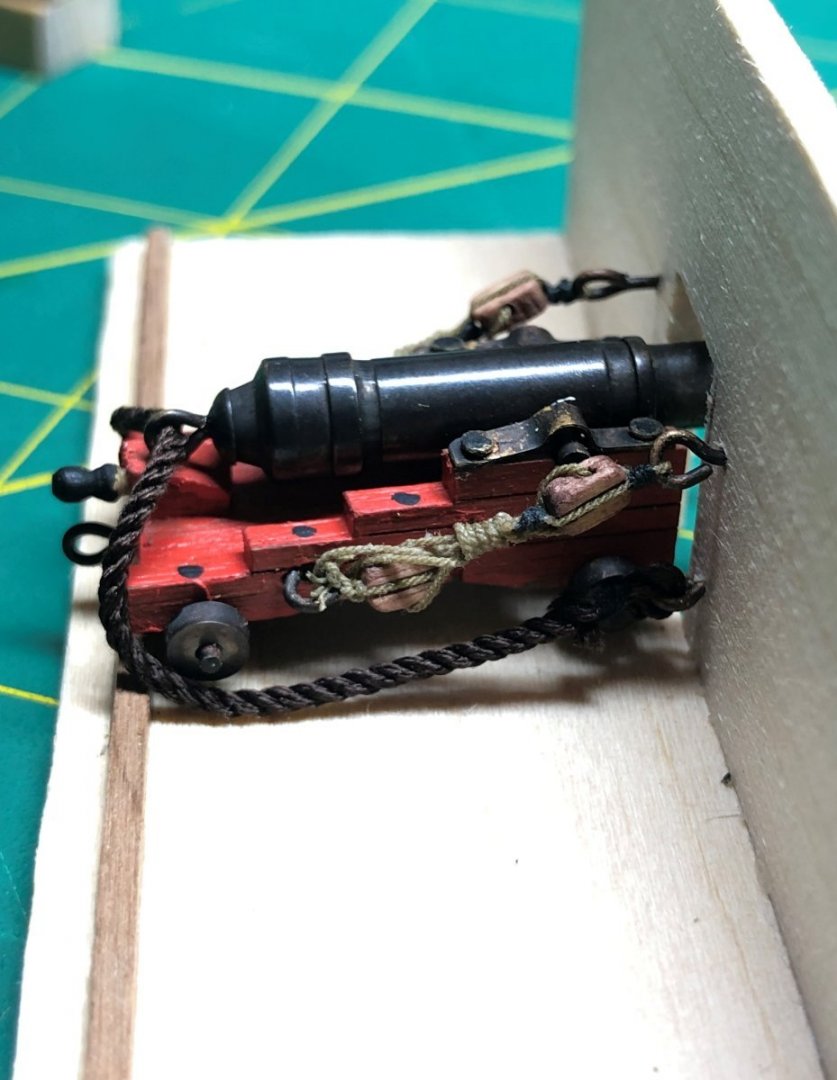
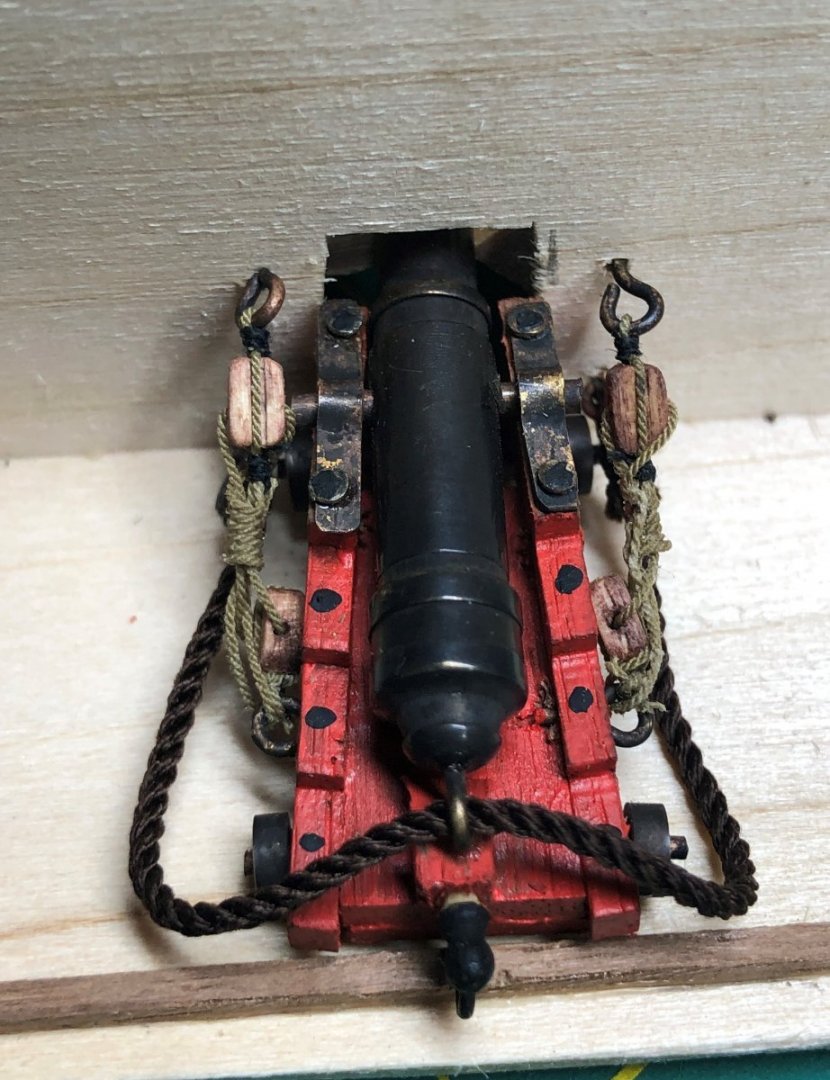
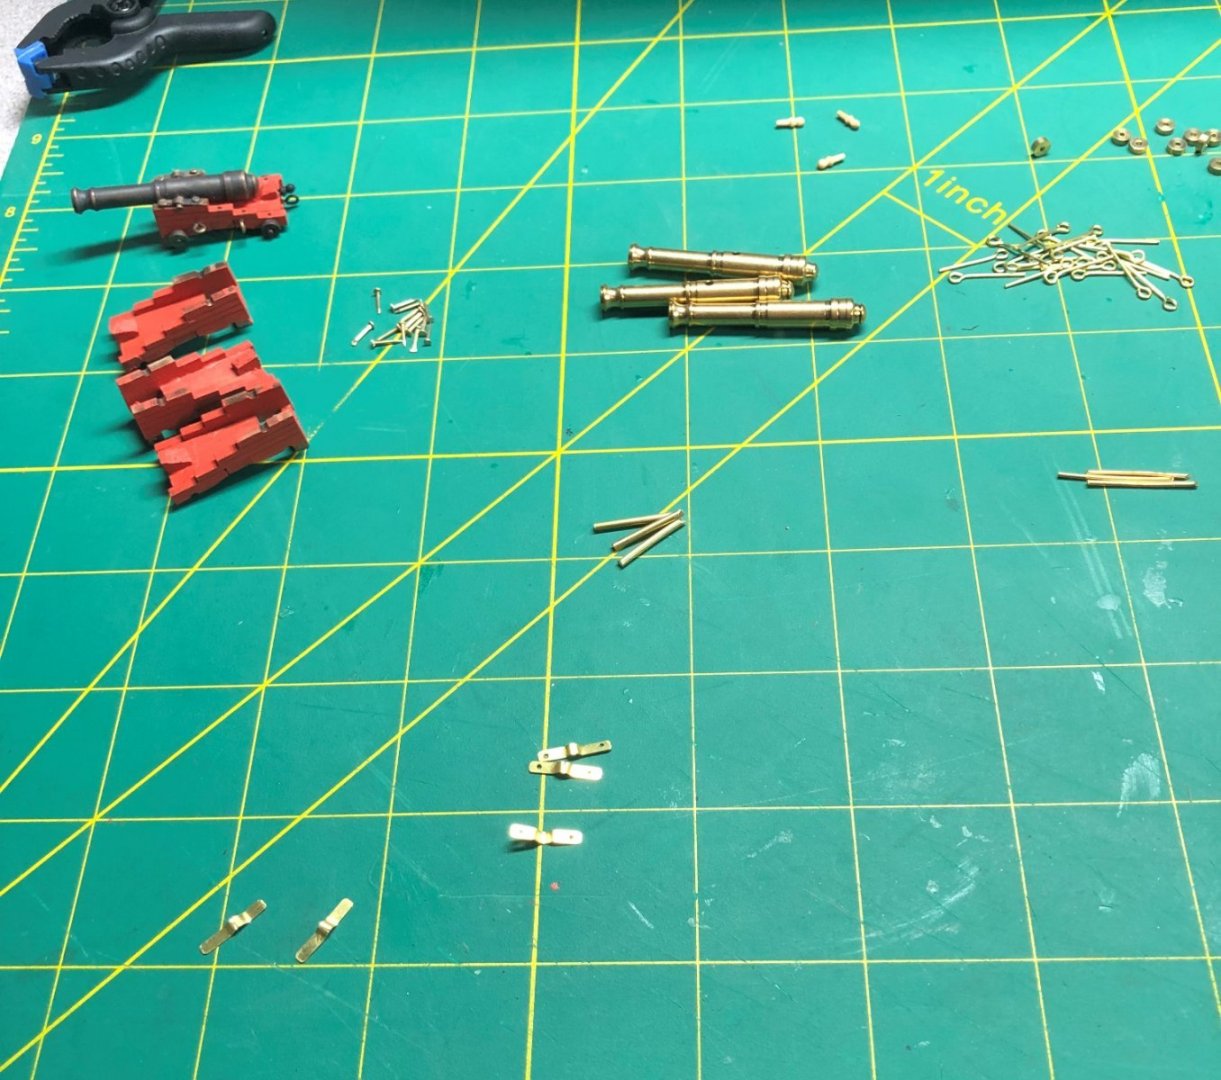
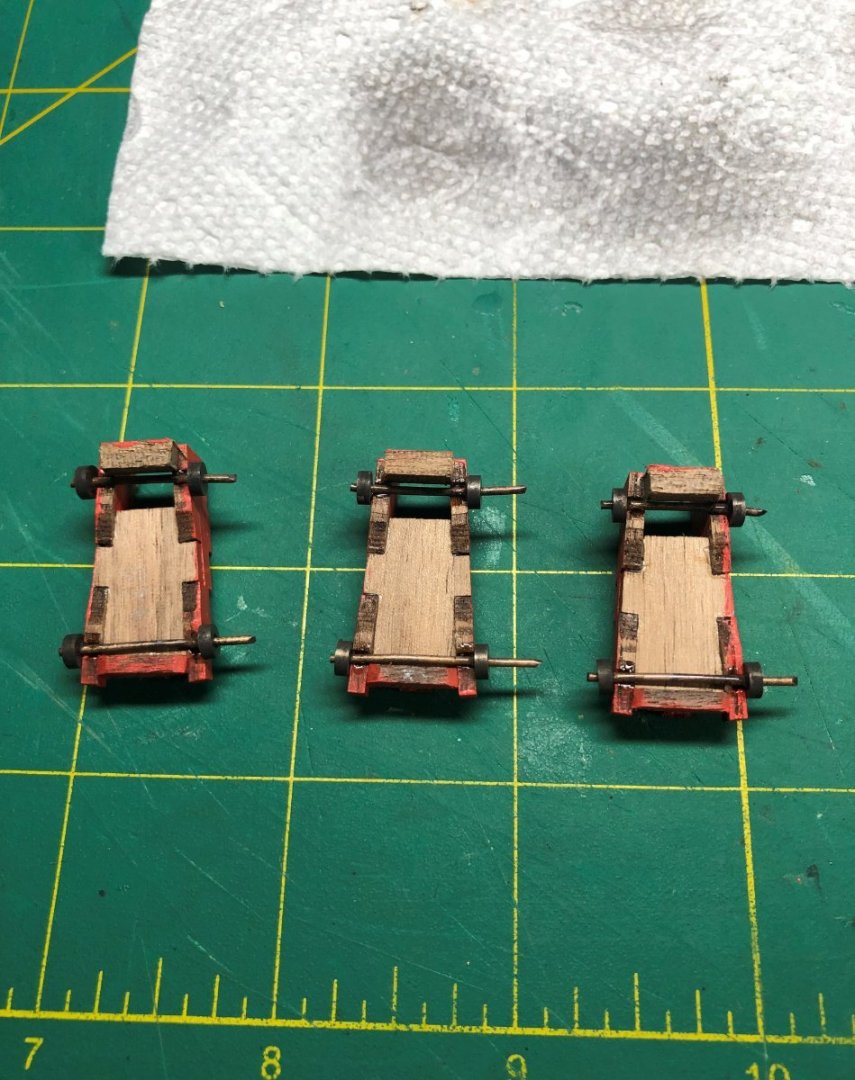
After a bit of a hiatus, I'm back at at it! I reworked the first cannon... slightly smaller loops that are countersunk into the carriage. They look better! Additionally, I used smaller blocks. Overall, I like the look much better. The cannon is shown in a jig I built to hold the cannon while rigging it... needs some work but a good start: Doing a bunch of these must be an exercise in patience! Glad I'm only doing four on this model! More to come in a few days.


-
I have a scale gauge that I use frequently but a scaled sailor is good idea!
-
I couldn't figure out their use either... left them off my rendition too.
-
Jax Pewter Blackening may work better on the eyelets too. I have both and find Jax to be a better option. In addition to the book Keith mentioned, I also have James Lees version. Both are a “must-have” in my opinion.
- 362 replies
-
- 2
-
-

-
- Amati
- Lady Nelson
- (and 2 more)
-
Pictures help us help you! No one should be doing any criticizing your work except to help you out with constructive comments. No worries!
-
Both suggestions are good ones! Most definitely do not try to cut in one pass!
-
Excellent news! And the maker of my current build too. Welcome!
-
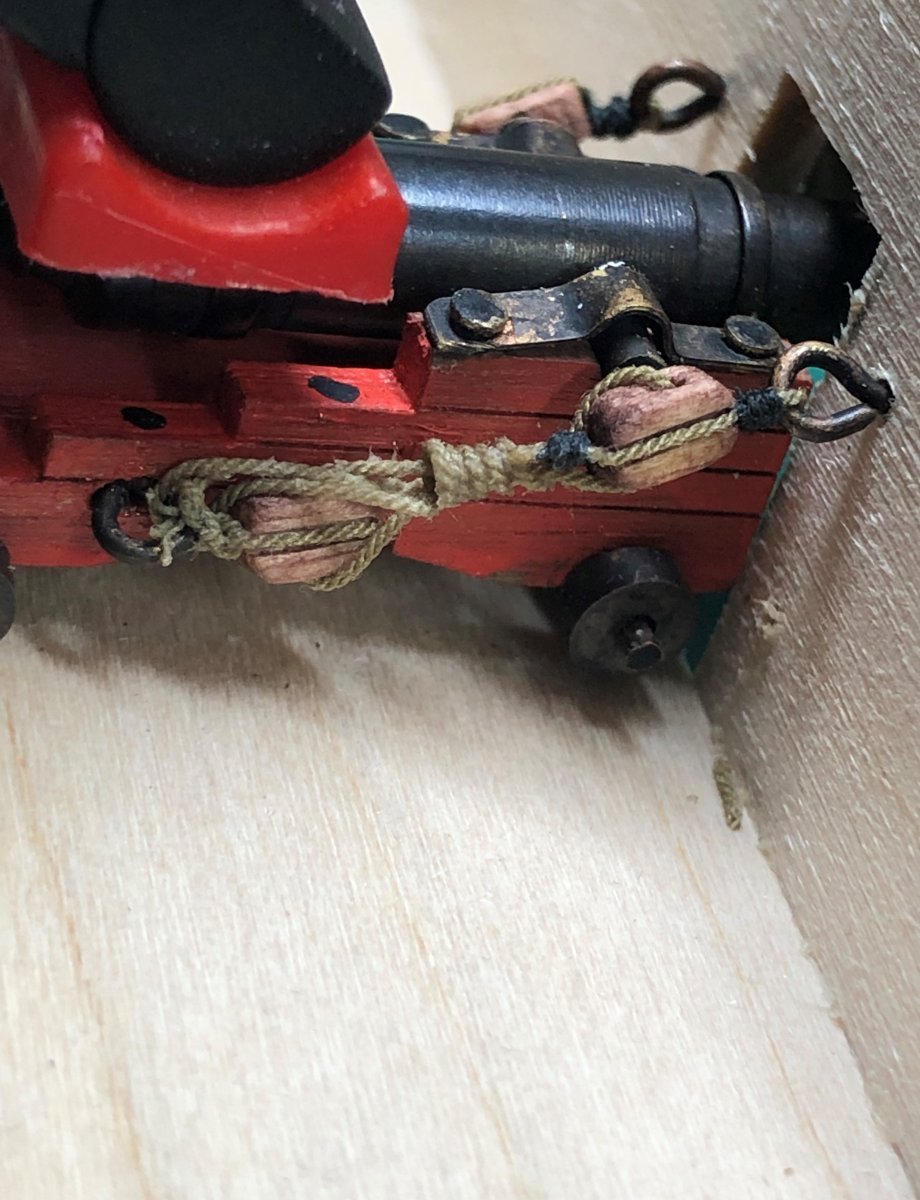
Spring is arriving and I find myself outdoors or on the boat a bit more! A good thing! Managed to do some work... tear it apart and do it again only to discover that it's still not right! Or at least, it doesn't look right to me. Assembly of the cannons looked to be straightforward until I started researching the guns from that time period: Blackened all the parts: In the Anatomy book, the carriage is close in design but the front wheels are larger. I decided to modify the carriage a bit at the front that lifts the carriage off the deck, slightly. The addition to the underside of the carriage and the lift is not noticeable once installed. Final assembly (I thought): Not too bad looking... I HATE THE LOOPS! They look huge on the carriages and to add insult to injury...: The blocks look worse! So, after all the work, I decided to remove the loops and make my own. Additionally, I am using a smaller block on the next version. I've also started building a jig to hold the cannons and the rigging. Hoping to completely rig each one before installing. The Bounty only has 4 cannons... thank God! I'm off on a boat trip tomorrow and won't be in the shop for a week or so! Next up date when I get these cannons sorted out!


-
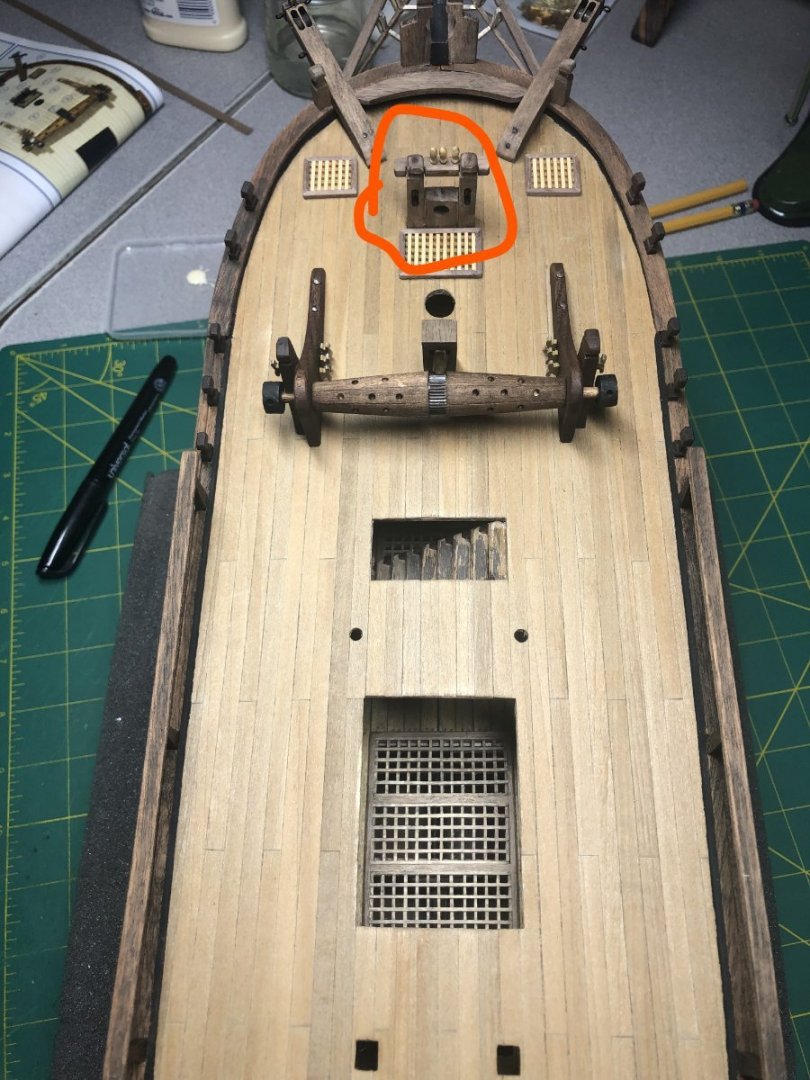
Are those for the half pounders? I think there are 10 total. I had to do the same with my kit. Made from 5x5mm stock... the kit ones were pathetic!
-
Thank you! Good luck. Let me know if I can help!
- 44 replies
-
- 1
-
-
- half hull planking project
- half hull
- (and 2 more)
-
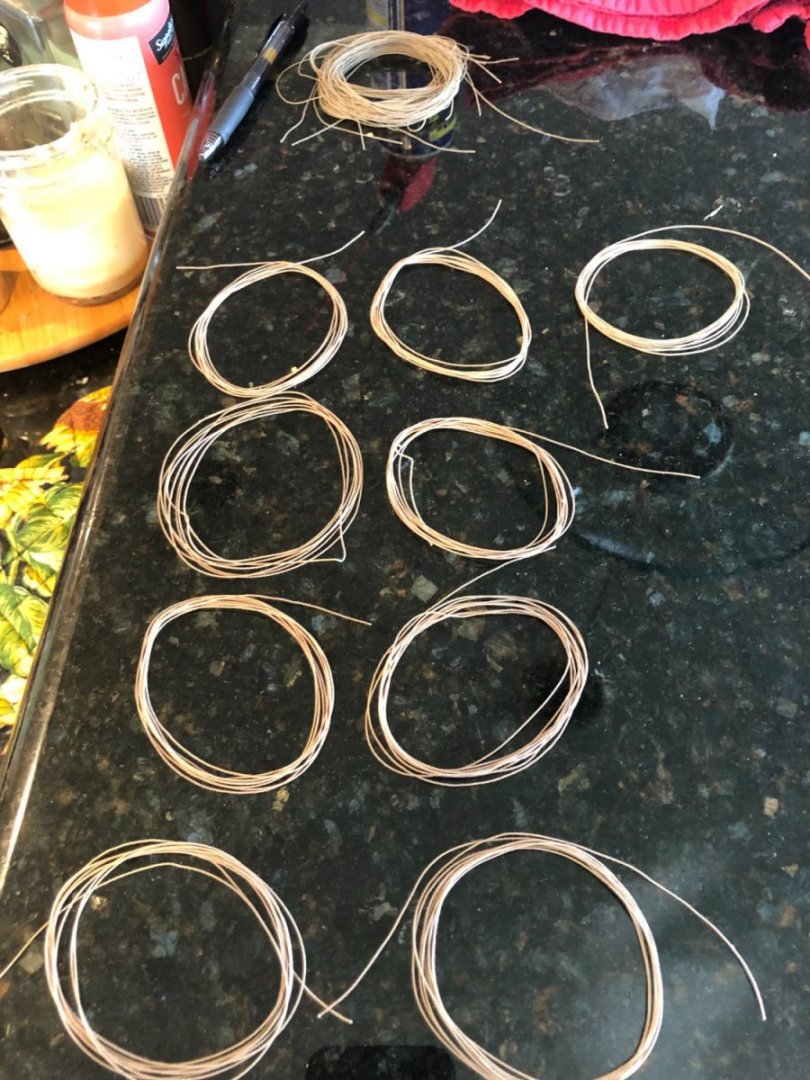
Today's work: 200 feet down... a lot to go!
-
If you have a Hobby Town close by, it might have what you need. Otherwise, I use Micro Mark for a lot of supplies. The problem with them is that it may take a week to arrive. Another option is Amazon... quicker delivery.
- 362 replies
-
- 2
-
-
-
- Amati
- Lady Nelson
- (and 2 more)
-
Direct quote from the Anatomy book.
-
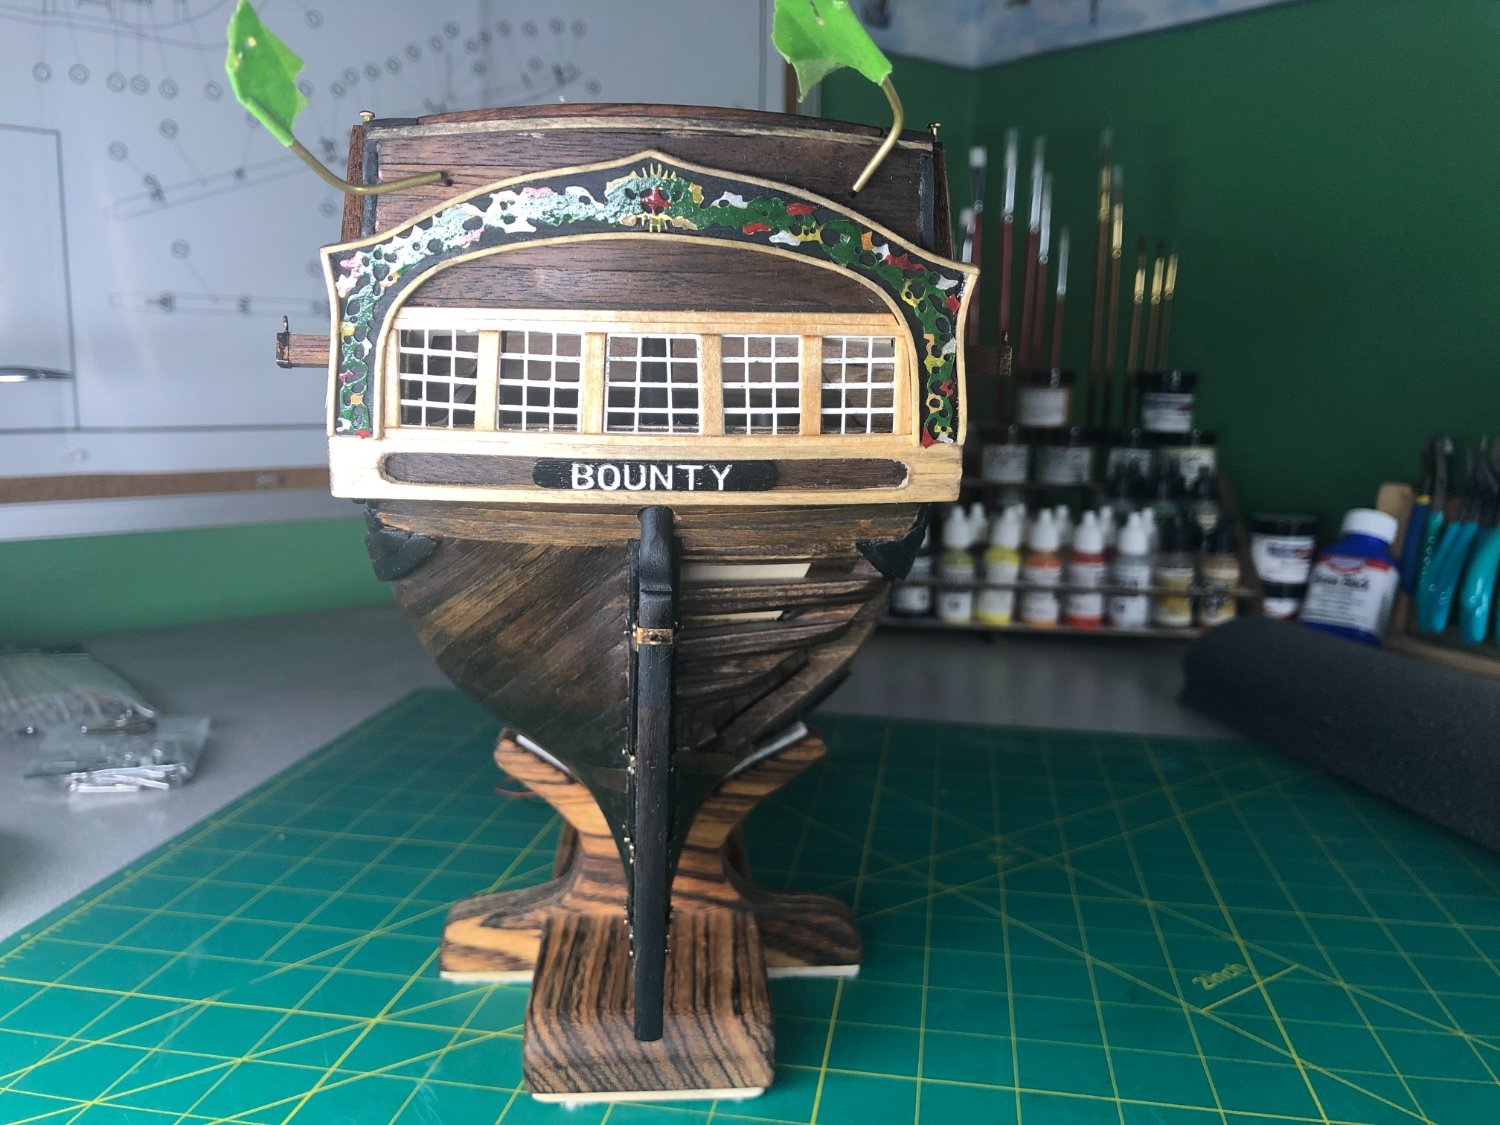
It came from the Anatomy book. I own a copy of it. As noted in the text, no colors are mentioned. So, it’s left open to interpretation… as is the stern decoration.
-
Hi Joe, Very true... what you've typed. I don't mind having someone point out an error. After all, I did state that I am looking to do this model as historically accurate as possible! Somethings can be redone or changed... some can't! I certainly will be checking things a bit more closely and I am learning quite a lot! I have not considered colors for the figurehead. Leaning toward a red riding habit similar to the Anatomy book cover... no reason except Bligh stated that the islanders were pleased with the new colors. I think the Tahitians like red! (I have no clue!!)