LyleK1
-
Posts
541 -
Joined
-
Last visited
Content Type
Profiles
Forums
Gallery
Events
Everything posted by LyleK1
-
 The scale is quite good… 50+ inches is a big model. The pictures are good but the quality and scale of the fittings will need to be good too.
 -
Did you include the include the two strakes in your first belt? It's been awhile since I did this project but as I recall the two lower strake planks are much wider and are not part of your lower belt. In my signature below is a link to my build log... might be some help there. Good luck!
-
Maybe... if USPS can actually deliver it! It was due yesterday and now the tracking says "It's arriving late" but no date...! ...control the things you can and don't worry about the other things, right? I'll update the log as soon as it arrives.
- 83 replies
-
- 3
-

-
- Sea of Galilee boat
- SE Miller
- (and 1 more)
-
Thanks Tim! Working the Victory? Do you have a build log too?
-
Fortunately, it's not a complicated build (Famous last words!). I'm not sure I'll make his birthday but will try!. We shall see!
-
I ran across this kit totally by accident when I purchased some books from Scott Miller. He has some history with MSW. His version of the boat discovered in 1986 intrigued me from the first time I saw it and I just had to build one! It has a history that is both mysterious and timeless with implications of biblical references (after all, it was found in the Sea of Galilee!). This will be a birthday present for my dad. He turns 86 in mid-August. So, my time is limited and it may be impractical of me to try and build it in two months... We'll see! I'm also reading the book of the same name written by Shelley Wachsmann. I just started it but it has some good background on the discovery and recovery of this boat. I enjoy learning the history of each vessel I build. The kit is scheduled to arrive tomorrow. The unveiling will happen next!

- 83 replies
-
- 5
-
-
- Sea of Galilee boat
- SE Miller
- (and 1 more)
-
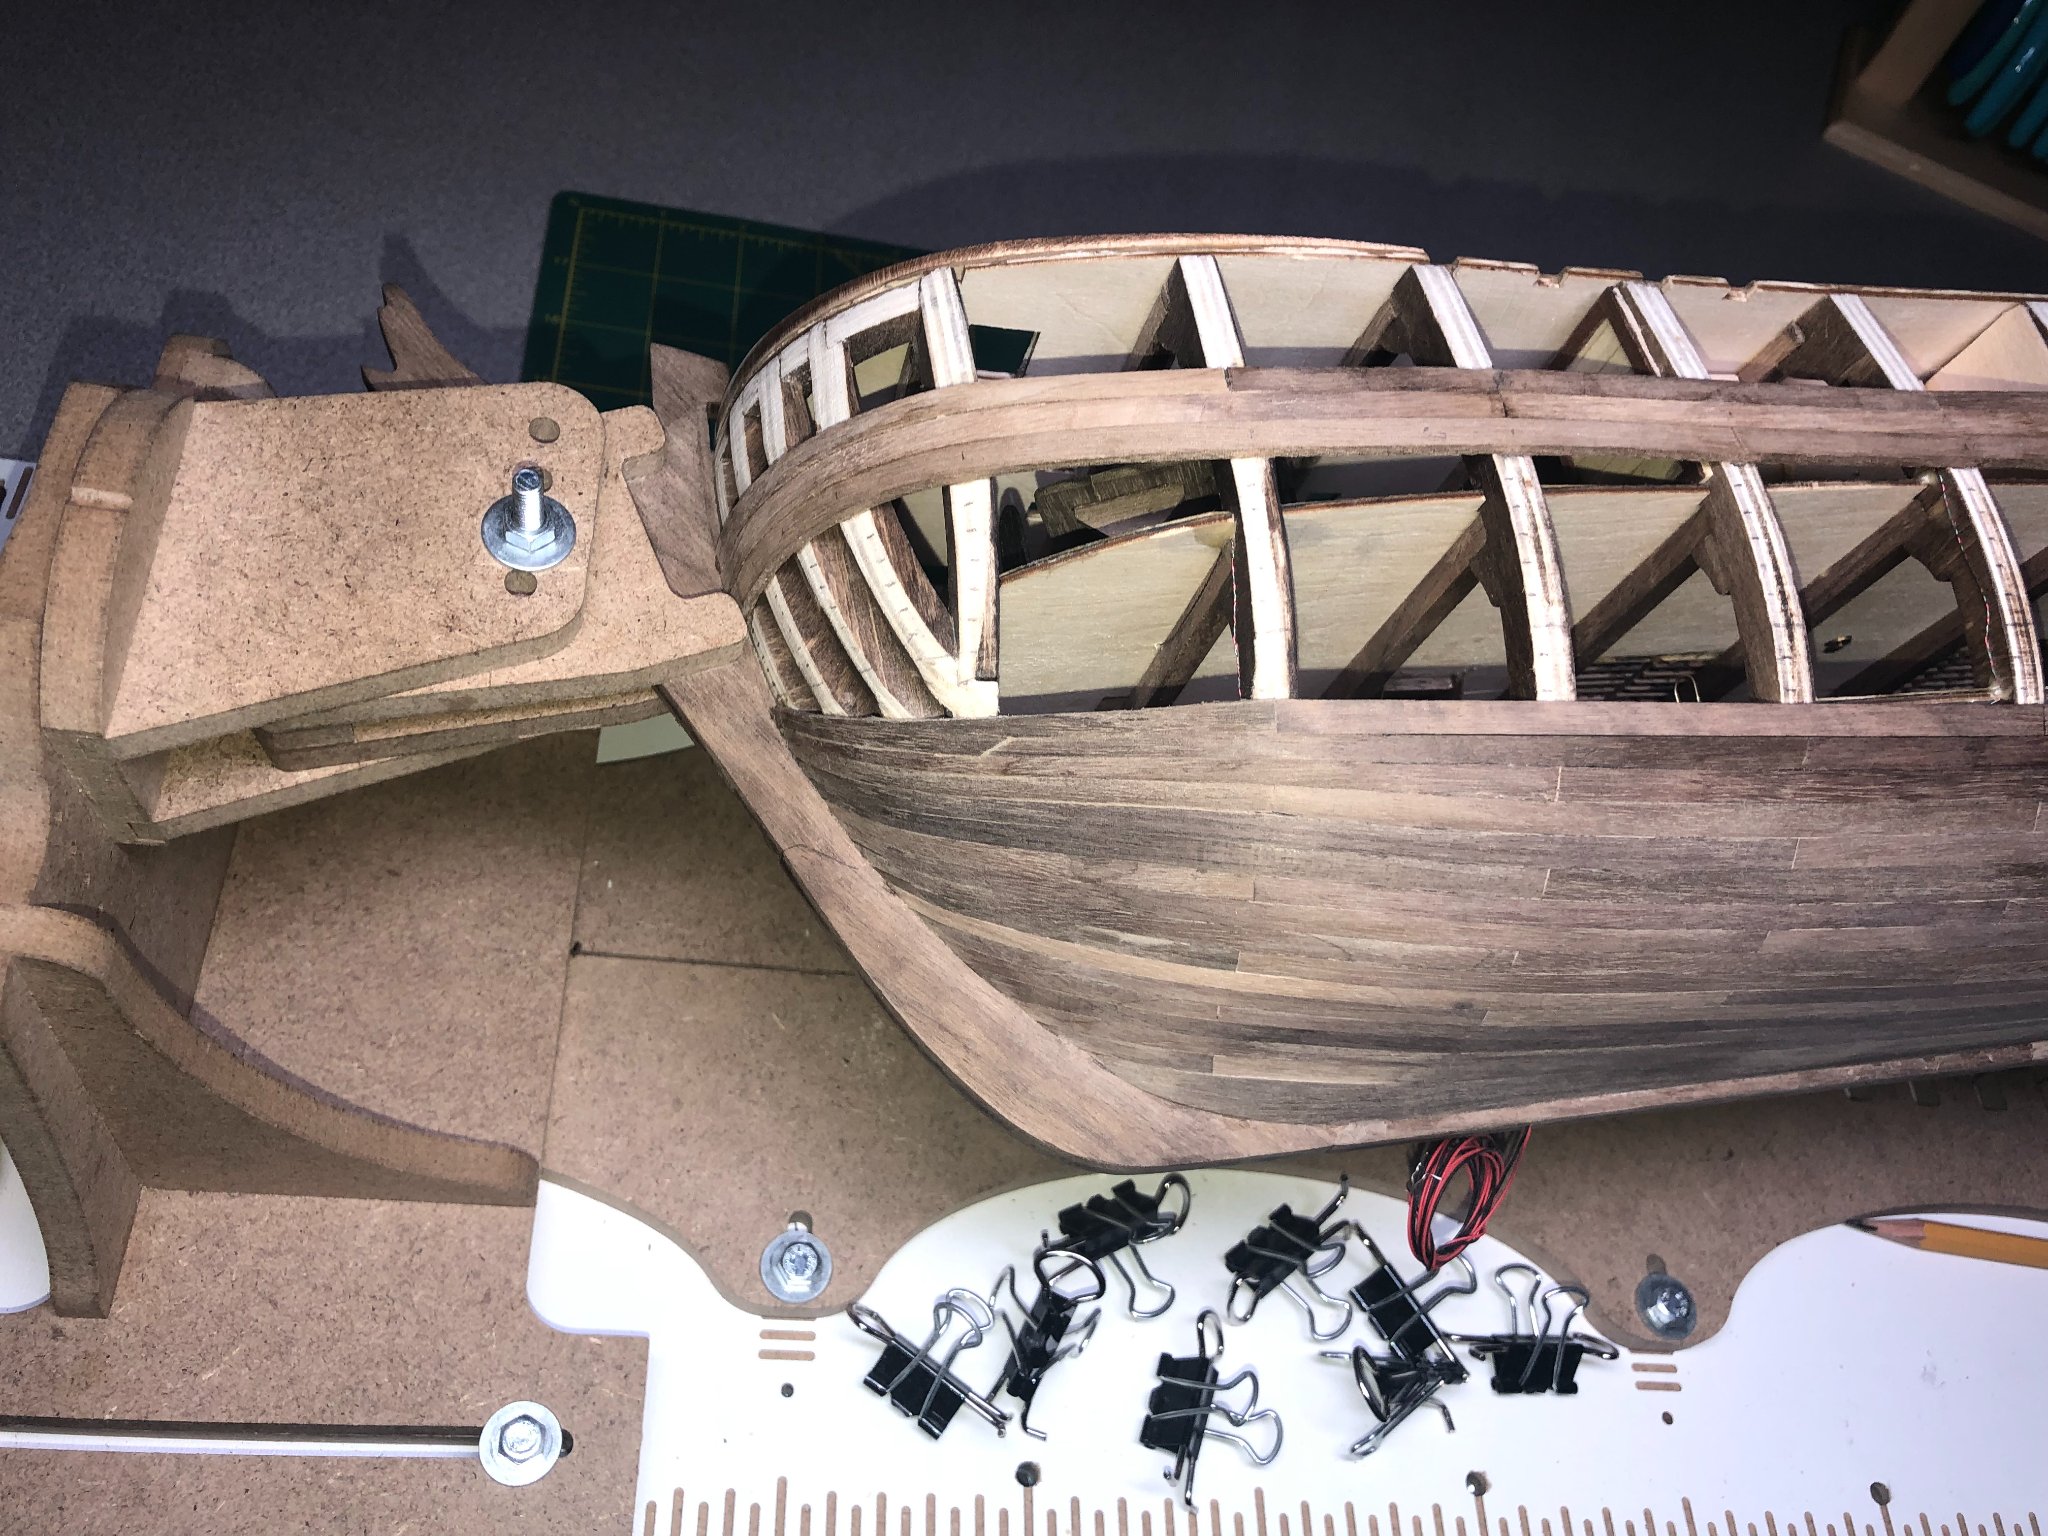
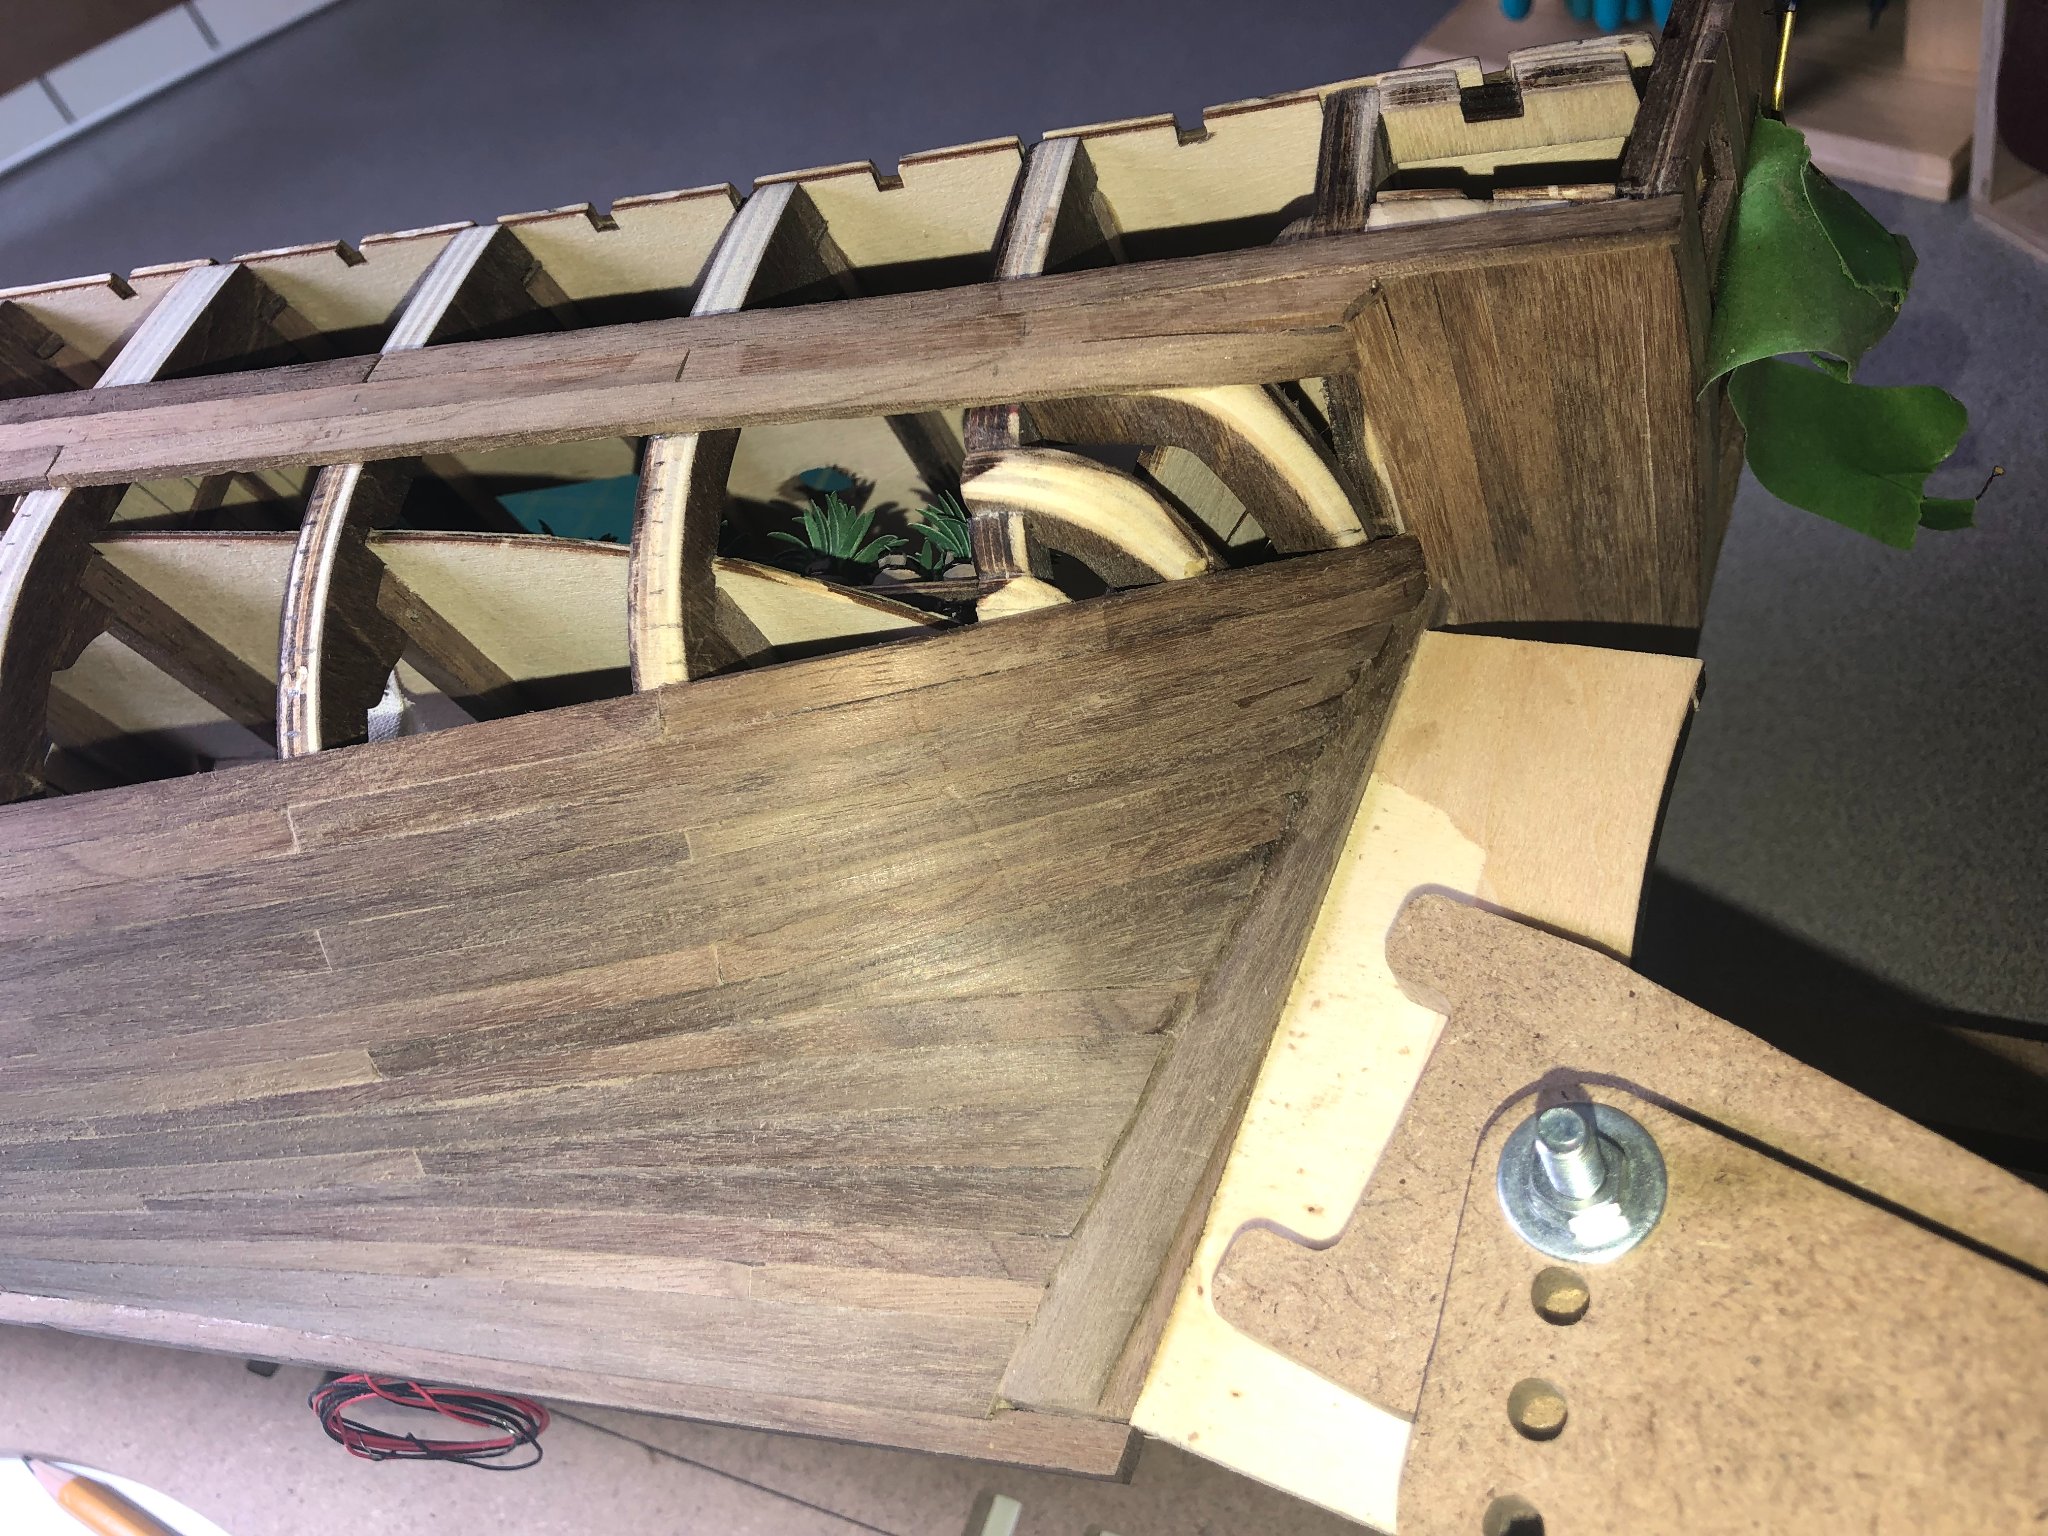
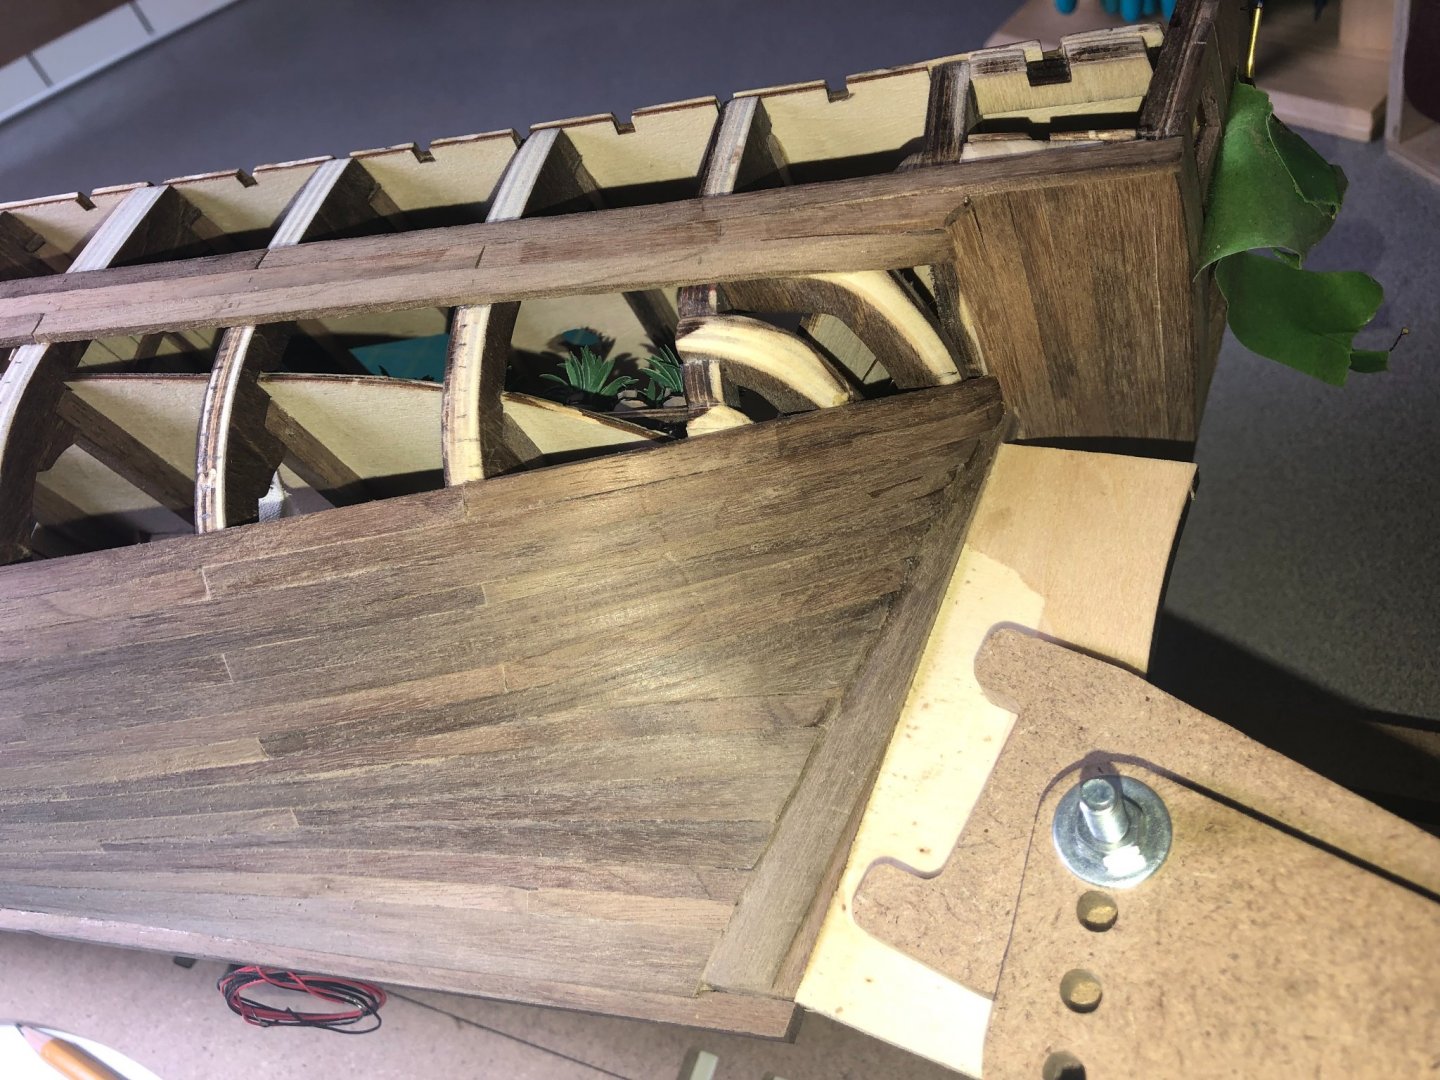
Made some decent progress this week. Got in some sanding on some of the lower planks and around the bow... lots more to do. Also, did my first stealers plank at the bow: Turned out pretty good... I had to make the piece 3 times because every time I tried to bend it, it would break! Very frustrating! Walnut is very unforgiving. Finished piece in place: The stern is coming together fairly well too. No sanding yet or very little: Overall, about 2/3rds done... to the wales: I'll keep plugging away! I will be starting another build later this week. My dad turns 86 in August and I am building the "Sea of Galilee boat" for his birthday. Not sure if I can finish it in time but I'll give it a try! Hoping to work both models at the same time but will definitely be pushing the Galilee boat to finish on time. If you're interested in following that build log, watch for the link in my signature below.


-
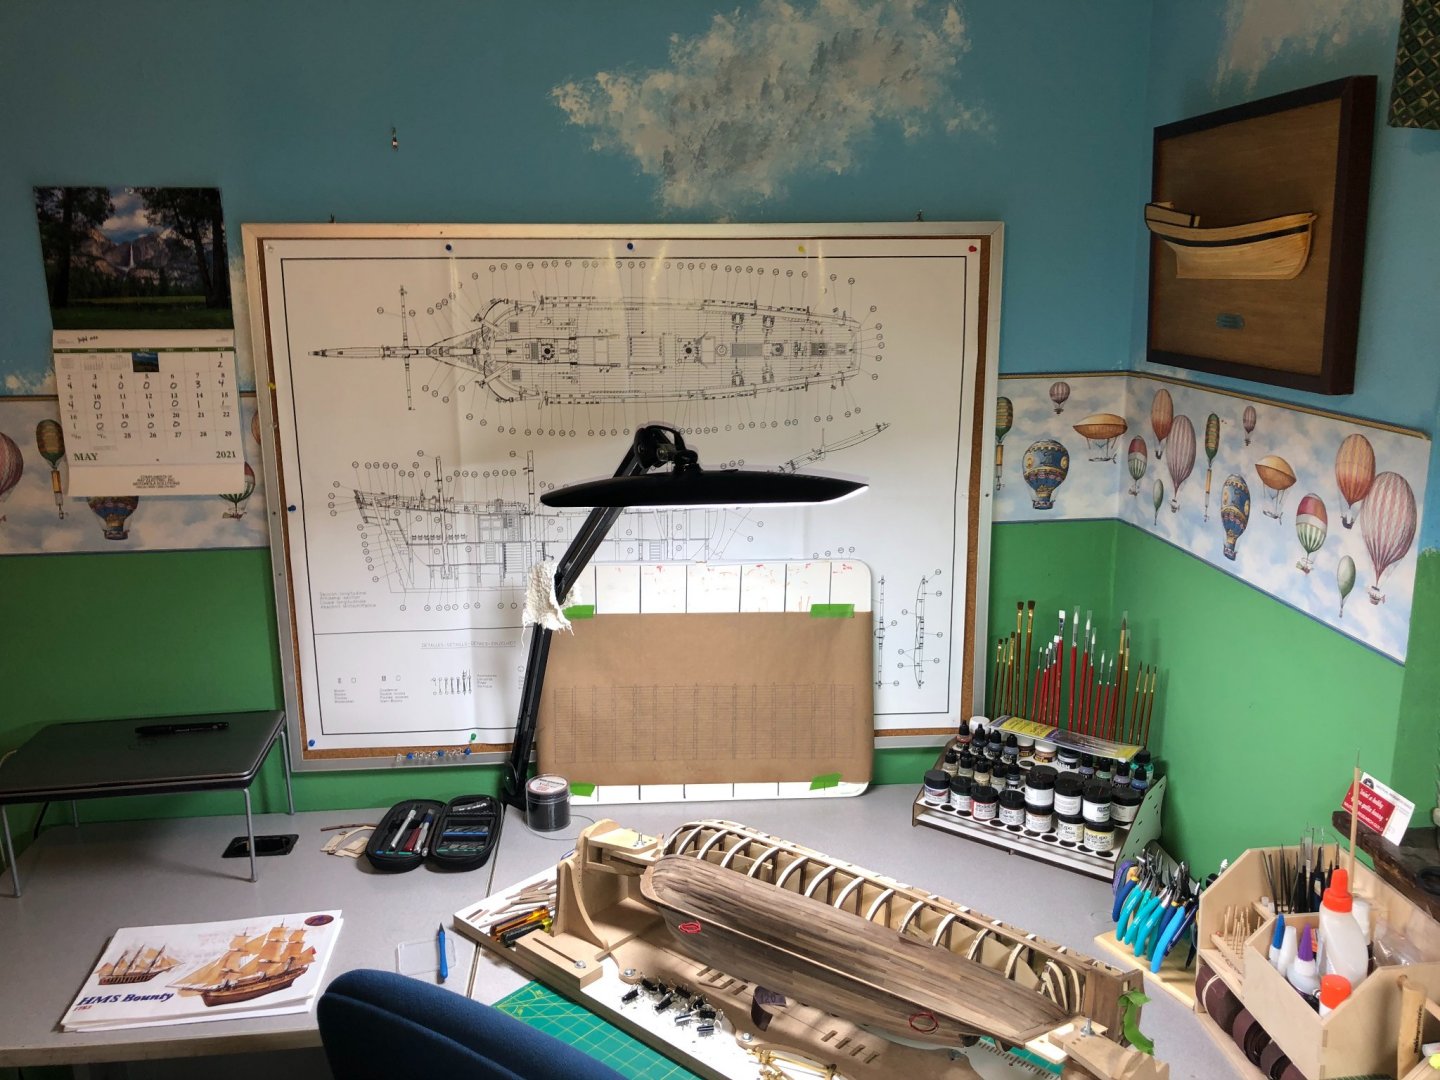
"How do you usually deal with the tops of the planks when you find a defect? Do you carve them in place? Or do you remove them and and just make another? Making each of these planks is a time-consuming process (at least the way I'm doing it) and it seems that, no matter how carefully it's done, defects appear when the plank is actually glued in place. Is there any way to adjust them in place? I know I can't add any wood to a plank that's been carved too aggressively, but it seems like I can remove wood from one that needs trimming." For me the key was in the tracing of the line below the plank you're making. Be meticulous about it, use a real sharp pencil and make sure the tape is shaped properly and tight. If you take enough precautions, just some light sanding will fix any minor gaps or errors. I'm no expert but this was a fun project but definitely a challenge! oh... And you it takes a long time to fit each plank! I'm doing the same on my current model (HMS Bounty) and I literally spend 45-60 minutes on planks. Especially, at the bow and stern. Good luck!
-
Here is a link to his website: http://www.semillerguitars.com/sea-of-galilee-boats/ Good luck!
-
Beautiful build. I just purchased this kit and am looking forward to building it for my dad. I've also purchased the book about the boat that was found in the late 1980's.
-
Sent you a message!
-
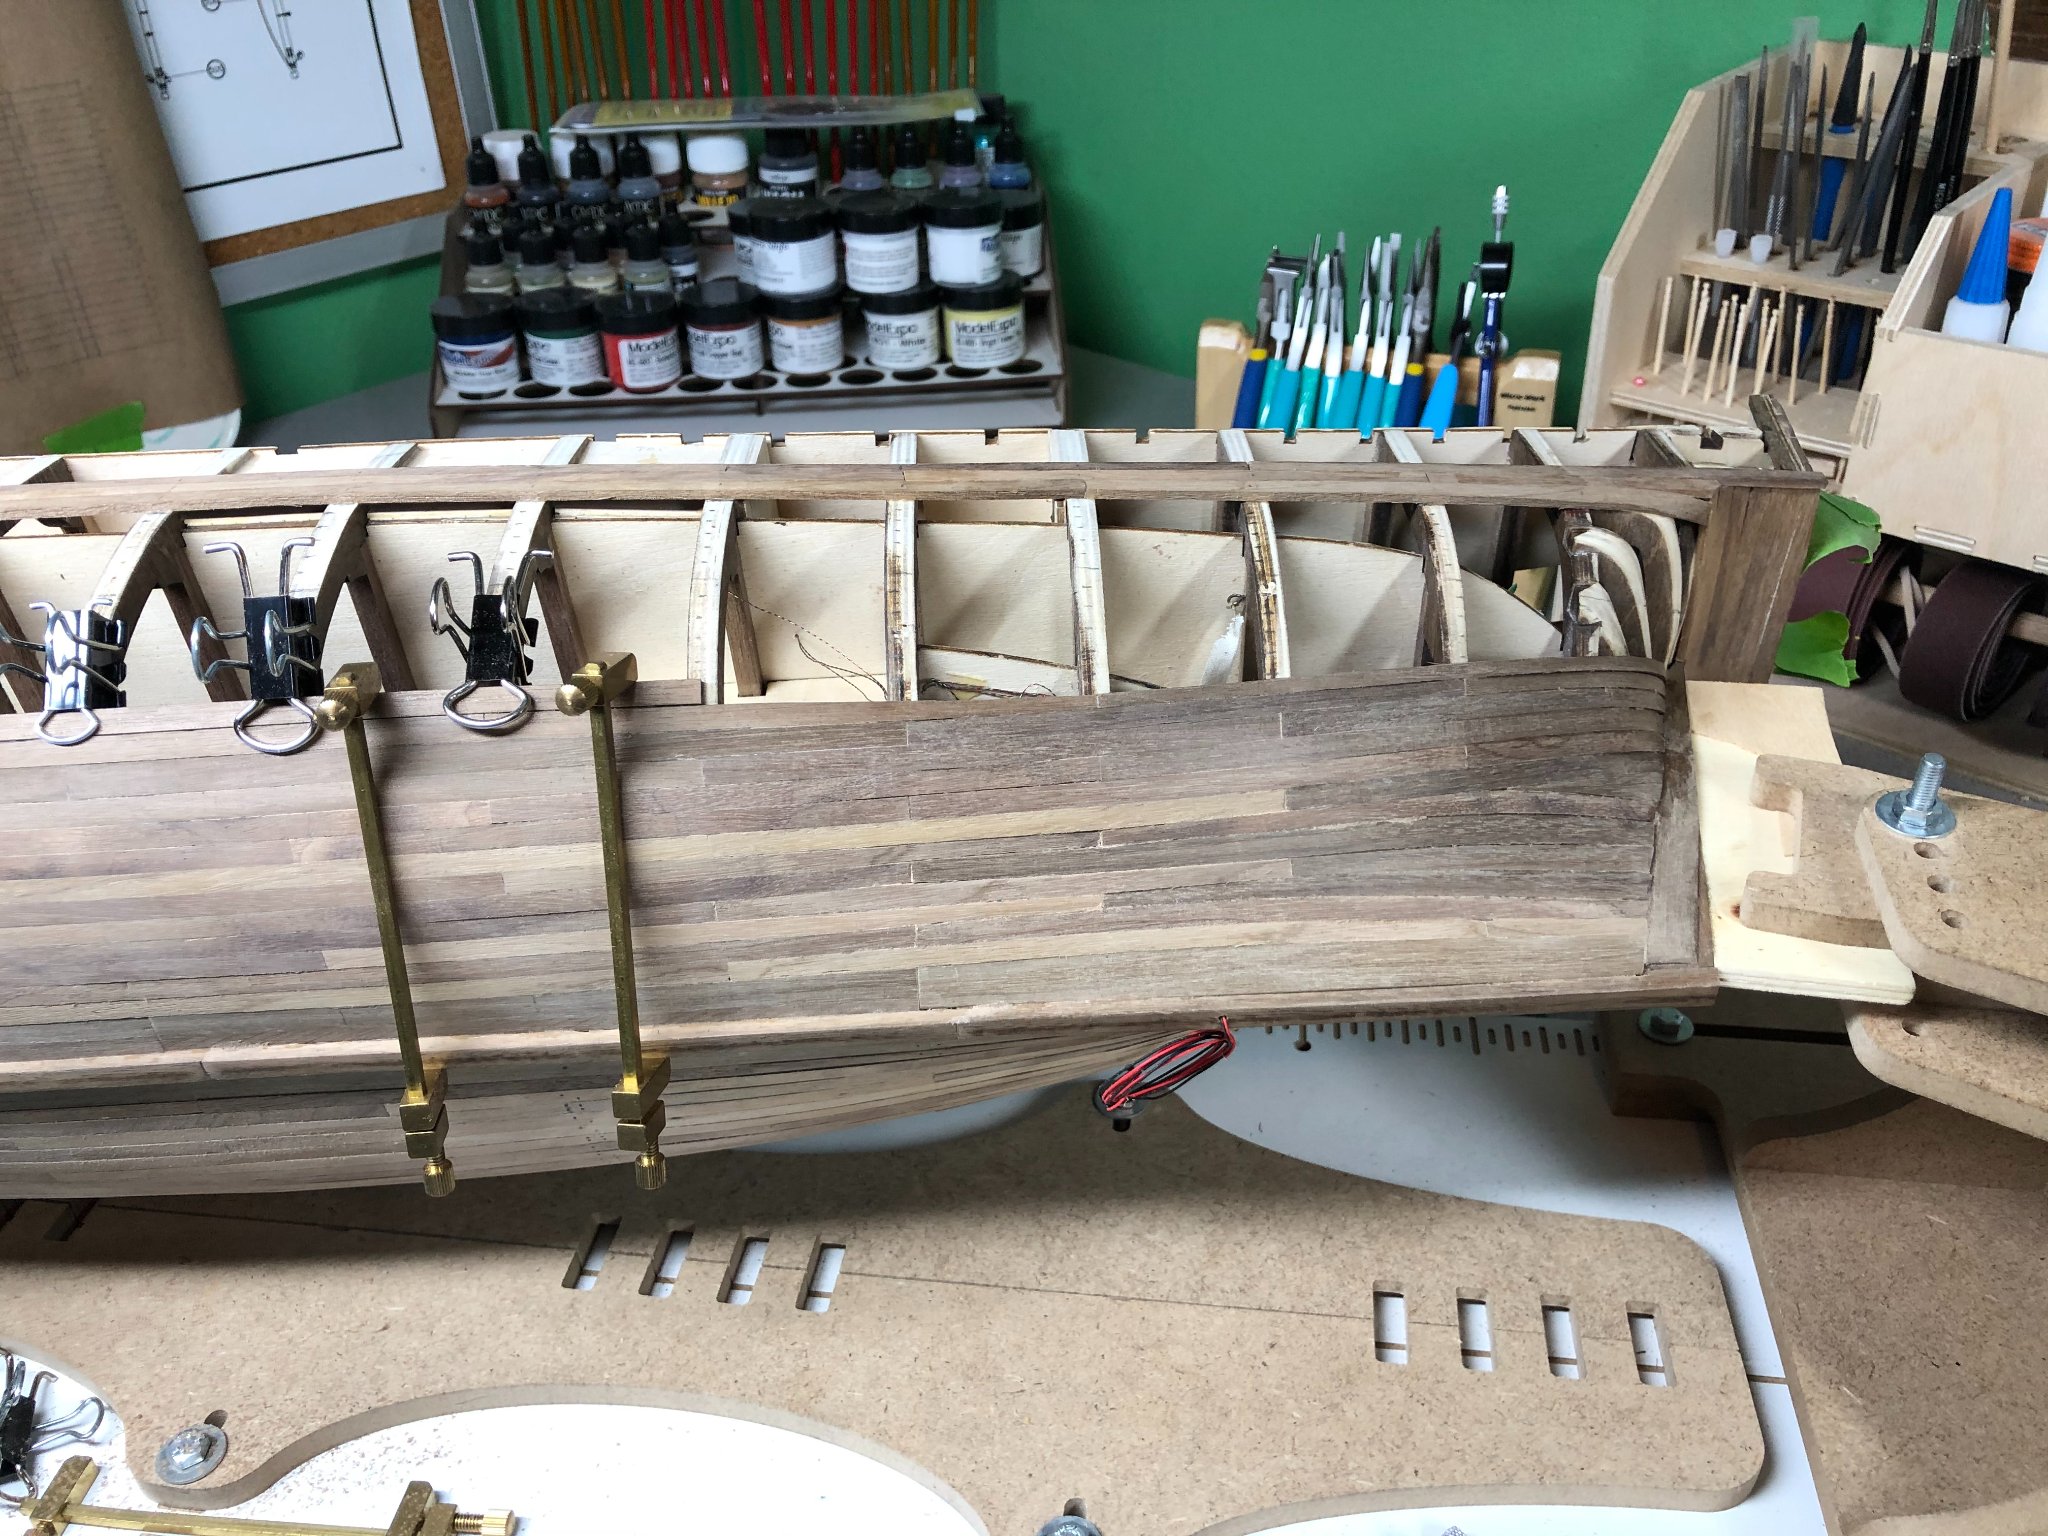
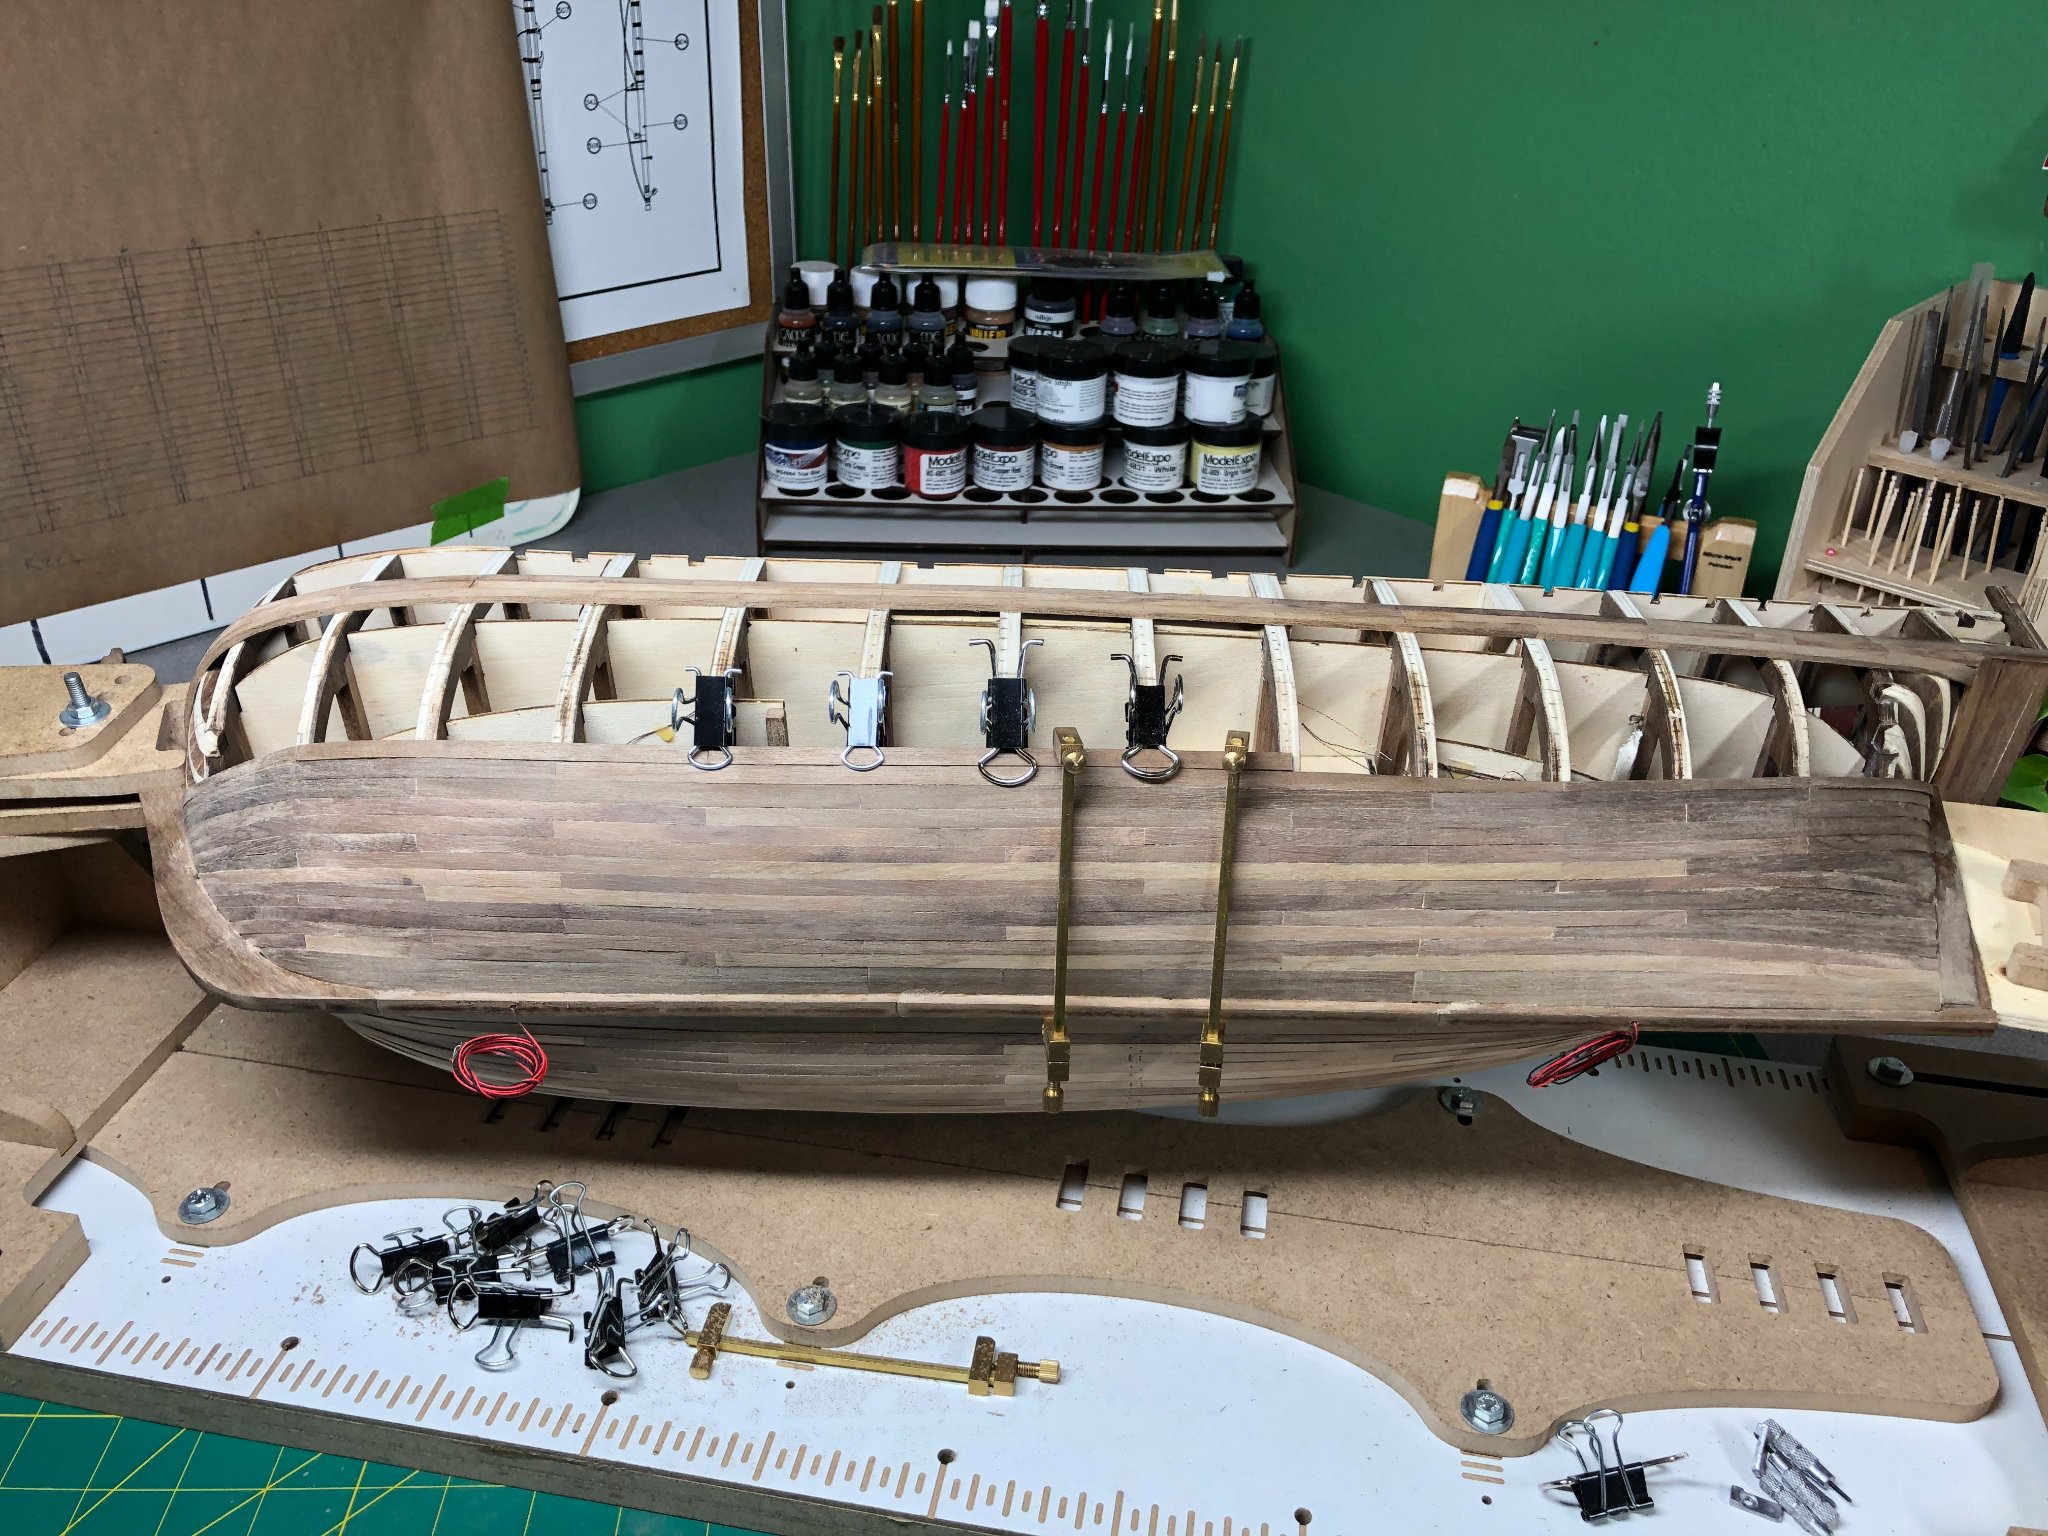
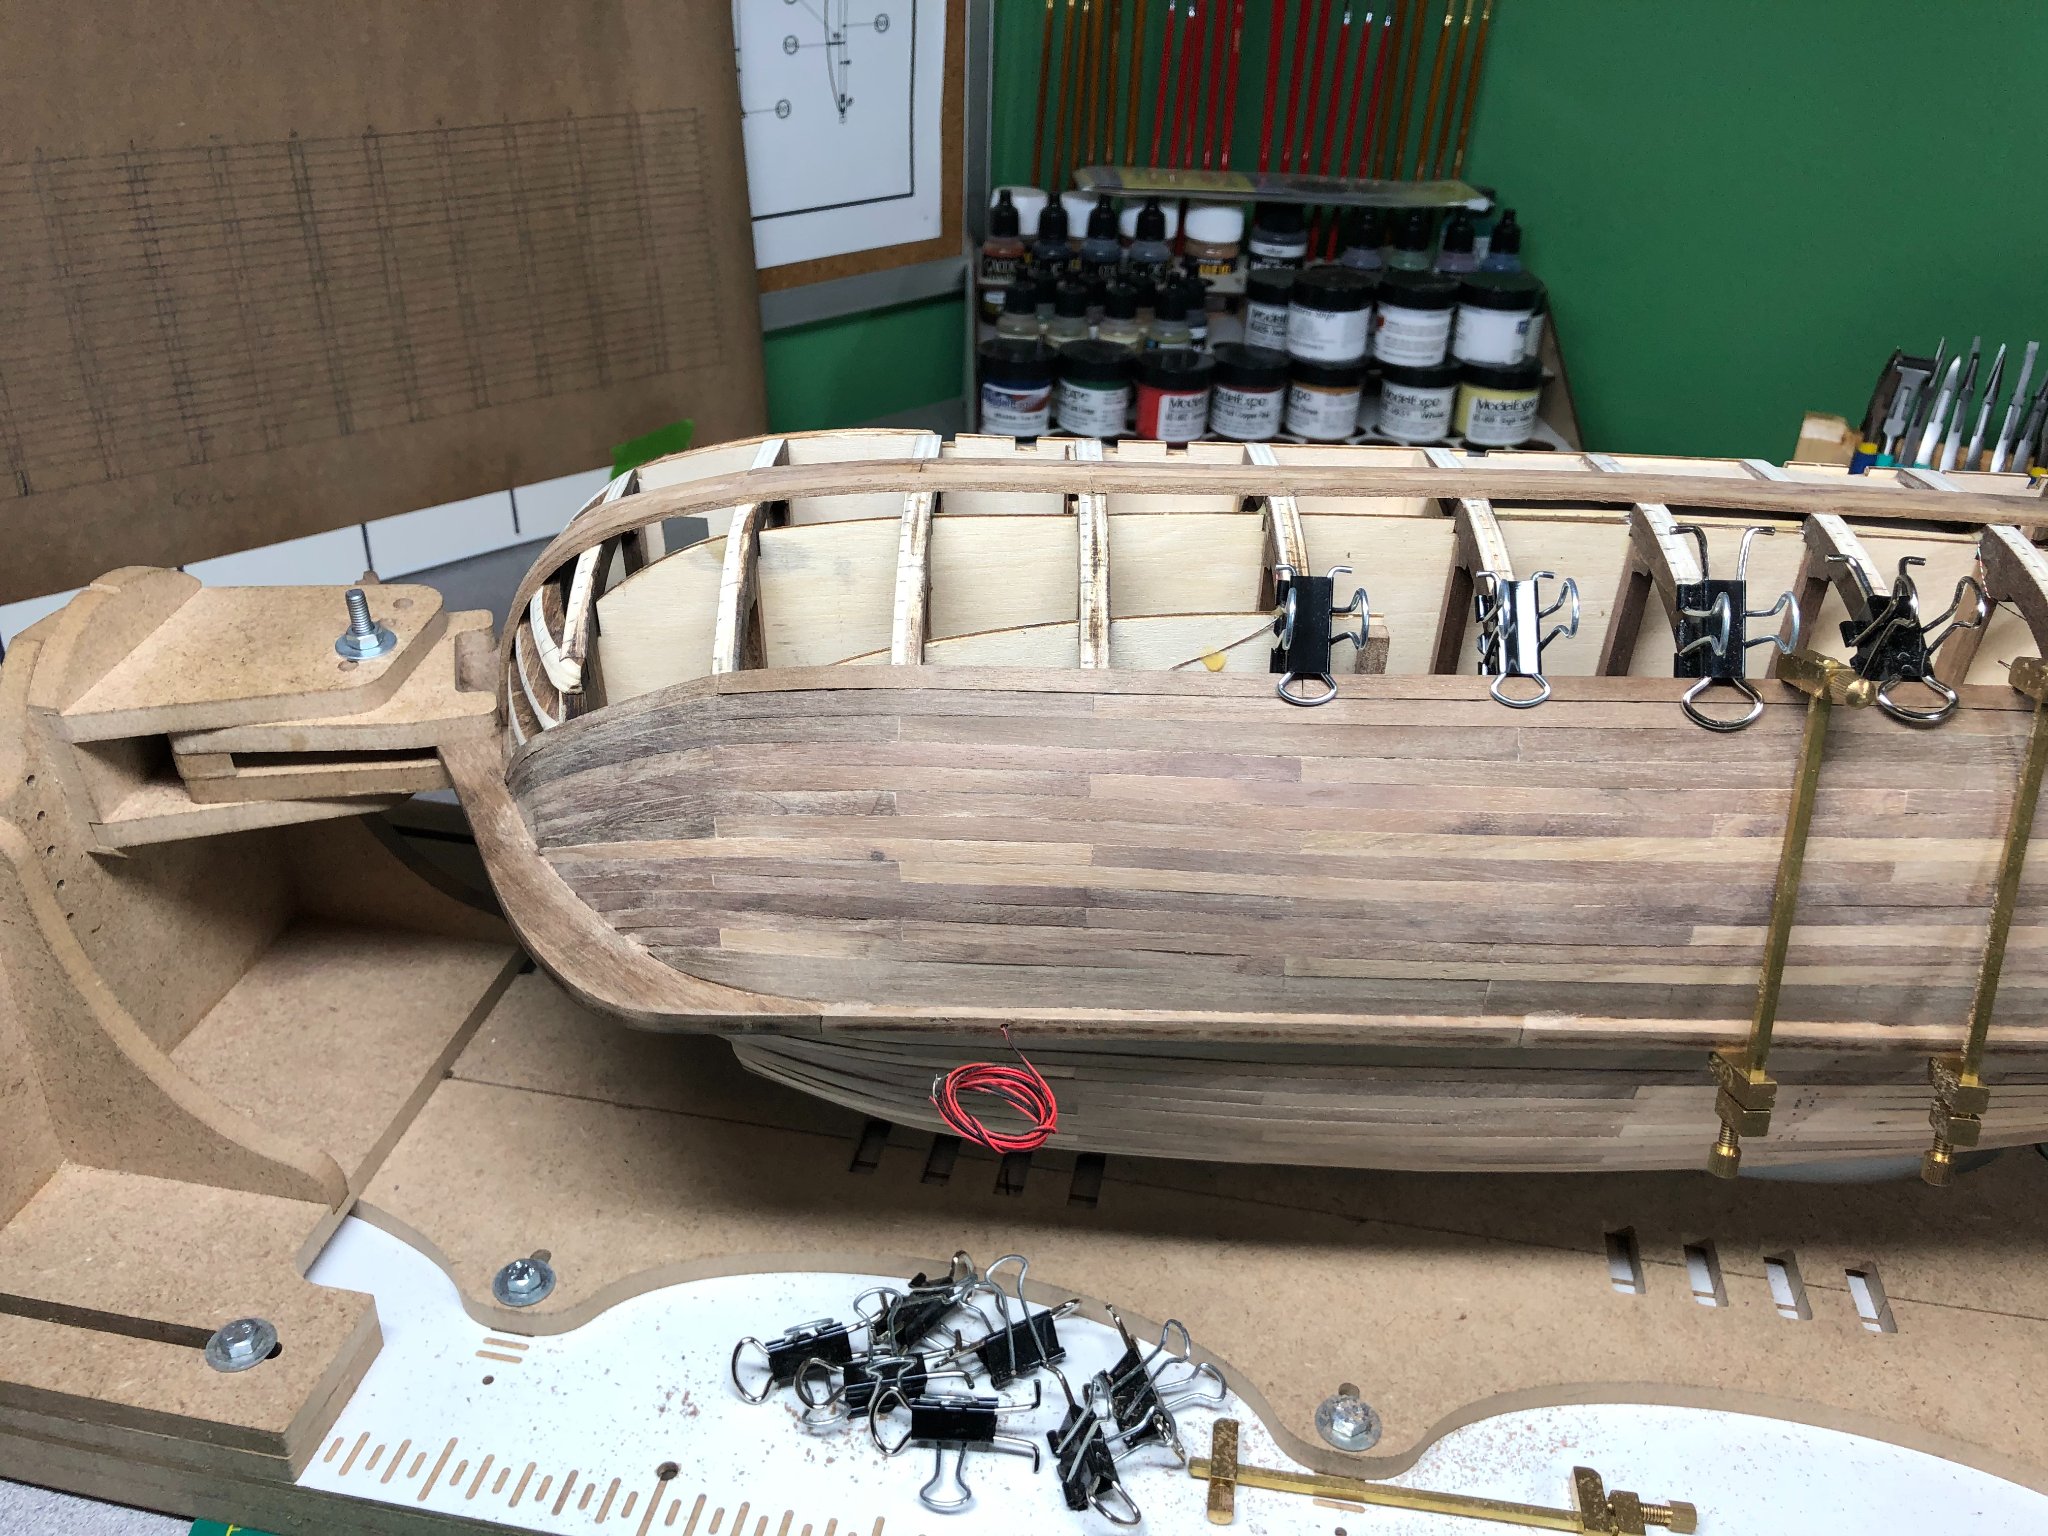
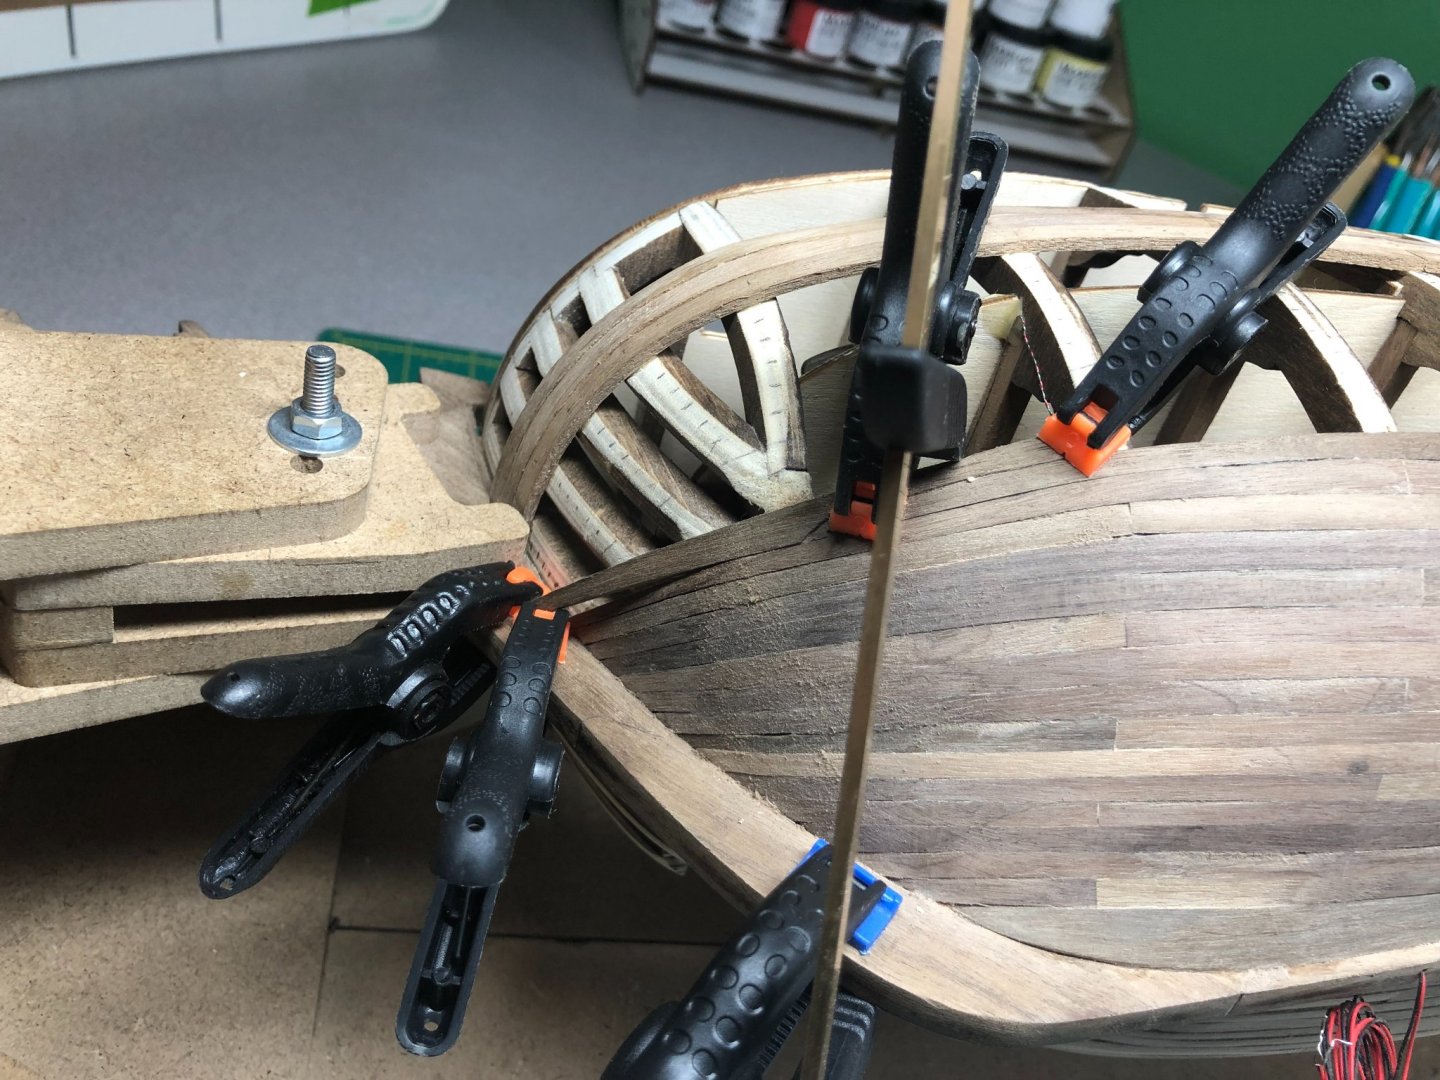
Thanks Dave! After looking at the pictures again, the shadowing makes it look a lot harsher than it is... I should've changed the lighting! I got those clamps from Micro Mark. The have been my favorites for this part of the build.
-
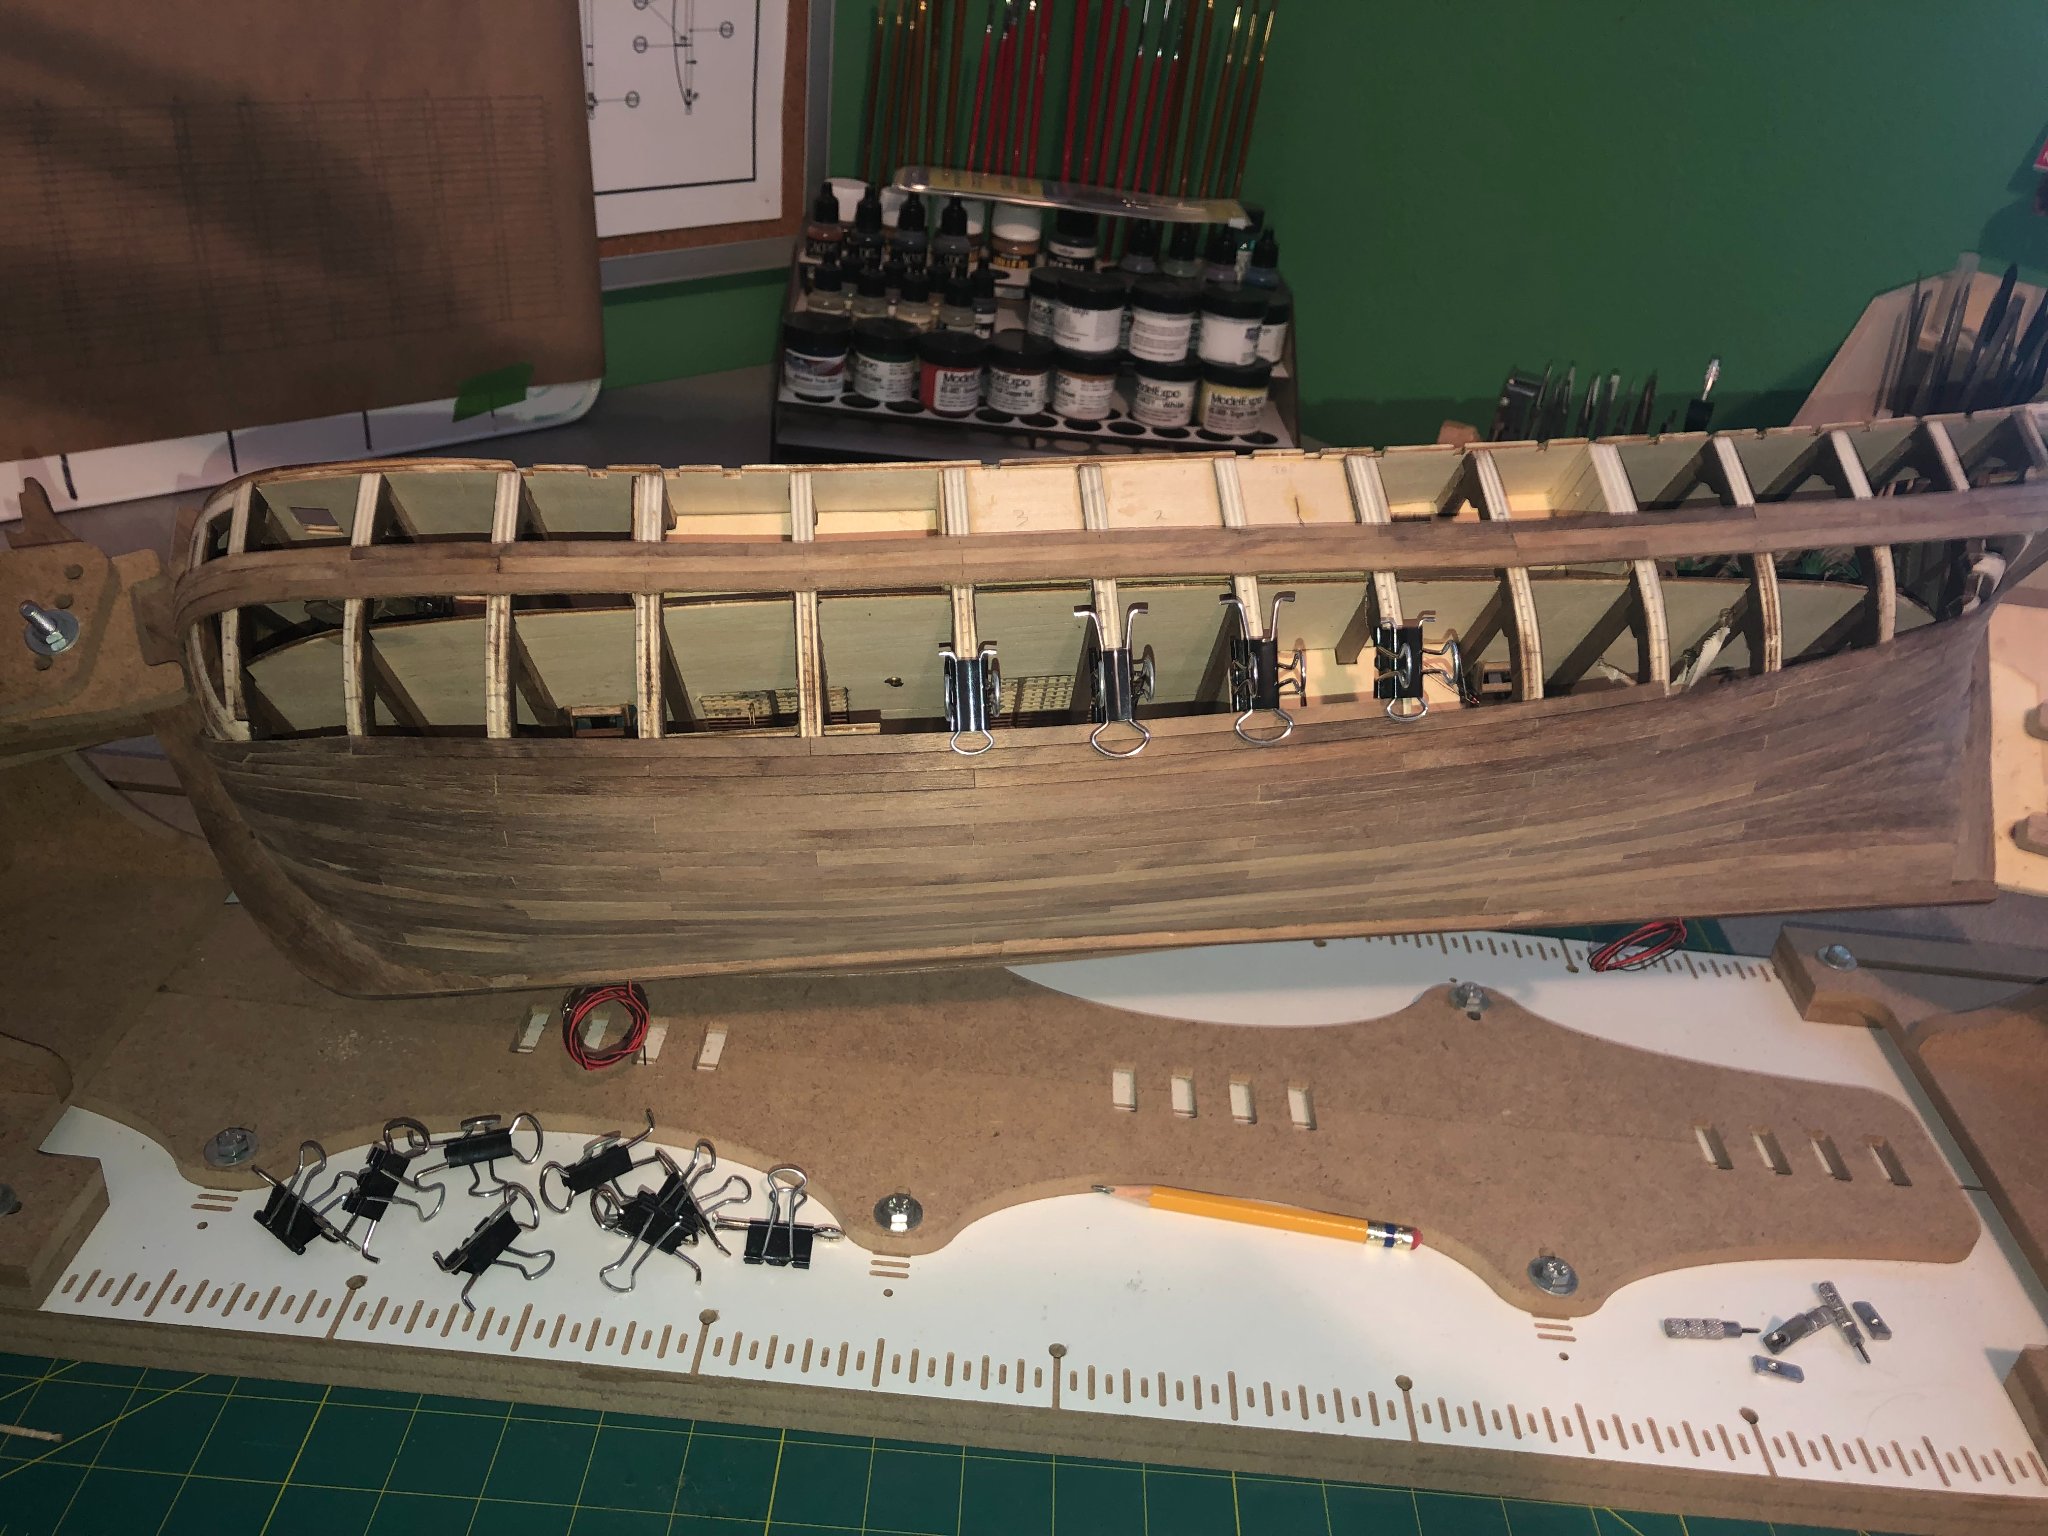
Some progress. I am now half way to the wales with the planking. Slow but sure! Also did some sanding while waiting for planks to soak:


-
Don't be to envious... It just got a good cleaning. But I do like to keep things a bit organized... my wife says I'm annul. Not sure what she means!? LOL!
-
Thanks Dave! A lot of work ahead of me but I am enjoying it. It'll be a bit slower during the summer months as the "big" boat gets more use. Retirement is just a few months away and more time means more fun in the workshop!
-
Cool! I'll be perusing this site for some ideas for future projects! Thanks Tom!
-
I think your skill level is great! Good luck with your next build and stop by my log once in a while! Always appreciate feedback!
-
Hey Paul, I thought I responded to your post but apparently didn't! I used to do R/C models of airplanes and gliders but due to the lack of space to fly near by, I haven't done any in a while. Works good for bending planks though! Thanks for stopping in!
-
I wonder how it responds to " Chuck's edge bending method " ? I've been using Chuck's method on my Bounty build. Considering that I'm working with 5mm X 2mm walnut and in some cases 10mm X 2mm, it works well but it does take a little extra time. It takes about 20-30 minutes to soak a piece long enough to bend it and you may need to bend it twice to keep it from snapping! I use almost an exact set-up to Chucks except I use a sealing iron for heat. Check out my build log for more details and pictures if you're interested. BTW, Dave, your build is beautiful! Well done! The Endeavor is on my short list too... I'll be watching for your log!
-
Interesting question. I have not questioned the scale of my kit. Just assumed it would be accurate (more or less). Now you've got me wondering too! I'll do some checking and let you know.
-
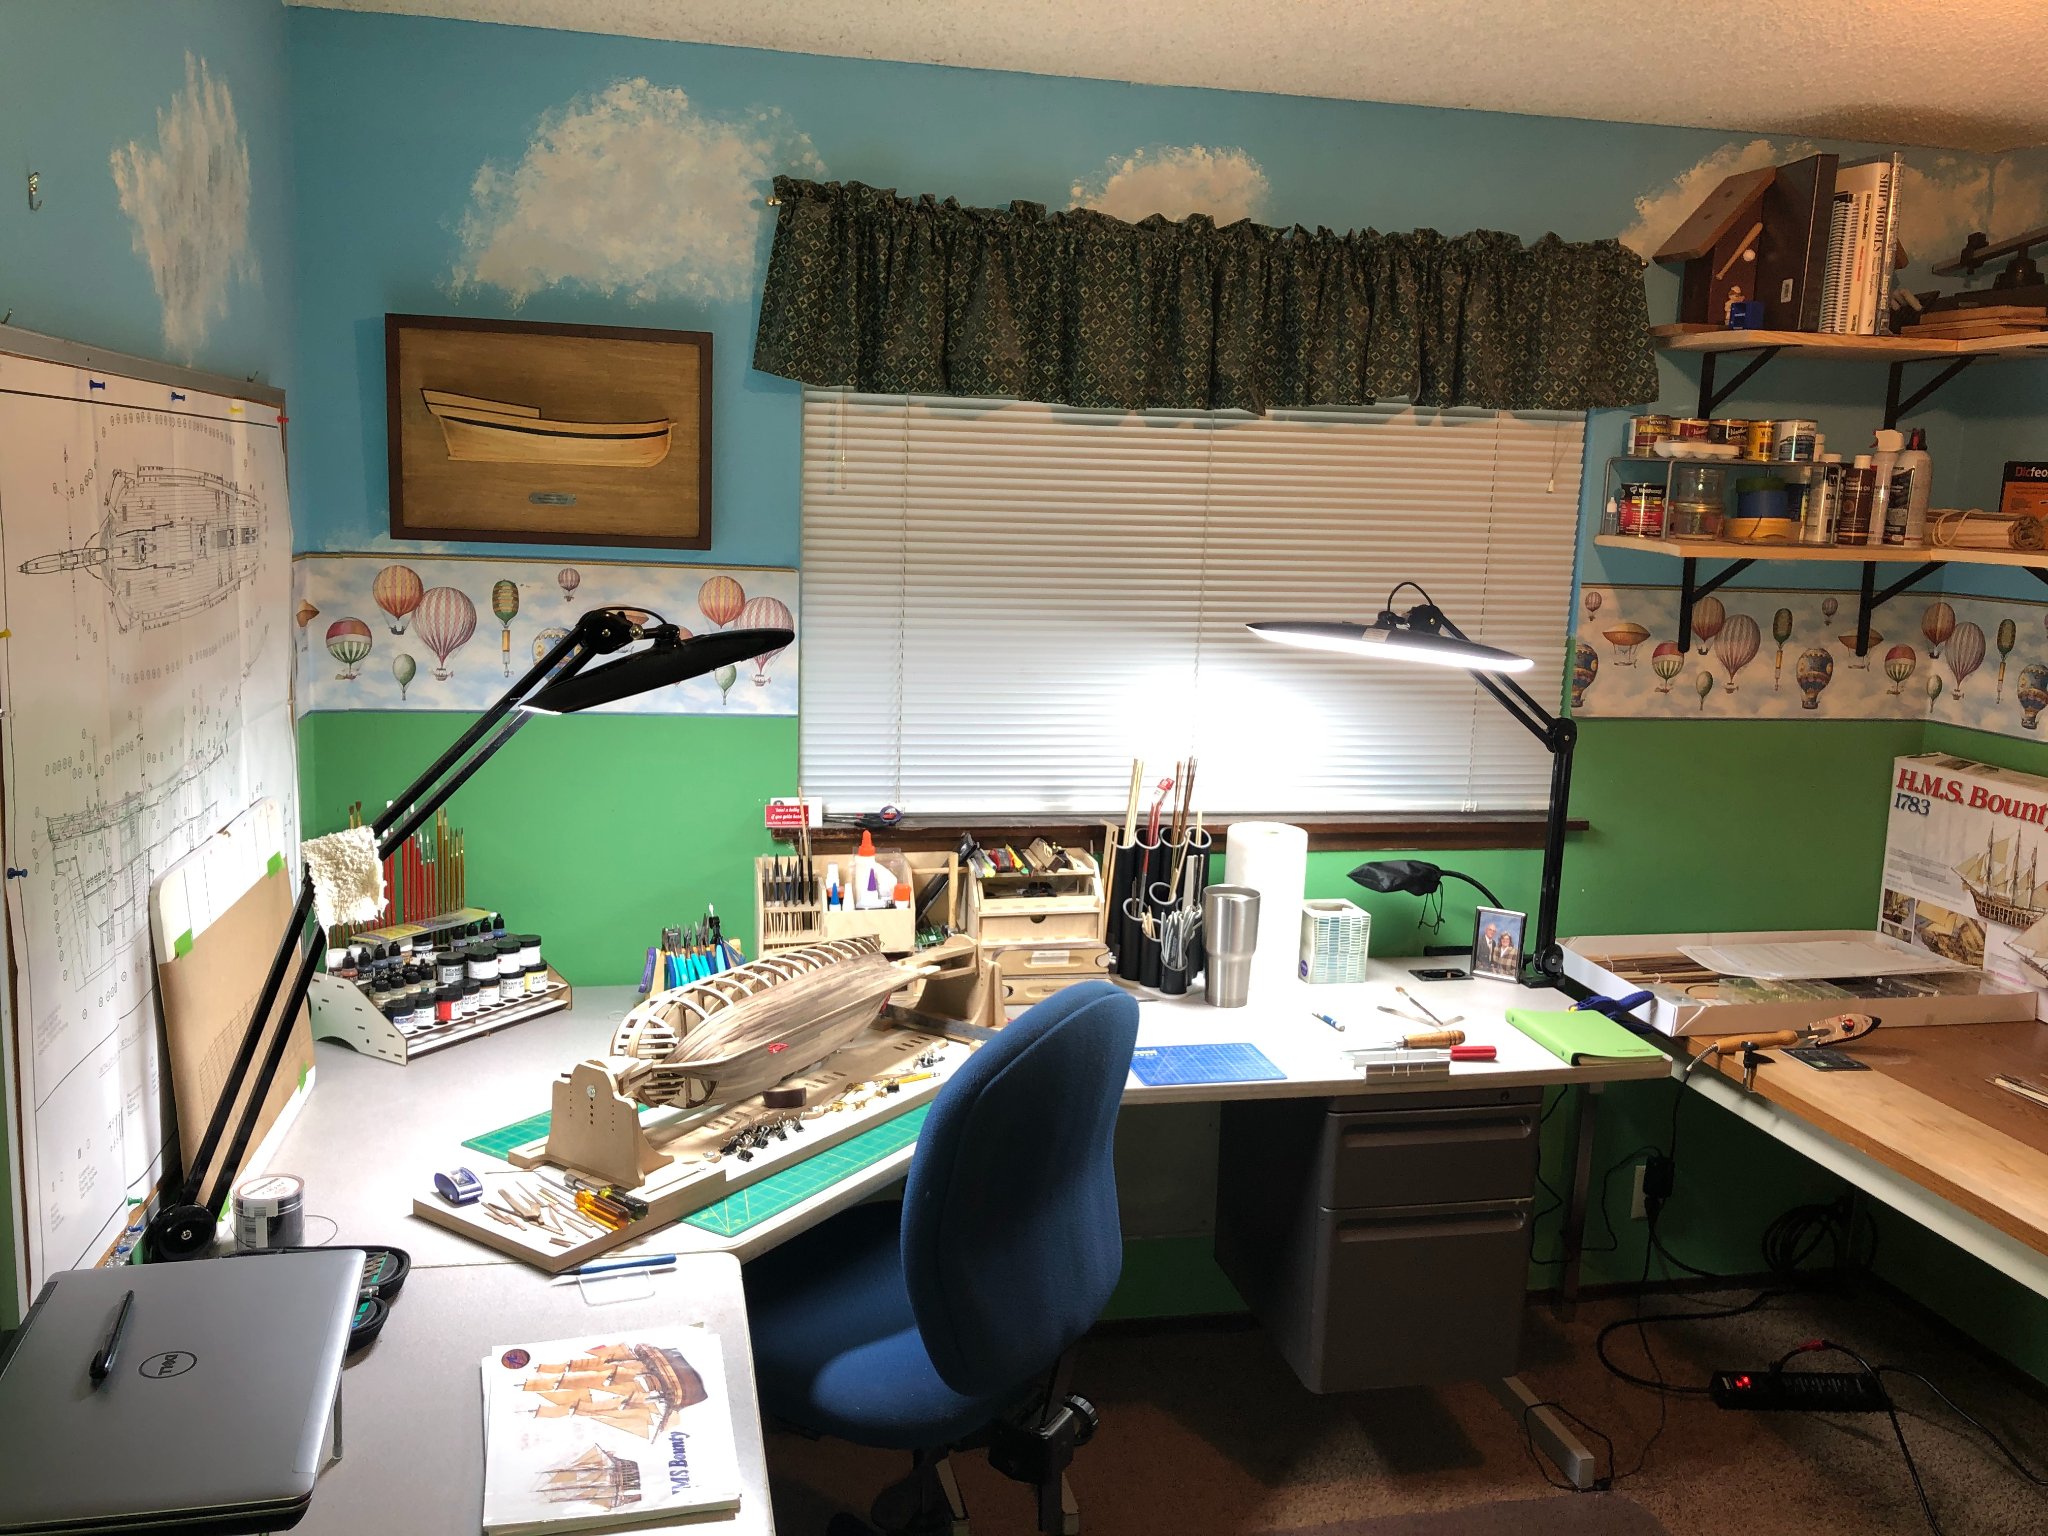
Hey Tom, They are Nearth lamps... 2200 lumens, very bright and LED. I purchased them through Amazon. One more coming for the other bench too. They are not cheap but worth it!
-
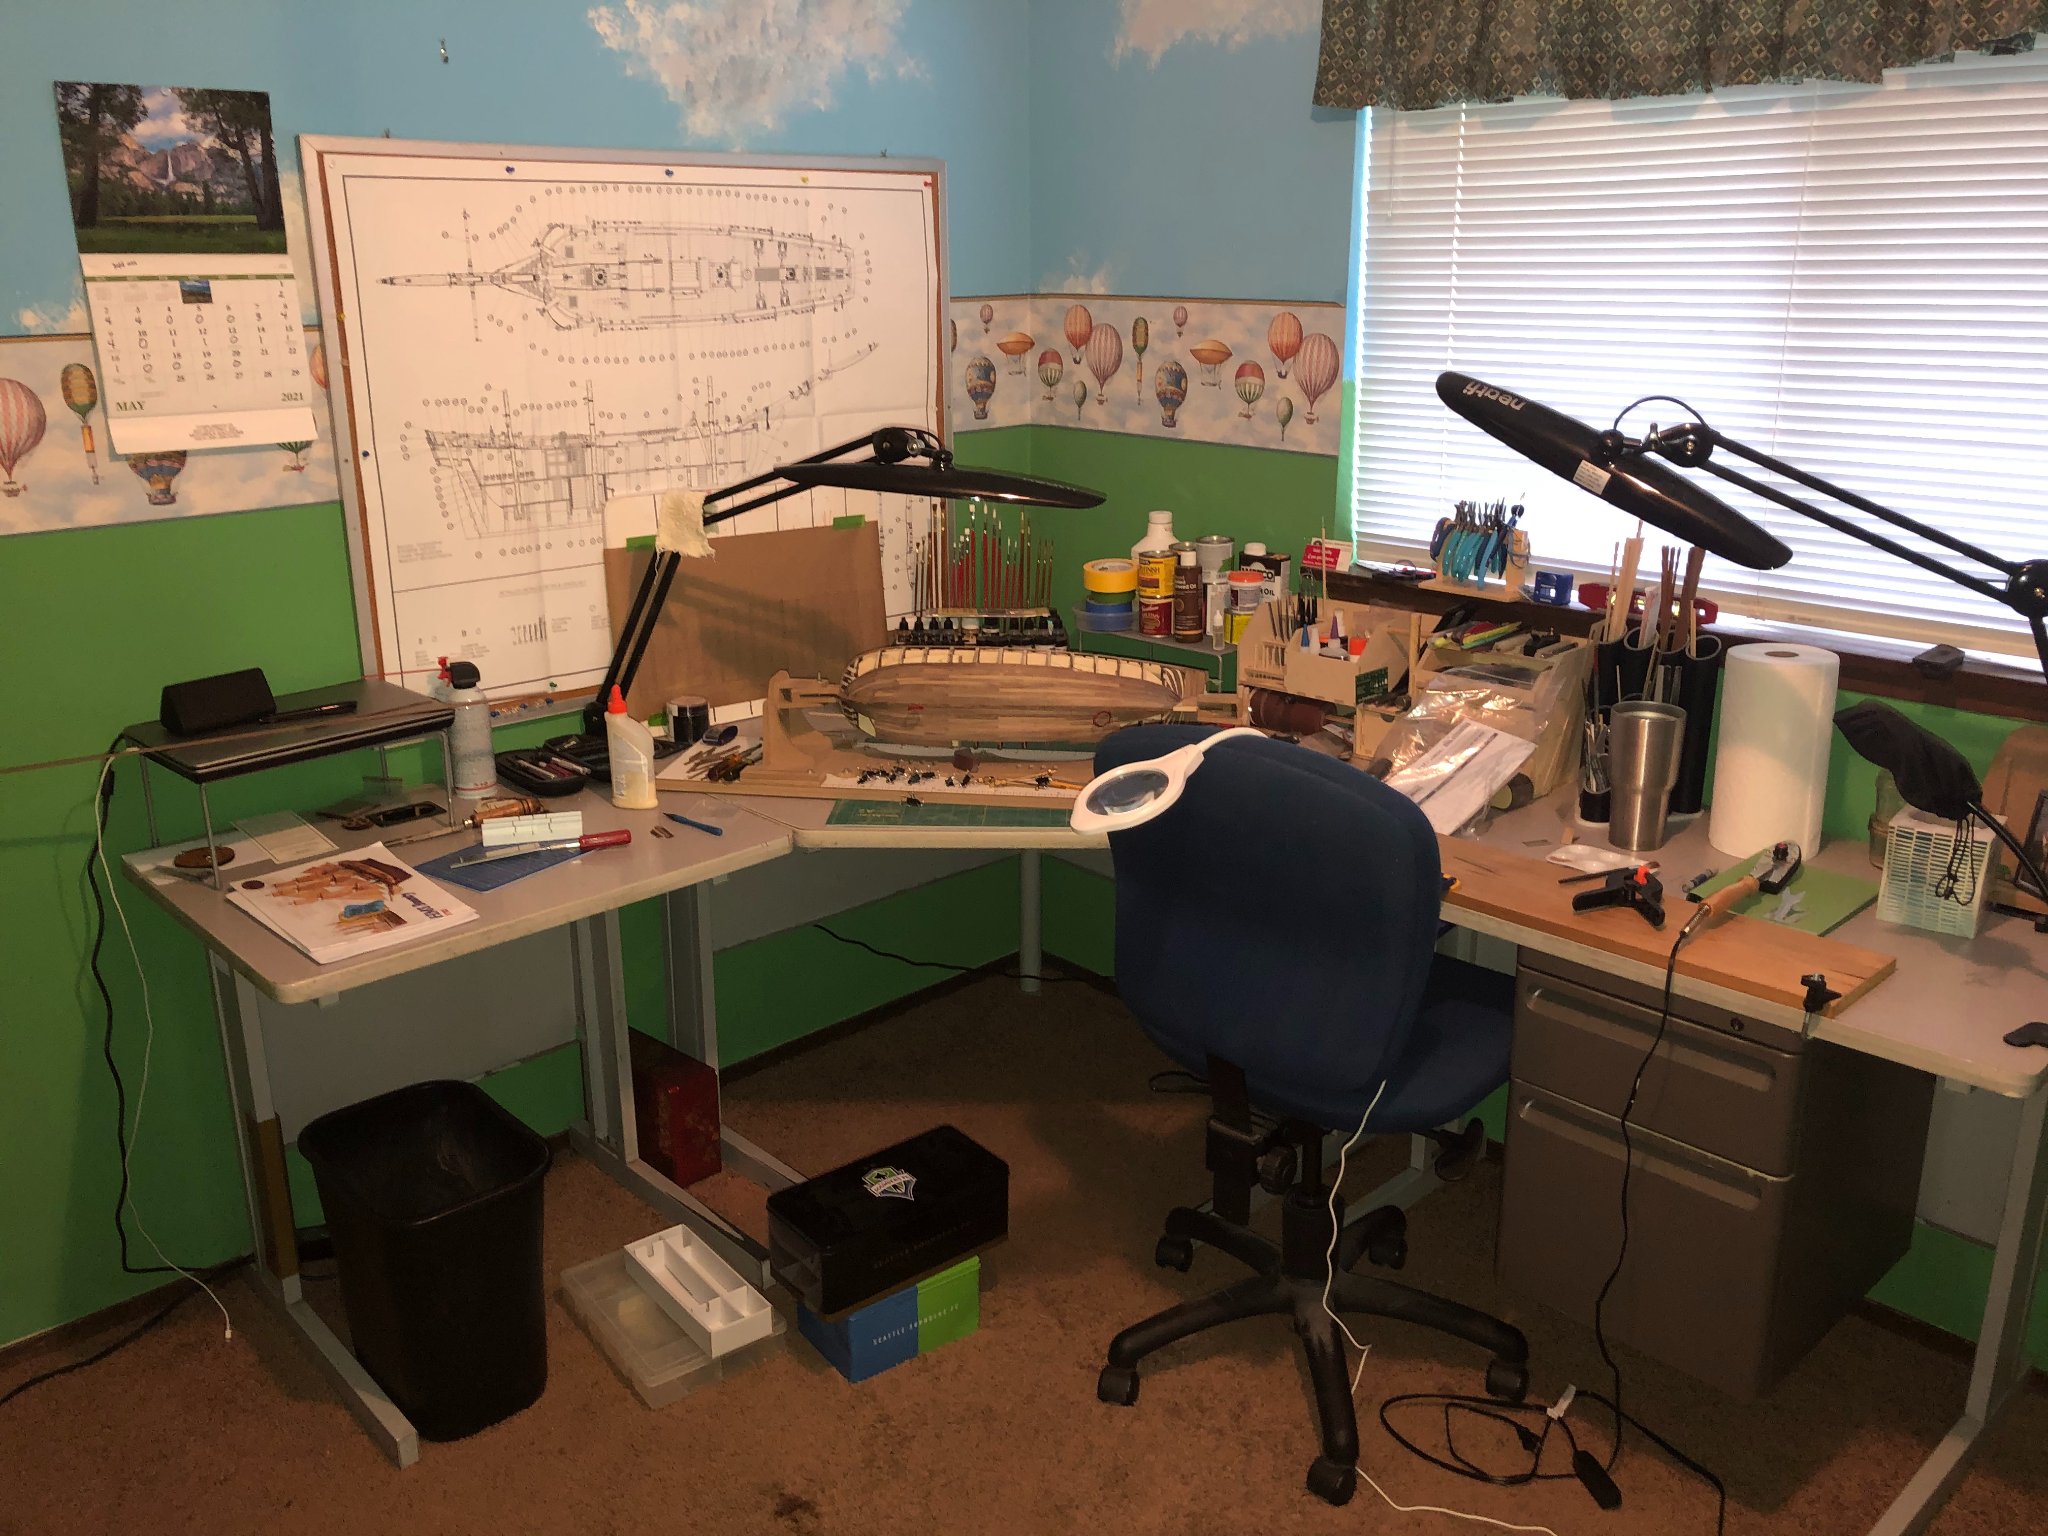
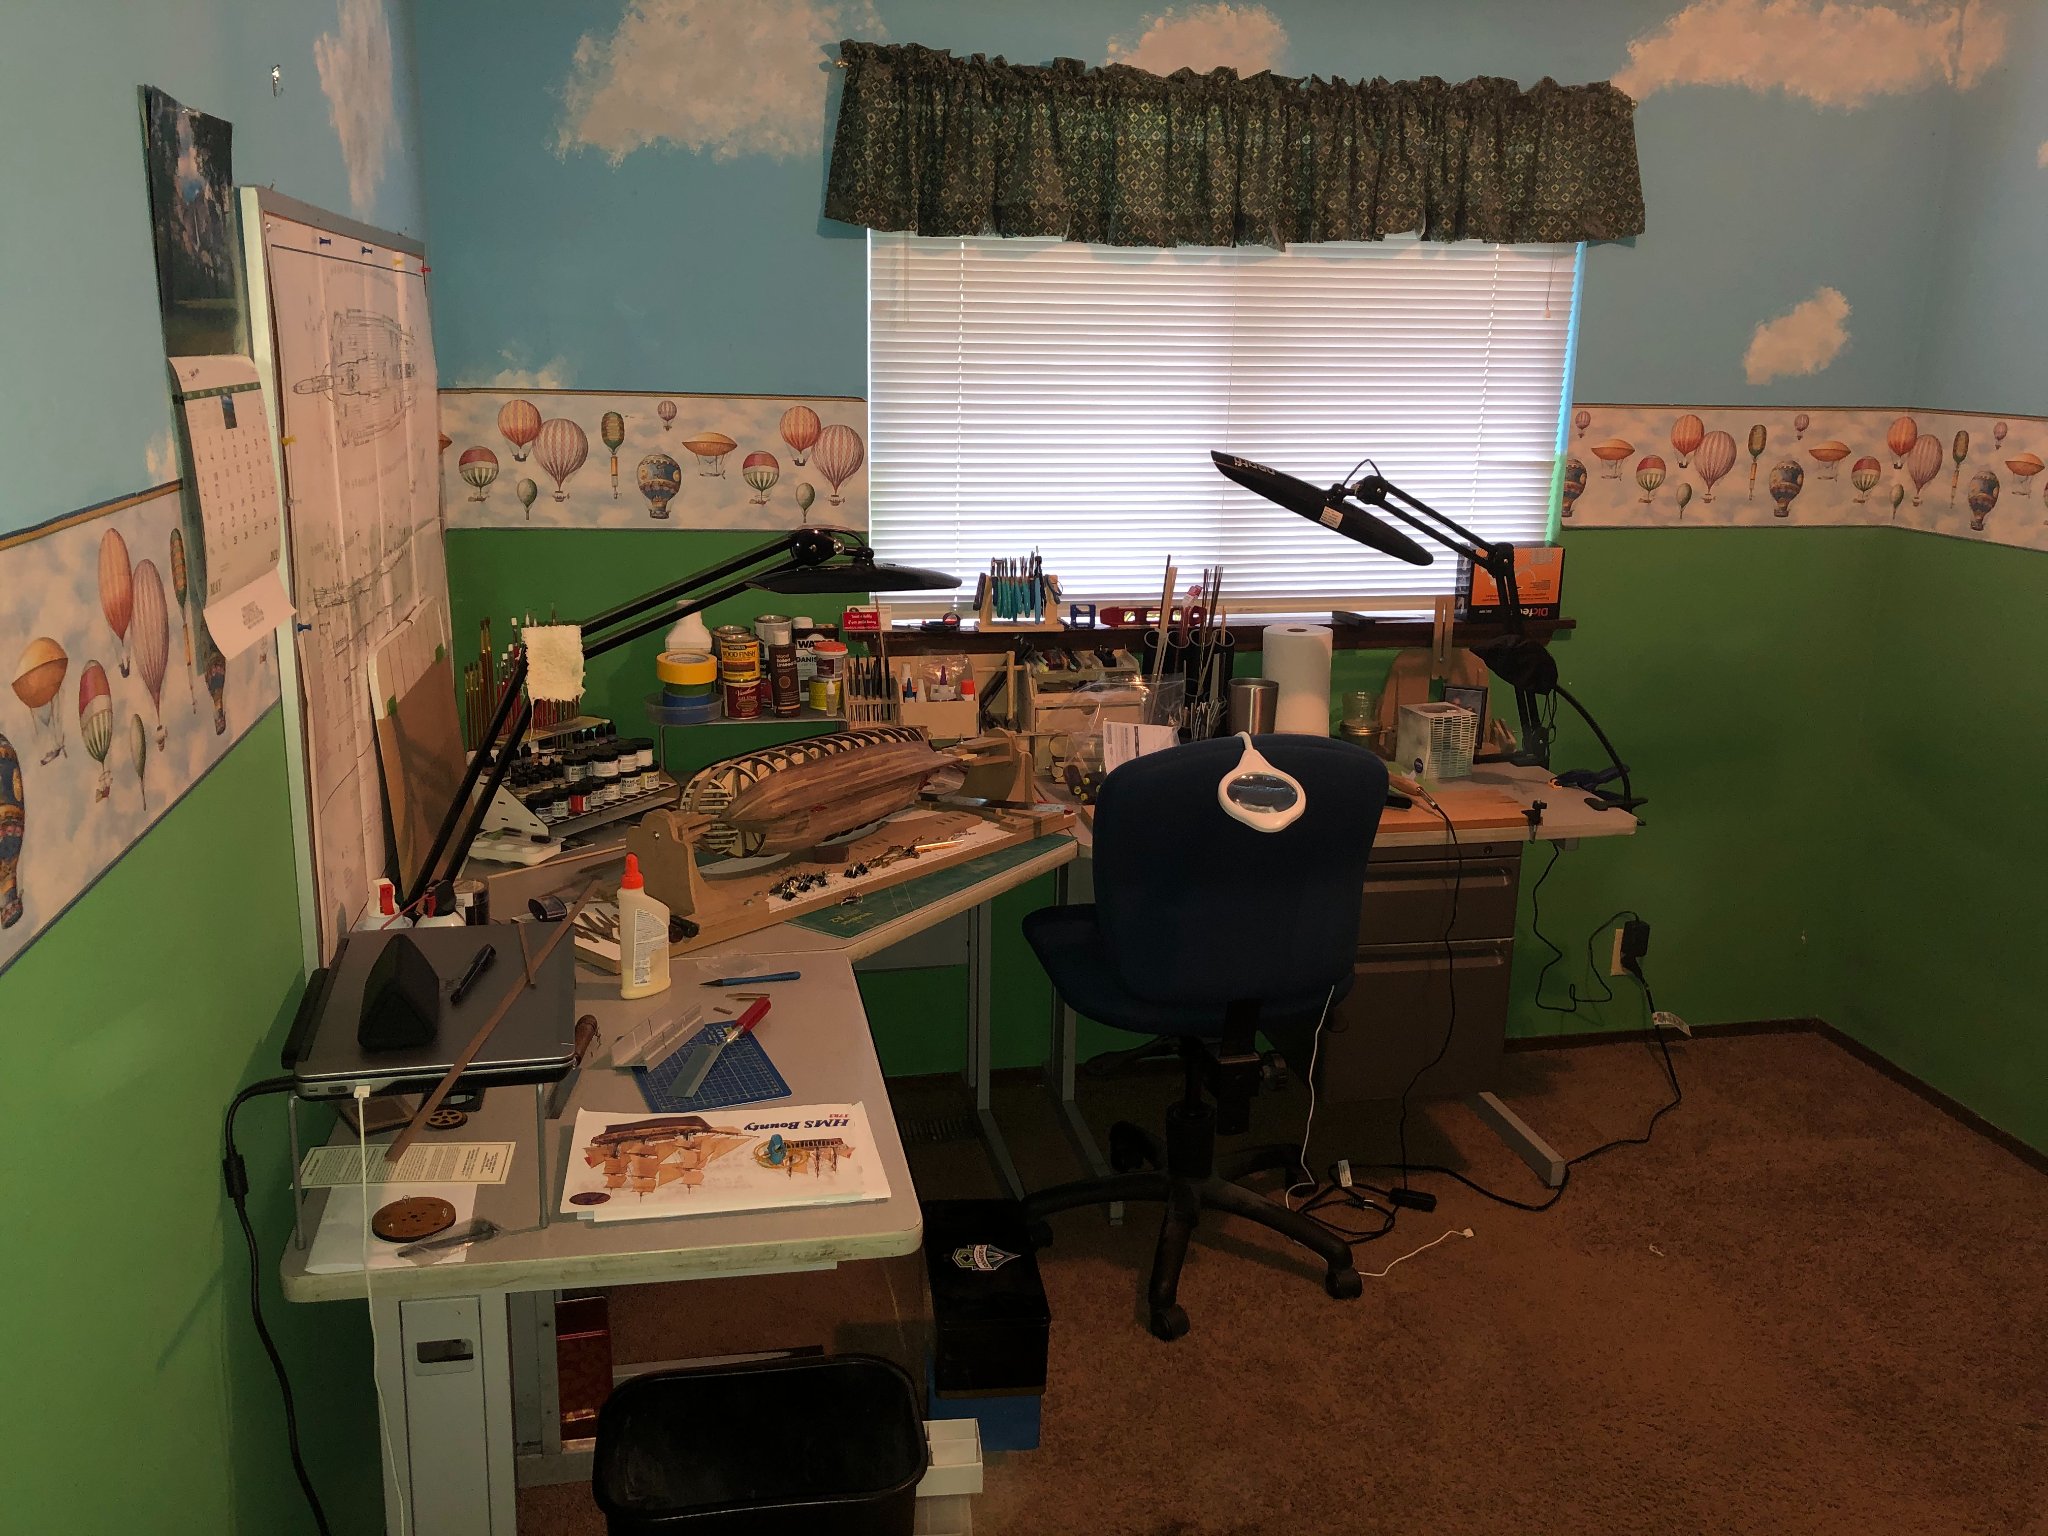
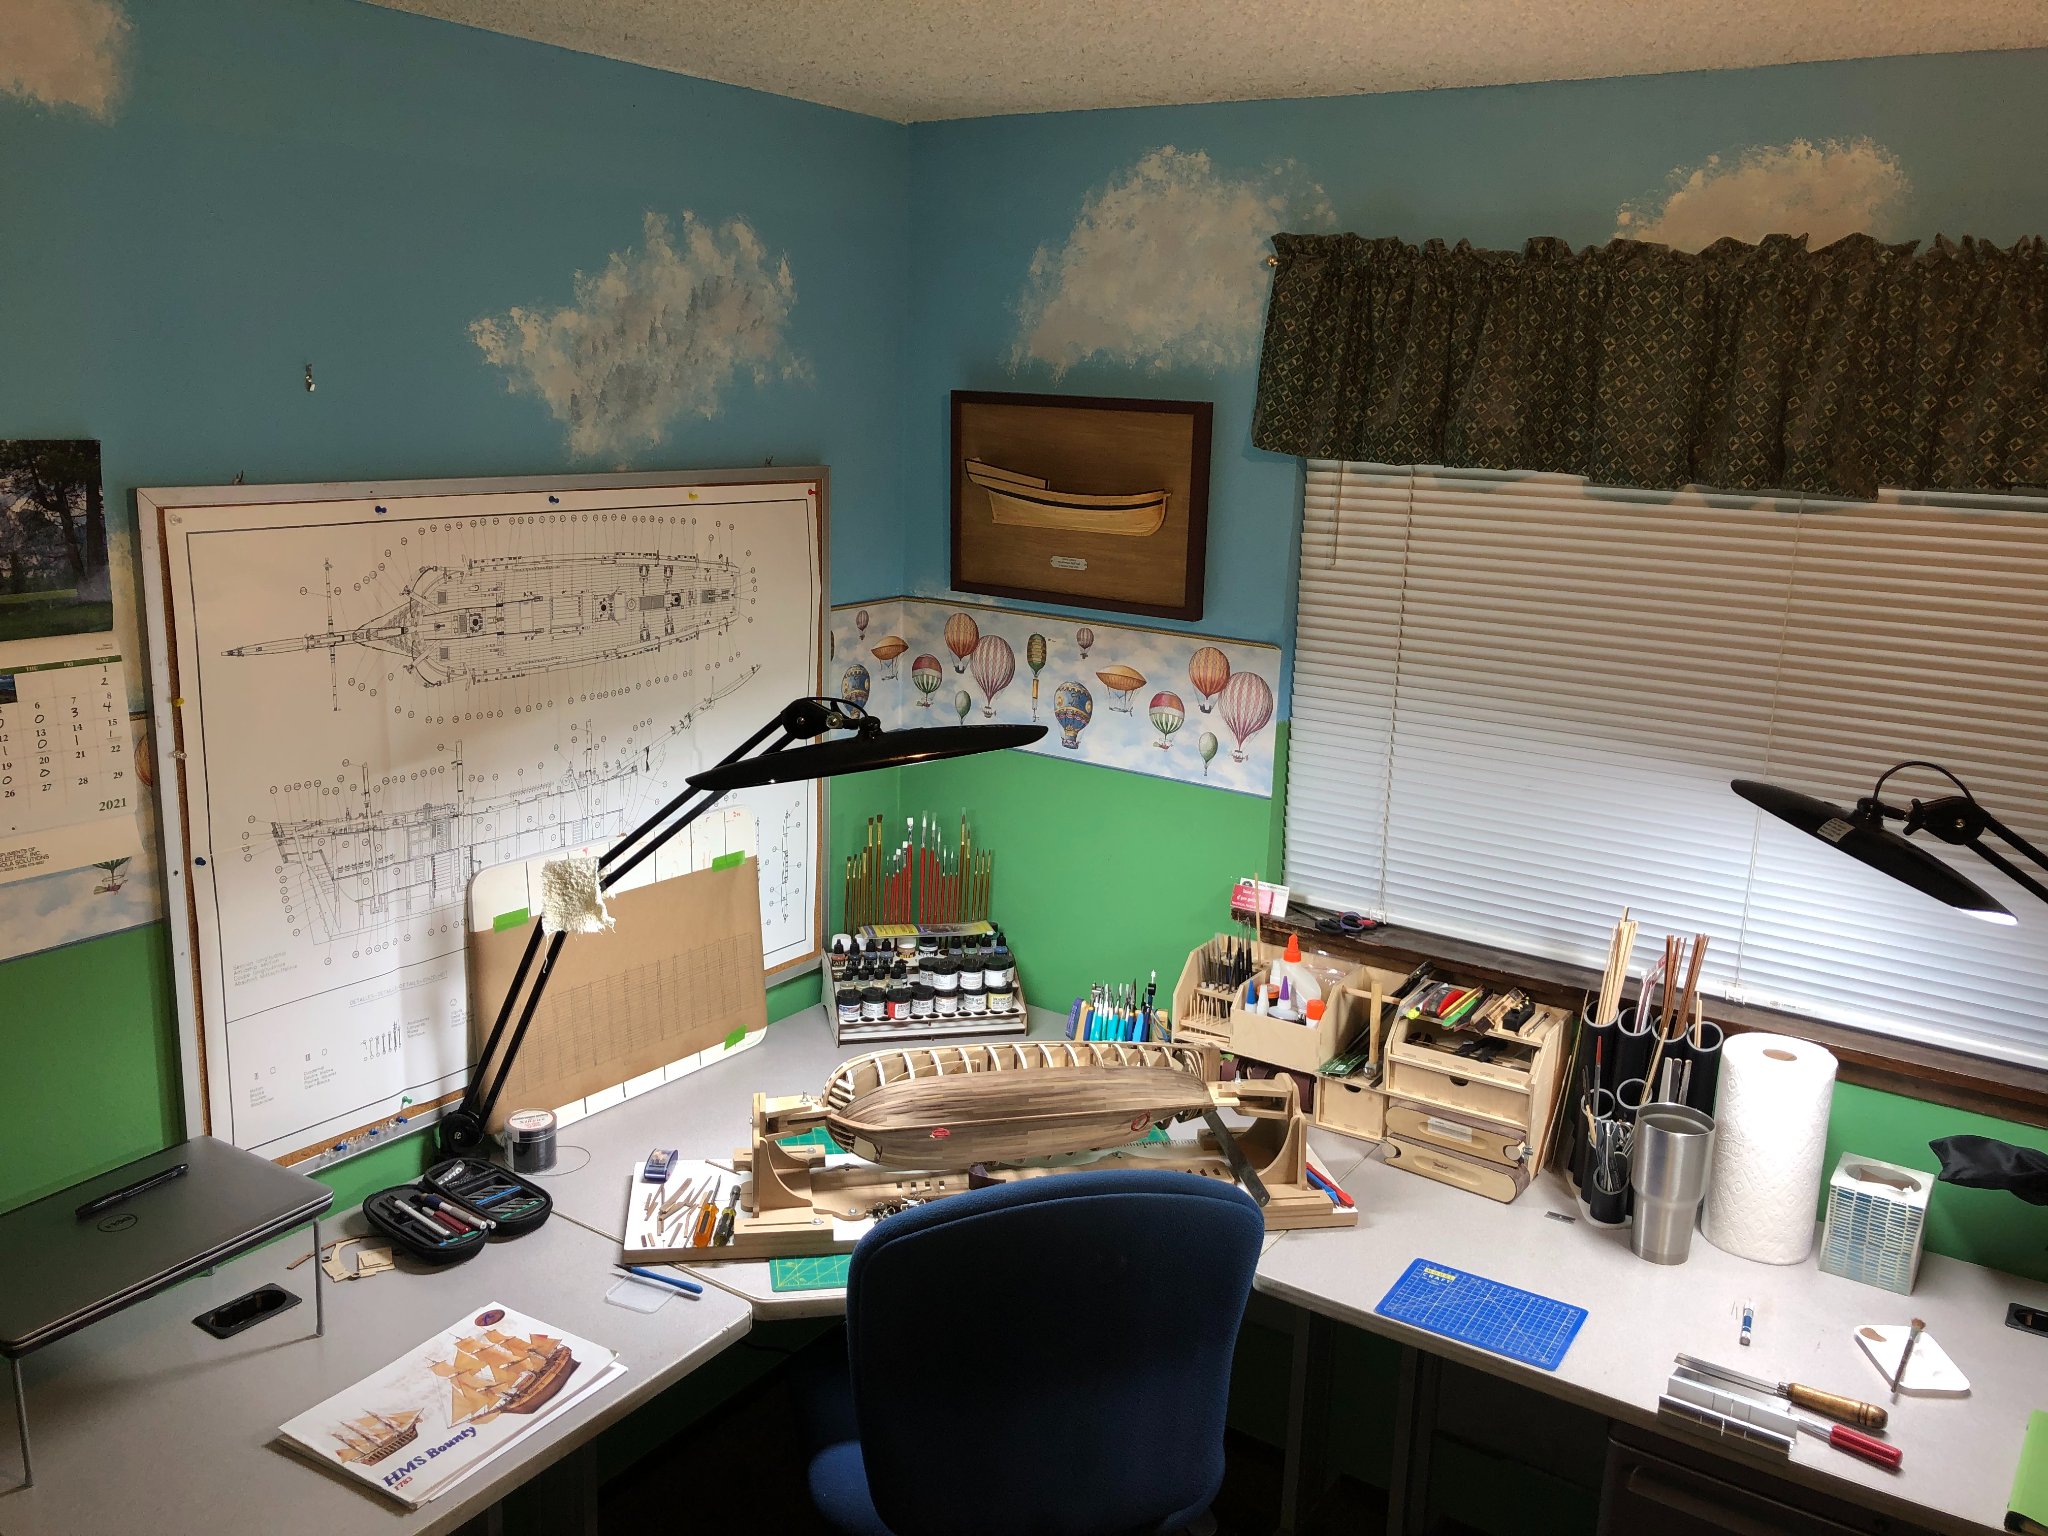
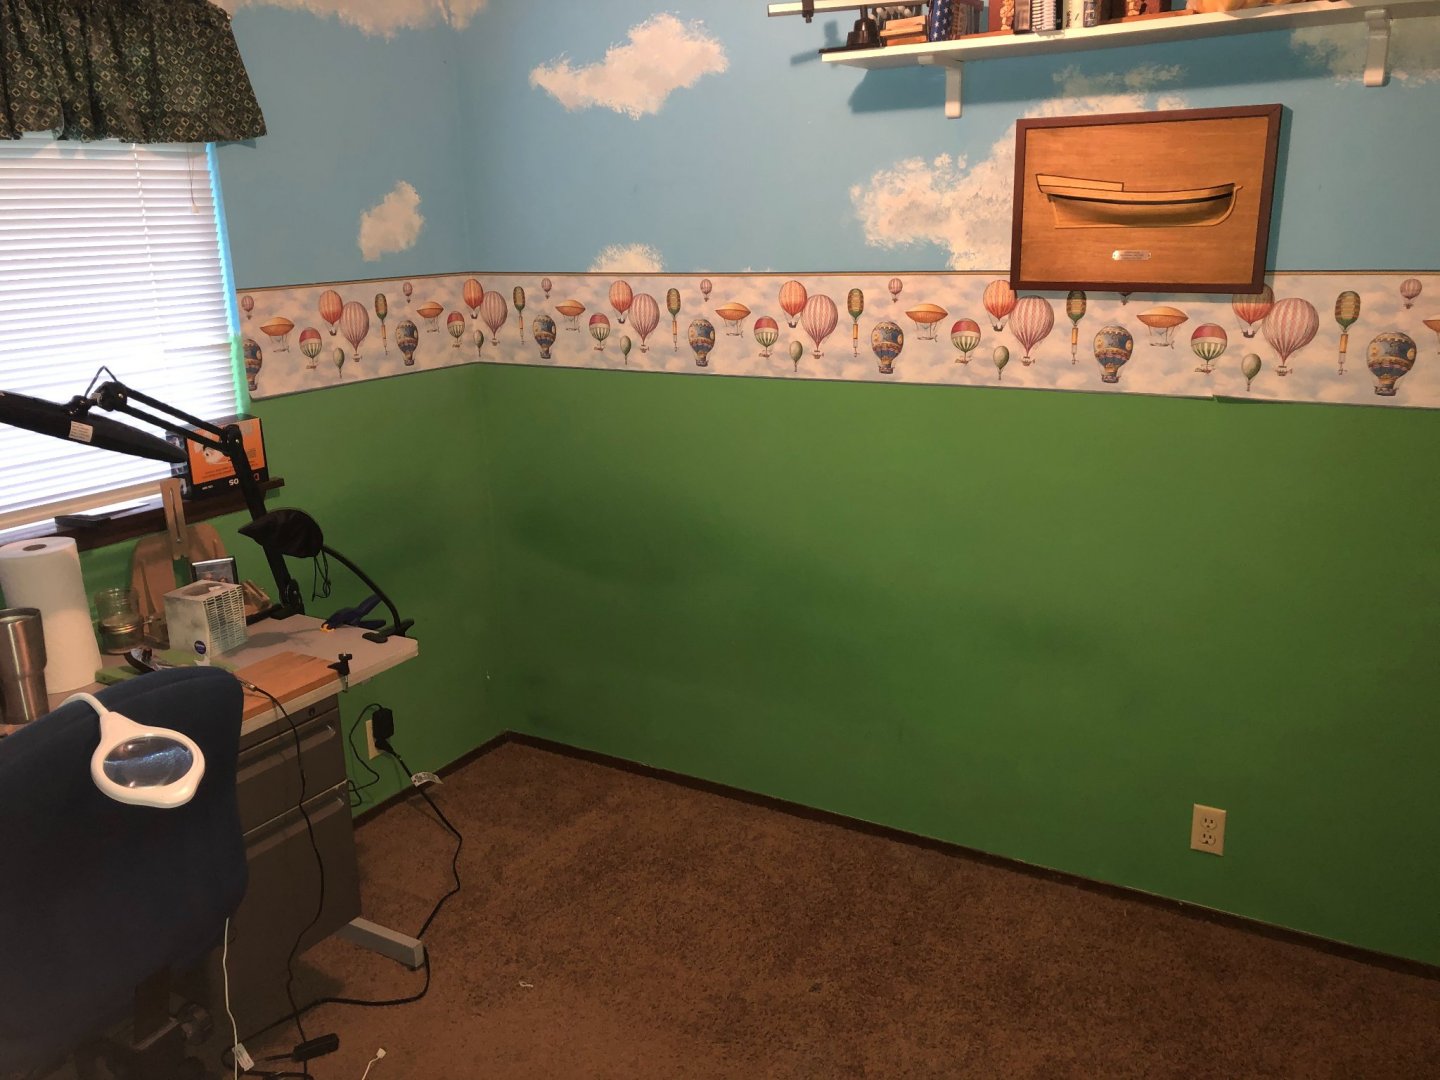
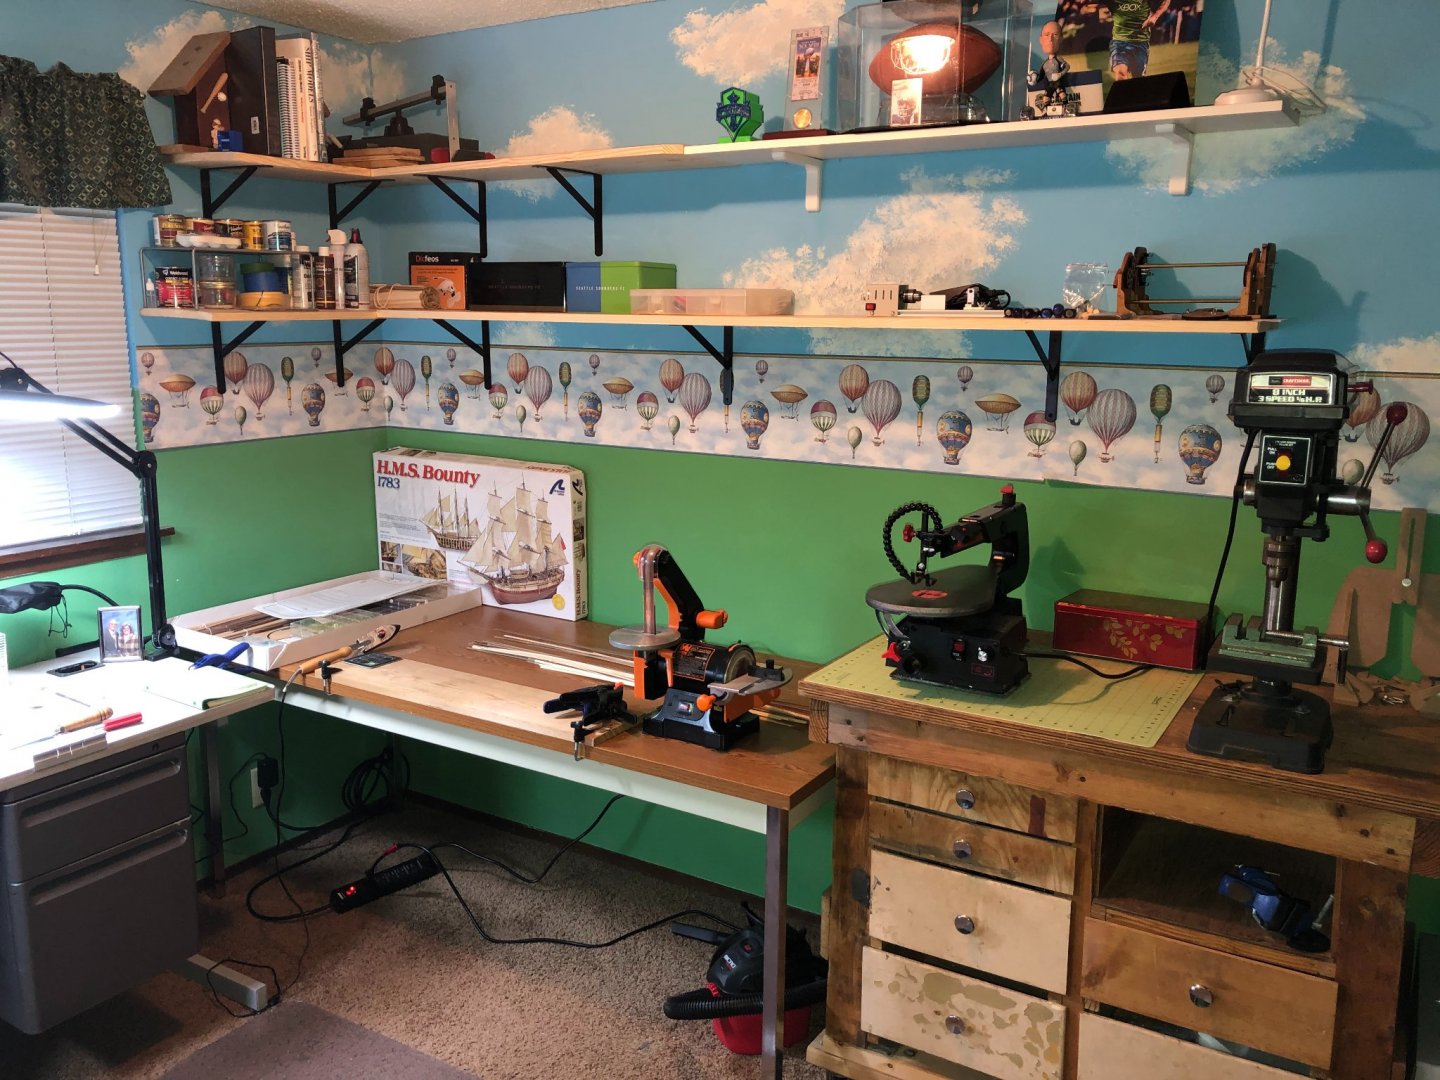
A little off topic... My workshop was getting cramped and cluttered. I decided to revamp it and install some shelving; here are some before and after shots: It was a bedroom and had a bed along the wall. Obviously, I removed the bed and added two workbenches. One has my bending station and sanding area while the other has a scroll saw and drill press. Some extra drawers for storage and the shelves for more storage: I have another light on order for the other work benches! Much less clutter and I feel like I have some elbow room! Back to the Bounty this week!


-
As Keith mentioned above, the decks were regularly holy-stoned using seawater, especially on military vessels. Since Bligh had a military background, one can assume this was a regular duty of the crew. All that said, I think the one on the right is good but if you can make it a little grayer, even better. I attempted to do that (check out my build log). Unfortunately, the tests to practice changed even though my procedures did not! The life of a modeler! Whatever you decide will be great!
-
The pins look too big! Sometimes the kit pins are just not the right scale! I have a similar set of tools and ended modifying a screwdriver for the same reason. Looking good overall but belaying the lines will be a fun job... insert sarcasm!
-
Trond, I agree with Keith... besides, in the scale we are working in, the tree nails would be barely visible, if at all. Most from that time period would be covered with a plug of wood either the same as the deck or very similar. On my build, I did do the lower decks... then after some research discovered what I stated above and I don't plan to put them on the main deck. The build is looking good! Keep up the good work!