mikegr
-
Posts
828 -
Joined
-
Last visited
Content Type
Profiles
Forums
Gallery
Events
Everything posted by mikegr
-
Thanks, your comments are appreciated
-
T-90 by Mikegr - FINISHED - AM - 1/72 - PLASTIC
mikegr replied to mikegr's topic in Non-ship/categorised builds
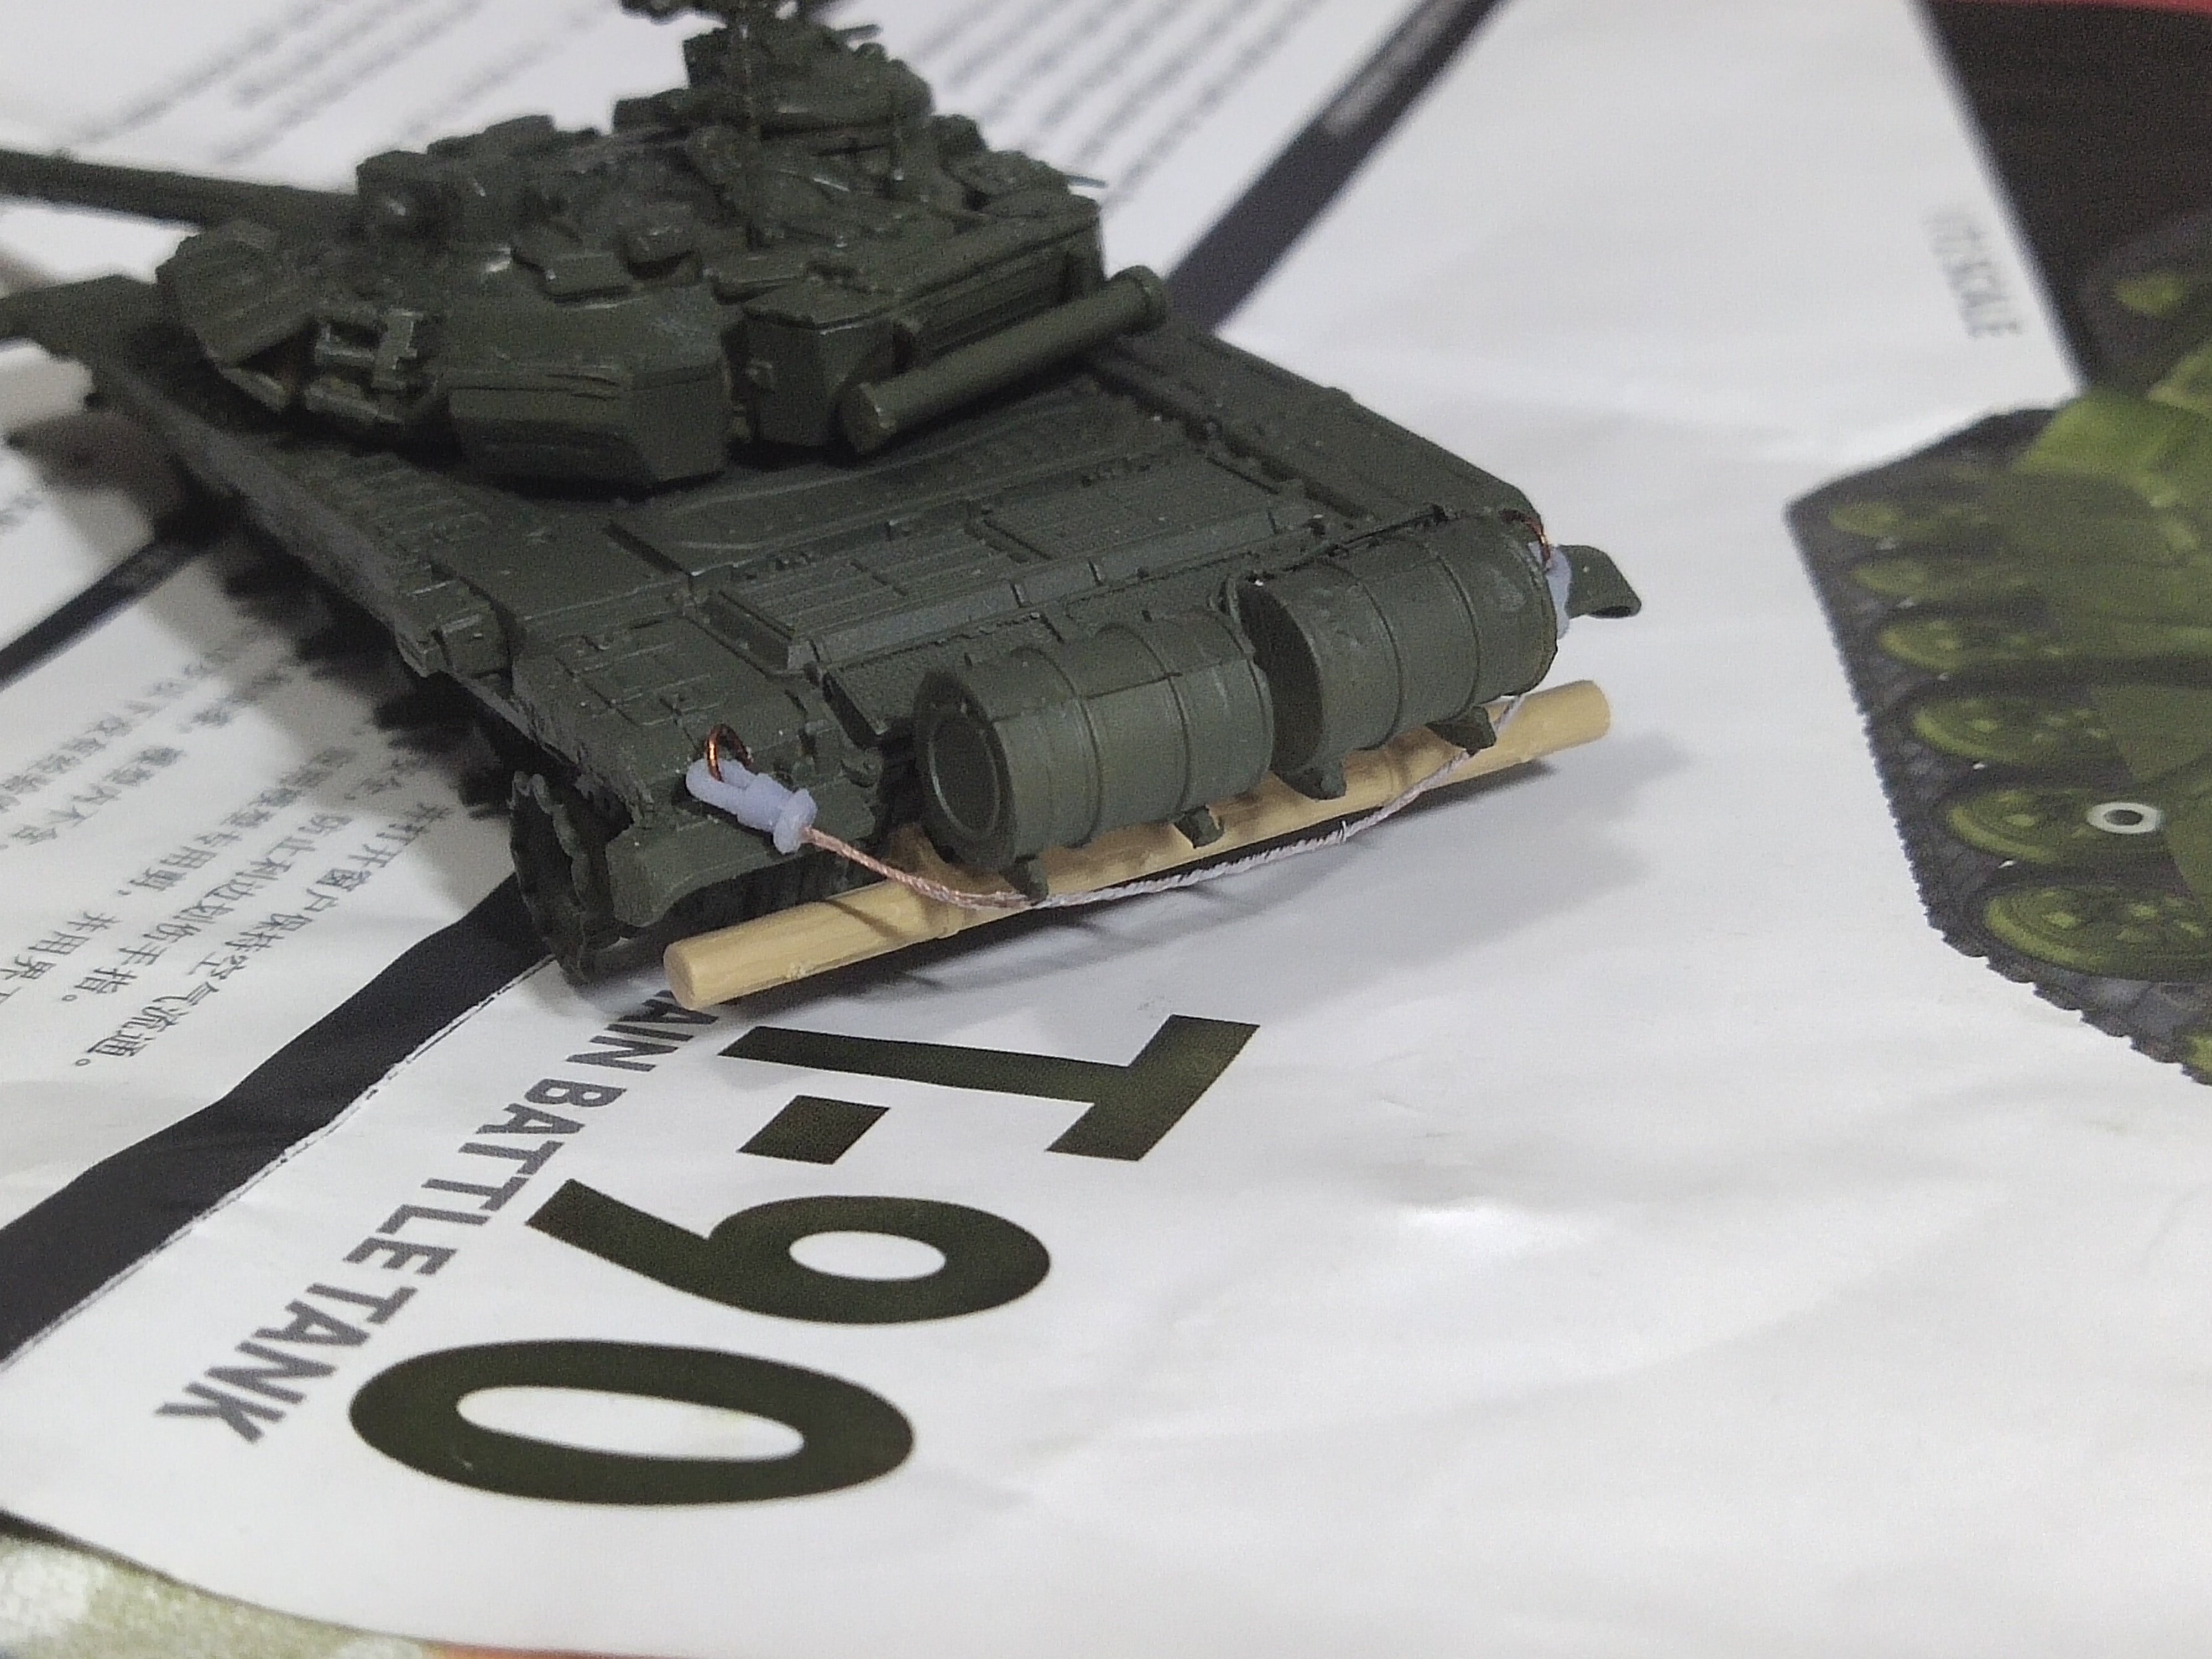
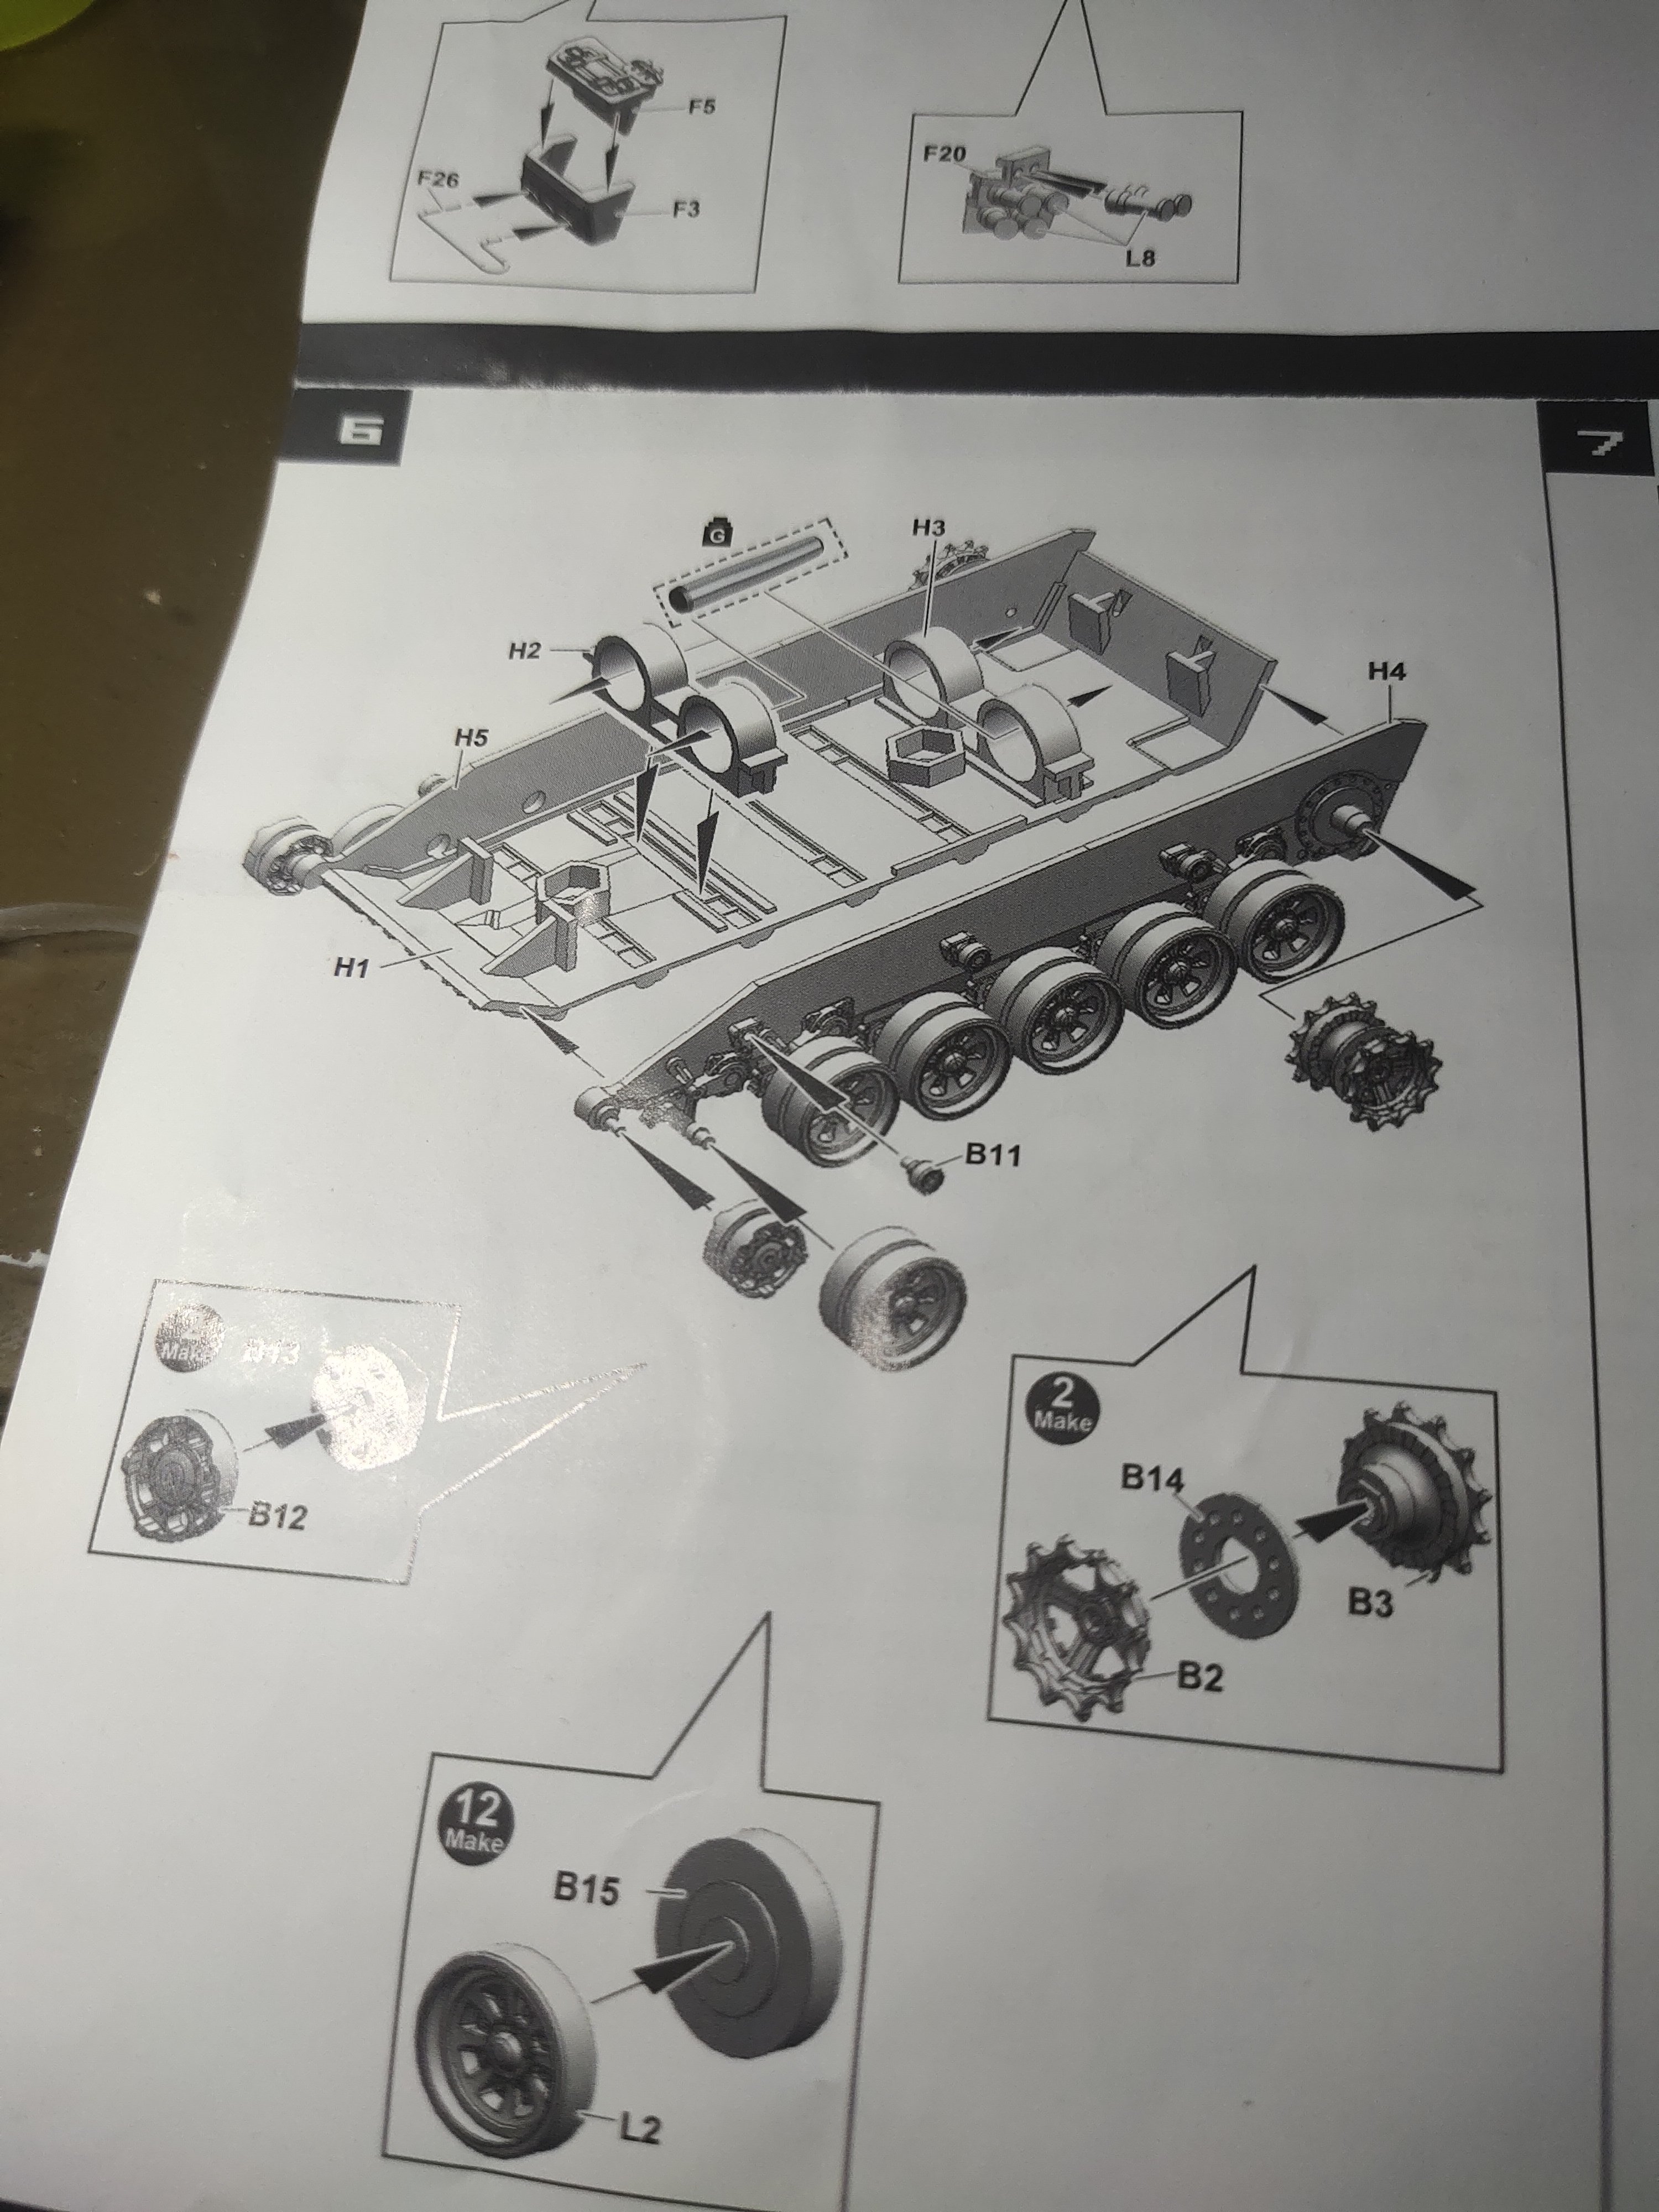
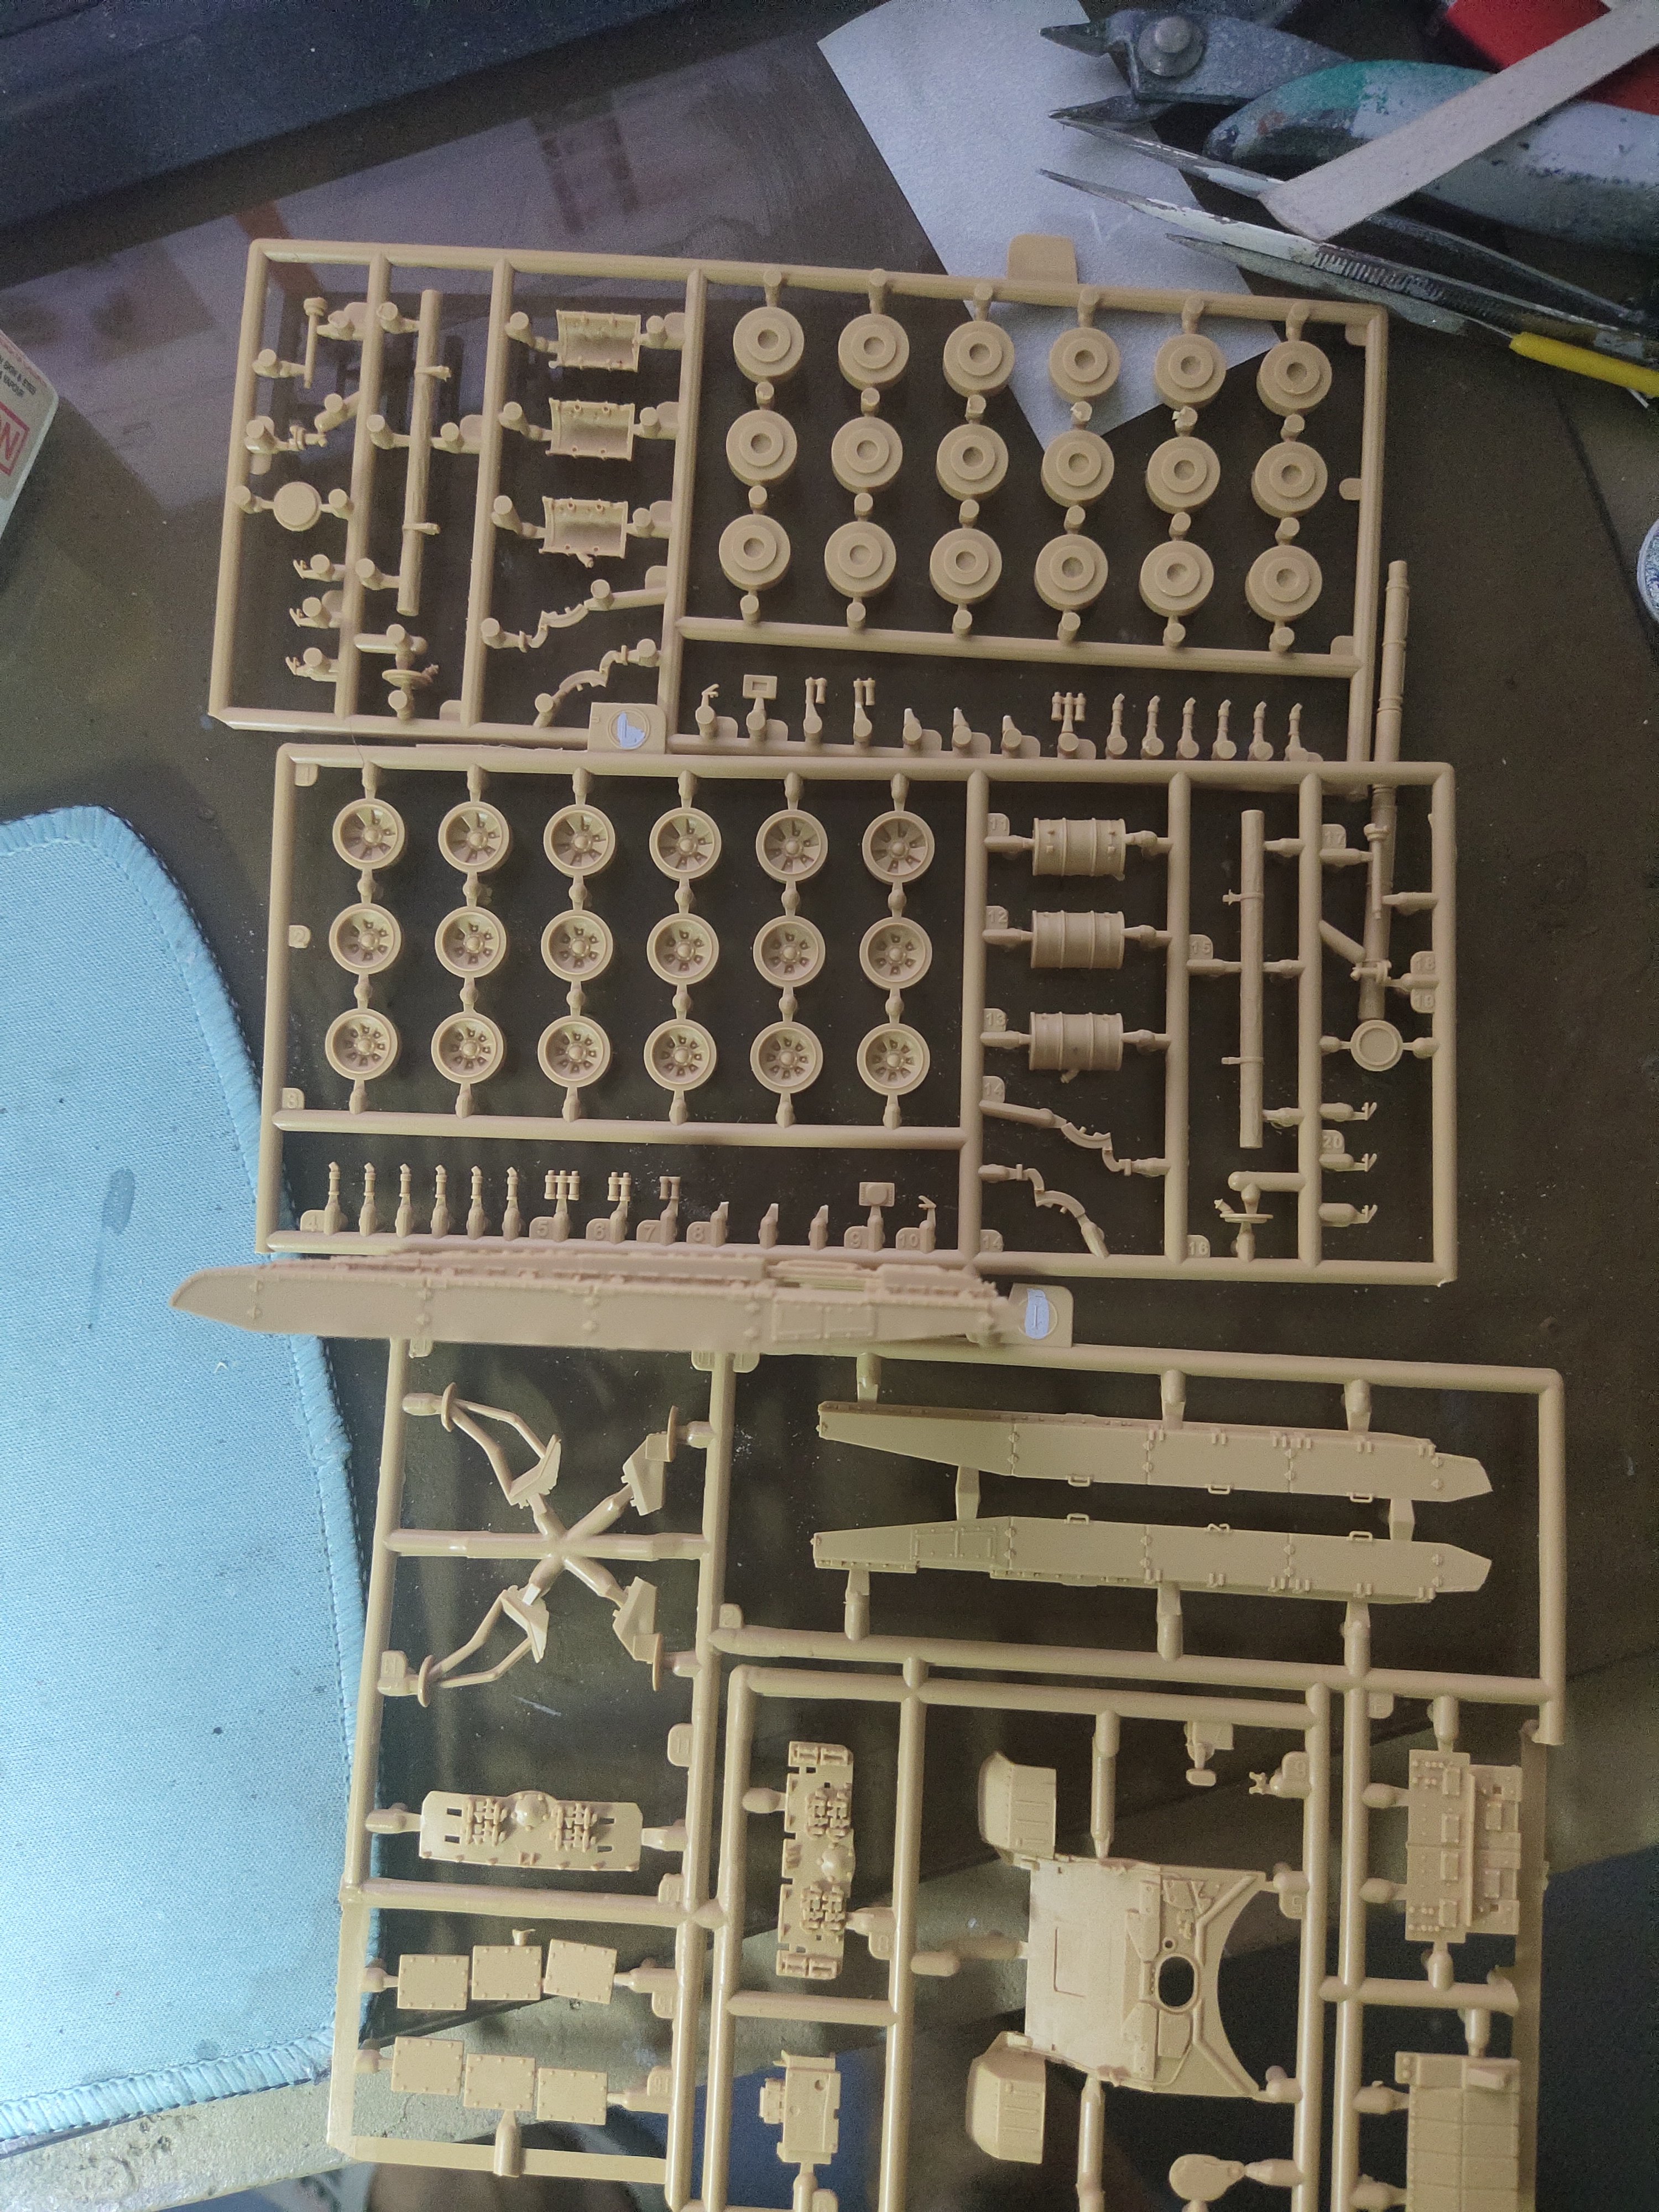
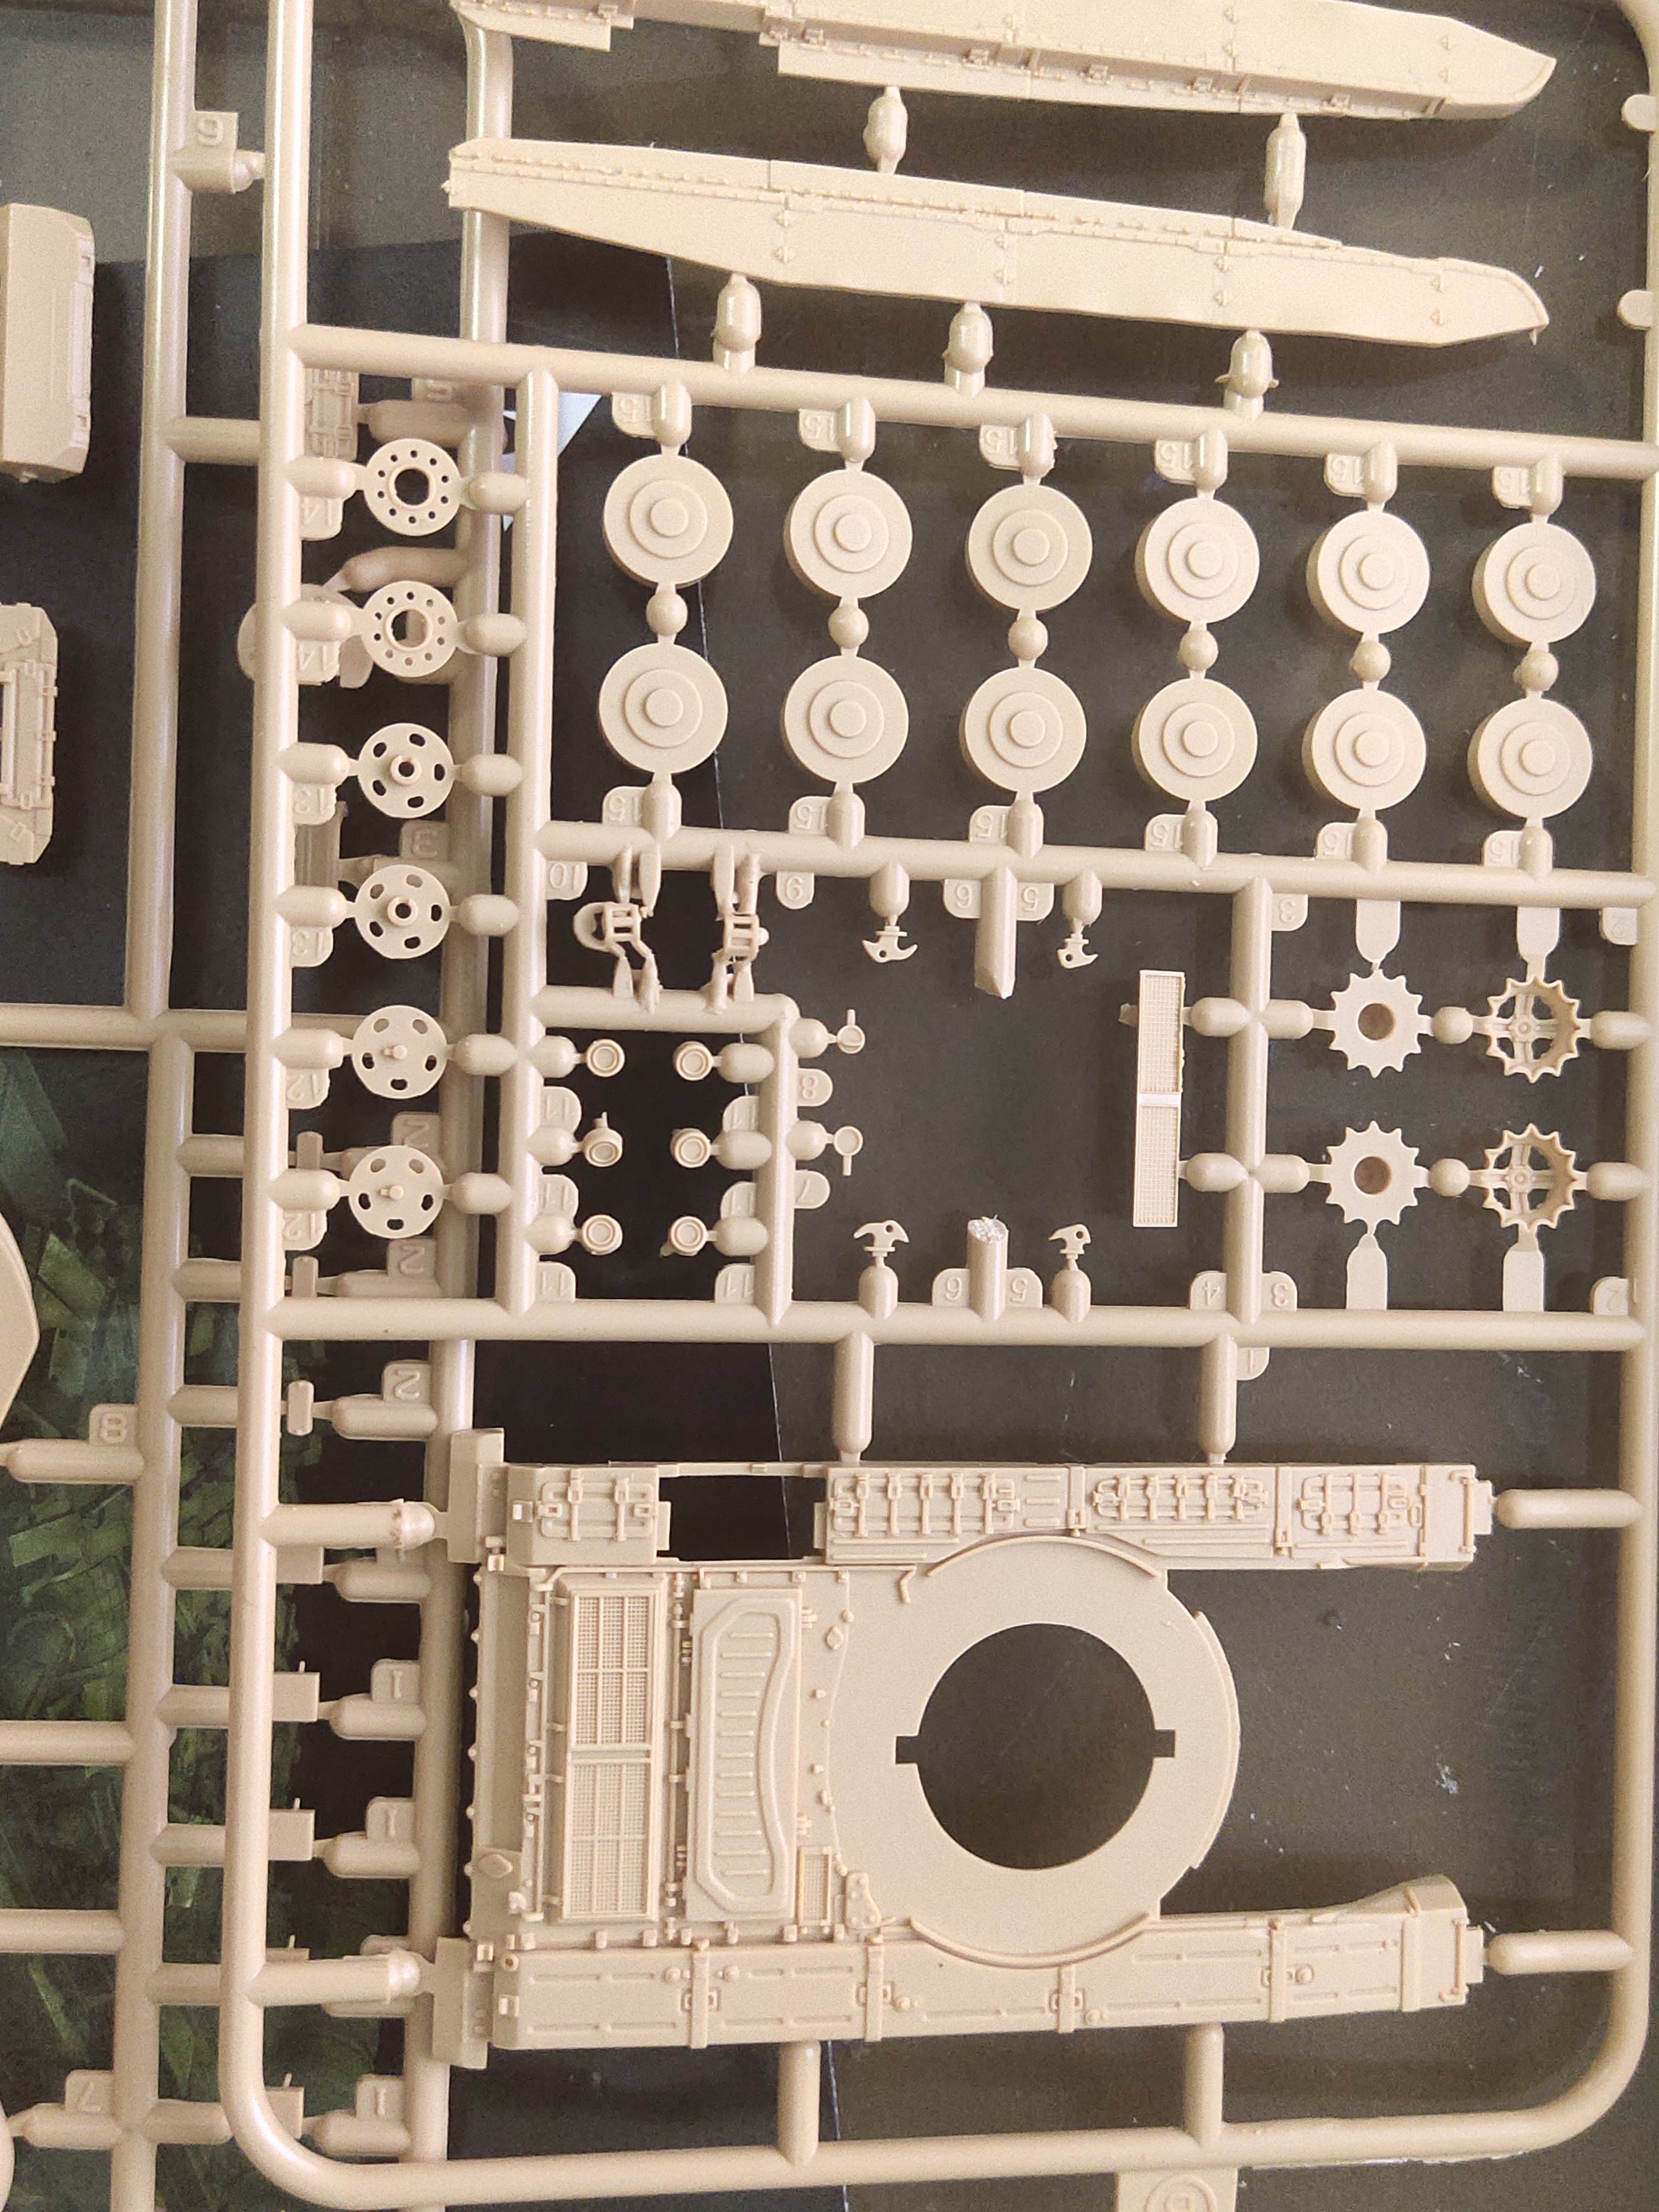
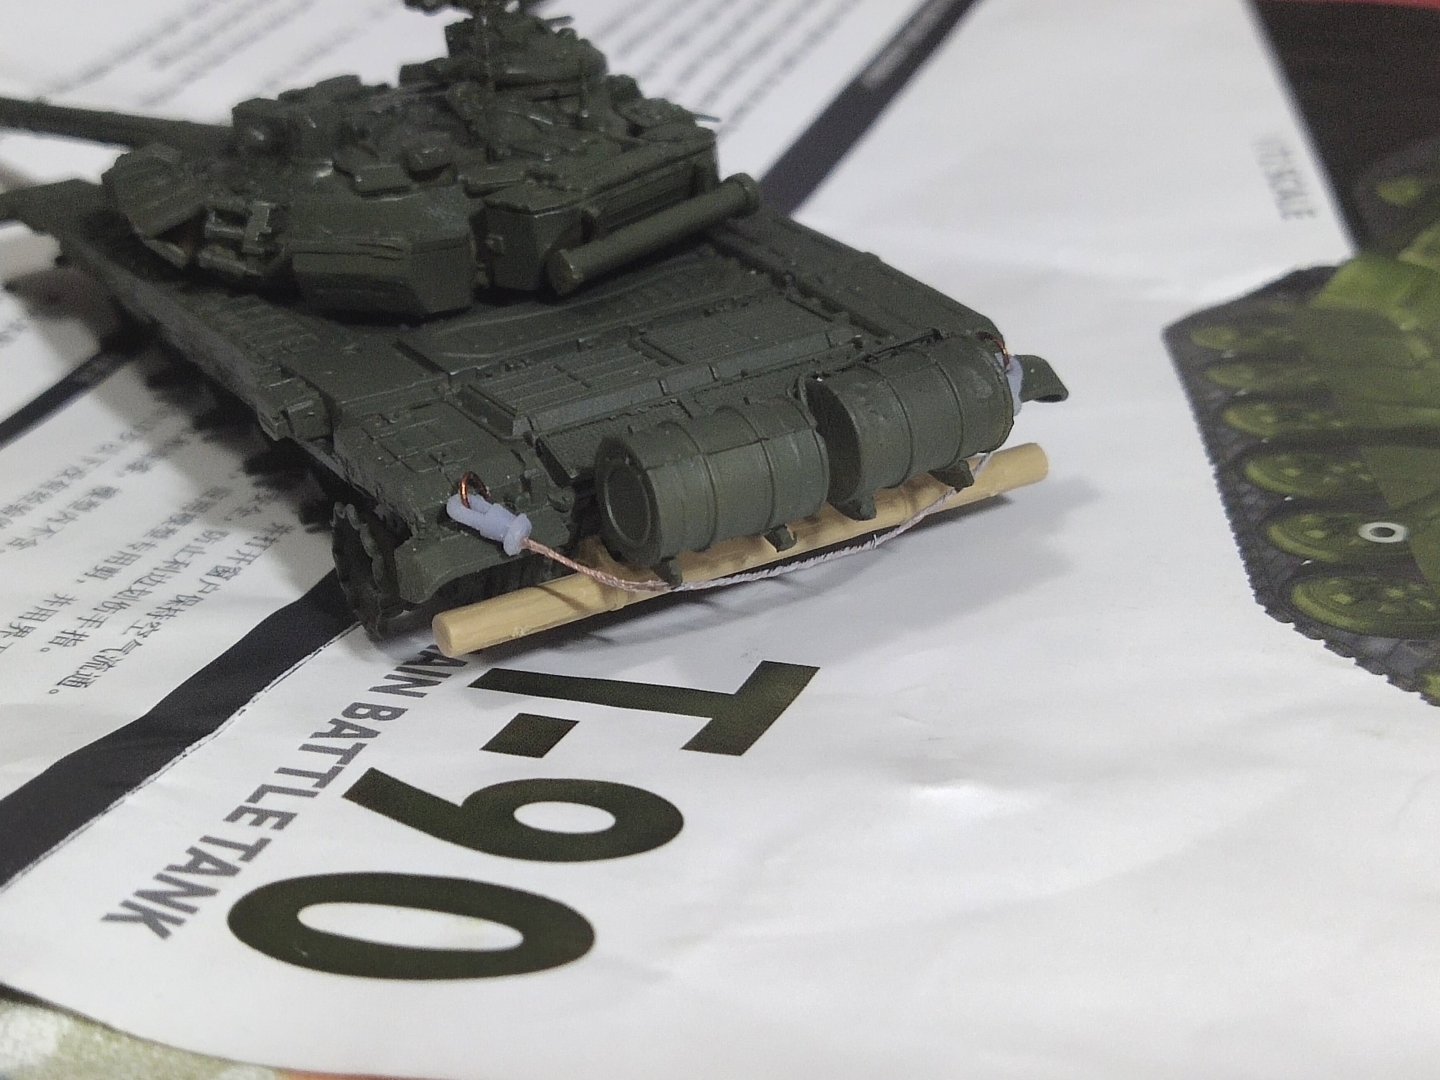
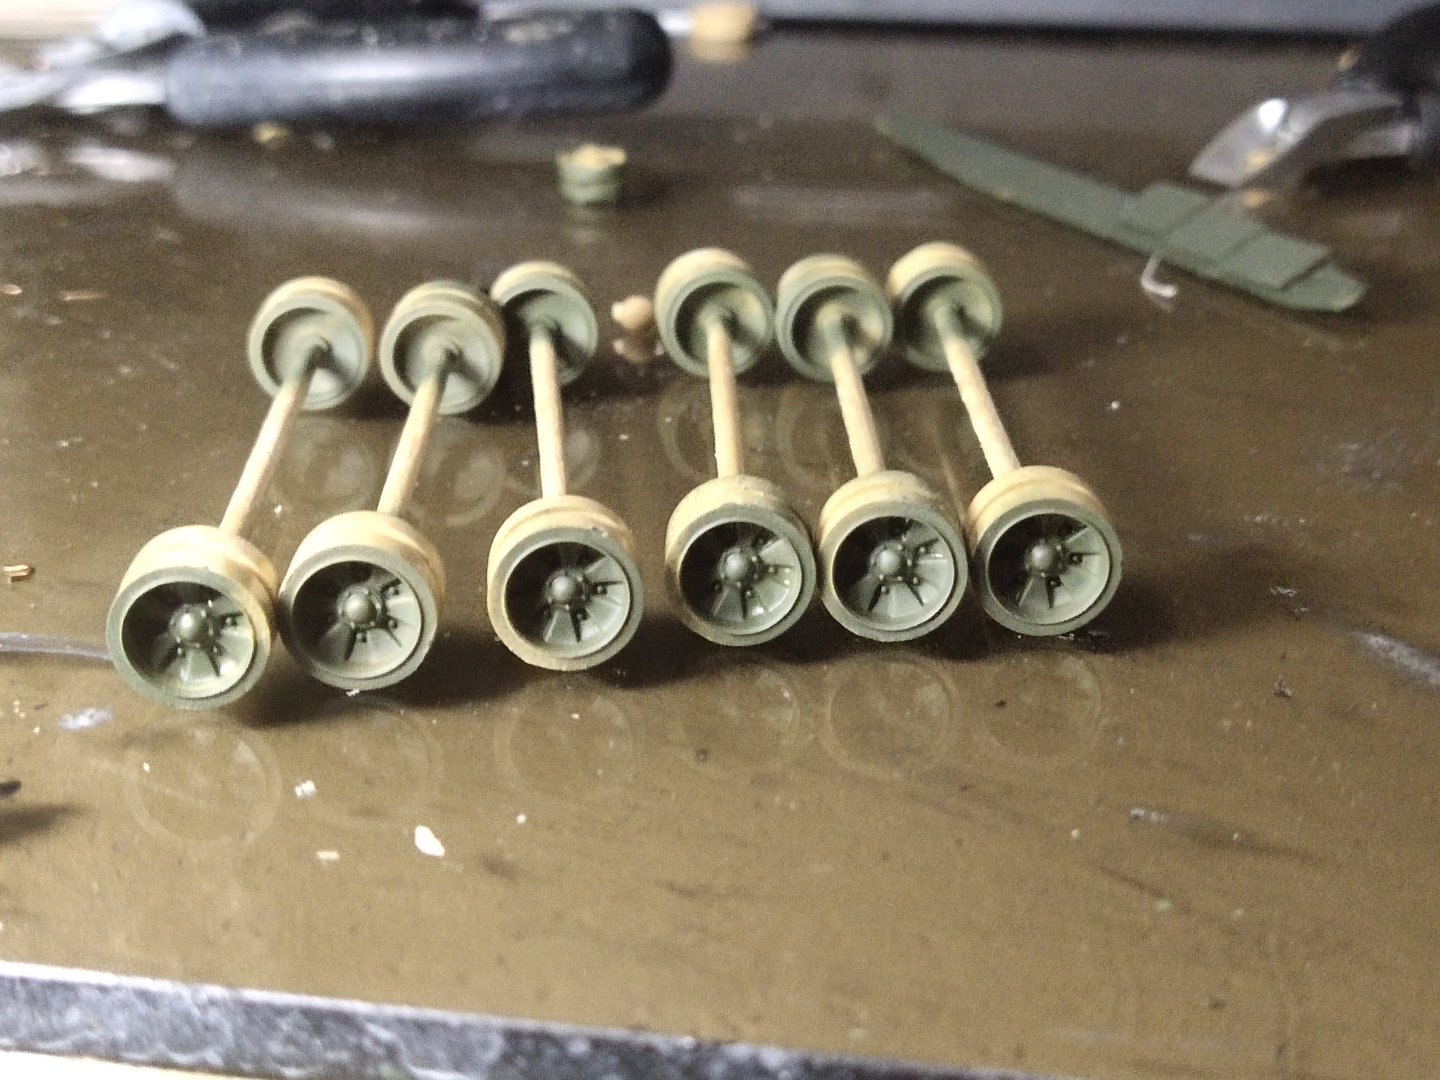
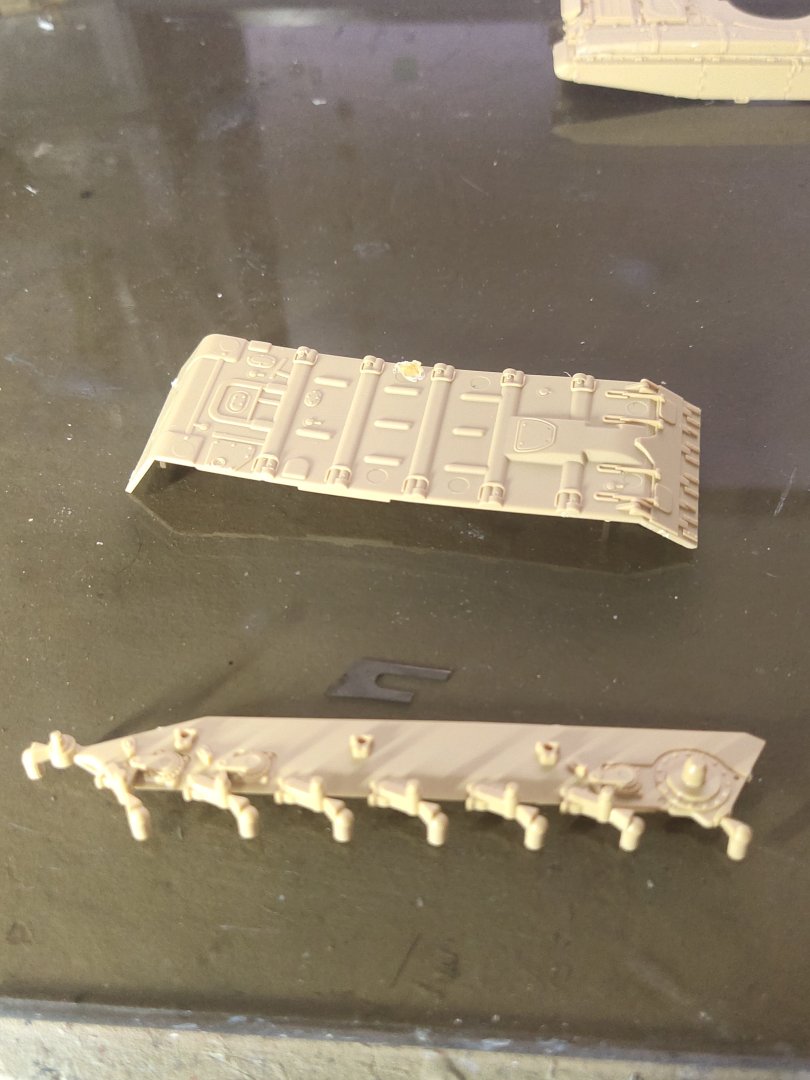
The wheels come in two pieces, front and rear as usual. The unusual is that I have 12 rear and 36 front pieces. That means I can choose those depending the version I want to built. Minus the turret of course.😁 Last details before wheels and trackwork A made a tow cable and added the wood at the rear. Then paint over as well as the sides of the wheels.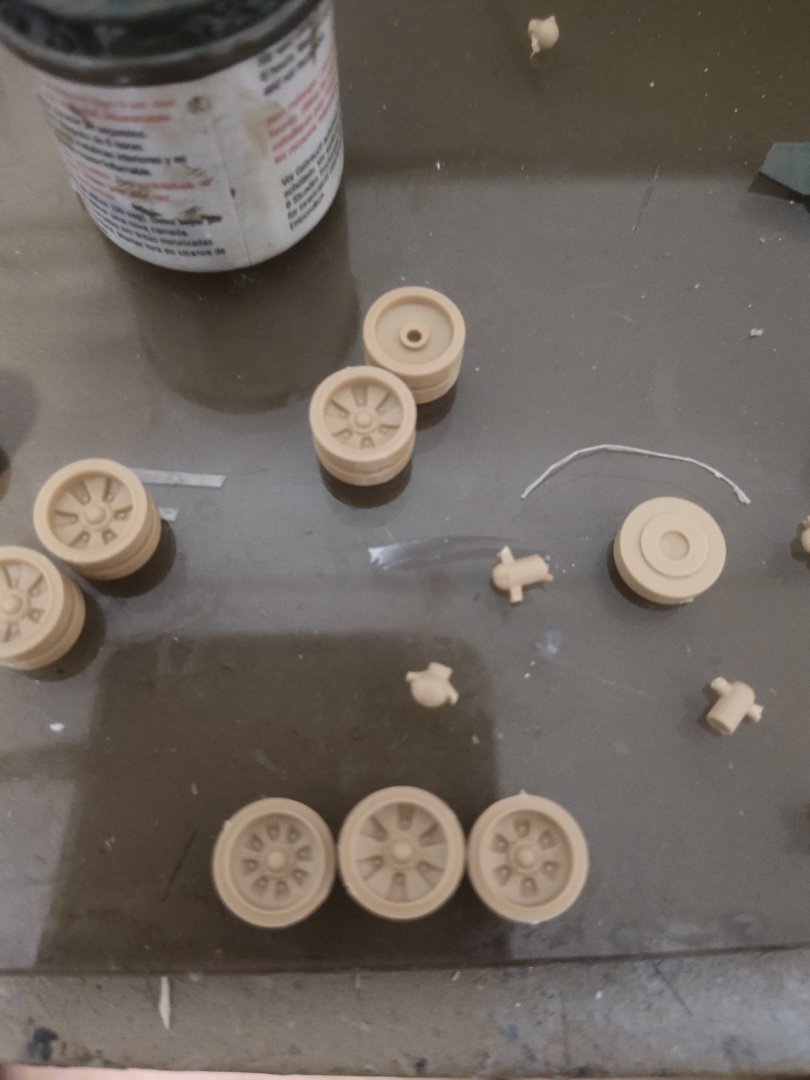

-
T-90 by Mikegr - FINISHED - AM - 1/72 - PLASTIC
mikegr replied to mikegr's topic in Non-ship/categorised builds
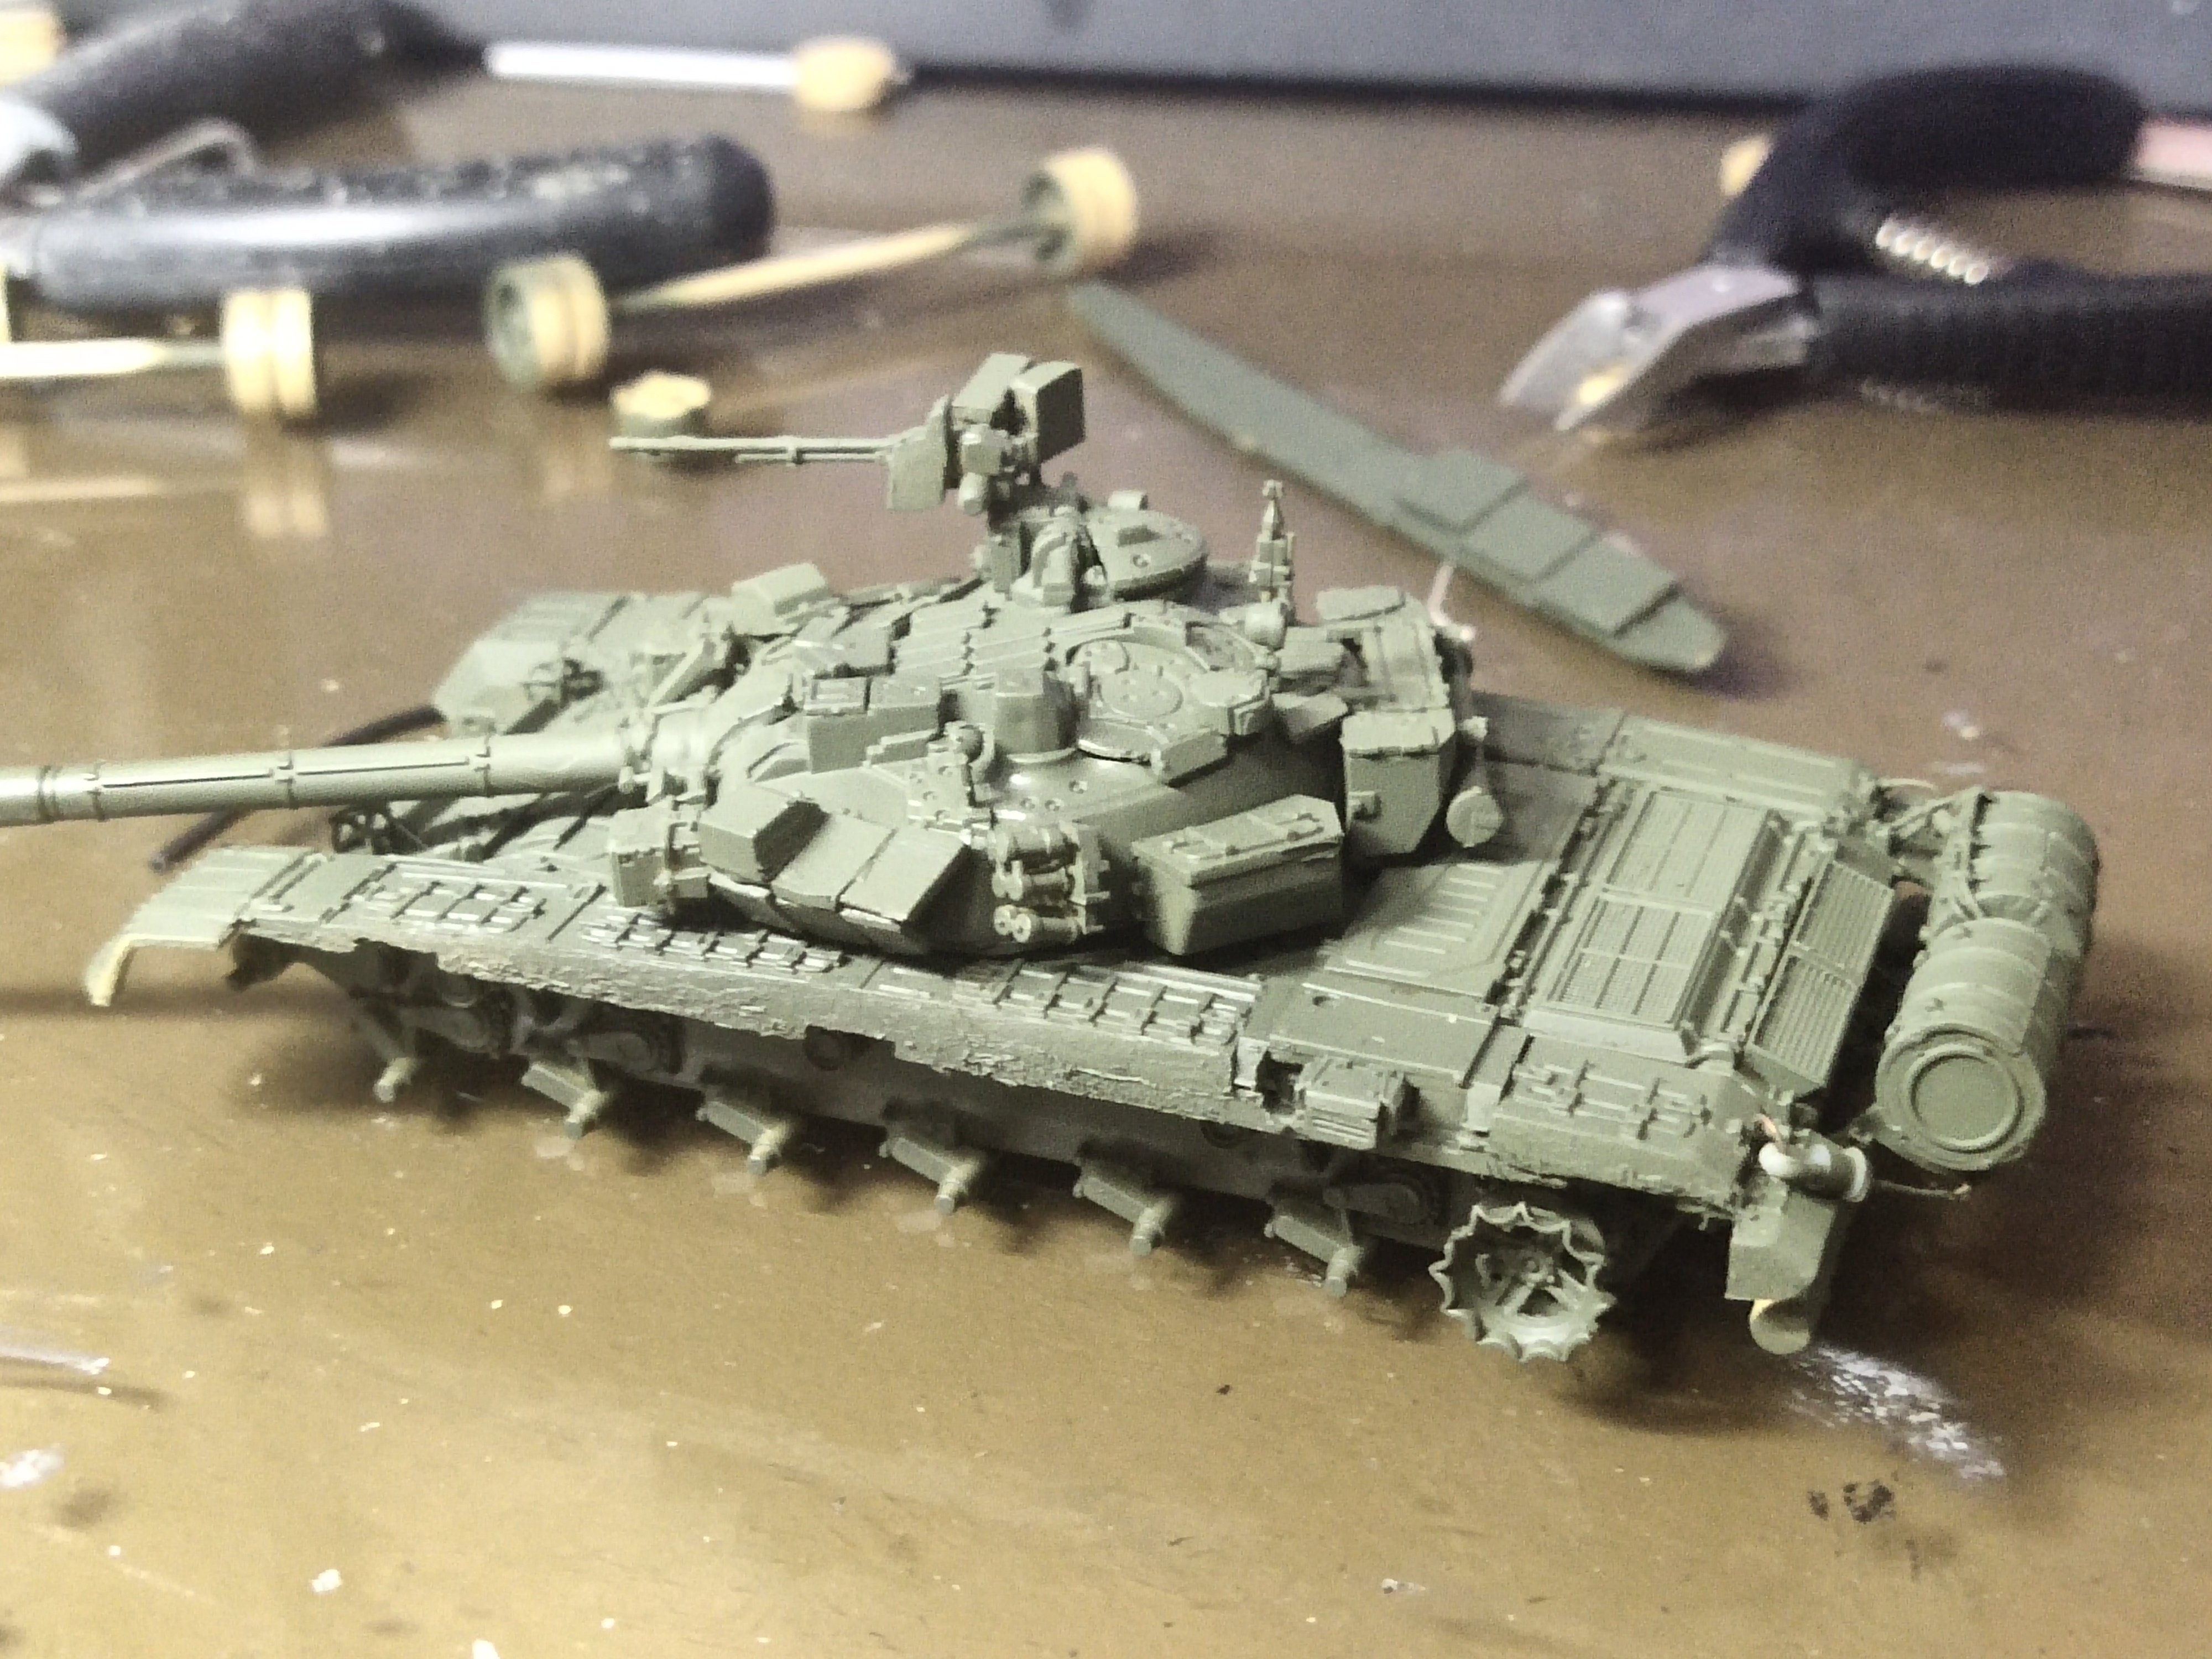
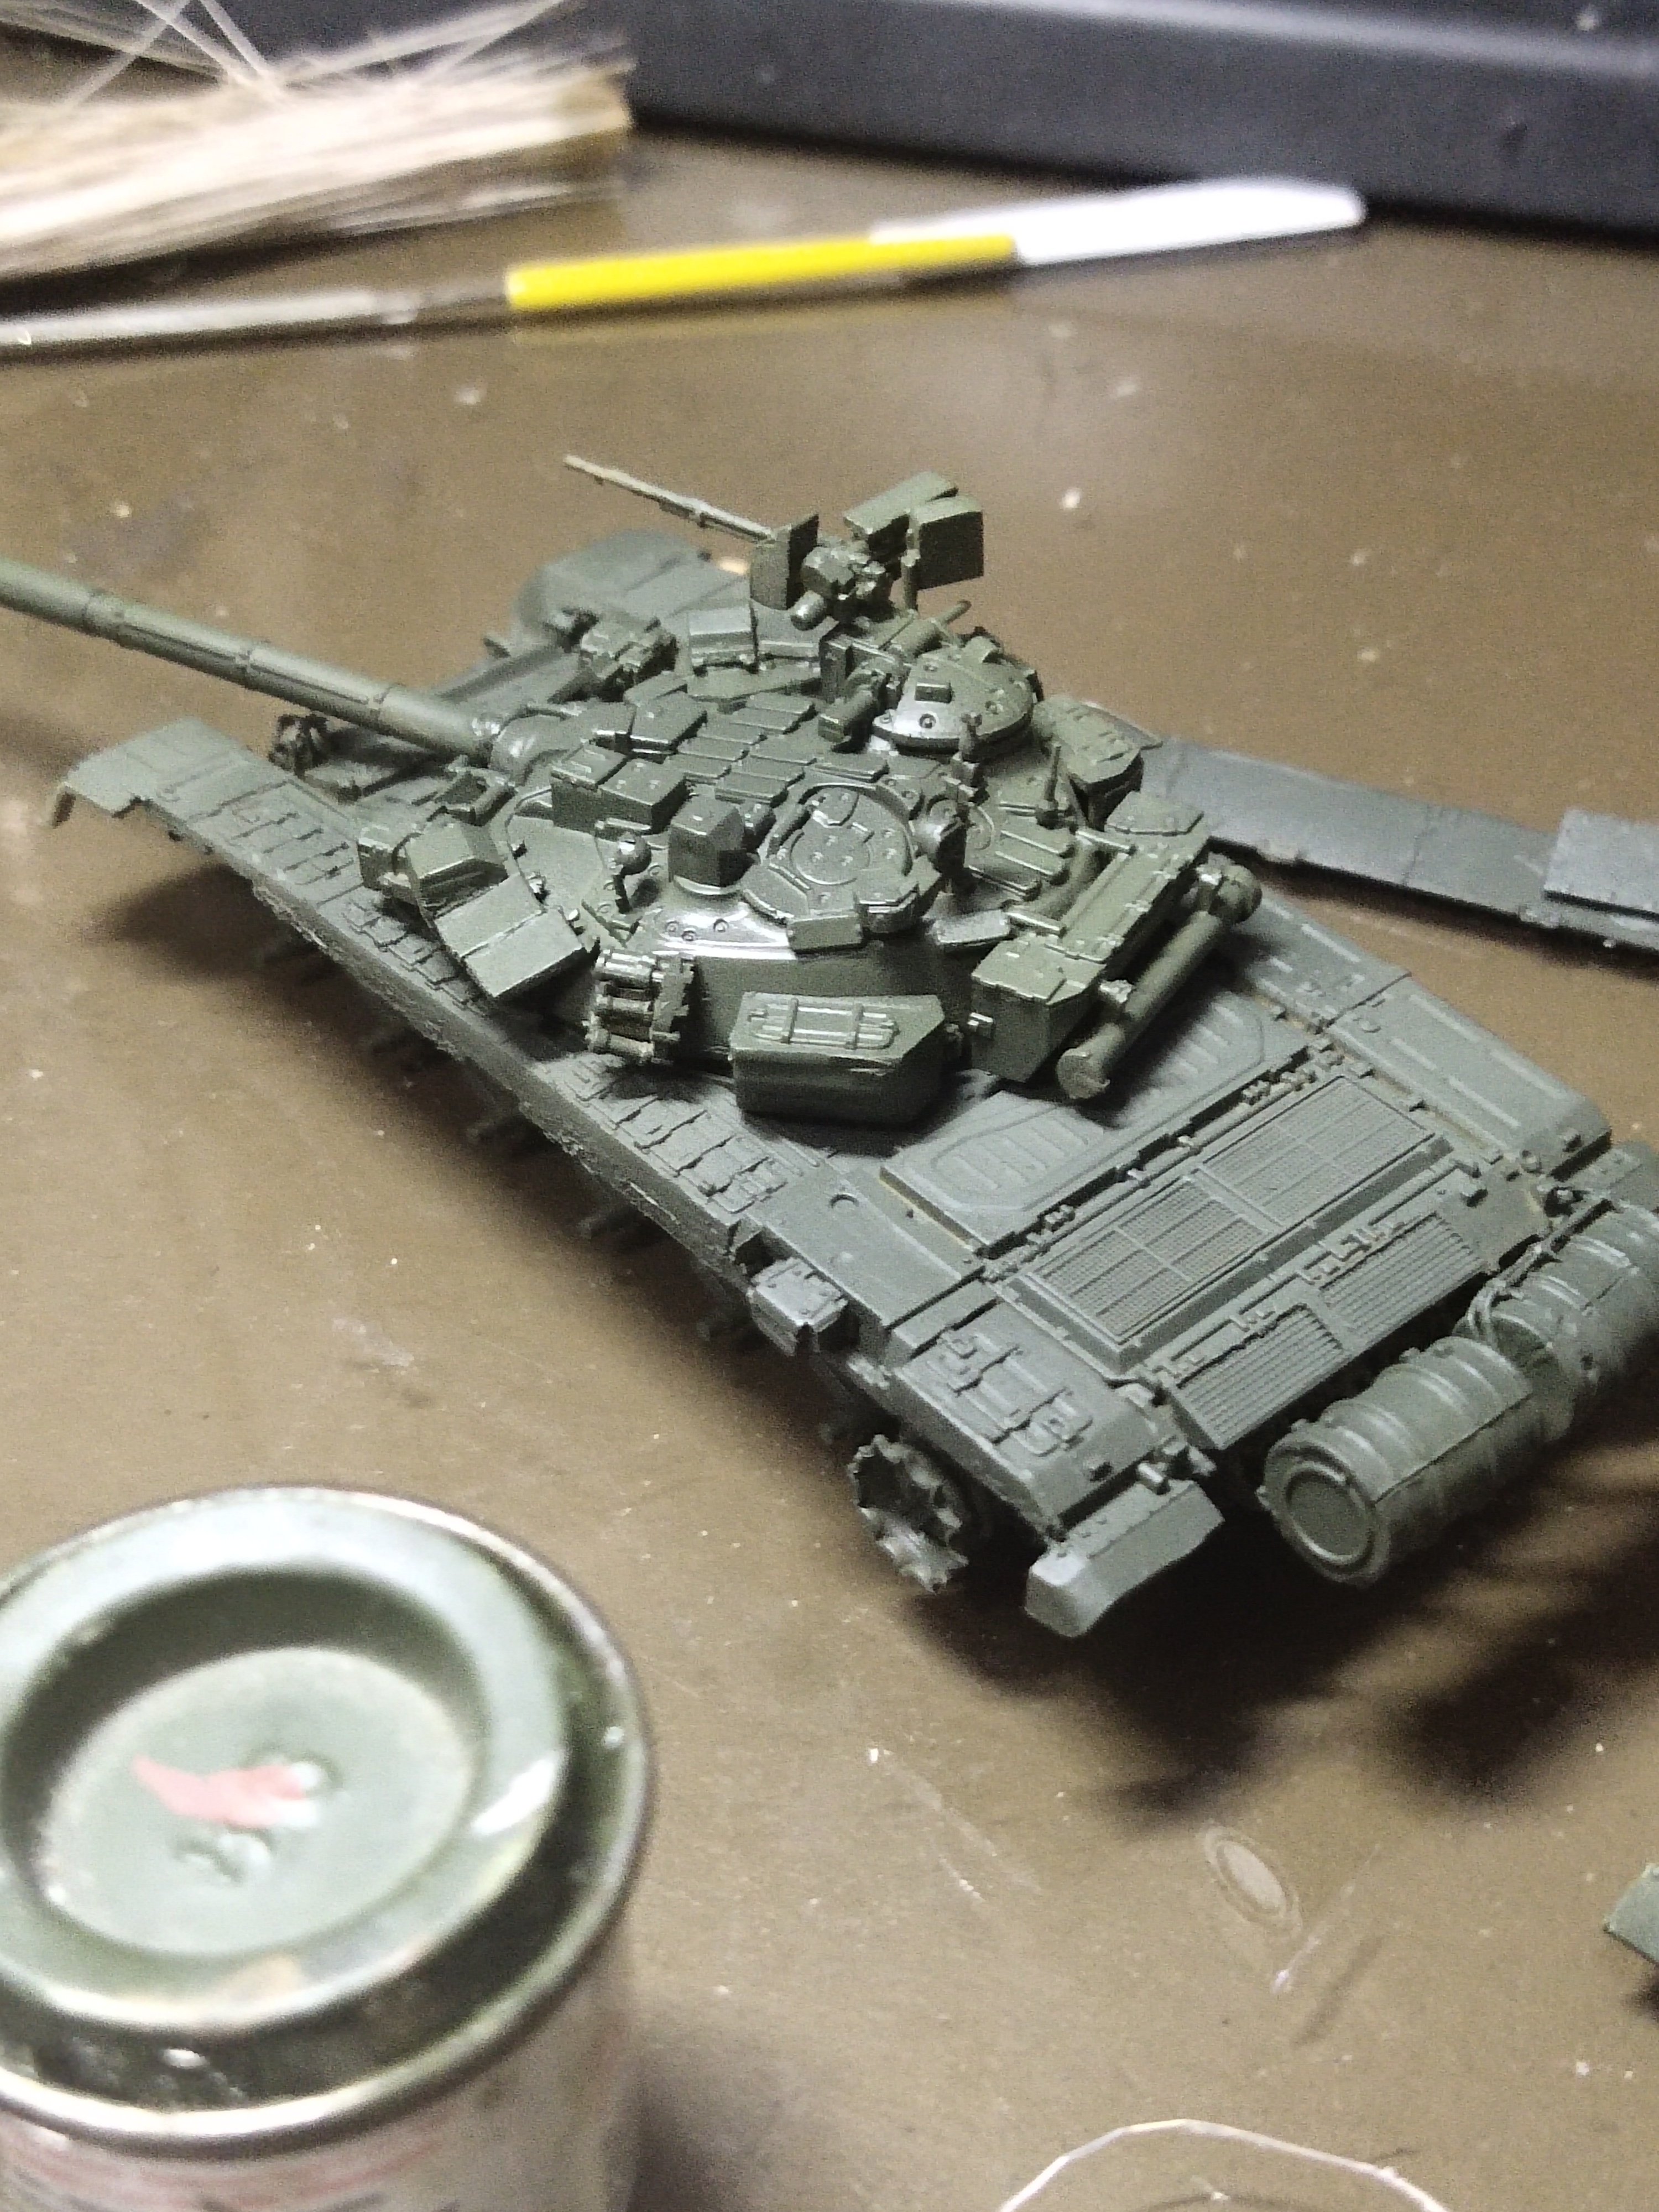
Today was a pleasant day. I had to remove the side fenders so I can access for the track Installation. The whole body was sprayed with green enamel. This paint along with others was bought 30 years ago. Not only was functional but spraying was super easy. No primer is also needed when use these oils. I think the good painting revealed more the details, feeling somehow compensated for the time spent trying to correct the model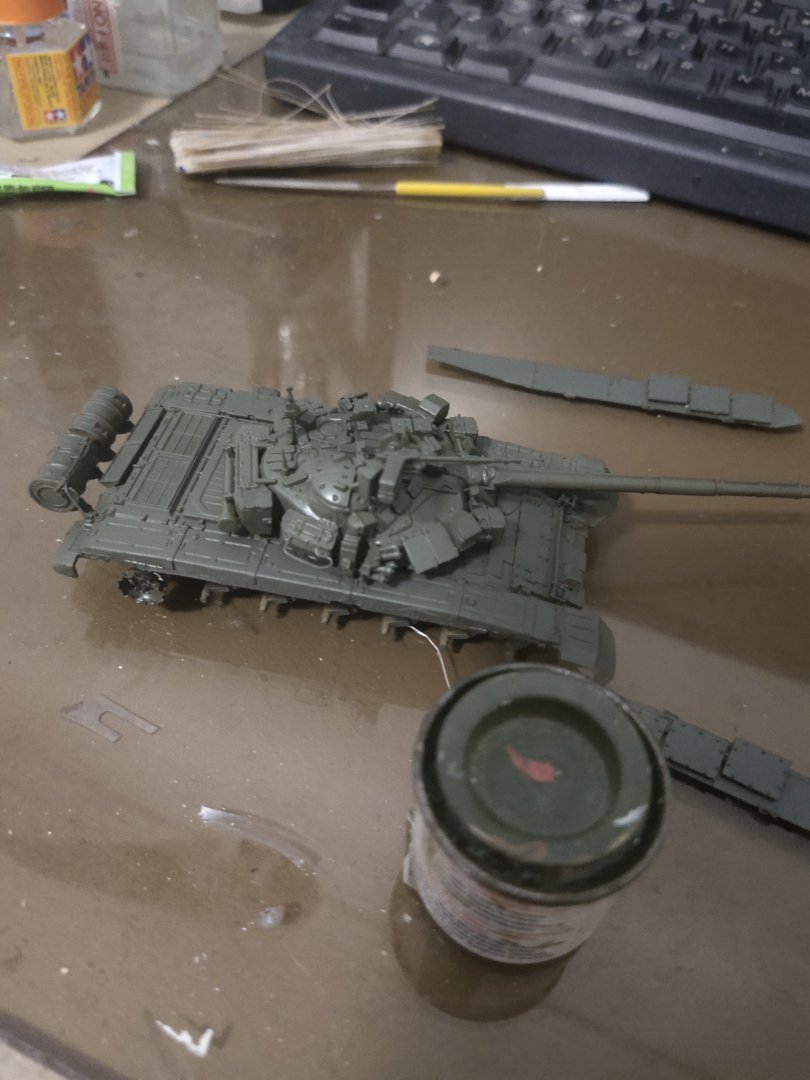
-
T-90 by Mikegr - FINISHED - AM - 1/72 - PLASTIC
mikegr replied to mikegr's topic in Non-ship/categorised builds
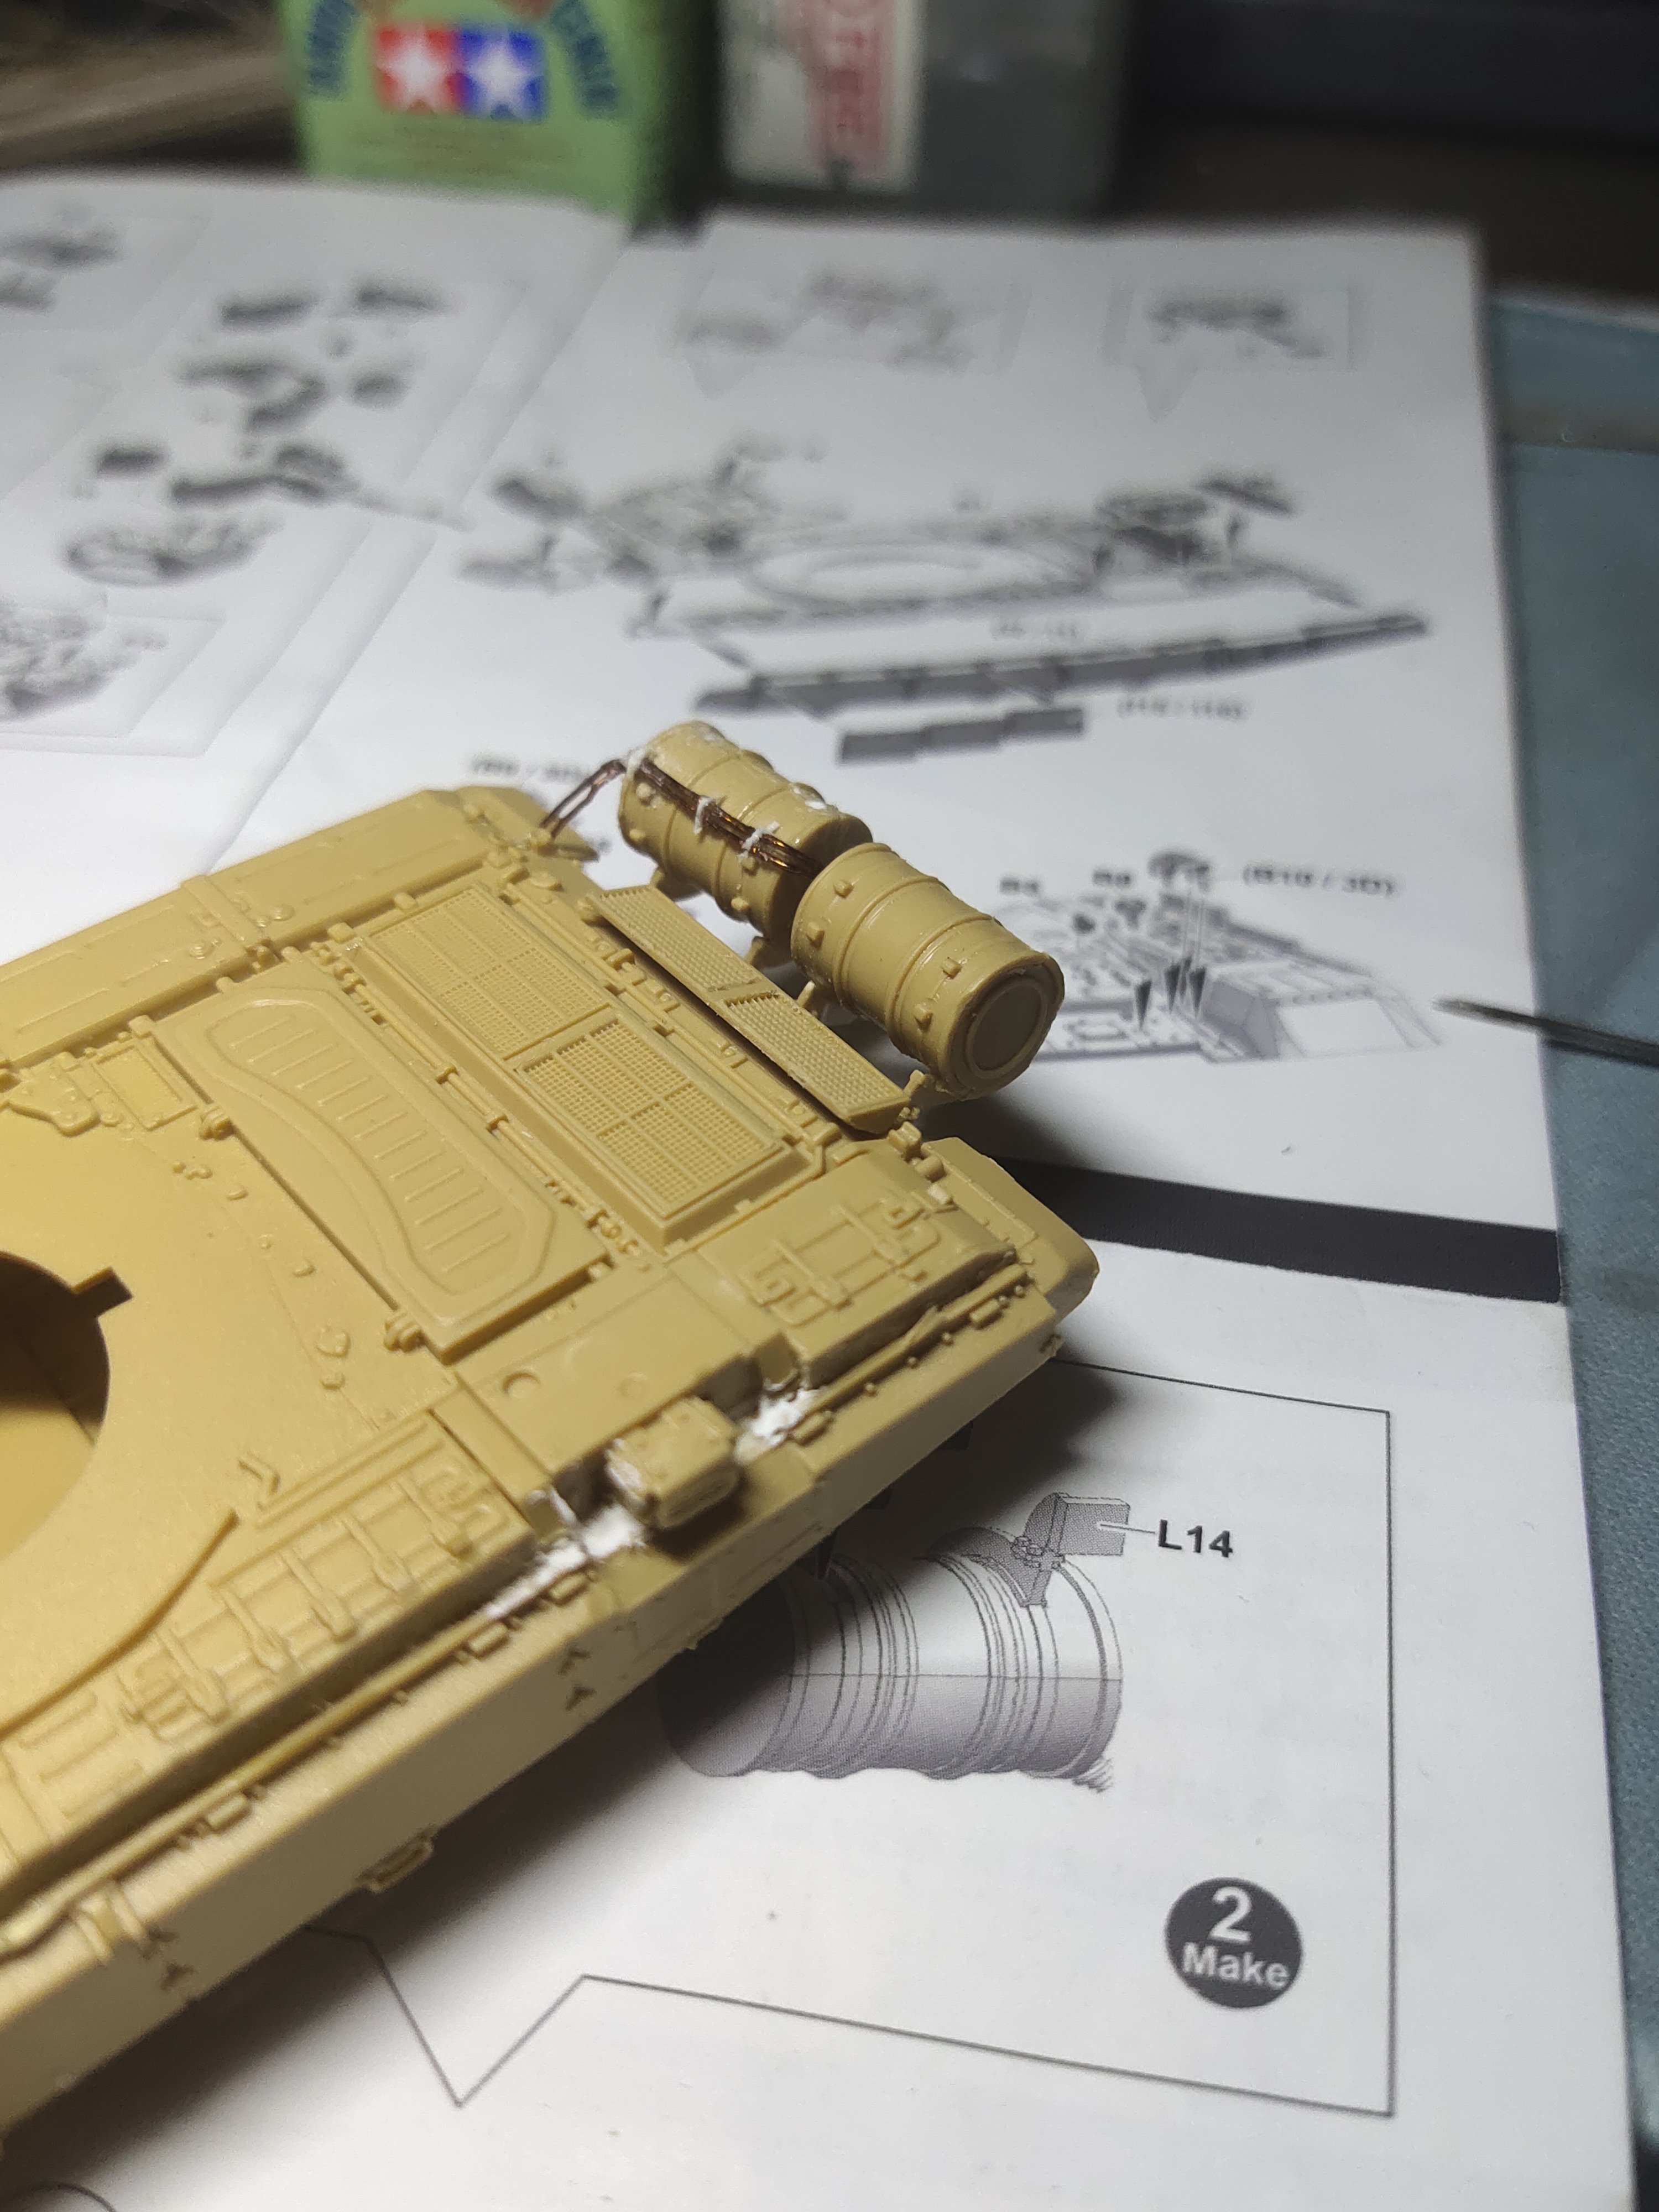
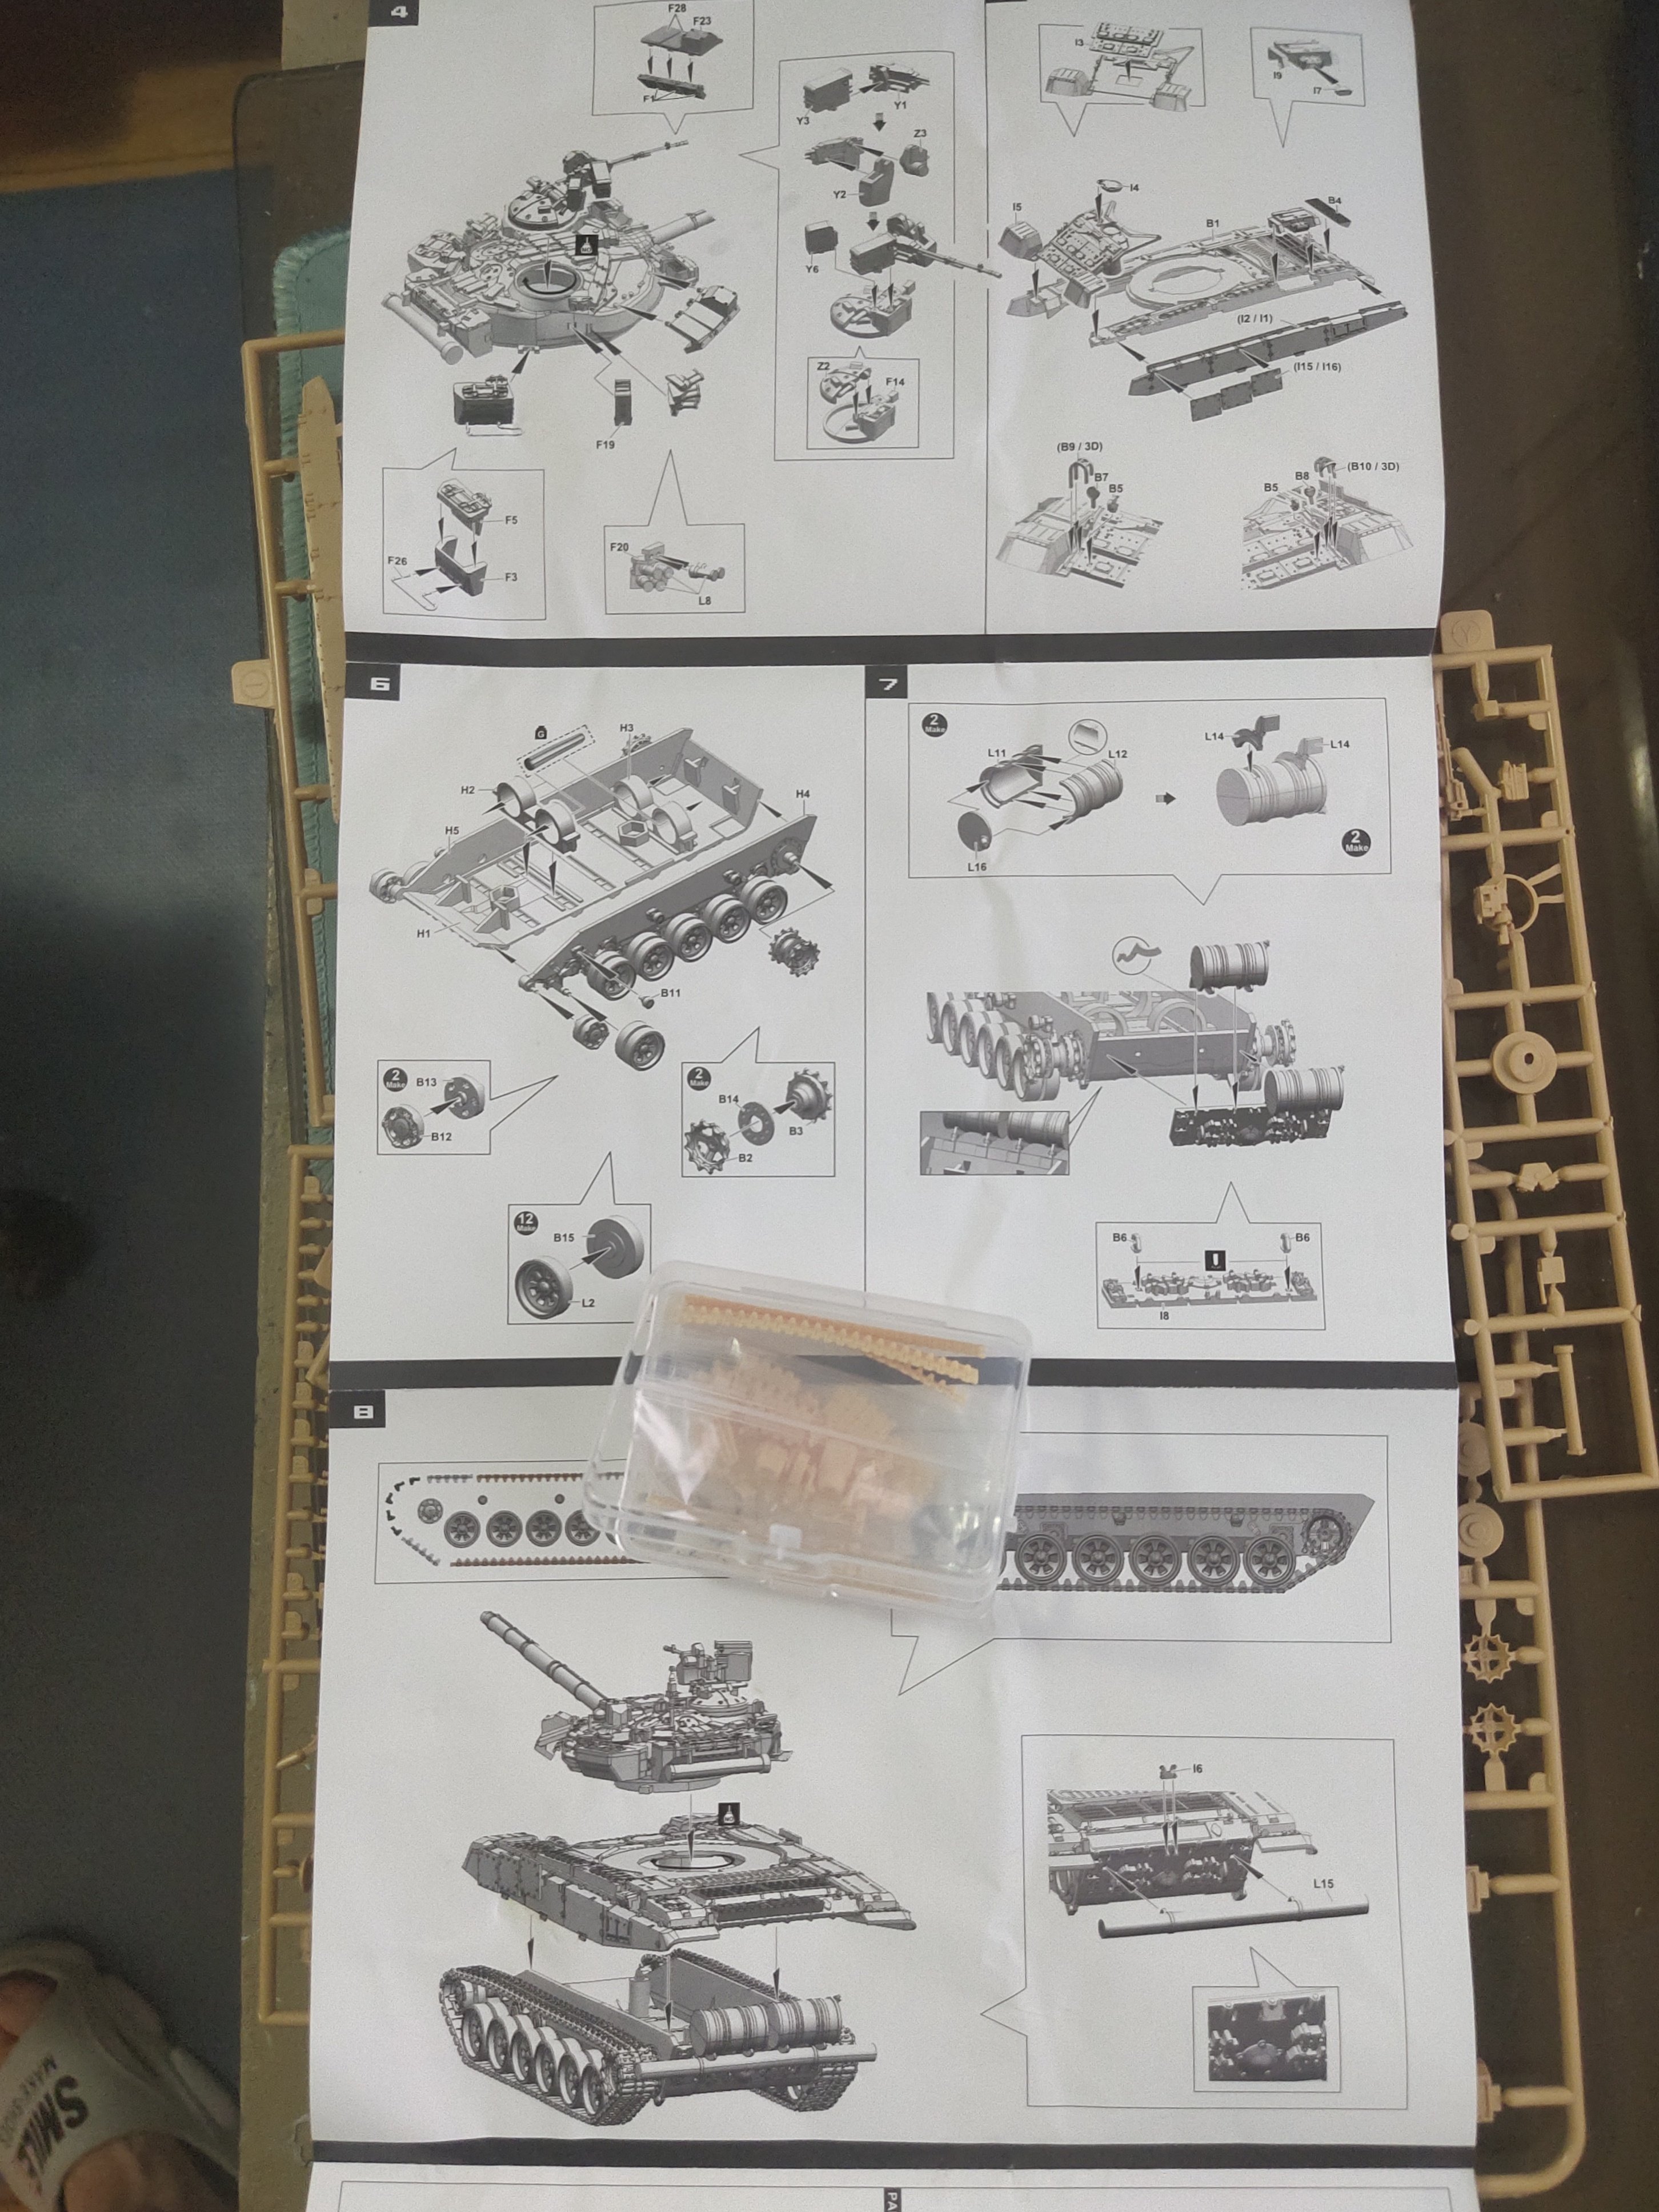
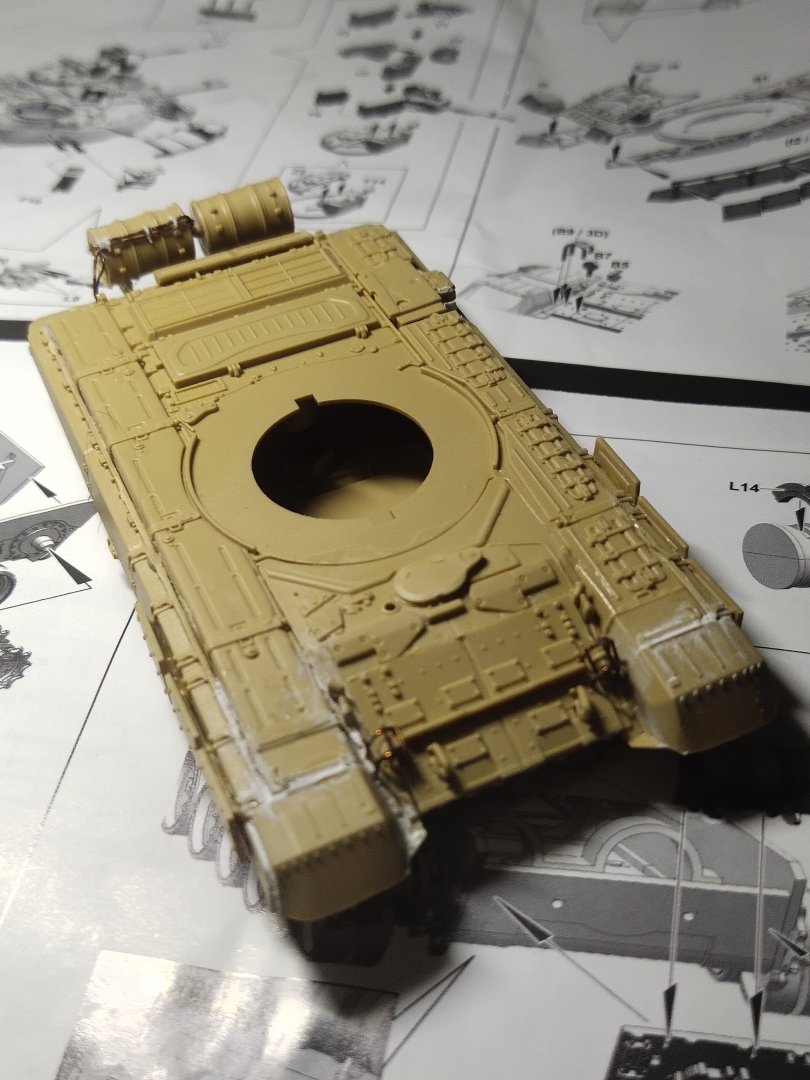
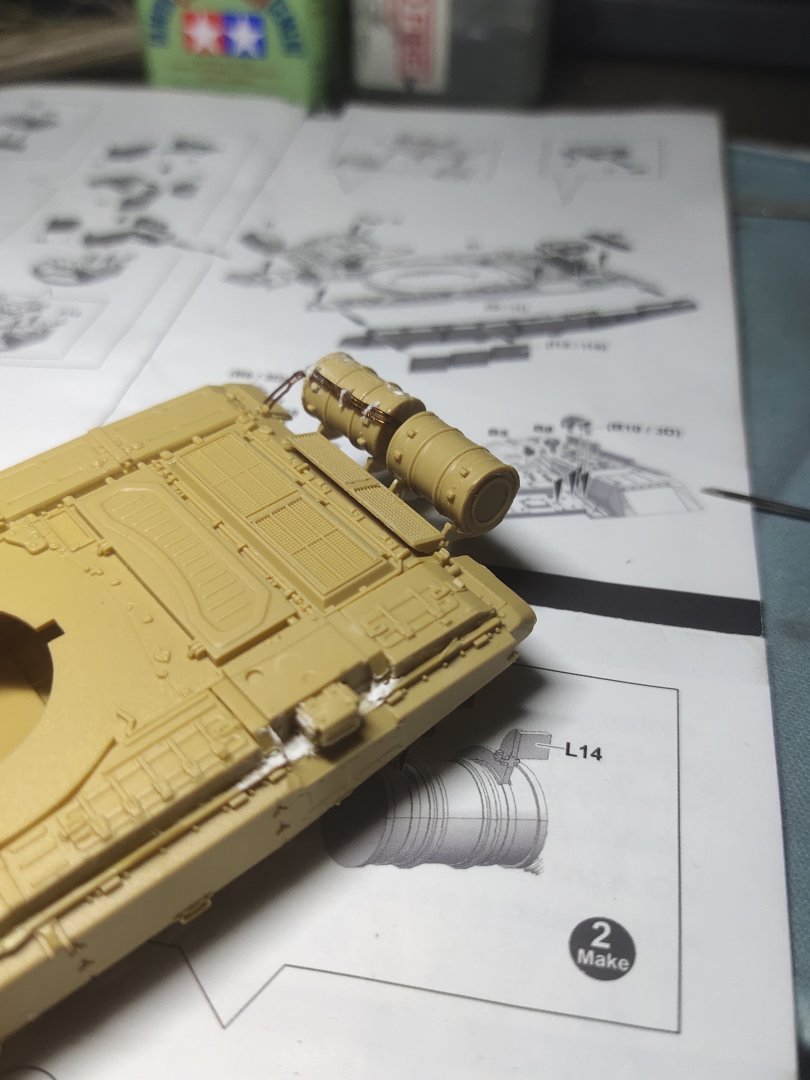
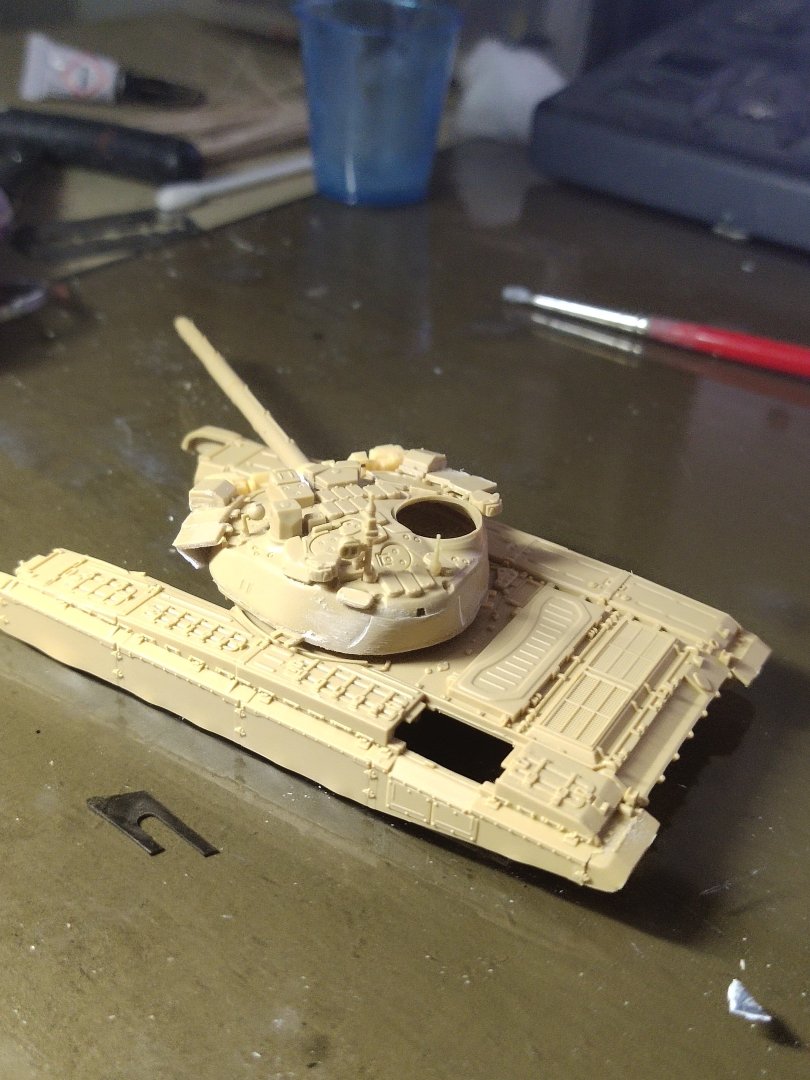
Thank you I don't think it has to do with age. The plastic is somewhat soft and elastic like in a kit in 1/700 I built before. Good think that parts can come off easily from sprues even thin parts without damage. Also they are easy to sand. There is a photo showing two double ring parts and a sign means "weight". Not sure what this means, I proceed with gluing the chassis with. the upper part. The fit was perfect. Next was to put the barrels at the rear which are actually smoke generators. It was tricky to put them in line along with the 4 supports as one broke and had to repair it somehow. Finally I added the wired according to the real model using 0.25mm brass wire.
-
T-90 by Mikegr - FINISHED - AM - 1/72 - PLASTIC
mikegr replied to mikegr's topic in Non-ship/categorised builds
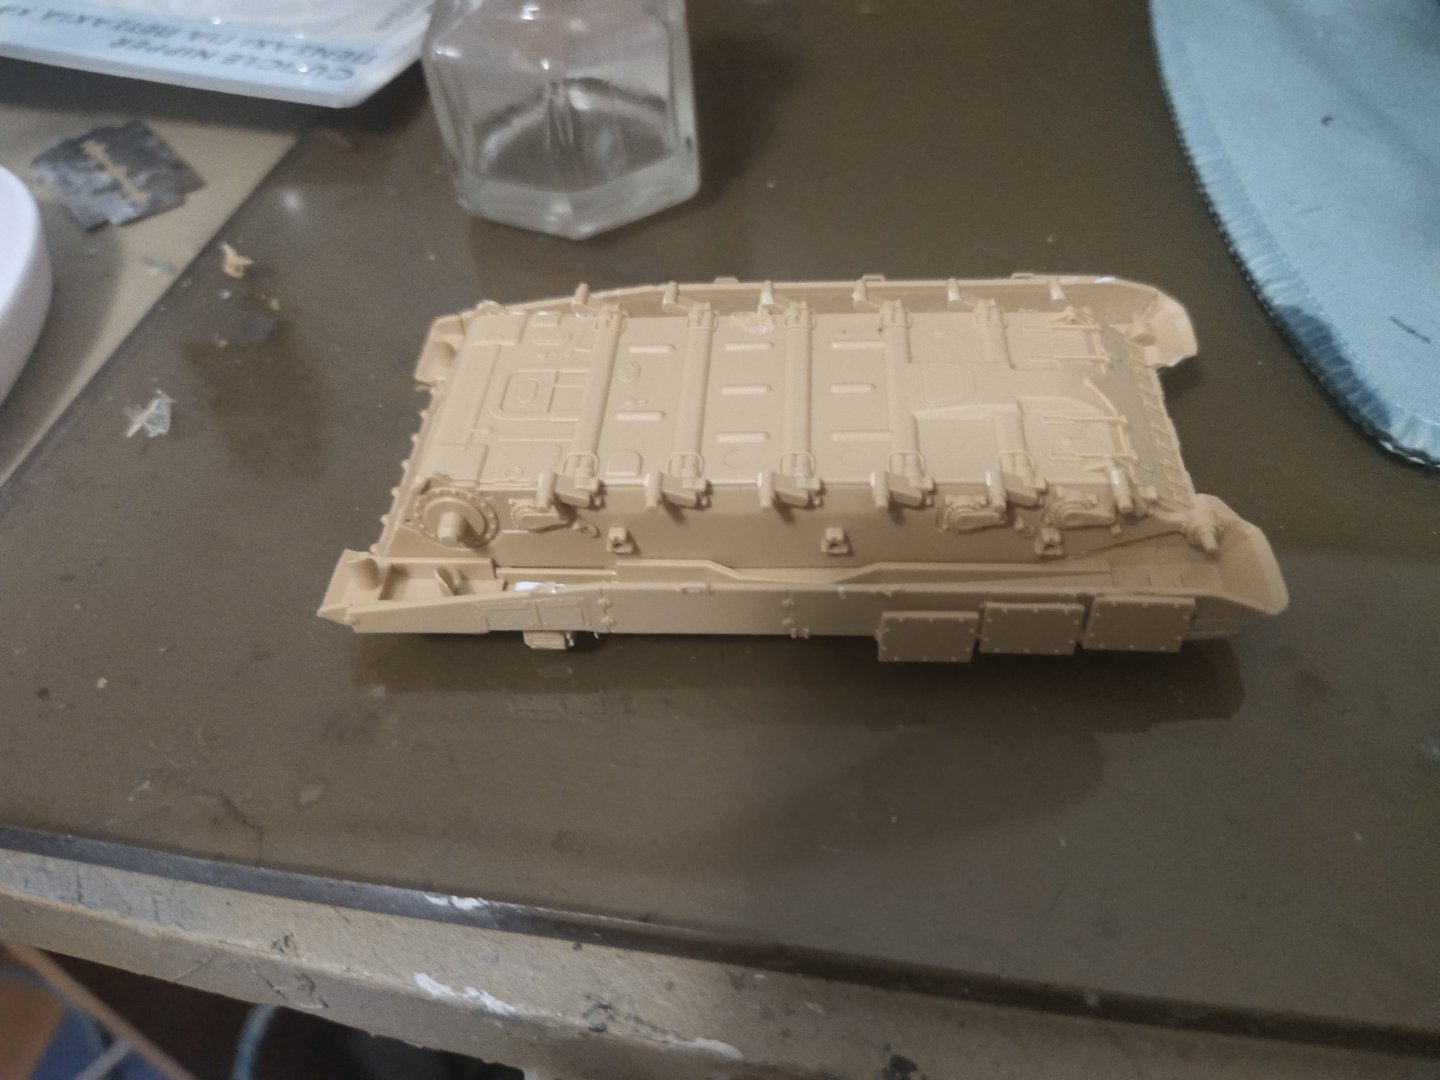
Today I worked on the main body. I did bit scratch built in front. Then another mini disaster occurred. The chassis was warped. Nevertheless I made it straight with the hot water method. Soon I will work on the wheels and later cornes the track nightmare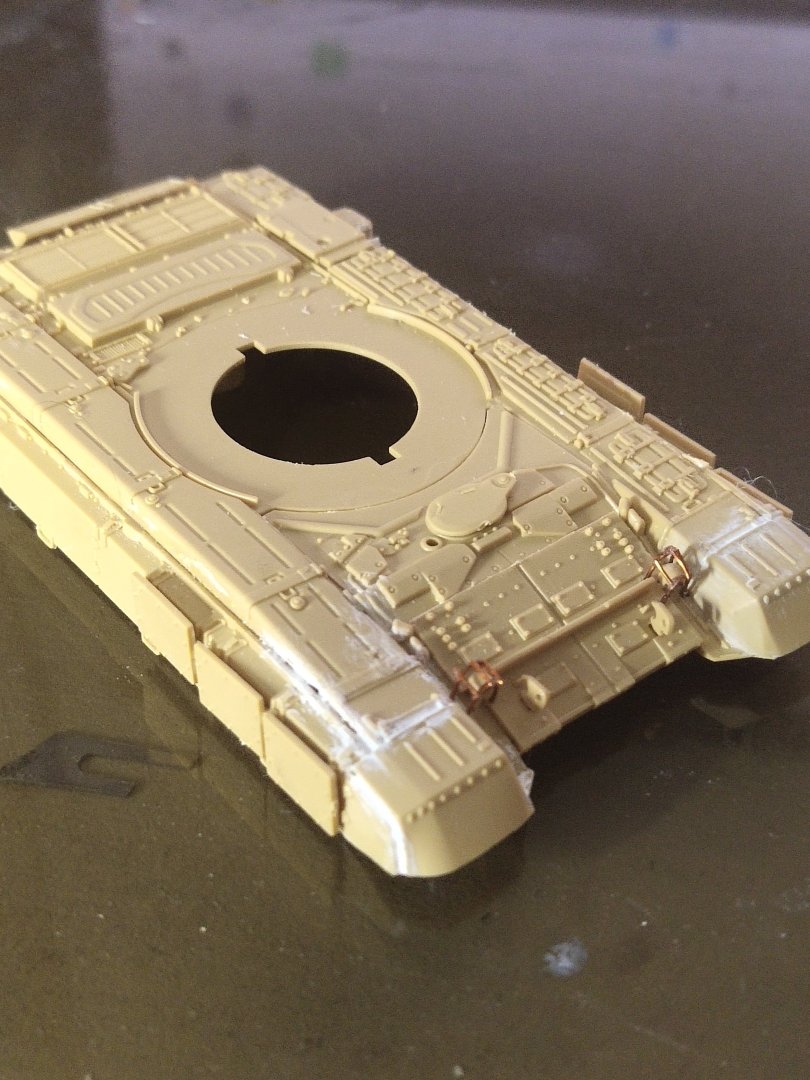

-
T-90 by Mikegr - FINISHED - AM - 1/72 - PLASTIC
mikegr replied to mikegr's topic in Non-ship/categorised builds
They included parts for both edtions, even hatch cover for the driver, but not the turret body for the modified version! -
T-90 by Mikegr - FINISHED - AM - 1/72 - PLASTIC
mikegr replied to mikegr's topic in Non-ship/categorised builds
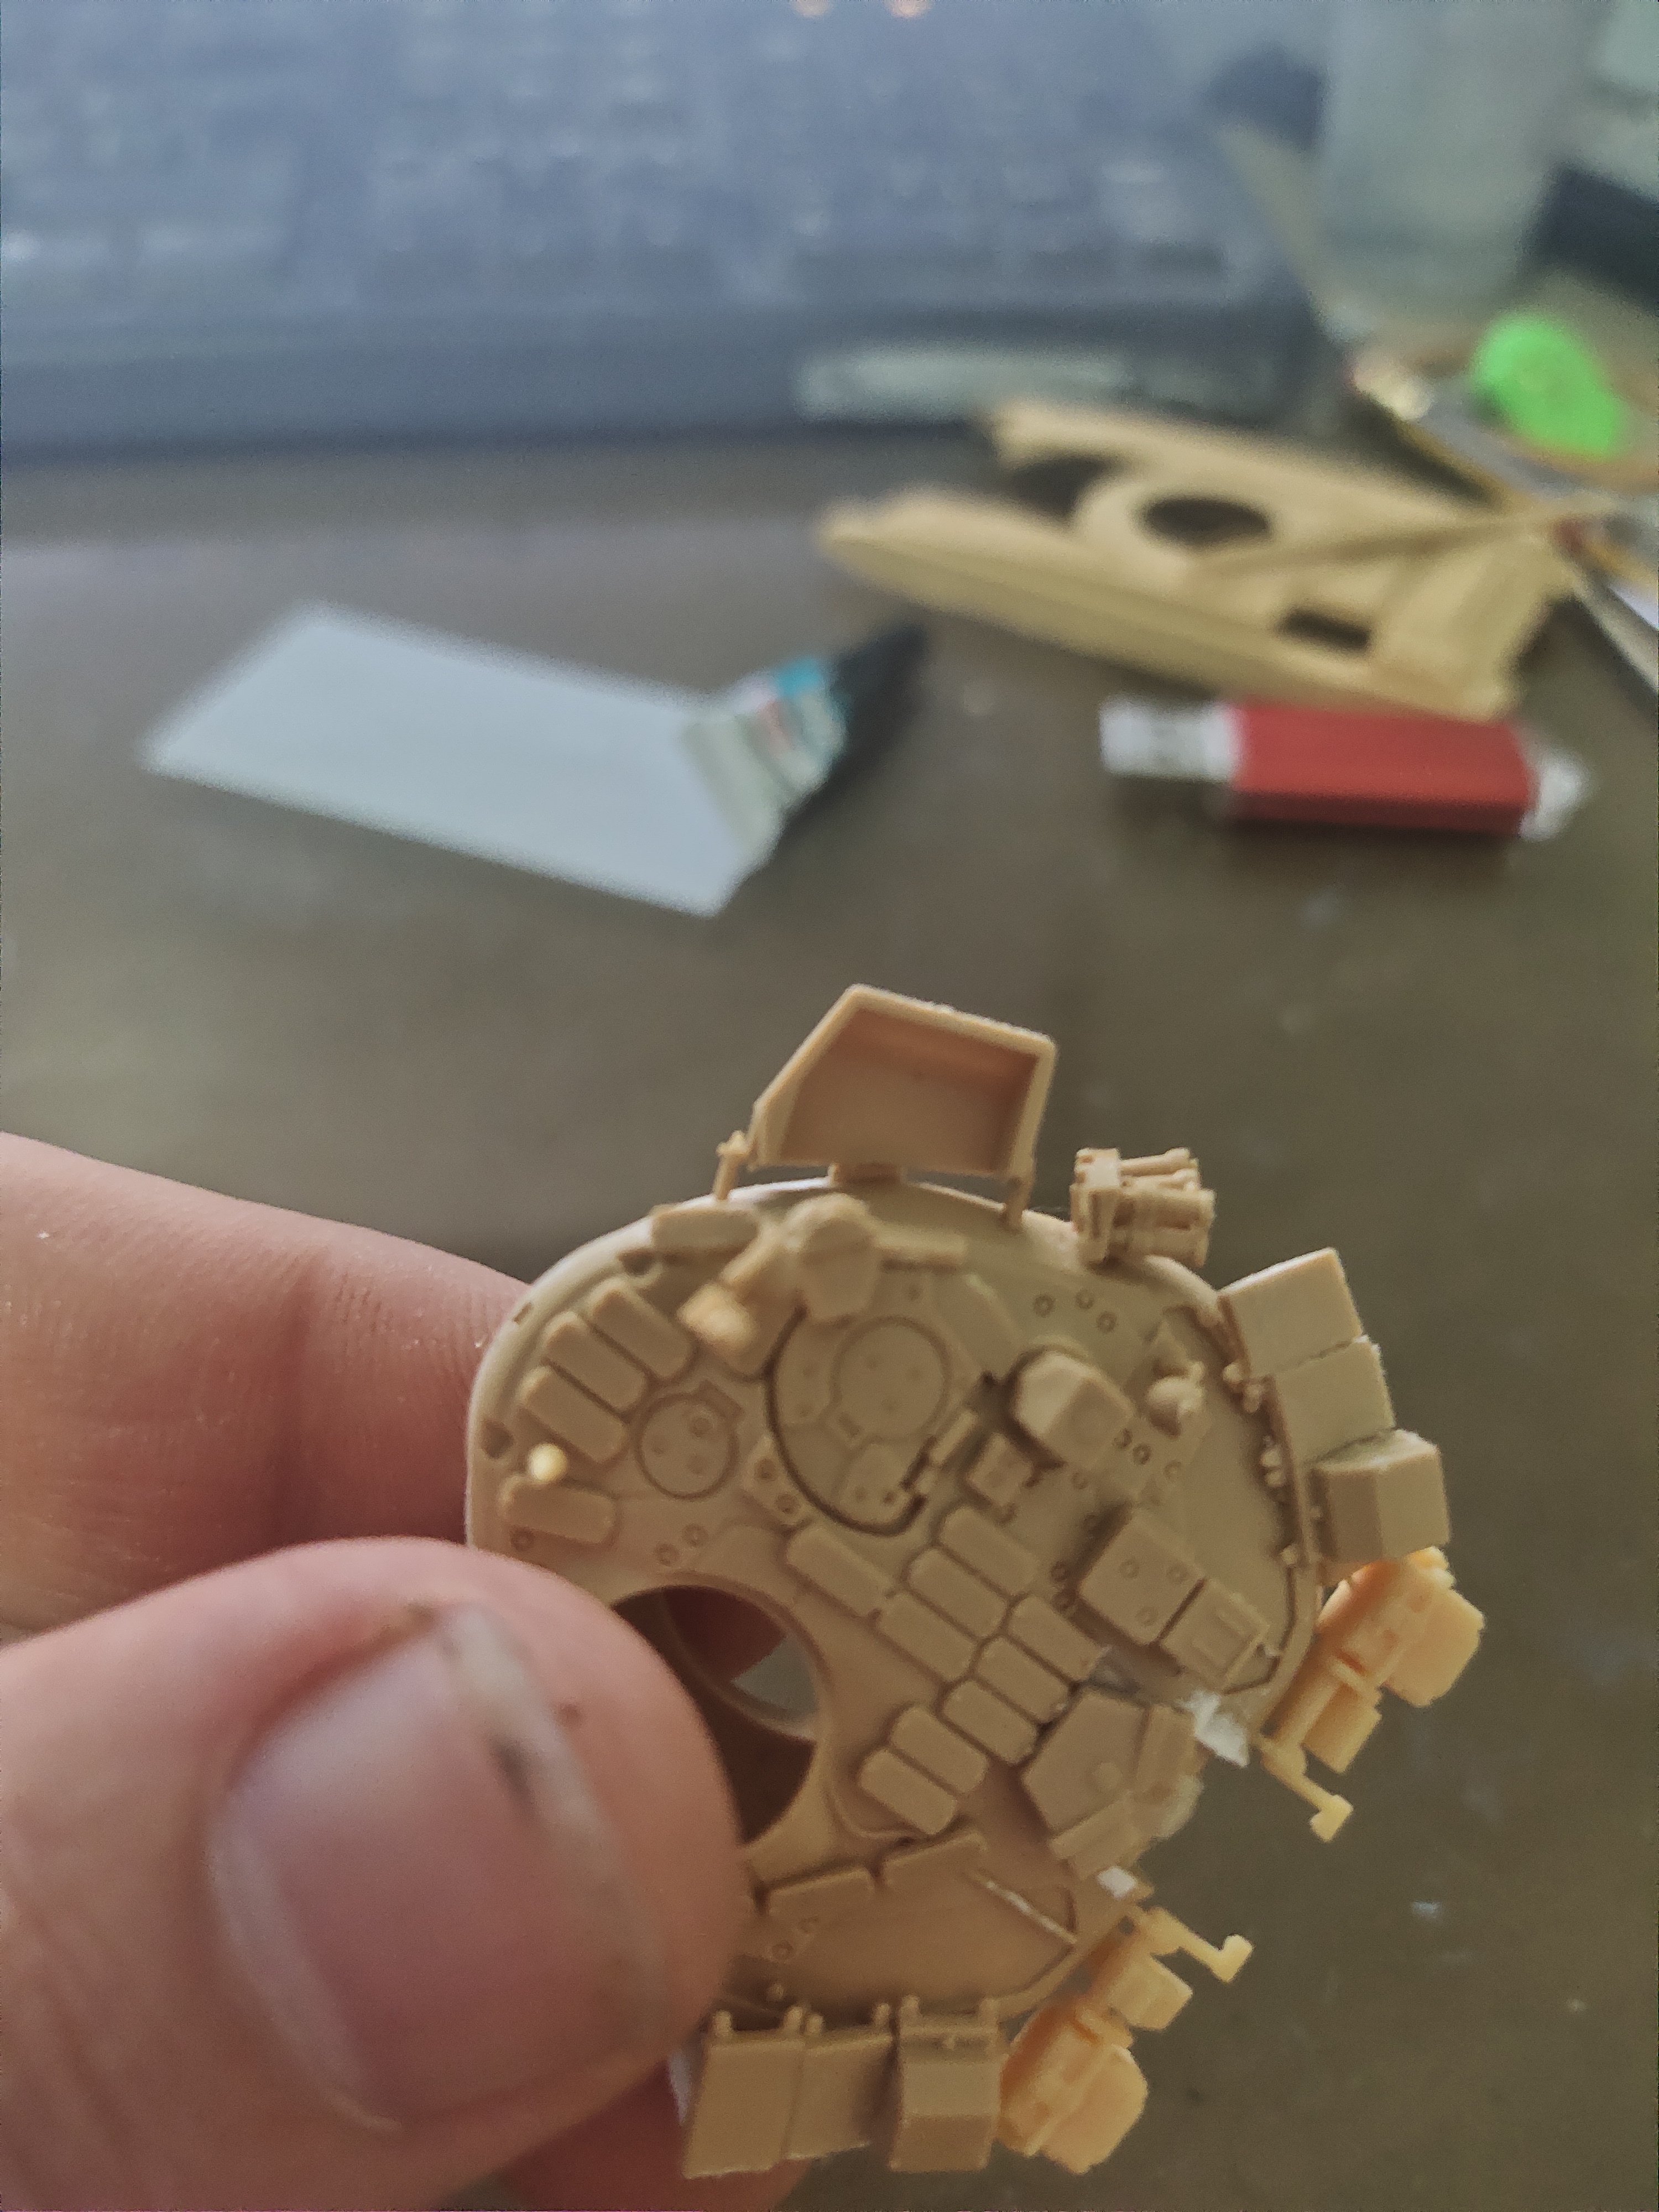
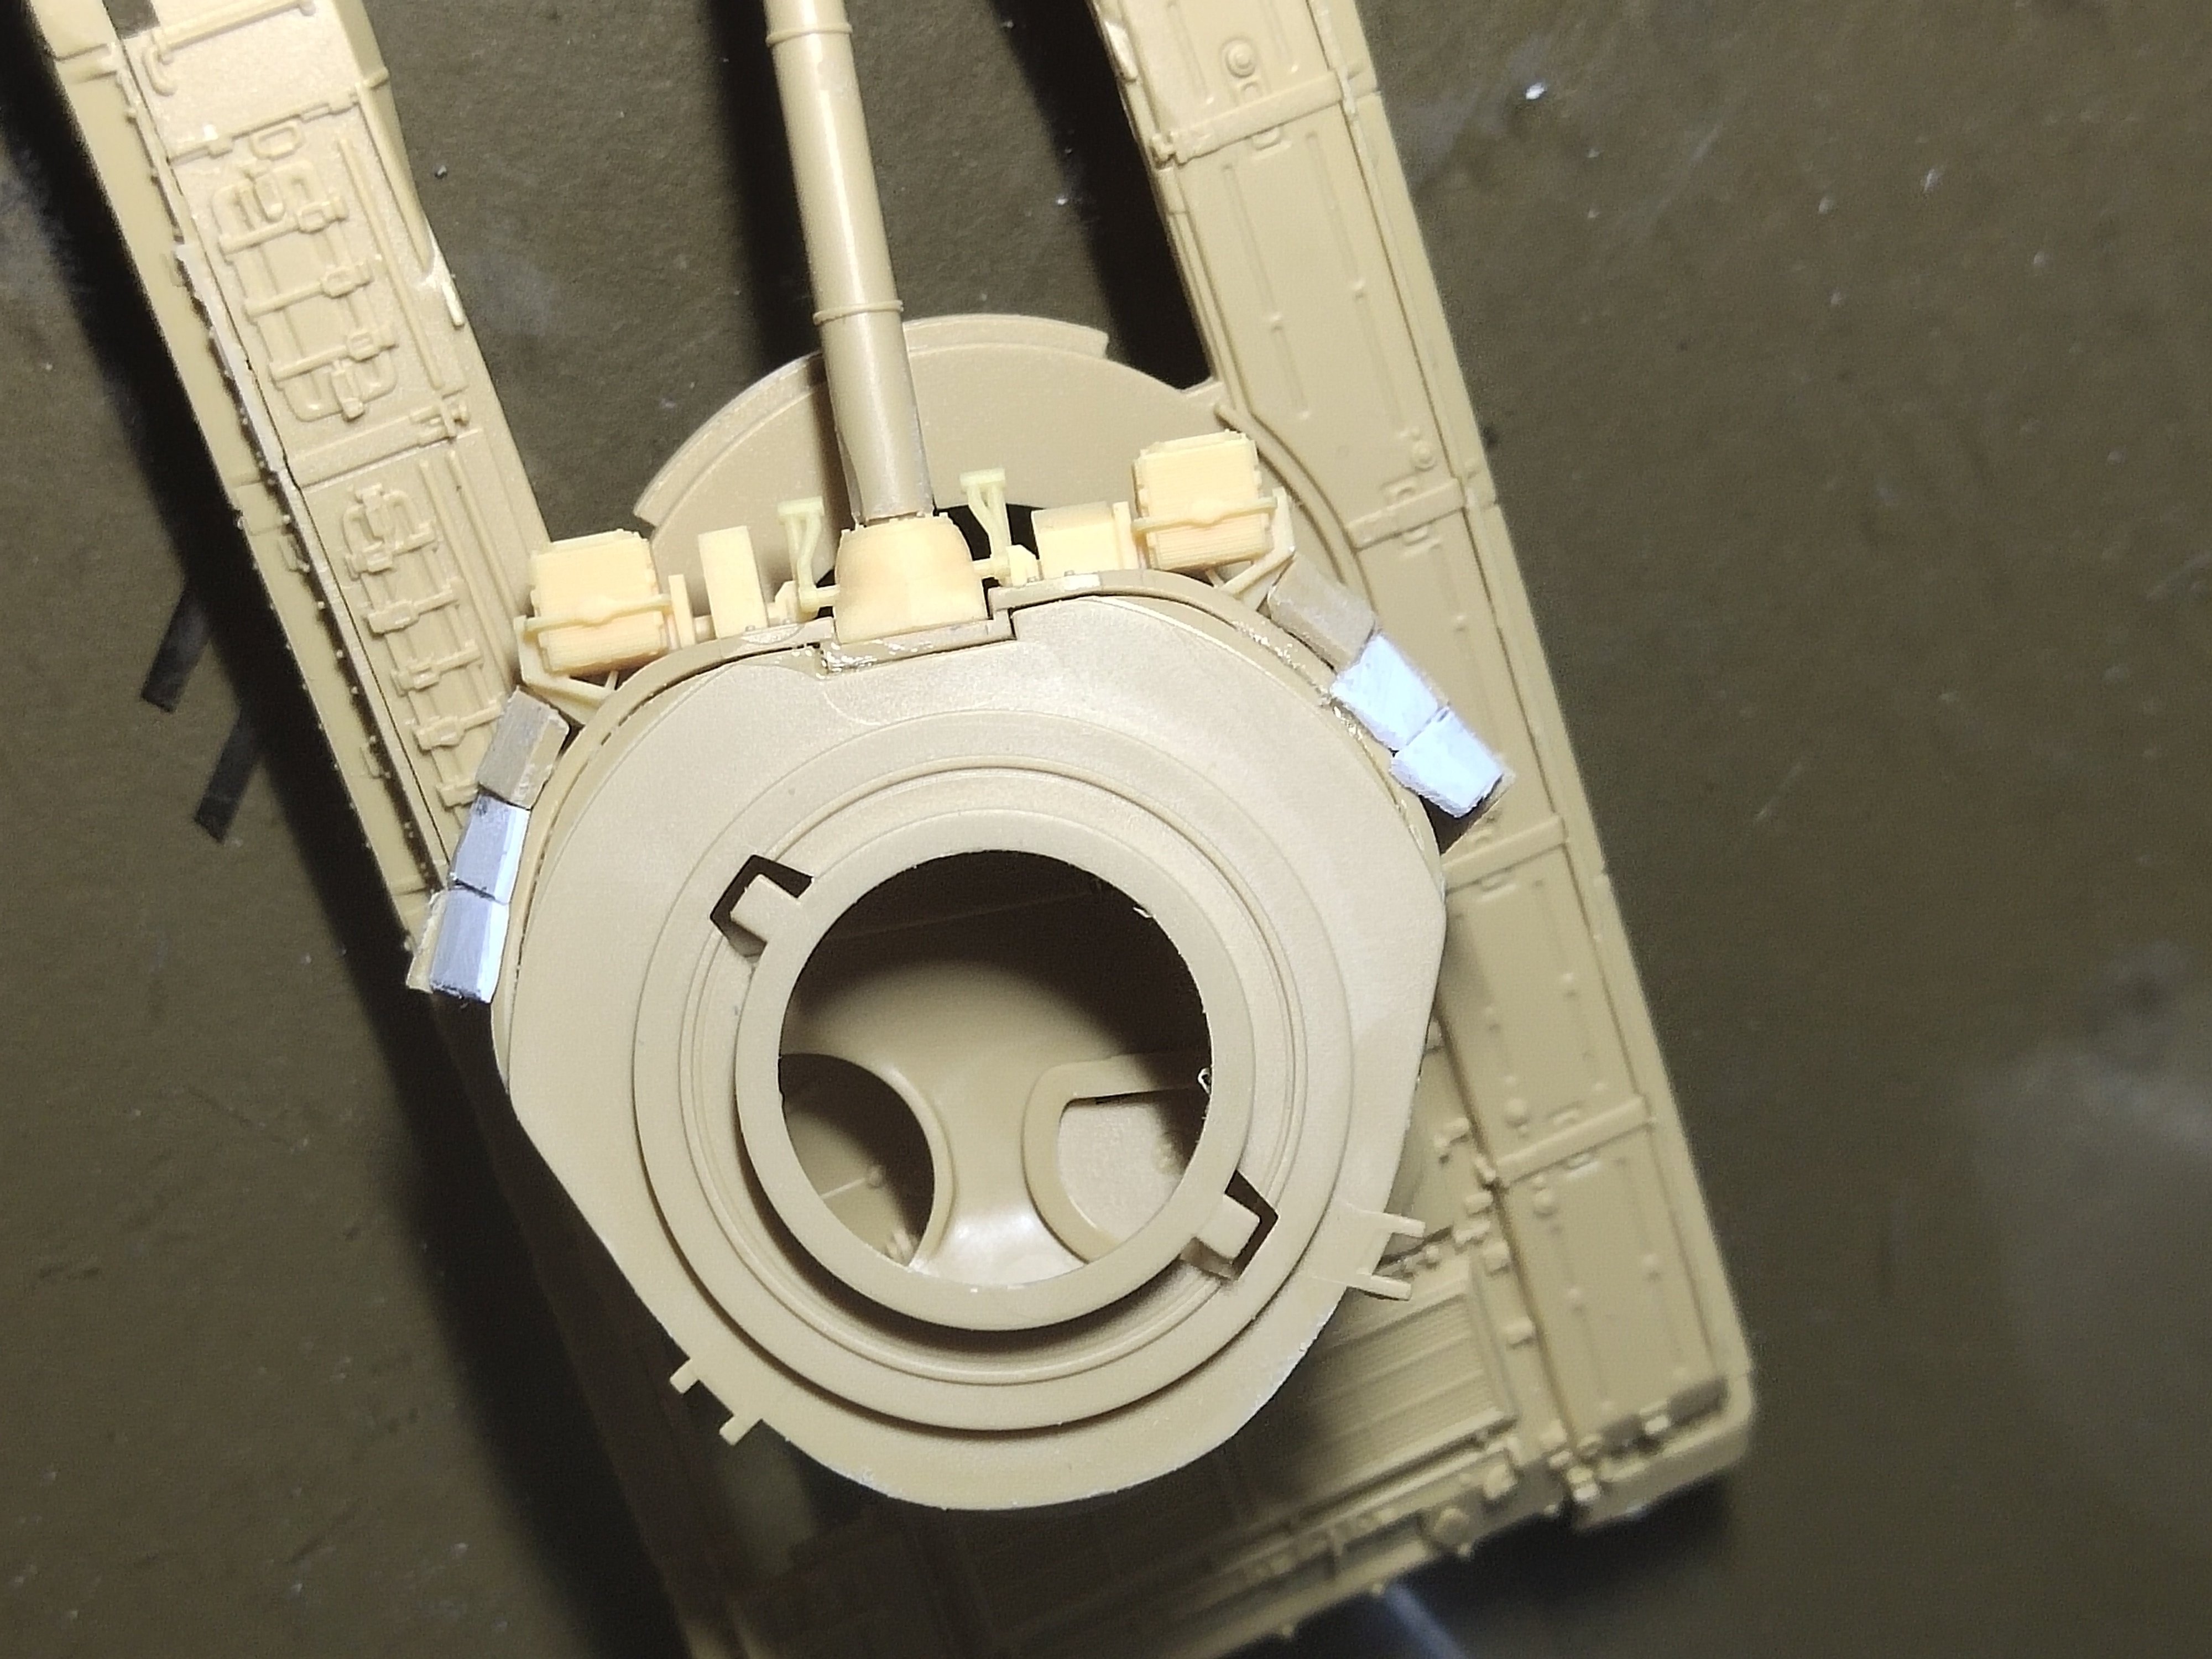
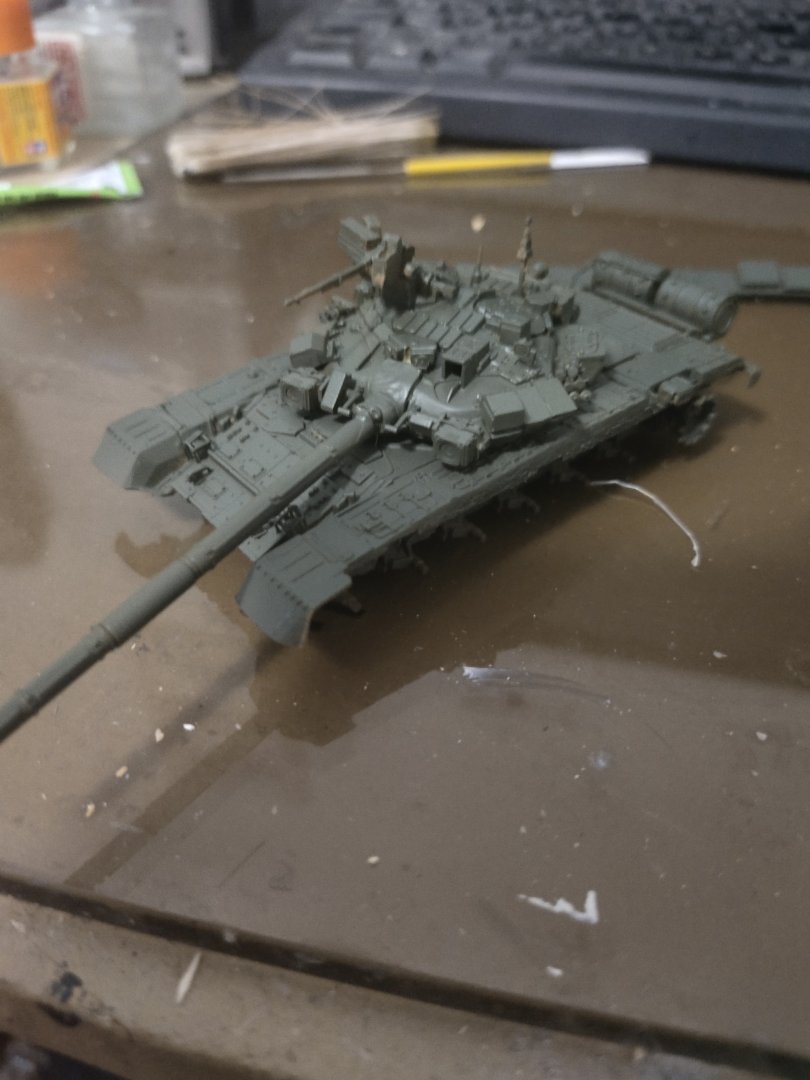
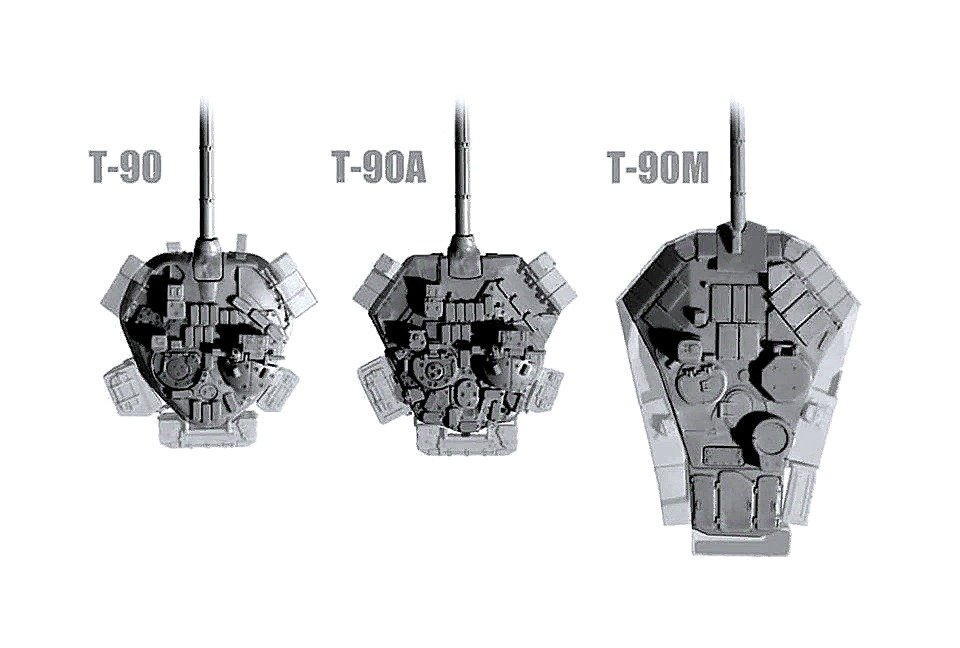
So after the troublesome armor fitting I faced this Such misfitting it can't be happening so investigation took place. I discovered that this kit has extra parts depends the tank version Even an extra set of parts I dont know why However there is only one turret and this is for the T-90 and not for the T-90A which I was intenting to build. To get the idea here's a comparison I tried to look online to find online a 3d separate file for the turret with the straight sides but there were mostly for the whole tank. I only found one, but it would take a lot of work to bring up a good amount of detail and many print tests. So I had to give up the idea of building the modern version. Instead, I sanded the parts to fit them with the rounded turret. I proceed with the rest of the parts and finally added the machine gun. The lights between the barrel supposed to be removed, they were left in place for demonstration purposes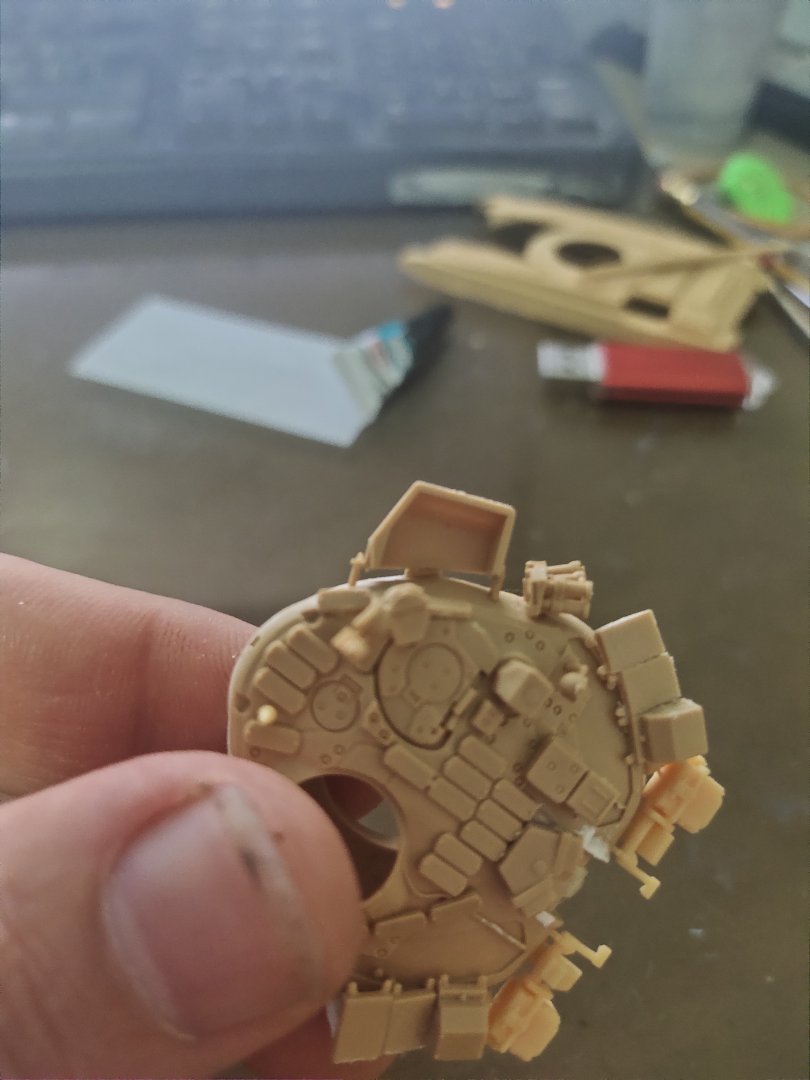


-
T-90 by Mikegr - FINISHED - AM - 1/72 - PLASTIC
mikegr replied to mikegr's topic in Non-ship/categorised builds
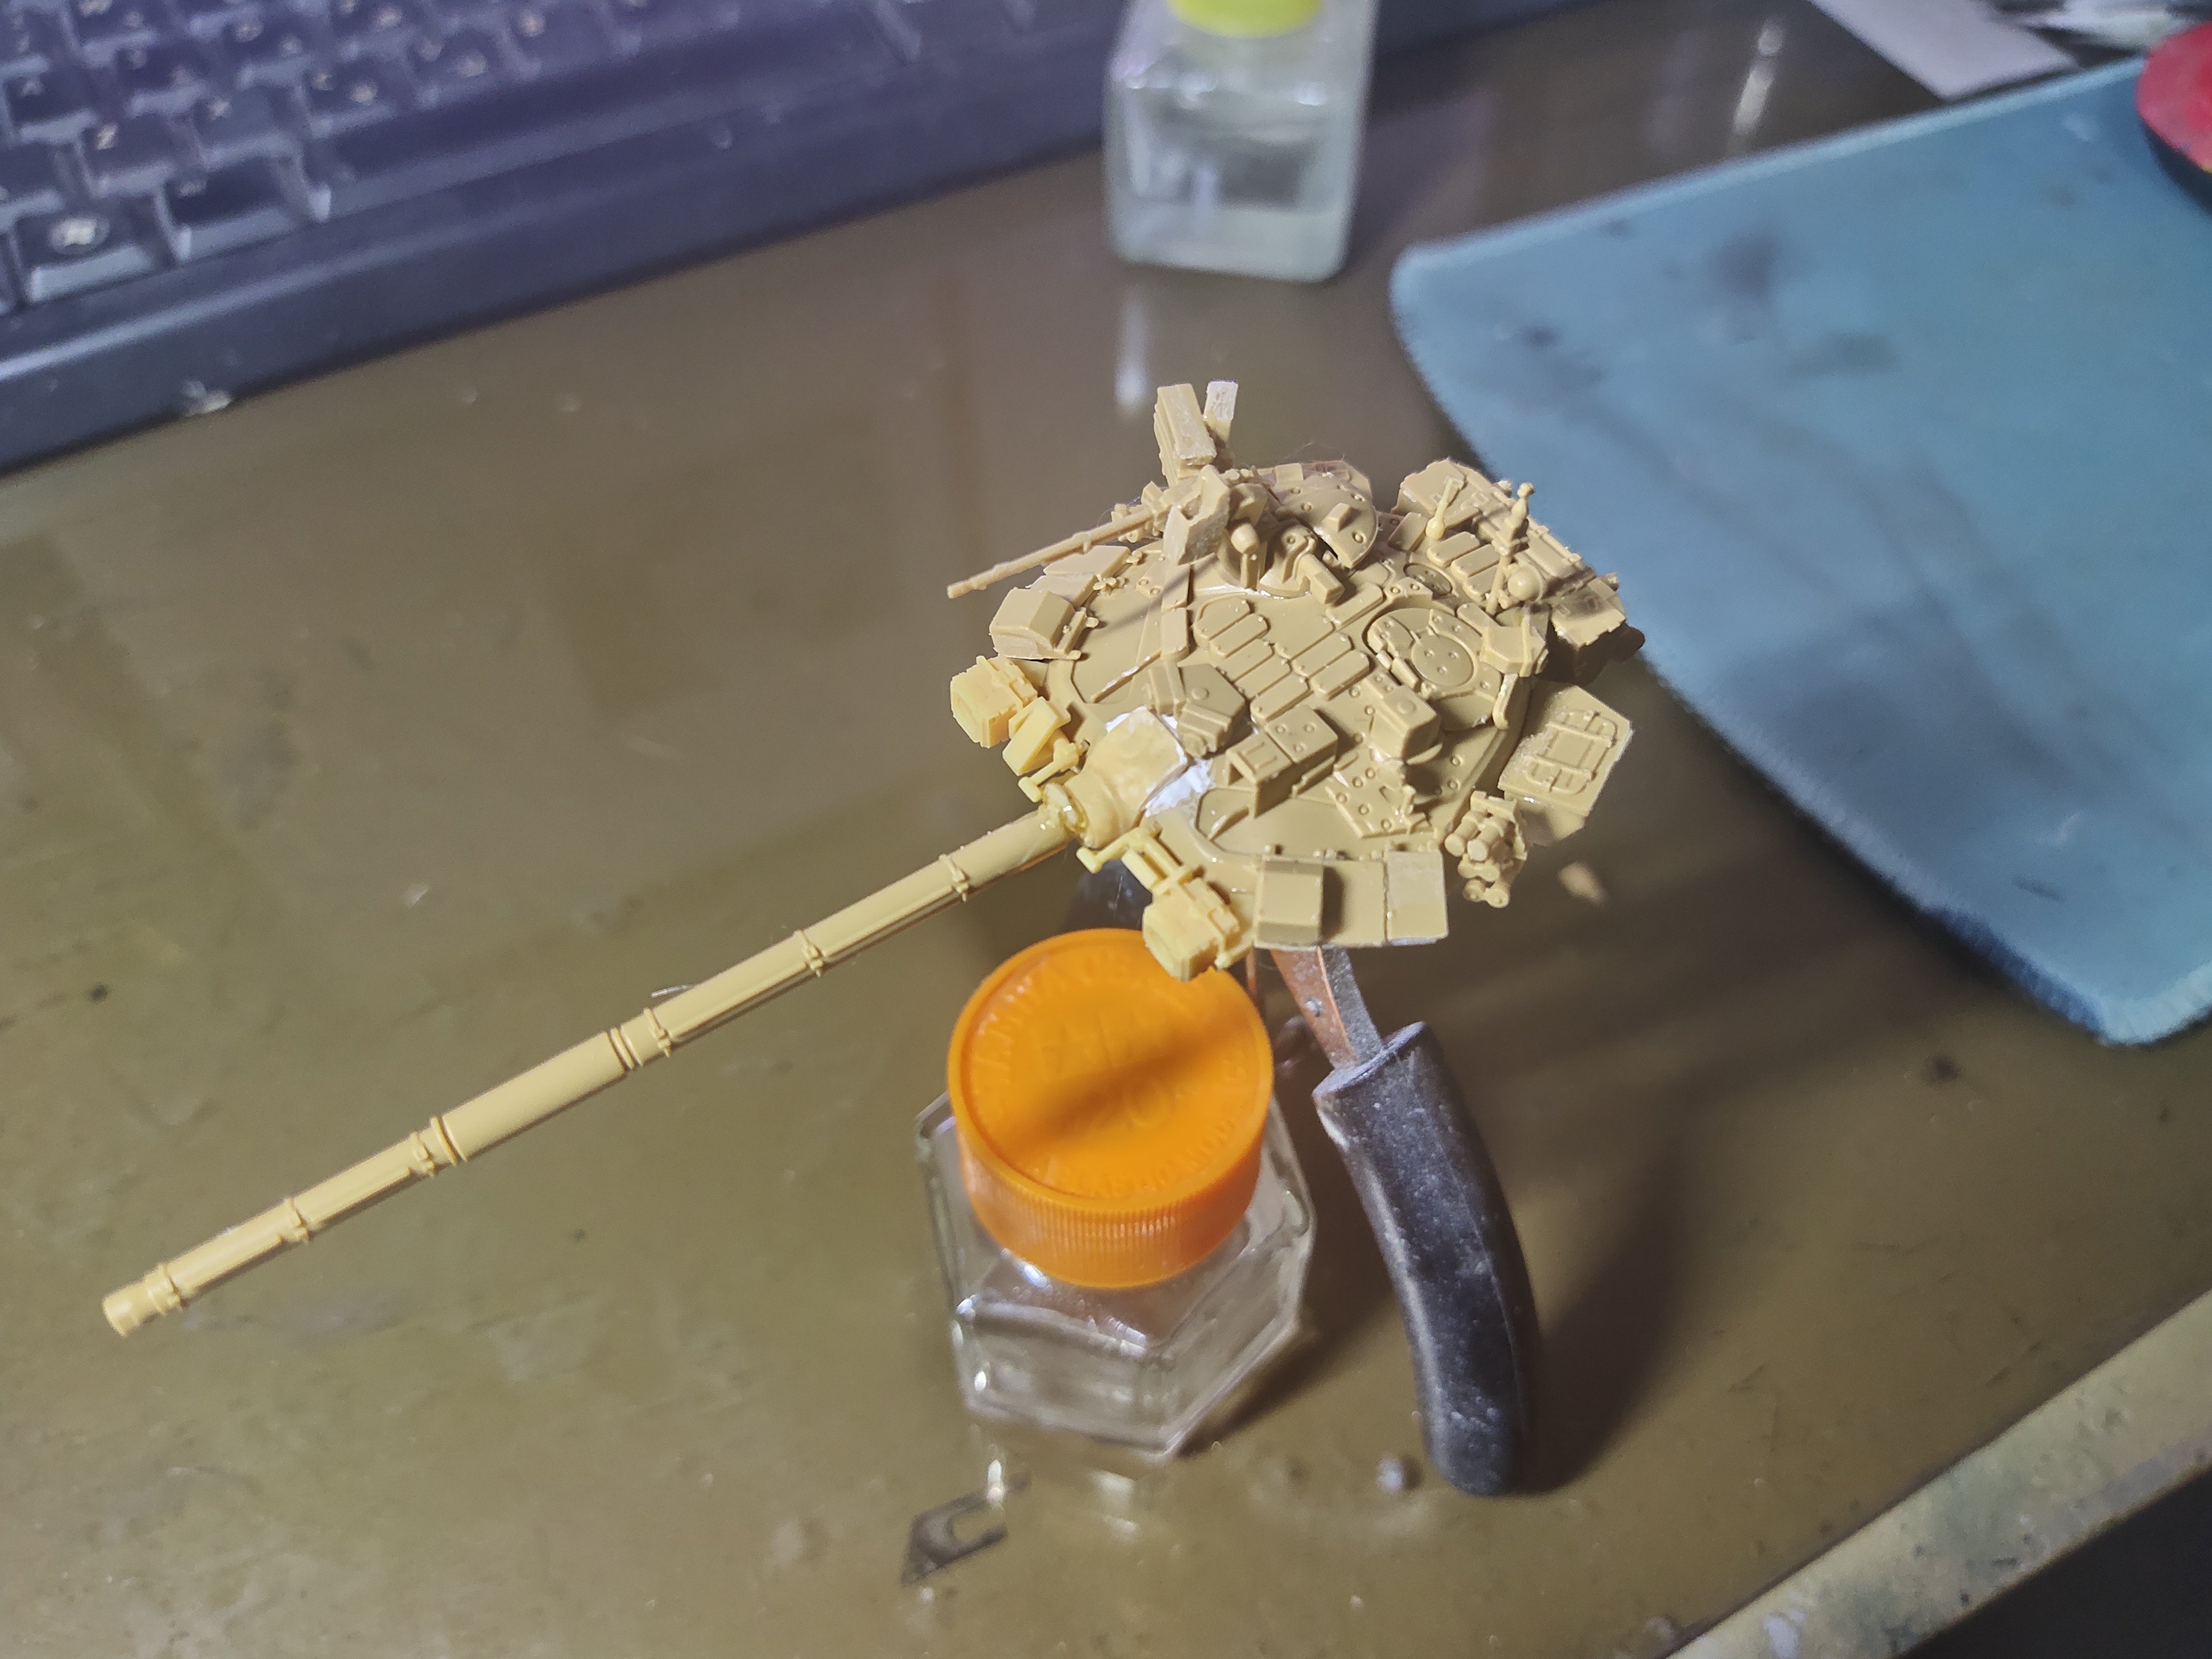
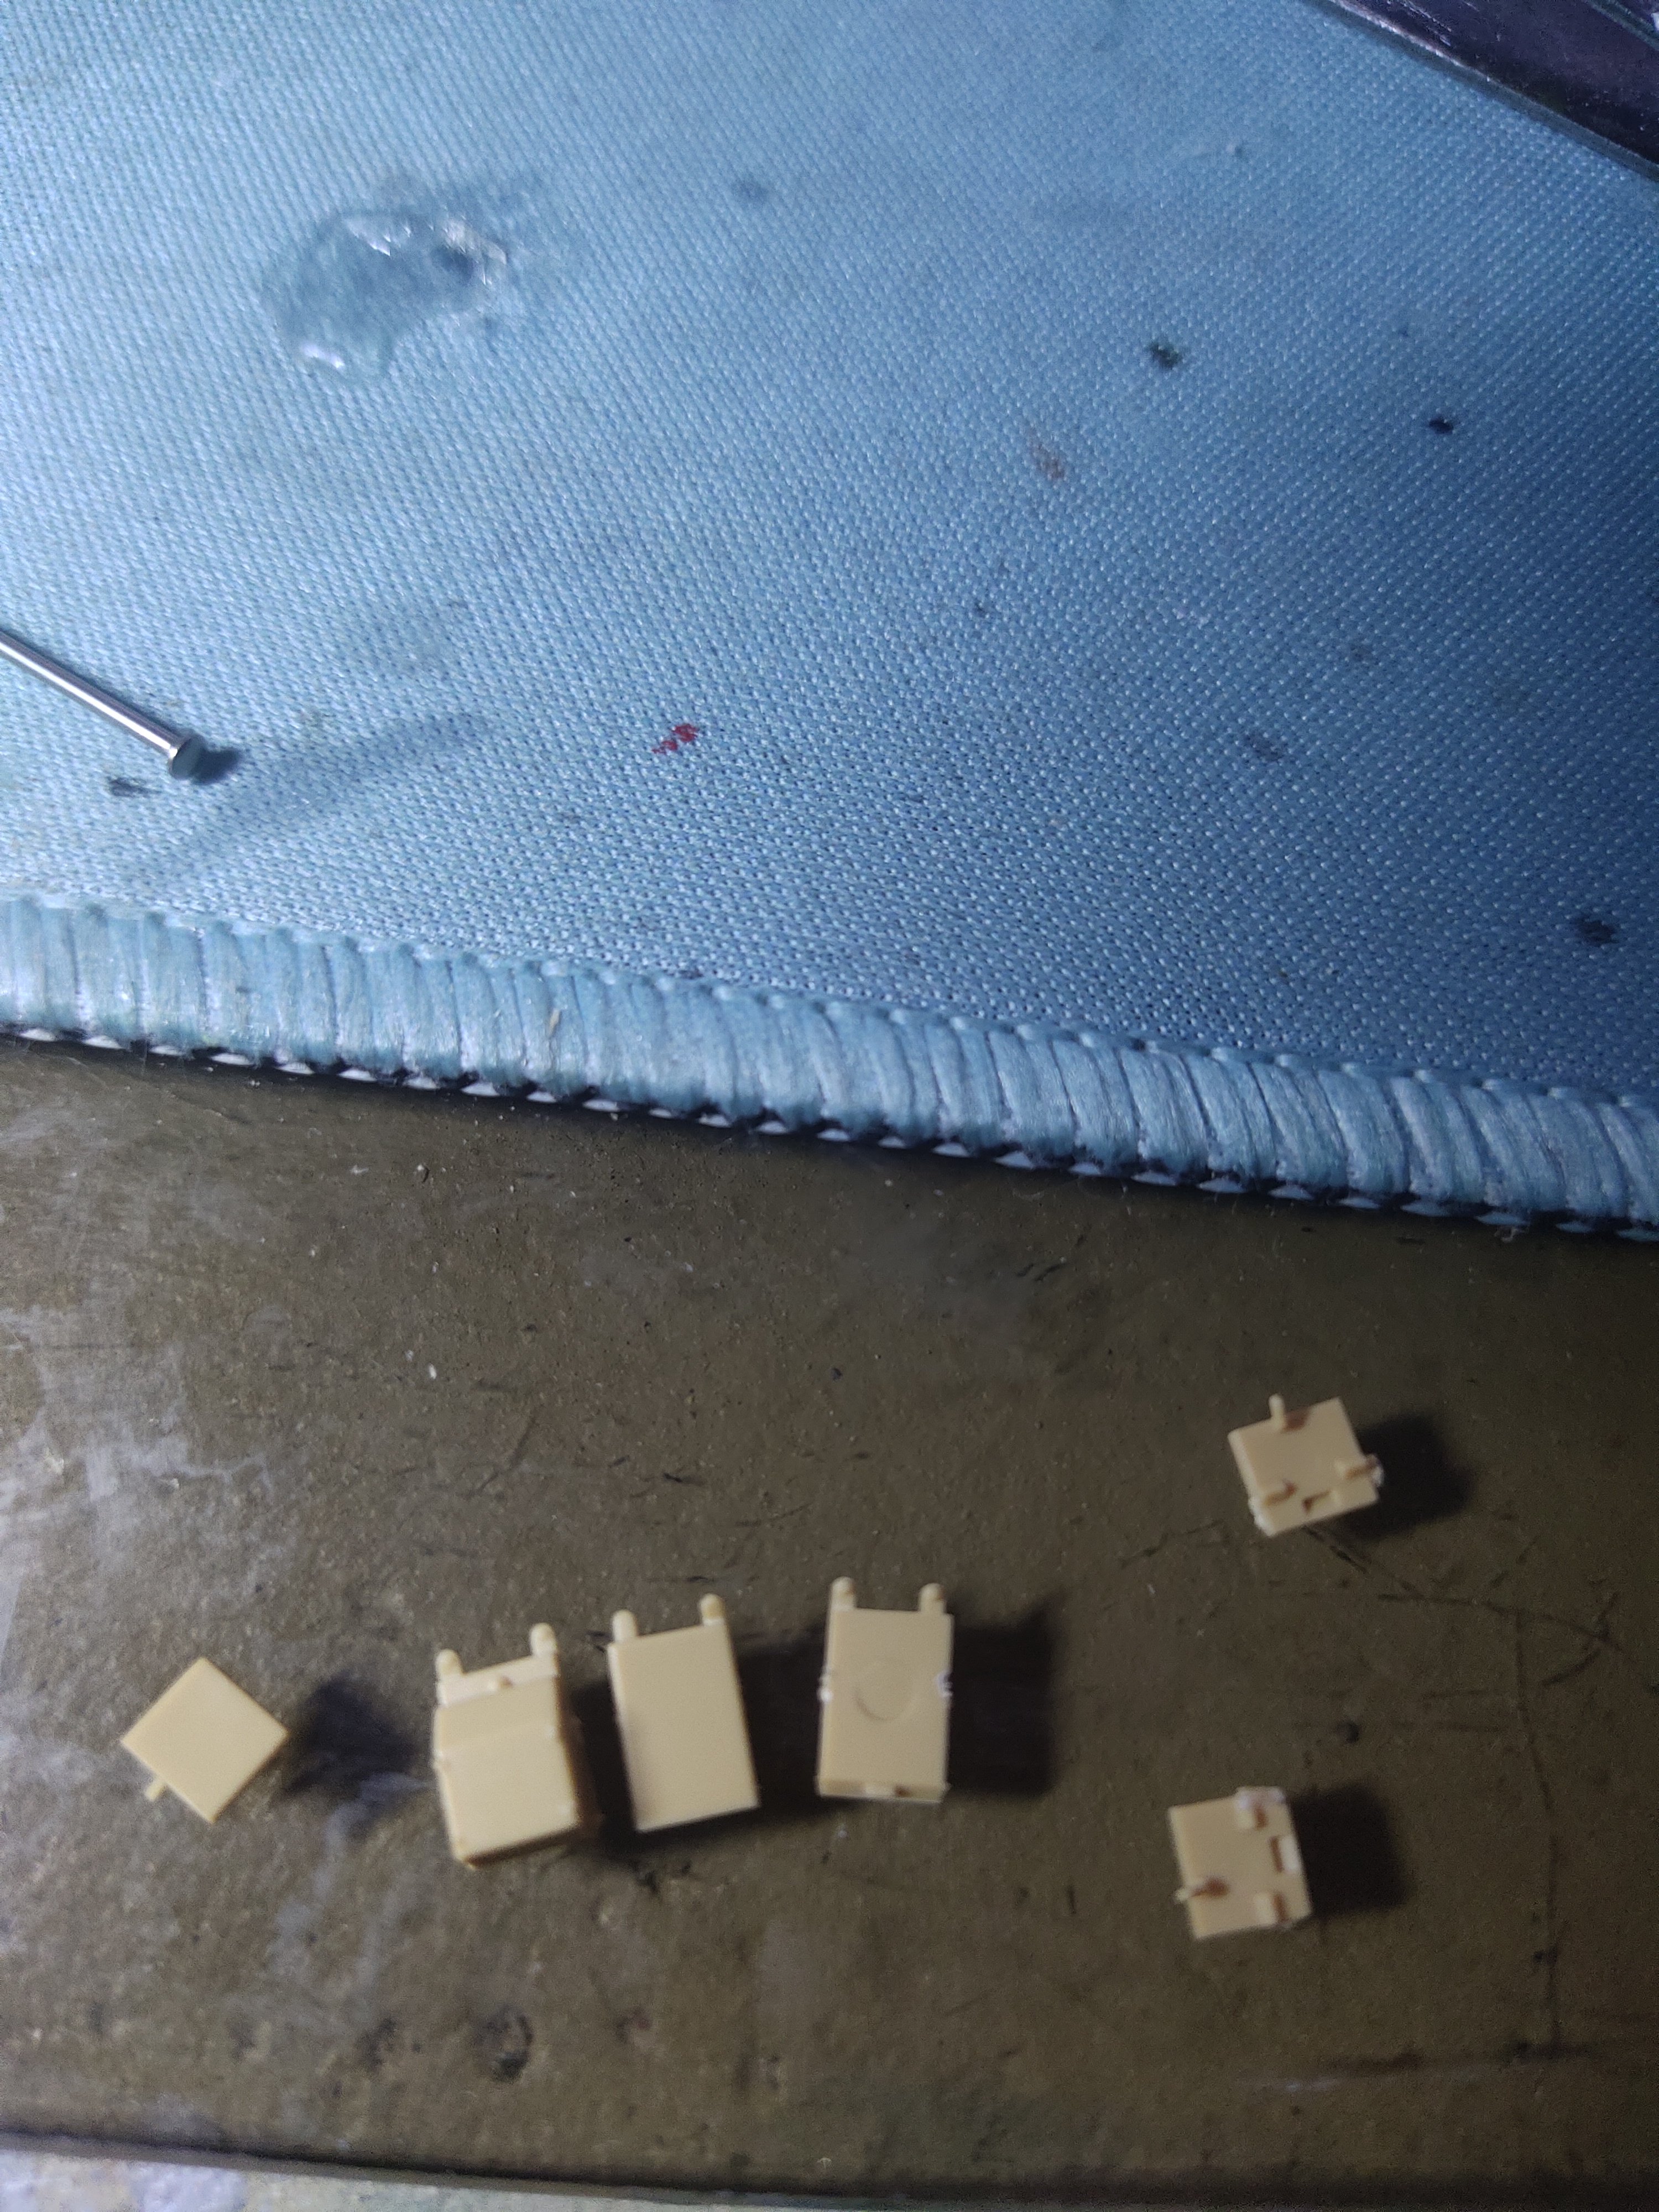
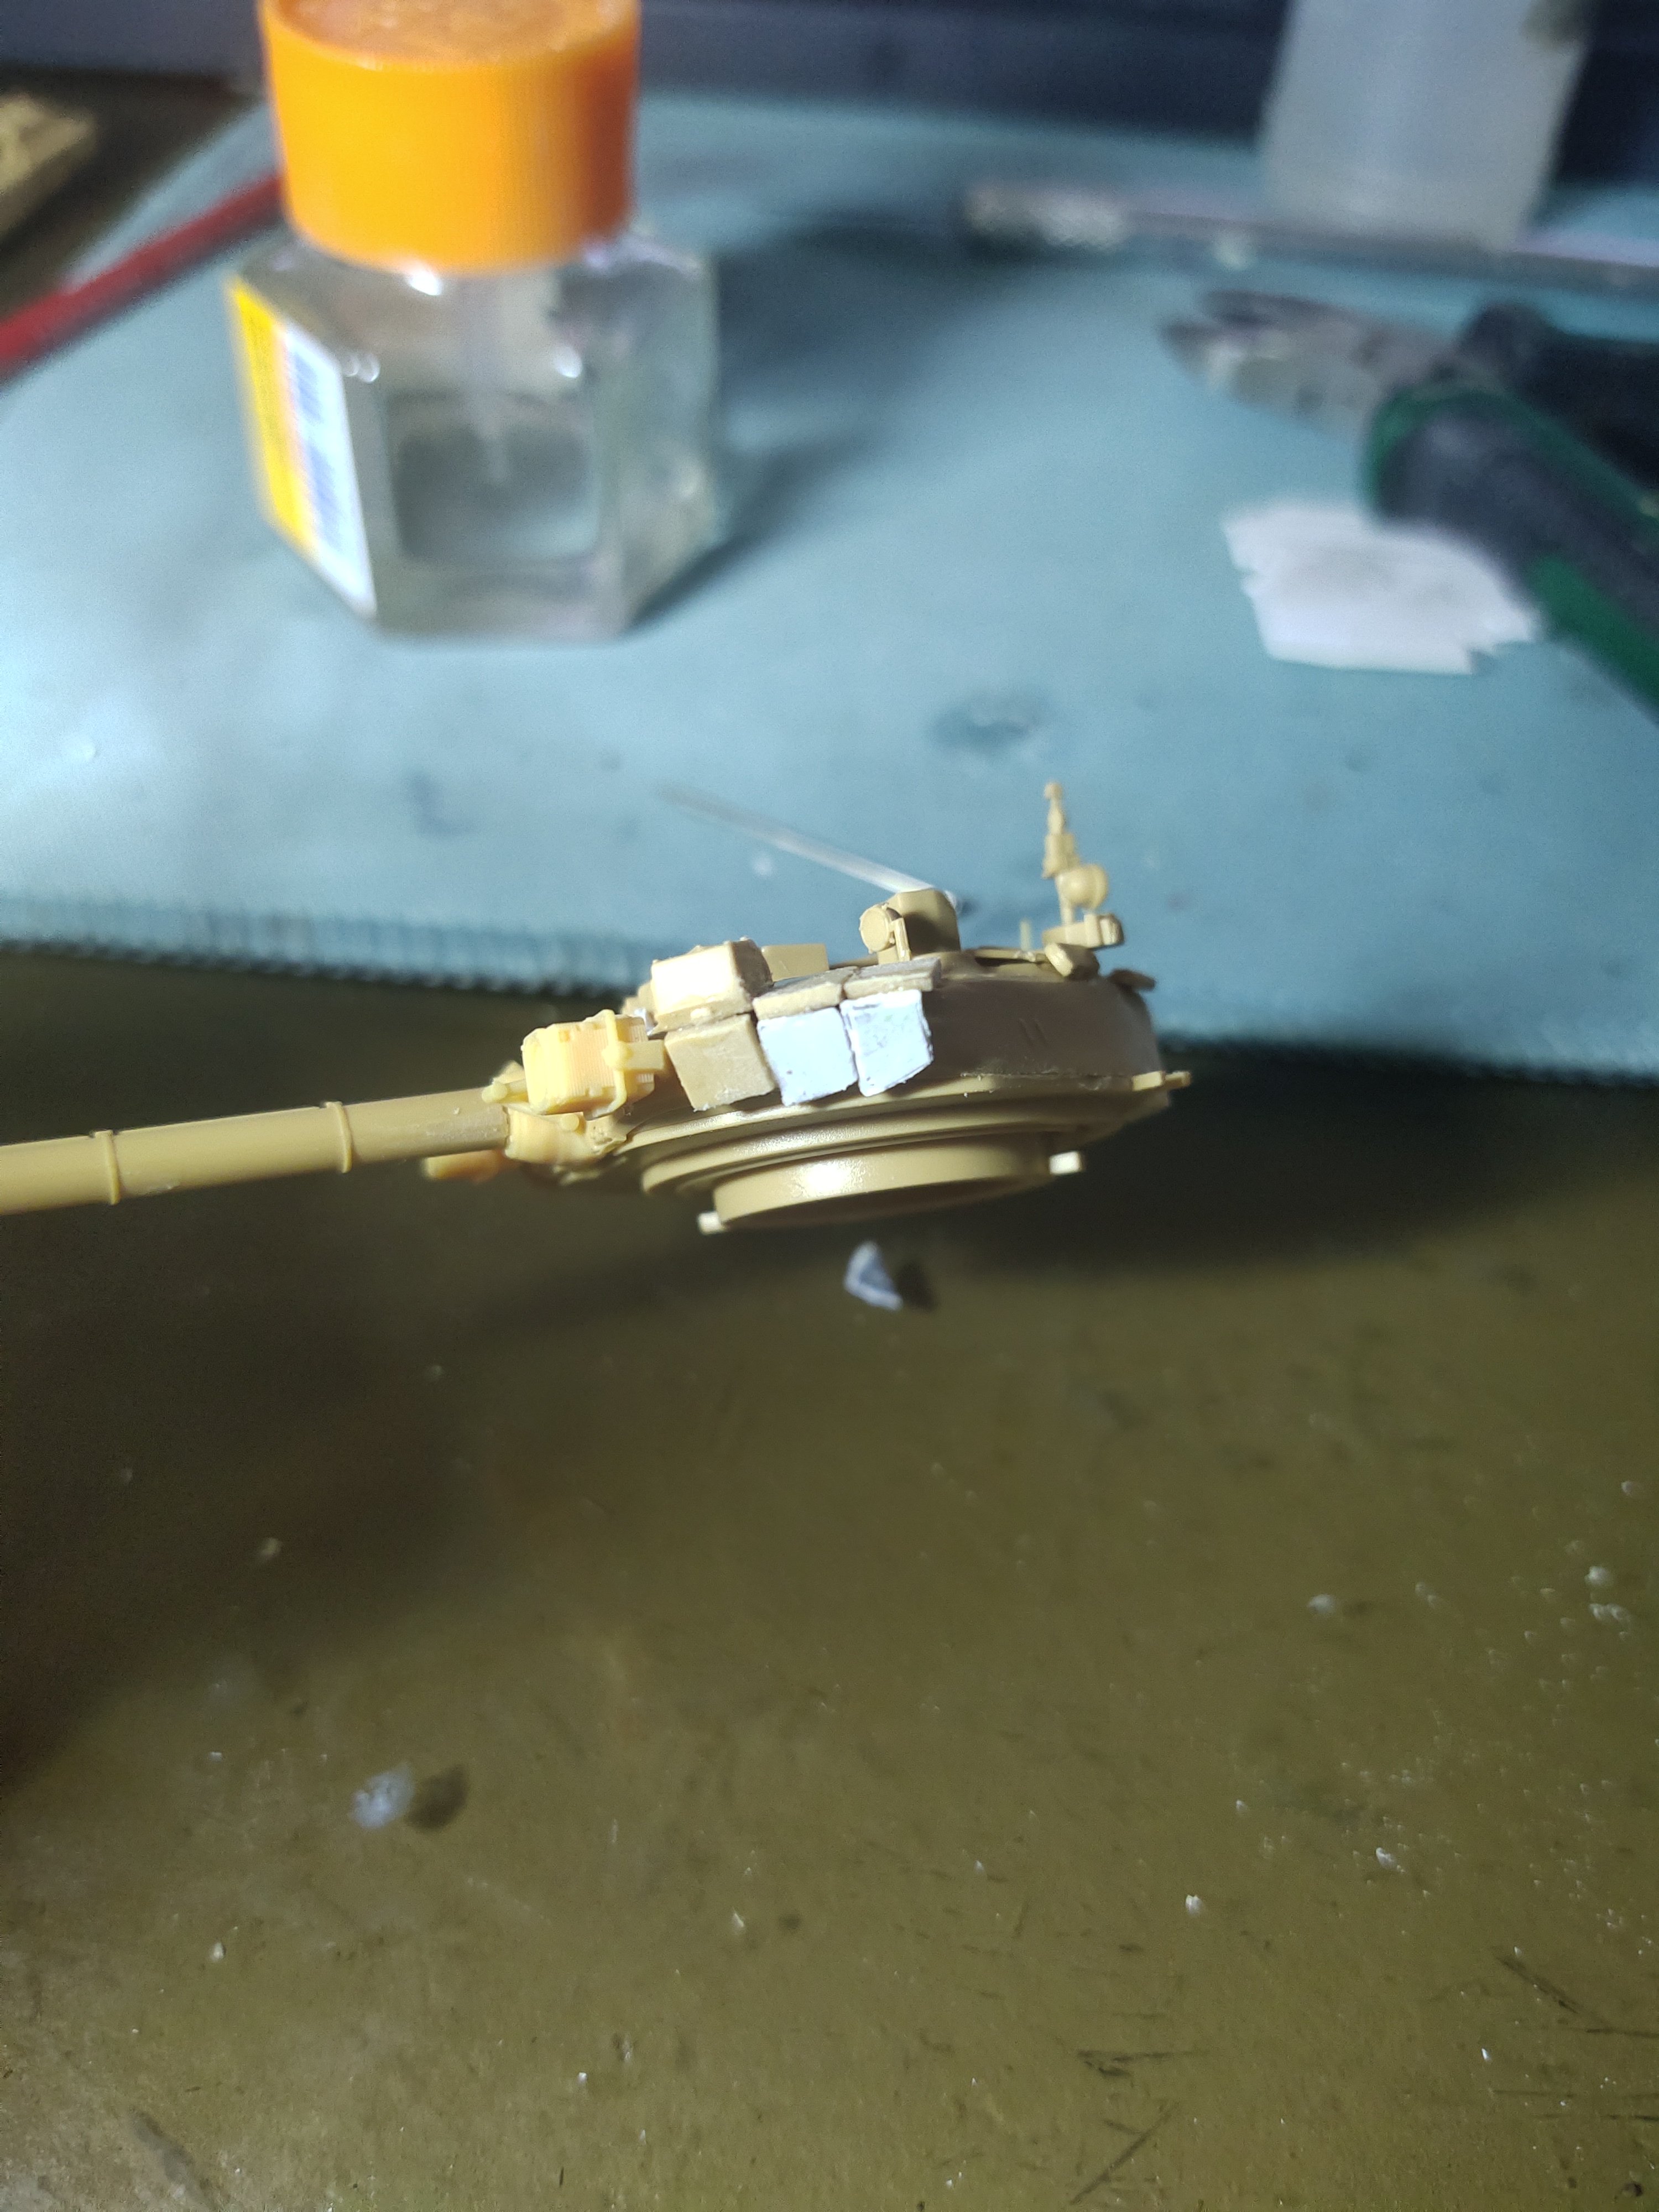
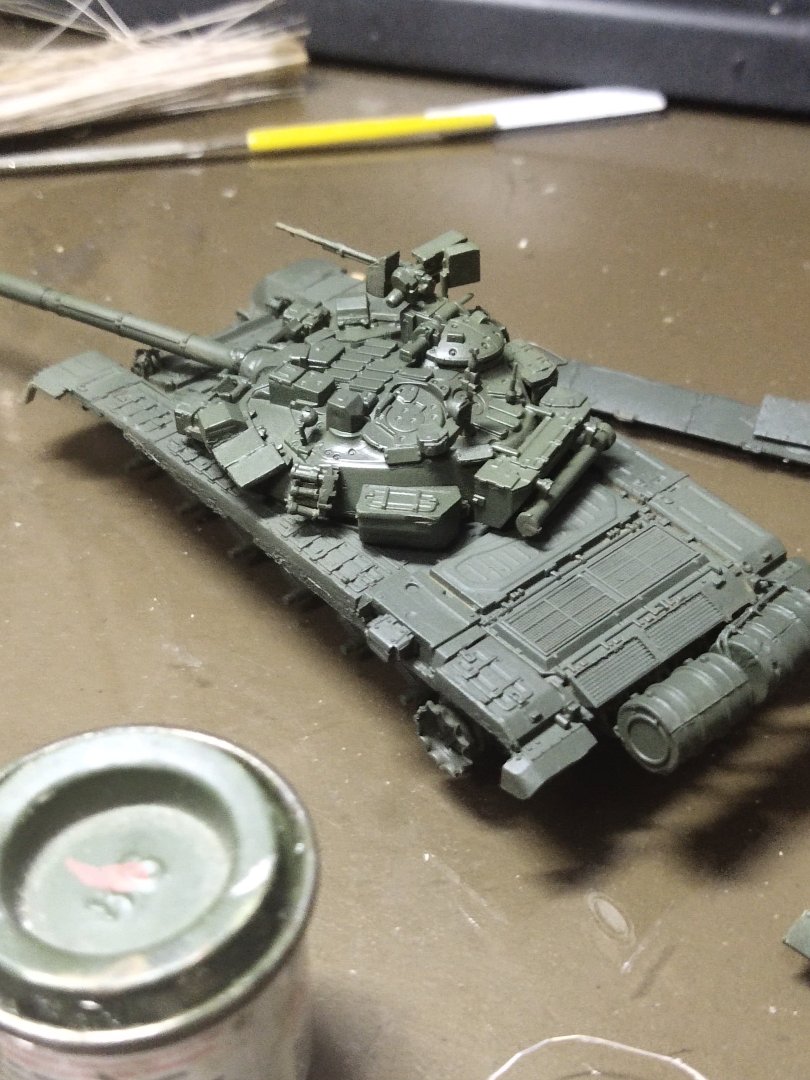
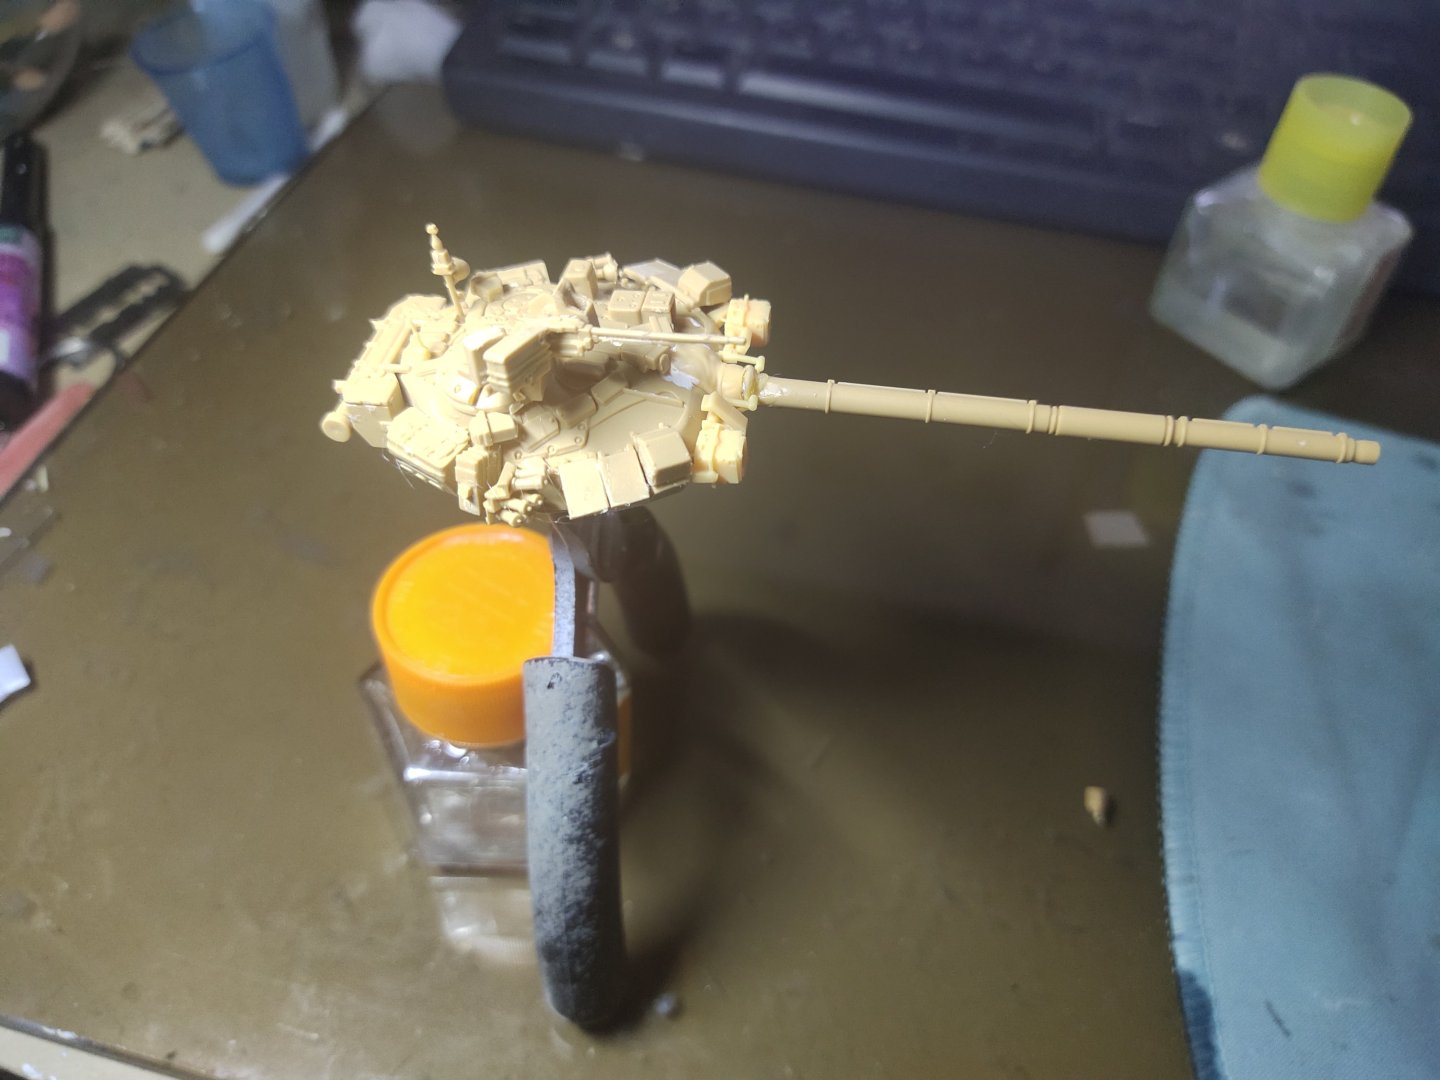
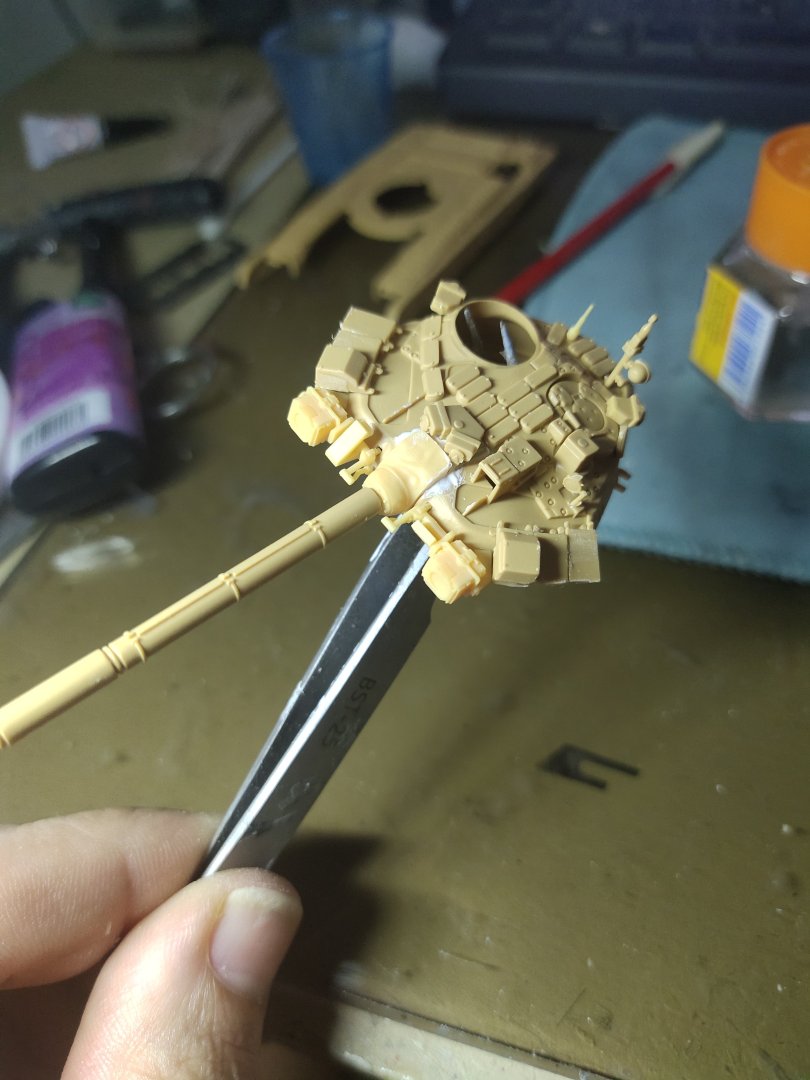
I started the tower. There are extra parts depends the version anyone wants to built. I chose the resin part with the double infrarents as shown on my first post. Looks like T-90A. All was ok until I had to add the side reactive armor. Due to the oval shape of tower these were not easily installed on line like they are in the real tank. I'm not sure if I read correct the complicated instructions but I spend over an hour to figure out a solution. I replaced some square parts with longer plastic ones as required. Definitely not a work to be proud of but most crappy job its under the turret so it can't be seen The barrel came in one piece shaving me from sanding the seam line. Its highly detailed like the rest of the turret even I hadn't add most pieces yet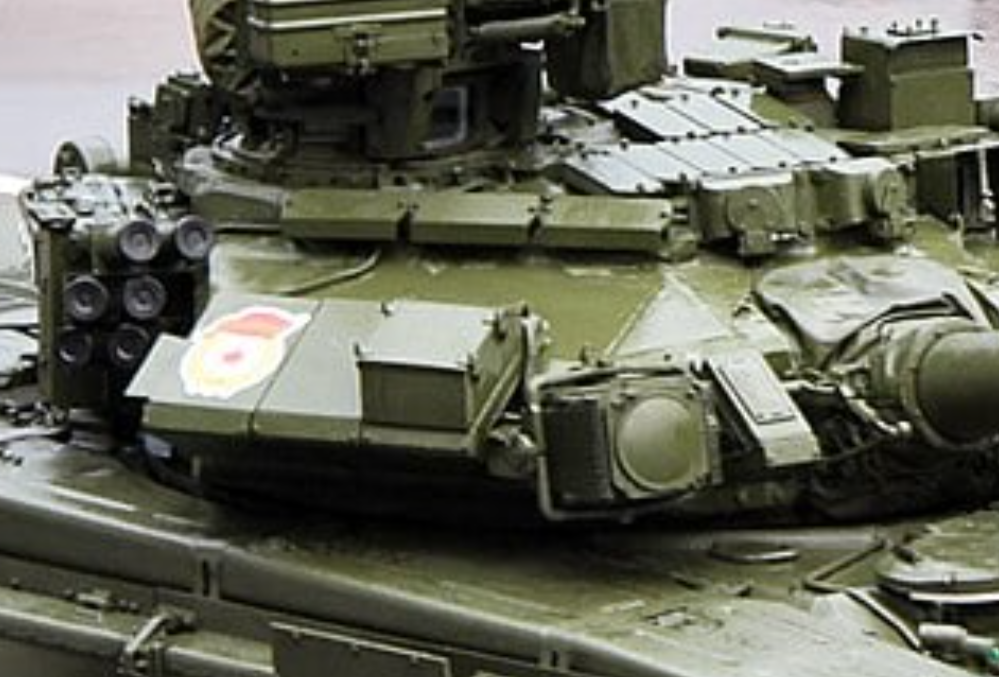


-
T-90 by Mikegr - FINISHED - AM - 1/72 - PLASTIC
mikegr replied to mikegr's topic in Non-ship/categorised builds
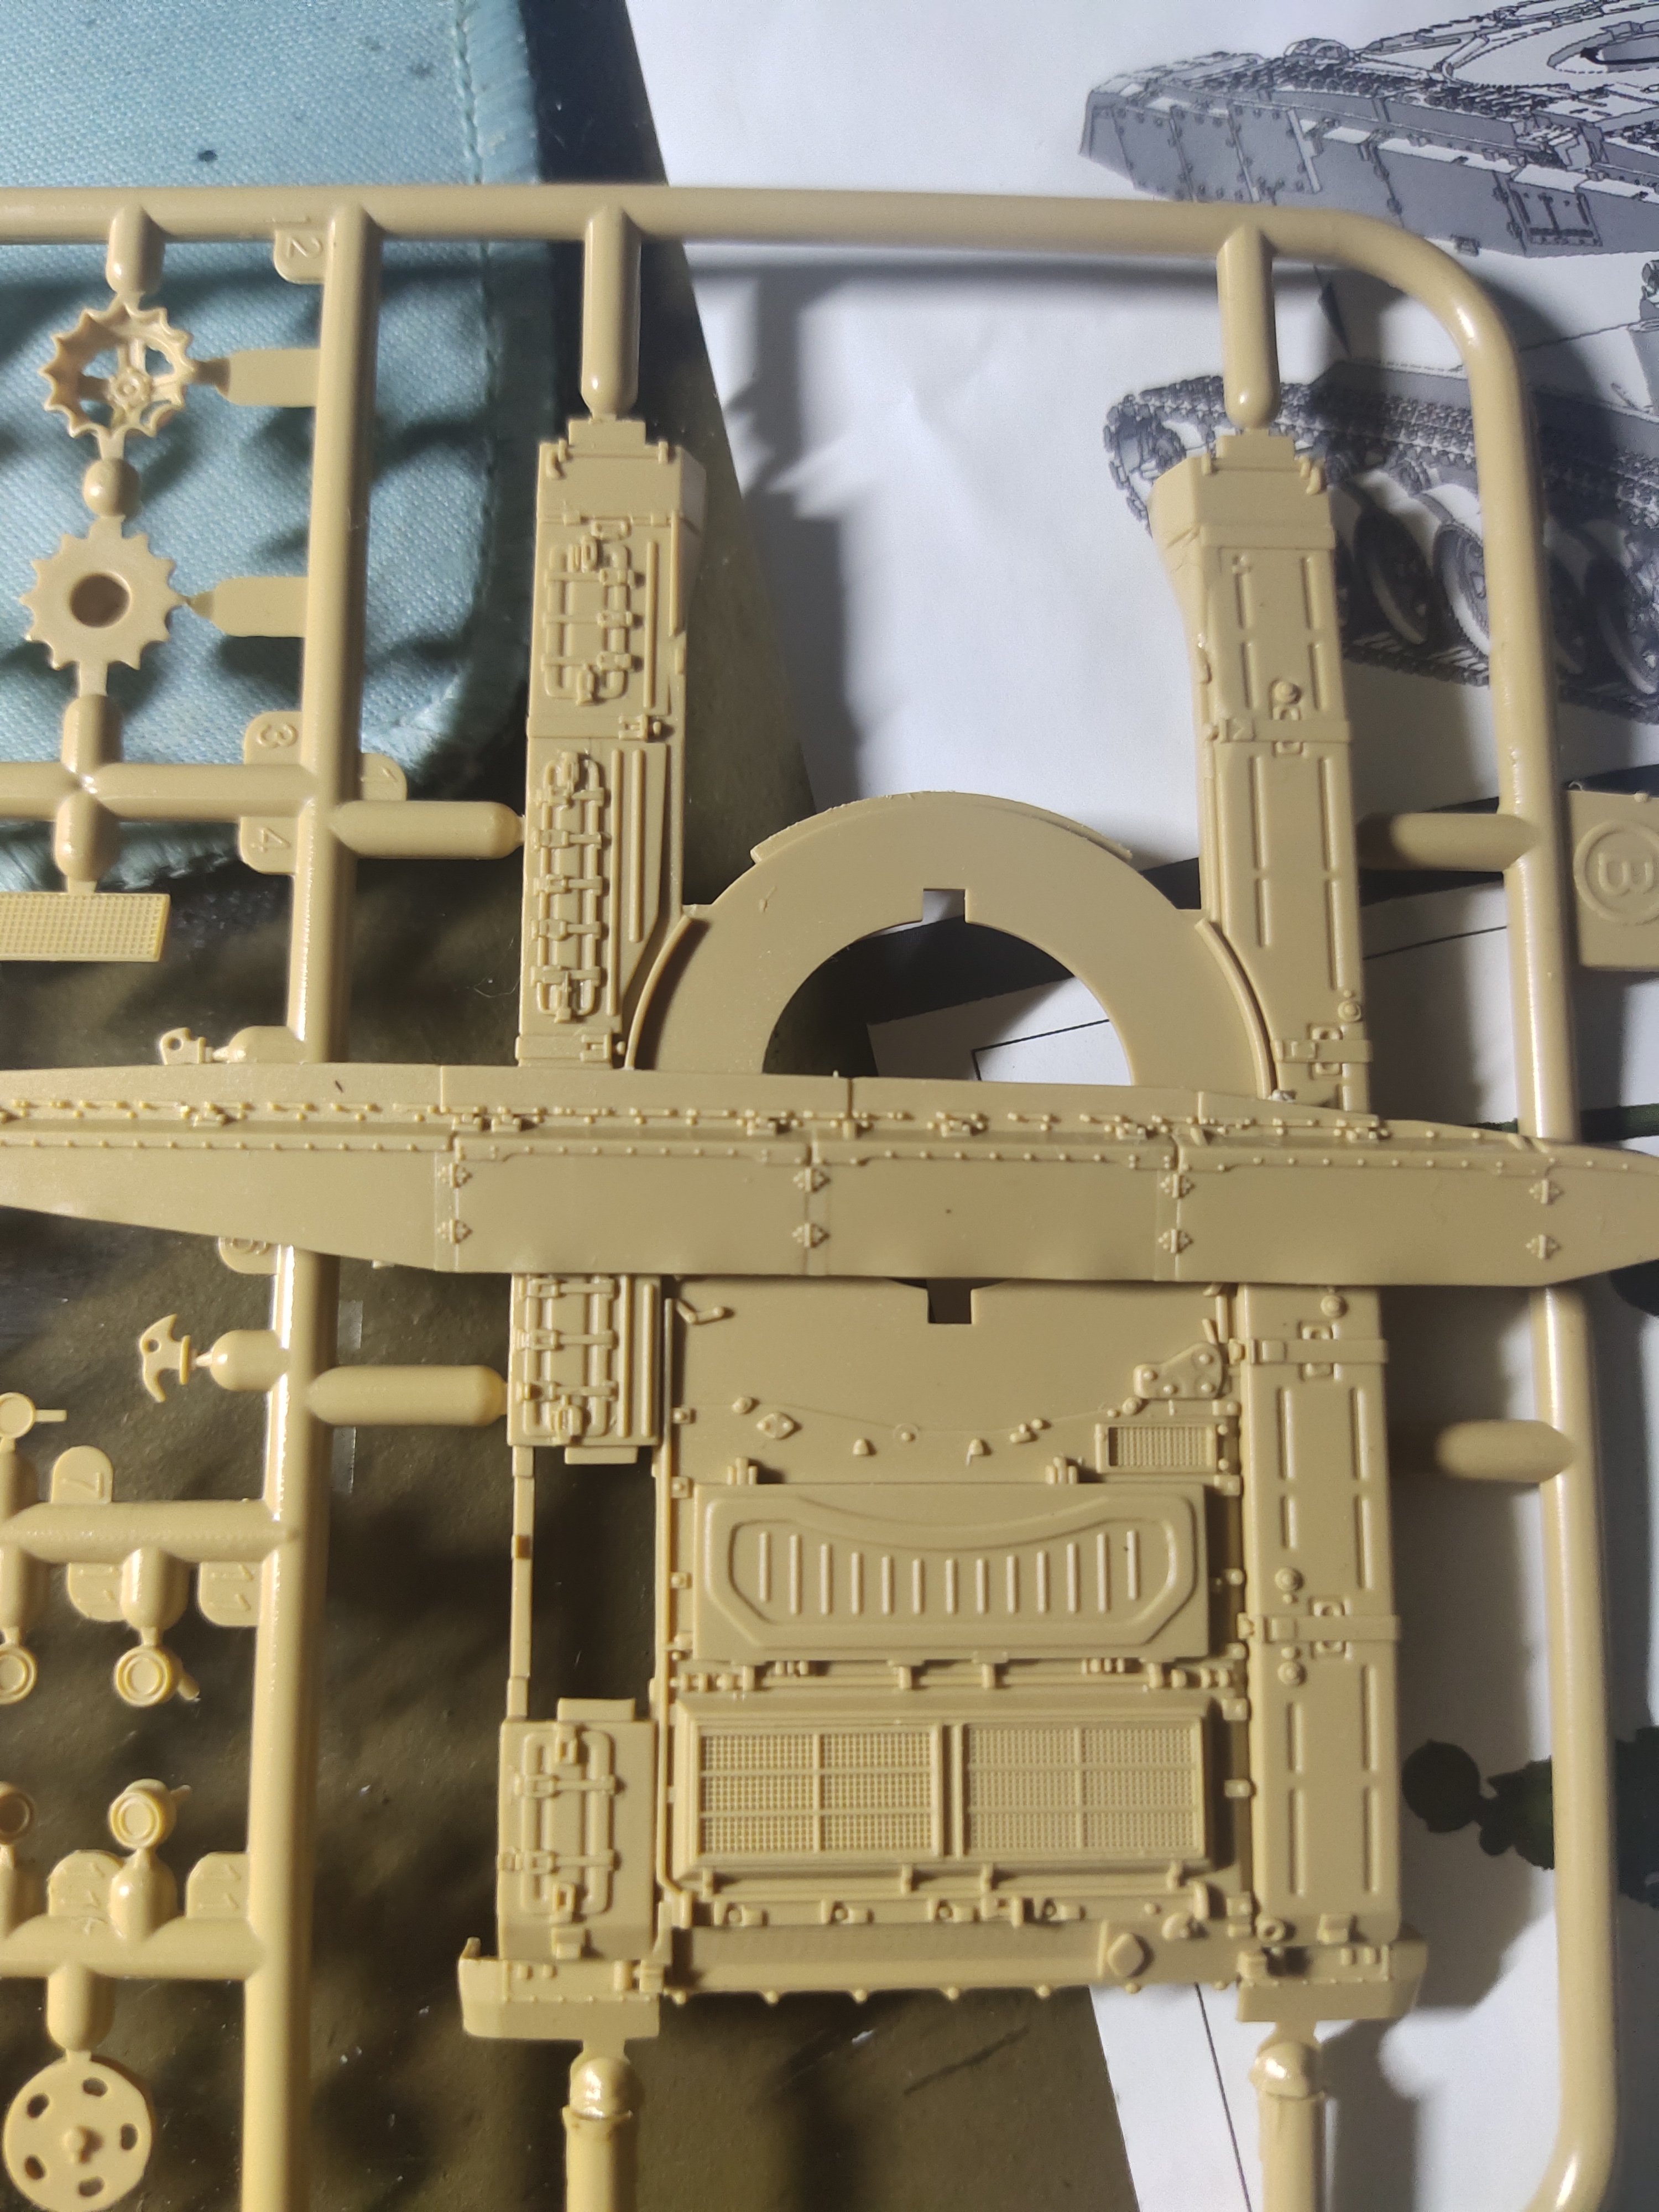
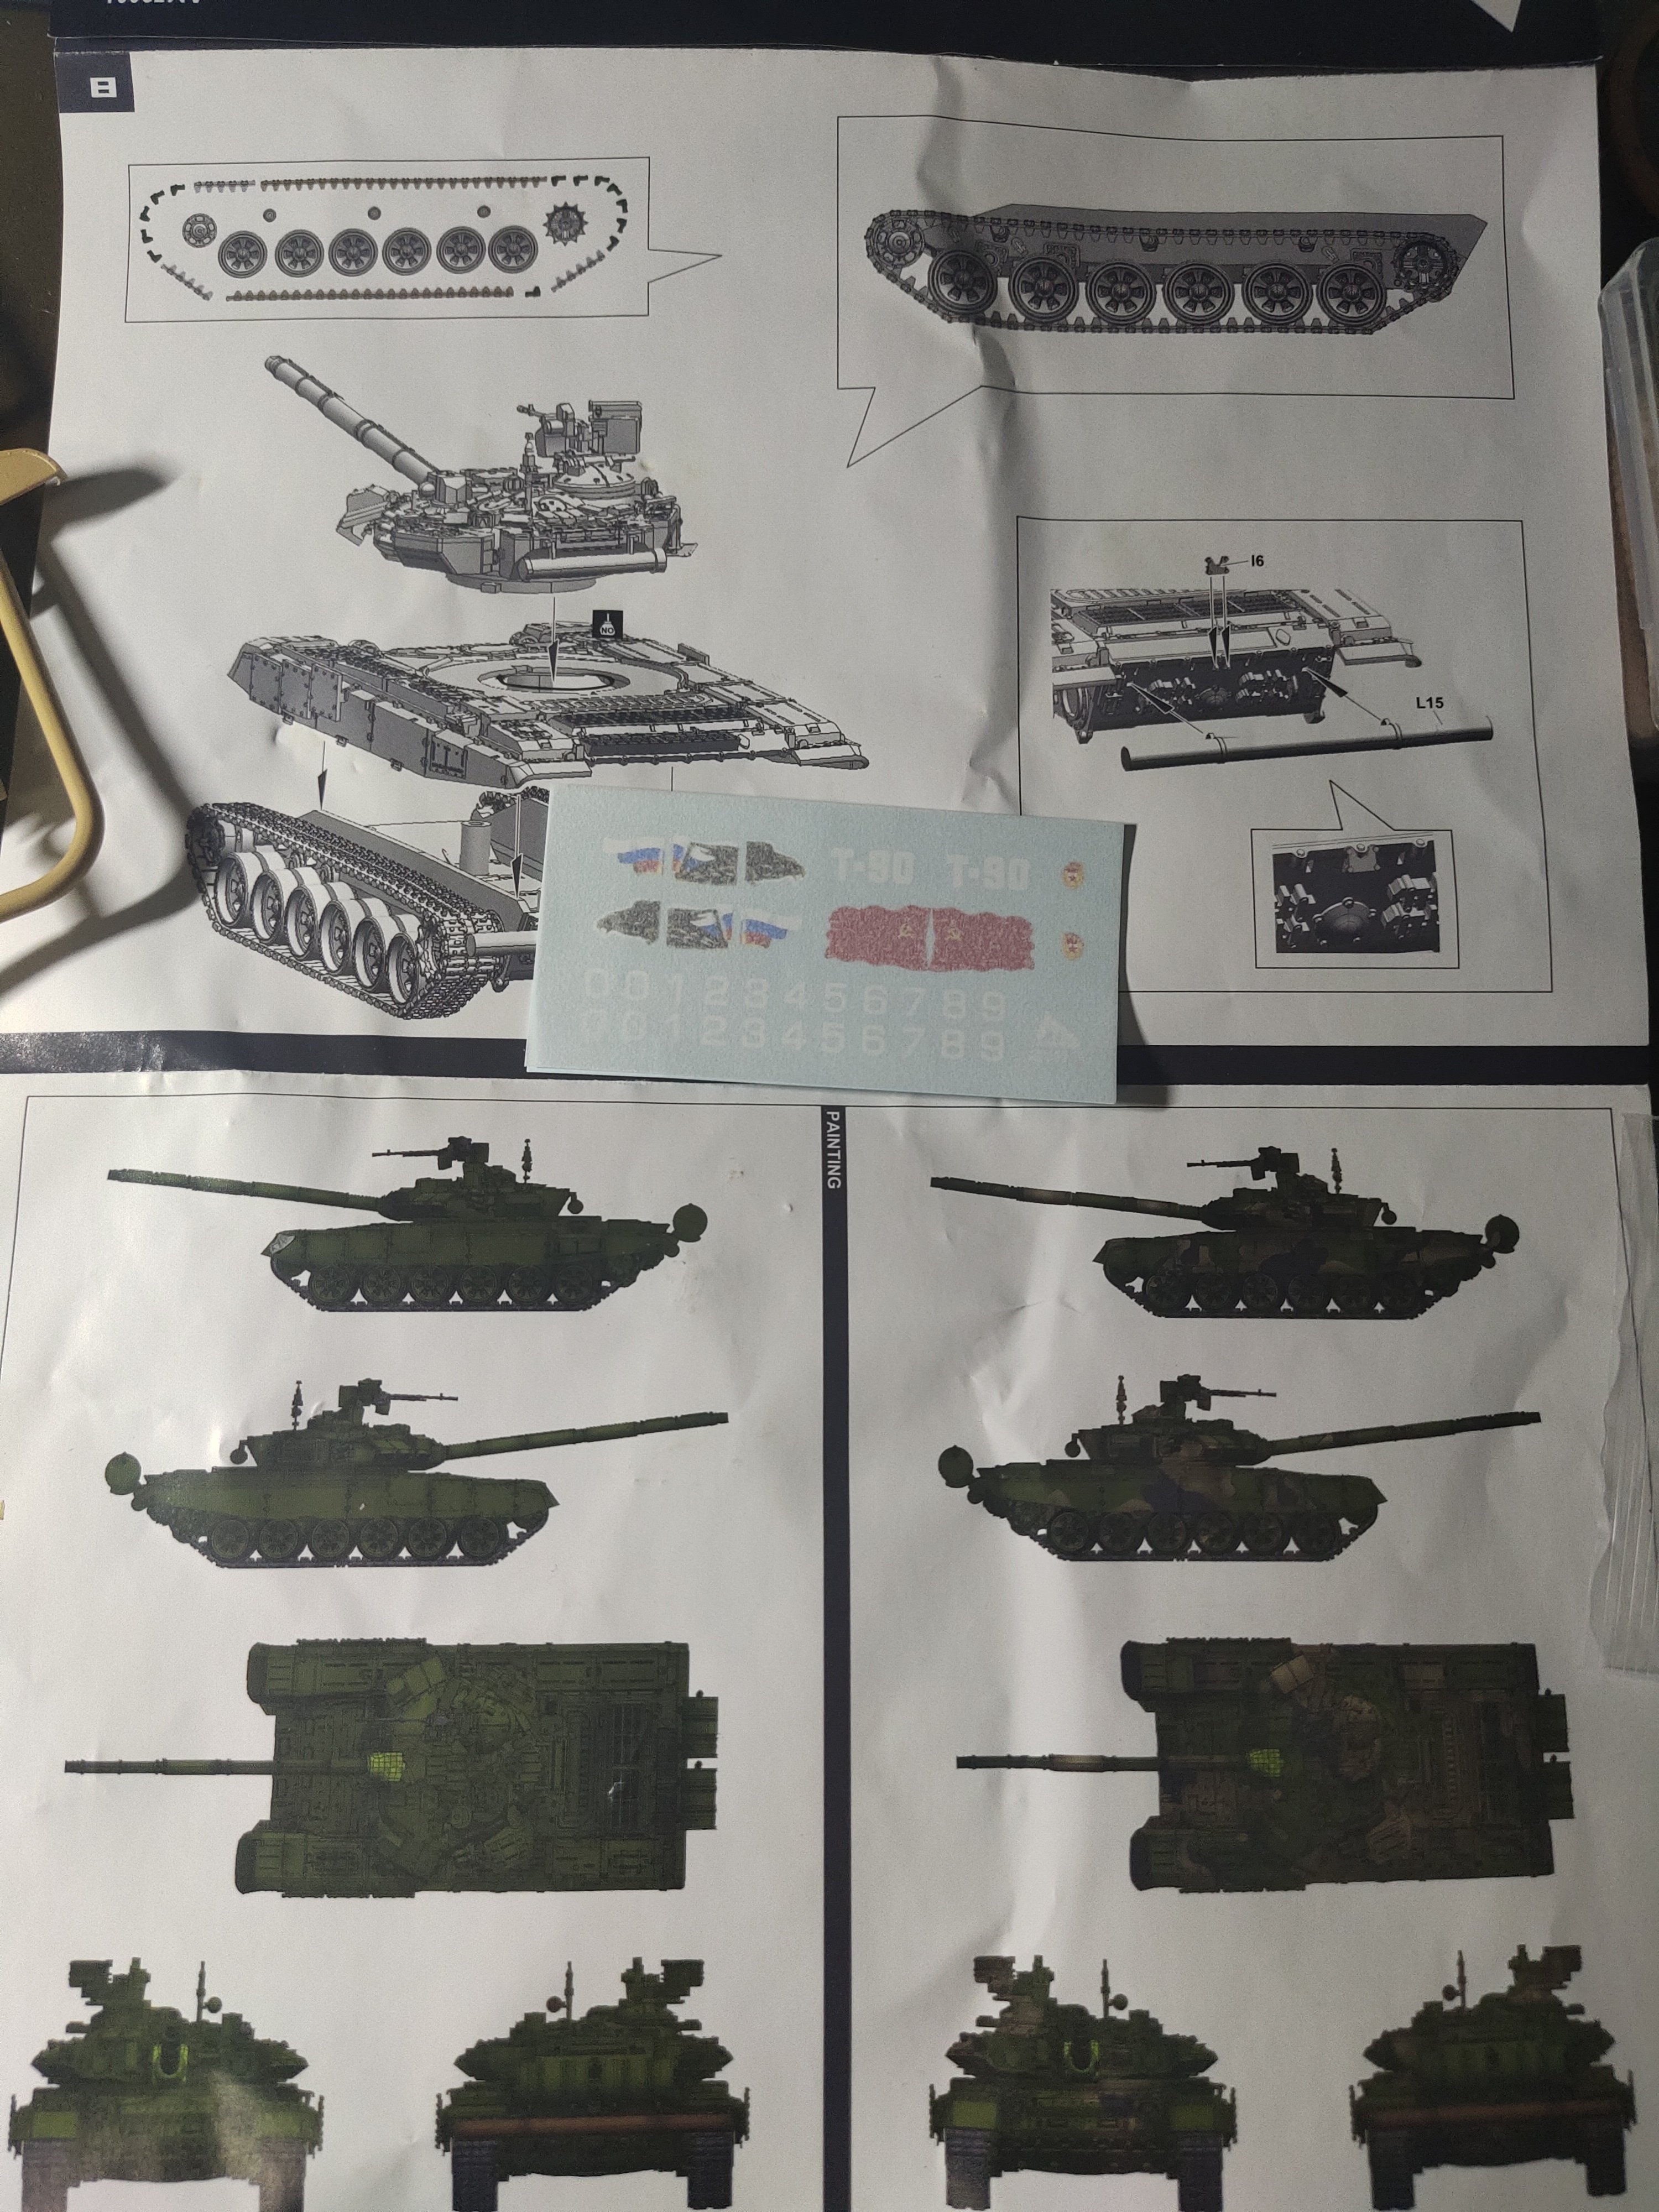
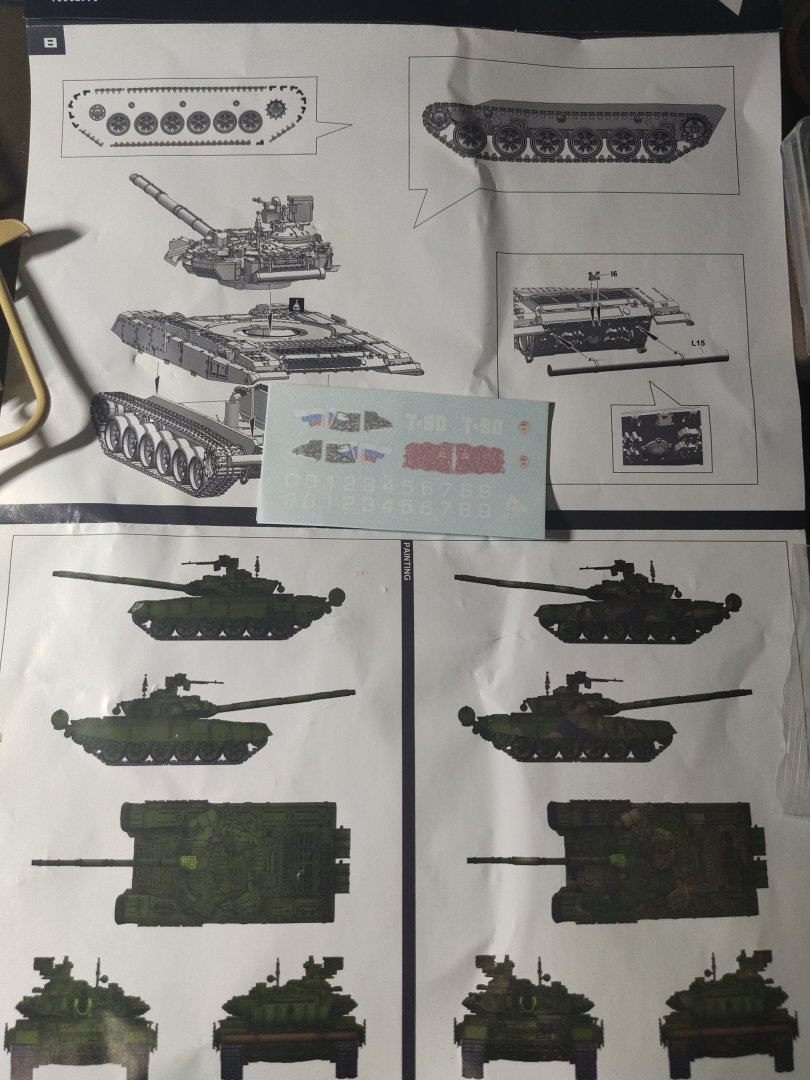
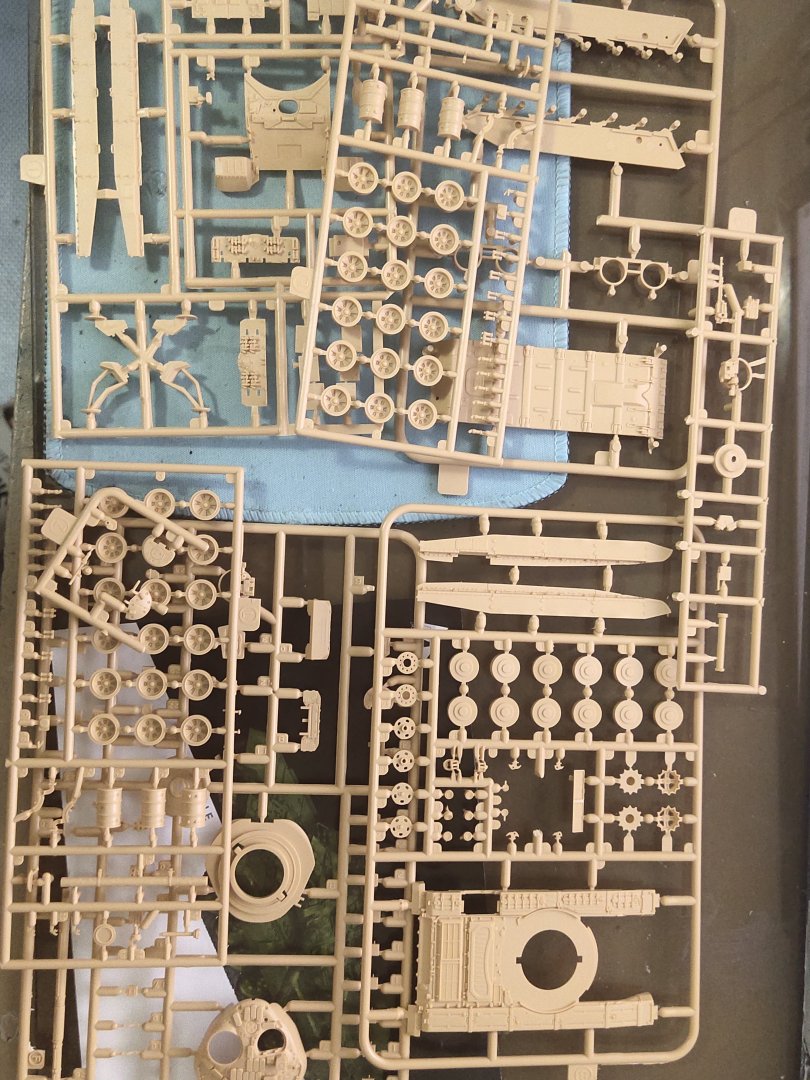
Indeed there is enough details on this kit, even the engine grills look look fine. The side skirts also are finely detailed they even have some bumps at the lower side, like in real tanks after usage The instructions are a different story. The picture for painting guide is very small I can barely see the camouflage. Fortunately I will go for the green only one. There is also not instructions for decals. The Soviet flag is of no use I think as the earlier version of T-90 appeared in 1992
-
T-90 by Mikegr - FINISHED - AM - 1/72 - PLASTIC
mikegr posted a topic in Non-ship/categorised builds
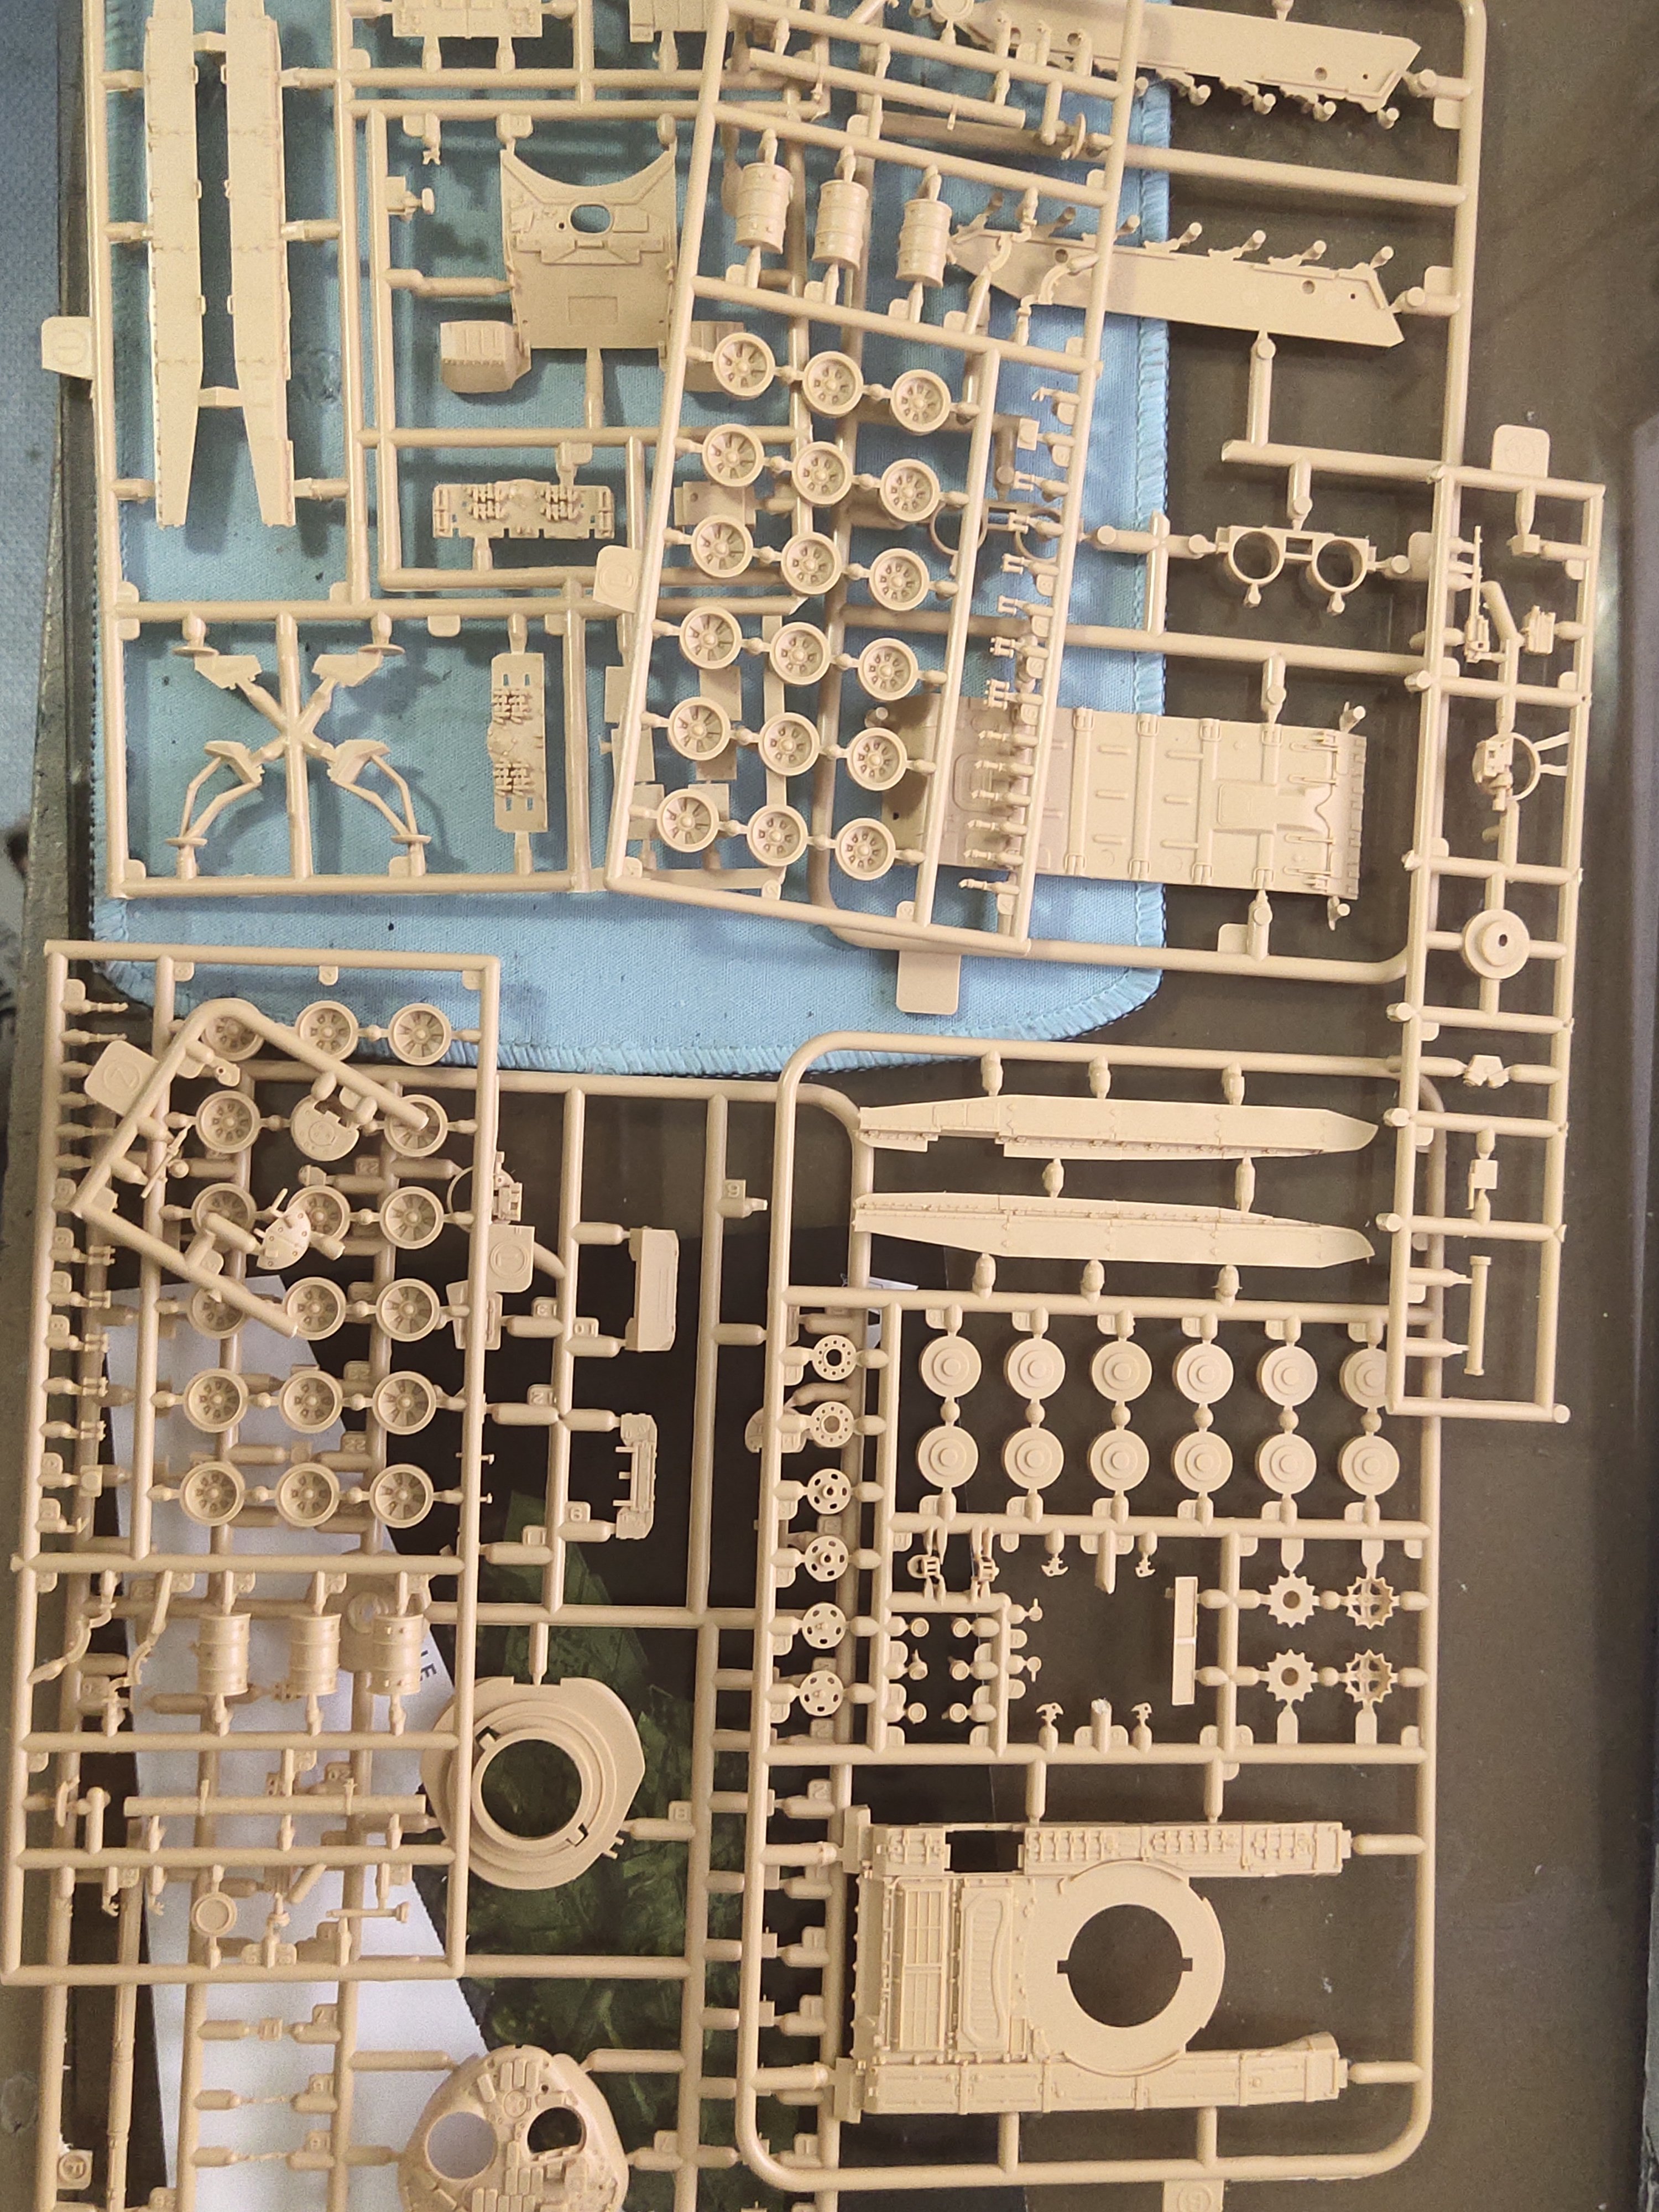
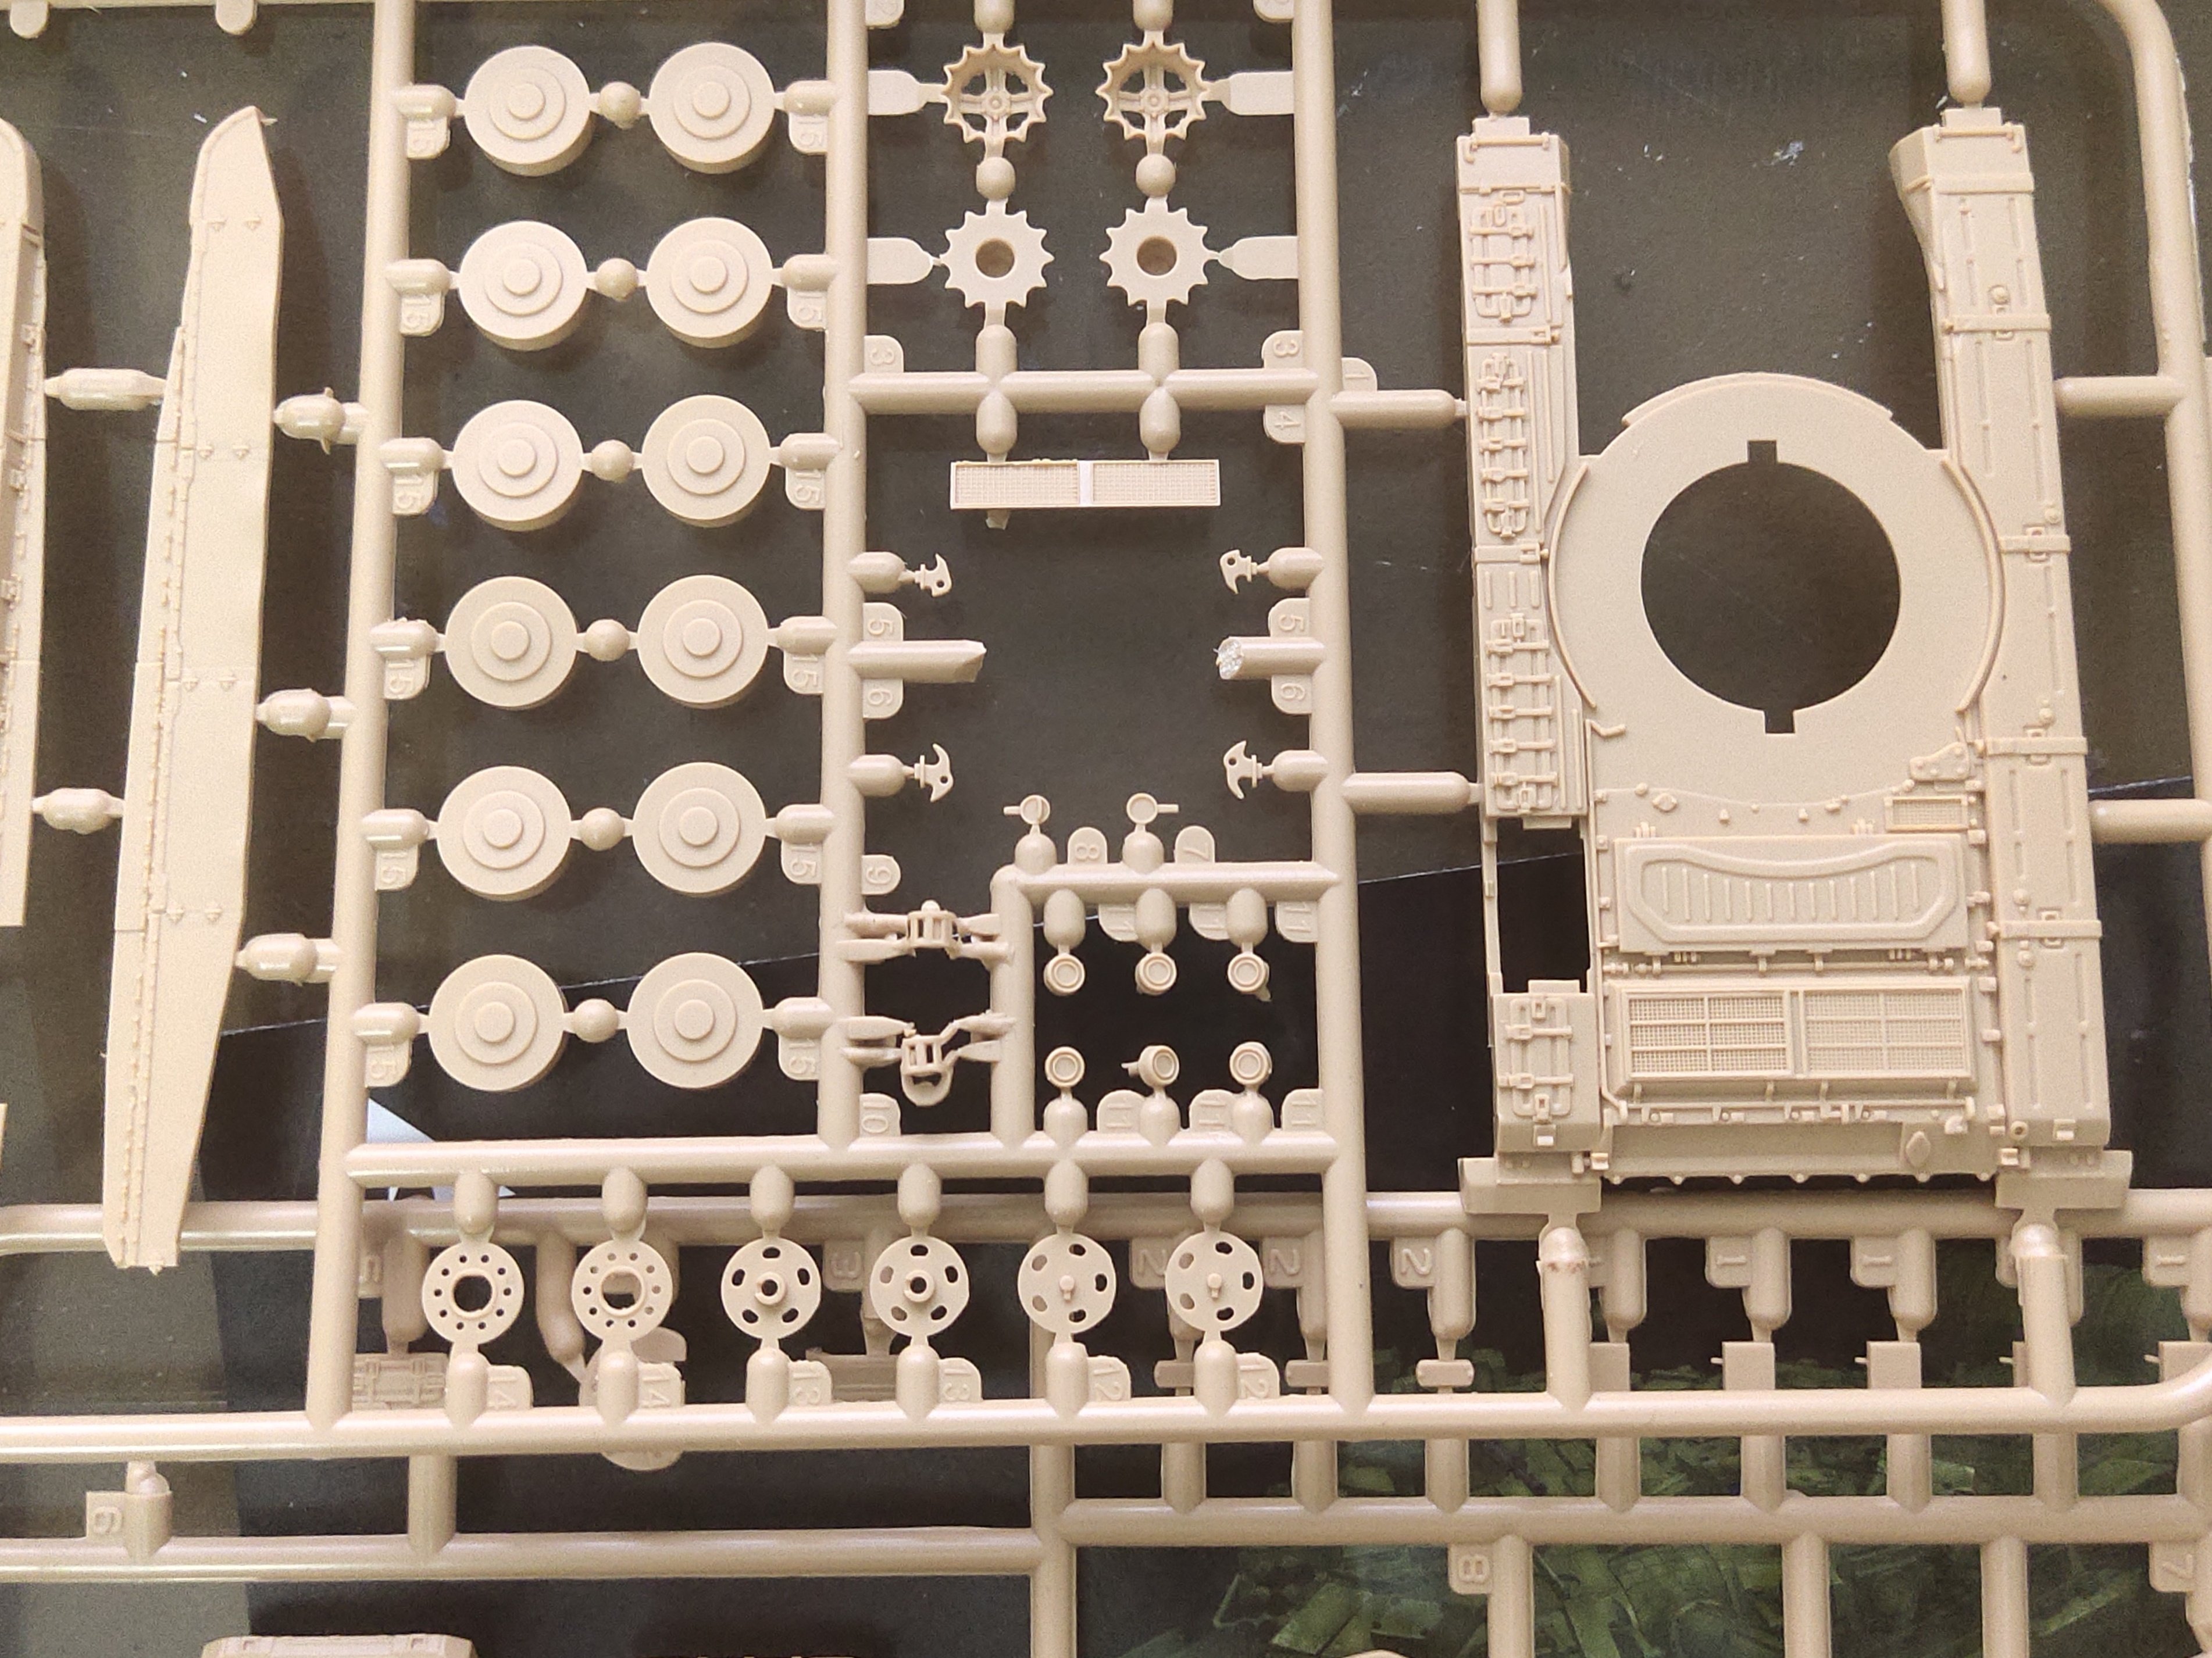
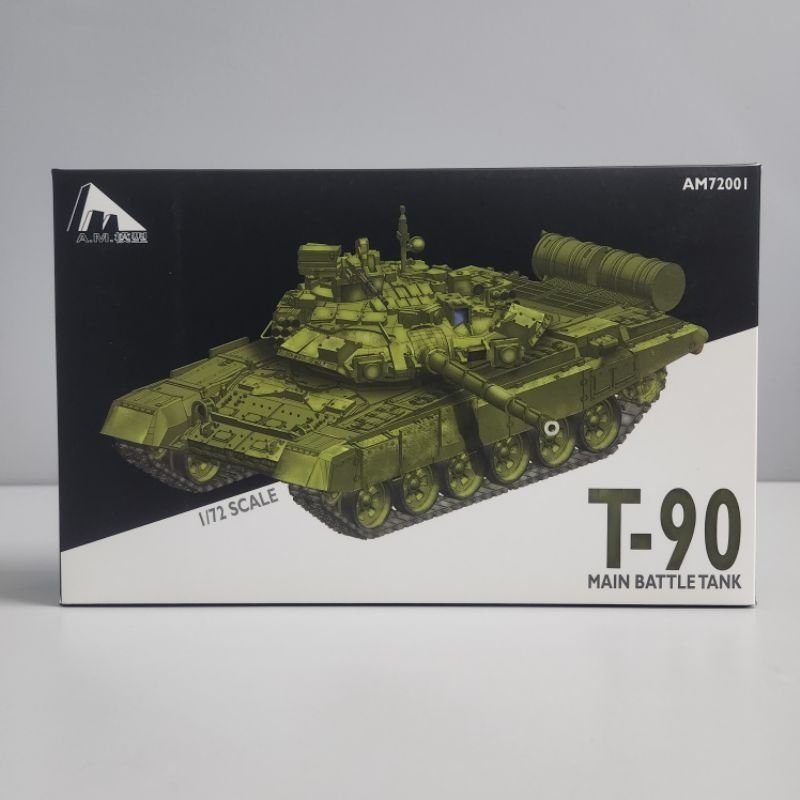
My second battle tank in space saving 1/72 scale. T-90 is an advanced Russian tank continuously upgraded from the experience gained at the war in Ukraine The kit I got this kit from last travel in Malaysia from a local shop instead of ordering the Vespid Kit form China as was my initial purpose.It comes from an unknown company called AM. However it has a lot of pieces and fine details as well as resin made, flexible tracks. The instructions seems to be cramped somehow, too many pieces in one photo. Hopefully the parts will fit well.jpg.7c1ad88b2da4570d9f51392123fef74f.jpg)


-
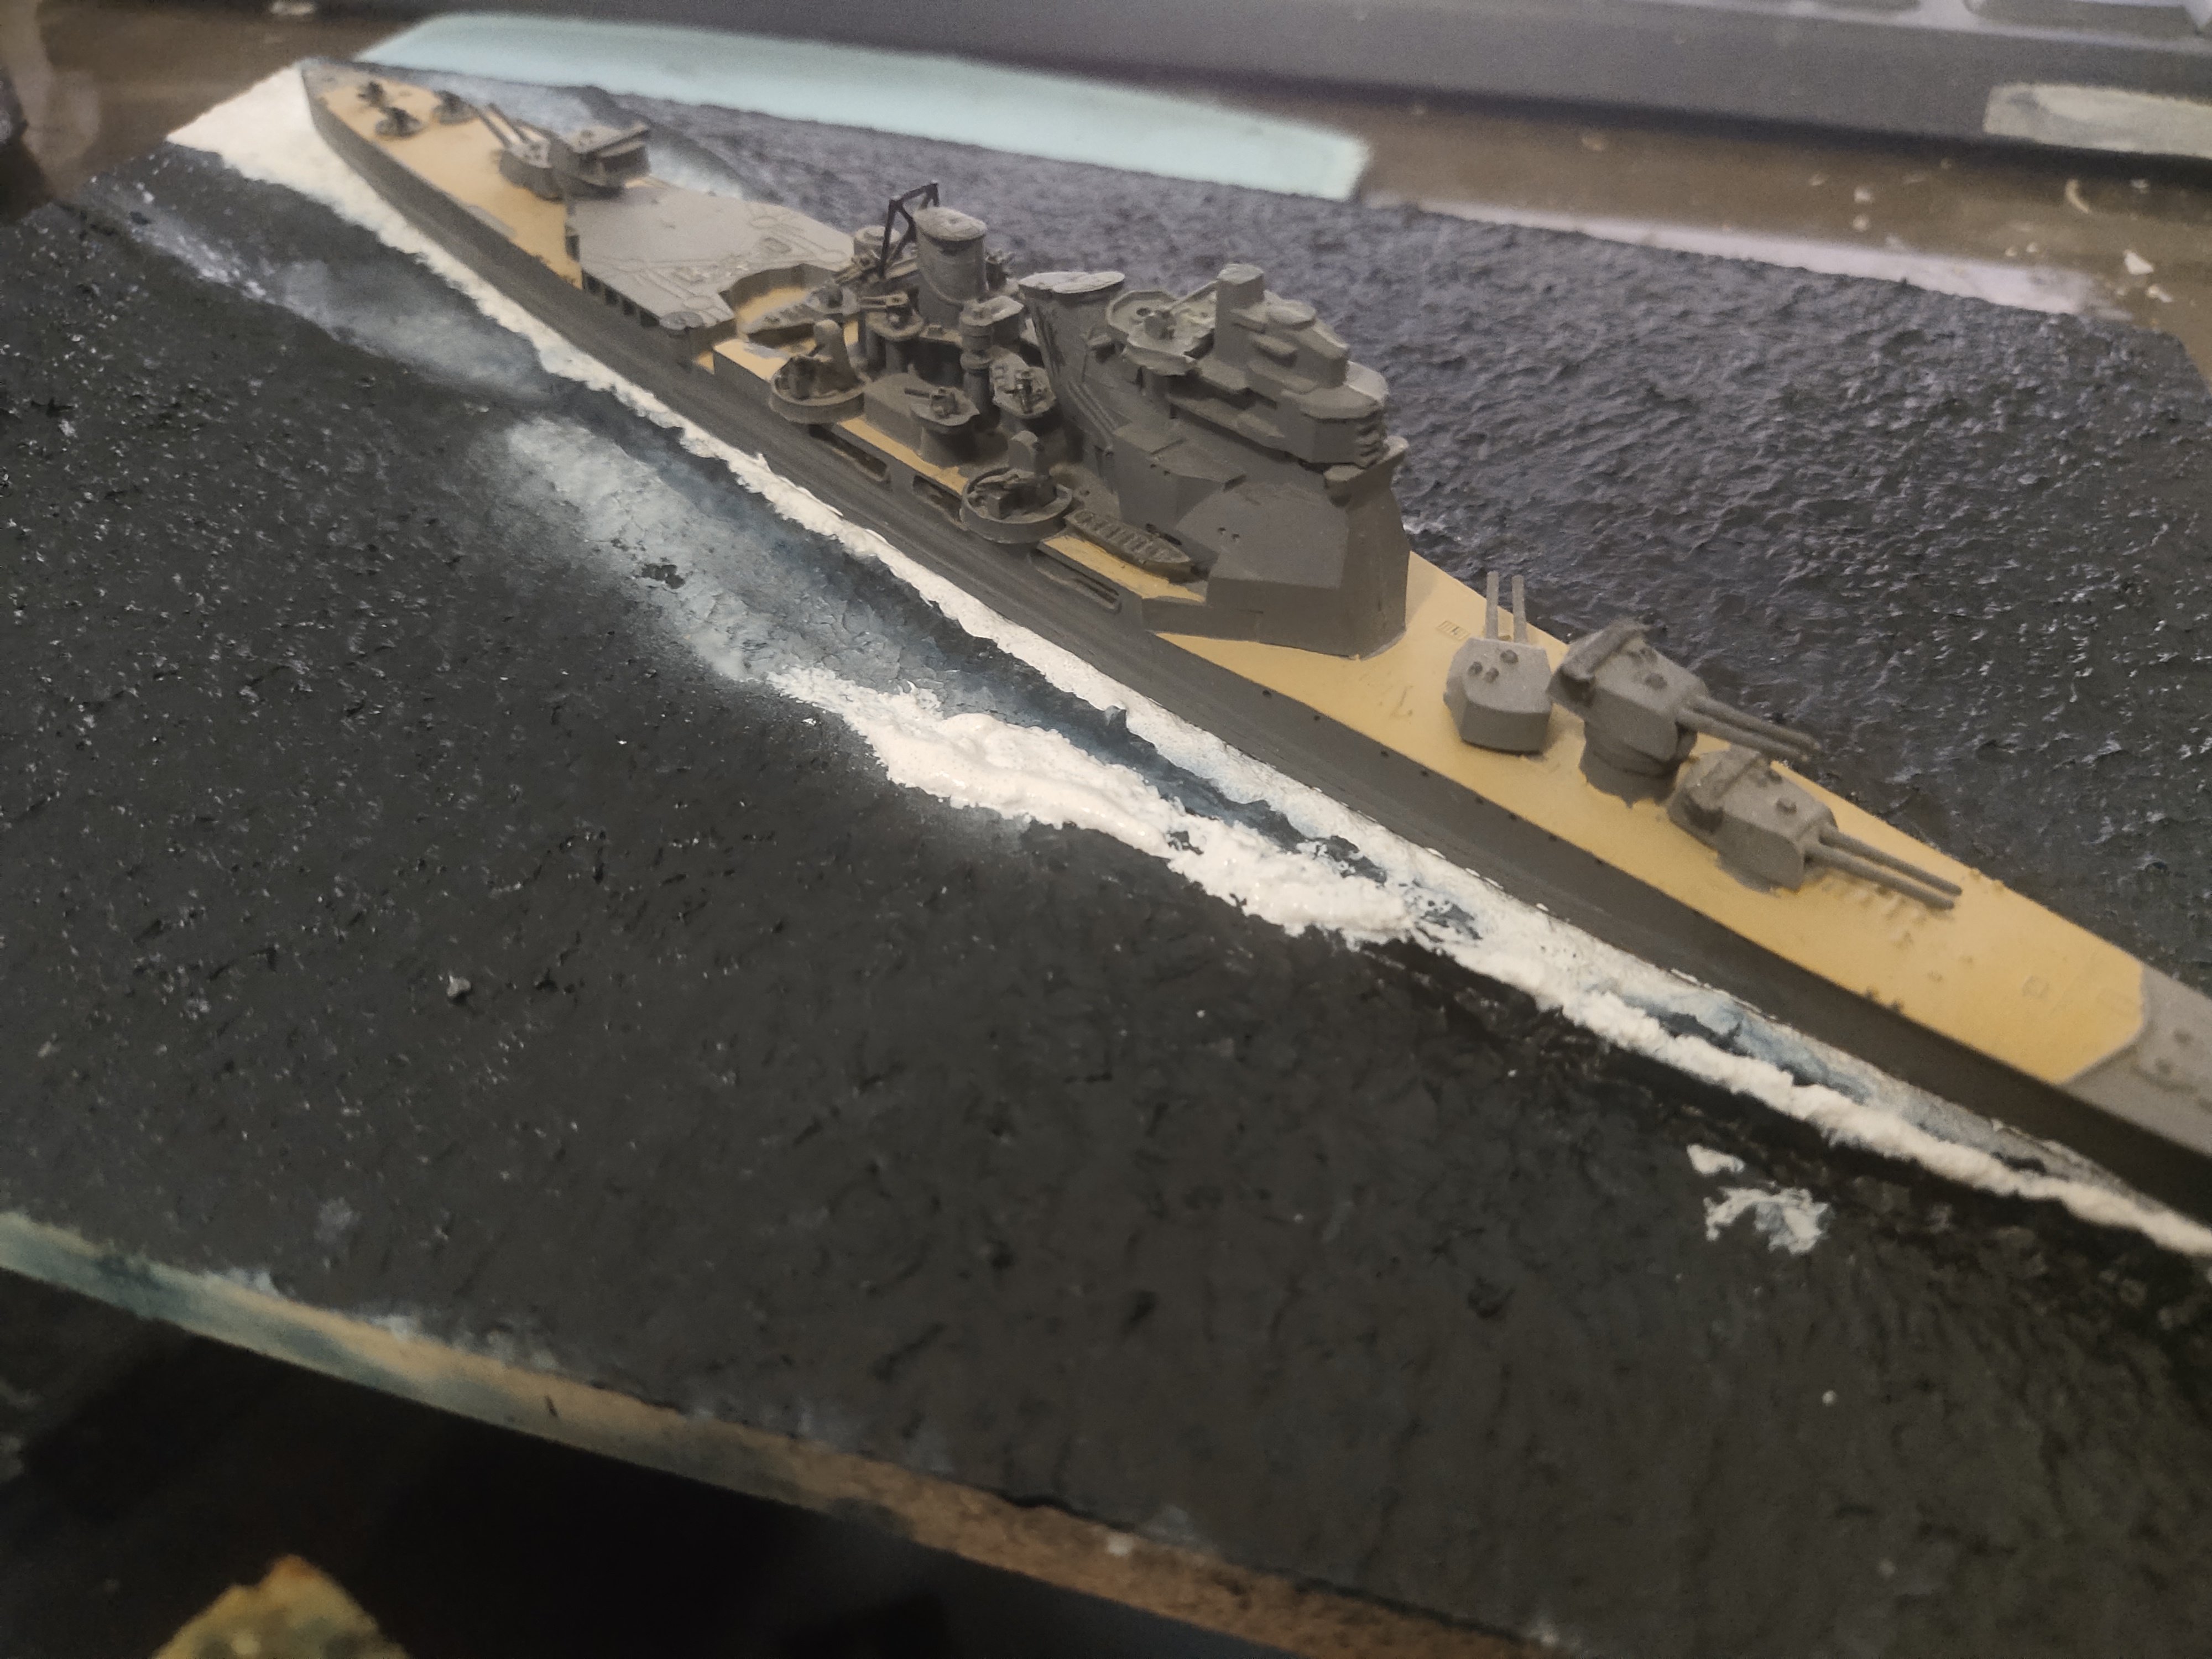
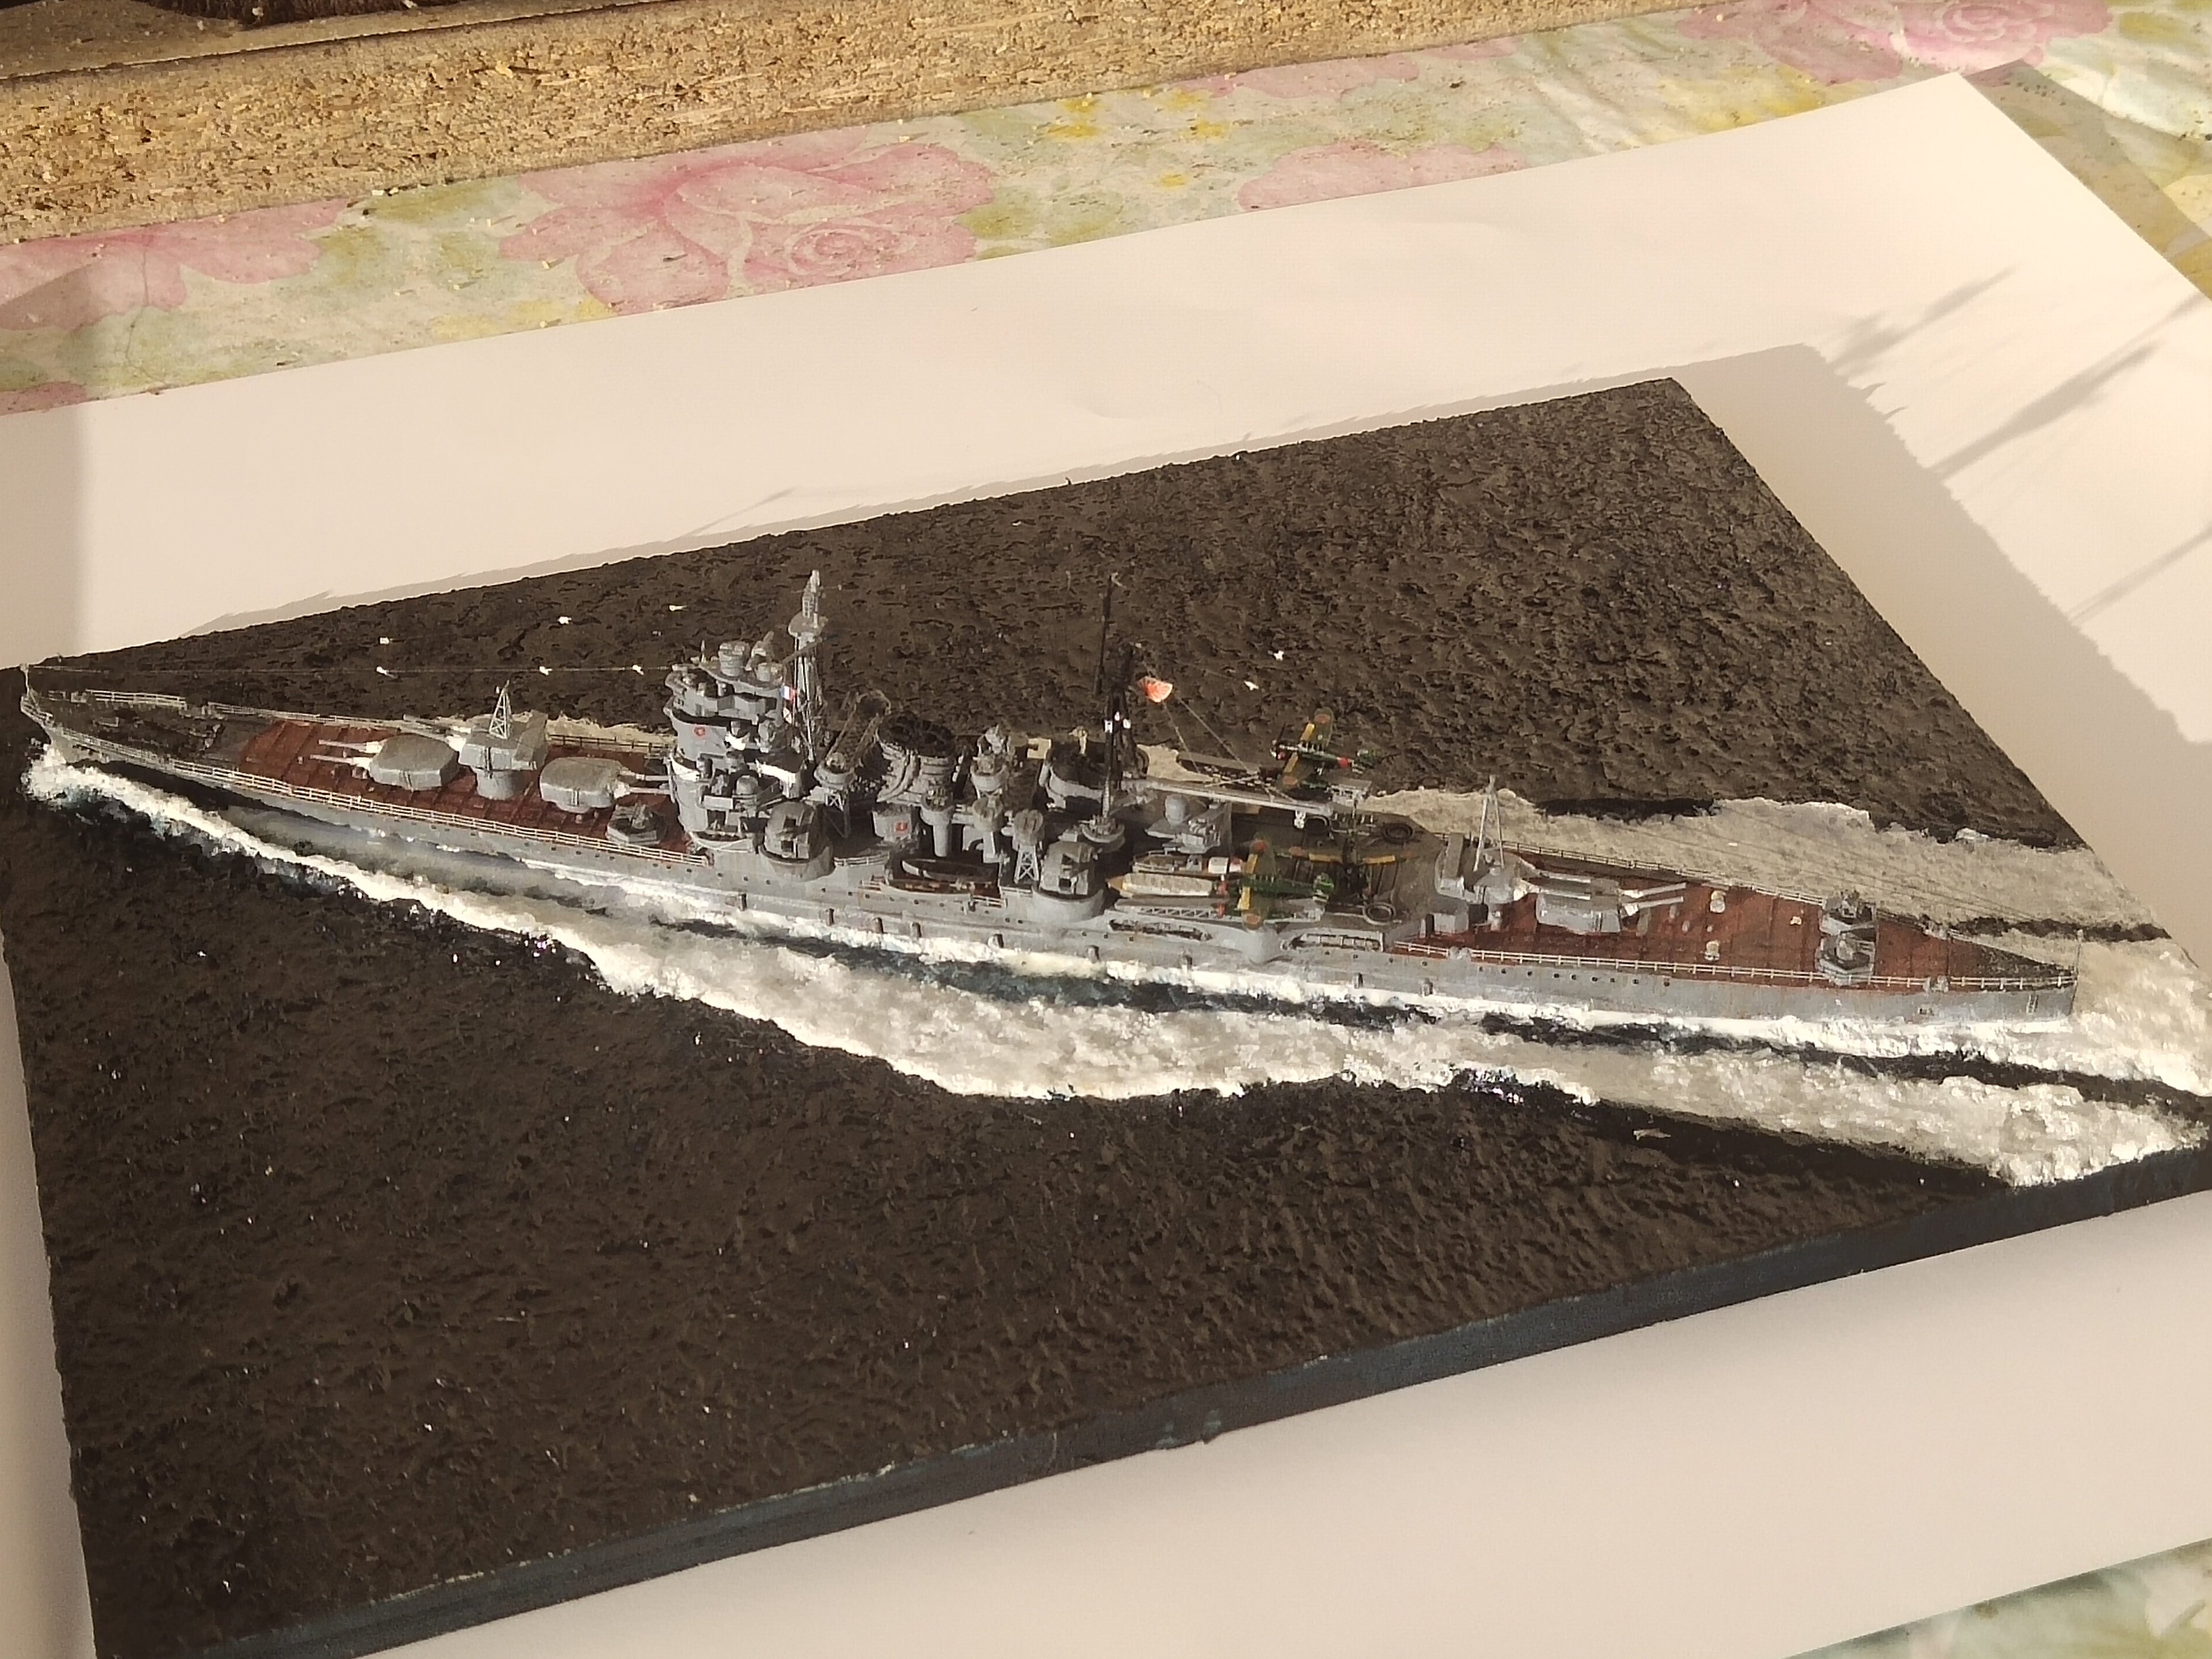
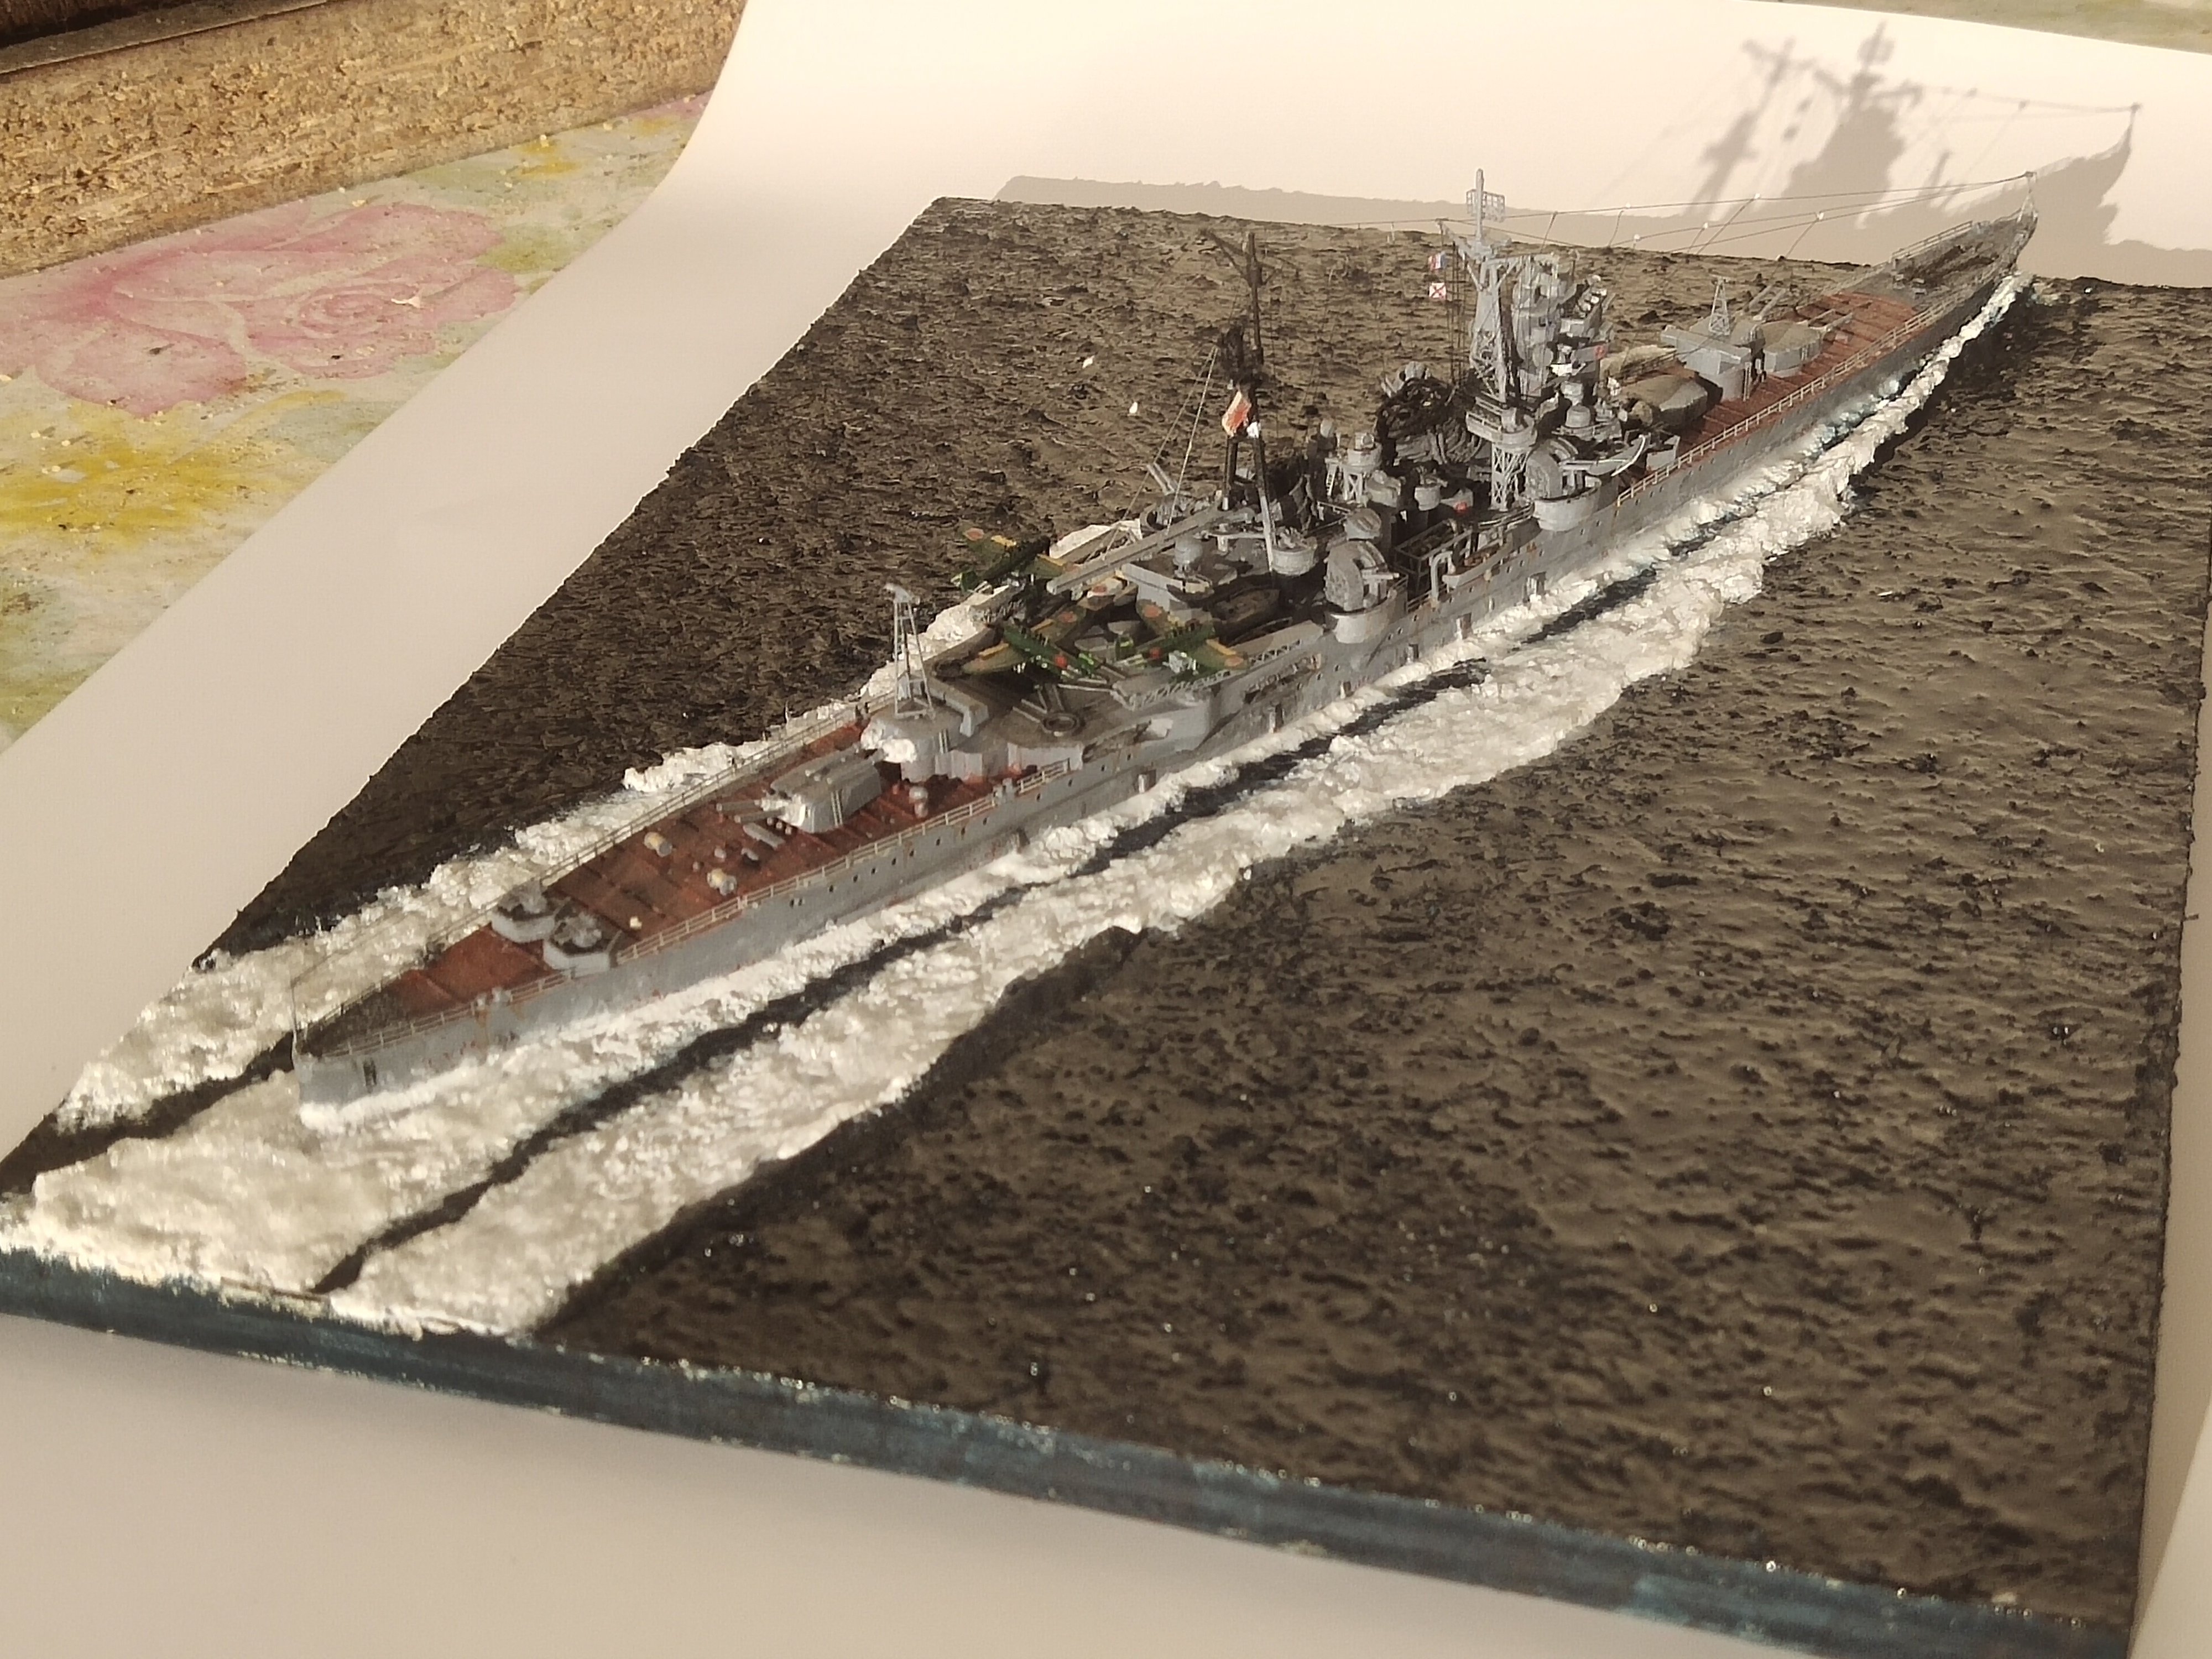
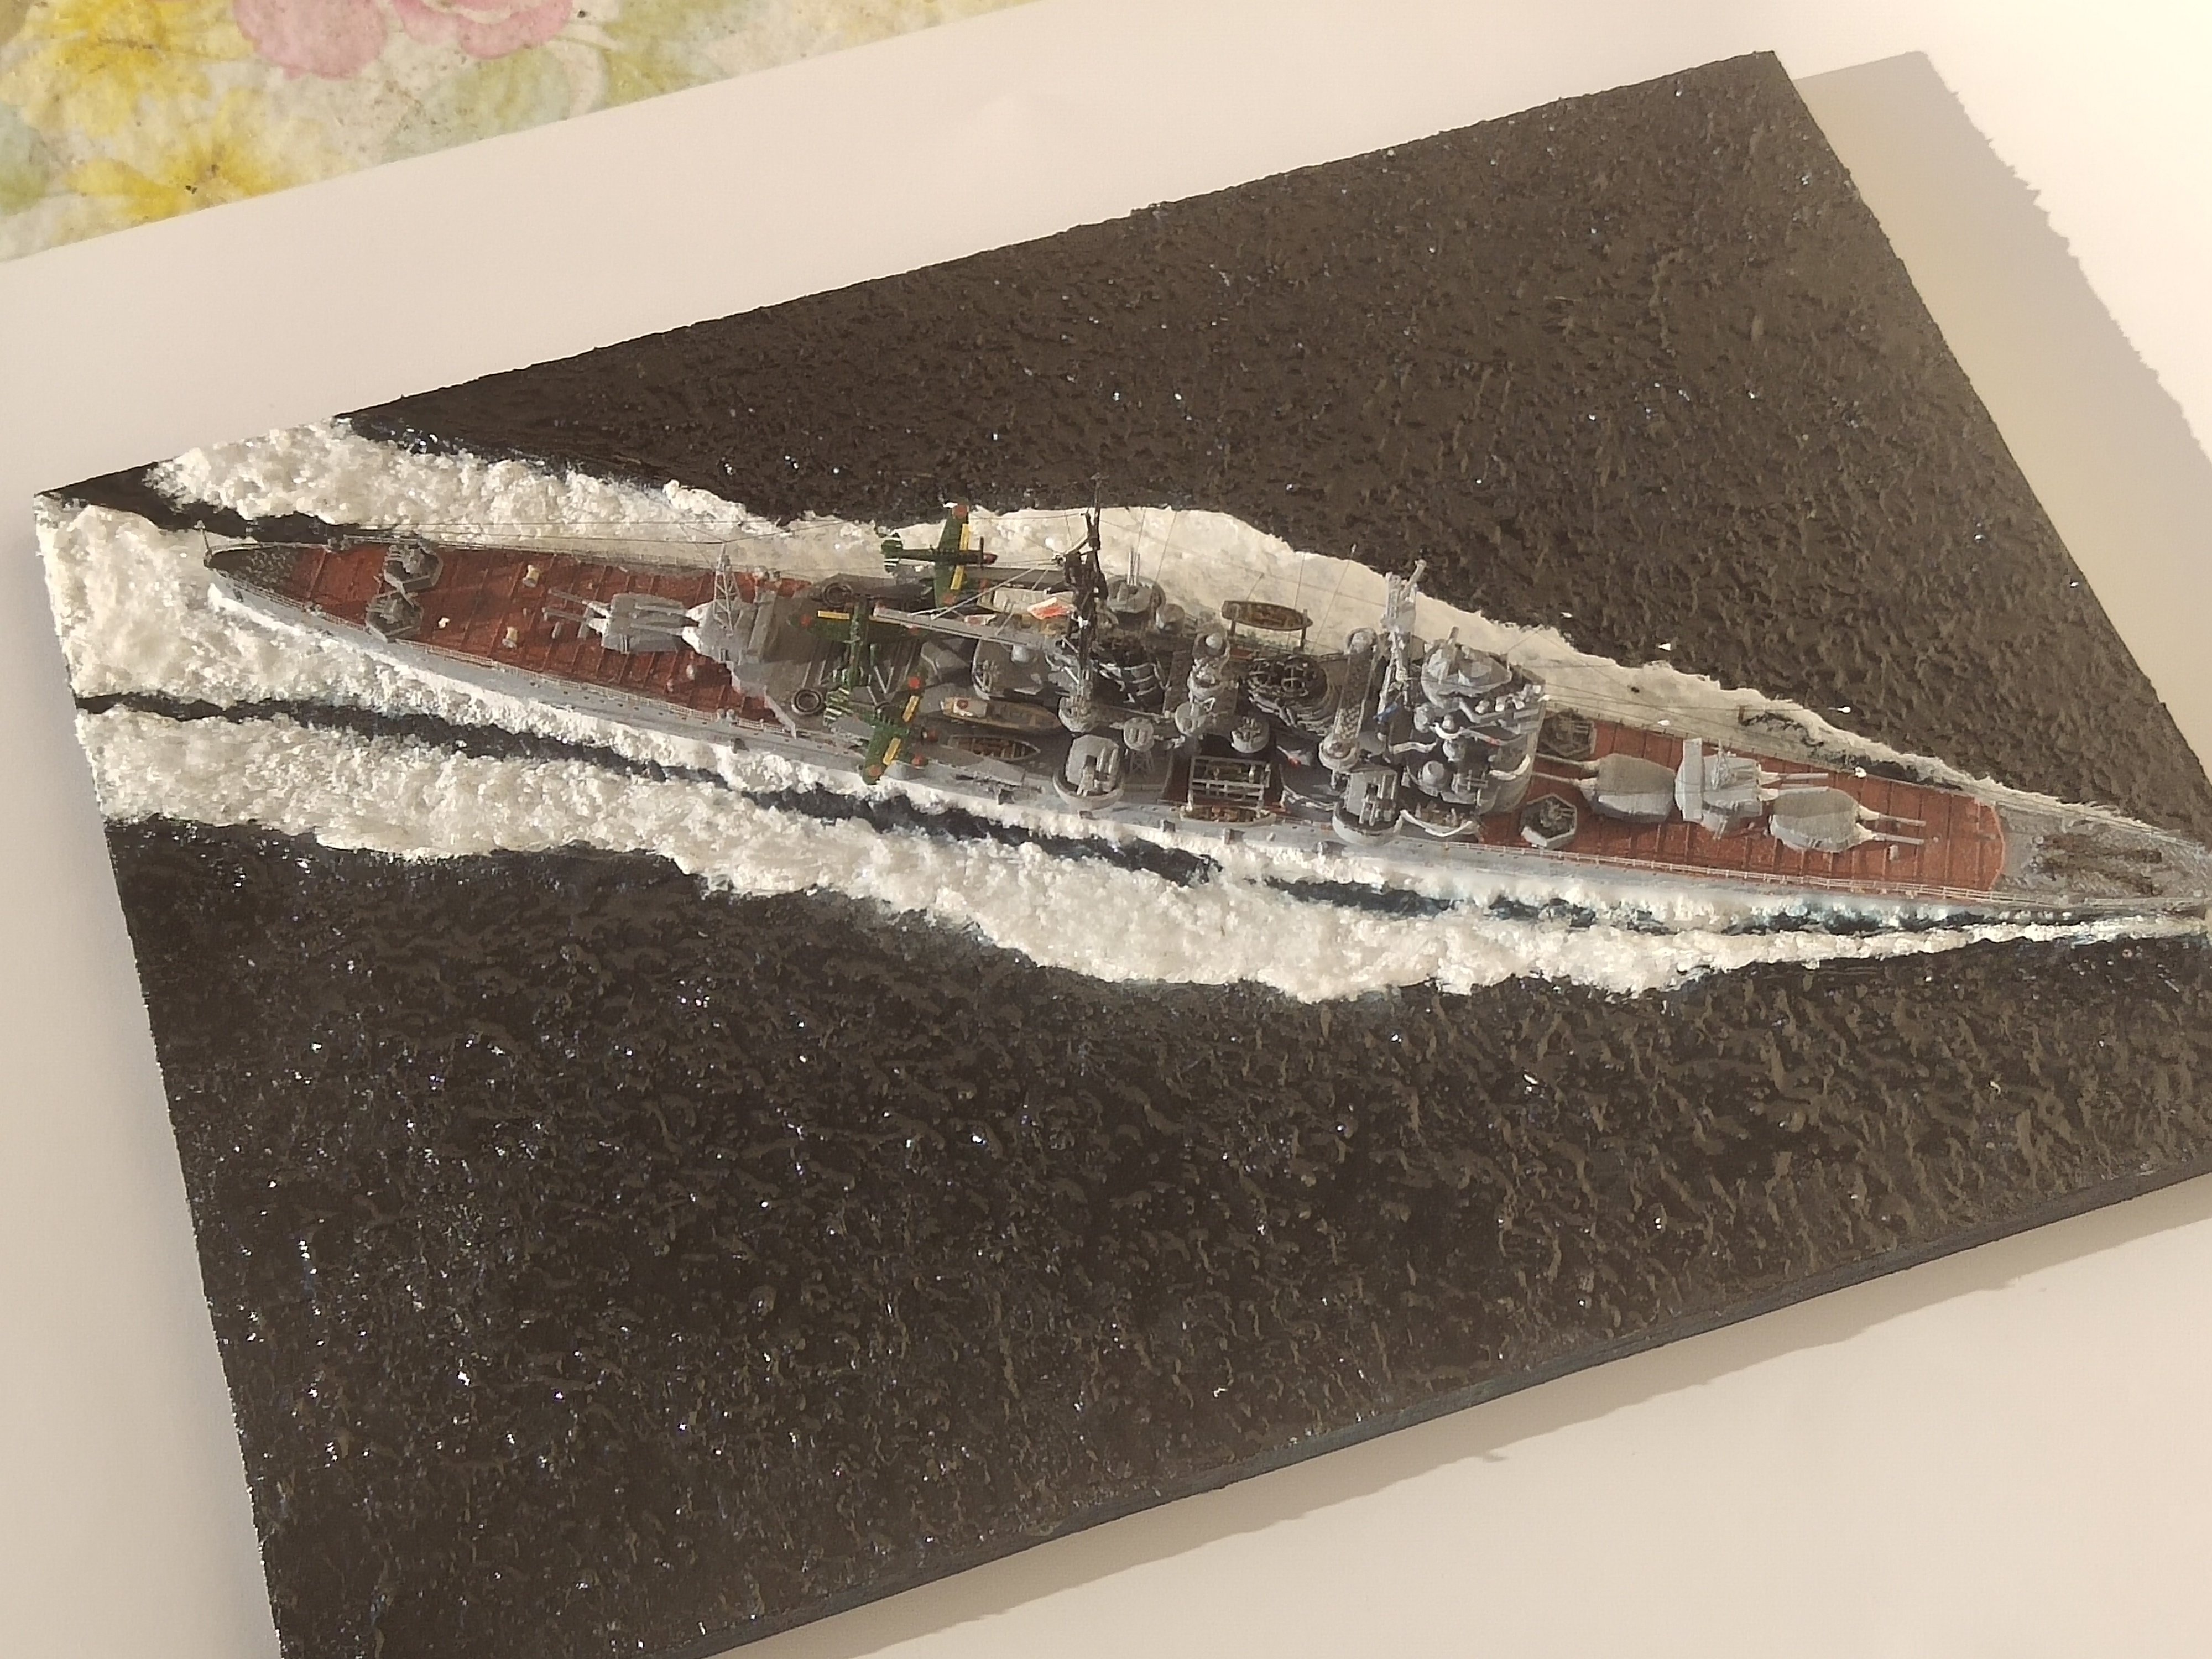
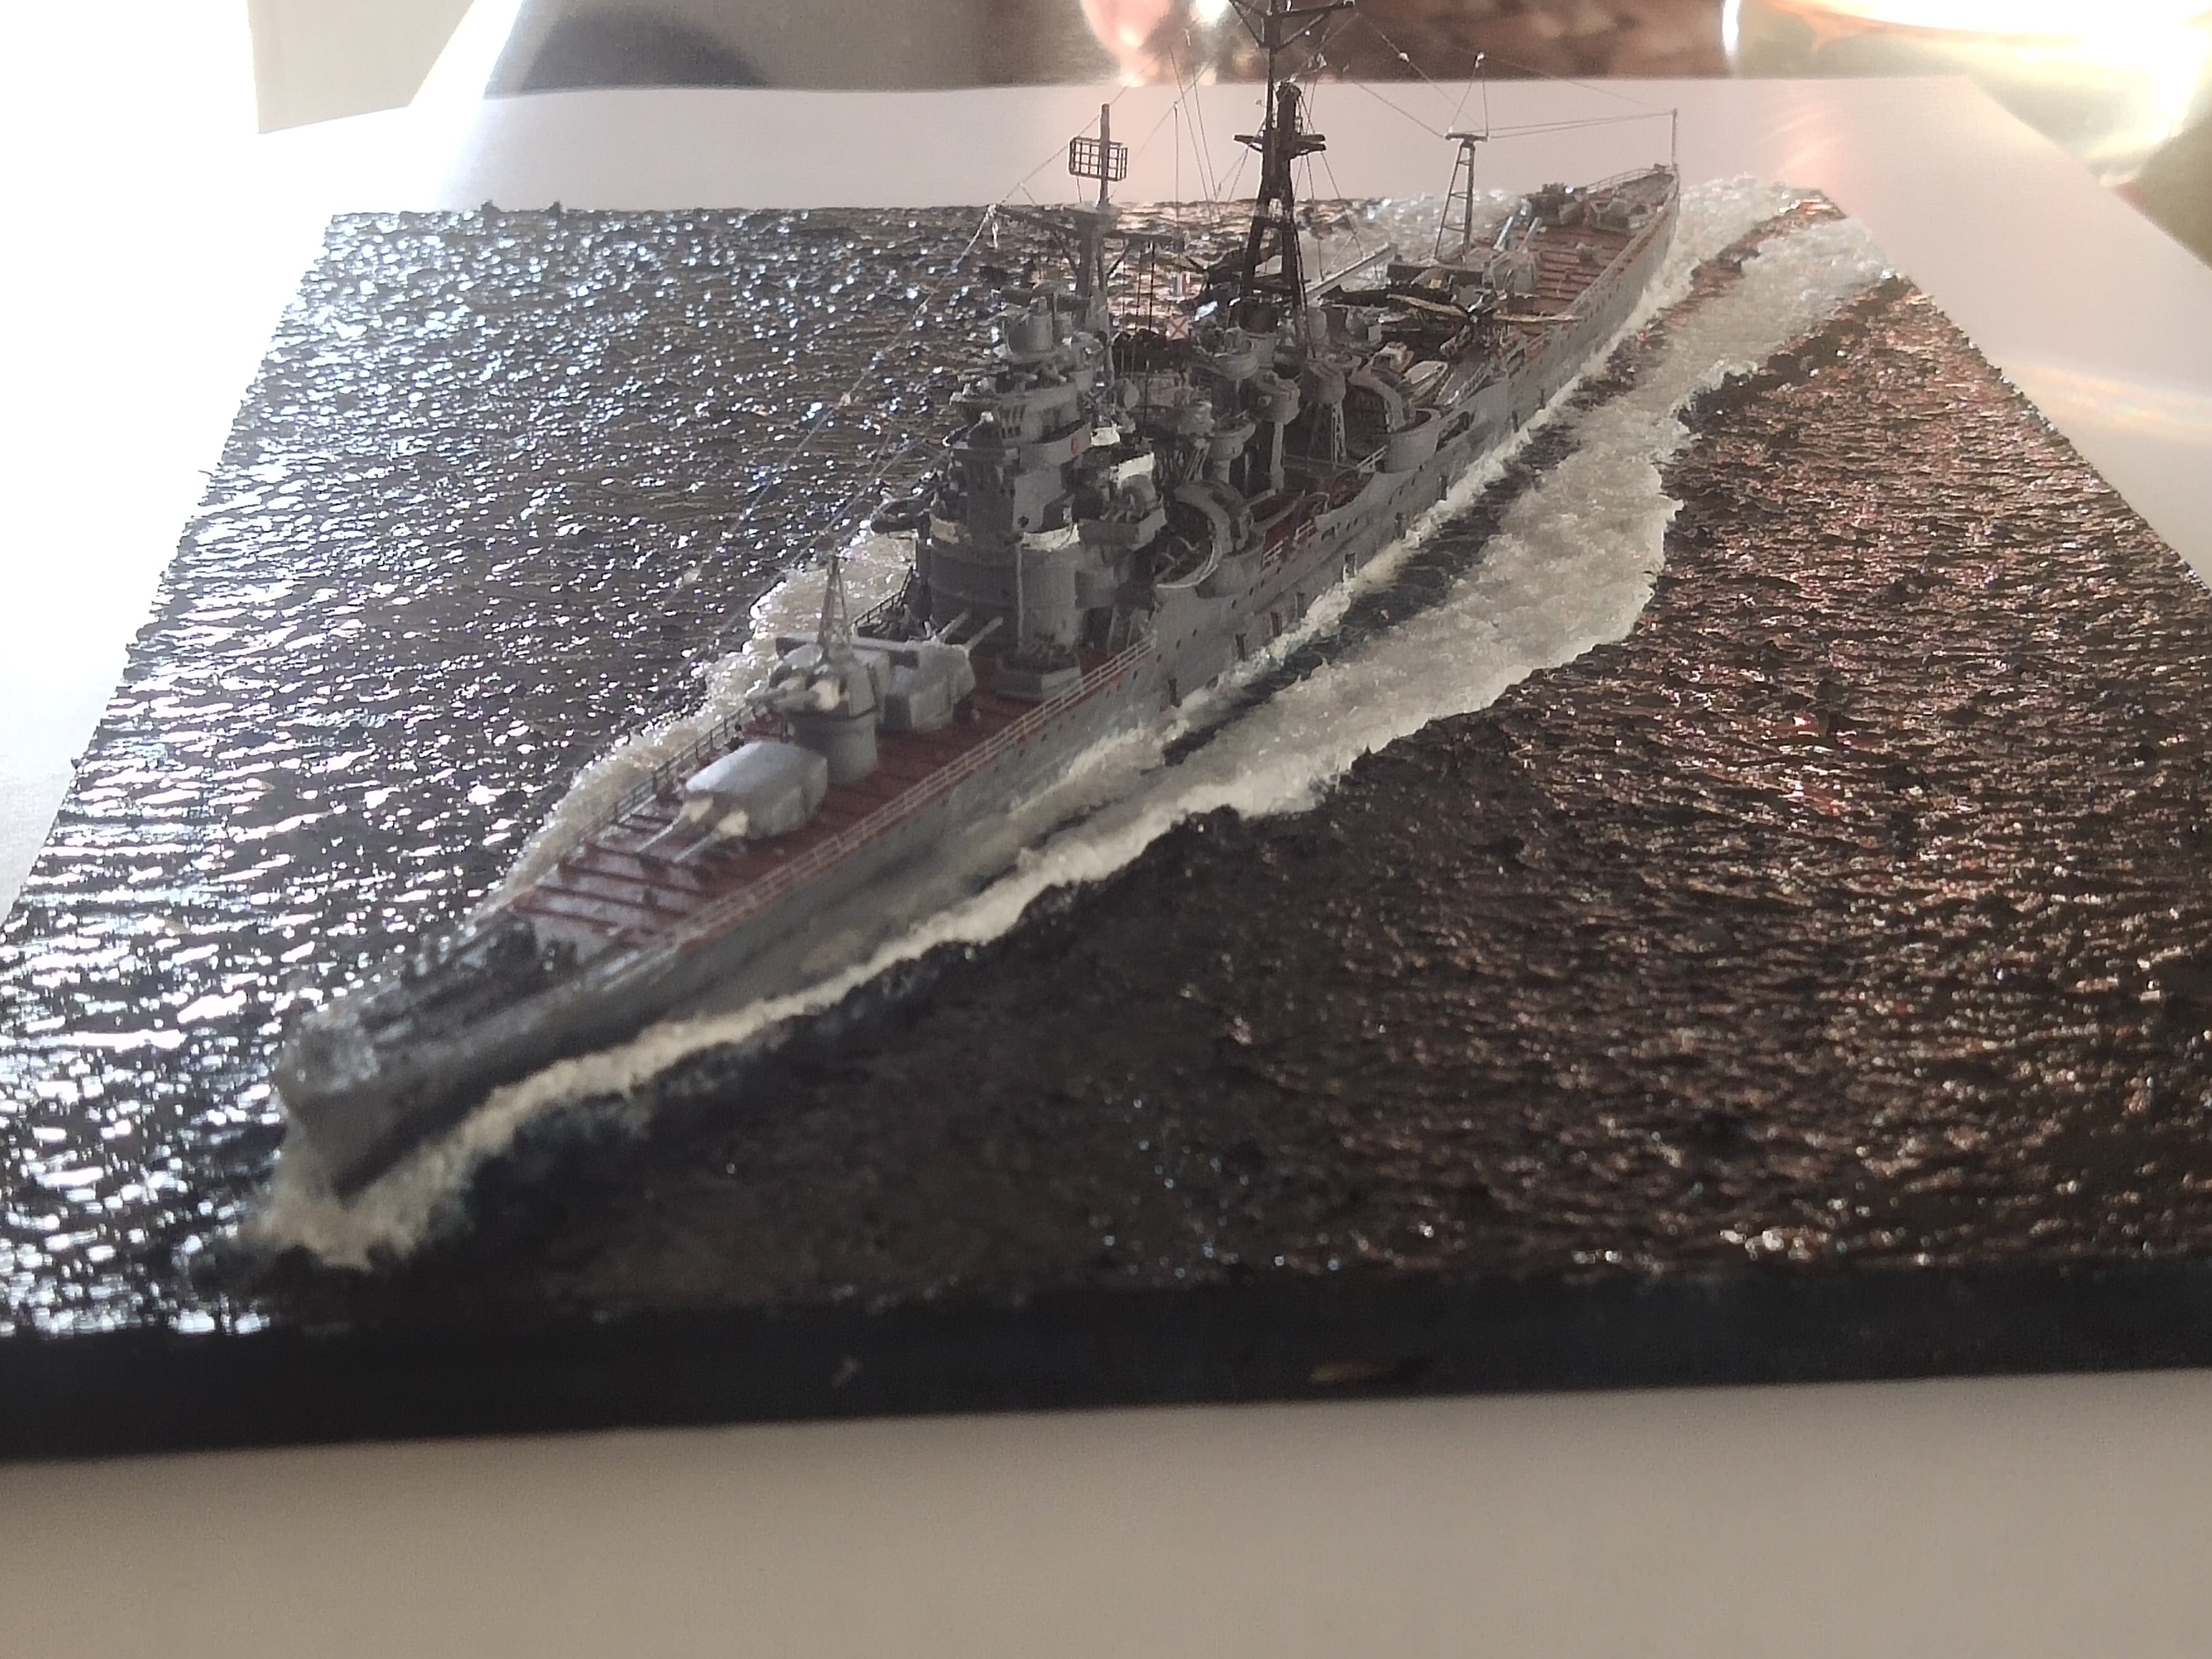
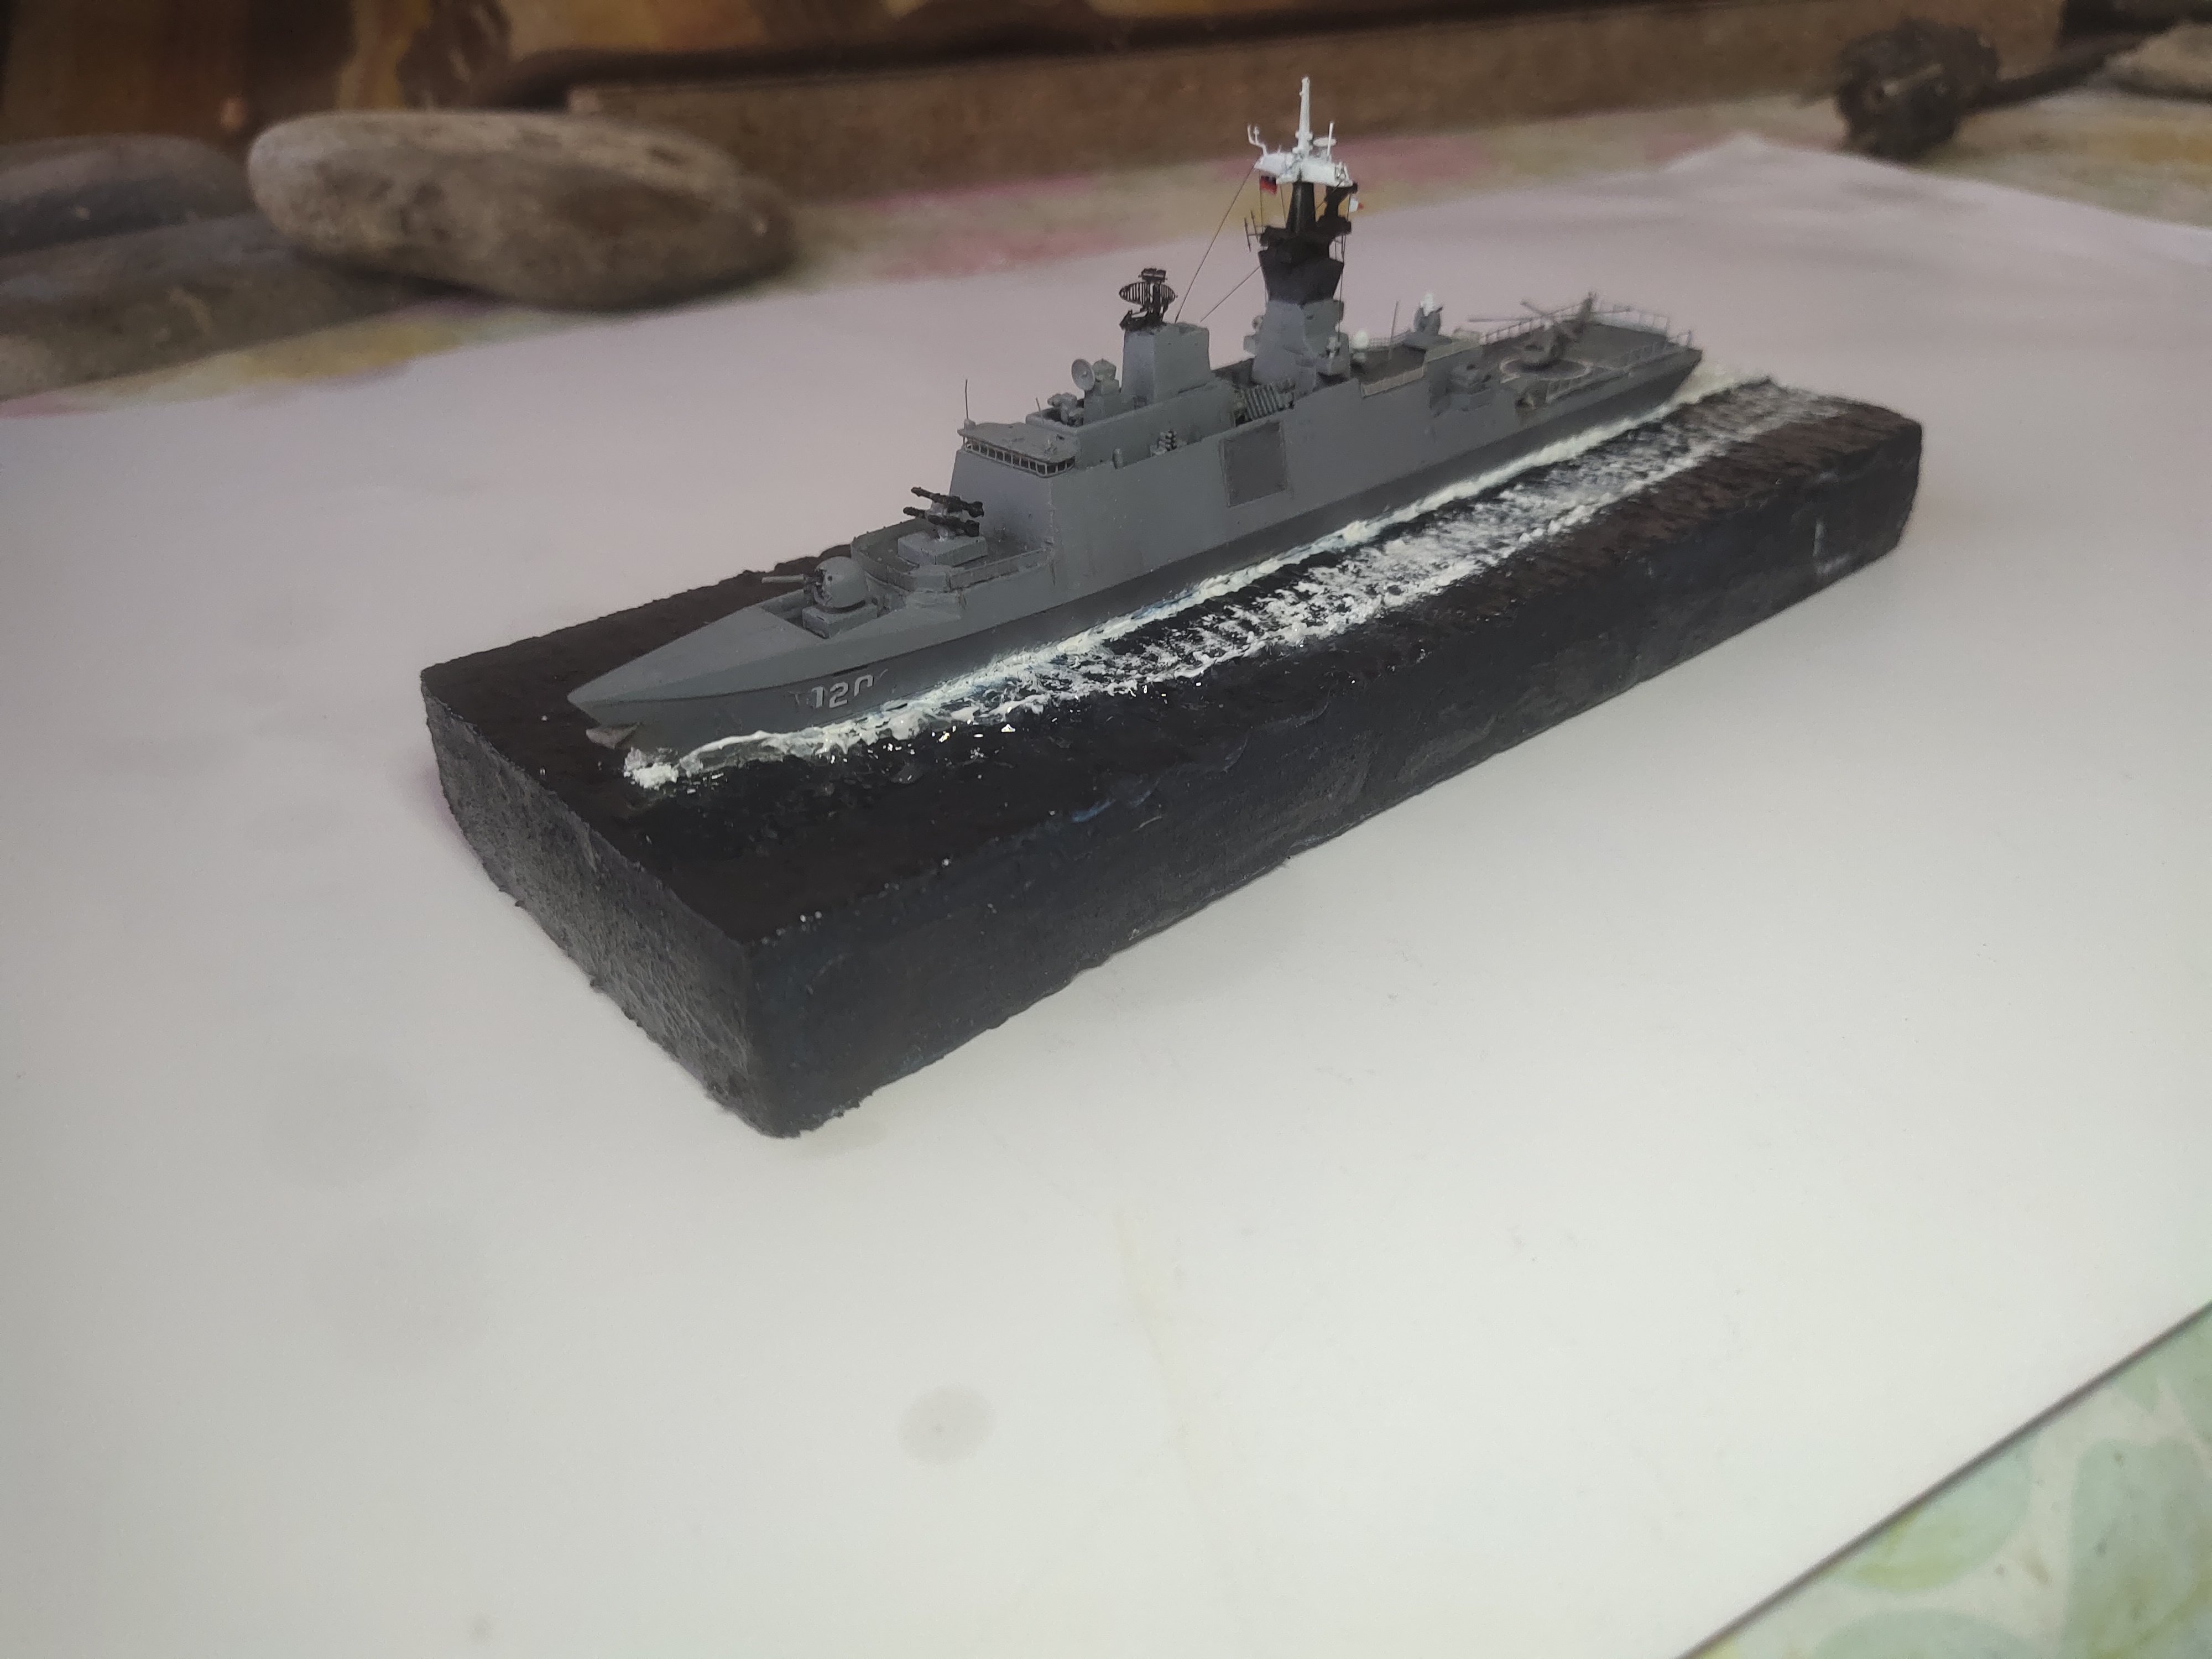
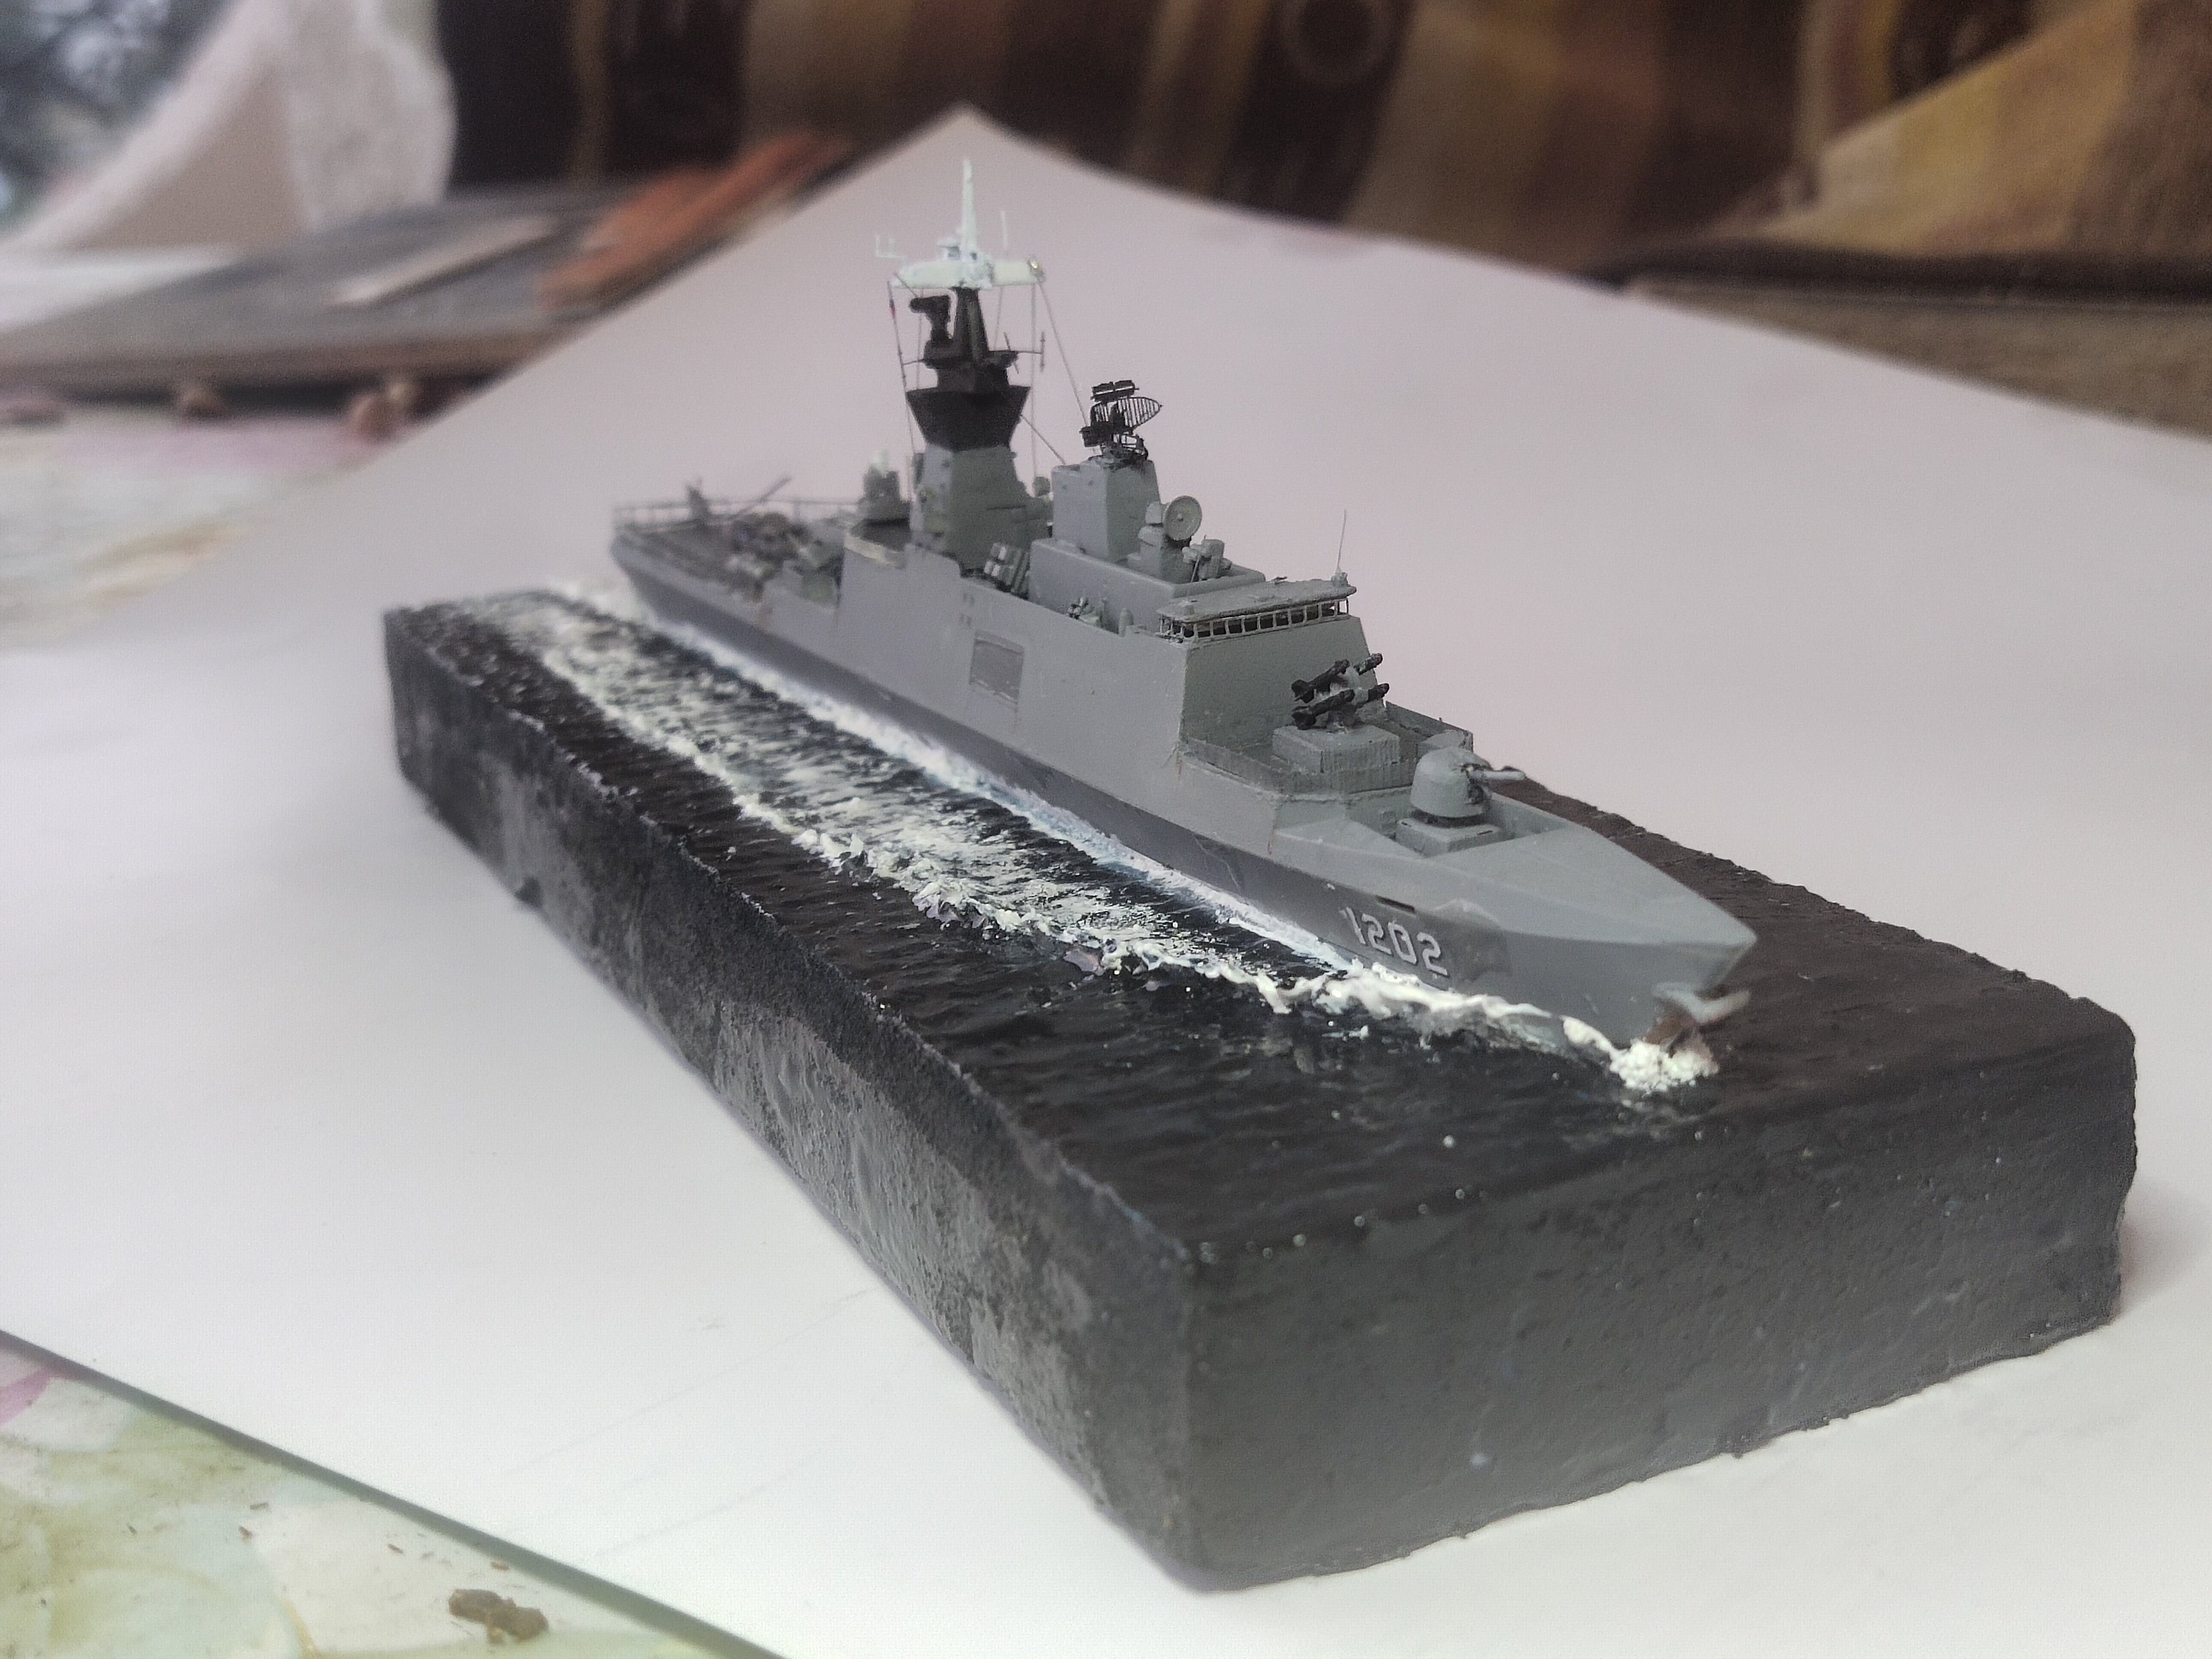
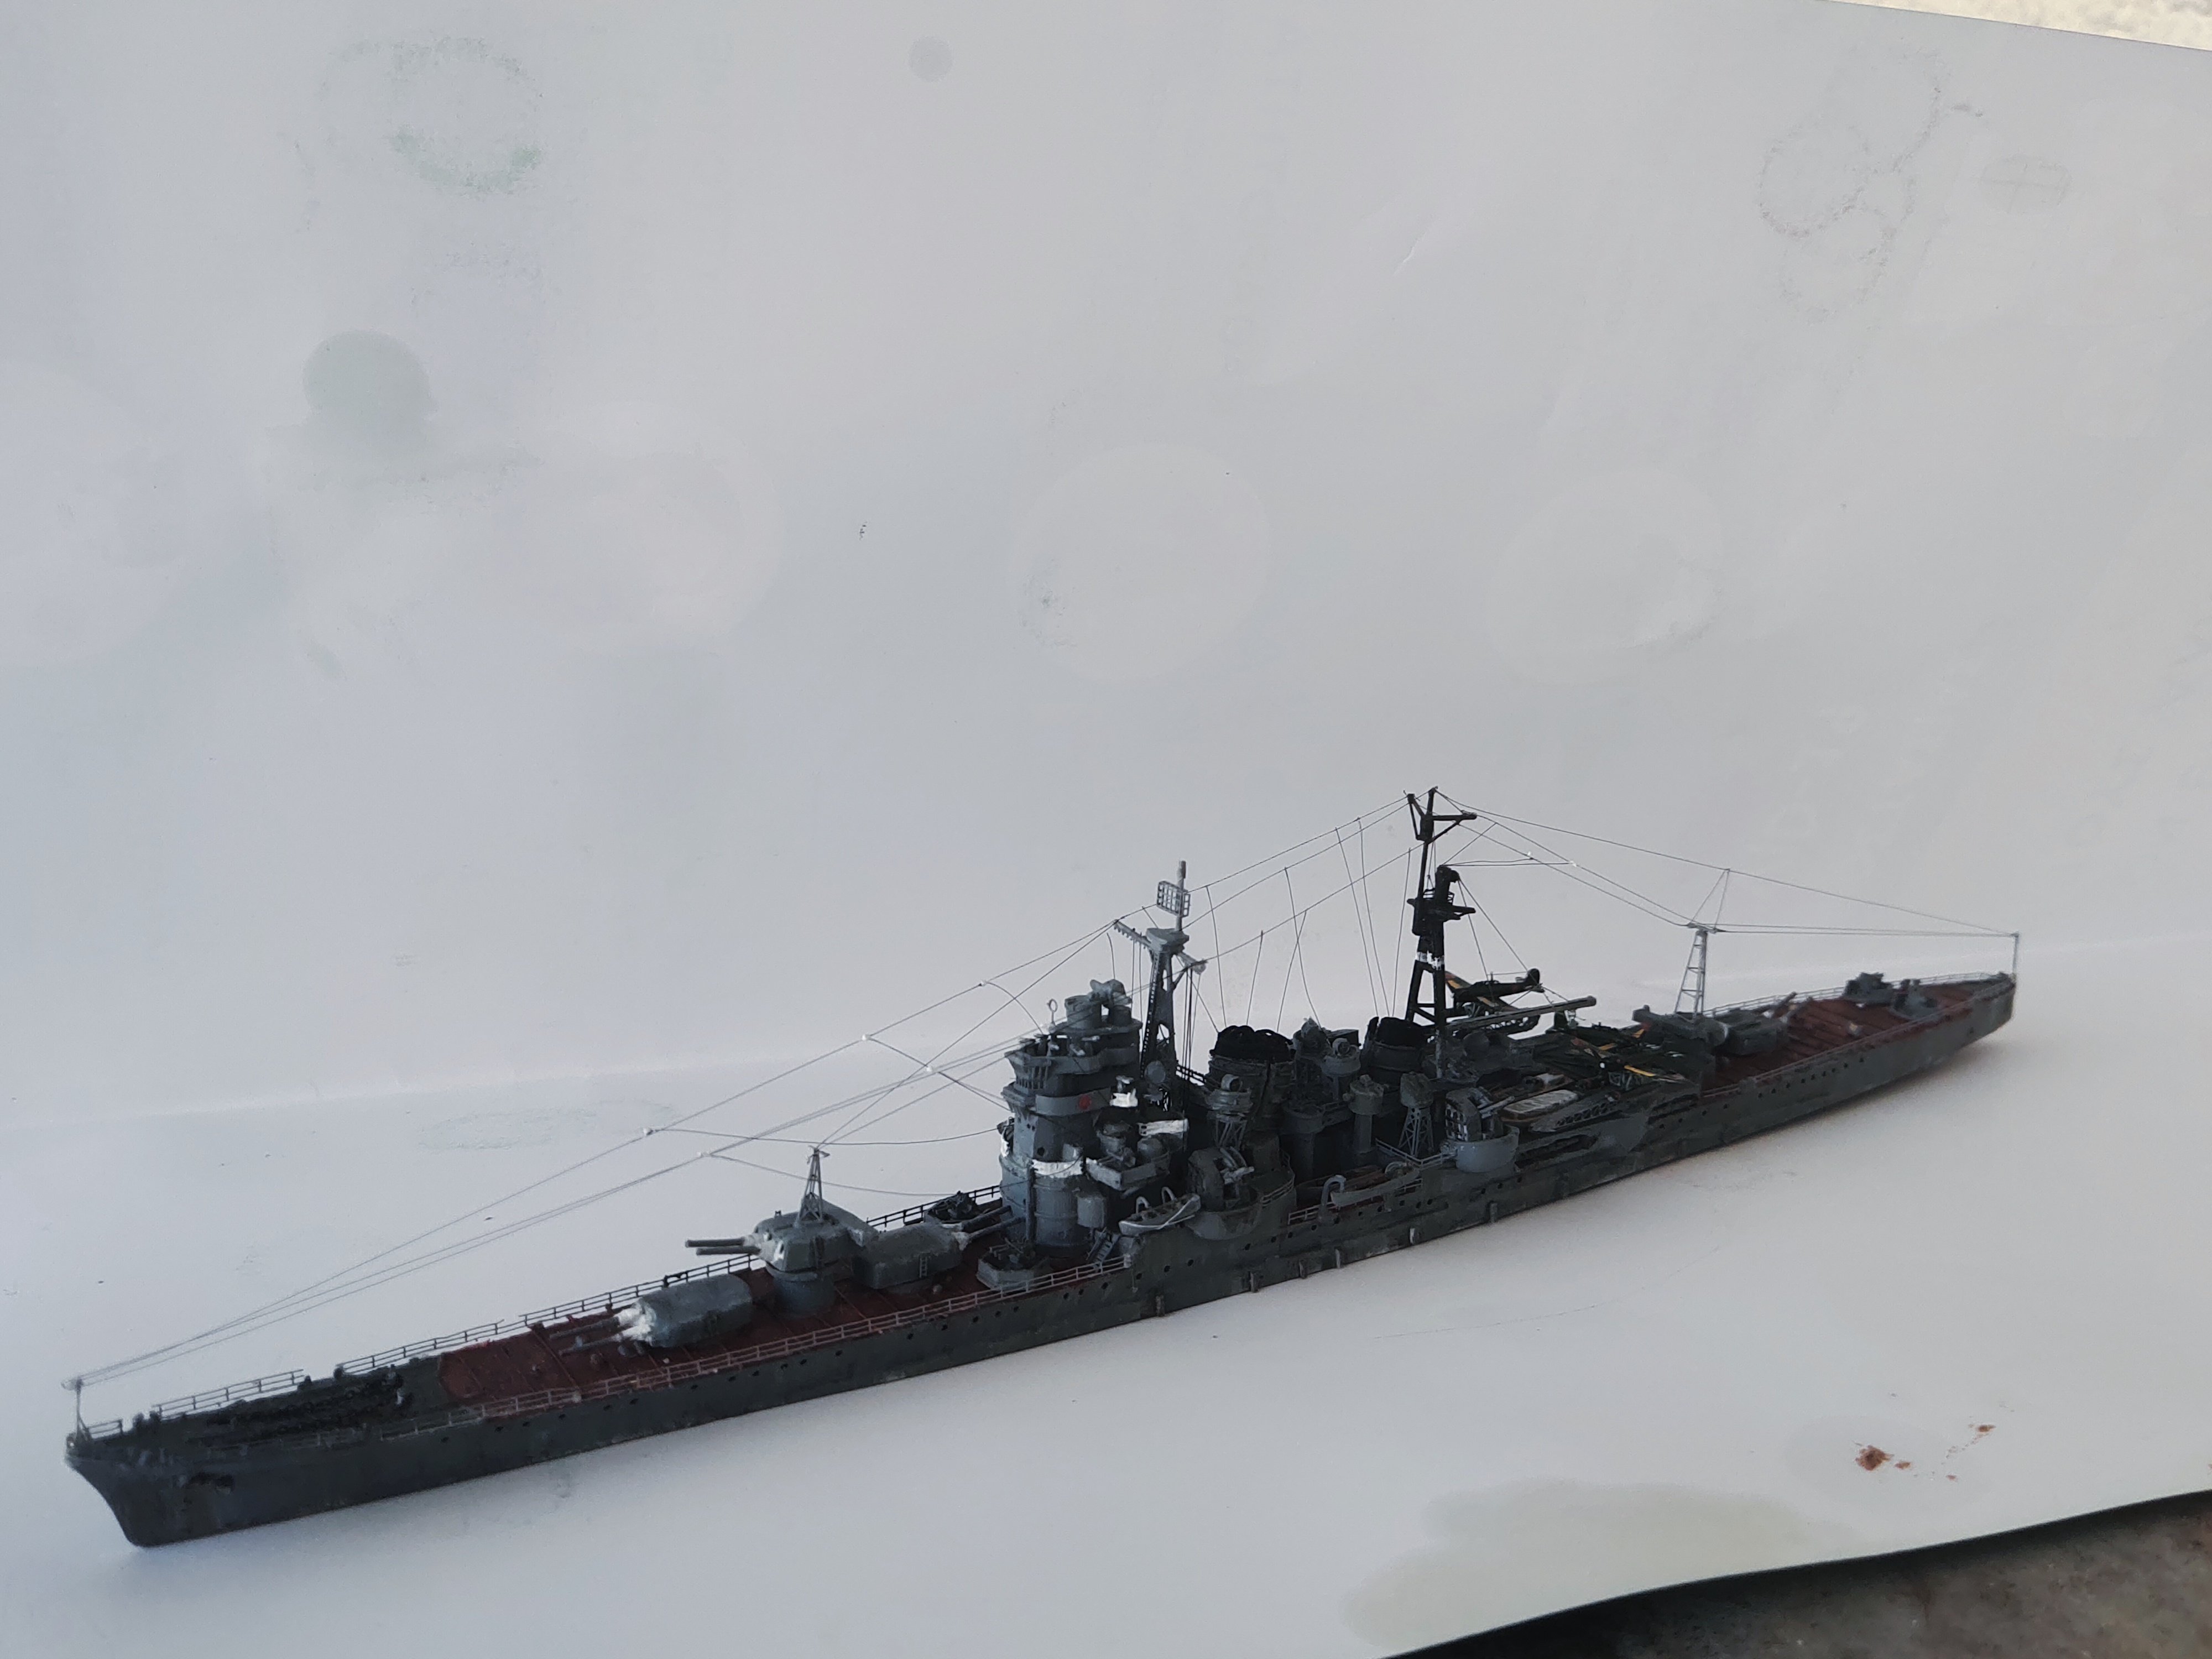
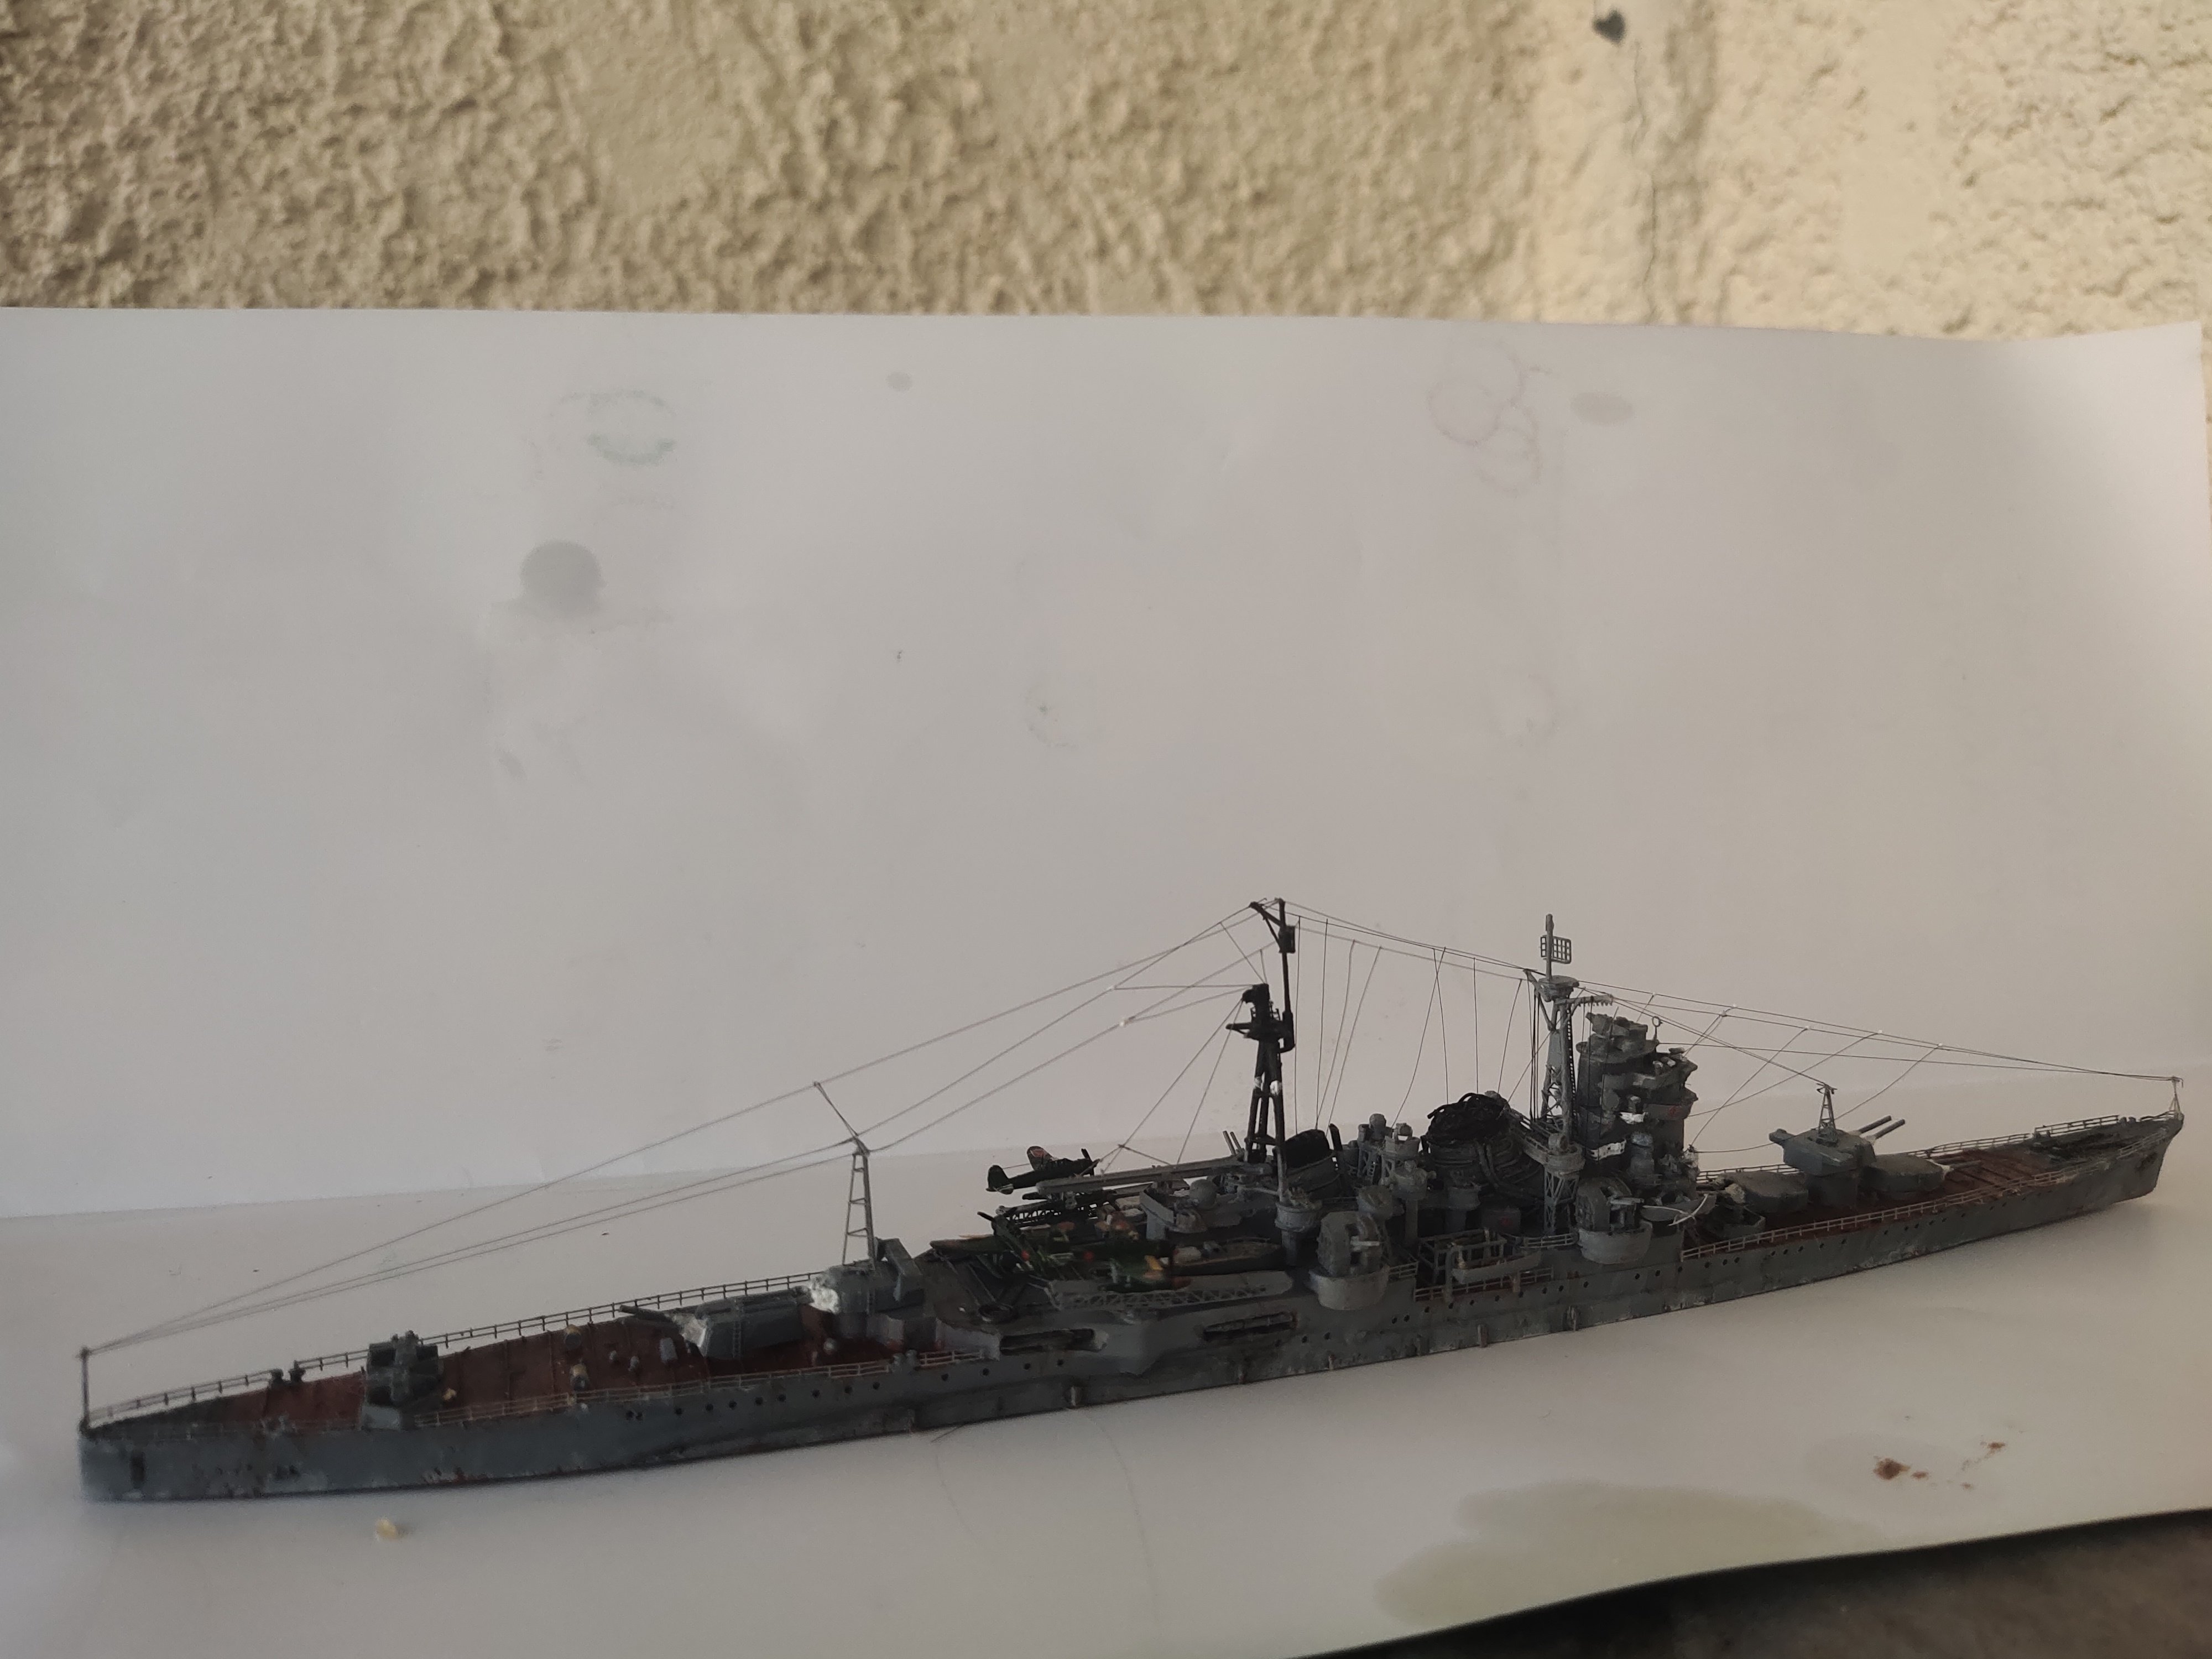
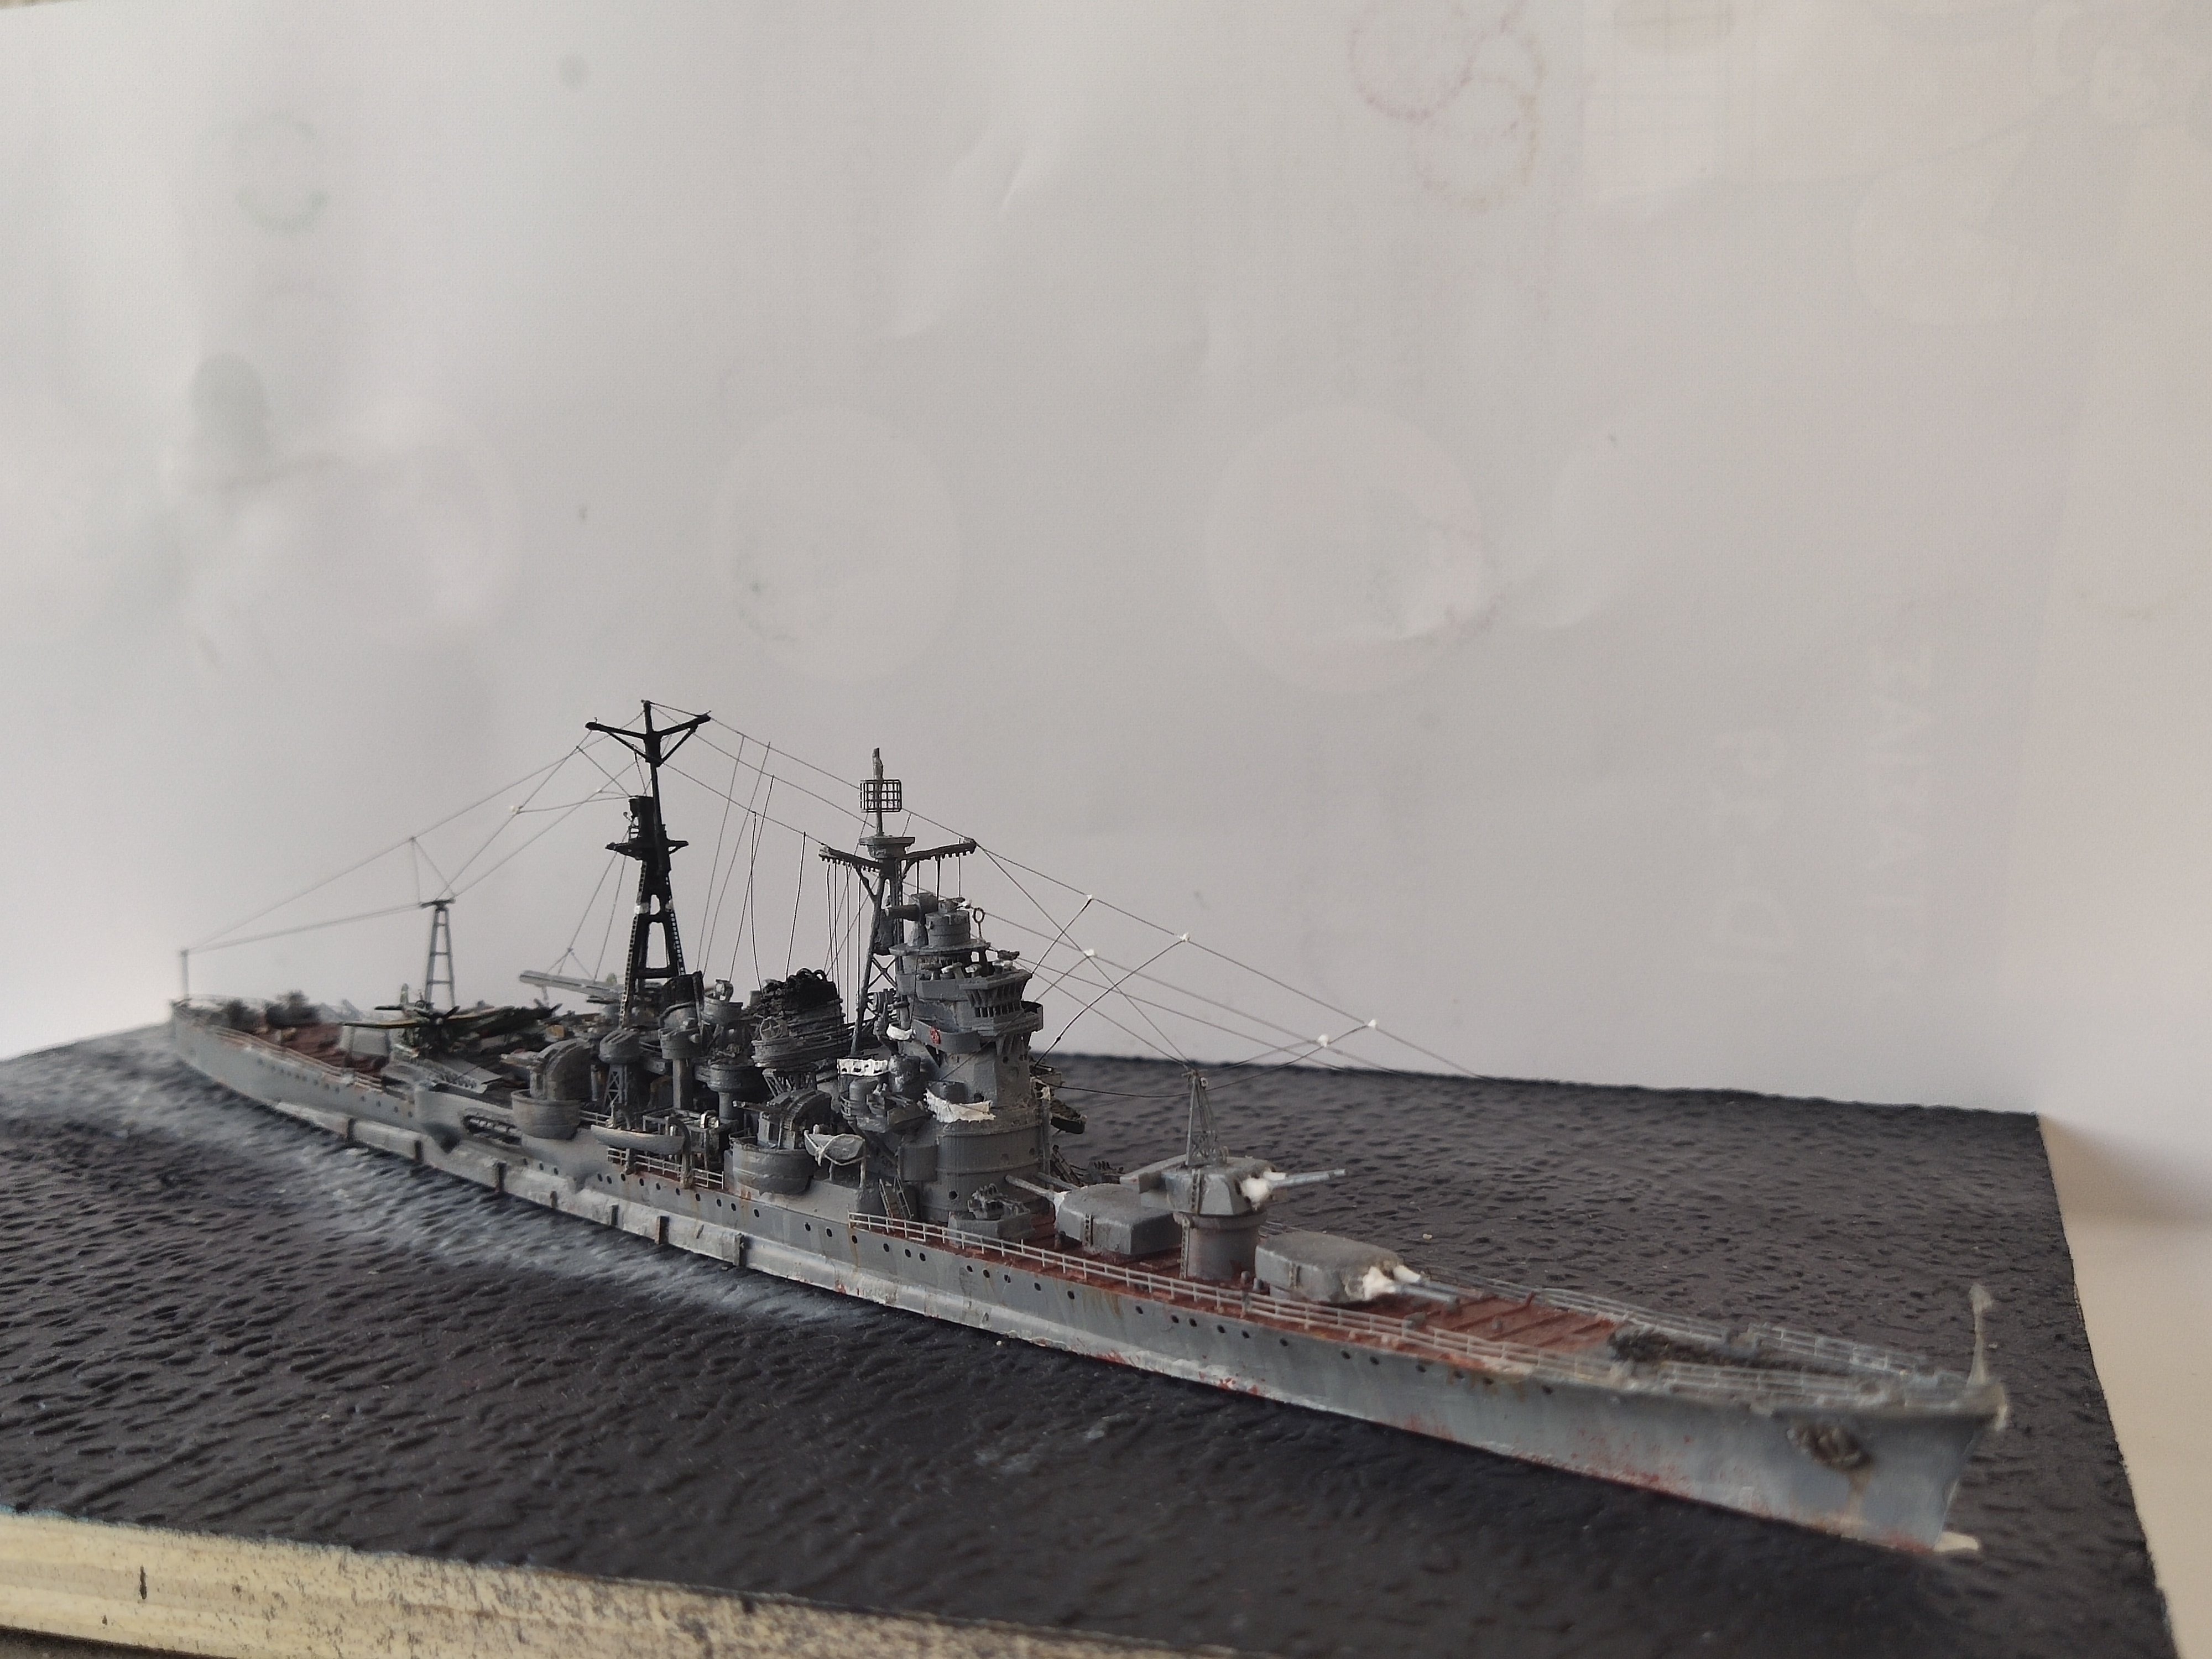
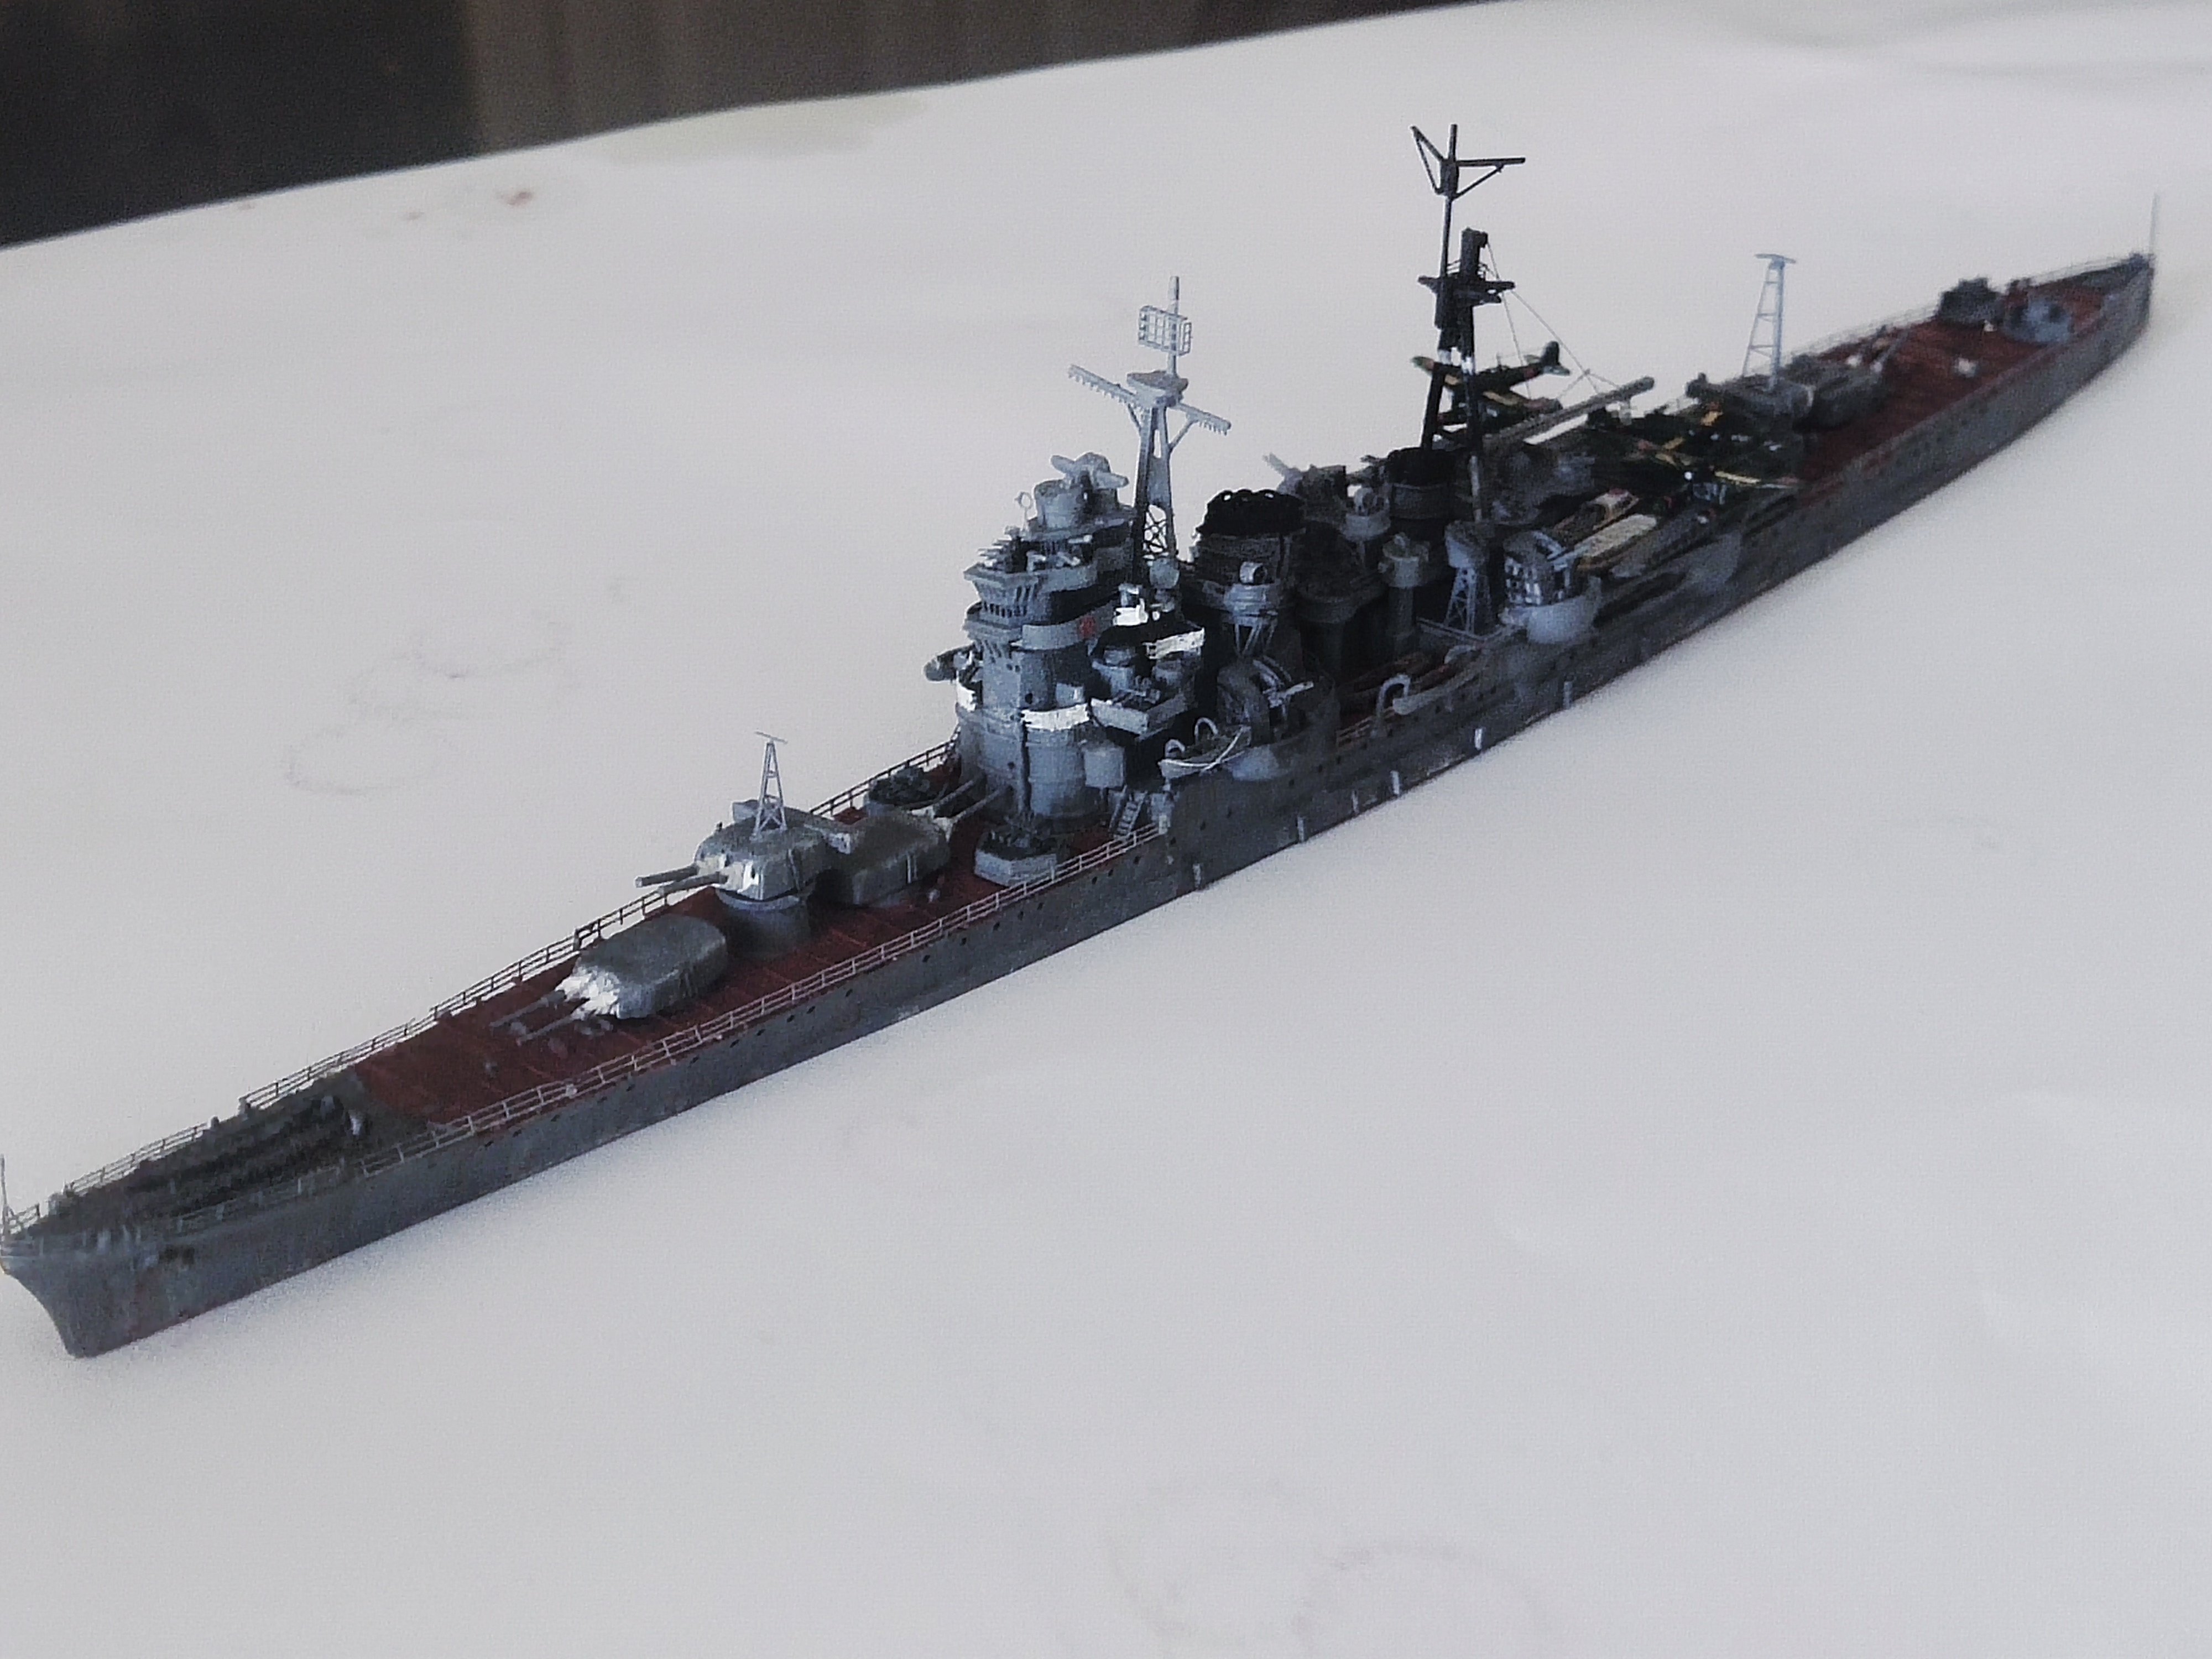
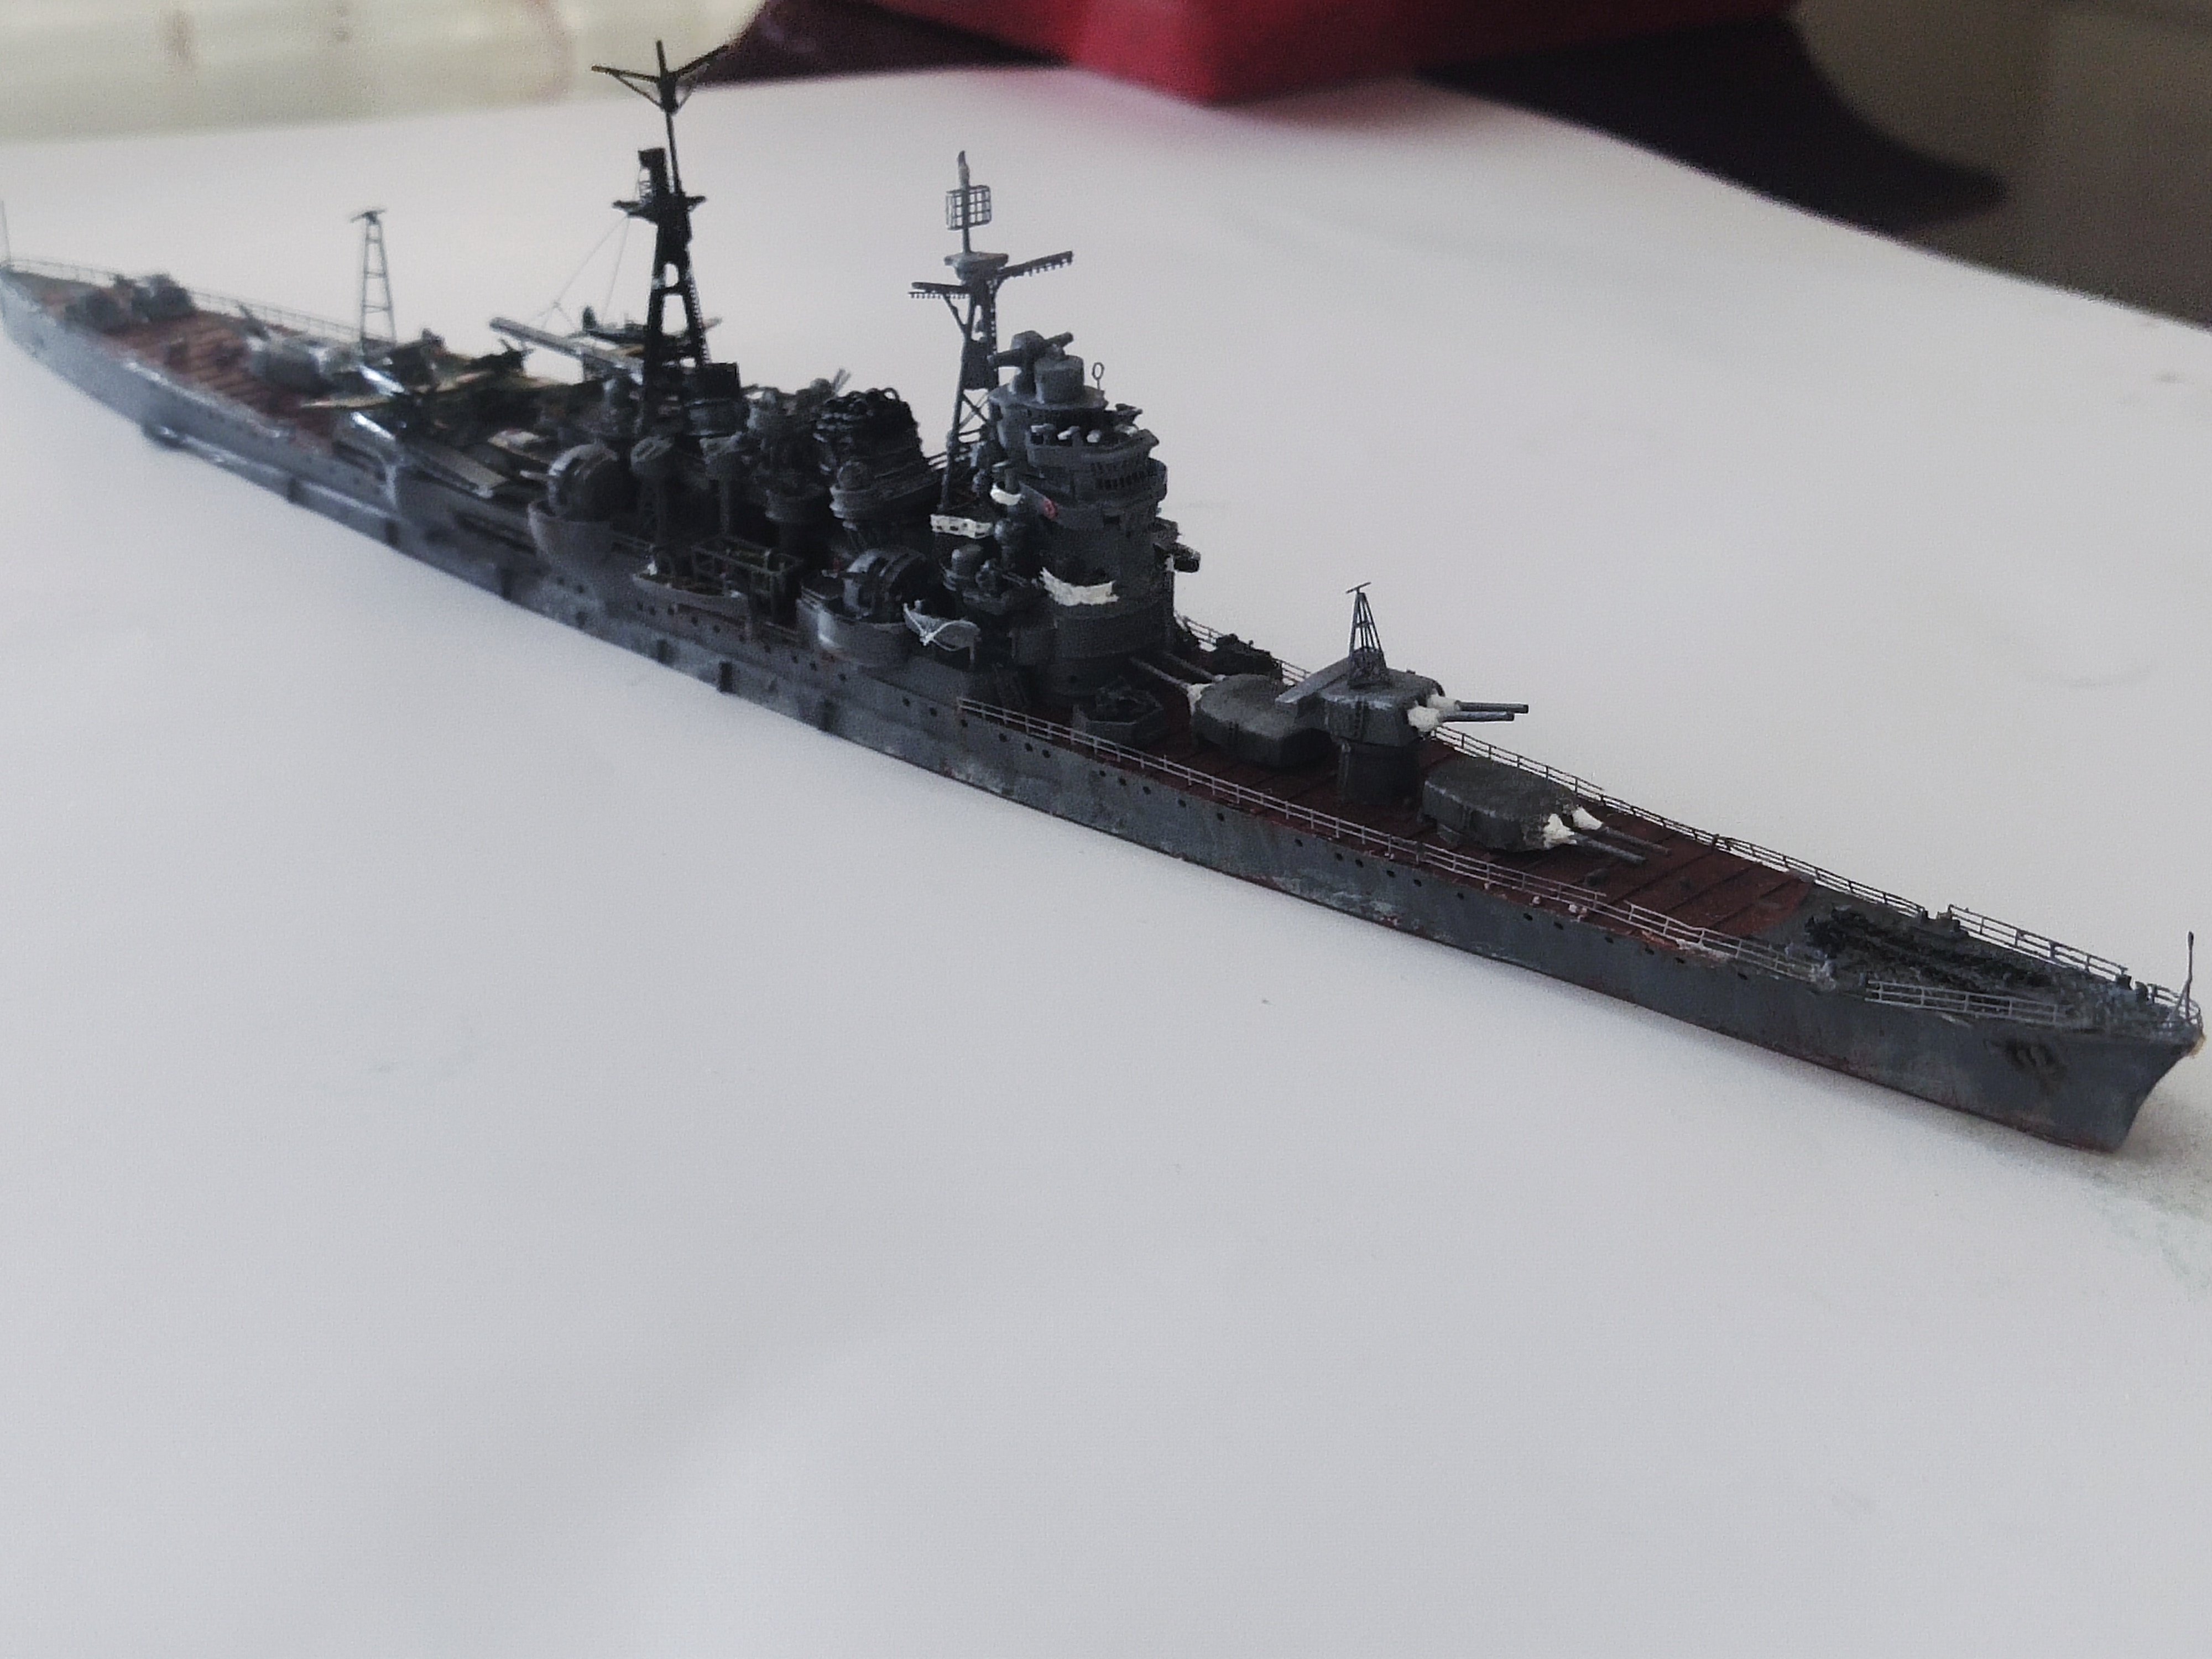
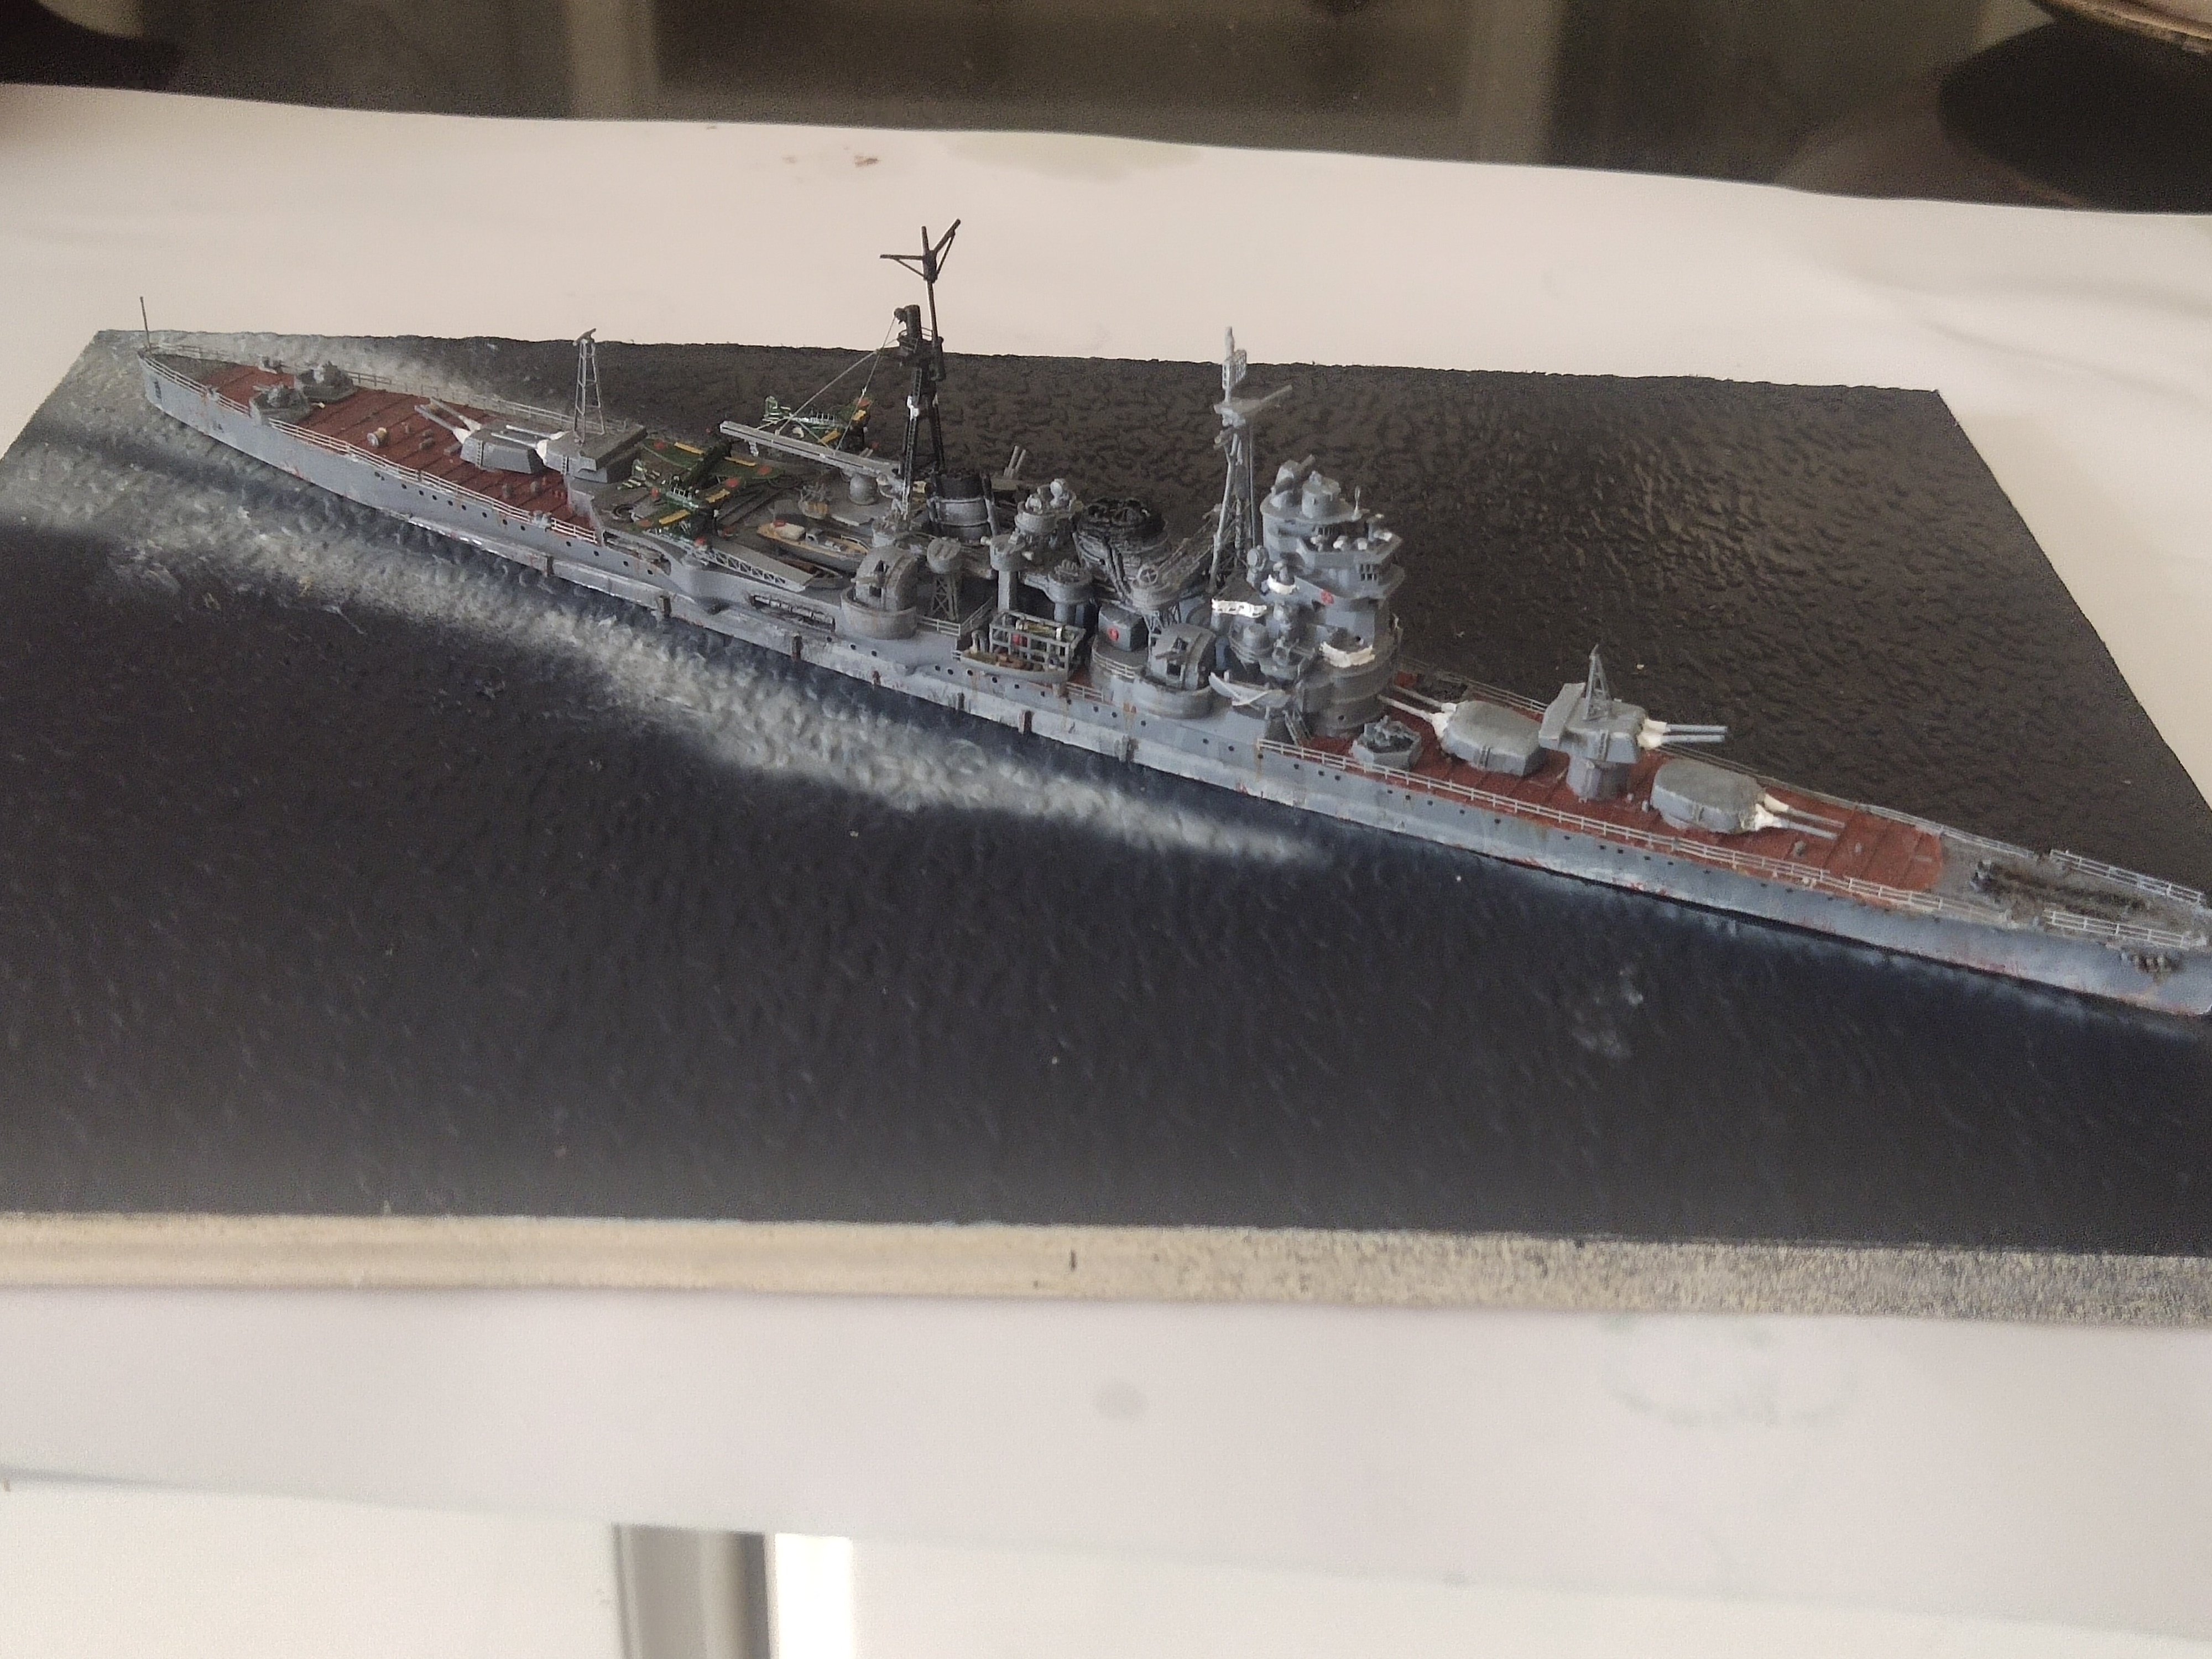
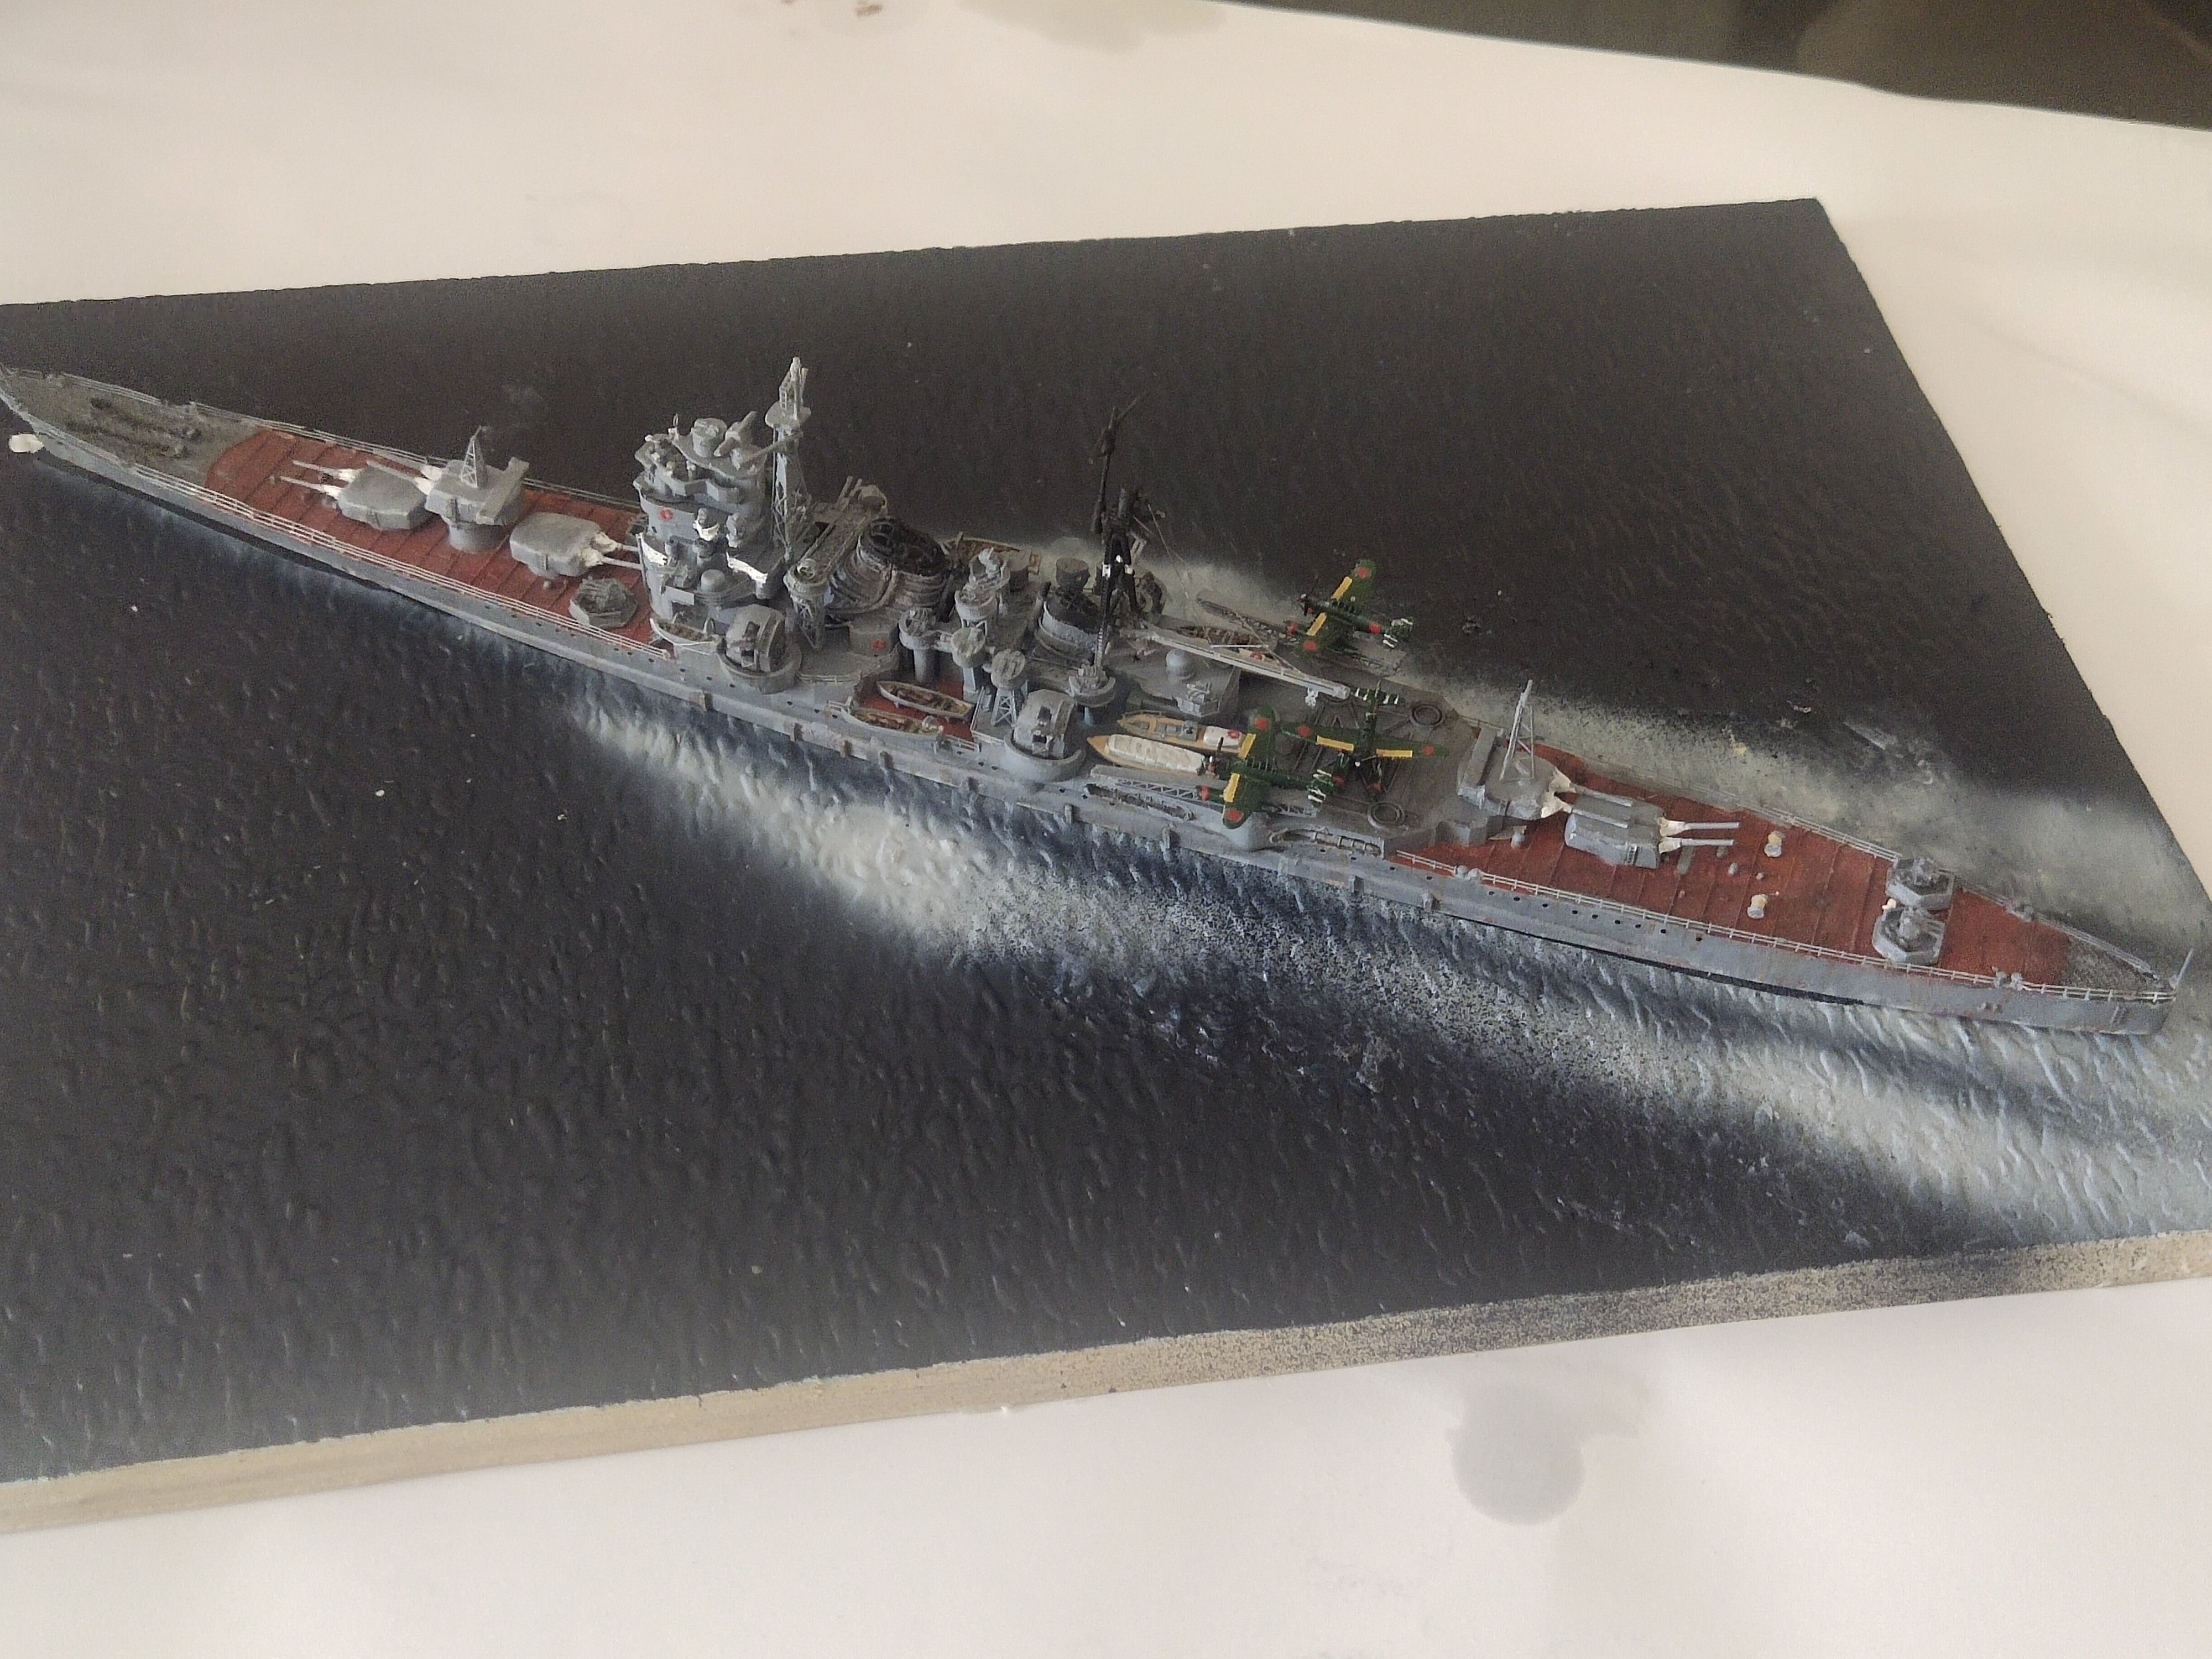
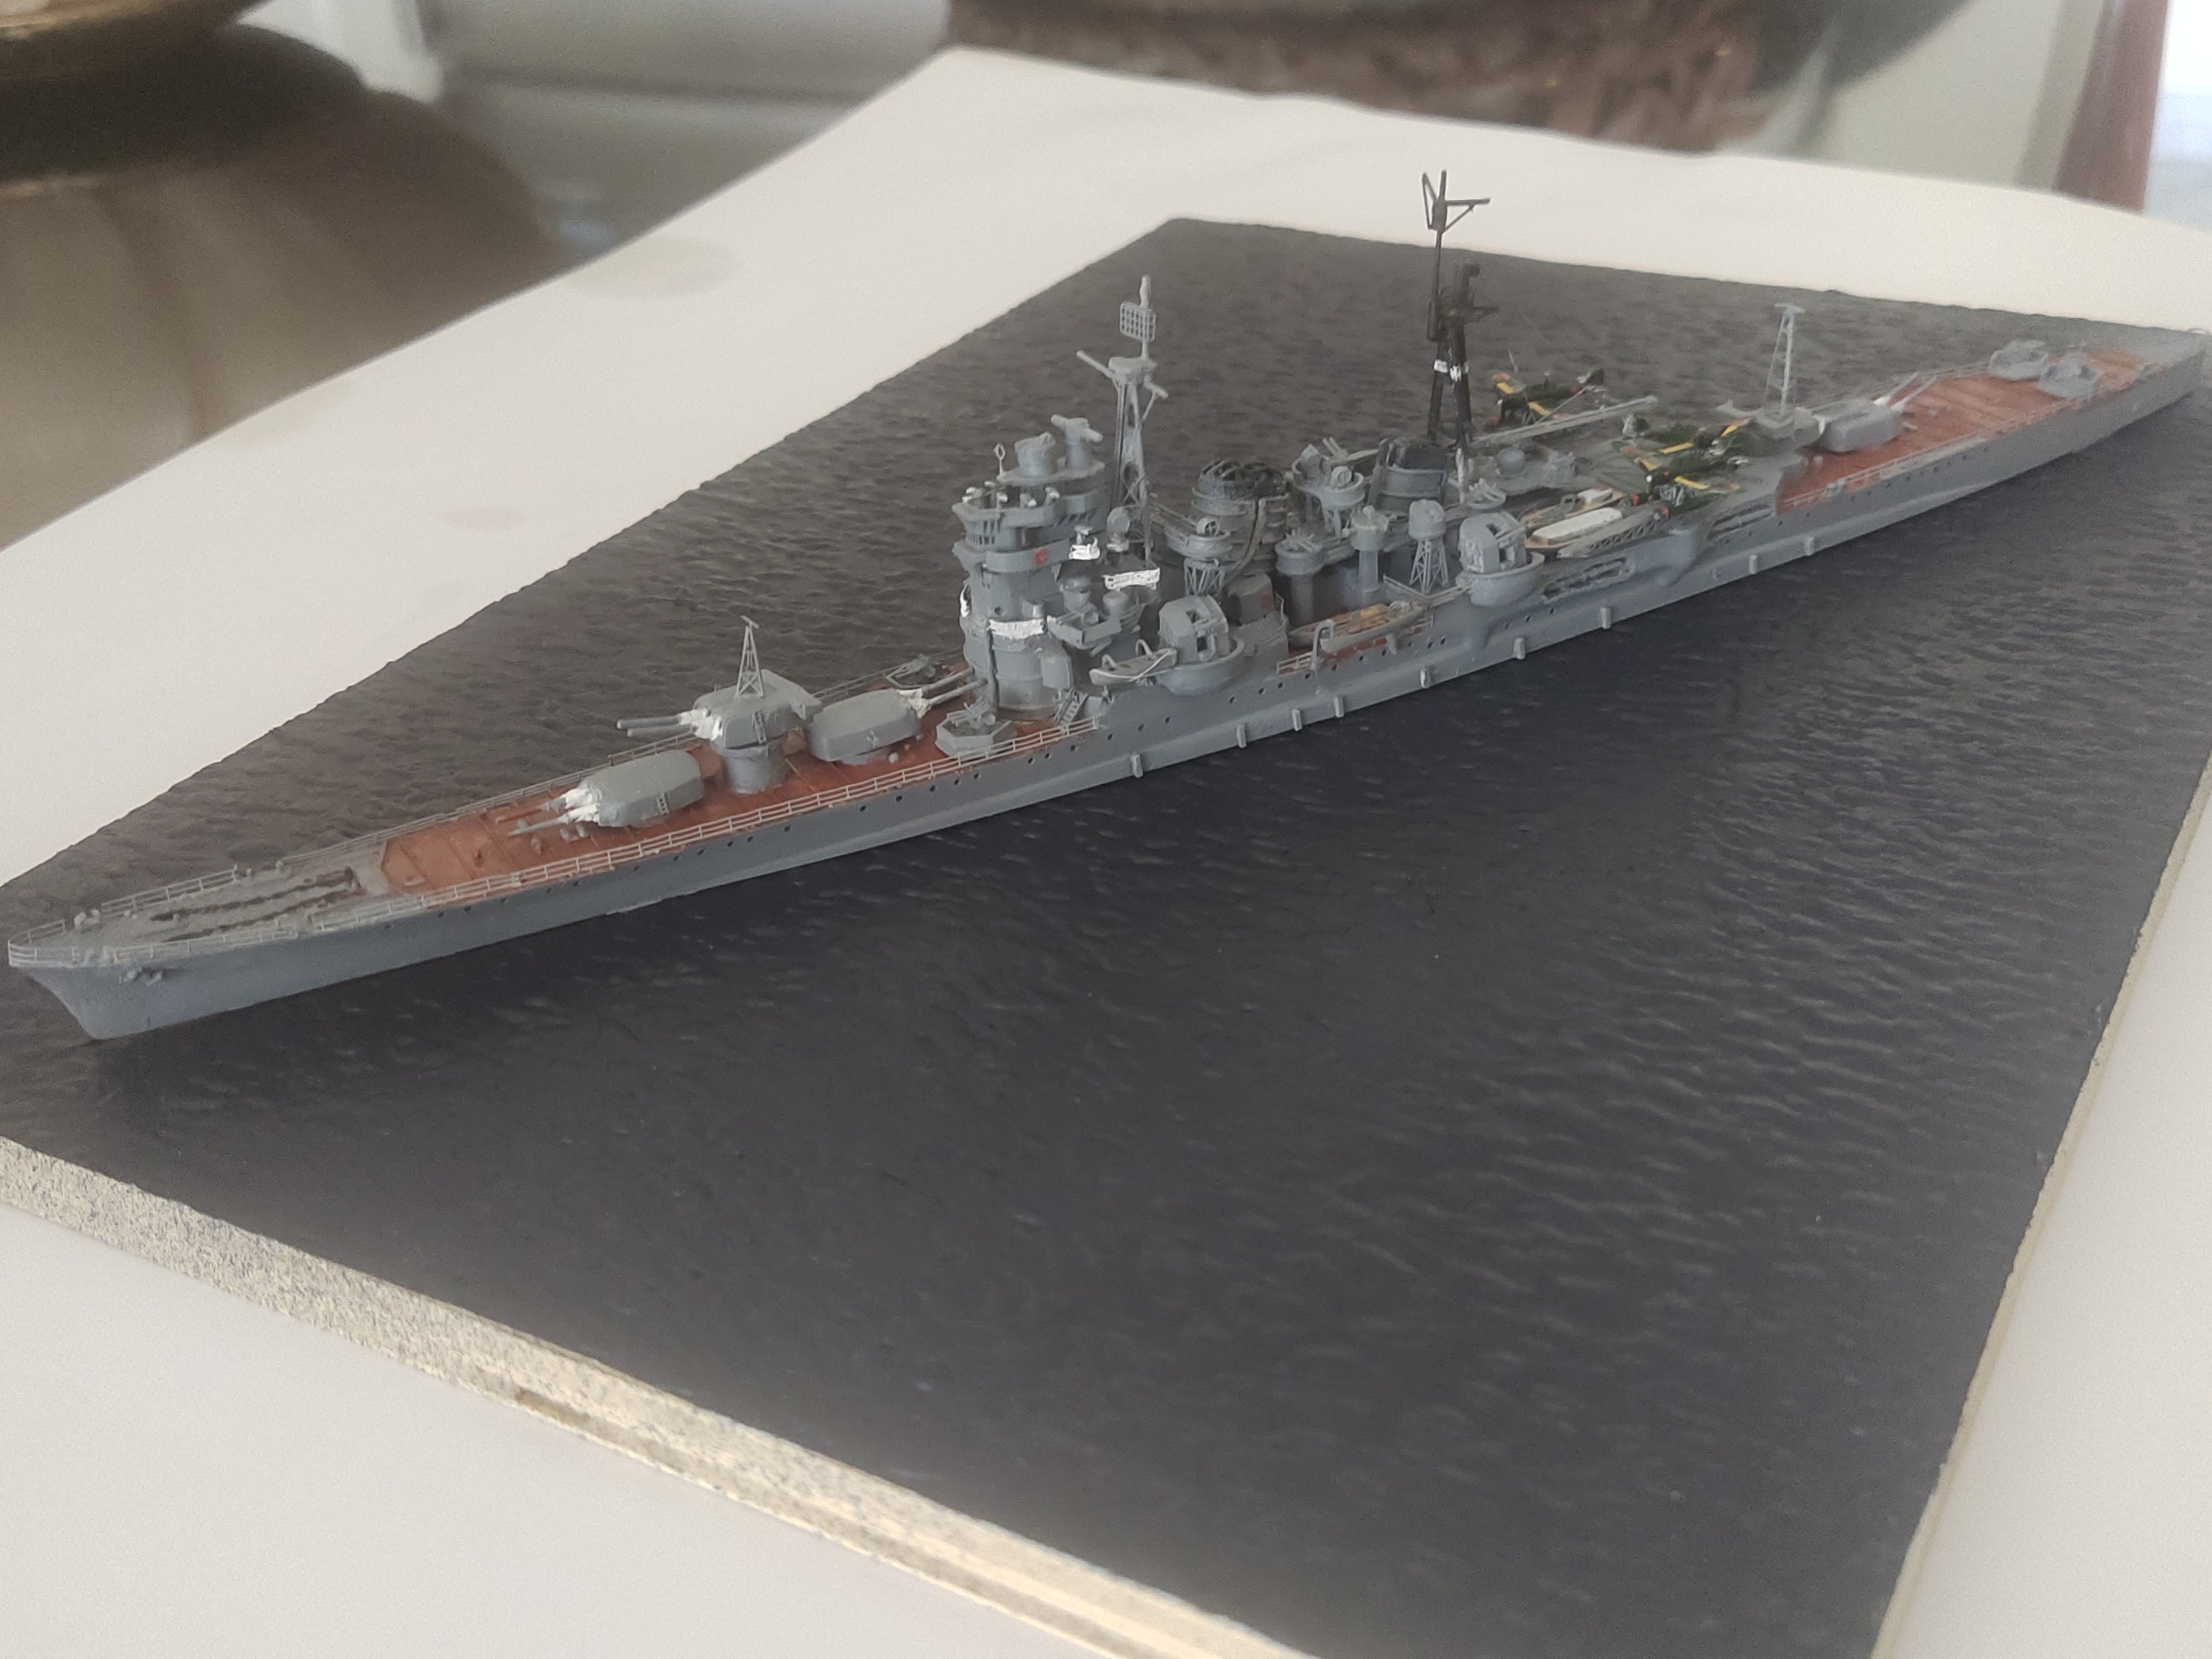
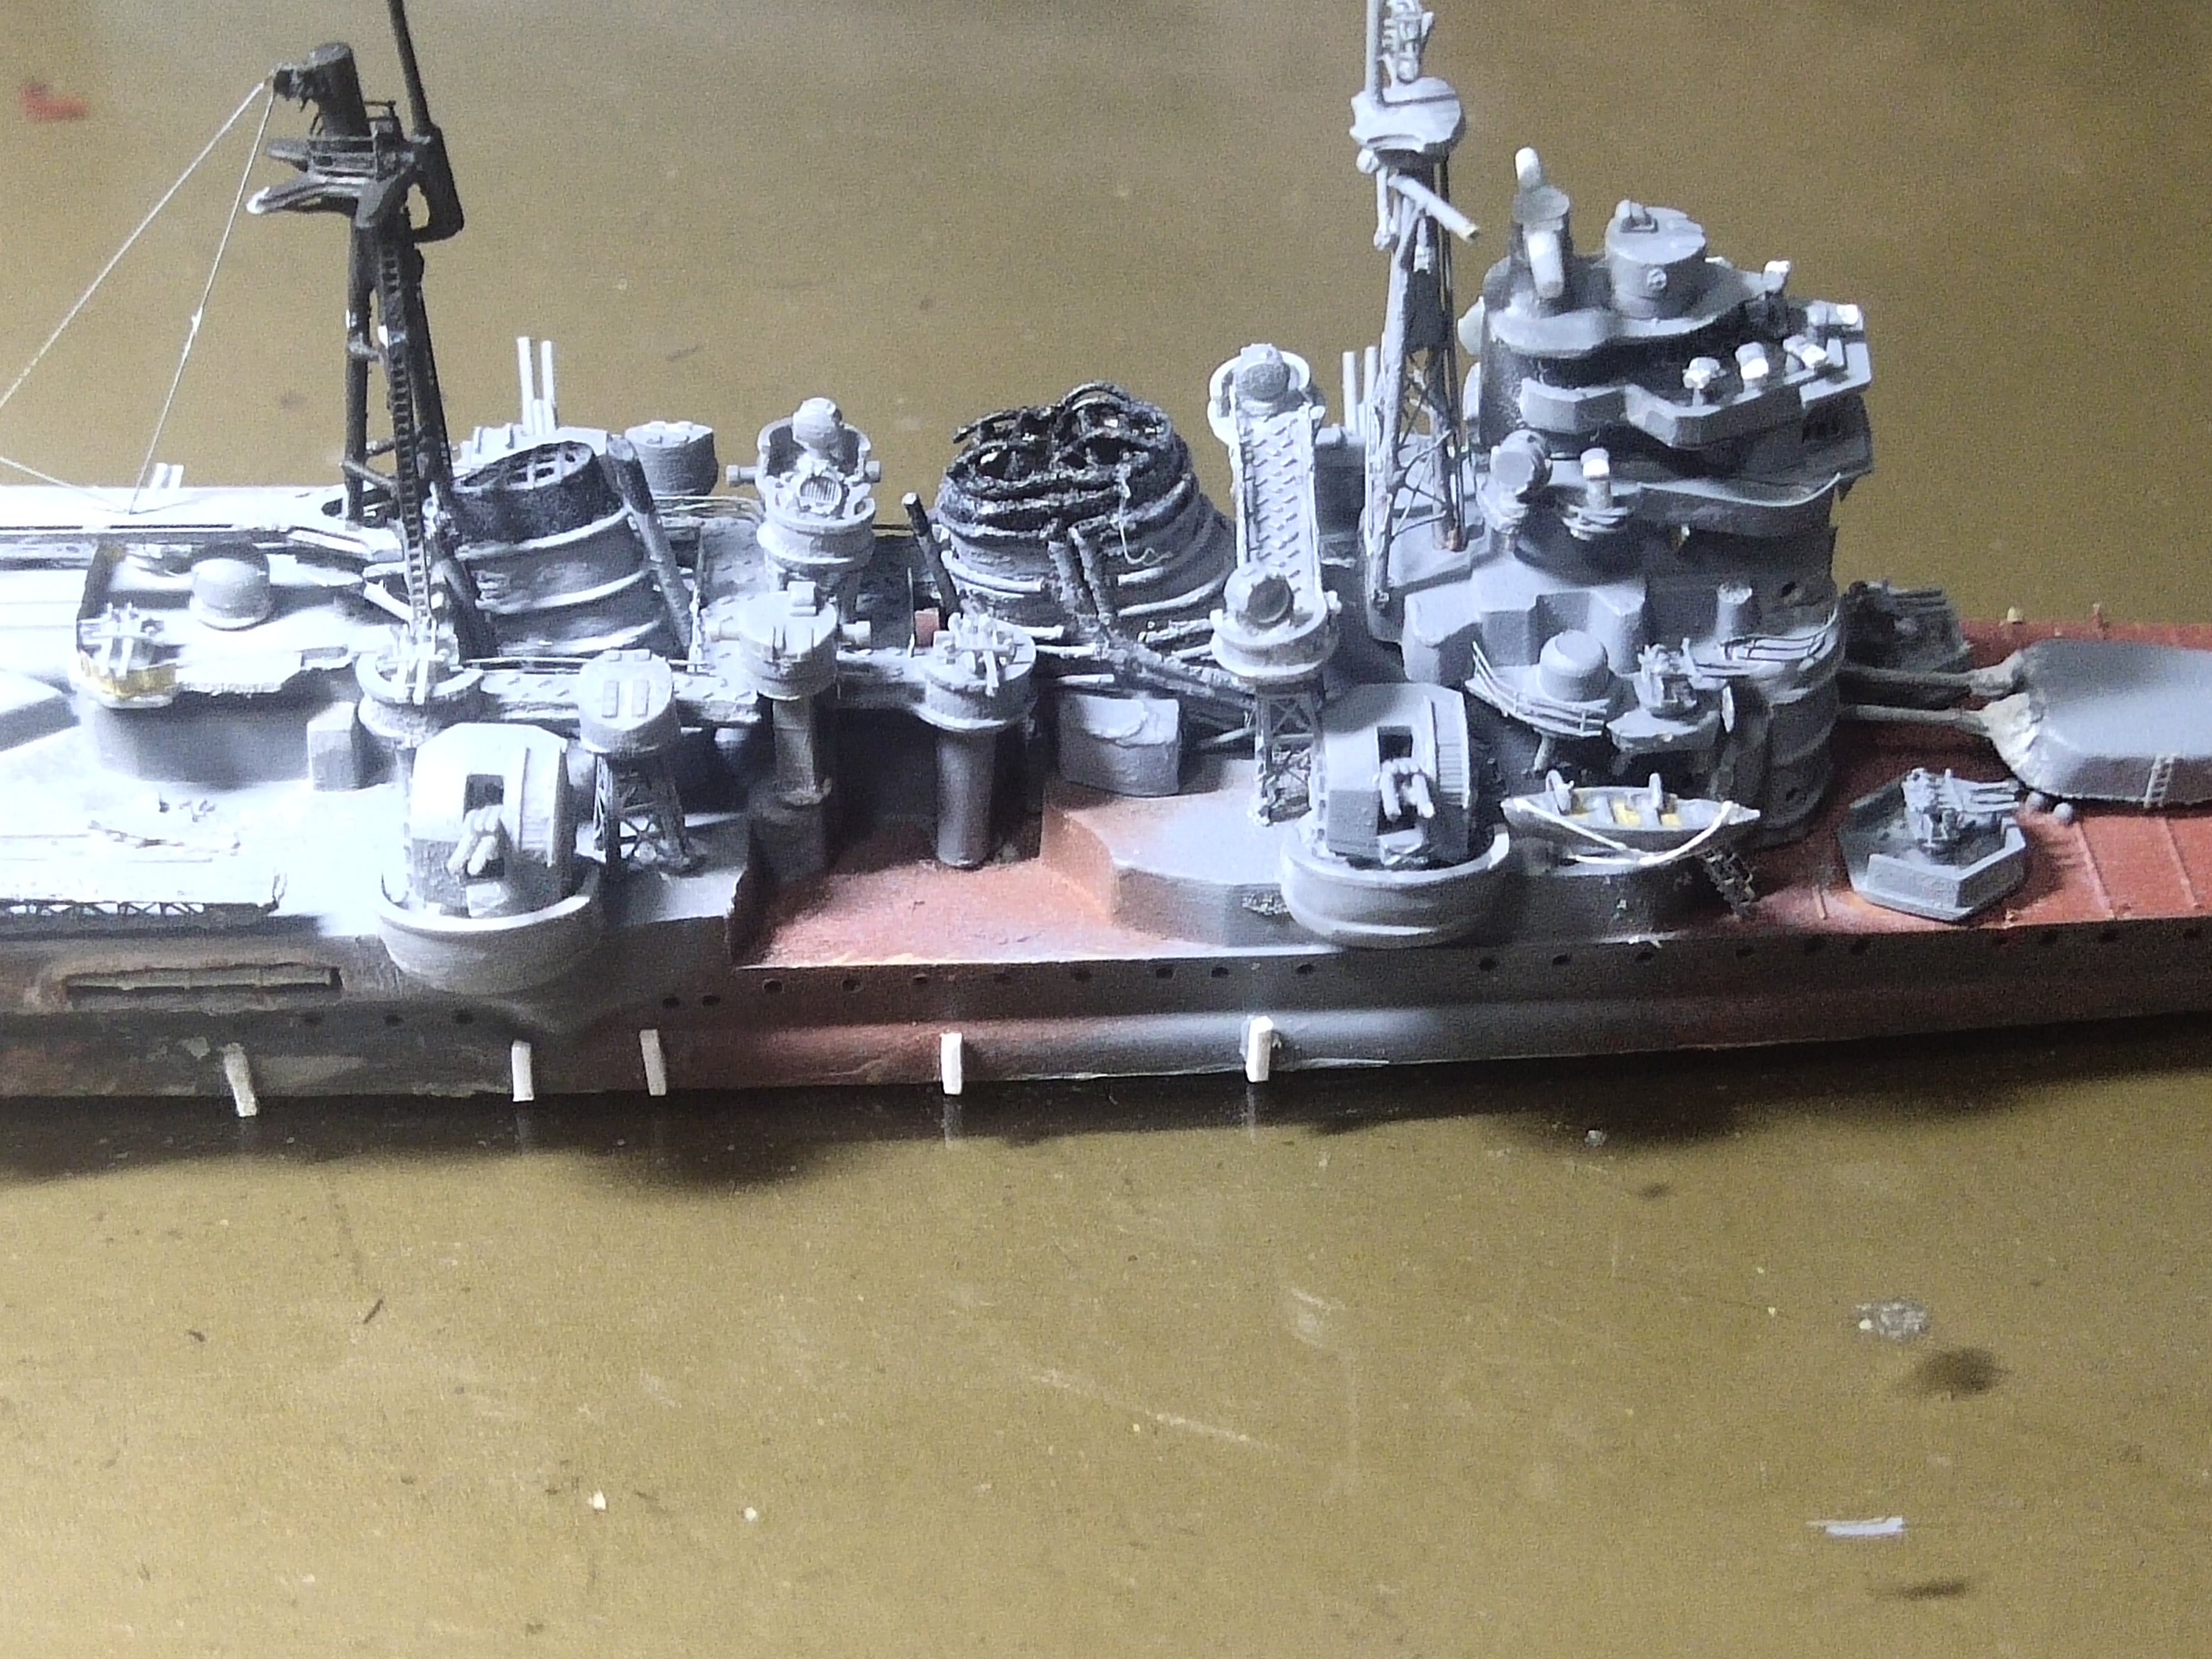
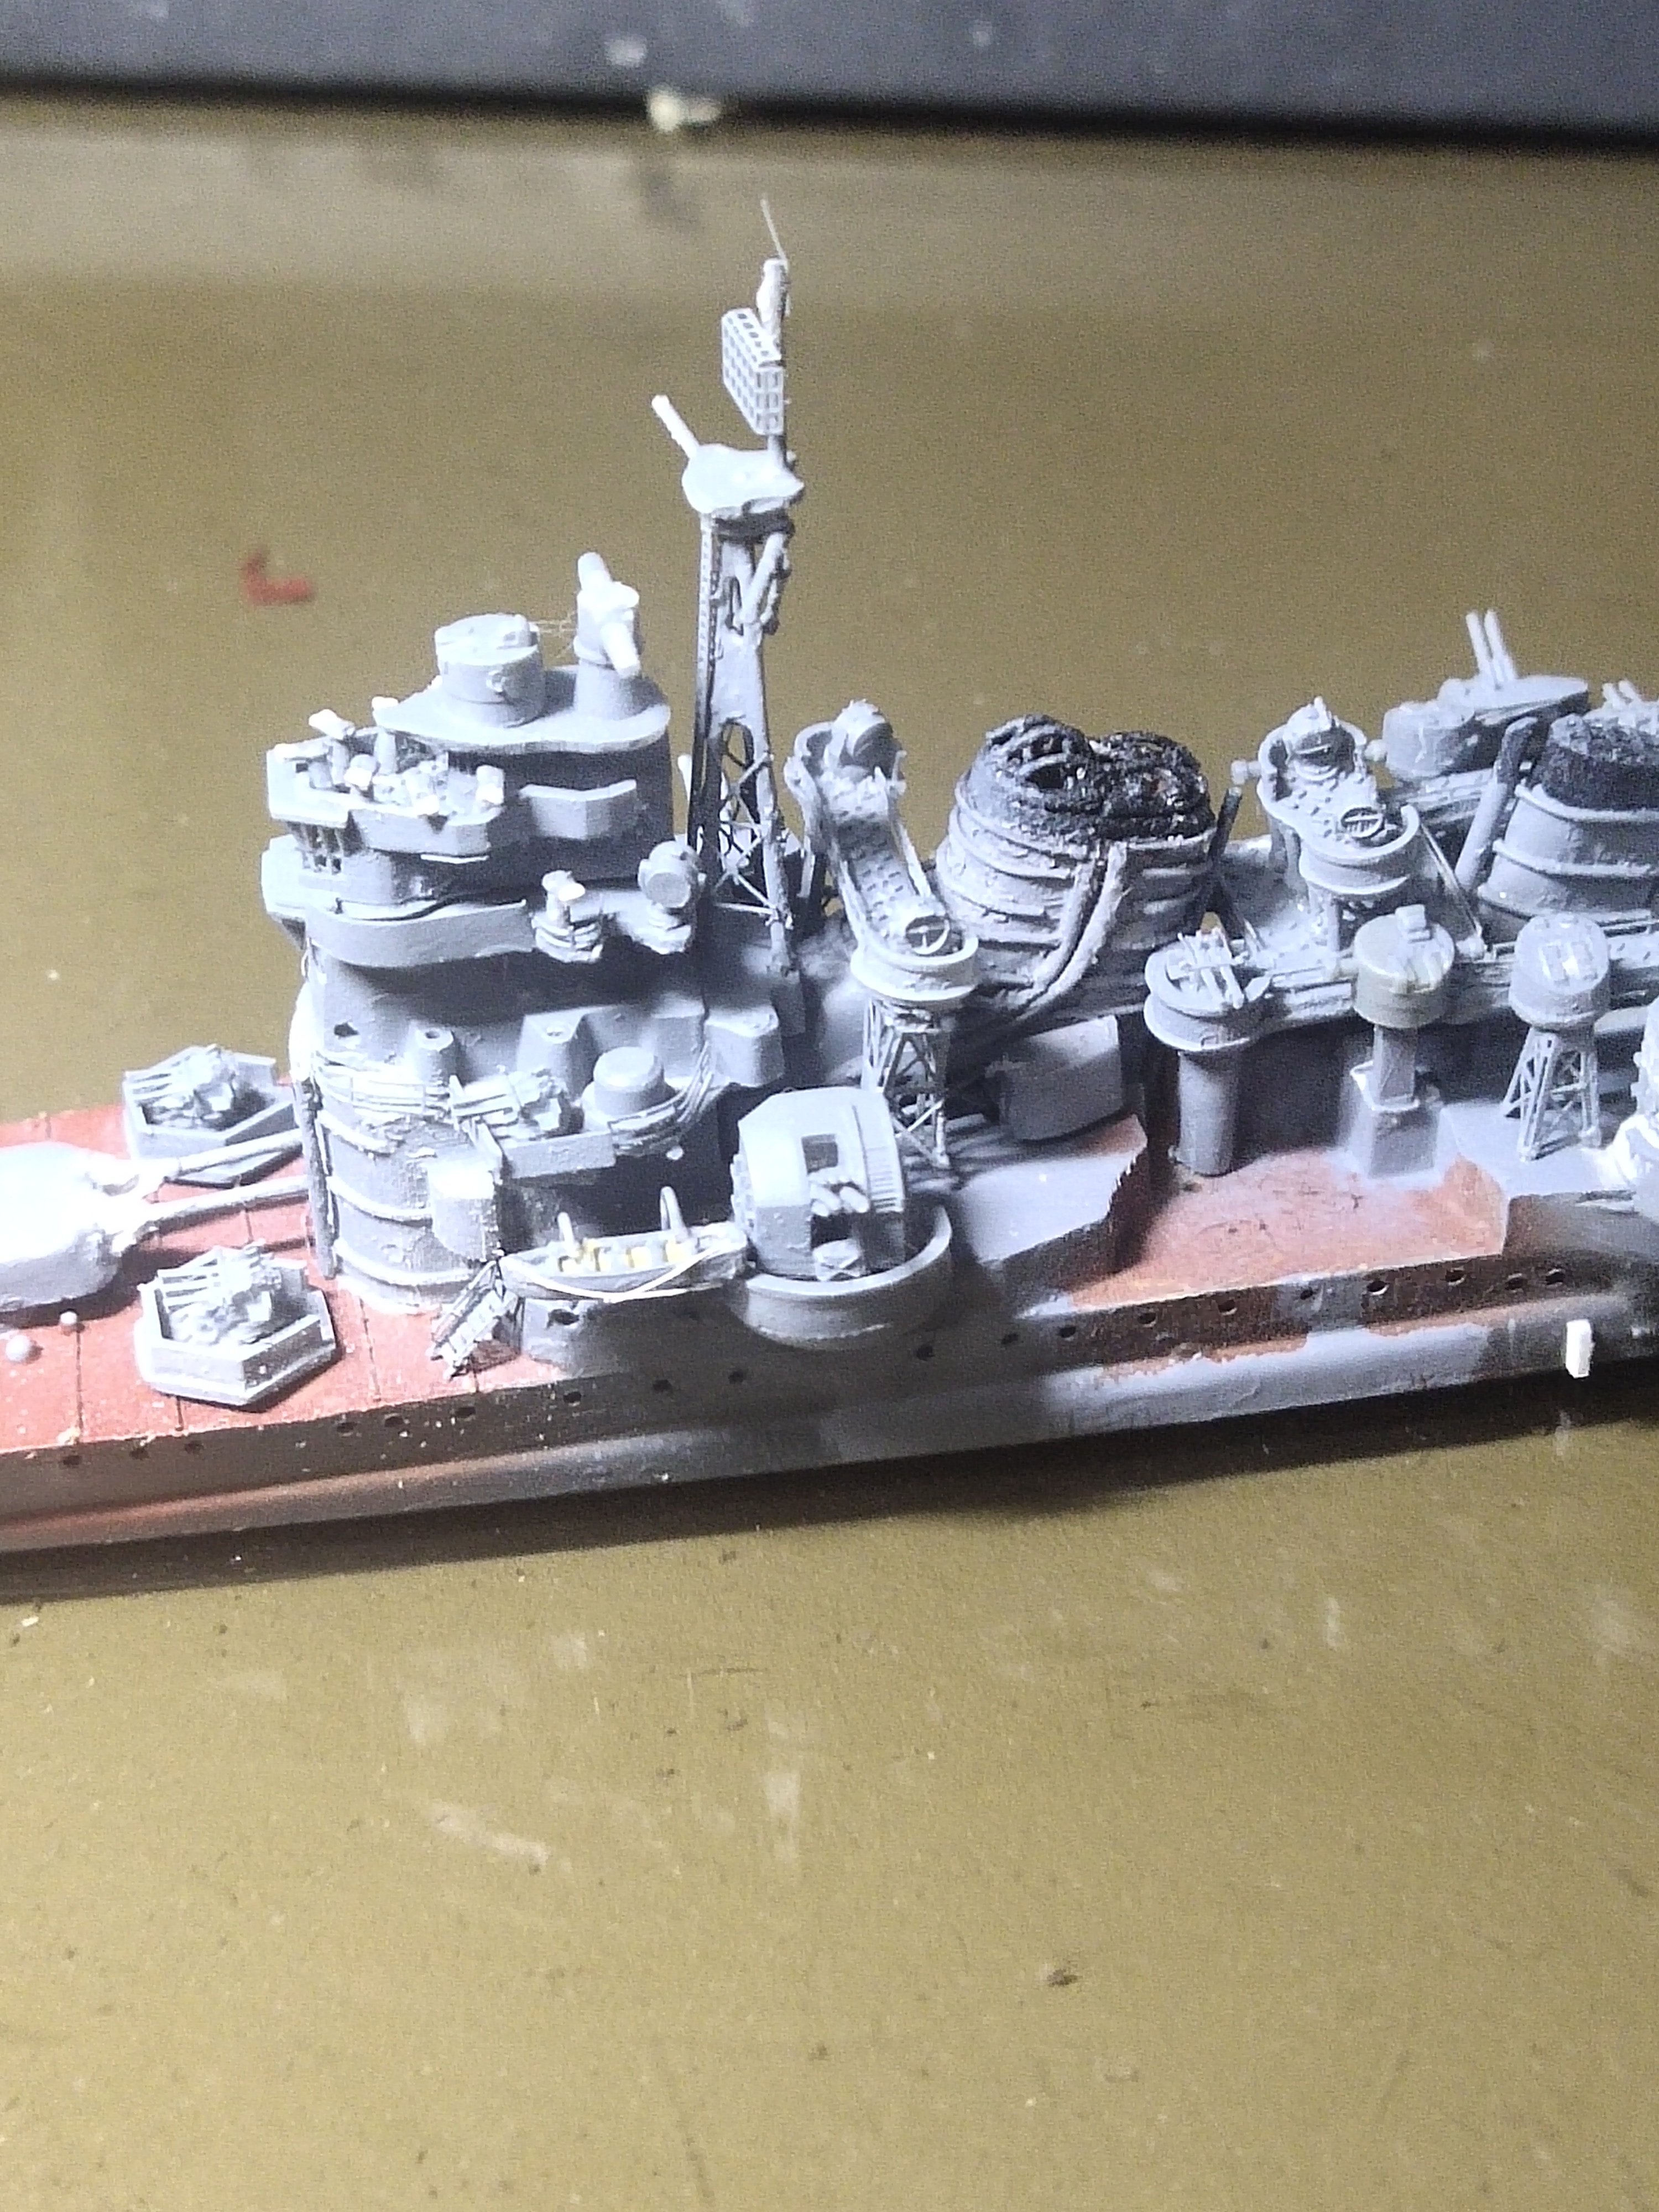
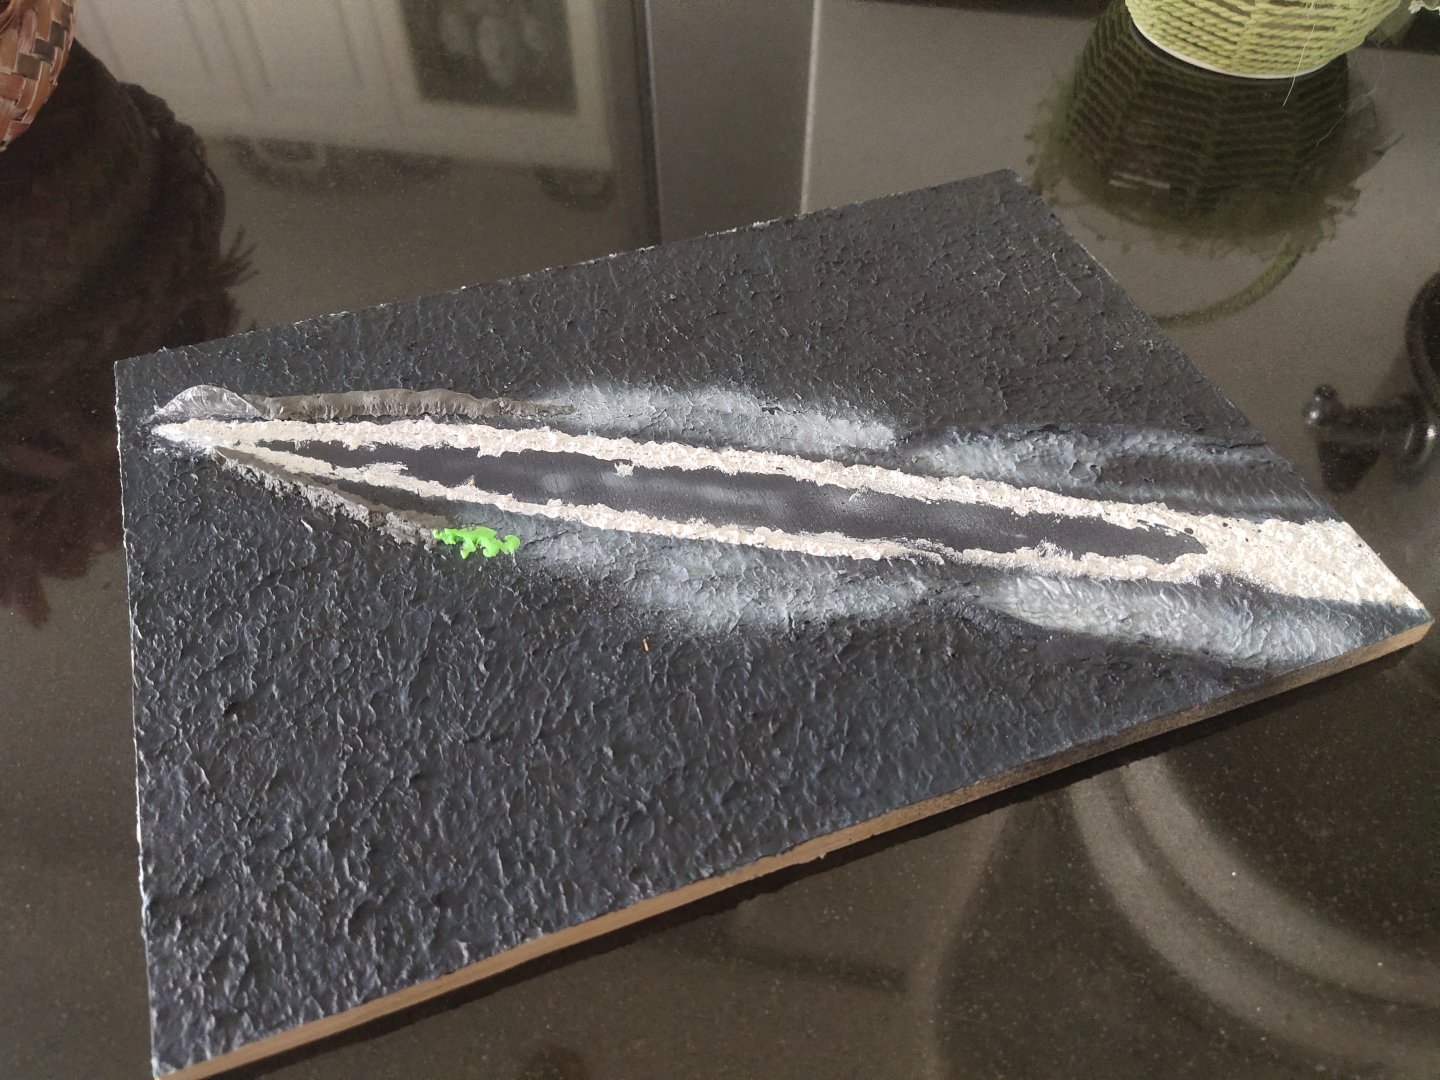
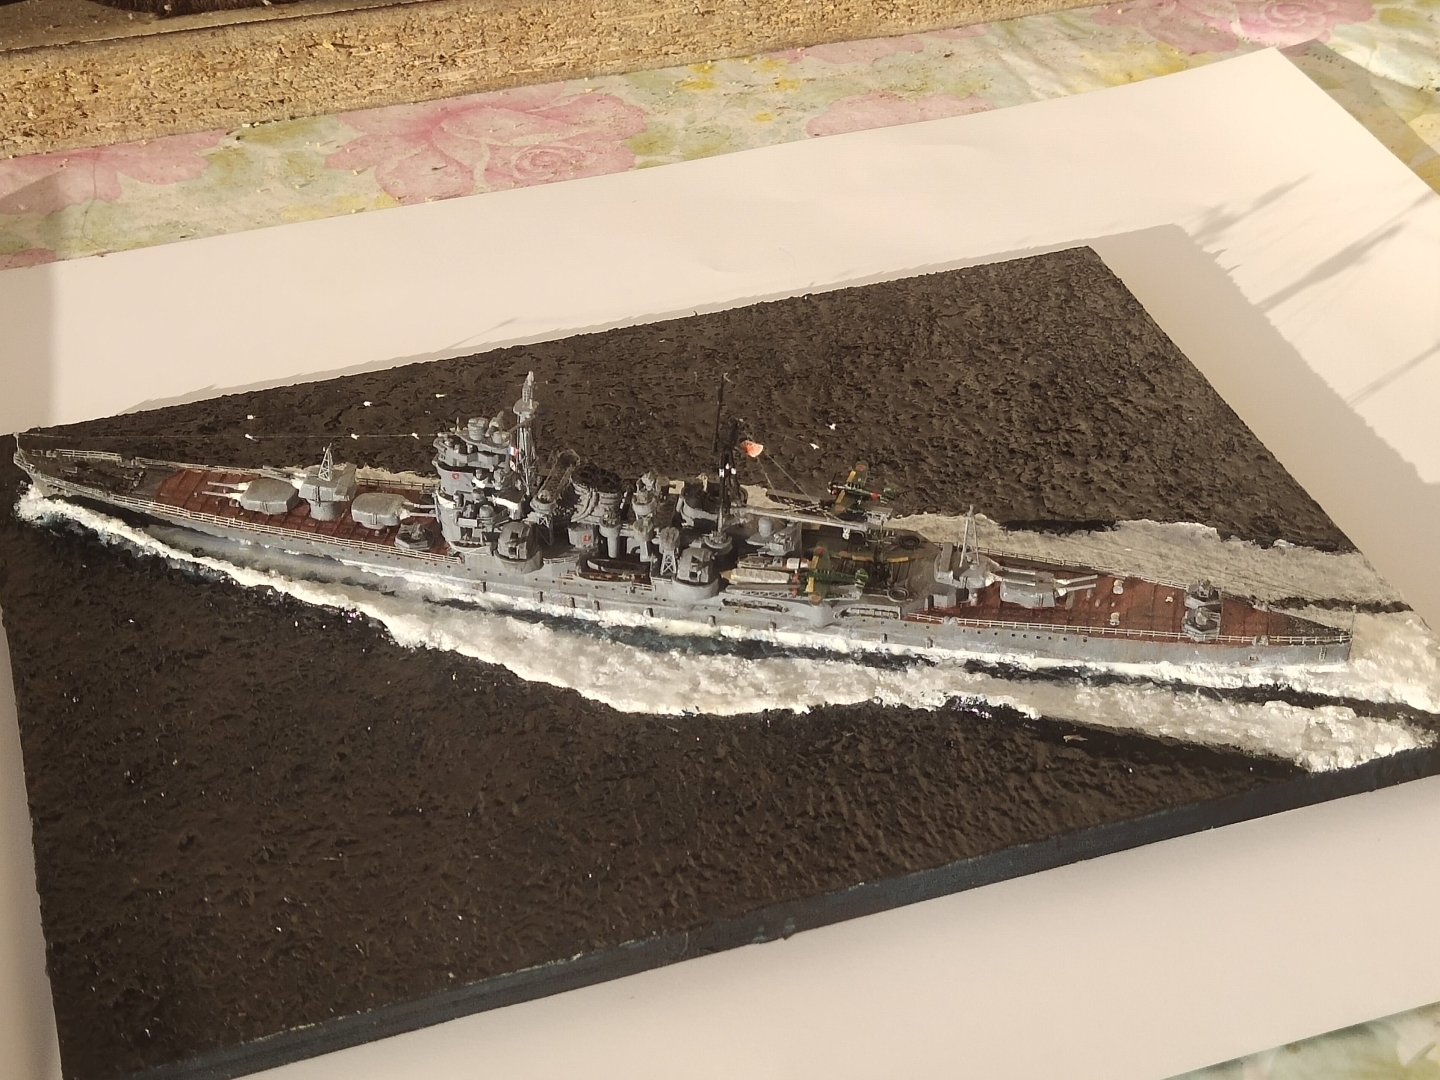
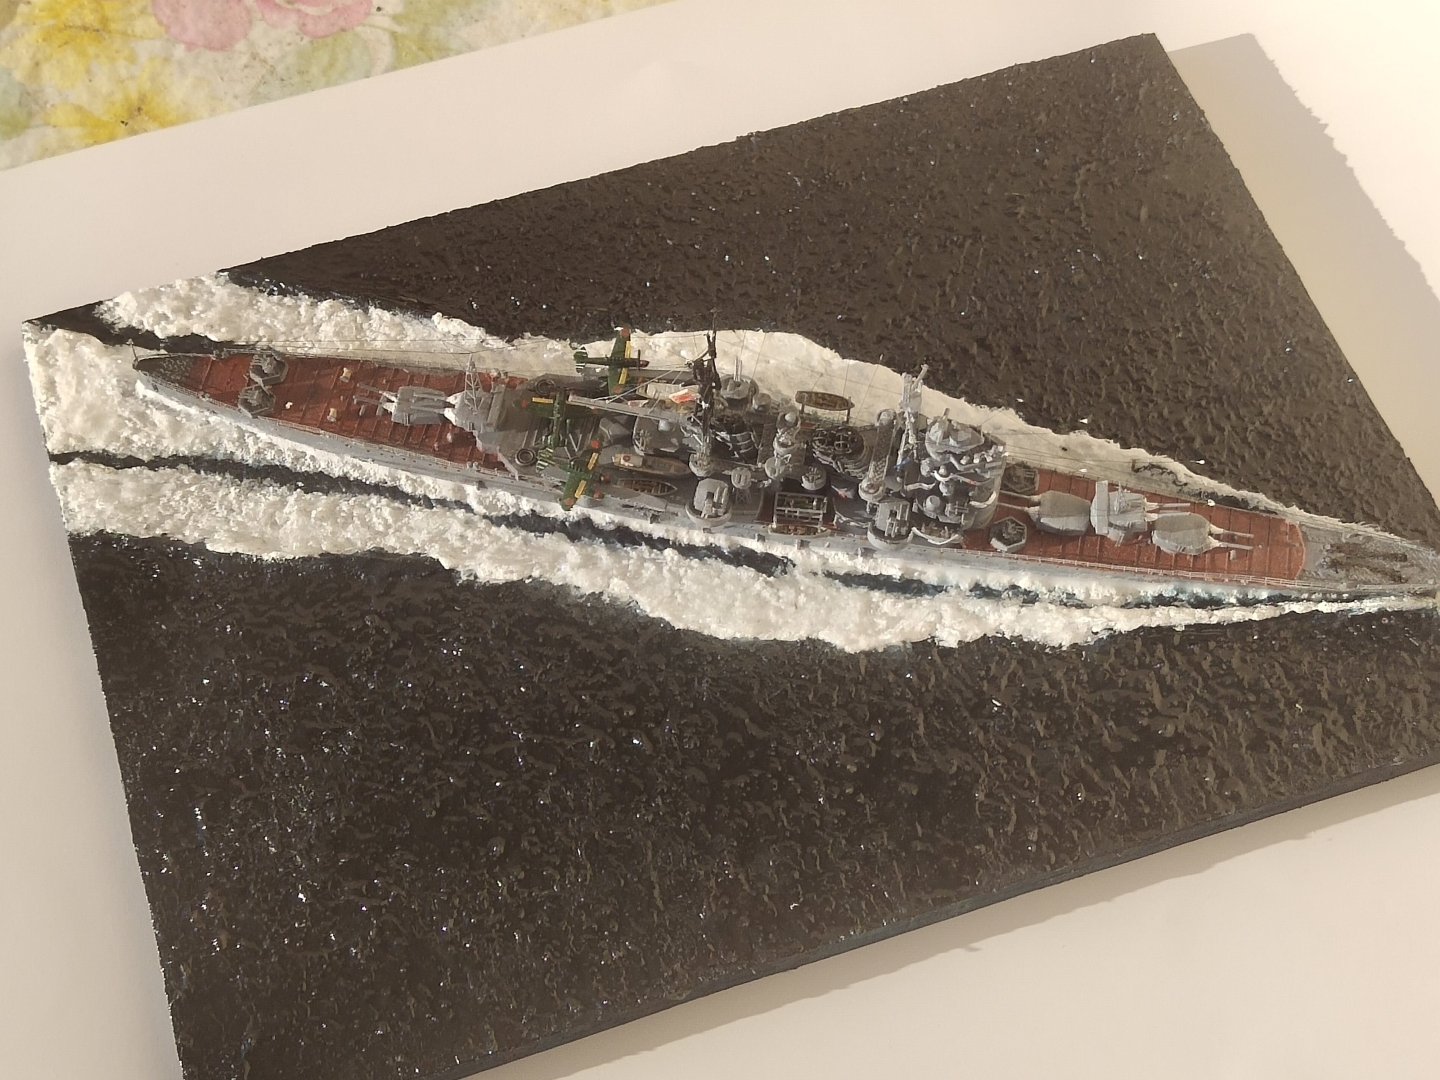
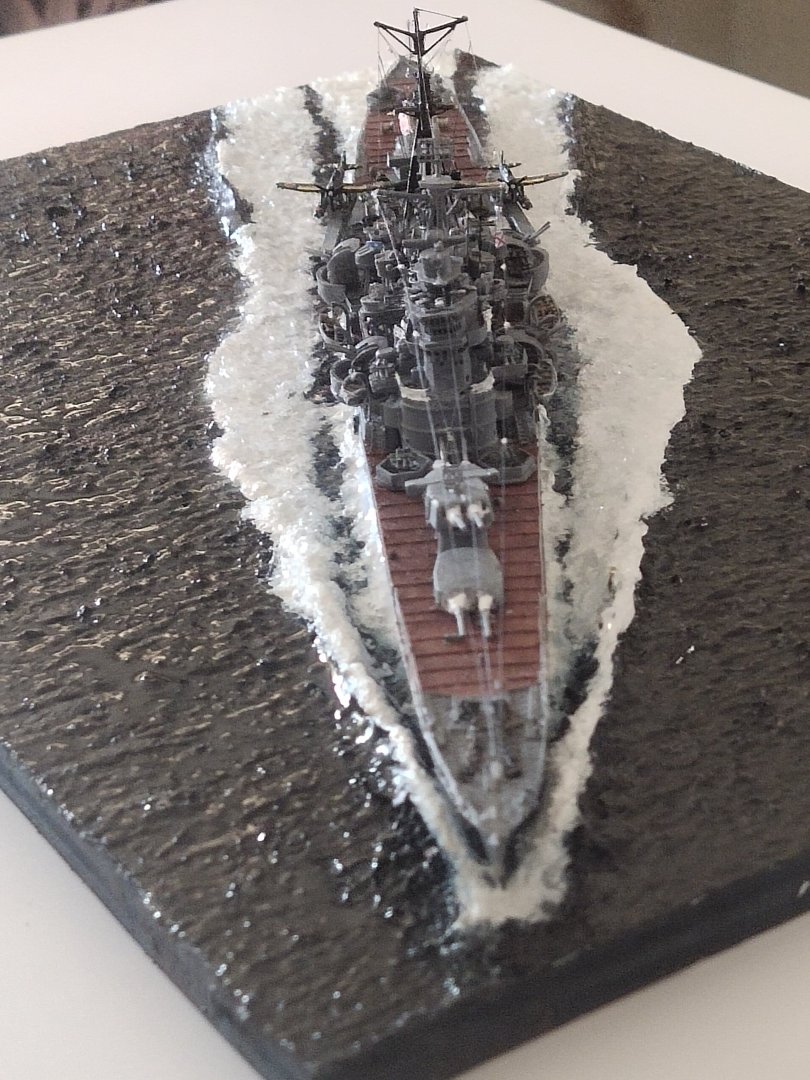
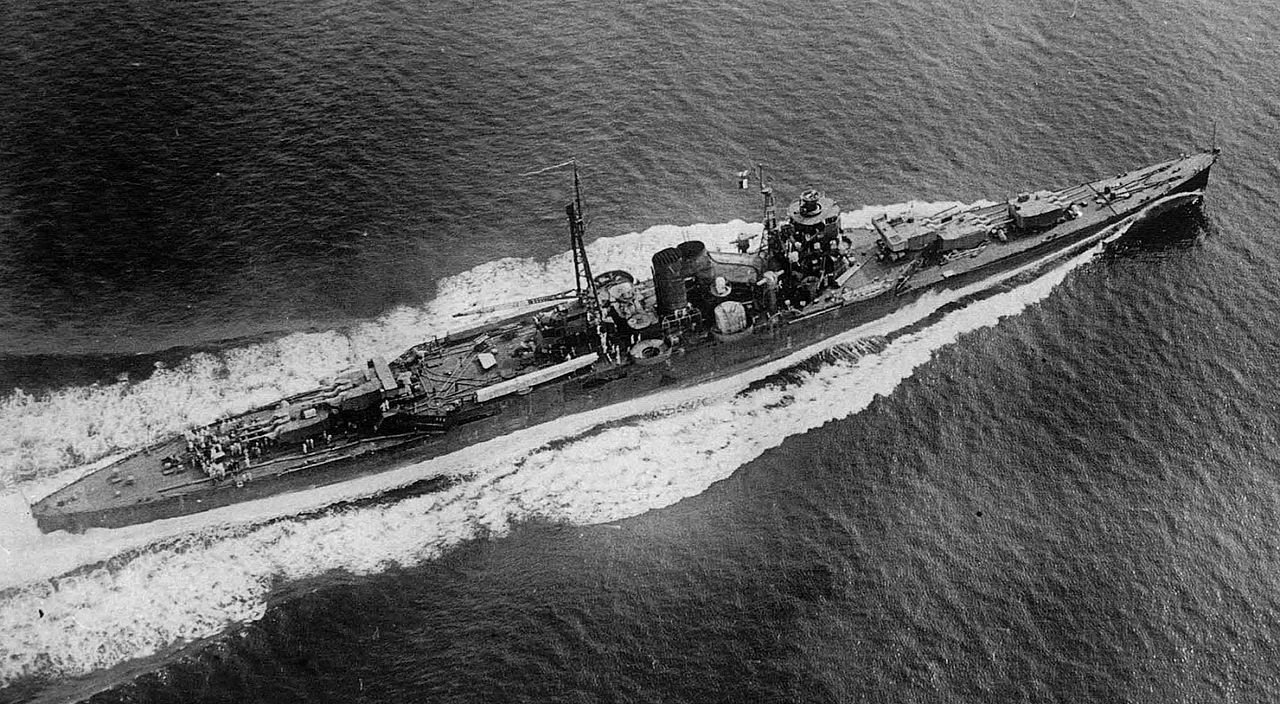
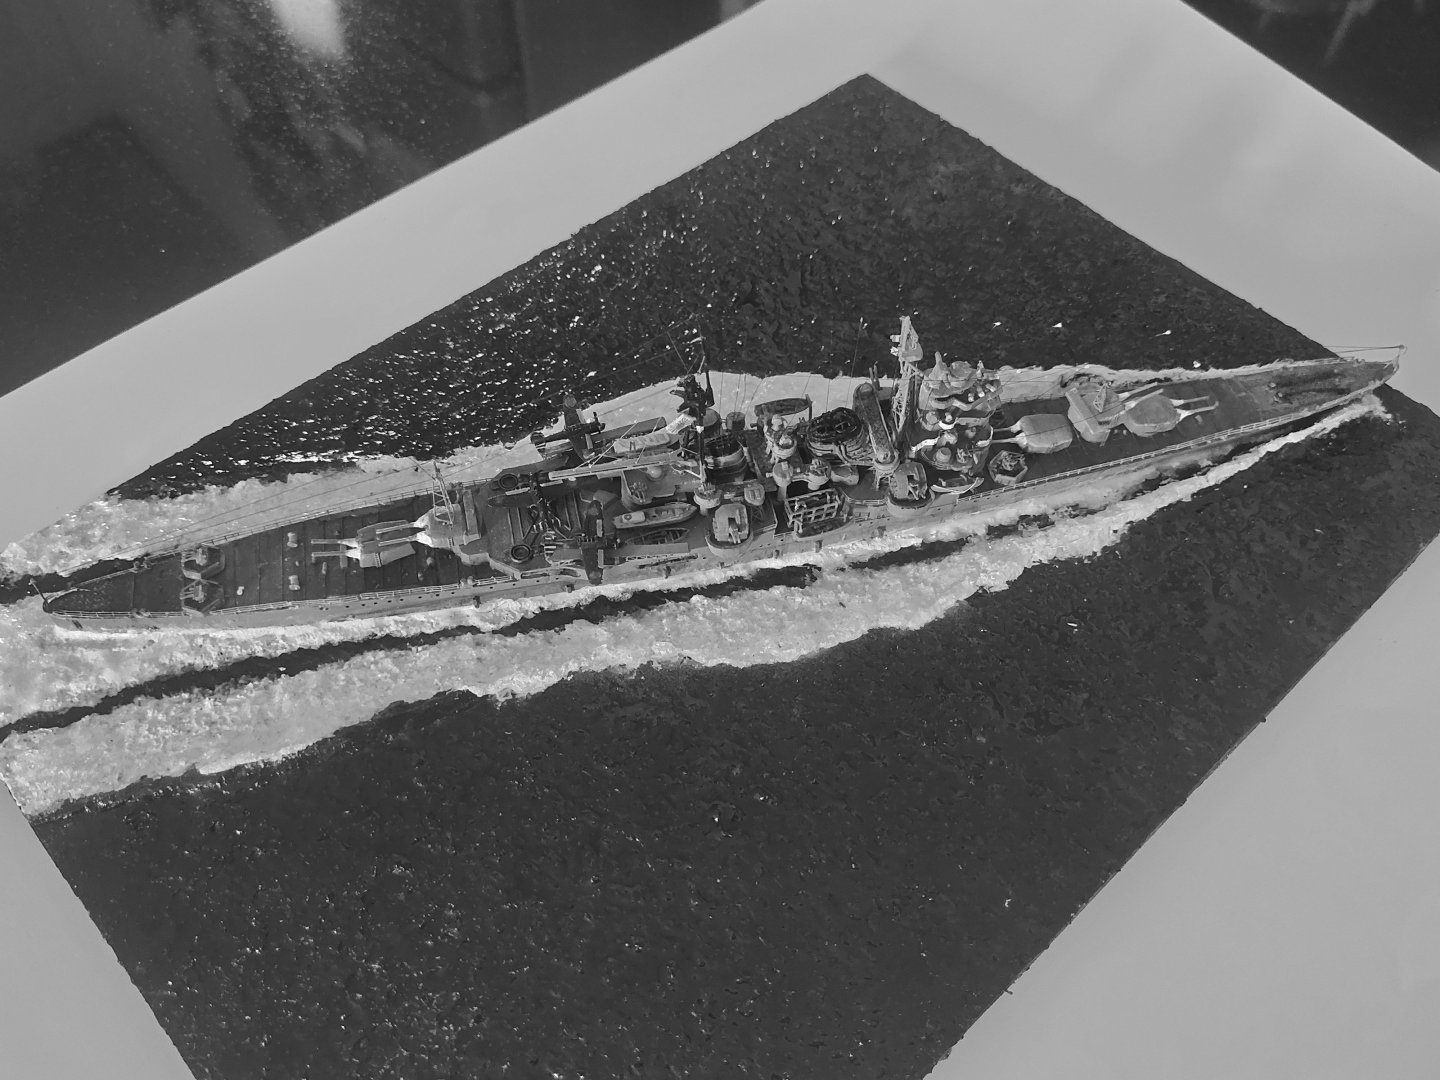
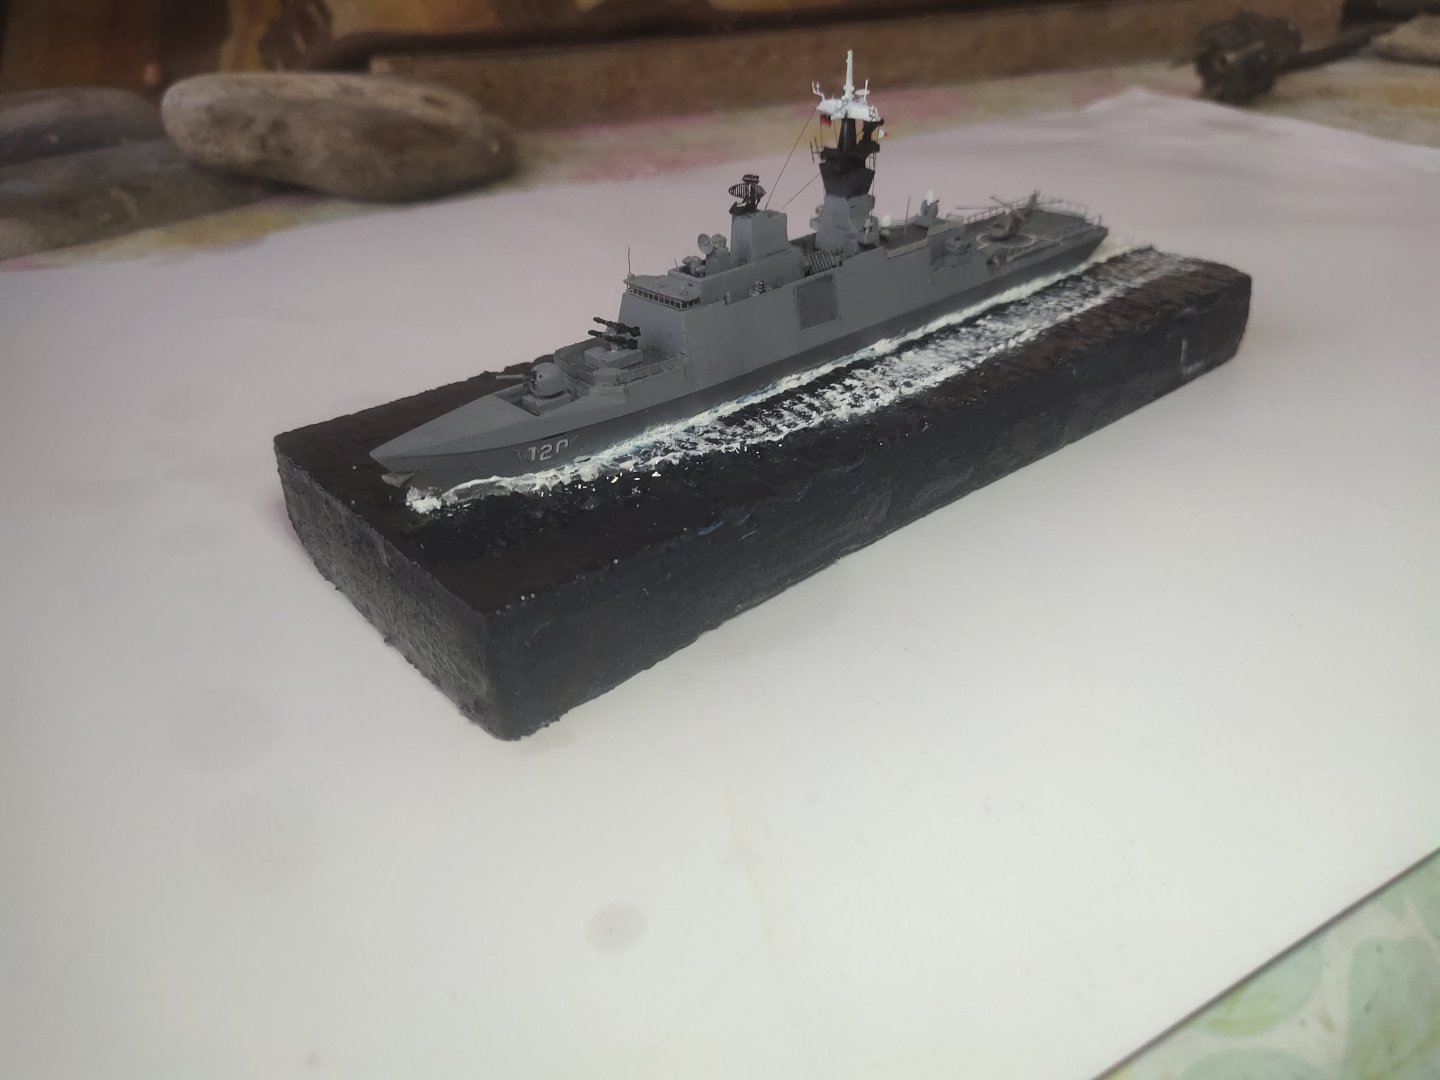
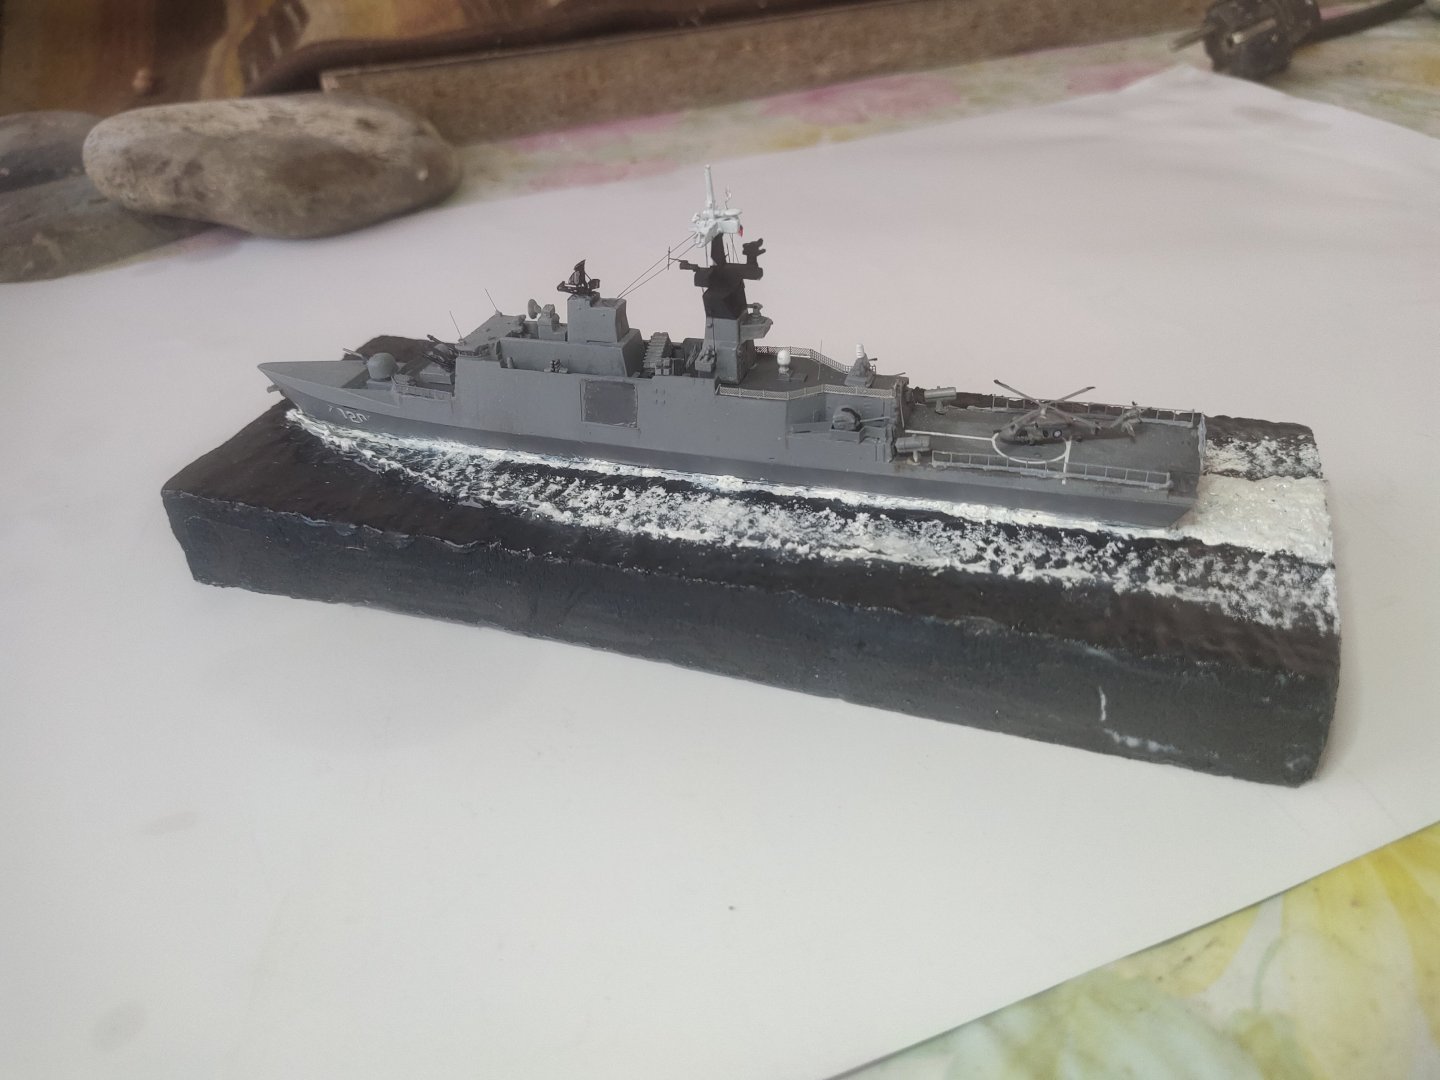
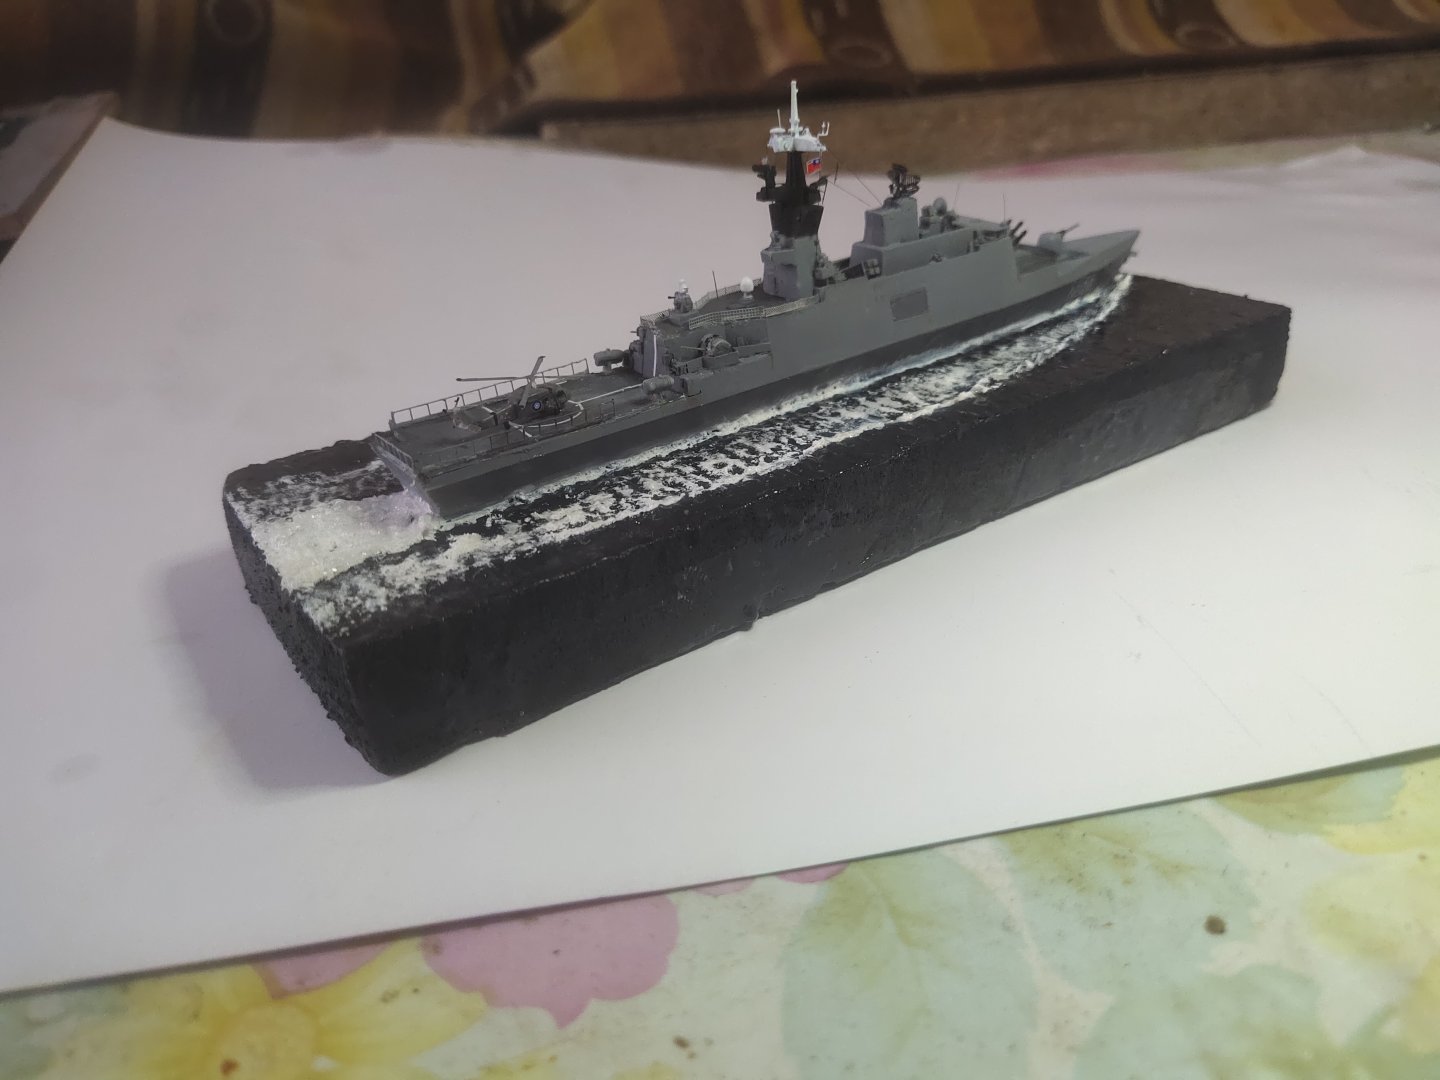
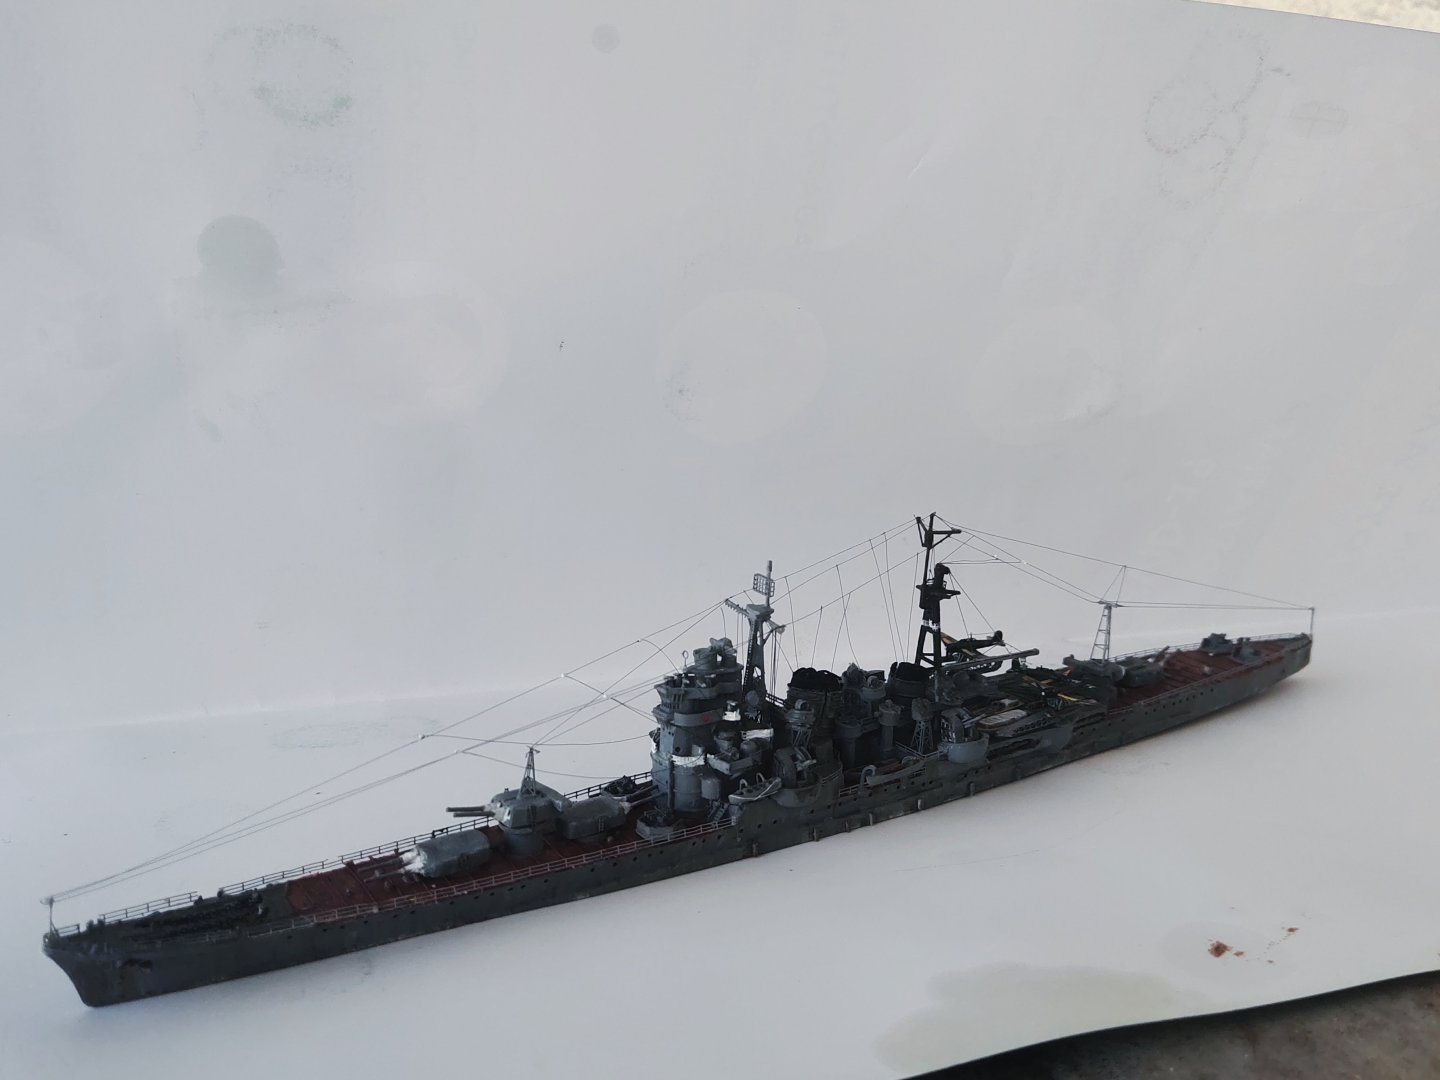
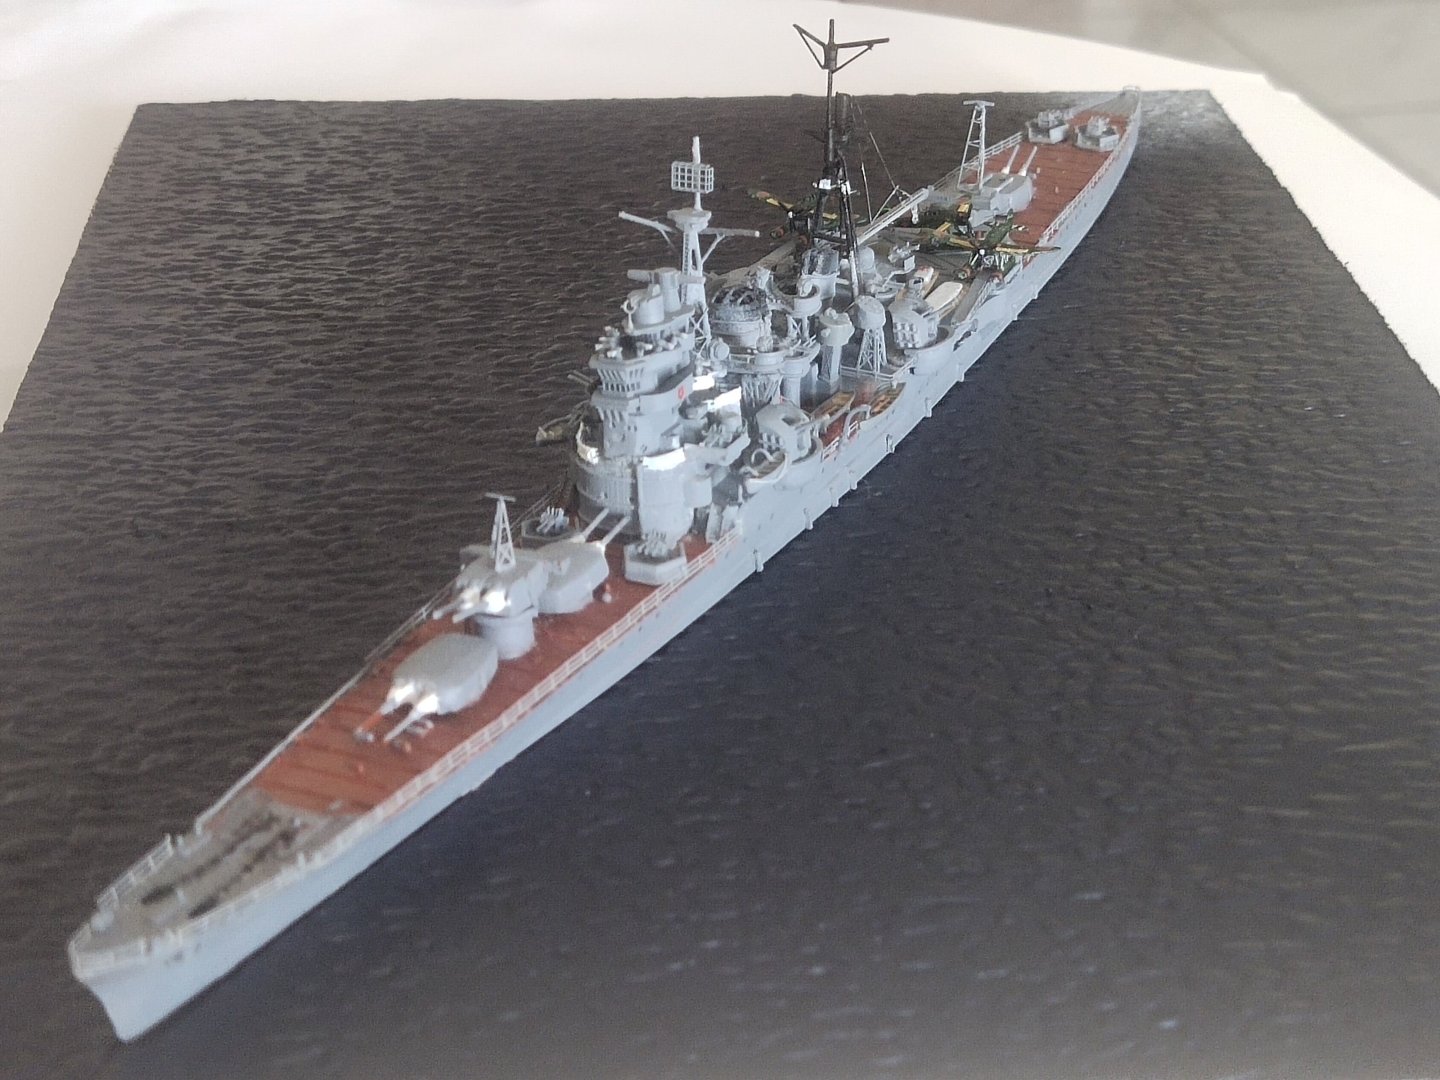
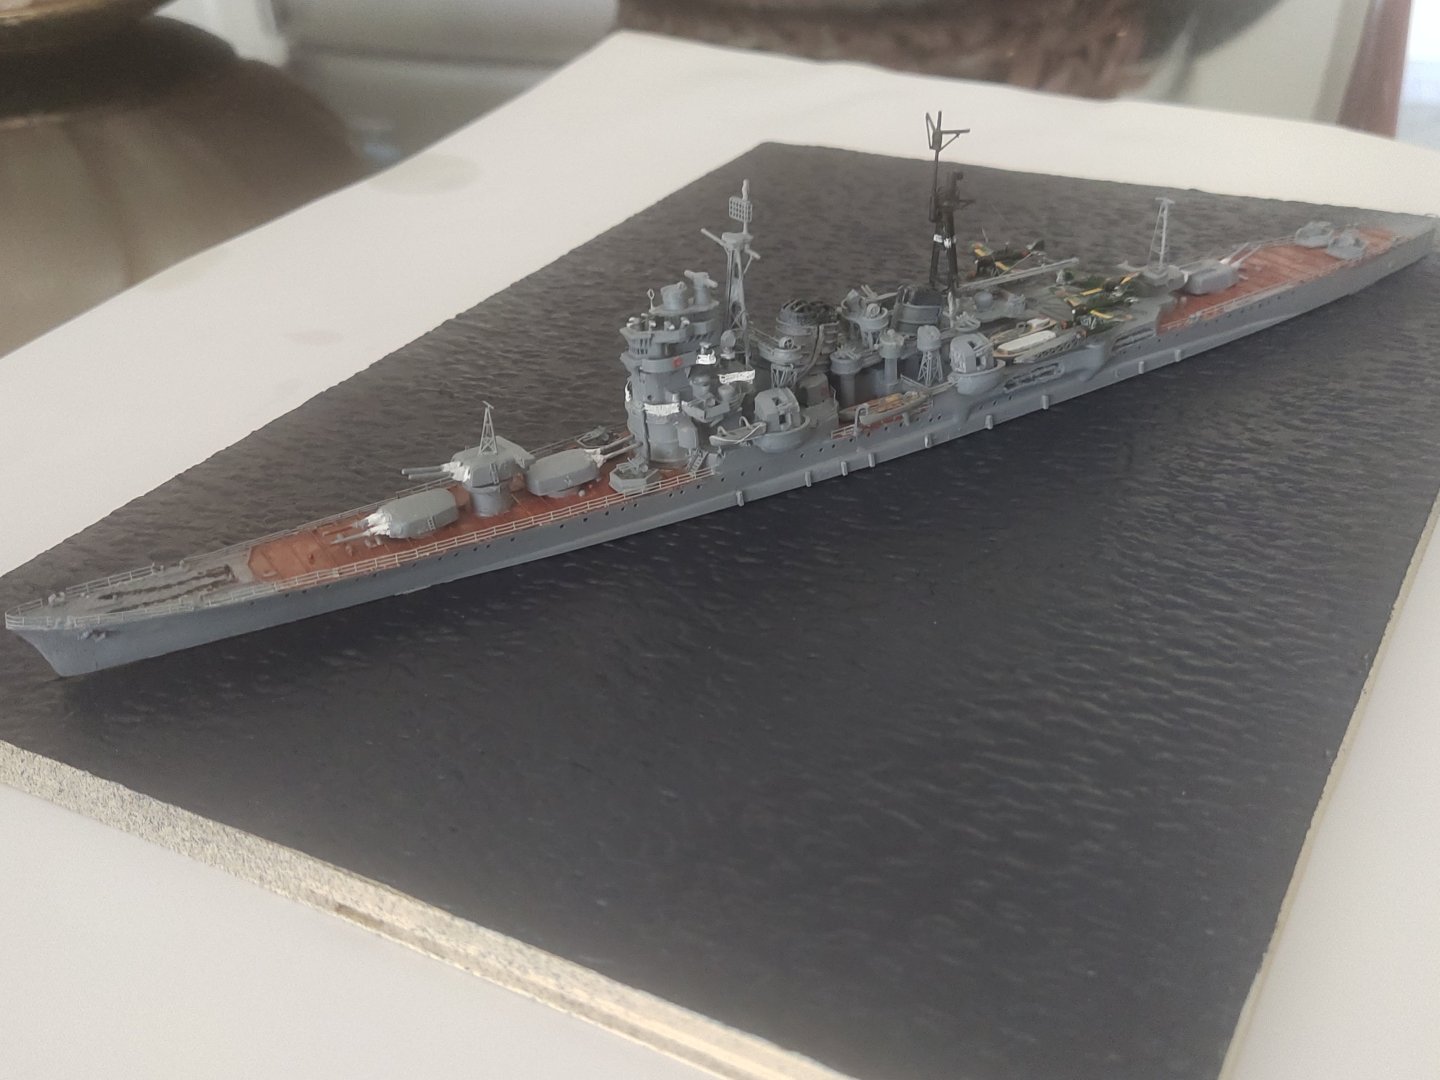
So I took my time to learn how to make it closer to the real thing. I used Takao's hull to avoid mess on the model. The real thing Comparing to the previous project I feel far more satisfied. Because this is not a repeat of my usual work. It is a step forward as at last learned how to create waves and wakes the way I wanted. There is more space for improvement, for example the wave at bow should be more sharp and thinner. I will repeat the scene with Takao in the future and compare. The model also has some imperfections especially on railings and detail can be improved. But I dont mind, the scene overall is ok.


-
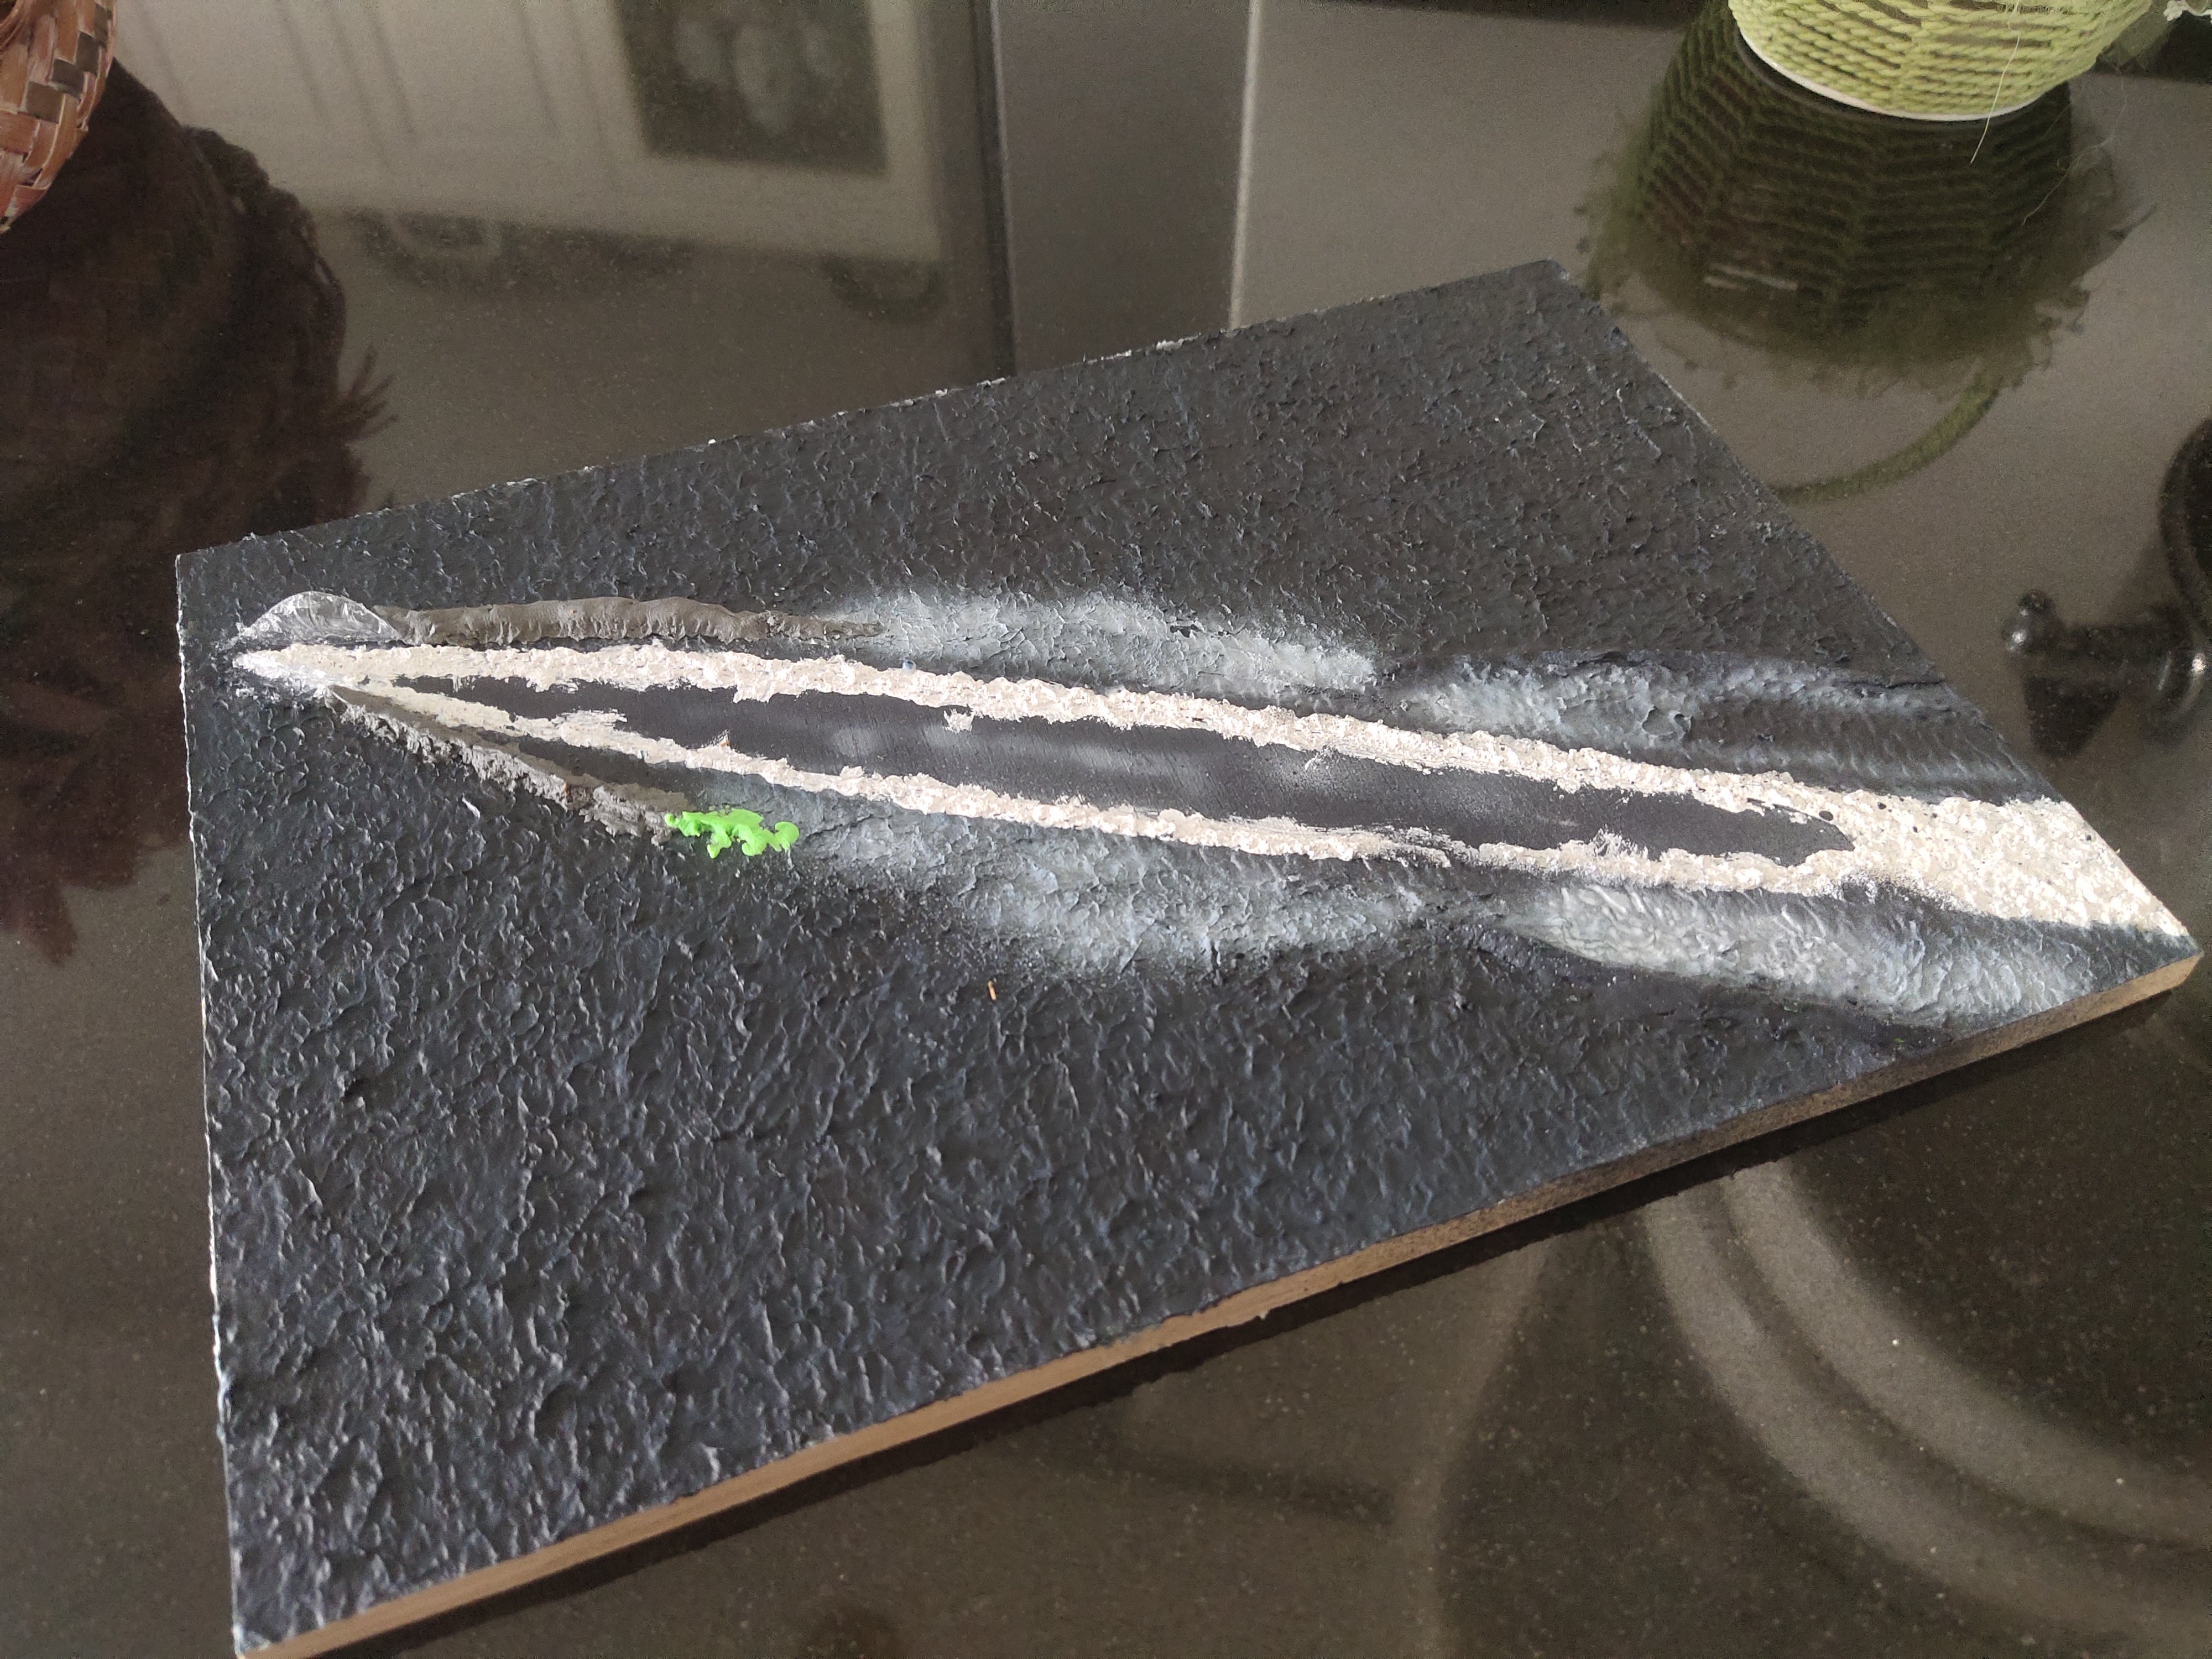
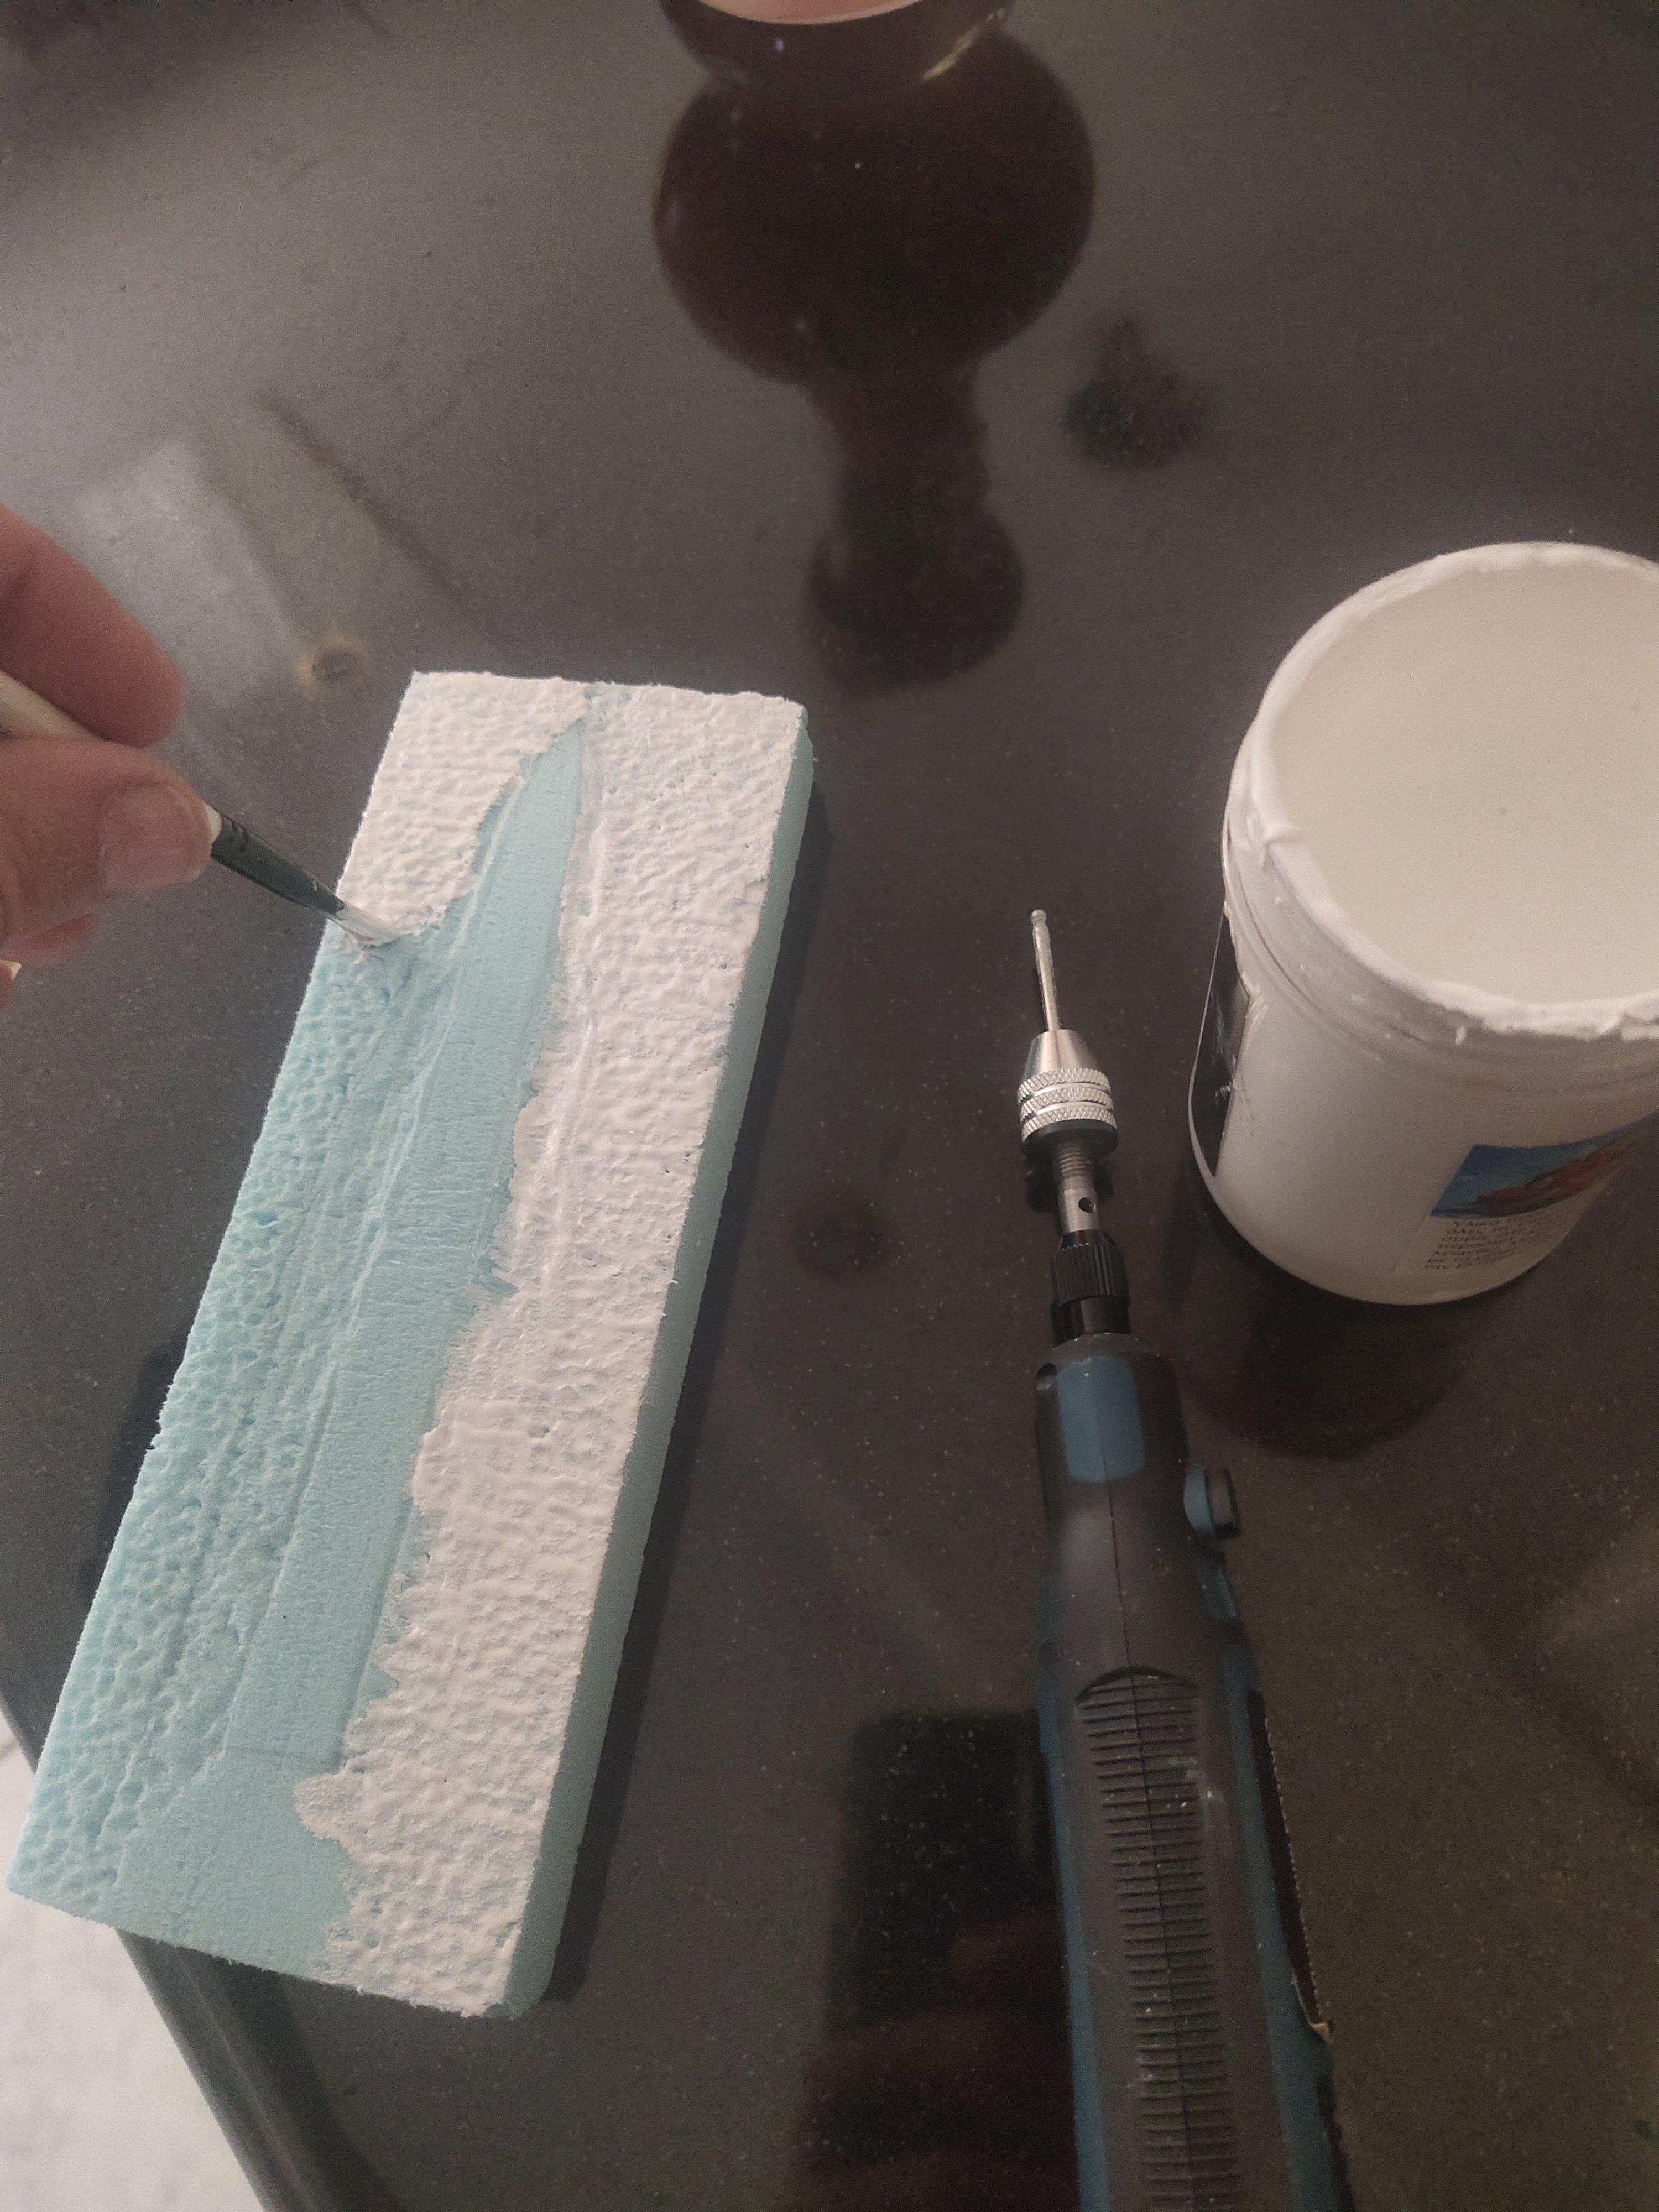
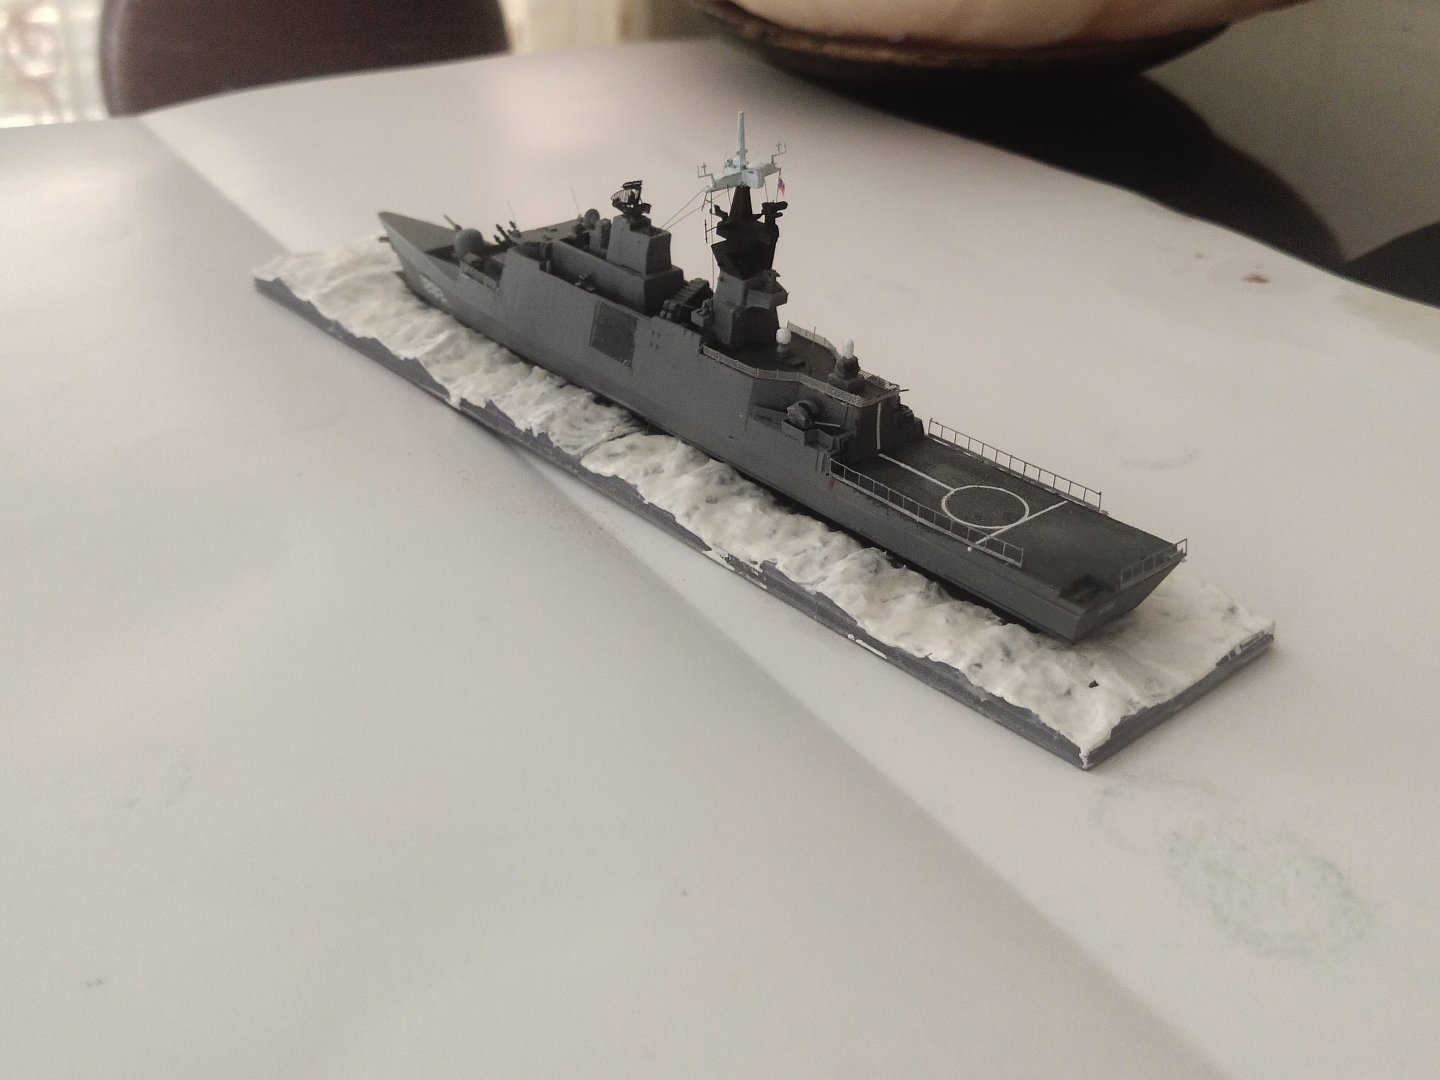
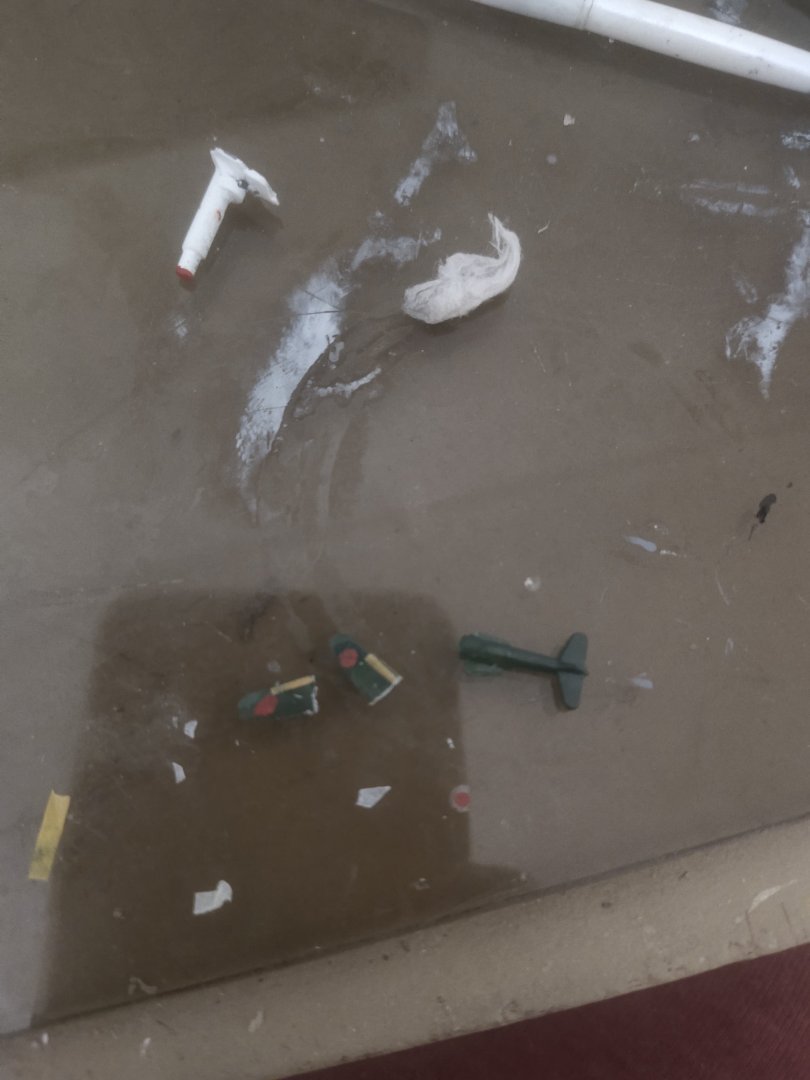
I quited the 3d base and I a made a new one from Styrofoam. The plan of making a wooden base was aborted because this project needs to be finished so I focus on another. A small fall cause some mast and railing damage, they will be repaired tomorrow. The project is done.


-
The model is finished apart the helicopter. The decals on the heli area where not positioned correctly because the instructions where not accurate. Another disadvantage of the kit. I could go for adding extra details but I feel the need to move on. Overall a medium quality kit. Best part was the included PE. It covers 80% of the extra details provided by Flyhawk set.

-
From what I see from the scale you have a calm to moderate sea state. That means no need to torture yourself with shades of blue. You can made a decent sea by using only dark blue and white. You can spray the whole thing with ocean dark blue then lightly paint the ship surroundings with white using airbrush
- 176 replies
-
- 2
-

-
- new orleans
- iron shipwrights
- (and 2 more)
-
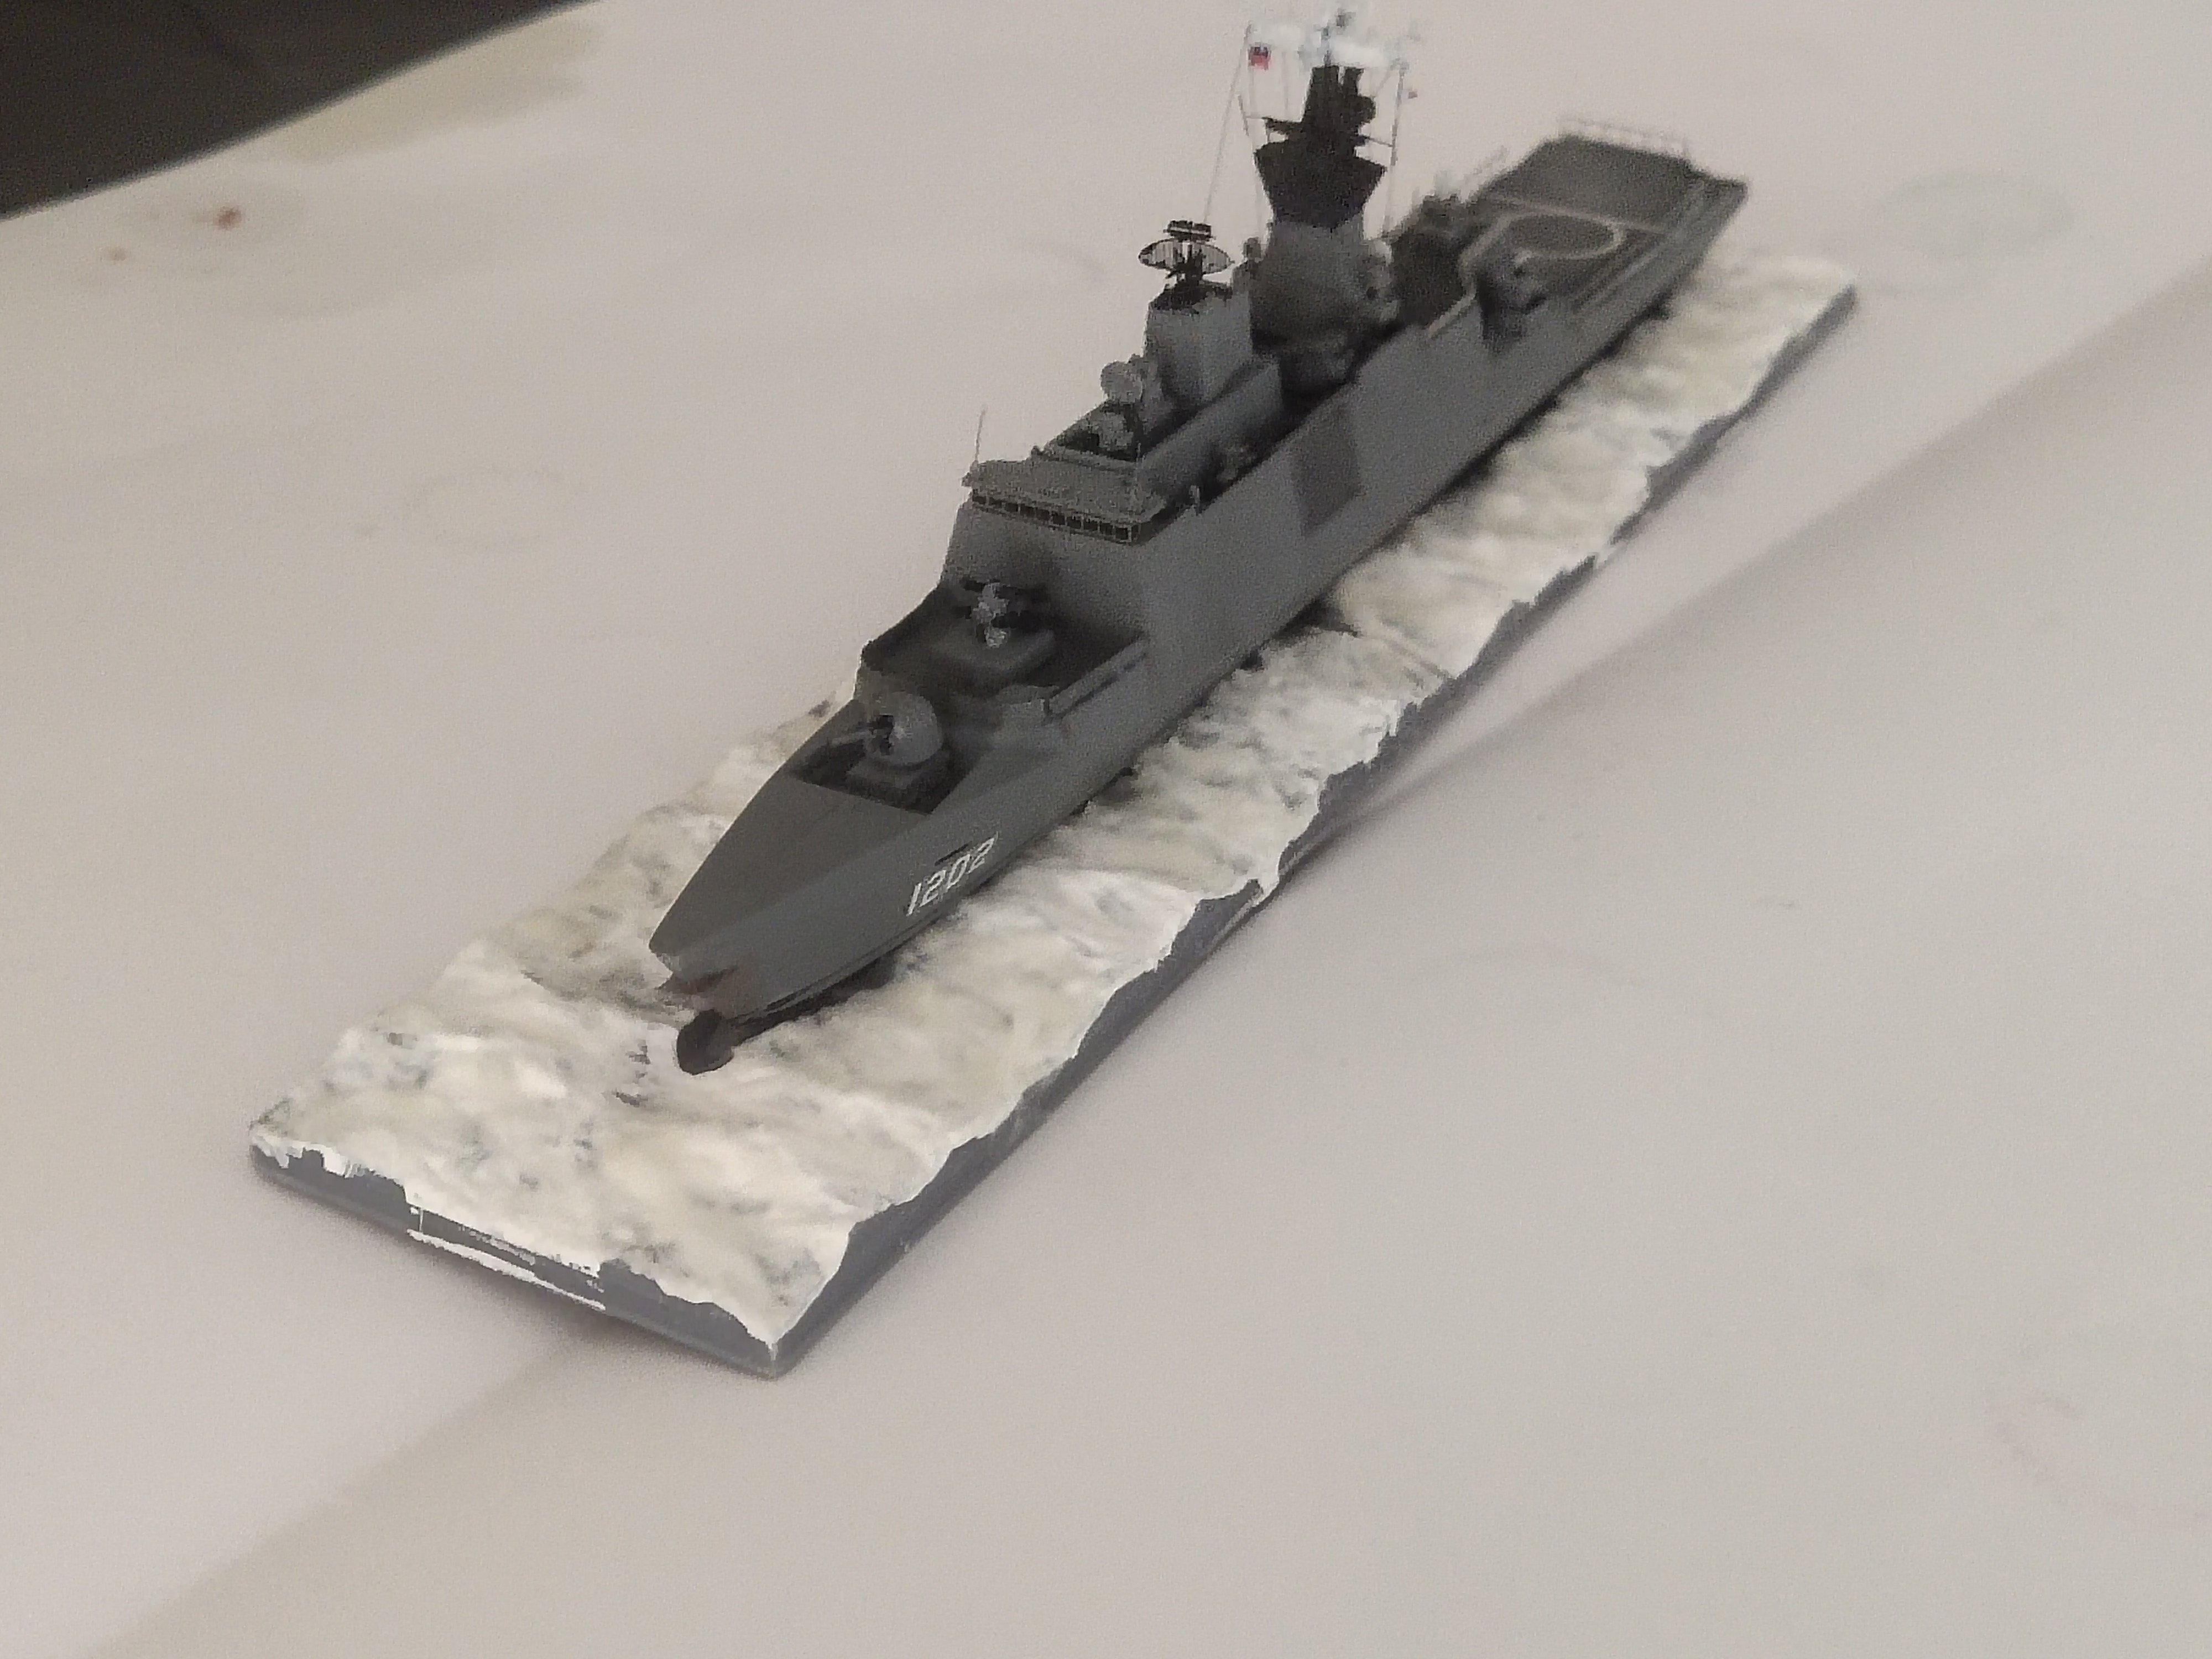
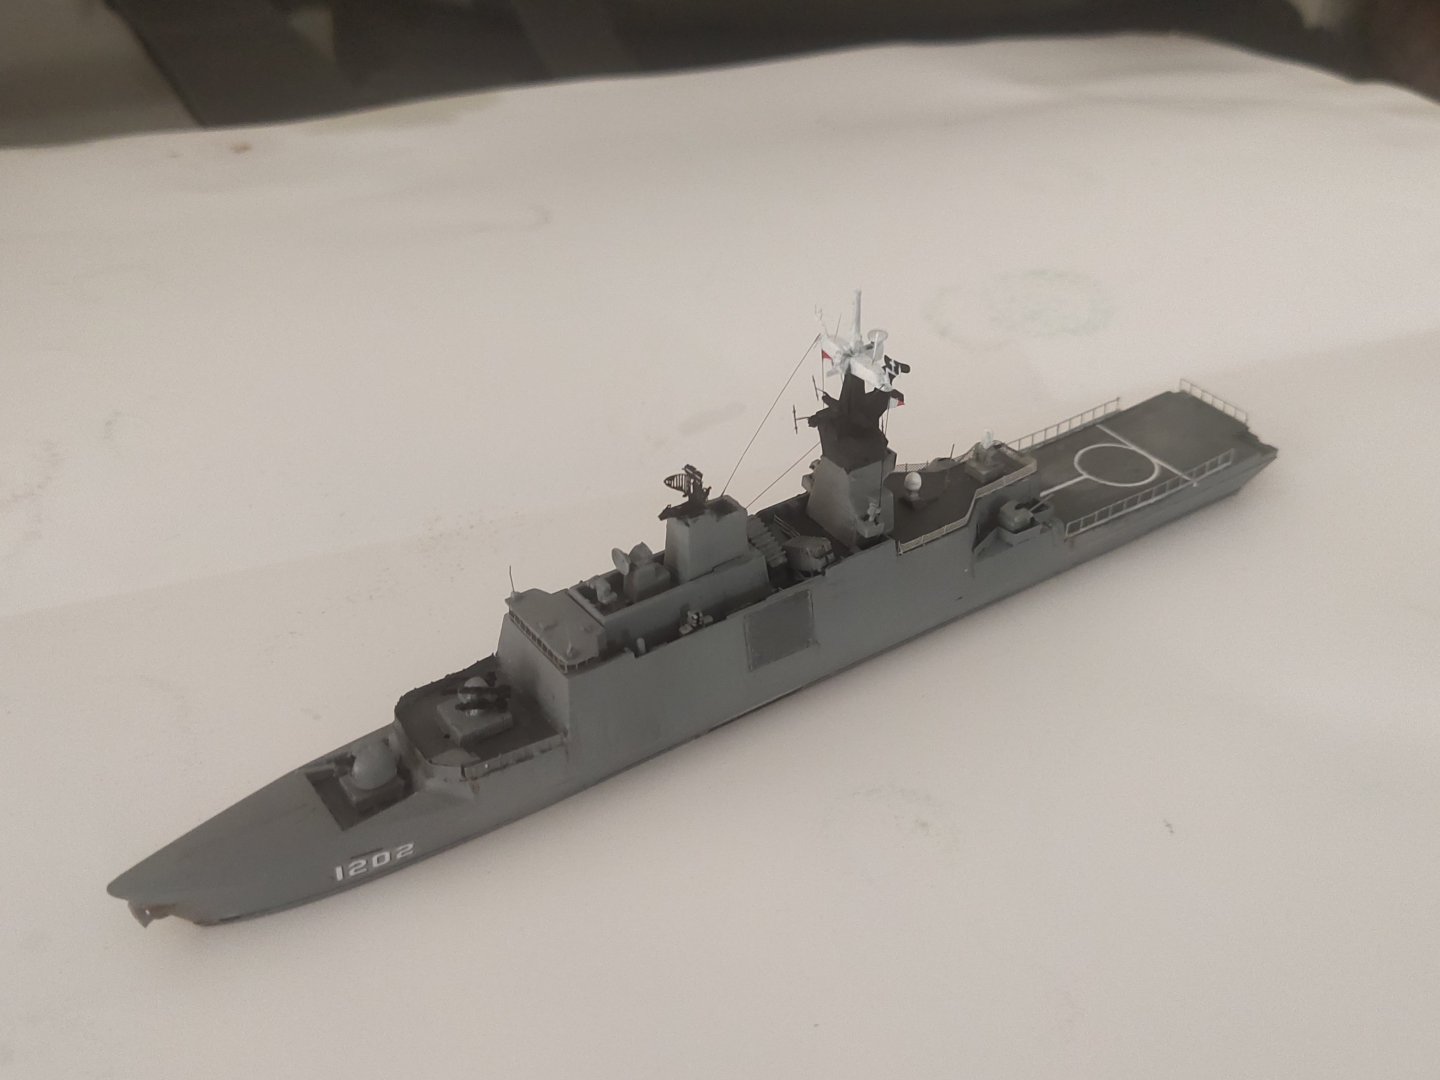
For the rigging material I used fake hair extension. Very good thickness, easy to work with and it causes less tension to the masts. I took me 3 evenings about 2 hours each evening. First I did the forward section, next the middle and lastly the stern section. Even not elastic, it causes some stress to the plastic parts. To cut the excess material I used hot needle. This has to be done with caution not the damage the rest rigging or the plastic parts. Another advantage for the brass masts. I wish they weren't SK difficult to make. Maybe one day I will be able to make it better


-
Thanks for the comment as usual
-
Last touch up details before weathering Done paint weathering. Ready for rigging. It will be a long and painful progress


-
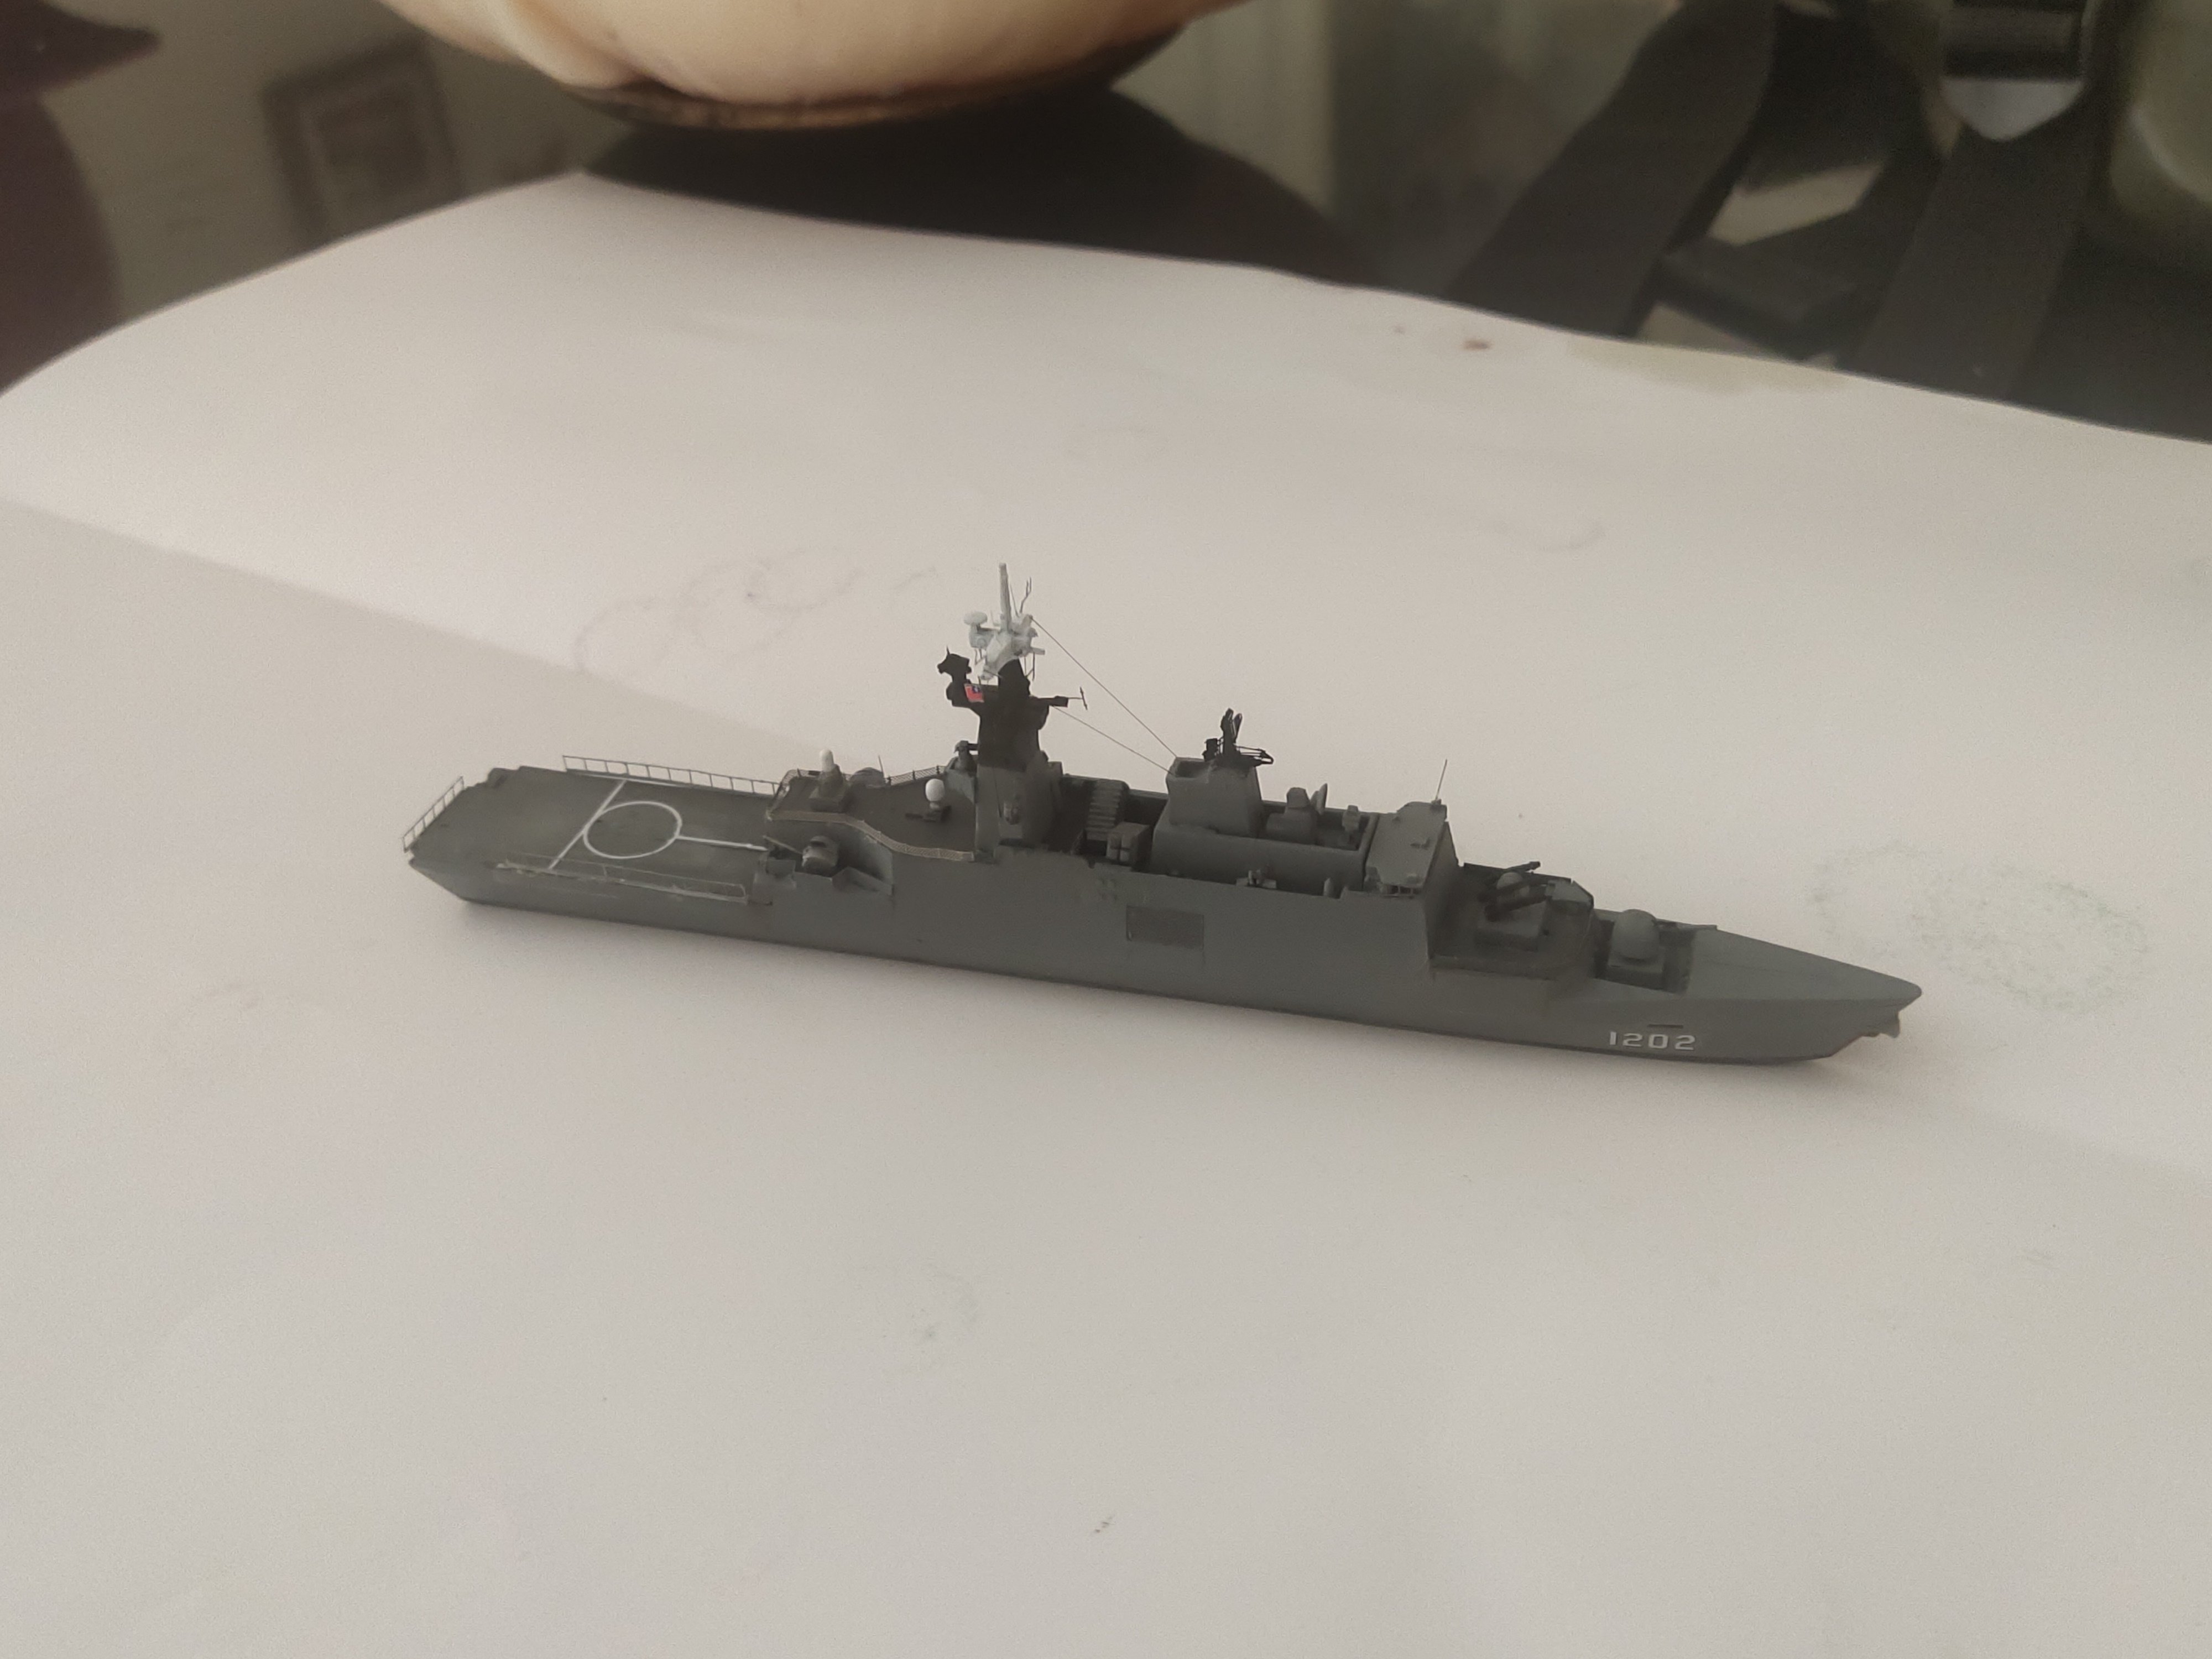
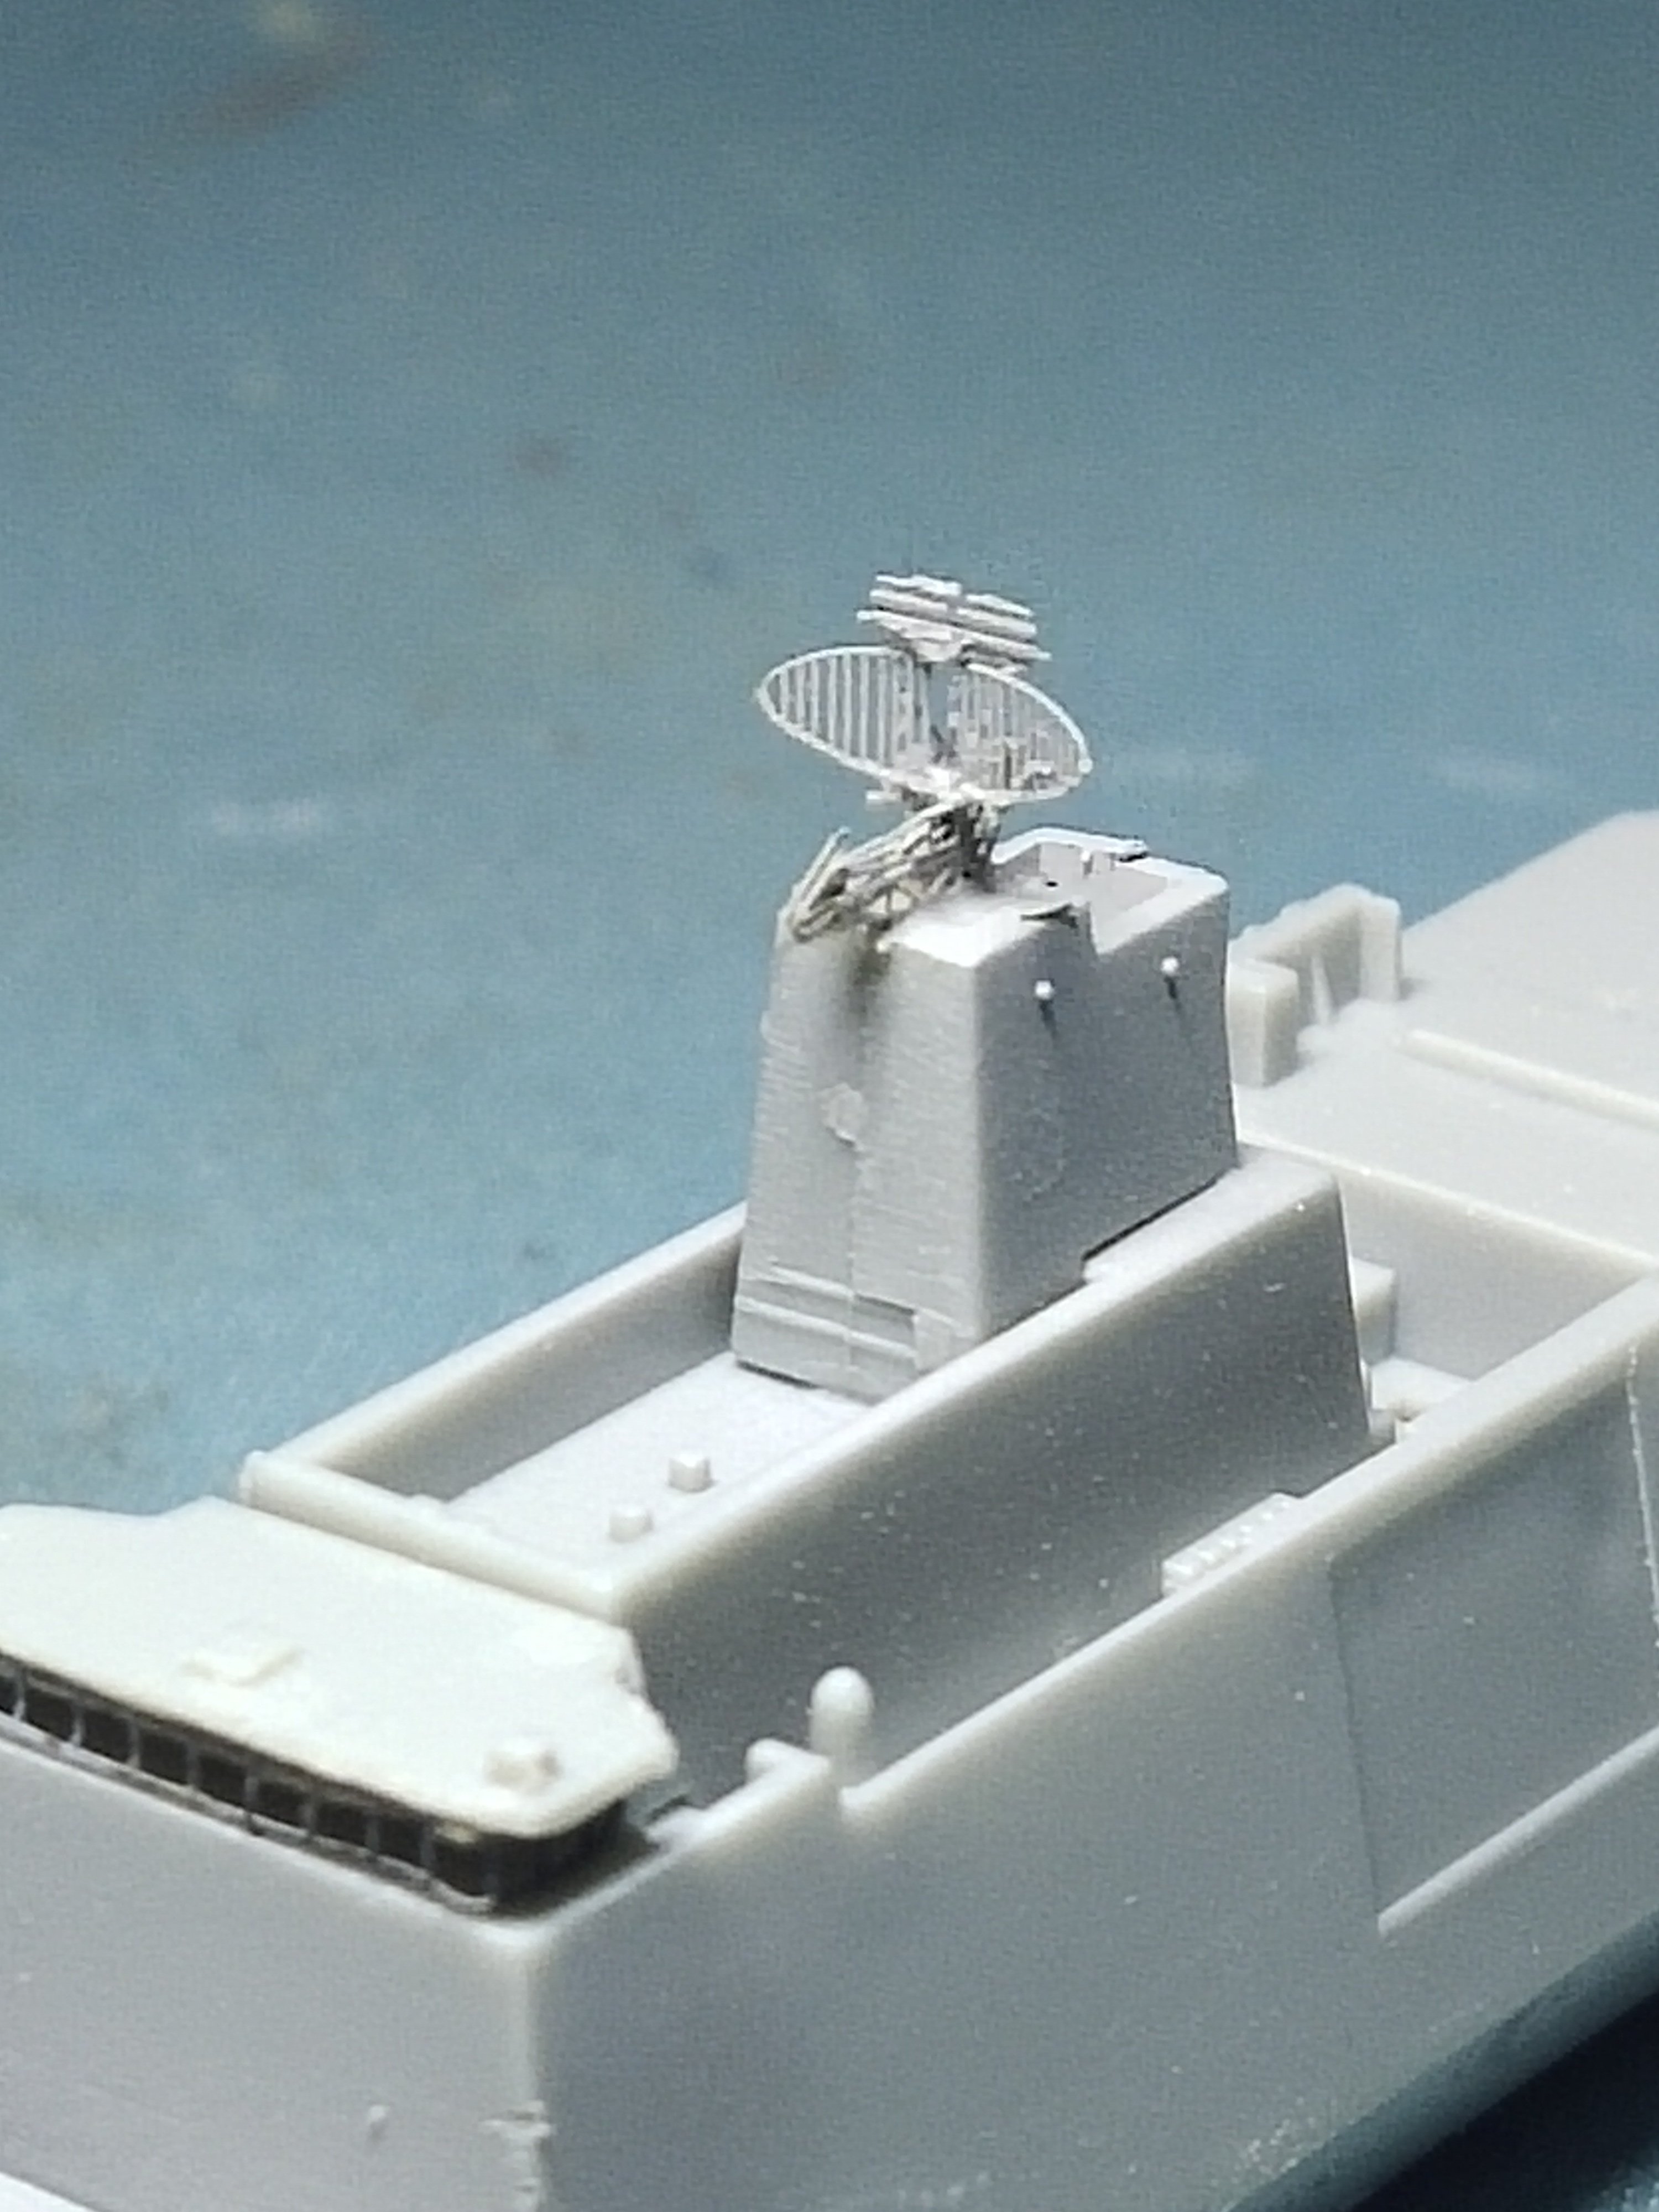
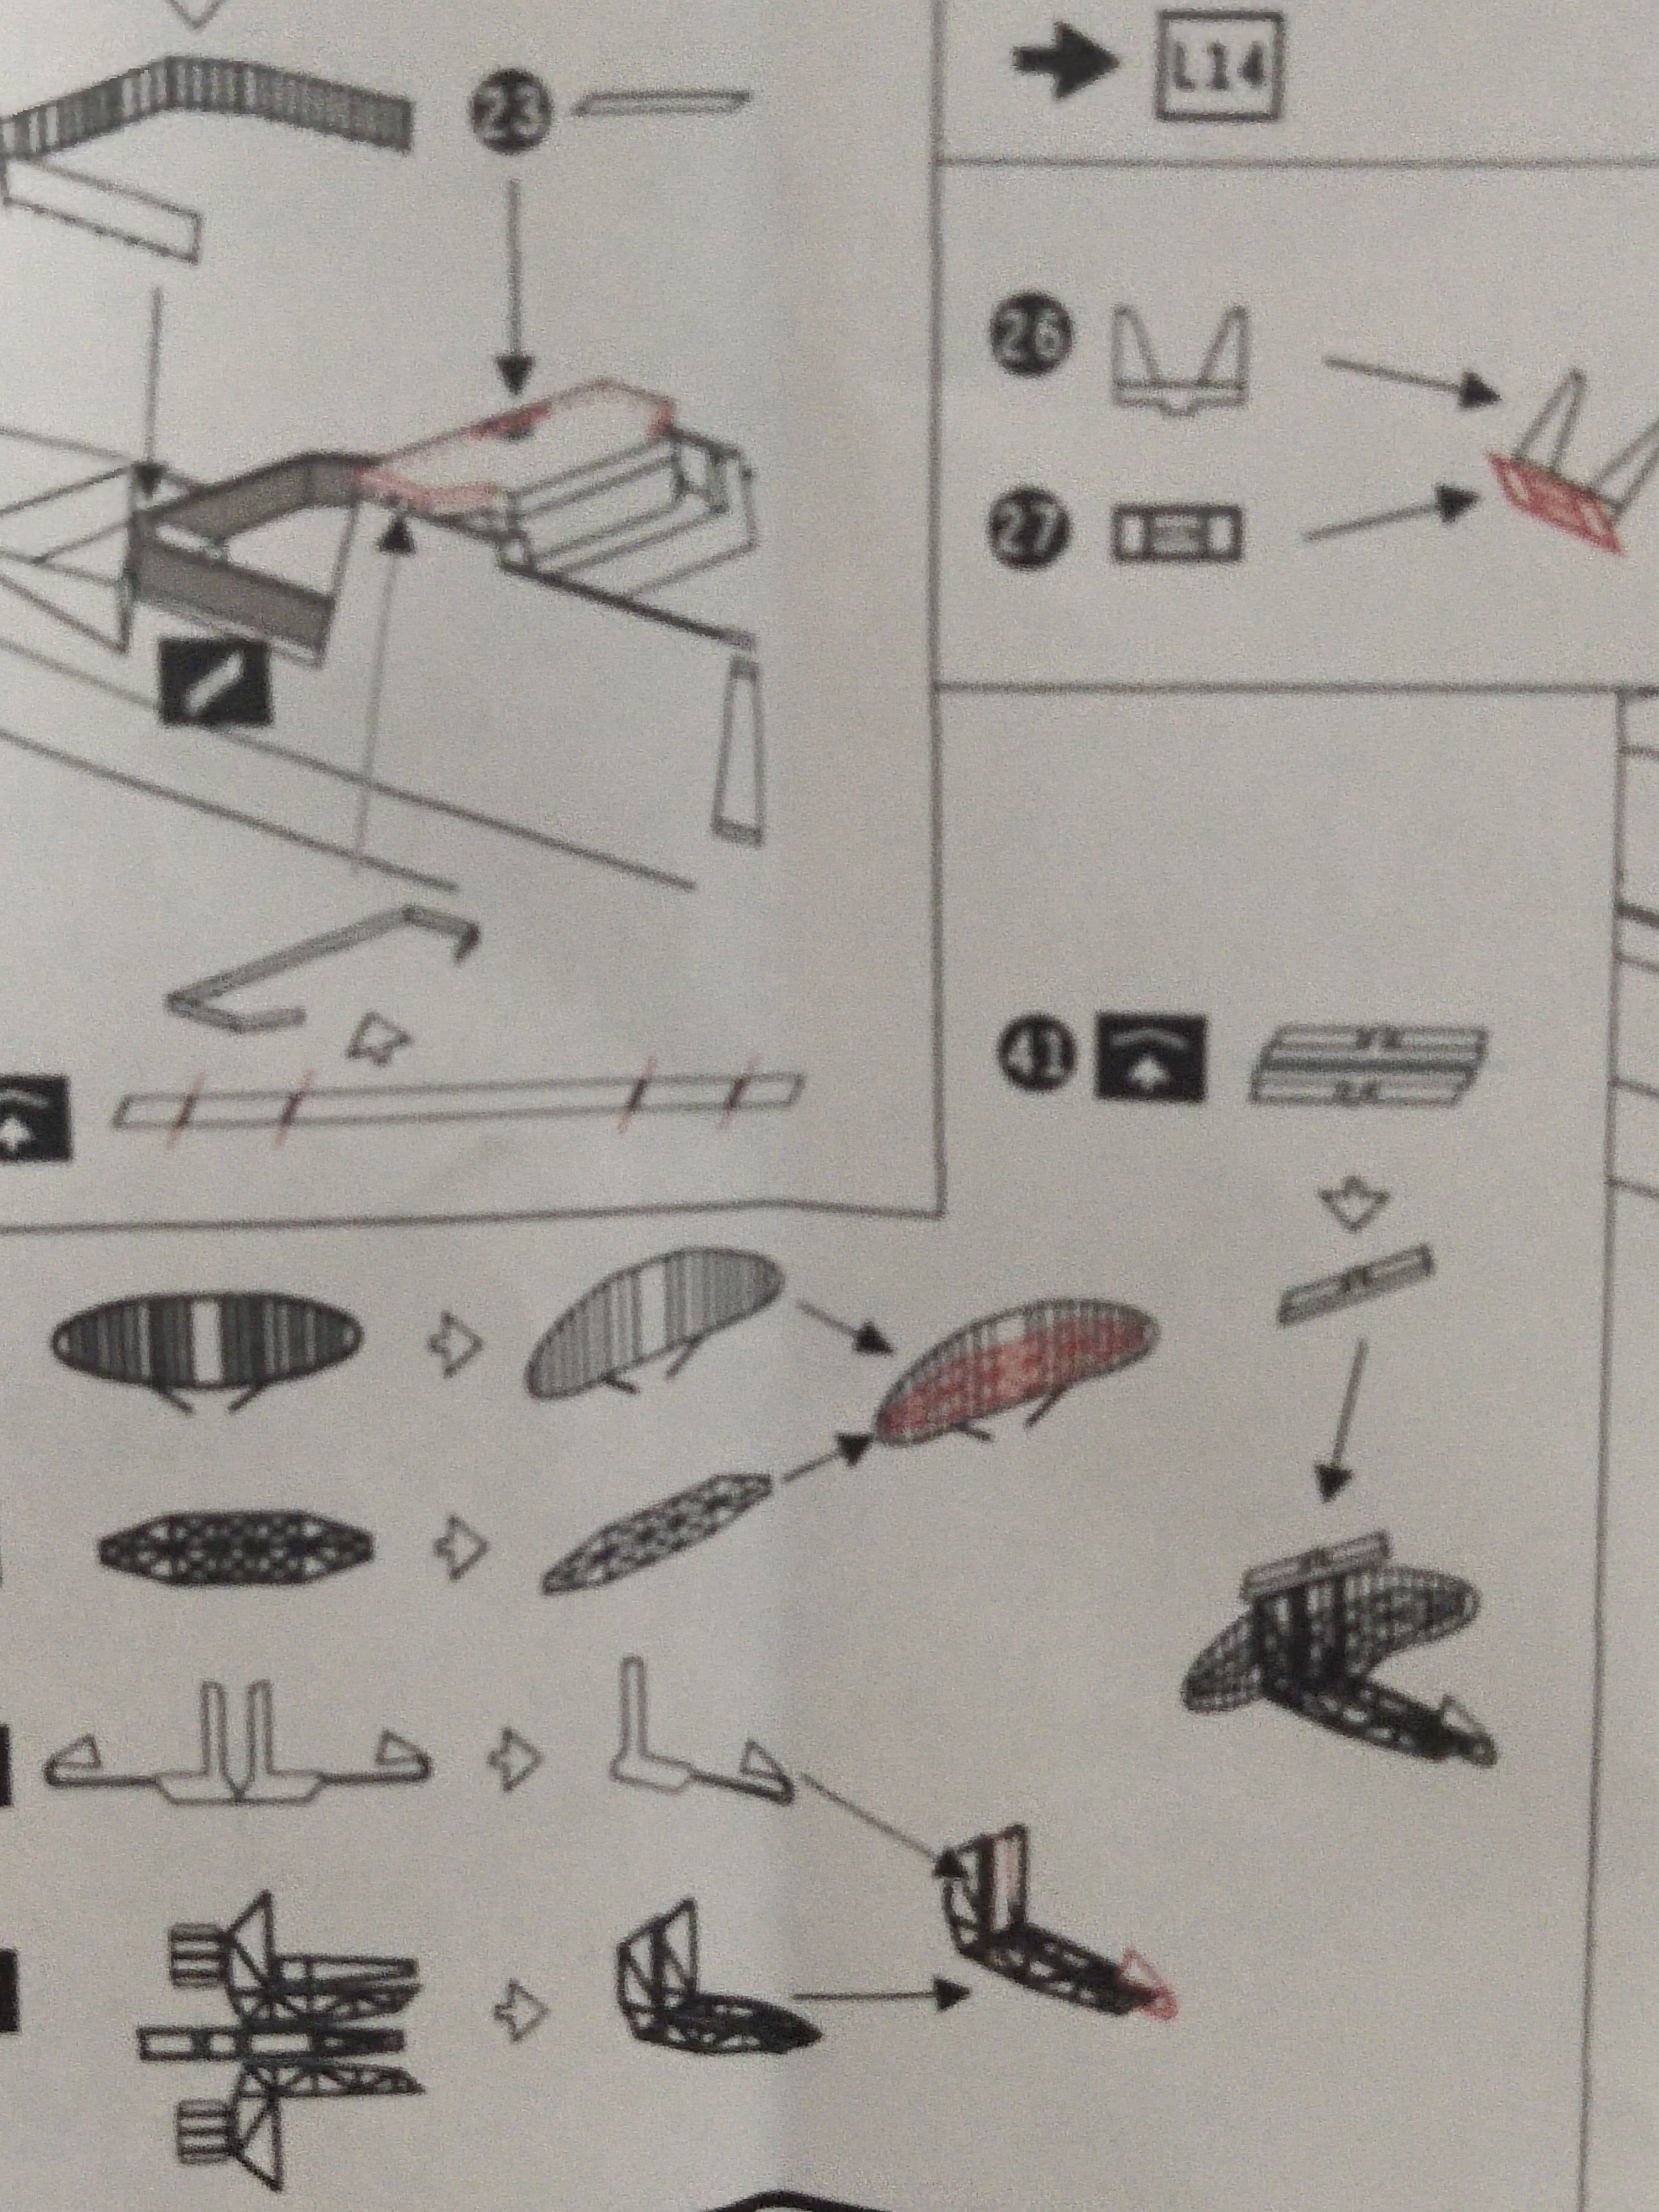
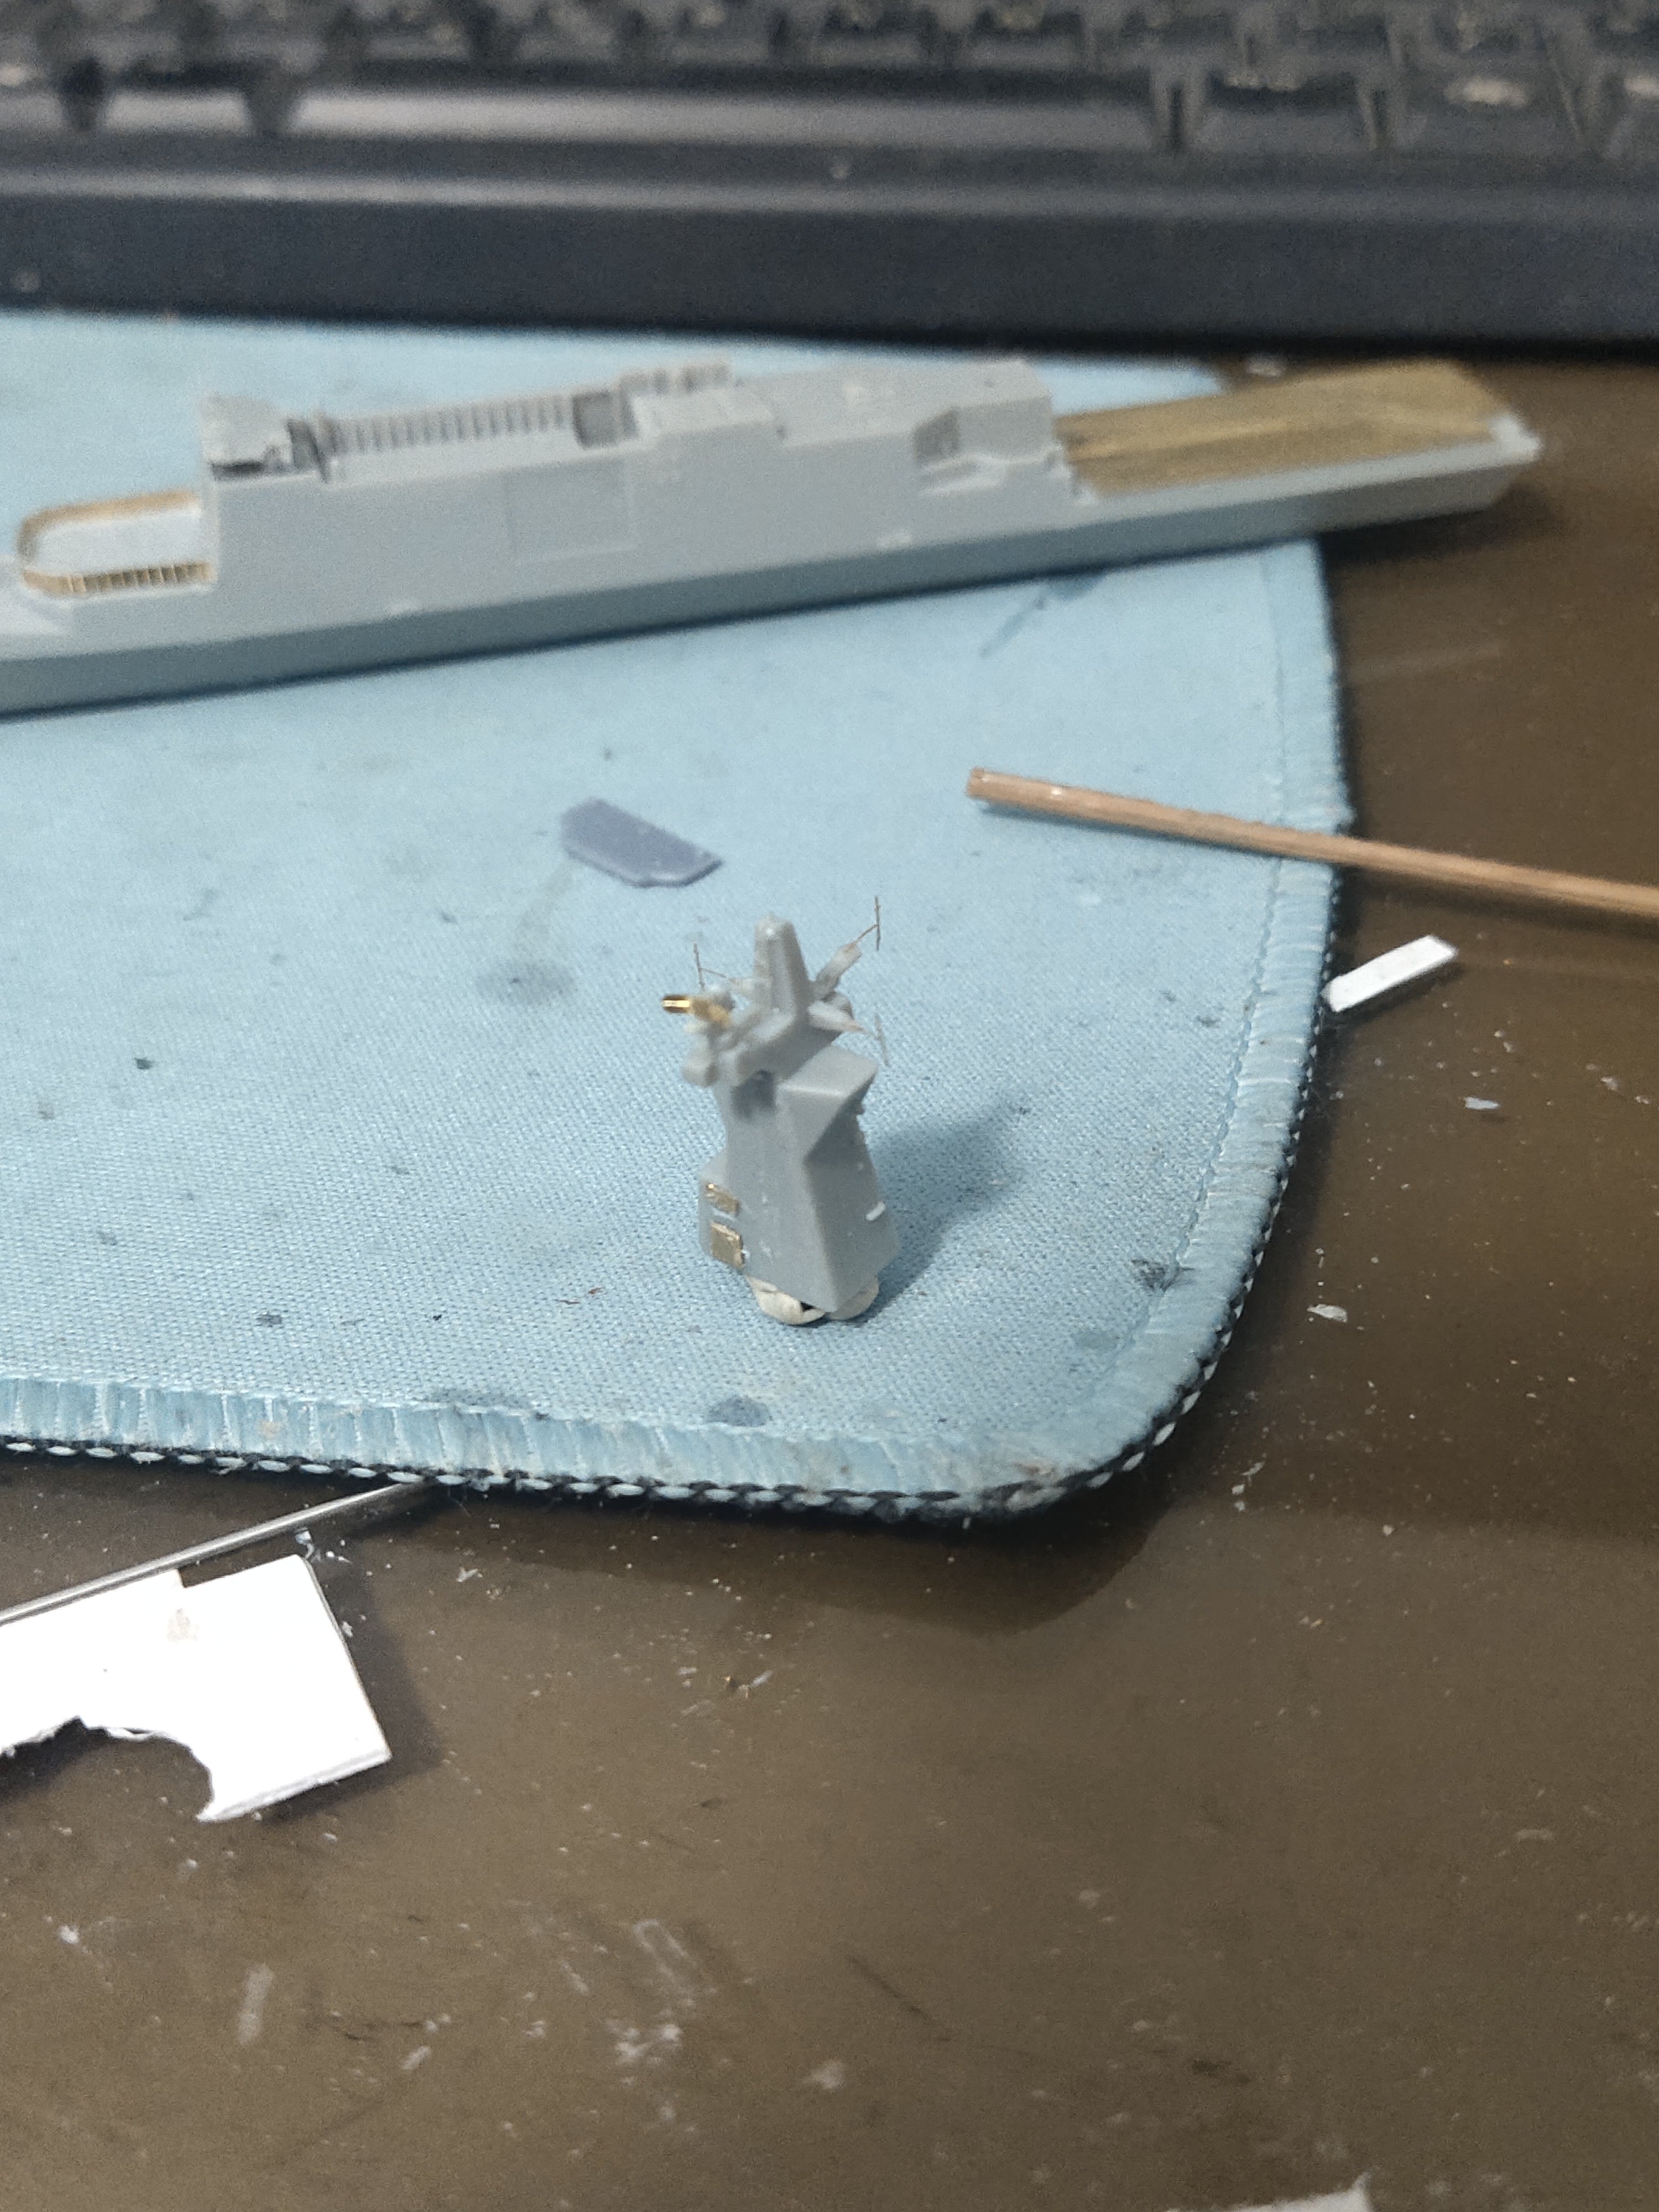
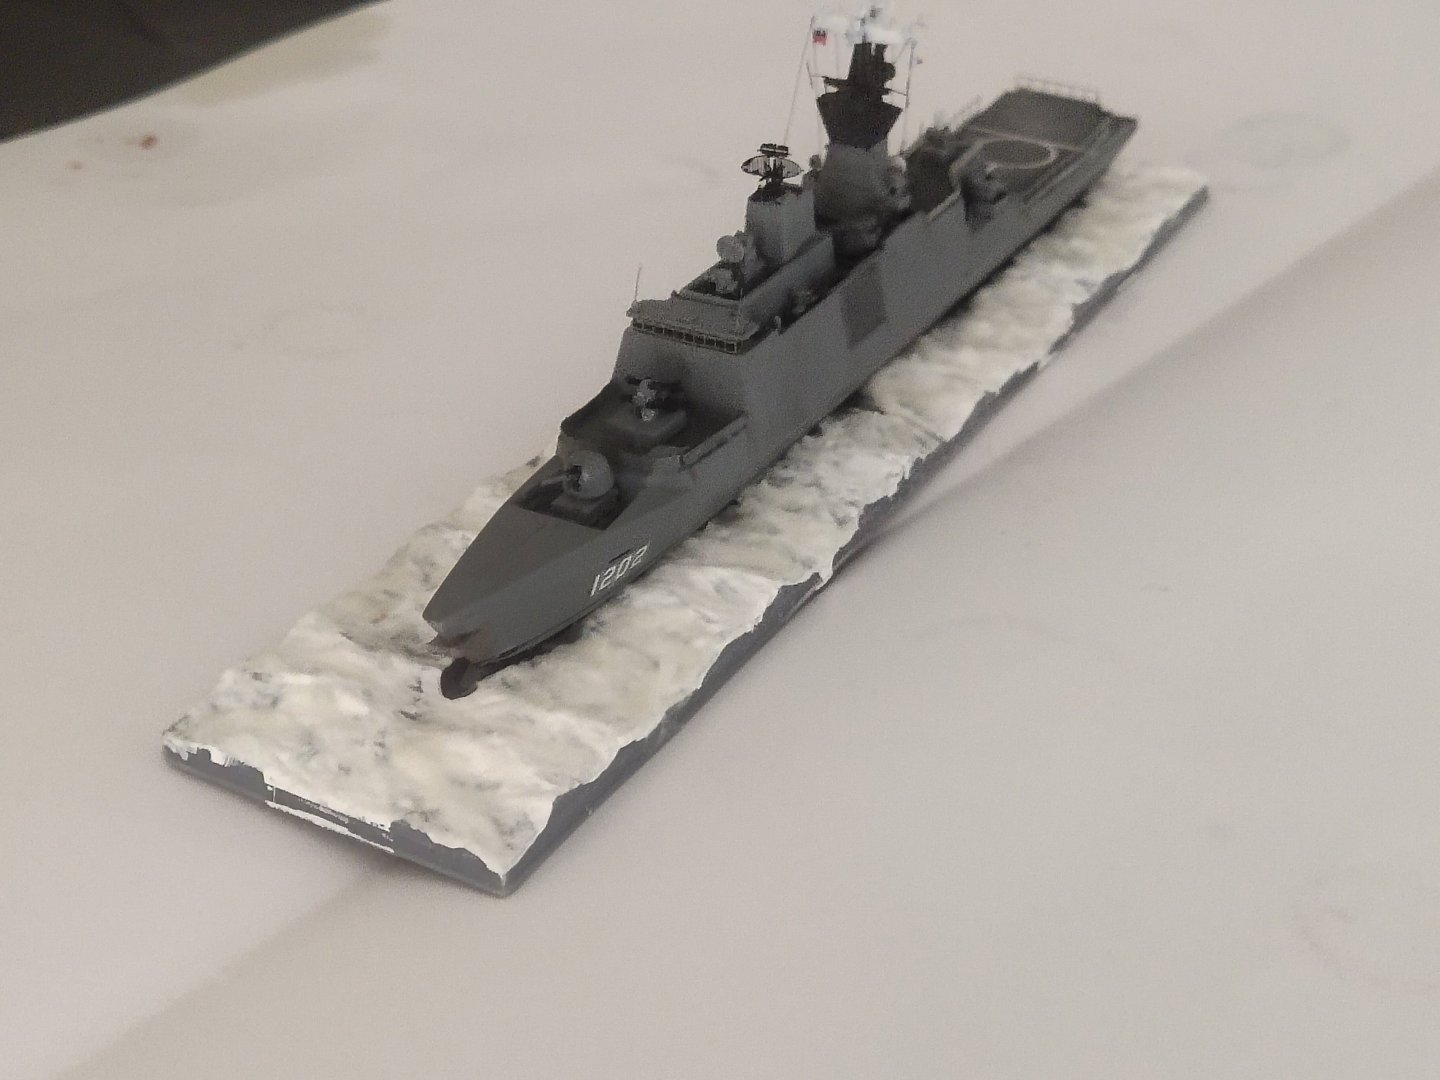
I assembled the main radar. There were multiple parts. It was as fragile as a mosquito. Canon barrel was upgrade, using needles of various diameter and coper wire. I printed a new SSM box with more detailed base, an anchor and tiny barrel rafts


-
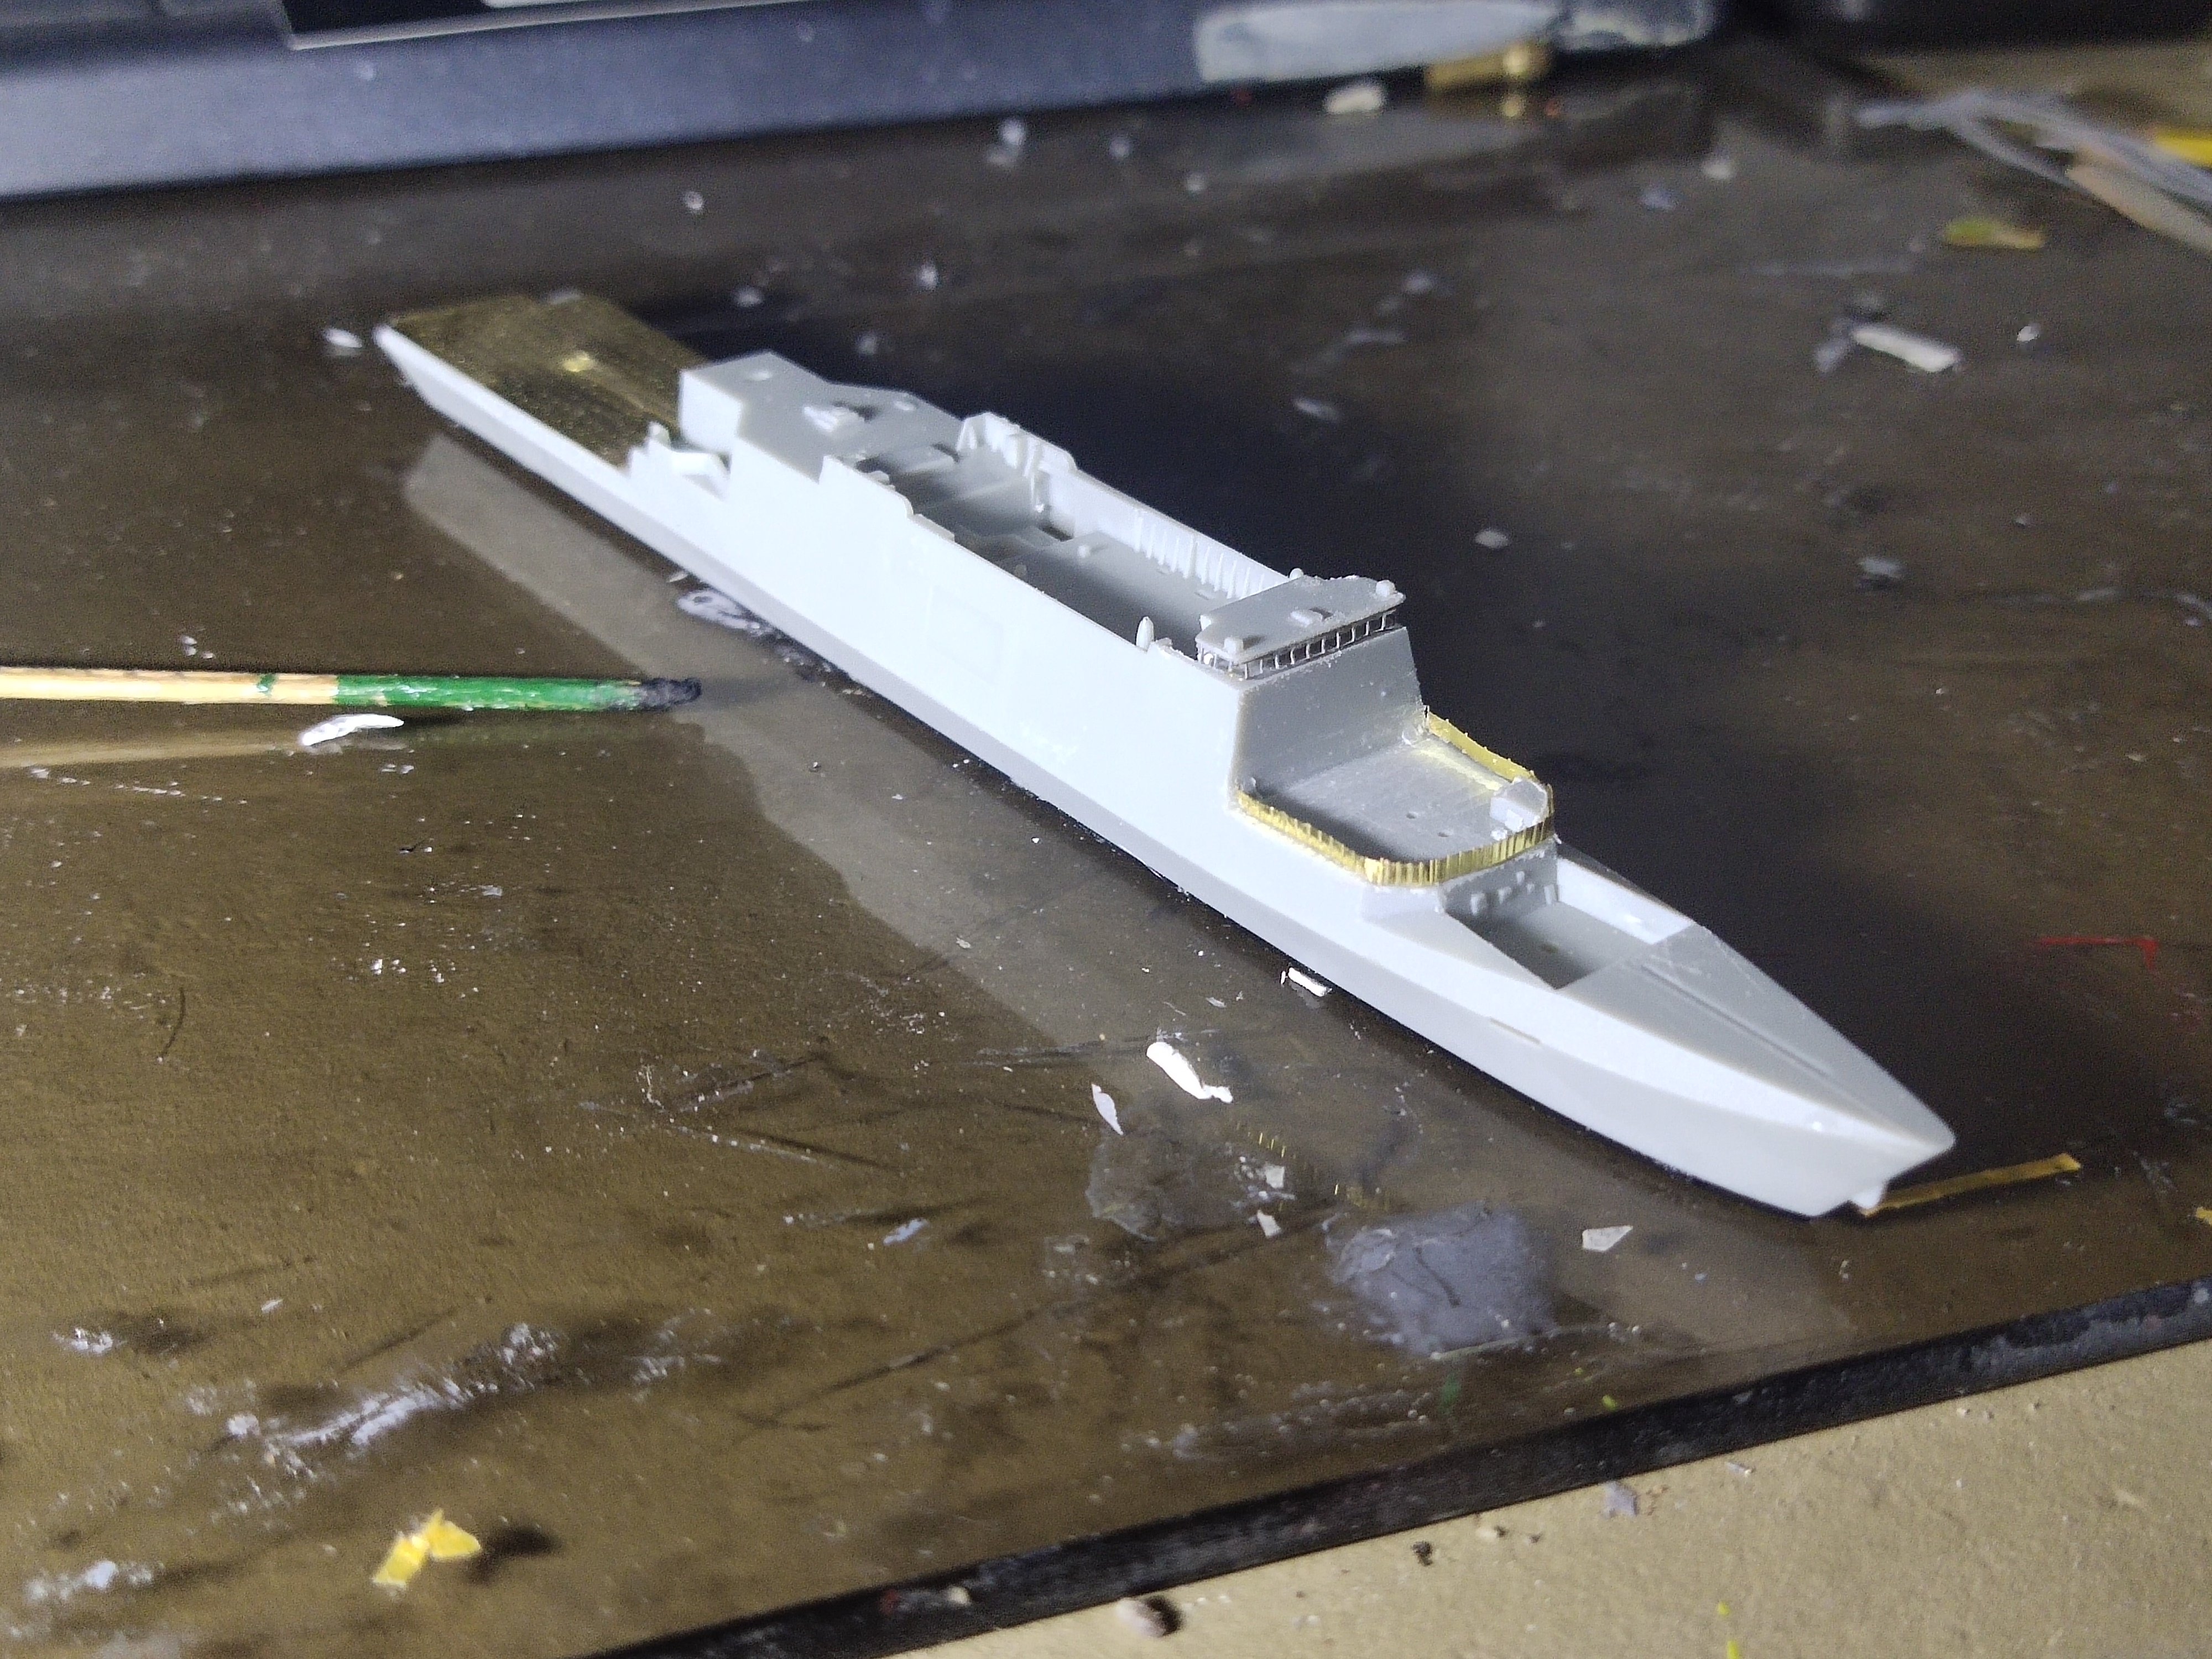
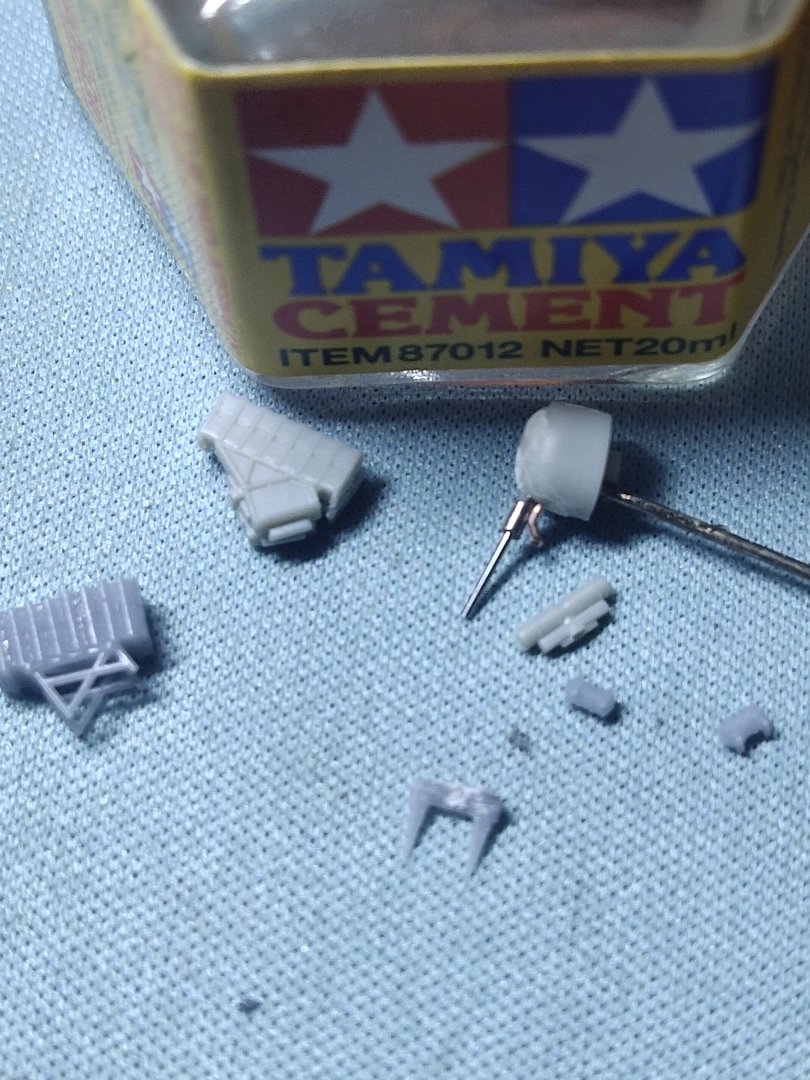
Apart from the sprue containing the hull parts there's only another one. So Iooking for the parts is not time consuming I used surgical movements in order not to lose any tiny PE part. Also the minimum amount of glue used, to avoid mess. My tip: If excess PVA or CA glue used I burn the part with a lighter to remove it instead of scratching it especially if its a tiny one.


-
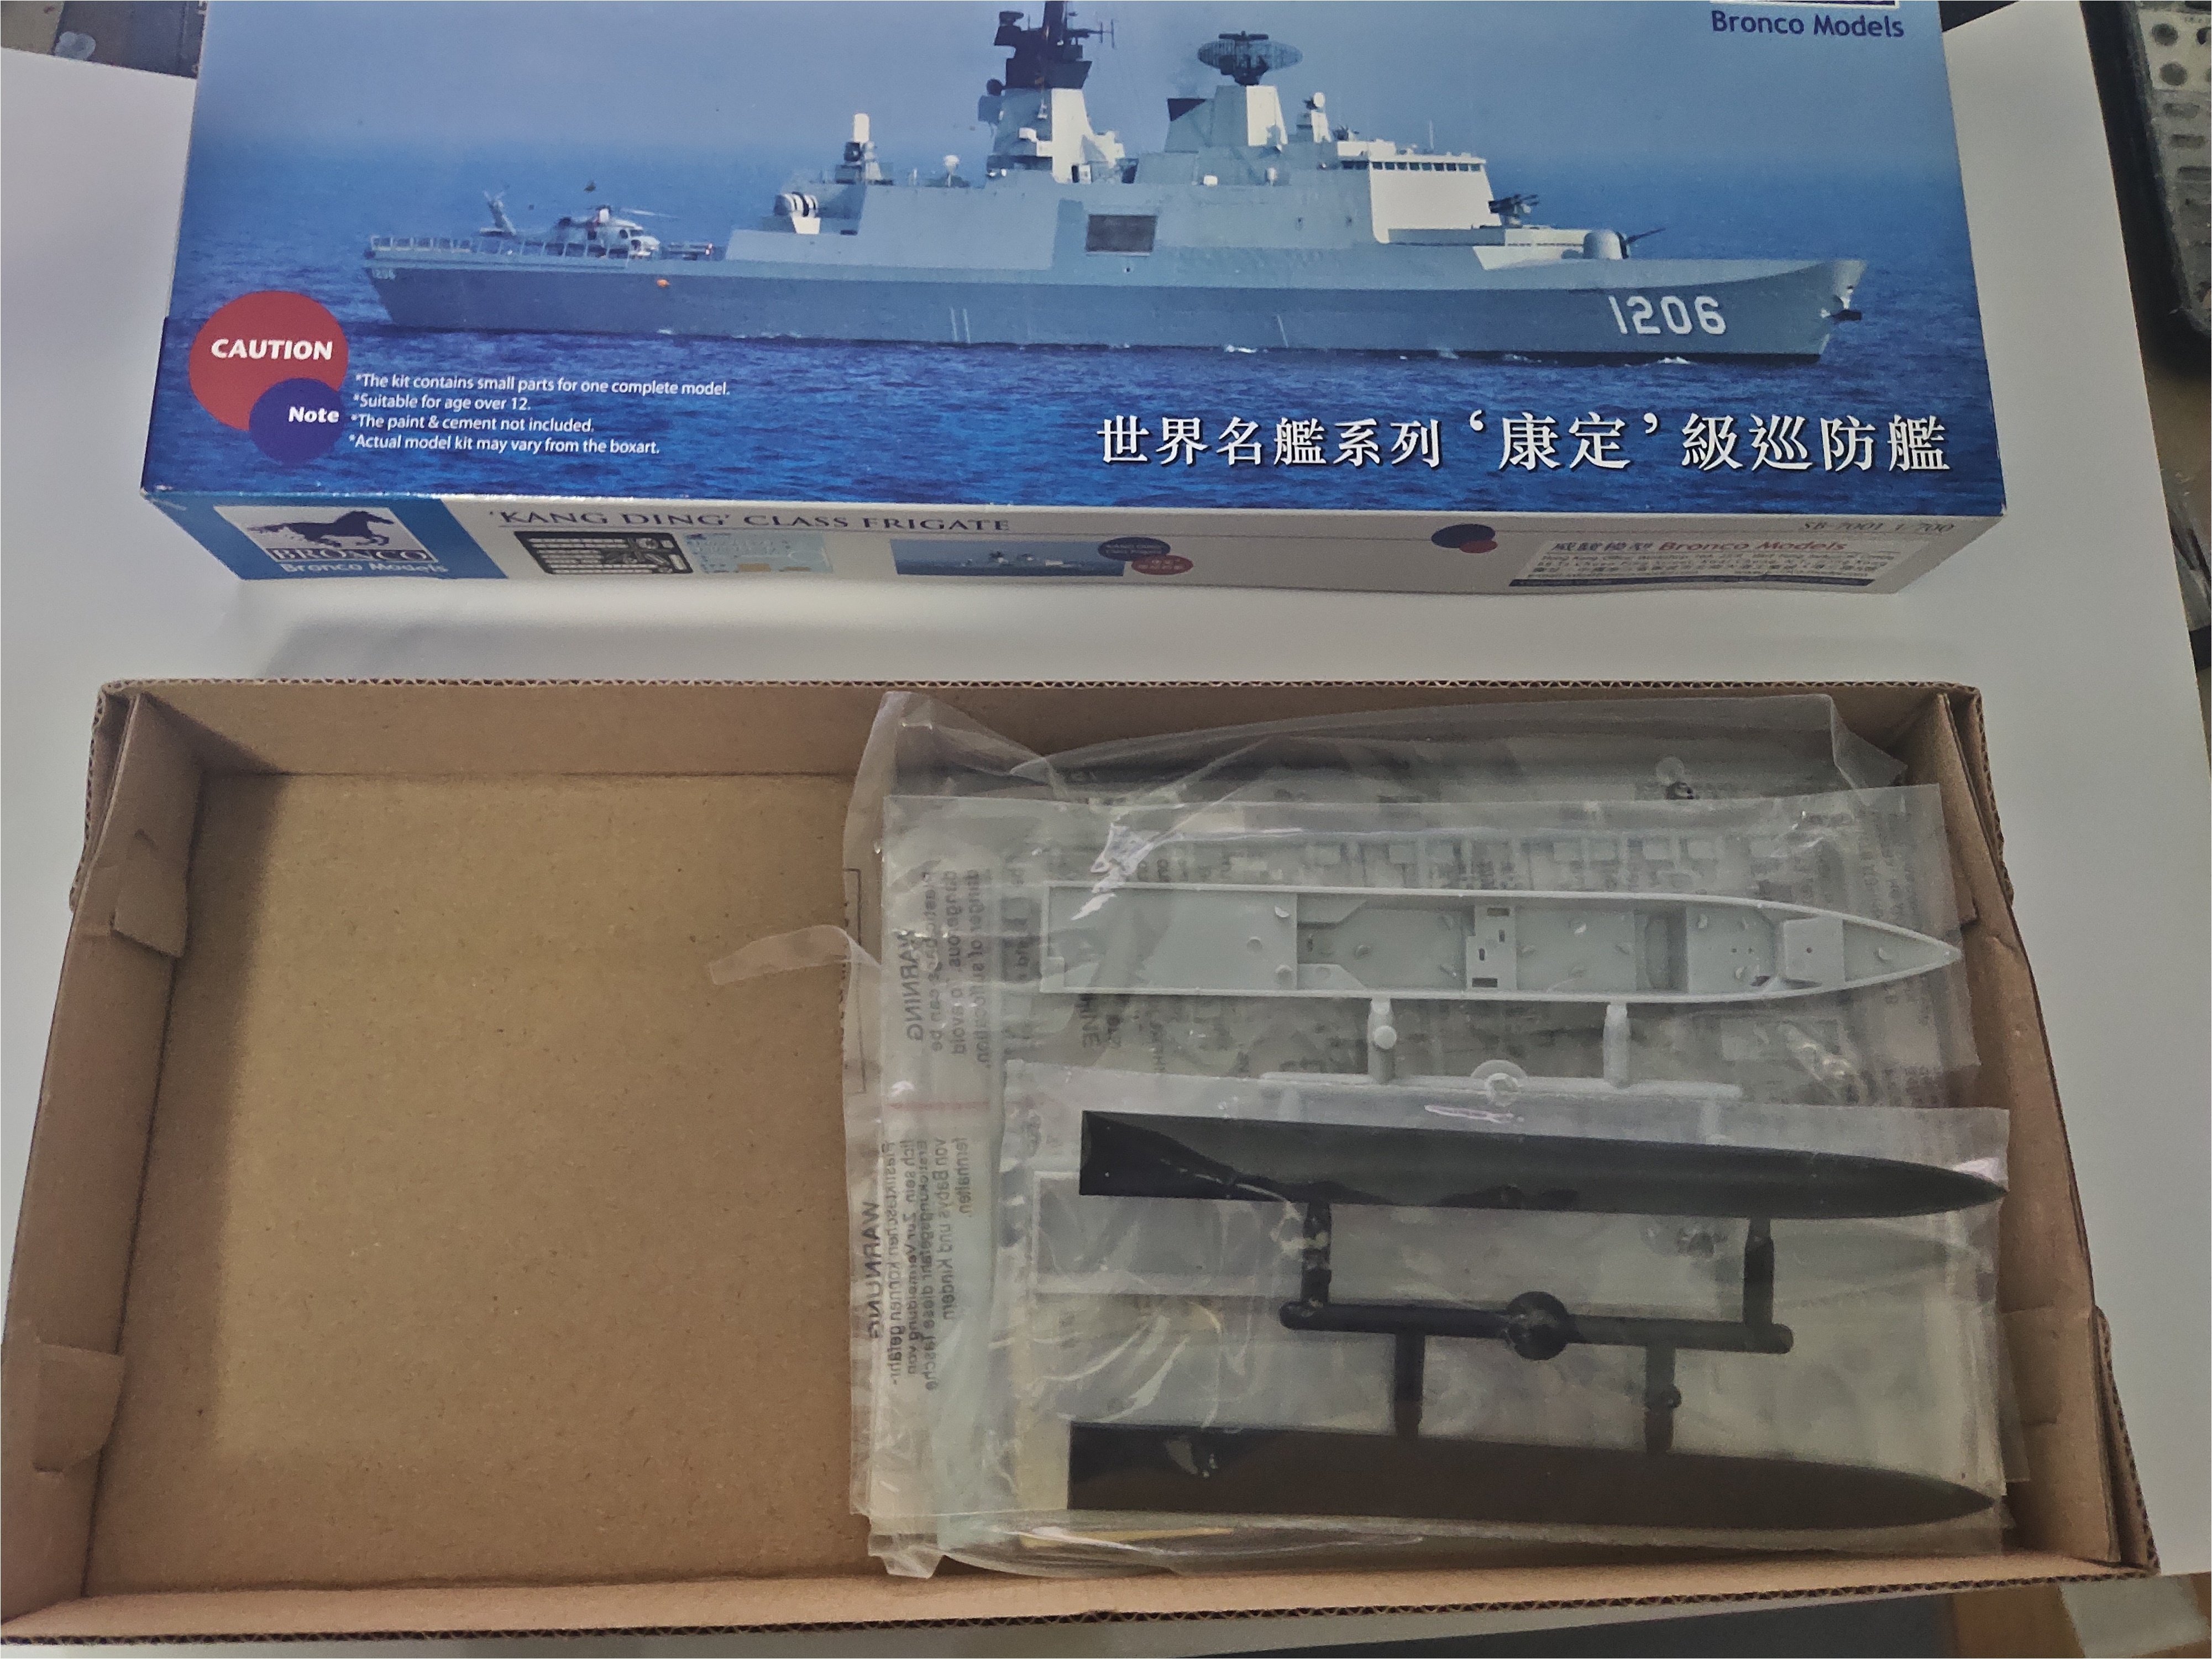
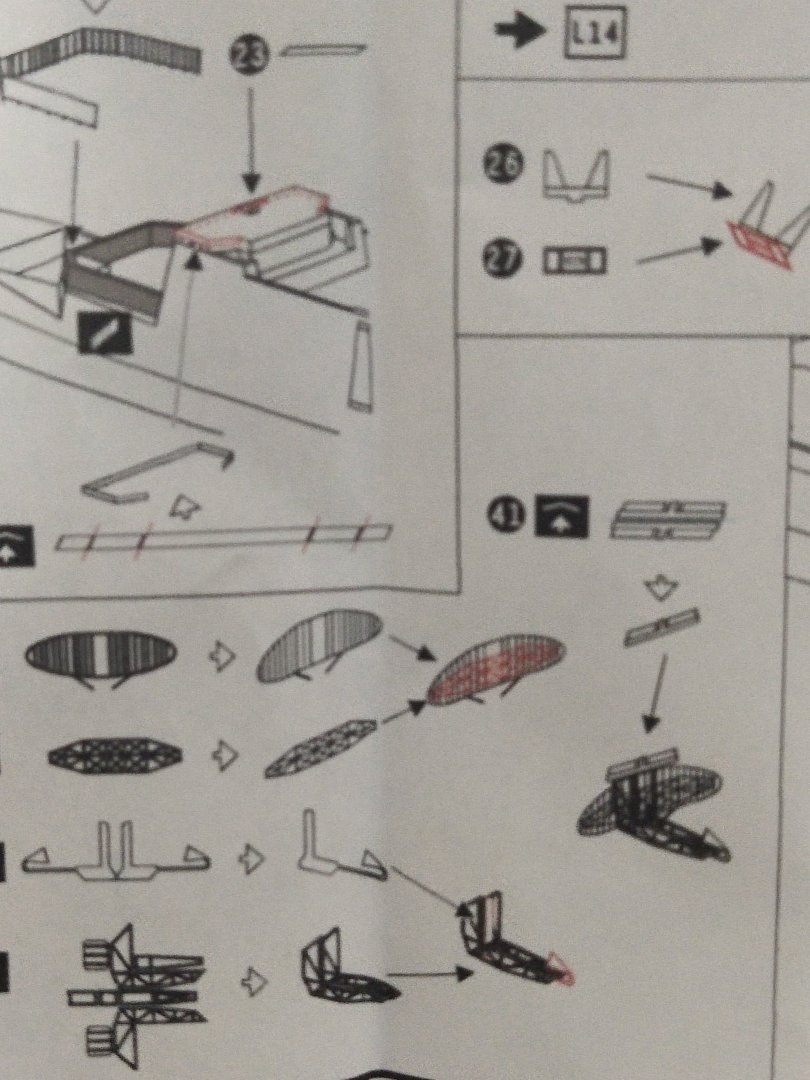
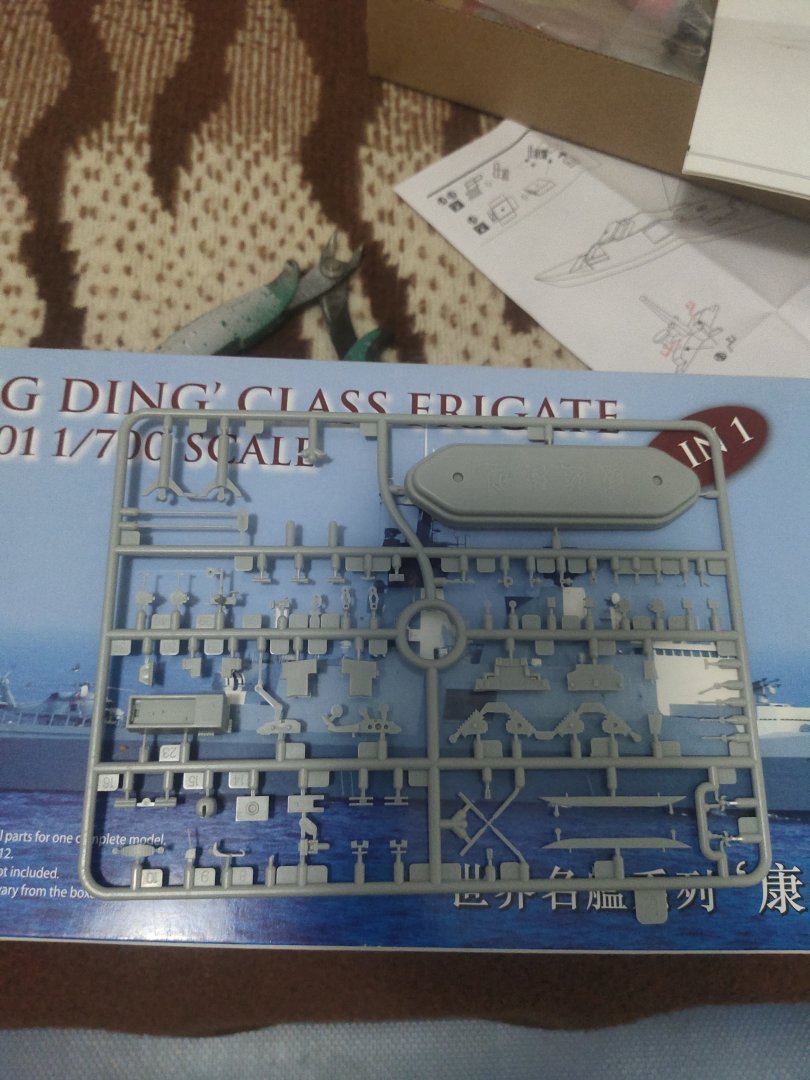
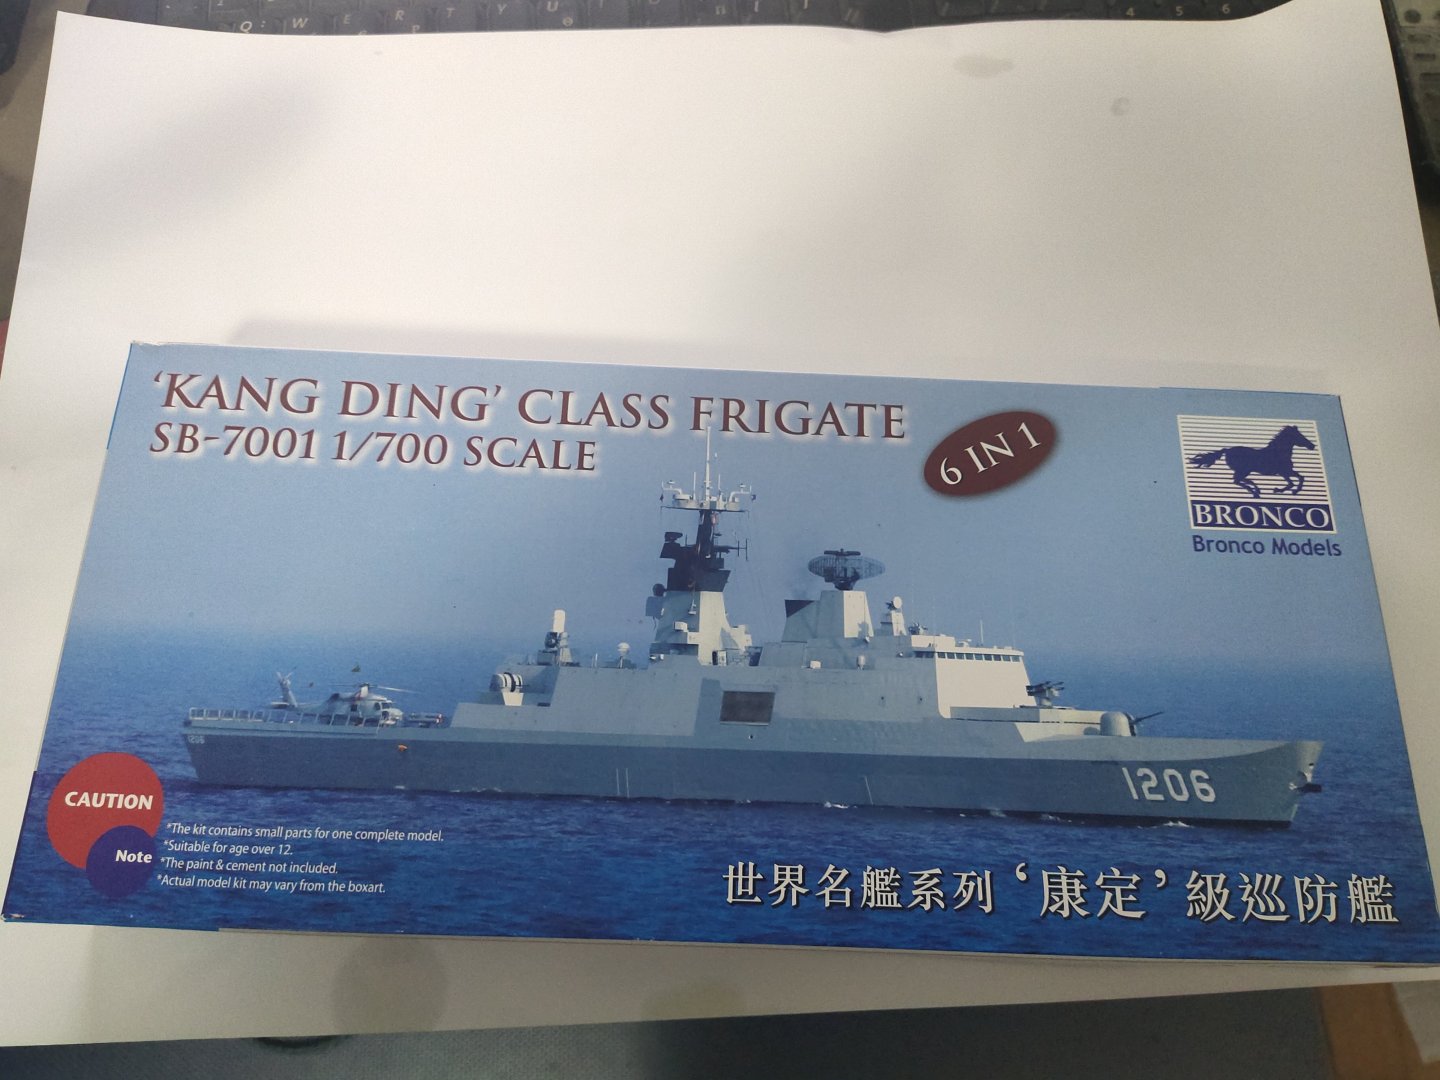
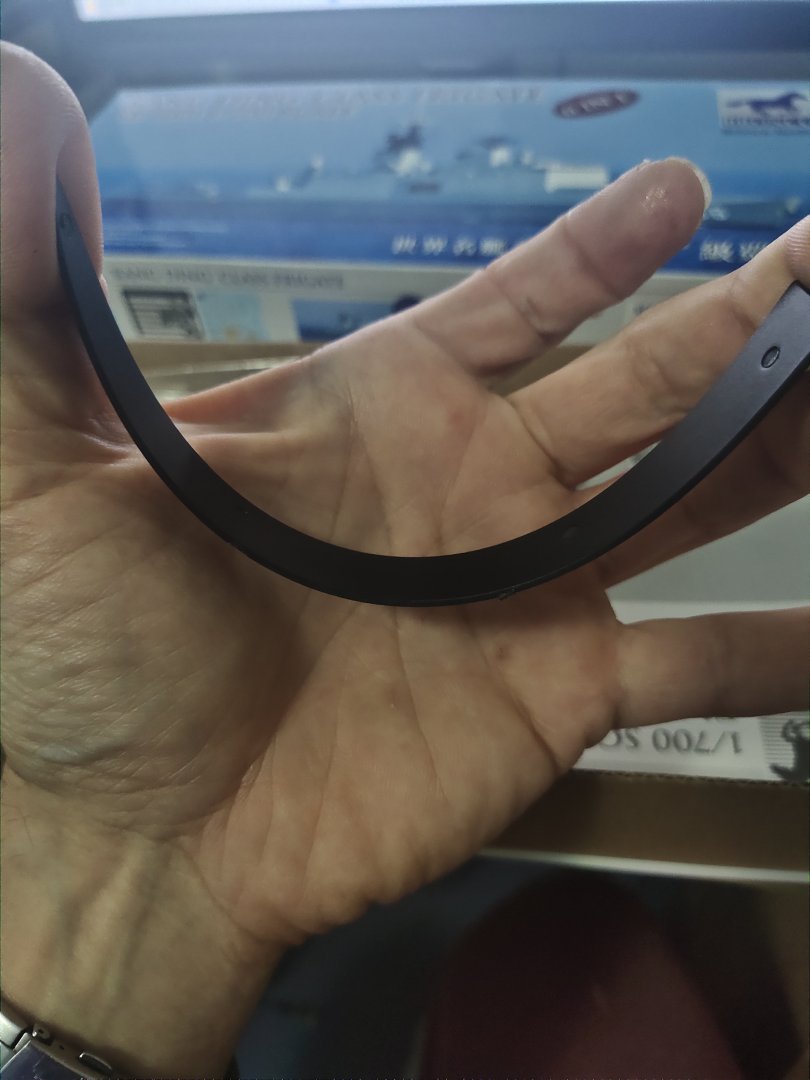
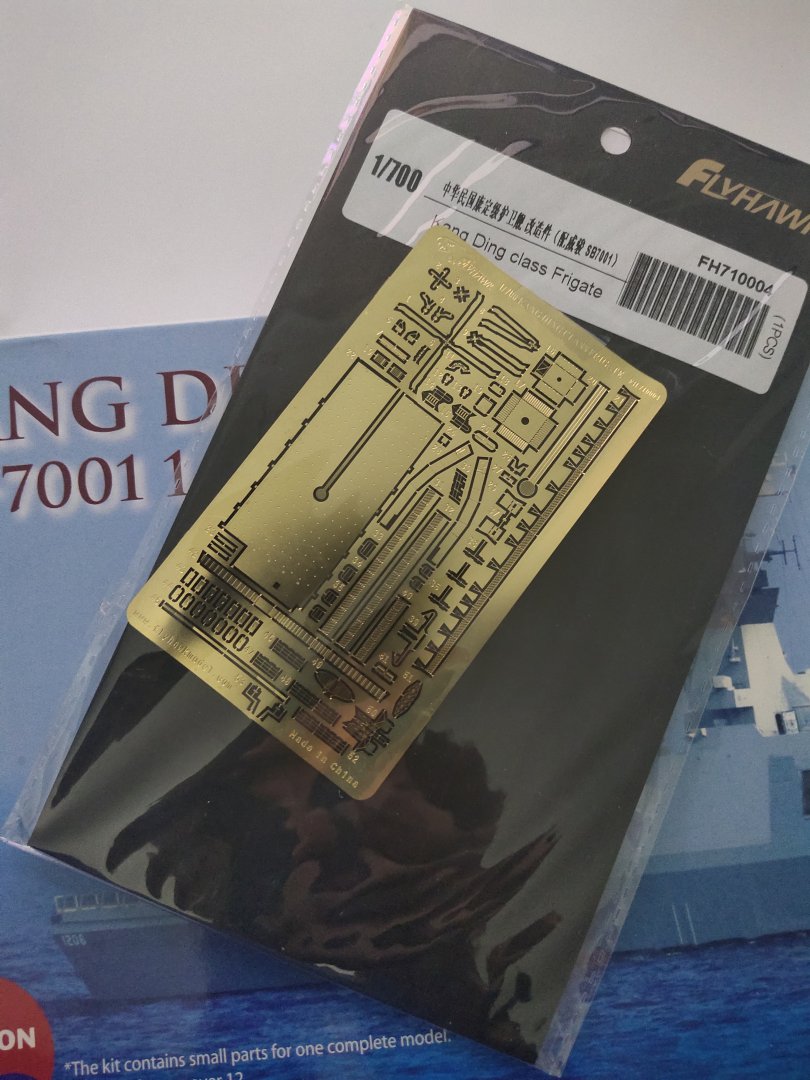
Another built of an unpopular model. Kang Ding Frigate of the ROCS Navy. A Taiwanese version of the French La Fayette Frigate. First impression opening the kit is like "I ve been cheated a bit", lol The plastic also looked very cheap and elastic Fortunately I obtained a PE kit from Flyhawk, let's see how I can make this kit looks nice

-
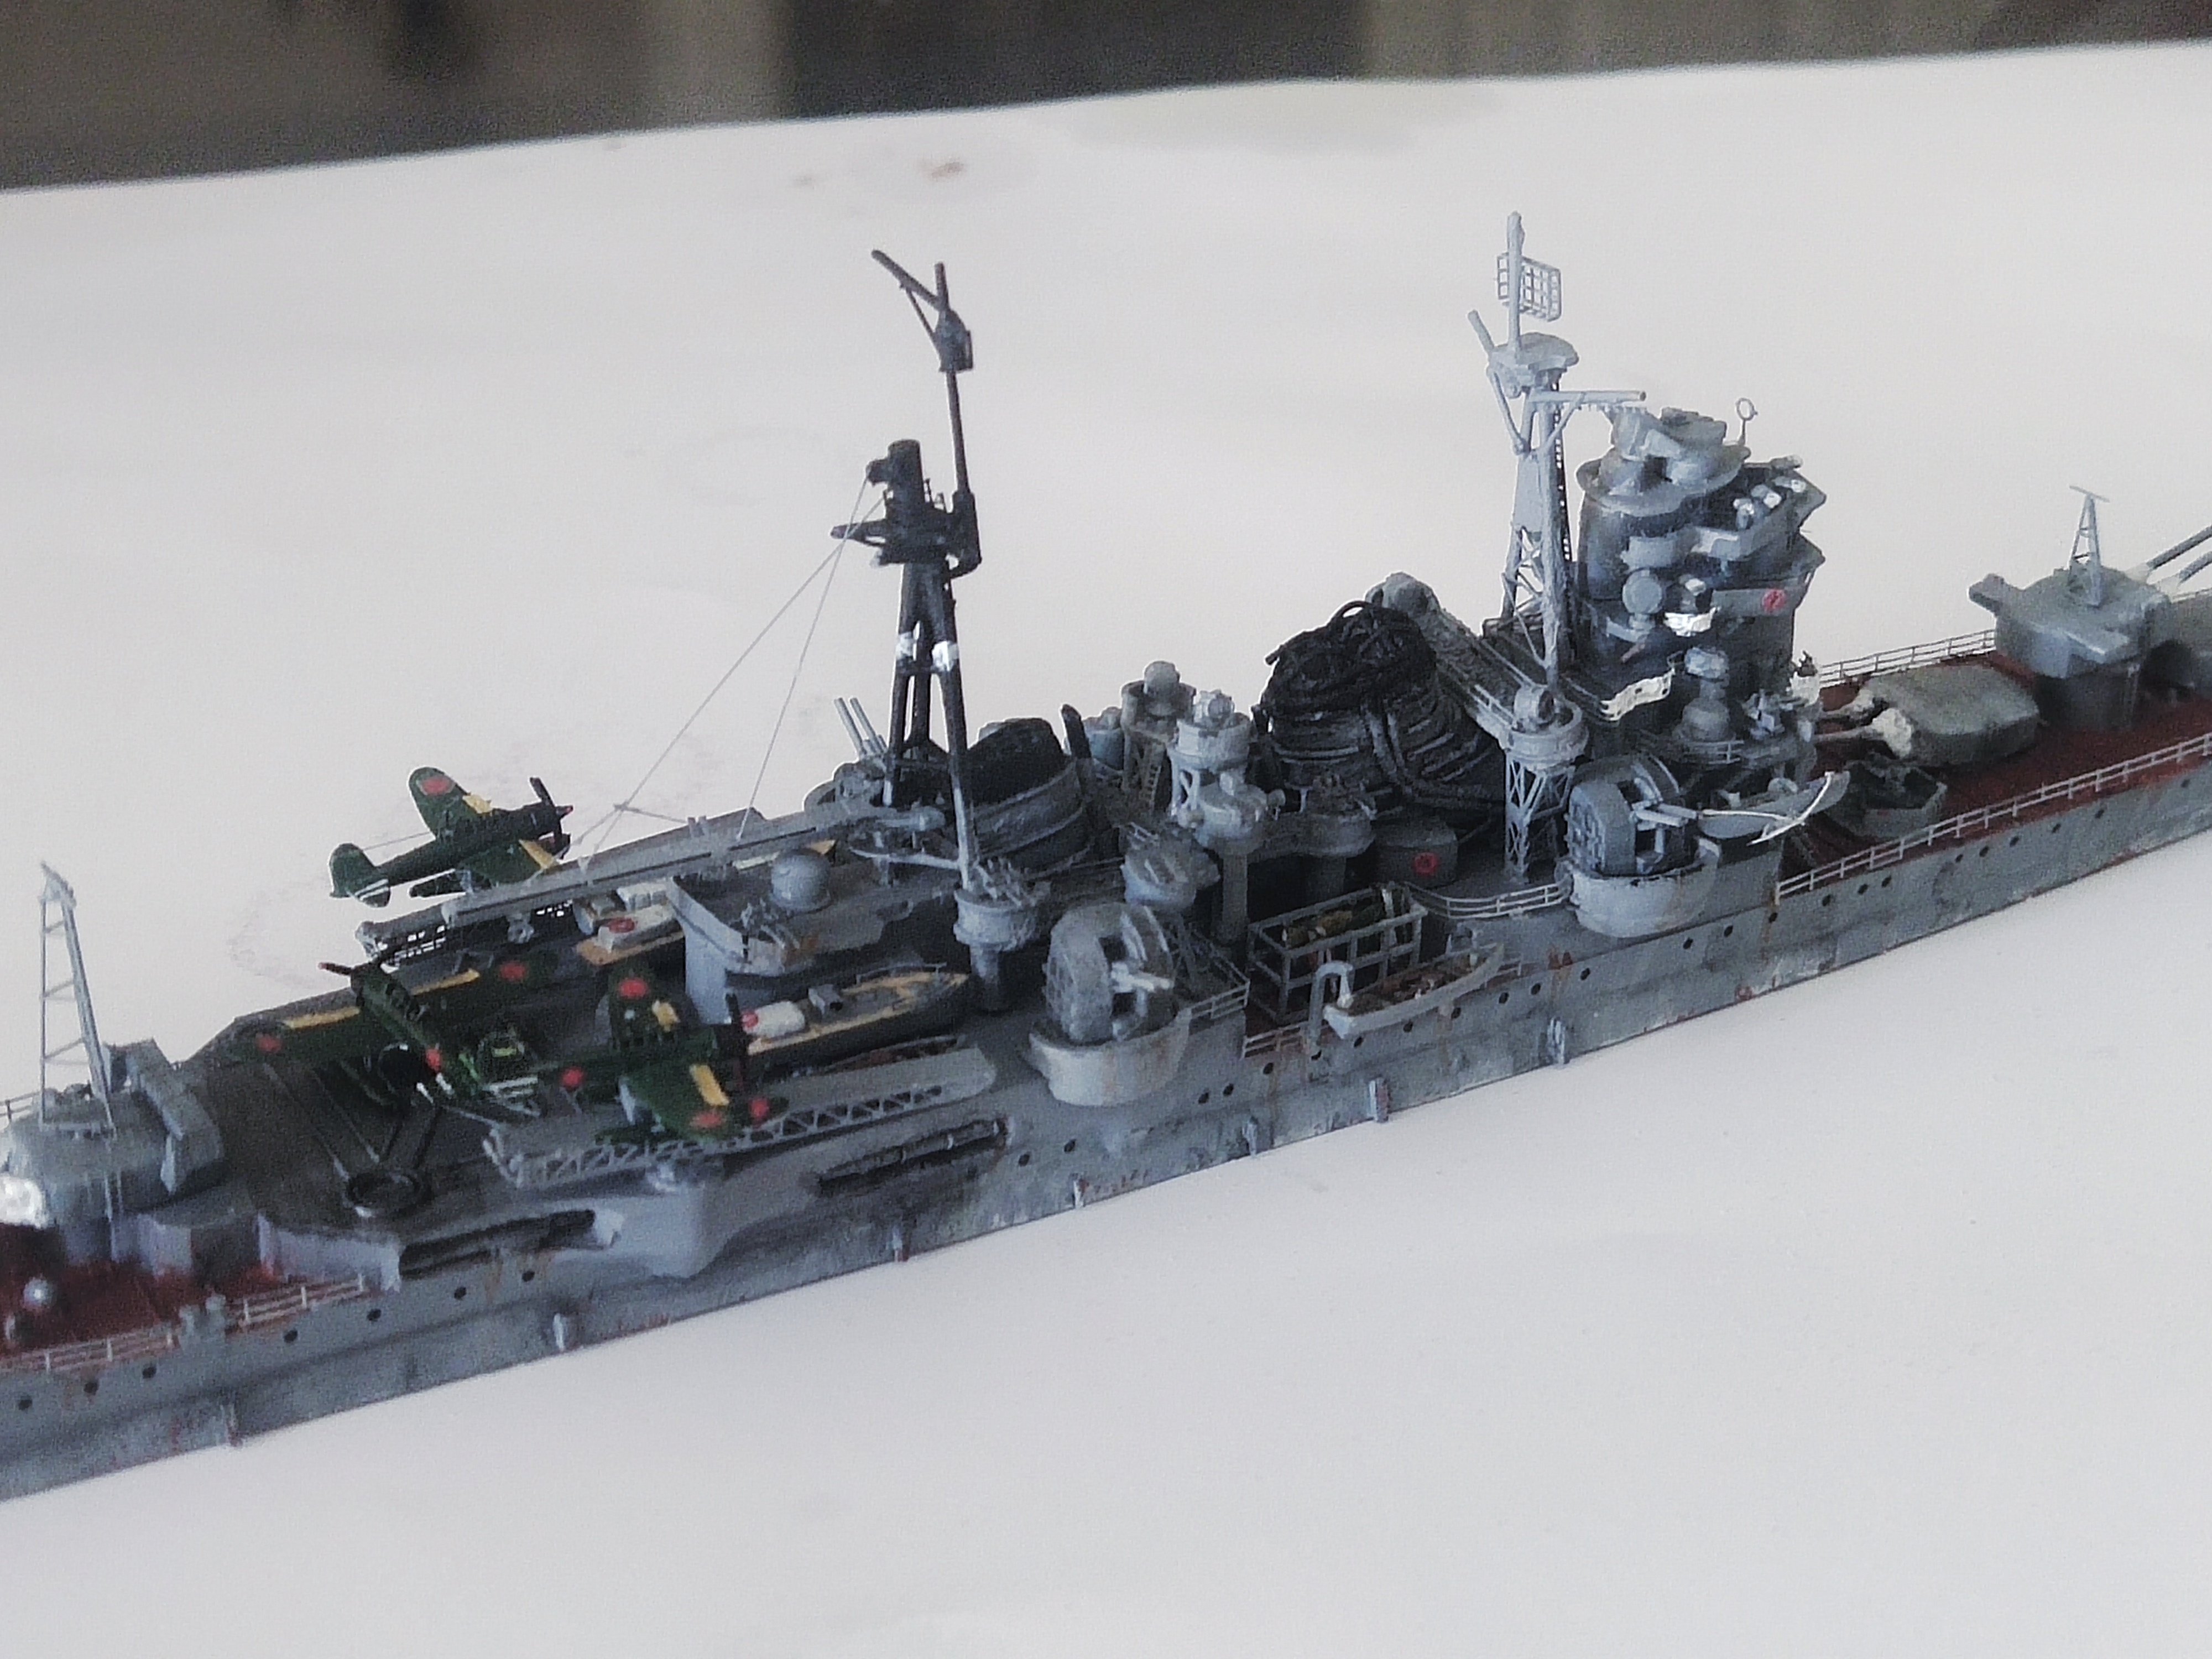
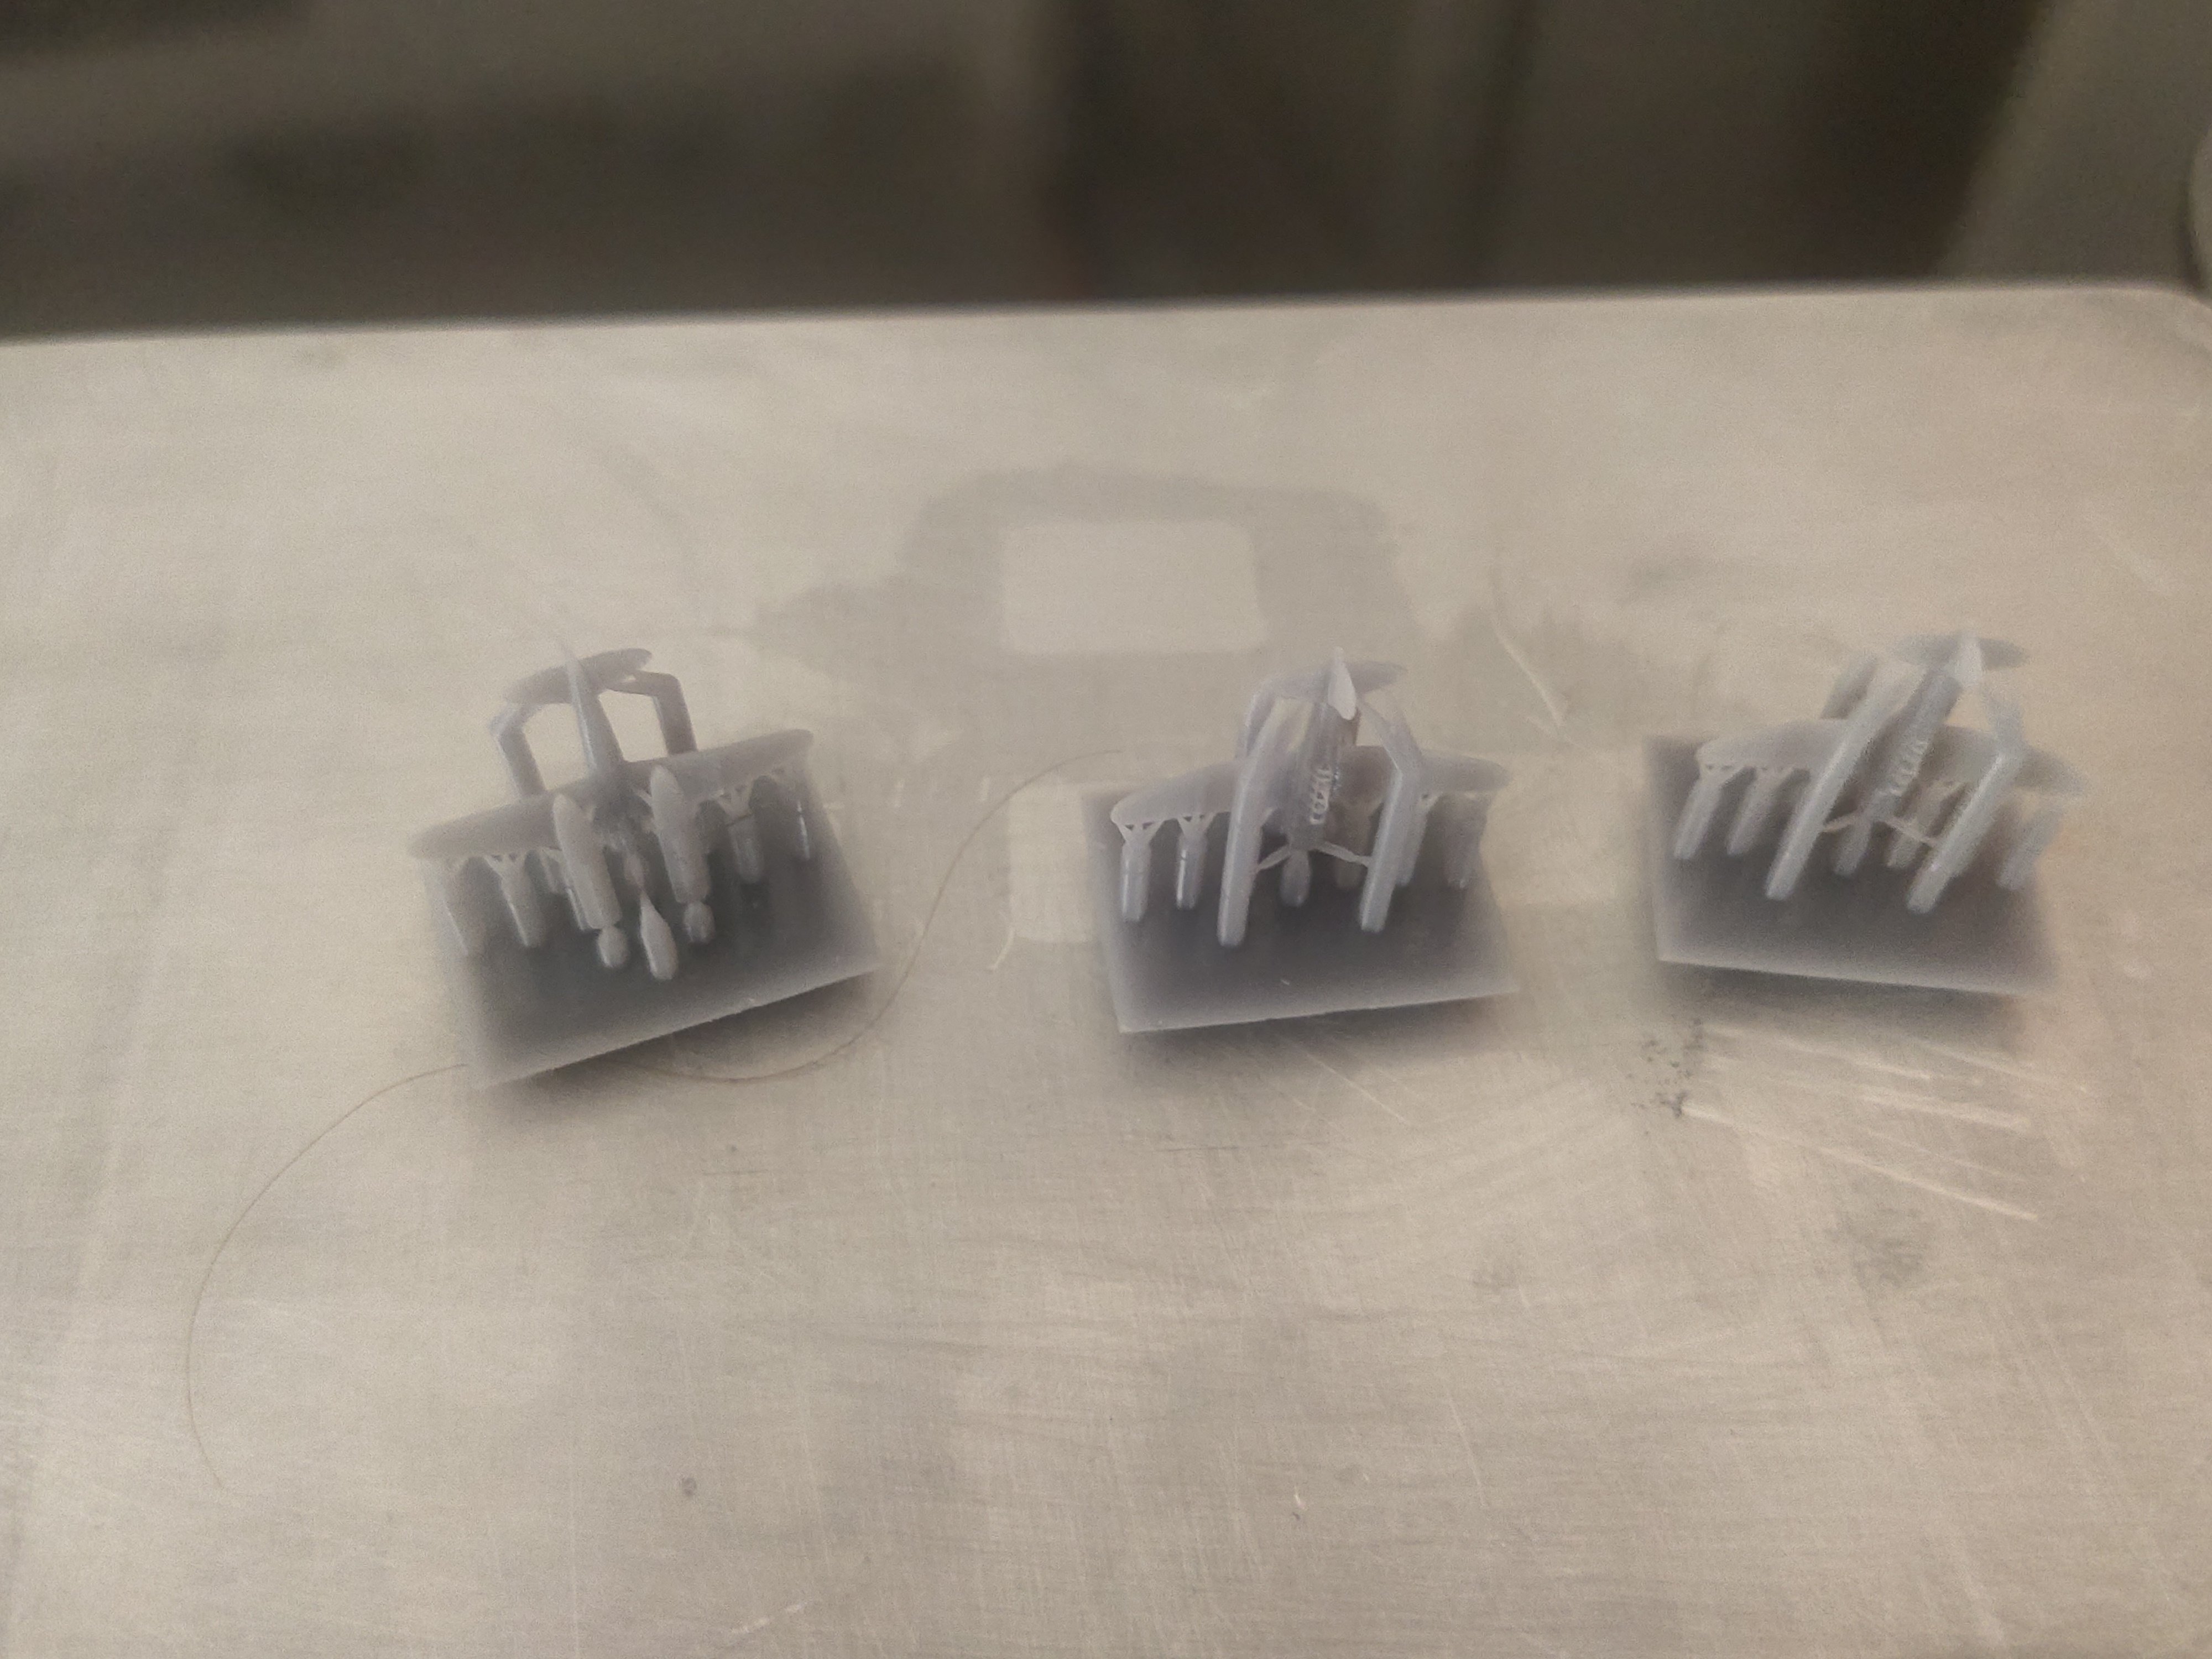
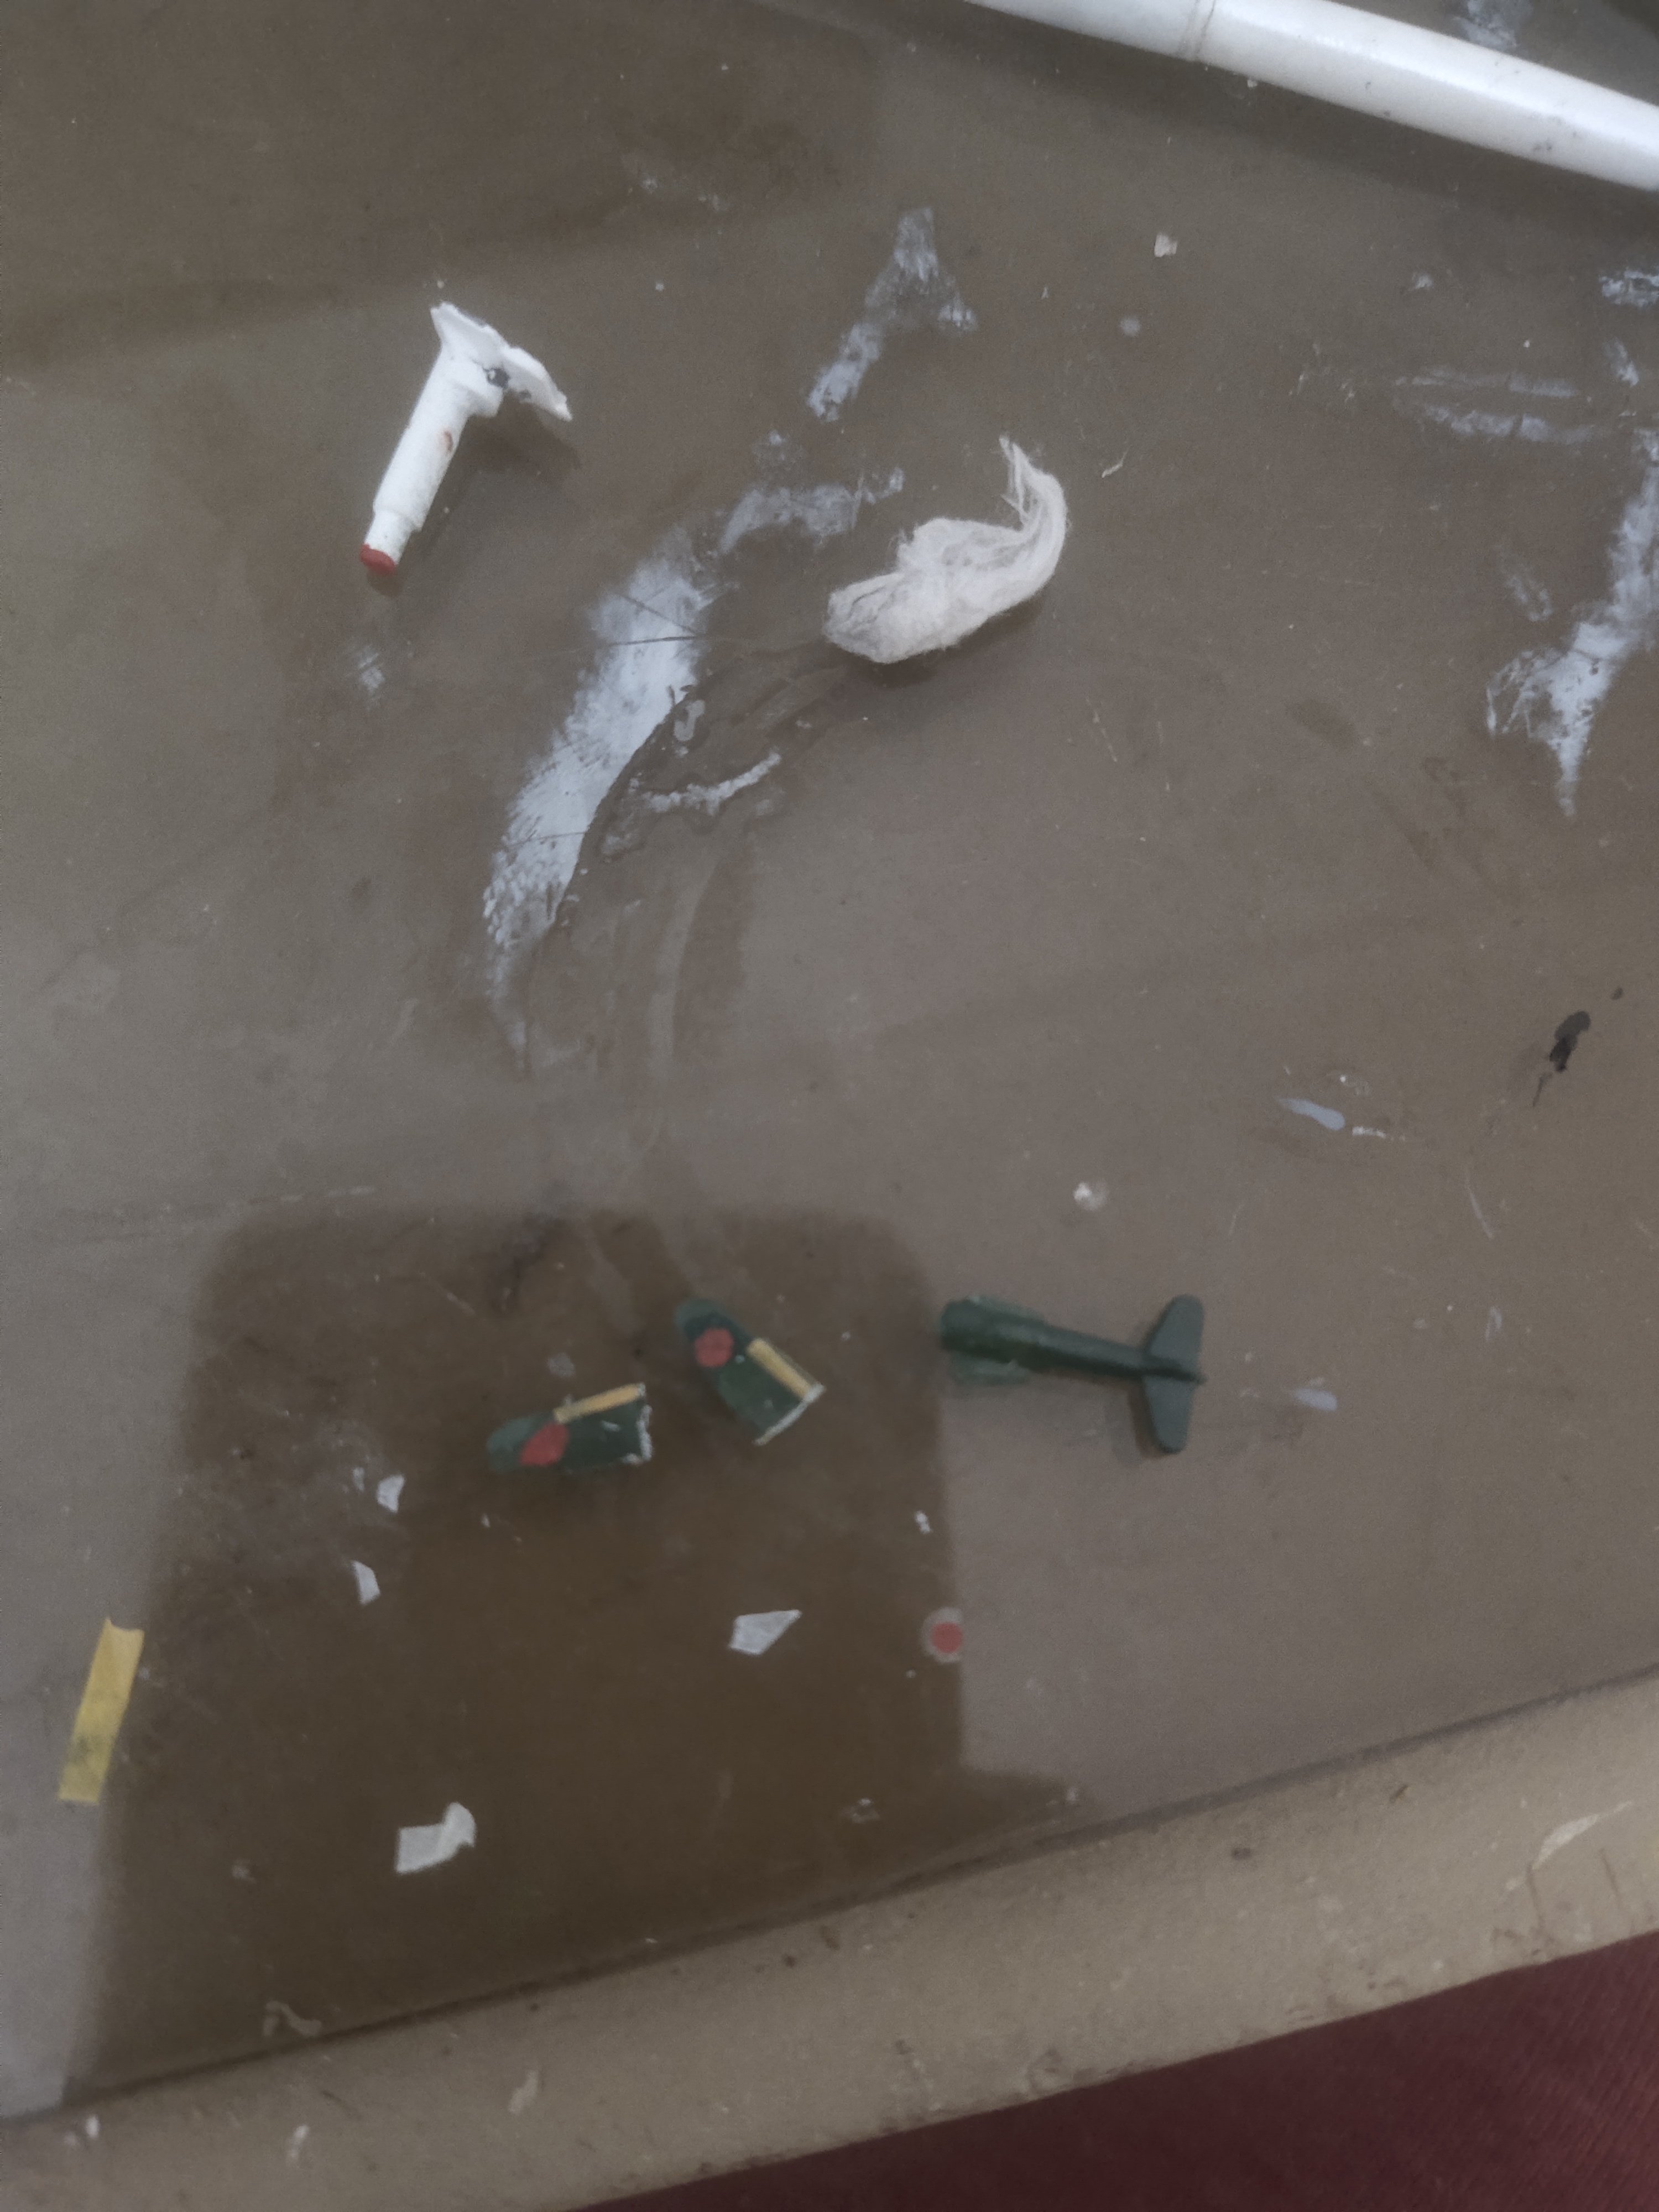
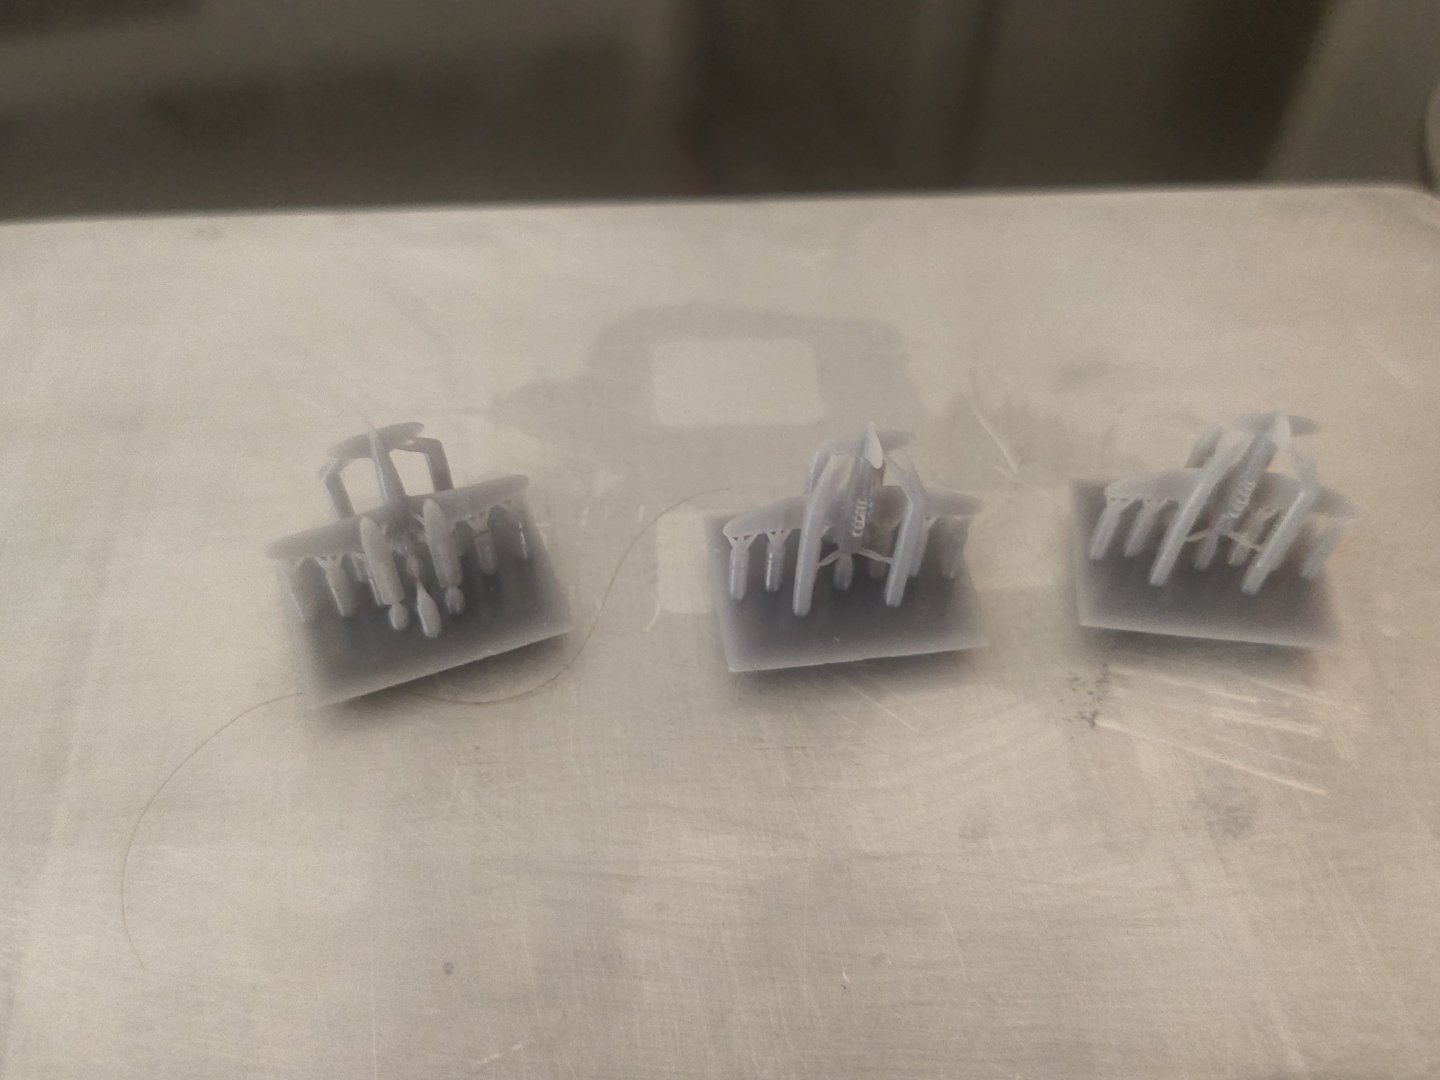
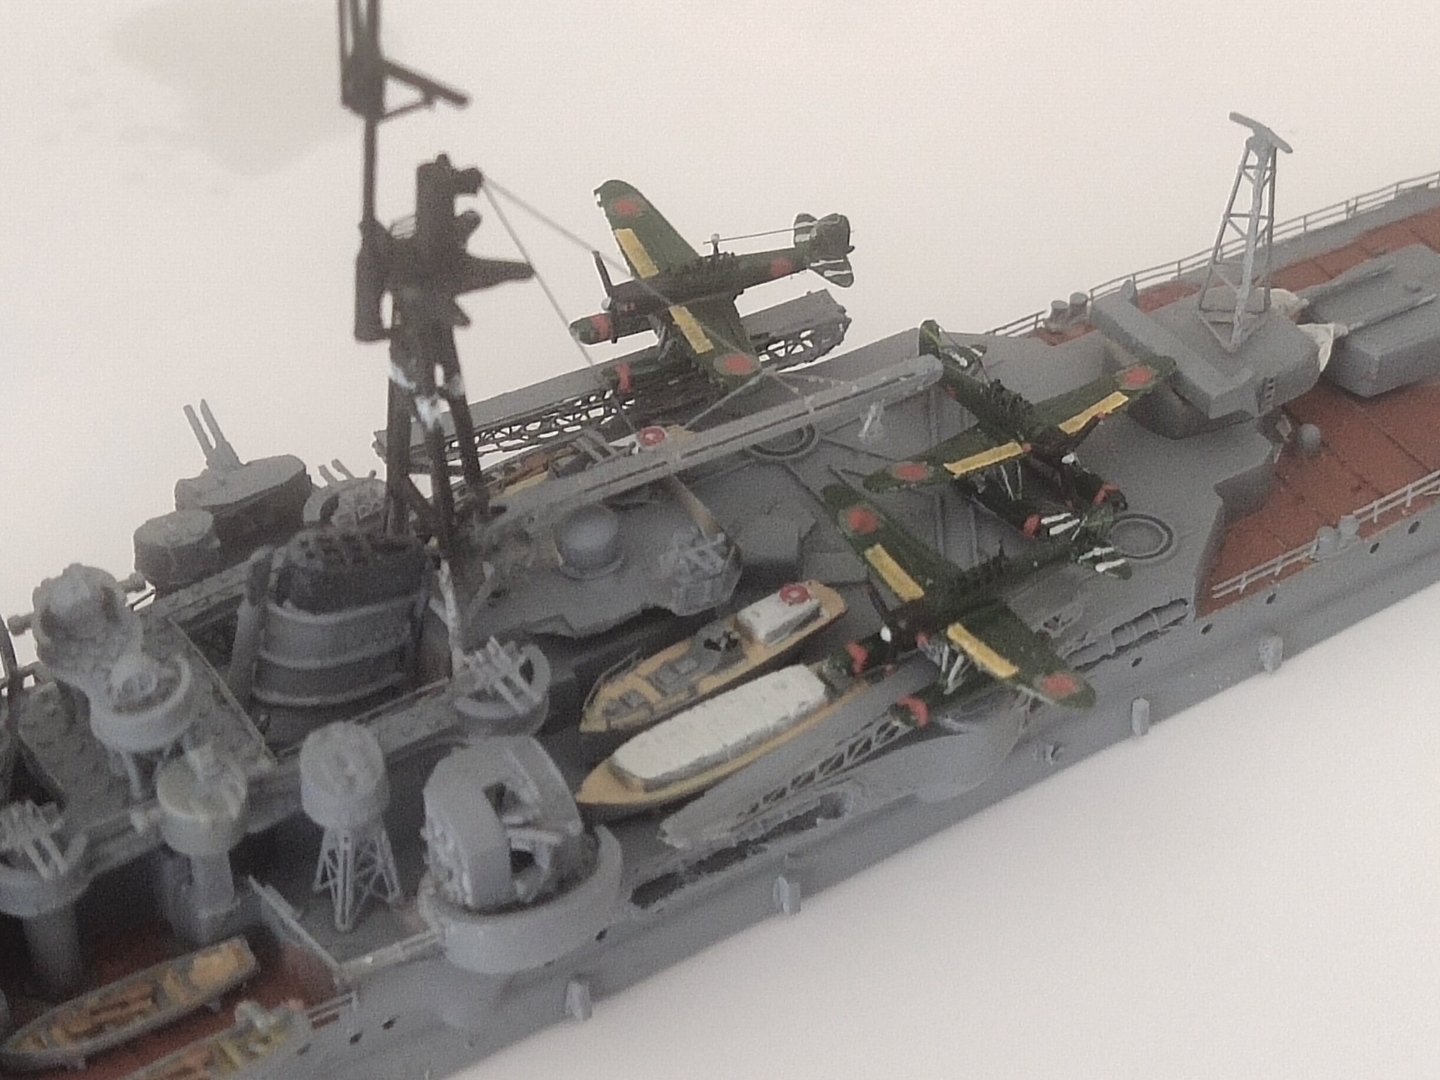
I bought a model of Aichi E13 planes. It printed out just fine. Details were added. At this stage the model is 98% complete one step before adding oil washes and rust effects


-
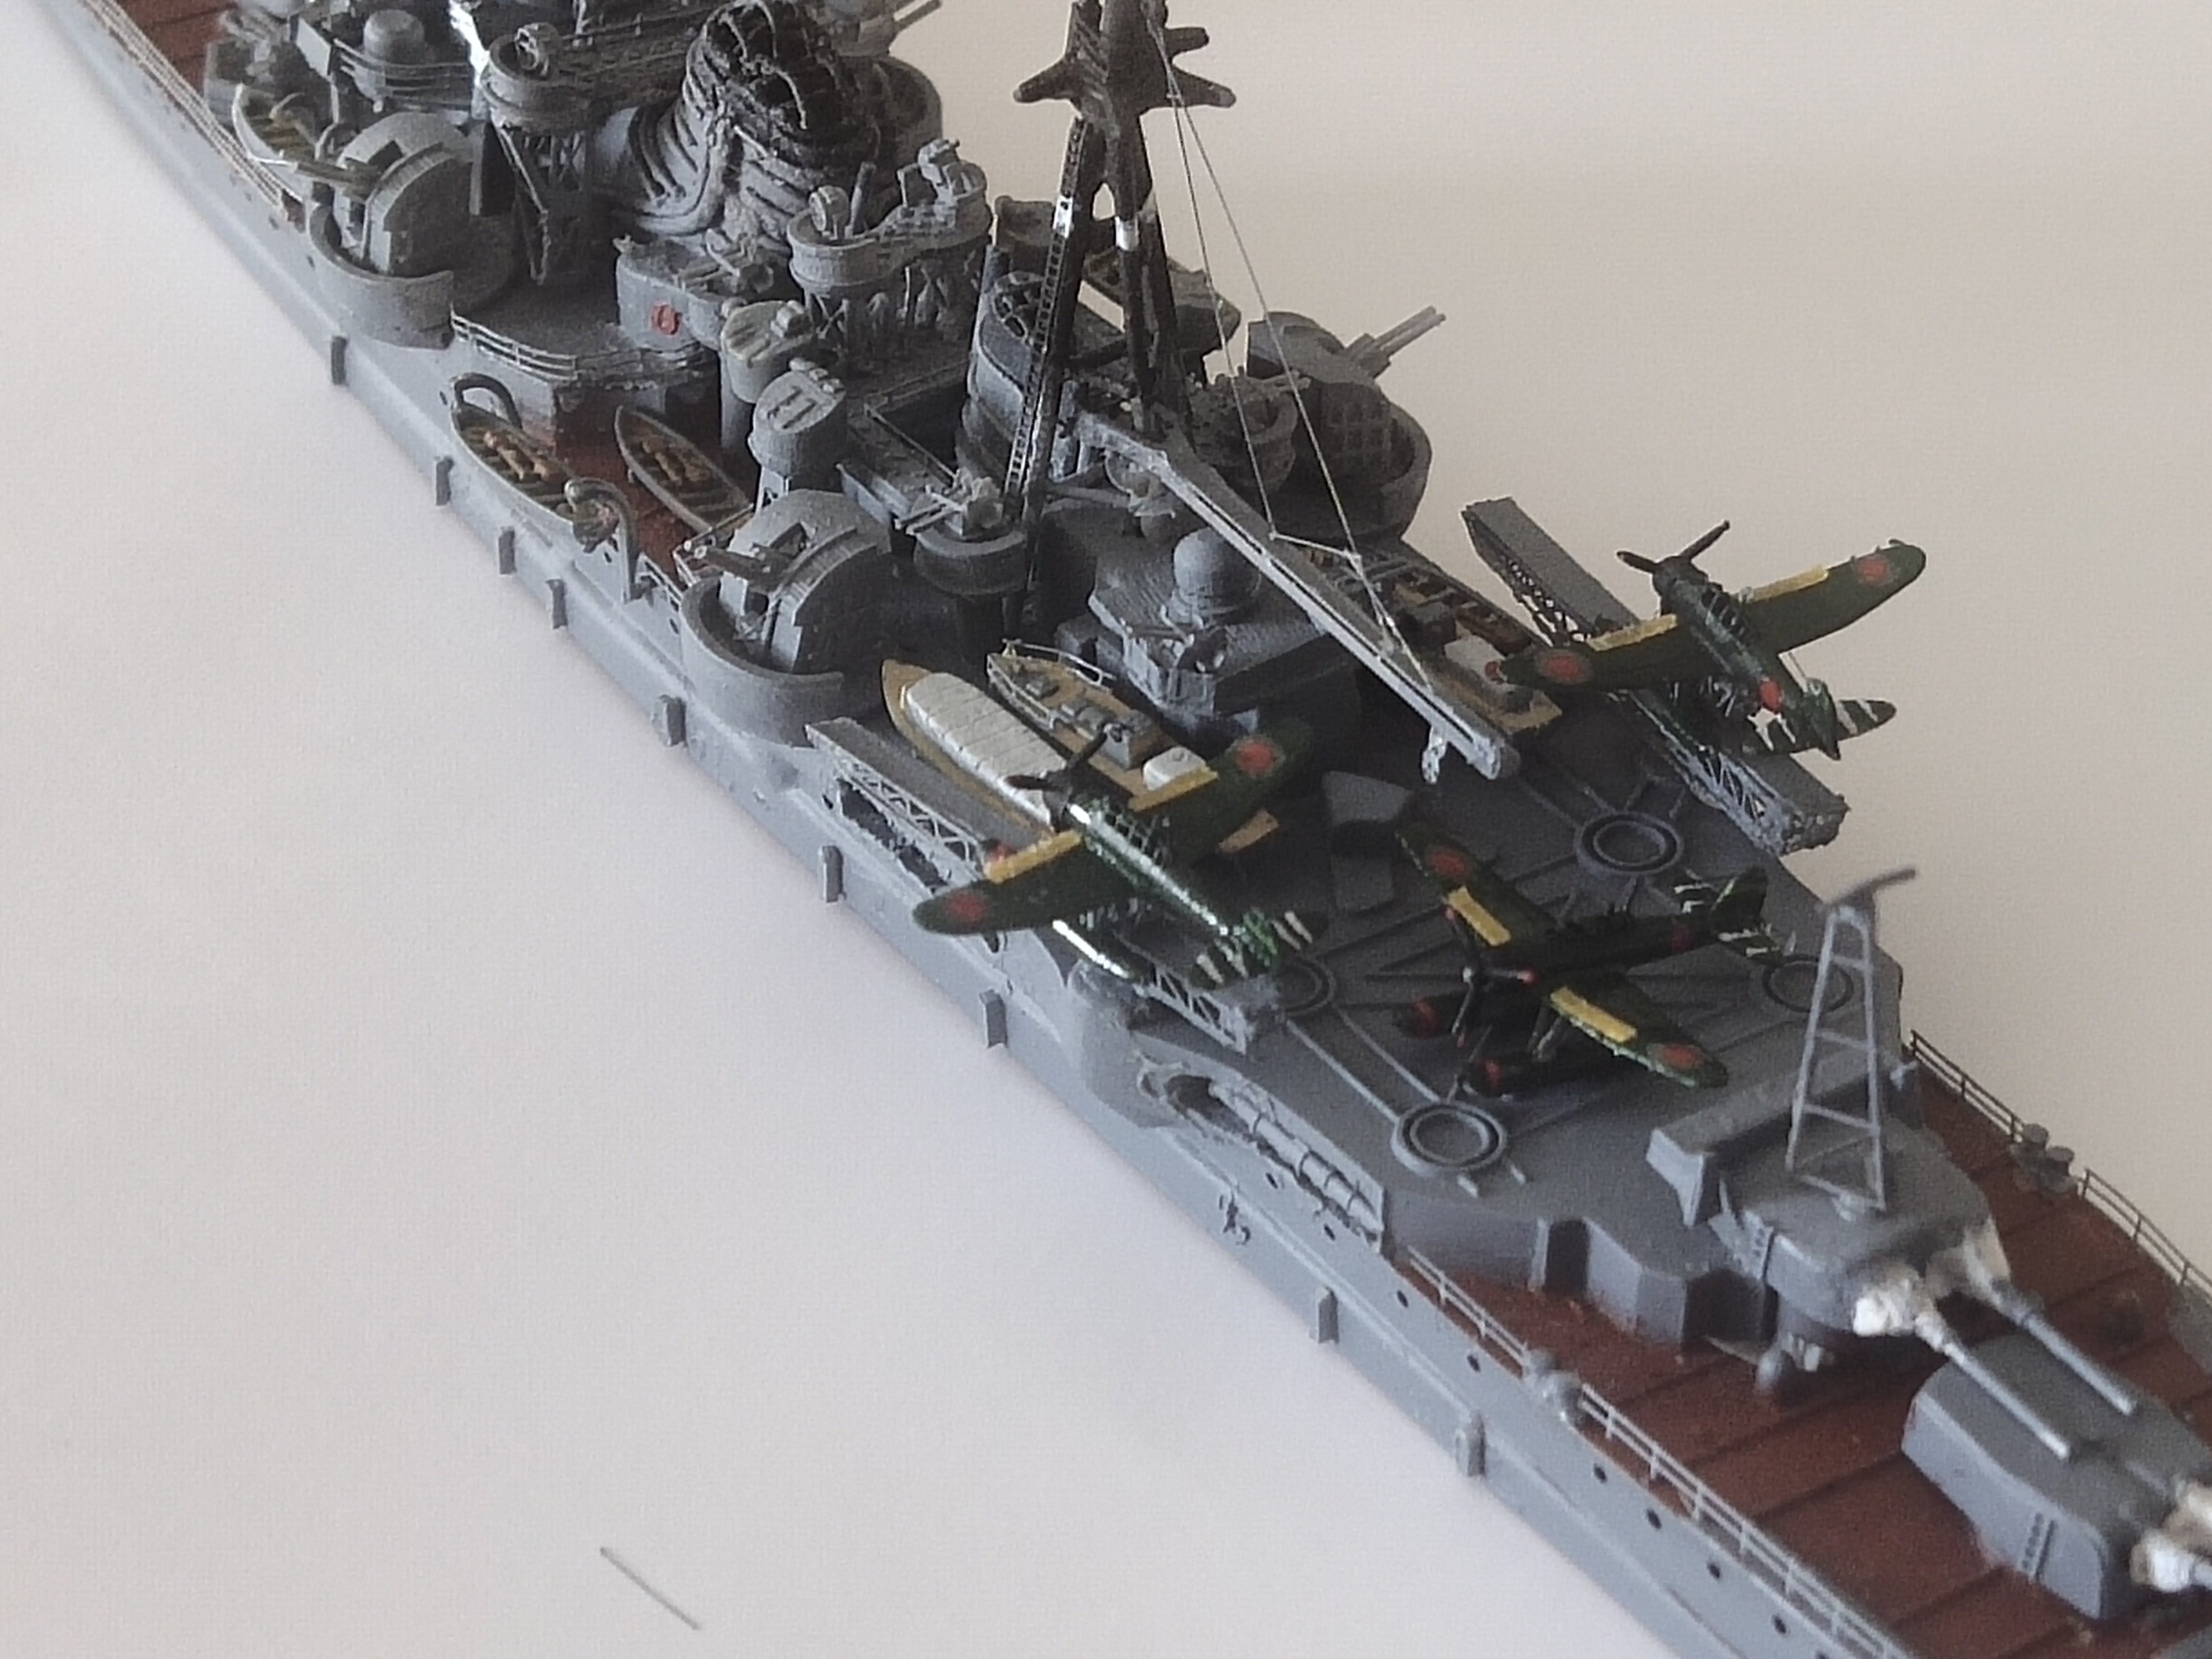
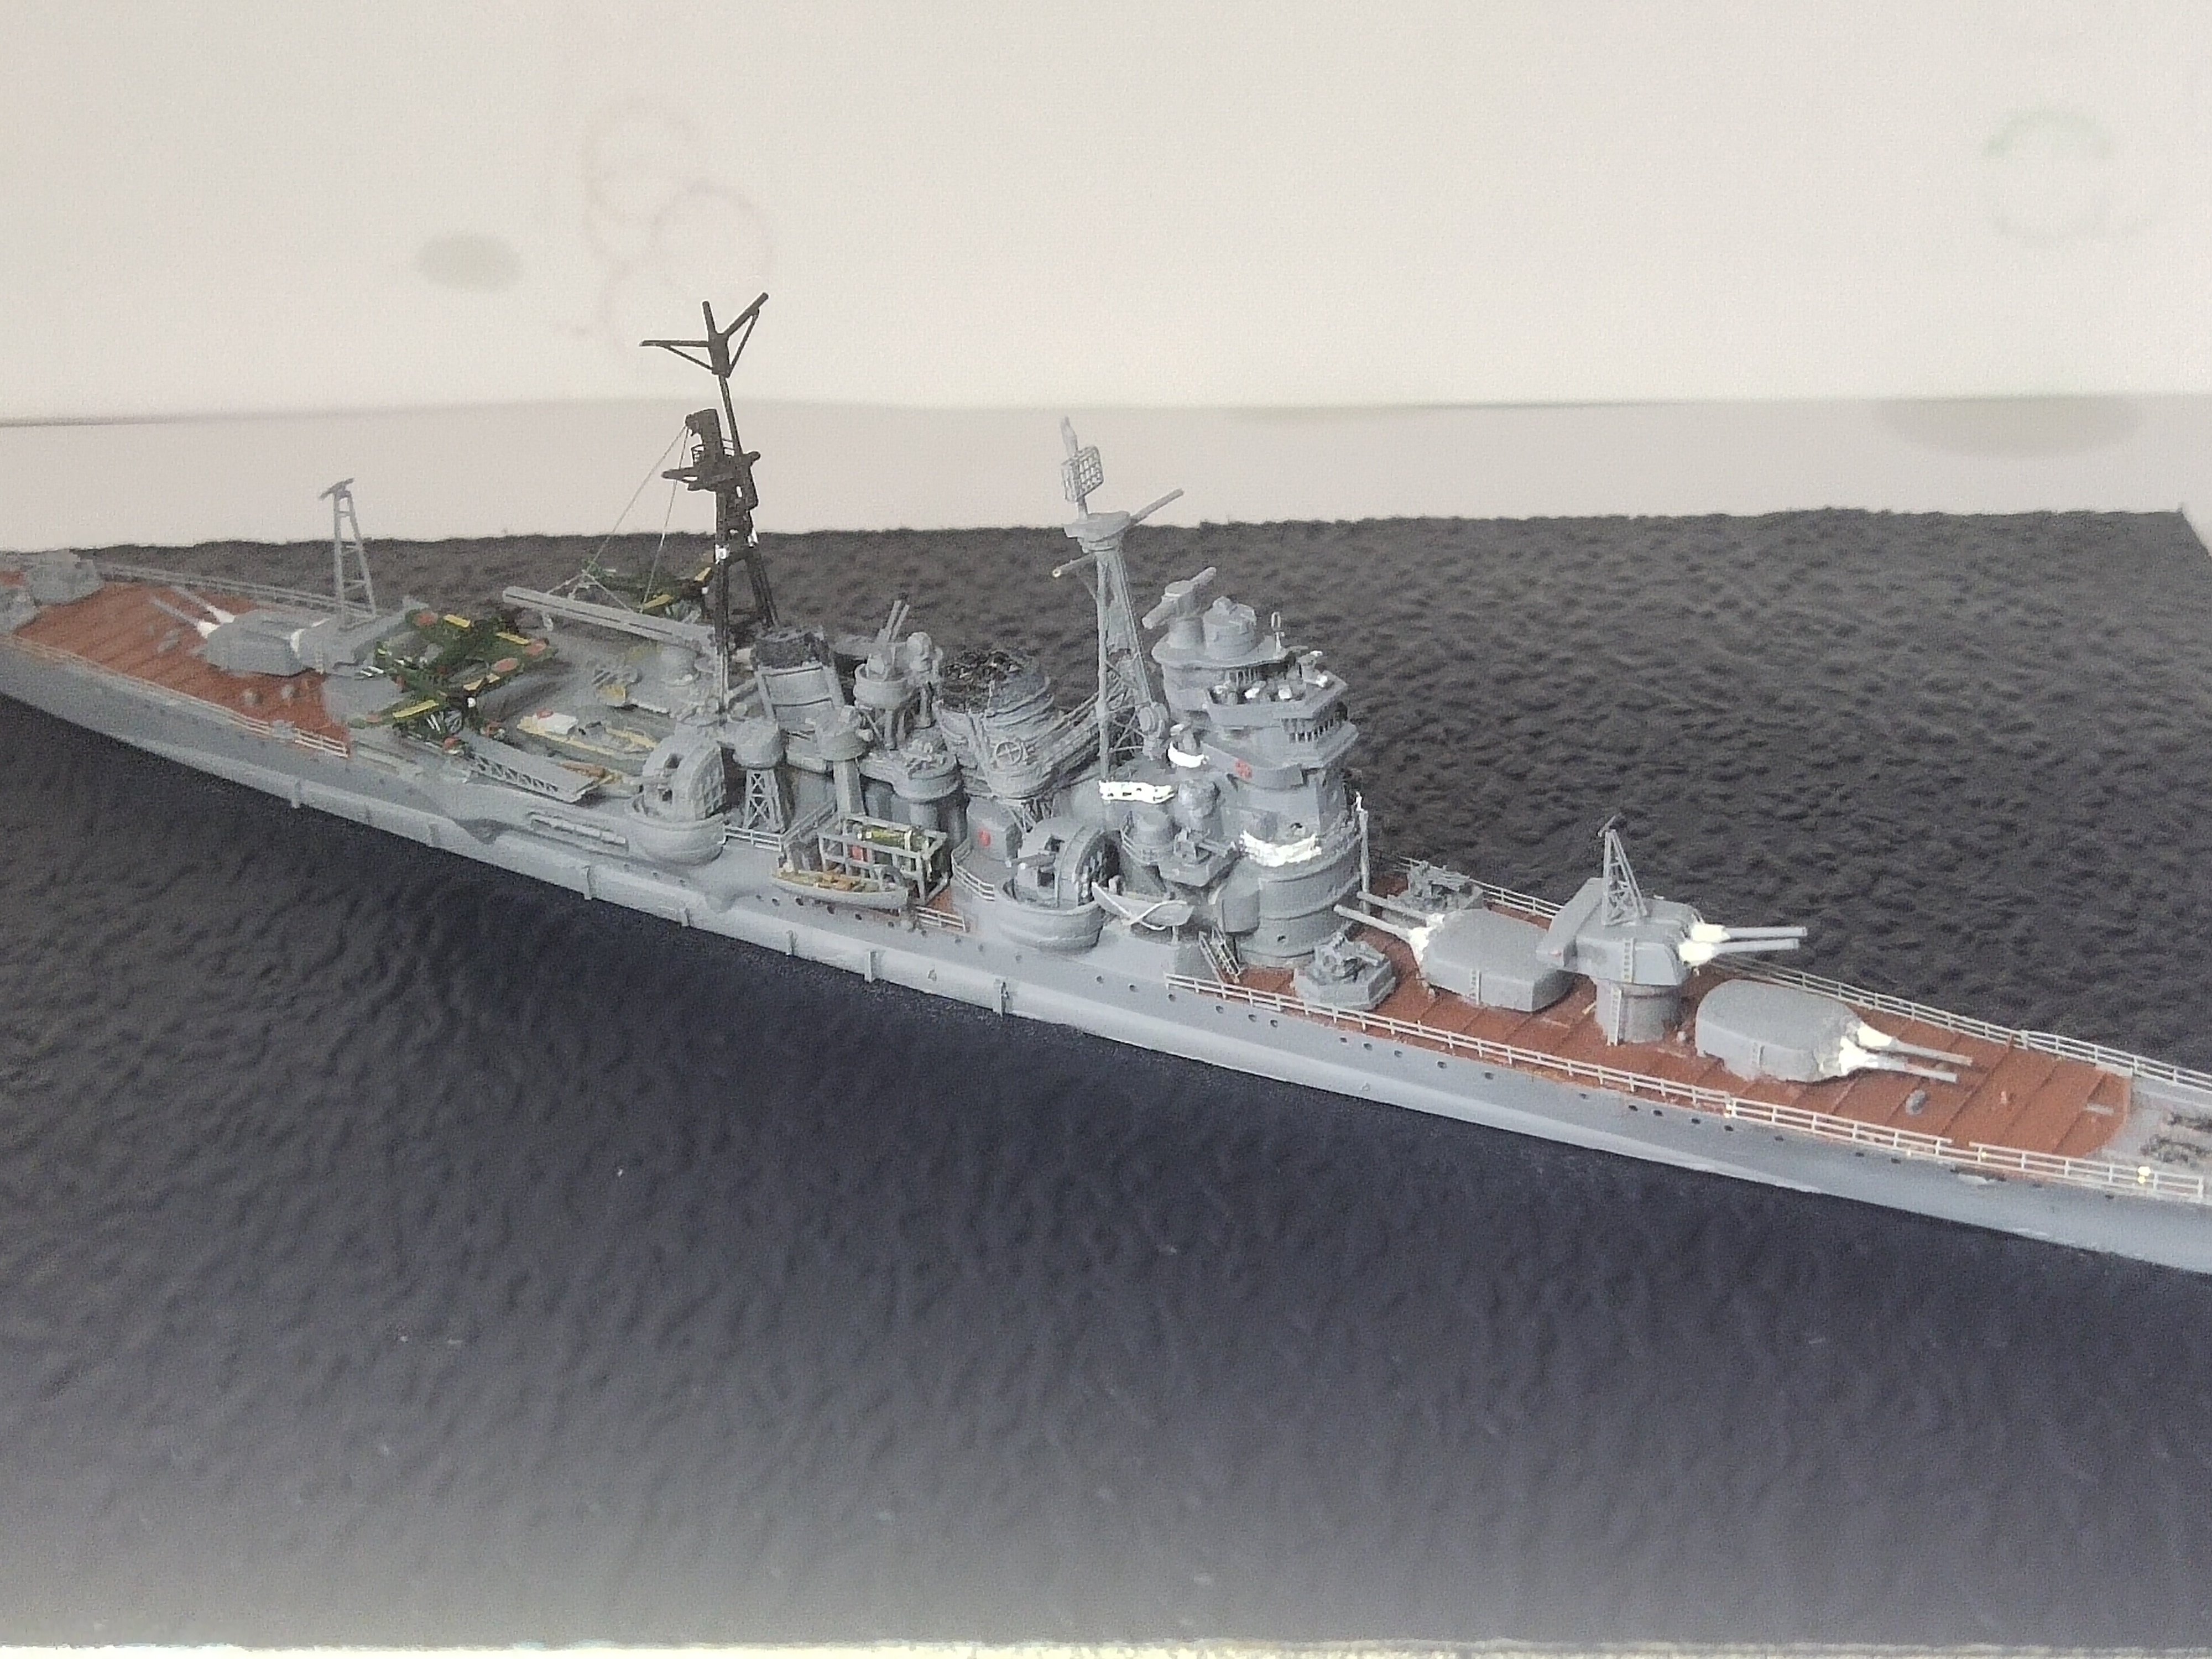
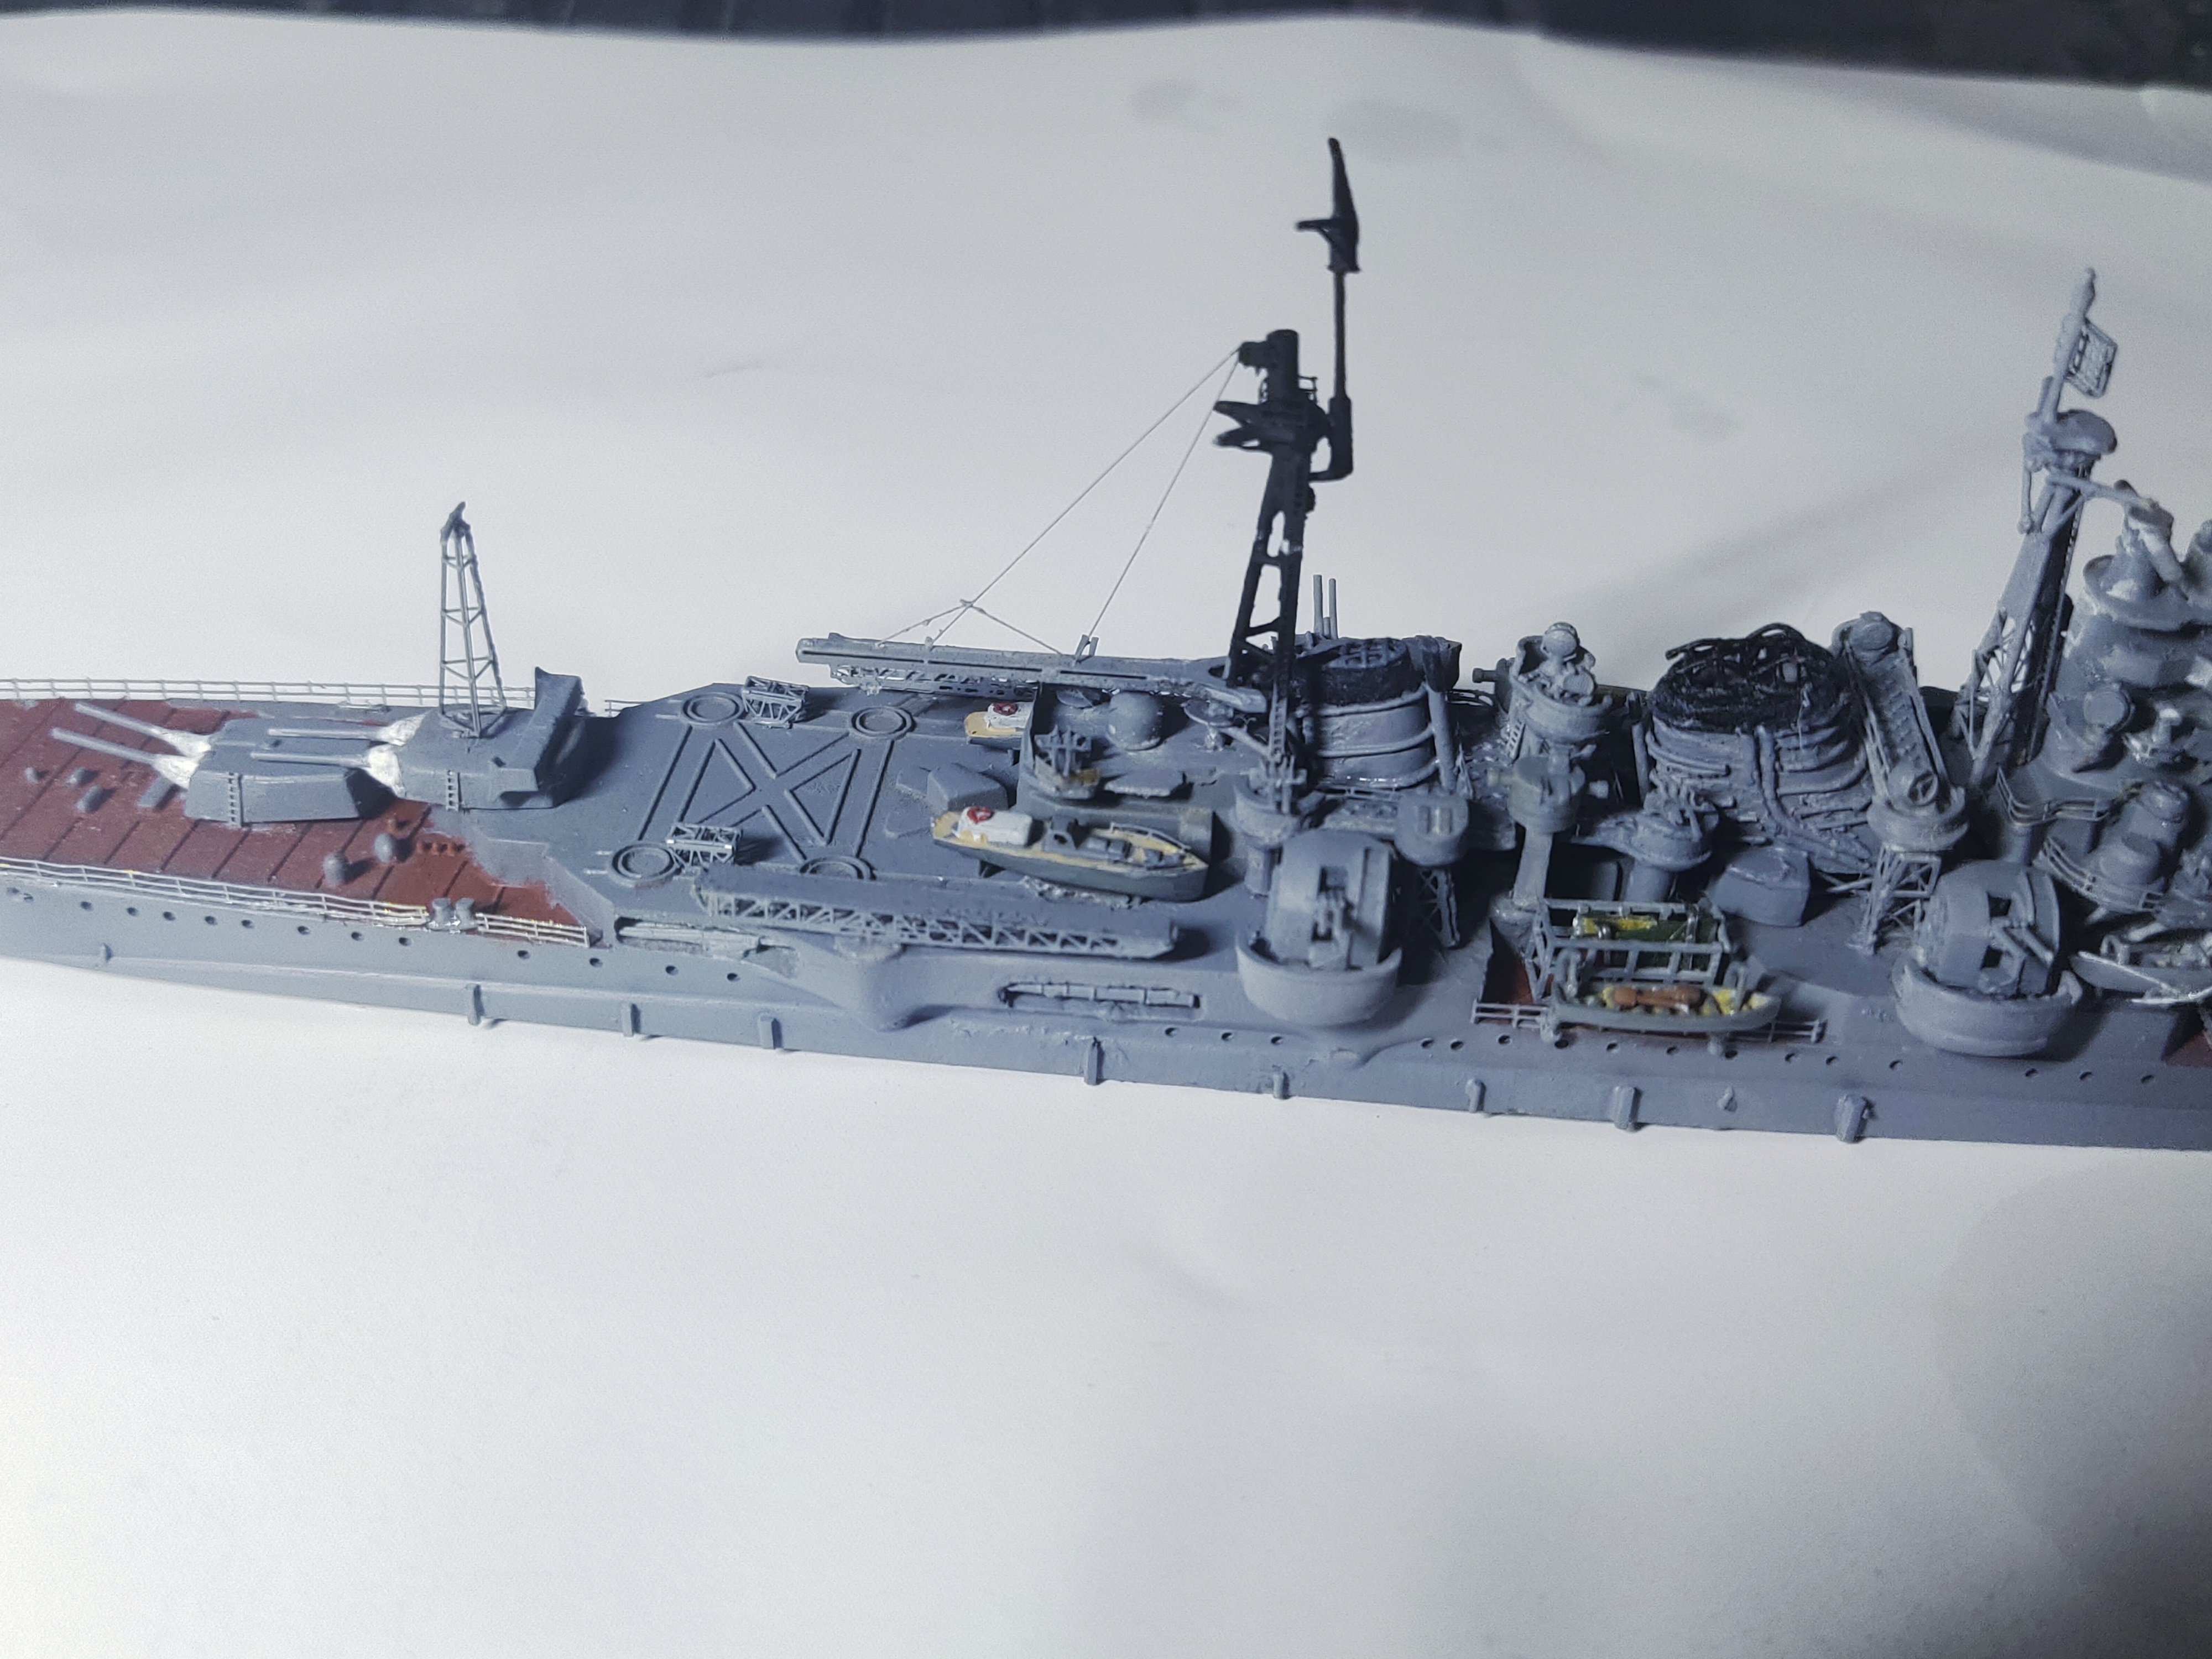
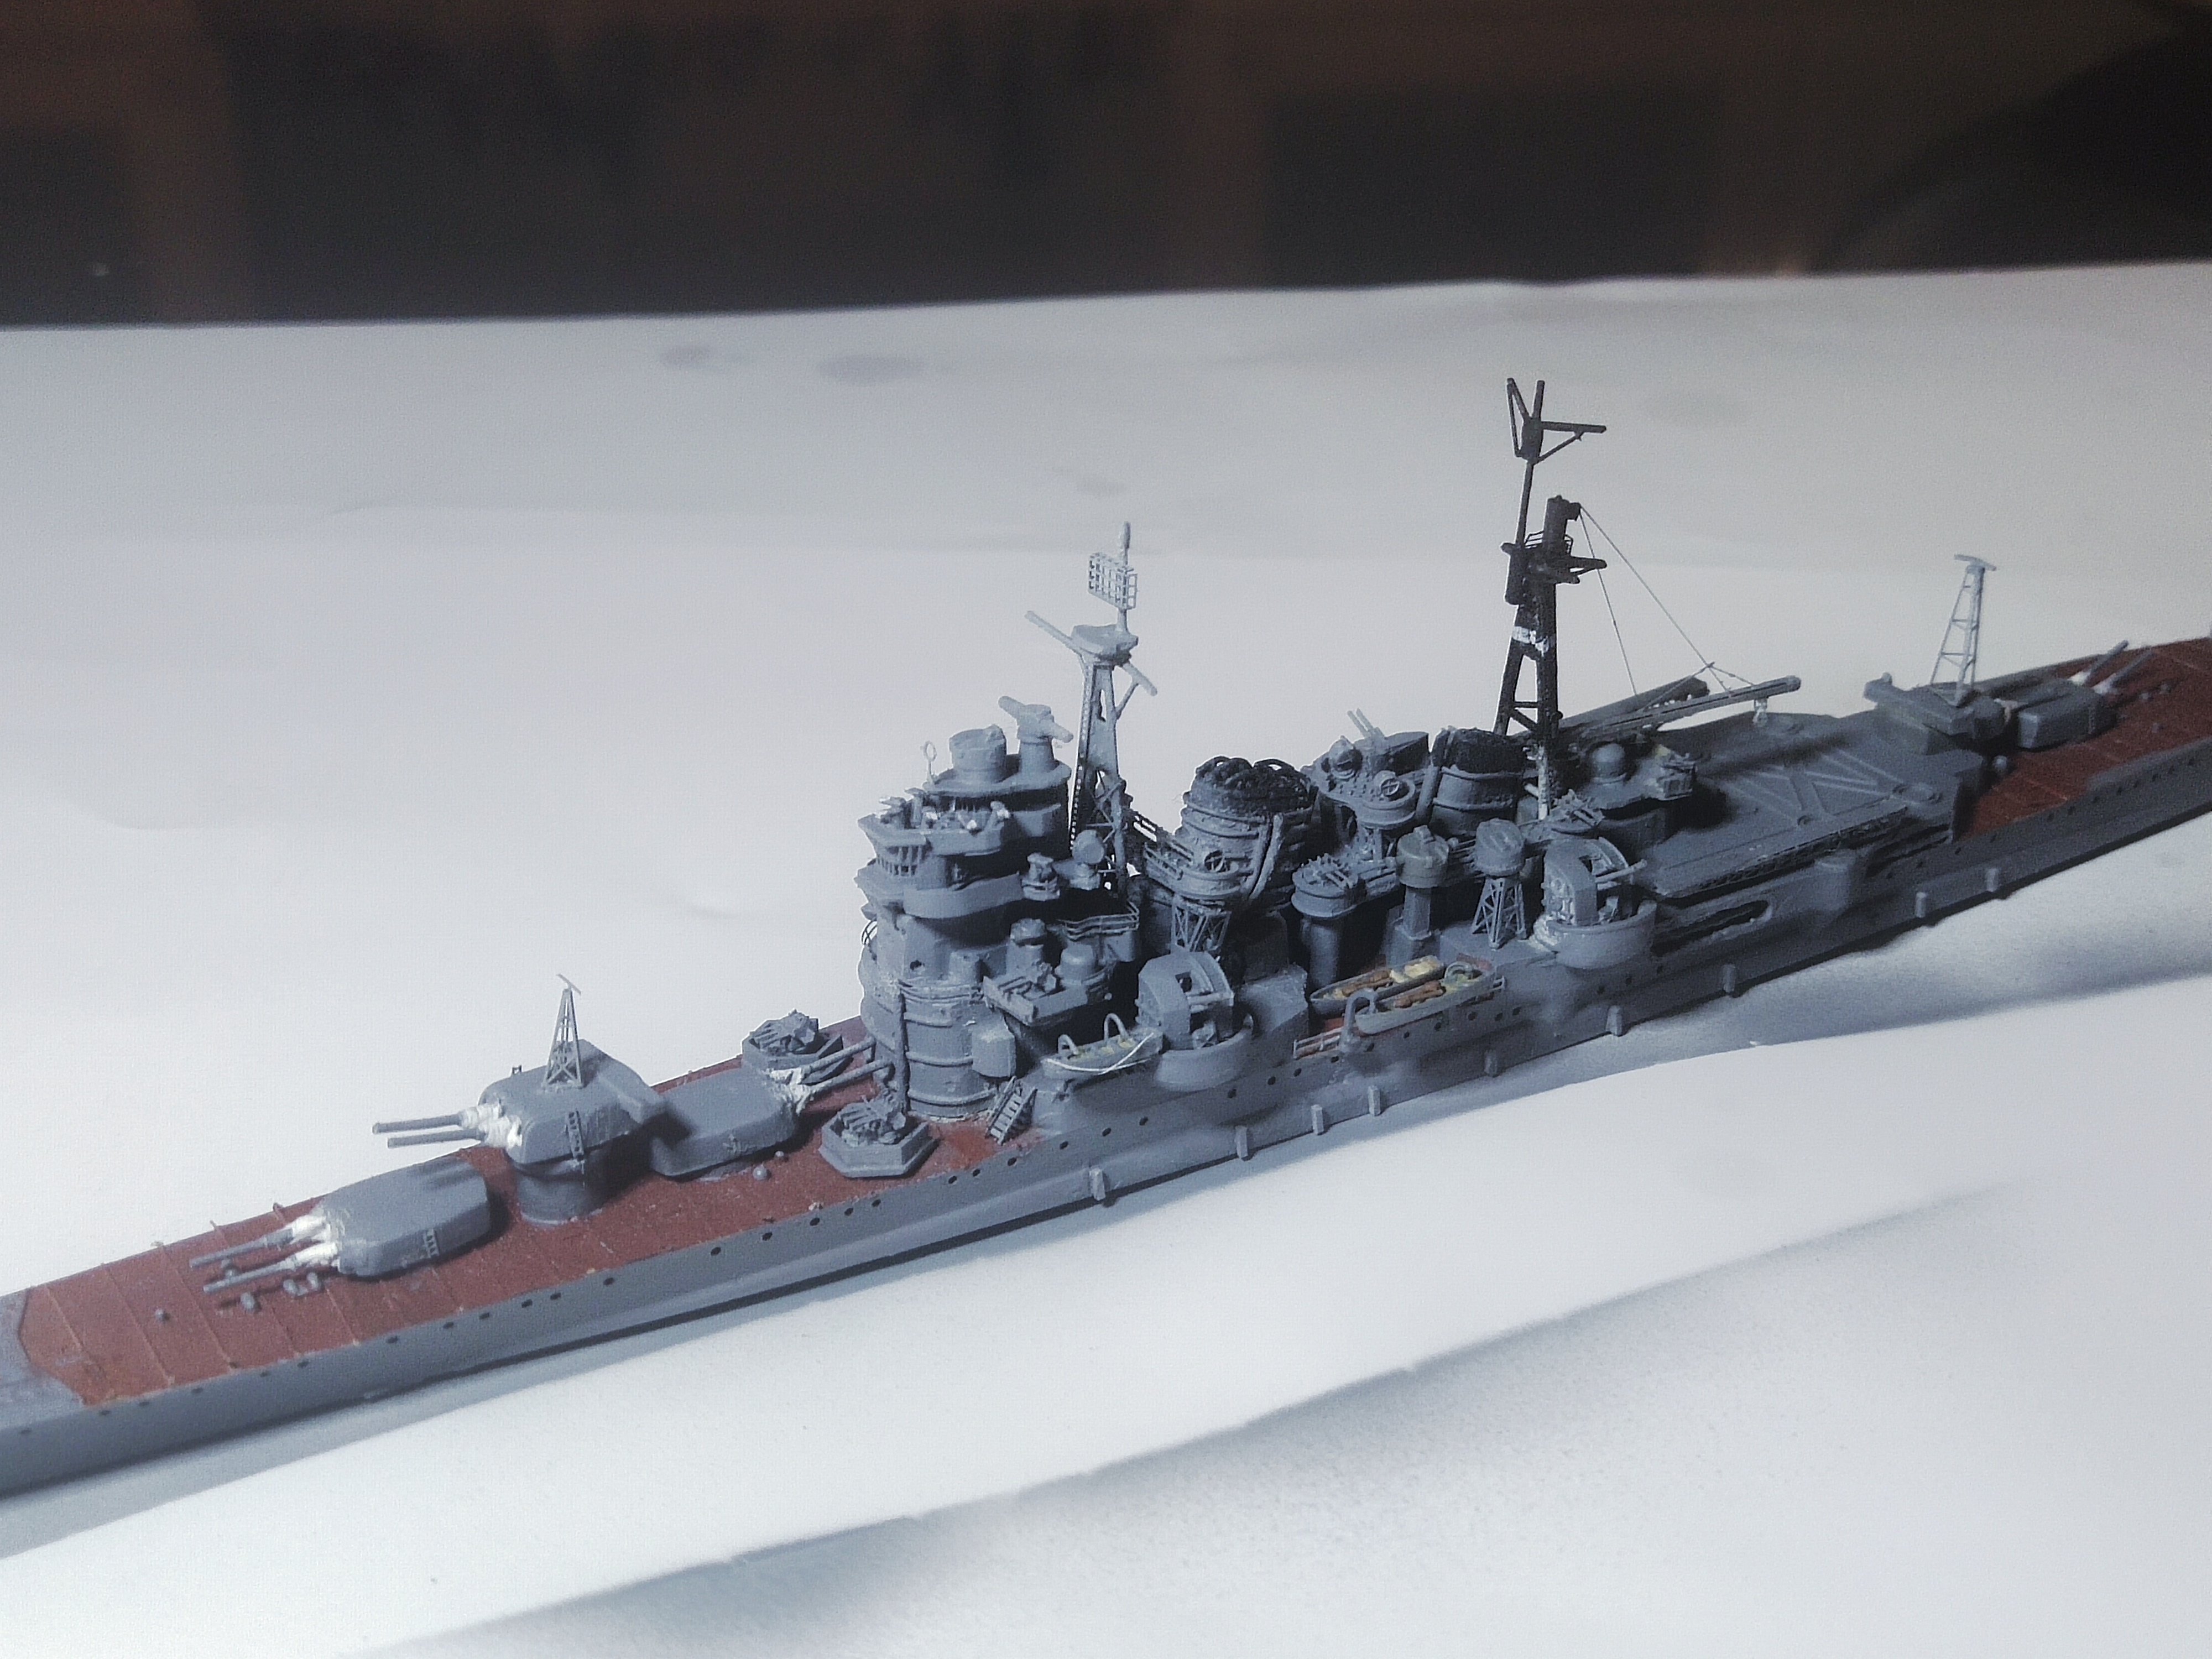
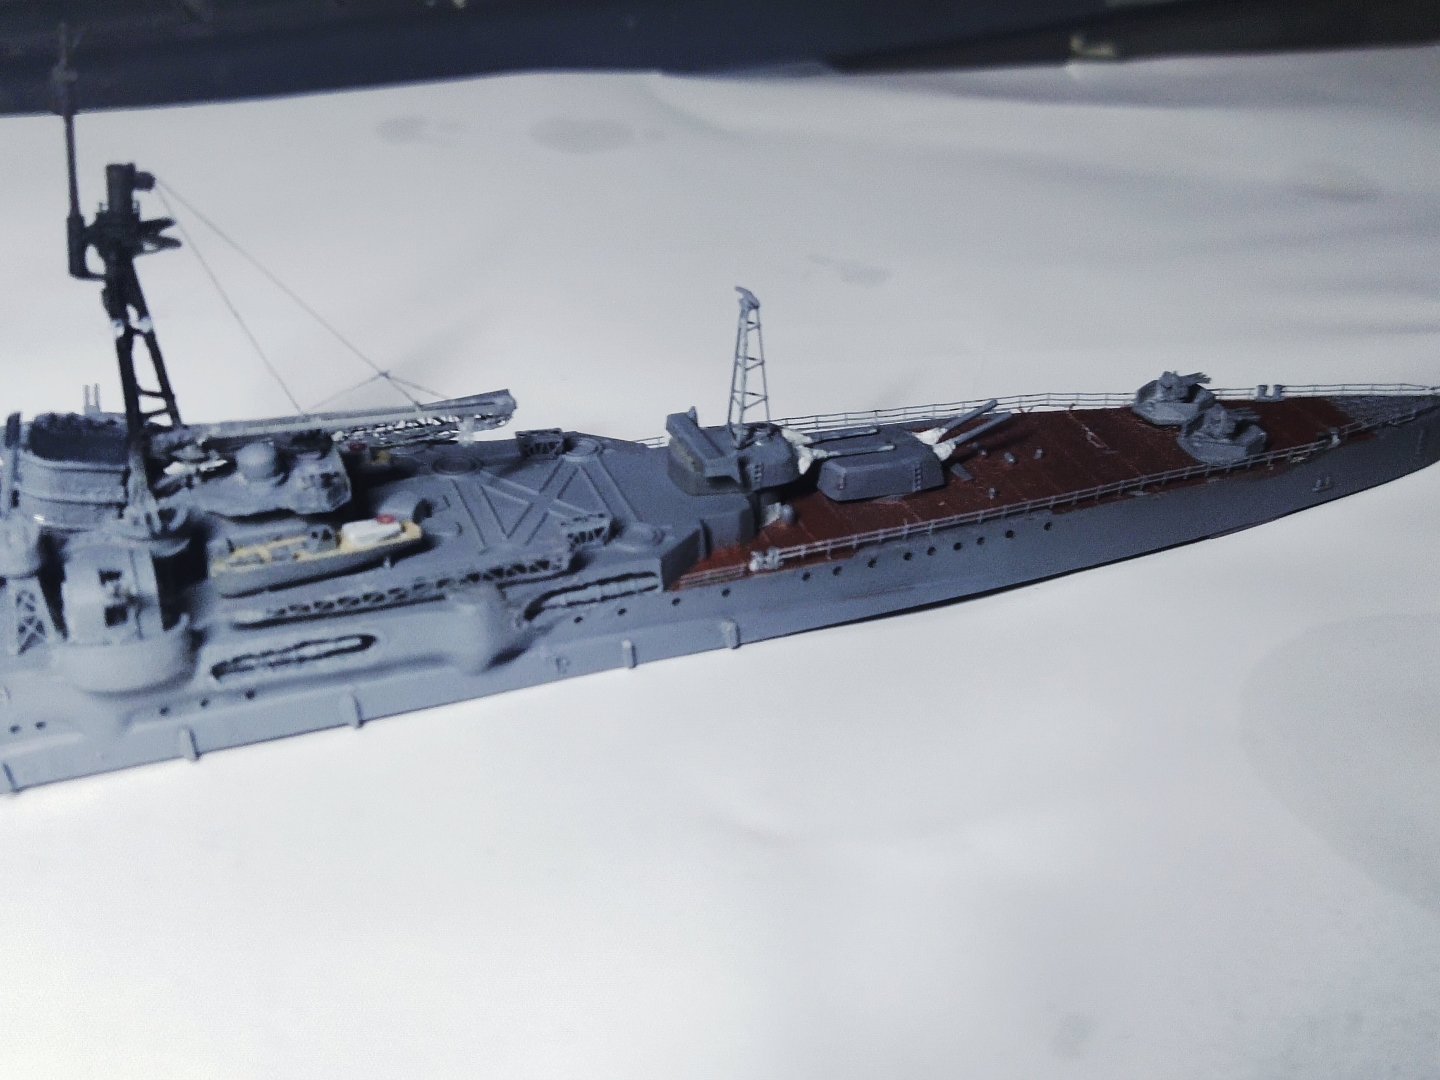
I managed to do a bit of progress today. More boats fitted with extra details and some PE parts. Rails added at the rear area but the fit, I think may need repositioning. Also paint faded out because of the effort. The reason is that the stern is not level but going downwards as in the real ship as you can see in this Takao drawing Another unsolved problem is that the upper deck is painted in linoleum color like the main. I don't know how I missed this but its too late for correction.


-
Today it was a day with lot of work but little progress. I don't know how many pieces I lost. But its my target to add as much detail as possible


-
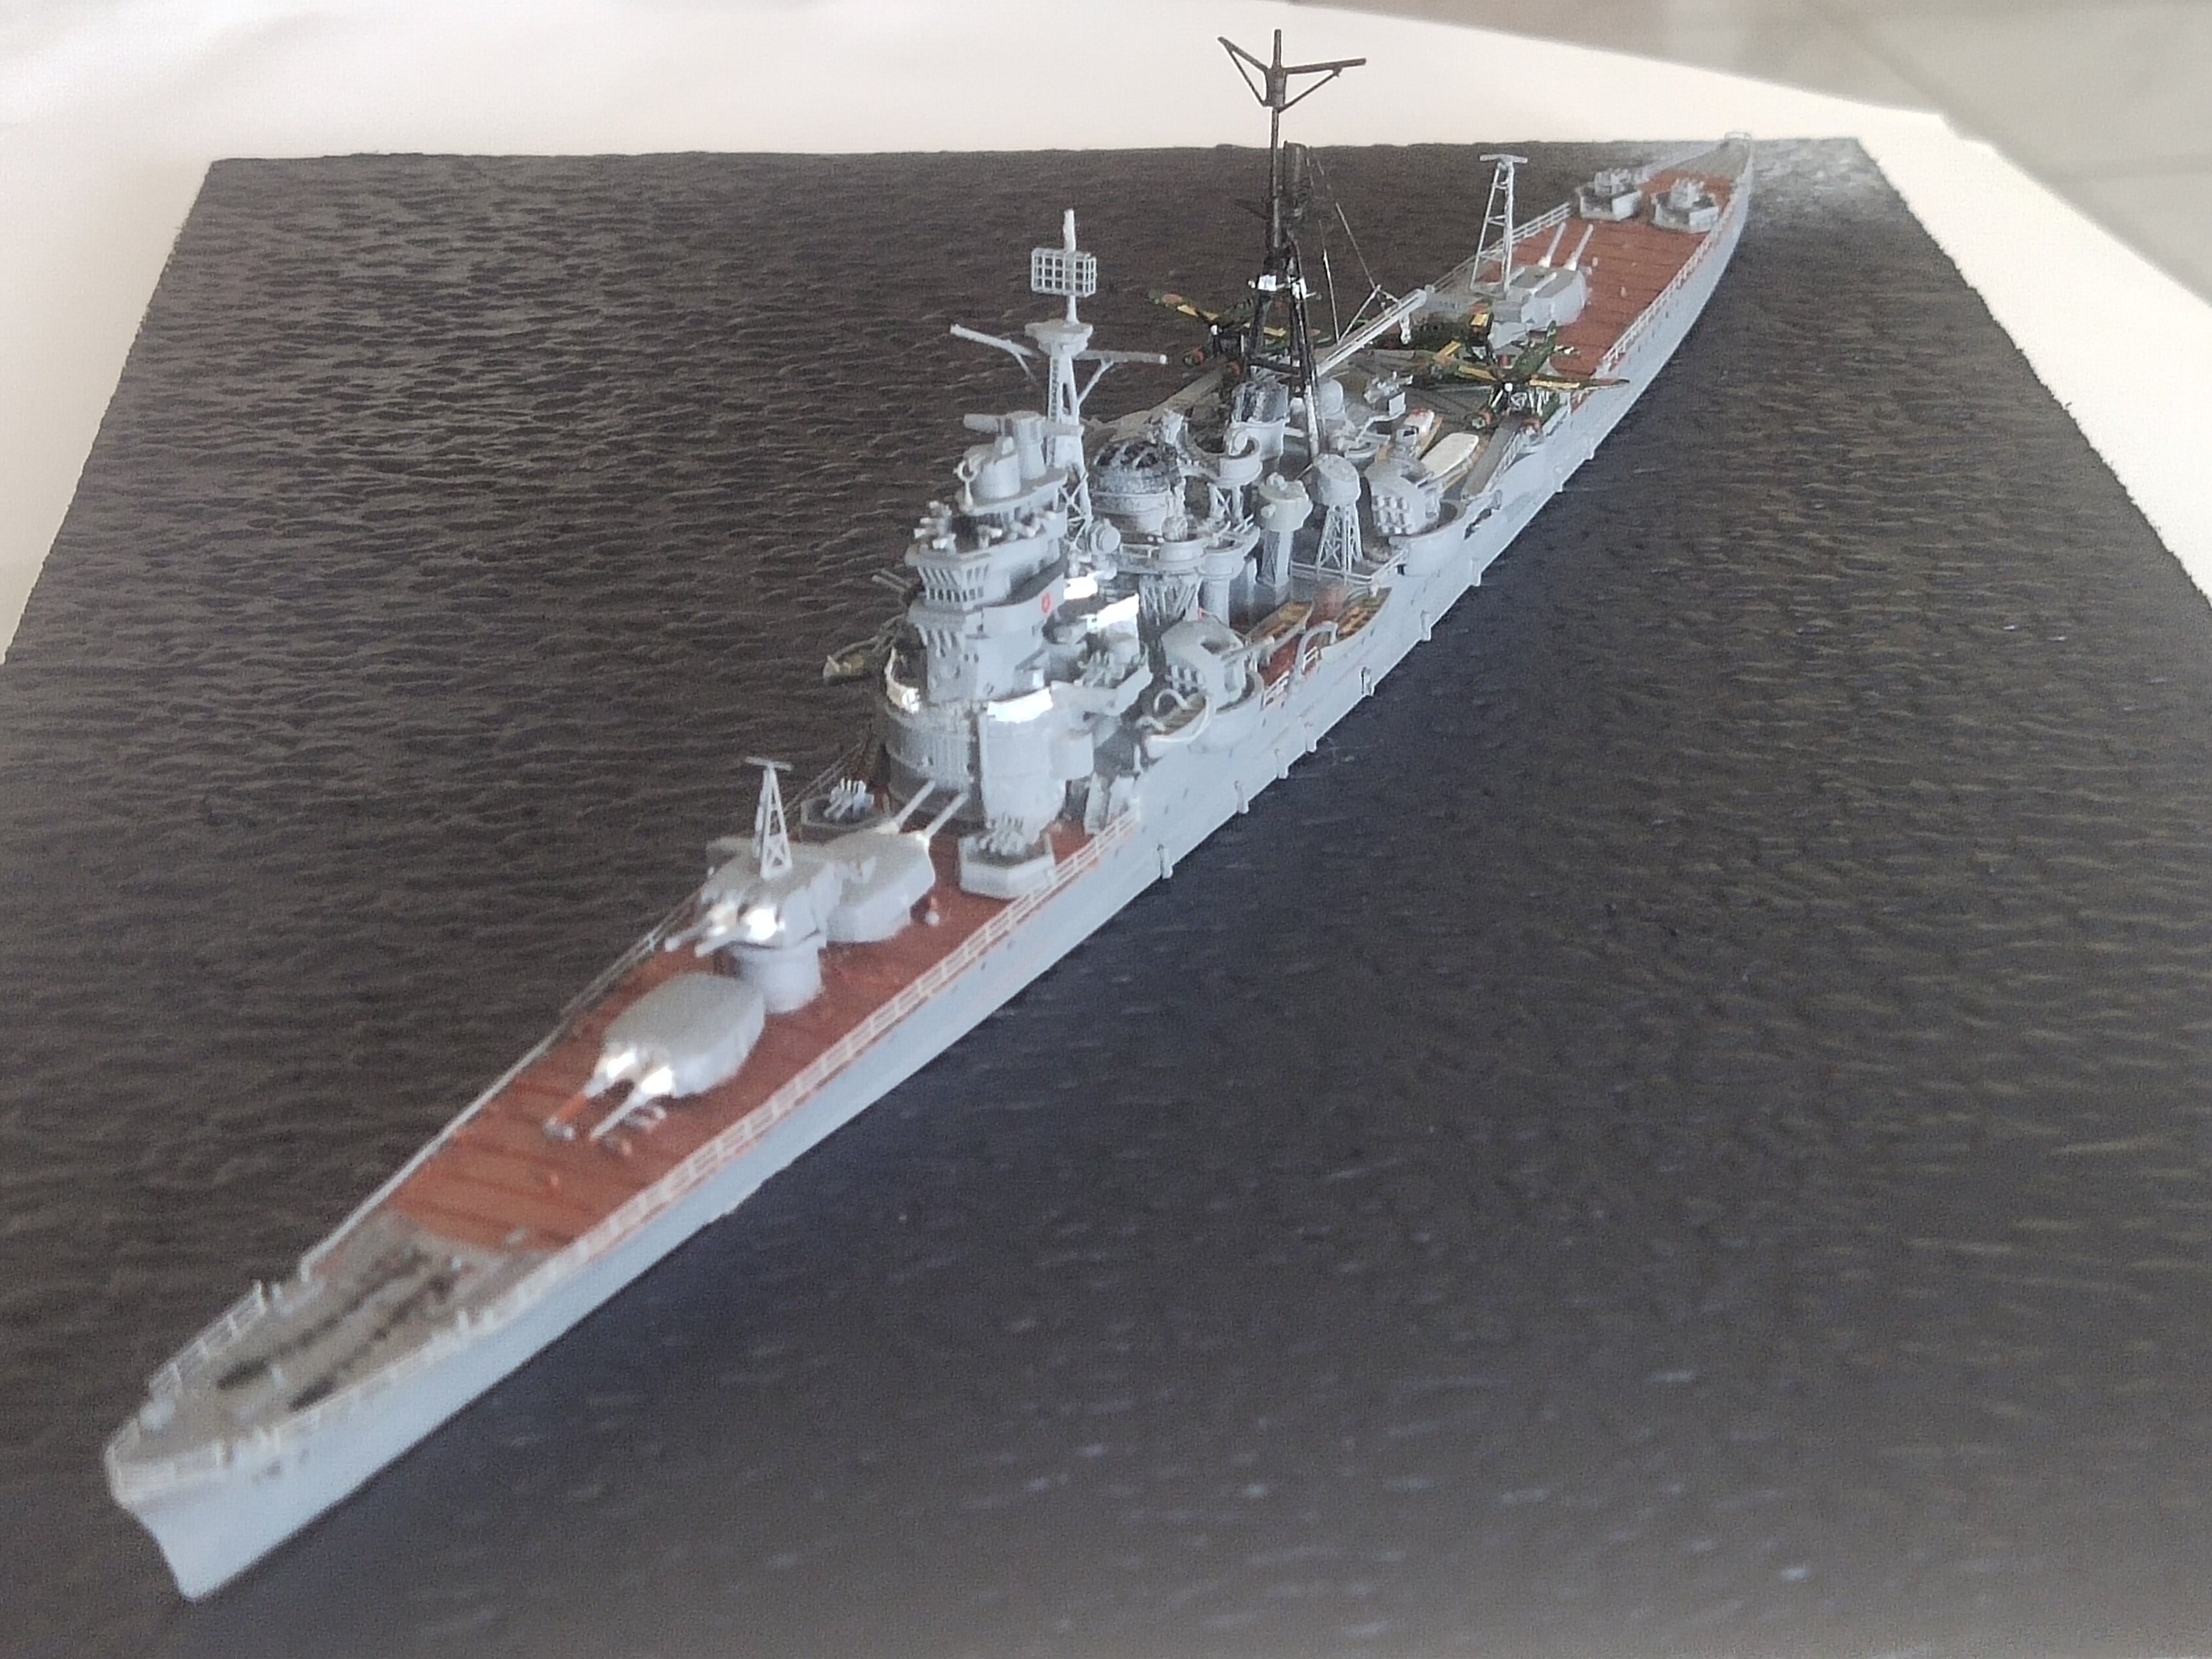
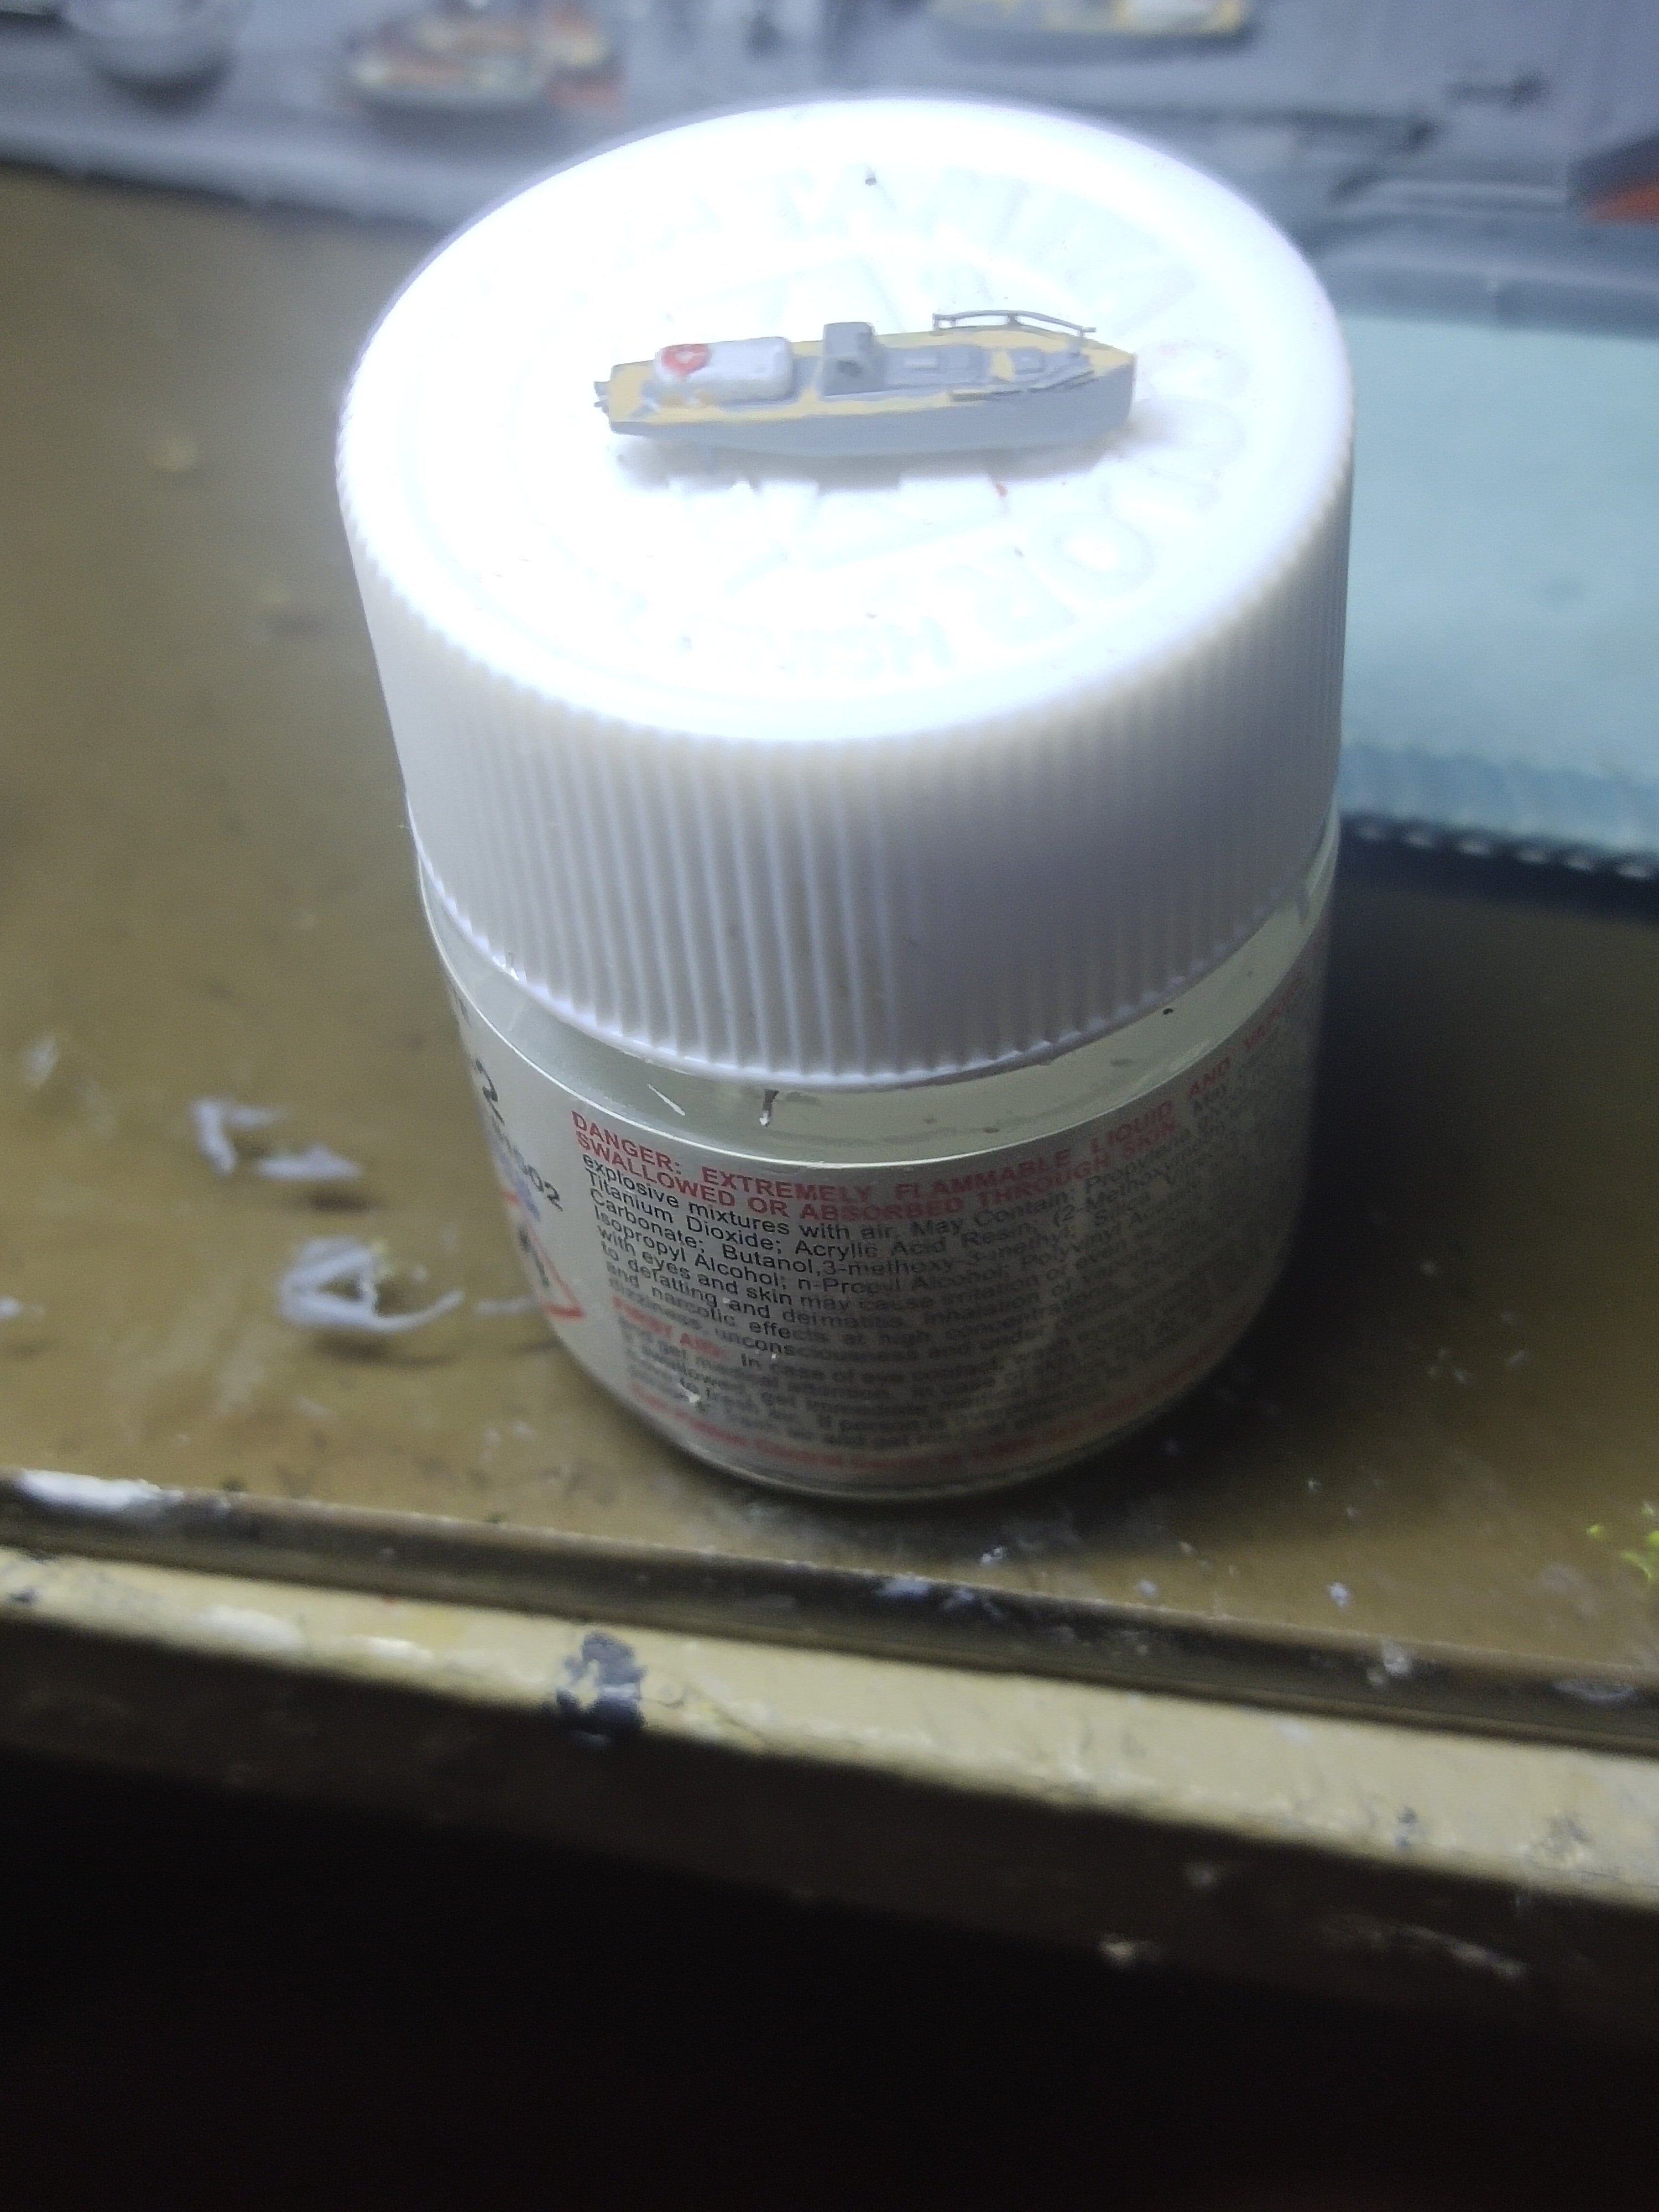
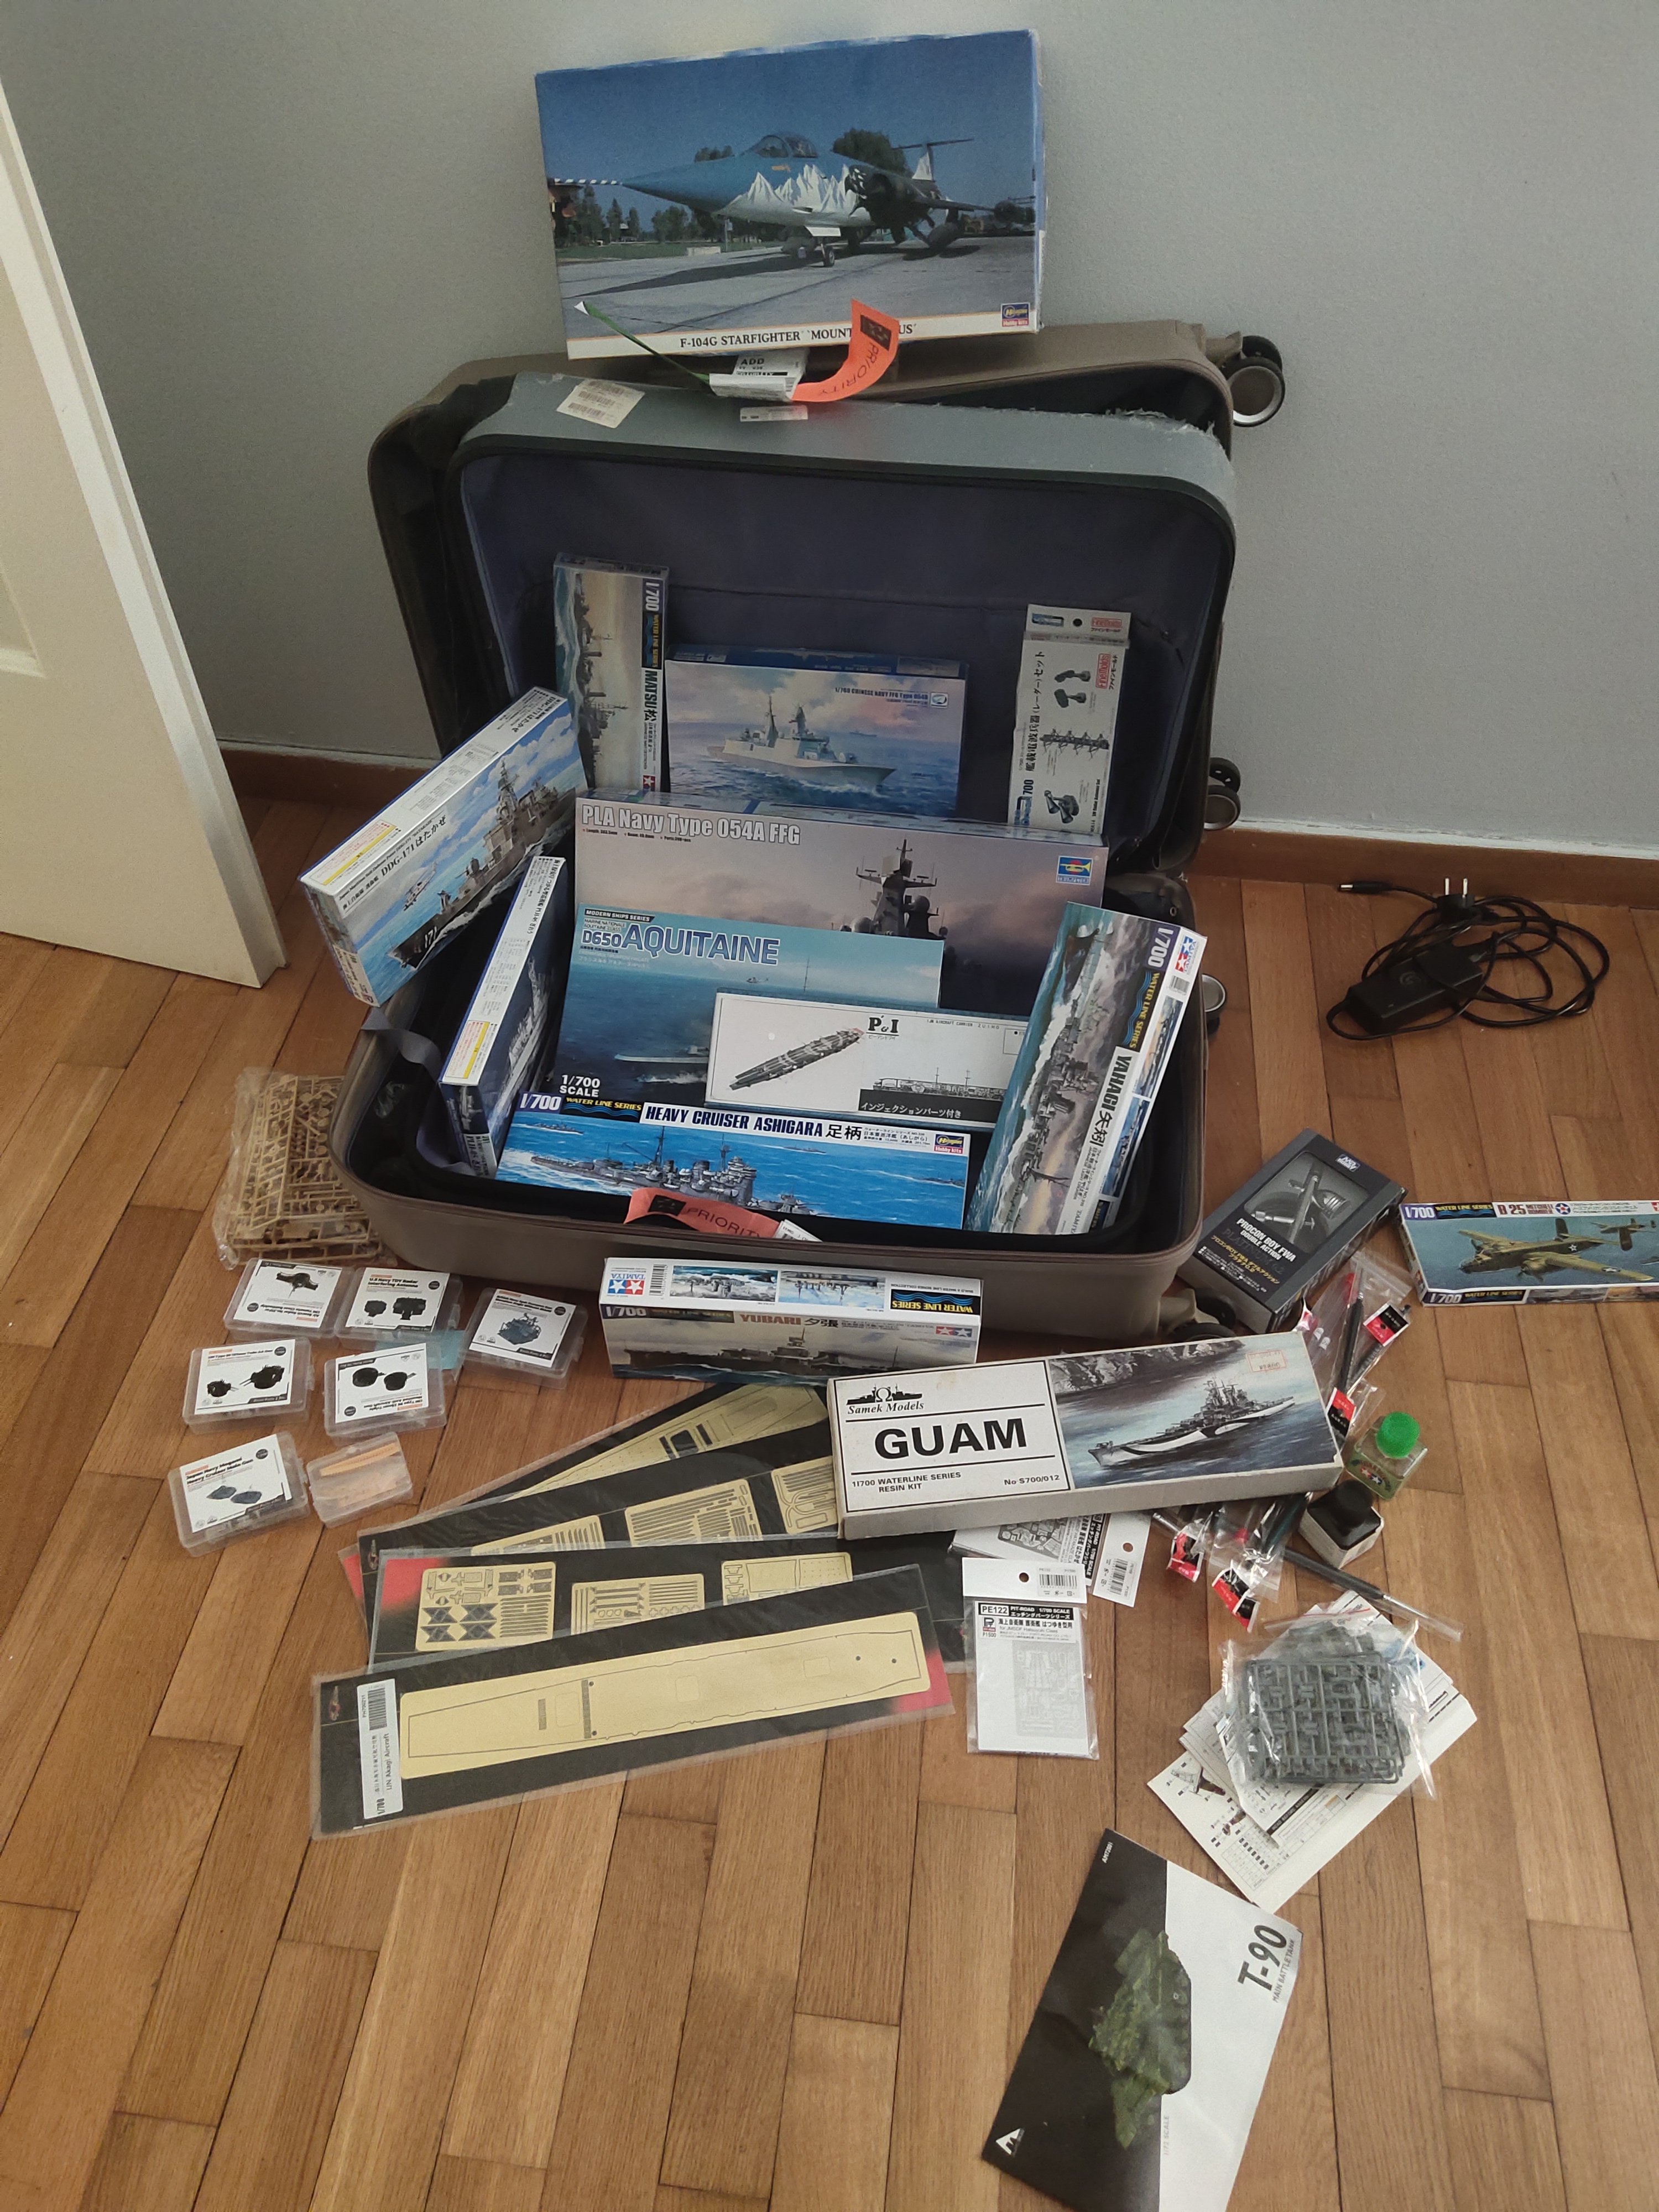
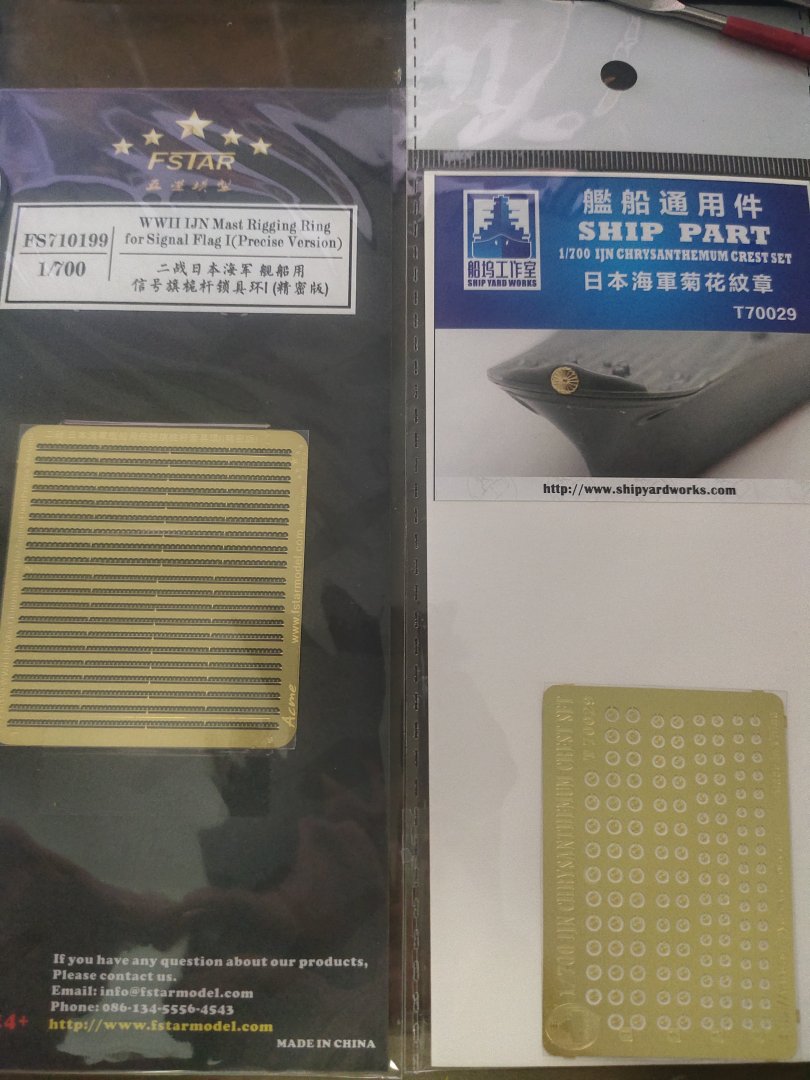
Got back last week and I'm back to work again although still feel a bit lazy First I need to take care of my new items The only work for this weekend was the addition if boats. Davits were made of 0.3 mm wire. AA guns were mistakenly positioned a bit more forward so room for boats was marginal. When you improvise any possible detail have to be considered additionally or such problems may occur

-
sometimes we need to apply high skills to get the desired effect and this may fail so we need to improvise