mikegr
-
Posts
831 -
Joined
-
Last visited
Content Type
Profiles
Forums
Gallery
Events
Everything posted by mikegr
-
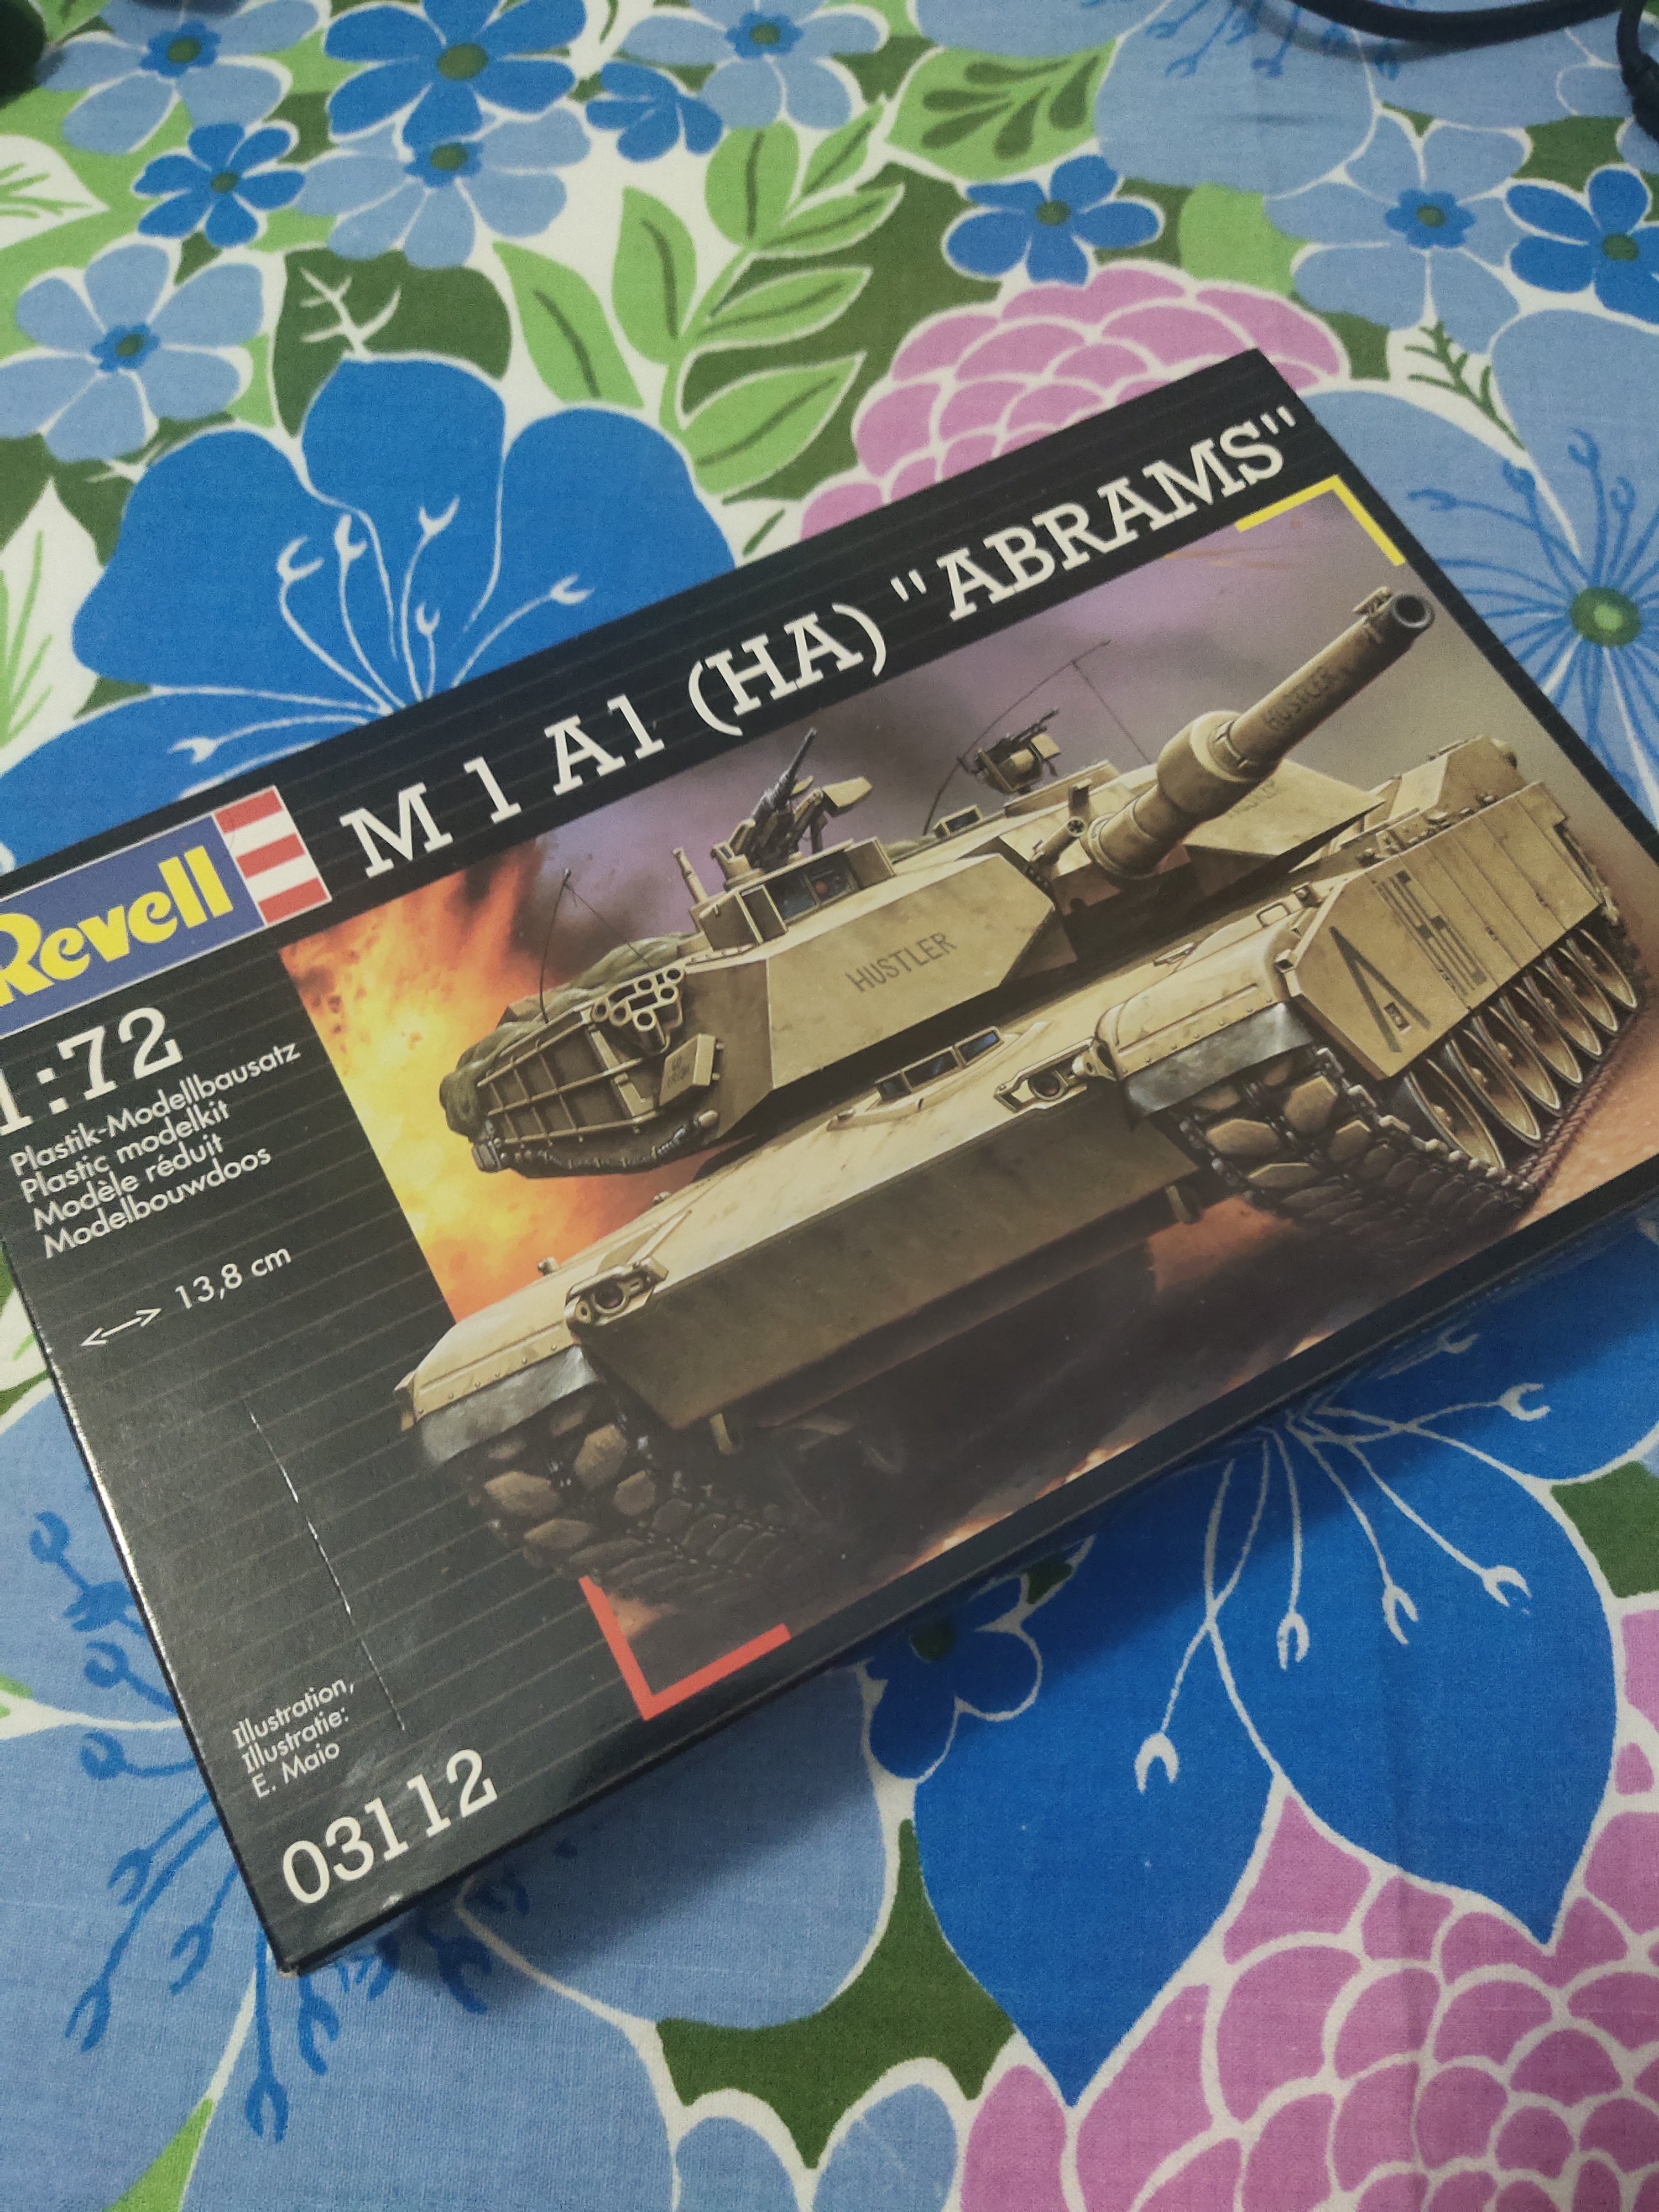
M1A1 ABRAMS by mikegr - FINISHED - Revell - 1:72 - PLASTIC
mikegr replied to mikegr's topic in Non-ship/categorised builds
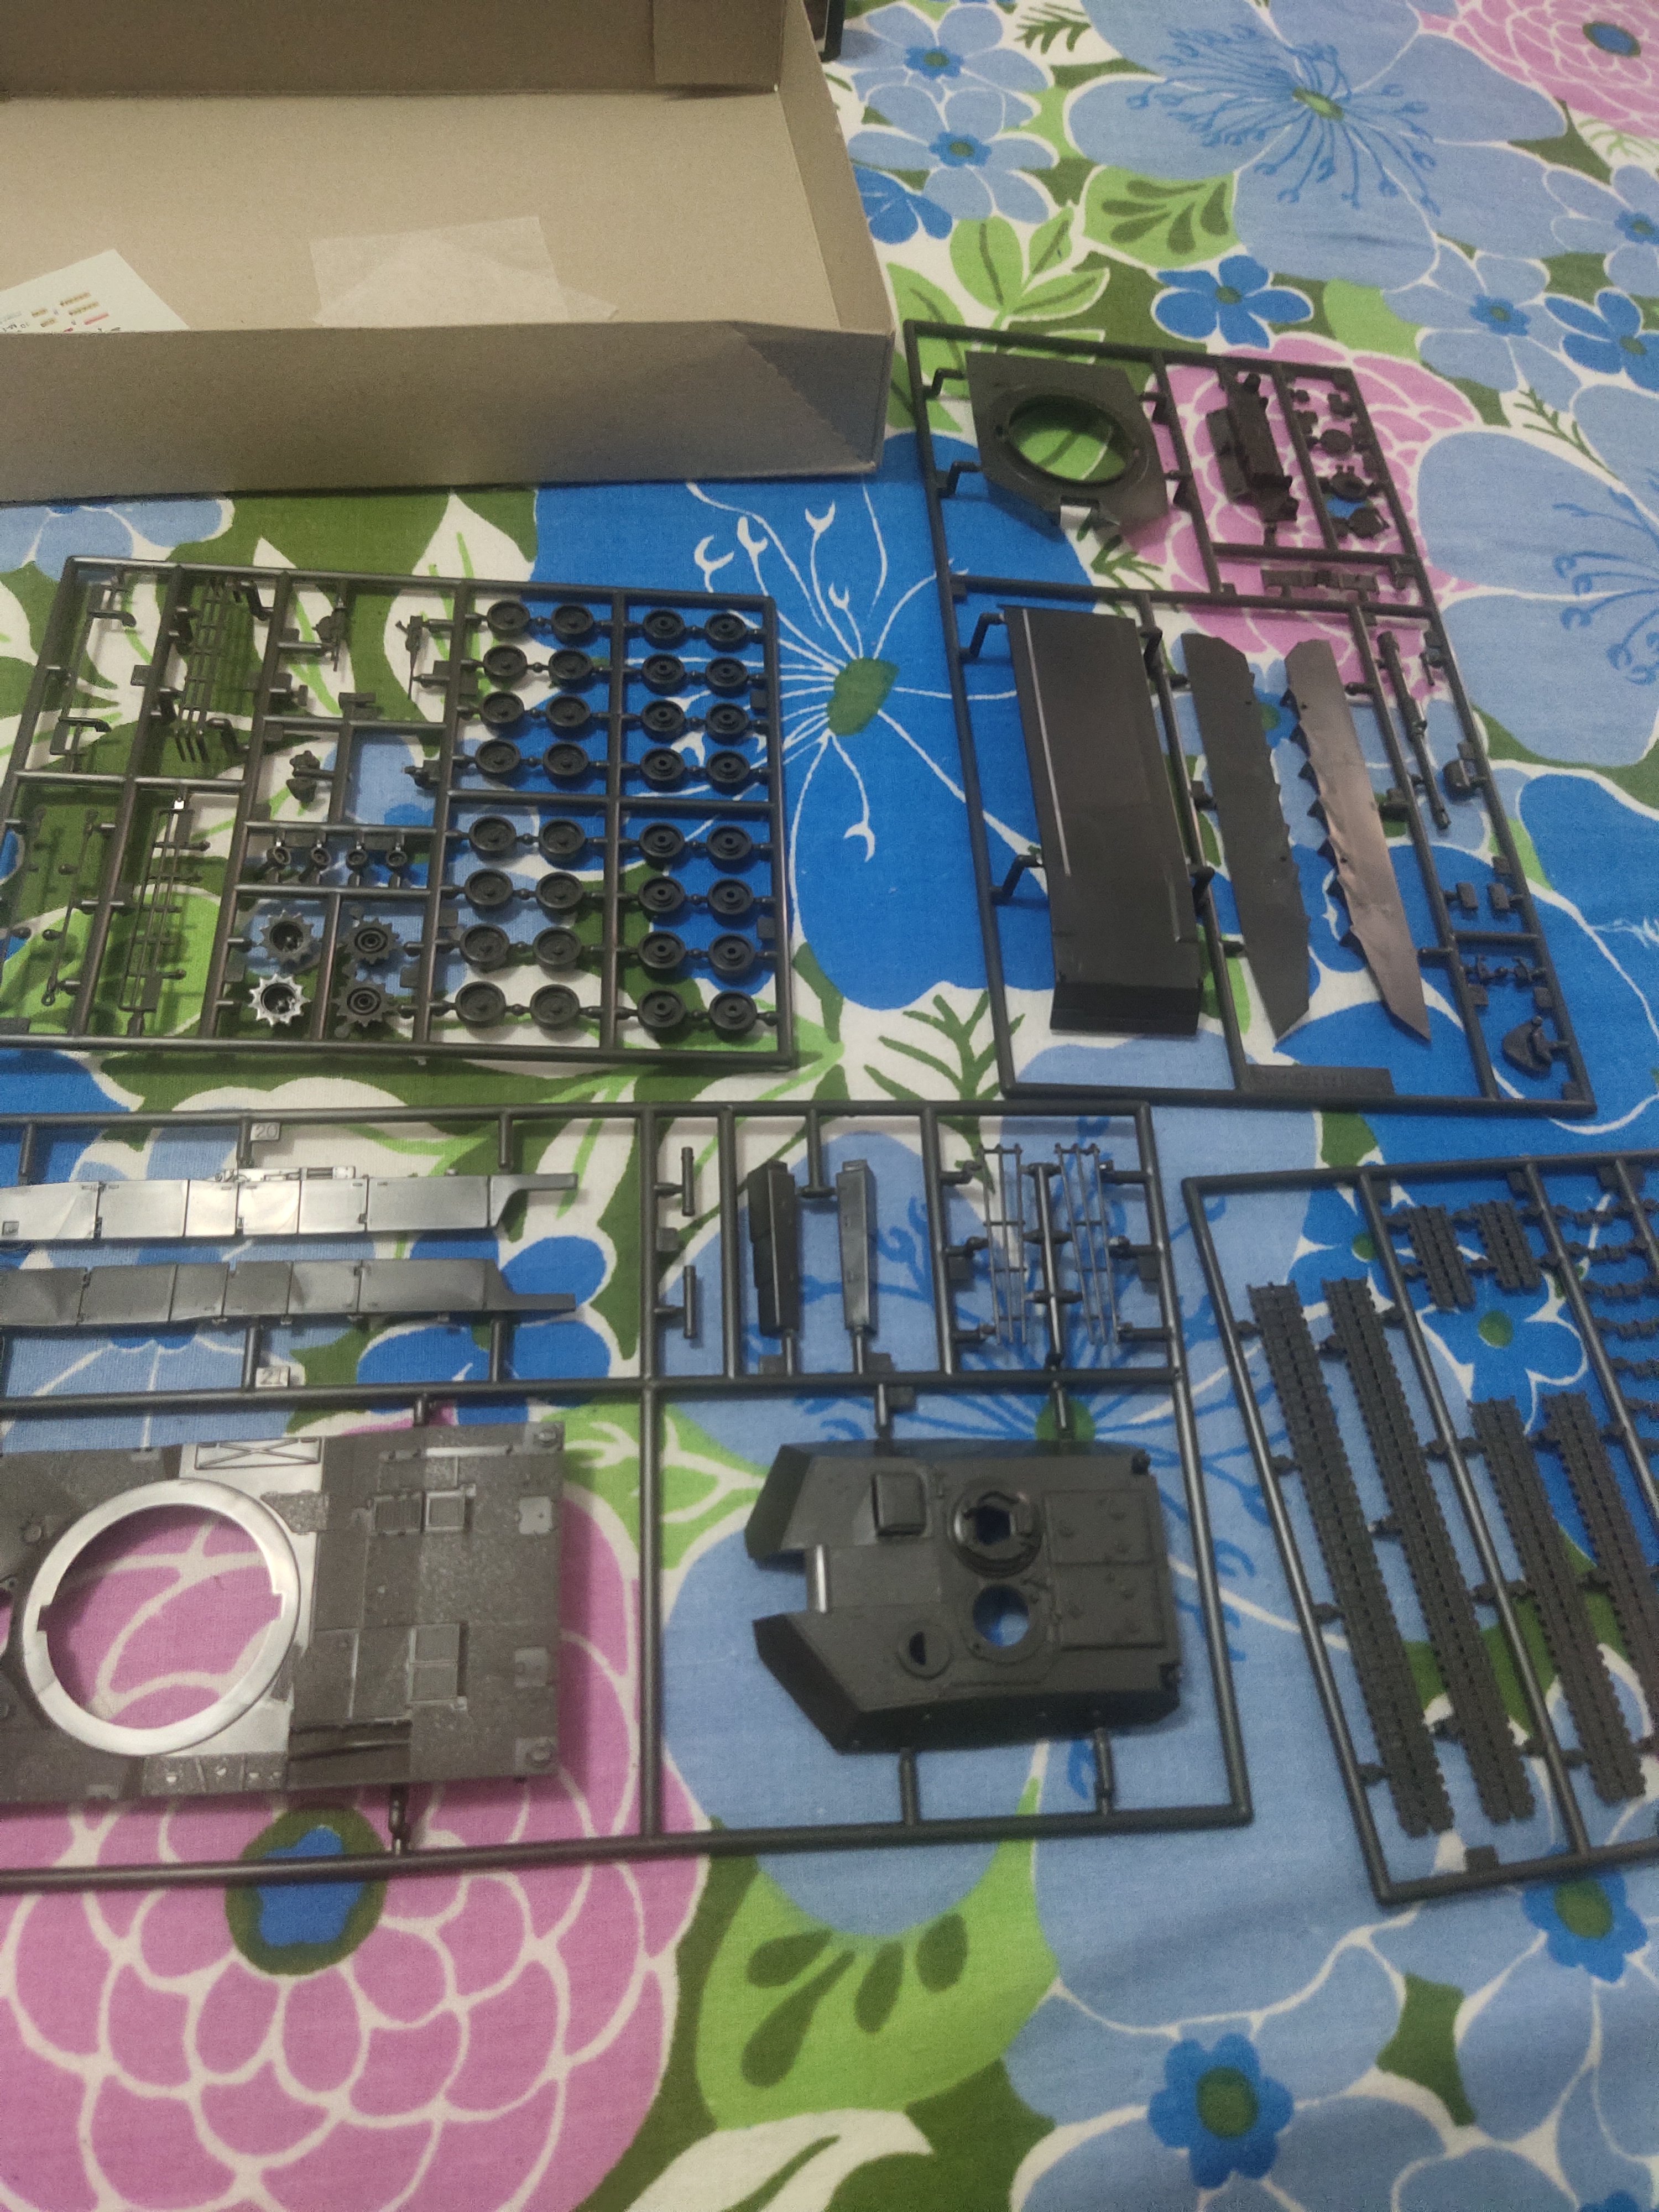
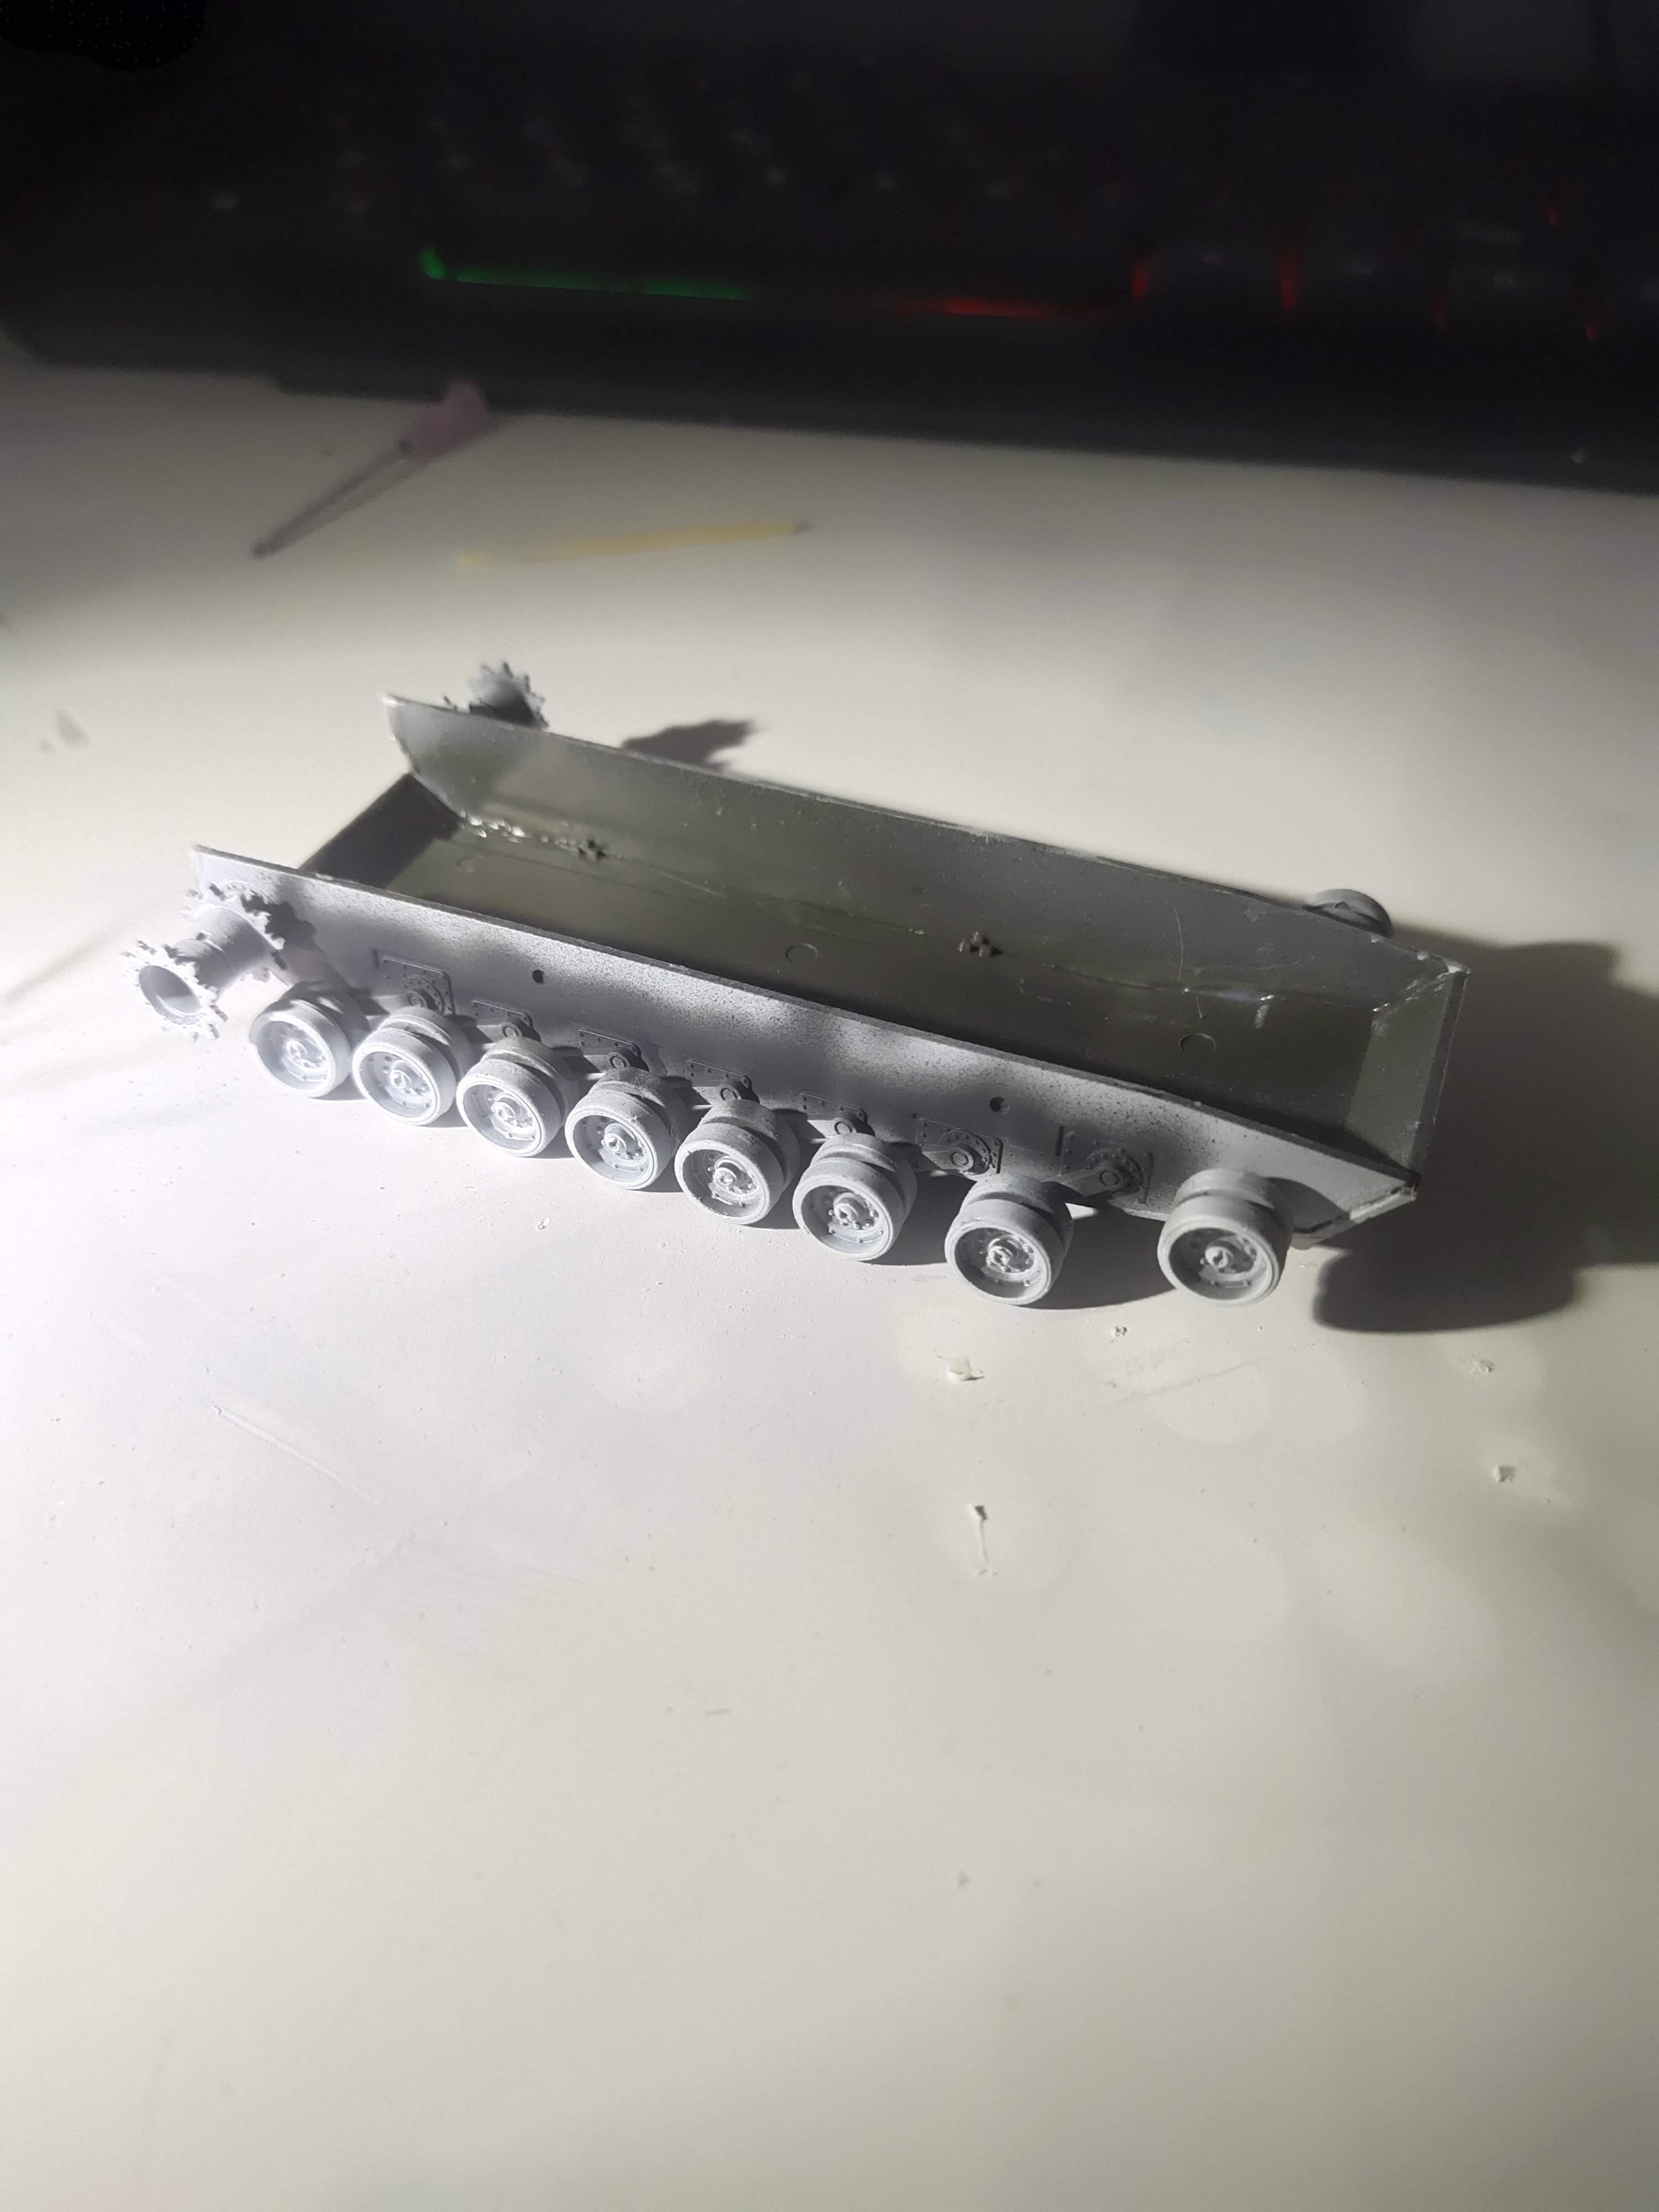
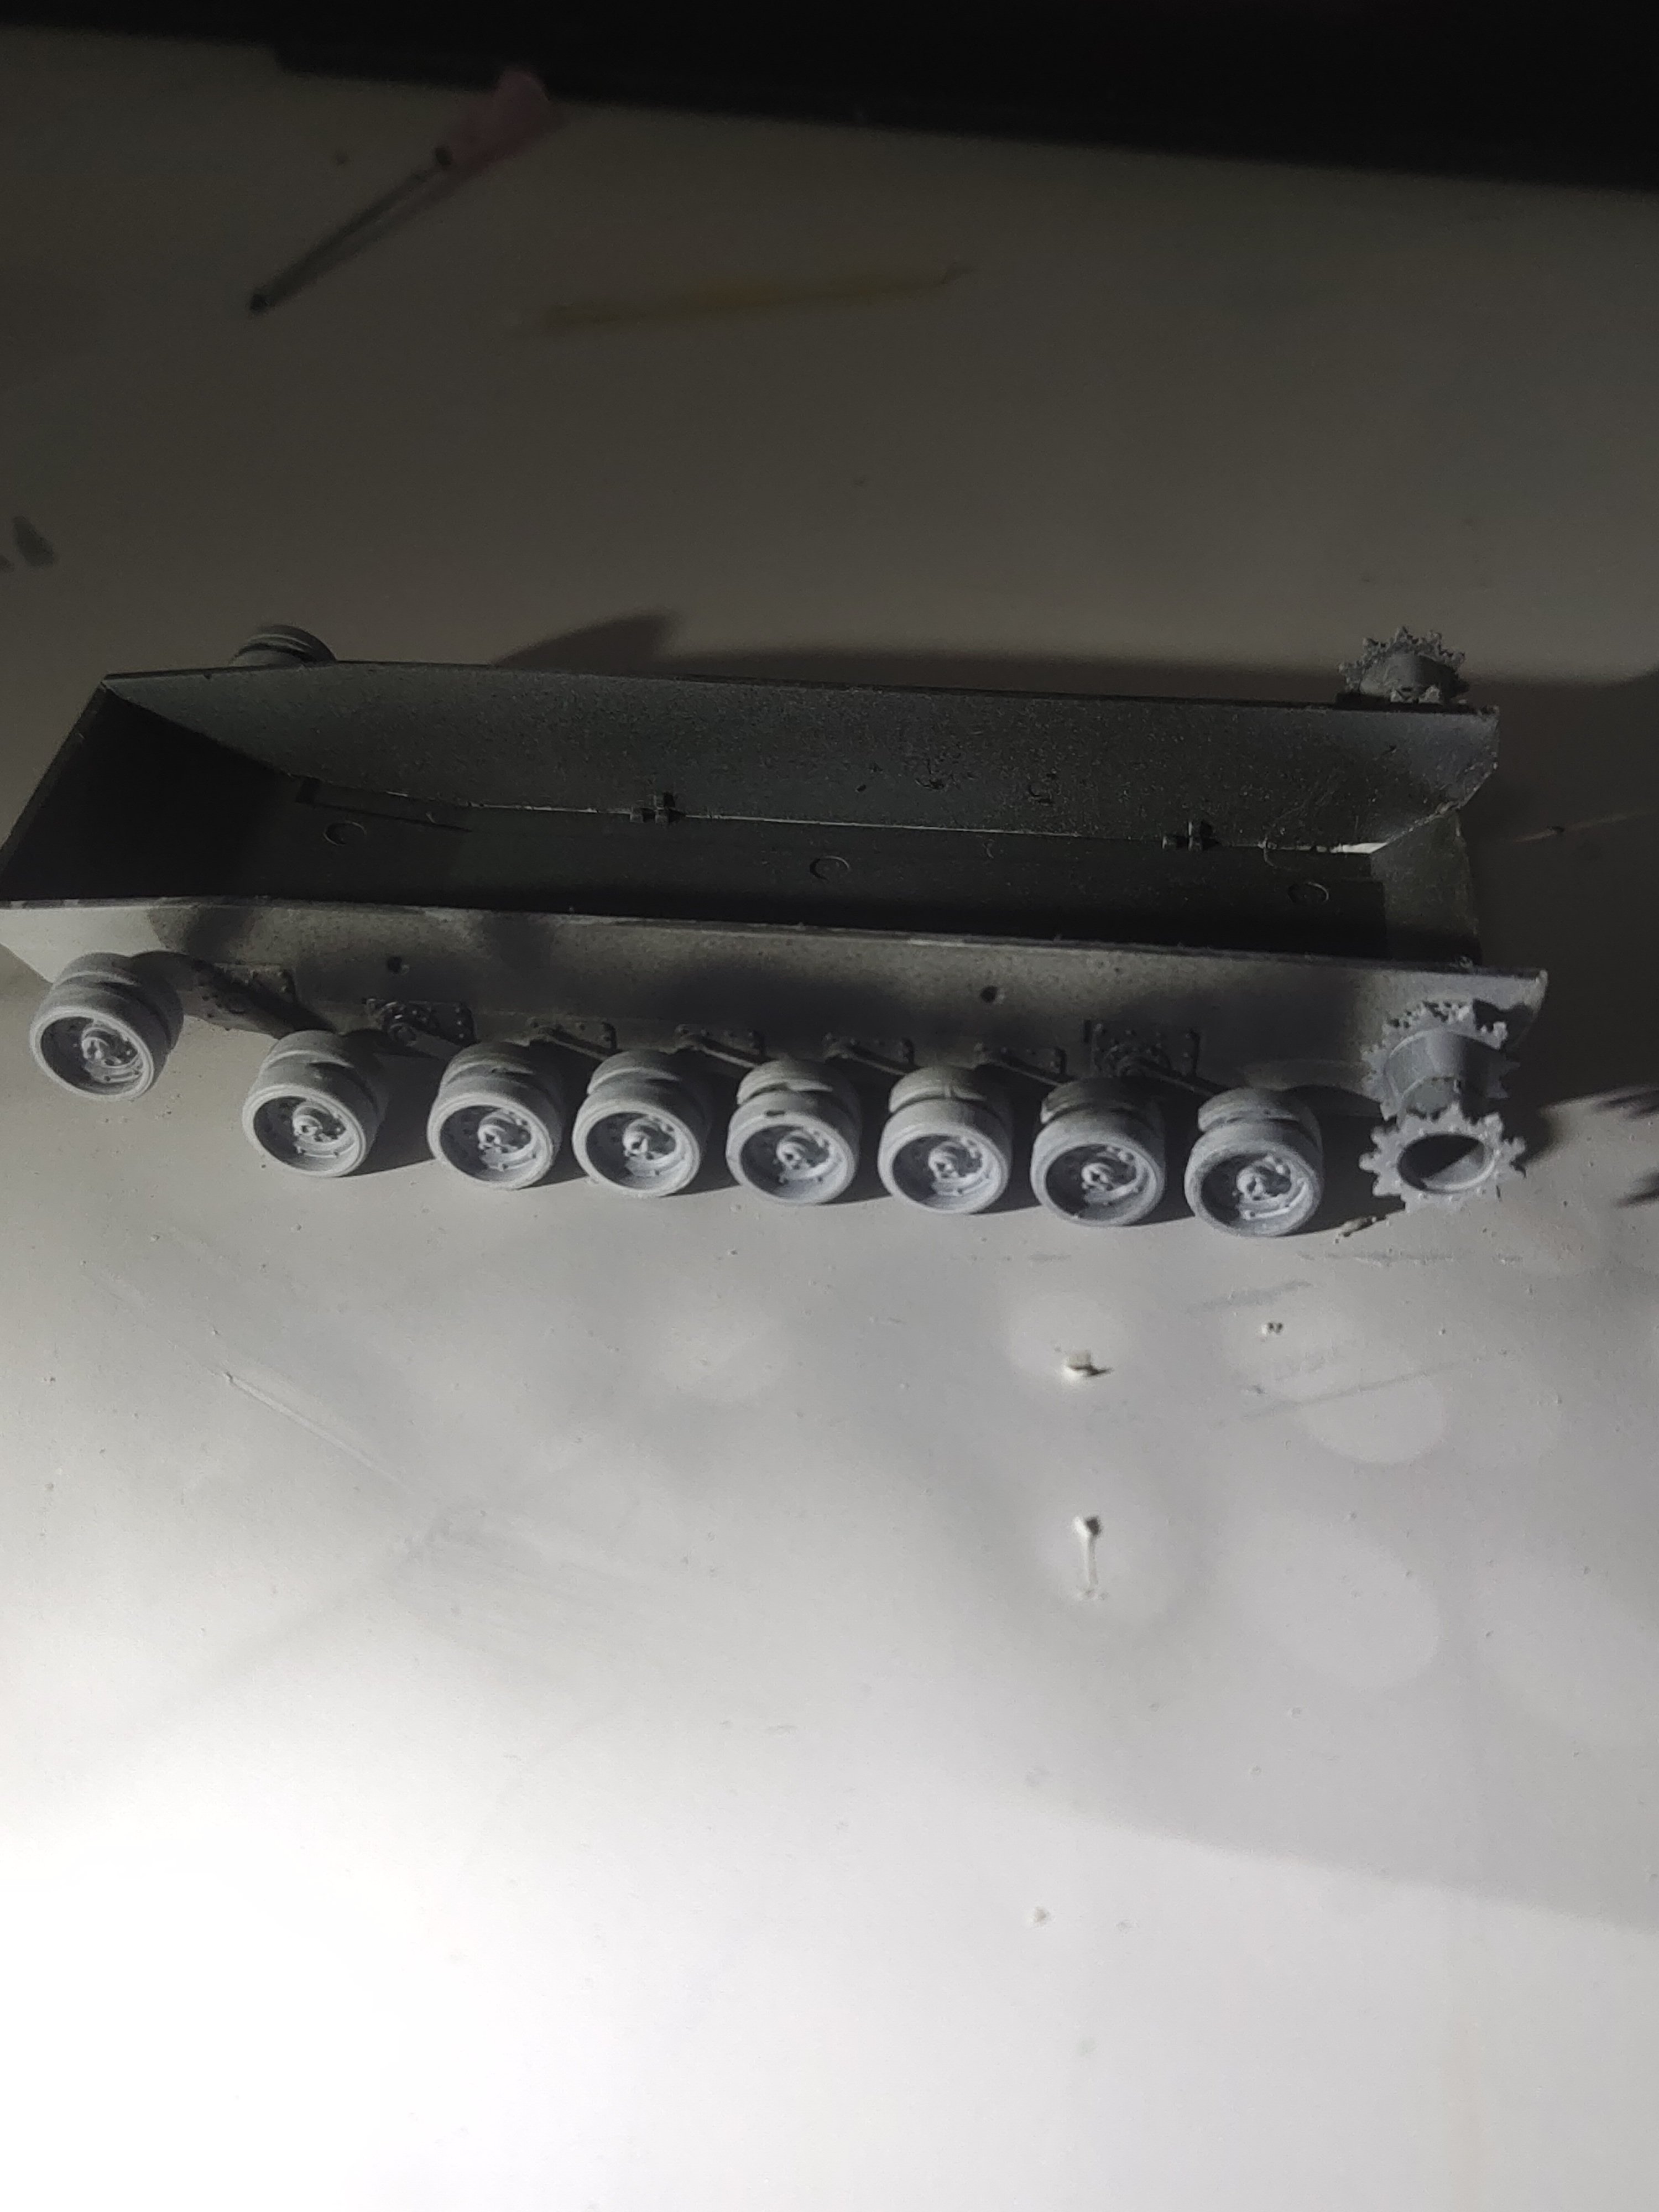
The reason I choose this model is because its easy to paint with one color only. The details on the main body surface are crispy. The tracks are flexible easy to bend not plastic I am following a video of a similar Flyhawk model assembly. There are two main pieces the body and the turret. I start making the body. Then the wheels. They primed separately and glued together. Then I preshadow the darker areas behind the fenders before I place them

-
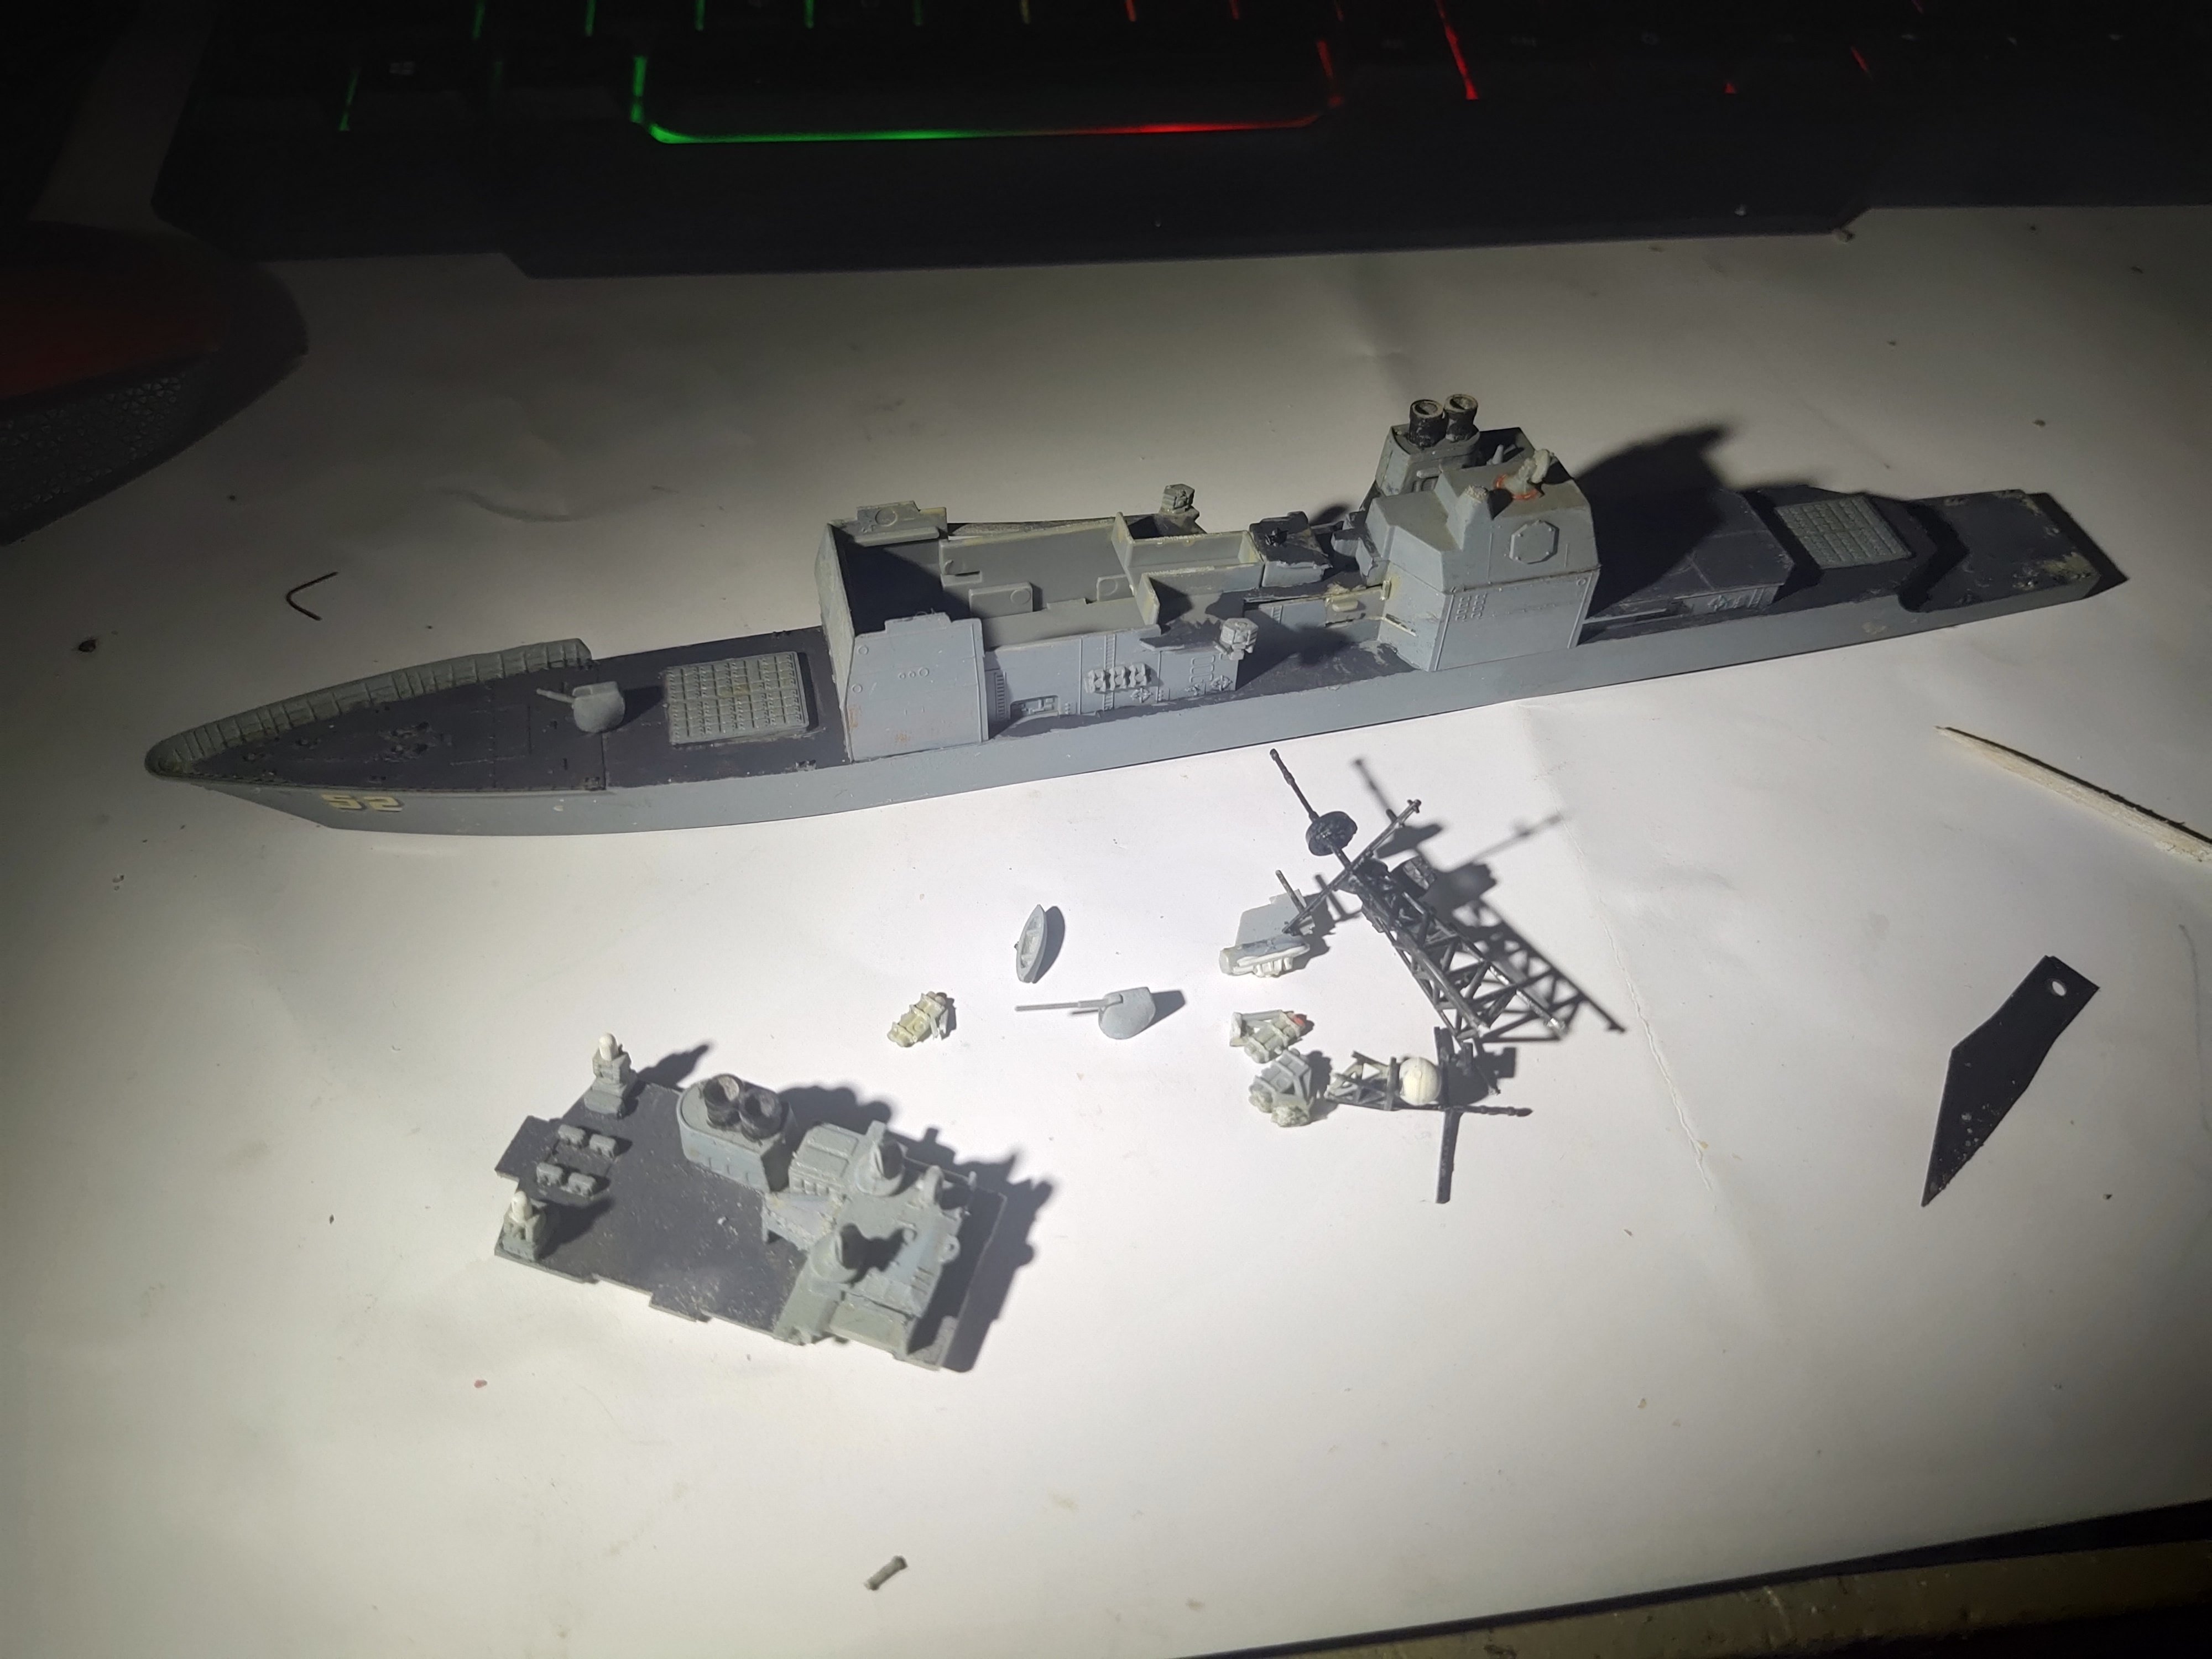
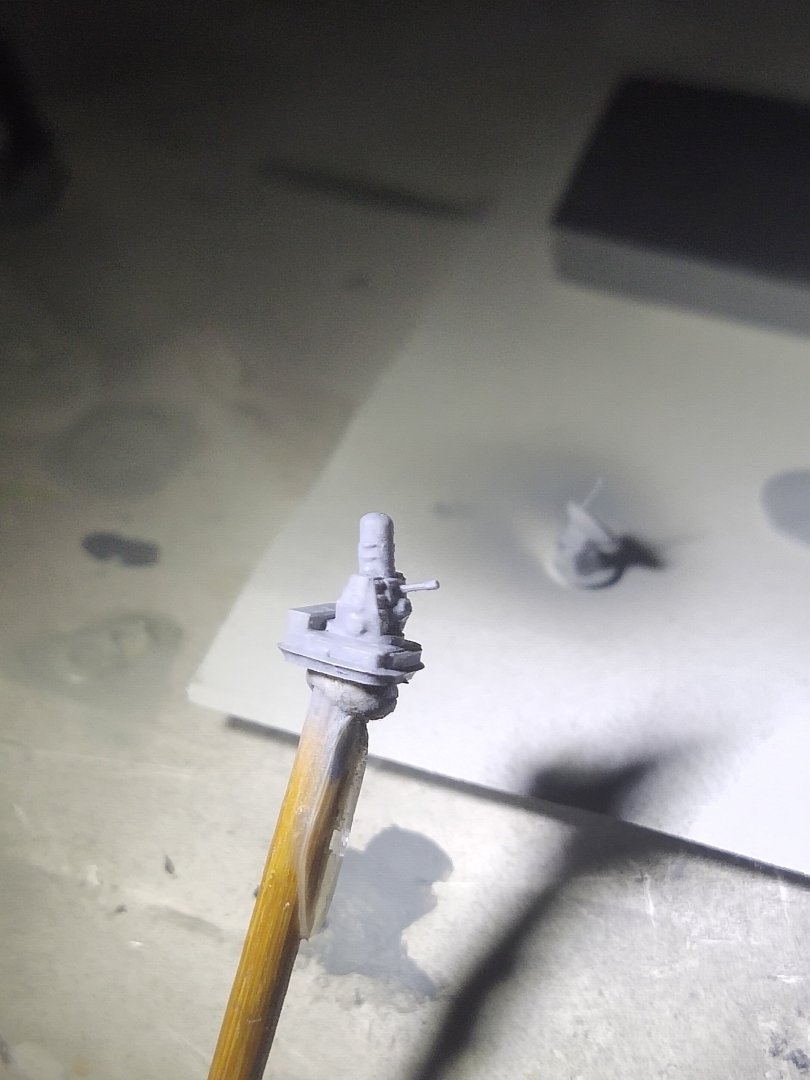
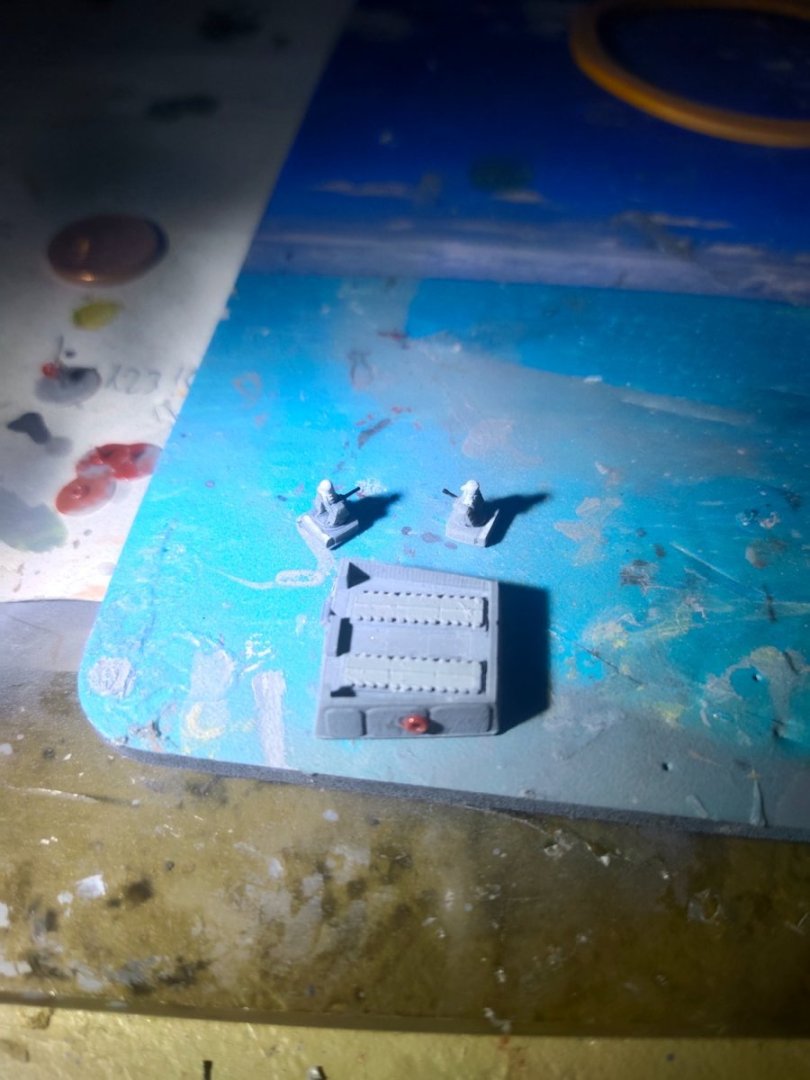
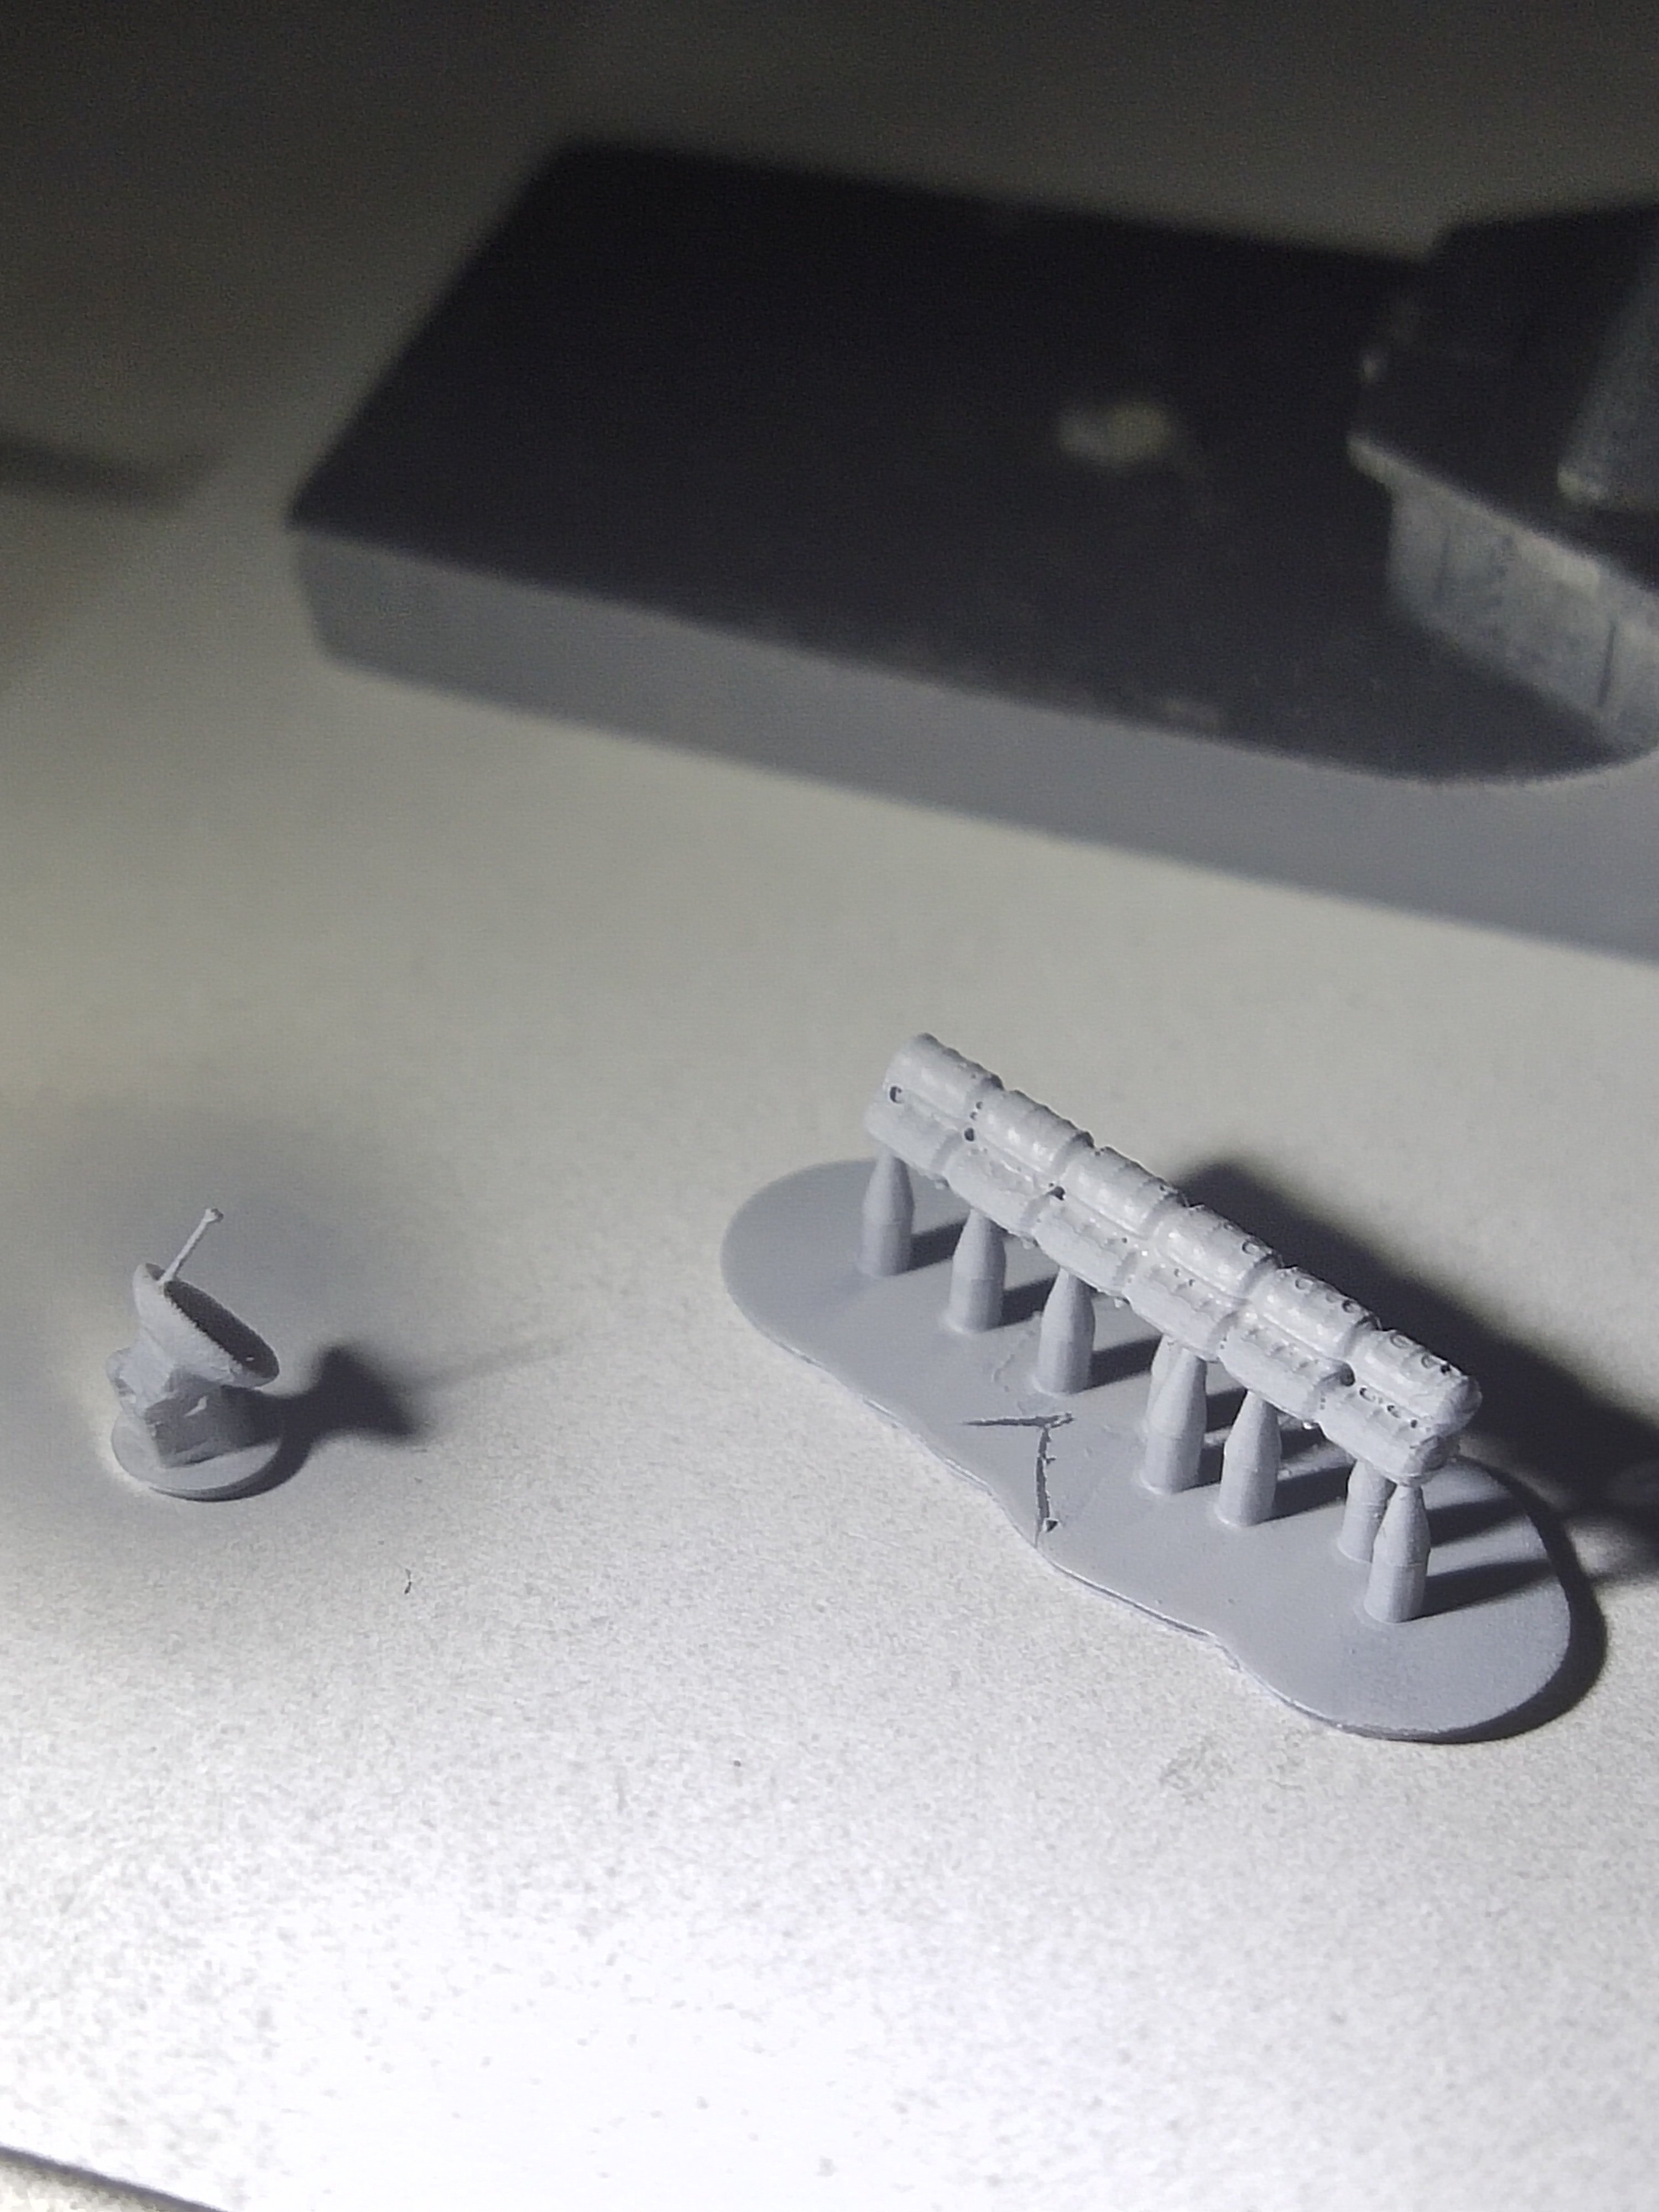
I printed some parts with my new machine. Turned out nice. SPG 62, Phalanx and barrel rafts Then I installed them
-
M1A1 ABRAMS by mikegr - FINISHED - Revell - 1:72 - PLASTIC
mikegr replied to mikegr's topic in Non-ship/categorised builds
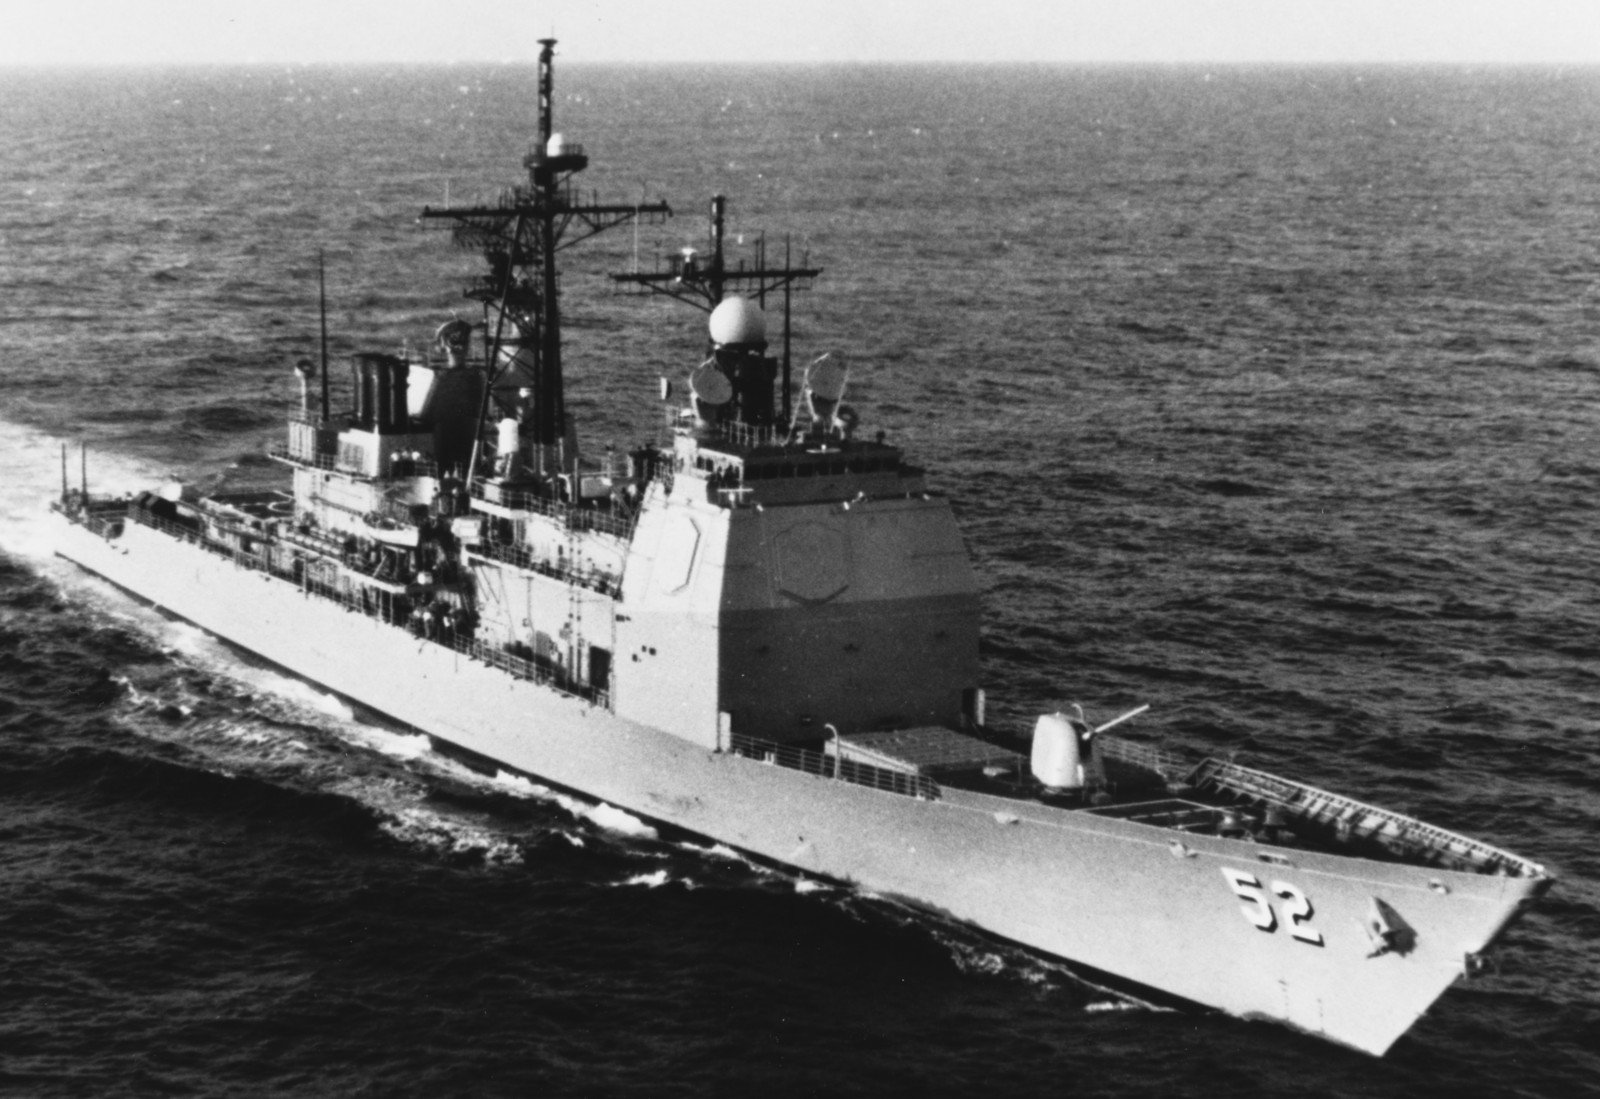
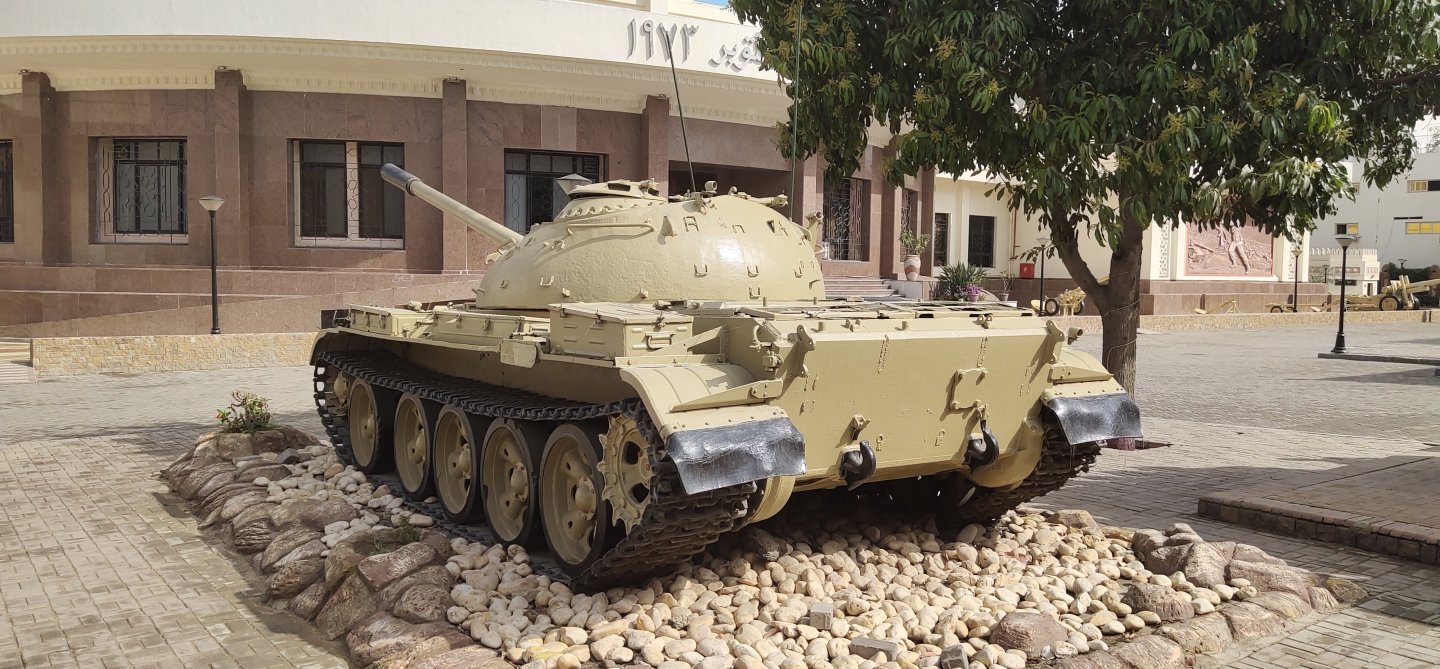
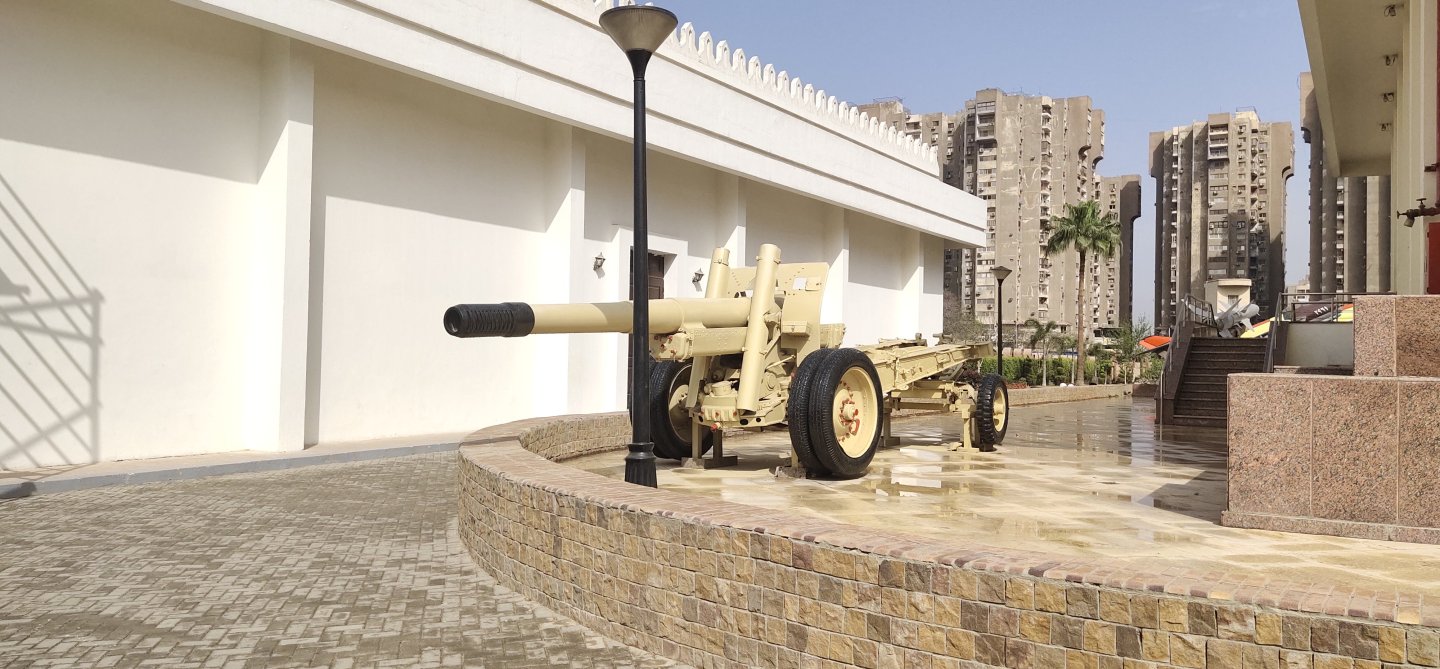
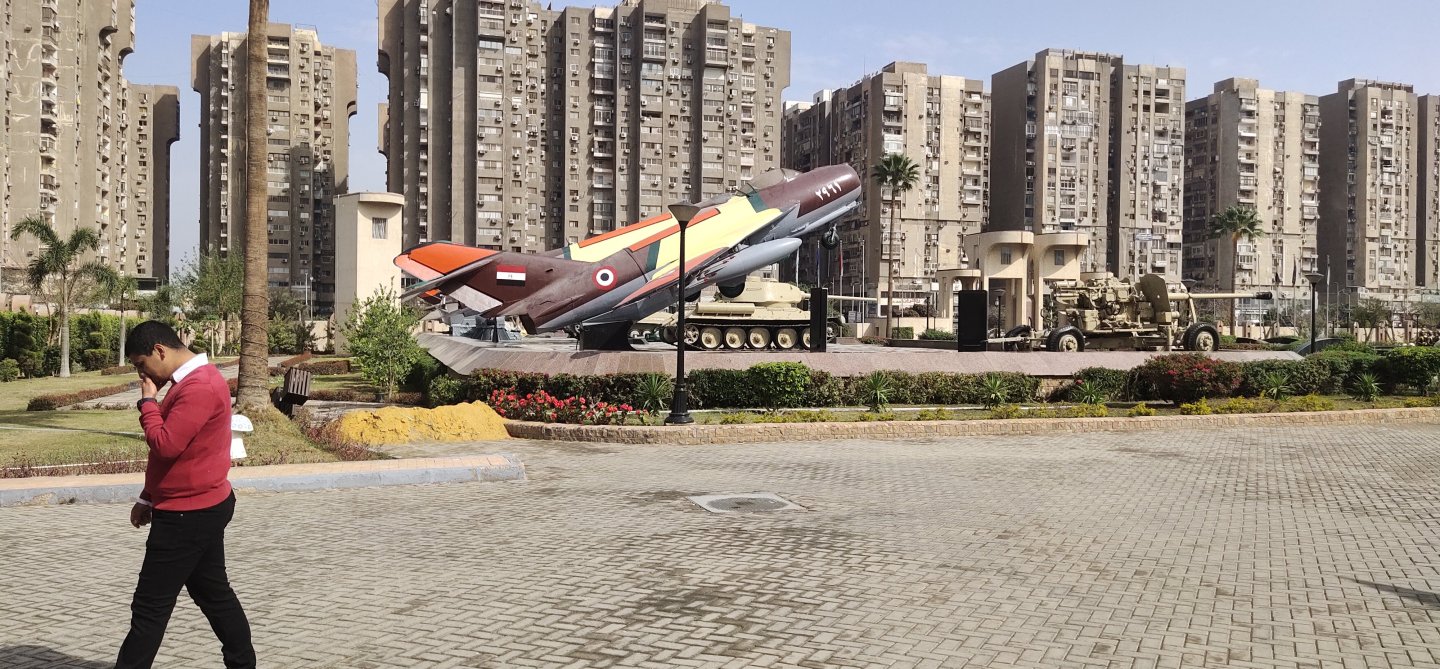
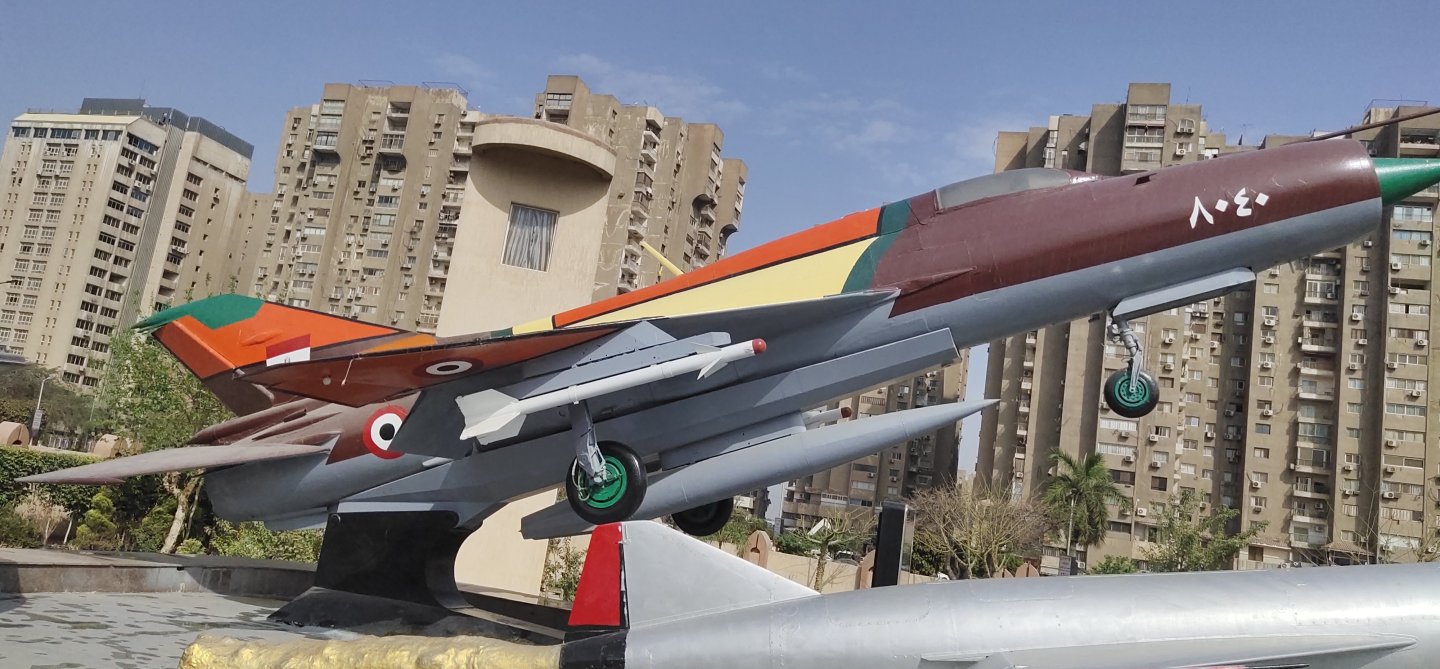
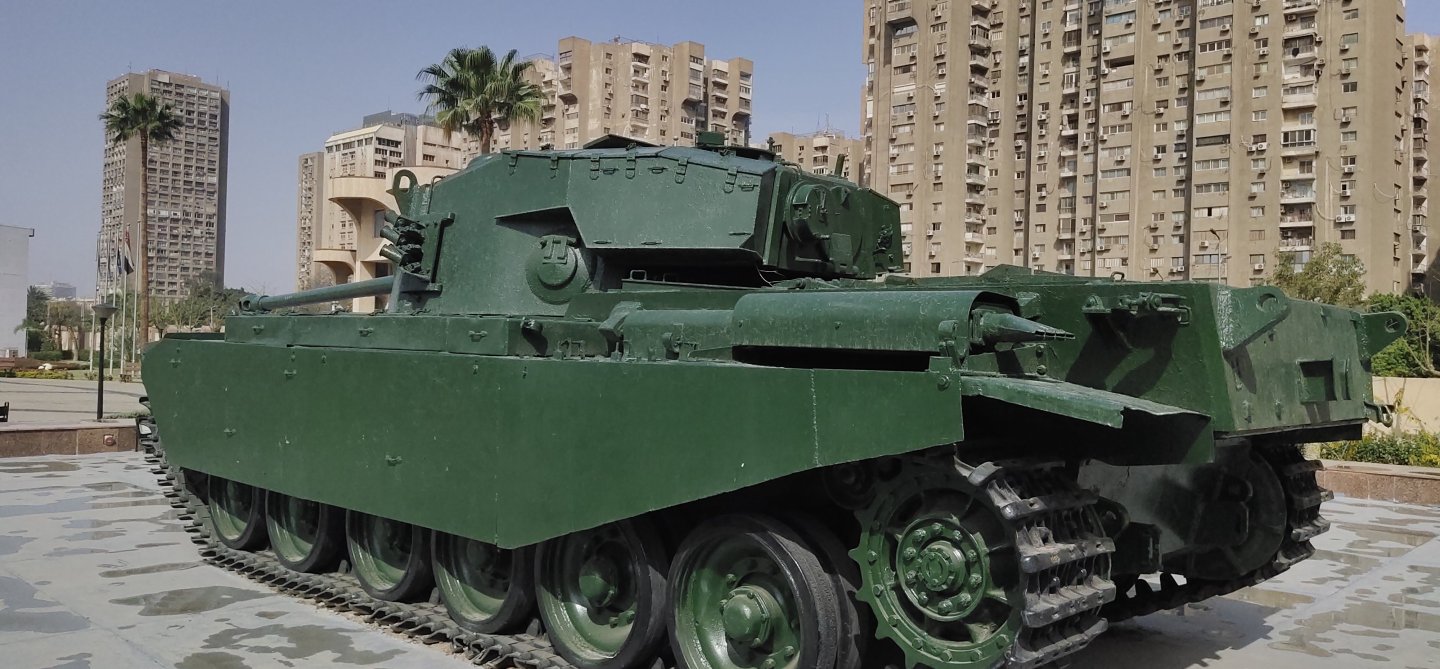
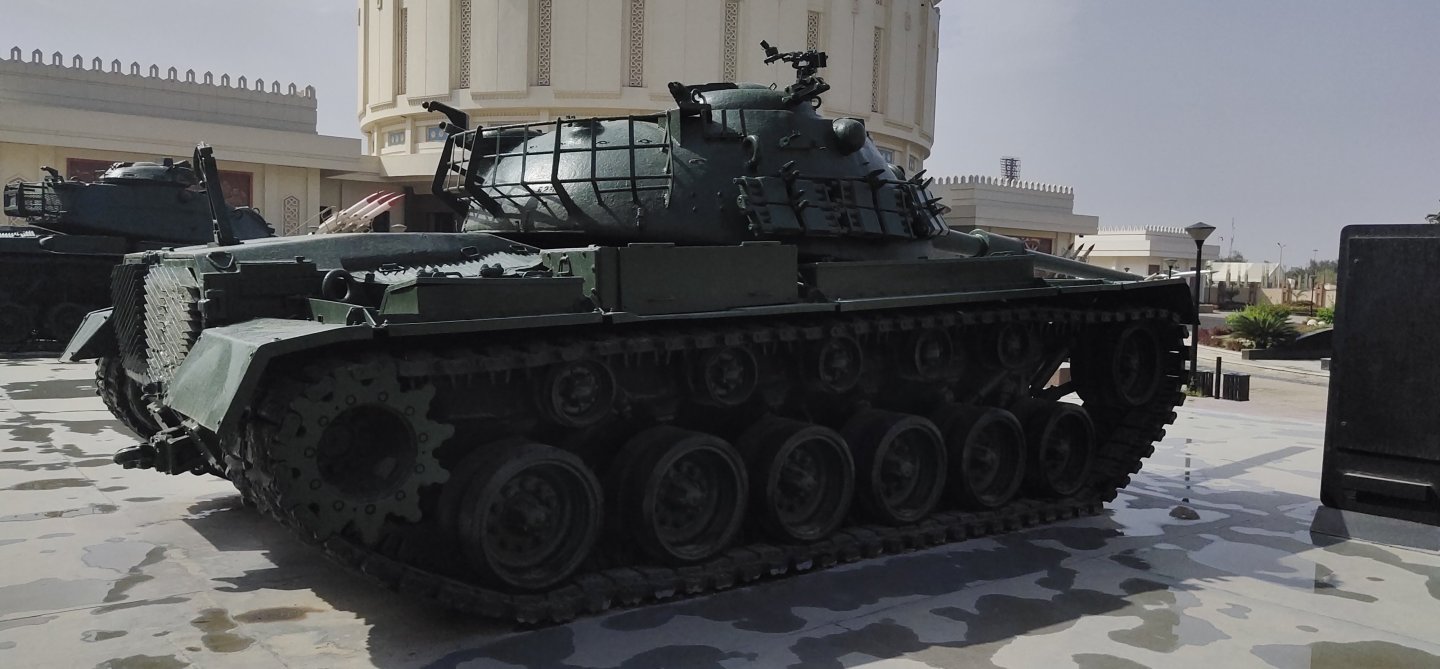
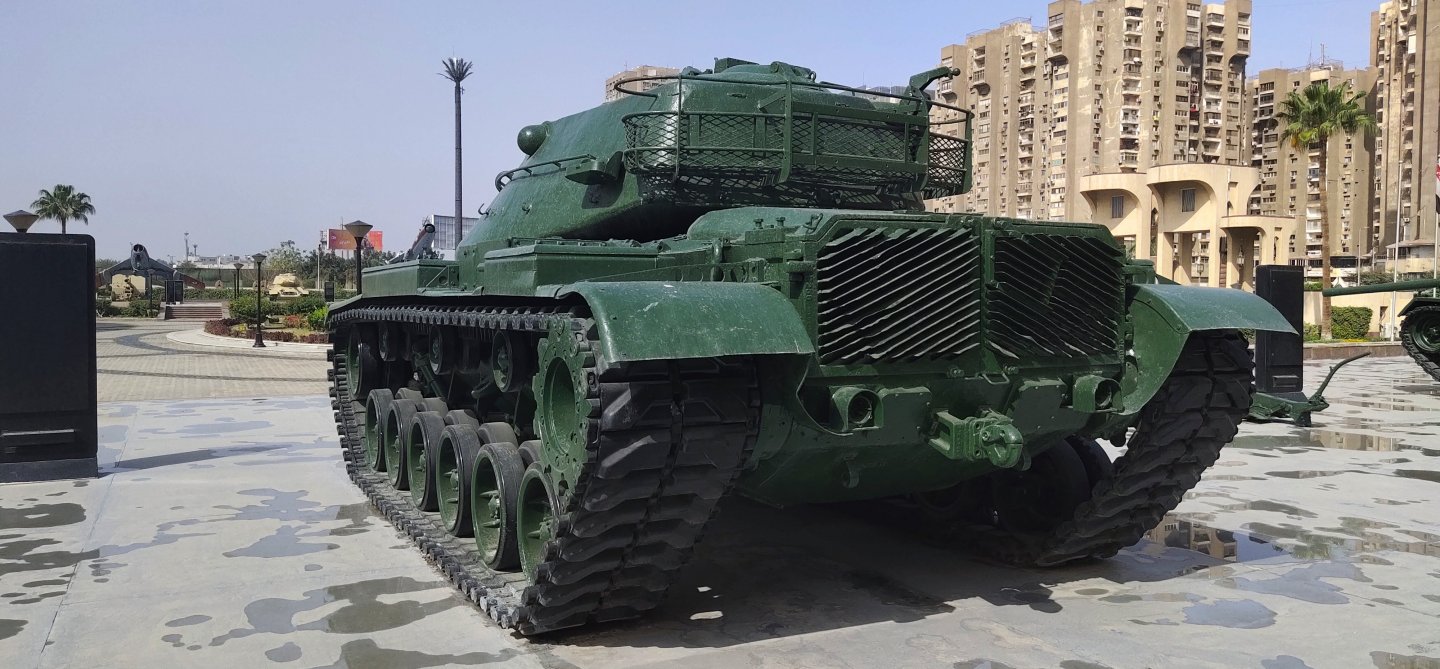
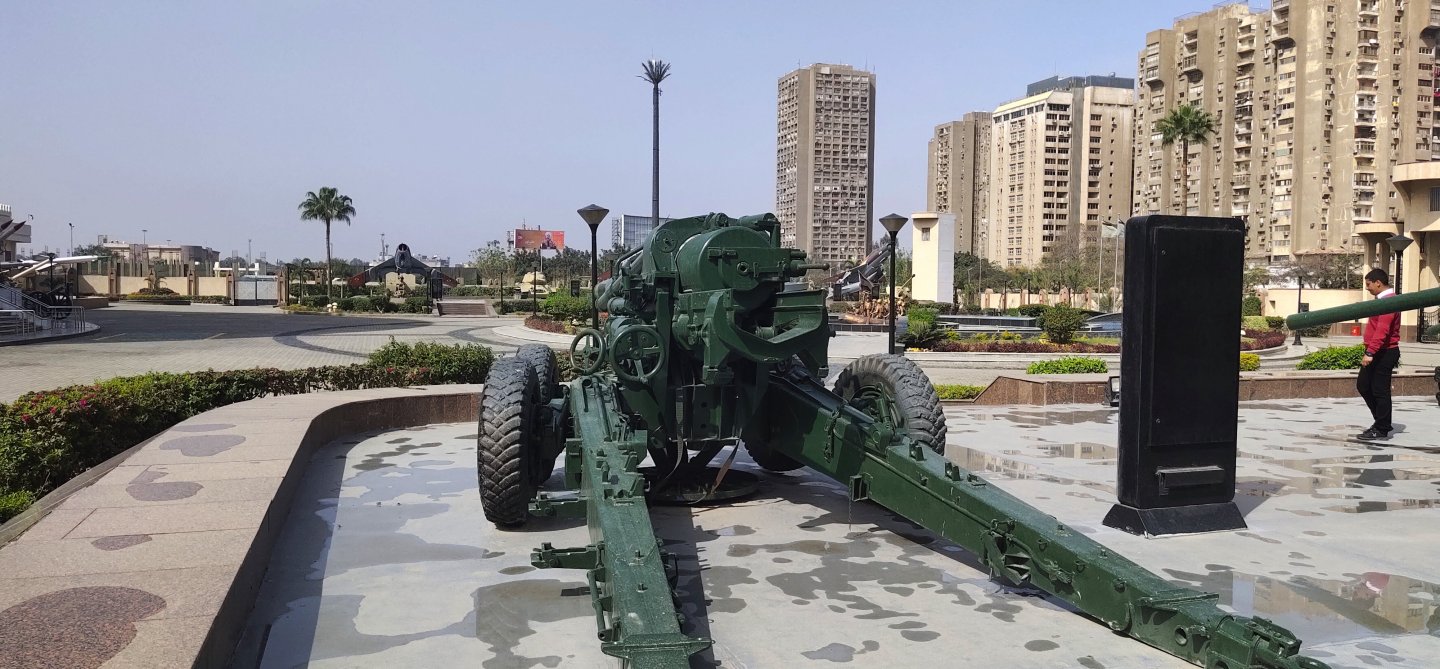
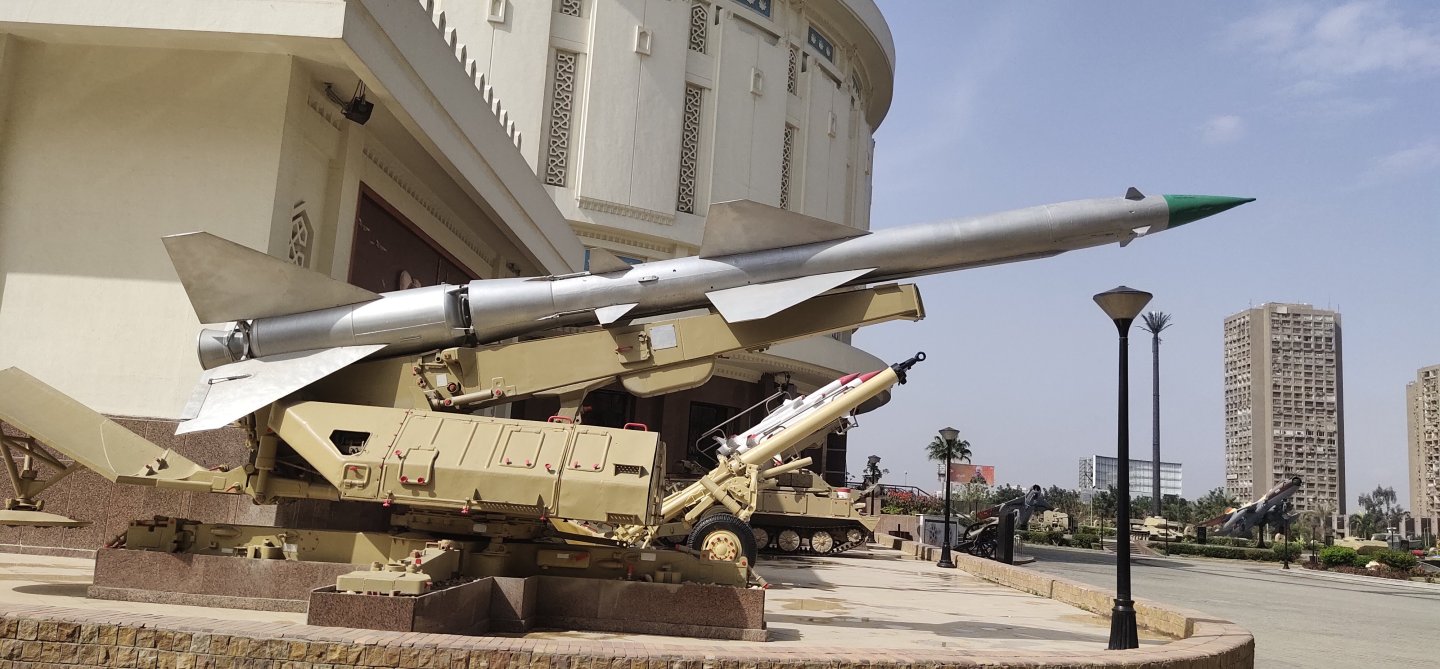
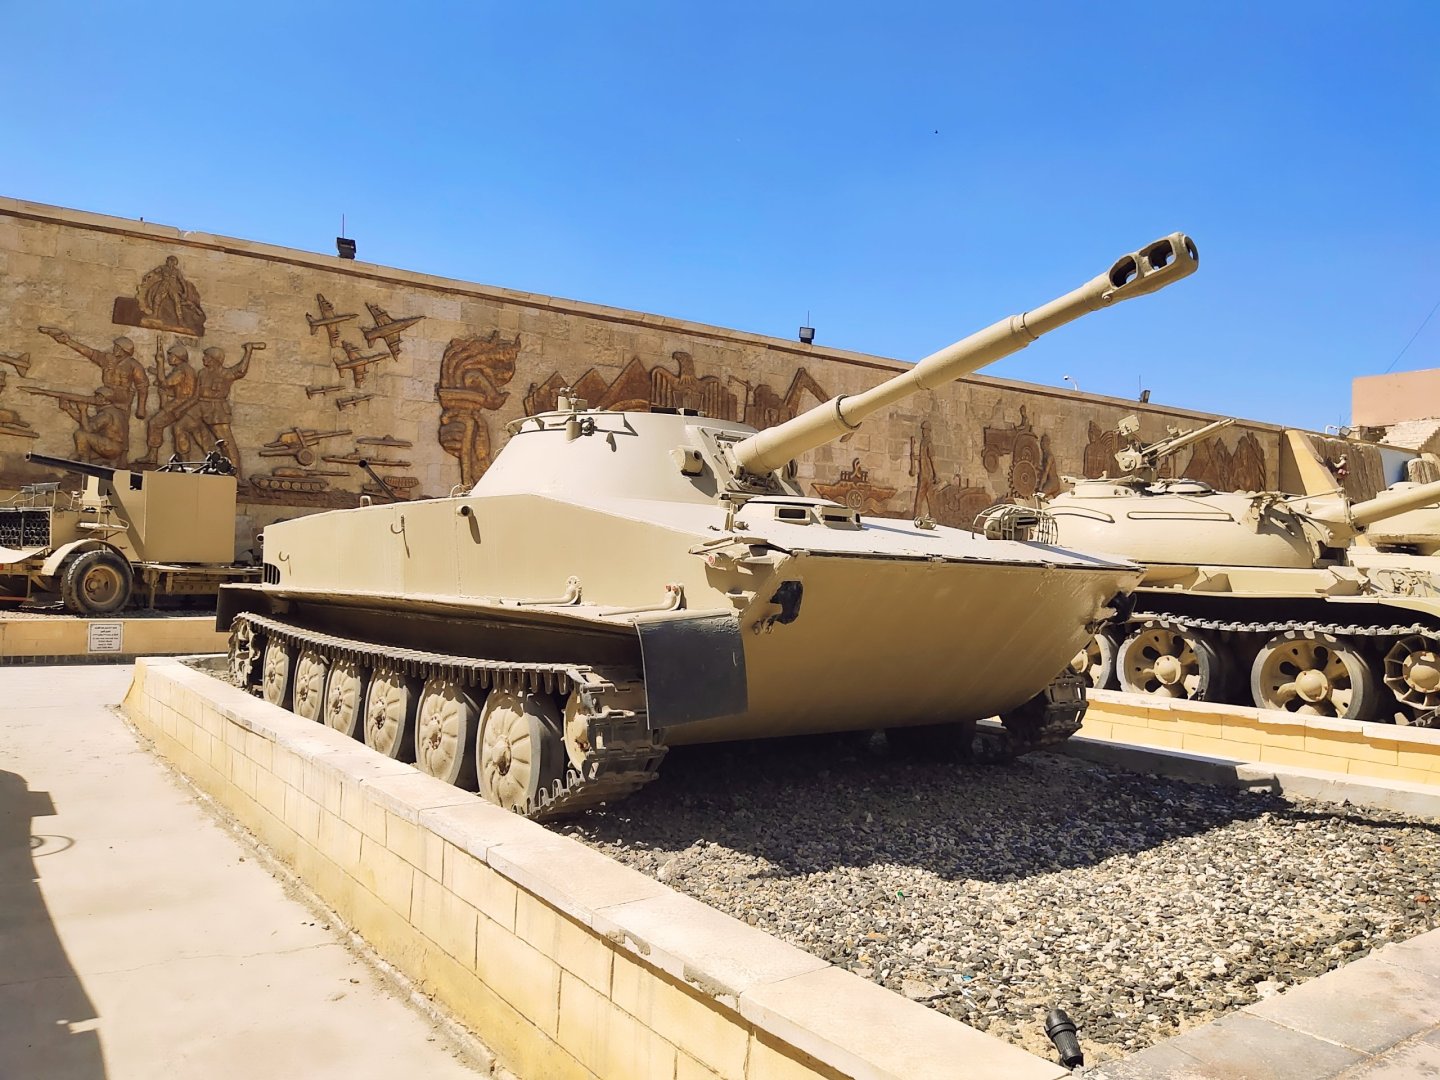
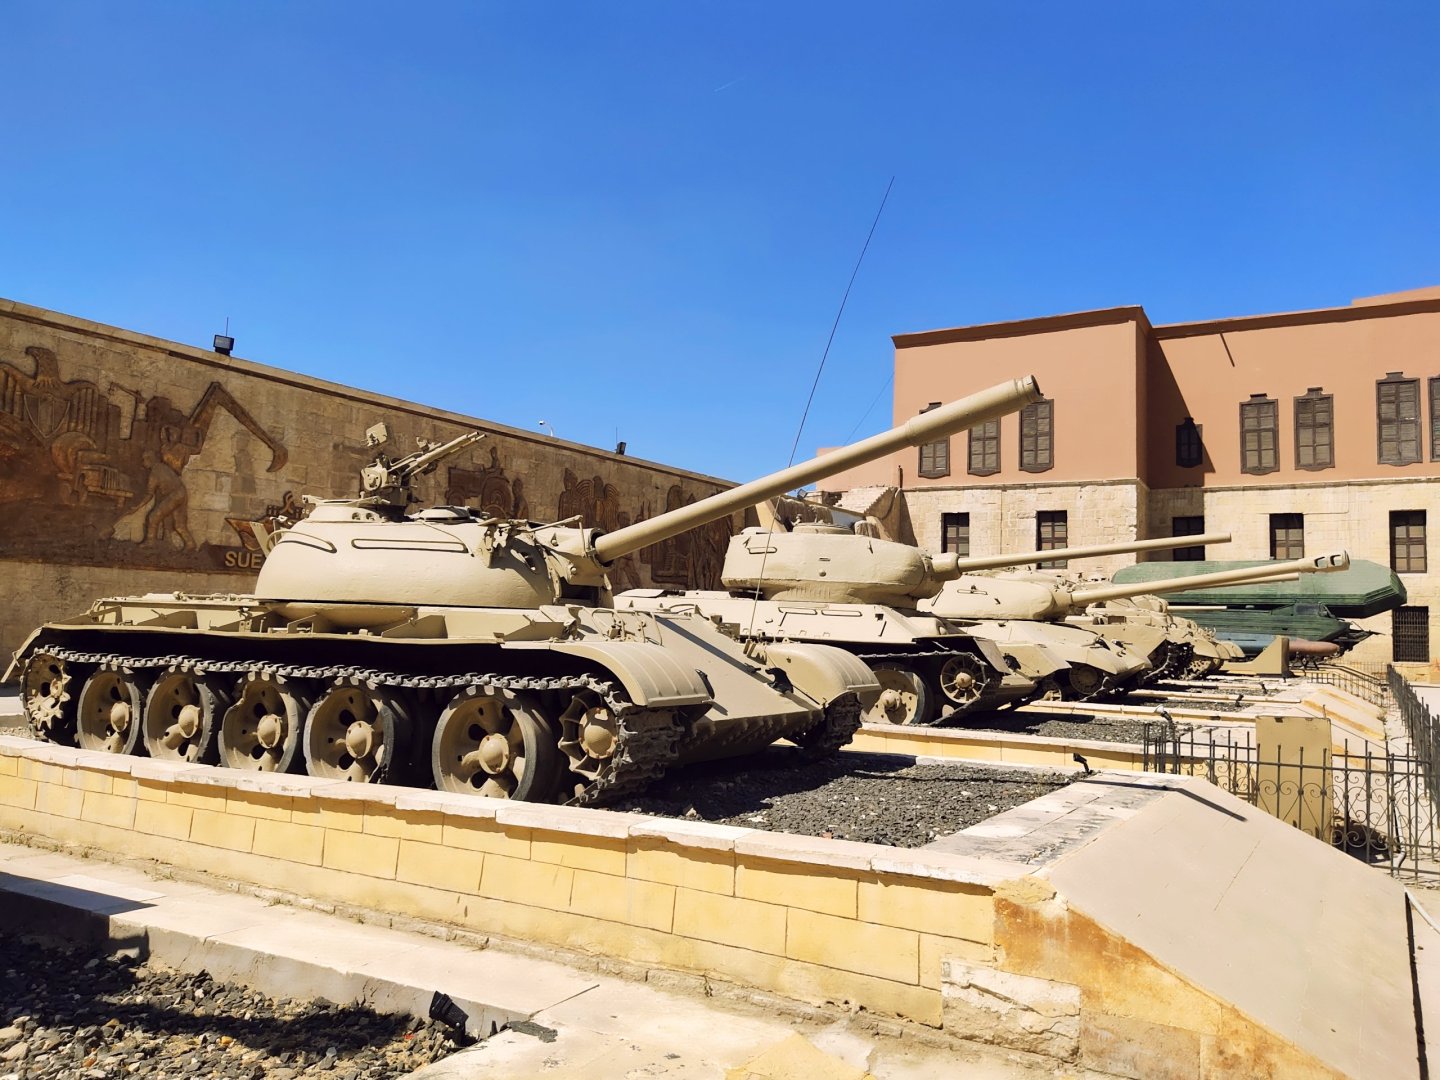
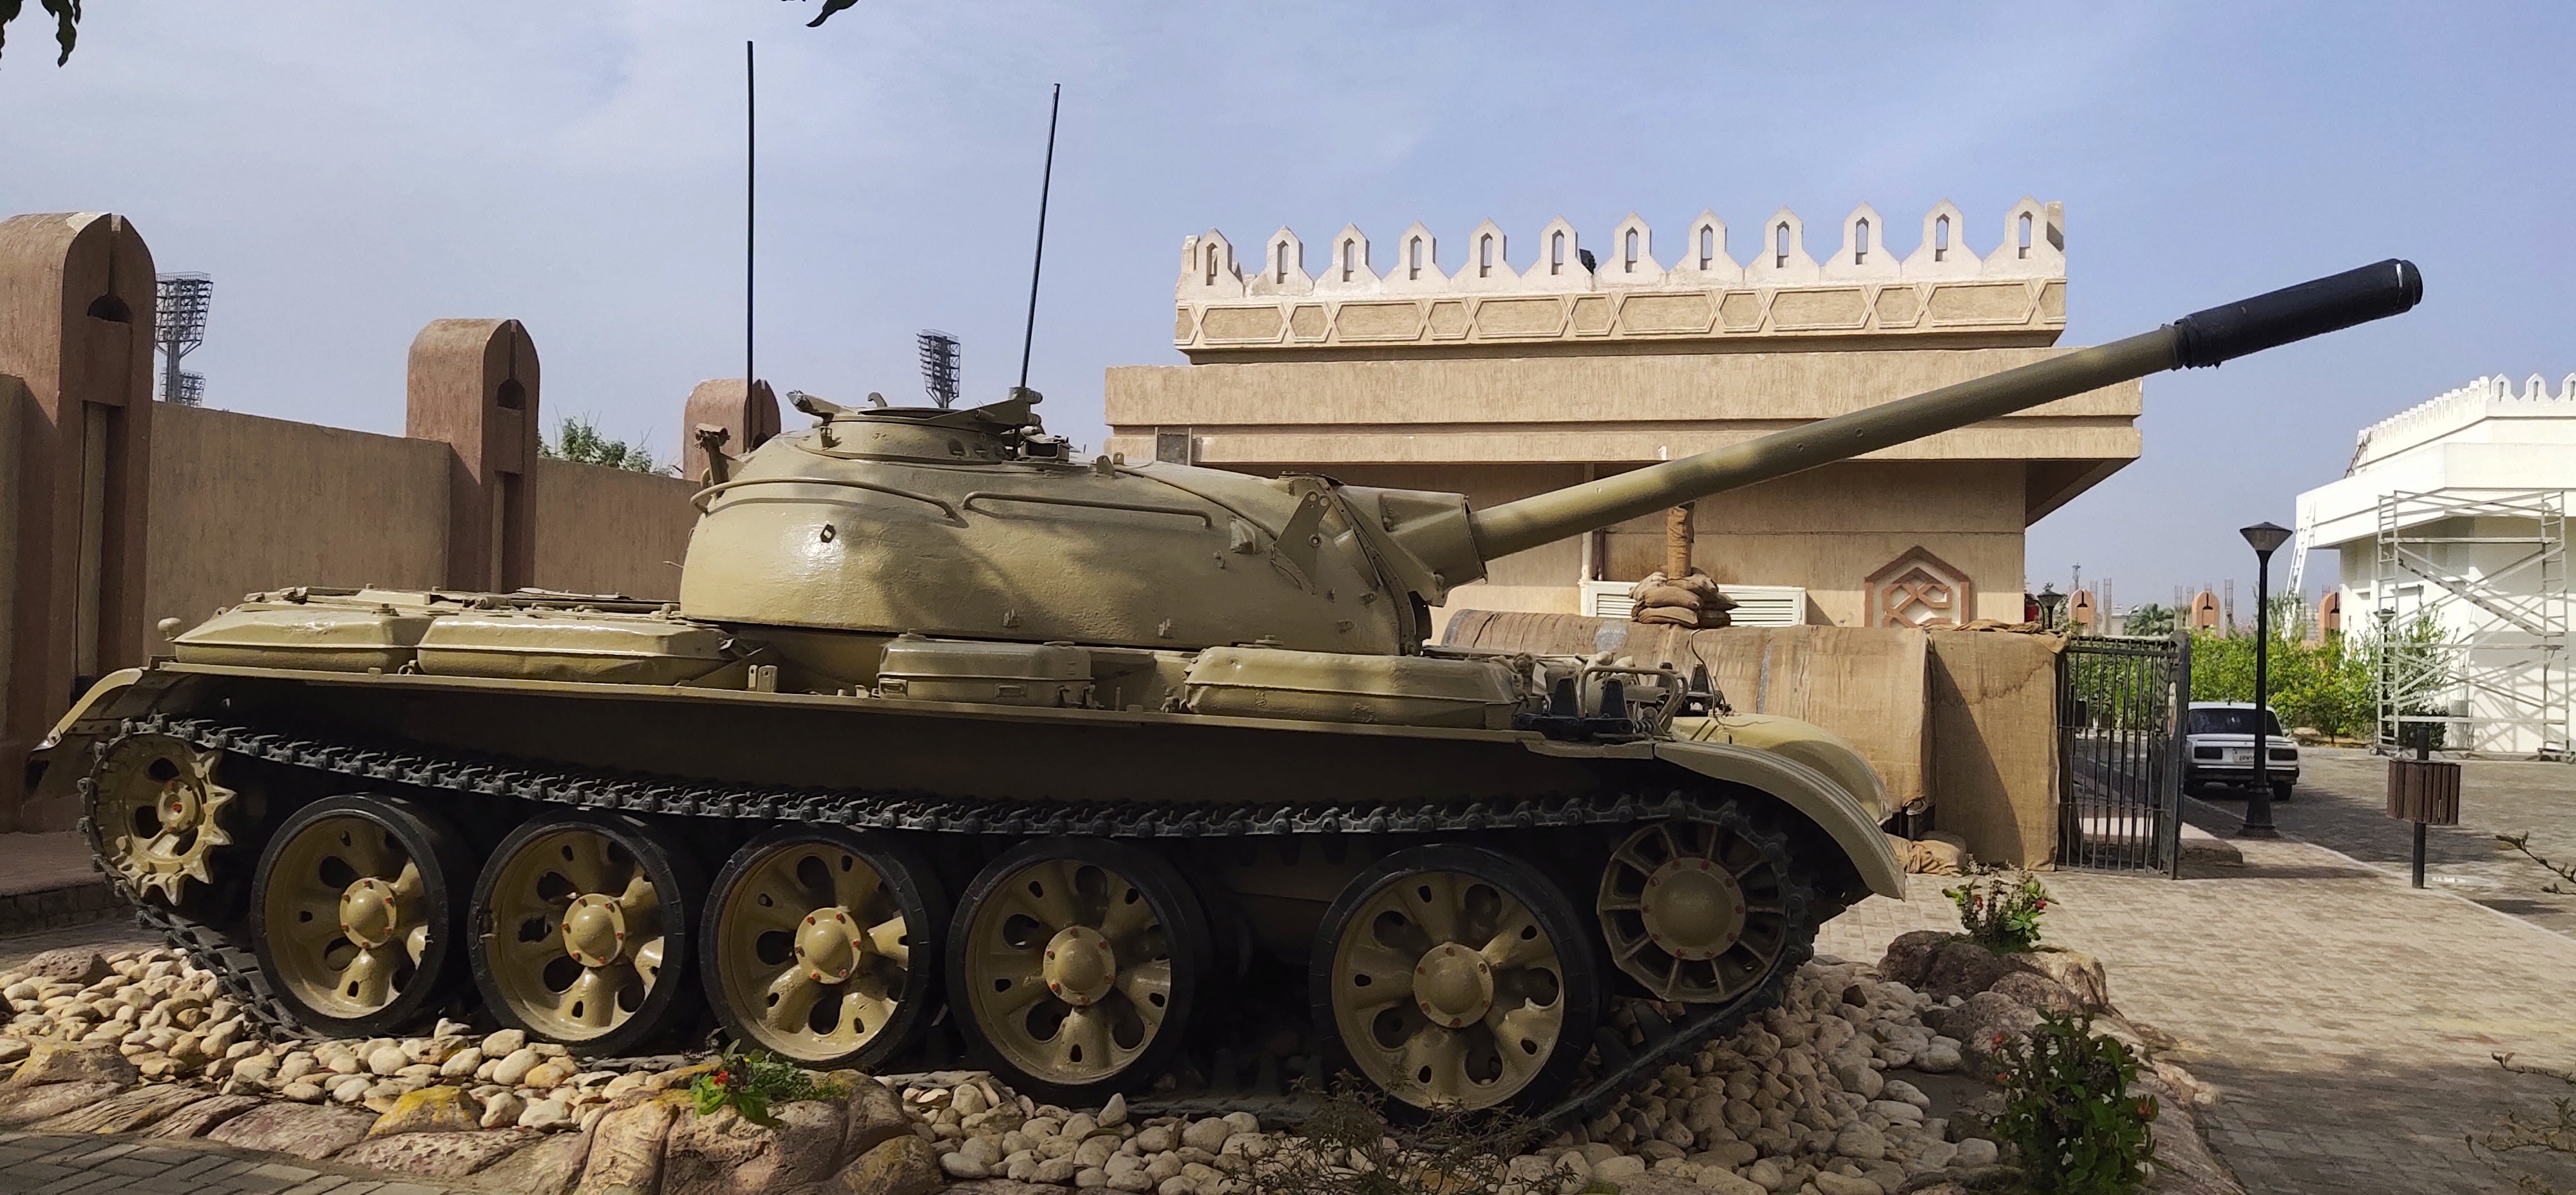
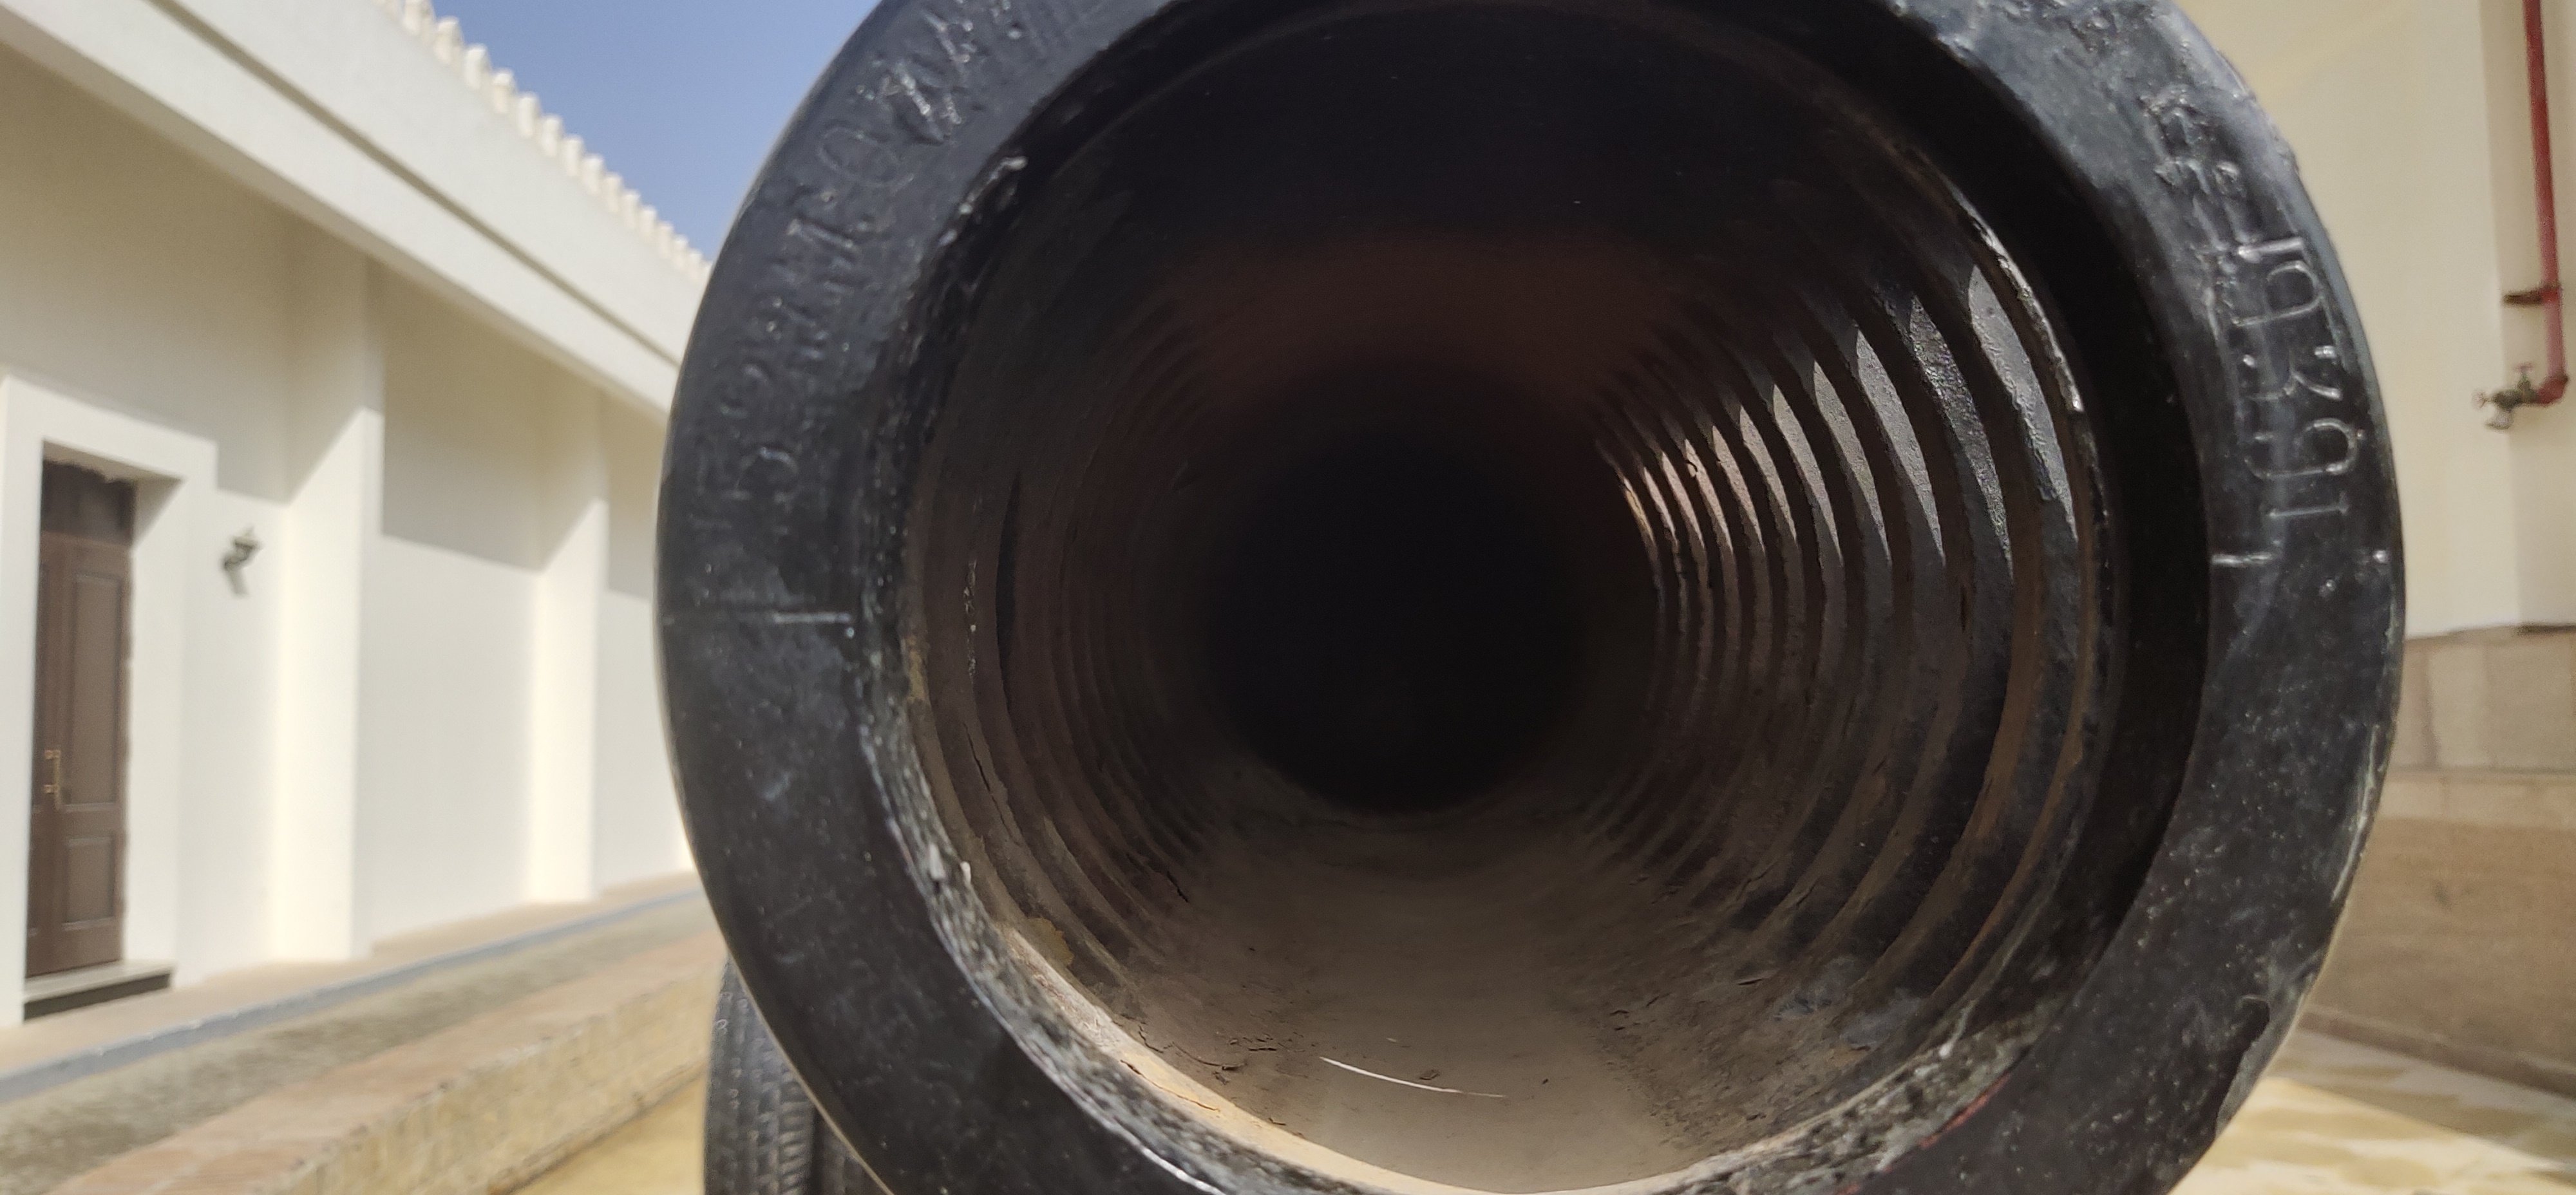
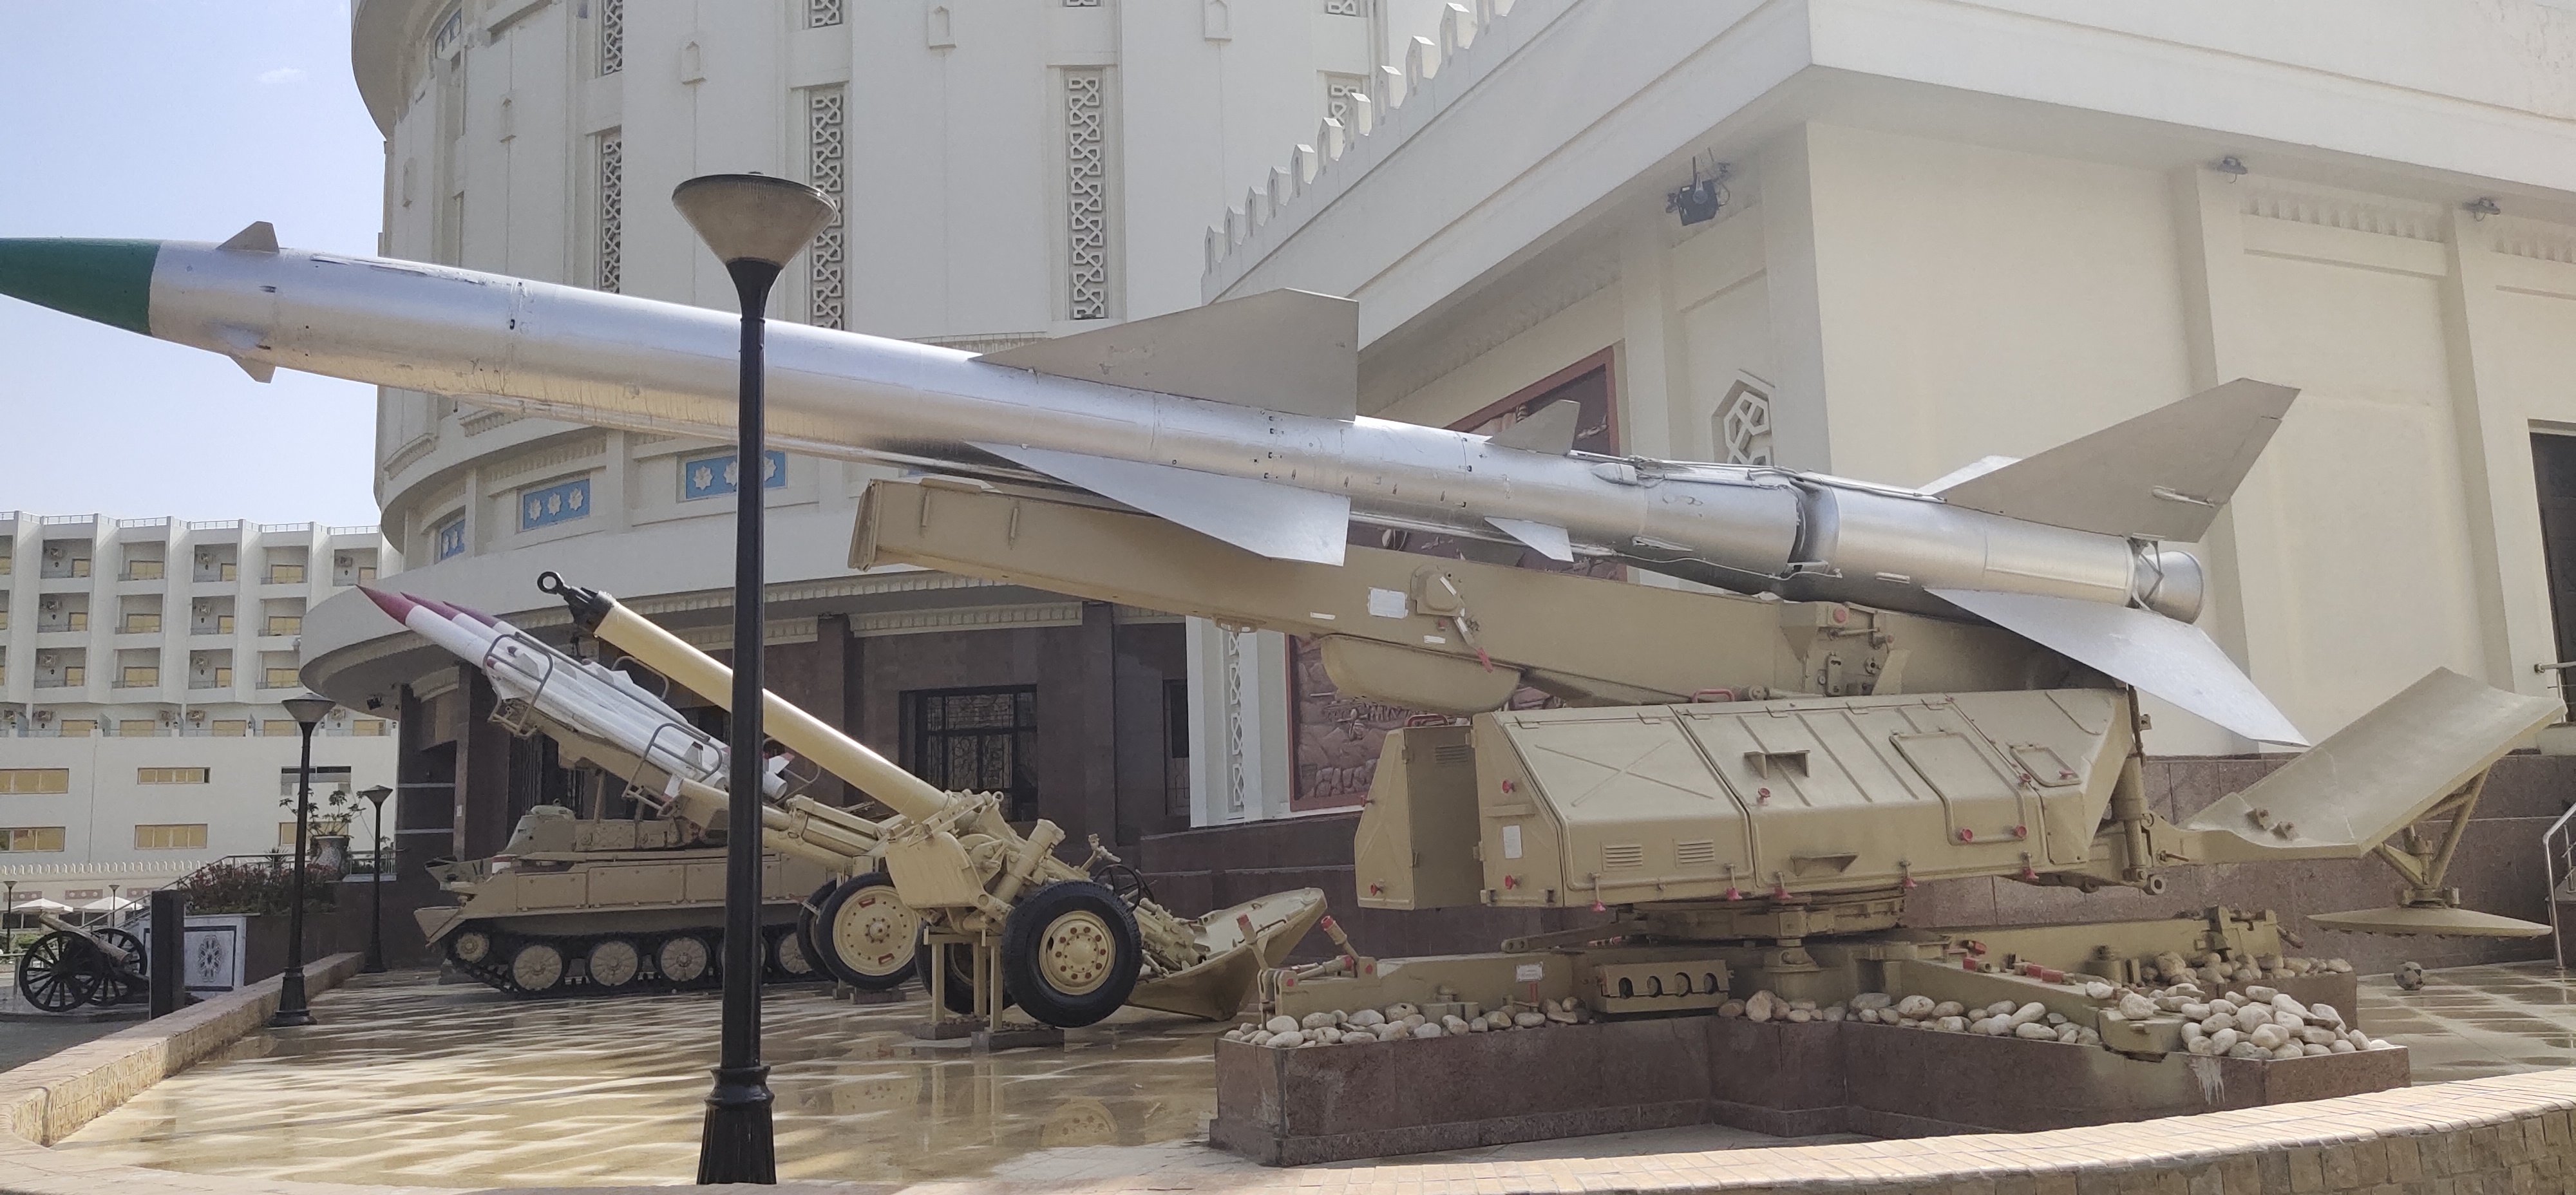
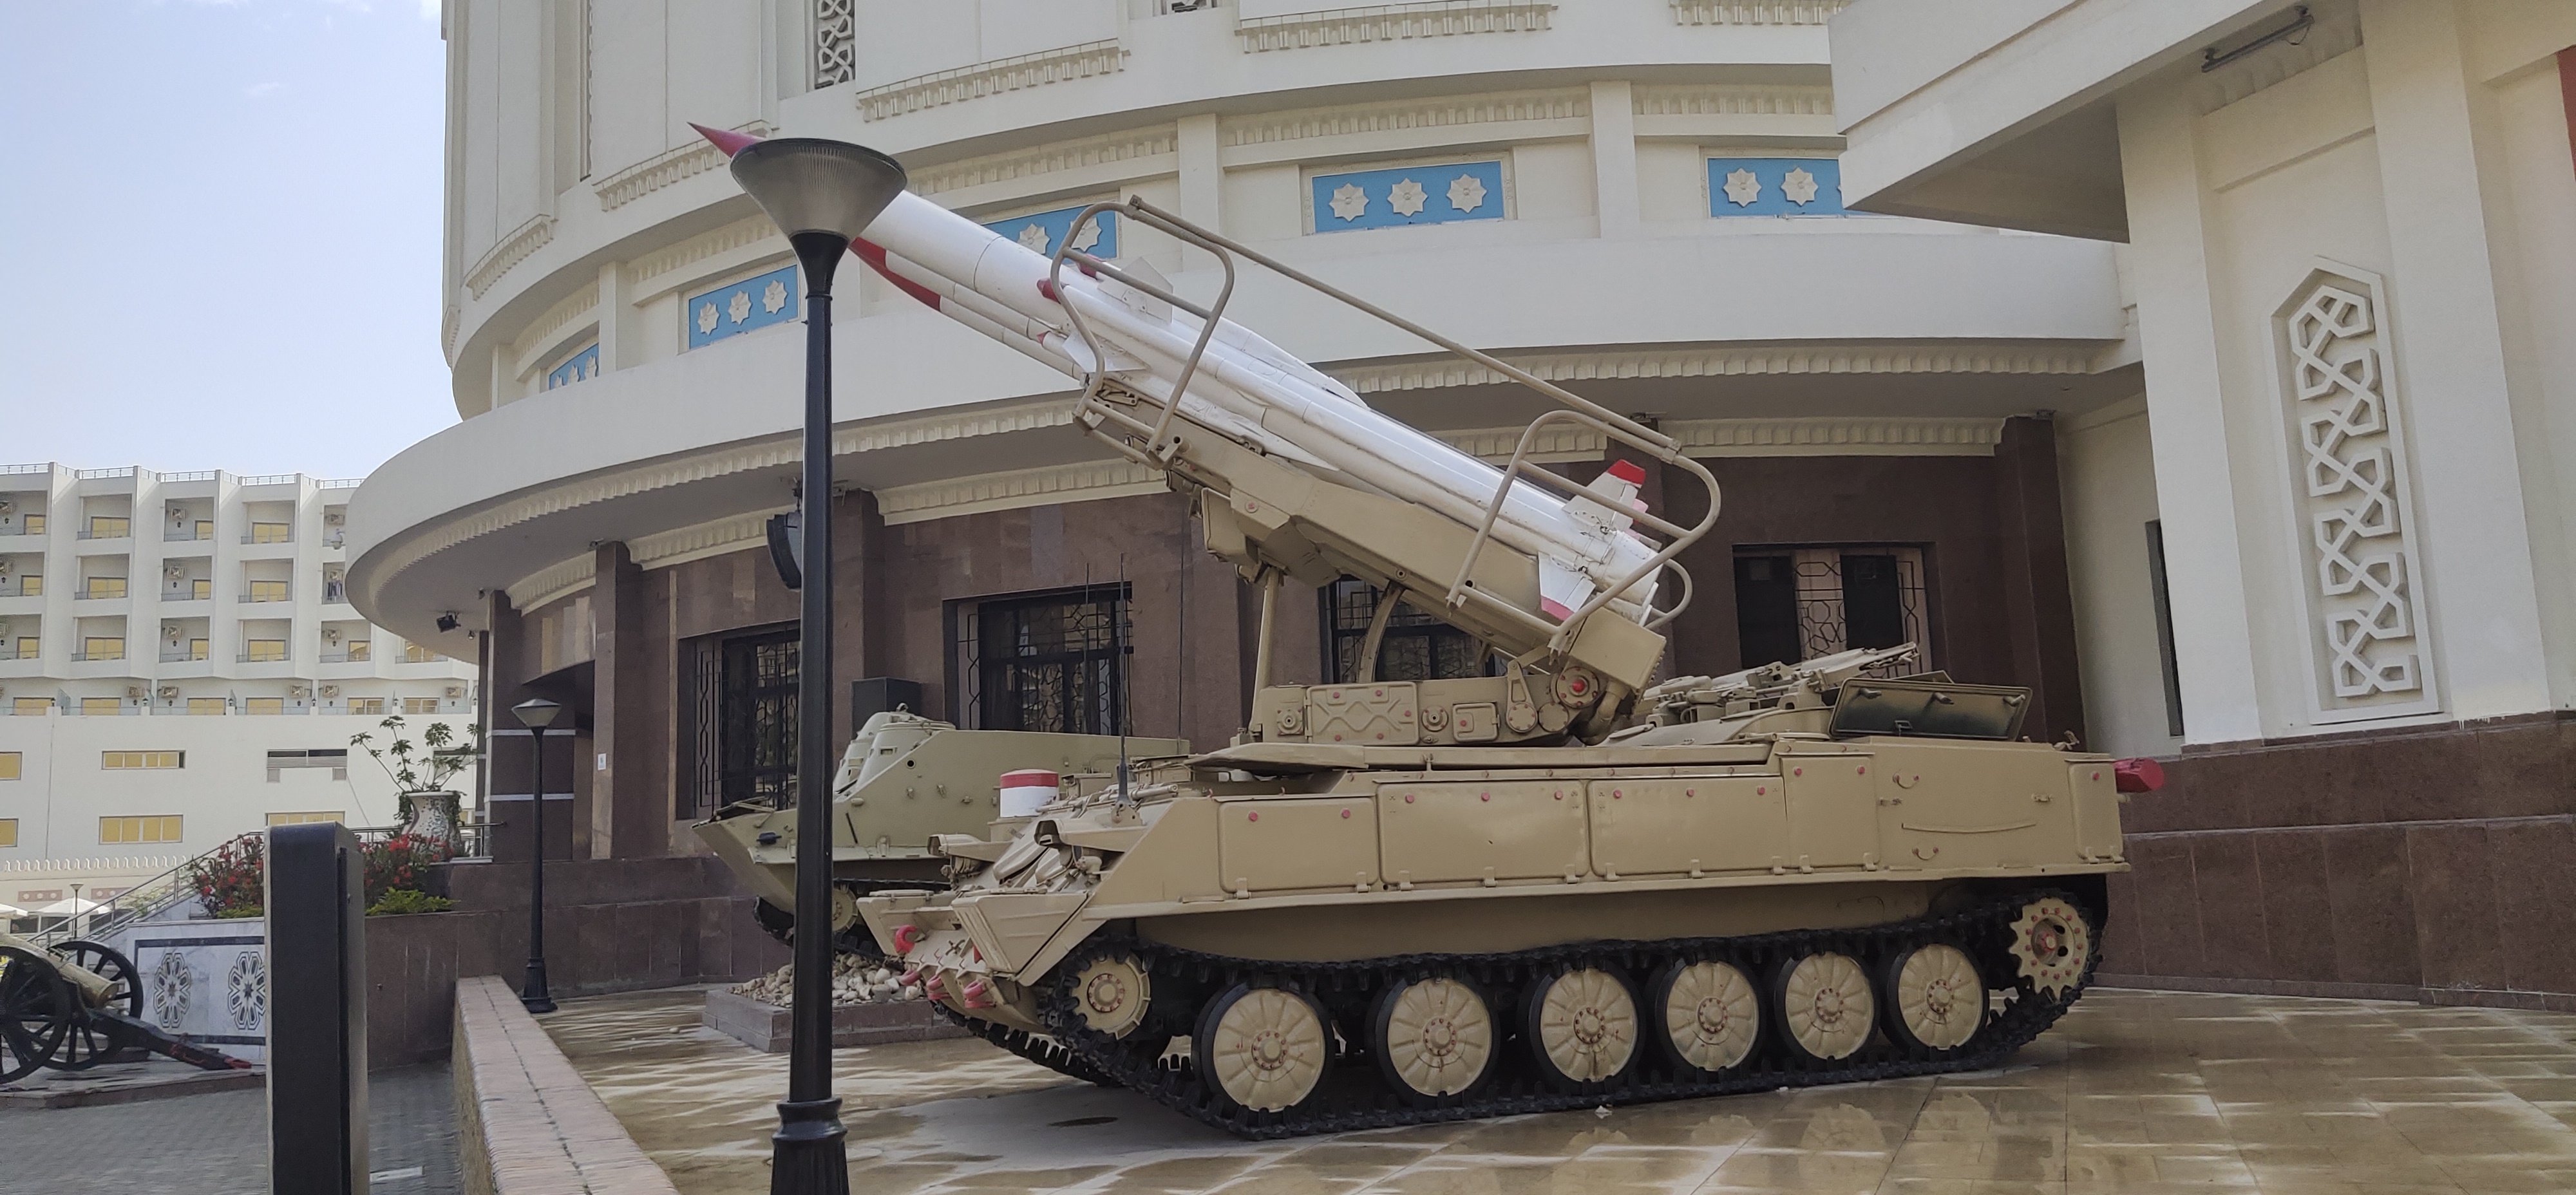
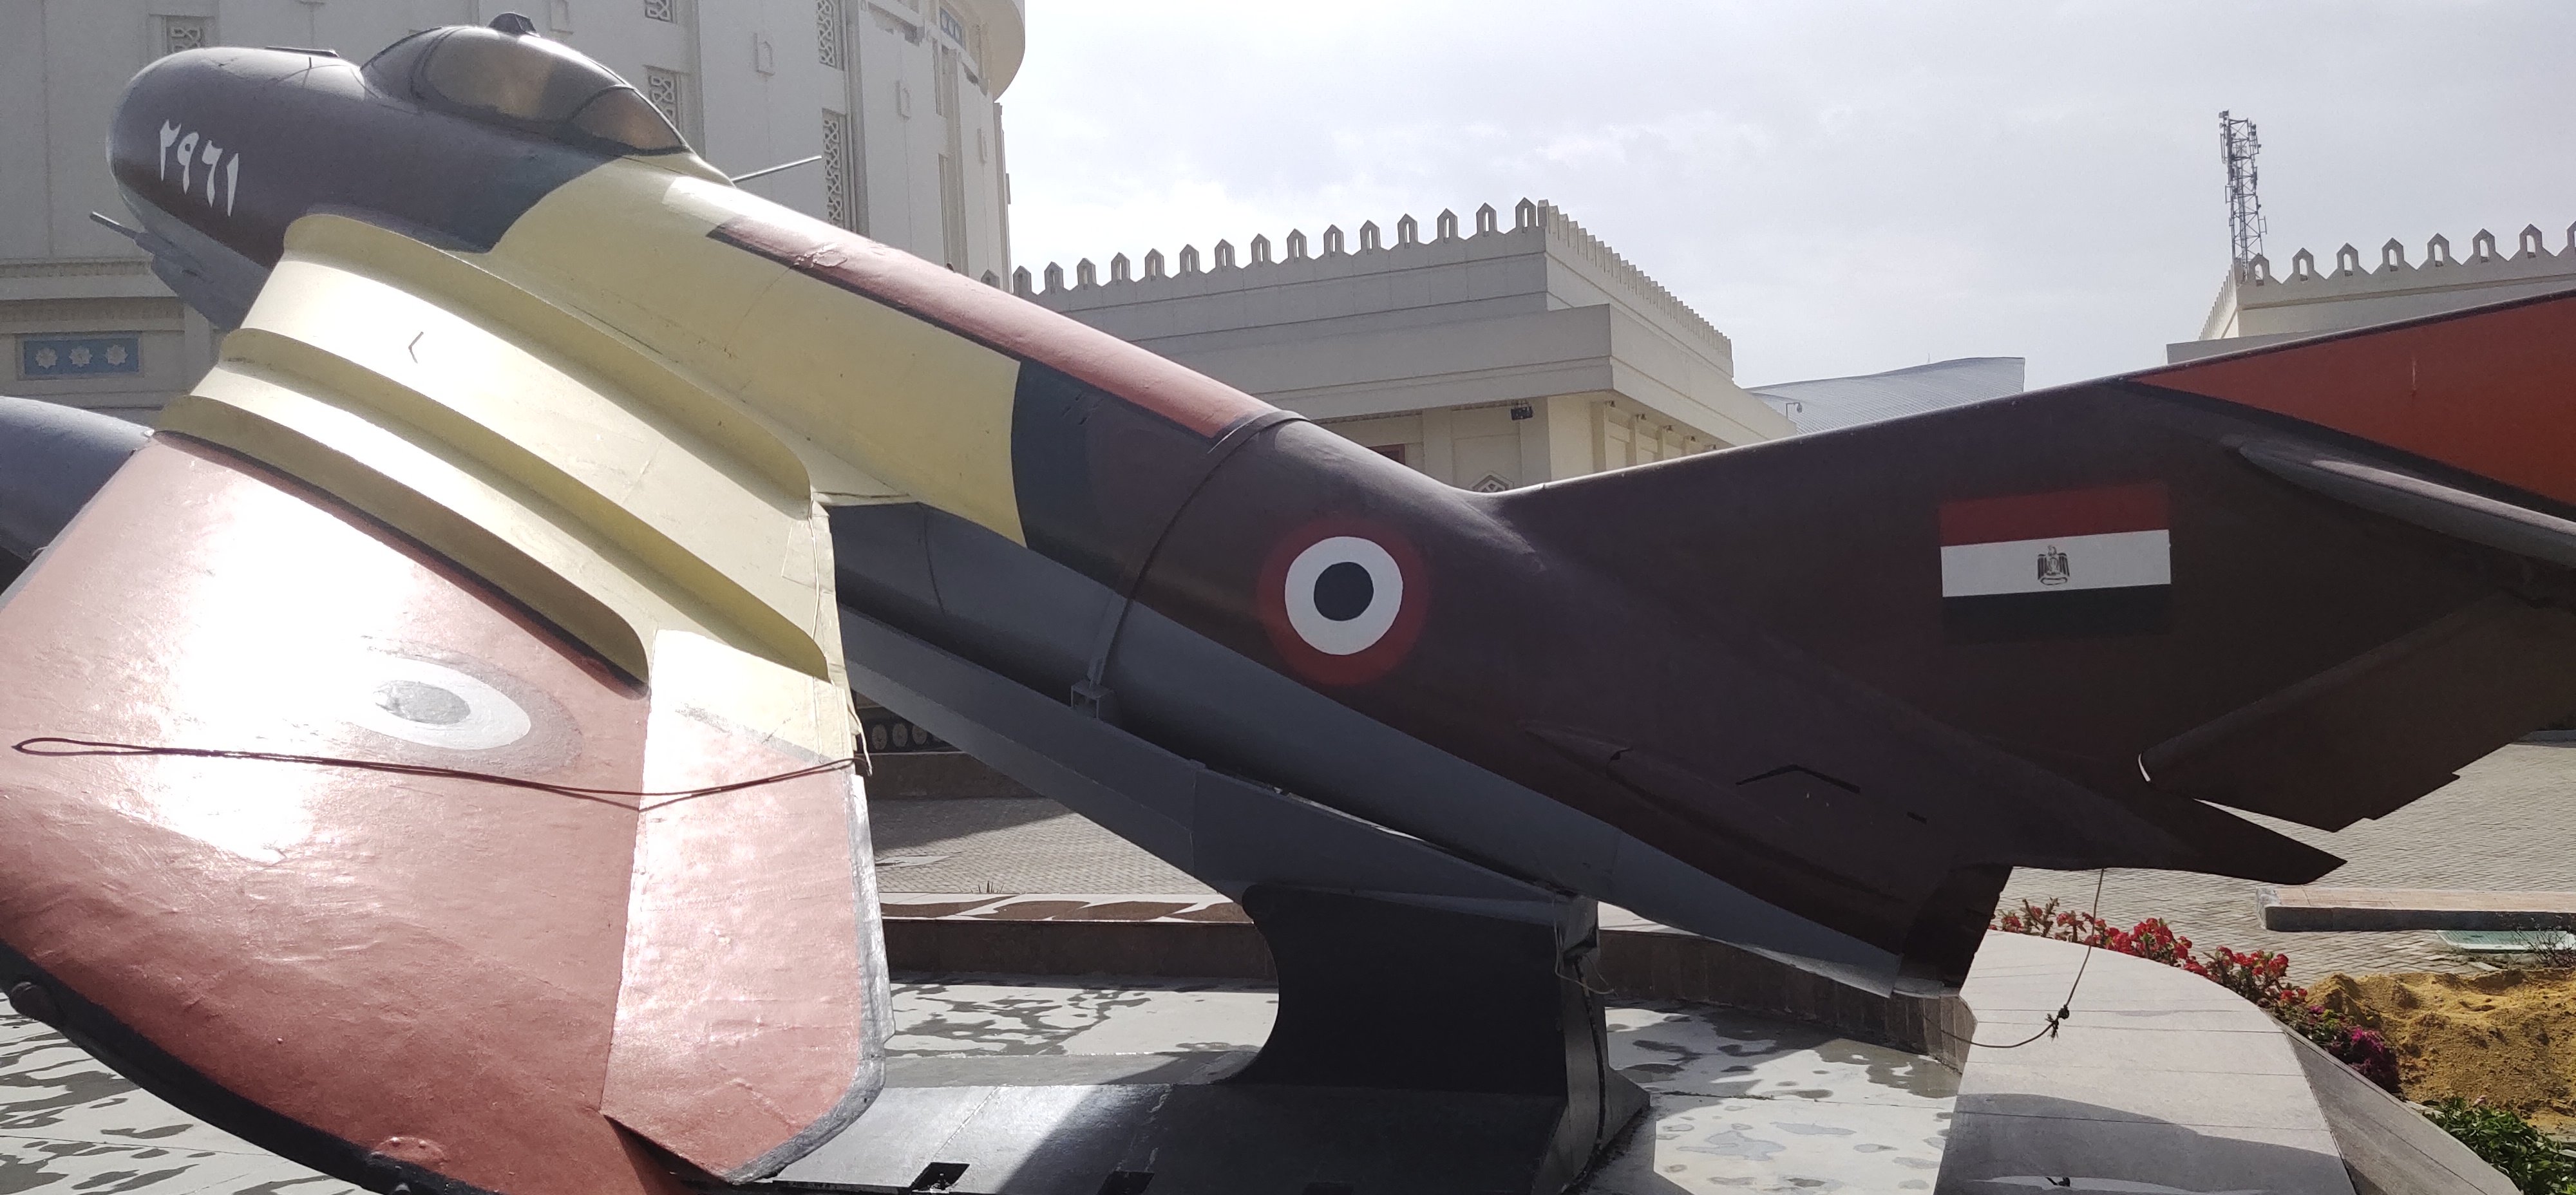
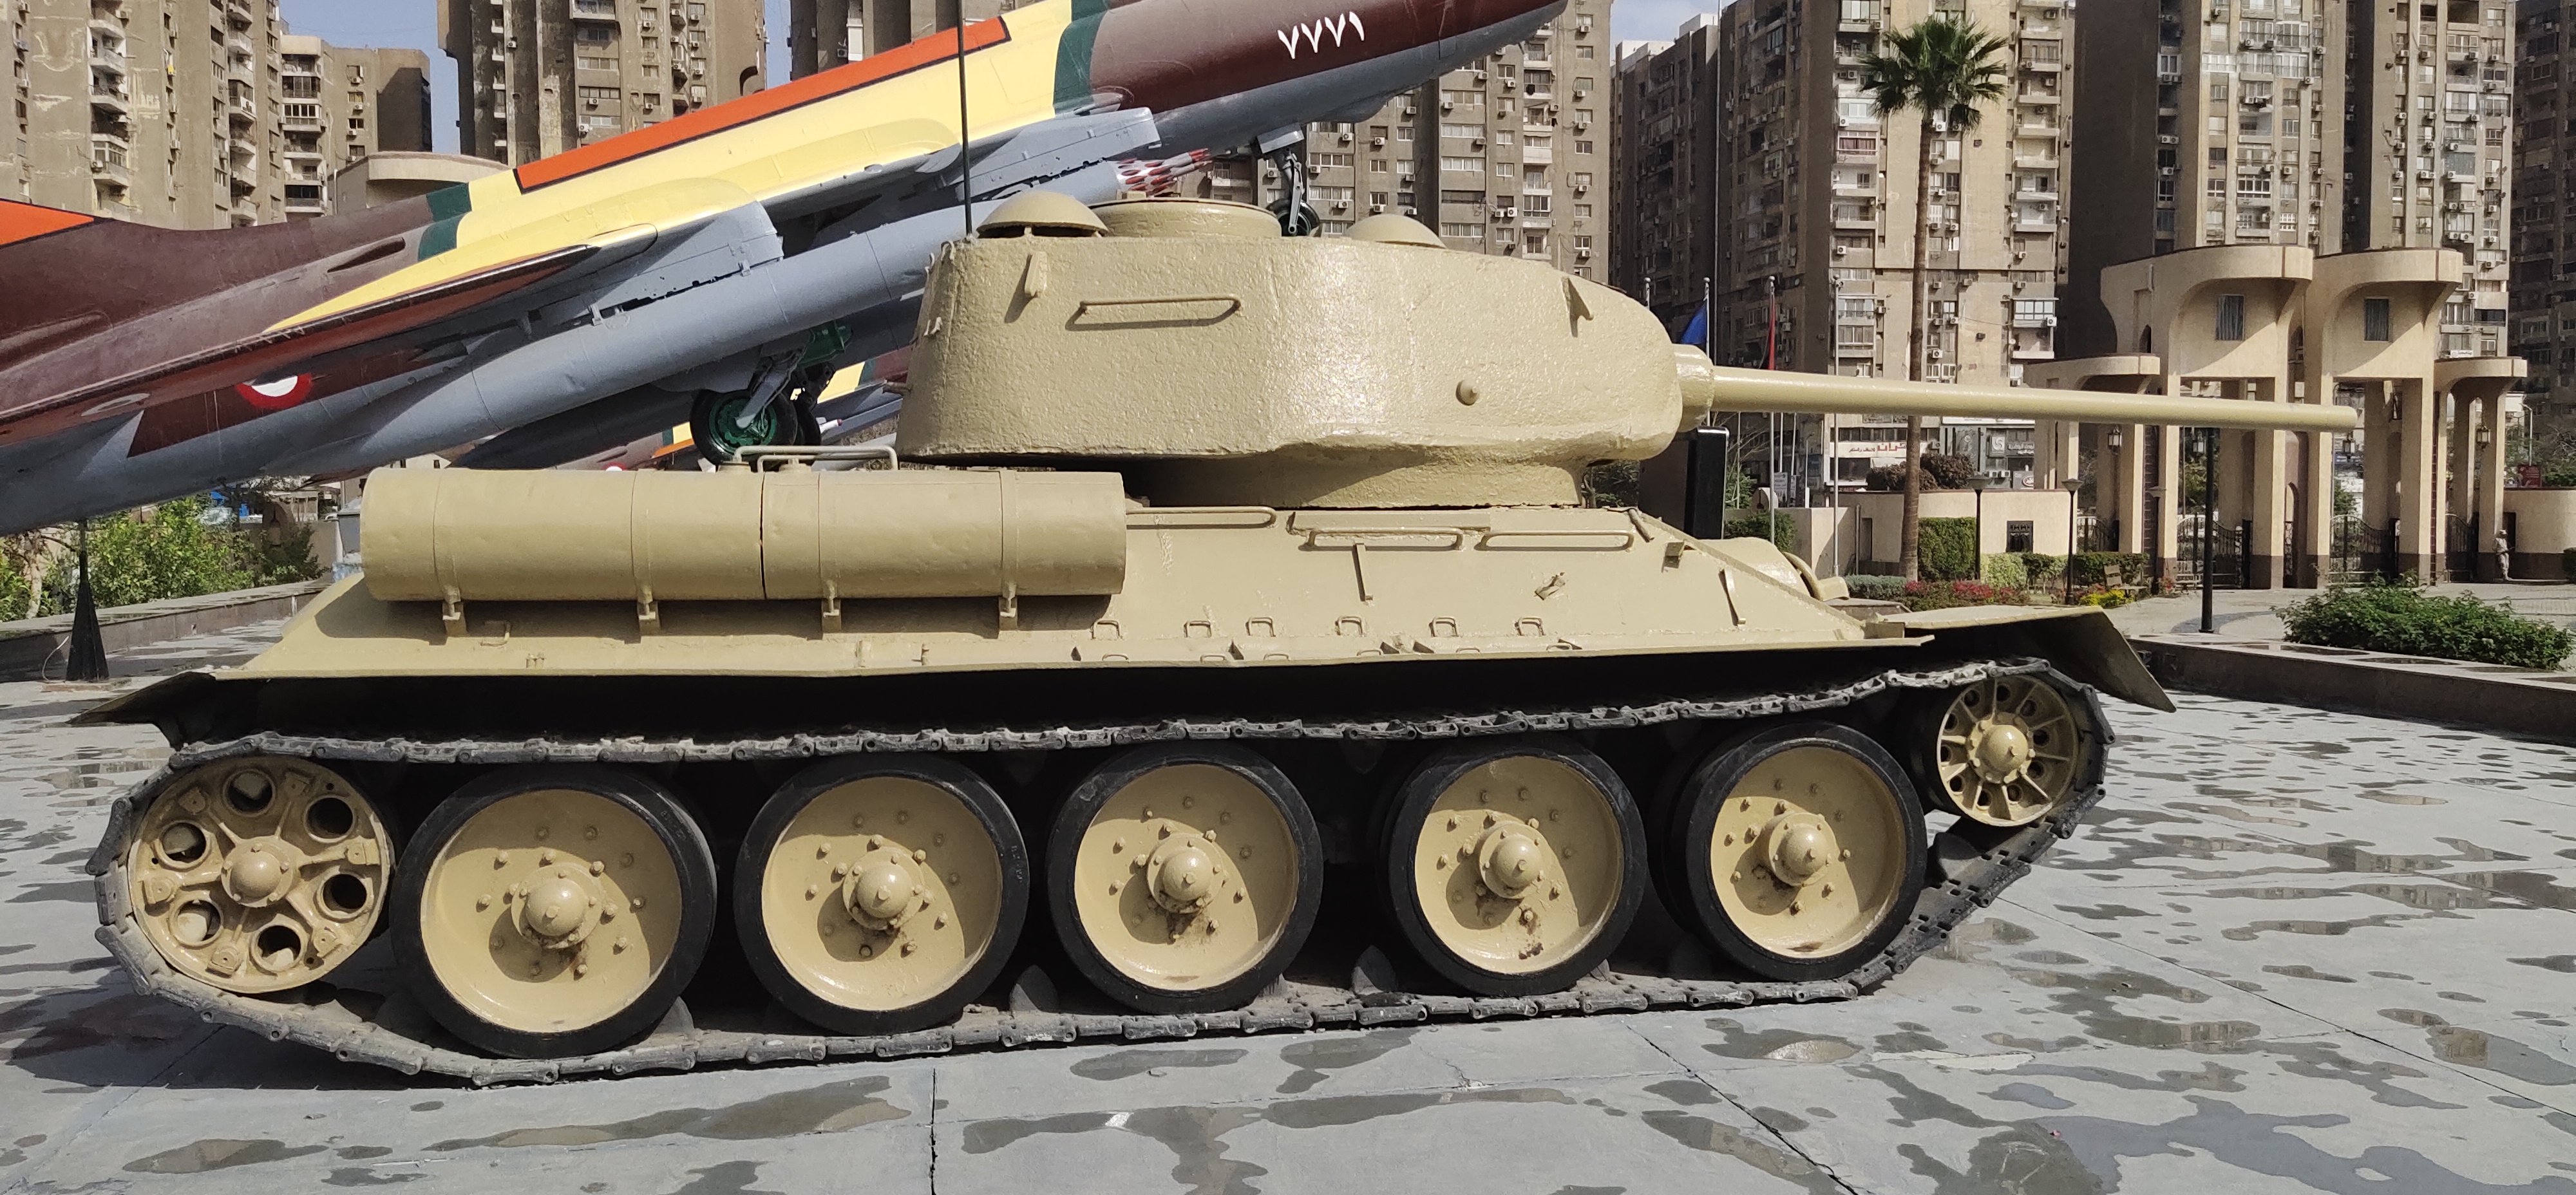
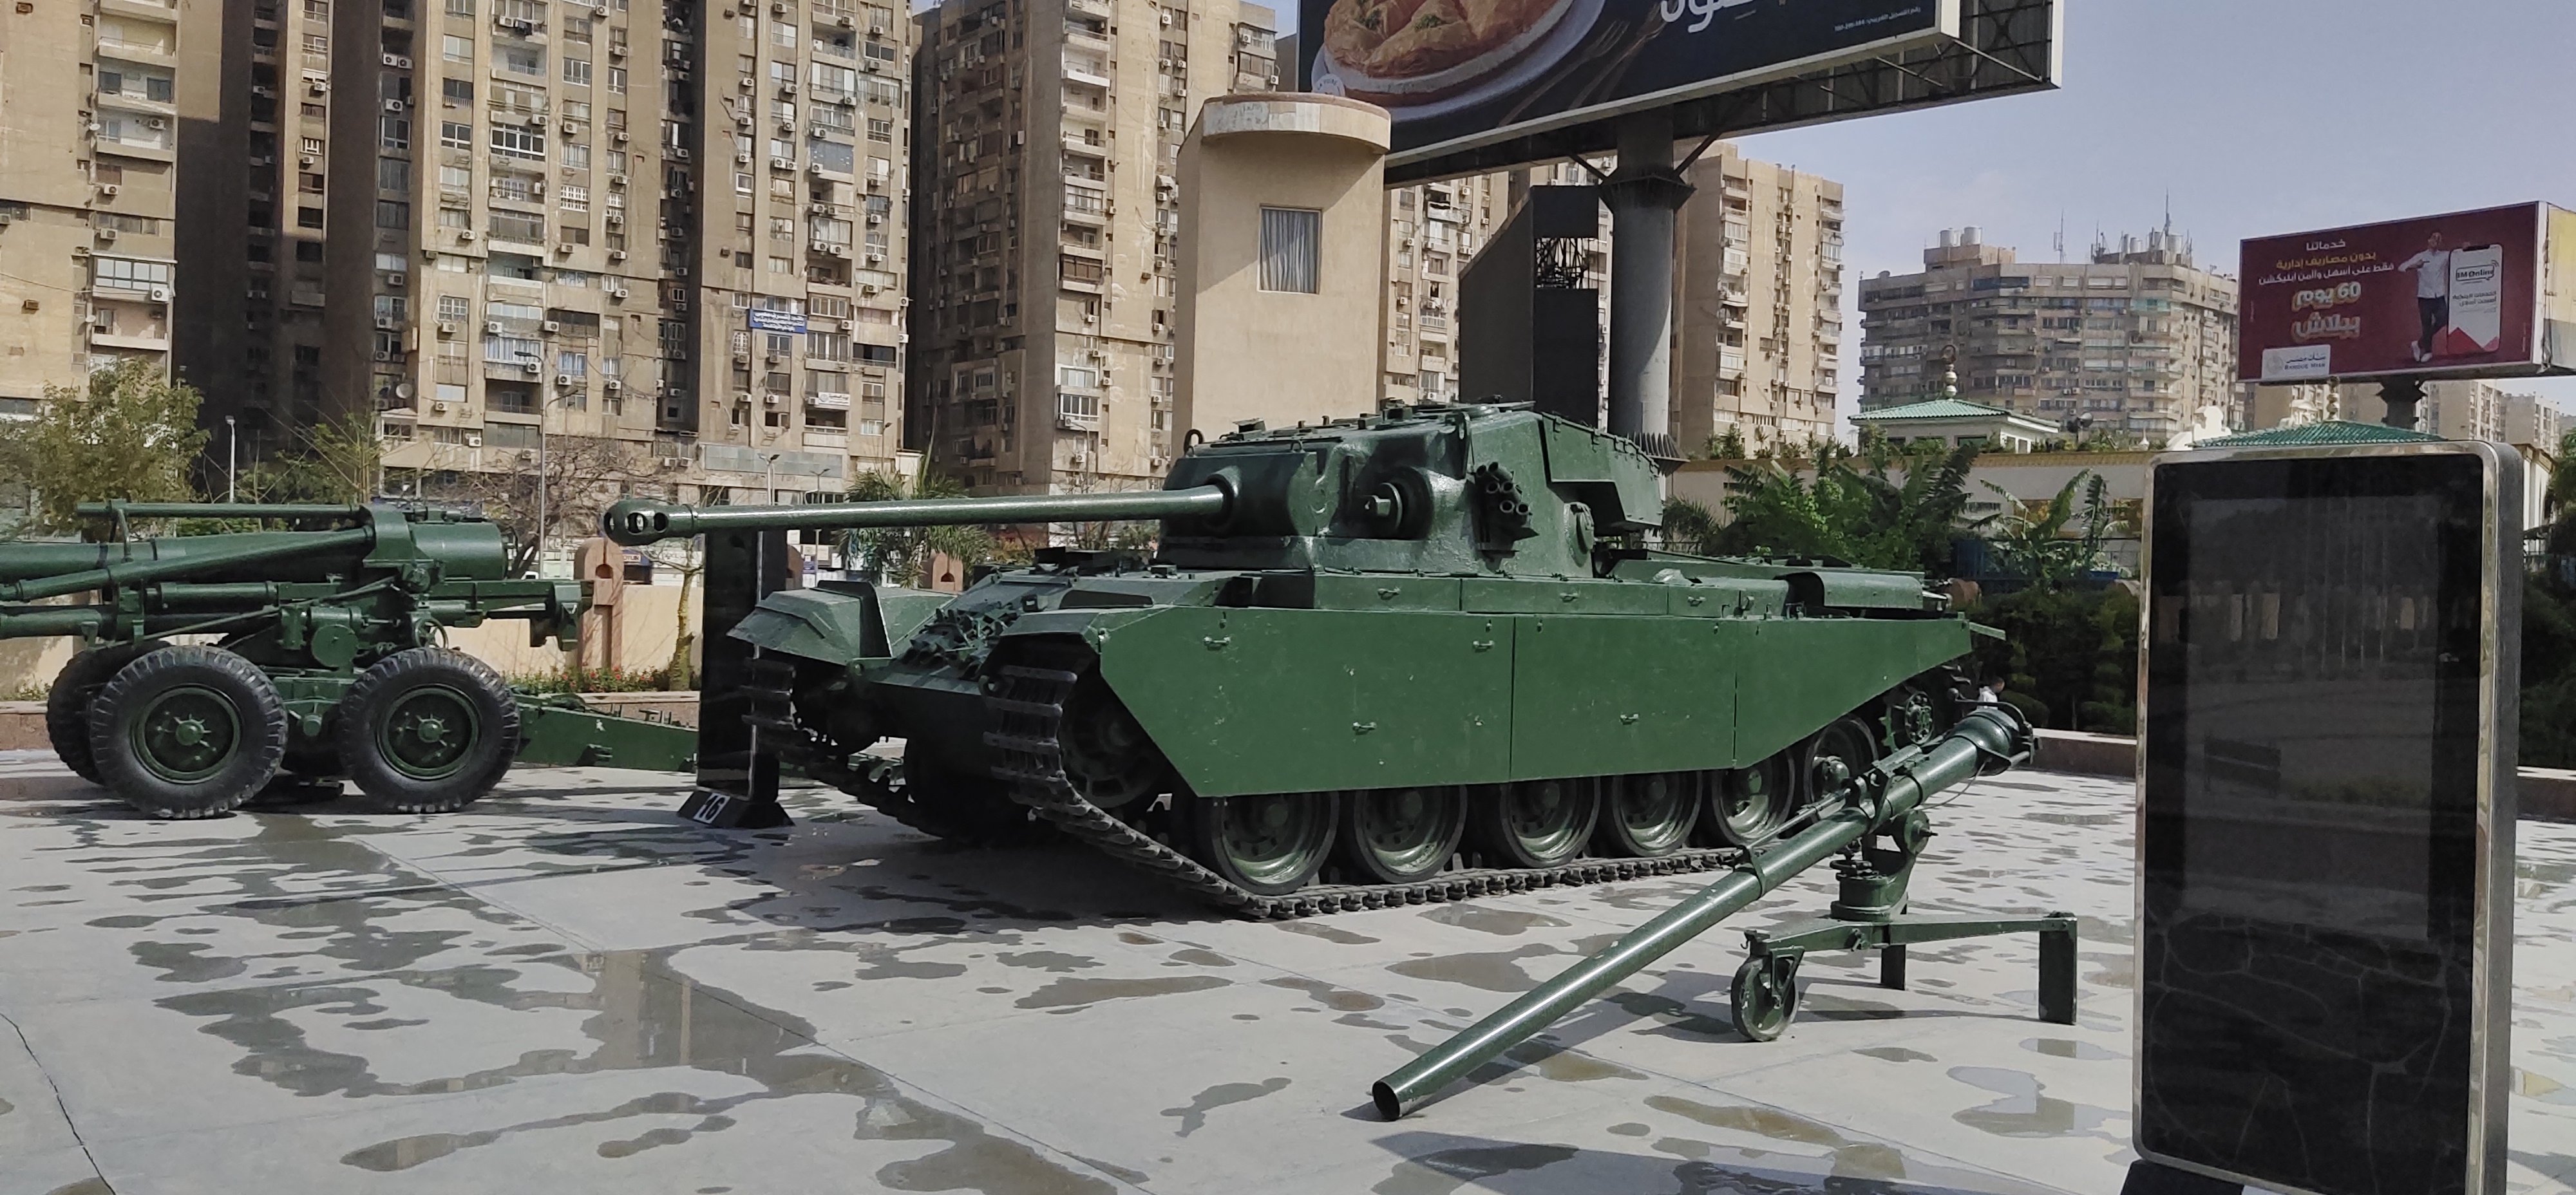
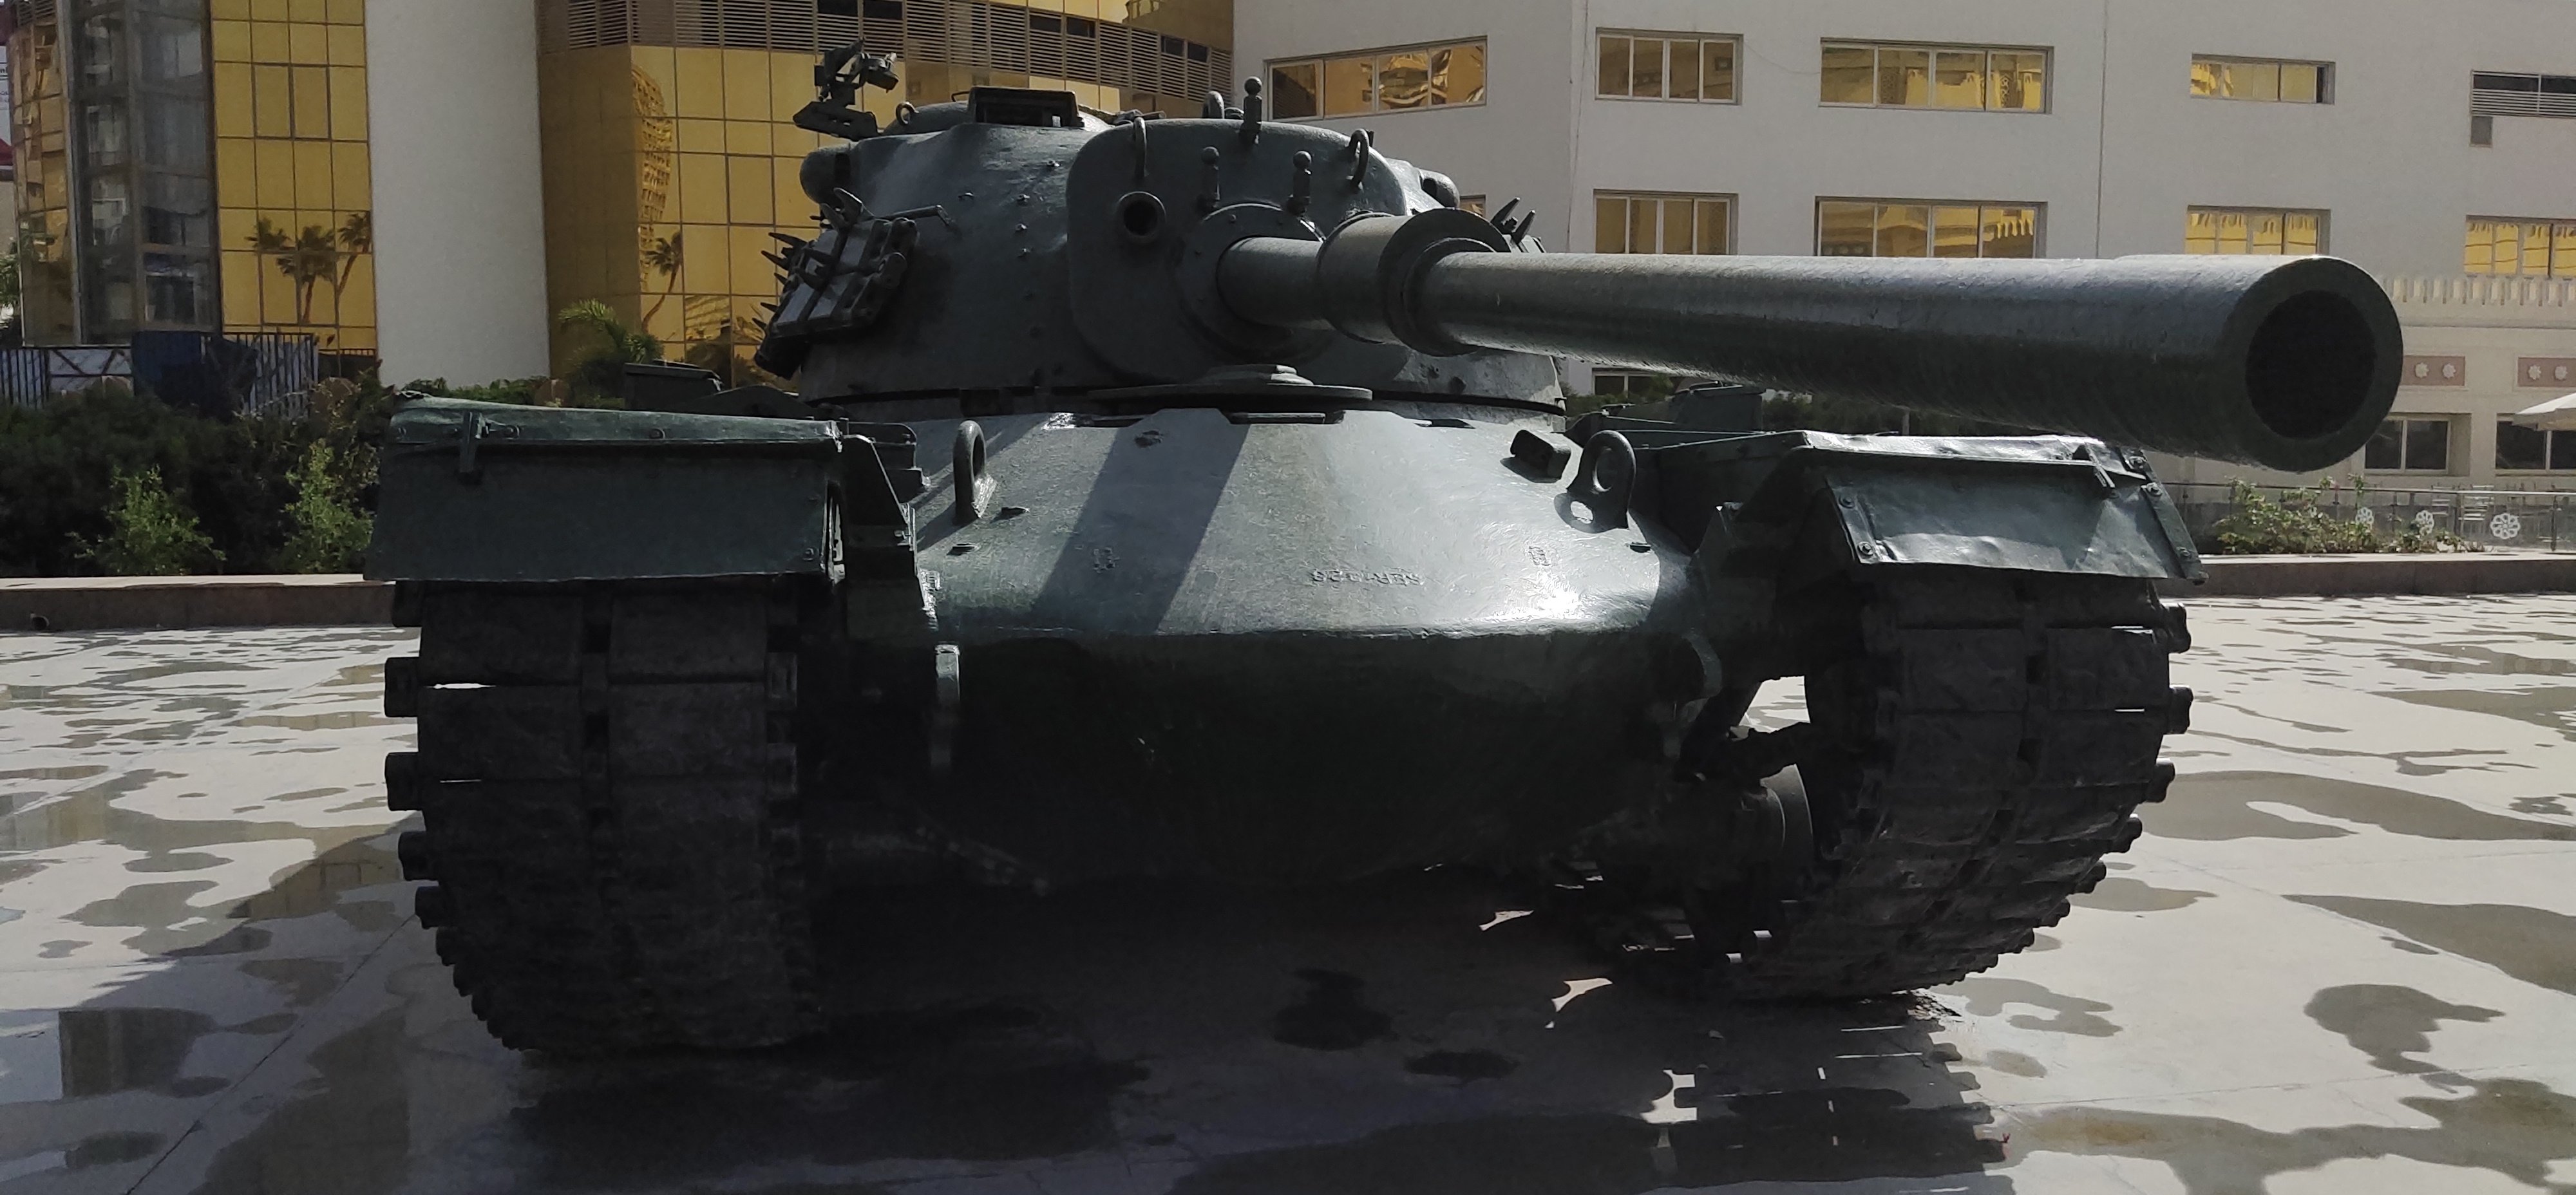
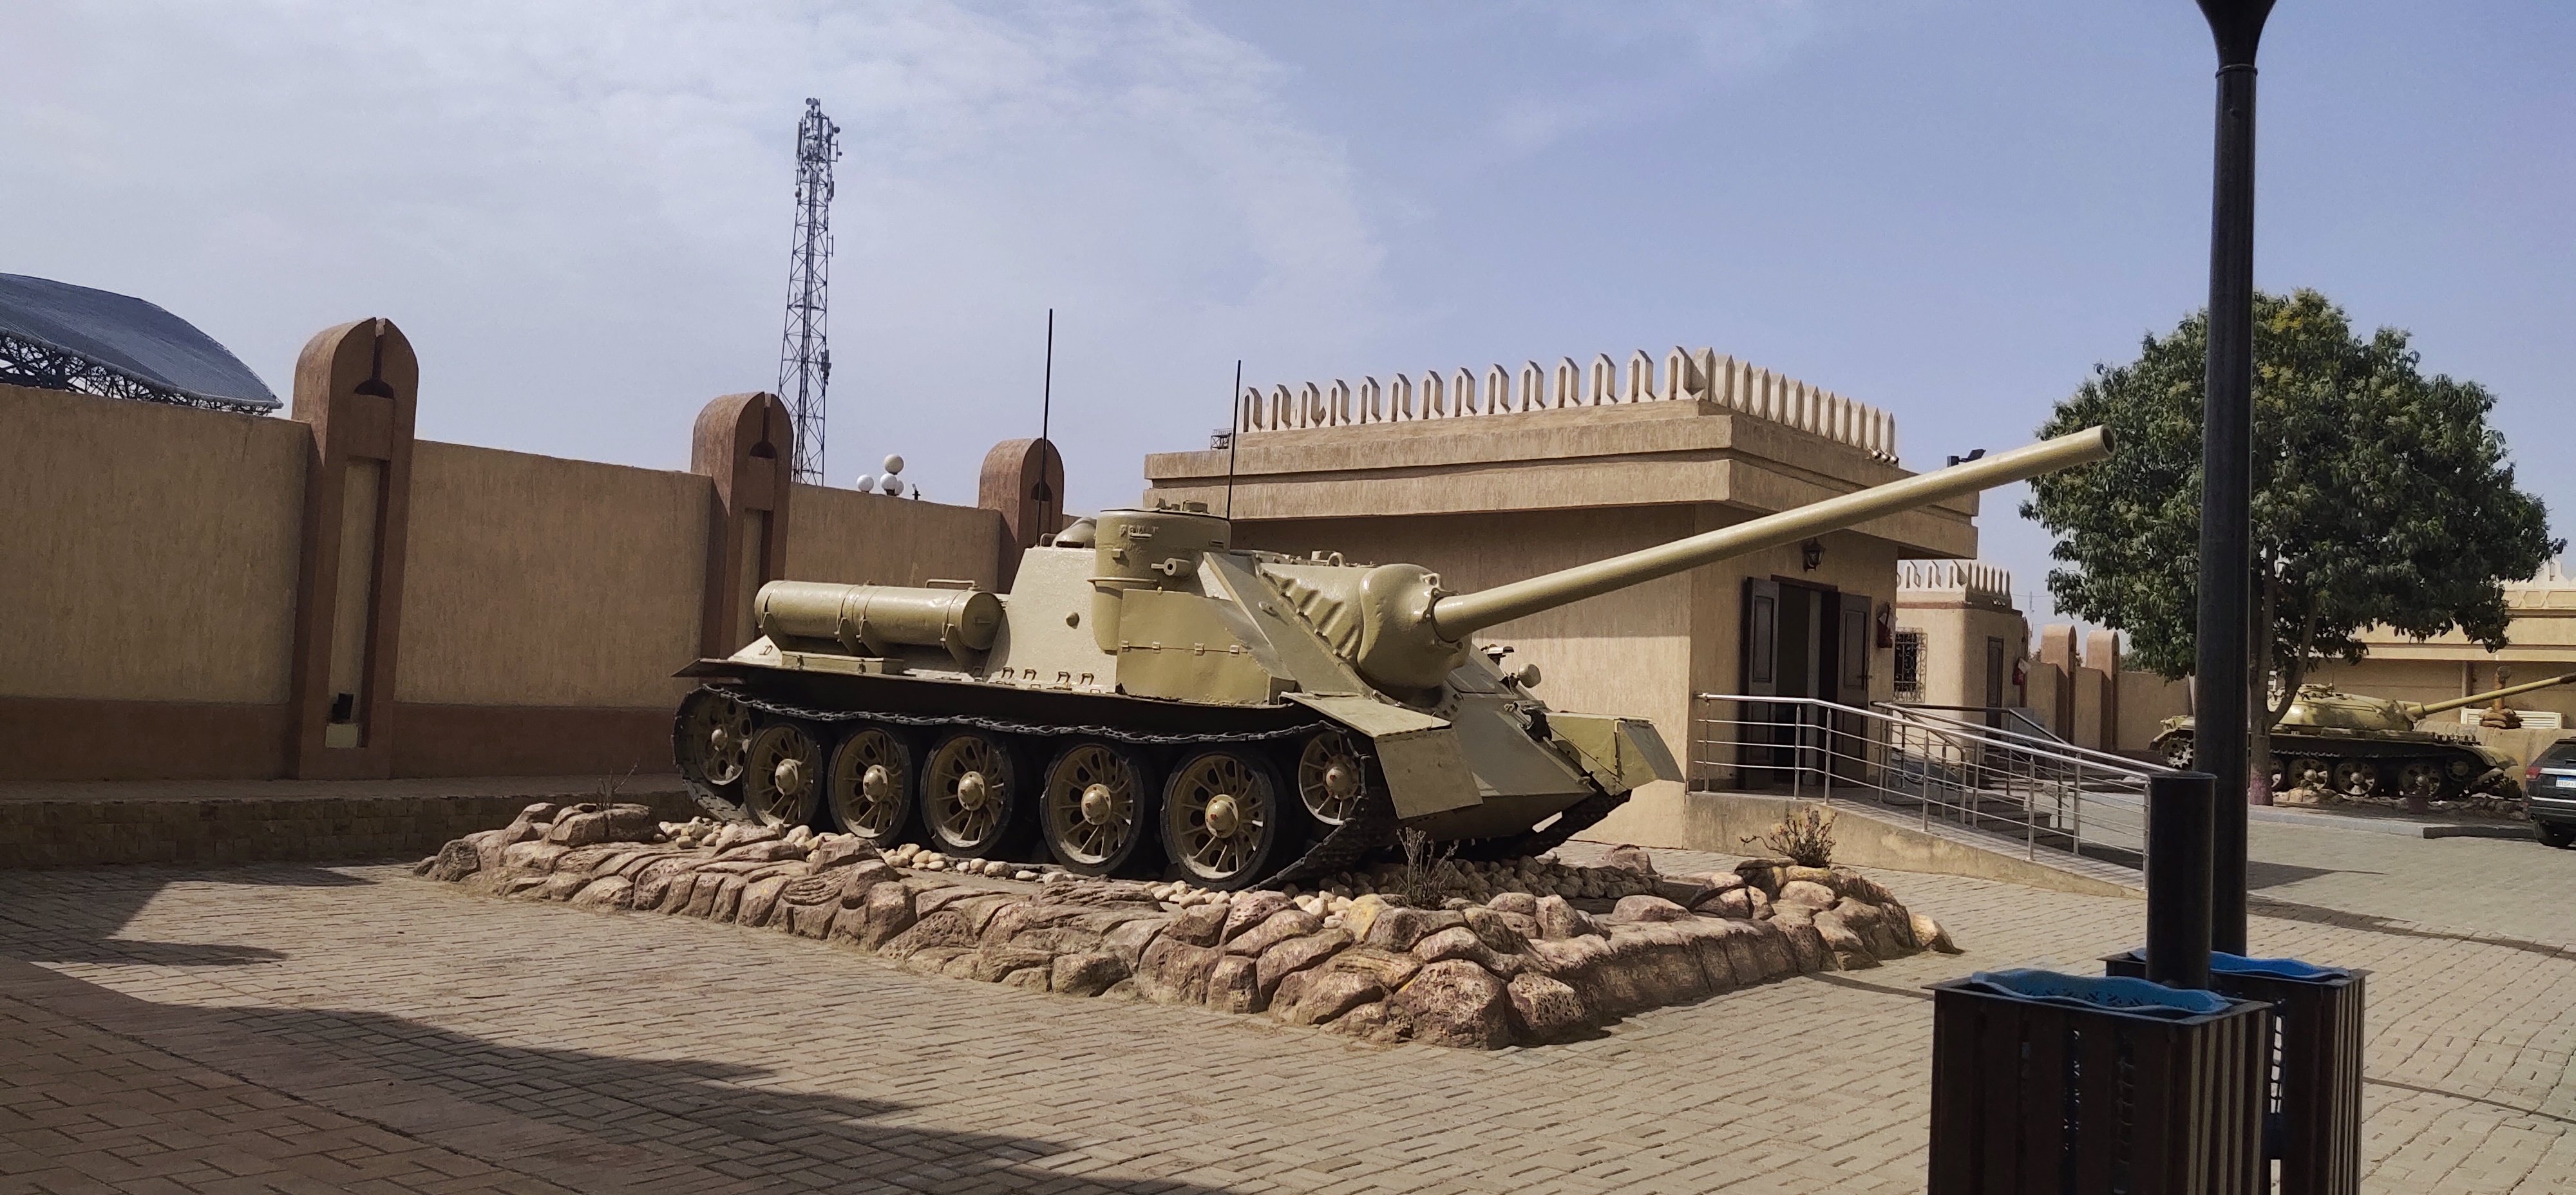
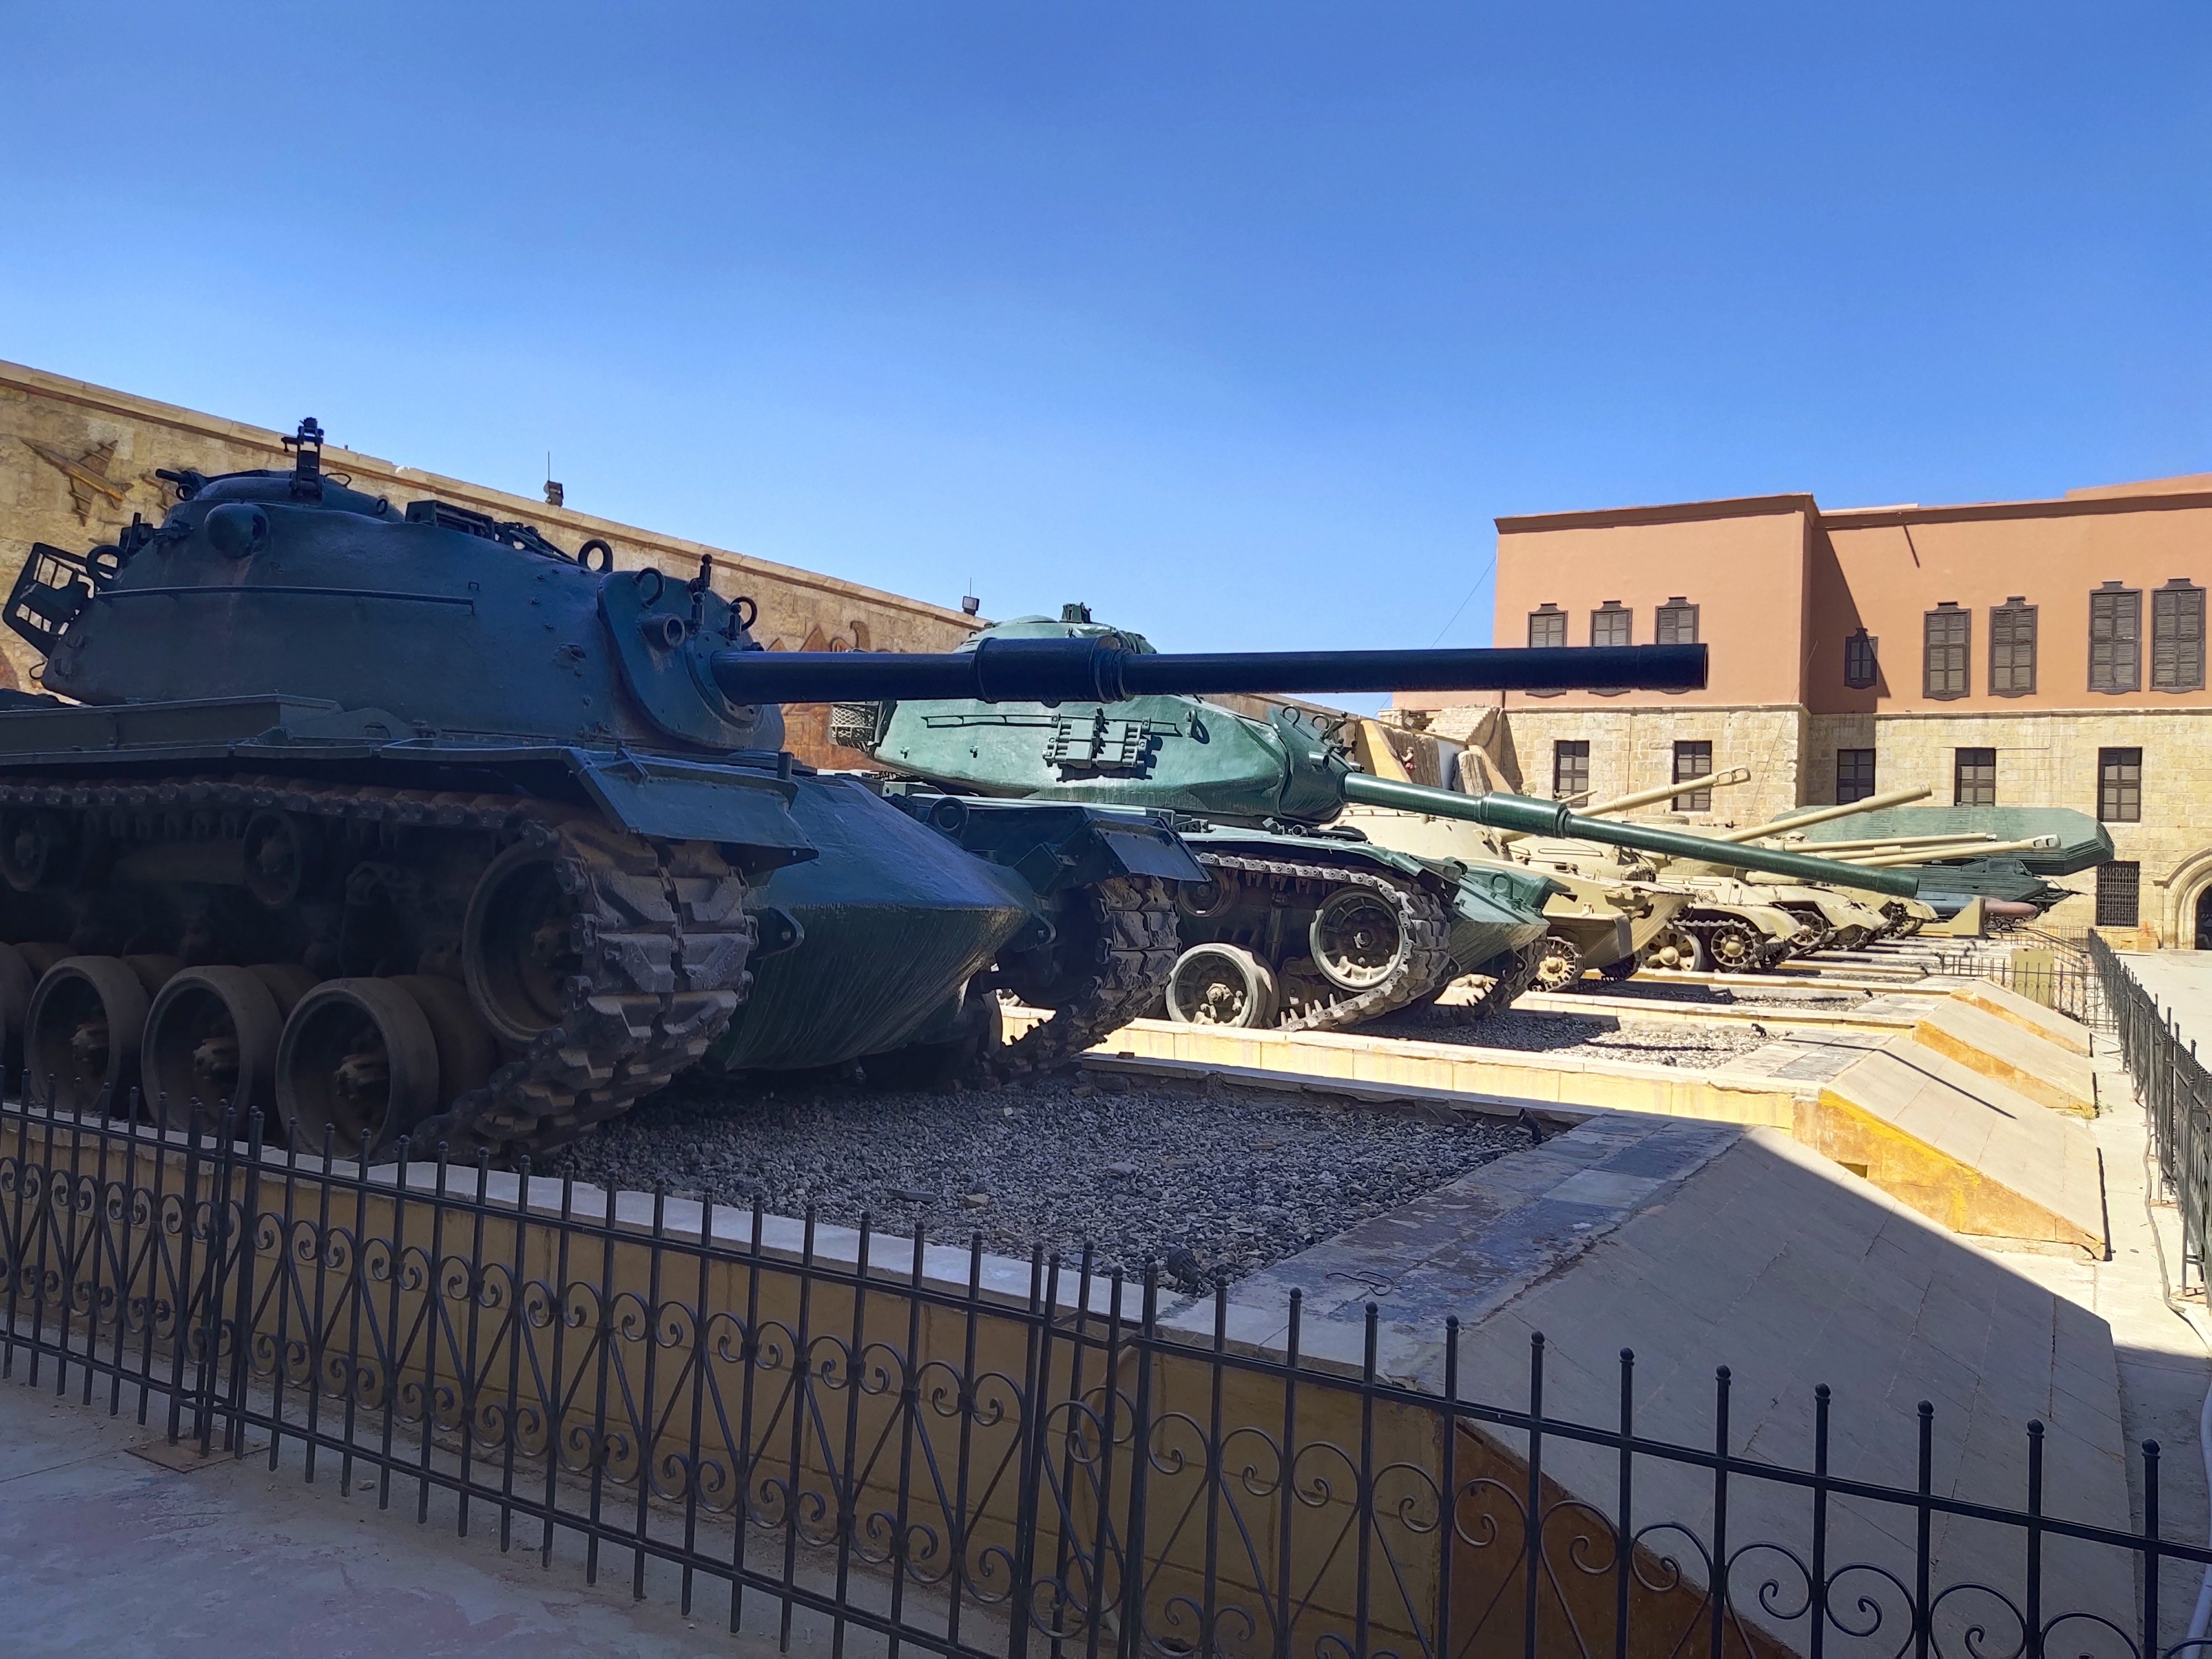
Before model introduction I will post some pics of my visit at the Panorama museum in Cairo. Cairo isn't all about Pyramids, it has many sightseeings within the city center like the Saladin Castle which also has a big mosque, a police museum and other modern fighting machines like aircrafts, howitzers and tanks. And from the Castle of Saladin What is impressive is how these metal beasts are made. Makes you wonder how these super heavy vehicles can develop decent speeds. What makes me wonder though is what is the great force required them to blow them in pieces like we have seen in the documentary films. Especially in the modern warfare days, the challenge of survival among new threats like guided missiles and UAVs is definitely rough. However seems like there is some future left for these battle machines. We can imagine a fleet without carries but we cannot imagine a modern army without tanks.


-
While I feel tired and bored to build a plane model I'm excited to build a simple tank diorama in the humble but still efficiently detailed and space saving, 1:72 scale. The reason I picked this model is to avoid camouflage patterns. A single colored vehicle in the dessert scene. Let's see how invisible I can make it.

-
the hull looks incredibly nice I think i like it better as it looks, unpainted The wood and brass combo is perfect also
-
very scientific work
-
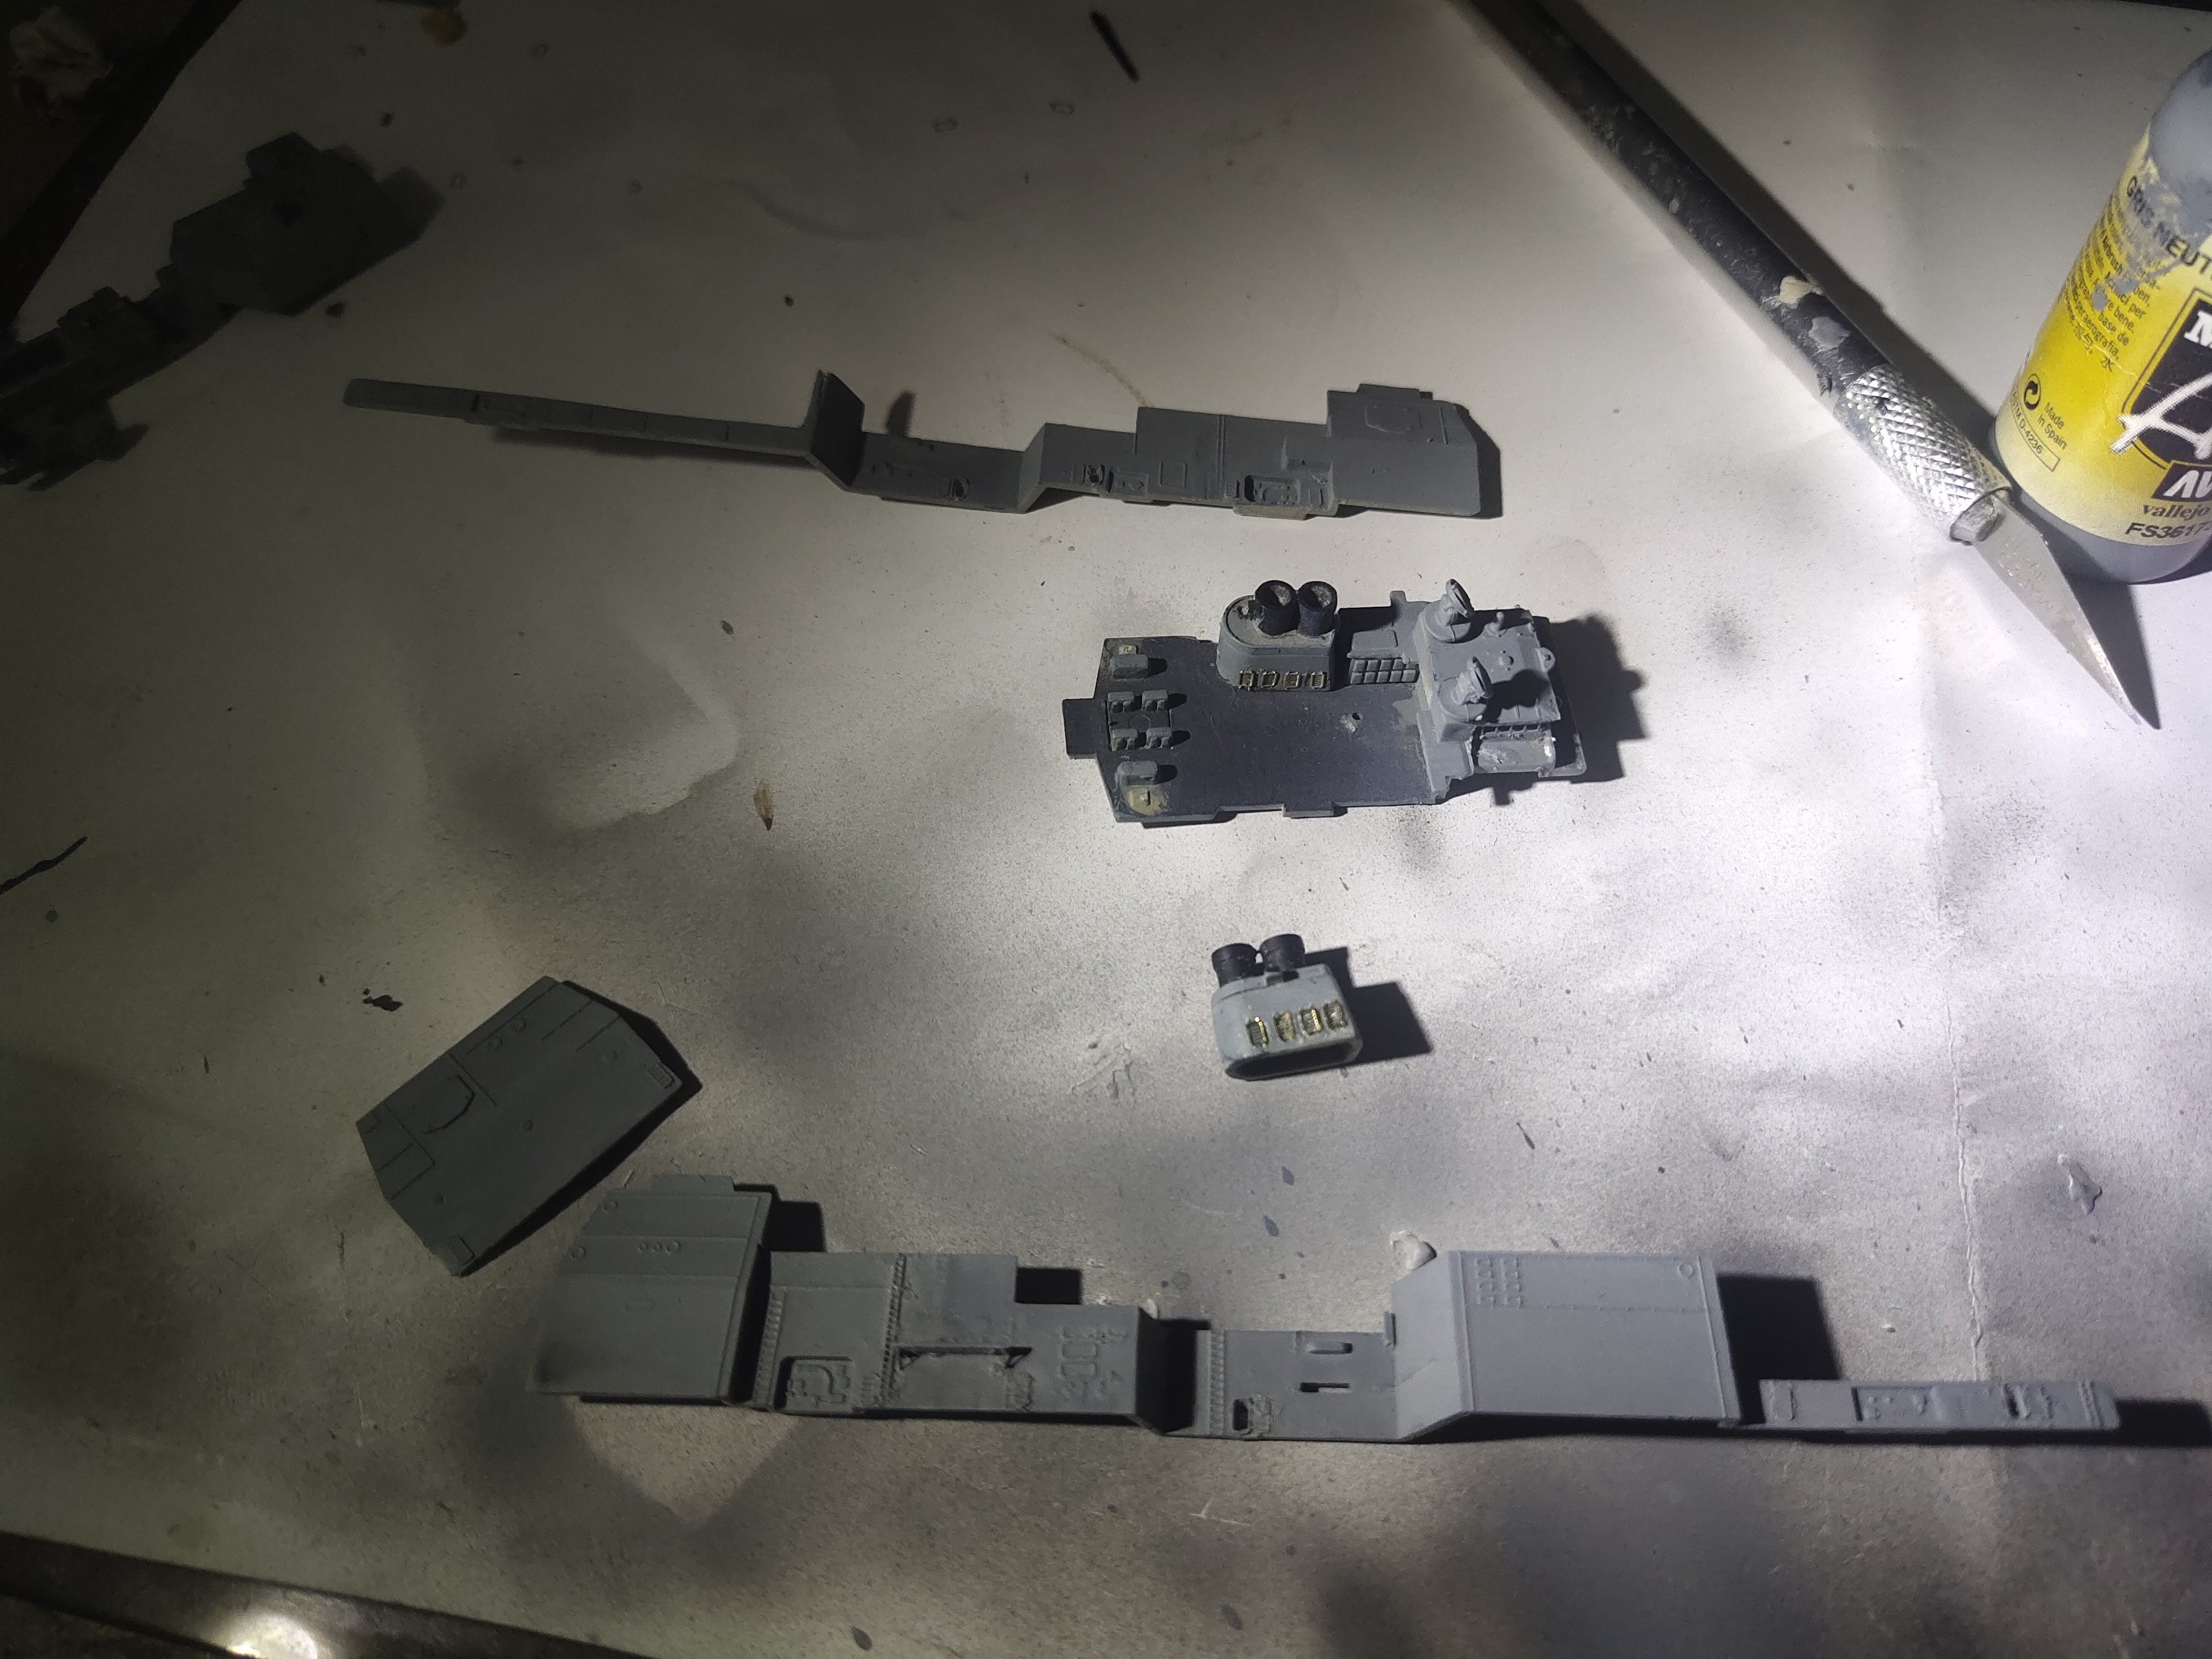
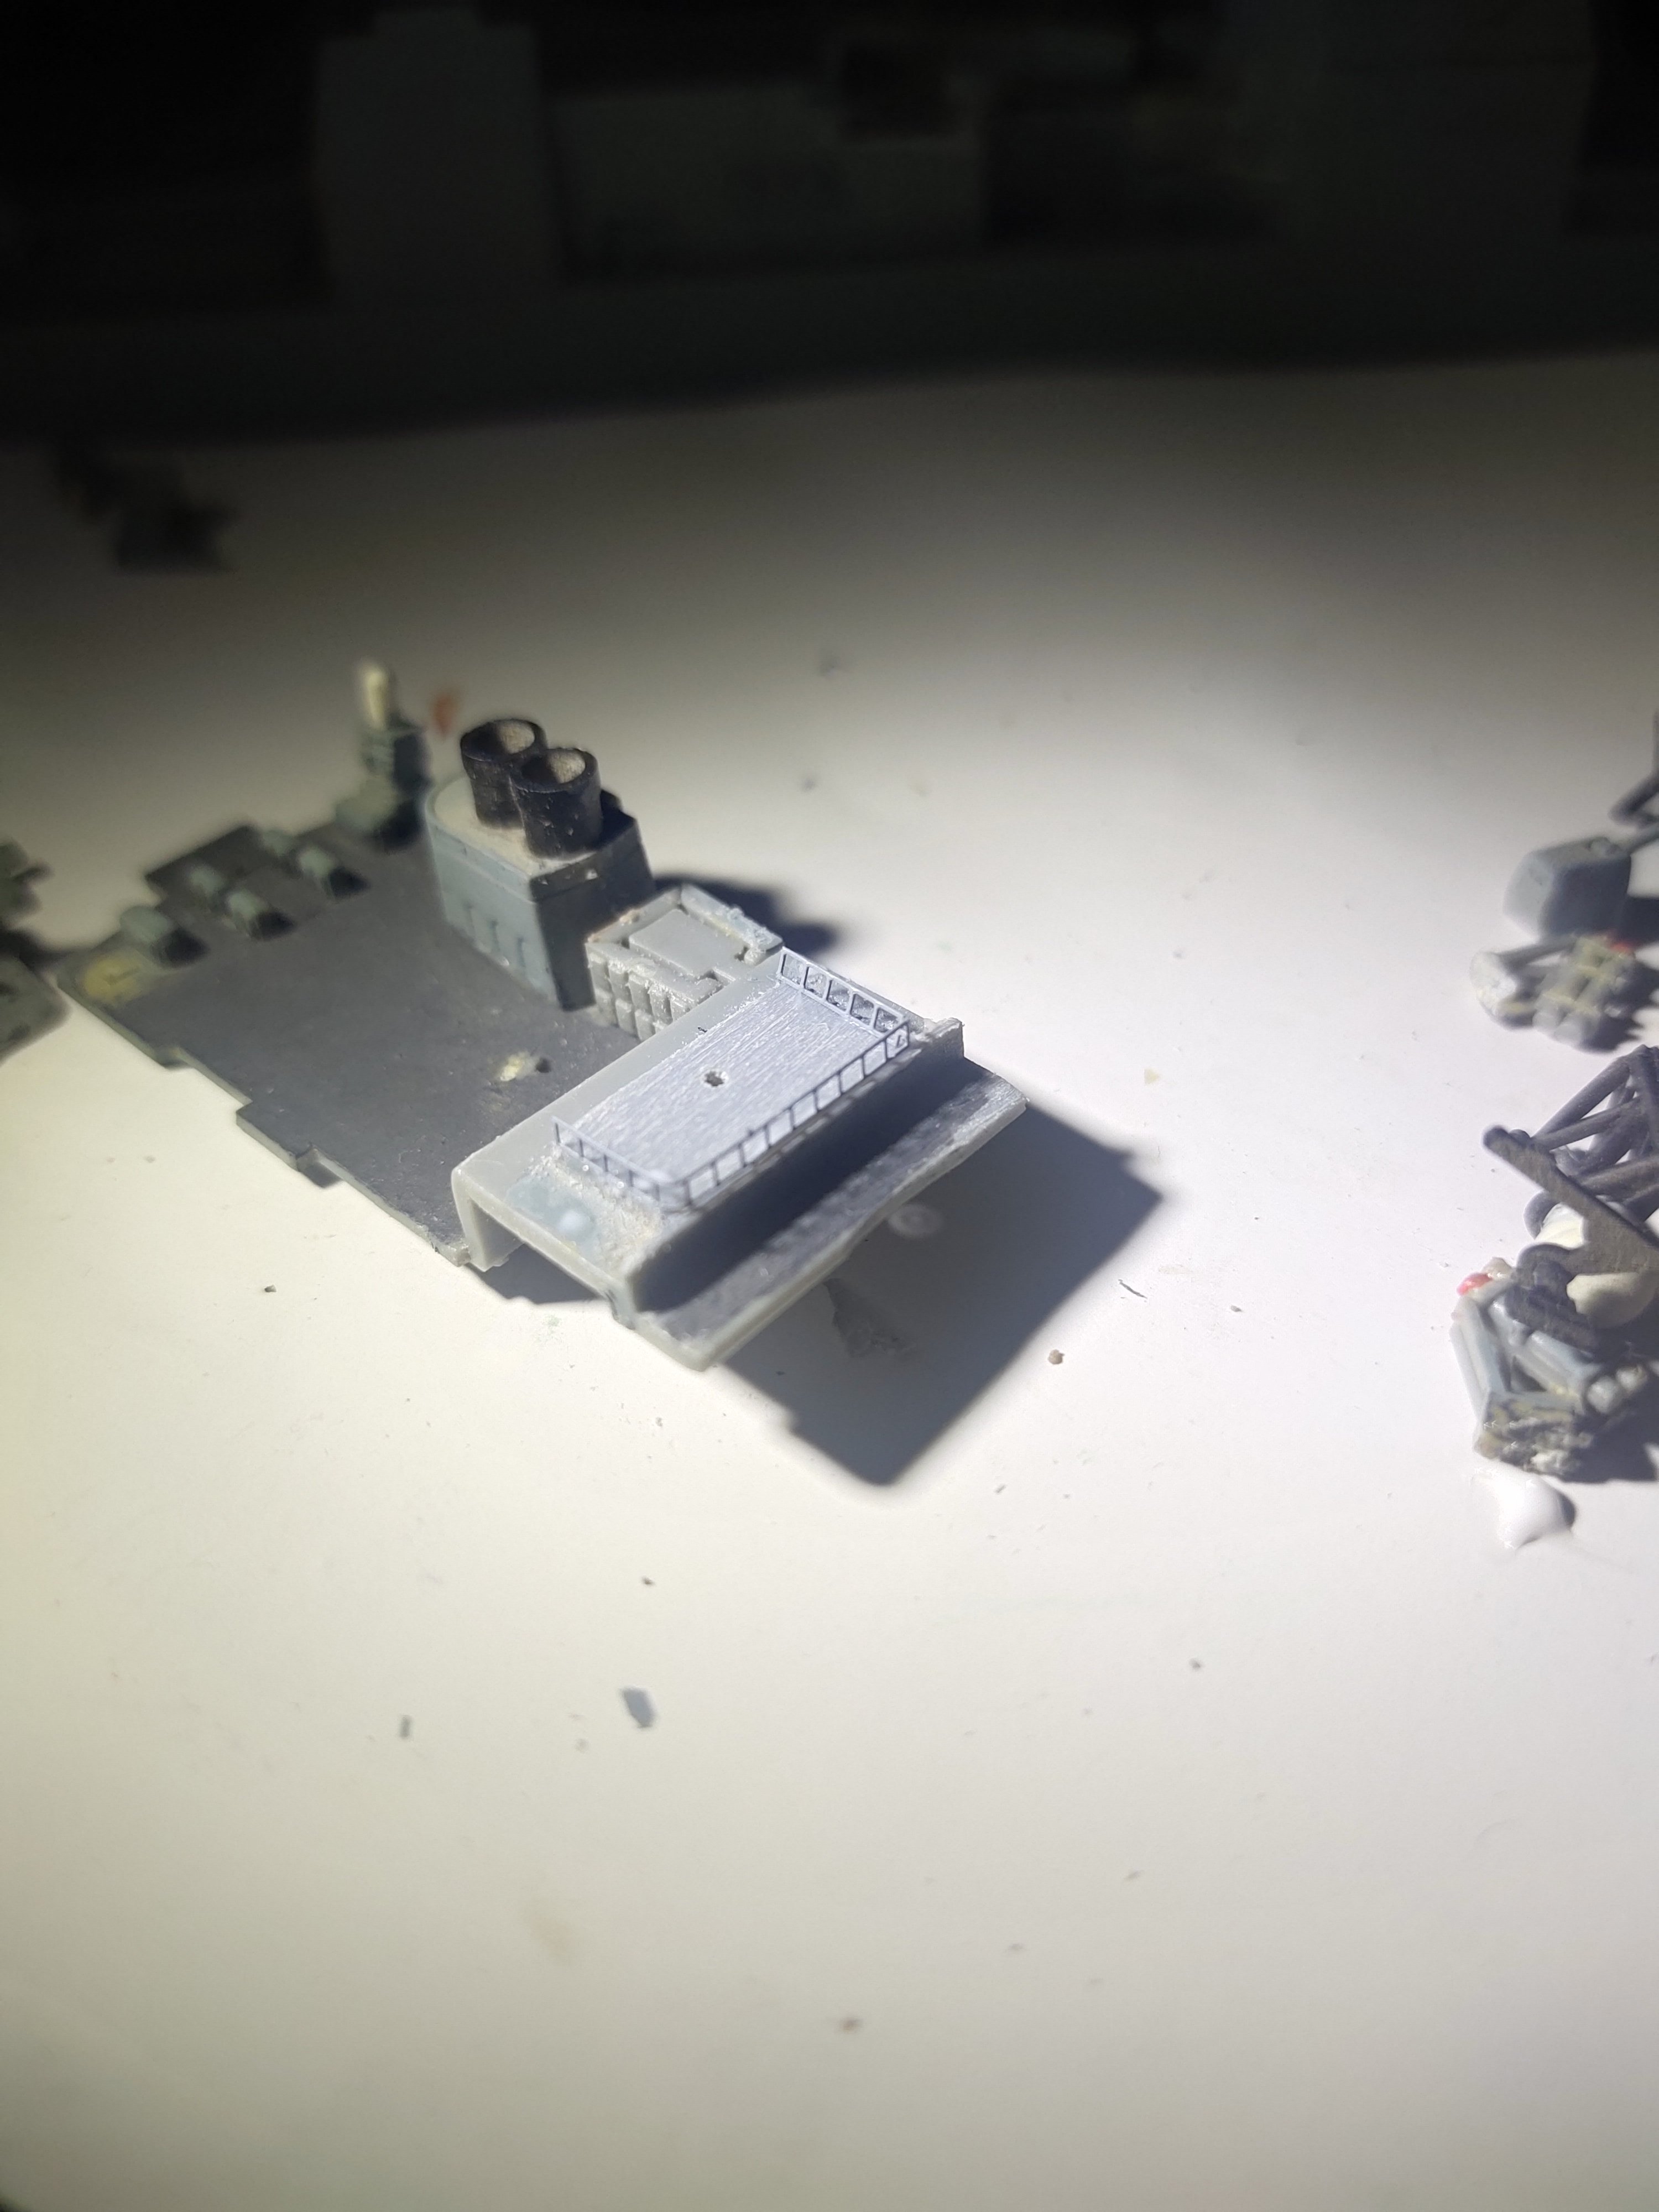
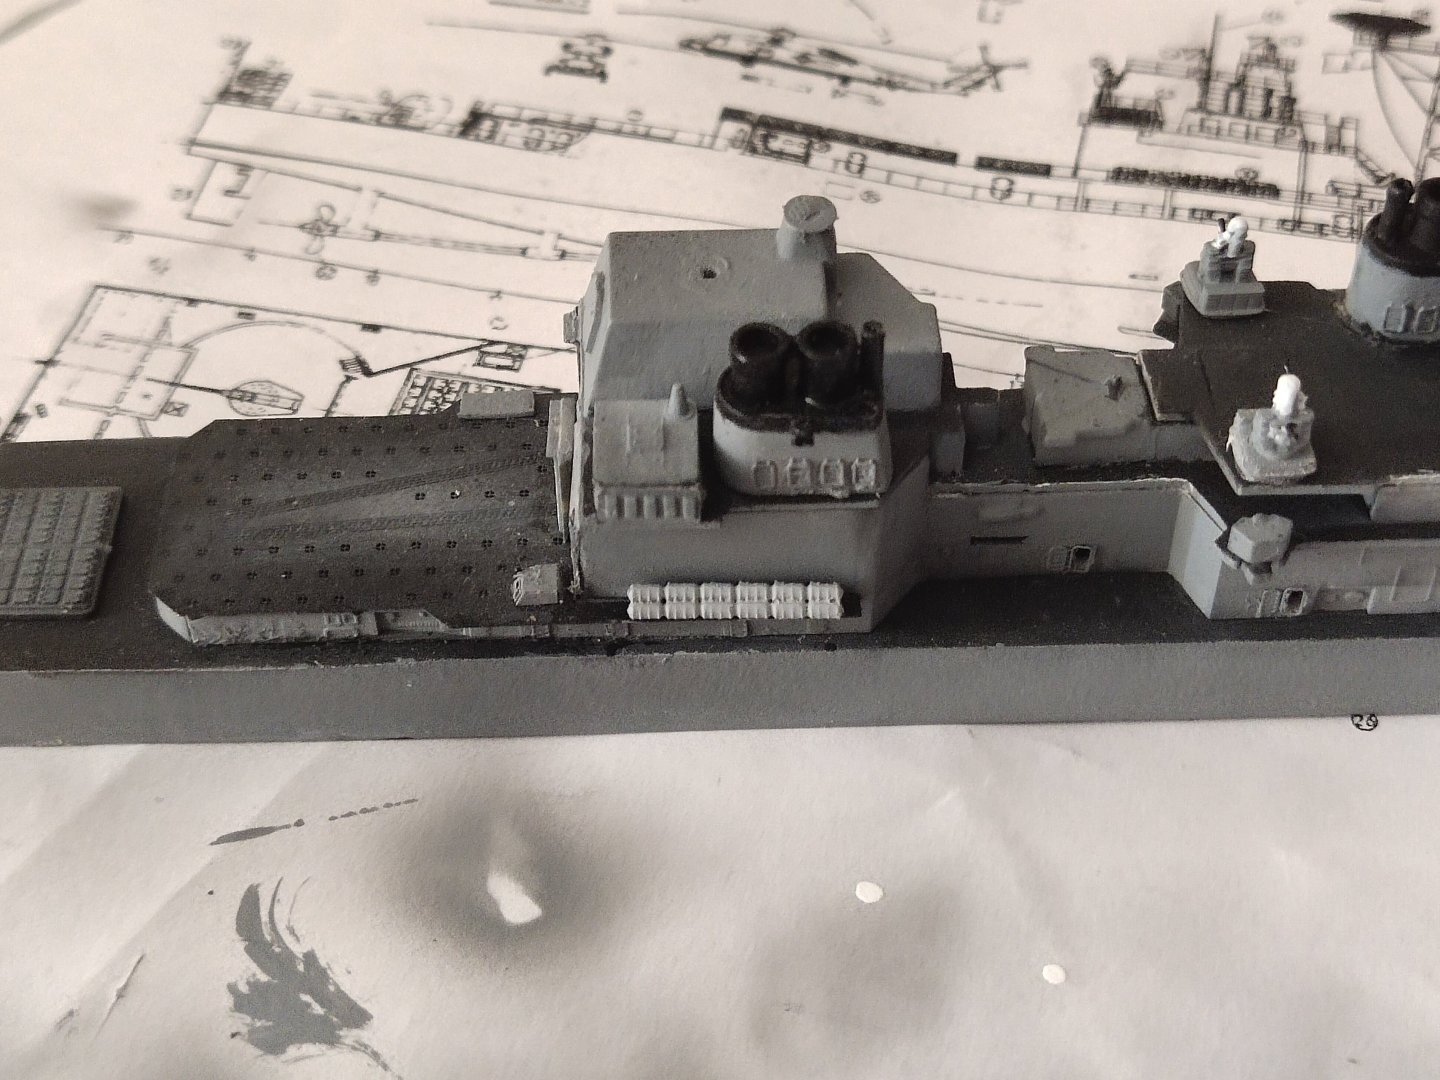
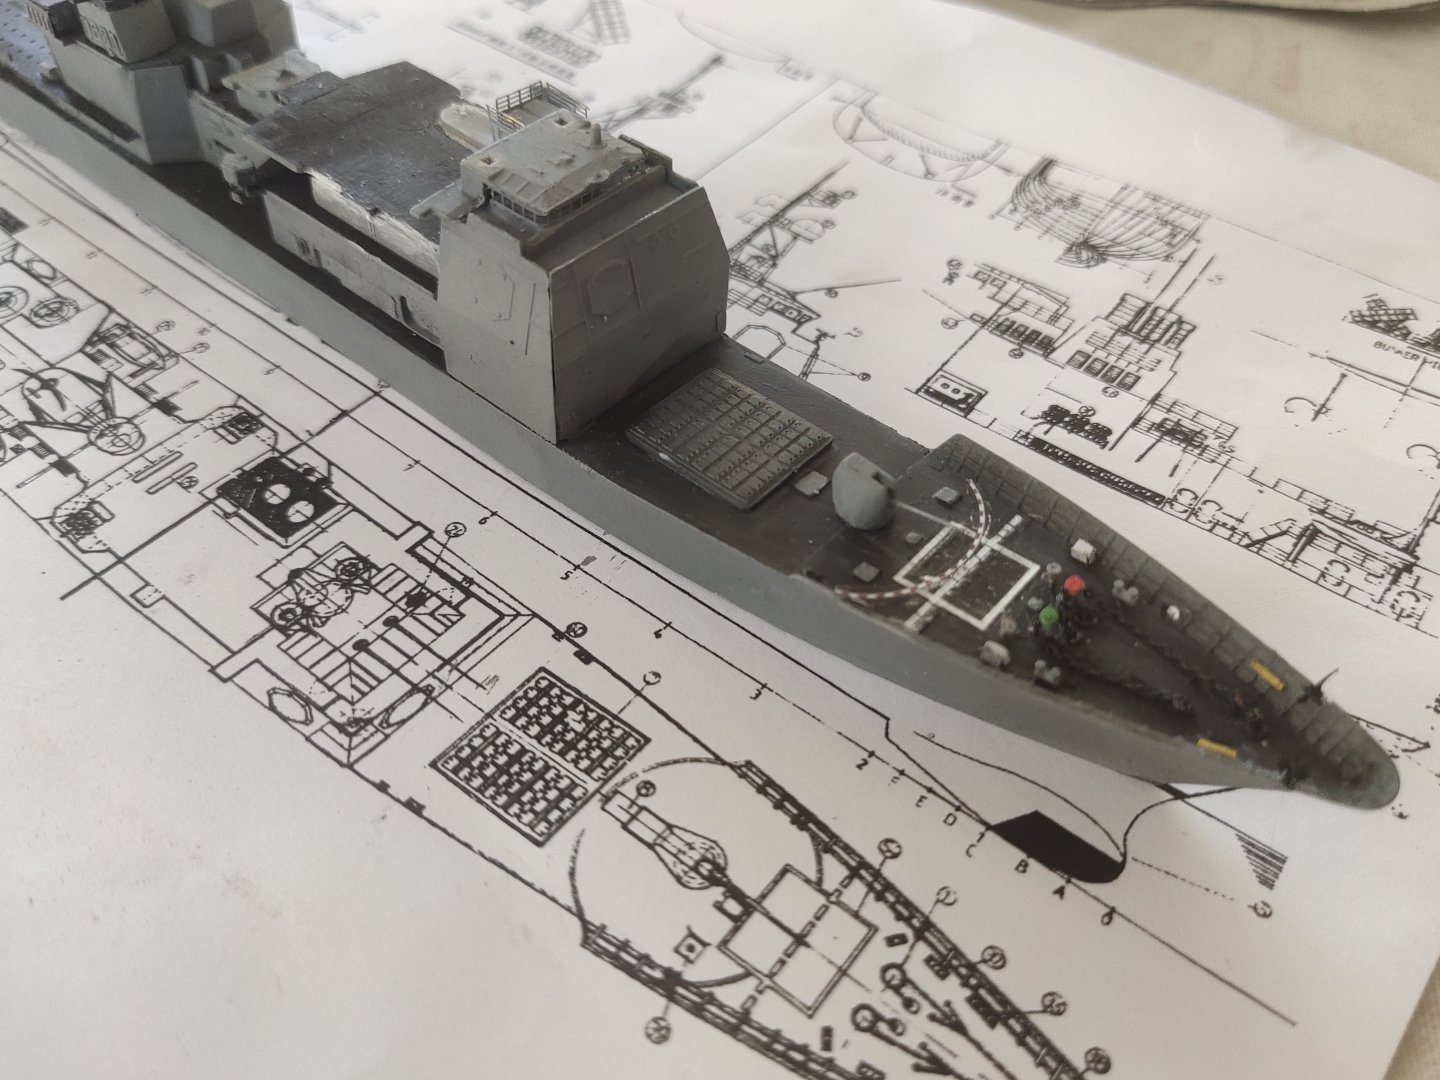
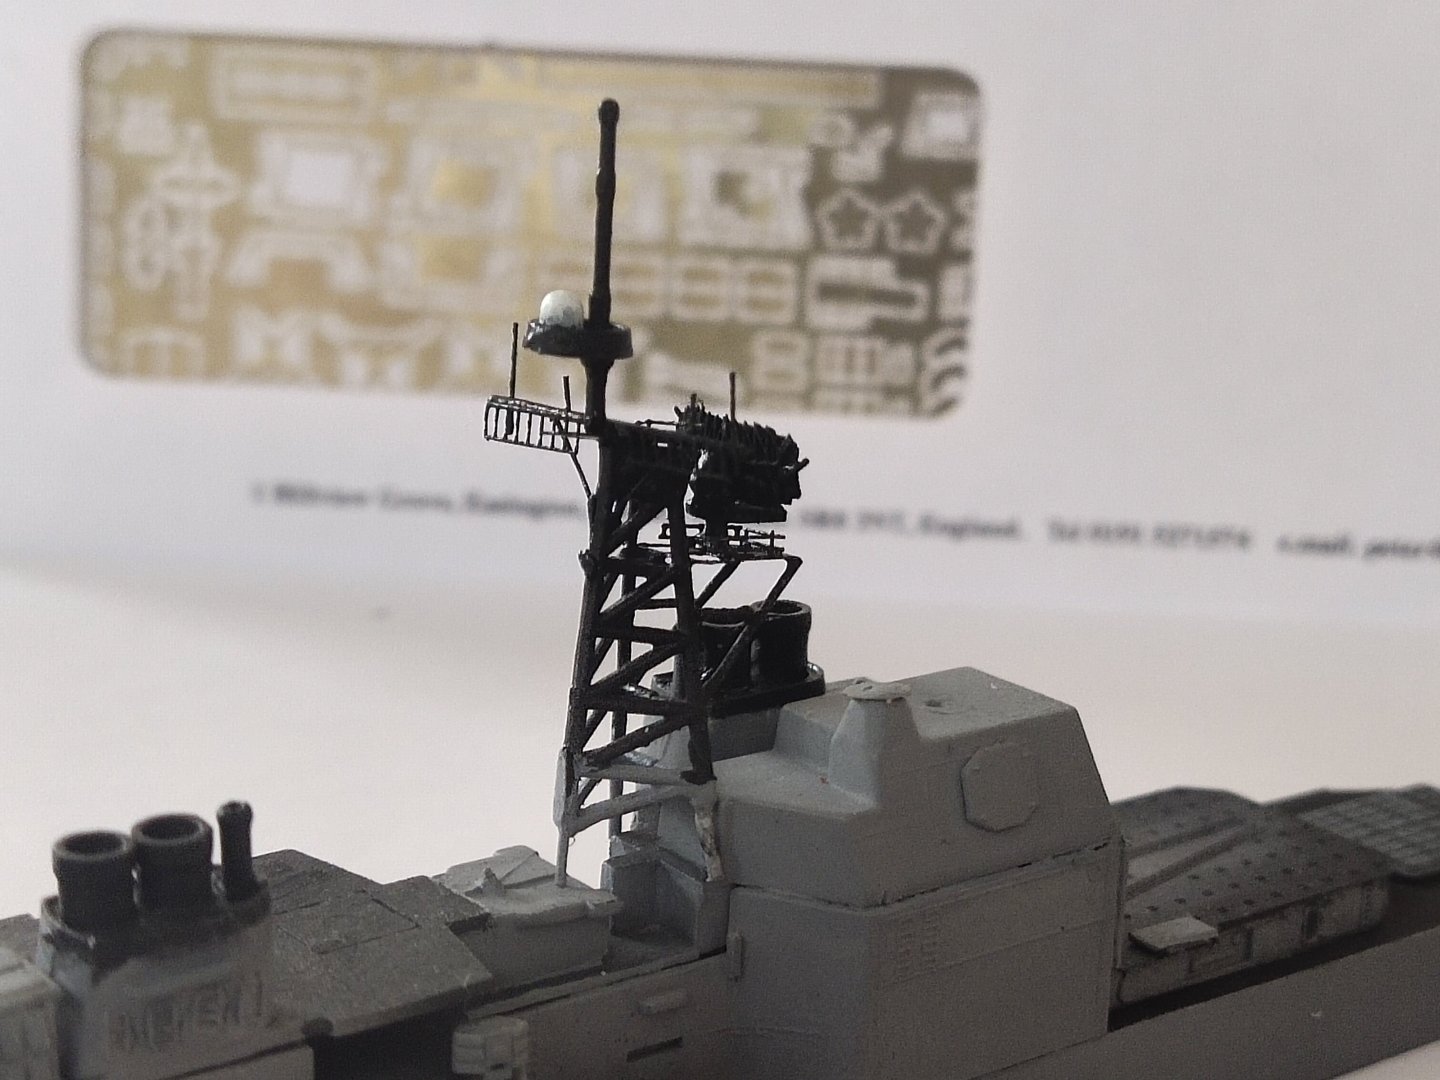
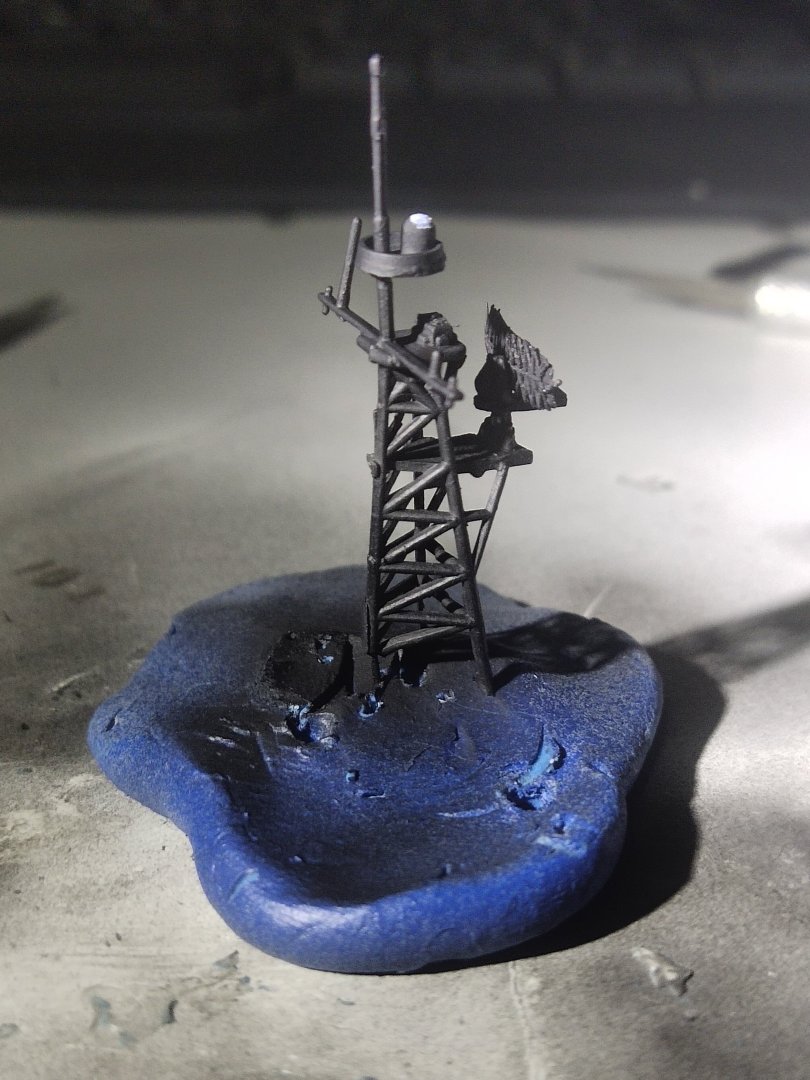
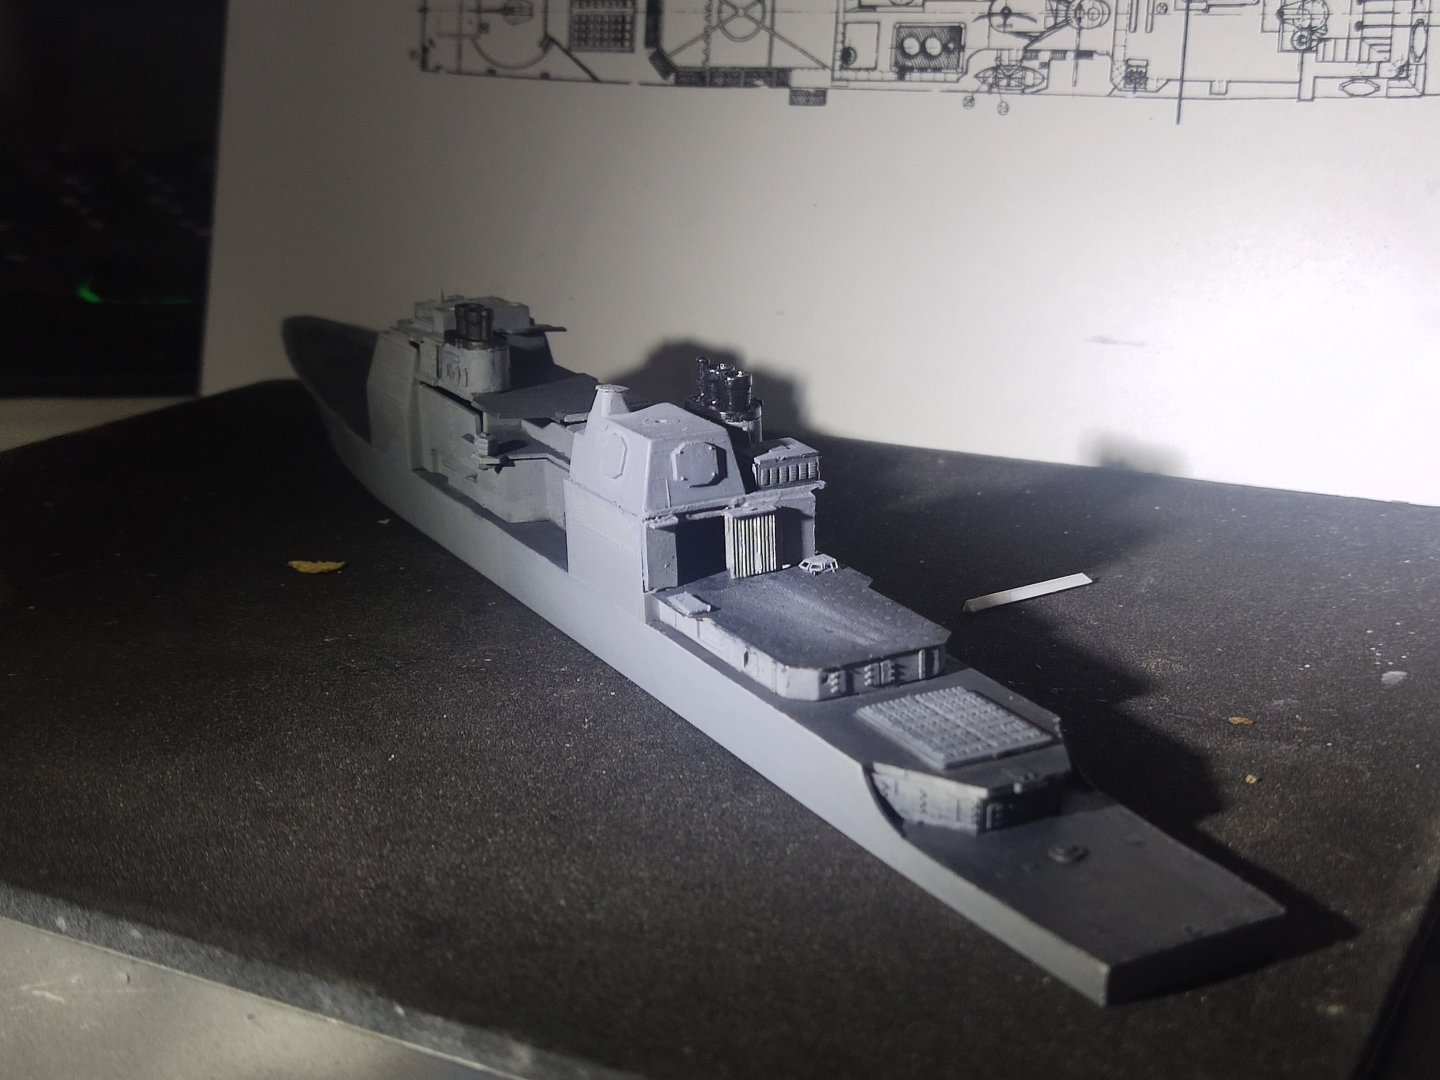
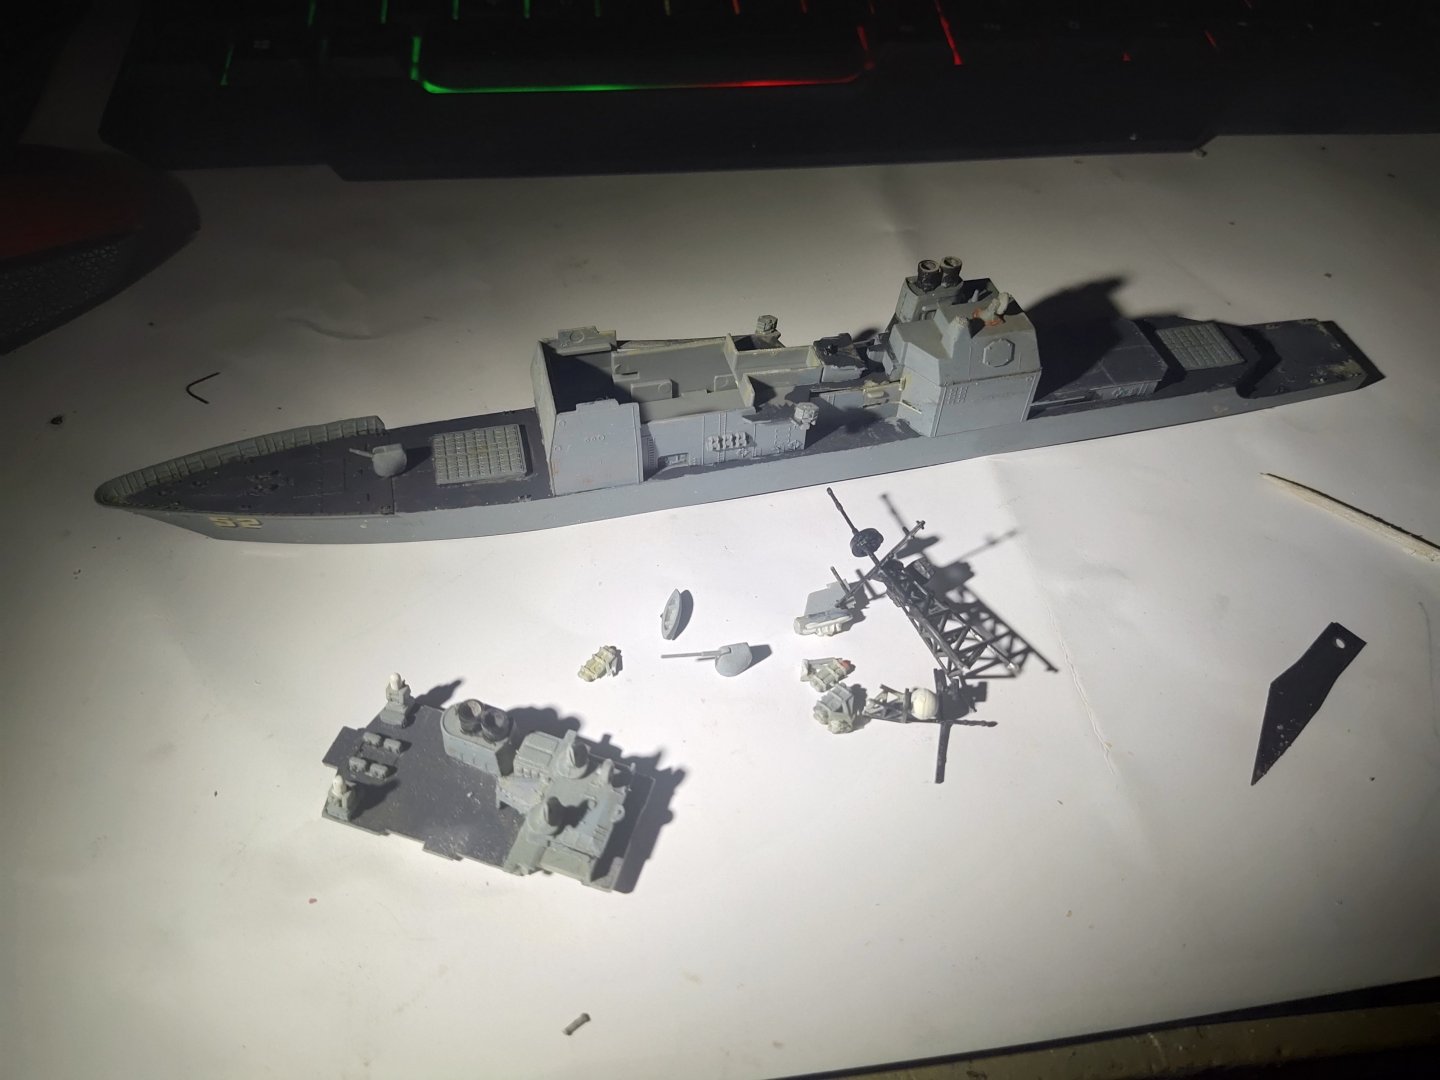
I wanted to design and print the forward radar mast but my printer died. A replacement ordered but need to wait for a week. In the meantime I finished the forward section. Removed embossed anchor chains and install new. Added few manifolds, boxes. Also the two machine guns forward. Weathering with light gray, decals and light weathering with darker gray. I finally installed the gun.
-
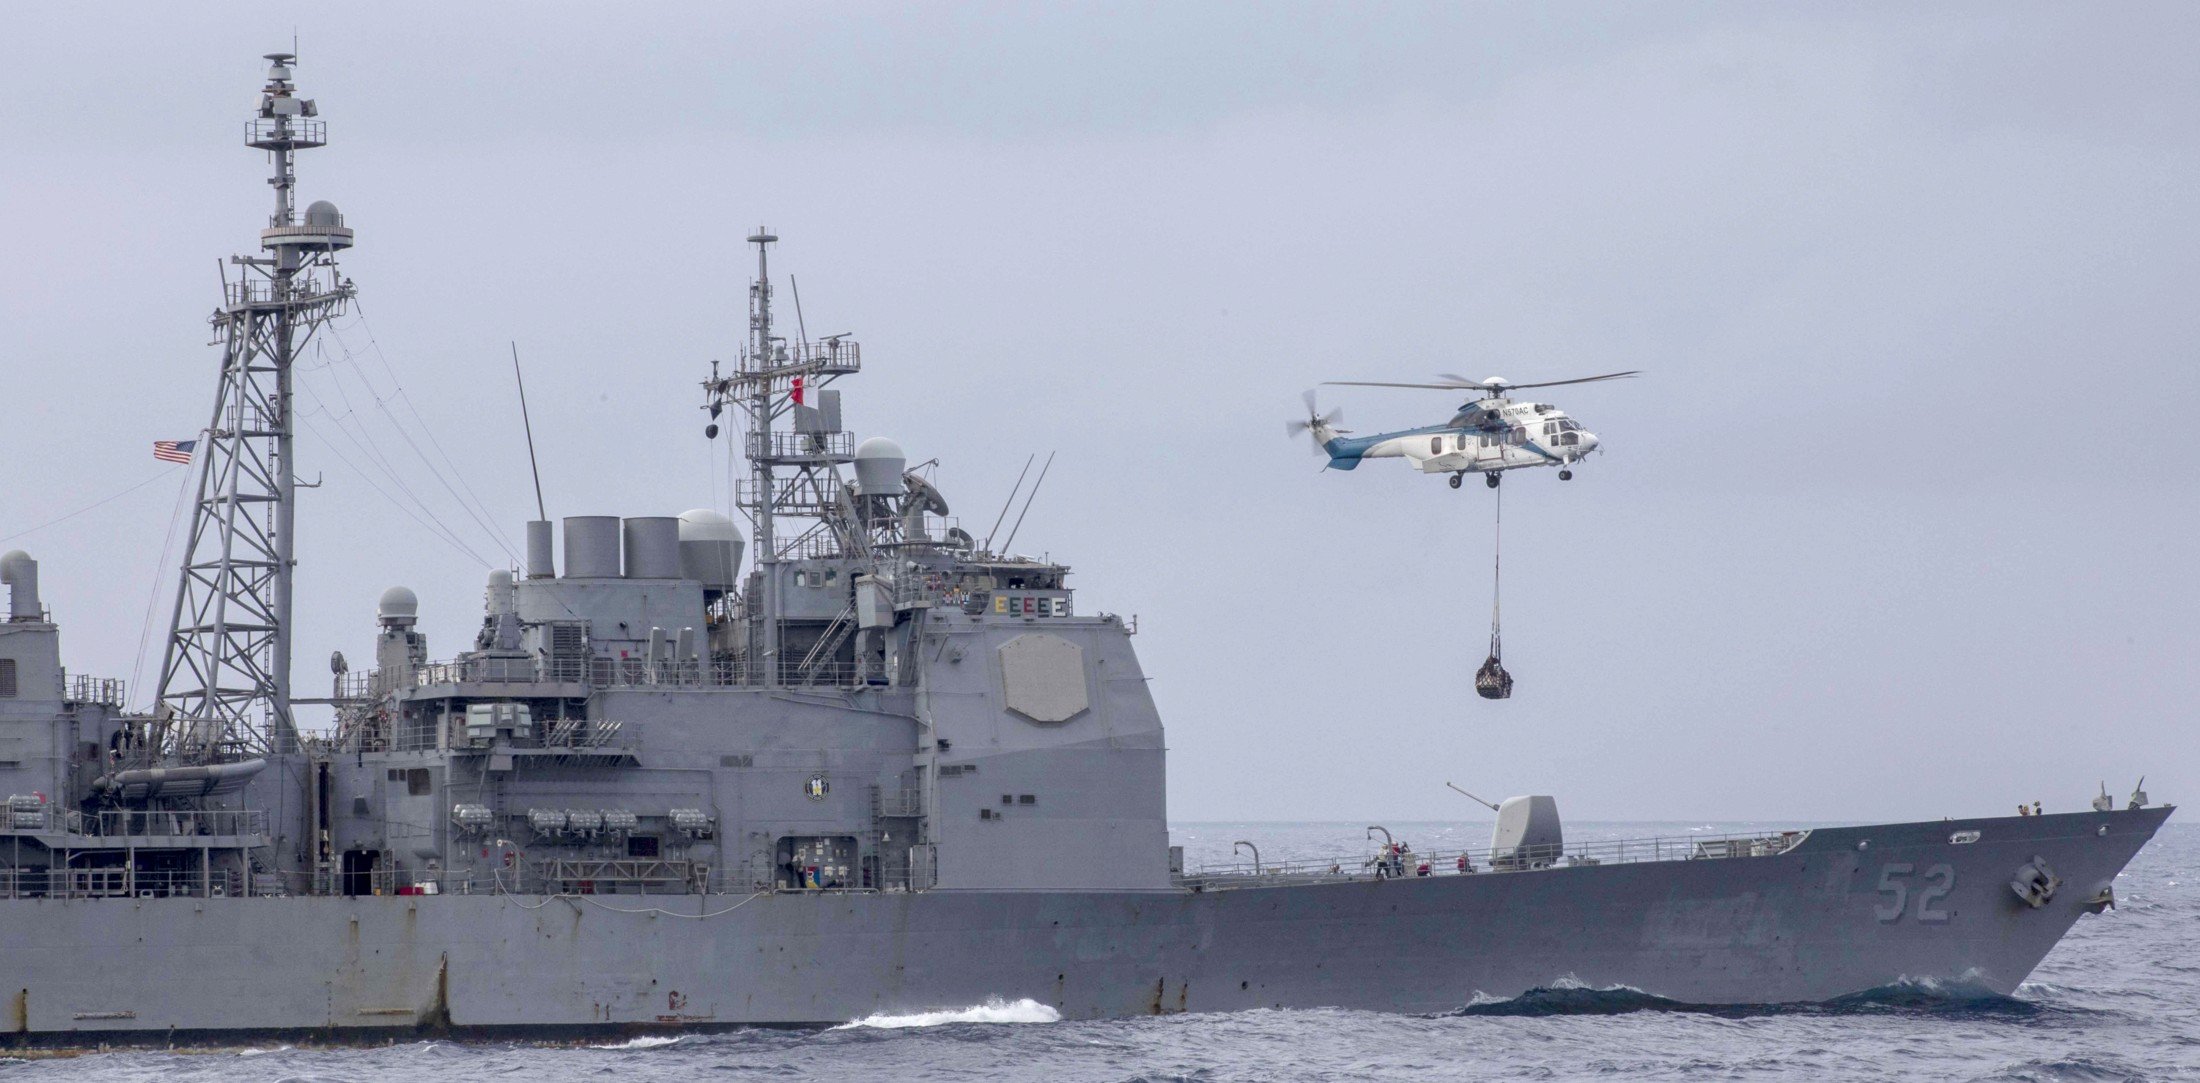
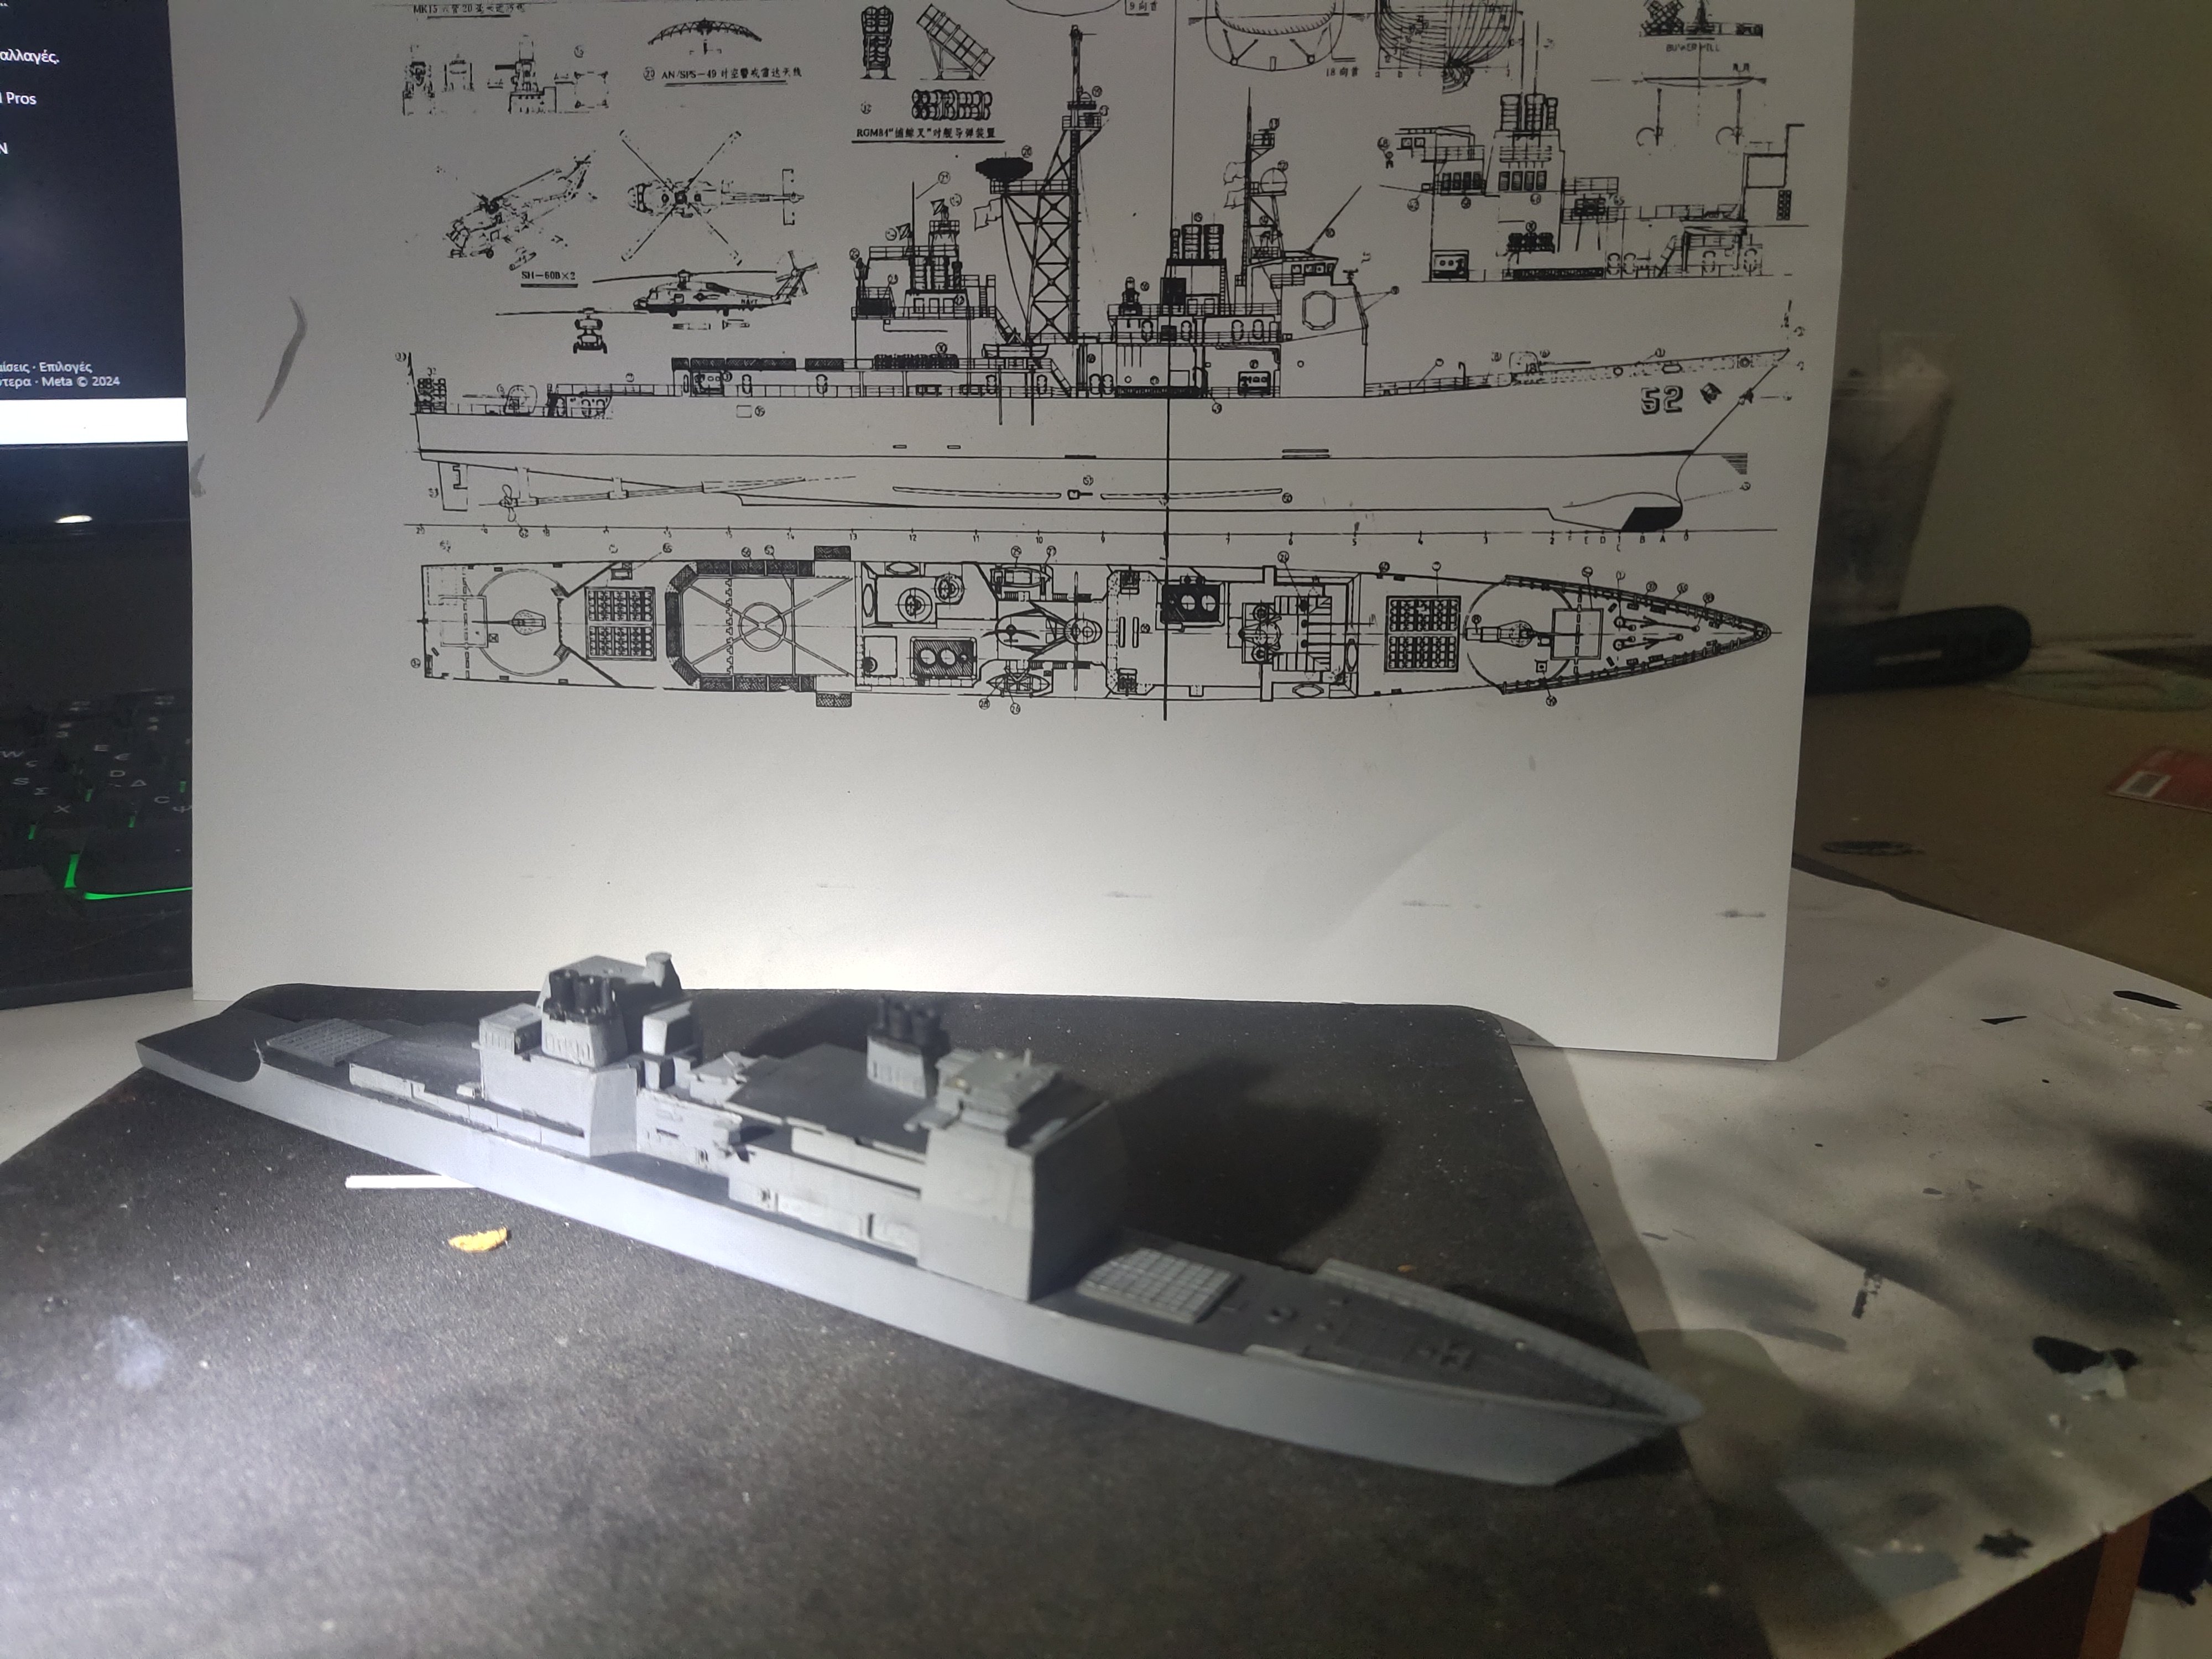
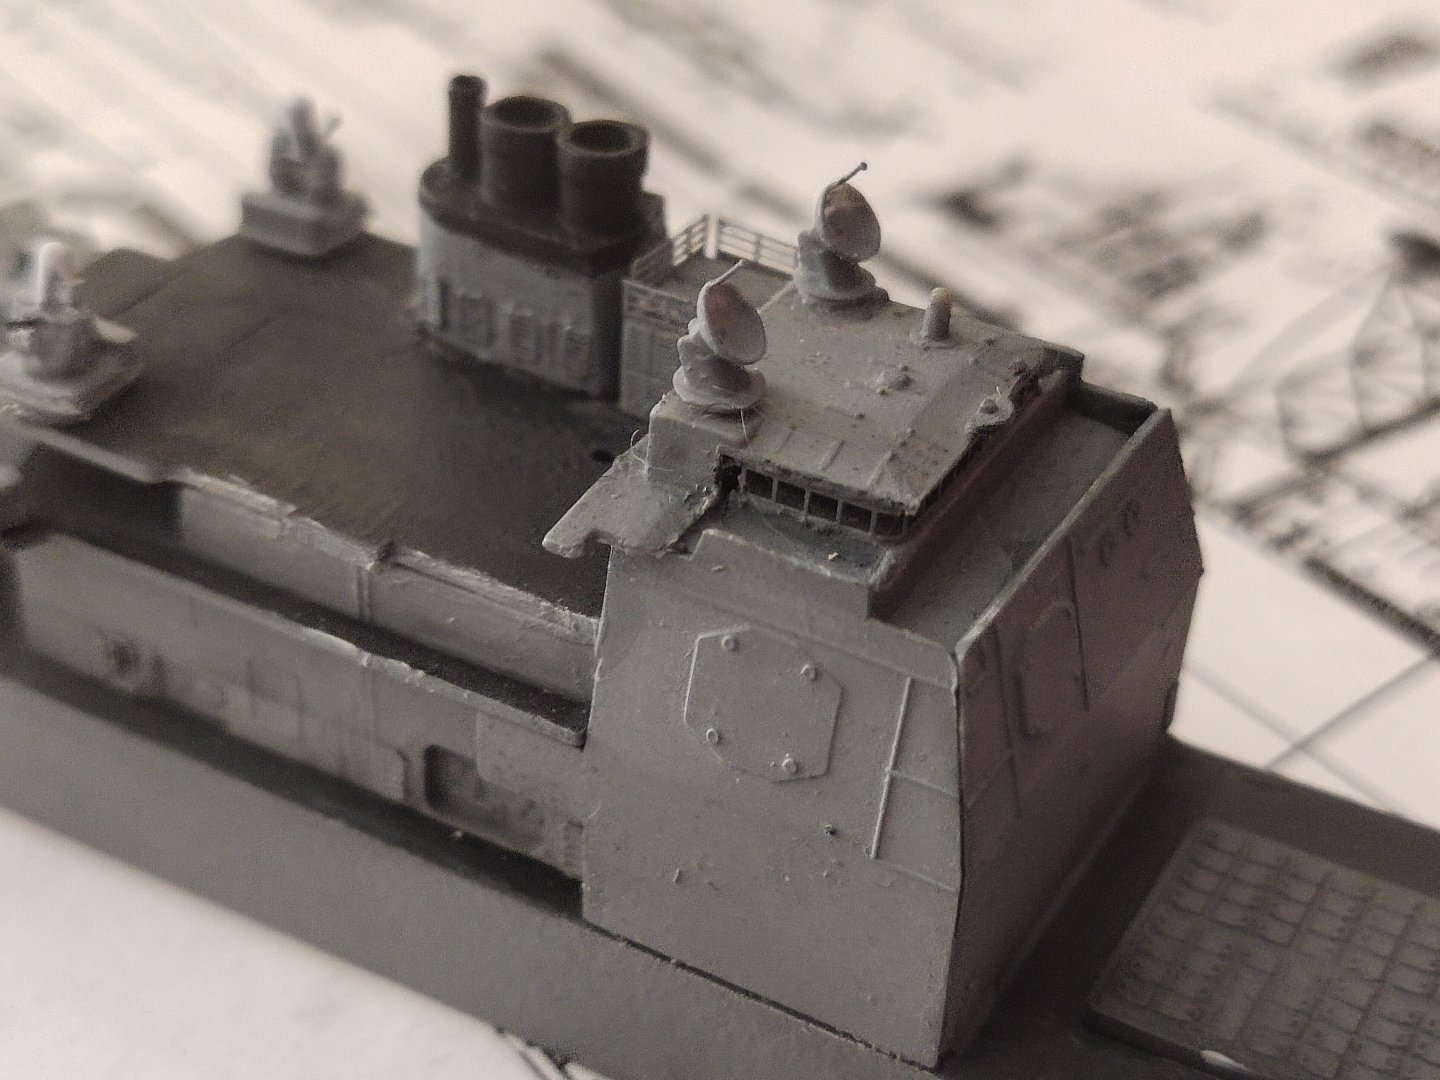
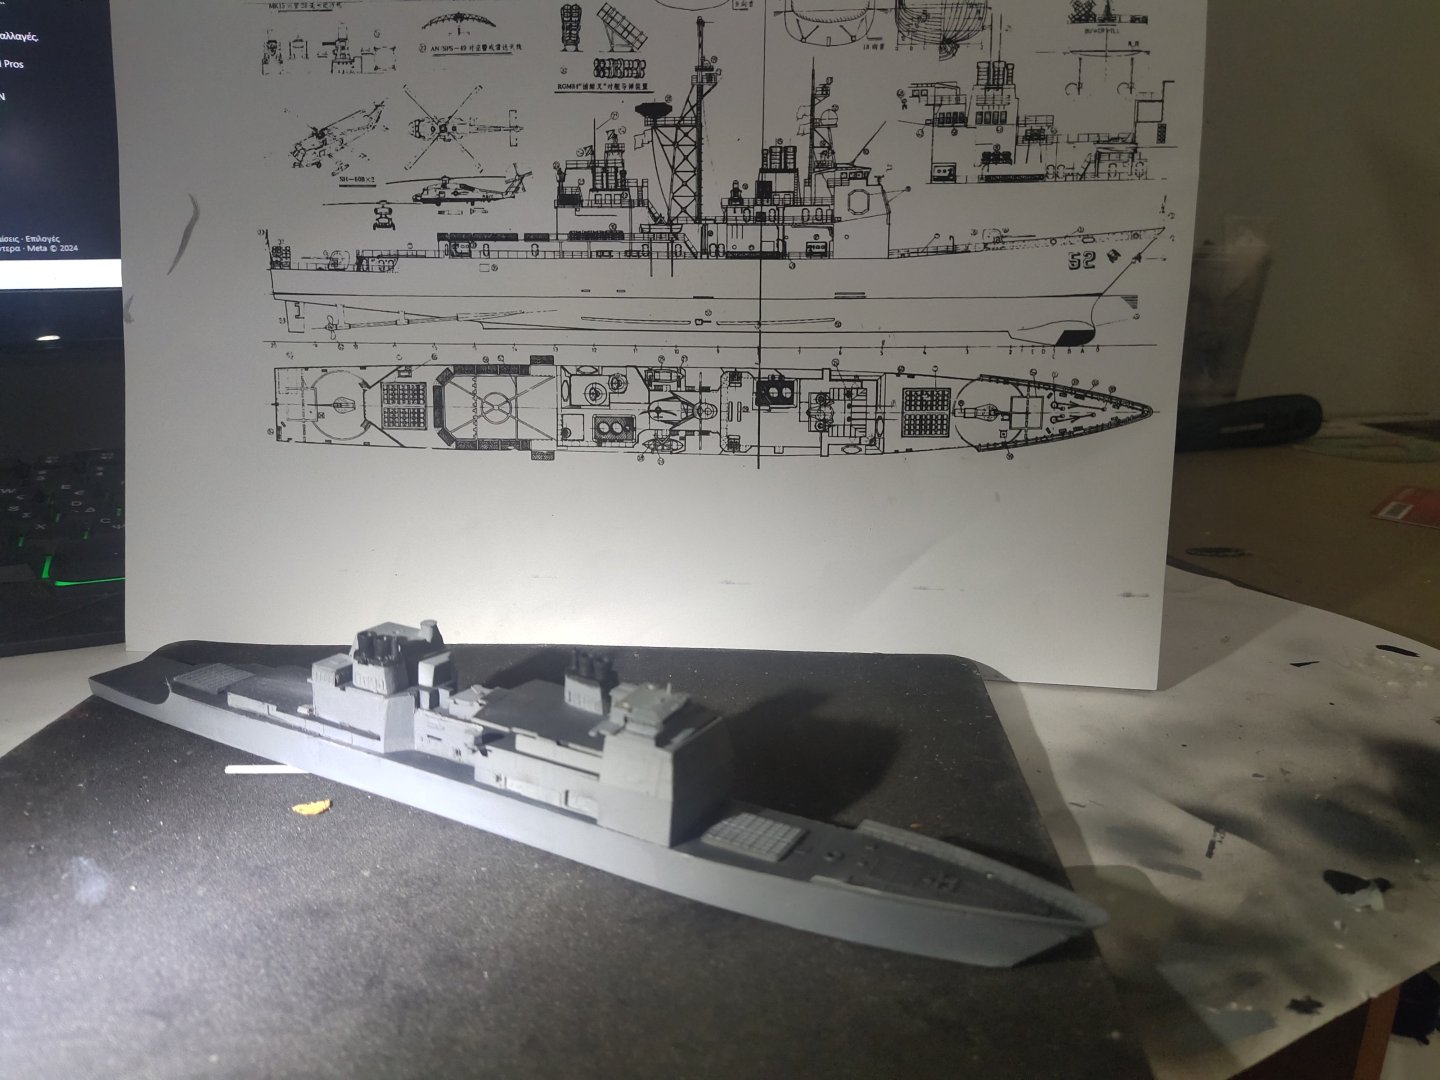
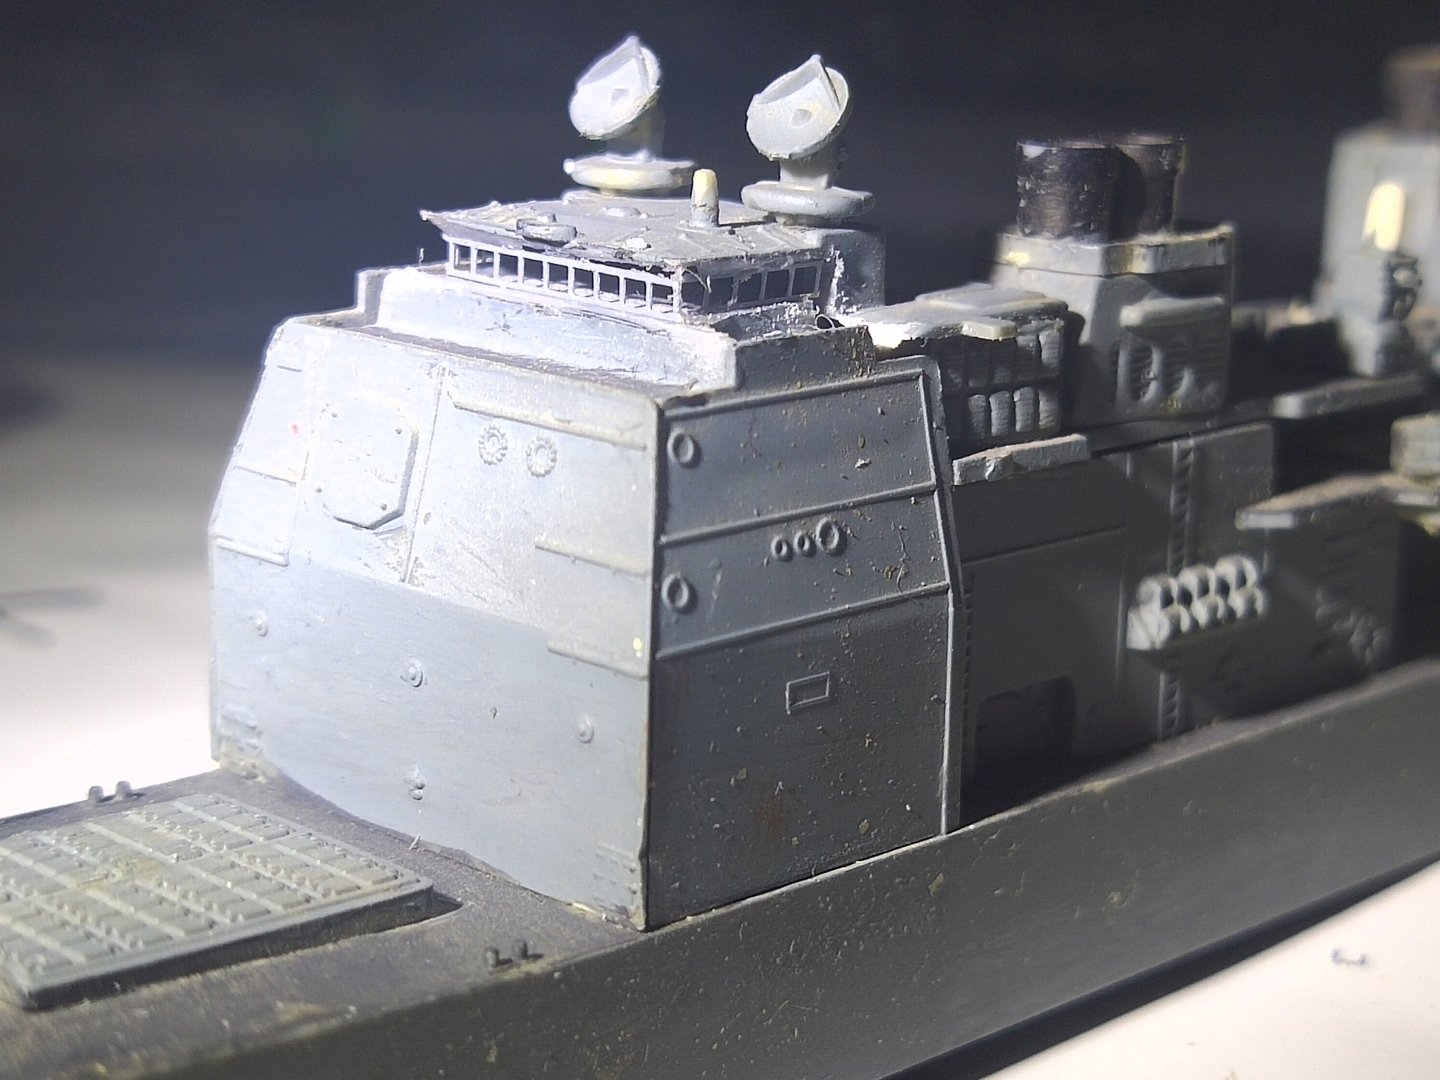
after the mismatch of the rear 4 legged mast instead of tripod, i noticed that forward mast also is not on the desired shape. Also the room at the base of the forward mast is of a box shape not triangle as in the present model. You can see it here clearly From all pictures i studied i saw nowhere these mods to CG 52 here in 1987 with mast here is 2023 ,retaining the tripod with the triagled space behing navigation deck i don't know maybe this refers to another ship of the class. The fact is that if i fit the triangle part a new tripod mast must be made , the PE part should be omitted.
.thumb.jpg.16c563f2407cc44fe2122cbf1cbda9a3.jpg)


-
sad that there in not a worthy kit of this class in 1/350 or even in 1/700
- 176 replies
-
- 4
-

-
- new orleans
- iron shipwrights
- (and 2 more)
-
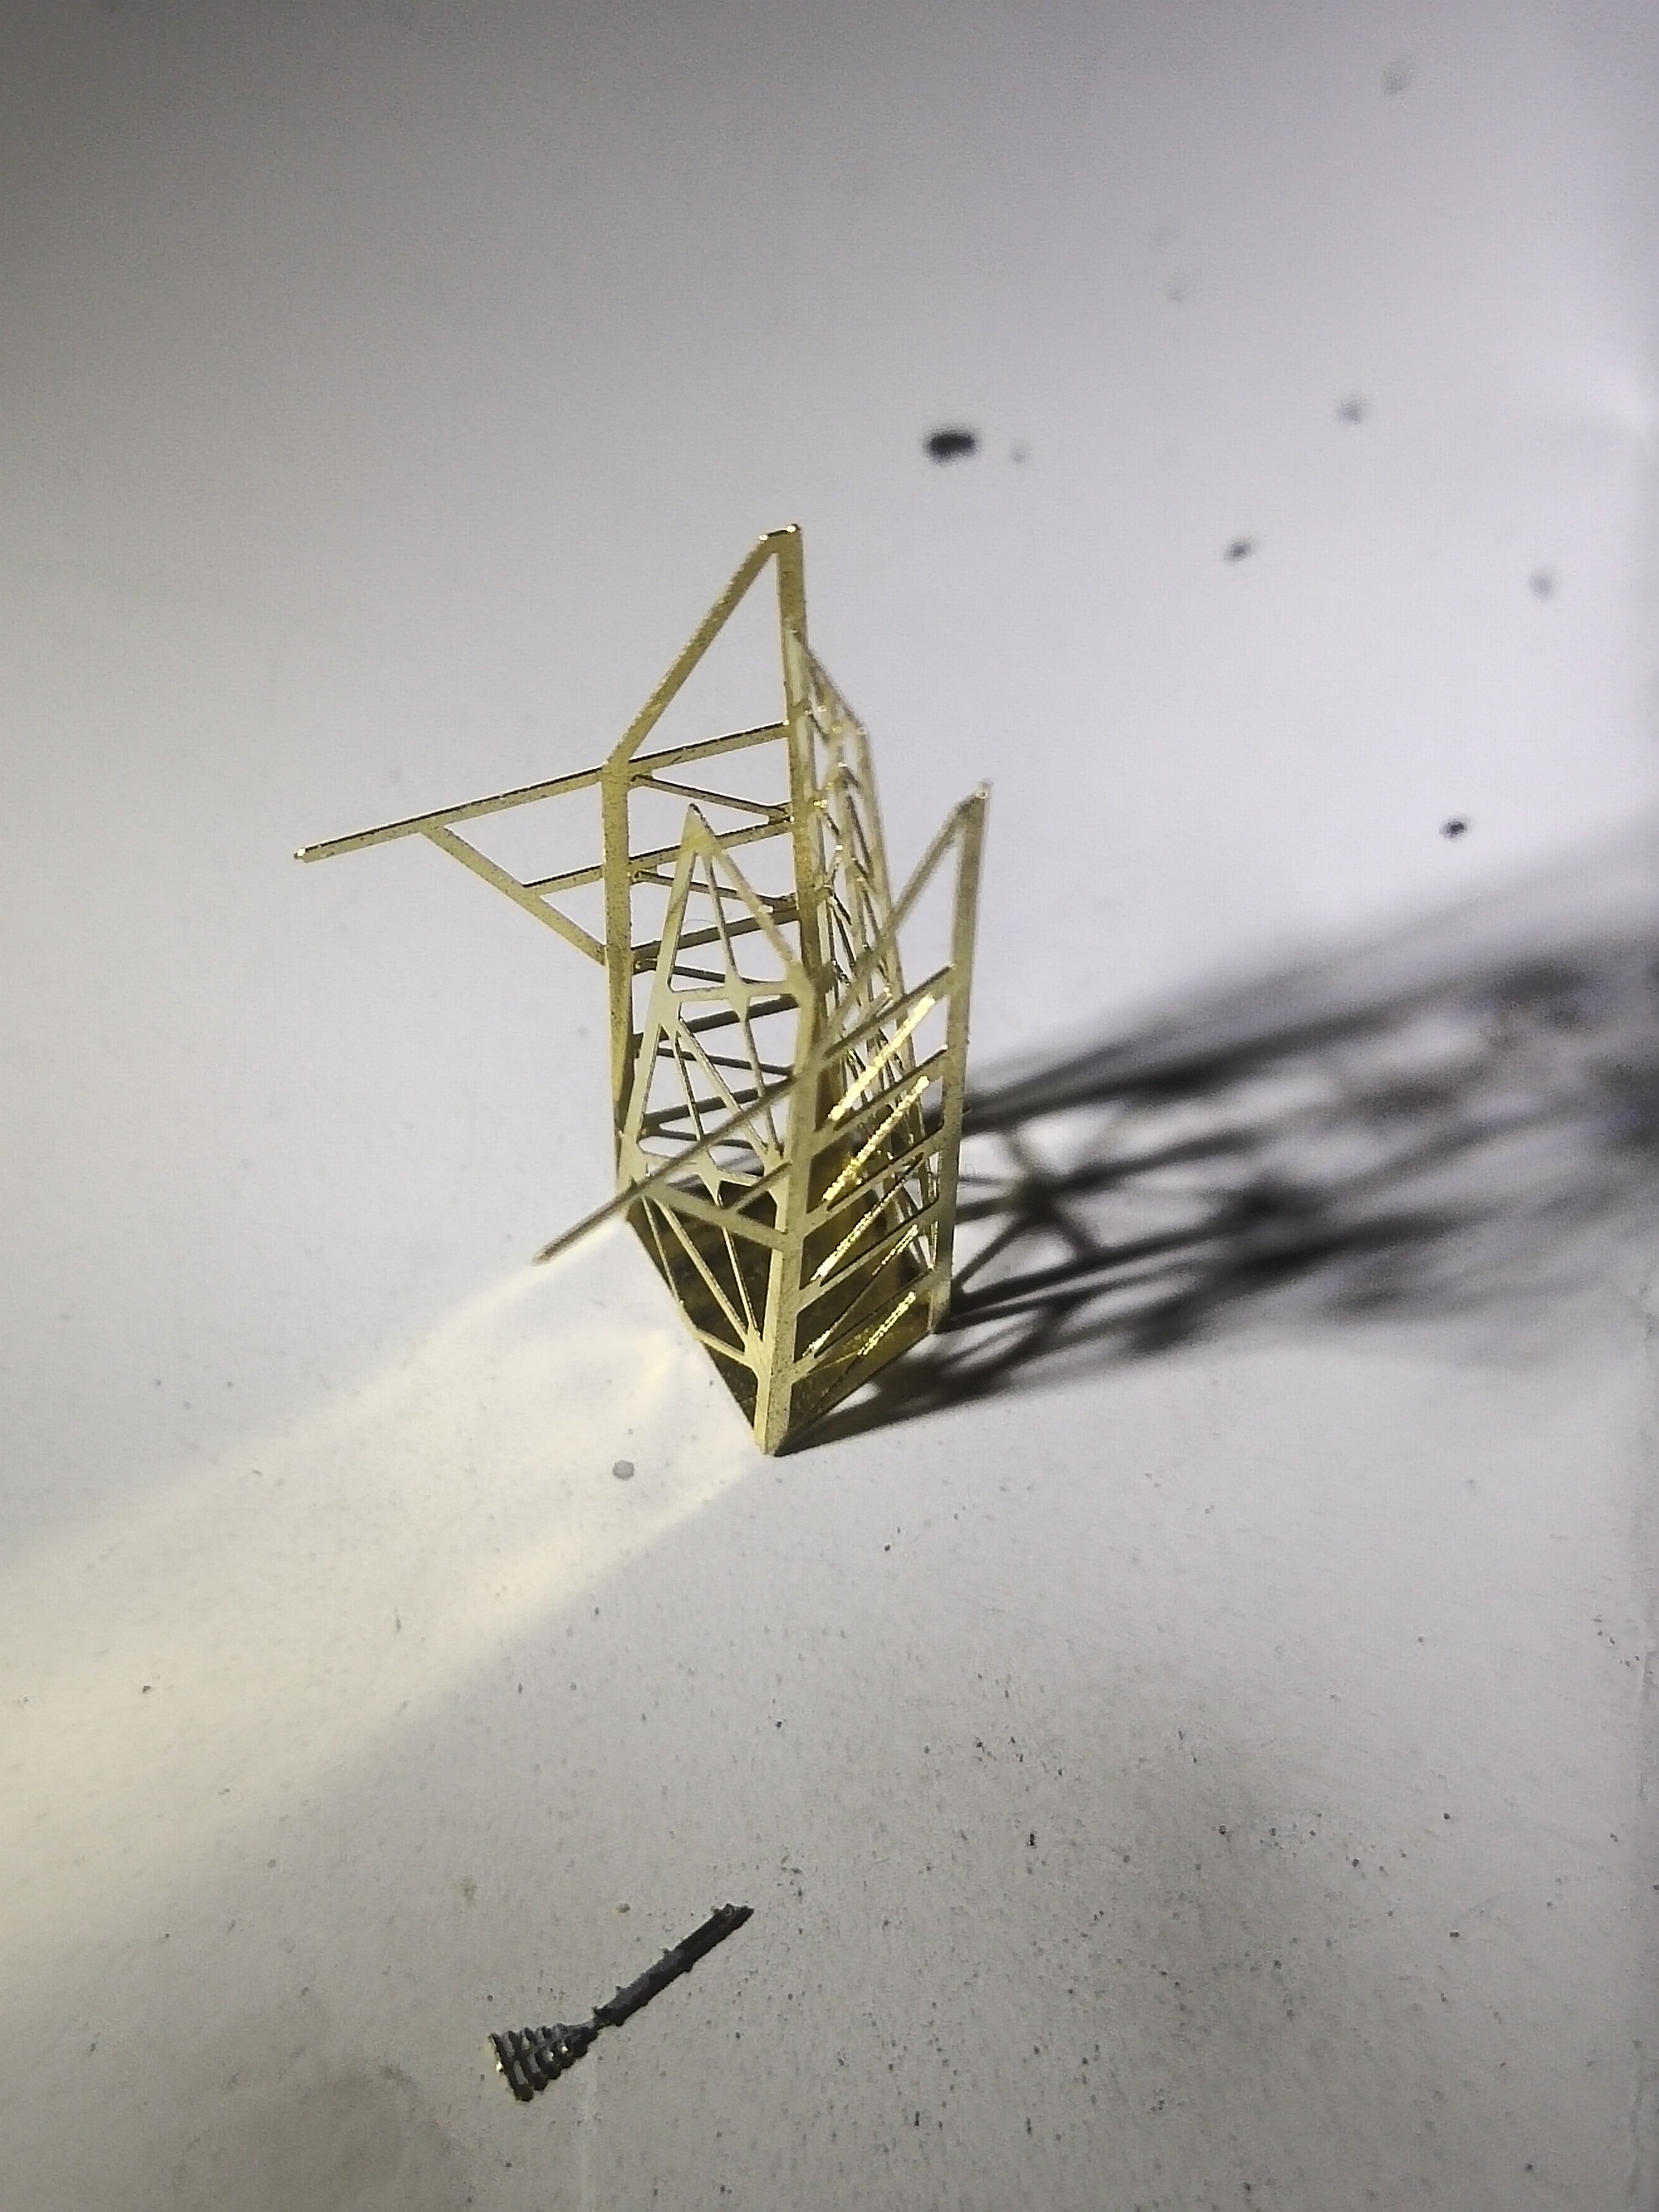
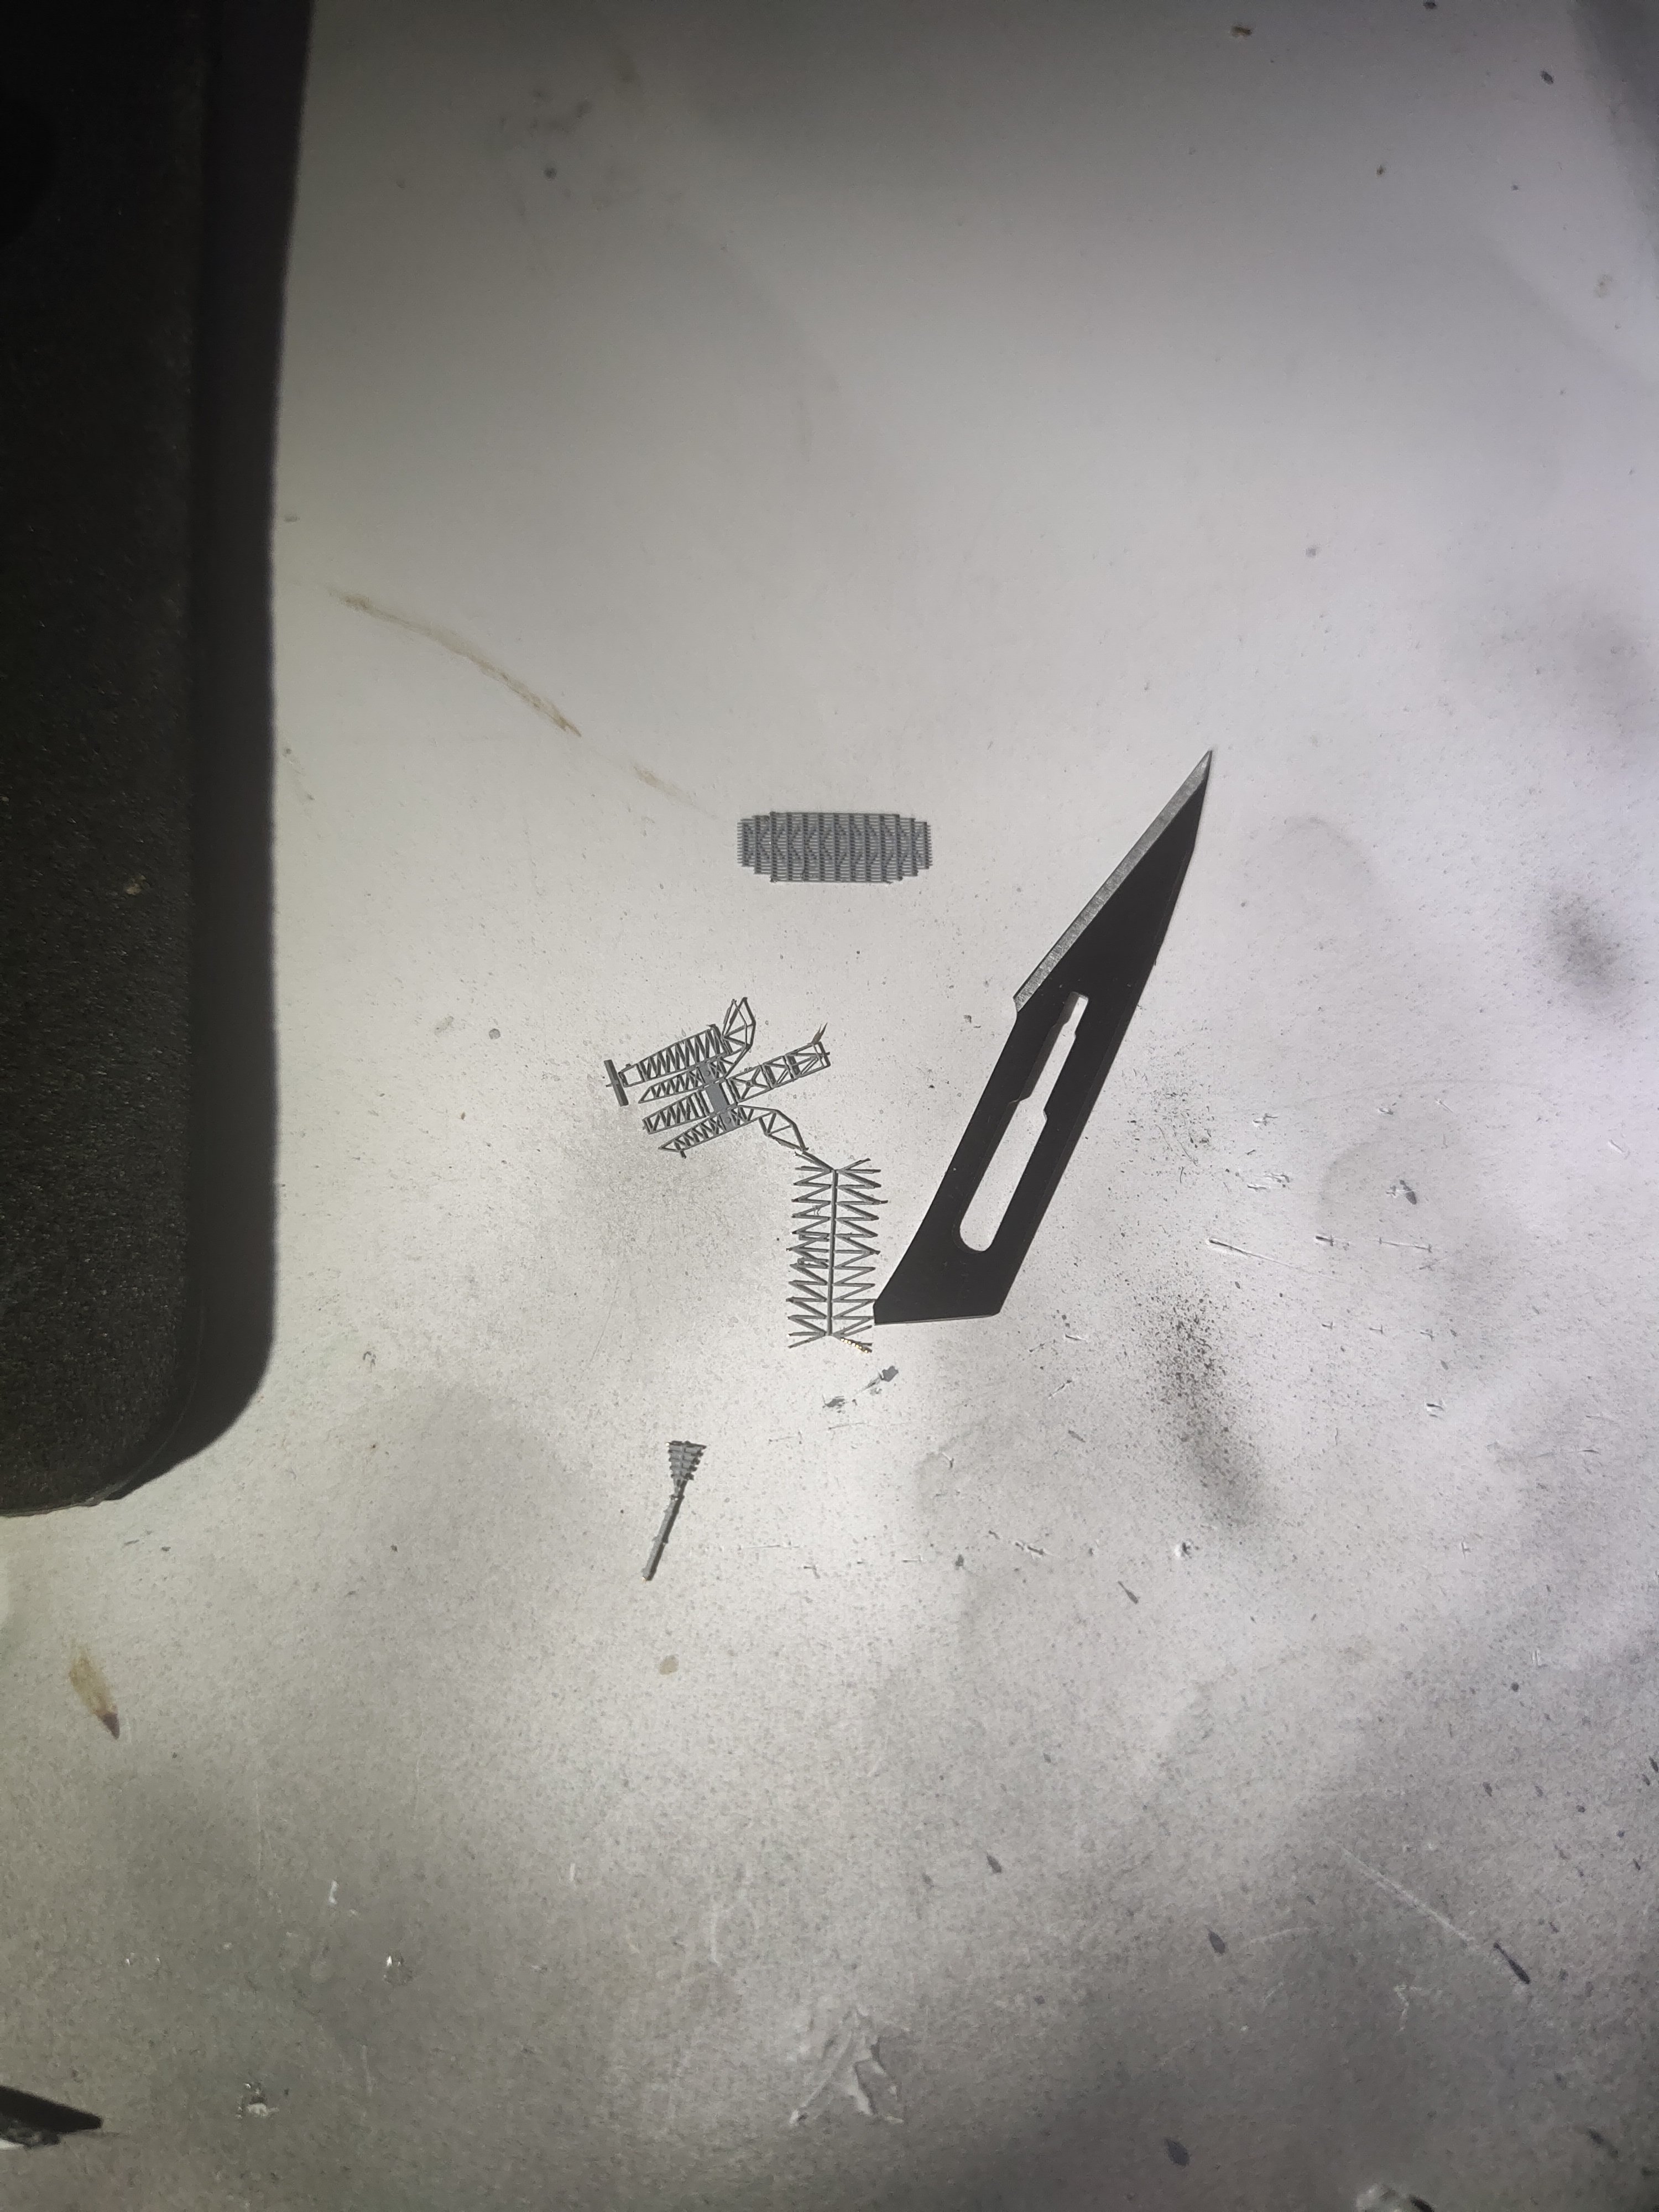
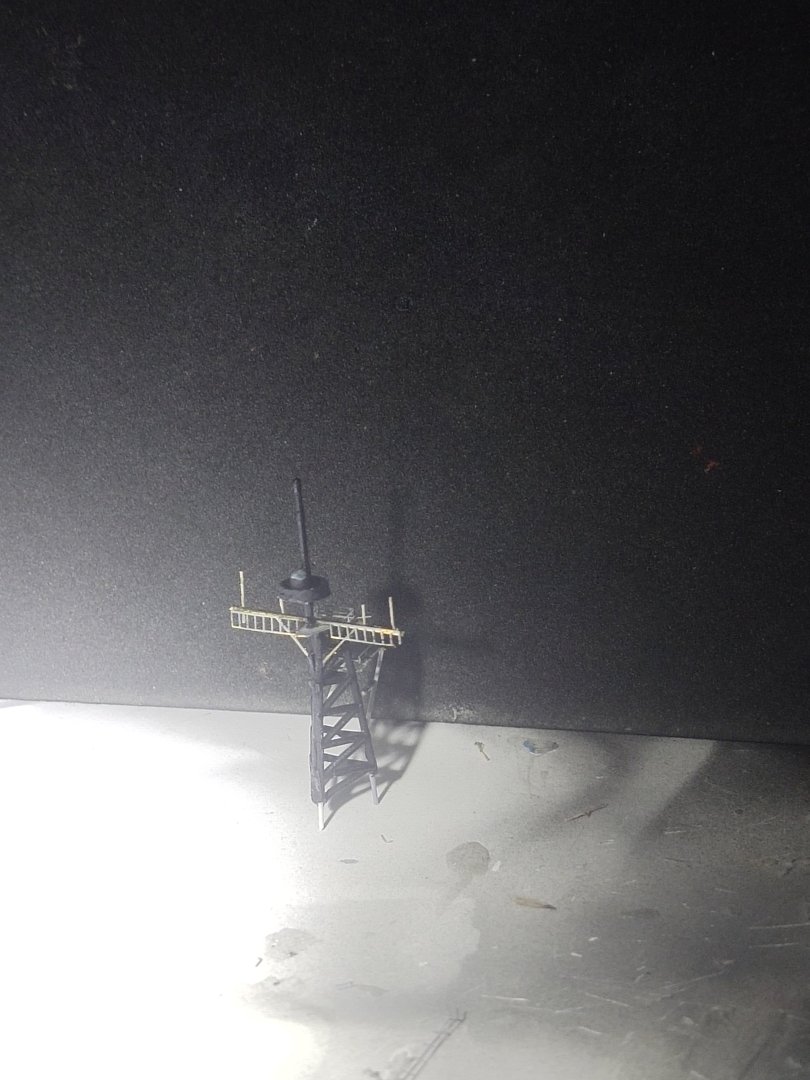
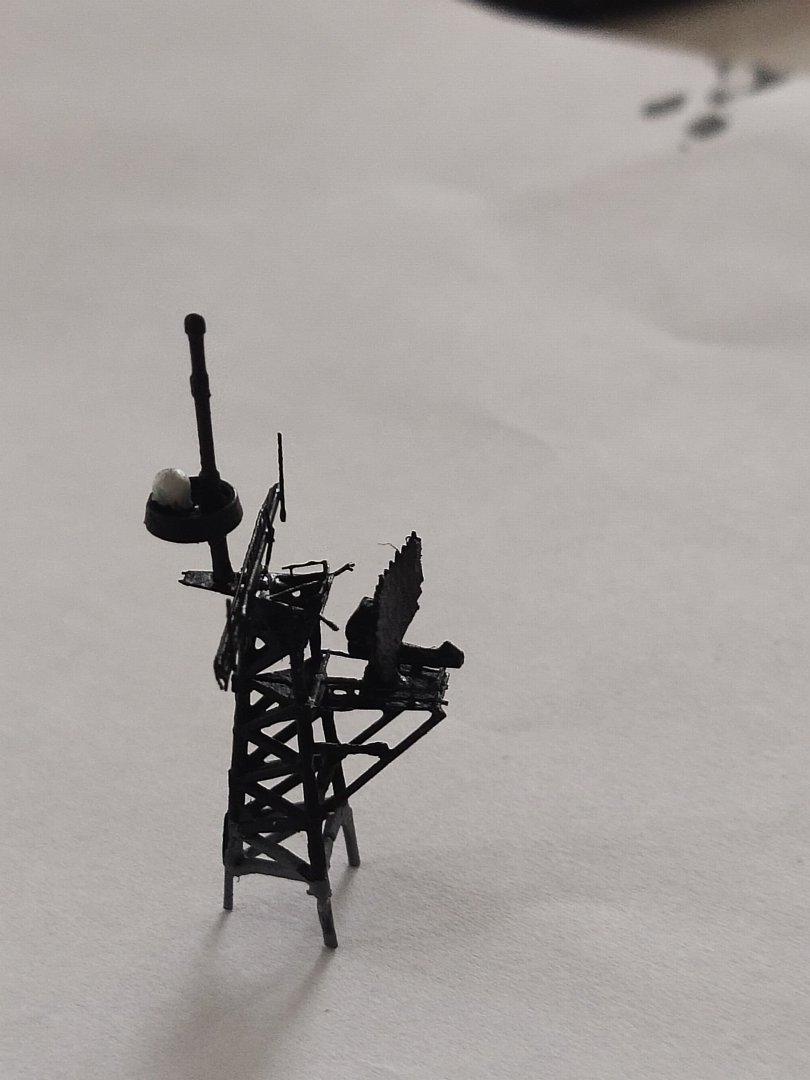
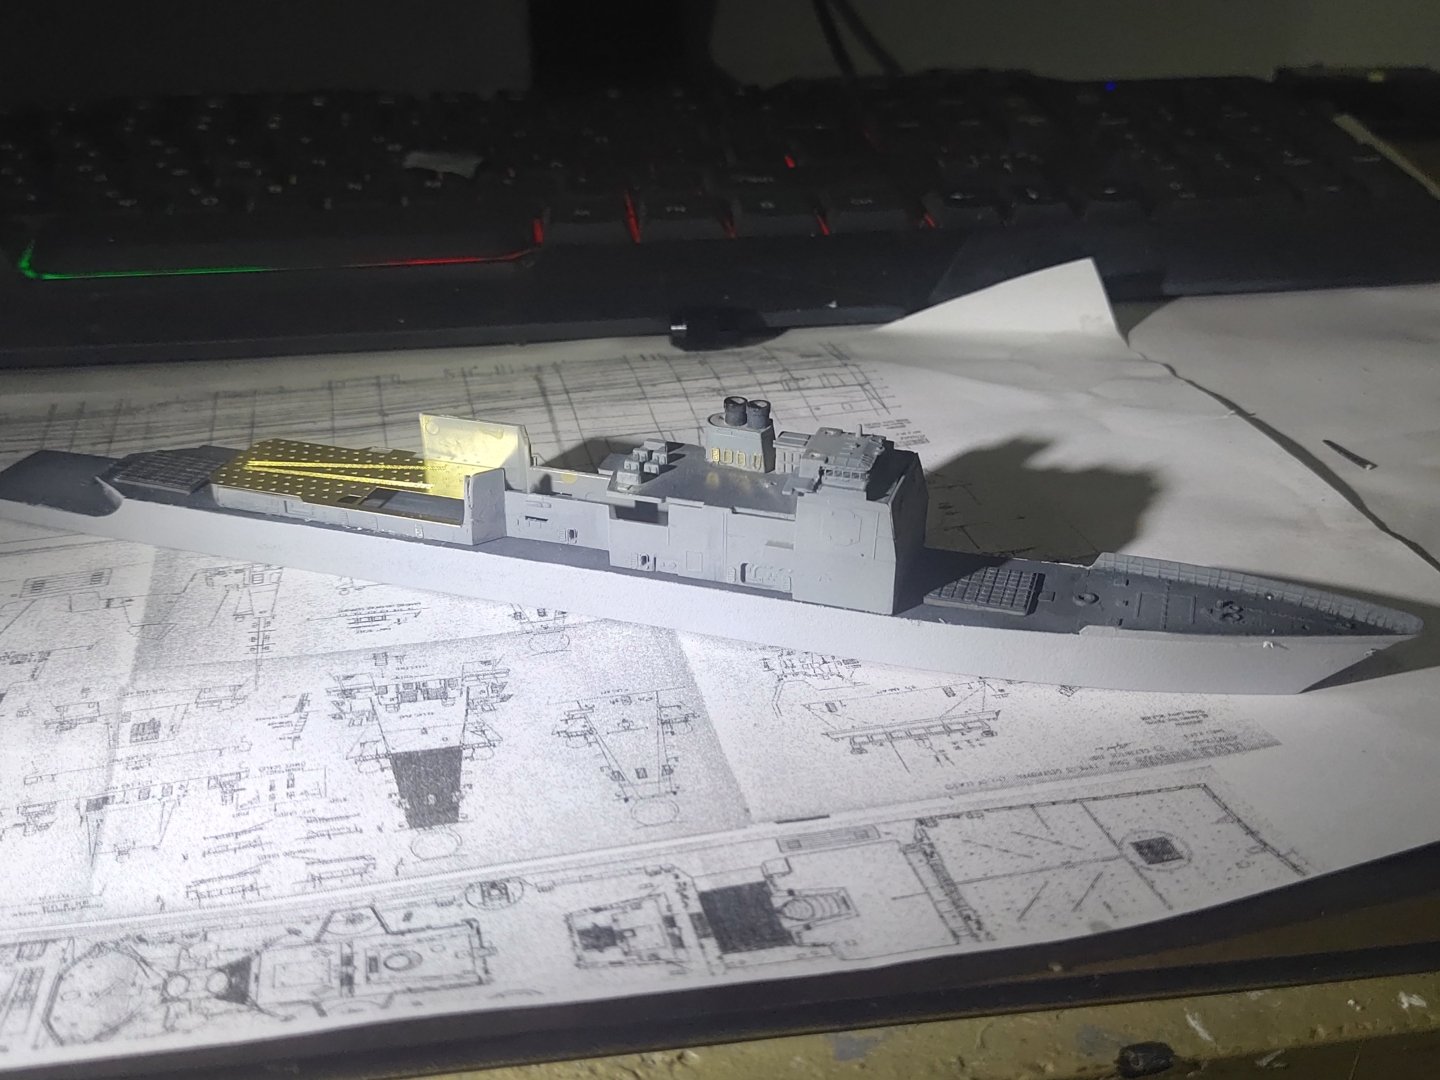
I decided to work on the mast. Different materials used. PE parts, plastic rods,, rails and brush hair. After painting, time for dry fitting
-
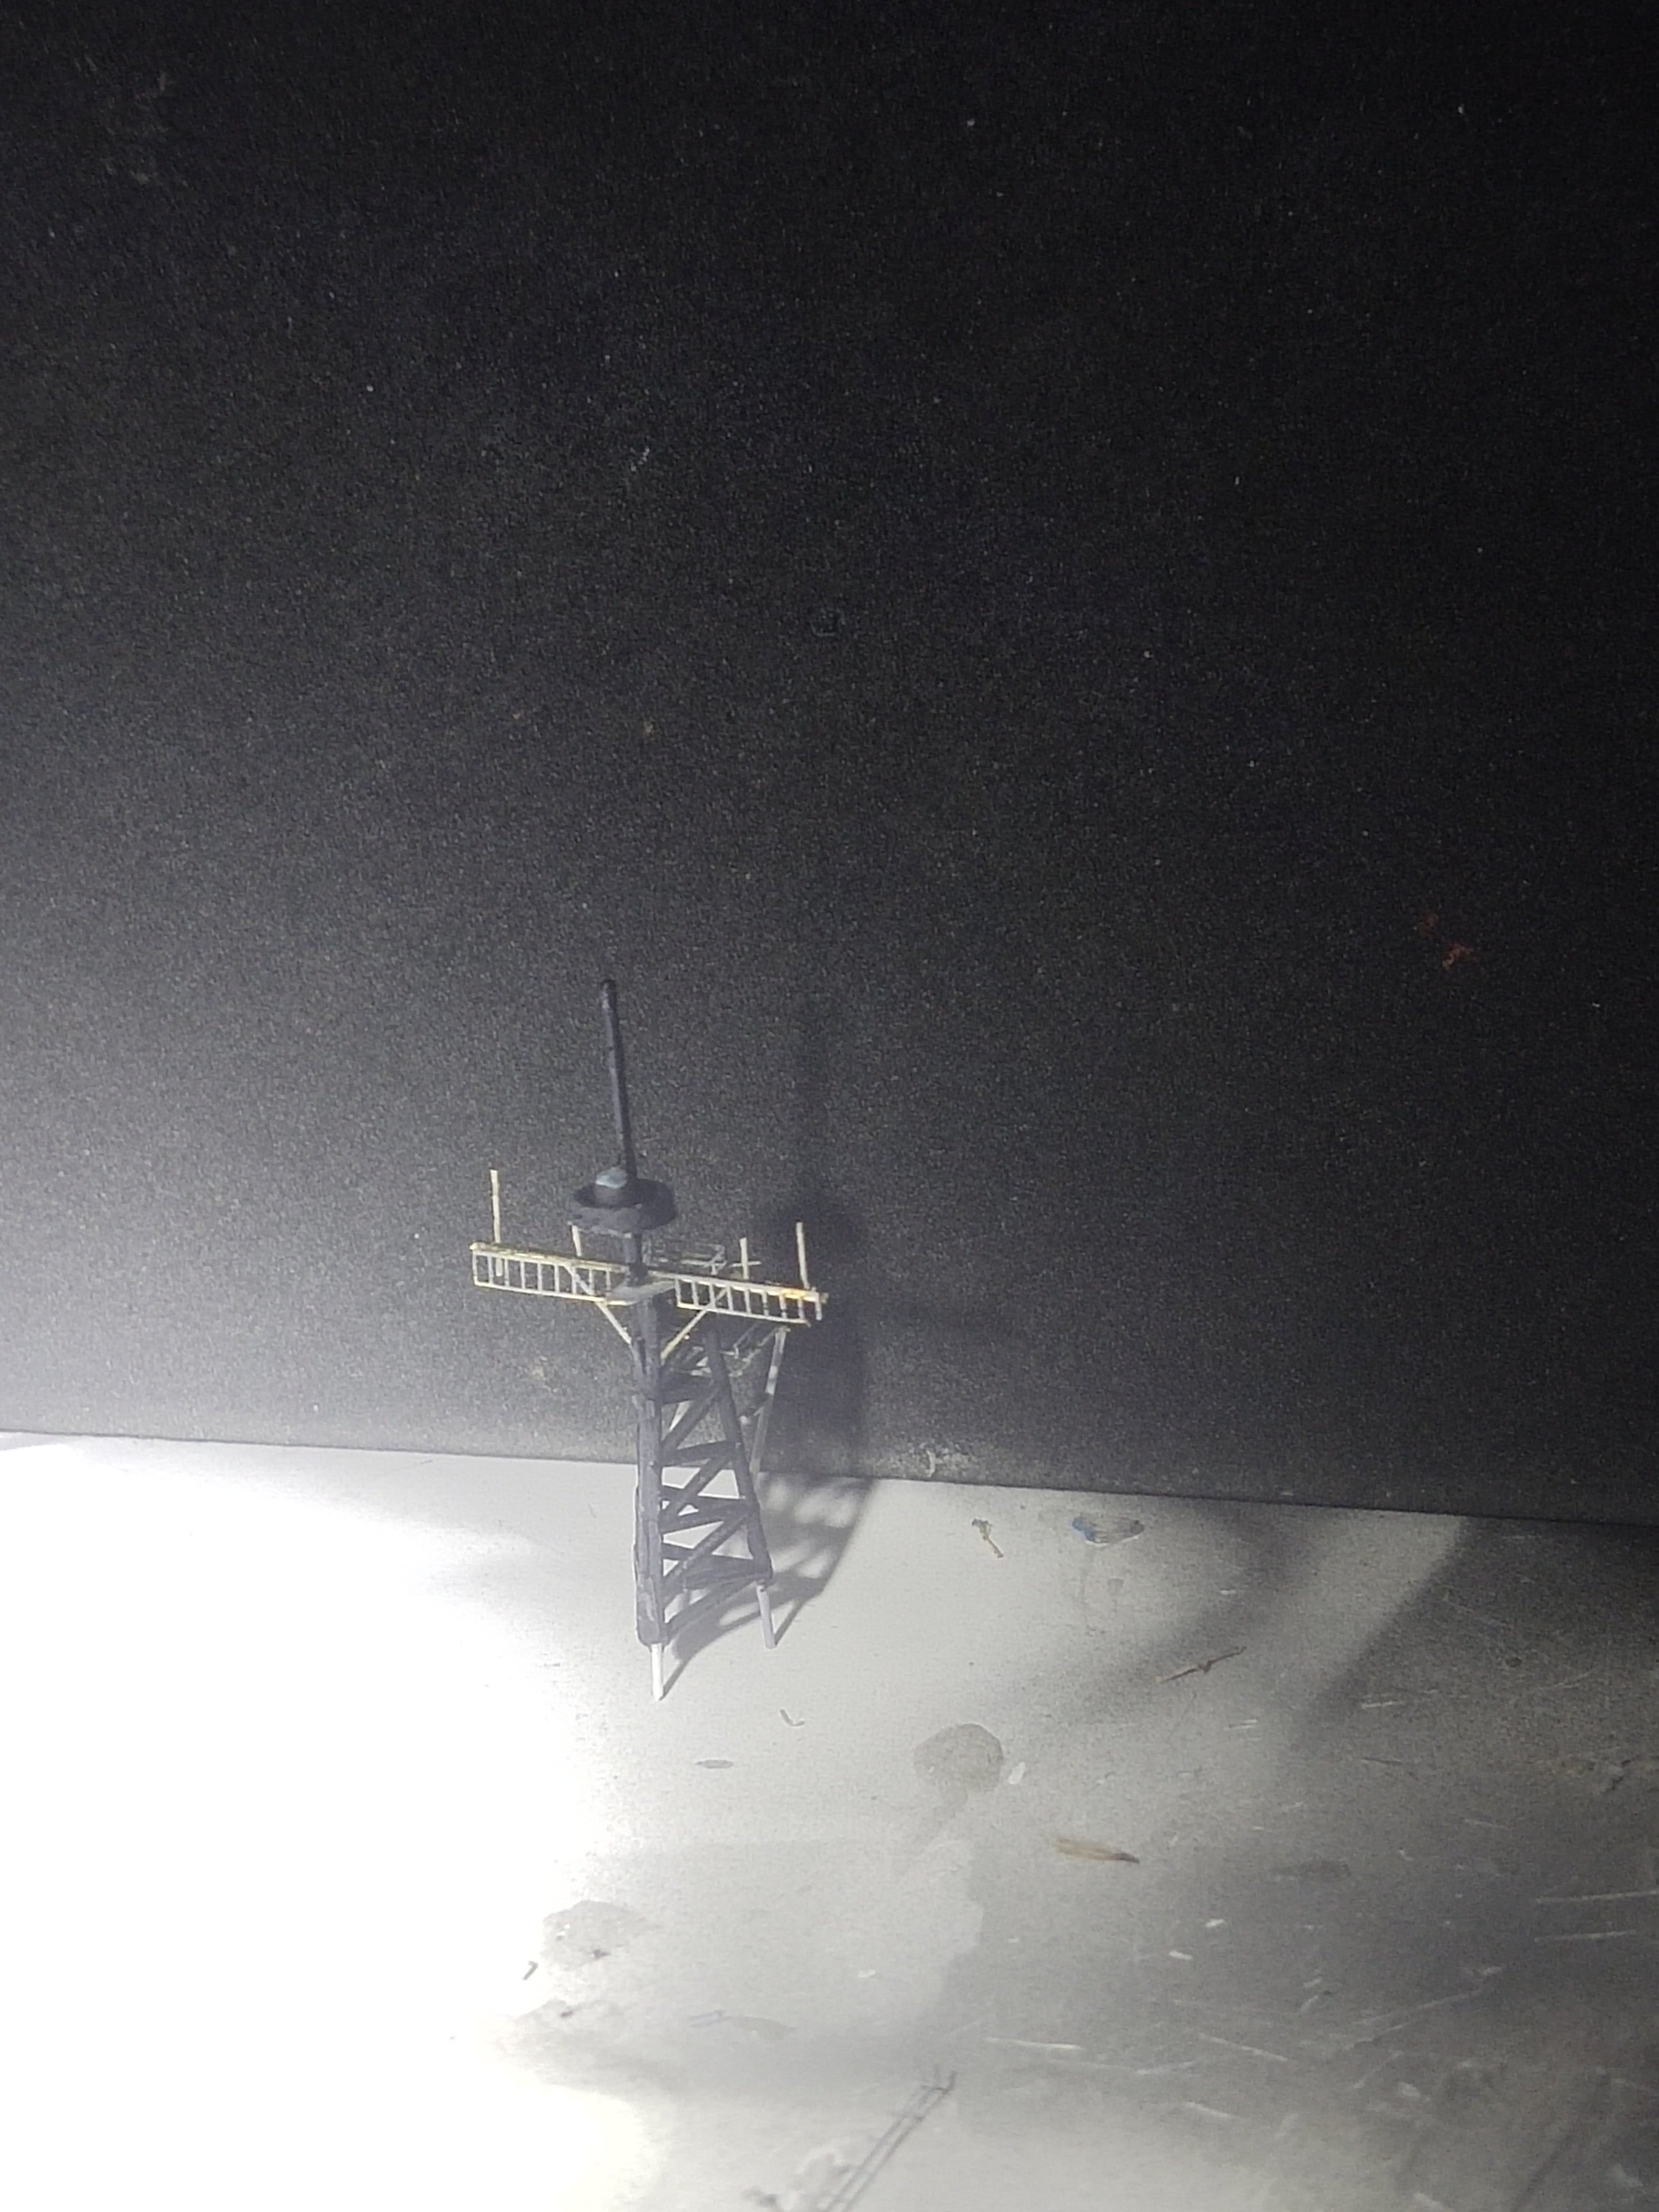
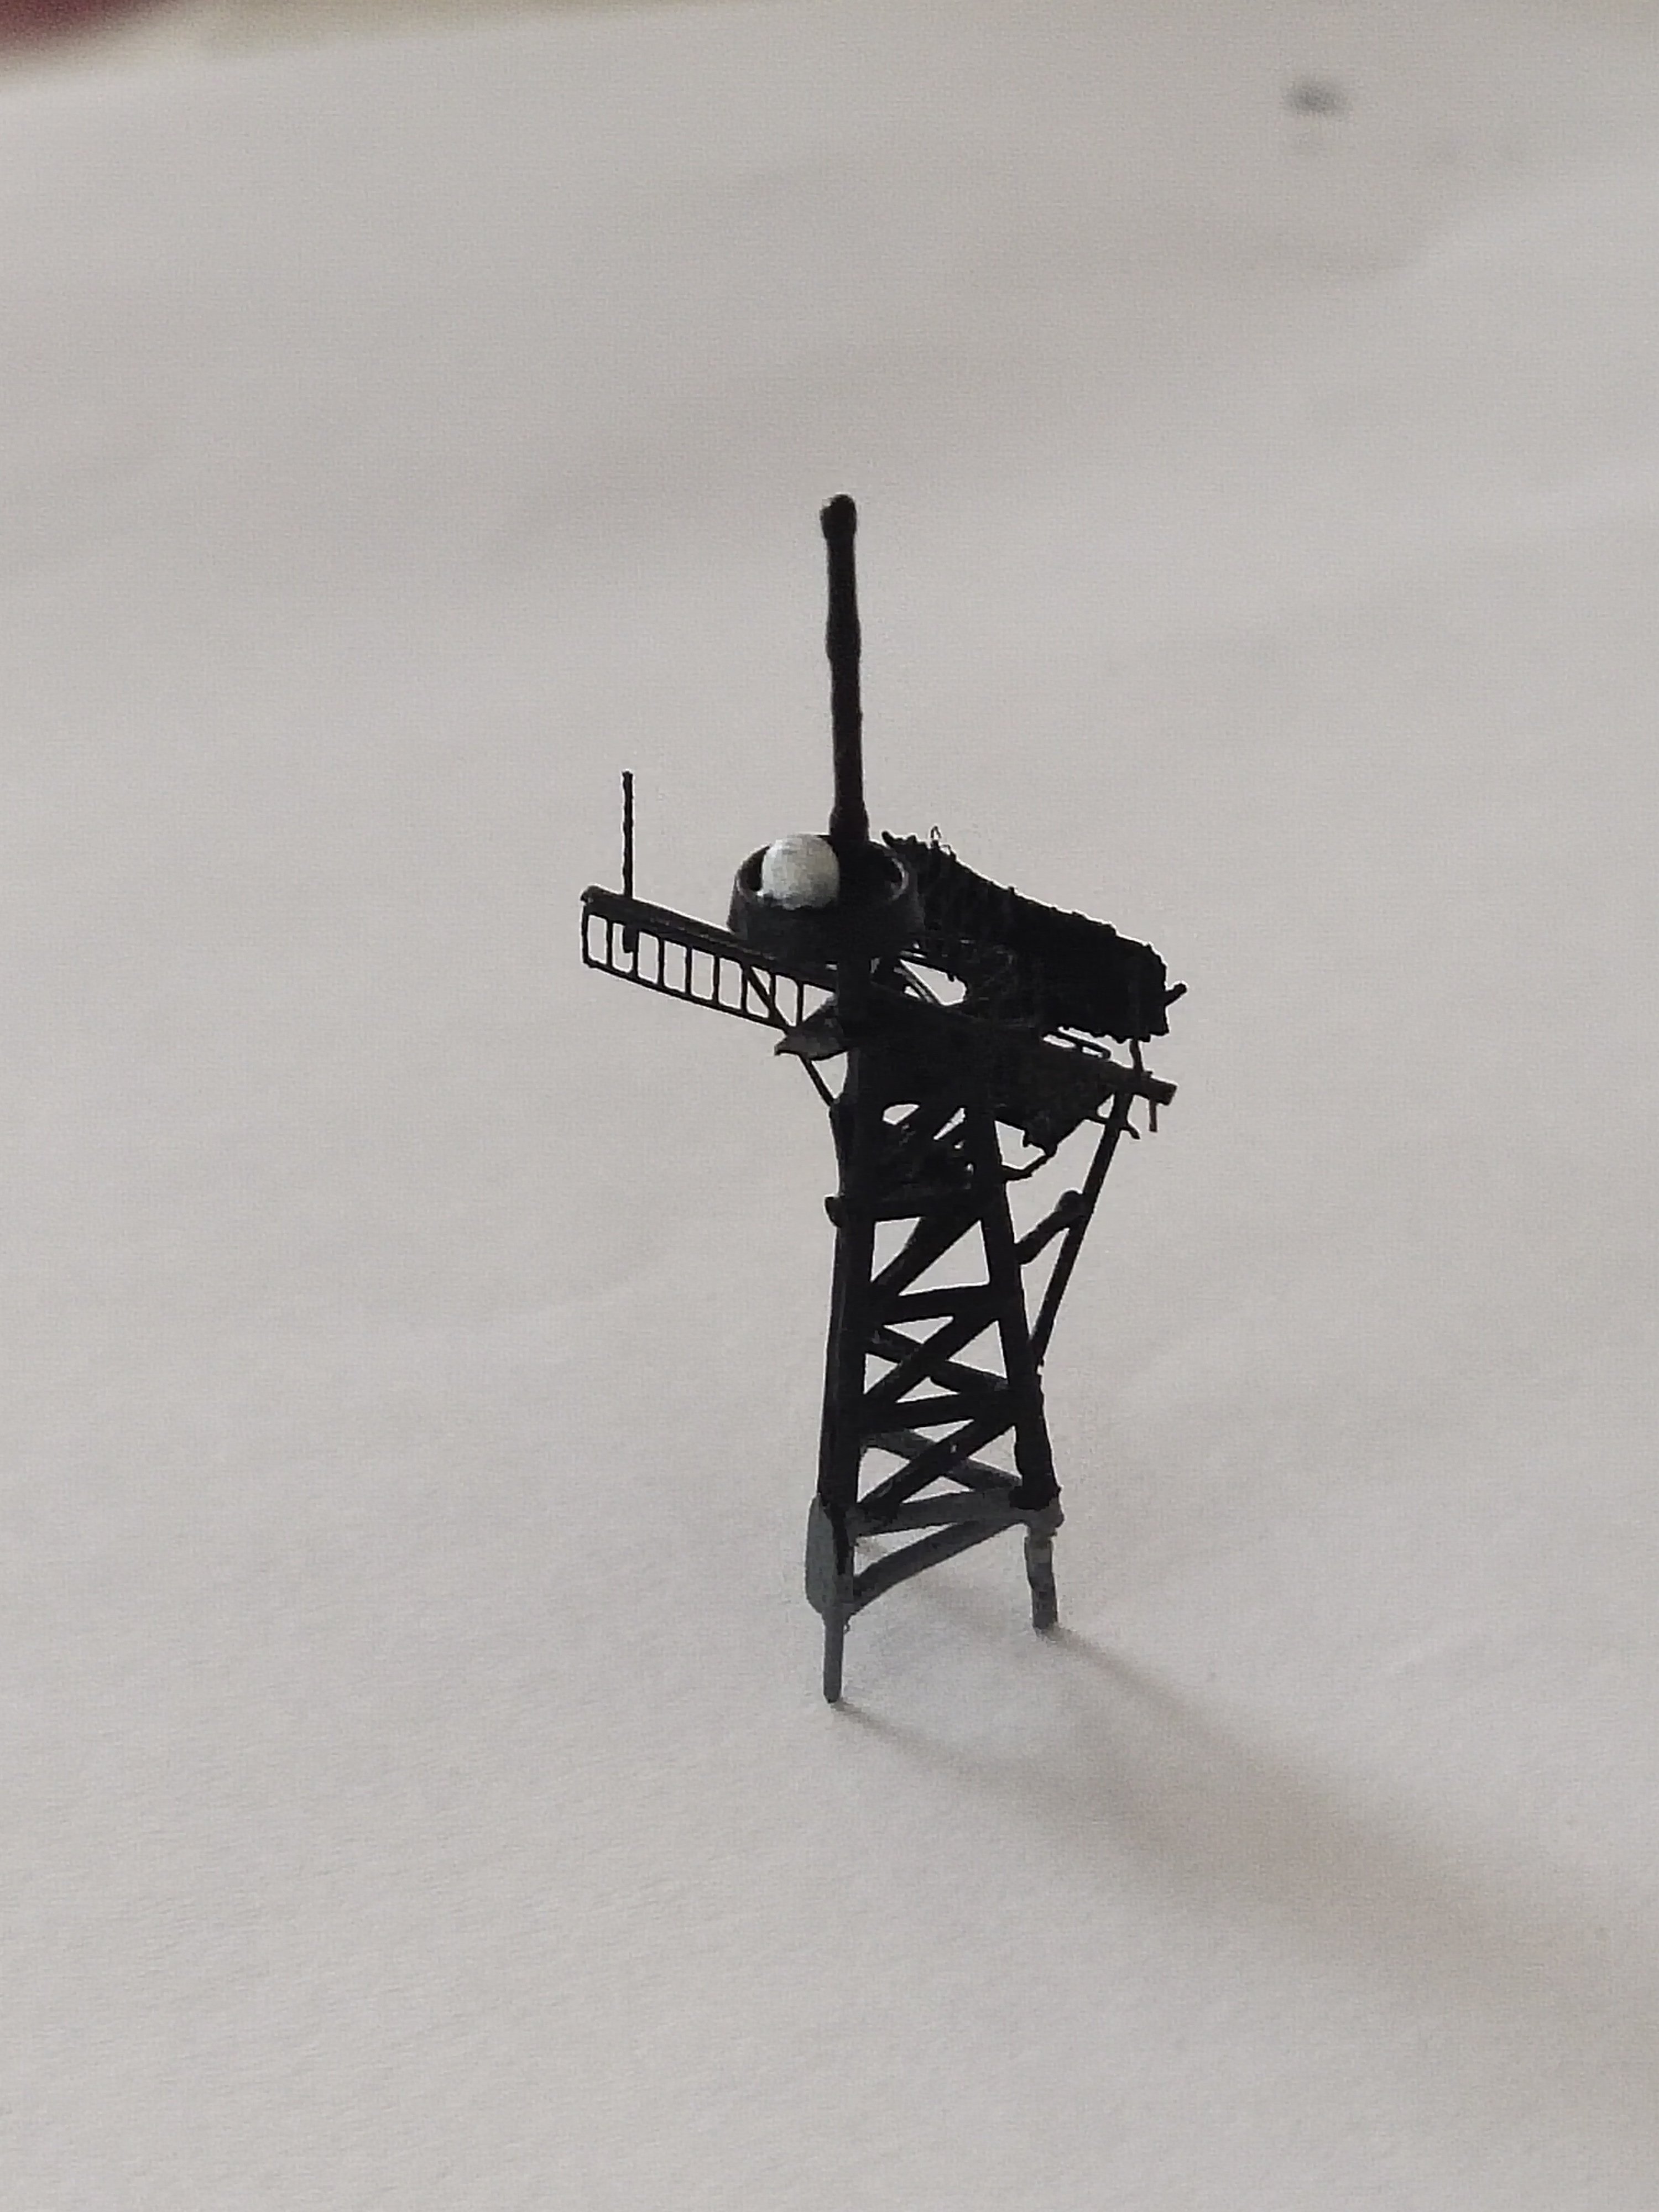
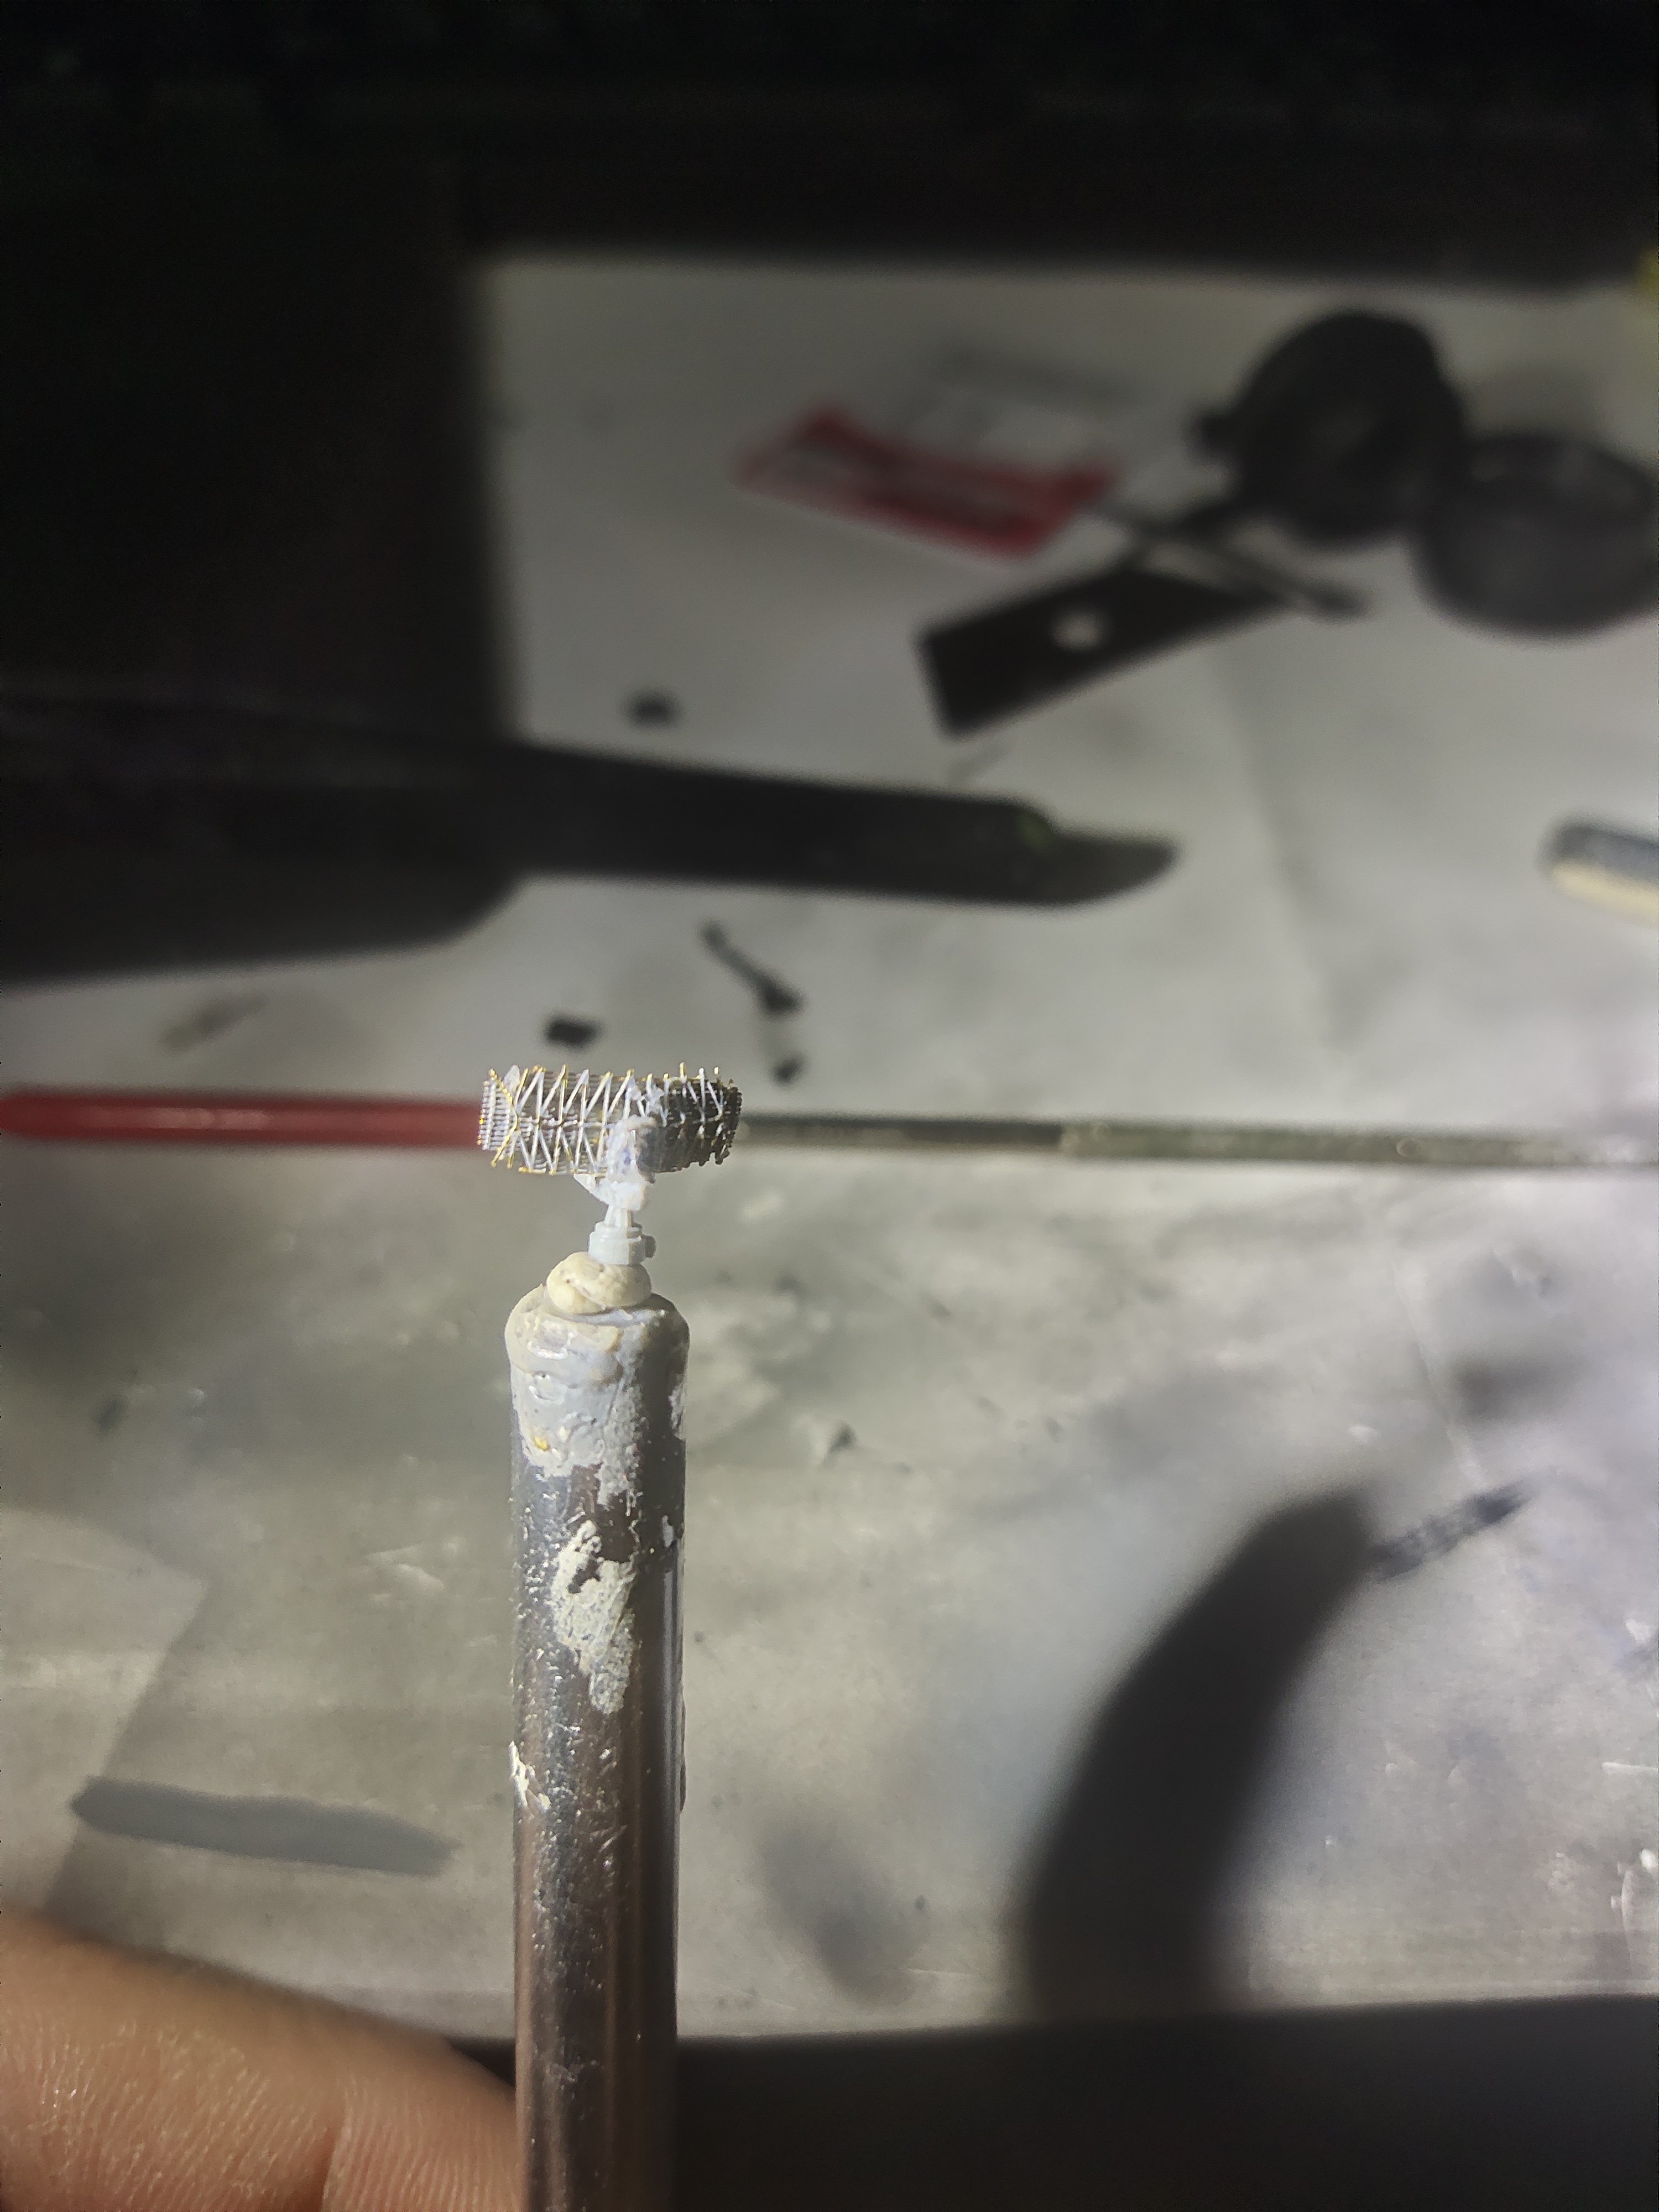
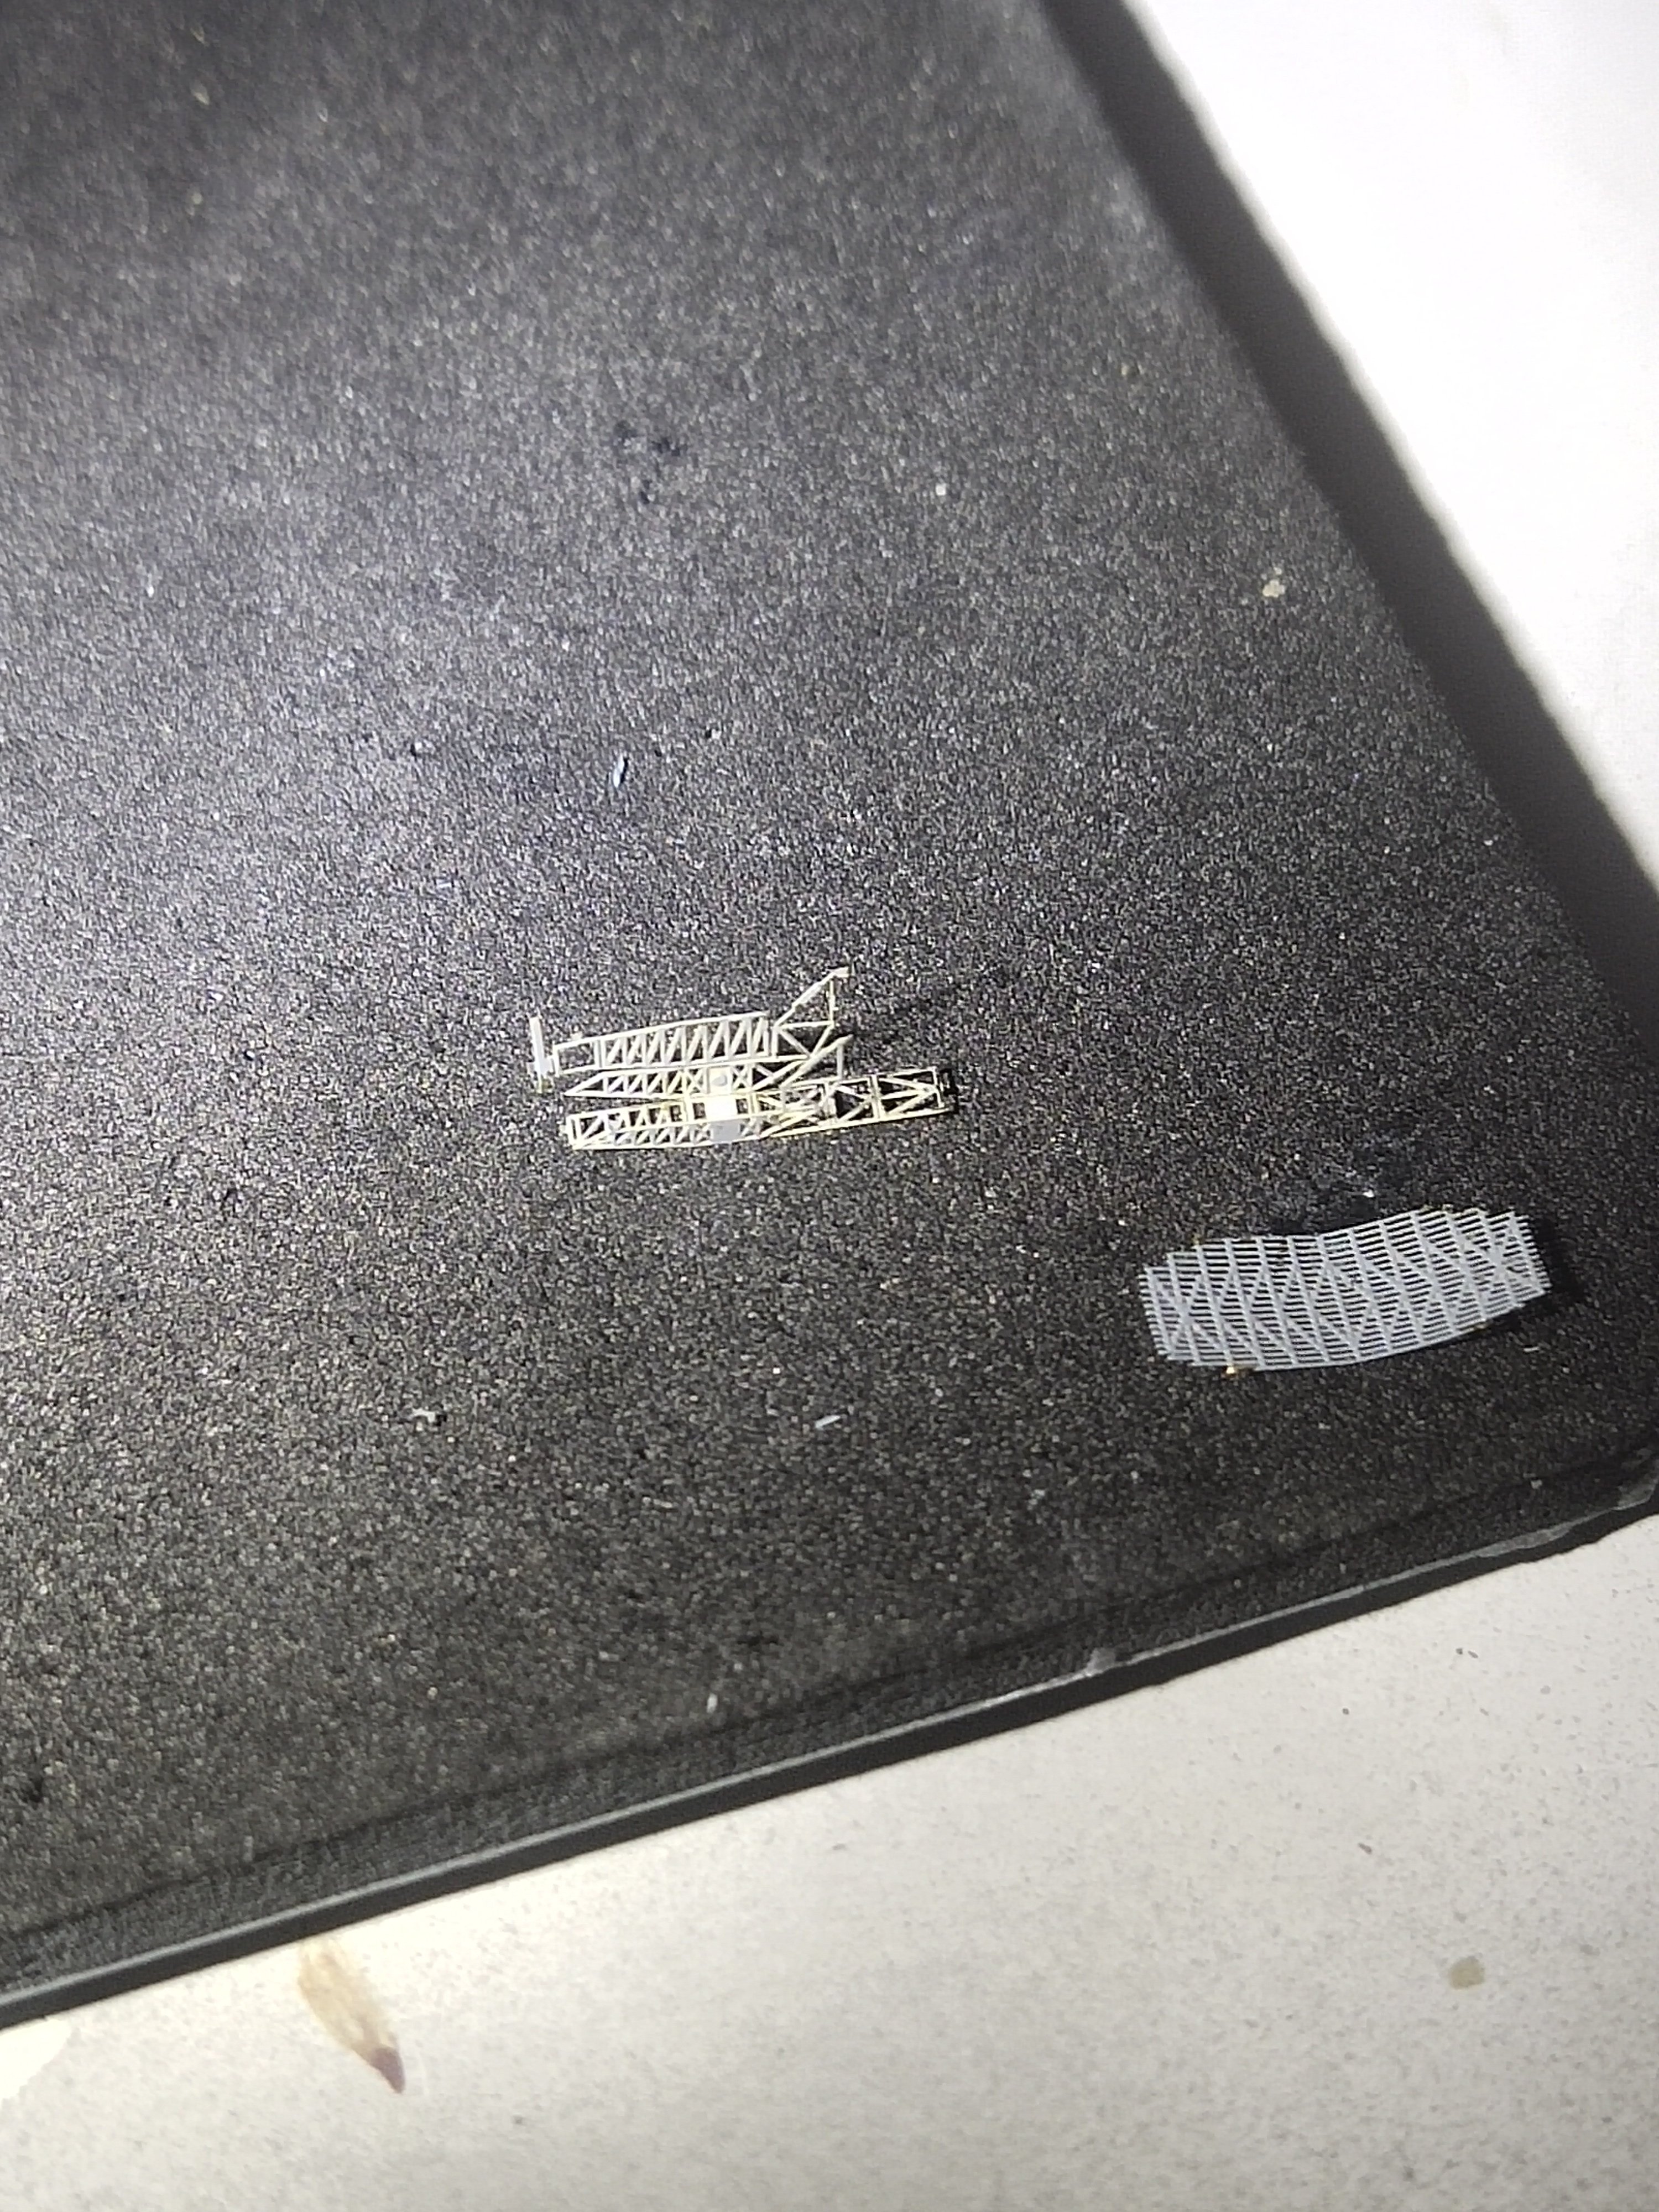
One evening one piece. I decided to work on the main mast. While assembling the PE part it came obvious that while it was detailed, the tripod was too thin, more of a 2d shape. And since Ticos have a reinforced mast like Spruance class I decided to work on the original part. Work begun on SPS Radar. While holding the arm with tweezers and trying to attach the radar, it twisted and bended. I took another set from my spares, but proved very delicate and broke after a slight bend. Perhaps If i could use 10 sets I could have damaged all. An attempt to glue them failled, still looked wrecked. So basically I took the arm of the plastic piece and add the main radar plate on it. It was the best solution I could think after all other options have failed


-
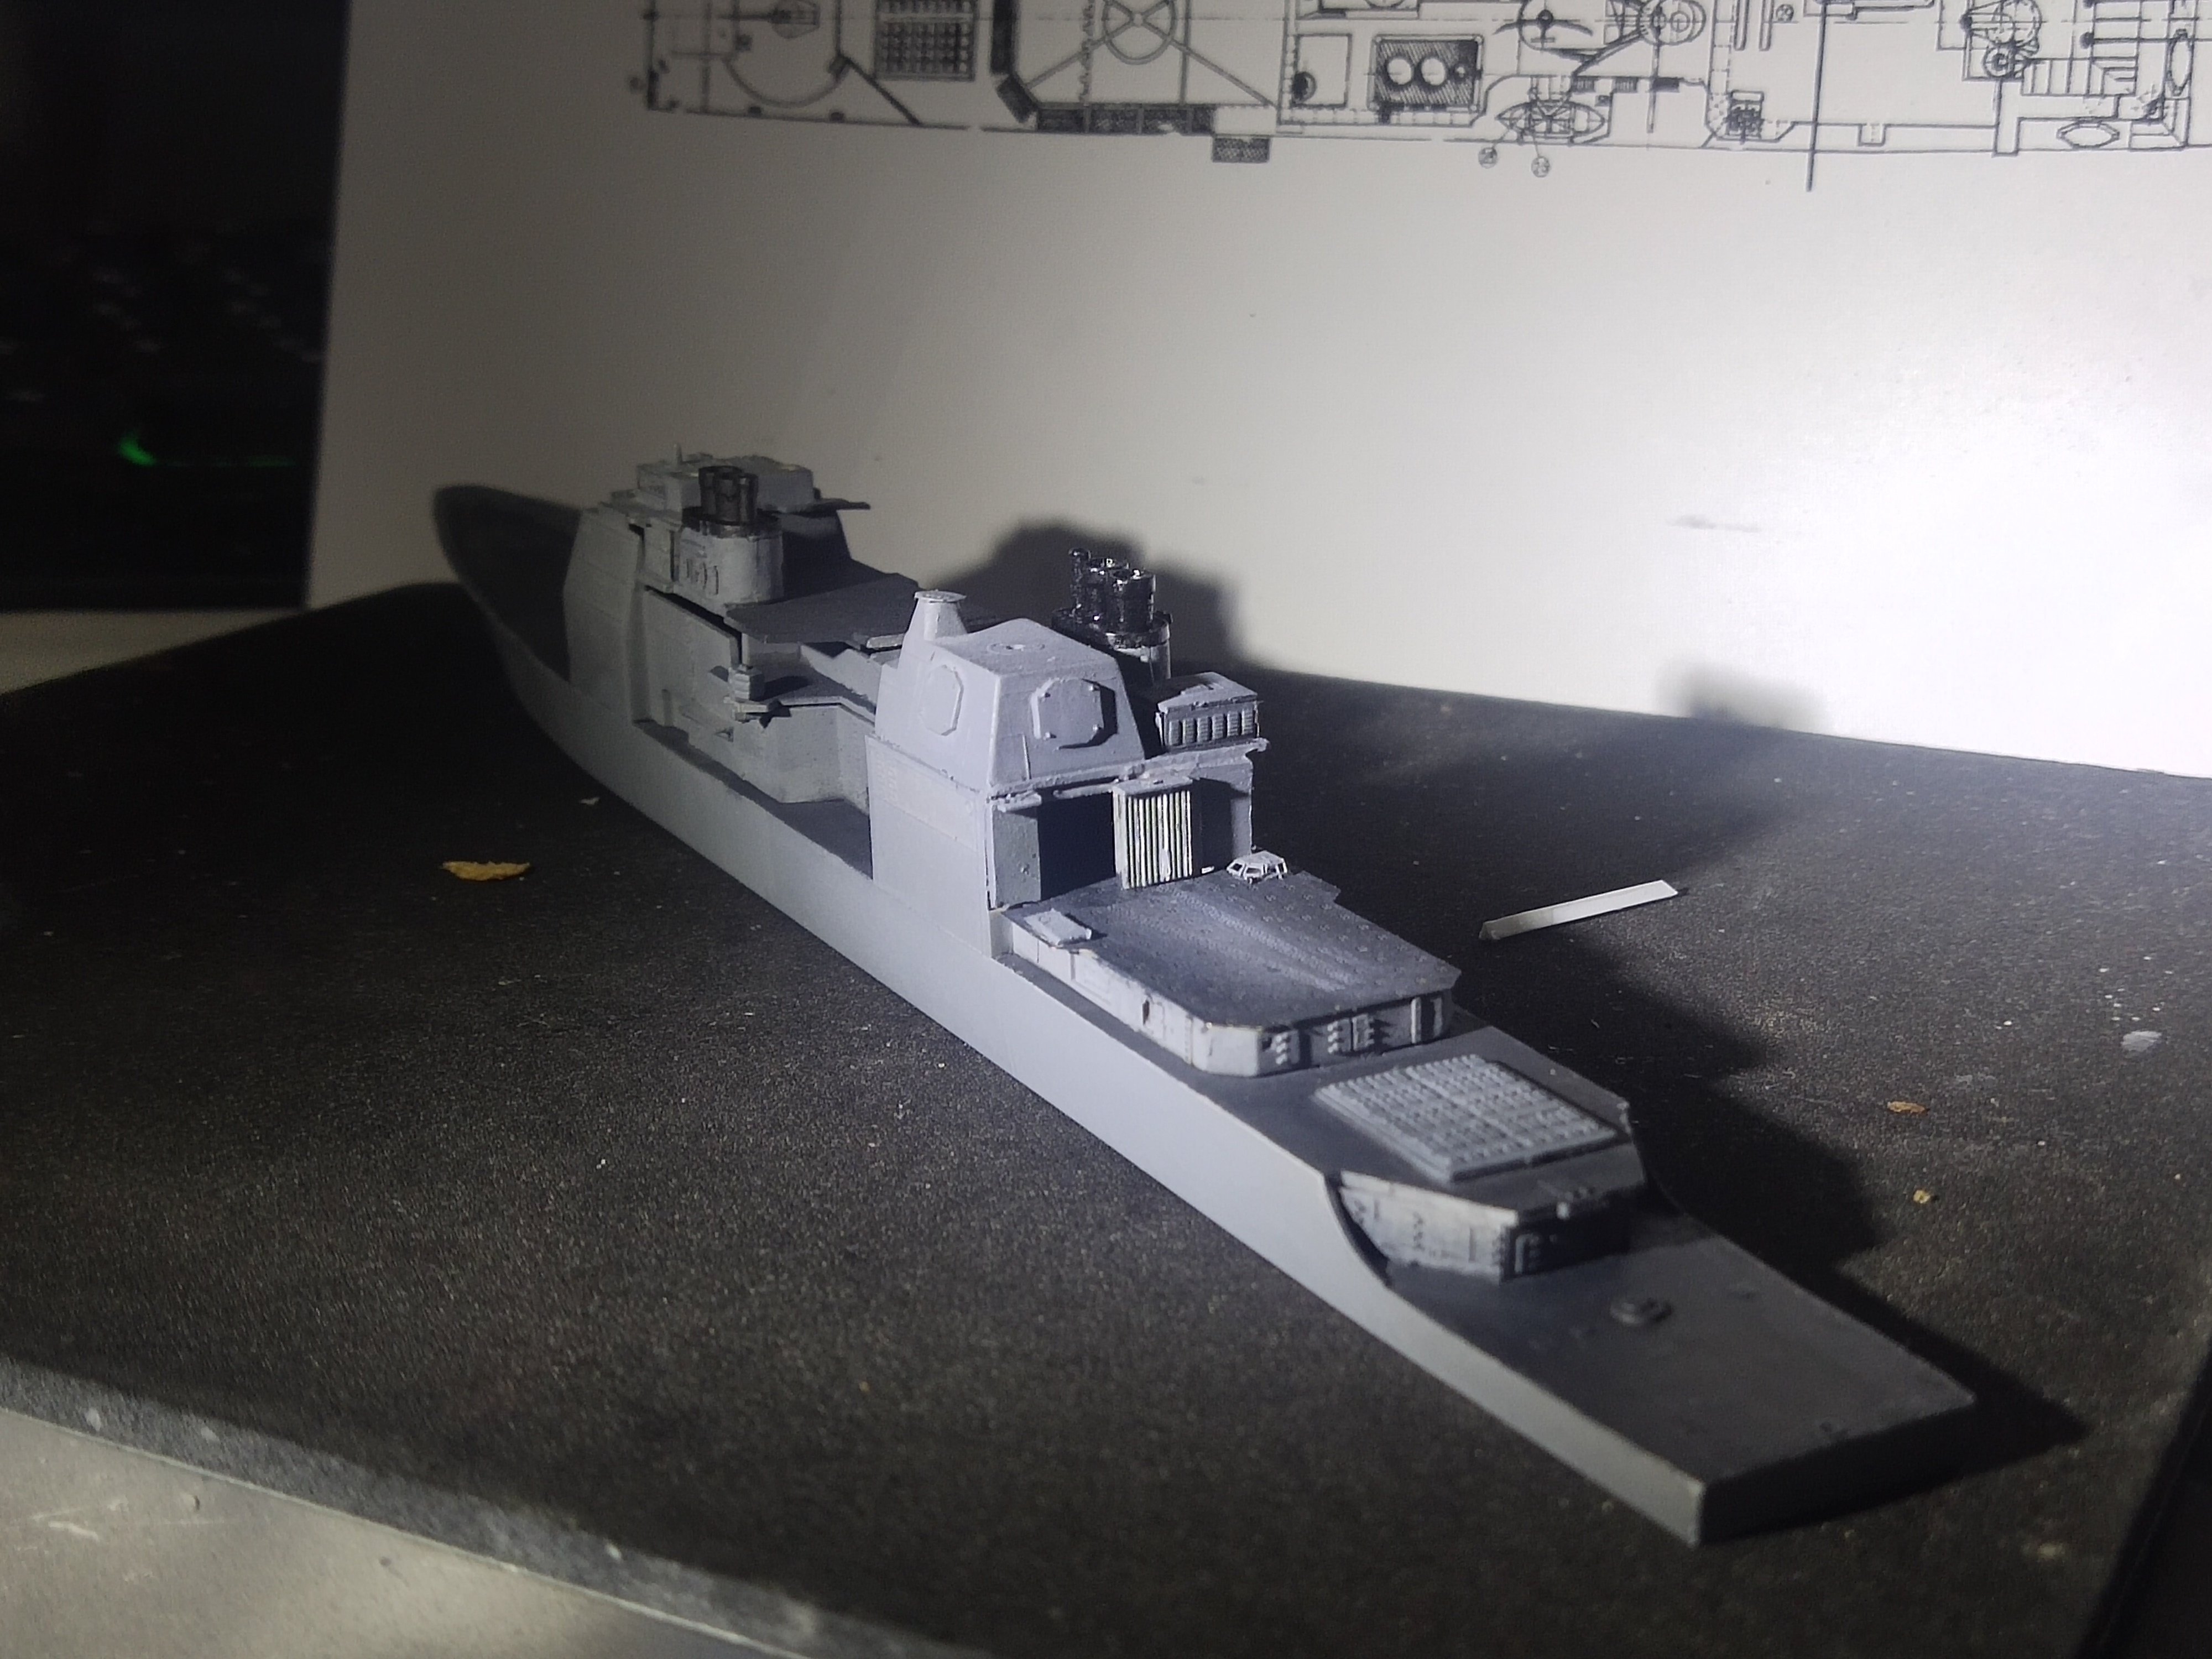
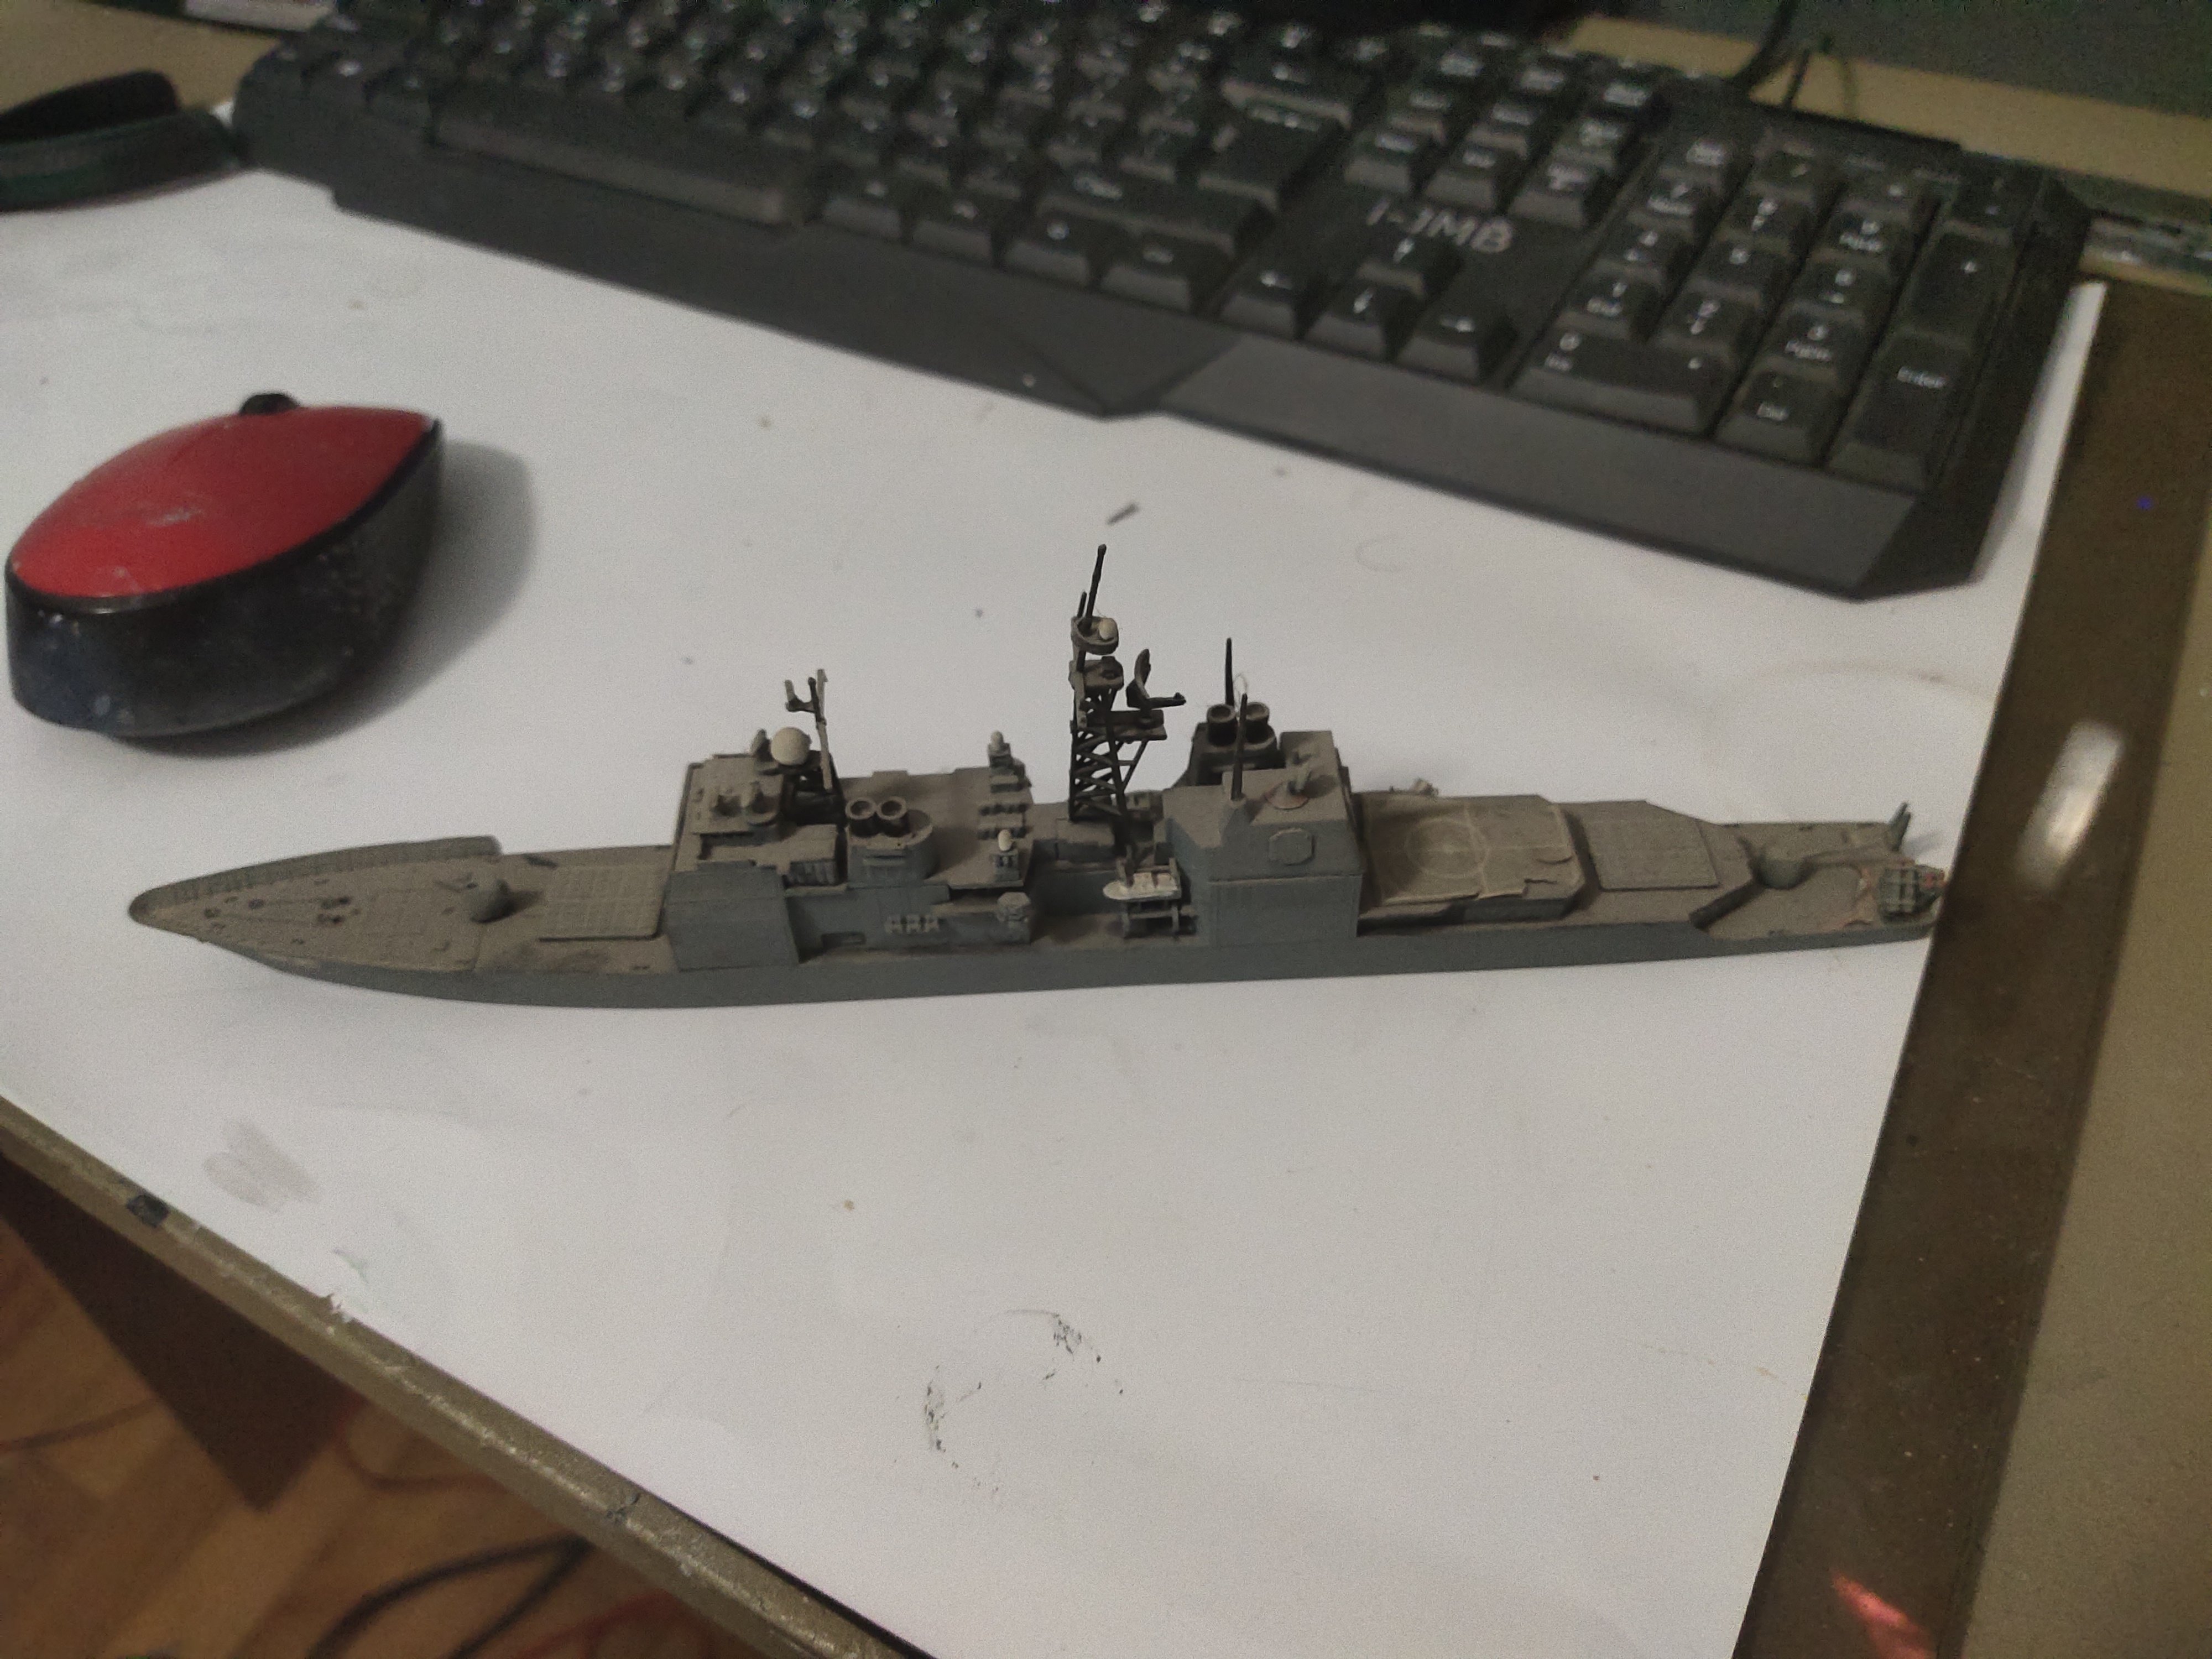
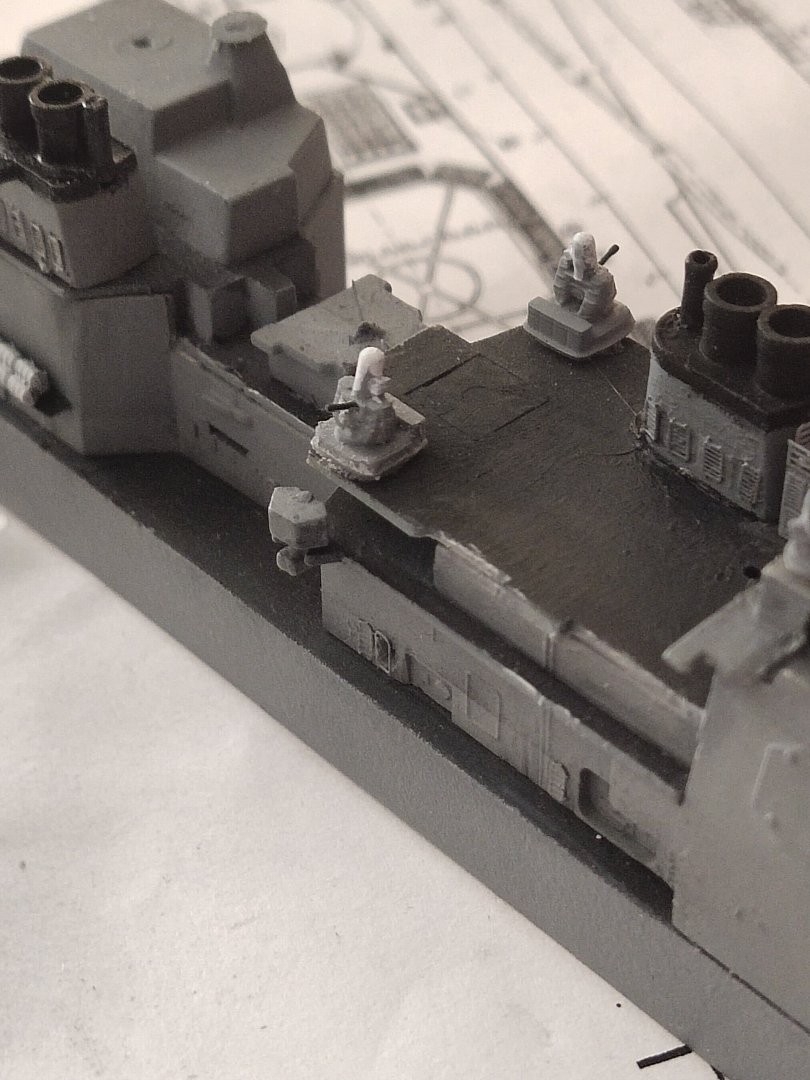
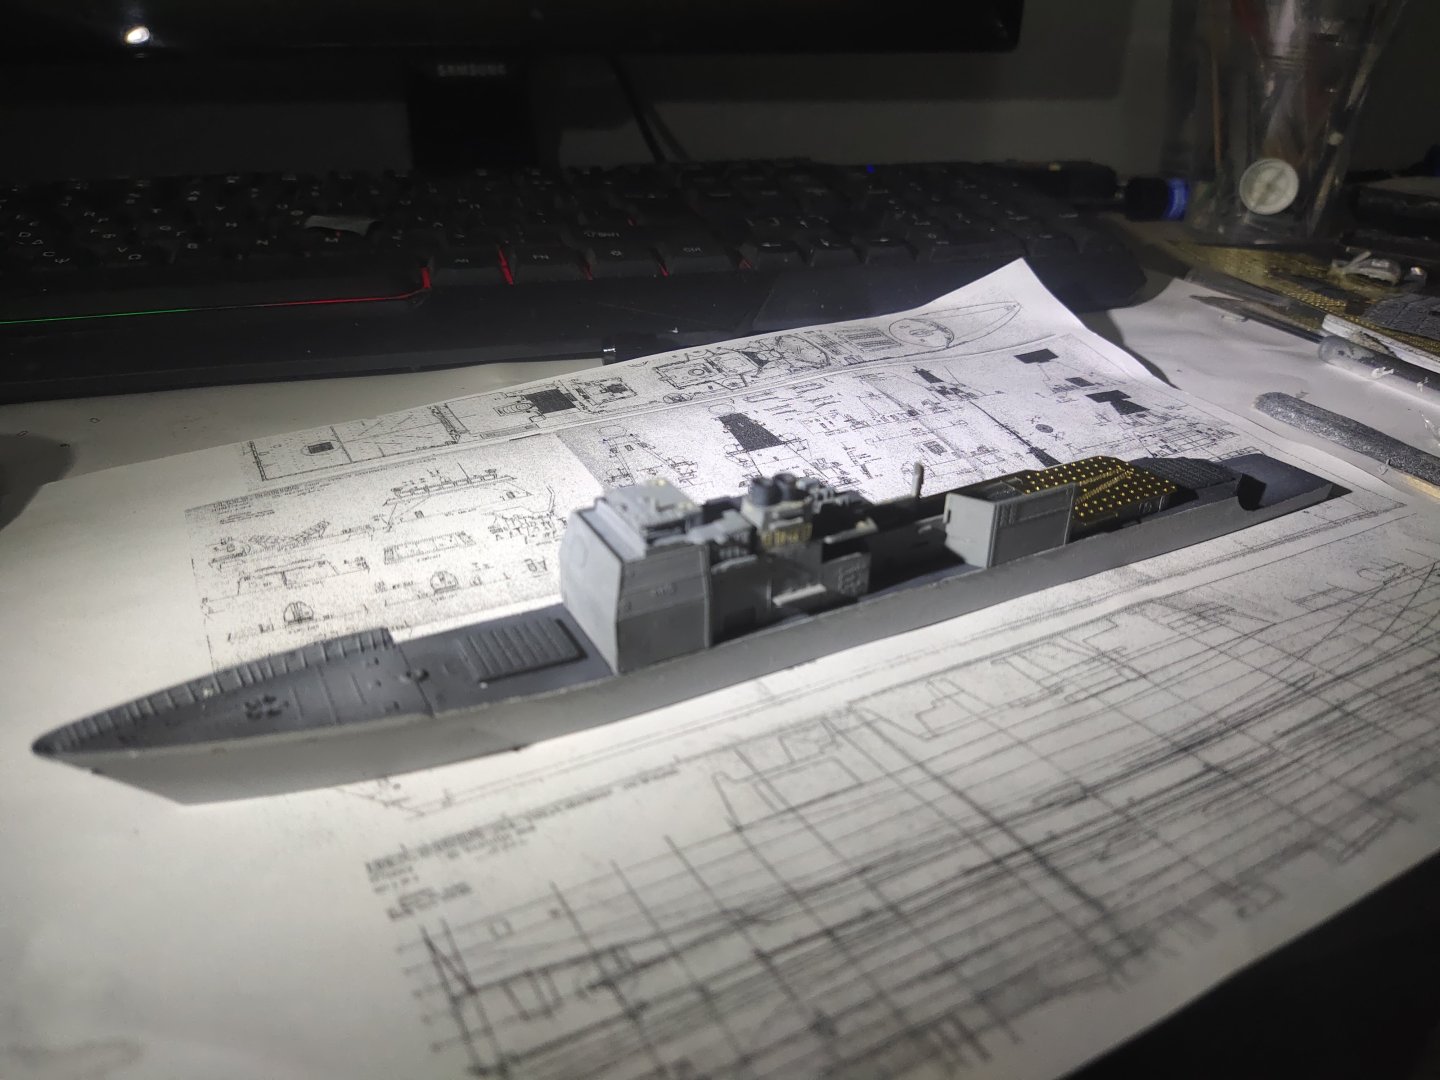
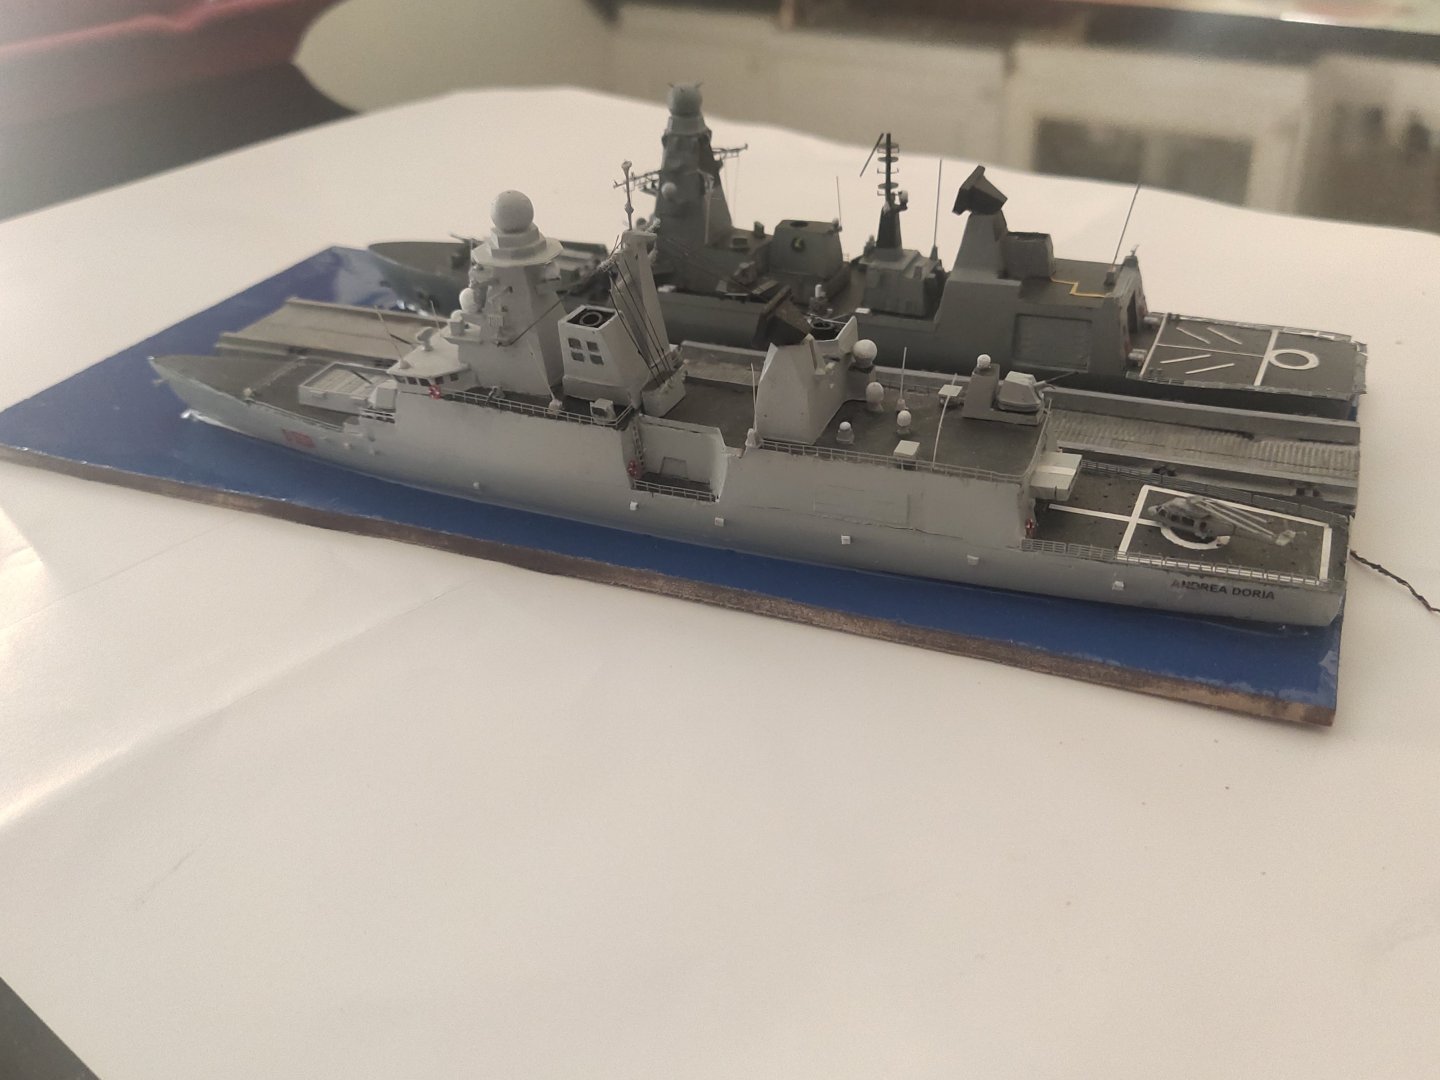
The helicopter deck has been fitted. A third pipe was installed on both funnel caps. Hangar reconstructed. All major pieces have need added i only need to glue the forward bridge section

-
The PE are good but they don't have instructions. The fit the heli deck properly I had to remove the hangar. I removed the side deck pieces and worked on them. Added doors, handrails and removed moulded life raft barrels. I will replace them with my own one. Sided pieces were joined together. Need to add boat facilities and other minor details. Main deck was painted with faded dark grey and hull sides with primer

-
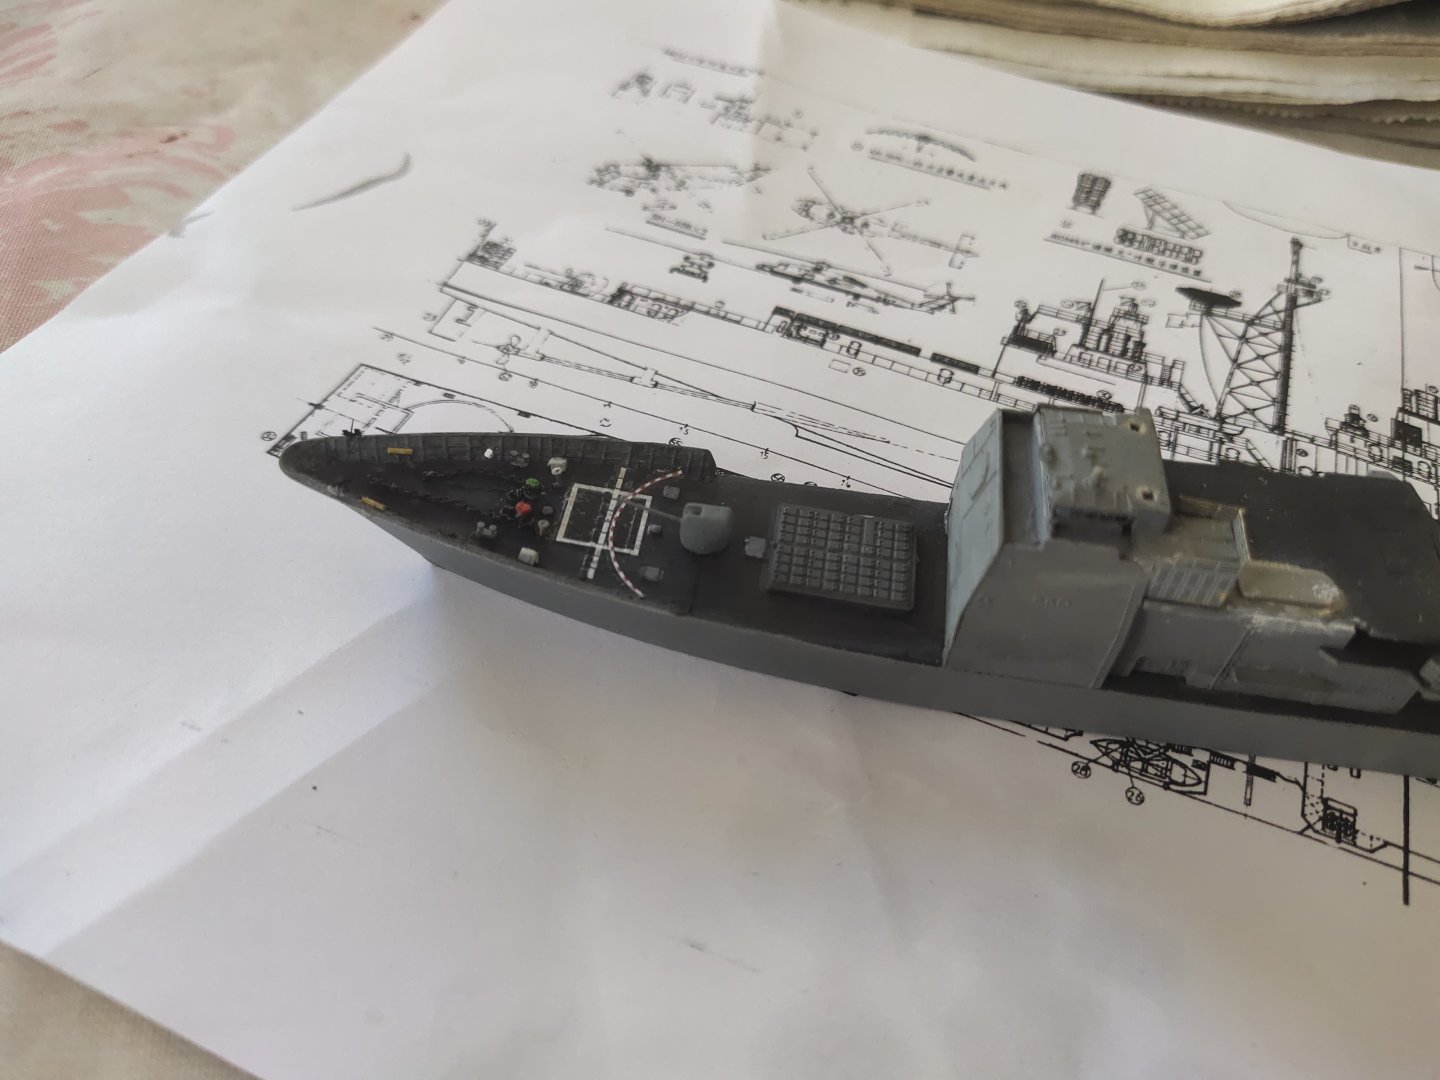
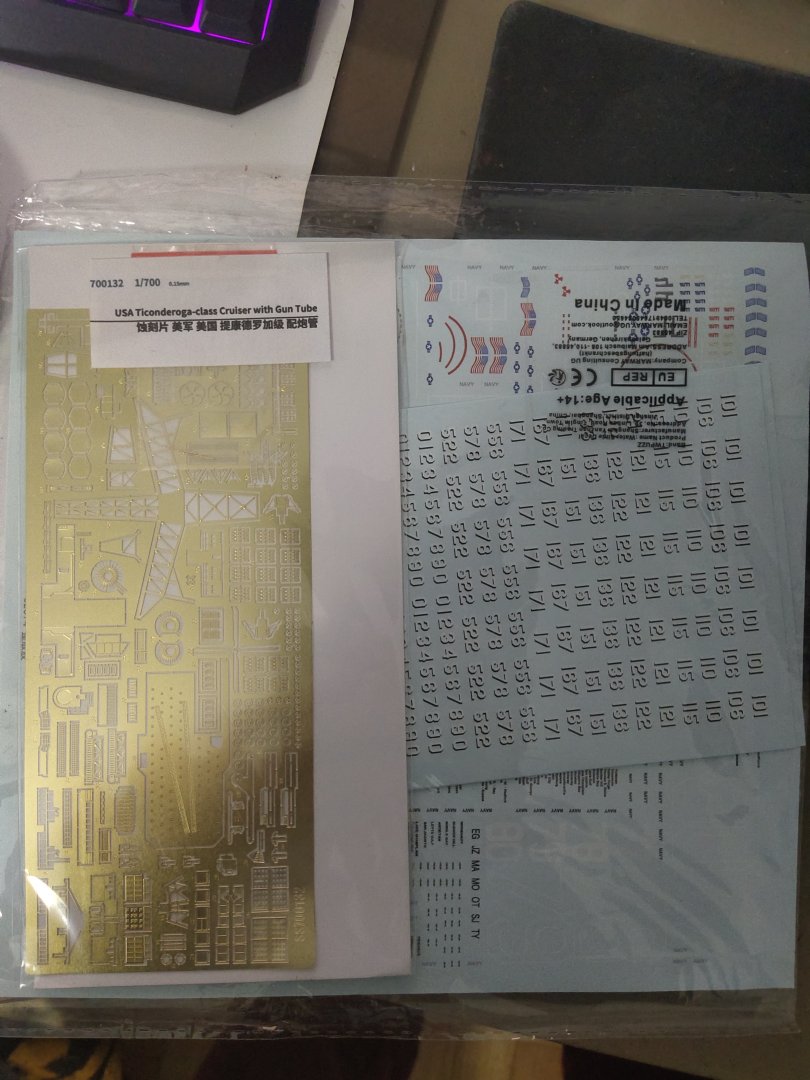
For this model I recently got an extended PE set, even has gun "tube" as well as decals. After some washing I stripped down the model. I'm going to take my time on this. For today's work, was only the cut of the plastic and the addition of bridge windows

-
thank you , hope you get a satisfactory result with your challenging project
-
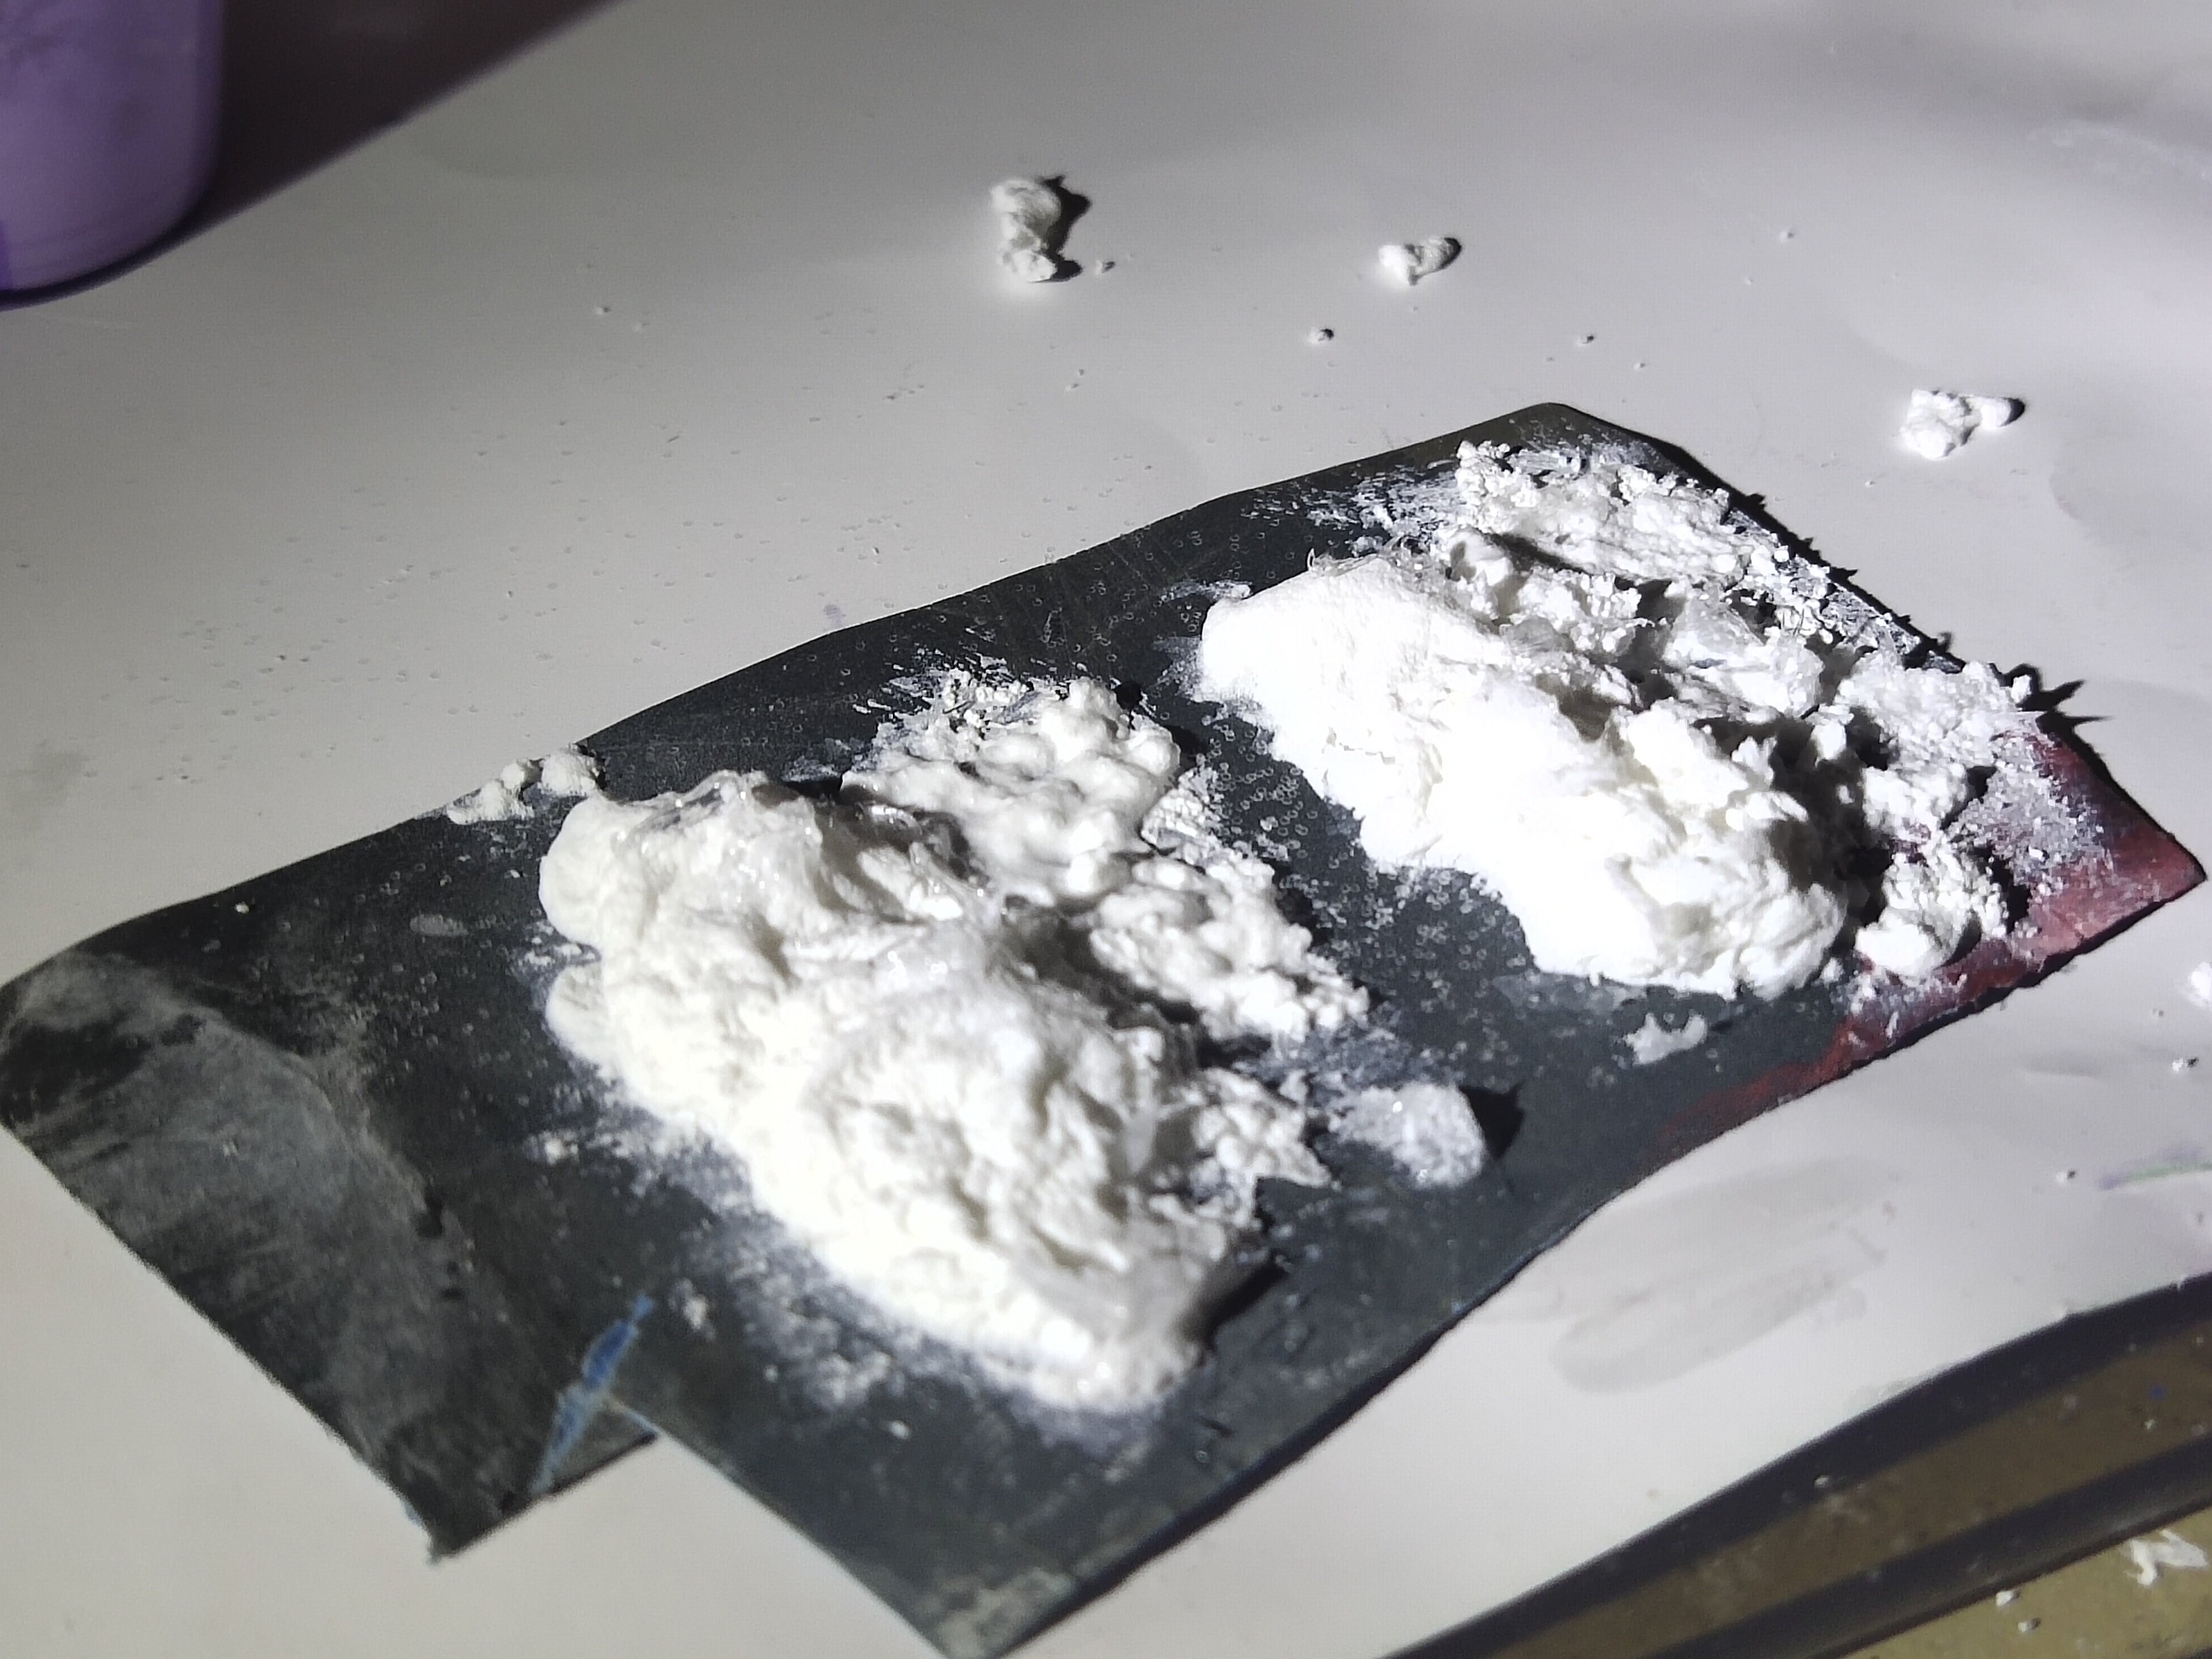
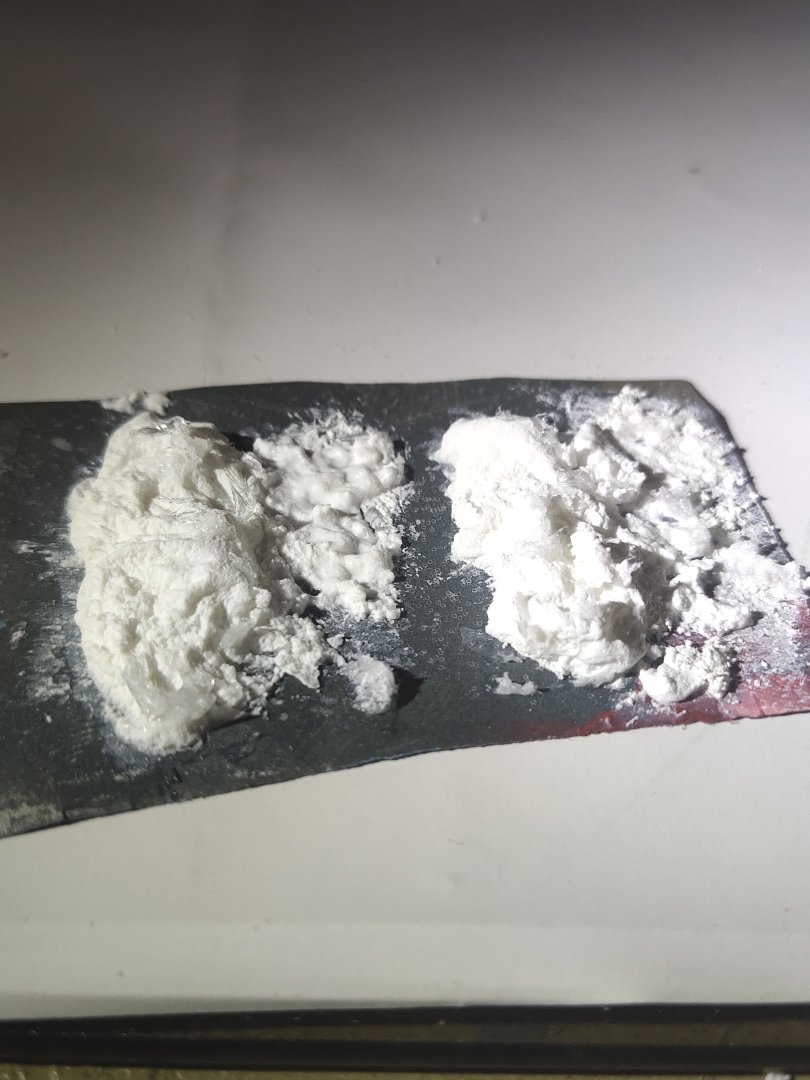
You may consider using snow paste. Ready mix or home made. I use ready one since I bought it but hand made is superior because you can adjust the texture from coarse (usually on waves top) to smooth(wave base and around)by adjusting the portion of baking soda. When dry, you can add silicone bits with a toothpaste to increase the water splash effect. On the right wave I used hair blower on hot so the wave get more foamy because of the baking soda Regardless the chosen method you should lightly airbrush white around areas where foam will sit, to make smoother the transition from white to dark ocean color

-
Wind of change USS Bunker Hill by Arii After my trip in Malaysia I came back pretty loaded to continue my task
-
If you consider using cotton and gell for waves make sure the latter is of those that will not get yellowish over time. Personally i consider cotton as an emergency solution as its white color is not white enough, just compare it to white acrylic and see the difference
-
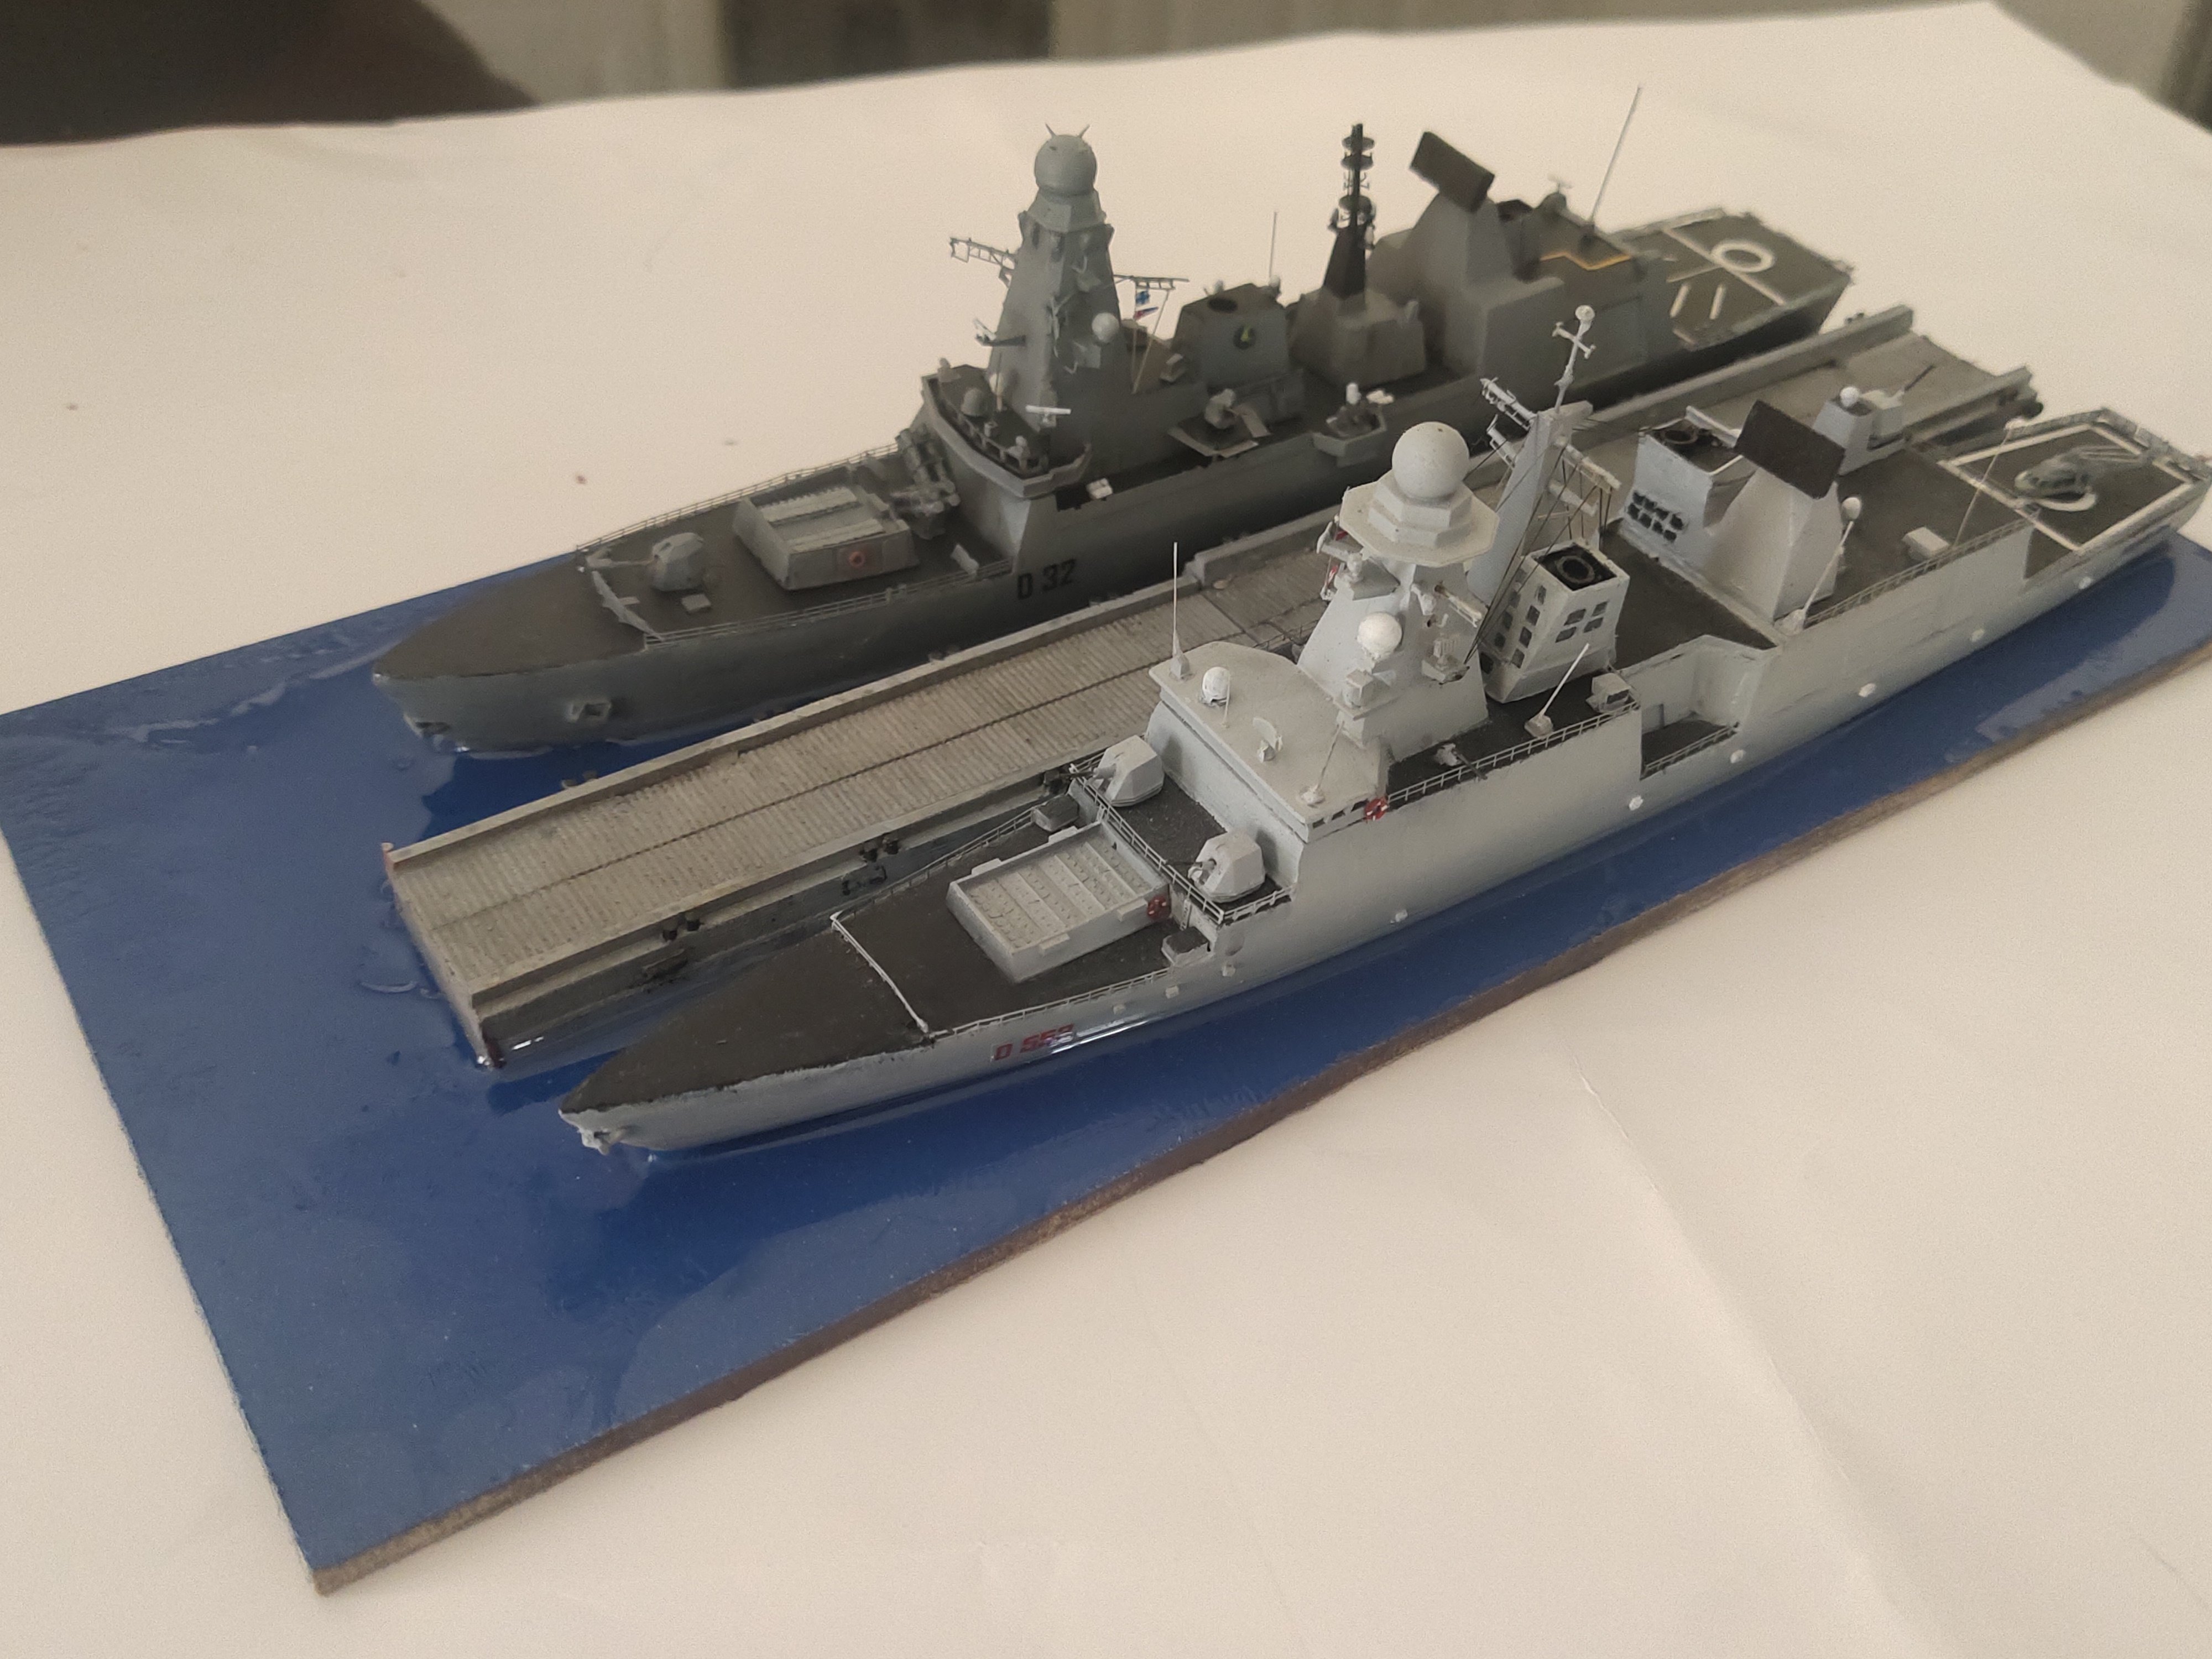
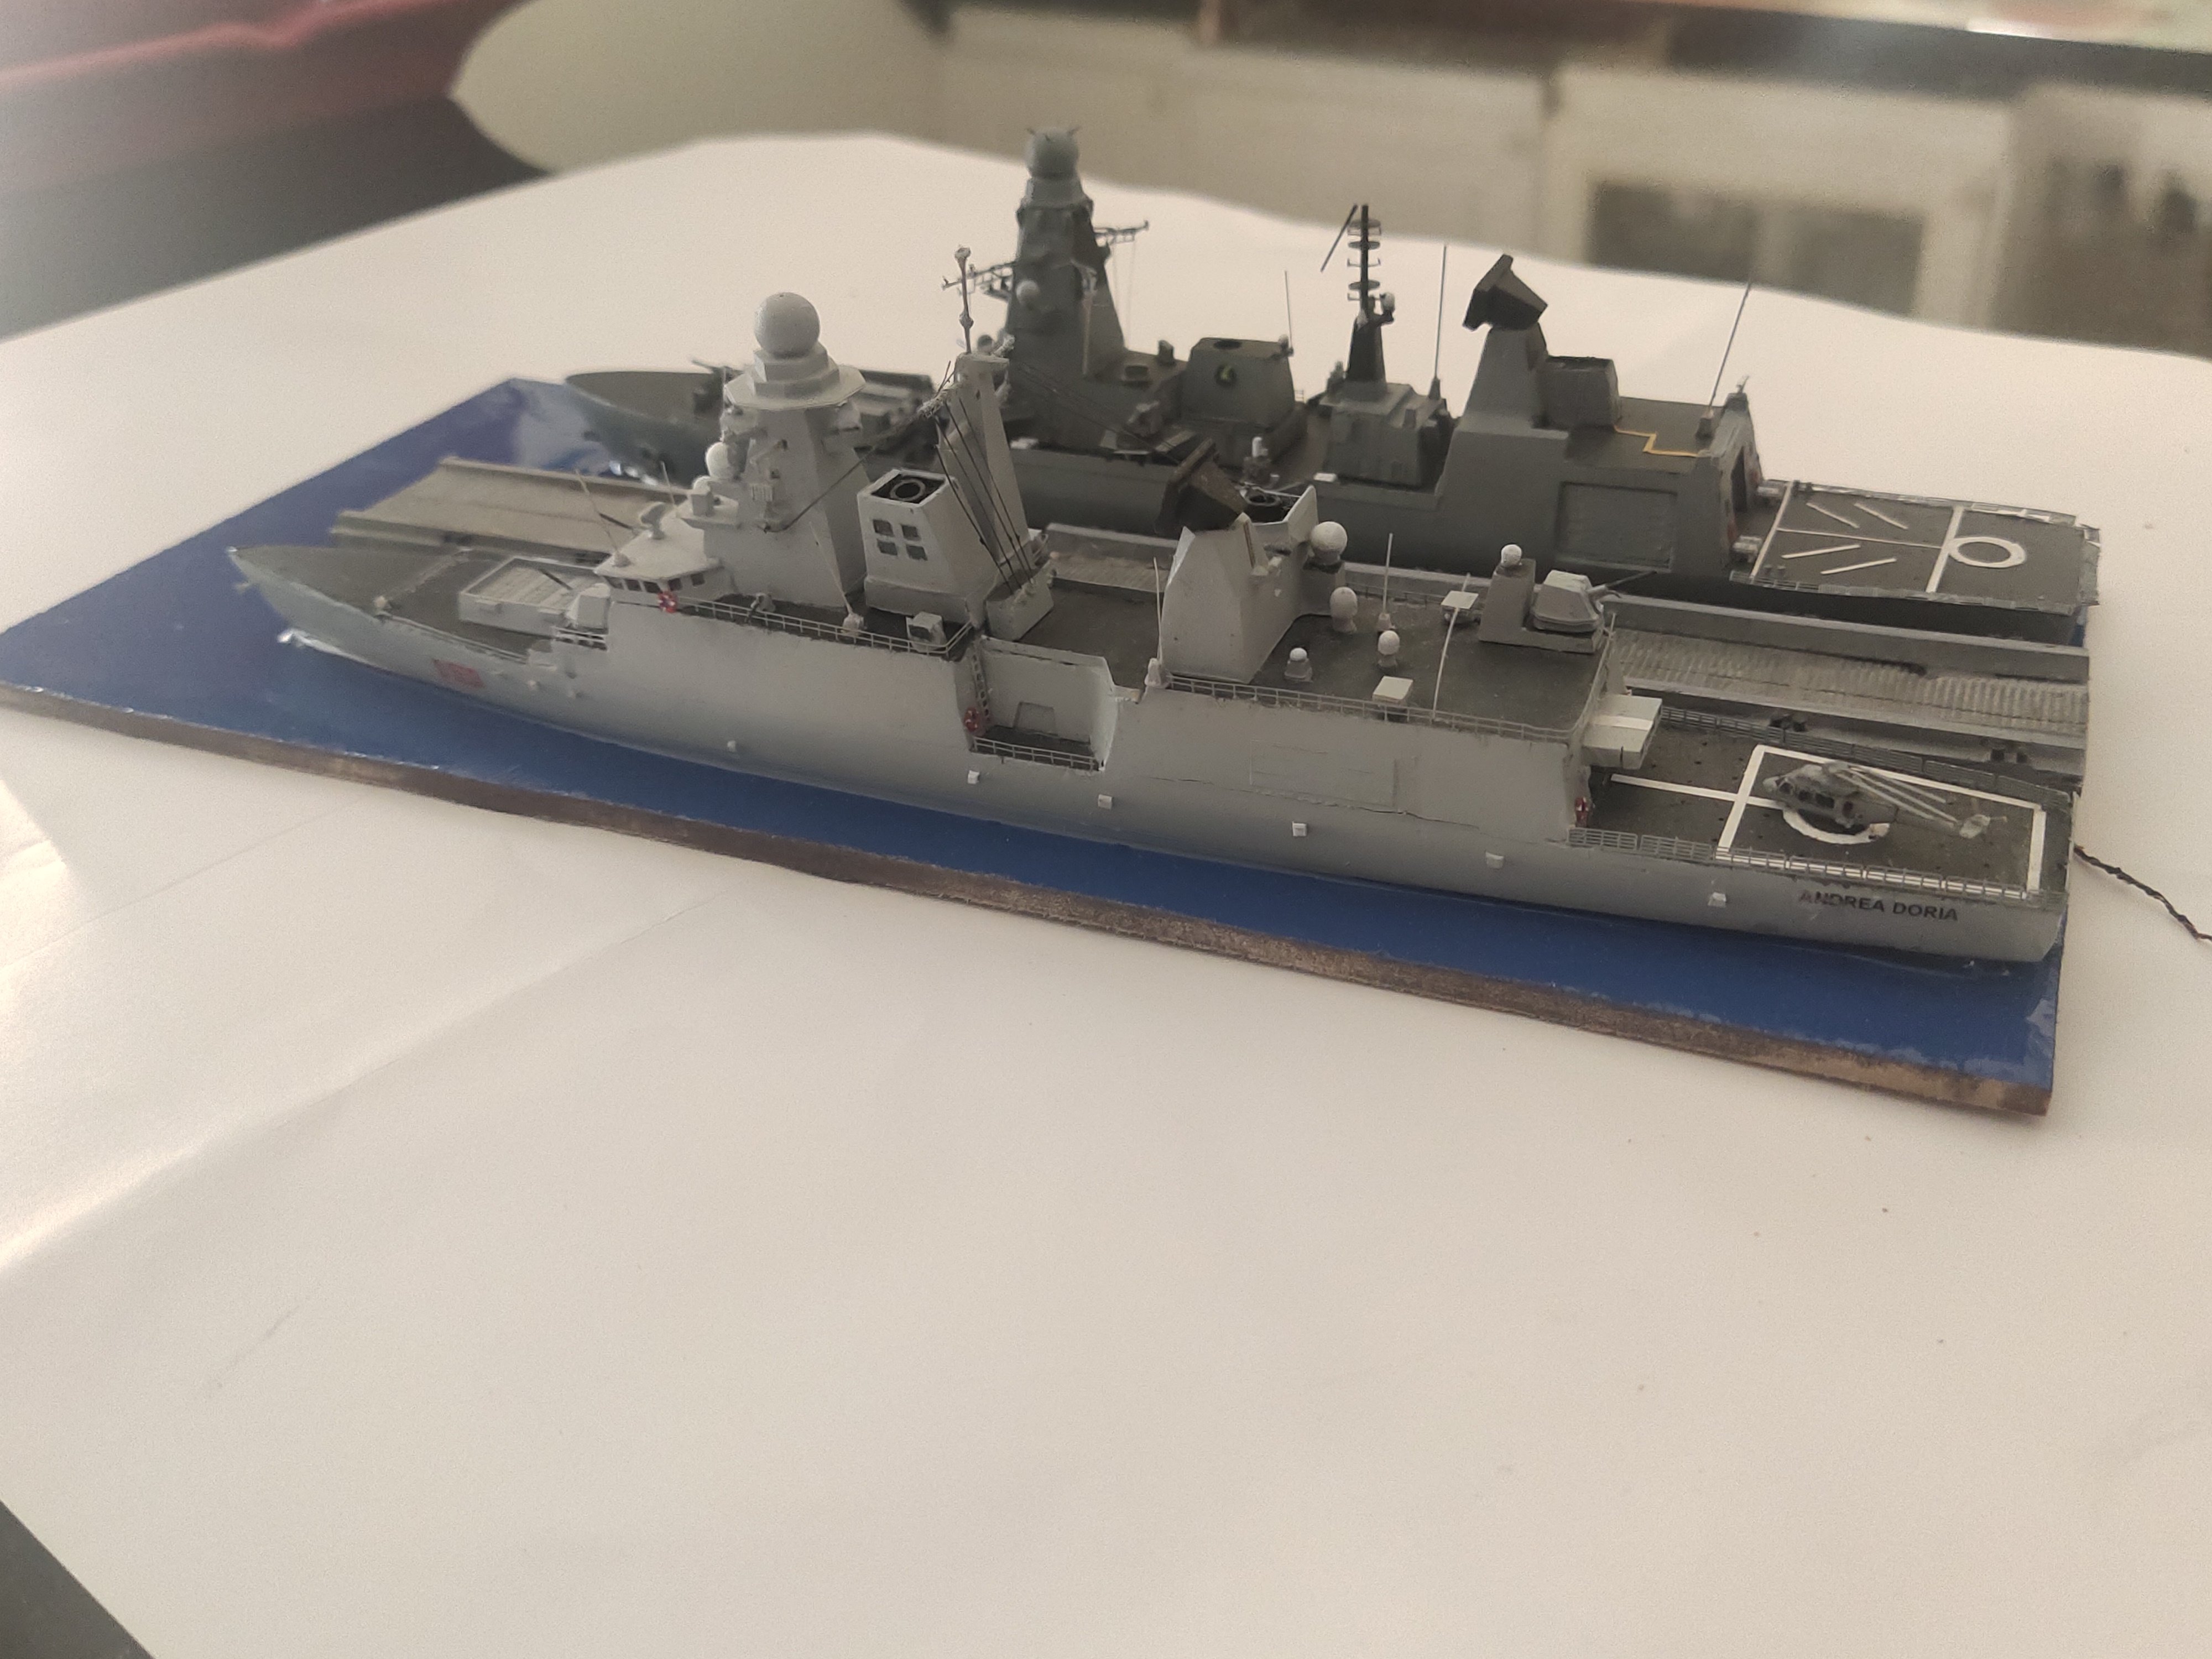
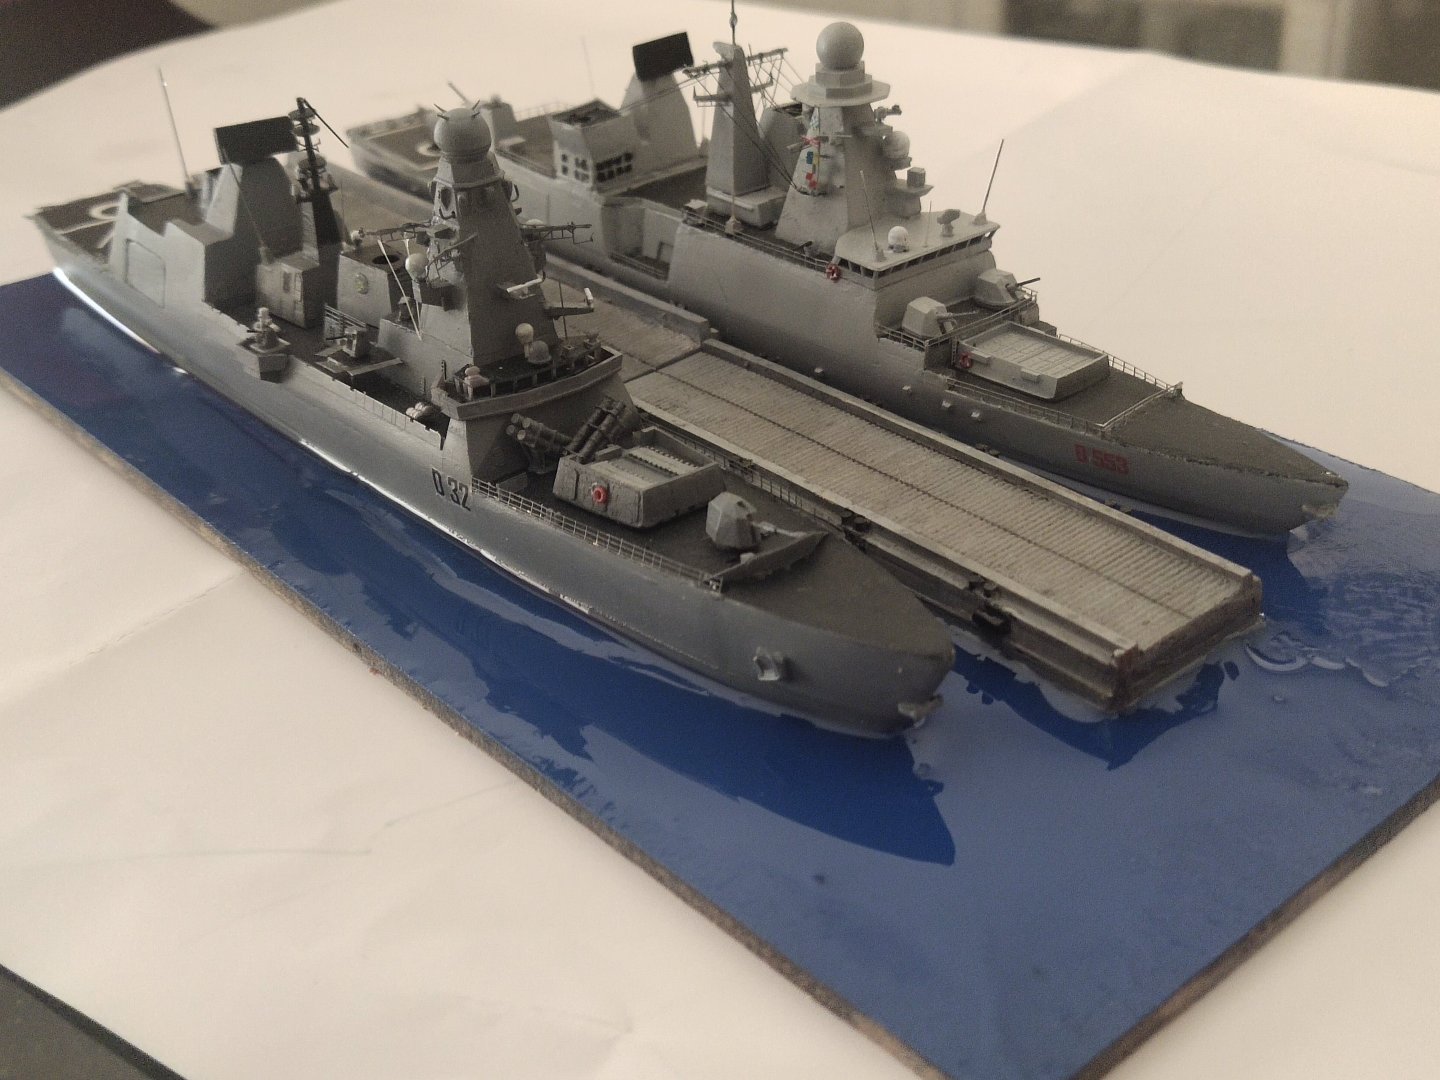
I pour the resin and added a second part of dock. In my hurry to finish it yesterday I made a rookie mistake and forgot to check it the surface was flat so the small inclination so the resin was distributed unevenly. Anyway the purpose was just to display the ships together.

- 14 replies
-
- 10
-
-

-
- Type 45 Destroyer
- Horizon-class
- (and 1 more)
-
So I proceed finishing the model with final details. I put it aside with the Horizon class and add a drydock. Tomorrow I will pour the resin. It will be a simple sea representation


- 14 replies
-
- 7
-
-
- Type 45 Destroyer
- Horizon-class
- (and 1 more)
-
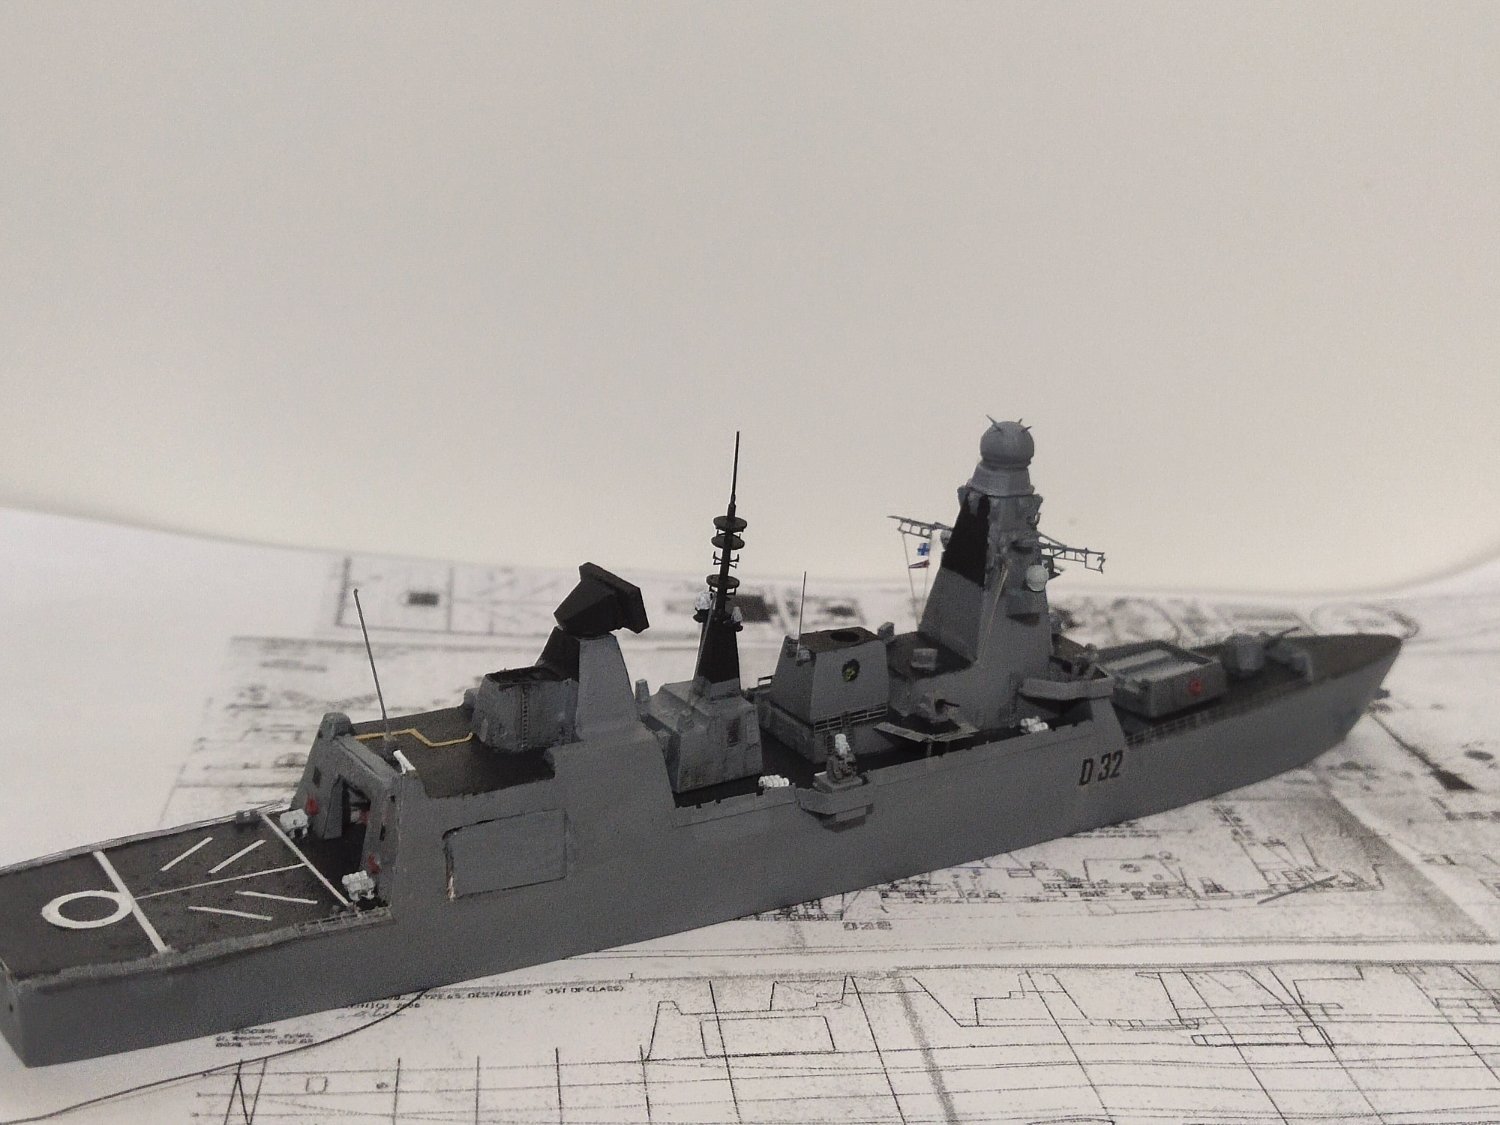
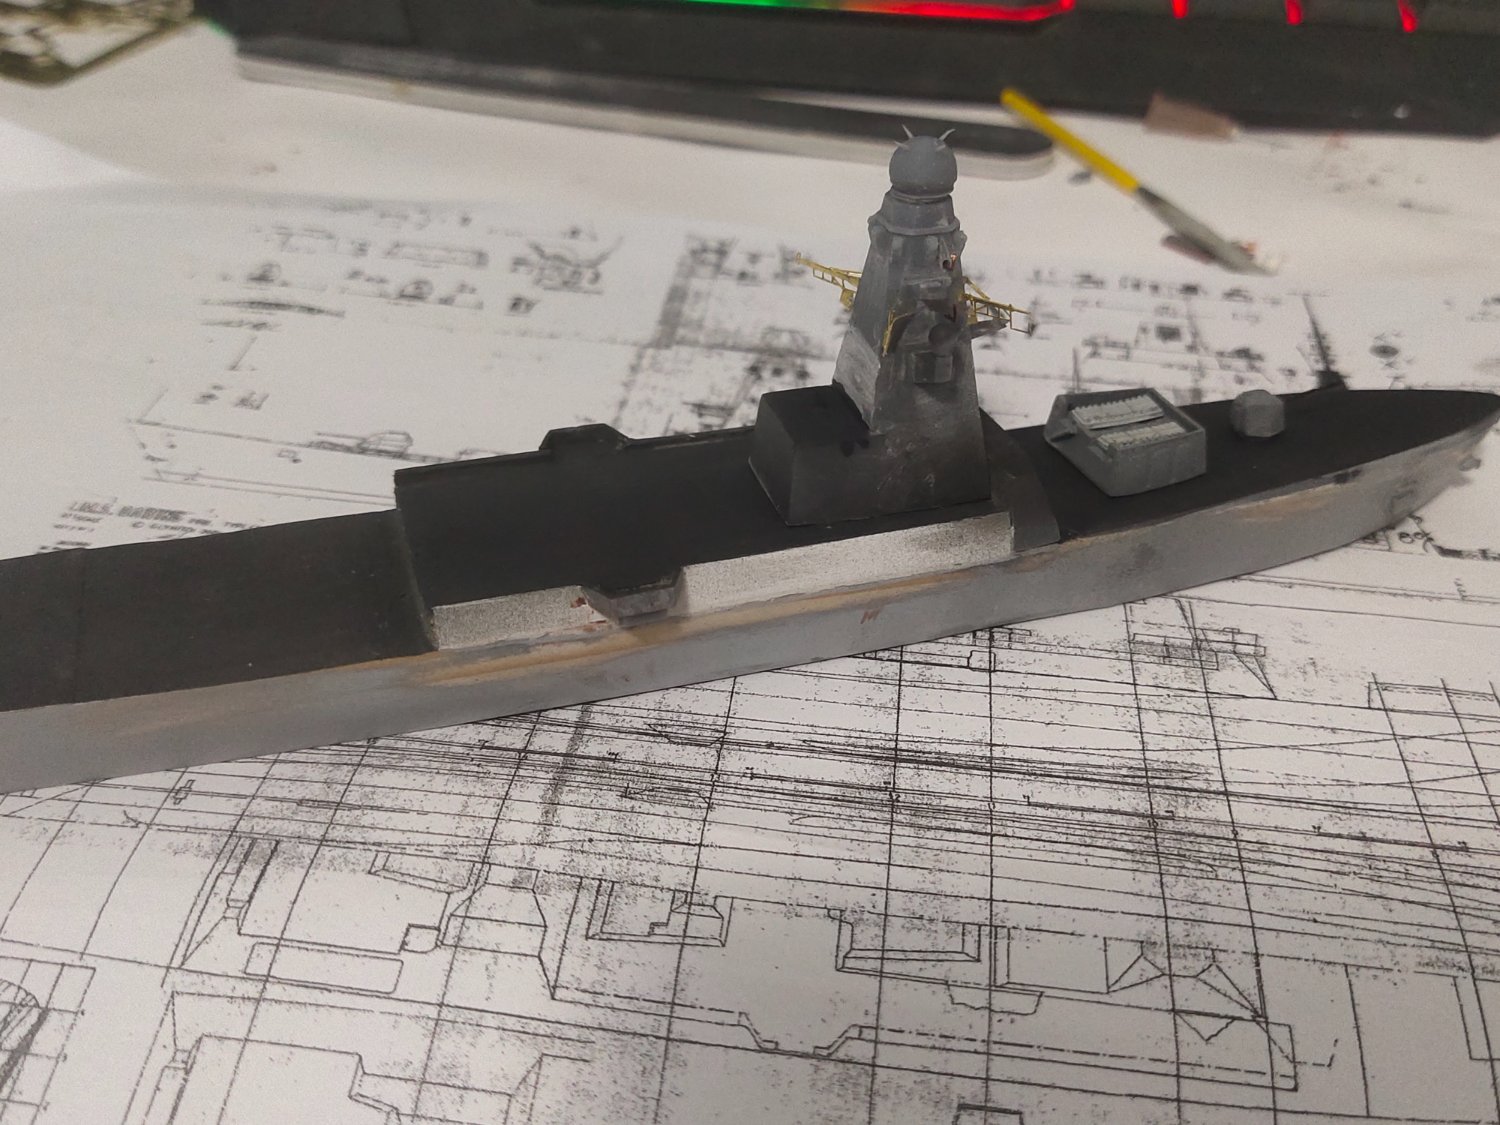
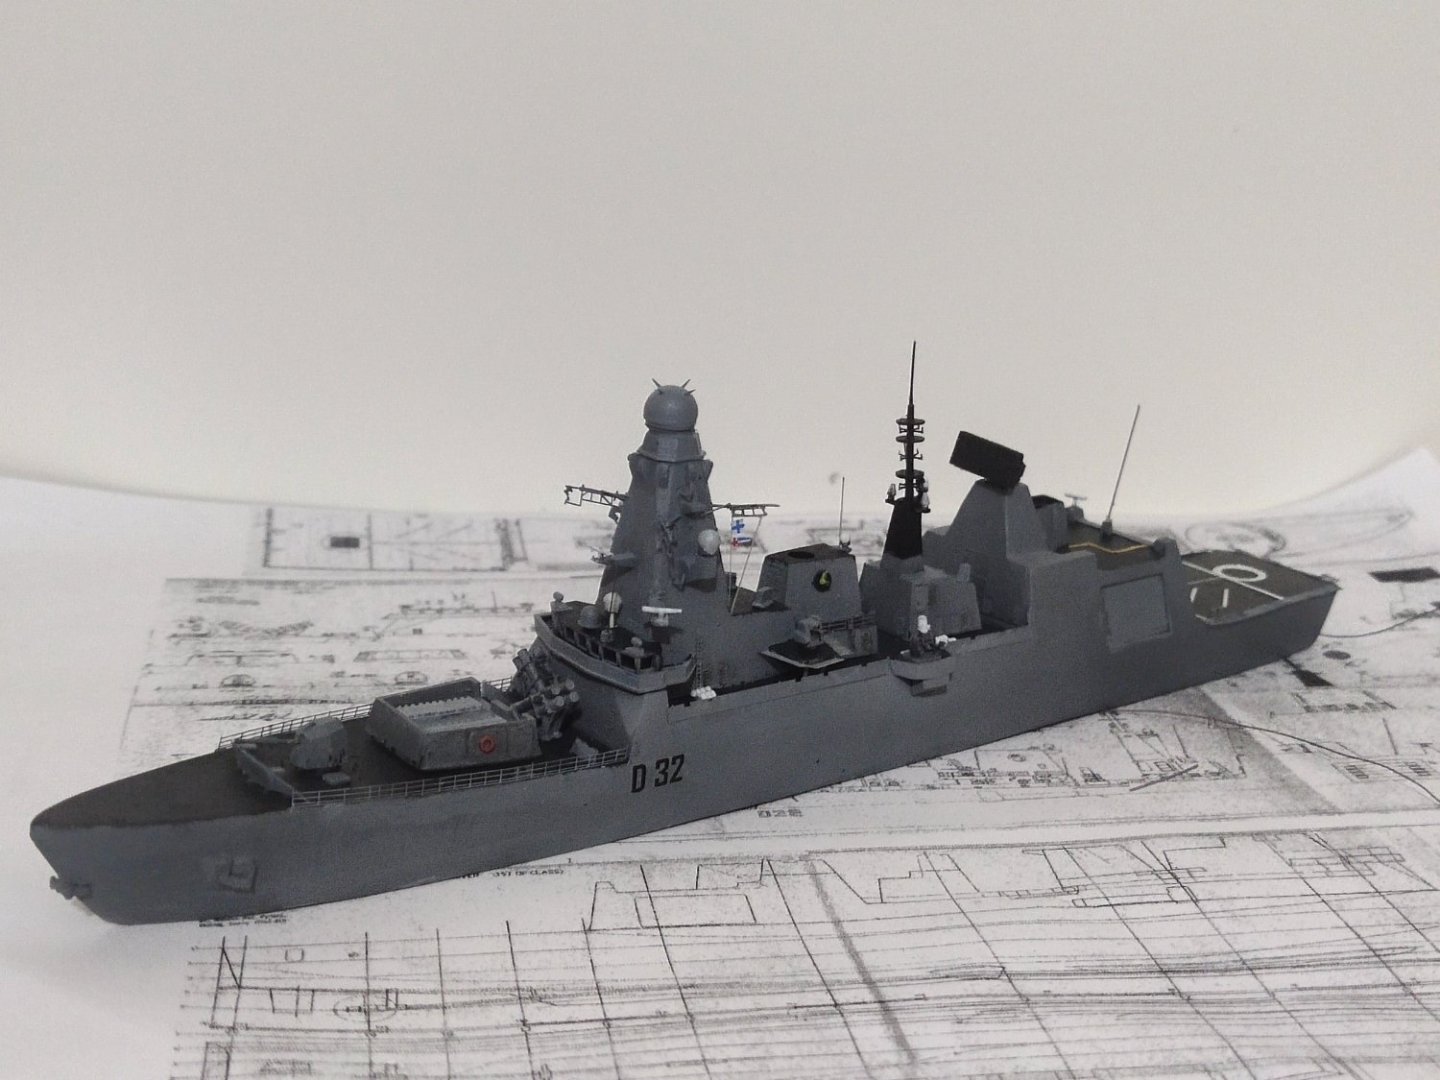
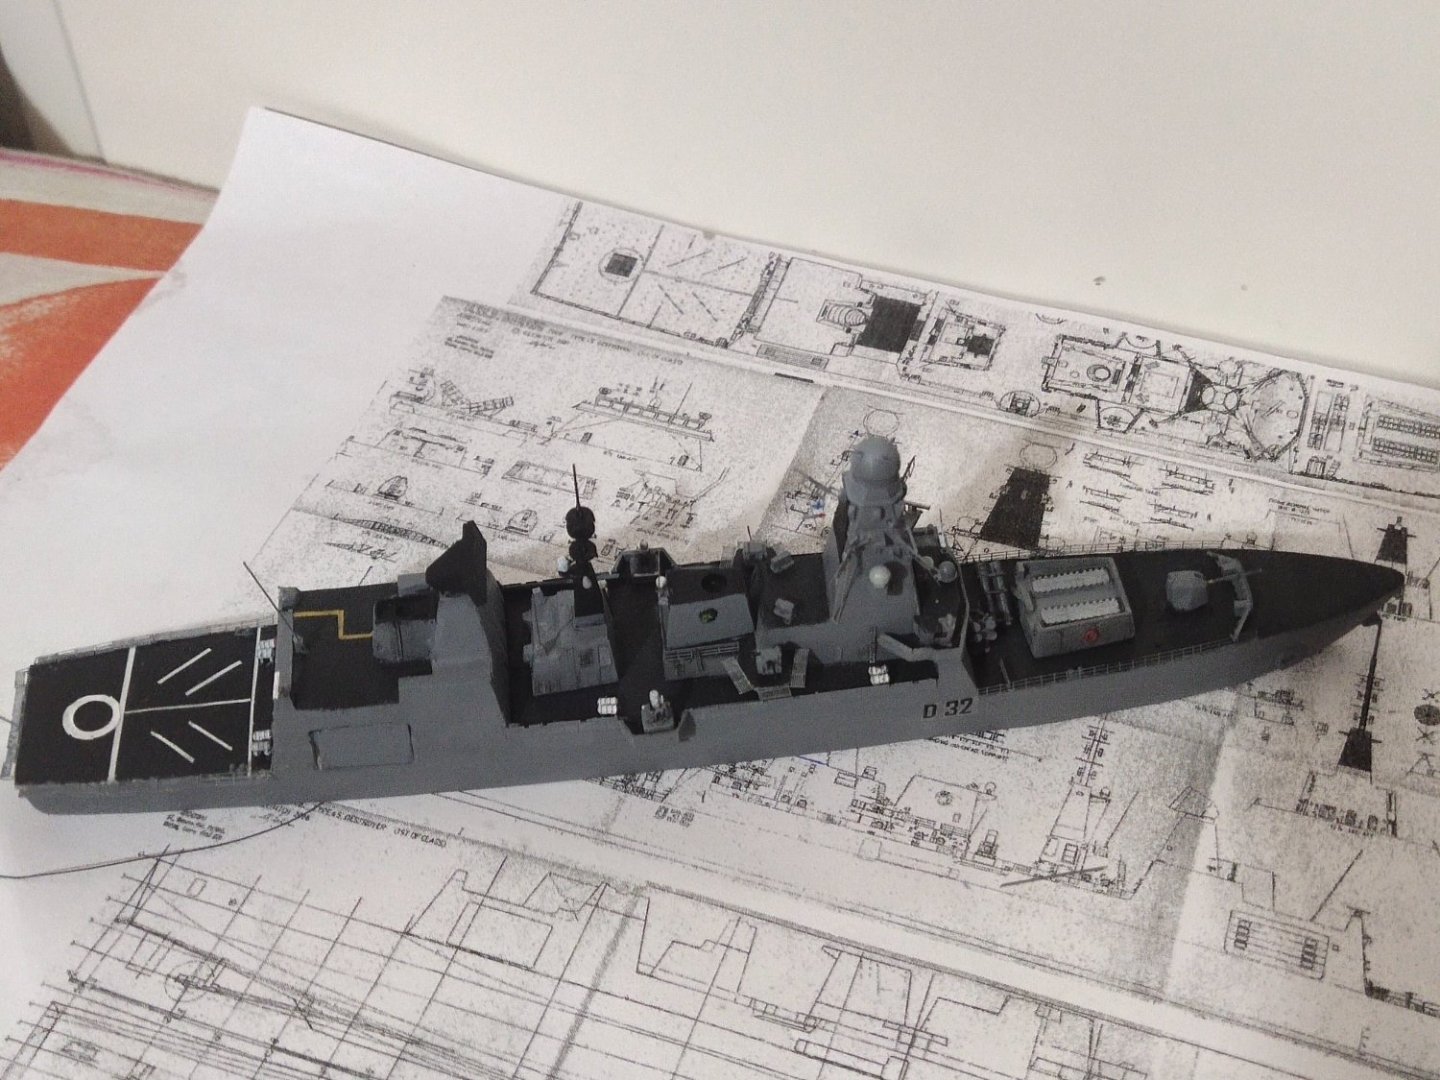
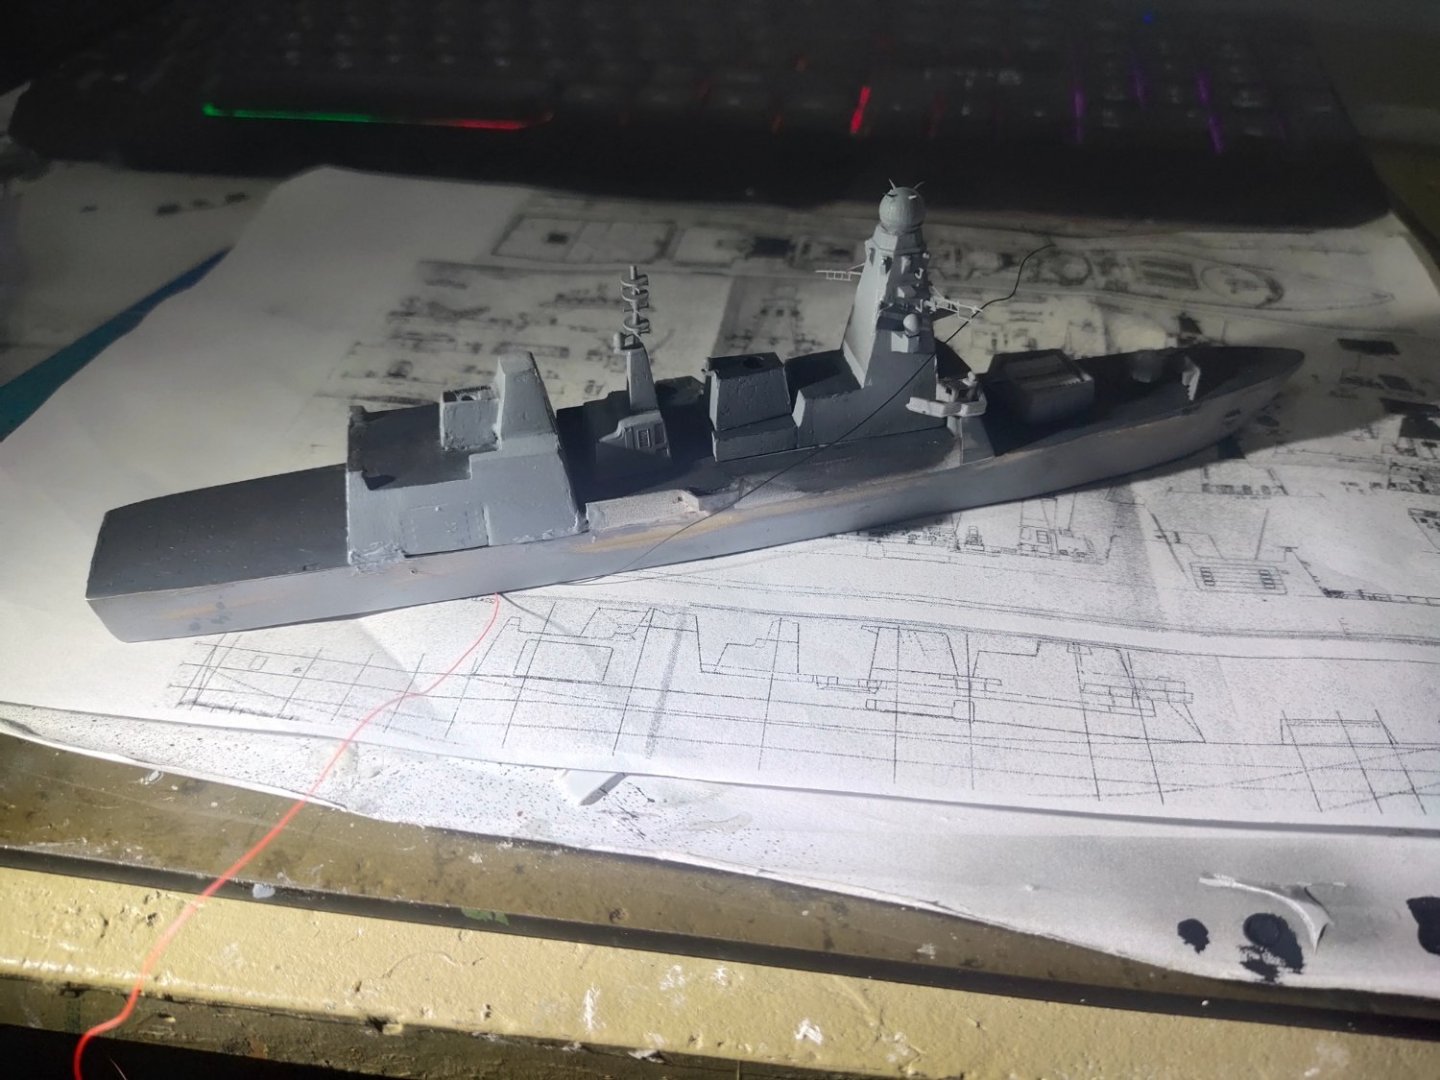
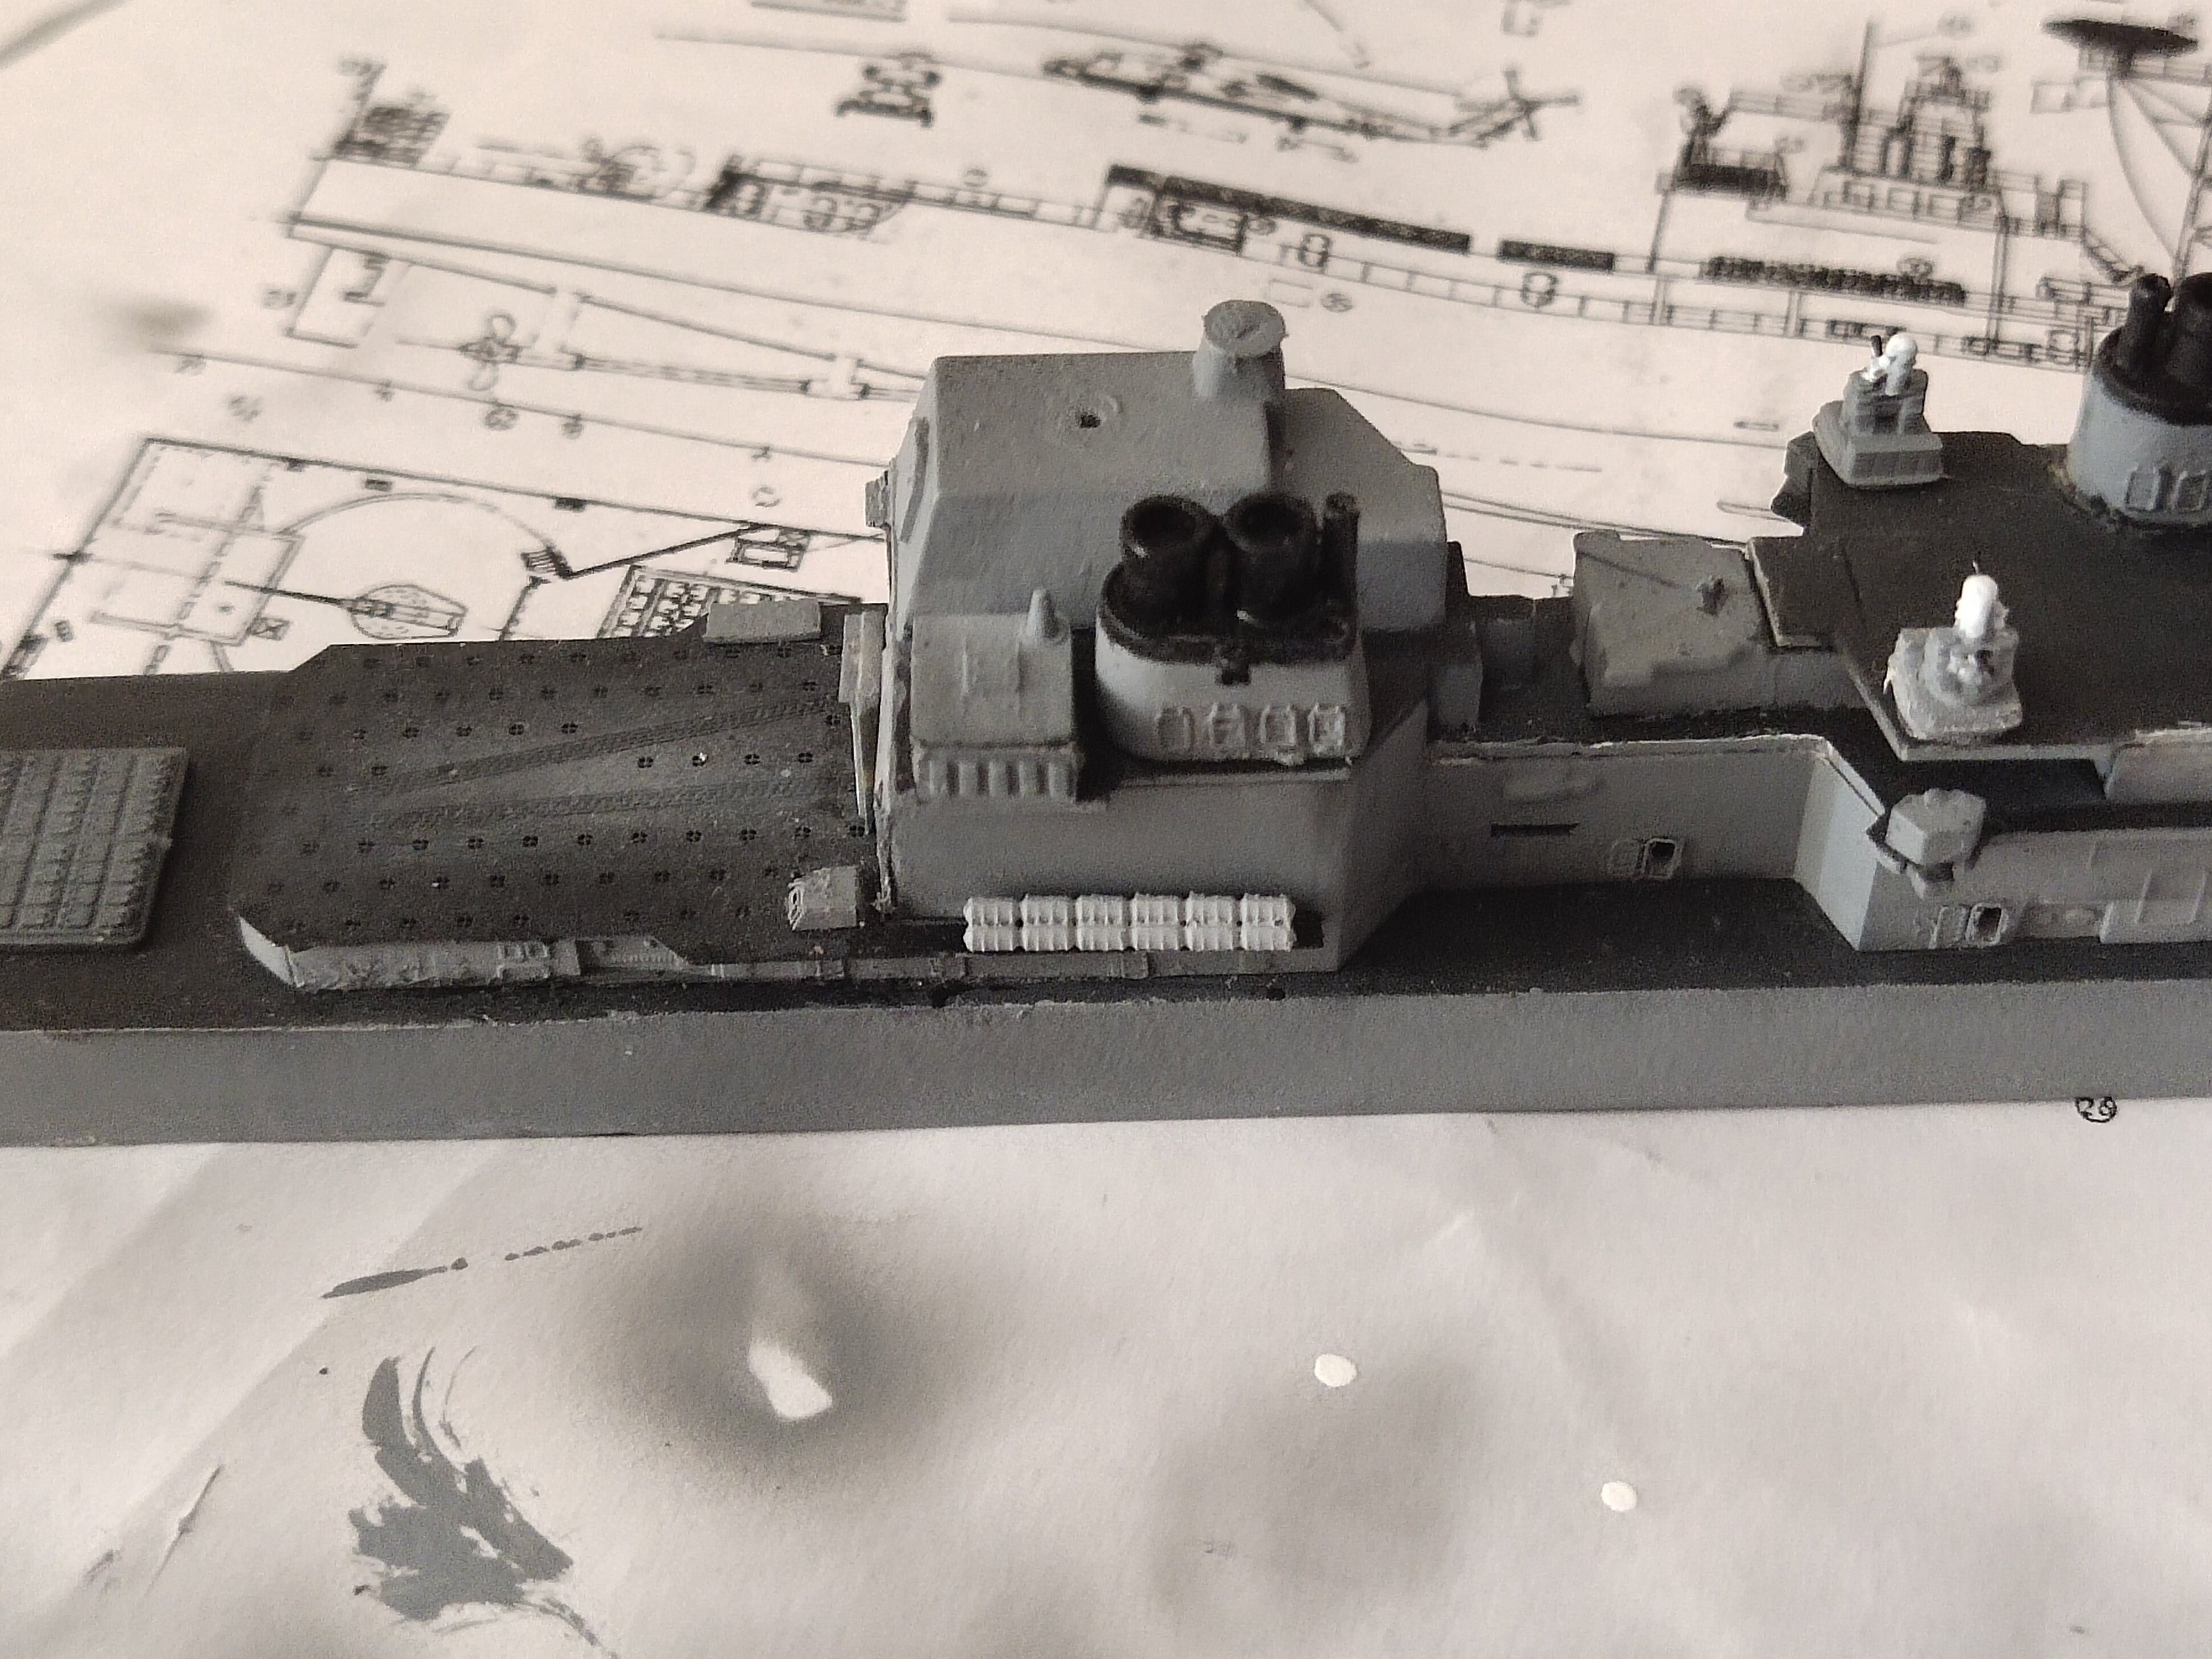
I redesigned the forward launcher in more reasonable dimensions and painted the Phalanx. Other details were added like barrel life raft and rings.

- 14 replies
-
- 7
-
-
- Type 45 Destroyer
- Horizon-class
- (and 1 more)
-
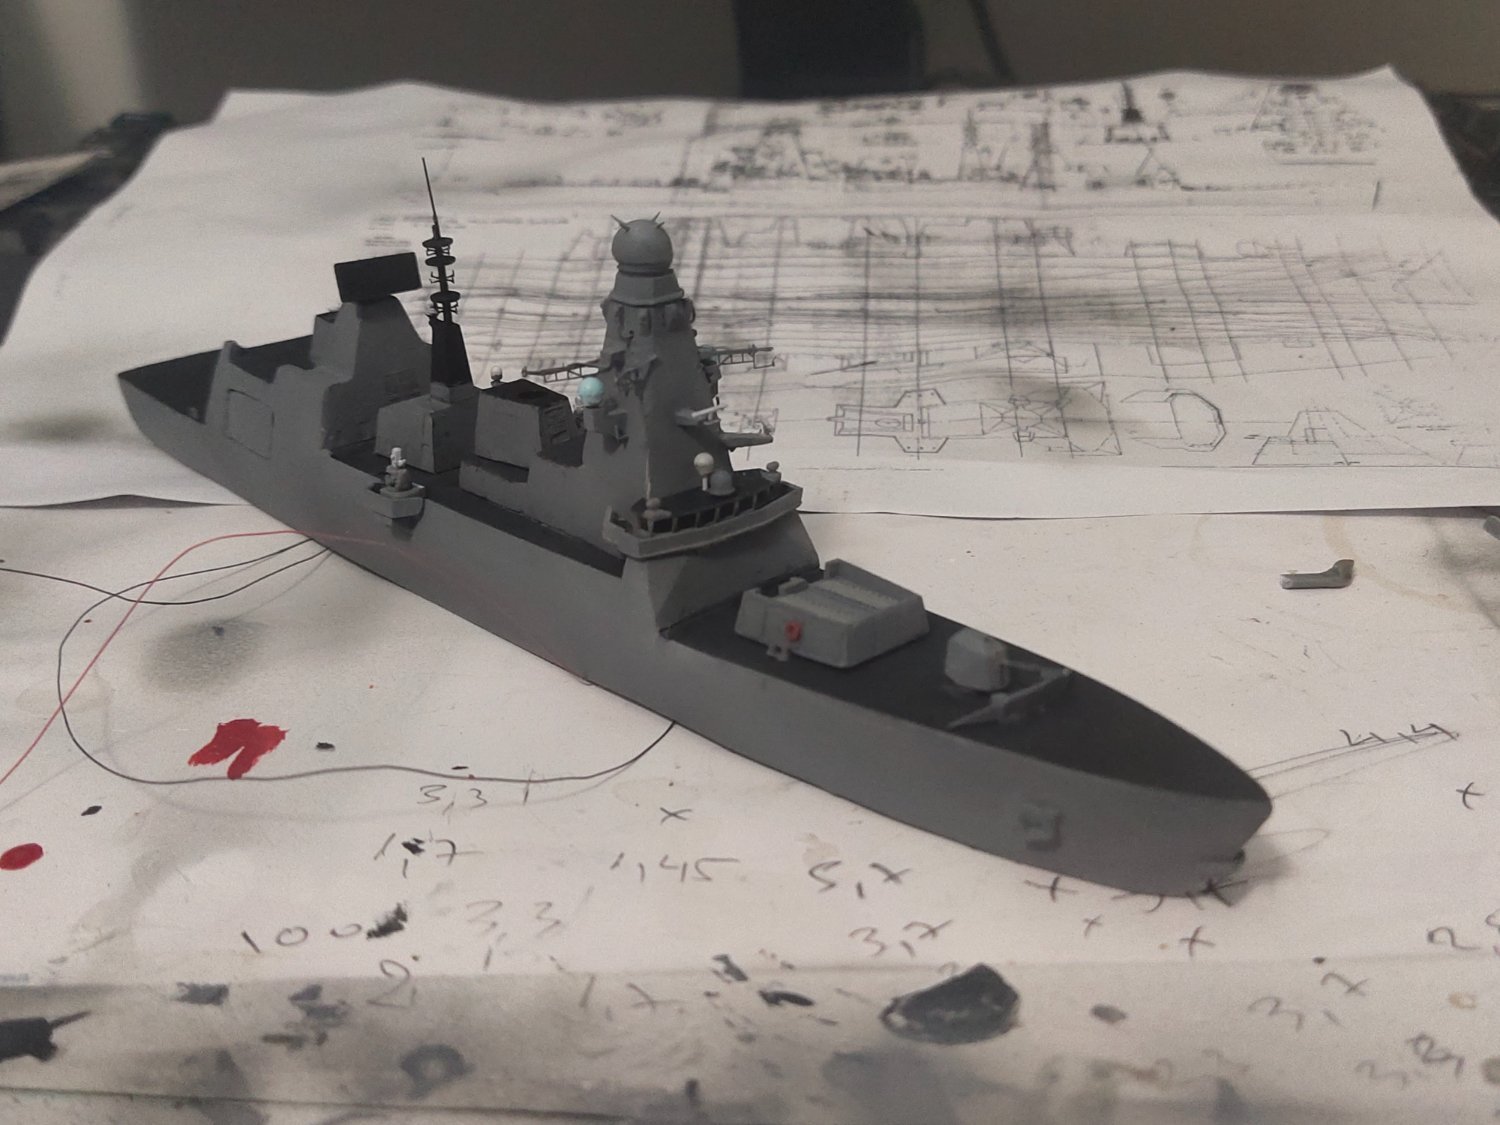
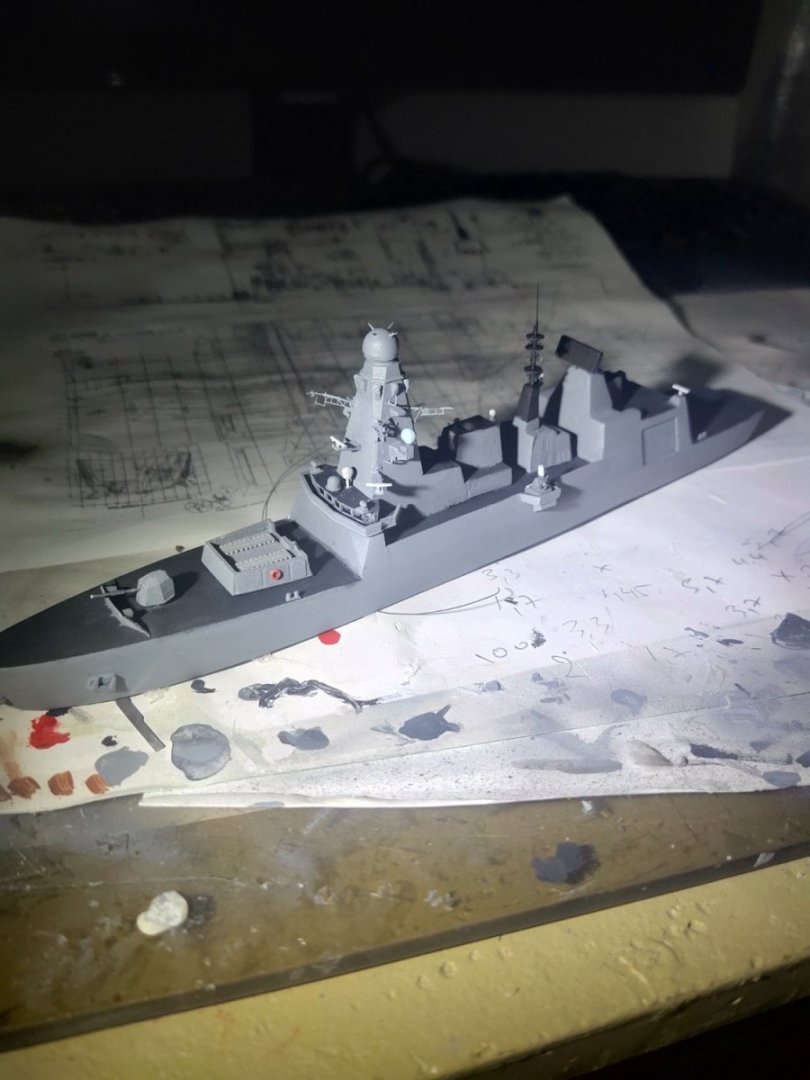
So after painting, repainting, fittings, misfittings, repairs and more I got to the point to glue all main pieces together. Now I need to add details, go for final paint job and rigging
- 14 replies
-
- 5
-
-
- Type 45 Destroyer
- Horizon-class
- (and 1 more)
-
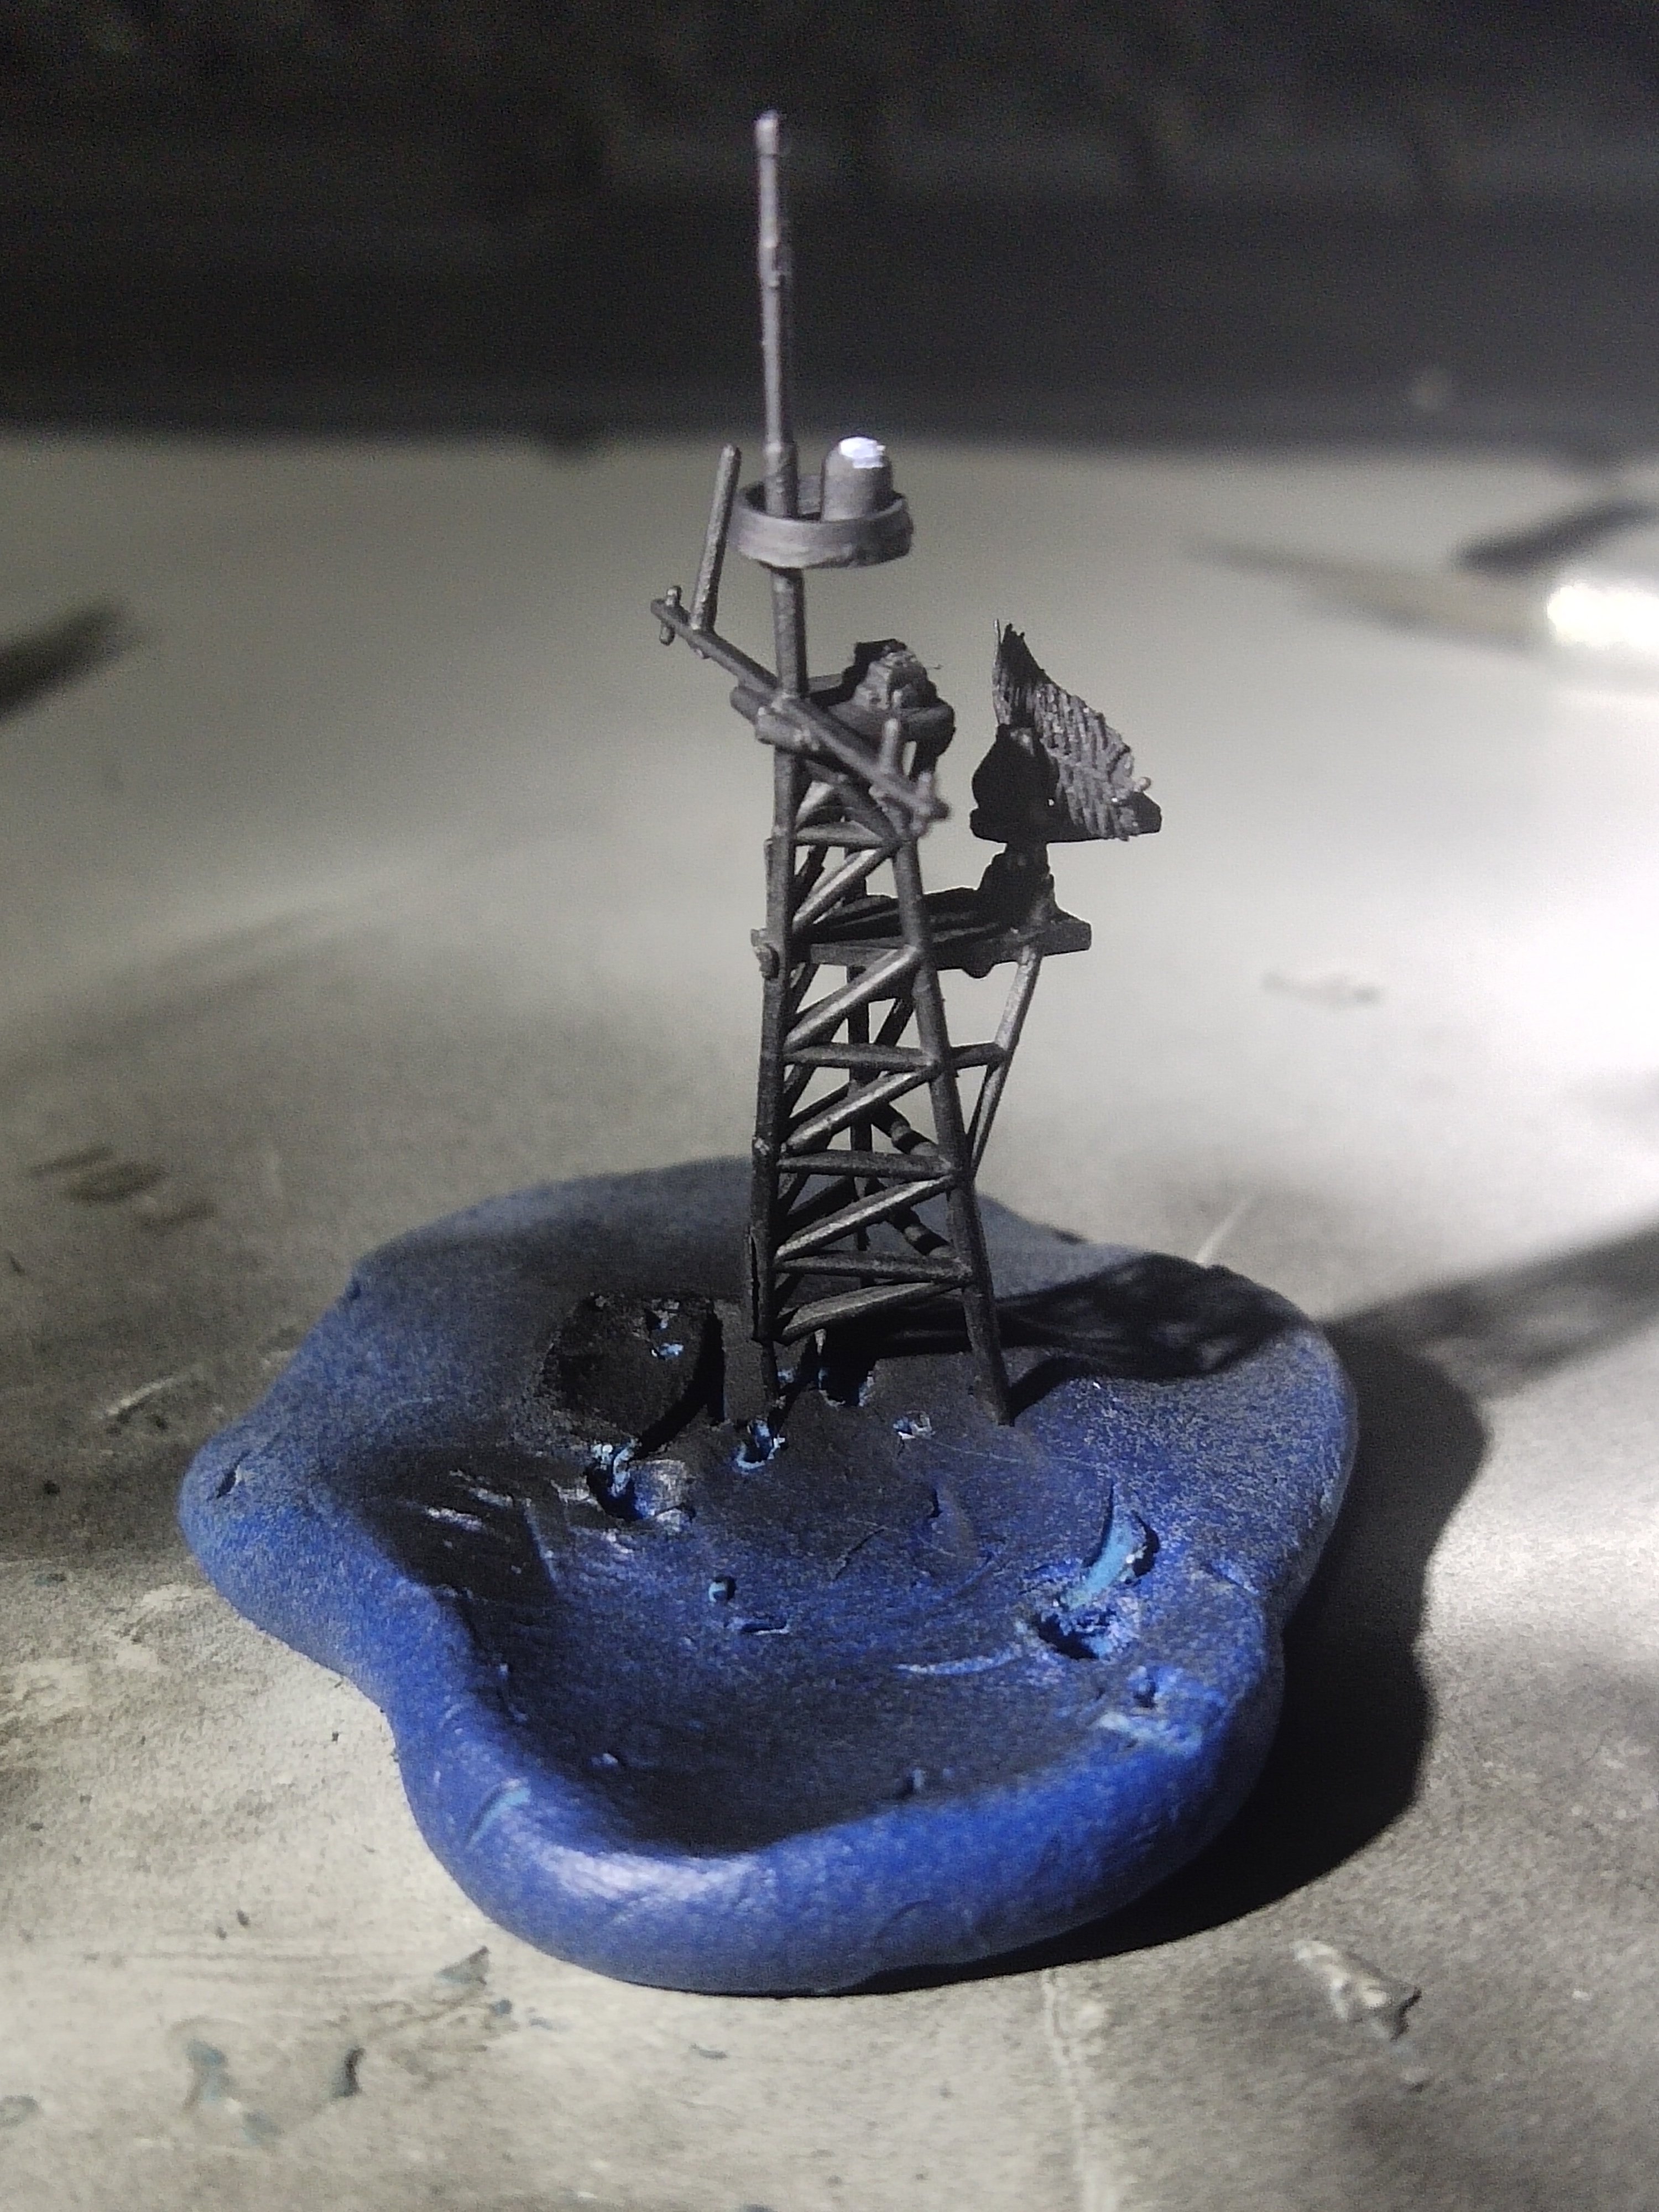
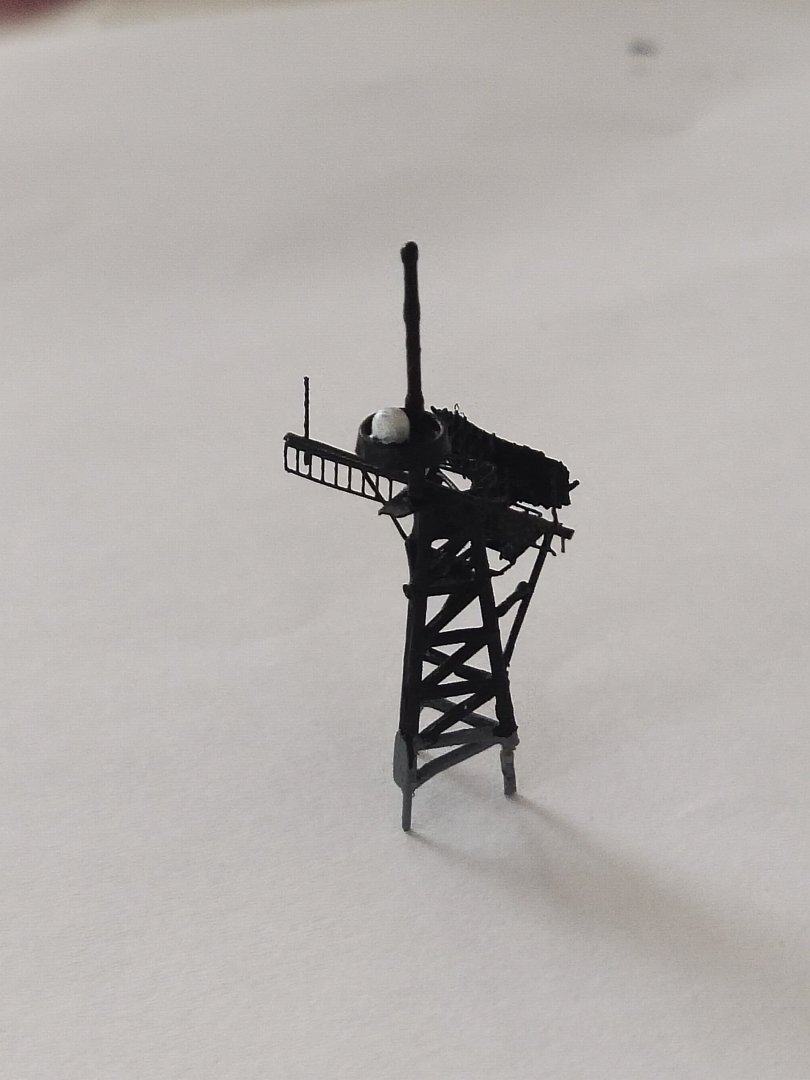
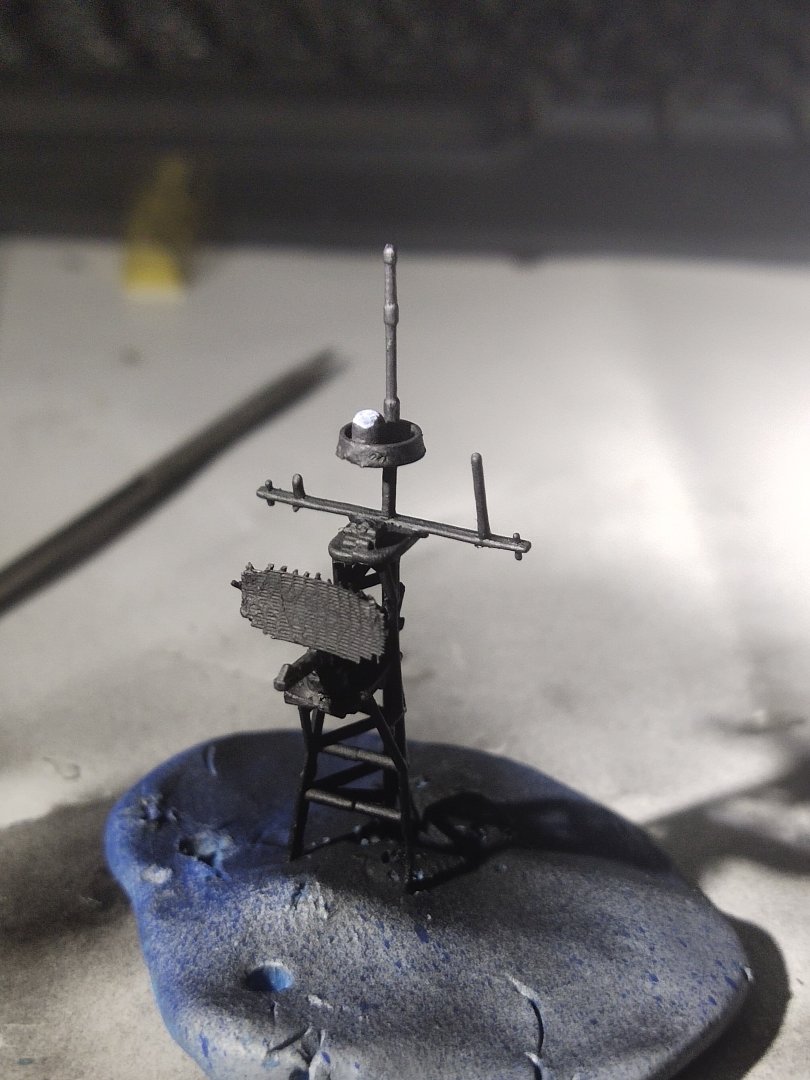
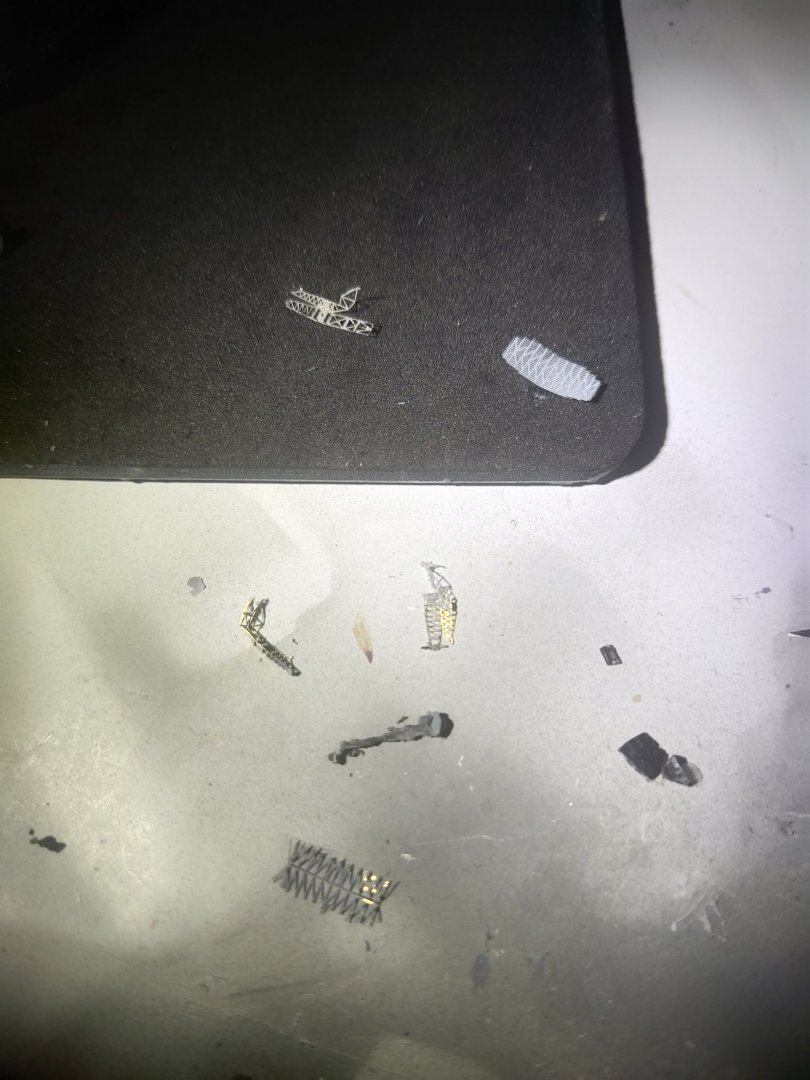
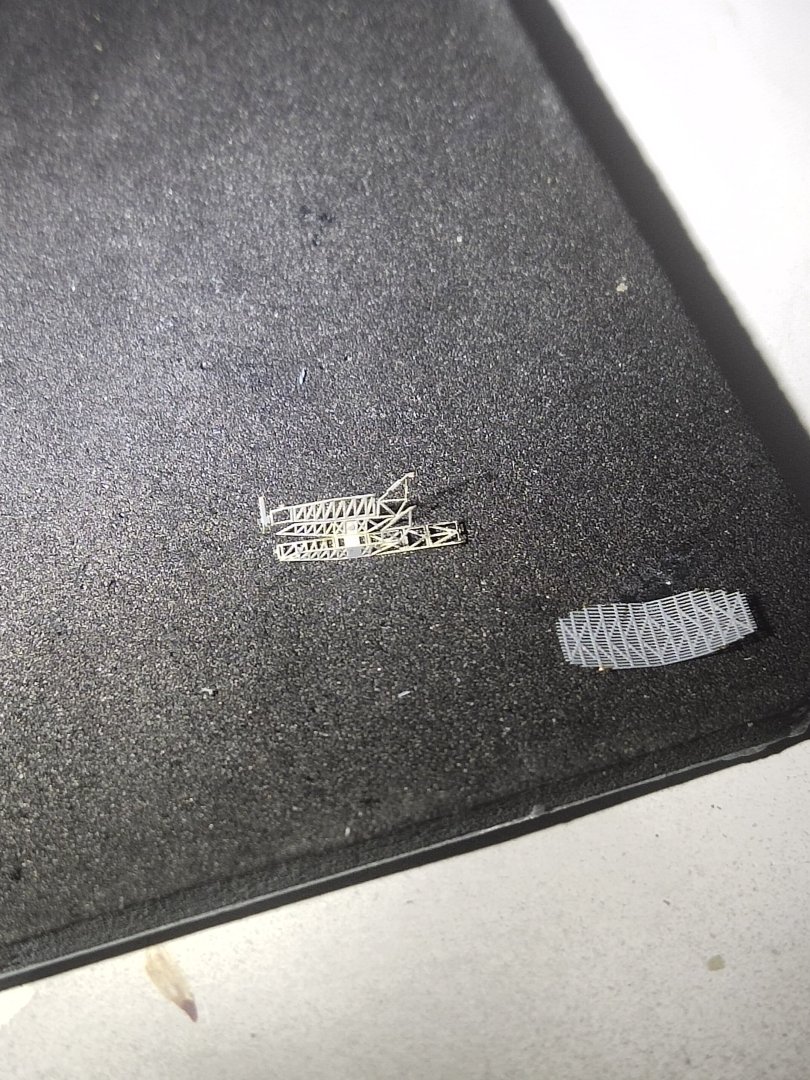
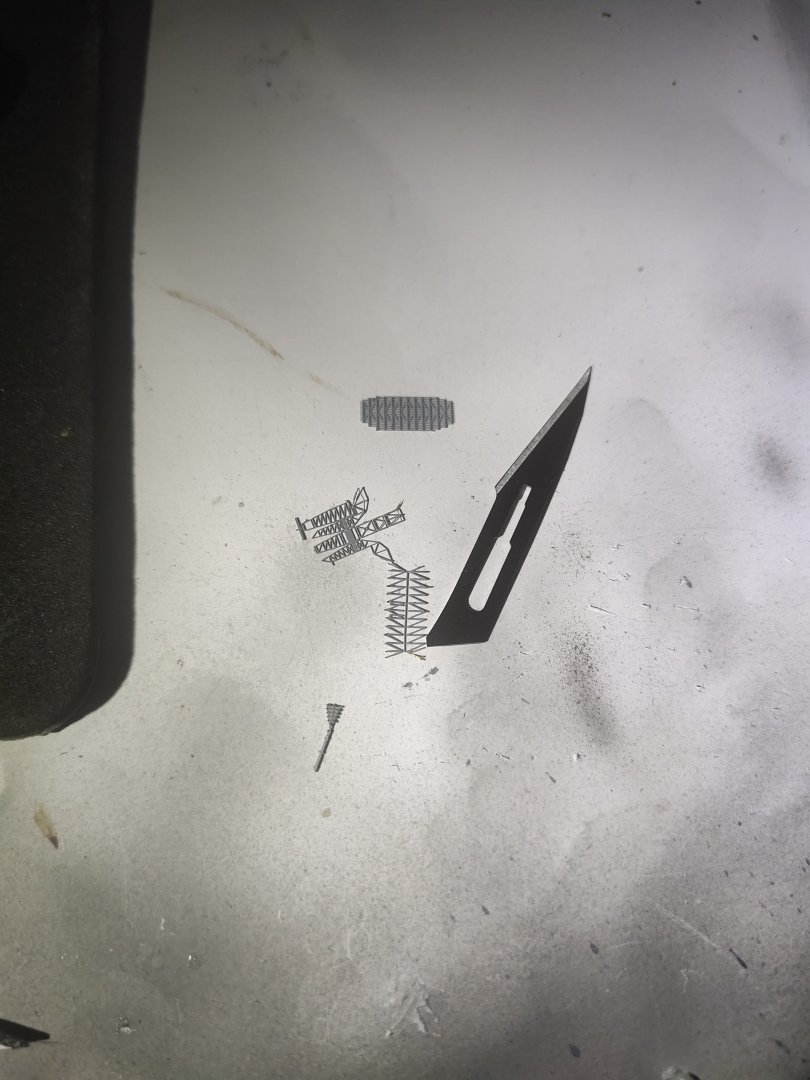
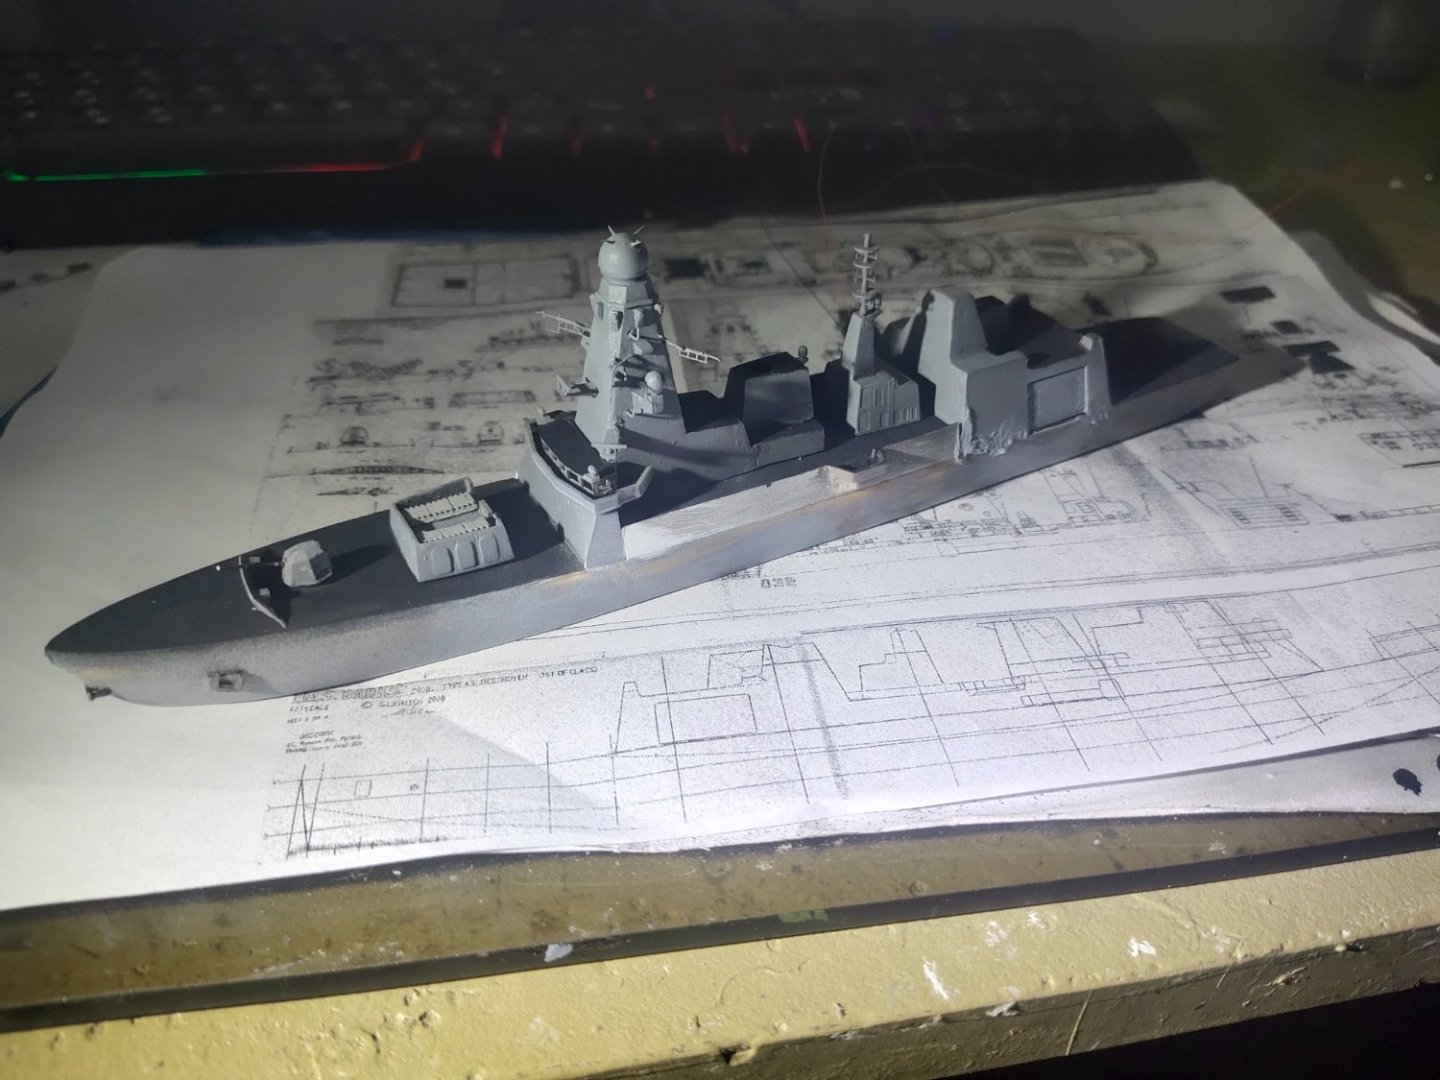
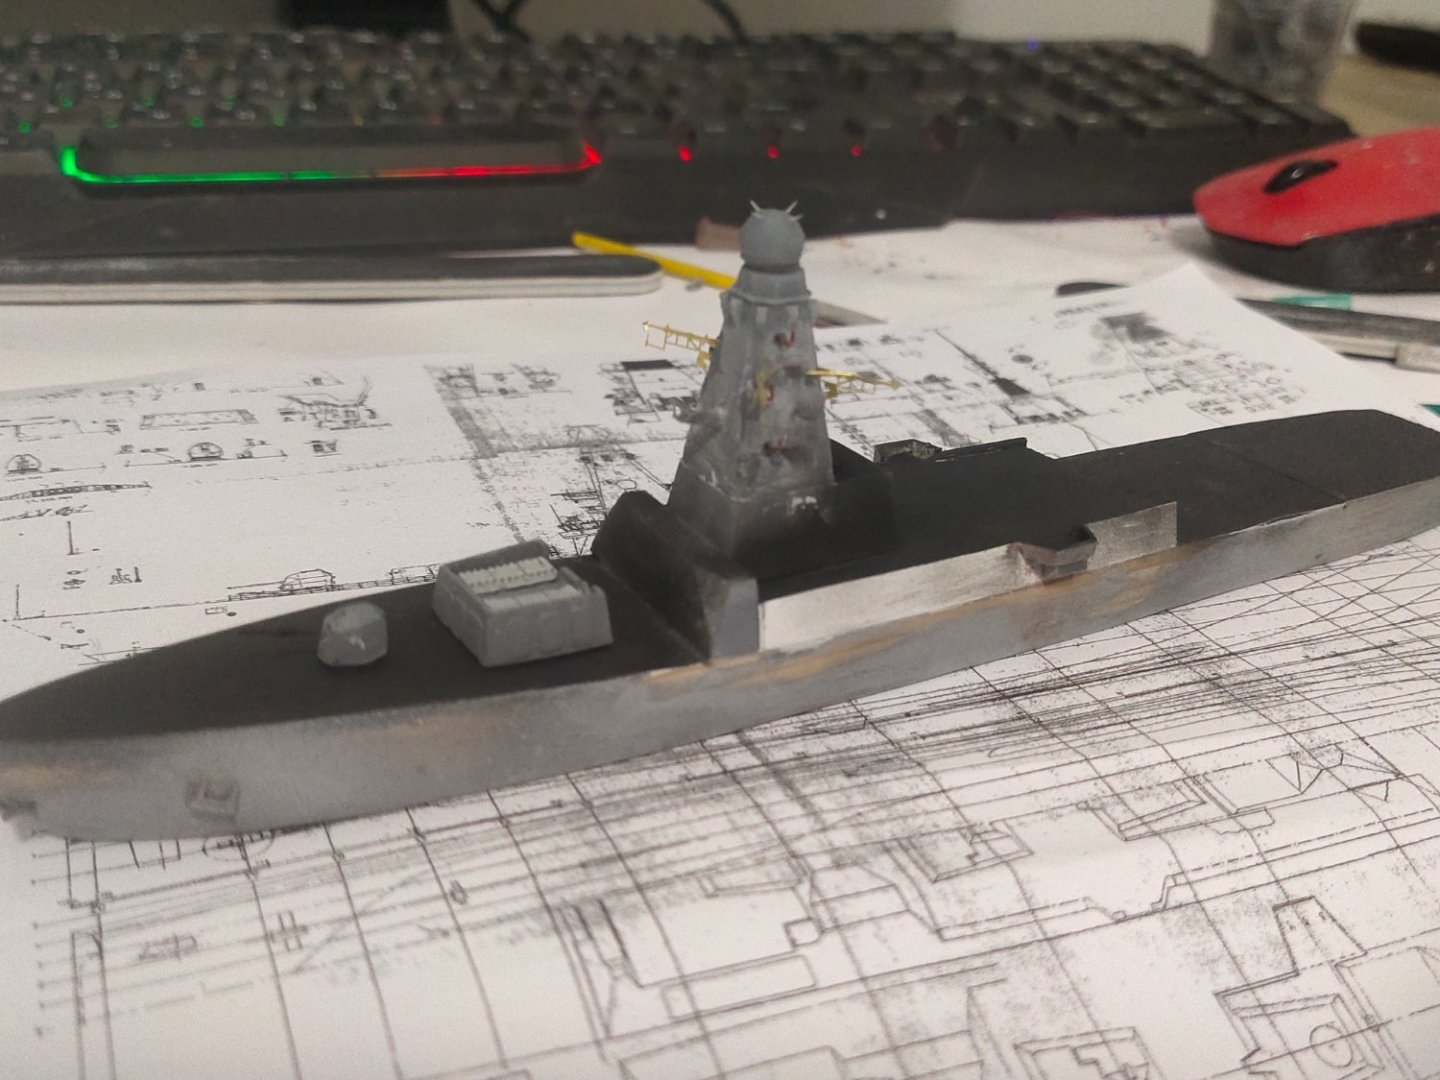
Today's progress was some micro work on the main mast

- 14 replies
-
- 6
-
-
- Type 45 Destroyer
- Horizon-class
- (and 1 more)


.jpg.43317a000e1768ba243963fe61c2b728.jpg)