mikegr
-
Posts
828 -
Joined
-
Last visited
Content Type
Profiles
Forums
Gallery
Events
Everything posted by mikegr
-
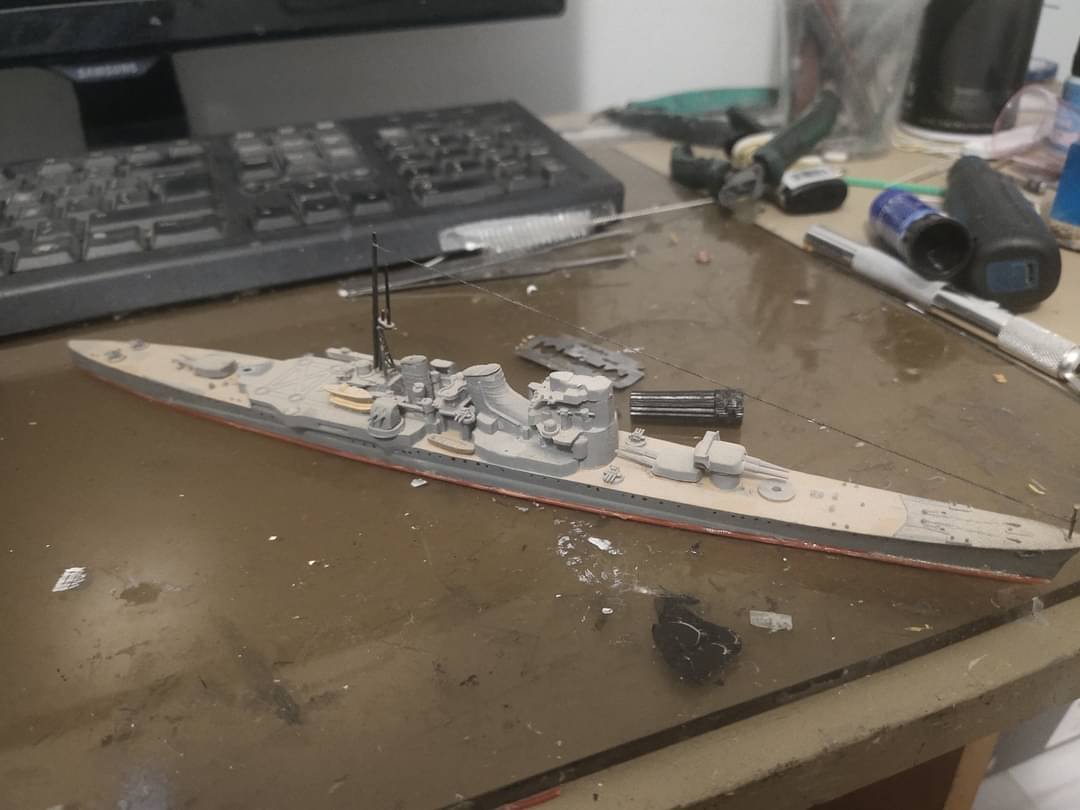
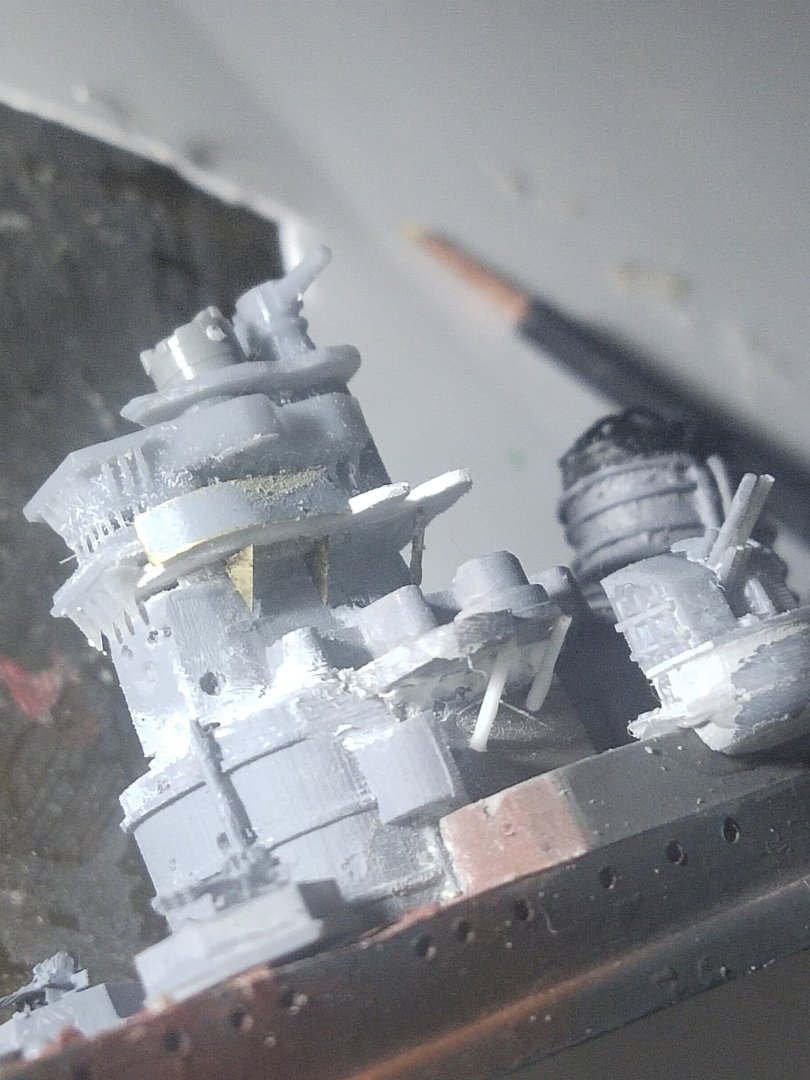
A last update with some details added on bridge like binoculars and rails. I was hoping to finish this before my departure but couldn't make it. Tomorrow I will fly to Malaysia for a month vacation trip. Will do some shopping to improve this and my future models
-
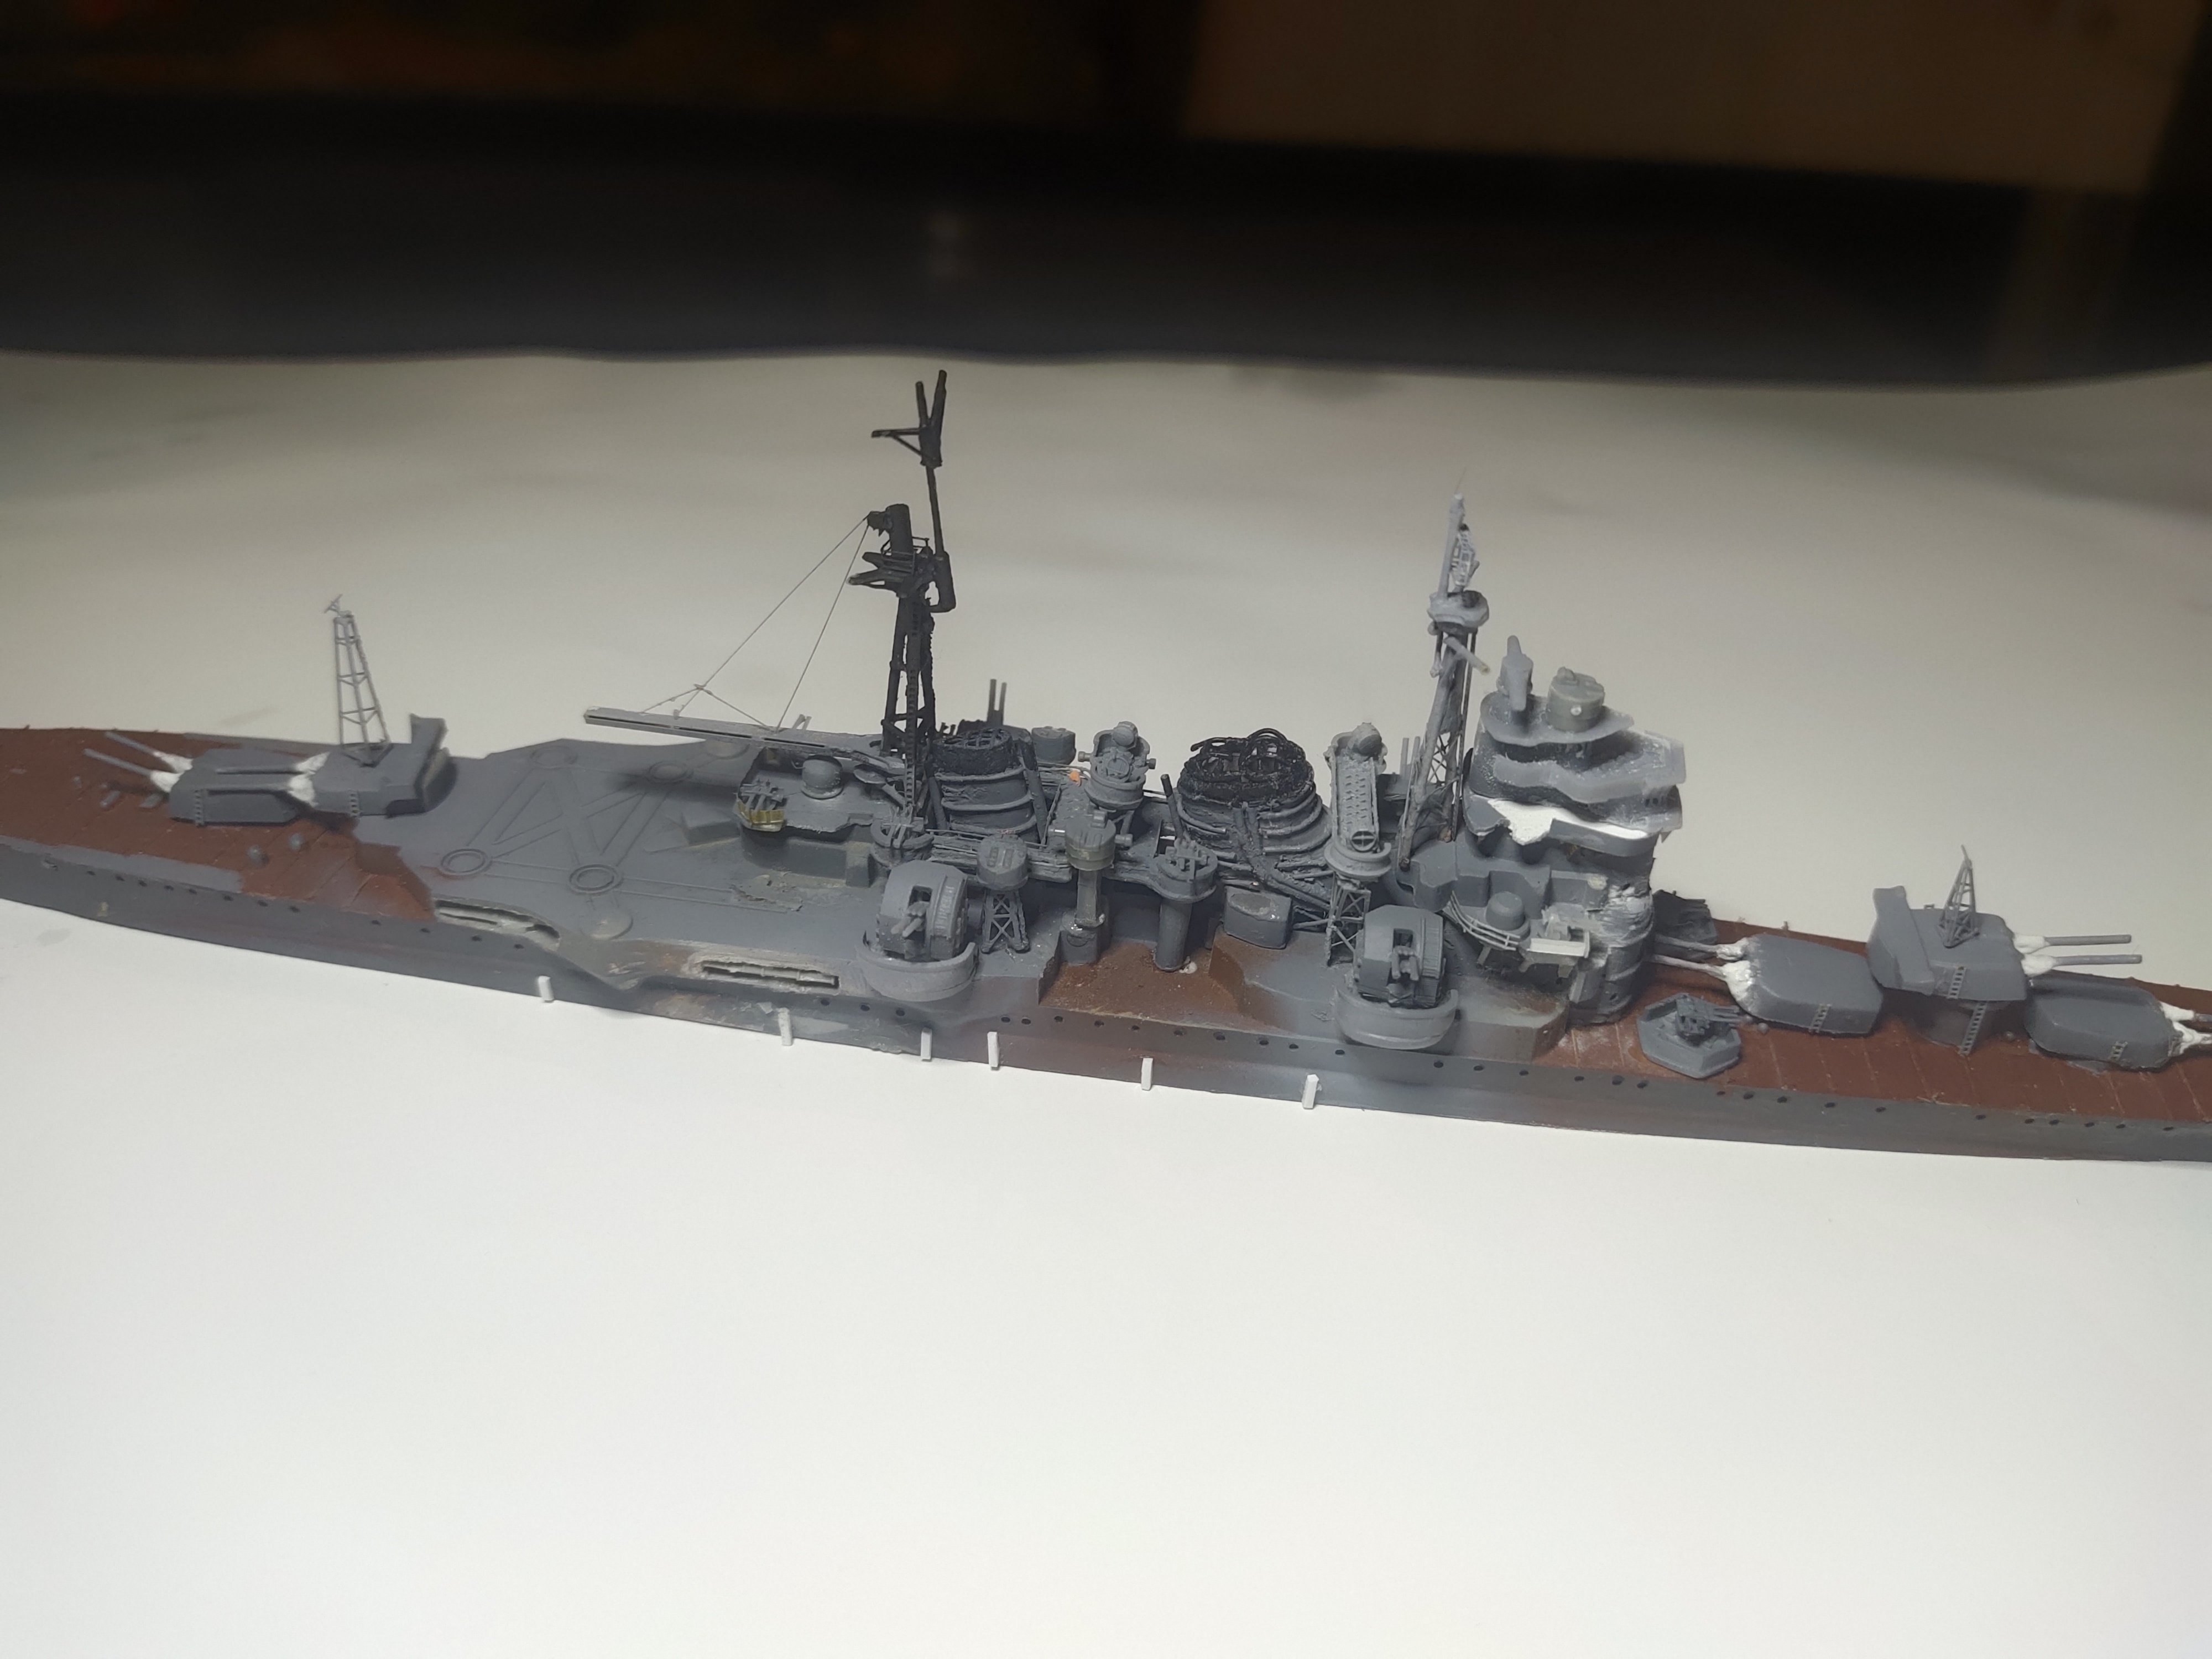
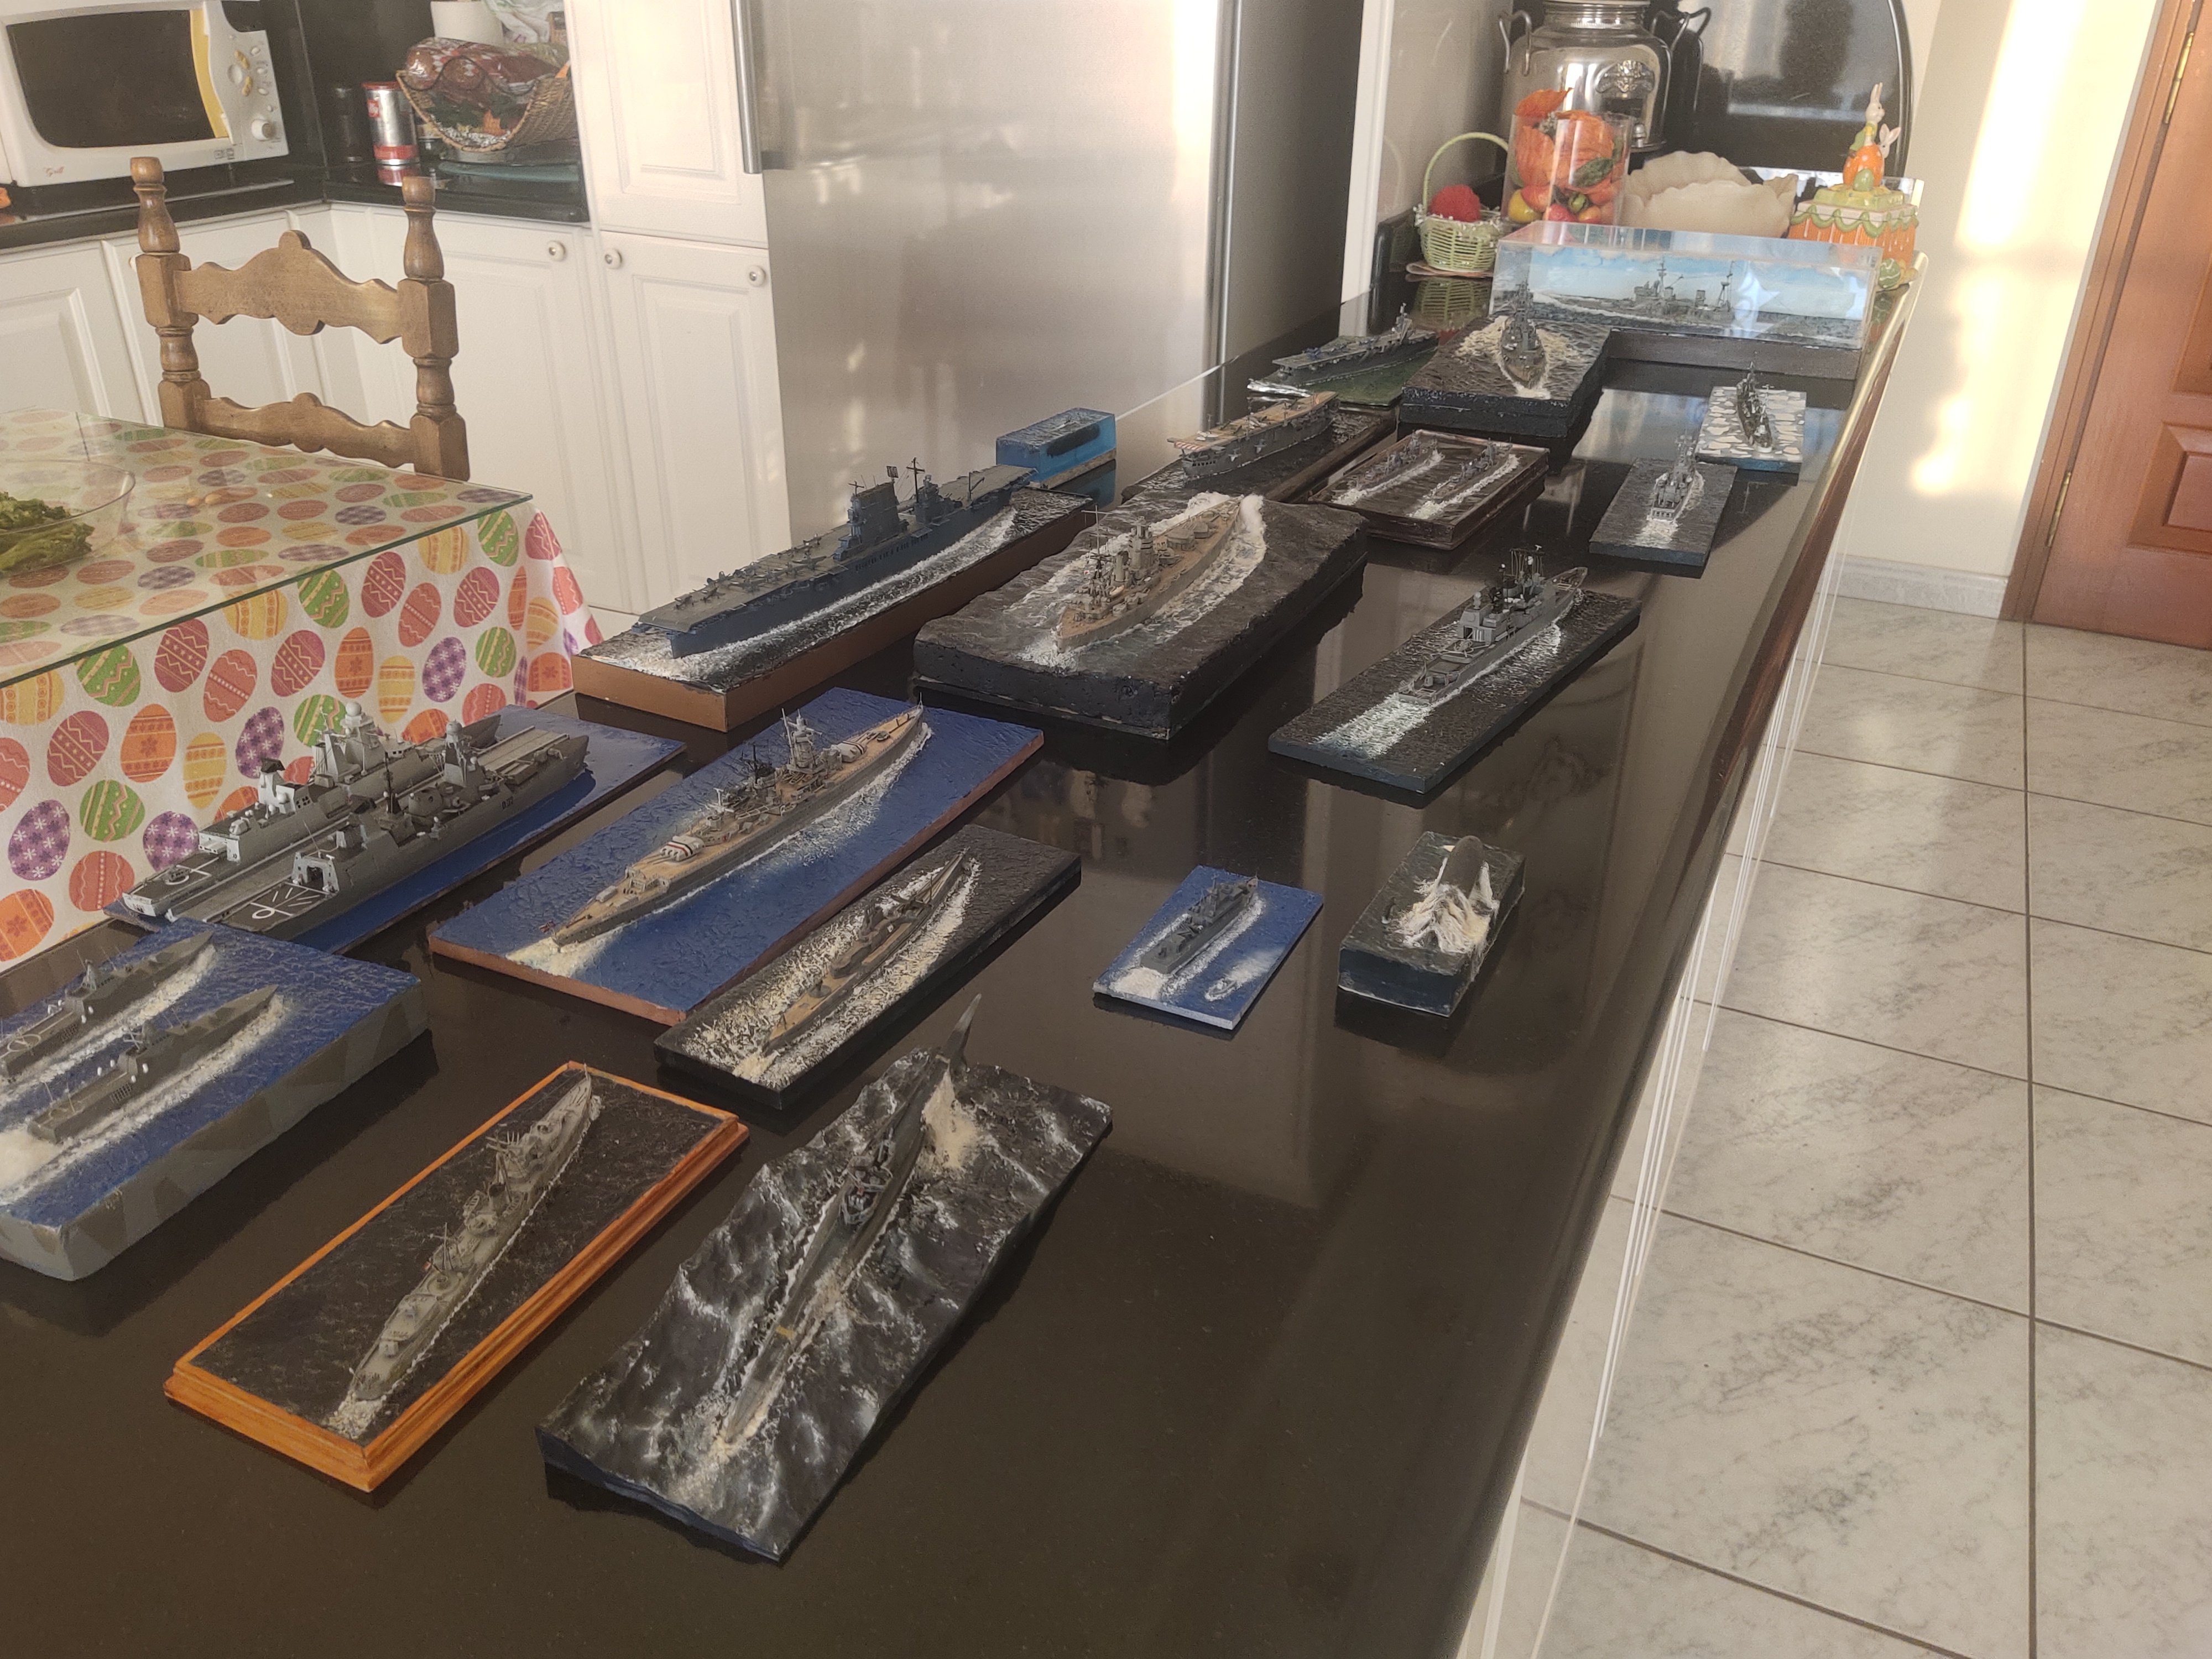
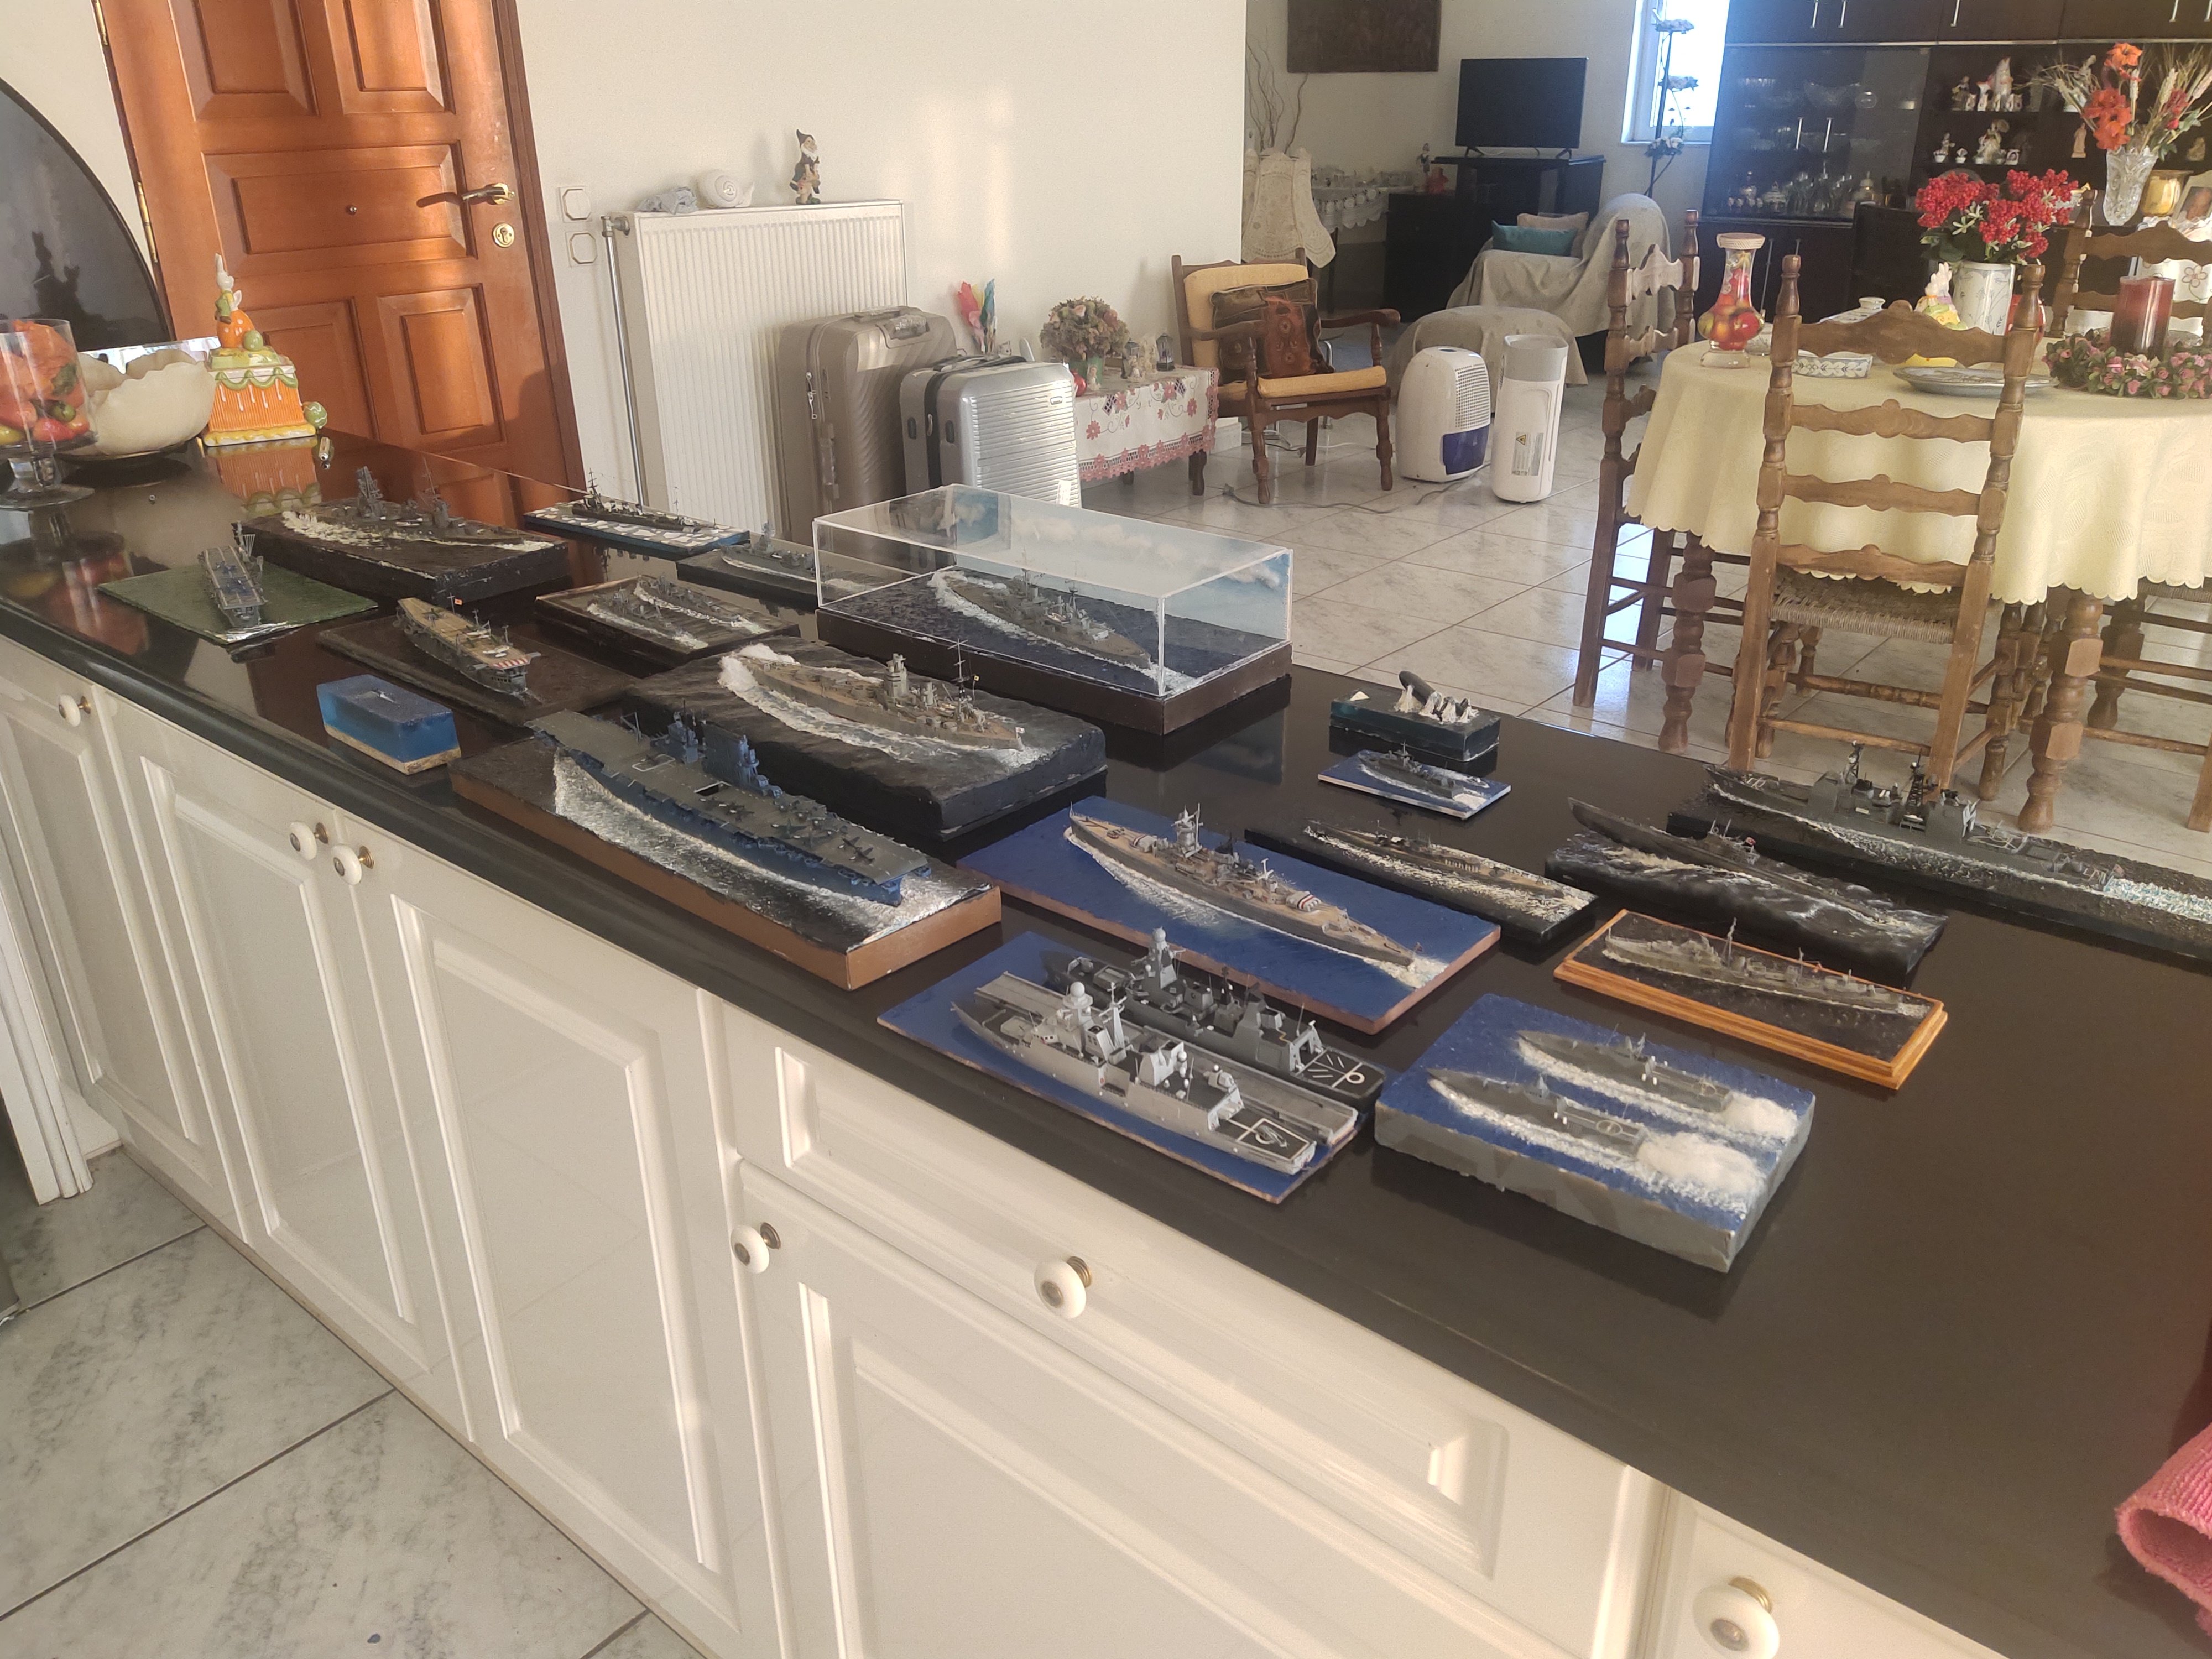
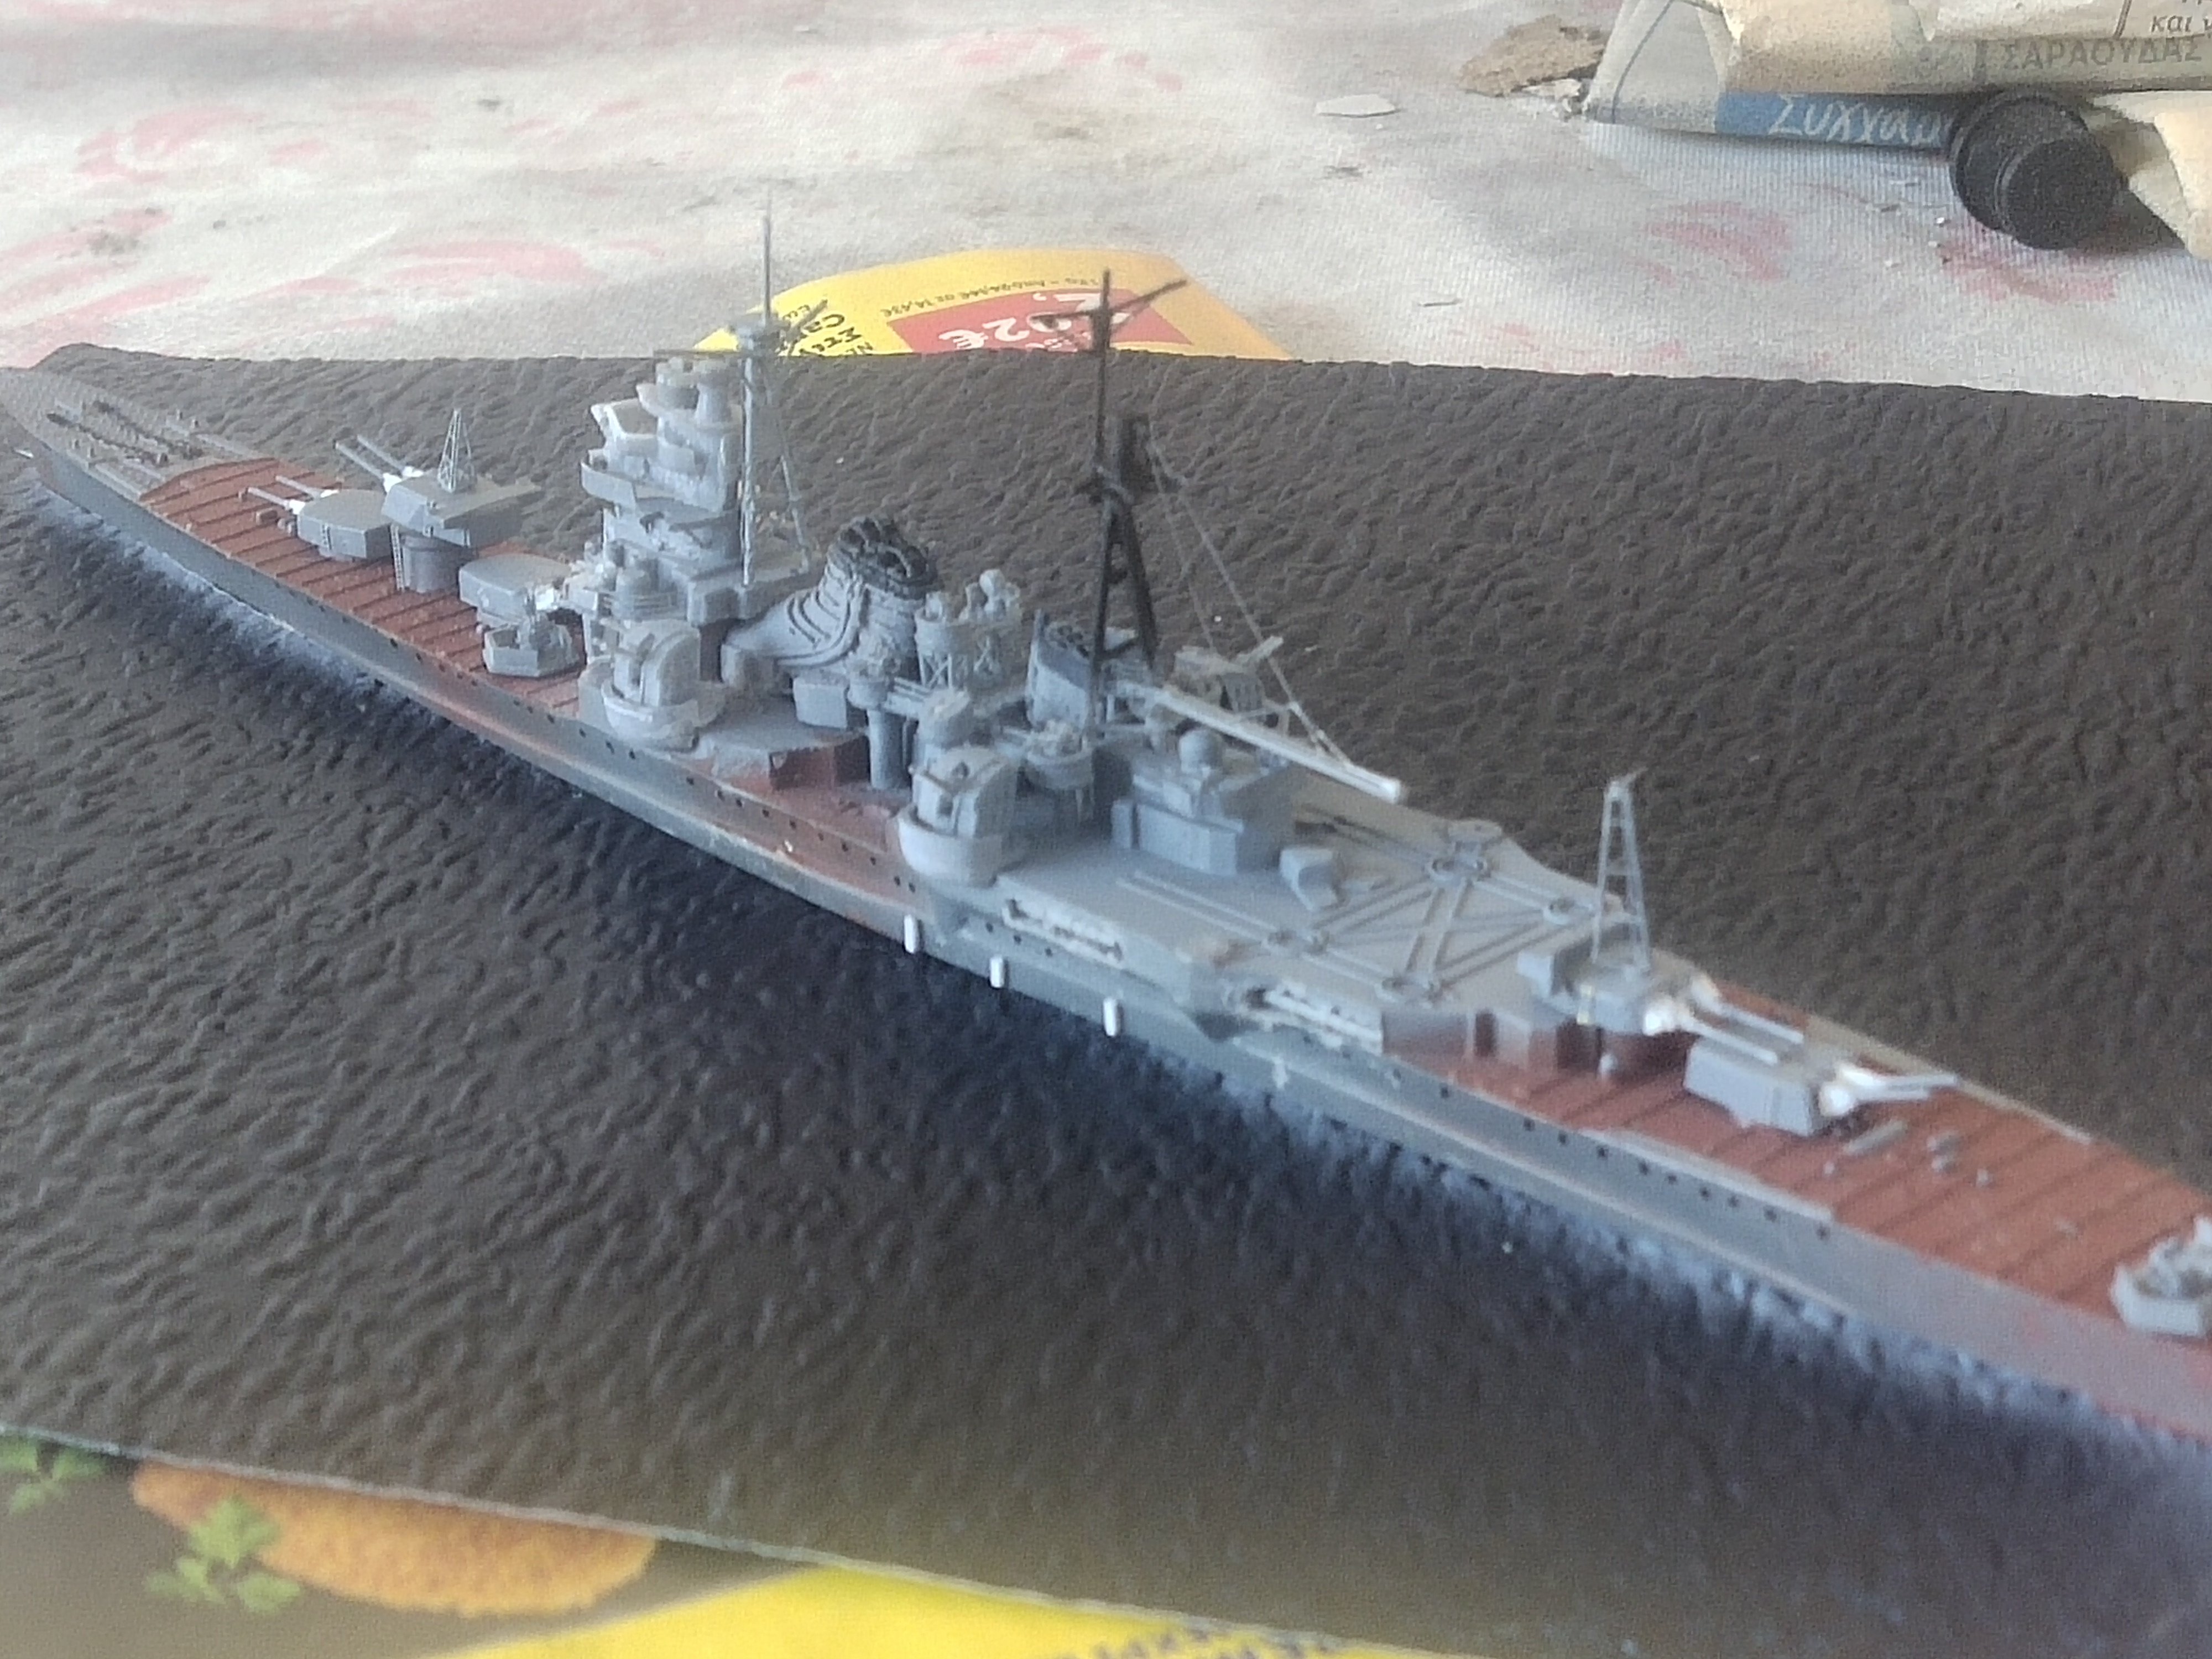
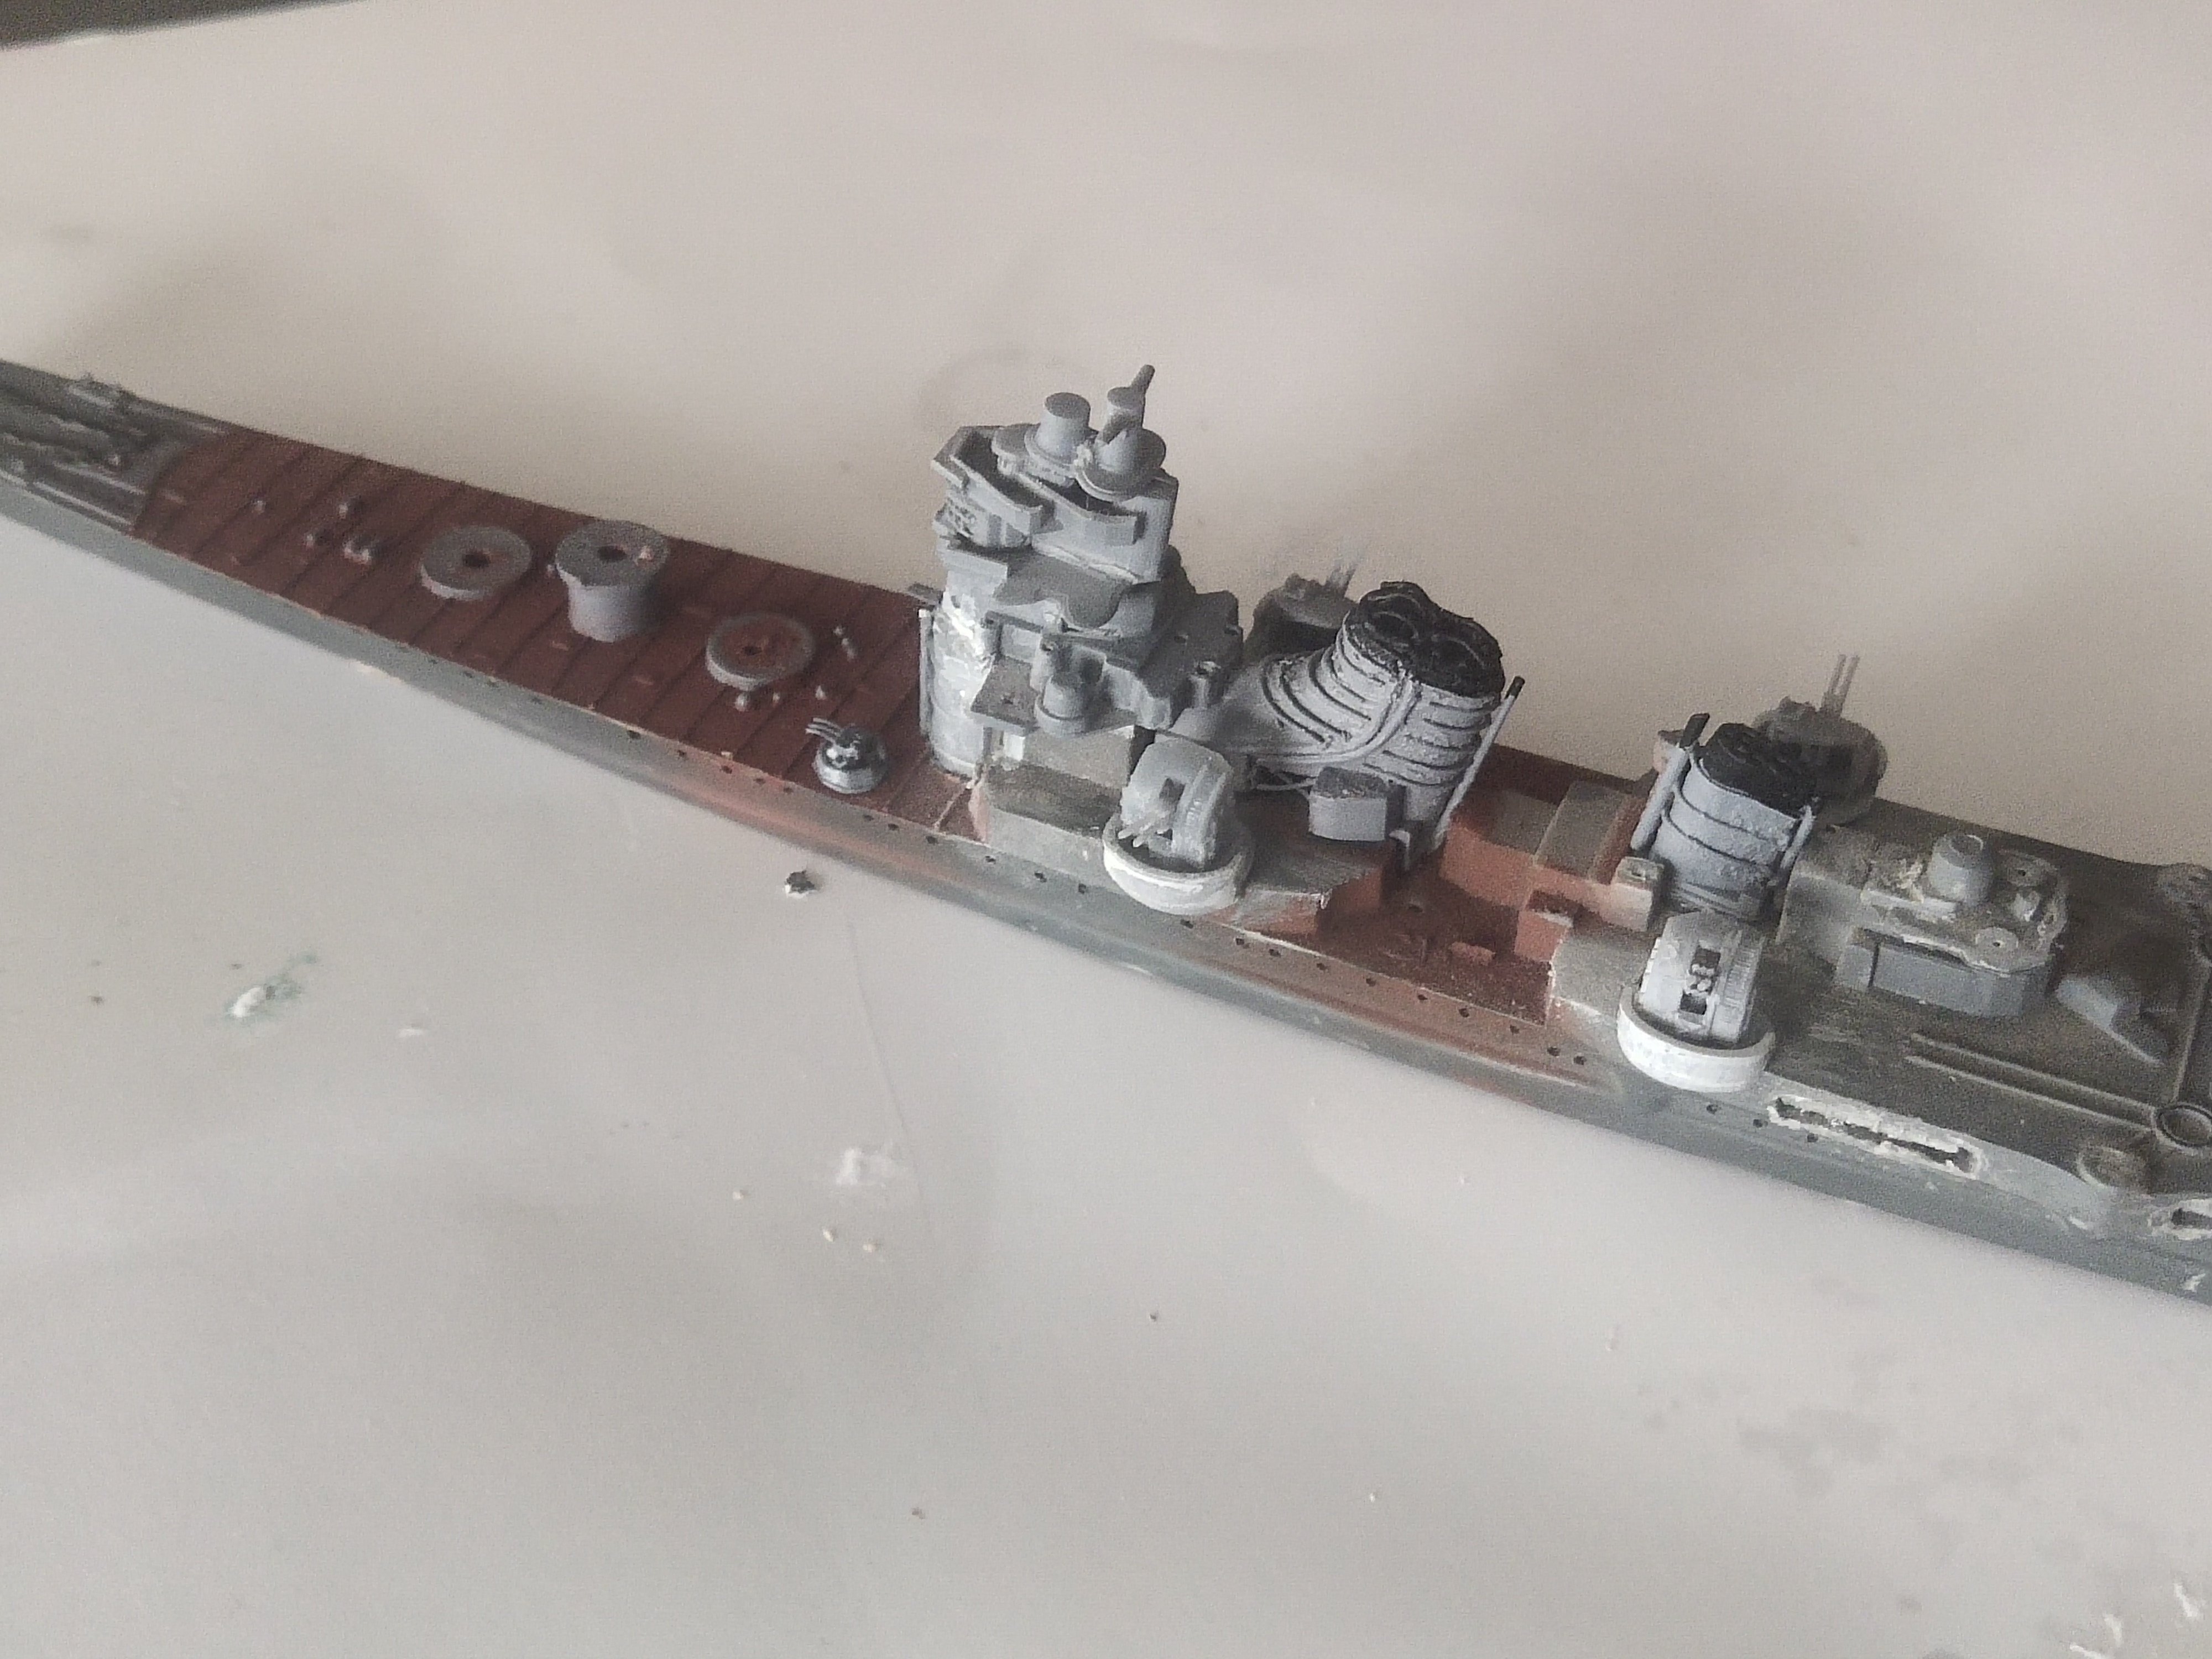
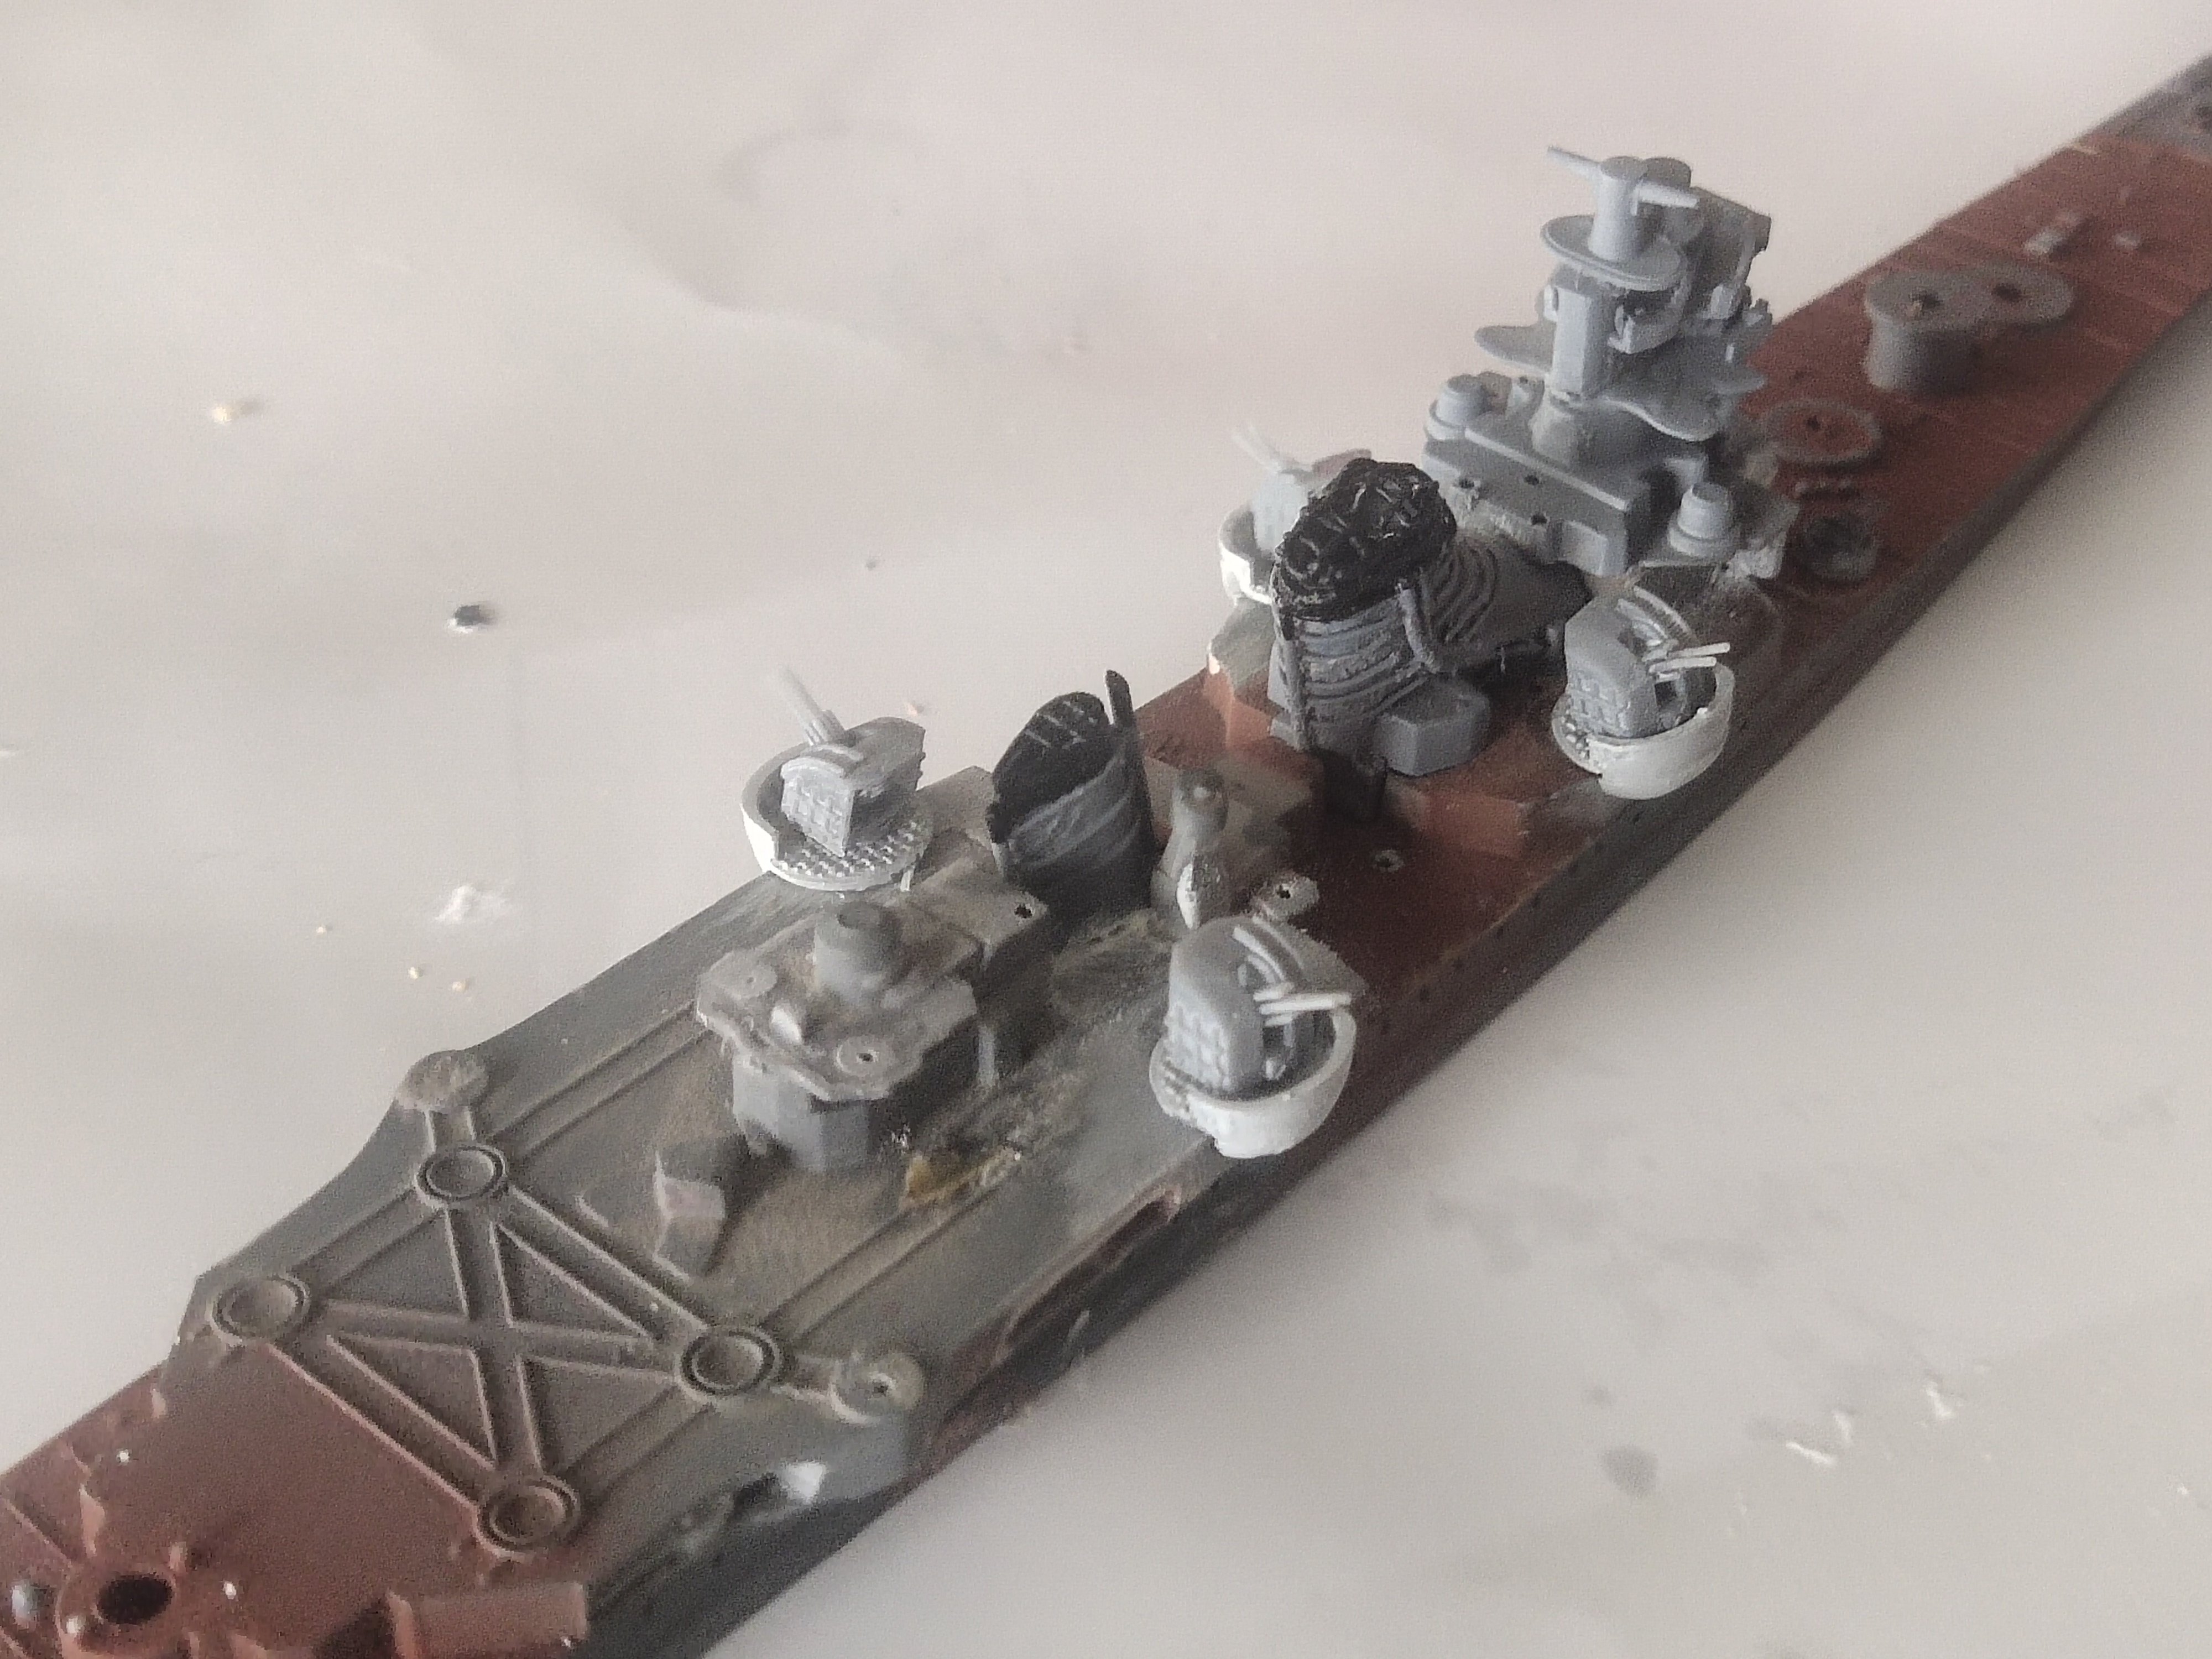
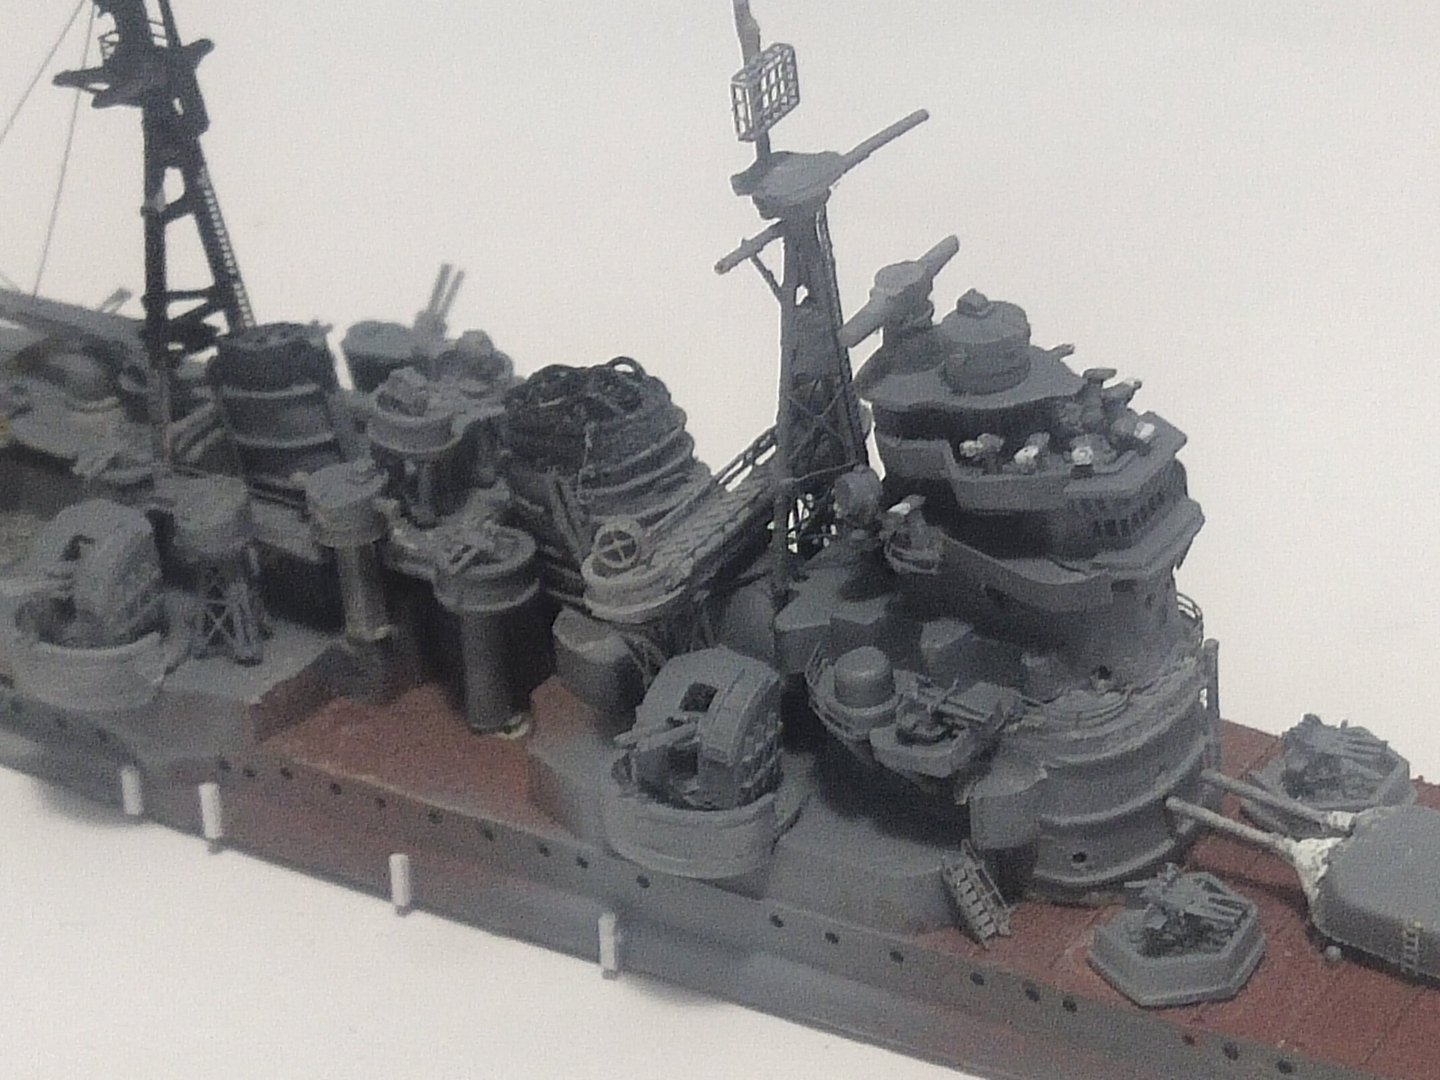
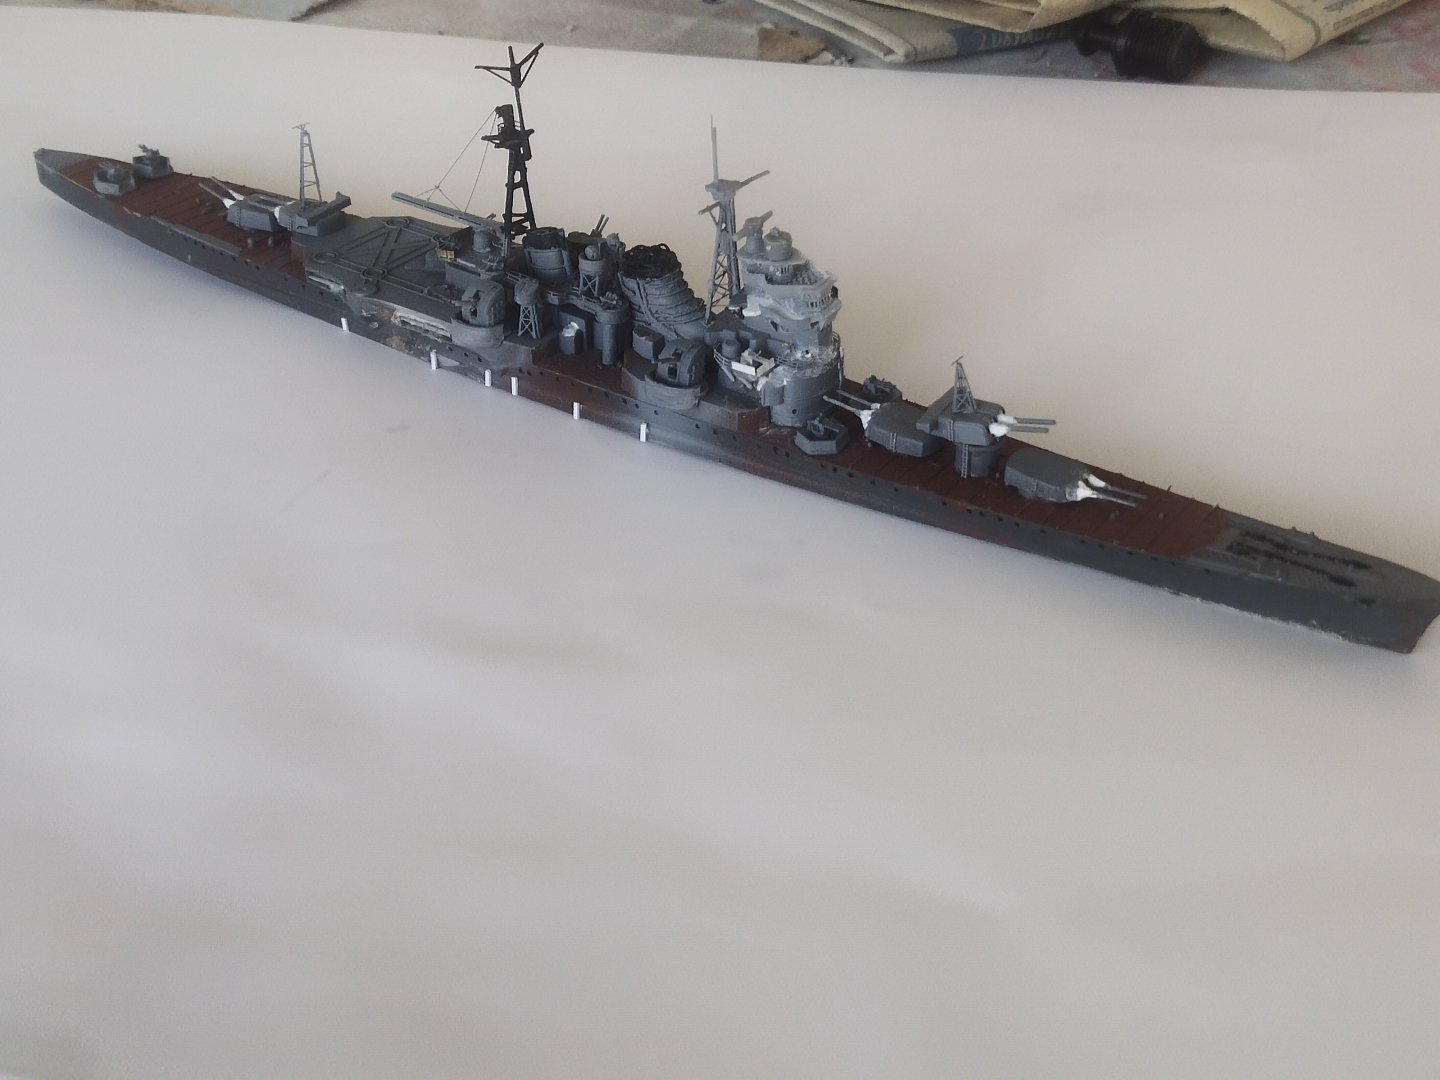
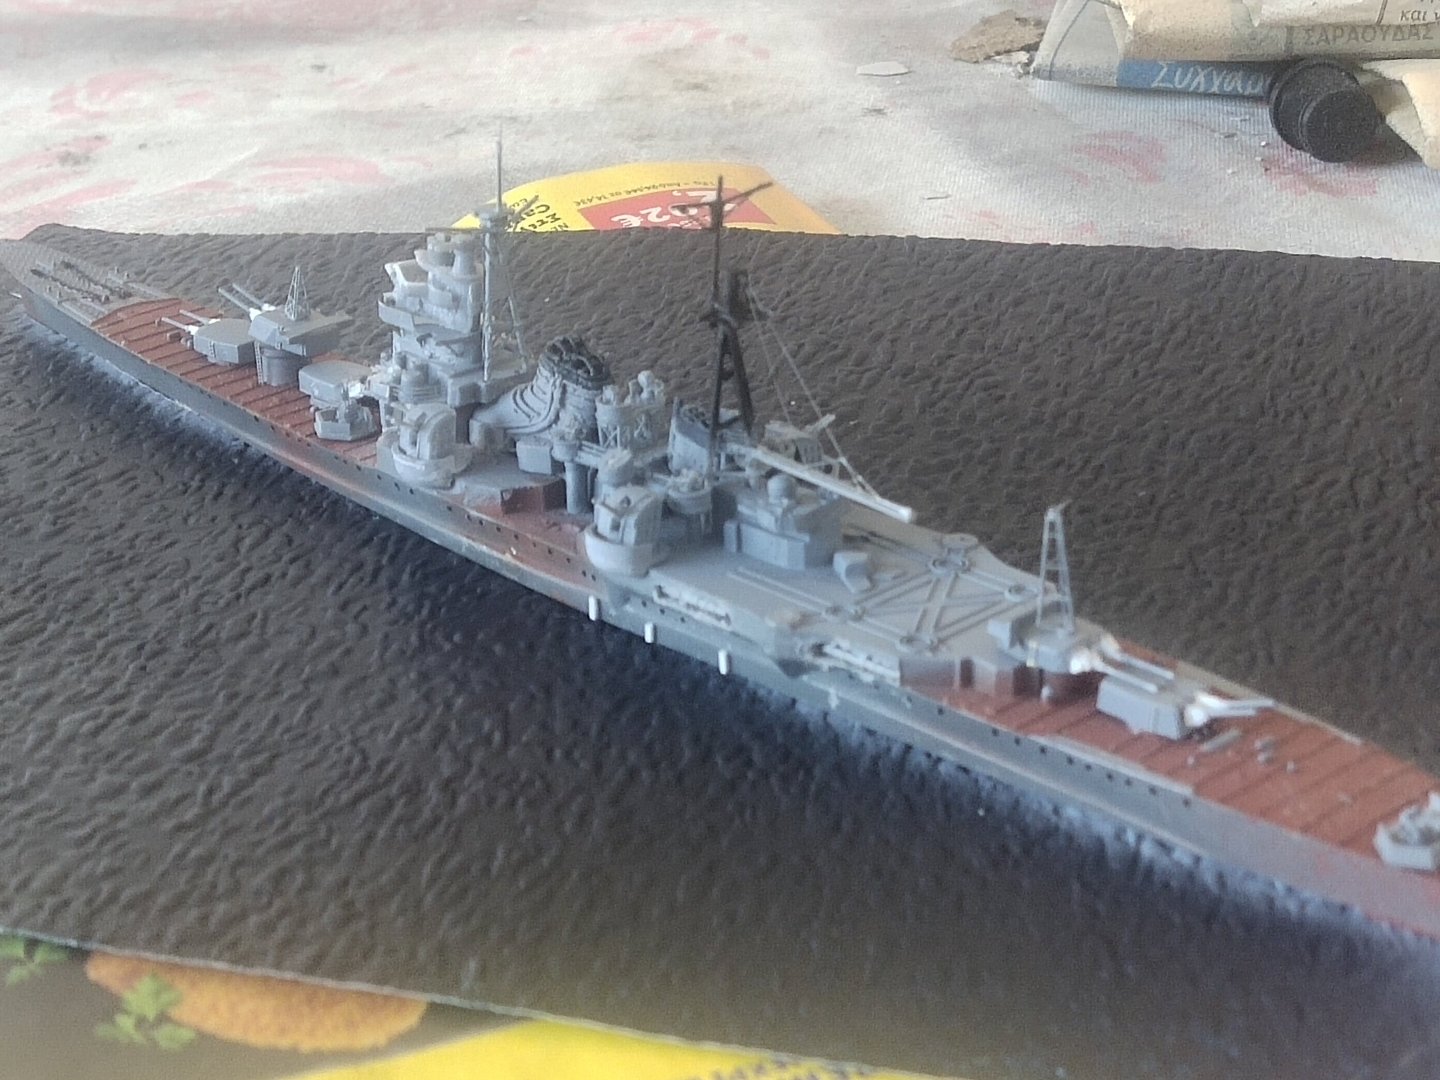
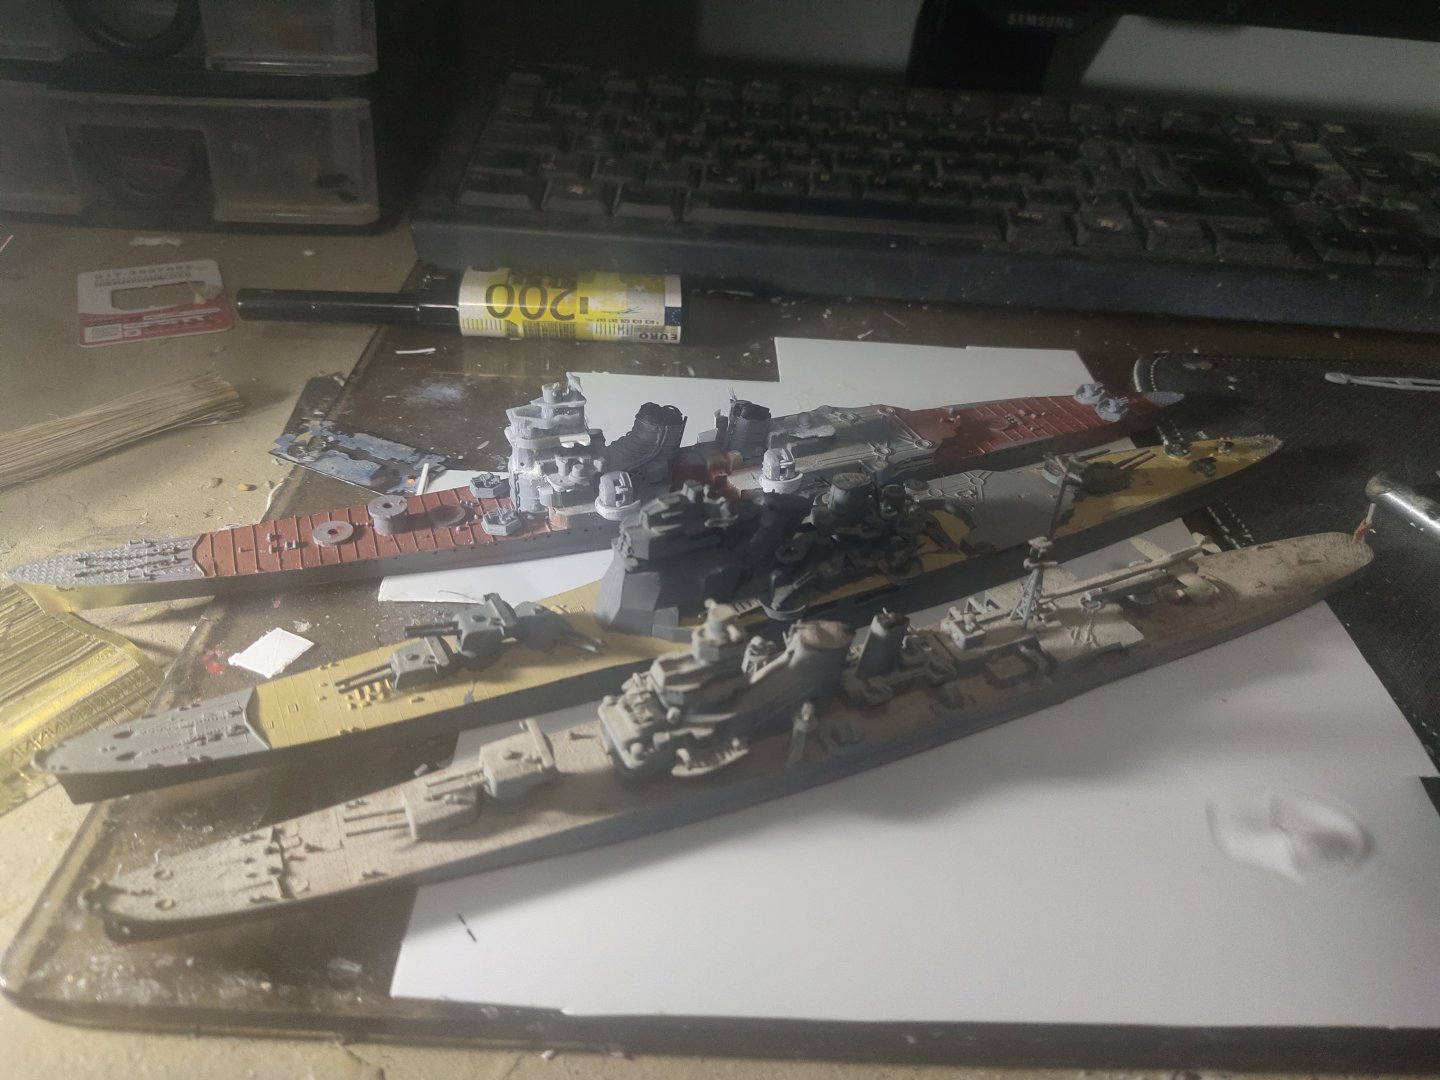
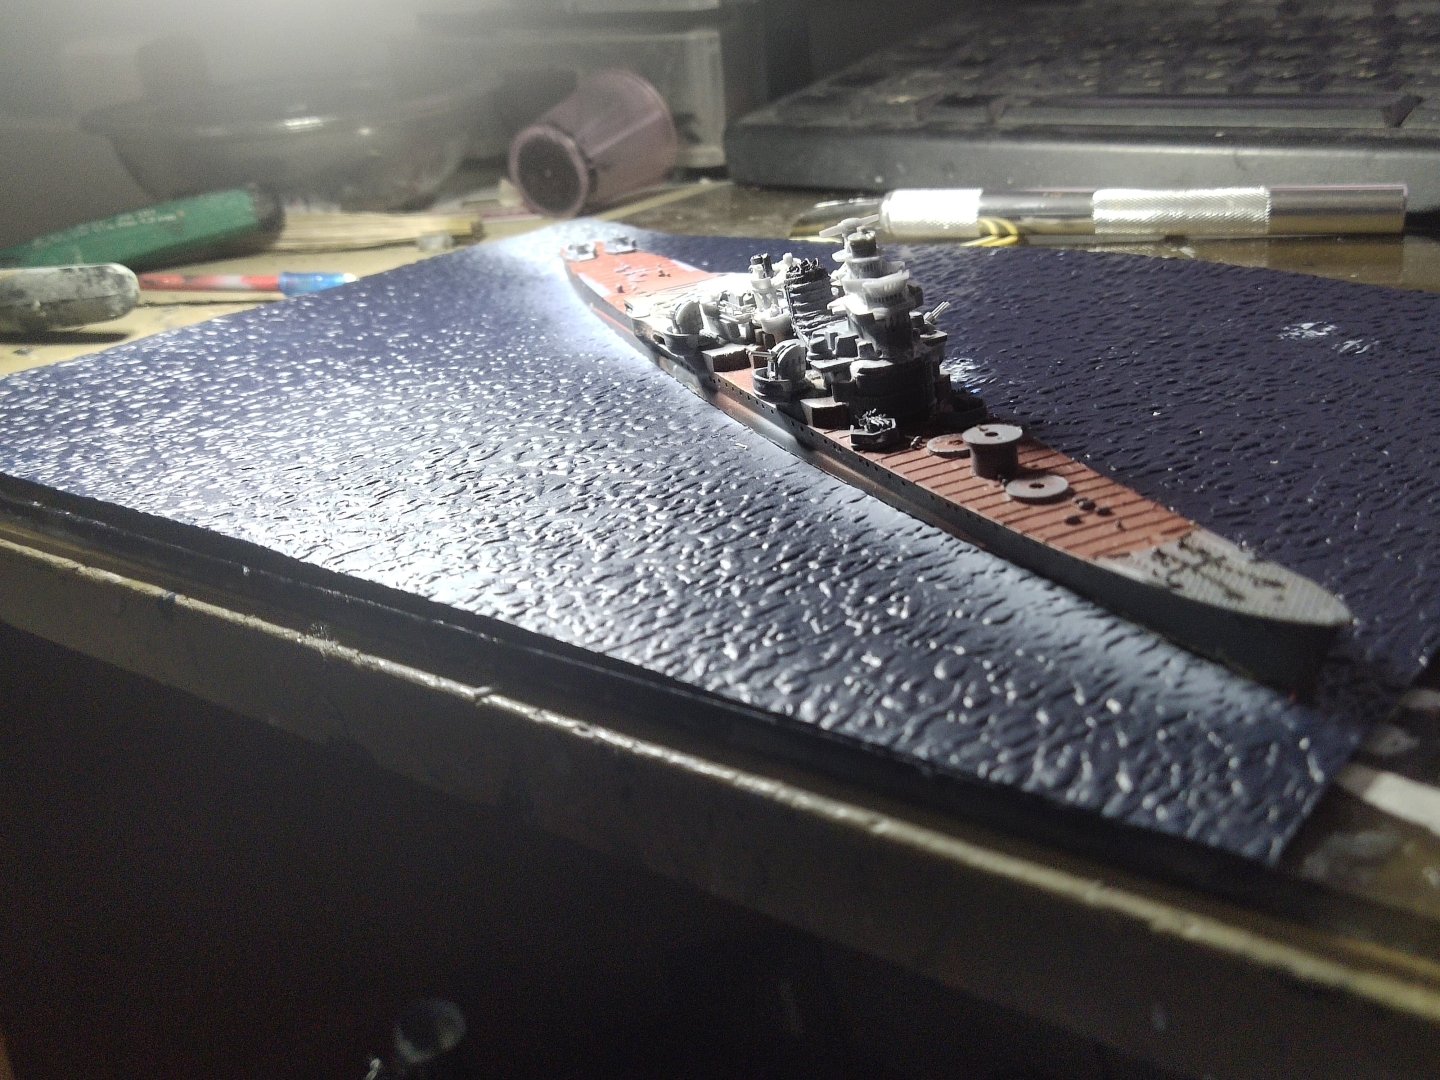
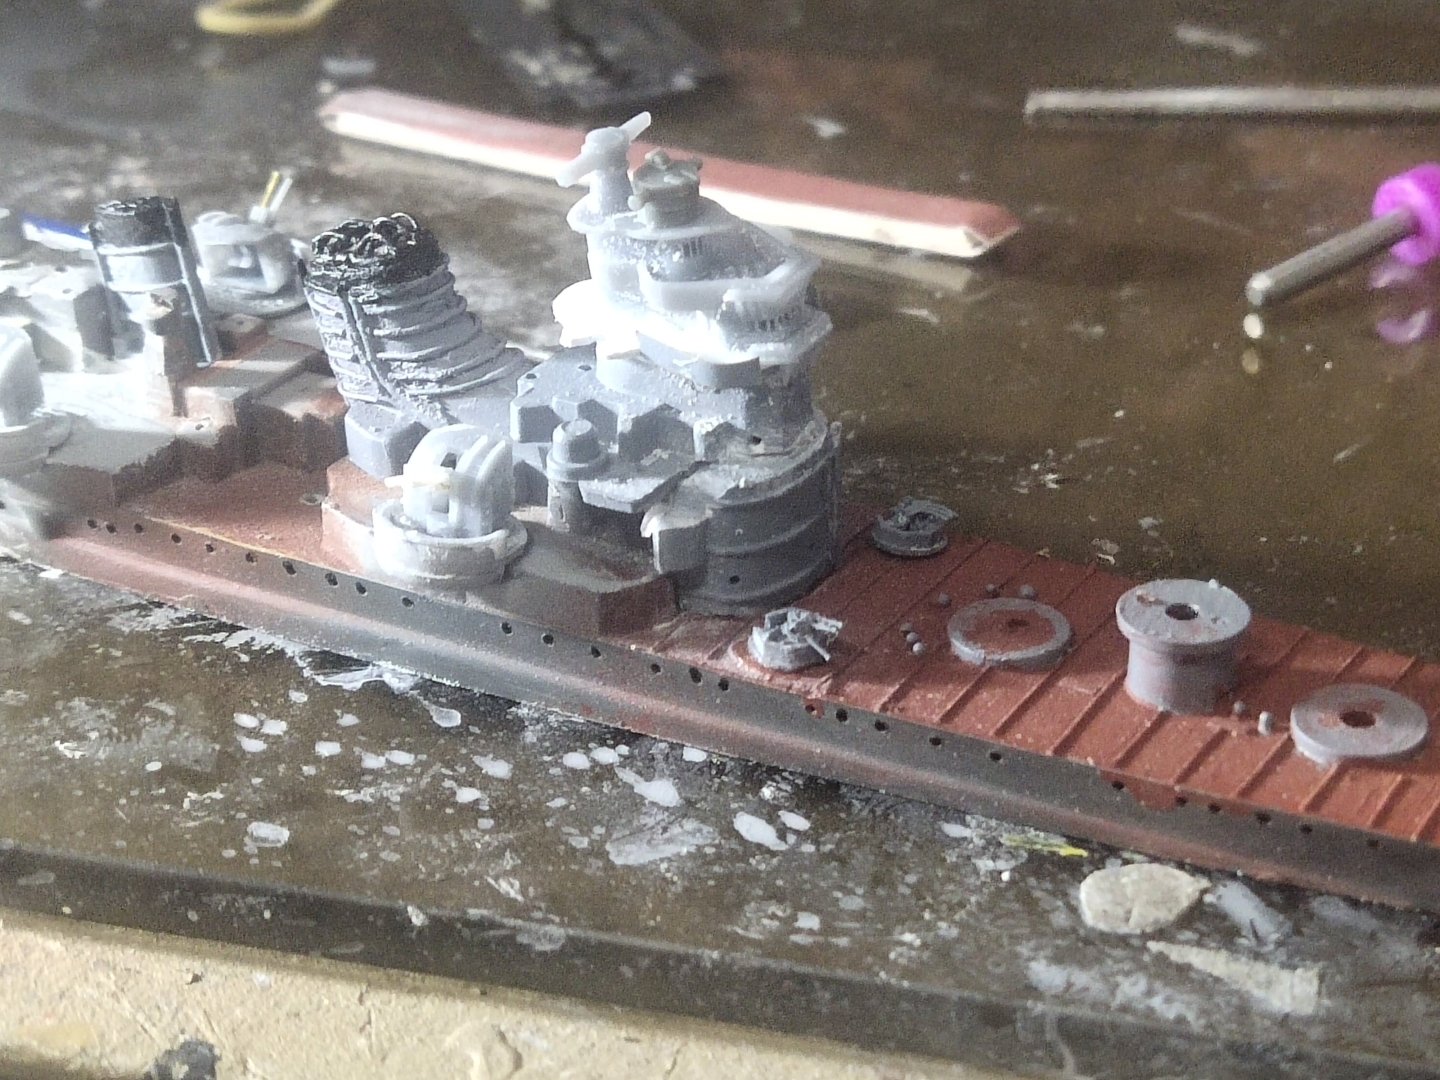
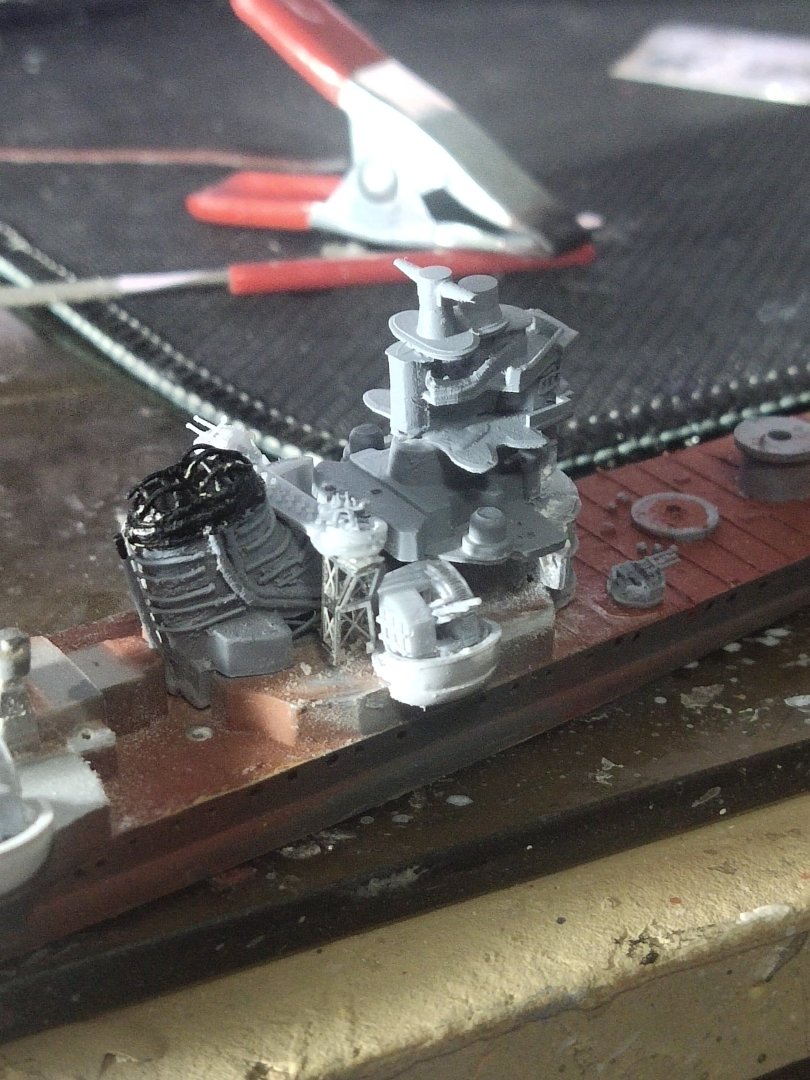
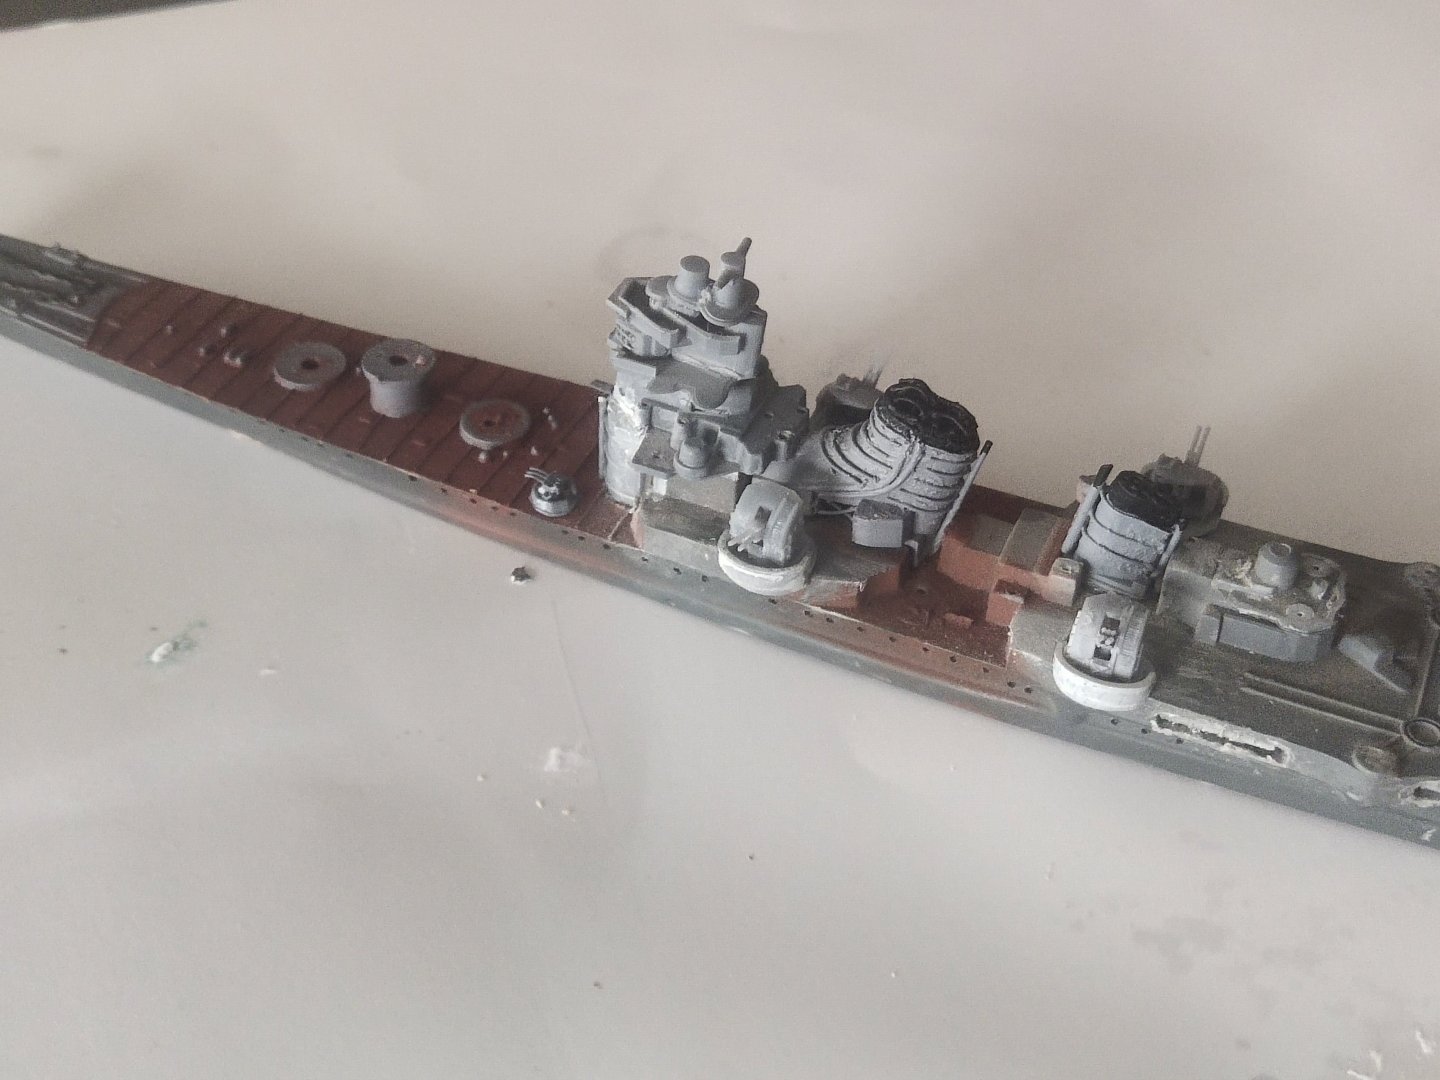
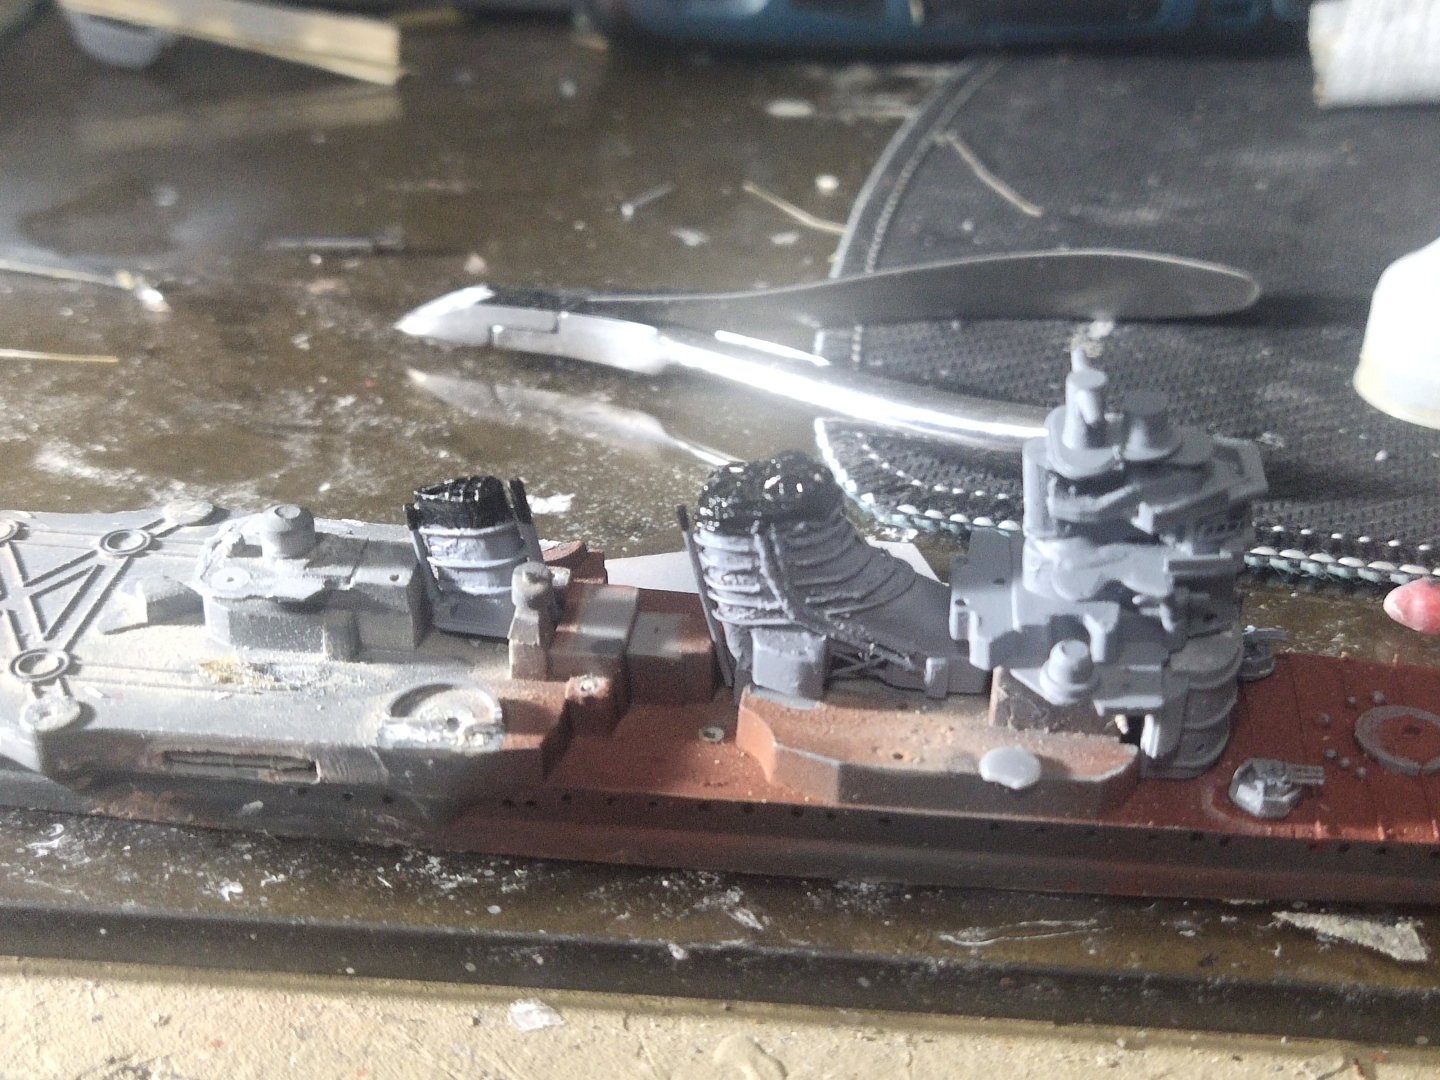
Done fitting the last light platform and the fire directors. Now its shape looks complex like most heavily modified IJN ships. Today the fleet was out for inspection in the Gulf of Kitchen


-
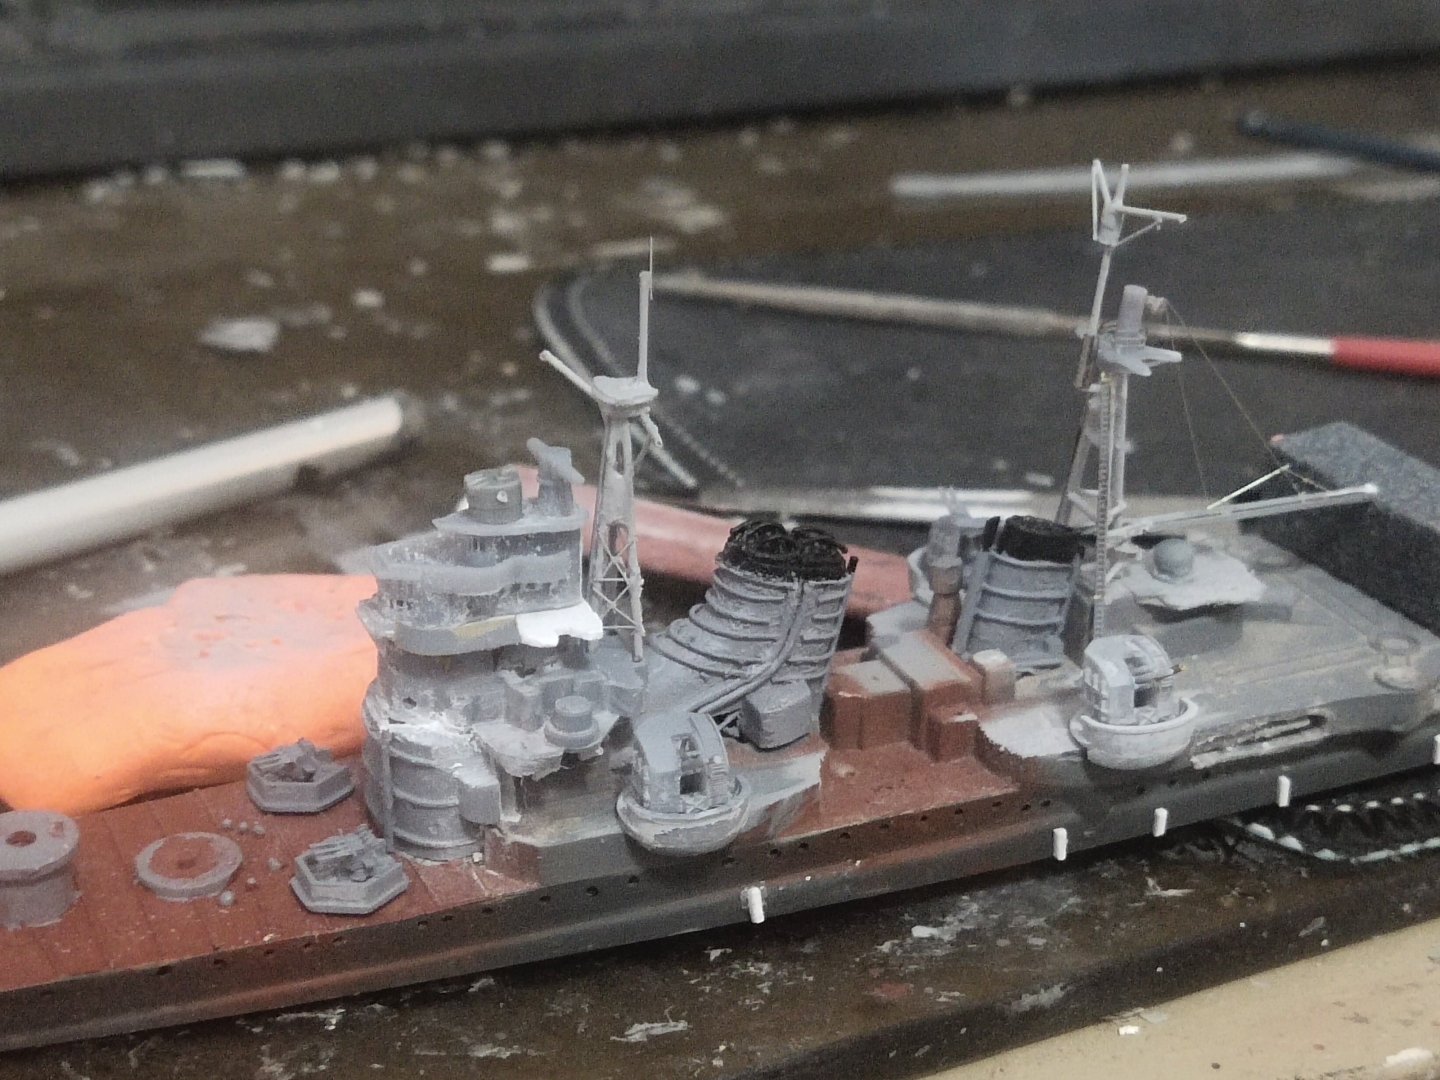
Parts put in place Some fitment problems always occures when making your own parts. For example the towers with the fire directors should be between the real funnel and the AA gun platform. But there was not enough space so they were put just behind the type 89 gun. At least they reveal more details on this way.

-
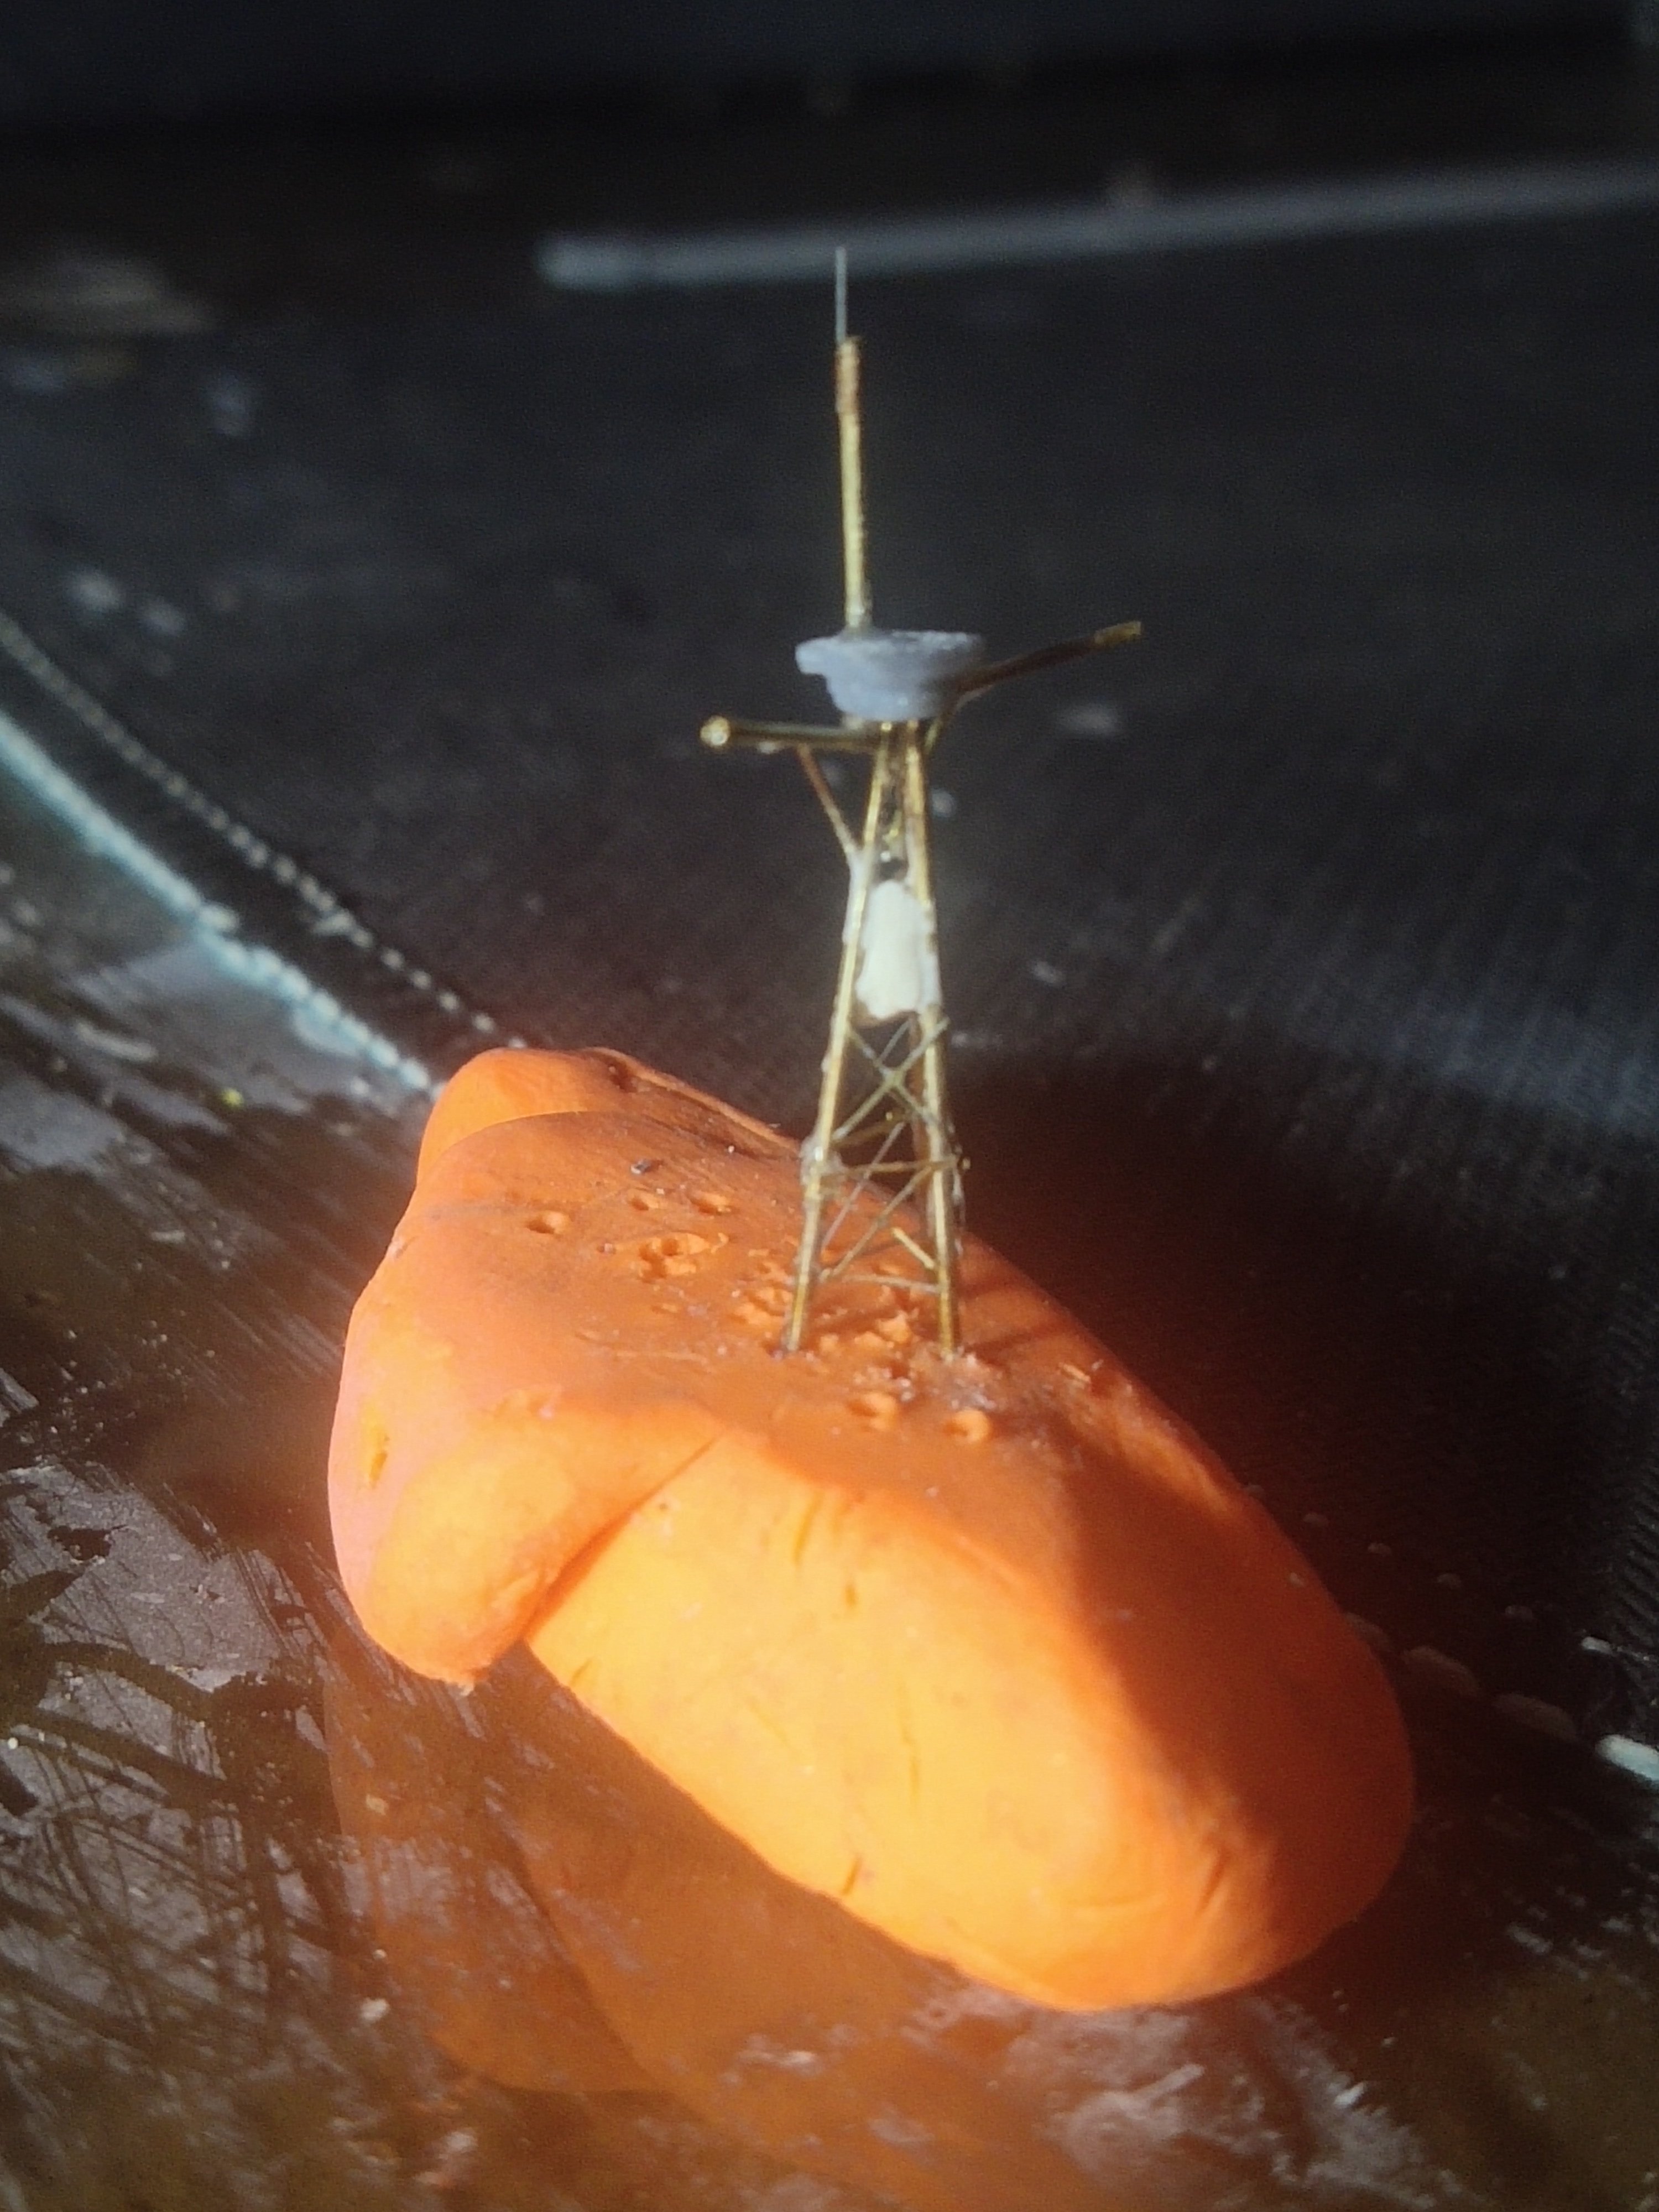
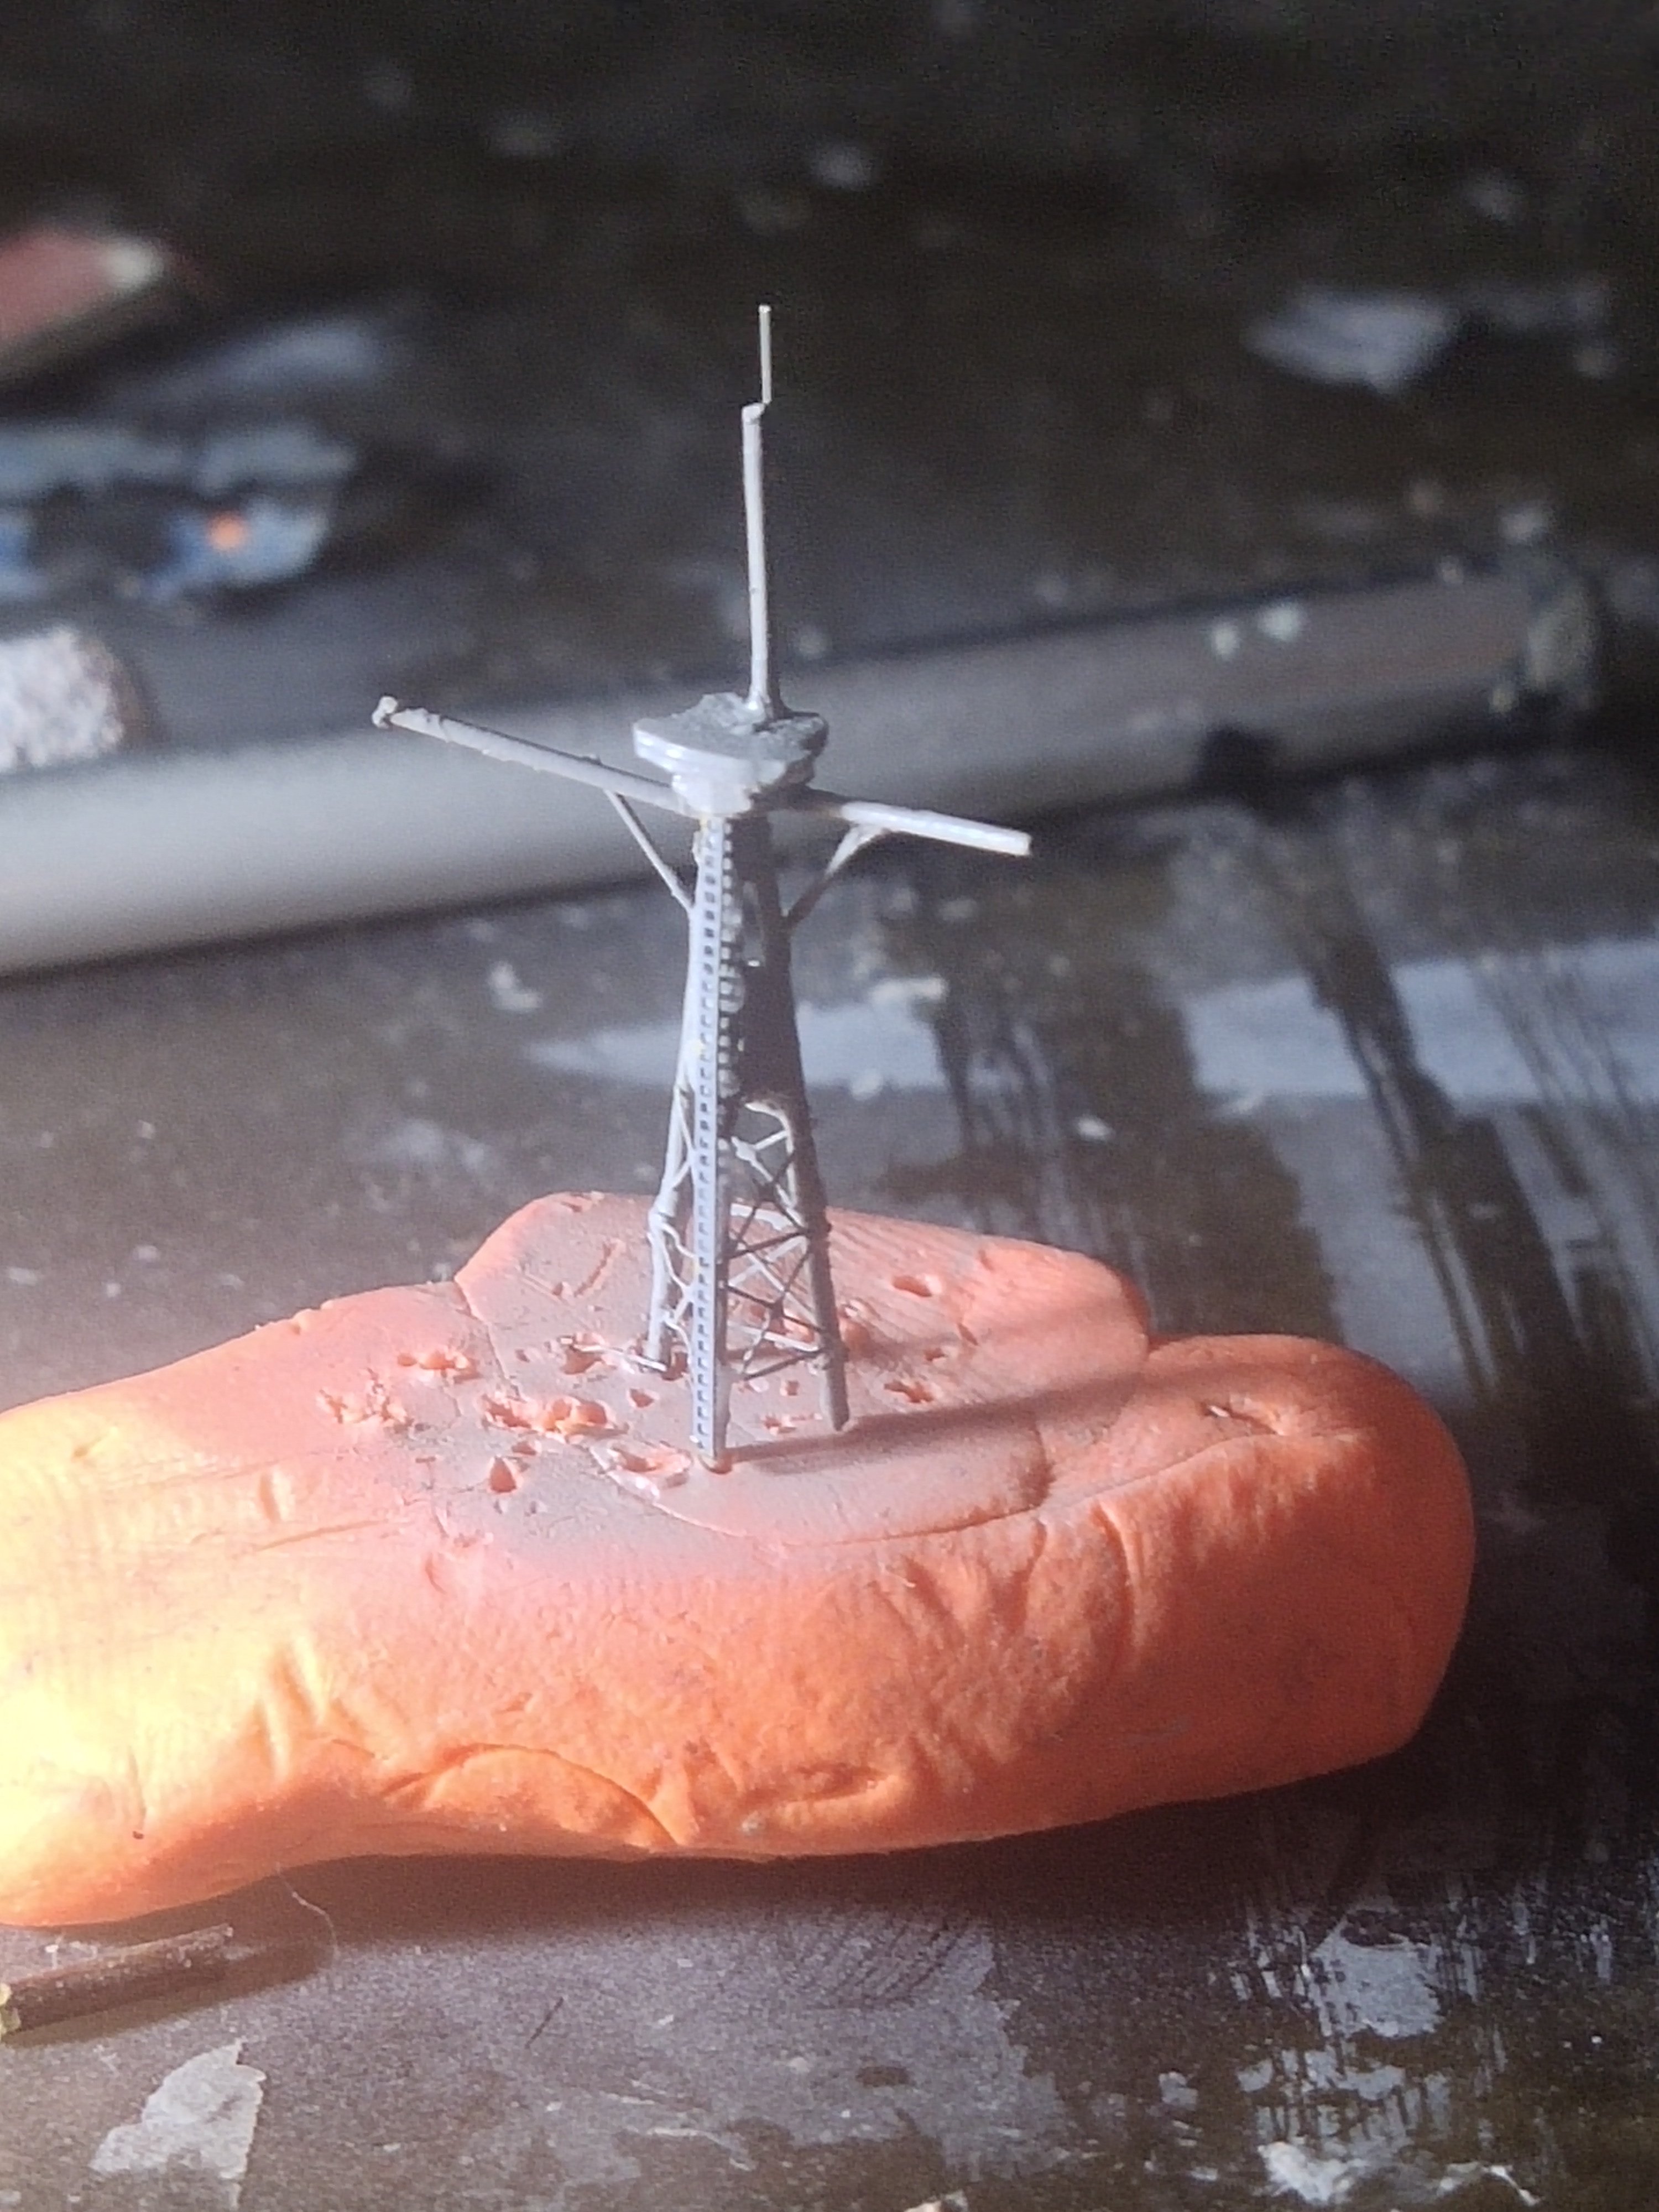
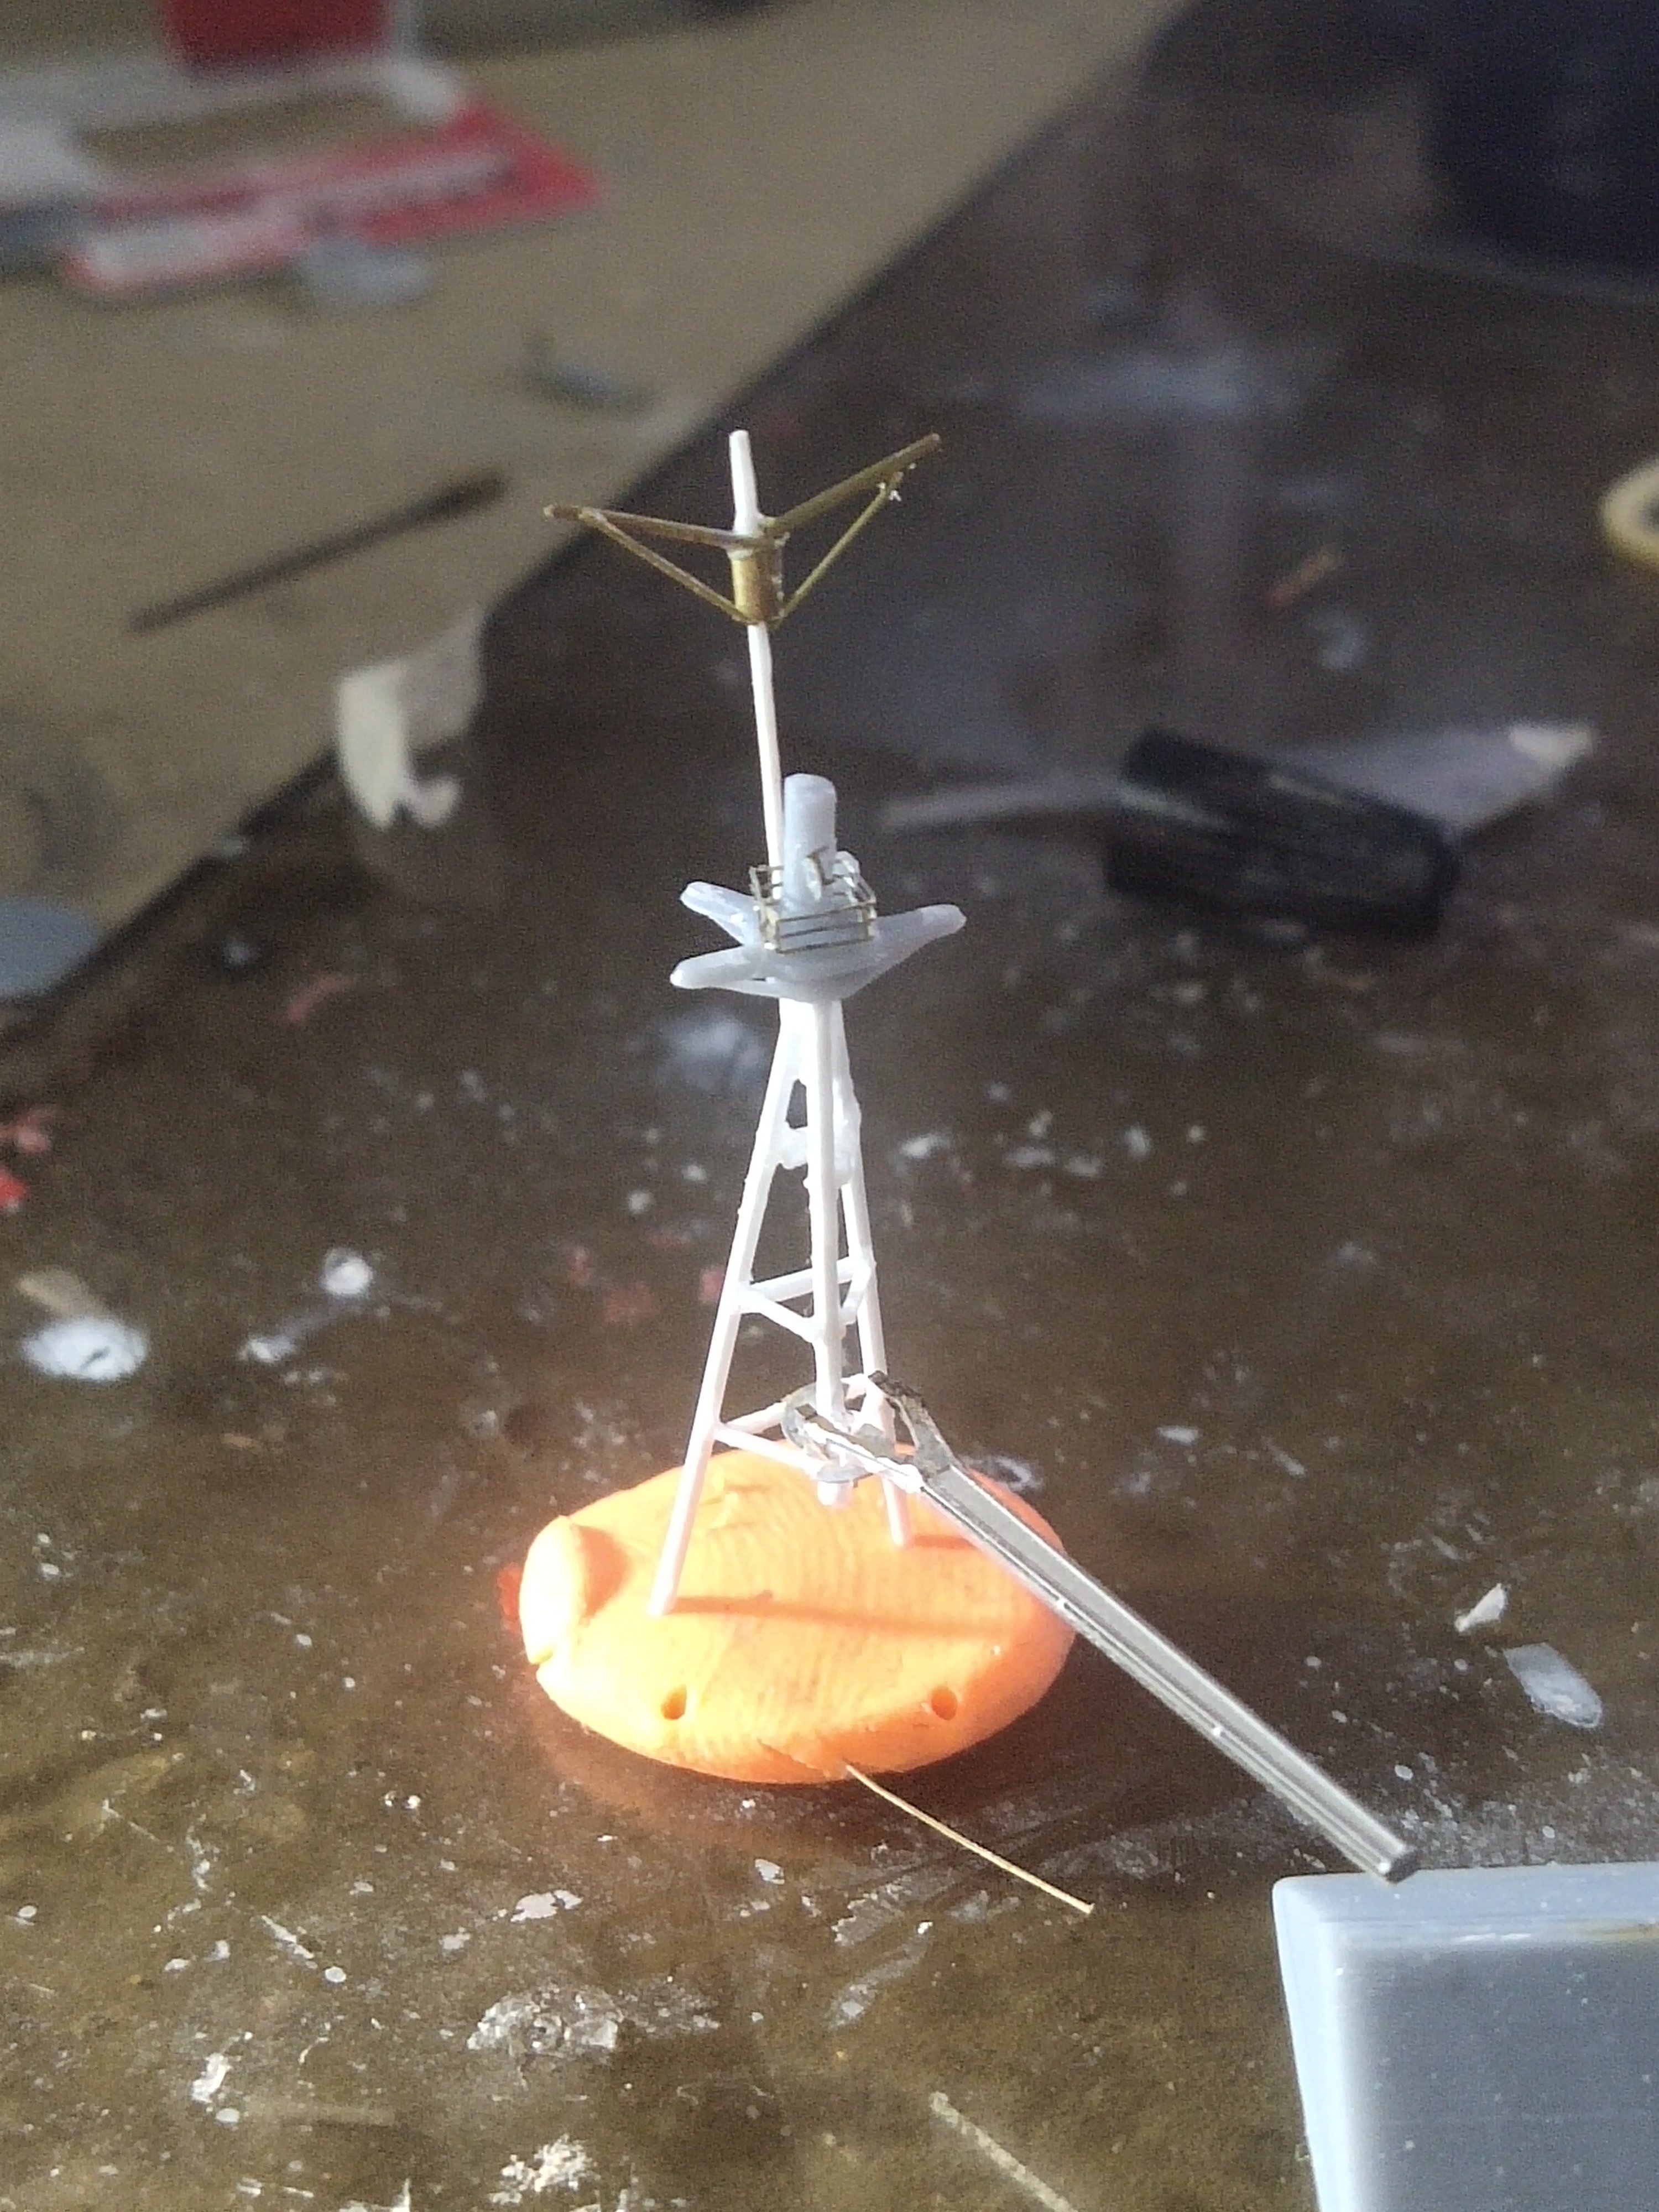
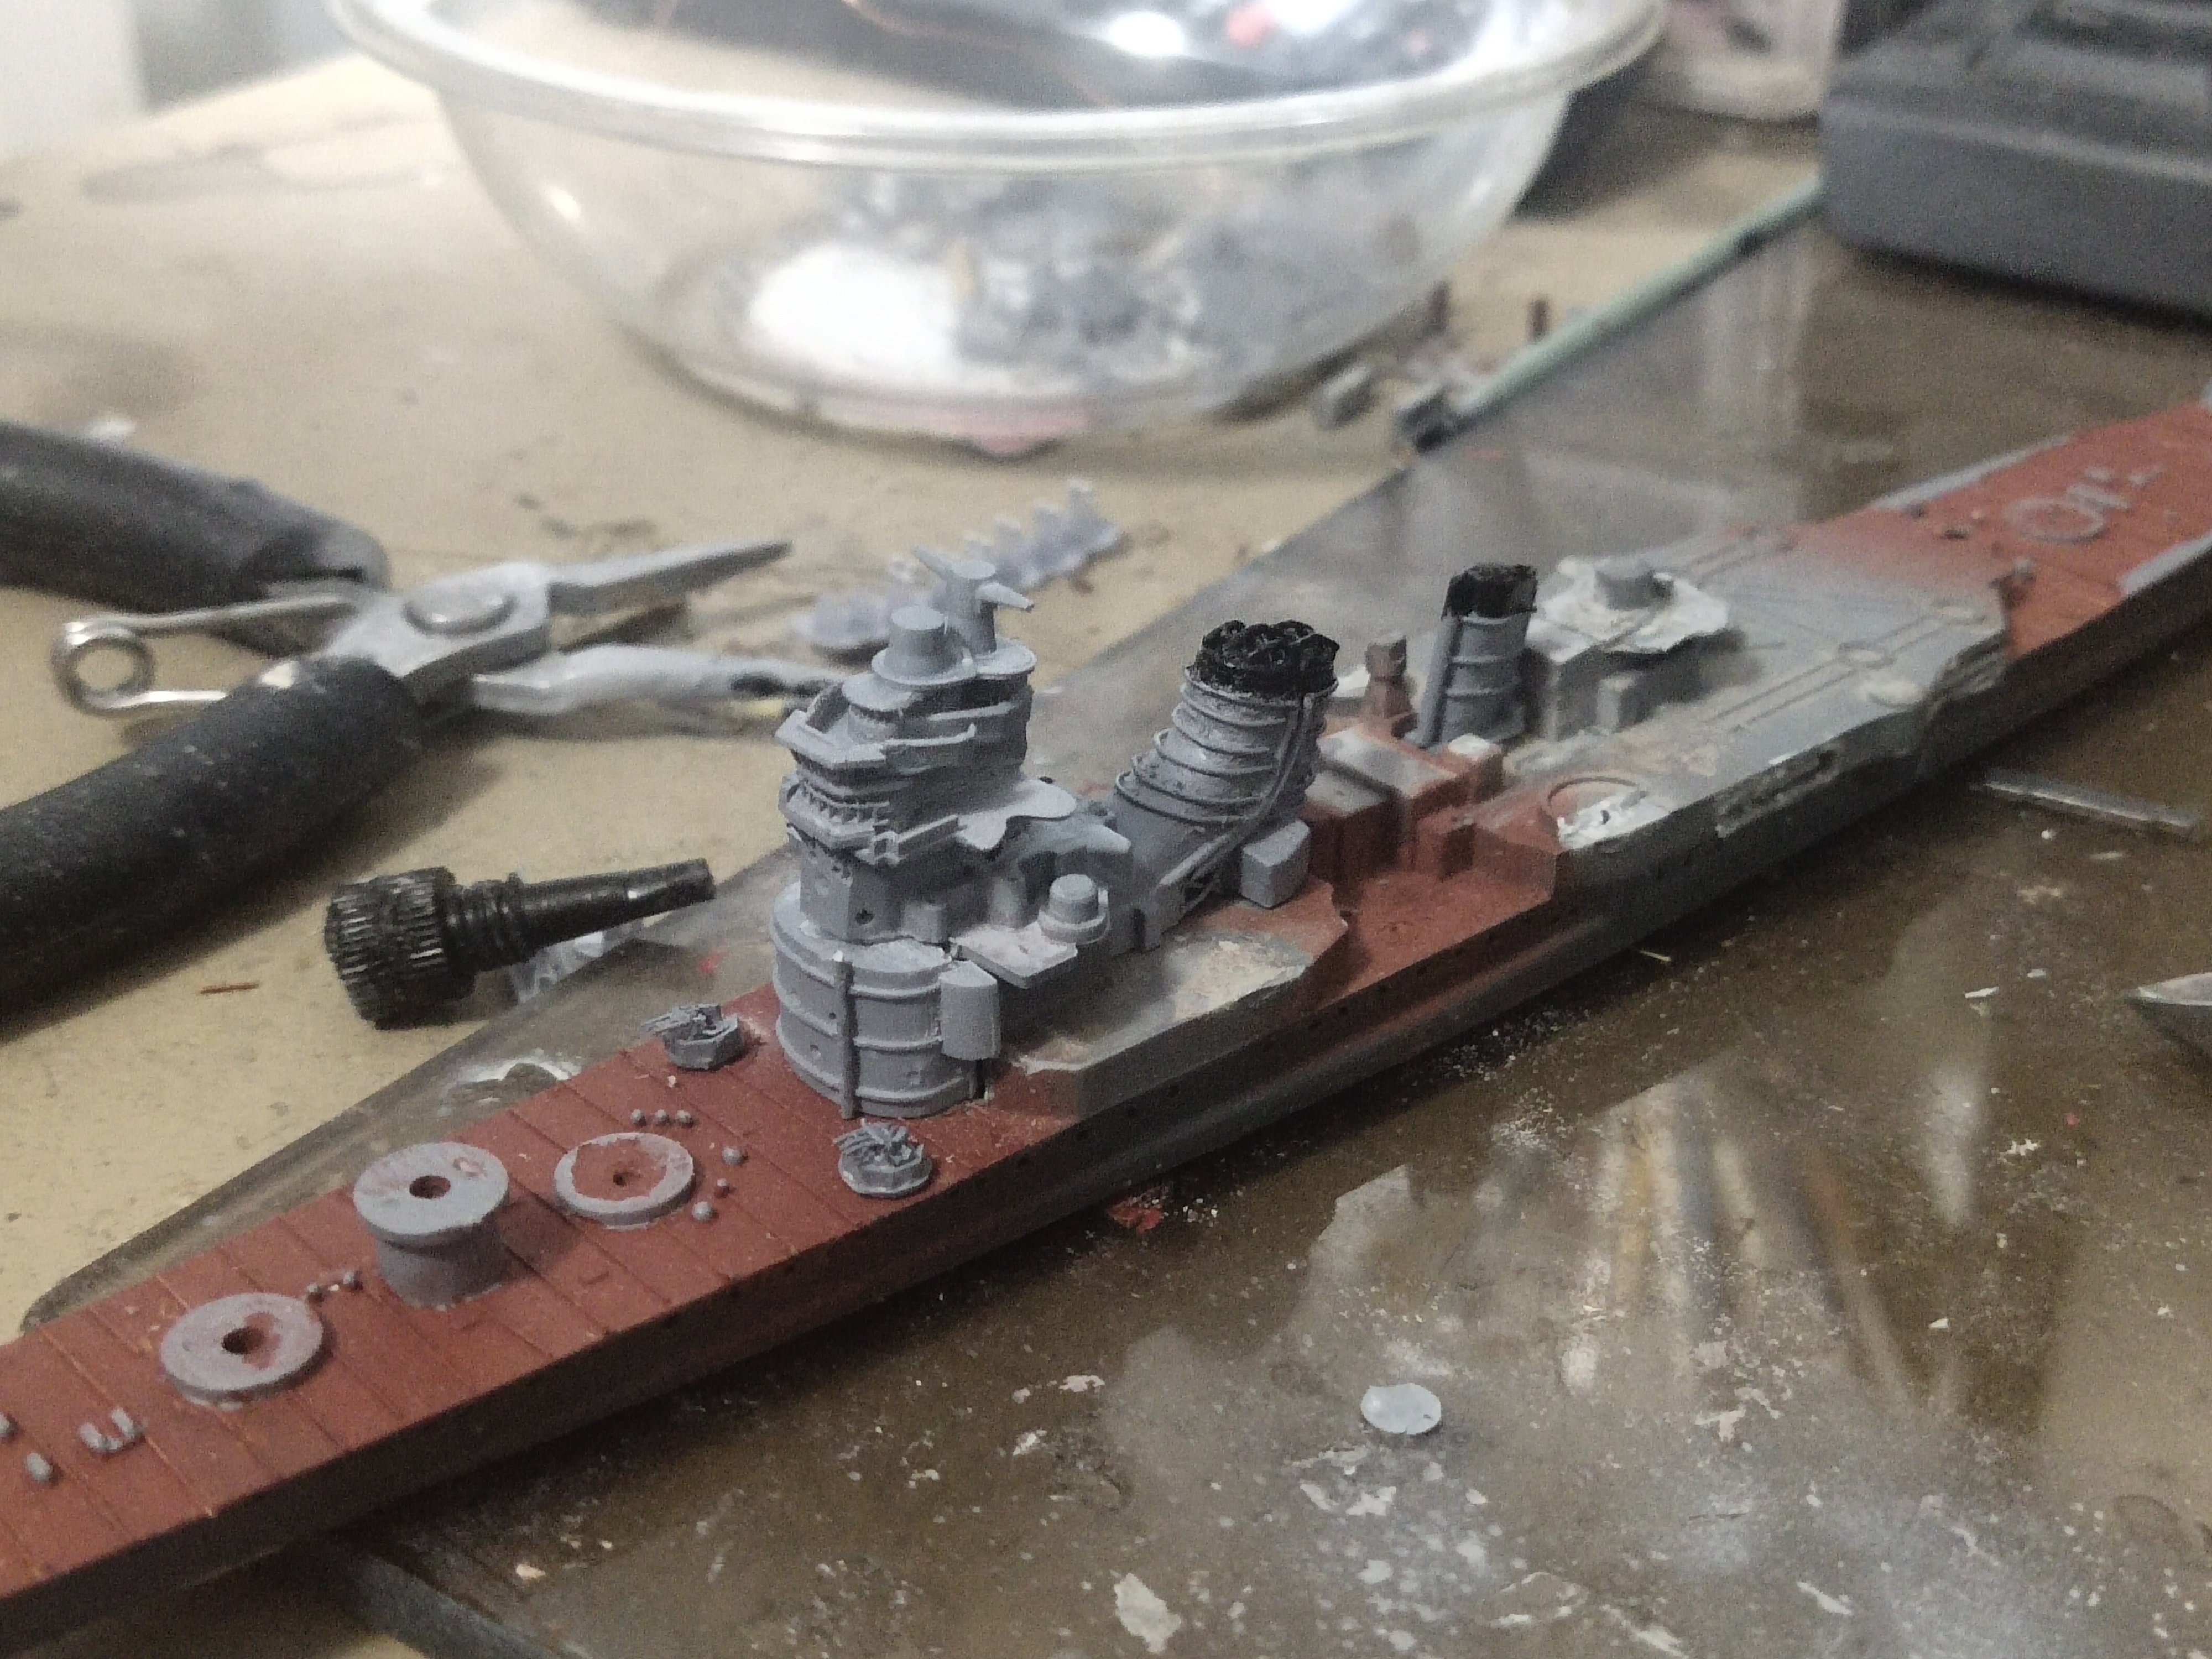
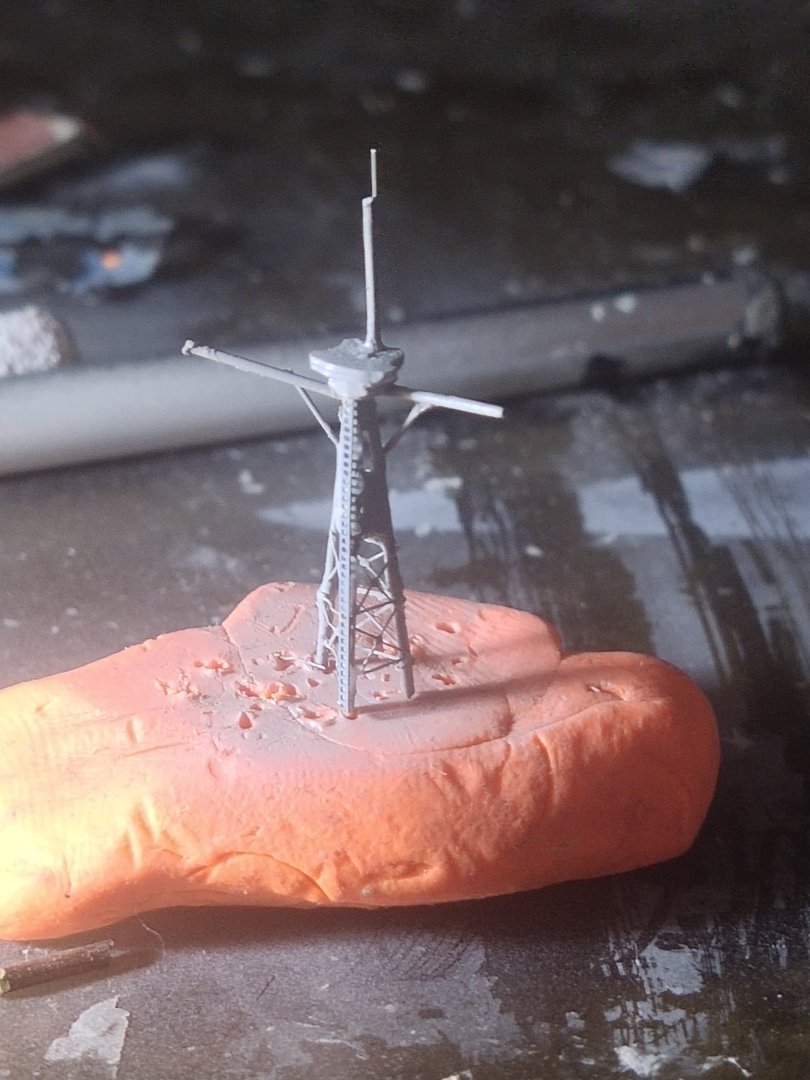
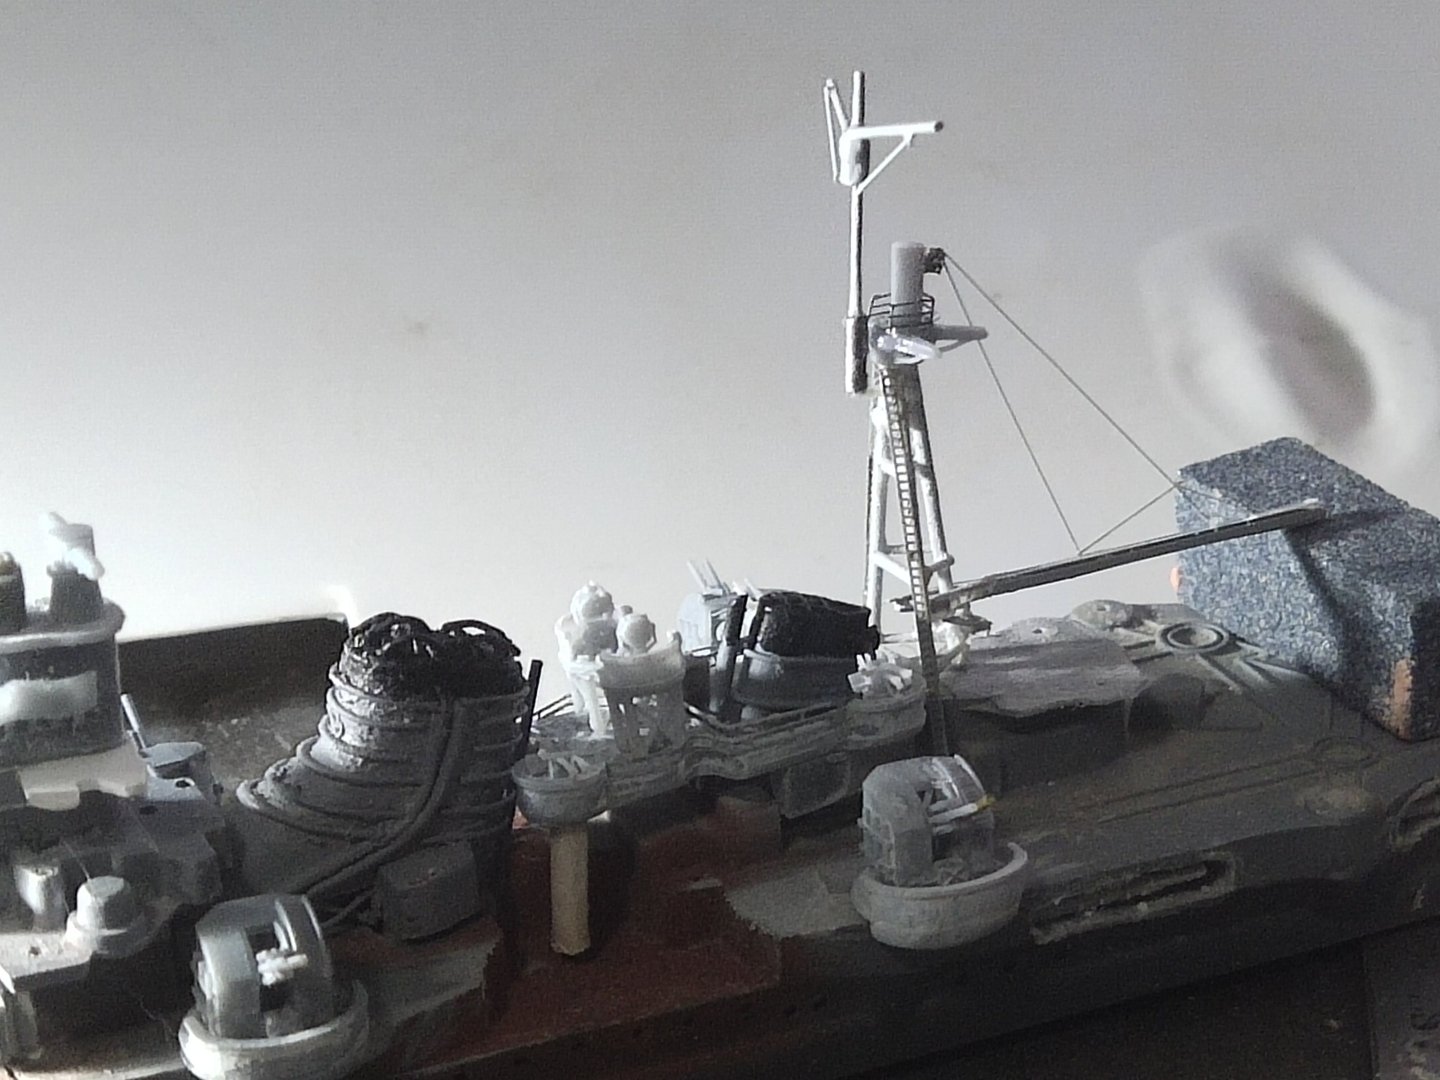
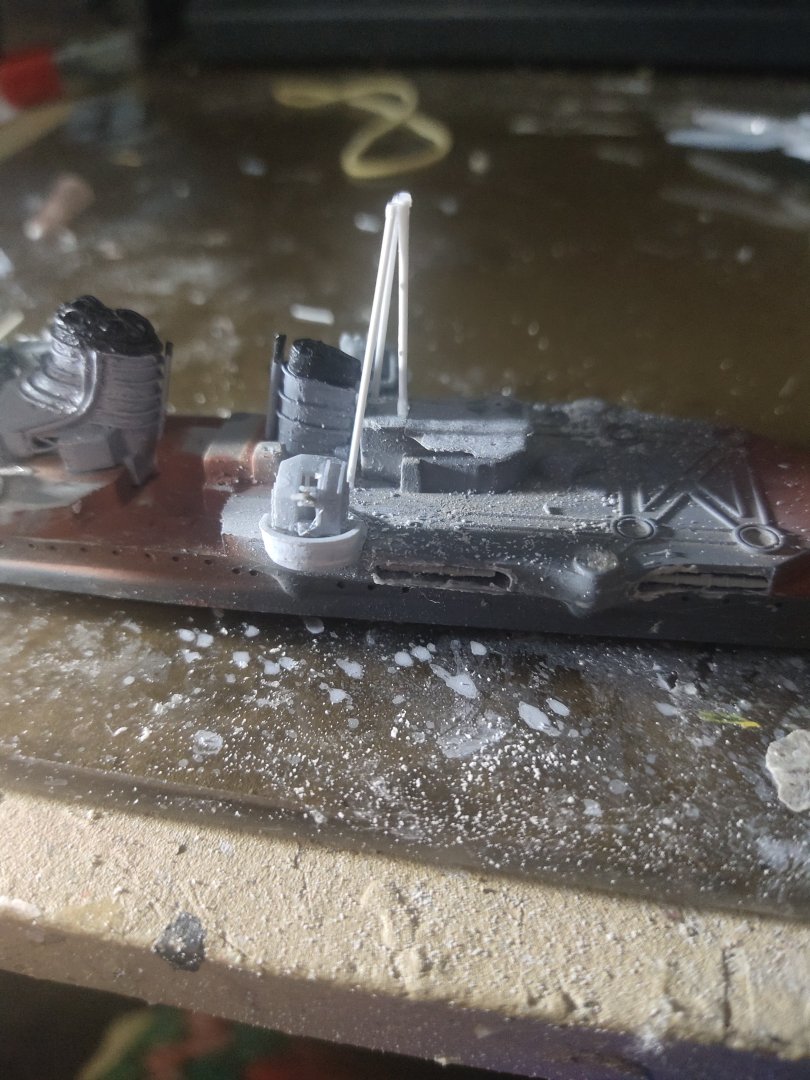
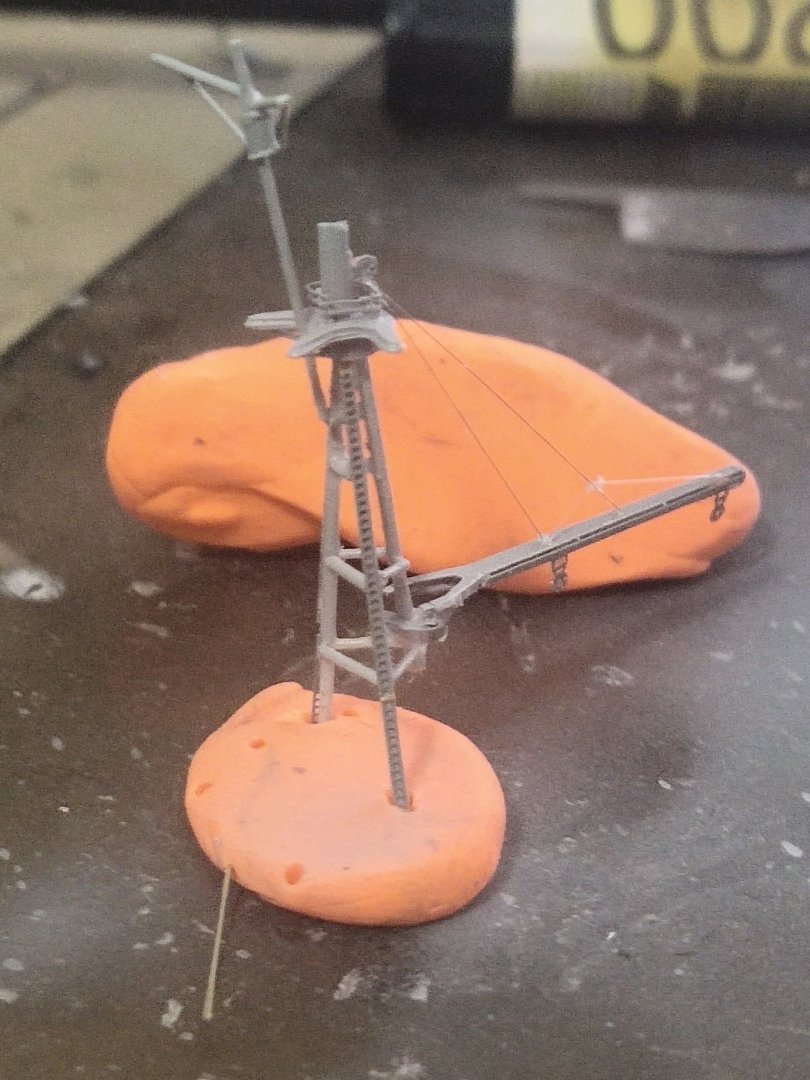
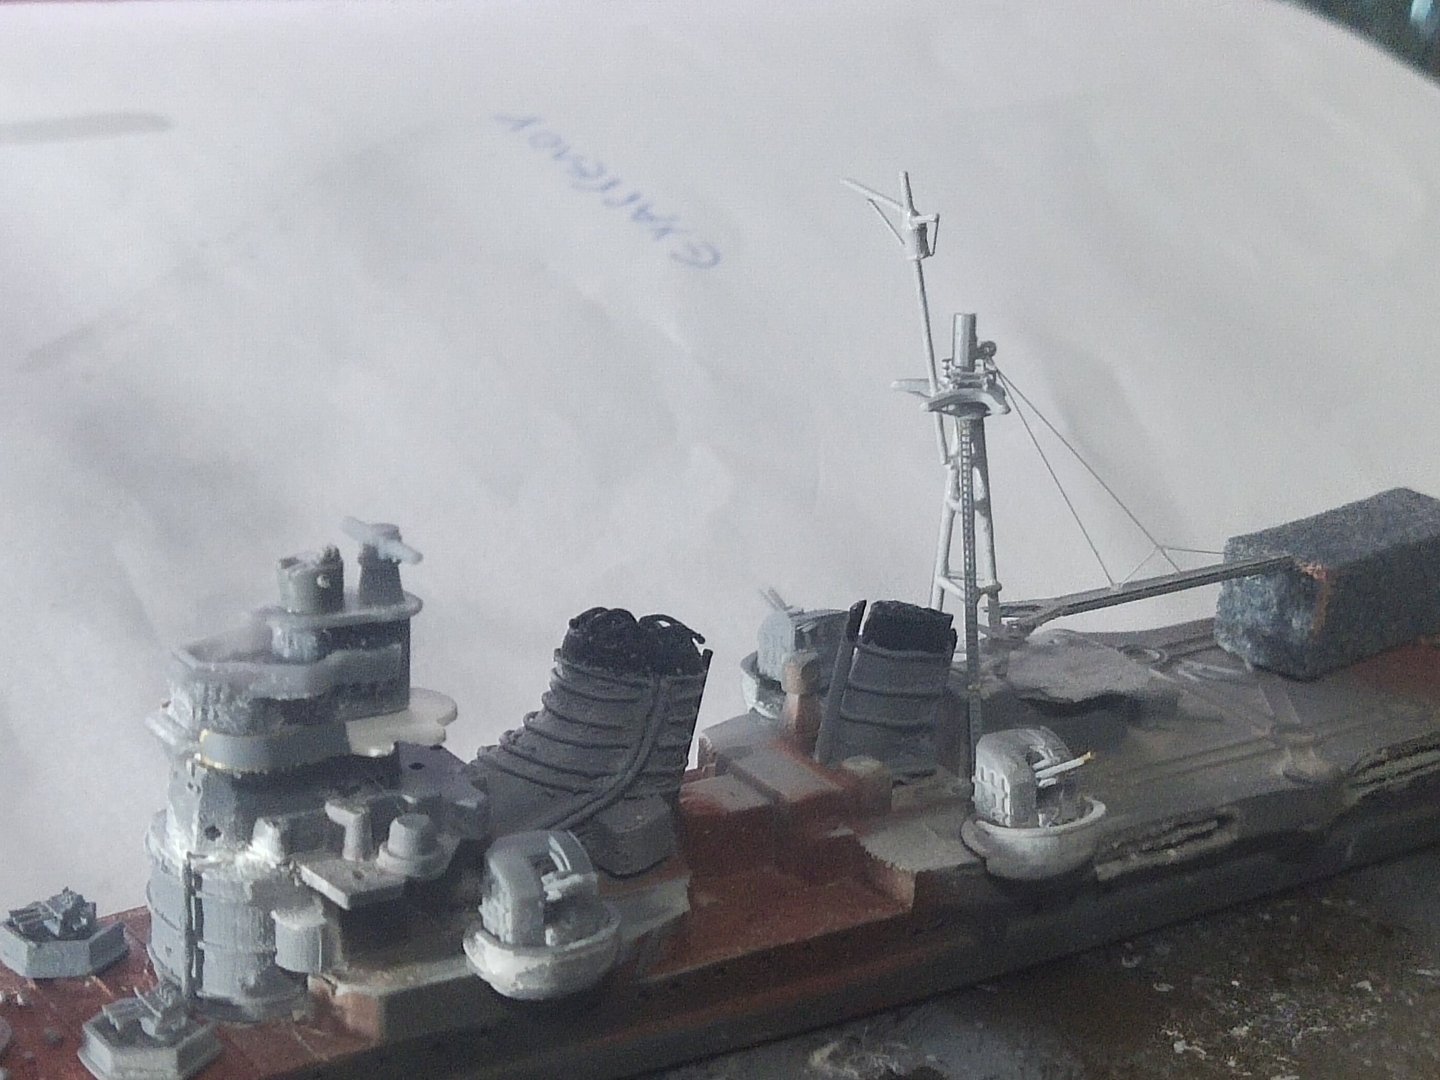
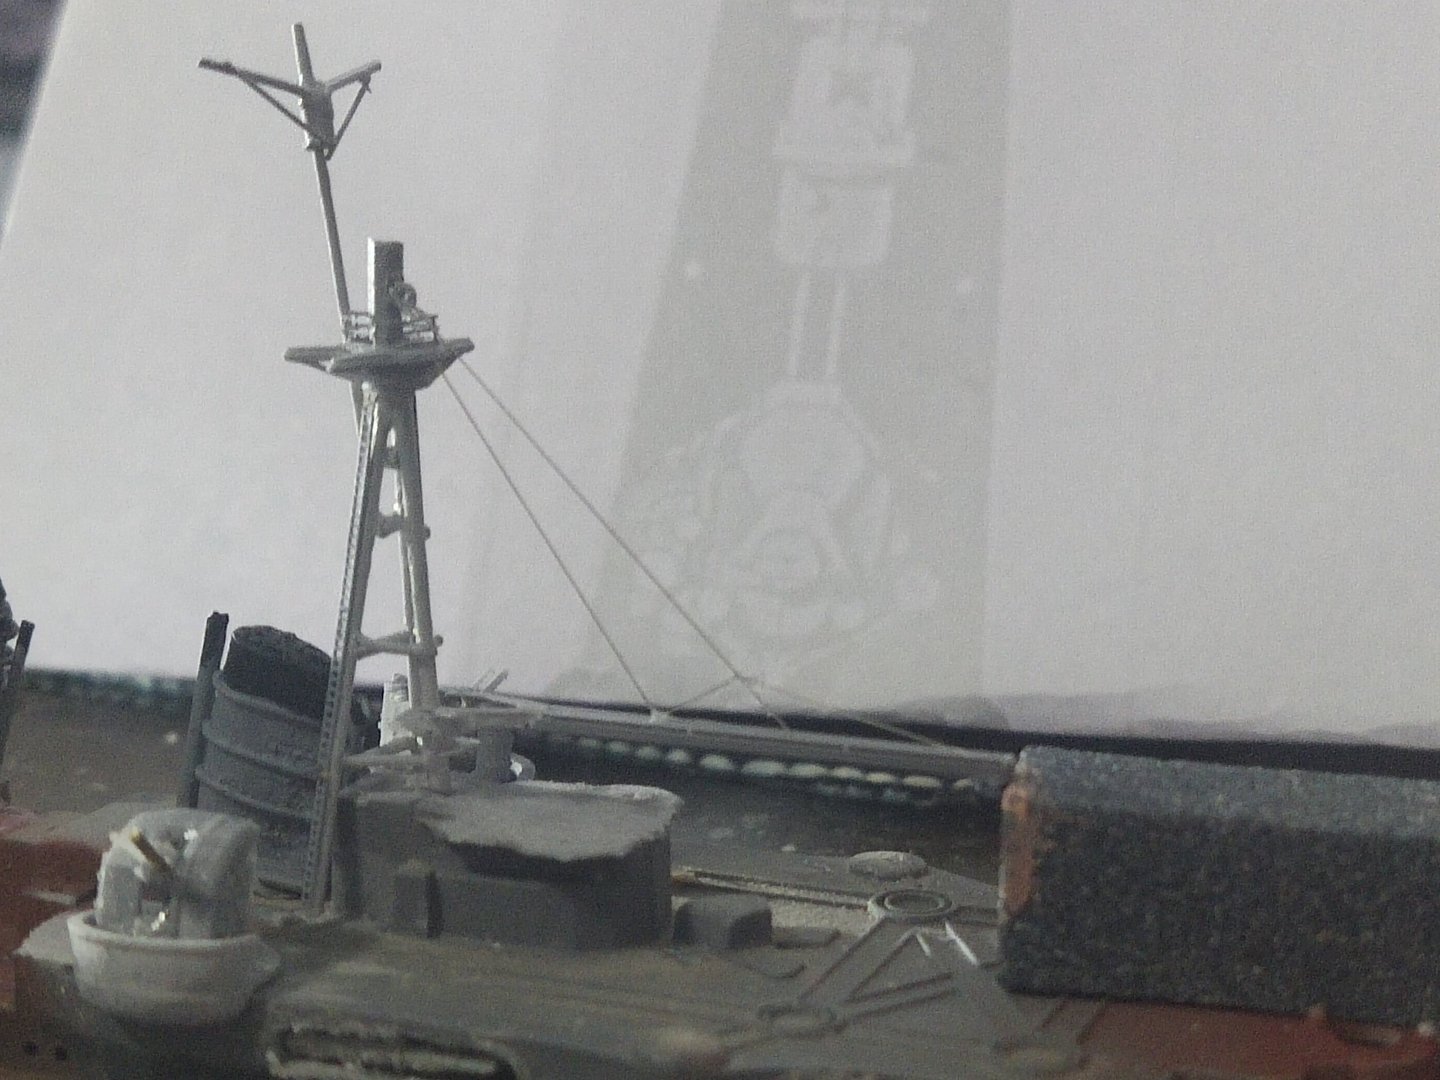
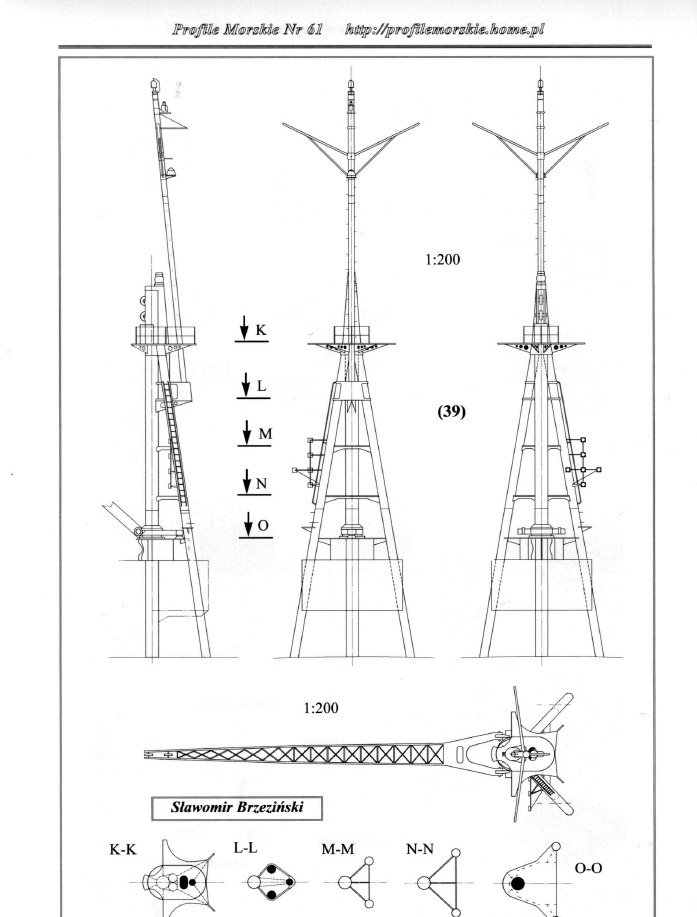
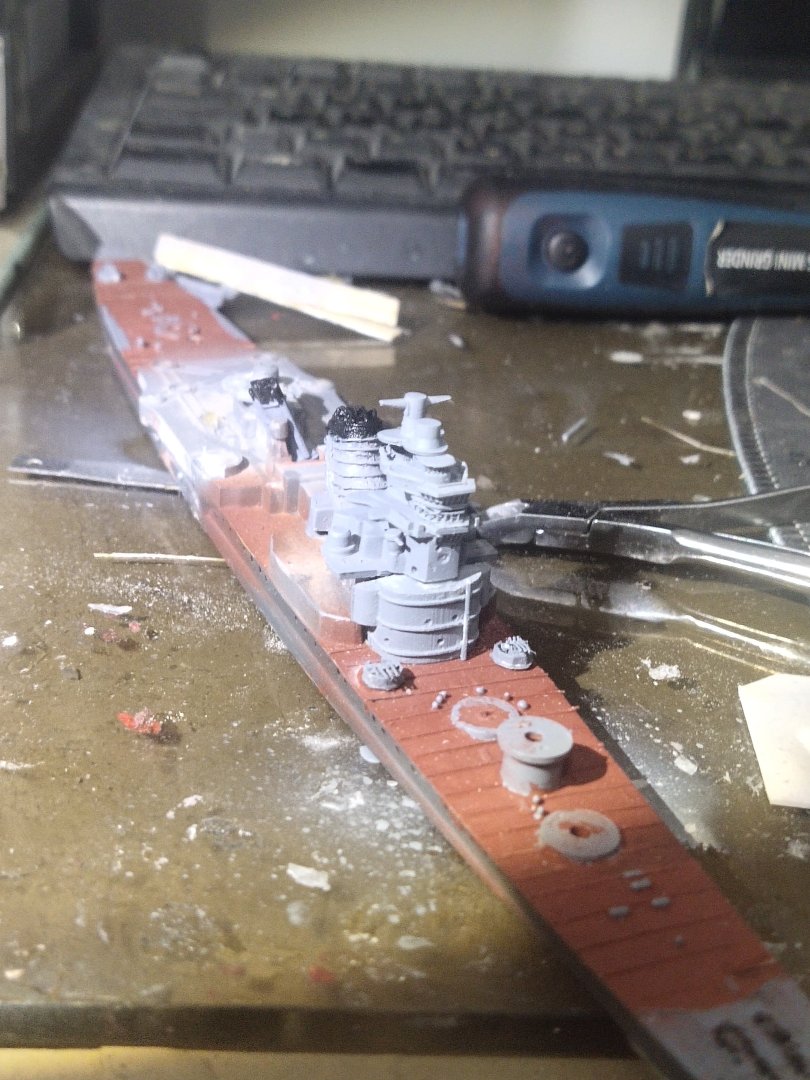
The work on the main mast is complete. Priming and test fitting as usual.

-
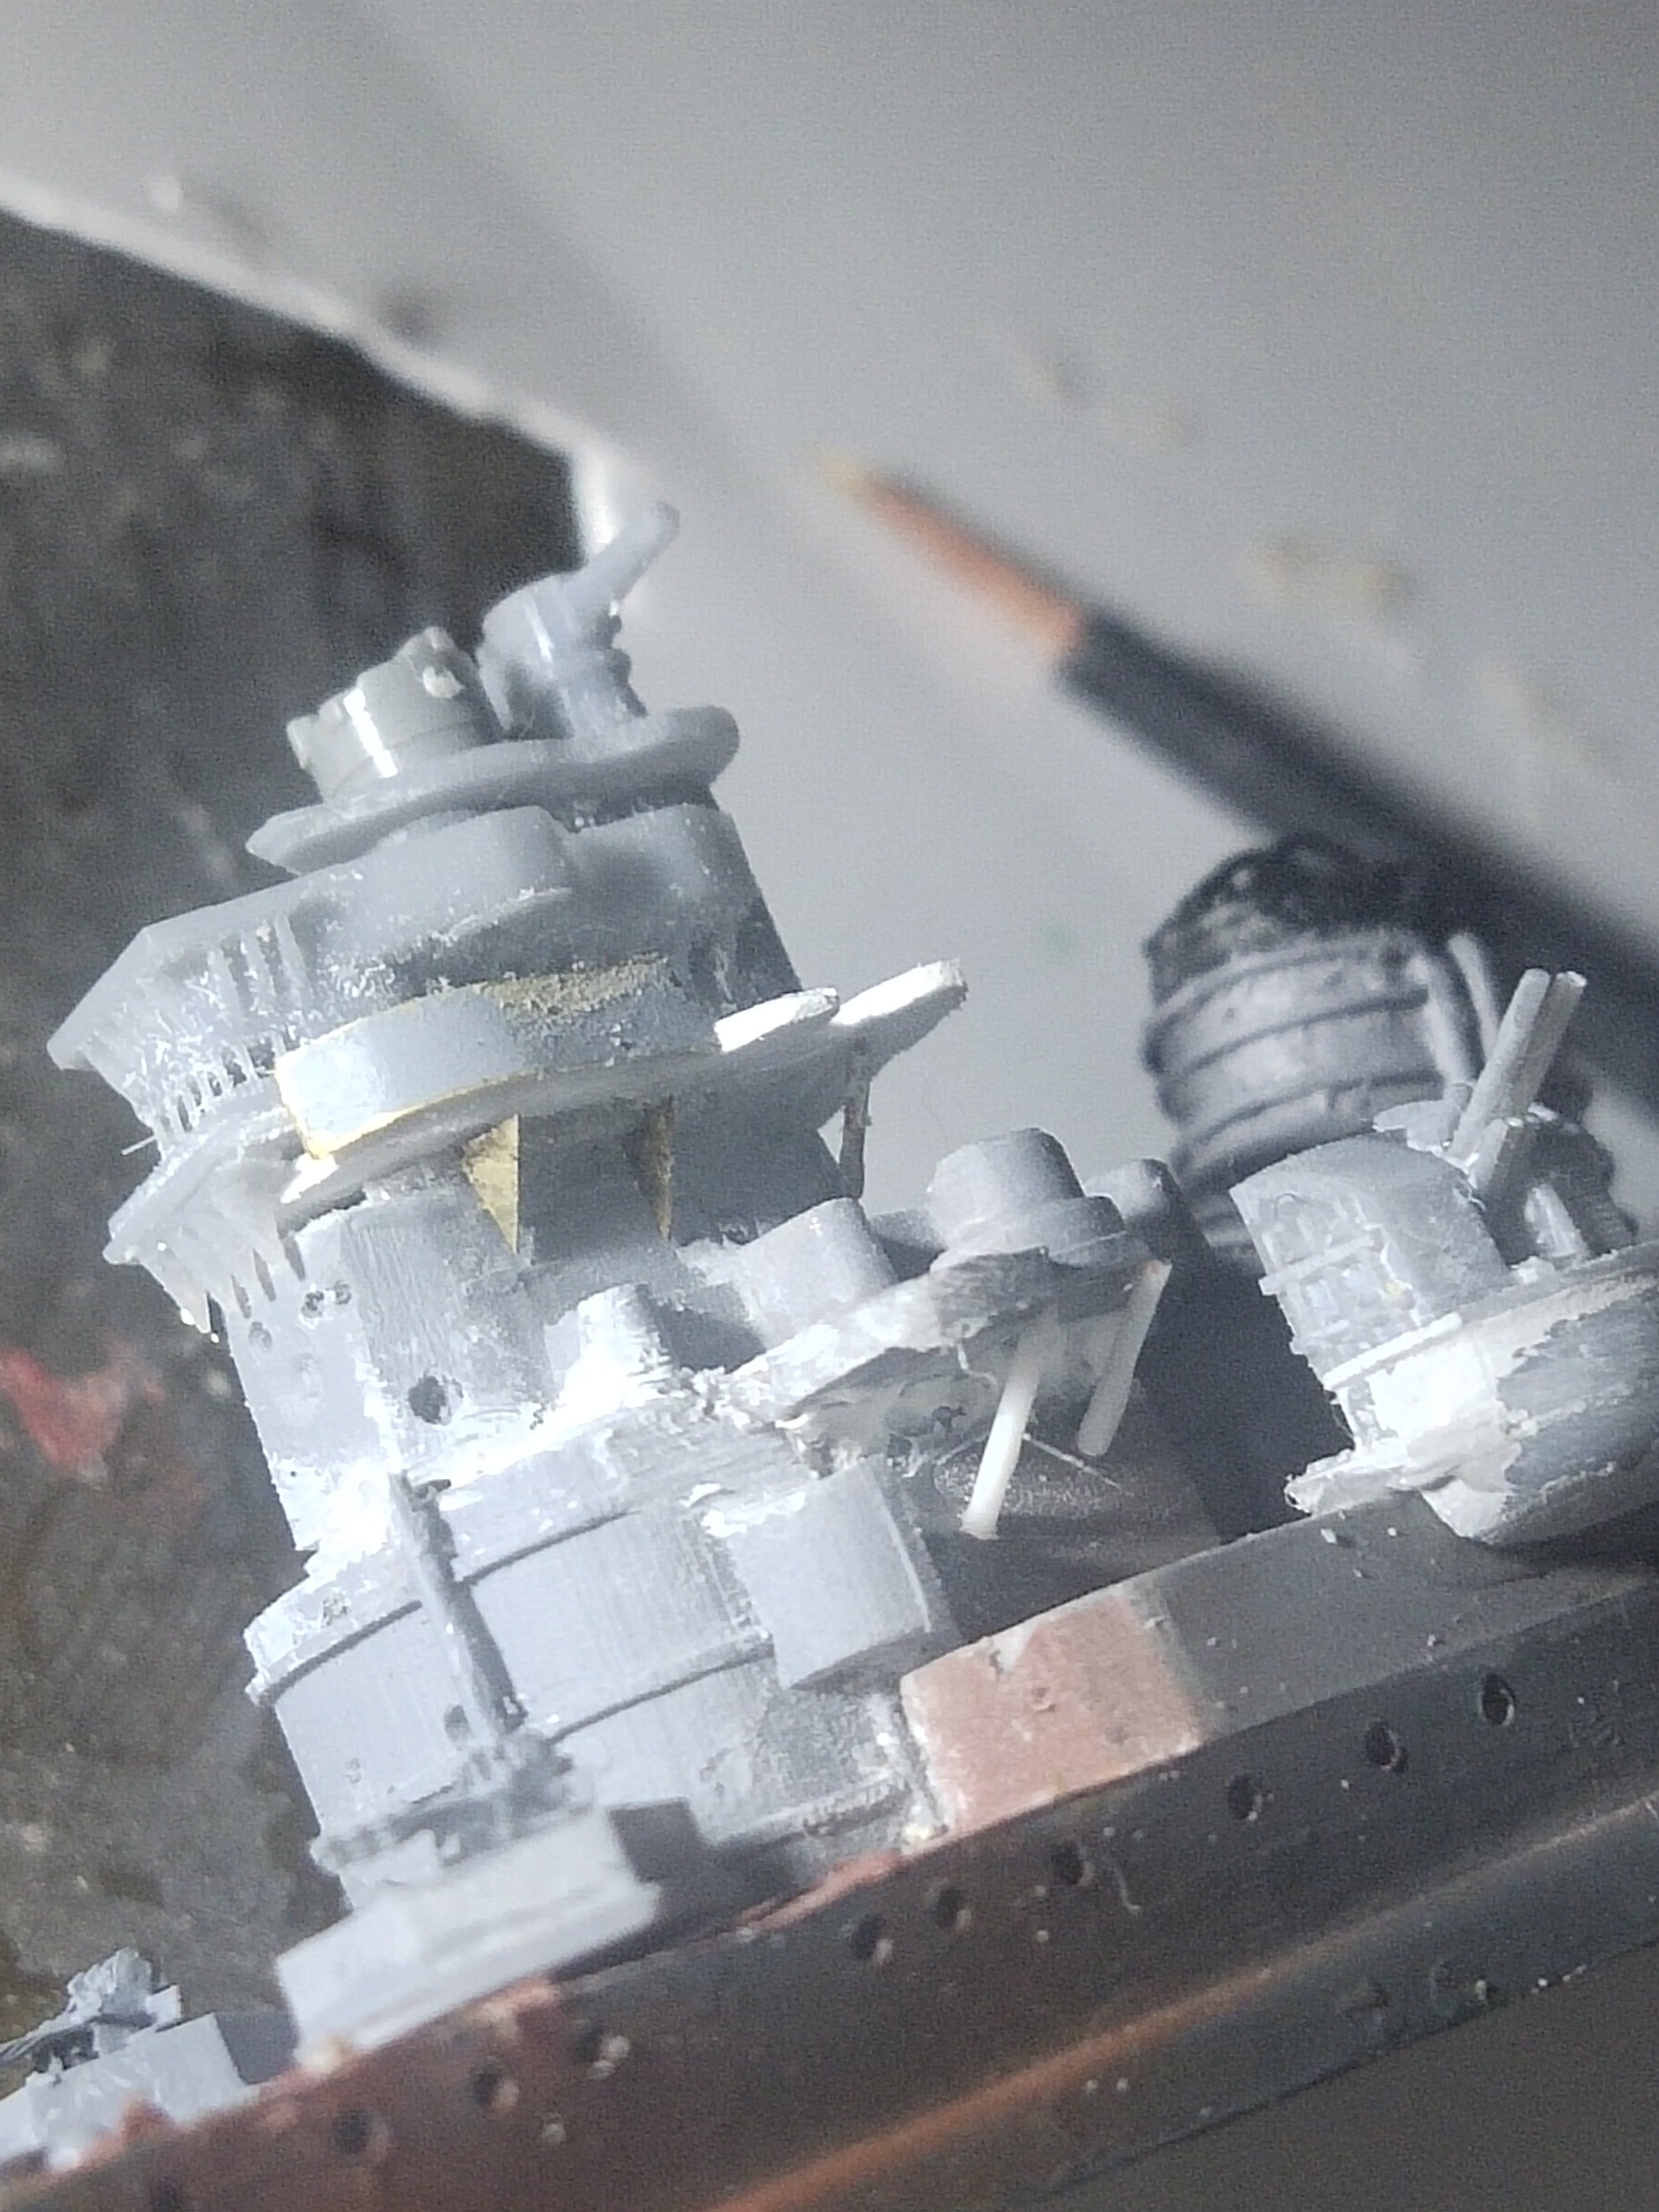
Little progress today. I add some hidden details, bridge supports. The pieces used were really tiny even being the biggest of the three sizes. More details will be added later, like binoculars, railings and more. Work on the main mast started The middle ship is Takao. This was given by a friend. We bought these kits from the same store at a blow out sale. Maybe 15-20 kits. the other one I have is maybe a Furutaka class, will research it later
-
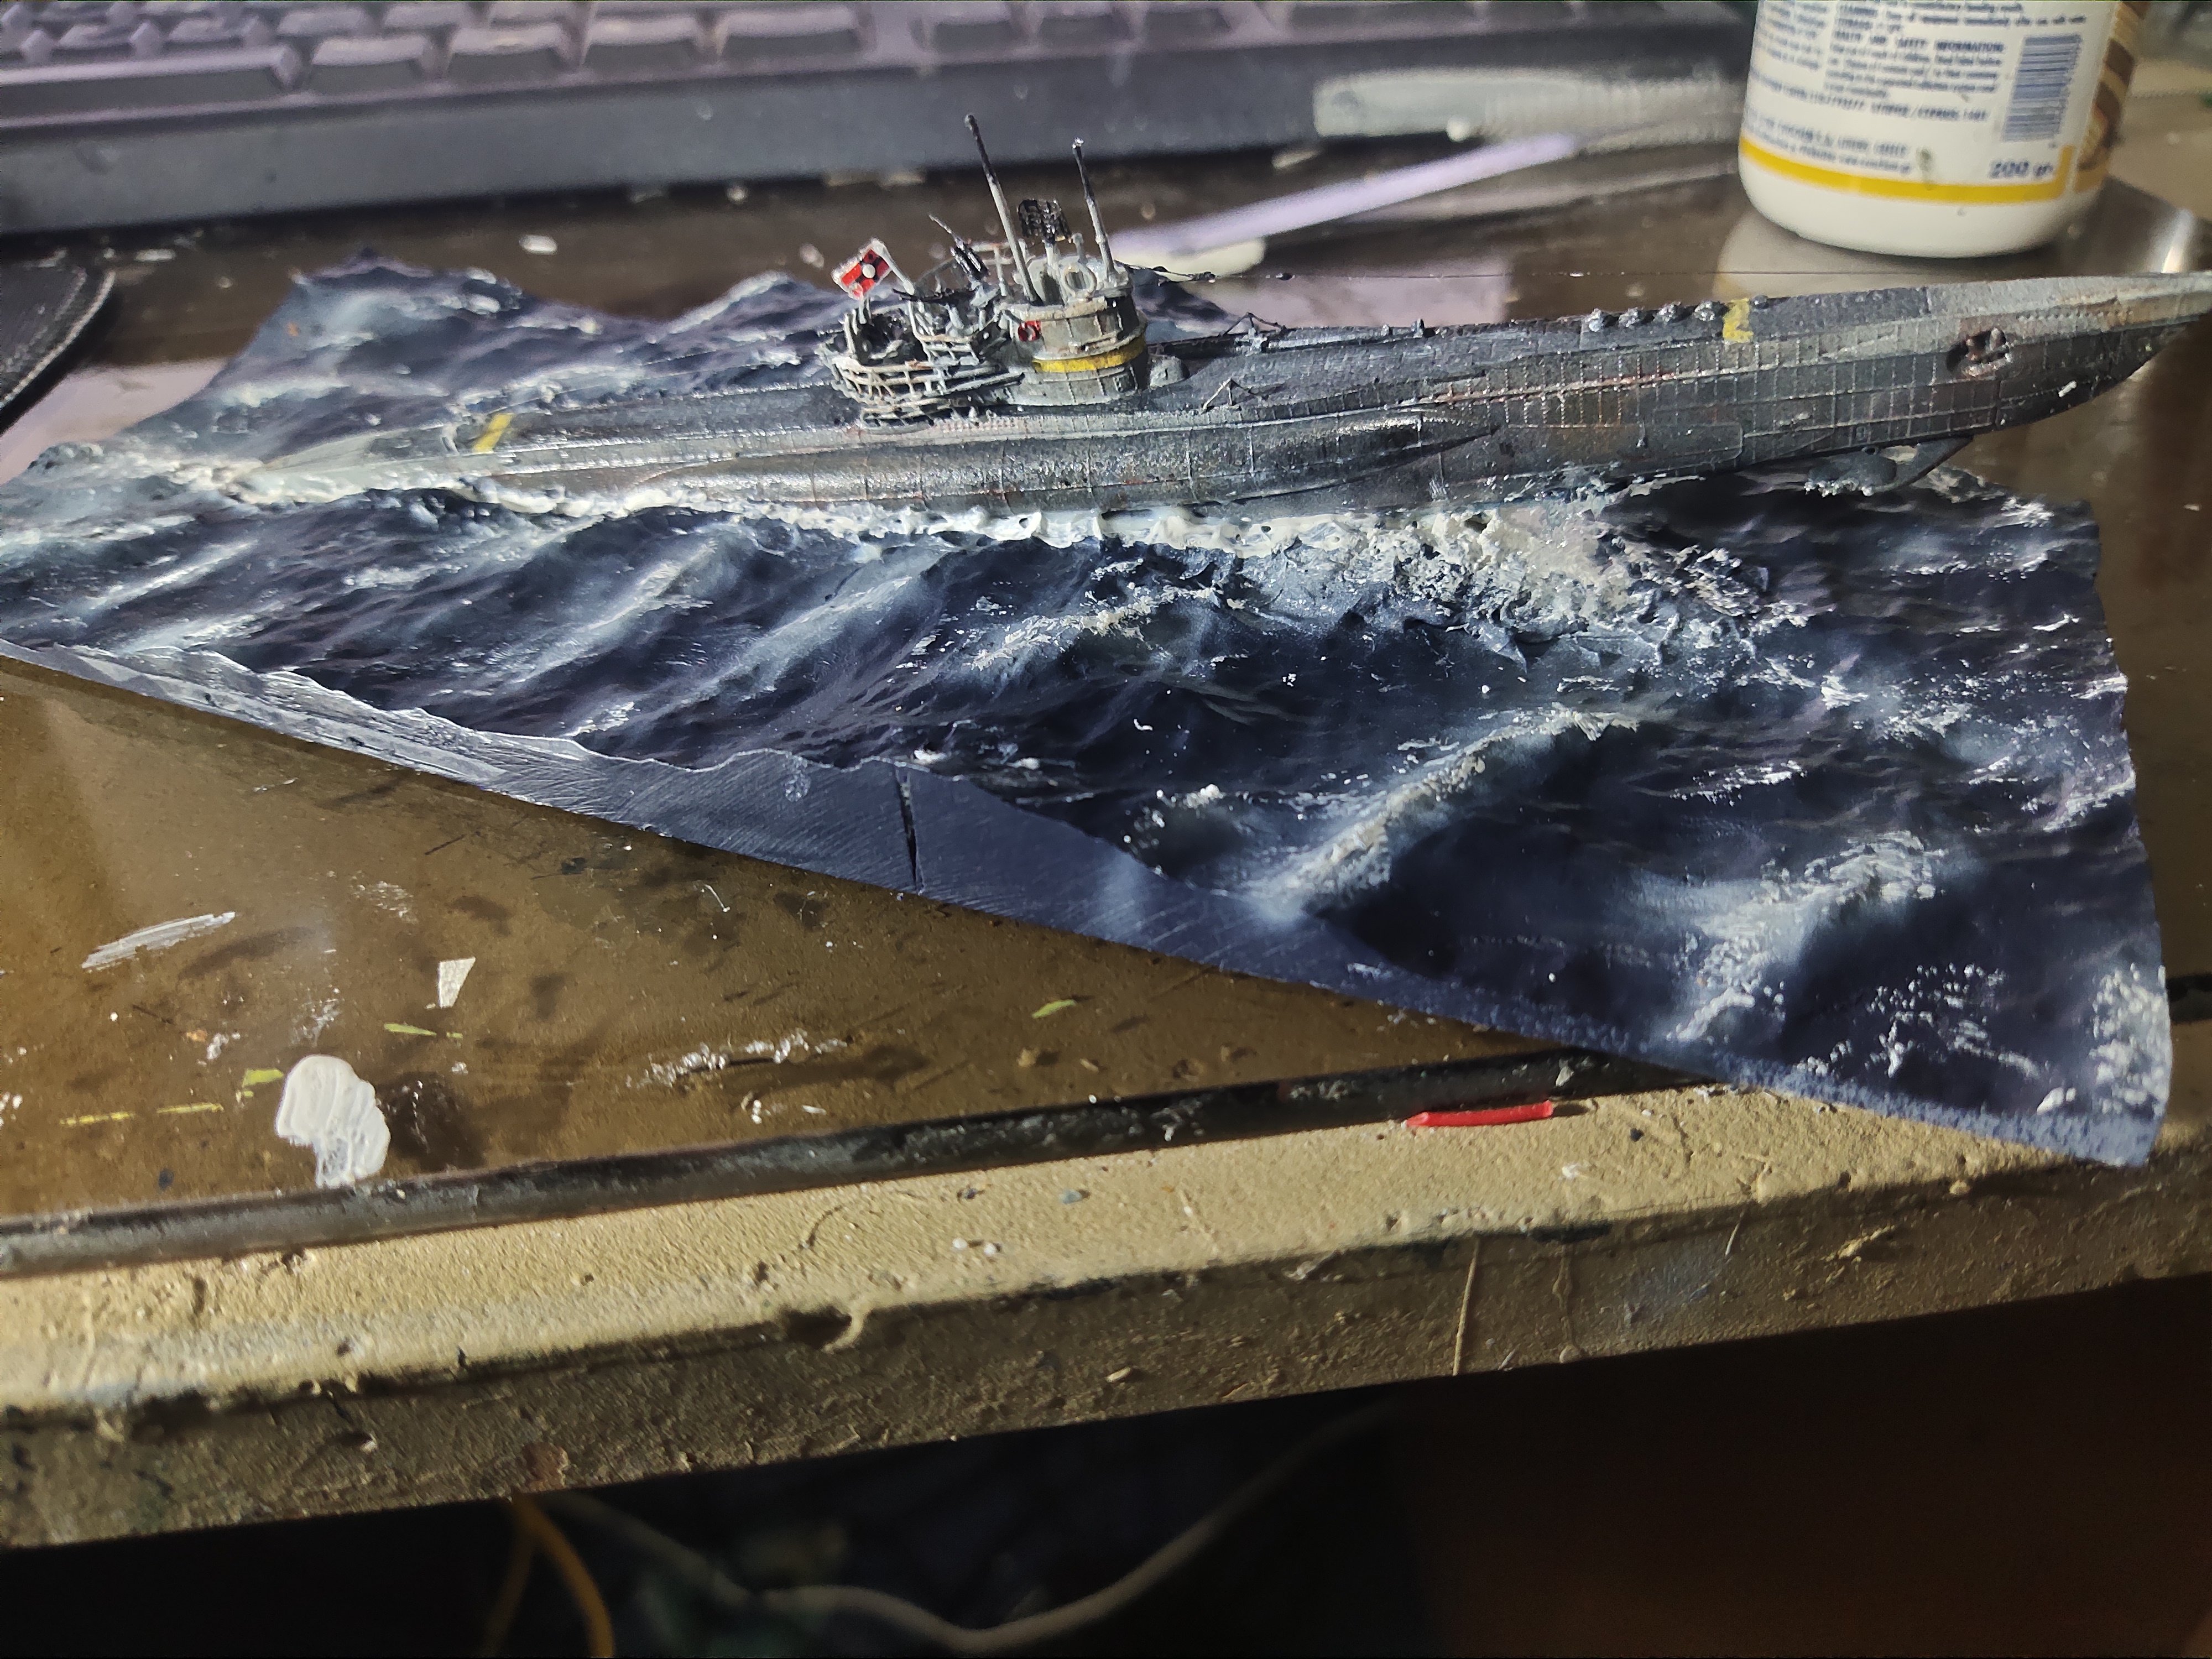
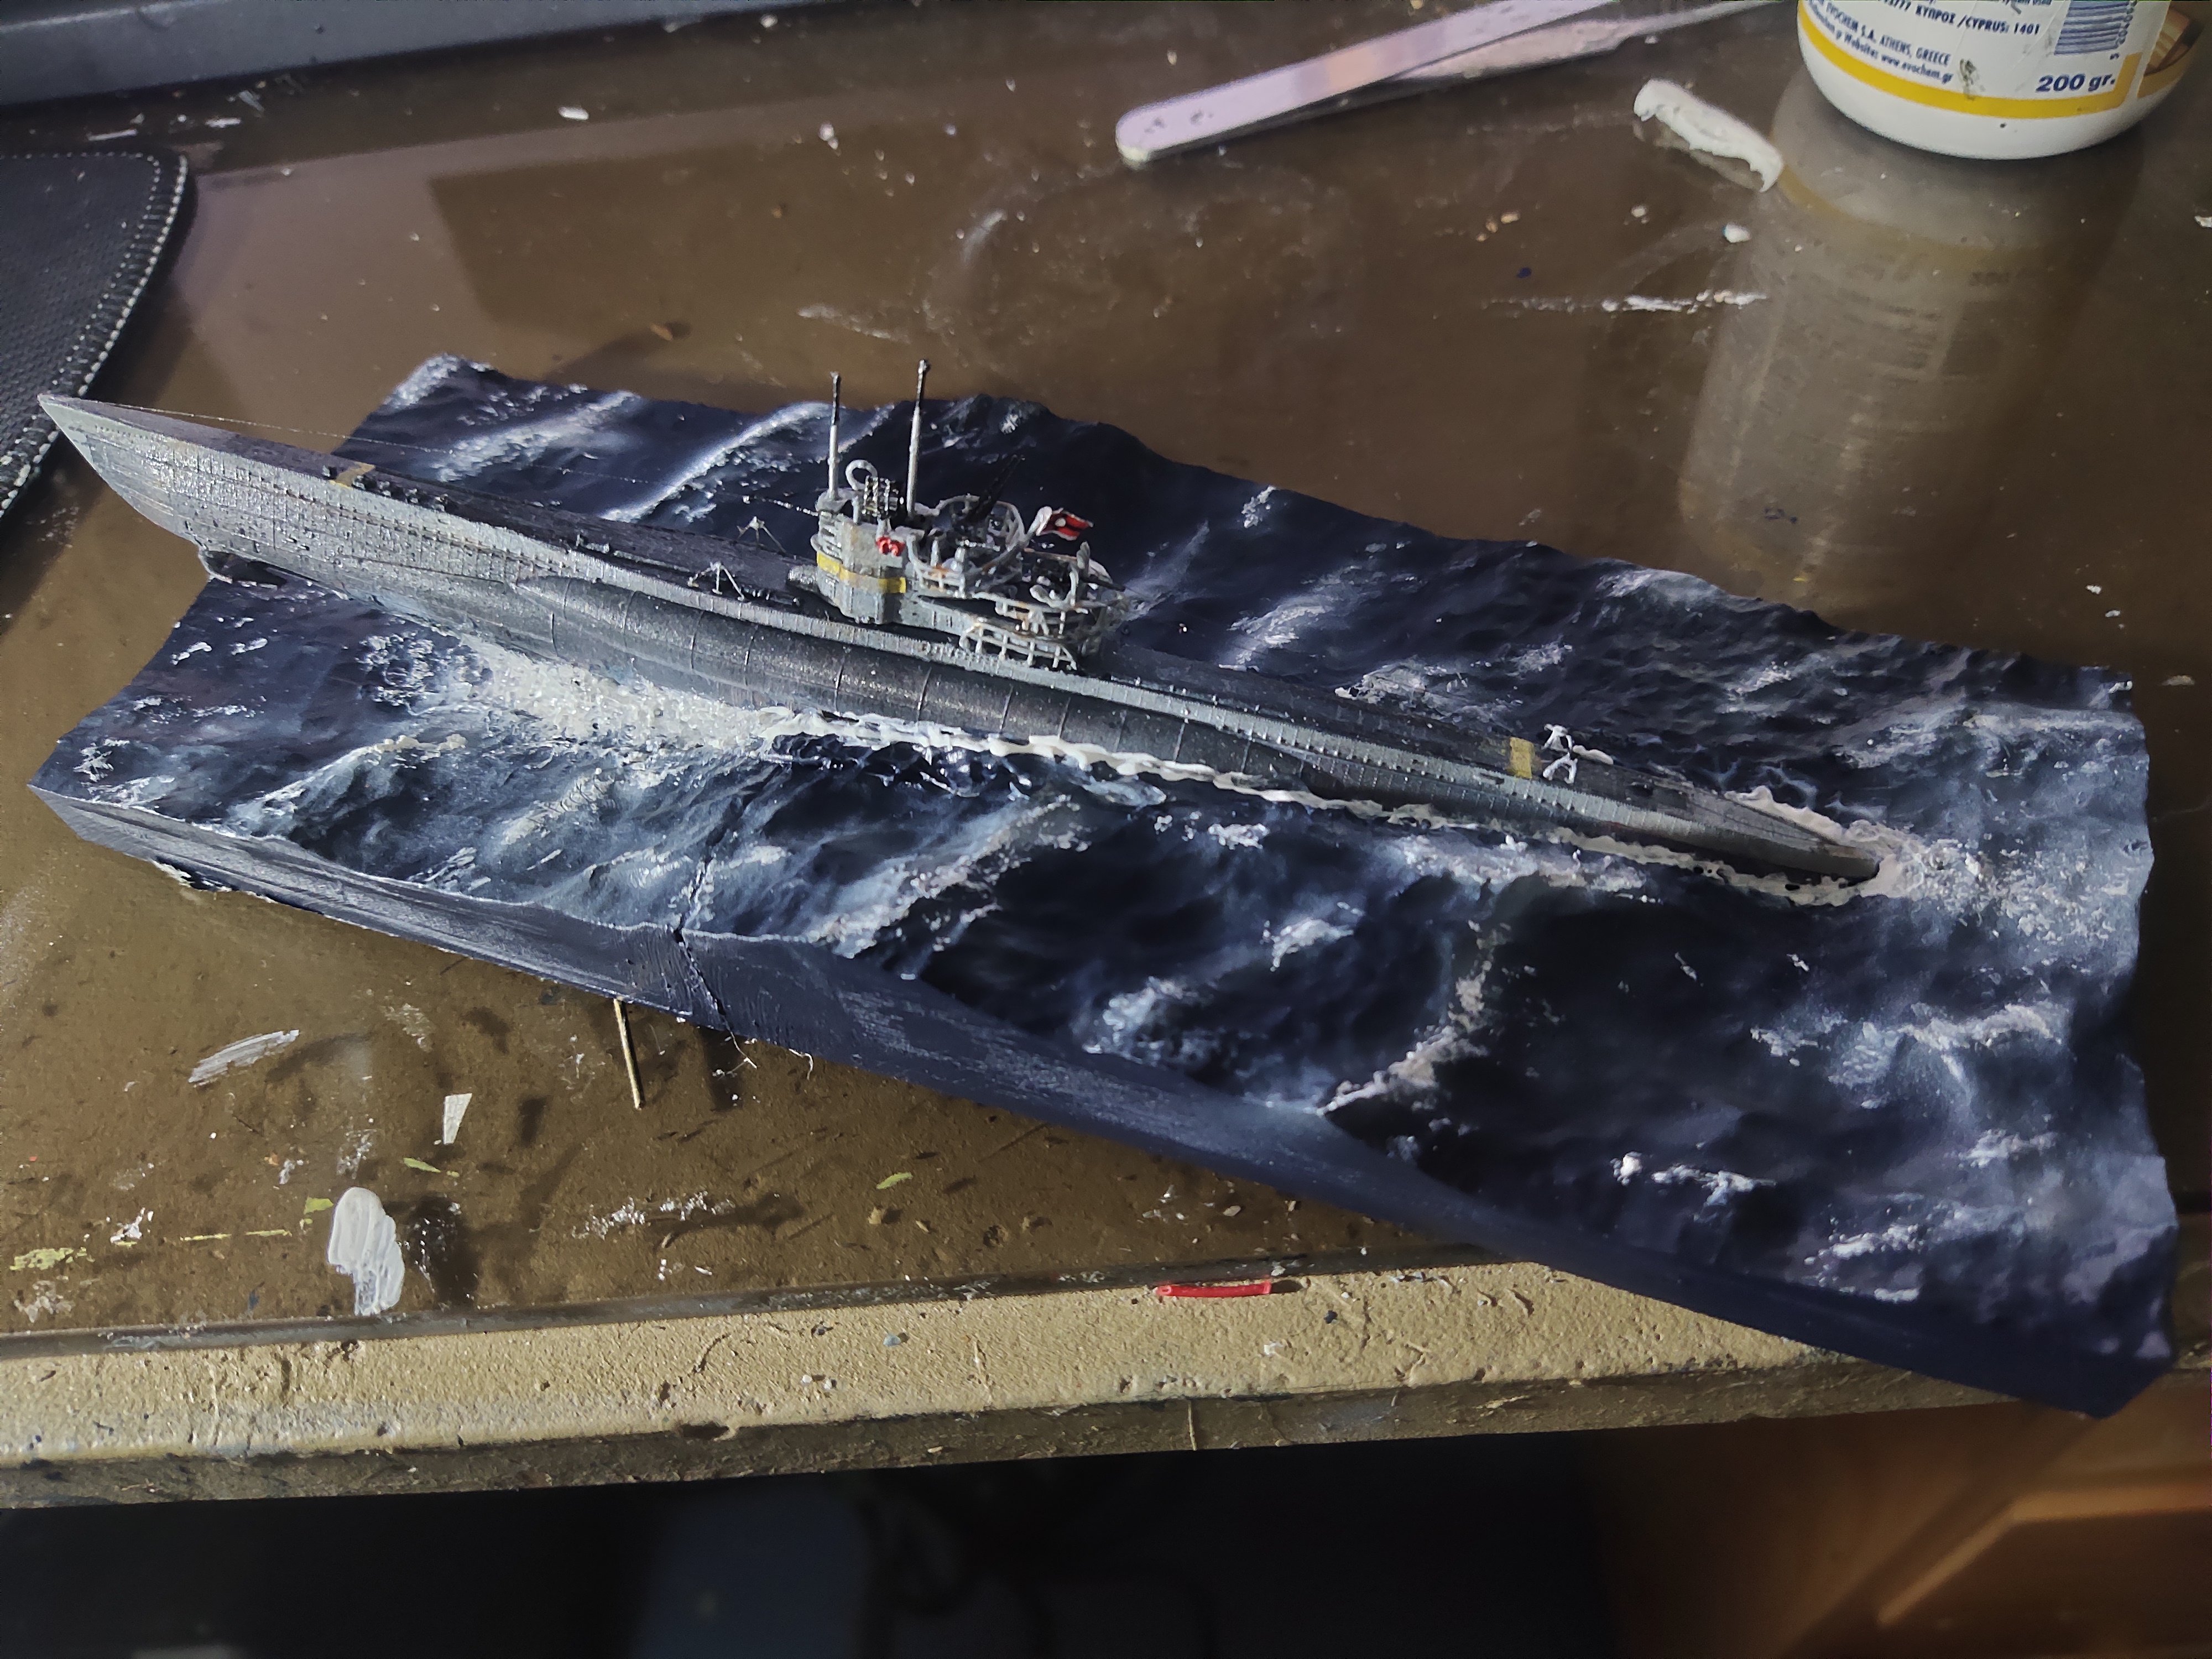
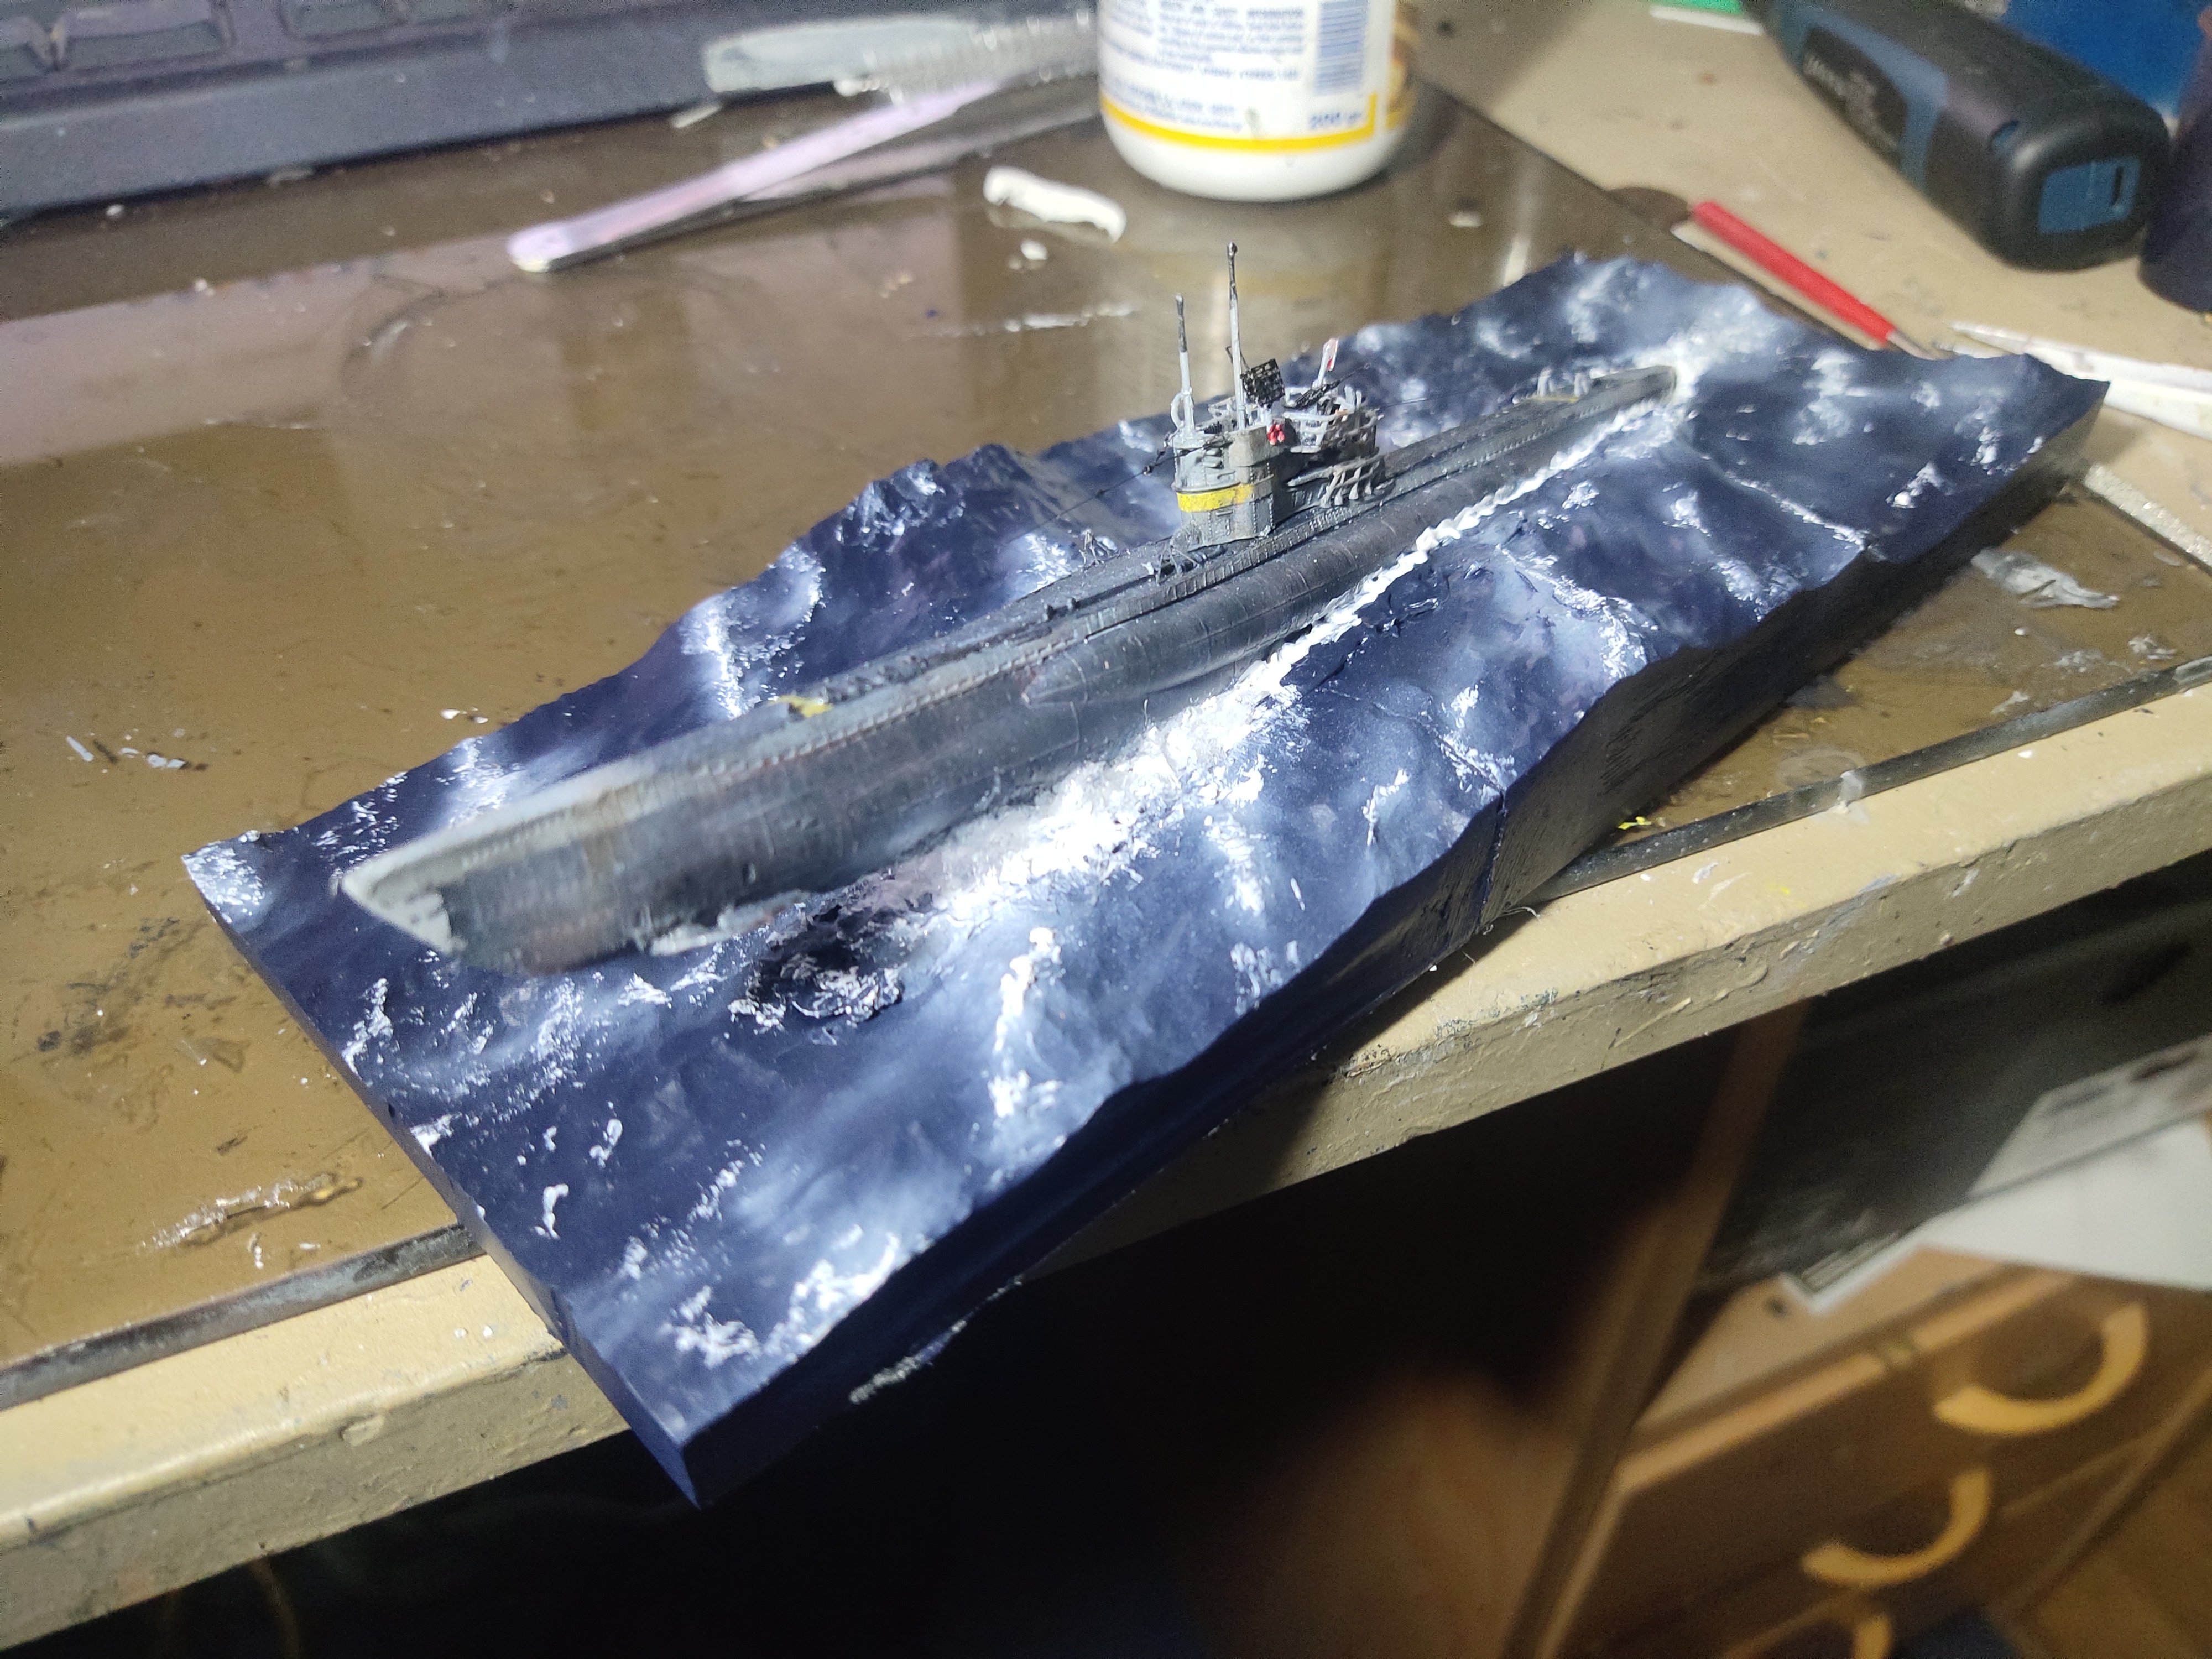
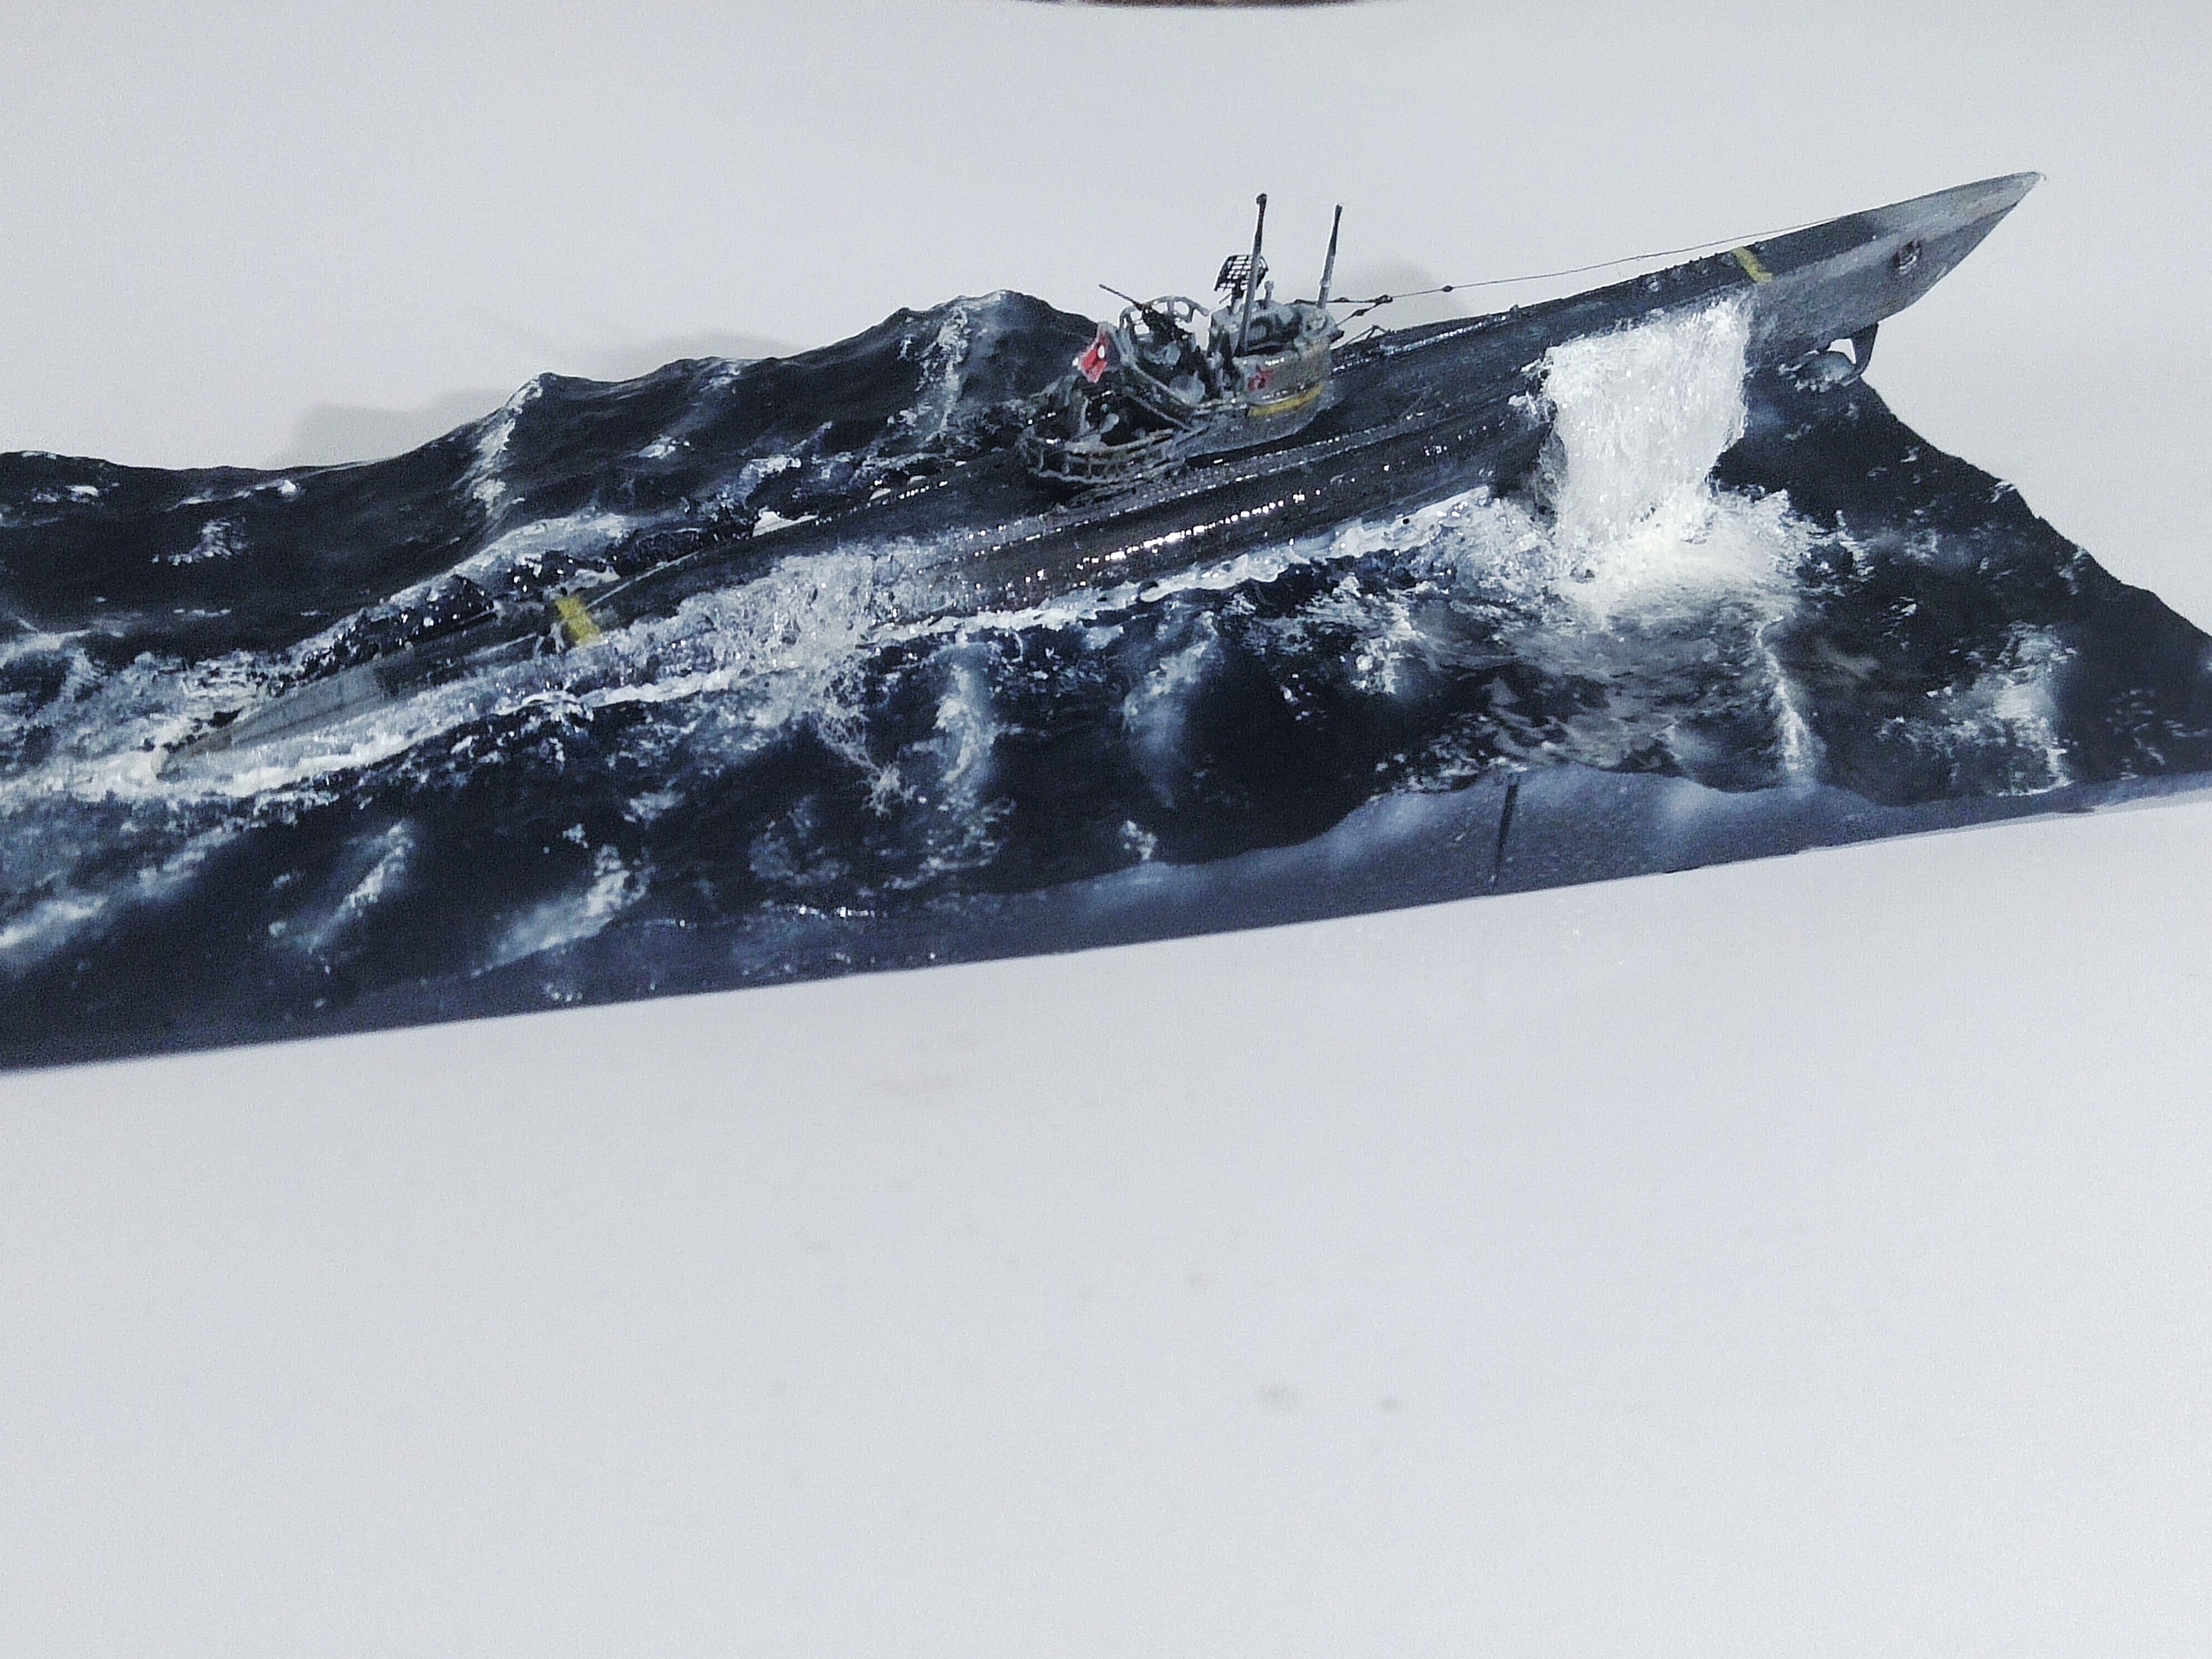
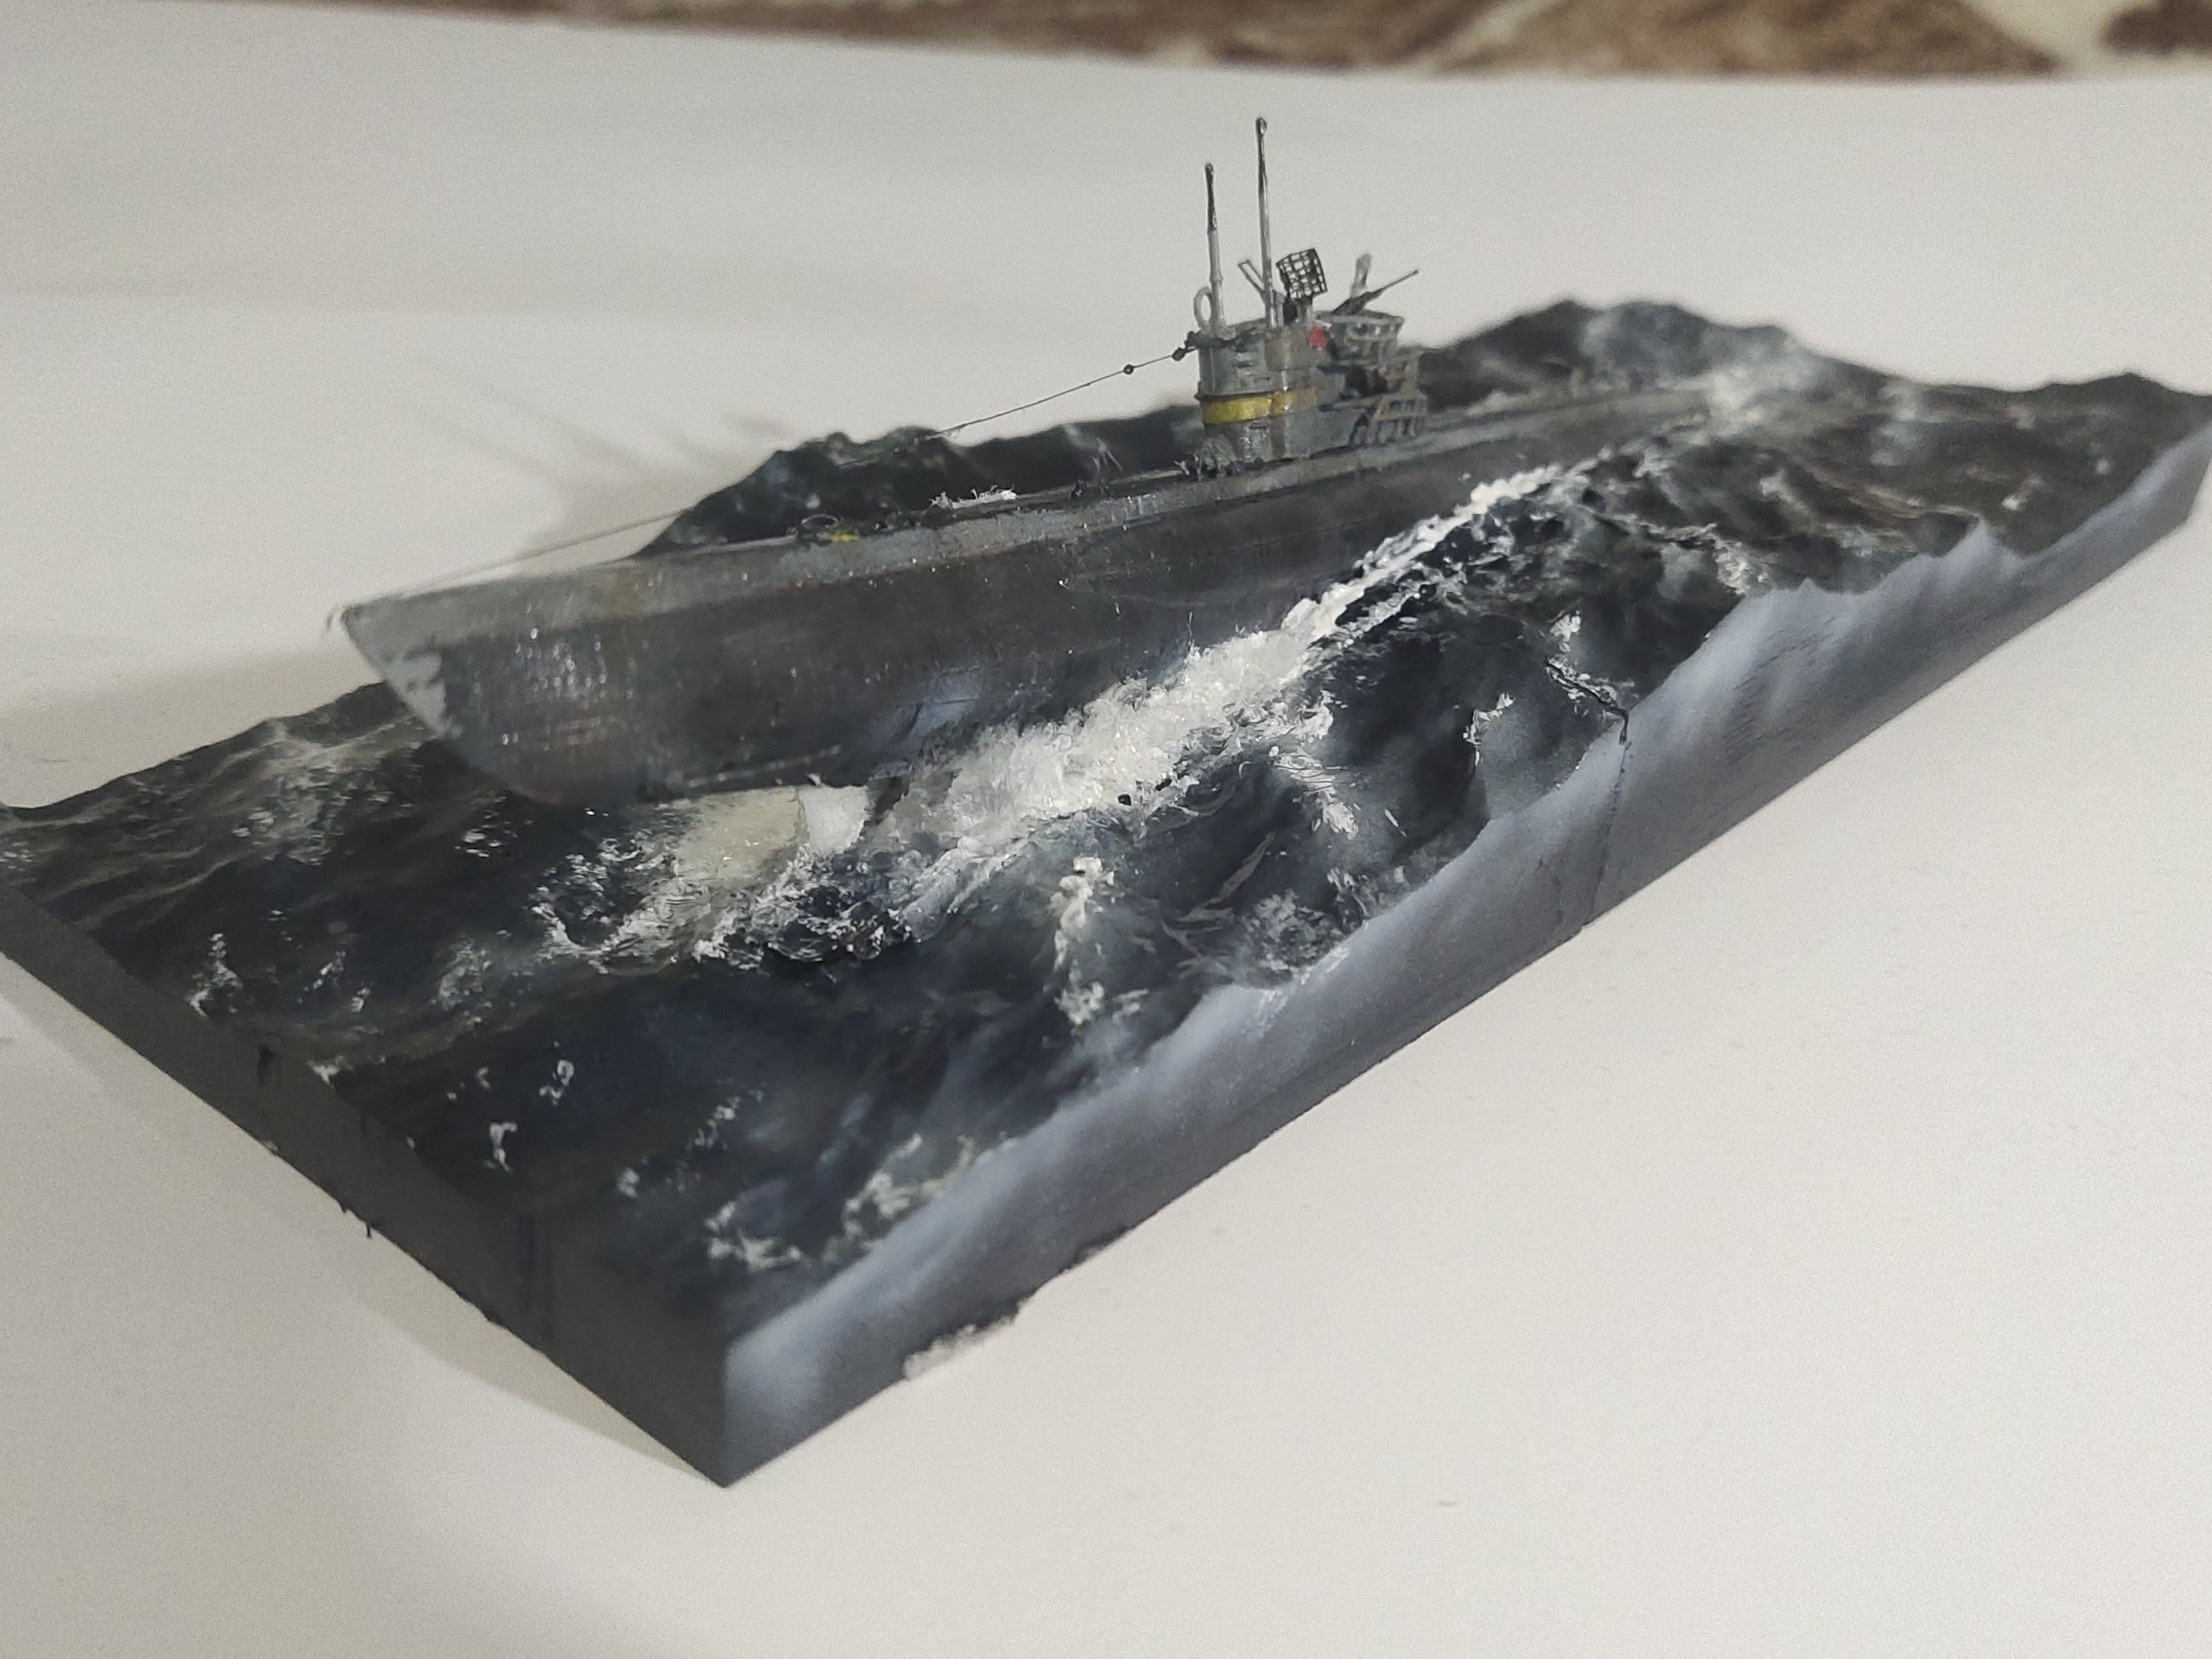
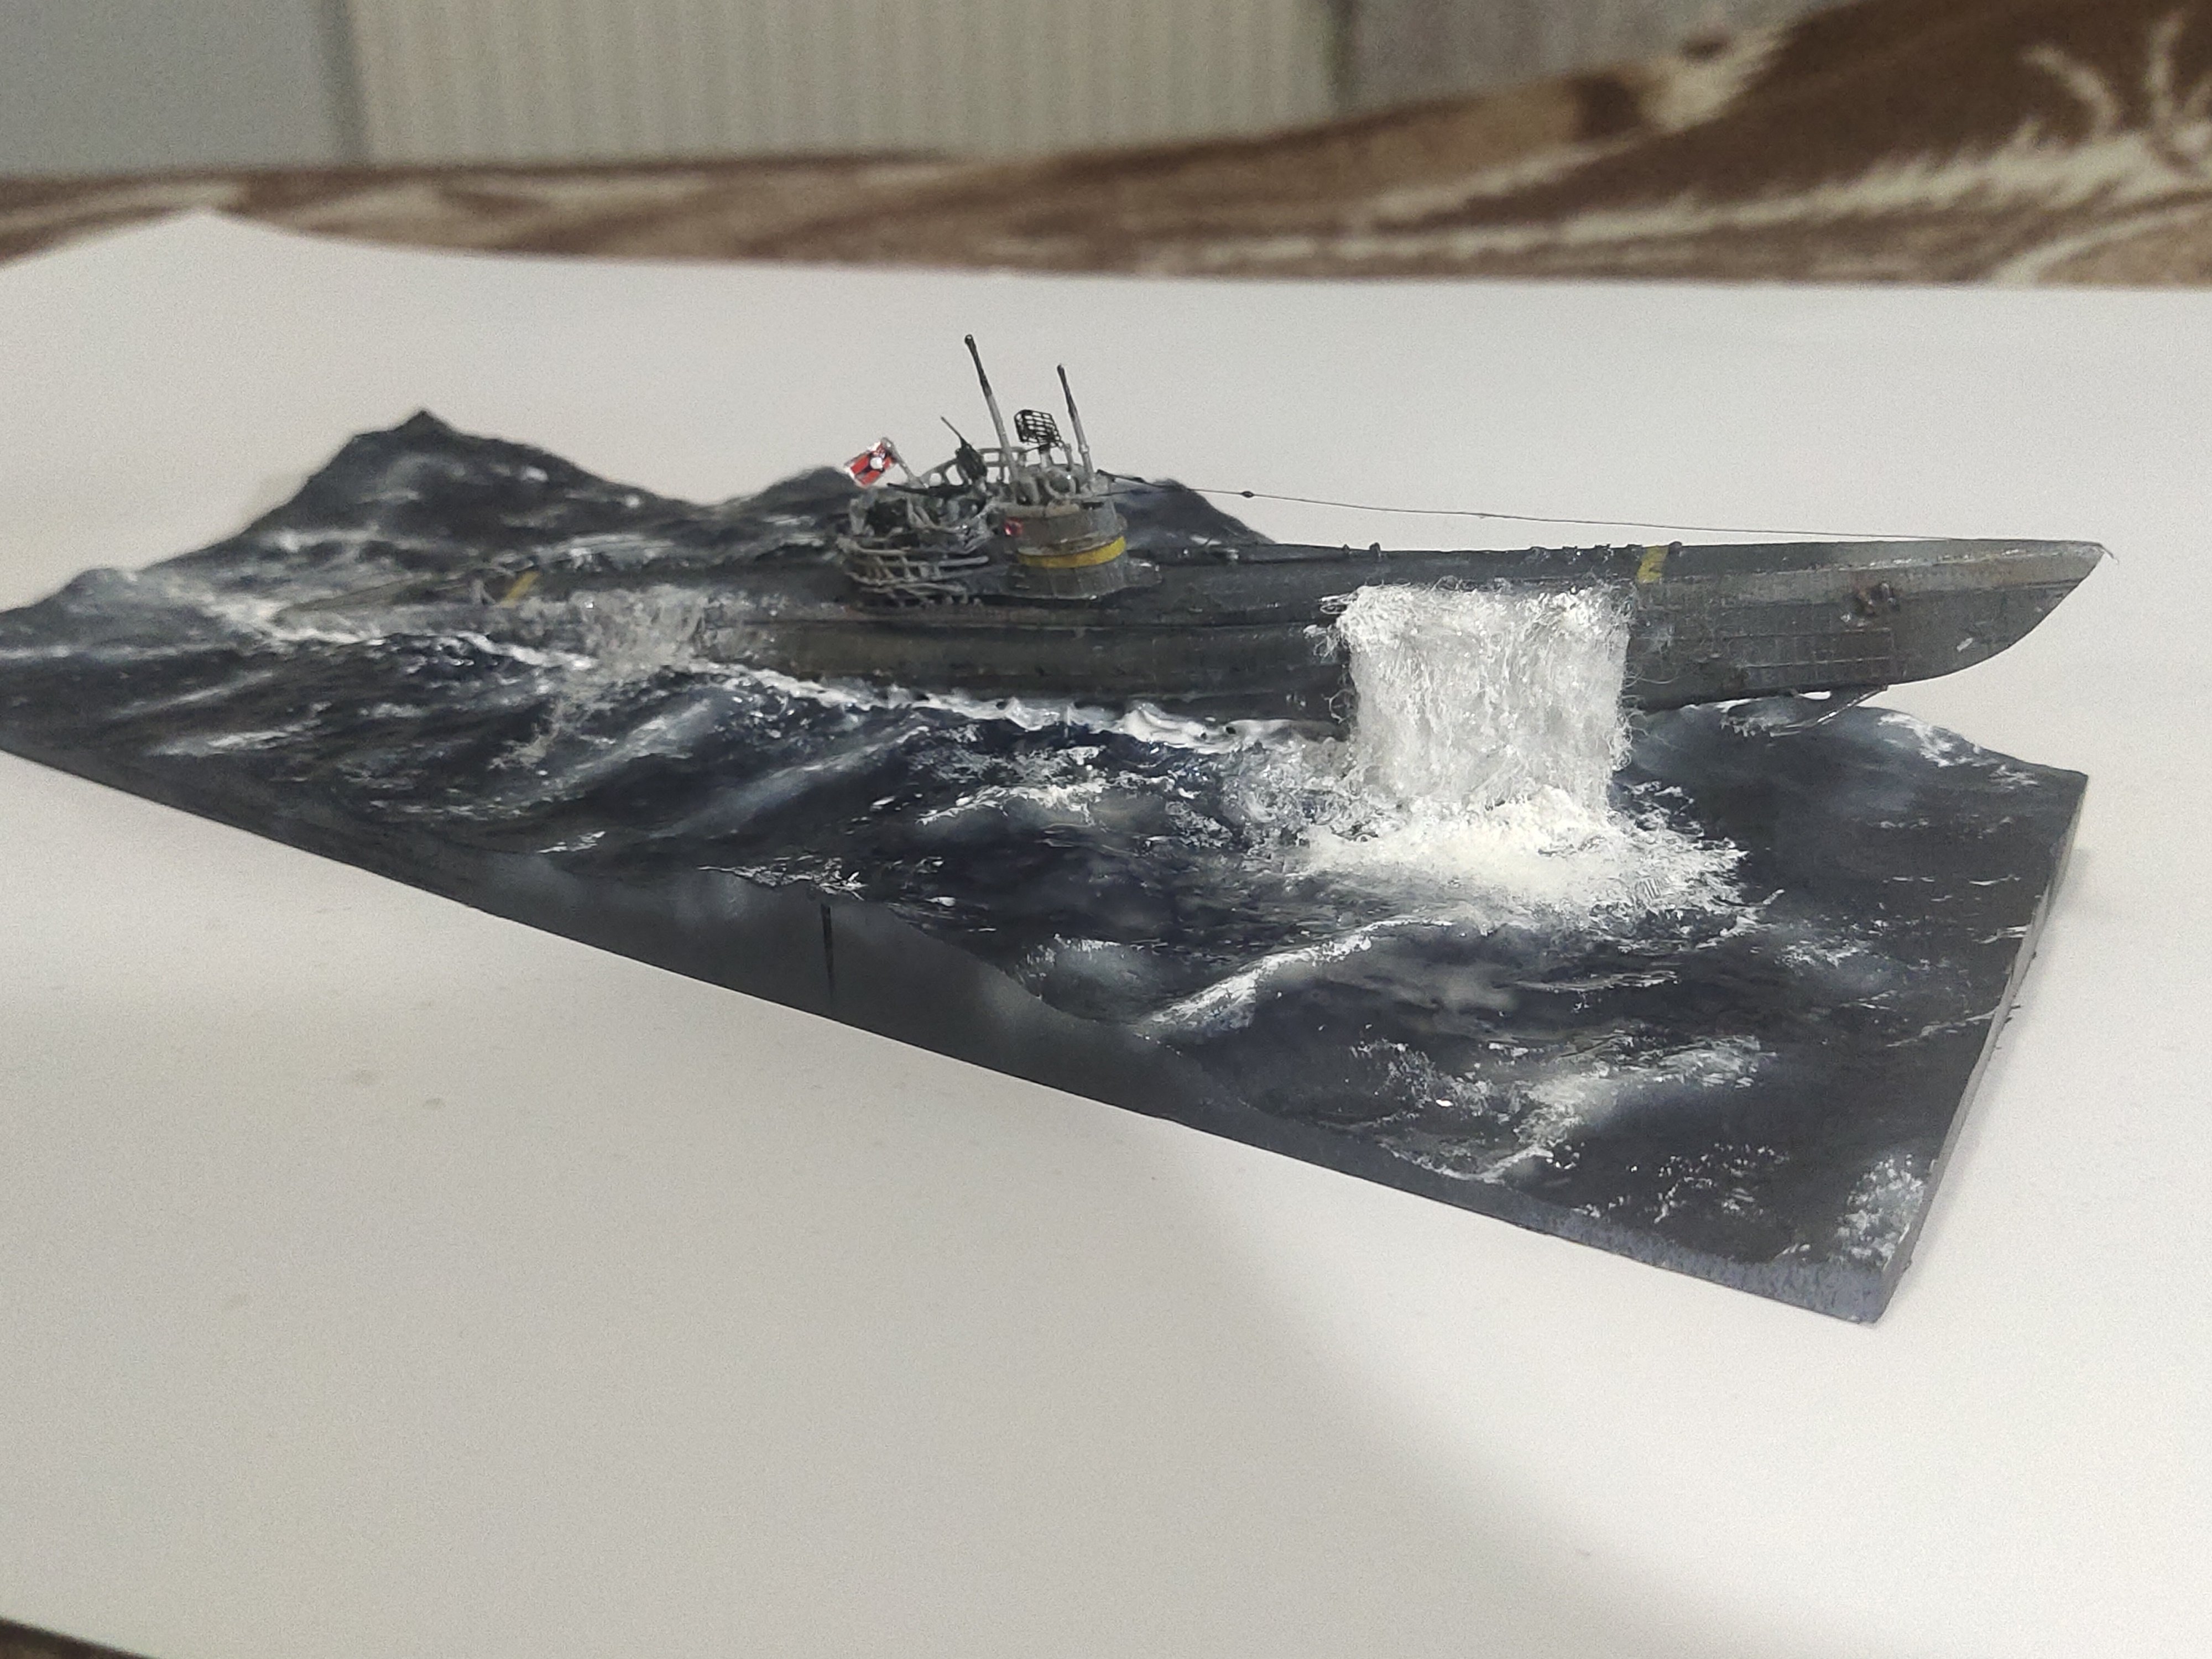
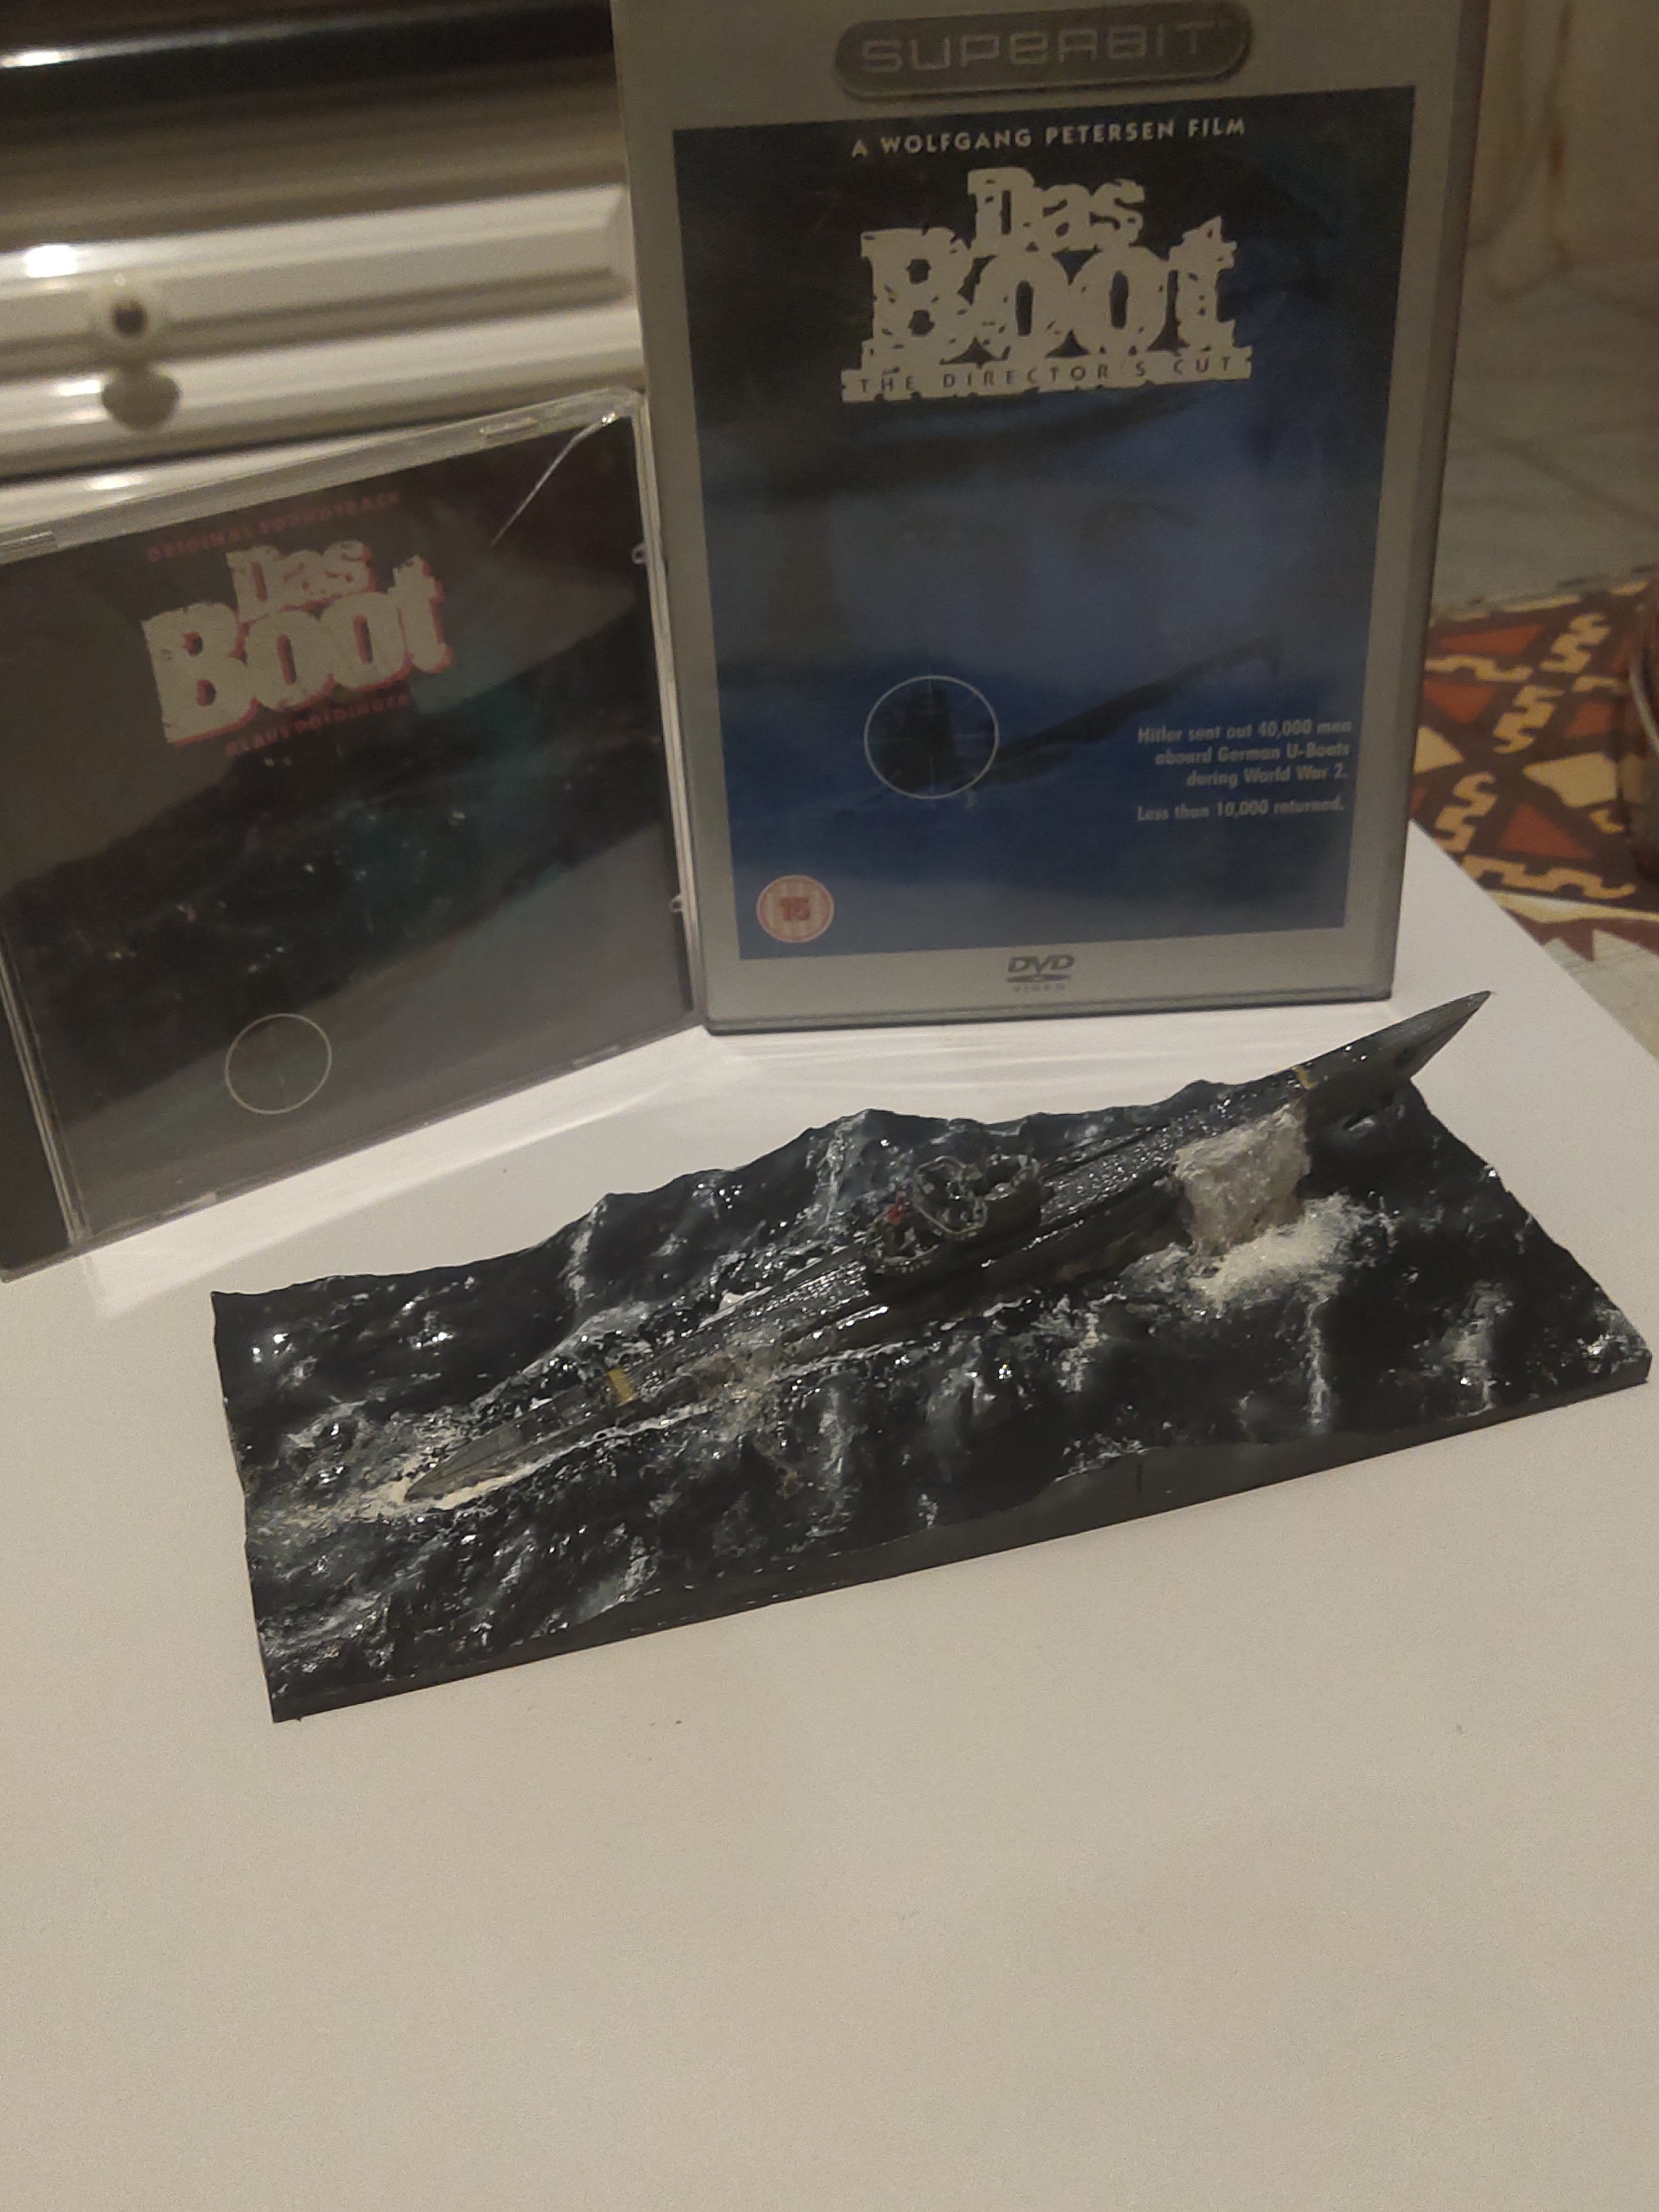
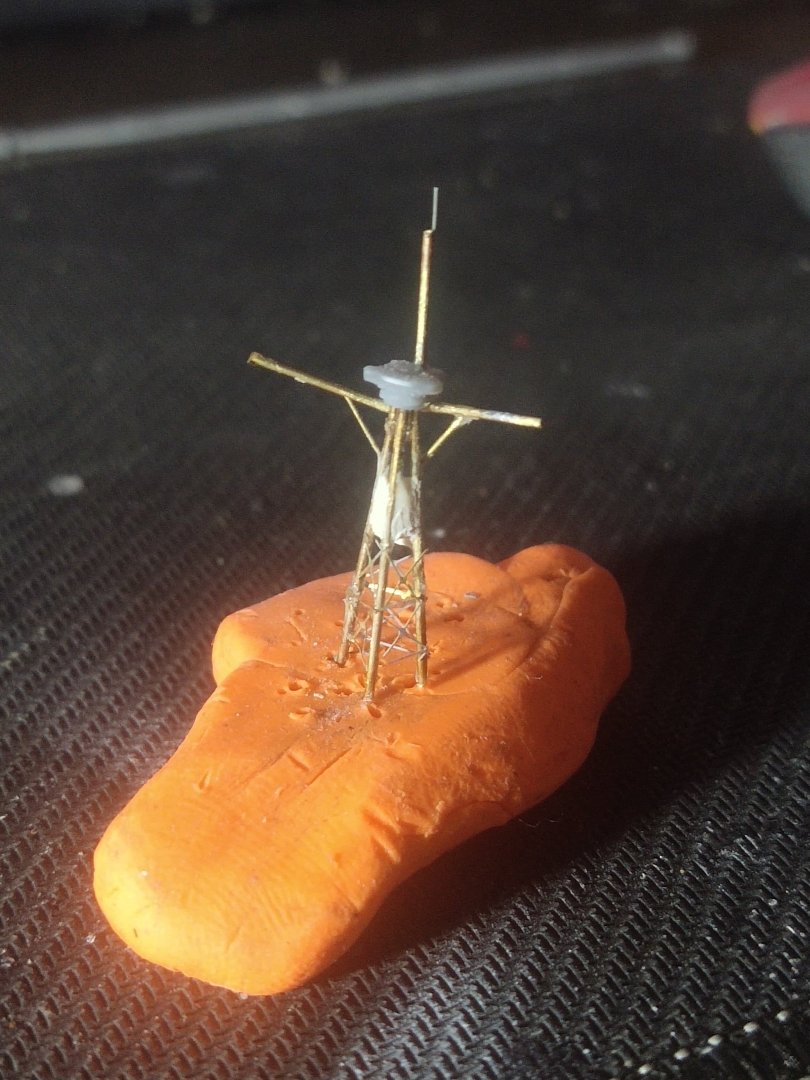
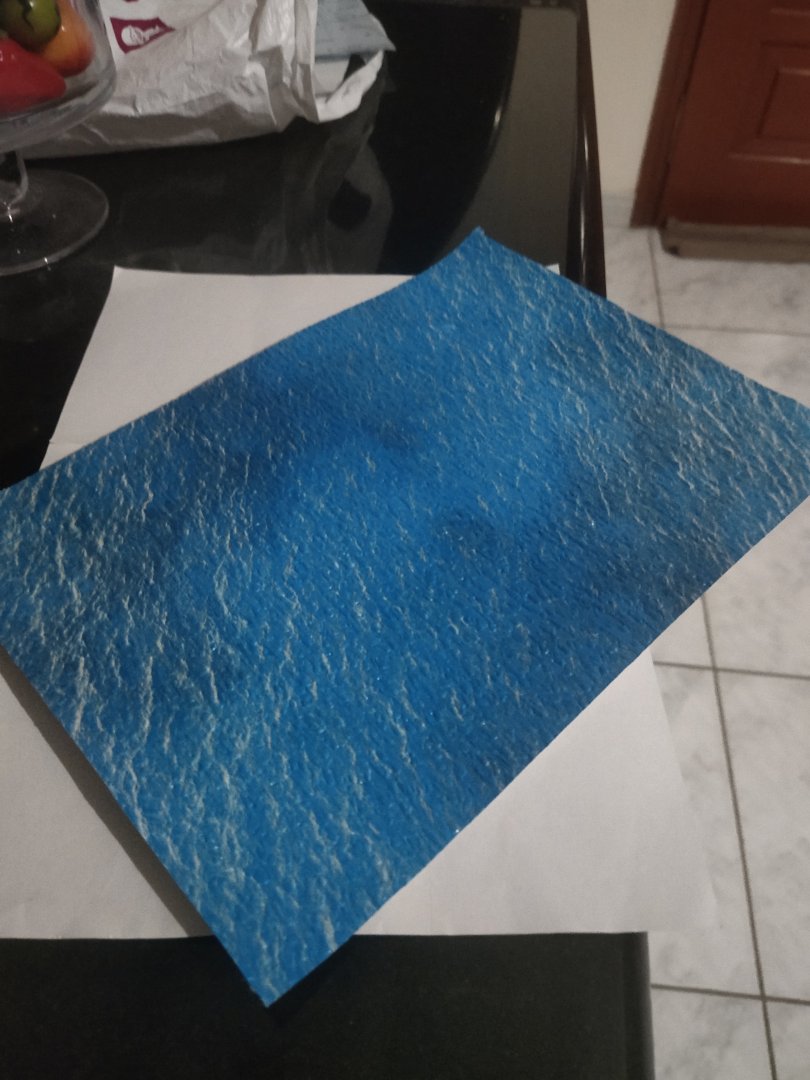
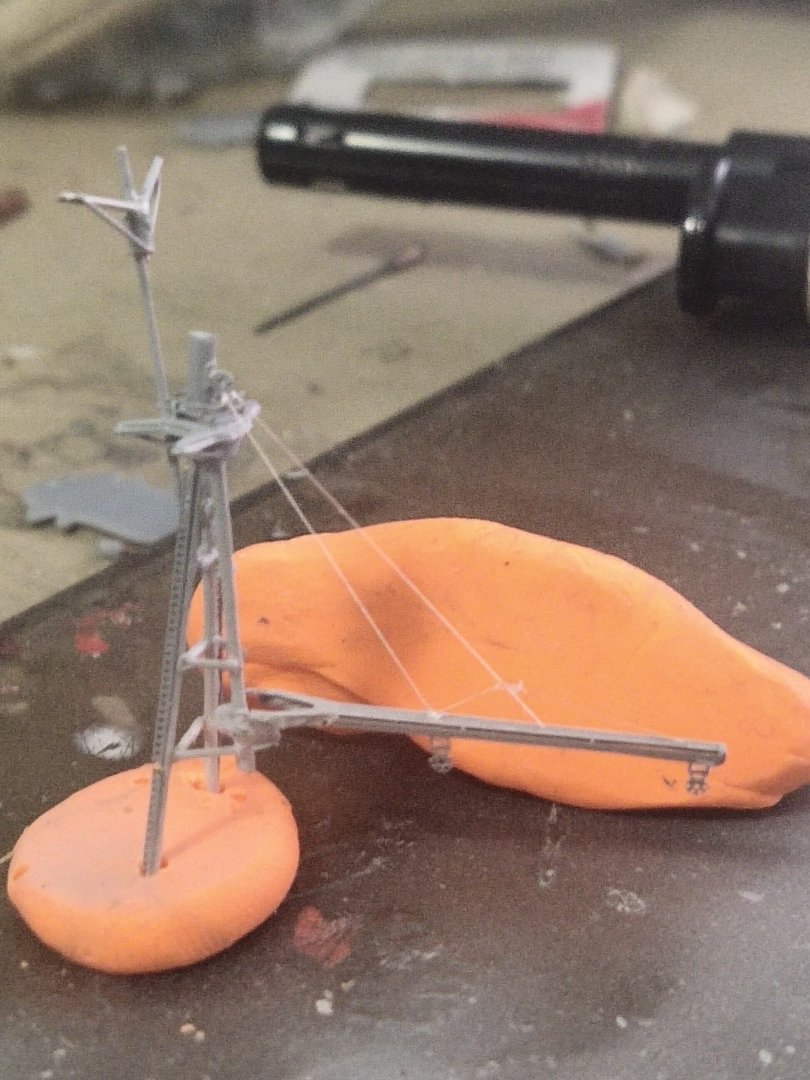
What a disaster That mast had wrong orientation. The upper part should lean towards the stern. Also the base at the tripod top should face the bow not the stern. I simply cut it and remake it. It was moderately hard. Fortunately for this rigging task, I use a wire 0.10mm which is extremely easy to handle, very durable even very thin. most important of all it keeps it shape Nevertheless I had to make one more platform. Then a smaller one on top. I also made a preparation for the sea bed. I bought a textured water effect paper because I want to create a specific scene.


-
Well yes I can see people complaining that working in 1/80 or 1/100 its too hard as this is a small scale. However I believe in smaller scales its easier to hide imperfections, 1/700 is a quite forgiving scale.
-
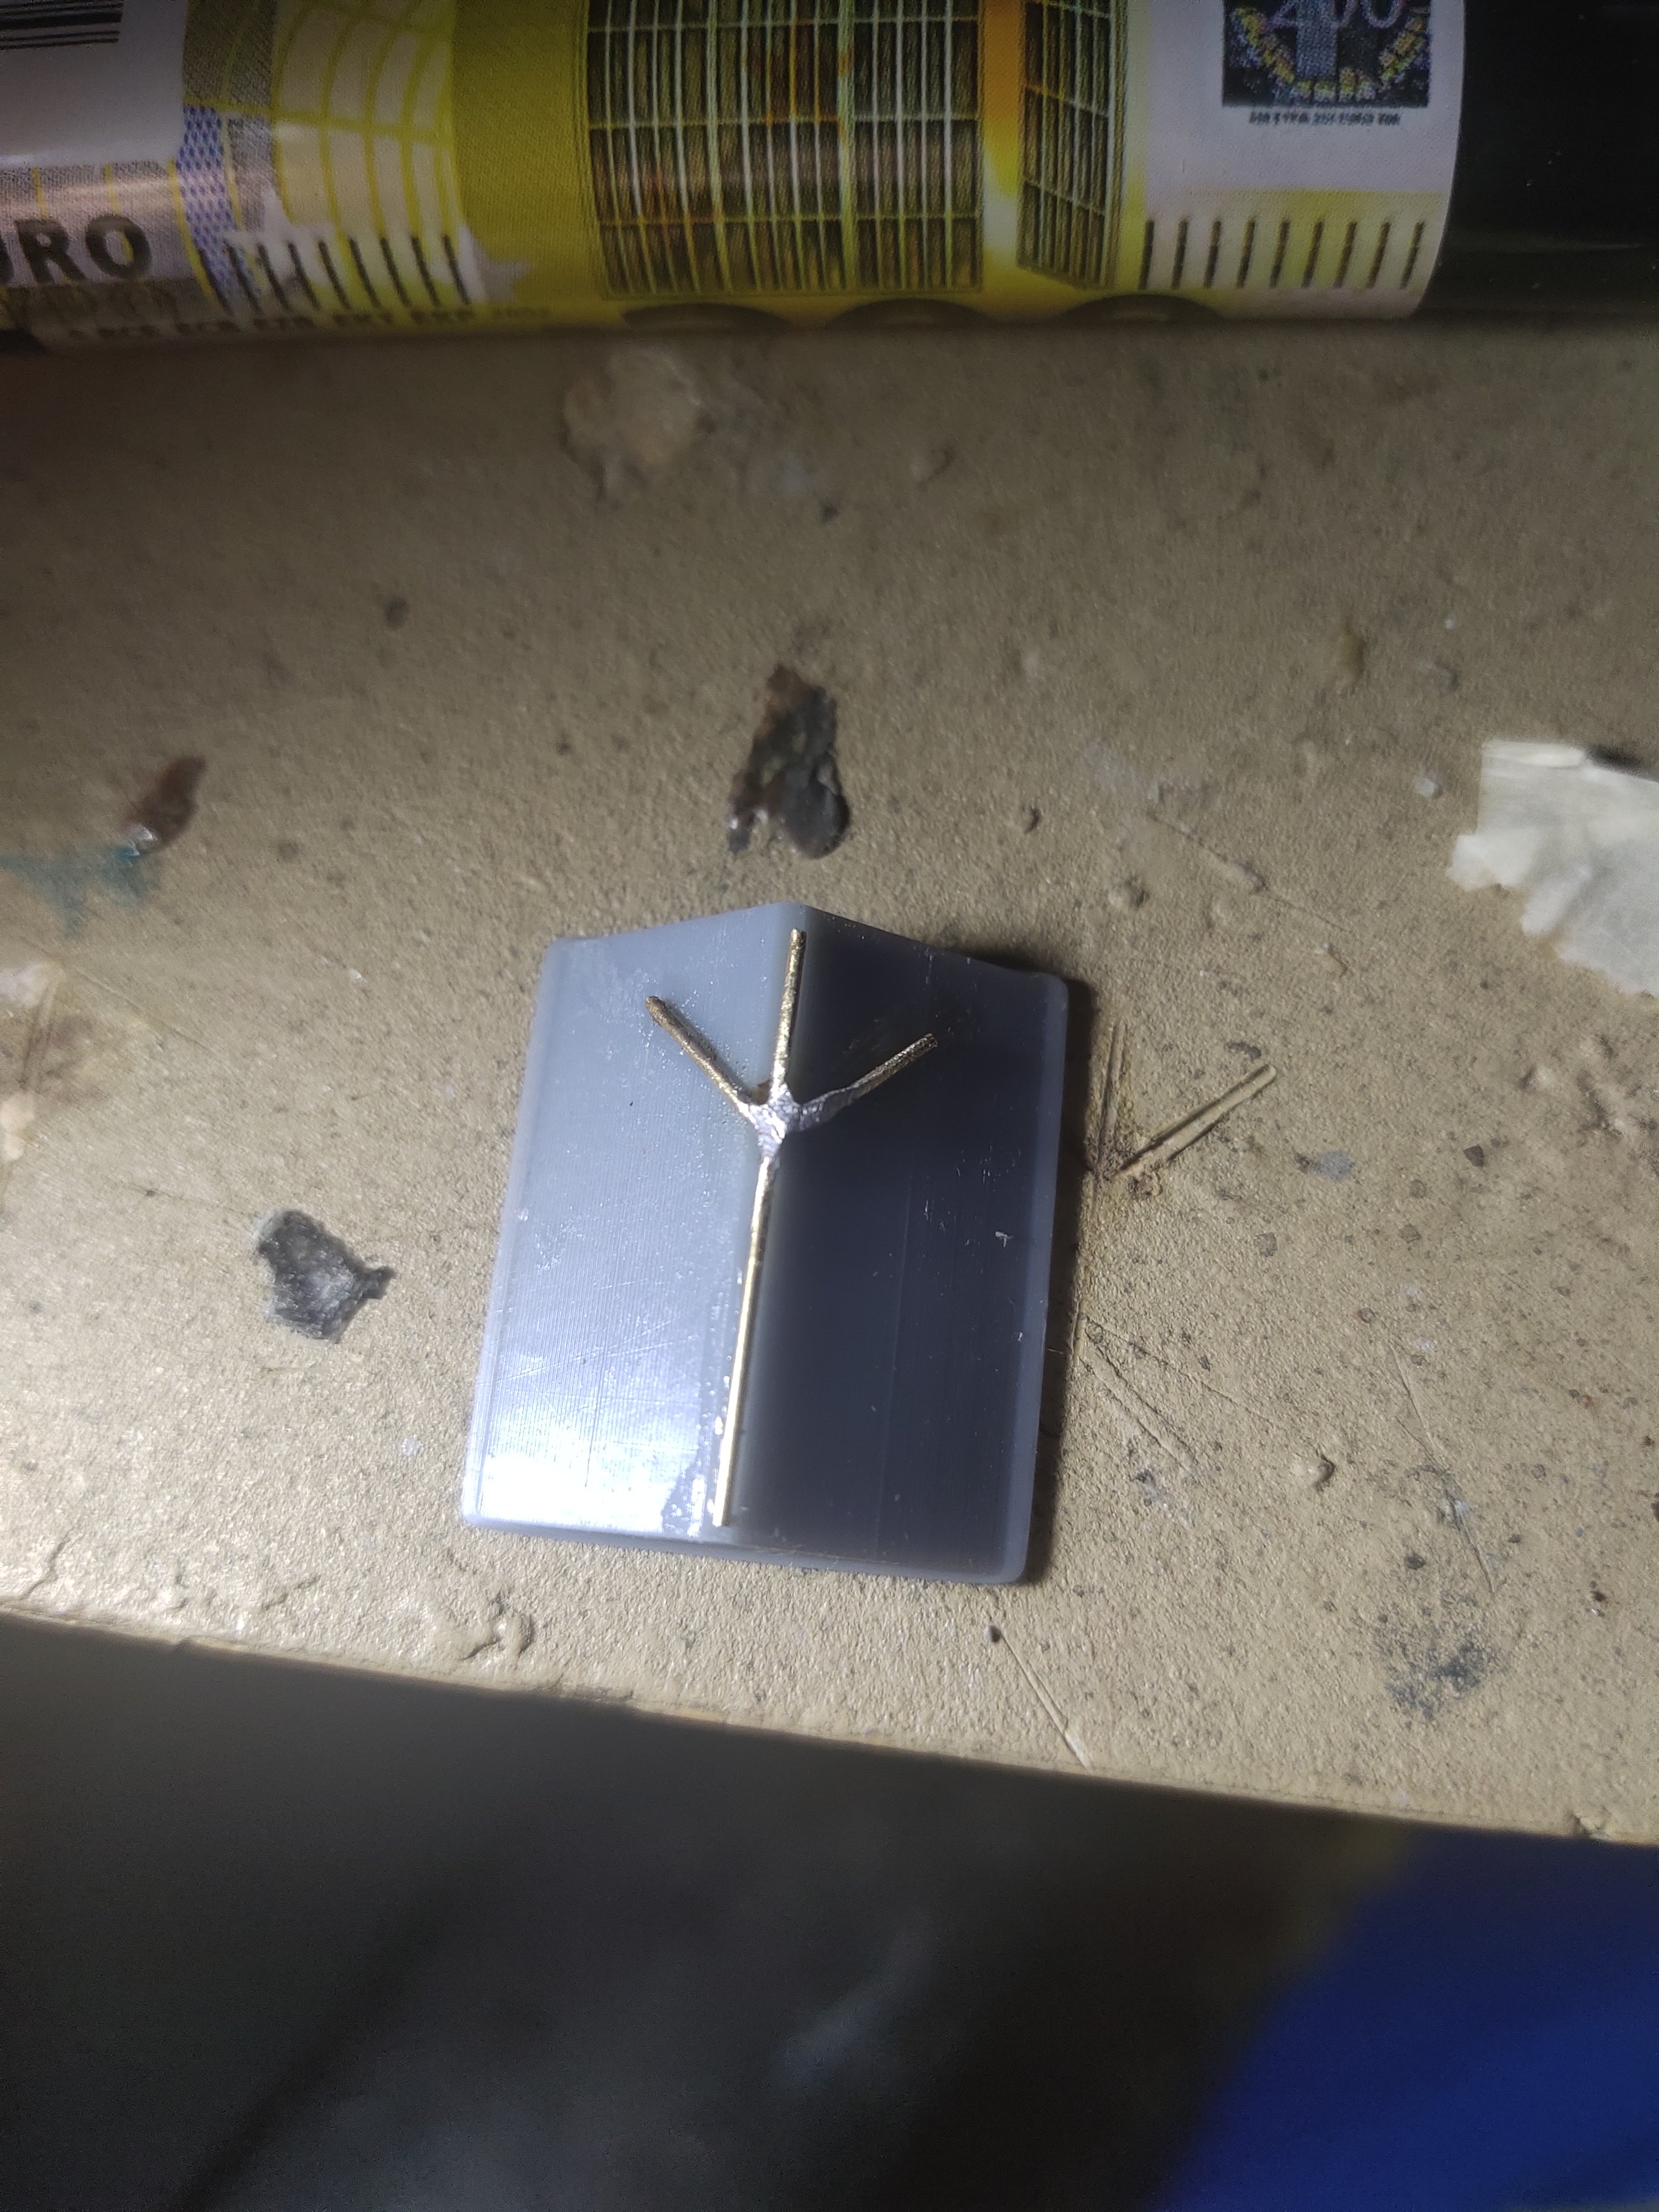
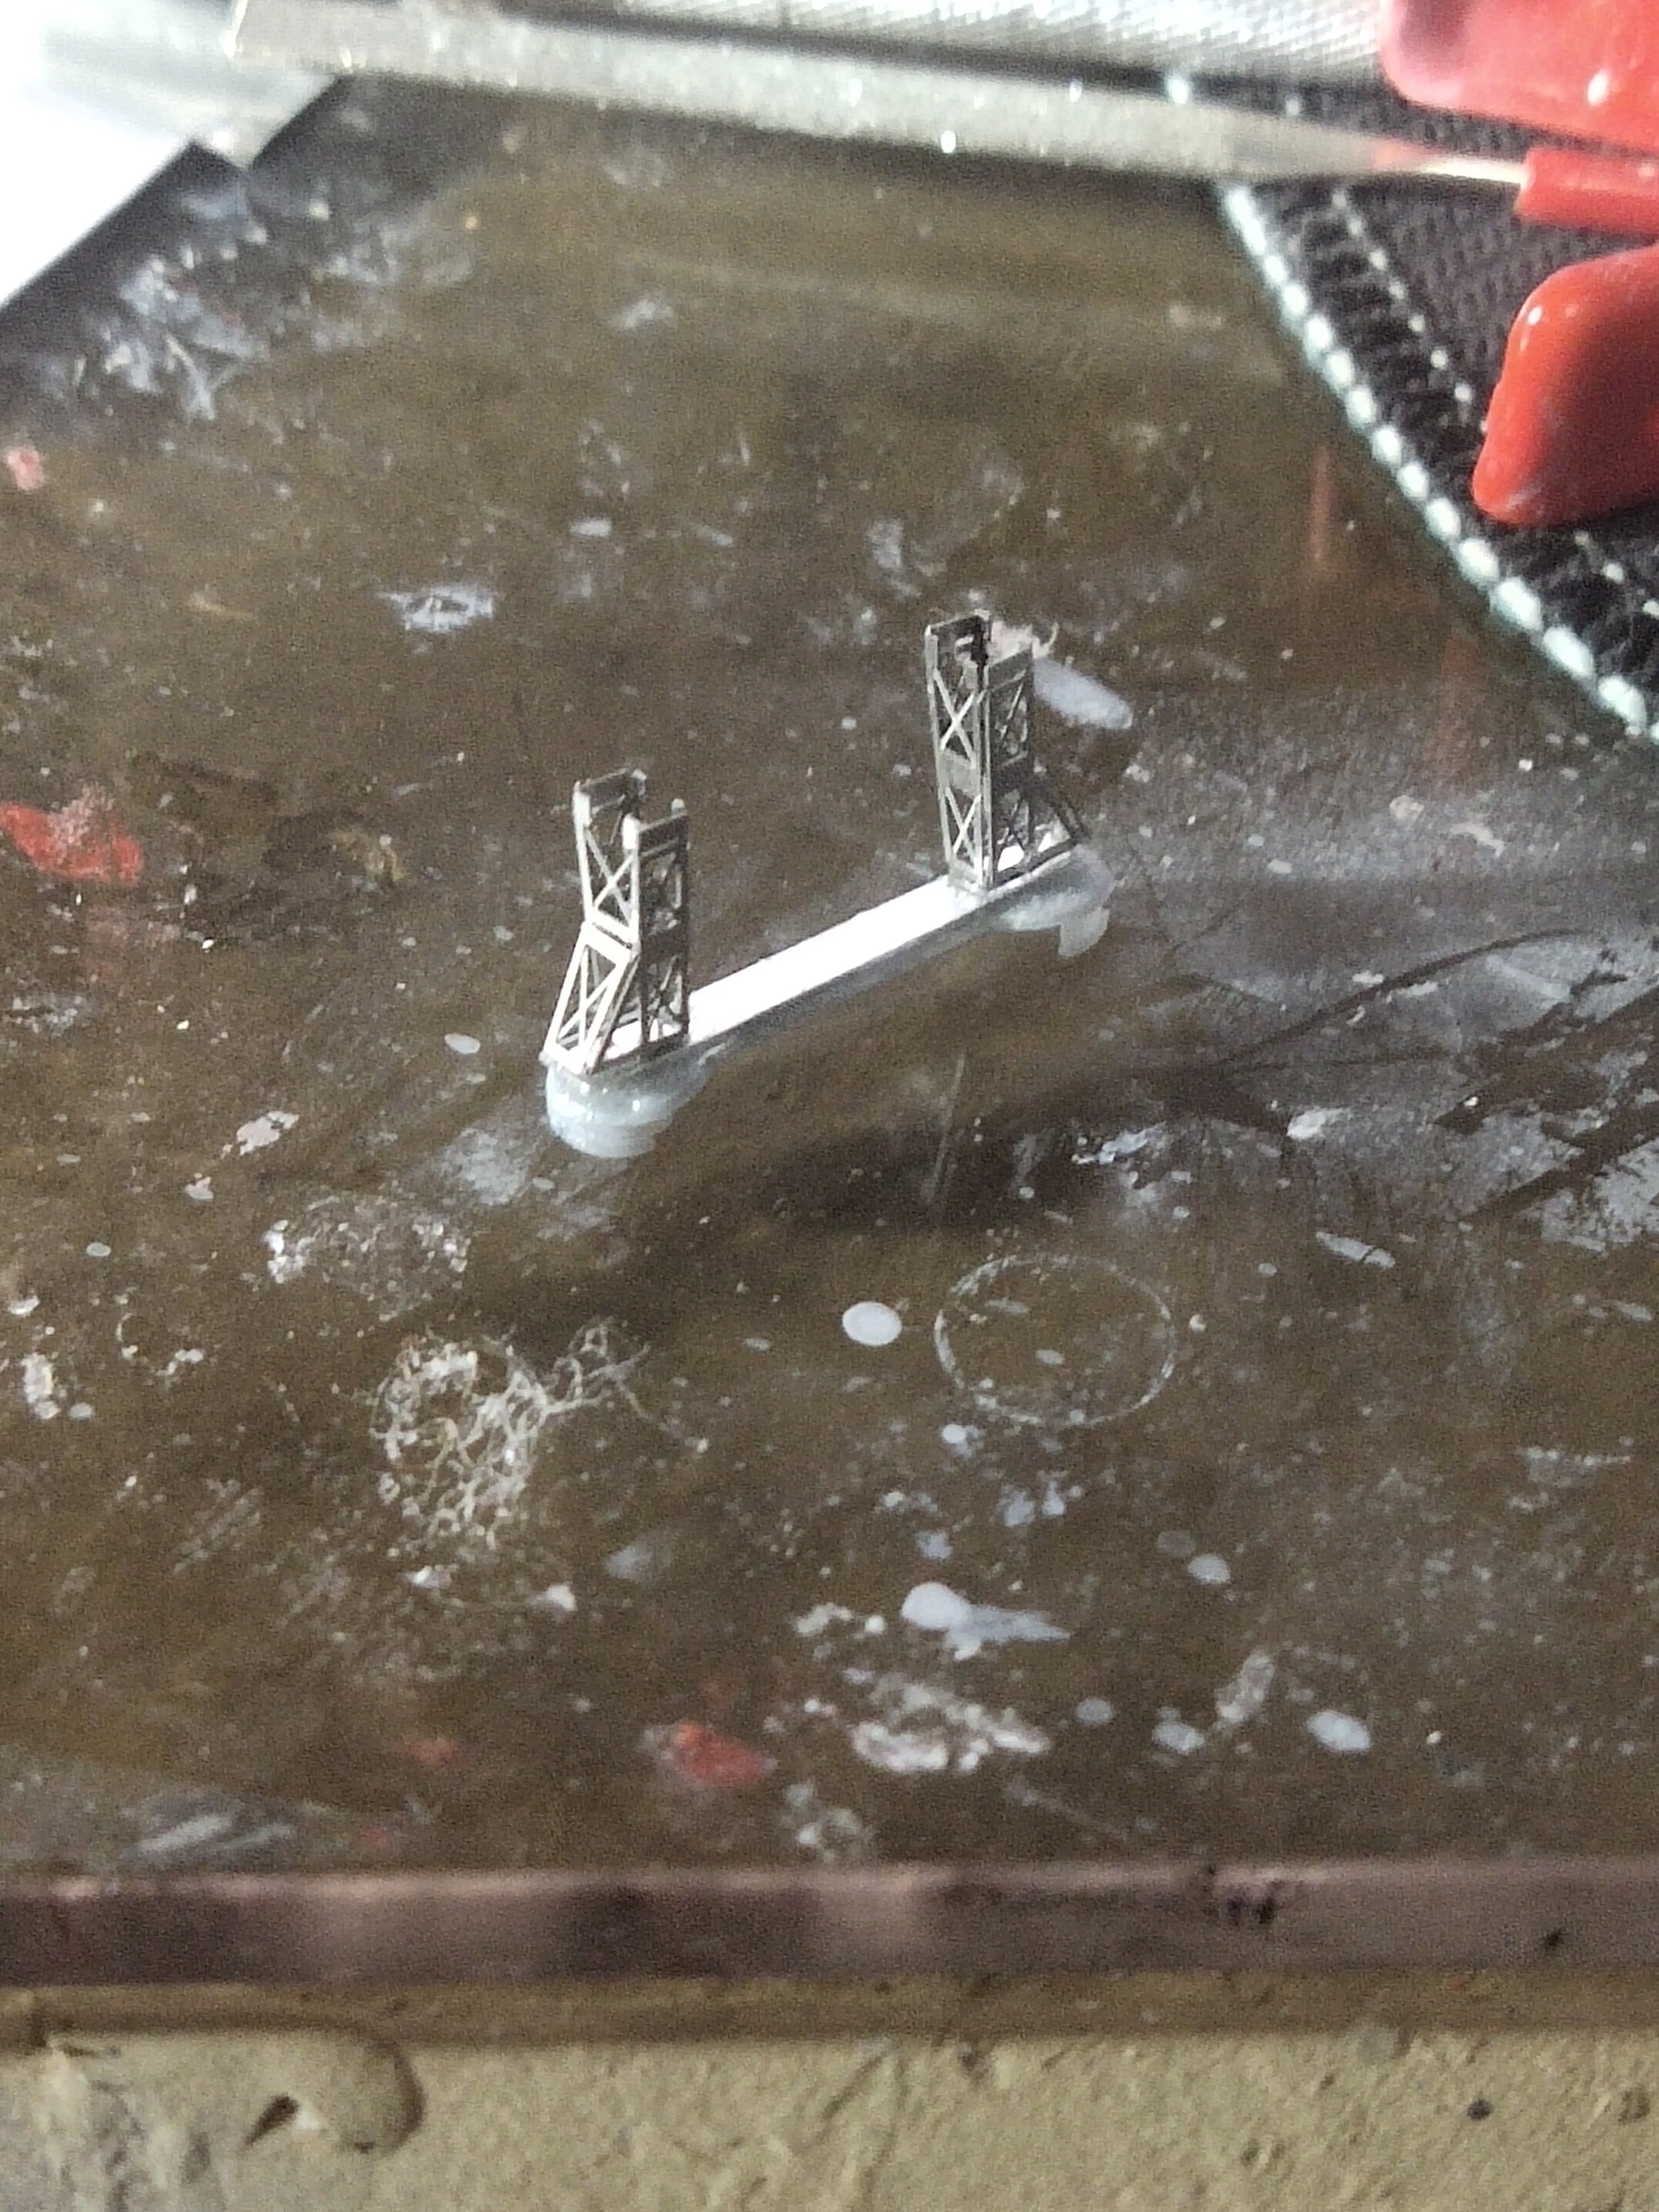
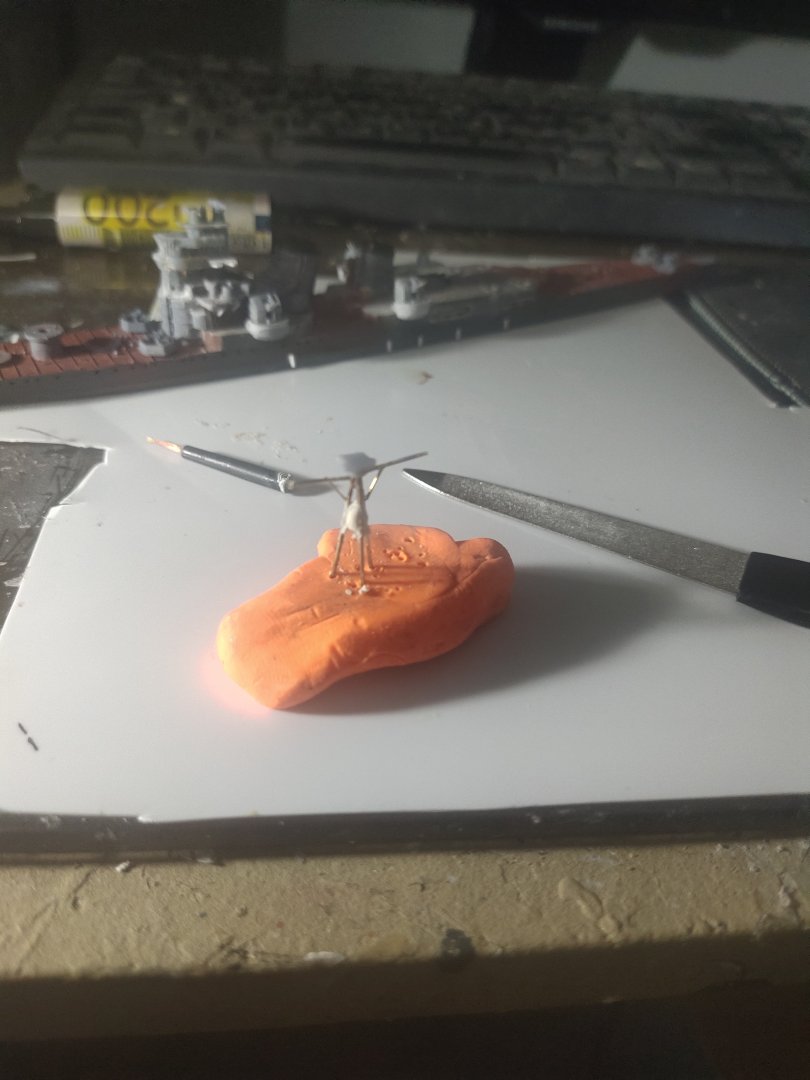
I also put bigger shields on deck for triple AA guns. There's no easy way out. Need to make a new rear as well as main mast. There's none on PE set so must be scratched. Unfortunately I'm very bad on welding. Upon upon sanding the excess solder it broke. Need to find another way of making a precise and durable part. By inserting the tiny ring I gave some place for the smaller pieces to sit on. CA glue did the rest. The support below gave extra strength. Quite pleased with the result overall. Move to finish the details. It came out really nice. Some test fitting. I had to put something that to prevent it from falling in front because of the weight due to metal crane A comparison to the plans For others it may be a daily job for me is one of my best achievements in modeling


-
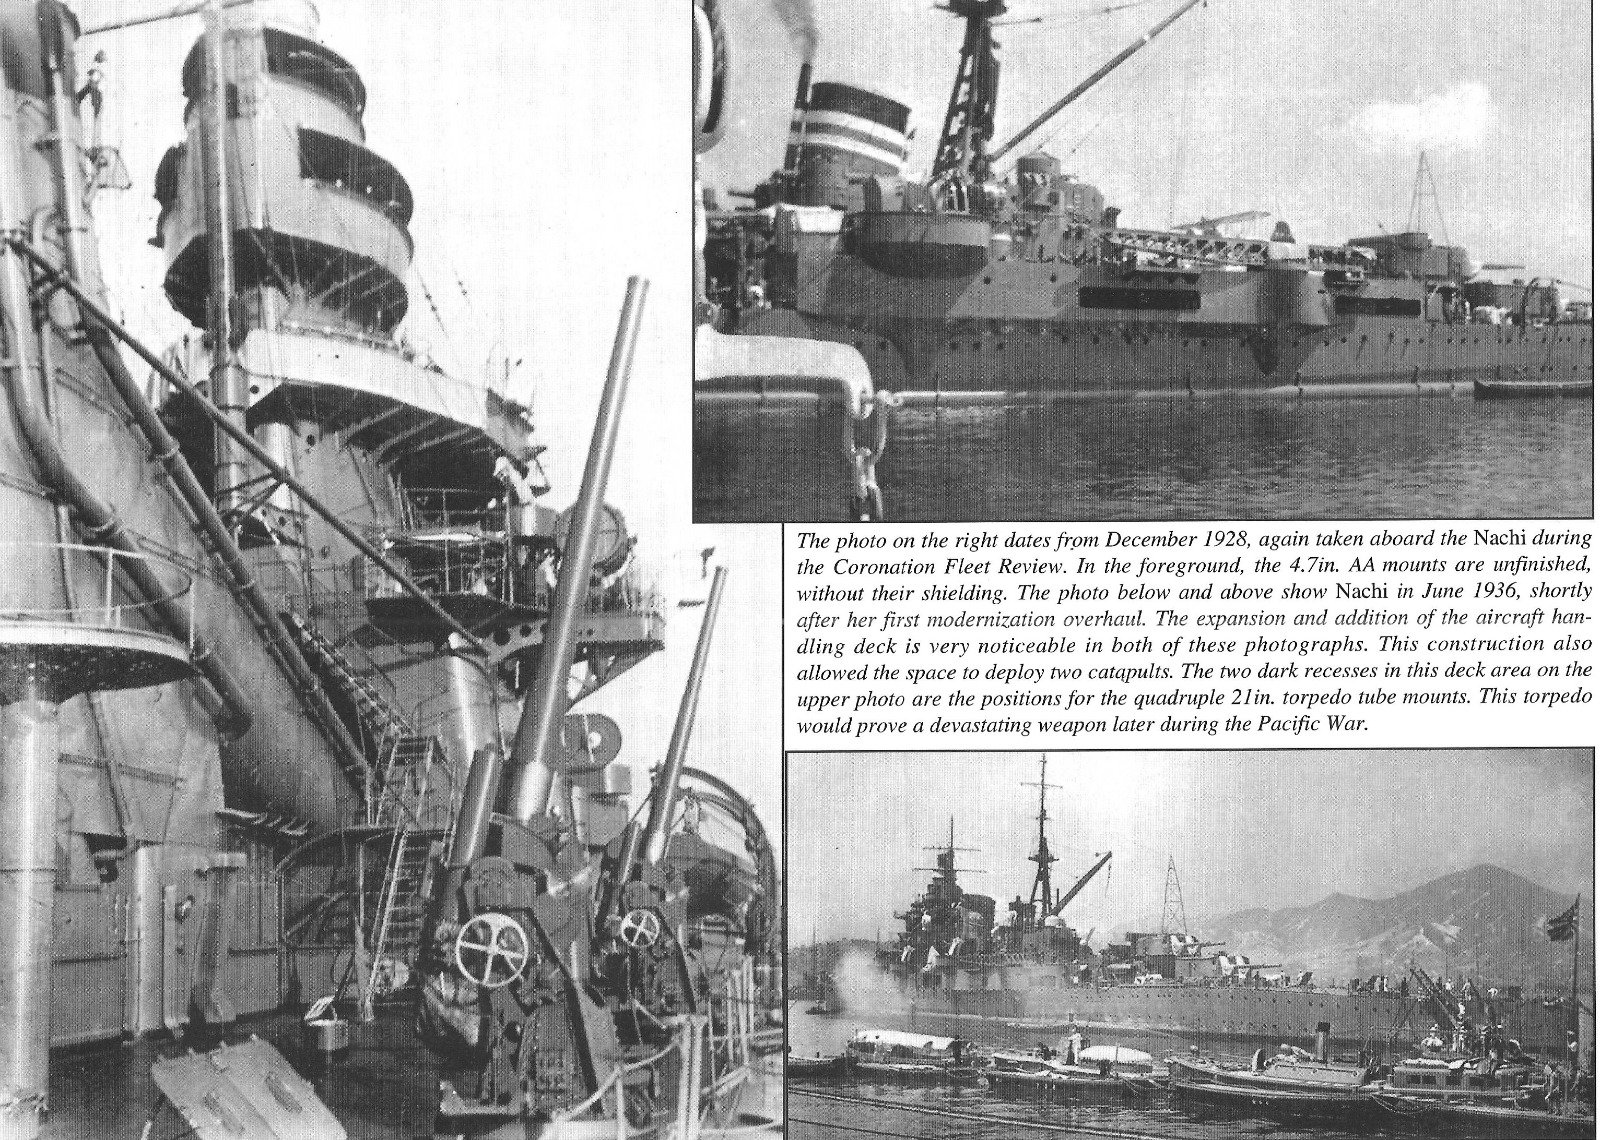
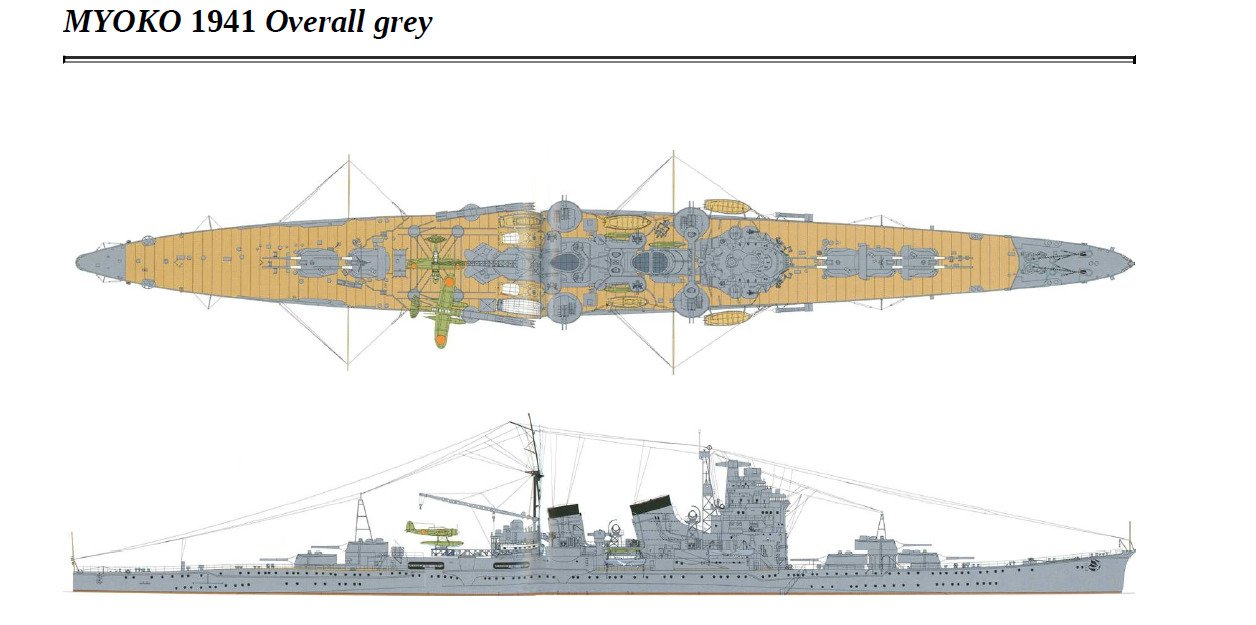
Thanks for the comments I decided to take my time and make a more accurate built after researching. Japanese ships are very complicated because of many modifications caused by Washington Treaty and their defeat at Midway. The AA guns were landed the platform was for searchlights I also had to modify the bridge again. Maybe need to make some small corrections during main mast installation


-
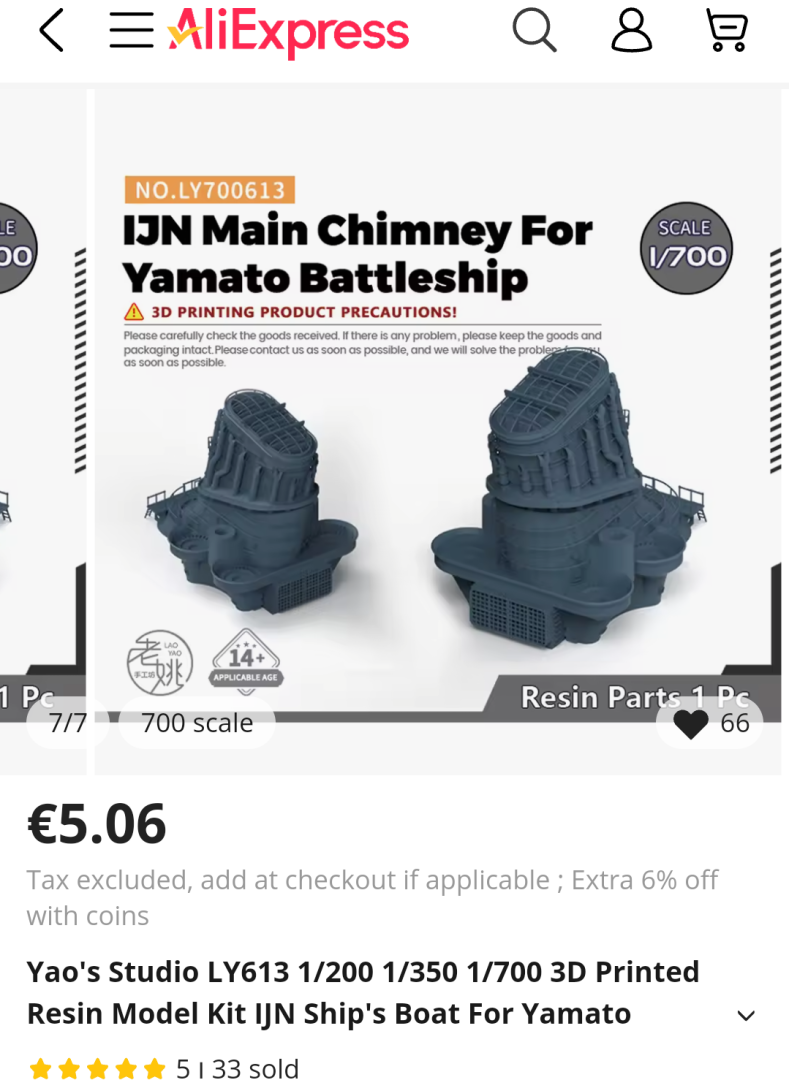
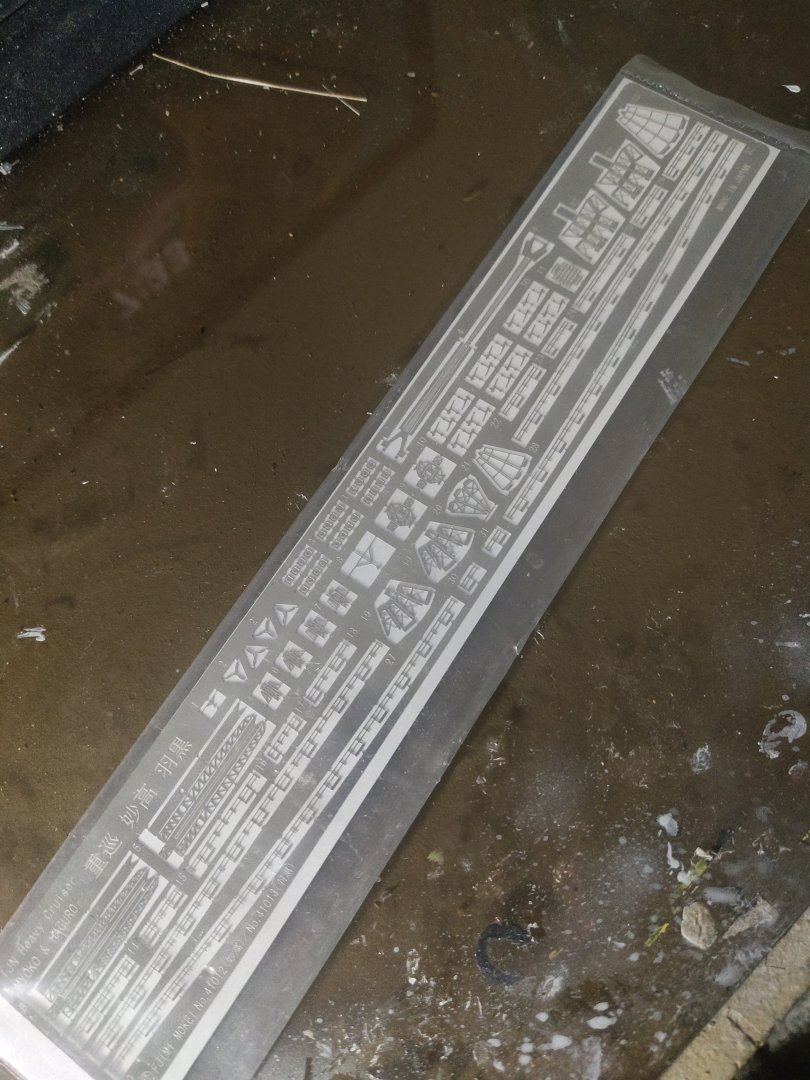
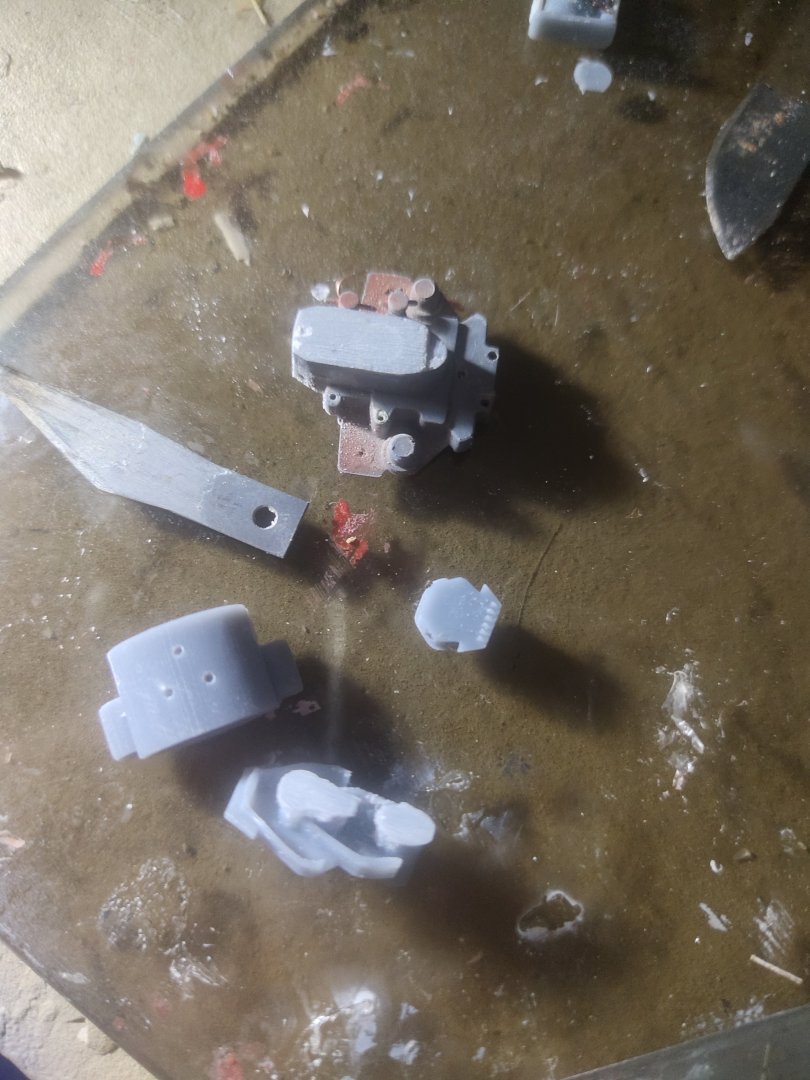
I am going to use a PE set I got some time ago.There are, among others, supports for gun platform. But I don't see the platform or I lost it. However its on my drawings as part of the modernization of the ship. So I made a new one Its long and thin piece and will bend easily. so I reinforce it with a stripe of metal 0.20mm thick Then, AA guns were glued. Some test fitting before prime it These Fujimi PEs are detailed but also quite durable and hard unlike other brands so they are far easier to work with. I really enjoy fitting them


-
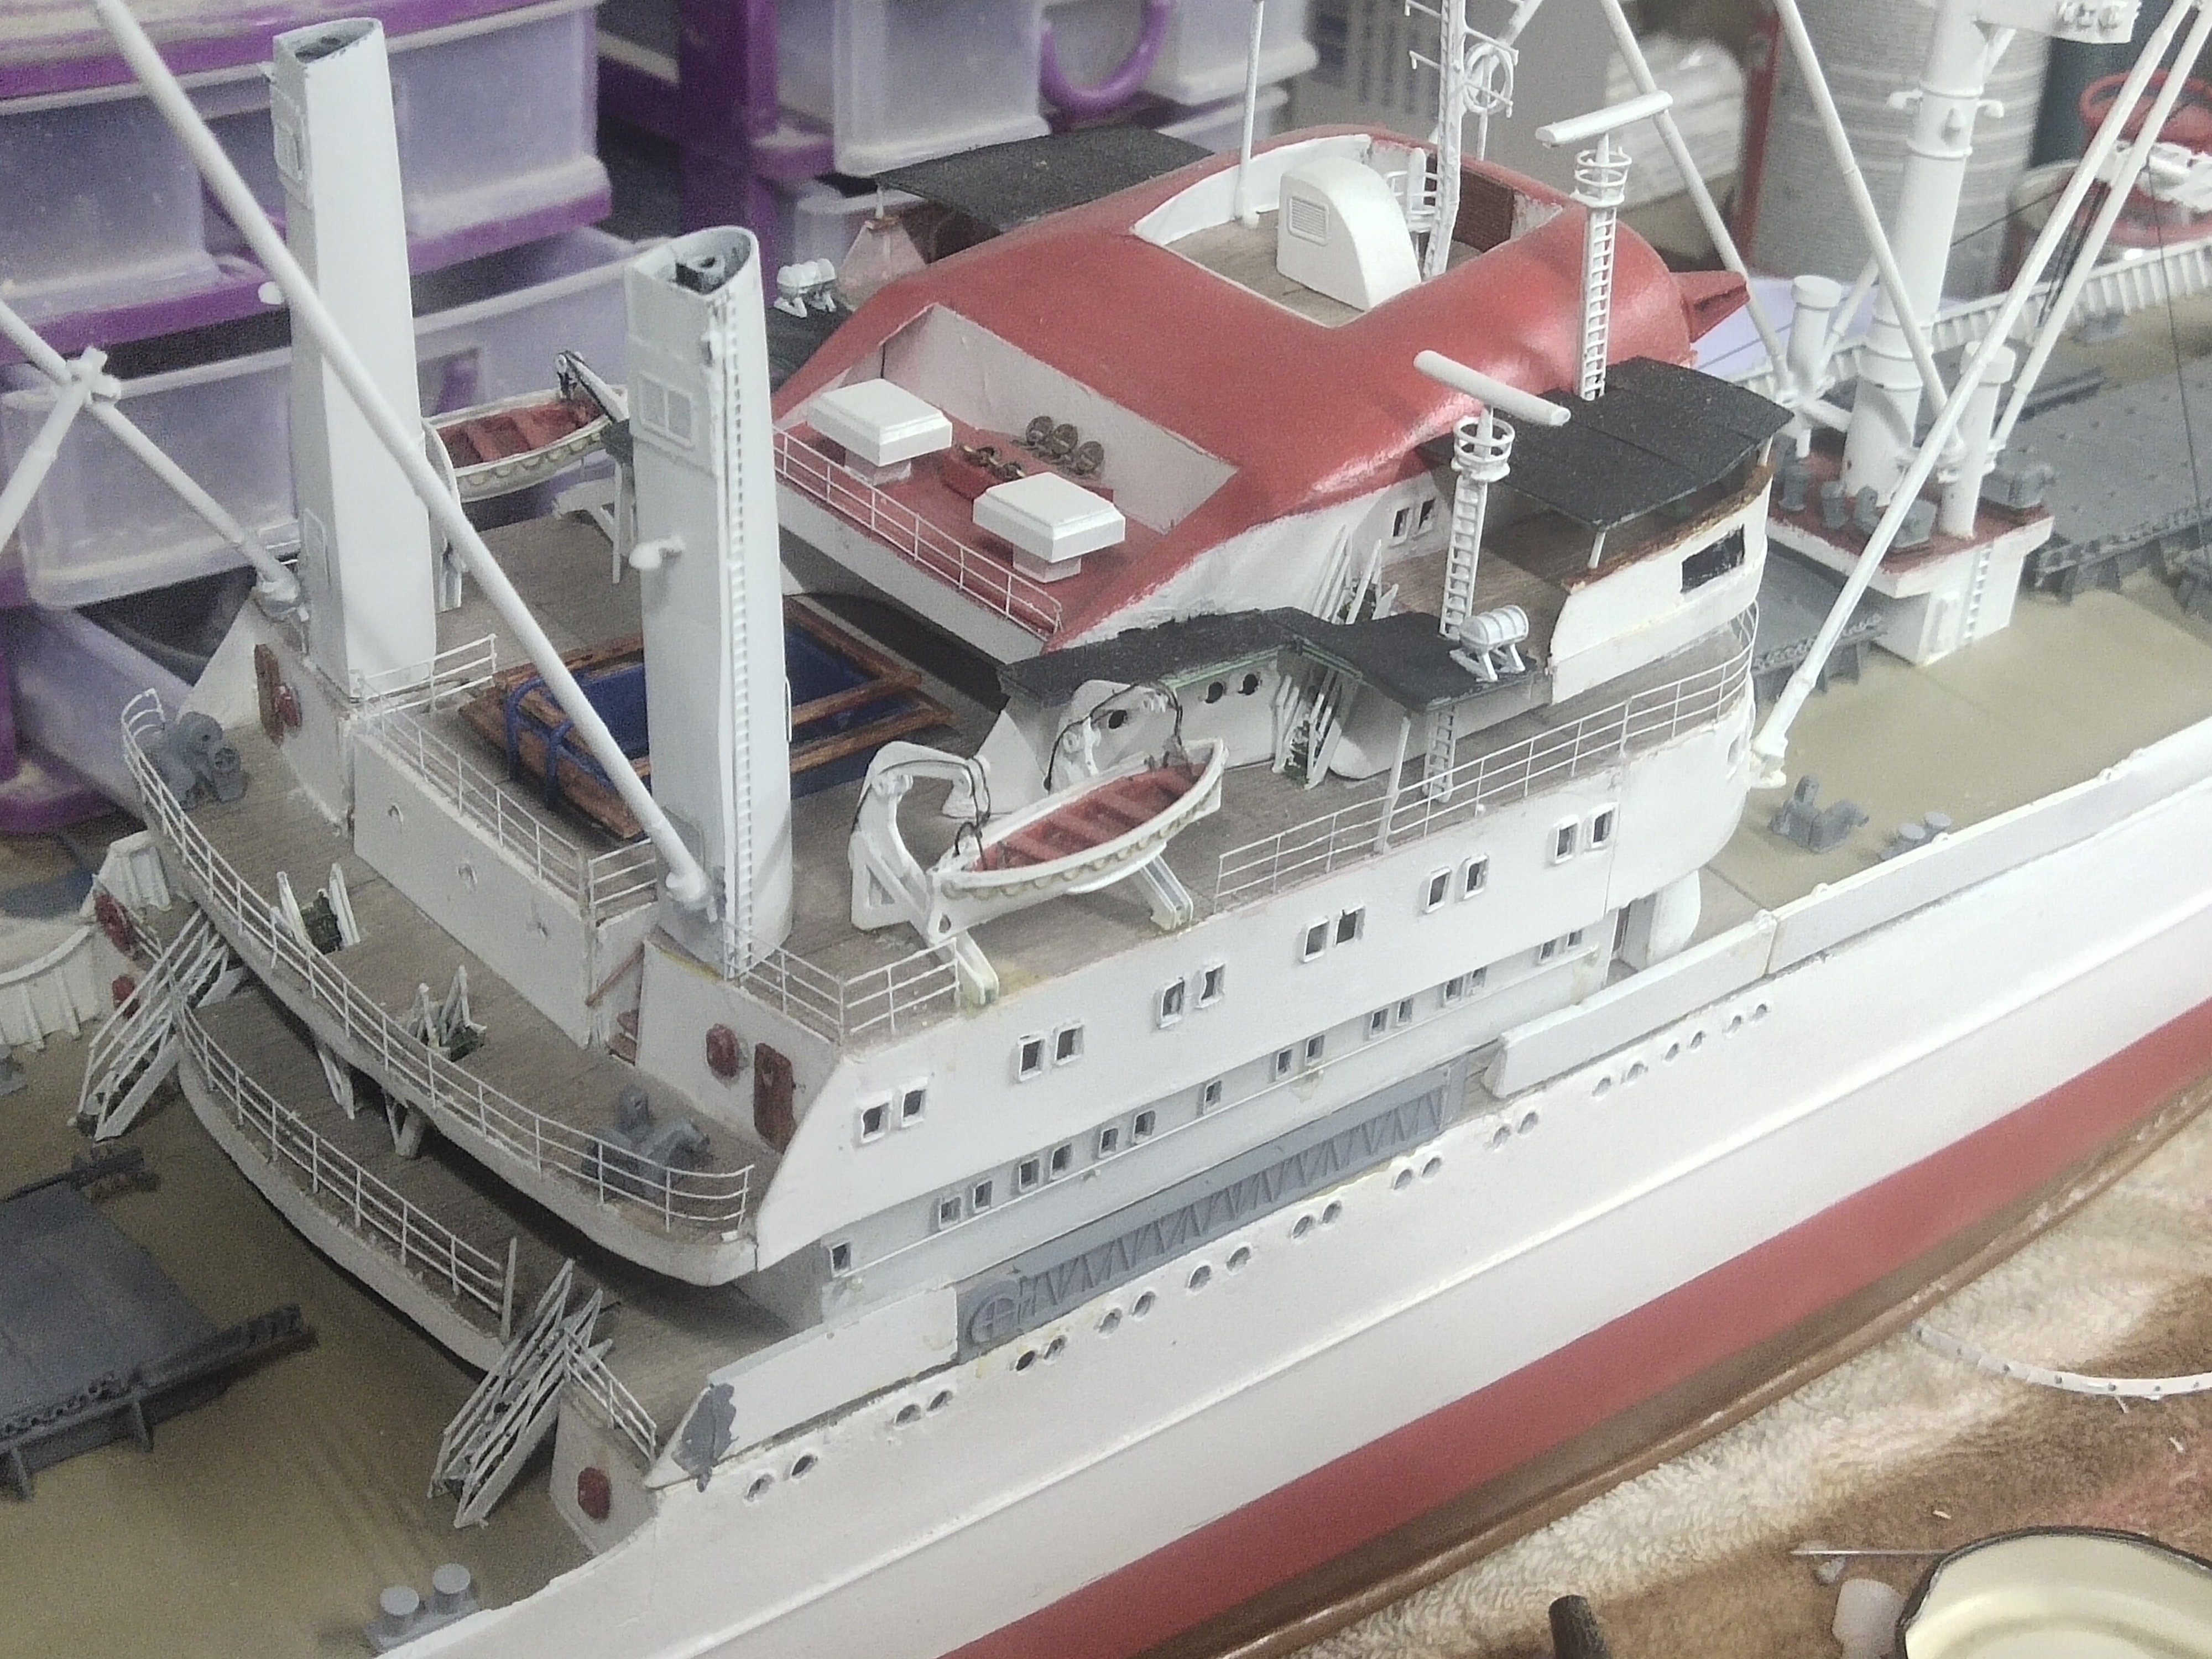
Cap San Diego by mikegr - 1/160
mikegr replied to mikegr's topic in - Build logs for subjects built 1901 - Present Day
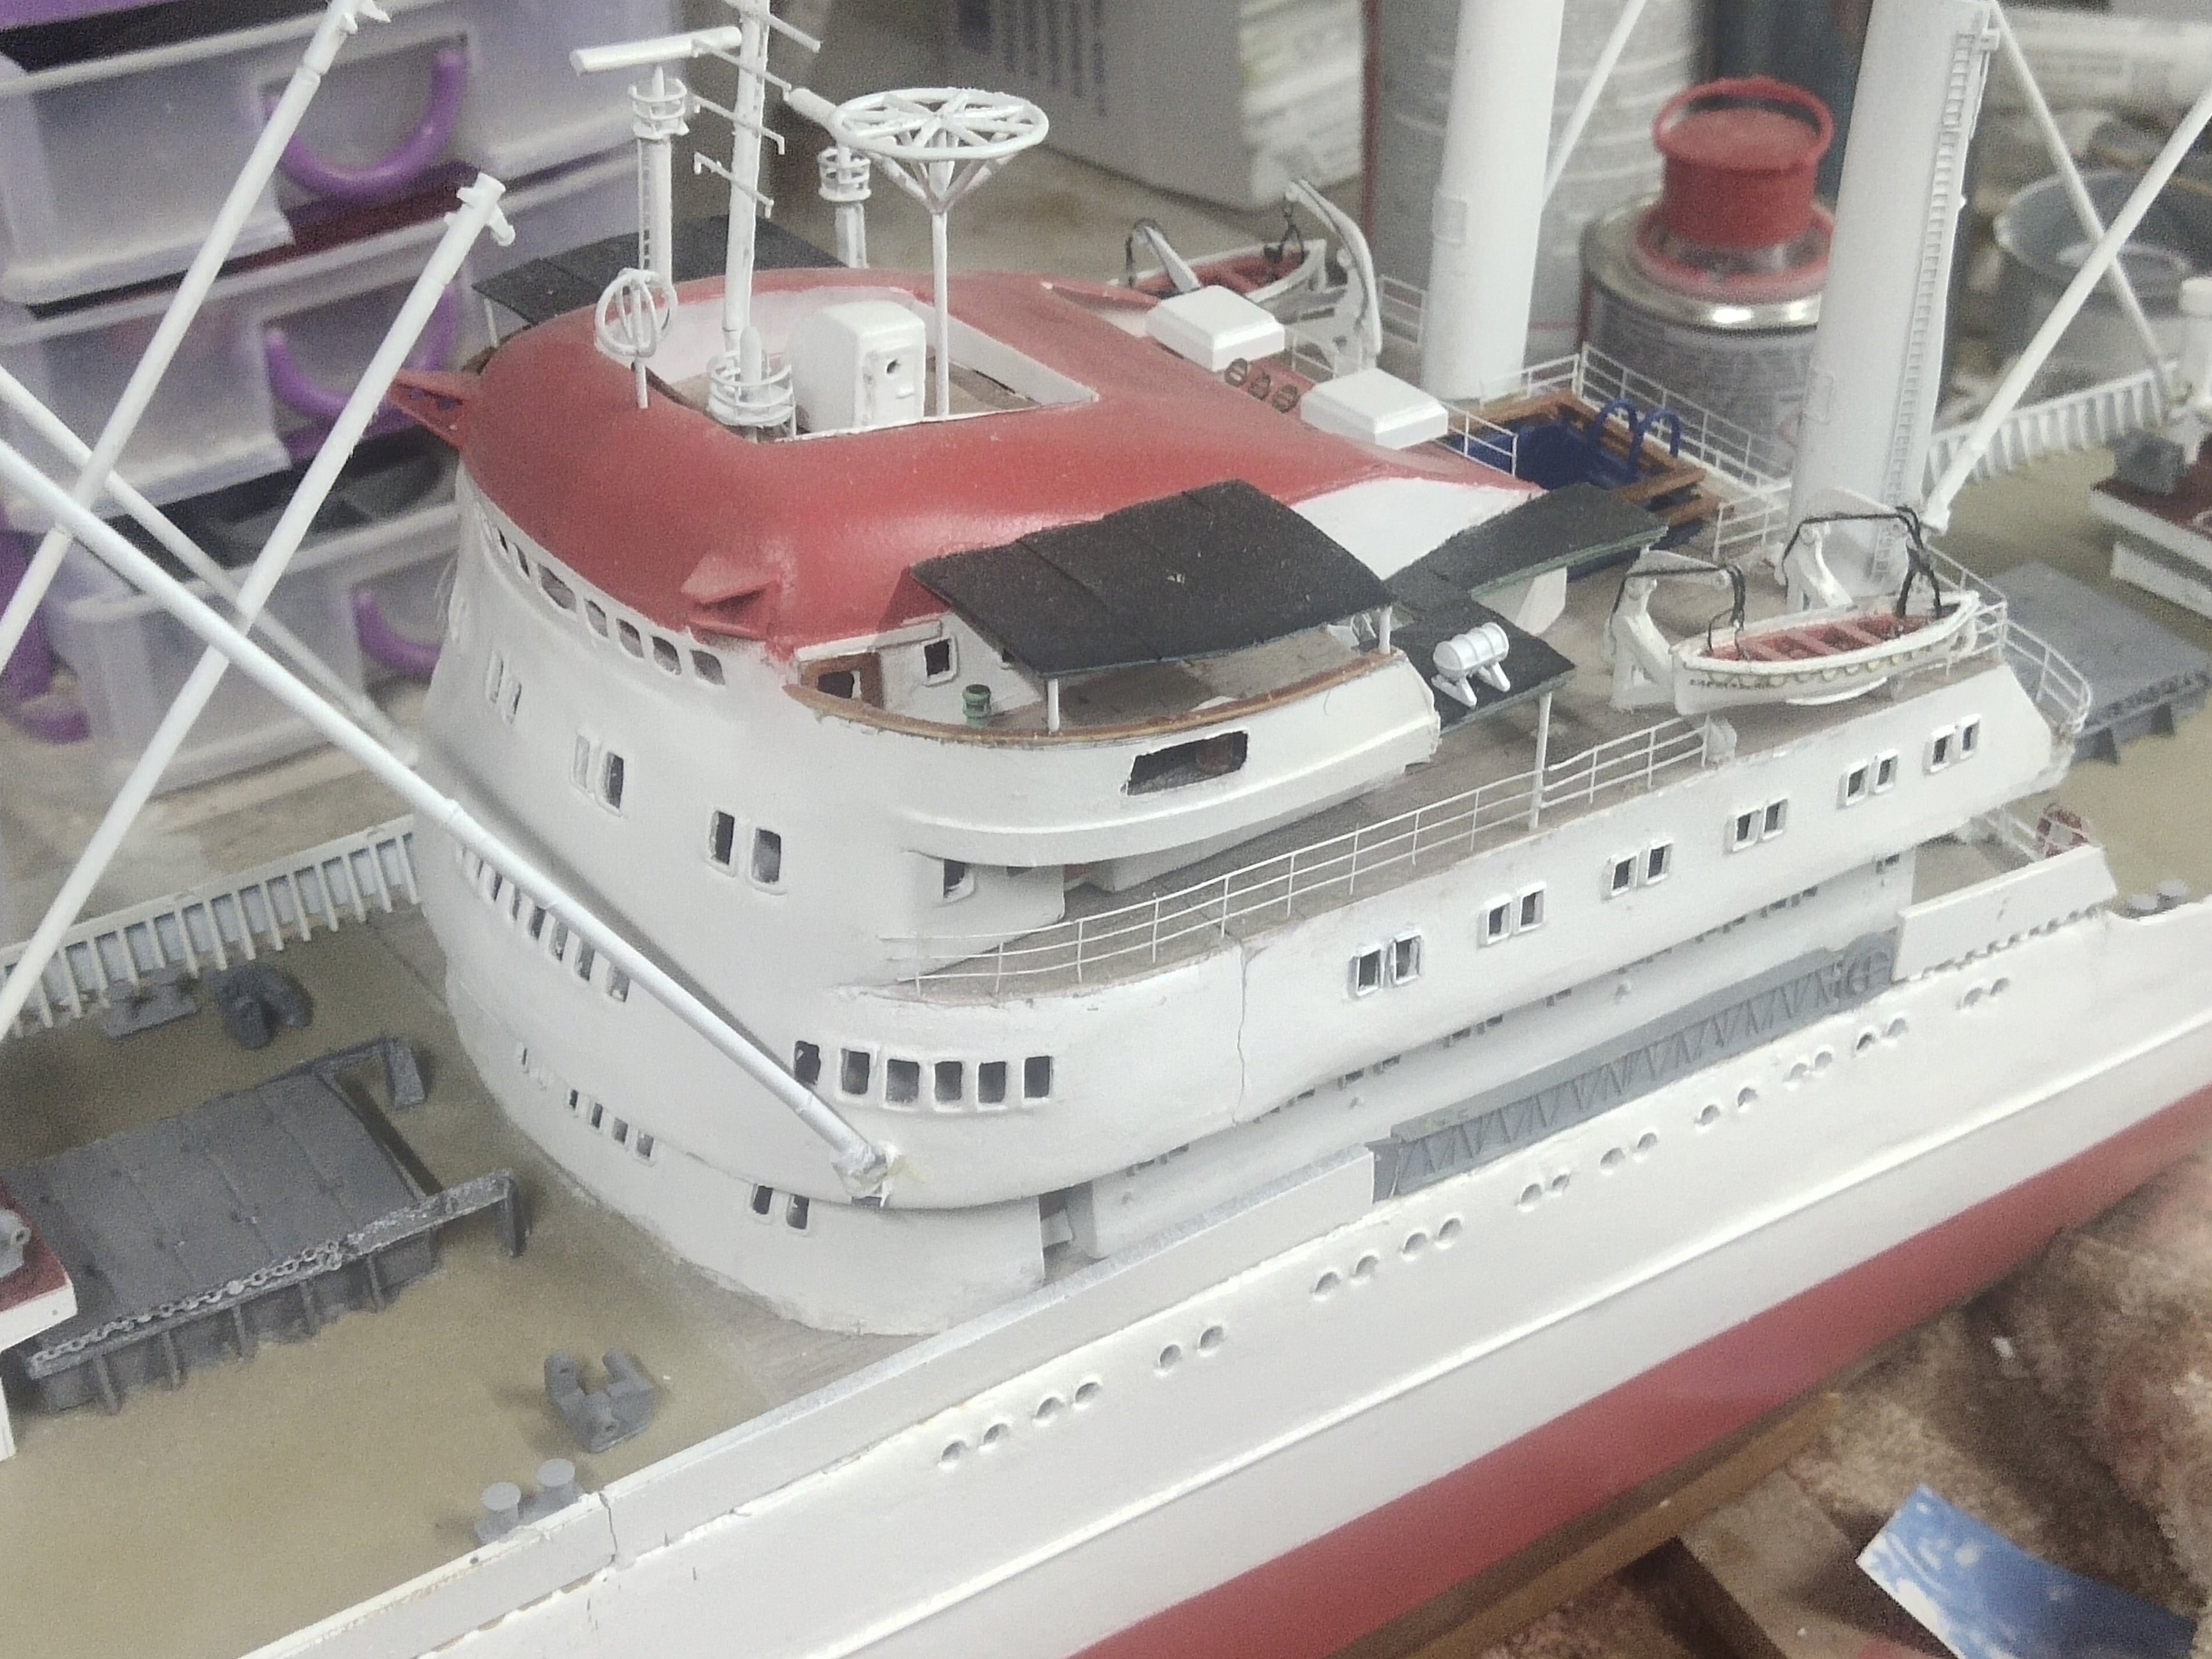
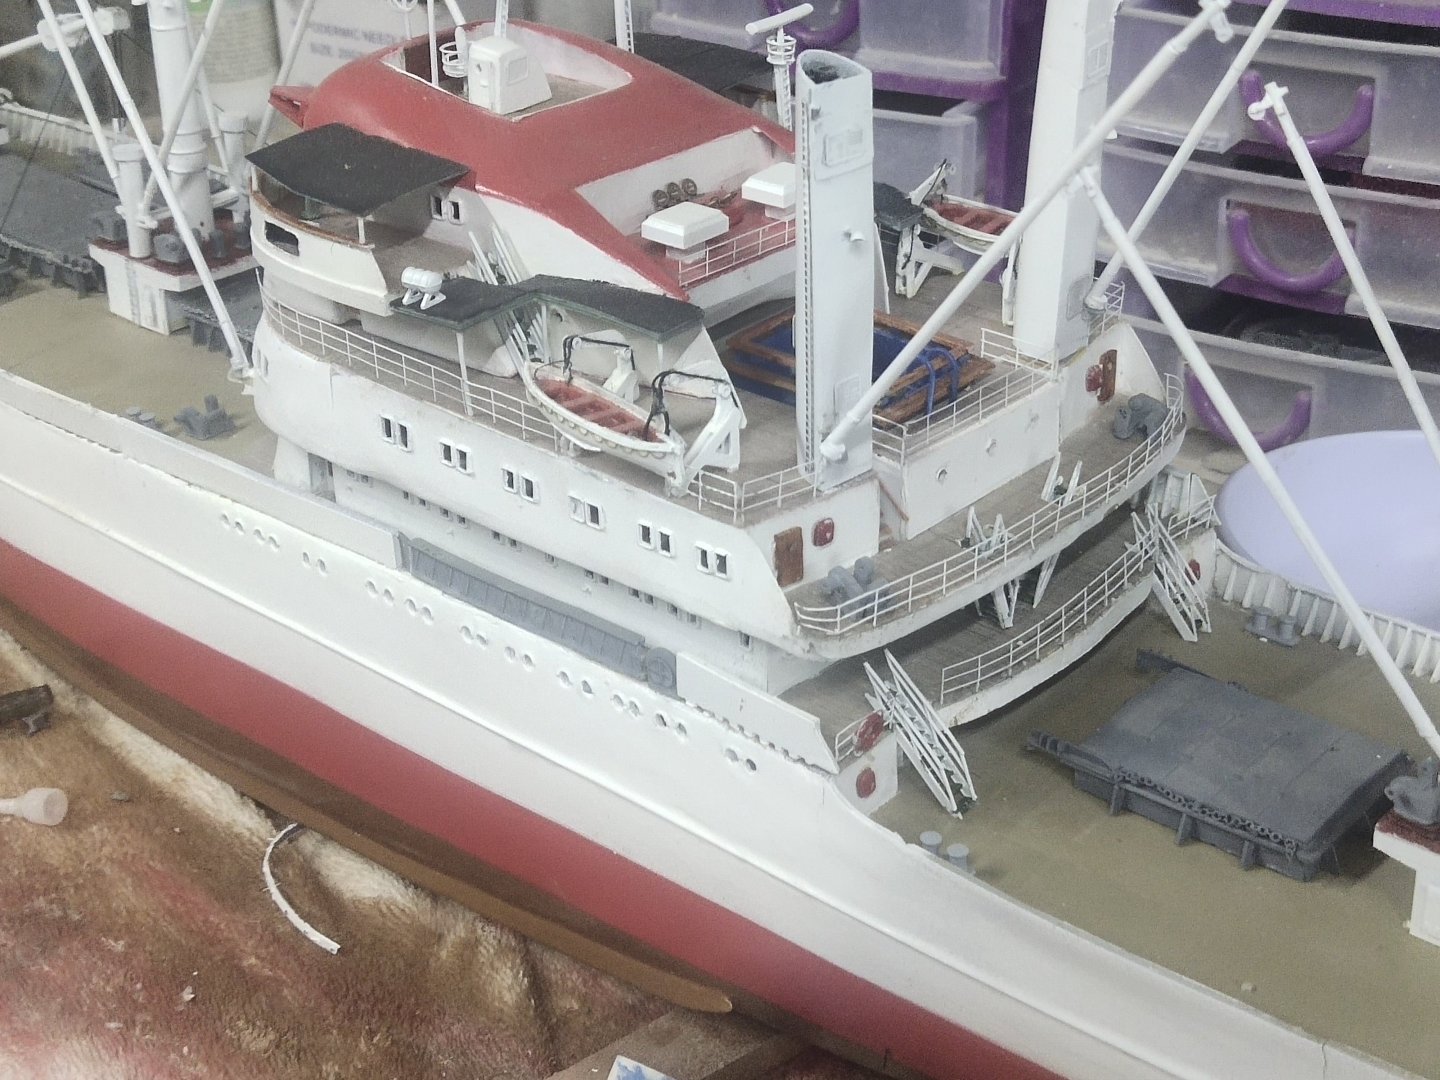
Done with the railings, everywhere except the area around the 3 main mast and the rear crane. But if I put them now it will be harder to work with the rigging and the winches. But its to early for this job anyway. So I will focus my work somewhere else

-
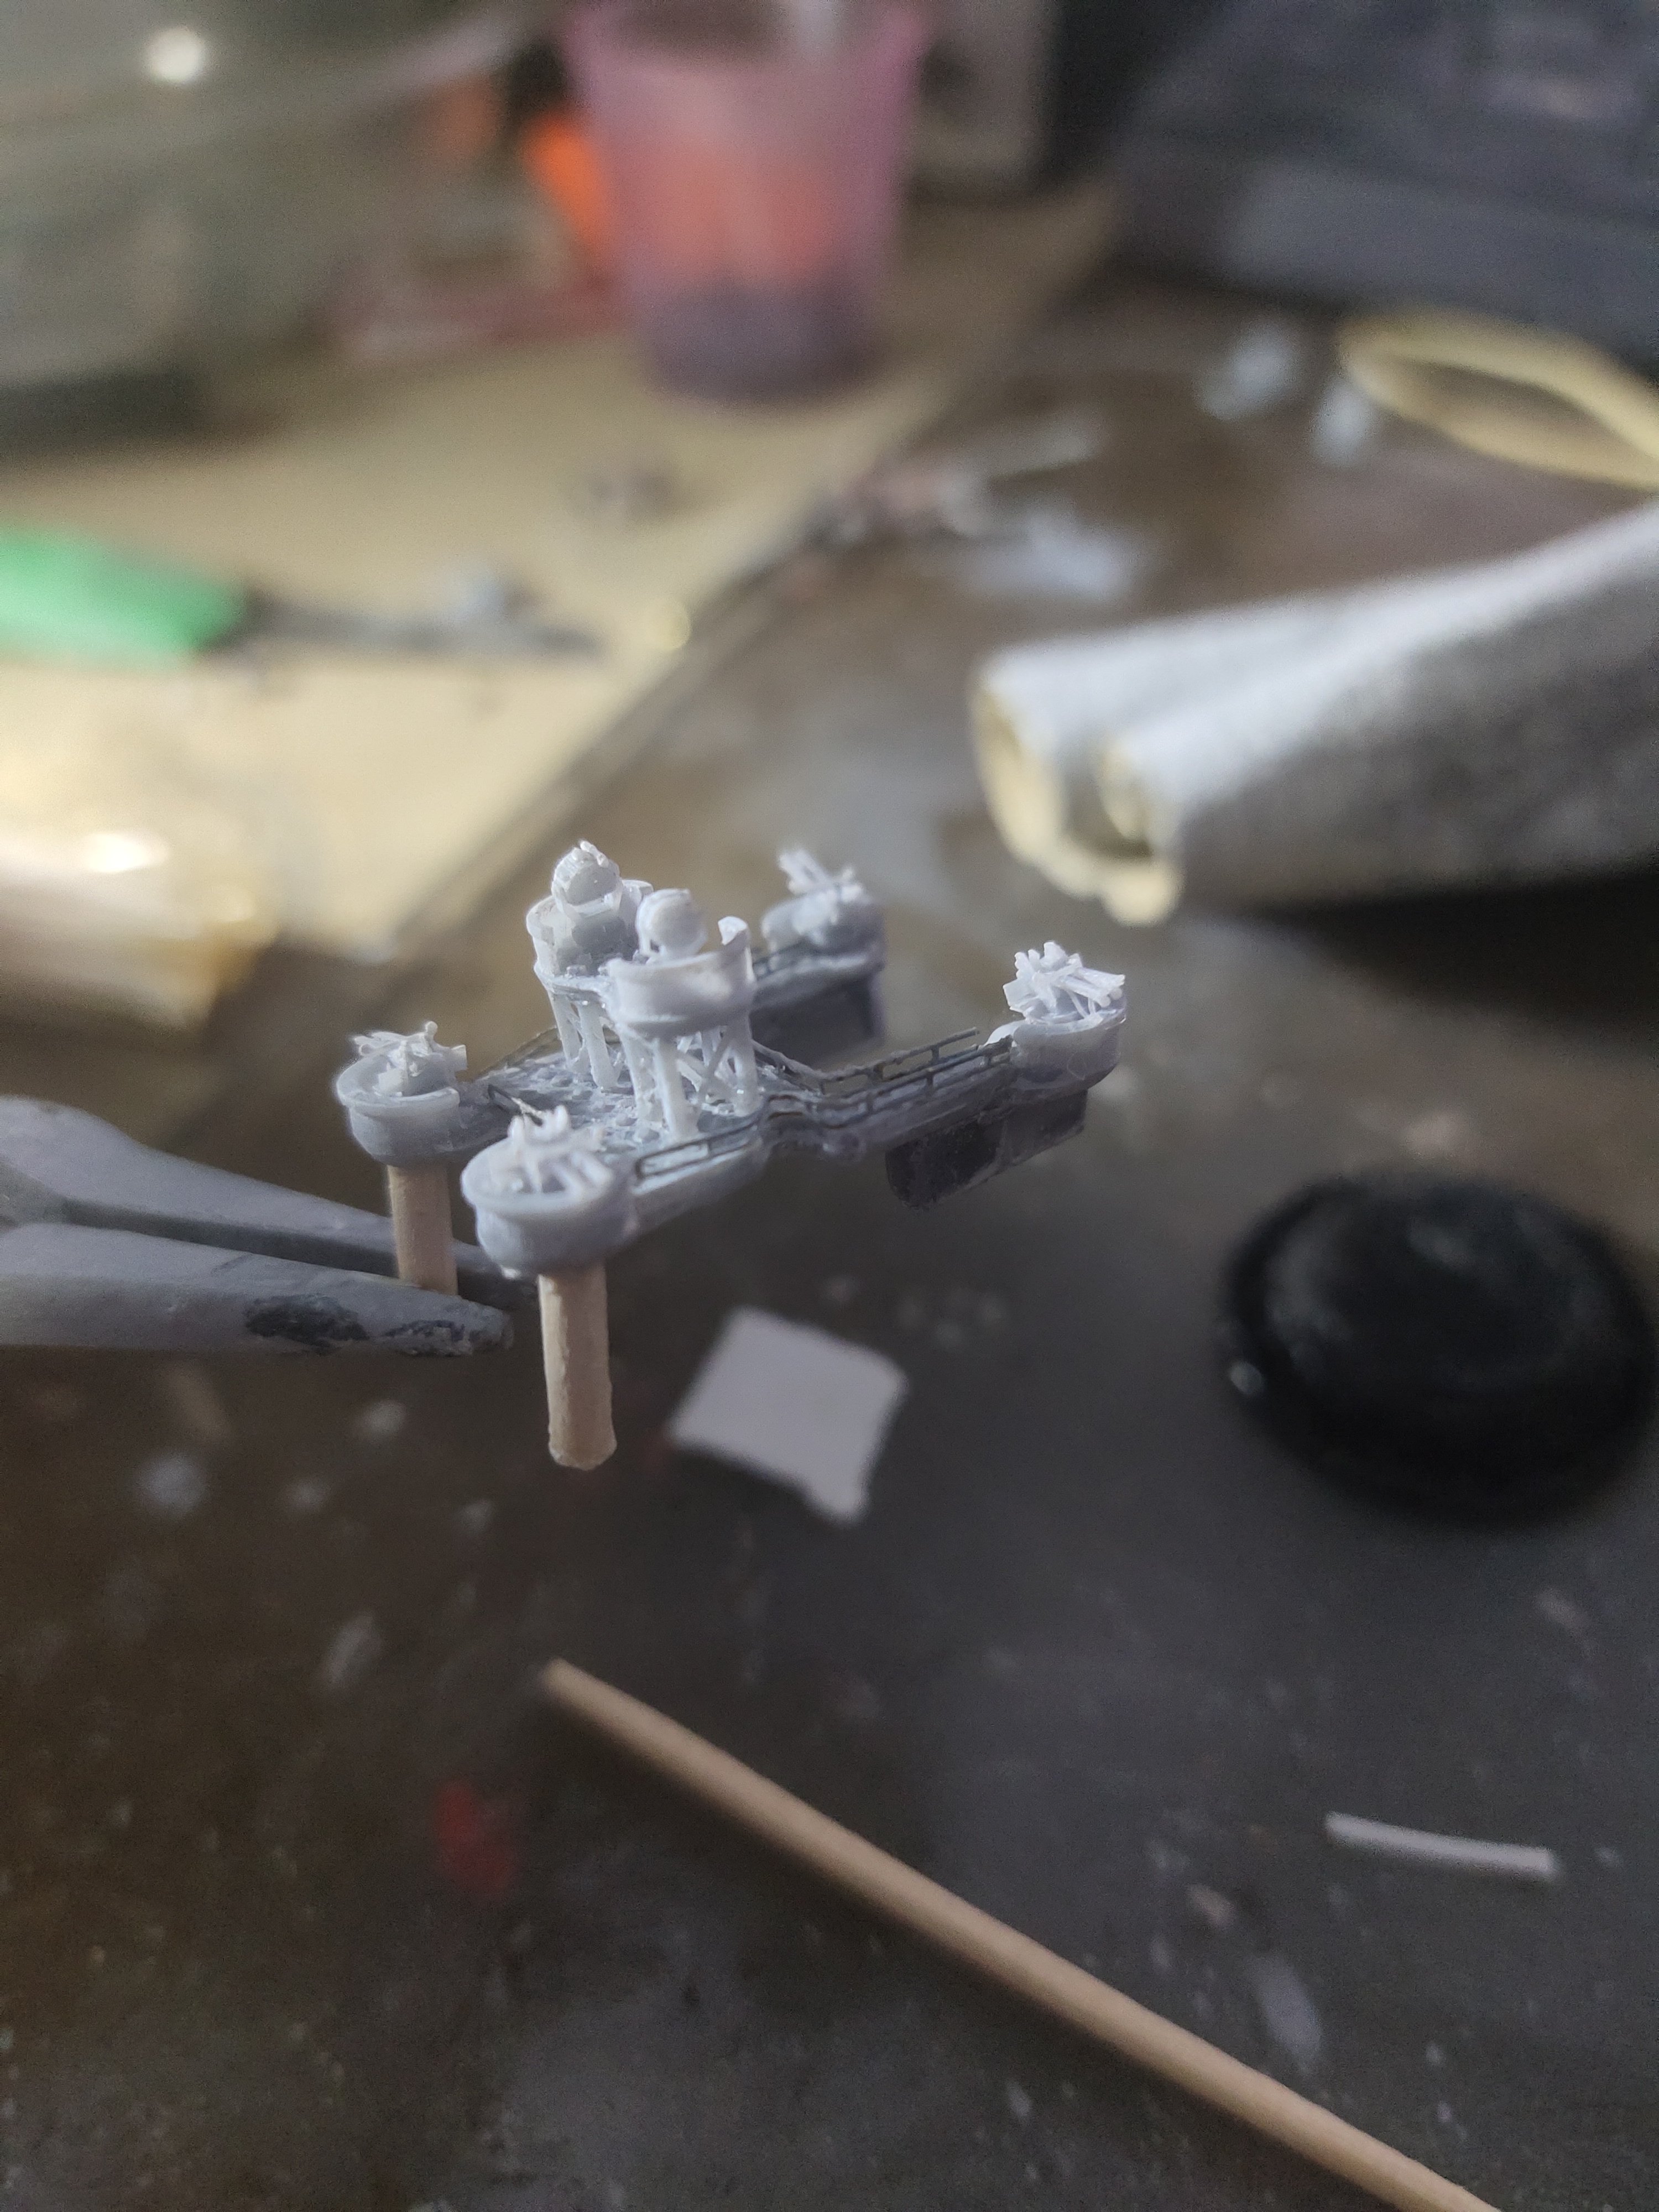
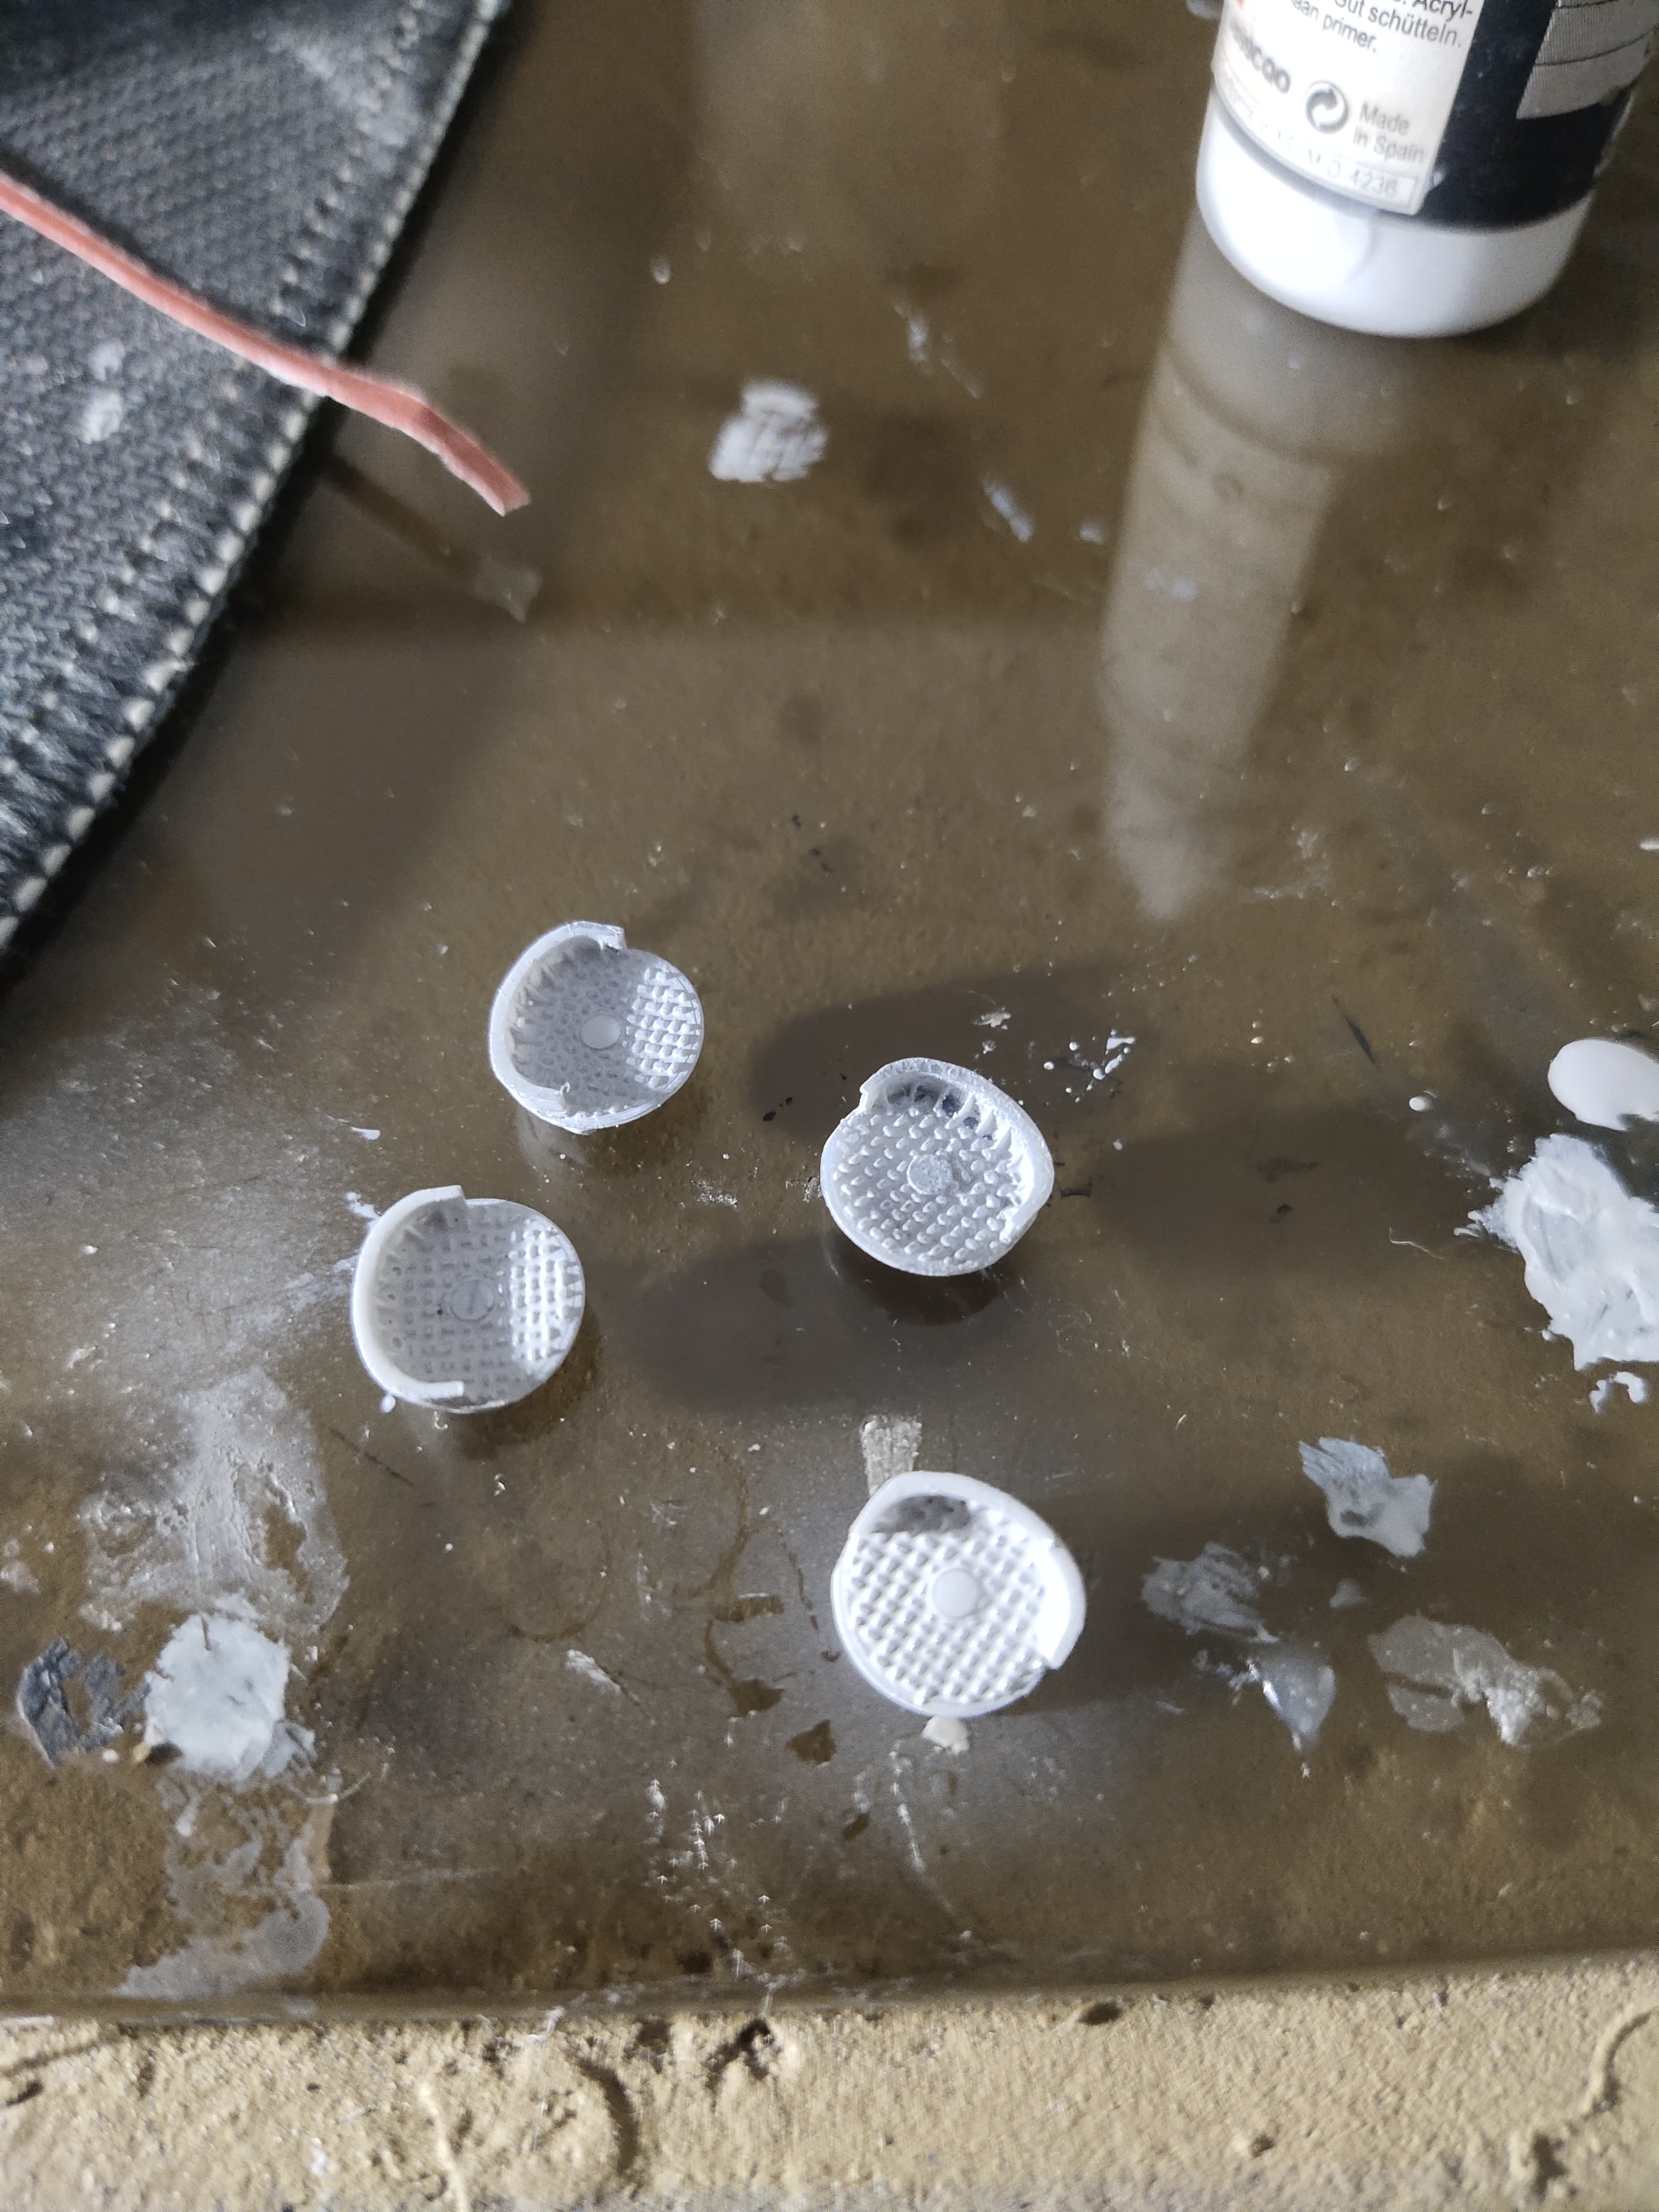
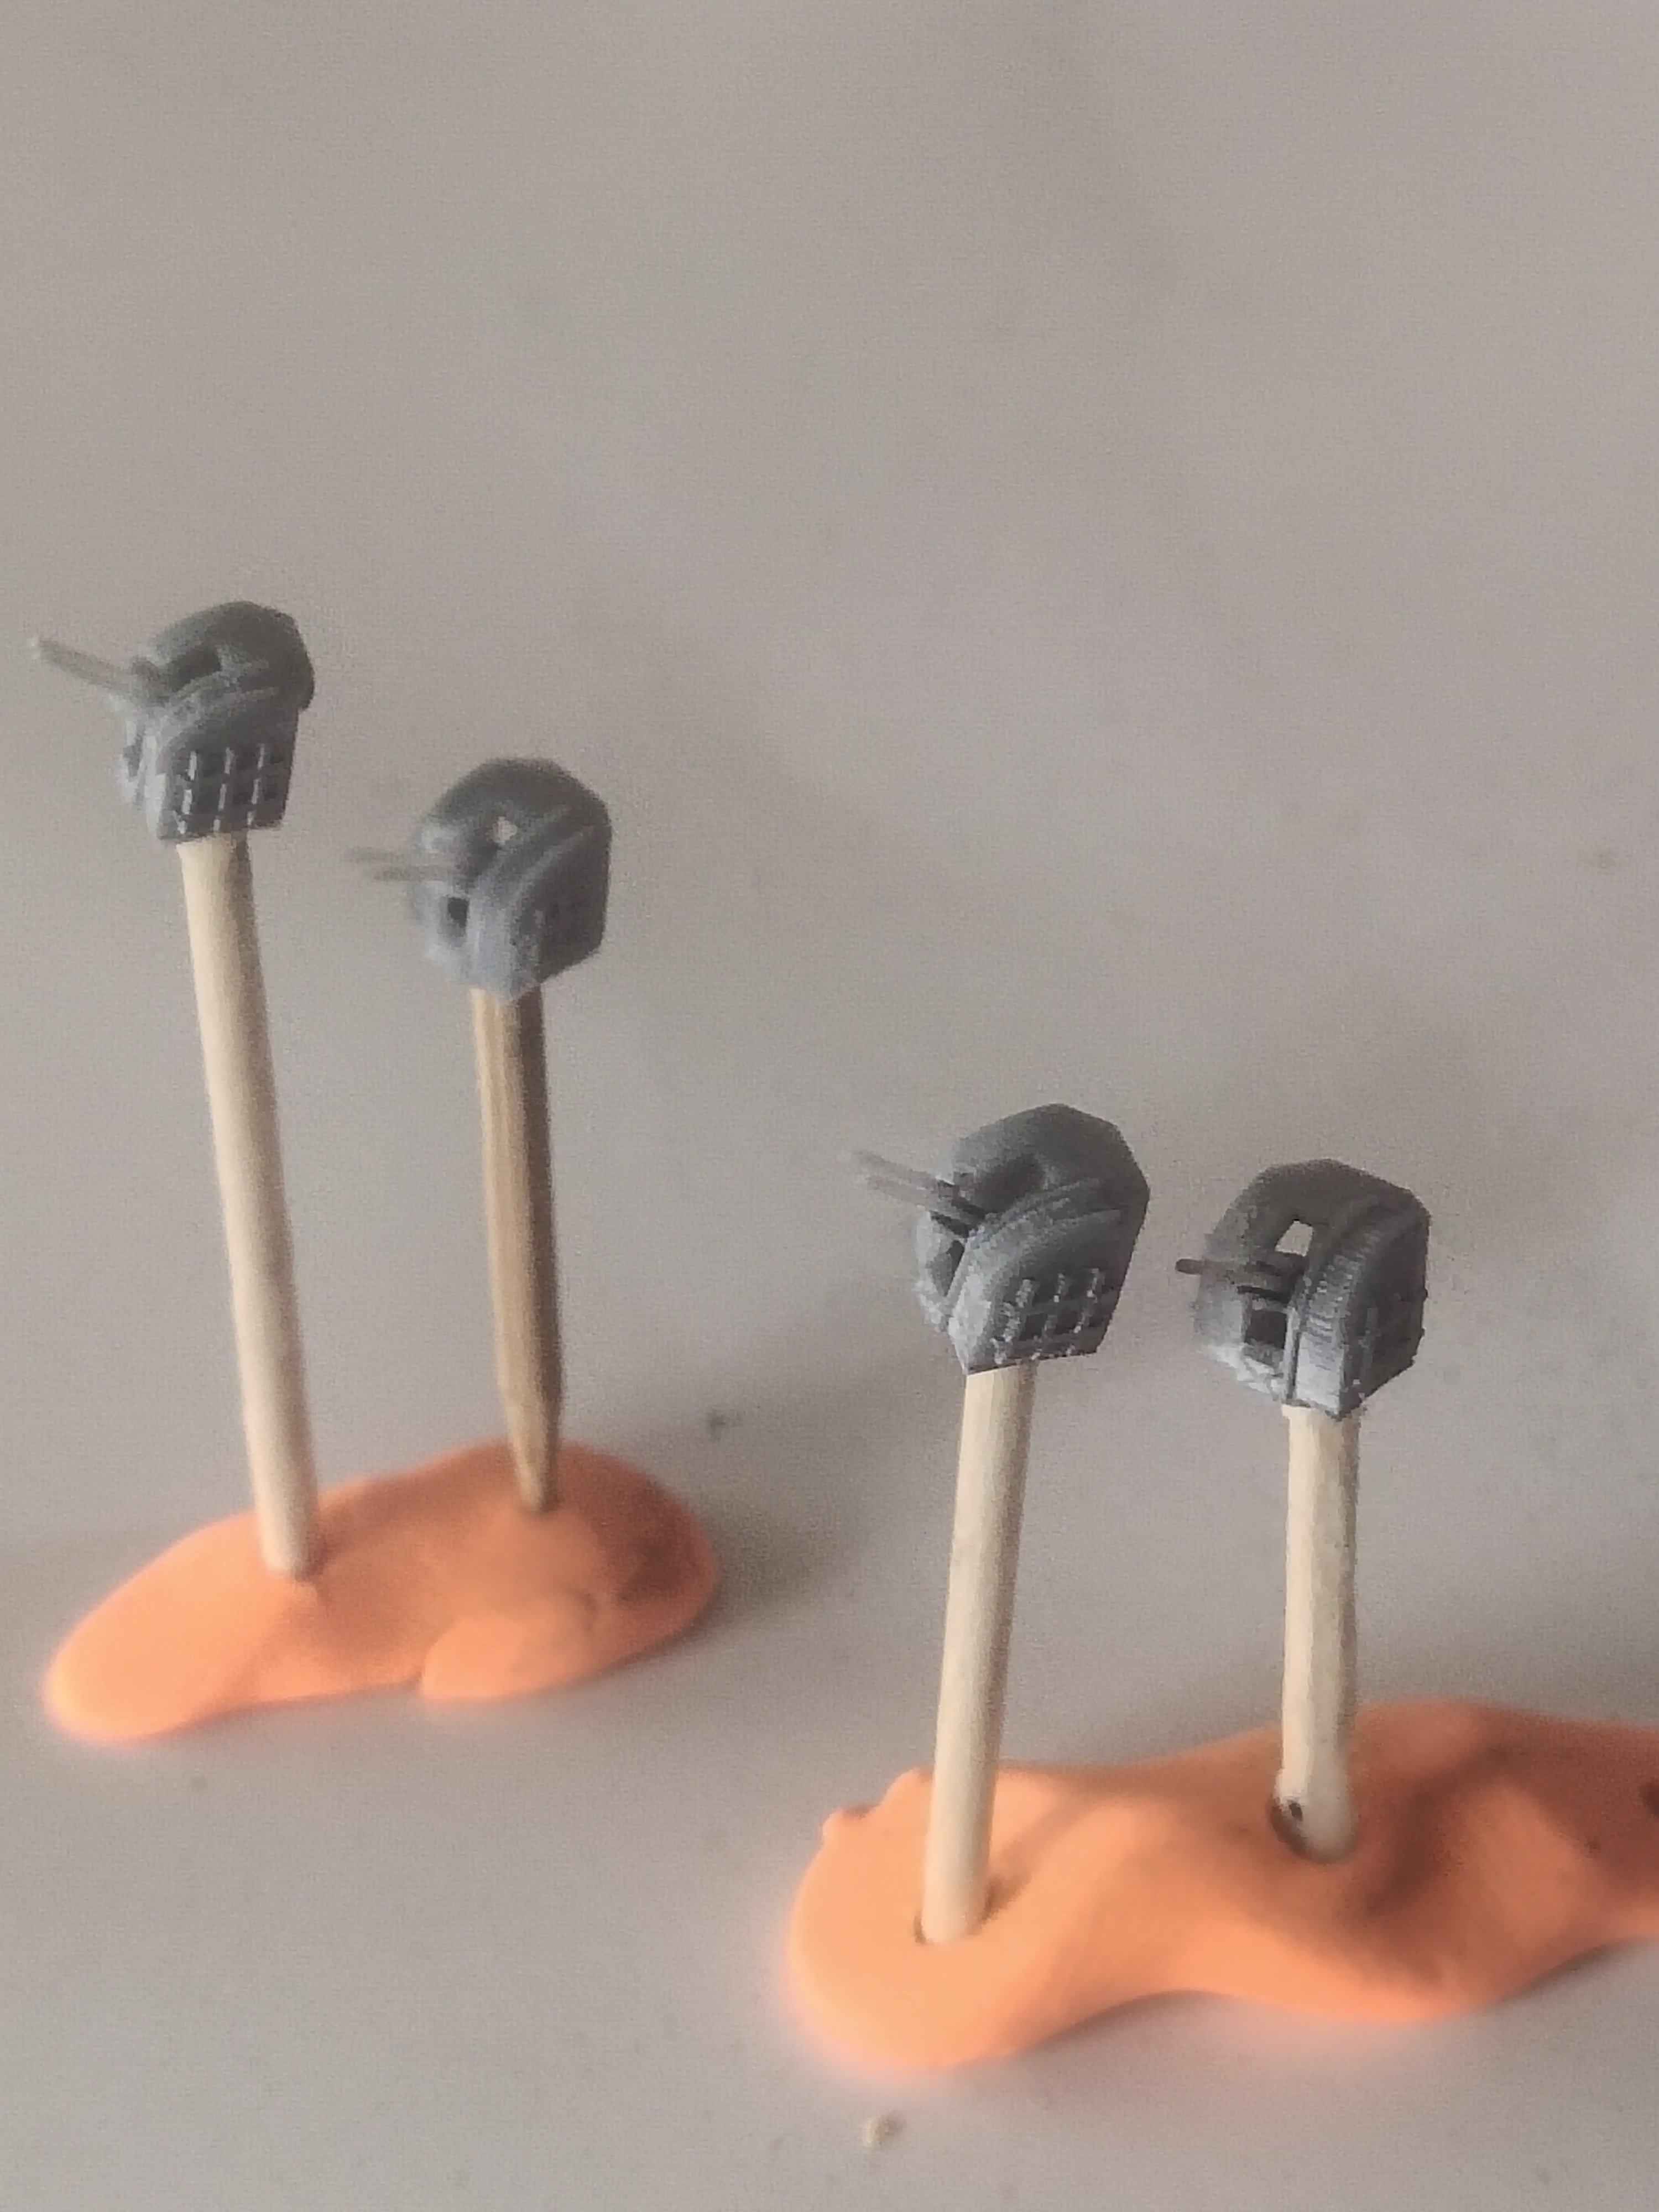
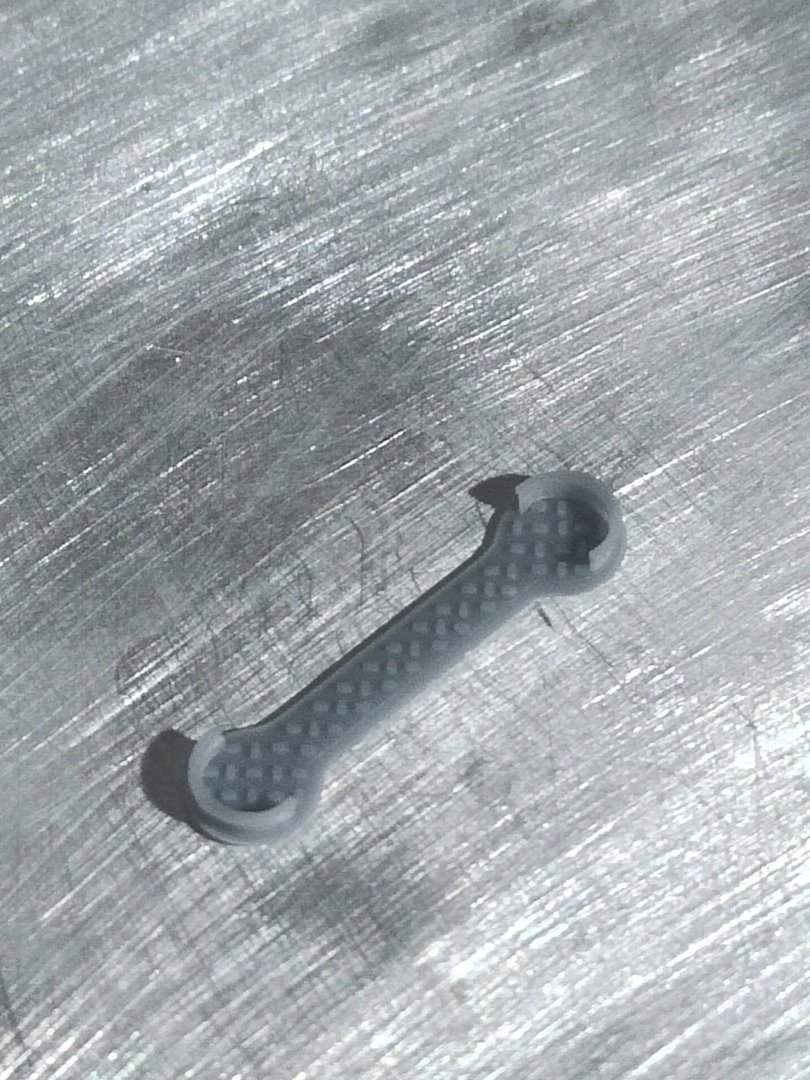
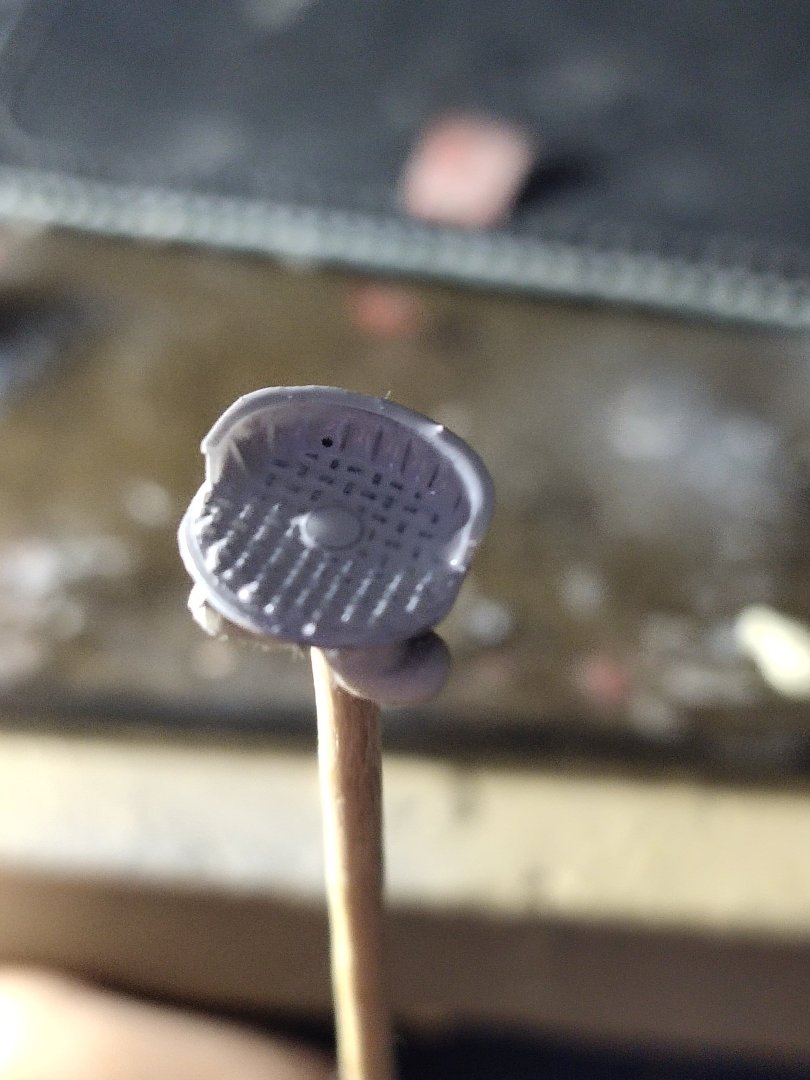
Next was the AA main battery. First thing was to make the base including anti slip surface and few other details. I made it in two pieces, the base and the supportive bulge Next was the guns. Not many options to improve the standard ones so I had to designed from 0. After several attempst they came out with good detail and after a light priming to avoid hidding micro details they were put in place


-
Thanks This hobby becomes more complicated. Apart painting skills required, PE handling, rigging, soldering and other capabilities are needed.
-
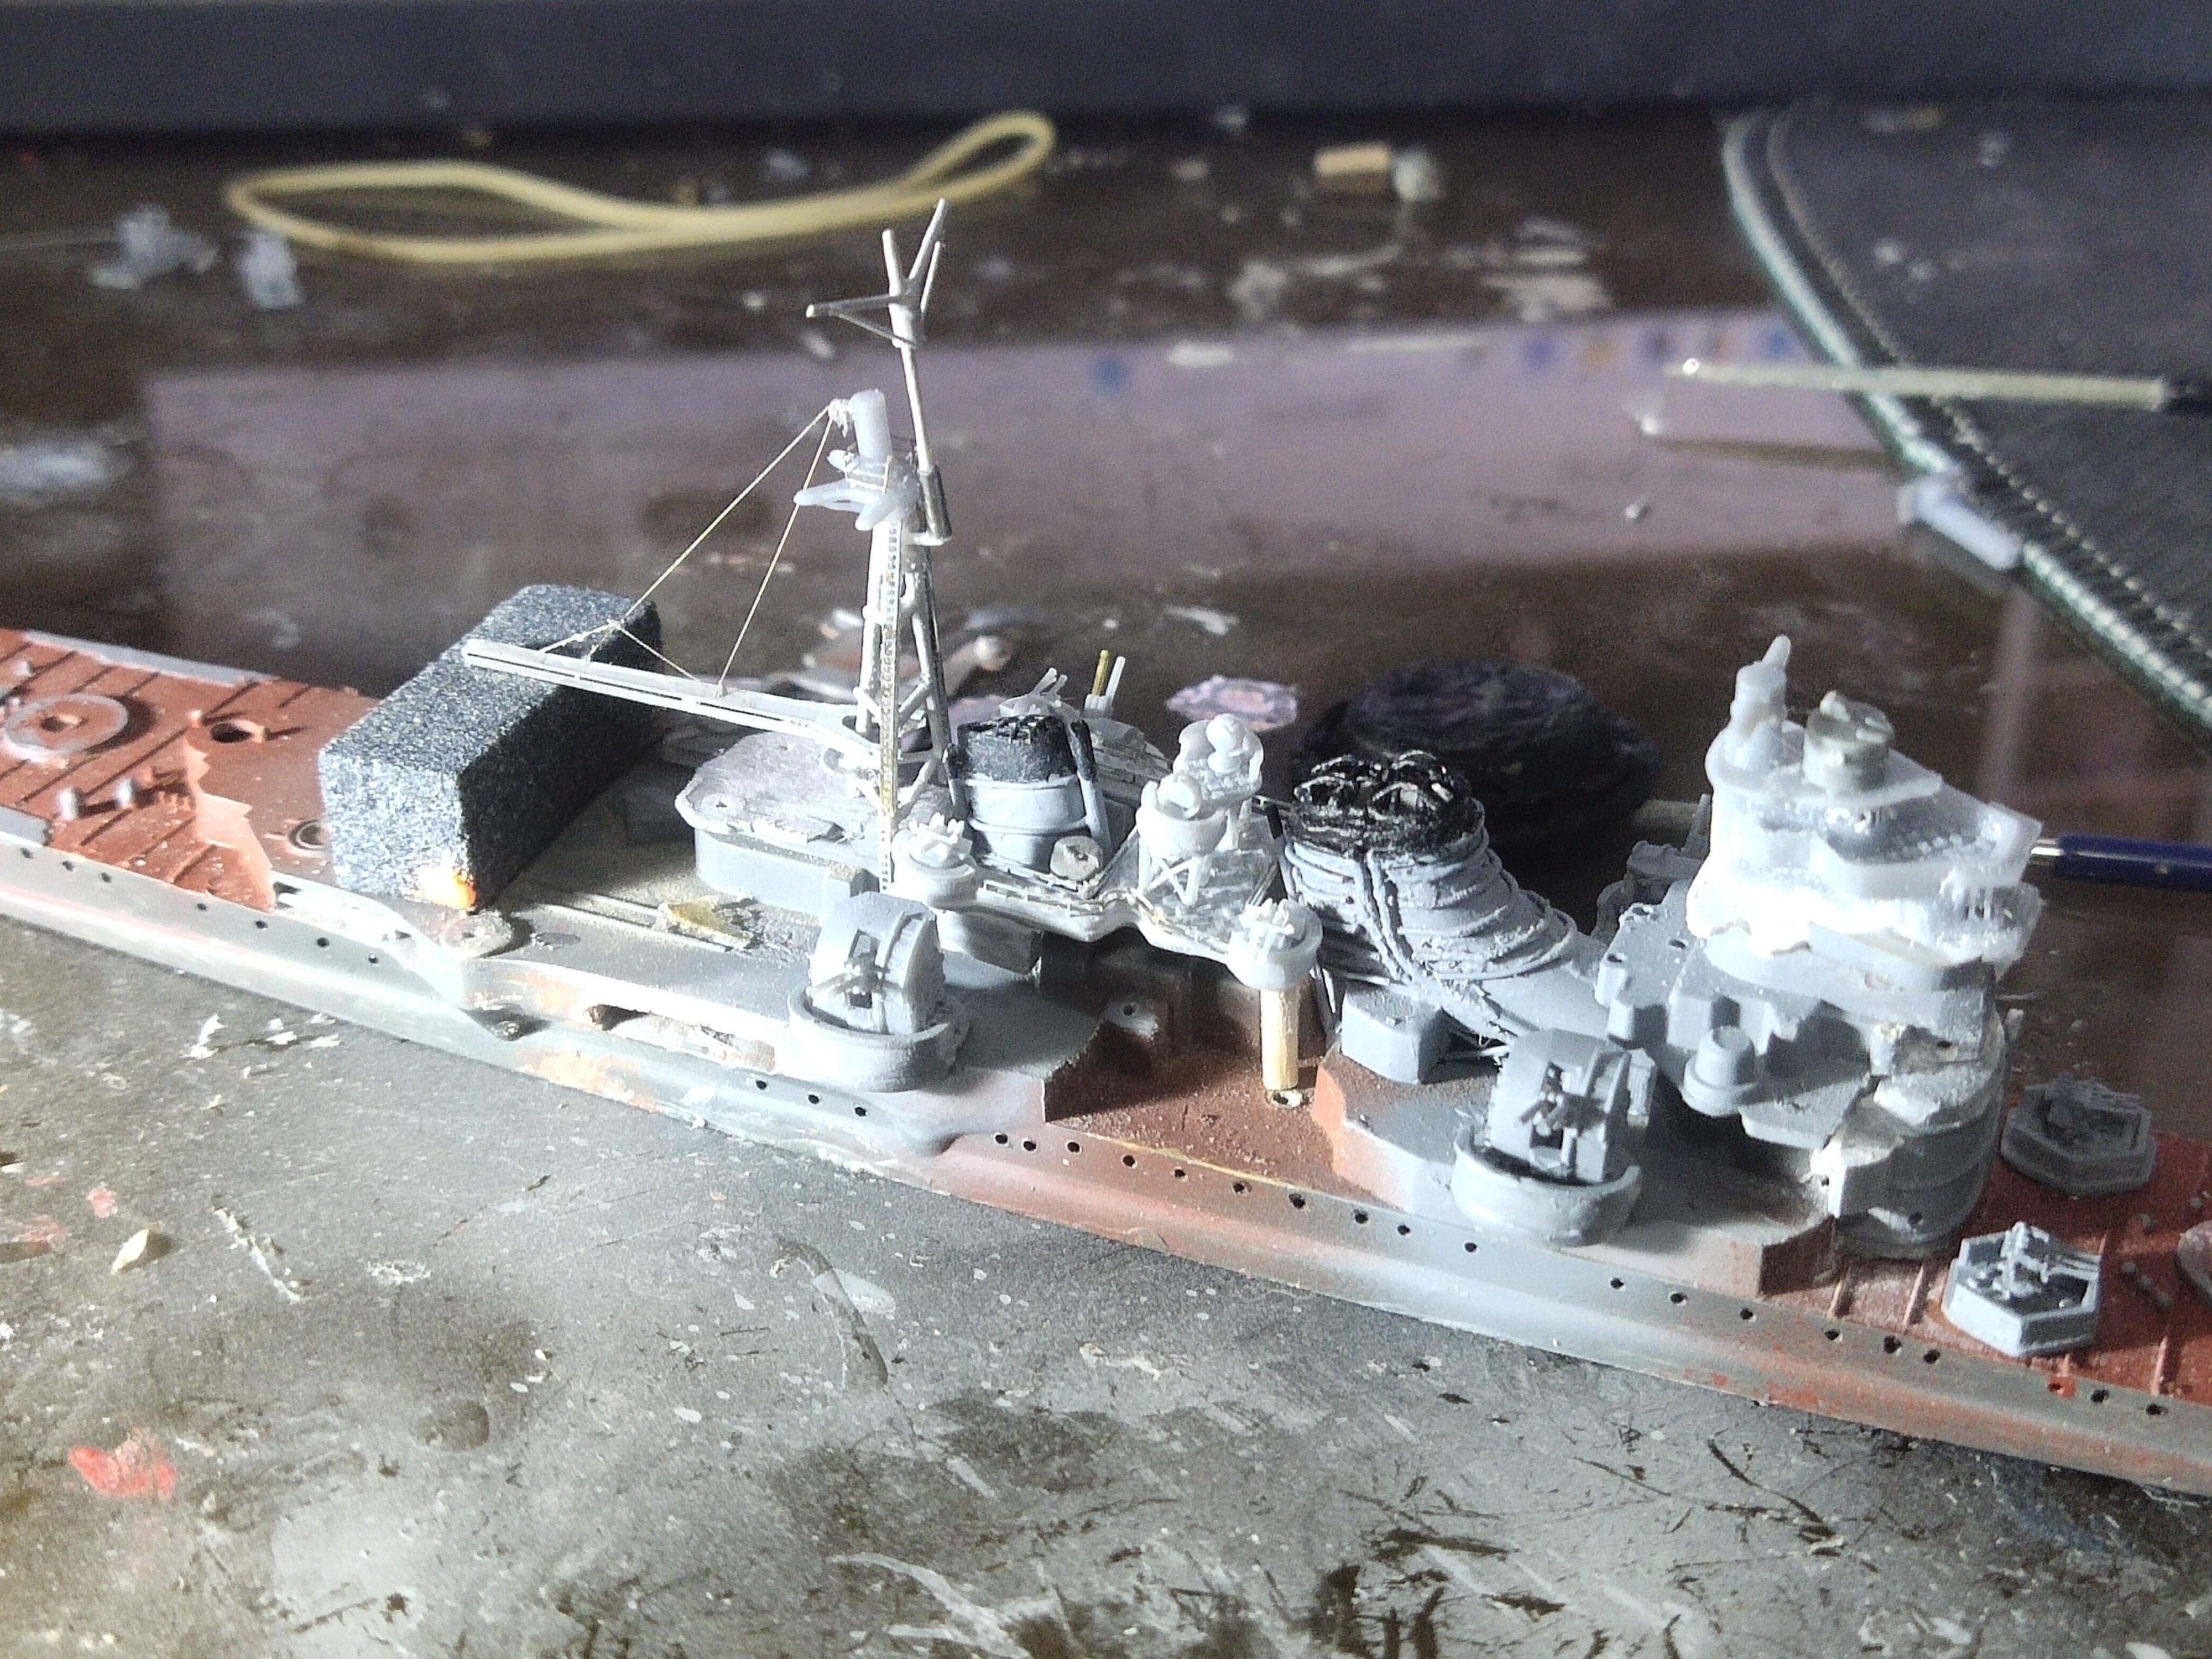
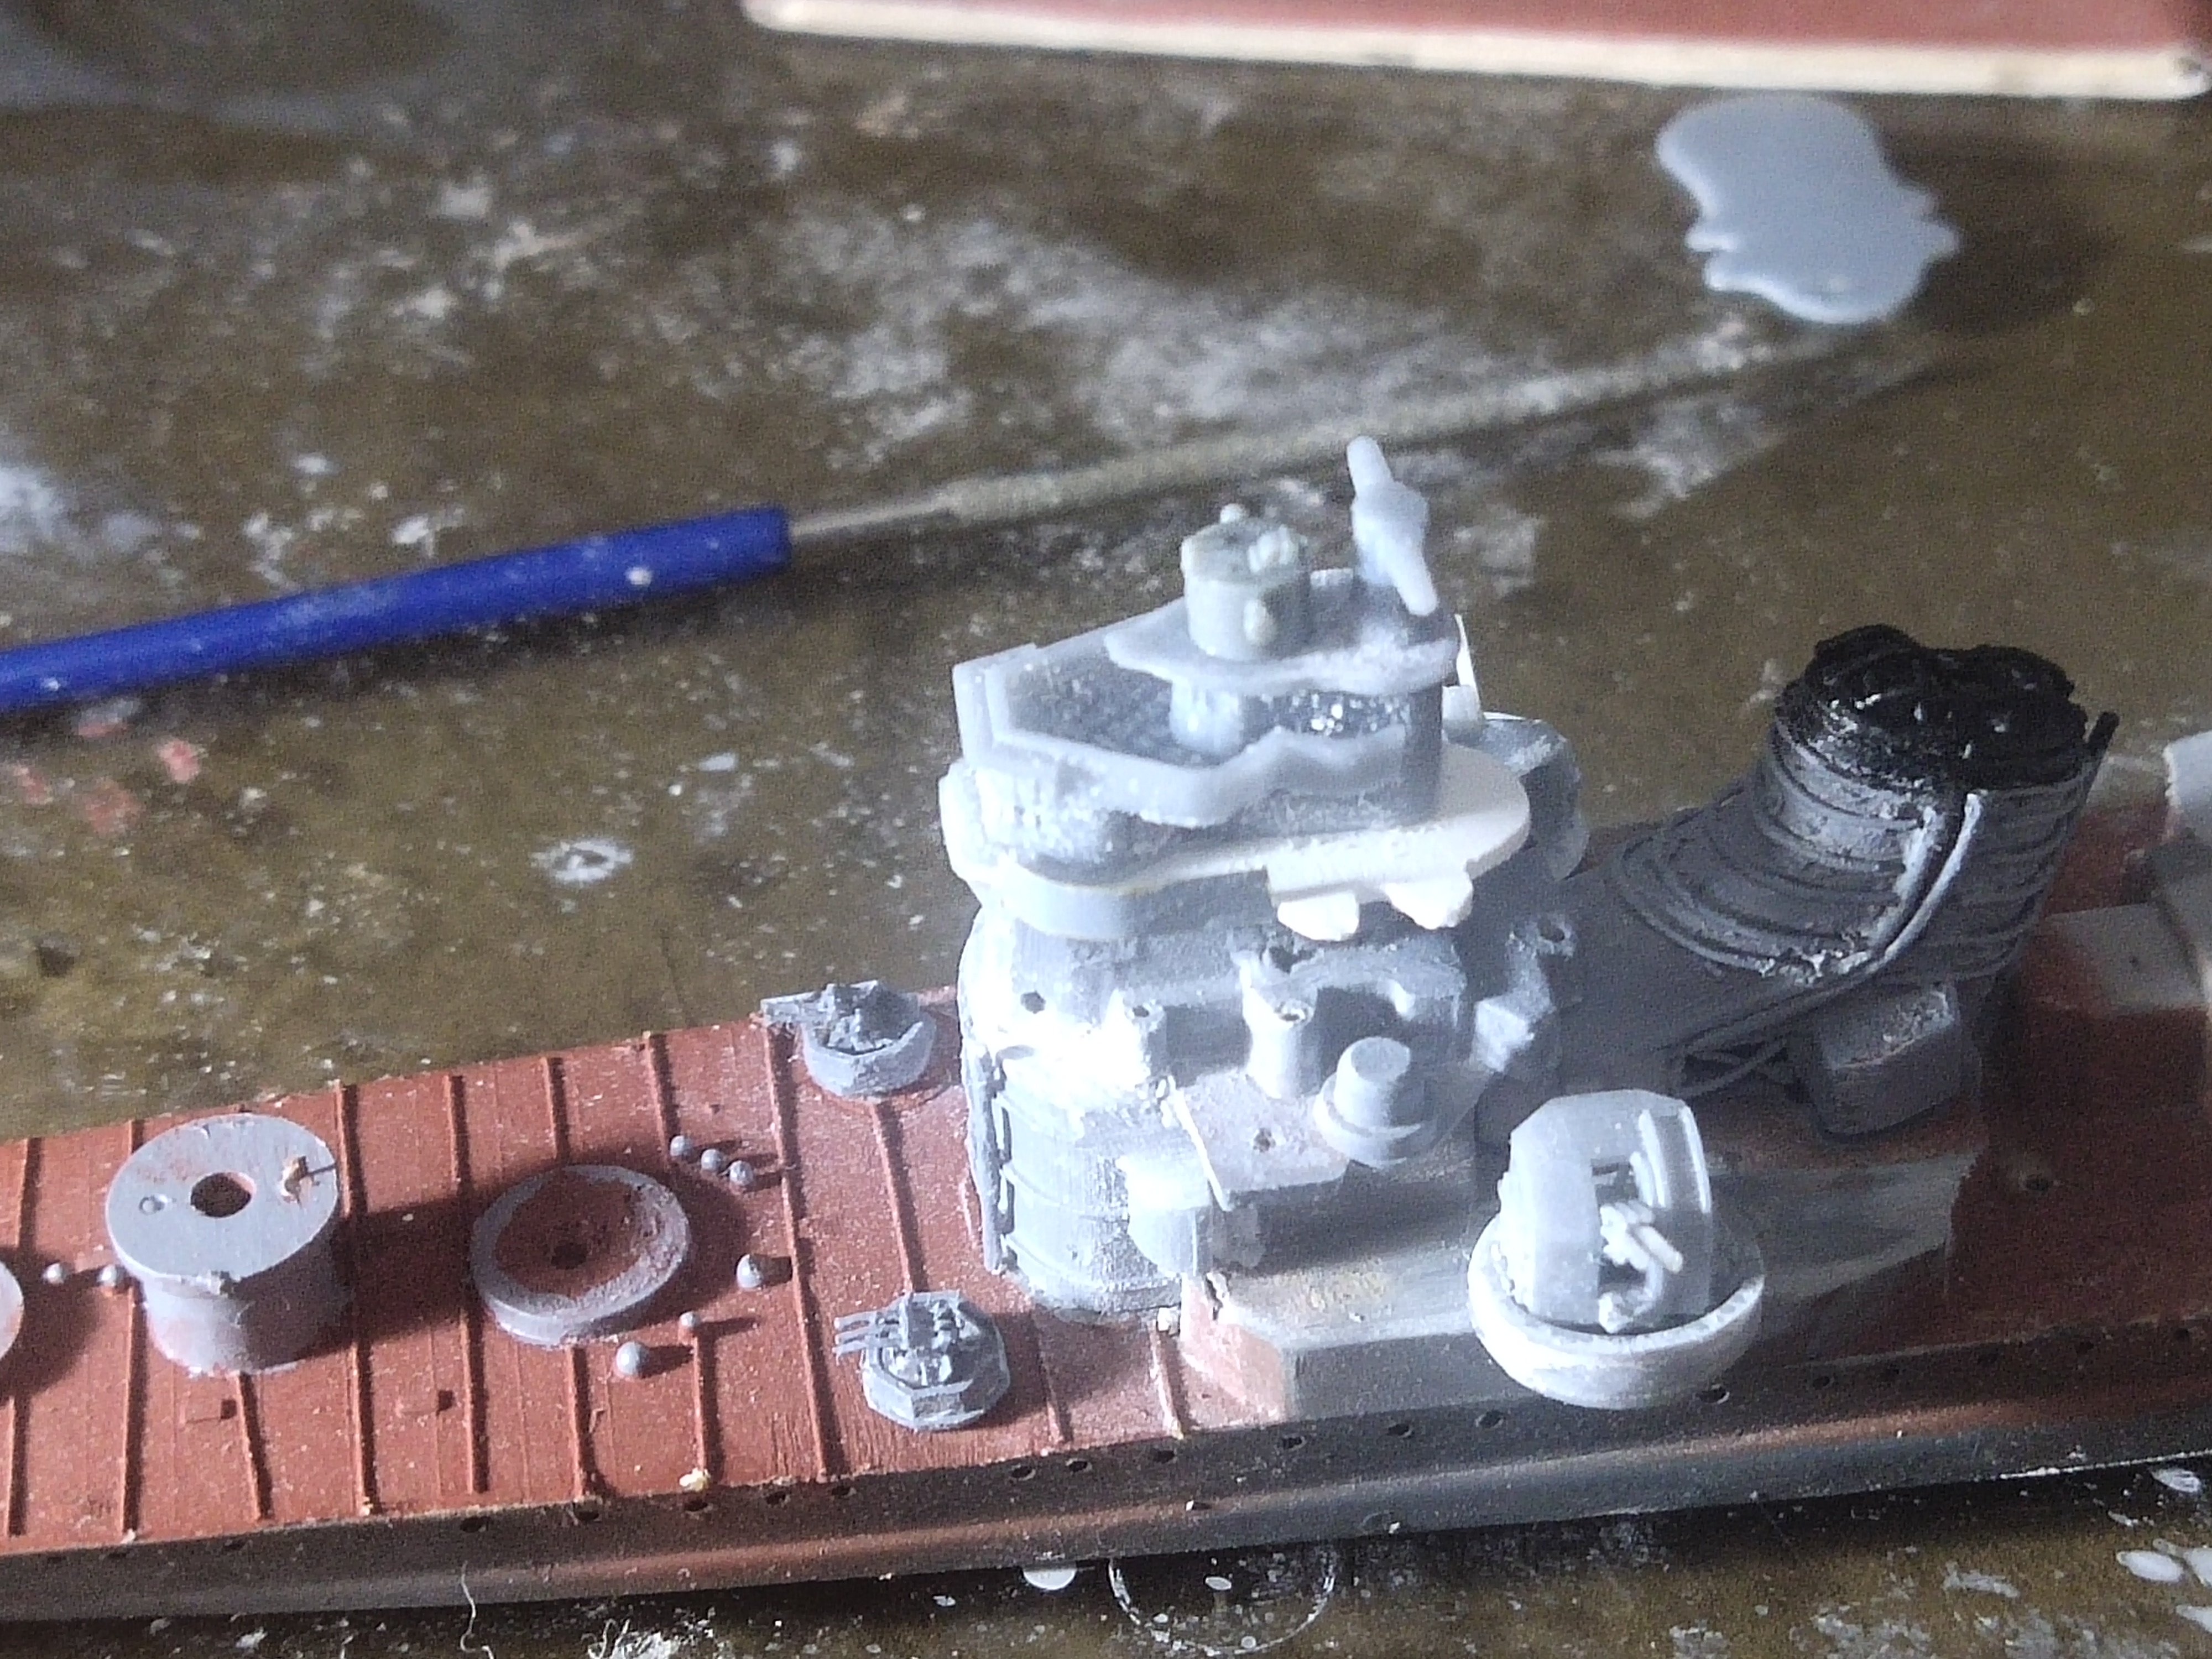
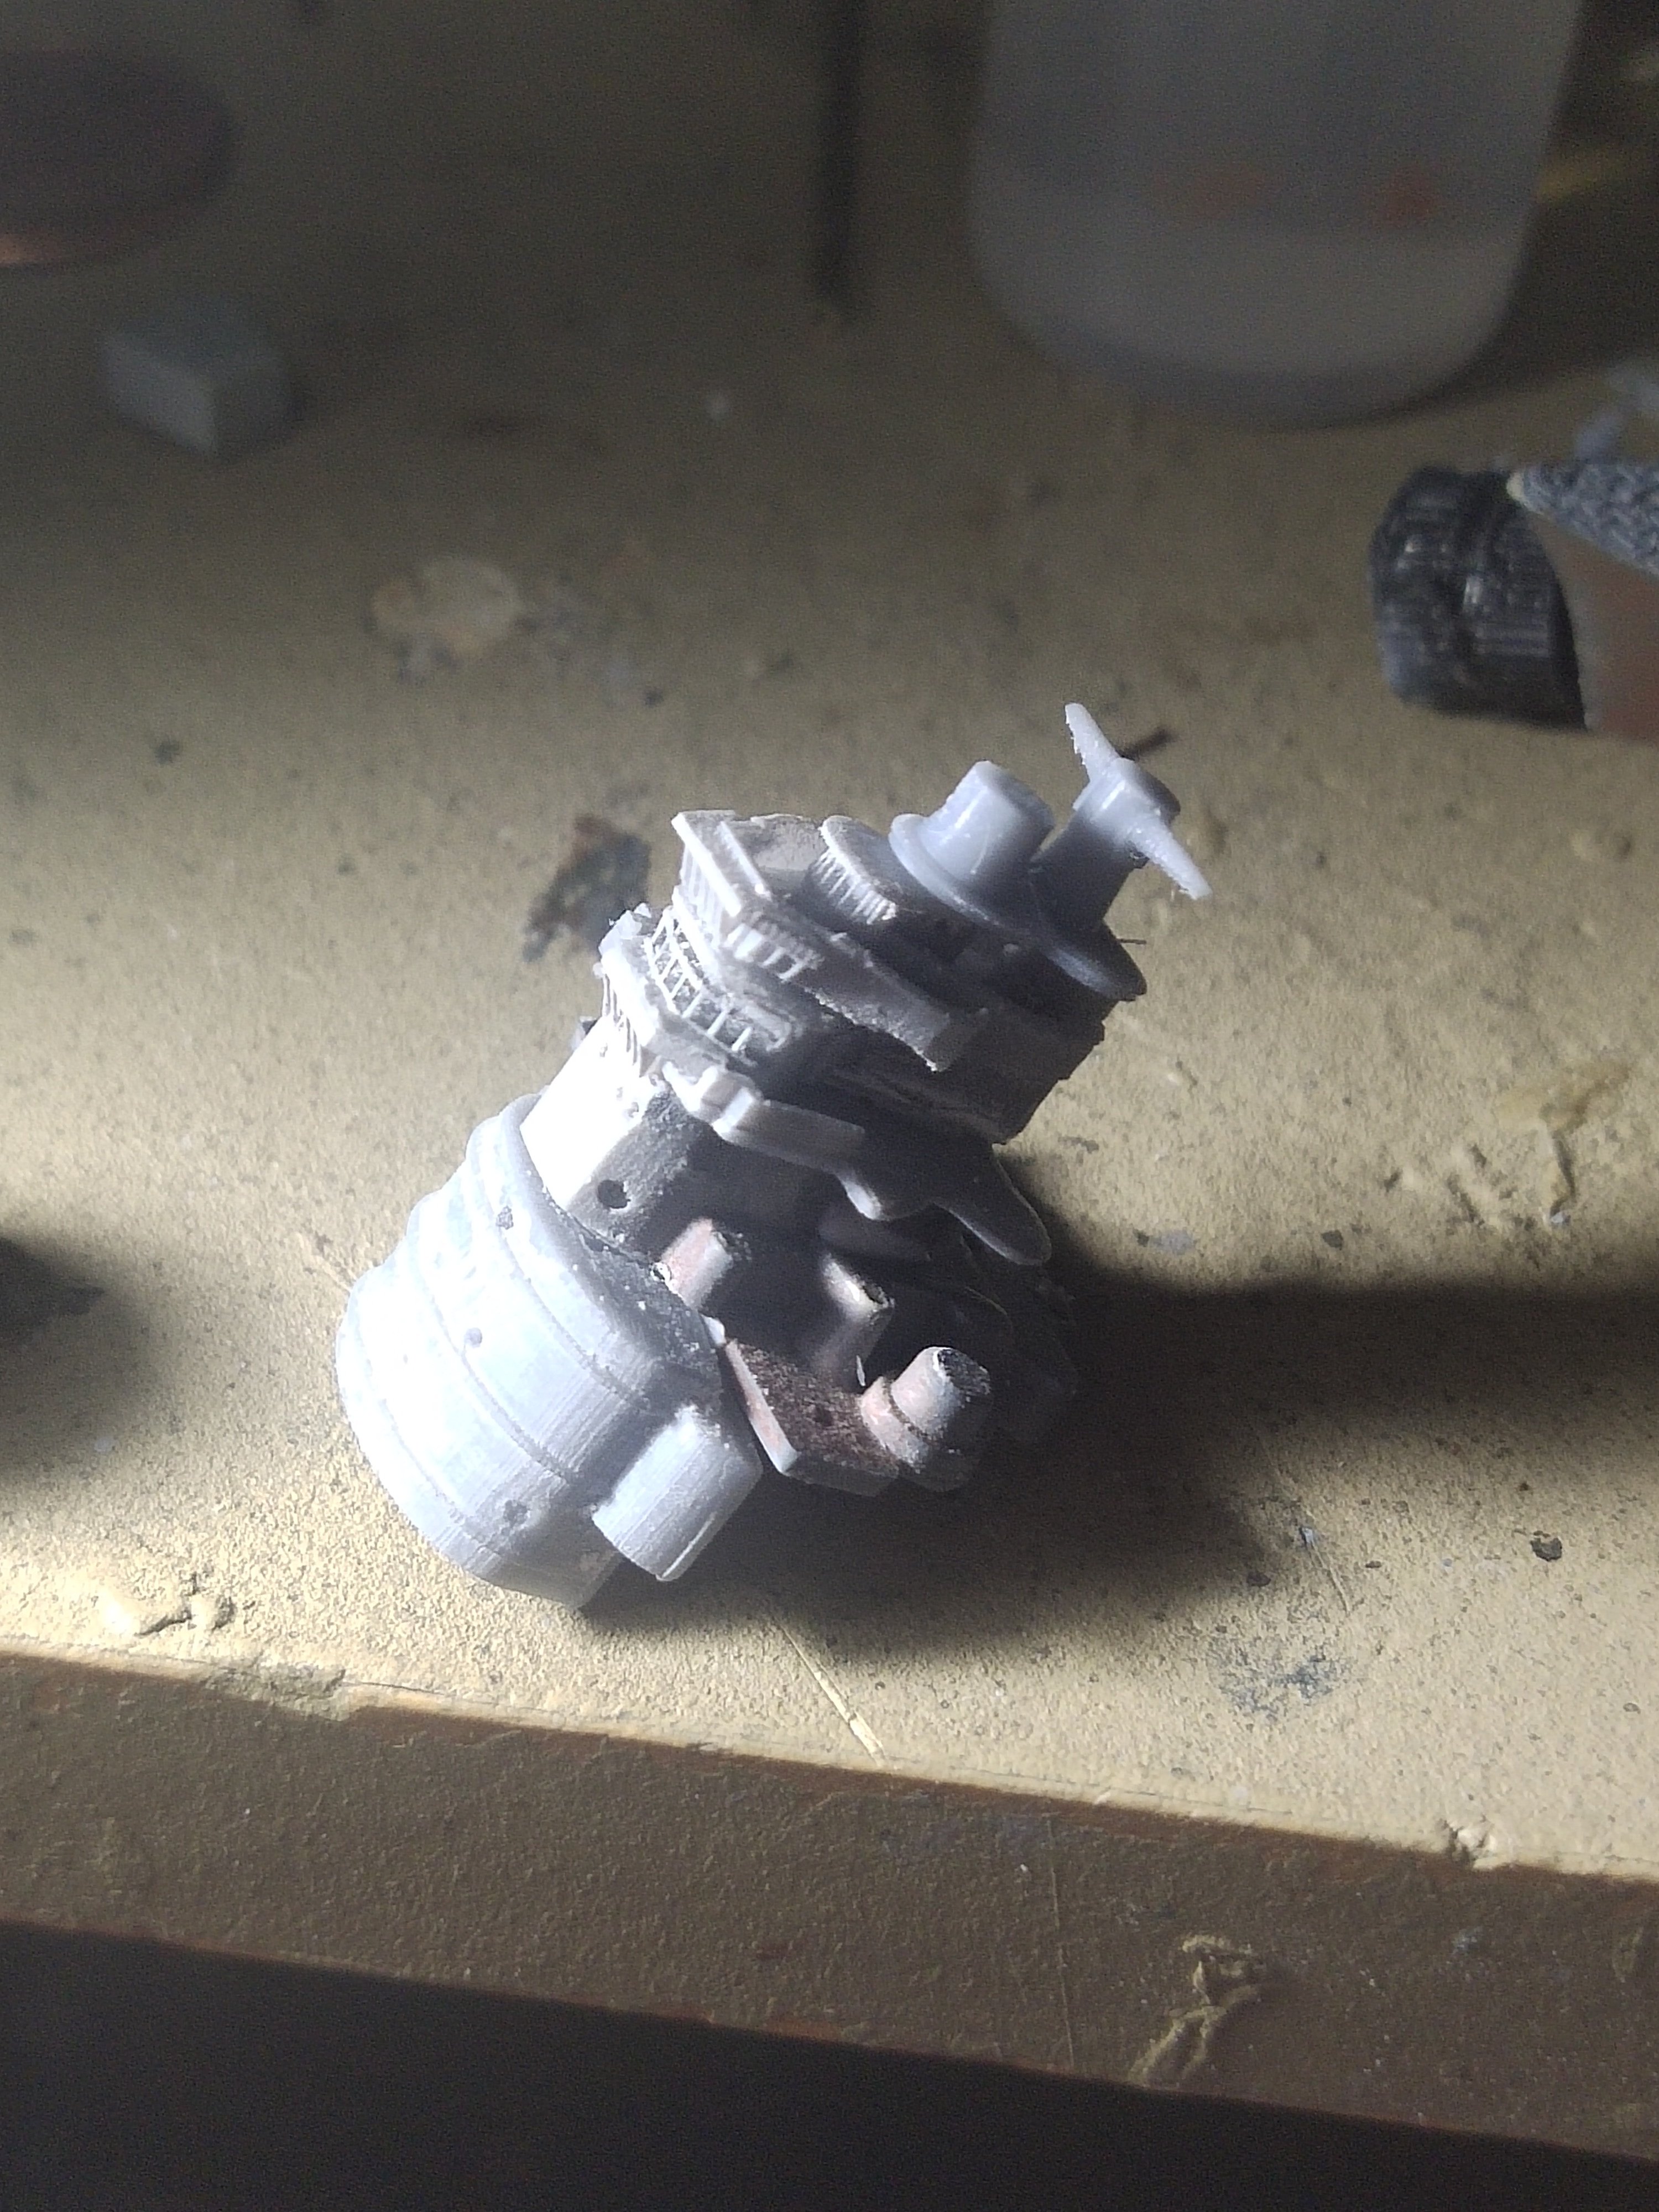
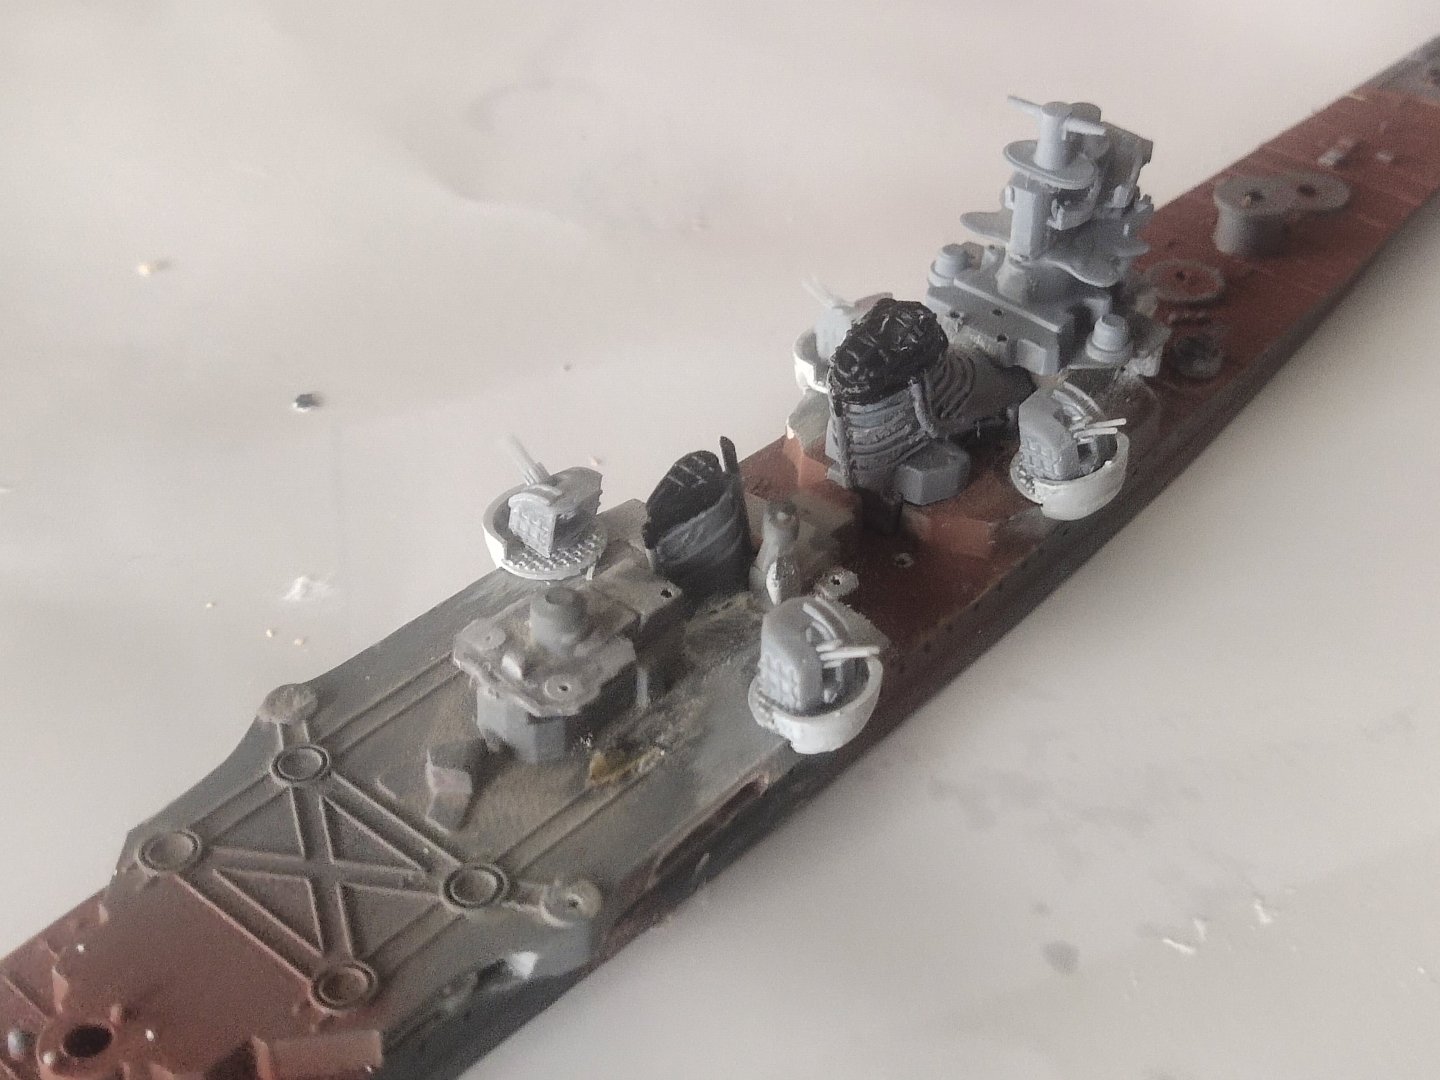
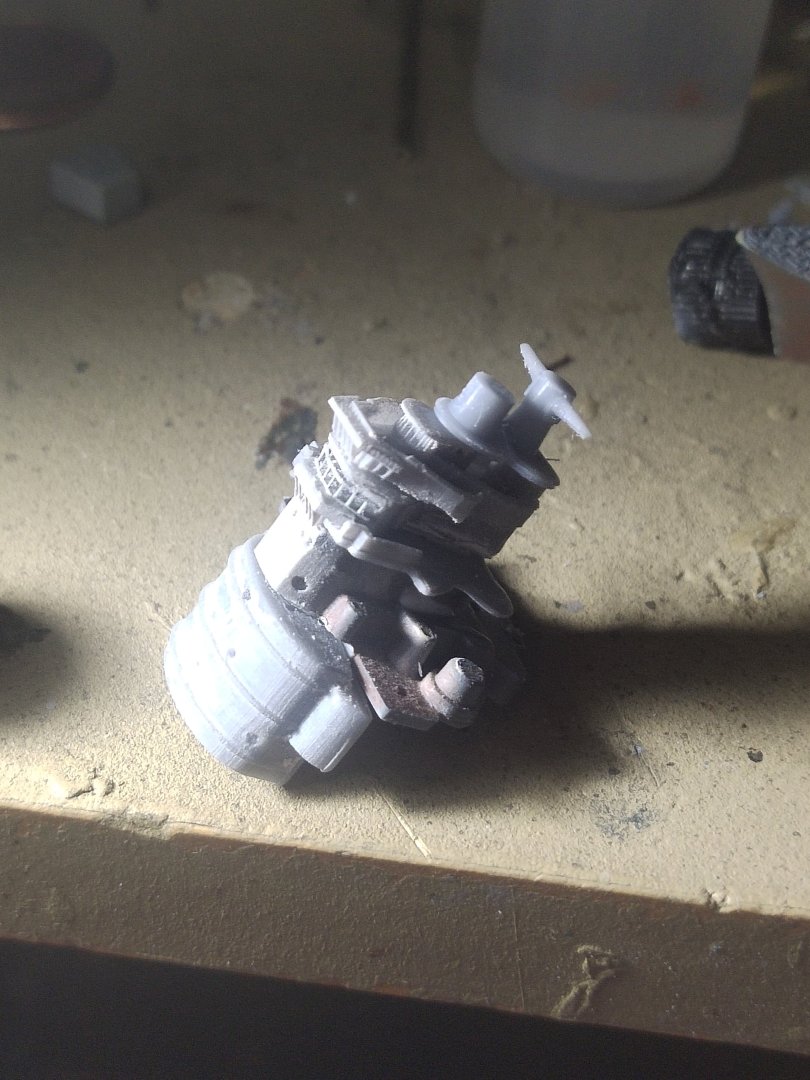
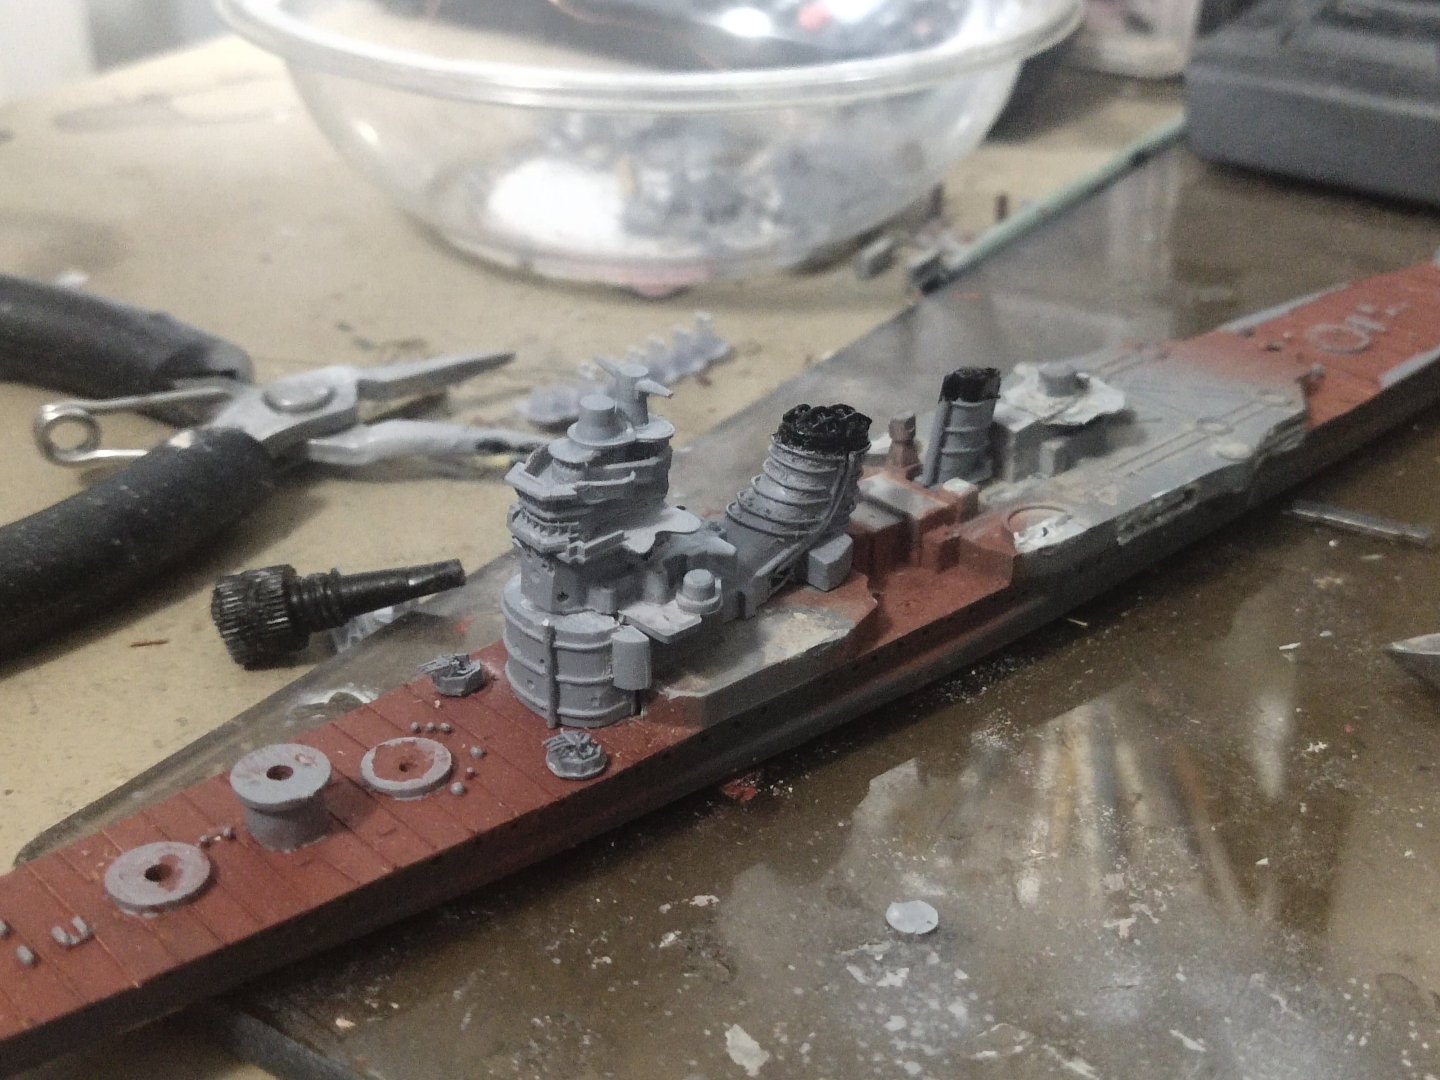
Next was the other funnel. It broke during removing it so I designed a new one and added the necessary details. After a primer coat both funnel and main stack were painted For the bridge as you may noticed at first the top part is missing. After days of studying i found some drawings as well as a 3d model of Myoko at a later stage after modernization. I manage to design several parts of the bridge separately in order to save printing time. After some test they fitted quite well. Not sure how much historically accurate but this old kit is not accurate either plus I added some detail. Finally after priming and painting I dry fitted all the items together and overall the look was satisfactory

-
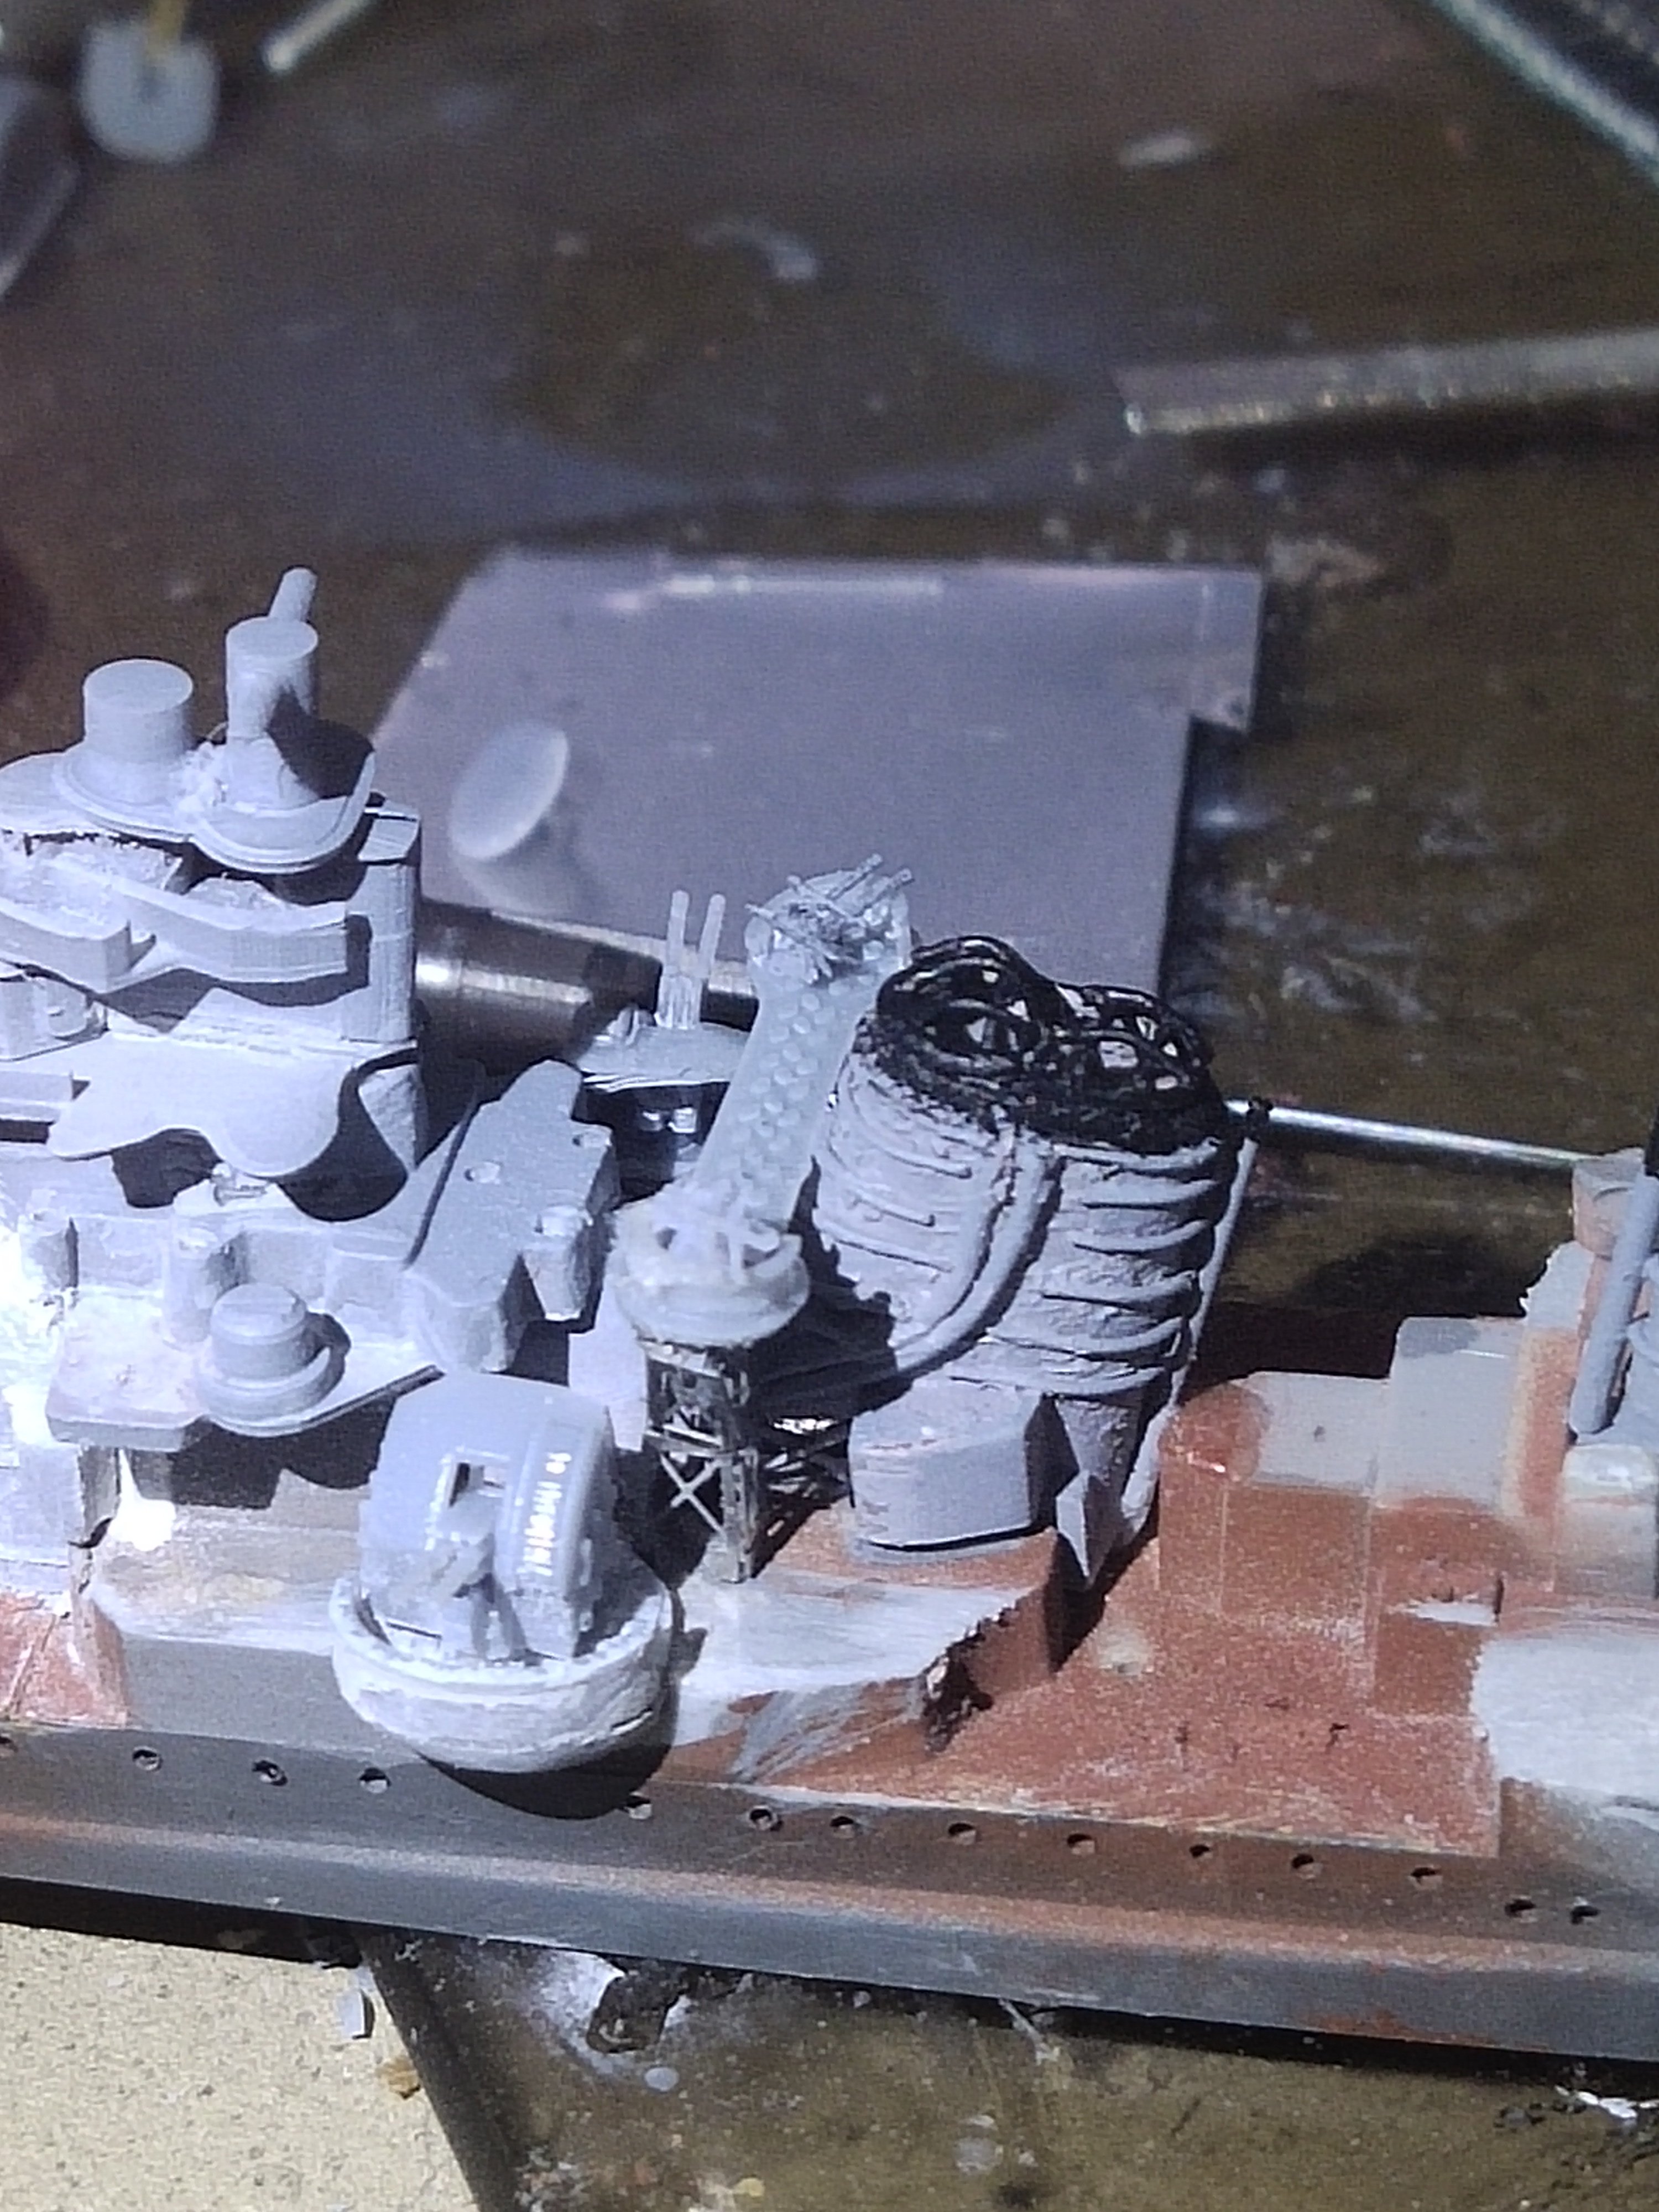
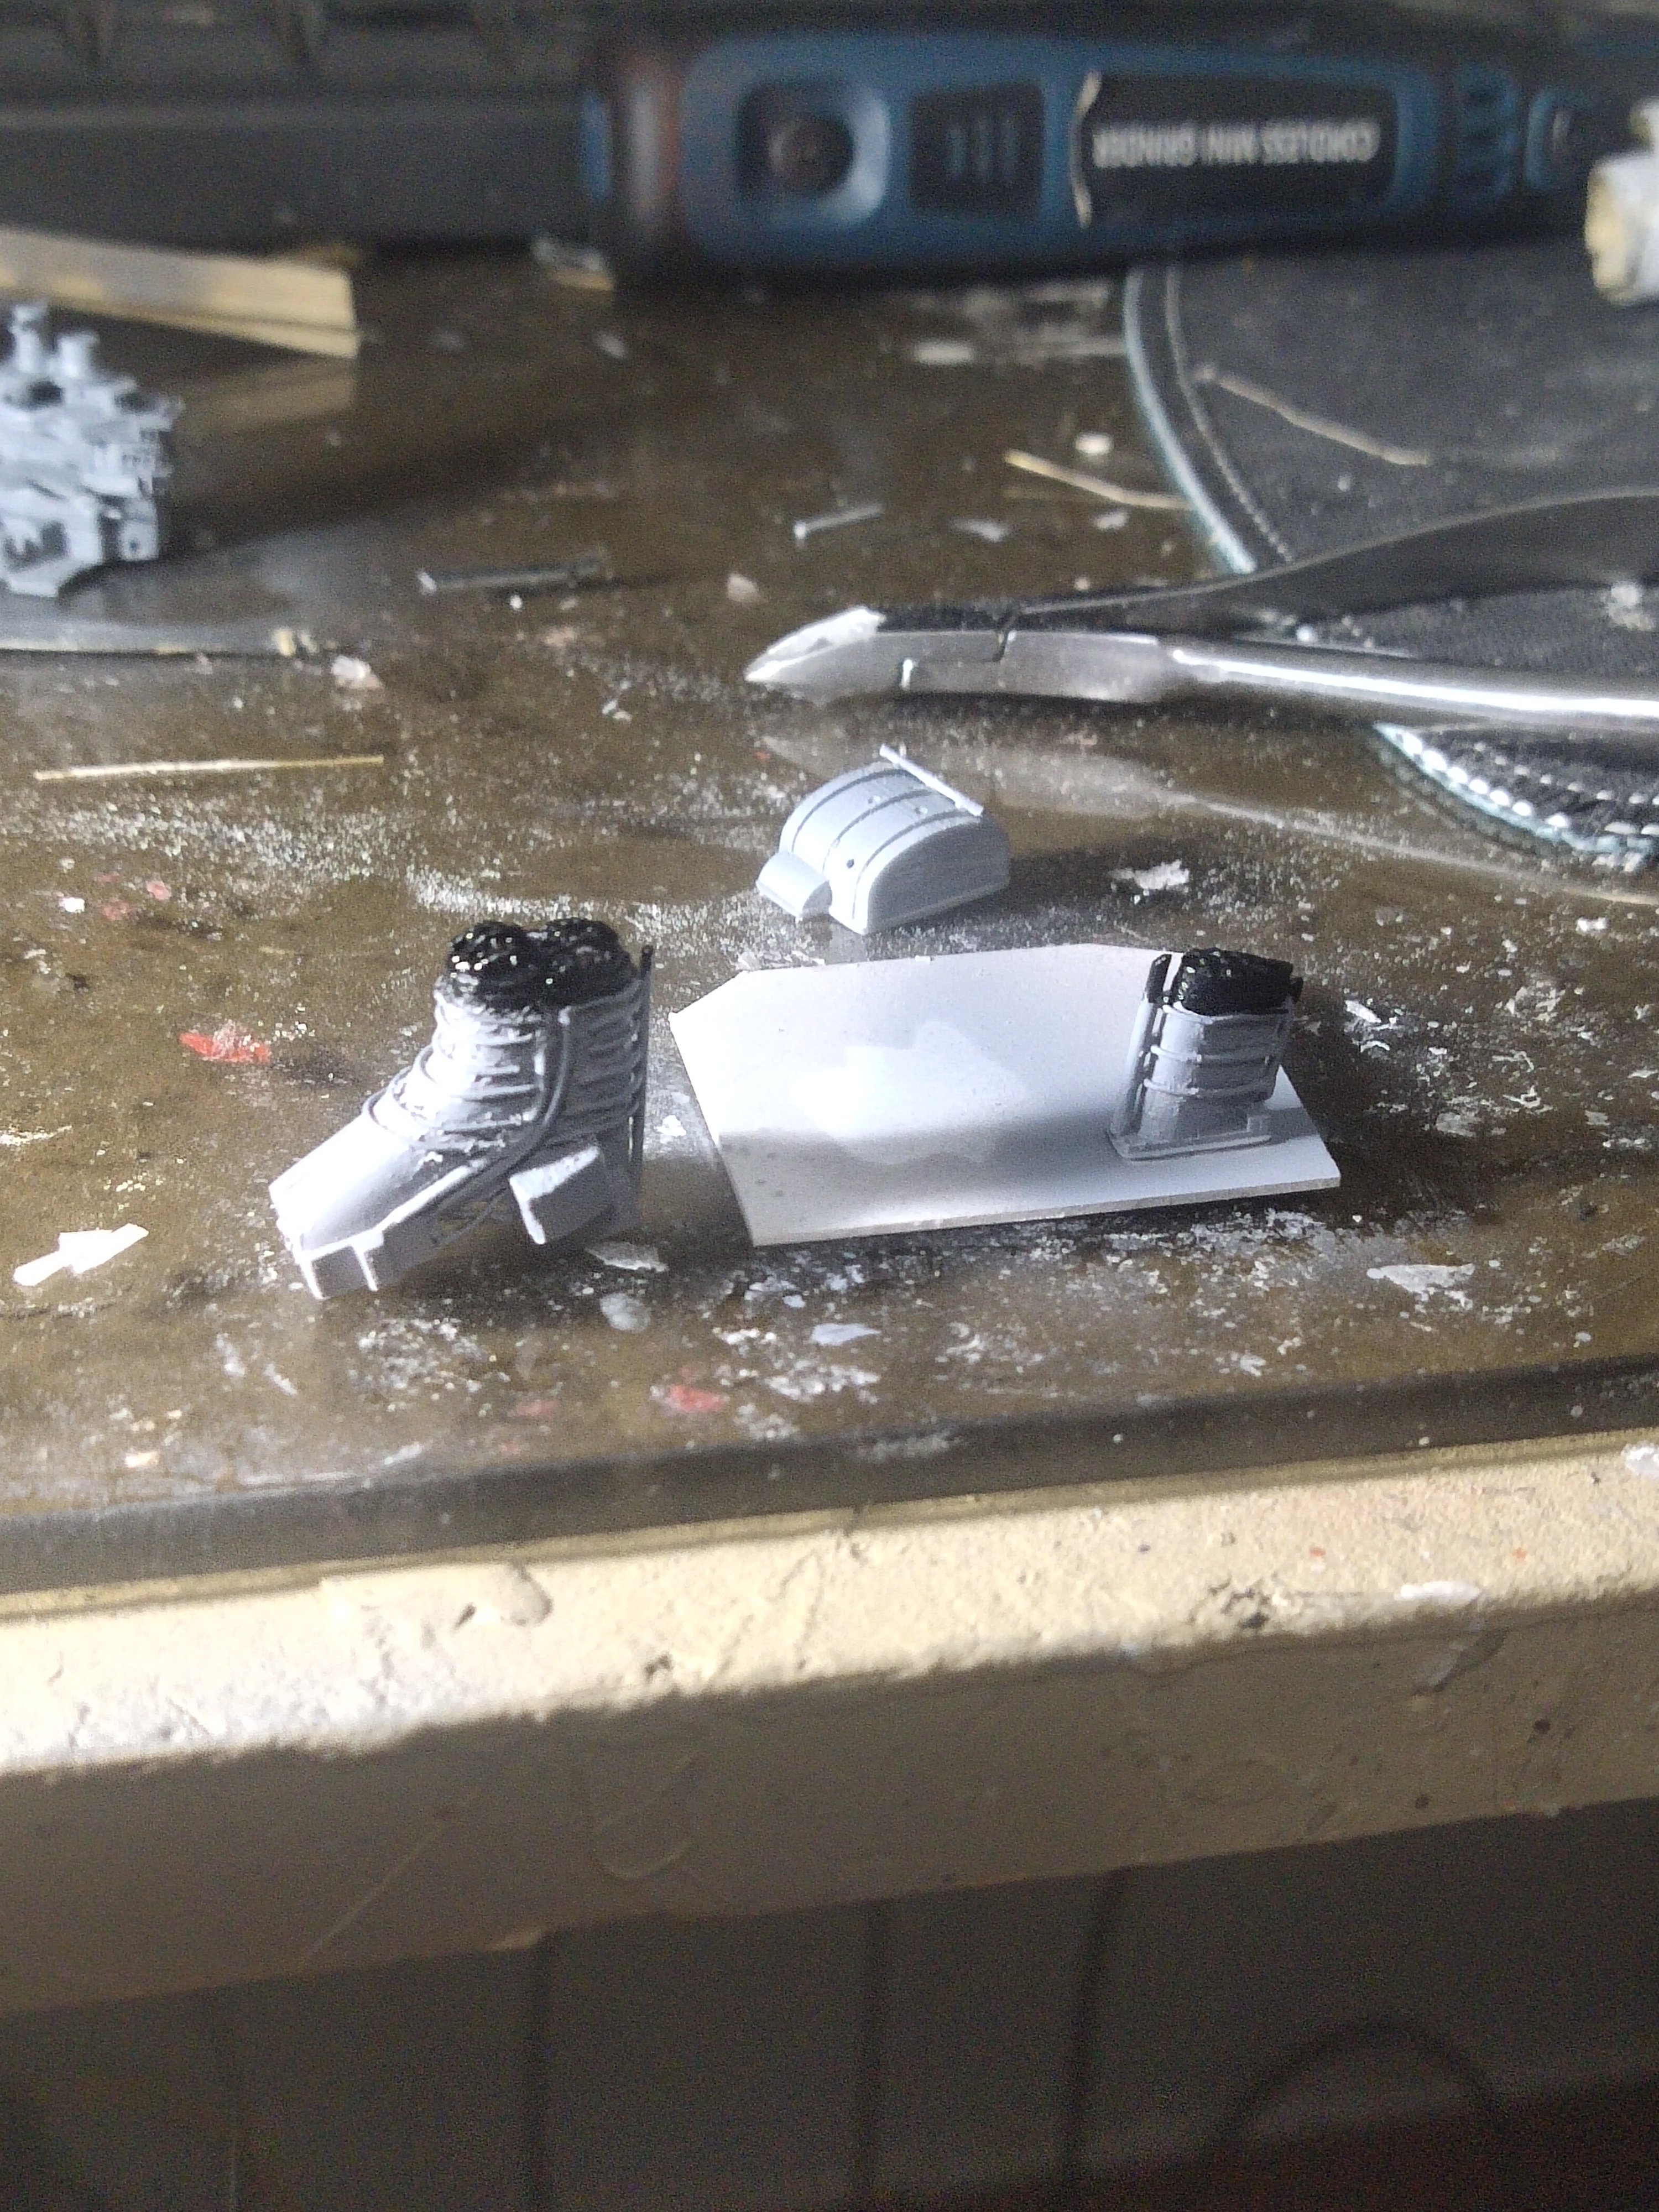
The Funnel I have some PE to enhance it but there are terribly delicate and hard to glue it, I'm not feel ready yet to use it So I decide to use it 0.3mm wire both for sides and the cap. Some pieces were as short as 3 mm. Then I had to bend them slightly. The final result after some primer application

-
Cap San Diego by mikegr - 1/160
mikegr replied to mikegr's topic in - Build logs for subjects built 1901 - Present Day
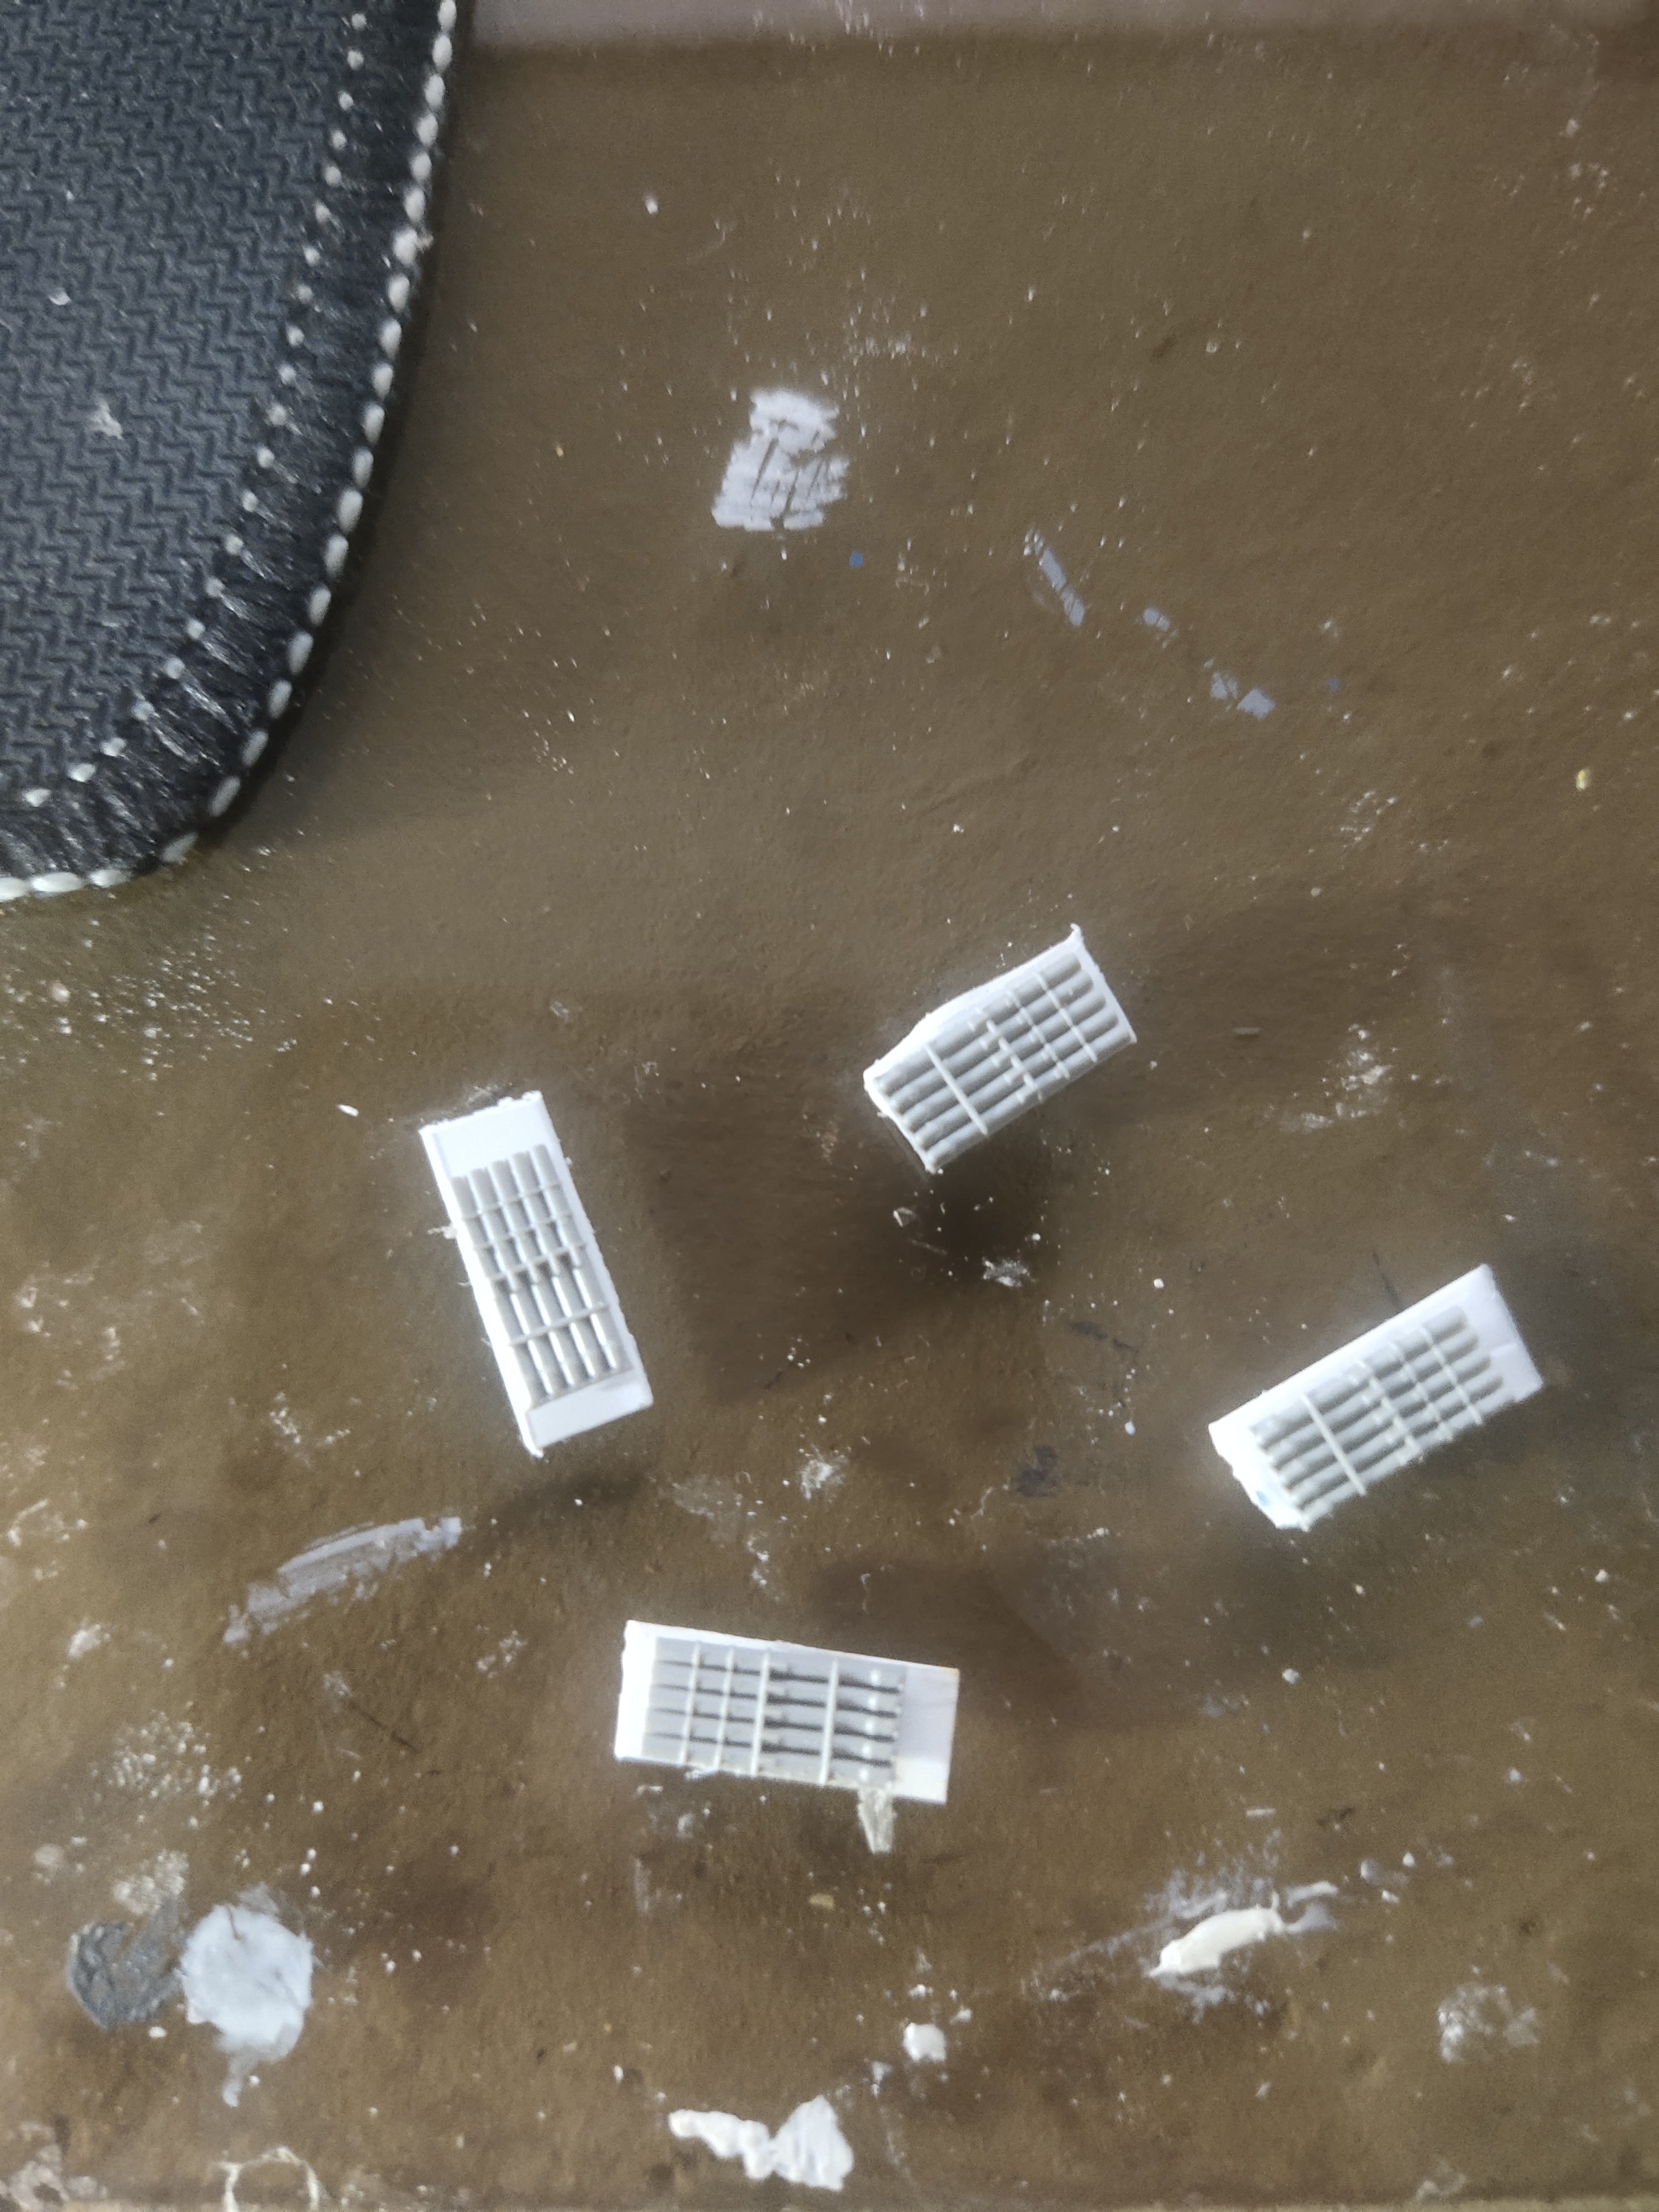
The one I got is in 1:150 https://www.super-hobby.gr/products/Ships-railing-window-type.html -
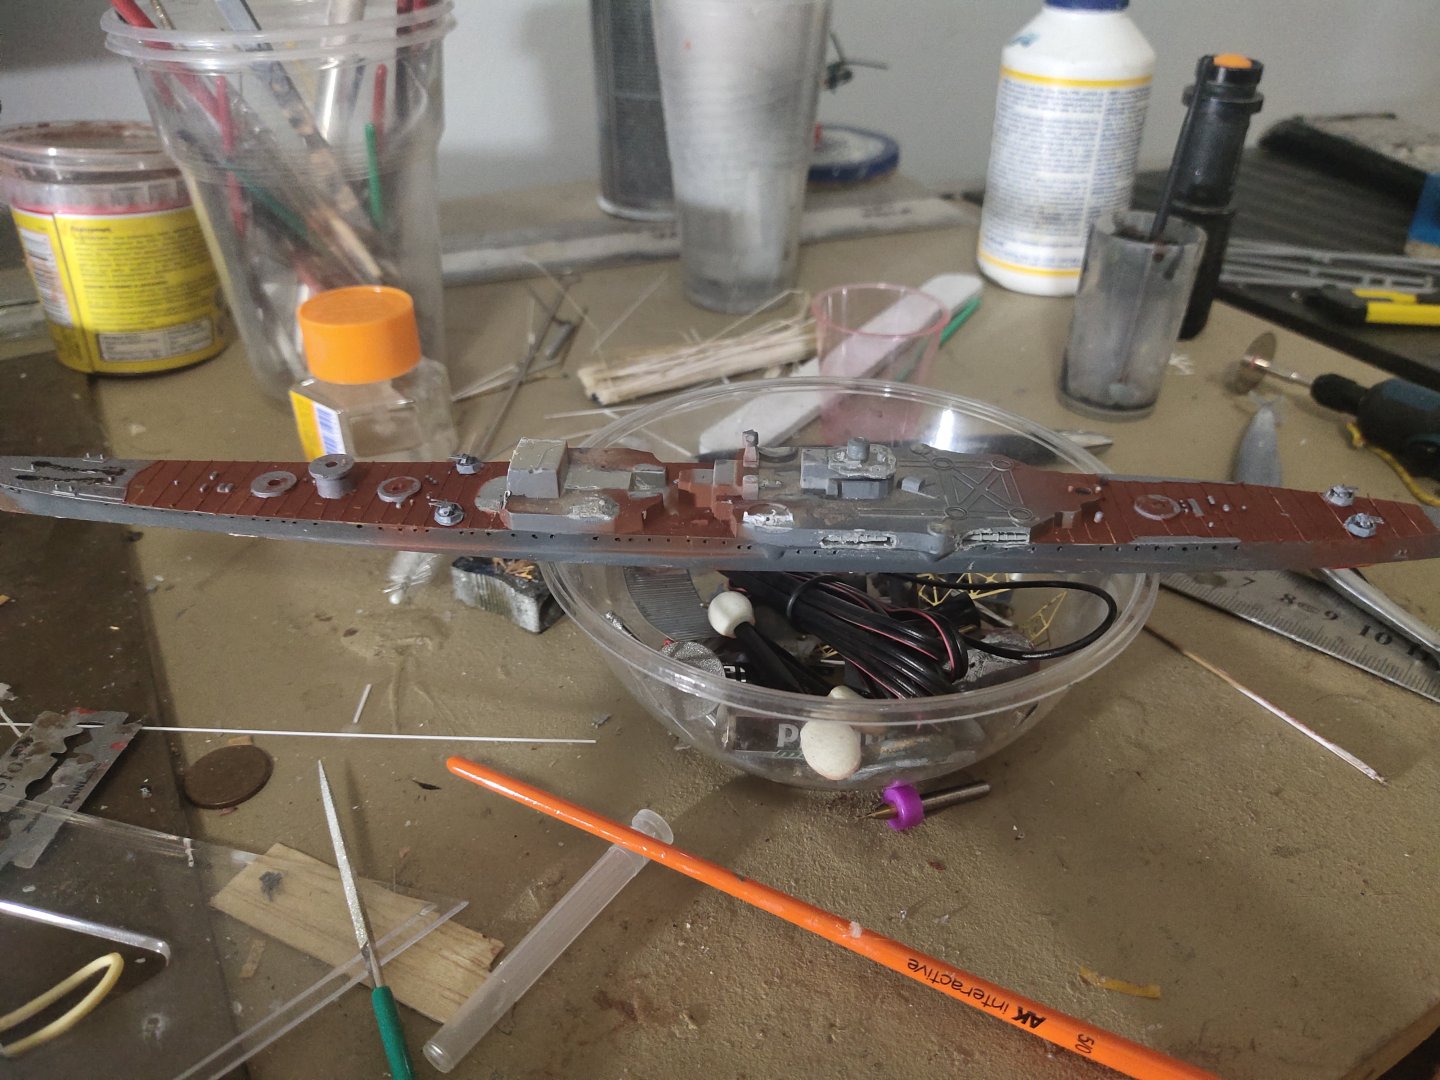
I glued the AA guns, this model has 8 additional type 96 AA guns but these are double. I strip off almost anything to work better, some pieces left on hull need to cut them.


-
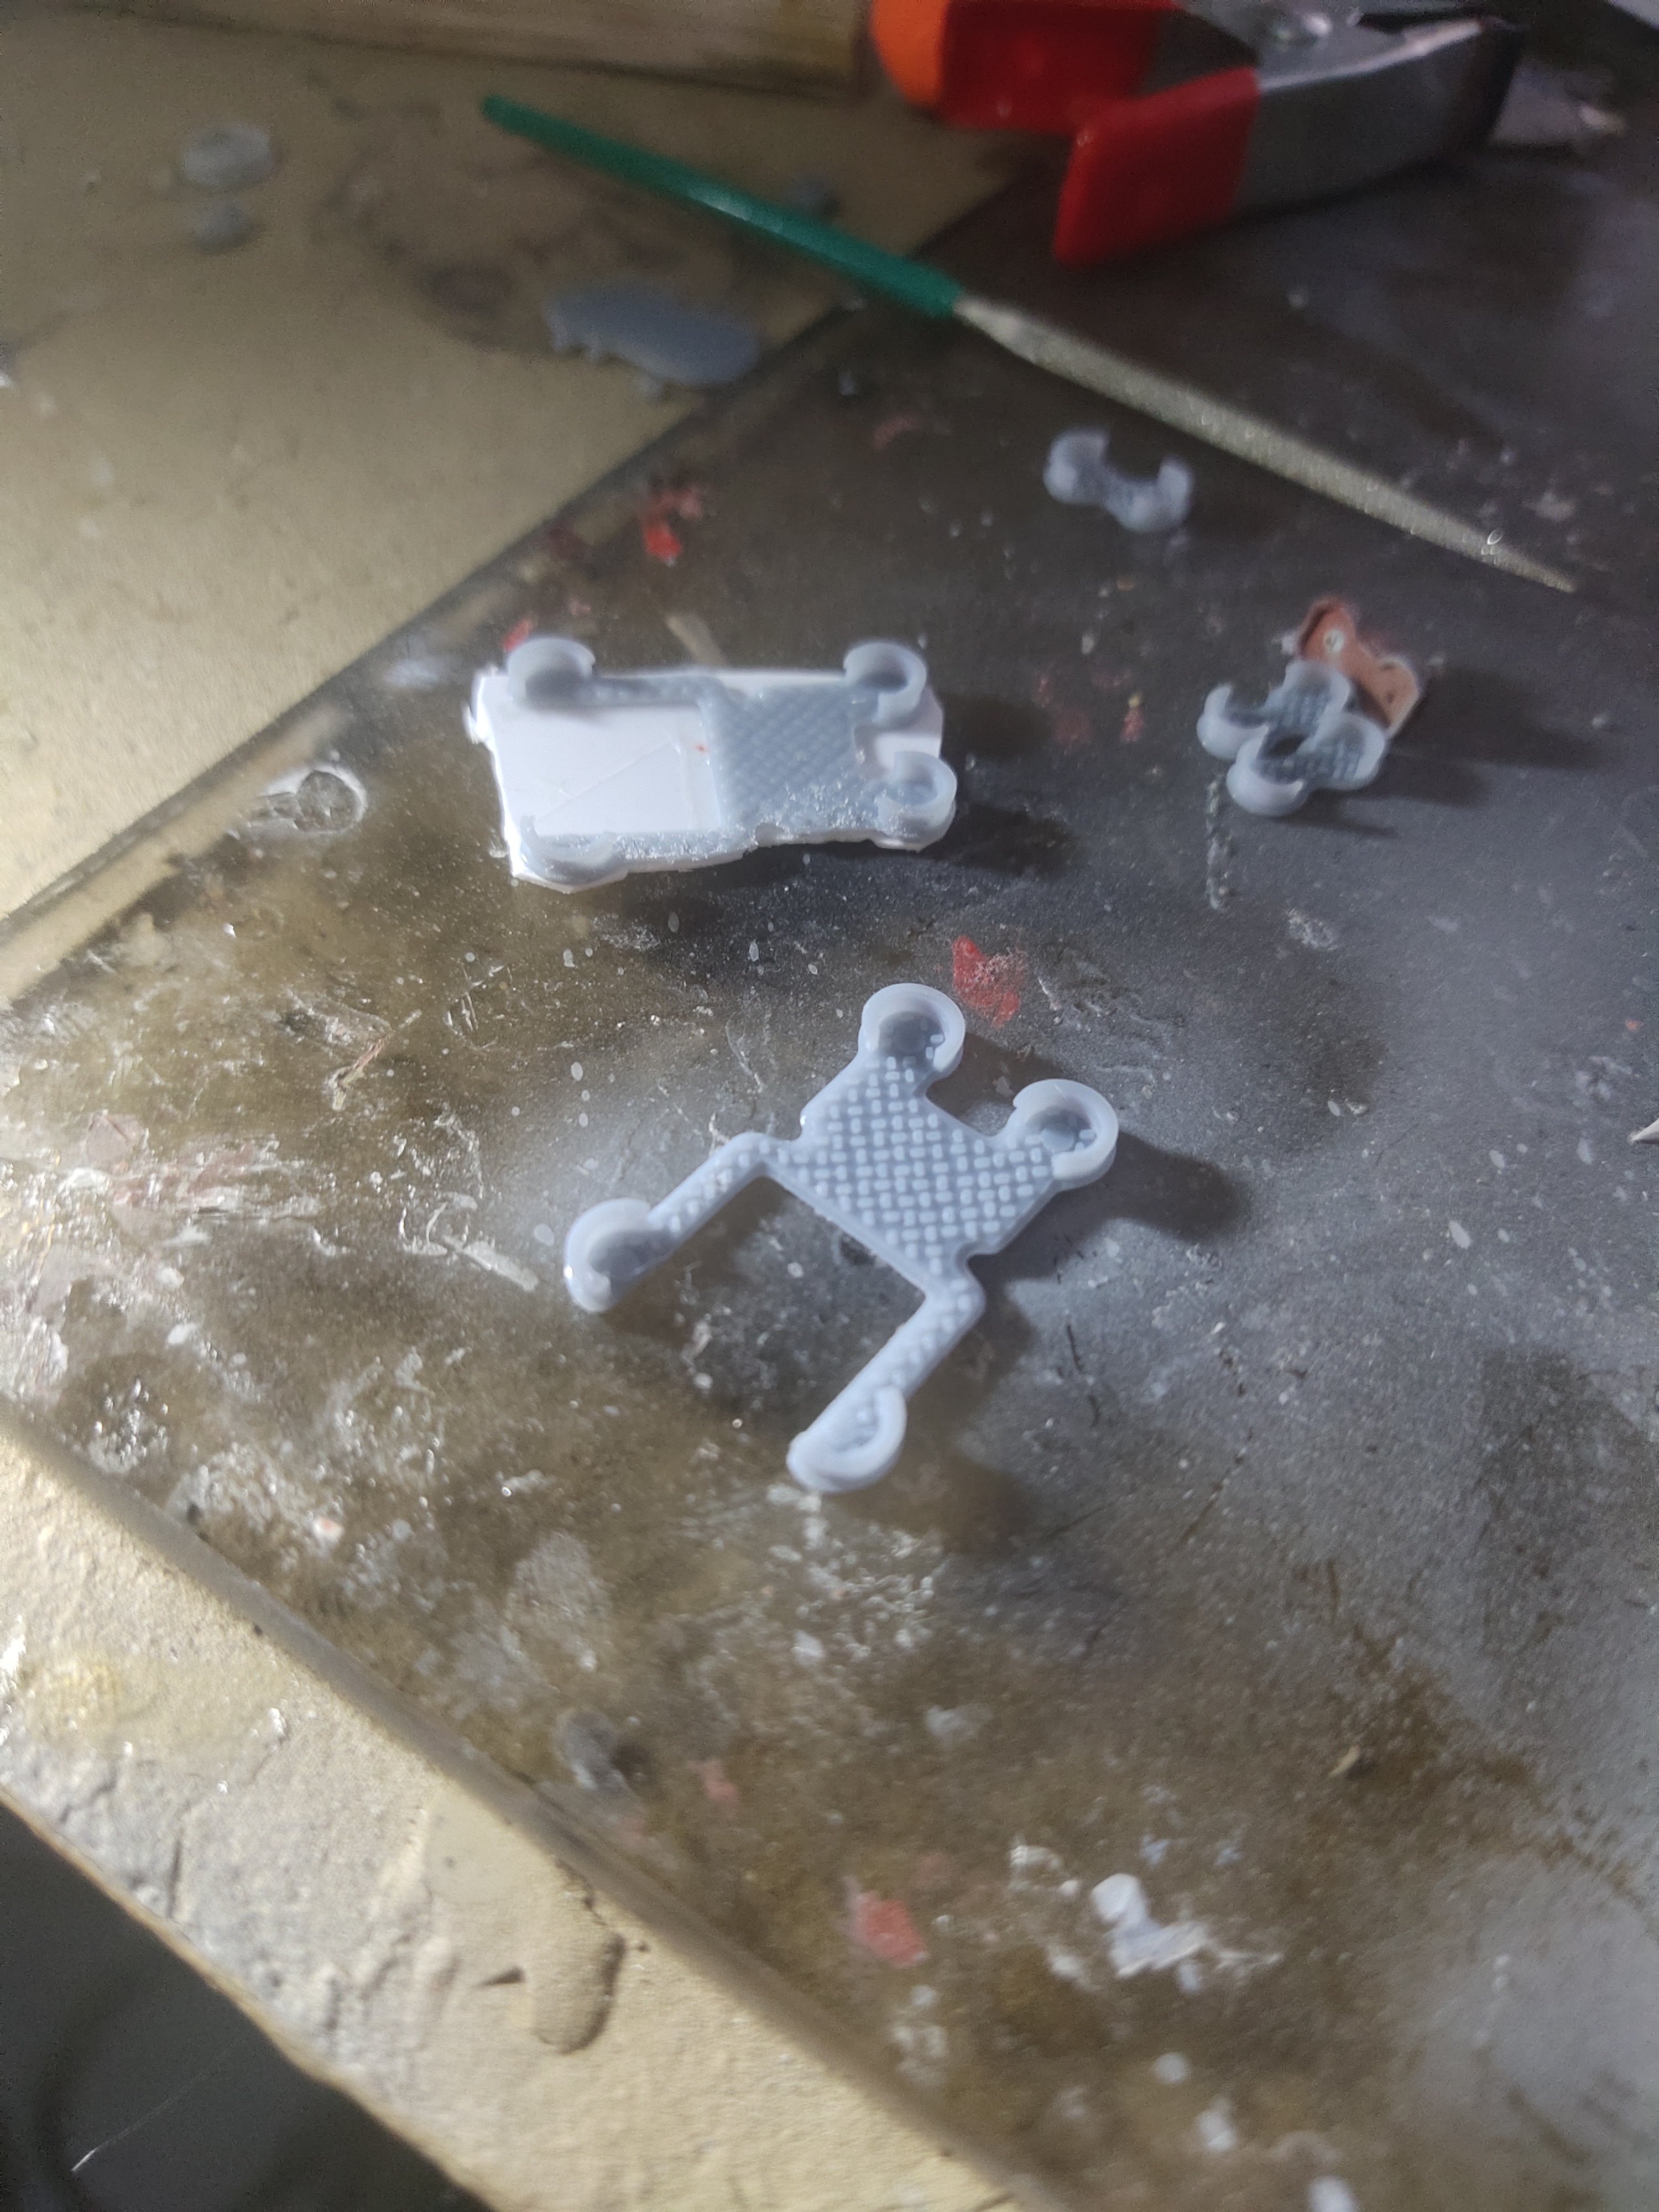
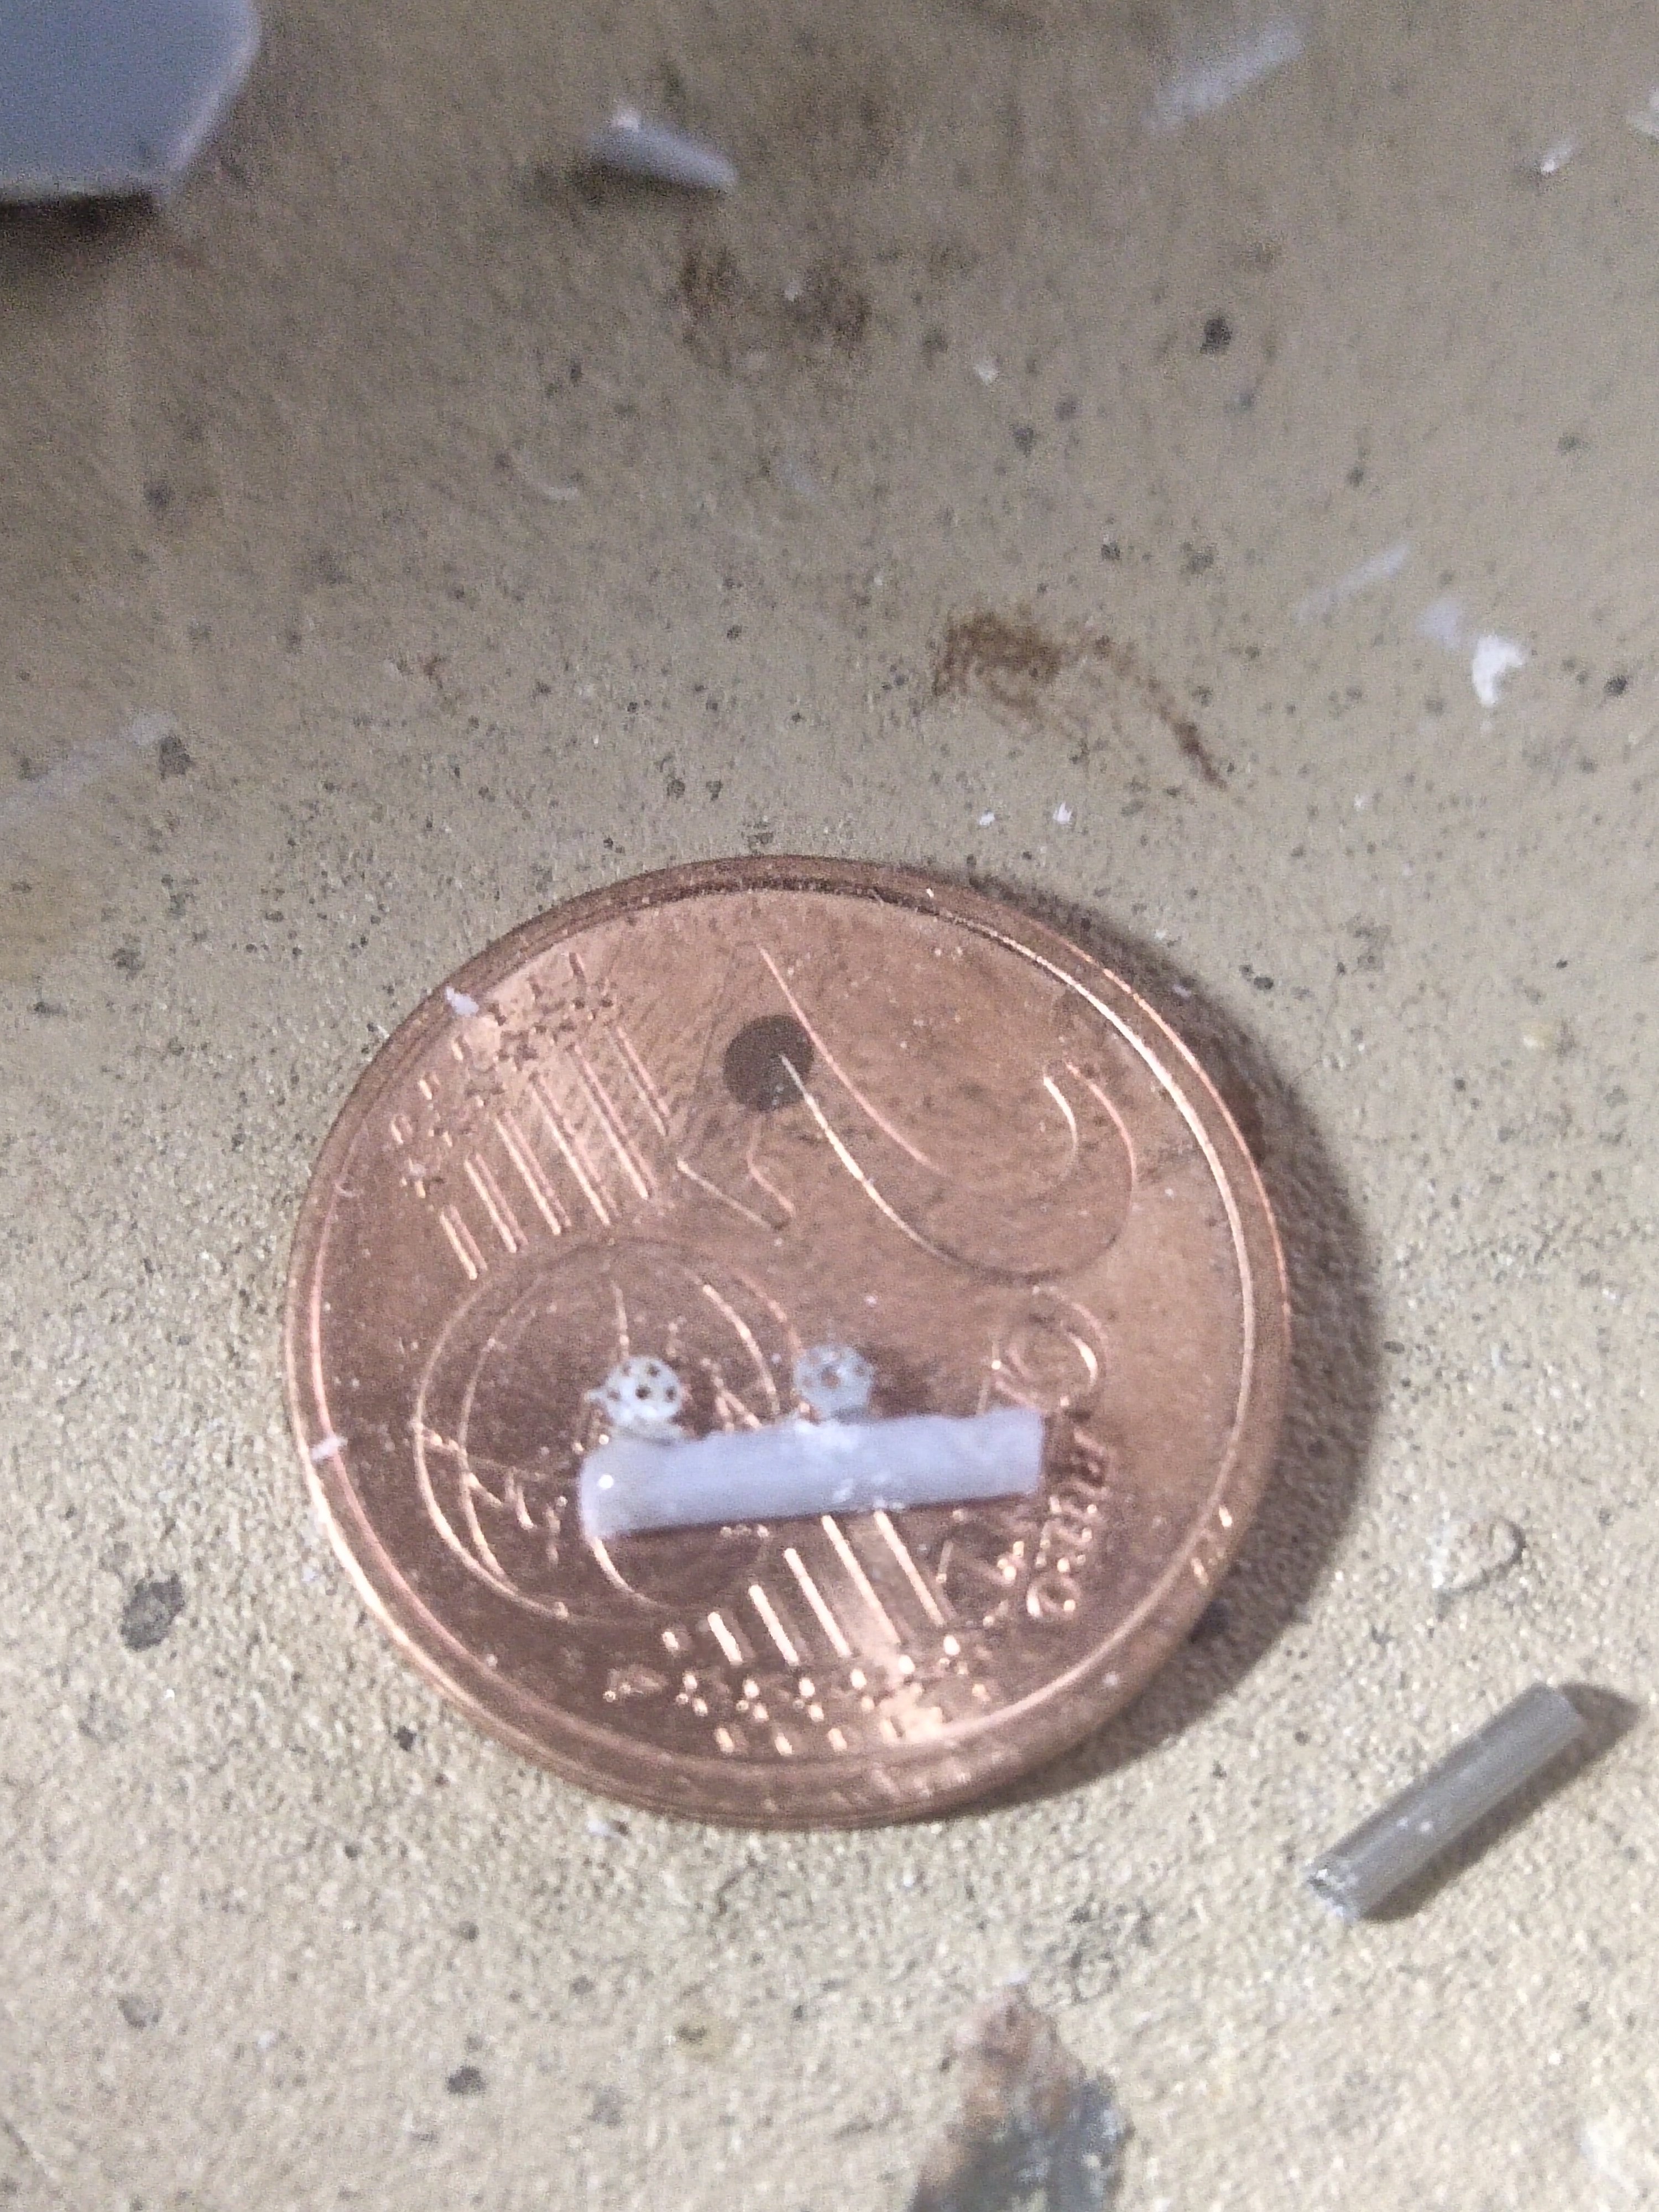
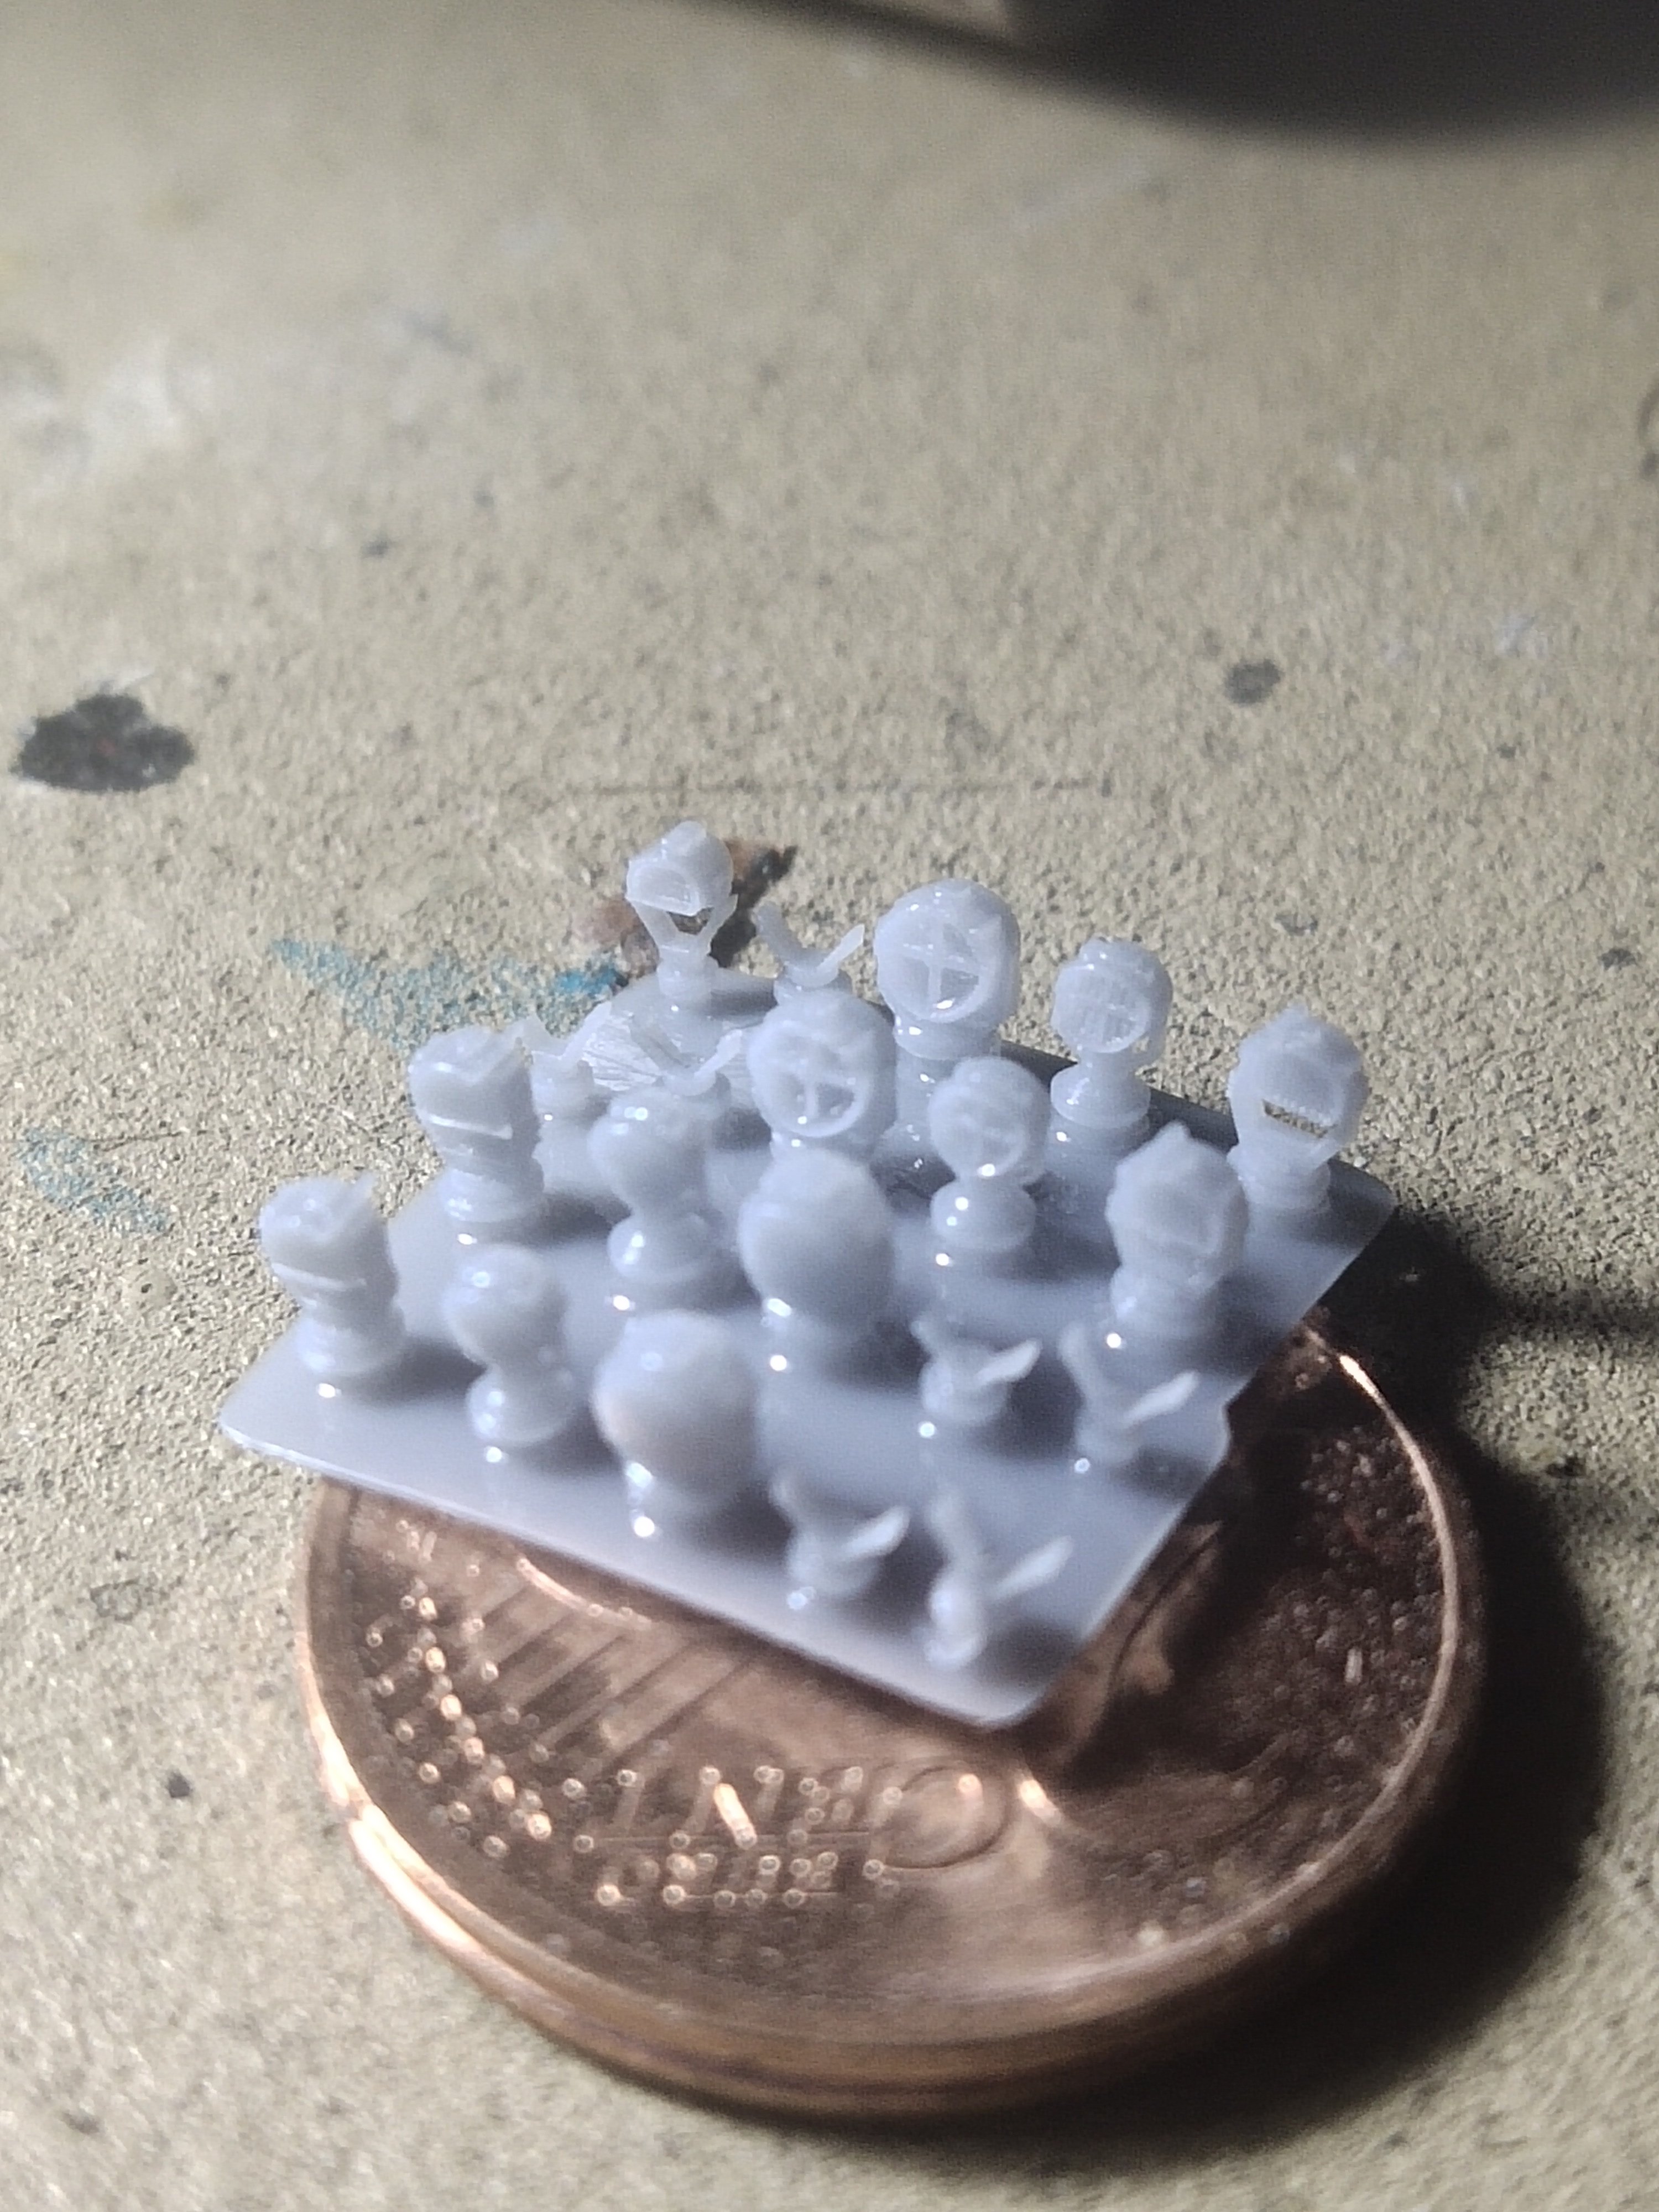
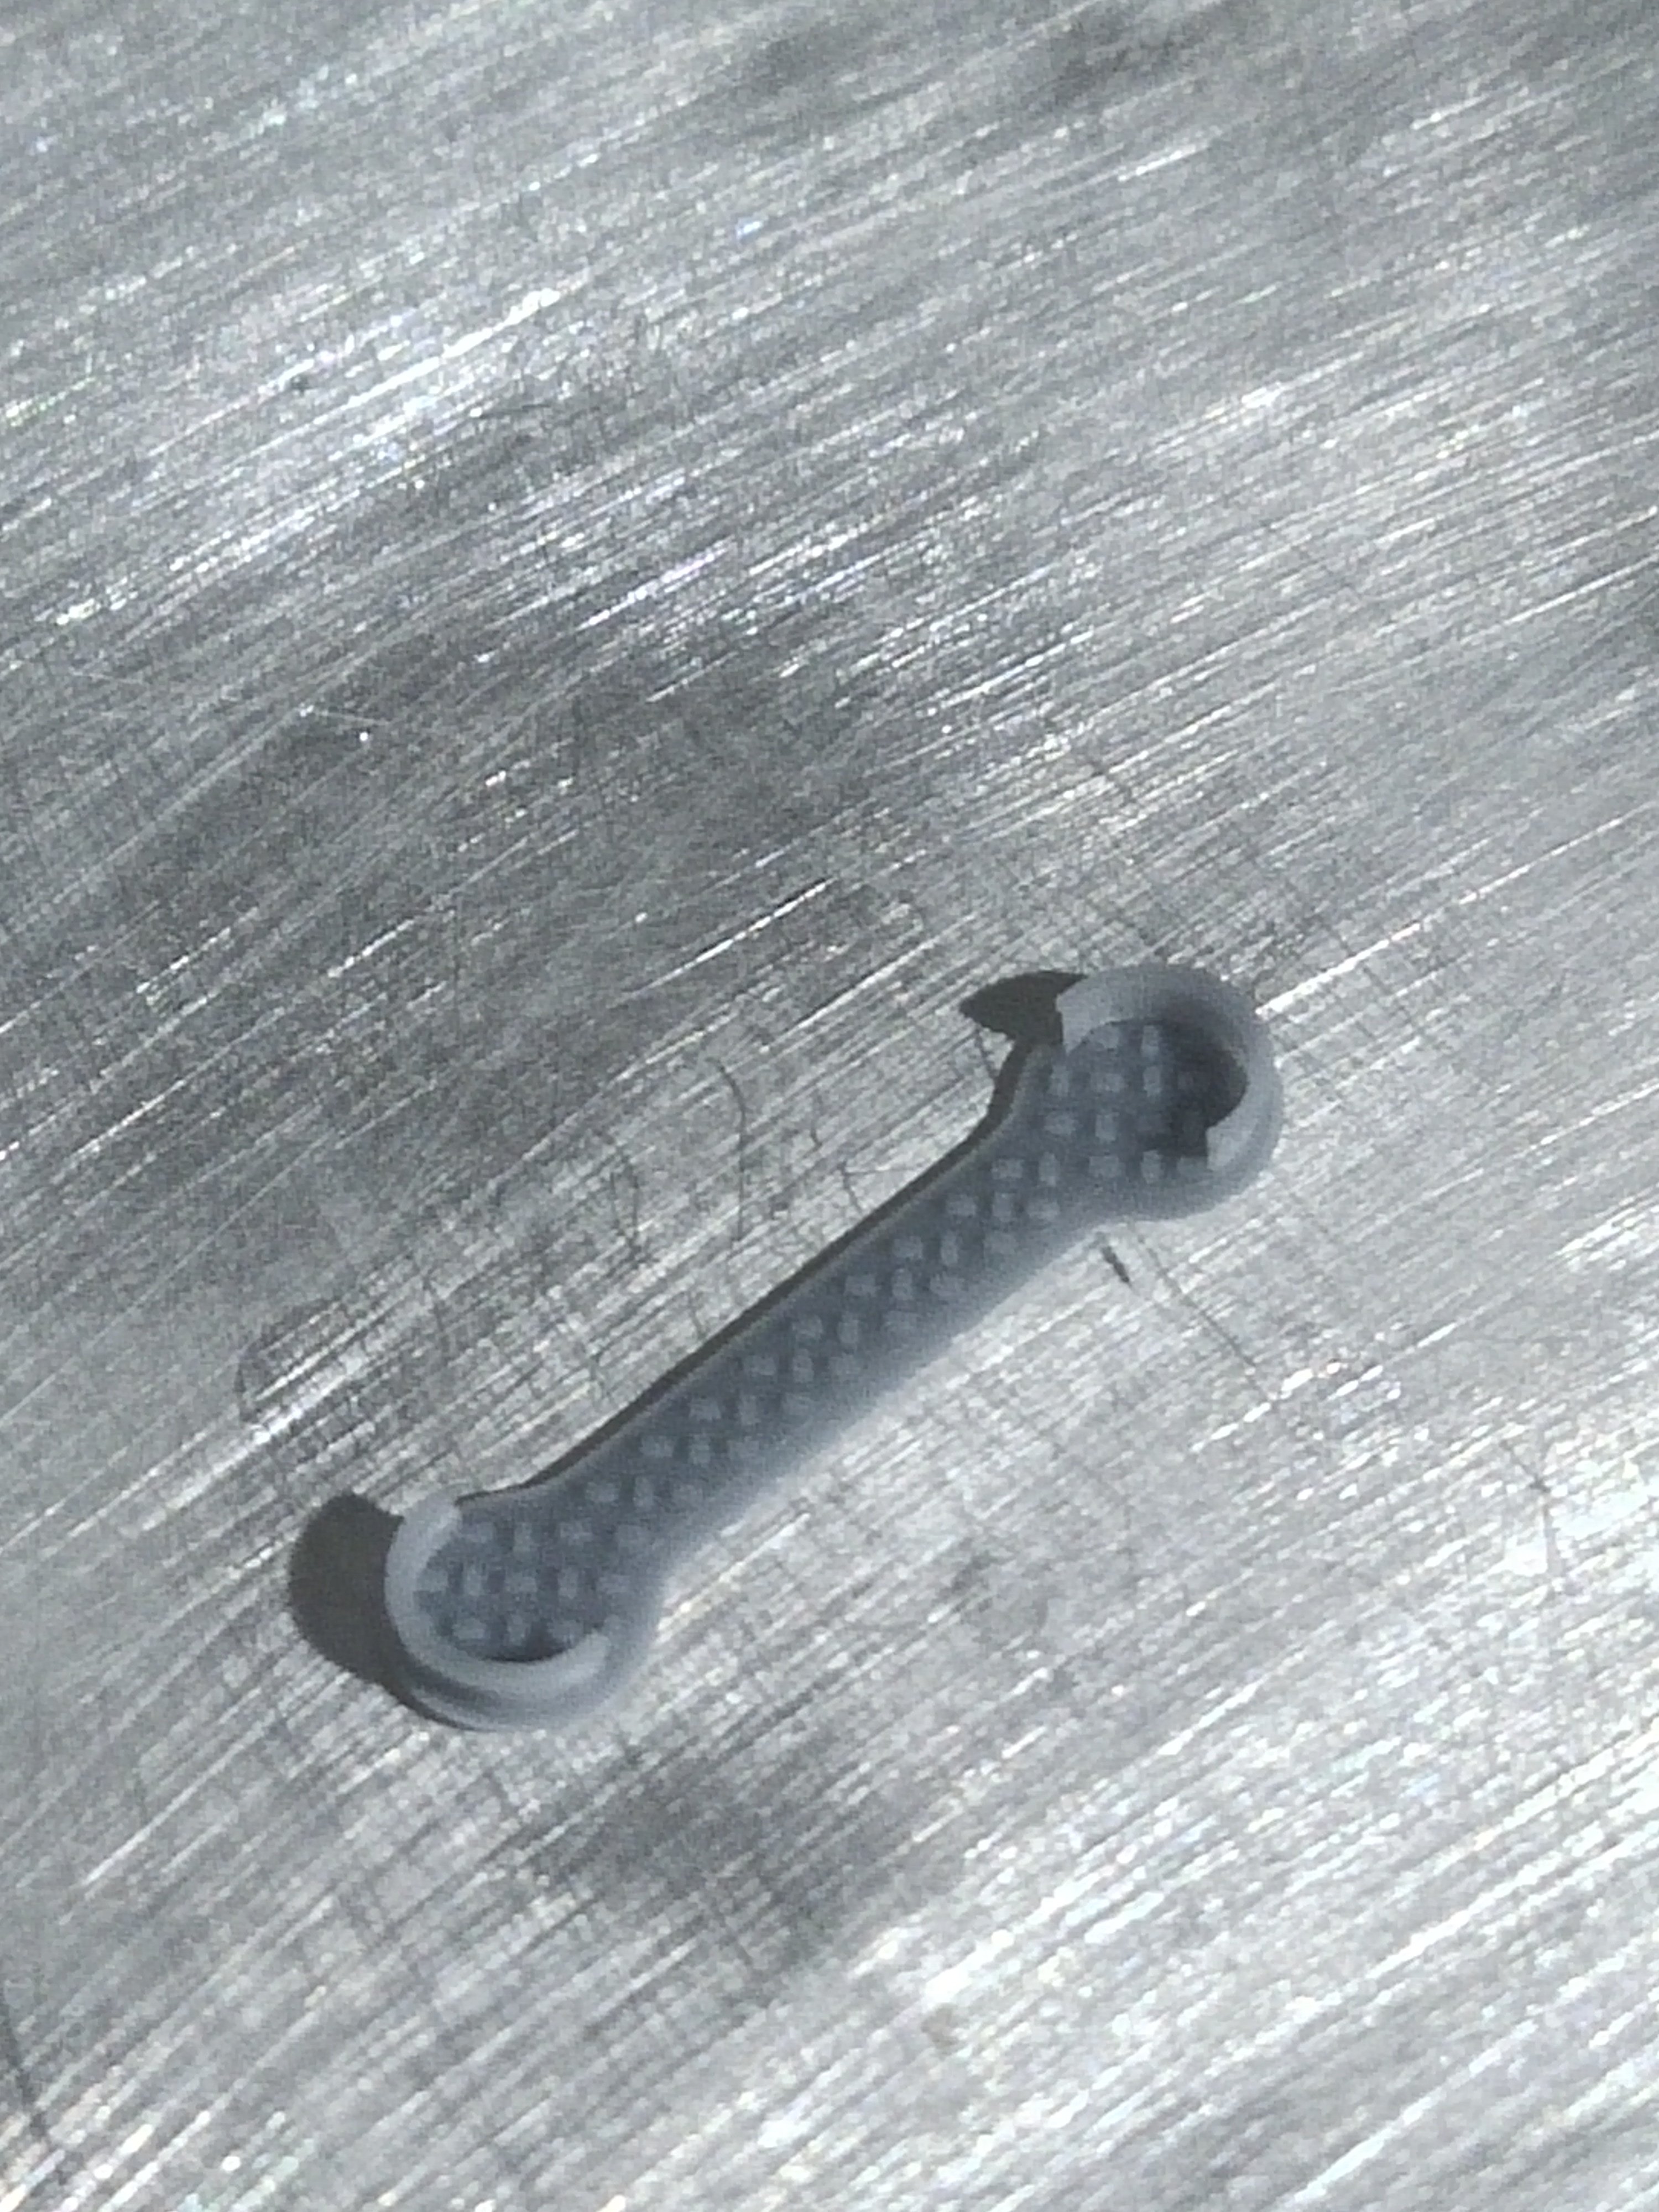
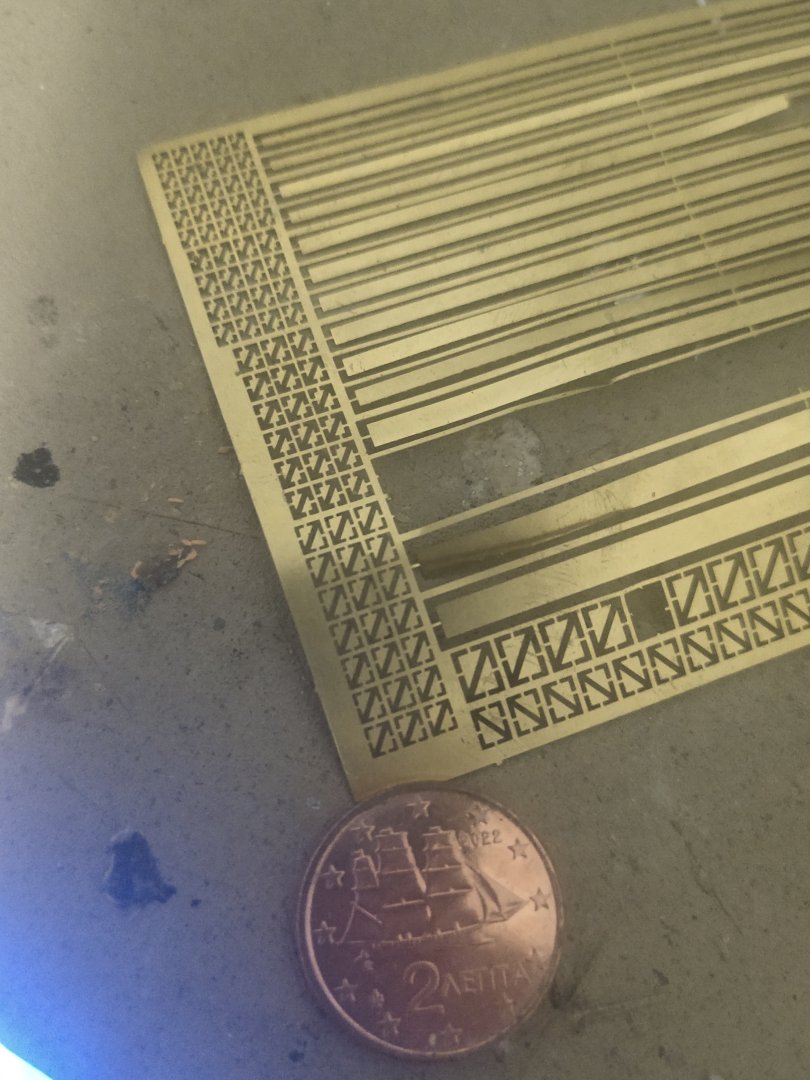
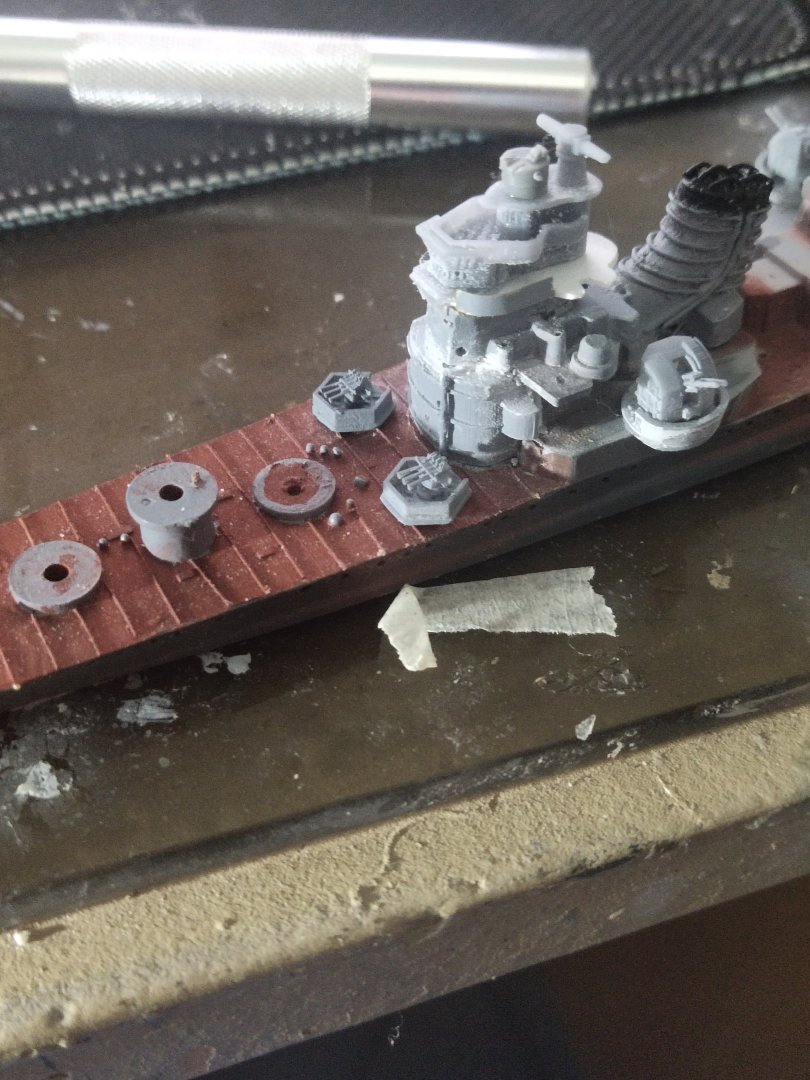
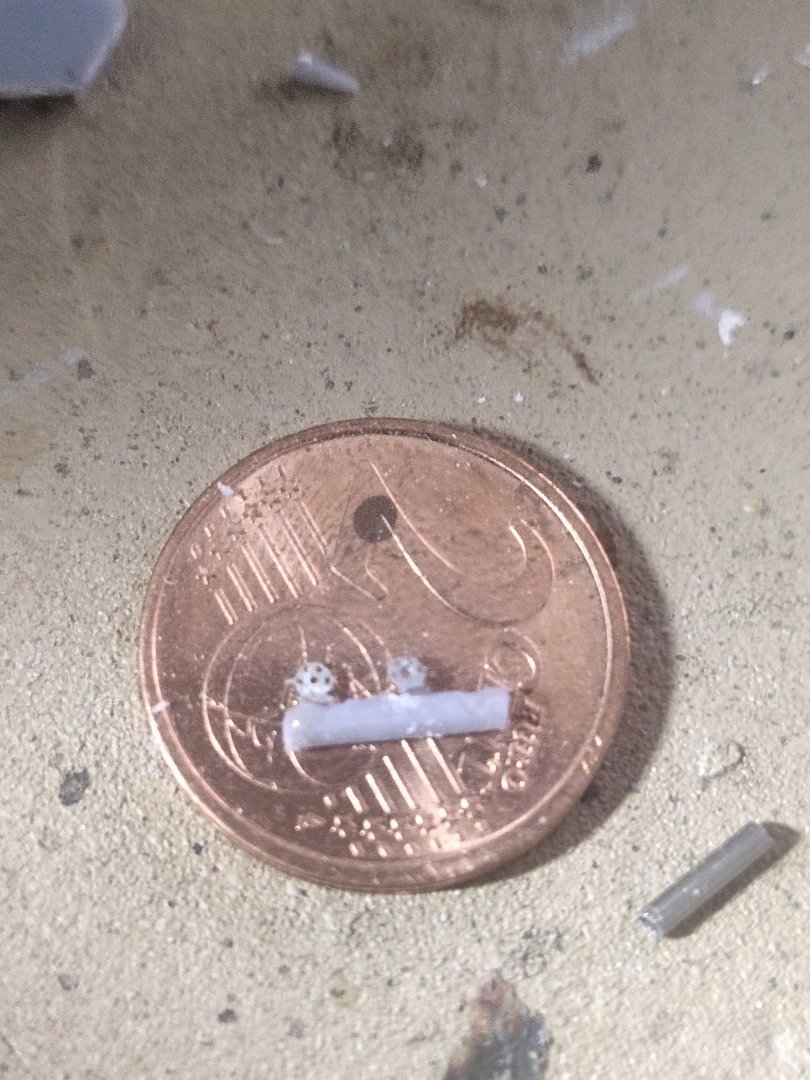
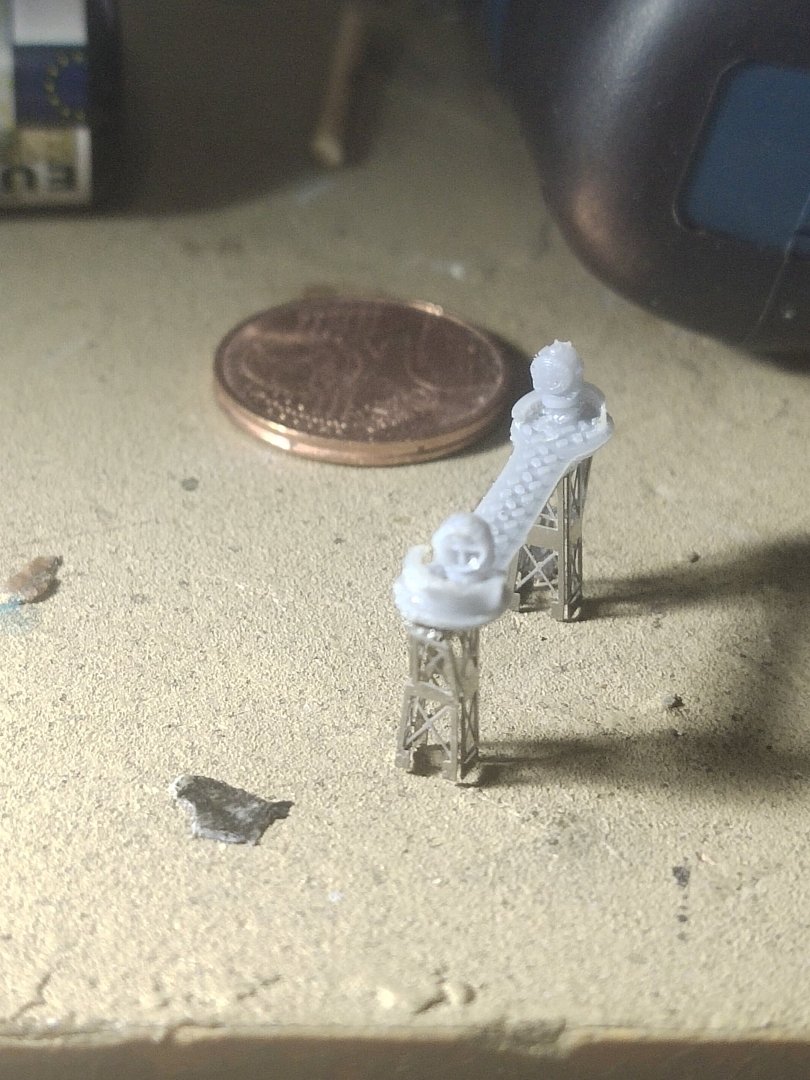
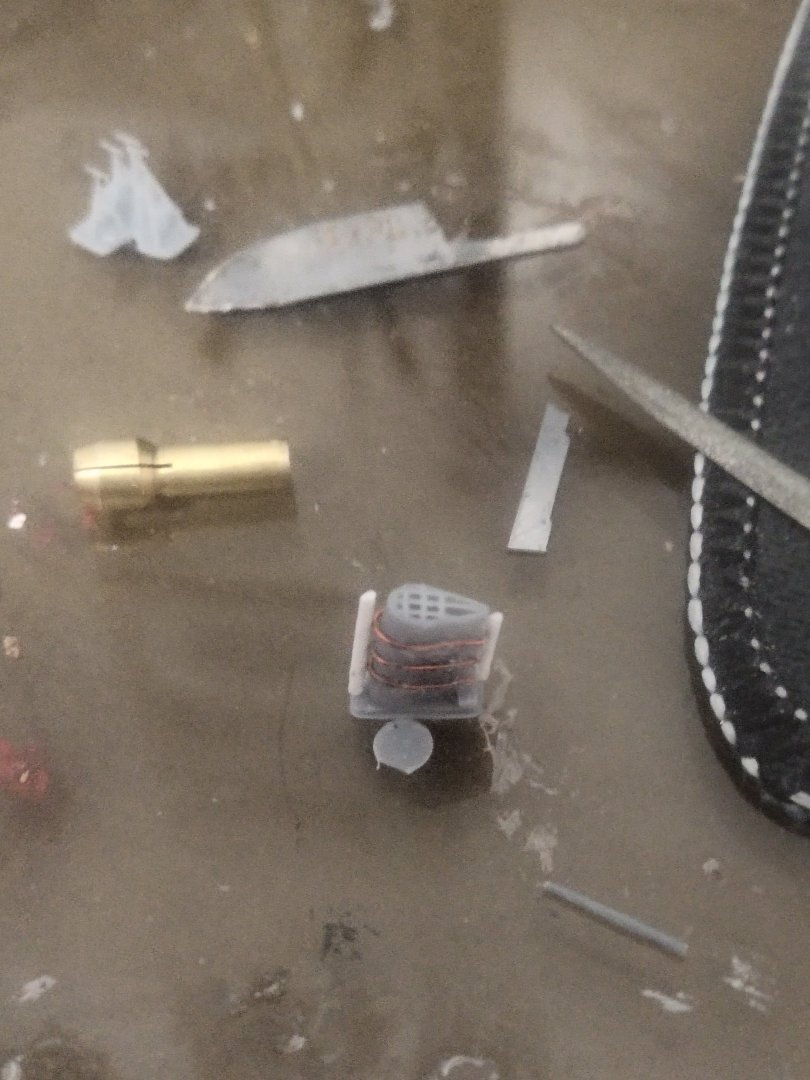
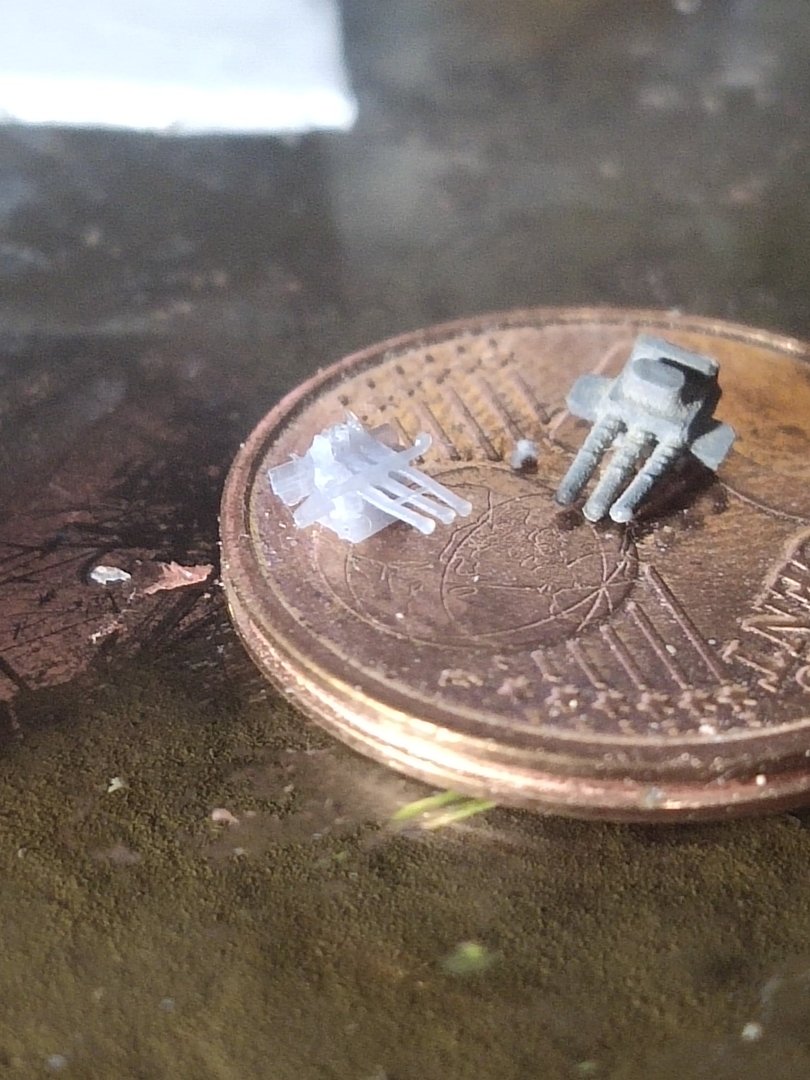
My PE set for triple AA guns are a nightmare. I designed my own, to replace the standard ones. That 2 cent coin looks so huge.
-
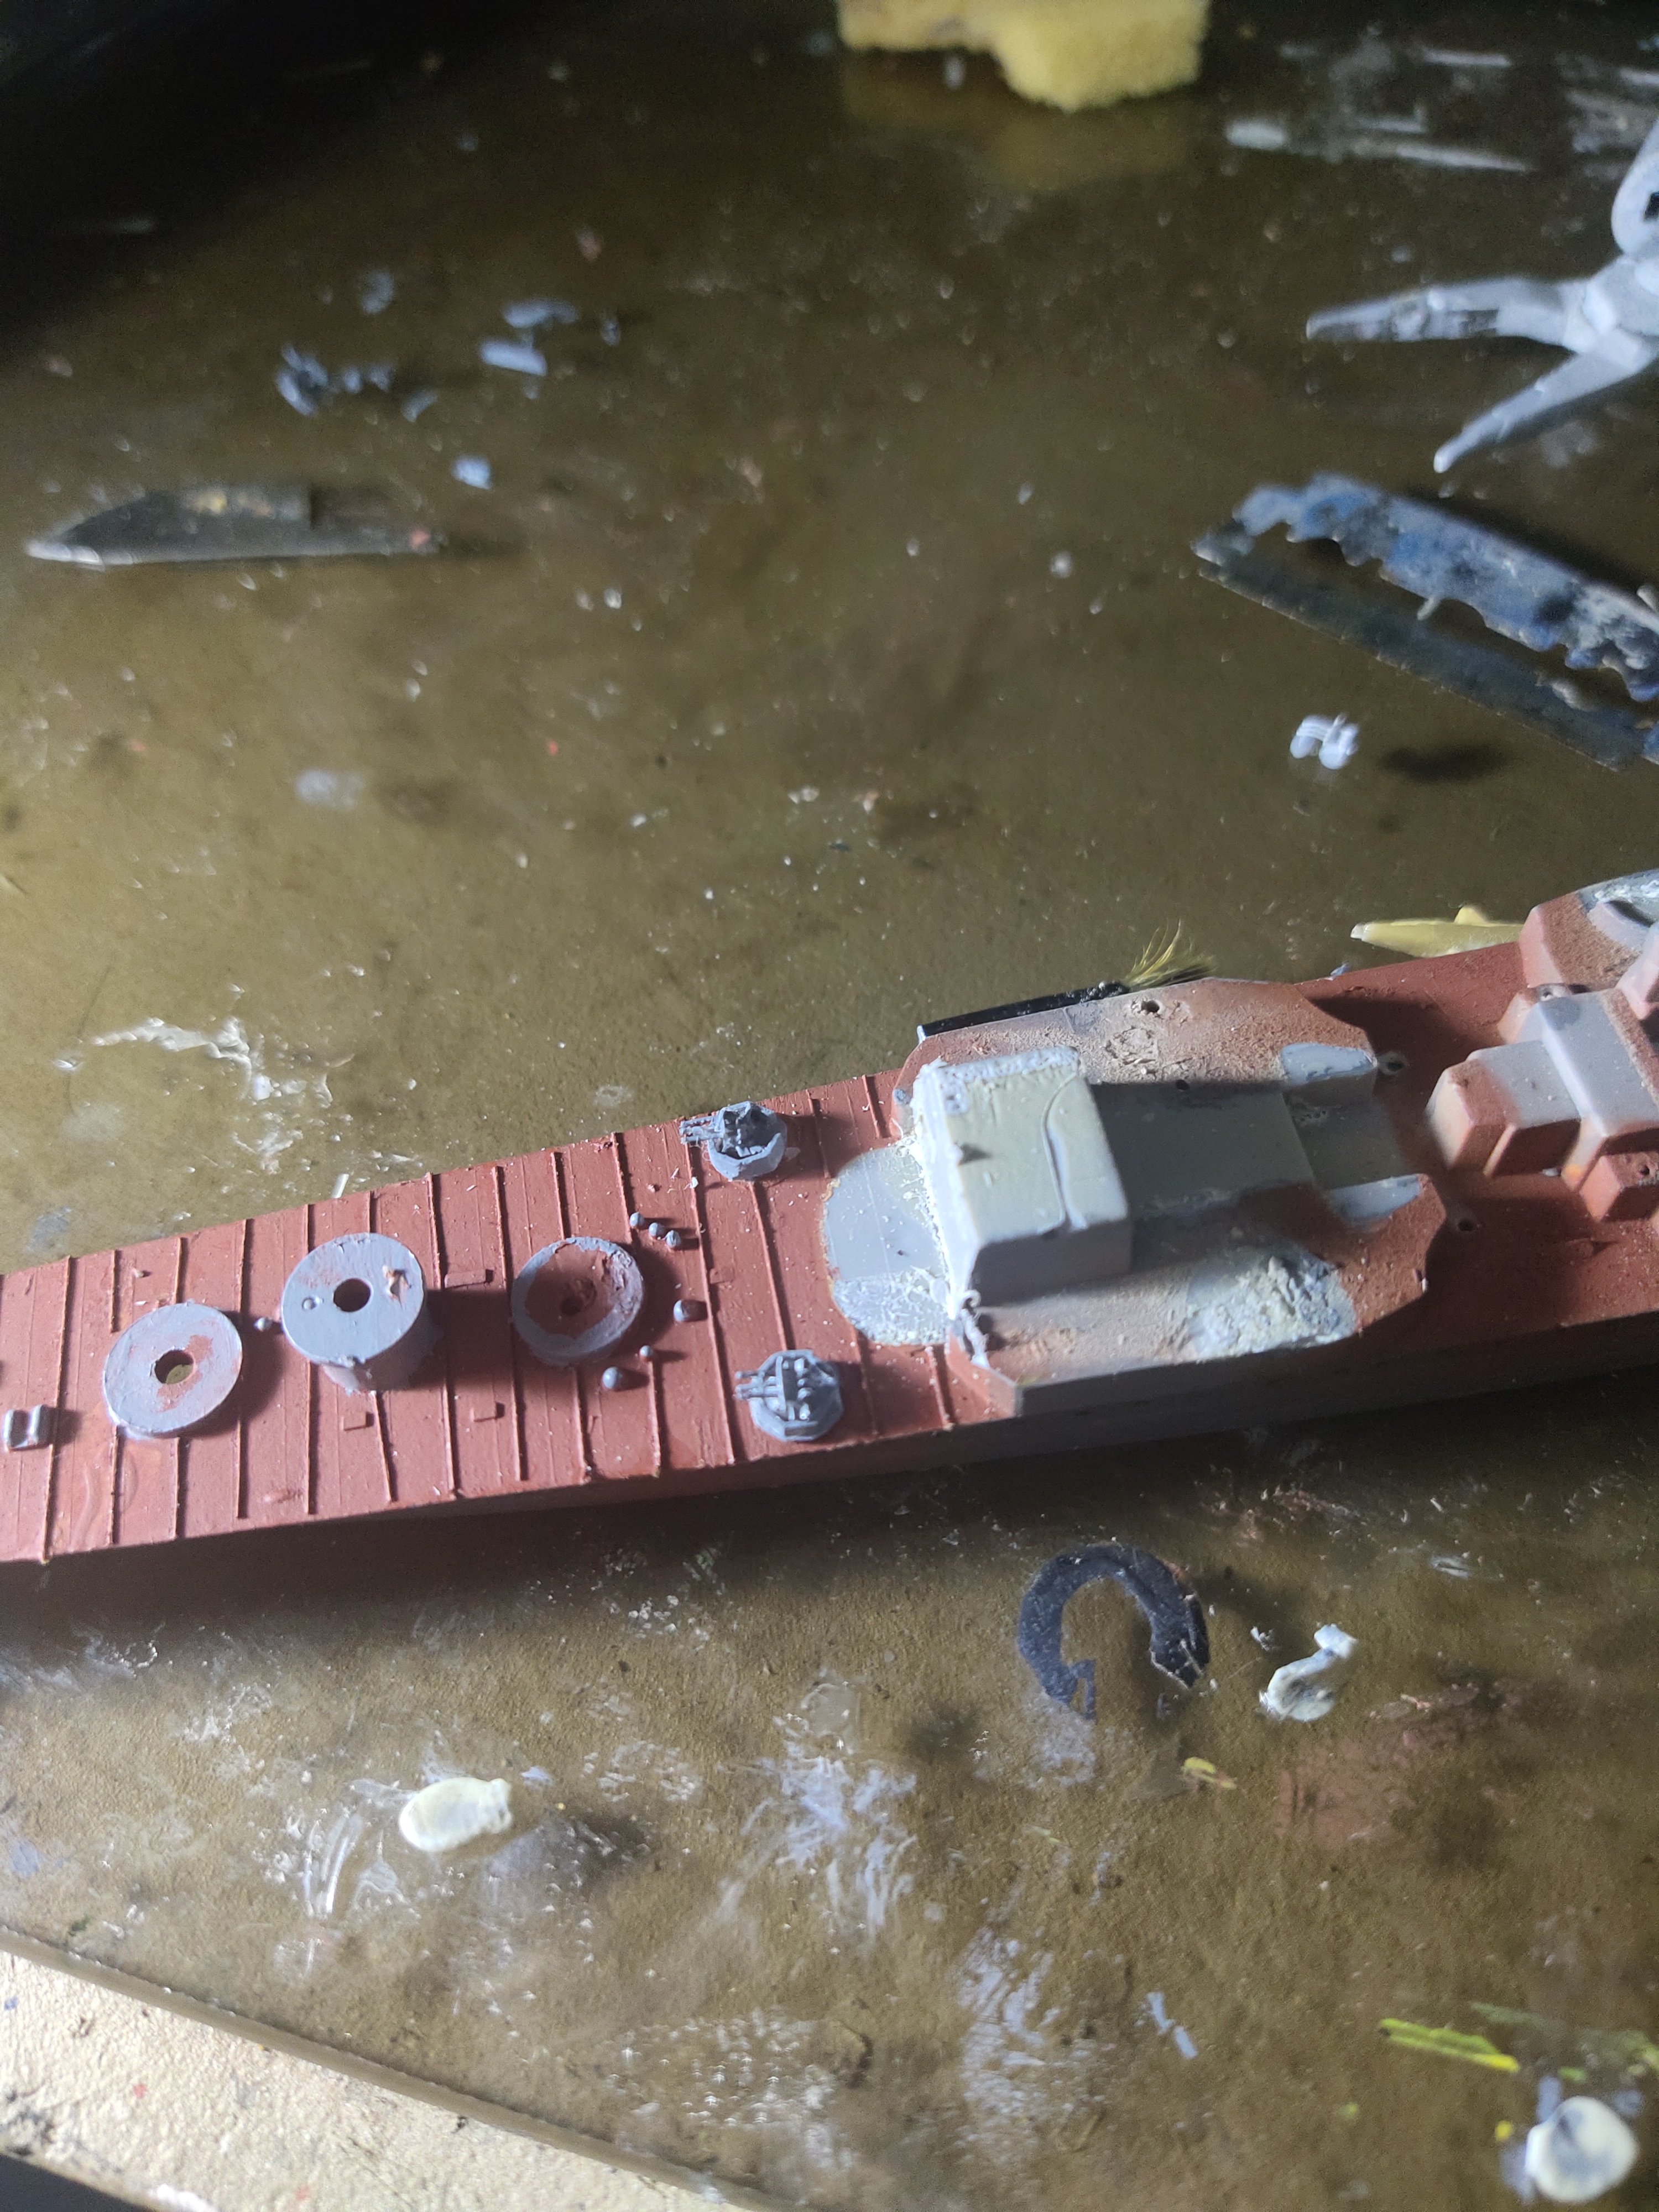
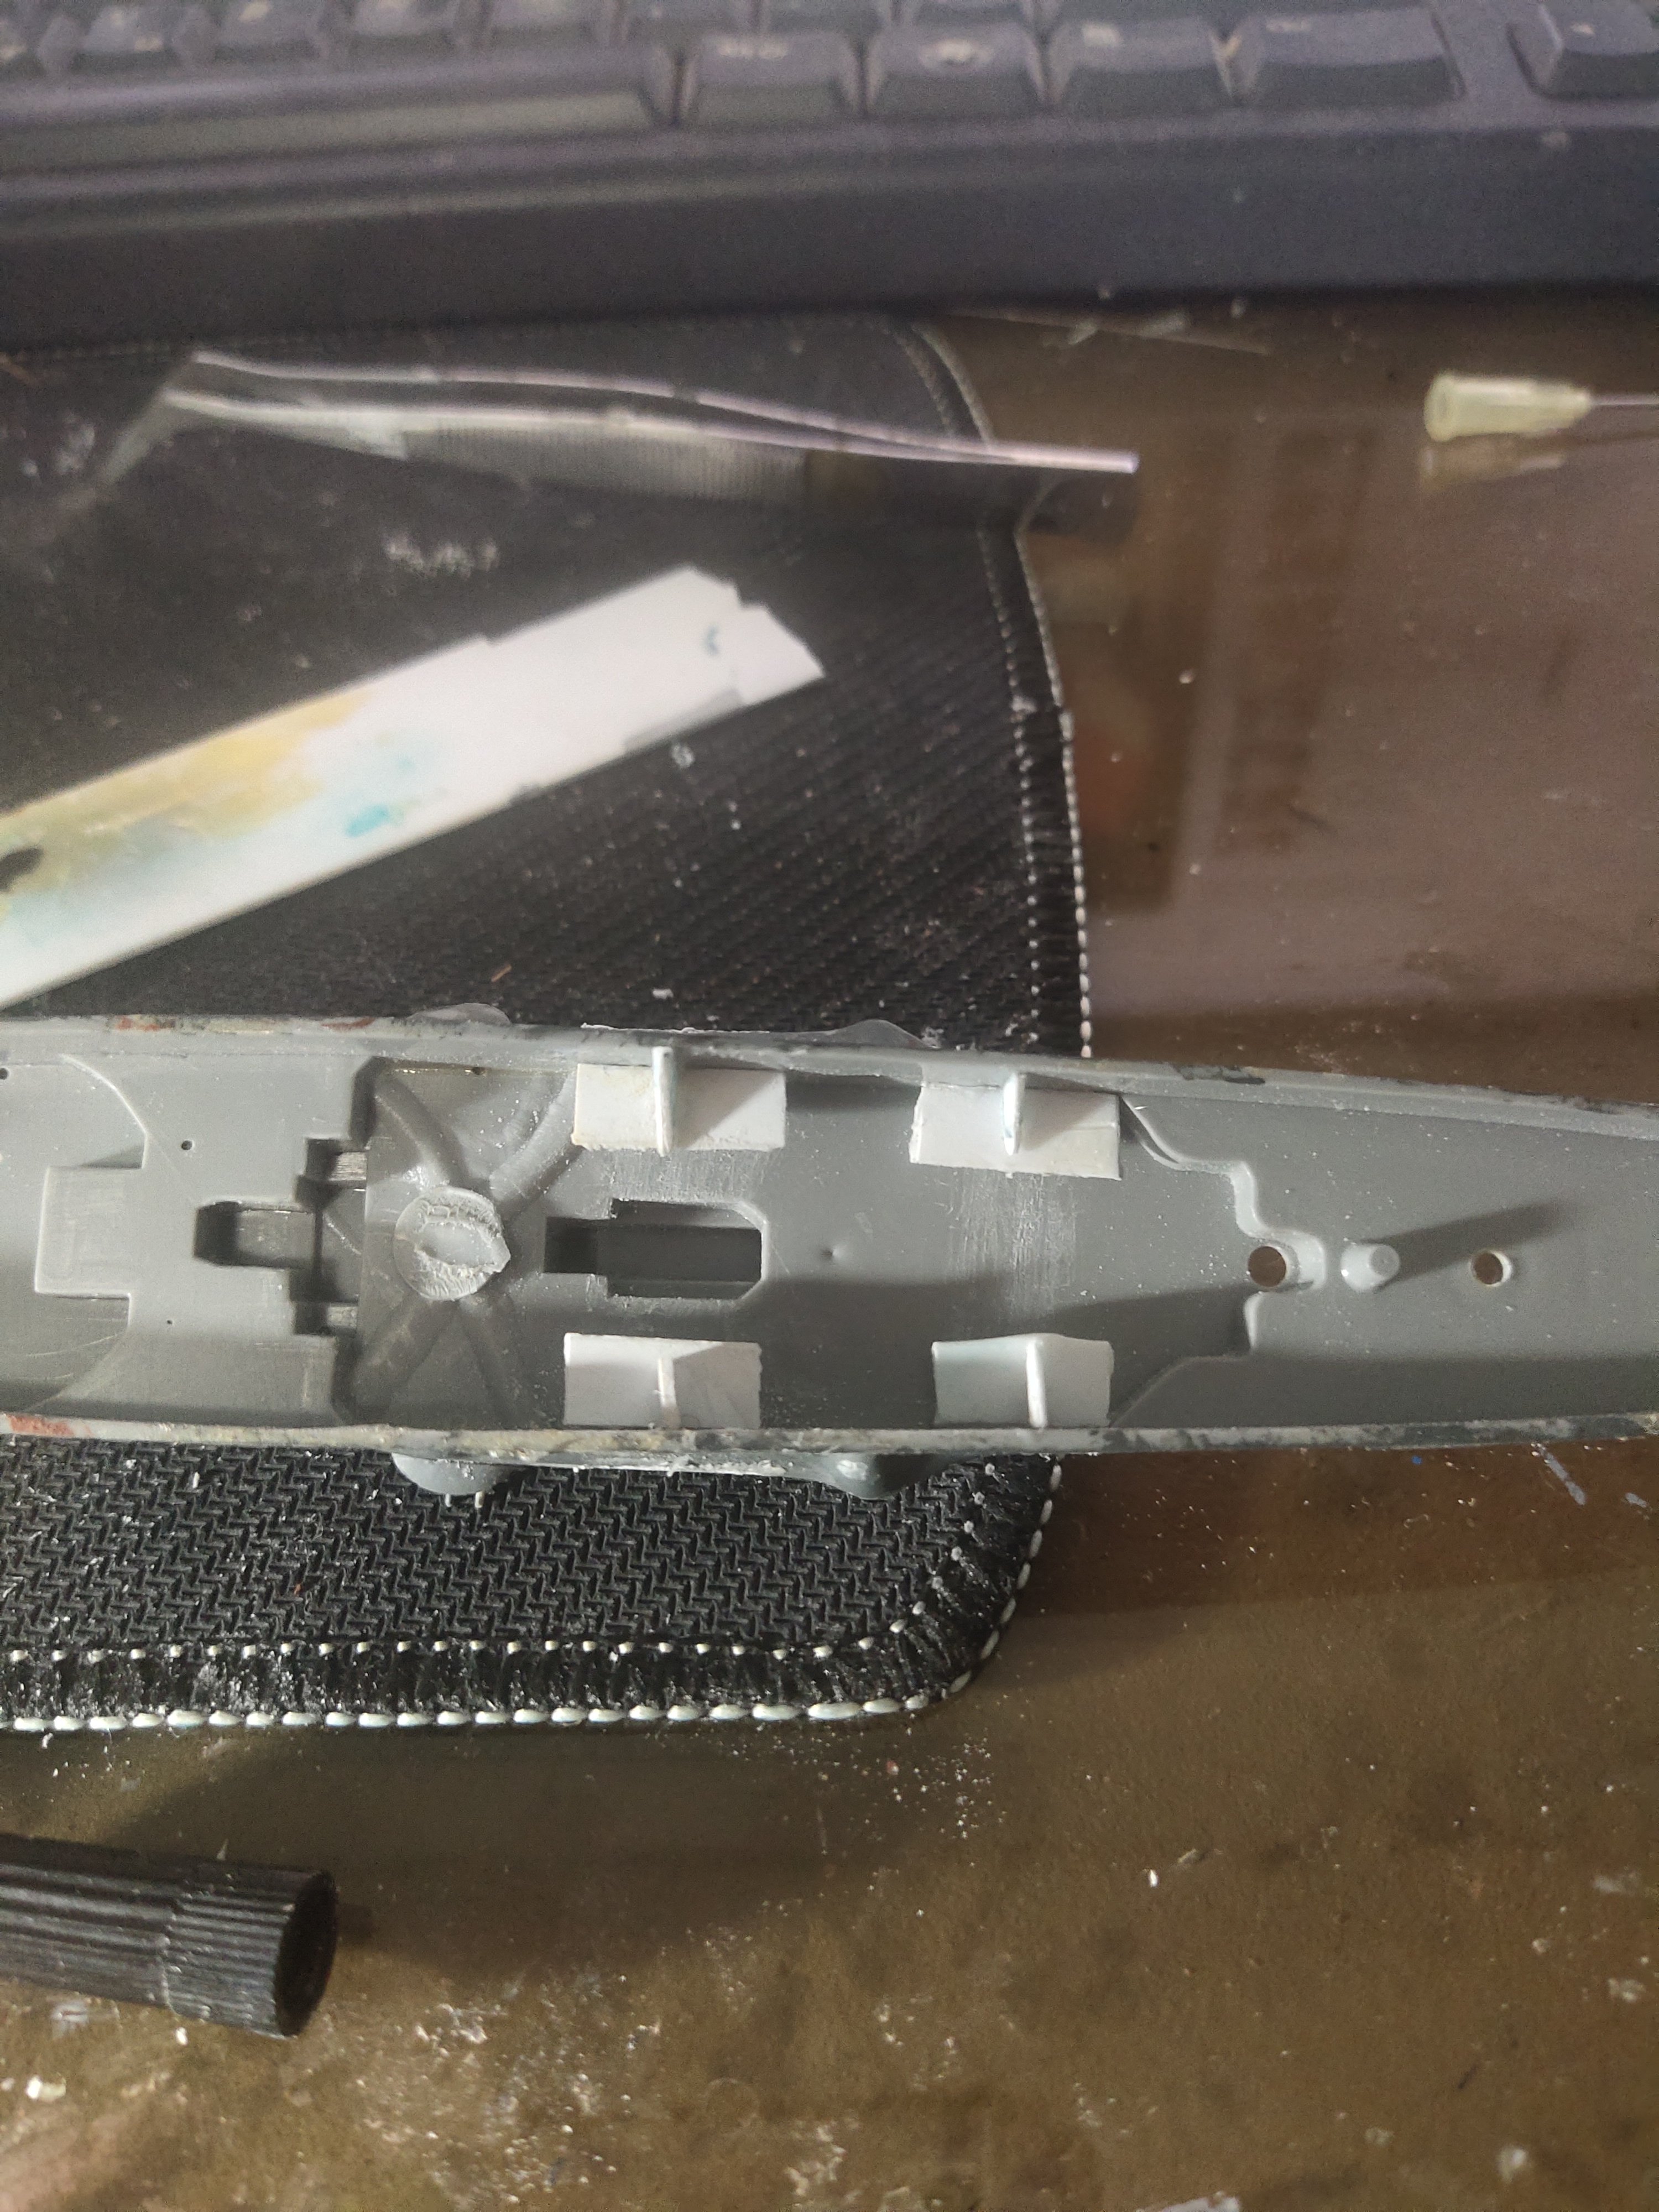
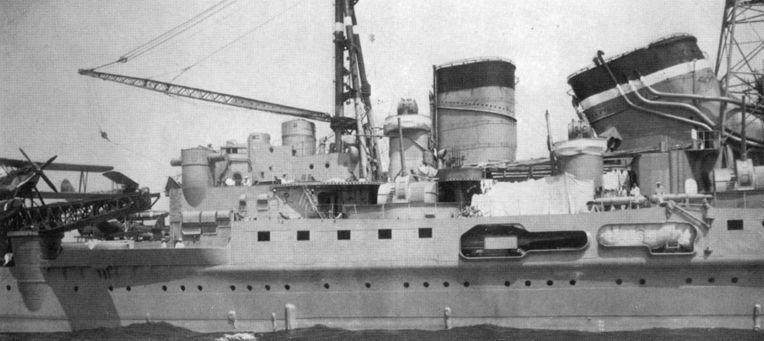
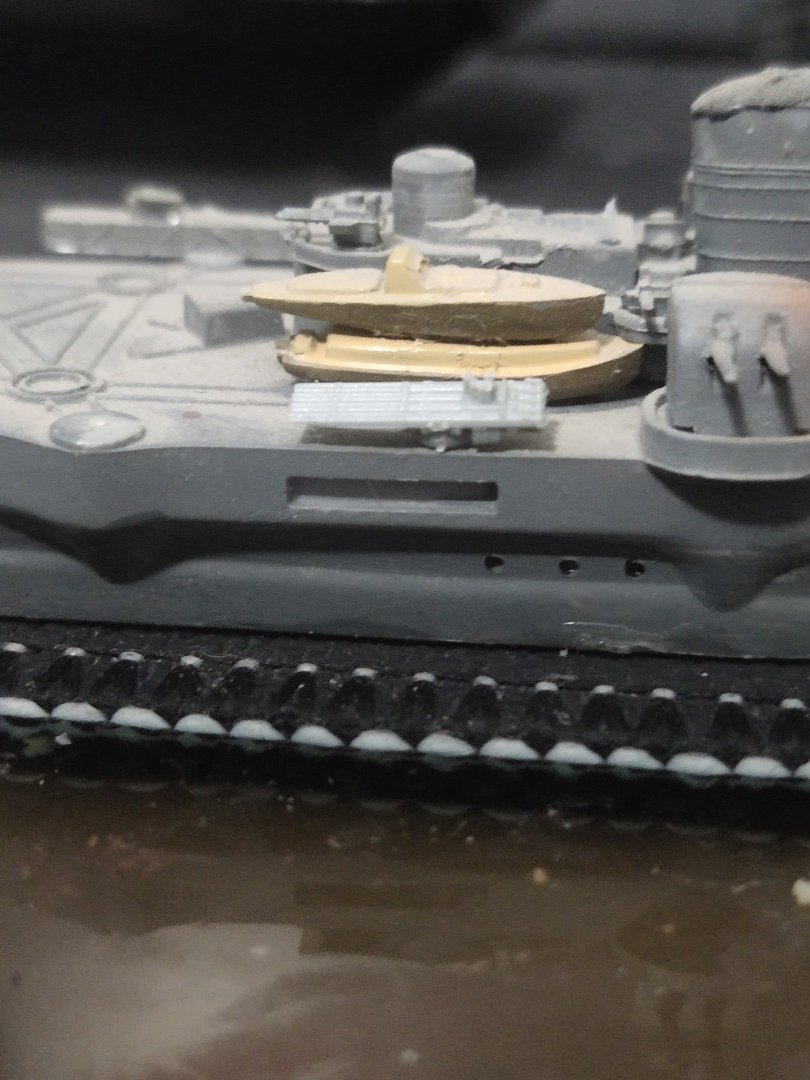
It seems that Takao class is using a different type of torpedo tubes and the shape of the room is similar. This confused me a bit The Haguro class uses a different weapon and the torpedo "cave" is just a rectangle I ended up removing the wire and add some putty before paint it
-
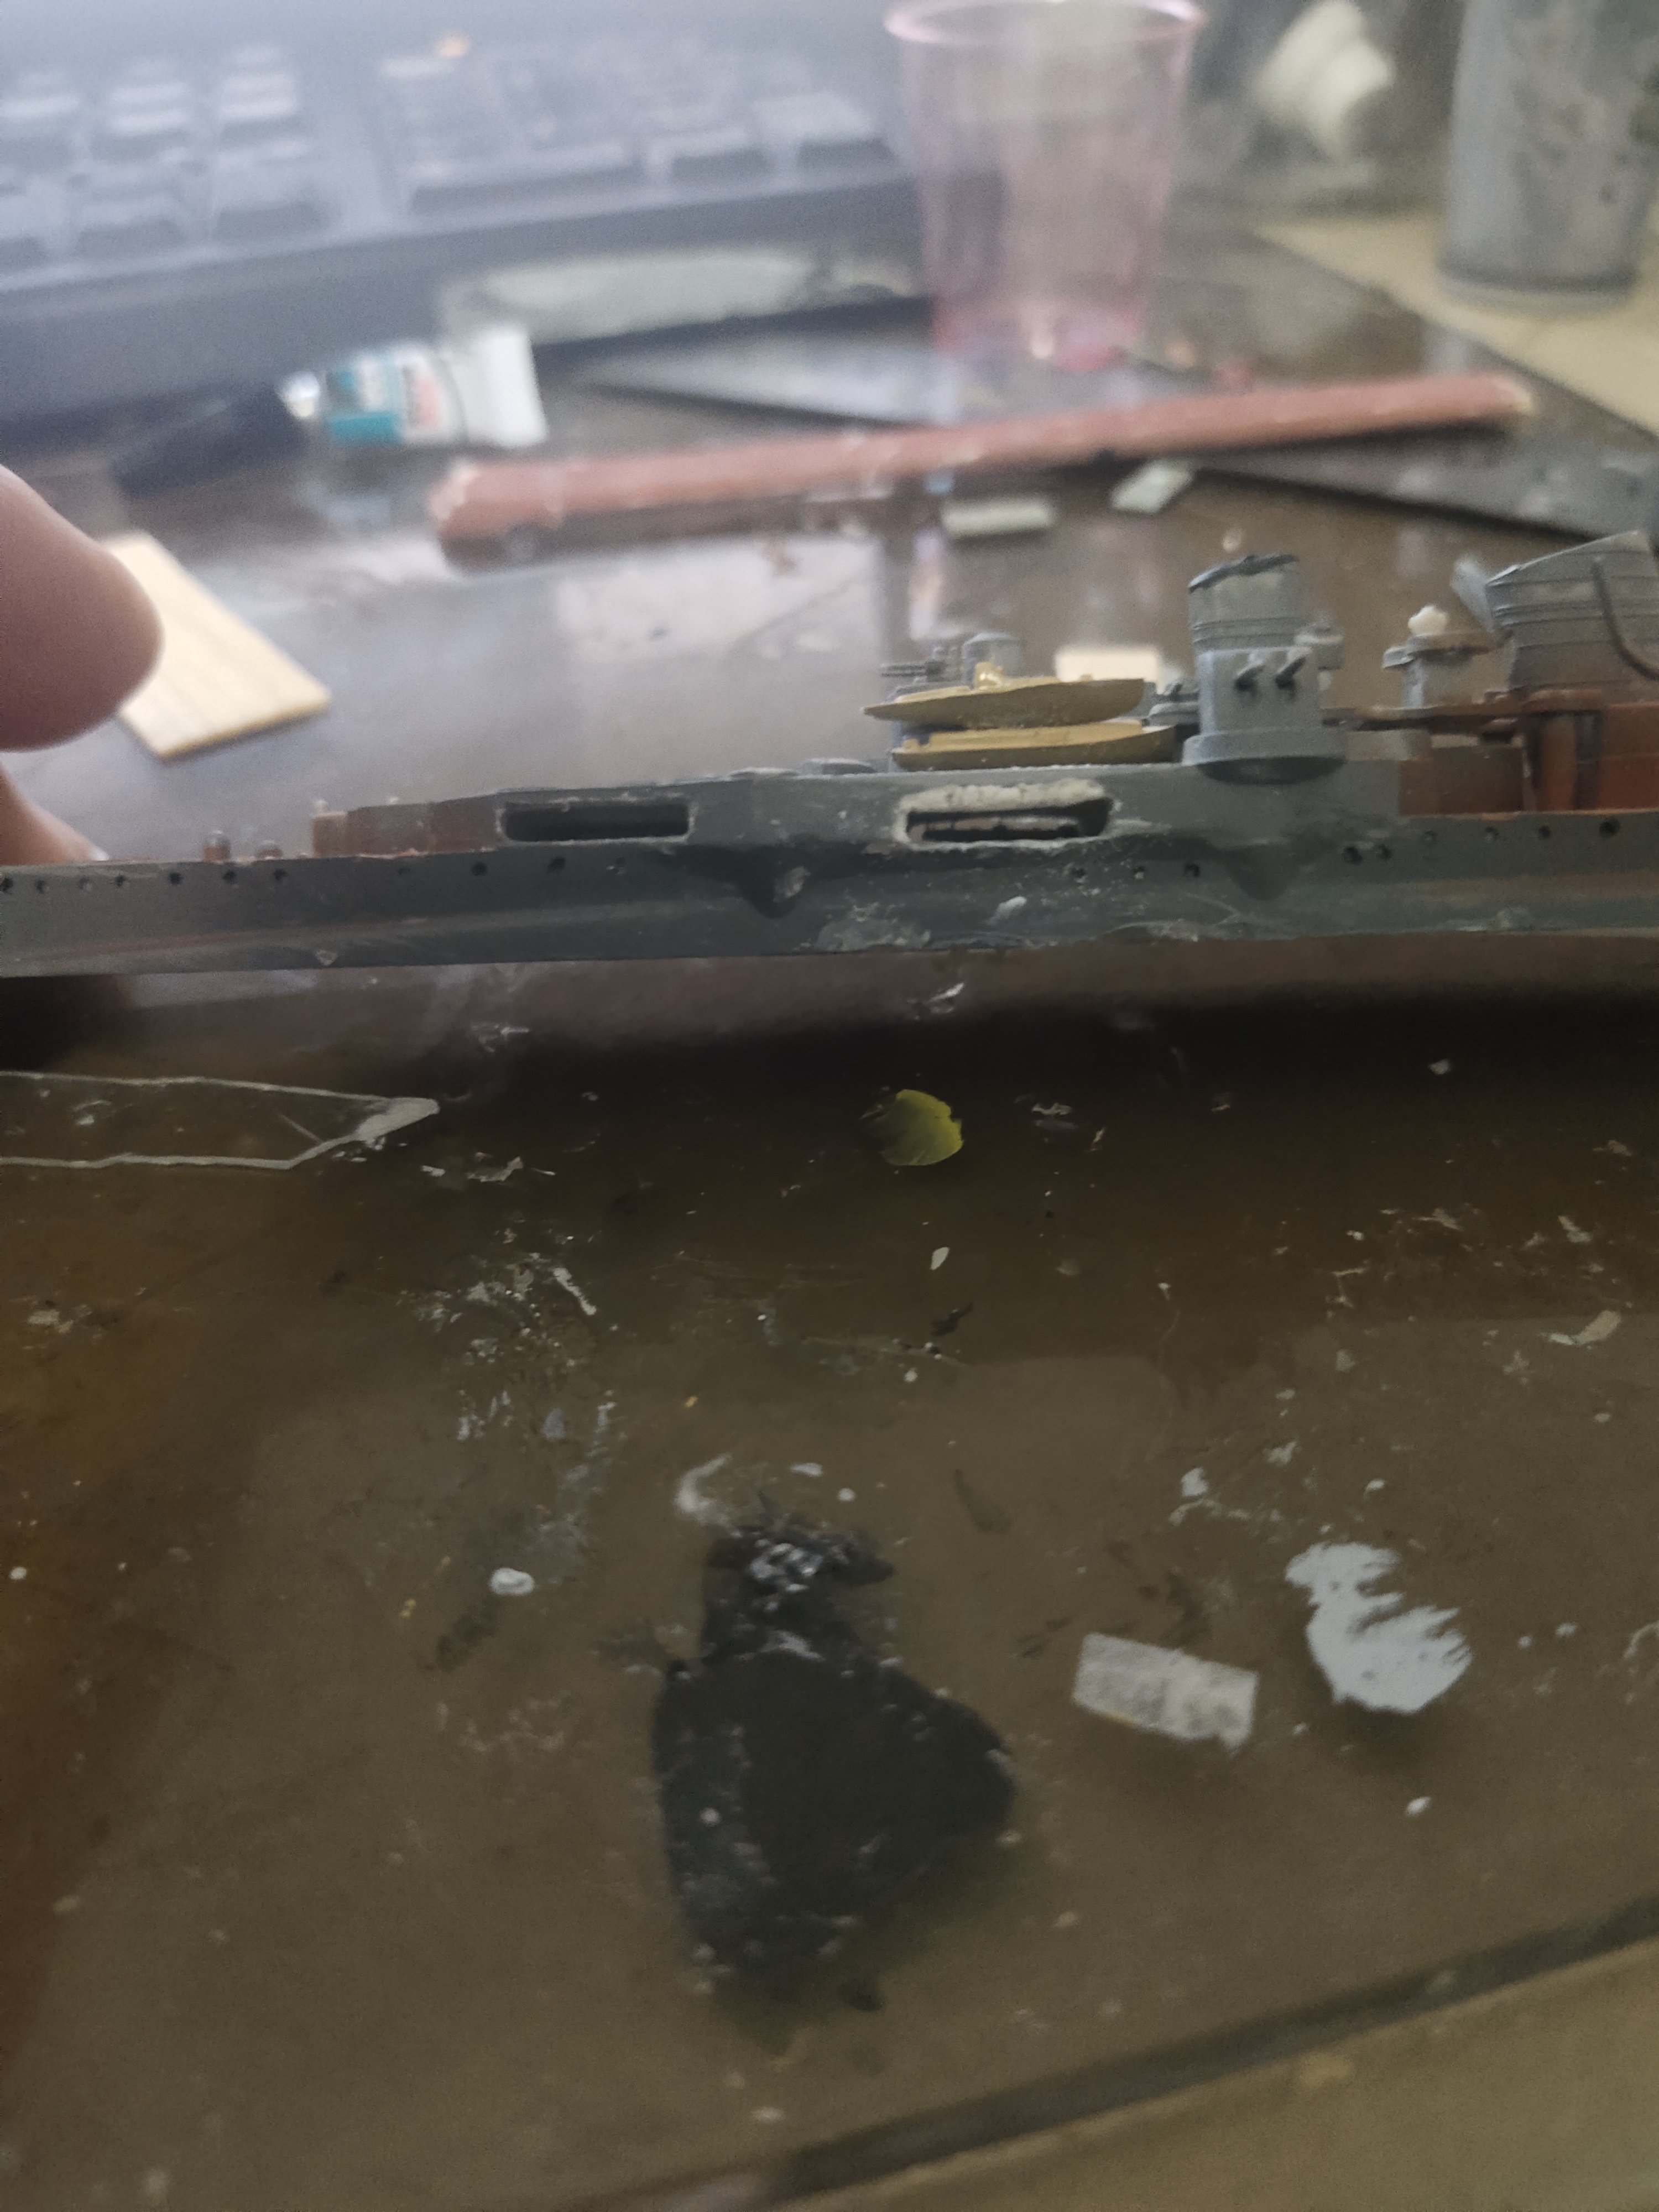
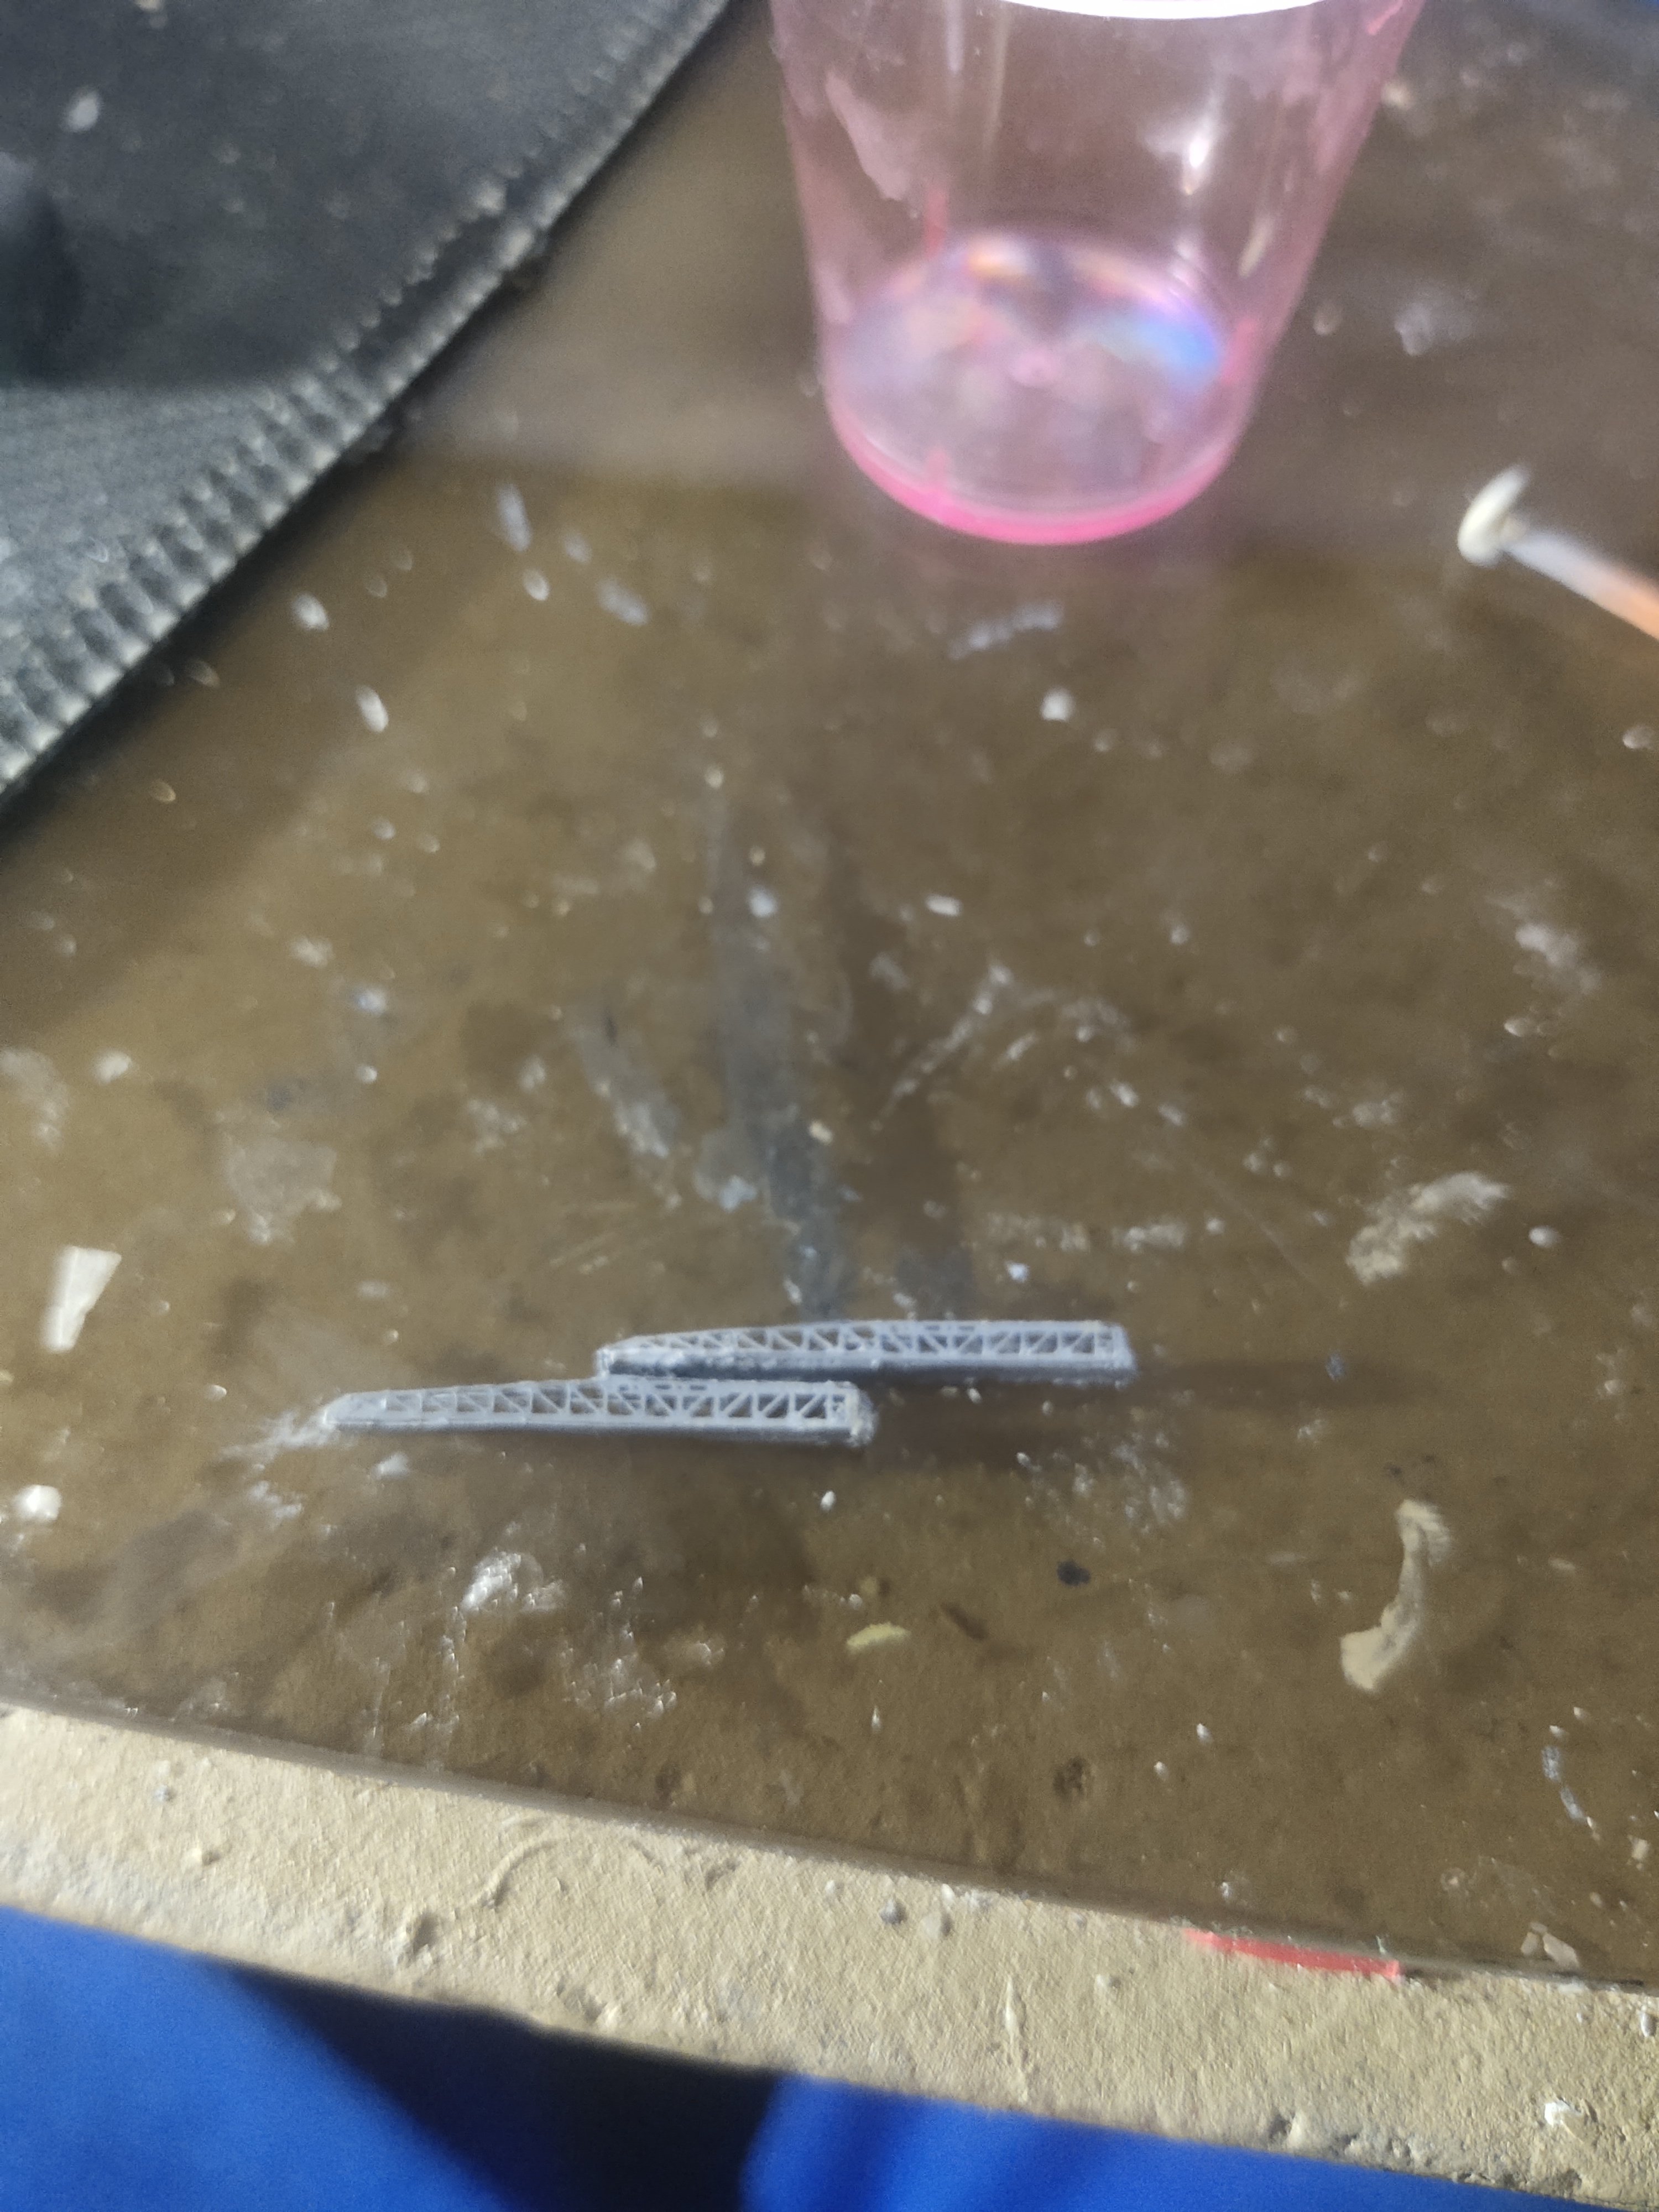
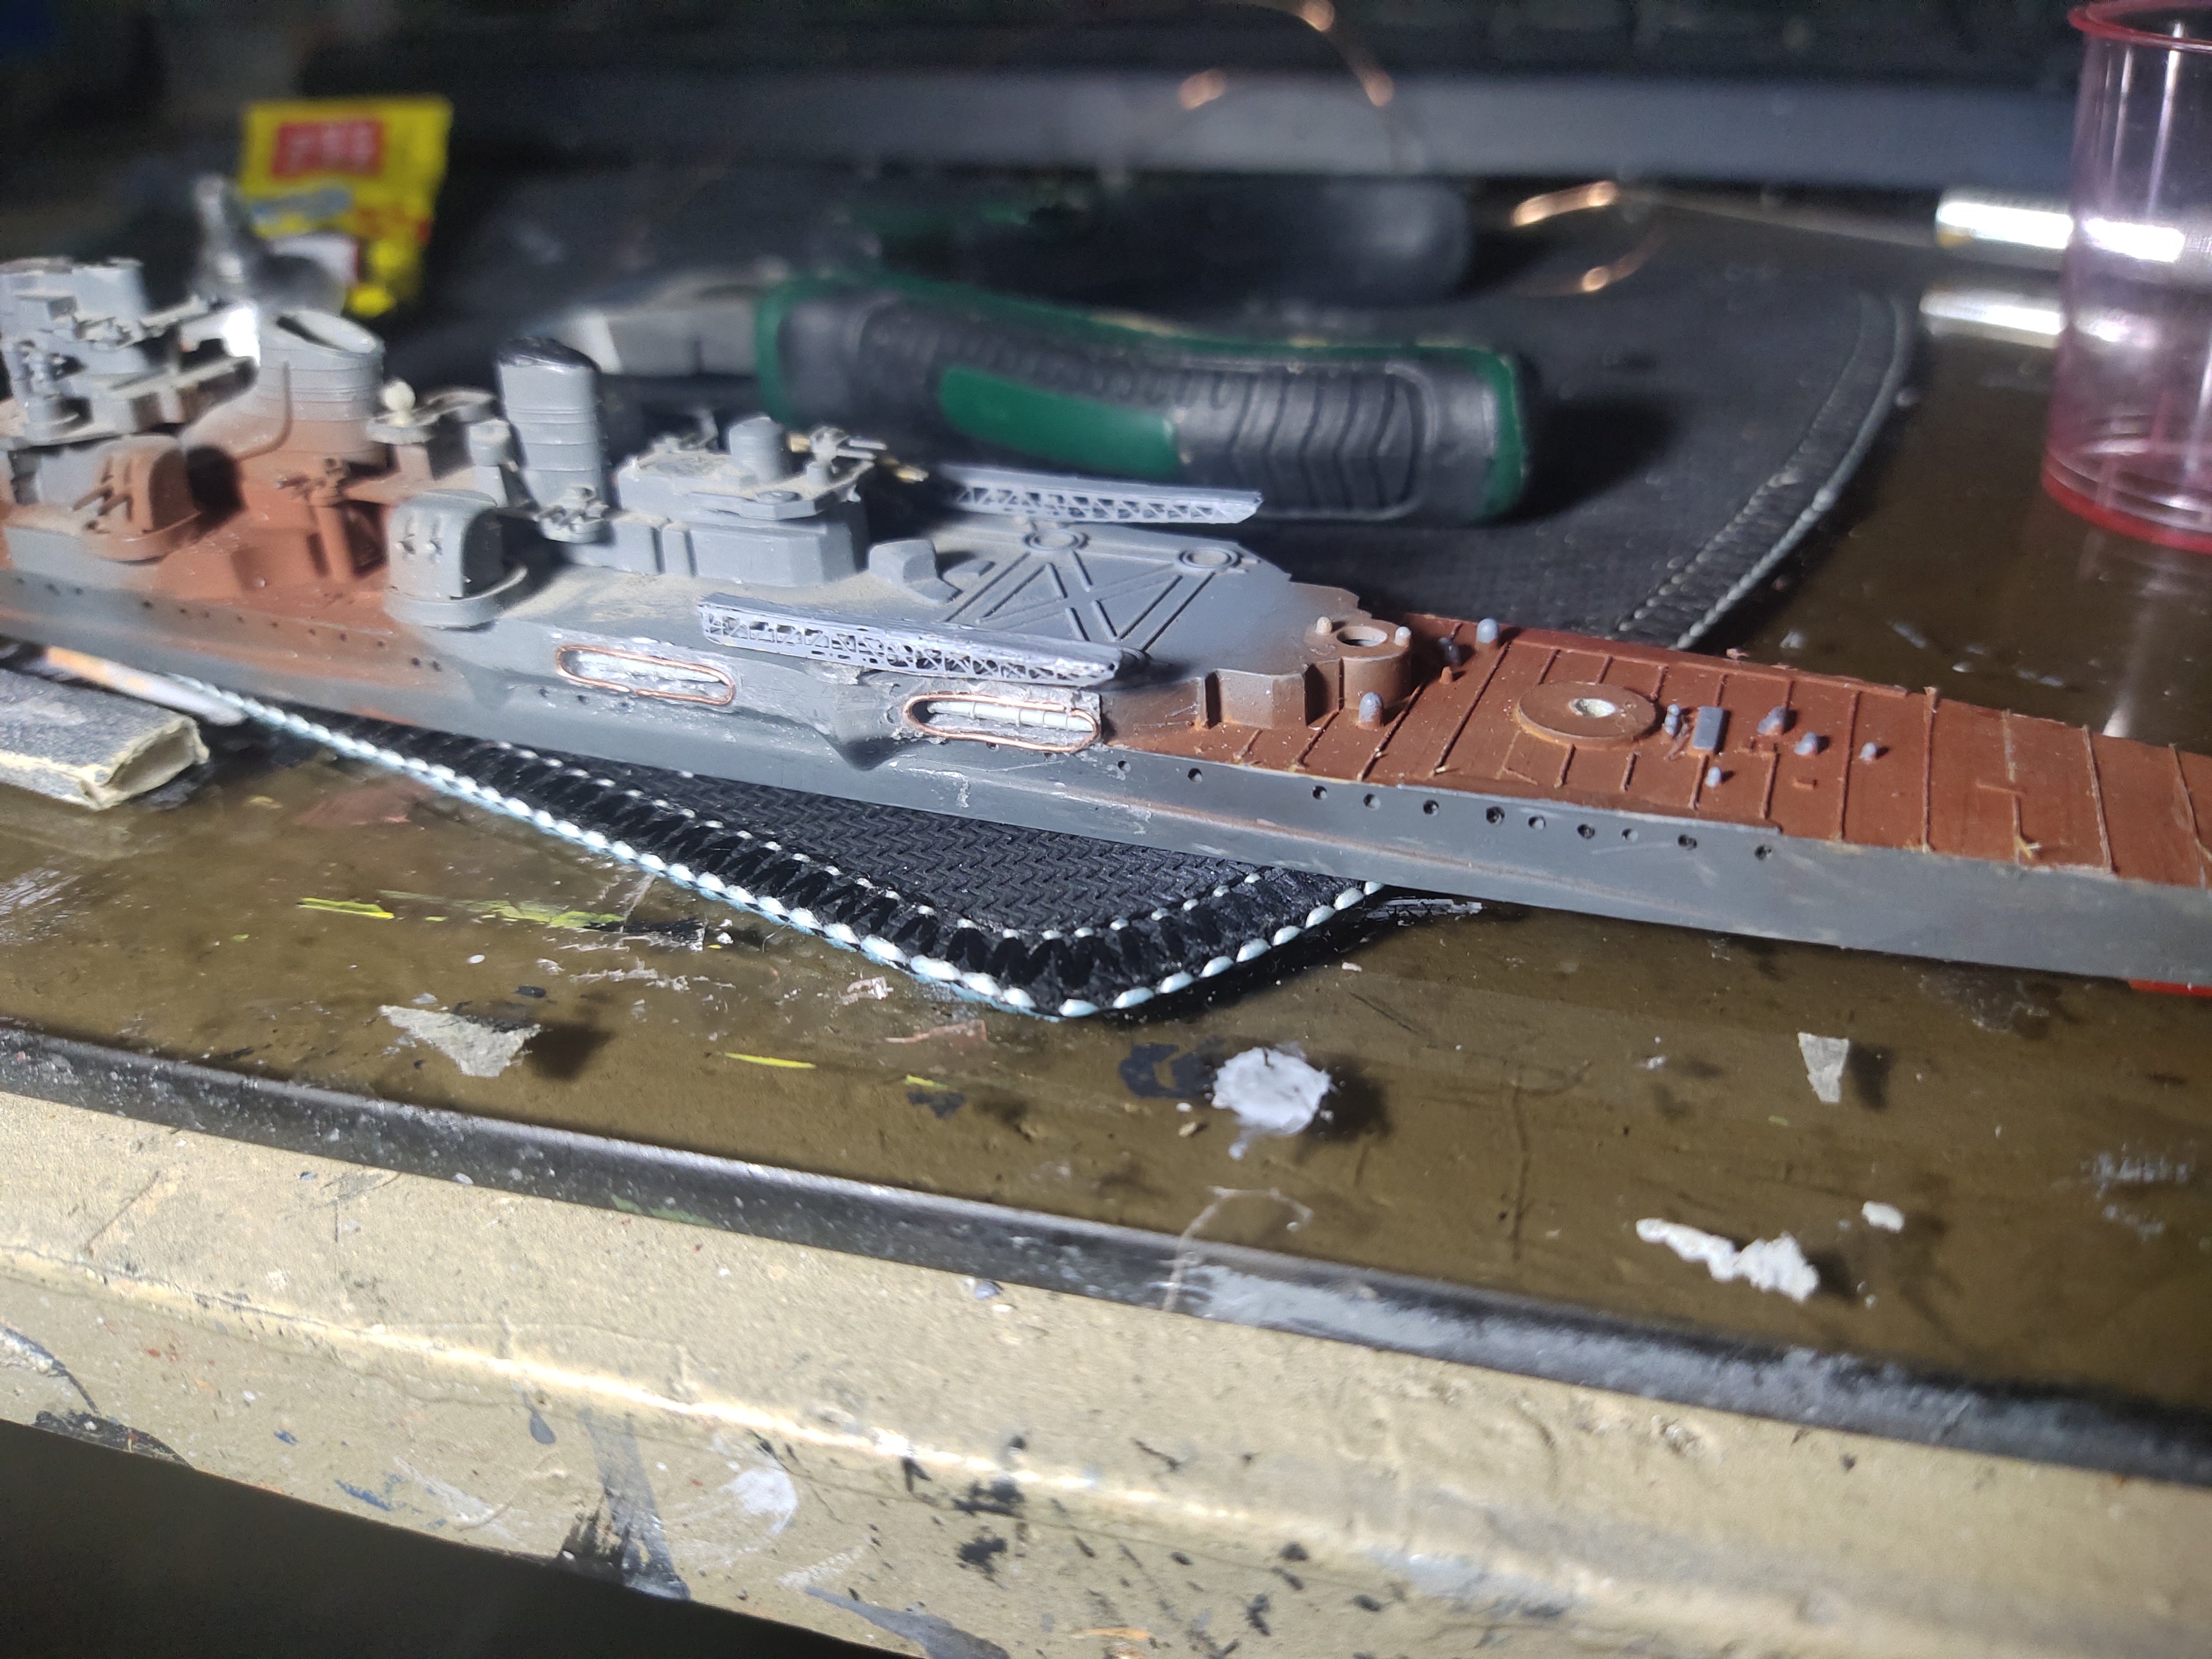
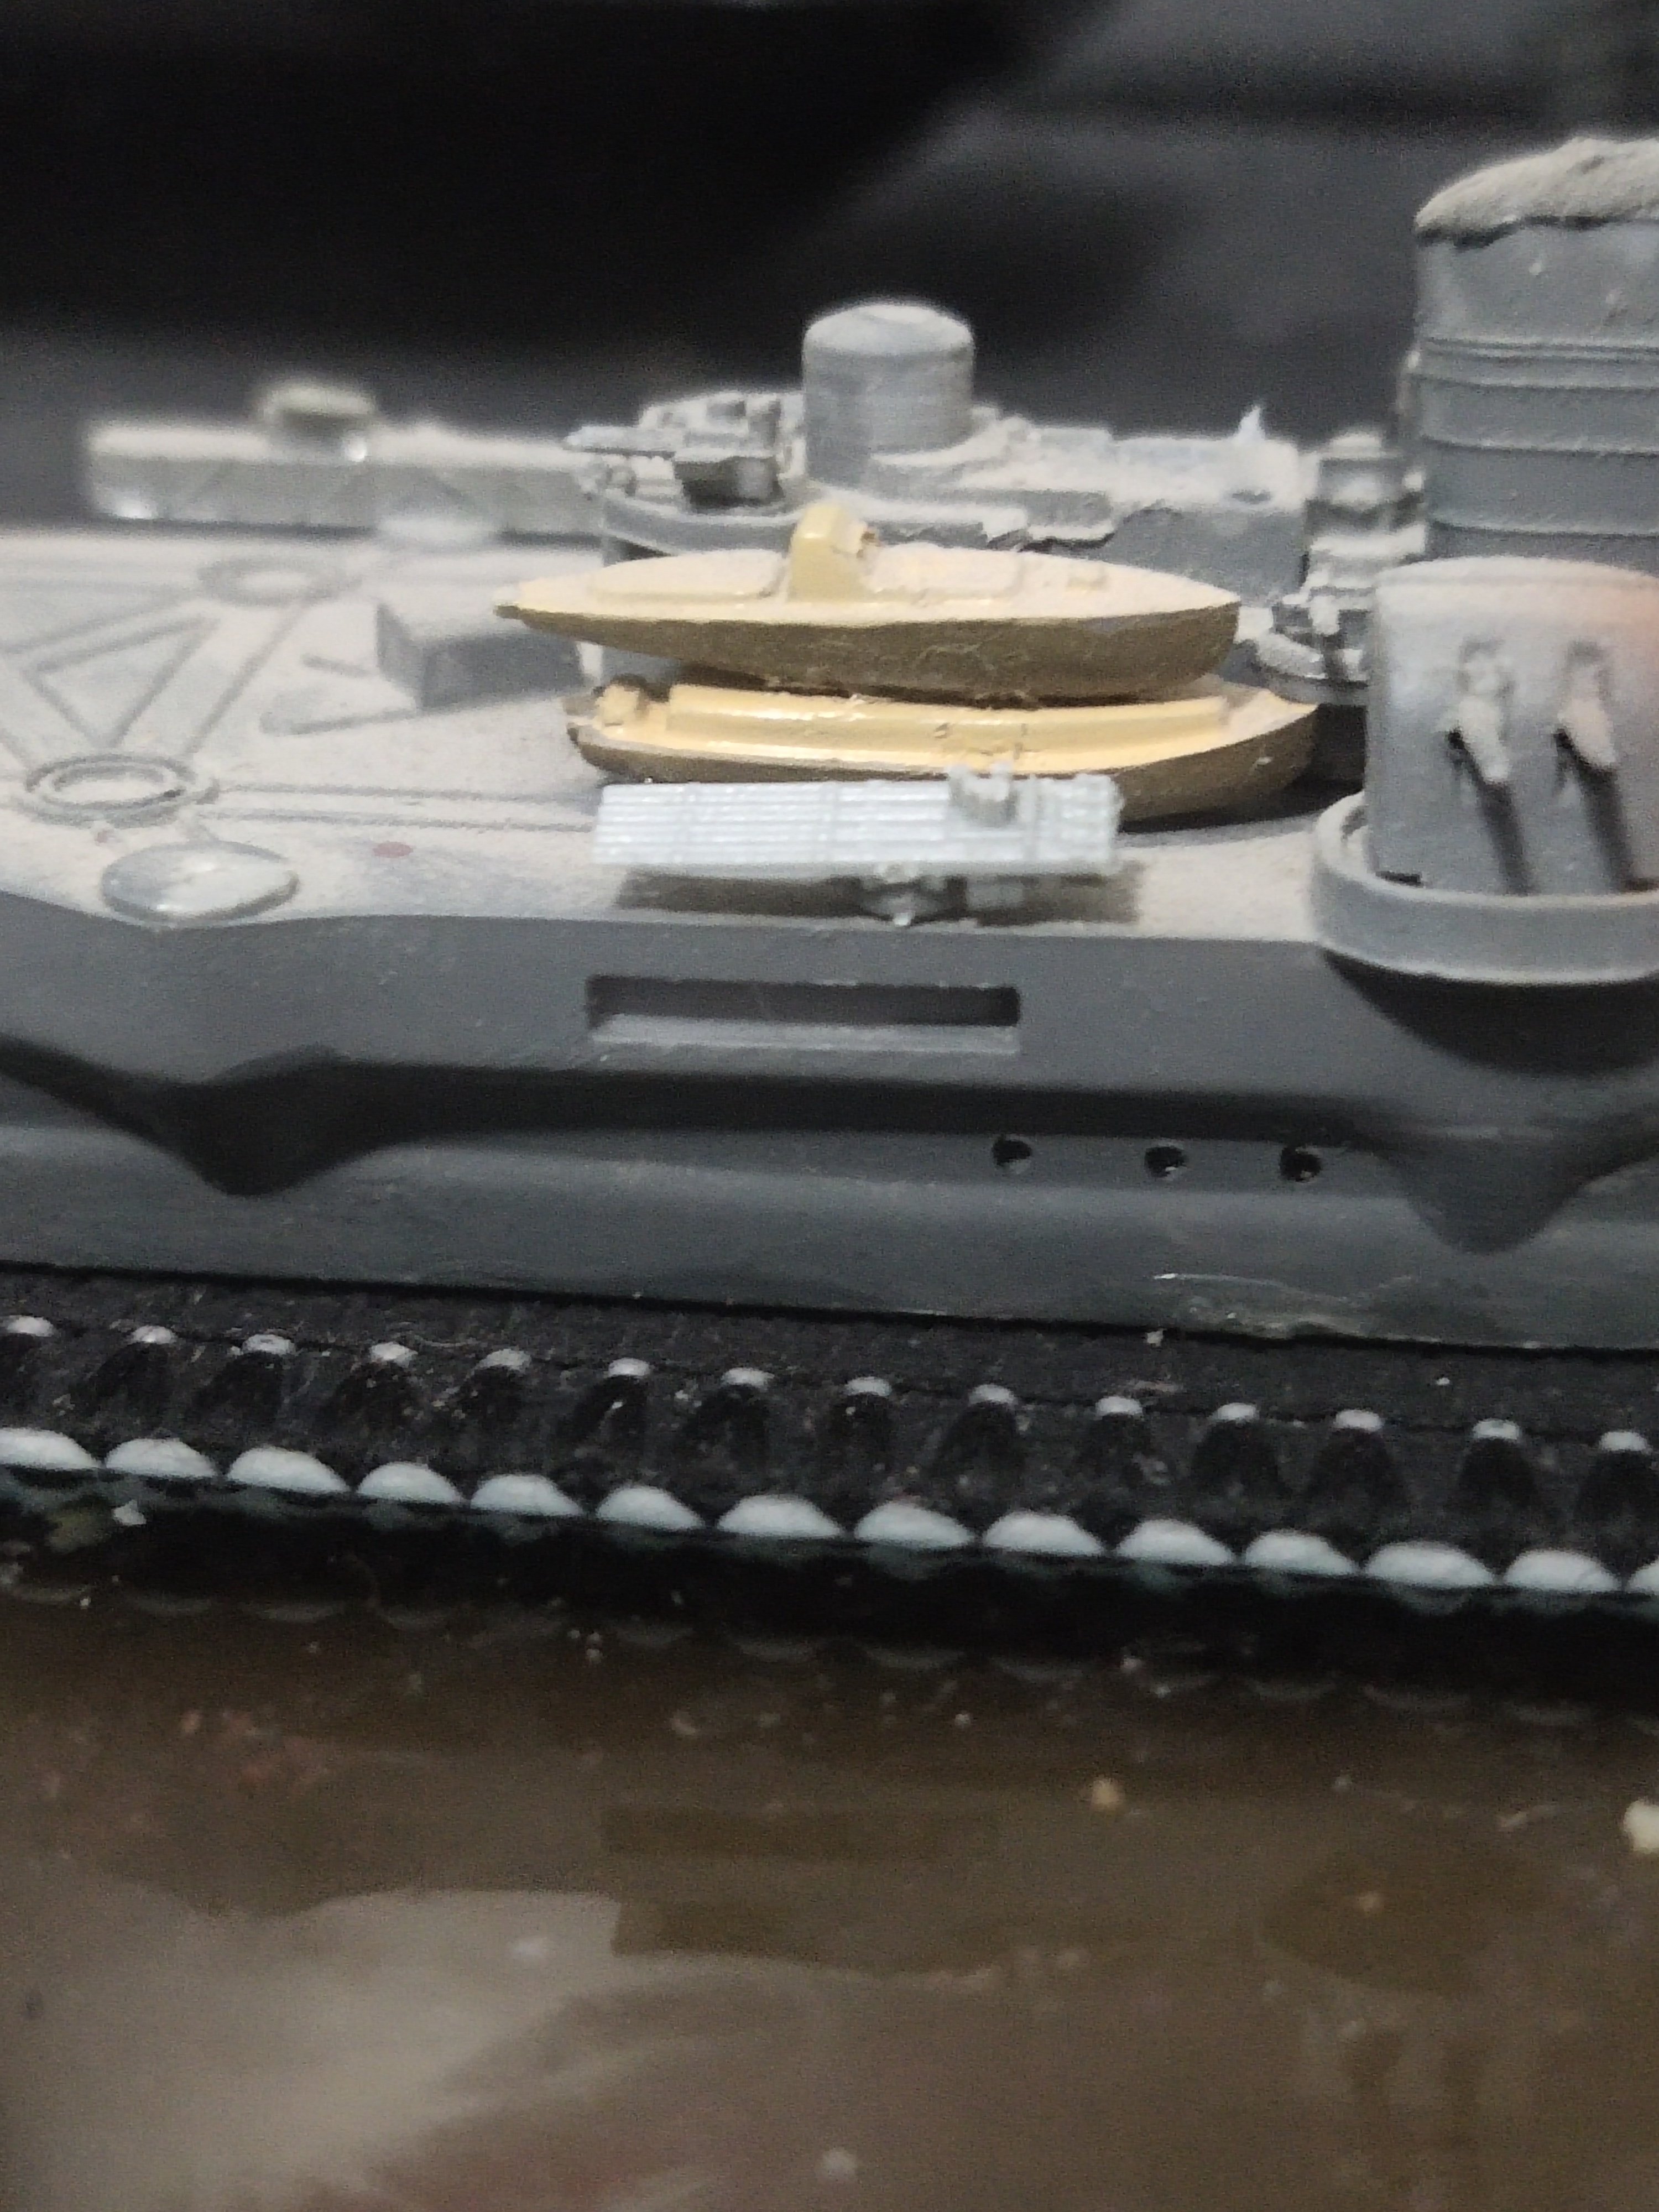
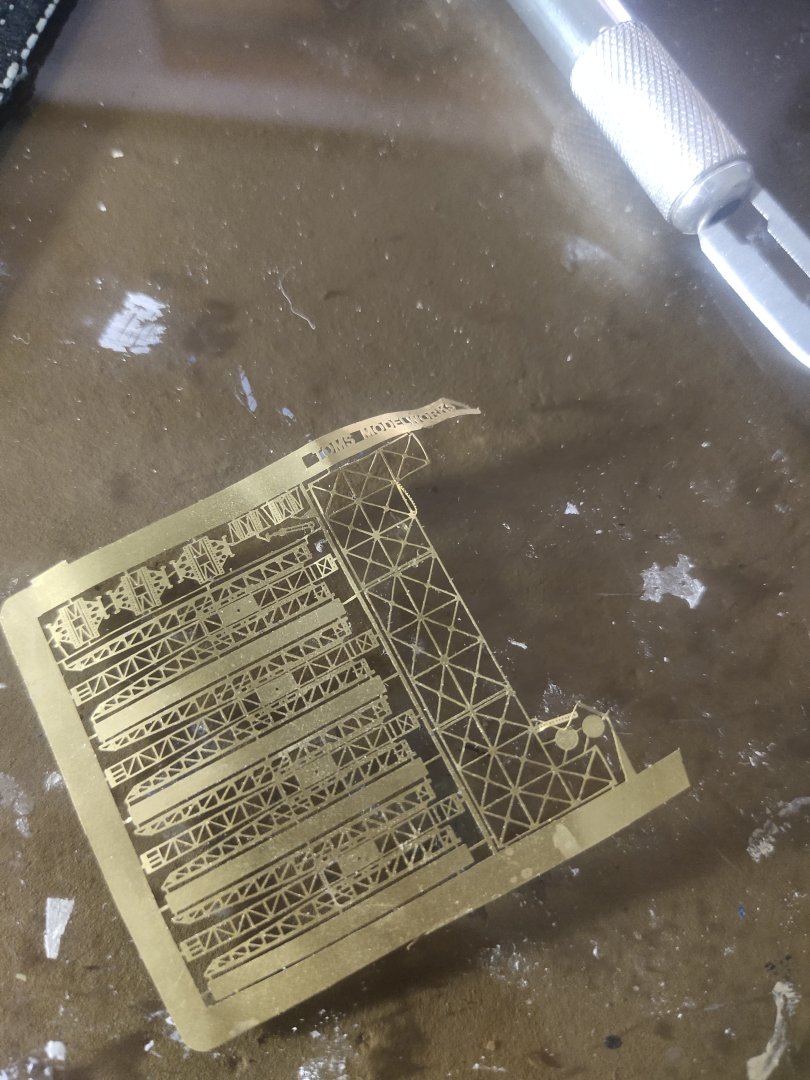
At my stash I had IJN catapults from Tom's Model works. They were delicate and fragile to handle. After painting I test fitted them


-
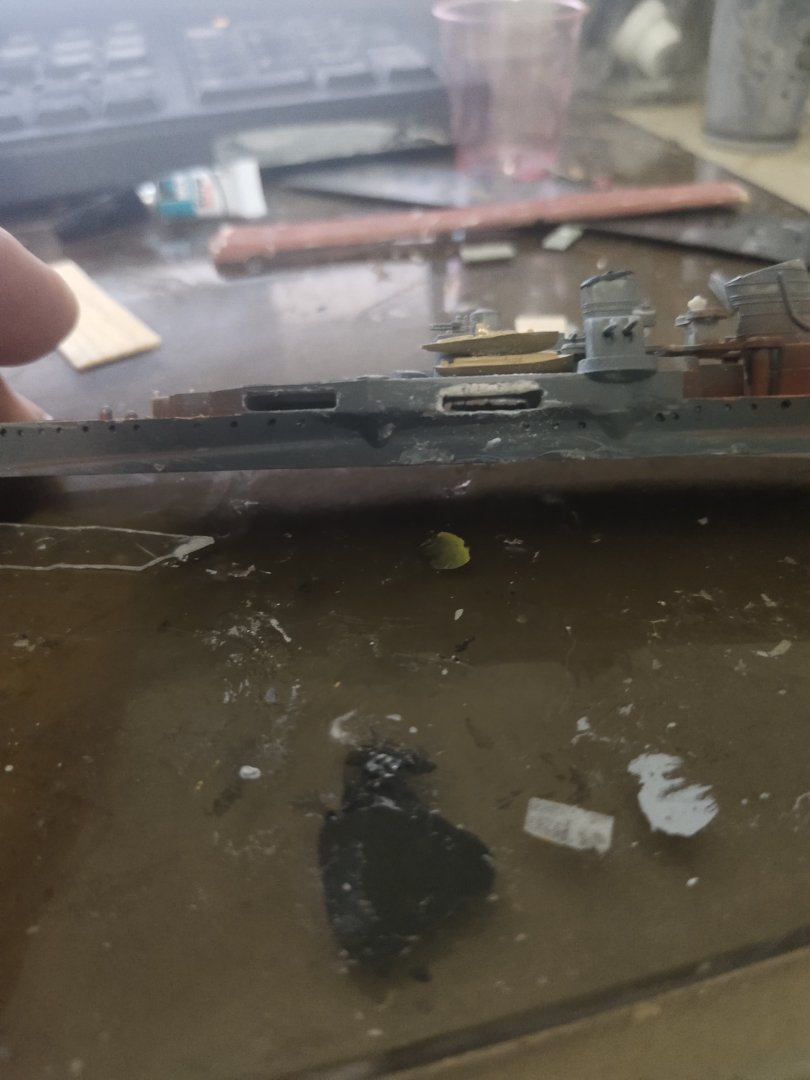
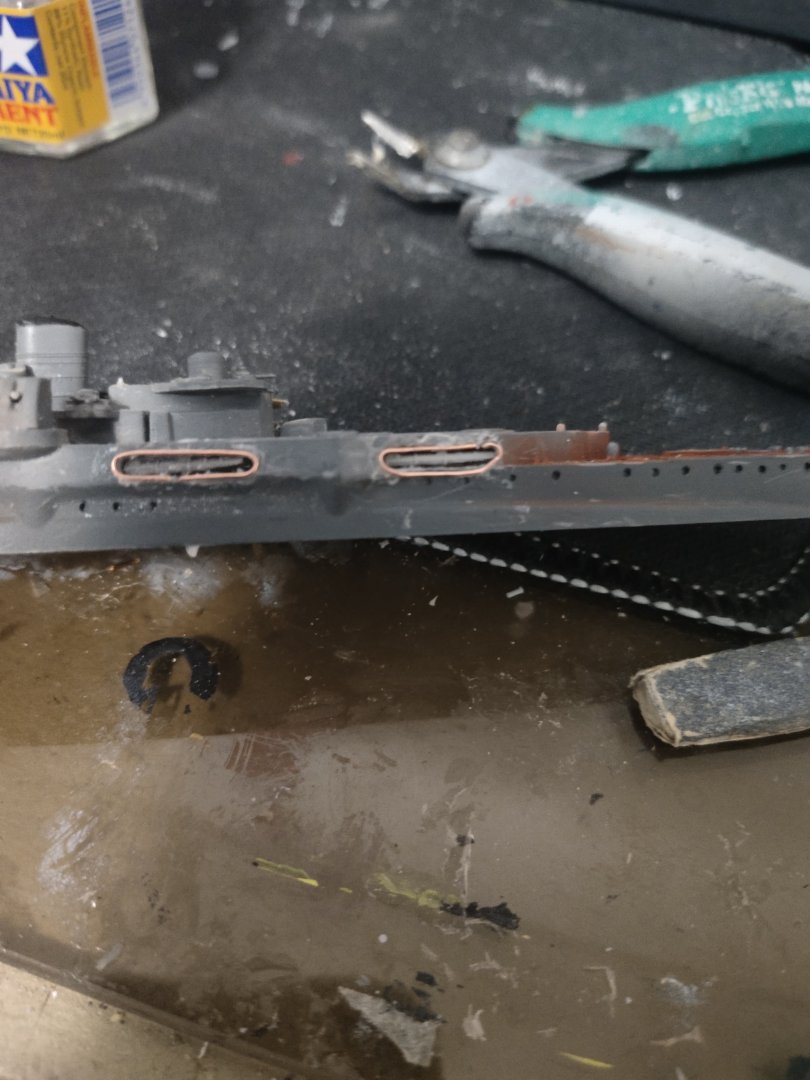
I had to enlarge the holes on the hull to fit in the torpedo tubes I got from my spares. Not sure if these are Japanese but once get in they won't be very much visible. Torpedoes are about 7 meters than means 1cm in 1/700. I hope I didnt make it oversized


-
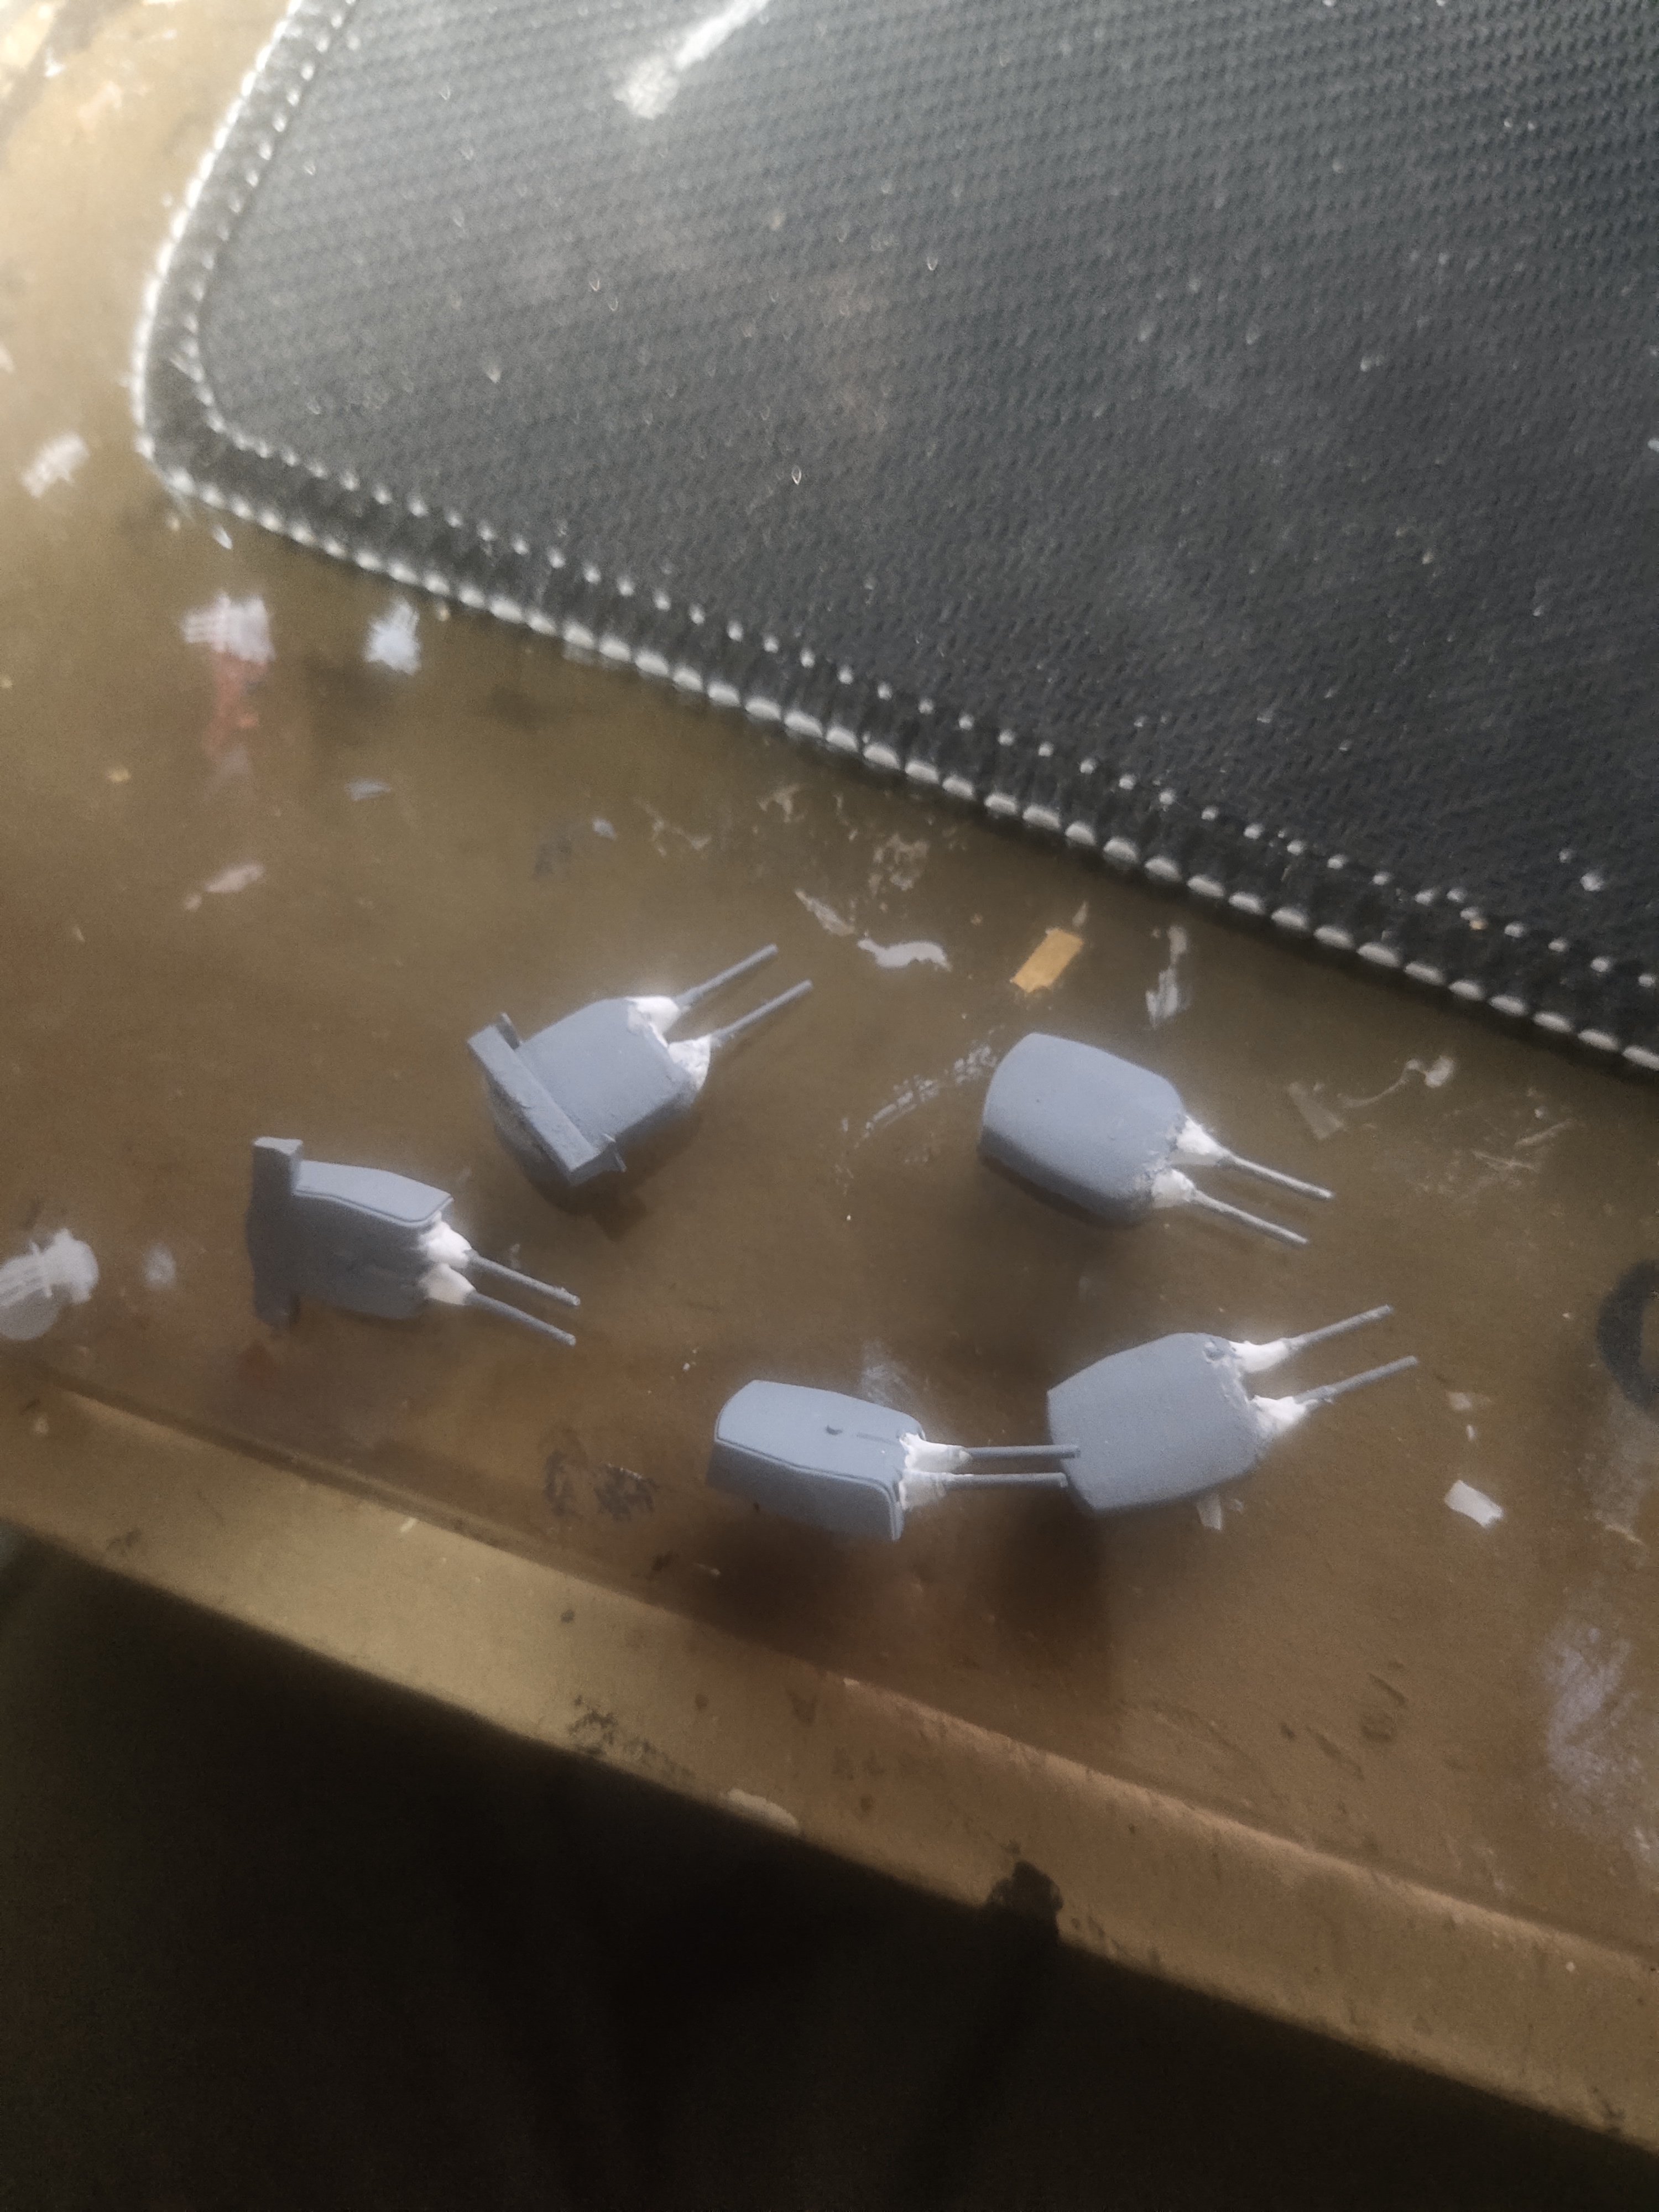
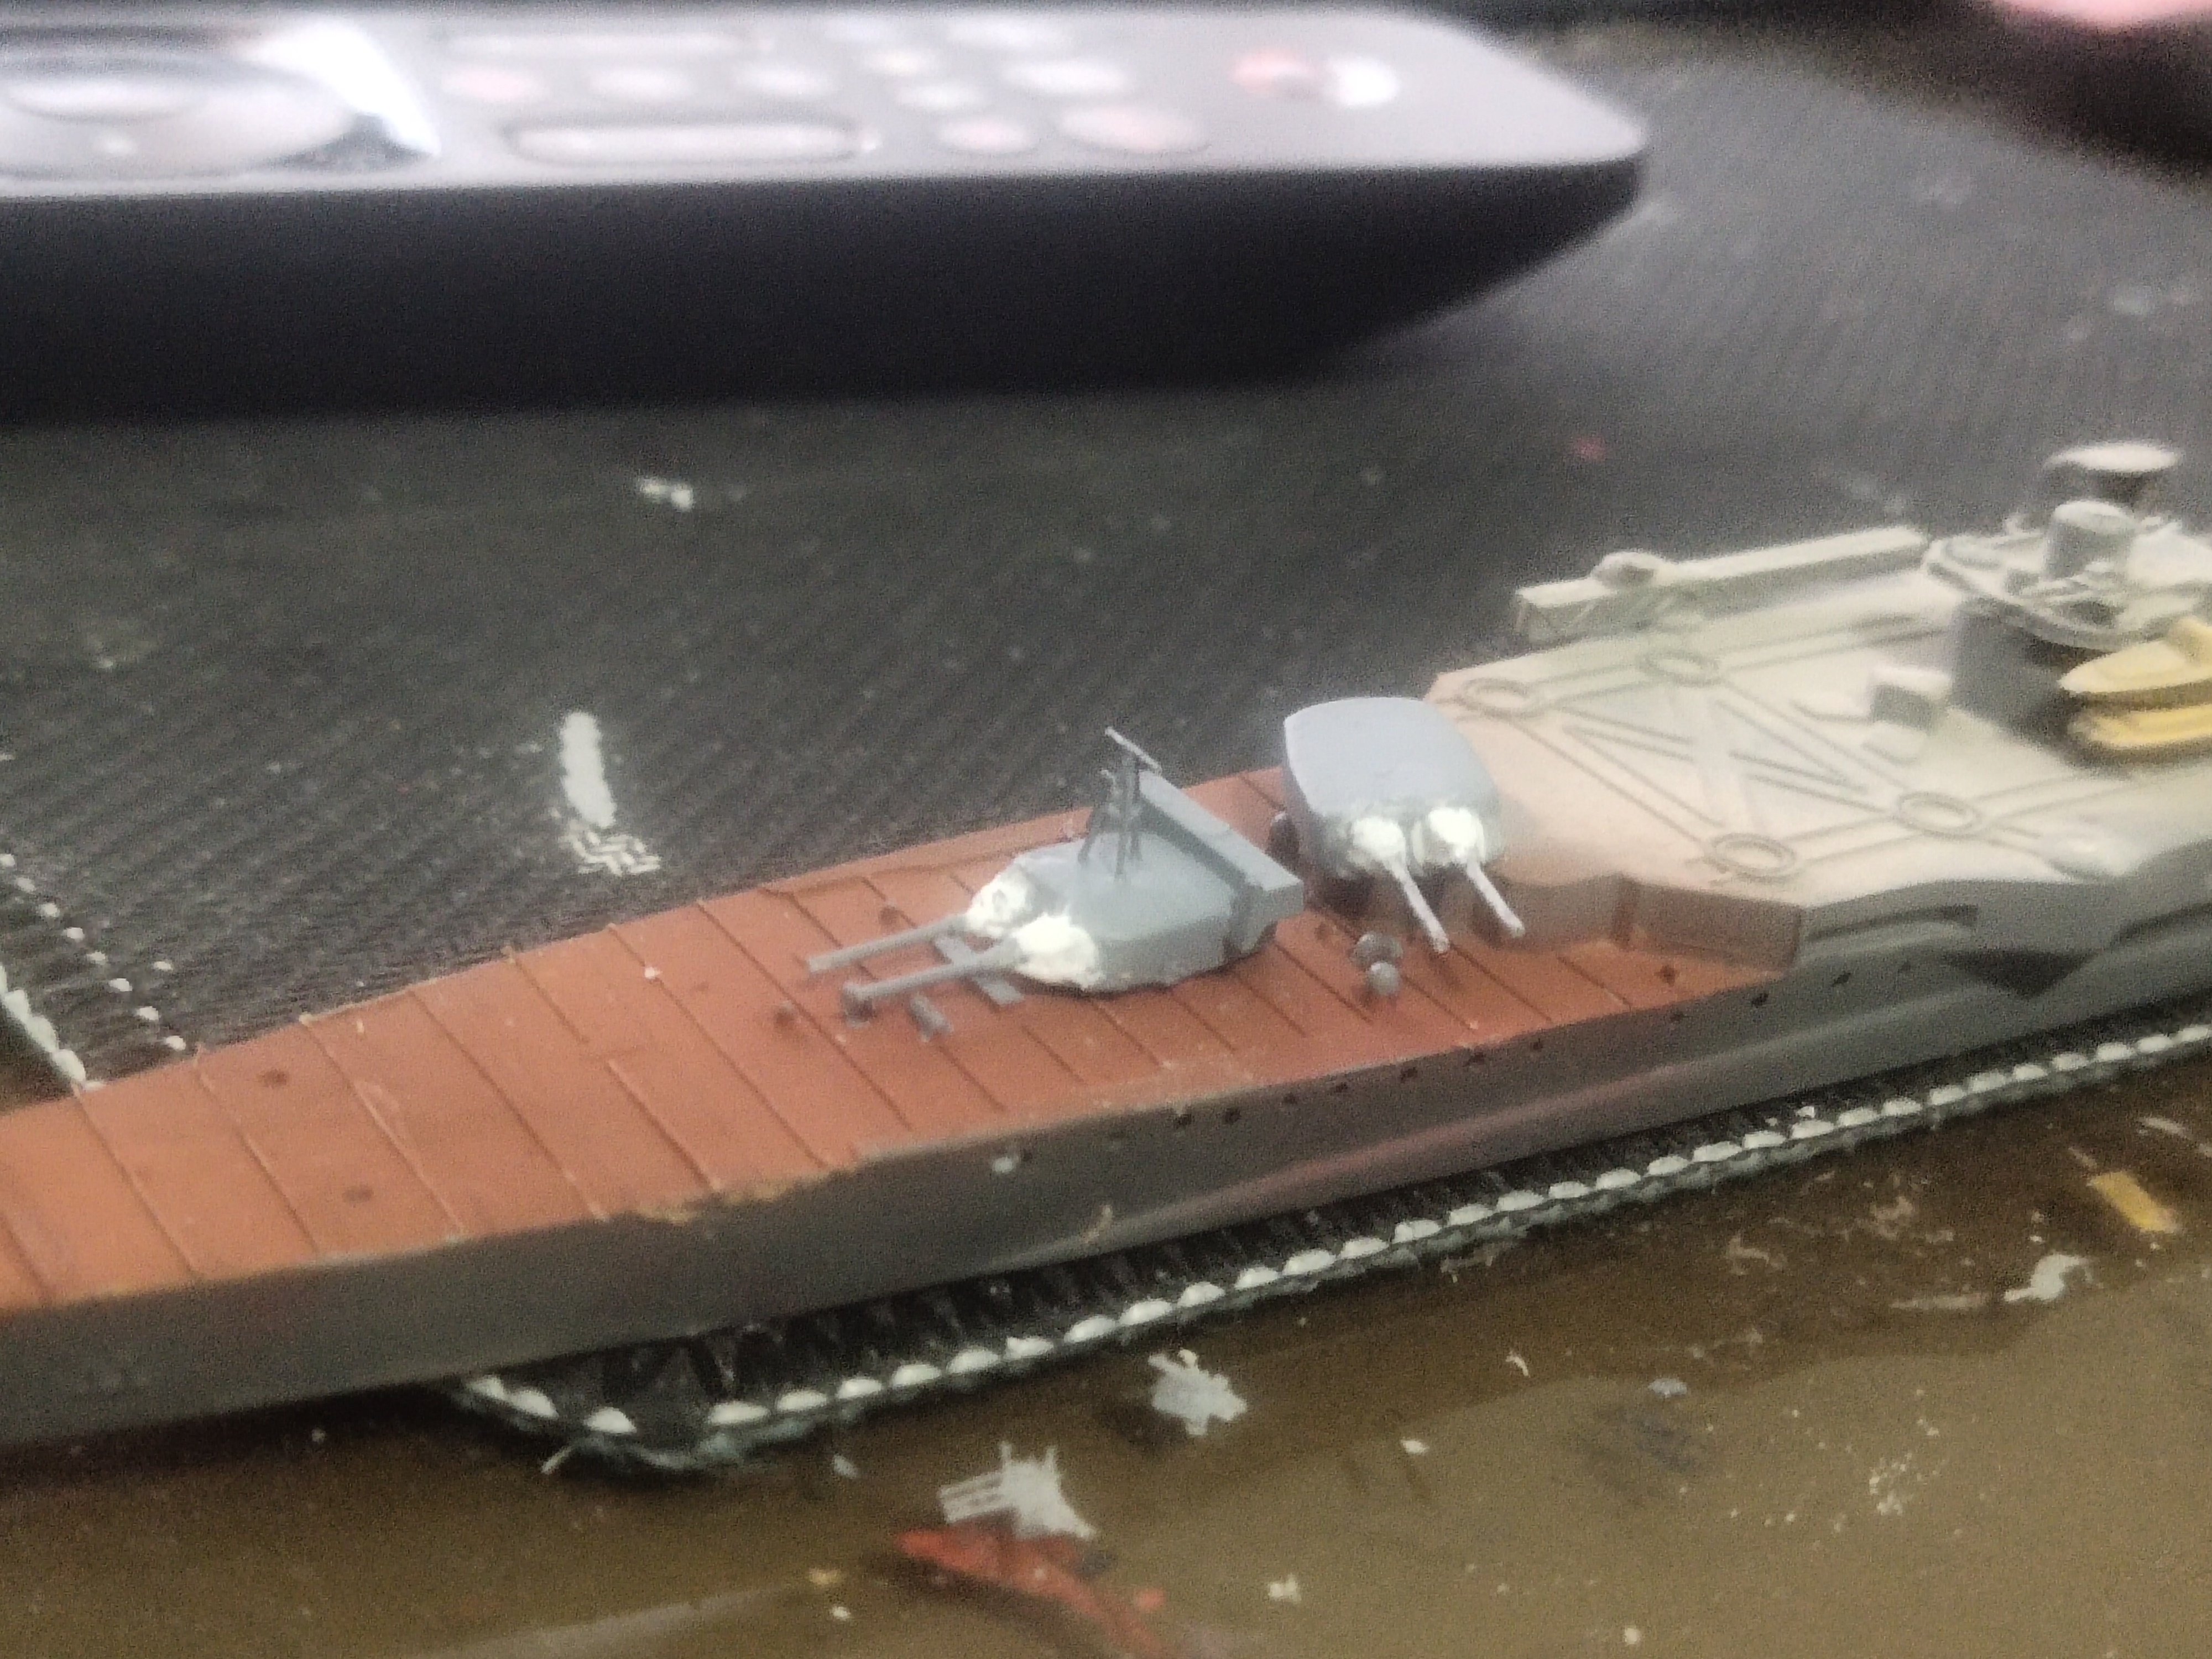
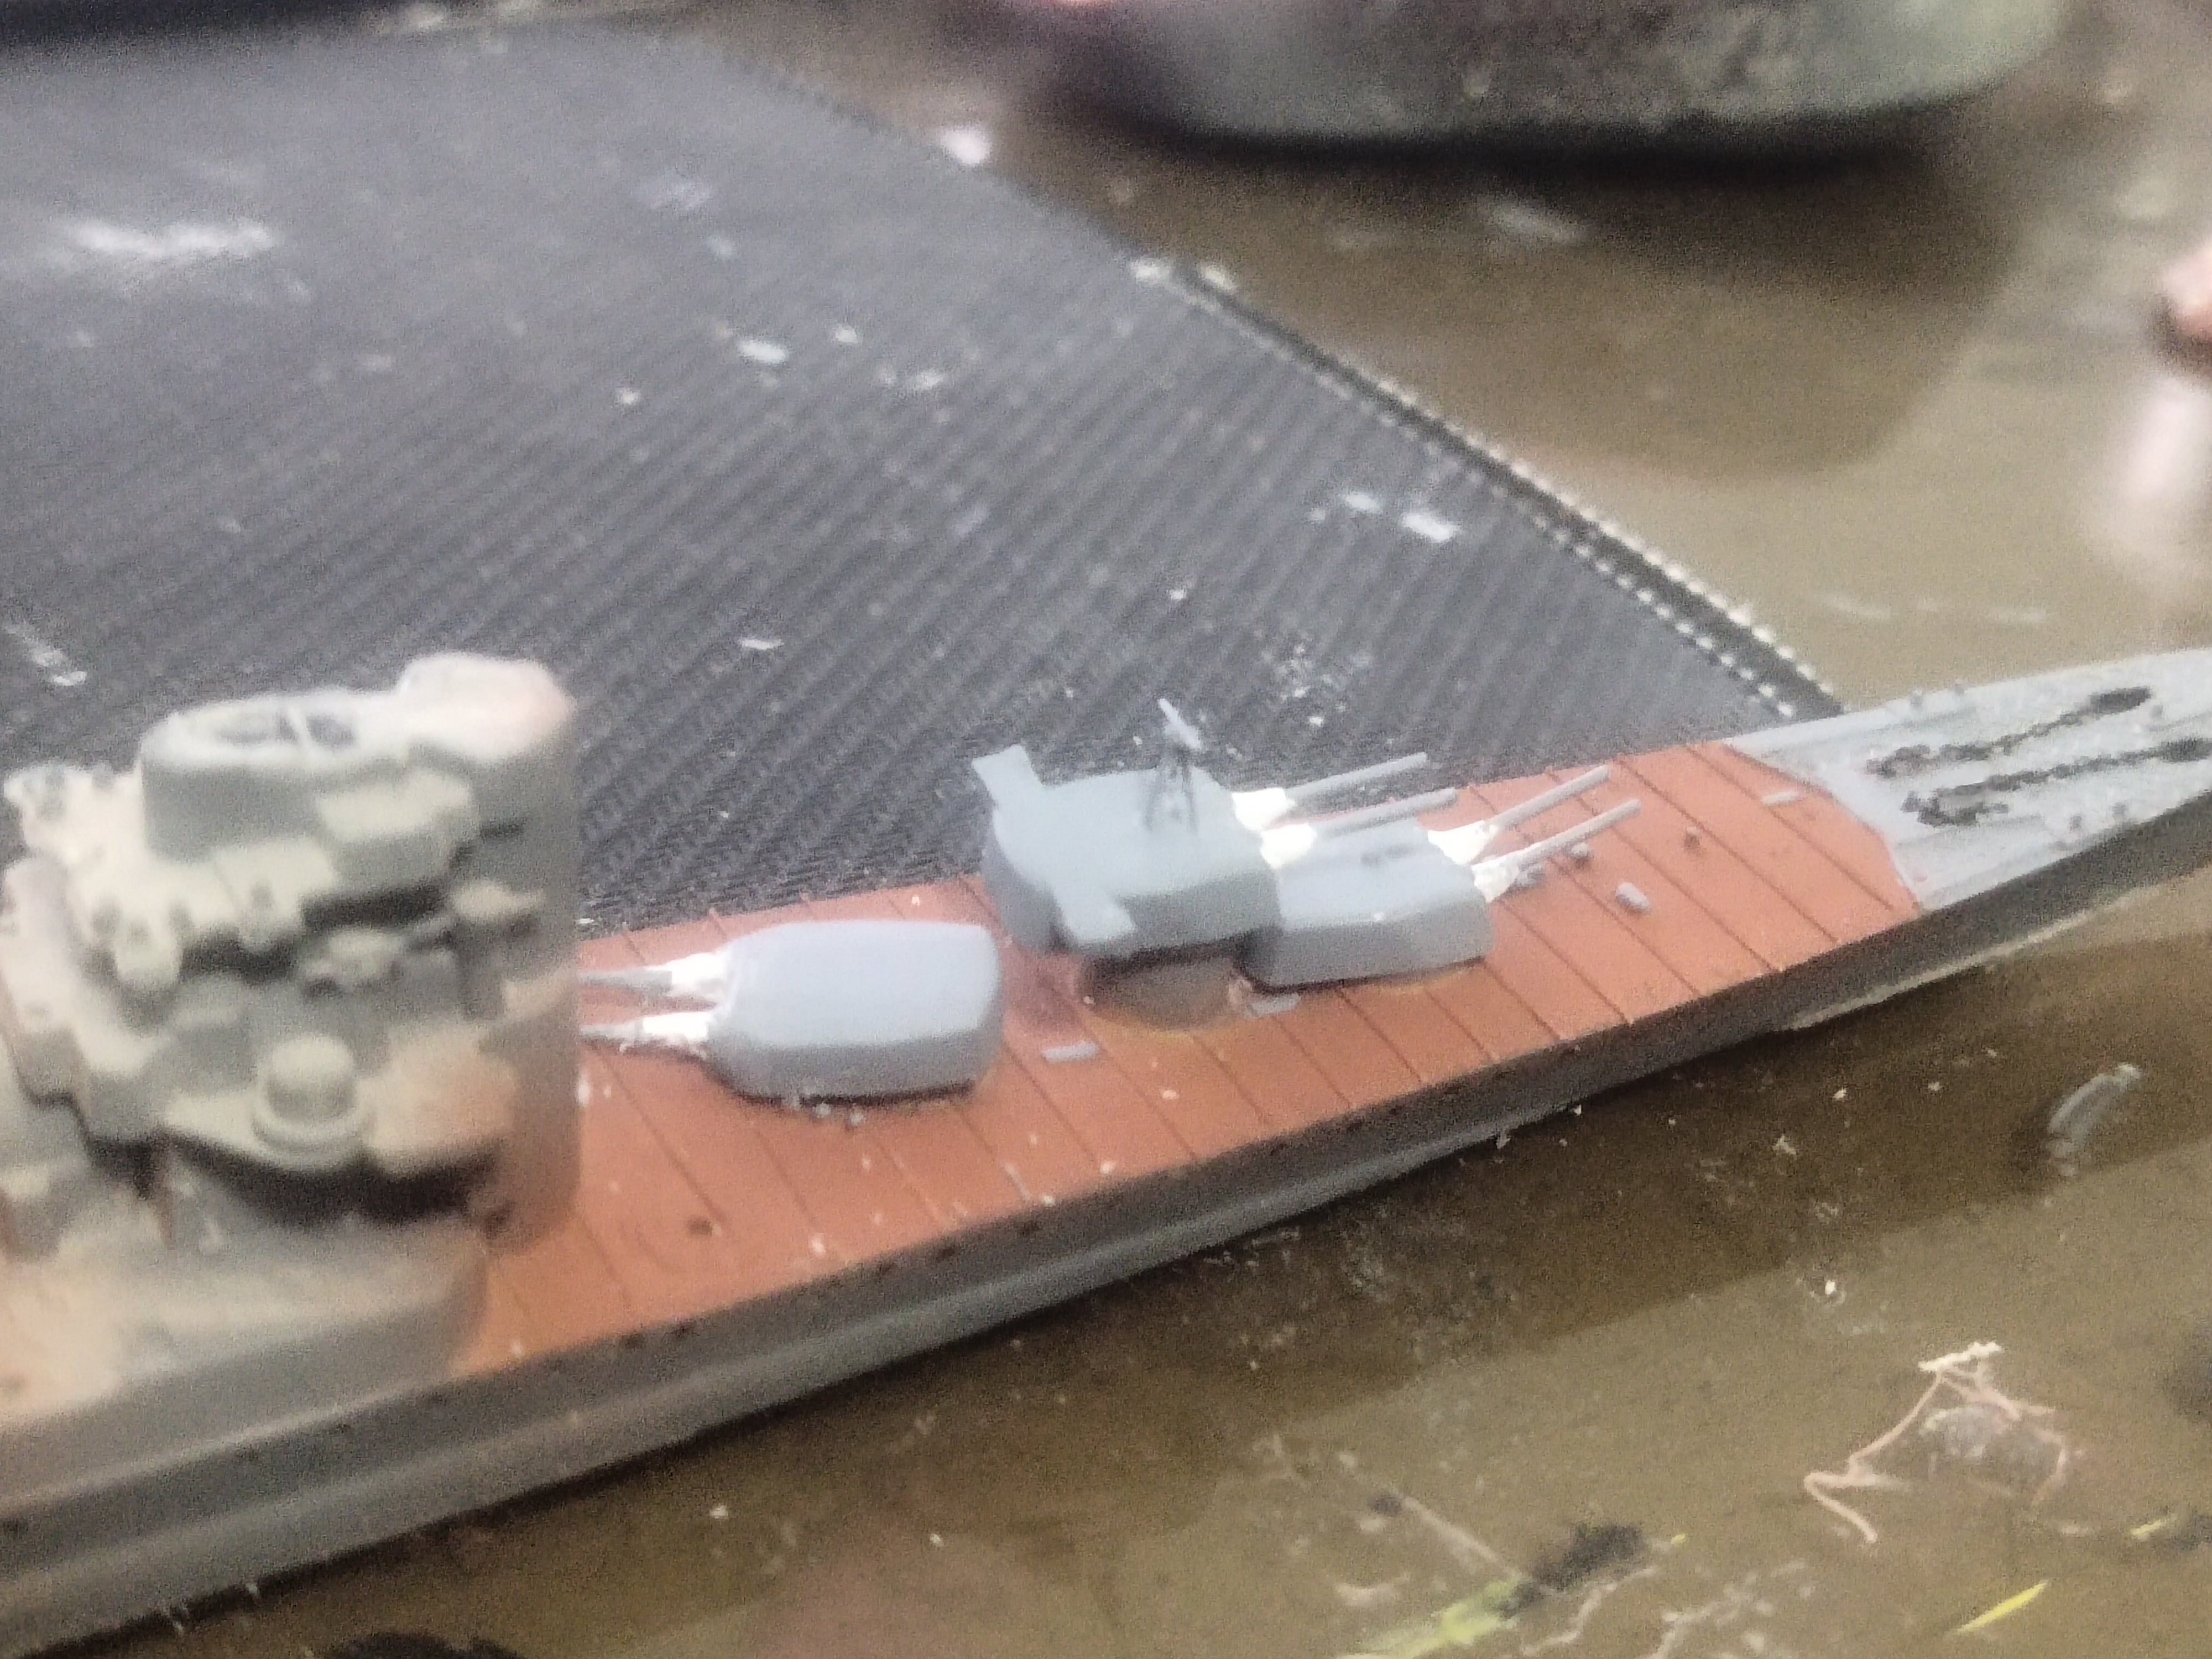
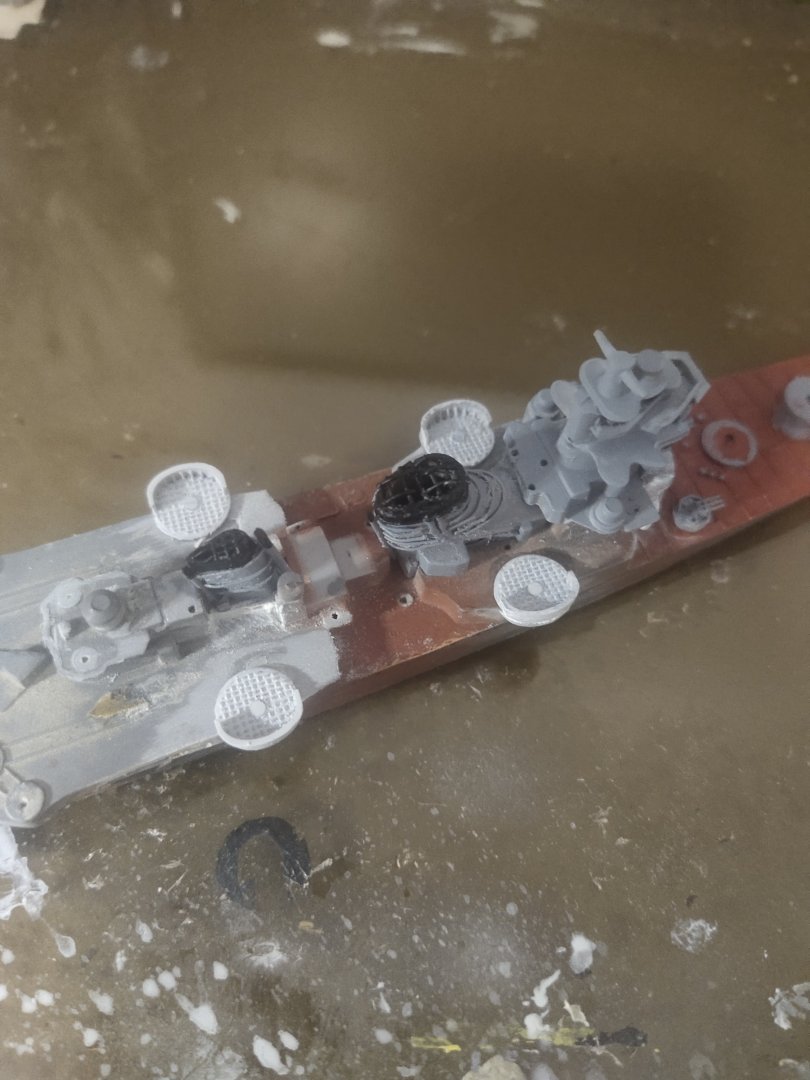
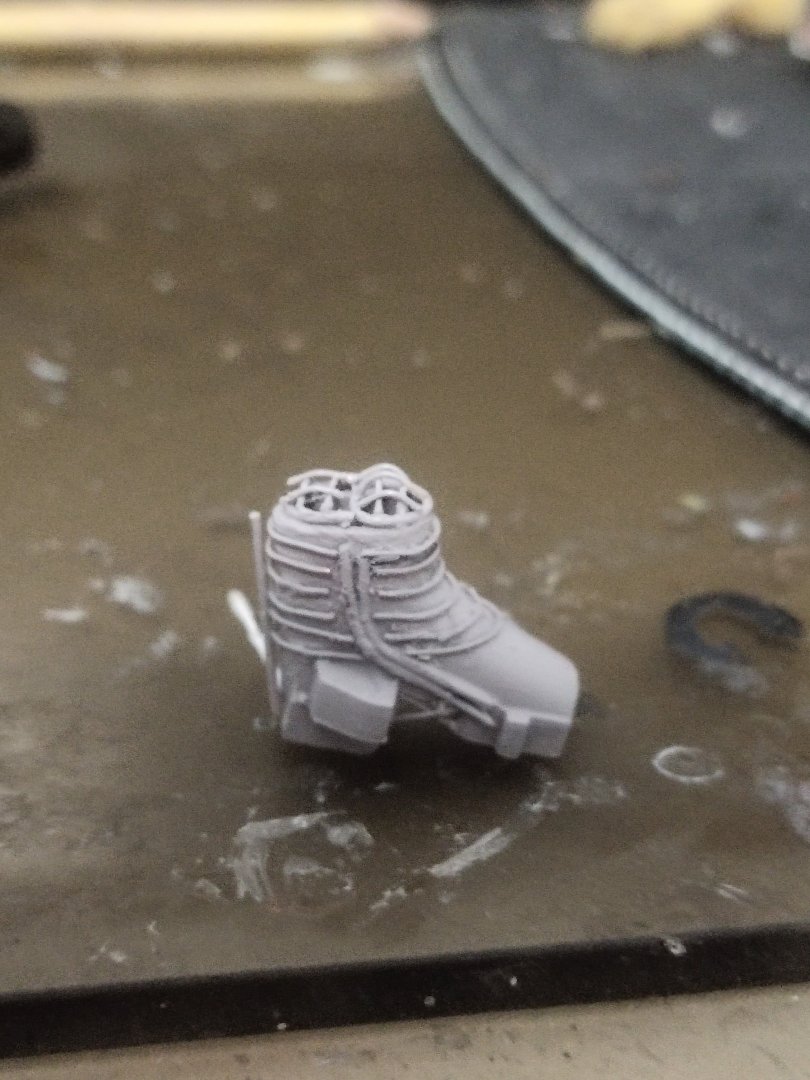
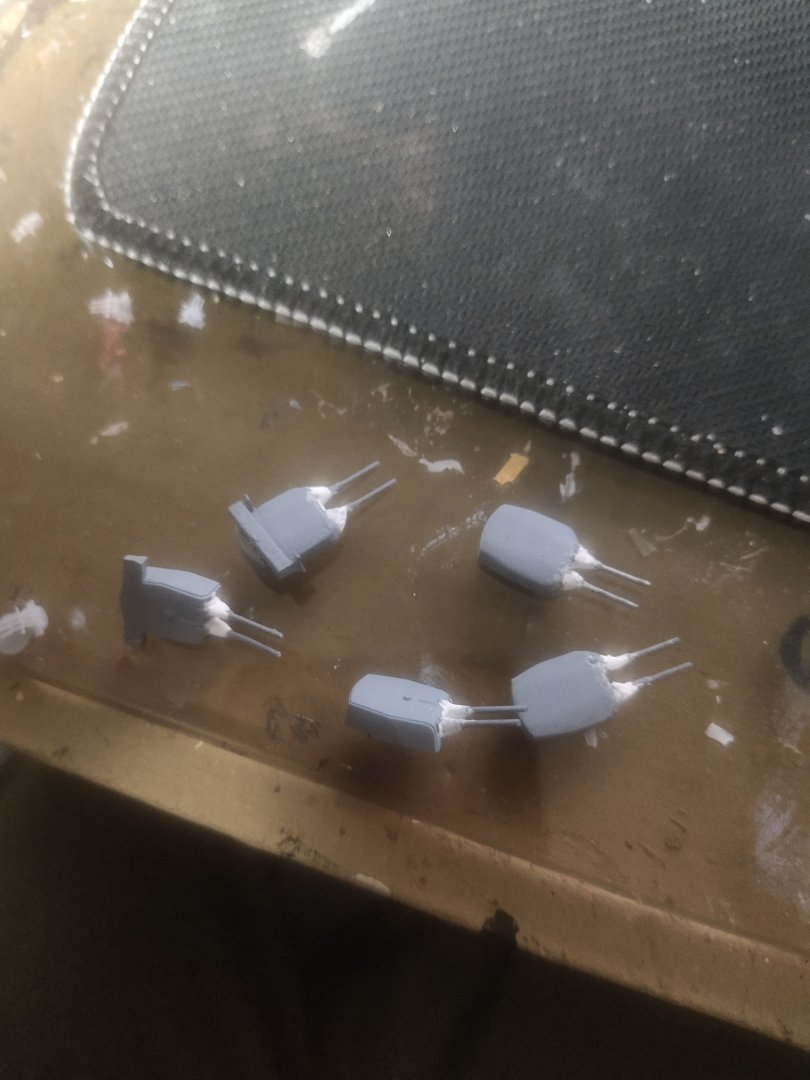
The next step was the main guns. I used needles of various diameters. Considering the effort wasn't that great improvement in appearance. But I want to enhance my skills which has been diminished because of spending many hours on 3d design. Later I added blast bags made by putty and painted over with gesso for extra thickness. Finally I printed two masts for the turrets and made a test fitting. Because of the fragility of the masts the guns will be Installed at the final steps


-
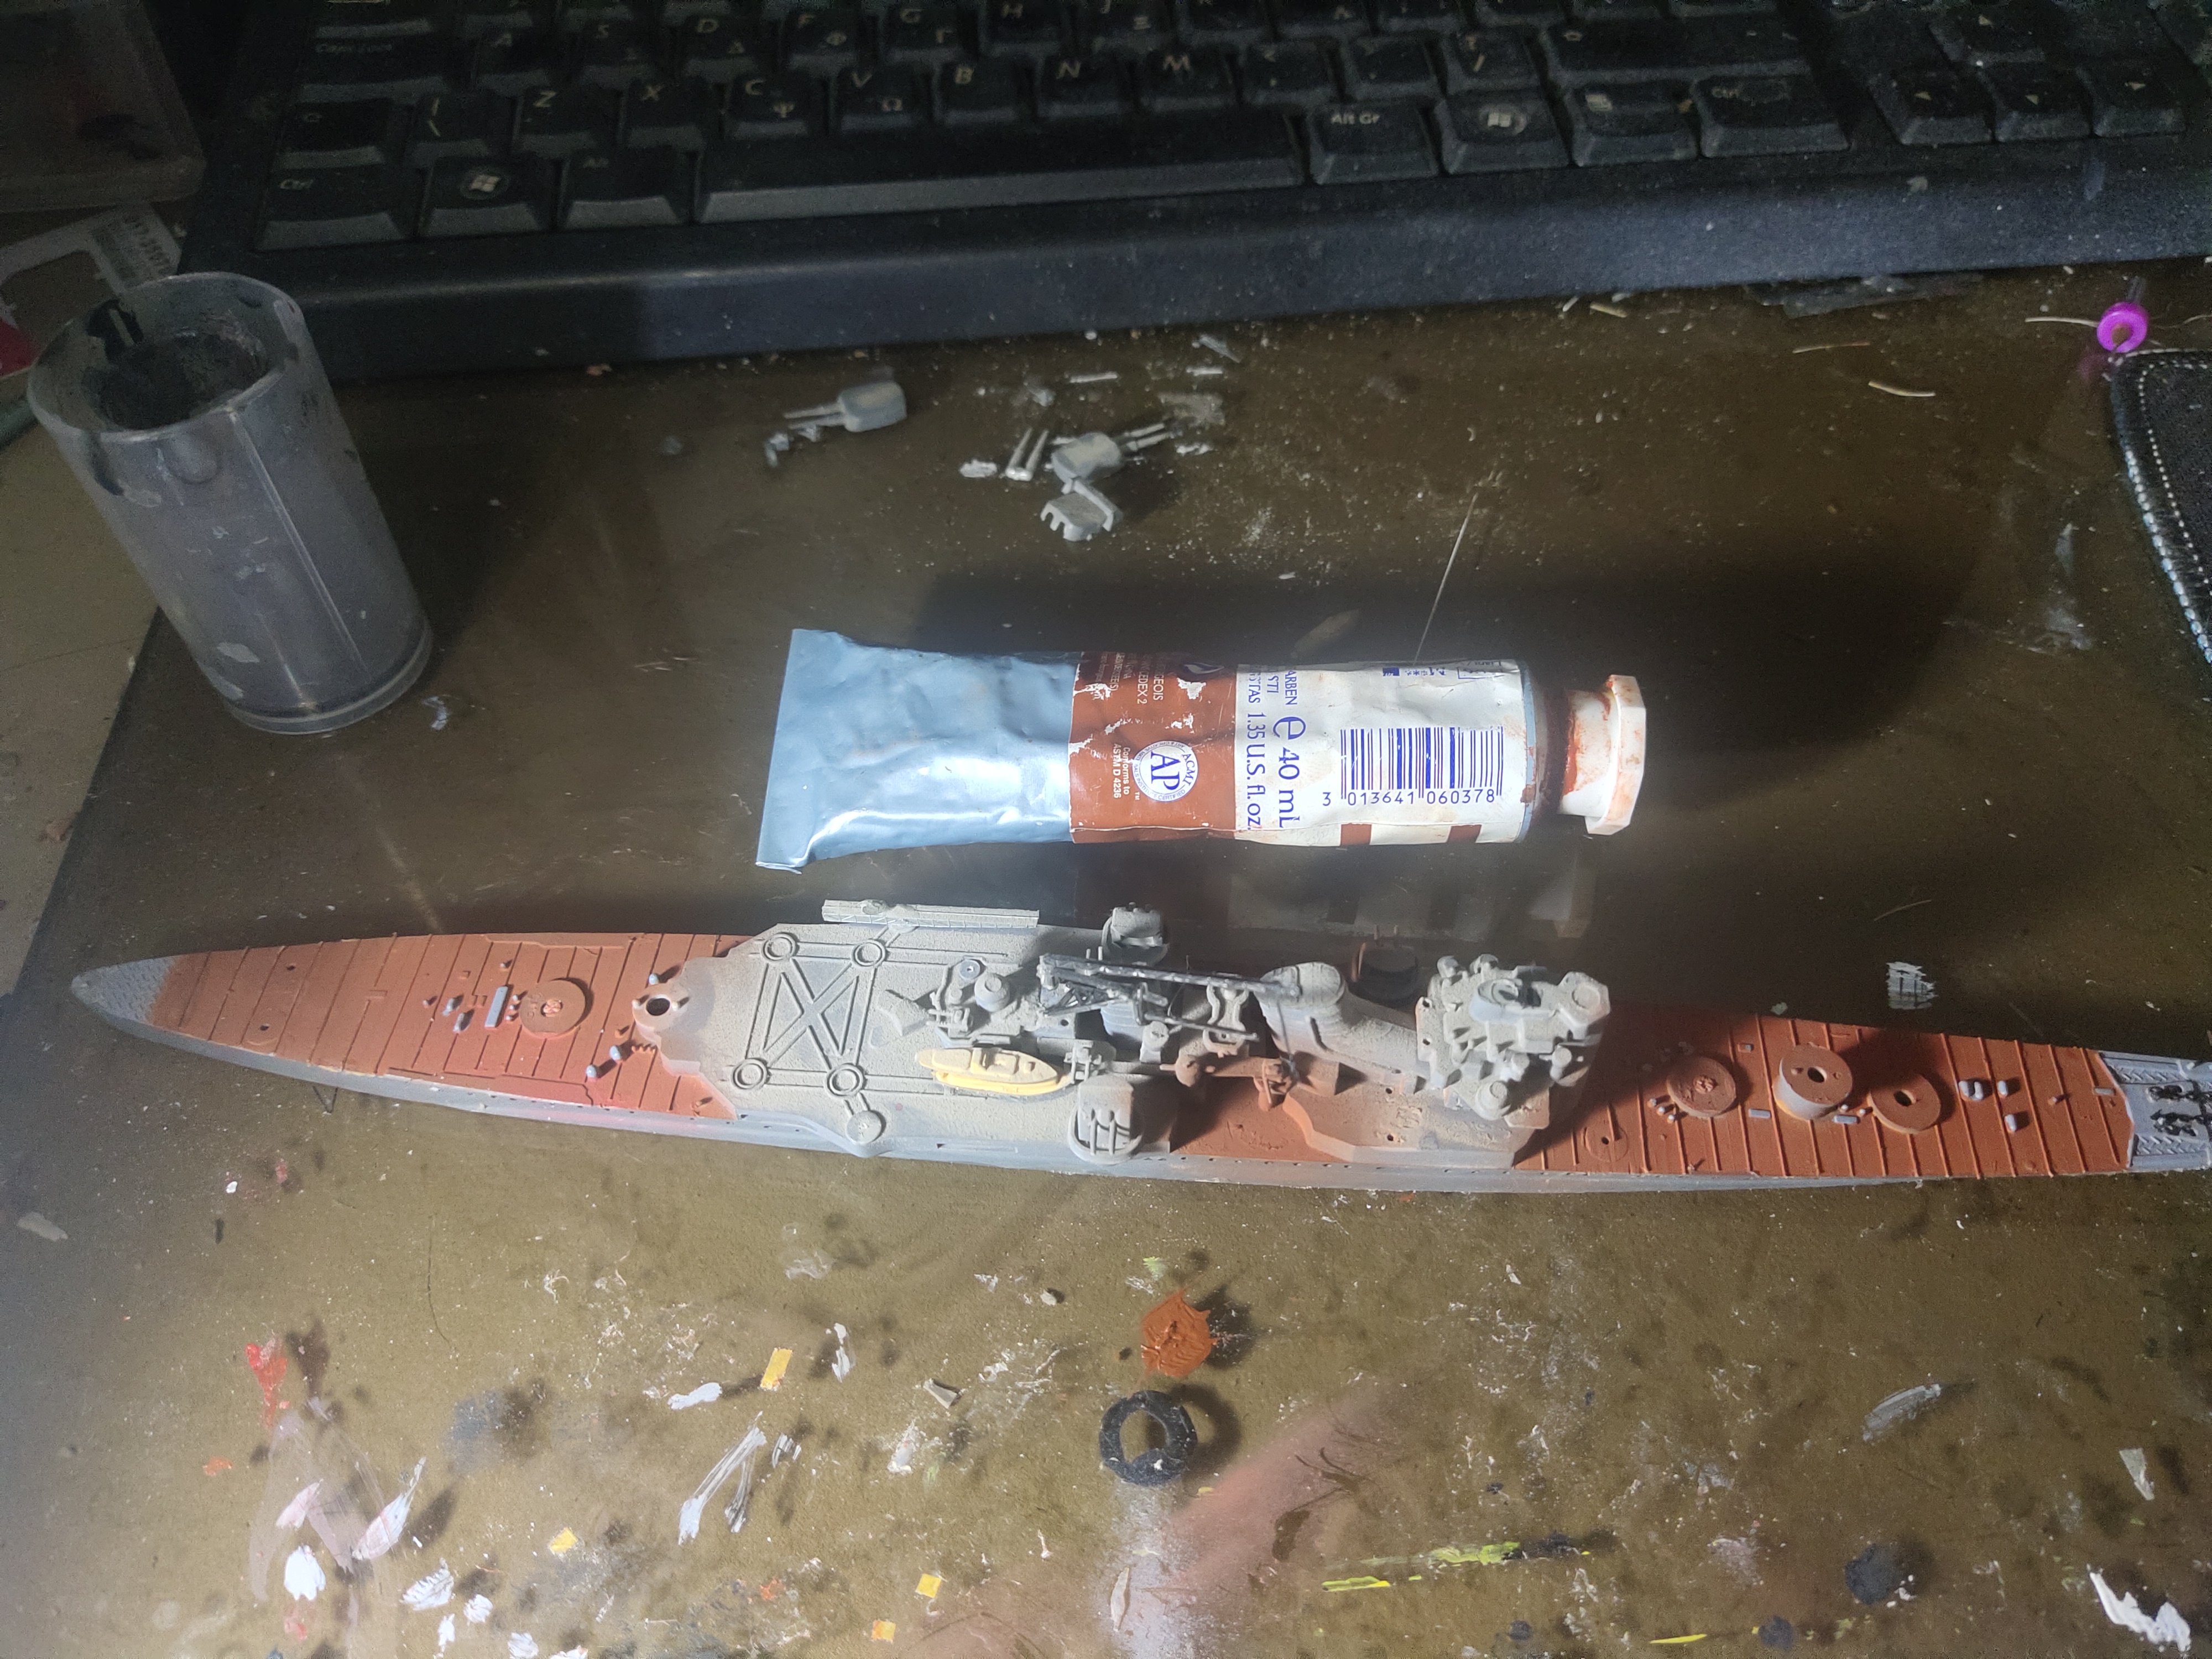
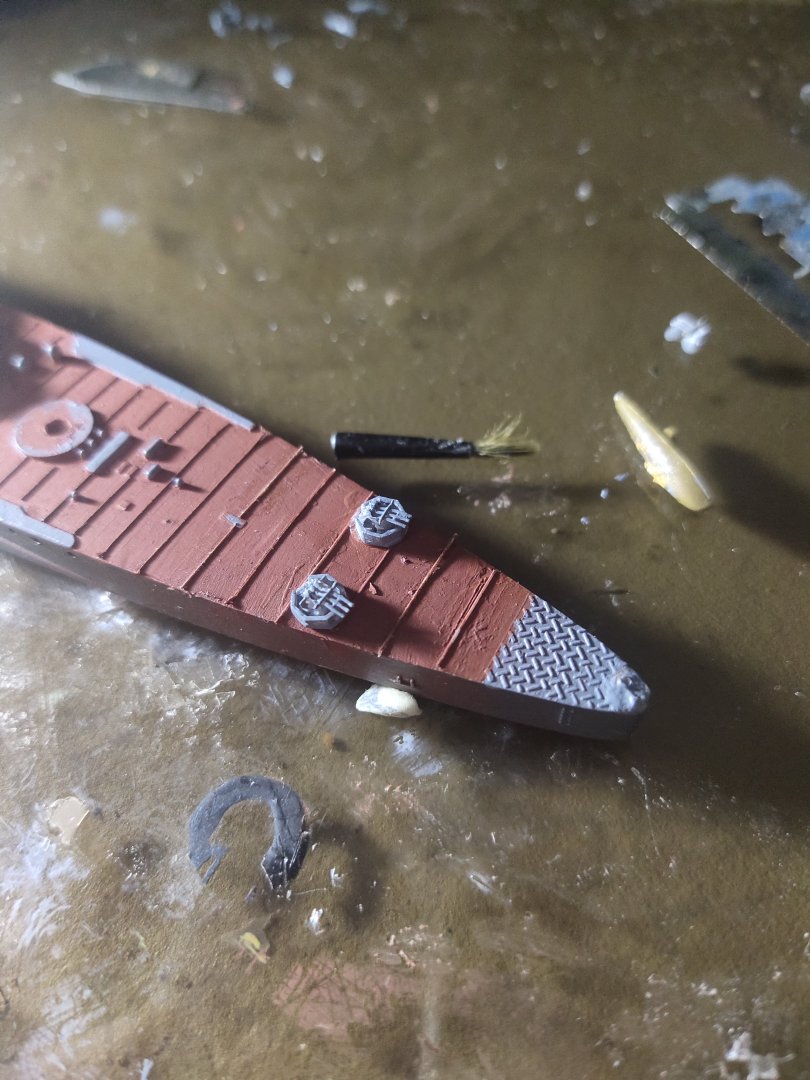
First rebuilt is the deck. Its came out pretty well even I sprayed with an oil paste-thick color for first time. The bow had enough detail, I just painted the anchor chain. The anti skip surface is a terrible overscale though.


-
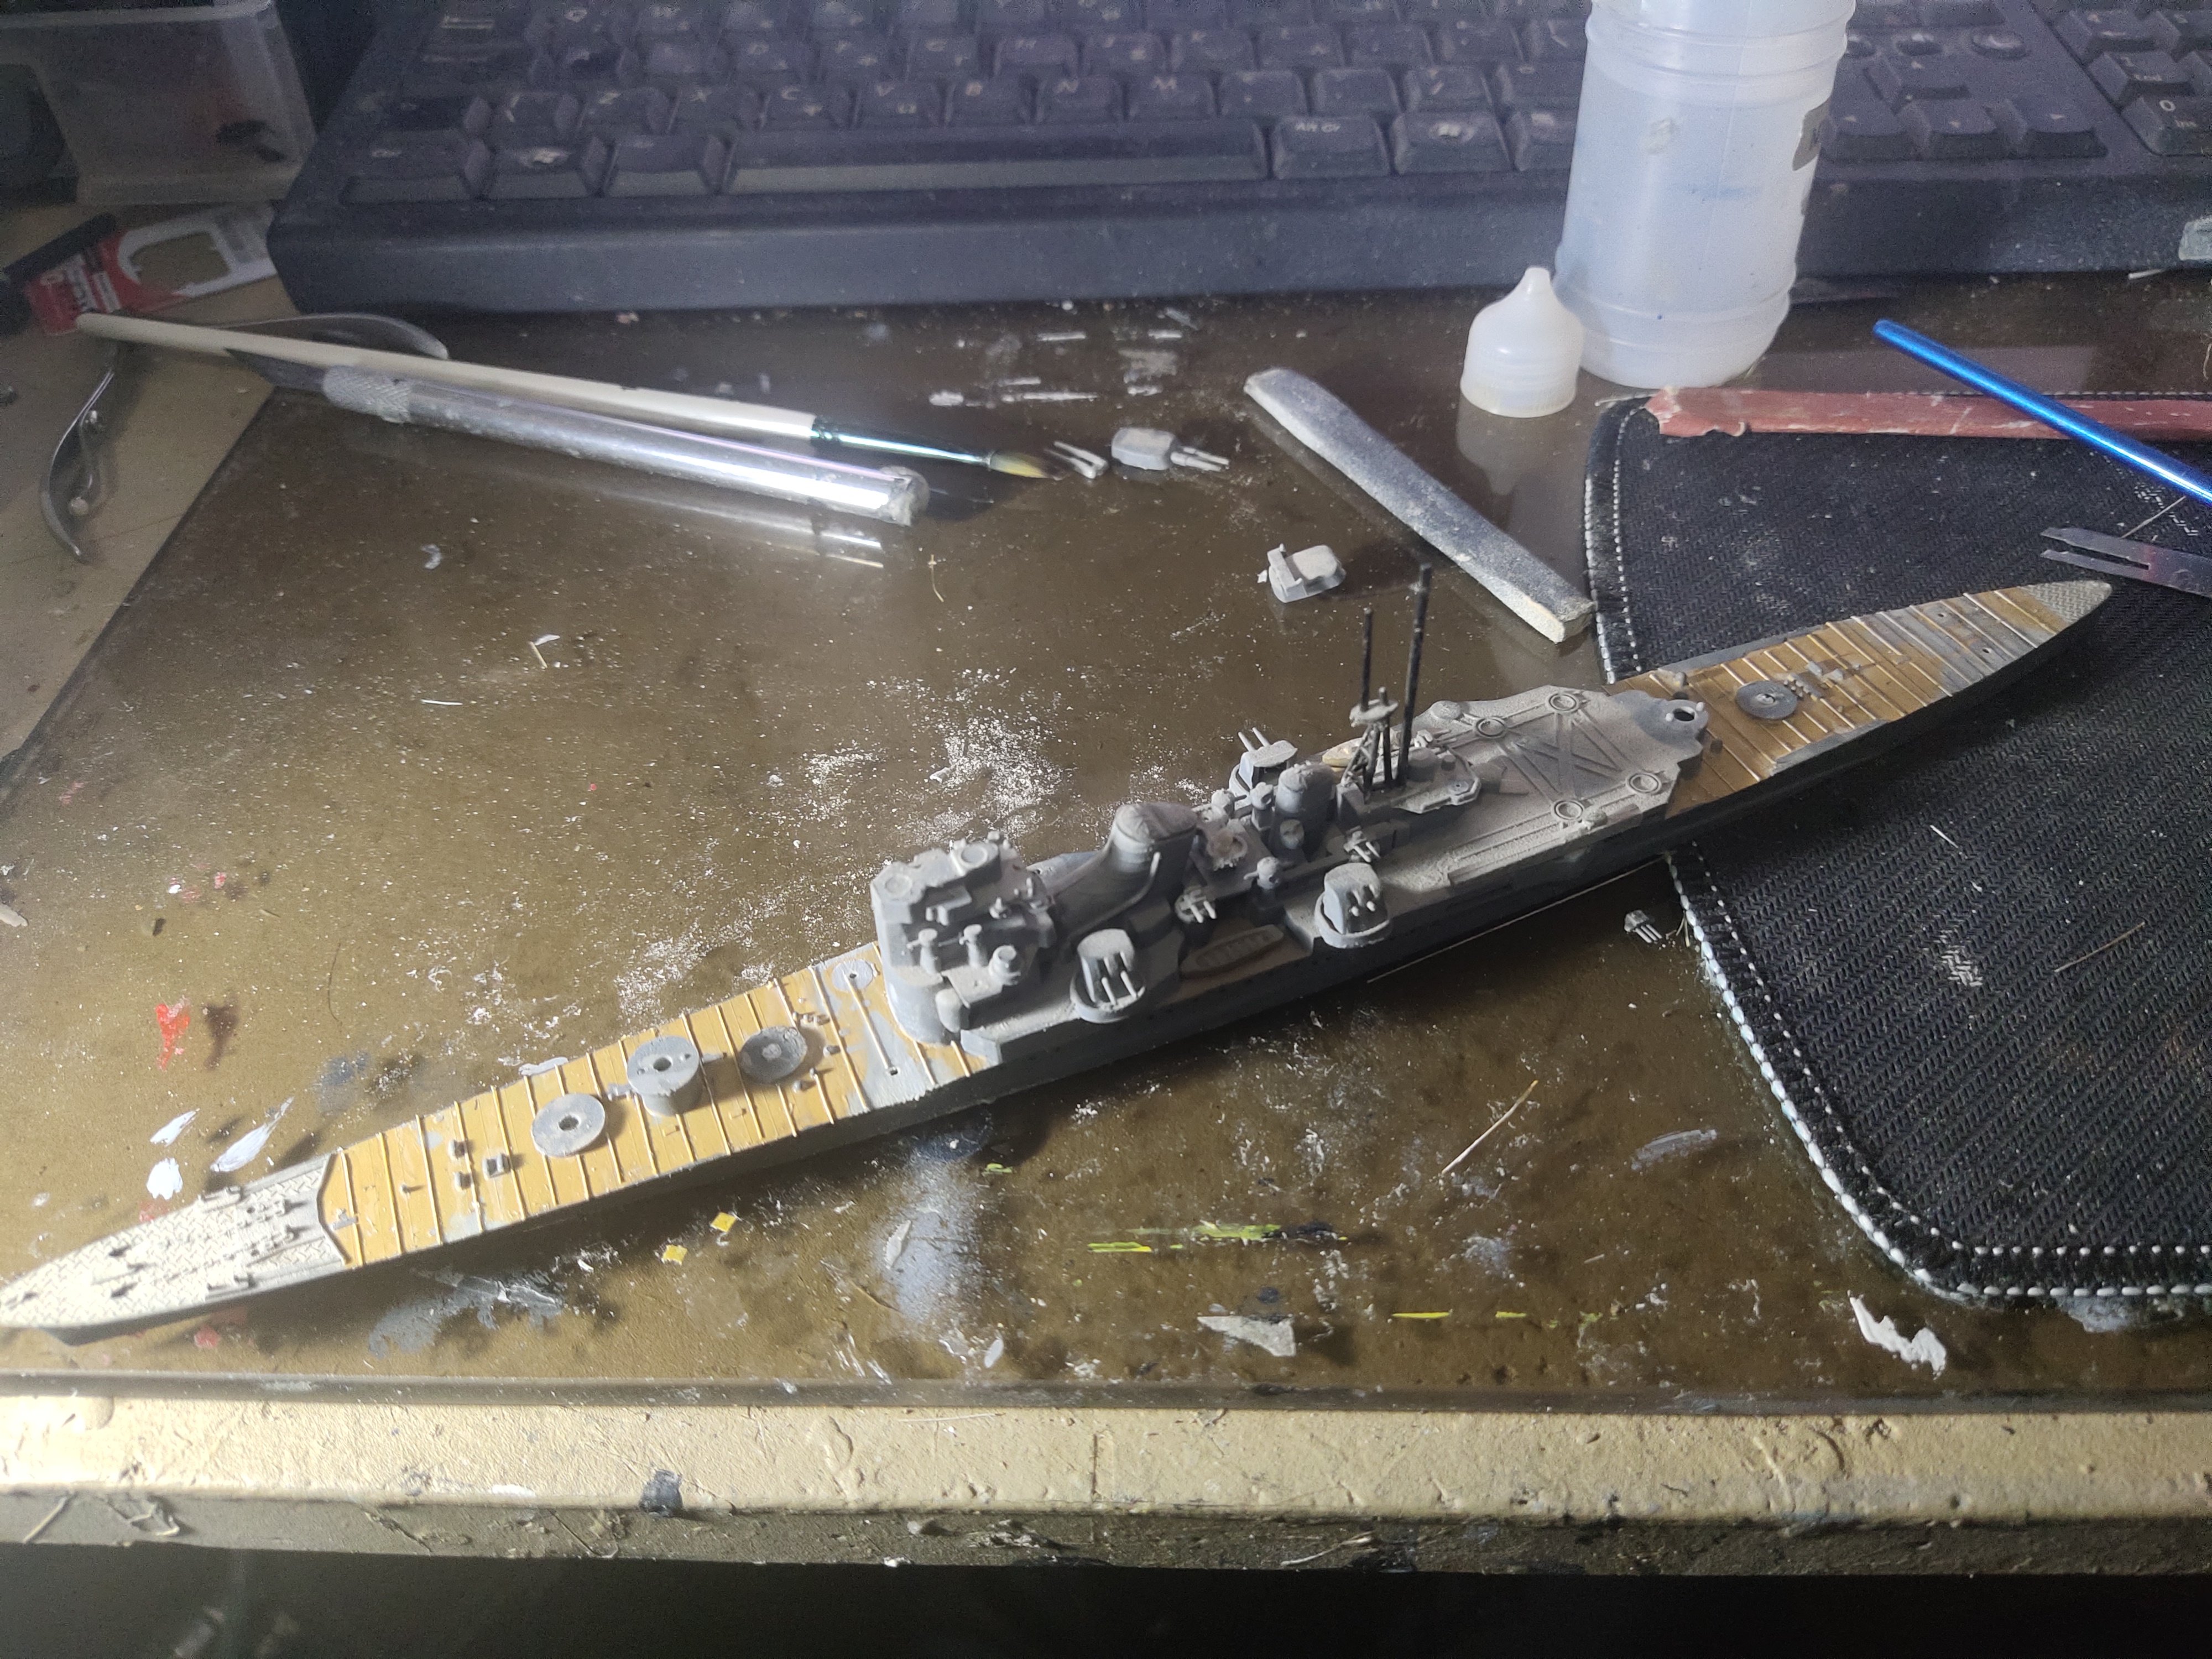
Next project is what I think IJN Myoko by Hasegawa