mikegr
-
Posts
827 -
Joined
-
Last visited
Content Type
Profiles
Forums
Gallery
Events
Everything posted by mikegr
-
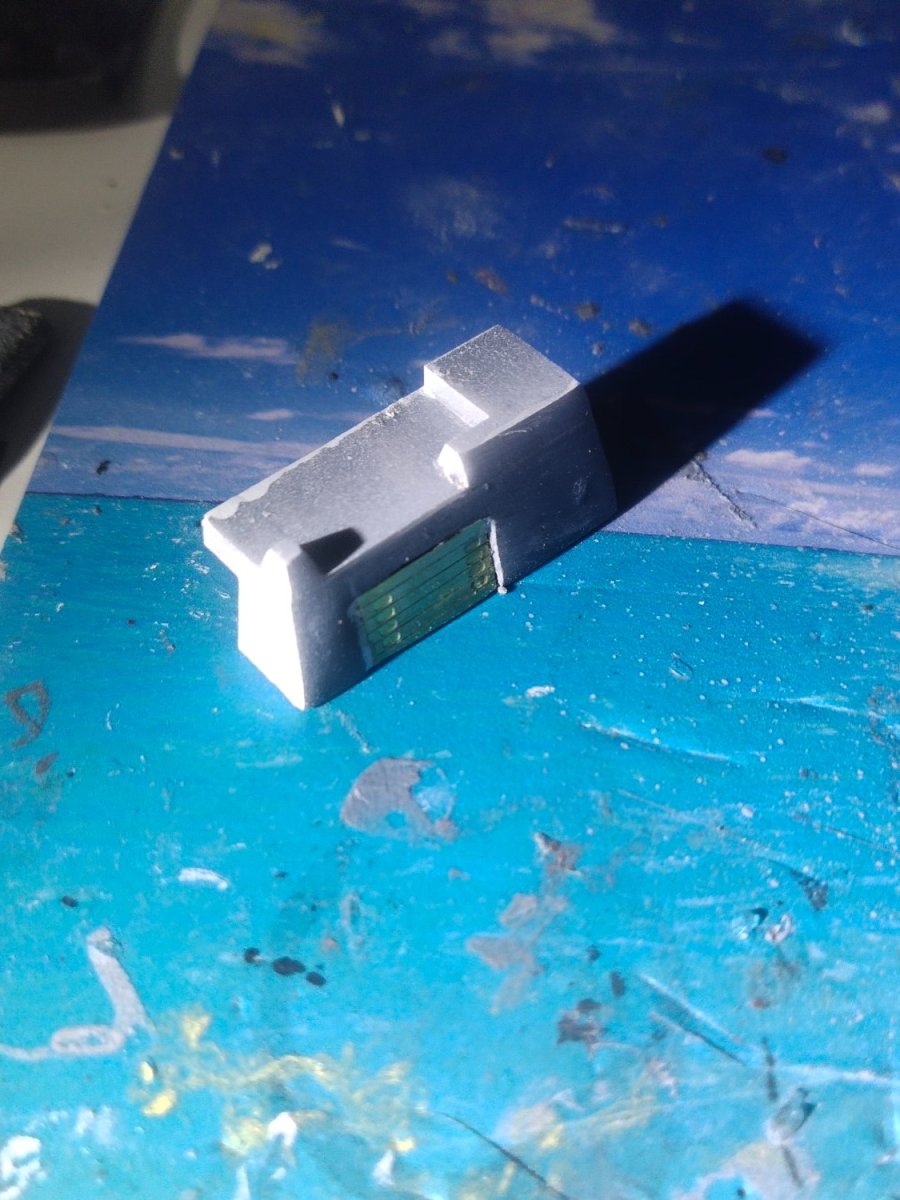
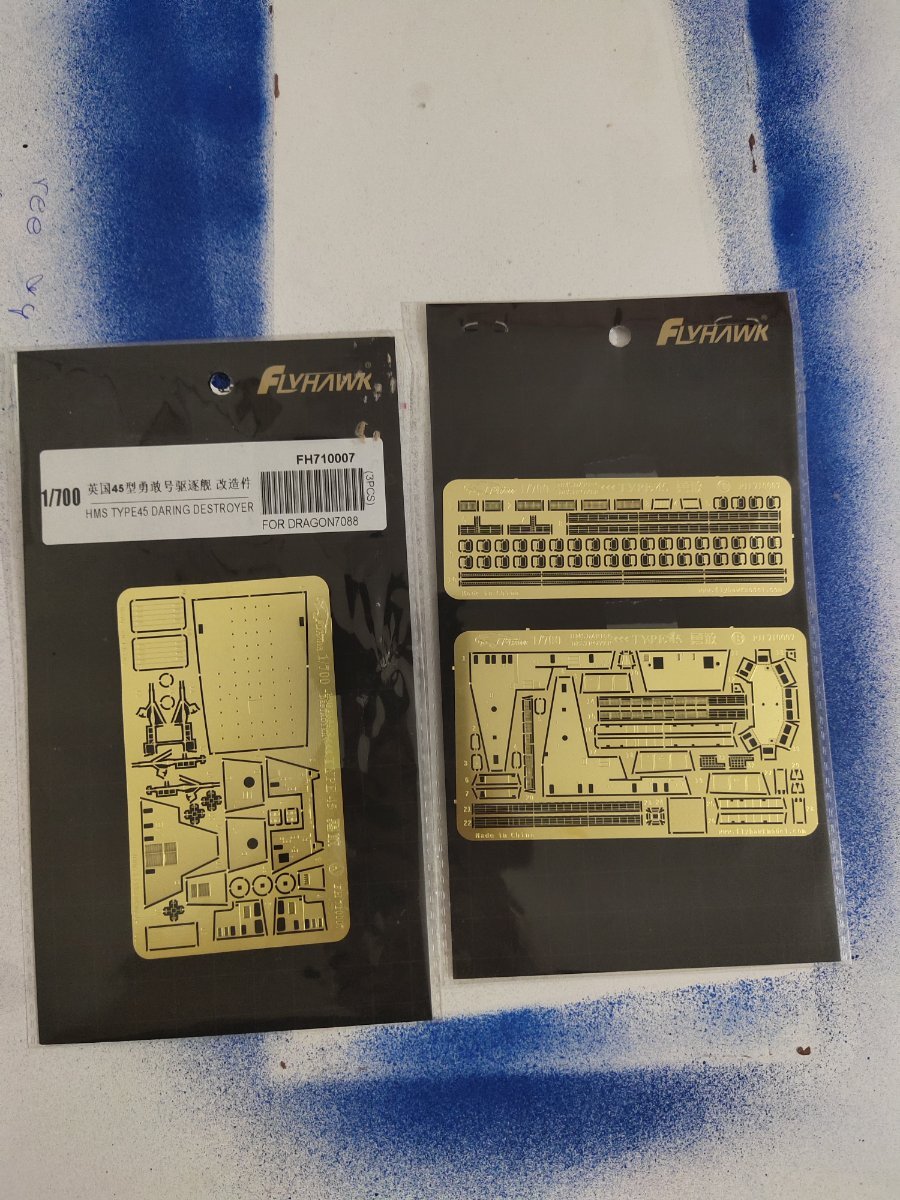
I printed most of the parts.Since I used a plan to calculate the size of the pieces and the PE parts are made to replace standard plastic parts of specific kits some misfitting is expected. Some PEs won't be used as the required details is already designed at the parts I printed.


- 14 replies
-
- 7
-

-
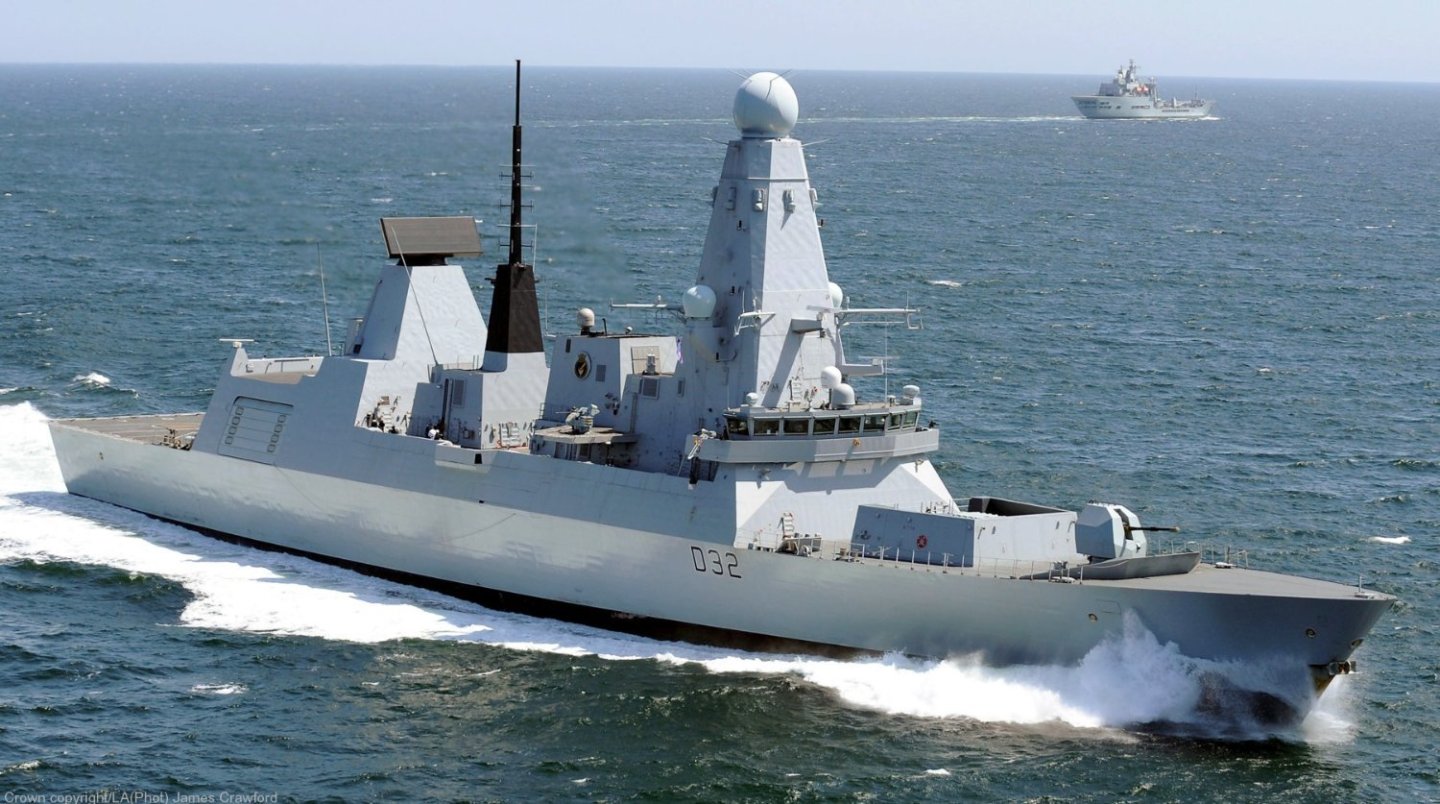
- Type 45 Destroyer
- Horizon-class
- (and 1 more)
-
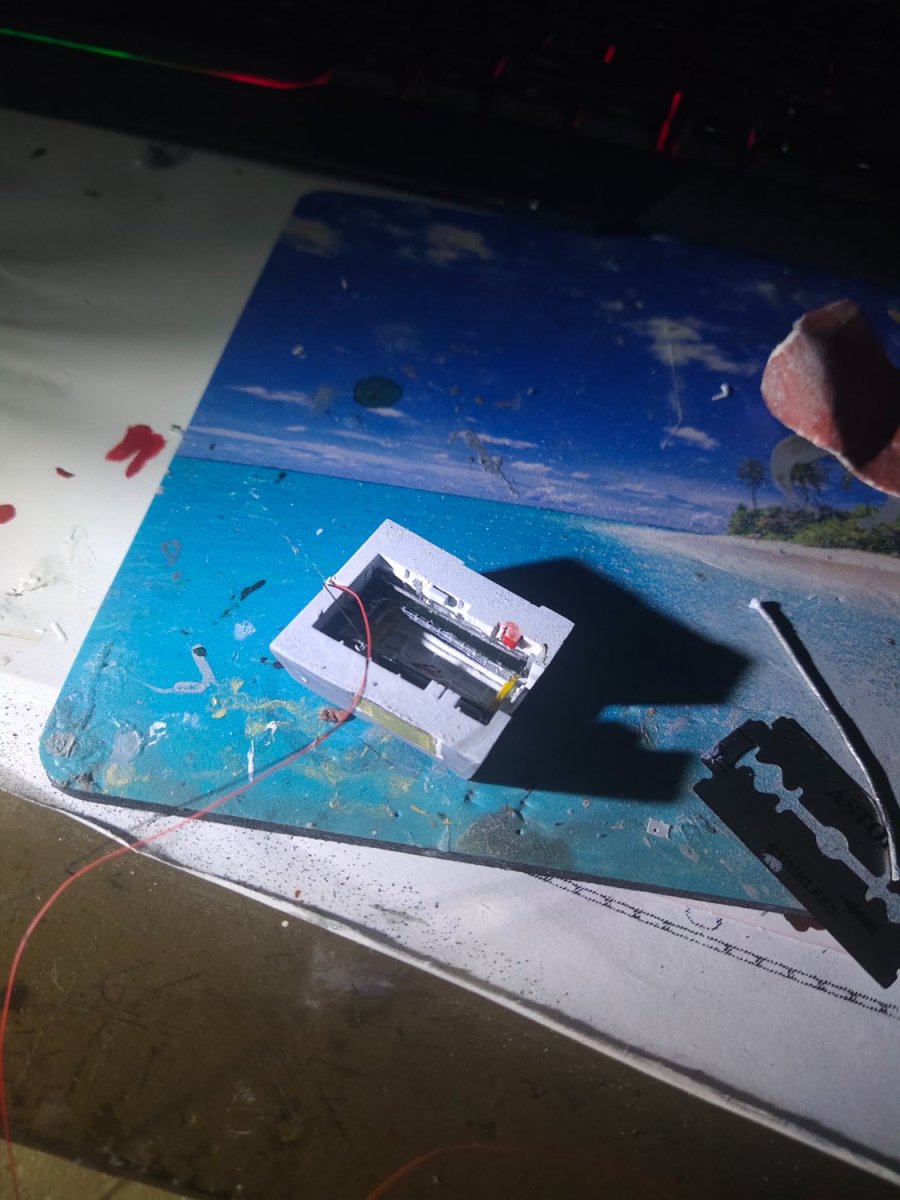
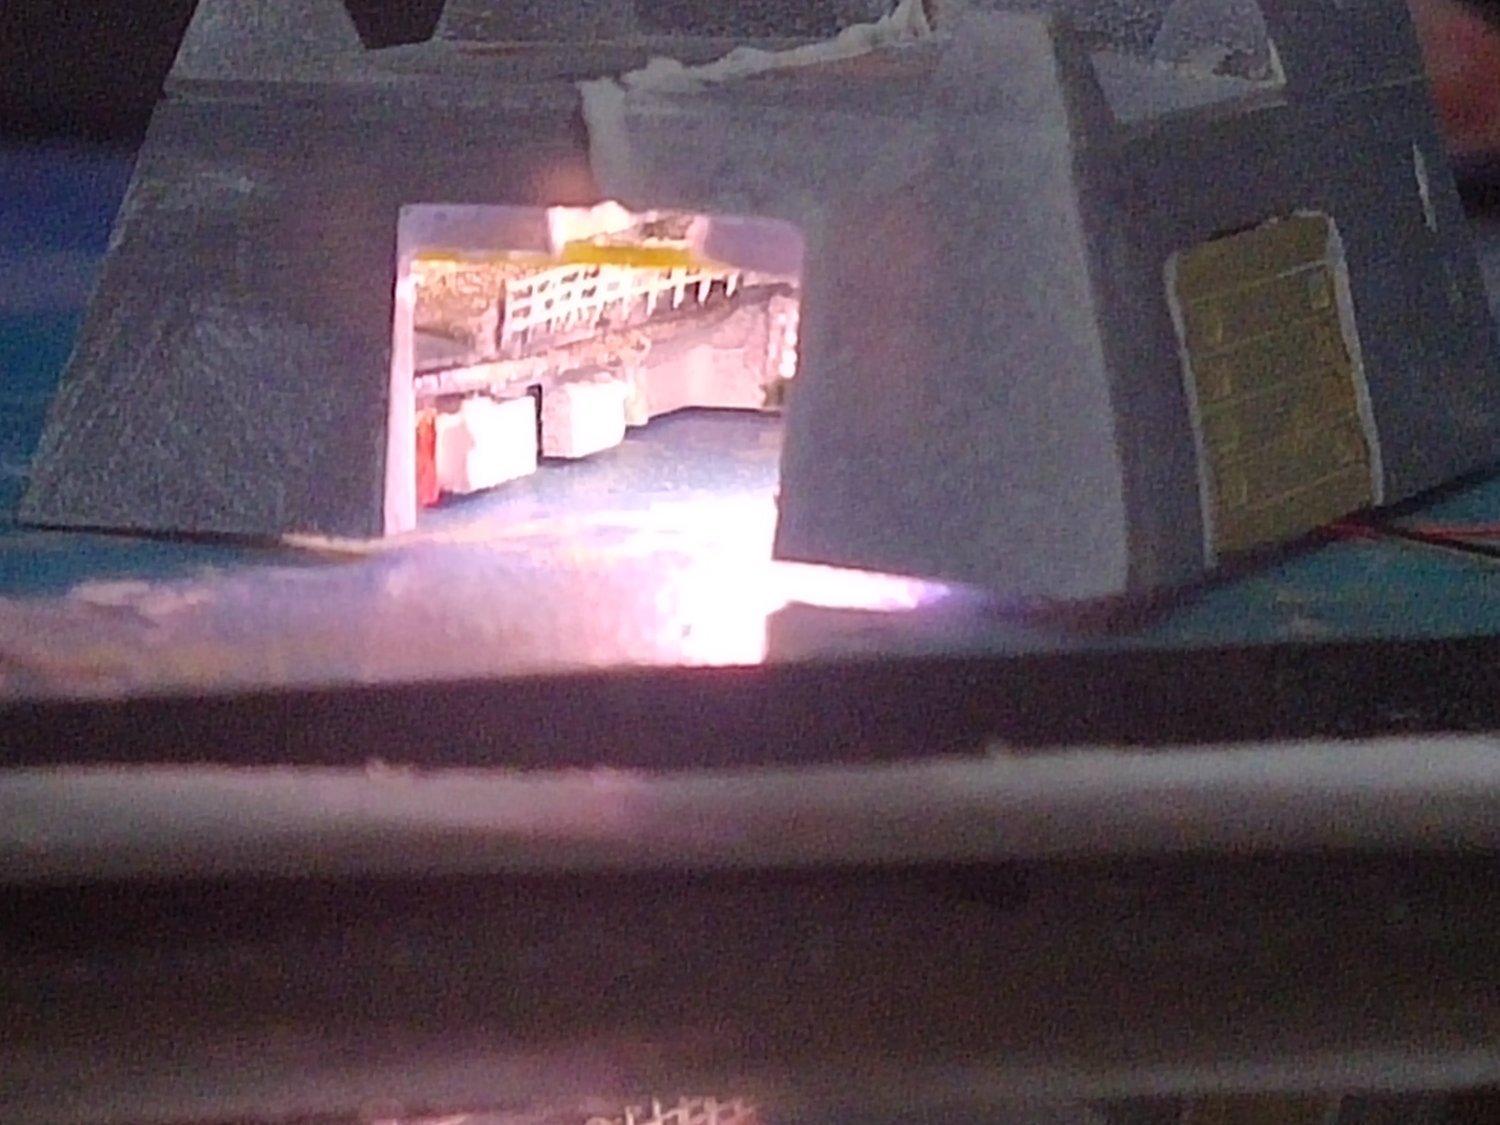
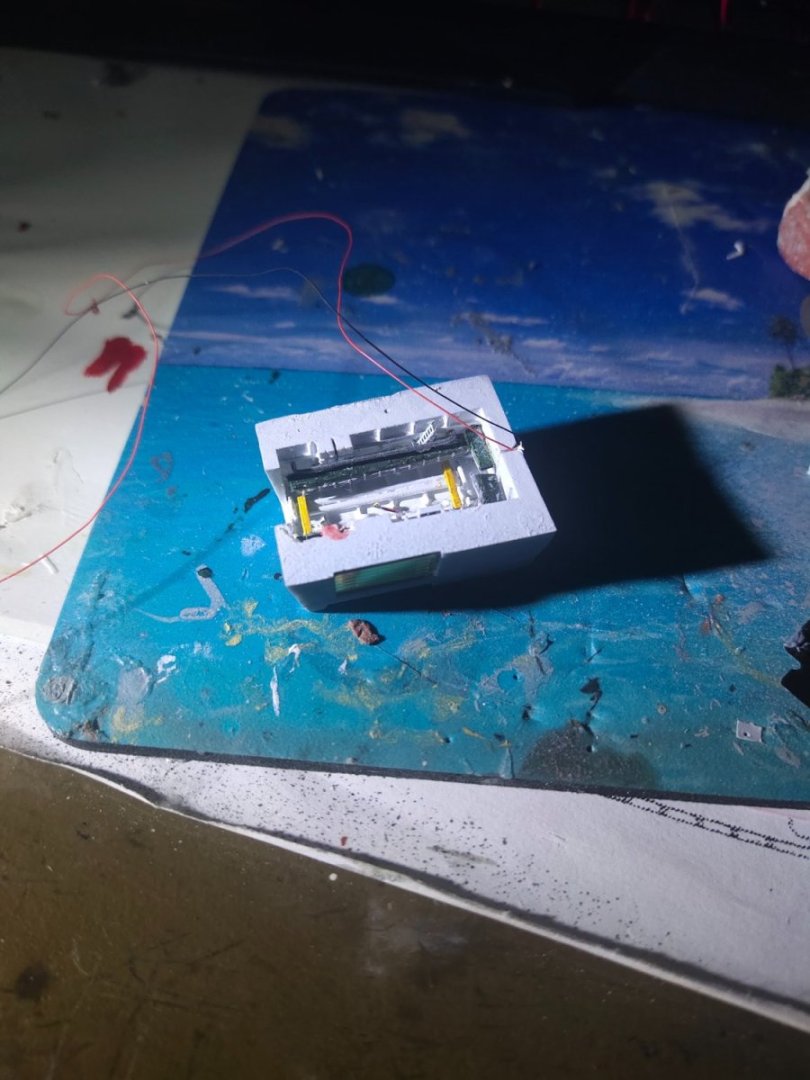
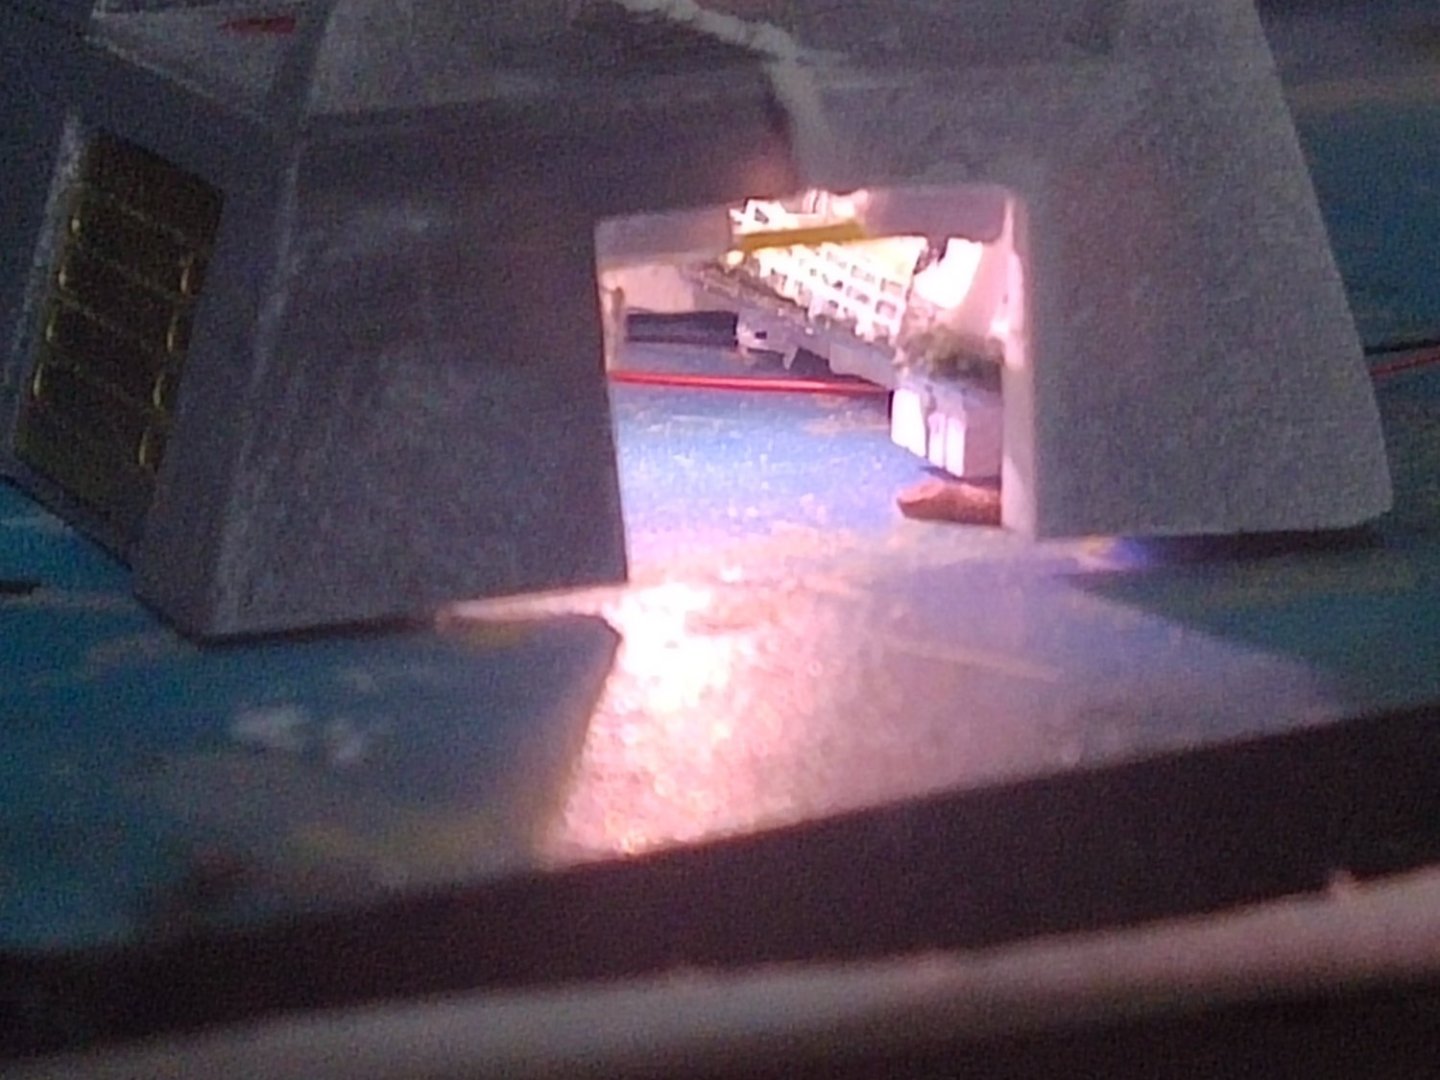
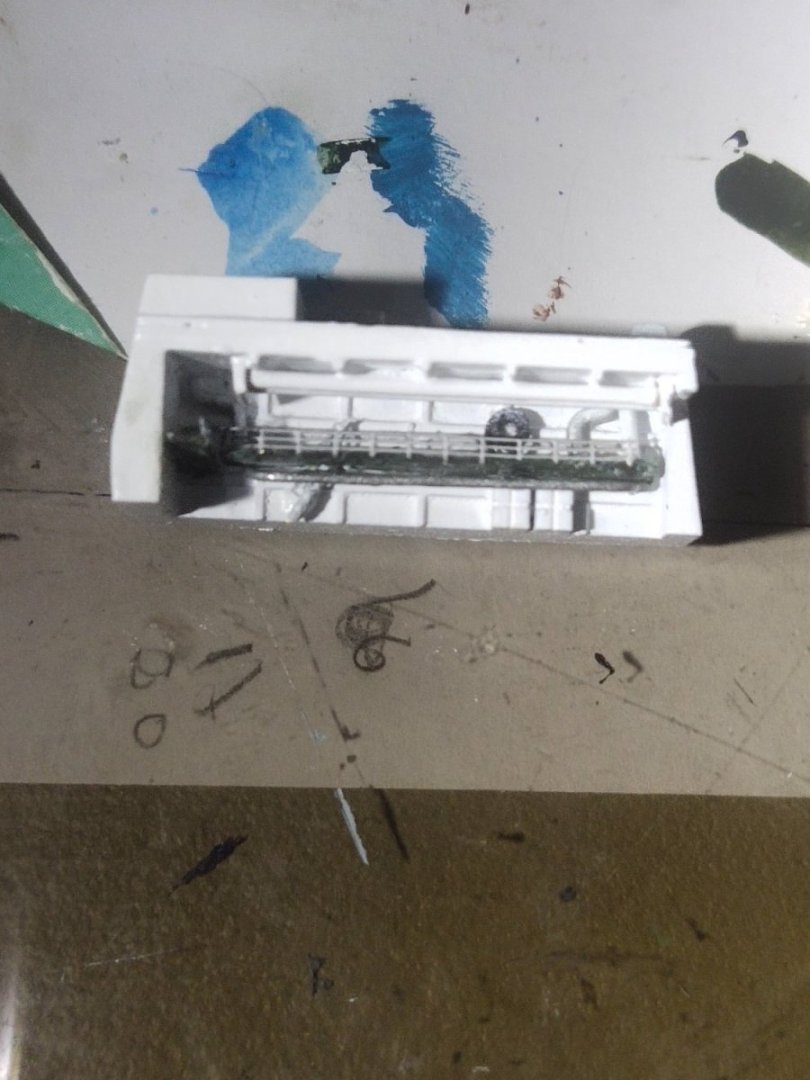
So I made the second part and glued them together. Light was tested. Some misfittings at the end of the hangar won't be visible so I don't bother.


- 14 replies
-
- 6
-
-
- Type 45 Destroyer
- Horizon-class
- (and 1 more)
-
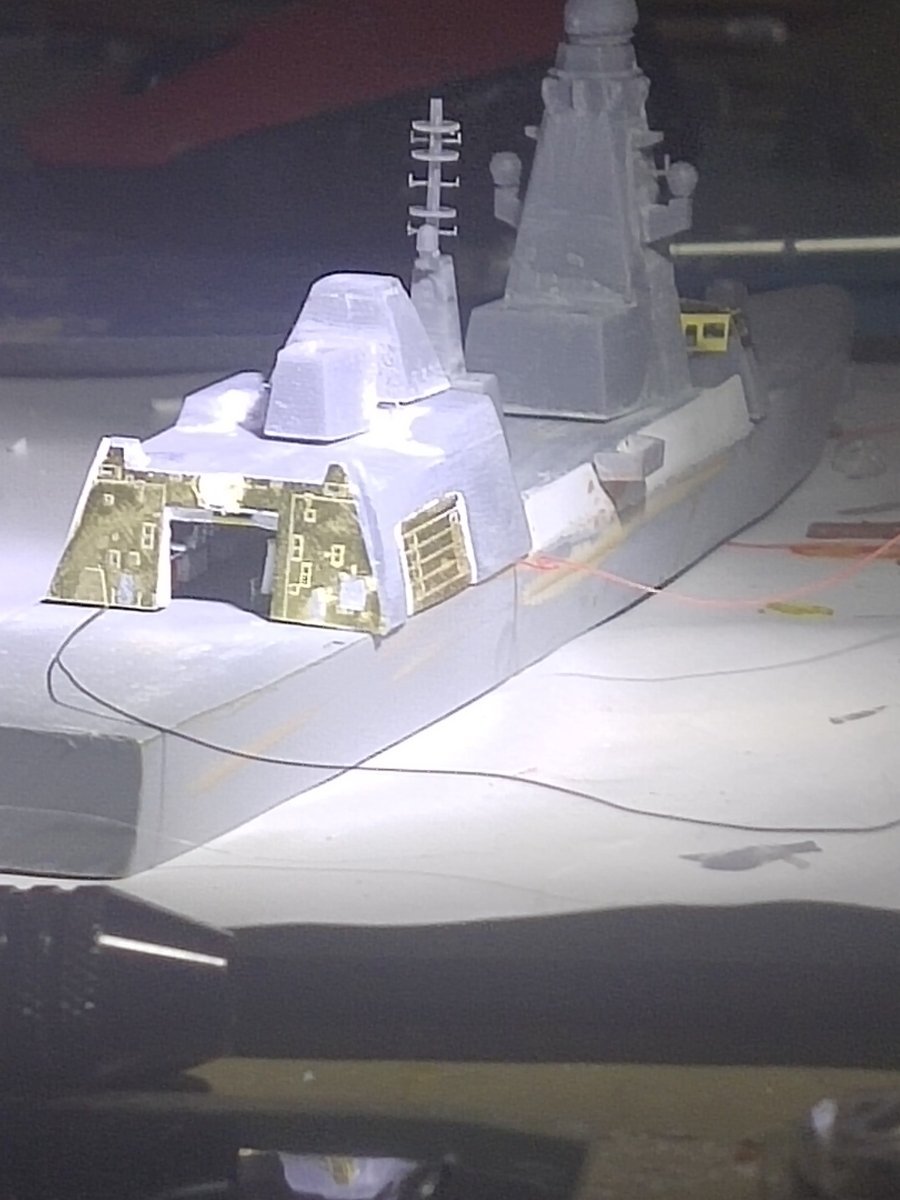
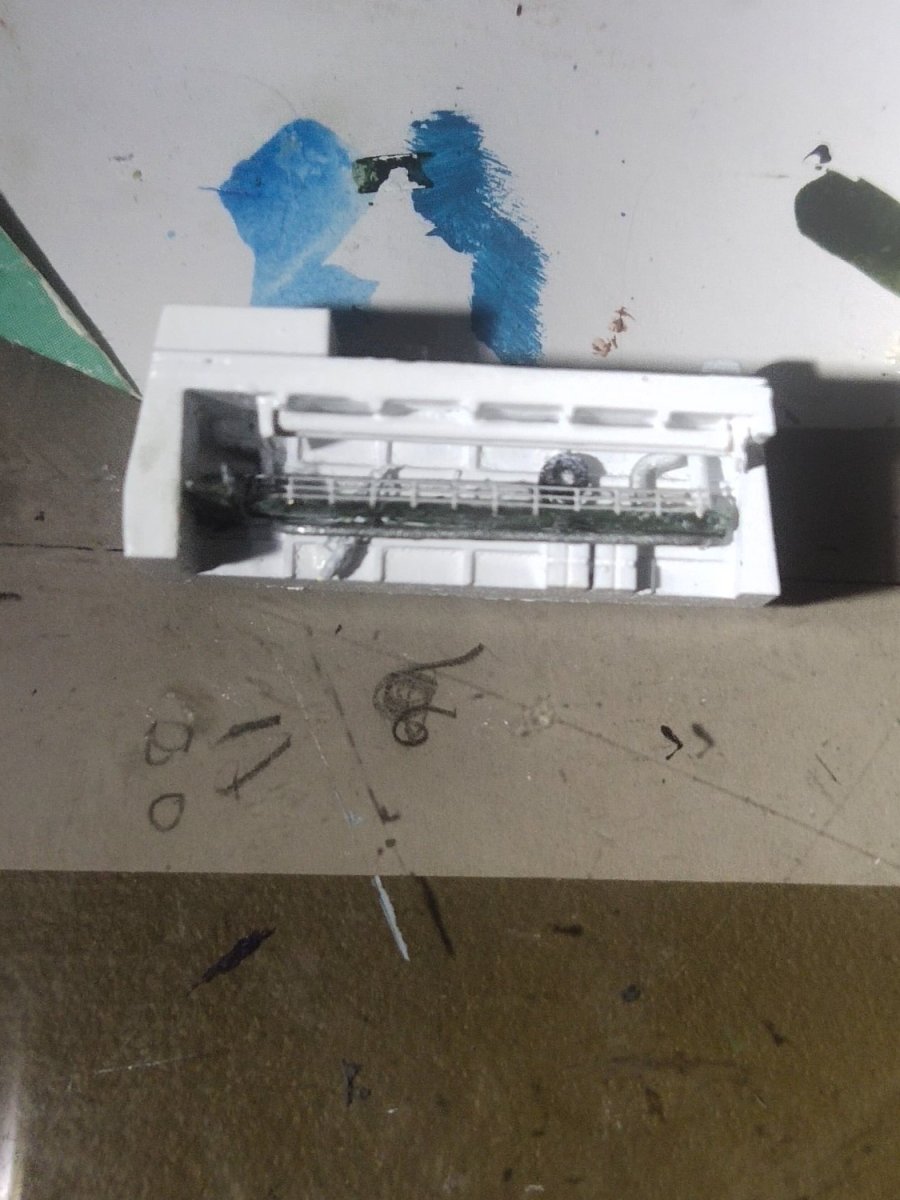
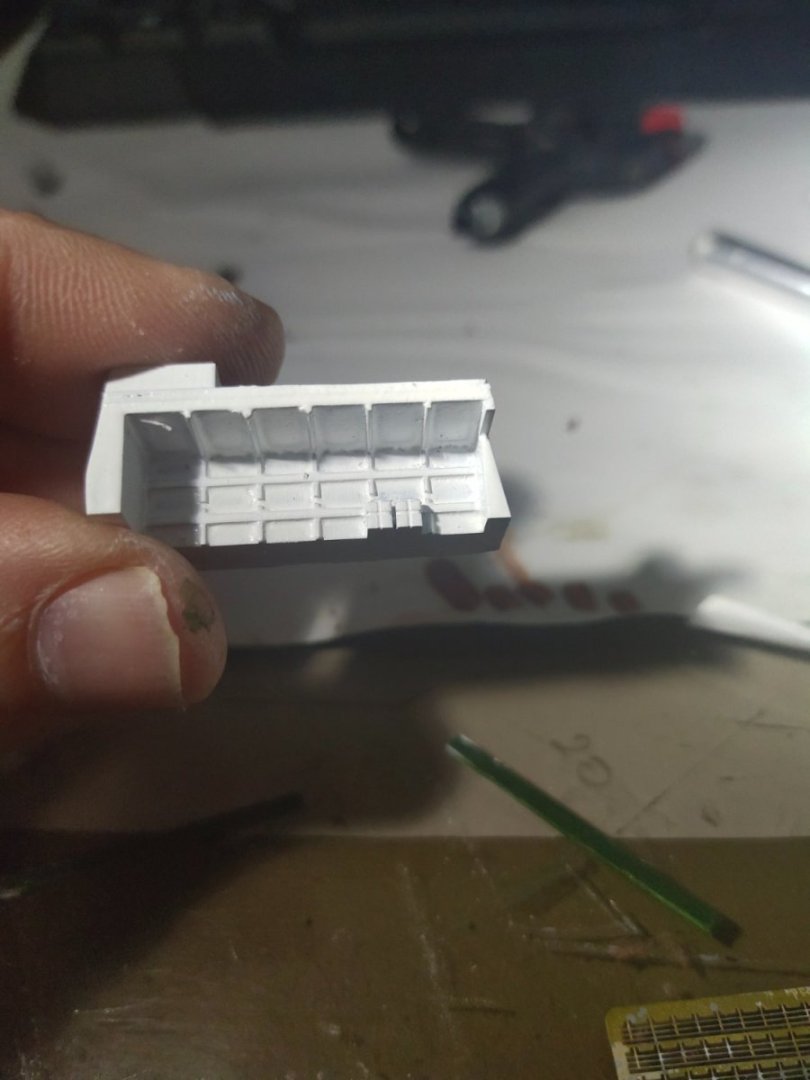
Next was the hangar. I printed the right half and made some adjustment to fit the PE externally. I made them in separate pieces so I can scratch built the interior more easily them glue them together. Like in Horizon class because of the side compartments for inflatable storage, the heli hangar is somewhat narrow.

- 14 replies
-
- 6
-
-
- Type 45 Destroyer
- Horizon-class
- (and 1 more)
-
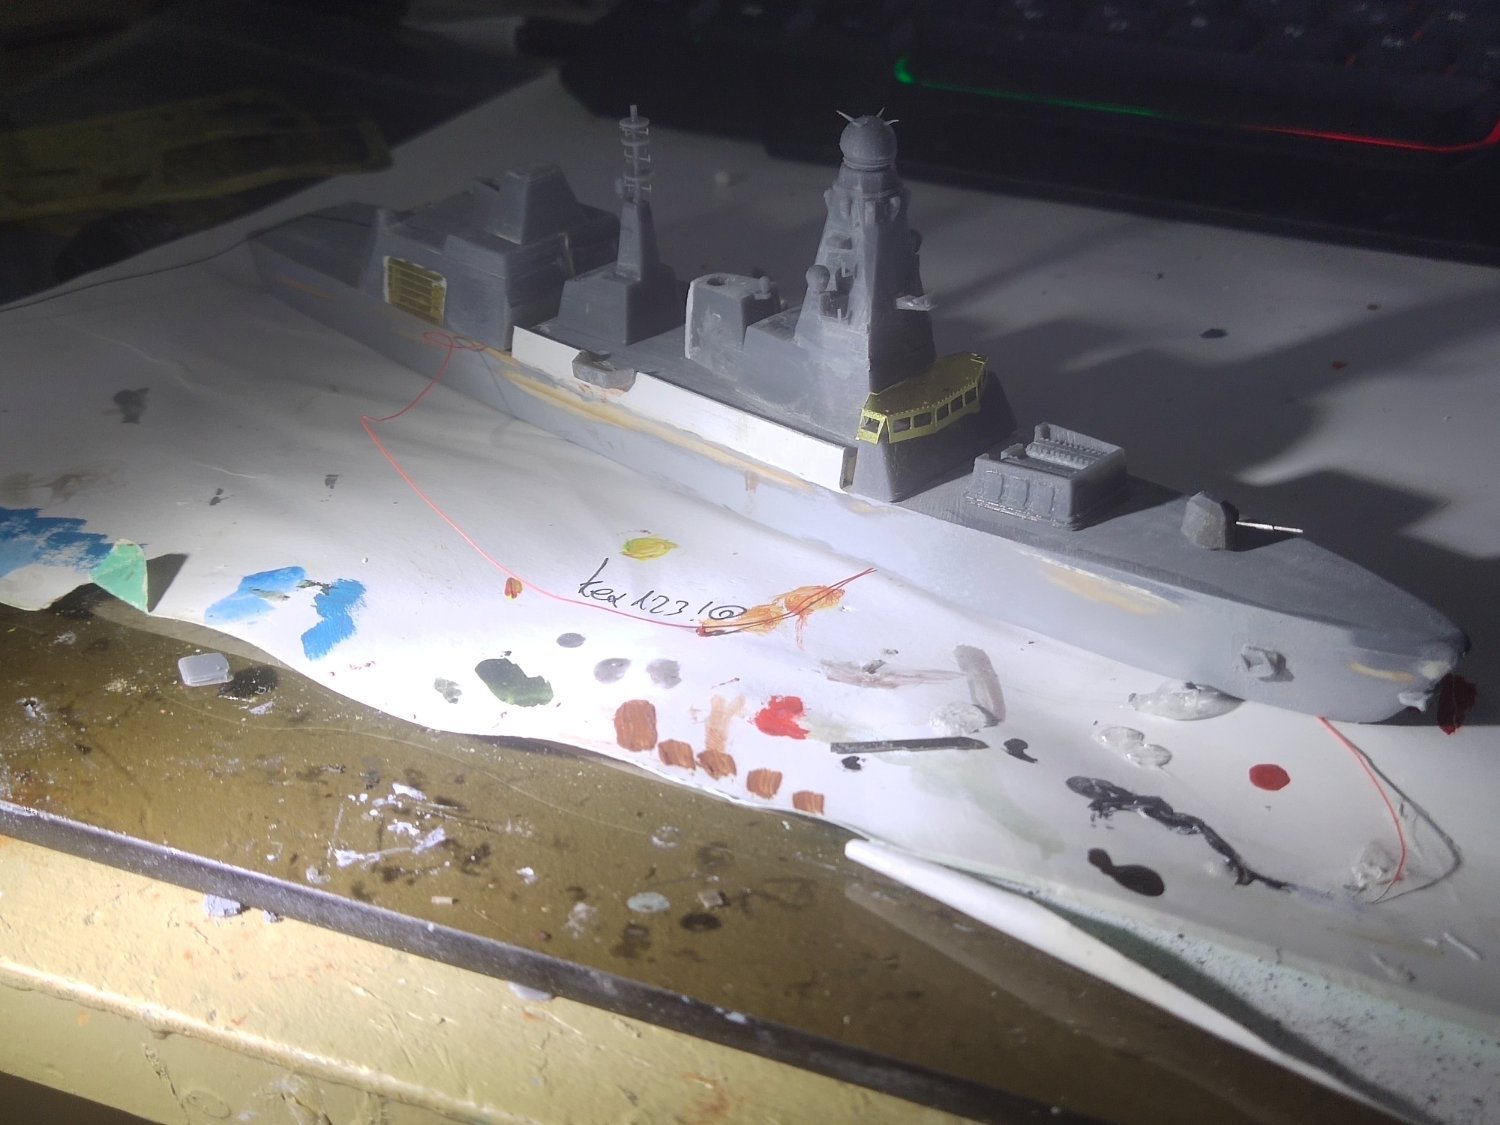
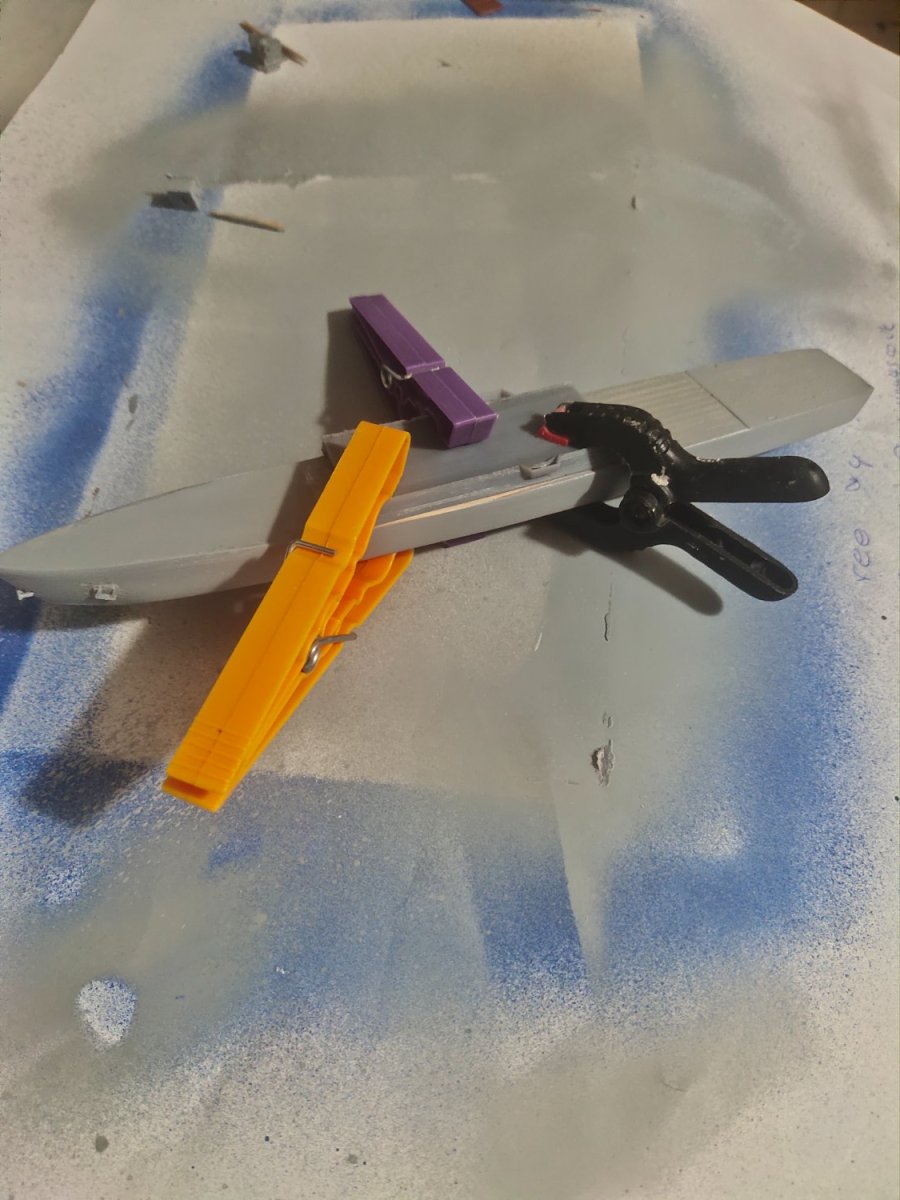
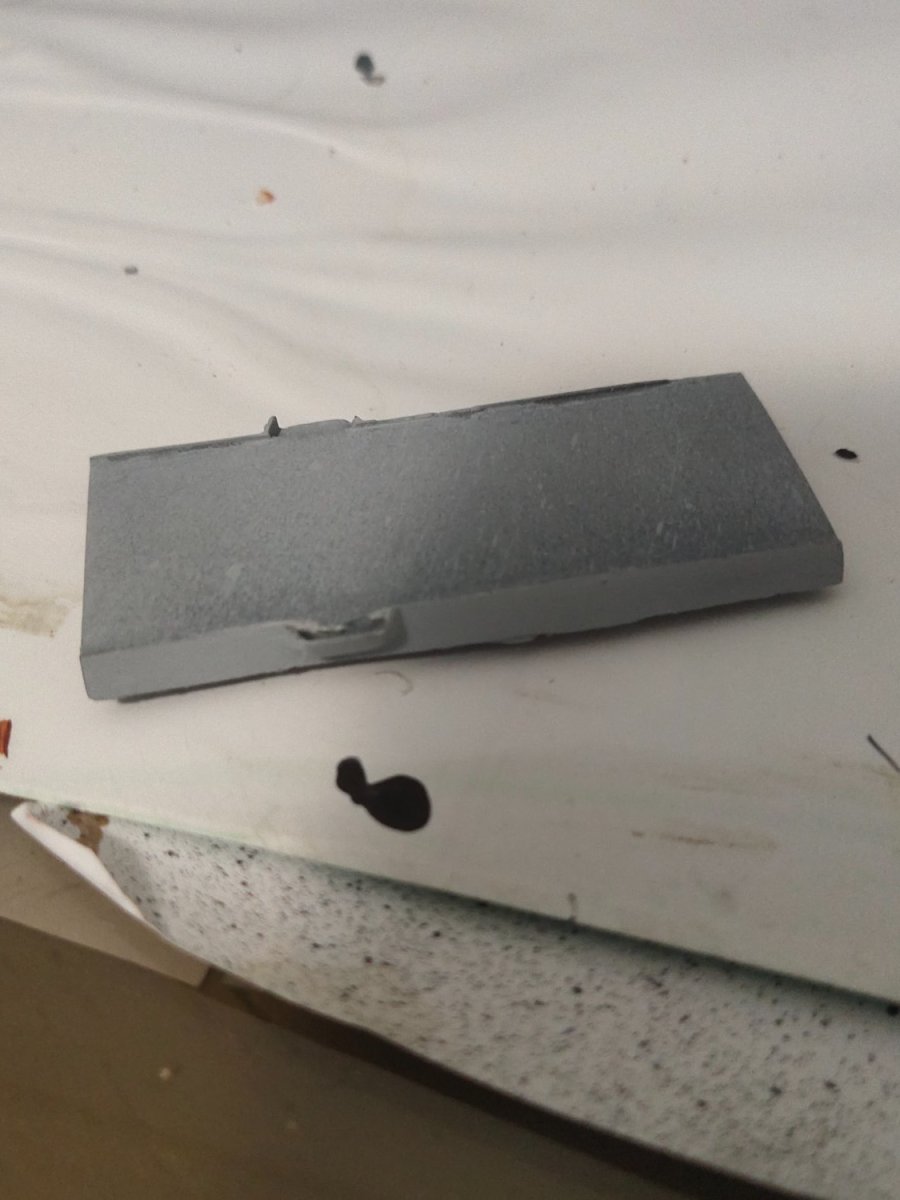
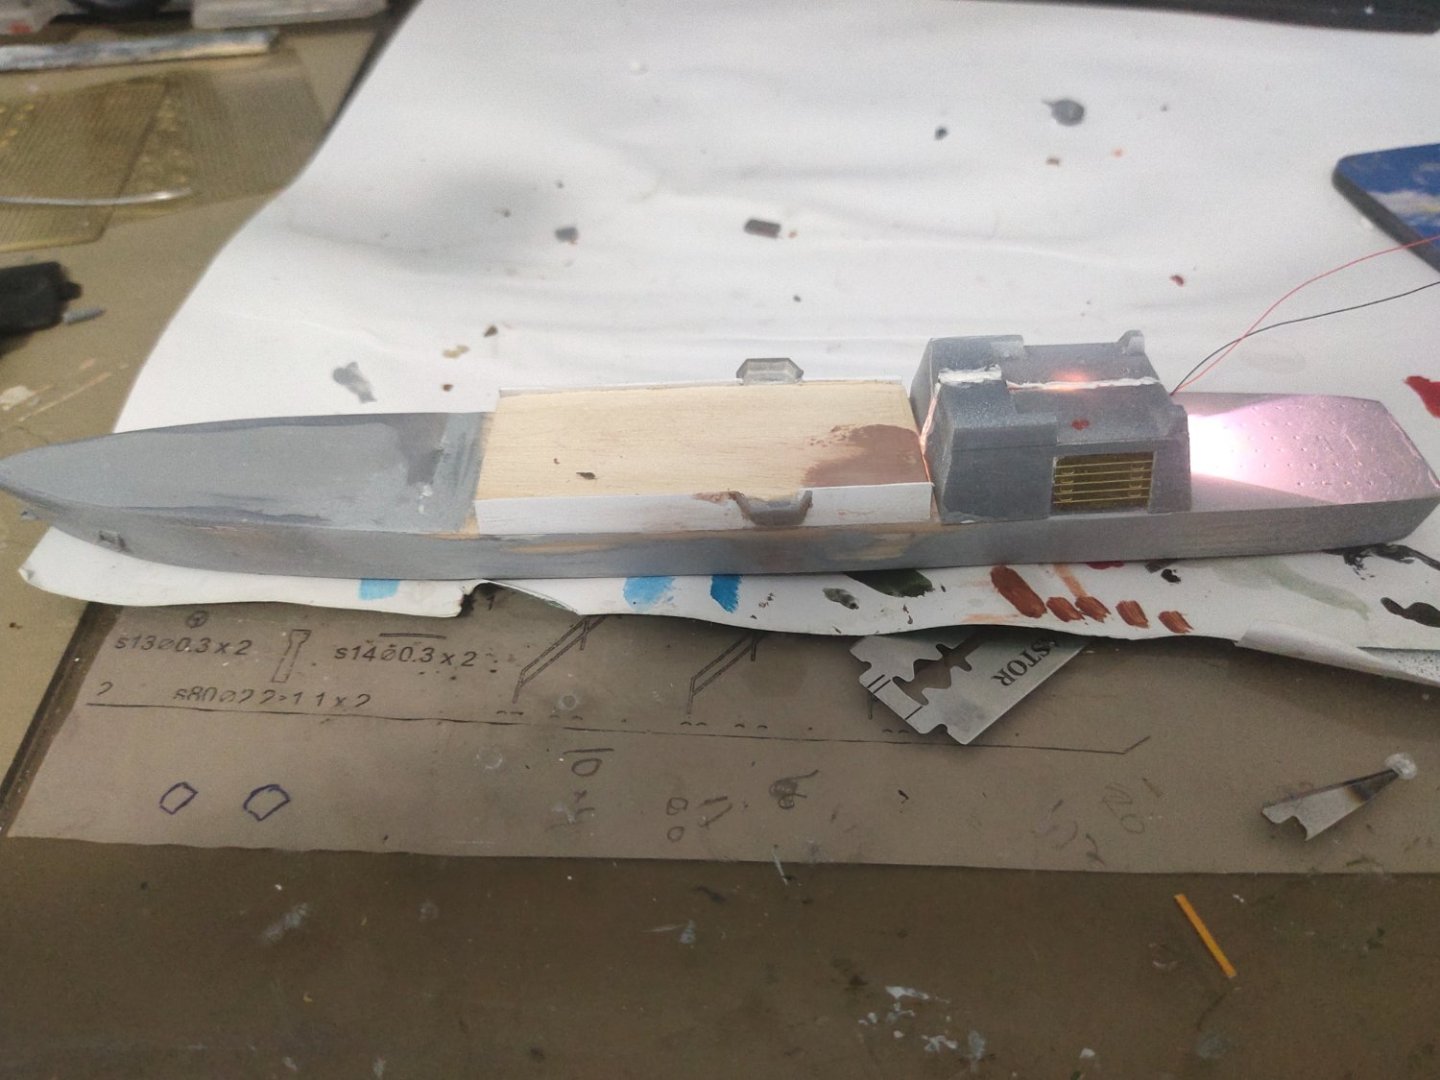
Next was to print the central area between the hangar and the bridge where funnels and towers will placed upon. However because of warping problems that I couldn't solve after many attempts, I removed it and replaced it with plywood wrapped with plastic fillets for a smoother finish. This handwork took me 2 hours instead of 2 wasted evenings, what a bitter lesson. Fortunately the other piece, the main canon printed just fine and a barrel made of needle pieces was added along with hand rails.


- 14 replies
-
- 7
-
-
- Type 45 Destroyer
- Horizon-class
- (and 1 more)
-
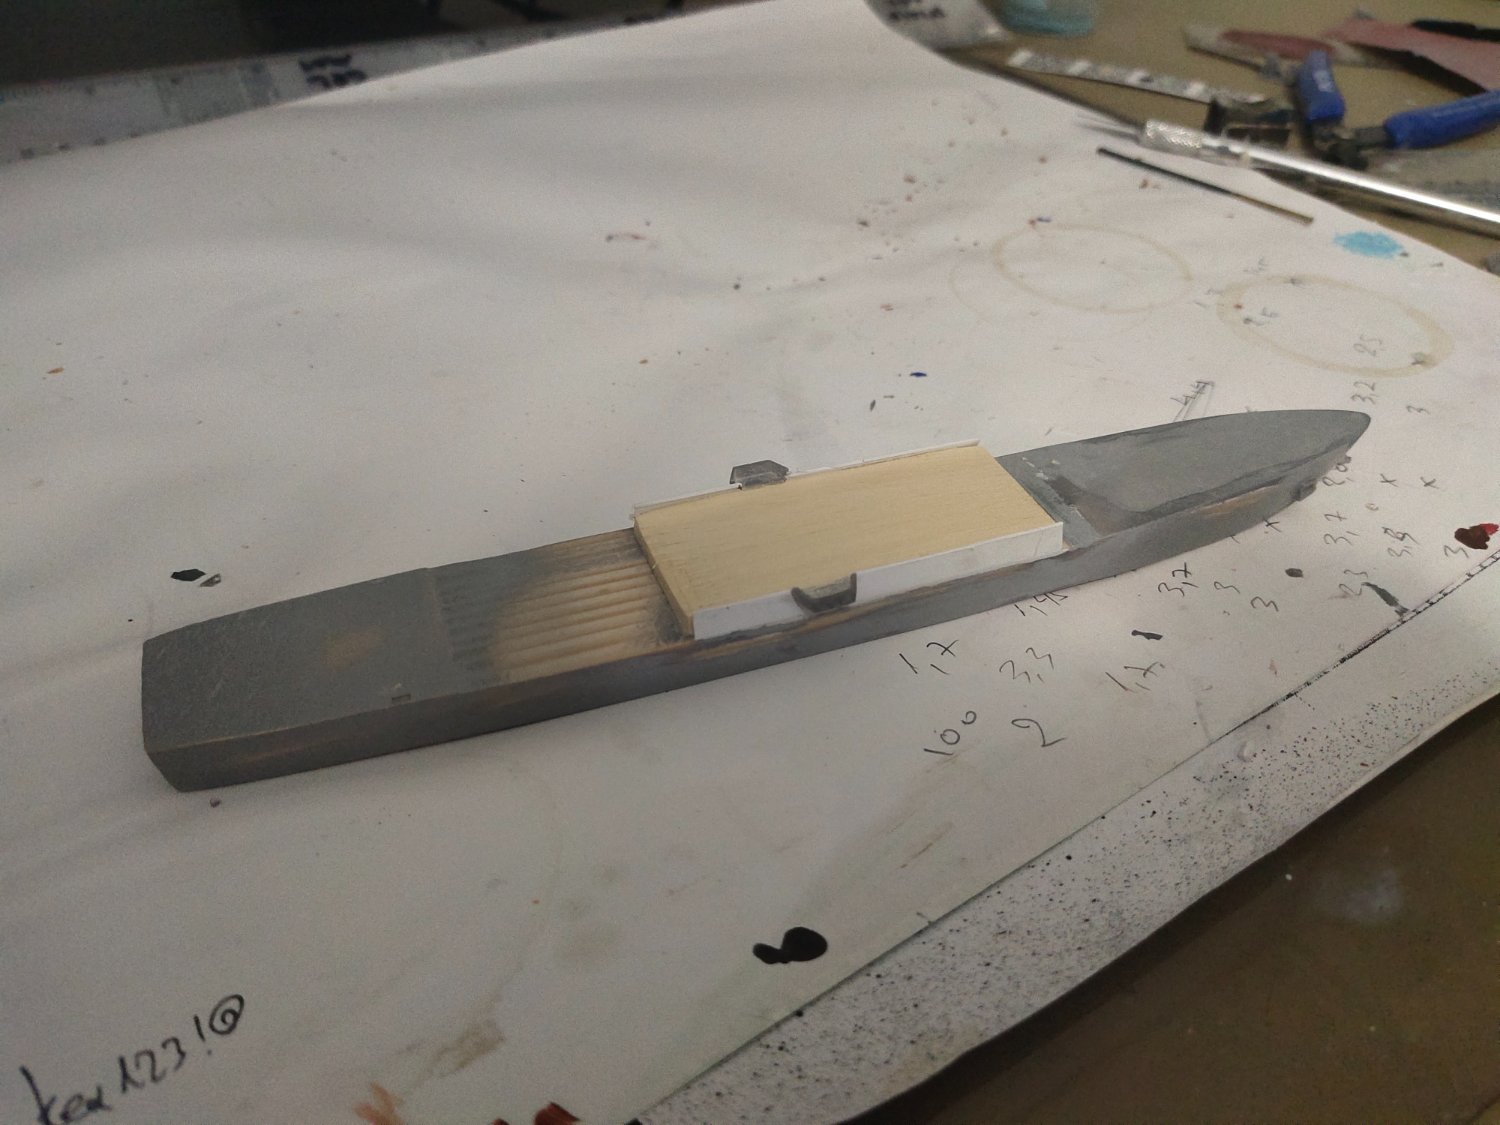
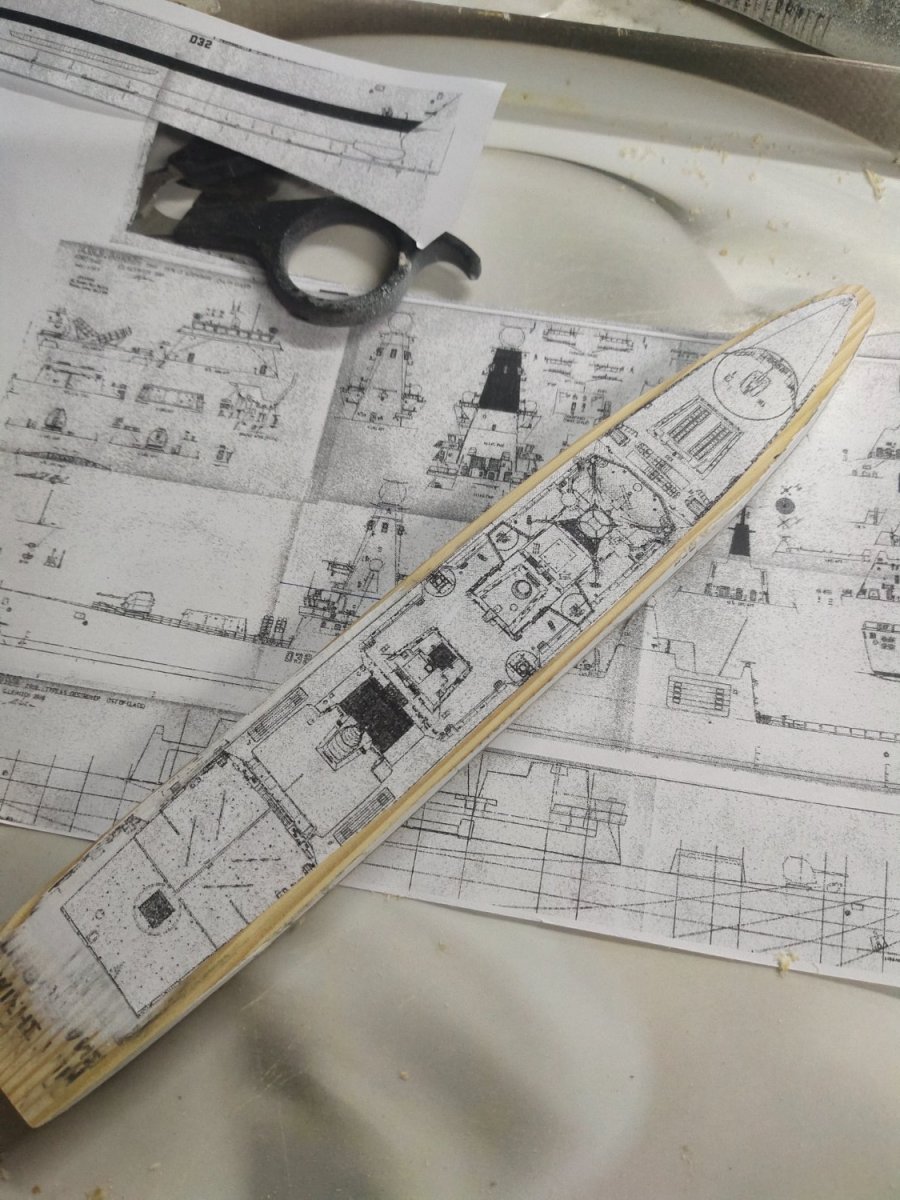
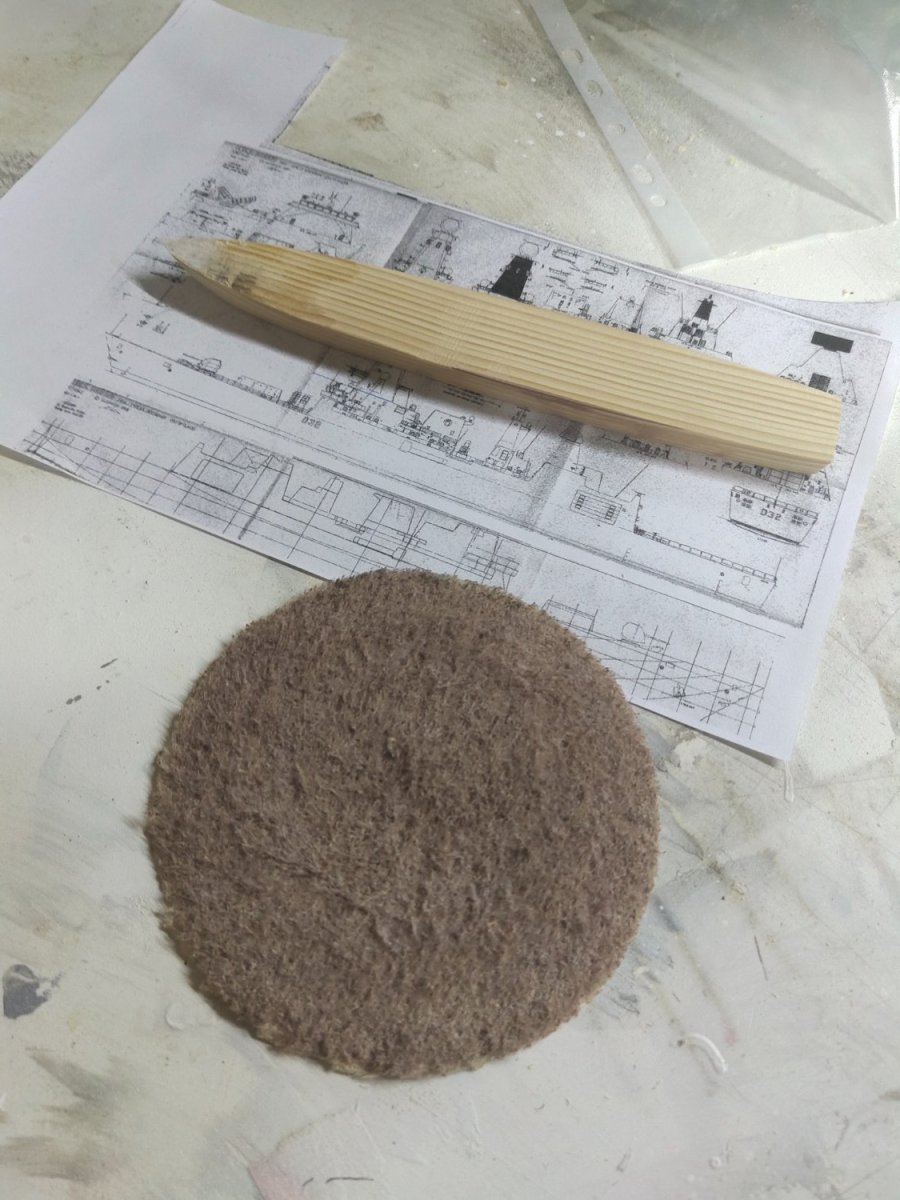
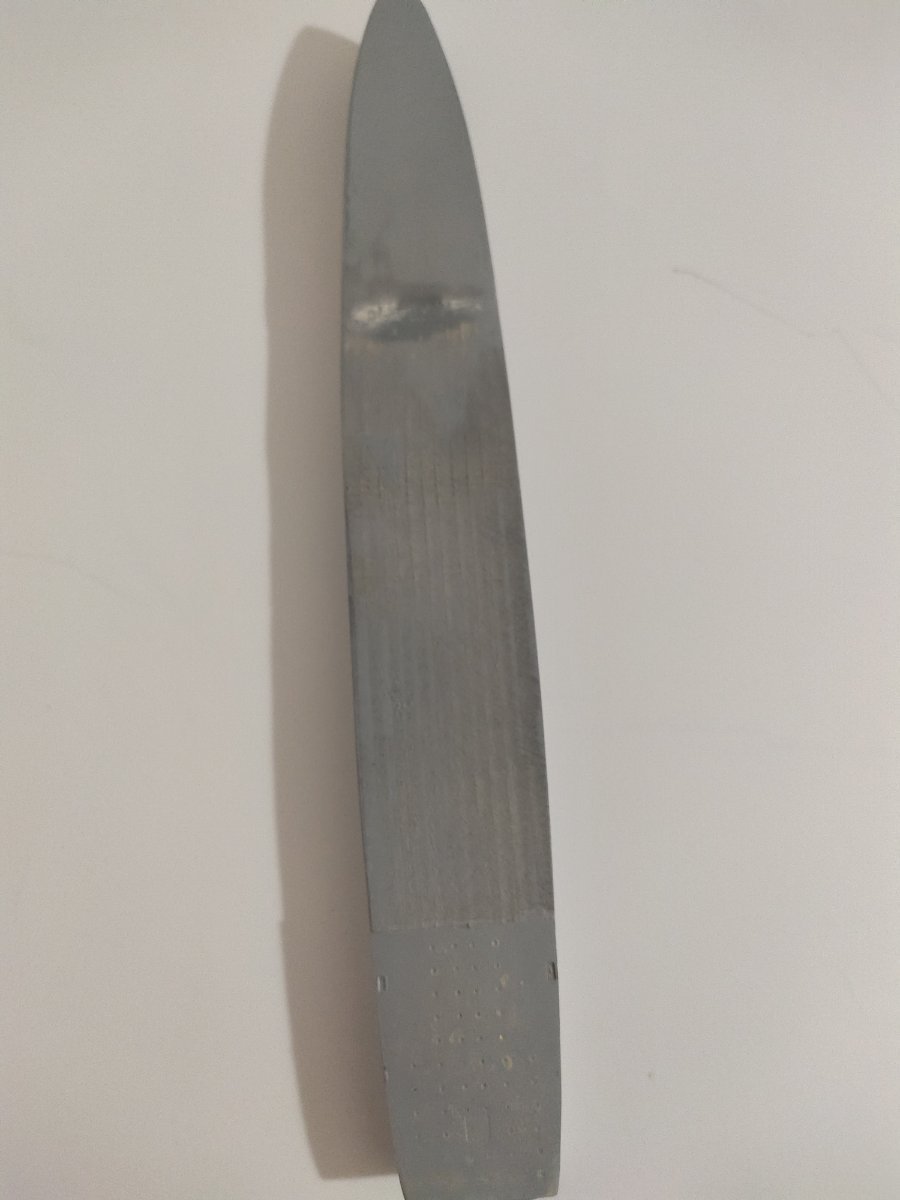
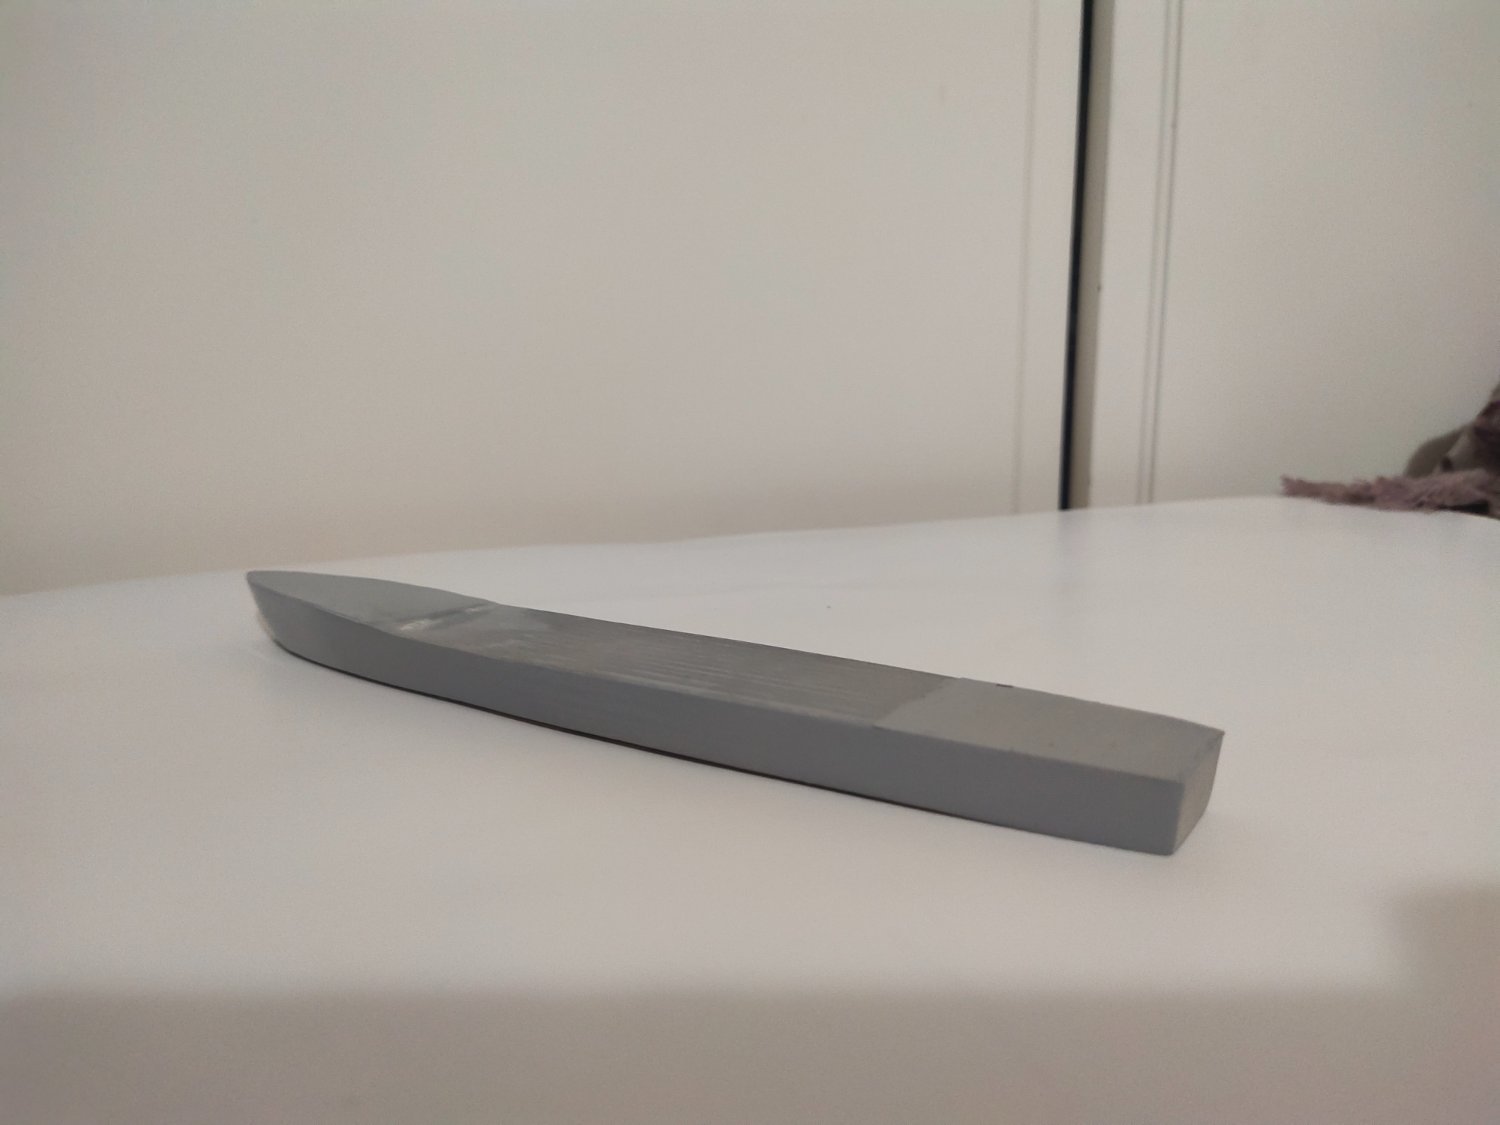
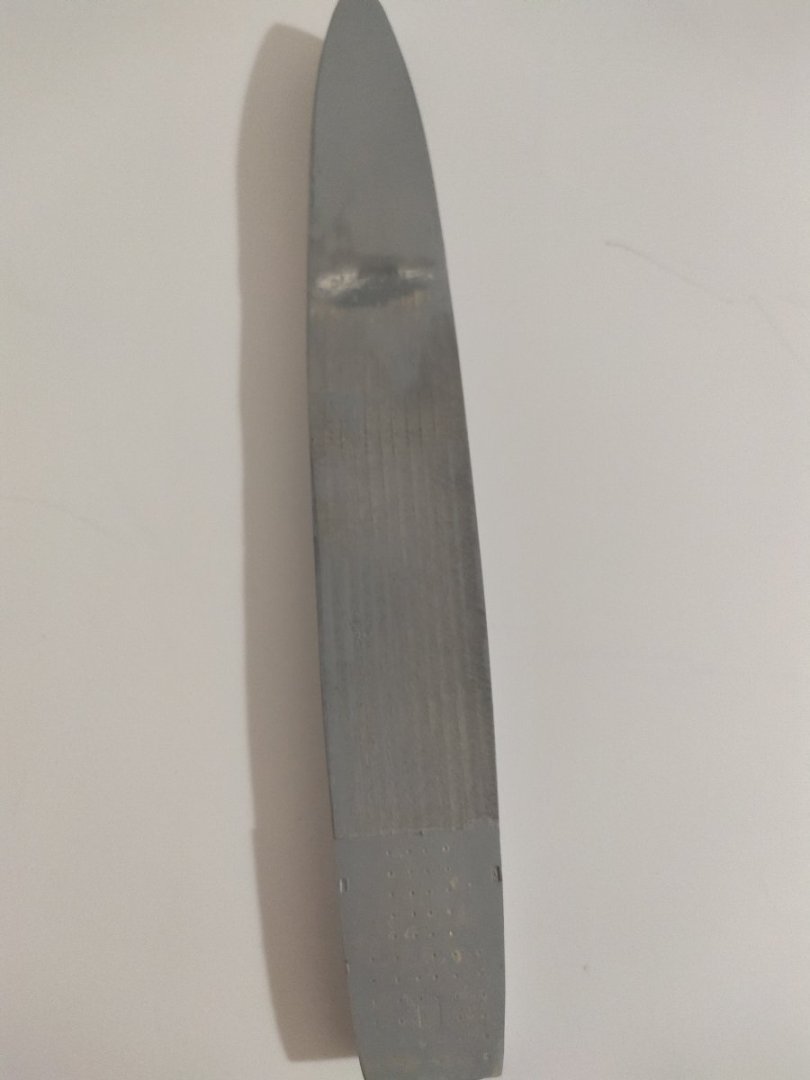
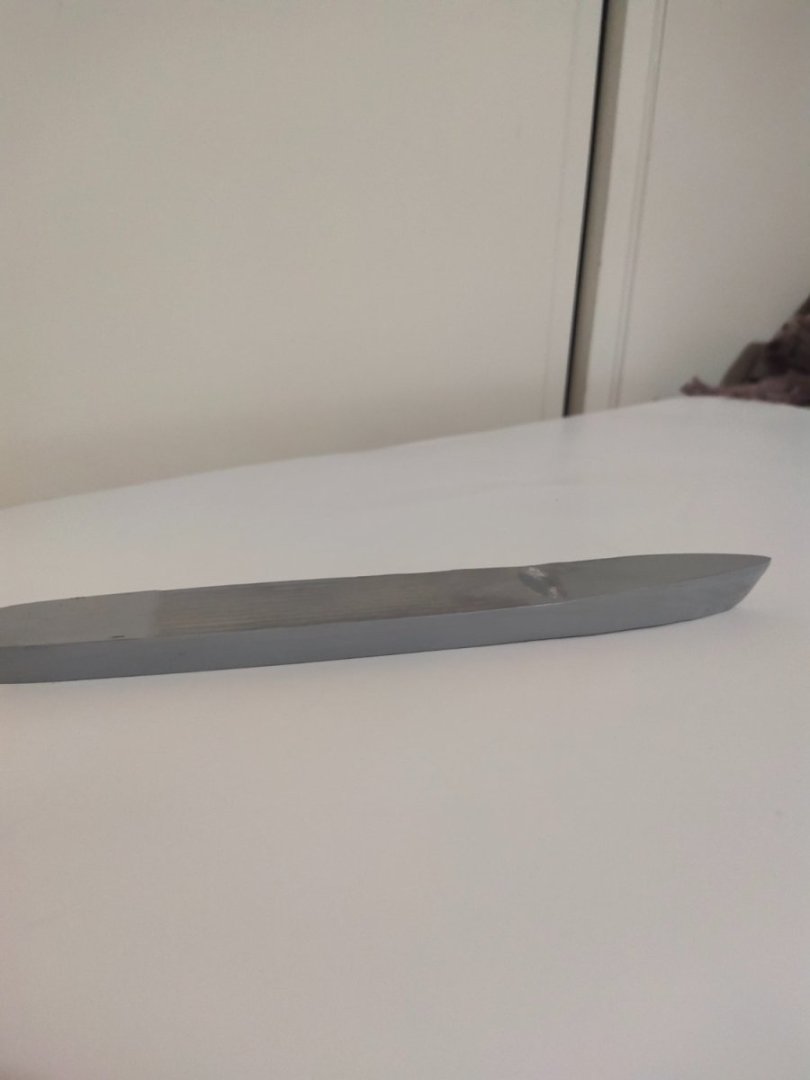
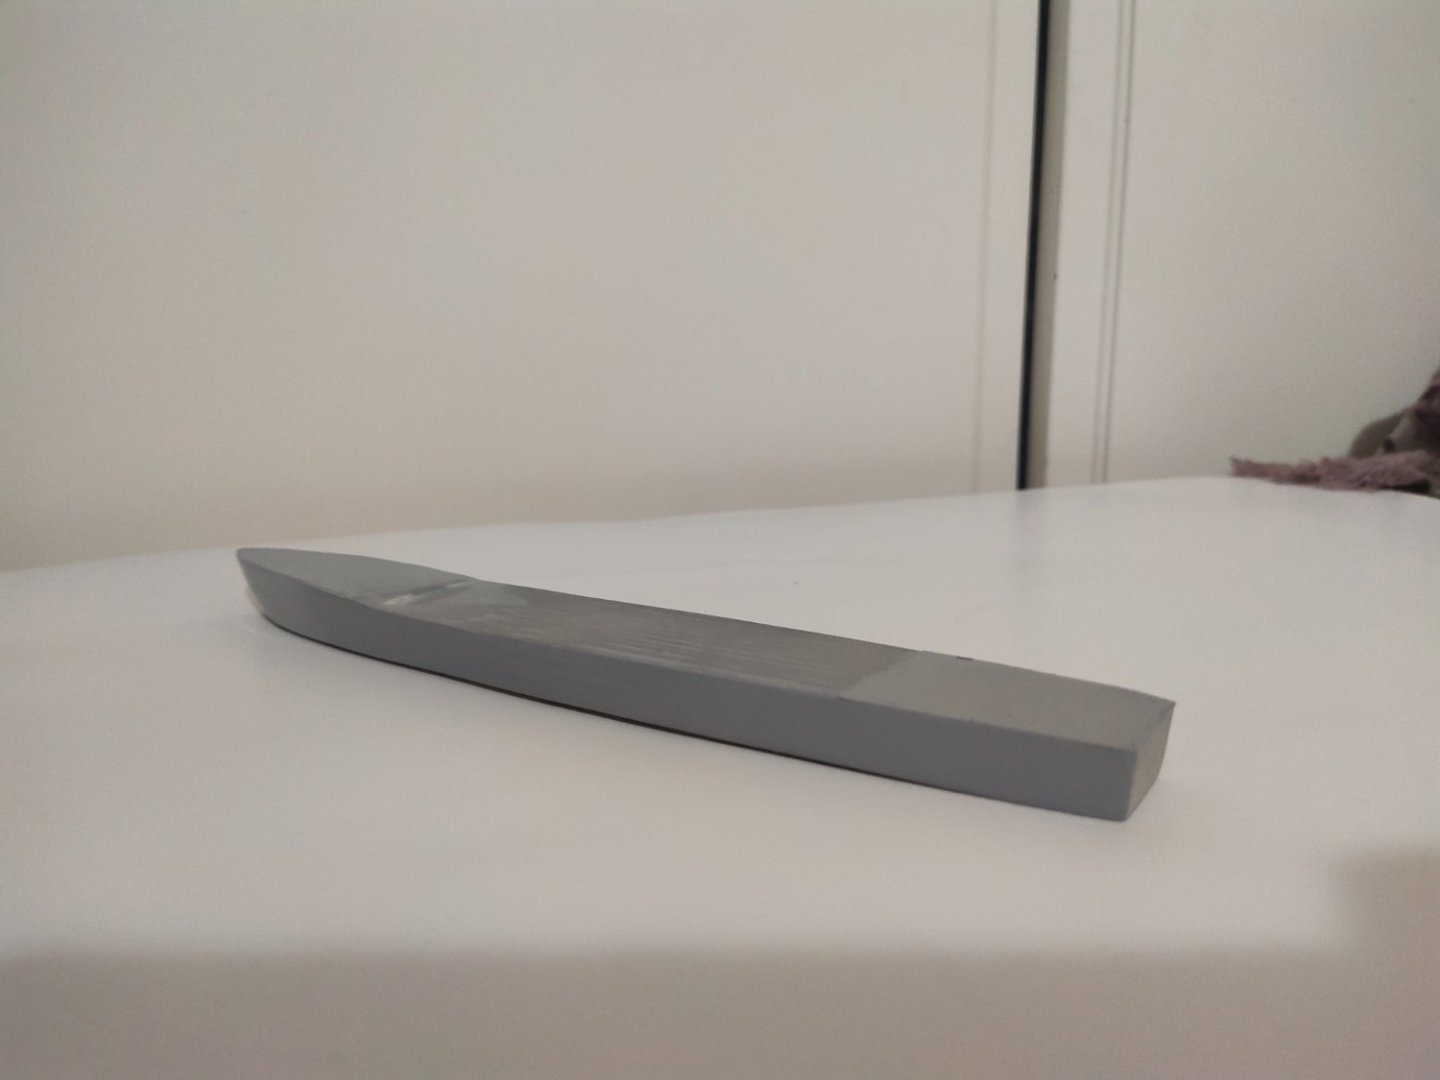
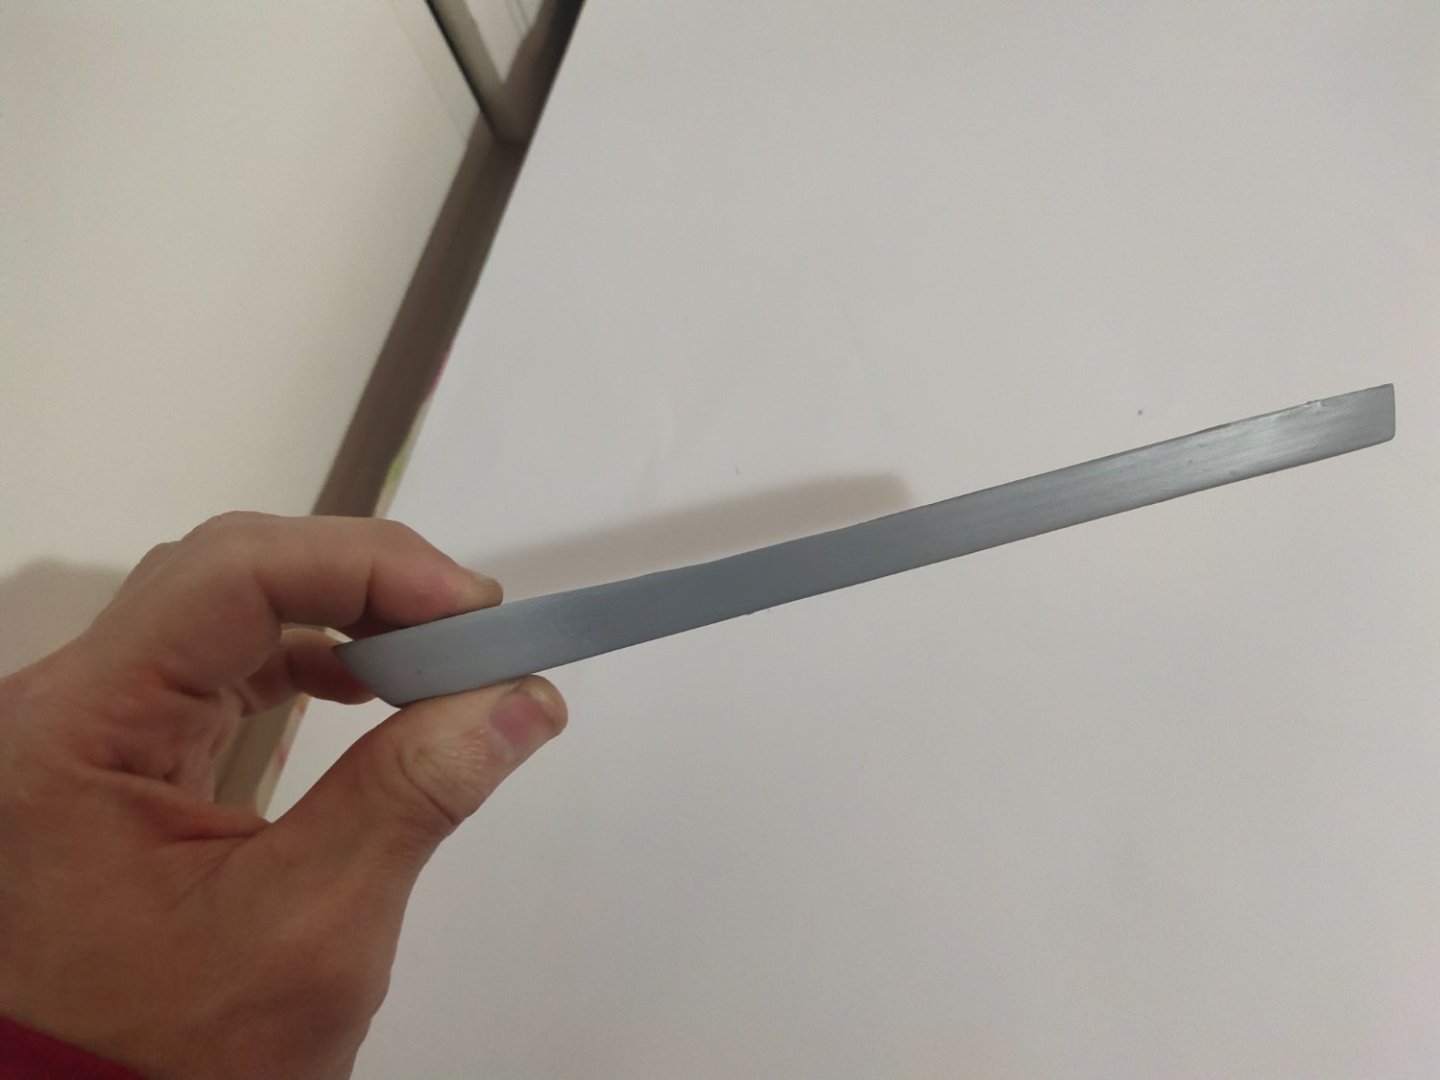
I made the hull. It looked clumsy and wide. I had to remeasure to get the proper dimensions Excess "fat" was trimmed down and it was shortened by 3 cm. After more careful work I shaped the sides and upon finish wood was polished Then, I add the PE heli deck on rear and a 2.5 mm piece of resin on bow to make the right elevation Finally priming and sanding the bow, stern and the sides, several times.


- 14 replies
-
- 7
-
-
- Type 45 Destroyer
- Horizon-class
- (and 1 more)
-
I will take a few weeks off because I suddenly feel the need to smell some sanded wood. So I start a new scratch project
-
I thank all the members for their supporting comments as well all the silent followers. You need to consider the information resources and the materials available back then and compare again.
-
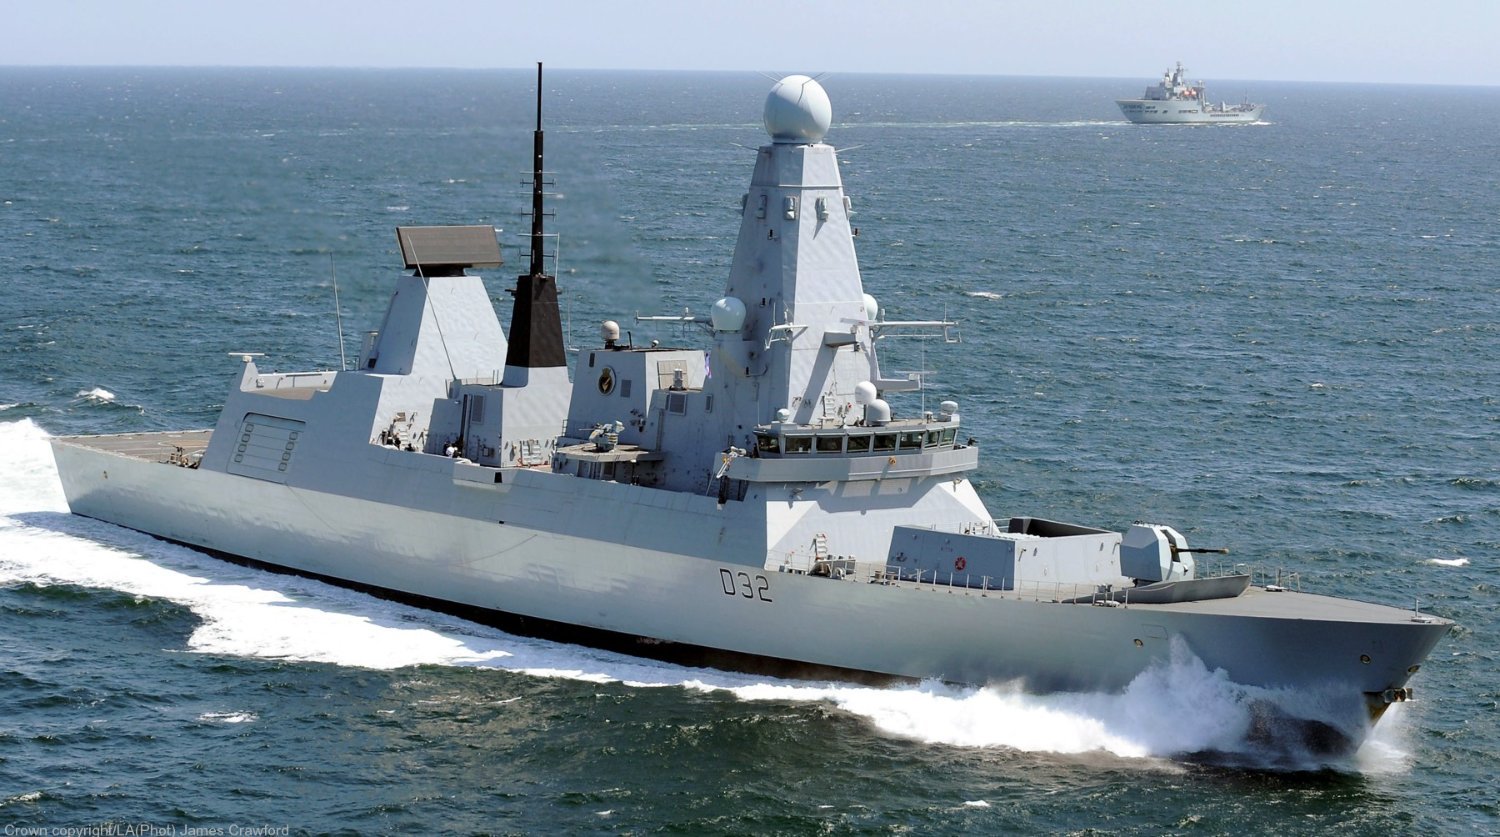
I will build the cousin of my previous work - Horizon class, the type 45 Destroyer.


- 14 replies
-
- 8
-
-
- Type 45 Destroyer
- Horizon-class
- (and 1 more)
-
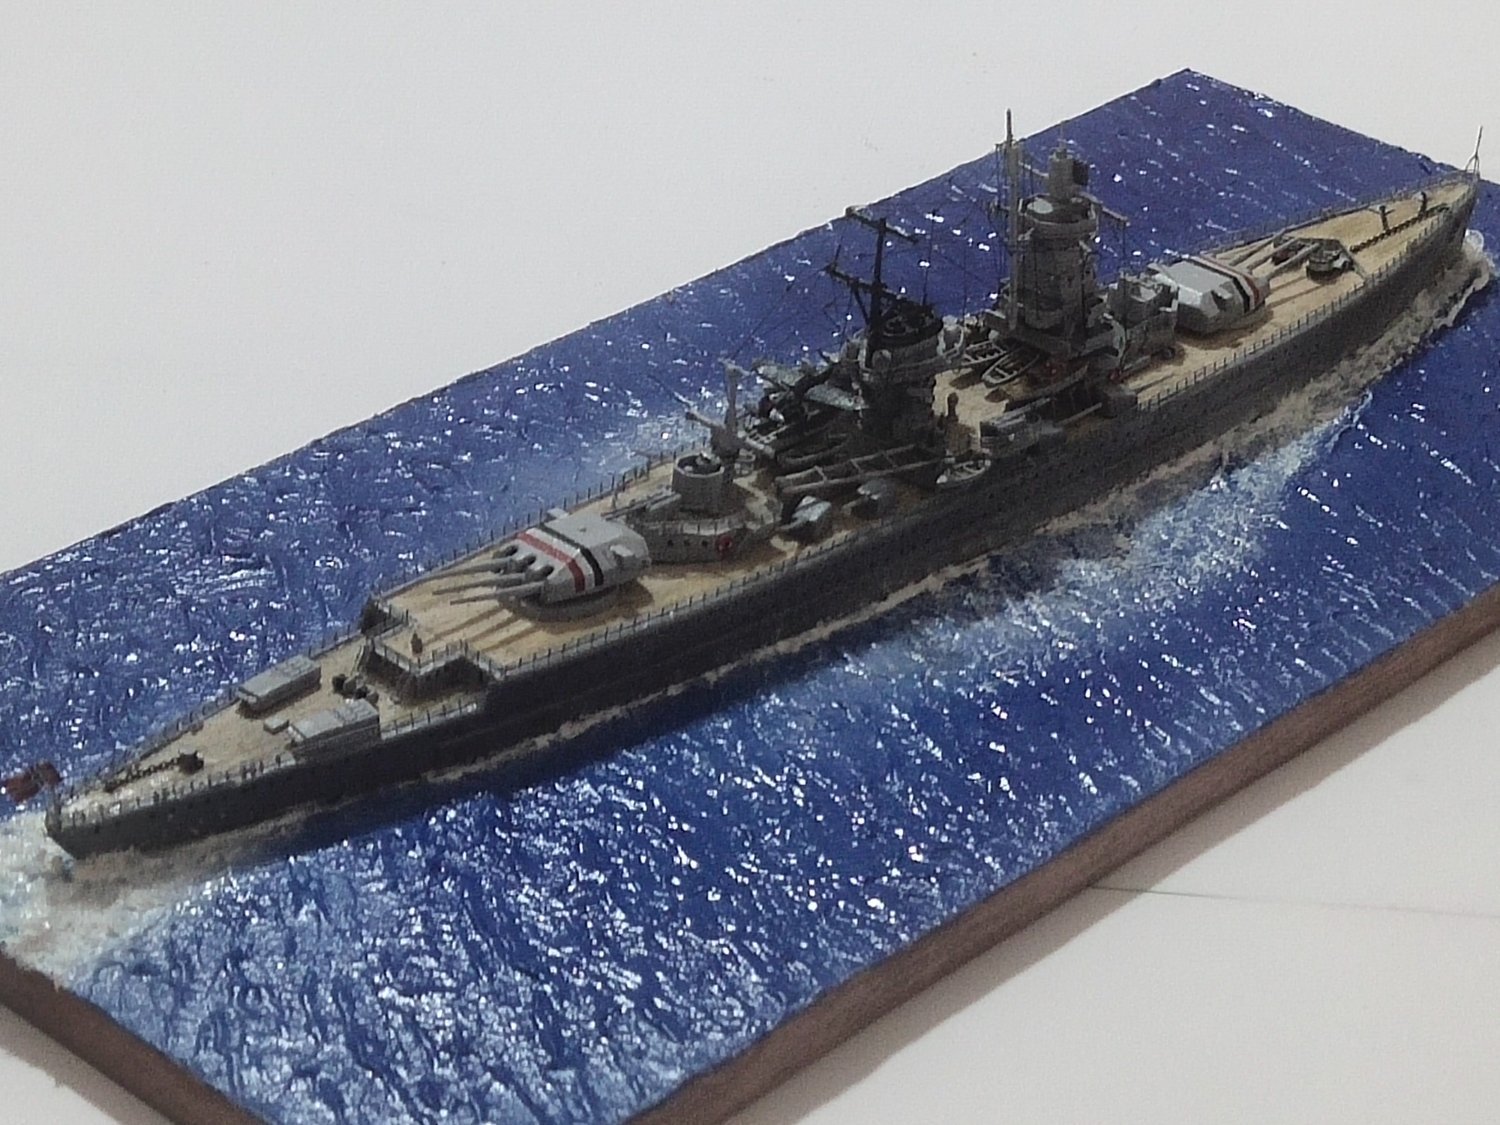
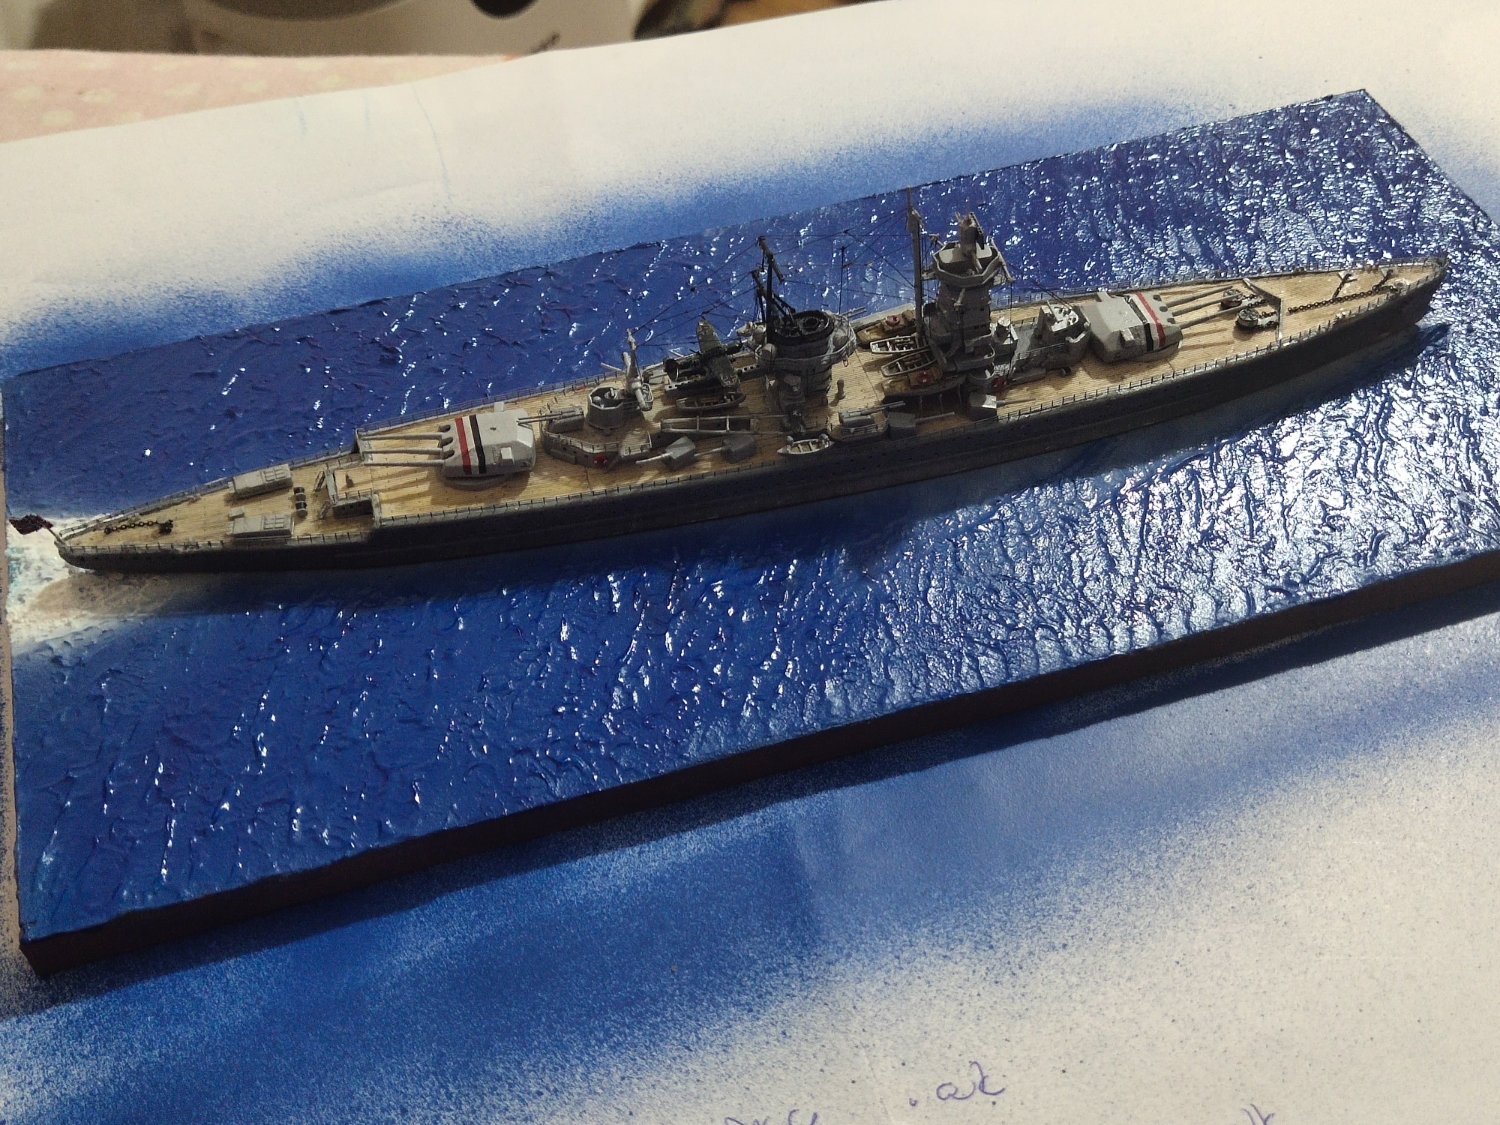
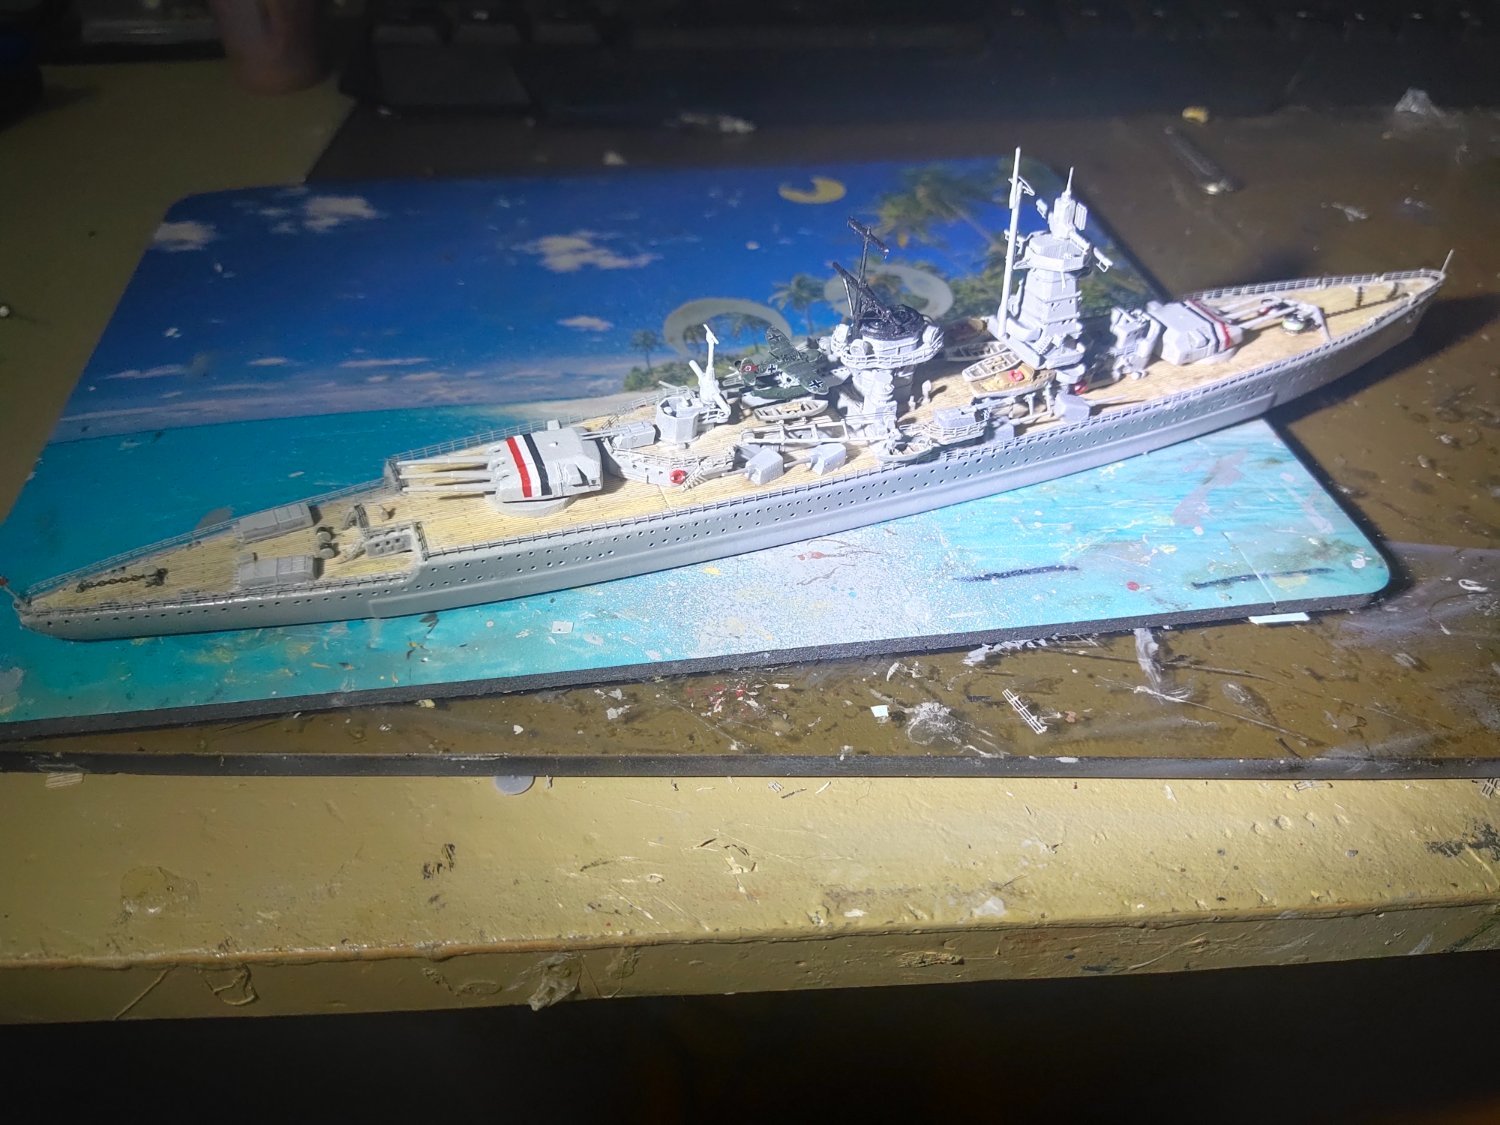
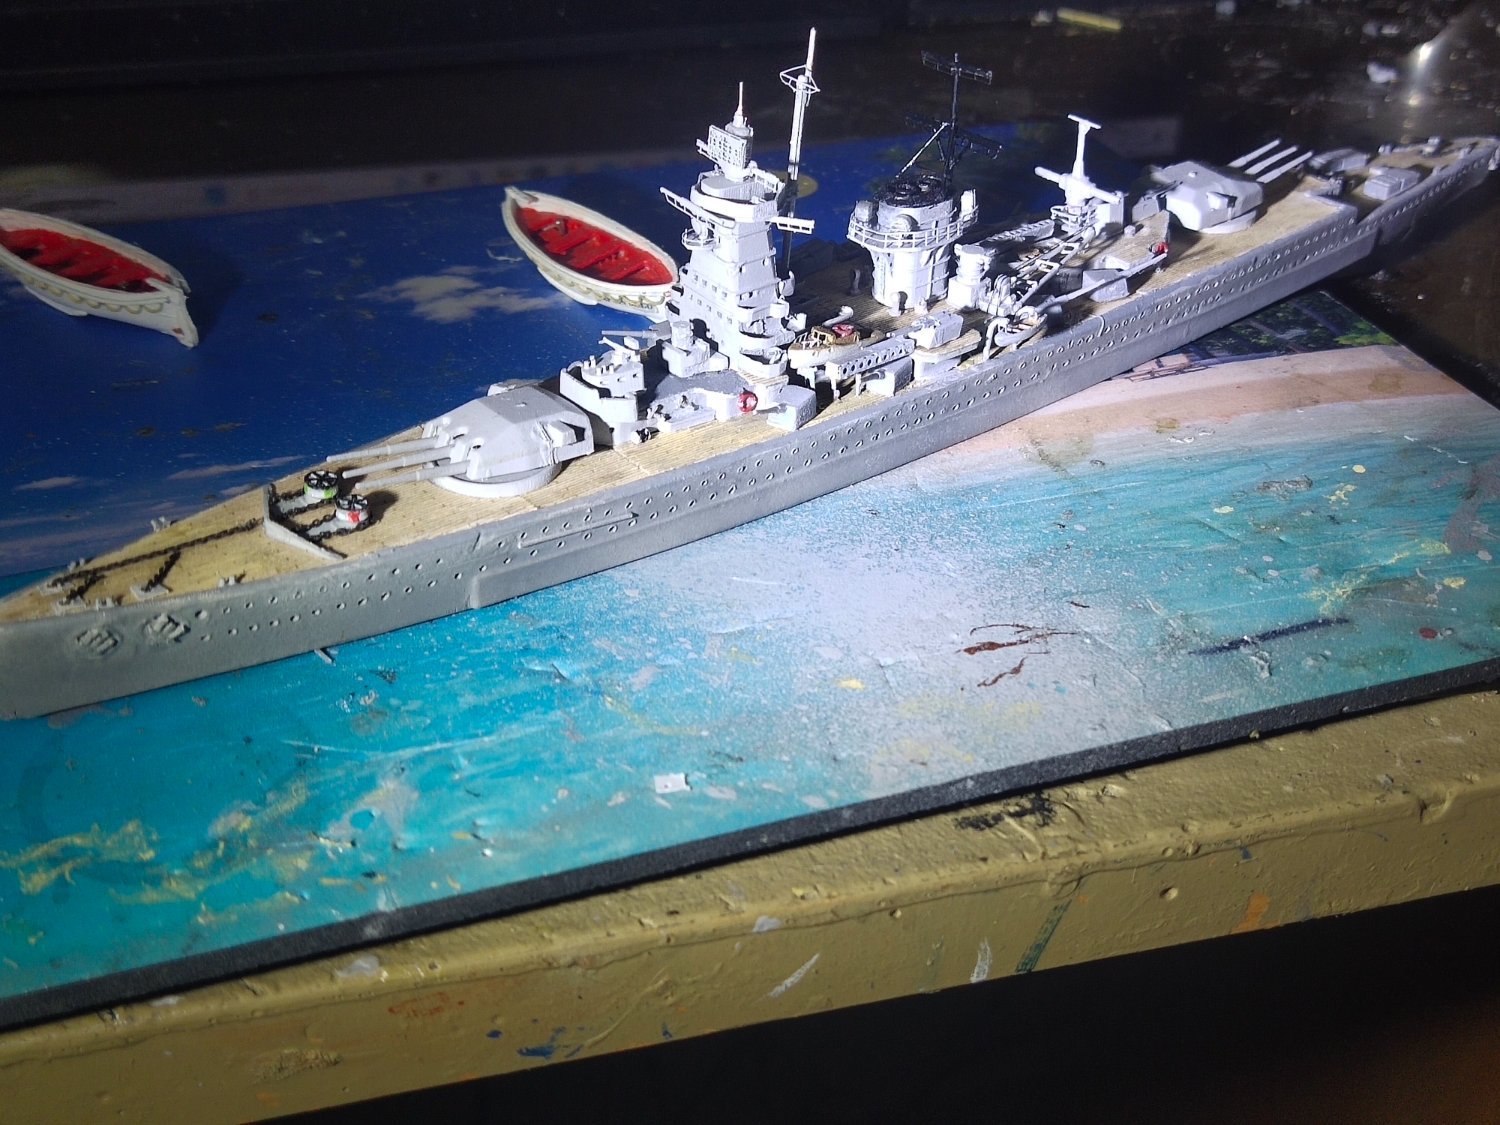
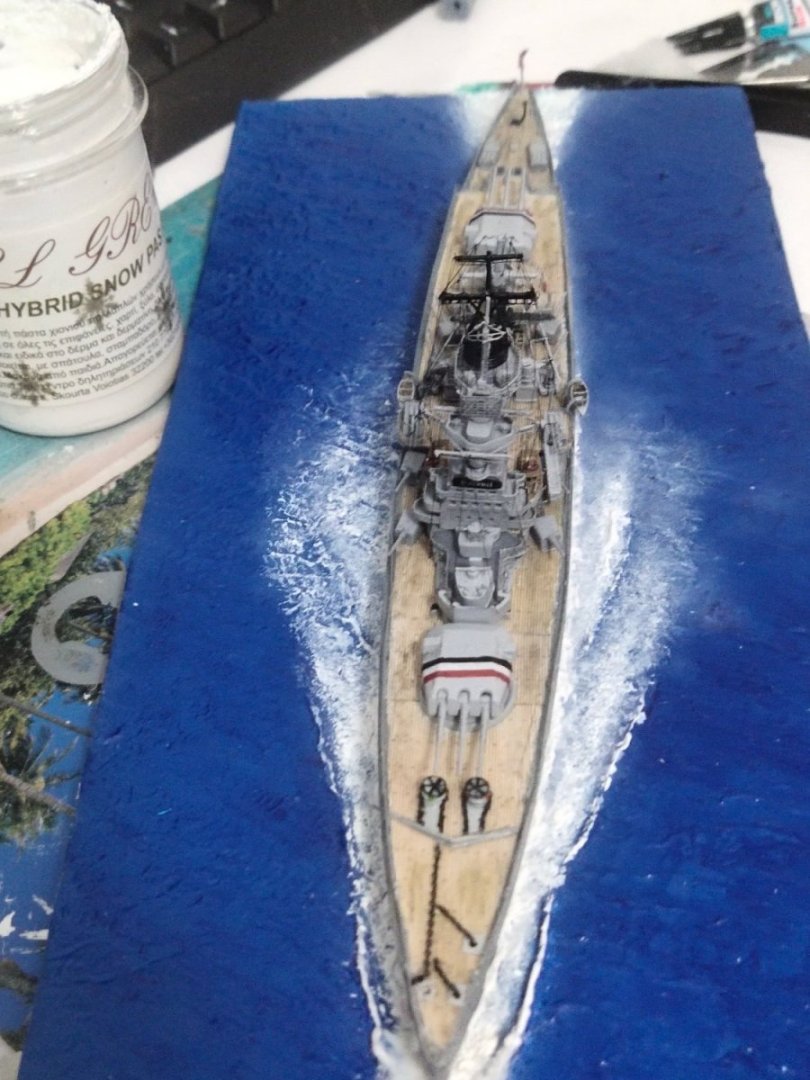
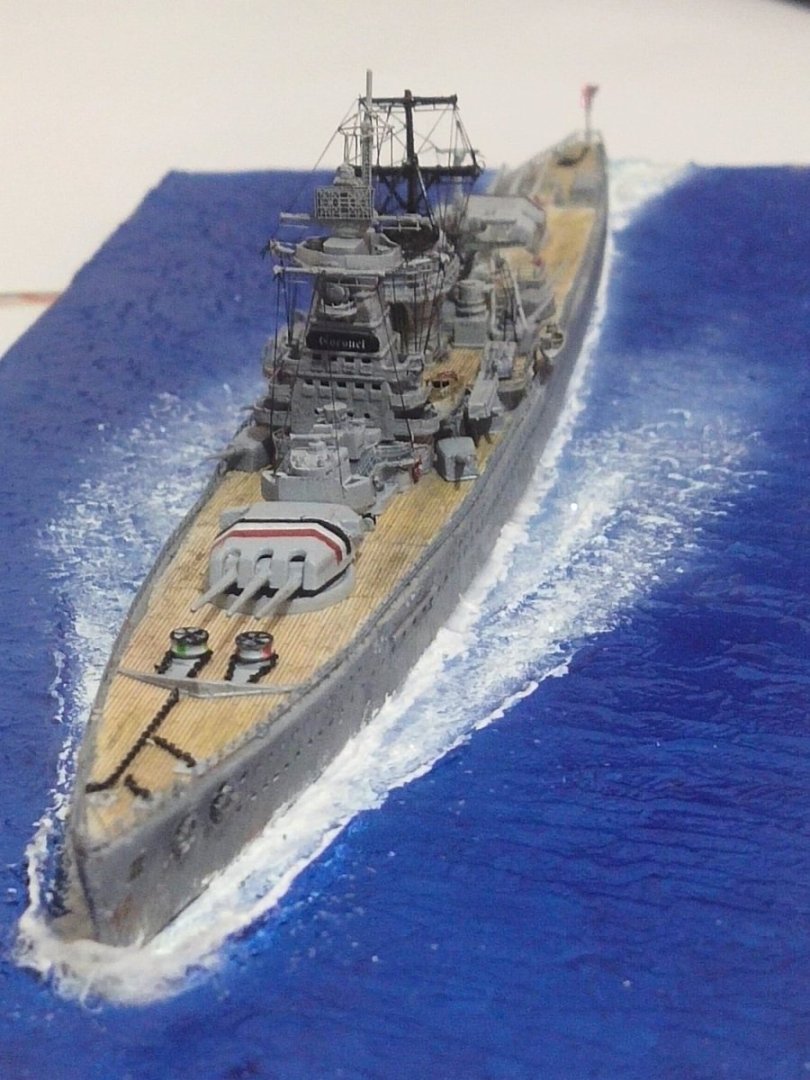
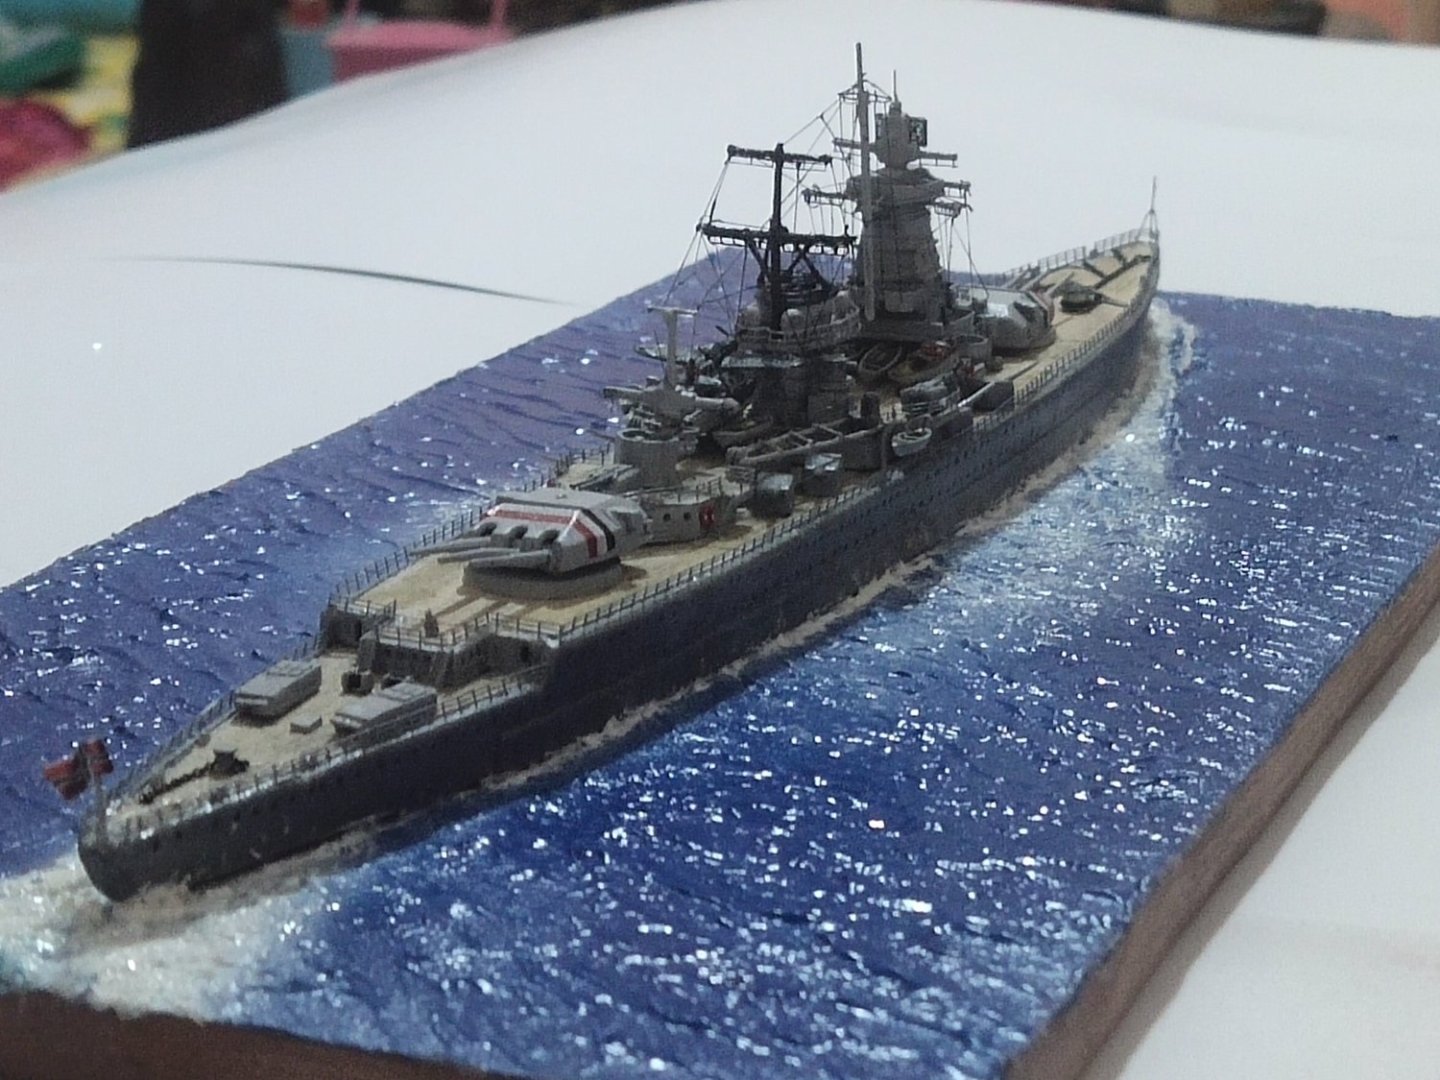
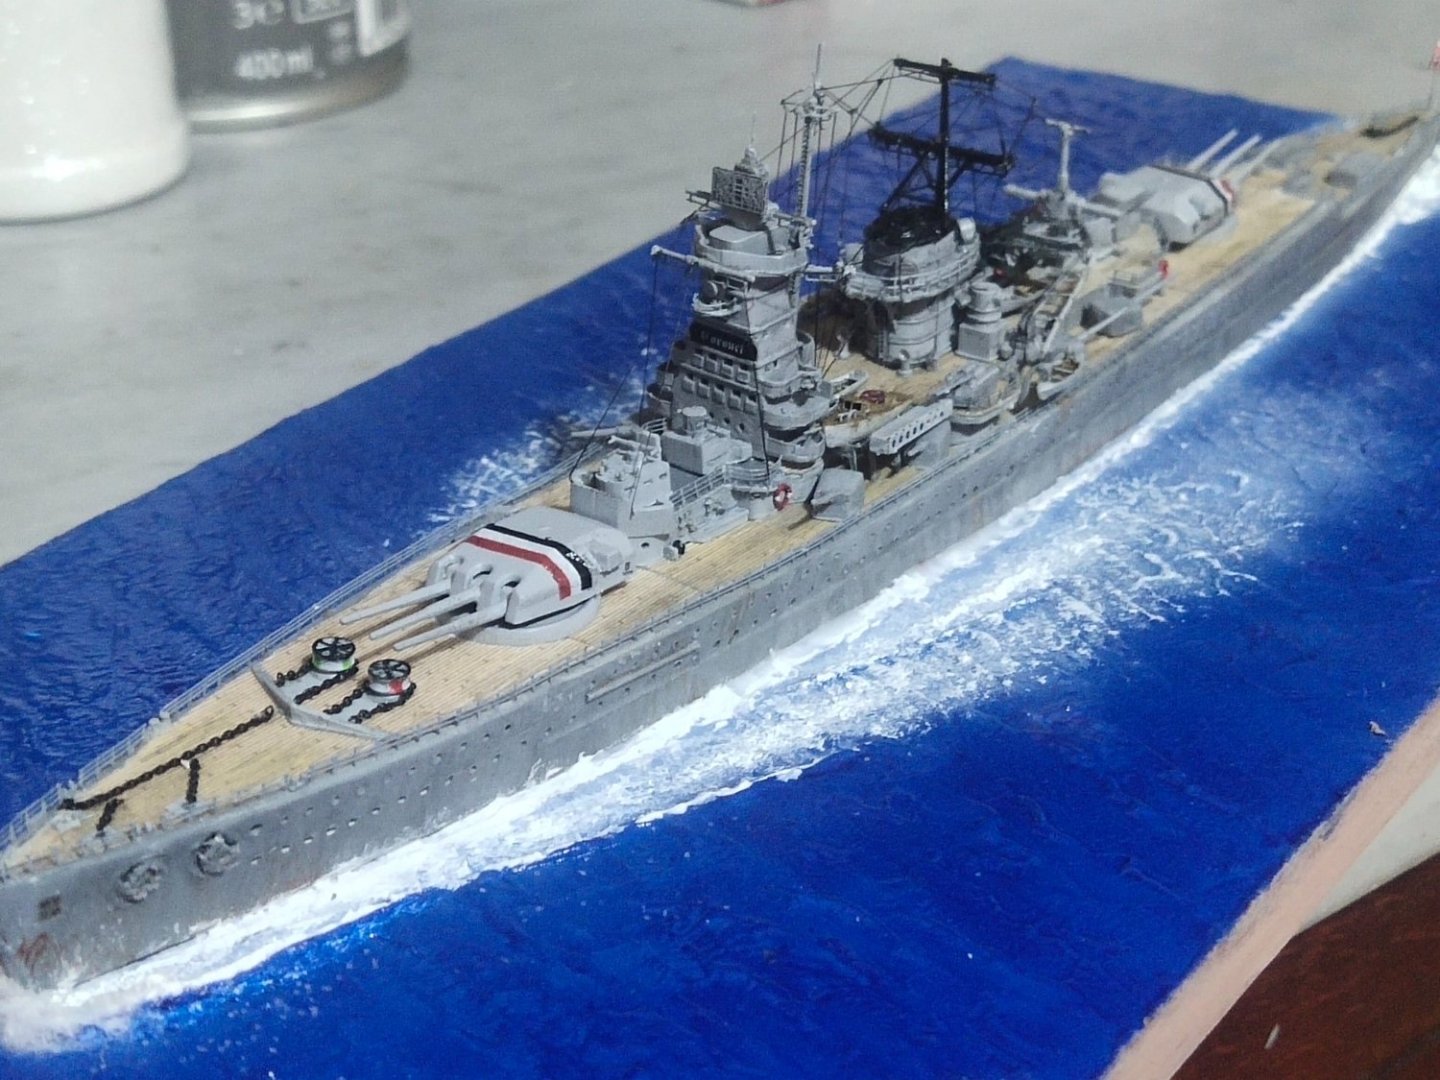
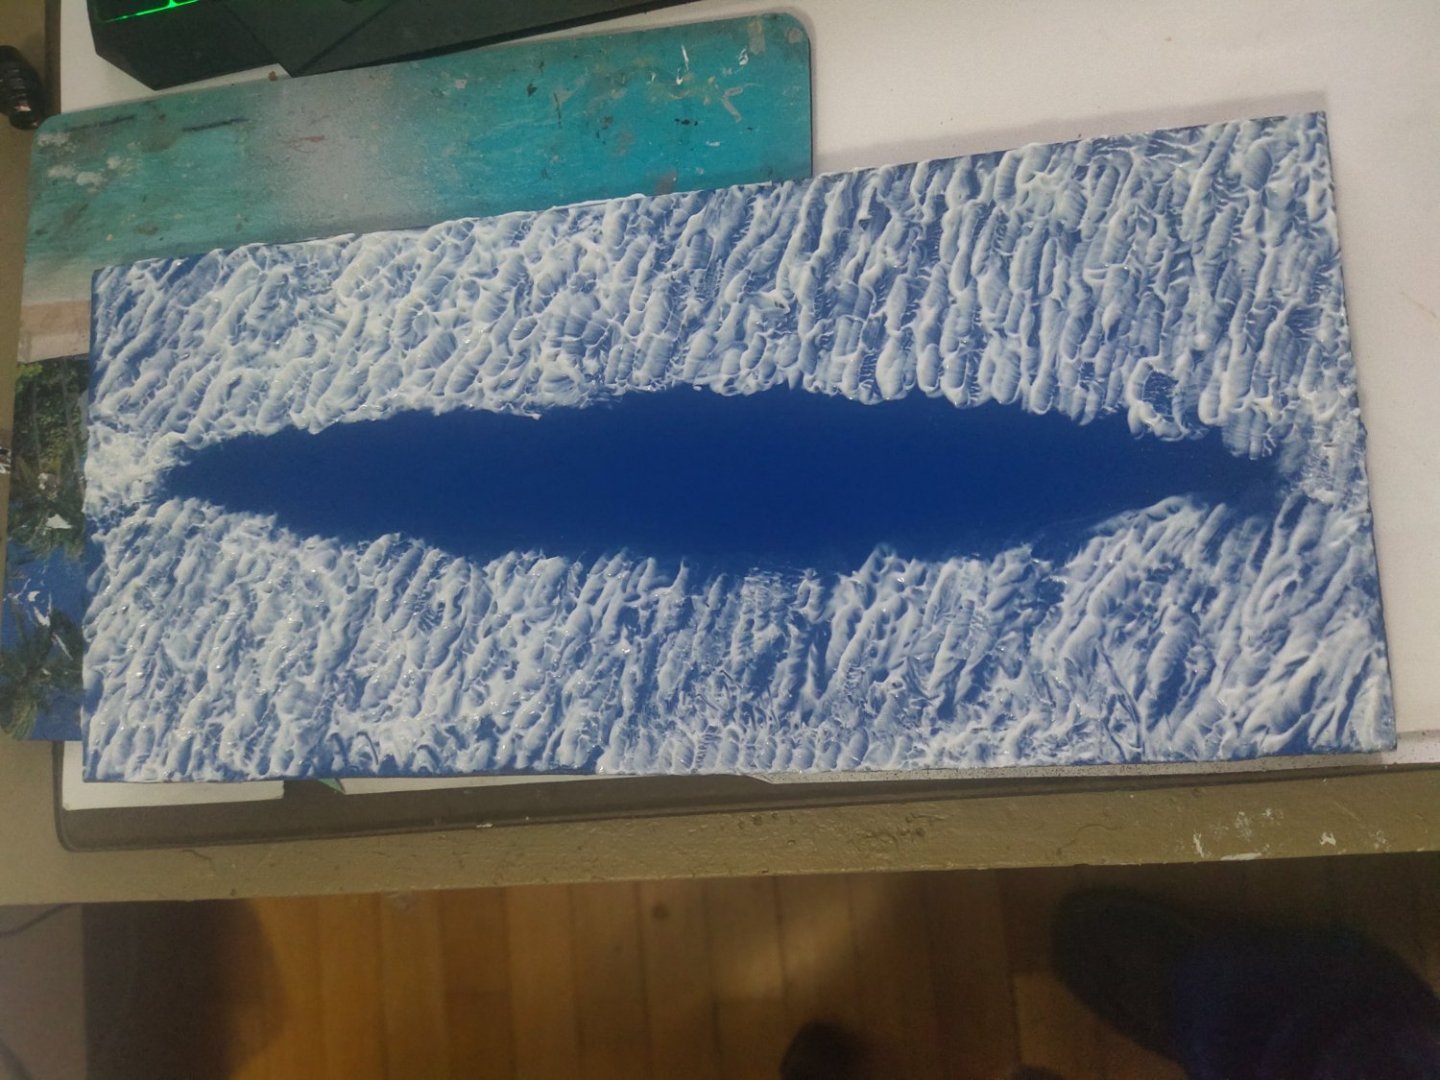
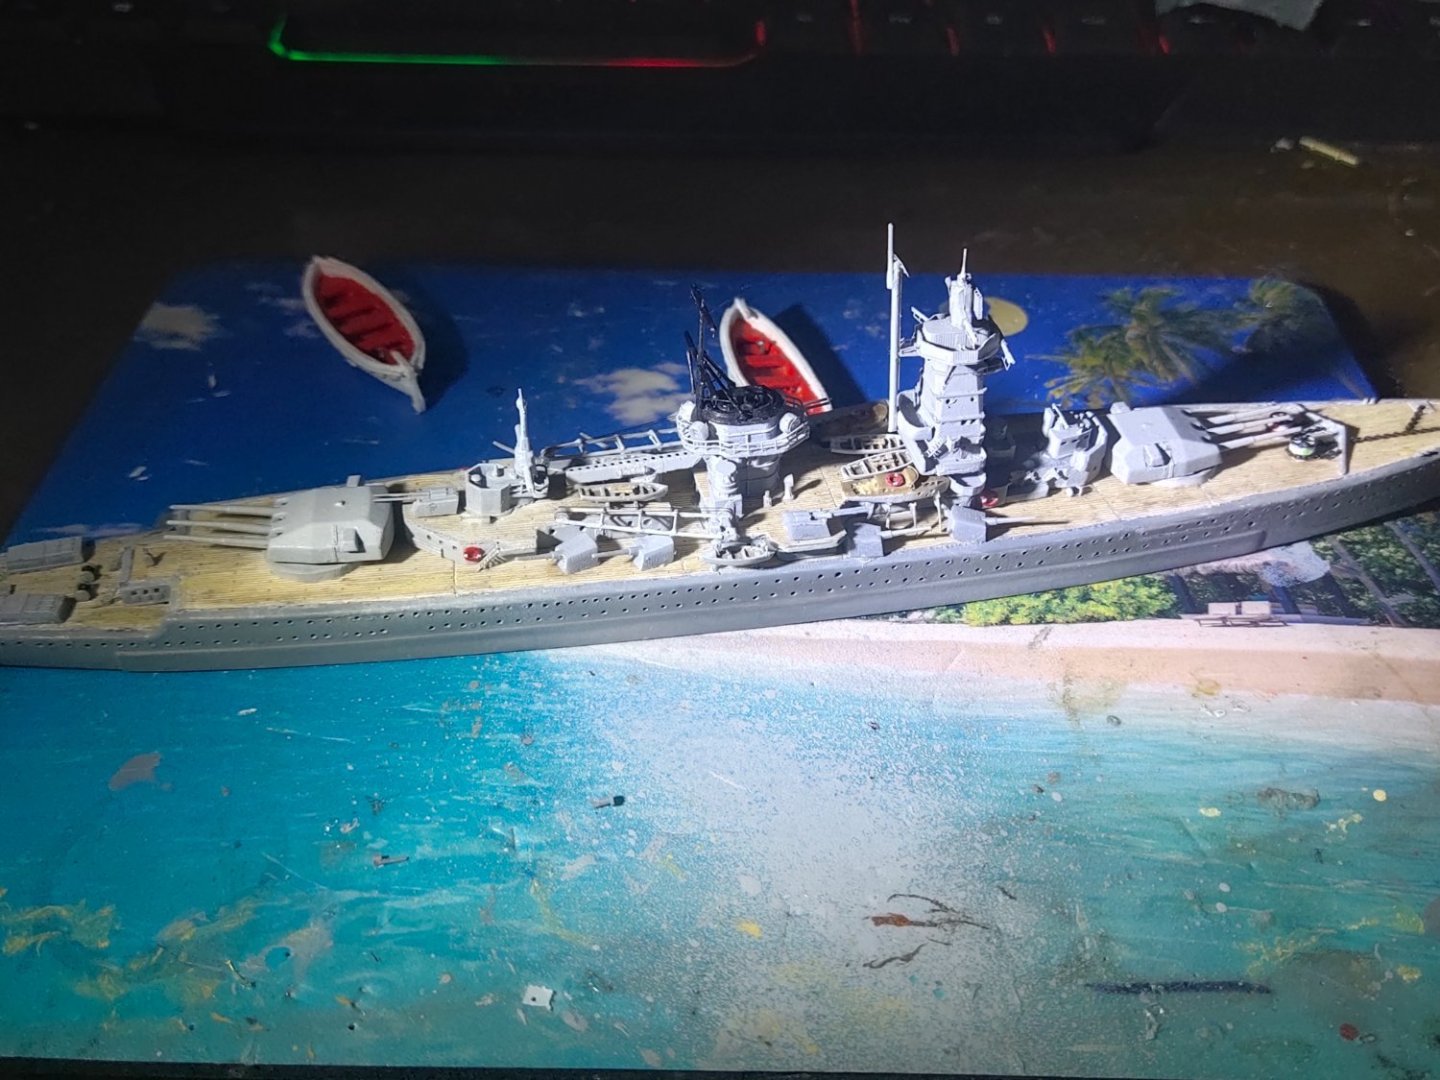
The lesson of the day. The display looks symmetrical but its not. Snow paste was used to resemble the waves. On the right i used brush with left and right moves with fading effect. On the left my index finger was deeped in the paste then applied on the wood. I found out that the first choice was more appropriate when making long stern wakes as the left and right water moves are quite visible. Perhaps I will try it on a future smaller model as I will need a longer base. So I balanced the sides by using airbrush on the left to fill in partially the blue gaps and by "indexfingering" the right one. Some airbrushing for smoother fading effect and a drizzle of microballoons. Lastly a few glitters on white foamy surfaces along with silicone bits. The model assembly came quite good I would rate is 9 out 10 on my satisfaction scale. The base it wasnt my planned outcome but turned ok. Maybe a few extra gel layers for thicker result would be better. I was pleased by 8 out of 10

-
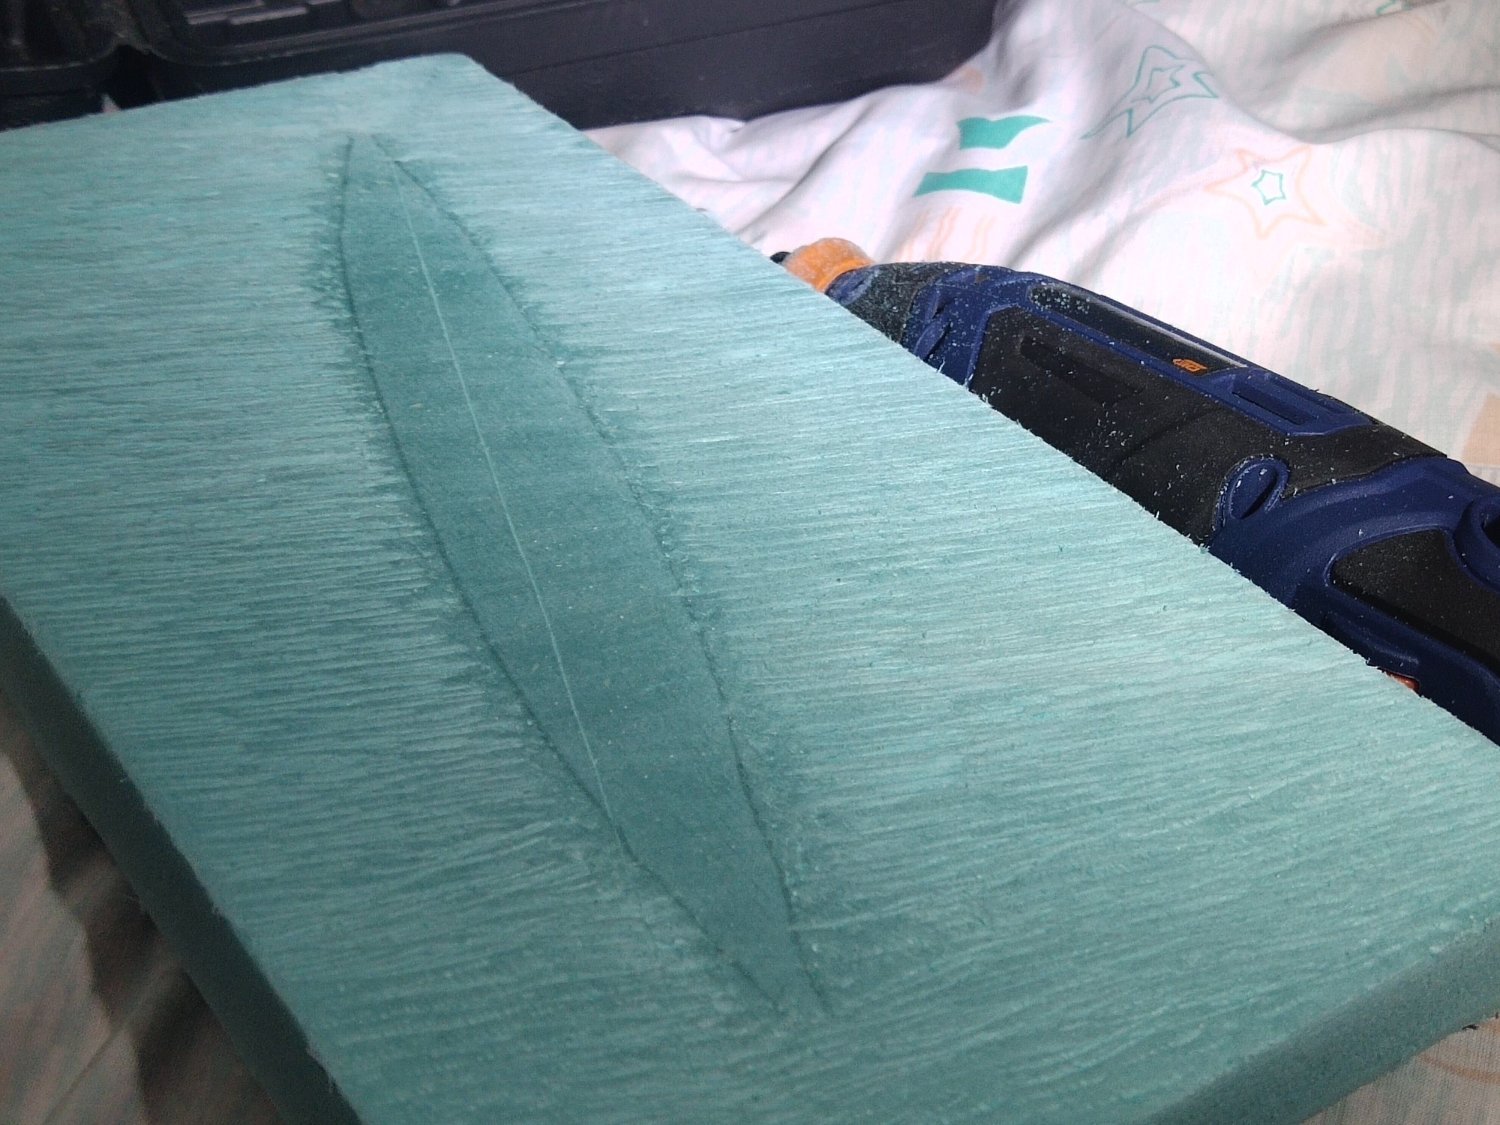
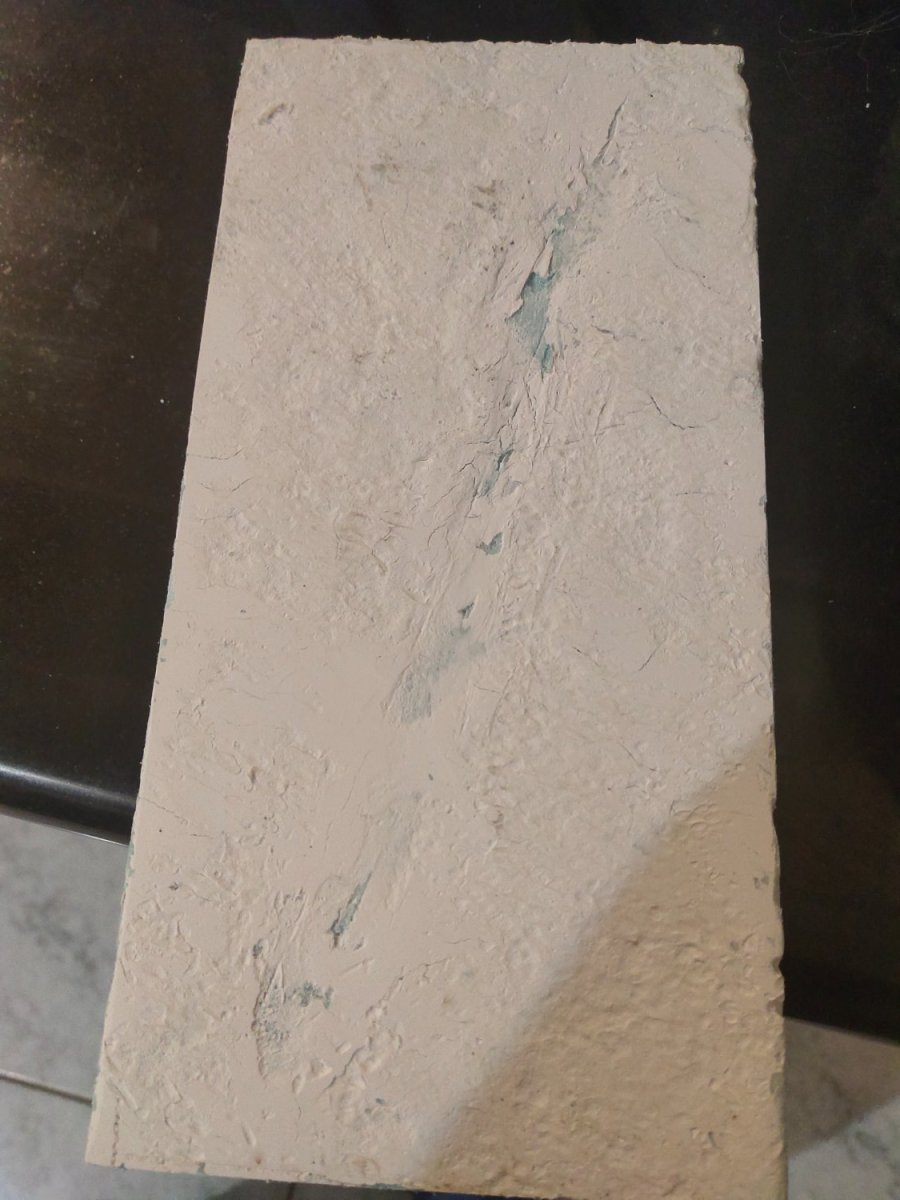
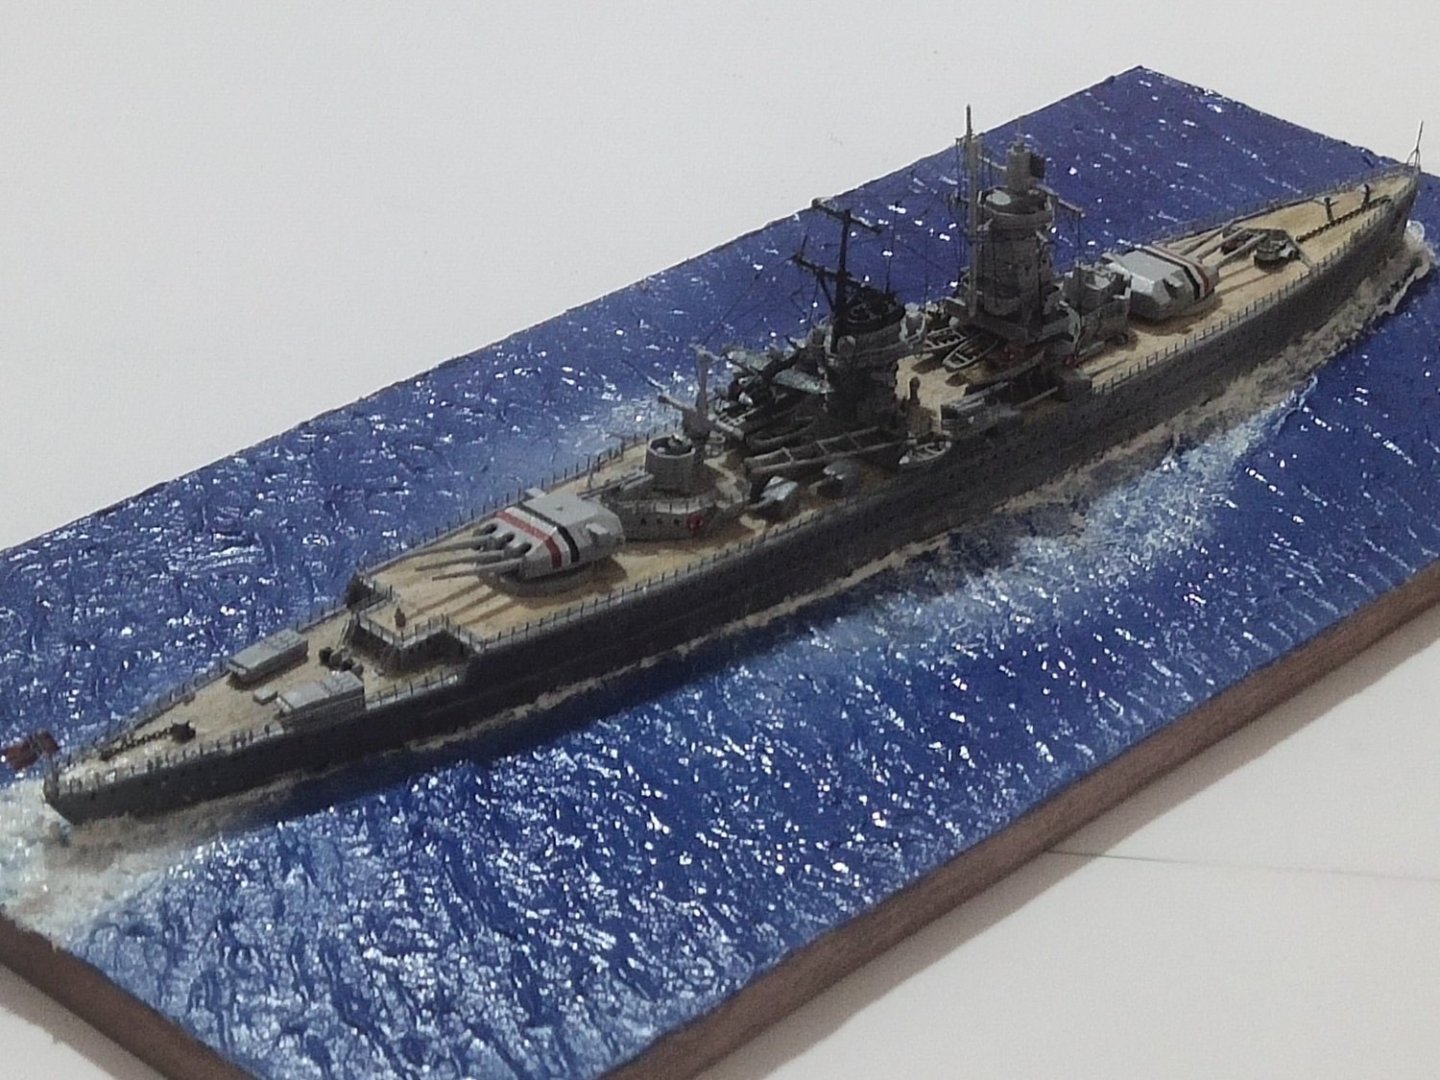
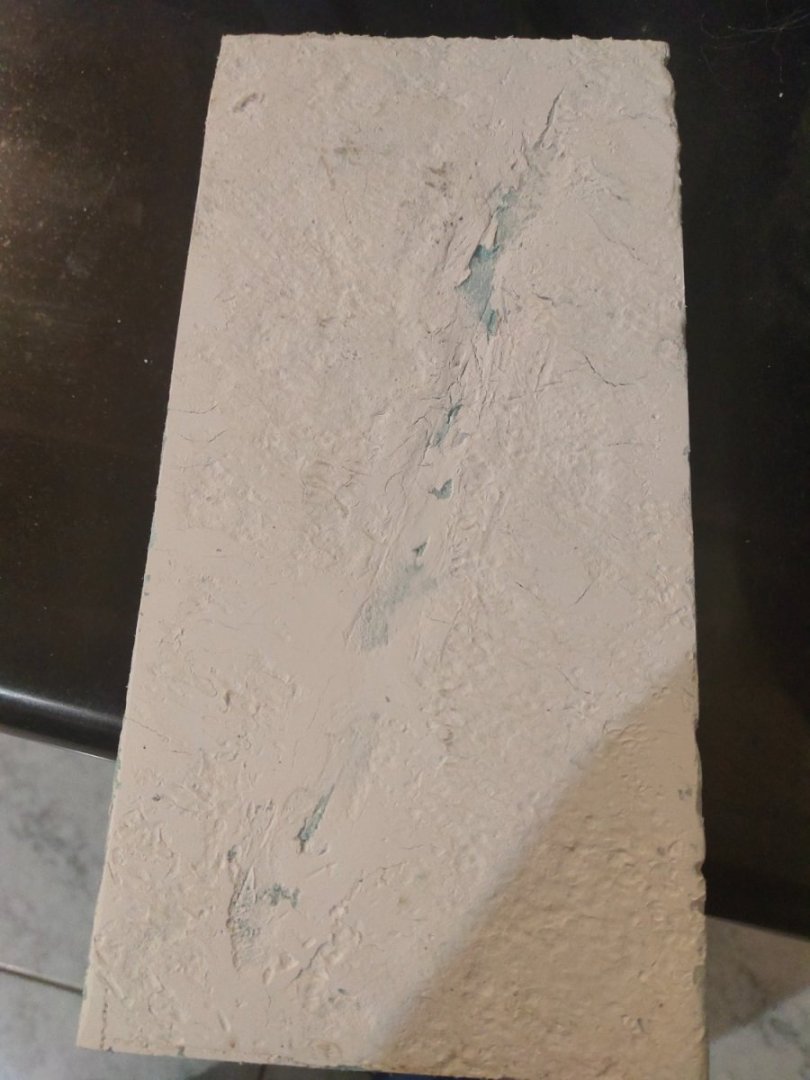
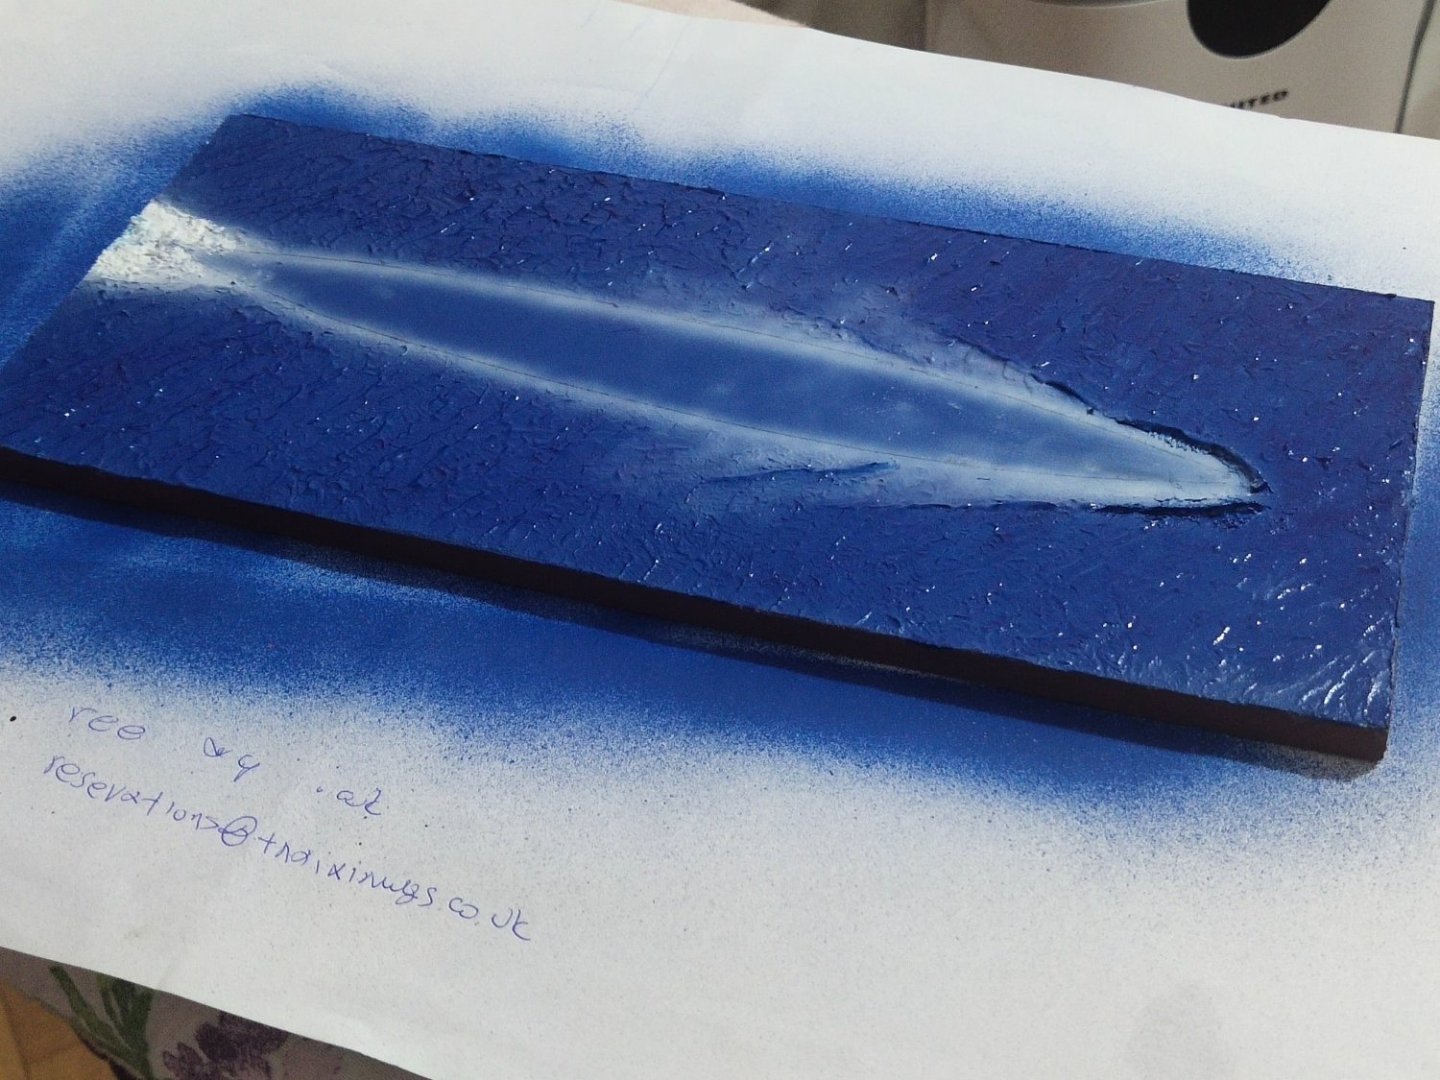
Thanks. It is an old printed with partially working screen and regular resin. Obviously is good to know how to get the best out of it before upgrade to another model. I experiment a bit with plaster and various tools to form the seabed but all come to dead end so I gave up. Since my target was to create a light wavy sea, foam was replaced by wood. Then used gel to form the waves.A standard method. Only difference this time I use clear blue from Tamiya on top. Tomorrow will proceed with the final details.


-
Time to make the seabed Meanwhile I managed to finish the most difficult part of my "JMSDF Abukuma class upgrade package"


-
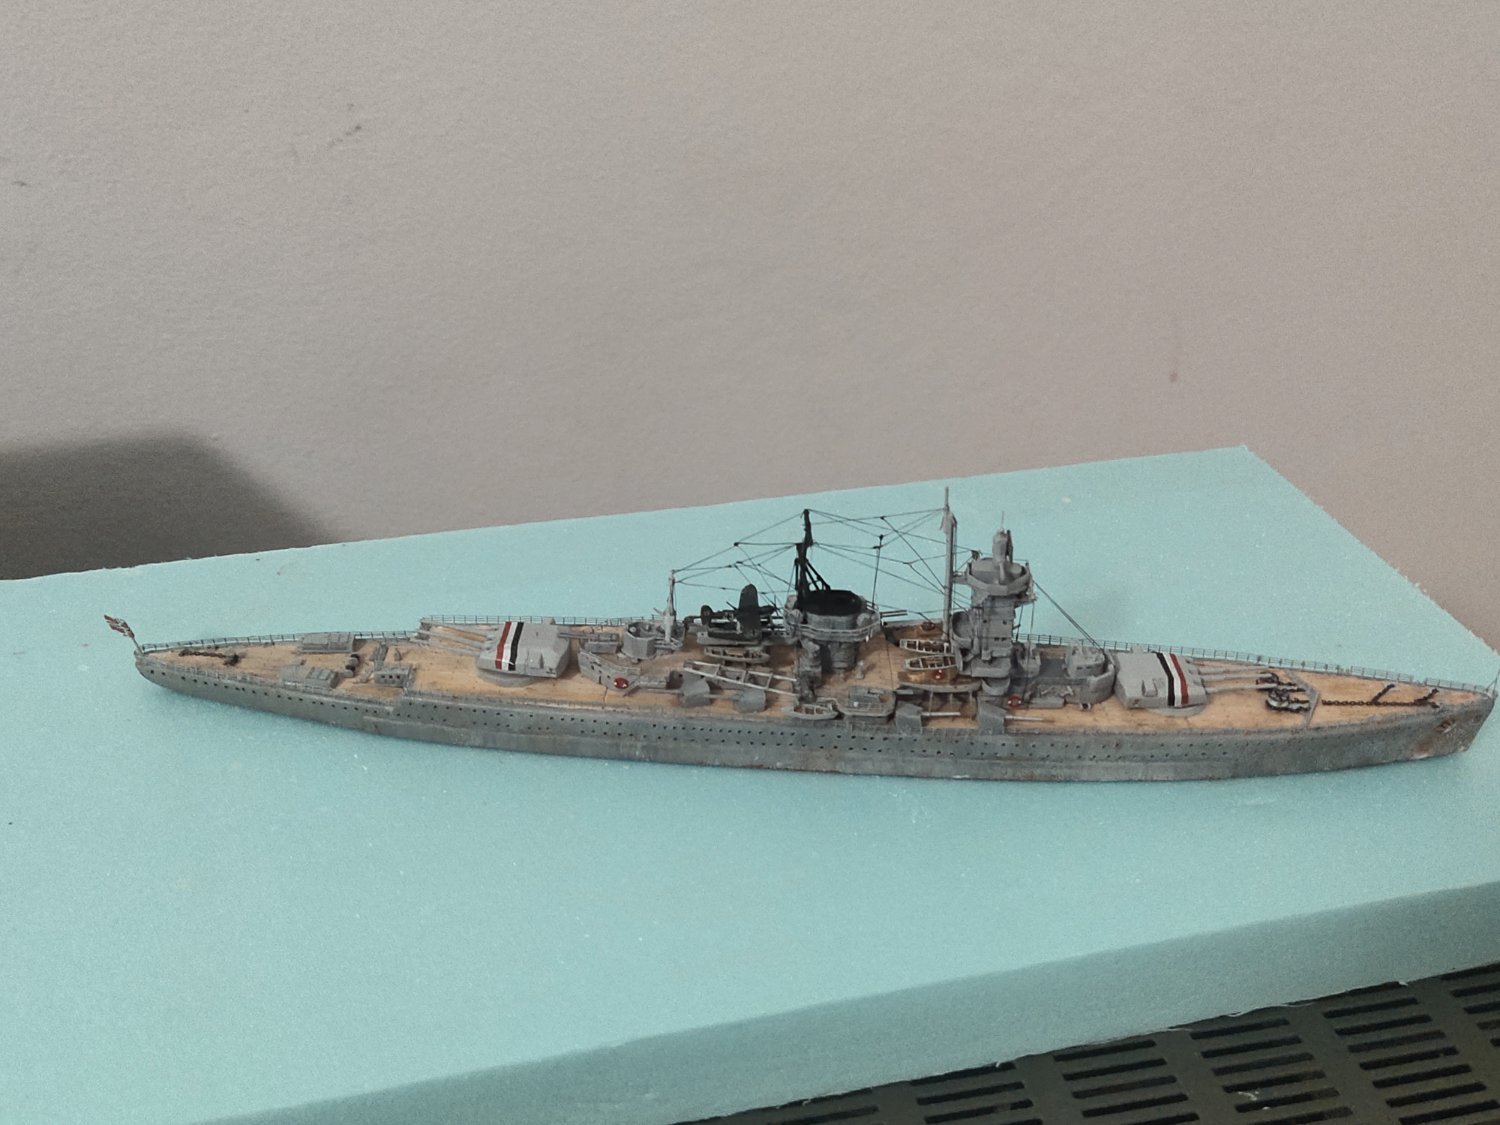
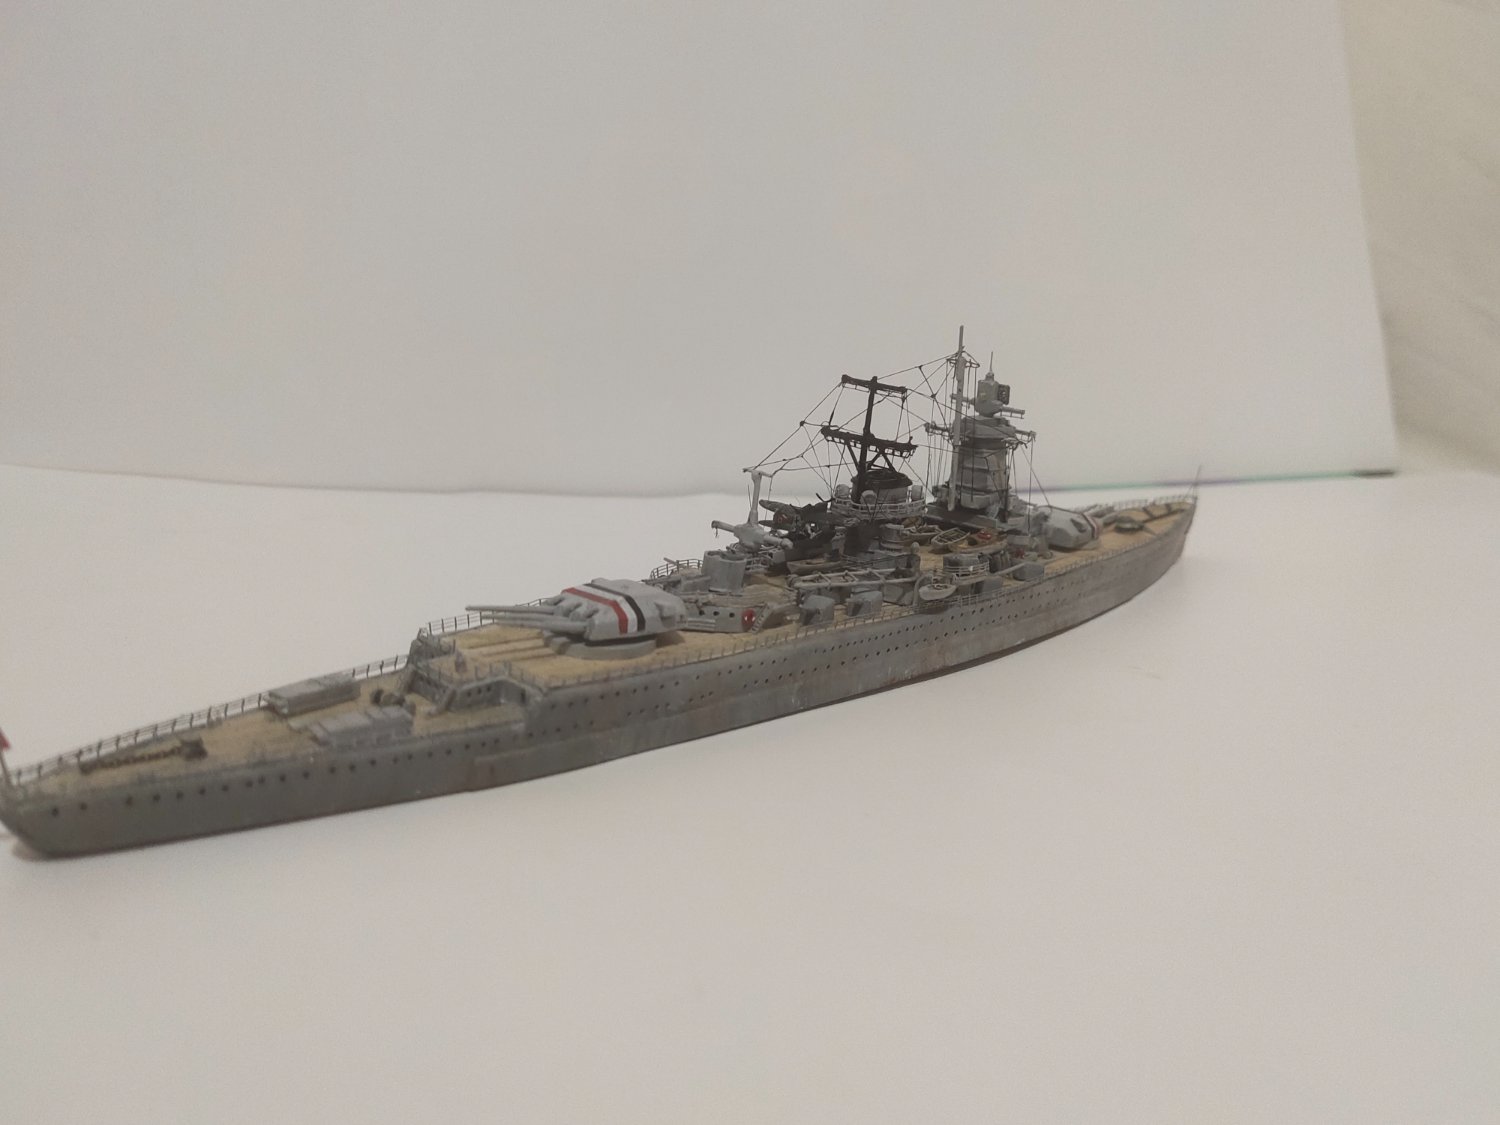
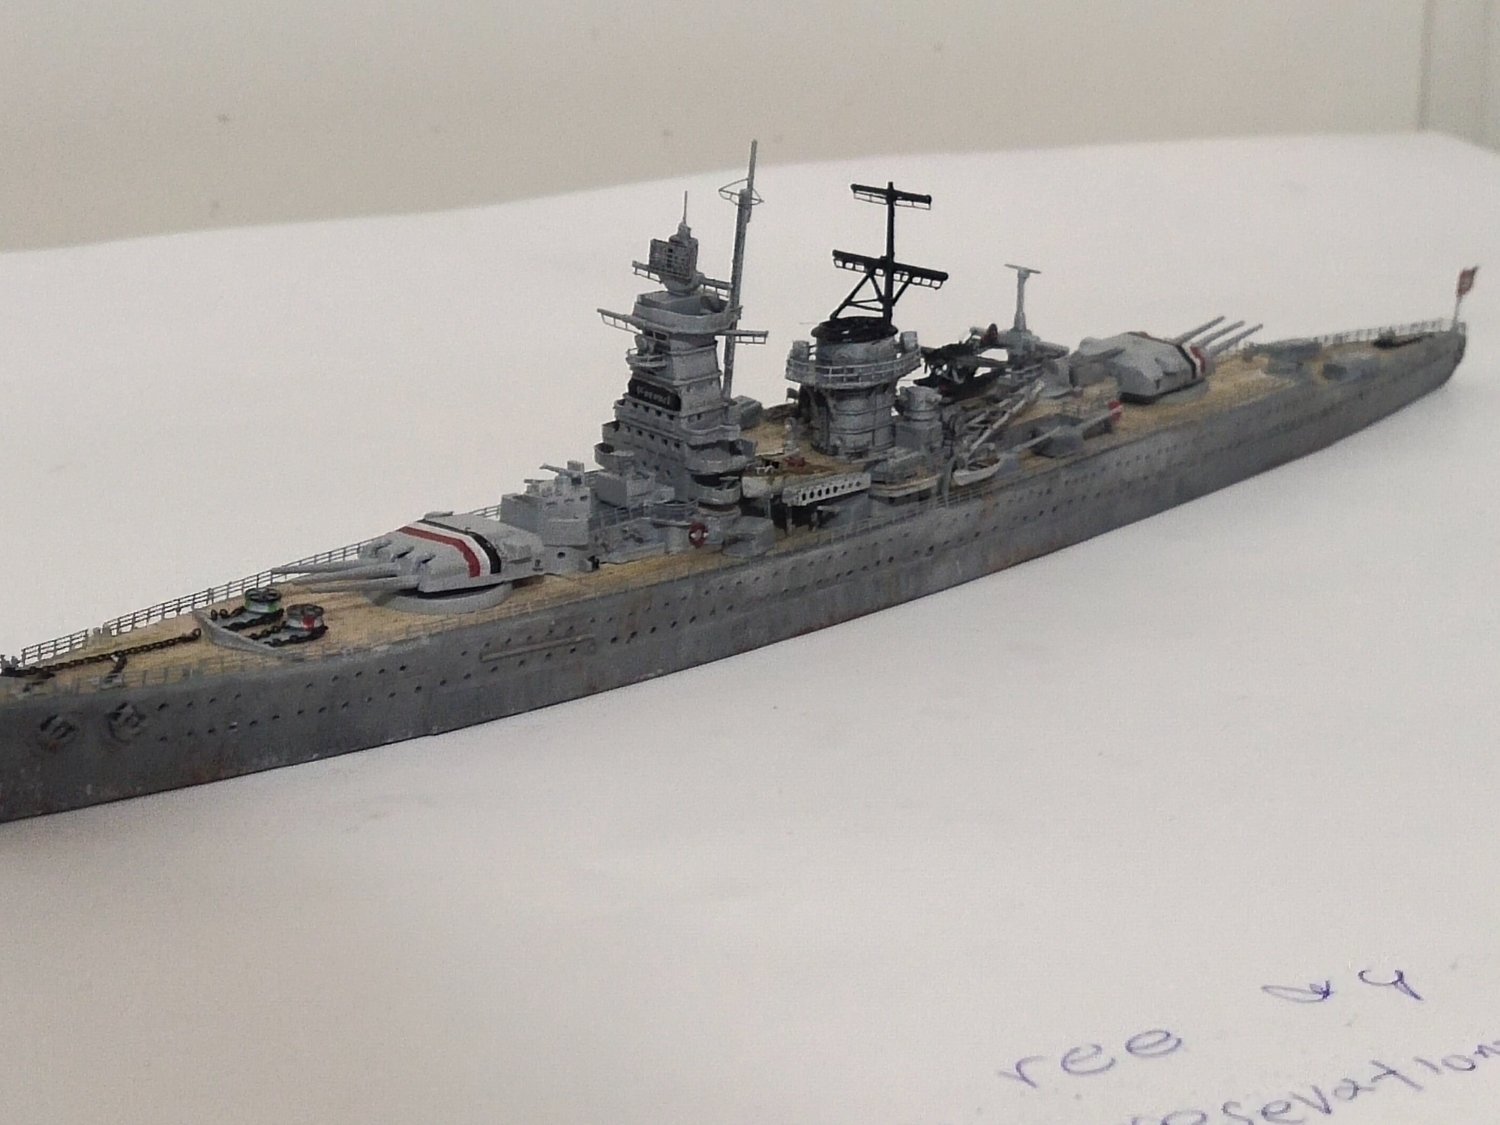
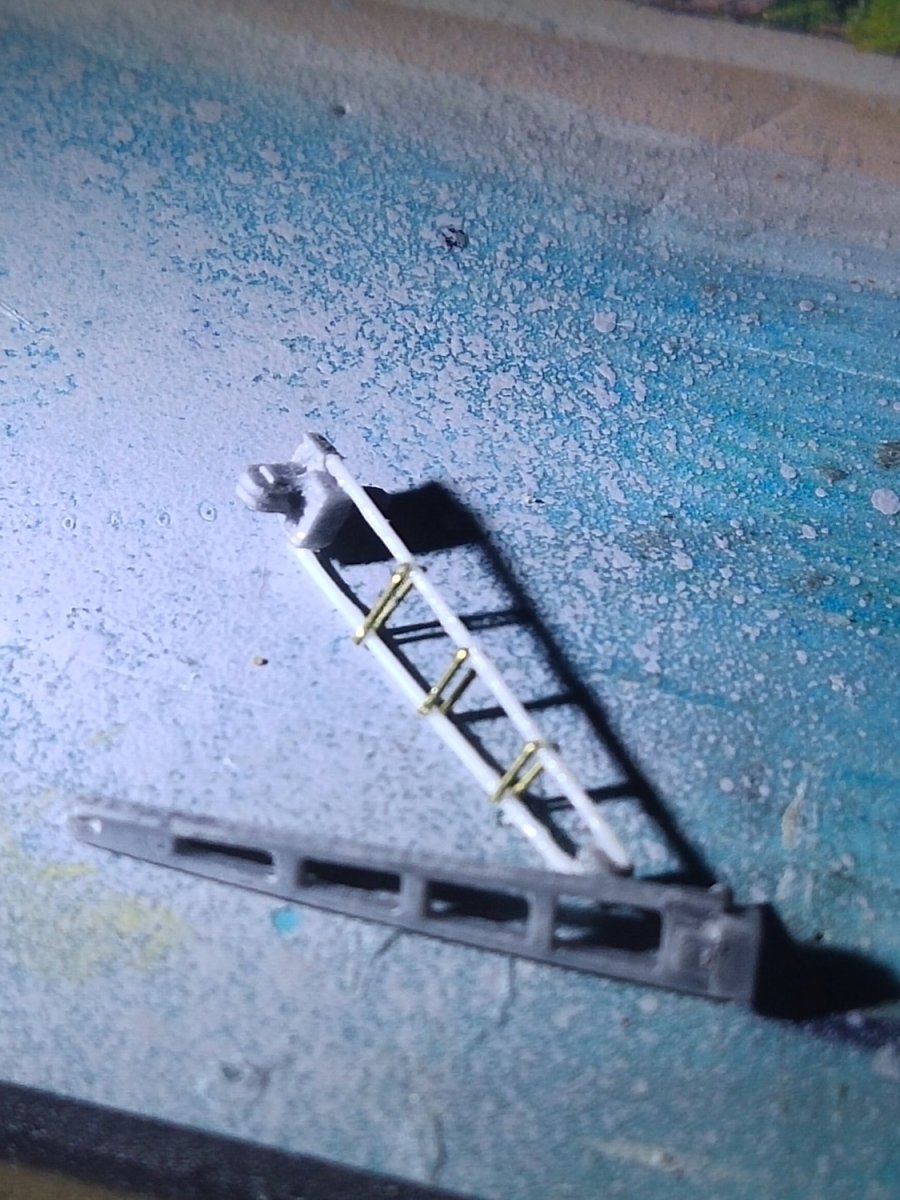
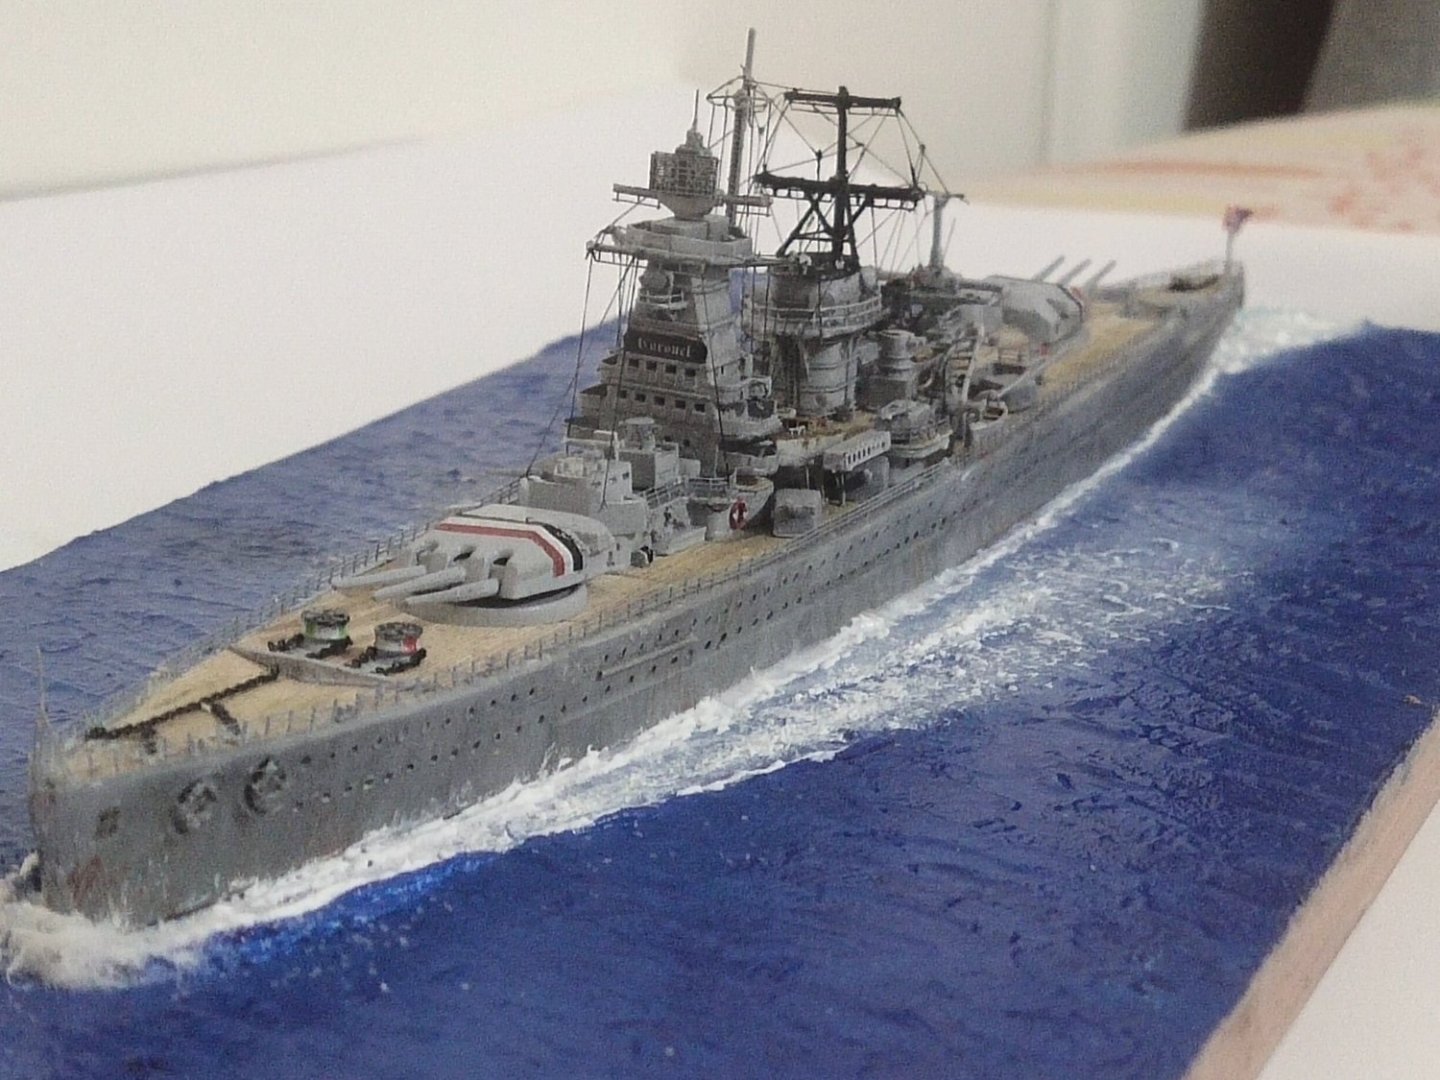
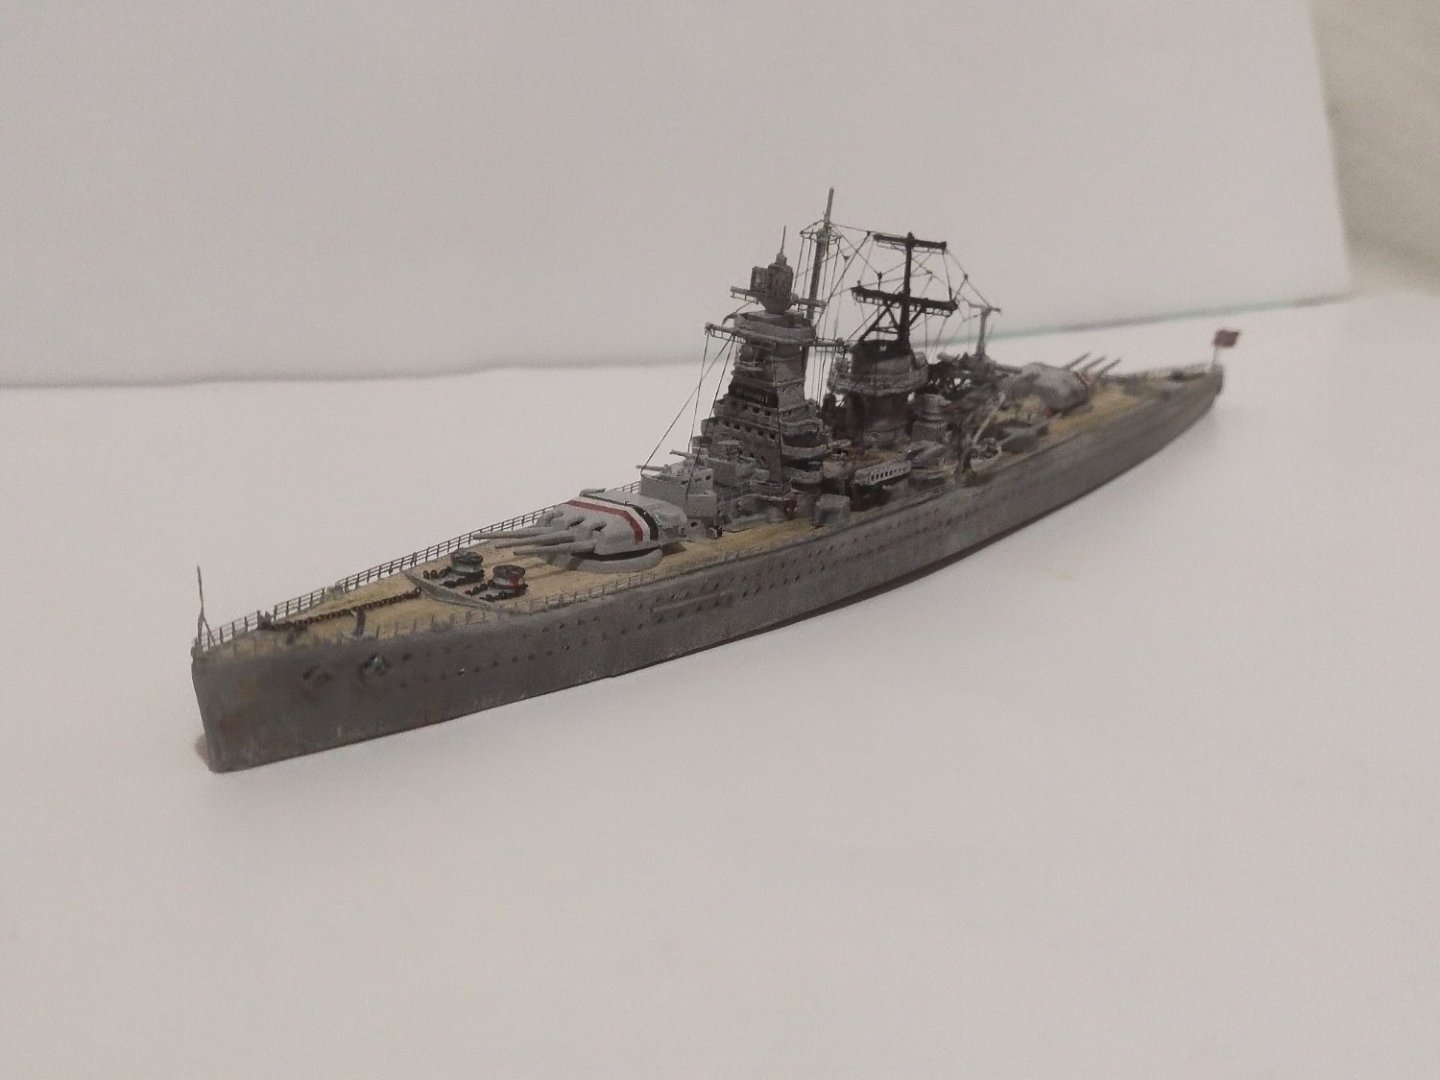
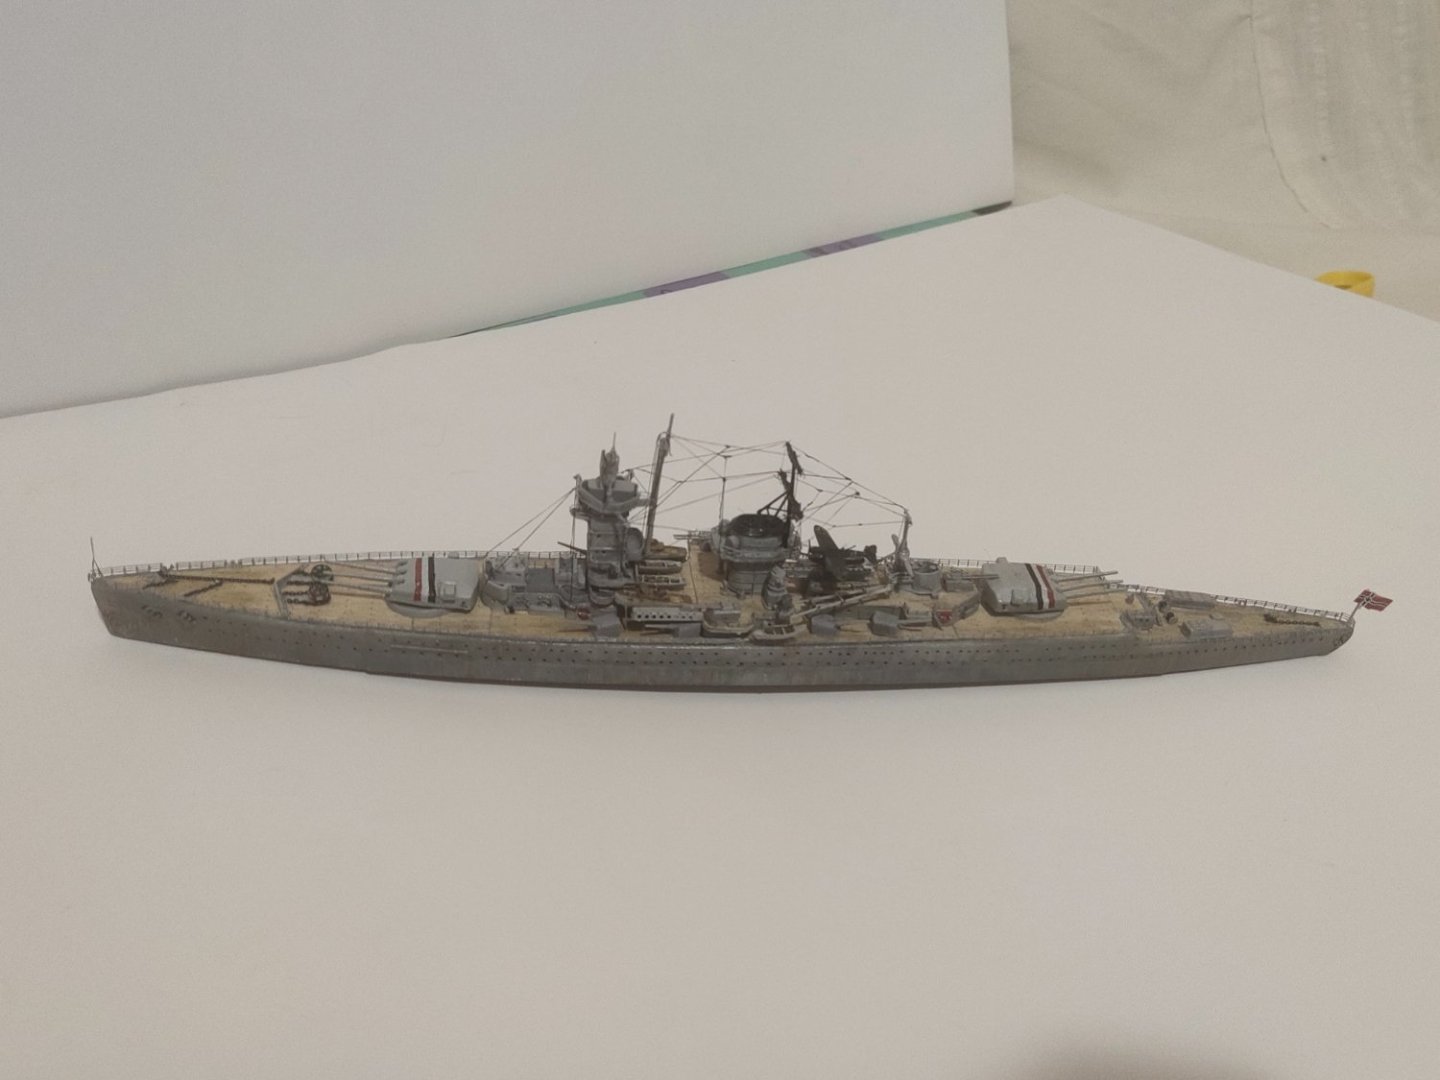
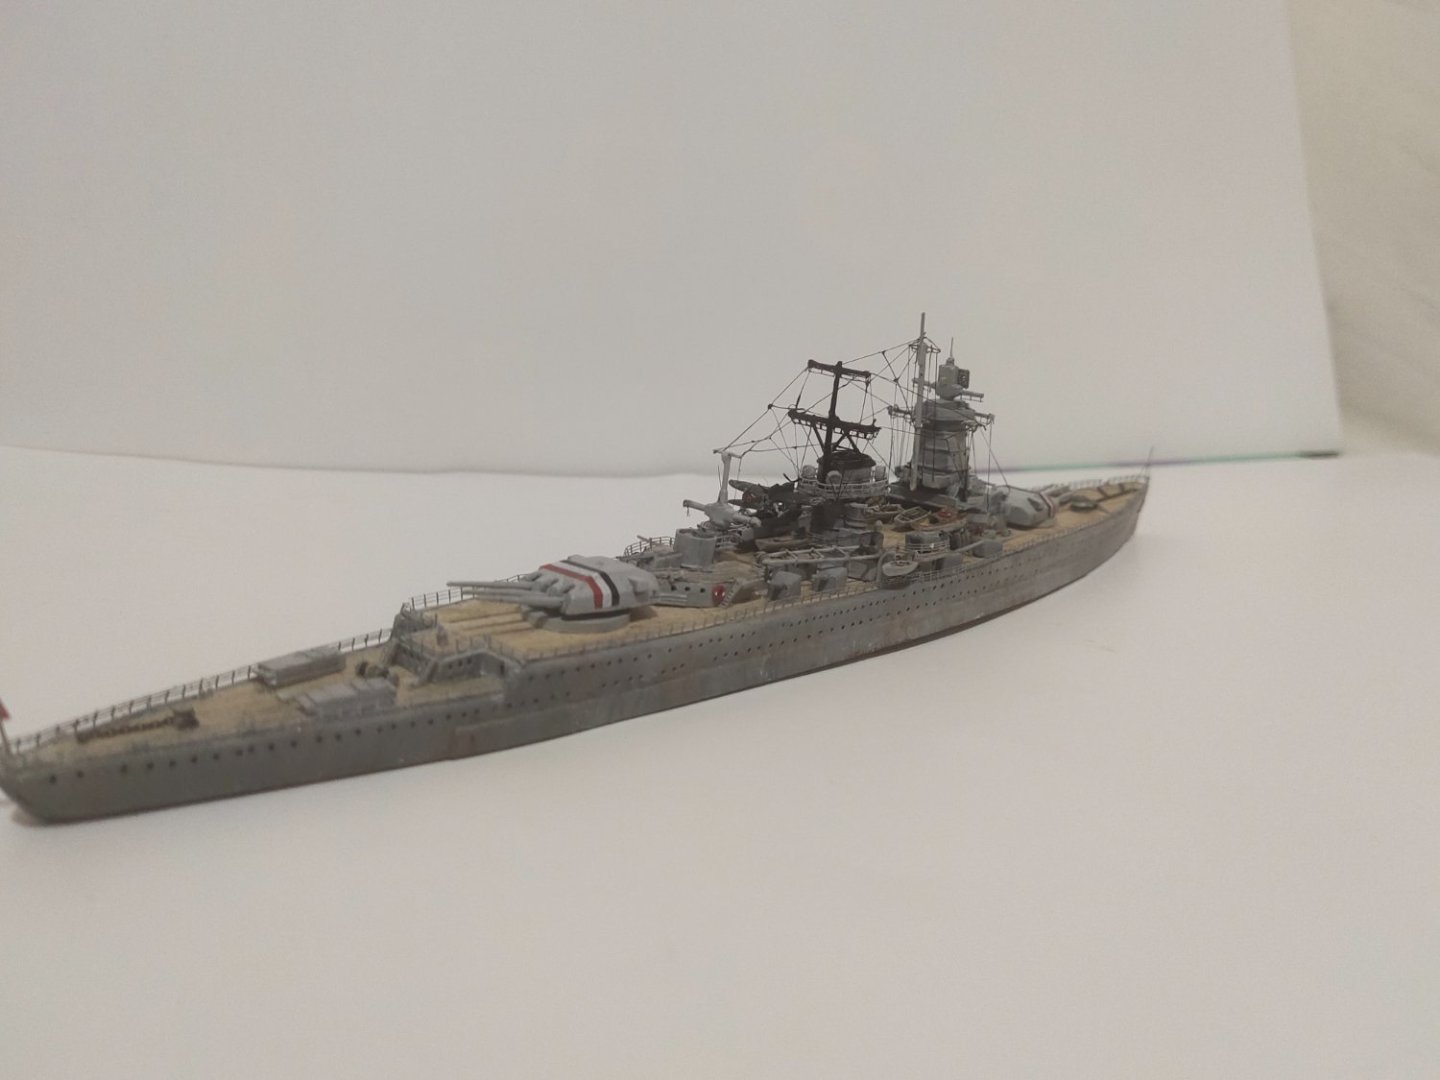
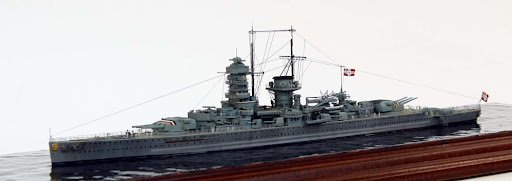
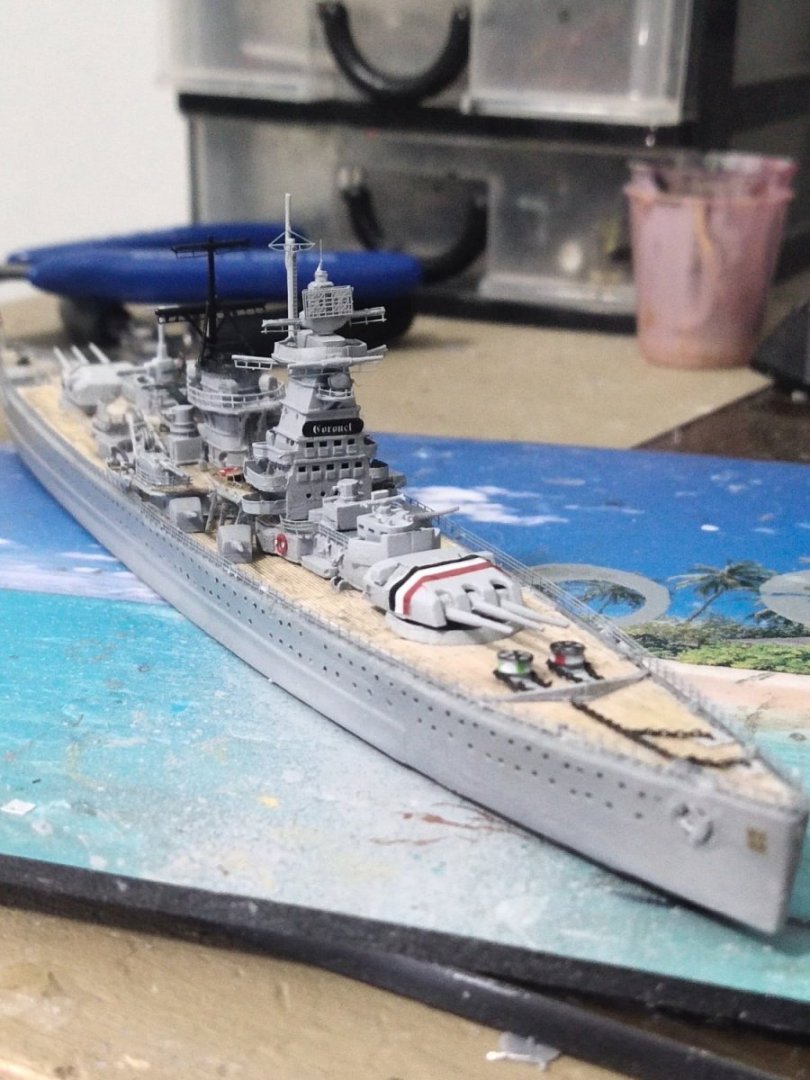
You are welcome. Rigging is done. Time for making the sea base. While browsing I managed to get a year estimate for the model. Between 1937-1938.
-
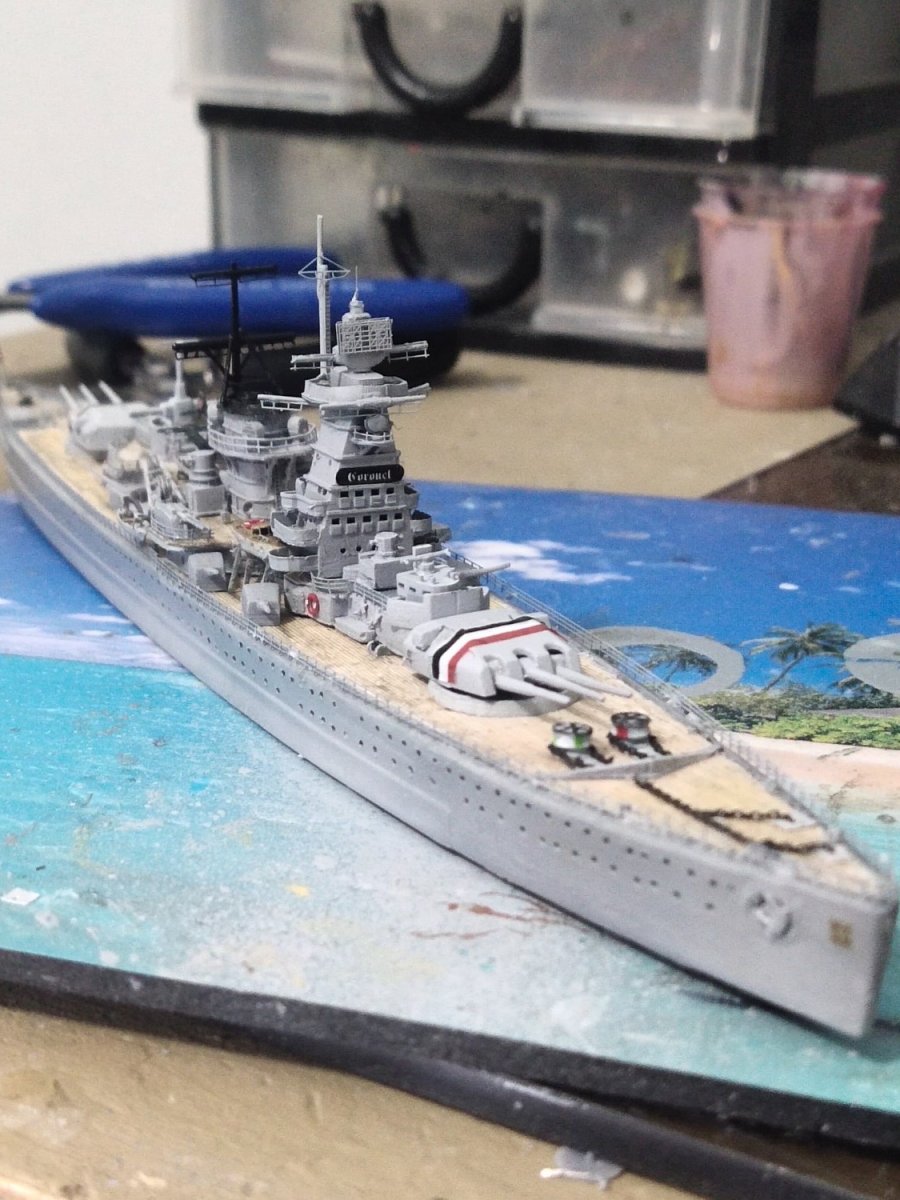
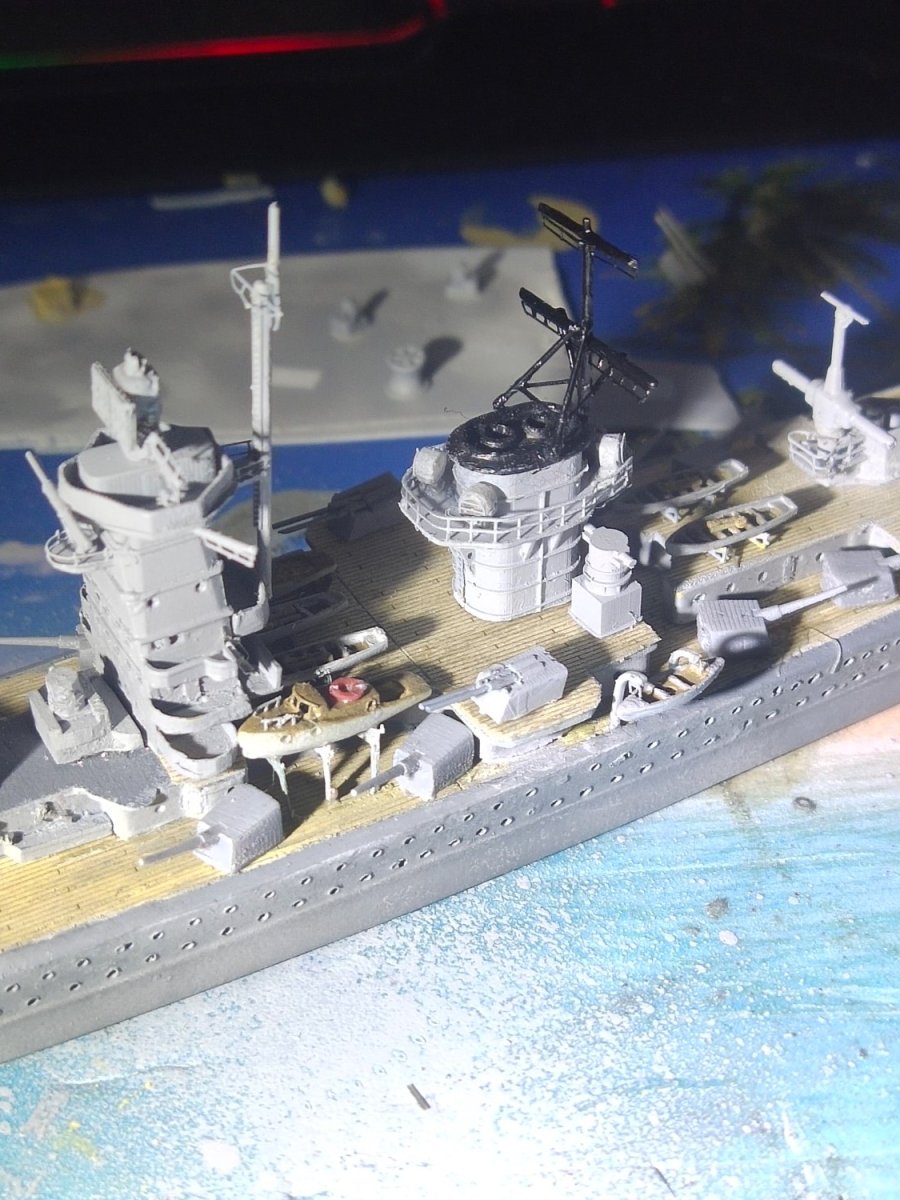
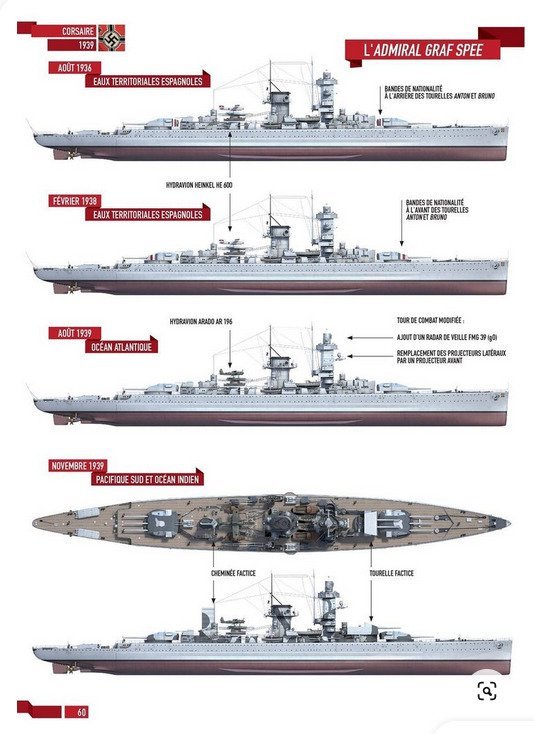
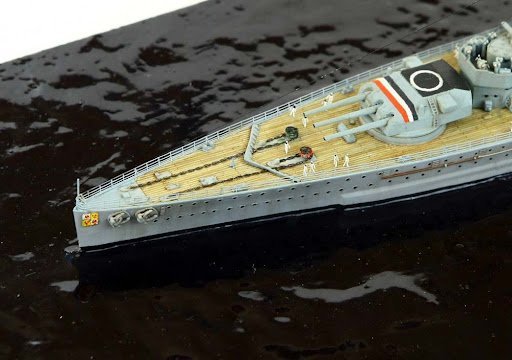
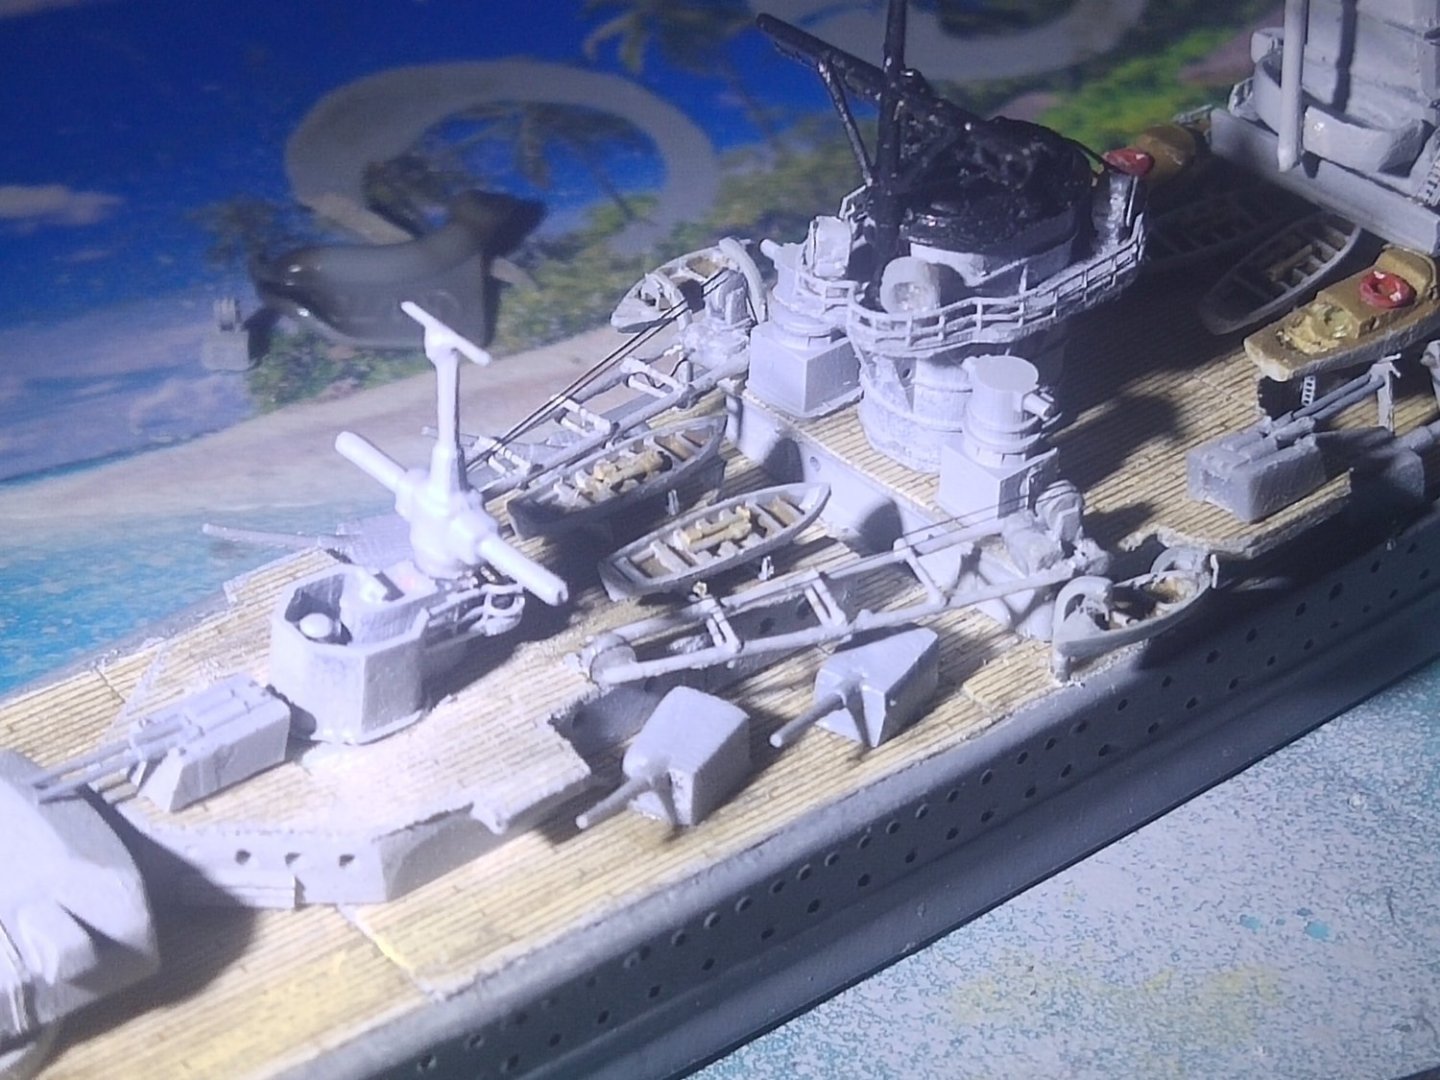
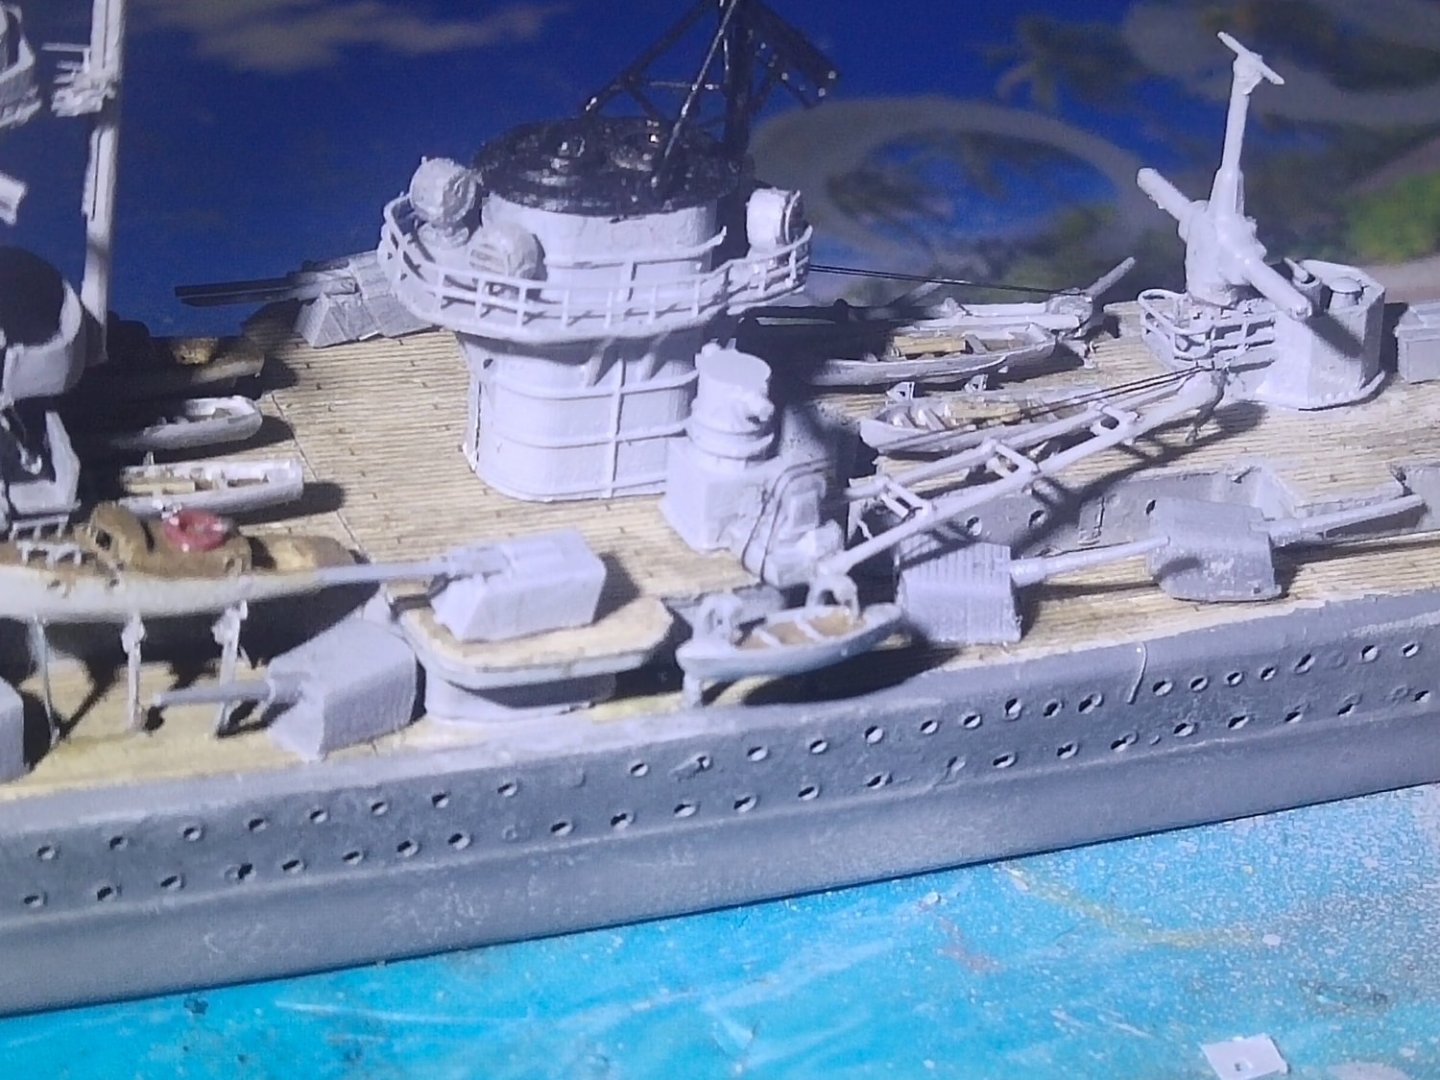
Thank you. These are parts of the Decal sheet I ordered. They have been used on another built which I used as a guide.There is also a black roof and a white circle which I didn't draw so I can avoid a paint disaster. I am not aware of the exact date all I know its definitely before River Plate and after the search light platforms modification on the superstructure. Oils done. Some chipping, rust effect and ready for rigging


- 360 replies
-
- 10
-

-
-
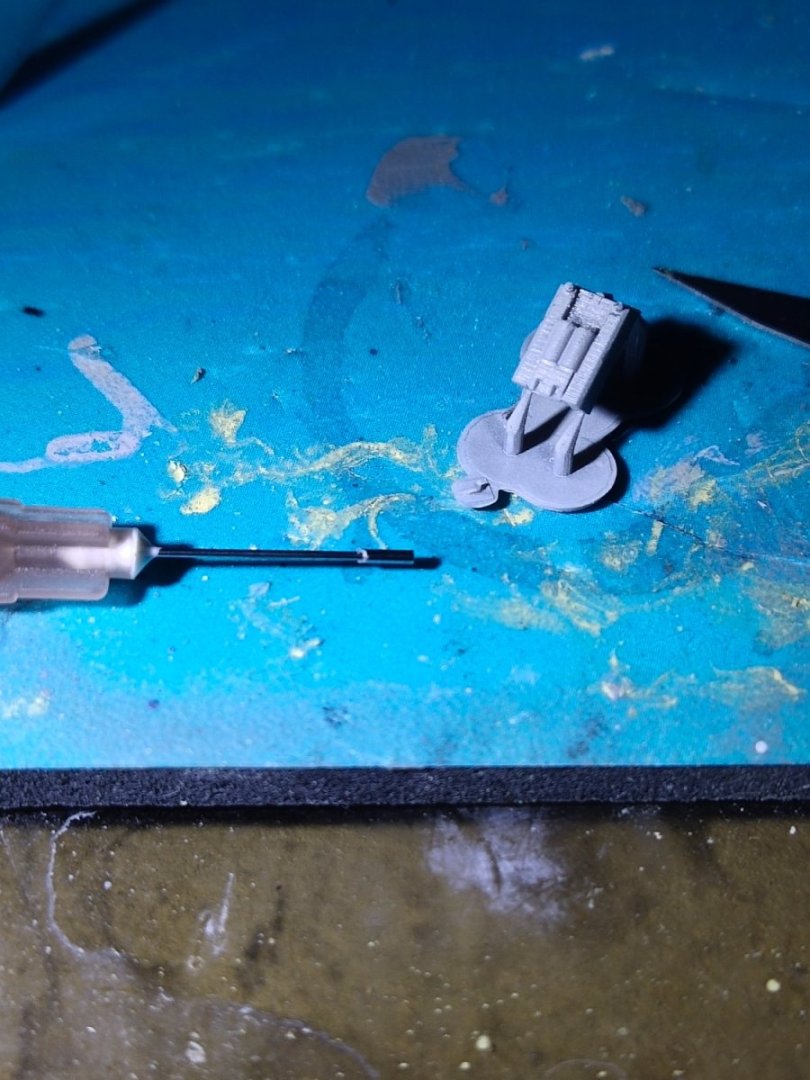
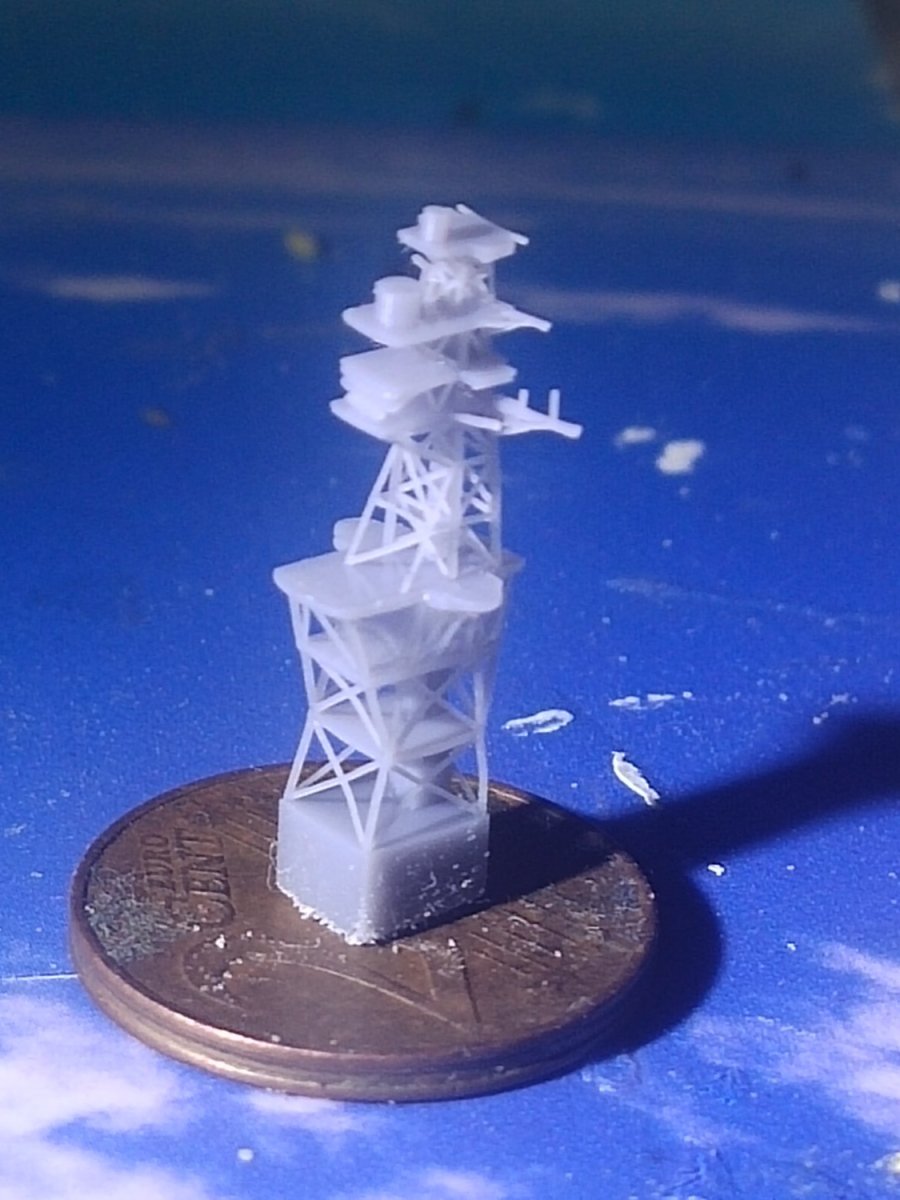
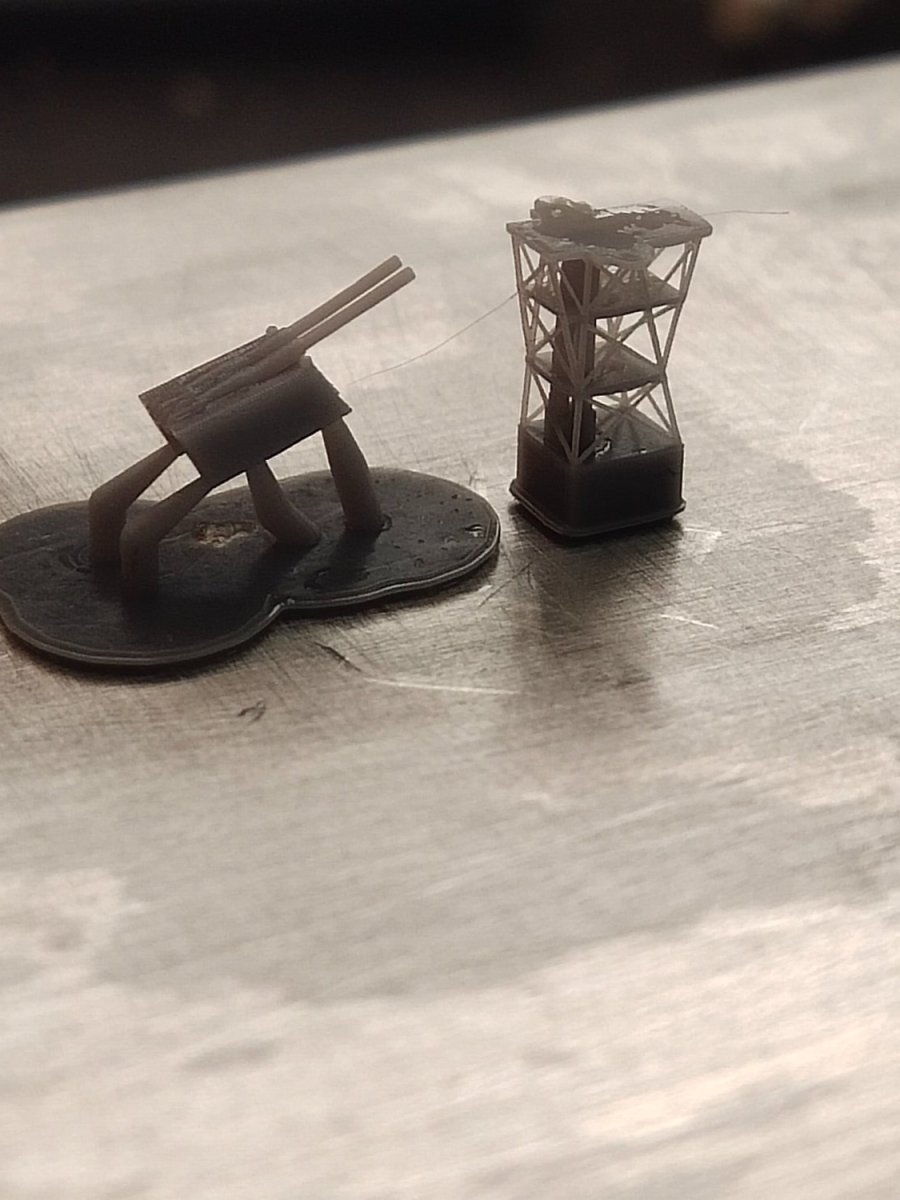
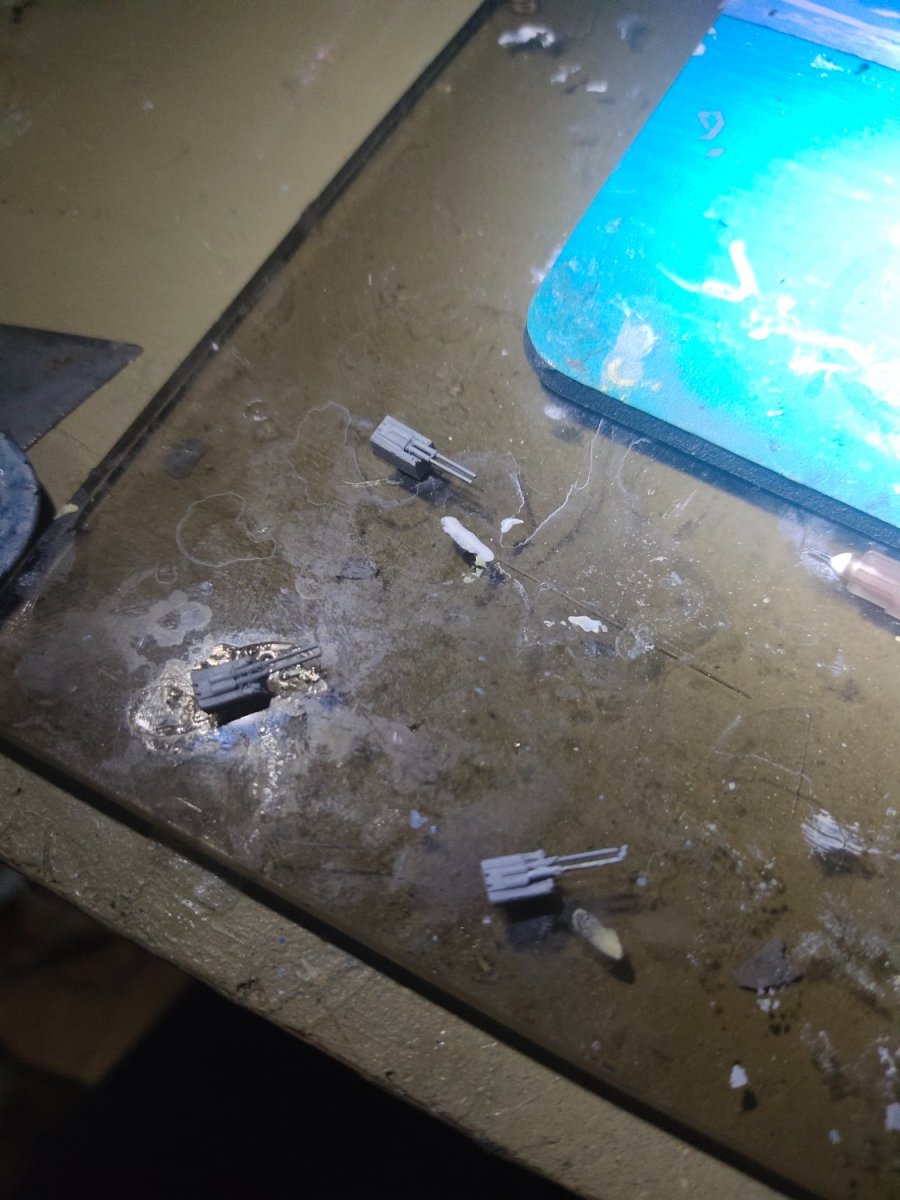
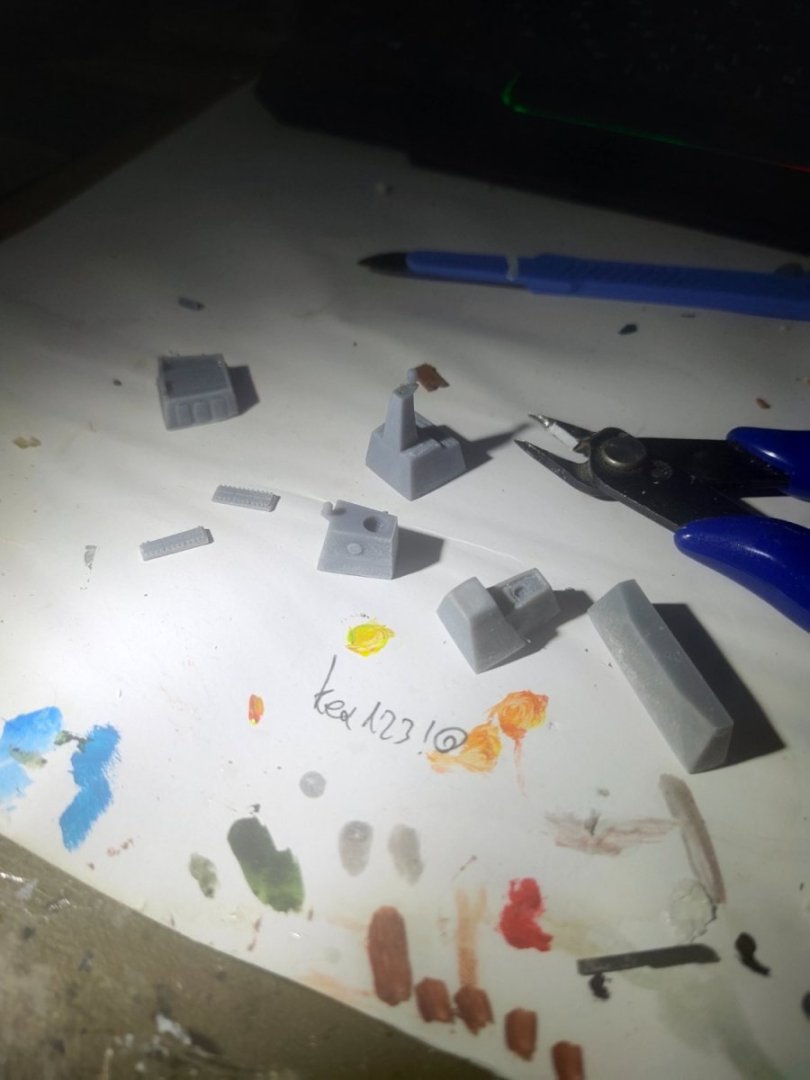
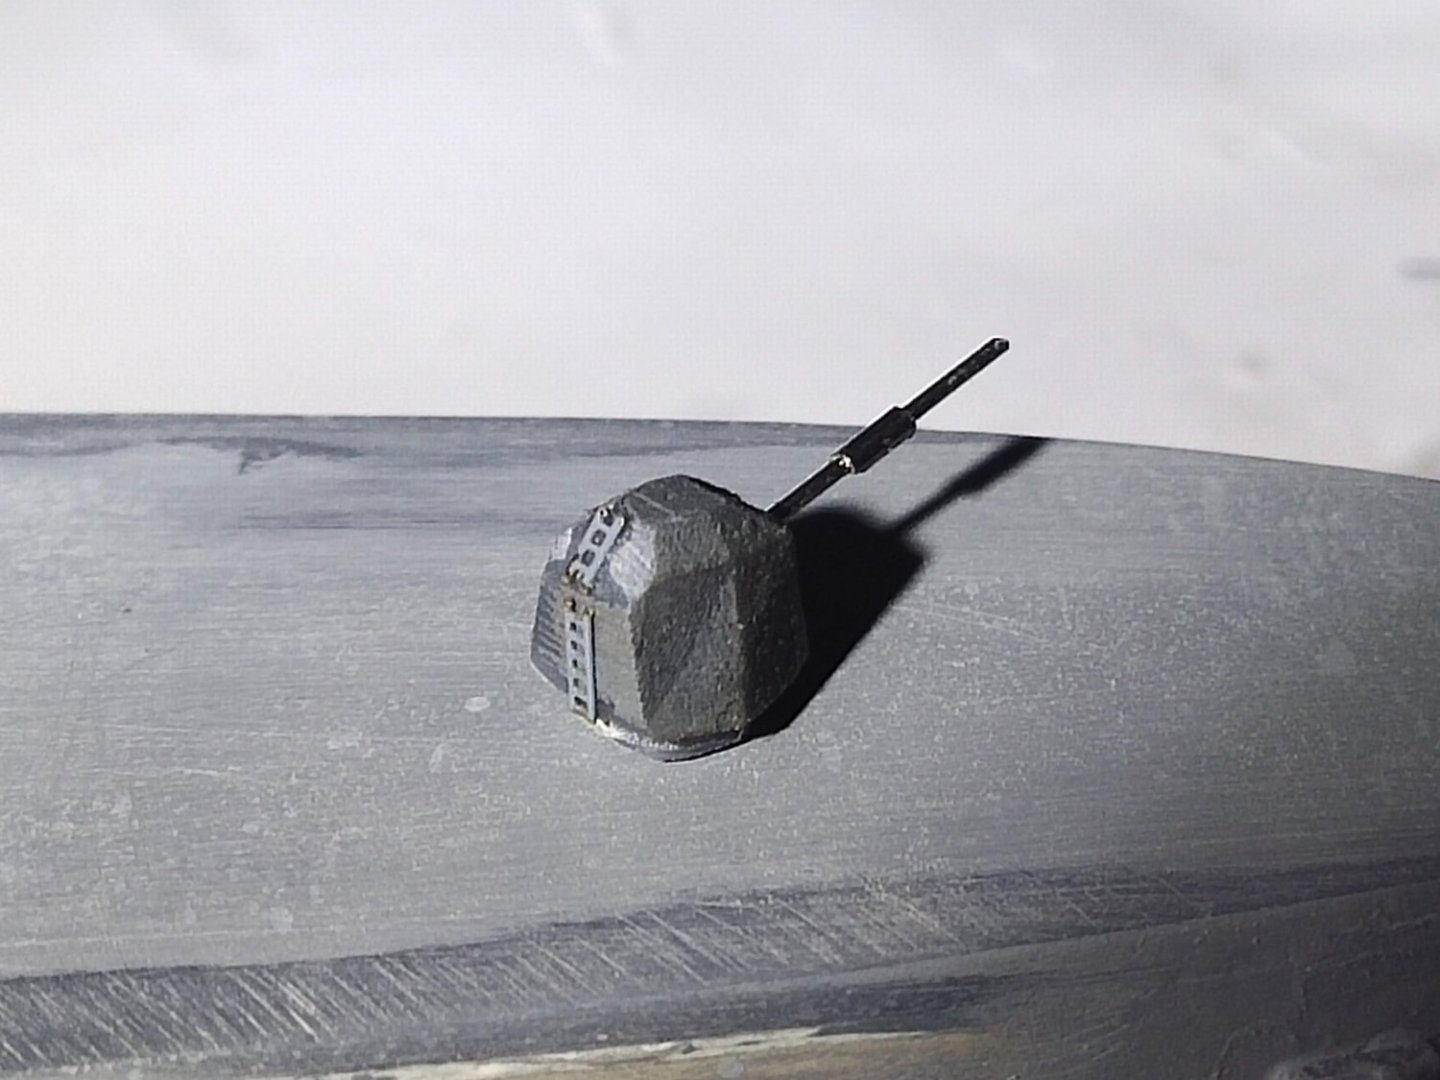
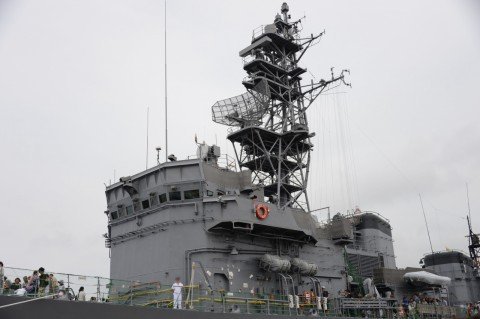
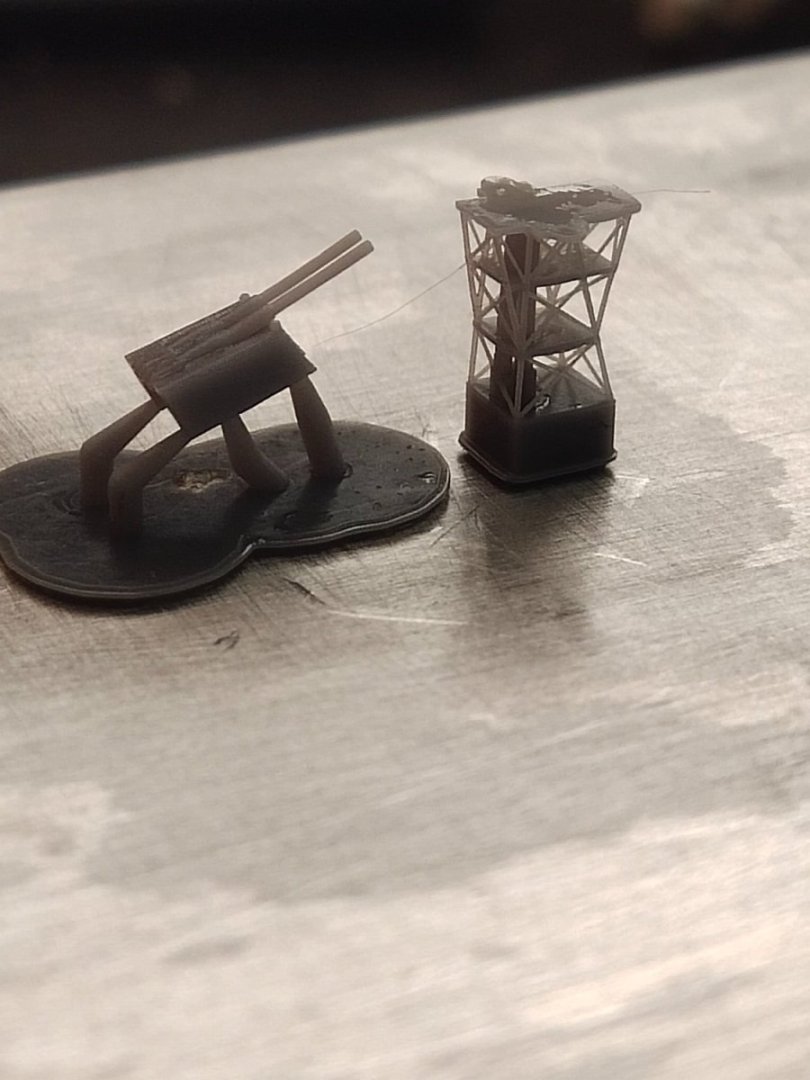
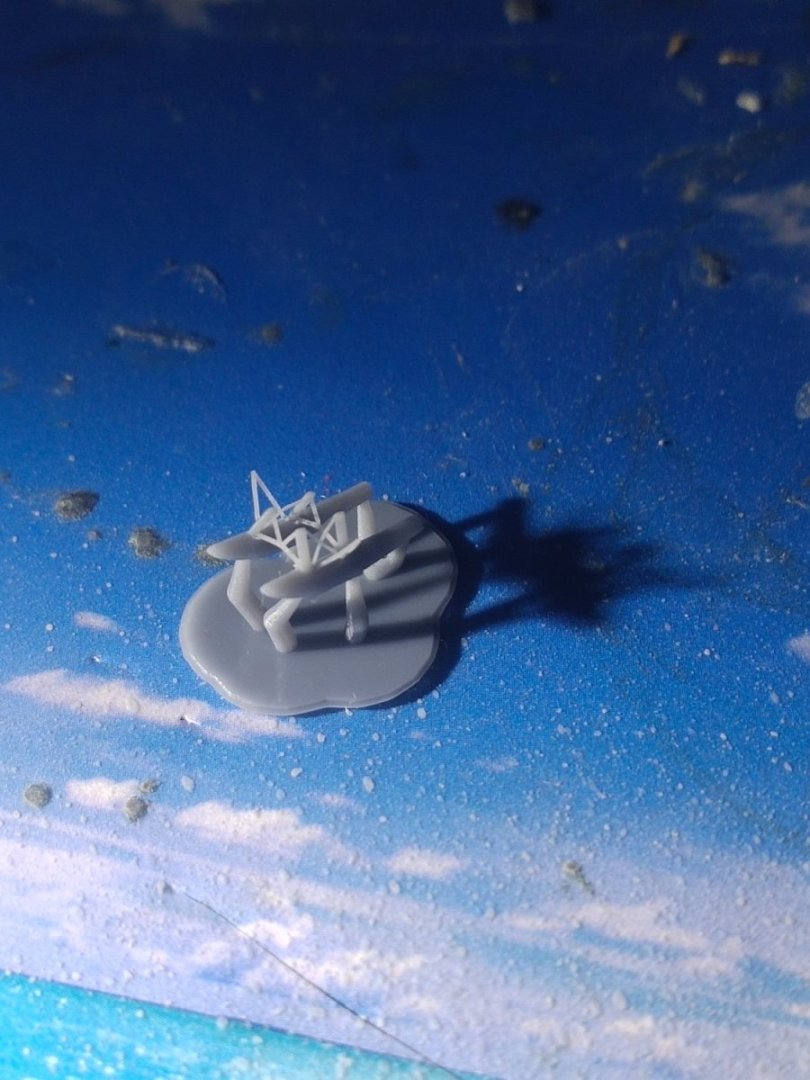
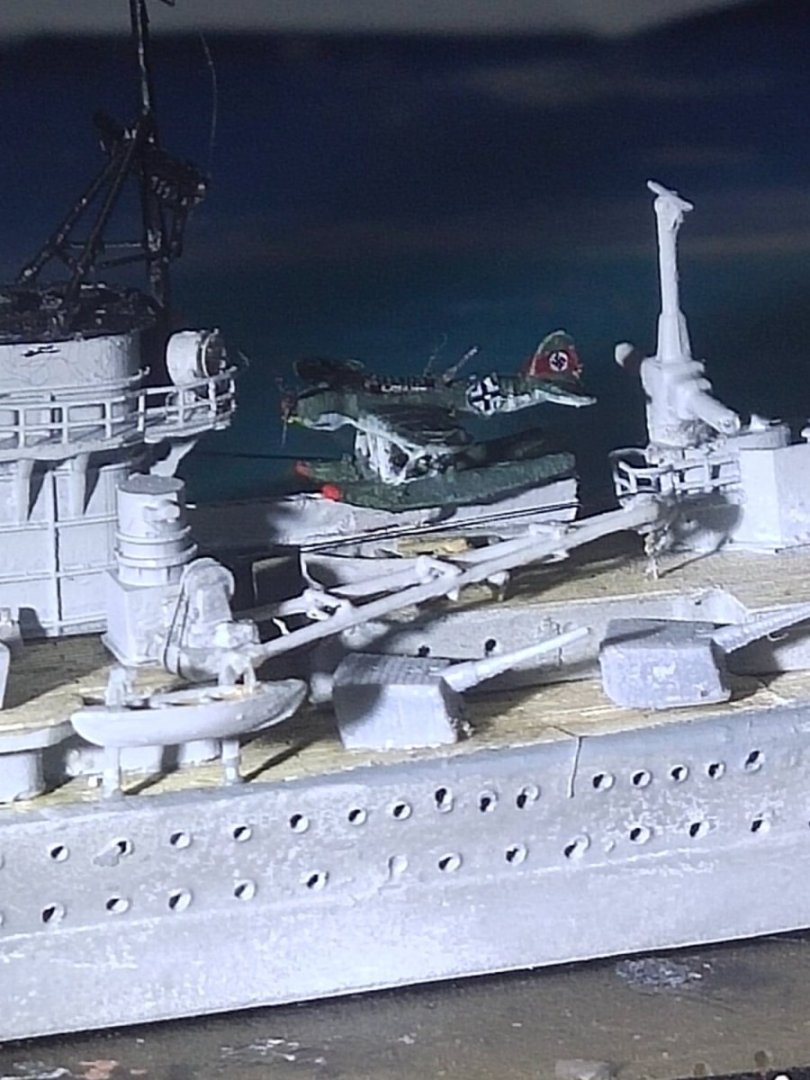
Sorry for the awful image. Here is a German AA gun on a test printed tower for JMSDF Tone
-
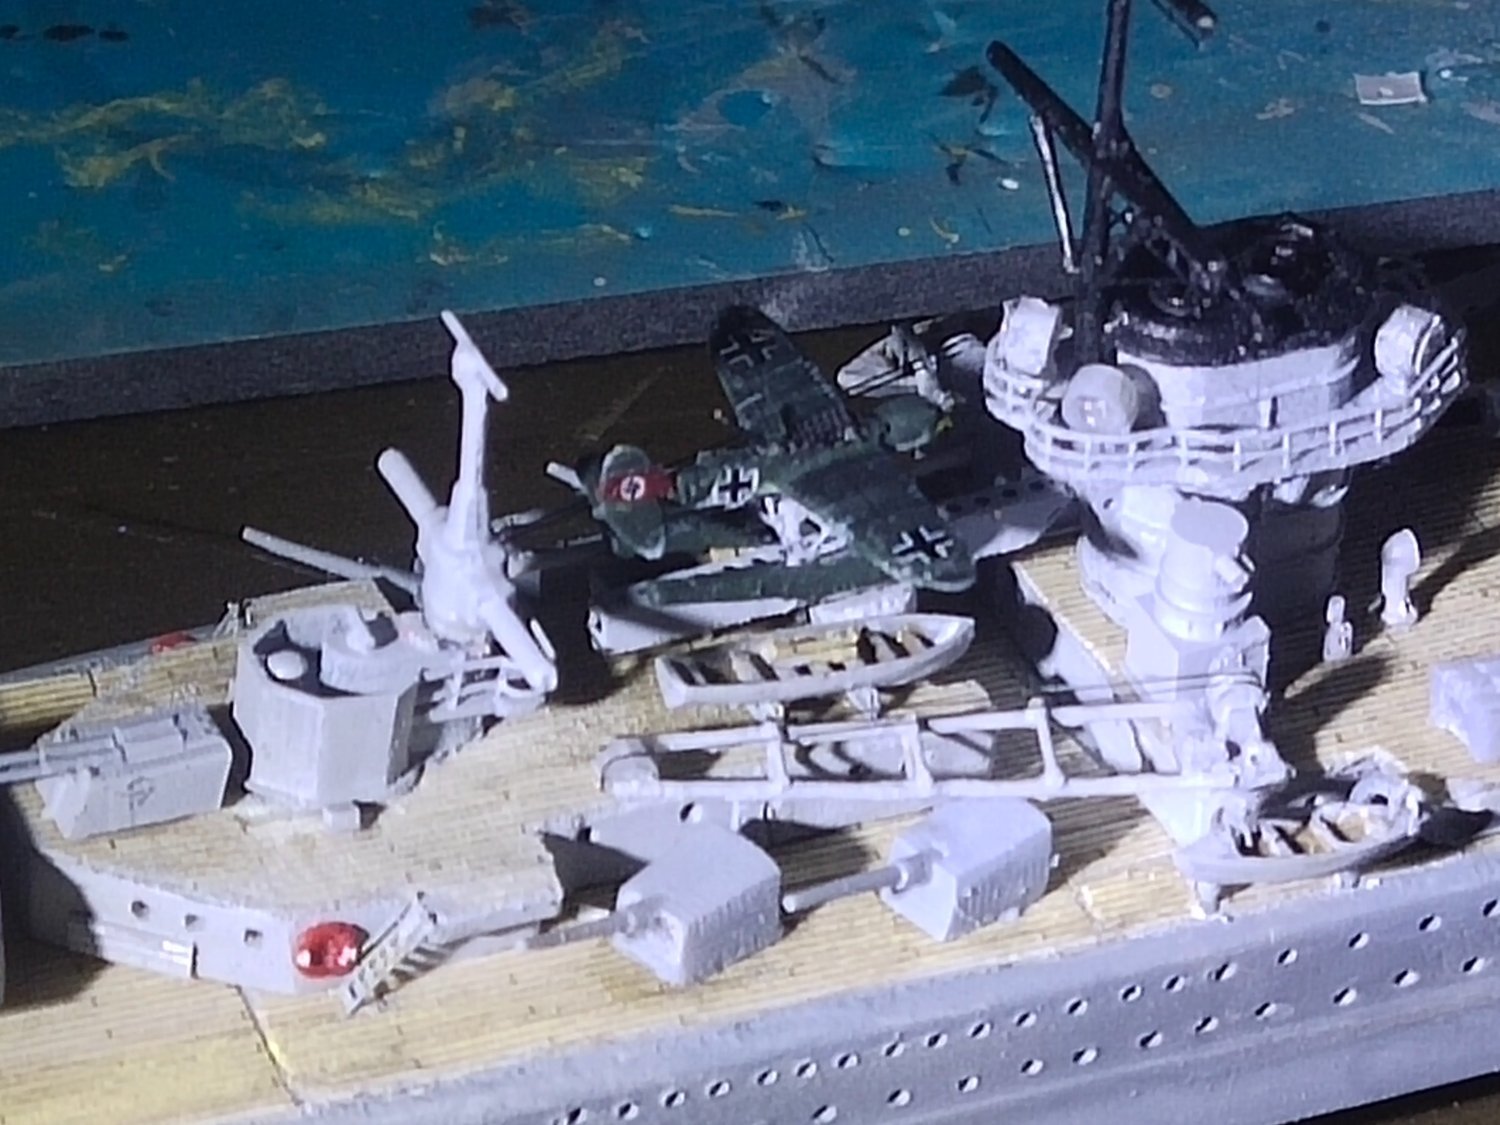
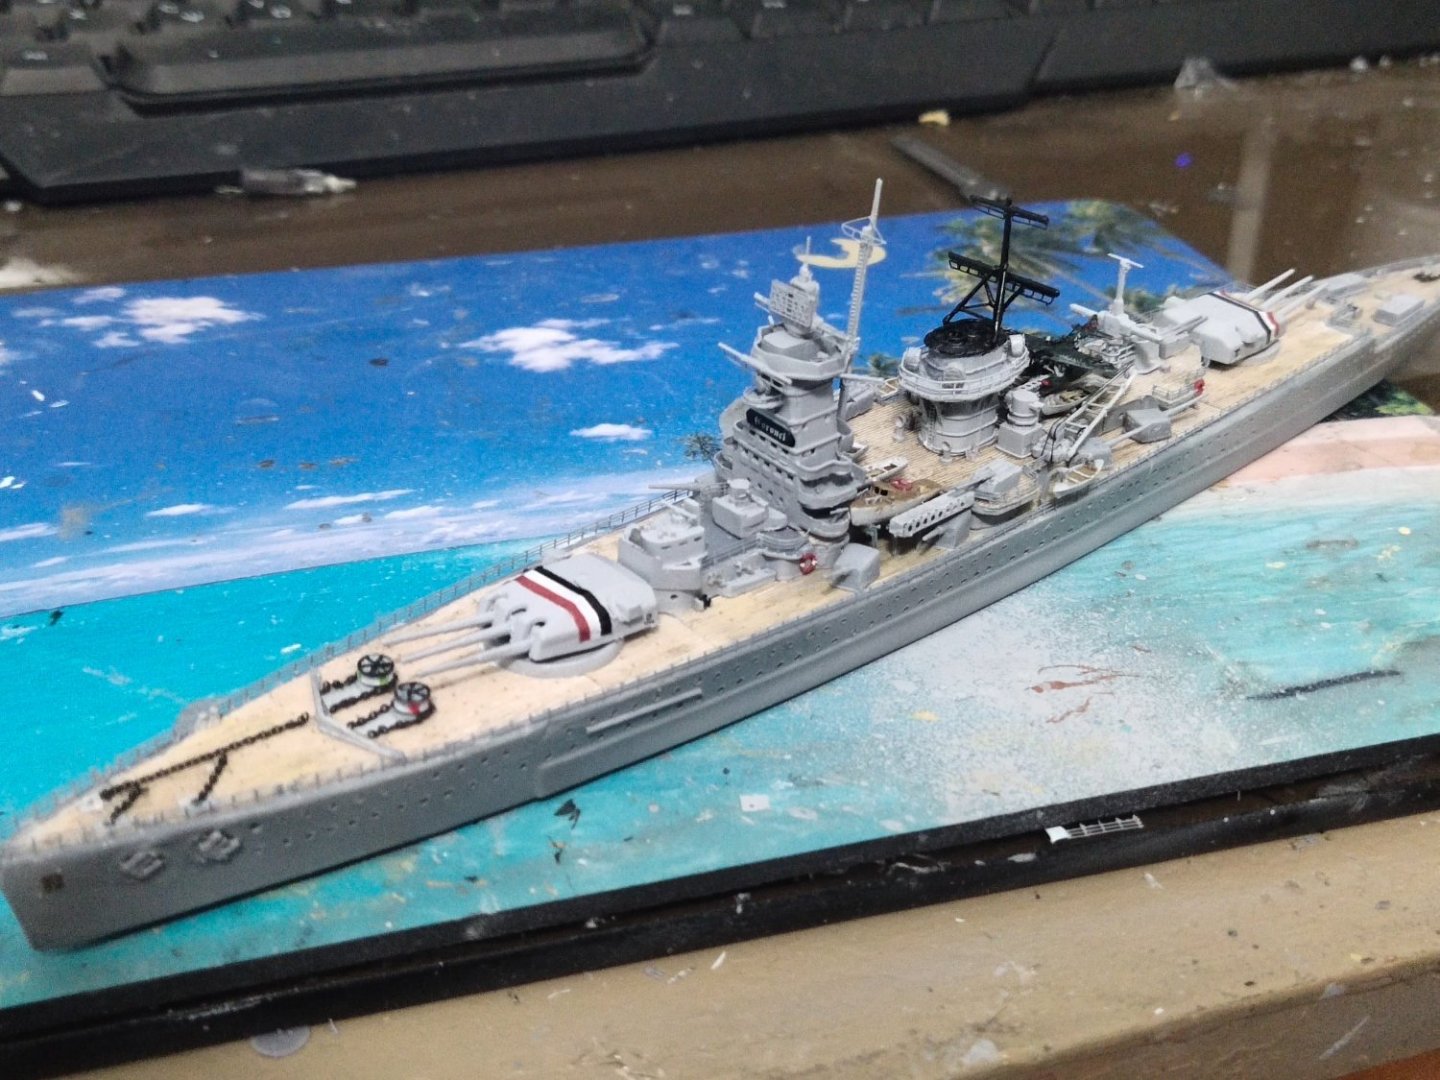
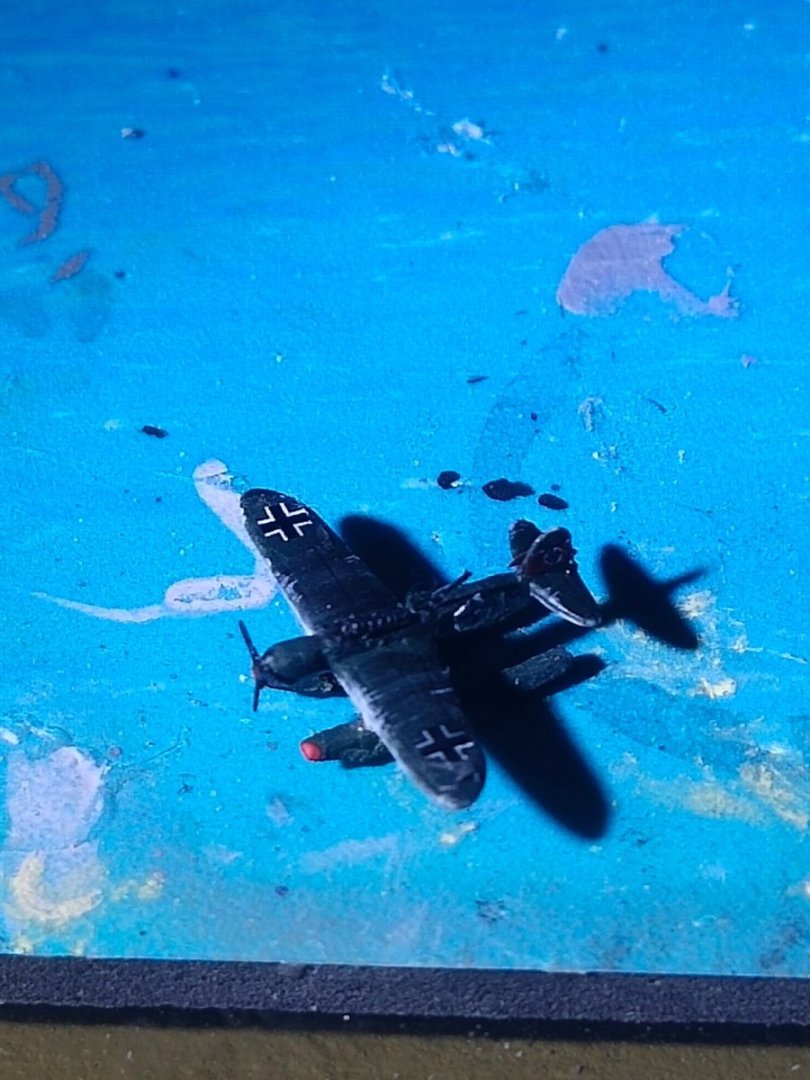
Thanks. The added decals made some difference. Therefore I decided to paint the plane one tone lighter green so they can look better as they are mostly black. Railing is done, added few more decals. Tomorrow I will spray with mat varnish, do weathering and oiling. Rigging is next and hopefully I will done the sea base by weekend.

-
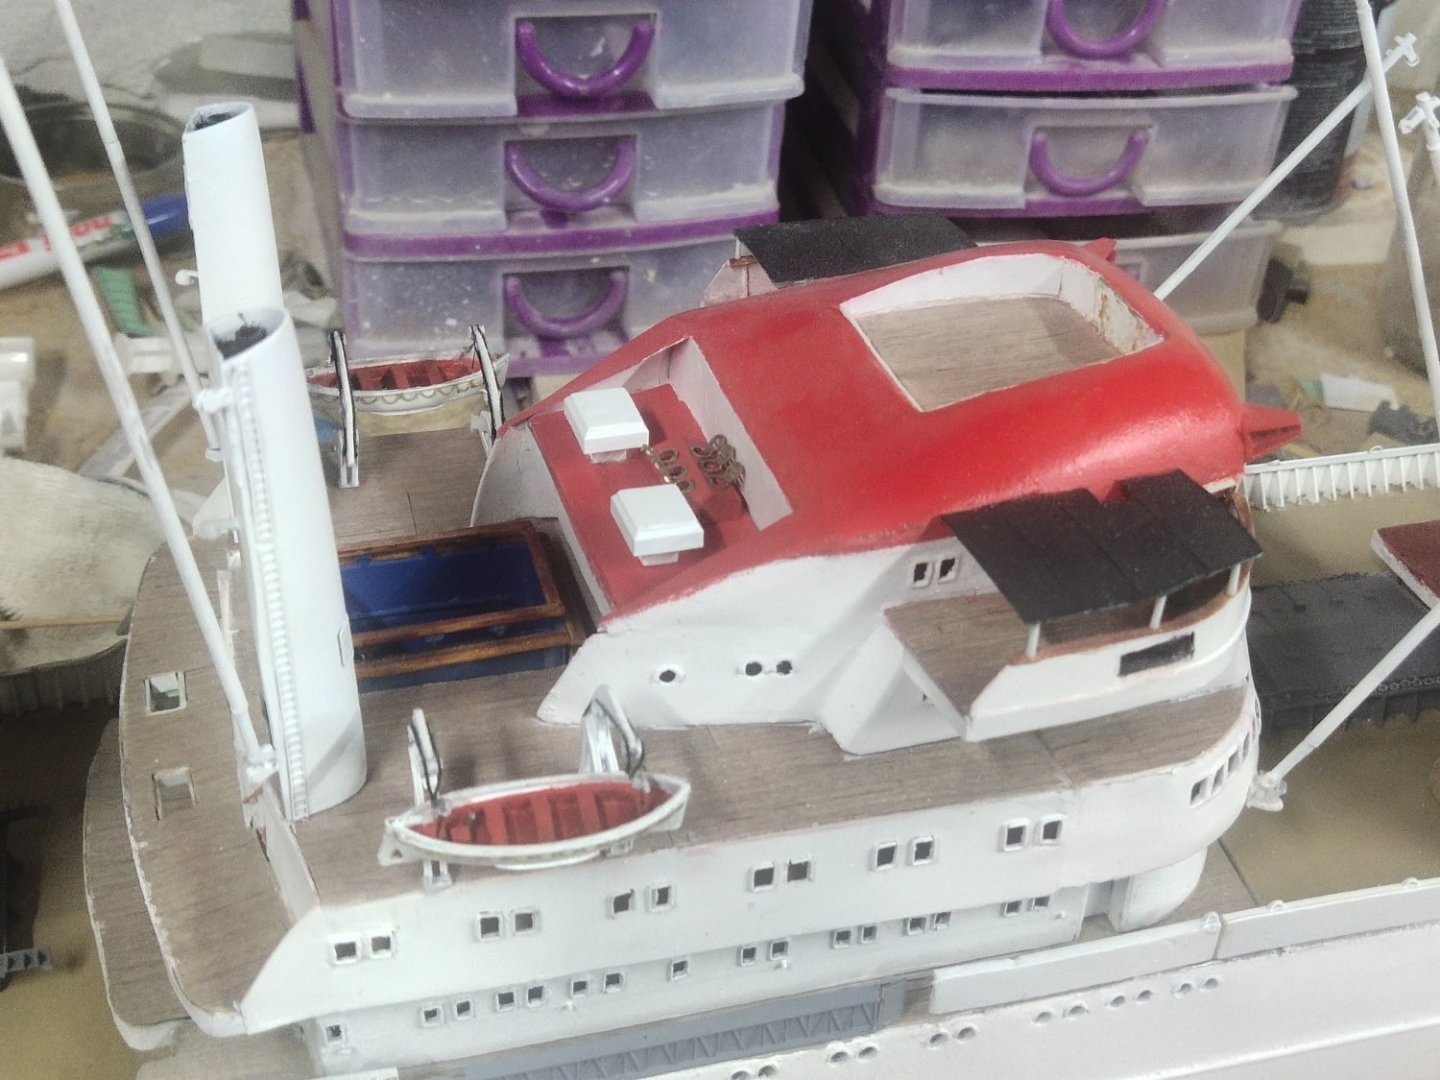
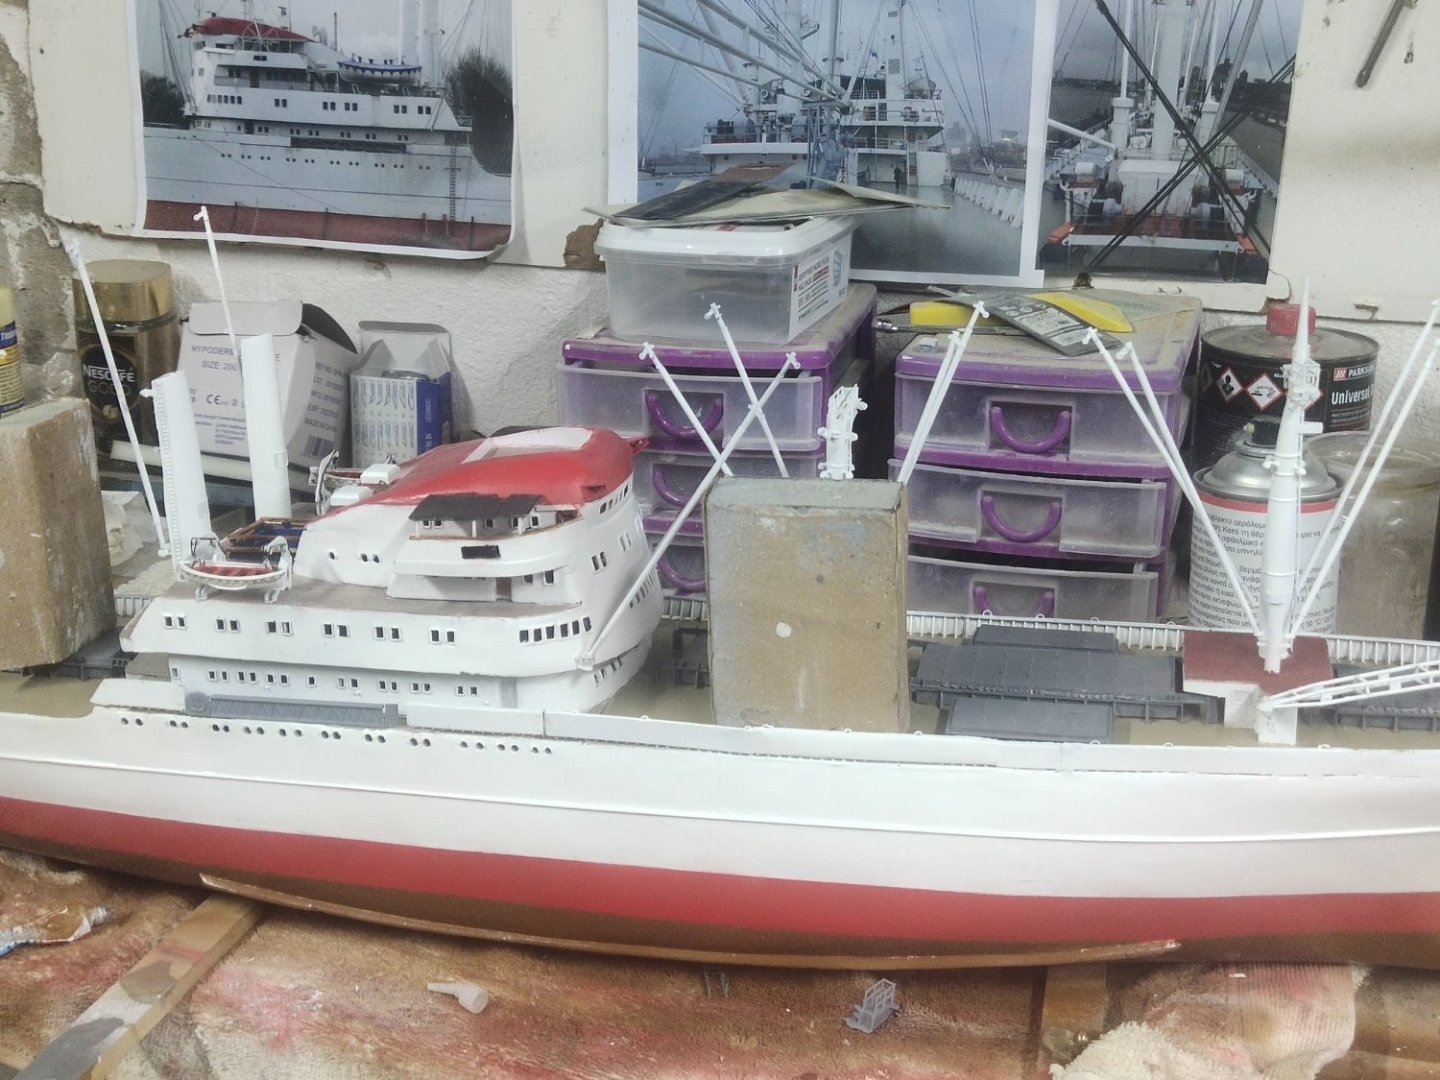
Cap San Diego by mikegr - 1/160
mikegr replied to mikegr's topic in - Build logs for subjects built 1901 - Present Day
3d printing parts doesn't mean that are ready always there is work to be done in many cases Model boats were from an old era with planking effects on sides. So I had to sand them down to give the desirable plastic look. Ropes added as well as bilge keels

-
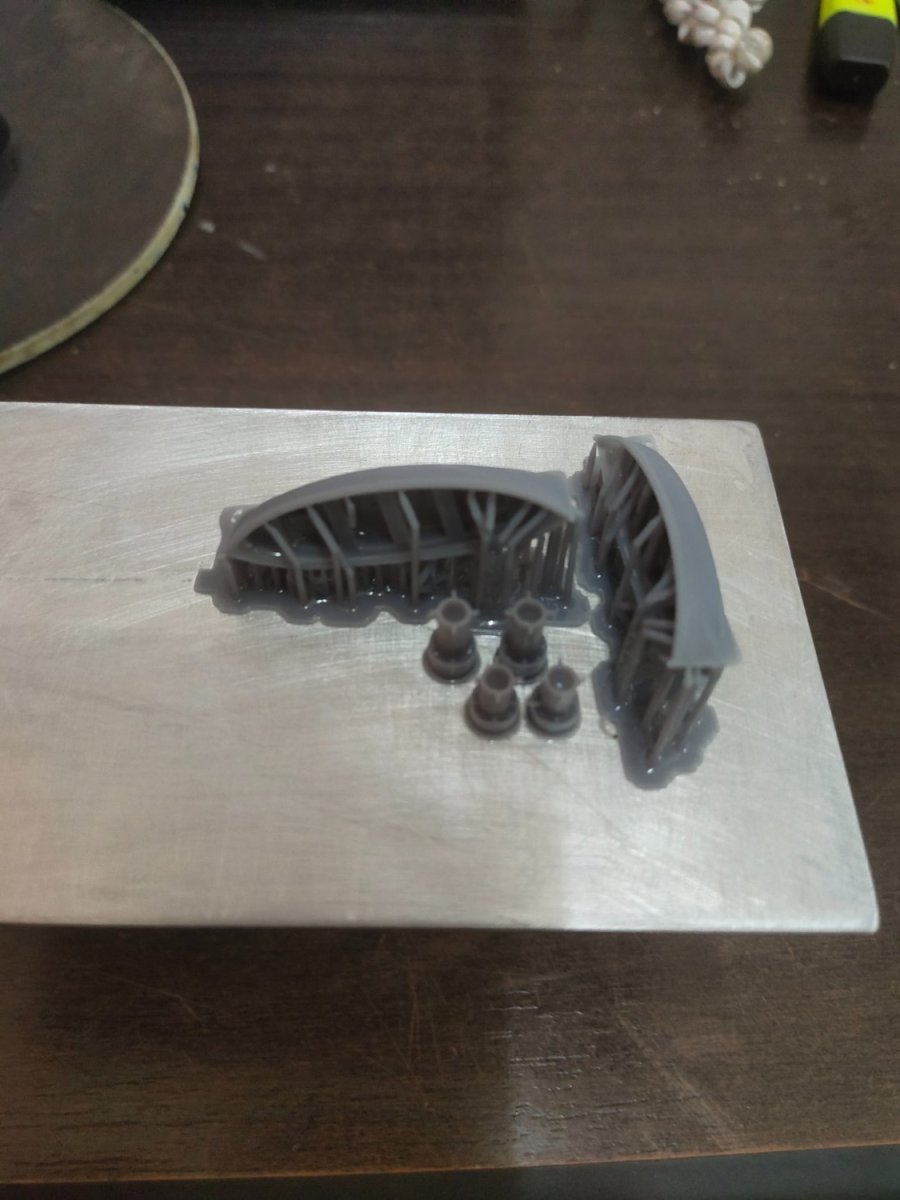
I made the aircraft. PE parts were troublesome so I made a new frame for the floats. These also came together as a single piece to increase strength as some parts were as much as 0.20mm thick only. Decals also were not precut. The whole decal sheet was a single piece. It was tricky to cut the tiny pieces around, so they can fit to the limited space, like wings and fuselage.

-
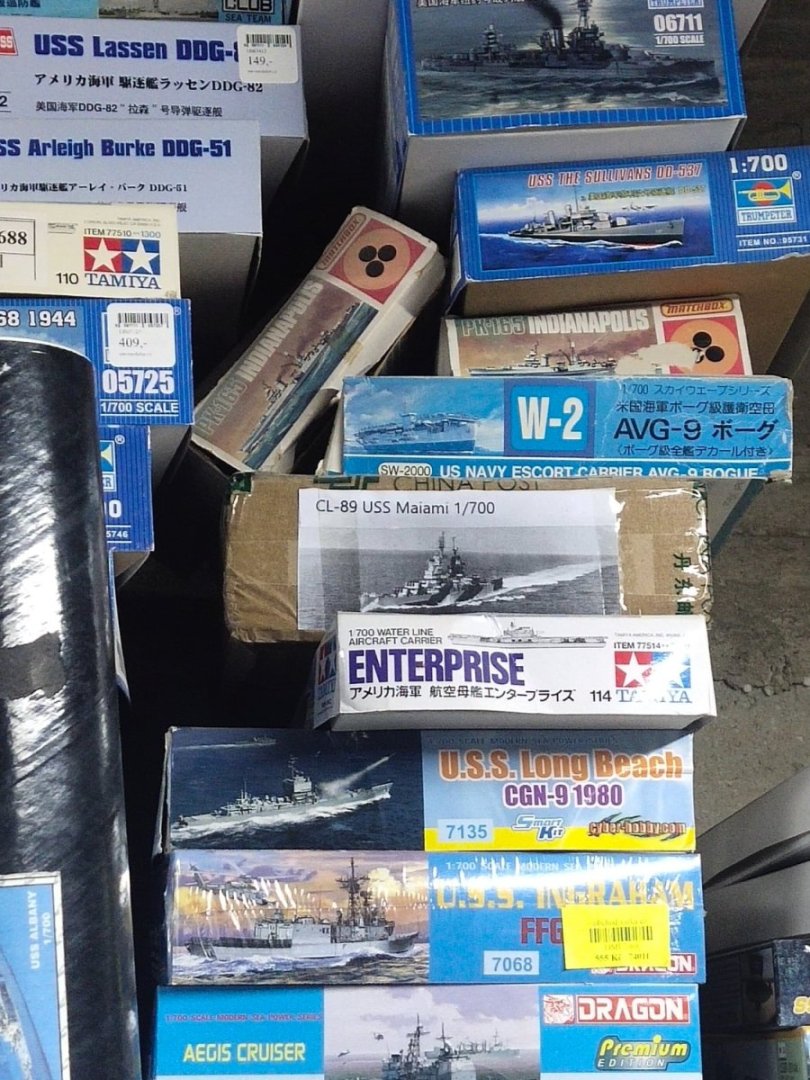
Thanx My first kit was USS Indianapolis from matchbox. My father got it from the local supermarket on toys section along with a tube of UHU glue. Few years ago I managed to buy a couple for my stash Dome extra details added. Only things to add is the aircraft and rails. Then a new hull paint required especially were its sides meet the wooden deck. Weathering and rigging of course.

-
I made the cranes. Some 3d prints were failed because thr resin warped. So I made my own with plastic and brass rods using the resin crane house

-
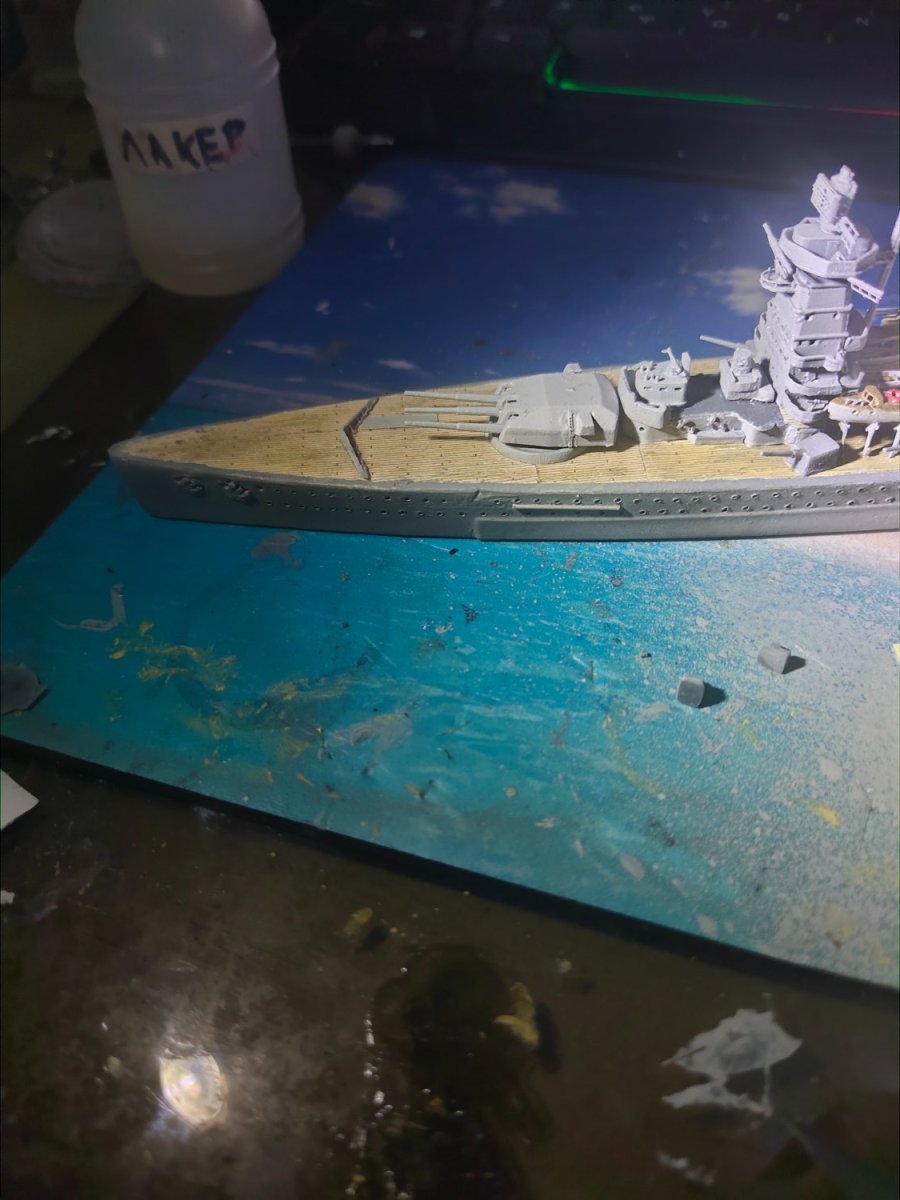
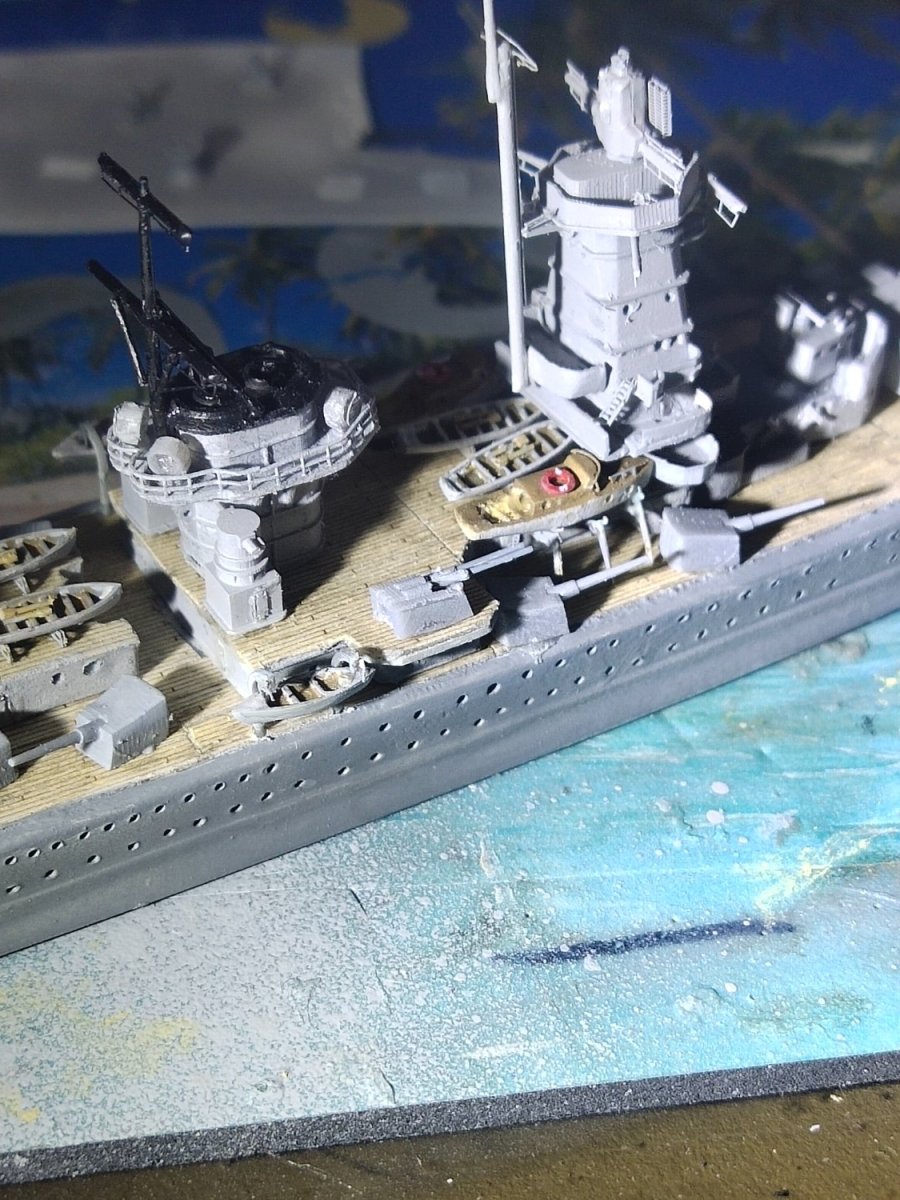
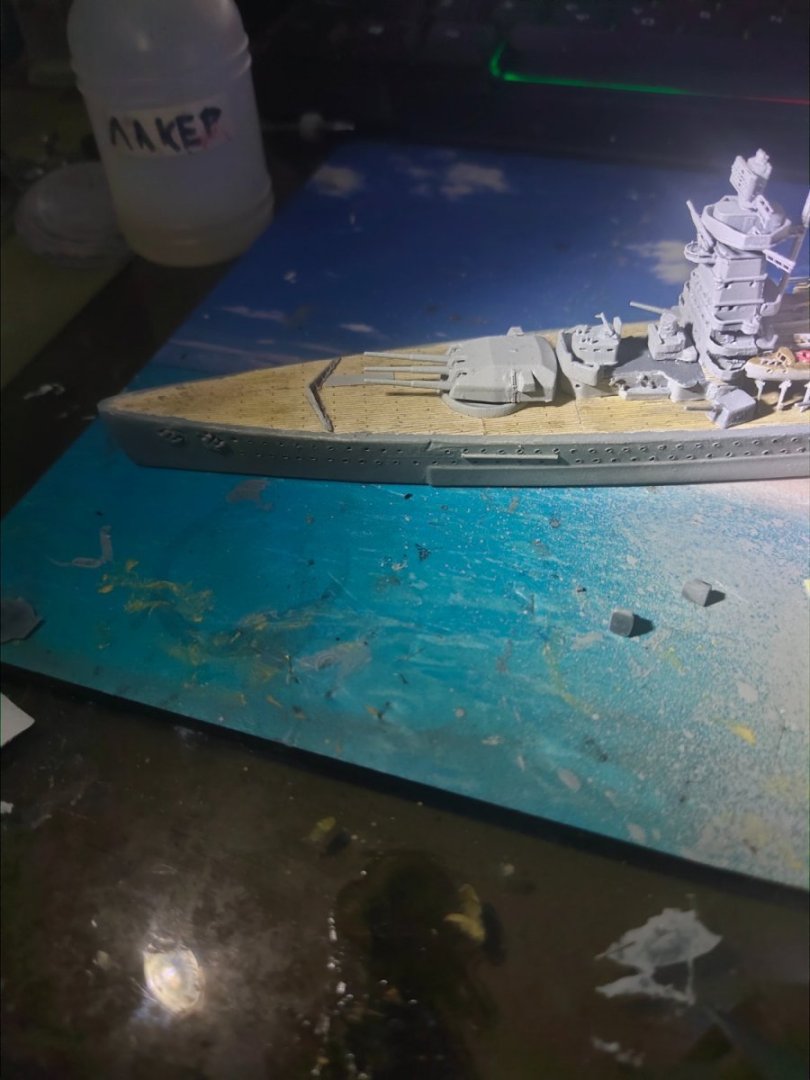
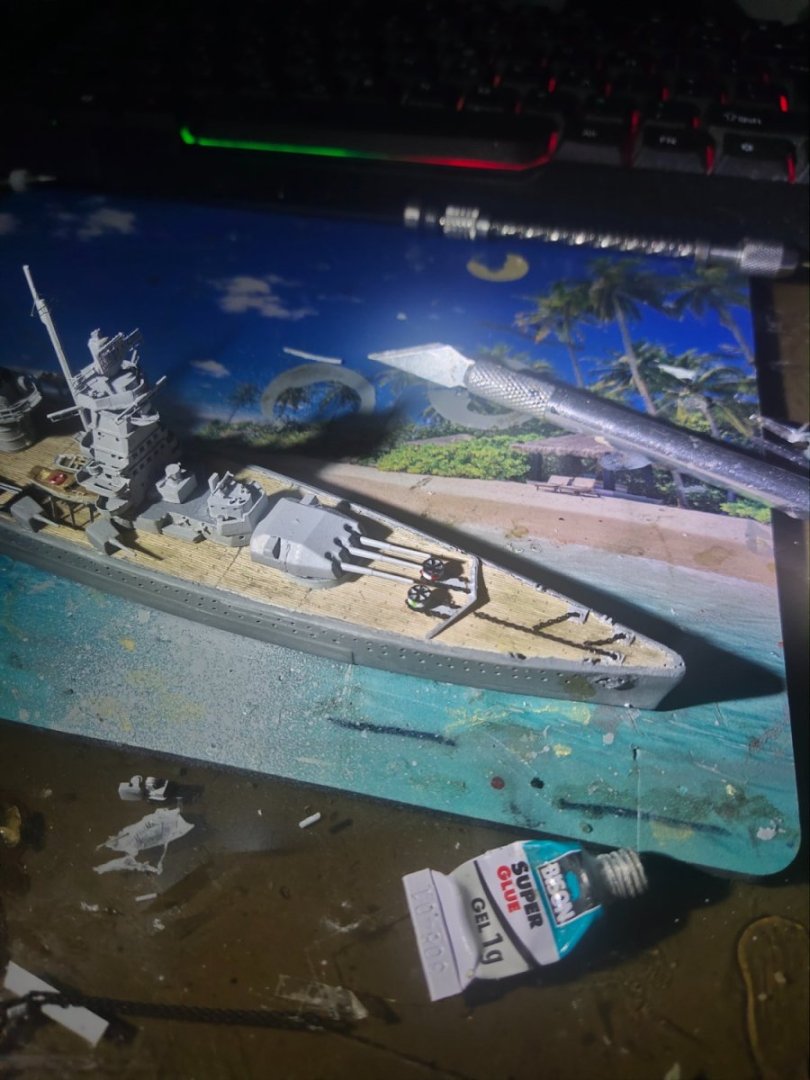
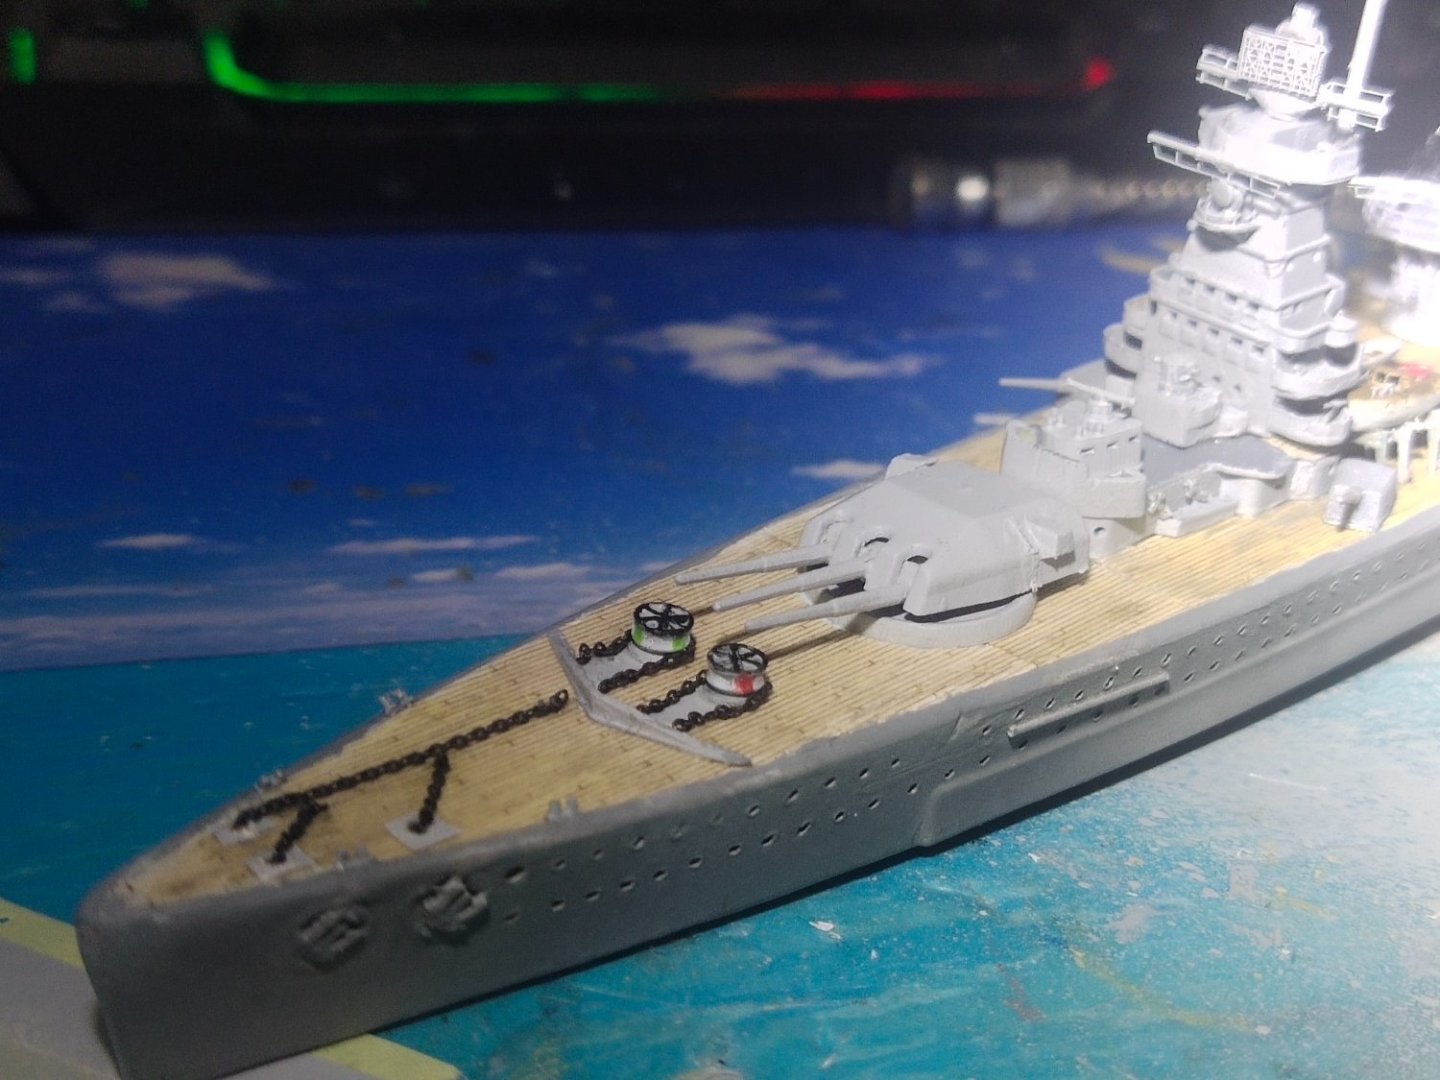
Today I worked on the bow section. Anchor winches were a bit overscale but I don't think is too bad, they look nice to me.
-
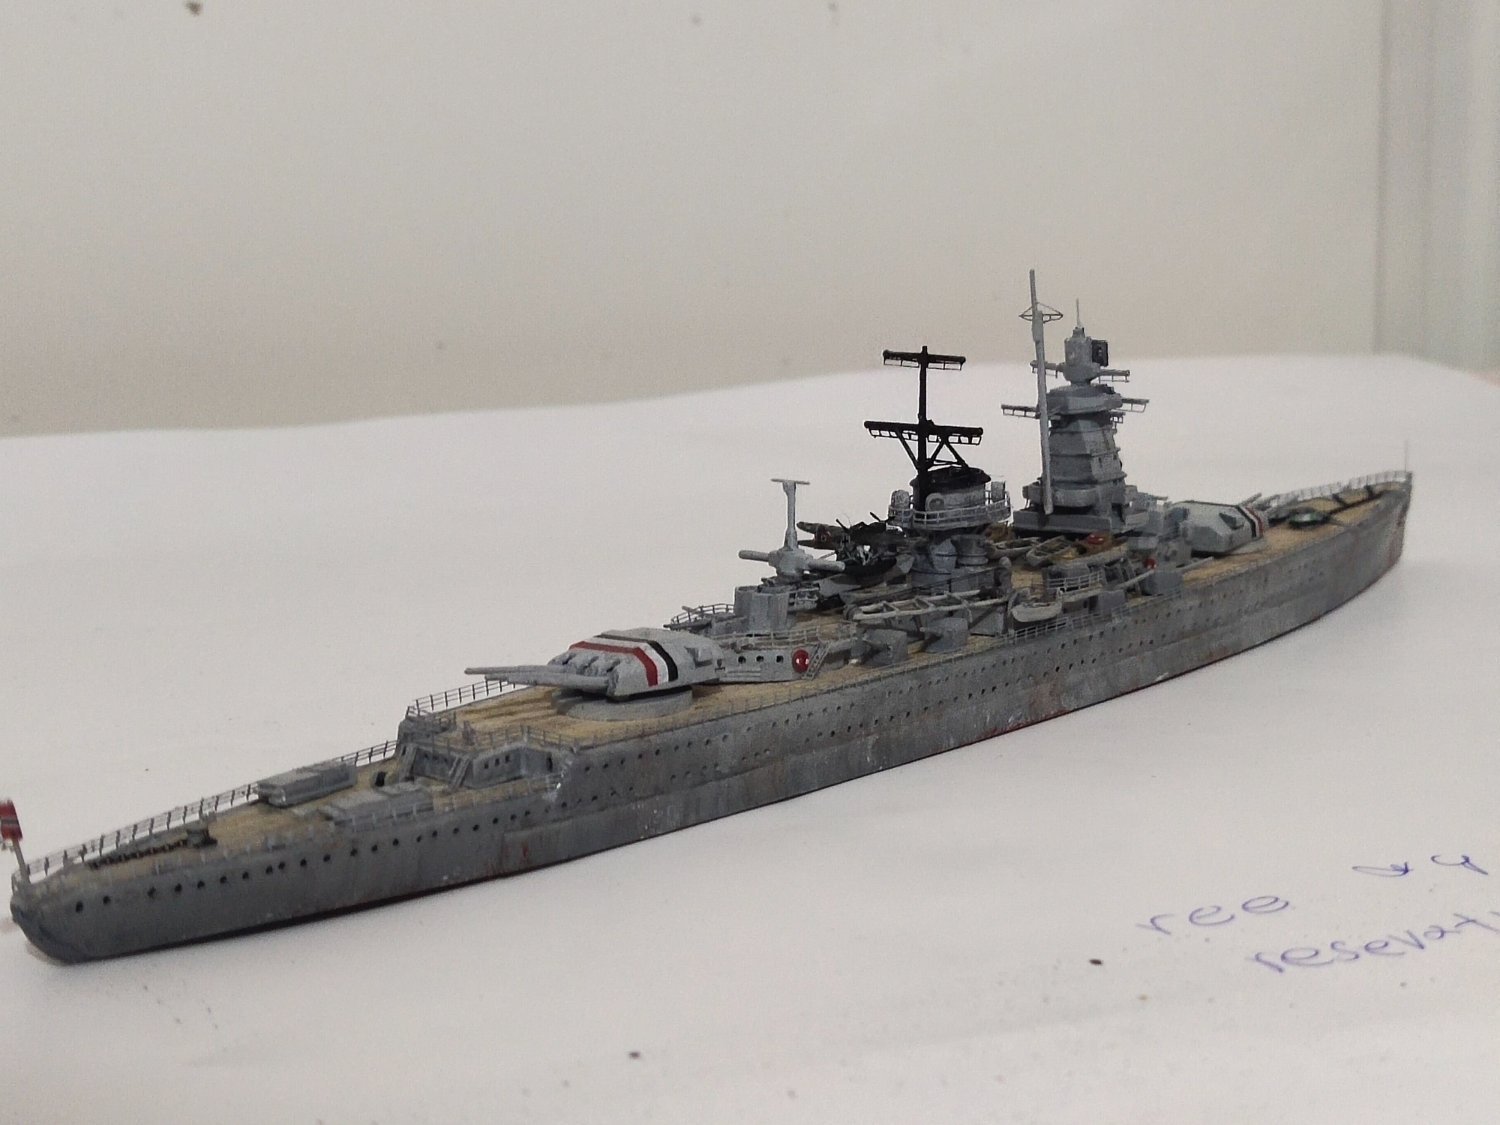
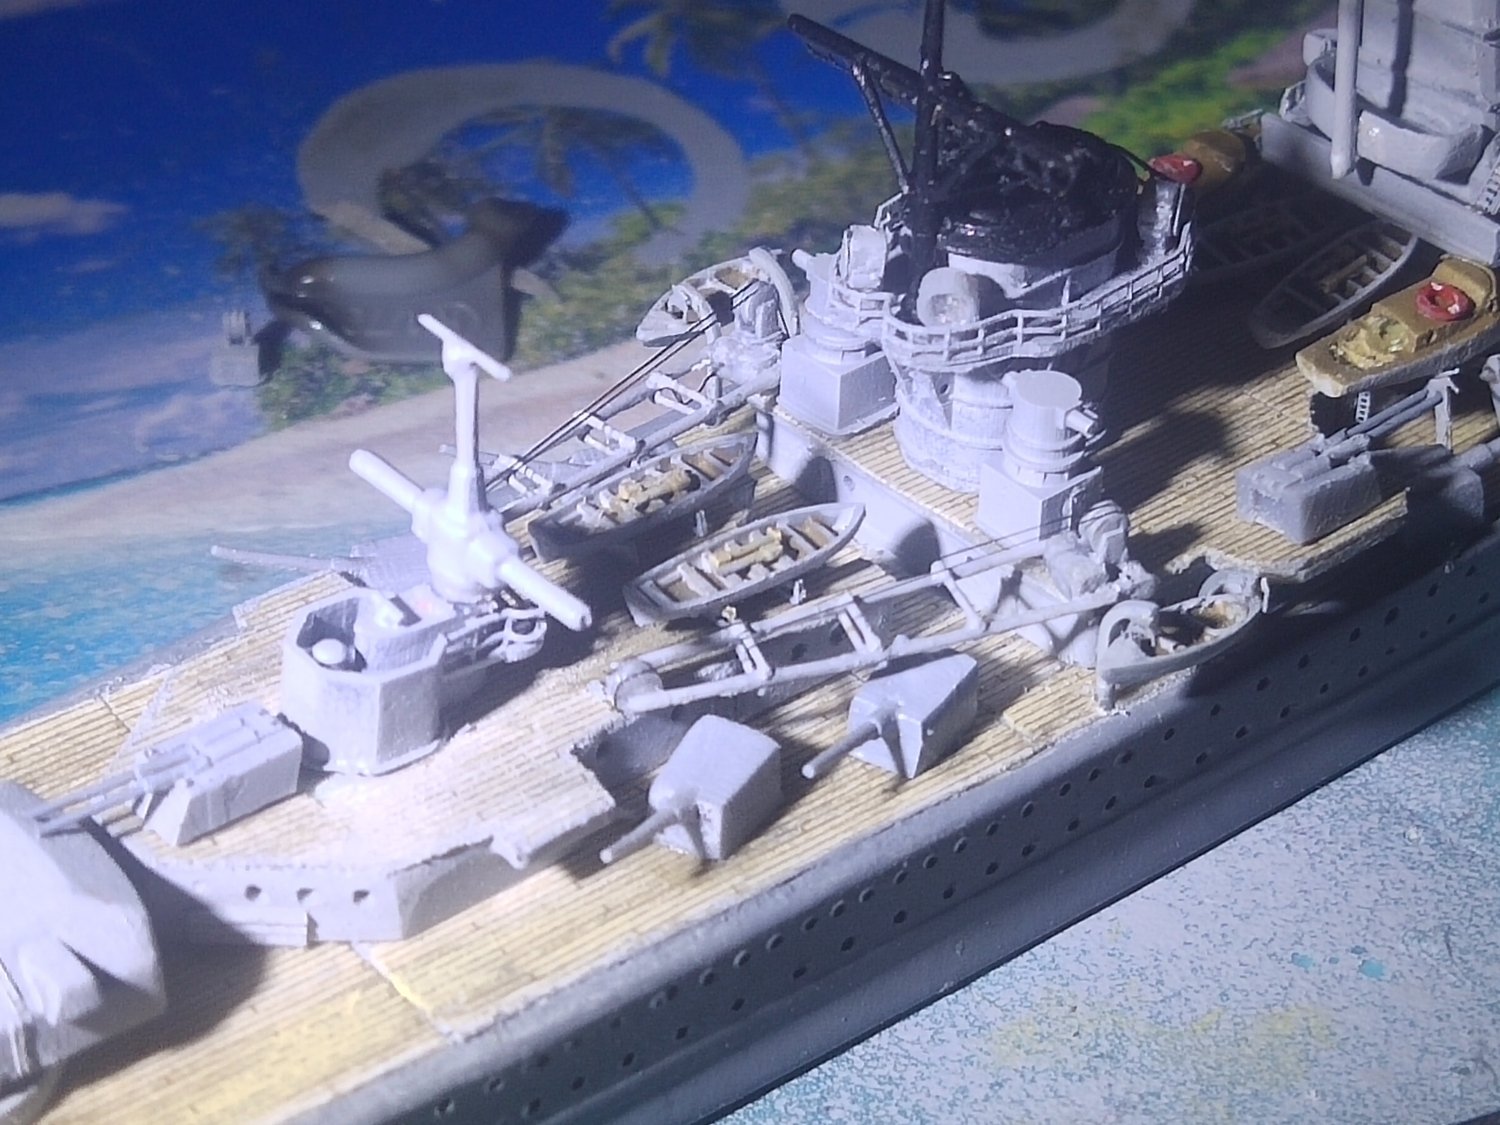
Νew AA guns produced. Barrels were made of needles of various diameters. Cutting 3mm long pieces with rotary tool was troublesome and may didn't worth the extra detail. Nevertheless guns came up good looking. Boats were repainted and the hunged ones were reglued with very tiny supports that hardly are visible. Funny thing I didn't miss any part