John Ruy
-
Posts
1,598 -
Joined
-
Last visited
Content Type
Profiles
Forums
Gallery
Events
Everything posted by John Ruy
-
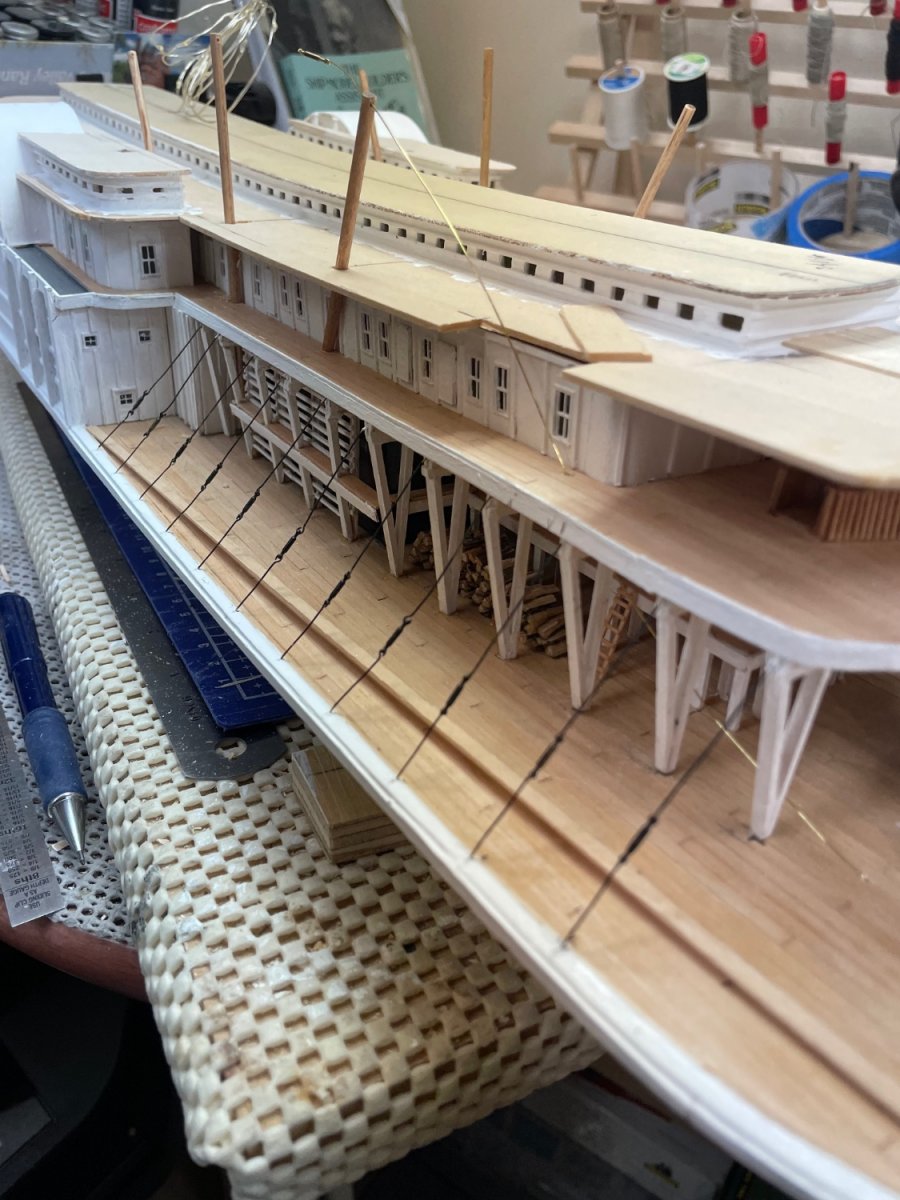
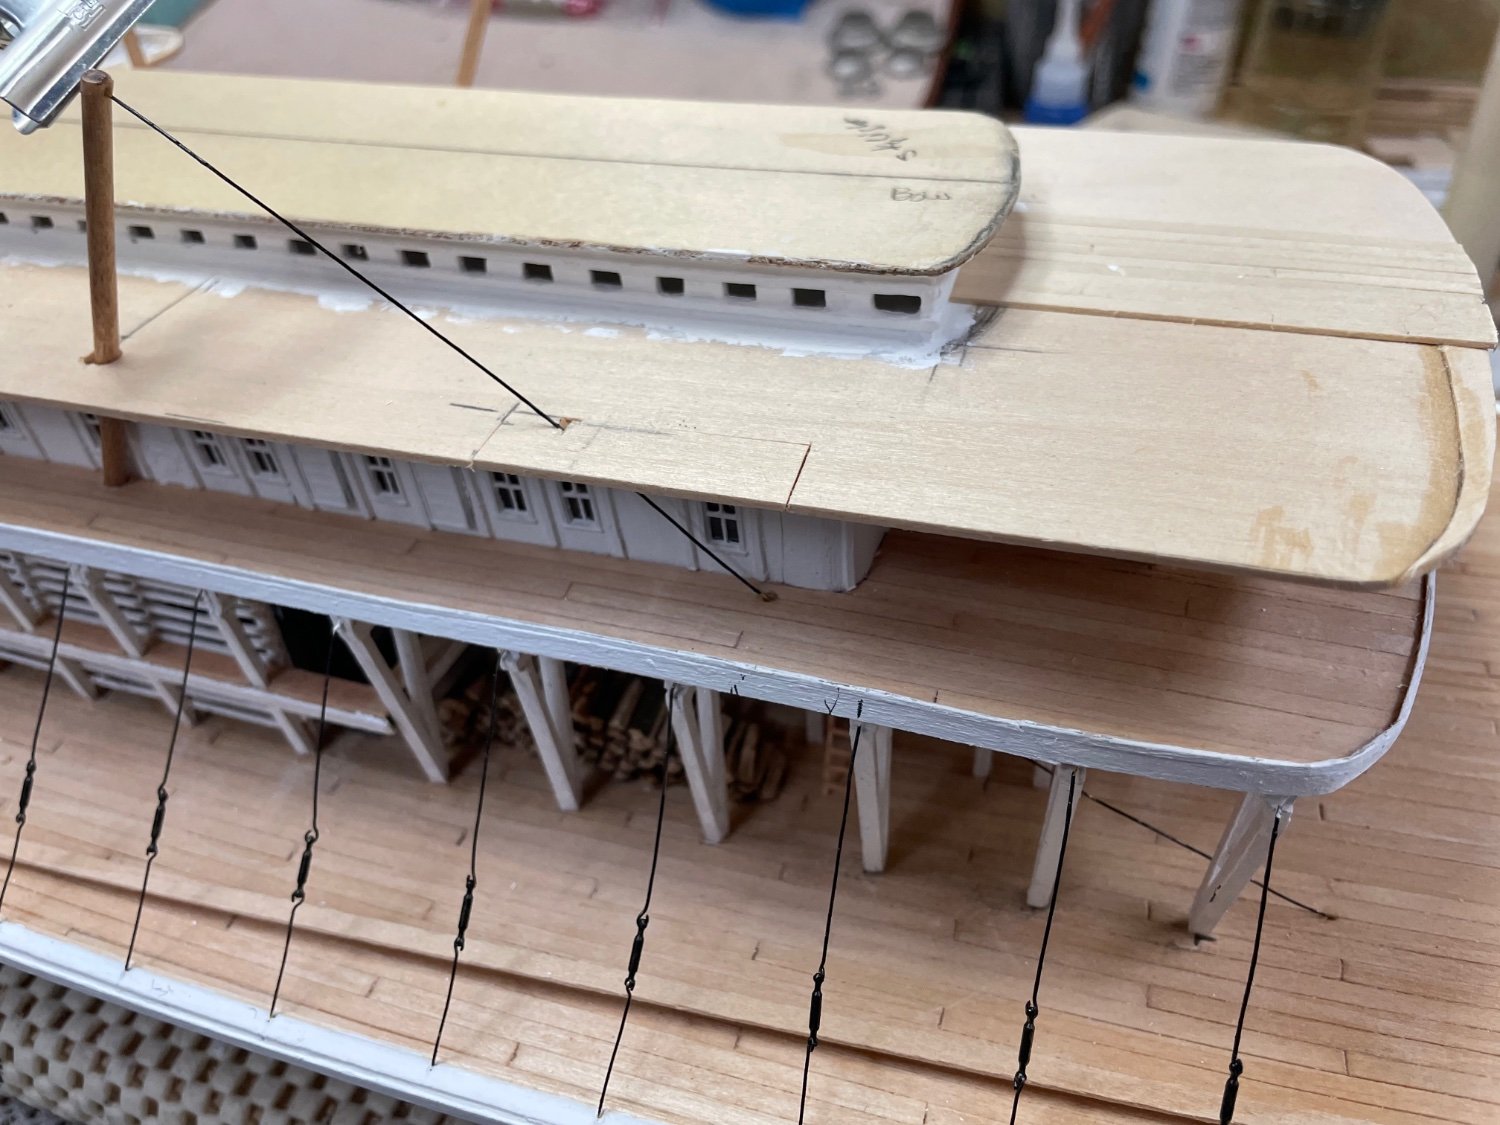
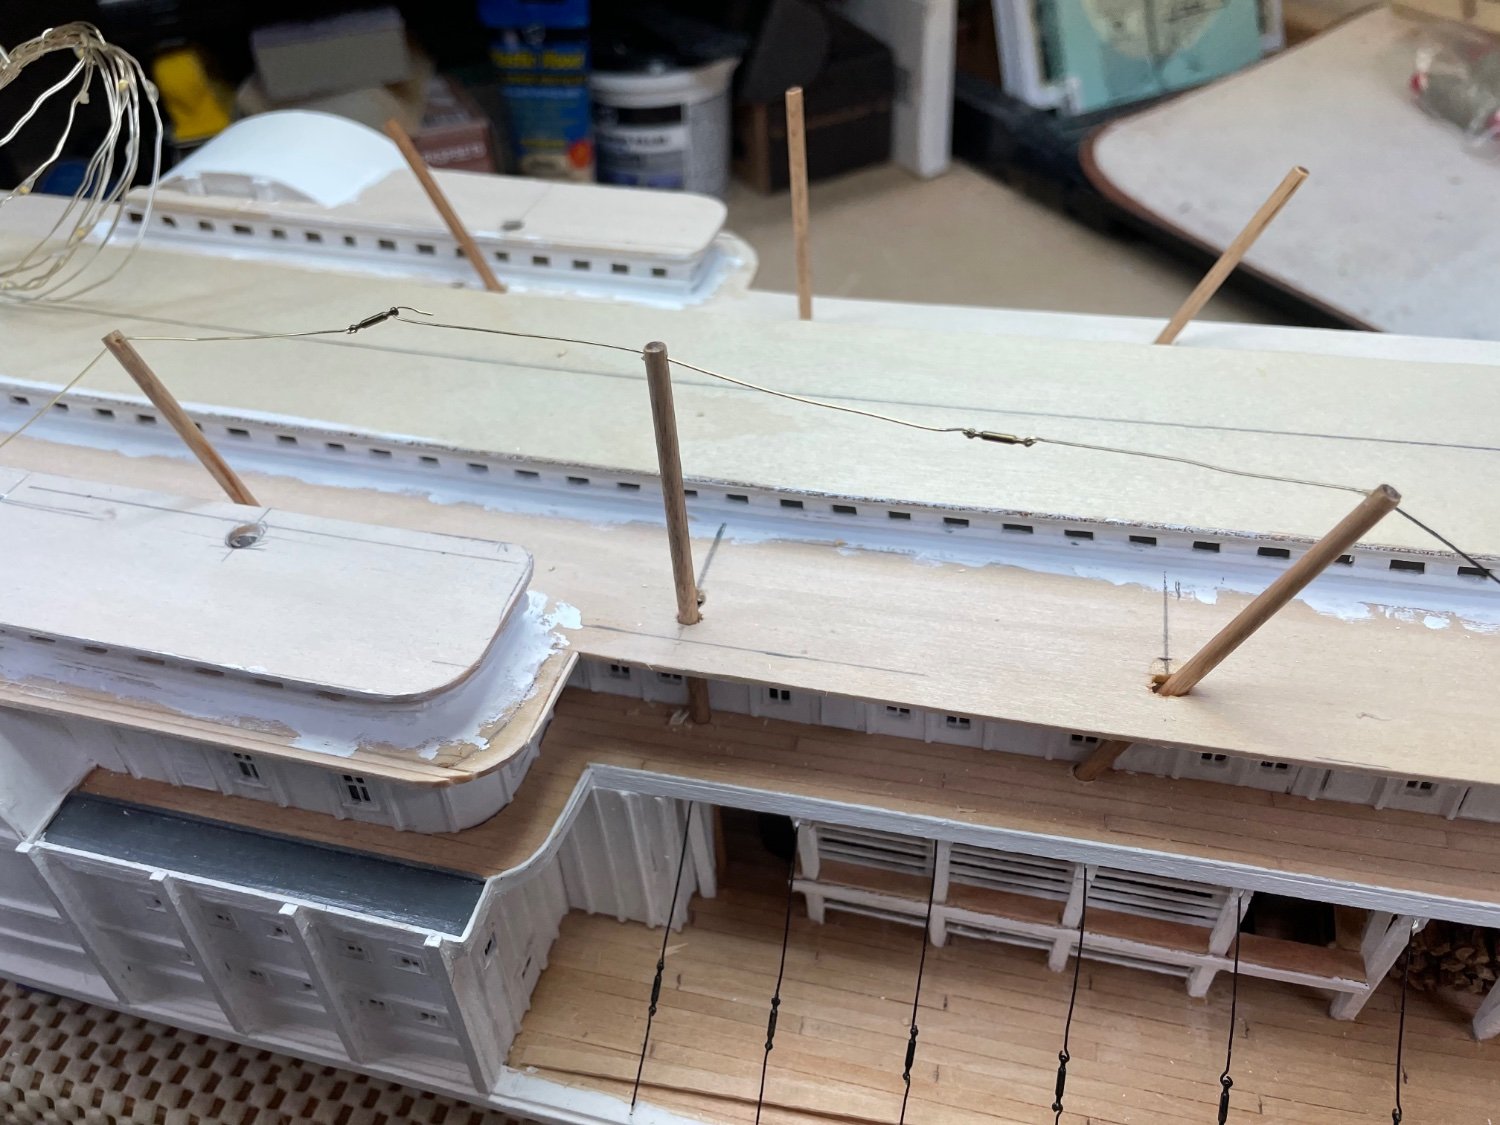
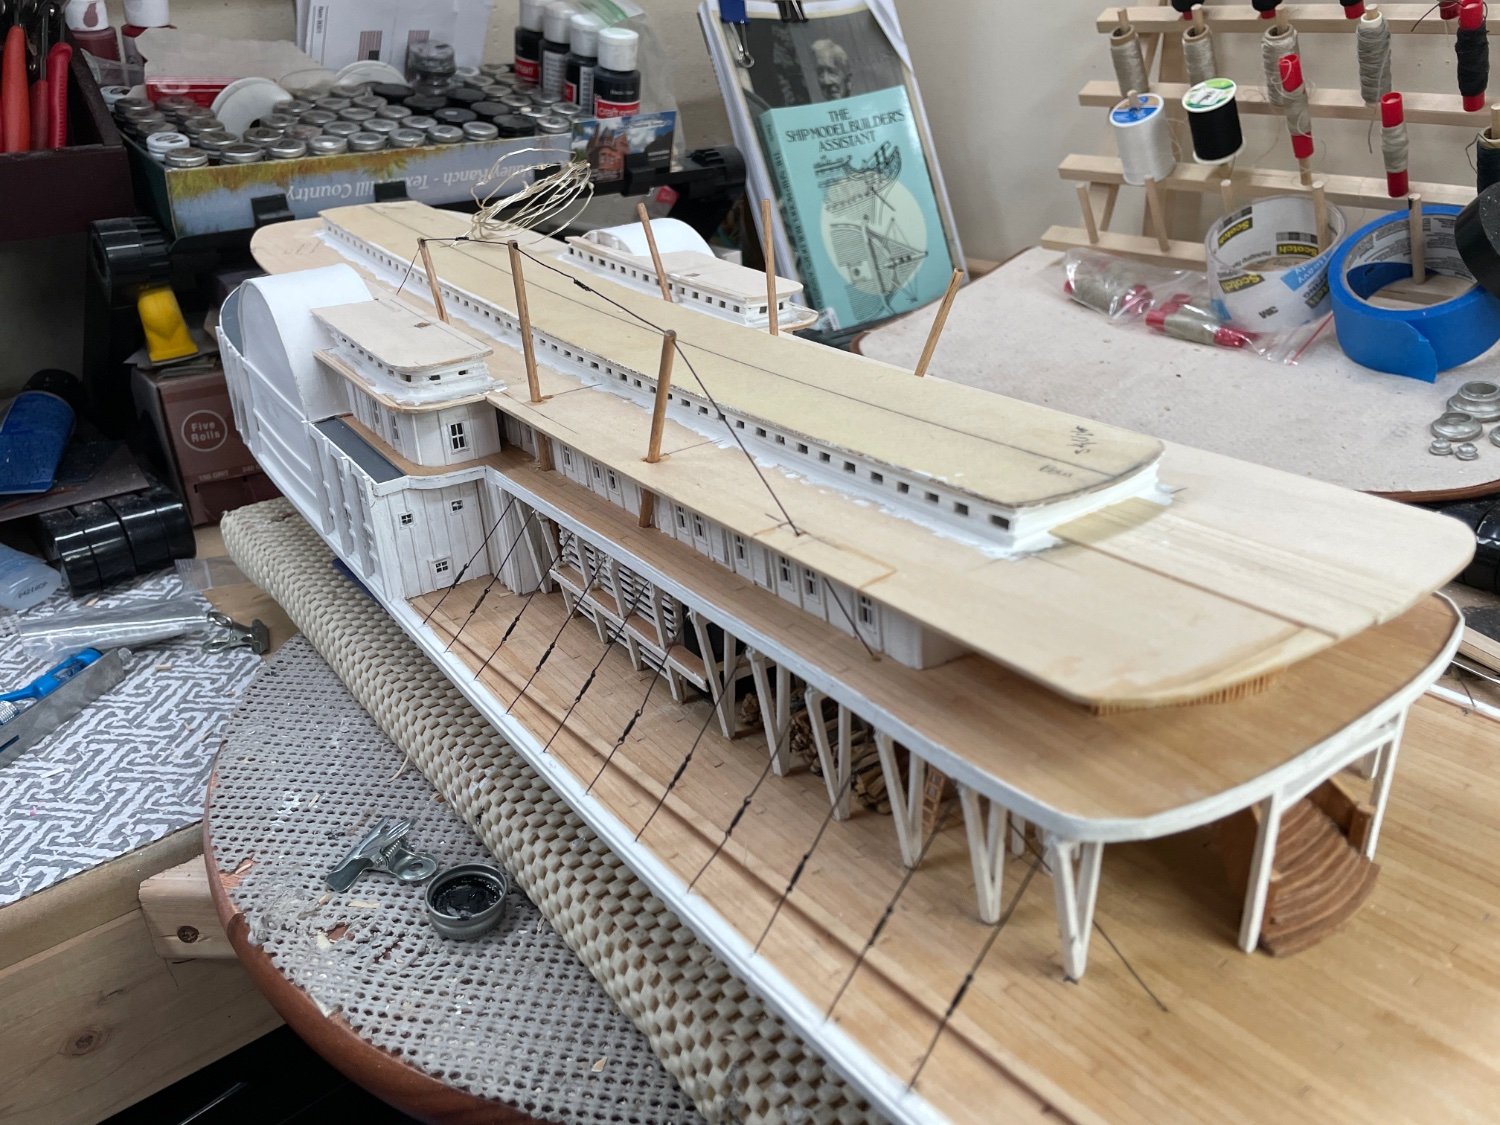
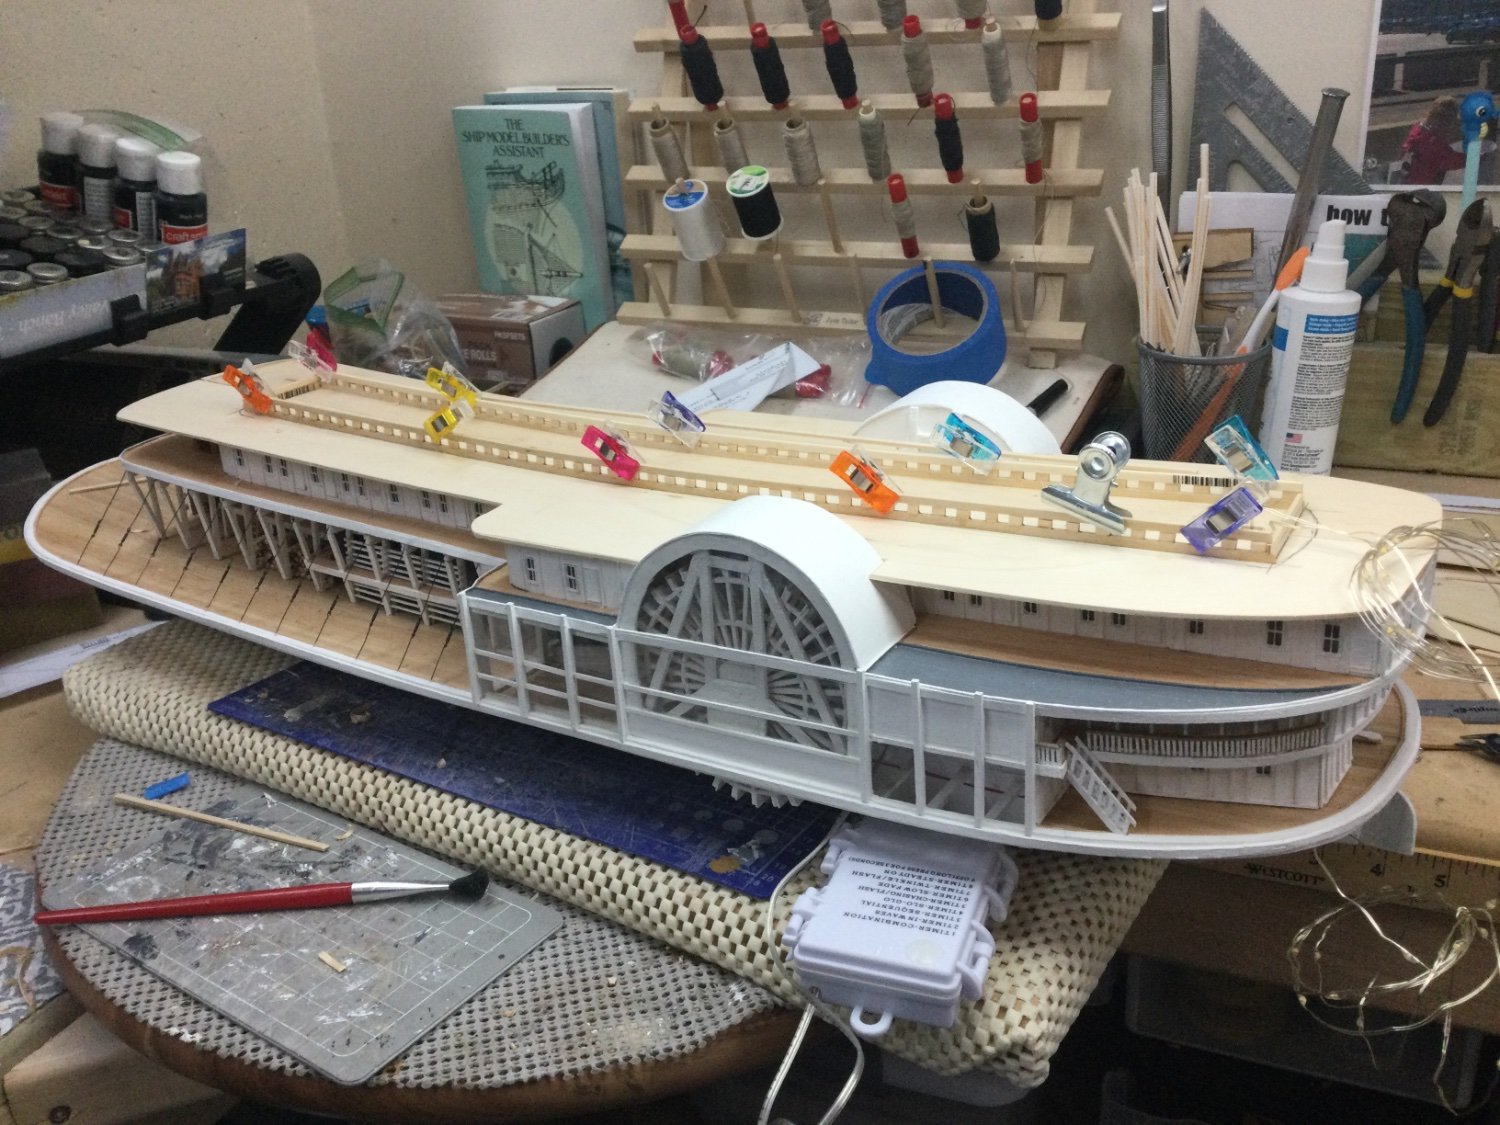
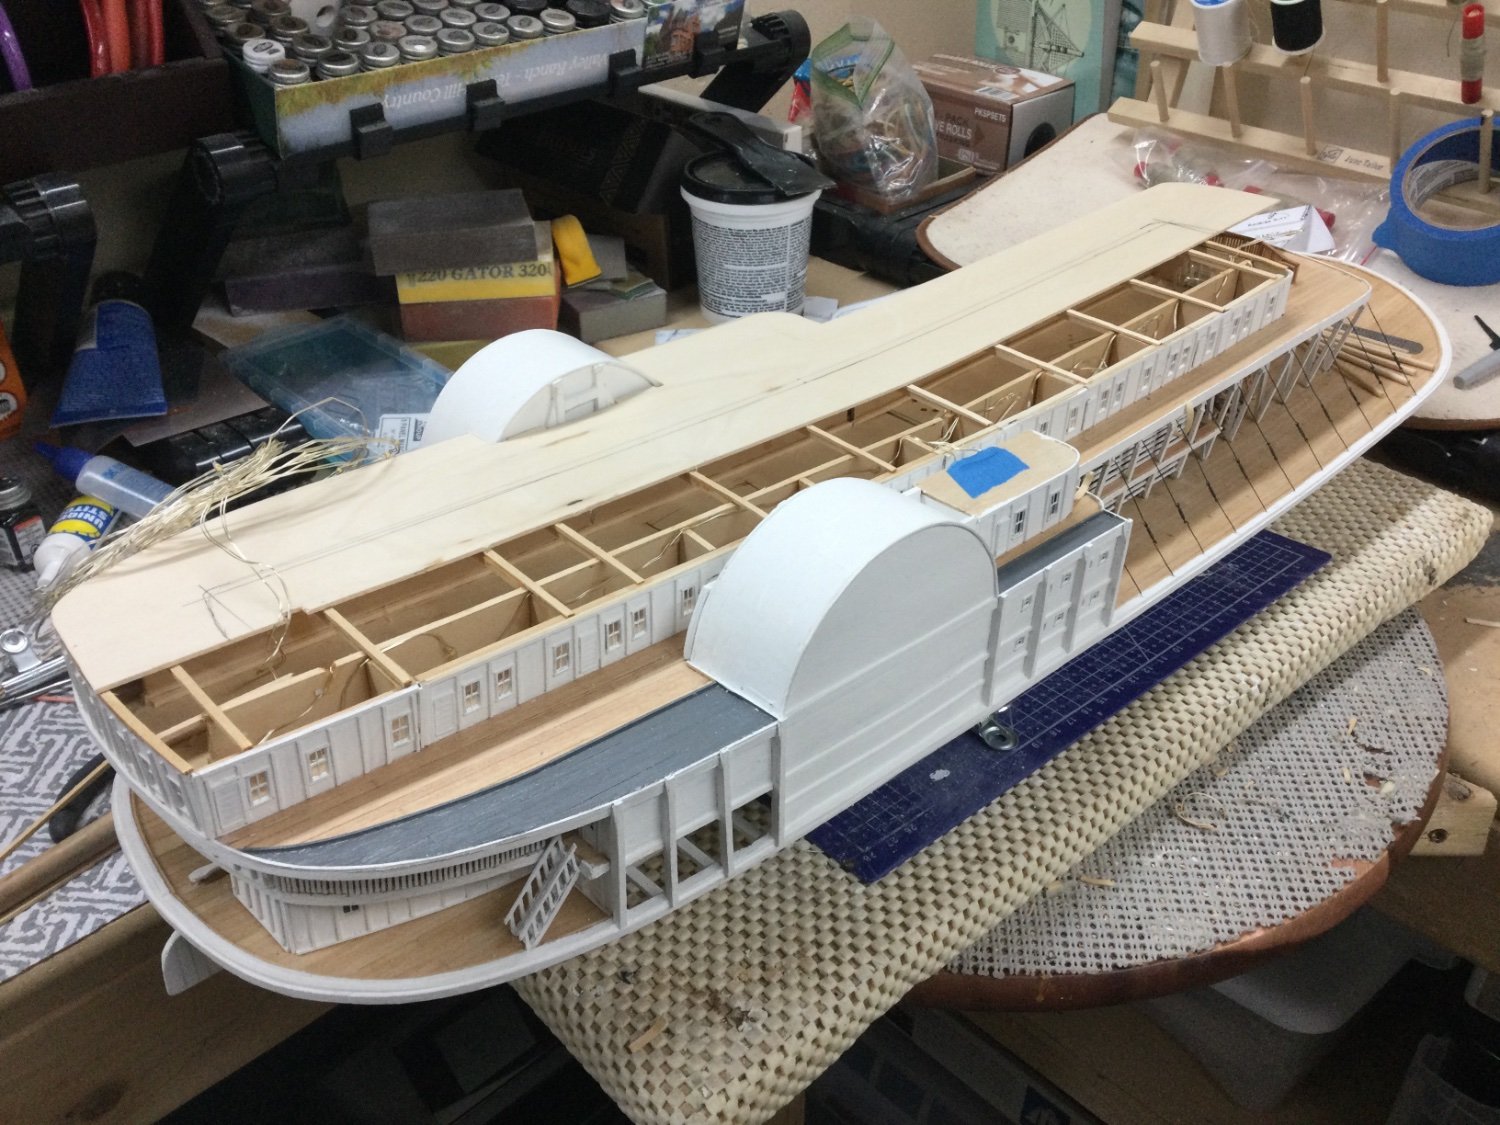
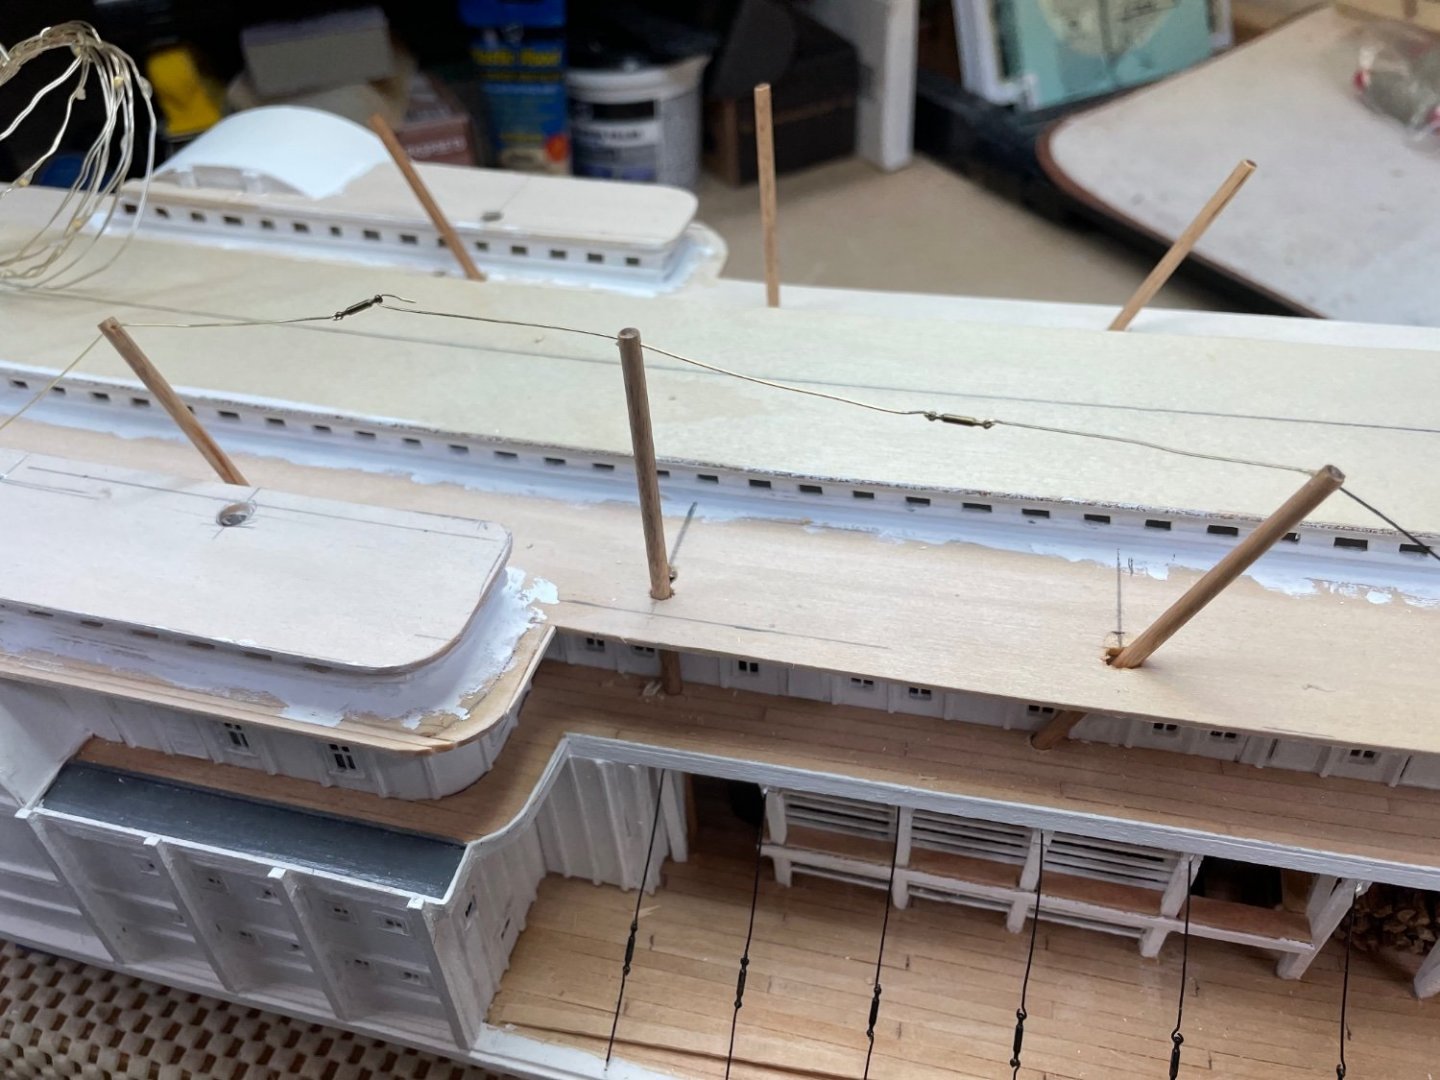
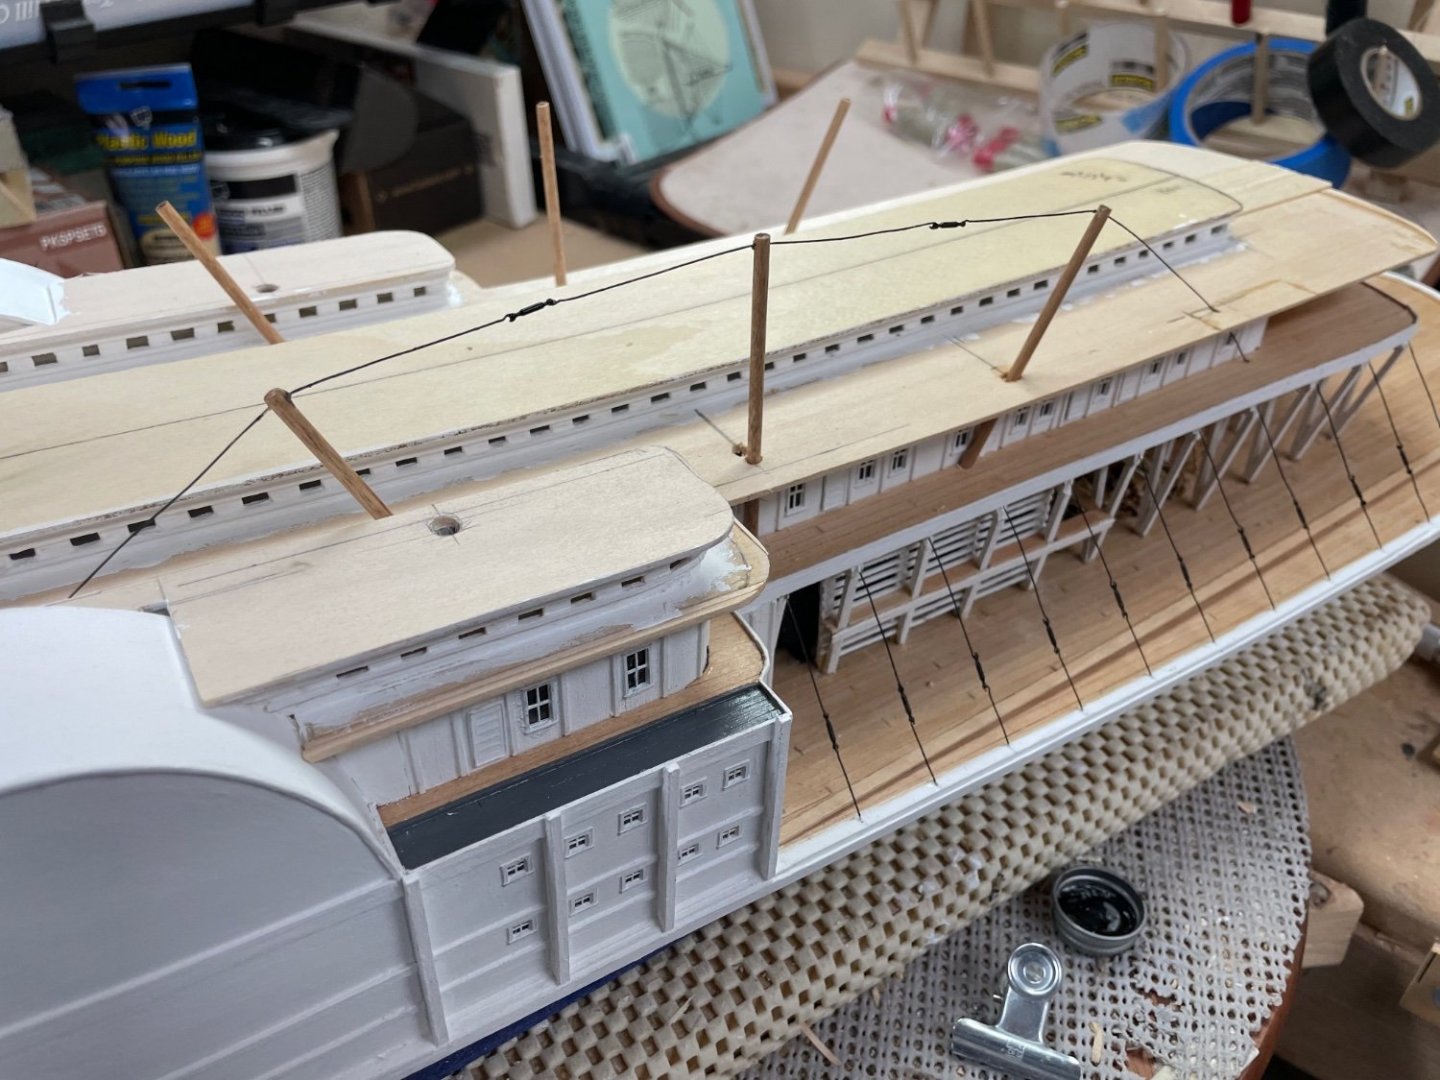
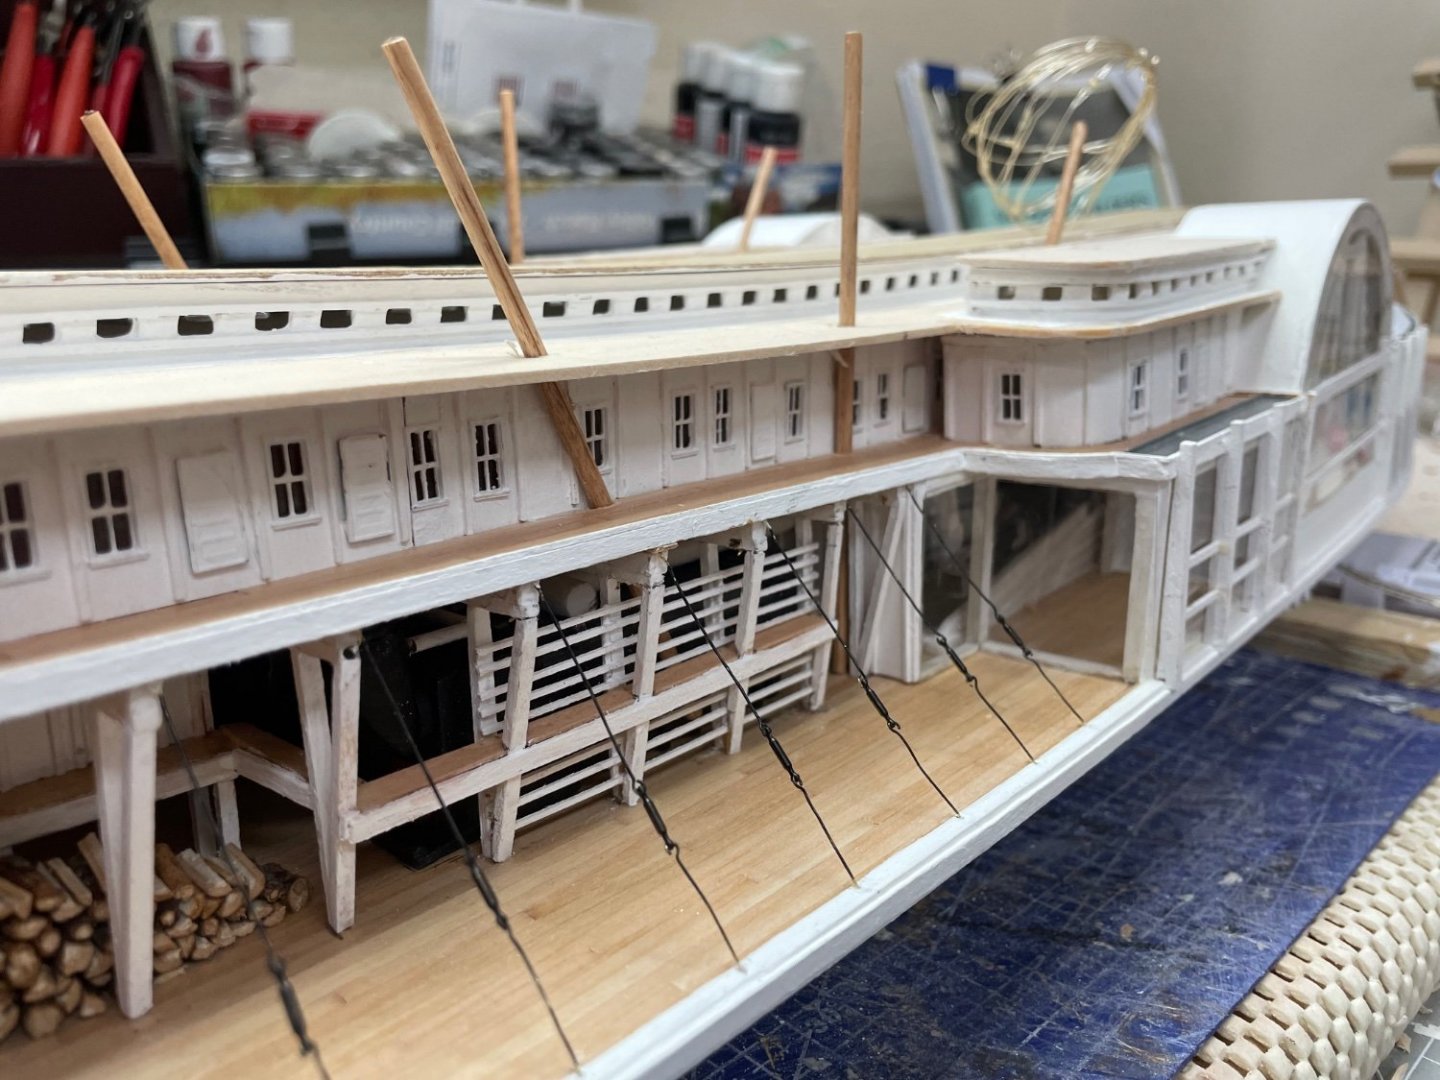
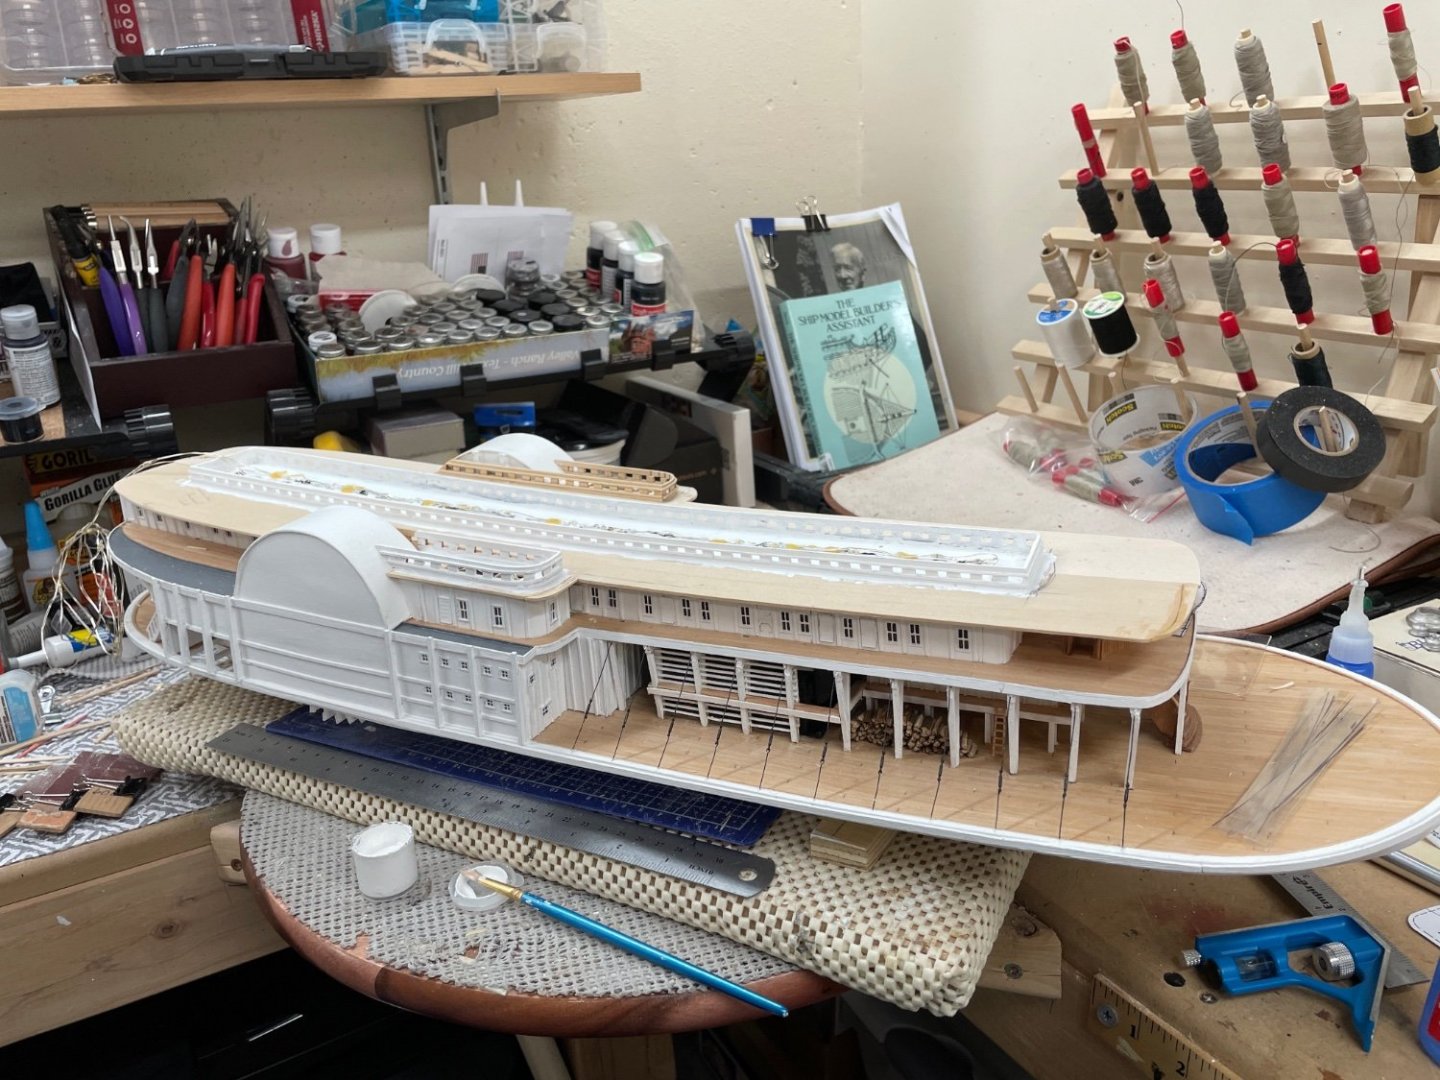
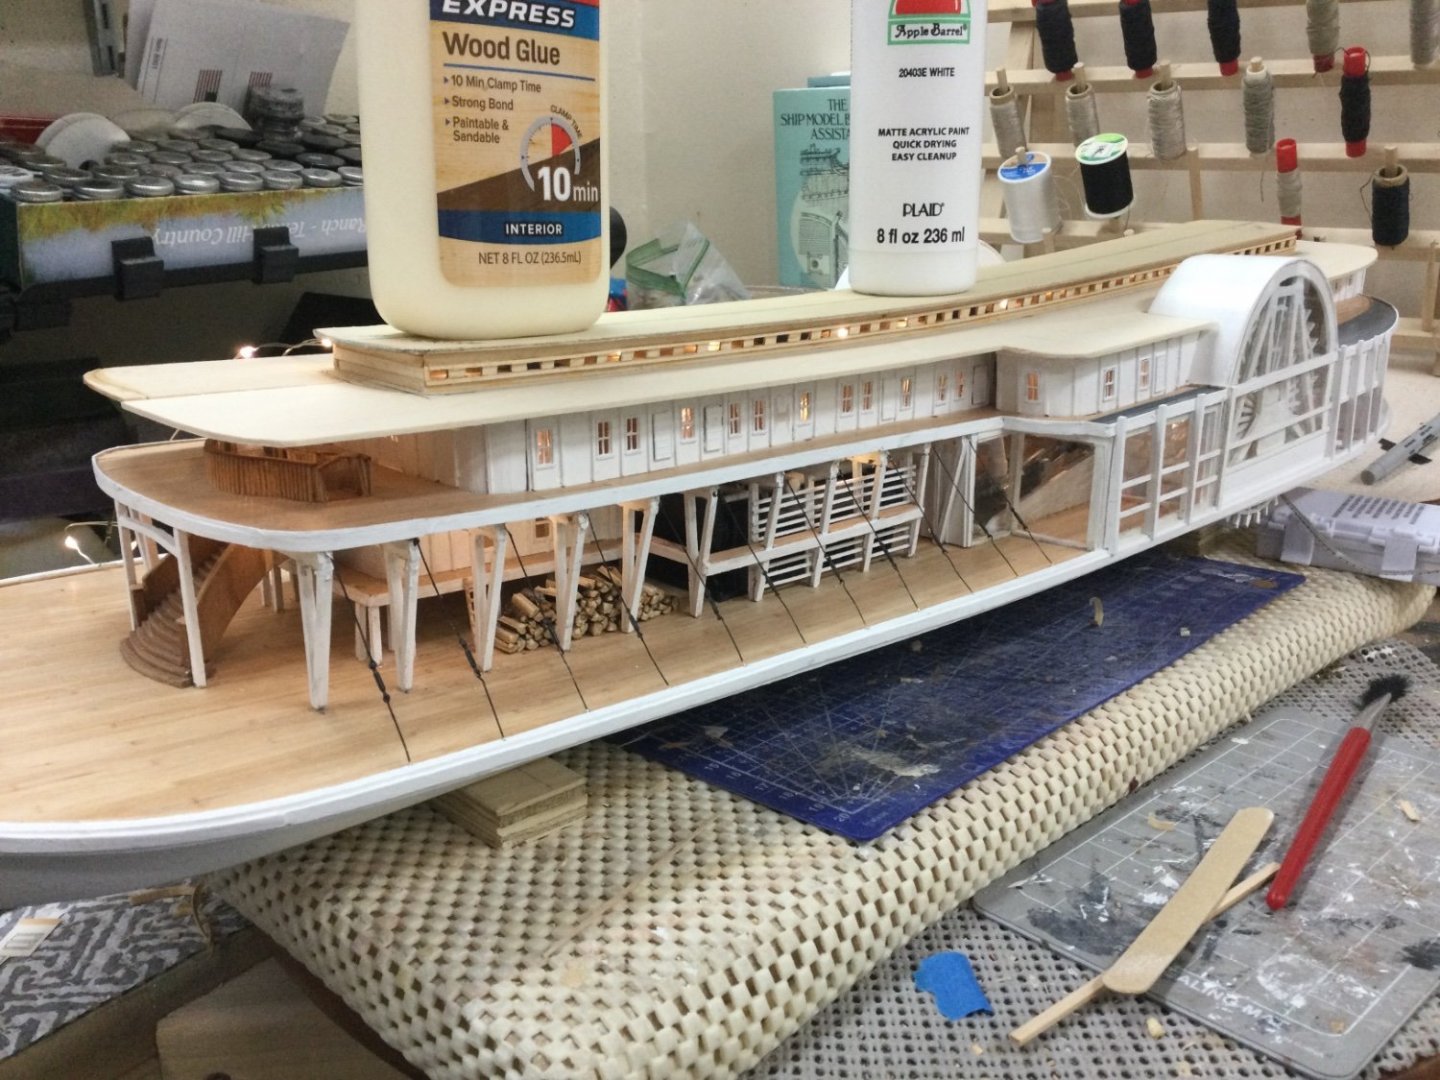
 Hog Chains… To forestall hogging and sagging, since about 1850, the hulls of wooden river boats were held in shape by a system of wire trusses, called "hog chains". These were not chains at all, but rather iron rods 1 to 2.5 inches in diameter, which ran from strong points in the hull to vertical timbers, called "hog posts, which looked like masts, rising above the hull. Tension on the hog chains was adjusted through the use of turnbuckles. Generally the hog posts which carried the chains did not rise above the cabins on Mississippi River-style steamers, however here the hog posts are clearly visible rising above the superstructure of the Robert E Lee. Should the hog-chains break, the hull would come out of tension, and start sagging on the ends. This was called being "hogged". In some cases the sagging on the ends would be so great that a boat's hull would break in half. Accidents such as running aground were the kind of things that could cause hog-chains to break. Using brass wire to create the hog chains. Starboard side Hog Chains installed. That was easy, NOT. 🤪 Port side up next… 🍻
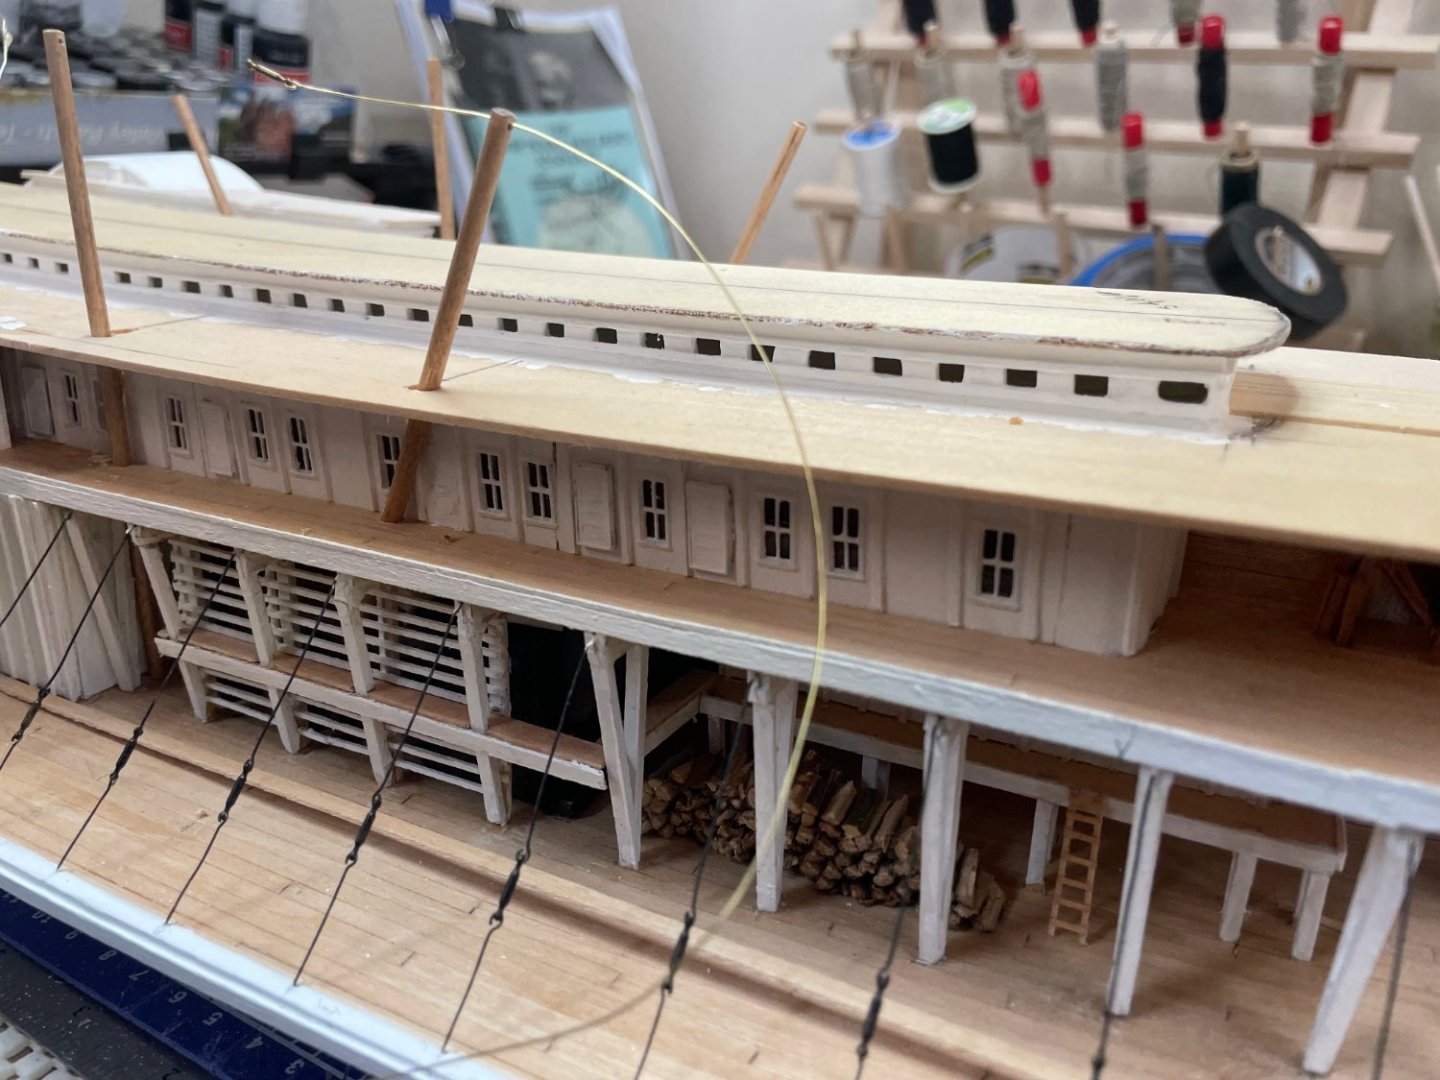


- 238 replies
-
- 9
-

-

-
- Robert E Lee
- steamboat
- (and 3 more)
-
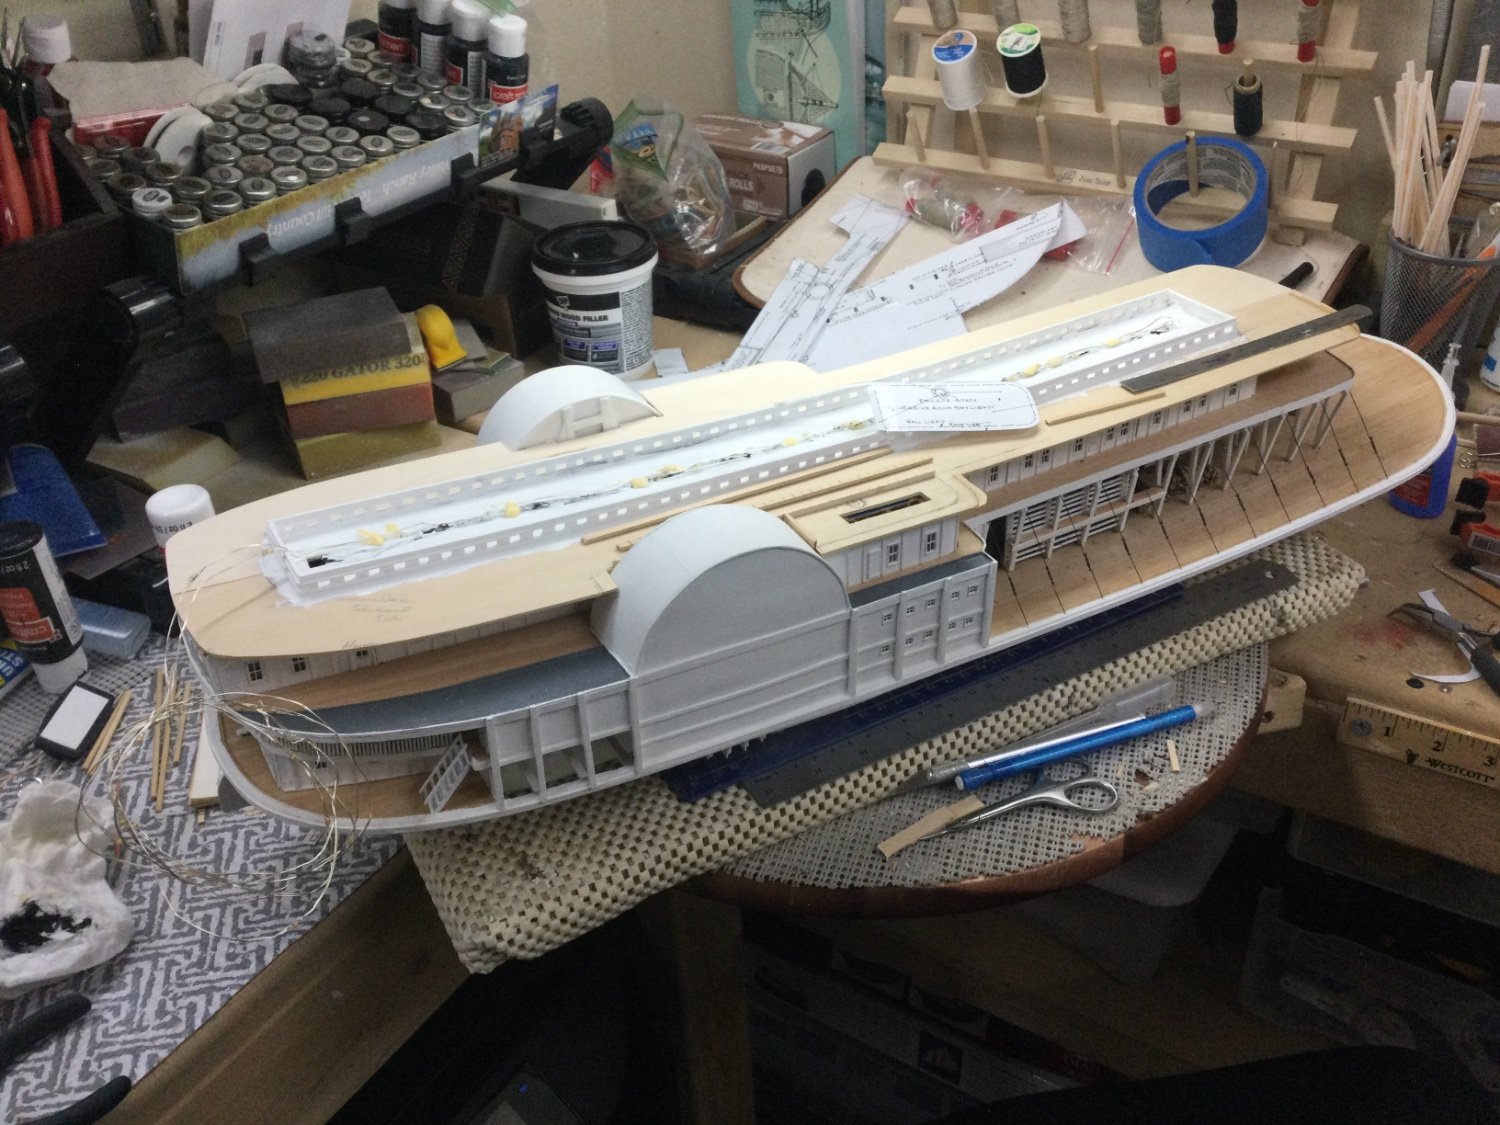
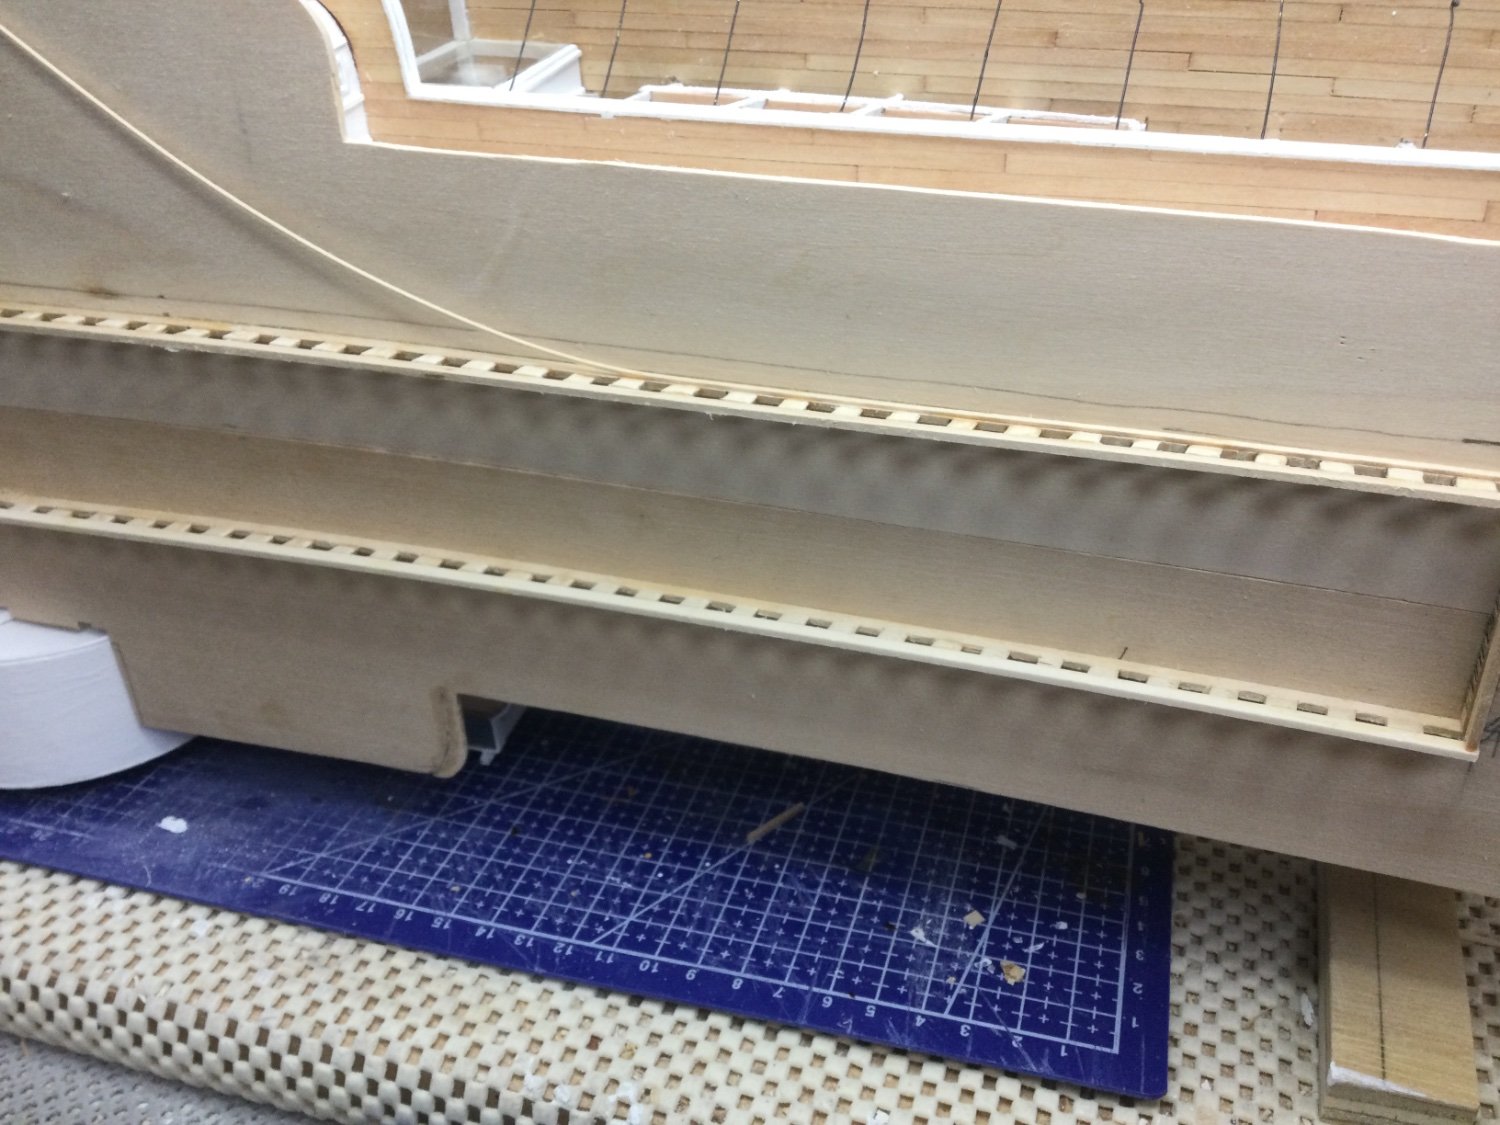
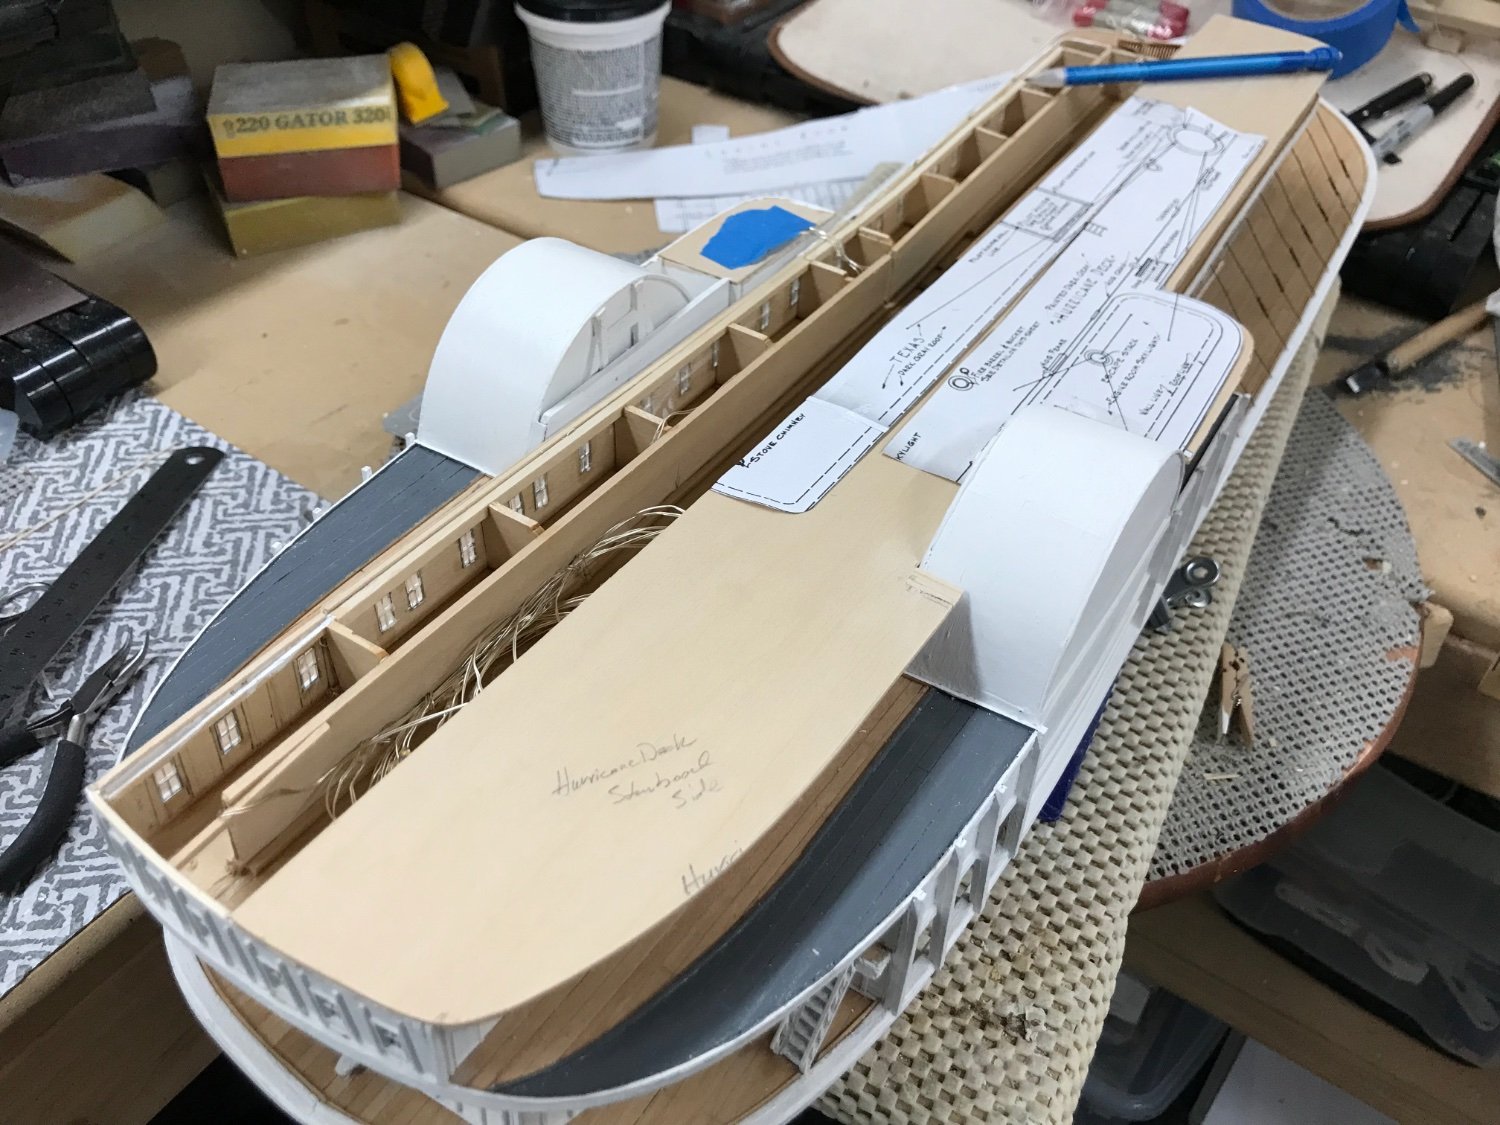
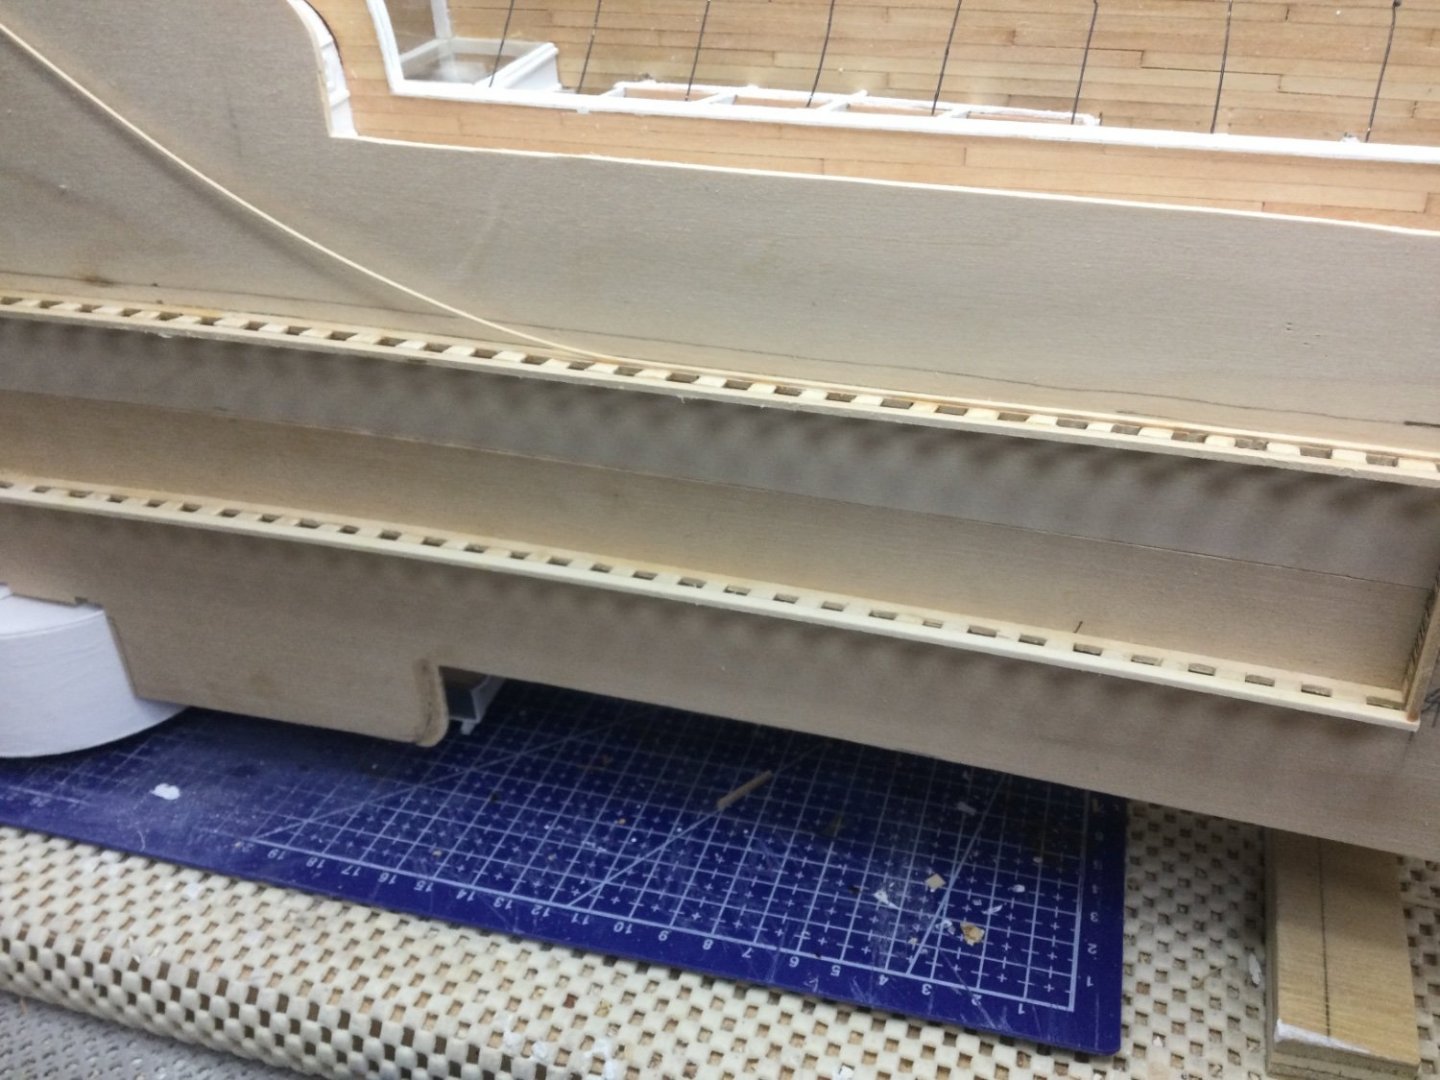
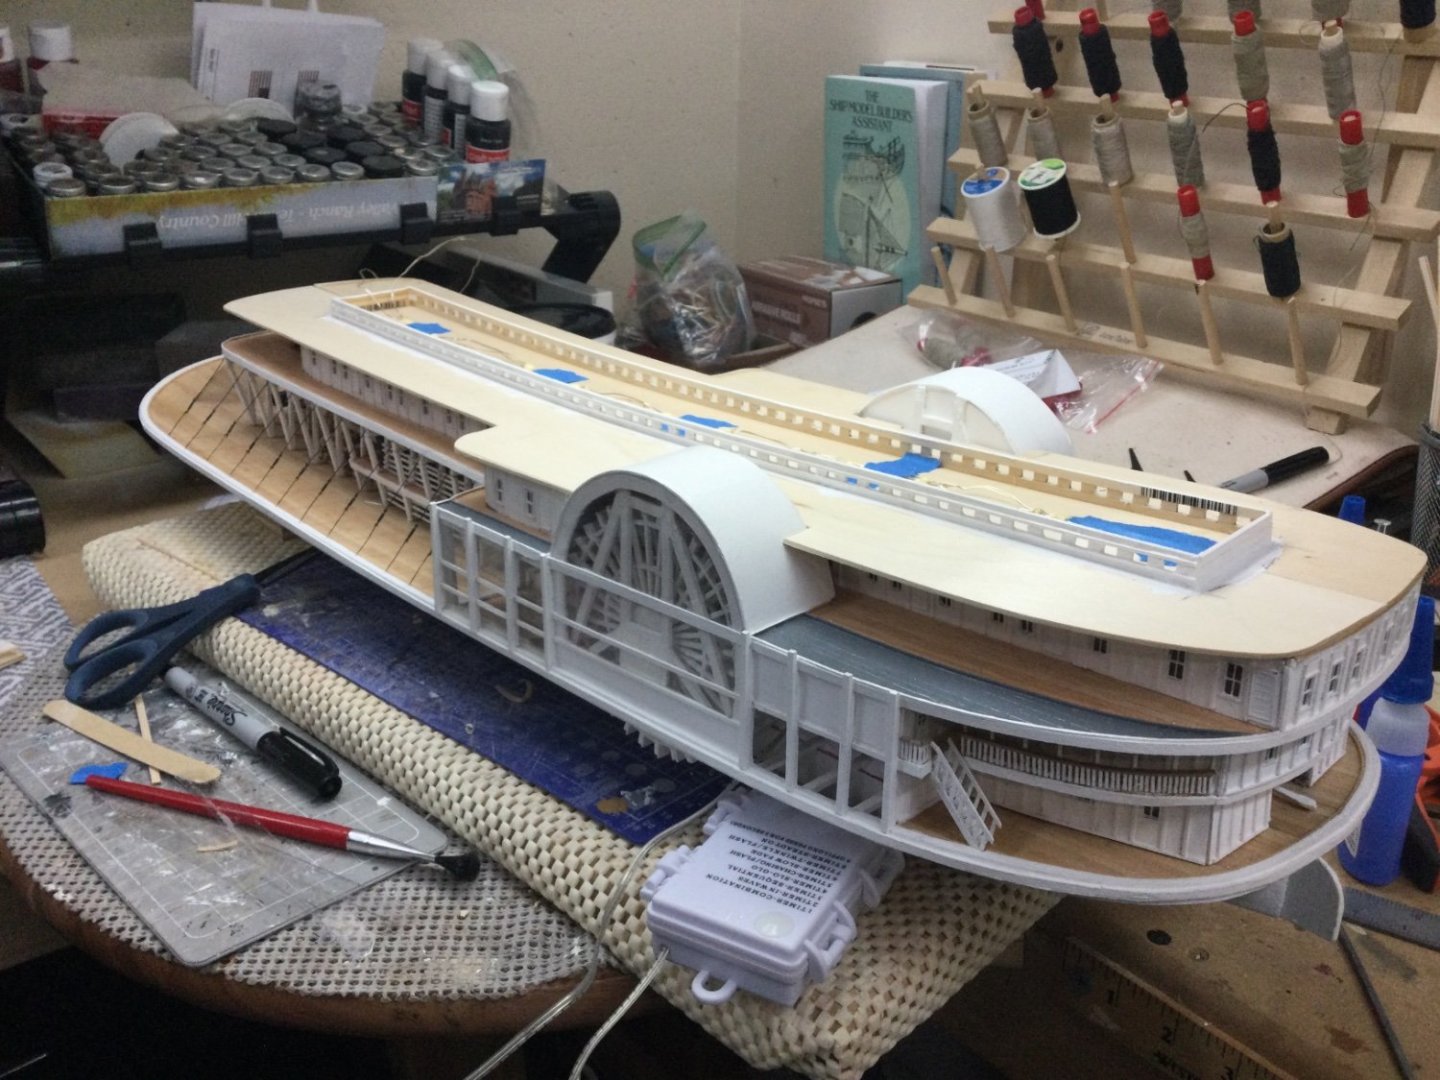
Skylight/Transoms sub decked… Also installed the Hog Frames. Time to start planking the Hurricane Deck. Cheers 🍻

- 238 replies
-
- 5
-
-
- Robert E Lee
- steamboat
- (and 3 more)
-
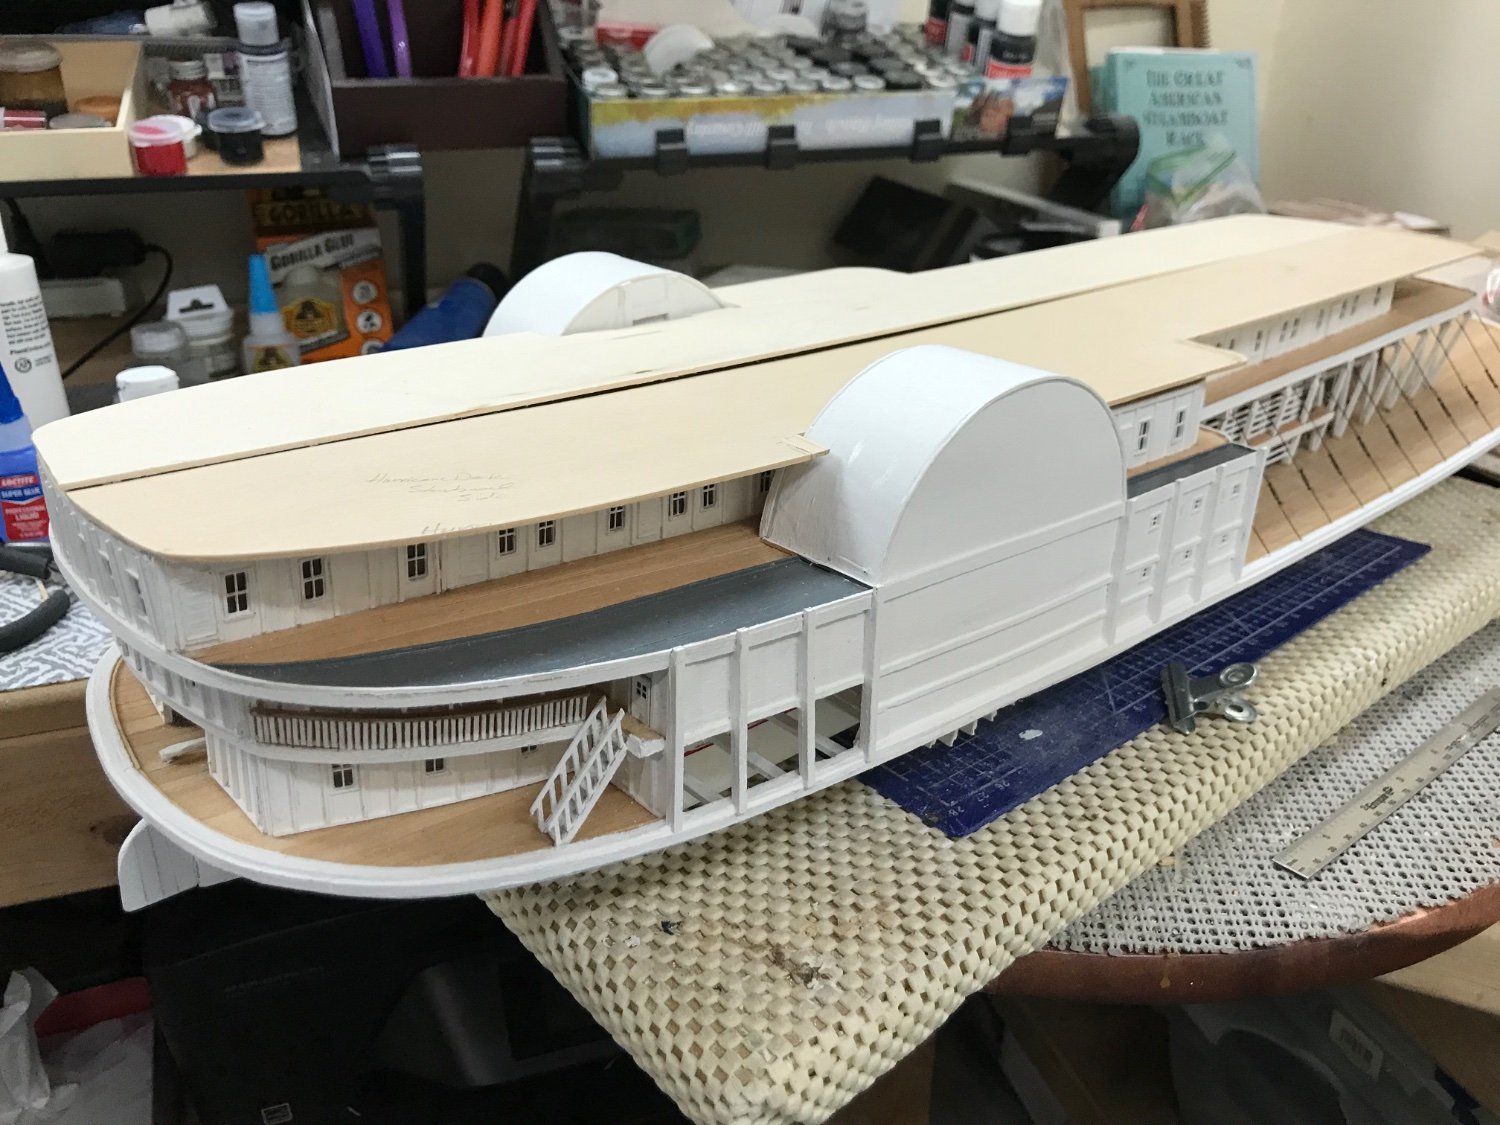
Skylights/Transoms completed… Back to painting… Steady as she goes. 😎
- 238 replies
-
- 8
-
-
-
- Robert E Lee
- steamboat
- (and 3 more)
-
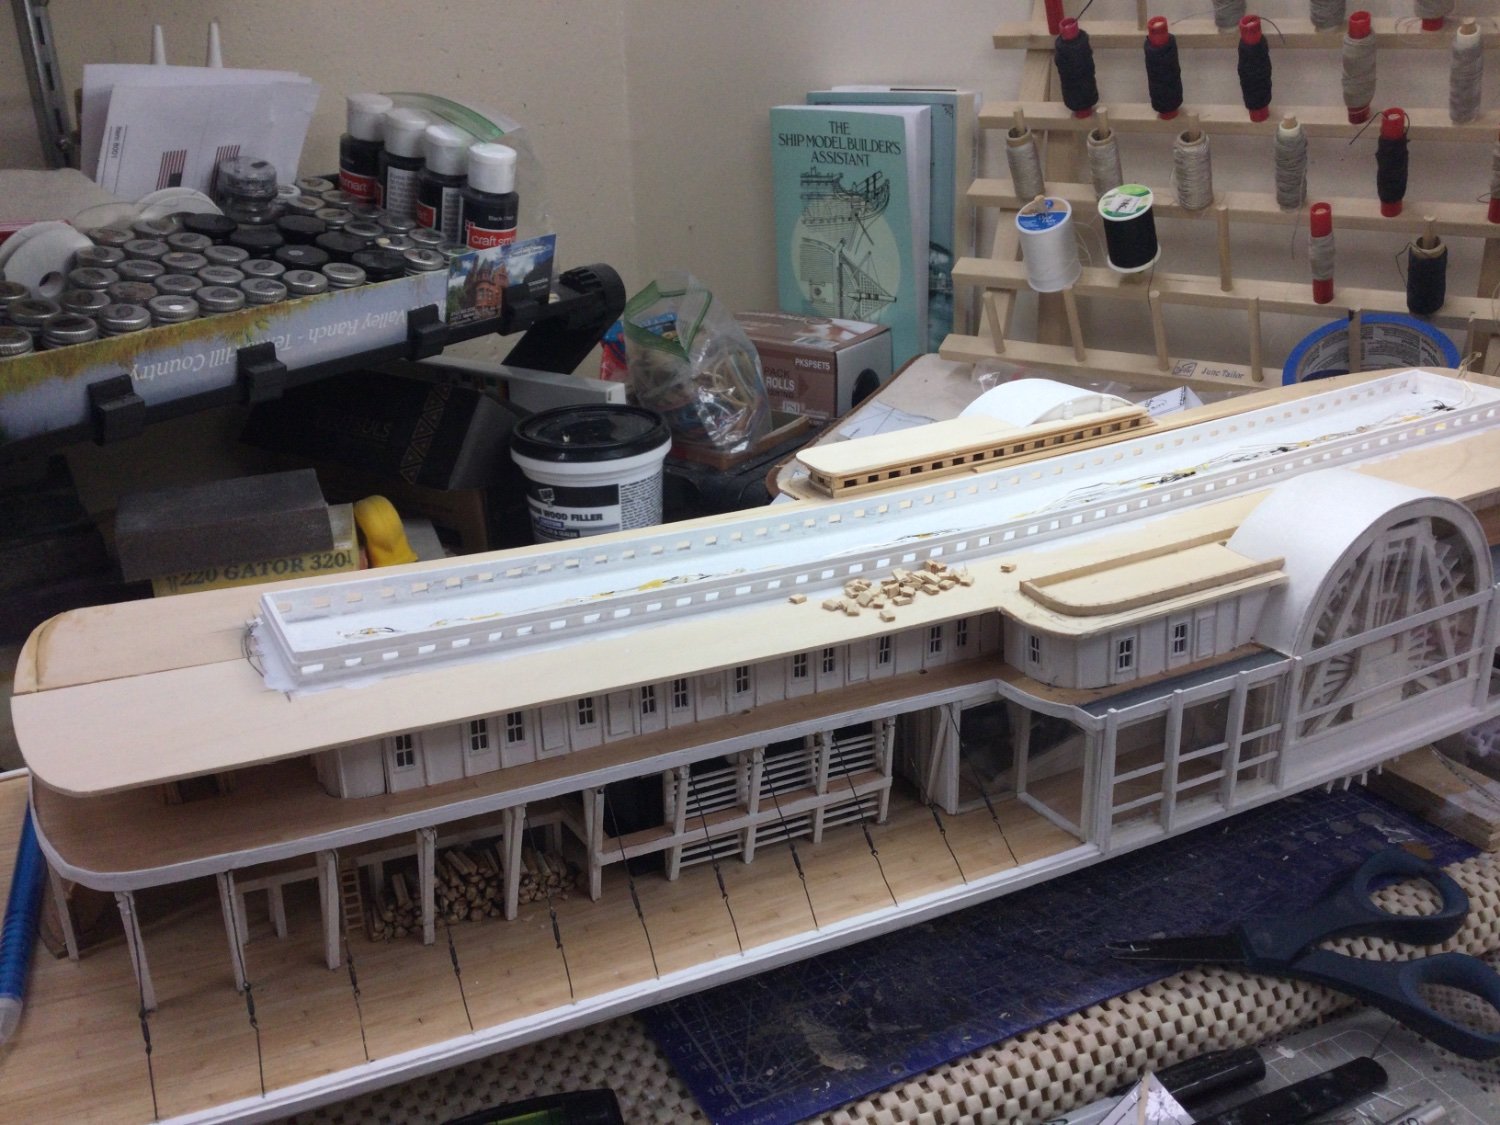
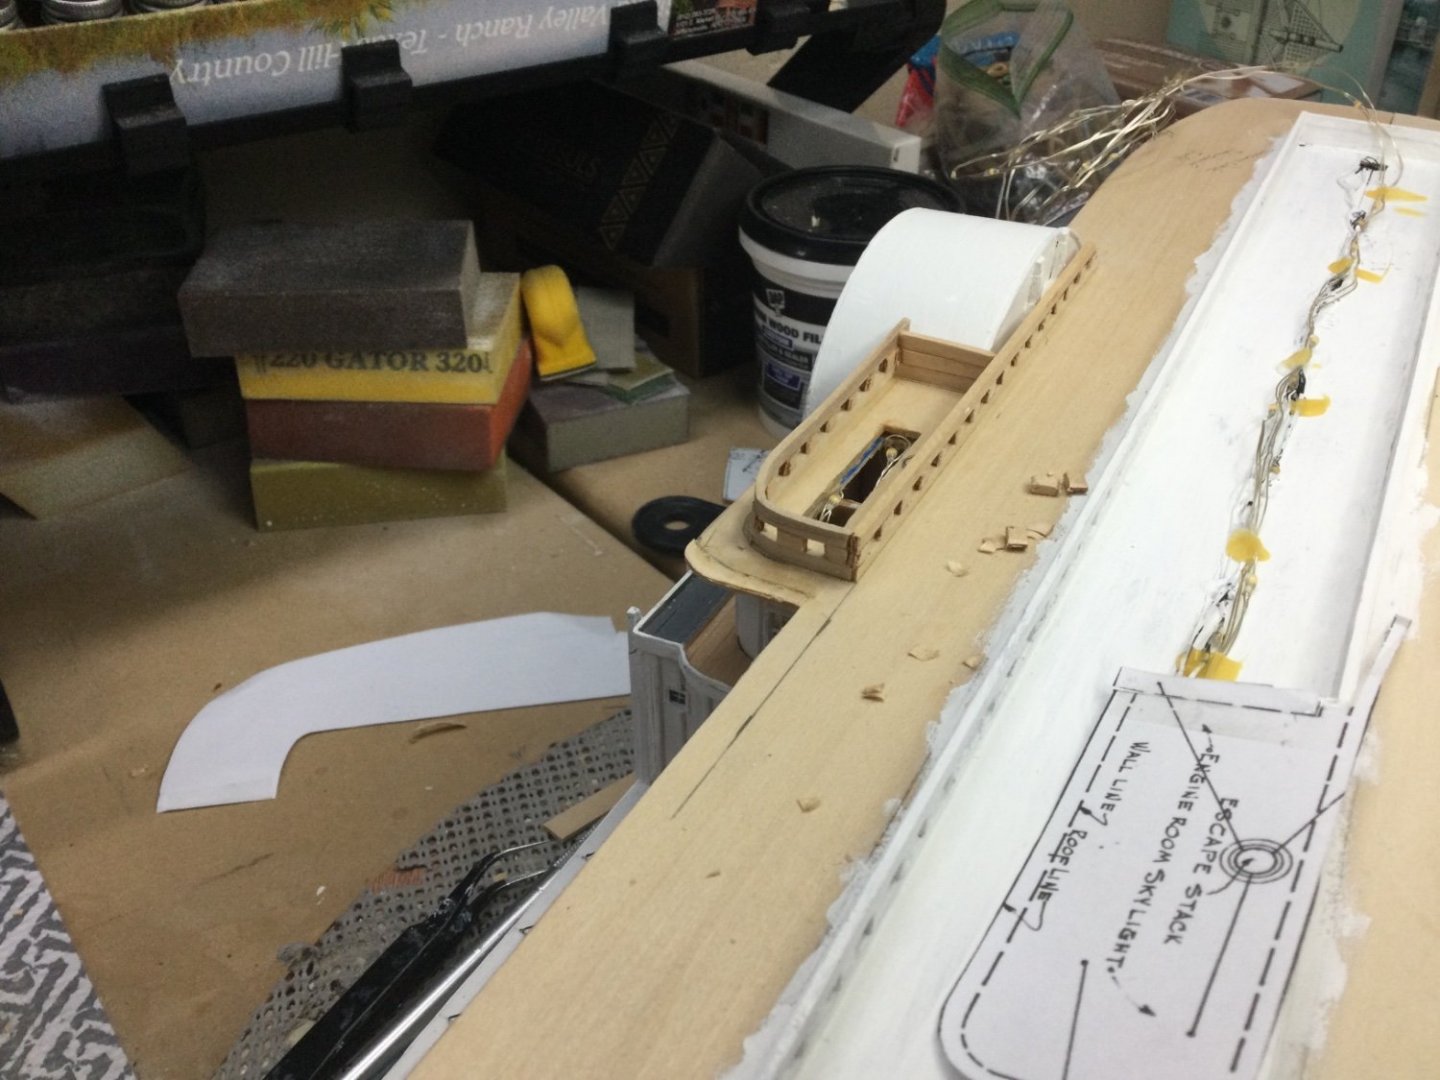
Engine Room Skylights… Starboard Skylight completed. Working on the port side. 😜 Onwards… 😎


- 238 replies
-
- 10
-
-
- Robert E Lee
- steamboat
- (and 3 more)
-
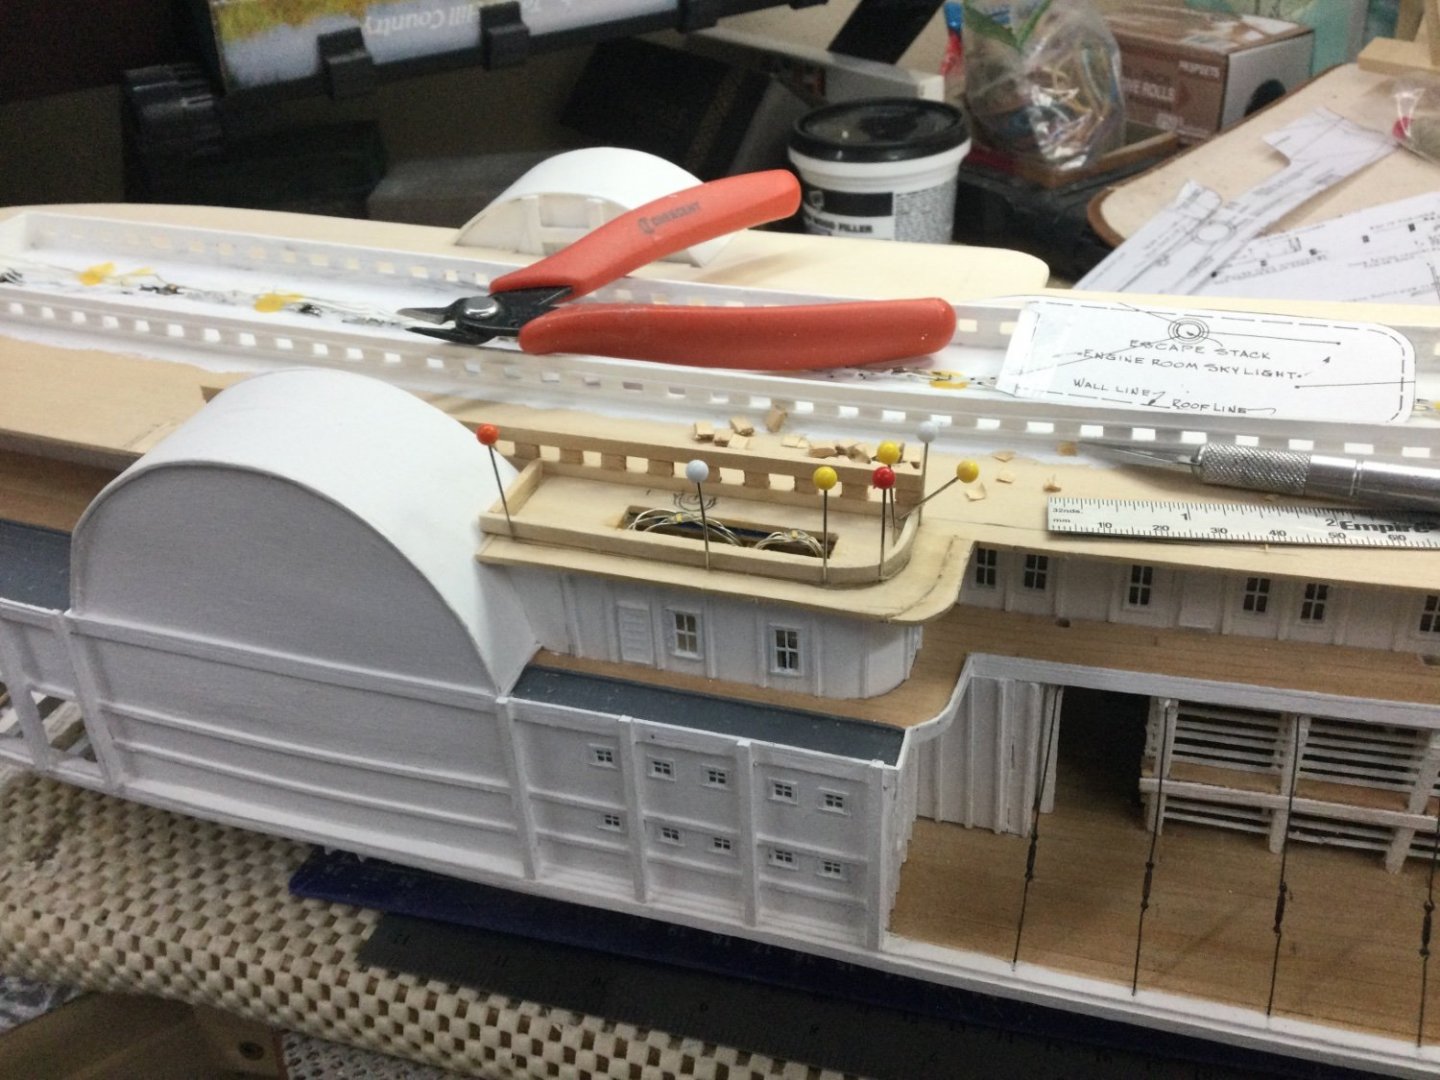
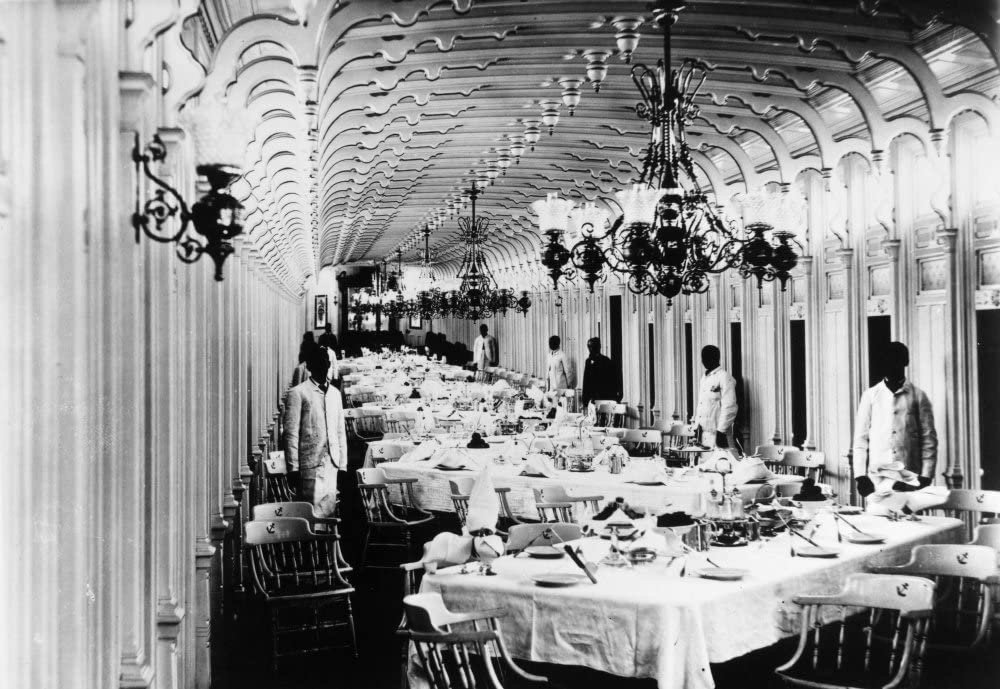
Saloon Skylights… The skylights on the hurricane deck were above the Grand Dinning Hall. Skylight/Transom Windows framed out. 1/32” strips for molding… Chandeliers hung inside the dinning hall. 😎 Almost ready for the Texas sub-Deck… Cheers 🍻

- 238 replies
-
- 10
-
-
- Robert E Lee
- steamboat
- (and 3 more)
-
Kevin, Nice work, you got me interested. I’m pulling up a chair to see where this goes. Thanks John
- 444 replies
-
- 2
-
-
- Cutty Sark
- Revell
- (and 2 more)
-
FYI… Here is a link to a gallery post of my Connie 1/96 Revell enhanced with wood decks, rigging blocks/rope and CNC sewn sails from HiSModel.com. I’m not trying to send down the rabbit hole, but if you want to go there? Good luck with you new obsession hope to see a build log on here soon. 👍
-
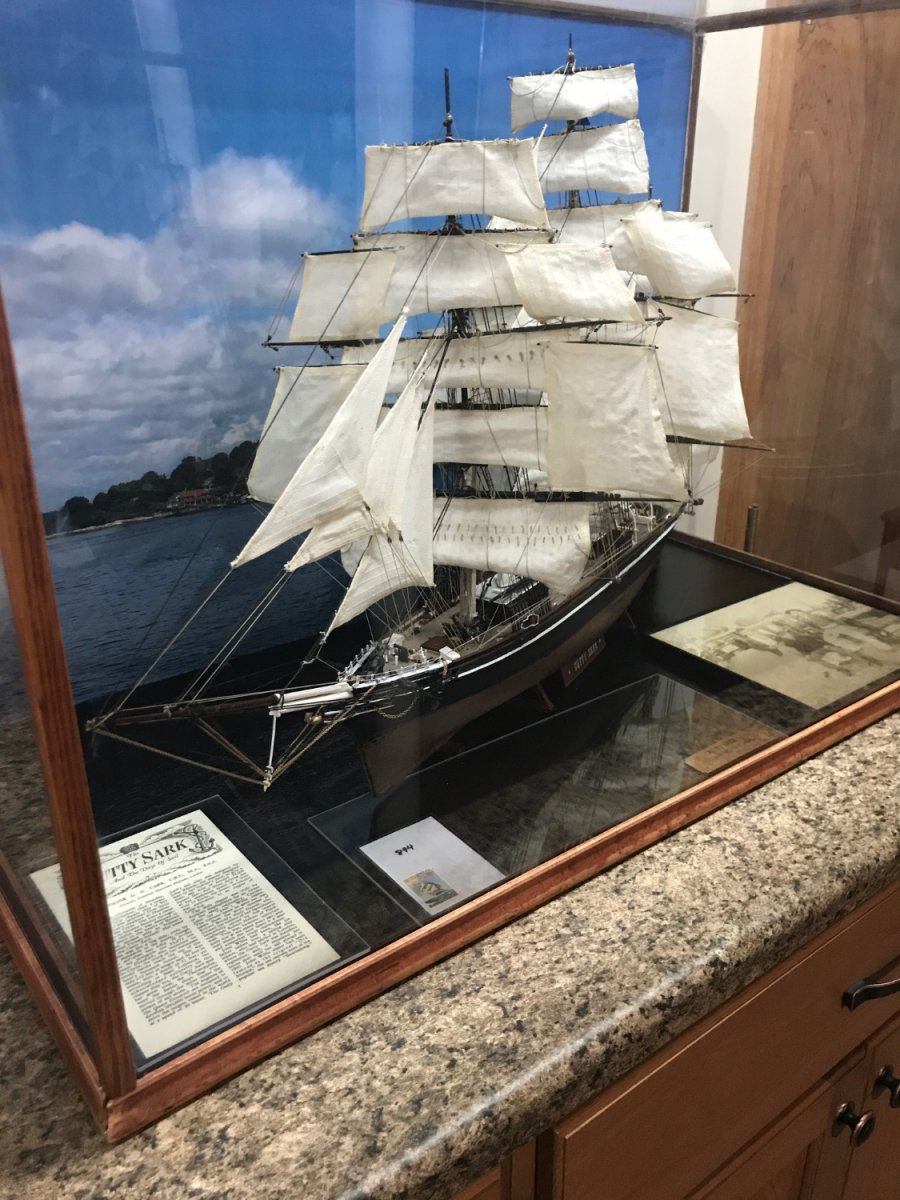
Kevin, Very interesting, The Cutty Sark was my first model in retirement that I attempted to enhance with cloth sails. I then moved on to the USS Constitution by Revell. That’s where I went down the rabbit hole. I found a source for enhancement parts in the Czech Republic. They have everything from Wood decking to wood blocks and cloth sails for your Cutty. You can go nuts. 😆 You might want to give them a look see. https://www.hismodel.com/articles-category-14 Also the Cutty is in a museum in England where you might find some good info. Cheers and welcome aboard. 🍻

-
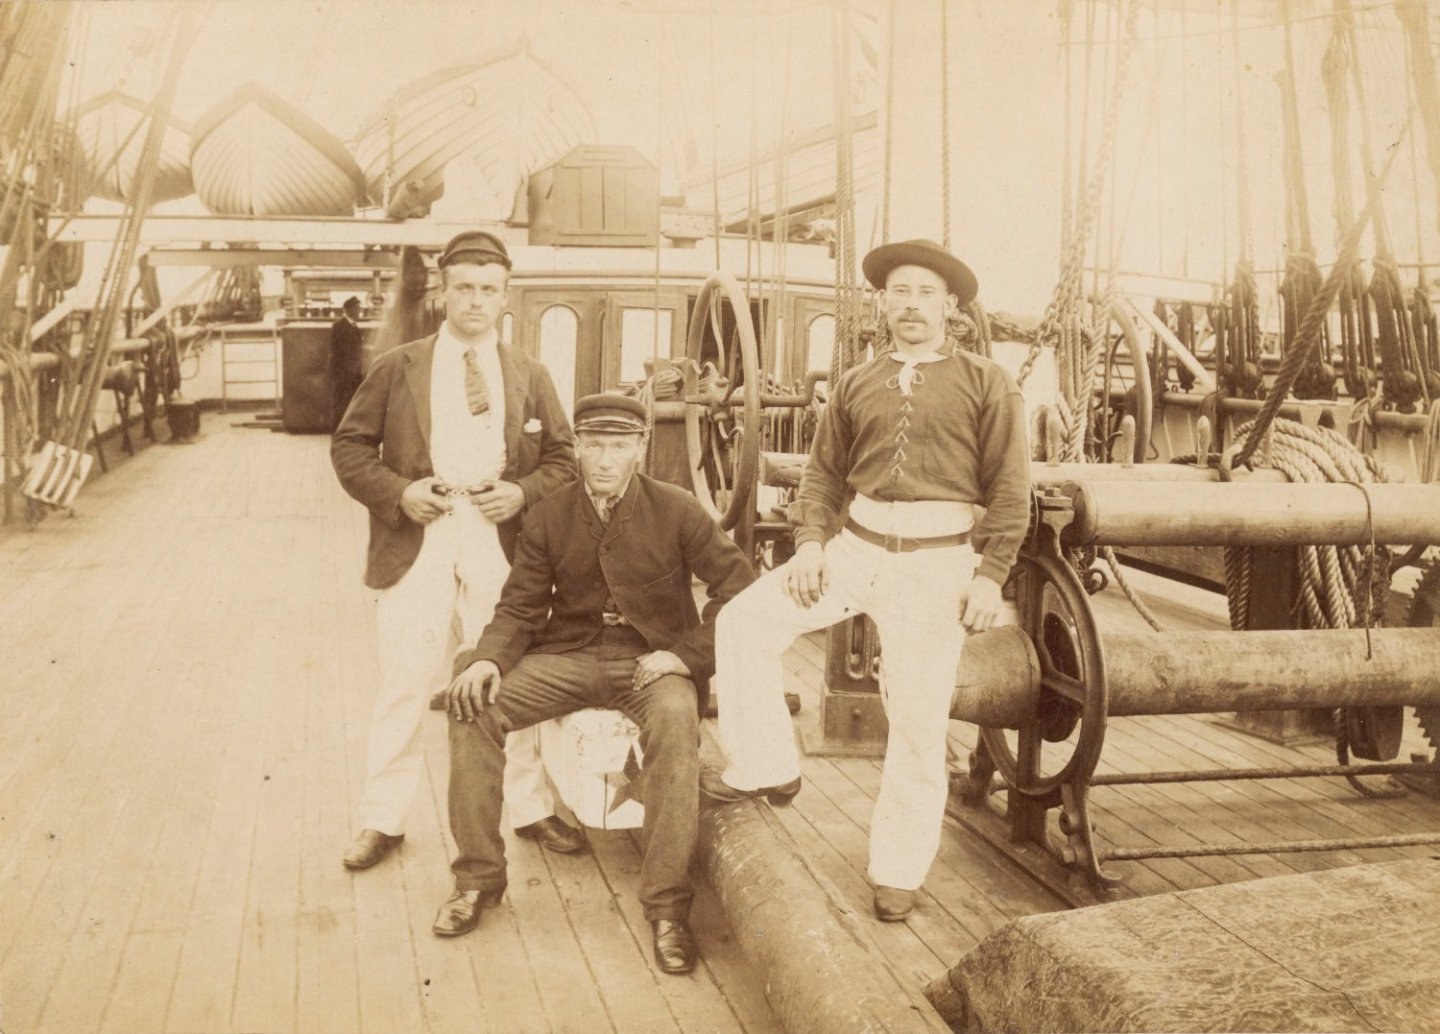
I pick this photo off the internet when I built my Cutty Sark 5 or 6 years ago. It was a Revell Plastic kit 1/96, but I didn’t go into the detail you are. That was back then. I’ve improved since then. 😎 Note the block on the far left of the photo and the hook 🪝 and rope tied off to the winch. Nice rope coil on the right hand side, as well. Photography didn’t allow for action shots in those days. Ok, everyone smile and don’t move. poof 💥 Good luck with your build. John
-
Here is a vintage photo that may be helpful, although these guys aren’t slinging a load. Your winch looks great, very nice detail. 👍
-
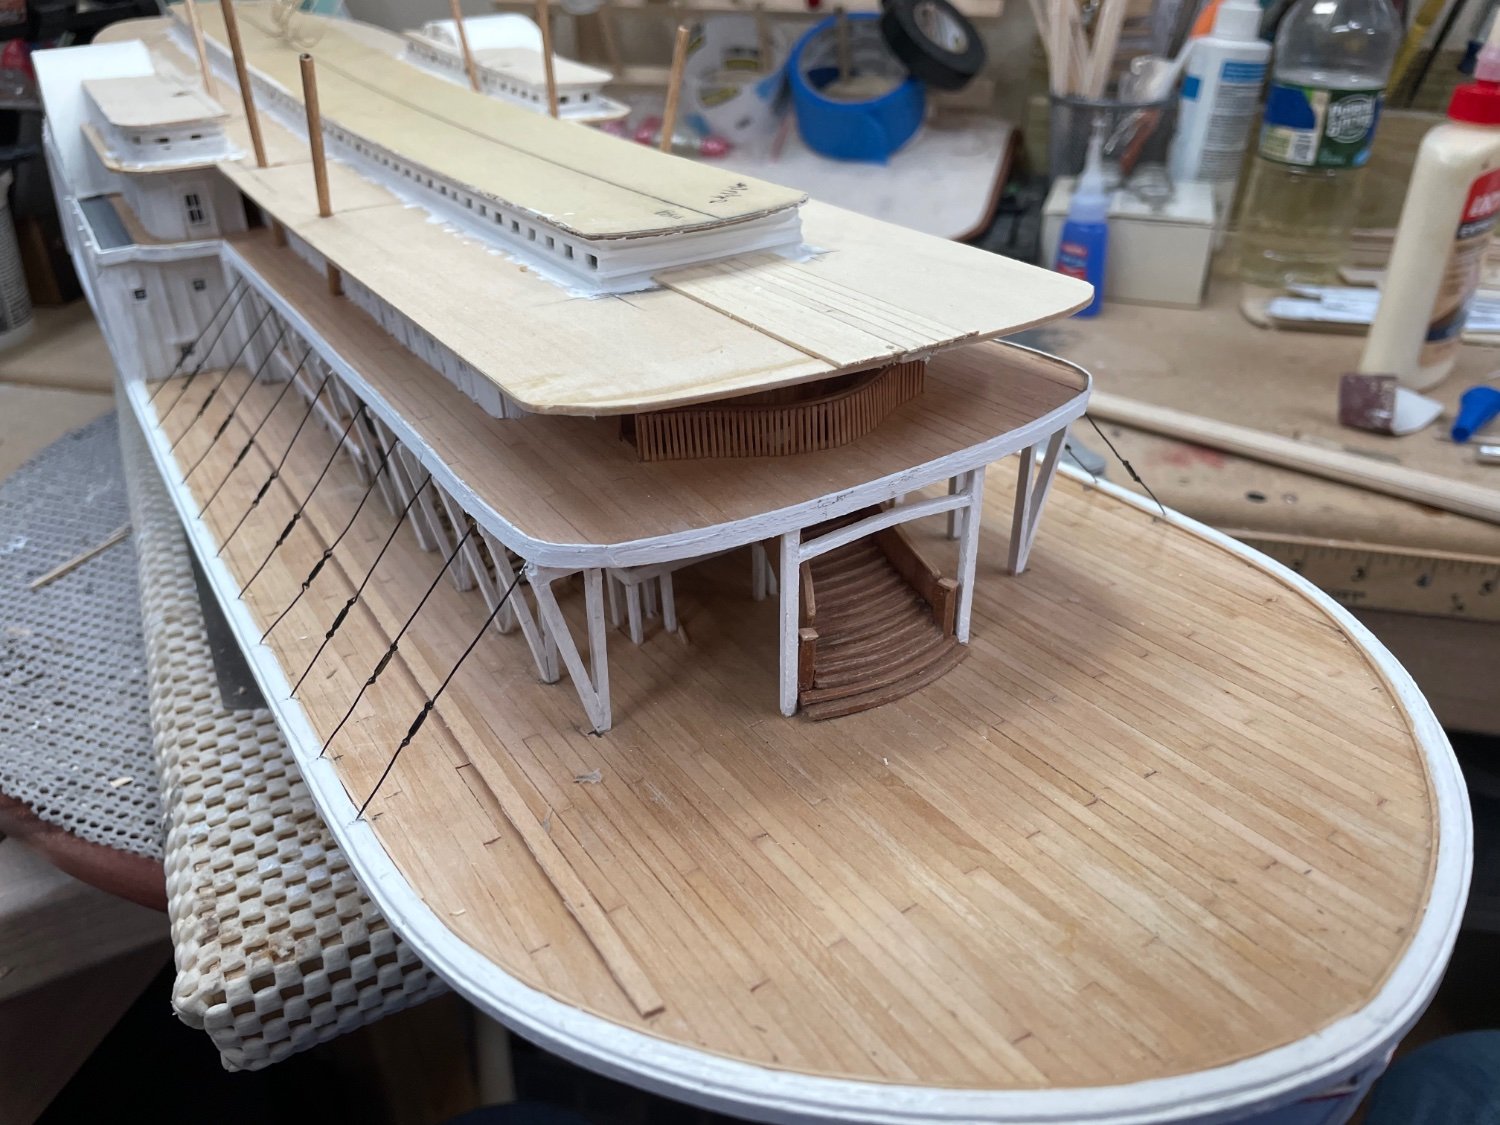
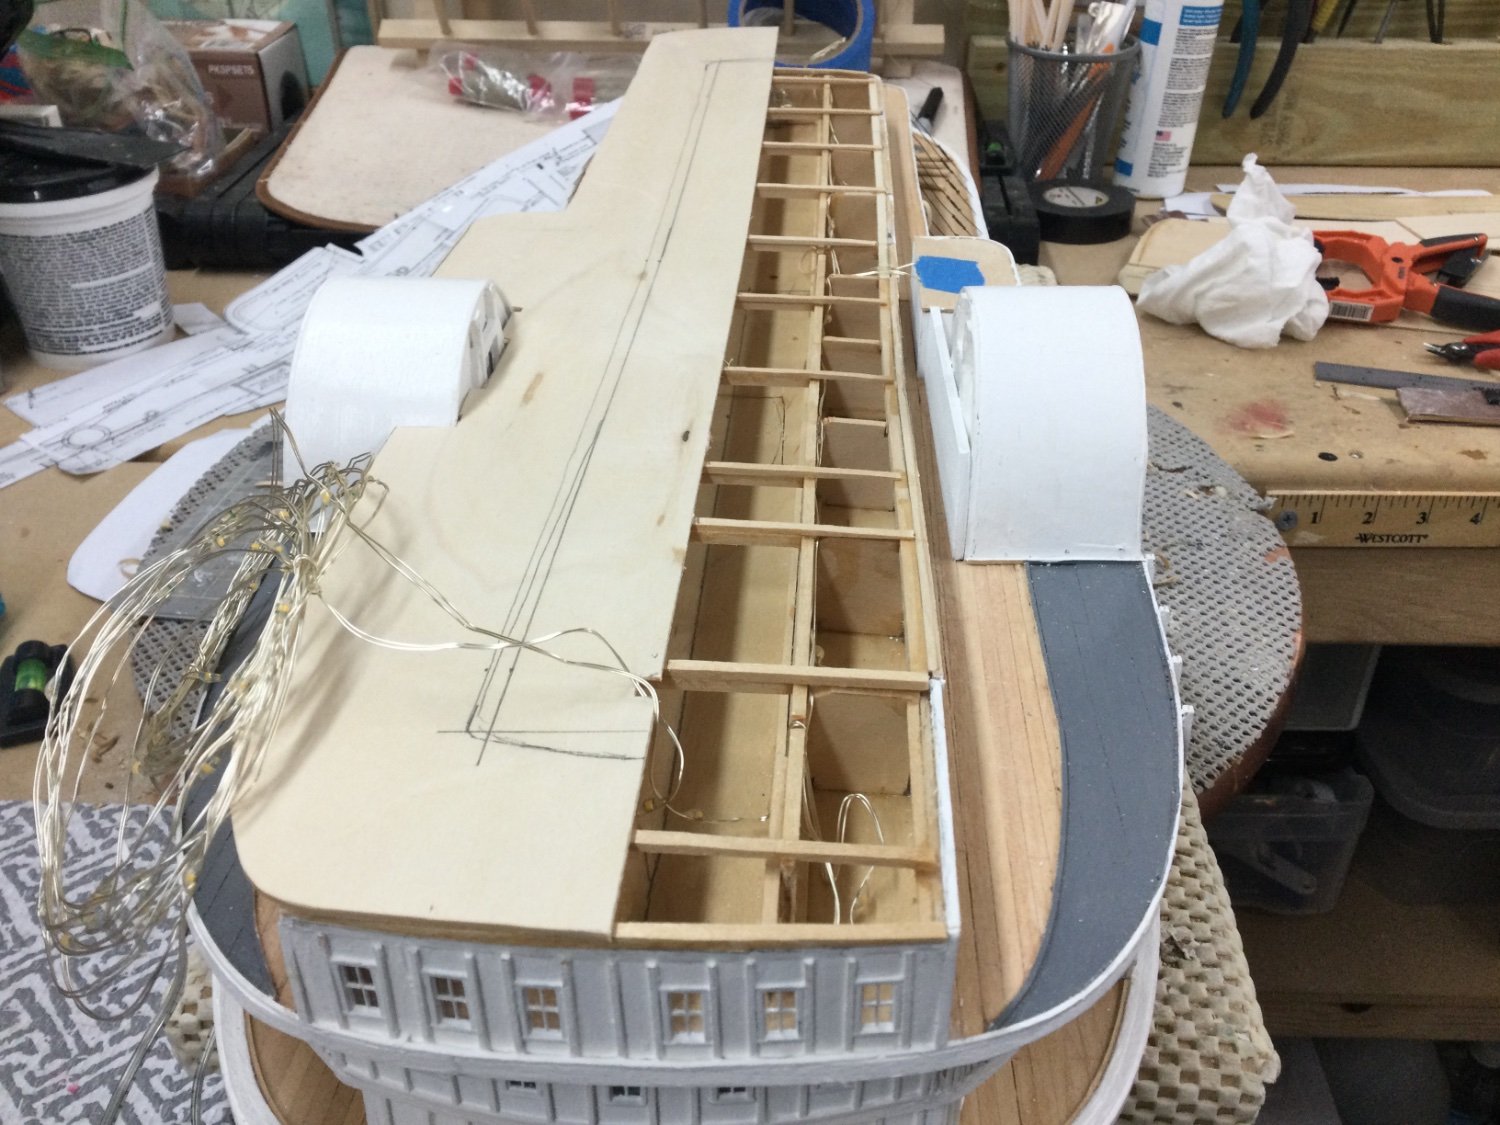
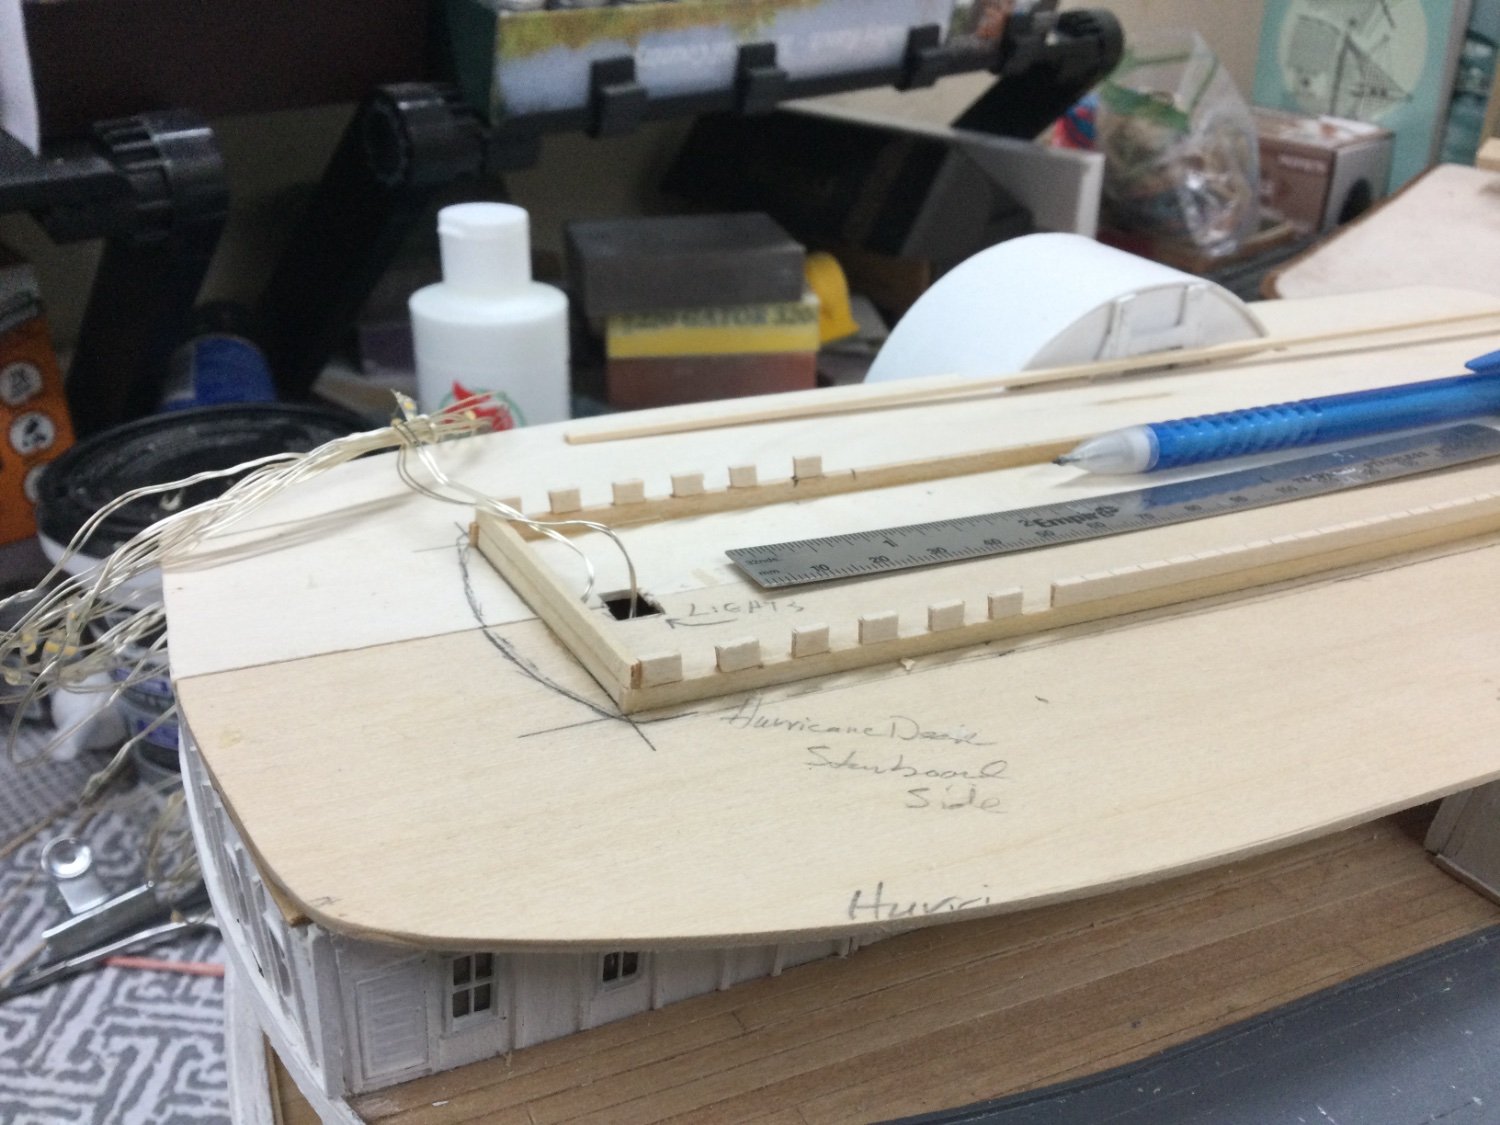
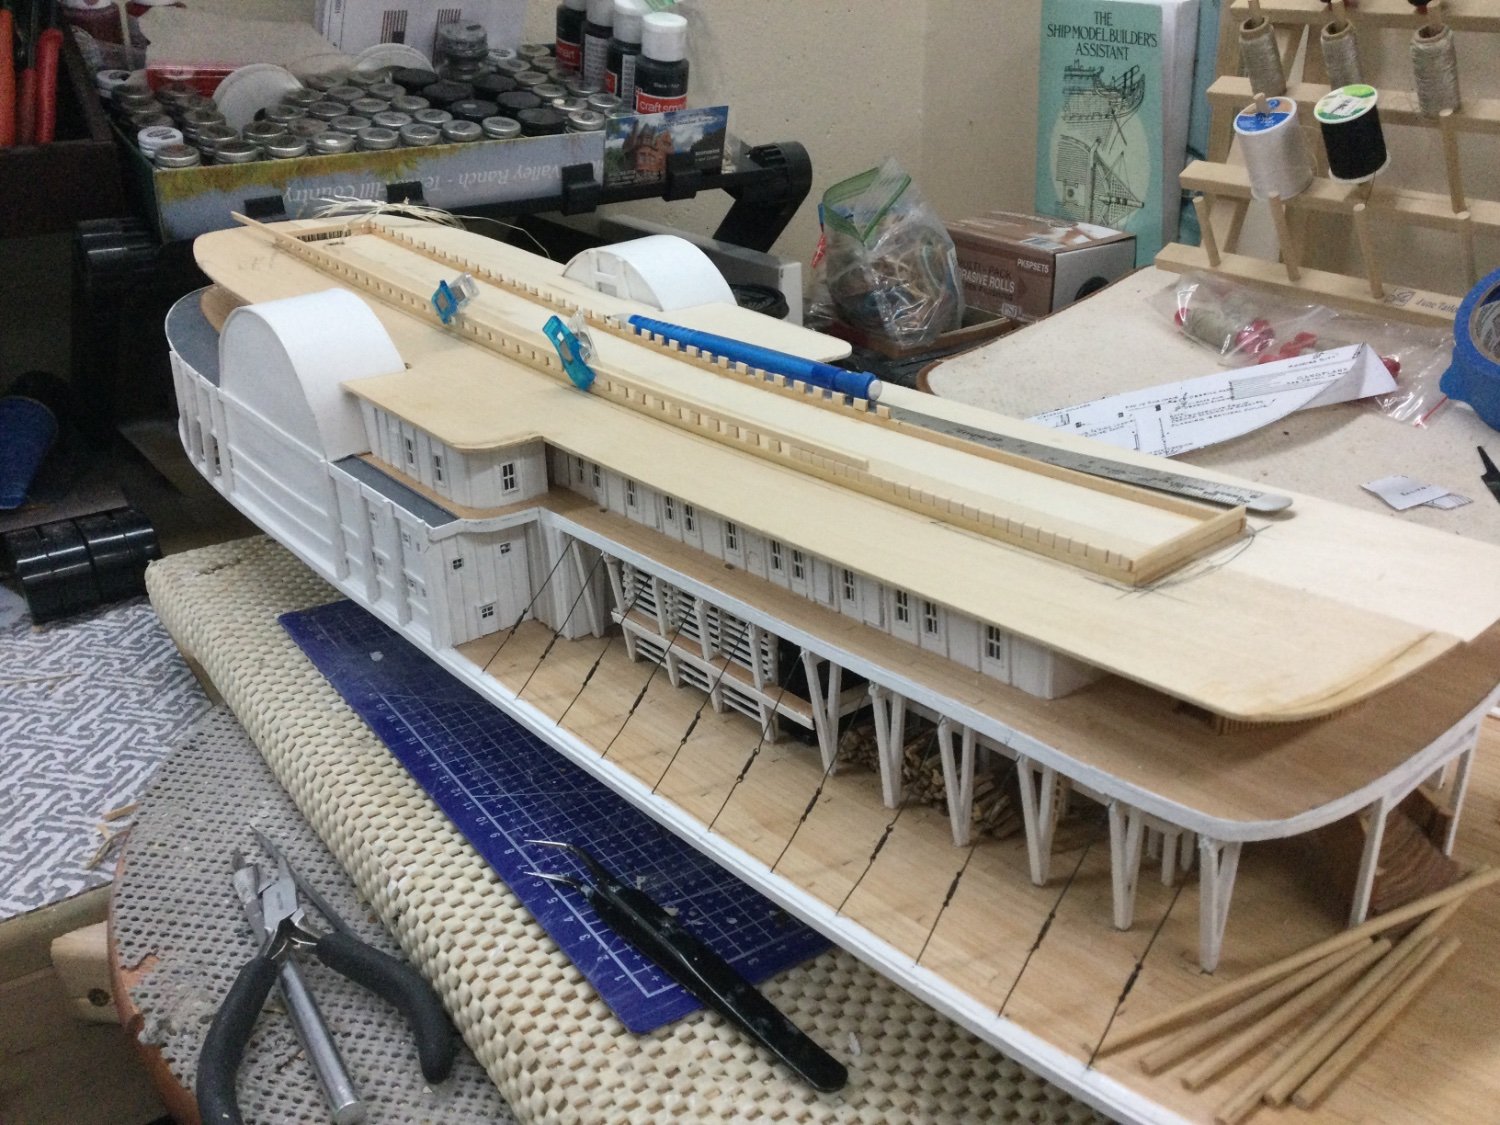
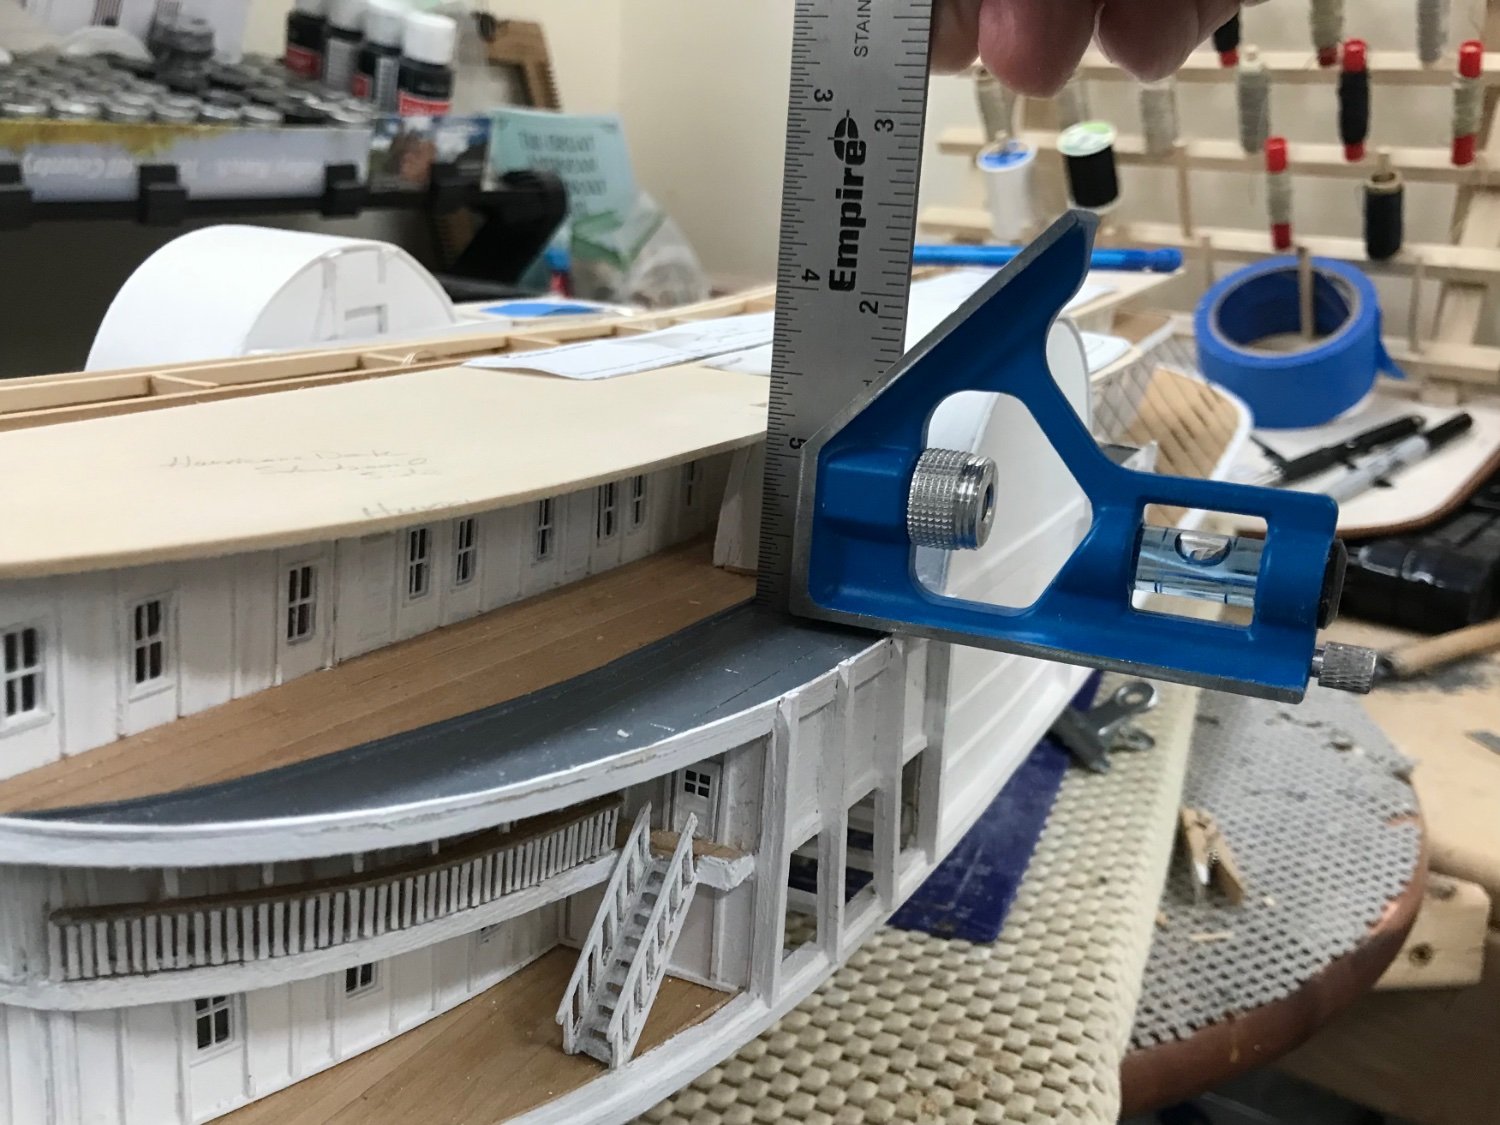
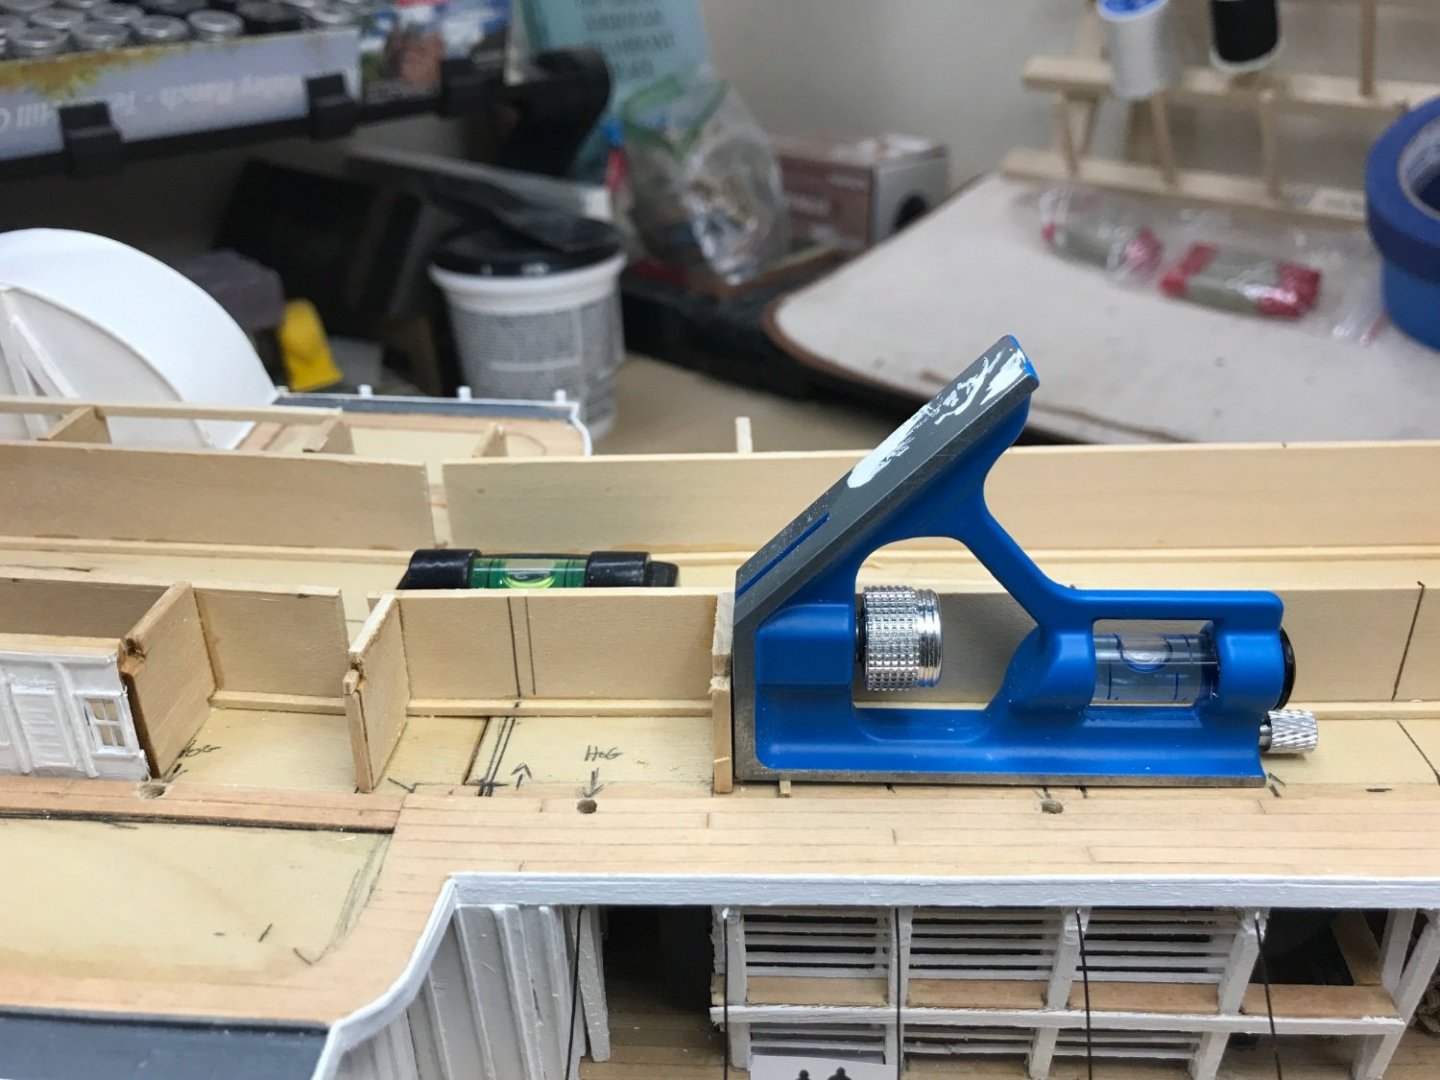
Hurricane sub deck… Copied blue prints to create templates. Trimmed up sub deck to exact fitting for Railing Post. Sub decking fitted ready for installation. Cheers 🍻


- 238 replies
-
- 11
-
-
- Robert E Lee
- steamboat
- (and 3 more)
-
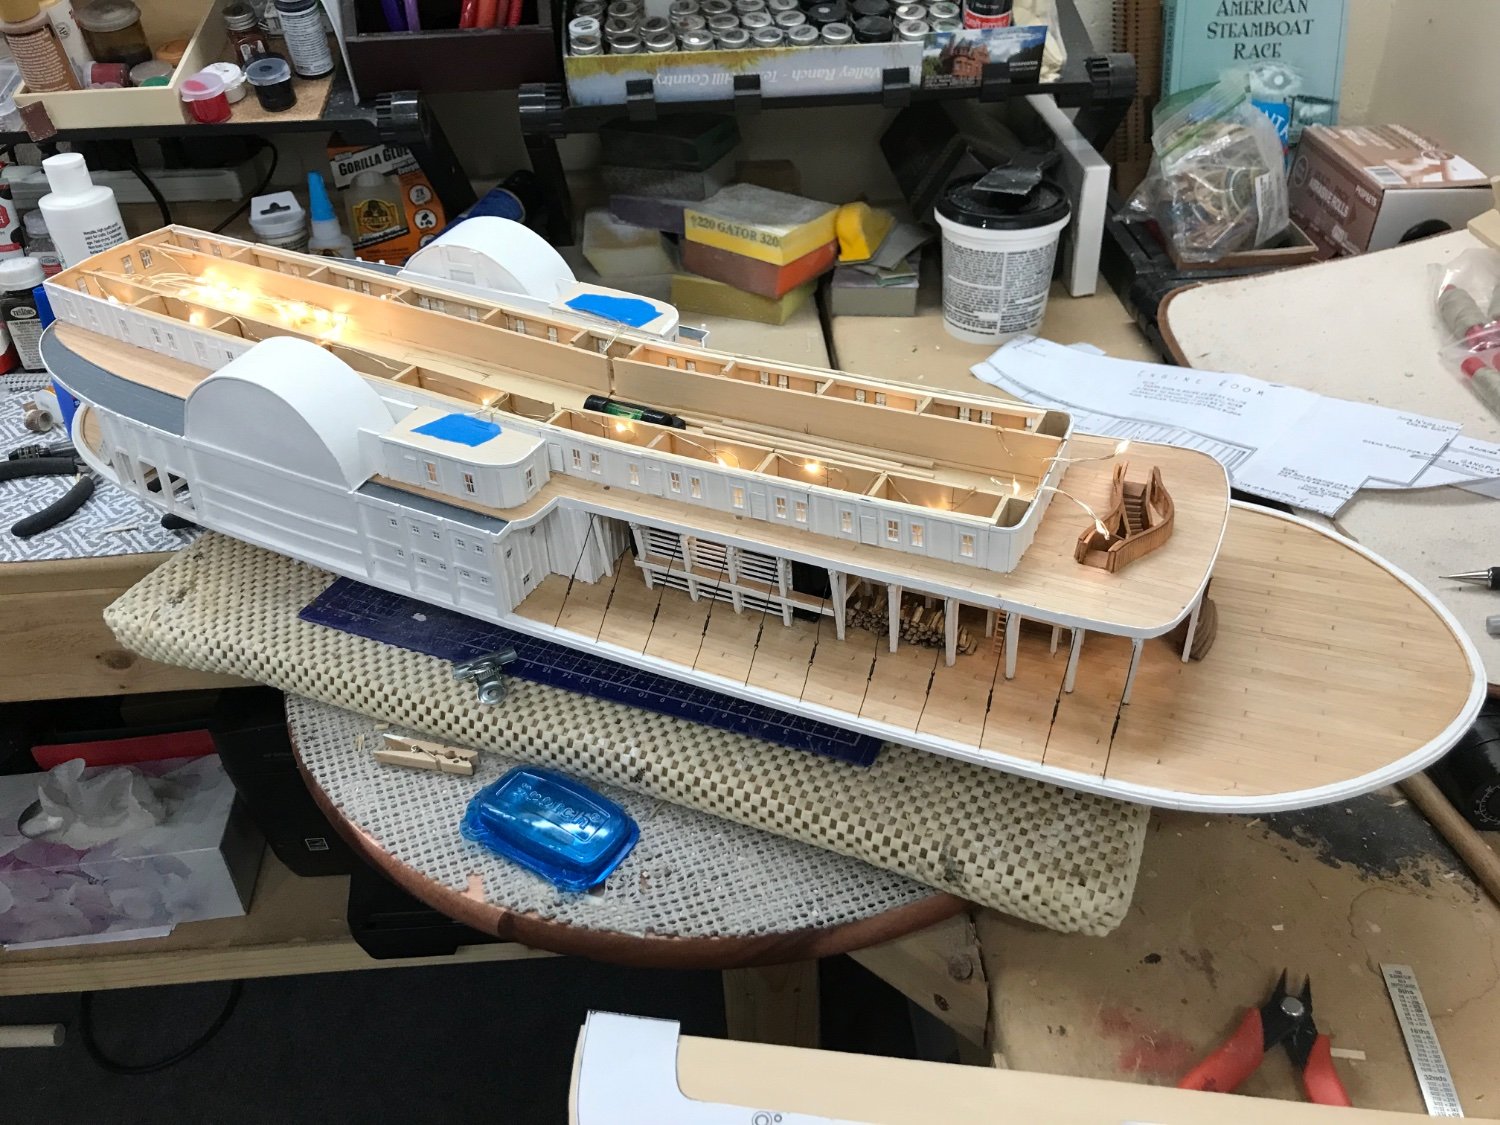
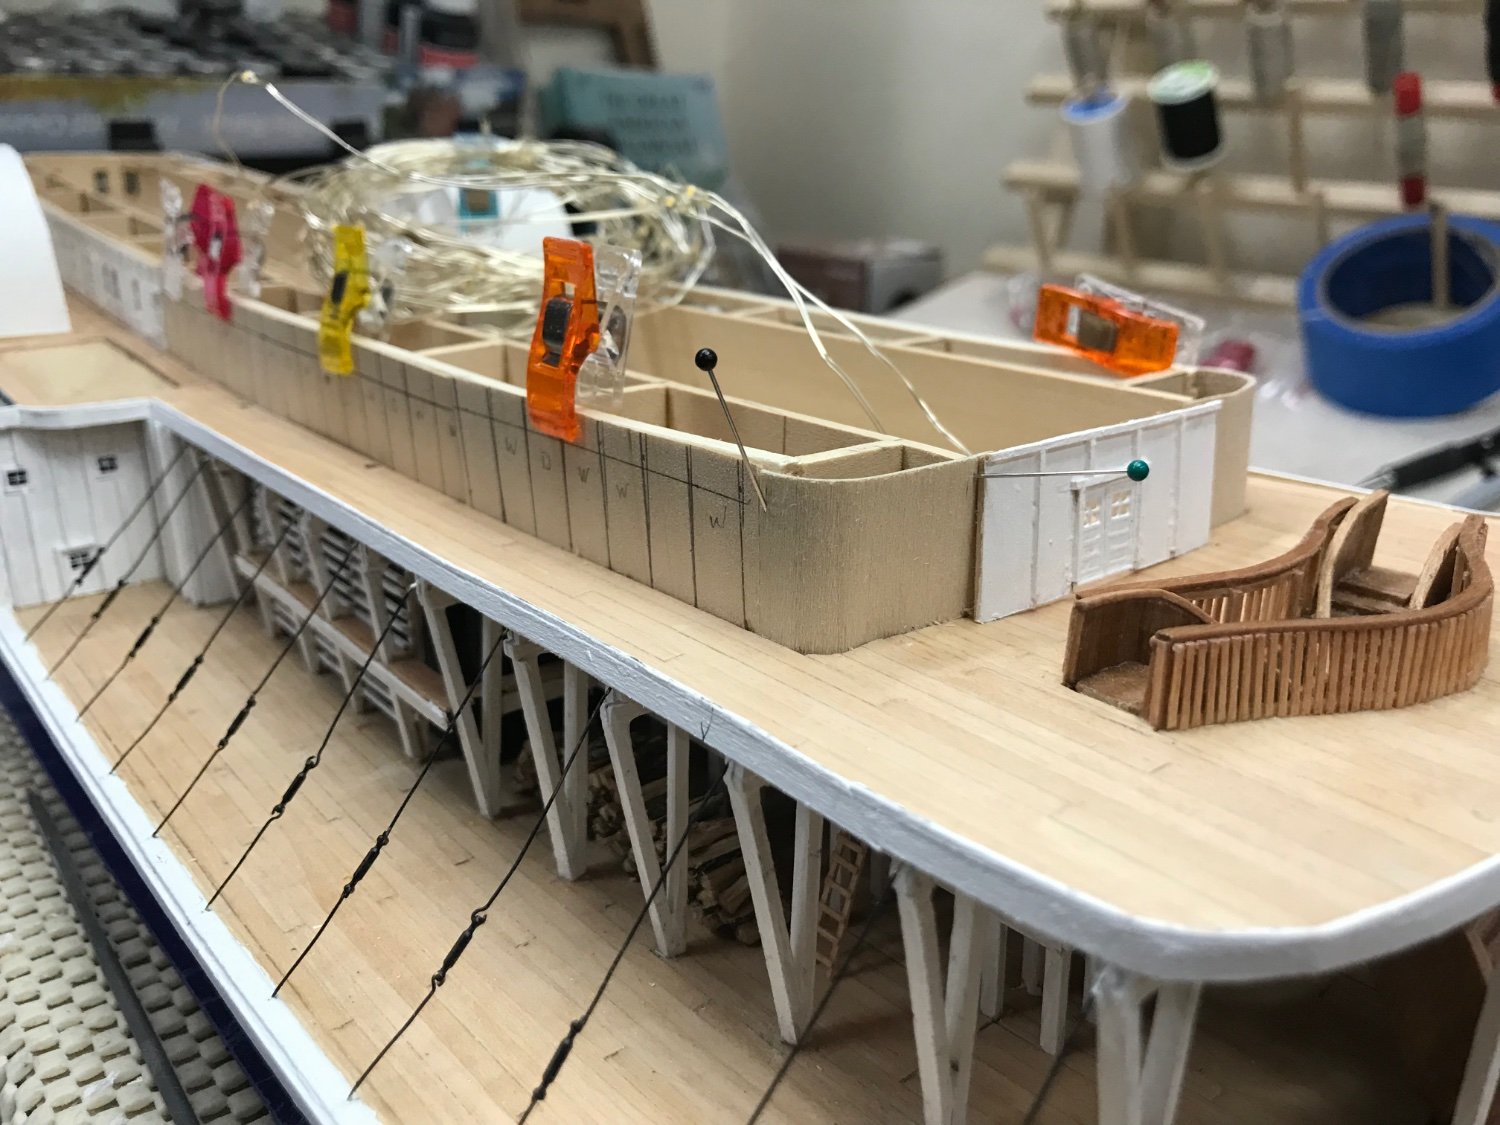
Windows and Doors on the Boiler Deck completed… Ran lighting through the State Rooms. Ready for the Hurricane Deck and Railings. 😎

- 238 replies
-
- 10
-
-
- Robert E Lee
- steamboat
- (and 3 more)
-
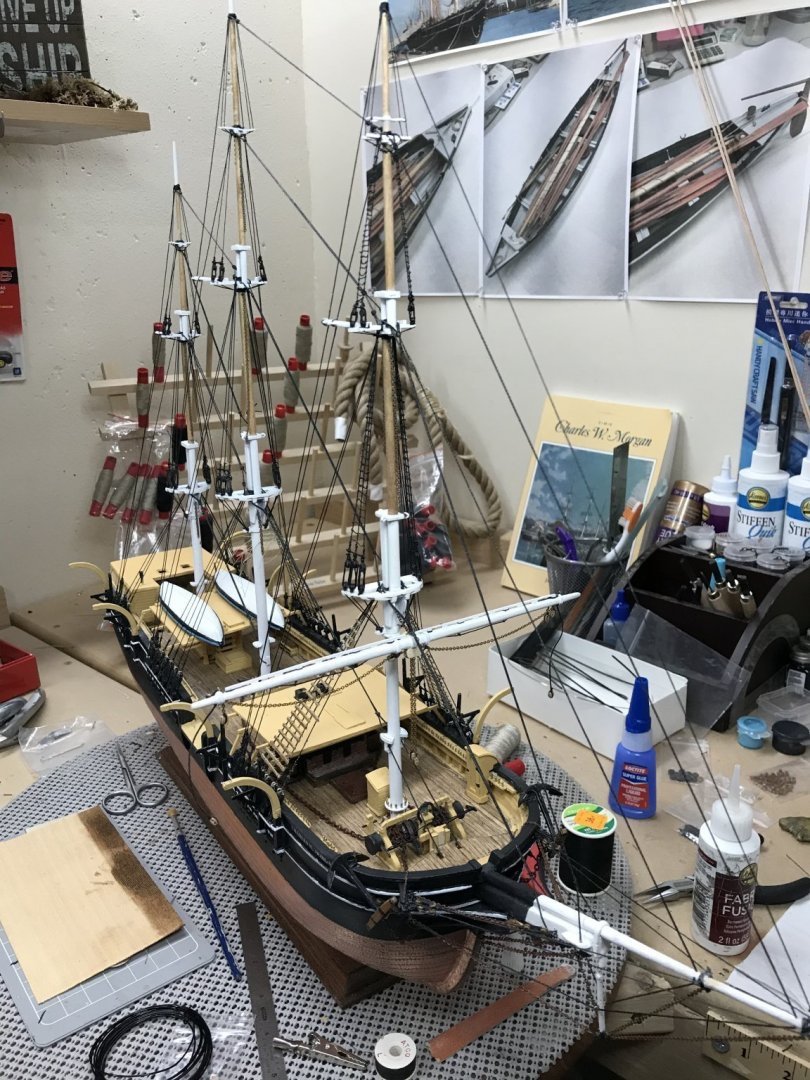
Here is a photo of my CWM with standing rigging completed. The rigging is from Marine Model Companies 1939 Rigging Blueprints. Hope this helps…
- 1 reply
-
- 2
-
-
Thanks Dave, But I introduced myself when I joined, February 2020. 😎
-
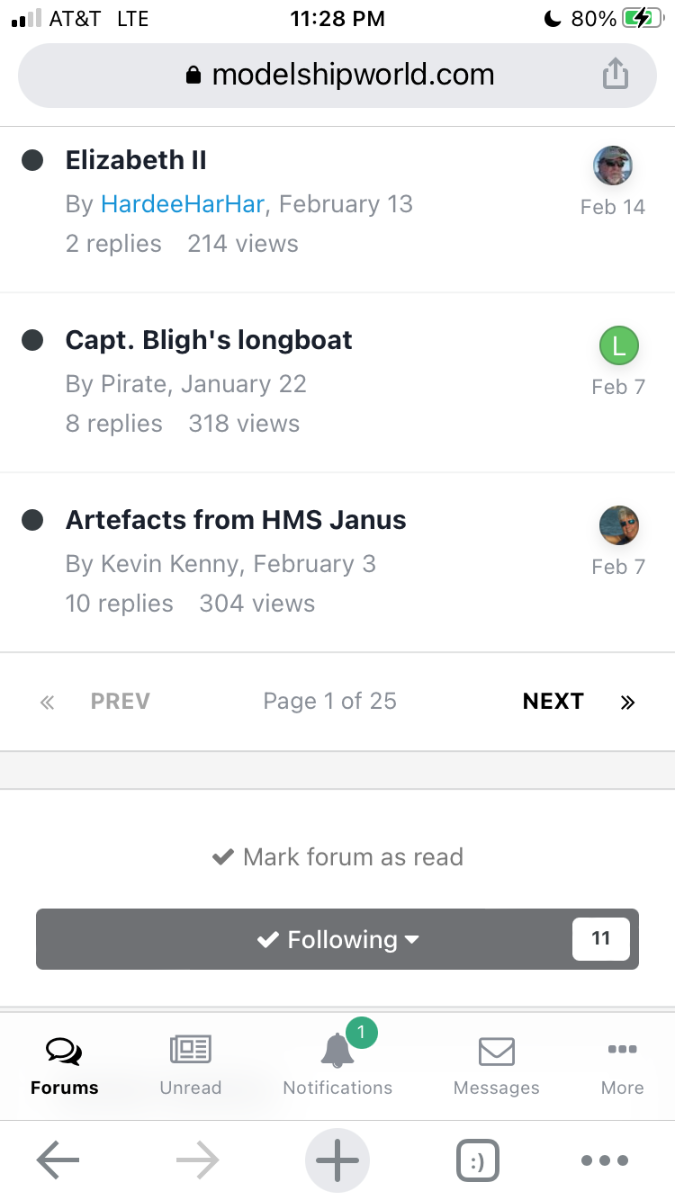
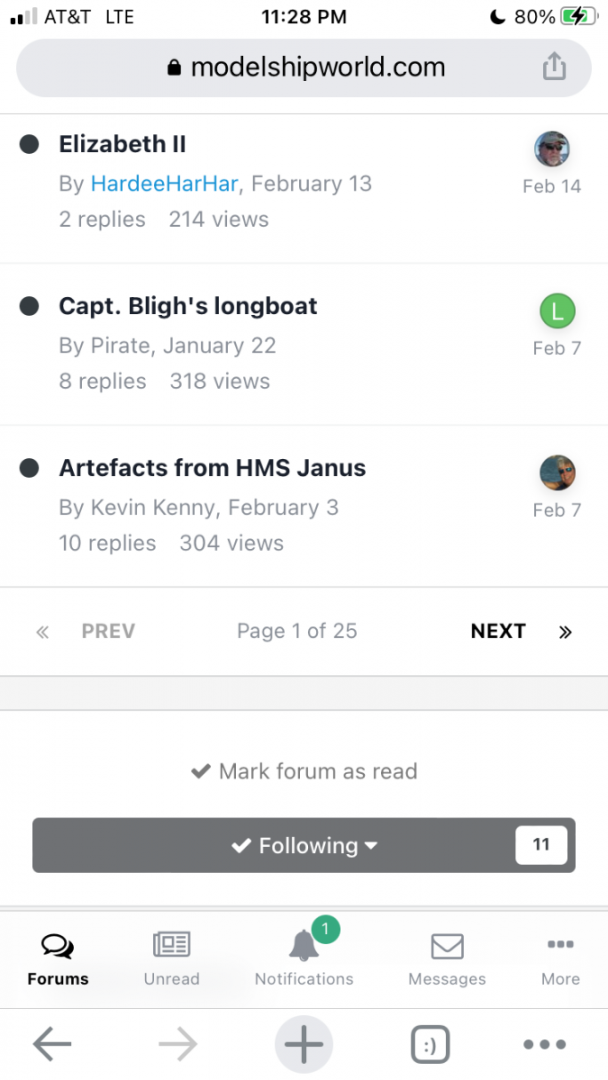
Thanks Gregory… I found the follow button at the bottom of the forum. But that’s because I use an iPhone. My screen doesn’t look like your screen shot.
-
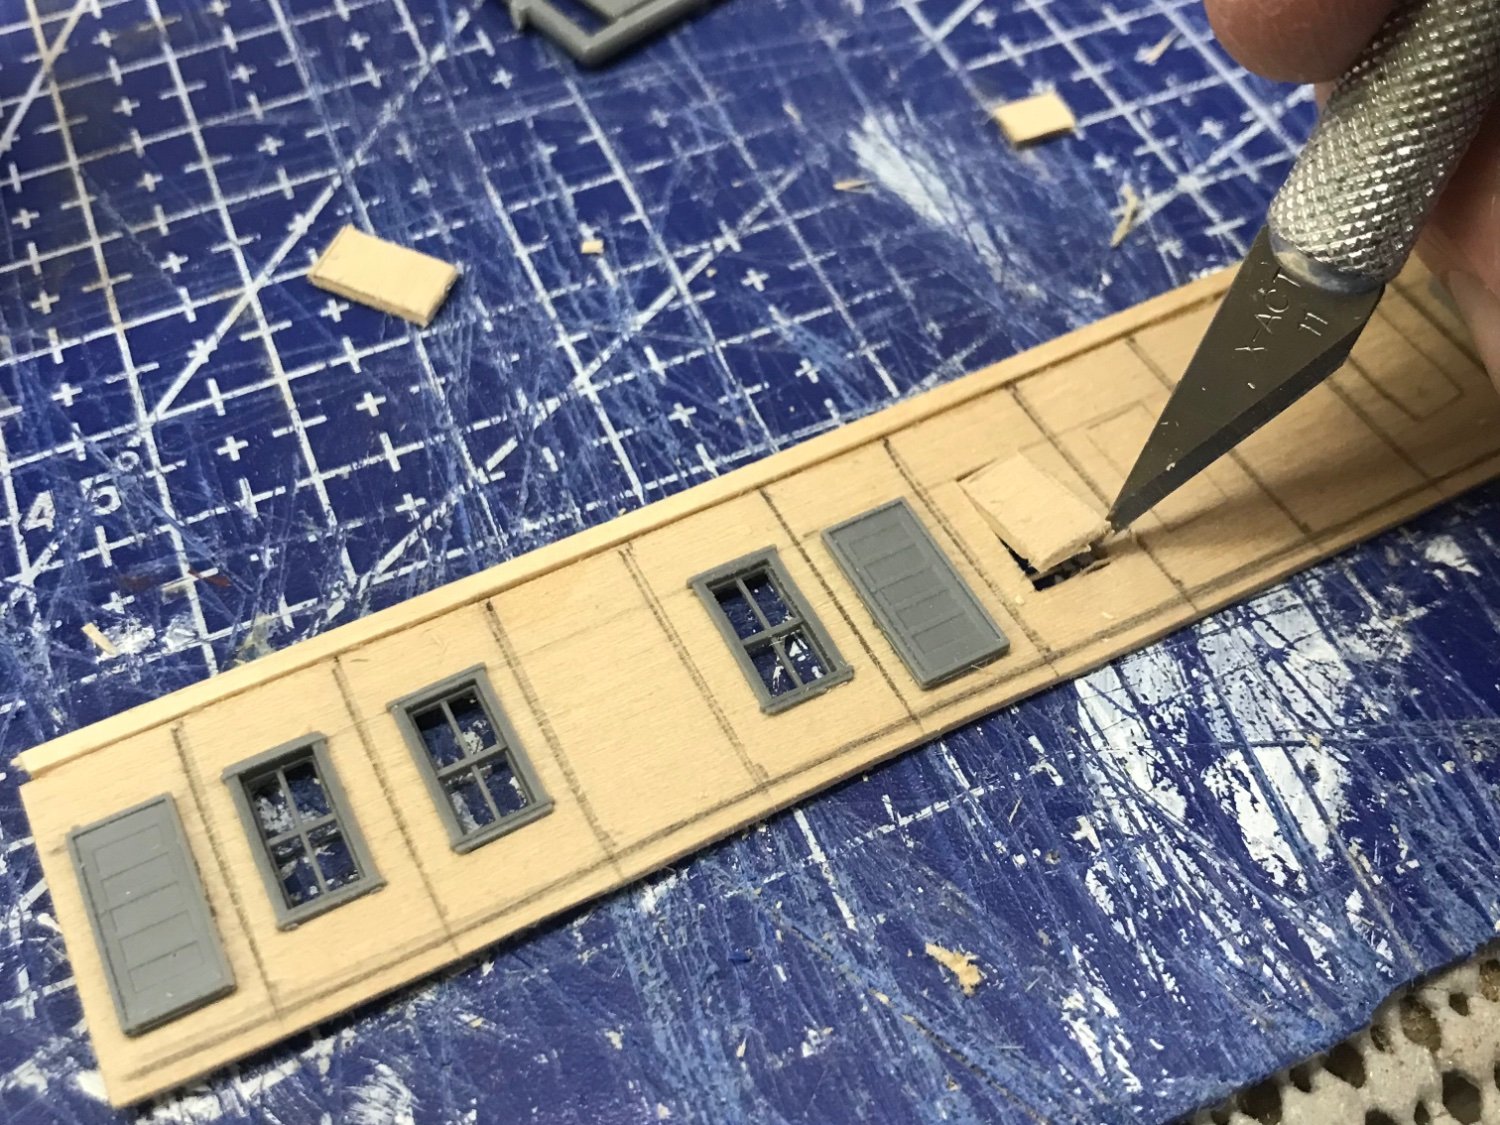
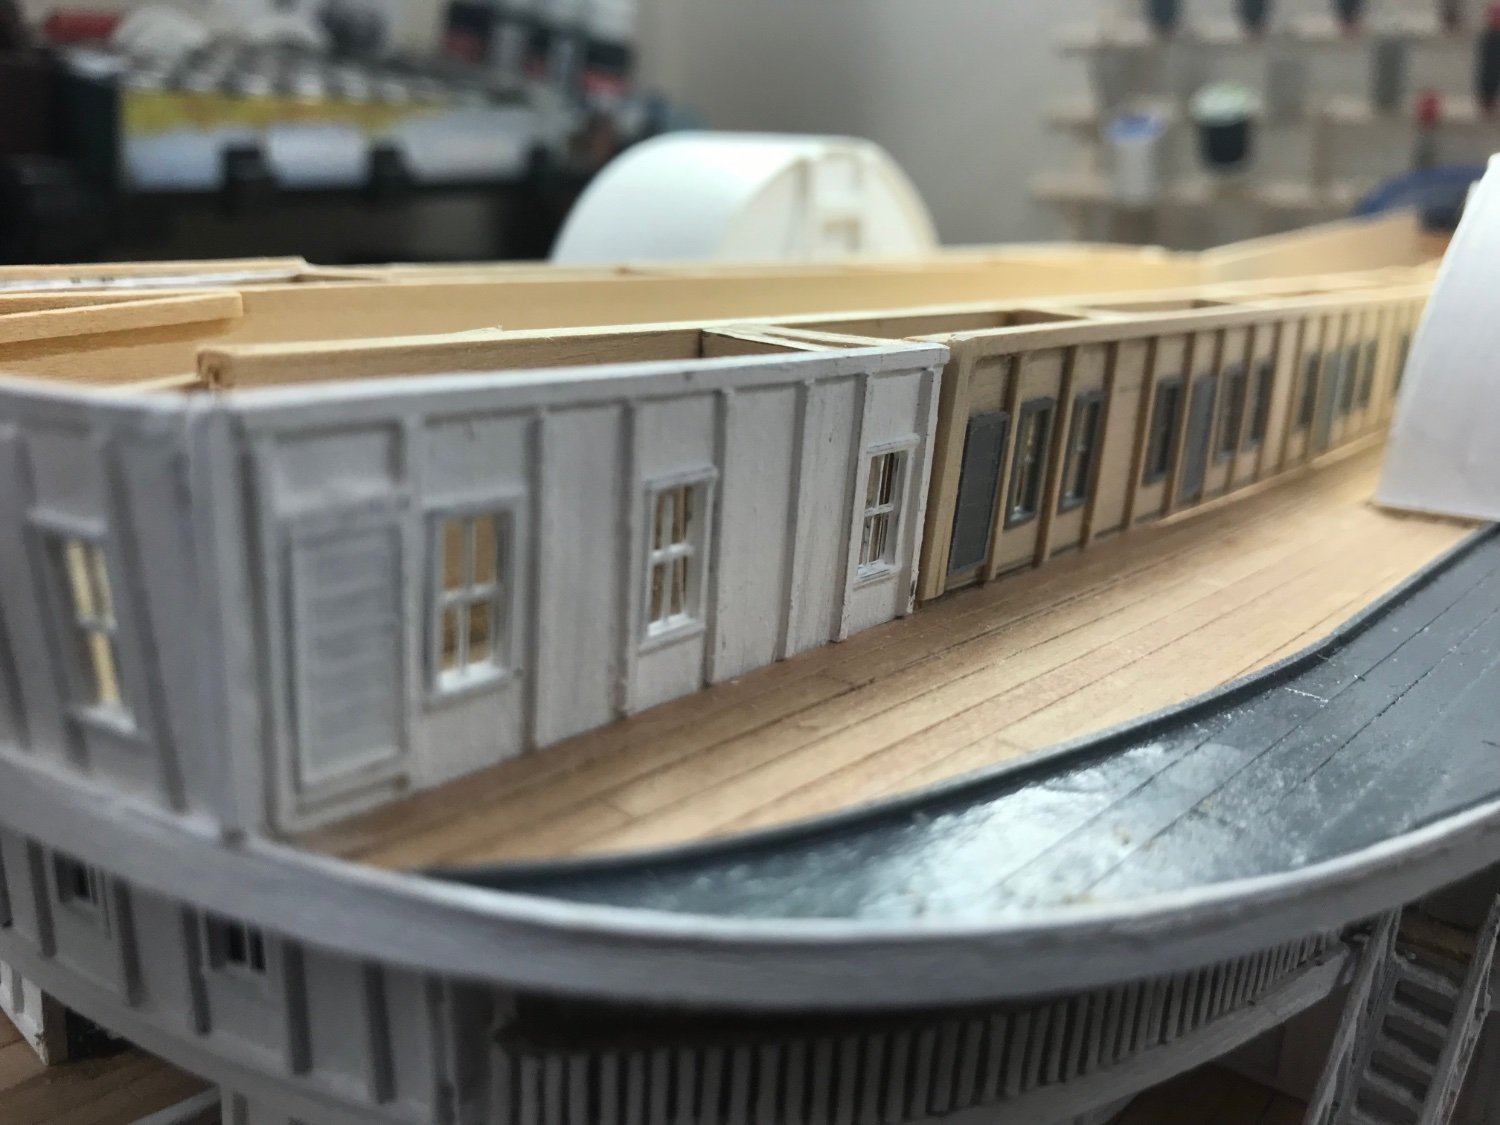
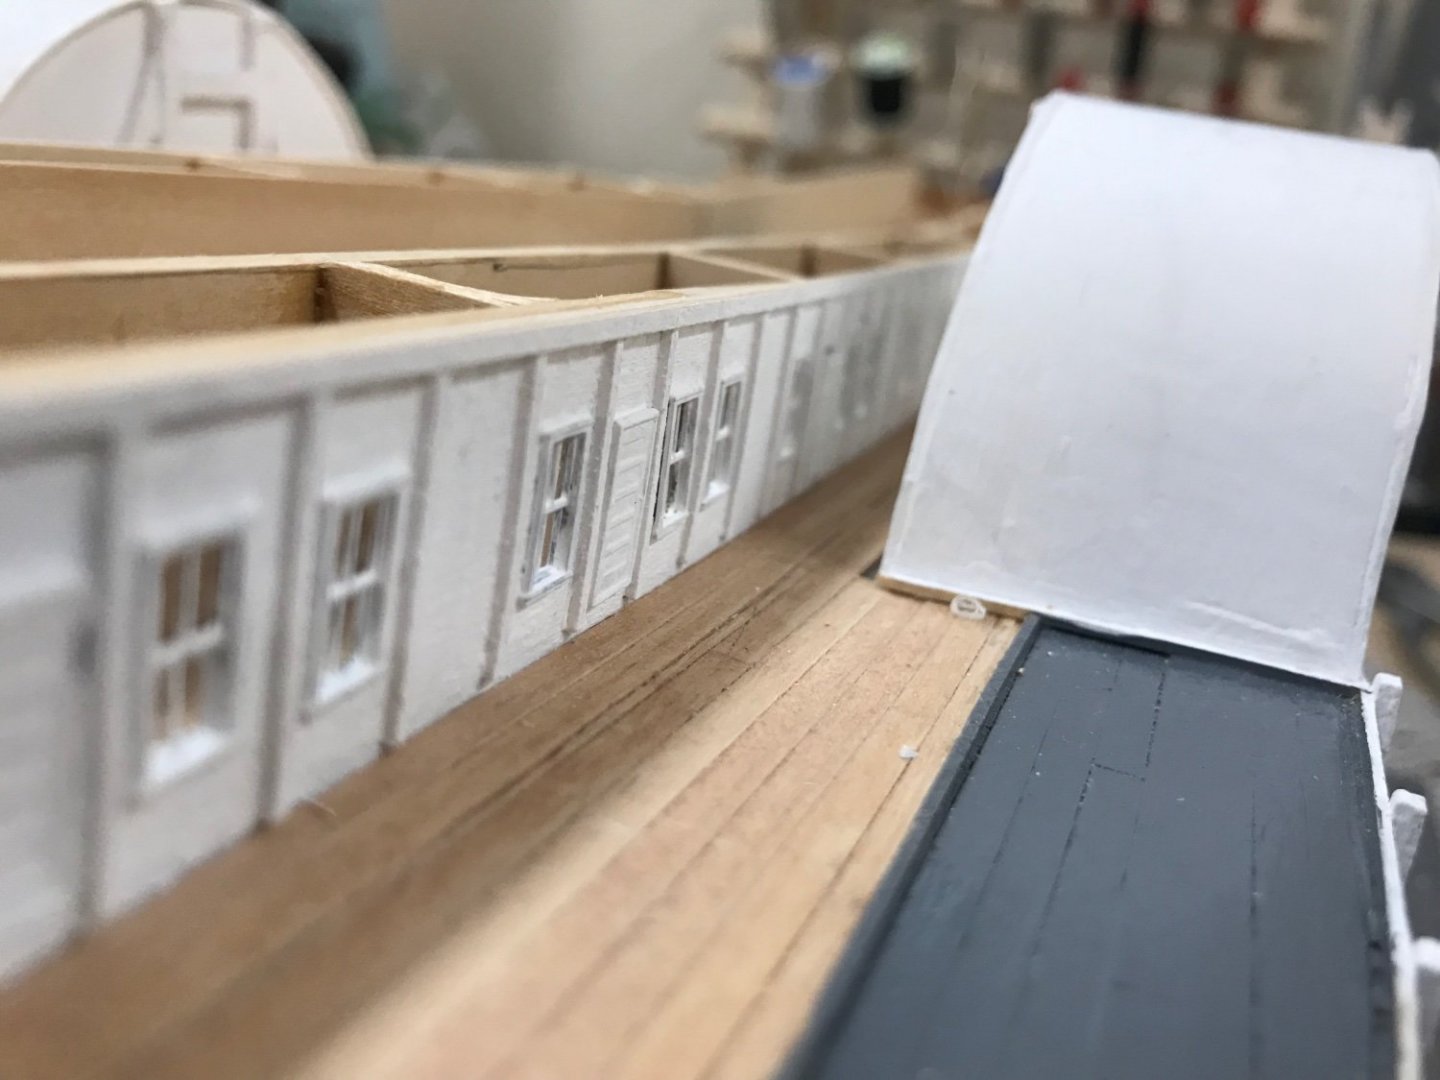
Starboard walls w/windows completed on the Boiler Deck Staterooms. Cheers 🍻

- 238 replies
-
- 7
-
-
- Robert E Lee
- steamboat
- (and 3 more)
-
How do I follow a particular forum without following each individual topic? thanks
-
Very nice! I know it’s early in development, but when might this kit be available for sale. I would like to start saving up my pennies for this beast. 👏 Nice work, Al.
-
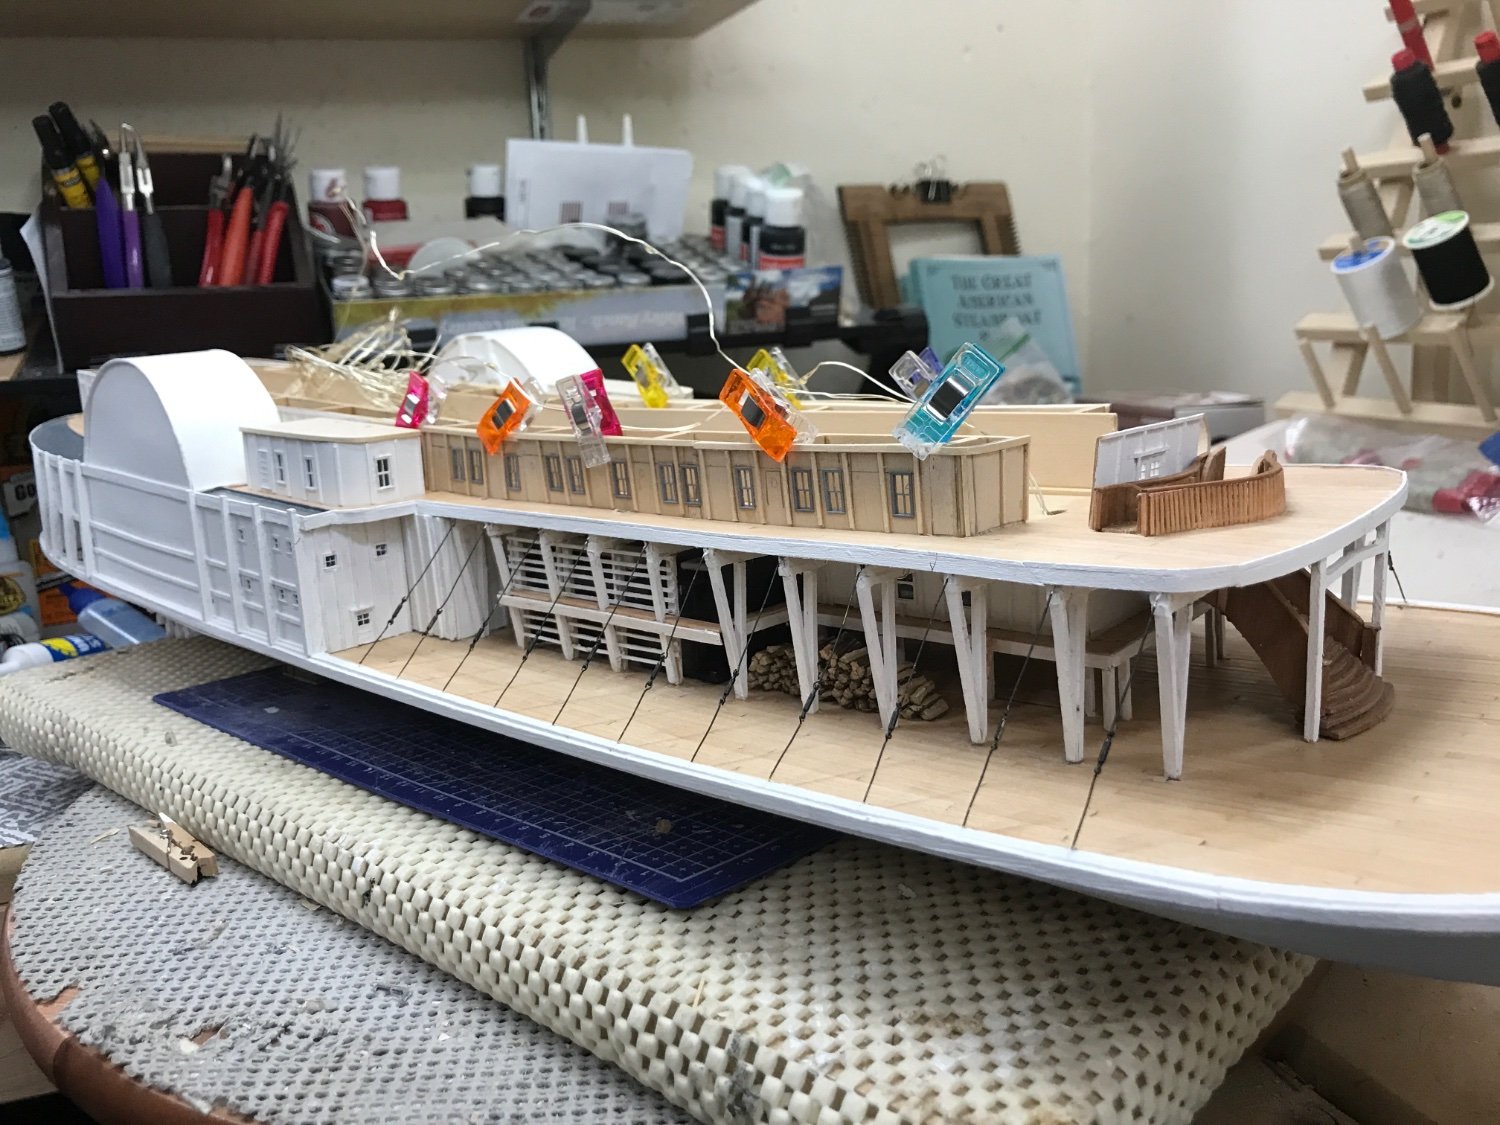
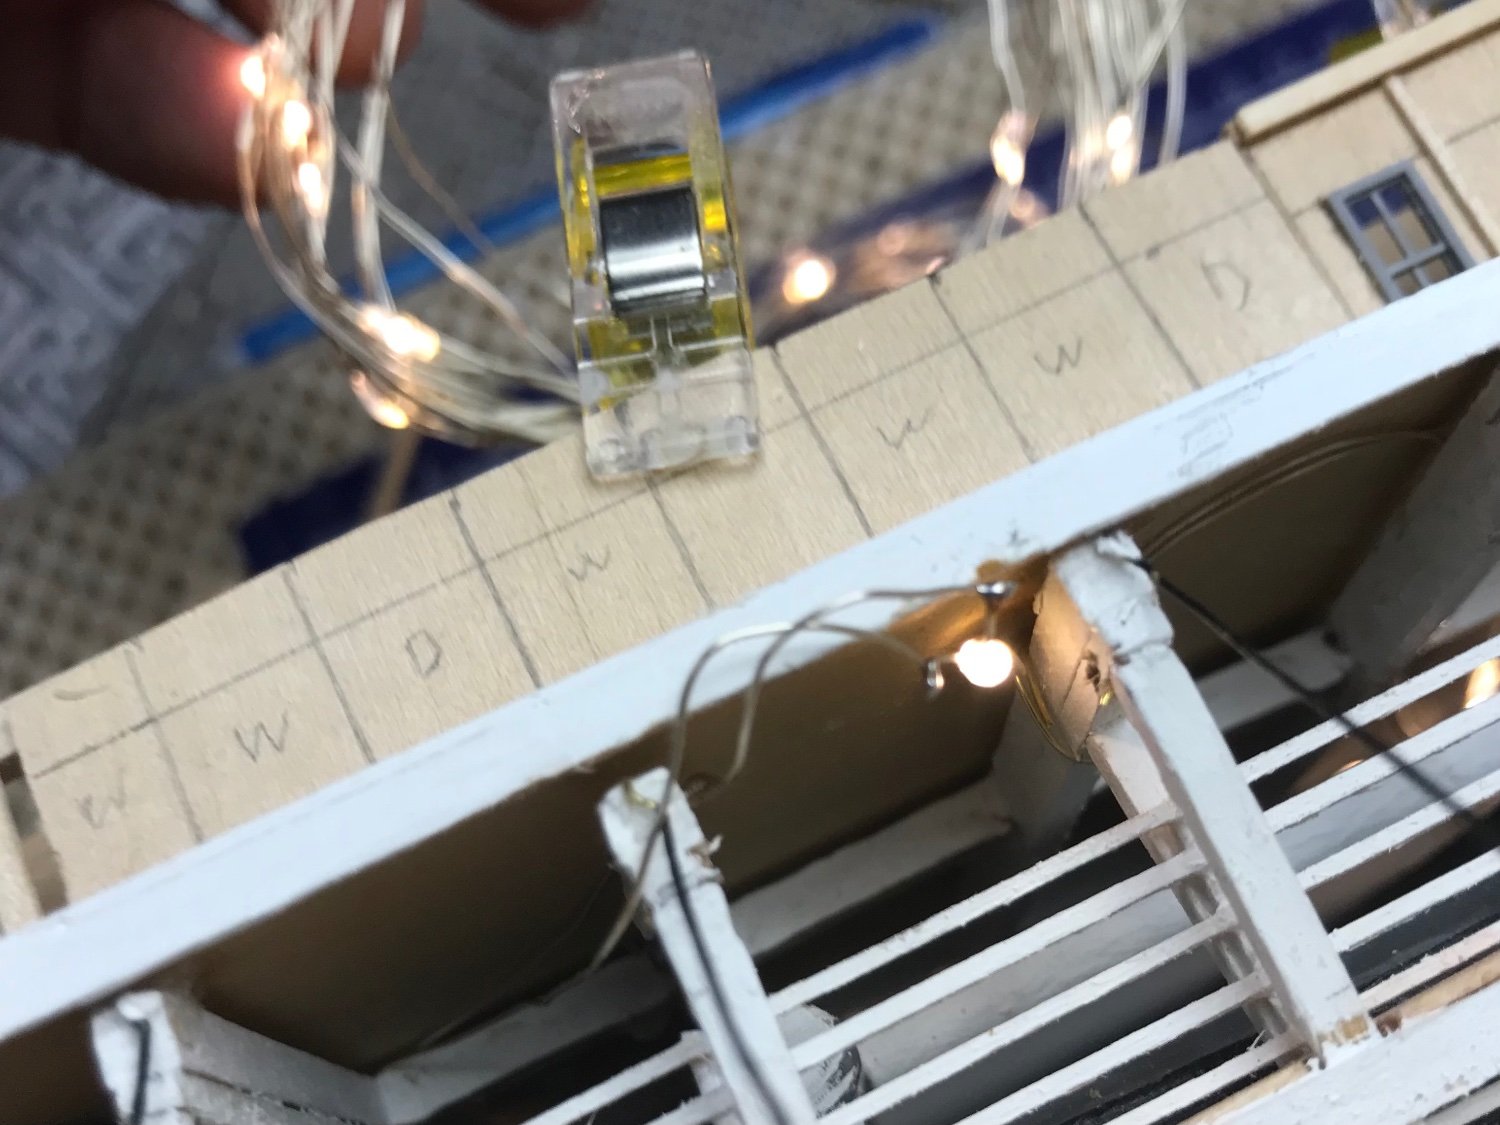
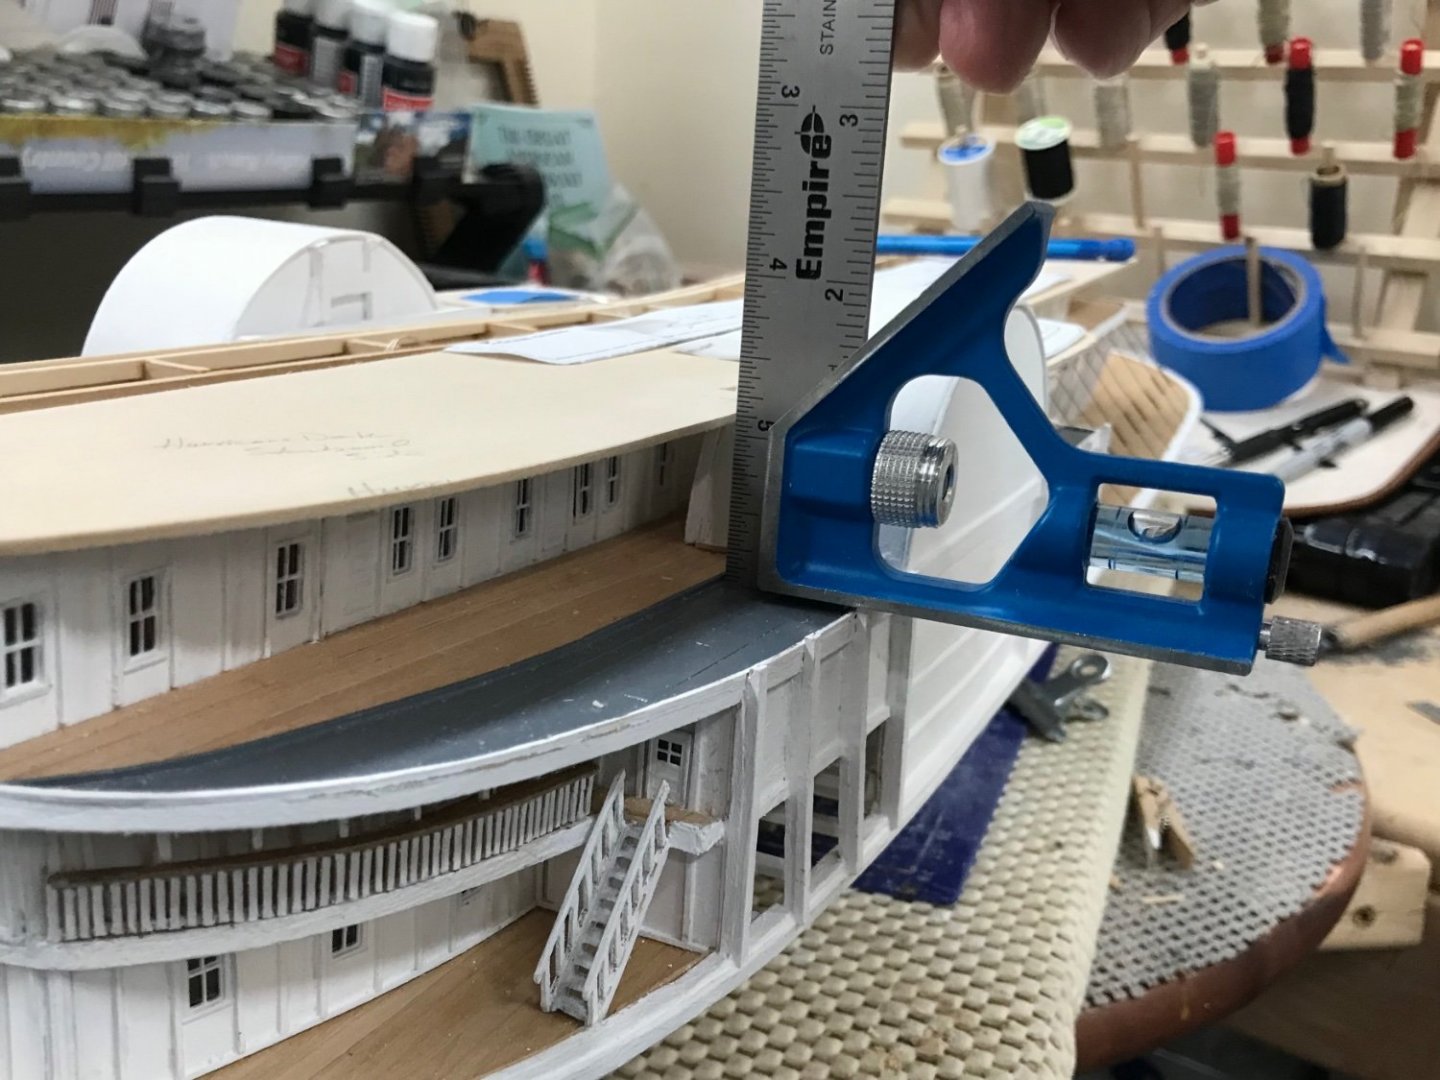
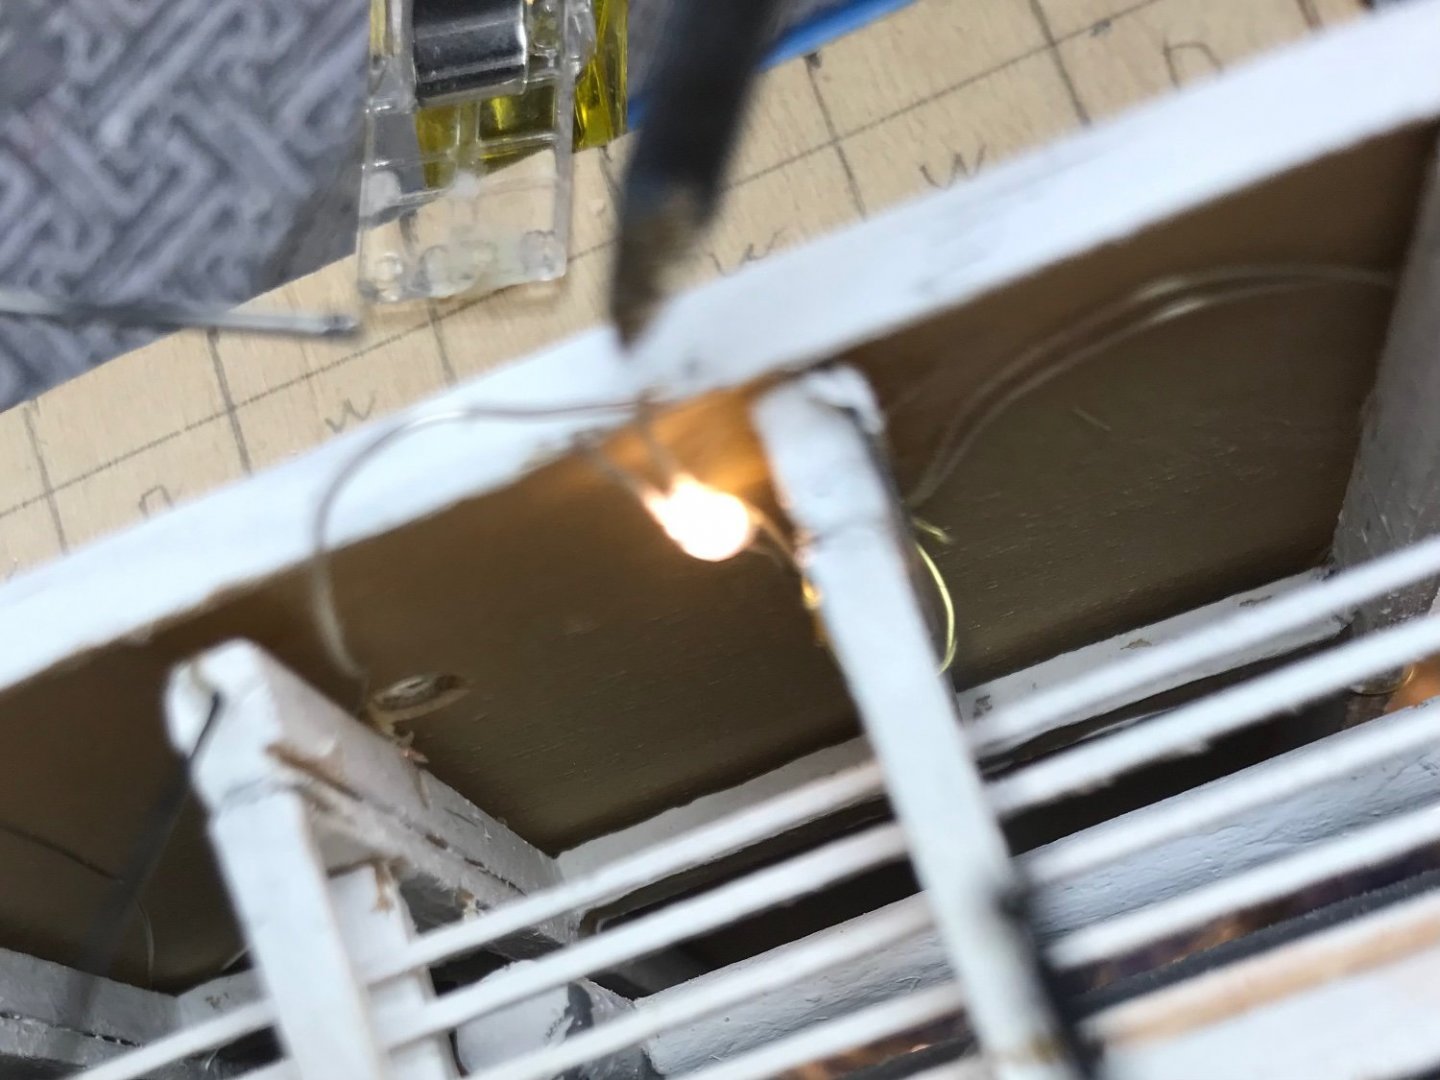
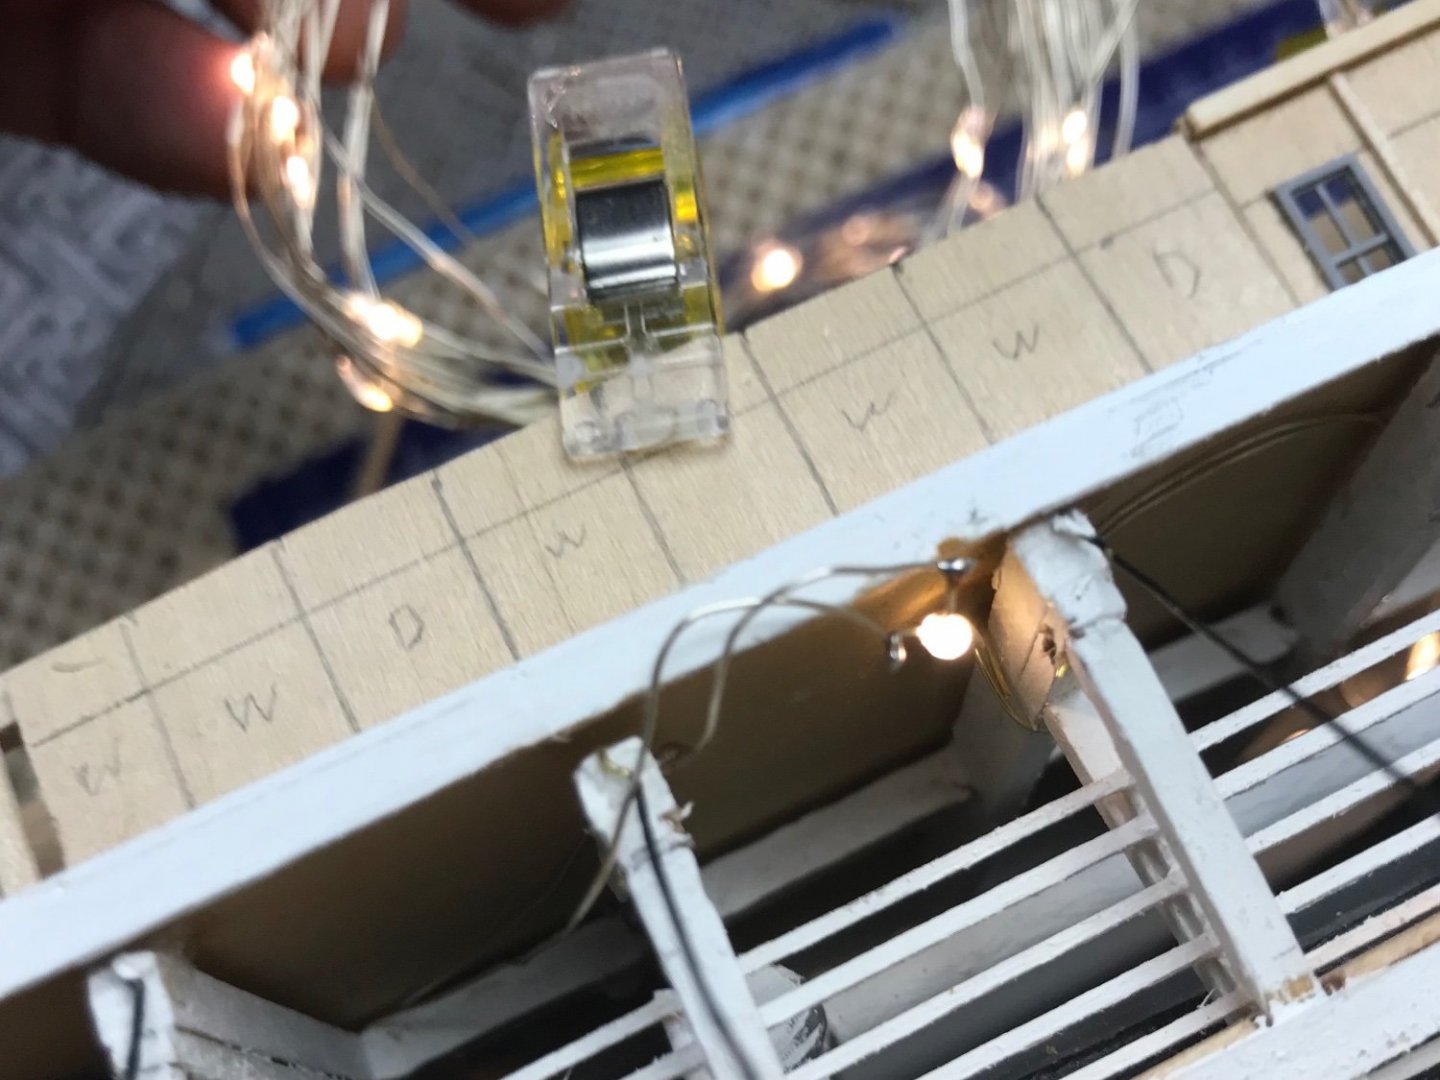
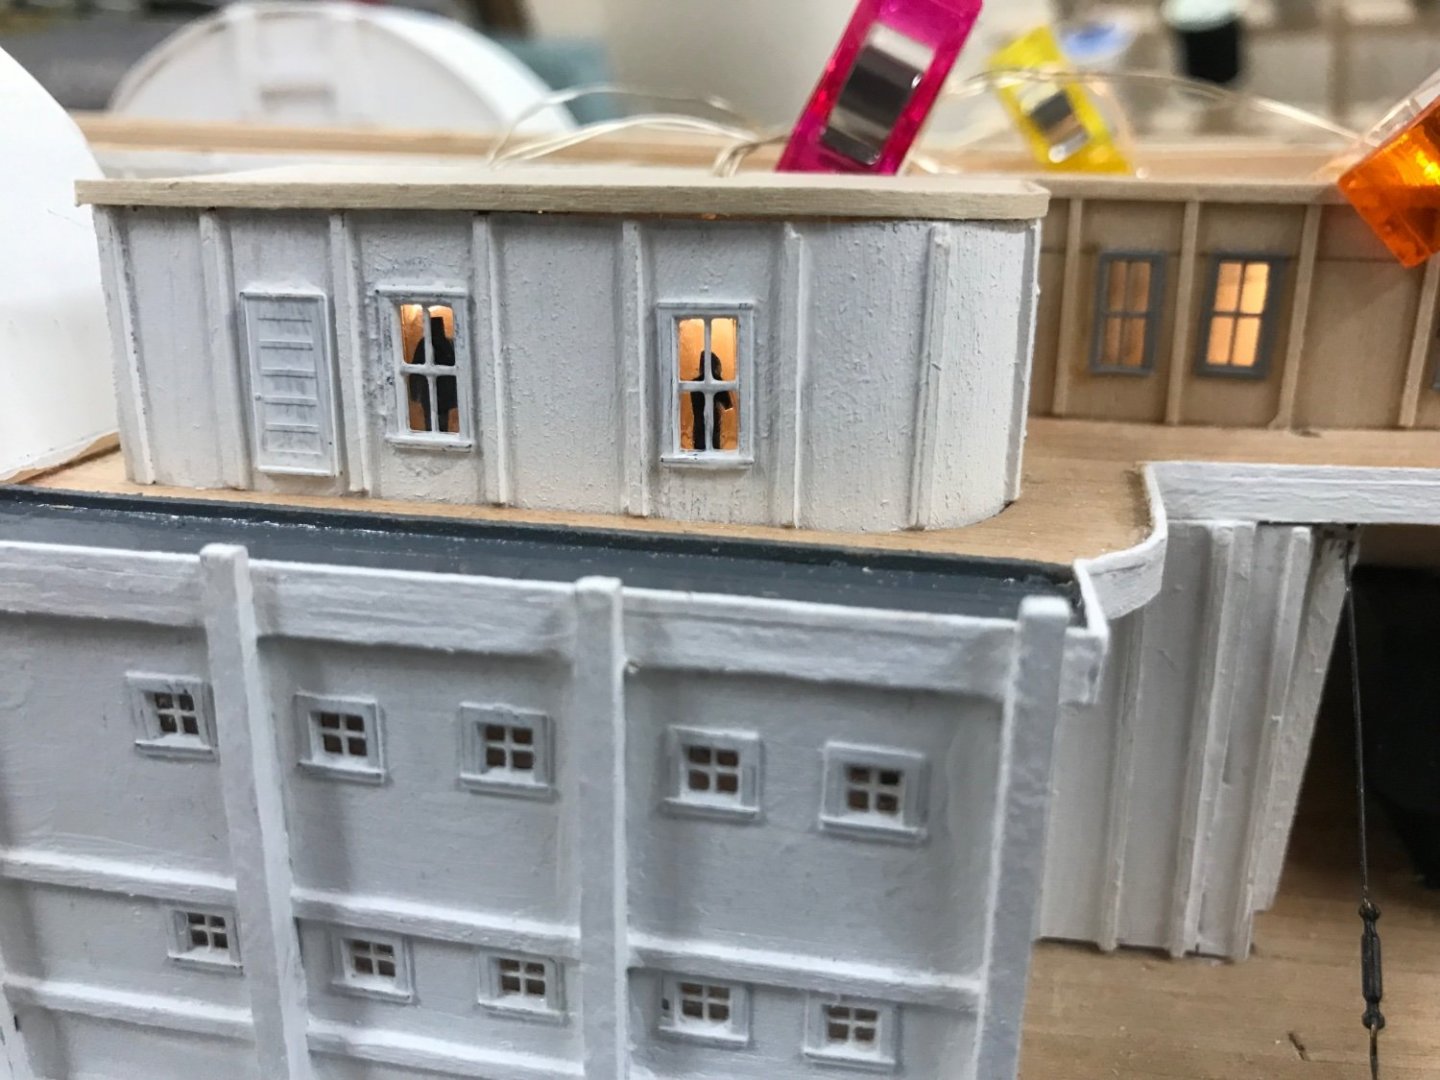
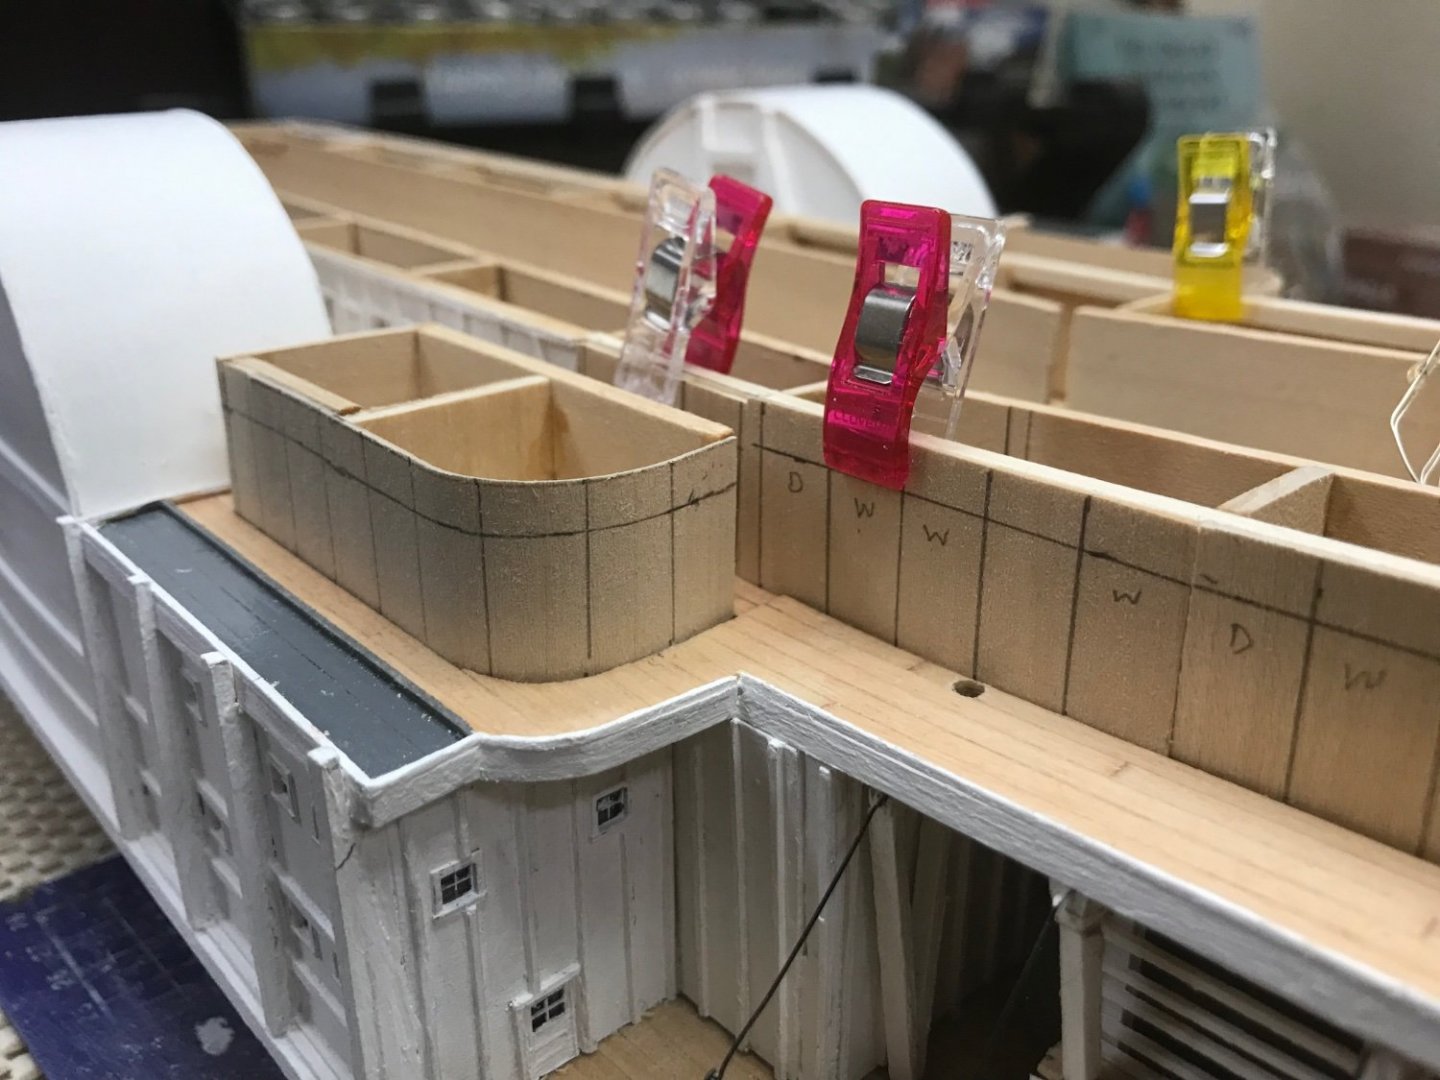
Side Cabins completed… A bit of Micro Electrical work needed to repair where the Carpenters drilled a hole for the Hog Frame. Seems the wiring was cut on the underside of the boiler deck. Fortunately, the electrician was able to affect repairs and construction may resume. 😆 There’s always something… Check out the special effects in the side cabin windows. Back to cutting in Widows… Cheers 🍻
- 238 replies
-
- 7
-
-
- Robert E Lee
- steamboat
- (and 3 more)
-
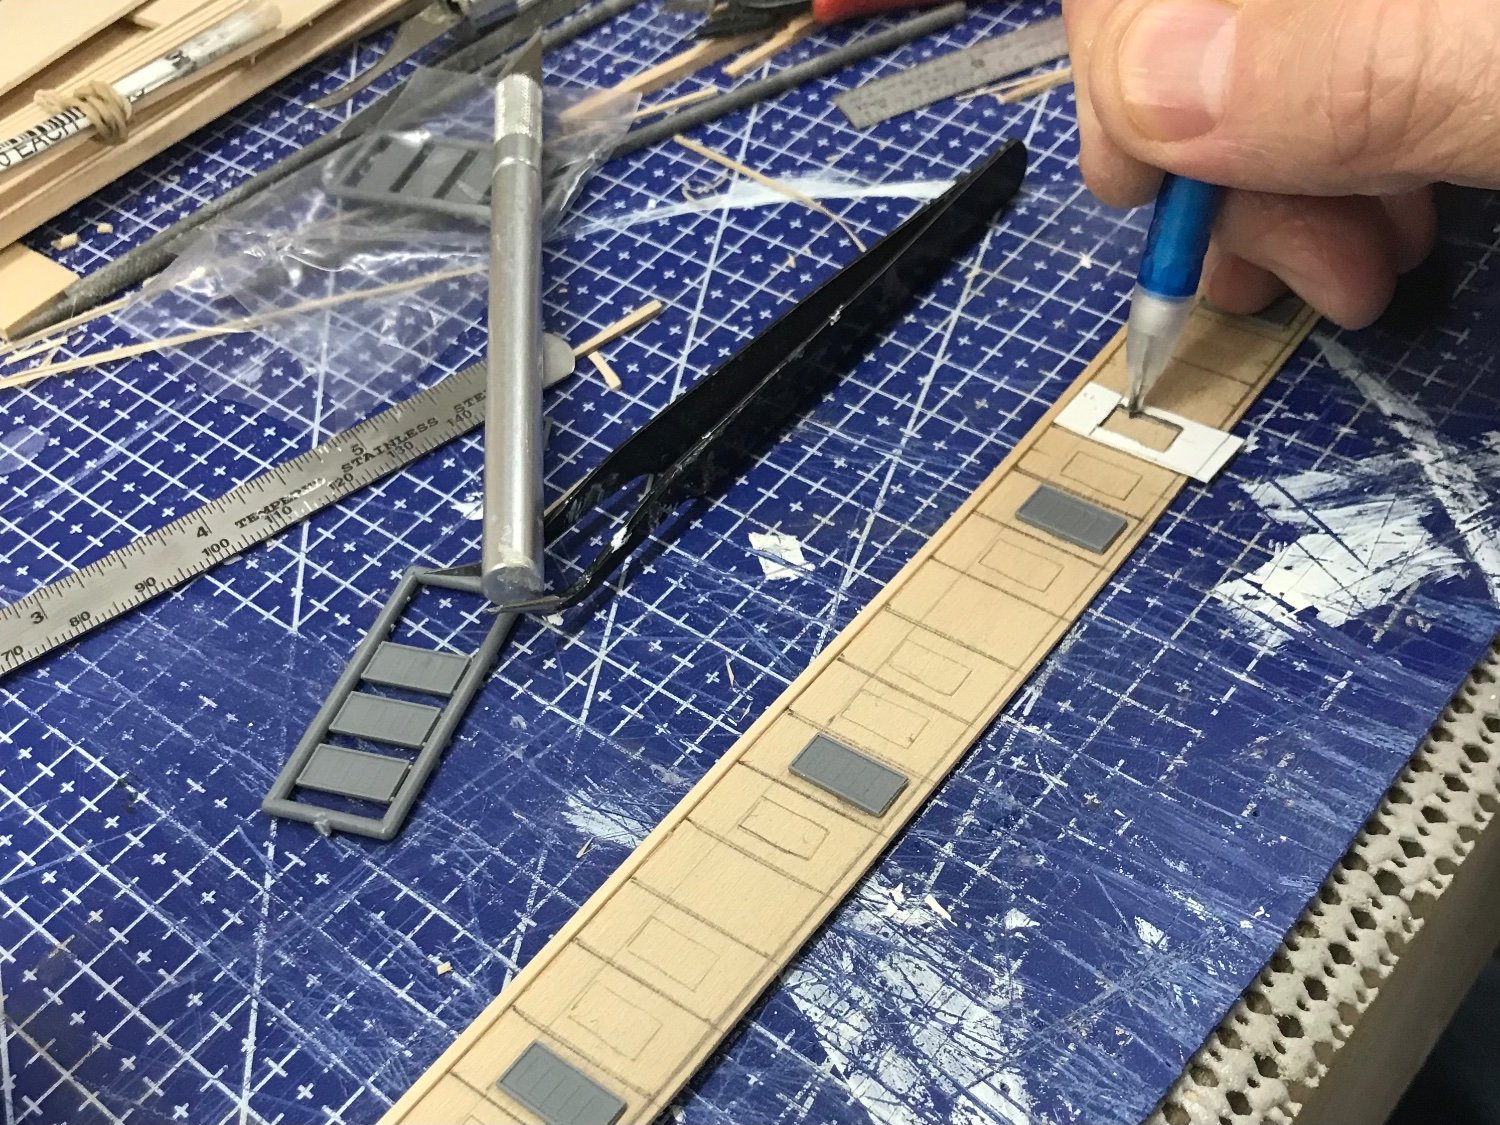
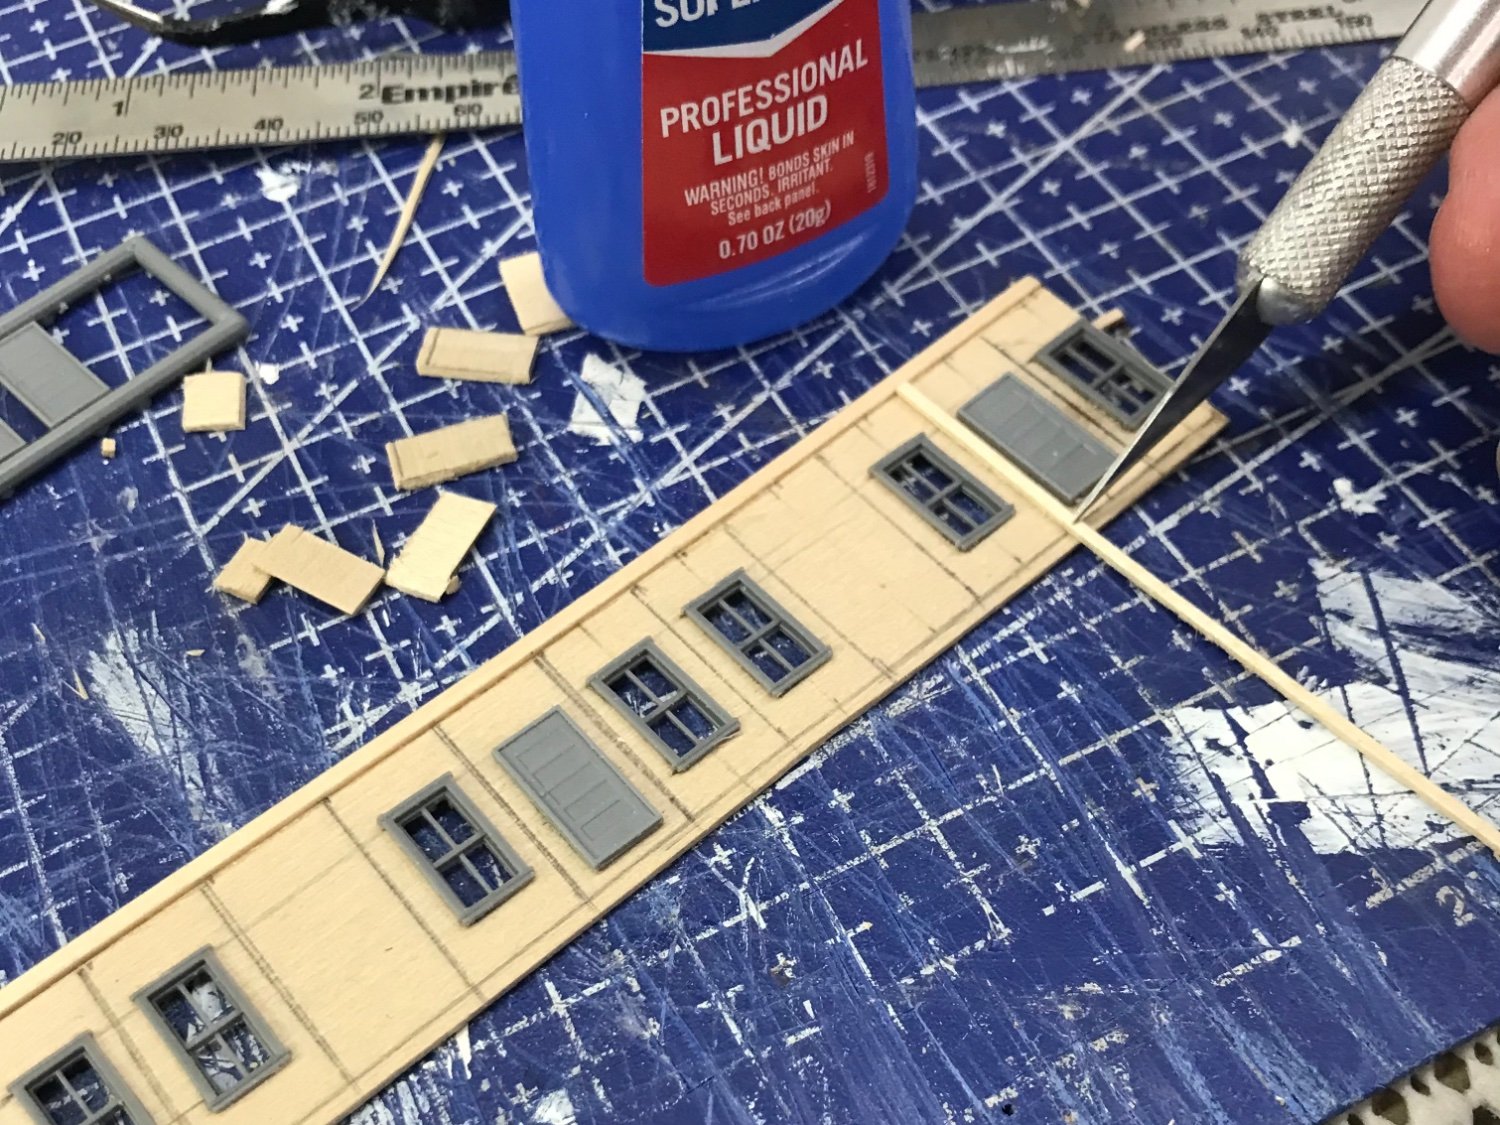
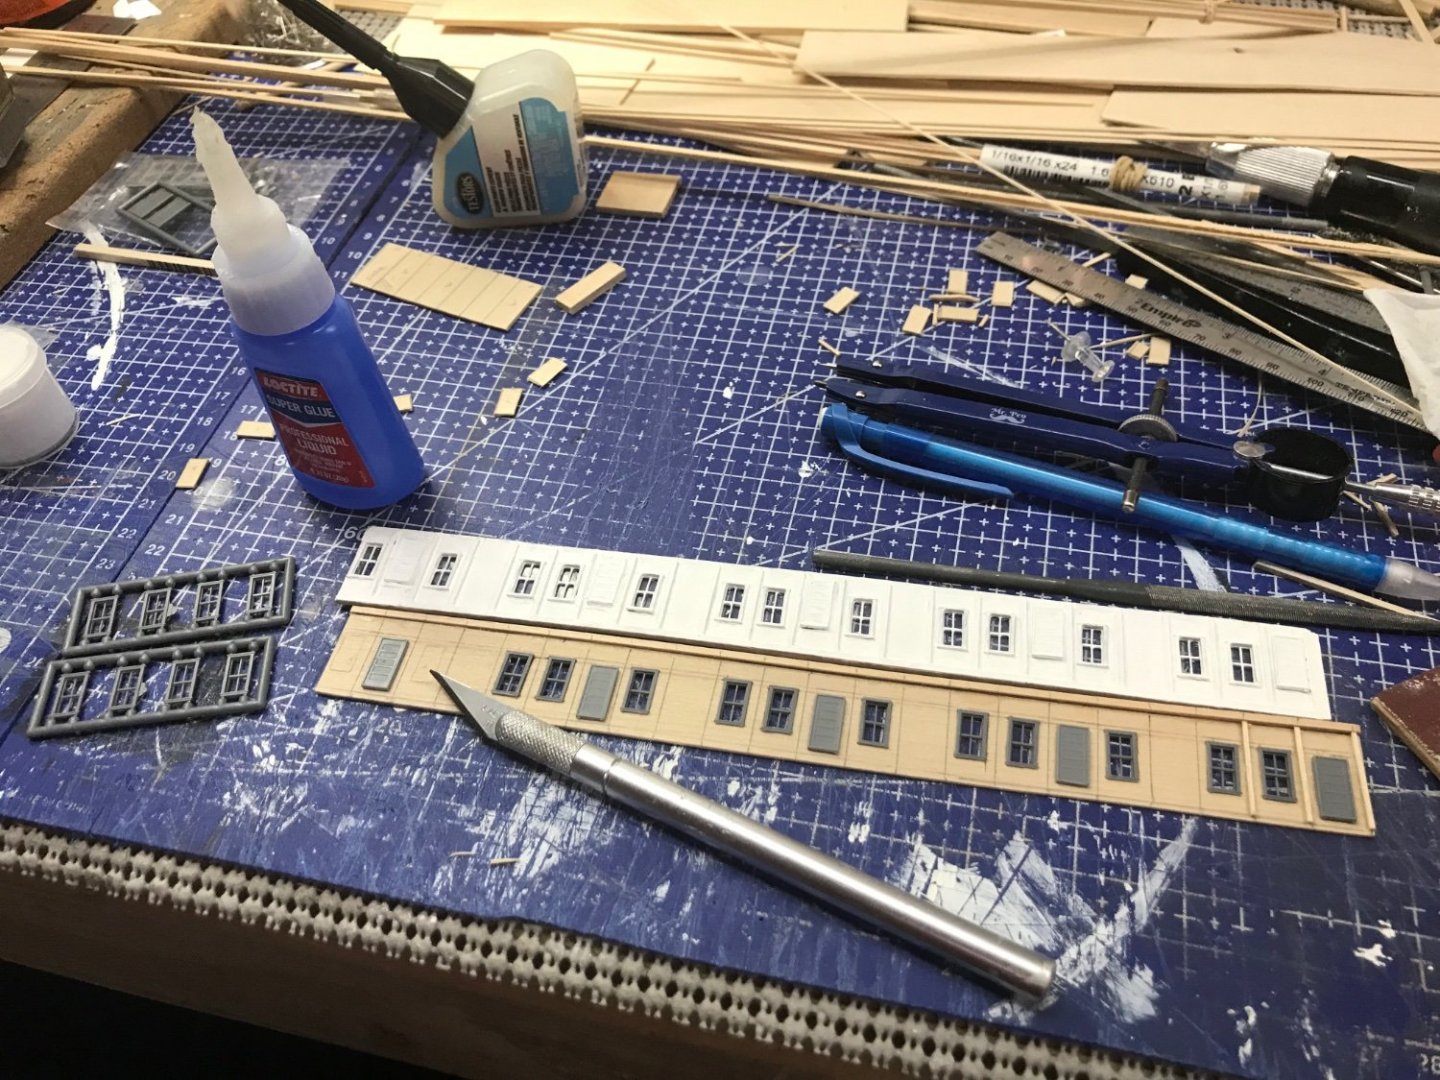
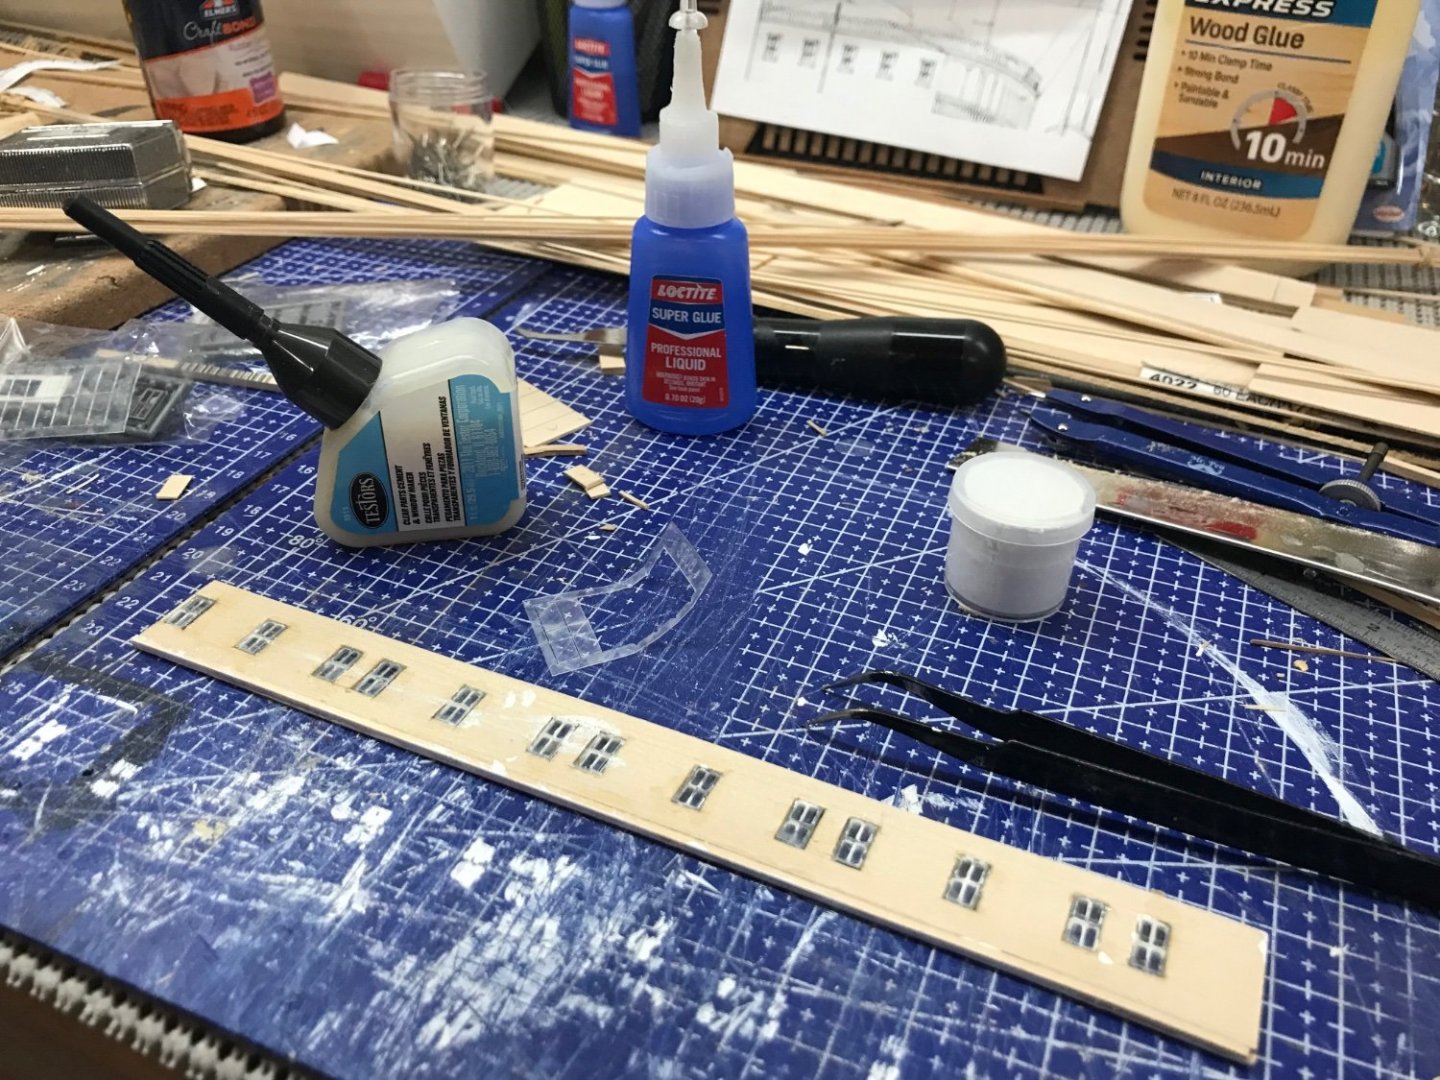
More walls ready for more windows… Saloon Doors and my first “curved” walls. Onwards to cutting in more windows… Cheers 🍻

- 238 replies
-
- 6
-
-
- Robert E Lee
- steamboat
- (and 3 more)
-
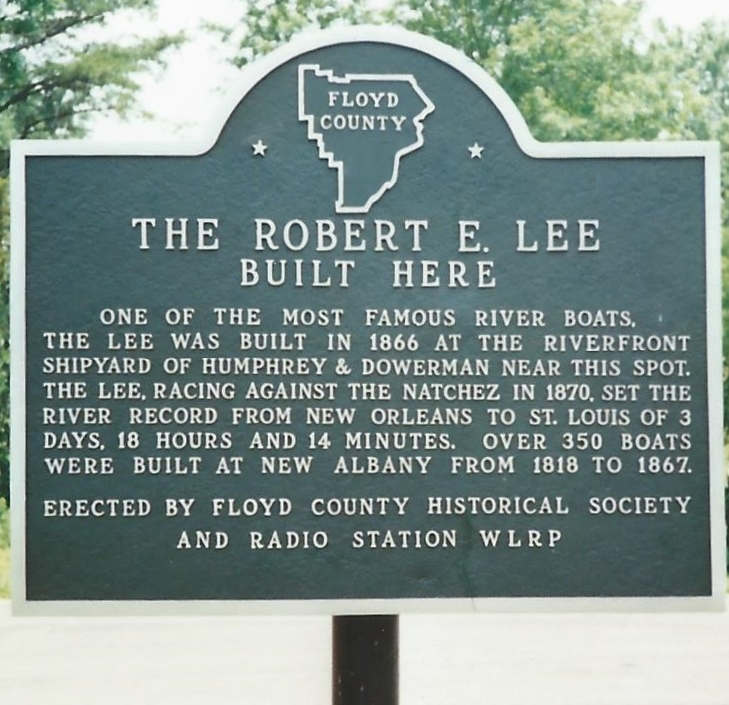
Some Interesting history of the shipyard that built the Robert E Lee. https://fchsin.org/markers/RobertELee/RobertELee.html Enjoy 😉
- 238 replies
-
- 2
-
-
- Robert E Lee
- steamboat
- (and 3 more)
-
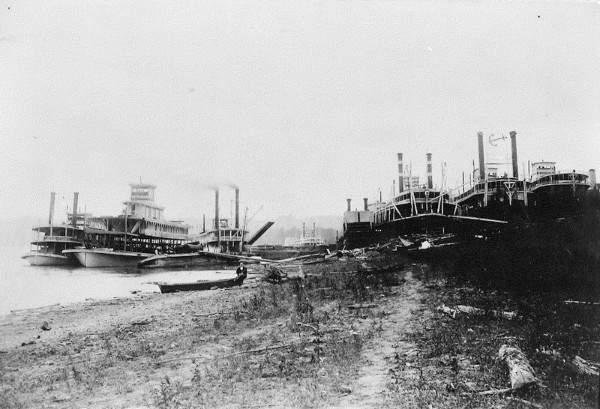
More Windows… … and more framing for more windows. 🤪 Repetition does make for improved carpentry skills. Vintage photo (courtesy Floyd County Library) of the Hey Day of Shipbuilding in New Albany, IN. On the Ohio River bank with 1000s of carpenters and many tons of lumber. Cheers 🍻
- 238 replies
-
- 5
-
-
- Robert E Lee
- steamboat
- (and 3 more)