Egilman
-
Posts
4,384 -
Joined
-
Last visited
Content Type
Profiles
Forums
Gallery
Events
Everything posted by Egilman
-

Porsche 934 by kpnuts - FINISHED - Tamiya - 1/12 - PLASTIC
Egilman replied to kpnuts's topic in Non-ship/categorised builds
Nice Work! The heat does wonders for fixing clear finish issues doesn't it.... that's a little trick I learned several years ago.... but you have to be careful you don't get it too hot or the re-sprayed finish dries too fast..... Beautiful job! Somehow I just knew you had an answer for the finish that refused to cooperate..... -
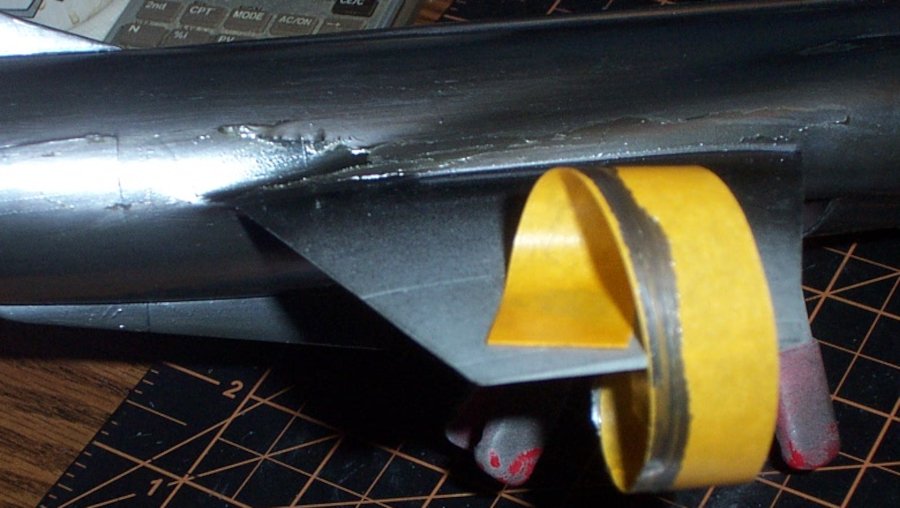
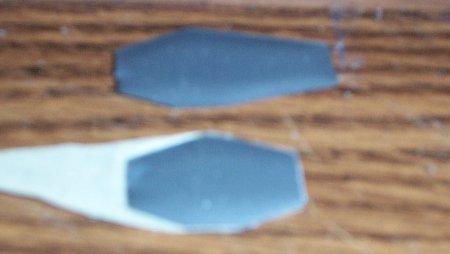
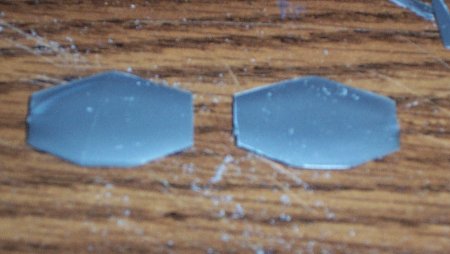
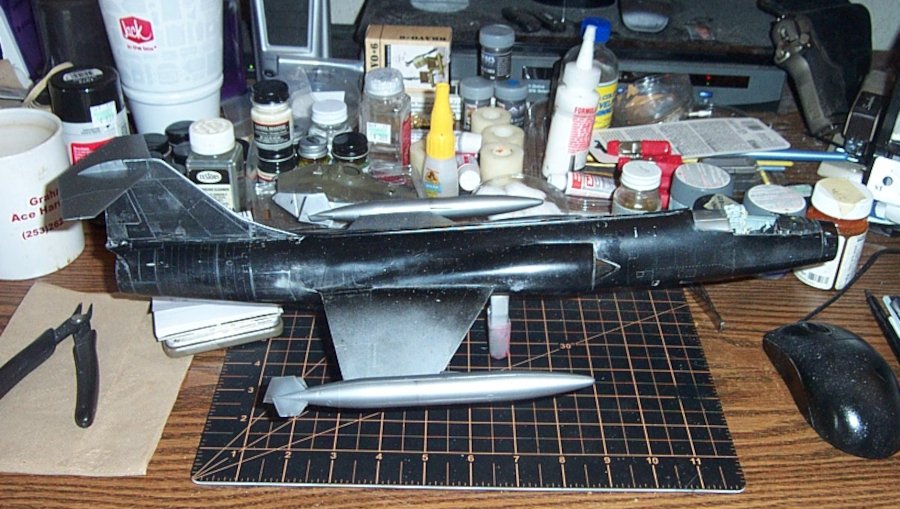
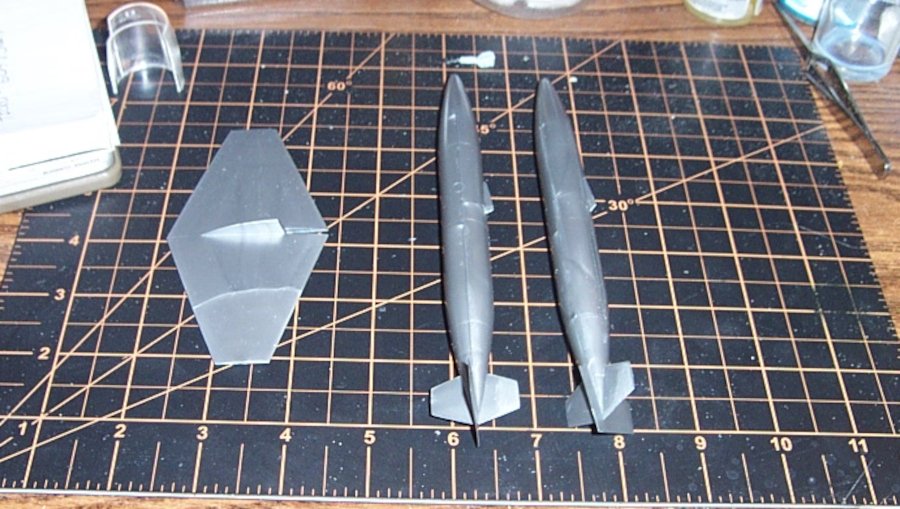
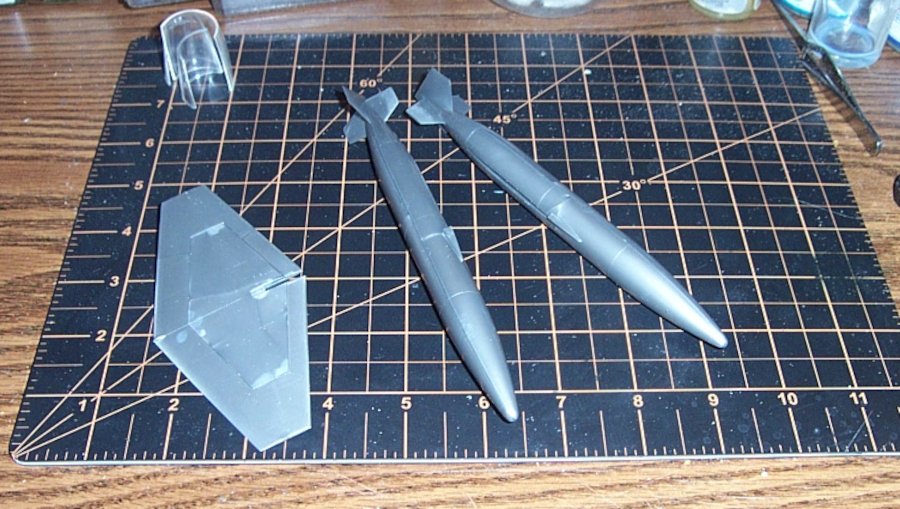
Well a small update..... Figured I would get the wing tanks and live tail ready for finishing .... they are smaller parts and I can practice/perfect waxing them a lot easier than the entire fuselage.... First step is trimming the fins for the tanks..... Now this is a Japanese kit, so I am assuming that their pattern for the model is an F-104J which is a bare F-104C with a few upgrades. (license built by Mitsubishi with the first few modified by Lockheed) this is the reason you have some discreptancies from a real USAF F-104C. little things like the Euro spoked wheels, the longer inner fin in the wing tanks little things like that.... To make a USAF "C" model zipper one needs to trim the horizontal tank fins so they are equal from side to side cause the USAF never mounted the foreign tanks.... Kit fins... Then the modified fins.... Sorry for the fuzzy pic but you get the idea. the cut fins are not sanded smooth yet.... I also went ahead and glued the two stabilizer parts together..... Then gave a test fit to the fuselage... (just to make sure) Like I said earlier, I'm probably going to work up the tanks and stabilizer first as they are lots smaller parts and perfect the technique of metalizing it with RnB so when I do go and do it I will hopefully have enough experience so I don't botch it up this time.... Onwards... EG
-
Hi Mark, and thank you both.... Mark I saved you a piece More experienced? That's what she said after the fact..... Thank you my friends... It was a good day.... And the post office is going to grace me with a birthday present tomorrow, my supplies are supposed to arrive.... Yay! Onward!!! EG

-
Building a Medieval fortress - by Waitoa - Del Prado 1/87
Egilman replied to Waitoa's topic in Non-ship/categorised builds
Every occupation has a bigger hammer, some of them have even bigger hammers...... -
Porsche 934 by kpnuts - FINISHED - Tamiya - 1/12 - PLASTIC
Egilman replied to kpnuts's topic in Non-ship/categorised builds
Looks gorgeous... psst: how did you fix the body? or did I miss something.... Nice recovery btw.... -
Yeah I'm backwards half the time as it is myself so it's all good..... Thanks Carl......
-
I was wondering what that date was all over my records... I guess that is it... Older? nah, you just have passed a few more mile markers than I Lou.... On a side note, I considered suing 7-11 for using my information as the name for their business till I found out that they have passed more markers than both of us..... {chuckle} Thanks my friend..
-
Thank you Ken....
-
Thank you all!! I had forgotten.... One more milage marker past..... they seem to be coming faster and faster.... Thank you very much....
-
Cavalry charge? I'm in.... (as long as you don't break out the cannons) {chuckle}
-
Hey brother, I think I've punished my self enough at 1/32nd scale.... {chuckle} 1/48th? although I've built many of them, I don't think I would put this much effort into them..... They can be built into beautiful models though, don't ever believe anyone saying they can't...
-
Very nice, the replicas are selling for crazy money now.... Back in the 80's I had an original unmodified Walker, Paid a pretty price for it... was paid an even prettier price when I sold it... It definitely was a "Horse Pistol" I sold off my collection many moons ago also... I would love to even be able to hold a Colt Navy today..... The only collectors piece I own today is a '40 Romanian Mauser (russian scrubbed of course) all matching serials except for the bolt.... The research says it was on the right flank (German left flank of the relief attack that failed) at Stalingrad... Picked up and rearsenaled by the Russians after the war. Not worth much, but it still shoots straight...... Anyway nice collection of models one day I may have the same thing if the Admiral allows it...
-
Beautiful models all of them, wonderful displays as well sir... One question, (off topic) is that a Walker Colt in the middle of that hand gun display? Beautiful example if it is and nice display as well... One heck of a man cave brother...
-
Nice work dennis. That is a bit of a size difference, 1/28th to 1/32nd, it's a visible difference.... I noticed that the upper wing is cut different also, is there a reason for that in the aircraft history or is it just manufacturers license?
-
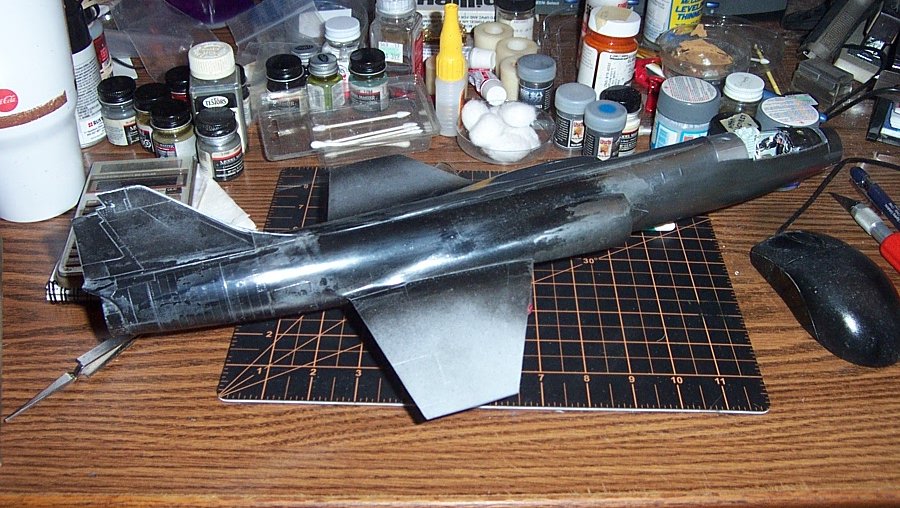
I was going to find it one way or the other.... In the end, it was finding the actual build report that did it. I was very happy that he posted what he used to do it... This is the current state of the build.... Waiting on my care package for Microscale to arrive. I have the silver Rub-n-Buff and the pewter arrives today for the darker panels on the tail..... I also have bought a few more decals for her, mostly the myriad stenciling that is all over the bird... that from viewing Pauls examples are readily distinguishable on the silver, you can't read them of course but they are seeable... They add a lot to the overall look... So will be posting more shortly, after the supplies arrive and as soon as I can get the canopy masked and reinstalled. A light coat of primer and an application of polishing pads to smooth it all out and I should be on the road again....

-
Porsche 934 by kpnuts - FINISHED - Tamiya - 1/12 - PLASTIC
Egilman replied to kpnuts's topic in Non-ship/categorised builds
+1 Very sound advise.... -
Actually, I don't want to go further into de-railing Grant's wonderful build thread..... I have discussed it in my Blue Jay Four thread and what it is and the reason why... it's a carnuba wax applied just like on a car... and I'll leave it at that my friend... will pick it up in the other thread if you need more explanation...
-
Impressive... Very impressive....
-
Porsche 934 by kpnuts - FINISHED - Tamiya - 1/12 - PLASTIC
Egilman replied to kpnuts's topic in Non-ship/categorised builds
Well, something changed somewhere between the applications...... I've had that happen with rattlecan finishes, one application is beautiful high gloss, a few days later another application from the same can over the same paint goes flat.... It was a testors product and even they acknowledged the problem..... suggested using a new can, which in my case resolved the problem.... I tried the recalcitrant can on another project that was going to be flat eventually and again it came out flat.... well at least it confirmed what the Testors tech told me..... If you airbrushed the finish from the same bottle, I don't know what to tell you and haven't a clue what the problem might have been.... It's frustrating when that happens... -
Nice, it's gonna be beautiful brother when your done....
-
Porsche 934 by kpnuts - FINISHED - Tamiya - 1/12 - PLASTIC
Egilman replied to kpnuts's topic in Non-ship/categorised builds
Probably a bad batch of clear coat.... Can you polish it out and retry from a new bottle? -
Good advice mike, I second the notion.... Me, I'm going to start out at 6k when I restart the zipper... the gloss black finish is kinda rough right now and I'll have to completely correct that before I start waxing it out... This has turned into one heck of a project....
-
{chuckle} I keep forgetting that some haven't got this far yet..... Isopropyl Alcohol, or more commonly Rubbing Alcohol....
-
Since you asked it won't be derailing your wonderful thread.... I did the fuselage BMF finish first, which meant I had to mask off the wings for painting white.... what you saw was the first attempt to reposition the tape..... It wasn't even pressed down hard along the seam yet..... It just came right off. Right down to the underlying black paint..... Since the BMF finish didn't work, and I didn't want to bin it, I had to find a way to get the finish off without destroying the plastic... (or the underlying details) My first choice is IPA... see if that affects the finish cause I know it doesn't affect plastic, of course I was told the liquitex varnish is indestructible... so my go to is IPA.... I was quite surprised when I saw that within seconds of wetting with IPA and light scrubbing with a toothbrush the Liquitex and BMF finish (two layers of each) came off all at once just started peeling right off... Liquitex if NOT indestructible..... I do not know what else will affect it but if IPA does, I'm sure there are other stronger cleaners and solvents that will as well..... Oh yeah, Super Clean has no problem stripping it as well... Liquitex varnish is not a good final seal coating/covering.....
-
Yeah over in my F-104 build thread... Kabuki tape peels it.... IPA takes it off... The entire fuselage was covered with it... IPA and a toothbrush. Liquitex High Gloss Varnish was described to me as an indestructible art work protectant... so much for claims I said...