


Egilman
-
Posts
4,384 -
Joined
-
Last visited
Content Type
Profiles
Forums
Gallery
Events
Everything posted by Egilman
-
 Between the hours of 1:00pm and 6:00pm Pacific Standard Time, the site forum is inaccessible. It times out when trying to load... I can get to the NRG website and any where else I usually travel, just NOT the forum. I tried re-booting, I've tried Firefox and Chrome It doesn't matter... I contacted the ISP to see if they were doing anything, (I'm paying for unlimited bandwidth) And they say no, they aren't doing anything that would take sites offline or limit access, it is a site issue.... So I'm asking, is there something going on in the background you guys are reconfiguring that has the potential to cause the site to go offline during those hours? Three days in a row at exactly the same times... EG
 -
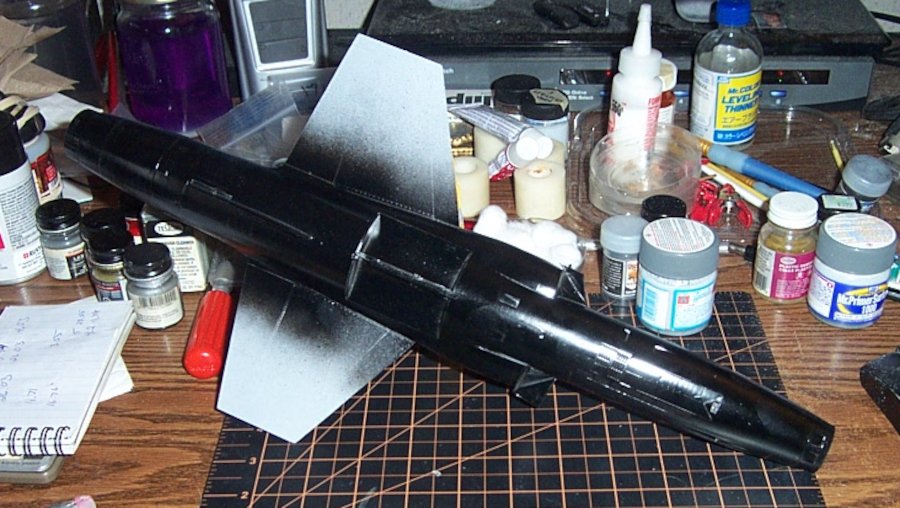
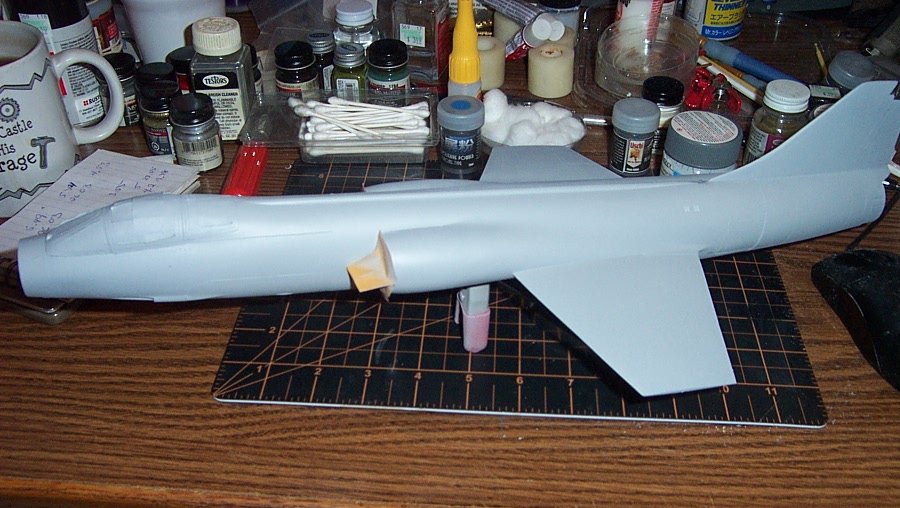
Thank you brother, my toes are crossed also... We are half way there, the upper coat went down smooth, I just flipped it for the underside coat we will know in a few hours... Thankfully the only major spraying left is the wings, (which I think I'm going to do in Tamiya white primer then do a wet coat of future to gloss it up) I'm not going to risk this, at this point, to a rattle can of white gloss paint. And the main landing gear bay which needs masking to be sprayed aluminium.... Everything else is individually finishing parts which are all BMF, (wing tanks) or painted raw aluminium, (landing gear) before they go on. Easy Peasy compared to this... EG
-
A new definition of being out with your girl and getting hosed....
-
On huge wide decals is where you need the paper to be the carrier. You lift the decal out of the water on the paper after it has separated, that is where the slide it off the paper comes from.... (the thin white milky decal glue which dried invisible becomes the lubricant) On older decals, spray it with decal fixative and let that dry before you put it in the water. The main issue with disintegrating decals is not allowing it to completely separate (glue to liquify) from the backing paper before trying to move it off the paper more often than not......... When I do the decals on the side of the Bandit trailer, (4.5" x 21" two part decals on both sides) I will illustrate the way I do it.... EG
-
Window maker was engineered for just such kits..... Can you imaging trying to do all those in plastic? Nice job my friend...
-
Tiger 1 by marktiedens - FINISHED - Dragon - 1/35 scale
Egilman replied to marktiedens's topic in Non-ship/categorised builds
Hey brother, it looks great, call me the eternal optimist, but I've always like the look of going into battle, not the look of afterwards...... You captured that beautifully..... Nice job.... -
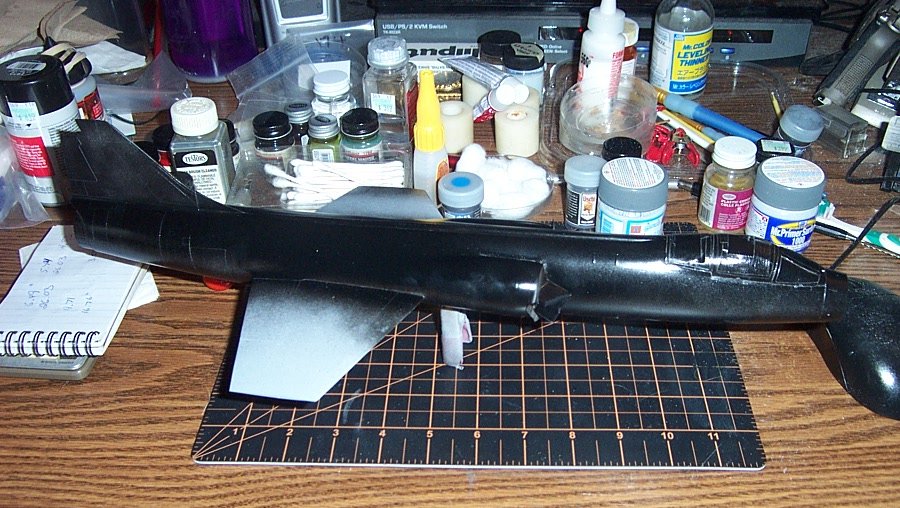
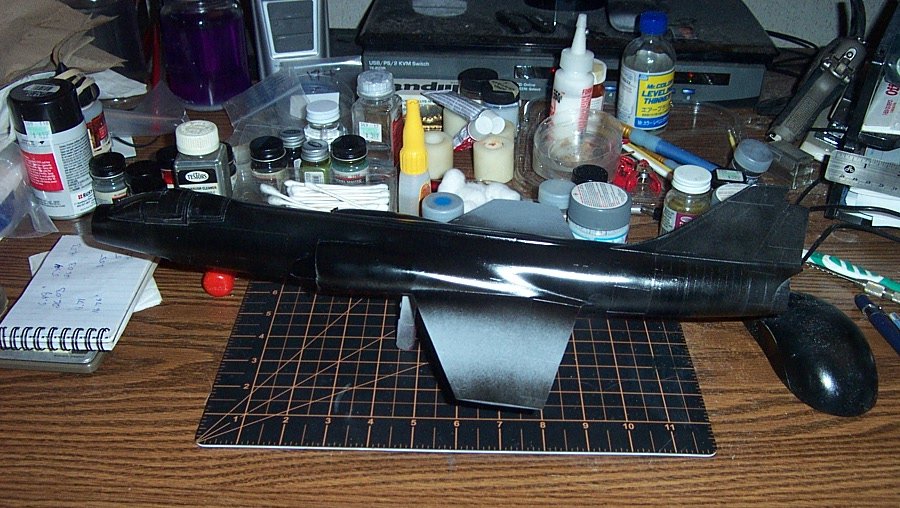
This is my first time also, and it's the first time for these powders as well, something completely new. I'm expecting some blemishes, too much primer over fill to be perfect. She is dressed in black now and just put the first clear high gloss sealer coat on the top... My main fear is it orange peels rather than lays flat... So at this point it is what it is... it either makes it or it doesn't...... Anyway, here are the shots, a long cool woman in a black dress..... The gloss coat takes a couple of hours to cure before I can flip her over and do the bottom, I won't know how it turned out till tonight.... EG
- 518 replies
-
- 10
-

-
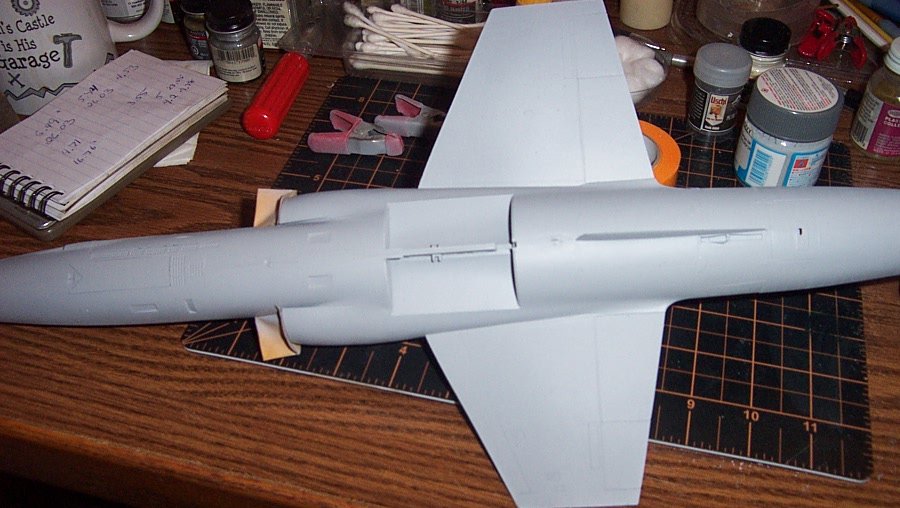
Thanks OC, I hope so, but the only way to really know is to put a shiny coat on it, if they aren't smooth they will appear as ripples in the surface....... Got my fingers crossed... (off to paint) EG
-
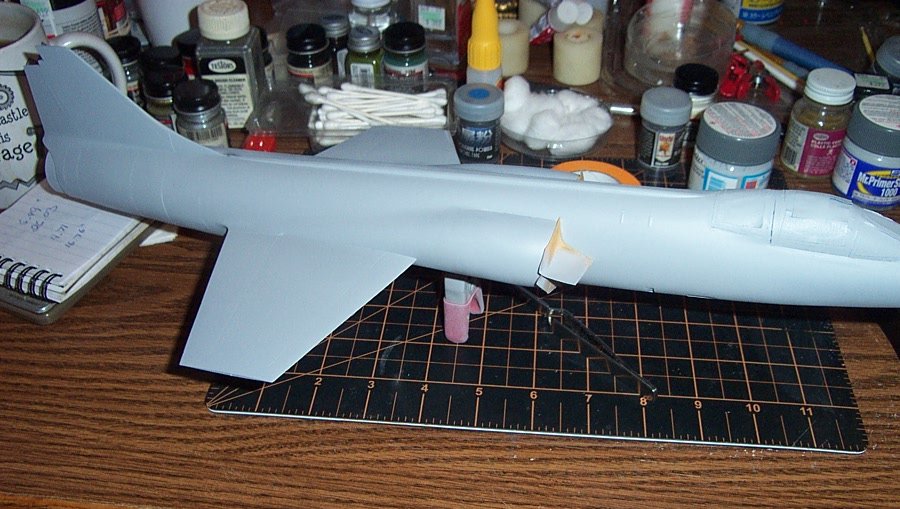
Last update before first paint... Starboard side looks pretty smooth... Port side as well... Now to mask off the main landing gear bay........ ......and I'll be turning it shiny black..... We are going to see how smooth I got it....... EG
-
I appreciate that OC, Thank you...
-
I don't know about exploits my friend... thank you, it's my first BMF and I'm trying to get it right... I think it will look good... I hope...
-
Tiger 1 by marktiedens - FINISHED - Dragon - 1/35 scale
Egilman replied to marktiedens's topic in Non-ship/categorised builds
Nope, it's a unit marker.... 502nd Panzer Battalion....
- 125 replies
-
- 10
-
-
No sweat Kurt, Not the first time I've answered a question that wasn't being asked.... {chuckle} I guess I misunderstood also...
-
Those wierd shaped pieces attached to the spindle on the opposite side of the brake backing plate are called steering knuckles.....
-
I believe Kurt that back in medieval times when the builders had a situation where a stone couldn't be cut to fit, they made up their own... The ancient egyptians were familiar with concrete and sun dried clay bricks.... I don't see why someone can't make up their own sculpy bricks and build themselves a brick building... We make stone faces out of sculpy for model railroad scenery, outside of the expense why not make bricks out of sculpy of even fired clay for that matter...
-
I empathise on the decal situation... I used to suffer from the same problem... A suggestion, if I may? When you drop the decal into the water, wait for it to completely separate from the backing before you take it out, it will separate completely eventually. The white glue that is between the paper and decal isn't needed for adhesion to the model. Yes, that is the important point, the white glue isn't needed for adhesion to the model.... My technique is to allow the decal to separate, the small ones get picked up with a soft brush and placed on the model with a drop of water. I then take a napkin and using a corner draw off most of the water and use the brush to push the decal into position. Then, I take another dry corner and draw off the rest of the water.... Then you lightly press the decal down onto the surface with a dry part of the napkin looking for bubbles which of course using the point of a pin you pop and drain... the idea is to get it to lay as flat as you can without putting a lot of pressure on it.... Then pick up a drop of decal set and drop it onto the decal, and leave it there, let it dry all by itself..... The decal set is what sucks the film down onto the model as it dries... Larger decals is exactly the same way. My experience doing it the way the kits instructions say usually wound up with at least a few destroyed decals before your finished..... Just a suggestion.... EG
-
WE are quick about yanking that jack handle aren't we.... {chuckle} Old habits are hard to die I guess...... My apologies also my friend...
-
All good writers, but there are even better writers... Tolstoy, Remarque, Hemingway, Hershey, Sebald, Heller, Trumbo, Norman Mailer, Graham Greene, Khaled Hosseini..... There are more, less well known writers like WEB Griffin......... Then there are the well written personal histories and memoirs, Eisenhower, Guderian, Kennedy, etc, etc.... Too many to read them all unfortunately, but it helps to understand the society that brought on the wars and how they dealt with it...... and can highlight the errors and repetitions of history that are coming cause others aren't readers or weren't taught the importance of knowing where we were before deciding where we are going.......
-
An excellent recovery brother..... Look at it this way, what your learning about yourself in the hobby is more valuable than any one individual model or technique... Keep going my friend, it only gets better.....
-
The Connie can handle it...
-
I don't know, I started reading books when I was very very young and have been reading ever since..... the first book I remember ws Incredible Victory by Walter Lord... (It's how Winston churchill described the outcome of the Battle of Midway, he used it for the title) and "Sink the Bismarck", then there was "The Caine Mutiny" by Wouk, and I've been hooked ever since. I extended my study of facts by reading well researched historical novels like "From Here to Eternity" and "Once an Eagle" I've found that the historical novels although a fiction woven through real life events, give great context to the facts, explaining how all the facts interact in a human perspective, so when I go on to read Toland I can understand what he's writing about... The facts just stick that way, it's easier to remember the story than the cold hard facts, the story becomes a kind of memory index to the facts if you do it long enough...... Anyway, that's my story and I'm sticking to it... EG
-
I'm here Jack... I'll have you know that I seldom come in from shore leave, so If I start bumping into things or asking dumb questions it's cause I'm seldom at work in the shipyard...... I"ll try not to make a fool of myself.. I promise.... {chuckle} Sorry for derailing the other. (it wasn't intentional) EG Where's the popcorn....
-
That my friend would be a WAAF, stands for Women's Auxiliary Air Force.... Your mossie dates this to '43-'44 correct? which means by the uniform she is wearing she is either a warrant officer or a flight officer. The skirt sets it off as an officer uniform. If she was an enlisted rank like a flight sergeant she would be wearing dungarees at the field... So at the very least she is the driver for the officer, a section officer or assistant sec.off...... With the clipboard I would say assistant section officer, (rank equivalent to an acting pilot officer in the RAF) and she was driving the jeep......
-
kit review USS Missouri (or any Iowa class) 1/350 by Joy Yard
Egilman replied to Tigerdvr's topic in REVIEWS: Model kits
Personally, I would like to see a build log, but that being said with the scale of the individual parts, pics might be problematic unless you have a high quality setup...... I"m looking at what has been presented and it confirms my first thought when first seeing it... An injection molded monster.... and I thought the Tamiya Missouri was a lot of parts.... For complexity, This beats that hands down.... -
Yep she was a Sloop of War, never a Frigate. She didn't have the bones to be a frigate and when they rebuilt her they almost sealed her fate... within 30 years she was hogging so bad from the weight they put on her that they needed pumps 24/7 just to keep her afloat. Eventually, the muck built up around her hull where they didn't need to pump her anymore. but she started rotting.... An archeological survey told them to fix her now or scrap her, their last chance. This time, they called in the professionals Wood ship builders with a sense of history and the historians got to work digging thru the archives based upon others research and uncovered the only plausible history after eliminating all the other possibilities. Then the smoking gun document was found, an invoice for timbers from the original Constellation, (whose partially burned/buried hulk was still laying across the bay being broken at that point for salvage, and someone got the bright idea of using what was left of the old ships useable timbers in the new ship... That is how she got her name and the only connection to the old ship.... At least that is what I heard about it.... Surprisingly, she hasn't had one single problem remaining afloat since they rebuilt her into a proper sloop of war.... Seals the deal for me....
