HOLIDAY DONATION DRIVE - SUPPORT MSW - DO YOUR PART TO KEEP THIS GREAT FORUM GOING! (Only 20 donations so far - C'mon guys!)
×


Jeff5115
-
Posts
69 -
Joined
-
Last visited
Content Type
Profiles
Forums
Gallery
Events
Everything posted by Jeff5115
-
I purchased the Amati Endeavor J Class 1:80 scale on E-Bay. I wanted to build this model and since it was discontinued I took a chance and bought it. All the parts are there except the blocks. Could someone please tell me what size blocks I need to purchase? I think all I need at single blocks? Any help would be greatly appreciated.
-
My next build will be the King of the Mississippi. I saw the kit years ago and loved it. With AL out of business I was very happy to find one.
- 38 replies
-
- 3
-

-
- vanguard models
- fifie
- (and 2 more)
-
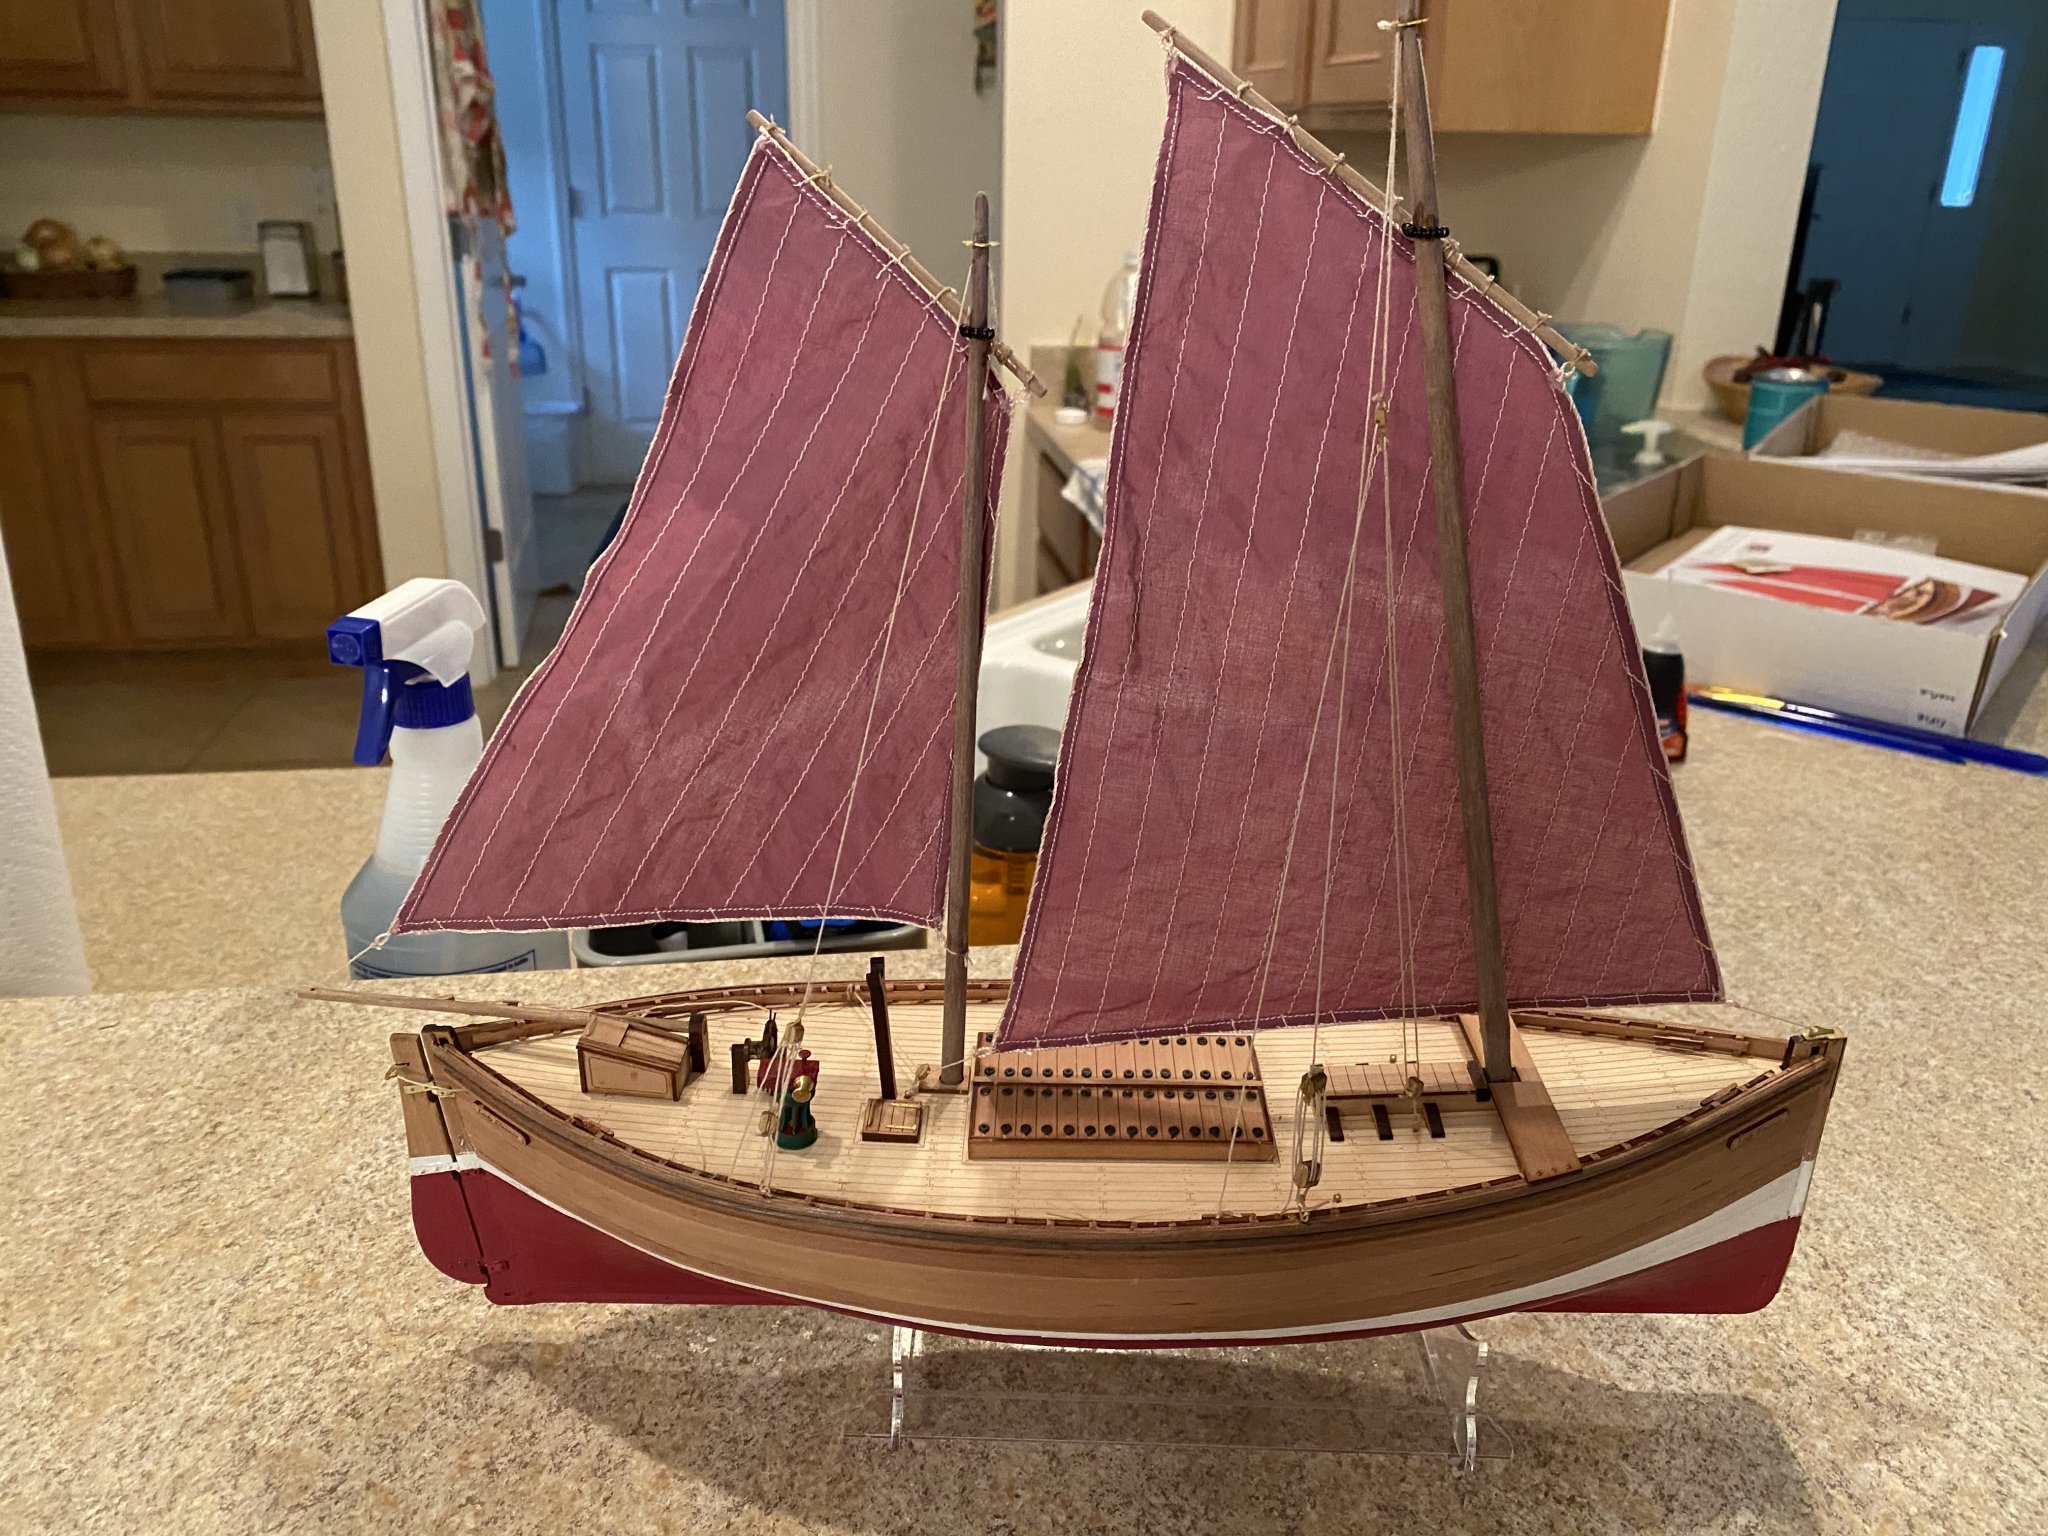
Hull assembly is now complete. Other than some sanding and trimming some pieces all went together fairly easily. Now on to the masts, rigging and sails. This is the part I am really nervous about. Especially since I will be working from plans instead of instructions. Time to take a deep breath and slow down.


- 38 replies
-
- 15
-
-
- vanguard models
- fifie
- (and 2 more)
-
You may want to include a price range
-
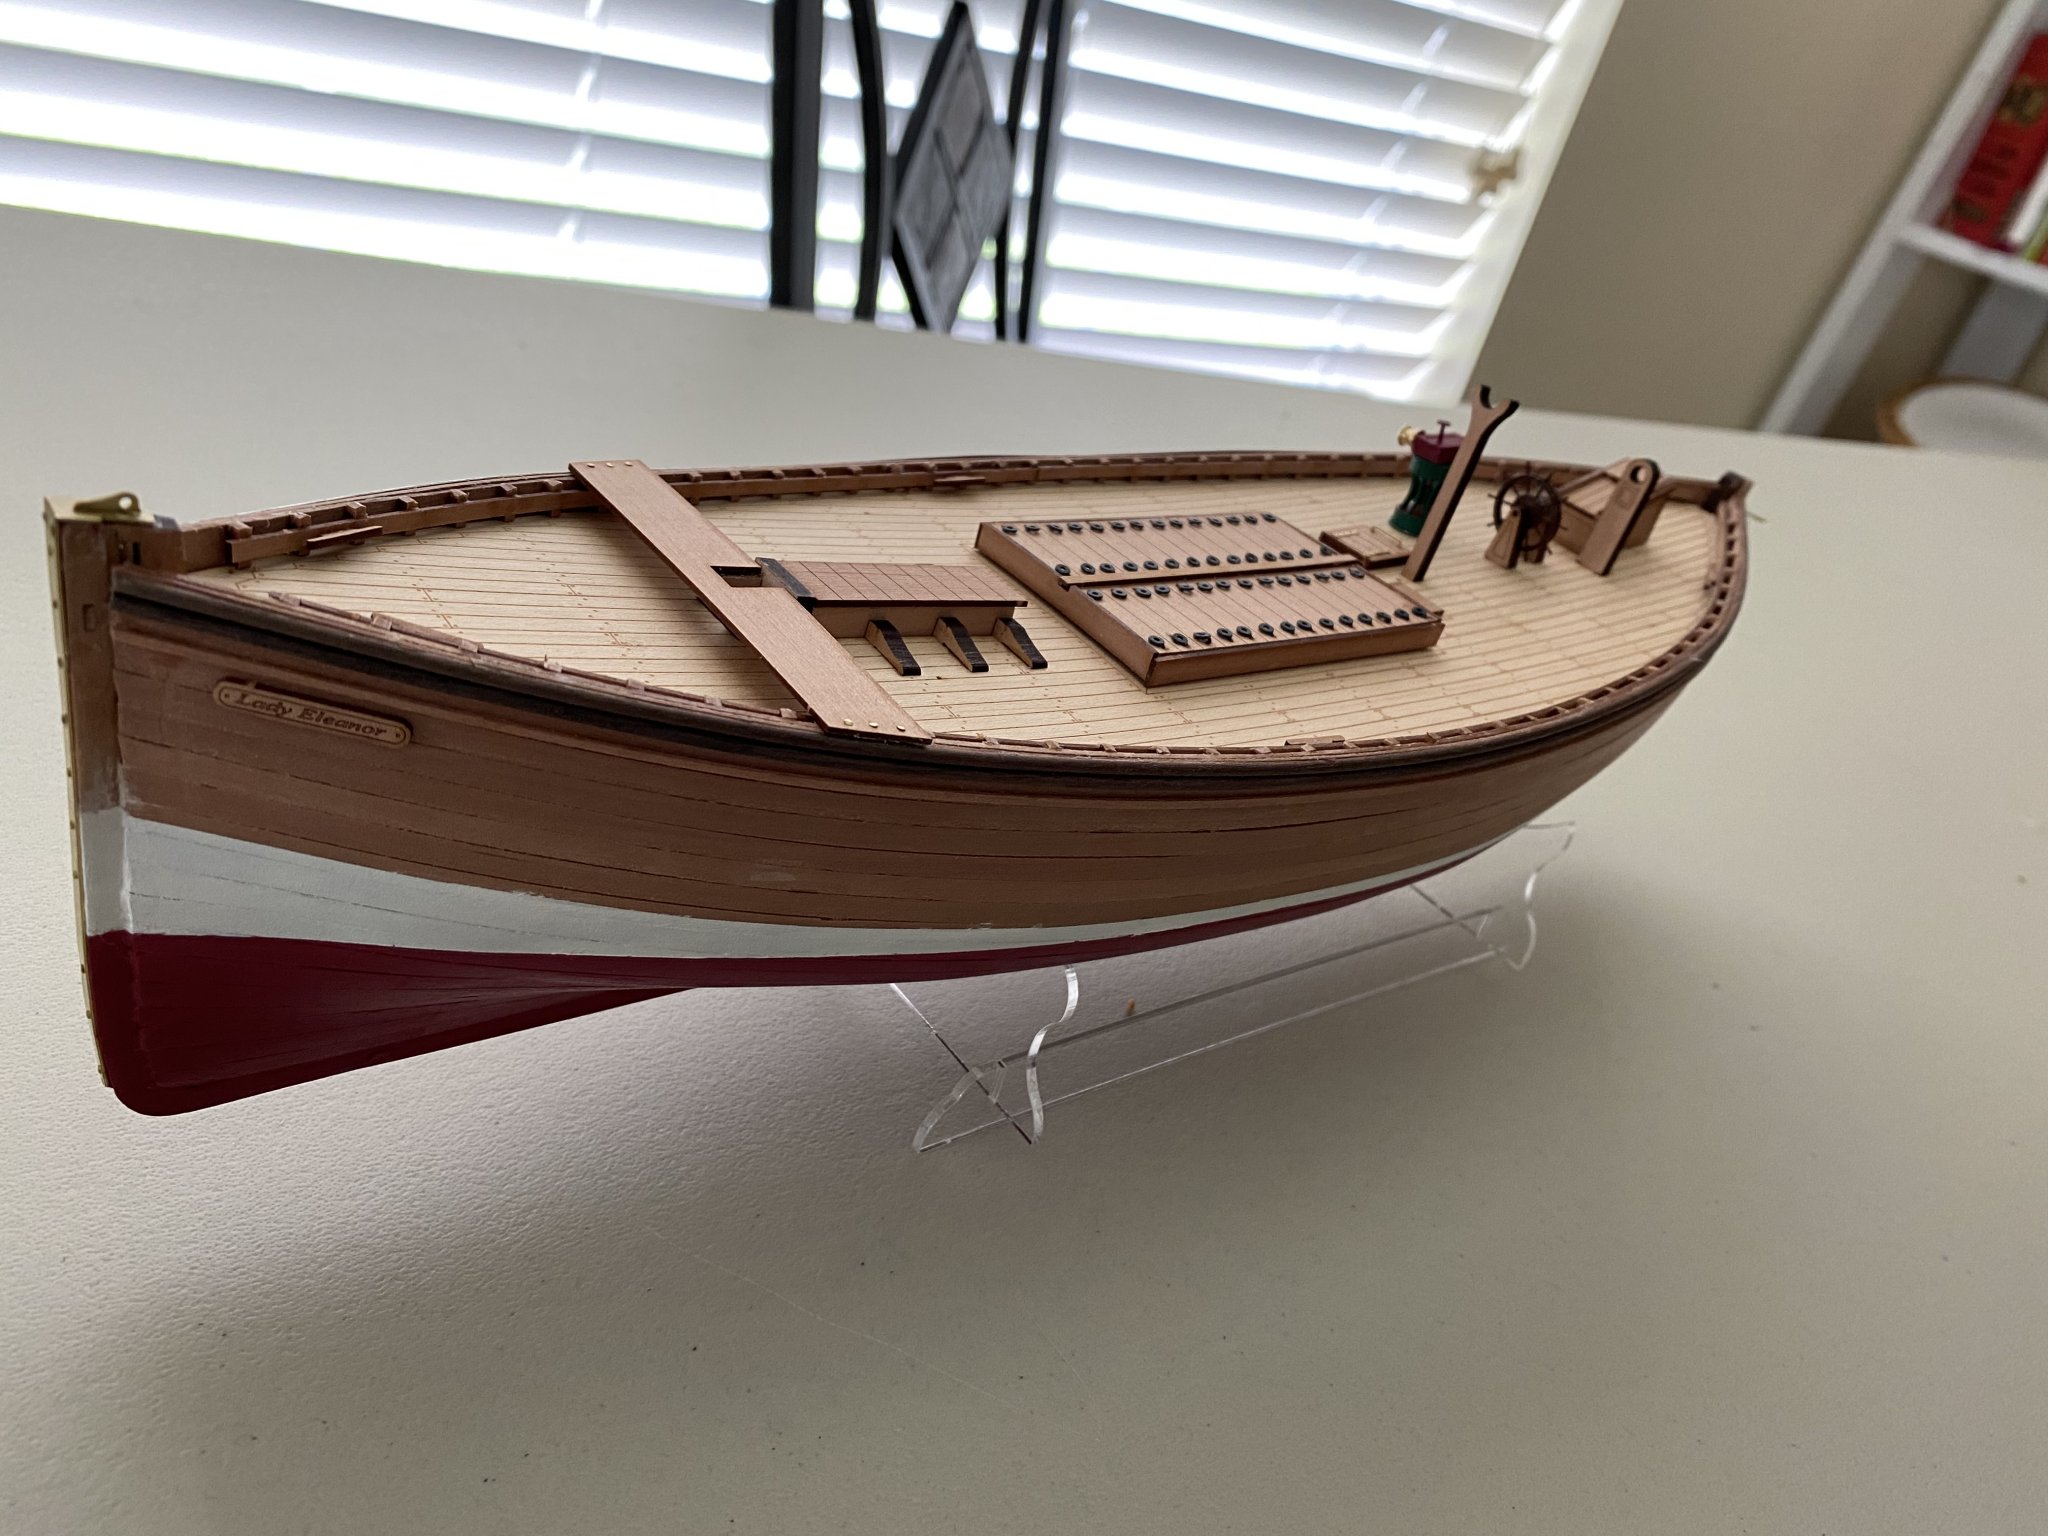
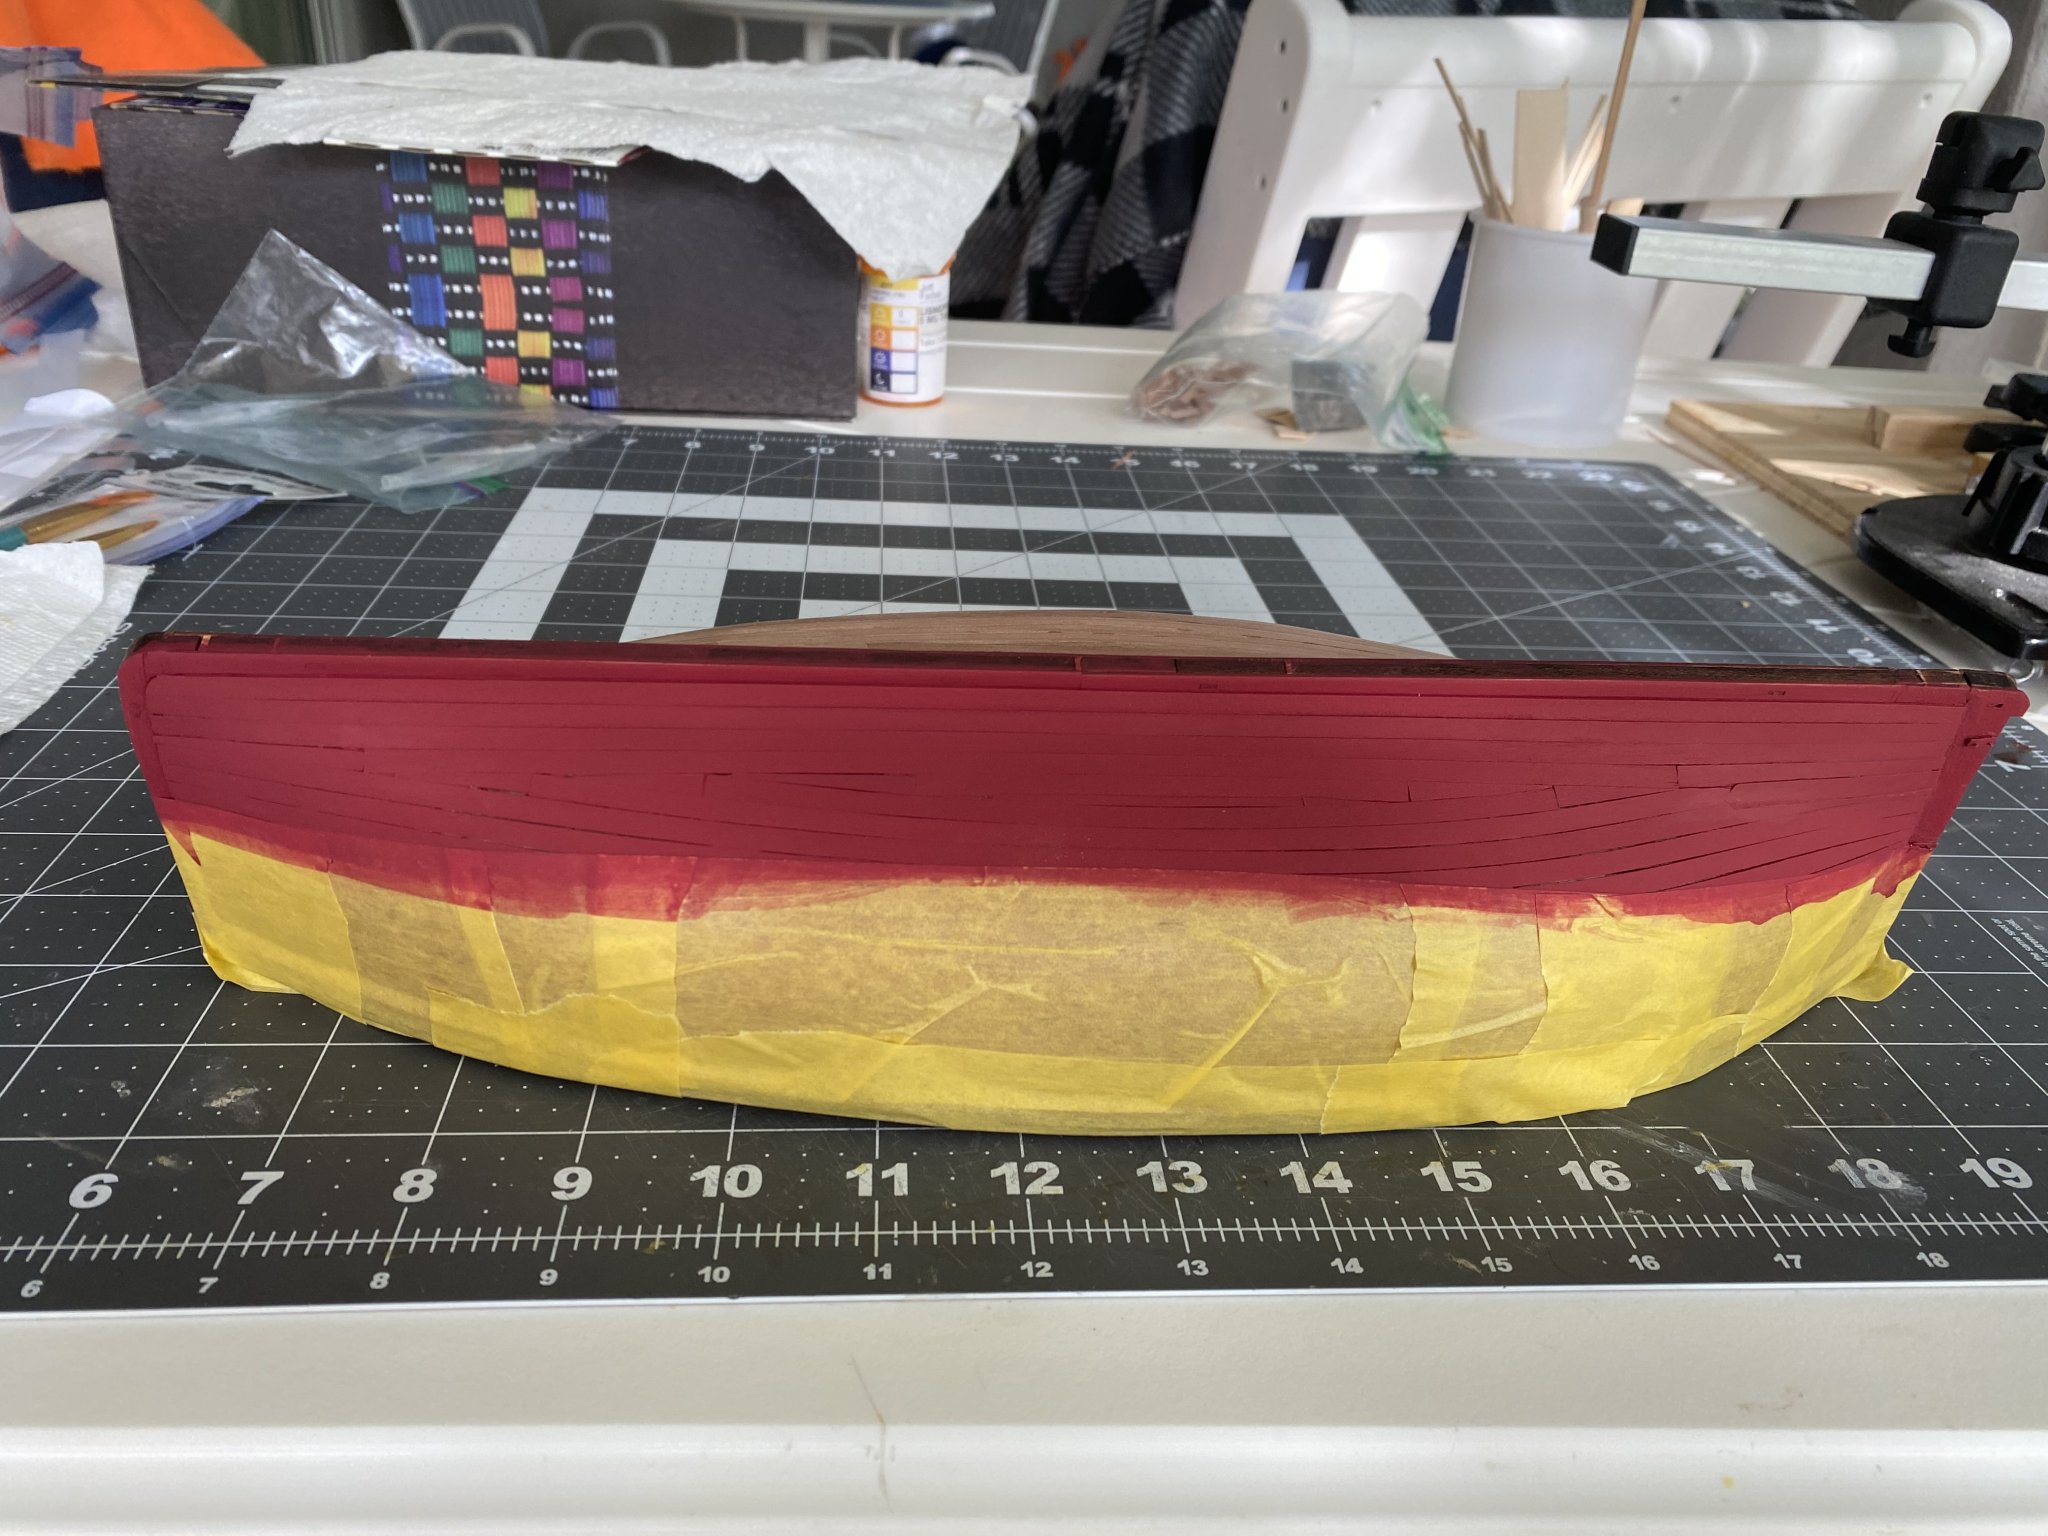
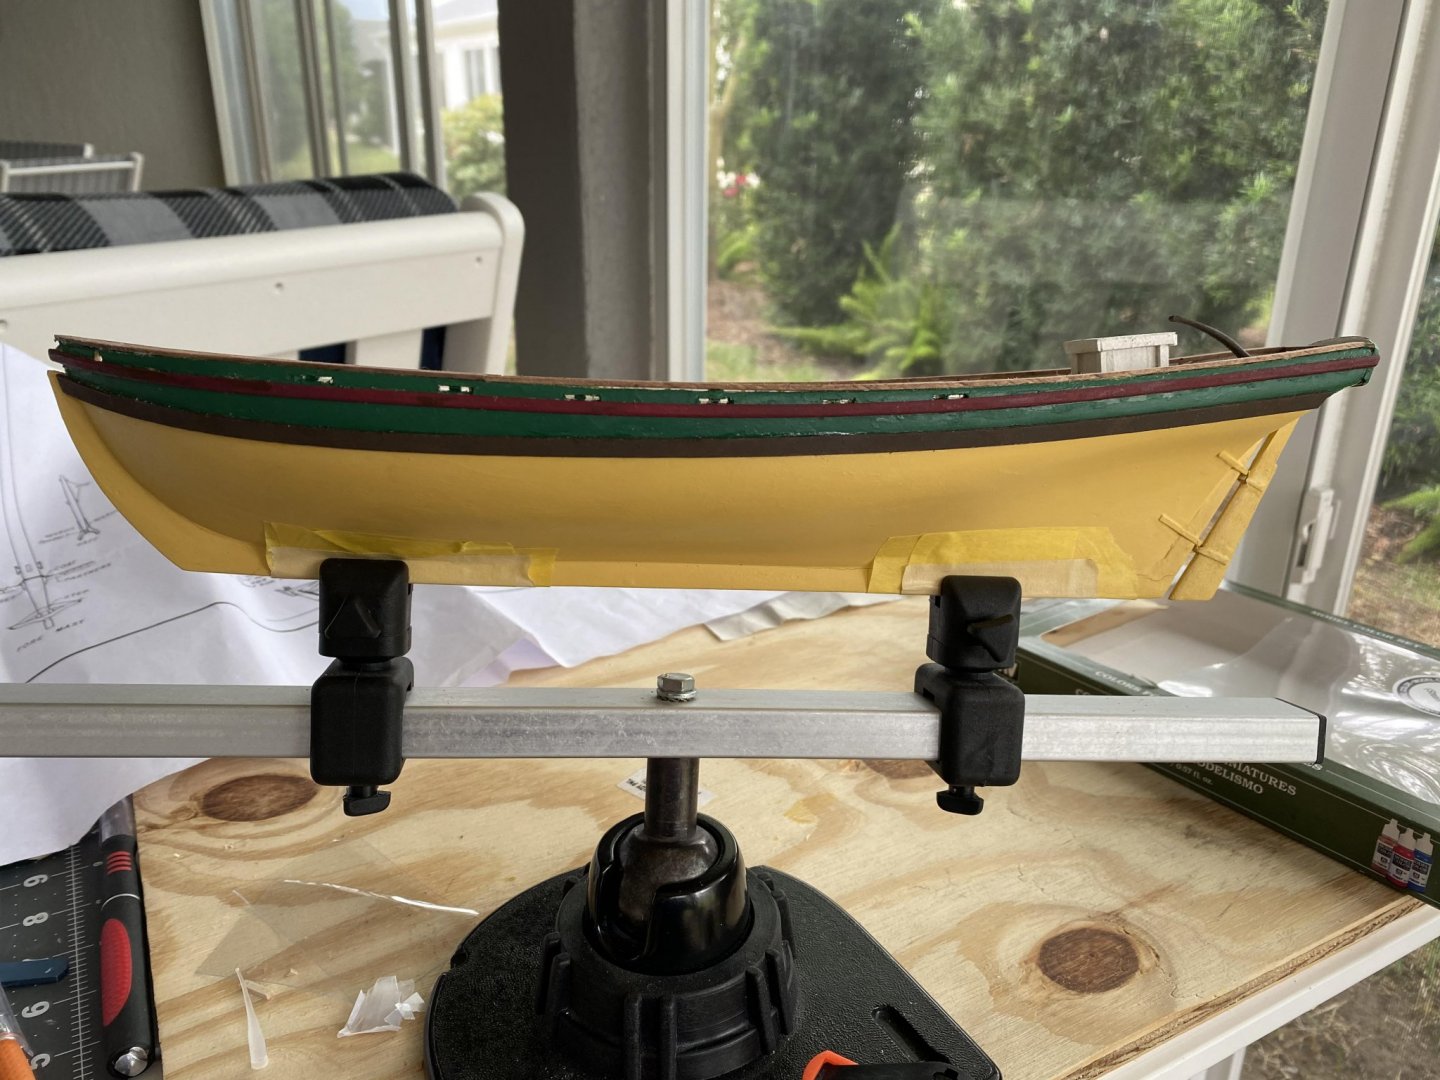
With the waterline re-drawn the hull was painted again and it does look better. Next I will paint the boot top. However, I have to decide what to do with the top of the hull. Since I only have the one lower rubbing strake. I purchased some 1 x 1 wood but it obviously does not match the pear wood rubbing strake. The choice is to use the wood and paint the top portion of the hull black. I would prefer to leave it natural wood but I do not know if these types of vessels would have ever had just one lower rubbing strake. If someone could let me know I would appreciate it.

- 38 replies
-
- 7
-
-
- vanguard models
- fifie
- (and 2 more)
-
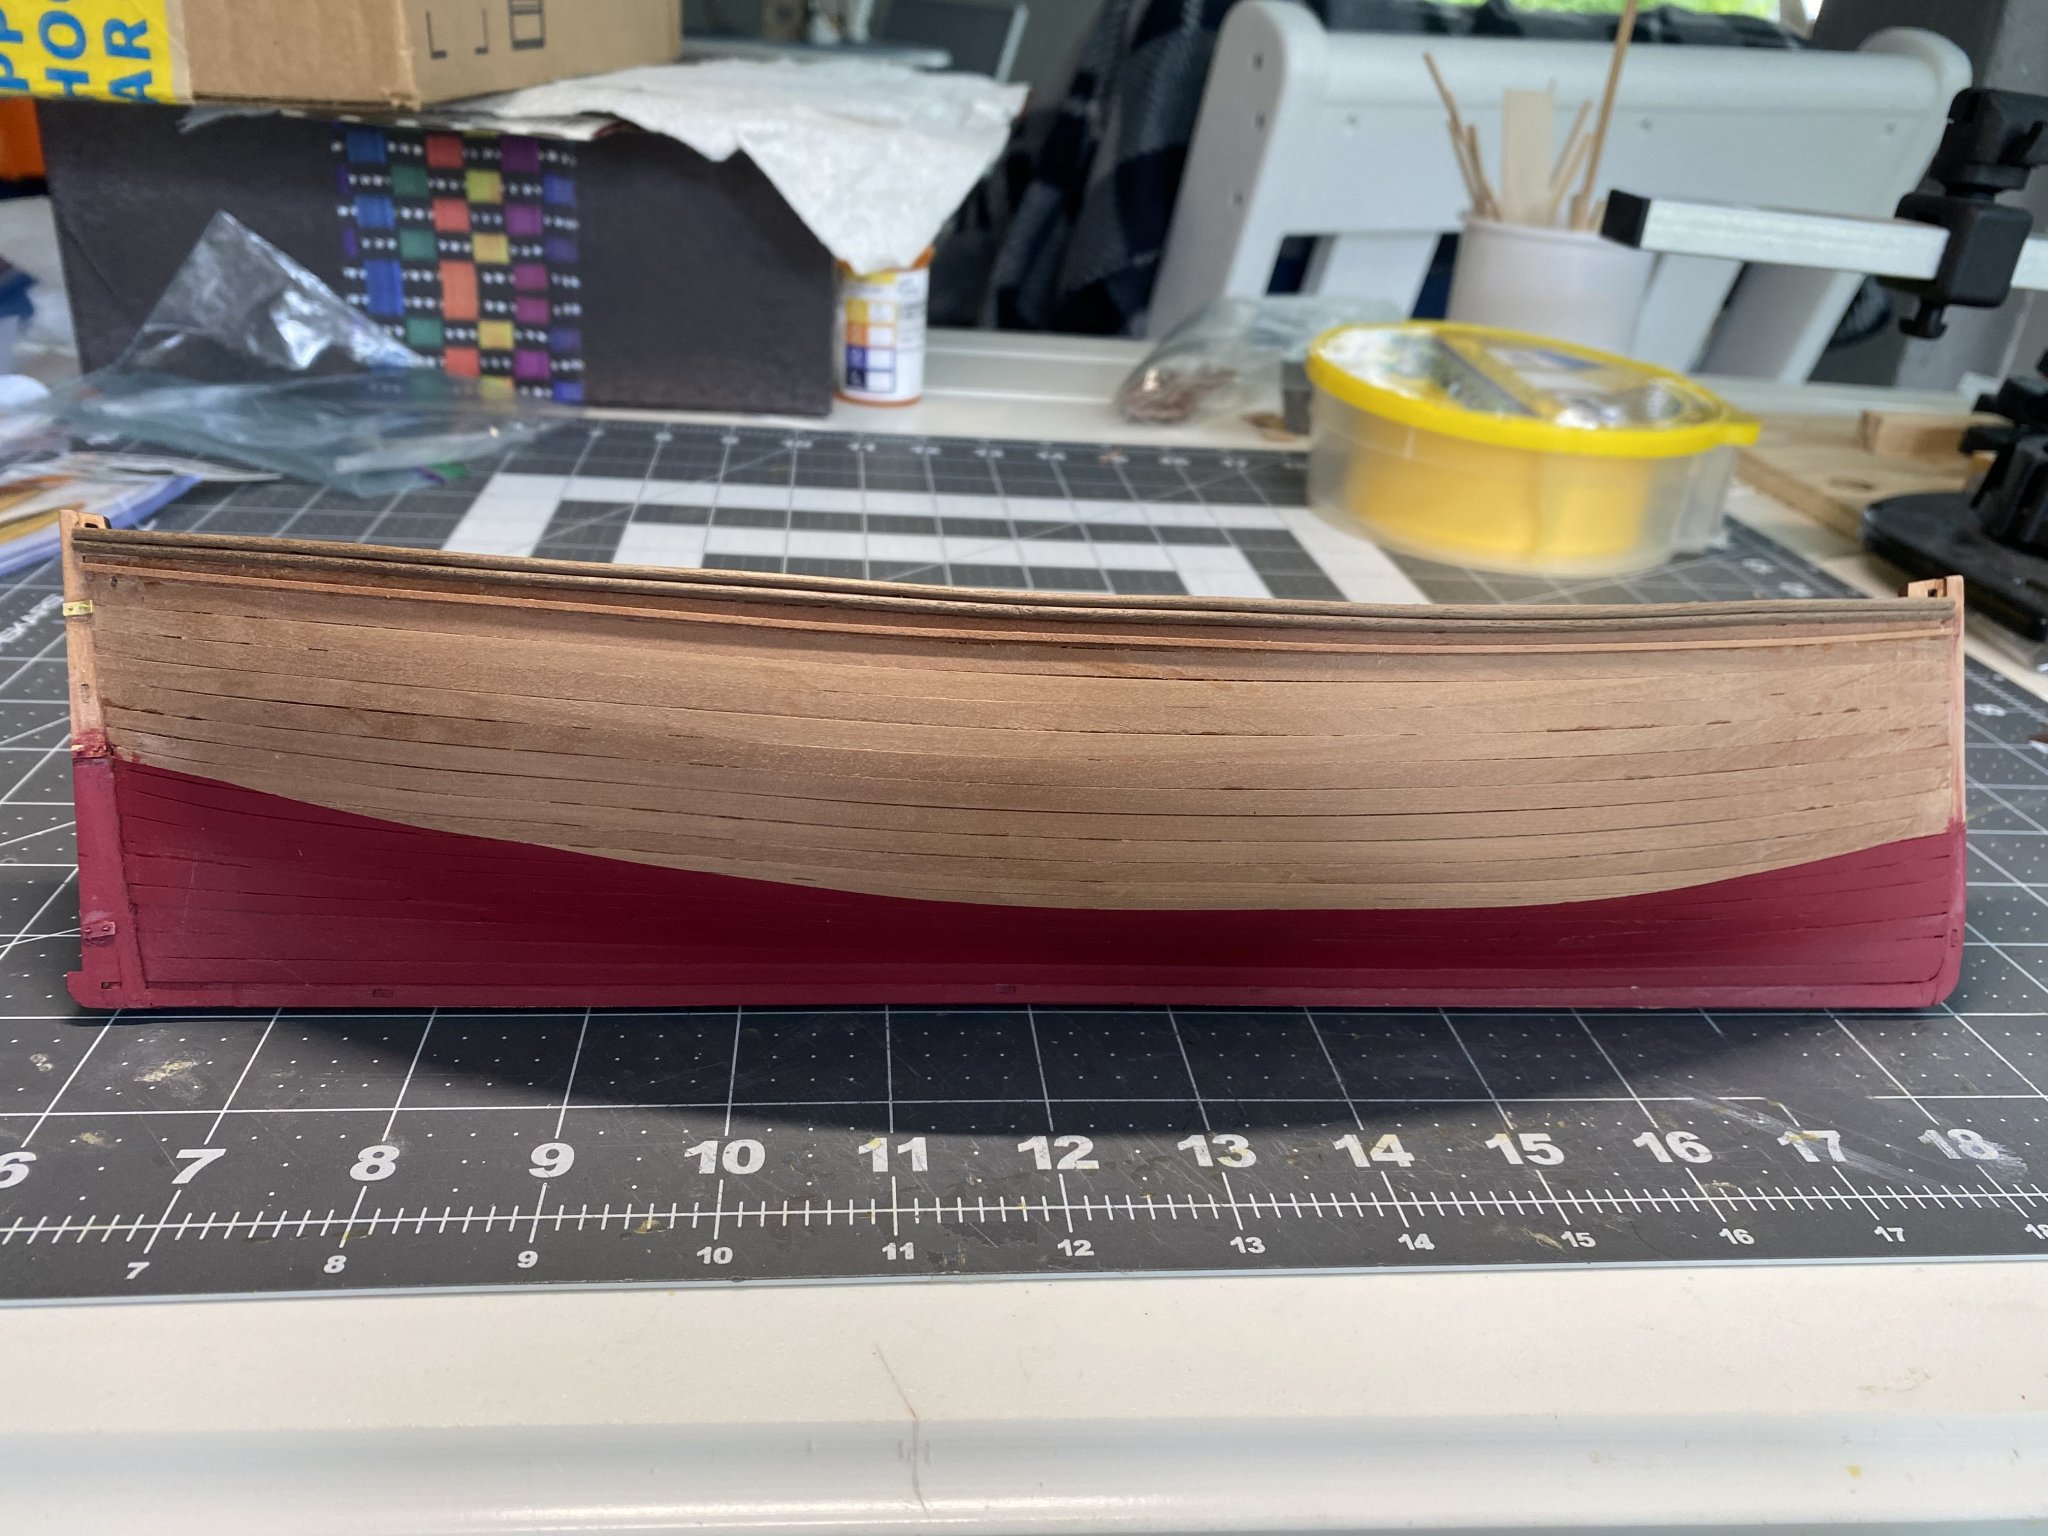
Thanks James. I have gone back and used the Amati waterline marker to draw new lines. They now look much closer to your picture. It is actually good to new that I was using the waterline marker correctly. This model has been a great learning experience and loads of fun to build. Hopefully my ship modeling skills are improving and can carry over to future builds. I am absolutely hooked on this hobby.
- 38 replies
-
- 4
-
-
- vanguard models
- fifie
- (and 2 more)
-
Welcome back Warnerade. I have been following your build and really enjoying it. I just found the kit for sale and ordered it. Nice work!
-
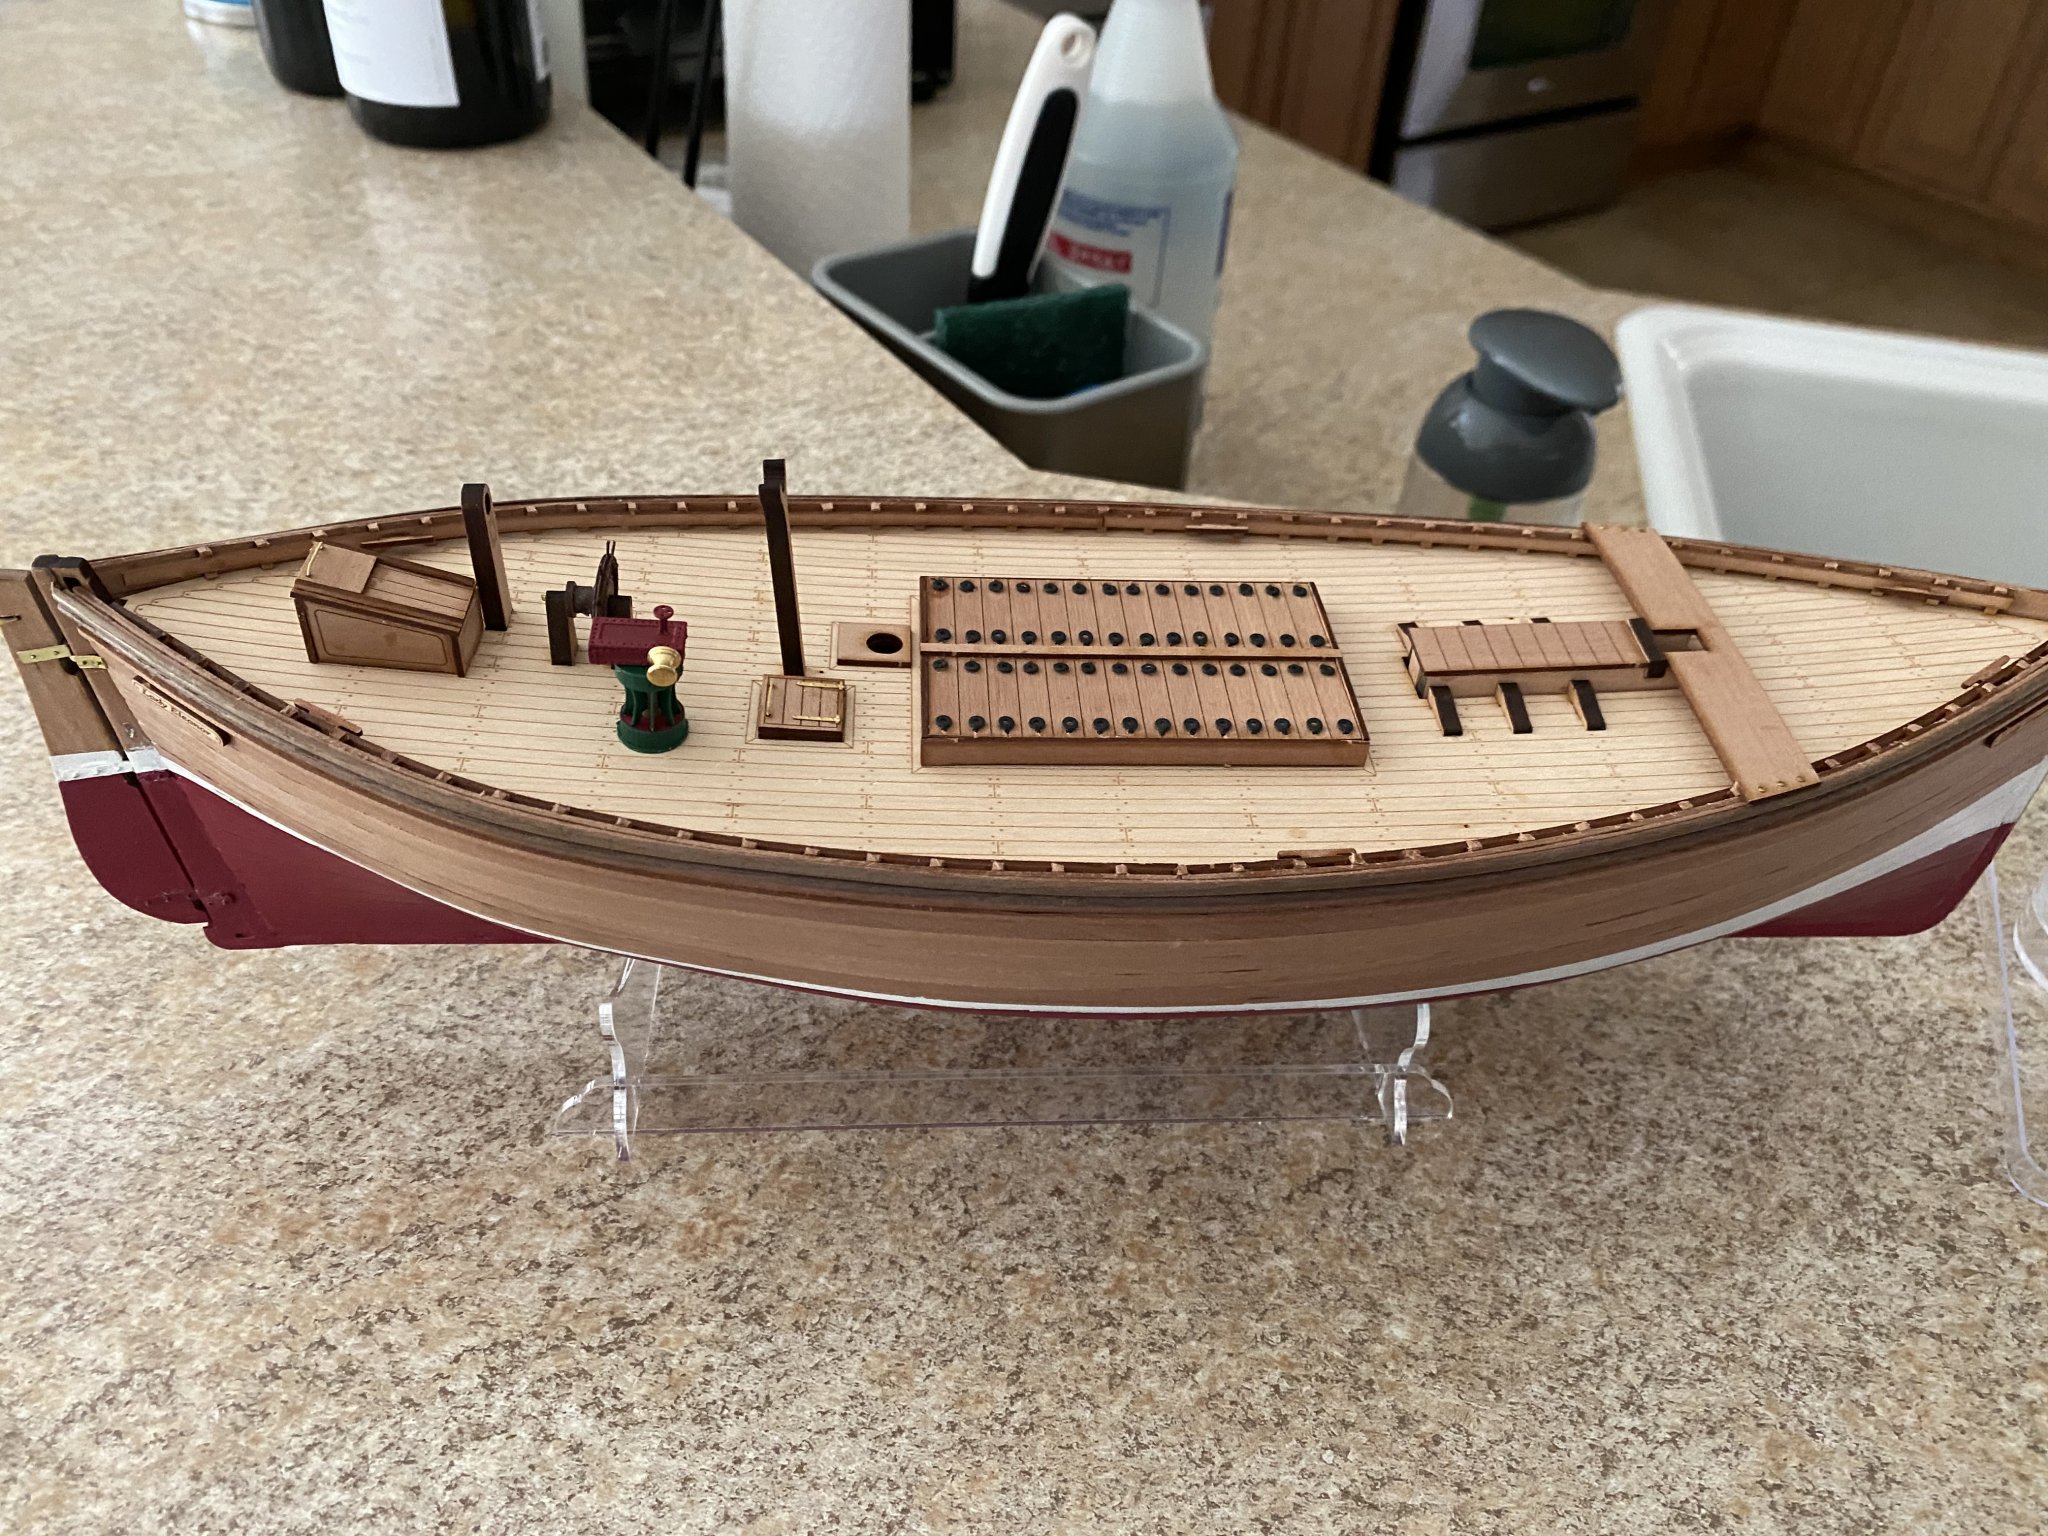
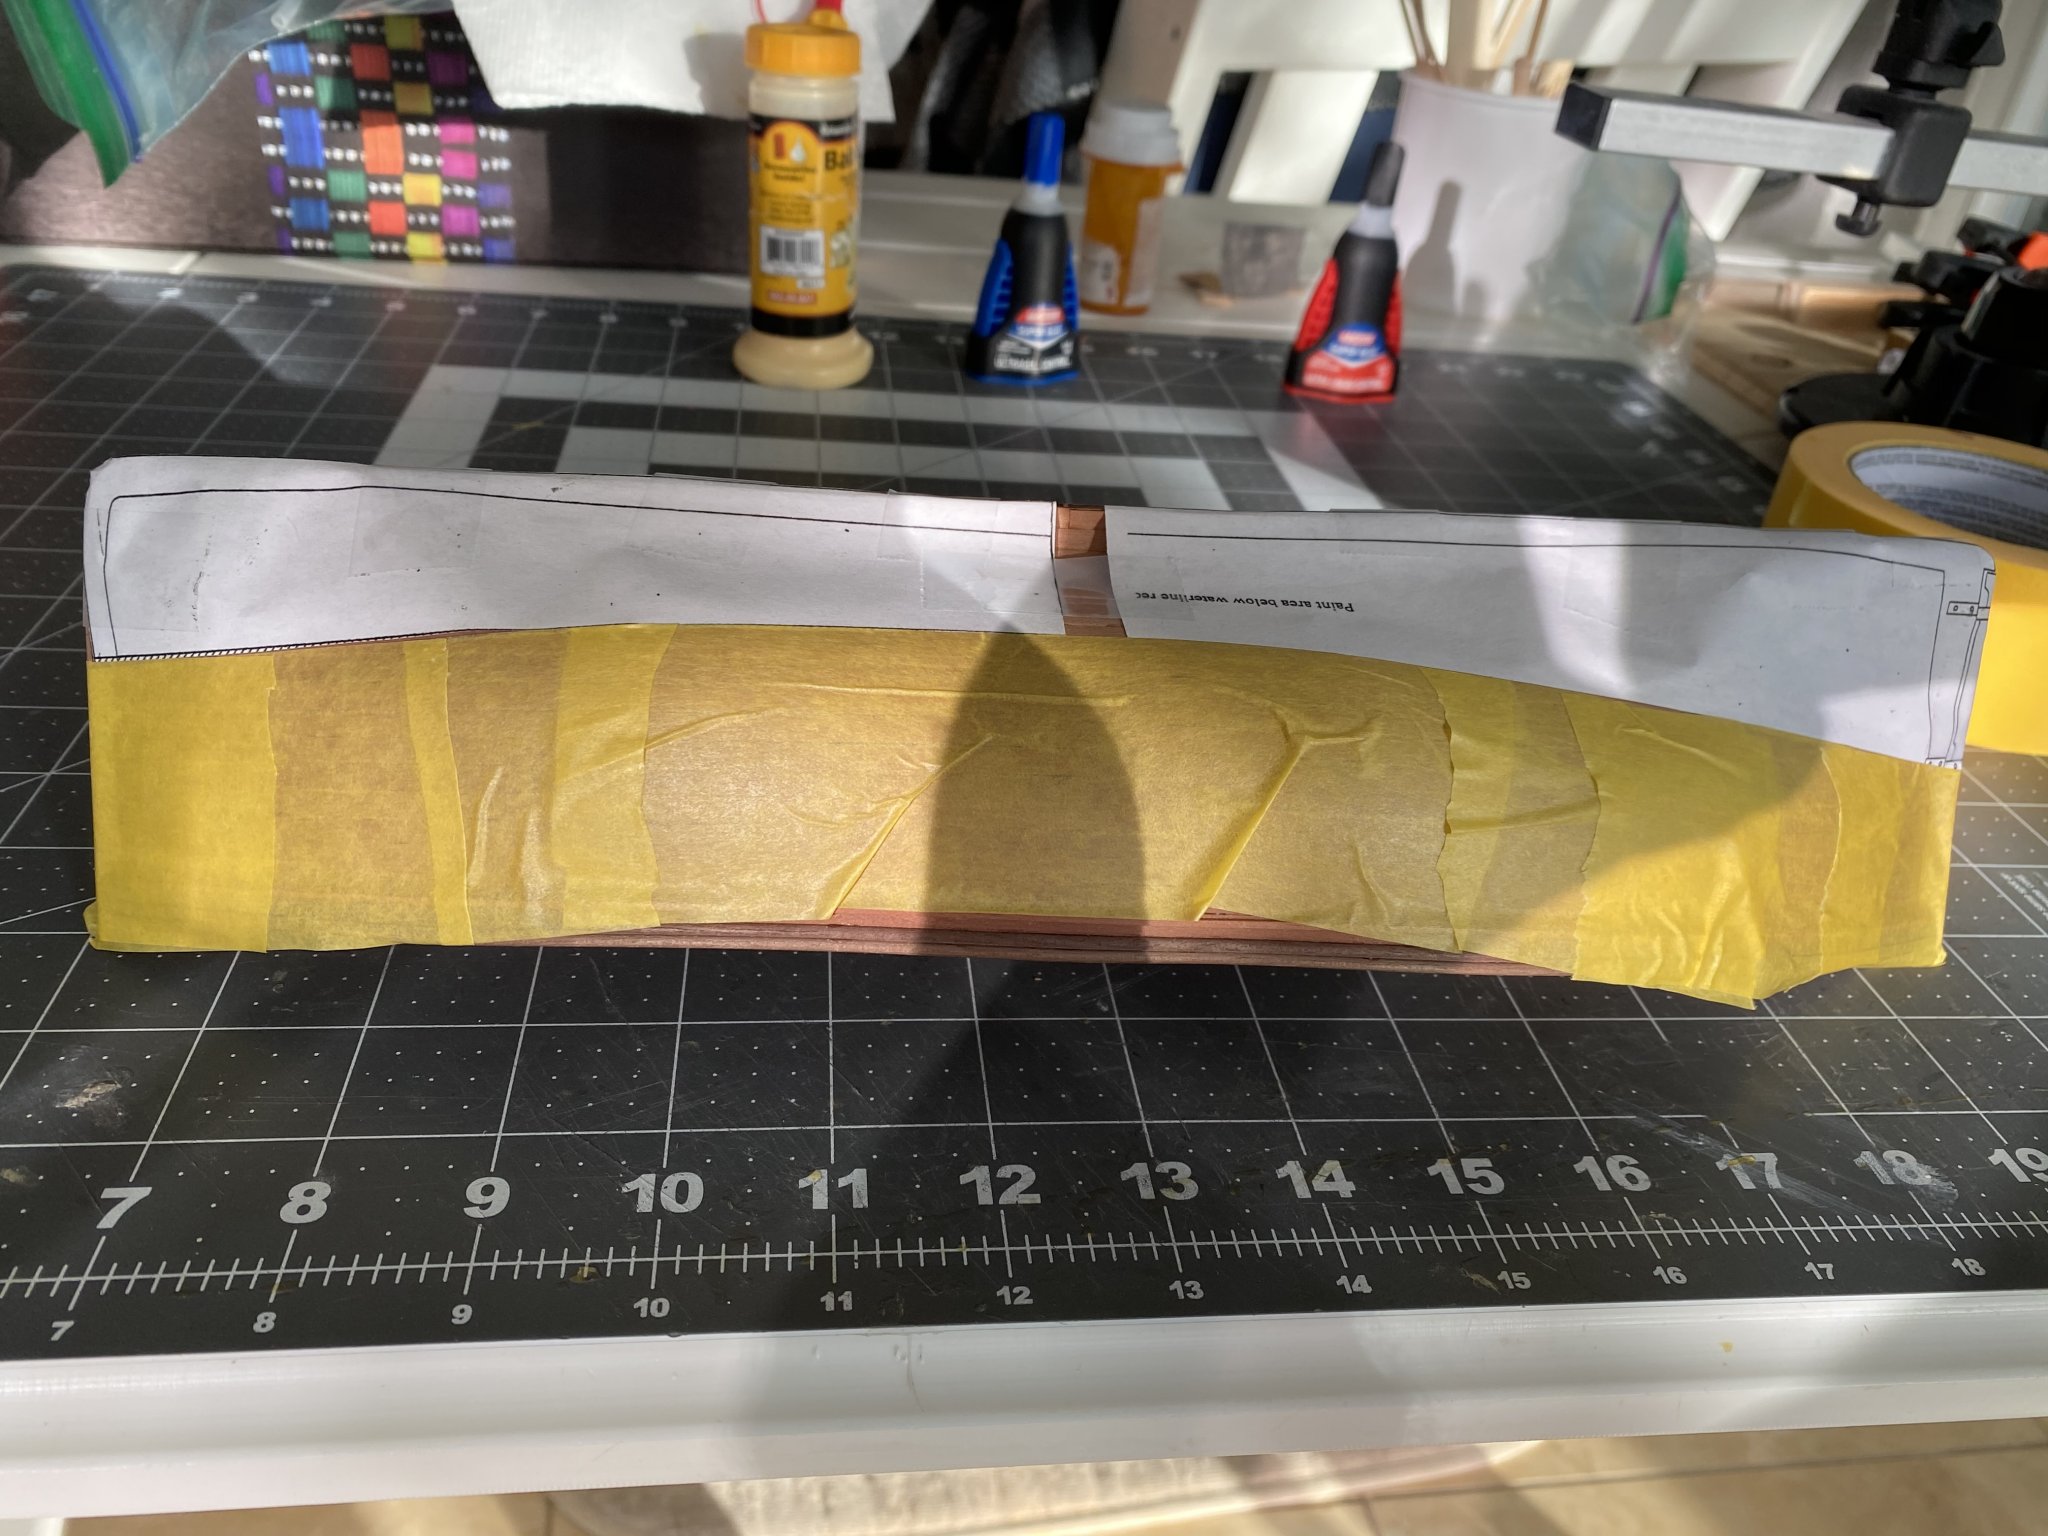
I sanded the hull and then glued on the rubbing strakes. Unfortunately, I snapped one of the strakes in half and beyond repair. Because of the mistake I only have one lower rubbing strake instead of the two. Ordered some 1 x 1 stock and if it is a good match I will use it. The other option is to paint the top of the hull in black. I tried to use the Amati waterline tool but the line went way too high in the center of the hull. I saw that BE had the same problem in his build log. On to plan B. I made a copy of the plans showing the waterline and cut them out to use as a template. The hull was taped off with frog tape and painted with Vallejo red paint.


- 38 replies
-
- 12
-
-
- vanguard models
- fifie
- (and 2 more)
-
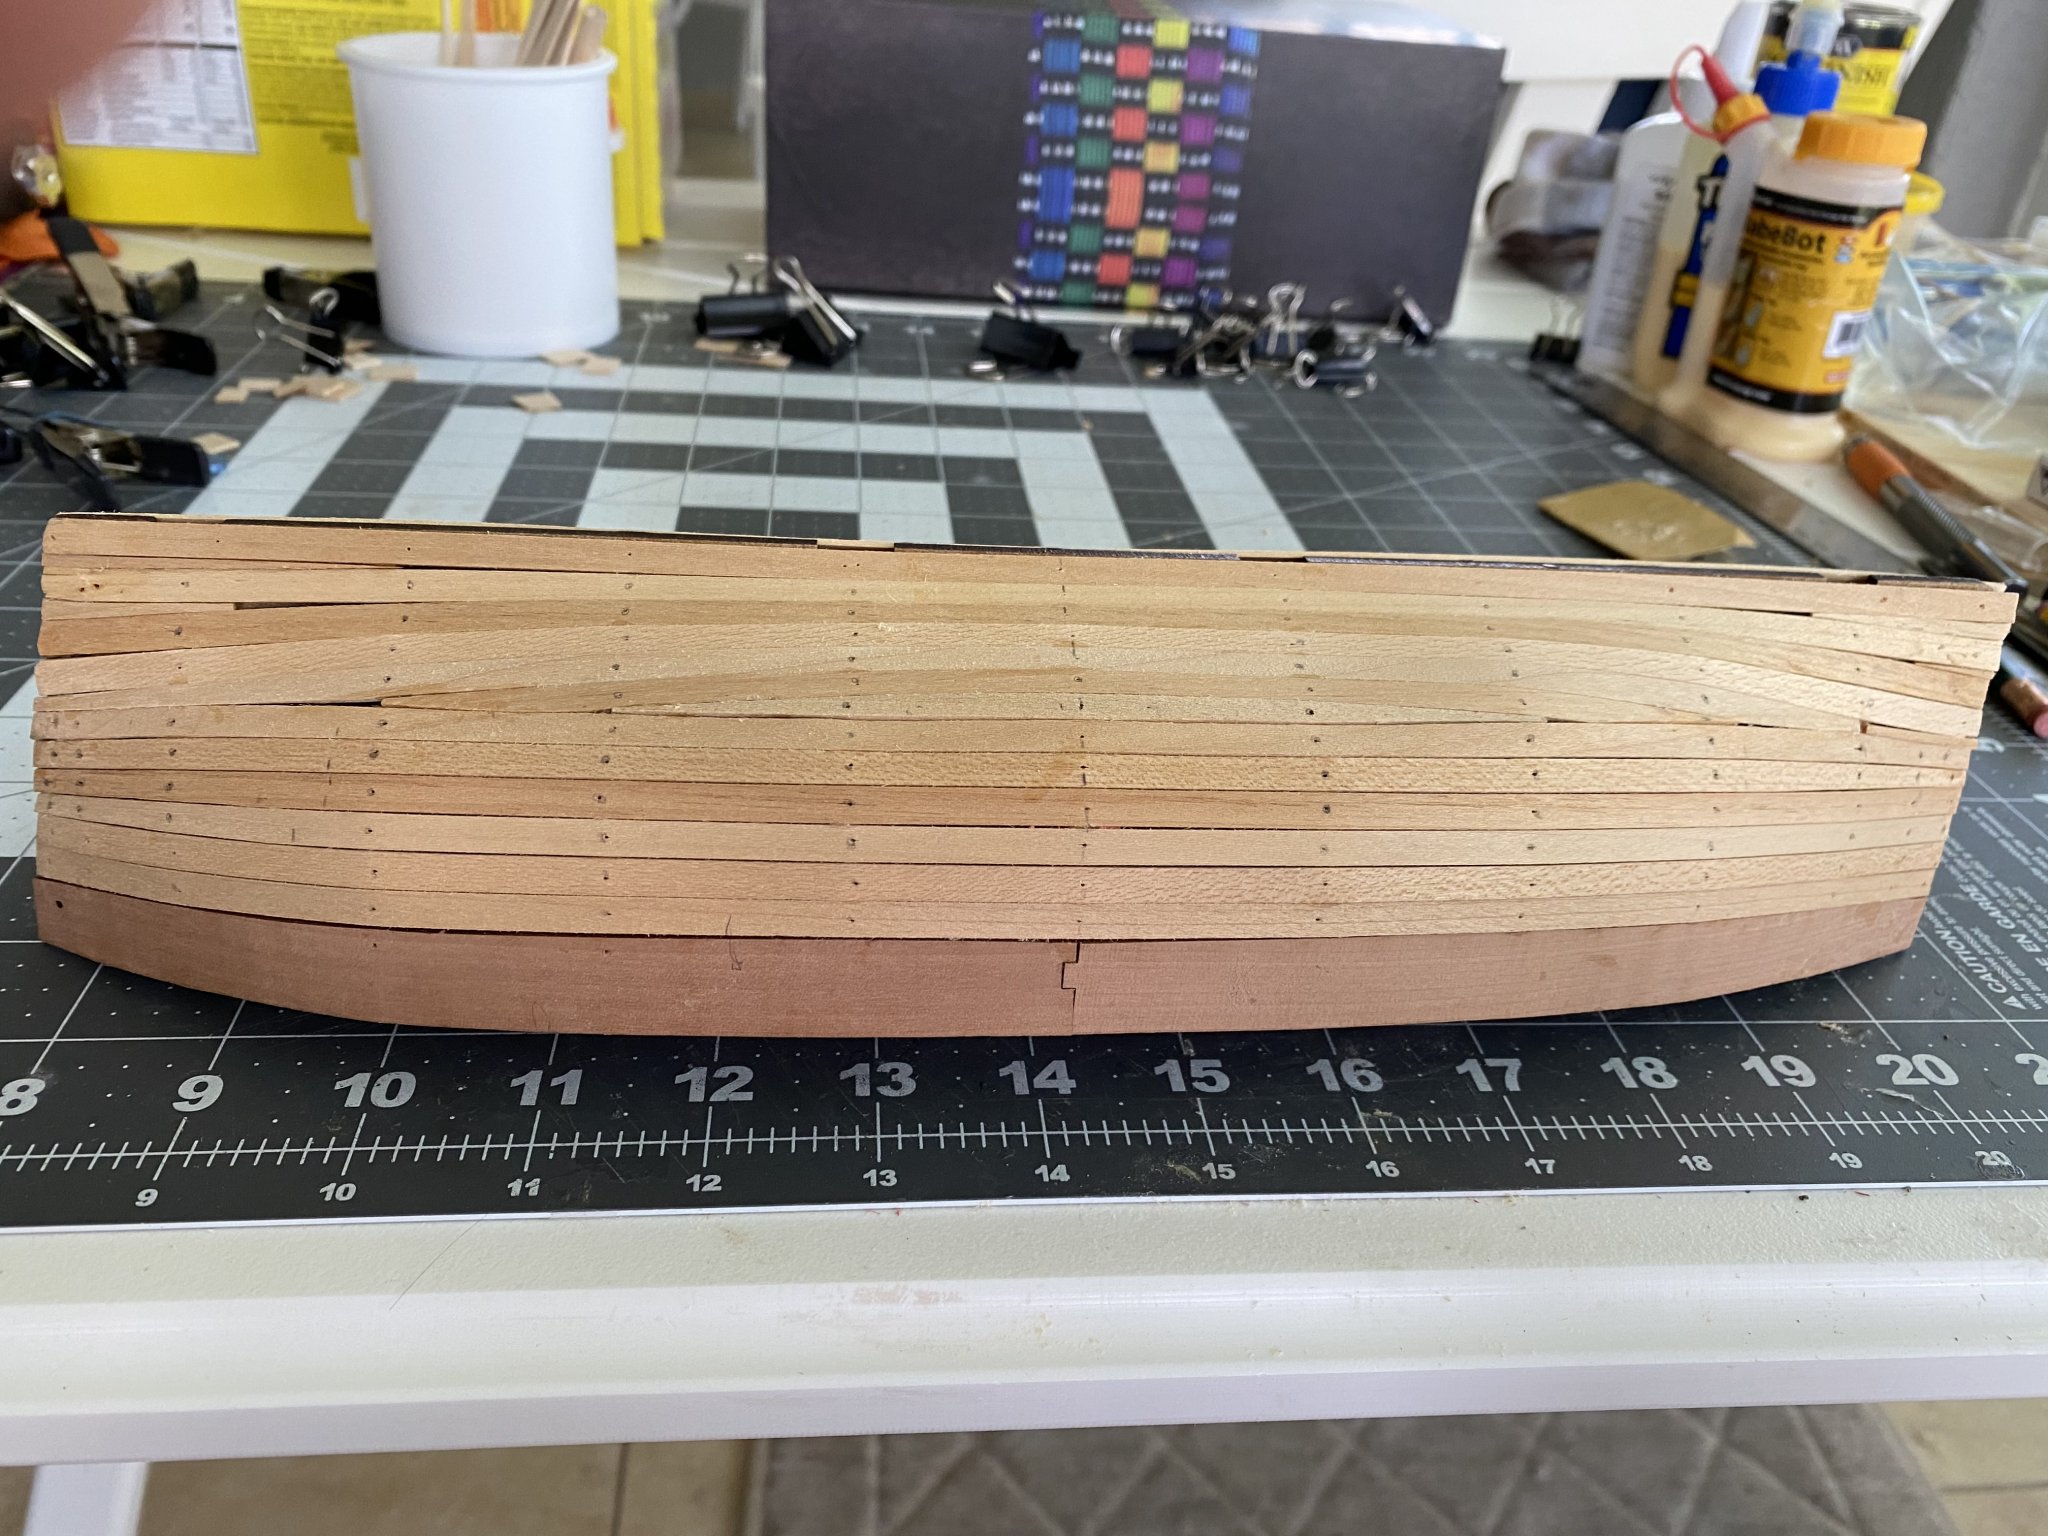
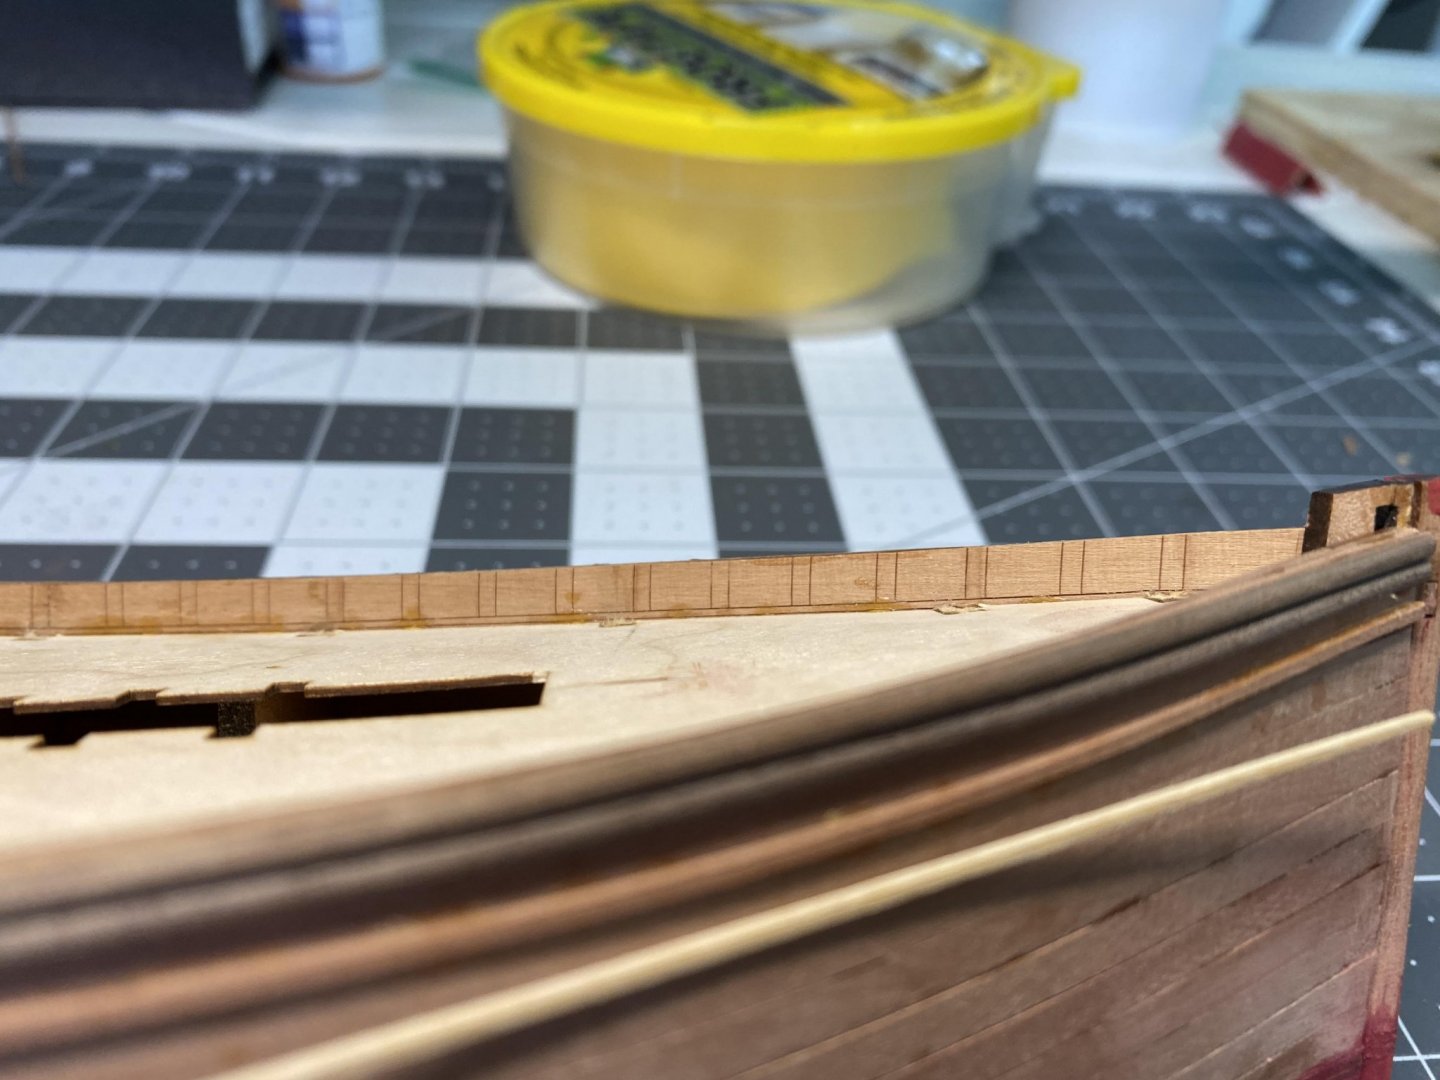
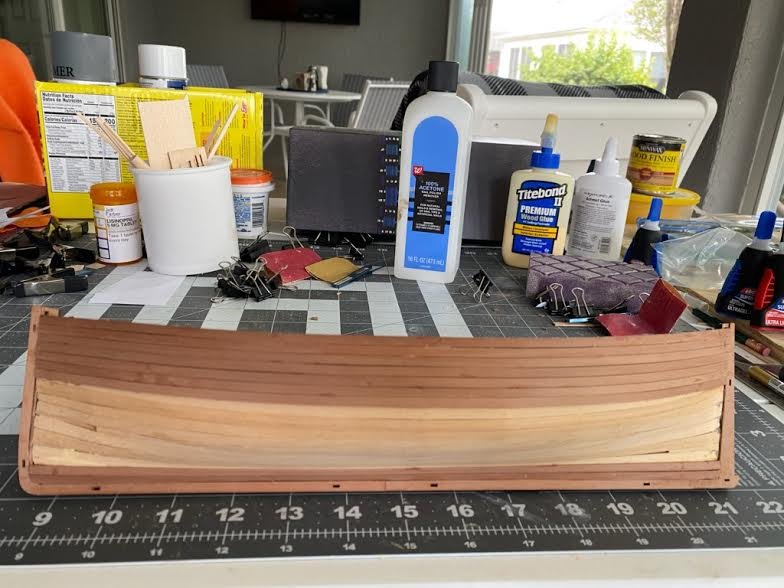
The second planking started out quite well. I was able to get 7 planks on without tapering any planks. I was able to complete the planking but did need to add a stealer plank on both the starboard and port sides. I am not sure if this is an acceptable technique to use on the second planking.

- 38 replies
-
- 12
-
-
- vanguard models
- fifie
- (and 2 more)
-
Nice job John. I just added this model to my collection and am following your build with great interest. I am also a newbie builder and hope I can learn a lot from you.
- 45 replies
-
- 1
-
-
- j-class yacht
- amati
- (and 2 more)
-
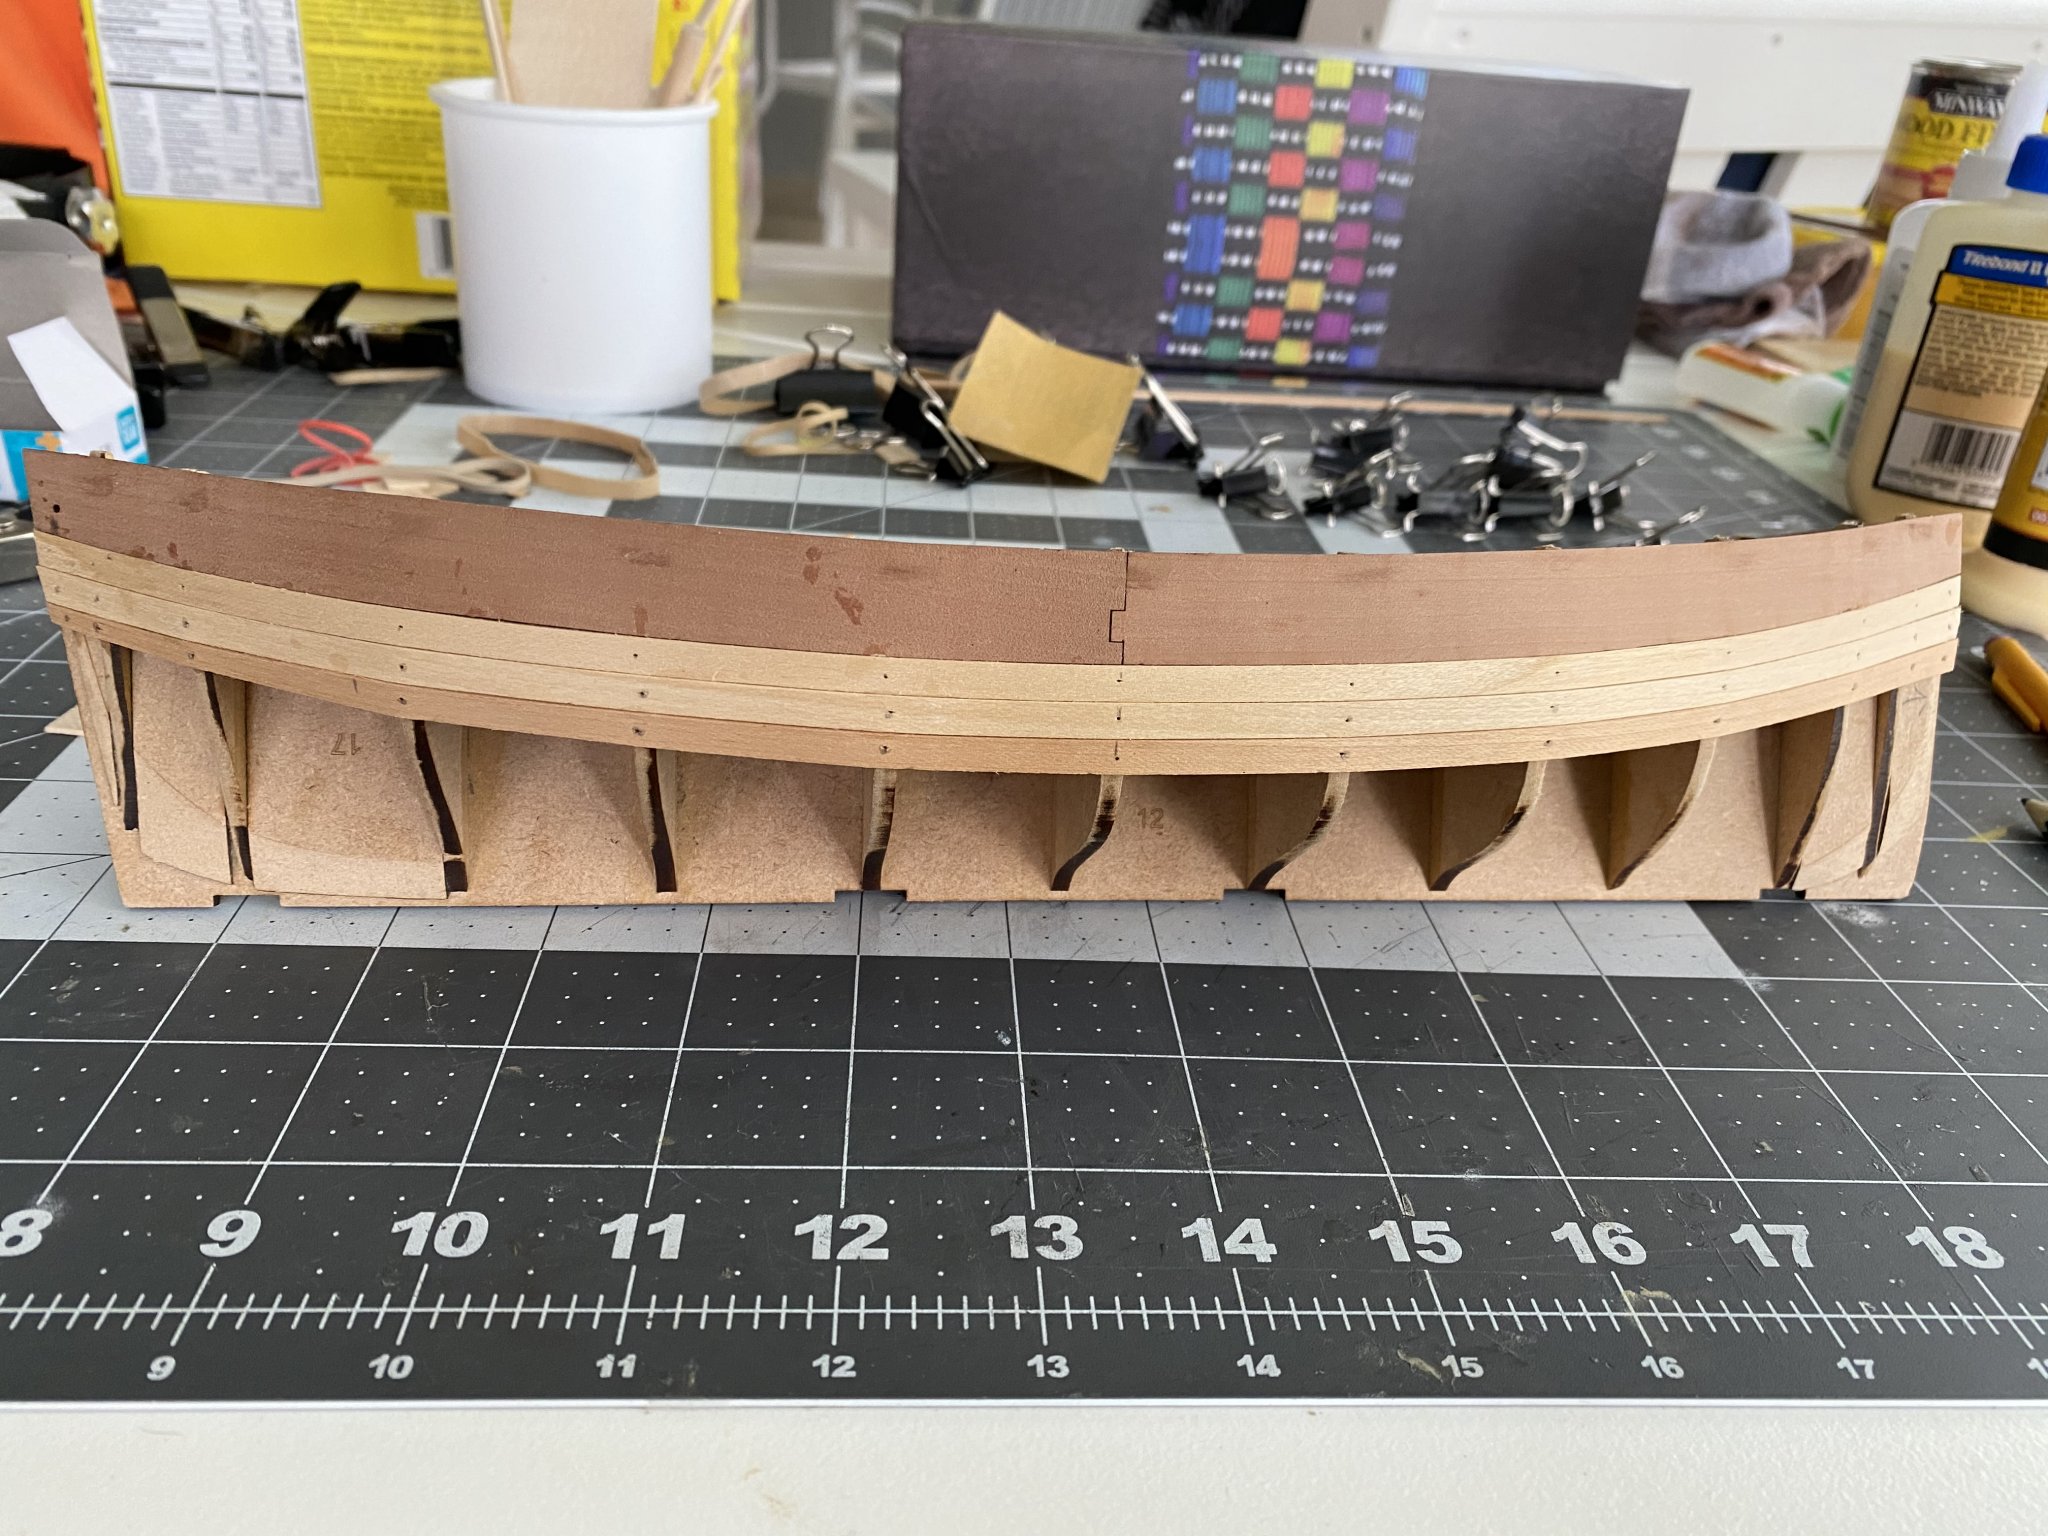
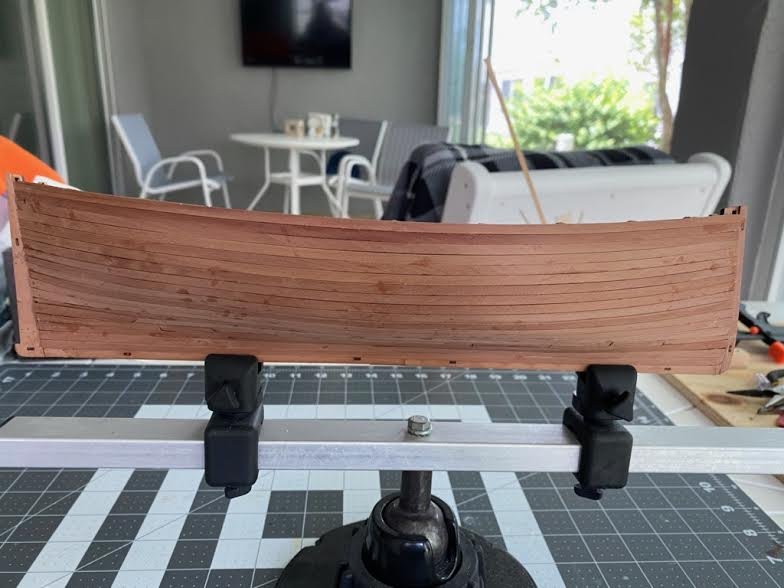
Next up was the start of the first layer of planking. This was the point as a newbie I was dreading. Just hoping I could muddle thru this step without ruining the model. While the planking may not be great I was able to complete the first layer.


- 38 replies
-
- 15
-
-
- vanguard models
- fifie
- (and 2 more)
-
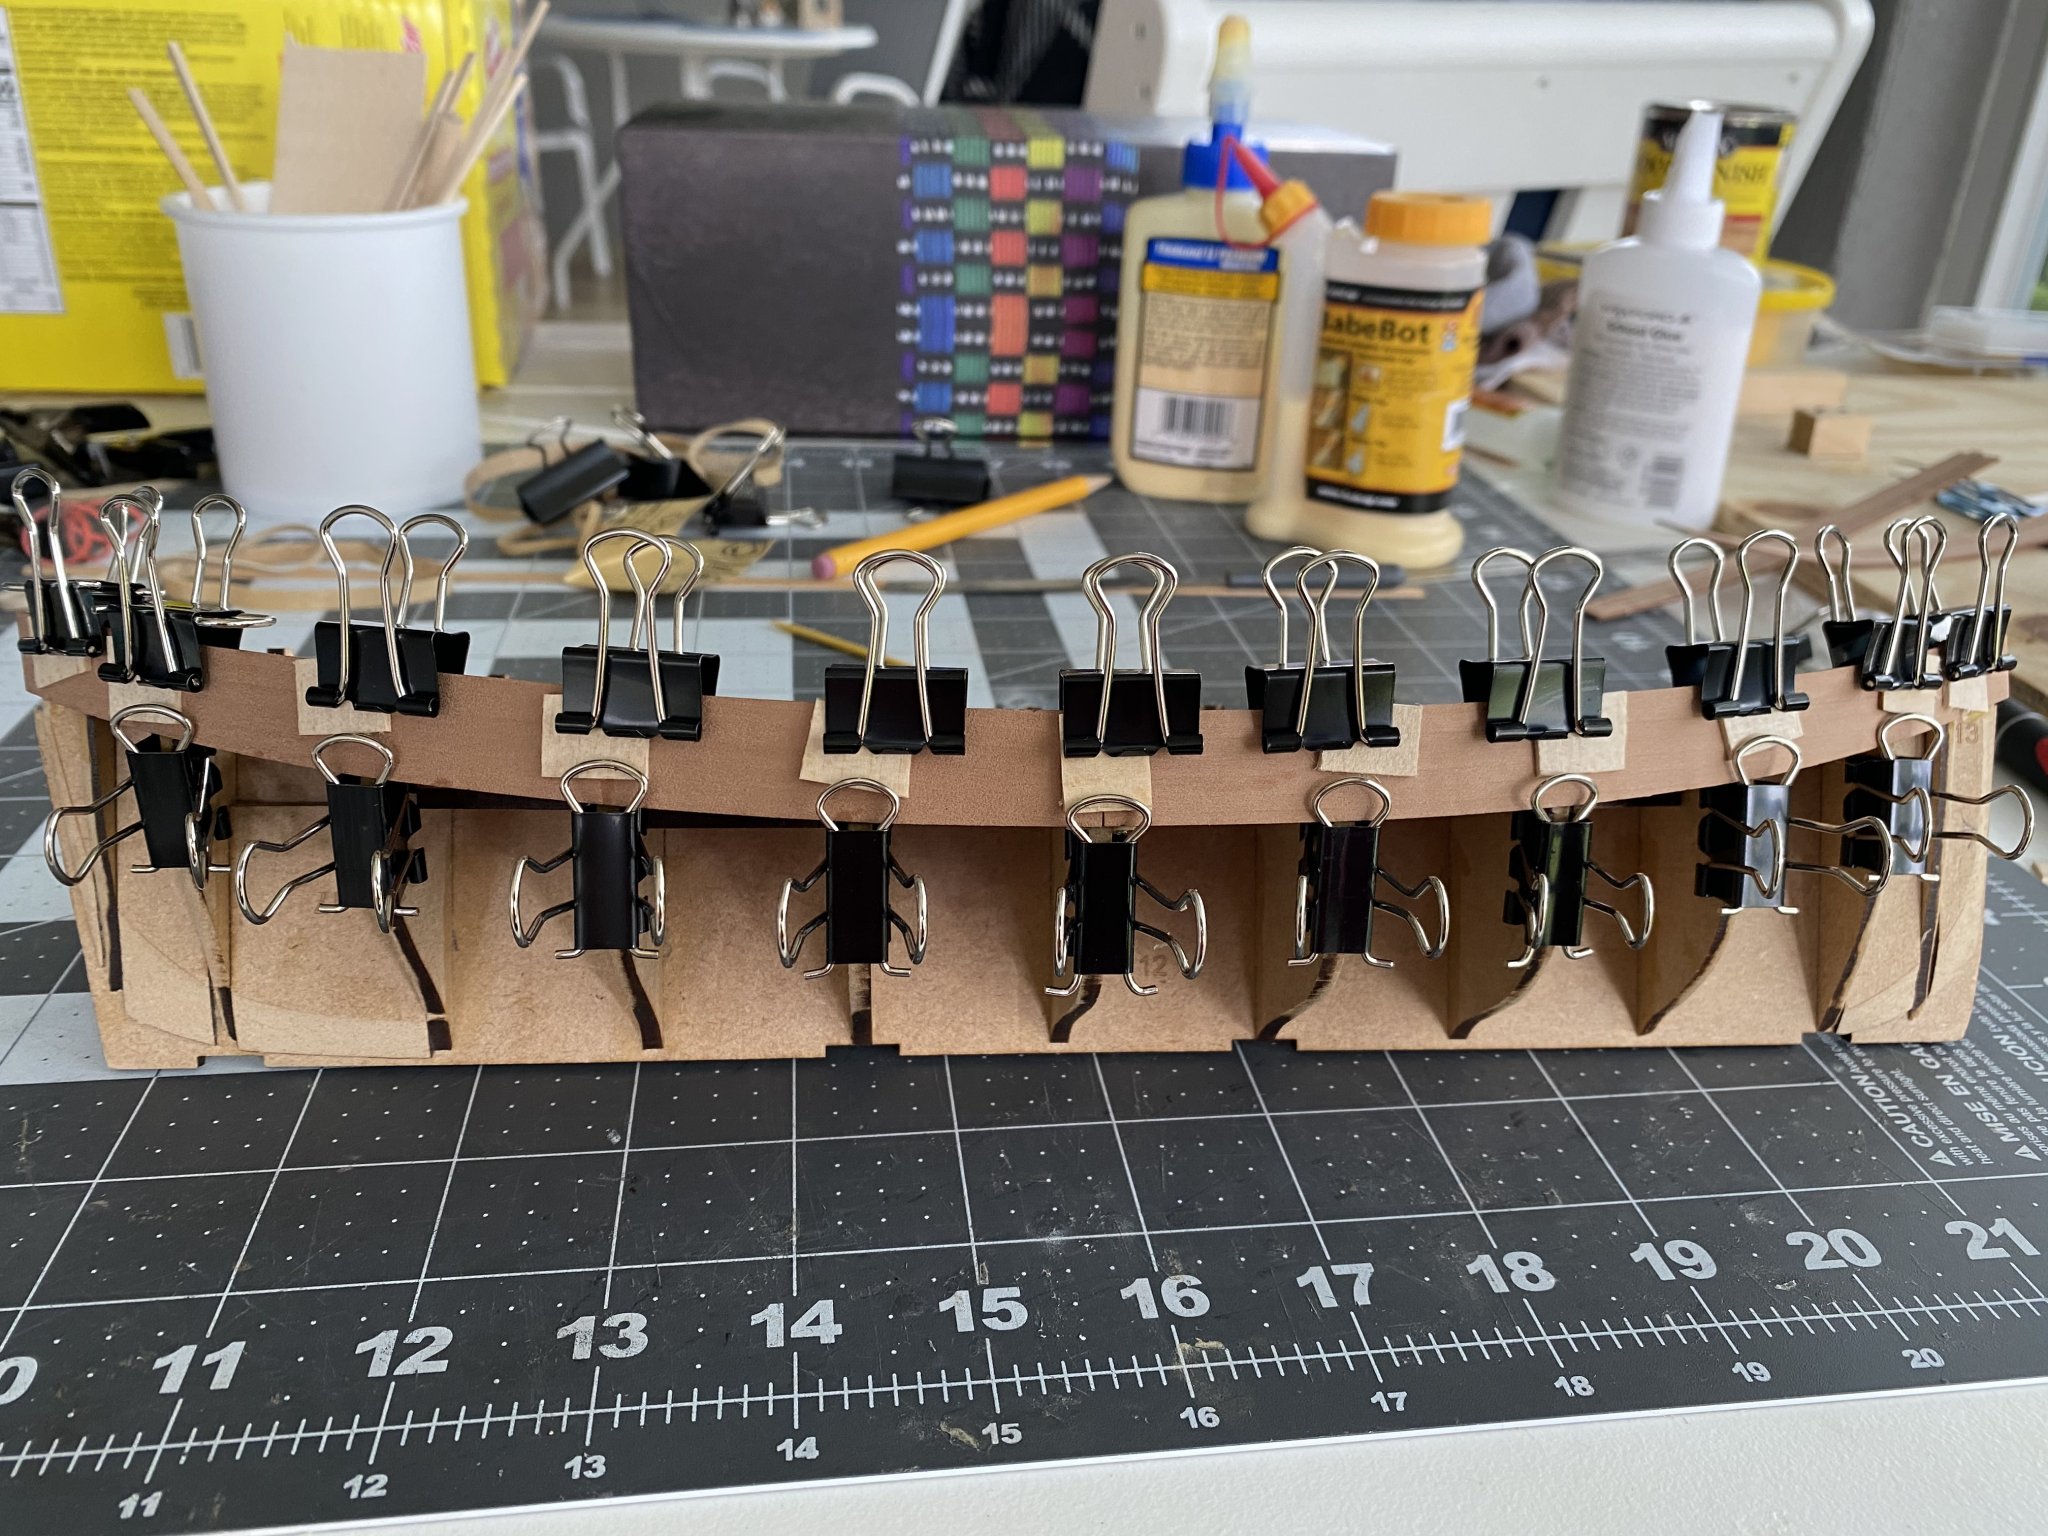
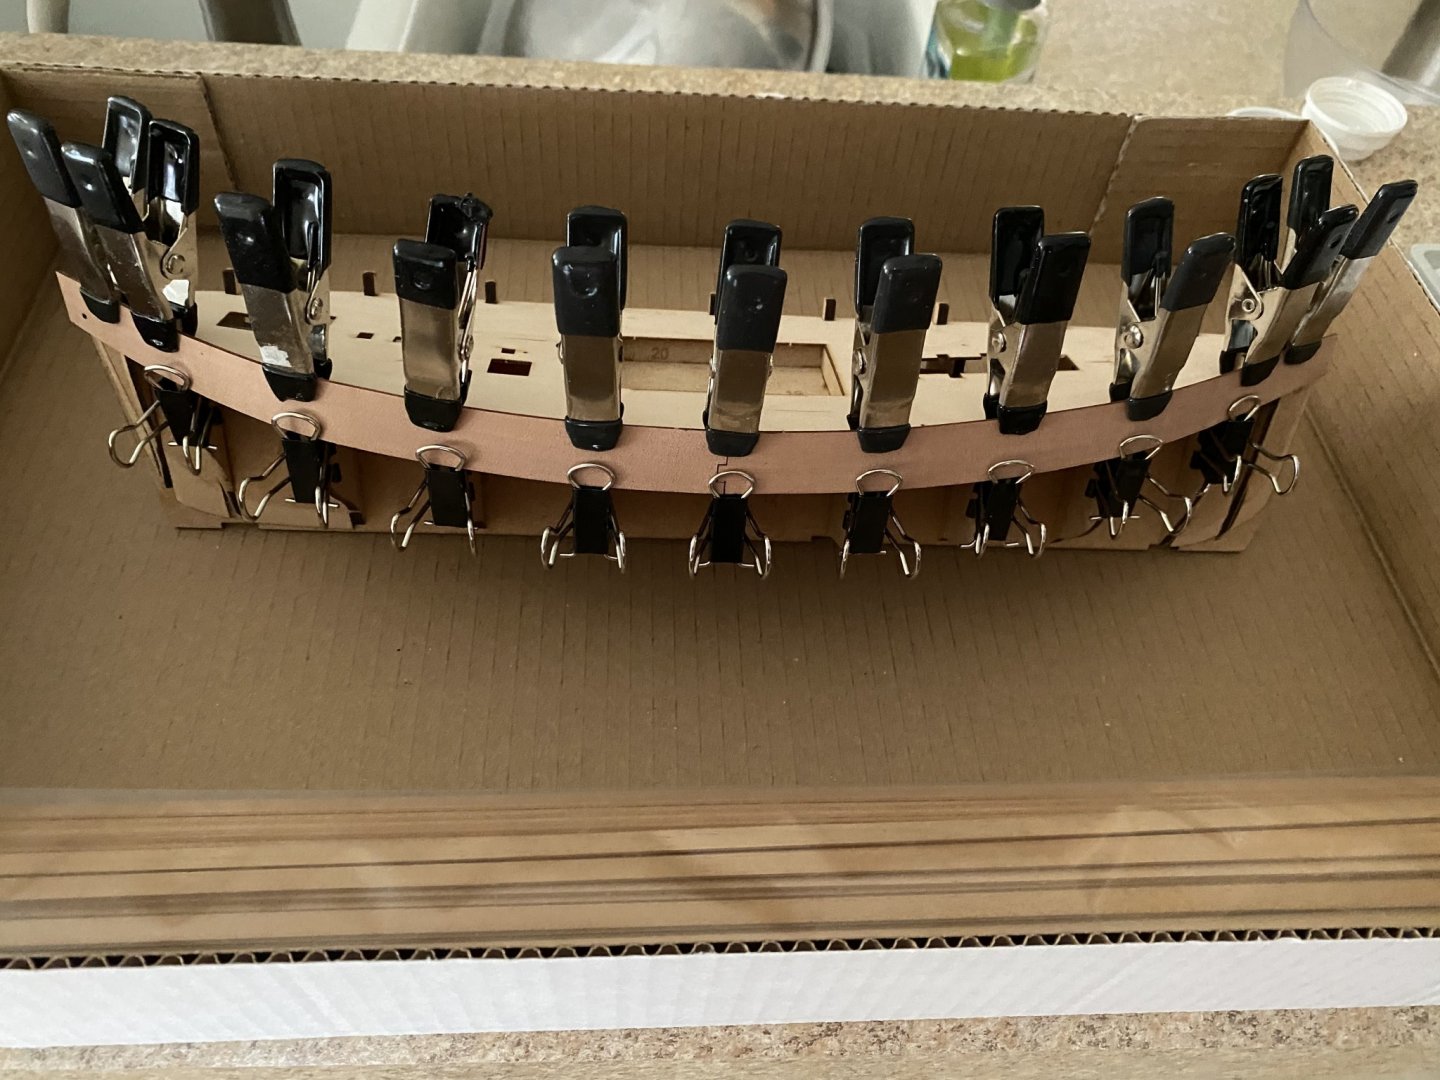
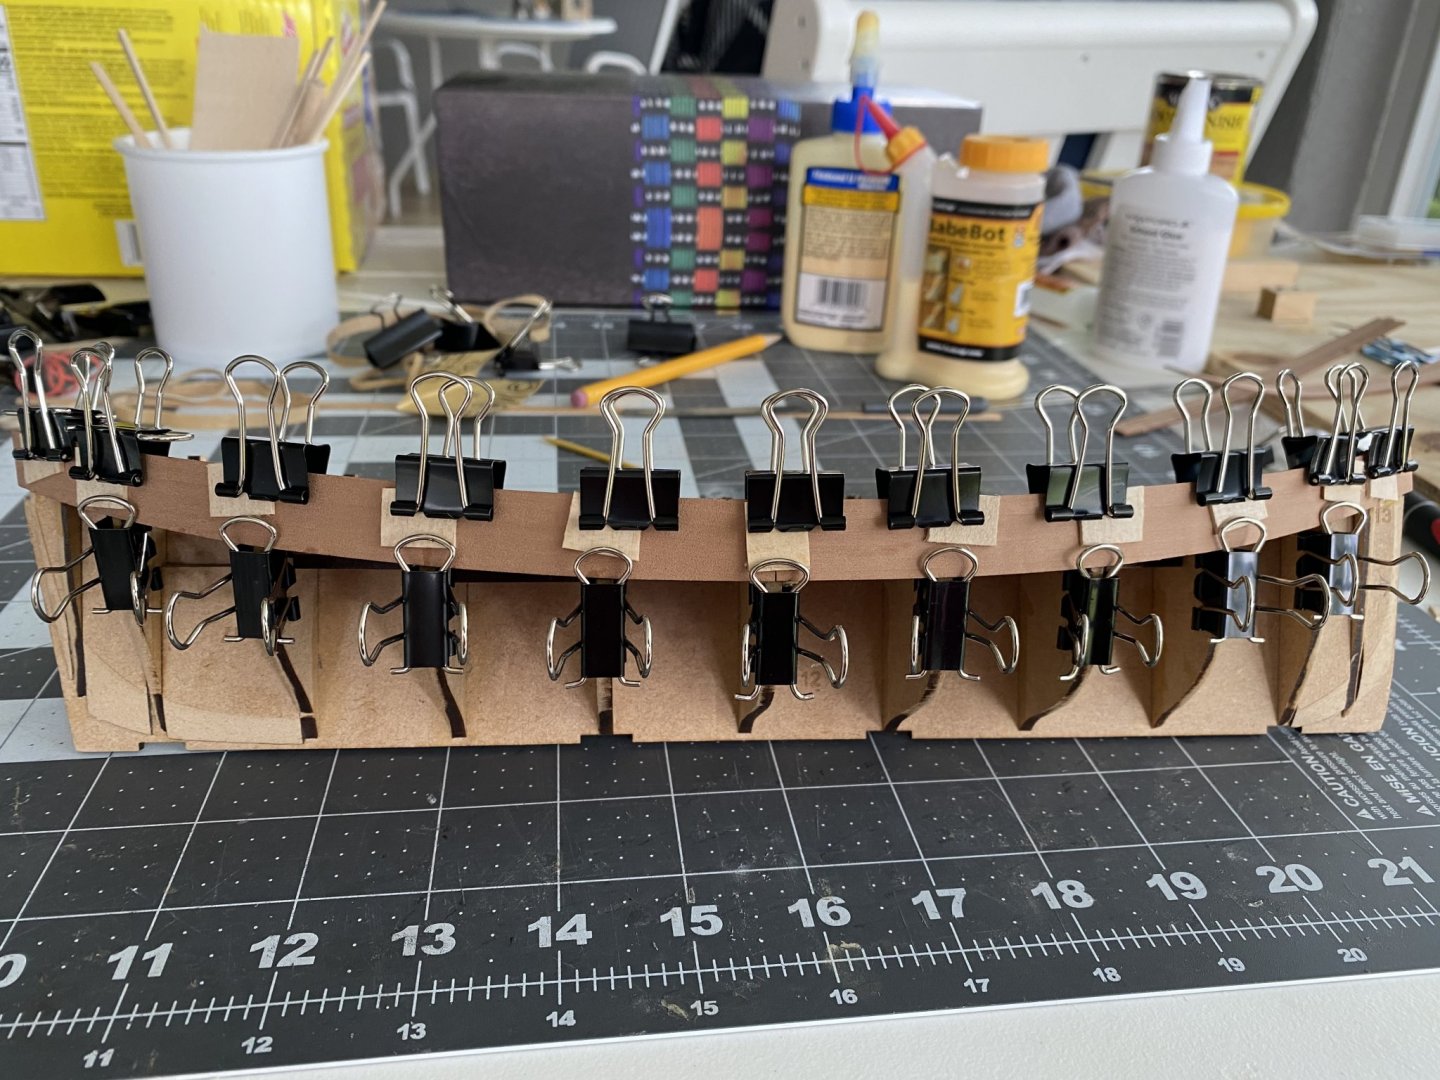
After fairing the bulkheads the it was on to gluing on the bulwarks. After gluing on the first side of the bulwarks I noticed some small indentations from the clamp pressure. This was resoved on the other side by using some scrap wood under the clamps.
- 38 replies
-
- 11
-
-
- vanguard models
- fifie
- (and 2 more)
-
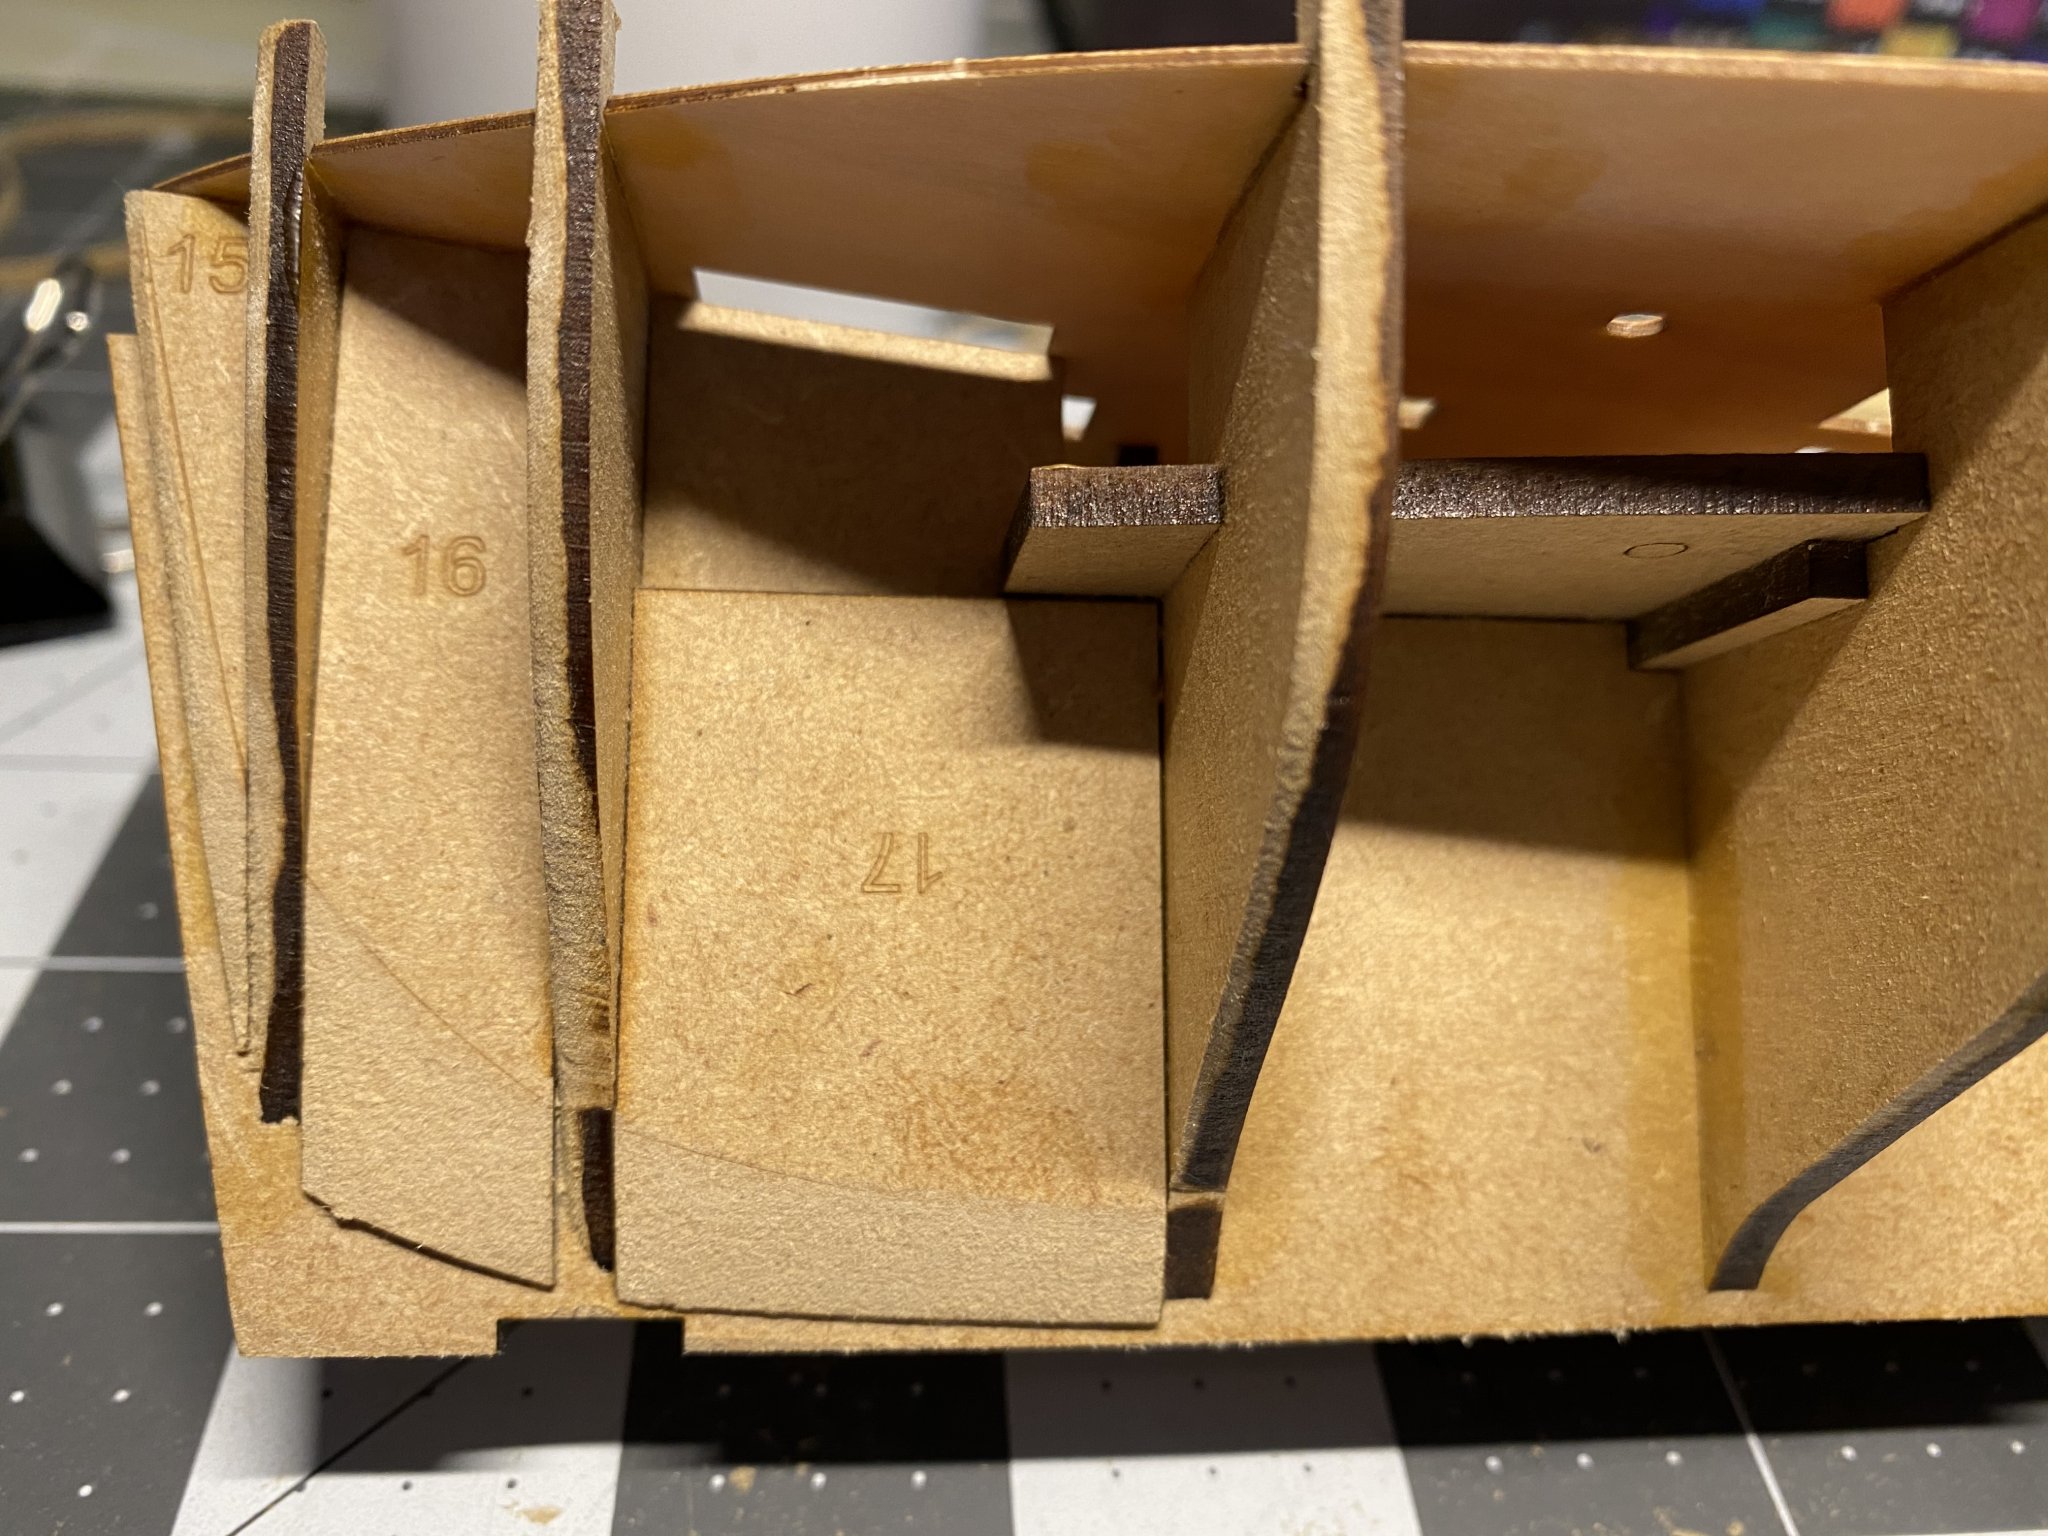
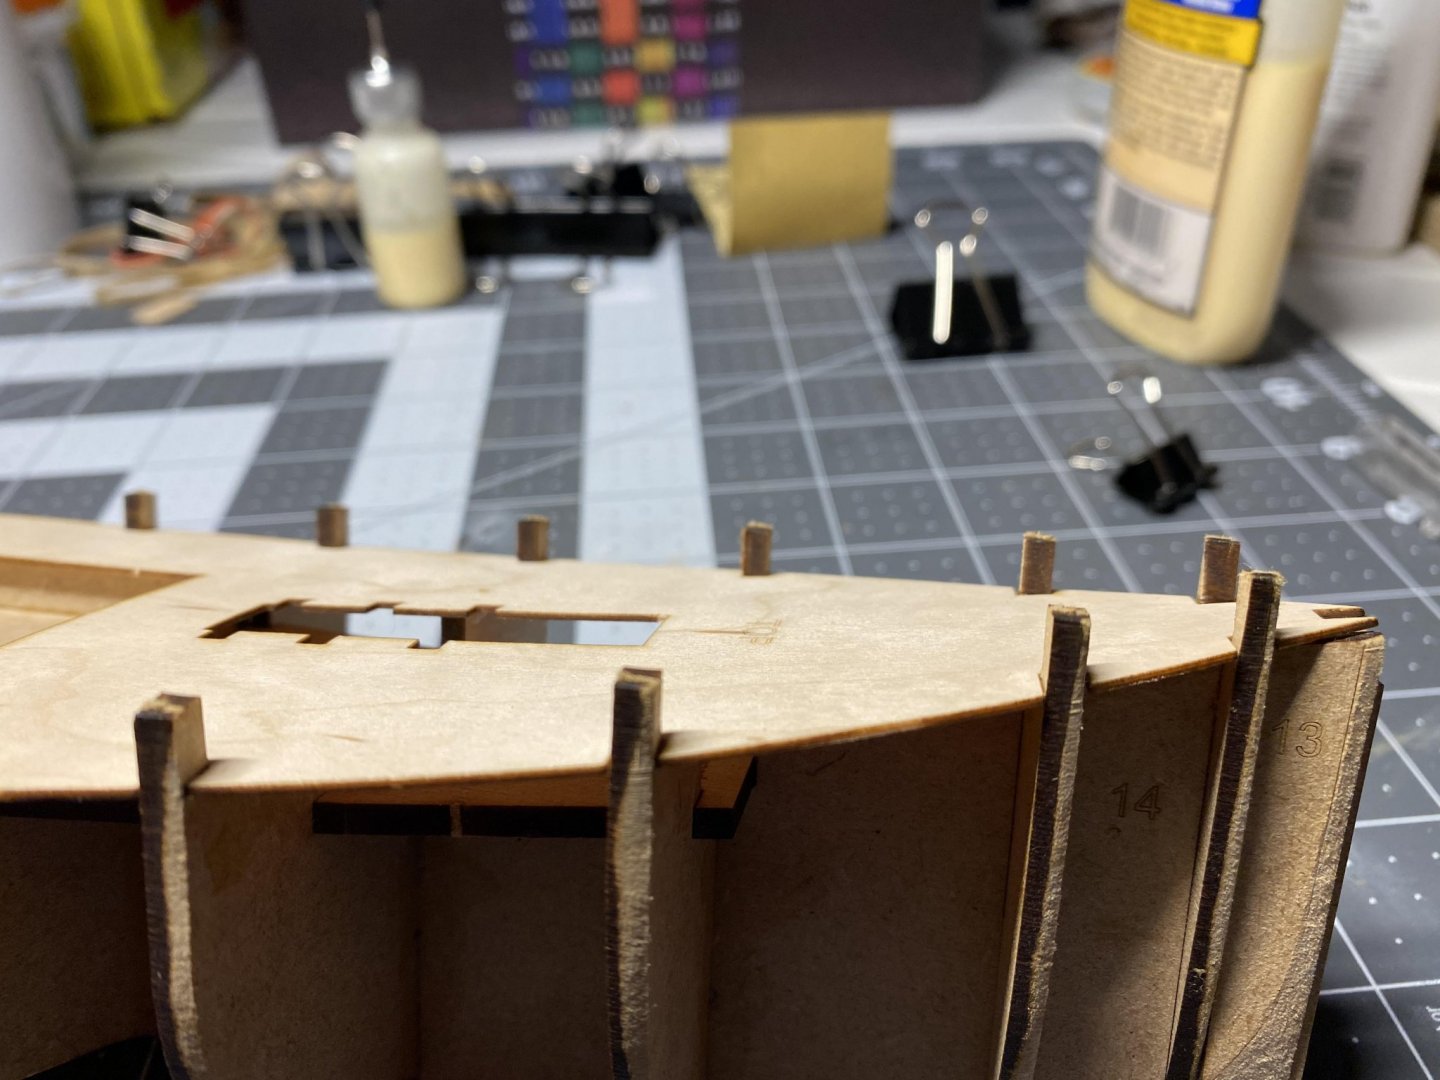
The bulkheads and some of the infill parts had engraved lines on them. These parts were beveled prior to gluing on the hull. You can see in the pictures the beveling helped as a starting point to begin fairing the bulkheads. You can also see the false deck has been glued down at this point. The deck fit into a recess on each of the bulkheads so it was perfectly aligned. This step was a little nerve racking as the deck had to be nudged into position and I was concerned about it cracking. Once I had it in place and dry fitted I was not going to remove the deck as it takes a little work to get into place.

- 38 replies
-
- 10
-
-
- vanguard models
- fifie
- (and 2 more)
-
After deciding to try out this hobby I made my first mistake. I selected a ship that had poor instructions and did not have a single build log on this site. I have put that model on the shelf for now and decided to look for a model more fitting to be built by a newcomer. After seeing and reading the build logs by James H and BE I was very interested in building the Lady Eleanor for my first ship build. The Vanguard model site had the complete manual for this kit available for reading. That convinced me that between the other build logs and the very complete instructions that this was a good kit for a total newbies first build. The model is extremely well built and the directions take a beginner thru the steps assuming you know very little about ship building and terminology. I really appreciate the instruction detail and there are plenty of photos to help visually with the build. The initial building of the bulkheads on to the false keel was very easy. The bulkheads fit snugly into the keel and required no squaring. Here is the ship assembled with the bulkhead and sub structure put together.

- 38 replies
-
- 12
-
-
- vanguard models
- fifie
- (and 2 more)
-
My mistake. It is actually a plank on bulkhead model. I am working on the vanguard model Lady Eleanor.
-
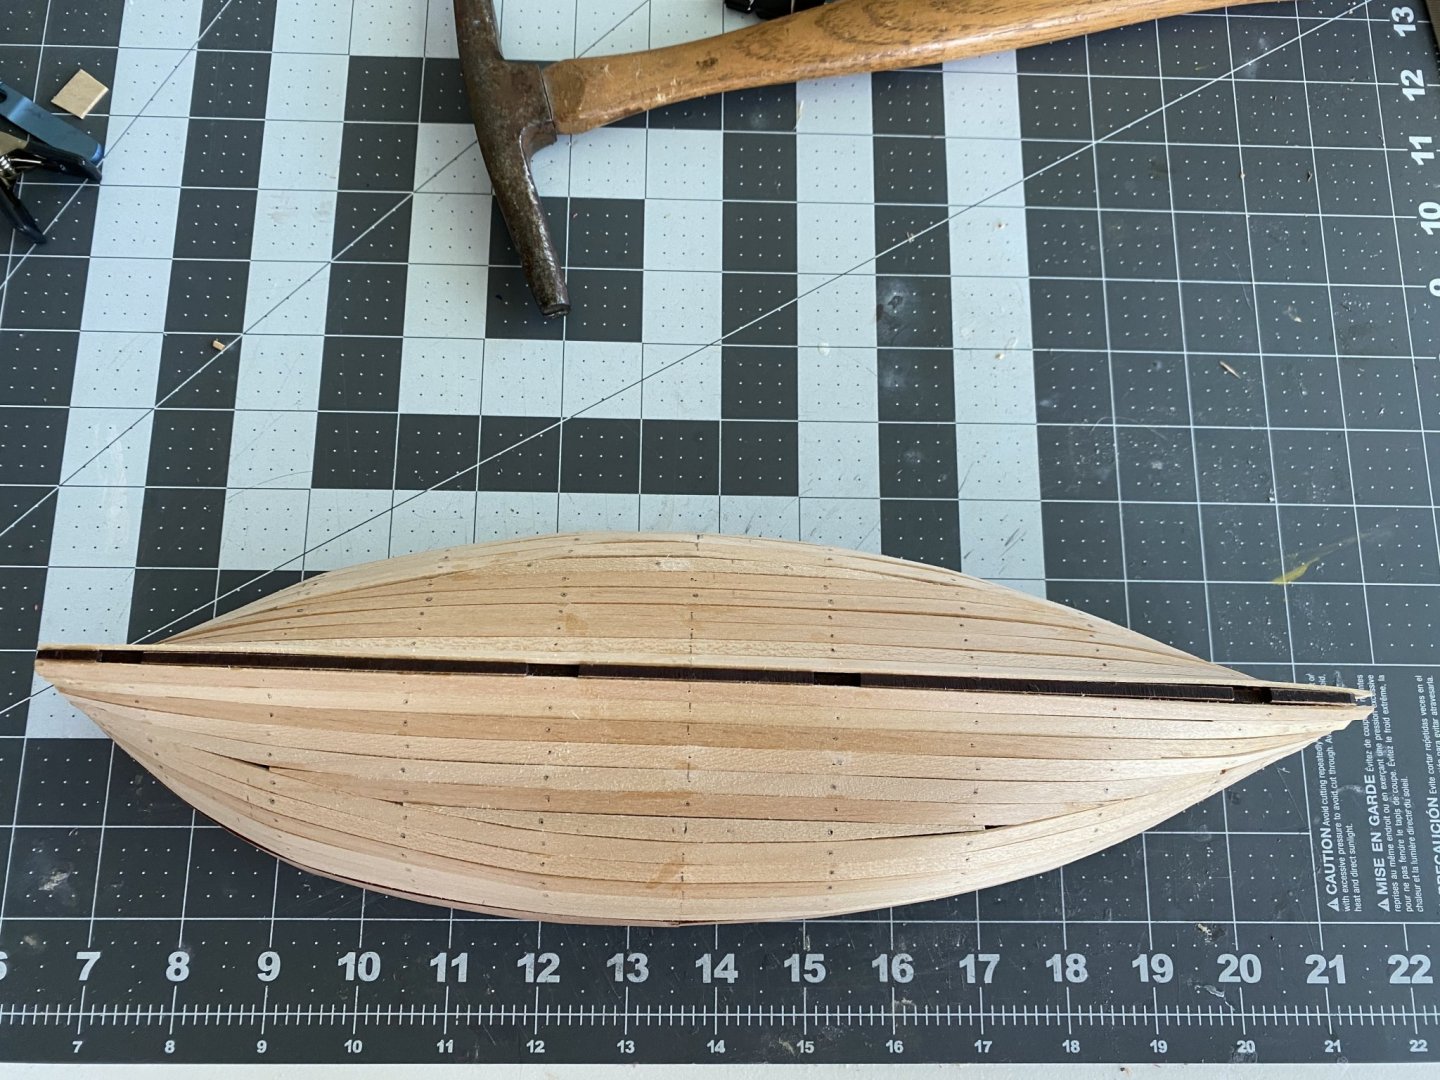
I am working on my first plank on frame model. The planking came out decent and I am now sanding. How smooth should the hull be before I attempt gluing the second planking?
-
This ship is on my future build list as a possibility. Thanks for the detail in your build log as it is always helpful to learn from others. Have you seen the build tutorial for this ship on the Amati website?
-
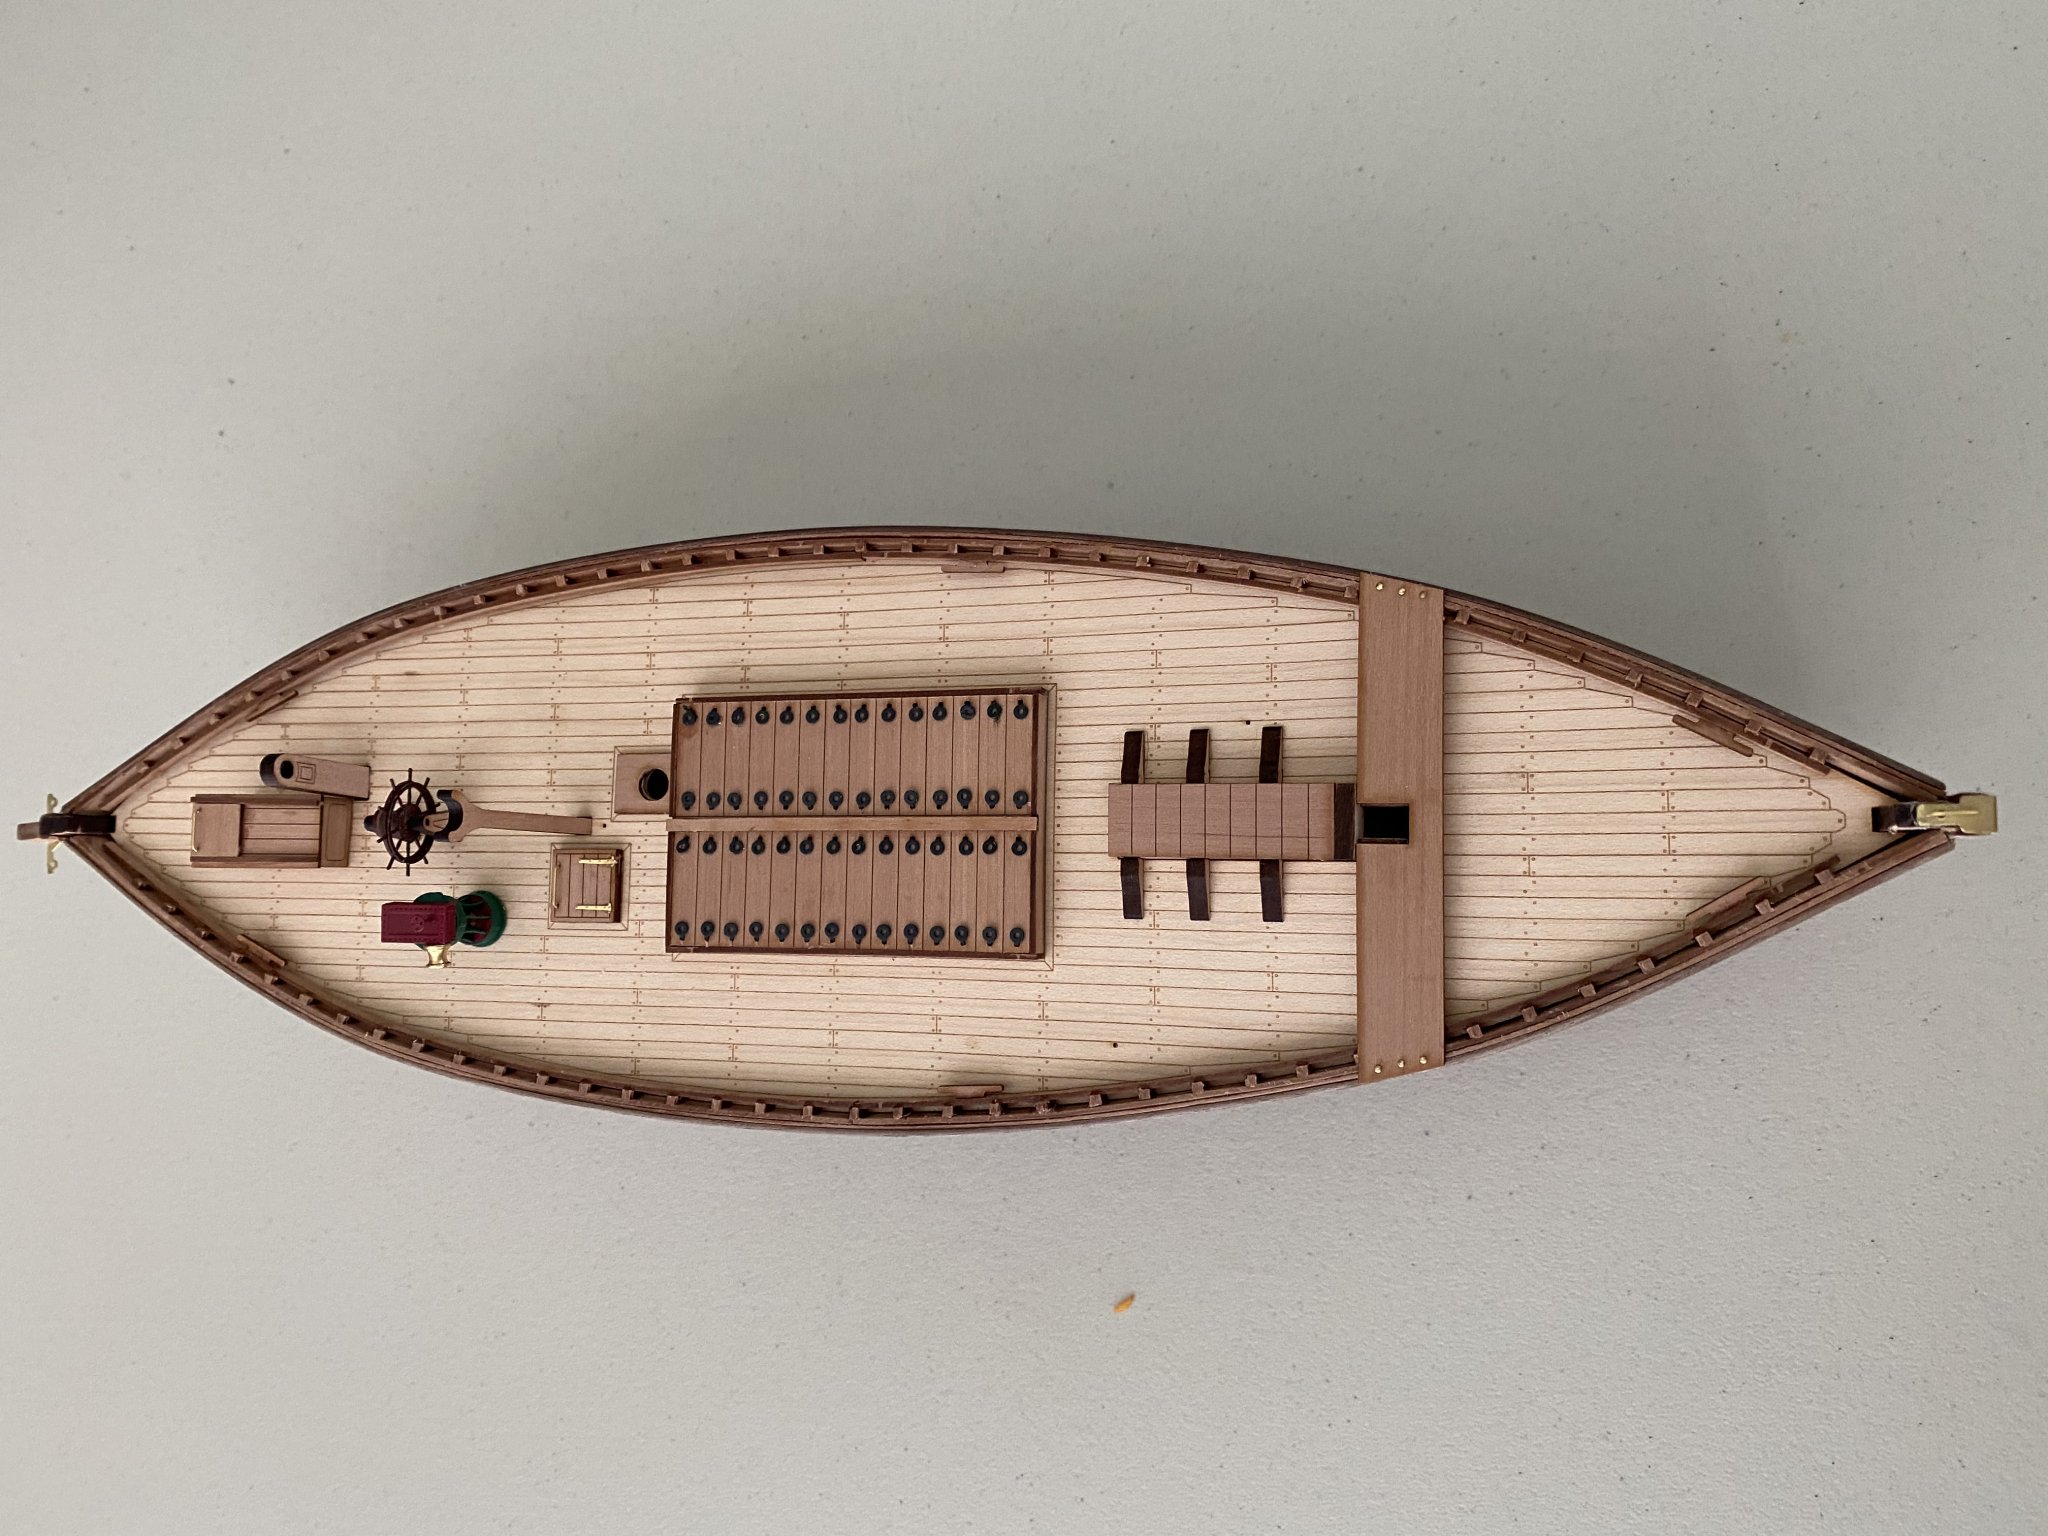
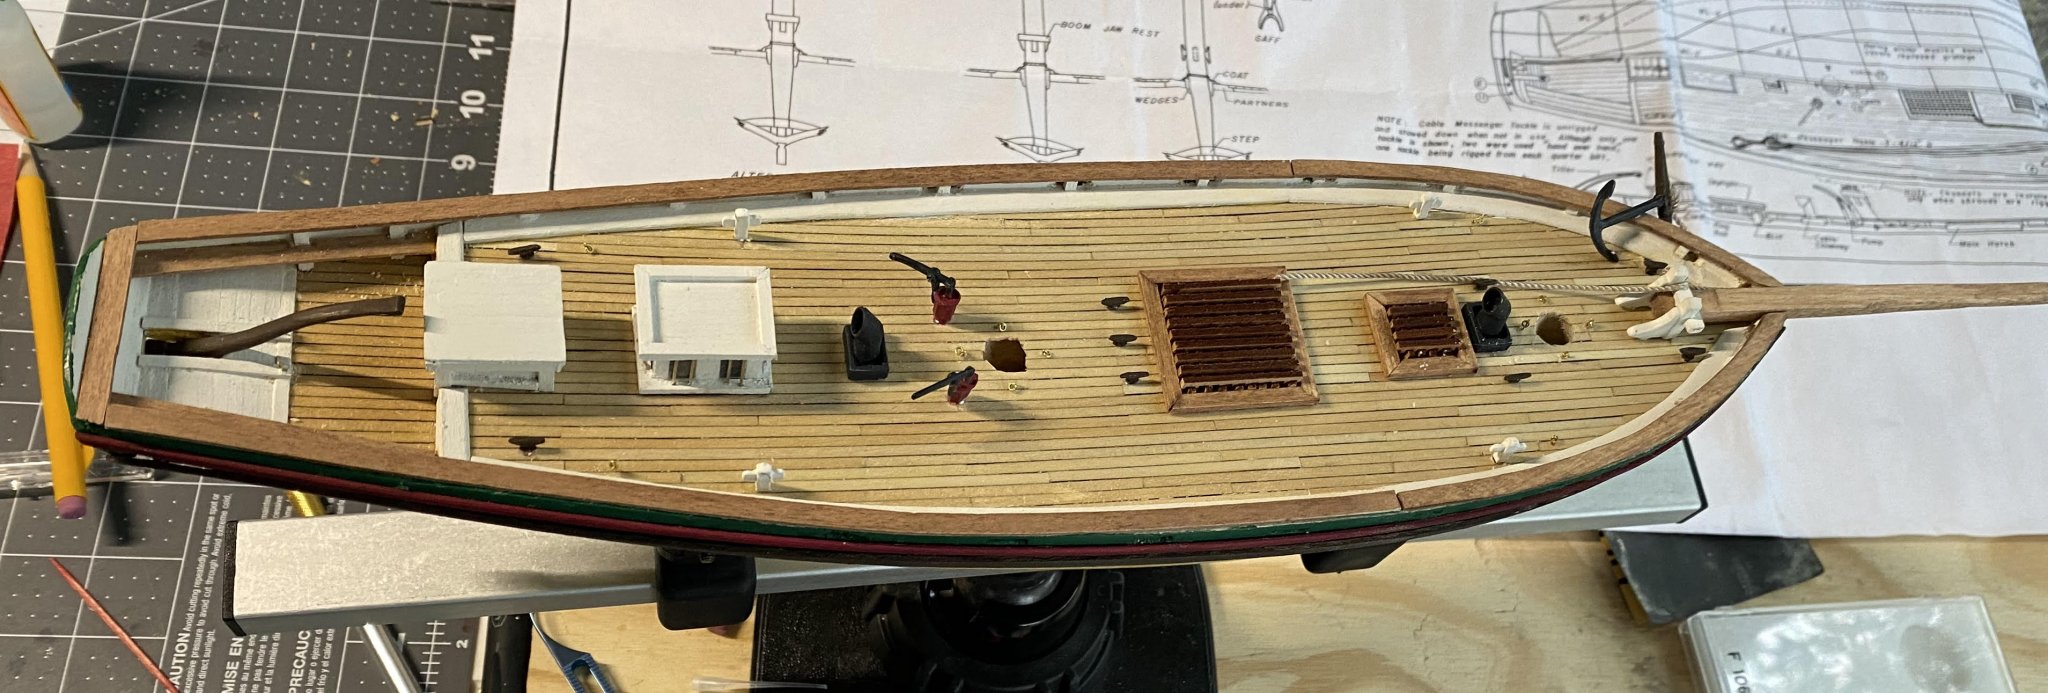
All of the metal fittings and the deck furniture have been placed on the deck. I had to rely mostly on the plans because the instructions did not have much detail. Made me very nervous but in the end I think I got everything placed correctly. Both the companionway and the skylight were scratch built using the plans. They look just OK to me. Since this is a learning experience I am glad I am learning how to use plans and hopefully my build skills are improving.

- 13 replies
-
- 5
-
-
- model shipways
- katy of norfolk
- (and 1 more)
-
My Fifie is arriving today. As a newbie I find myself studying other builds on this site to gain knowledge and see what other build challenges and success others are having. I looked at the build log by James H and thought that this would be a good beginner model for me. After visiting the Vanguard Model website and reading the manual I ordered the ship. I have to compliment Chris Watton on his website design. He includes the manual on the website for his ship offerings. This allowed me to read thru the manual. The level of detail for this ship is just what I need right now as a beginner in this hobby. My current build plans and instructions lack the detail I would have wanted as a newbie and is making things difficult for me. Also there are no build logs of the ship I am working on. So the info you can provide in your build will be very helpful I believe to someone like me.
- 195 replies
-
- 5
-
-
- lady eleanor
- vanguard models
- (and 1 more)
-
Thanks Bob The Vanda-Lay drill press looks like a great tool.
-
The Dremel 4300 now comes standard with a 3 jaw chuck instead of using the collets. Most other Dremel rotary tools can can use the 3 jaw chuck which can be purchased as an option. Thinking the Dremel might be a good and cost effective way to drill holes in ship models.
-
I am working on my first ship model which has a solid hull. I have been using an electric drilI and found it difficult to accurately drill holes. The kit required drilling of masts at two different angles and even the precise position of the hawse cheeks were a challenge. What is the method that would produce more accurate drilling? I am not opposed to purchasing a rotary tool drill guide or even a small drill press.
-
I am also new to this hobby and am planning on building this kit in the future. Thank you your build log. I will follow it with great interest. Your work looks good to me.
-
Been a while since my last build update. Scuppers have been cut, stanchions, covering boards, cap rails, side sheer molding, wales, and tiller all added and painted.
- 13 replies
-
- 4
-
-
- model shipways
- katy of norfolk
- (and 1 more)