
HardeeHarHar
-
Posts
615 -
Joined
-
Last visited
Content Type
Profiles
Forums
Gallery
Events
Everything posted by HardeeHarHar
-
 Thanks, I can't claim the idea as my own, however, I did improvise on the approach!
 -
I have to add my praise for your incredibly well-done planking job, and for your decision not to paint over it!!!! I am glad you are creating another fine example for the Sphinx builders here (like me =).
-
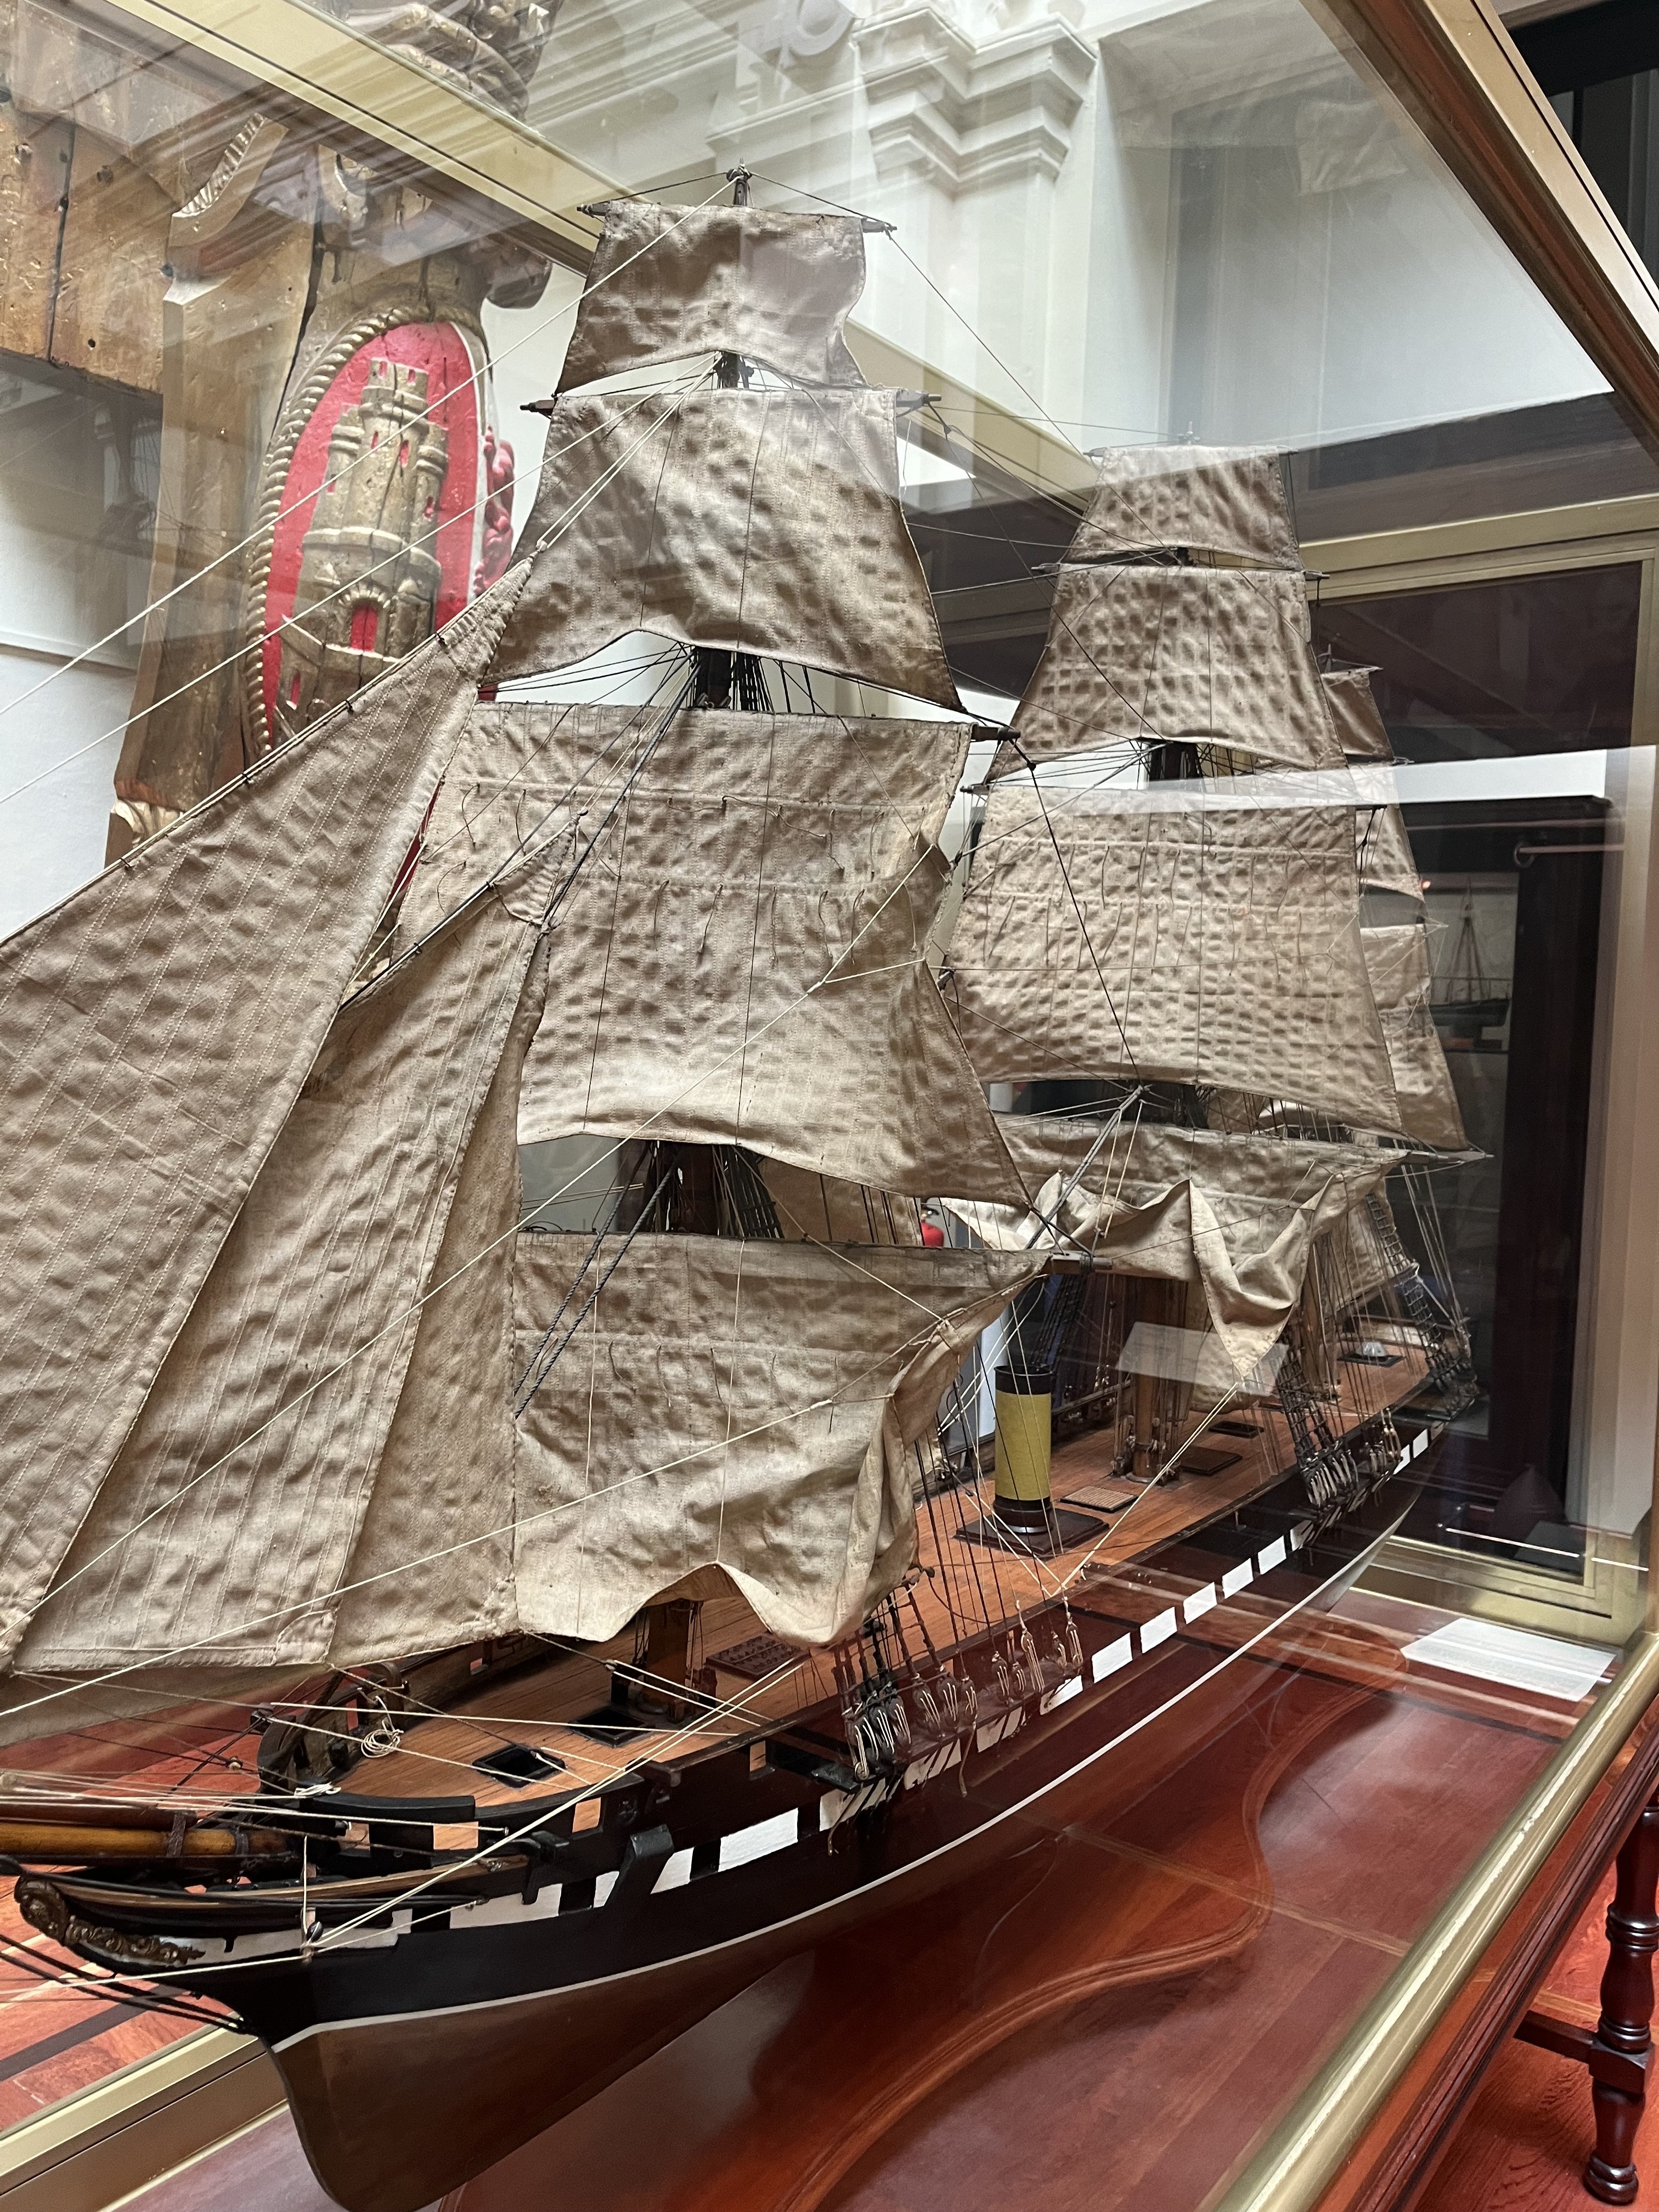
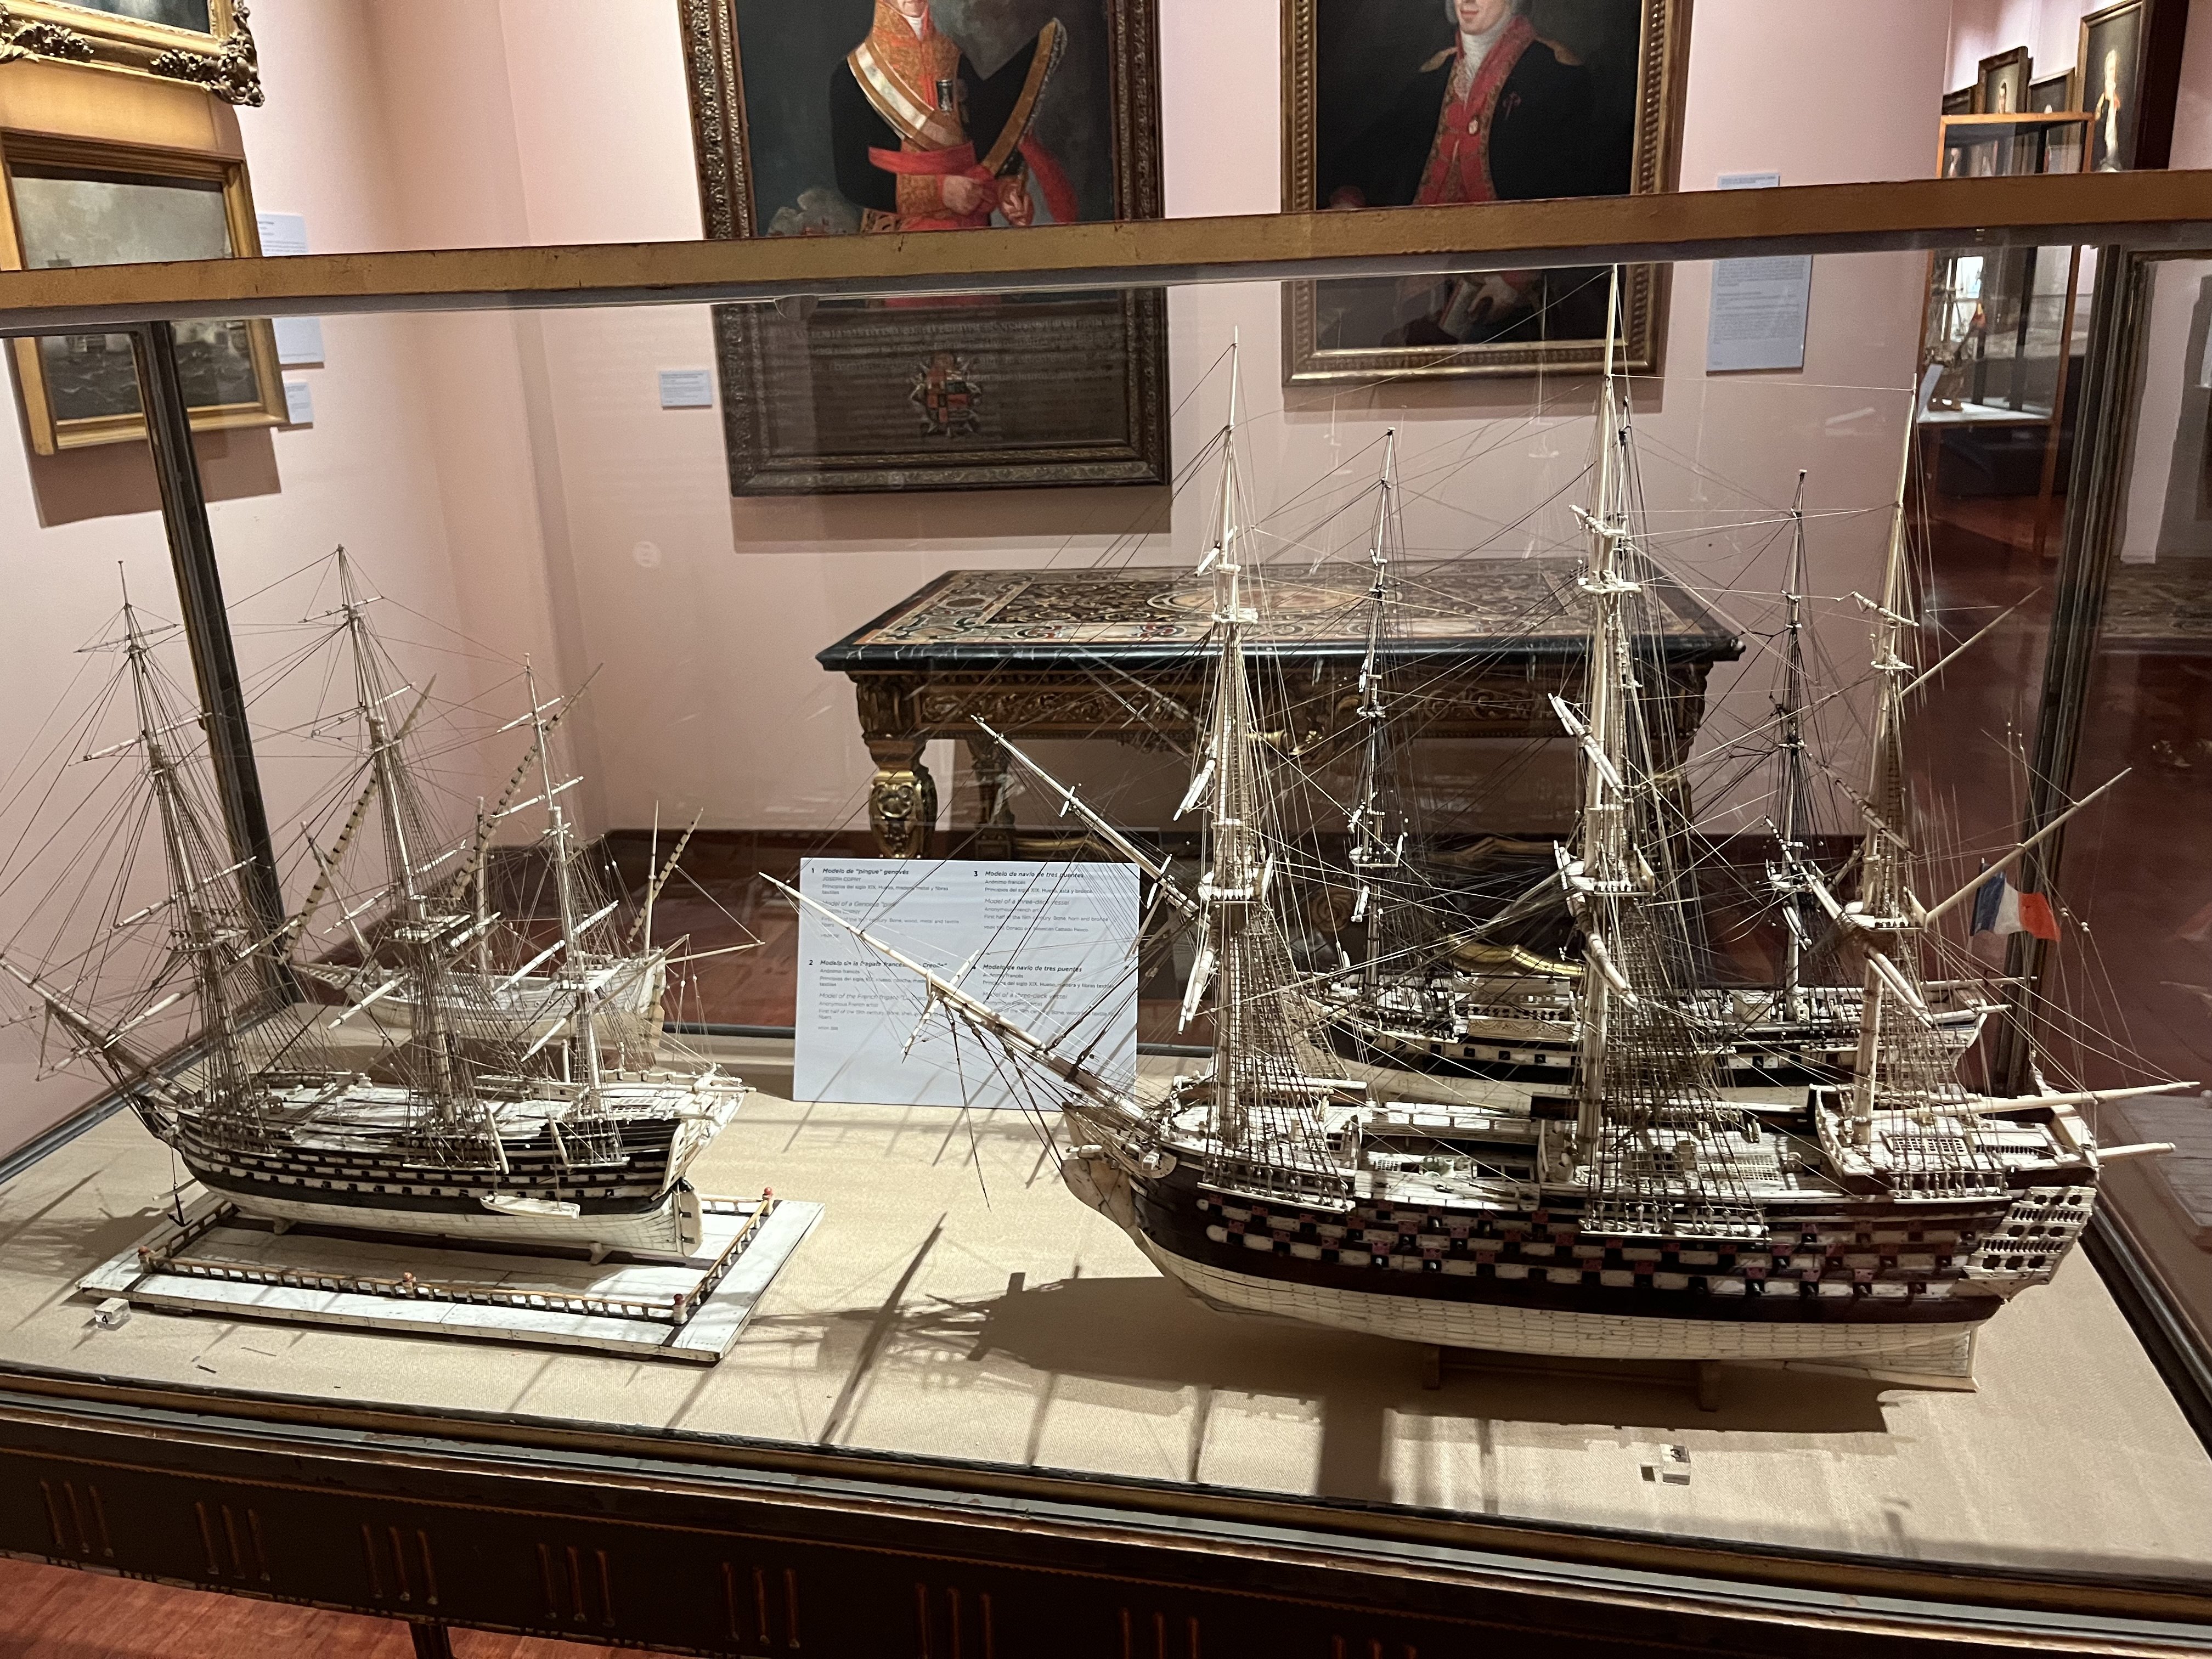
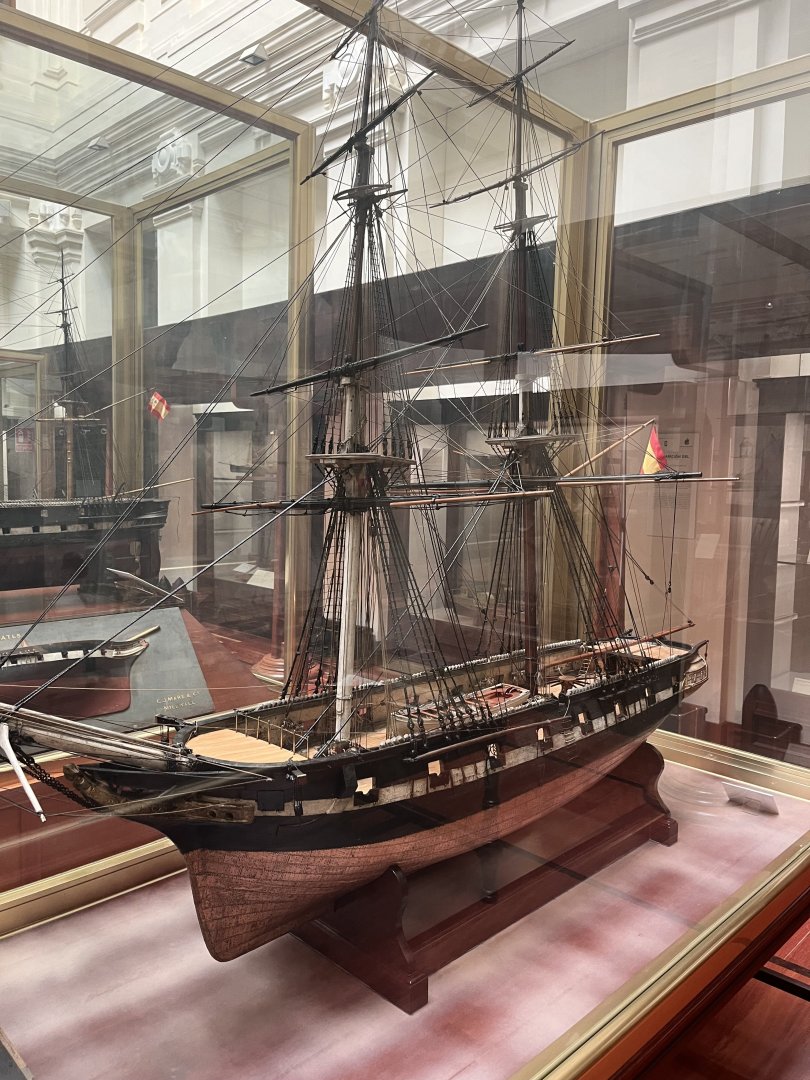
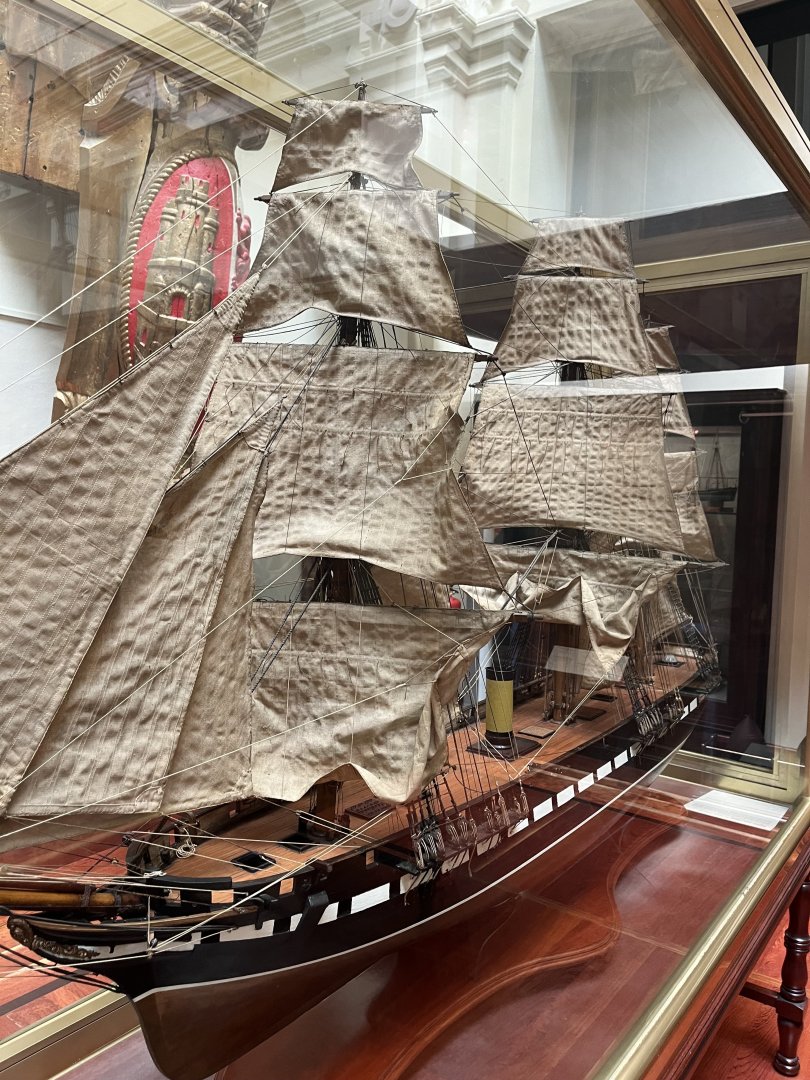
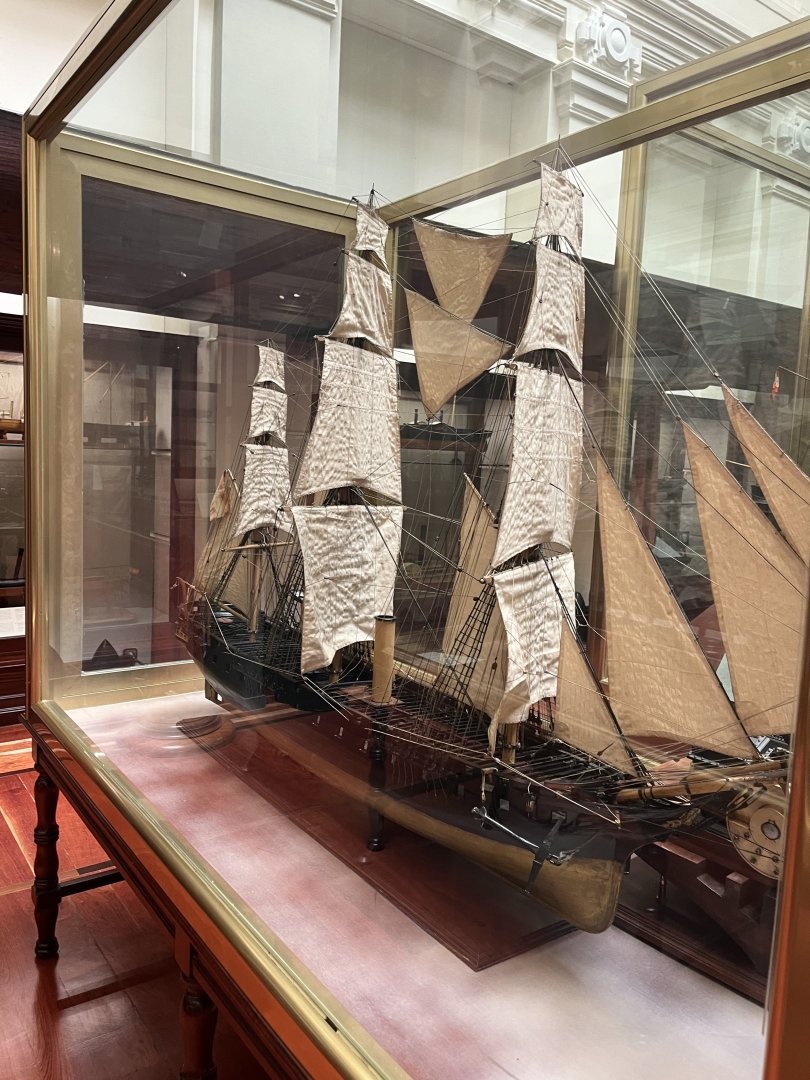
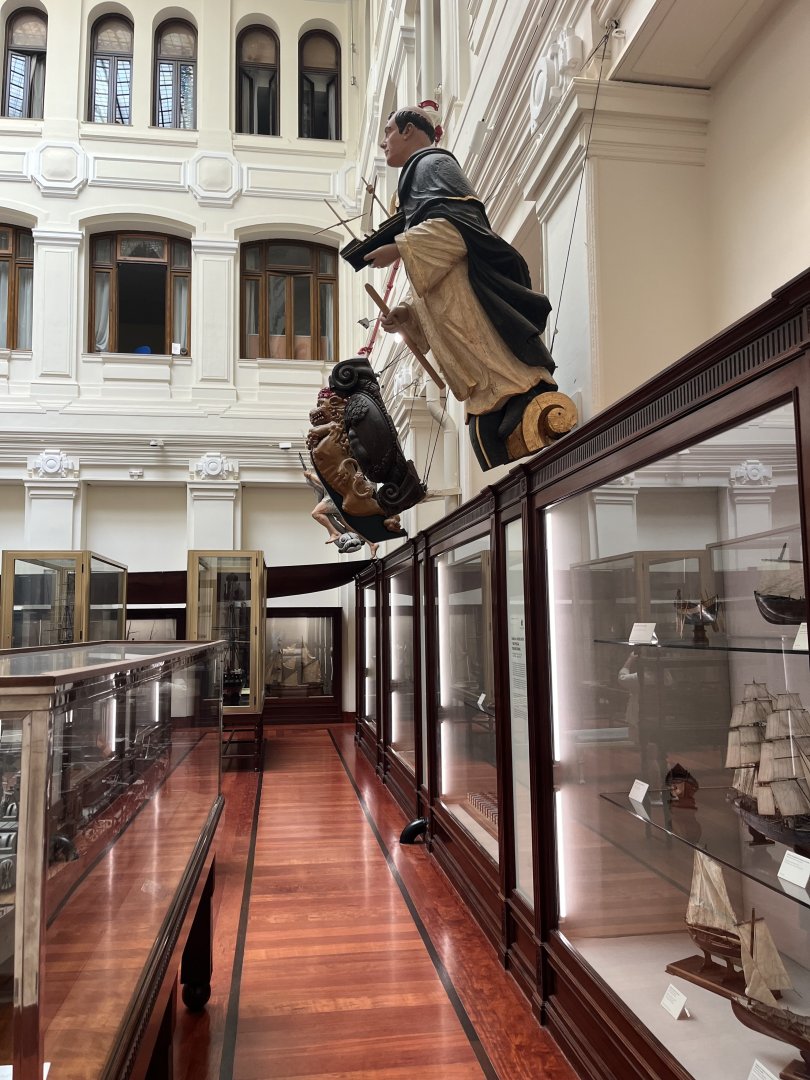
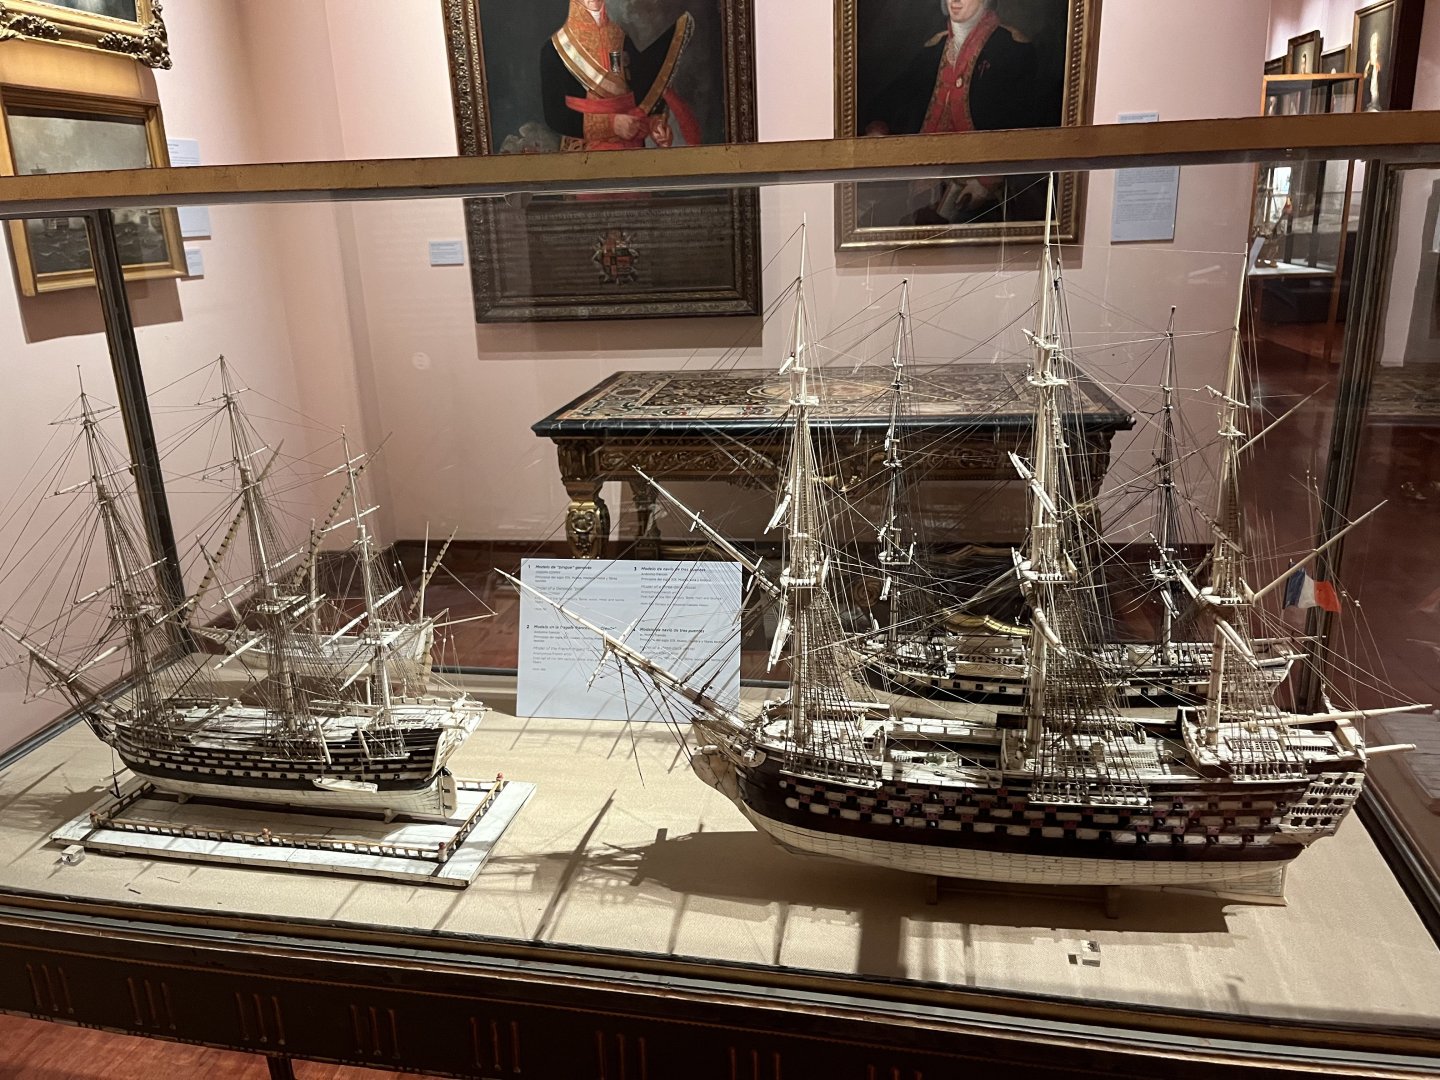
Managed a quick trip in to the museum, which is free to the public. Lots of eye candy!!!!
- 4 replies
-
- 15
-

-

-
I’ll also request one full set for my Sphinx if you would be so kind Chris!
-
I’ll jump into the fray. All the commentary about fit, etc are all good. However, the images people are critiquing are huge compared to the size of the figures. With my eyes, I can hardly see the figure, let alone a big hand or Ill-fitted coat. That’s not to say the comments aren’t valid, but holy cow I am starting to understand why Chris is saying he is going to punt.
-
Excellent observation. The figures are awesome, but the telescope would not be sitting like that (at least not for long).
-
Wich' being one who's building a Granado - I'd encourage add'n a bomb vessel to the Vanguard Fleet 😃. When it comes to armament, maybe bigger is better 😉
-
Hey Francois, Thanks for your kind words about my color scheme. I’m trying my best! What I meant was i will be flying to Madrid, then driving to Salamanca for a scientific meeting. After the meeting is over, I will drive to Porto for a few days, then to Coimbra, and then to Lisbon for a while, before flying back to the US from Lisbon. My niece lives in Lisbon, so it will be very good to see her again (last time I saw her was when I visited her in 2016 when she was living in Moscow). Looking forward to a few weeks of business and pleasure near you!!!
-
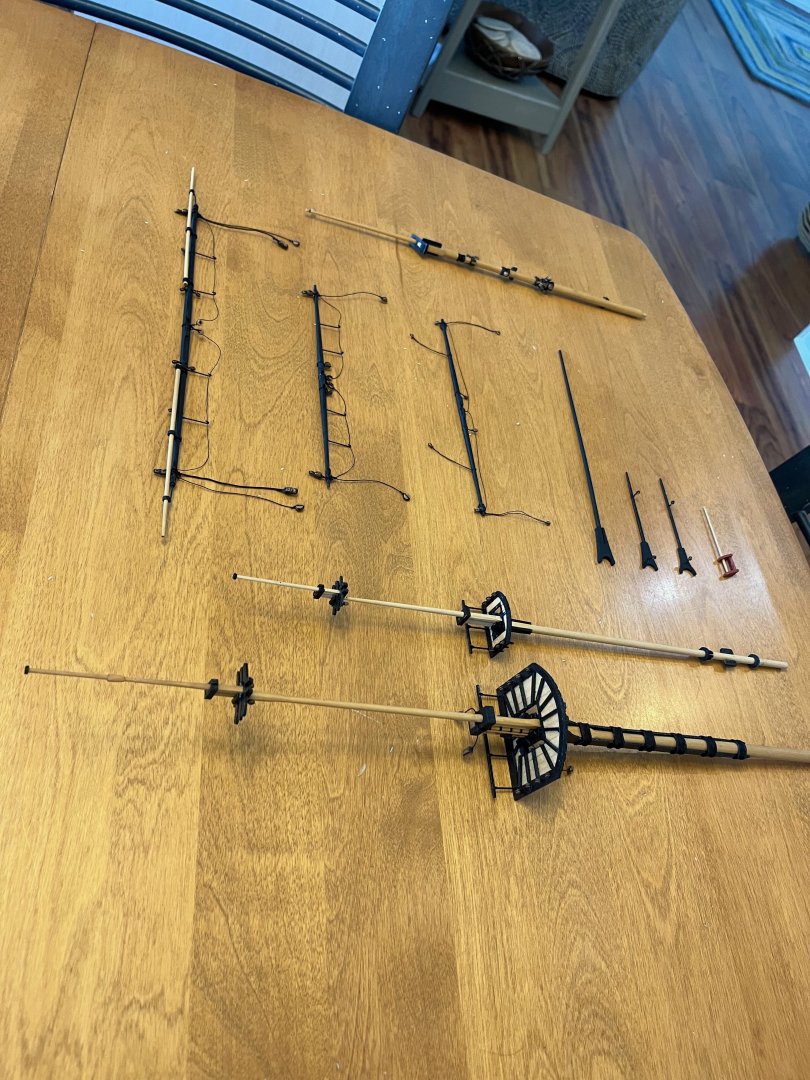
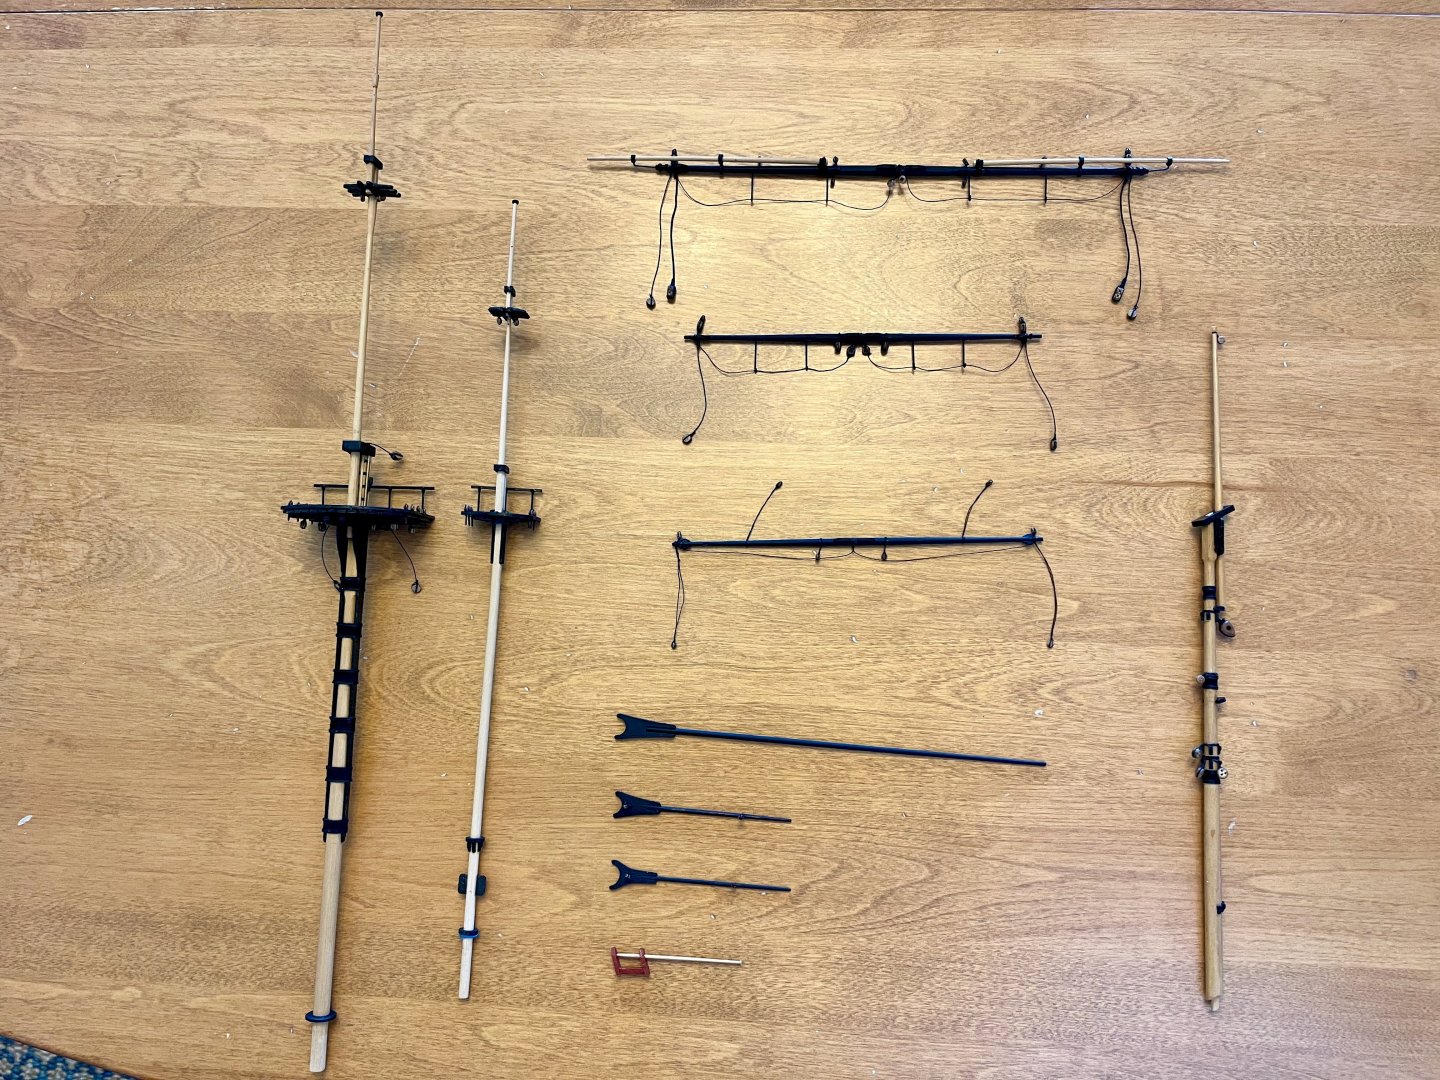
Well, it has been a long time since I have updated my build log. That doesn't mean I haven't been working on the Granado, but it does mean I am slow as molasses (particularly with things I have never done before). I have been working a lot too. However, enough of the excuses, and a wee bit of an update on where it all stands at the moment. Here are two photos of my progress with the preparation of the masts, yards, bowsprit, gaffs, etc for the rigging of Granado: I still have things to touch up, and the mizzen mast needs some Danish Oil wiped on it still....but it is progress. We are heading inland for a short time, and I will work on the Sphinx while there and send some pics of that soon. Then back out to the Island before I eventually head to Spain and Portugal for a little international science and adventuring. Hope all is well with everyone, and thanks for stopping by!!!!
-
I’ve been planning on removing the base, I thought everybody did!!! Now wondering if you could print some out without the base 🤔
-
Yes indeed, she is looking good. Even Captain Marvin must be impressed by now. We should set up a GoFundMe site with all proceeds going towards your purchase of a Vanguard Model. 😃
-
Nice cannon rigging. That is awesome!!! All your work is great!
- 61 replies
-
- 1
-
-
- Granado
- Caldercraft
- (and 1 more)
-
Nicely done!
-
That is looking veeeerrrrryyyyyy nice Francois! Great work on your Granado!!! Keep up the good work and the updates, it is inspirational to see your work as it progresses. Cheers, Brian
- 61 replies
-
- 2
-
-
-
- Granado
- Caldercraft
- (and 1 more)
-
I’m still sanding the inner bulwark frames… even with the Proxxon mini-sander it is taking me a long time to get it nice and smooth “/. Laser char is the worst!
-
Nicely done!!! I really like your approach with the decals too!!! I wish I had thought of that…
- 61 replies
-
- 1
-
-
- Granado
- Caldercraft
- (and 1 more)
-
Stepping the mast with a plum bob...two questions.
HardeeHarHar replied to HardeeHarHar's topic in Masting, rigging and sails
Thanks for the response John, I greatly appreciate it. Now I can worry about rigging a ship with wobbly masts!!!! -
Anyone who has read my blogs knows that I tend to worry about the "correct" procedure that should be used in building a model ship. One of the things I have been worrying about lately was how to step the masts on my Granado in a way where I could guarantee they would be aligned relatively straight (albeit with the required rake), and whether I should use wood glue (PVA) or the time control CA I have been using a lot of lately. In the process of worrying over this and other things, I ran across one post where an individual had a laser line system and used that to make sure his mast was glued in place with the correct orientation. That seemed like a high tech solution, but I don't (yet) have a laser level system....so I just kept worrying, thinking about having my wife help me eyeball it, etc. (I know, I need mental help). But it finally occurred to me that a simple *plum bob* might just be the most cost effective solution. So my questions are: 1) how many individuals have actually used a plum bob to step their masts, or what other techniques might be suggested for me to consider/worry over to get the mast stepped the first time; 2) what glue do you recommend for this endeavor. PLEASE HELP ME STOP WORRYING ABOUT THIS (so I can worry about something else =). Best regards, and happy holidays, Brian
-
Beautiful work and quite a statement piece to have in a home. I hope you take lots of time to just admire your excellent work.
- 310 replies
-
- 3
-
-
- Diana
- Caldercraft
- (and 1 more)
-
Do you just use excess line all coiled up? I’ve been thinking it should be easier to do the blocks under the tops before installing the masts, but I’ve never done it before…
- 200 replies
-
- 2
-
-
- Whaling Bark
- Charles W Morgan
- (and 1 more)