
HardeeHarHar
-
Posts
615 -
Joined
-
Last visited
Content Type
Profiles
Forums
Gallery
Events
Everything posted by HardeeHarHar
-
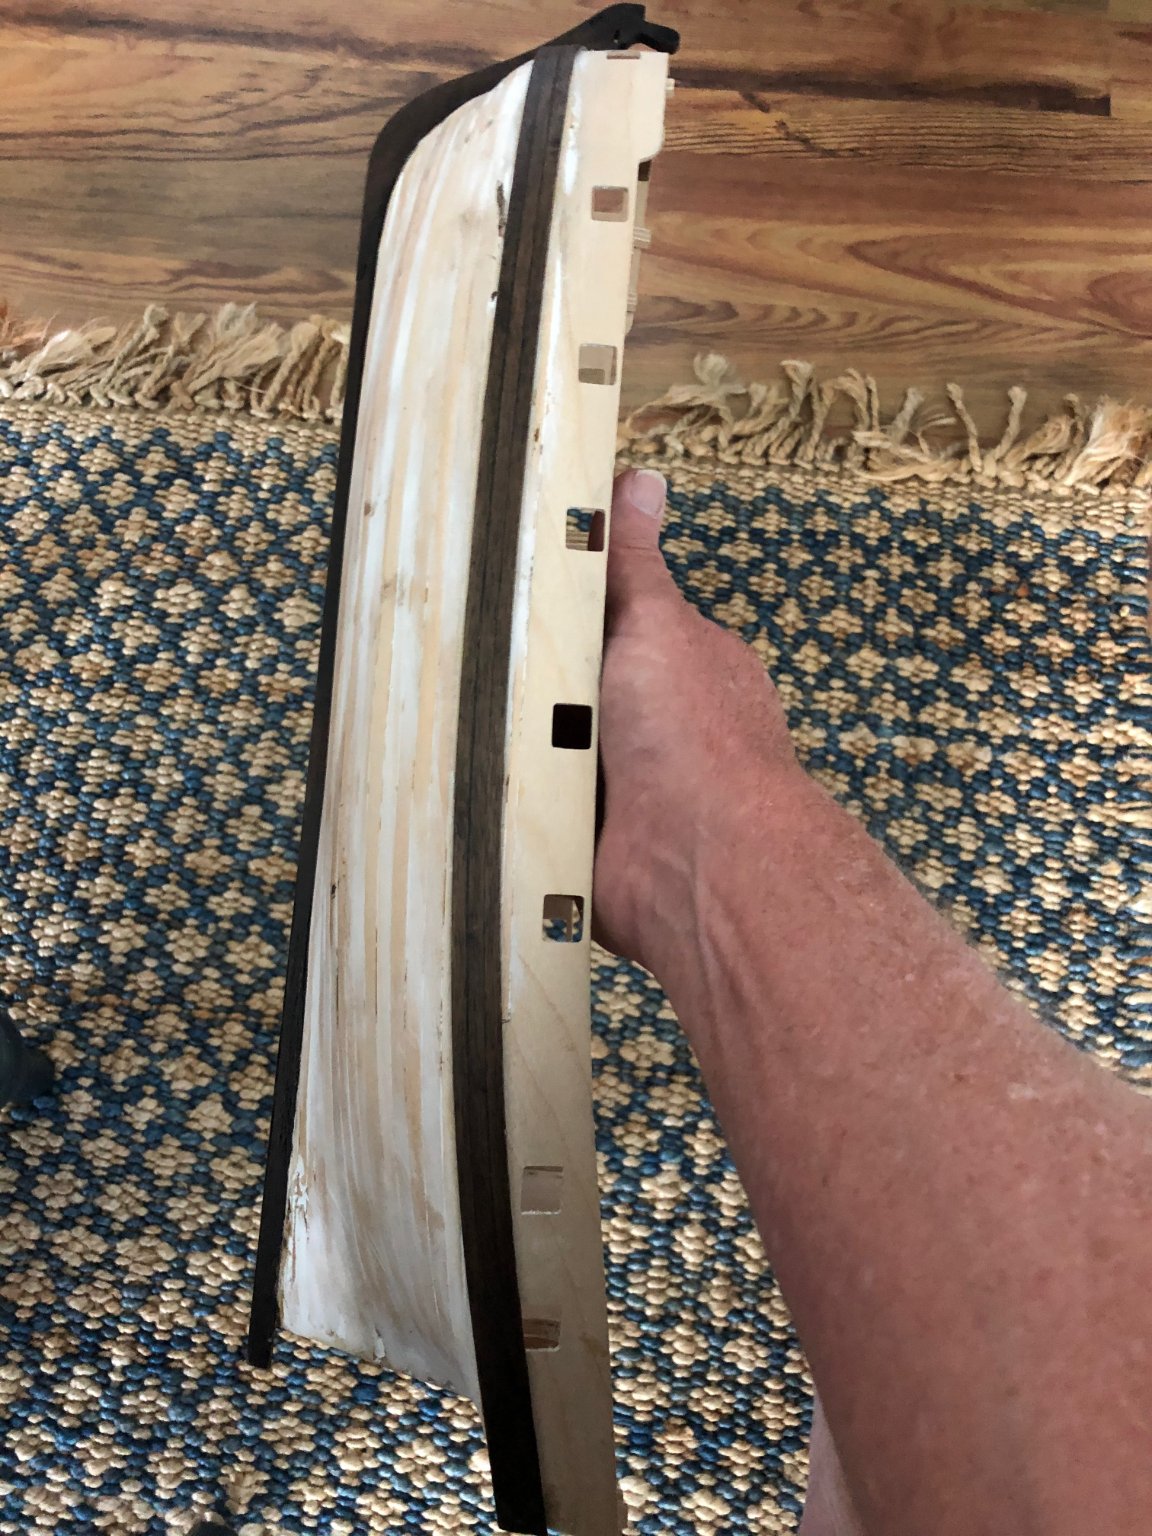
 I added the walnut wale, and stained dark... Then I tried to find some boxwood (Castello) to use for the 2nd planking instead of the walnut, because I have more money than IQ points.... I ordered some from one well known vendor in the US, and got some horrible yellow sticks of some weird wood that was simply unusable. More details provided if sufficiently encouraged. Then I ordered material from Arkowood in Germany, and got ready to wait for the United States Postal Service (under their new leader Dejoy) to get around to delivering my boxwood strips for about $300.00 US. I was ready for a long wait, but I was certain I was going to receive material that was actually usable.....
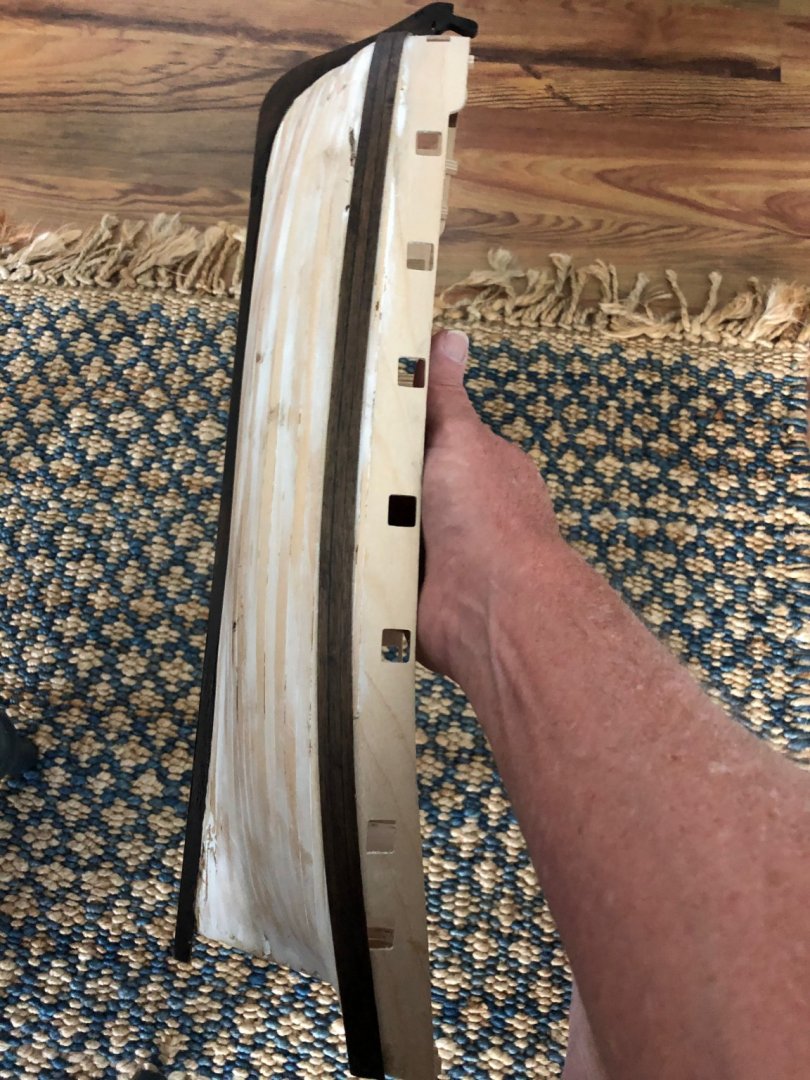
-
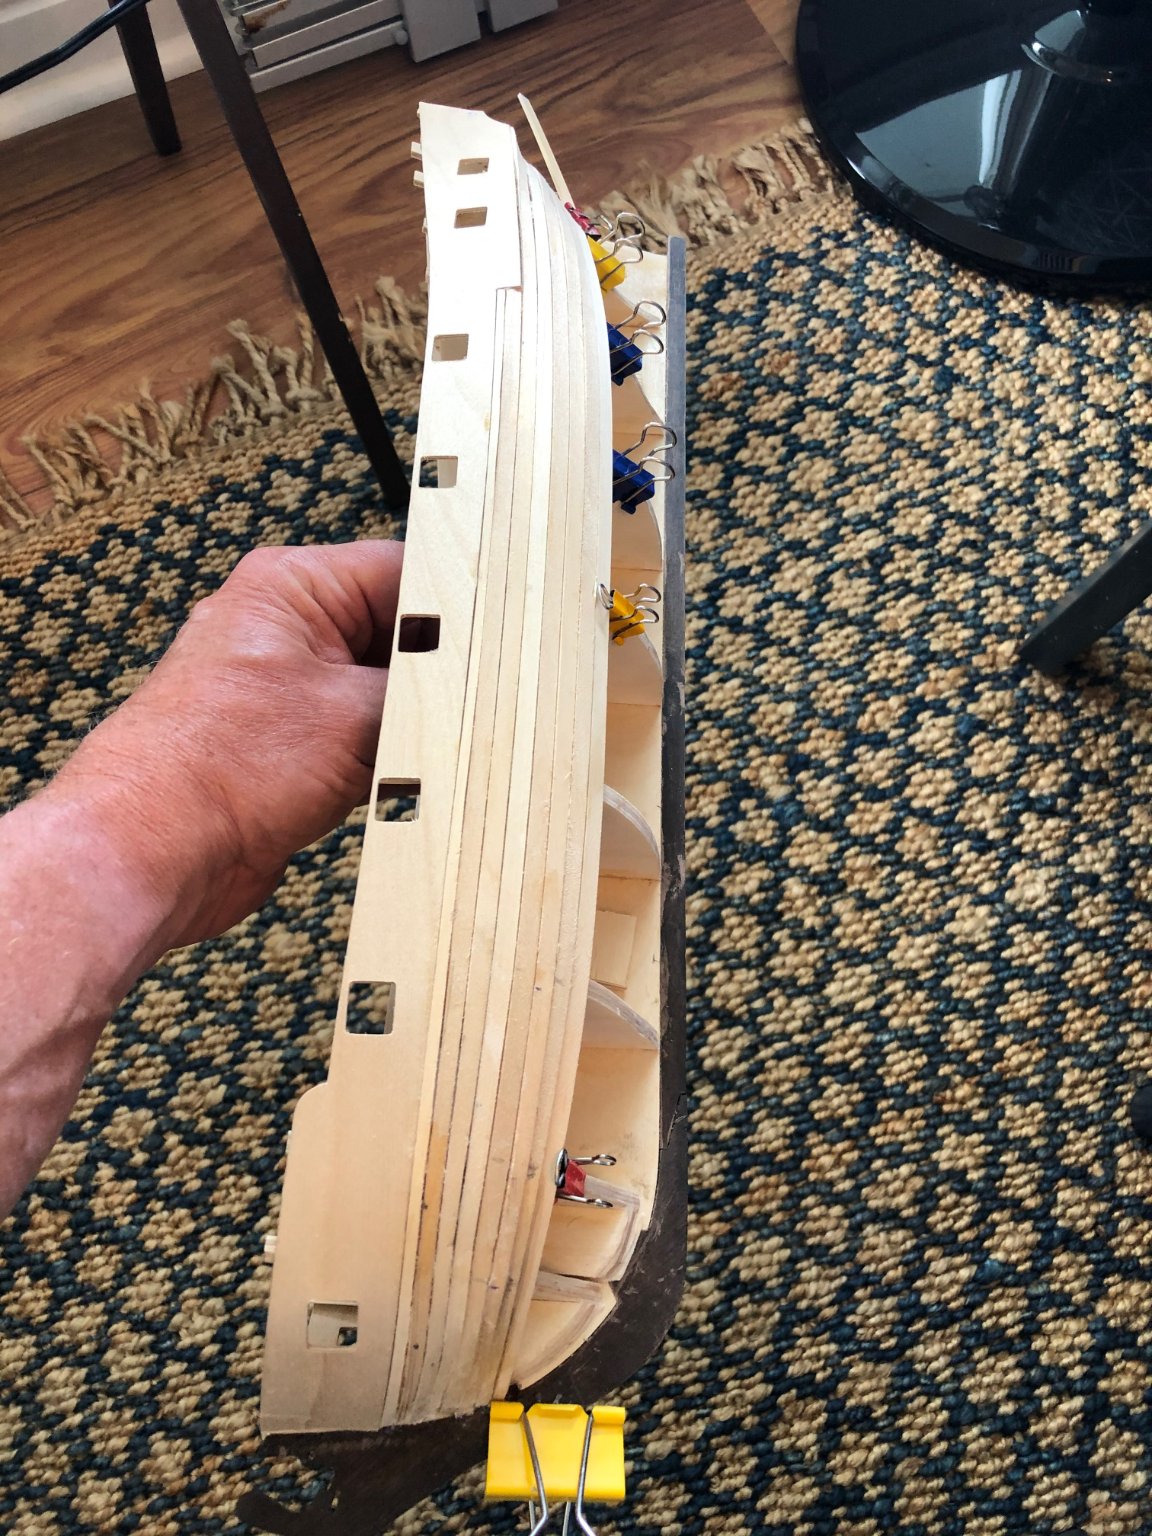
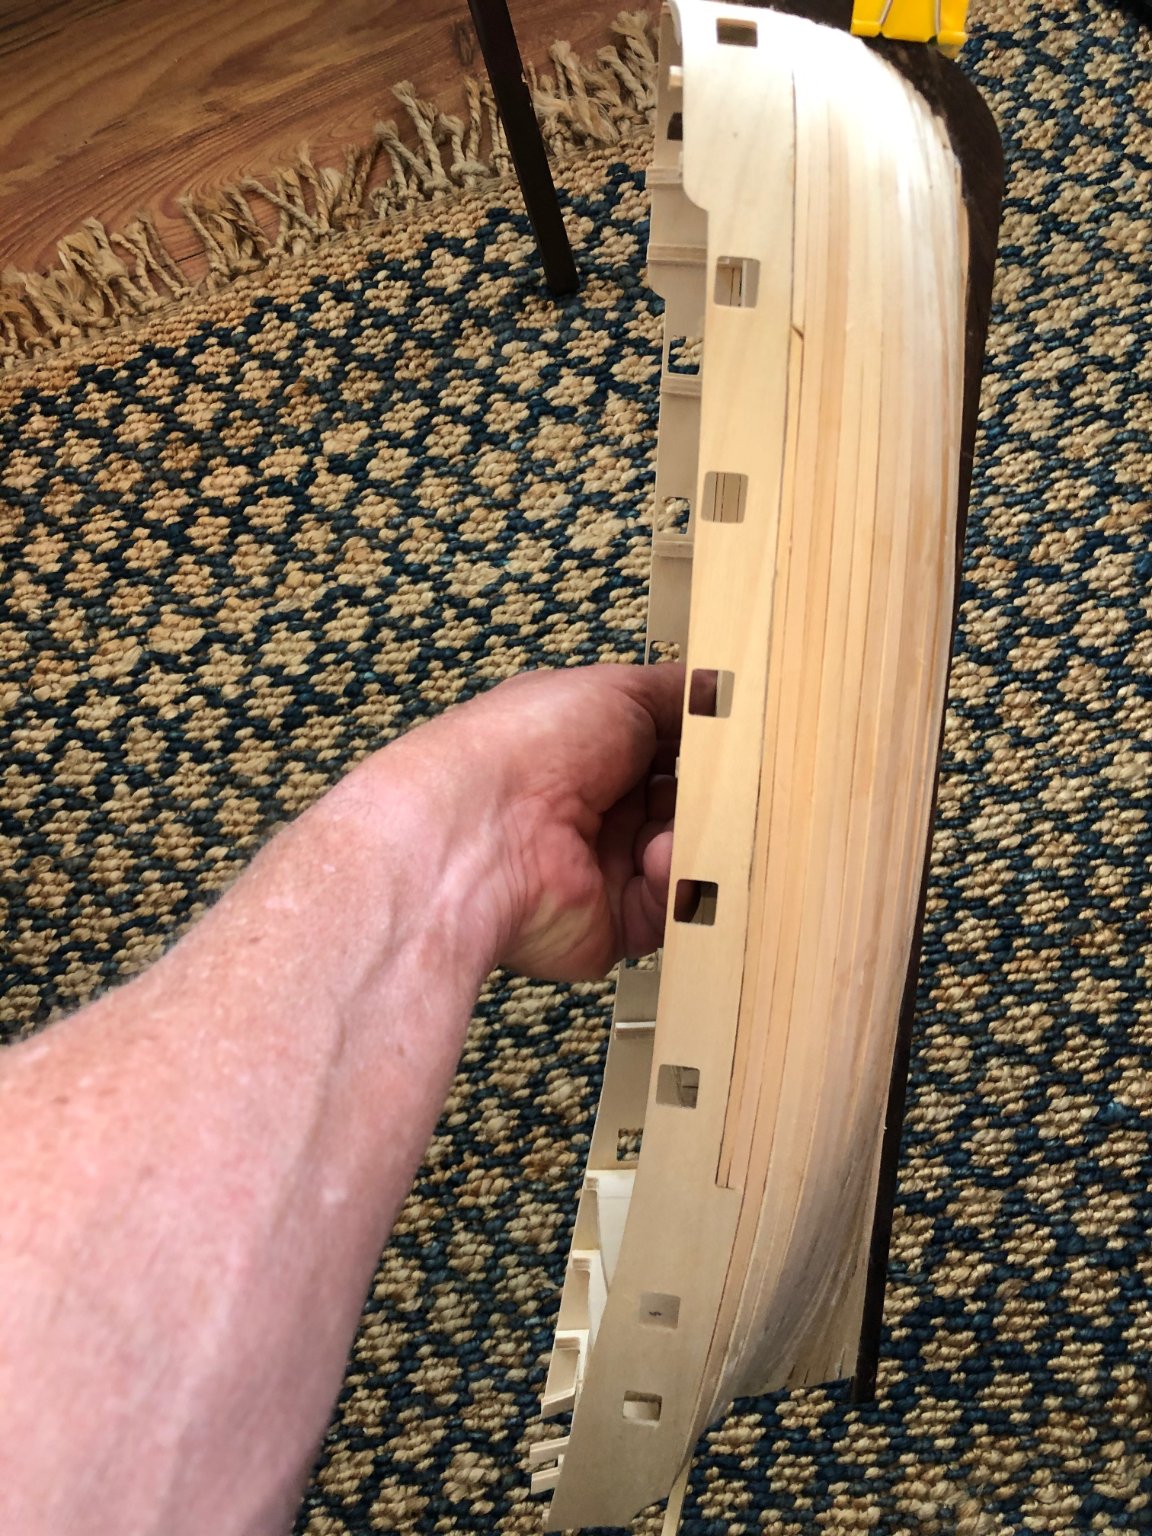
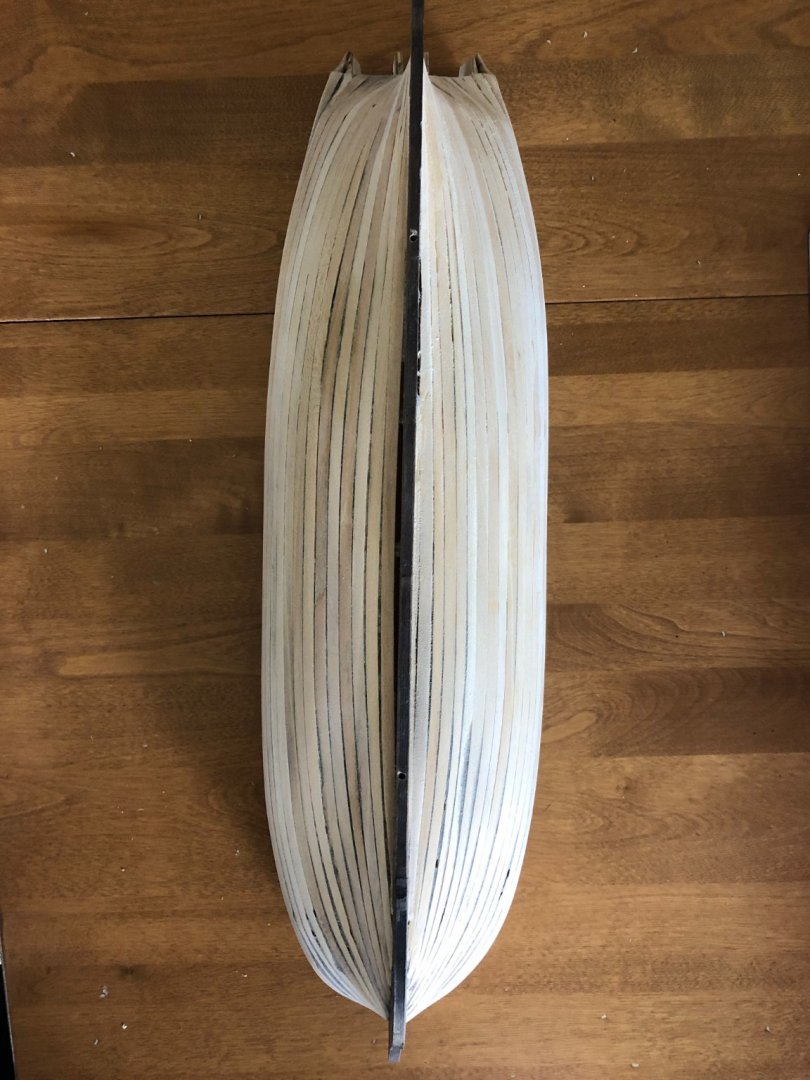
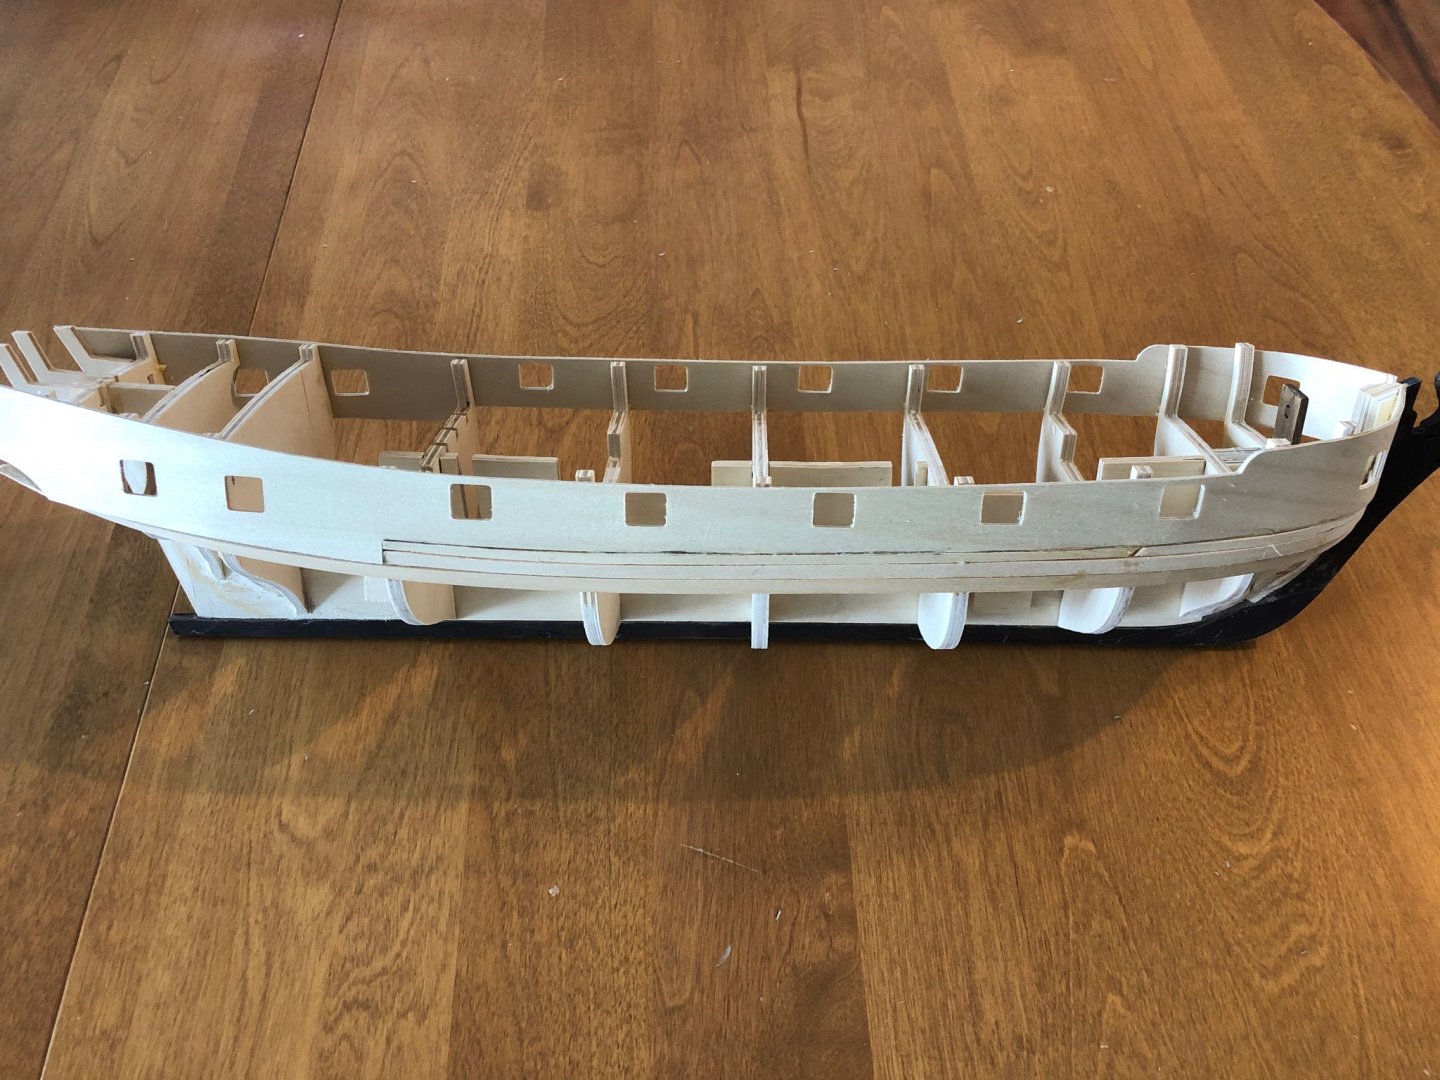
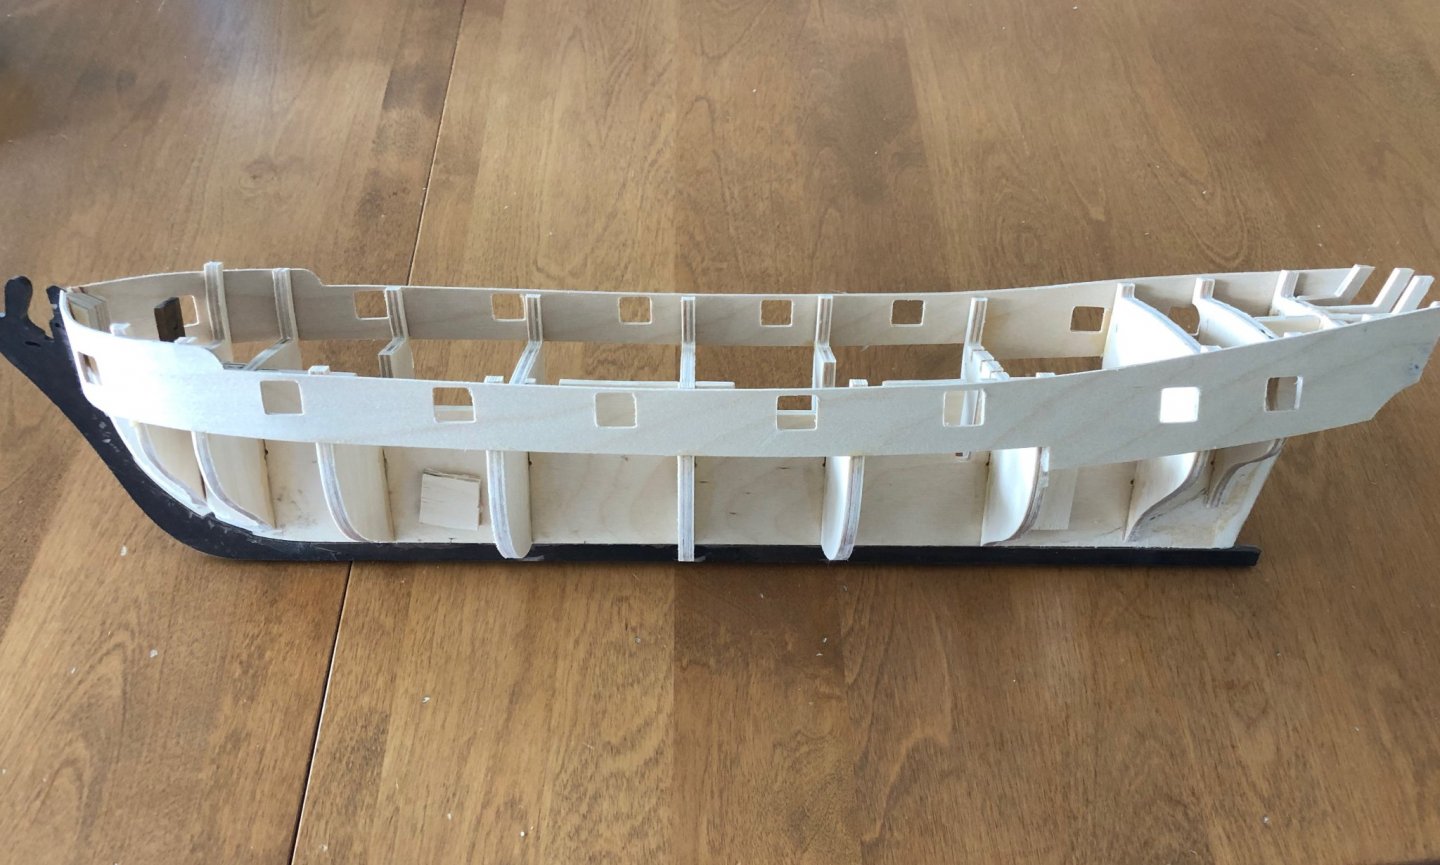
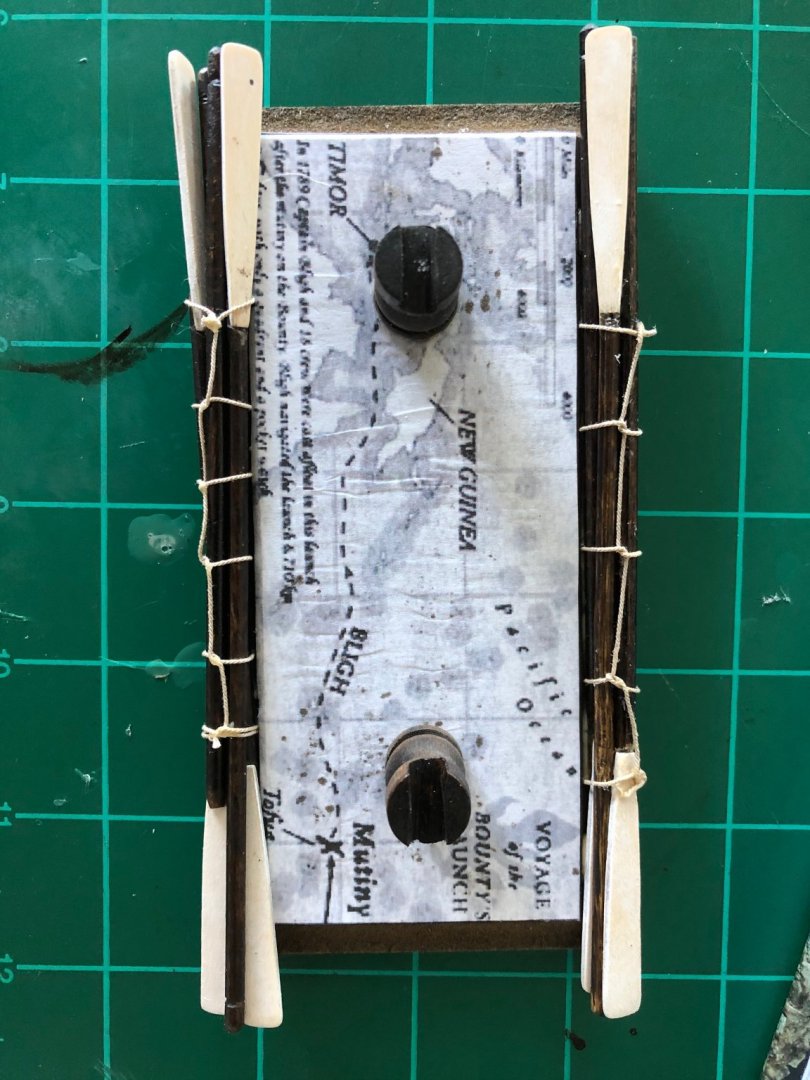
First layer of planking done on one side in a relatively acceptable fashion.... The other side is progressing acceptably... Seen from above/below 😉 and from the side, the first layer of planking won't prevent a second layer of planking at least....


-
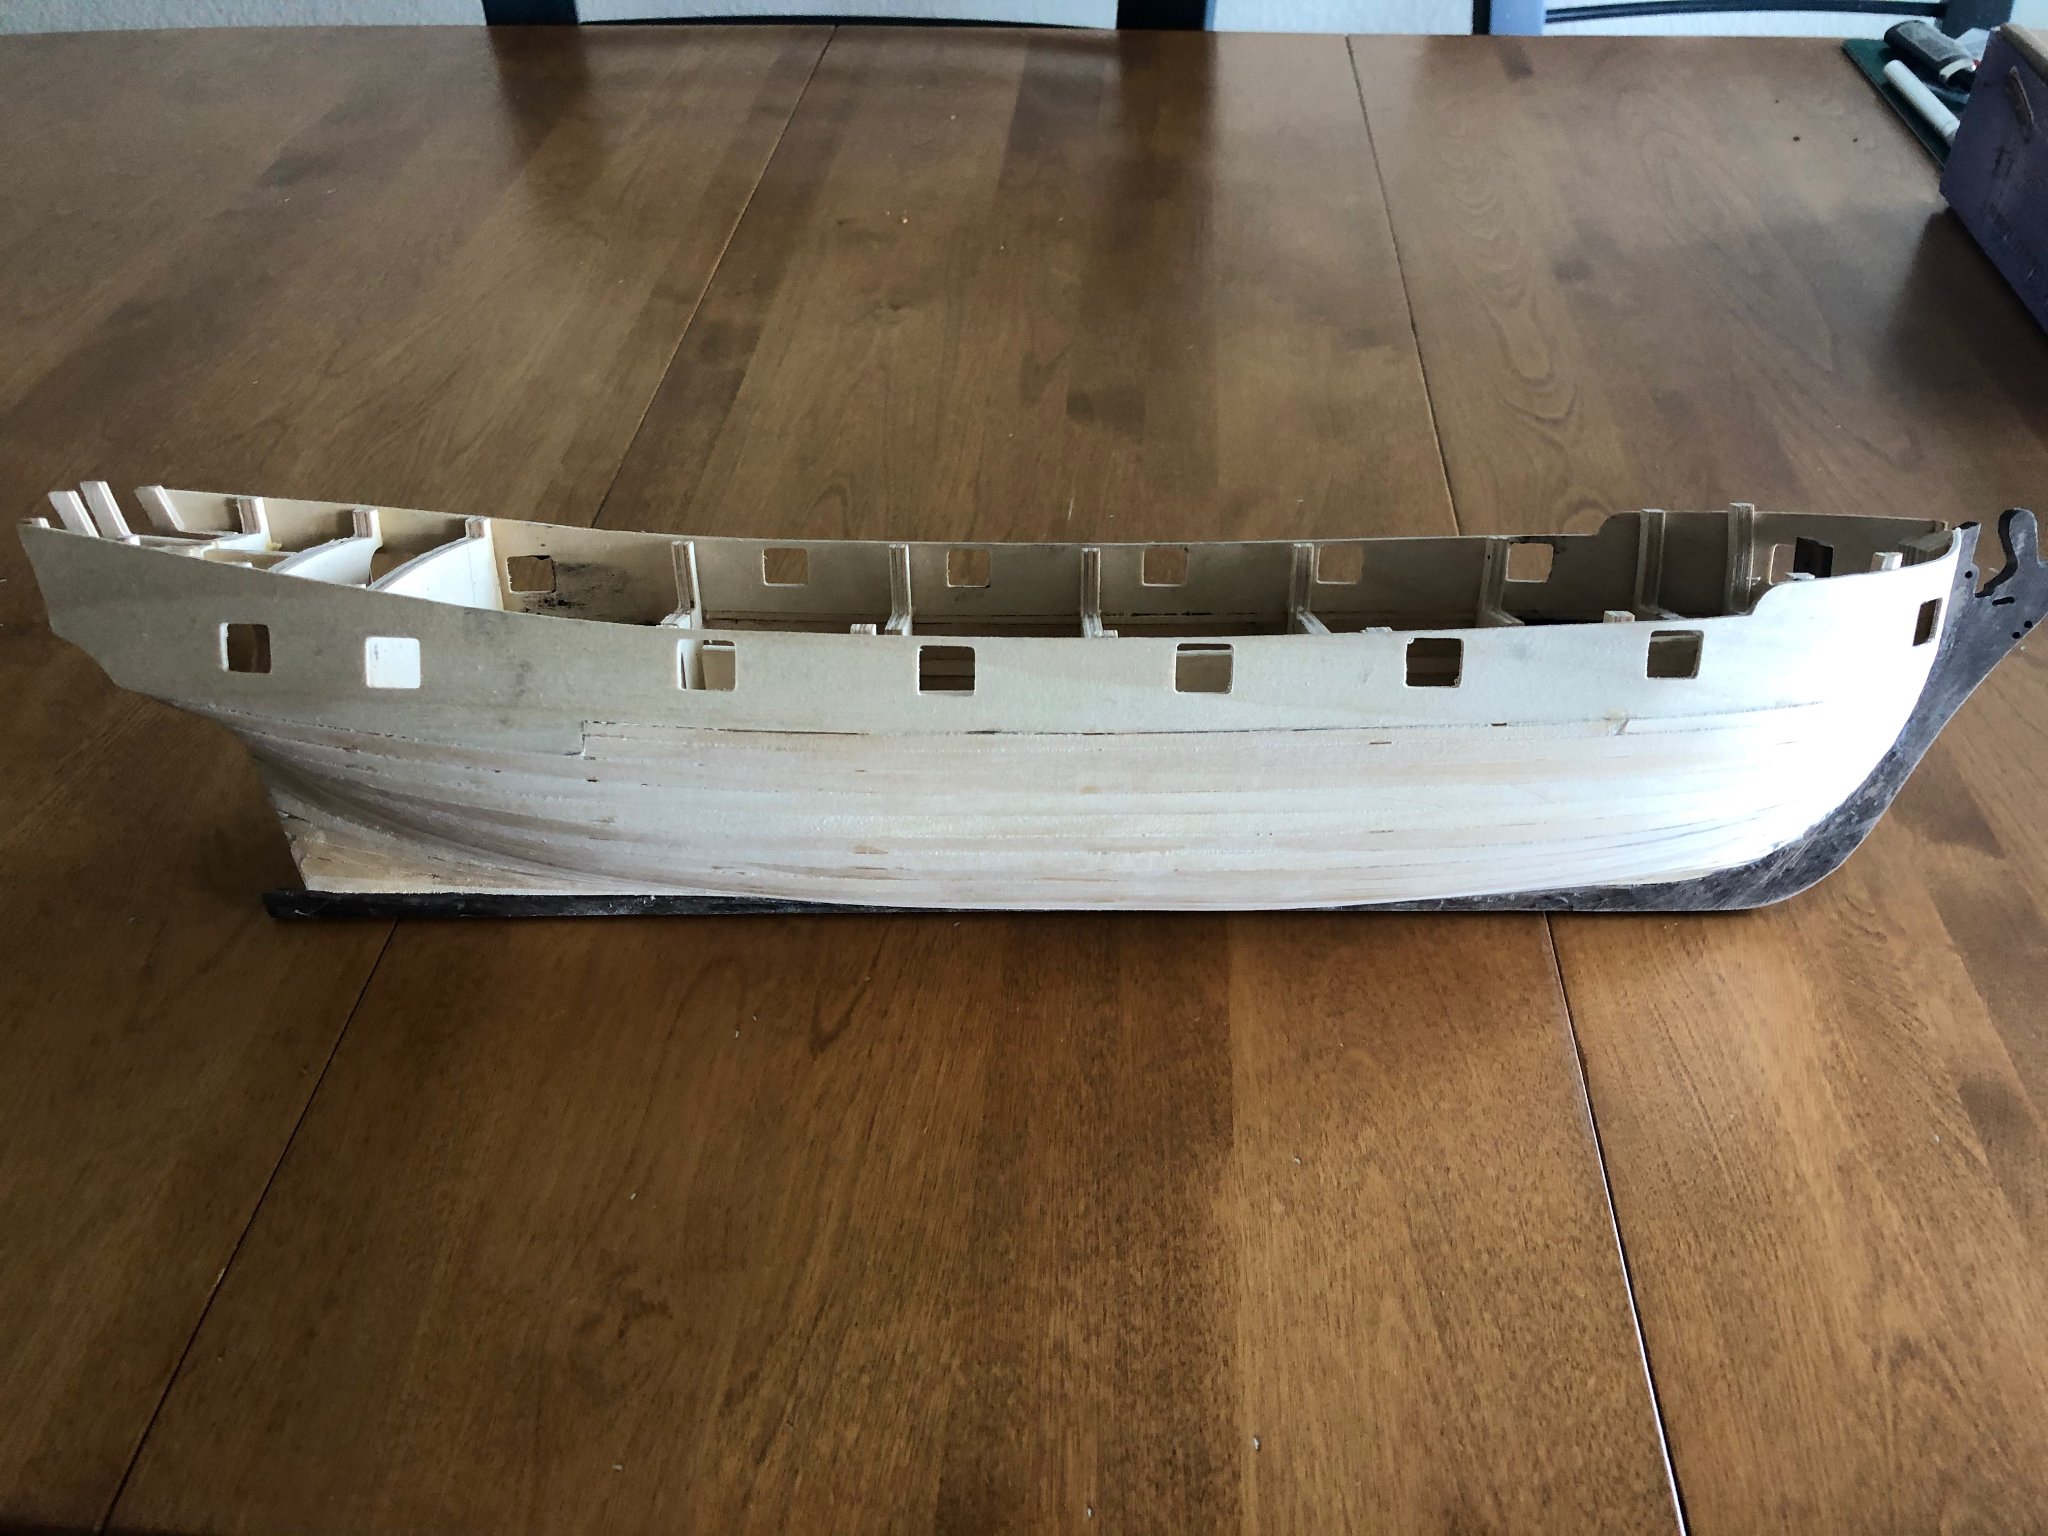
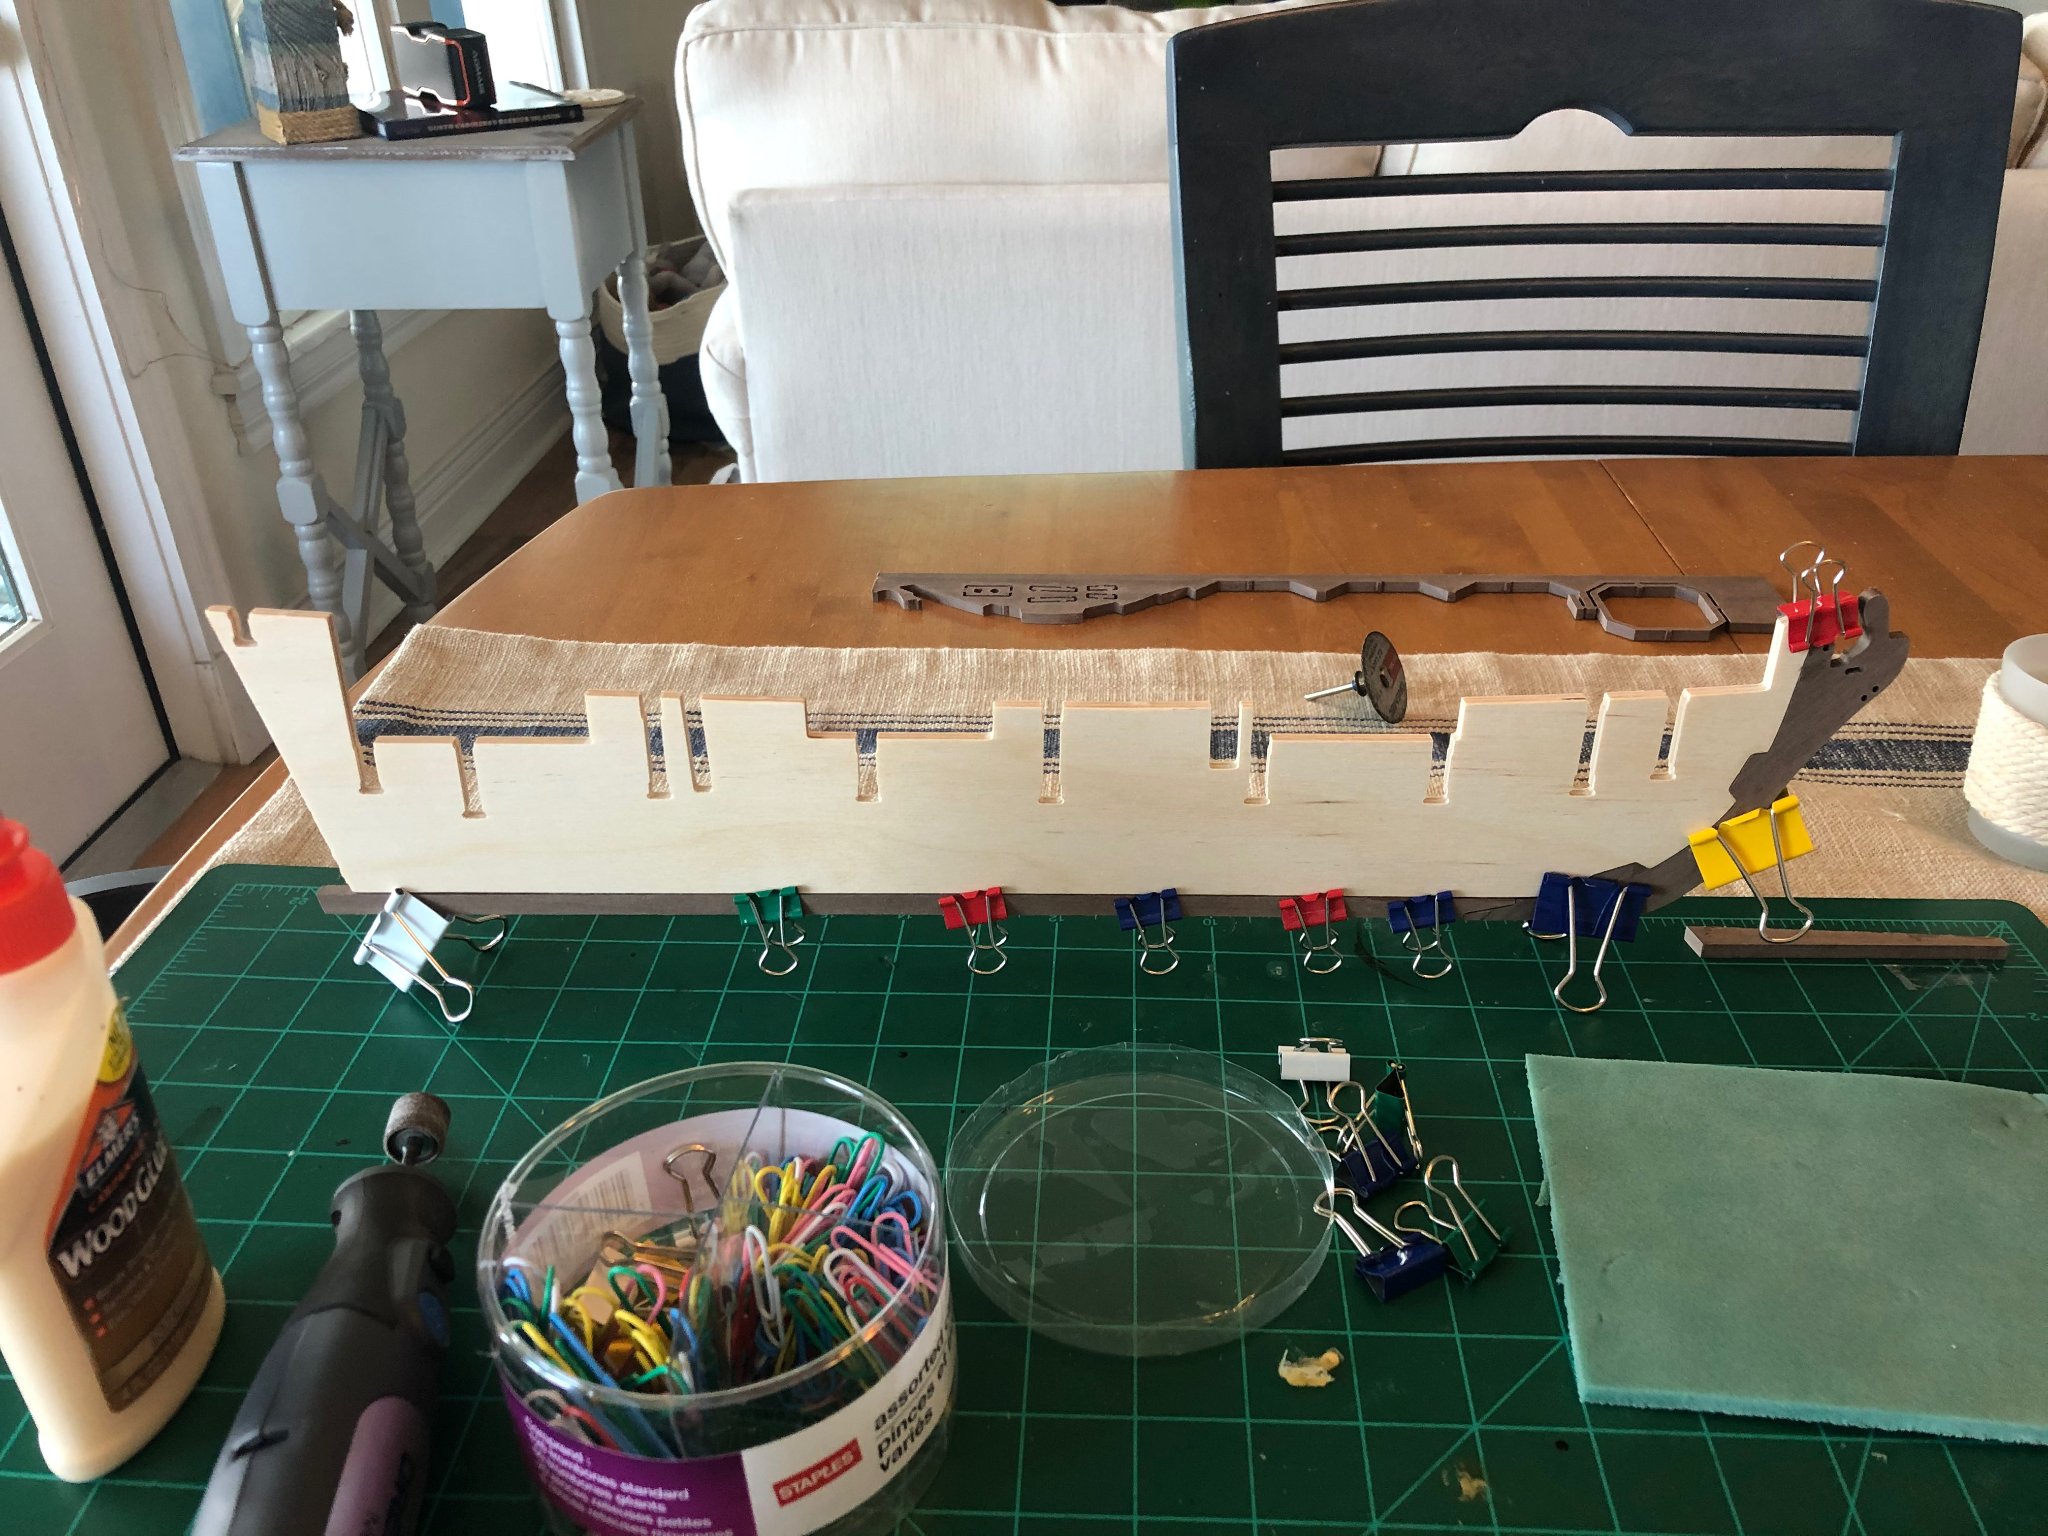
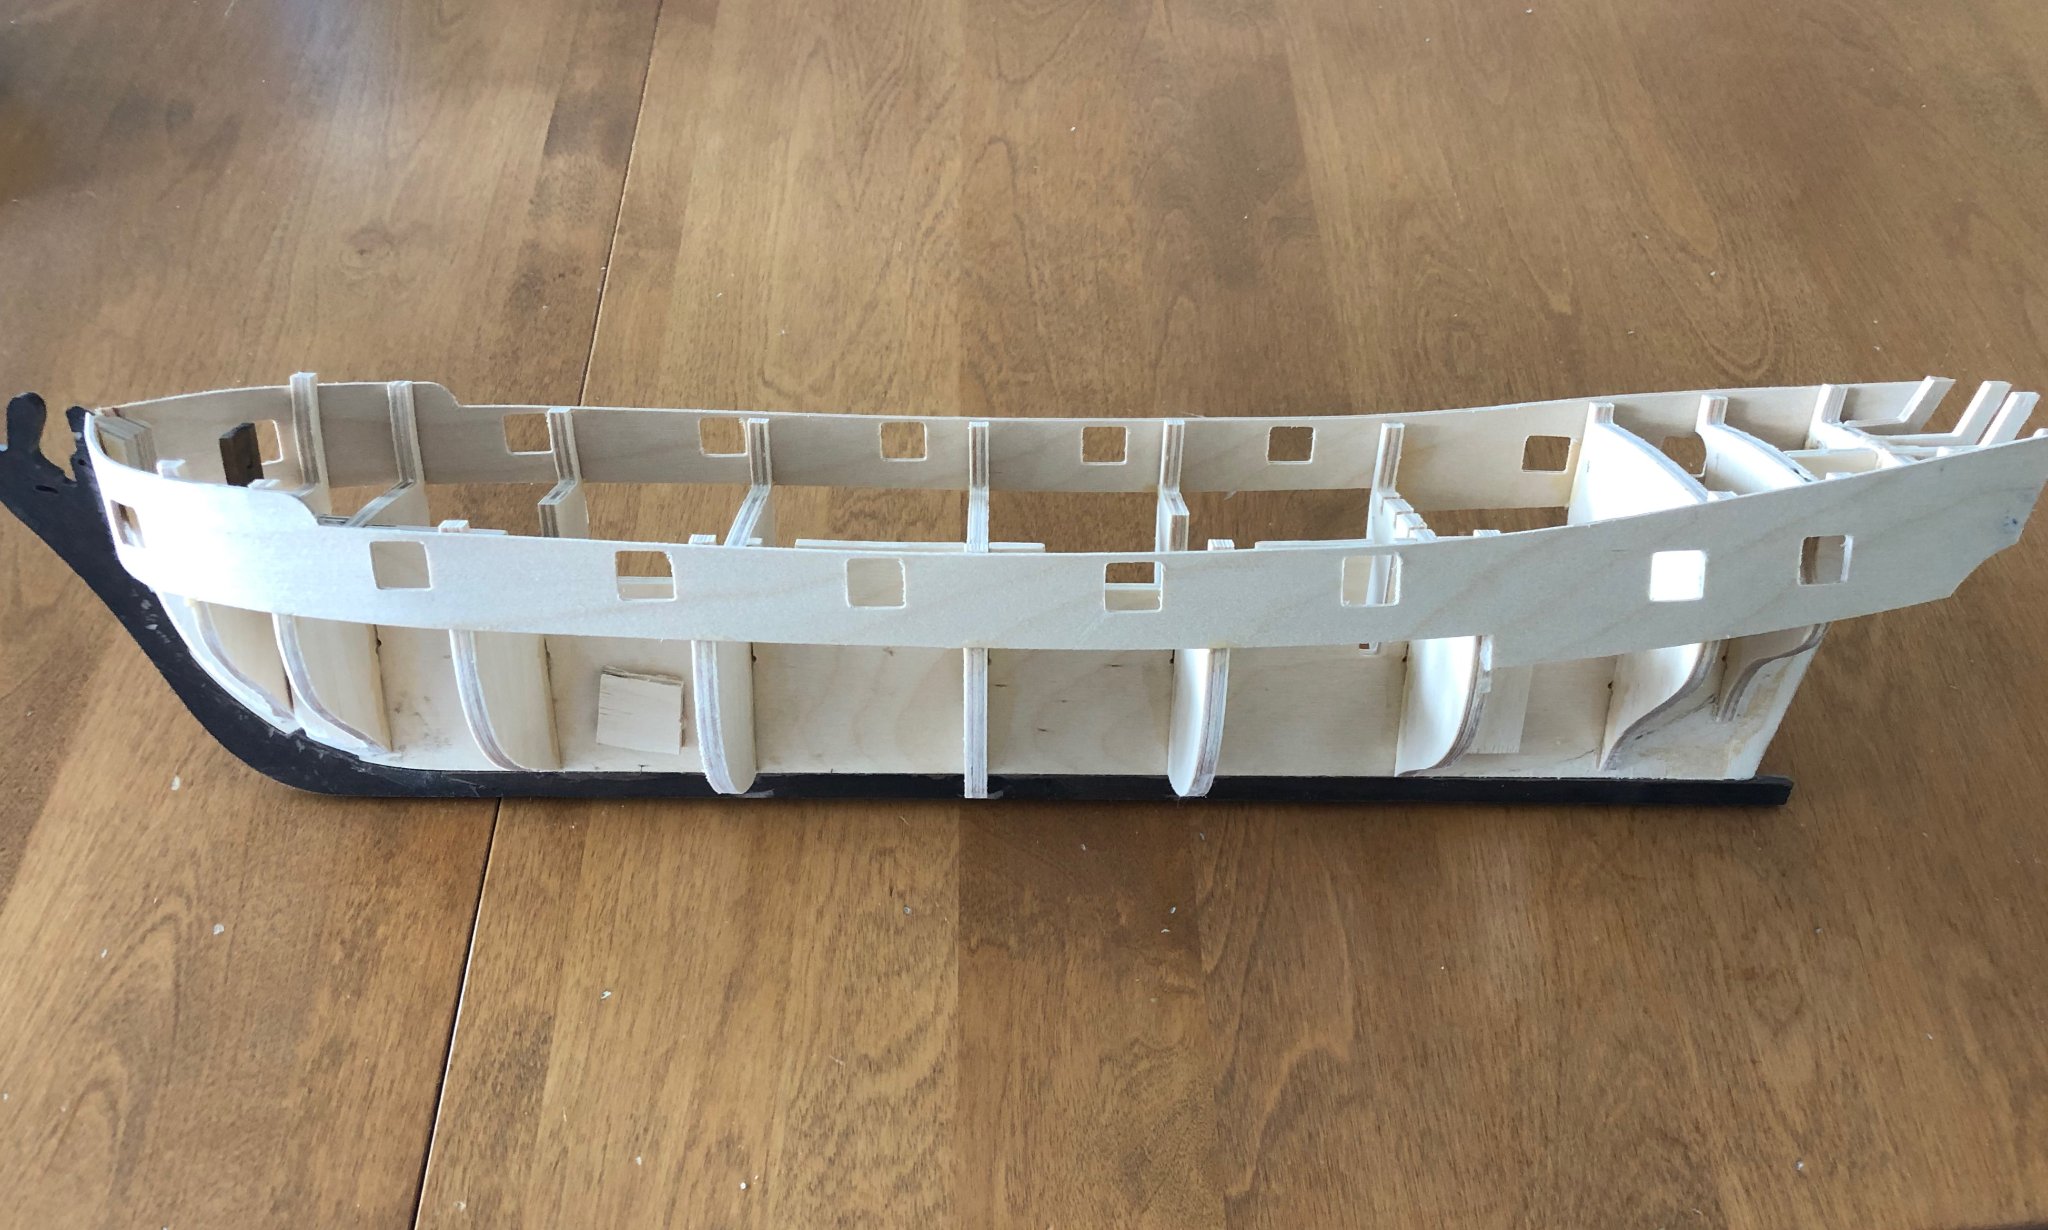
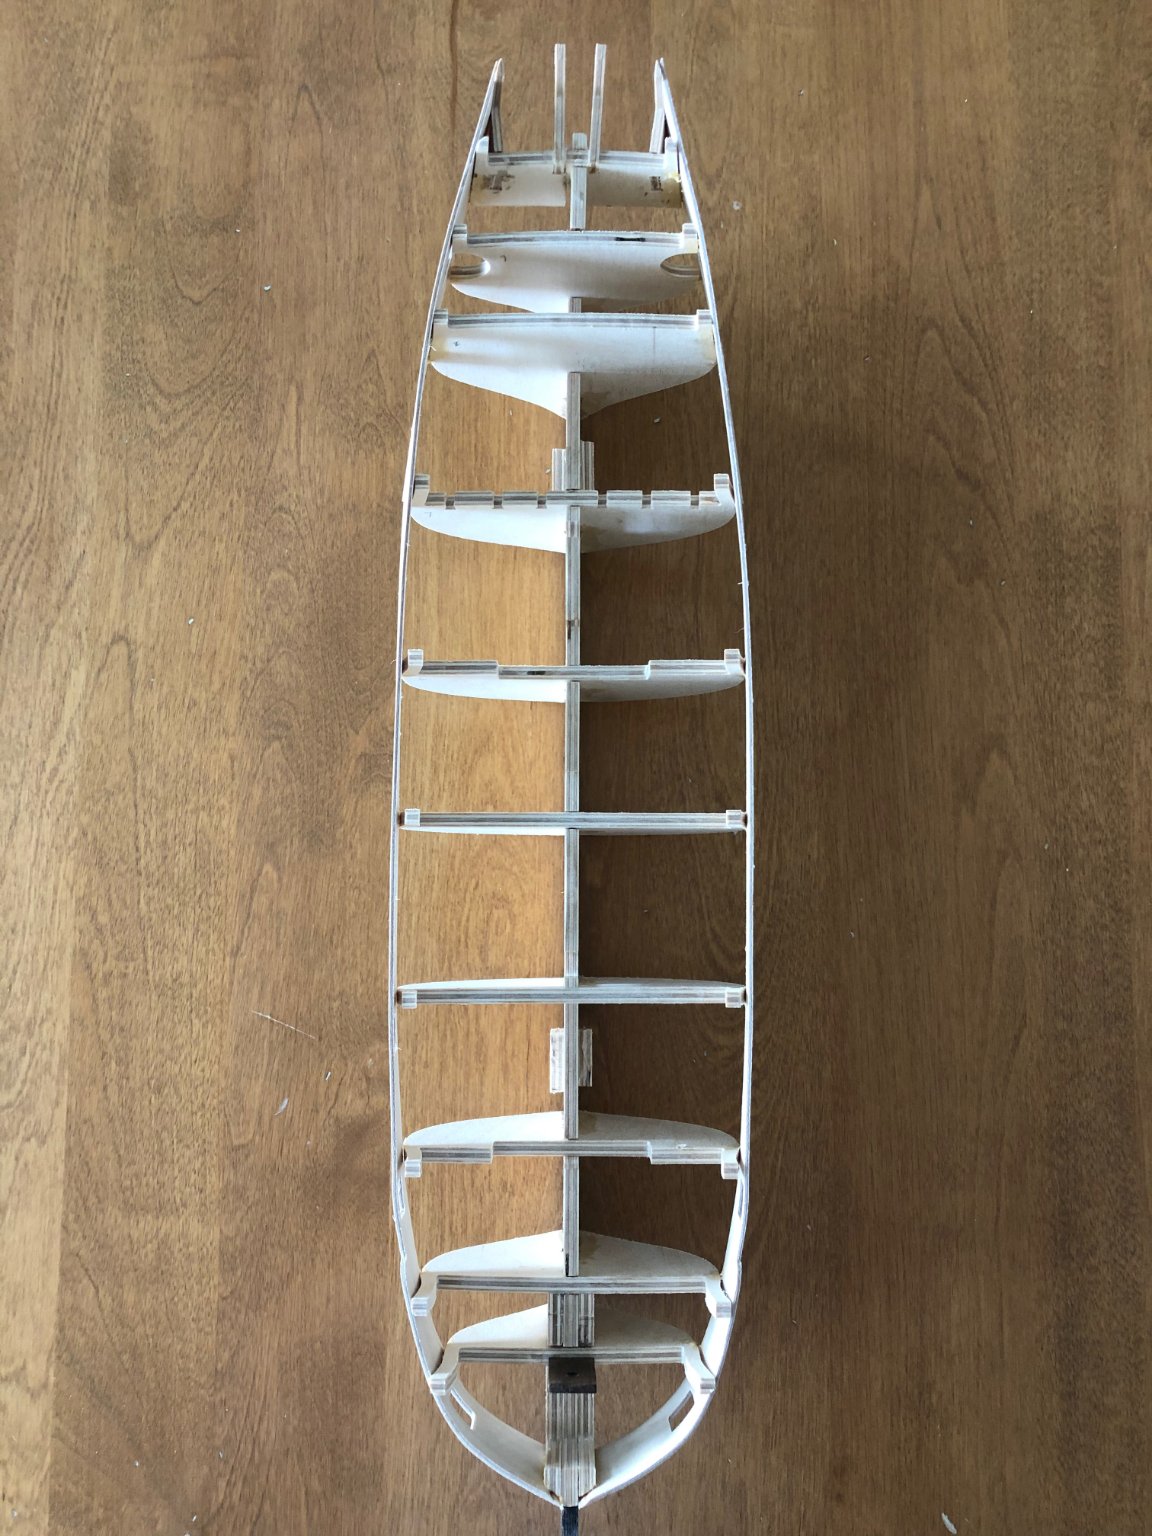
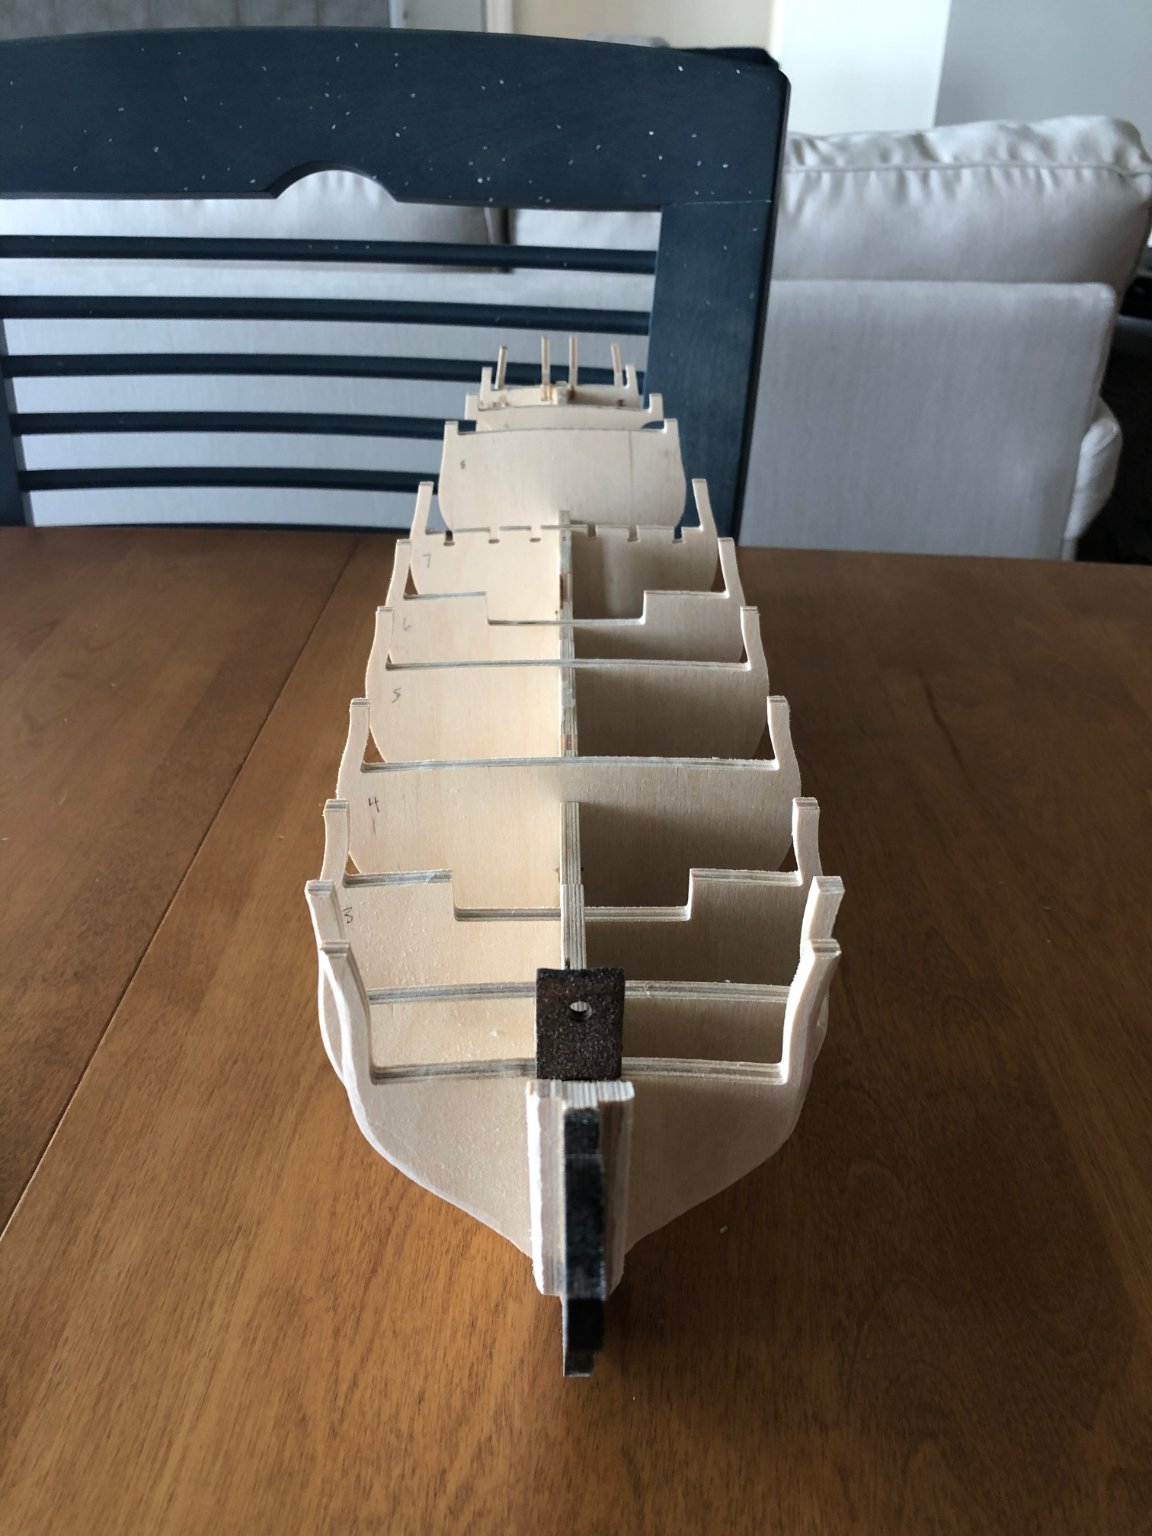
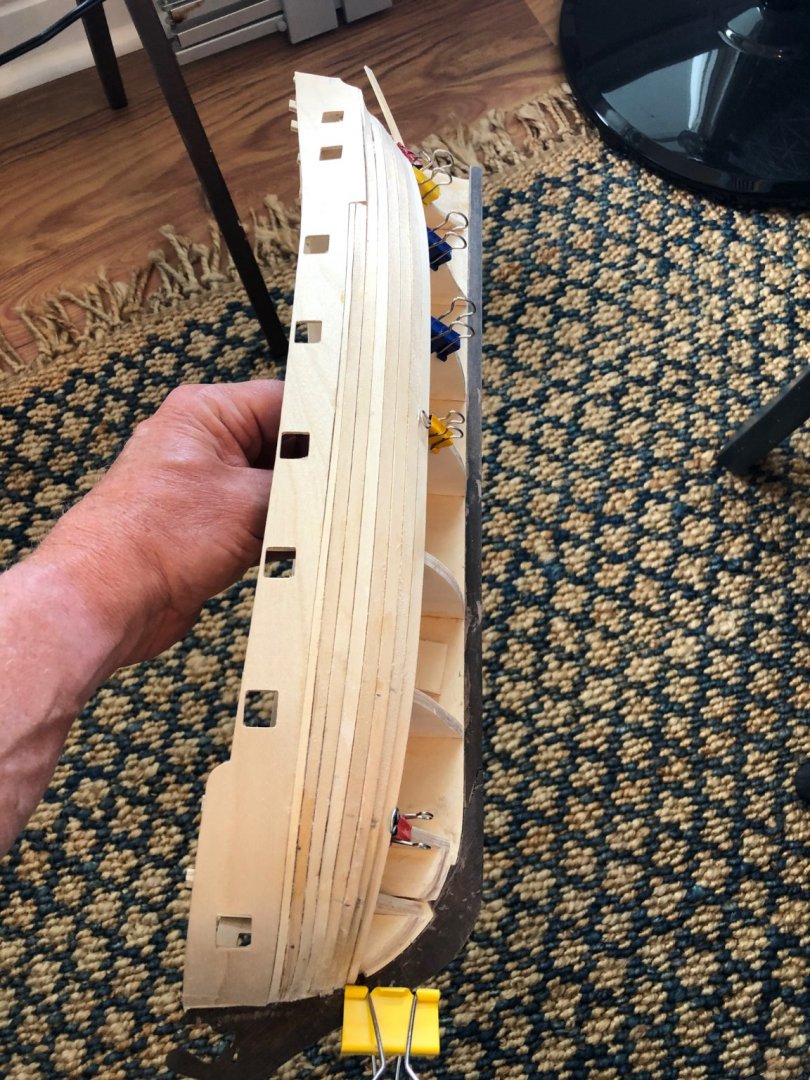
Well, a good build log probably needs some building, whether good or bad....So, here goes.... I should also thank ccoyle for changing the title to match convention. Sorry! My previous building experience is limited to the Launch of the HMS Bounty, so you know where I am coming from (way over my head). That was a good sized project to start, as my work space is limited, and my wife is only so tolerant. My two dogs are totally unhelpful. Spoiler alert, I have just finished the 2nd planking, so I have to get the build up to speed: False Keel being glued in place... Alignment, alignment, alignment. The bulkheads were not properly aligned and had to be "fixed" in several locations. Not a strong start, and clearly shows why people use legos, and other items to ensure square and true alignment. After "fixing" it, and repairing the damage =), I proceeded satisfied that this was not going to be the biggest issue I faced as the build progresses.... Gun port templates went in well, and I concluded there was no further "fixing" needed. First layer of lime planking was of no concern at all for this "seasoned builder", particularly after having read the planking material on the forum and watched Chuck's incredible videos, Kevin's series of videos, etc. I think you can see the tapering around the beard line at the stern.... It looks pretty torqued from above, I know, but stay tuned.....


-
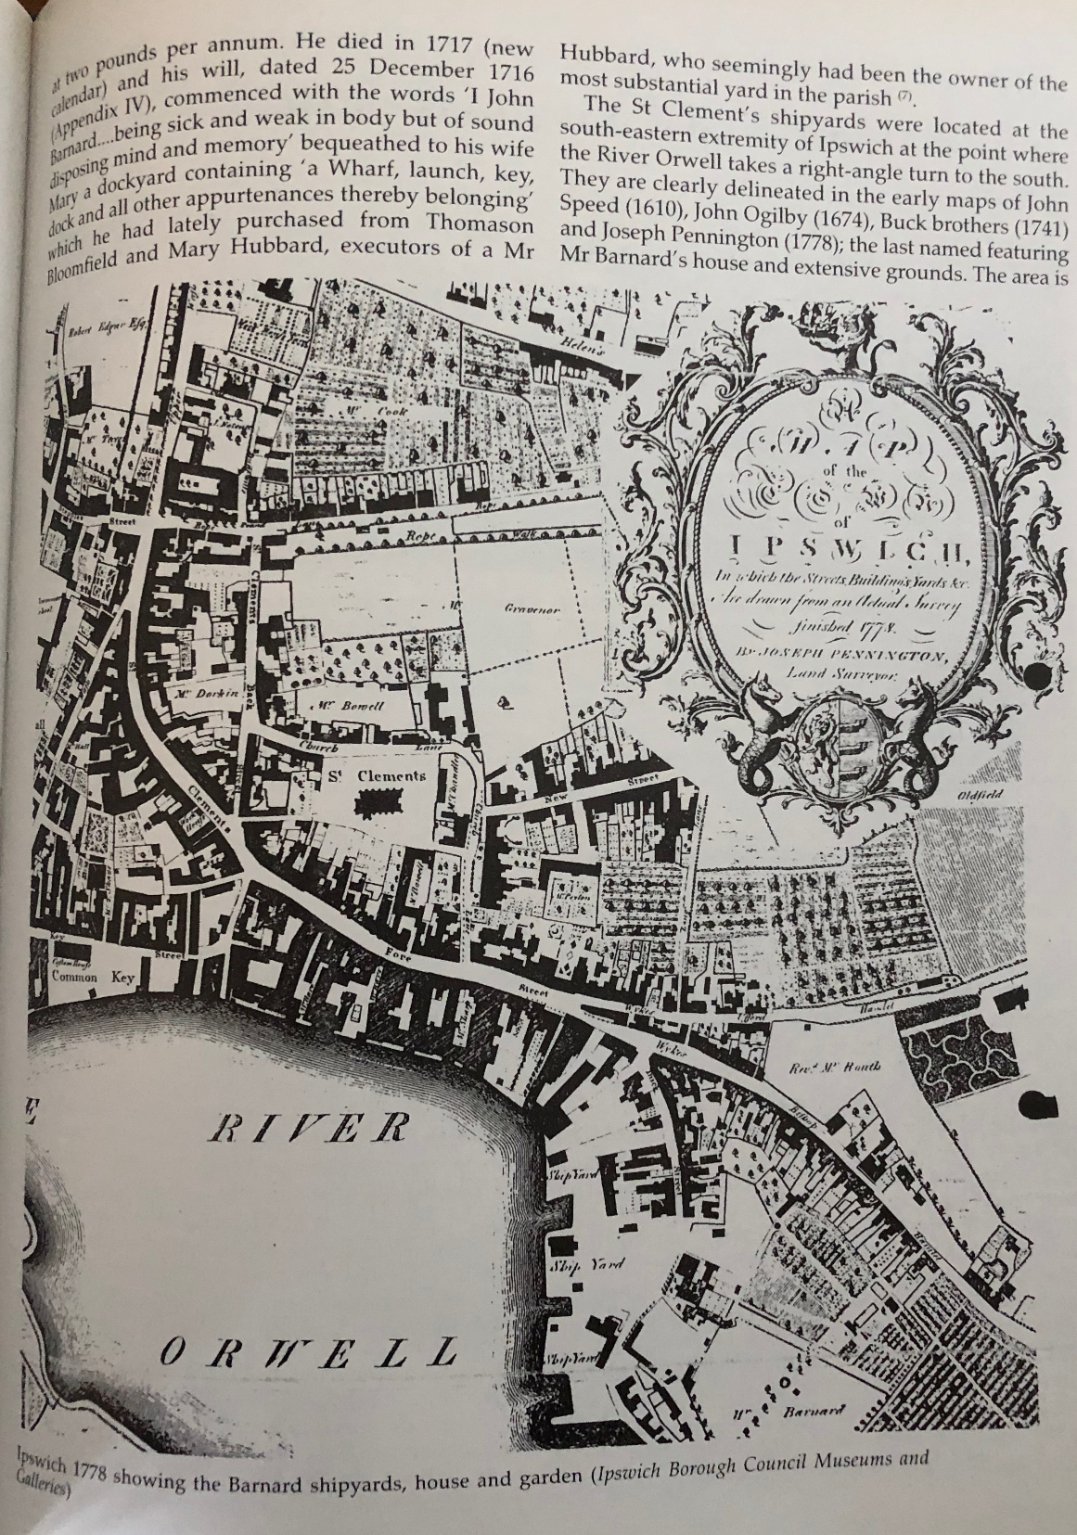
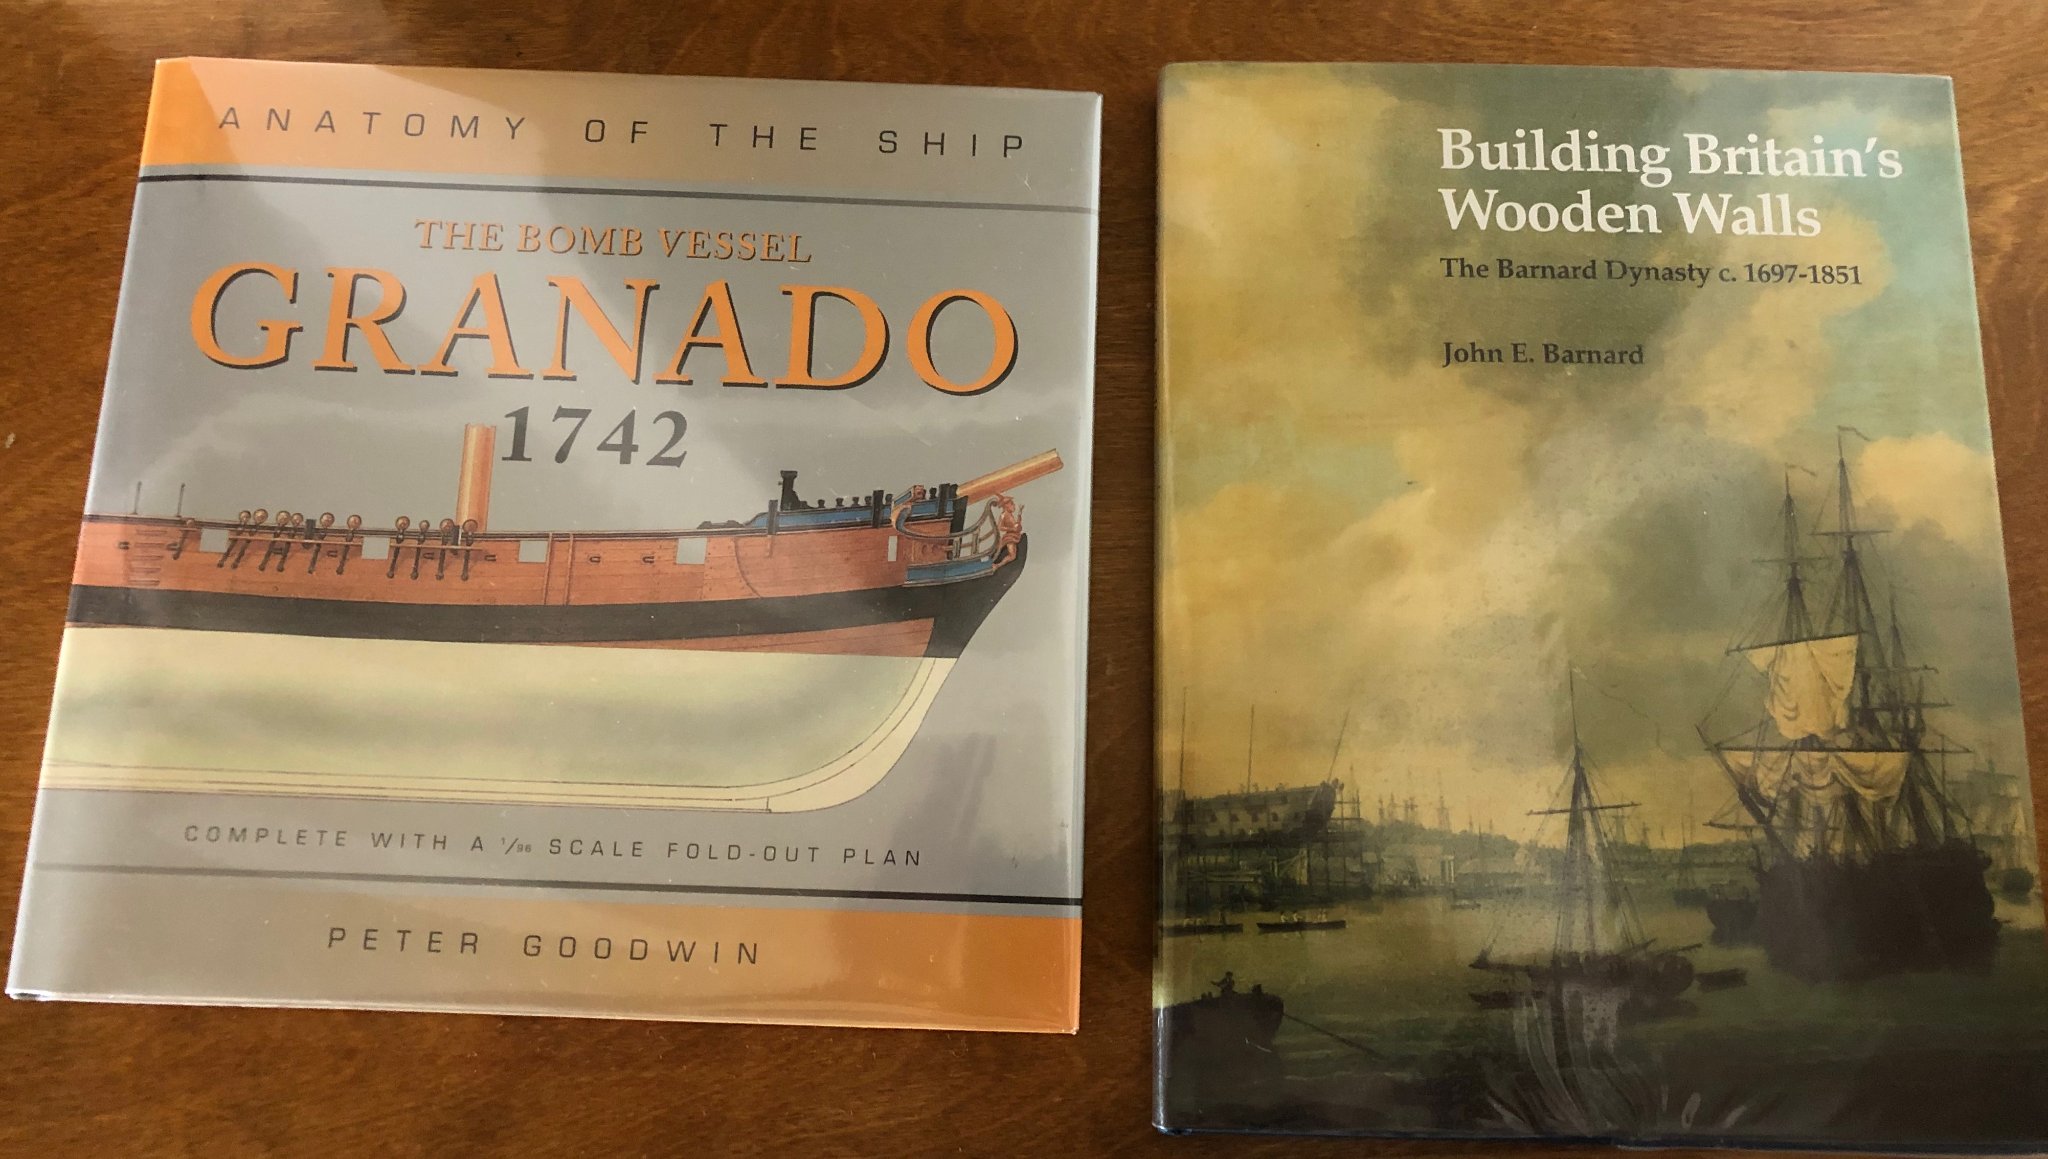
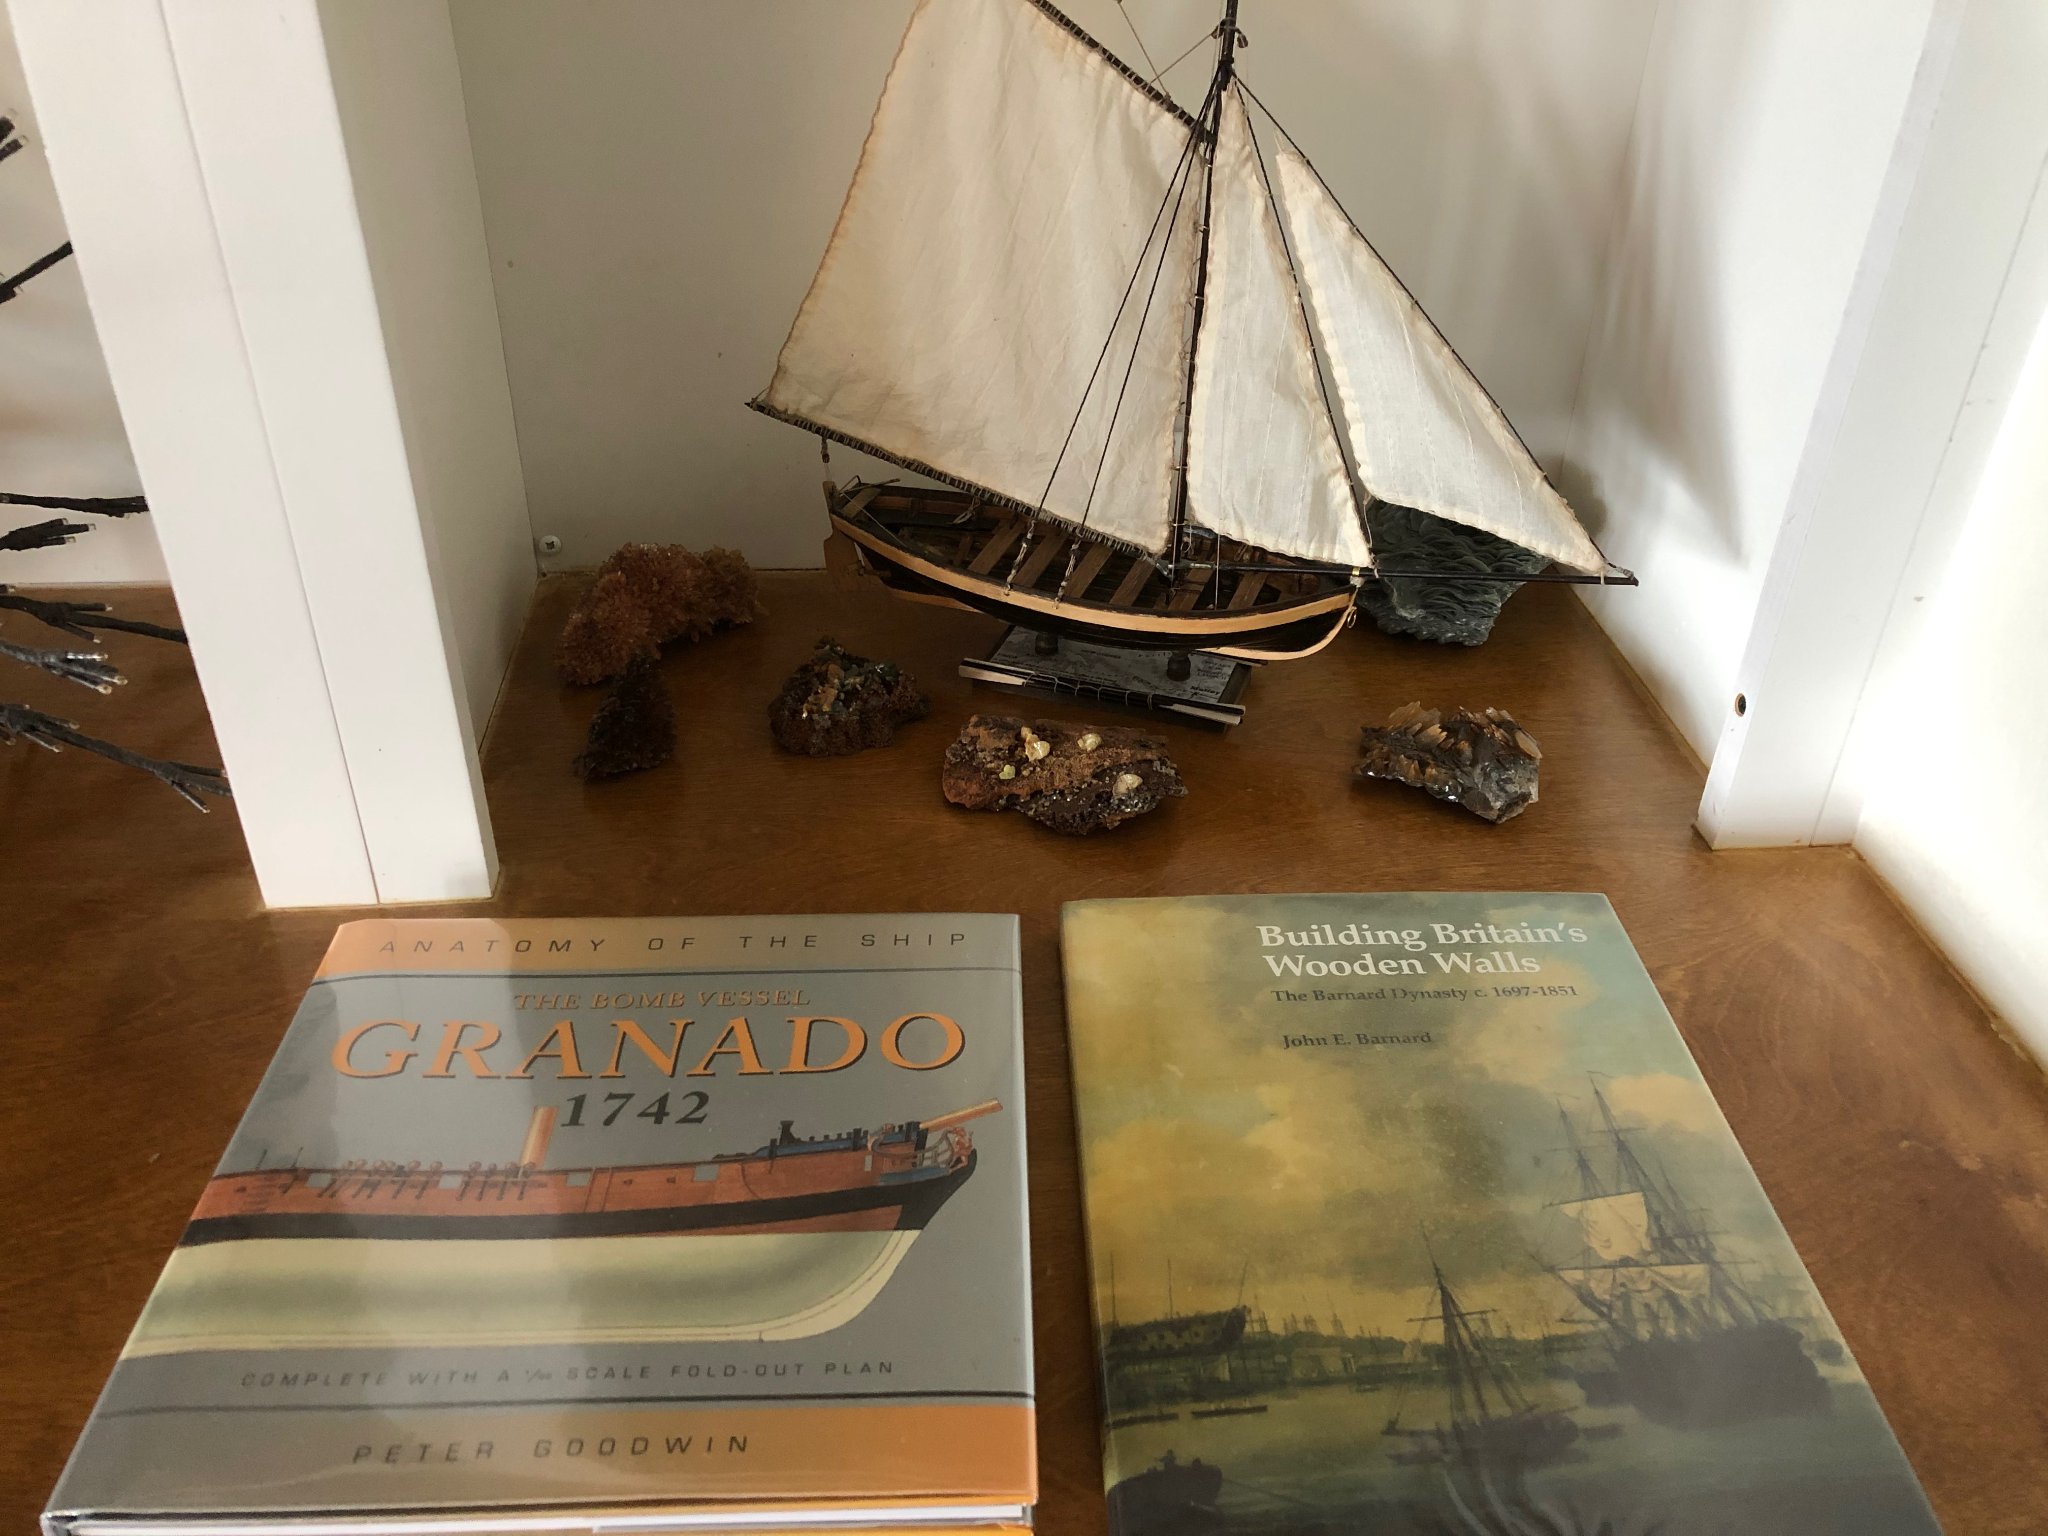
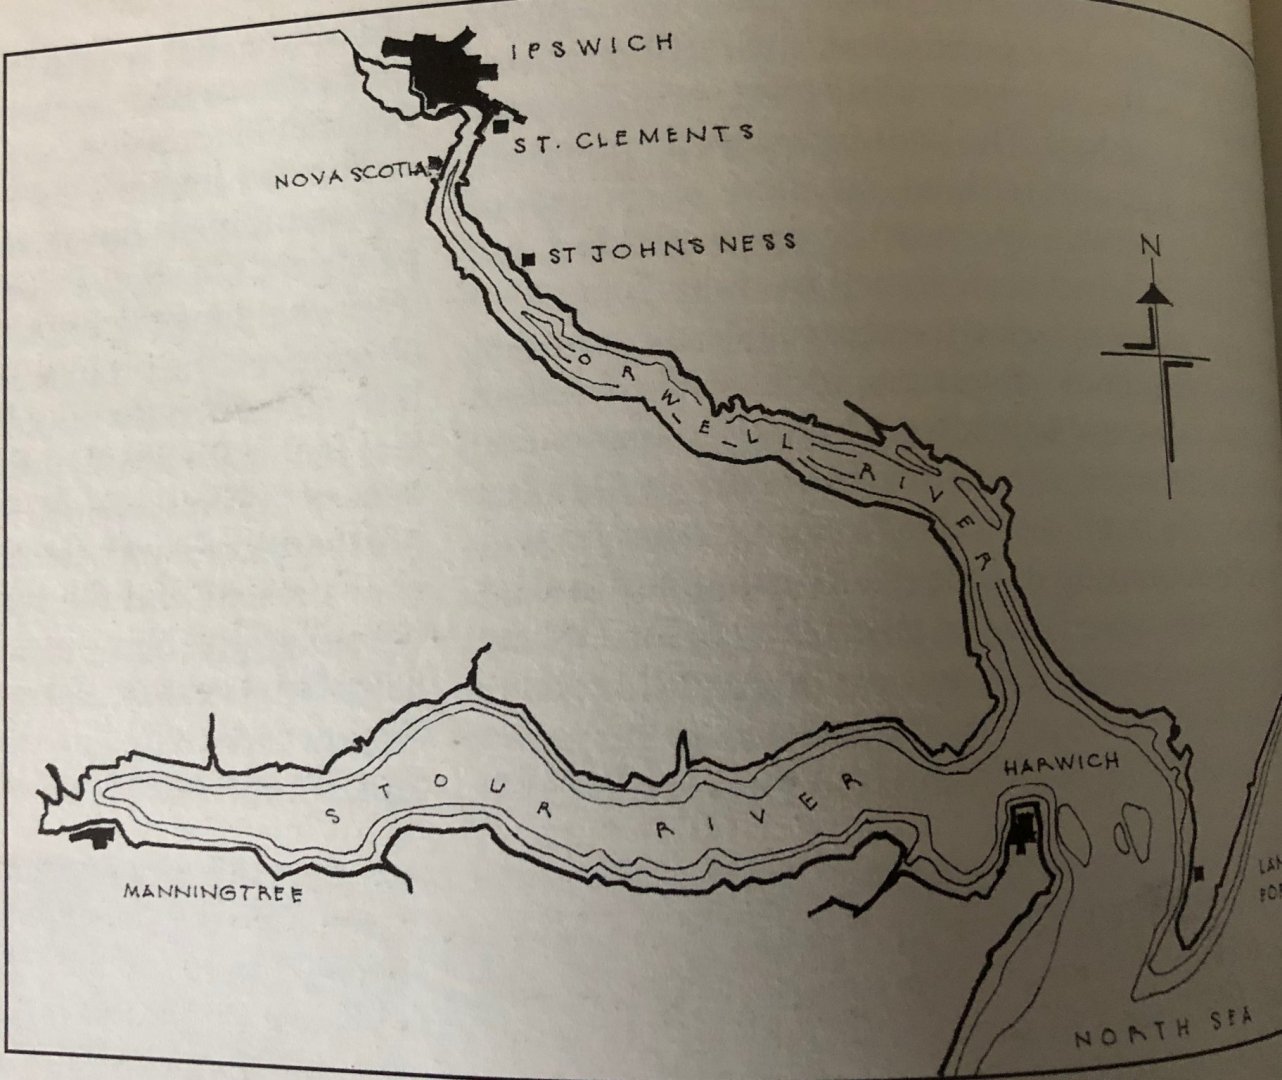
Well, with the continued encouragement of Vane, I have decided to break the ice and start a build log for my efforts on the HMS Granado. I have ordered the AOTS reference and my wife was super kind and found a nice reference book on the builder.... Granado was ordered to be constructed on September 14th, 1741 and the keel was laid on November 18th, 1741. The construction of the ship occurred at St Clements on the River Orwell near Ipswich. The Granado's design was unusual in that she was to be used as either a sloop or a bomb vessel, being constructed with a conventional square stern. Launched on June 22nd, 1742, Granado was initially taken to Harwich, and fitted out and put in commission as a sloop. It was not until 1756 that Granado was fitted for the first time as a bomb vessel from an Admiralty Order on July 26th 1756. However, between the launch of Granado and her fitting as a bomb vessel, a number of changes had been made as compared to the original Admiralty plans, the most noticeable of these were as follows: 1. Two extra 4pdr carriage guns were added (Admiralty order of June 20th 1745) bringing the total 4pdr carriage guns to 10. 2. Two bow chaser gun ports were added allowing accommodation of the extra guns either under the forecastle as bow chasers or at the fifth gunports. 3. The mortars as shown in the Admiralty plans are two 13 inch mortars however when fitted as a bomb vessel this was actually changed to 1 x 13inch and 1 x 10inch mortar. This is confirmed by the provisions list on March 30th 1757 which details 50 large and 50 small shells. It was during its period as a bomb vessel that Granado was involved in her most active role. On January 22nd, 1759, Granado and the squadron under command of Commodore John Moore anchored off Basse Terre. By January 24th troops had occupied the forts of Basse Terre and Fort Royal, and the town had been devastated by fire caused by the carcasses discharged from the bomb vessels. On February 7th, the fleet moved to attack Fort Louis at the entrance to Cul de Sac Bay. The attack began the following day and by February 15 the bombardment ceased with the capture of the Fort. Granado remained as a bomb vessel until the Admiralty Order to fit her as a sloop on March 20th 1760. Granado was again converted to a bomb vessel in August 1761 and she remained as such until she was sold on August 30th 1763 for £575. During this period Granado was involved in the action of capturing Morro Castle and El Morro in the West Indies and the capitulation of Havana on August 13th 1762. .


-
I was wondering when some new pictures would be showing up.... Keep up the good work, otherwise, how am I supposed to learn from you if I catch up to your build!?!?
- 101 replies
-
- 1
-

-
- caldercraft
- granado
- (and 1 more)
-
Well done job indeed, and keep up the good work. I'm building Granado at the present too!
-
Welcome on board from a relative newbie to MSW, and sorry to hear about your fire....glad you got out unharmed. Love your Jolly Boat and your work with the sails. I just finished the Jolly Boat as my first build and have begun the Joitka/Caldercraft Granado bomb vessel. I am enjoying the build and the quality of the kit so far, so good, and looking at the other builds and talking to the members is inspirational. Cheers!
-
Wow, having just started the Granado, your build log text and photos (and all the other build logs) are stunningly informative, masterful in skill and beauty, clearly founded in solid research and best practice, and absolutely terrifying. 😃
- 421 replies
-
- 3
-
-
- caldercraft
- granado
- (and 1 more)
-
This build is looking great, cant wait for an update!!!! I am about to plank the Granado build I have in progress.....
-
Thanks my good man, I appreciate it! Best regards!
-
Thanks Vane. I might try the oar ports as I mentioned, but I get the point you made about getting to cut it out again after 2nd planking. Most importantly, no glue on extensions, right?
-
Hey Vane, Tom, Grandpa Phil, and anyone else with an opinion or tip for the Granado build I am attempting: I was wondering if there would be any merit to "transferring" the oar port patterns onto the gunport patterns and cutting those little suckers out BEFORE I even glue the gunport patterns onto the bulkheads? What do you think, inspired or imbecile idea? Also, when fixing the gunports to the bulkhead frames, I was thinking I would soak them (again) so they can best conform to the bulkheads. Good or bad idea? Finally, what glue would be best to use, and do you ABSOLUTELY avoid glue on the bulkhead extensions that get removed, and just allow the clamps to shape the gunport templates? Sorry for all the questions, but us newbies need as much advice as from you experts as possible.....and thanks in advance for any and all advice.
-
Vane, I wanted to let you know that your photos show the tapering you did from the bearding line to the keel very nicely. Did you use a dremel or was that all hand carved out, if you don't mind sharing? Also, you didn't make and use filler blocks in the bow and stern, as some have done previously....did you consider using them and decide against? Did you miss them? I am just starting the build and want to make sure I put my best foot forward....
-
Hey Steve, what a very nice and generous offer to share your hard found ship kits...Best regards!
-
Looking frigging AWESOME! Welcome aboard too!
-
Welcome from a fellow newbie....!!!
-
Greetings Brian, welcome to the new guys on the block club. Hope you post some shots of your Smuggler soon!
-
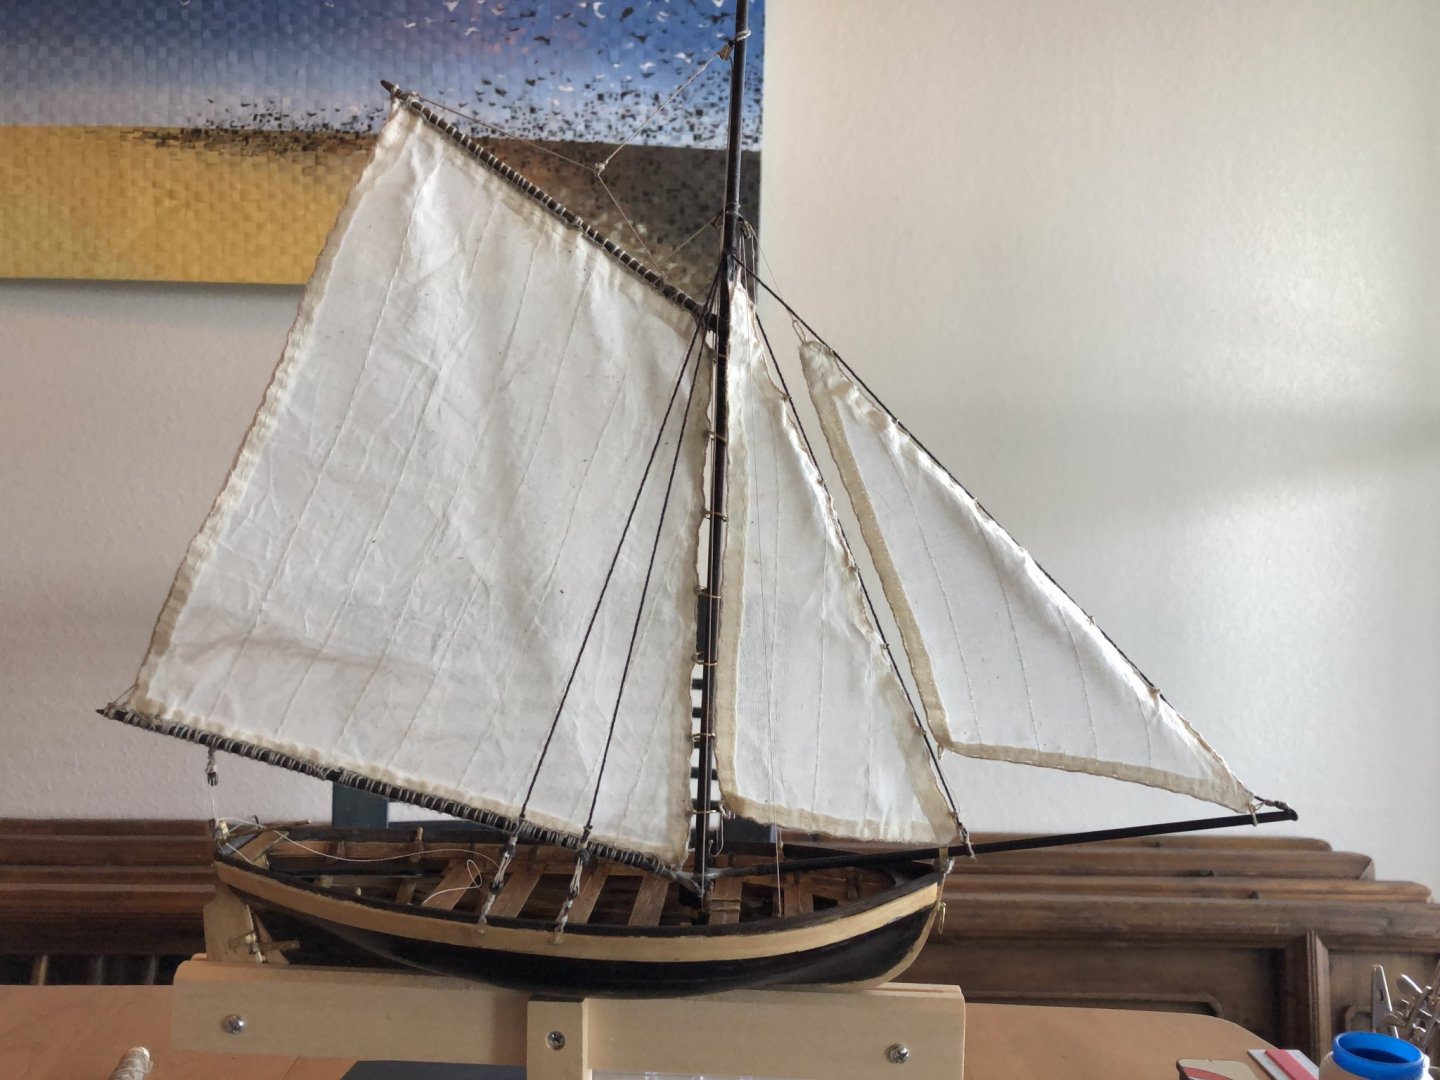
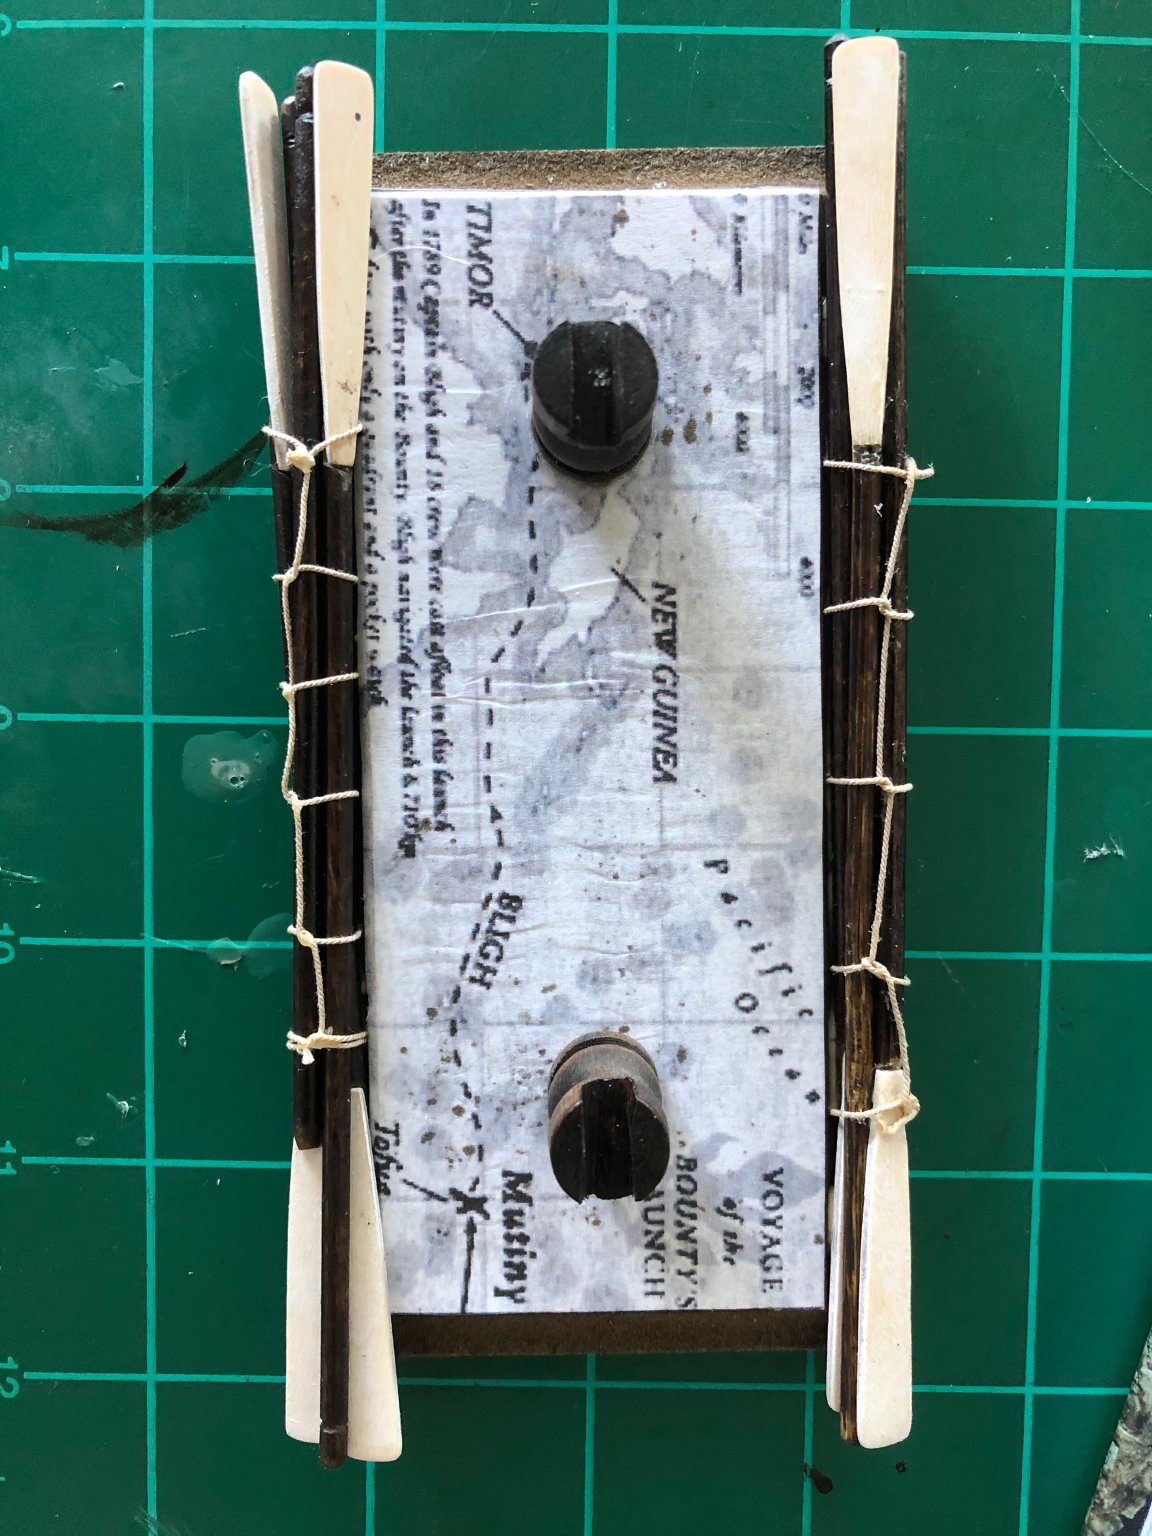
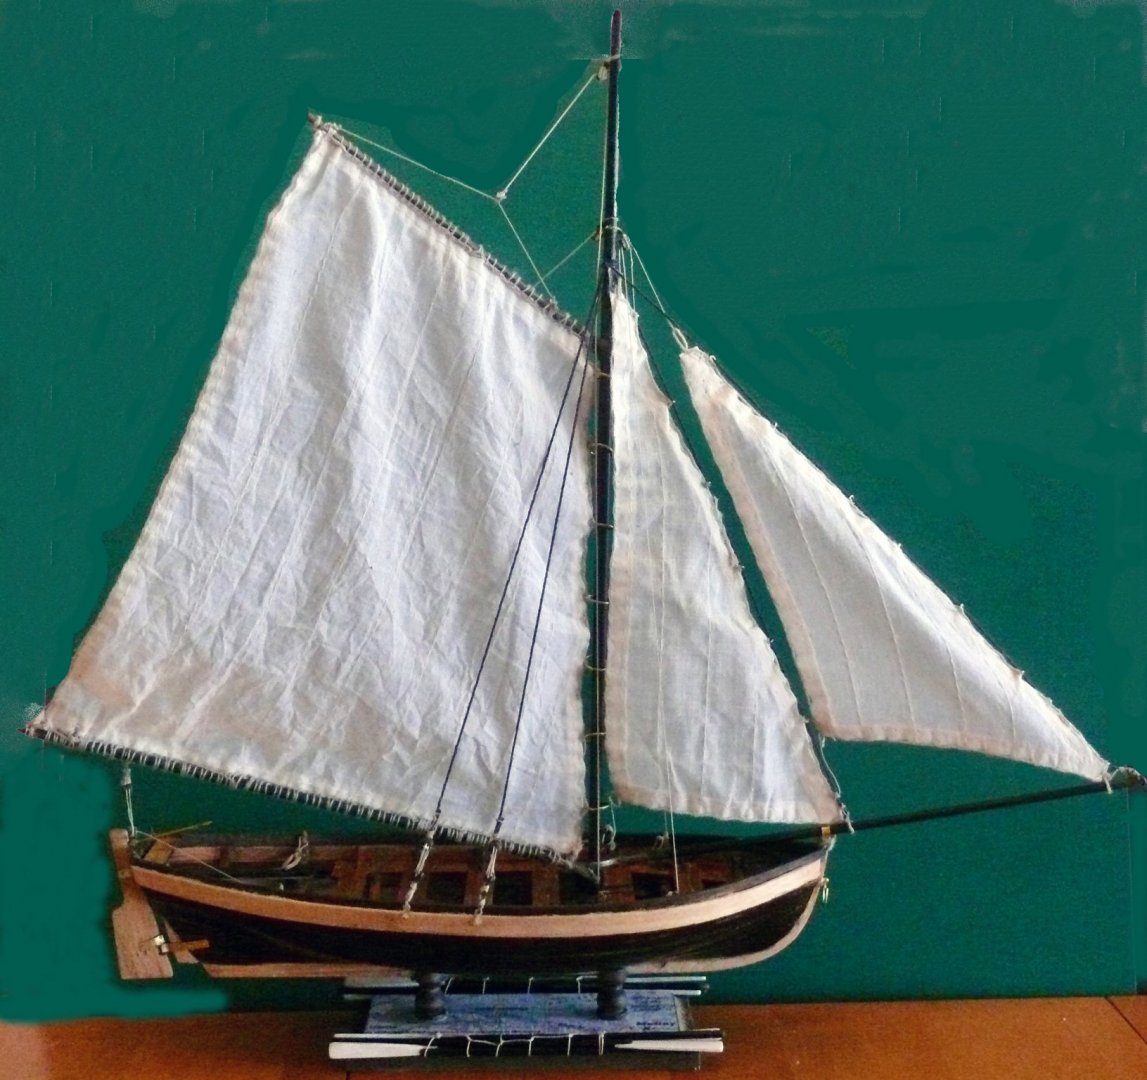
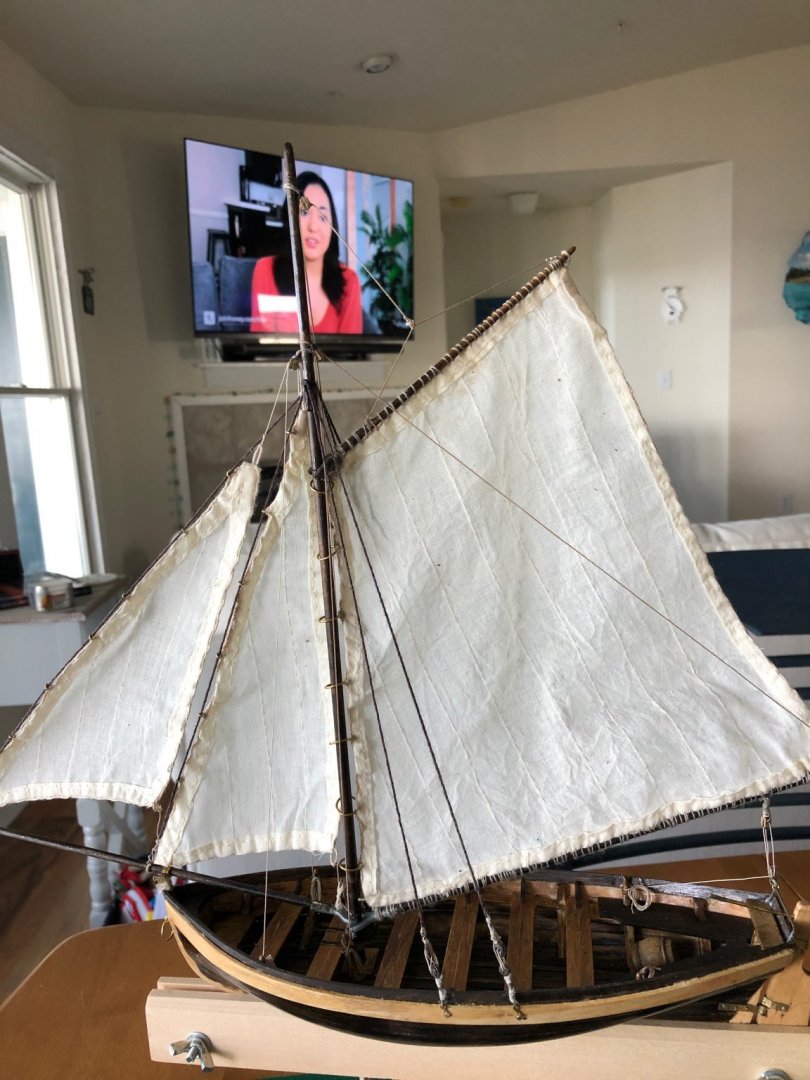
I tried to take a better picture of the finished launch on a green screen but it didn't work that well....but I did enjoy the build for a first timer.
-
Greetings from Washington, the State!
HardeeHarHar replied to ~JC~'s topic in New member Introductions
Hey JC, Looking great! I am just finishing up my first build of the Jolly Boat and have really enjoyed the kit and the experience so far. Looking forward to your progression! Brian -
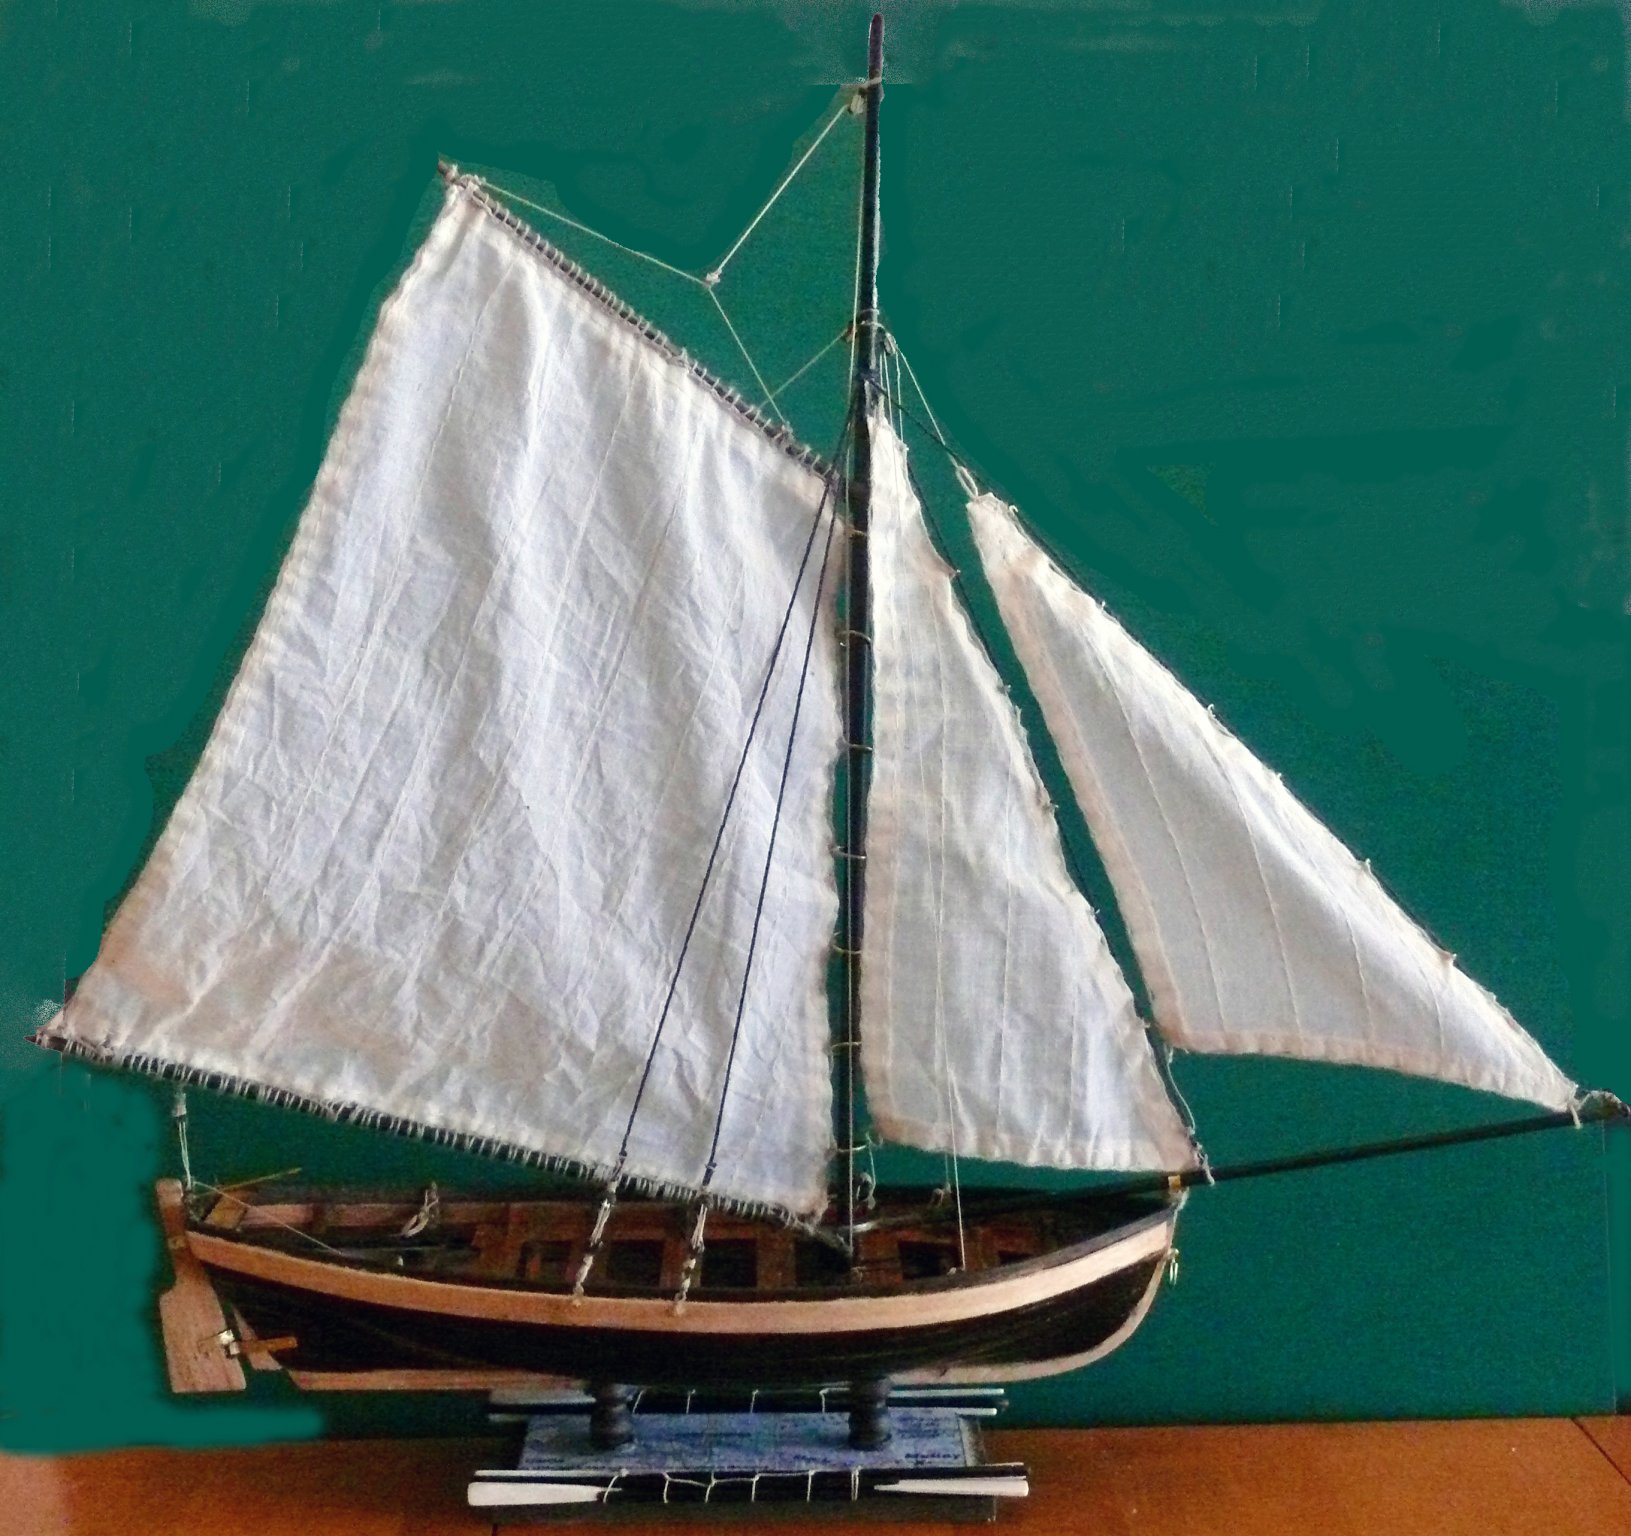
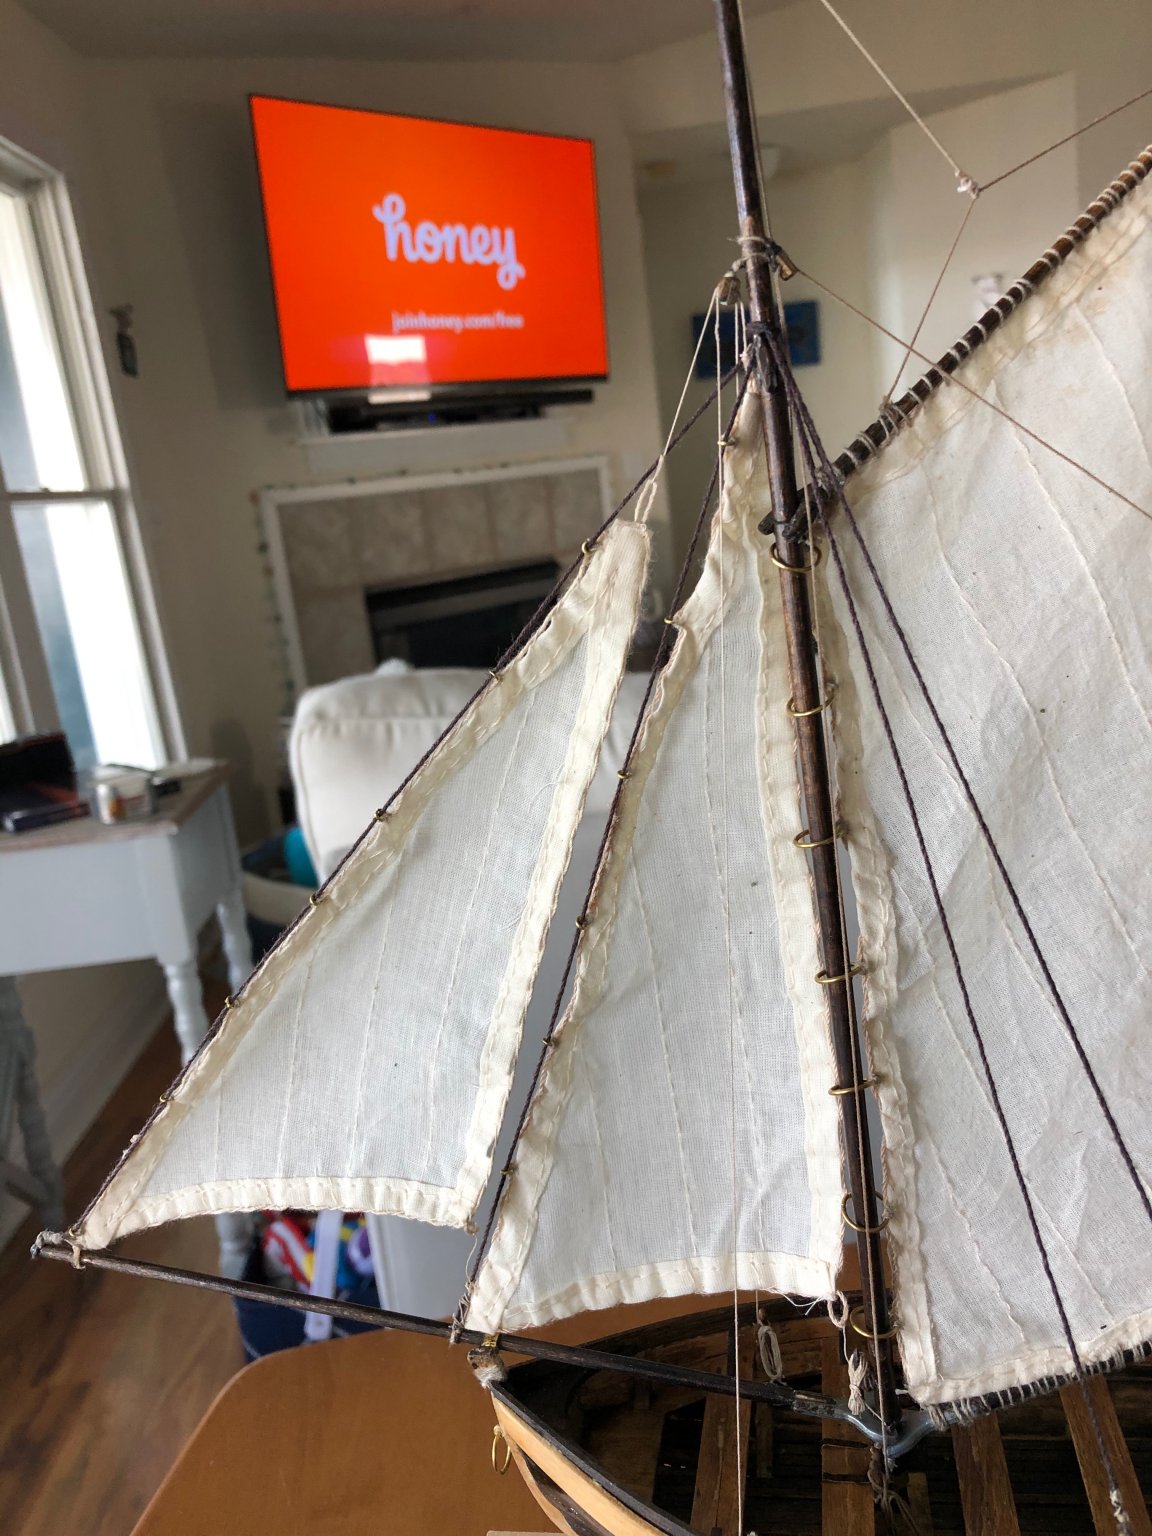
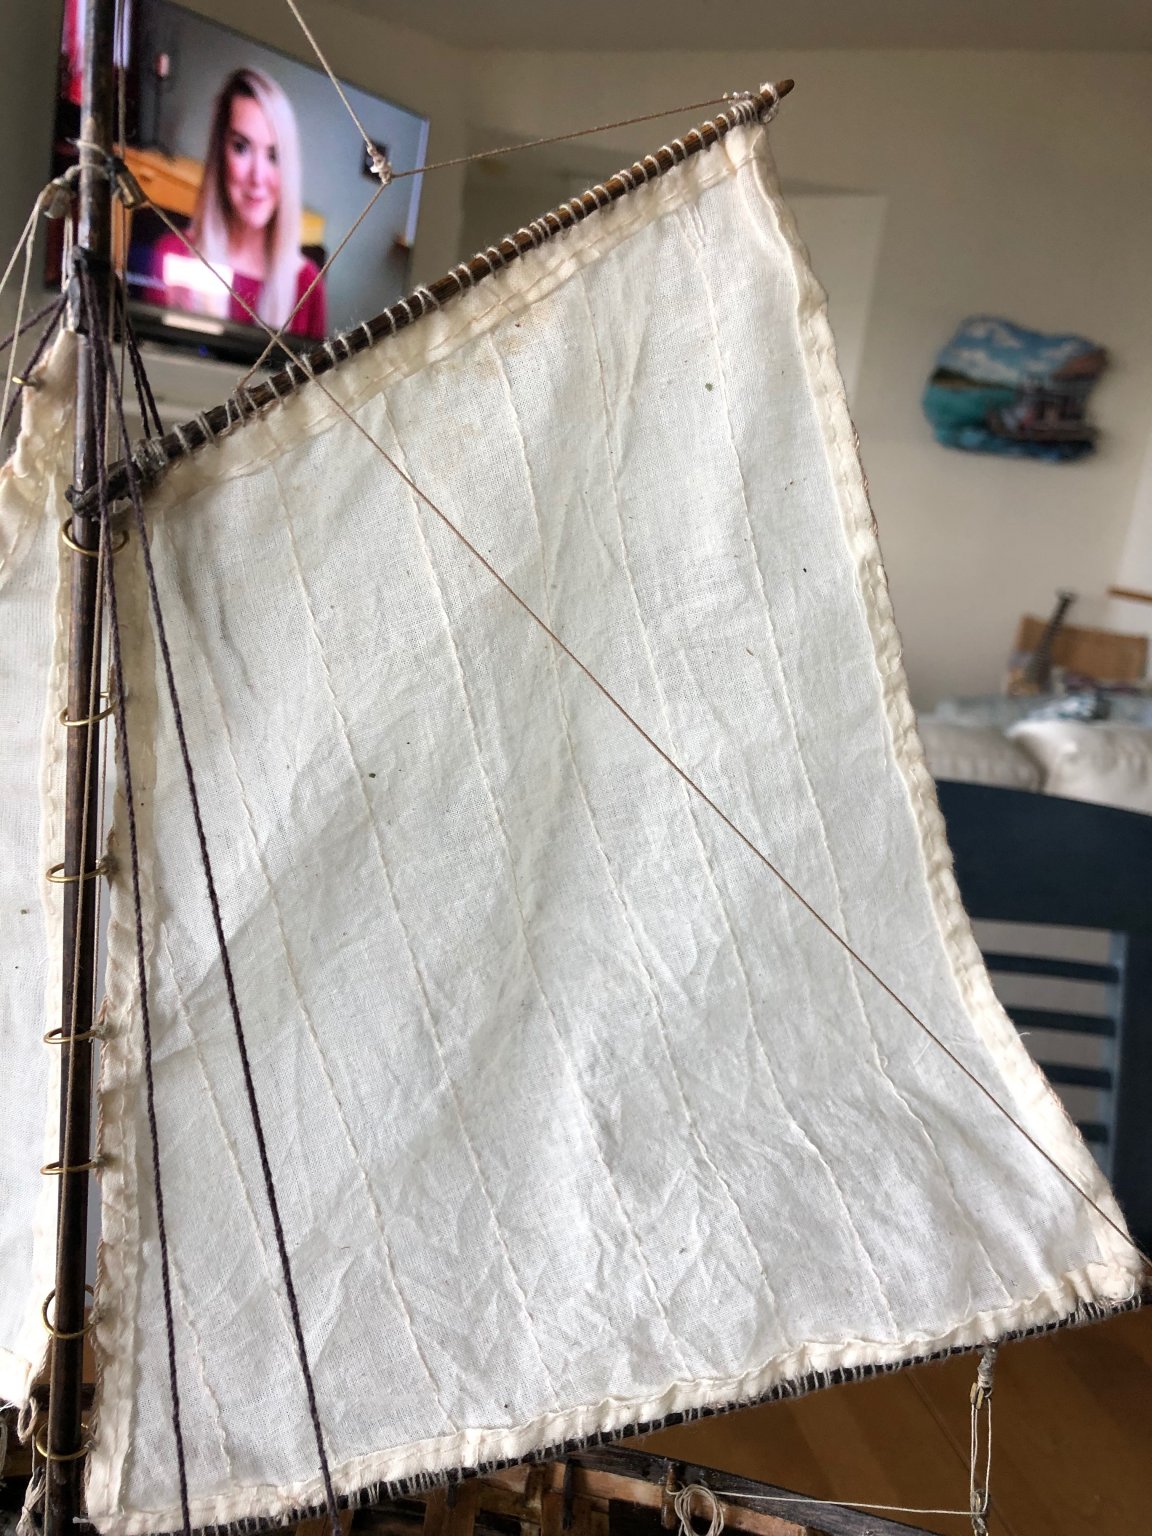
Thanks for pointing that out. I edited them to jpegs above. Love any suggestions for setting sails to look “full”
-
Your launch looks awesome!!! Full speed ahead Mate! Kiwi style with everything “right-side-up”. Very nice work!!!!
- 63 replies
-
- 2
-
-
- bounty jolly boat
- artesania latina
- (and 2 more)
-
I'm wondering if I should make a dilute glue solution and try to shape the sails.... What do you think peeps? I also took some ideas from Spiff and Jmaitri (thanks mates!) and riffed on them a little, while staying within my limited talent envelope.


-
I didn’t have the foresight to start a build log, but I will for sure next time! Will check your builds too!
-
Hey Alan (and Hank and all the other NCers), Just wanted to give a shout out to the NC denizens club, live in Durham and Roanoke Island.
-
Hi from Roanoke Island, Thanks for allowing me to join the community. I am just about finished with the Jolly Boat and have enjoyed the kit and the learning process. Thankfully, the build logs that were available helped point me in the right direction, and then I started to get the itch to learn more about rigging, etc. I was doing the Jolly Boat as a first "practice" build, but it quickly became more than a practice session. I am not much of a modeler, but I have been captured by the quality of the ship models and the attention to detail that makes a true masterpiece. I am looking at making the Caldercraft Granado as my second build, and hope that I am not setting my sights to high. I will post a quick picture of my first build if I can figure it out.... Looking forward to learning more and meeting people! Best regards, Brian