HOLIDAY DONATION DRIVE - SUPPORT MSW - DO YOUR PART TO KEEP THIS GREAT FORUM GOING!
×


Bill97
-
Posts
2,704 -
Joined
-
Last visited
Content Type
Profiles
Forums
Gallery
Events
Everything posted by Bill97
-
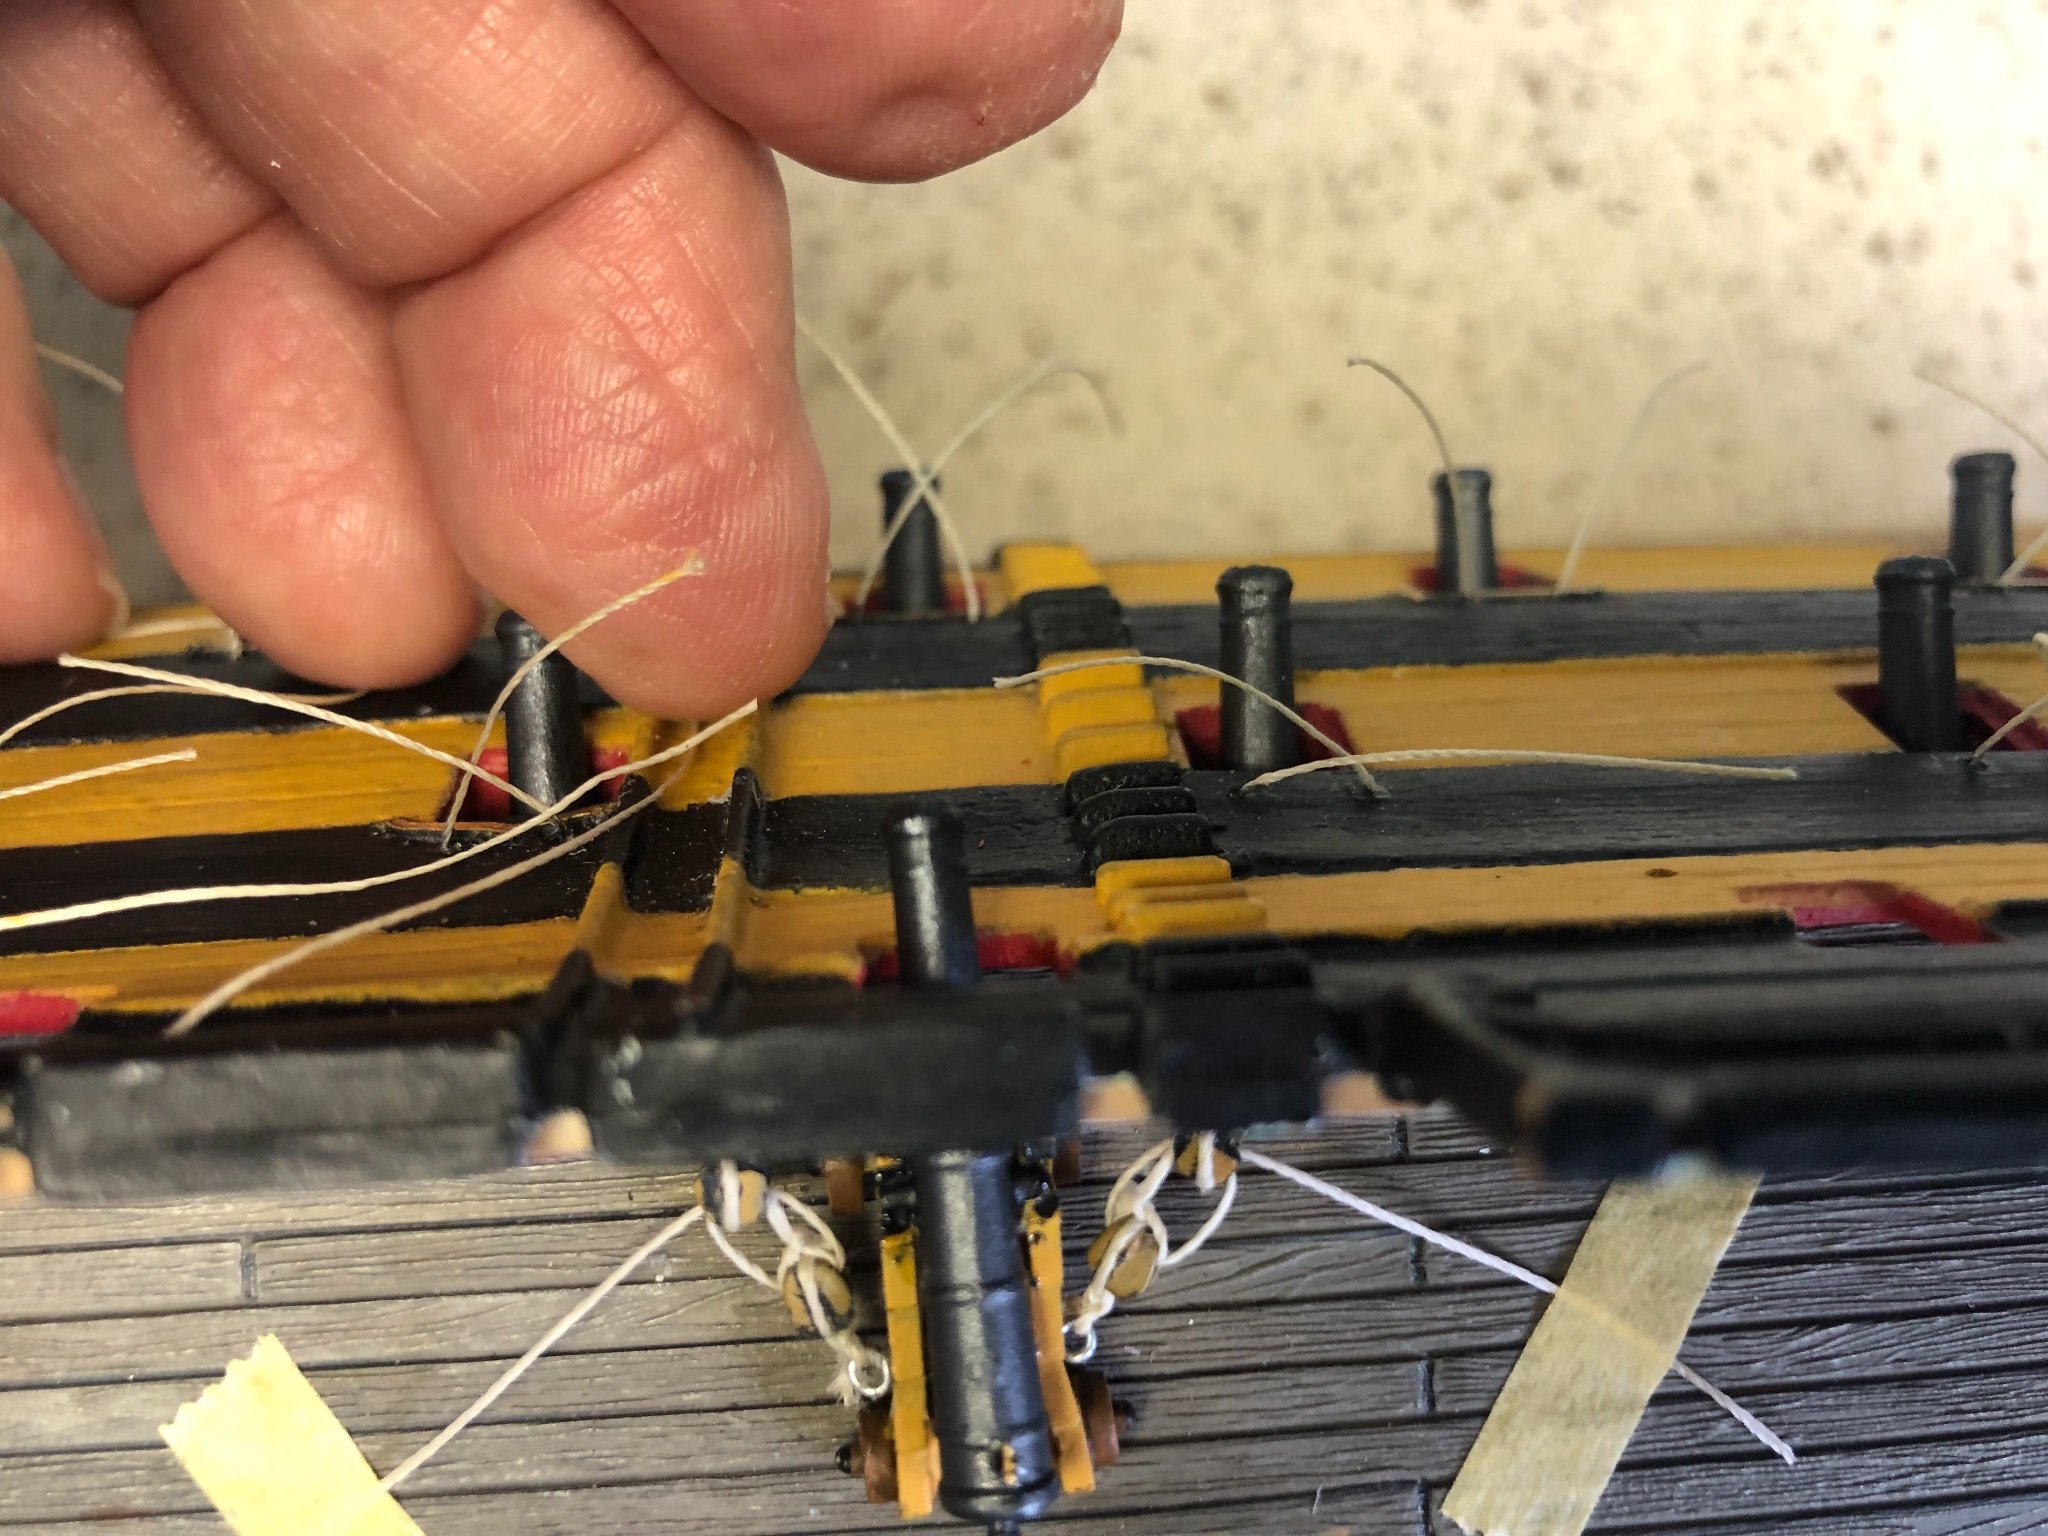
Ok great Ian. Thanks. Now I understand. So I simply tie threads to part 89 that will be long enough to accomplish the future rigging and for now coil them up like I did the sheet lines earlier. Bring them up through the opening in the Quarter Deck and just tape them out of the way. 👍 should there be belaying pins on part 89 for these “ropes” or do you just tie them to the cross member?
-
Beautiful work Kevin.
-
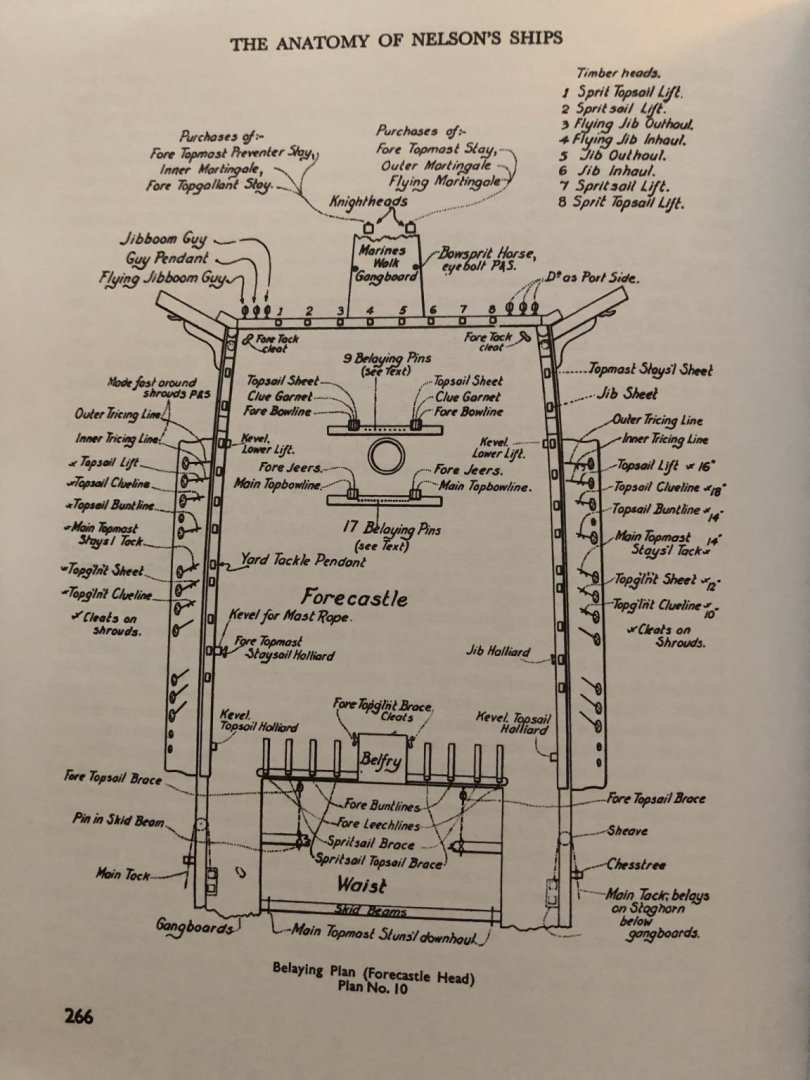
Ok Ian I am making one more trip around this “part 89” step. I am very close to putting the Quarter deck in. Almost everything done on Upper deck. Back earlier in comment #410 you suggested tying future rigging lines to part 89 before putting the Quarter deck in and referred me to Longridge’s book. I have looked over the Heller instructions and the page(s) of Longridge’s book but can not determine what exactly I need to do. Your “detailed” advice would be greatly appreciated. If you don’t mind 😊. Thanks in advance.

-
Kevin I am going to be honest and say I just realized that now that you pointed it out 🤯. Well that is where they are going to stay on this deck. Again changes for cannons on Quarter deck.
-
Thanks guys. Yeah Ian I know that line is also to be there, and there is the heavier rope that connects to eyebolts in the hull and goes through a ring on the end of the barrel. I may do those two lines on the “show guns” on the Quarter deck. Kevin I will be following your build to see how you deal with rigging the cannons later on.

-
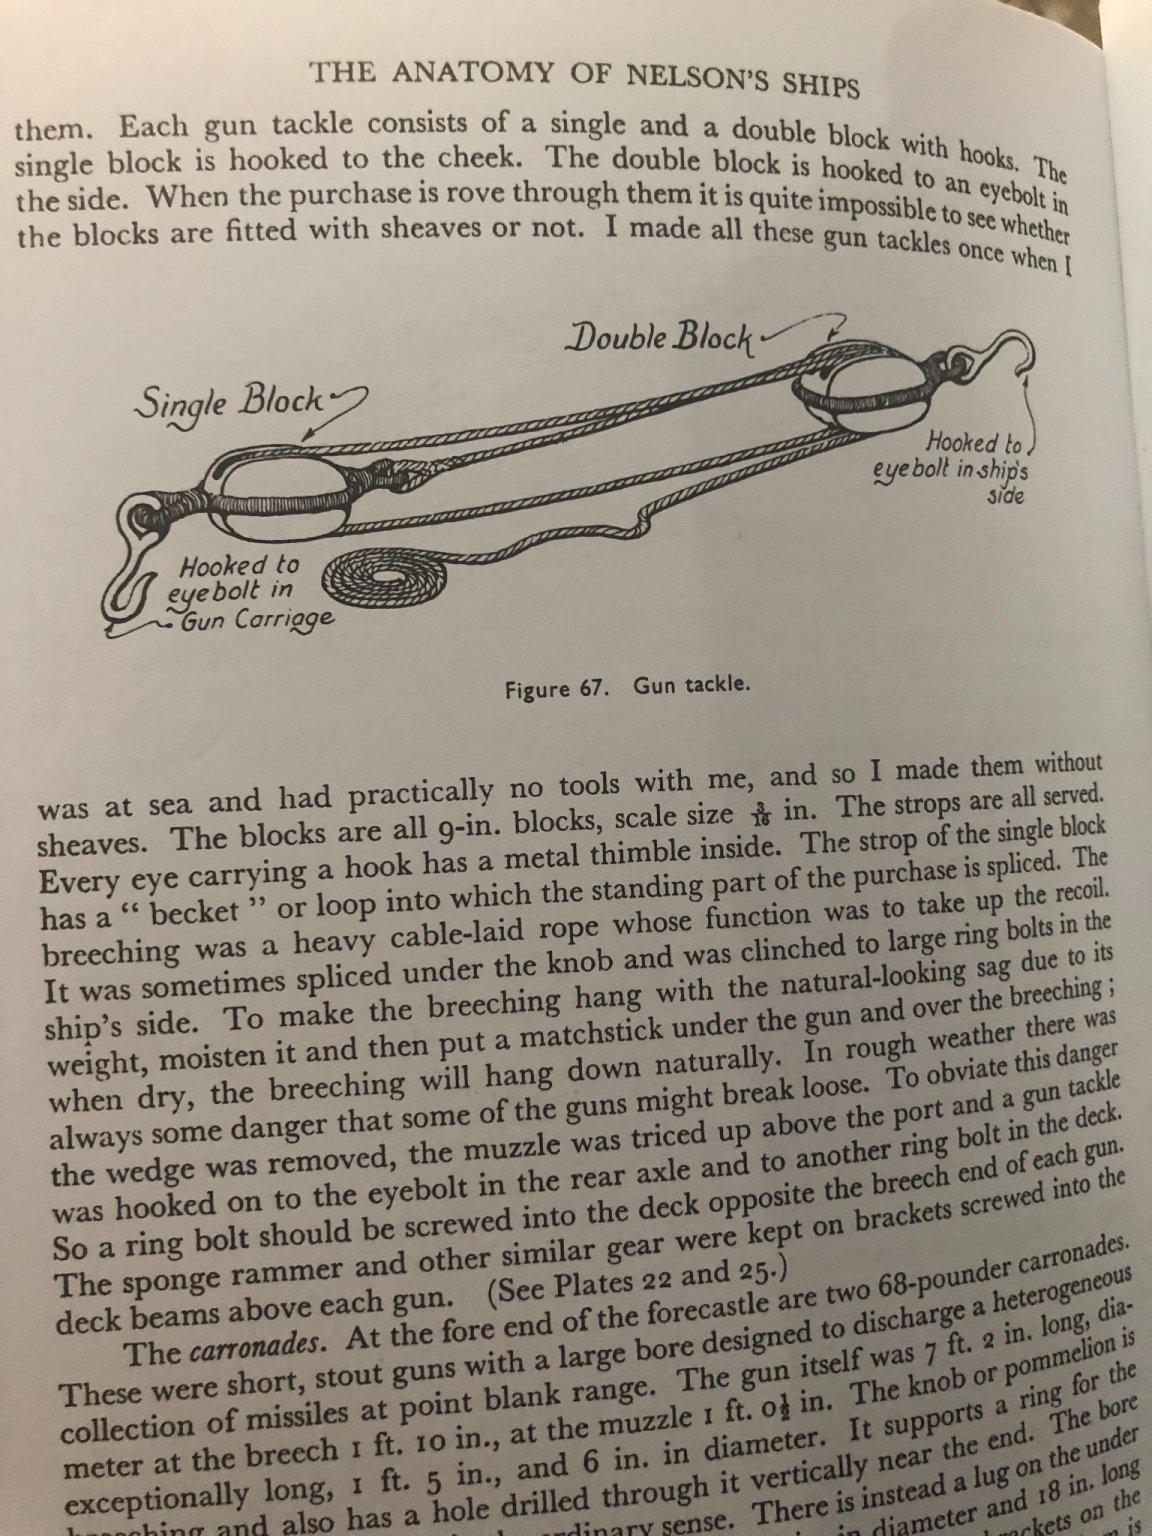
Ok gentlemen this comes under the categories “it is what it is” and “time to move on”. I used the smaller thread and rigged the cannons. I am still going to make some small coils to place where the end of the thread touches the deck. Kevin what I found after a couple weeks wrestling with this one application is that, as you have found, you can’t get the blocks much smaller than about 2mm and have them useable. At that size if you have the cannons run out any at all the two blocks get real close together and you do not see the thread that much. I even eliminated the hooks that Longridge shows to use to connect the blocks to the hull and carriages trying to use up space so blocks would have distance between them. After everything they are still closer than I wish, but oh well. Moving on to other battles.


-
Thanks Ian and Kevin. Kevin I think I am going to stick with these blocks I made from the ones in the kit. I already have them attached to the cannns and the ship. I do believe I have some smaller thread which I will try.
-
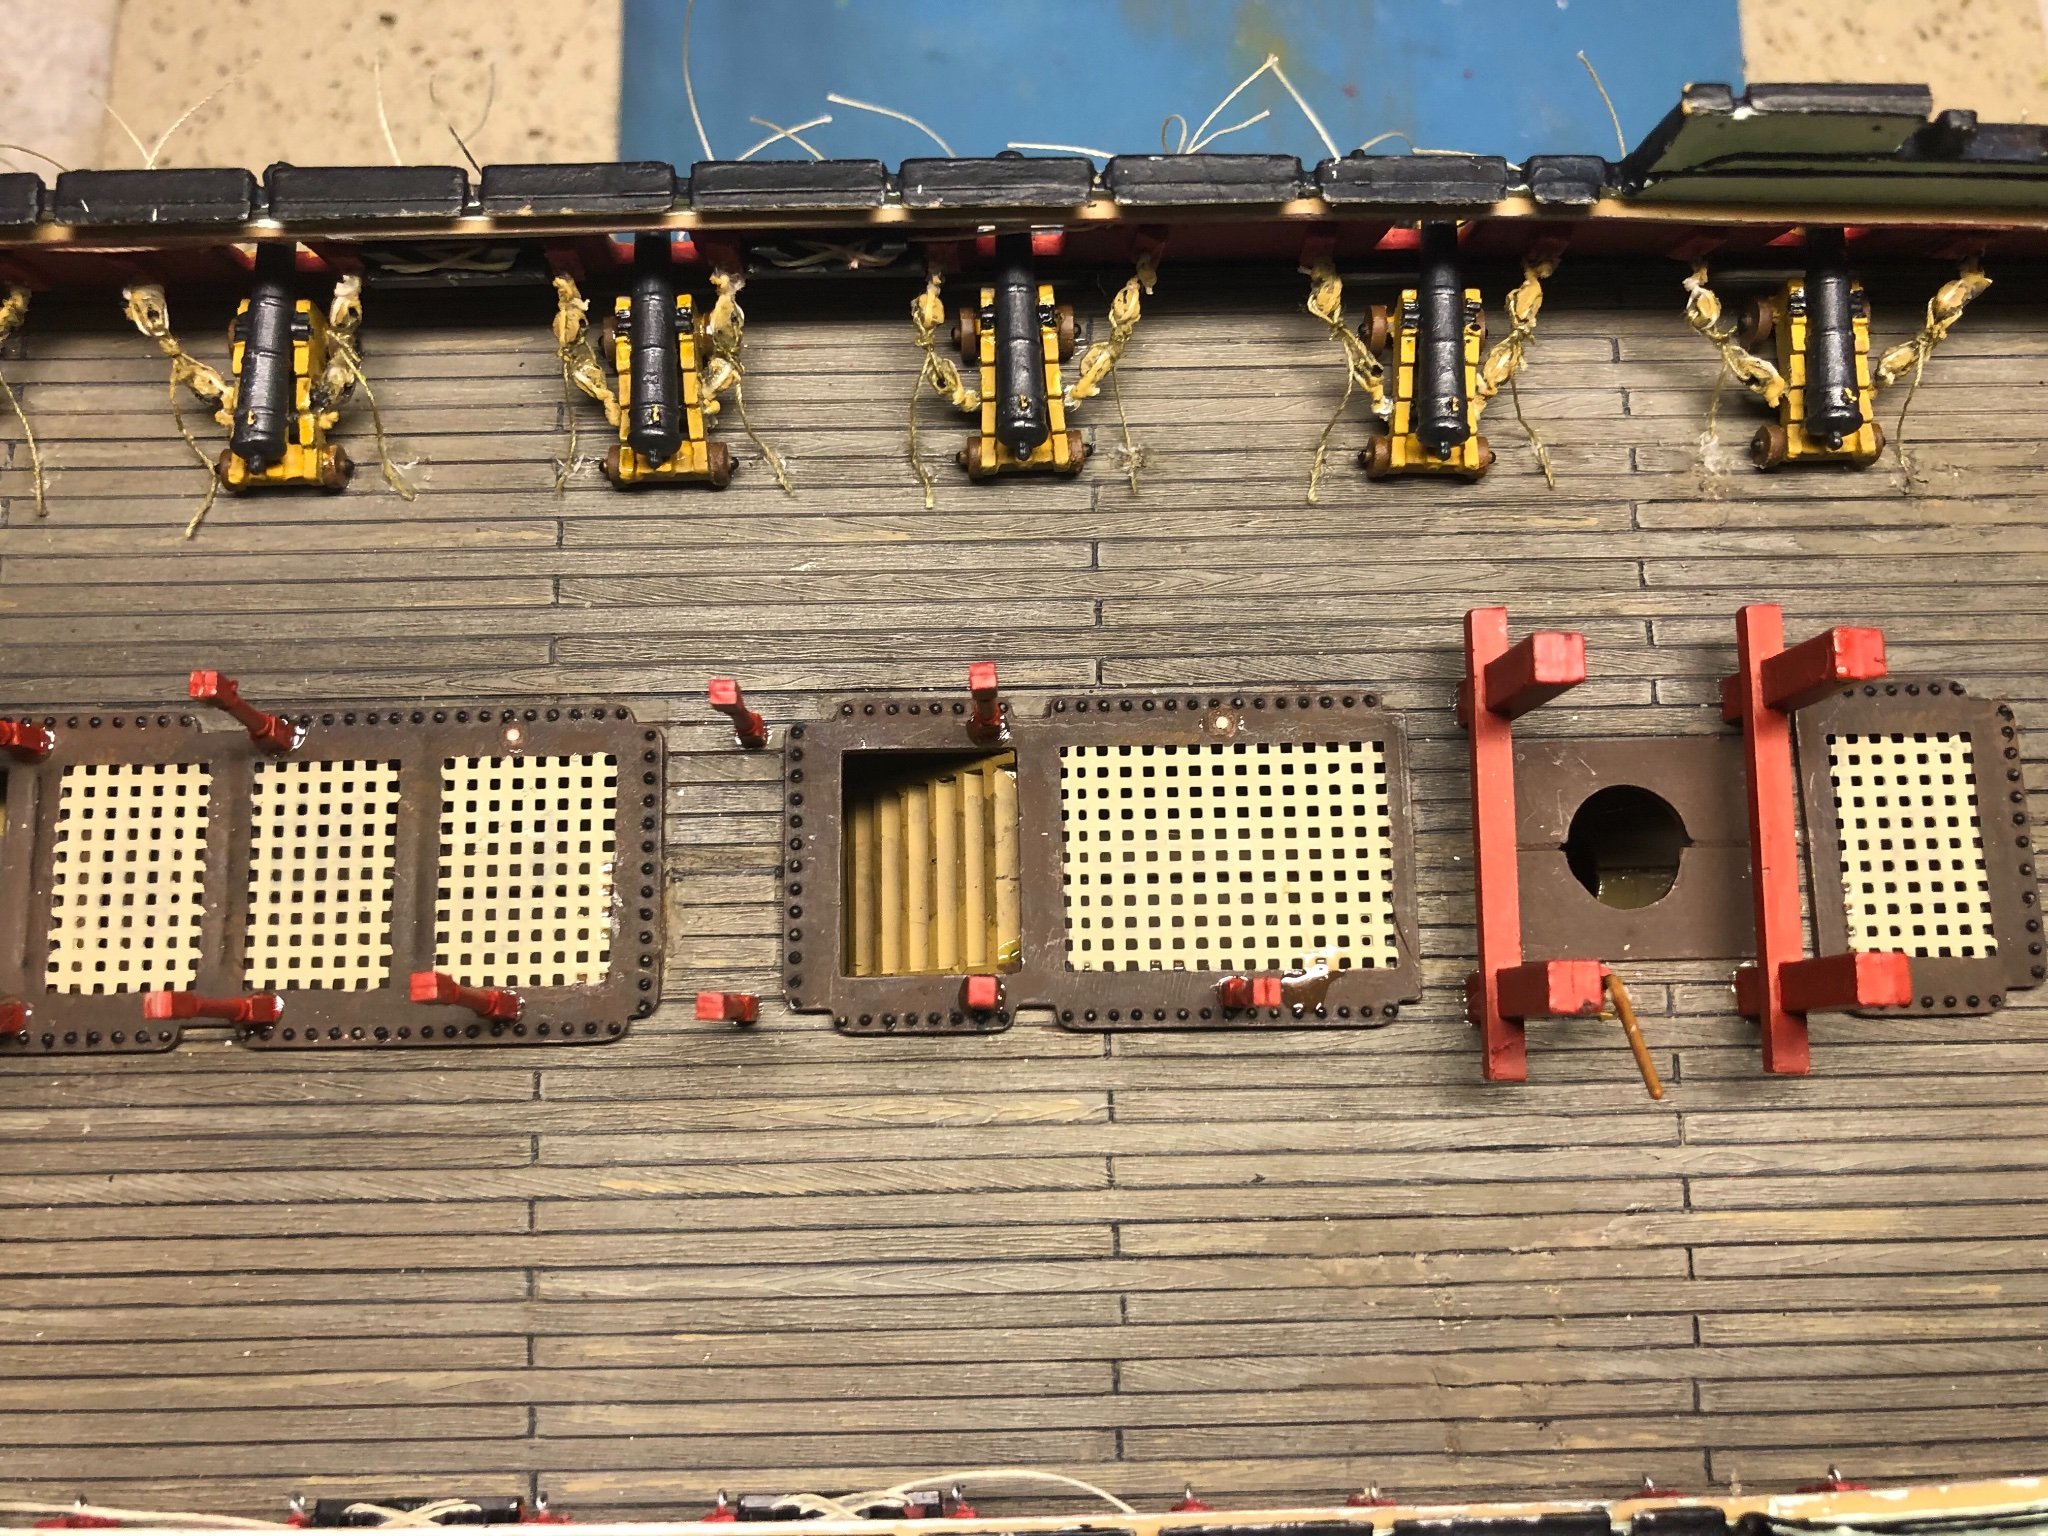
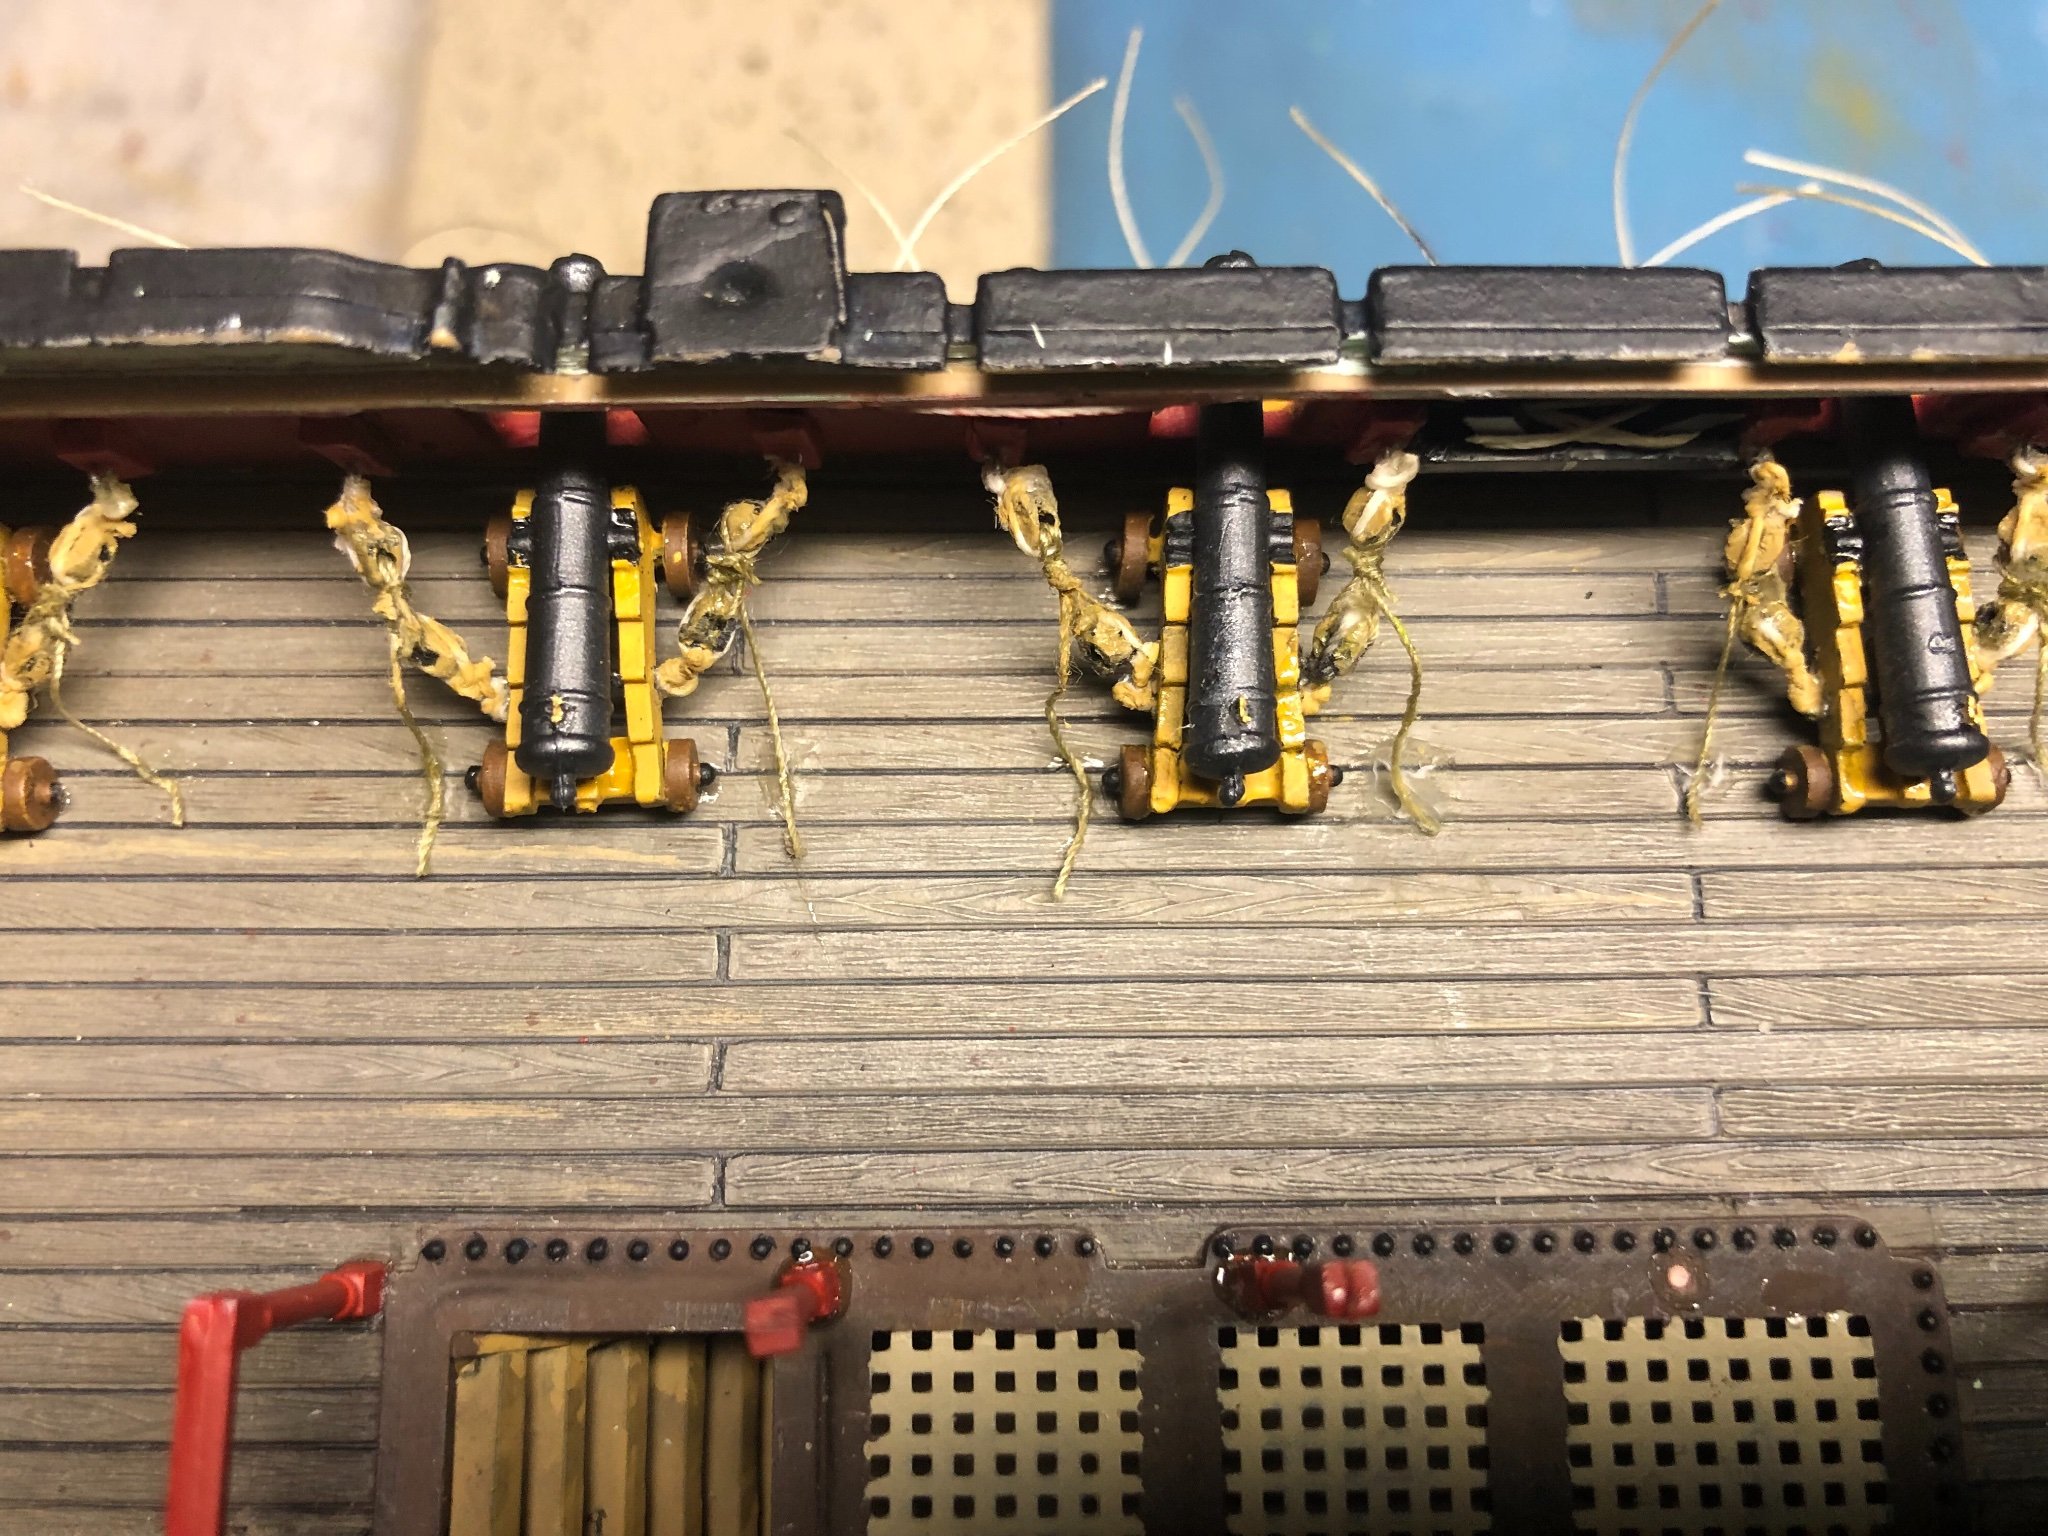
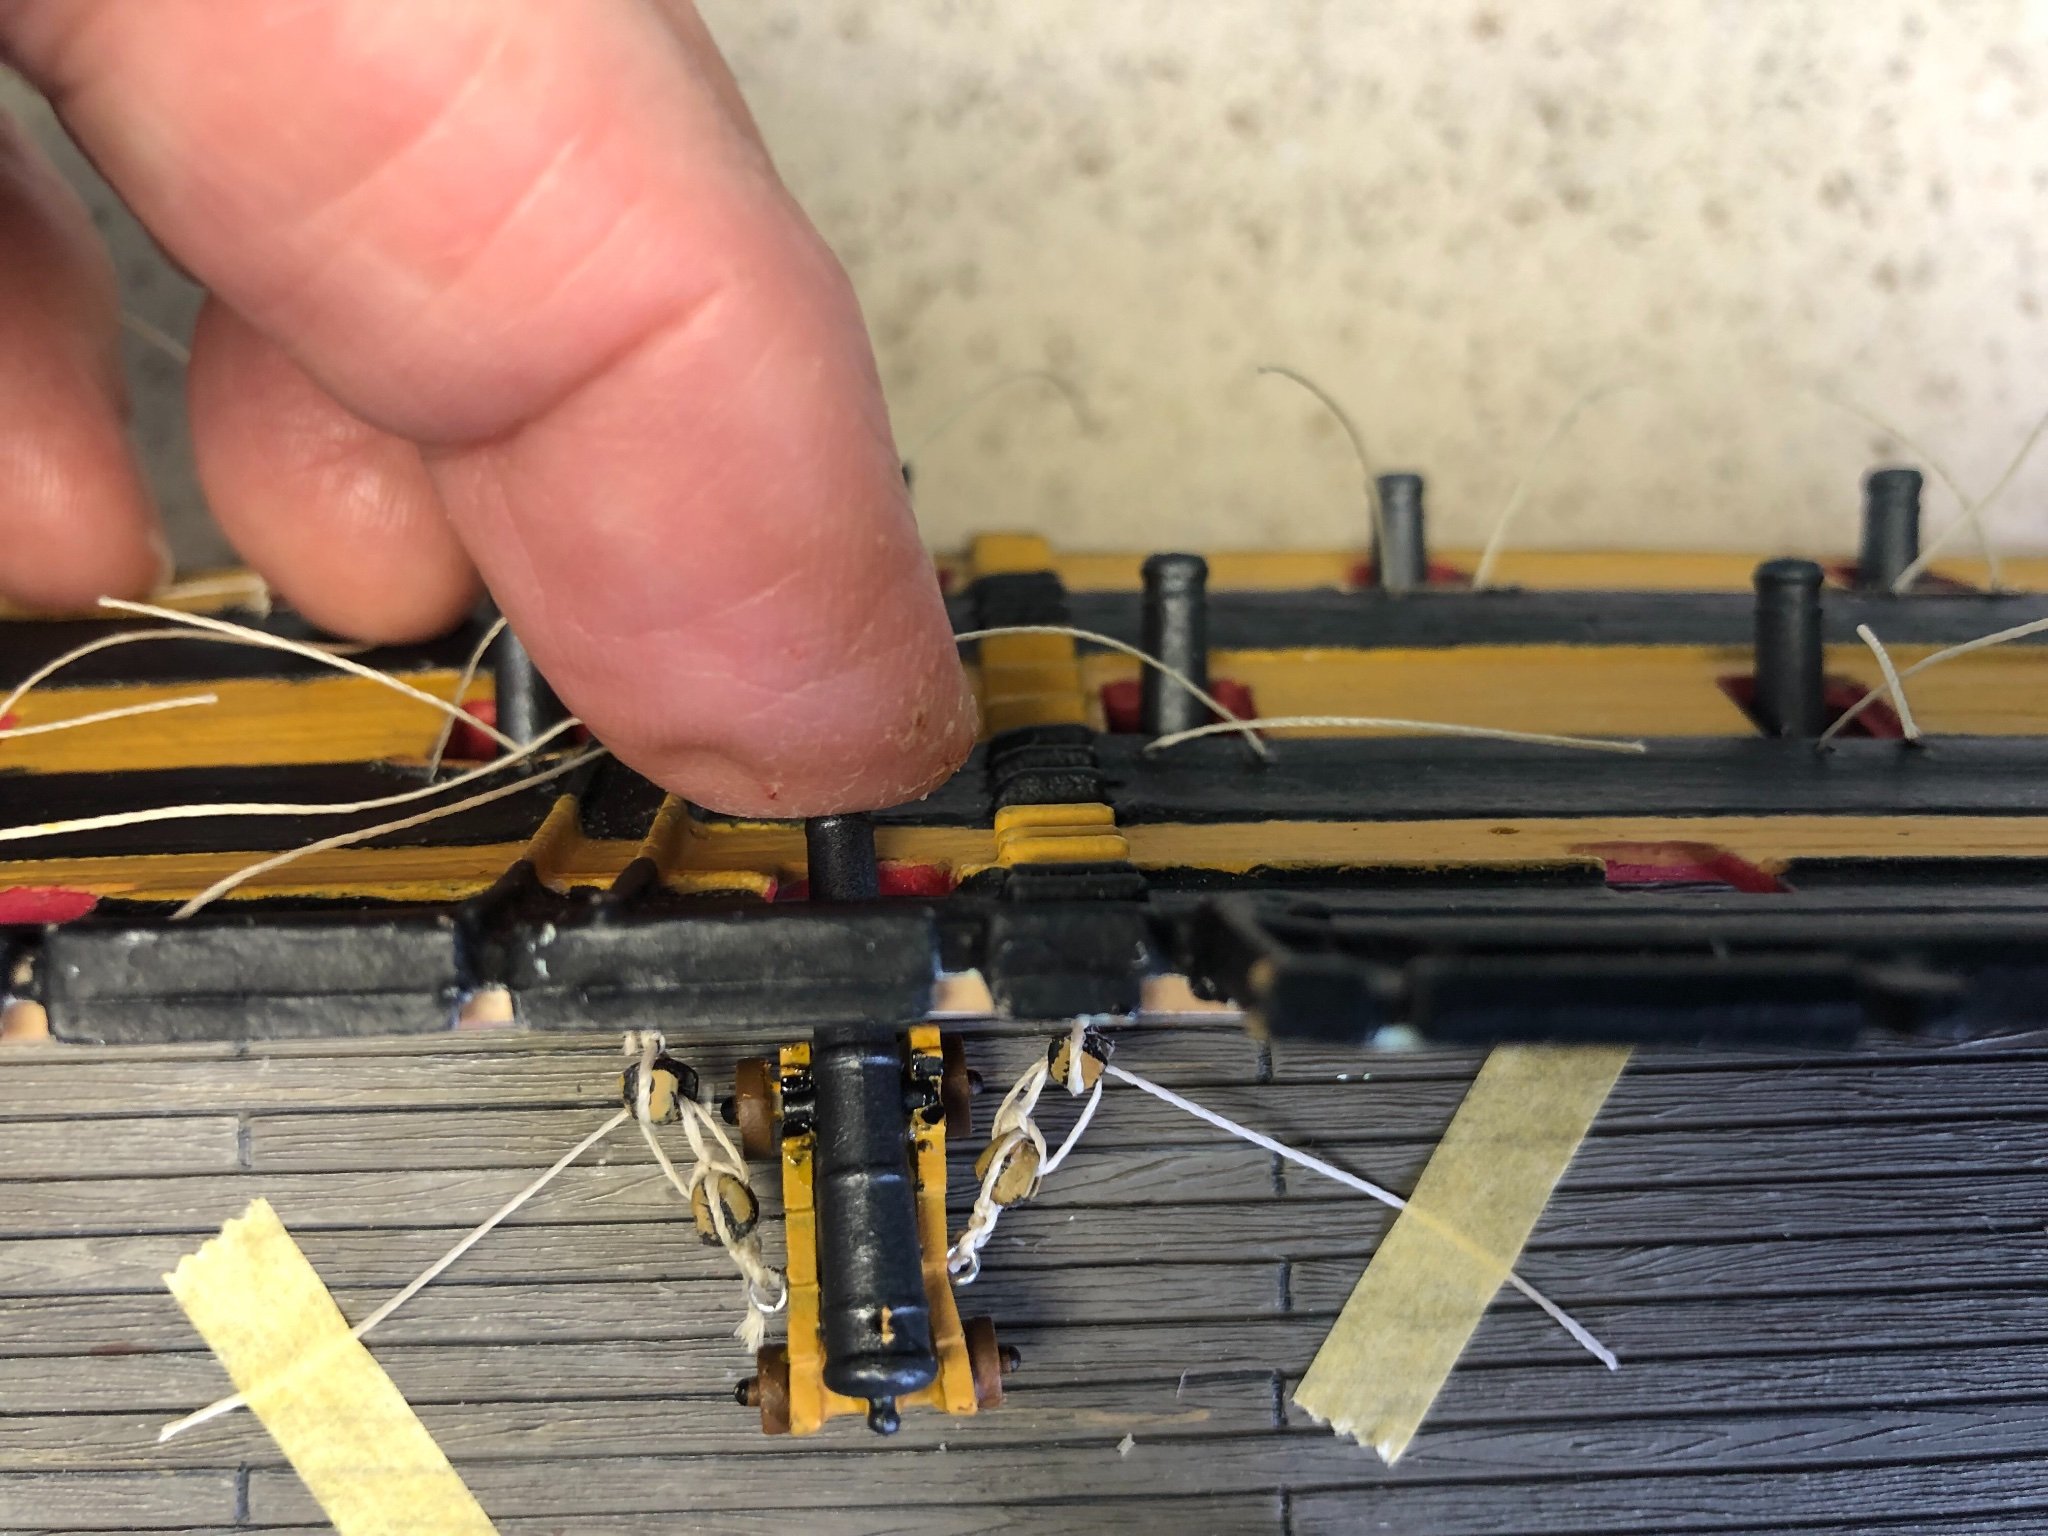
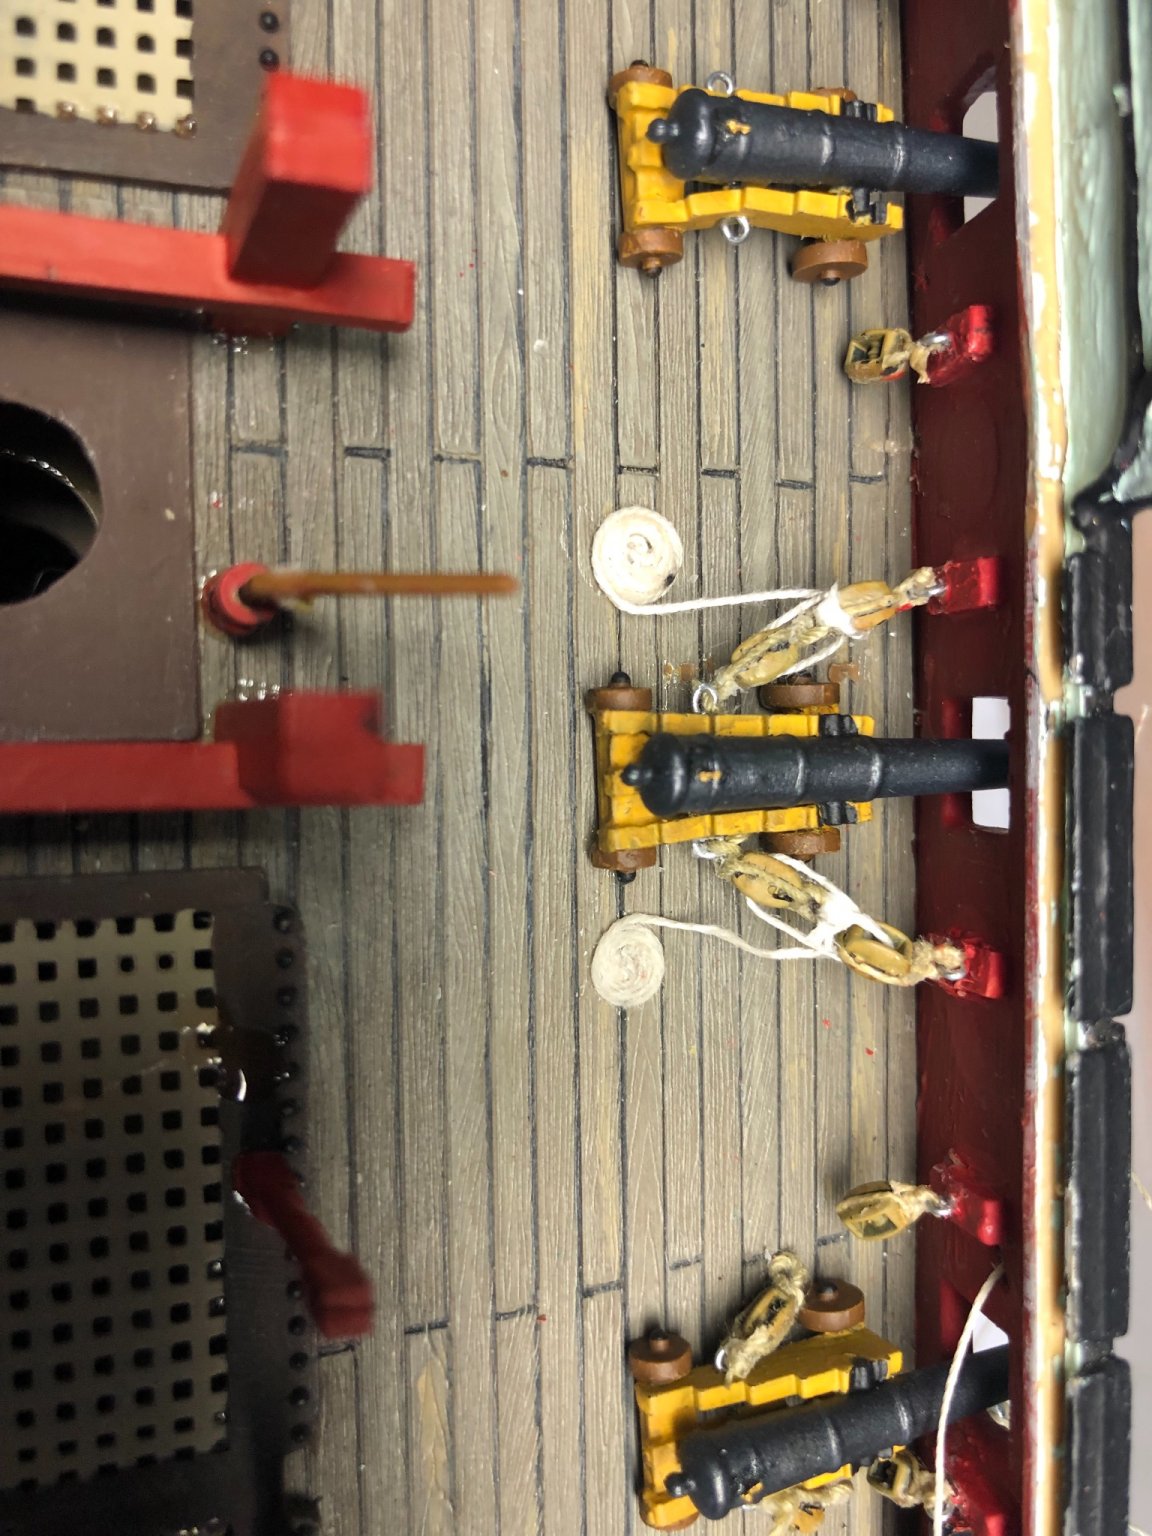
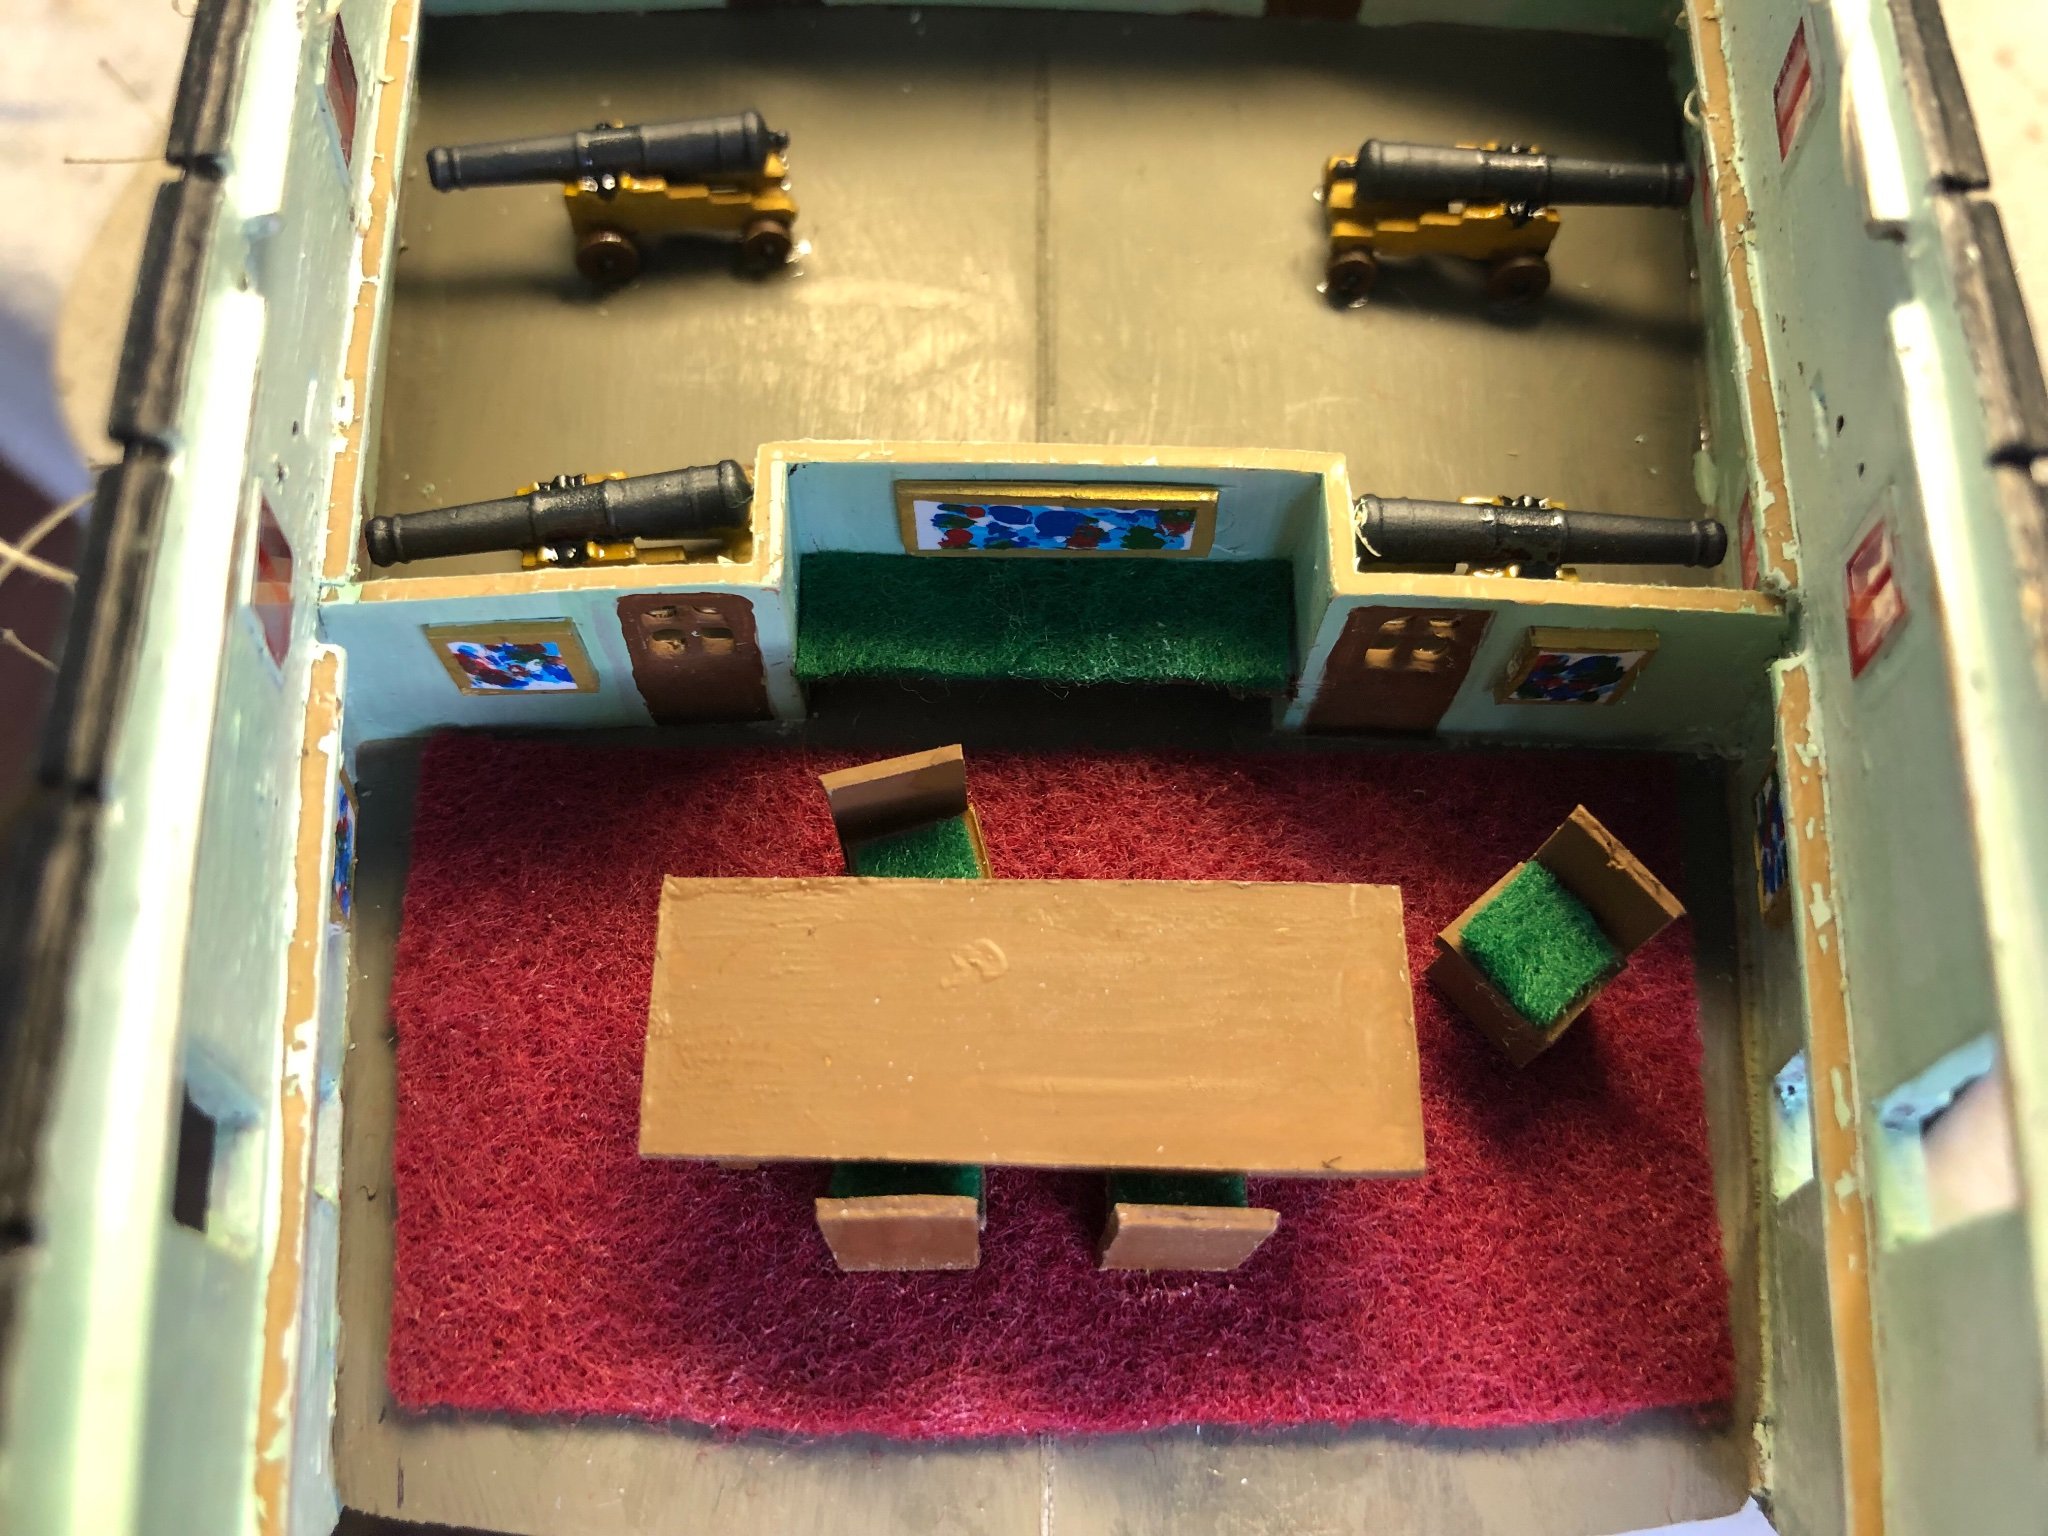
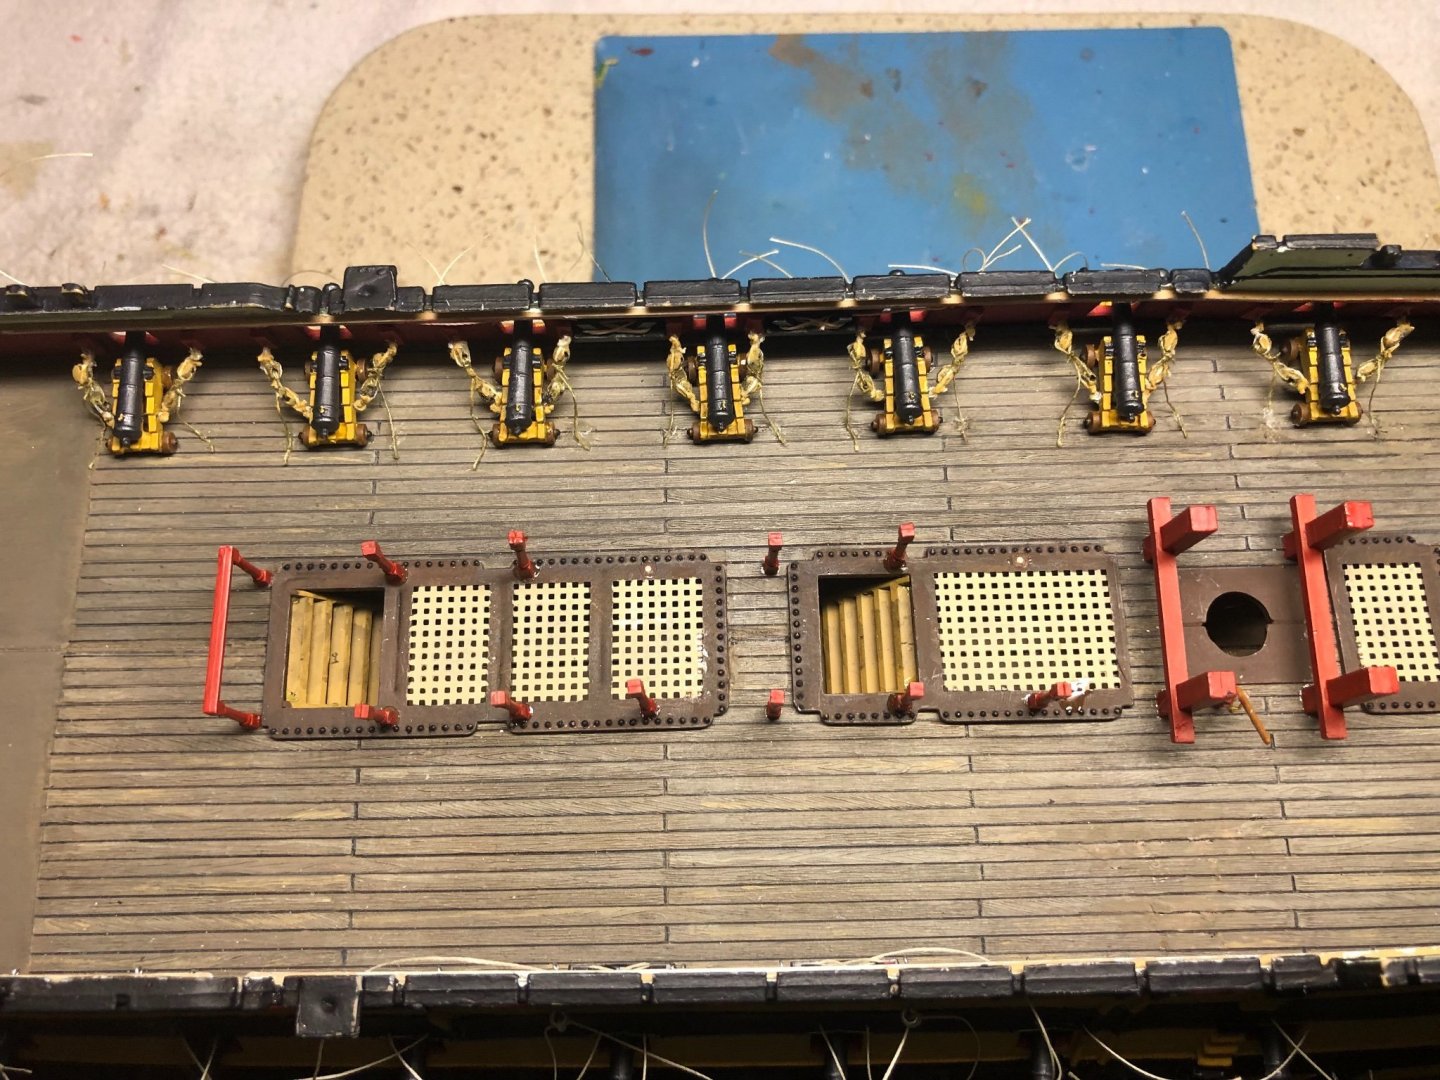
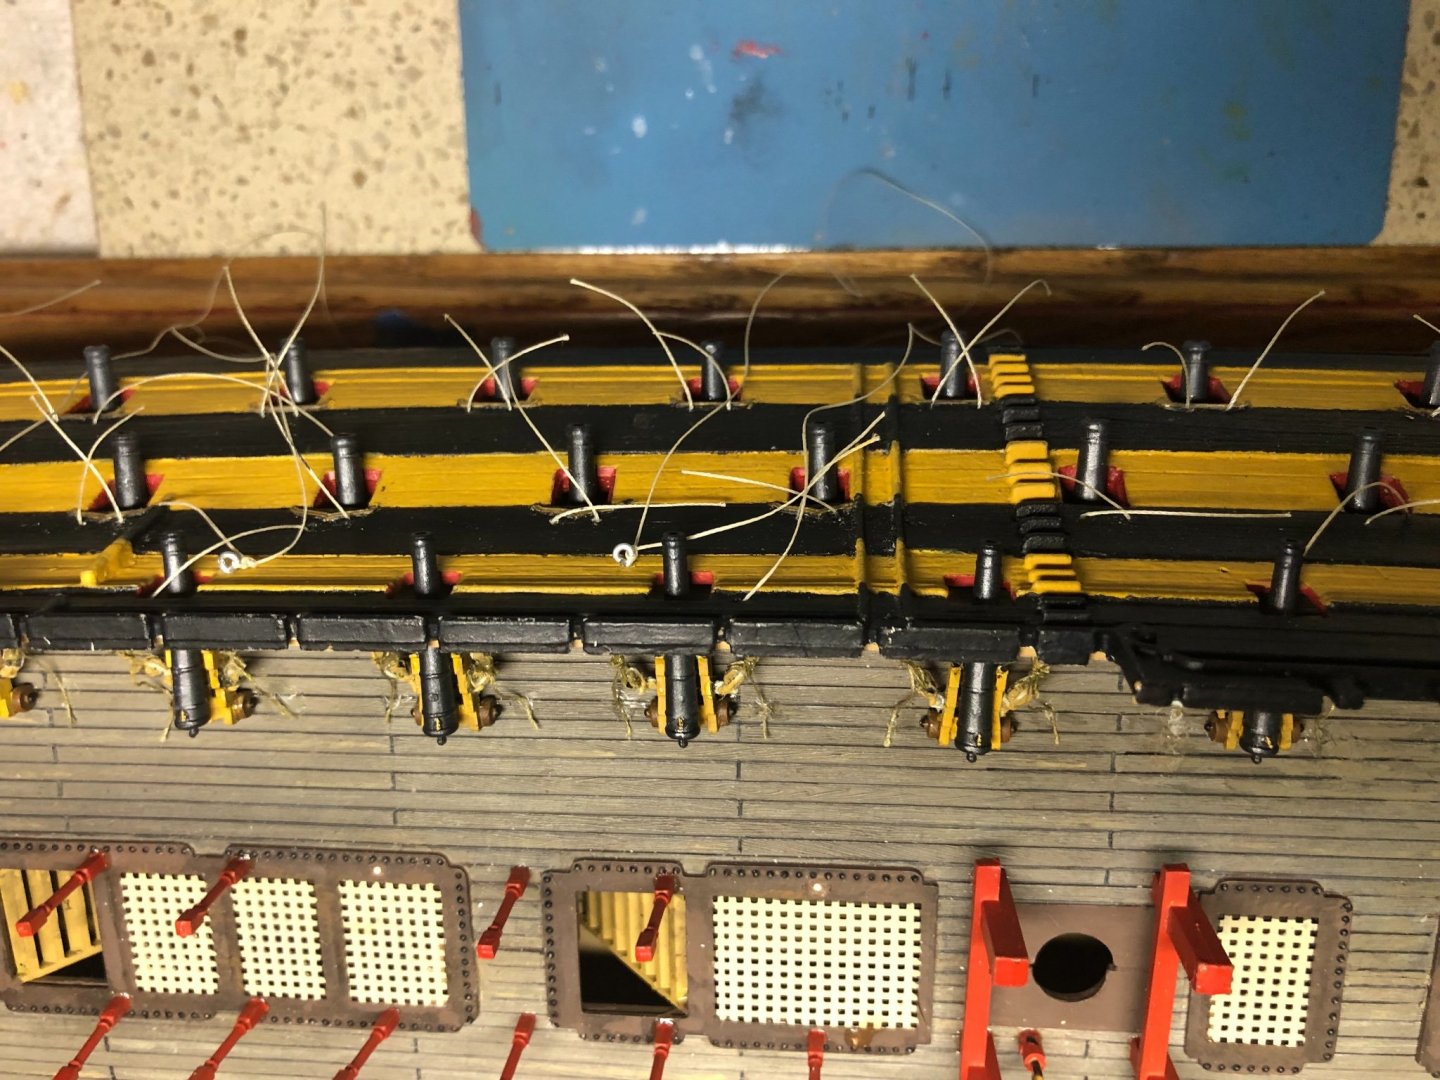
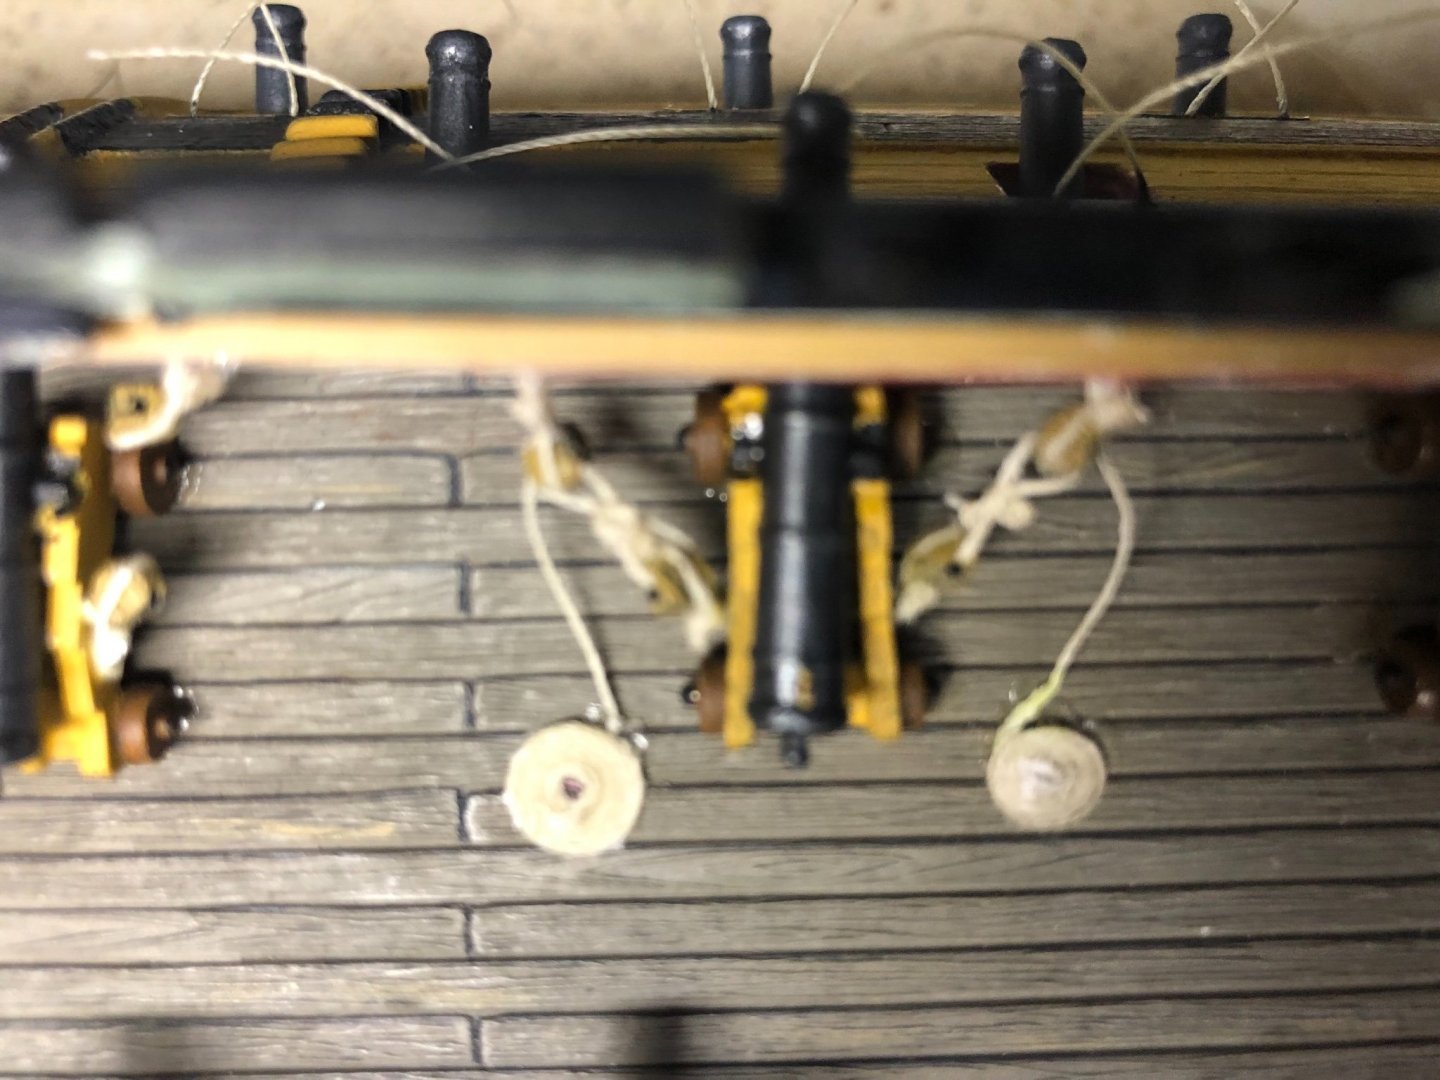
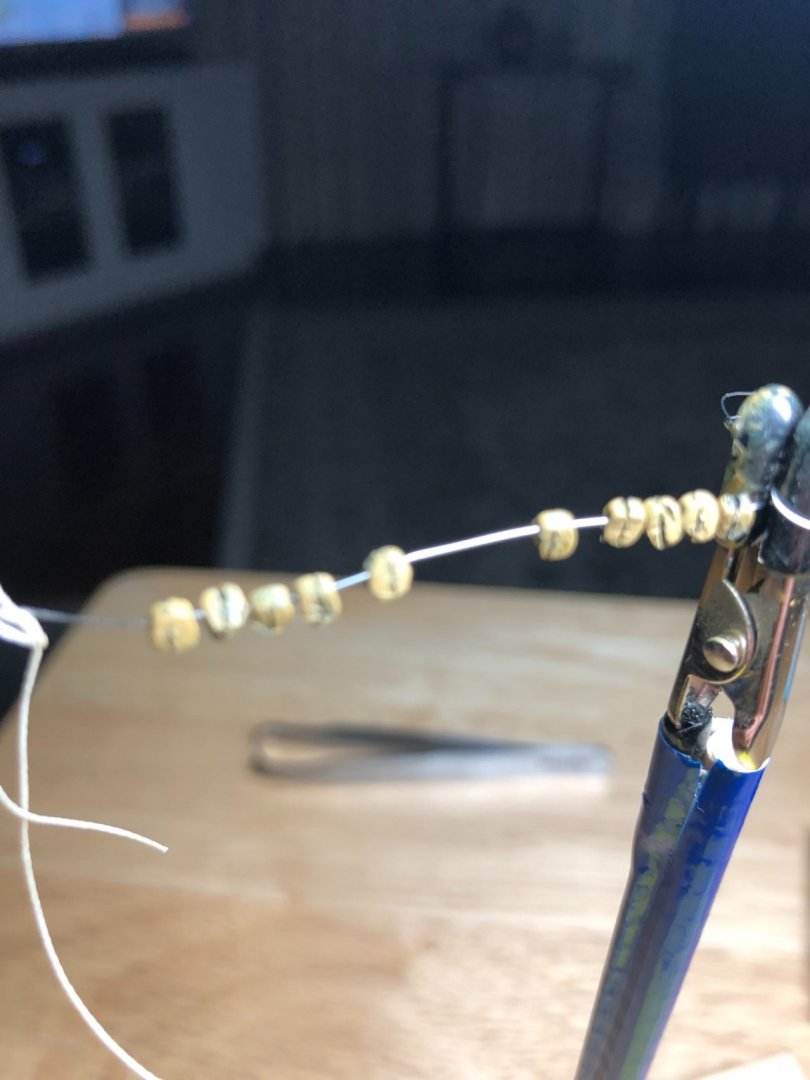
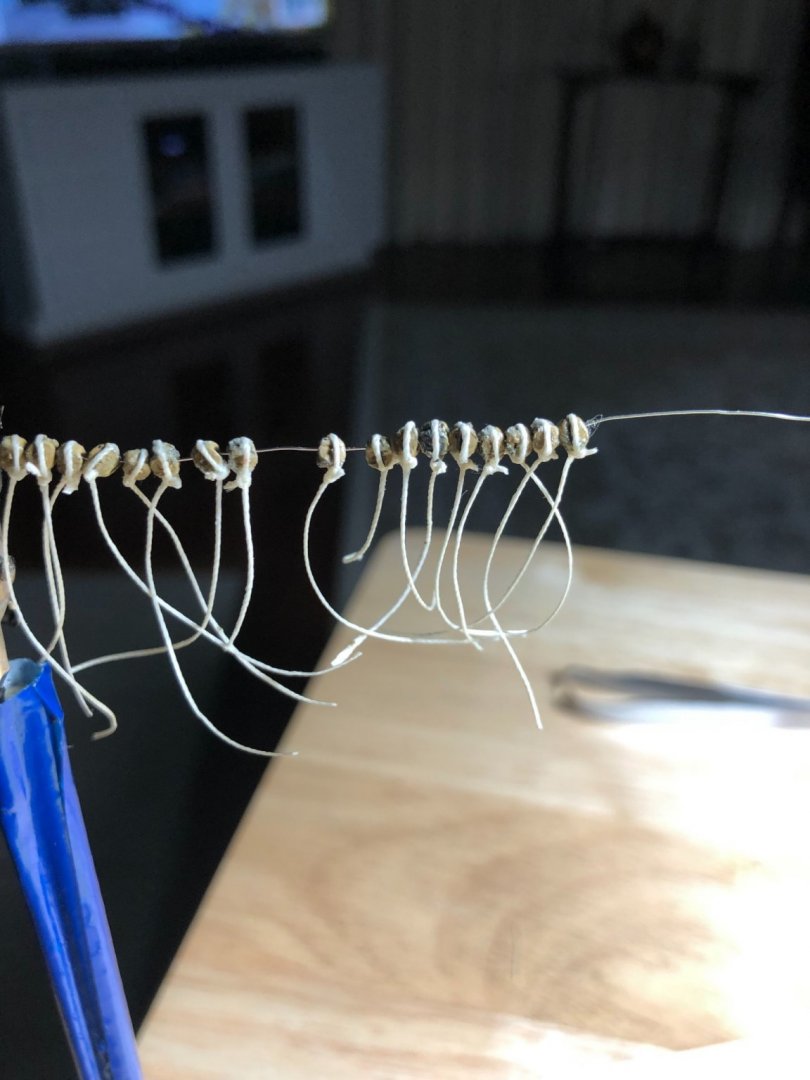
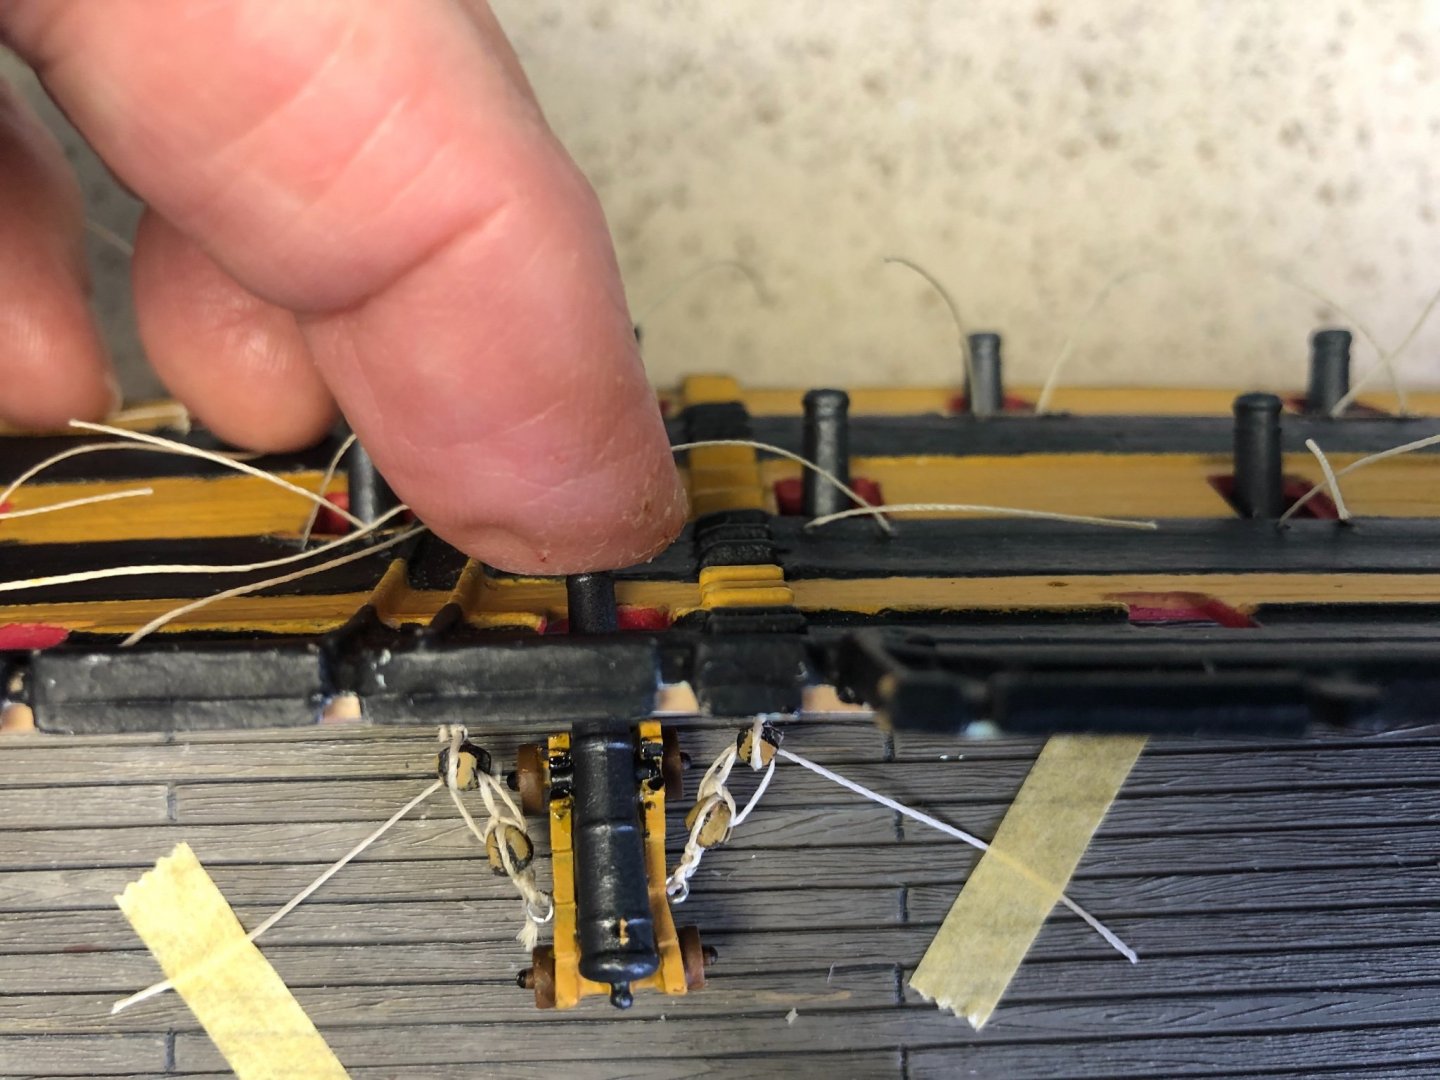
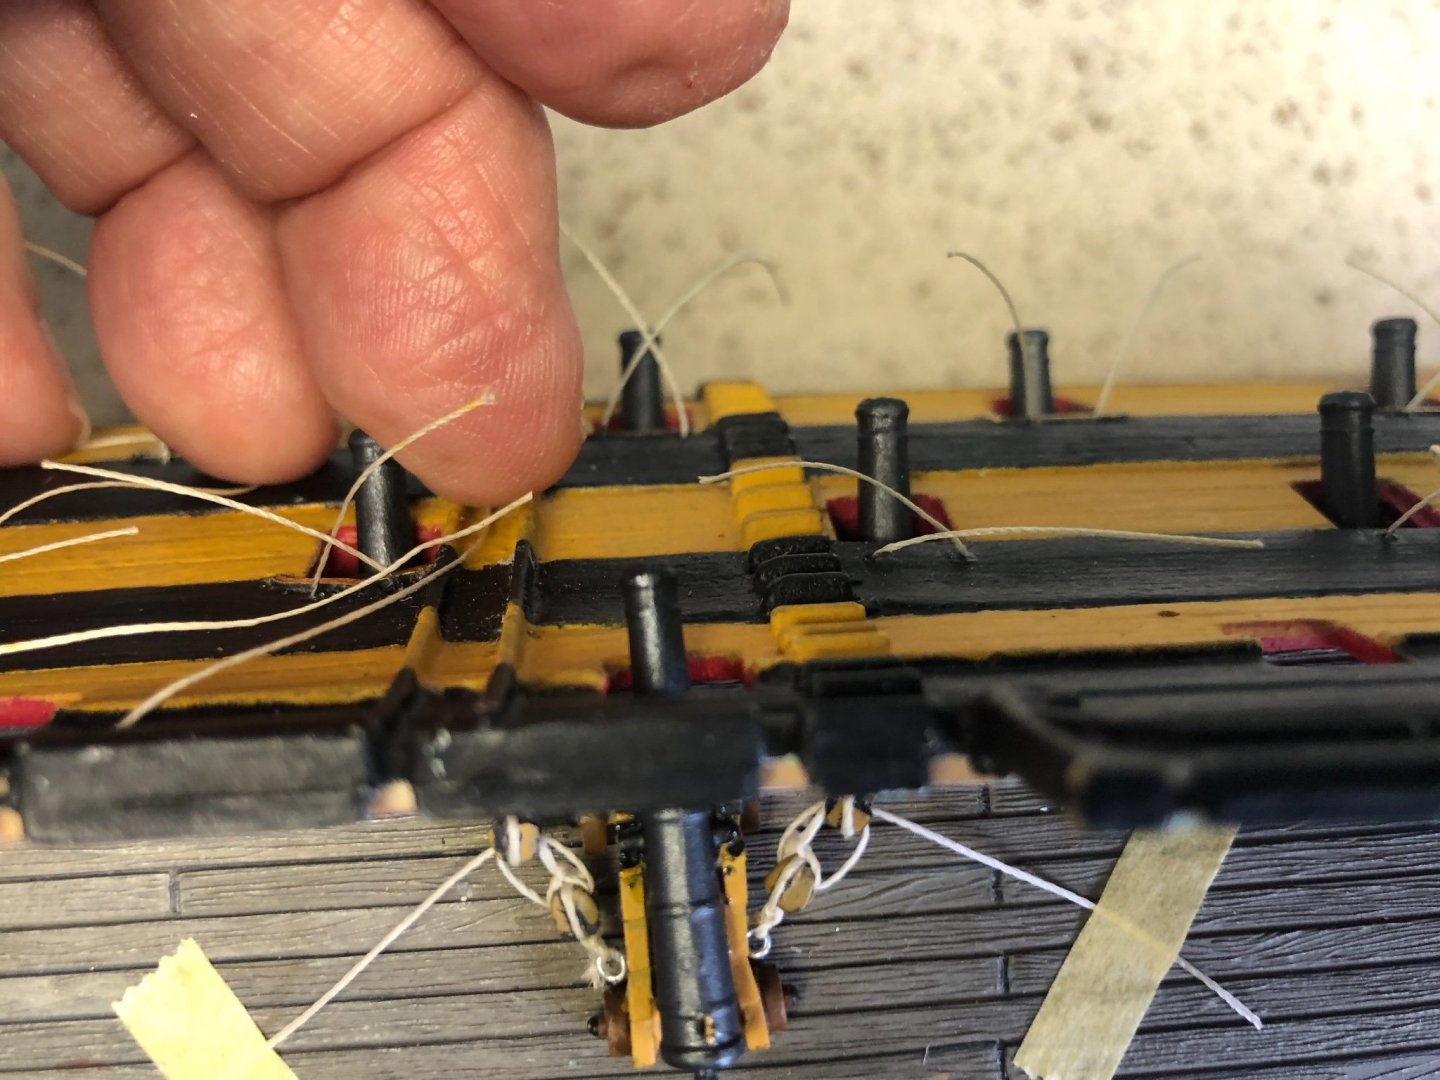
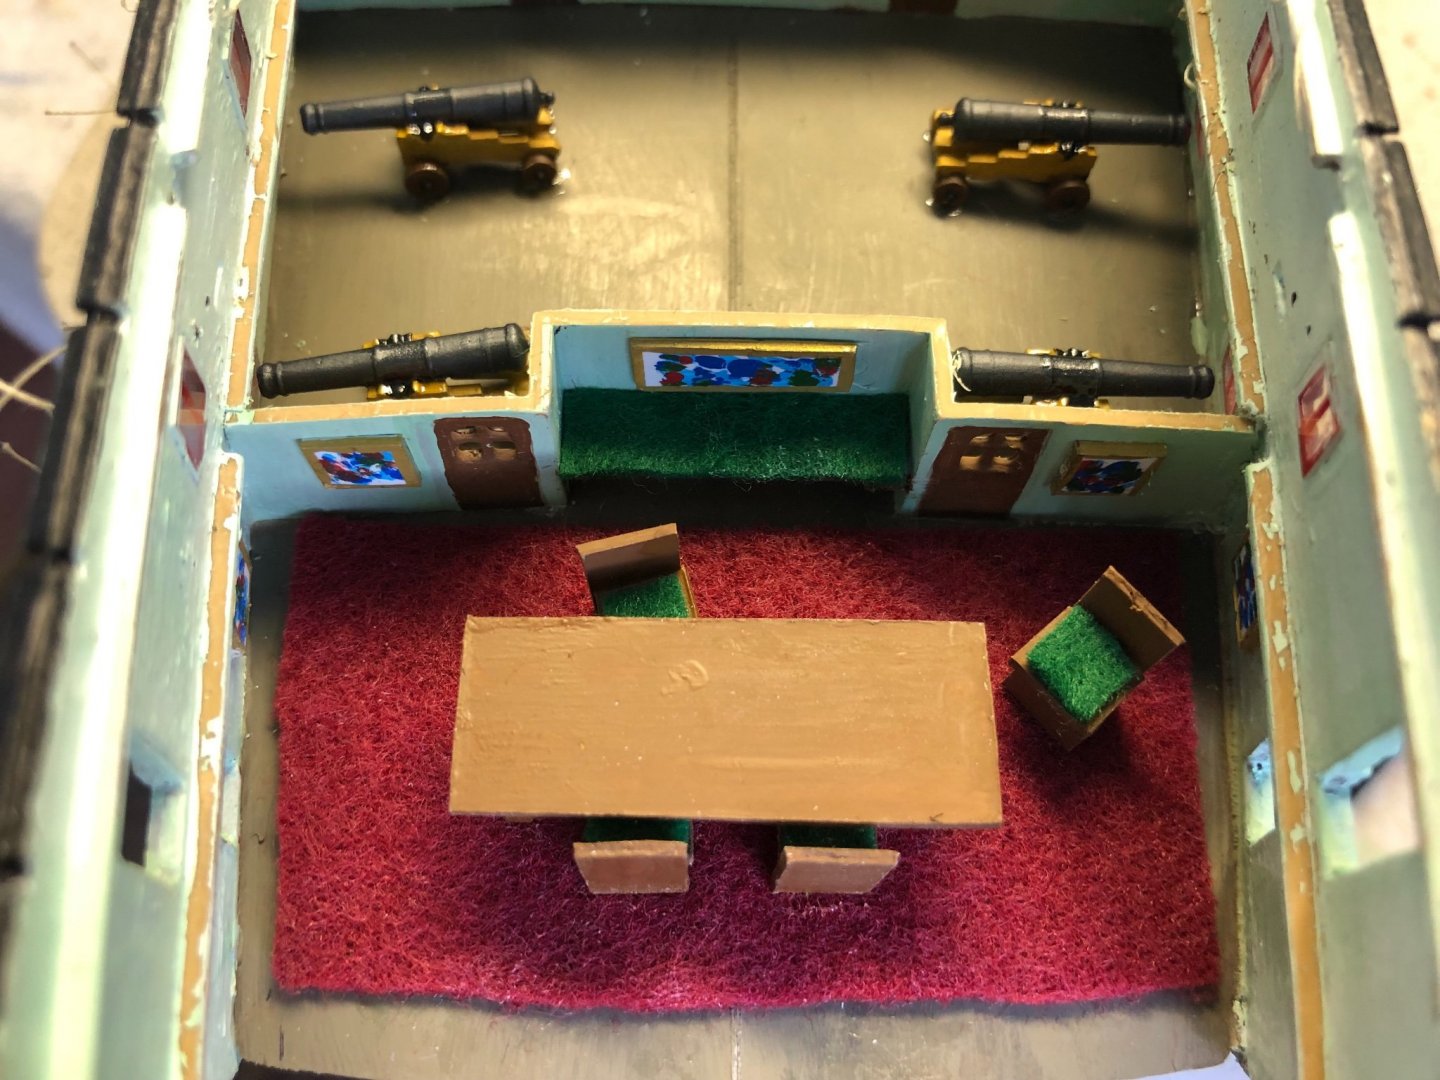
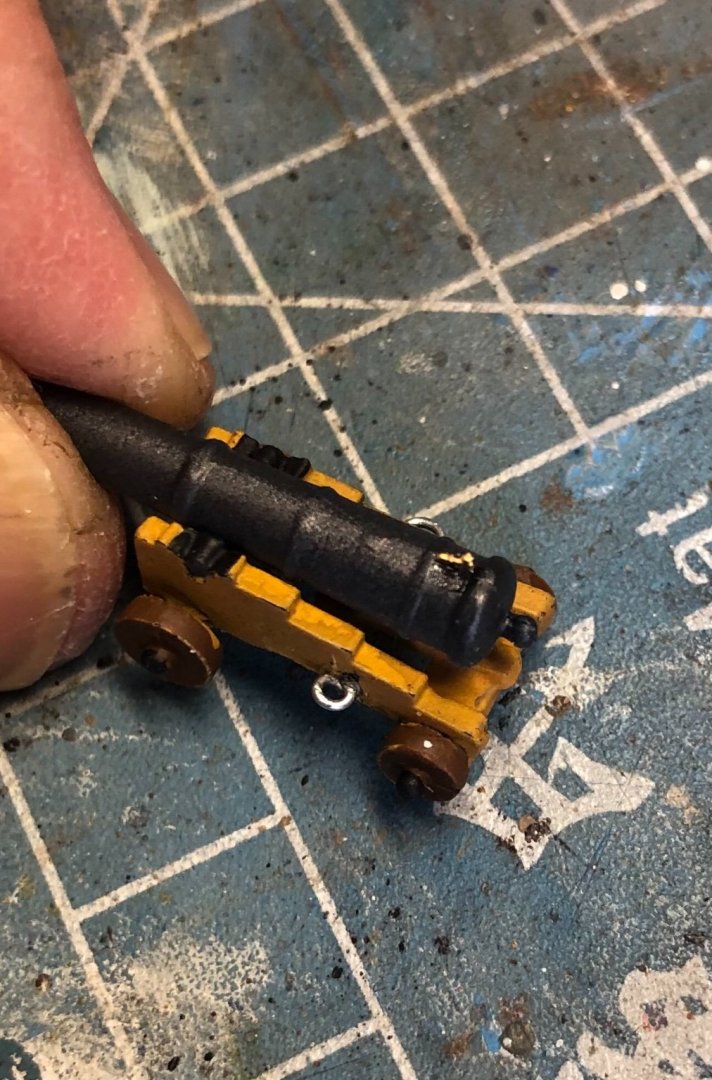
Ok here is my finished product on the cannon tackle. I reduced the 3mm blocks included with the kit down to a tiny bit smaller than 2mm, made my own small metal eyebolts for the sides of the carriages and the inside sides of the hatches, attached the tiny blocks to the eyebolts, then used .35mm thread to rig. Set the cannon back enough to give space between the blocks but still extended enough out the hatch to give a nice appearance. Made rope coils for display of the ends of the rigging thread. This is on the Upper deck so I am just doing this with the 7 “show cannons” you can see through the large opening in the Quarter deck. One done. Thirteen to go on this deck!
-
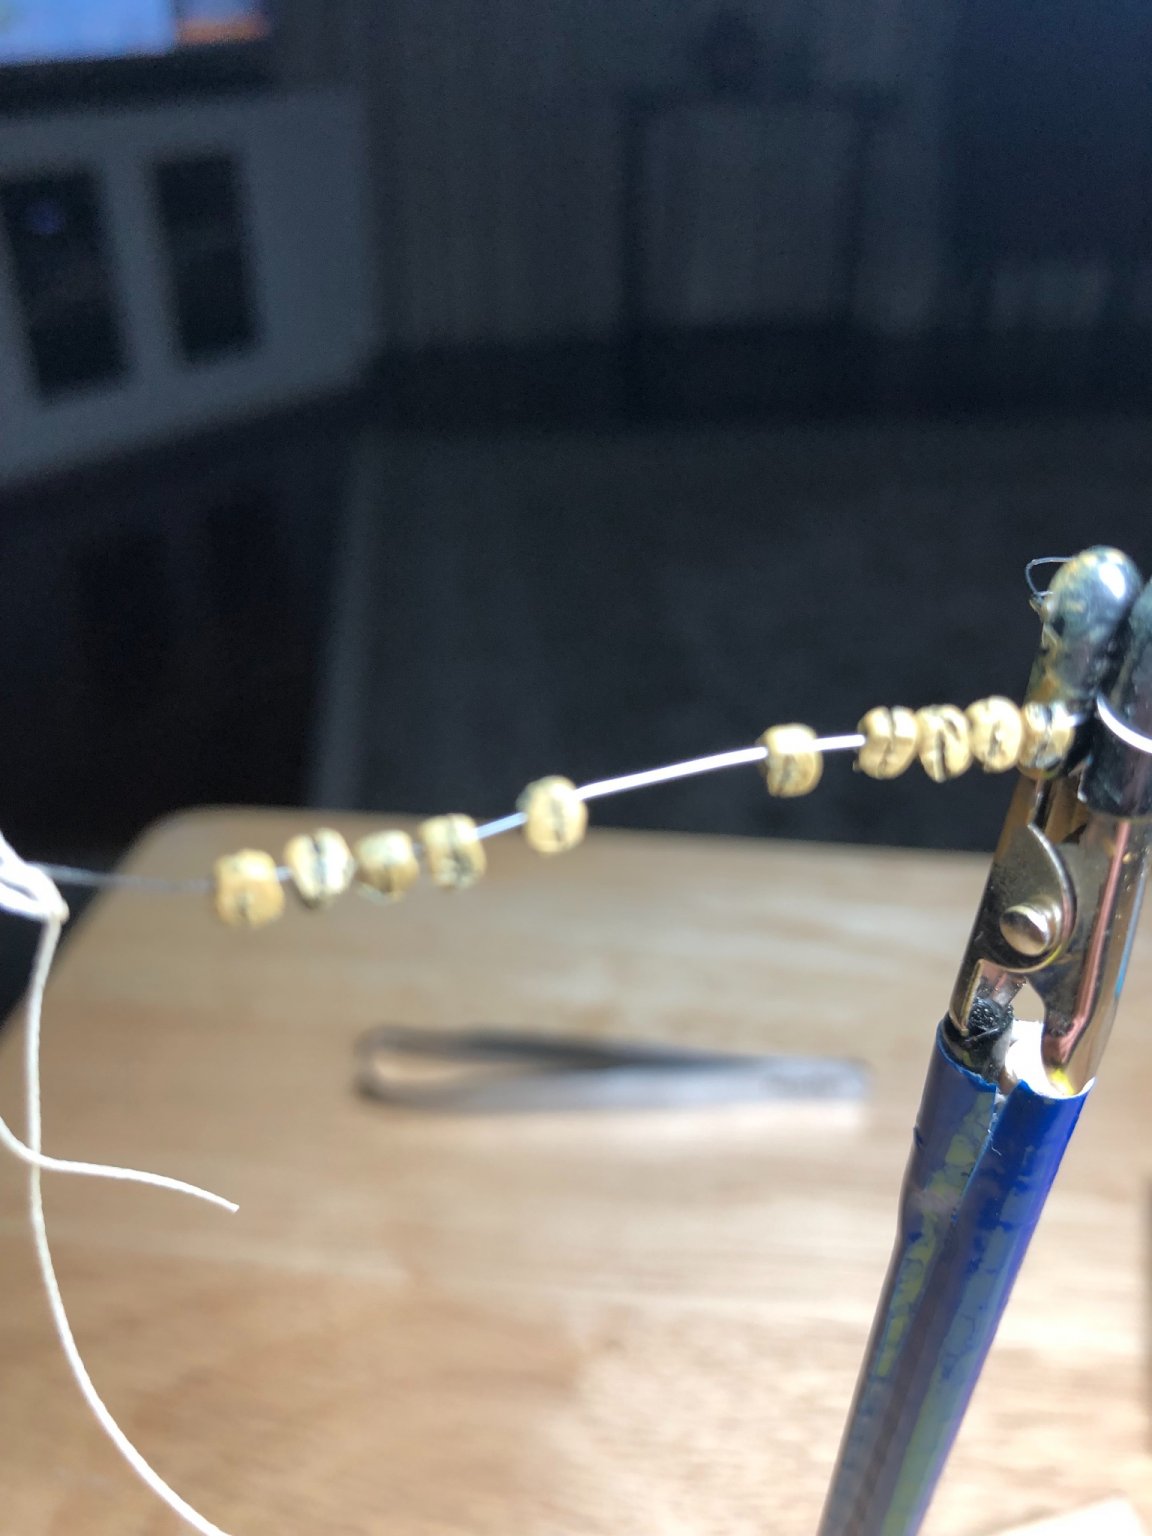
These are the 3mm blocks that came with the kit filed down to the sheaf at one end and rounded a little. They average right at 2mm. Some are just a hair bigger, some a hair smaller depending on my filing. I repainted them and strung them on a wire to attach the threads too that will tie to the eyebolts. The hole for the thread during rigging remains the same since I did not do anything to change that.
-
I believe I have a plan that will work. I took the 3mm blocks I originally used to rig the cannon tackle and cut them down to 2mm. Basically I file one end down to the shelve and rounded the edges. That way the single and double both worked. The first one pictured is the test. Clean them all up and do a little touch up paint and I think they will work. Still a slight bigger than scale would call for but better. What do you think?
-
I have some 2mm Evergreen sticks. I am going to experiment with making a block with it. Will report later. Of course it will just be a single, not double.
-
Yeah guys I am going to have to give this some extra thought. May be why Heller did not include tiny blocks to rig the cannons. Ian I have your spread sheet but did not check it because I was incorrectly thinking Longridge’s book was for 1/100 scale. Since I plan to use wooden blocks for rigging the ship I had all these Heller 3mm blocks that came with the kit I thought I would just paint to match my wooden ones and use them on the cannons which Heller did not intend to be rigged. Once I did several I realized “this does not look right!” I only did 6 “show guns”on each side that you can see through the opening in the Quarter deck. I was considering displaying the 3 boats deployed off the Victory so as to not obstruct the view down into the Upper deck if the rigging of the cannons was impressive enough! Like you said Kevin, I don’t know if I could thread a 2mm block 🤔😳.
-
Kevin I think I got the rope coil solved. I ended up with a scale issue with blocks however. Longridge’s book said a scale block for the cannon rigging would be 3/16”. I decided to go with 3mm blocks. I made a bunch of eyebolts, drilled tiny holes in the trucks and put the eyebolts in. I added a small piece of evergreen on each side of the cannon hatch and added eyebolts in each. I added the evergreen to give just a bit more thickness so the stem of the eyebolt would not sneak to the outside of the hull. I then made my coil on the end of a each rope with the plan to rig in reverse. Once I had all my eyebolts in, cannon glued in position, and coil made at the end of a thread I glued the coil in position to the deck. I then rigged backwards through the blocks ending at the cannon and clipping off the excess thread. I think the 3mm blocks are actually bigger than I wish they were but I am going to live with it. They are to close together even though I did not run the cannon all the way out.


-
Thank you my friend. Will look over it again.
-
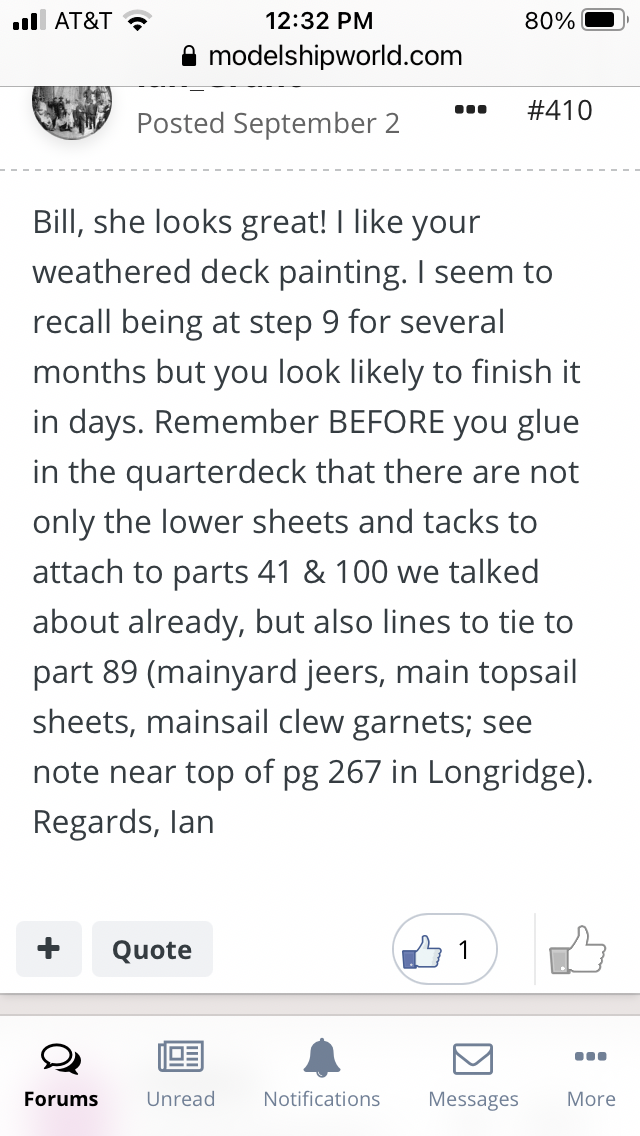
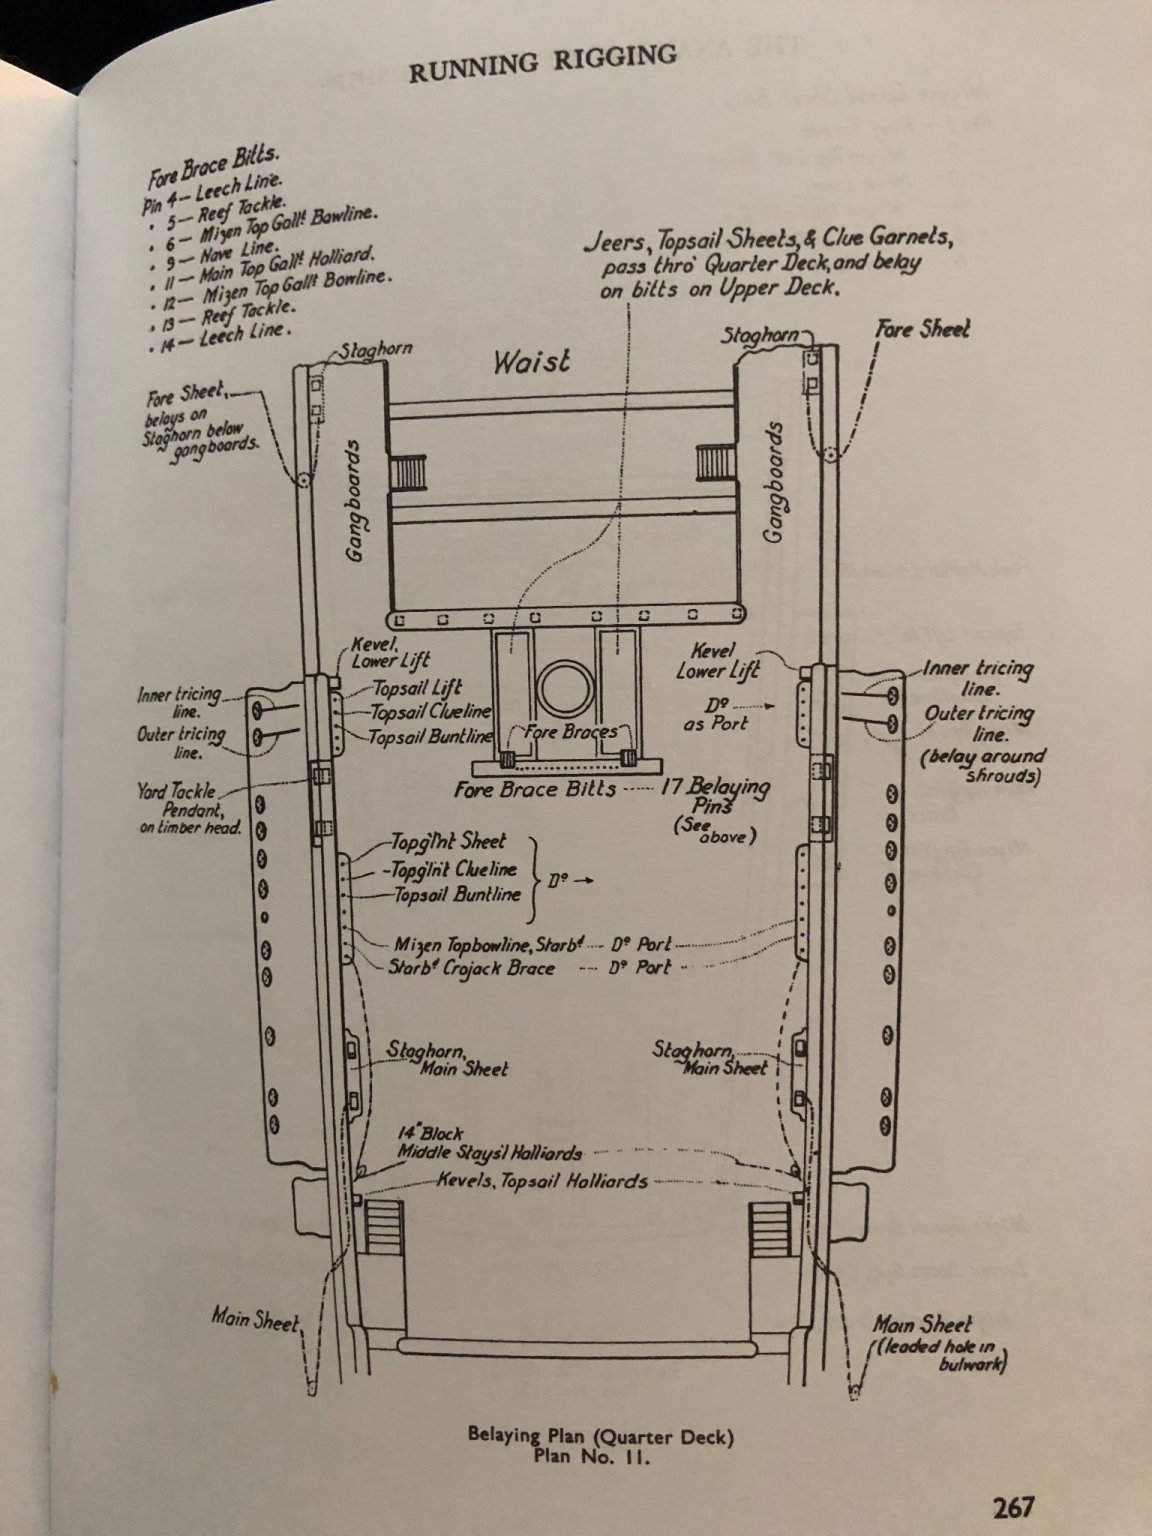
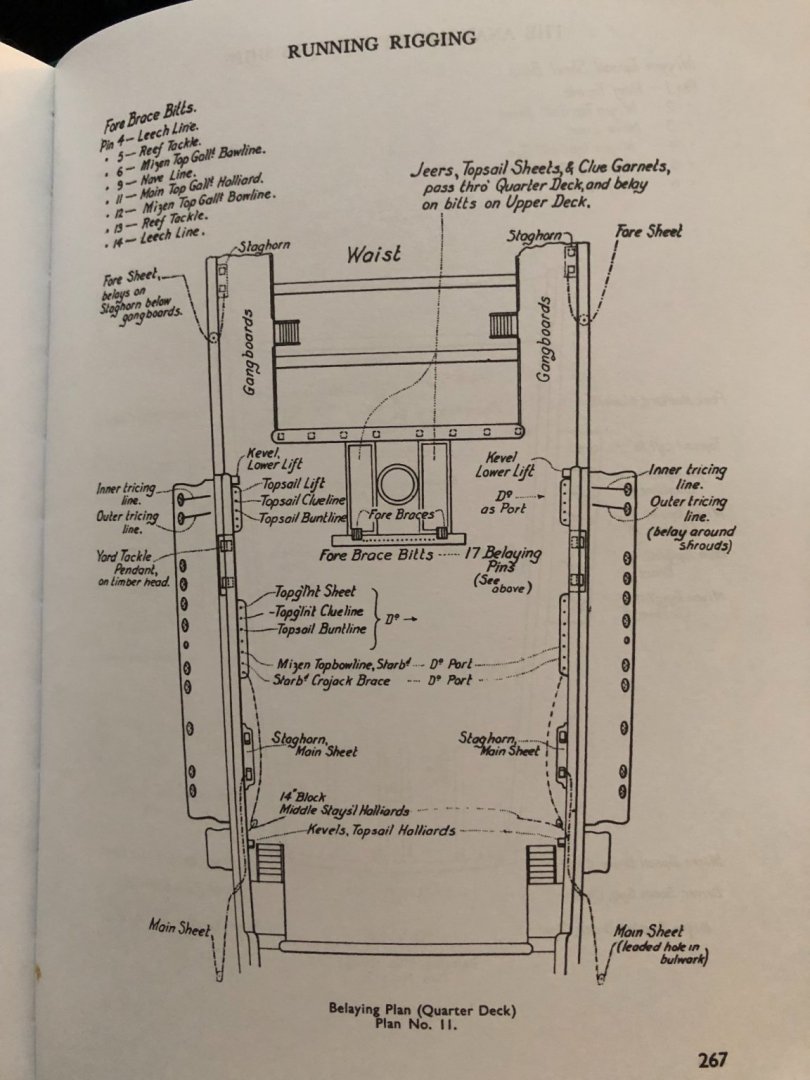
Ian I need a little extra advice. Back in post #410 you said: “Remember BEFORE you glue in the quarterdeck that there are not only the lower sheets and tacks to attach to parts 41 & 100 we talked about already, but also lines to tie to part 89 (mainyard jeers, main topsail sheets, mainsail clew garnets; see note near top of pg 267 in Longridge).” I am not following “lines to part 89.” I looked at the instructions and Longridge’s book and am not understanding what you advise I do at this point before I put on the Quarter deck.
-
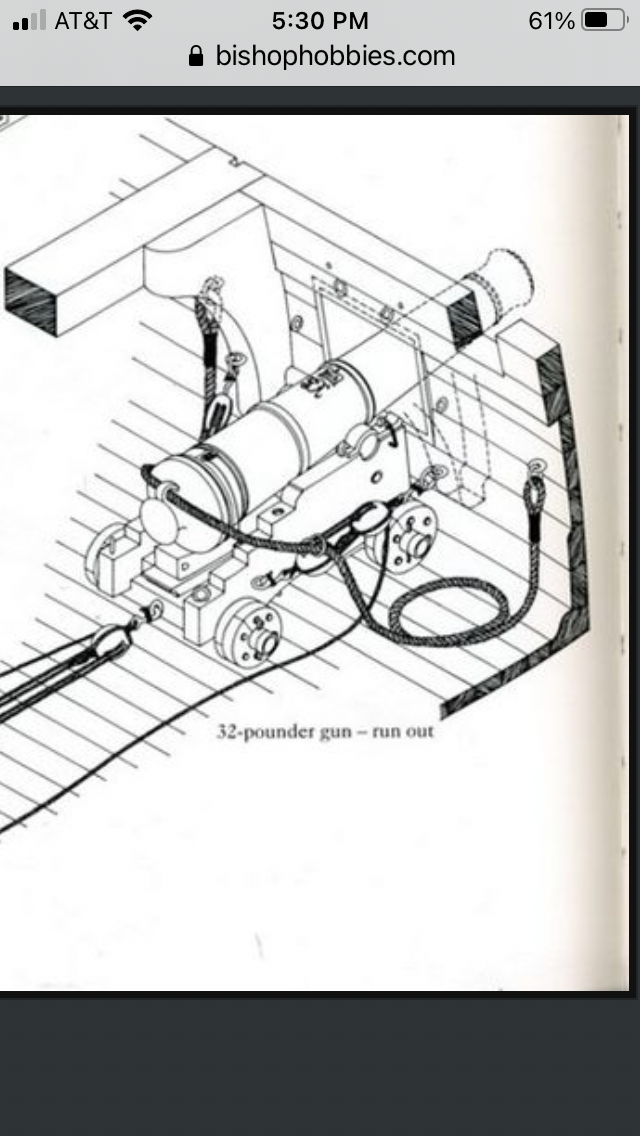
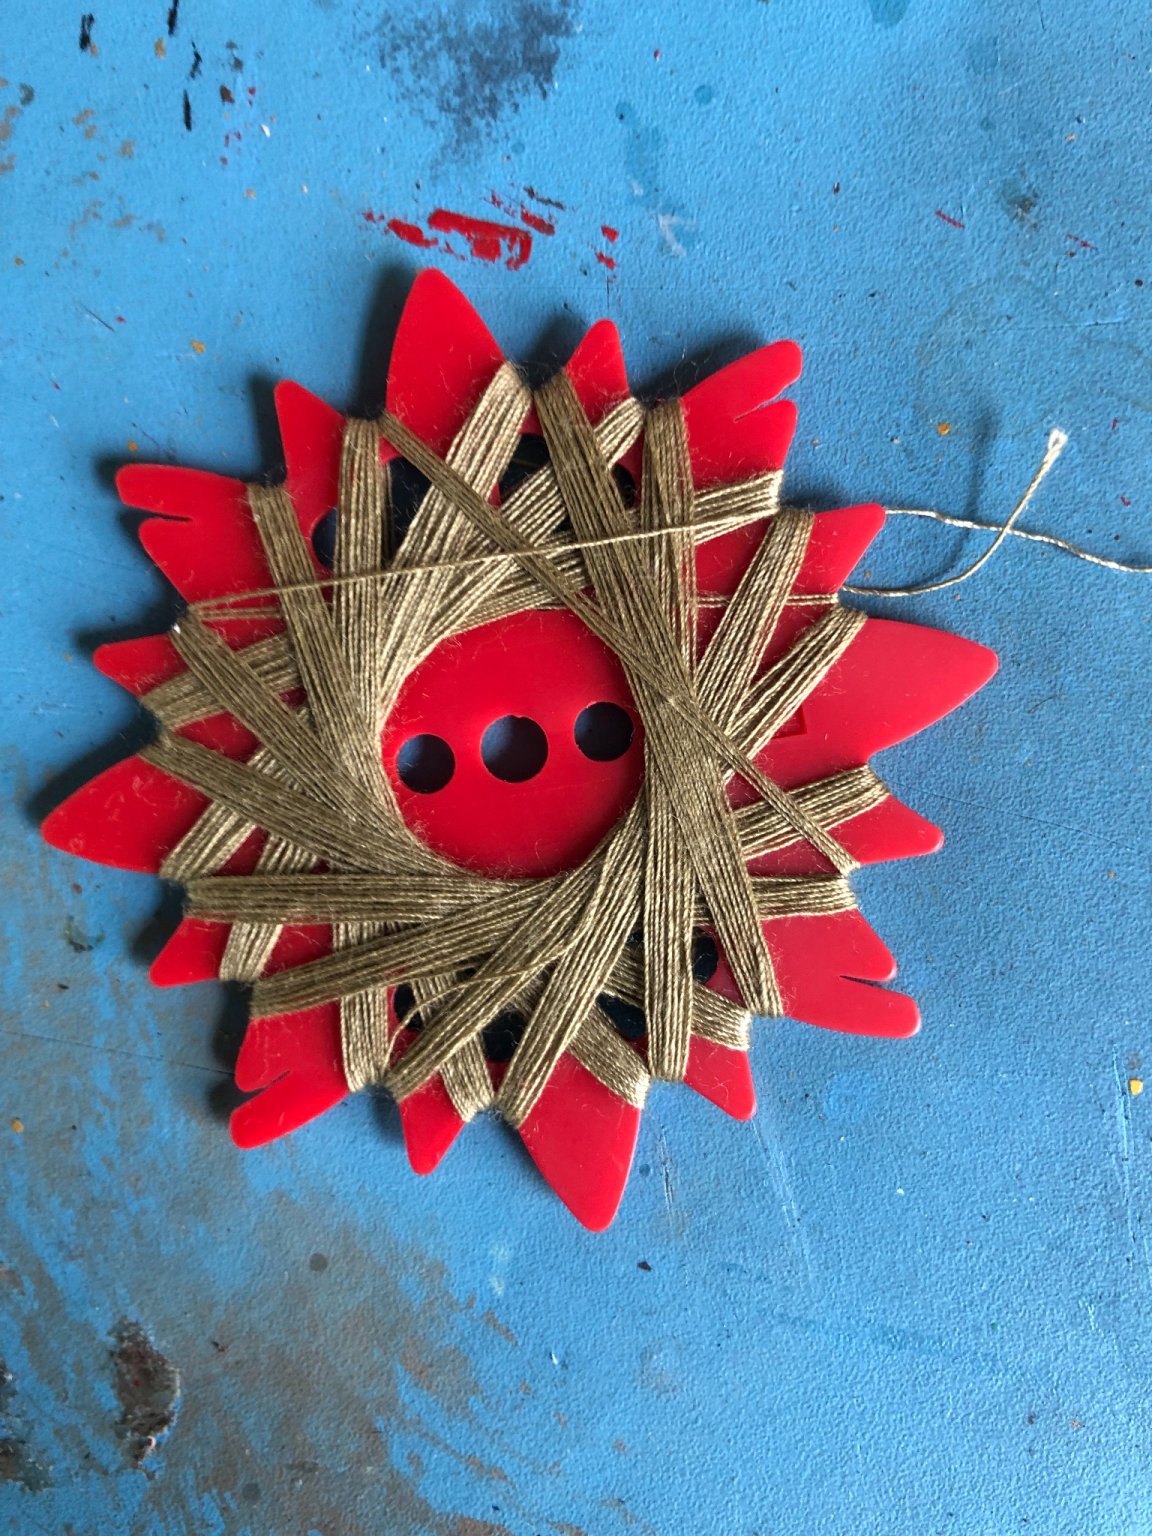
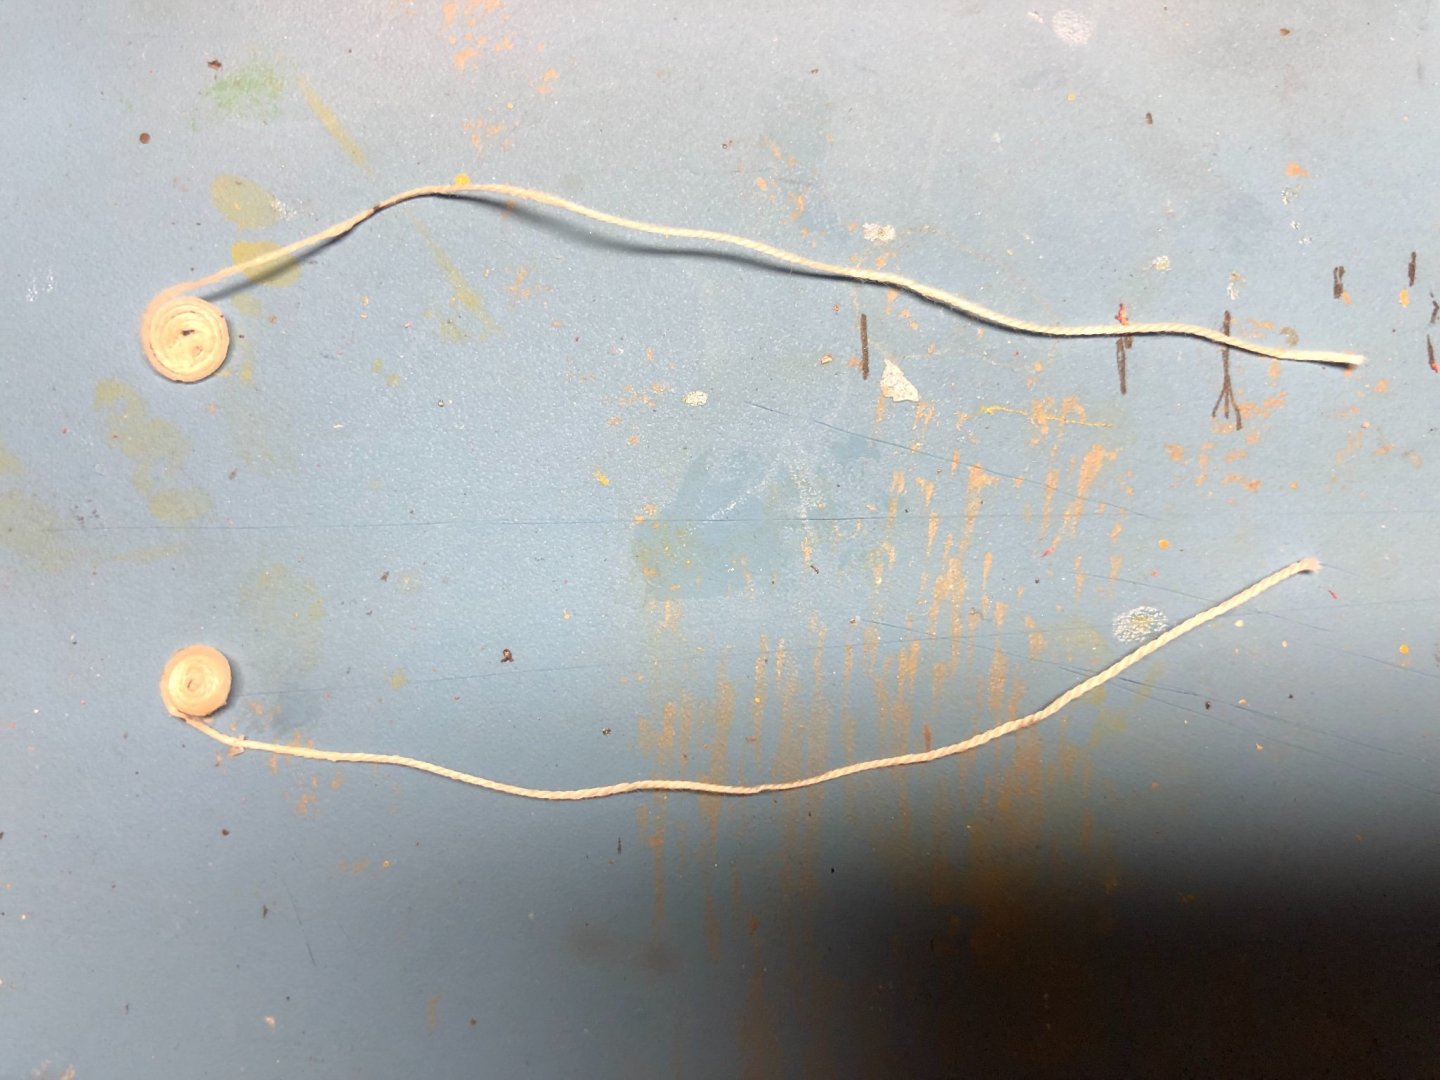
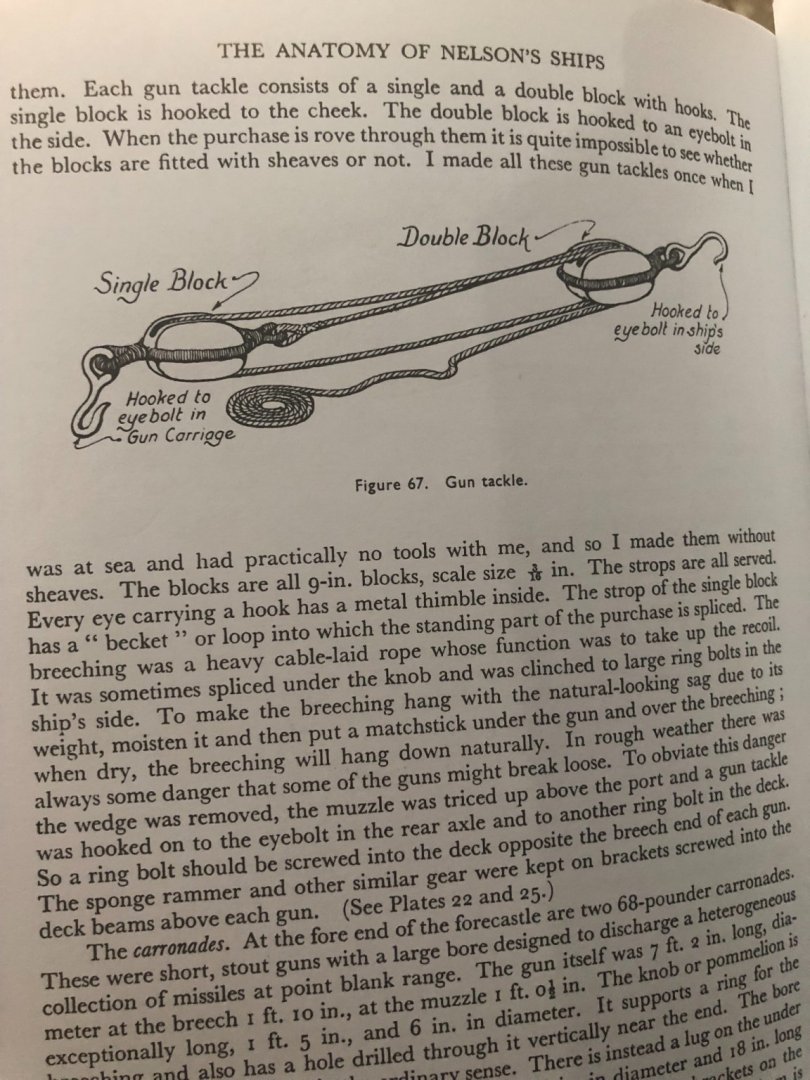
Ok this is going to be one of those hummm 🤔 questions. I am going to rig my cannons according to the directions in Longridge’s book (see photo). I want to put the coil of rope at the end of the line as in the picture. I have reviewed several methods for making the coils on MSW. I am thinking I probably need to do the rigging in reverse? Make the coil and then rig the line backwards through the blocks to the last anchor point? Can’t see how I could rig the cannons then attempt to make a coil with the remaining line. Very small area and could not use any kind of jig after the fact. Or do you make coils that are separate of the actual rigging line and just glue them in place as if part of same line?
-
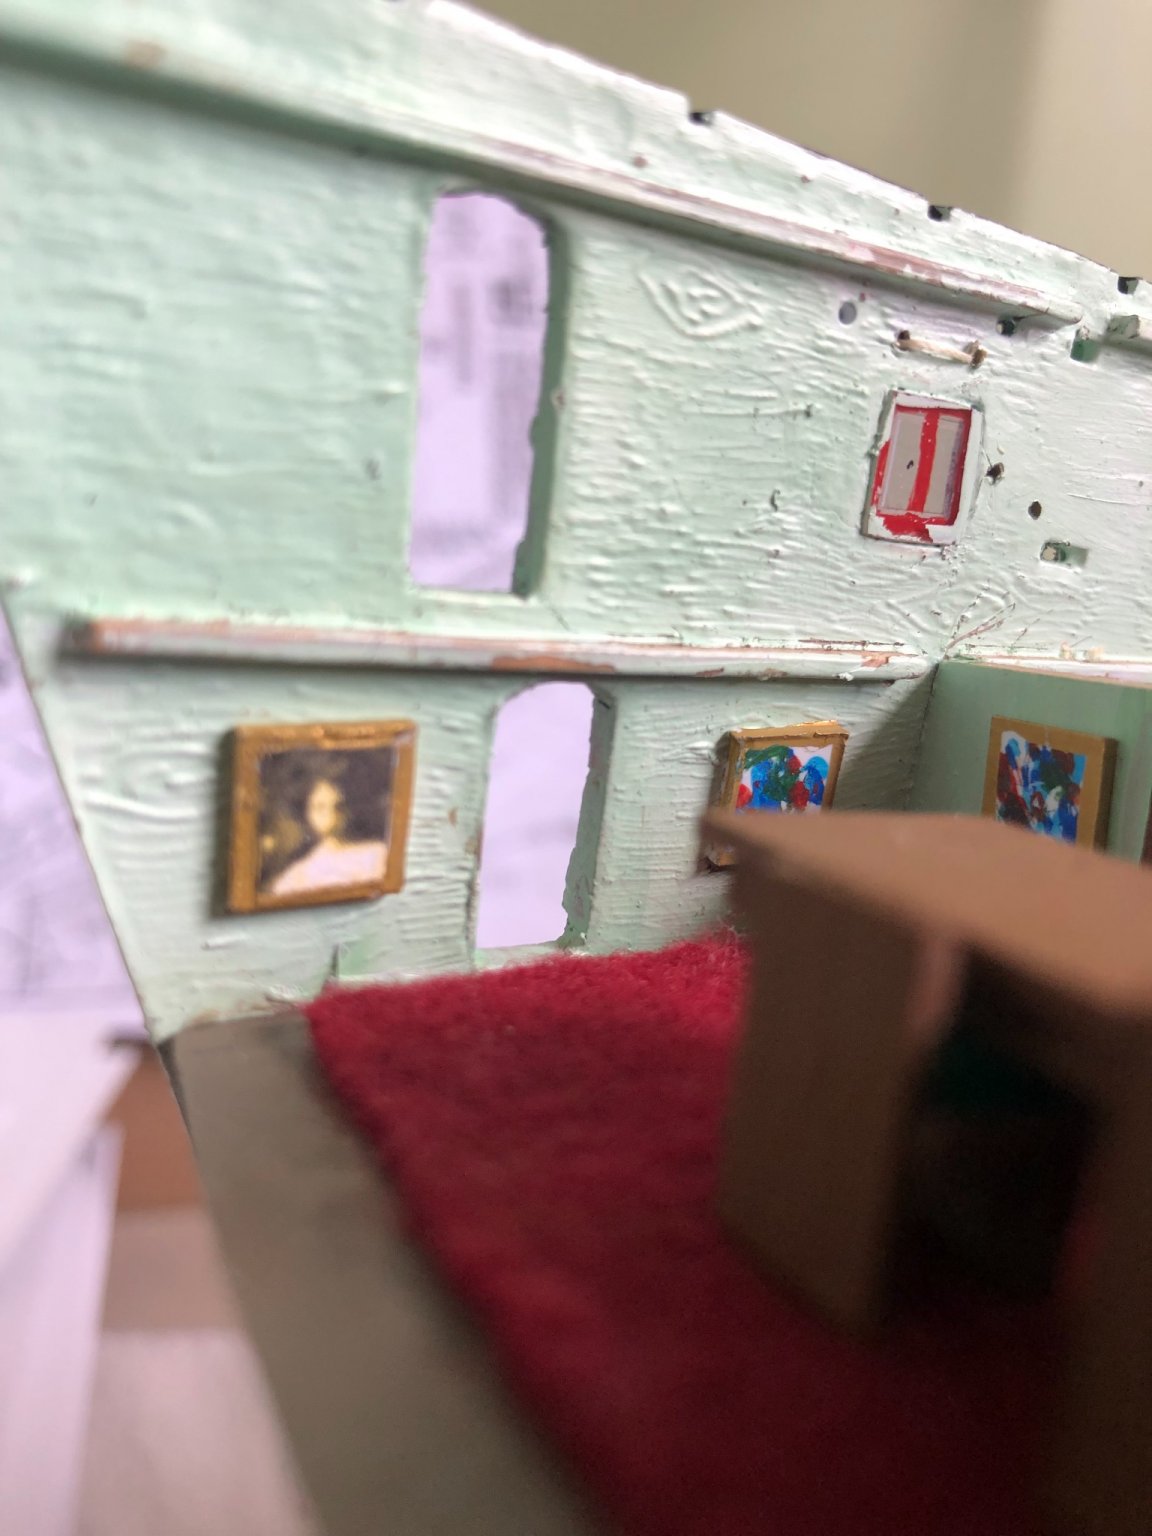
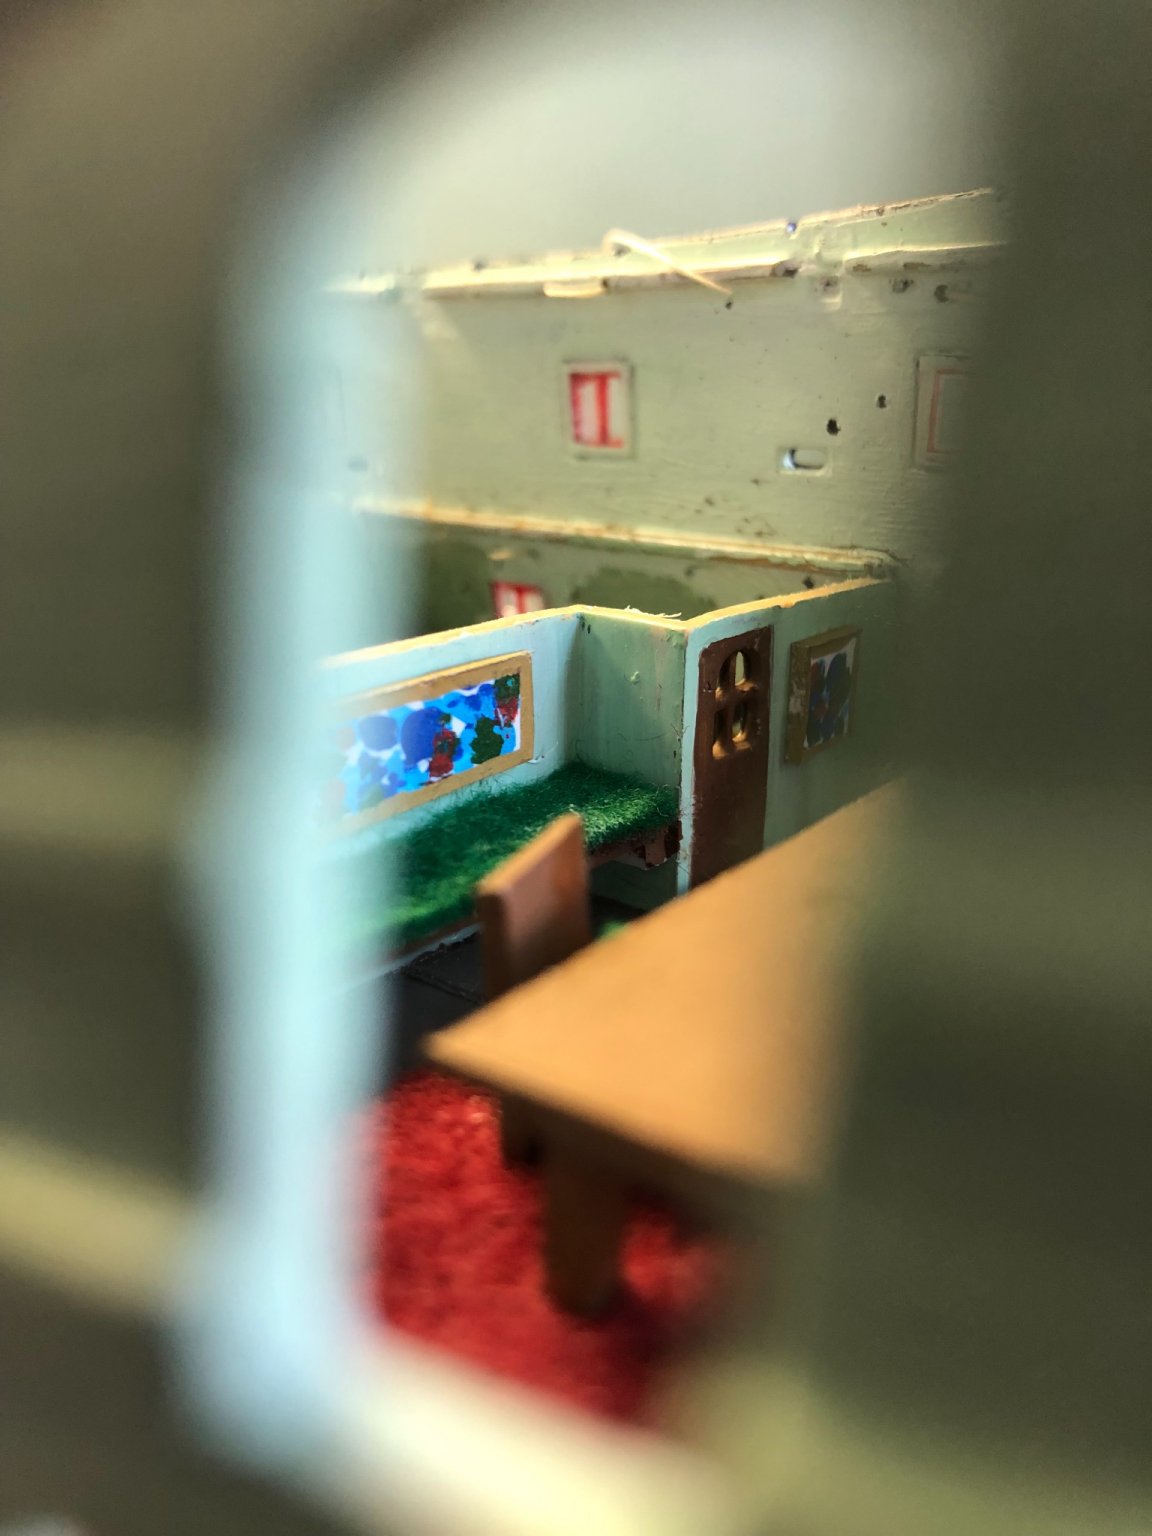
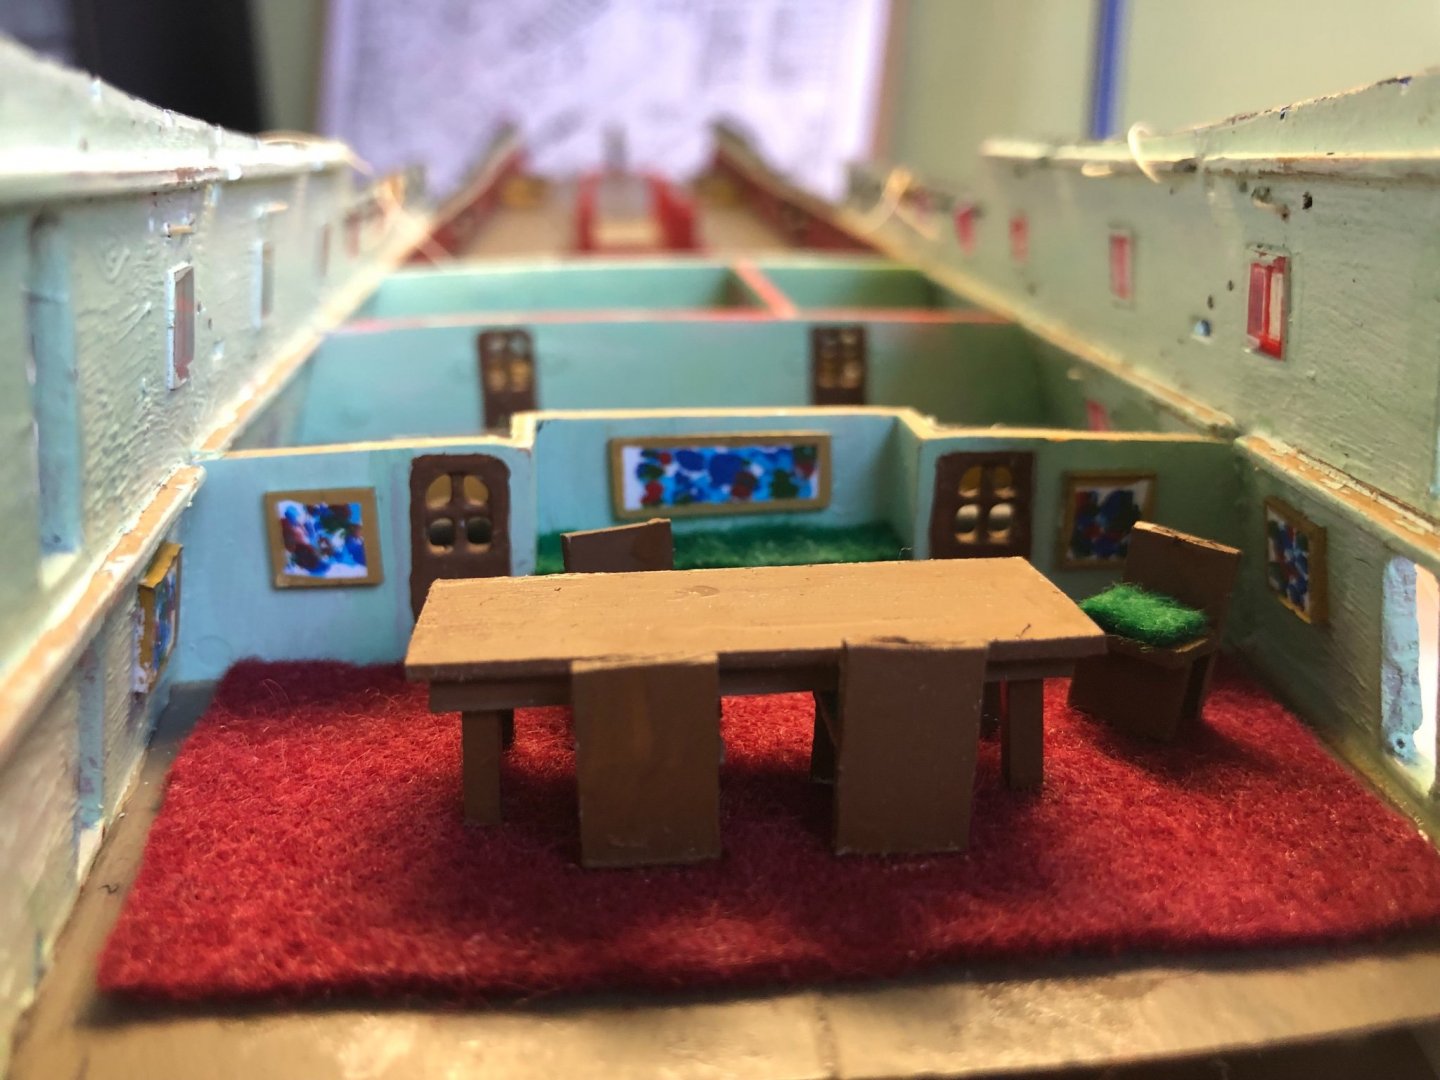
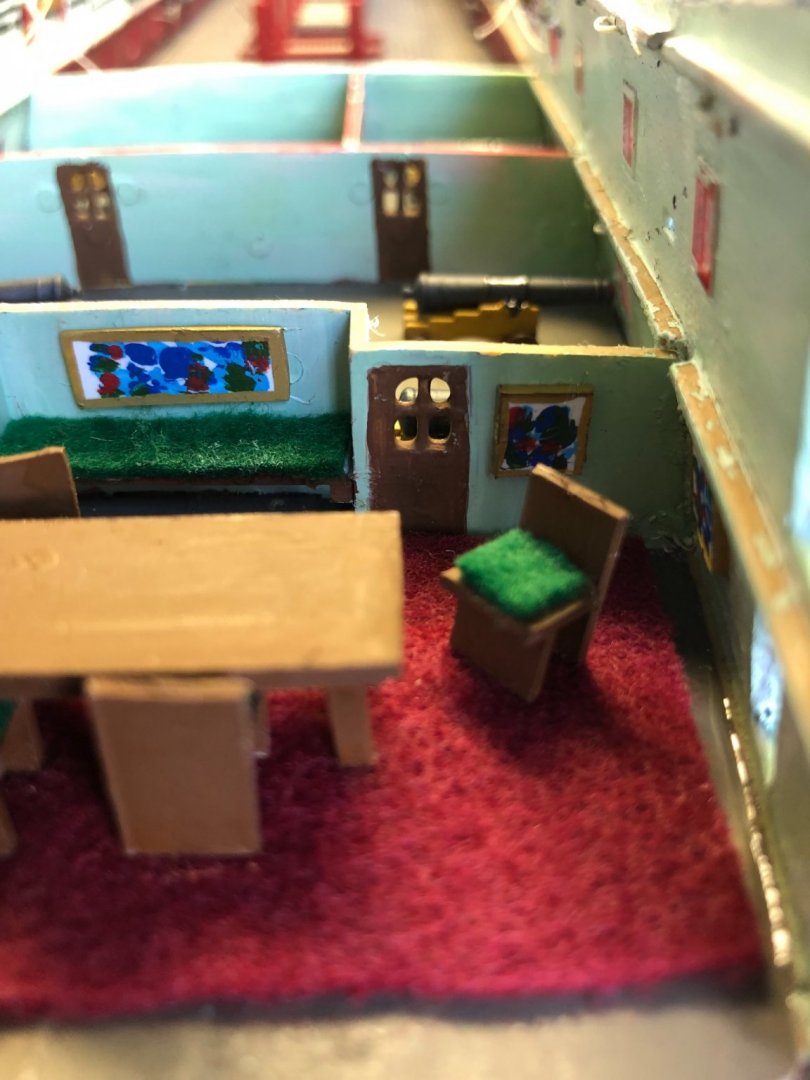
Per your suggestion Ian the beautiful Lady Hamilton painting is now framed and hanging prominently in Adm Nelson’s cabin. I did it in the old sepia tone that photos often were 😀.

-
Got to figure out a way to reduce it in size! Great idea Ian.
-
Lady Hamilton? I will show my ignorance. Who was she? 🤔
-
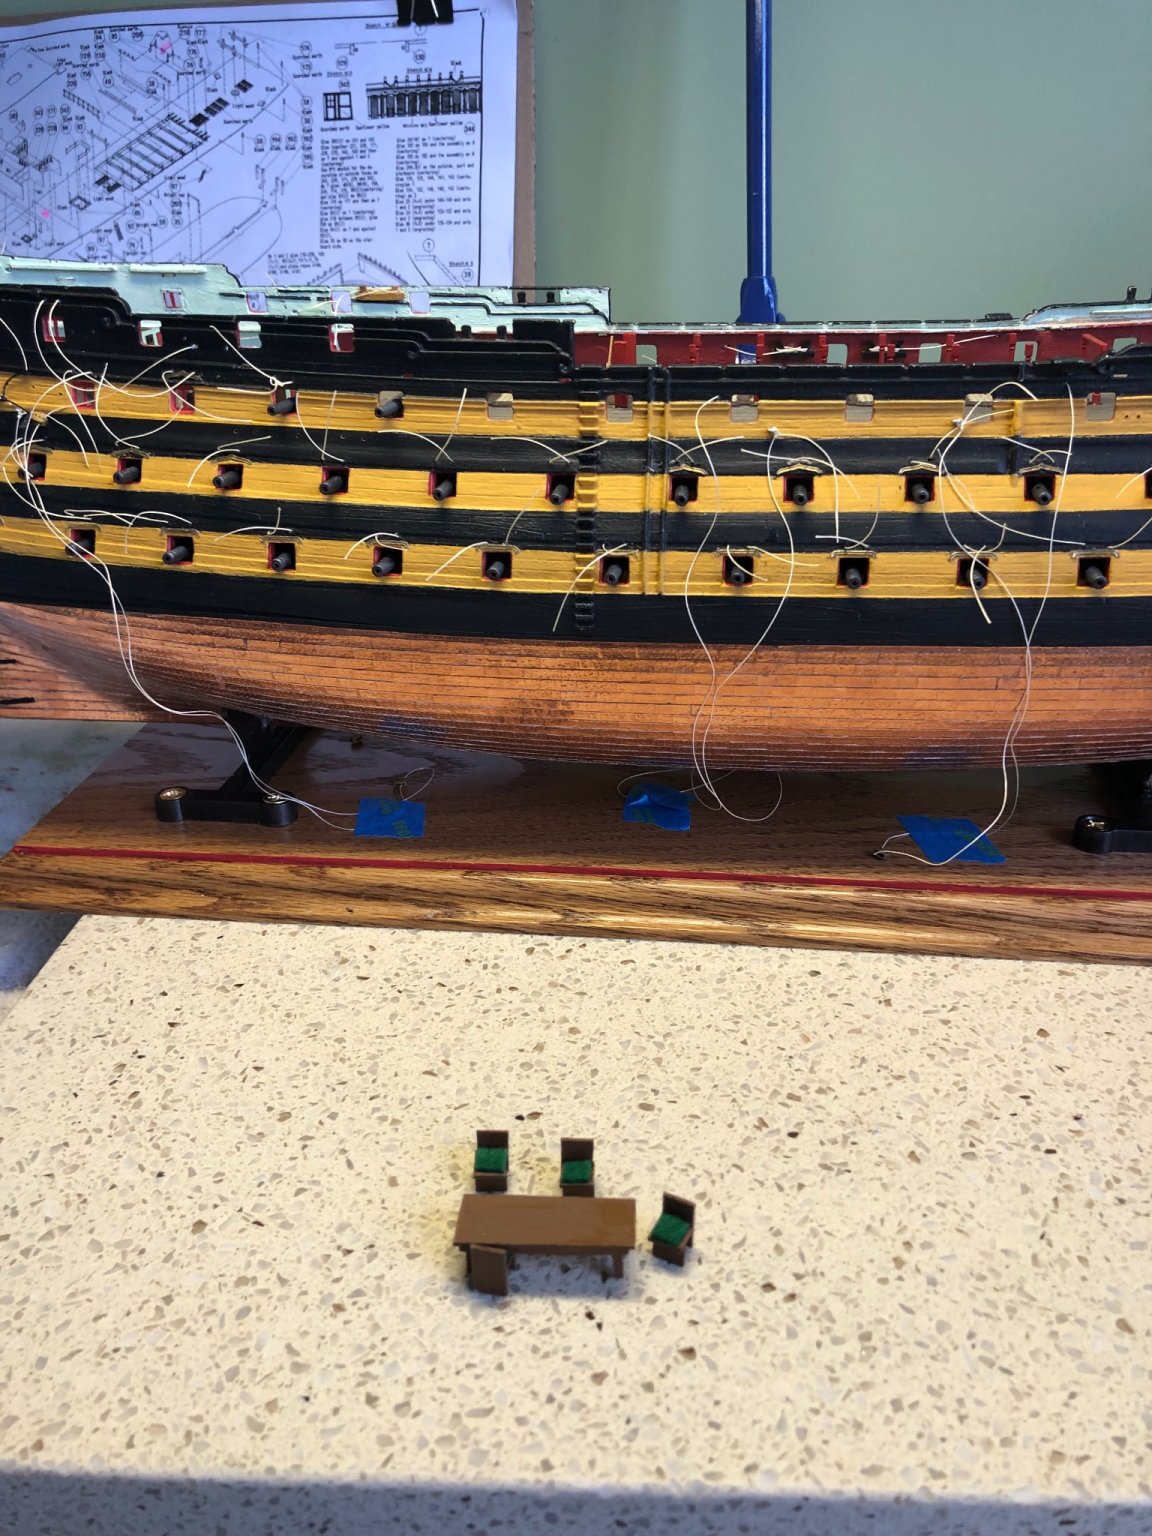
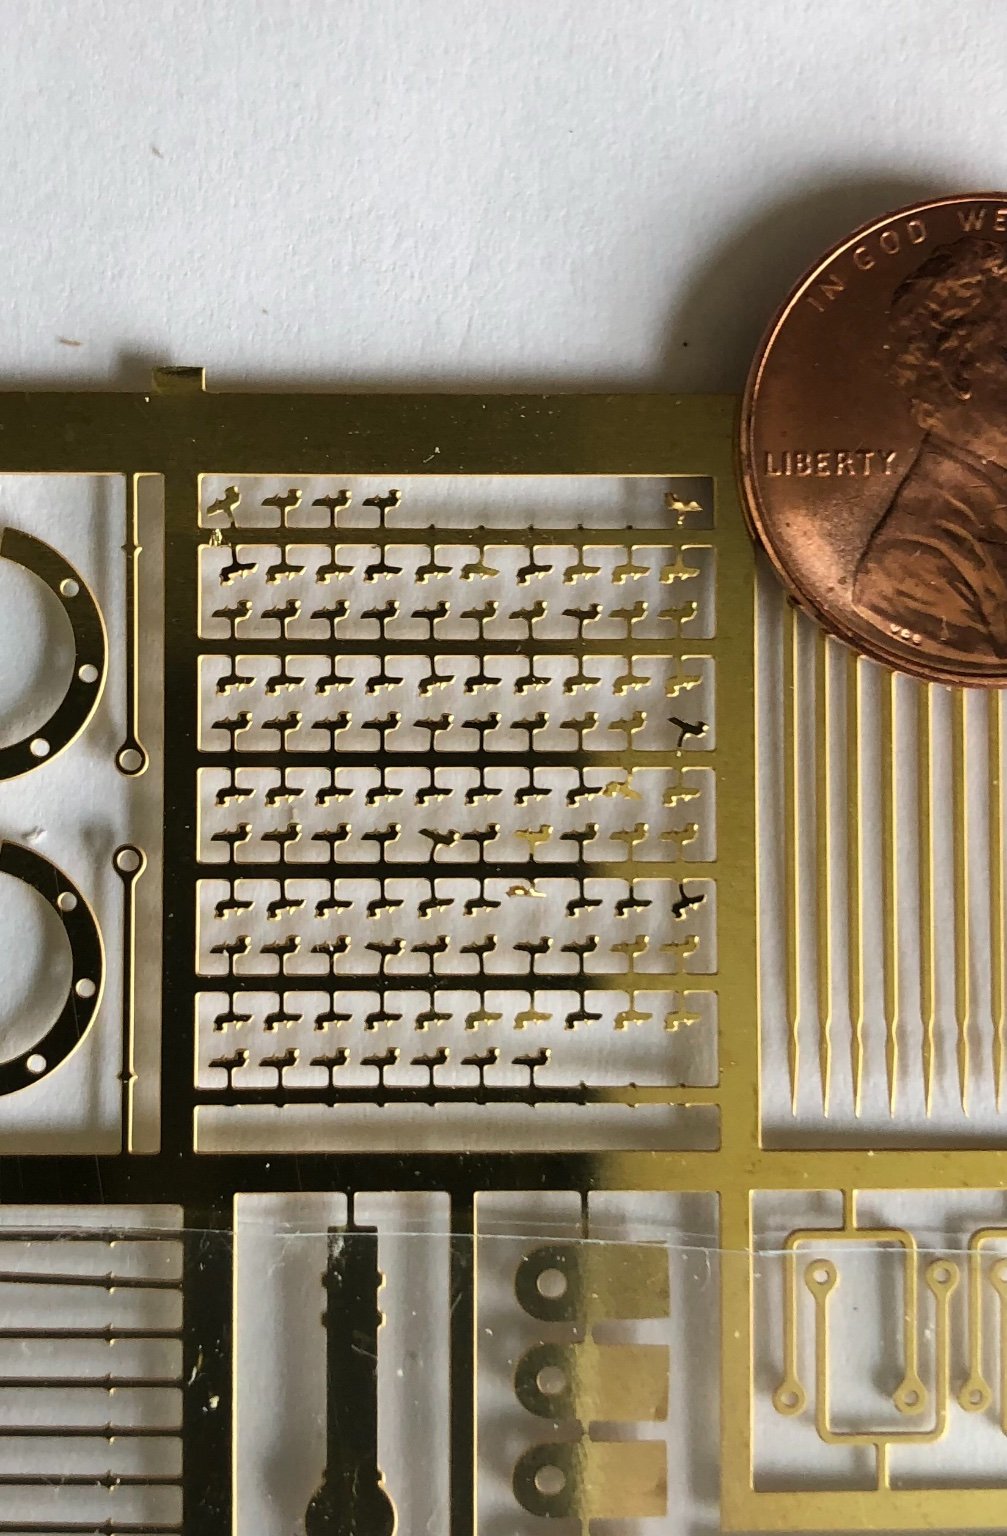
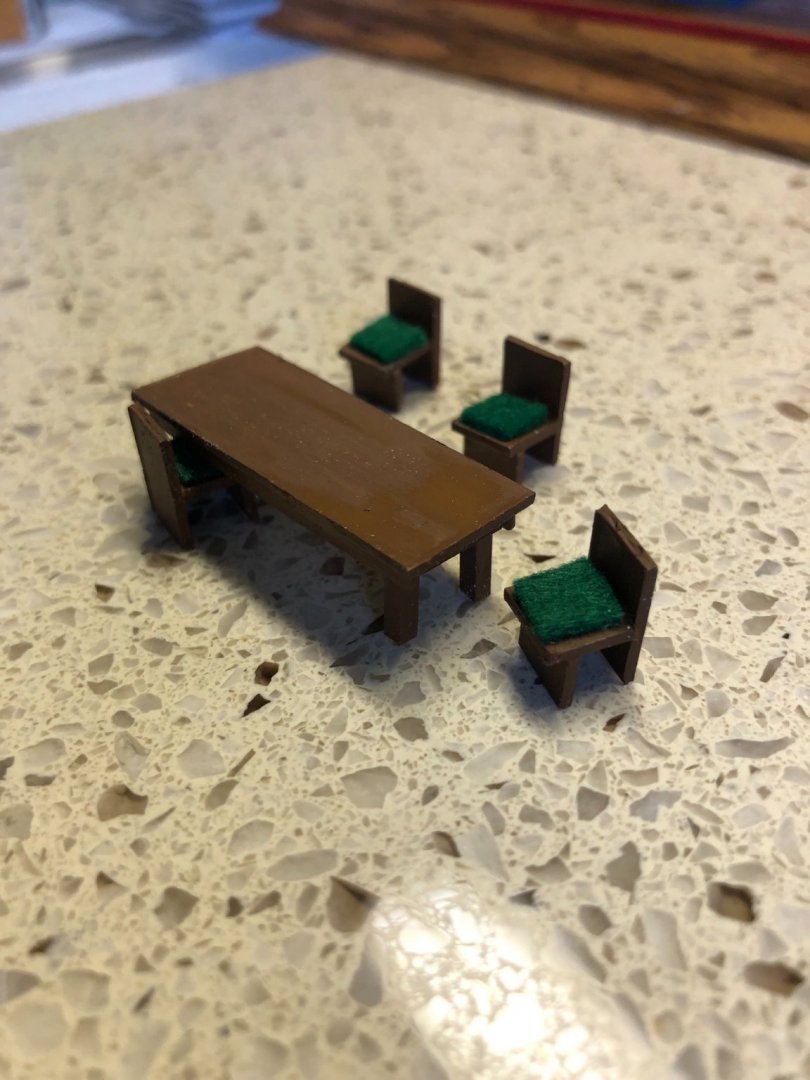
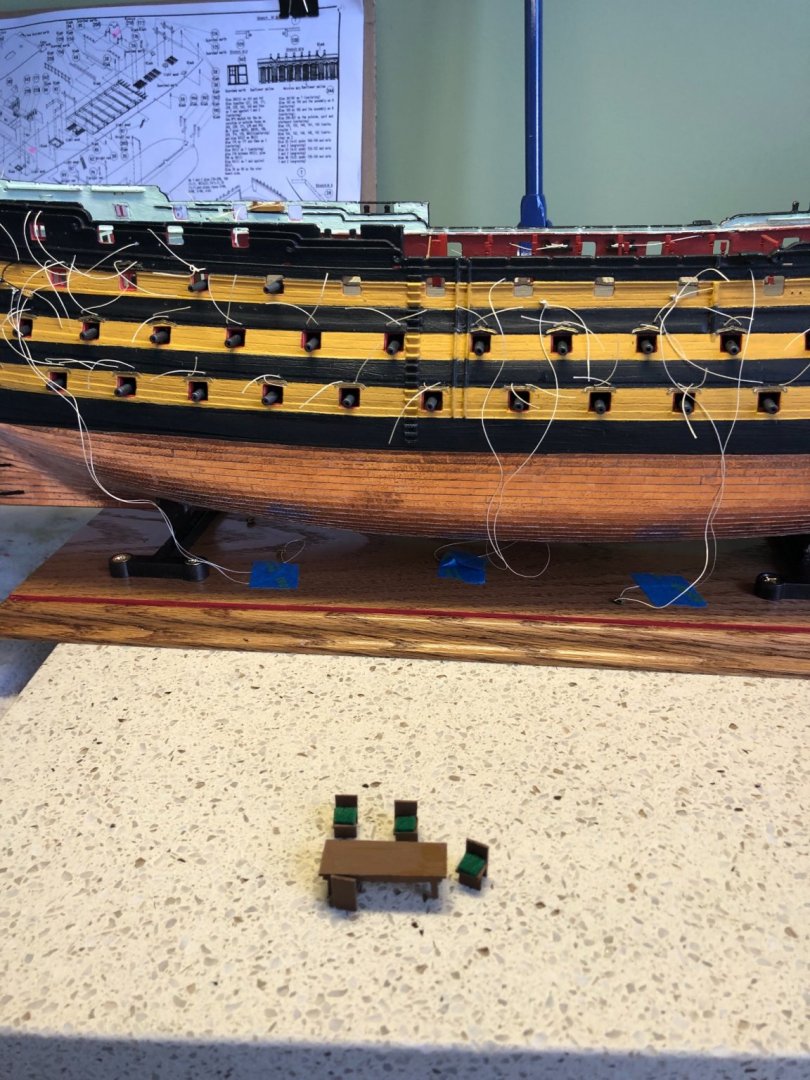
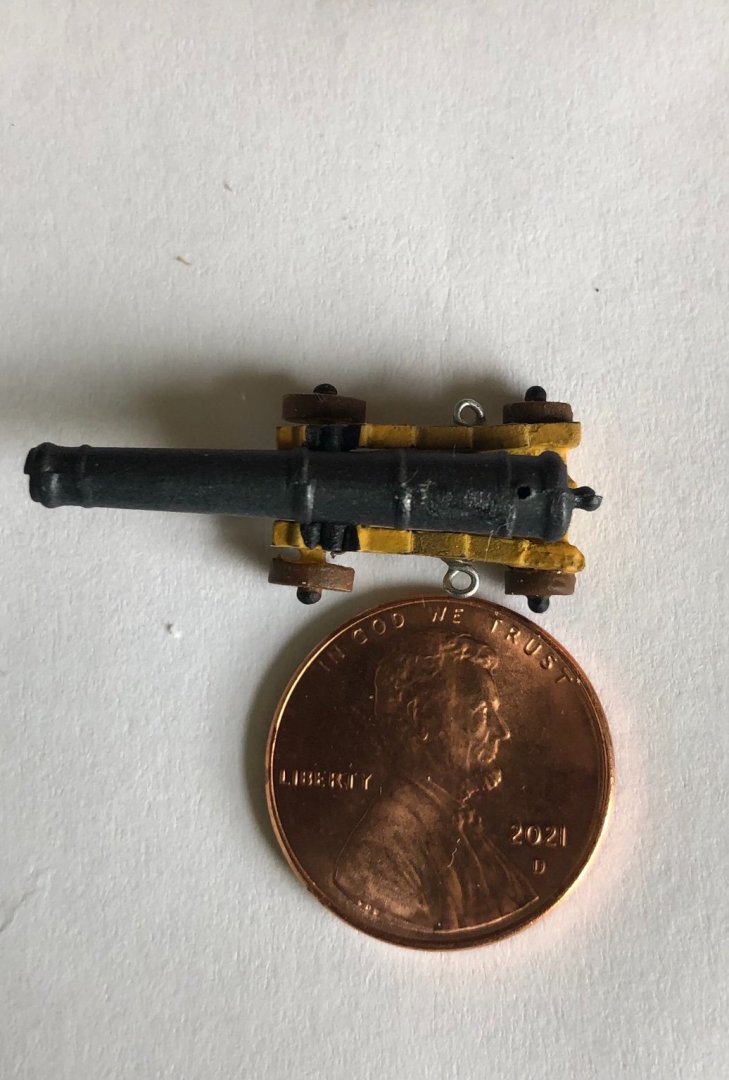
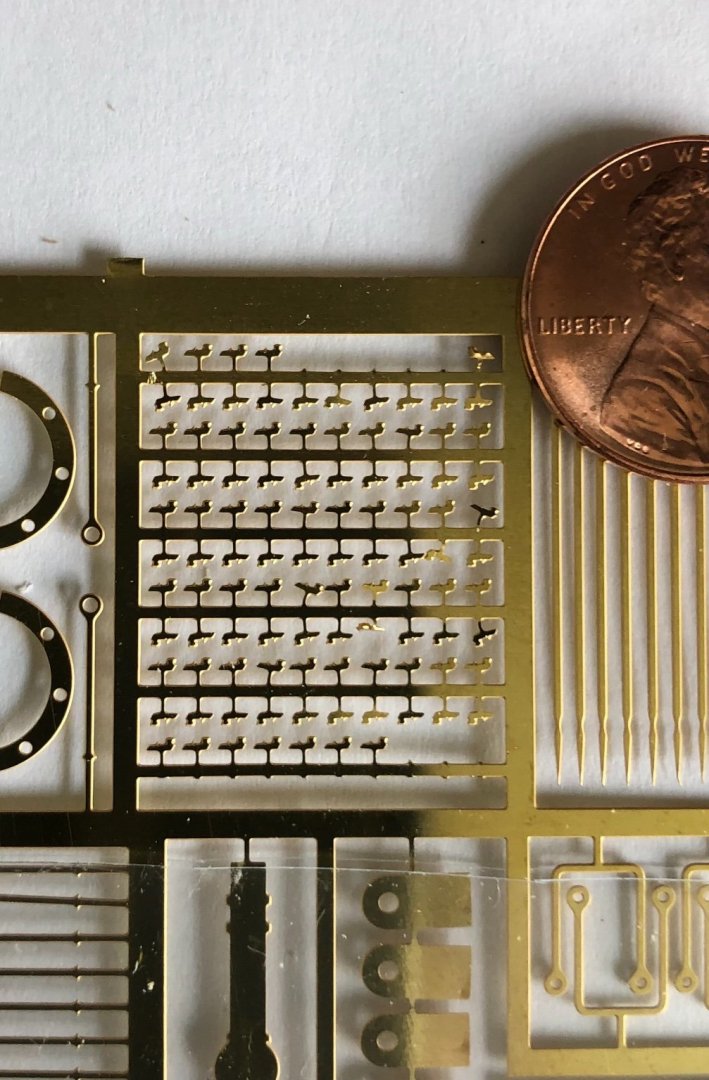
I have been reduced to making little tiny furniture for the Admiral’s quarters. Also eyes are starting to cross putting Daniel’s microscopic little pieces on the cannons. Daniel thanks for adding some extra. Even though I am using a magnetic tweezer I have still had several take off into an alternate universe. 😊


-
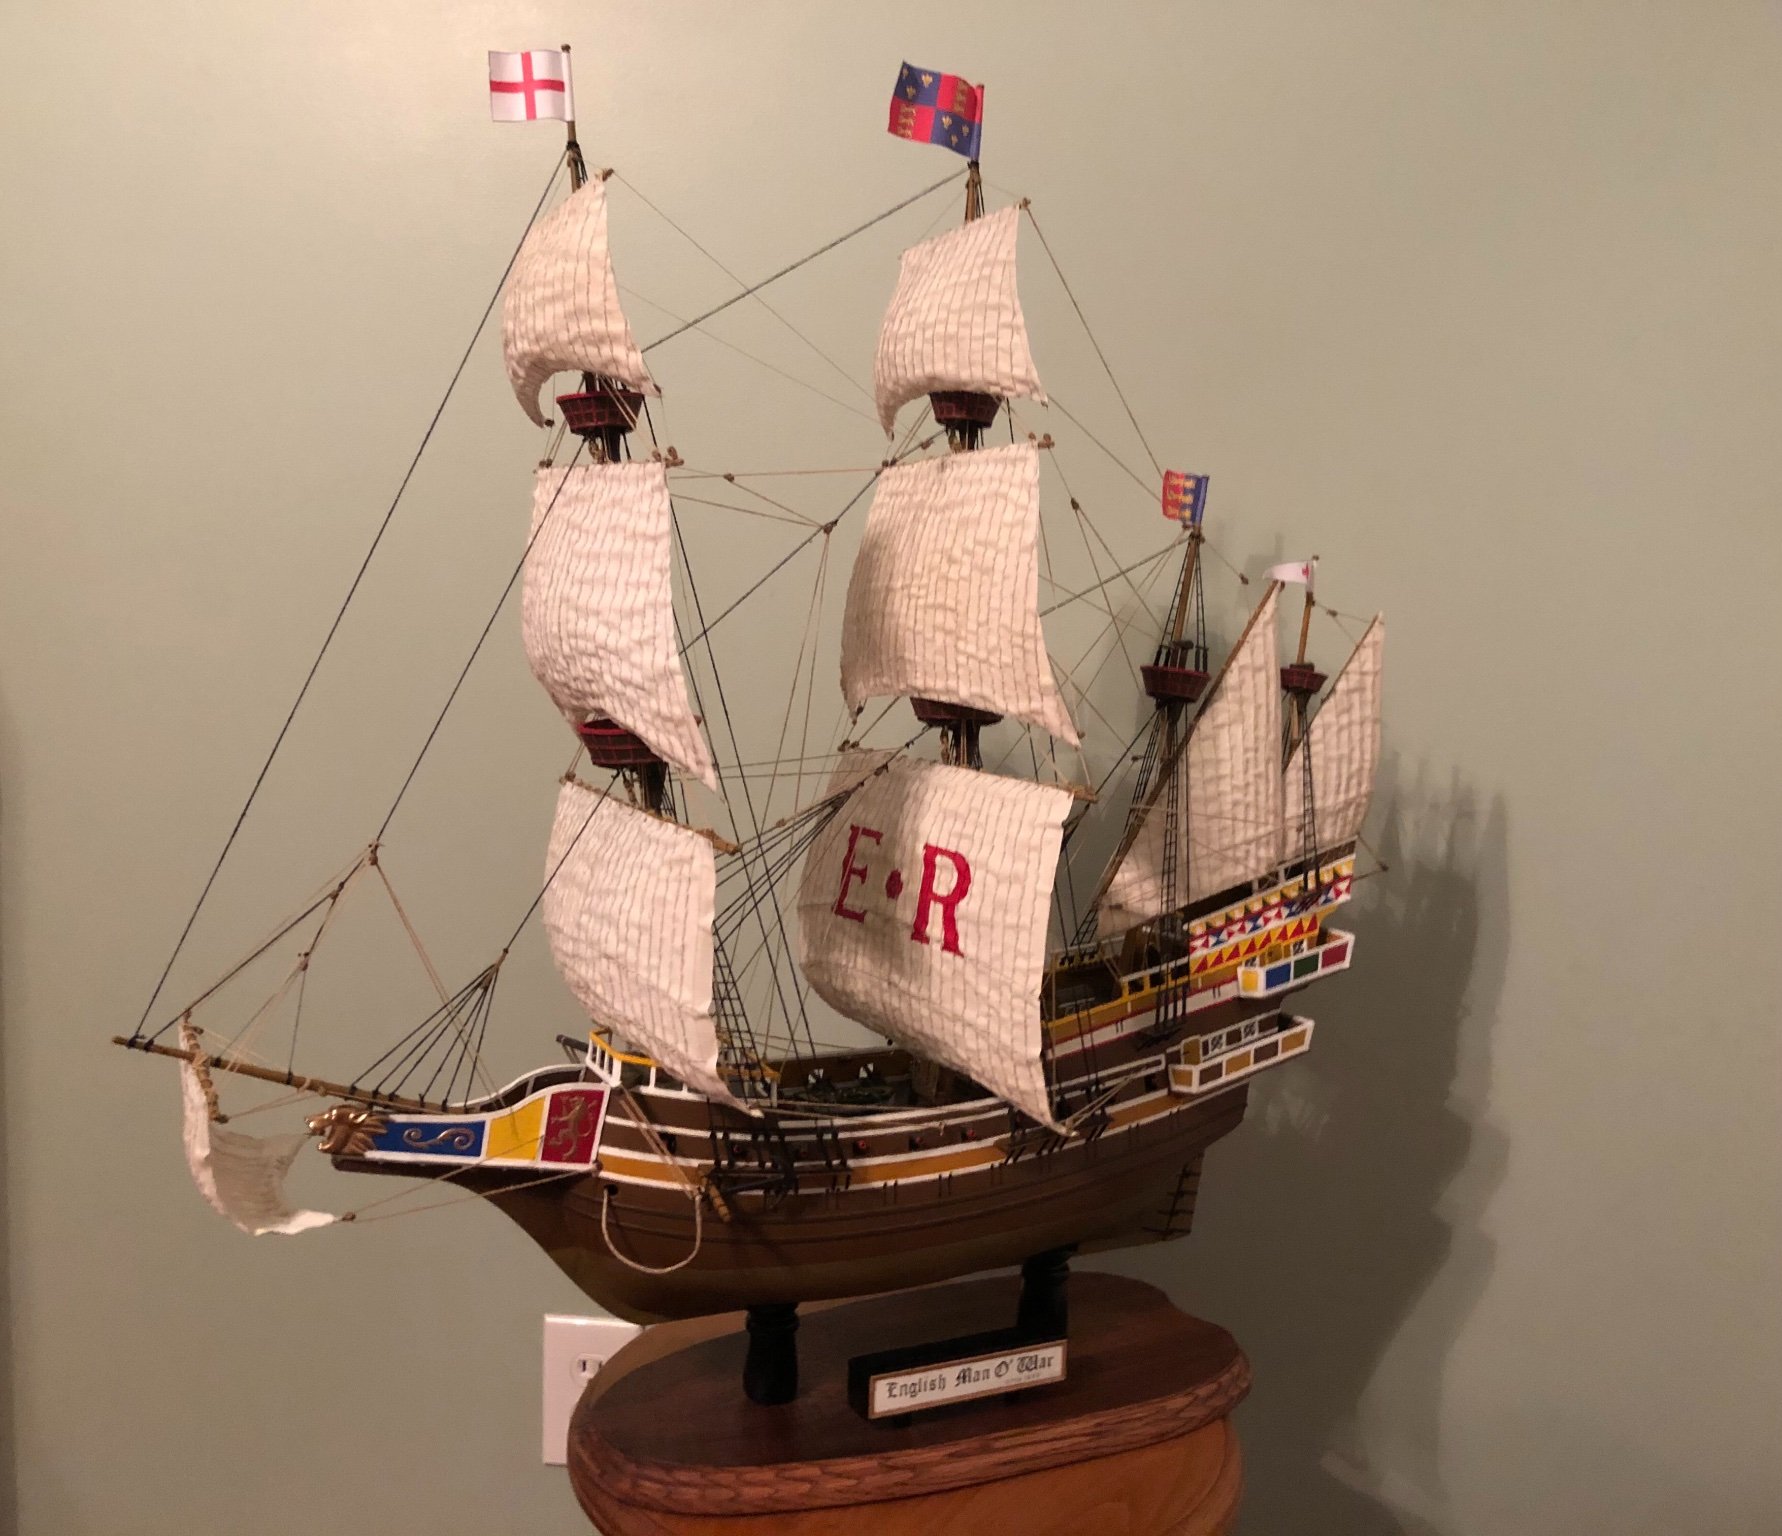
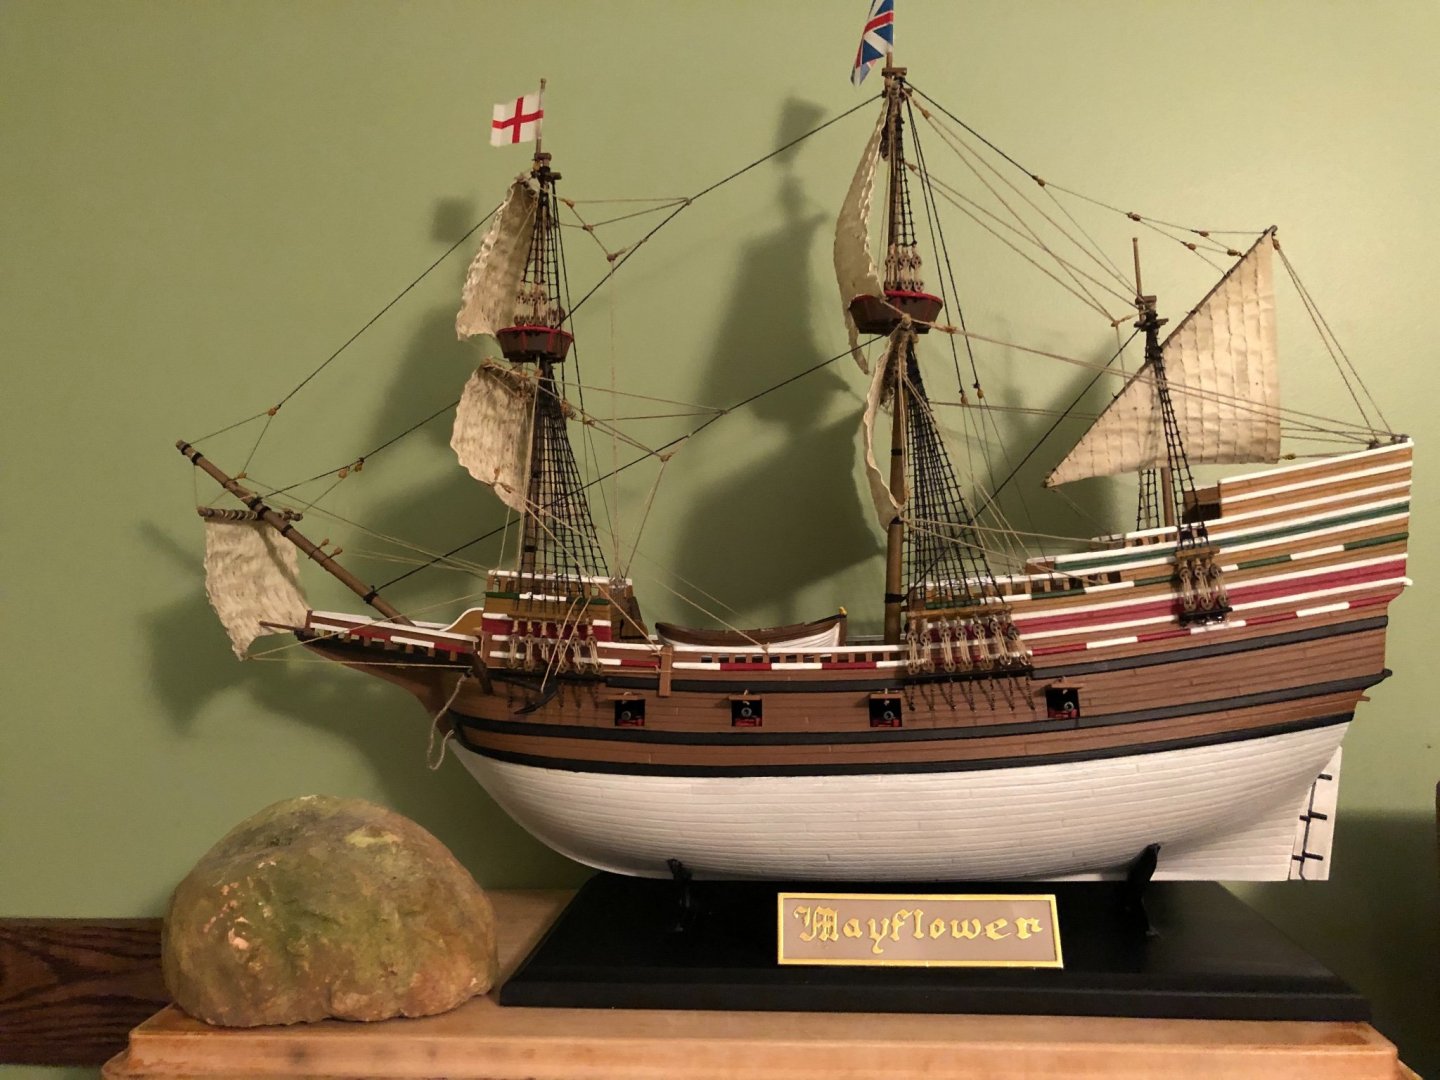
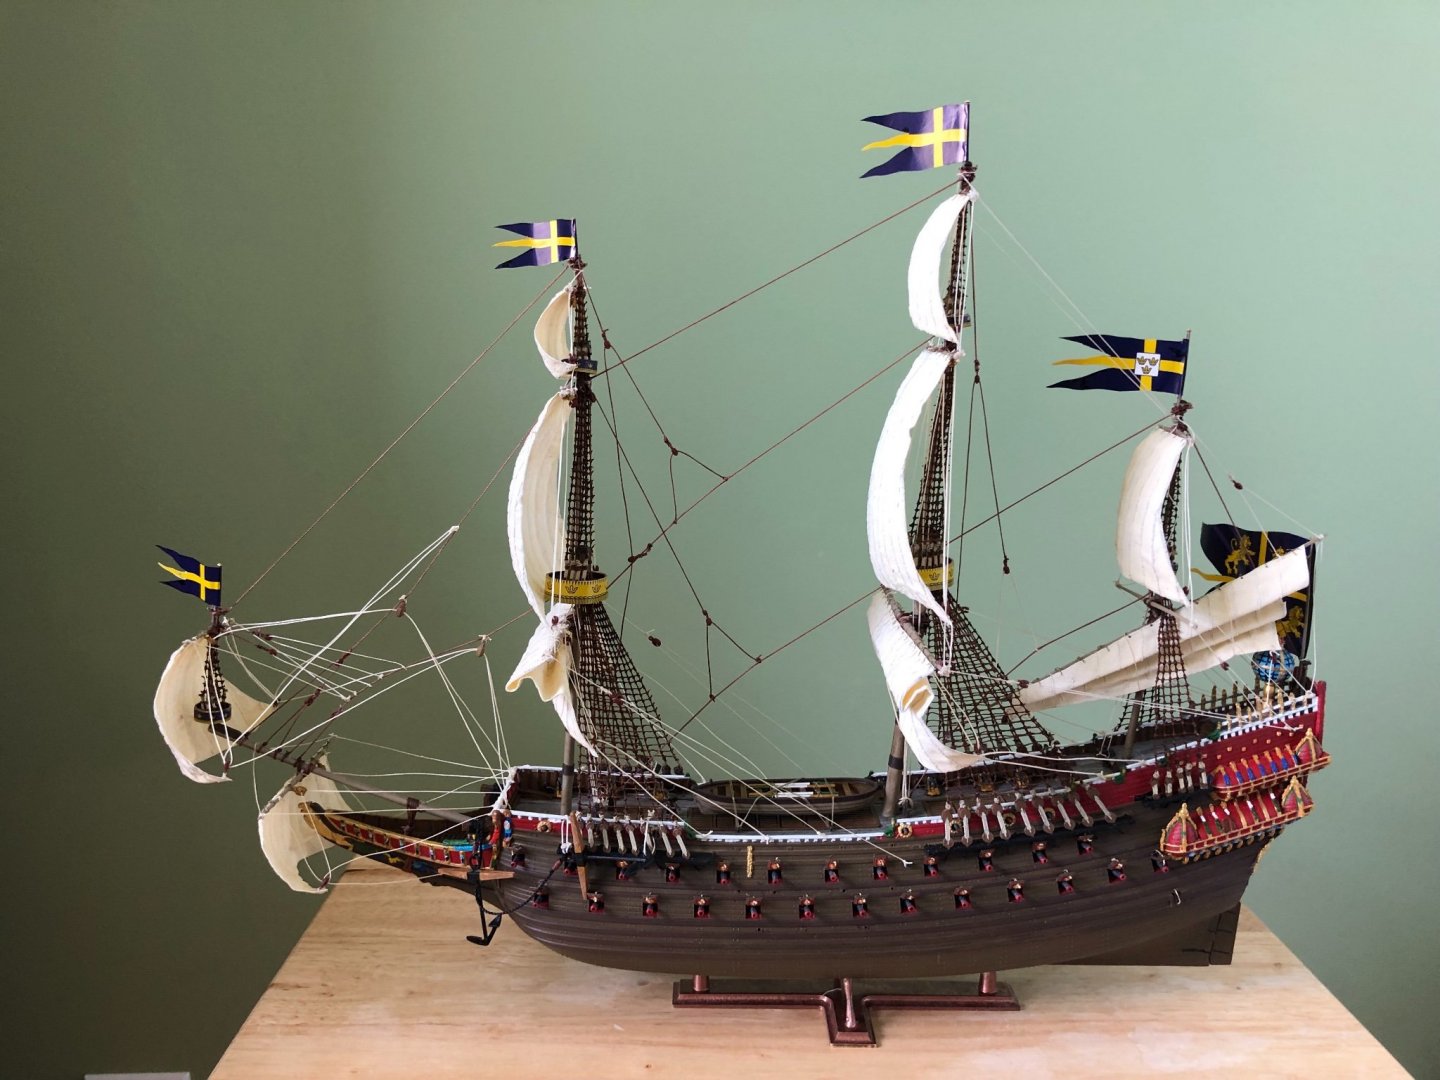
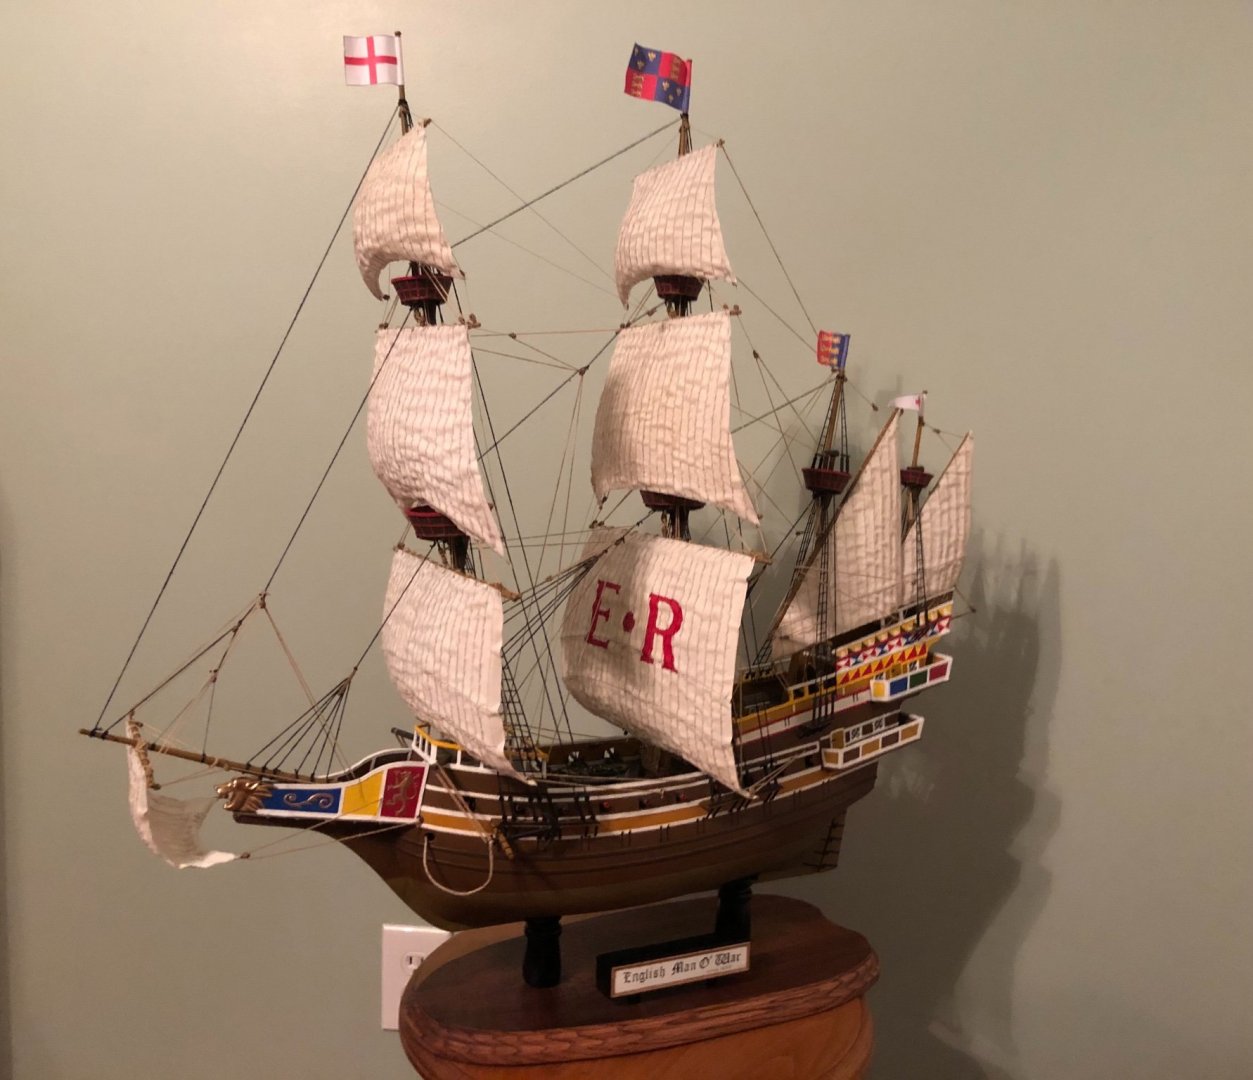
The Mayflower is my only model by a company called Trumpeter. I like building the larger scale ships and they were the only one I could find in the bigger scale. The Wasa is my smallest scale and is a Airfix’ model. I also have their Golden Hind in my stash for “someday”. I find it interesting that each of the models I have made I could find the original ship in museum status now. That would be an incredible bucket list trip. Two are on my side of the pond (Constitution and Mayflower). The others are on your side. Not sure if there is/was an actual Man O War I could go see.
-
Kevin here are some other examples of this sail process on my Man O War, Mayflower, and Wasa. Some sails furled and some not.
-
Kevin to furl them I do the same process but then just fold and bend and scrunch them until I get the shape I am looking for. The glue in the cloth gives them adequate stiffness to maintain the shape you like.